Archives

How to Make Beignets in Under 10 Minutes

Back in college, I did two service trips to New Orleans. That is where I discovered this magical things called beignets (French for “donuts”). There’s nothing like them really, and I always get overexcited when I get to eat them. Although there’s nothing like getting them fresh and hot from Cafe du Monde (original place in New Orleans), it’s still a treat to be able to have them from home. This isn’t going to be a complicated recipe. No, instead, I used the actual box mix that Cafe du Monde sells. Chris got me 3 boxes of them for Valentine’s Day last year. This product gets a full thumbs up. 
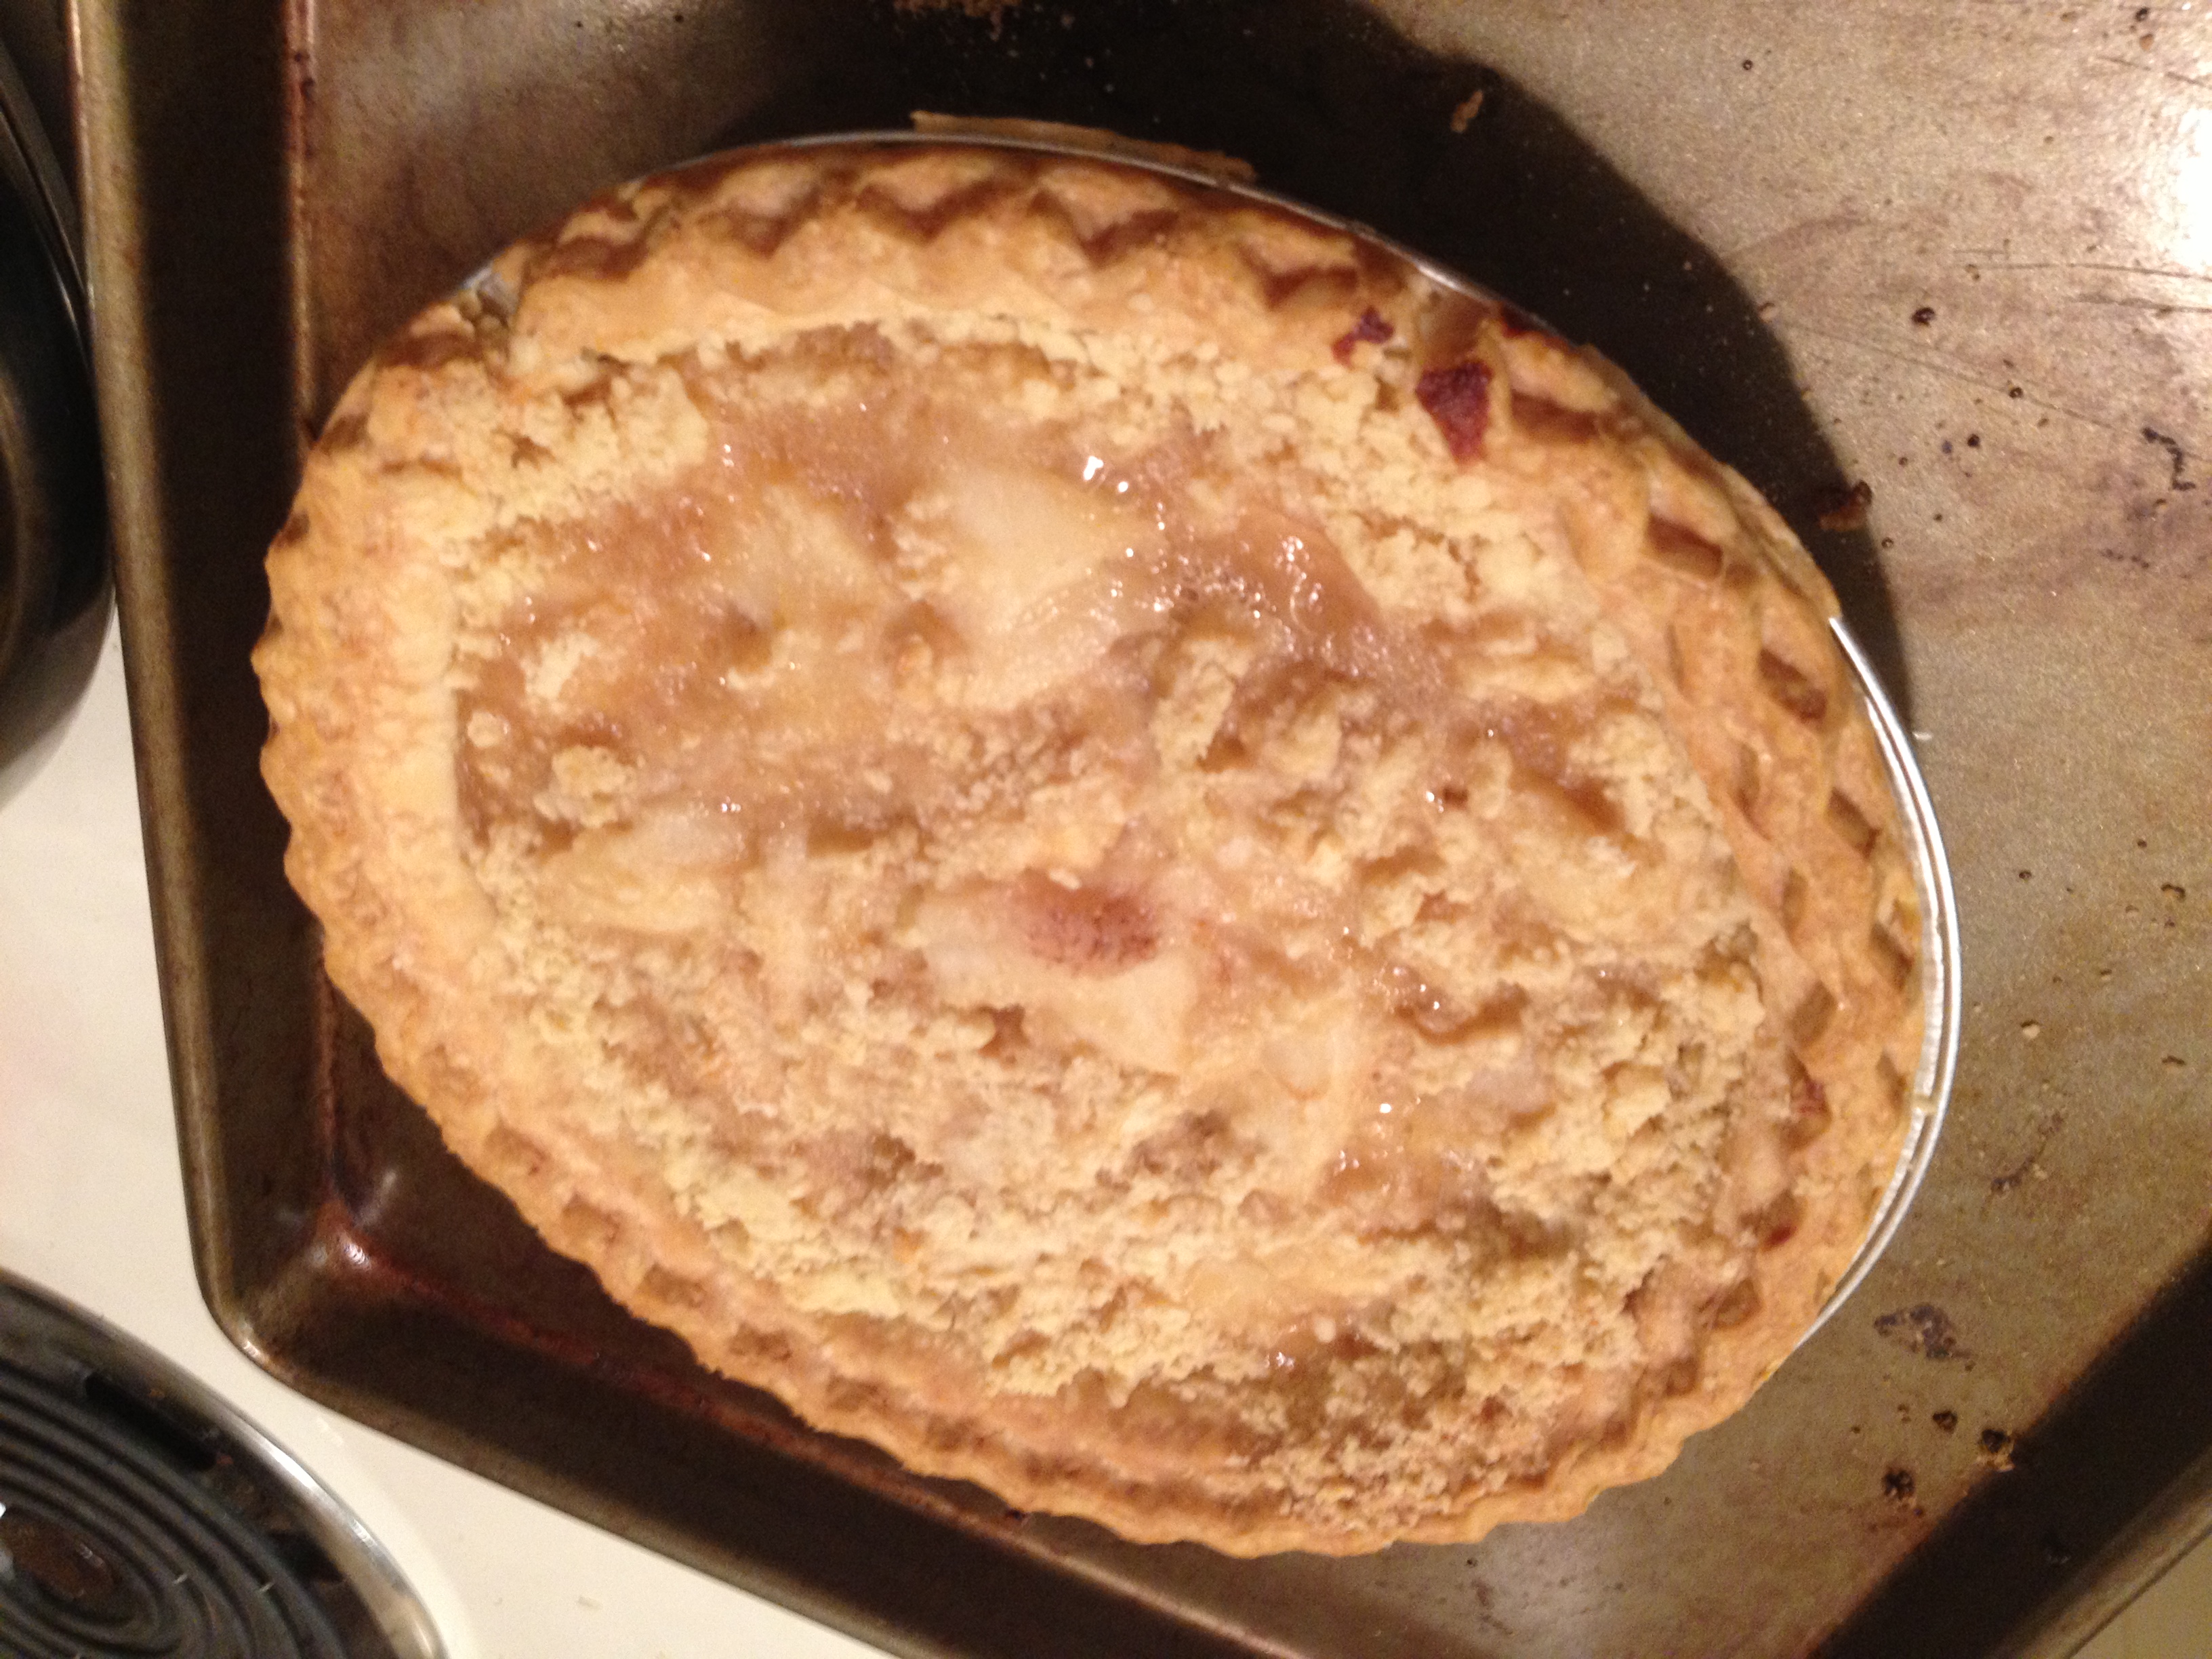
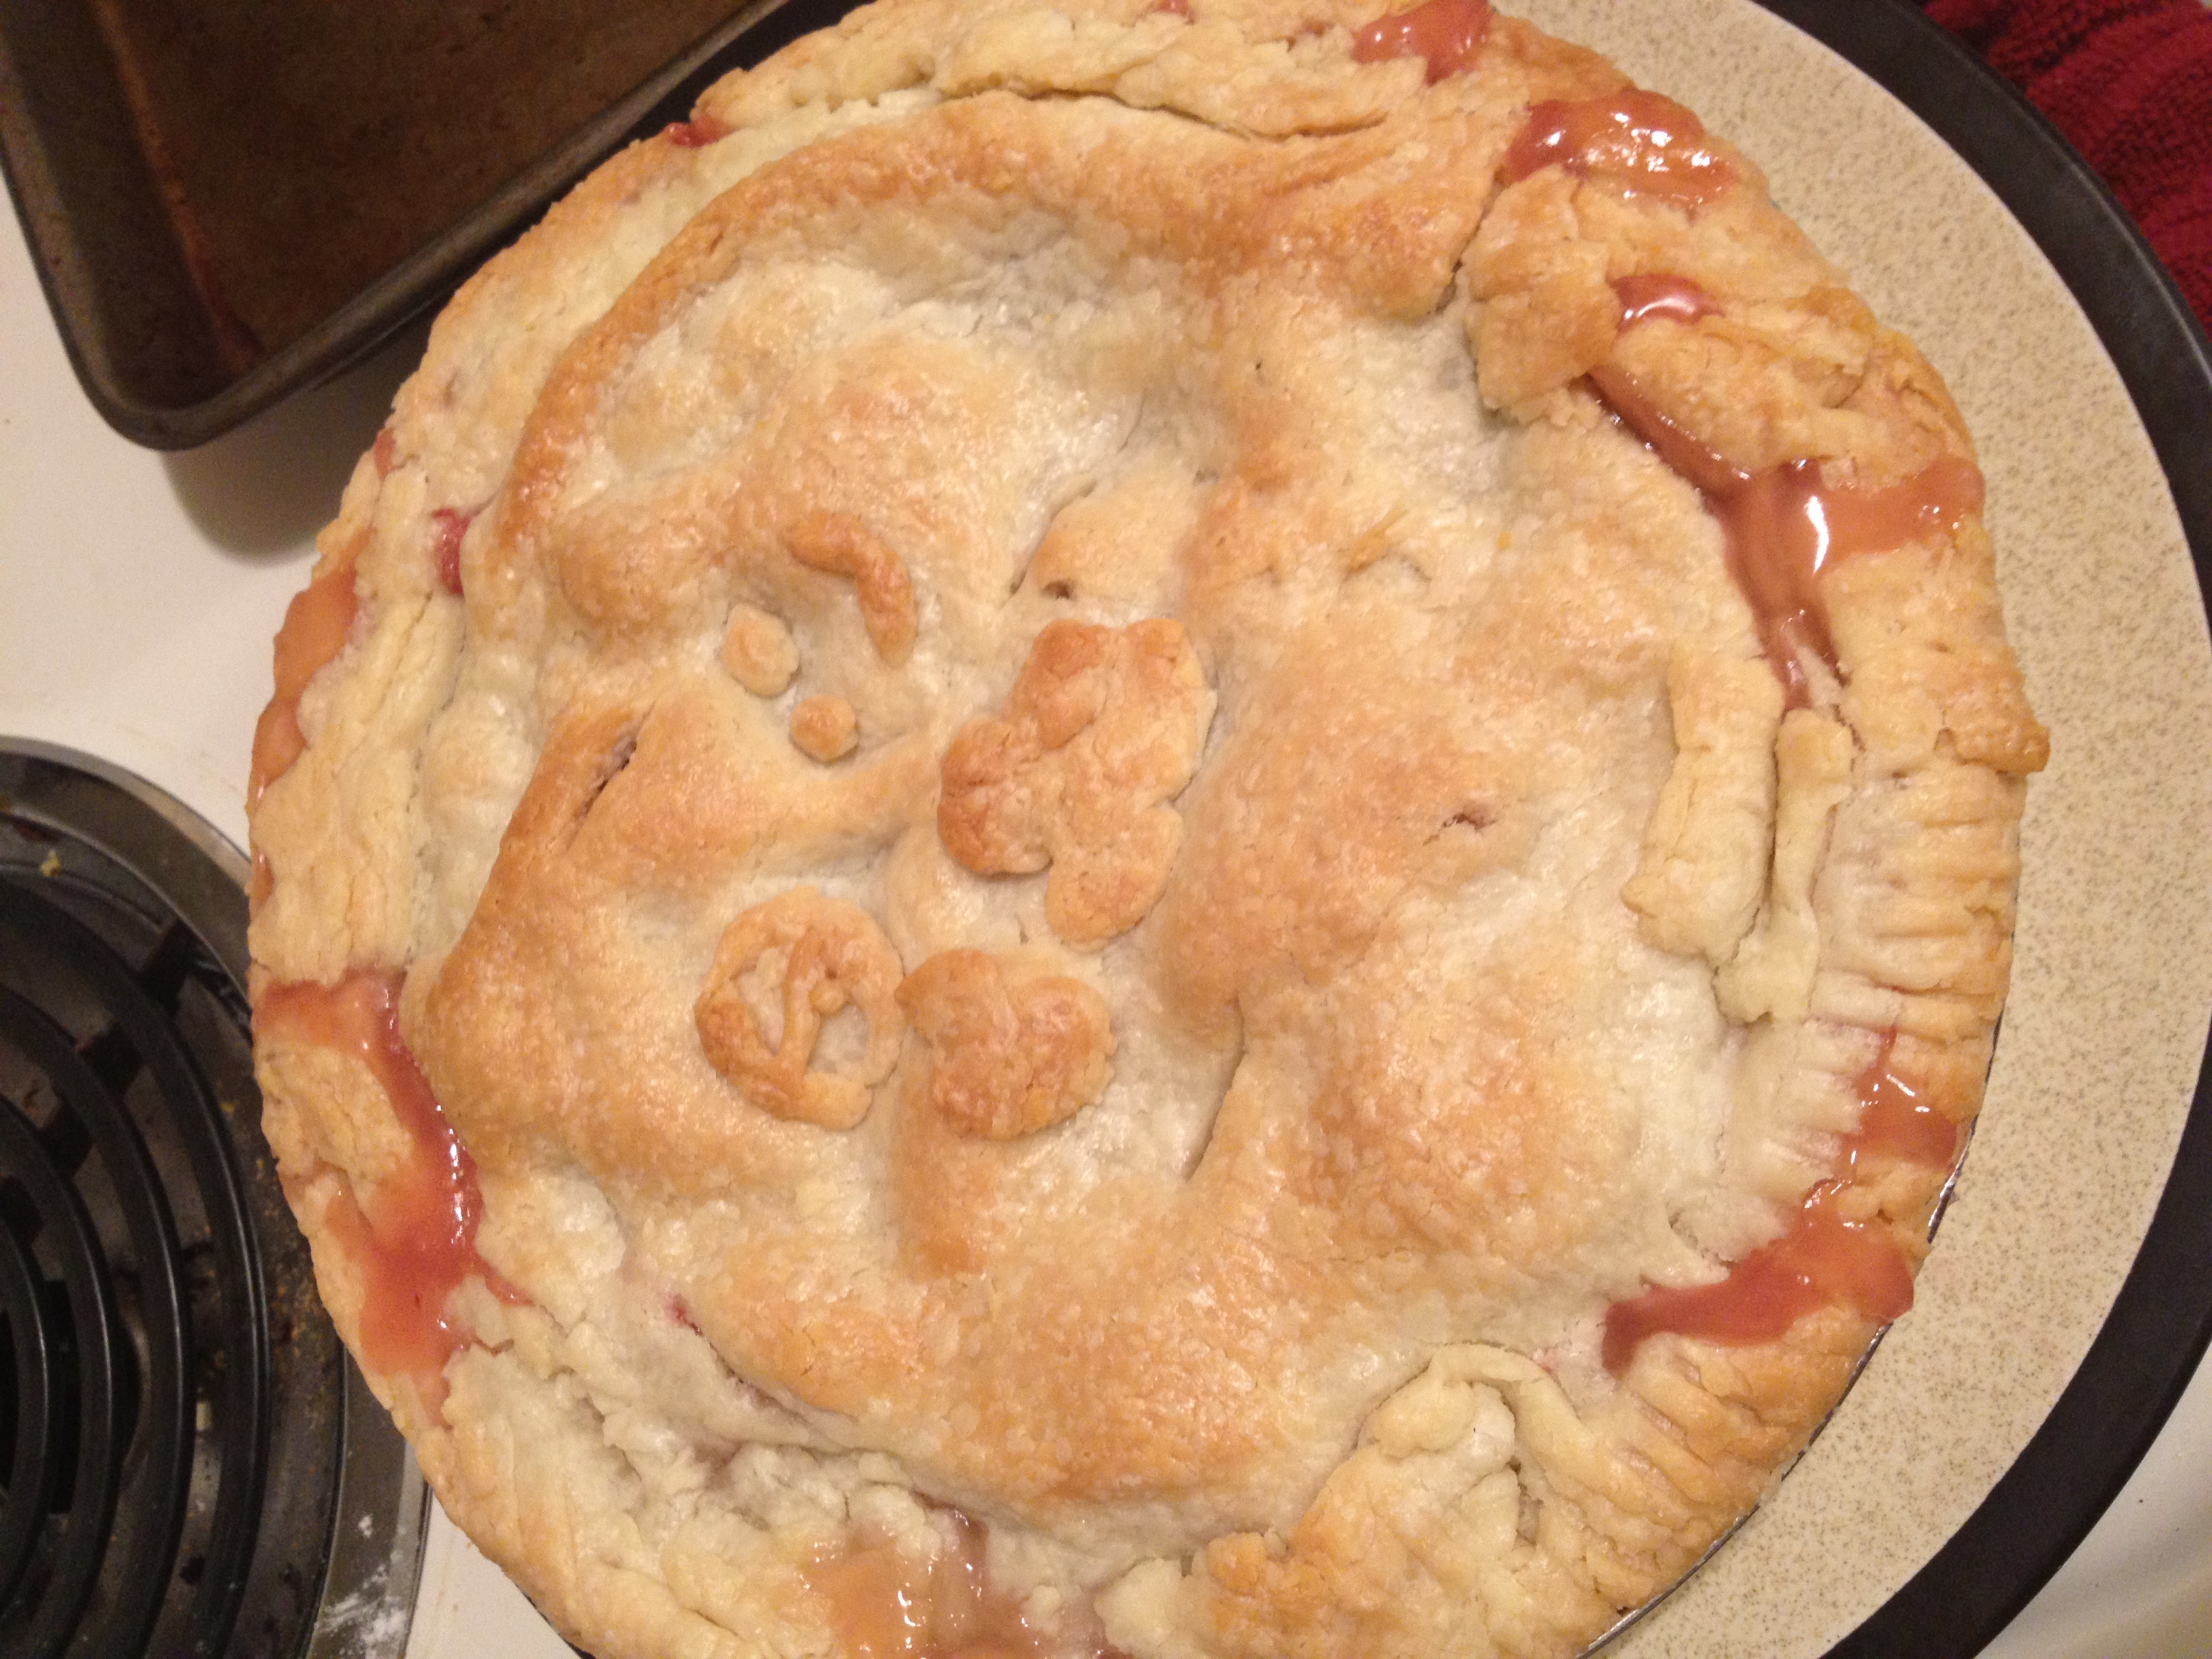
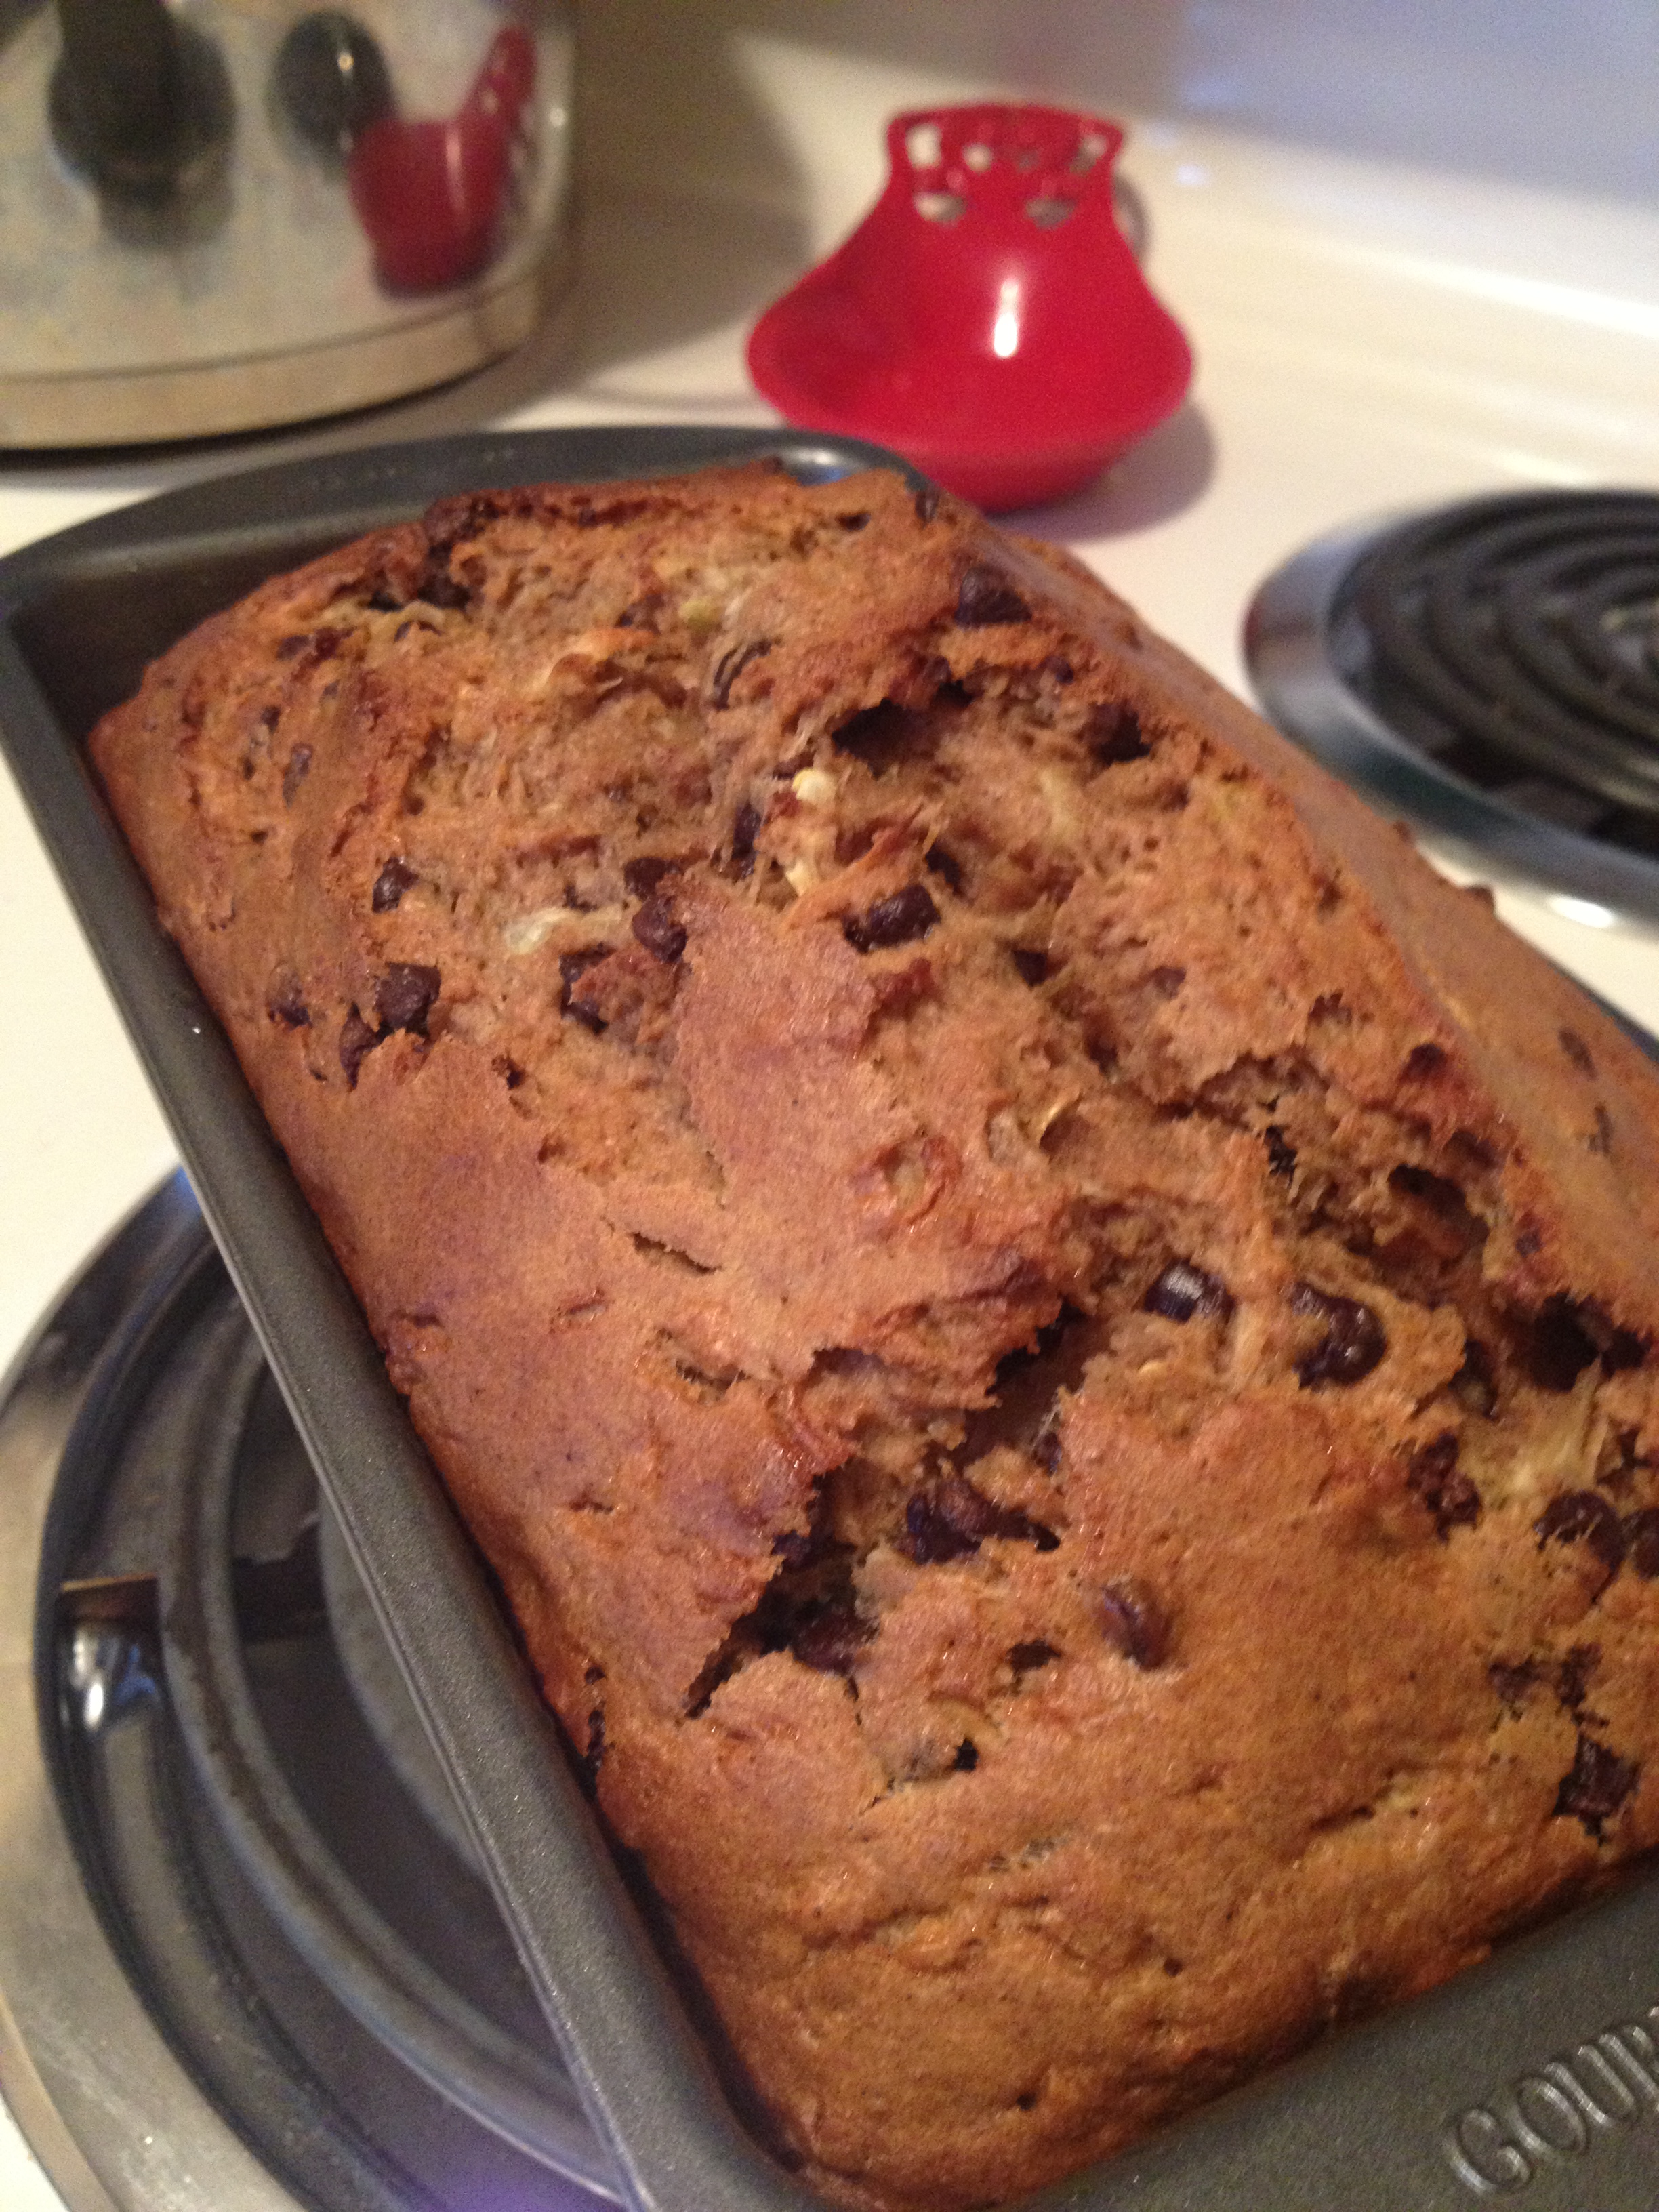
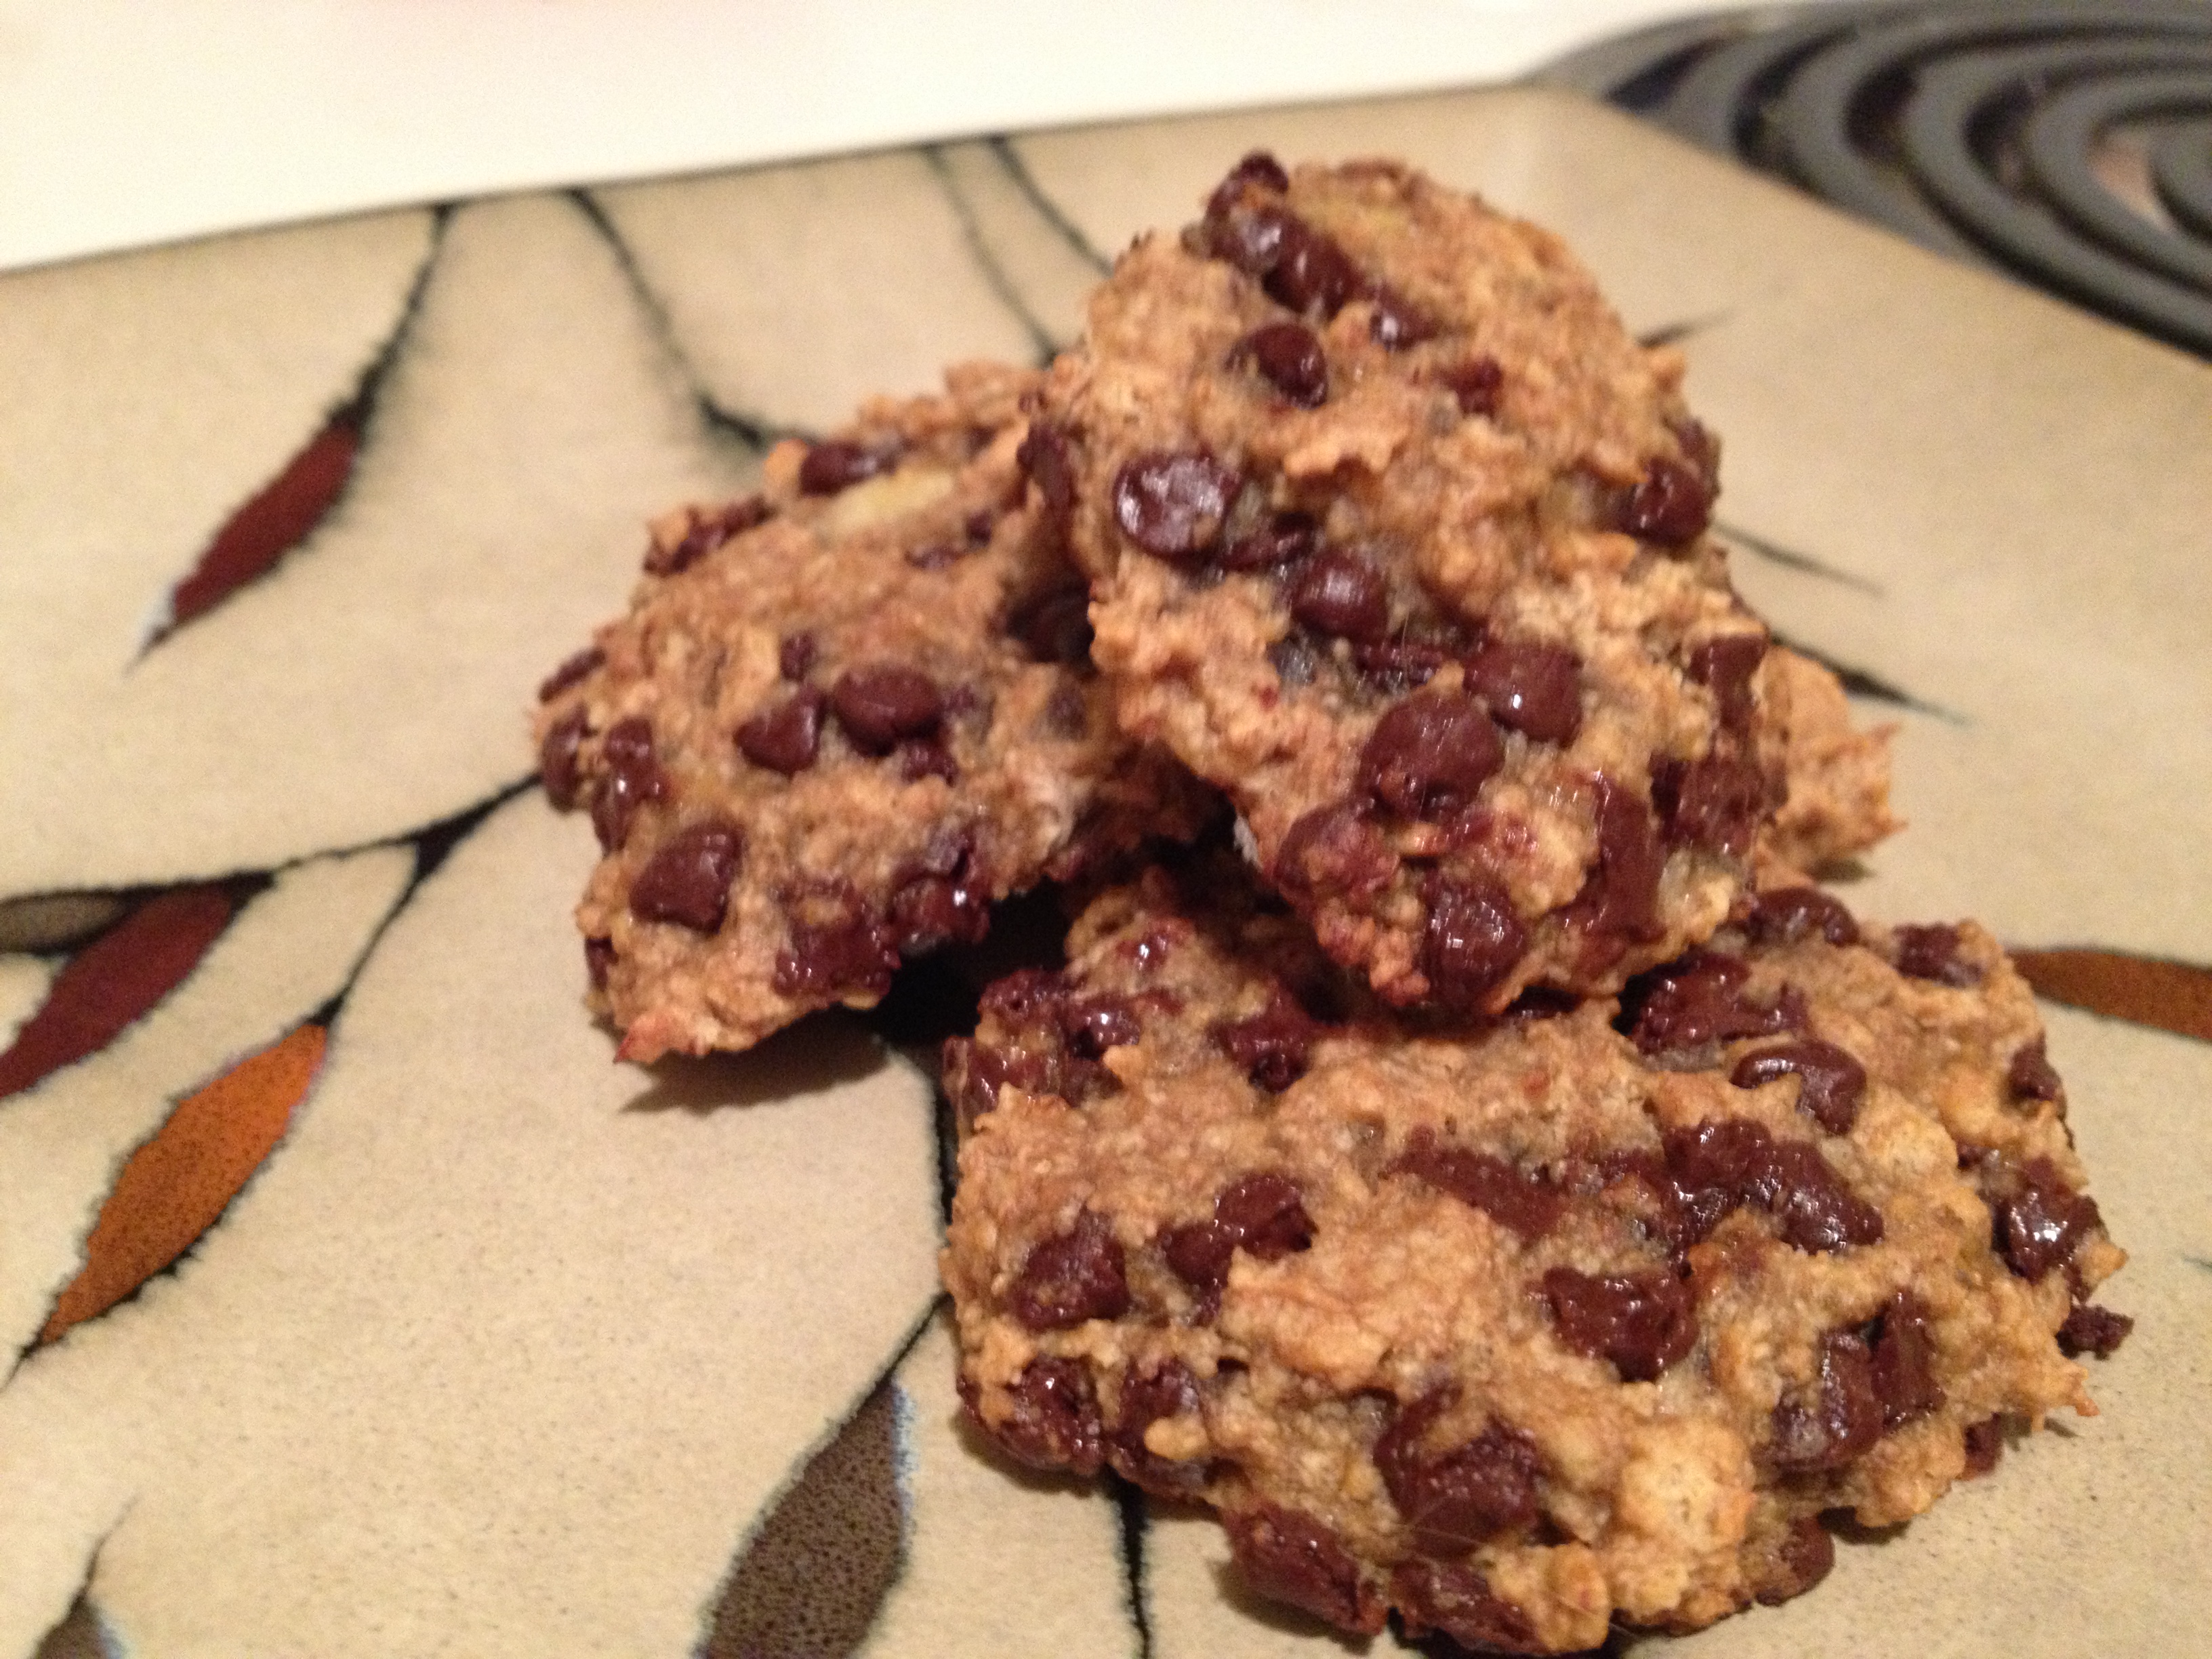
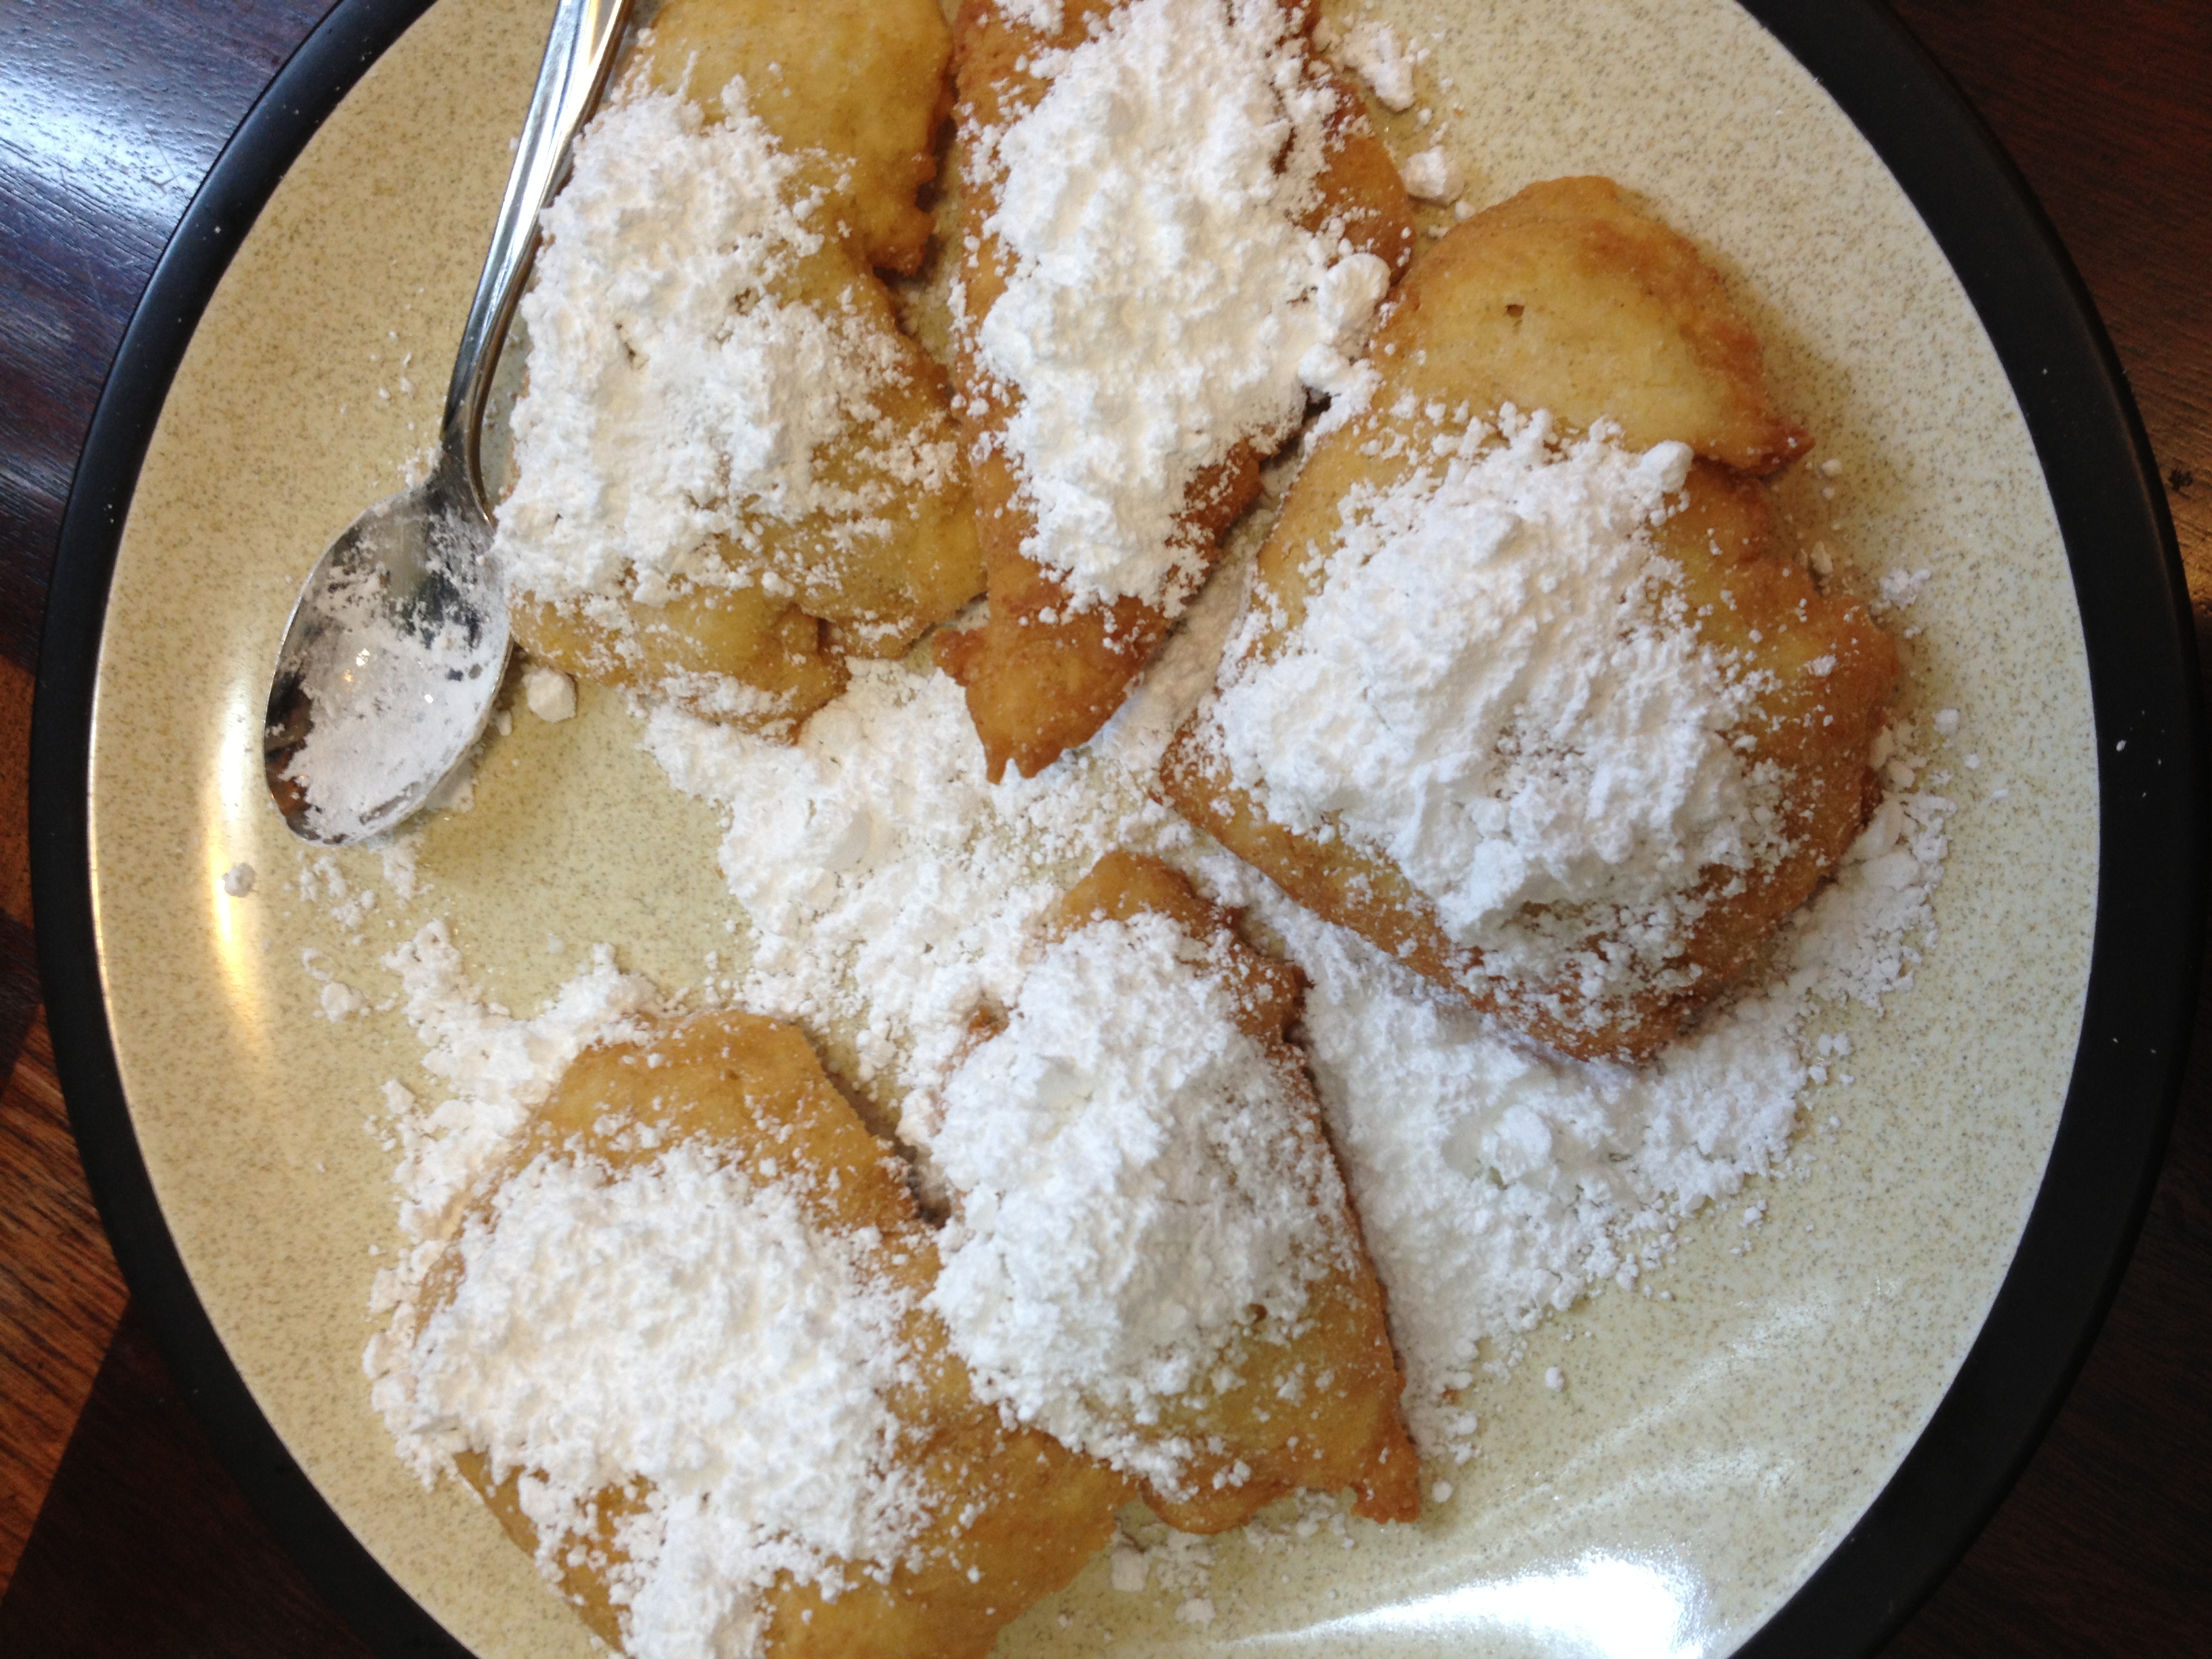
Feast yer eyes

Feast yer eyes

  • Prep Time: 7 minutes
  • Cooking Time: >1 minute

Ingredients

  • 2 cups Cafe du Monde beignet box mix
  • 7/8 cup water
  • flour for unsticking purposes
  • oil
  • powdered sugar

Directions

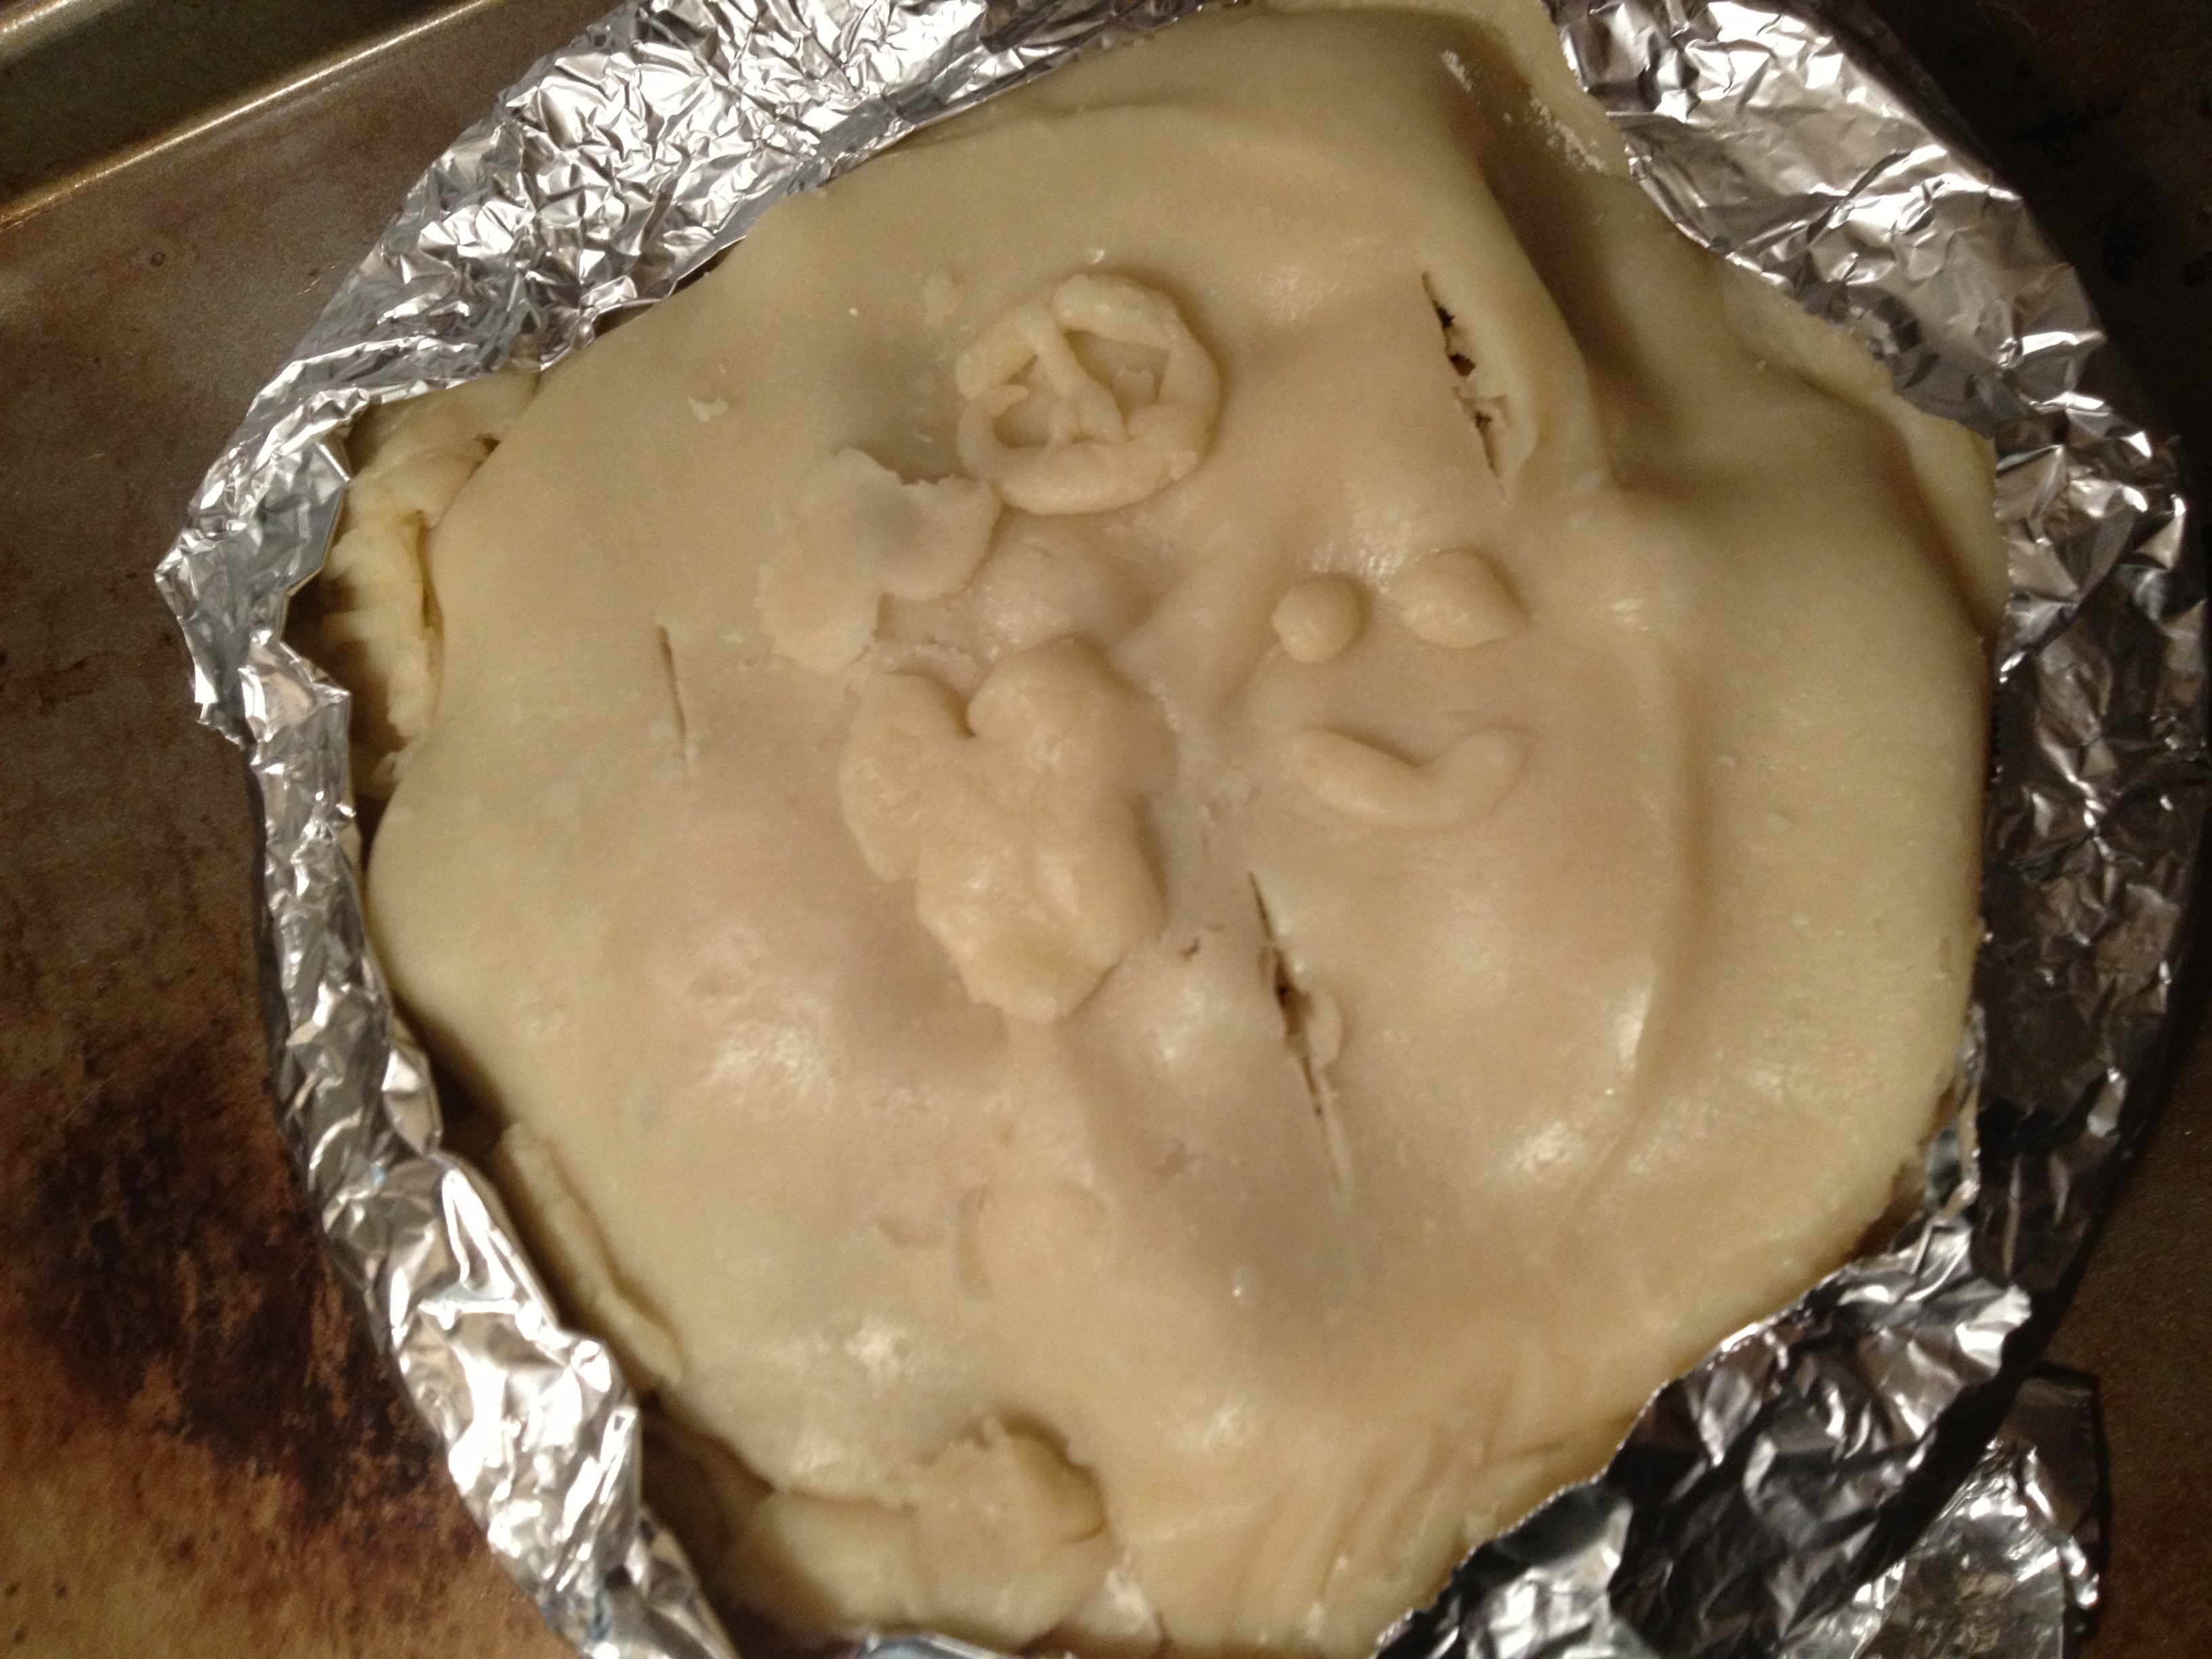
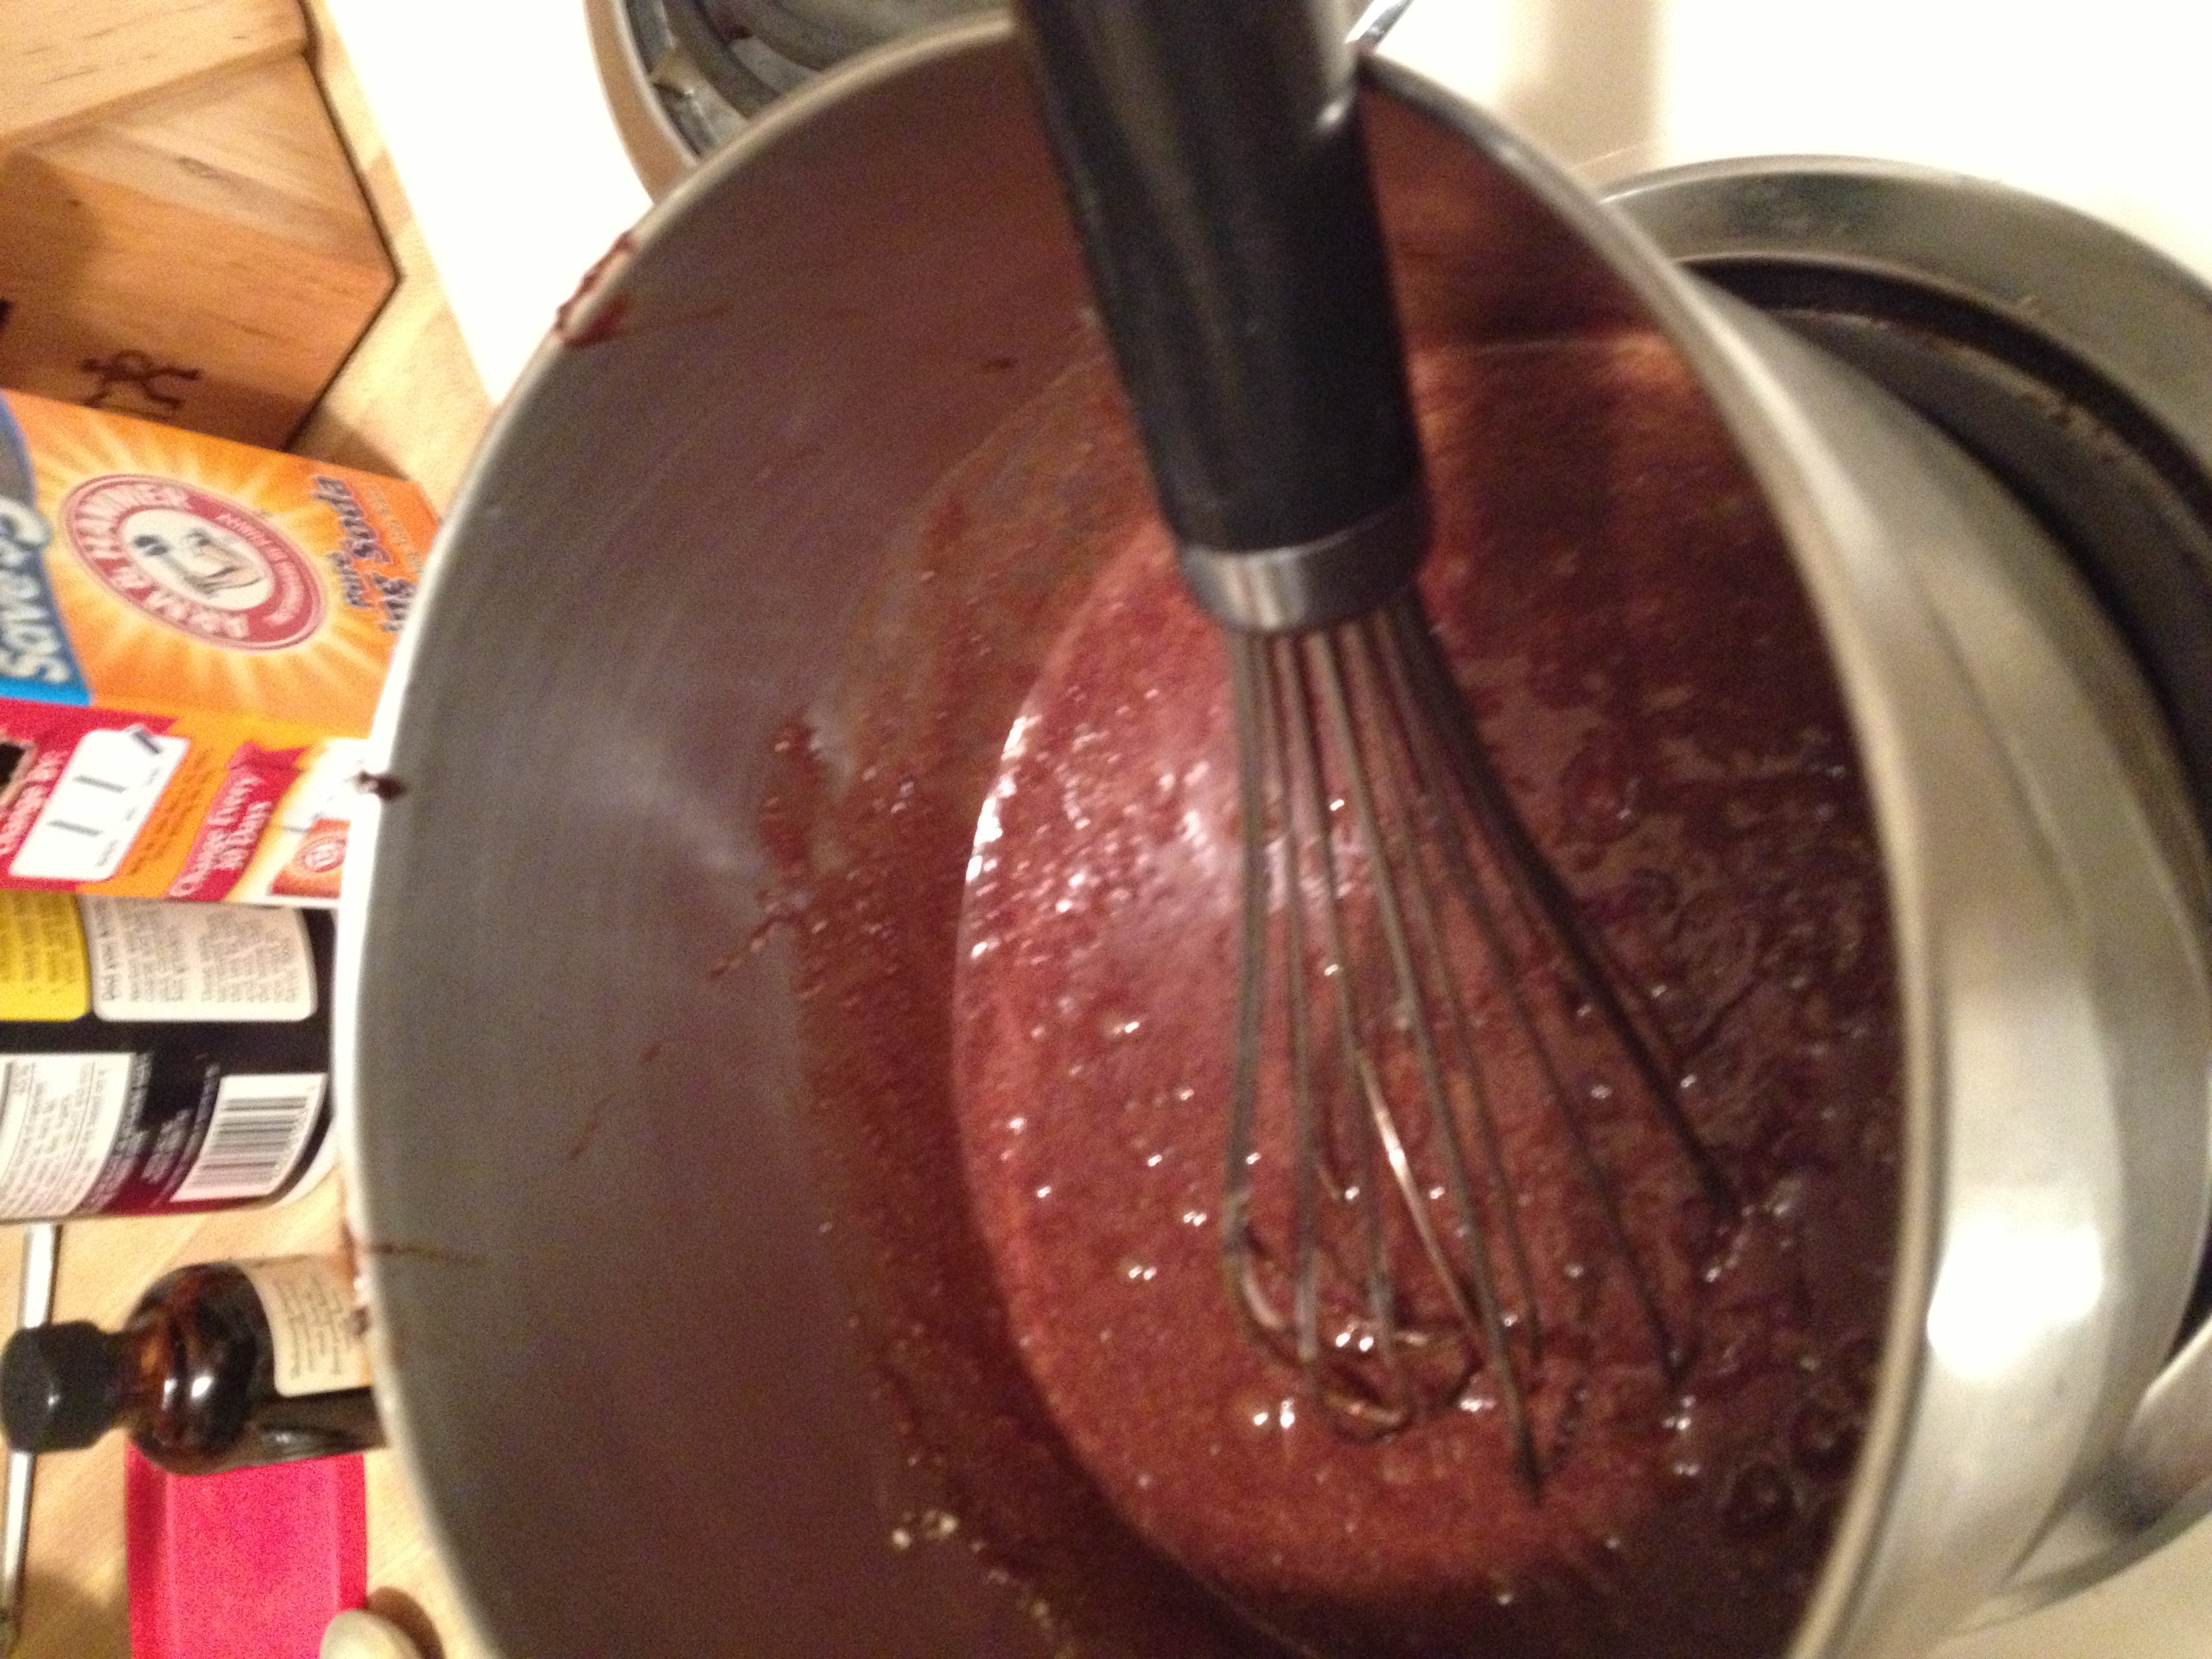
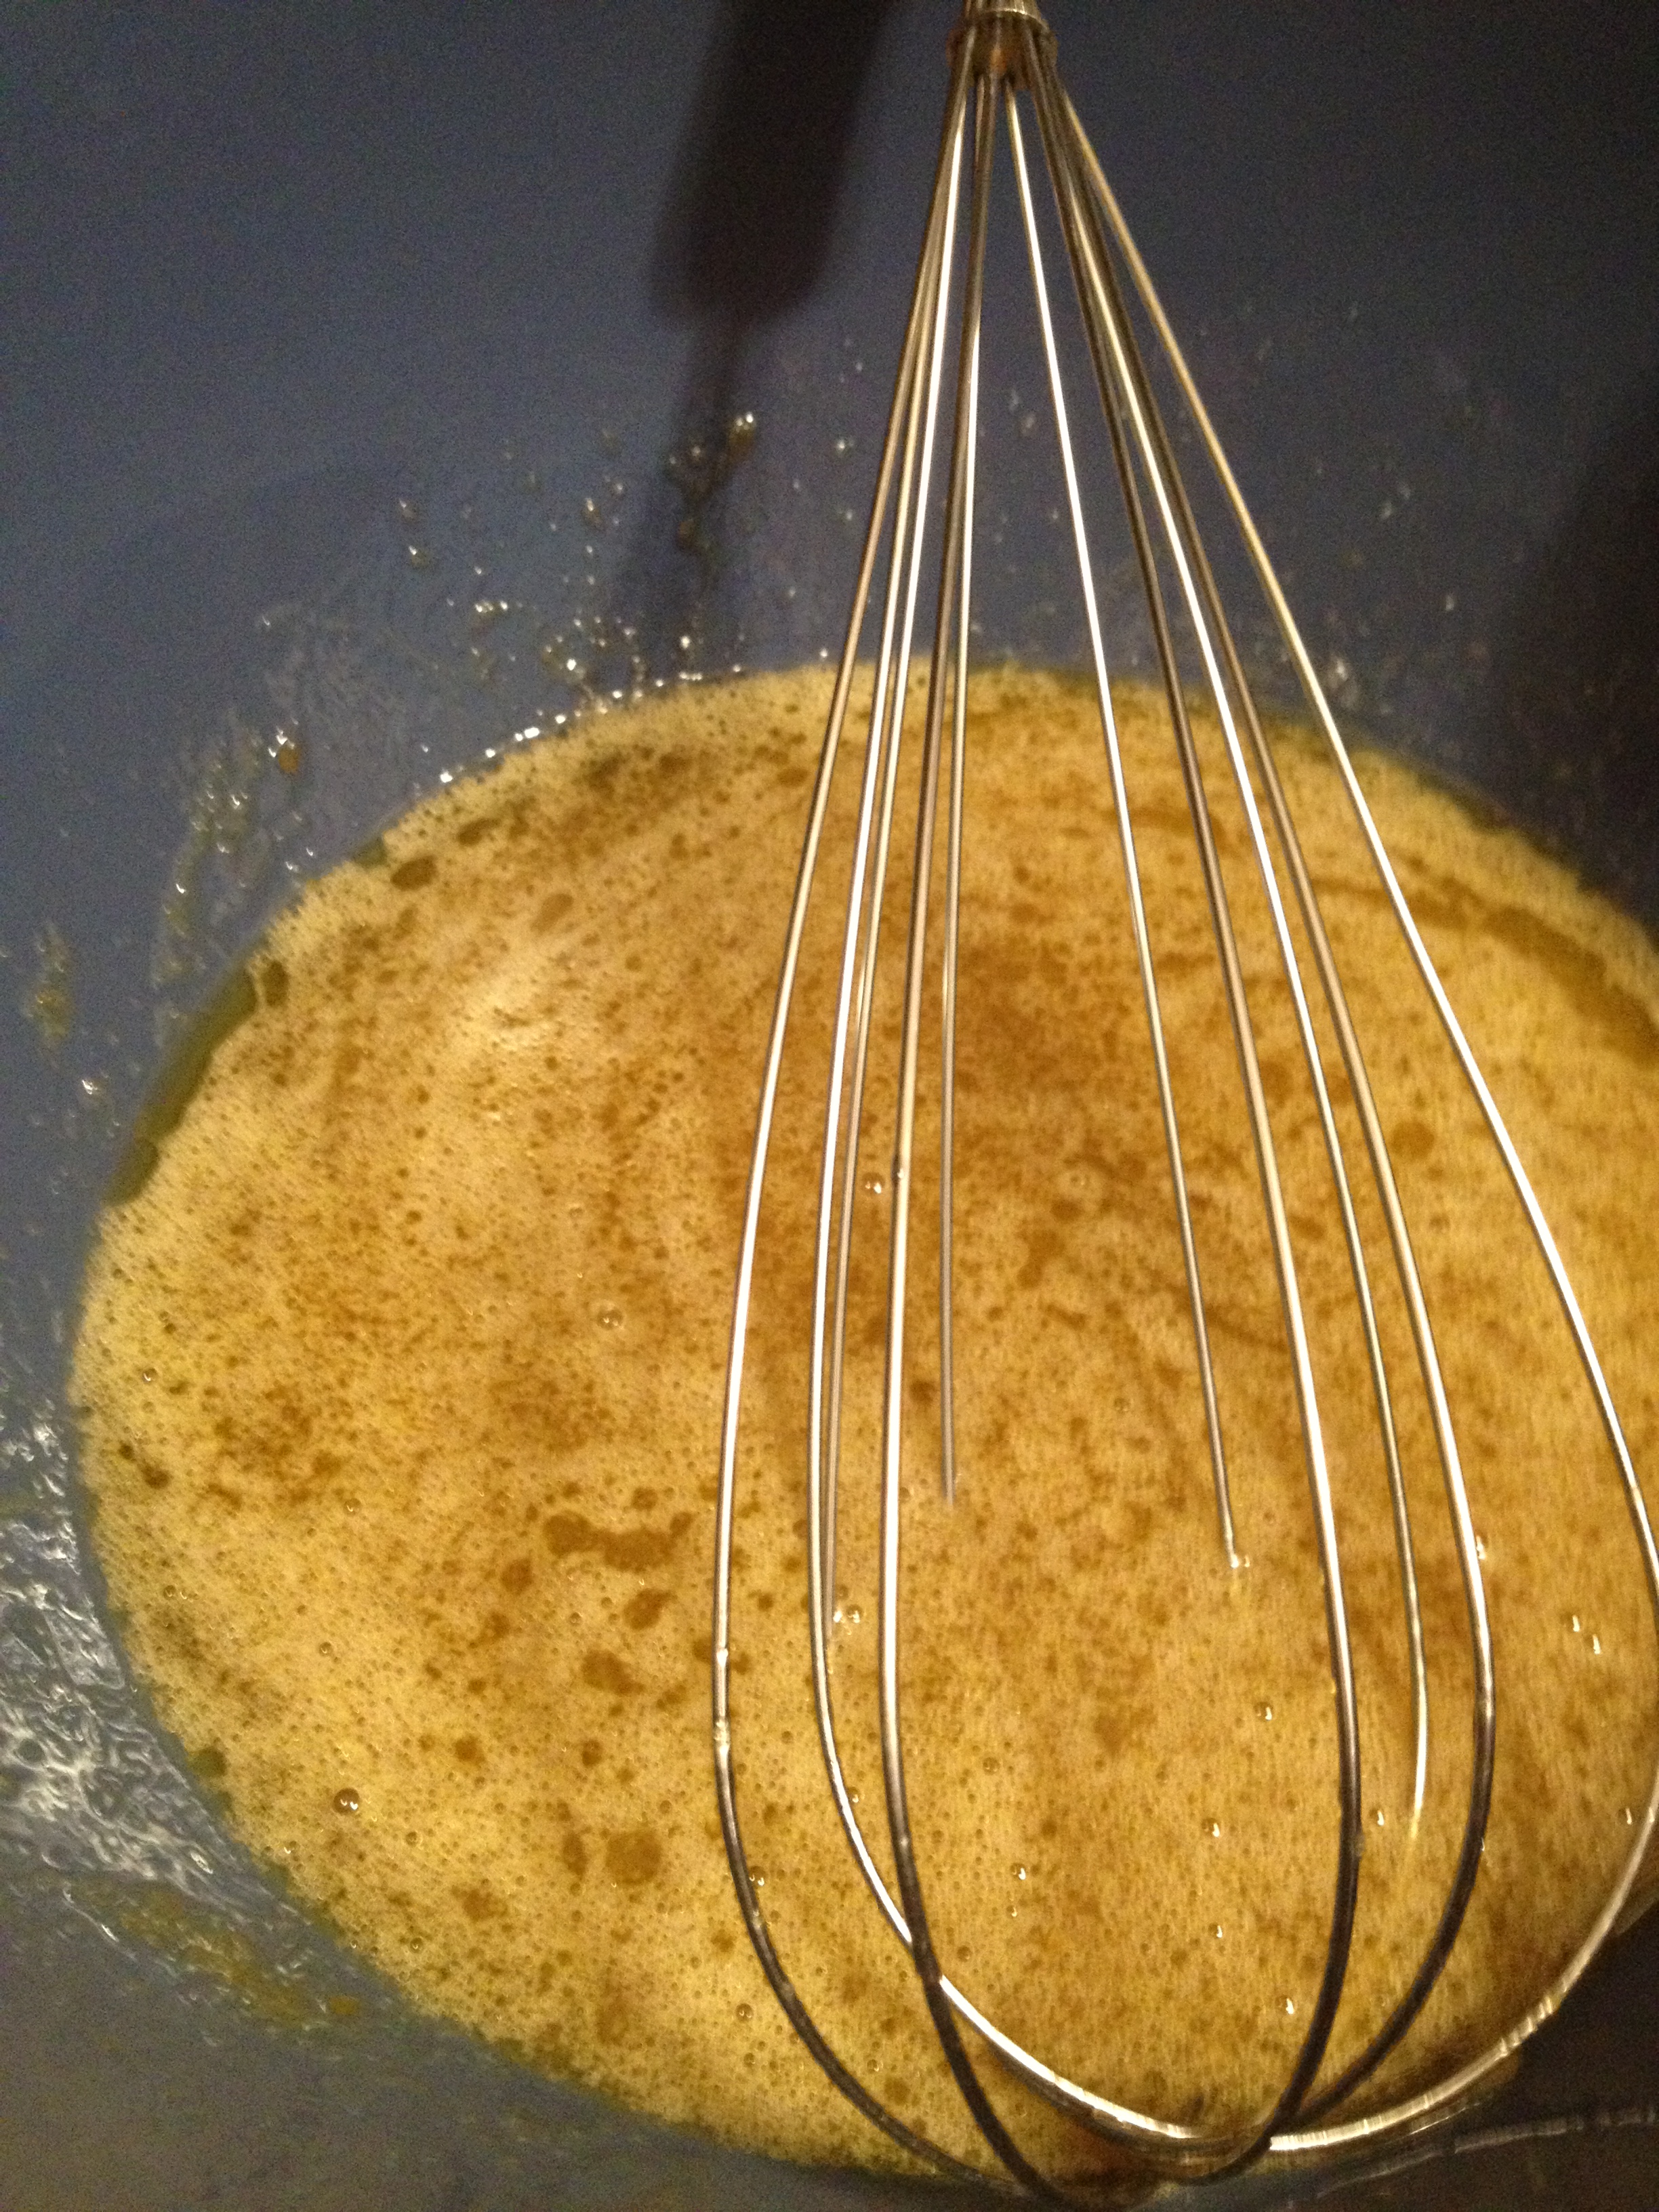
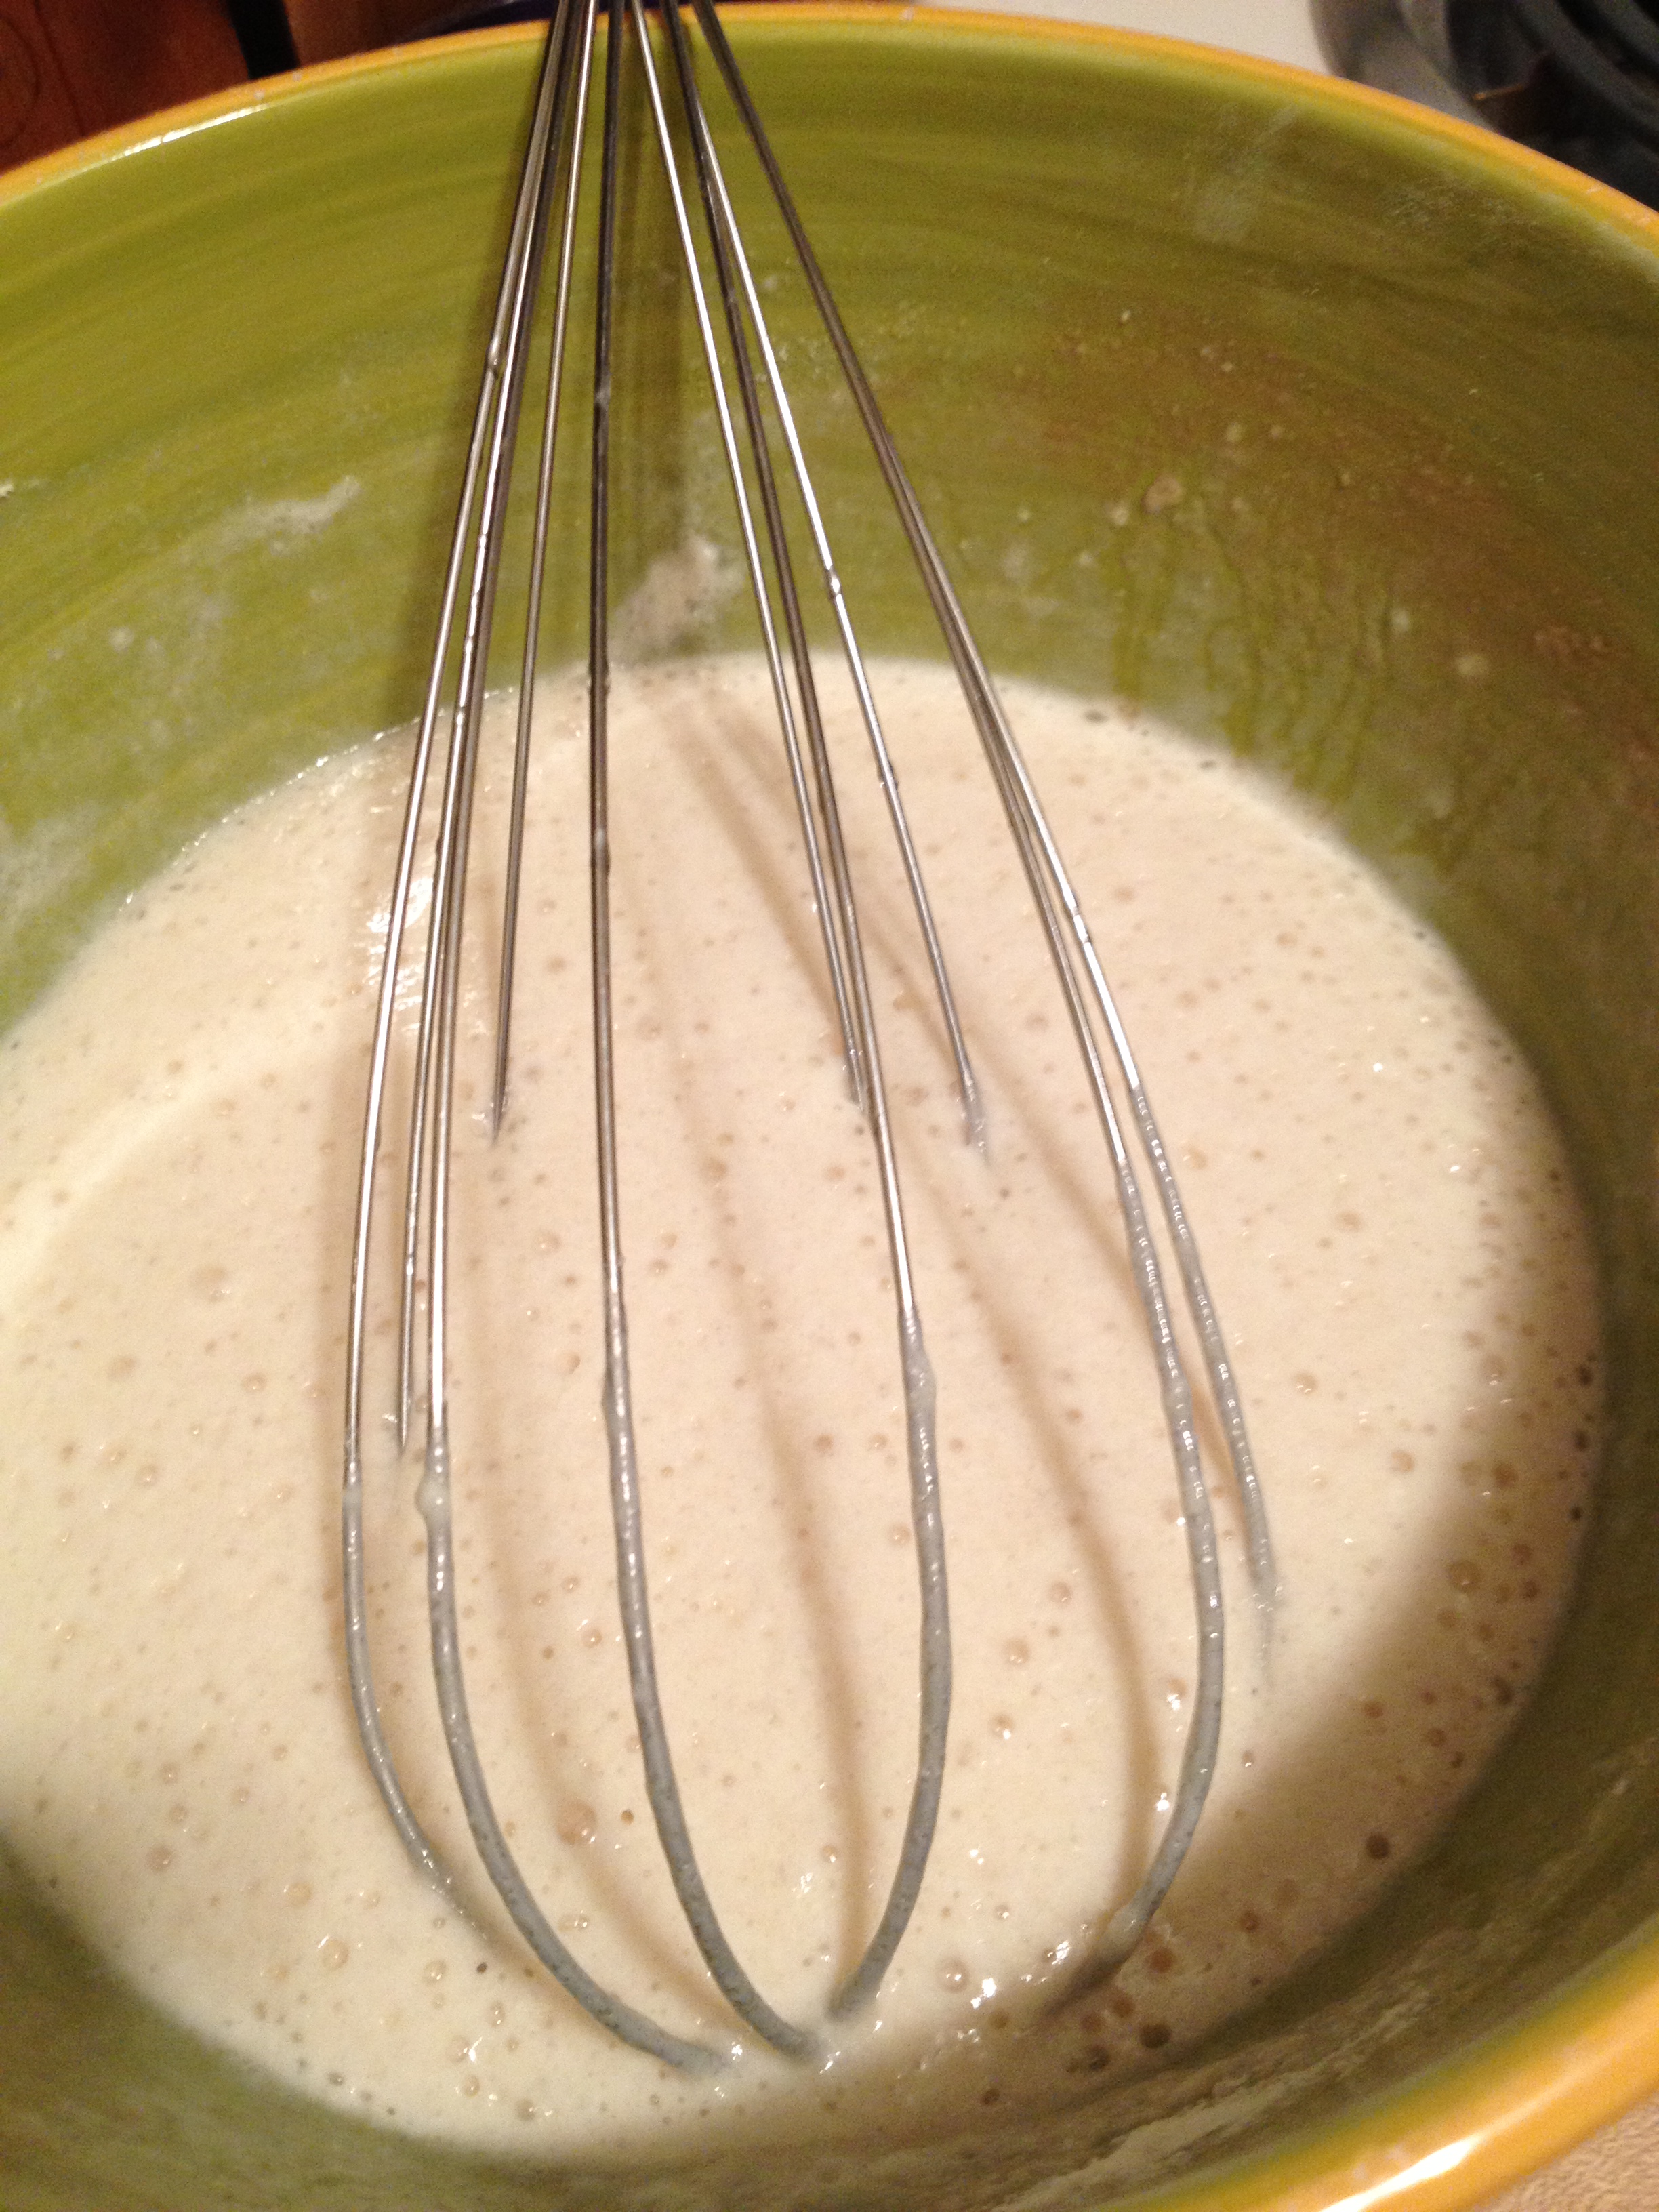
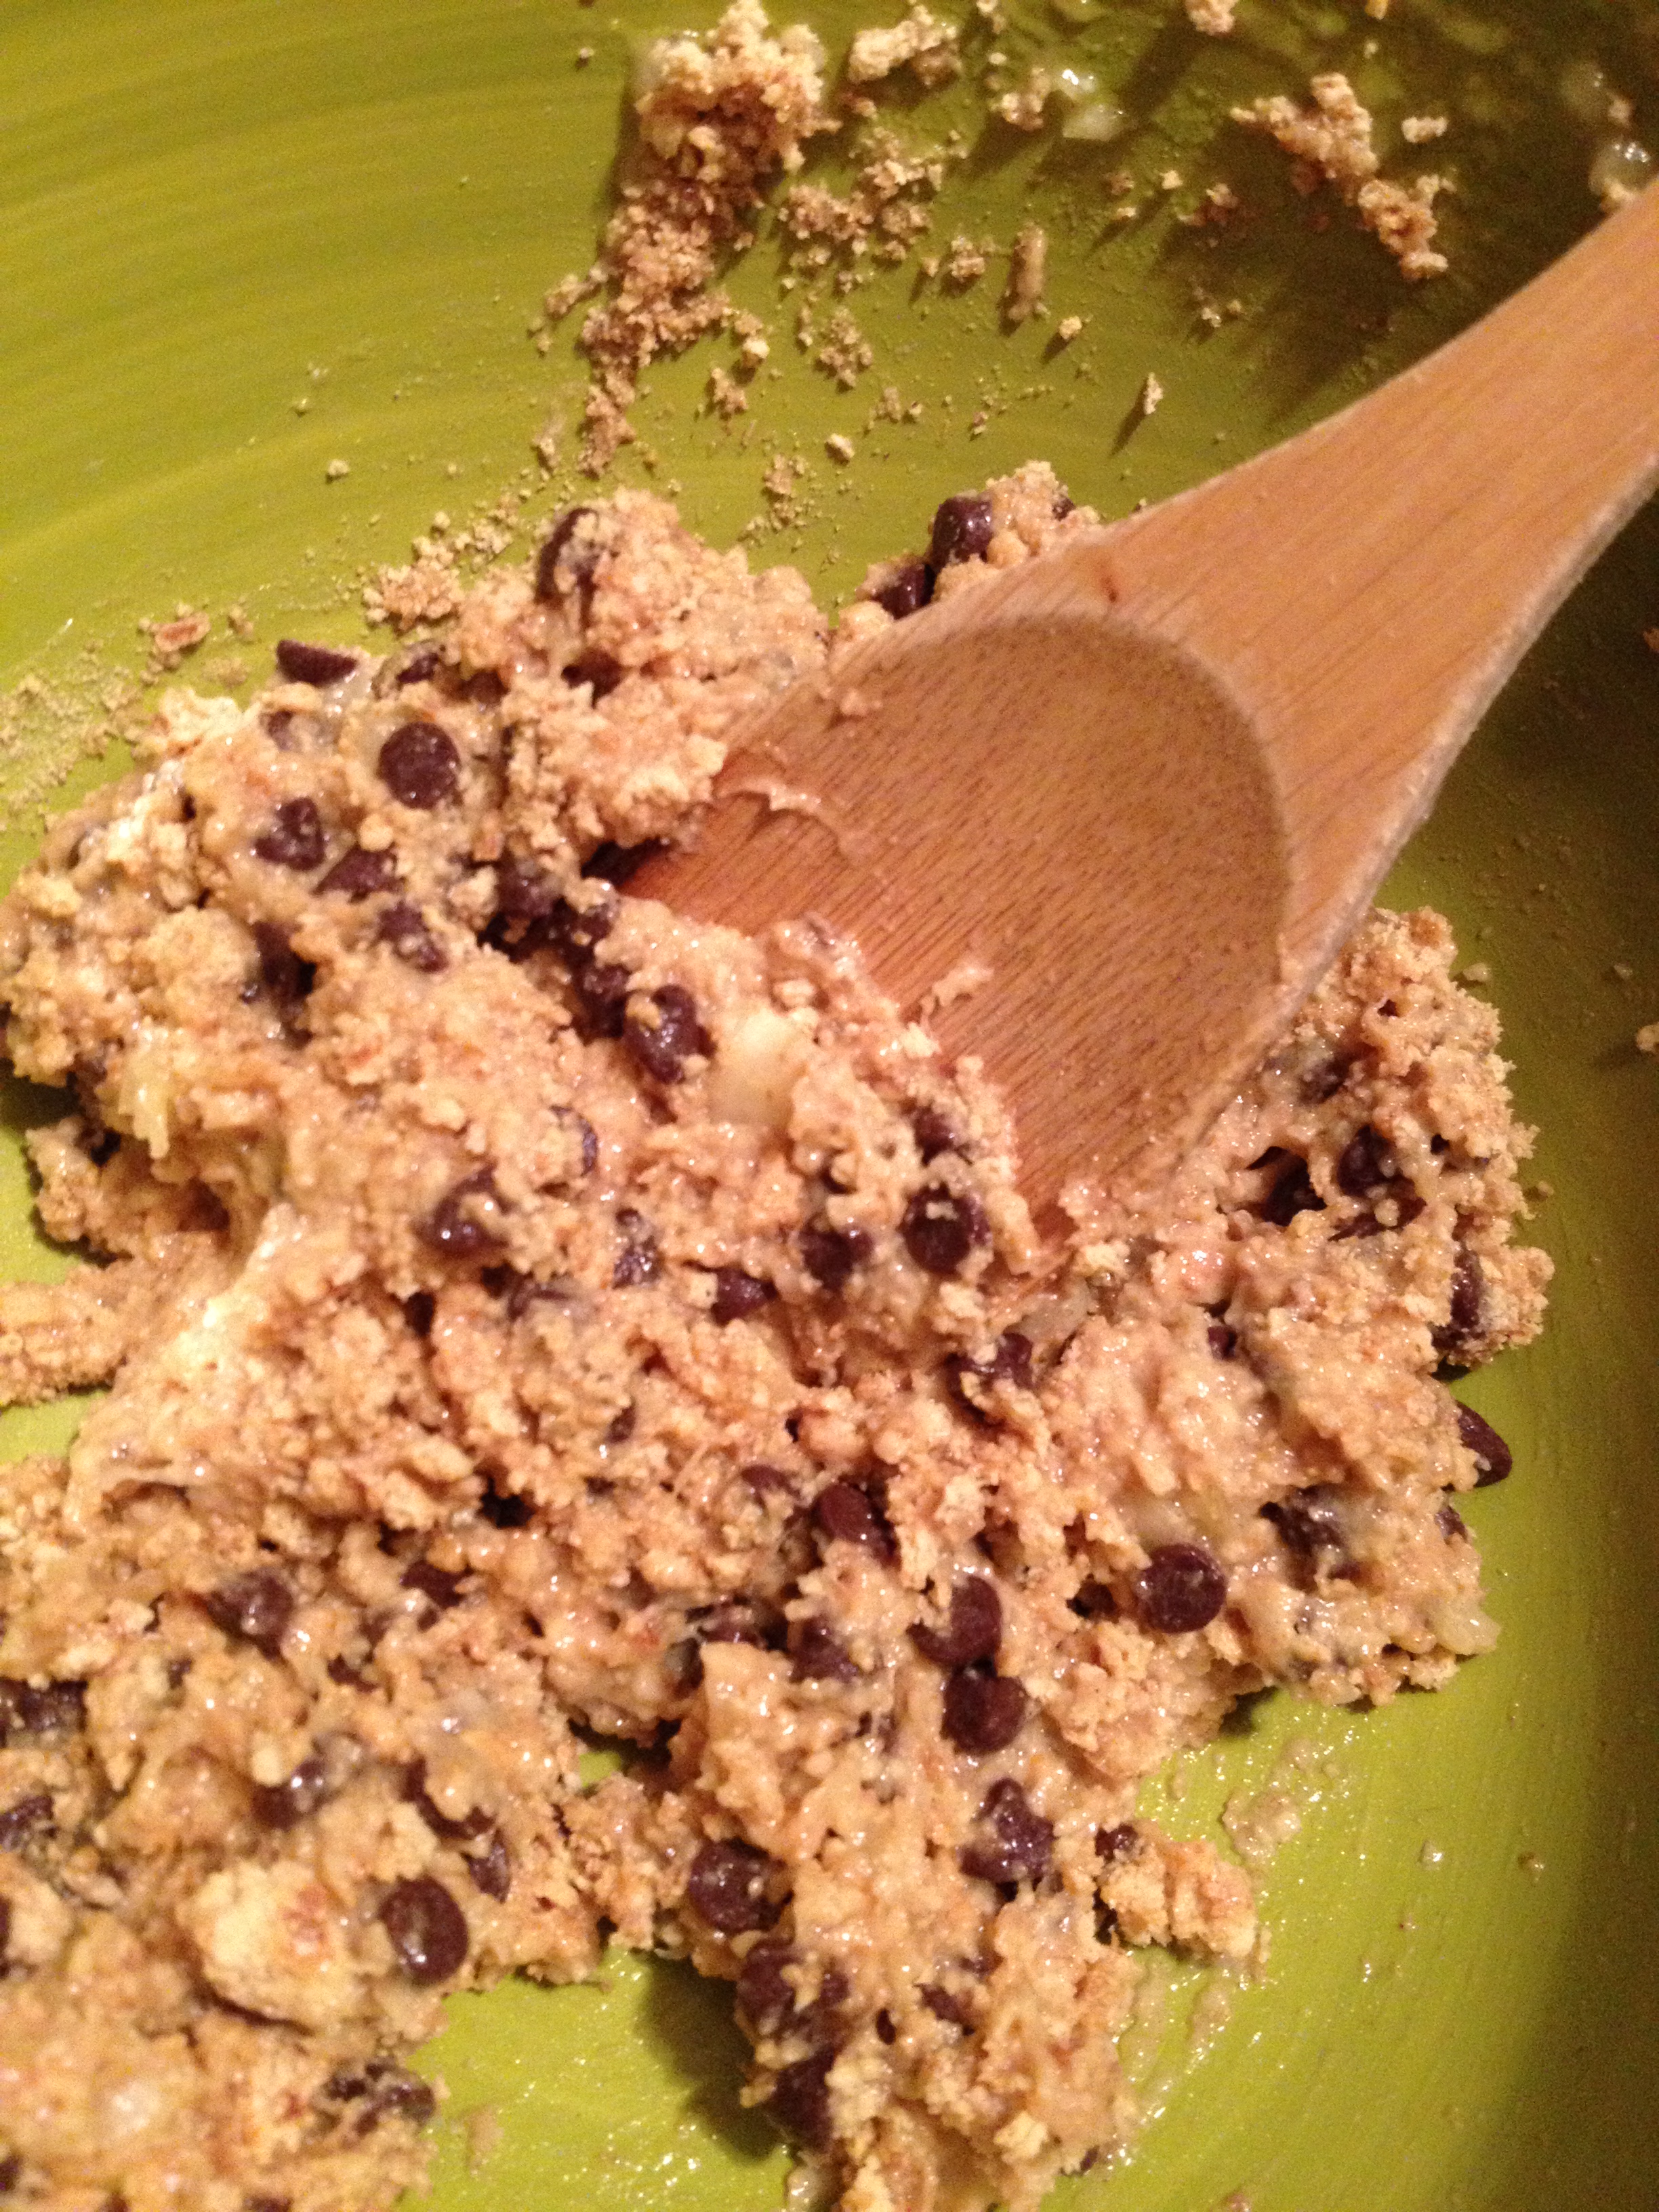
  • Stir together the 2 cups of the mix and the water until it is all bound together
  • Heat up a deep pot or skillet with an inch of oil in it. Turn up the heat!
  • Flour a cutting board and your rolling pin and roll out the mixture until it’s around 1/4 inch
  • Then go ahead and cut it into a little bigger than 2 square inch pieces. It was all a rough estimate for me.
  • As soon as your oil is hot (I don’t have a thermometer so I dropped water in to see if it would sizzle), drop those bad boys in. They shouldn’t need longer than 2 minutes
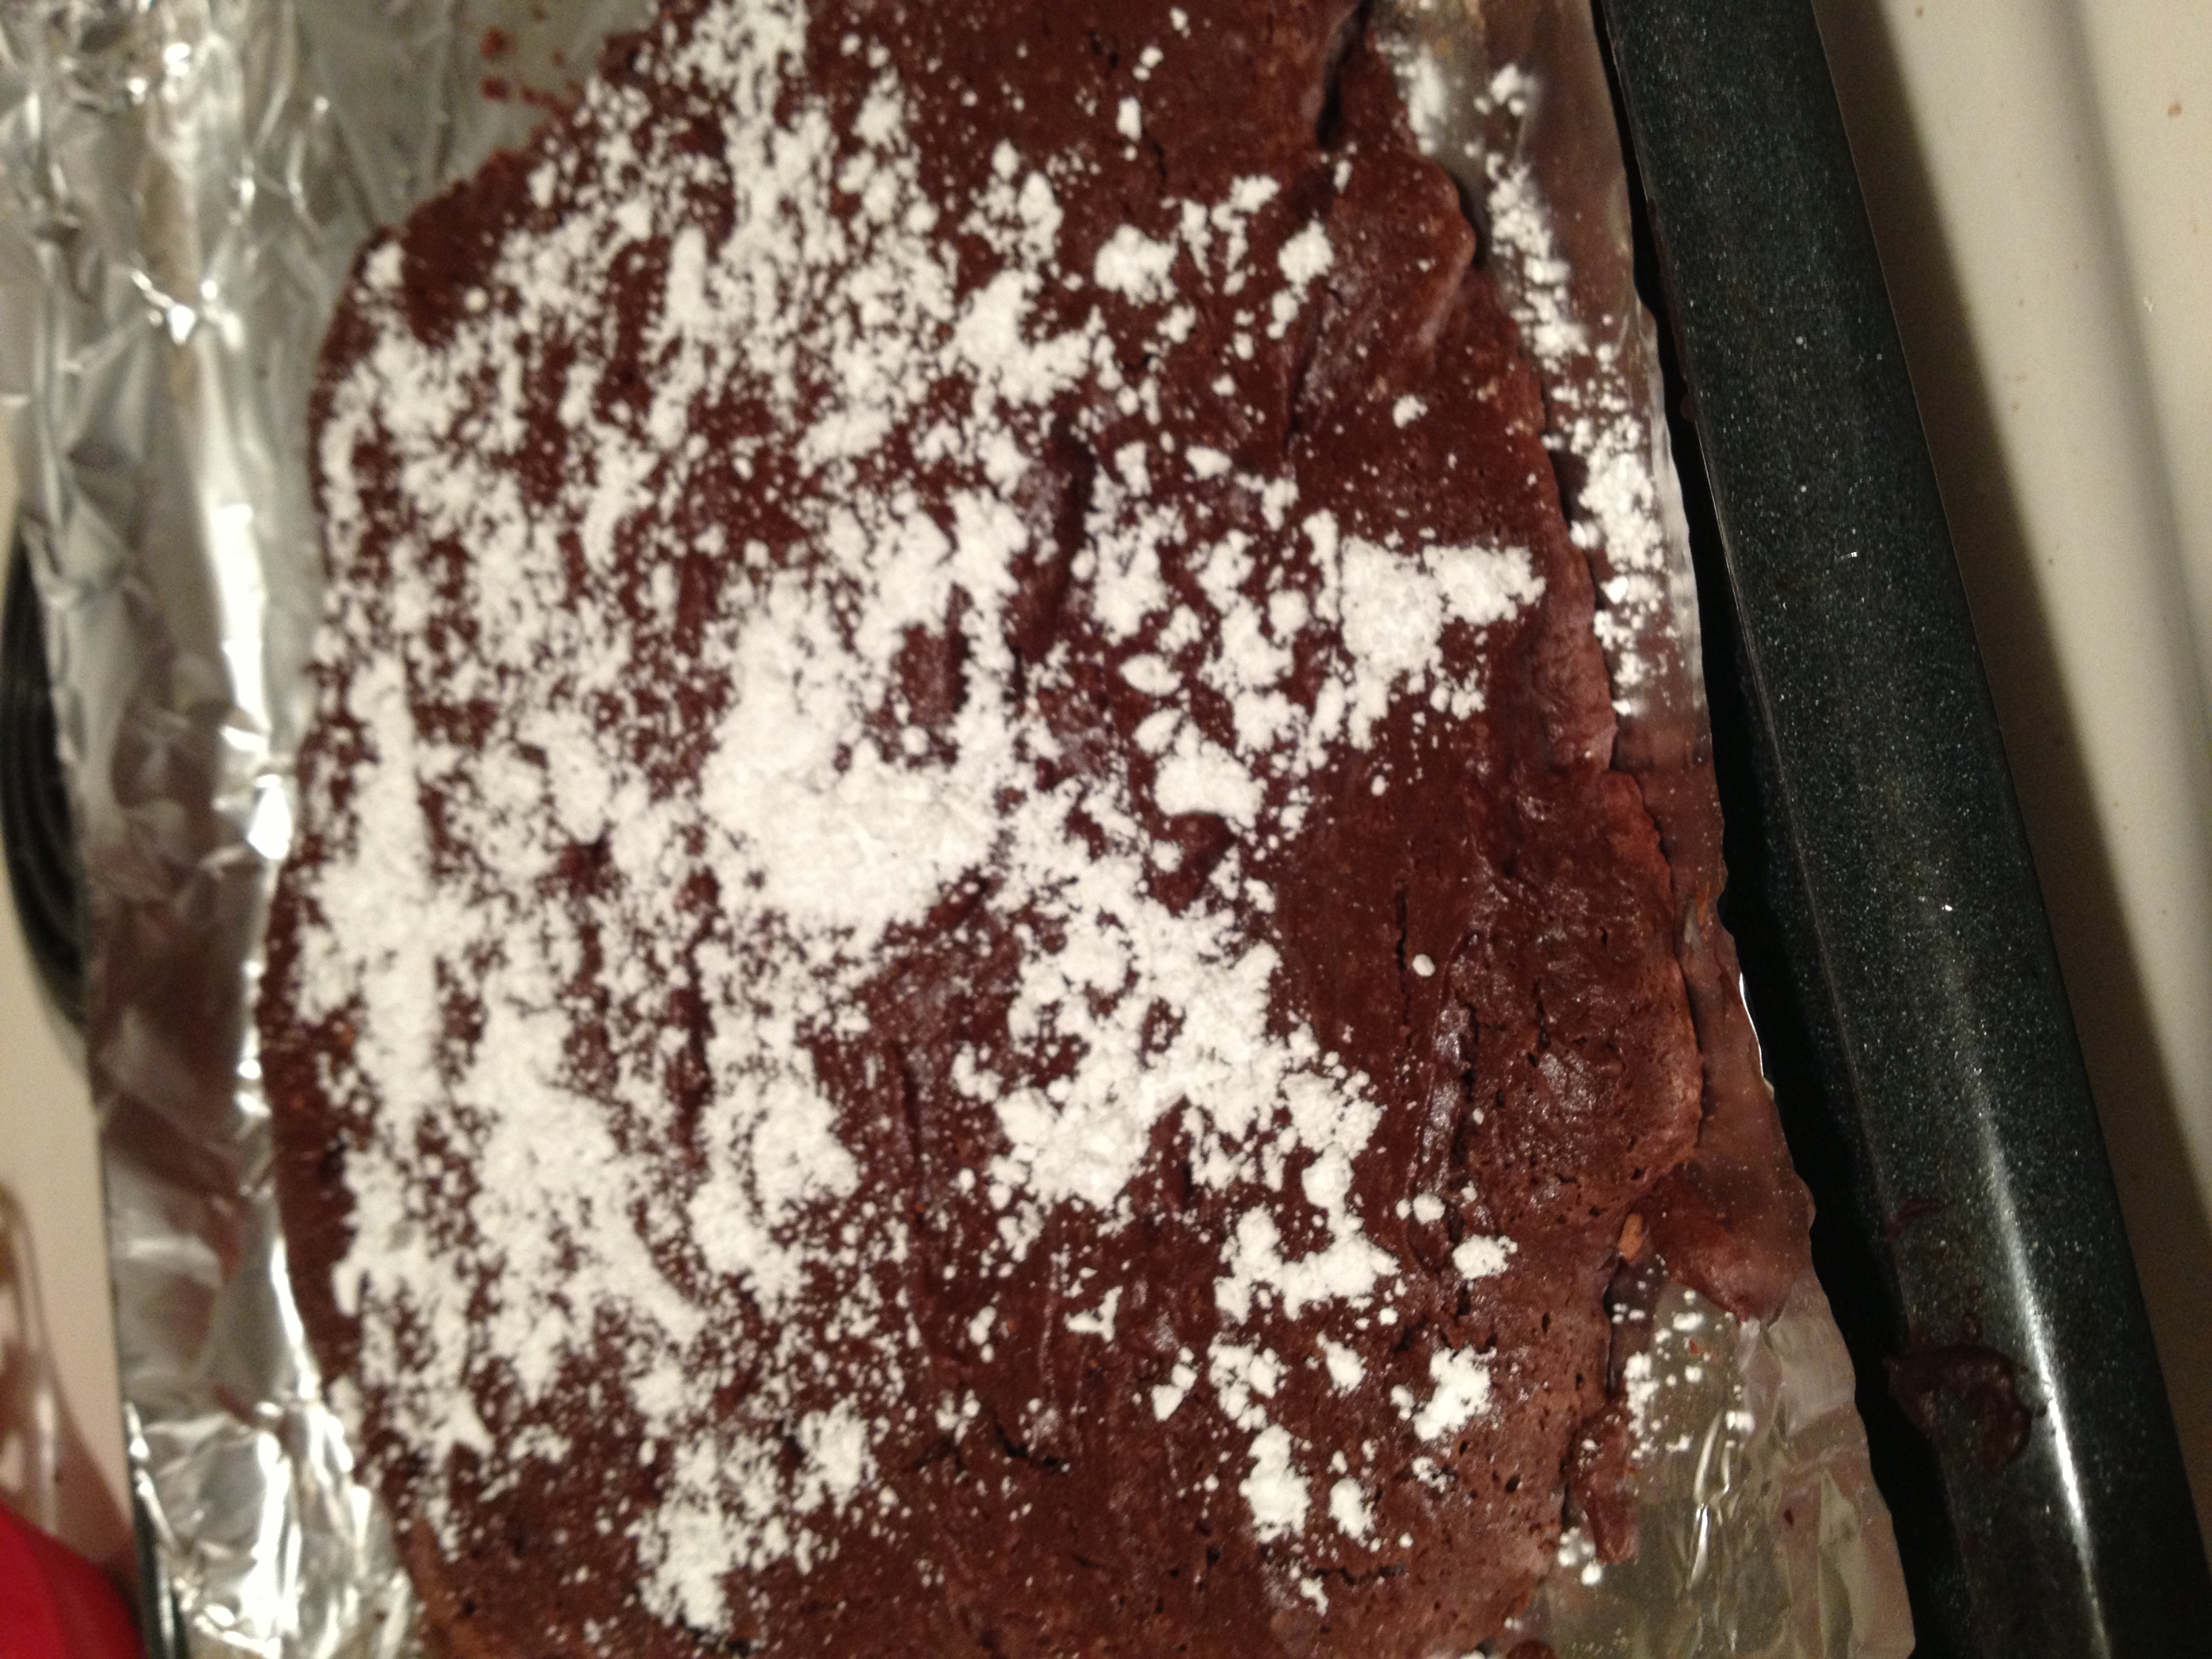
  • Take them out and dry them
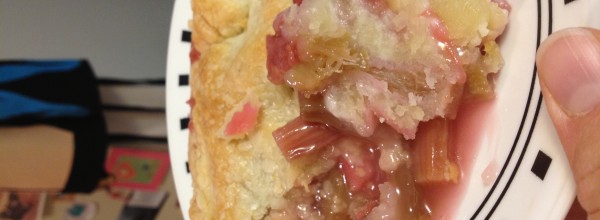
  • Pour copious amounts of powdered sugar on them and then STUFF YOUR FACE!!

photo 3 (15)

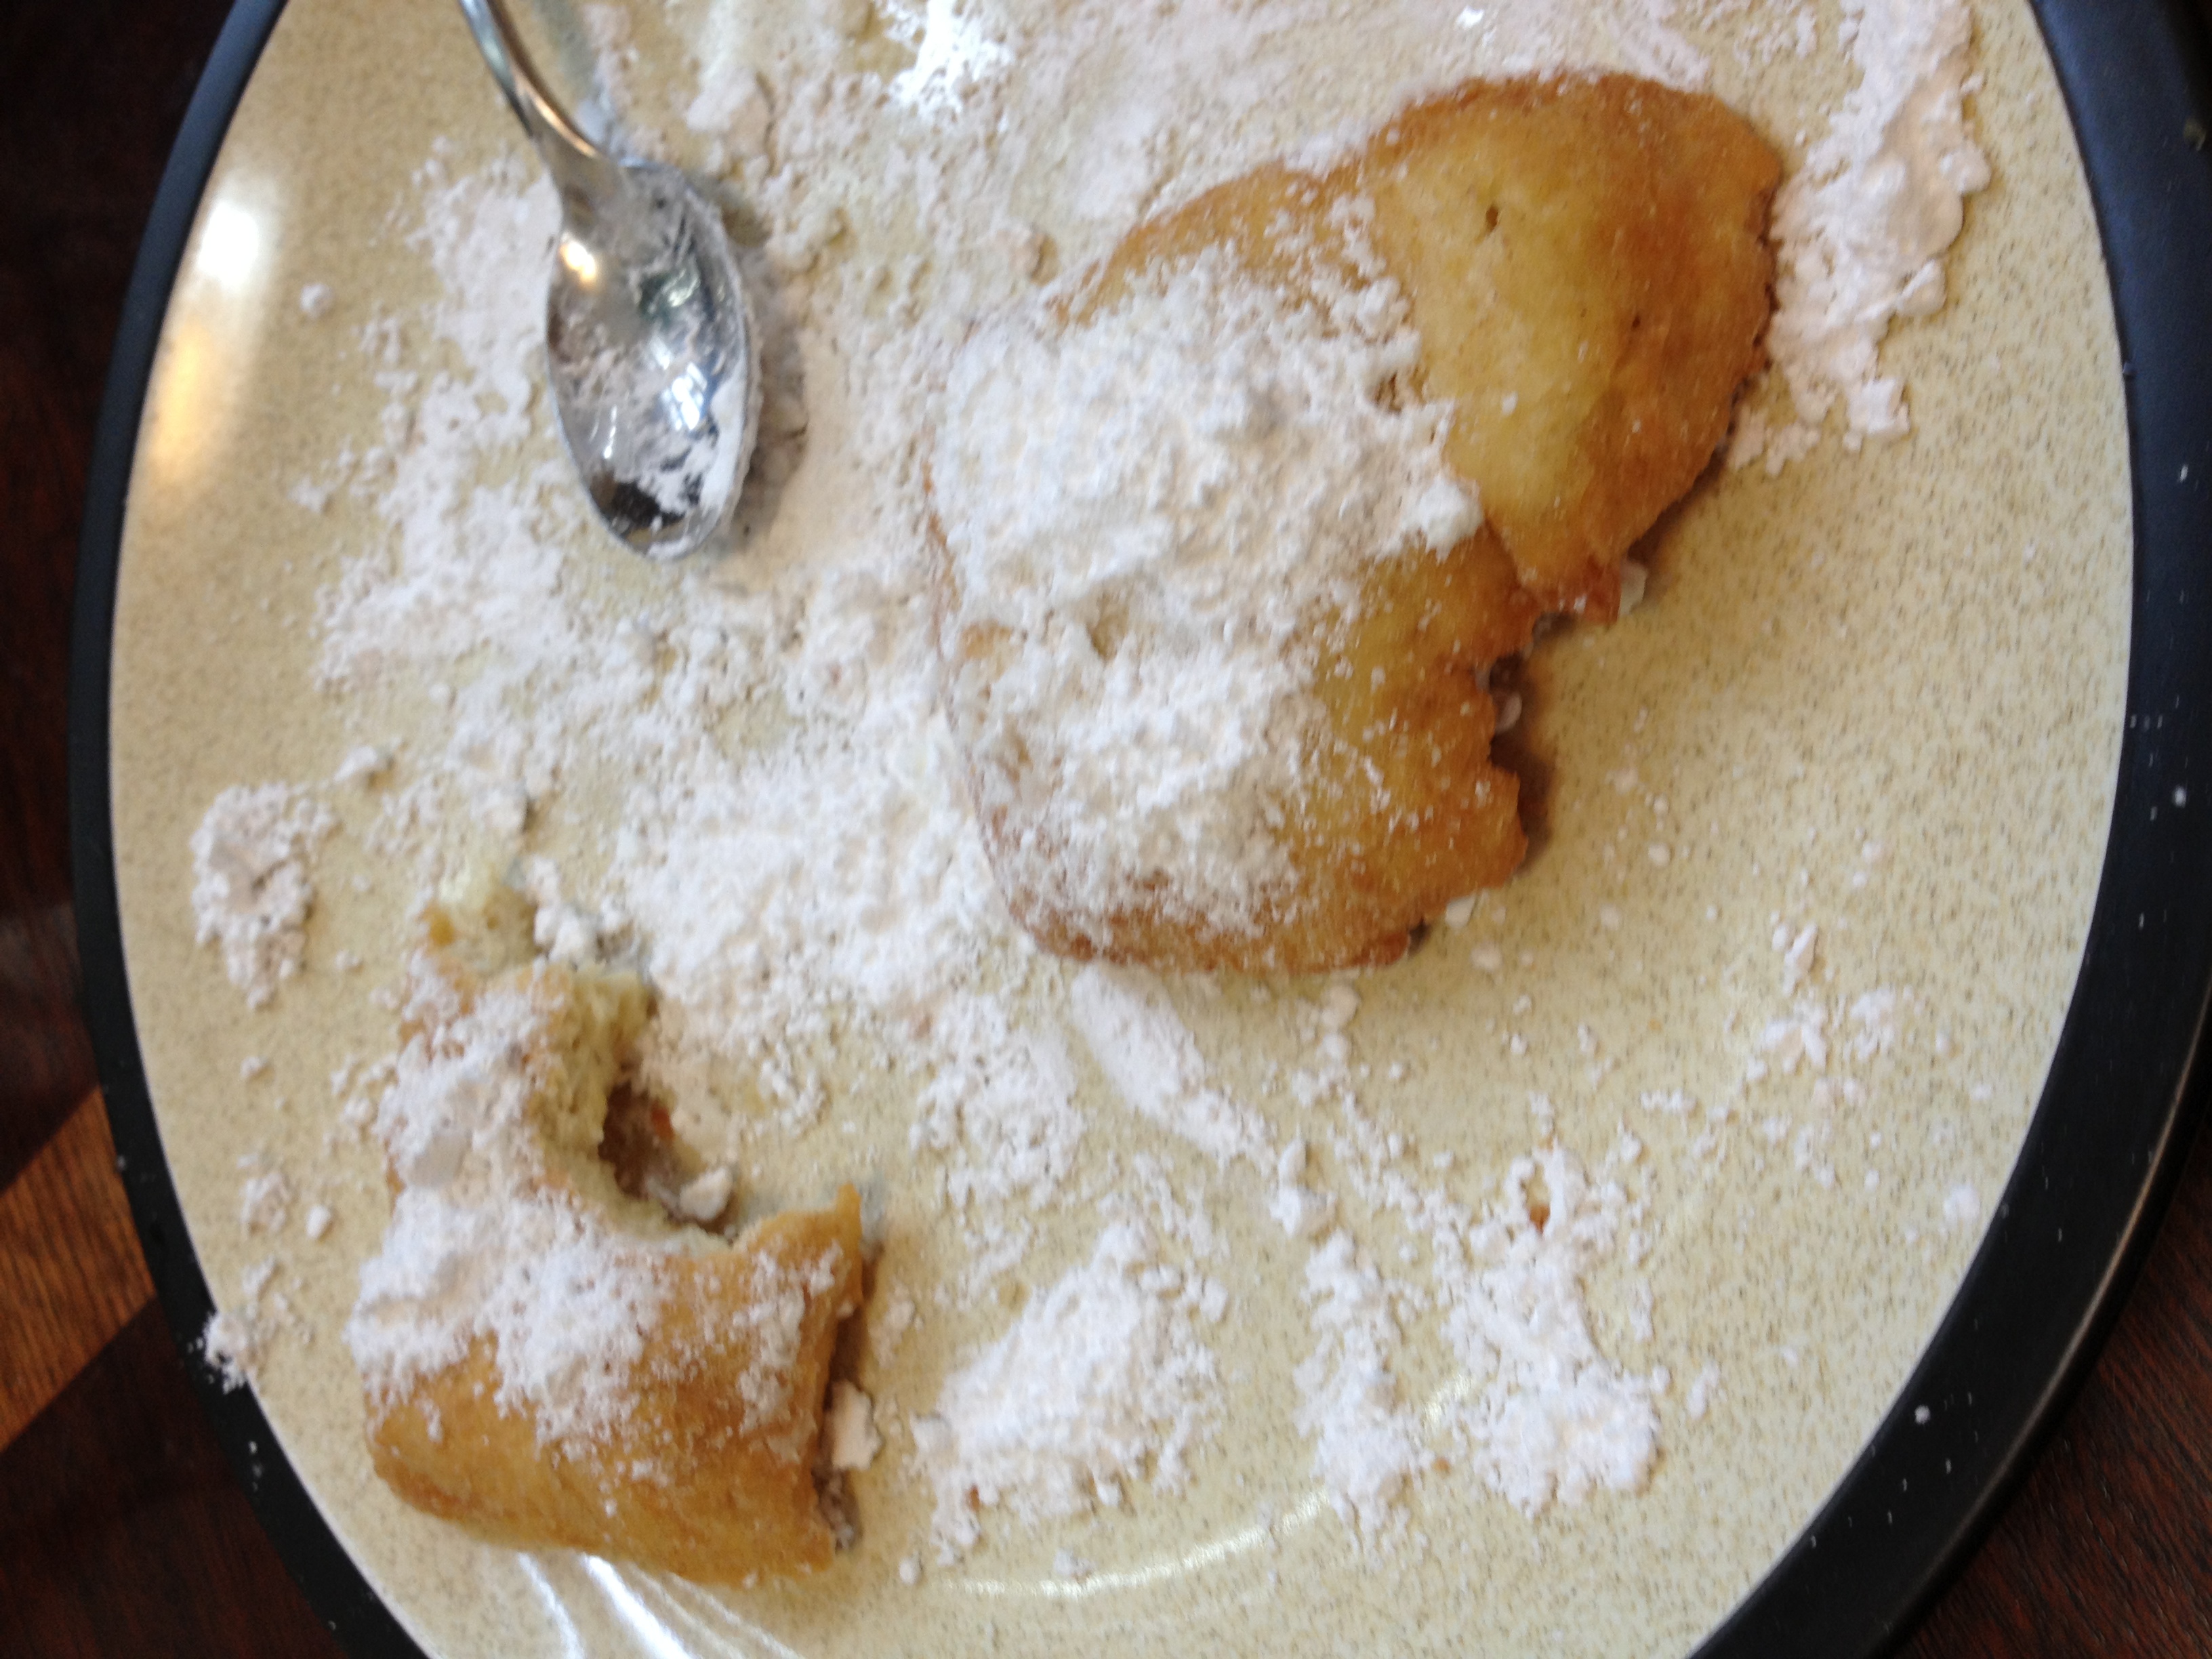
At least, that’s what I did. I couldn’t even finish them and Chris wouldn’t help me because he wasn’t hungry that early. I had tried making these before and failed horribly. It’s taken me awhile to try again and I’m glad I did because they came out pretty darn good. Not as good as Cafe du Monde, but that was never a goal. Go ahead and treat yourself with a box of this magic. We found it at World Market near us, but look it up! And as always…stay hungry and fit!
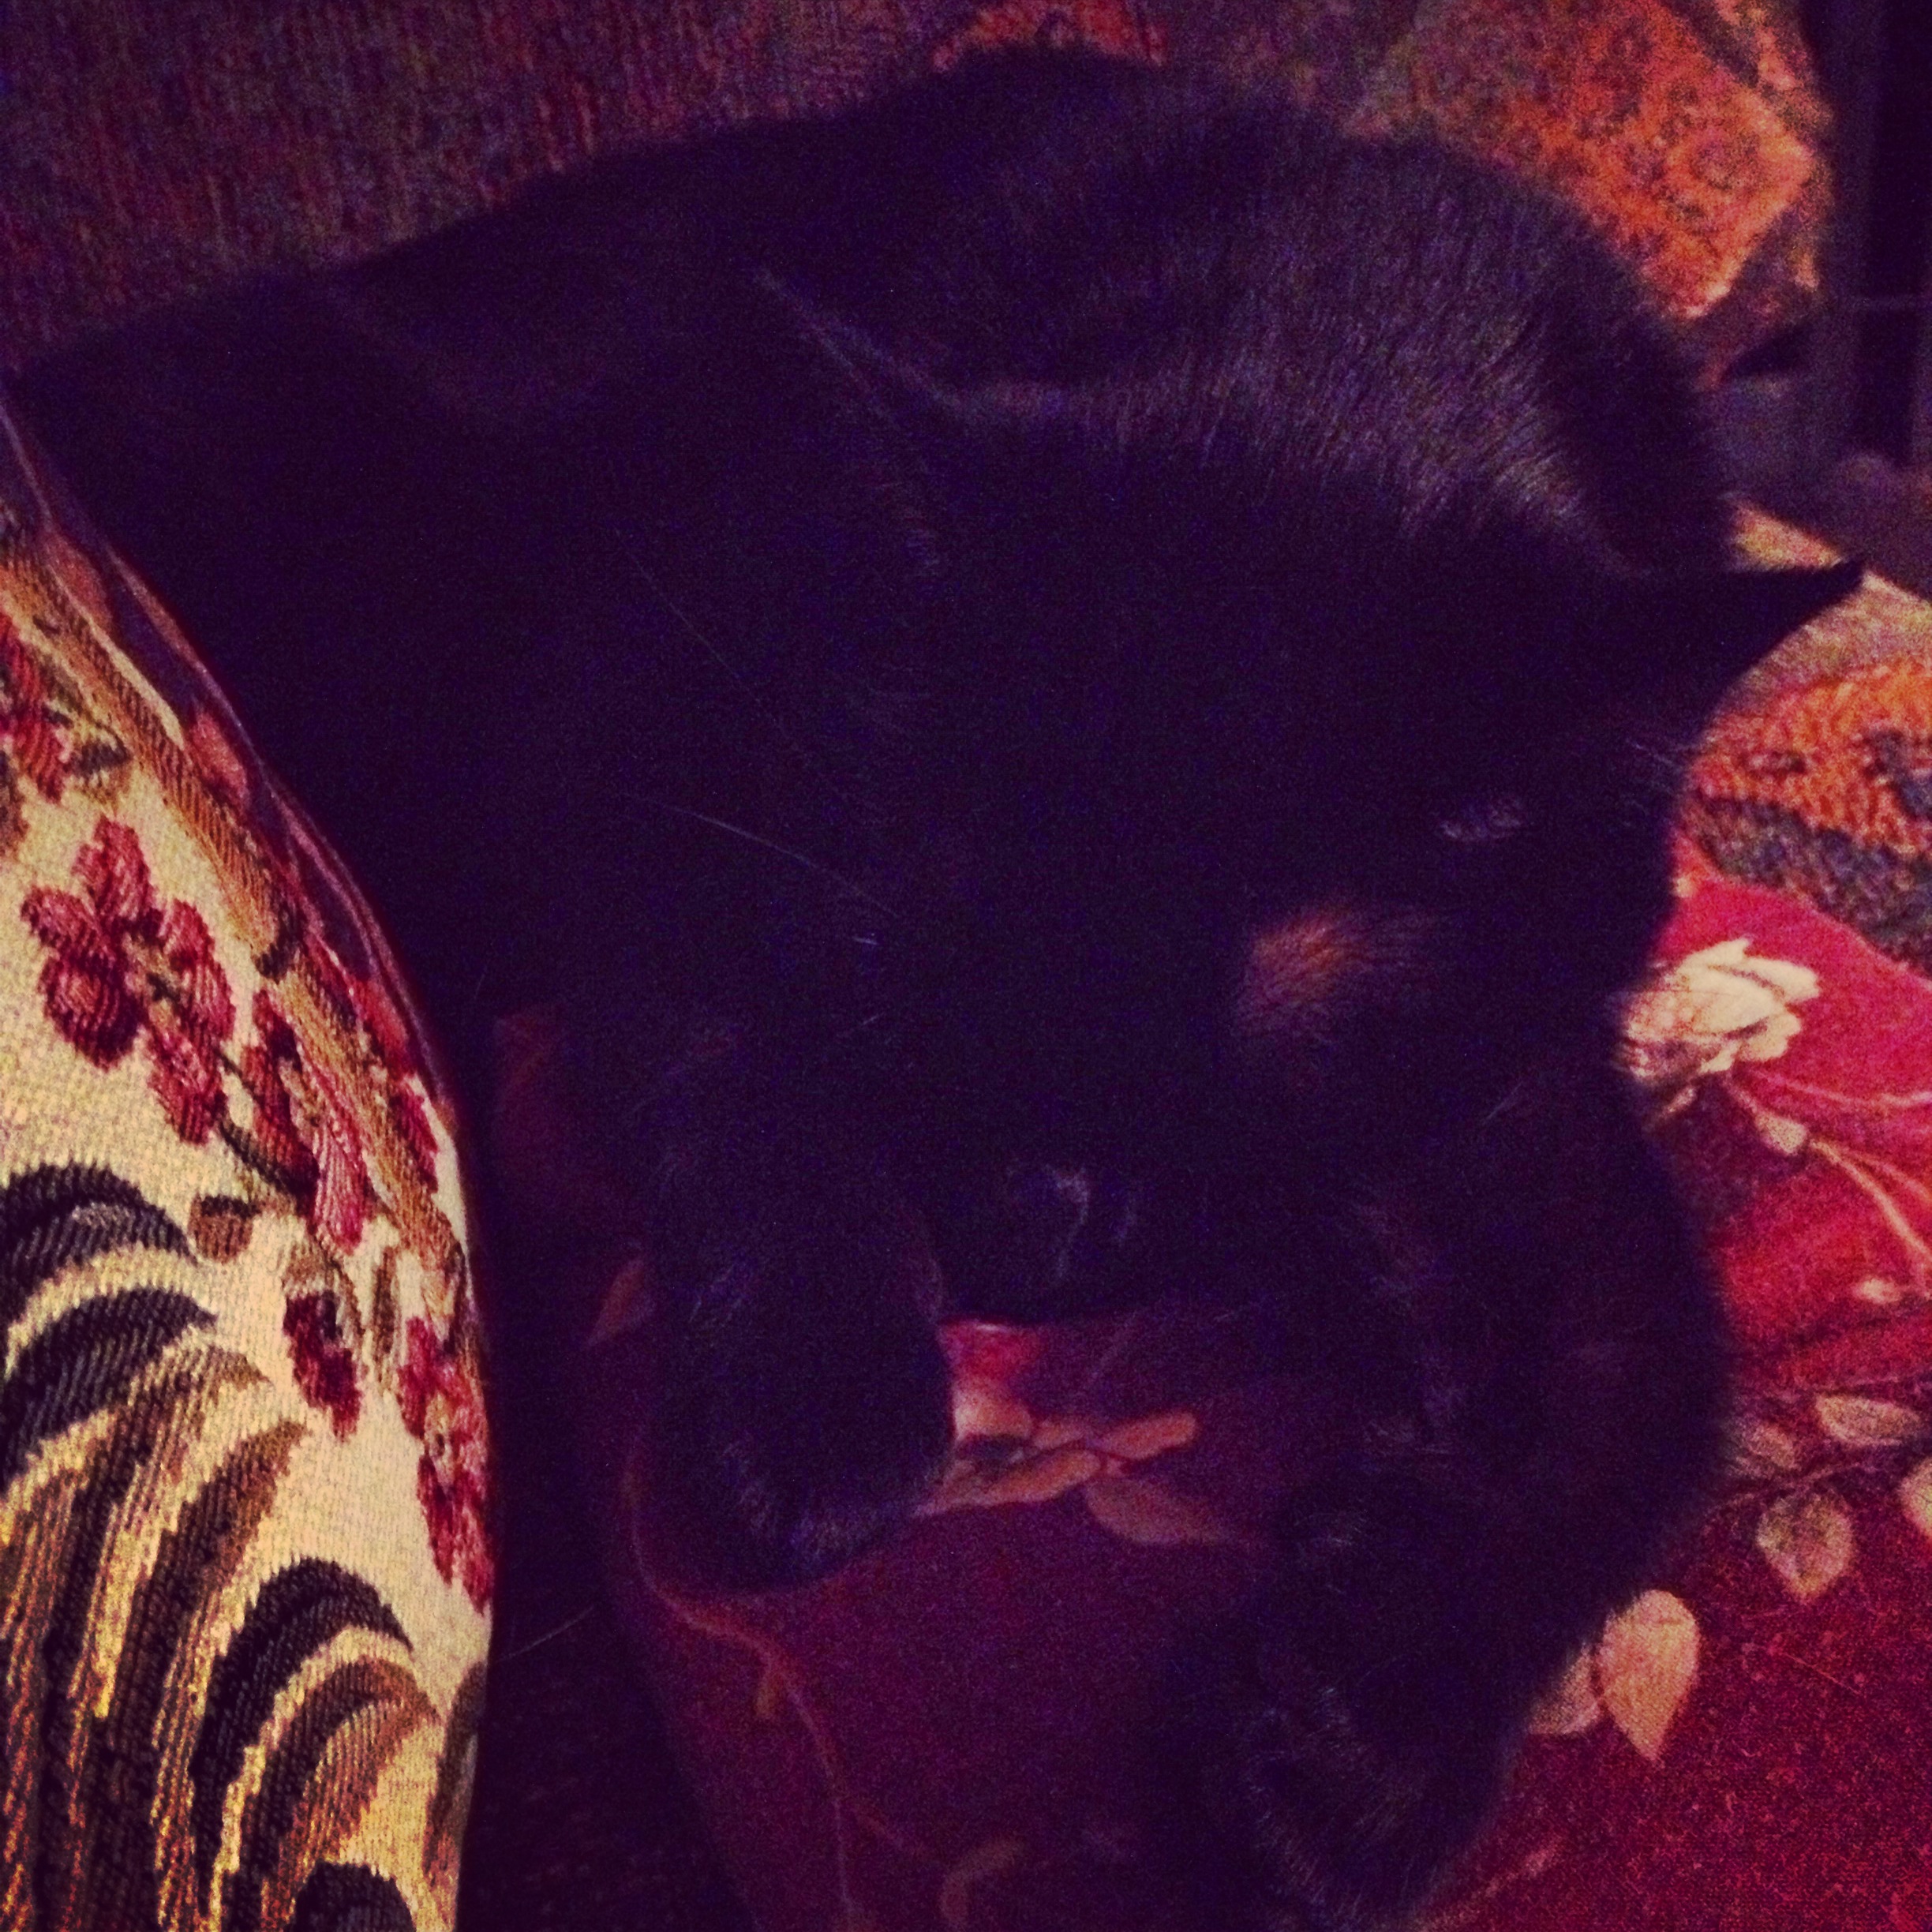
BONUS KITTY PIC

Nymeria taking a selfie

Nymeria taking a selfie

spacer

Easy Dessert: Pear Tart with Crumble Atop

What do you do with pears that are getting soft? Bake them! At least that was my excuse for my next baking adventure: a pear tart…crumble…thing. It was a tart/pie in the way of having a crust and baking the fruit, but I also prepared a crumble for on top. It made to be a delectable combination and I will continue to use it in the future. The recipe is based on this, but I altered a good number of things.

photo 4

  • Prep Time: 20 minutes
  • Baking Time: 45 minutes 

Ingredients

  •  1 pie crust (homemade or store-bought, whatever you’d like)
  • 3-4 pears
  • 2/3 cup turbinado sugar (used in separate times)
  • 1/2 cup flour
  • 1/2 stick butter
  • 1 tspb lemon juice

Directions

  • Pre-heat oven to 350 degrees F
  • Peel your pears and slice them up
Chop, chop!

Chop, chop!

  • Mix the sliced pears with 1/3 cup sugar in a bowl
  • Put the sliced pears with sugars into your pie crust
  • In a separate bowl, mix together the flour and the rest of the sugar together. Then chop up your butter and “cut it” into the flour. You can use a pastry blender, but if you don’t have one like me, then you can just use a fork. You want to press the butter into the flour and sugar until it has a breadcrumb-like consistency
  • Pile it on top of the tart and put it in the oven for 45 minutes!
Putting in da oven

Putting in da oven

I was a little nervous about mixing a tart recipe and a crumble, but it actually turned out really well! And luckily, I didn’t have to use too much sugar. The pears give enough sweetness that you don’t need to dump cups and cups of sugar onto it. Try this recipe out, you won’t regret it! It’s pretty darn easy. And as always…stay hungry and fit!

Voila

Voila

Nomnomnom

Nomnomnom

<a href=”http://www.bloglovin.com/blog/6029731/?claim=fxjwdaadcbk”>Follow my blog with Bloglovin</a>

BONUS KITTY PIC 

Little baby

Little baby

spacer

Mama’s Rhubarb Pie

Let me start by saying I have the best mum in the whole world. Let me say next that she makes the best rhubarb pie in the whole world. And let me say NEXT that she surprised me by sending me a package Halloween day with fresh-cut rhubarb from her garden two states away along with goodies like a movie and candy. She sent it that morning and it came that afternoon. I couldn’t believe it. Totally surprised me. She’s always sending me pictures and telling me she’s baking a rhubarb pie or crumble and I’m always unhappily drooling in Colorado (she lives in California). SO, I have rhubarb (a lot of people curiously don’t even know what this tart food is) and it really doesn’t require many more ingredients. It’s an easy recipe, but I called my mum a few times to make sure I was doing it right.

My mum and I trying not to laugh

My mum and I trying not to laugh

Finished product. Yes I did make shapes on it

Finished product. Yes I did make shapes on it

  • Prep Time: 15 minutes
  • Baking Time: 55 minutes

Ingredients

  • 4 cups rhubarb (roughly)
  • 1 cup sugar
  • 3 tbsp all-purpose flour
  • 2 piece pie crust

Directions

  • Thaw out the pie crusts (if you’re doing frozen) by leaving out for at least 15 minutes
  • Pre-heat oven to 450 degrees F
  • Chop up the rhubarb into 3/4 inch pieces (roughly) and toss them in a large bowl
Rhubarb from California! Straight from the garden

Rhubarb from California! Straight from the garden

  • In a small bowl, mix the sugar and flour together
  • Now, toss the sugar/flour mixture with the chopped up rhubarb in the big bowl. Mix it around so that the sugar is evenly distributed among the rhubarb
This is the part where I always snack

This is the part where I always snack

  • Put that sugar-coated rhubarb in the first pie tin
Drooling...

Drooling…

  • Now, this is probably the trickiest part: getting the other crust to come down evenly on the bottom crust. So the rhubarb should be a little heaping in the bottom pie tin. Thus, you want to flip that second pie crust so that its bottom is on top.
  • Press upon the bottom crust and rhubarb. Use a fork to press and bind the two crust together all away around the edges. You will get some extra dough so get a sharp knife and slice around the edge to get the rest. Use the extra dough to make shapes or faces!
Looks weird, but I promise it turns out well!

Looks weird, but I promise it turns out well!

  • Make three small slits in the pie to let it breathe
  • Now this next step is to ensure that the pie crust doesn’t burn: get some tin foil, fold it in half and just cover the edge of the crust. It may take a few pieces of foil. Nobody likes a burnt crust!

photo 5 (7)

  • Put it on the bottom rack of the oven. Bake it for 15 minutes at 450 degrees F. Then turn it down to 350 degrees F for 40 to 50 minutes. It should be golden brown on top and you should be able to go through those slits cleanly
Just waiting for me to dig in

Just waiting for me to dig in

And that is it! This pie isn’t as fun to make without my mum because I have nobody to tell me not to eat the sugar-laden rhubarb and smack my hand. But it still turned out pretty well. Actually, it turned out to be delicious. The rhubarb was still tart but balanced off with the sugar, and the crust didn’t get burned at all! Maybe it’s in the blood. I’m glad I didn’t botch this one! Thanks, mum! And as always…stay hungry and fit!

Nommmmmmmmmmmm

Nommmmmmmmmmmm

BONUS KITTY PIC

Cuddles, obviously.

Cuddles, obviously.

spacer

Baileys Brownies!

Okay I know it’s not close to St. Patrick’s Day, but we still have Baileys left-over from that event and I’ve always wanted to give that a try. We aren’t super big into alcohol (although I do like my red wine), but we both can agree on some  Baileys when it comes up. So these are normal, darker brownies with some Baileys in it for a kick! I got the recipe here. It was kind of rushed on my part because I made them right before we went to a friend’s, but they still turned out alright!

  • Prep Time: 10 minutes
  • Baking: 20 minutes

Ingredients

  • 1 cup white flour
  • 1/2 cup unsweetened cocoa powder
  • 1 cup turbinado sugar
  • 1/4 tsp salt
  • 1/4 tsp baking soda
  • 2 tbsp butter
  • 1/2 bar dark chocolate
  • 2 eggs
  • 1/3 cup Baileys
  • 1 tsp vanilla

Directions

  • Pre-heat oven to 350 degrees F
  • First of all, chop up that dark chocolate into little bits
  • Then, whisk the flour, cocoa powder, salt, and baking soda 
  • Melt the butter and dark chocolate over low heat in a pot
  • Now into the pot (once the dark chocolate is melted), whisk in the eggs, sugar, vanilla, and Baileys 

photo 3 (19)

  • Add the flour mixture and whisk until it’s all combined
  • Pour the mixture into a foil-lined plan (go for a 8×8, I wasn’t so lucky) and bake for 20 minutes!
  • When they are all ready, go ahead and sprinkle some powdered sugar on top

photo 4 (14)

It’s pretty simple and doesn’t take much time at all. Mine were a little dry for my liking (although, Chris liked them), so I would make them a bit thicker next time. You can definitely taste the Baileys in it, so be prepared! Suitable for all ages though…the 5-year-old I made them for loved them! And as always…stay hungry and fit!

You might also like…

BONUS KITTY PIC

cutie cuddles

spacer

Whole-Wheat Zucchini Chocolate Chip Bread

So one of my clients gave me a RIDICULOUSLY big zucchini. Enormous. Like an elephant trunk. I wish I took a picture of it. So what to do with this unholy piece of vegetable? At first I would cut it up and roast or fry it…but then I was still left with half of the zucchini (I would probably measure it at 2 feet). So I say to myself…why not bake something you’ve tried before? Whole-wheat chocolate chip zucchini bread, of course! I got the recipe from here and tweaked it. And I may have added a few dashes of things to make it more Falllike. This is one delicious and healthy recipe! Let’s get to it.

  • Prep Time: 20 minutes
  • Baking Time60 minutes

Ingredients

  • 2 cups whole-wheat flour
  • 2 cups shredded zucchini
  • 1 cup mini-chocolate chips
  • 1/3 cup olive oil
  • 1/3 cup brown sugar
  • 2 eggs
  • 1/2 cup chopped walnuts
  • 1/2 tsp nutmeg
  • 1 tsp vanilla extract
  • 1 tsp cinnamon
  • 1/3 cup honey
  • 1 tsp salt
  • 1/2 tsp baking soda
  • 1/2 tsp baking powder

Directions

  • Preheat the oven to 350 degrees F and grease a bread pan
  • First off, let’s peel and shred that darn zucchini. Remember you only need 2 cups worth, so don’t get too crazy

photo 1 (12)

  • Mix all the wet stuff (honey, oil, sugar, vanilla, and eggs) until nice and smooth
Whisk away

Whisk away

  • Now add the flour, salt, baking powder and soda, cinnamon, and nutmeg!  Mix it well
  • Now stir in the zucchini, nuts, and chocolate chips!
Could eat this batter allllll day

Could eat this batter allllll day

  • Now scoop this batter into that greased up bread pan and make even

photo 3 (18)

  • Now let’s put it in the oven for 55-60 minutes. Test it by sticking a fork or toothpick in it.
Nom nom nom

Nom nom nom

And that’s really it! The zucchini adds a wonderful texture to the bread. This is one great way of tricking your kids into eating zucchini by hiding it in this beautiful bread! Make sure to let cool for a little bit before serving, I know, it’s hard. Pretty simple recipe and instructions, perfect for leftover zucchini. After the first day, put in the fridge to keep the zucchini from going bad. Use this recipe to stay hungry and fit!

You might also like…

BONUS KITTY PIC

photo 5 (5)

spacer

Chocolate Protein Rounds [No Baking Required]

My friend made me a batch of these for my birthday last week and I devoured way too many. Like wayyyy too many. But who cares, you only have a birthday once a year, right? Luckily, these things are pretty healthy and help me get my daily protein intake, so I wasn’t too worried. She had given me the recipe a long time ago, but I just never got around to making them. The original recipe doesn’t necessarily call for chocolate protein powder, but it’s all we have so I decided to give it a go. Really glad I did–super easy. And it’s nice not to bake when it’s 80 degrees out! I altered it somewhat and it turned out well!

My own version of a Hershey's Kiss...without the slave labor!

My own version of a Hershey’s Kiss…without the slave labor!

Ingredients

  • 1 cup oats
  • 1 cup chunky peanut butter
  • 2 cups chocolate protein powder (you could do vanilla, though)
  • 1 tbsp honey
  • 2/3 cup Silk Vanilla Unsweetened Almondmilk (you can use regular)
  • 1 tbsp dried cherries (you can use any dried fruit)
  • 1 tbsp raisins
  • 2 tbsp walnuts
  • 1 tsp cinnamon

Directions

  • Mix all dry ingredients together in a large bowl
Dry ingredients mixed together

Dry ingredients mixed together

  • Mix the wet ingredients in a smaller bowl. It’s tough at first because of the peanut butter, but I just whisked it down until it was well-mixed and of one mixture
  • Slowly mix the wet into the dry ingredient bowl. First I used a whisk, but in the end I had to use a wooden spoon to really mix it well.

photo 2 (10)

  • Take out a cookie sheet and place wax paper on top. Then scoop out bite-sized pieces of the mixture and line it up on the wax paper.

photo 3 (6)

  • Put into the freezer for 30 minutes. Remove from the freezer and then wrap them individually with wax paper, otherwise it’s a sticky mess. Place in fridge until ready to eat!
Ready to go in the fridge

Ready to go in the fridge

I am so glad the chocolate protein powder worked out. This is such a good snack before or after a workout. Gives you a bit of energy, but doesn’t weigh you down and has a good amount of protein to keep your muscles happy. It’s an unbelievably easy recipe and a great way to stay hungry and fit!

You might also like…

BONUS KITTY PIC

Sajah caught sleeping on the job

Sajah caught sleeping on the job

spacer

So You Overate…Get Over It!

I know I’m not alone when I find myself in a vicious cycle of overeating and then getting really angry at myself. It kind of burns a hole in the day. This is happens when I’m trying to follow a meal plan, eat cleanly, etc (otherwise I don’t much care). And then I fall off the wagon and divulge a little too much. It leaves you with guilt, anger, and disappointment. I’m sure many of you know these feelings and know what I mean. This cycle of self-loathing is useless and doesn’t get you any closer to your goals, so let’s learn how to just drop it.

Incoming...pics of food that are easy to eat too much of!

Incoming…pics of food that are easy to eat too much of!

You overate. You went too hard into that ice cream. You took too much of Grandma’s toffee. GET OVER IT! We all know that emotions can tie directly into eating more, so why do we let ourselves get so upset? Sure, we’re disappointed. We’re mad at ourselves for not having enough willpower and letting our cravings get the better of us. But why should we hold onto it? Why should we sit in a puddle of disgust?

photo 5 (1)

Take the first step and forgive yourself. You made a mistake. Put it in perspective. There’s not a chance you’re going to remember this in 5 or 10 years, what does it matter? Acknowledge what you’ve done. It’s okay. We make mistakes. You can’t be expected to follow something to a T 100% of the time. Don’t stray from what you did. Own it so that next time you can prevent it by understanding what you are feeling right now. Because what happens when we try to ignore or smother our emotions? We eat more!

photo 3 (3)

So we own what we did, but we don’t get in a hissy fit over it. We did the deed, we ate two more cookies than we meant to, but there’s nothing you can do it about now. So don’t get in a dark mood and hate yourself. Negative energy will always set you on a worse path for achieving goals. Tell yourself, “It’s okay. I did something I didn’t want to do, but I’m going to learn from this and try harder next time.” Use it as an advantage for you. You can always turn a negative into a positive. Remember how when you put the bowl of candy out, it was that much harder for you to resist. Put it in the cupboard where you can’t see it.

photo 2 (7)

Starting to get it? We own what we did, we understand why, and we put it in perspective. Take a big breath and let it out. It’s not the end of the world. Just get back on track now and let the overeating be a thing of the past. Don’t let it haunt you or give you feelings of self-hatred. Remember, that makes things worse. Forgive yourself and move on. It’s one small moment in your big life. Don’t let it ruin more than 5 minutes. Use this advice to stay hungry and fit!

photo 4 (2)

You might also like…

spacer

Sweetie-Pie Peach Cobbler

Sweetie-Pie? Huh? I say that because this recipe is sweet. Very sweet. So much so that I’m not a huge fan of it, but those who I made it for loved it (and that’s what matters, right?). At first, I thought I had done something wrong, and I was ready to angrily toss it in the bin, but I left it in the fridge overnight and it turned out great! Anyhow, this is a peach cobbler from this blog. I didn’t change much out of the recipe because I’m kind of new to cobblers. Alright, let’s take a look.

  • Prep Time: 15-20 minutes
  • Baking TIme: 20-25 minutes

photo 4 (10)

Ingredients

  • 1/2 cup unsalted butter
  • 1 cup white flour
  • 3/4 cup white sugar
  • 1 cup milk
  • pinch of salt 
  • 1 tsp vanilla
  • 1/3 cup brown sugar
  • 1 tbsp baking powder
  • 4 peaches
  • juice of 1 lemon
  • 1/2 cup oats
  • 2 tsp cinnamon
  • 1/3 cup brown sugar (yes, it’s on the ingredient list twice)
  • 1/4 tsp nutmeg

Directions

  • Pre-heat oven to 375 degrees F. Put the stick of butter in a few-inch-deep pan, like a casserole dish and let it melt in the oven.
  • Let’s start with the batter. I’m not a huge fan of the batter–it’s very typical white cake type stuff. But again, other people liked this! Combine the flour, white sugar, baking powder, and salt. 

photo 1 (12)

  • Add the milk and vanilla to that dry mix and stir. Set it aside
  • Get out a pot and put in the peaches (they should be chopped up in little chunks)brown sugar, lemon juice, and cinnamon. Bring to a boil and then let it boil for 5 minutes.
Pretty peaches

Pretty peaches

Cinnamon added

Cinnamon added

Gettin' juicy!

Gettin’ juicy!

  • Pour the white batter into the casserole with the butter in it, but do not stir! Make a nice layer and then pour the hot peach mixture on top too, for a delicious, beautiful layer
Ready to bake!

Ready to bake!

  • Bake for 10 minutes.
  • While it’s baking, combine the oats, the (other) brown sugar, and nutmeg in a small bowl
  • Take the cobbler out and sprinkle the oat mixture on top. Put back in the oven for 10-15 minutes until it’s nice and brown on top and cooked through
Hot from the oven

Hot from the oven

You can serve hot with ice cream or chill it in the fridge for a nice cool cobbler. I would go for the latter. The more I kept trying it over time, the better it became. And it was perfect by the time I brought it to work. Two people had birthdays within the next two days so we decided to do a little birthday bash for them. One of them is picky about desserts (doesn’t like sweets), but mentioned that she loves peach cobbler so I gave it a go! I also made these muffinsAnd as always… stay hungry and fit!

photo 4 (10)

You might also like…

spacer

Almost-S’more Banana Cookies [3 Ingredients!]

After a nice light workout, and a delicious post-workout dinner at Mediterranean Market (one of our favorites), I wanted some dessert. I had eaten pretty light at dinner (it’s so easy to stuff yourself there with delicious falafel), so I was ready for a little dessert. Our favorite Mexican bakery was closed, and we’re both too congested for Glacier (best ice cream in town). We didn’t have much dessert food in the house (besides some squares of dark dark chocolate), so I decided to just make some! I remember seeing this recipe, and it was so simple and easy–the perfect cookies for tonight. And they have good macros to boot (aka pretty healthy)!

I'll take three, please

I’ll take three, please

Why almost-s’more? Because I’m not using any marshmallows. A) Because they have gelatin in them and sometimes horse hooves are used for that, but let’s be honest and turn to B) Didn’t have any in the house. Alright, let’s get to the recipe!

  • Prep Time: 3-5 minutes
  • Bake Time13 minutes
  • Makes: 6 cookies

Macros (per cookie)

  • Calories: 116
  • Fat: 3.5g
  • Carbs: 20g
  • Protein: 1g

Ingredients

  • 3/4 cup ground graham crackers (I had the cinnamon kind–yum!)
  • 1 banana
  • 1/4 cup mini chocolate chips

Directions

  • Set oven to 350 degrees F
  • So I tried lining up my baking sheet with parchment paper and it didn’t turn out so well for my cookies. Try just buttering or oiling your baking sheet instead
  • Crush up your graham crackers. Put them in a ziplock and roll a rolling pin over them to get ’em nice and grounded
  • Mash your banana well in a mixing bowl
  • Mix the rest of the ingredients in the bowl
Yum mixture

Yum mixture

  • The original recipe made 8 cookies, but I think perhaps I made mine a bit bigger than her. So plop your cookie dough on the baking sheet any way you would like. They don’t really expand, so style them how you want them to turn out! Remember this isn’t a normal cookie dough texture
Ready to bake!

Ready to bake!

  • Bake for 13-15 minutes. Mine were promptly ready at 13. Take out and let cool for a few minutes (I know, that’s hard).
Begging to be eaten

Begging to be eaten

Oops didn't wait long enough

Oops didn’t wait long enough

How easy was that?! It took no time at all…well, it took some time for me because we got caught in the middle of a Monk marathon (best show ever). These are guilt-free cookies that don’t break the money bank or time bank. I know I’ll be using this recipe frequently when I need a dessert fix or a last-minute needed dish for friends. Use this recipe to stay hungry and fit!

Enjoy with milk!

Enjoy with milk!

You might also like…

BONUS KITTY PIC

Sajah selfie

Sajah selfie

spacer

No-Bake, No-Sugar Chocolate Peanut Butter Cookies

Woah, what a title. Are you out of breath? Well you should be, because these are delicious. I took the recipe from this blog (which I think will be a new favorite of mine) and took out the sugar and reduced the butter. The other day, I was simply craving to bake something, but we didn’t have many ingredients in the house. We did, however, have these ingredients. This is such an easy recipe to make such decadent cookies. And you don’t even have to turn on the oven! Amen to that for hot summer nights.

Piled up, ready for eatage

Piled up, ready for eatage

  • Prep Time: 5-10 minutes
  • Baking Time: …0 minutes
  • Makes: 9 (I cut the recipe in half, if you want to double it, the way OMFG So Good did it, go for it!)

Ingredients

  • 2 cups oats
  • 1 tsp vanilla
  • 1/2 cup chunky peanut butter
  • 1/8 cup unsweetened cocoa powder
  • 1/4 cup heavy cream (or whipping cream)
  • 3/4 stick butter
  • 1/4 cup agave or honey

Directions

  • Line a baking sheet (or two) with parchment paper
  • In a saucepan over medium heat, combine the cream, cocoa powder, butter, and honey.
I just thought it looked pretty

I just thought it looked pretty

photo 2 (7)

  • Mix and stir until butter is melted.
  • Bring to a boil for a little over a minute and then take off heat
Boiling boiling boiling

Boiling boiling boiling

  • Once off the heat, stir in the peanut butter, vanilla, and oats. Stir it real well, getting it as smooth as you can with such ingredients.
All stirred up!

All stirred up!

  • Use an ice cream scooper (this is the perfect way to do it!) and scoop a ball of each and plop it on your baking sheet.
  • Once they’re all lined up, let them cool for a bit and then put them in the refrigerator for at least one hour. 

photo 1 (9)

  • Once nice and cool, go ahead and serve! It’s delicious with a glass of milk (almond or regular, your choice)
Ready to be gobbled up

Ready to be gobbled up

And that’s it! Pretty simple, huh? I give thanks again to OMFG So Good (brilliant blog title too) for bringing this to my attention. And by bringing, I mean I hunted the recipe down. These are very decadent cookies, rich with the mixed combination of chocolate and peanut butter (Reese’s, anyone?). That is a combination I can near never refuse. This recipe has plenty of protein, fiber, and unsaturated fat to keep you satisfied in the afternoon! Use this recipe to stay hungry and fit!

You might also like…

BONUS KITTY PIC

Nymeria exploring the shower...

Nymeria exploring the shower…

spacer