Monthly Archives: October 2013

Powell’s Vegetarian Chili

It has been cold in Boulder. I know Chris likes it, but I’m not a huge fan of 30 or 40 degree weather. However, there are remedies to this! Such as hot chocolate…tea…oh and, VEGETARIAN CHILI! We would eat this a lot at home when I lived with my parents and it was always so tasty and gave that perfect sense of warmth and comfort. And I never realized how easy it was to make until I started cooking for my own. This chili lasted us a few nights and for a few lunches, keeping us warm against the turning seasons. This recipe comes from my family. It’s easy, healthy, and vegetarian-friendly.

  • Prep Time: 15-20 min
  • Cook Time: 25 minutes

Ingredients

  • 2 garlic cloves
  • 1 large green or red pepper
  • 1 package of mushrooms
  • 1/2 onion
  • 2 tbsp oil
  • 1 28 oz. can crushed tomatoes
  • 1 15 oz. can tomato sauce
  • 1 tbsp paprika or chili powder
  • 1 tsp cumin
  • 2 15 oz. can red kidney beans
  • 1.5 cups zucchini
  • 1 10 oz. package frozen corn
  • shredded cheddar cheese

Directions

  • Okay long list of ingredients, but it is super simple. First let’s chop up all the mushrooms, garlic, pepper, onion, and zucchini
Chopped veggieeees

Chopped veggieeees

  • Stir the garlic, peppers, mushrooms, and onions in a deep pot with oil until veggies are tender
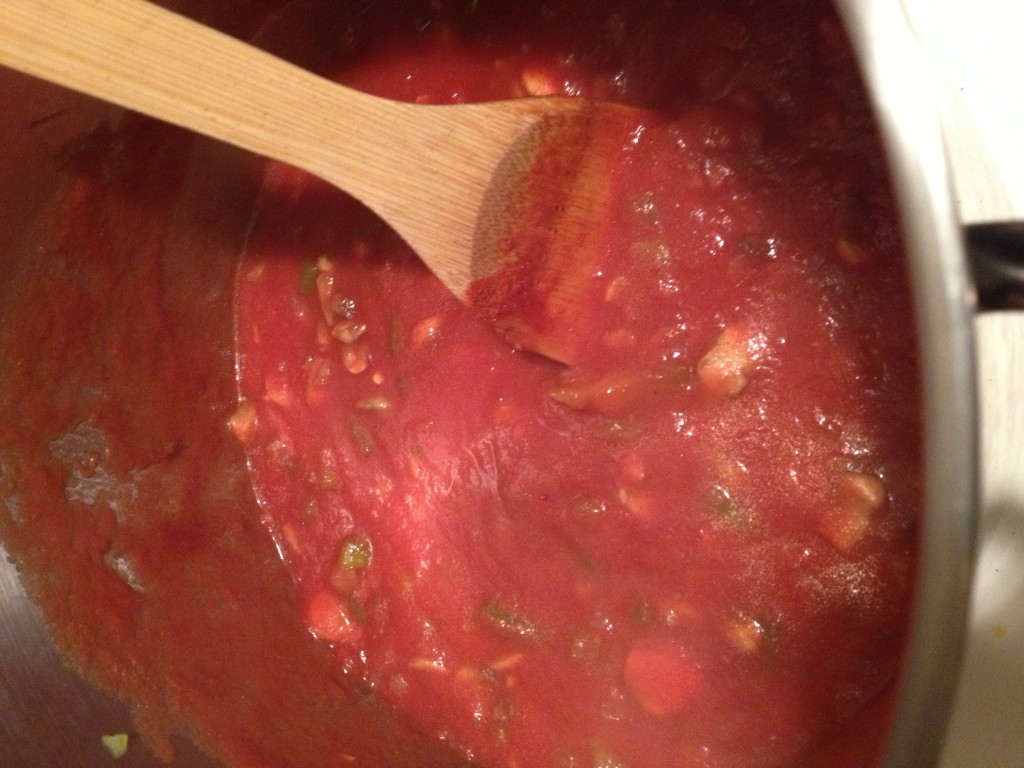
  • Add tomatoes, tomato sauce, paprika, and cumin. Stir it and heat to a boil. 

IMG_5388

  • Reduce the heat to low. Then add the beans, corn, and zucchini. Simmer those until the veggies are tender

IMG_5389

  • Add however much cheese you want into the chili and stir until it melts. Serve hot with sprinkled cheese on top!
:)

🙂

We usually have it alongside some cornbread. It always fills me up with a sense of home and happiness. I know I will be making it more as the days get colder. The second day we had it, Chris added some ground turkey into it and it was also delicious! This recipe is incredibly easy, delicious, and healthy. Use this recipe to stay hungry and fit!

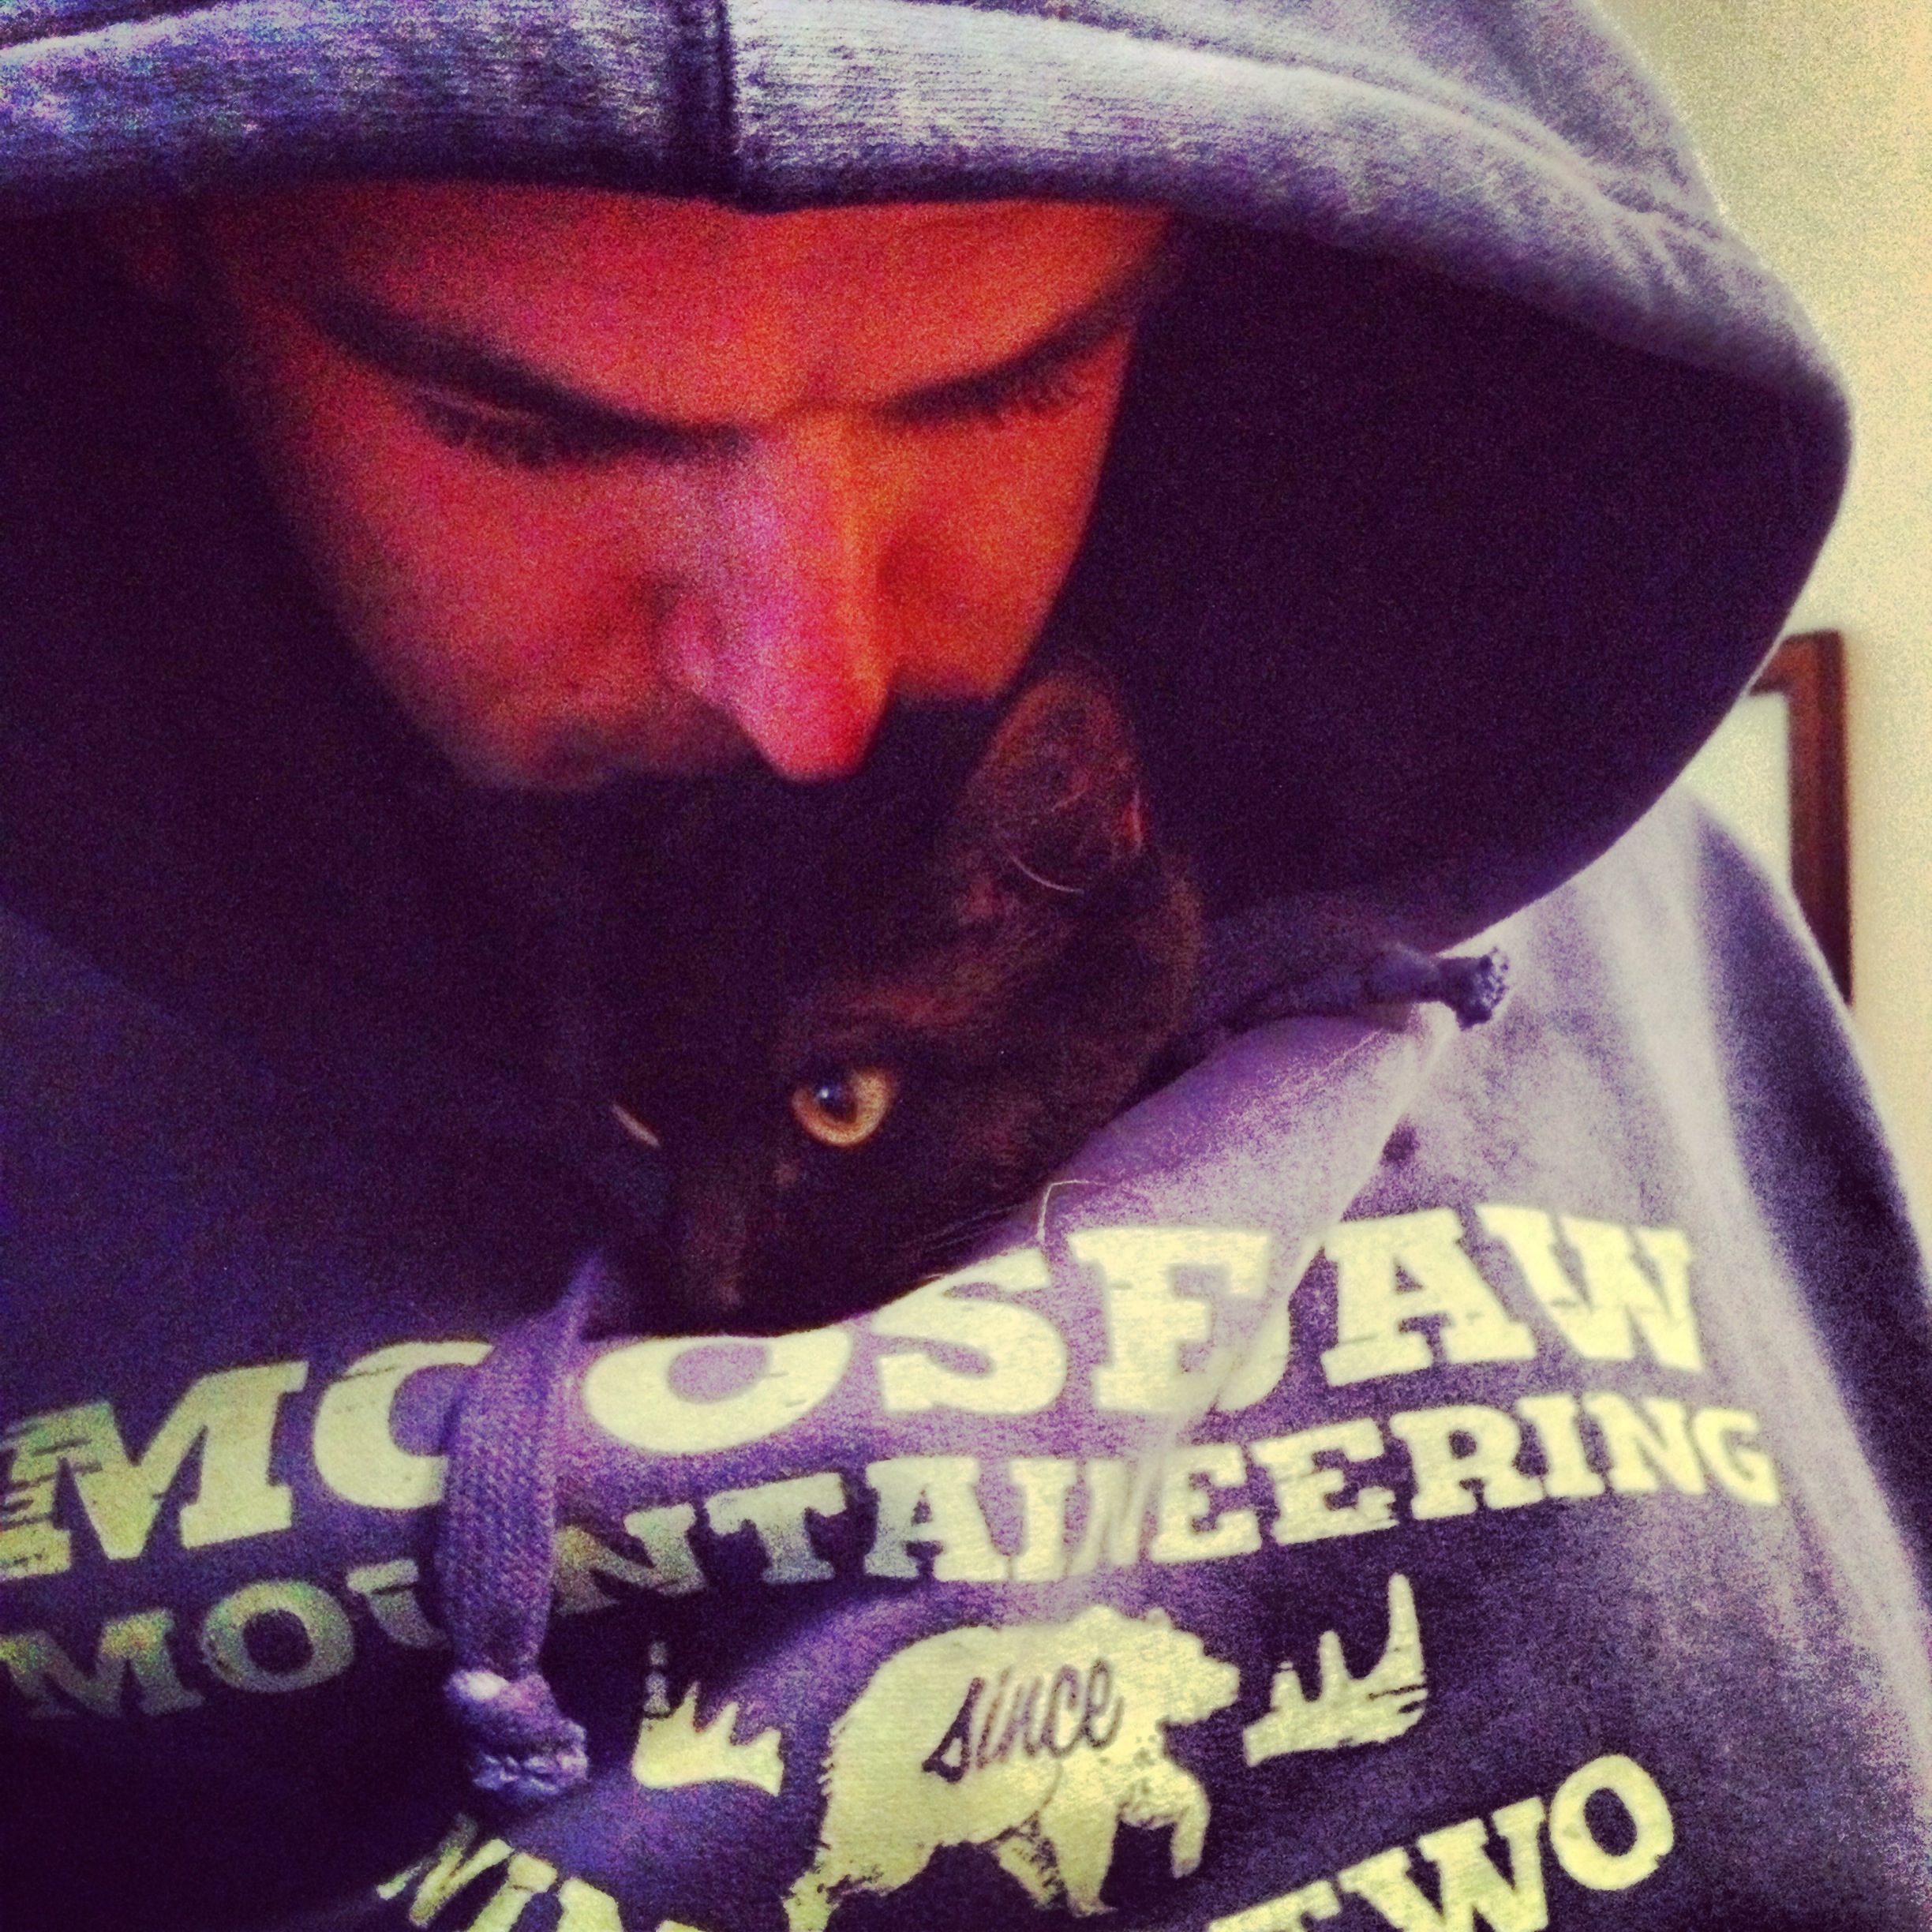
BONUS KITTY PIC

Cuddle buddies forever

Cuddle buddies forever

spacer

4 Golden Rules of Spotting in the Gym

First off, we apologize for the lack of posts recently. As you can see, the website has gotten a makeover and will continue to be tweaked and such since we’ve moved to a new platform. Thank you for your patience and loyalty!! Alrighty, on to the post.

This applies to everyone. Whether you workout alone, with others, at home, or in a gym, you should know how to properly “spot” others. What does “spotting” mean? It means helping and guiding a friend, a workout buddy, a stranger in need. When they’re lifting weight that’s heavy for them and they need that extra push or that extra set of hands to make sure that dumbbell doesn’t fall on their face (from experience, this doesn’t feel good). Let’s look over a few tips that can help:

1. Take out at least one earphone. You need to be able to listen to your workout buddy. They may not be able to talk well, they may be under some stress from heavy weights. They may be grunting something to you that’s hard to hear. You need to give them your undivided attention so that if they need that quick help, you’re there to give it to them.

hoorah

hoorah

2. Keep eye contact on your buddy at all times. And I mean at all times. It could be that split second you look over at a new person doing who-knows-what that your buddy drops the dumbbell on his face. Not okay. Put in the patience and dedication to helping your partner or stranger friend and focus for the maybe 30 seconds that they are doing their set.

3. Maintain proper form. This is not only important for the person doing the exercise, but also the spotter! If I’m in the wrong position to help Chris with bench press, I might throw out my back. If I am in the wrong form for helping him in chest press, there goes my knees or my groin! It’s important to be ready before they start the exercise, to have ample control and safety over your body–whether that means crouching or kneeling down on the floor. Be ready!

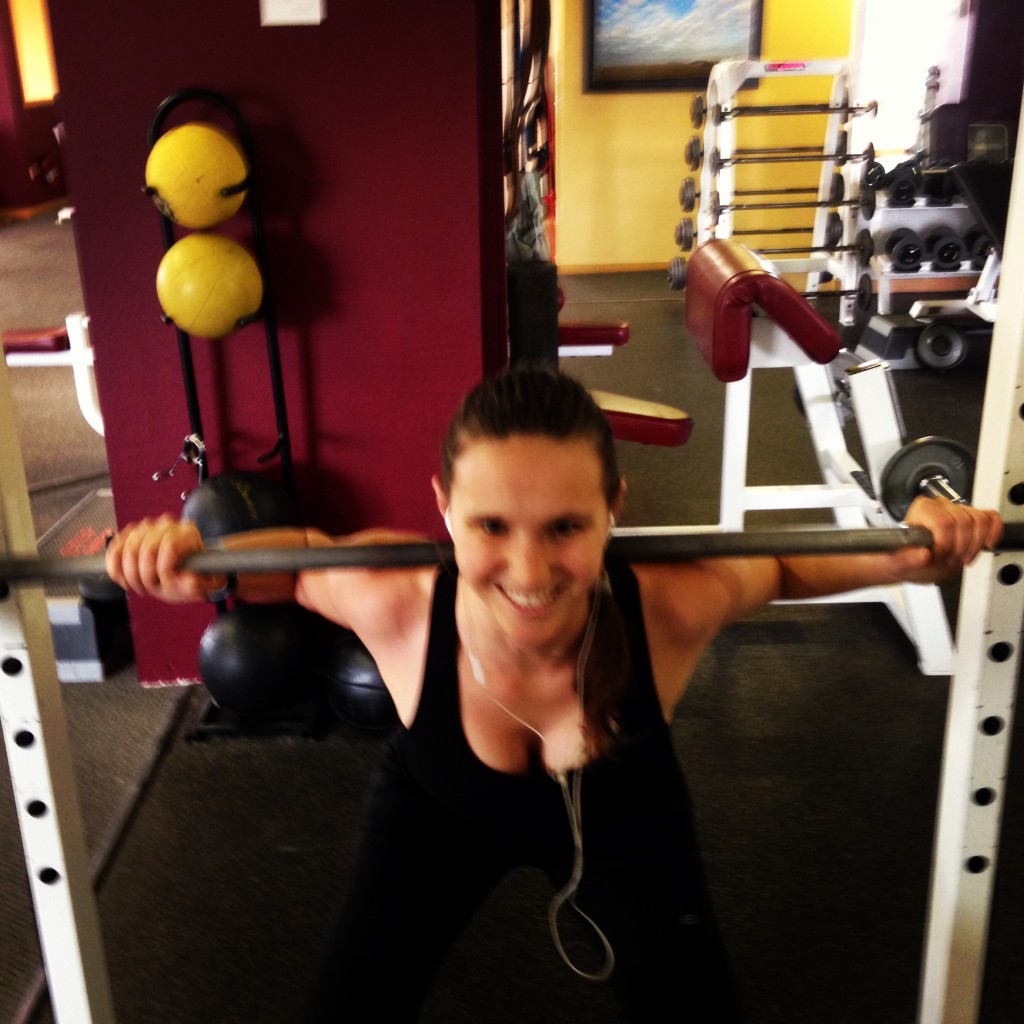
Digging deep for a squat

Digging deep for a squat

4. Do an honest evaluation. Are you sure you can deadlift the amount of weight your friend is benching? Because that’s what it comes down to. If they completely fail, you have to be ready to deadlift that weight. This goes for everything. Is your friend putting up too much weight for you to be able to properly spot? Be honest. There should be no pride in this evaluation because it could cost both you and your friend an injury if you are foolish about this one. If I don’t think I can handle spotting some of Chris’ sets, I tell him we could find someone stronger. Do the right thing.

There are others that we could mention, but they don’t come near the importance of these four. Learn these four and you will eventually become a master spotter and a popular gal or guy at the gym. Everyone loves a good spotter! “Just one more” depends on it and, often too, so does injury prevention. Use these rules to stay hungry and fit! 

BONUS KITTY PIC

Chris' new Skyrim hat

Chris’ new Skyrim hat

spacer

Baileys Brownies!

Okay I know it’s not close to St. Patrick’s Day, but we still have Baileys left-over from that event and I’ve always wanted to give that a try. We aren’t super big into alcohol (although I do like my red wine), but we both can agree on some  Baileys when it comes up. So these are normal, darker brownies with some Baileys in it for a kick! I got the recipe here. It was kind of rushed on my part because I made them right before we went to a friend’s, but they still turned out alright!

  • Prep Time: 10 minutes
  • Baking: 20 minutes

Ingredients

  • 1 cup white flour
  • 1/2 cup unsweetened cocoa powder
  • 1 cup turbinado sugar
  • 1/4 tsp salt
  • 1/4 tsp baking soda
  • 2 tbsp butter
  • 1/2 bar dark chocolate
  • 2 eggs
  • 1/3 cup Baileys
  • 1 tsp vanilla

Directions

  • Pre-heat oven to 350 degrees F
  • First of all, chop up that dark chocolate into little bits
  • Then, whisk the flour, cocoa powder, salt, and baking soda 
  • Melt the butter and dark chocolate over low heat in a pot
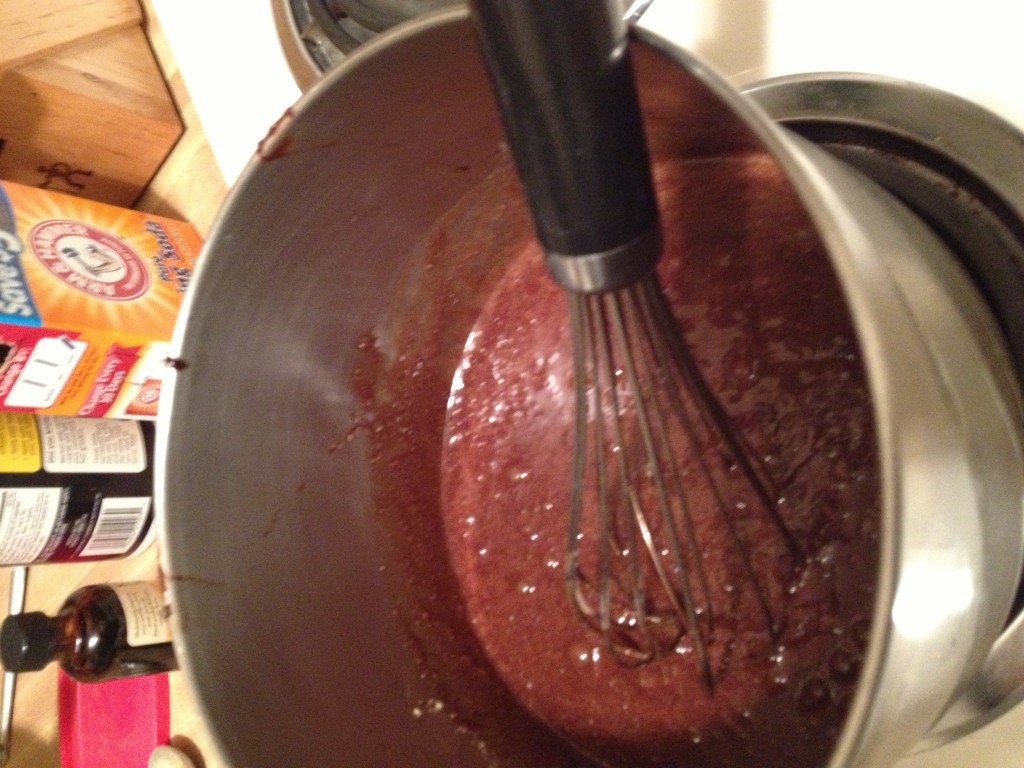
  • Now into the pot (once the dark chocolate is melted), whisk in the eggs, sugar, vanilla, and Baileys 

photo 3 (19)

  • Add the flour mixture and whisk until it’s all combined
  • Pour the mixture into a foil-lined plan (go for a 8×8, I wasn’t so lucky) and bake for 20 minutes!
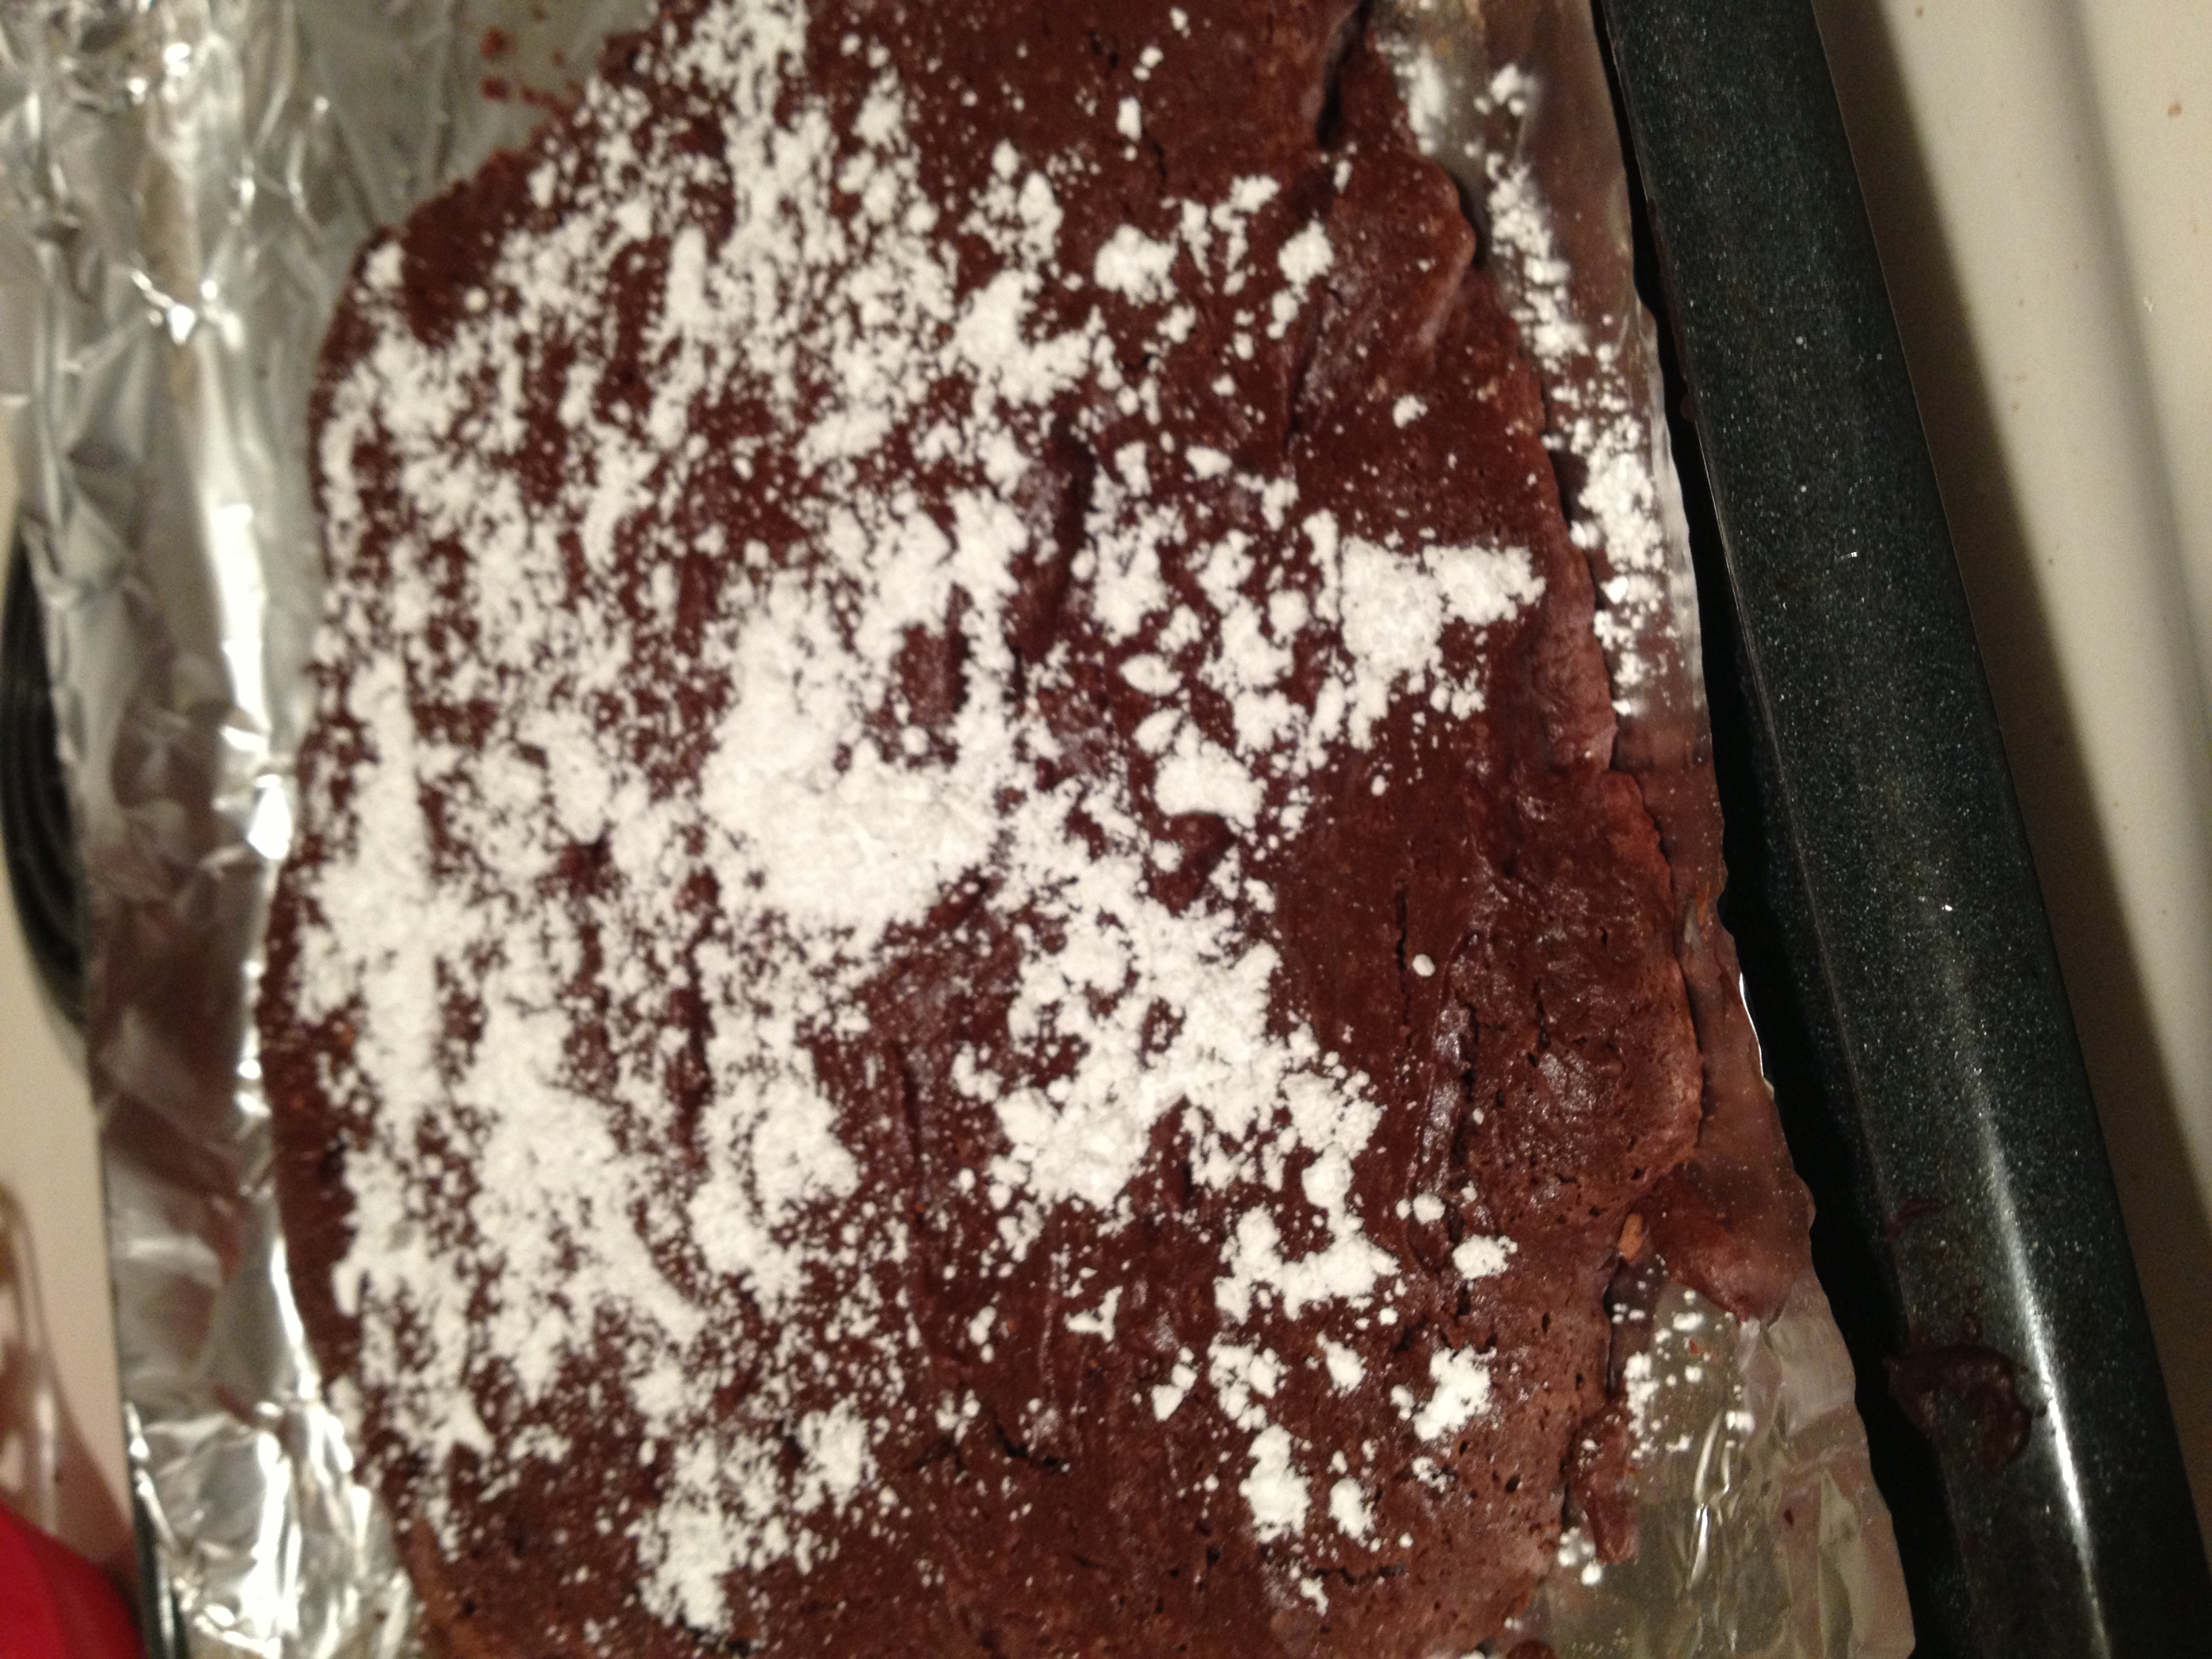
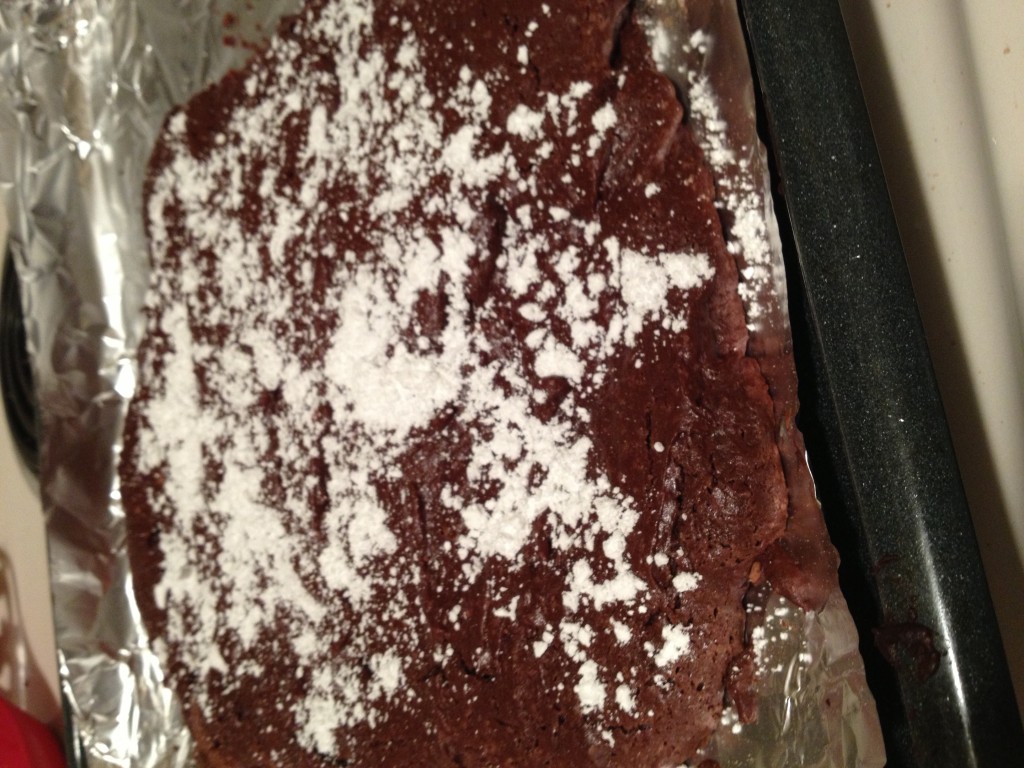
  • When they are all ready, go ahead and sprinkle some powdered sugar on top

photo 4 (14)

It’s pretty simple and doesn’t take much time at all. Mine were a little dry for my liking (although, Chris liked them), so I would make them a bit thicker next time. You can definitely taste the Baileys in it, so be prepared! Suitable for all ages though…the 5-year-old I made them for loved them! And as always…stay hungry and fit!

You might also like…

BONUS KITTY PIC
cutie cuddles

spacer

Easy Cheesy Whole-Wheat Vegetarian Lasagna

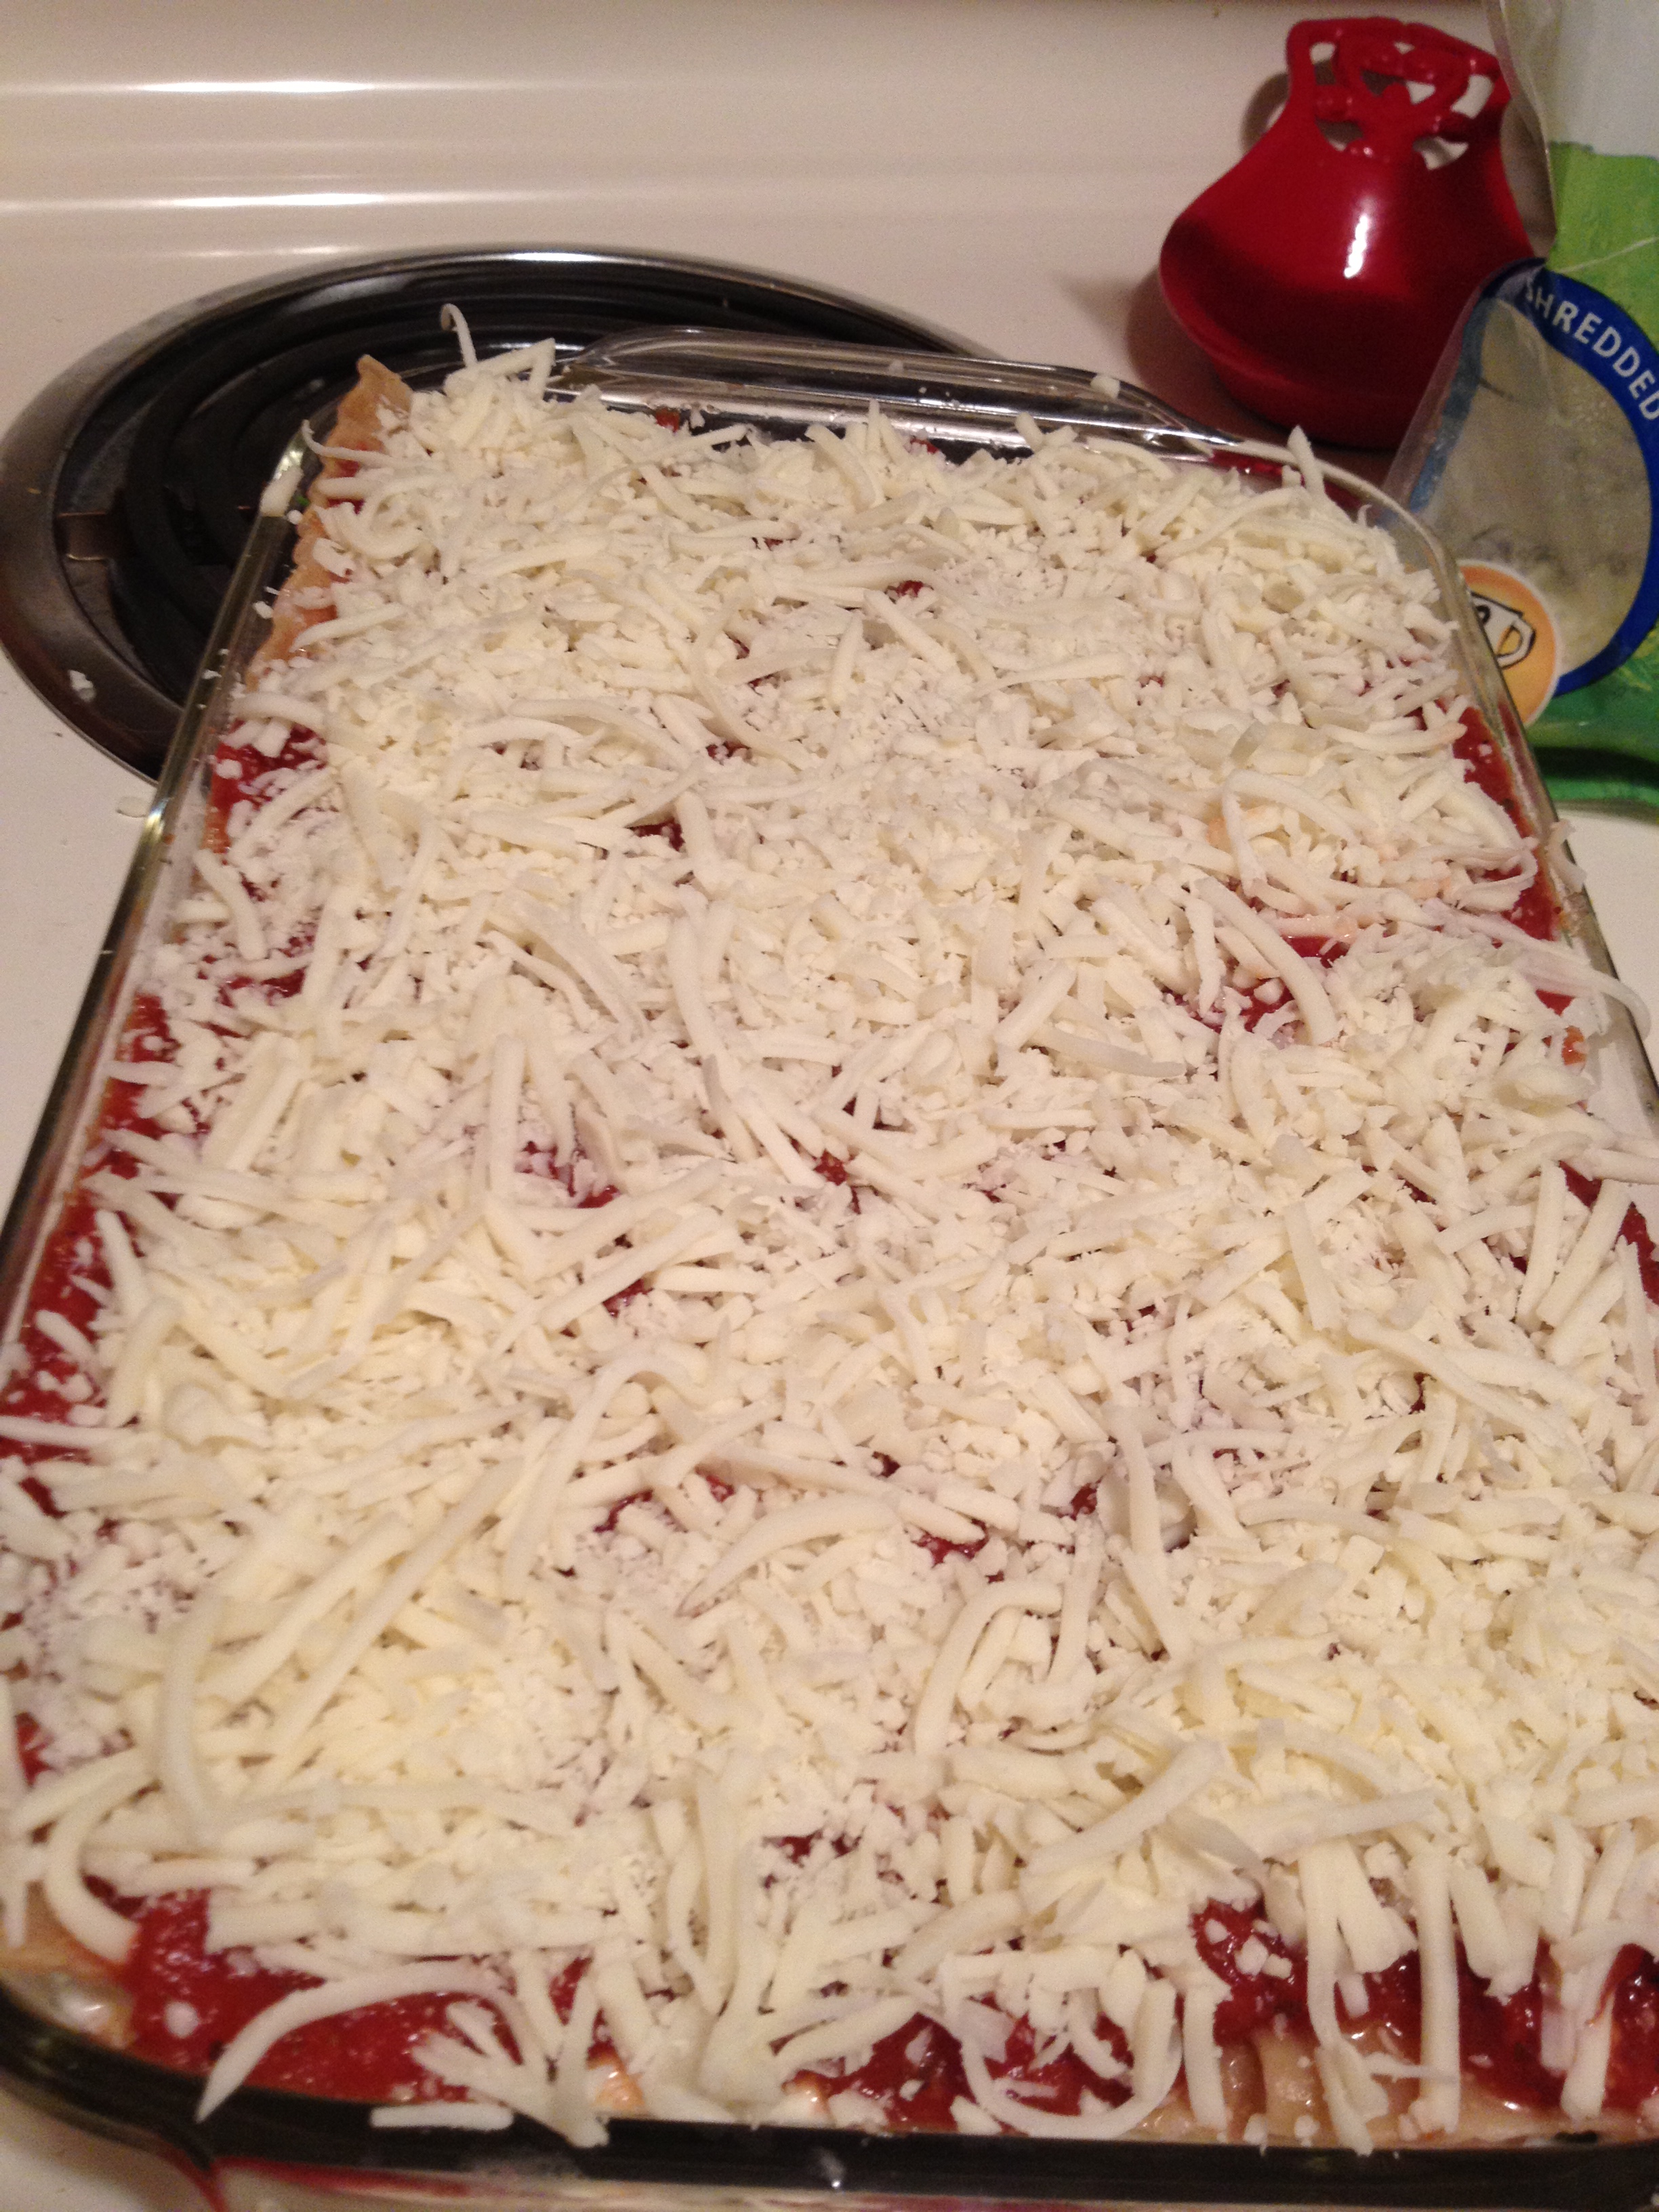
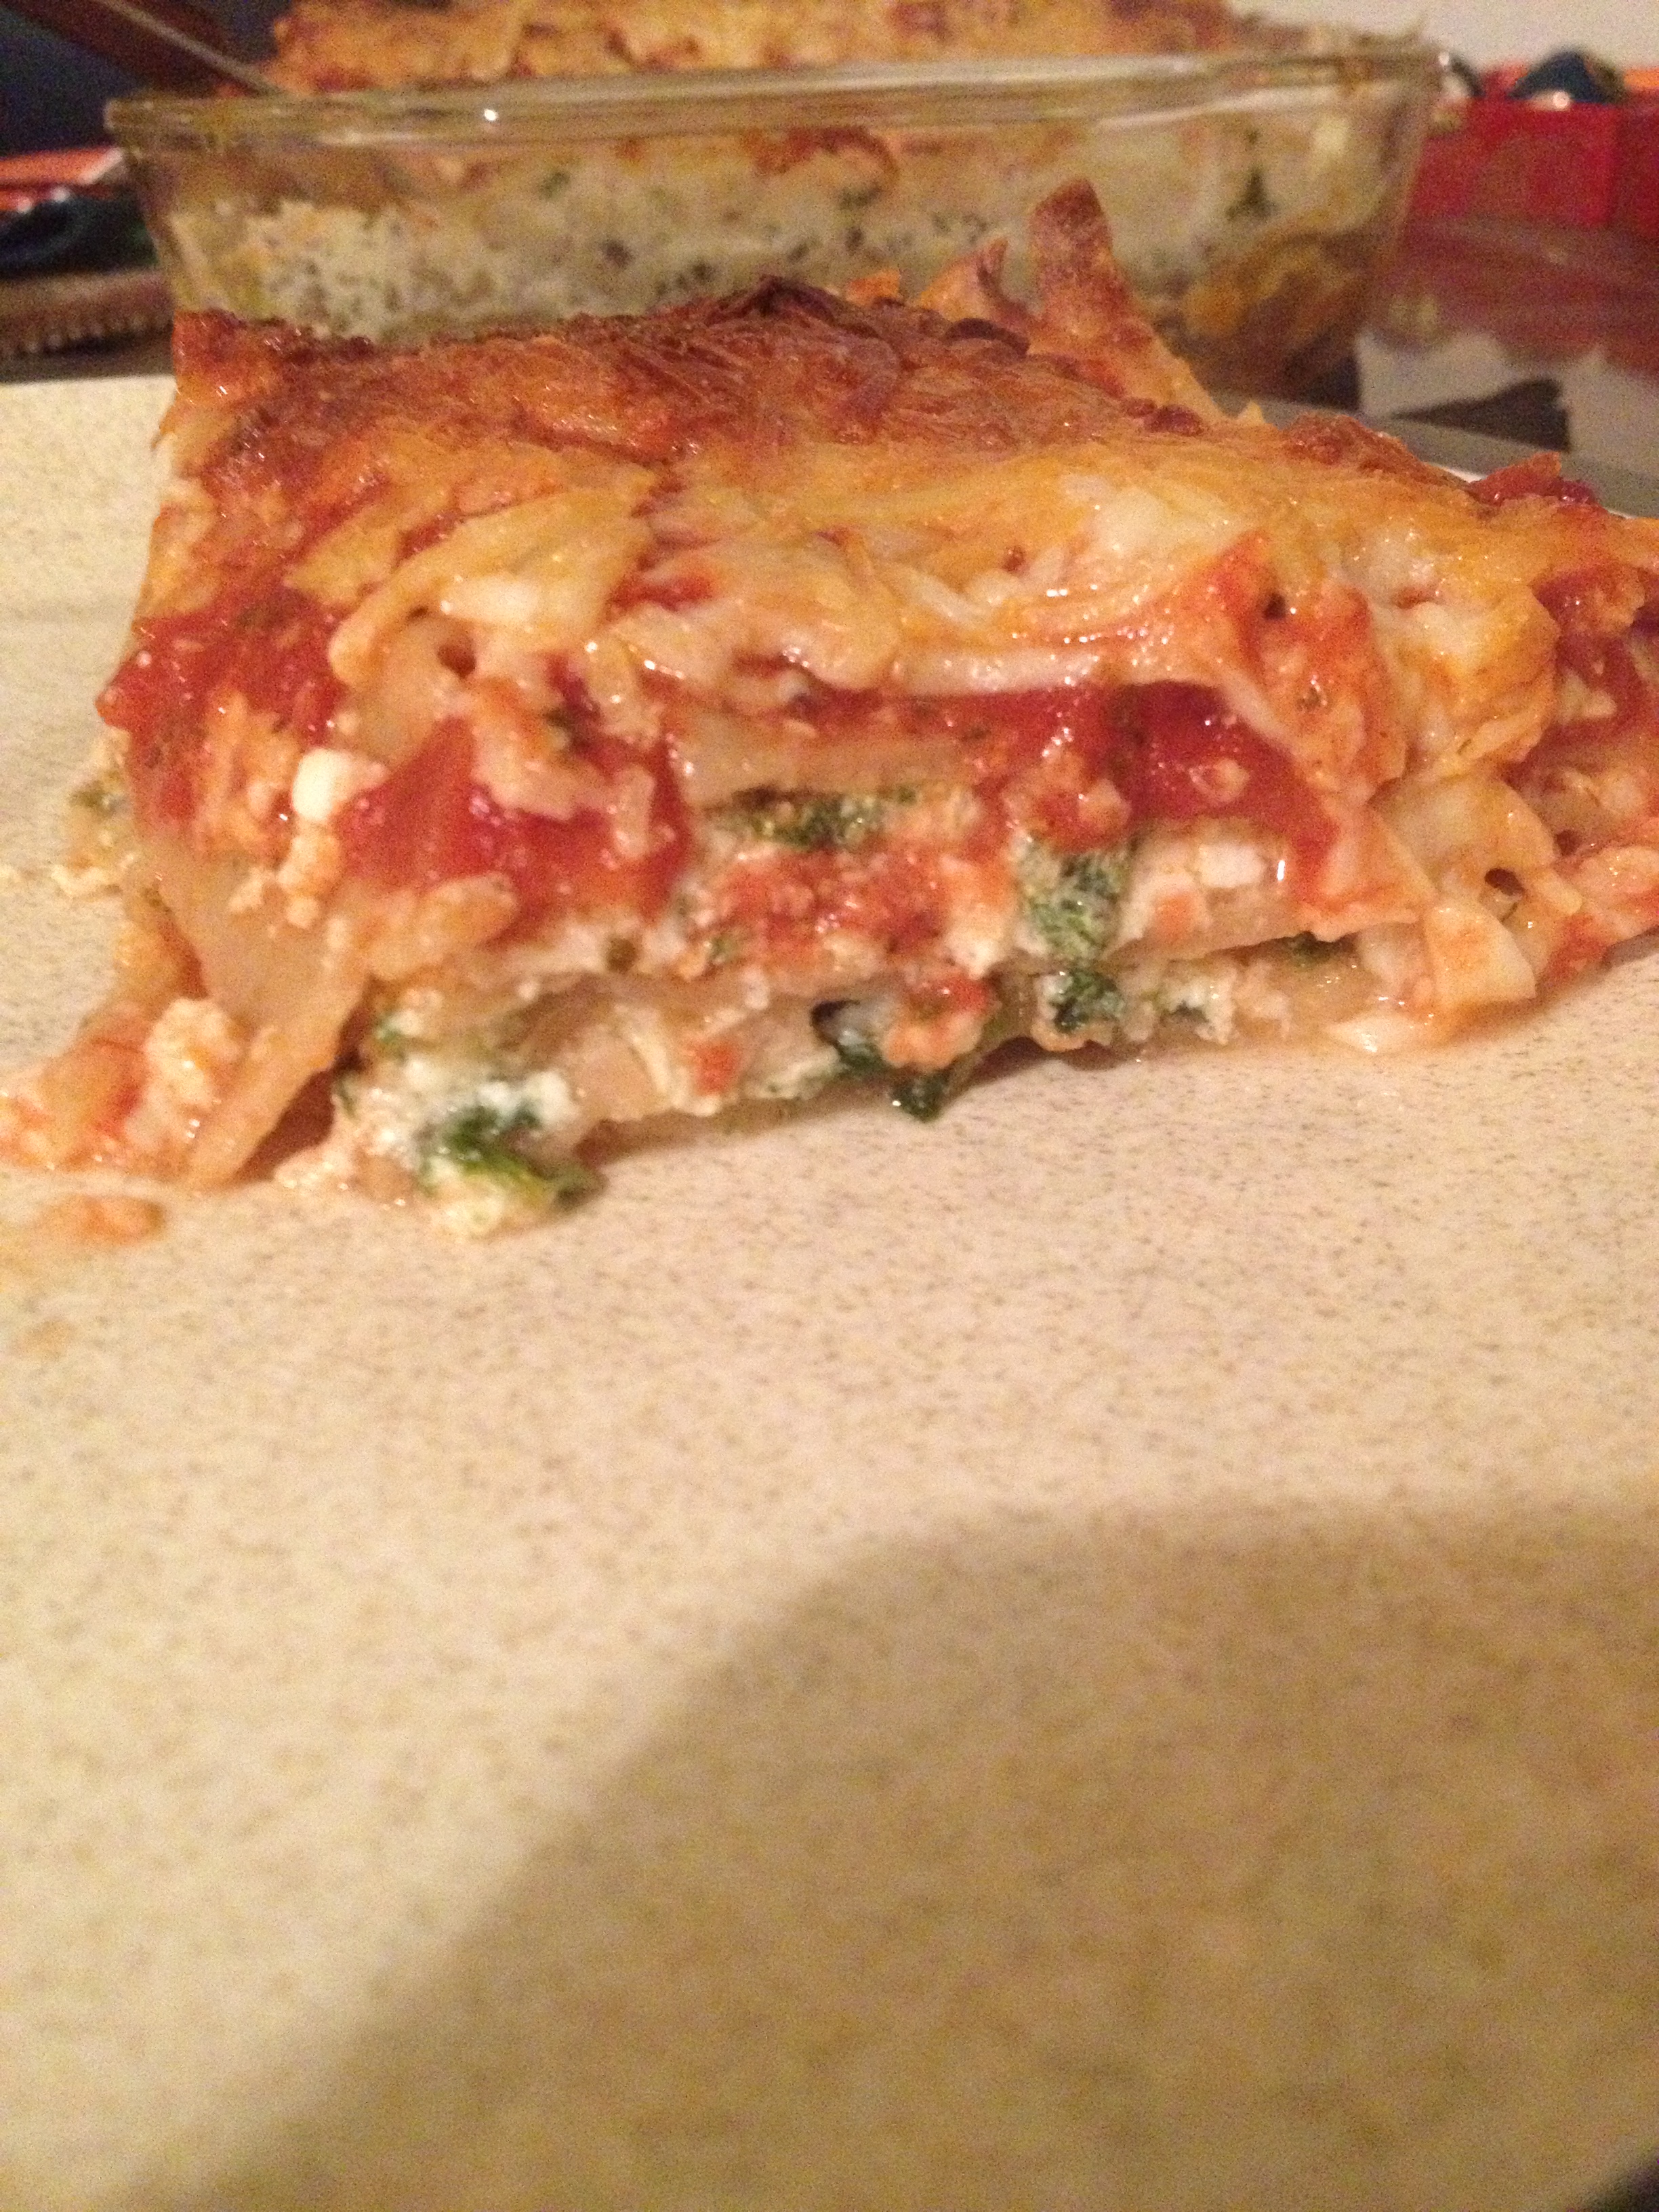
The weather is getting colder (I actually saw little baby snowflakes today!) and the body wants warm food. What better to have on a cold night than a steaming plate of lasagna. Great comfort food with plenty of nutrients. This one has less fat than the average lasagna because you aren’t using ricotta. AND it’s whole-wheat! Can’t beat that. I got the recipe from here and then adapted it. Alright, let’s get to it.

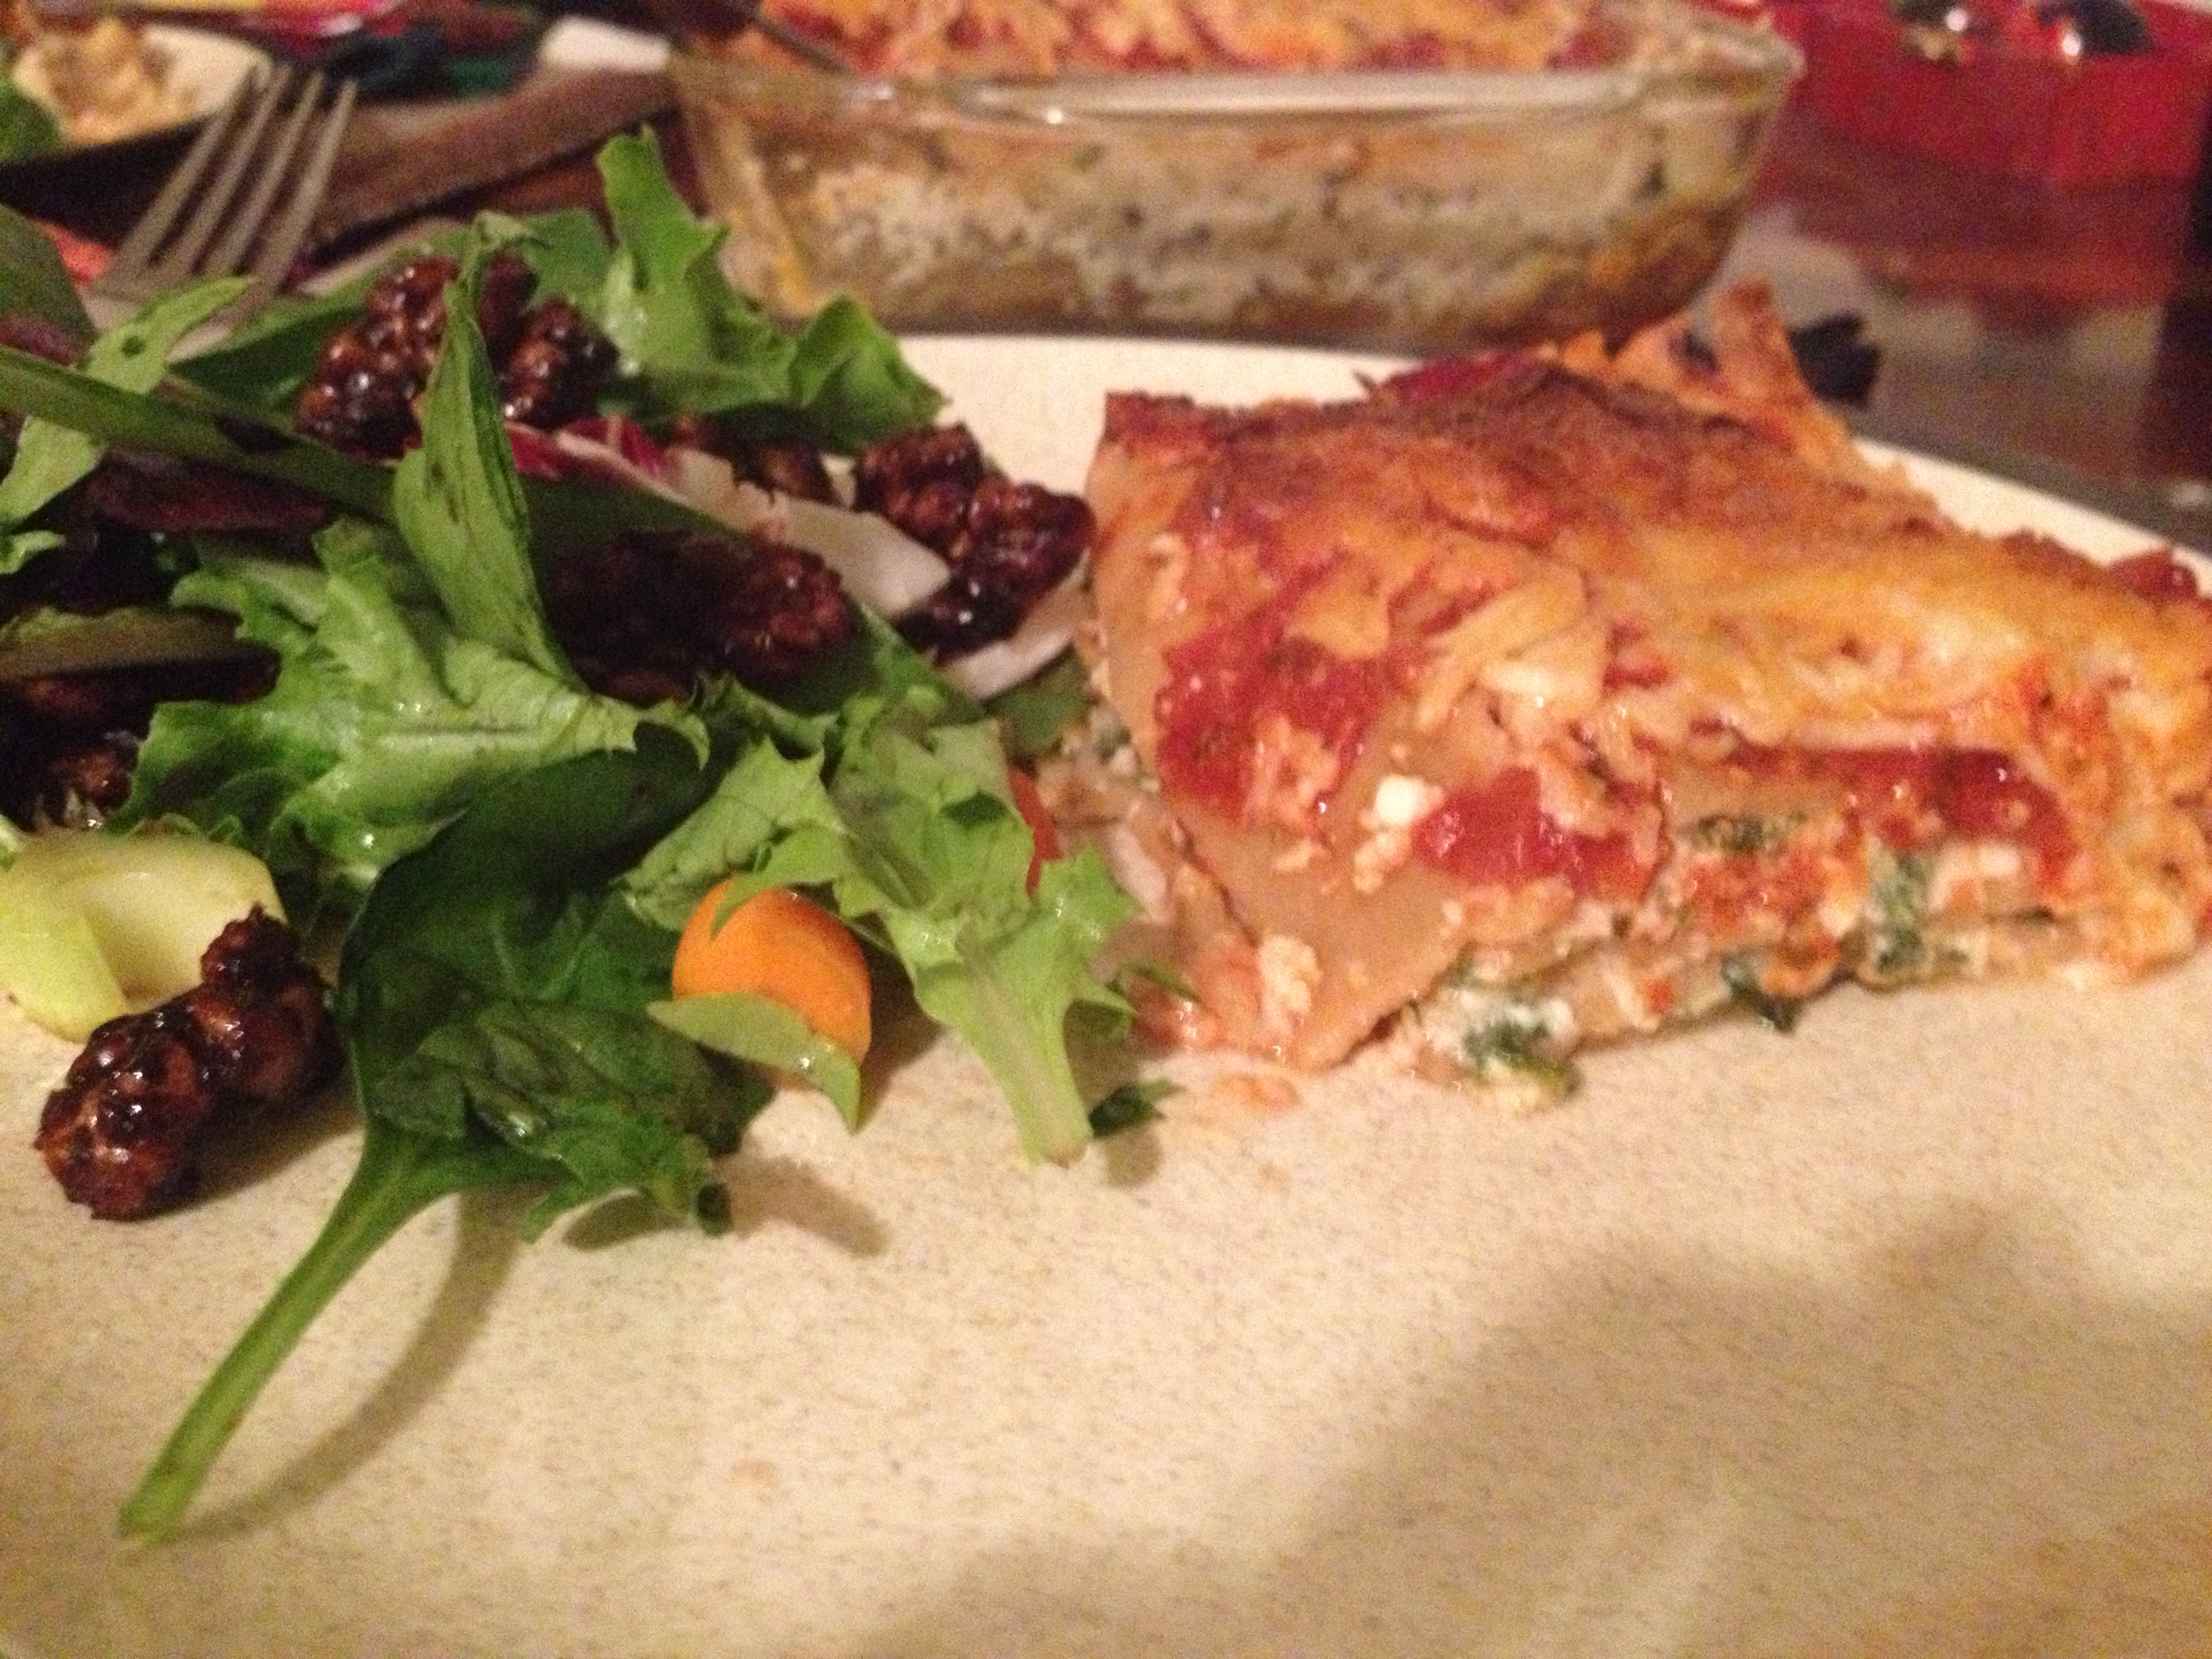
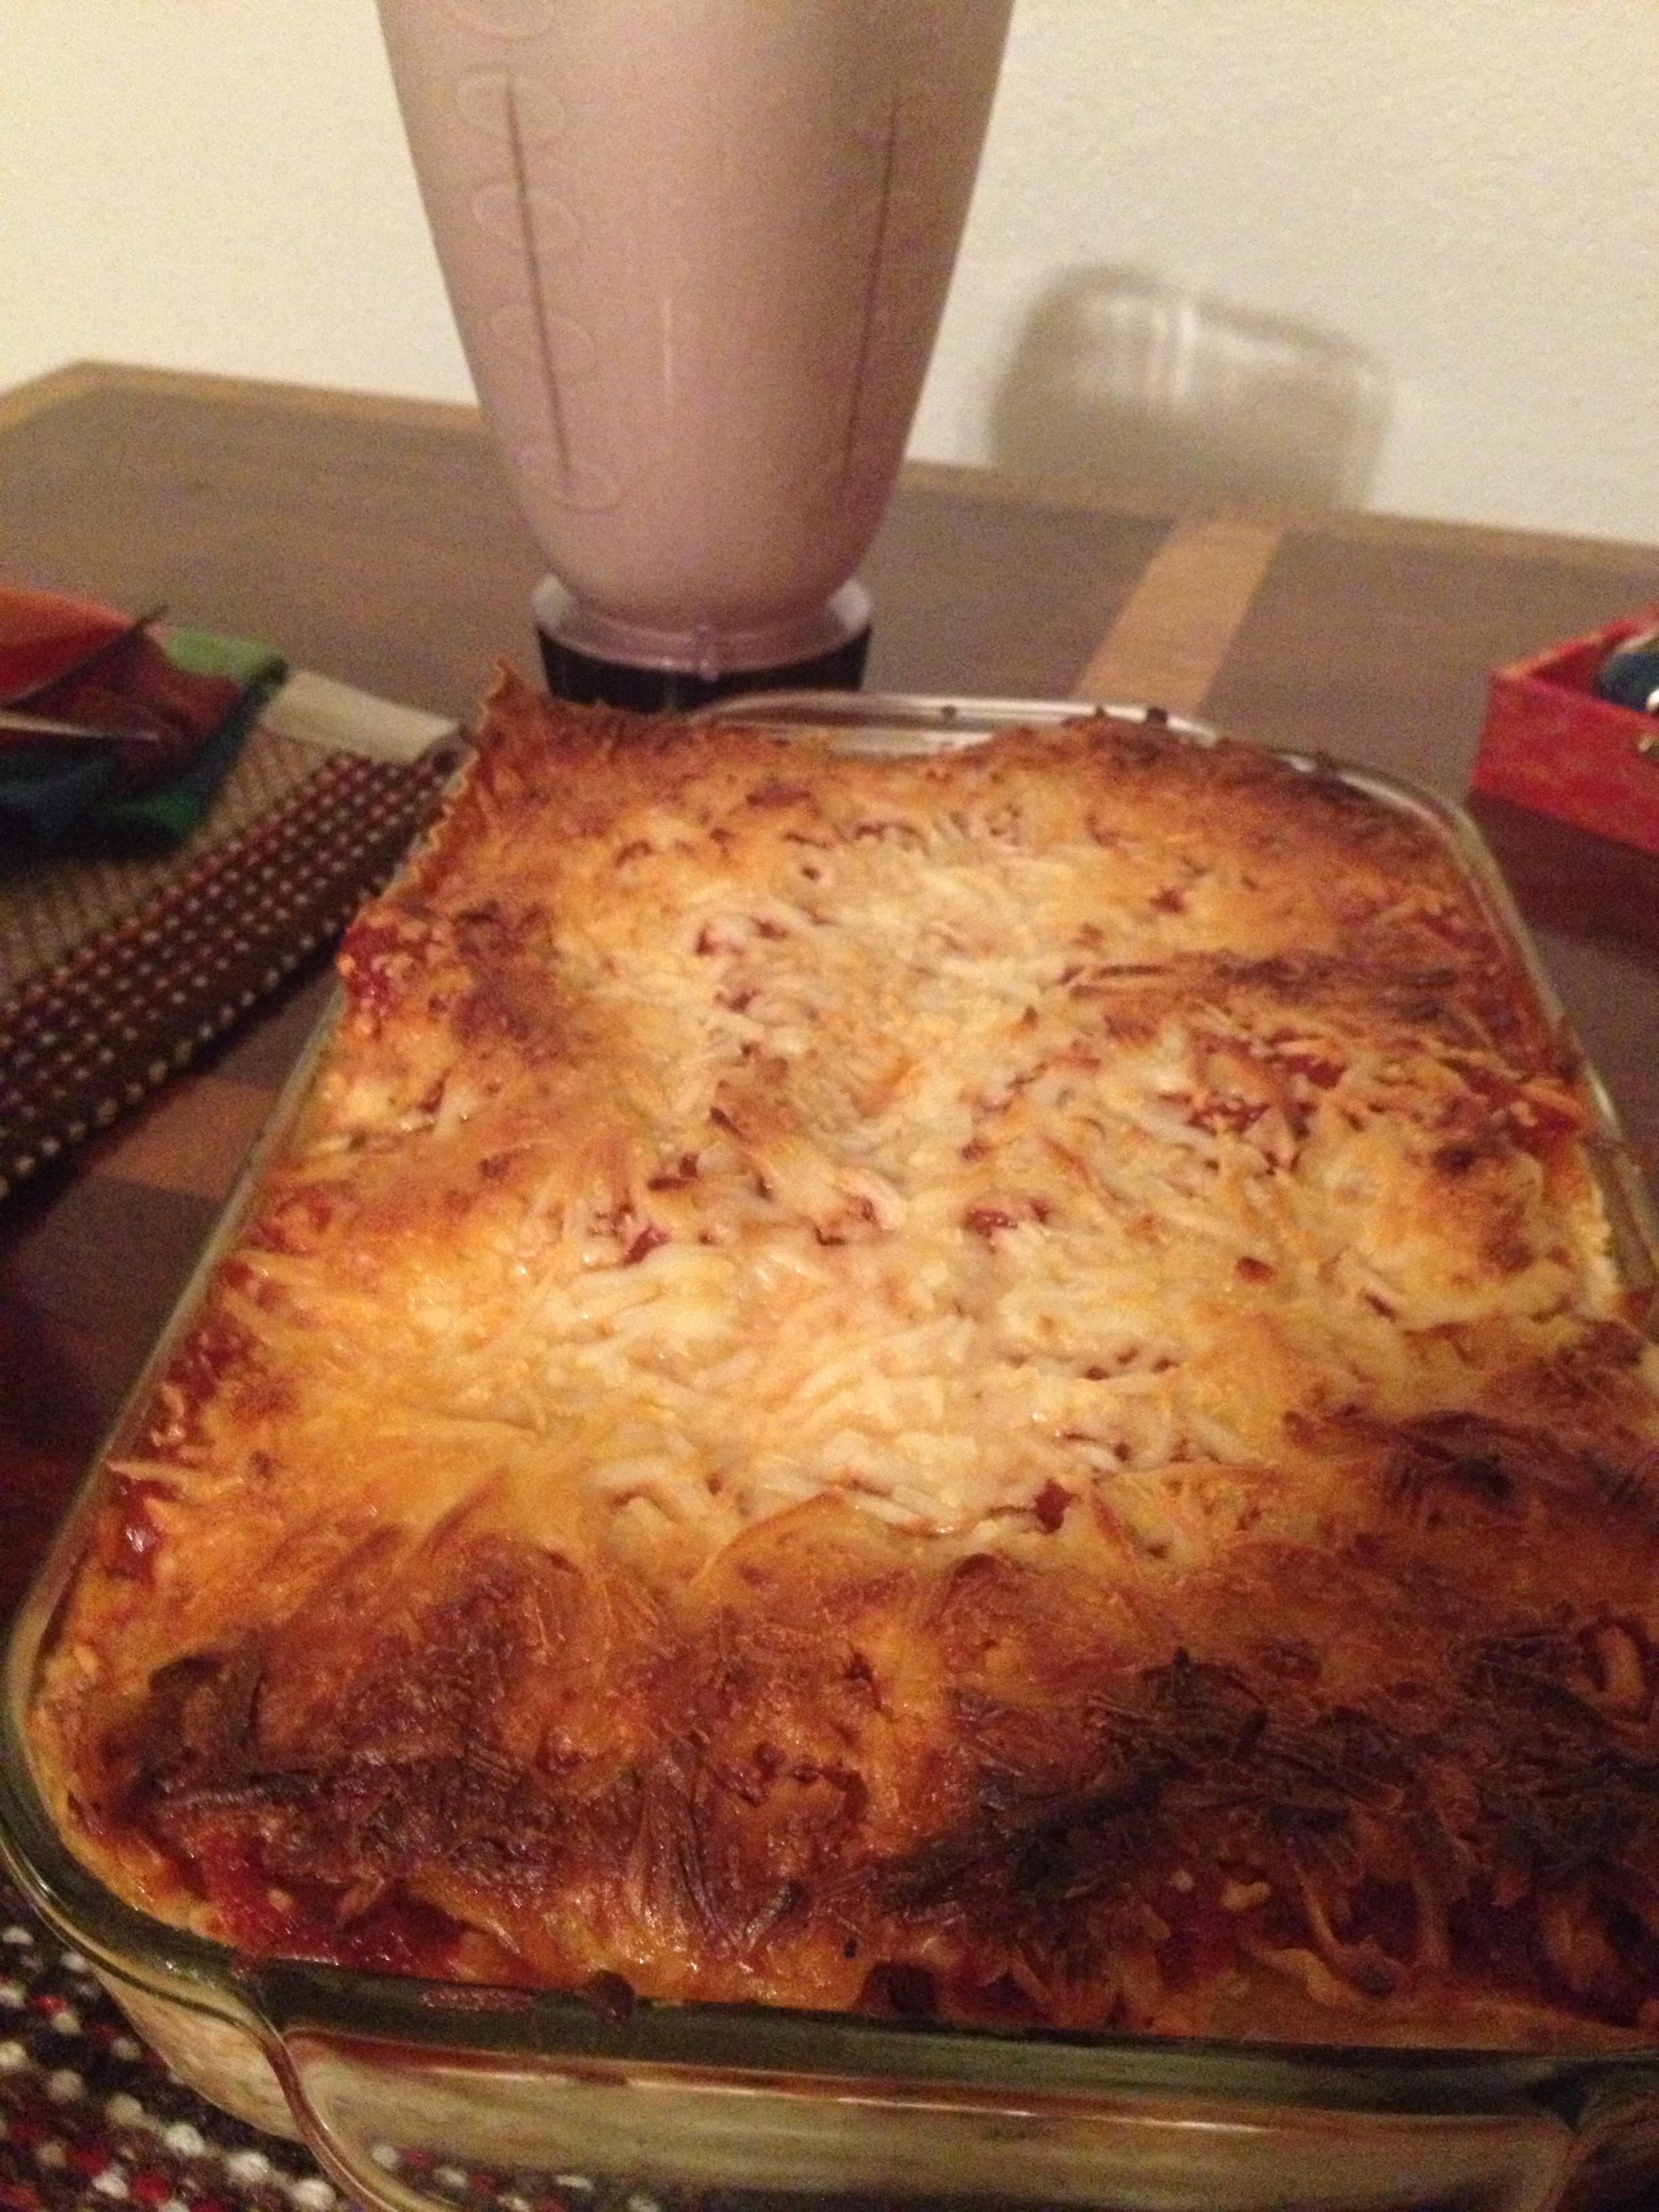
Proved to be a wonderful dinner

Proved to be a wonderful dinner

  • Prep Time: 15 minutes
  • Cook Time: 50-70 minutes 

Ingredients

  • 8 oz box whole-wheat lasagna 
  • 9 oz frozen spinach
  • 3 eggs
  • 1/2 cup powdered Parmesan 
  • 3 cups low-fat cottage cheese
  • a few fistfuls shredded mozzarella
  • 2 cups red sauce of your choosing

Directions

  • Cook your whole-wheat lasagna until it is just al dente
  • Preheat oven to 325 degrees F
  • Grease up a glass baking dish
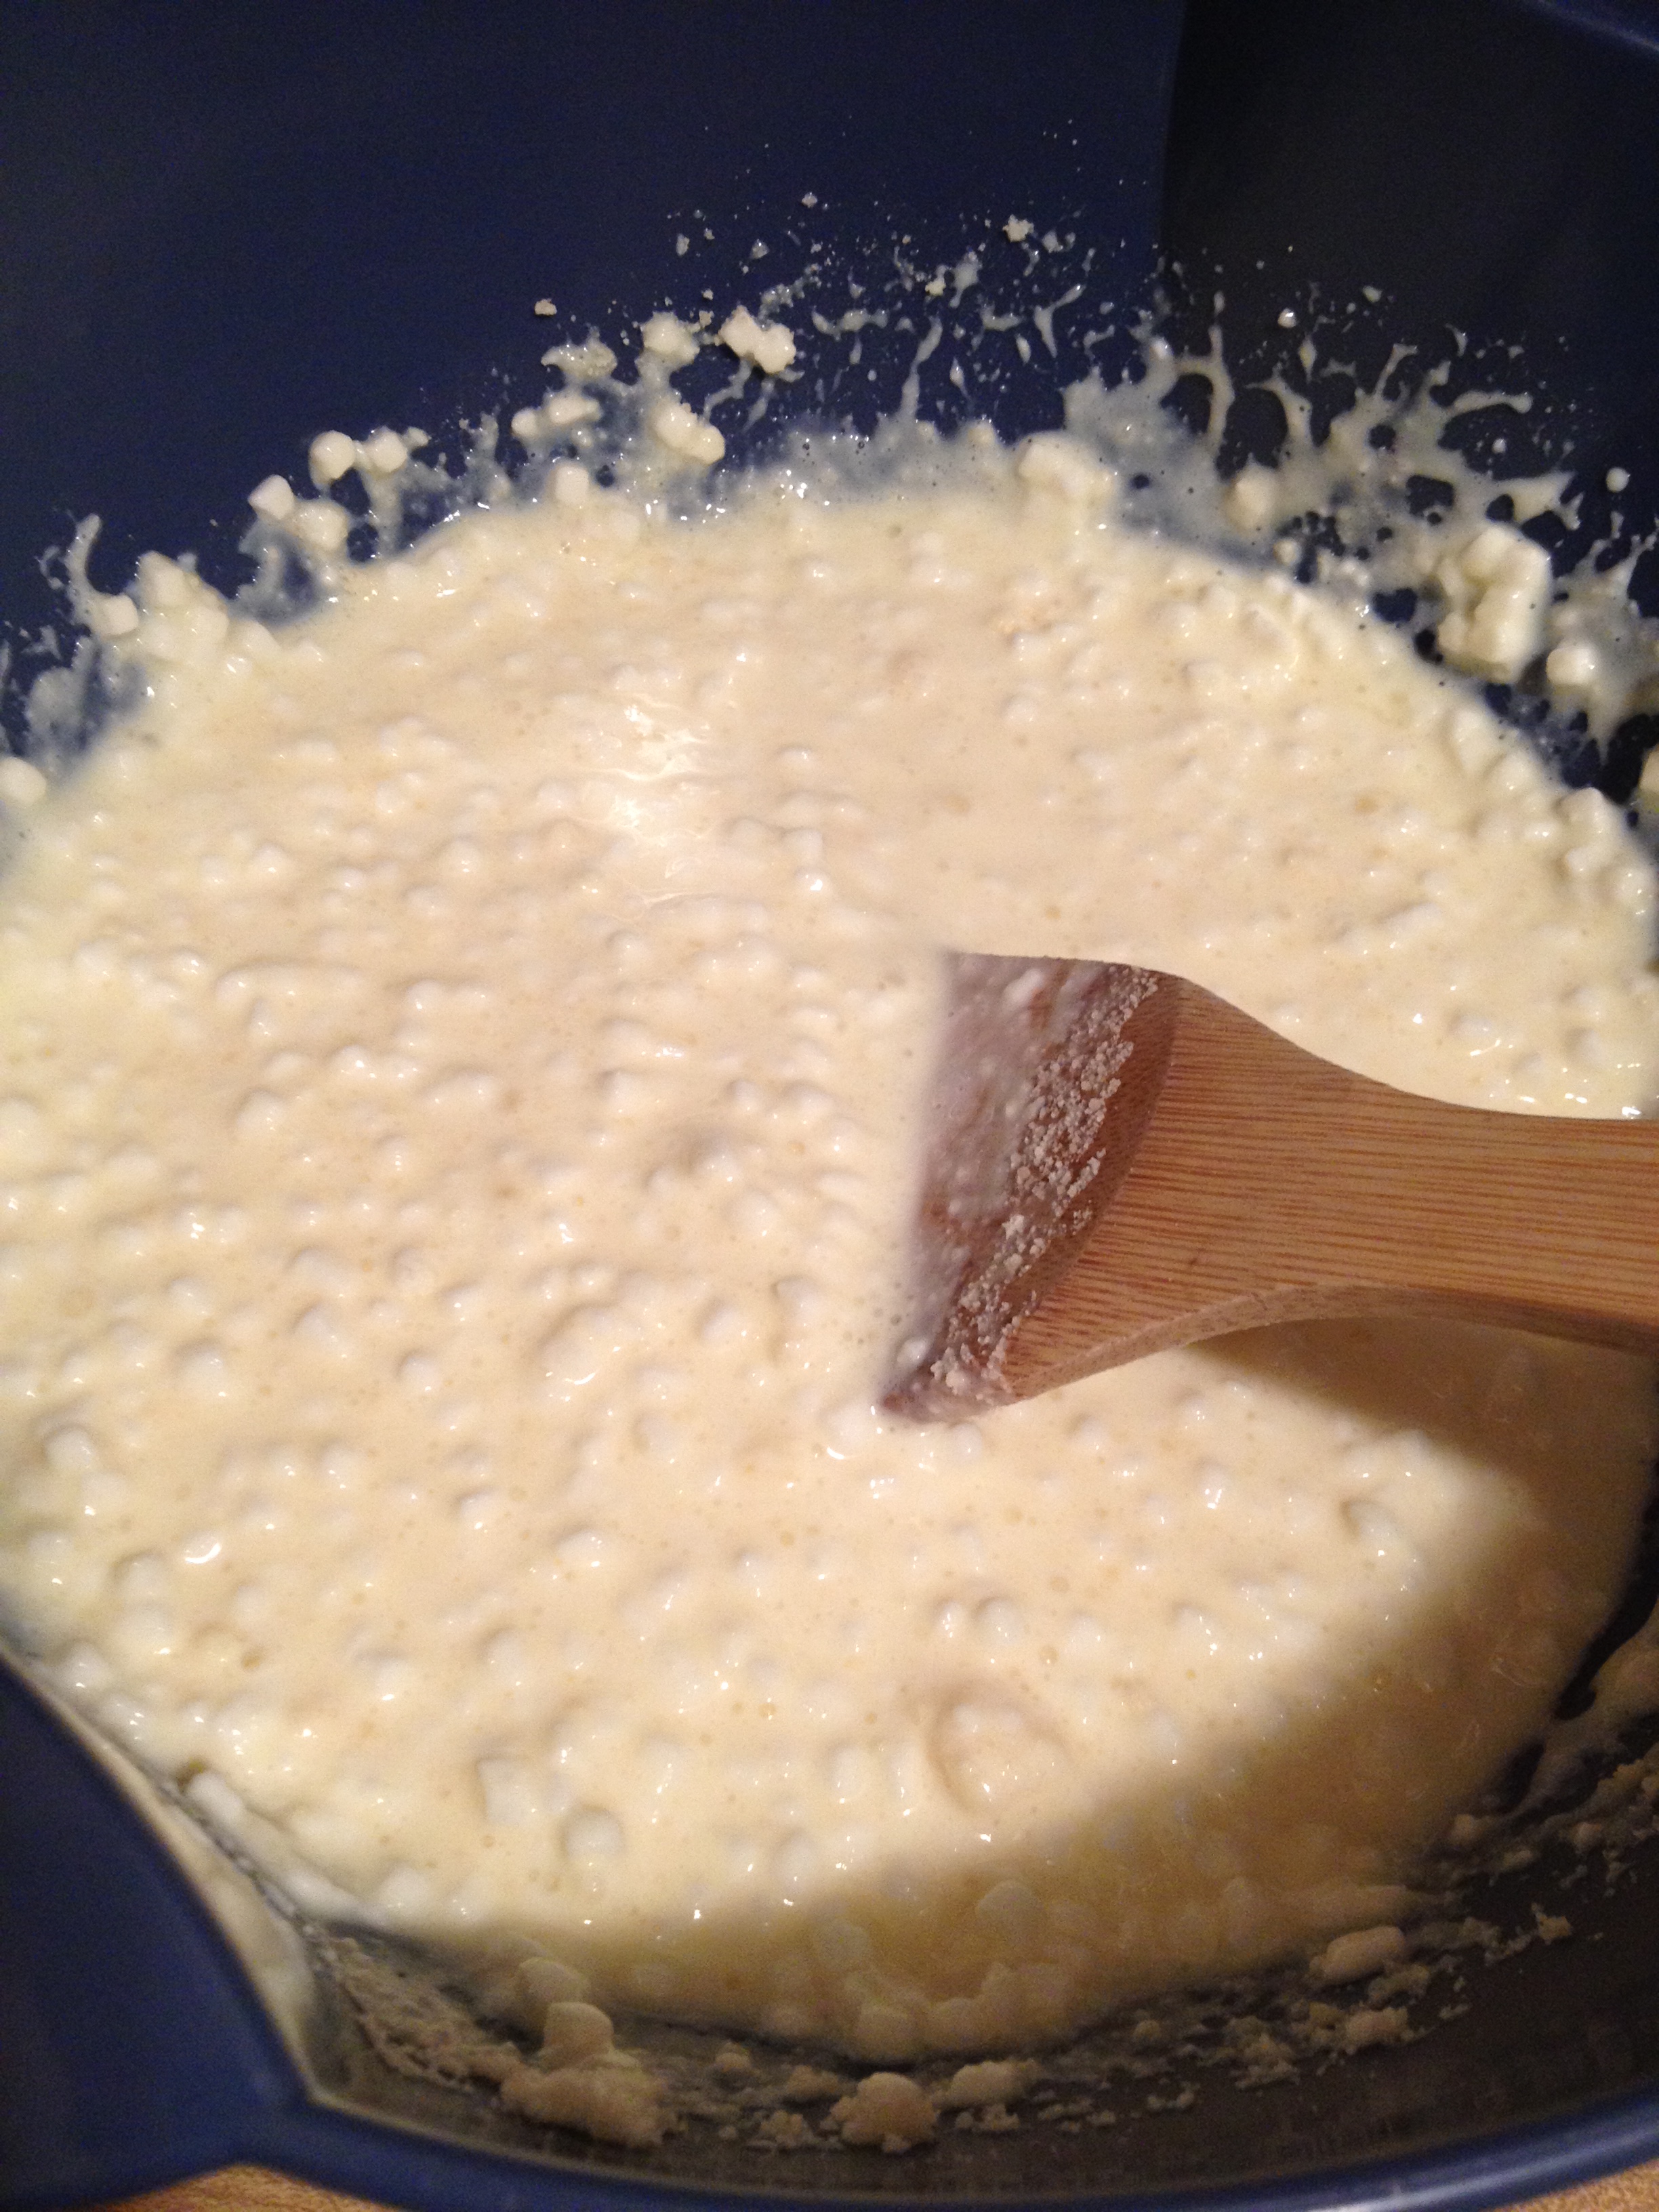
  • In a bowl, mix the eggs, cottage cheese, and Parmesan cheese
Cheeeeeesayyyyy

Cheeeeeesayyyyy

  • Alright, now it’s time to layer this puppy up! Start by laying down the foundation: the first few pieces of lasagna so it covers the bottom of the baking dish
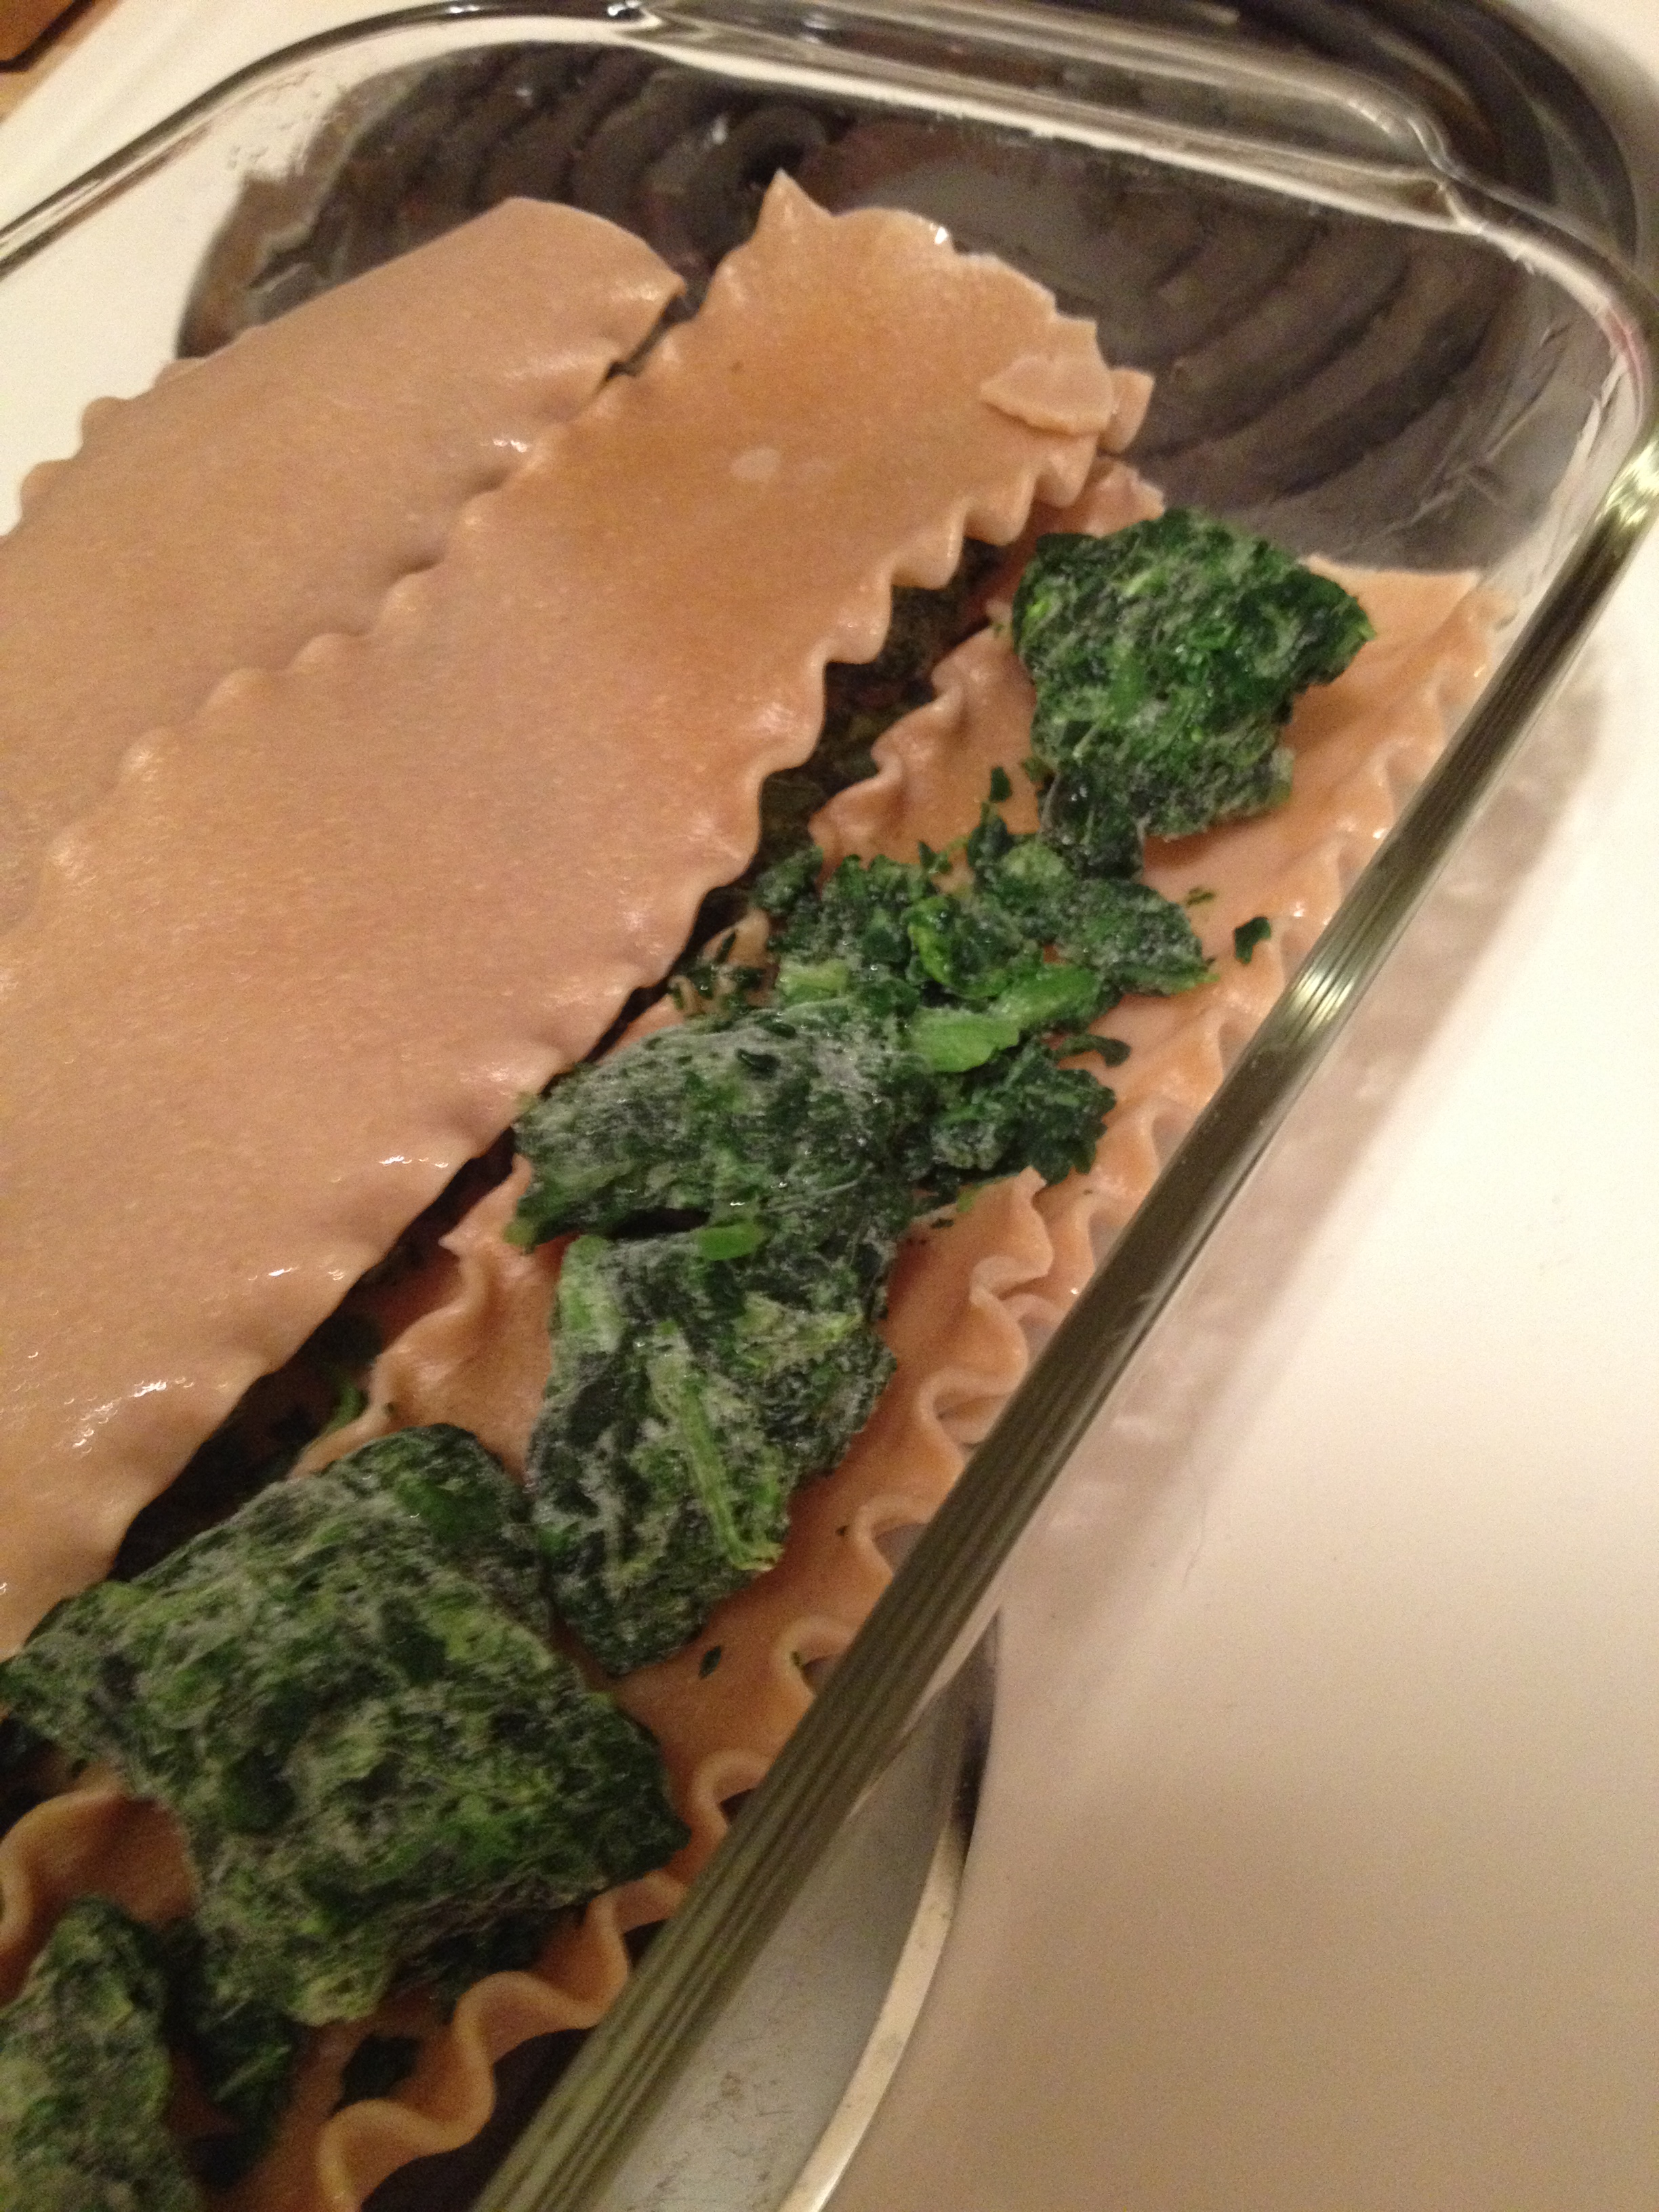
  • Next comes the spinach. Lay about half the spinach that you have on top of the noodles, somewhat evenly.

photo 2 (25)

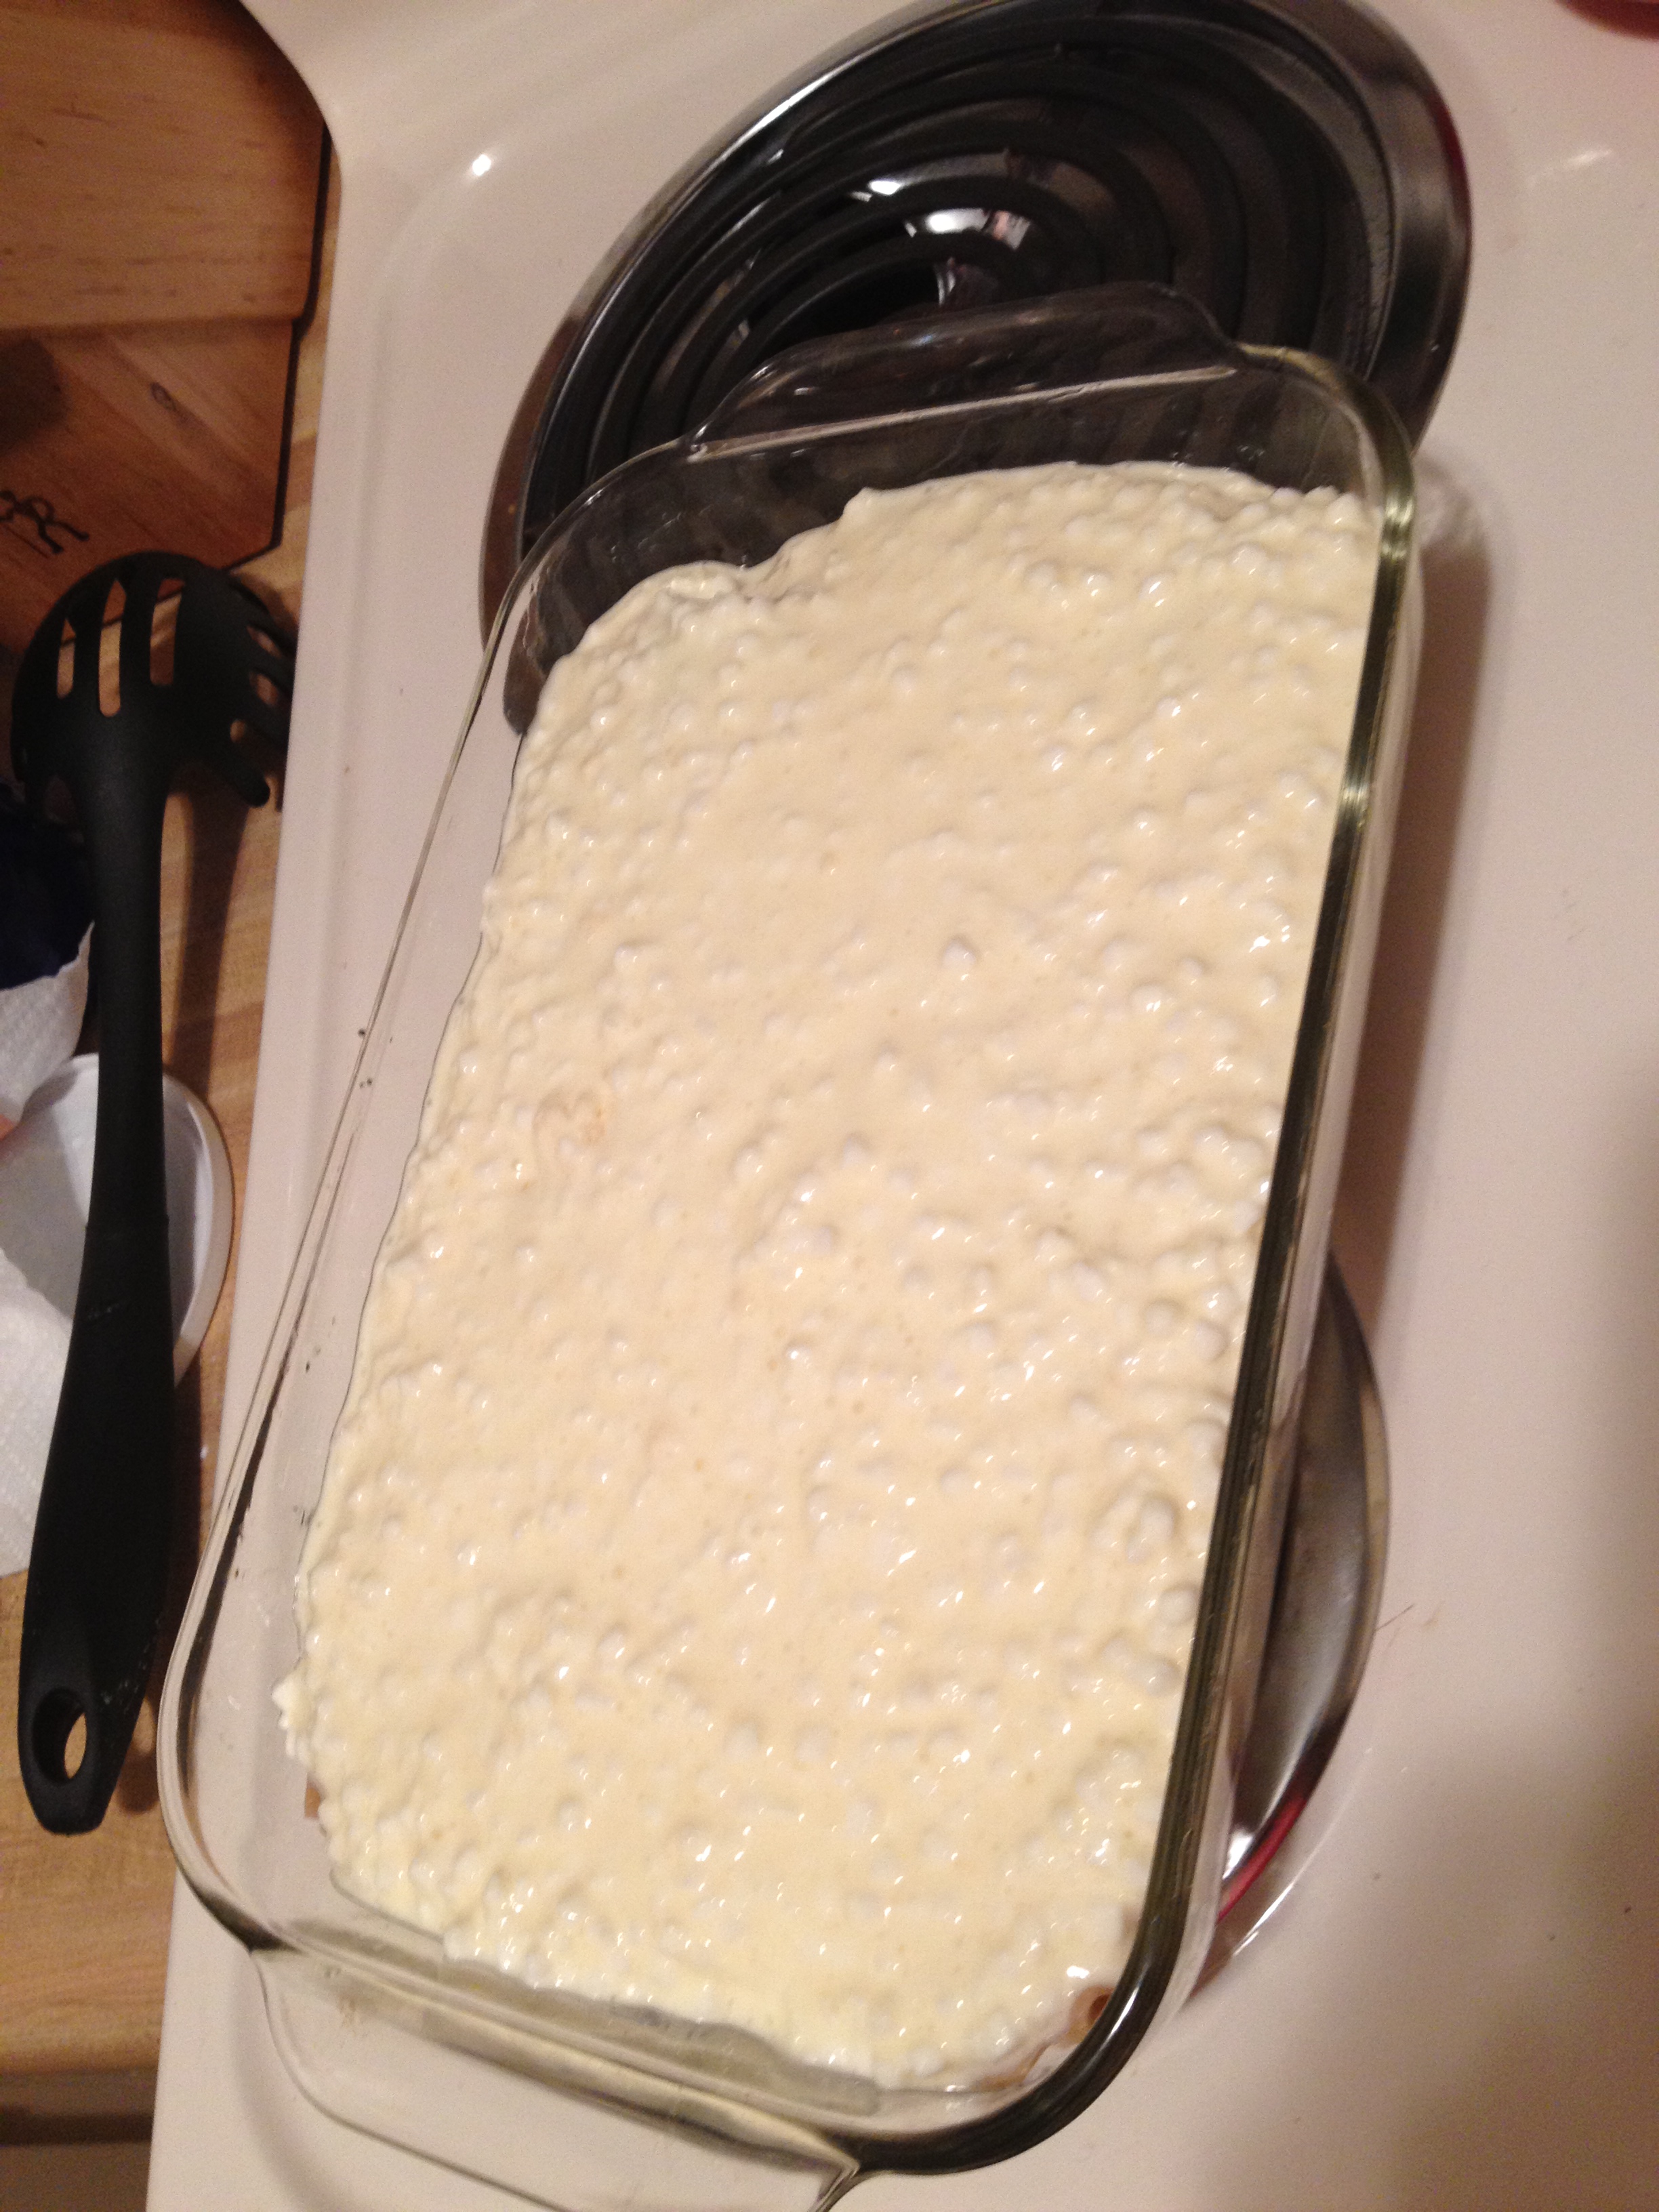
  • Place another layer of lasagna noodle. Then pour all of the cheese mixture on top of that

photo 3 (20)

  • Then put a little bit more spinach on top of the cheese mixture. And then another layer of lasagna noodle!
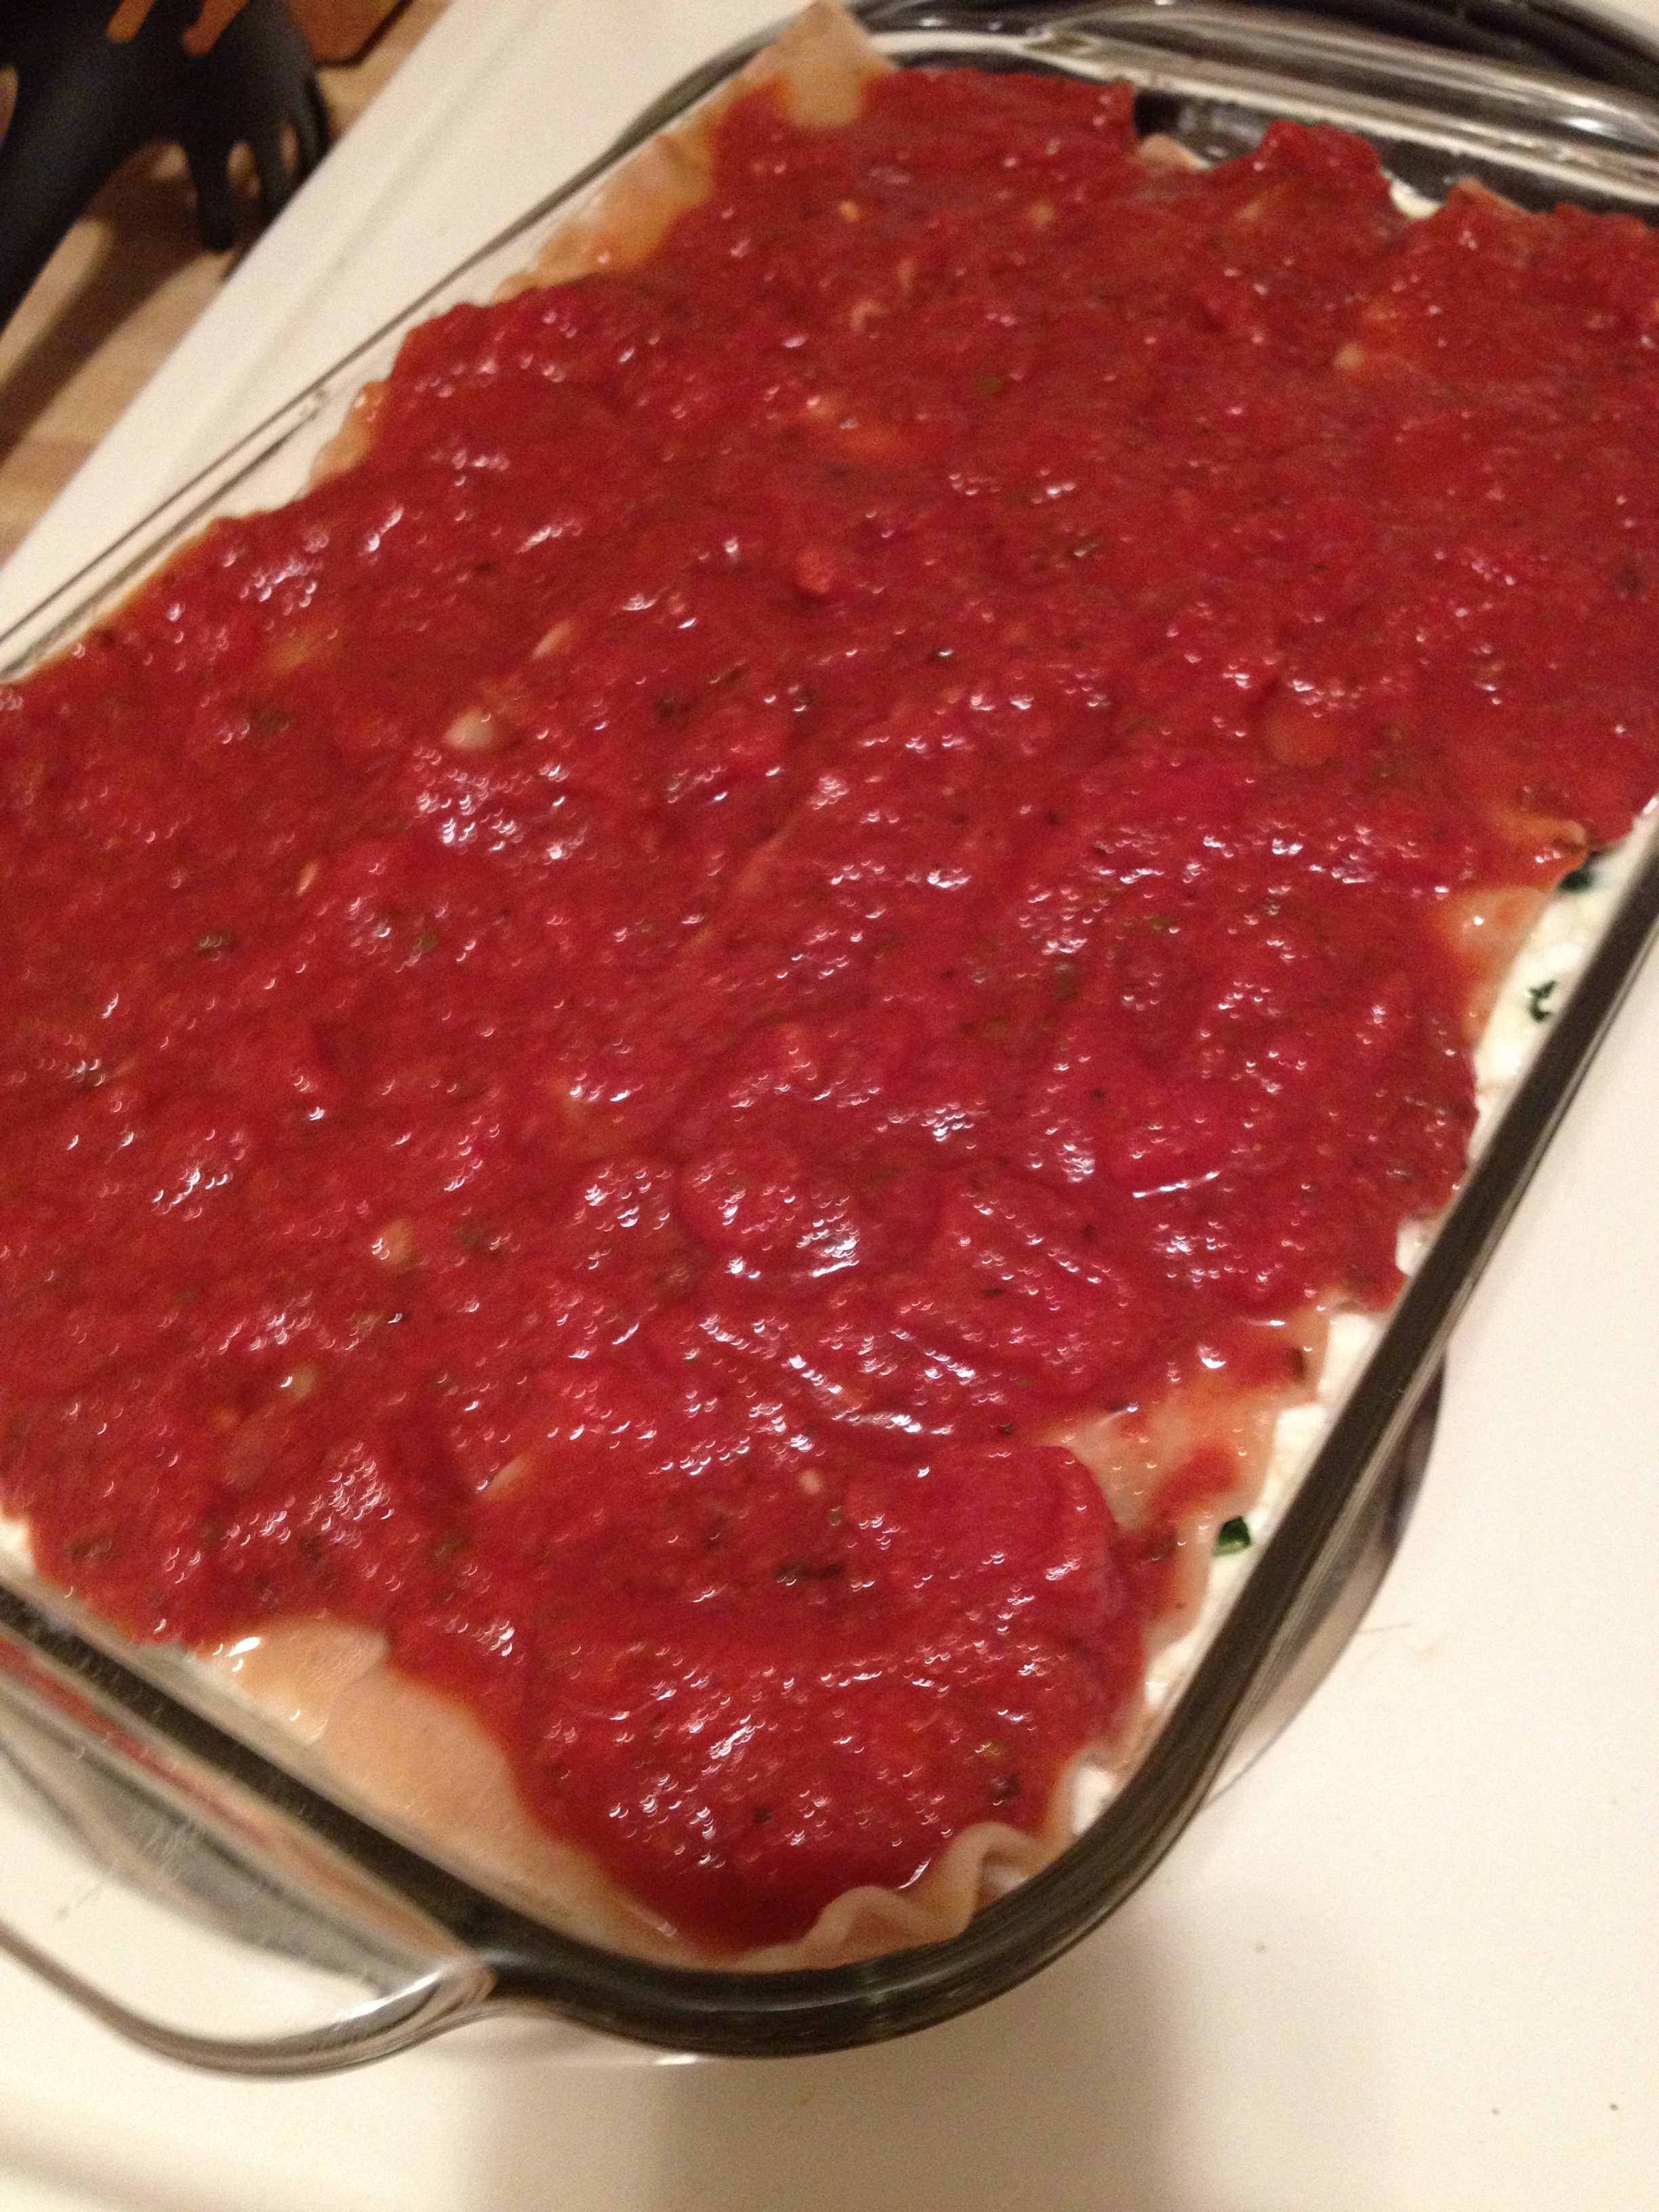
  • We’re almost there, guys! Now spread the top of the noodles with your tomato sauce and then sprinkle the mozzarella on top.

photo 4 (15)

photo 5 (6)

  • Now it’s ready to bake! Put it in the oven for between 50 to 70 minutes. Mine took around 60. A good way to tell if it’s done is when the cheese on top is slightly browned. Another way to tell if it’s cooked all the way through is to stick a knife through the bottom and count to ten. If the knife is hot, then you’re good to go!
Chris' protein shake behind it...

Chris’ protein shake behind it…

This was a wonderful dinner. Perfect with salad or some kind of greenery–and don’t forget the red wine! It doesn’t leave you feeling too heavy since it’s a bit less fat than the normal lasagna. And we had leftovers for like 2-3 days! I’m always happy because it means packing lunches are easy! Use this recipe to stay hungry and fit!

Bon appetite!

Bon appetite!

photo 2 (26)

You might also like:

BONUS KITTY PIC
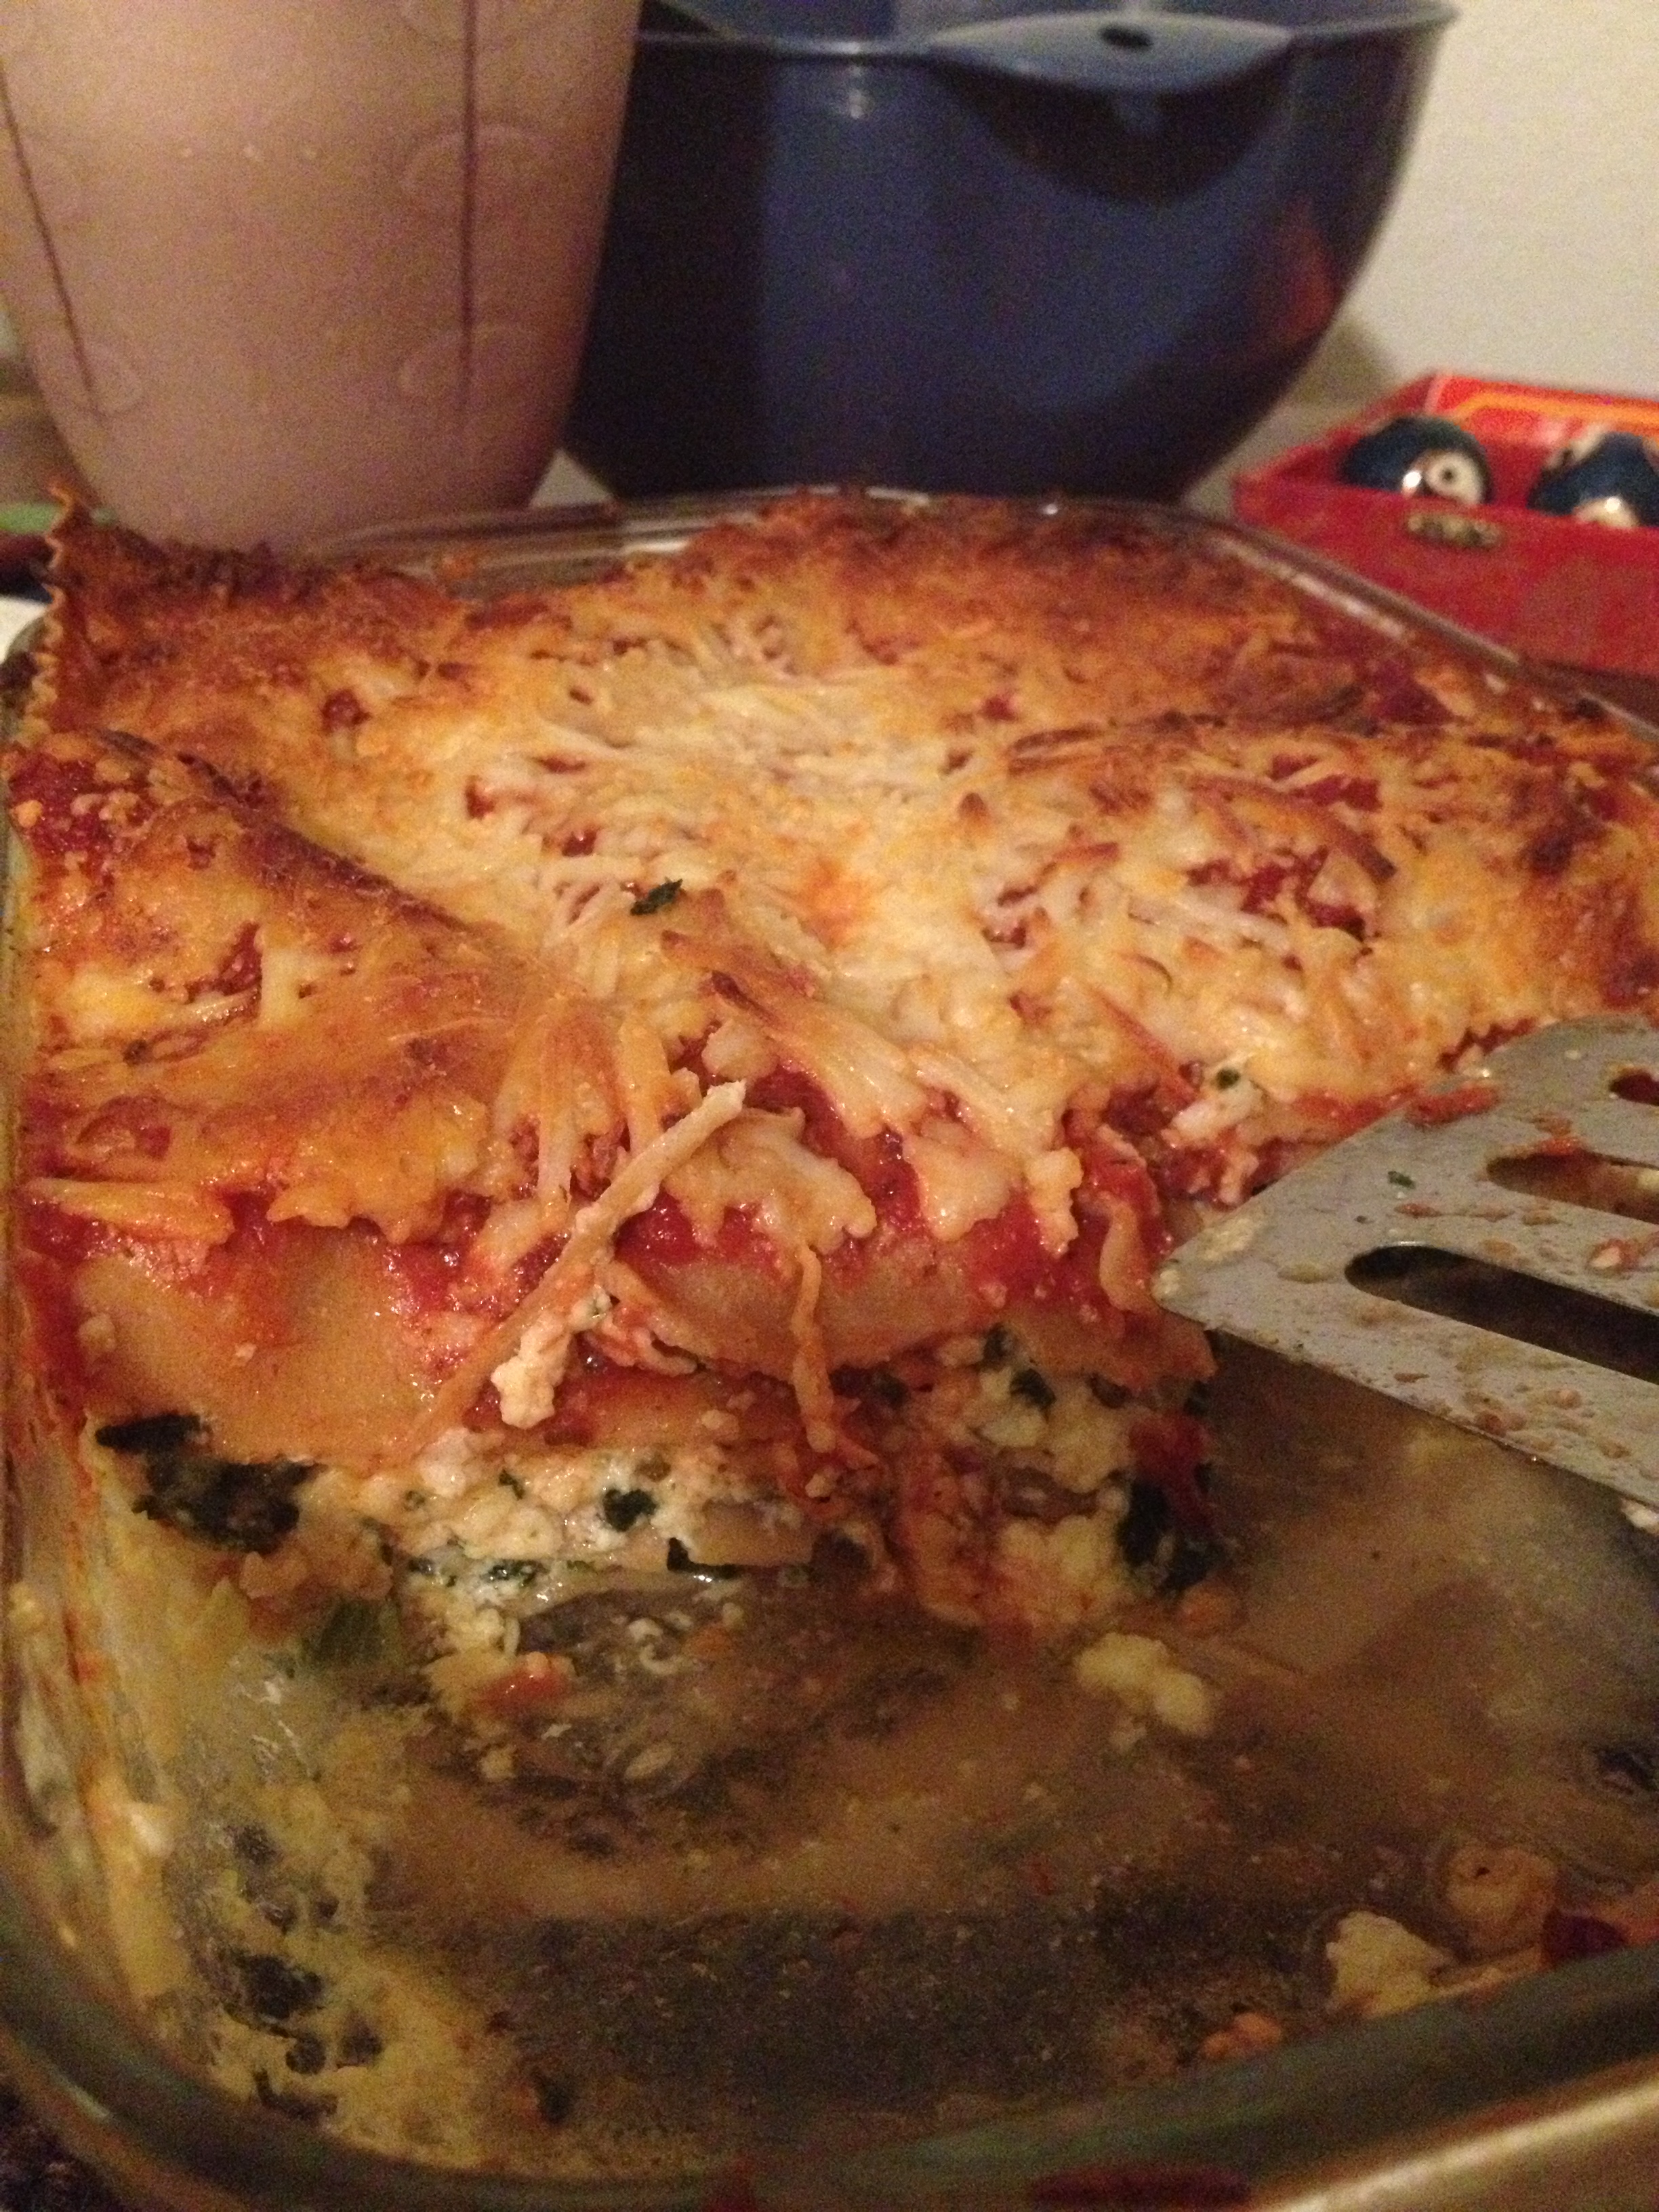
photo 1 (14)

spacer

Movie Monday: Captain Phillips

My apologies for a much-delayed post, everyone! We have been gearing towards moving to a different host and spazzing up the website! You will see it soon. However, I wanted to share with everyone a review of the recently released Captain Phillips. We saw a late-night showing Friday night, stocked with popcorn, vitamin water, and Raisinets! Before I start, let me say that we both enjoyed the movie.

This movie is based on real events which happened in 2009. I remember them on the news. Somalian pirates had attacked and taken over a cargo ship near their coast. It was a scary few days, but in the end it was resolved. The problem was, by the time I saw this movie, I had forgotten if Capt. Phillips made it out alive or not (oops). Anyhow, it was surreal watching something from the inside that you had watched on from the “outside” via news sources. I’m not sure how accurate the movie is to the actual event, but still a movie worth watching.

captain-phillips-poster

Instead of painting the Somalians as evil pirates, the audience was given a real-world look on their lives. How they saw piracy as the only choice to survive. It gave a human element to the pirates and made the movie more gripping and complex. People do things for a reason, not because they have black hearts. Still, it was a frightening, hold-your-breath type of movie. The crew of Captain Phillips’ were just average everyday people, as was the captain himself. That brought more tension and anxiety for the audience, as you imagine yourself in the same situation.

The movie was smoothly played out, and it didn’t jump too quickly. However, the tension built the entire time because you knew what was going to happen. I can’t think of a part I would’ve taken out, it all seemed to help paint the picture of reality. It’s easy to see how many people in Captain Phillips’ situation would have buckled under the enormous pressure and gotten either the crew or themselves killed. It added to the strength of the character and pulled the audience to have a closer relationship with the protagonist. The tensions only get raised when the Navy comes in and has a time limit on how long they can let this situation last before they have to terminate it. Capt. Phillips is racing against time and the stability of his captors, and it’s unnerving to think about how it all may play out.

captain-phillips-01

The stand-out factor for me in this movie was the acting. Tom Hanks did a brilliant job, especially in the last few scenes. He was extraordinarily connected to his character which made it an emotional end. The Somalians, too, did a great job and they weren’t even real actors–just Somalian-Americans from Minnesota. Overall, I give this movie a big thumbs up. Take time to see it! And as always…stay hungry and fit!

You might also like…

BONUS KITTY PIC
Nymeria trying to escape the bath

Nymeria trying to escape the bath

spacer

Chocolate Chip “Cookie Dough” Dip

I have been wanting to try this one for a while since my friend from college, Mary Katemade a batch and I got to try it. Oh, it is heavenly. I’m not sure if this is the recipe she used, but it’s what I based mine off of. Now this isn’t actually cookie dough, it kind of is more like cannoli cream. Chris isn’t all into sweets, so I knew I had to make this where I could bring it with others to share (bad news bears if I left it all for myself–helloooo tummy ache). So my cousin’s birthday get-together was last night and I decided to trial it then. I made it after we FINALLY caught up with our new obsession, Castle.

^_^

^_^

  • Prep Time: 15 minutes tops
  • Cooking Time: …none

Ingredients

  • almost 1/2 cup whipped butter
  • 1/3 cup brown sugar
  • 1 tsp vanilla extract
  • 1 cup mini chocolate chips
  • 7/8 cup powdered sugar 
  • 8 oz cream cheese 

Directions

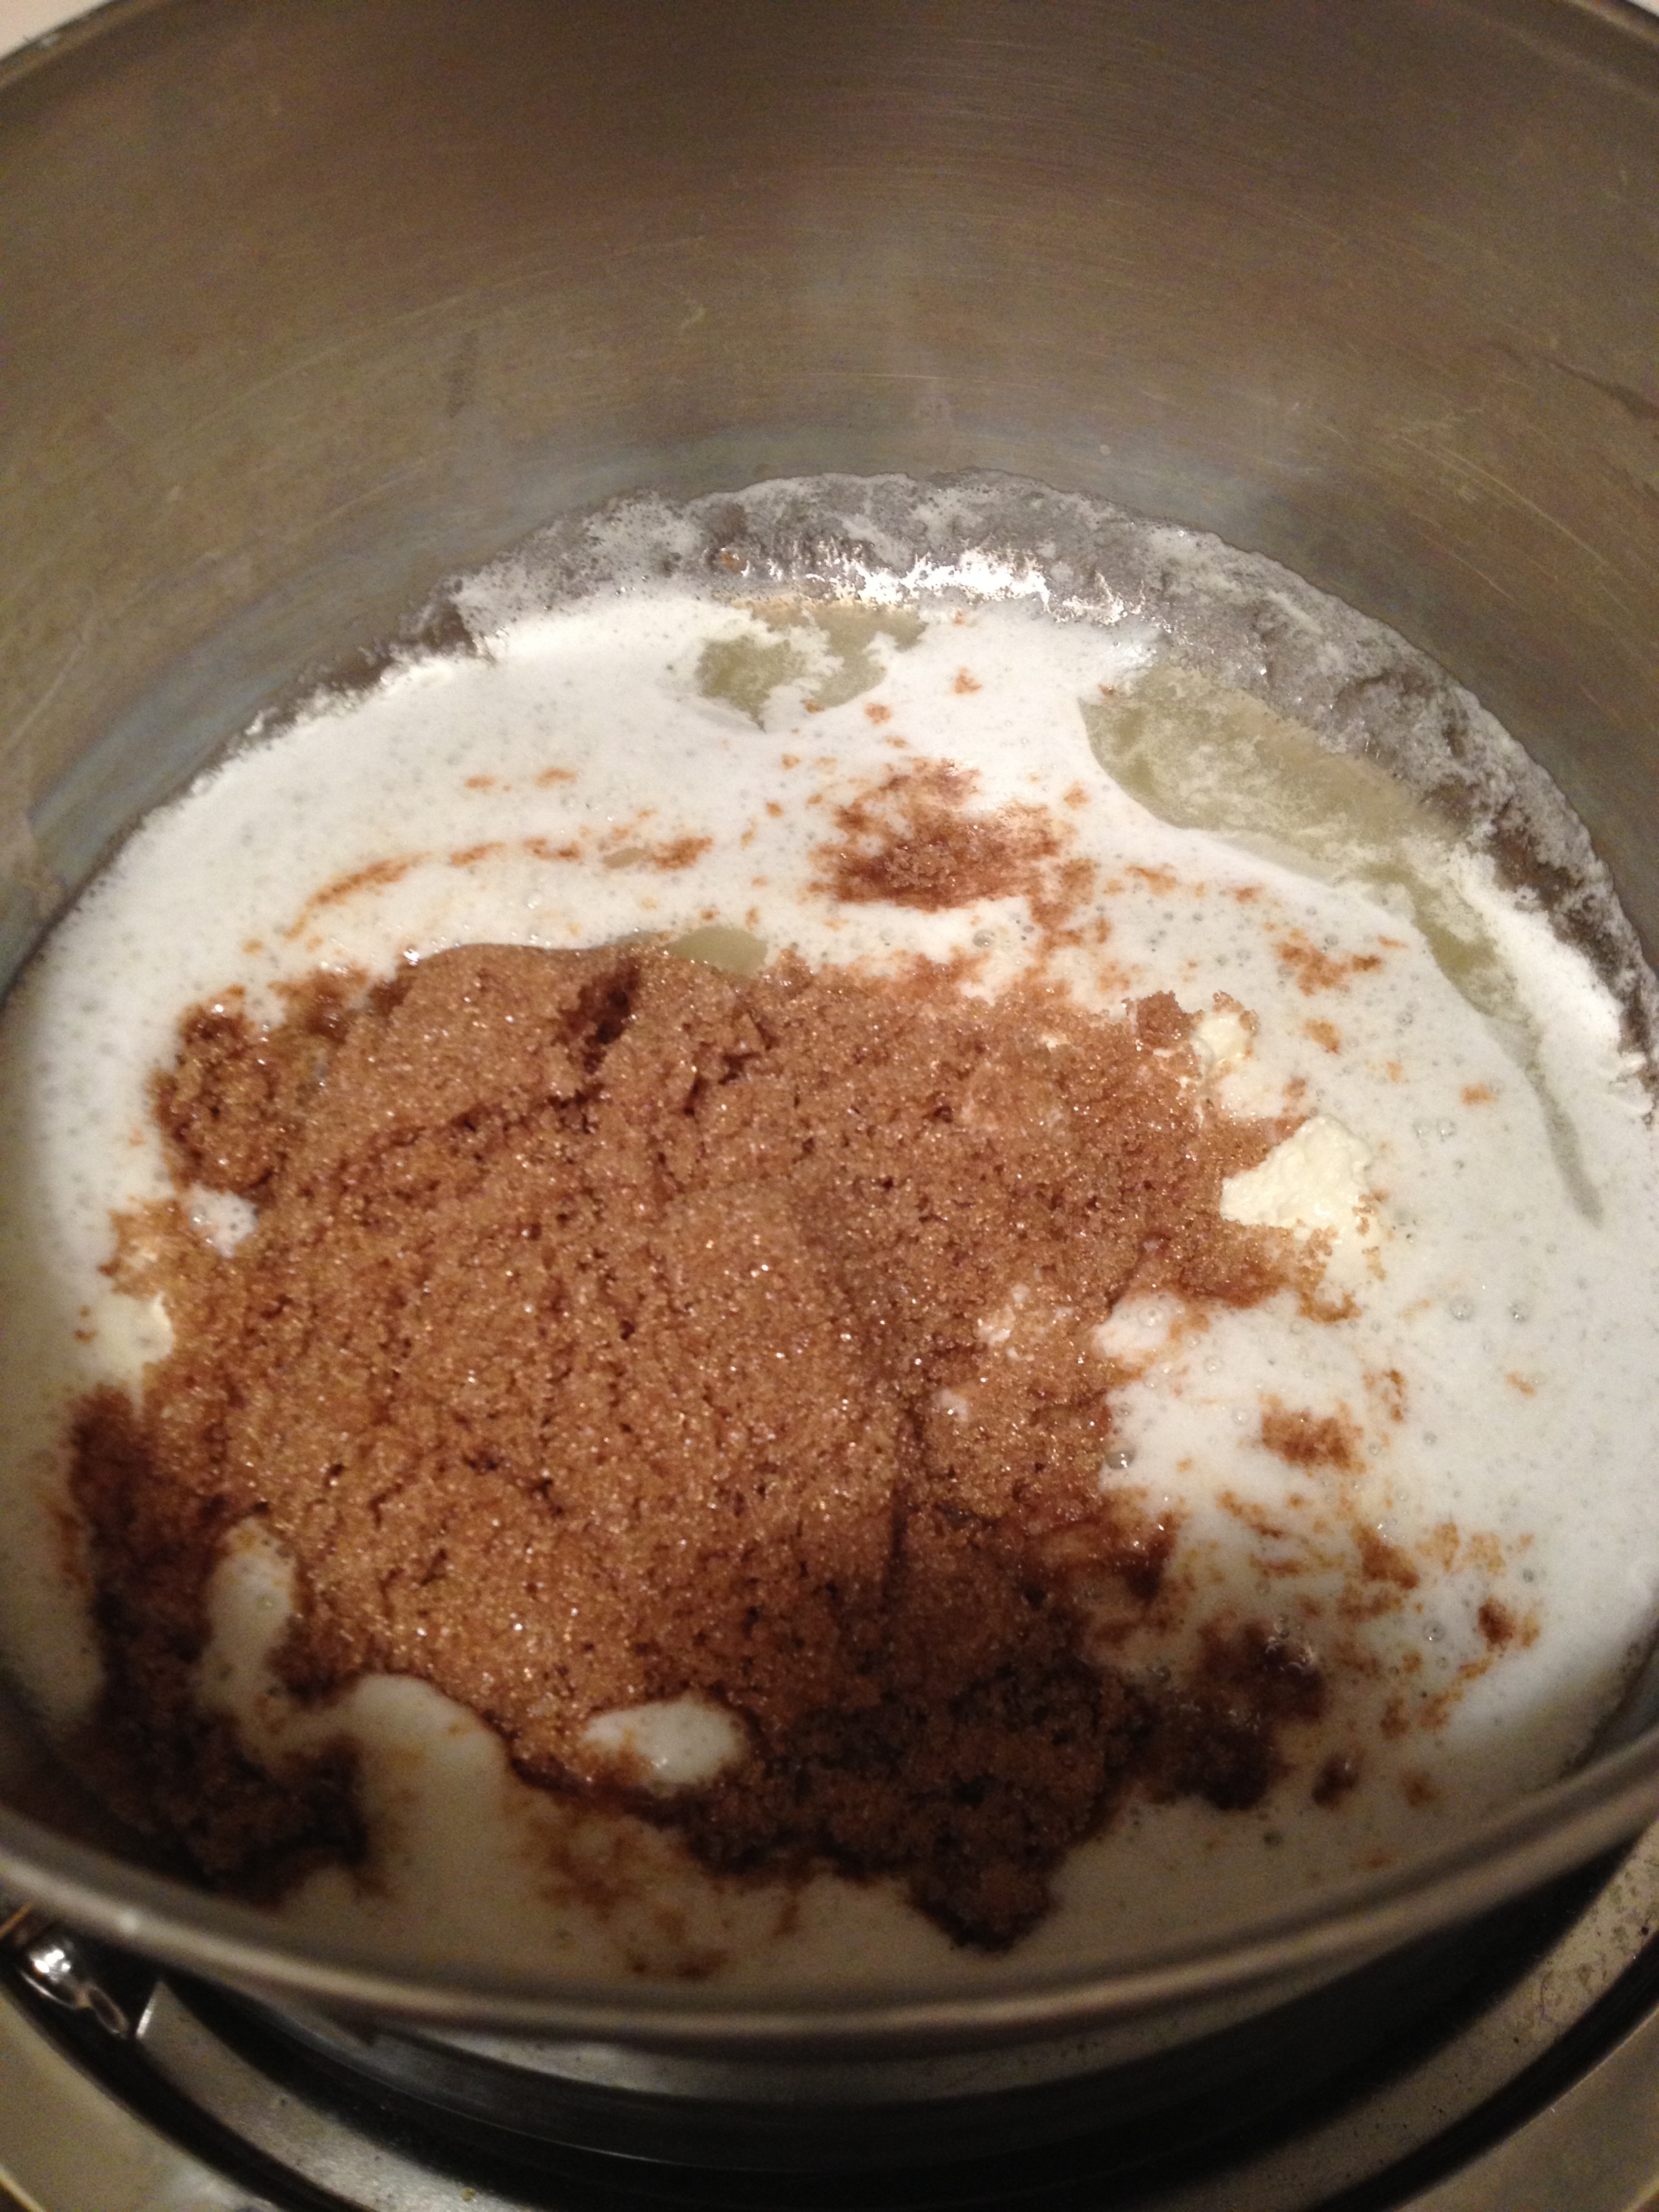
  • Alright. Real simple. Let’s start by heating up a pot and throwing the butter in and then the brown sugar. Whisk it up until it bubbles, then put in the vanilla extract. Take off heat.

photo 2 (5)

  • Now in a medium-sized bowl, cream together the cream cheese and powdered sugar.

photo 3 (5)

  • Then add in the butter mixture. Then fold in the chocolate chips.
Finished product with some chocolate-covered pretzel thins

Finished product with some chocolate-covered pretzel thins

Yeah. It’s really simple. I would suggest serving it with something like pretzels. I tried using graham crackers but it was too sweet. I think the sweet and salty provides a nice balance. It is a sweet treat to enjoy with friends and family. Refrigerate if not using right away. And as always…stay hungry and fit!

You might also like…

BONUS KITTY PIC

Nymeria loves Castle marathons because she gets great cuddle spots

Nymeria loves Castle marathons because she gets great cuddle spots

spacer

Whole-Wheat Zucchini Chocolate Chip Bread

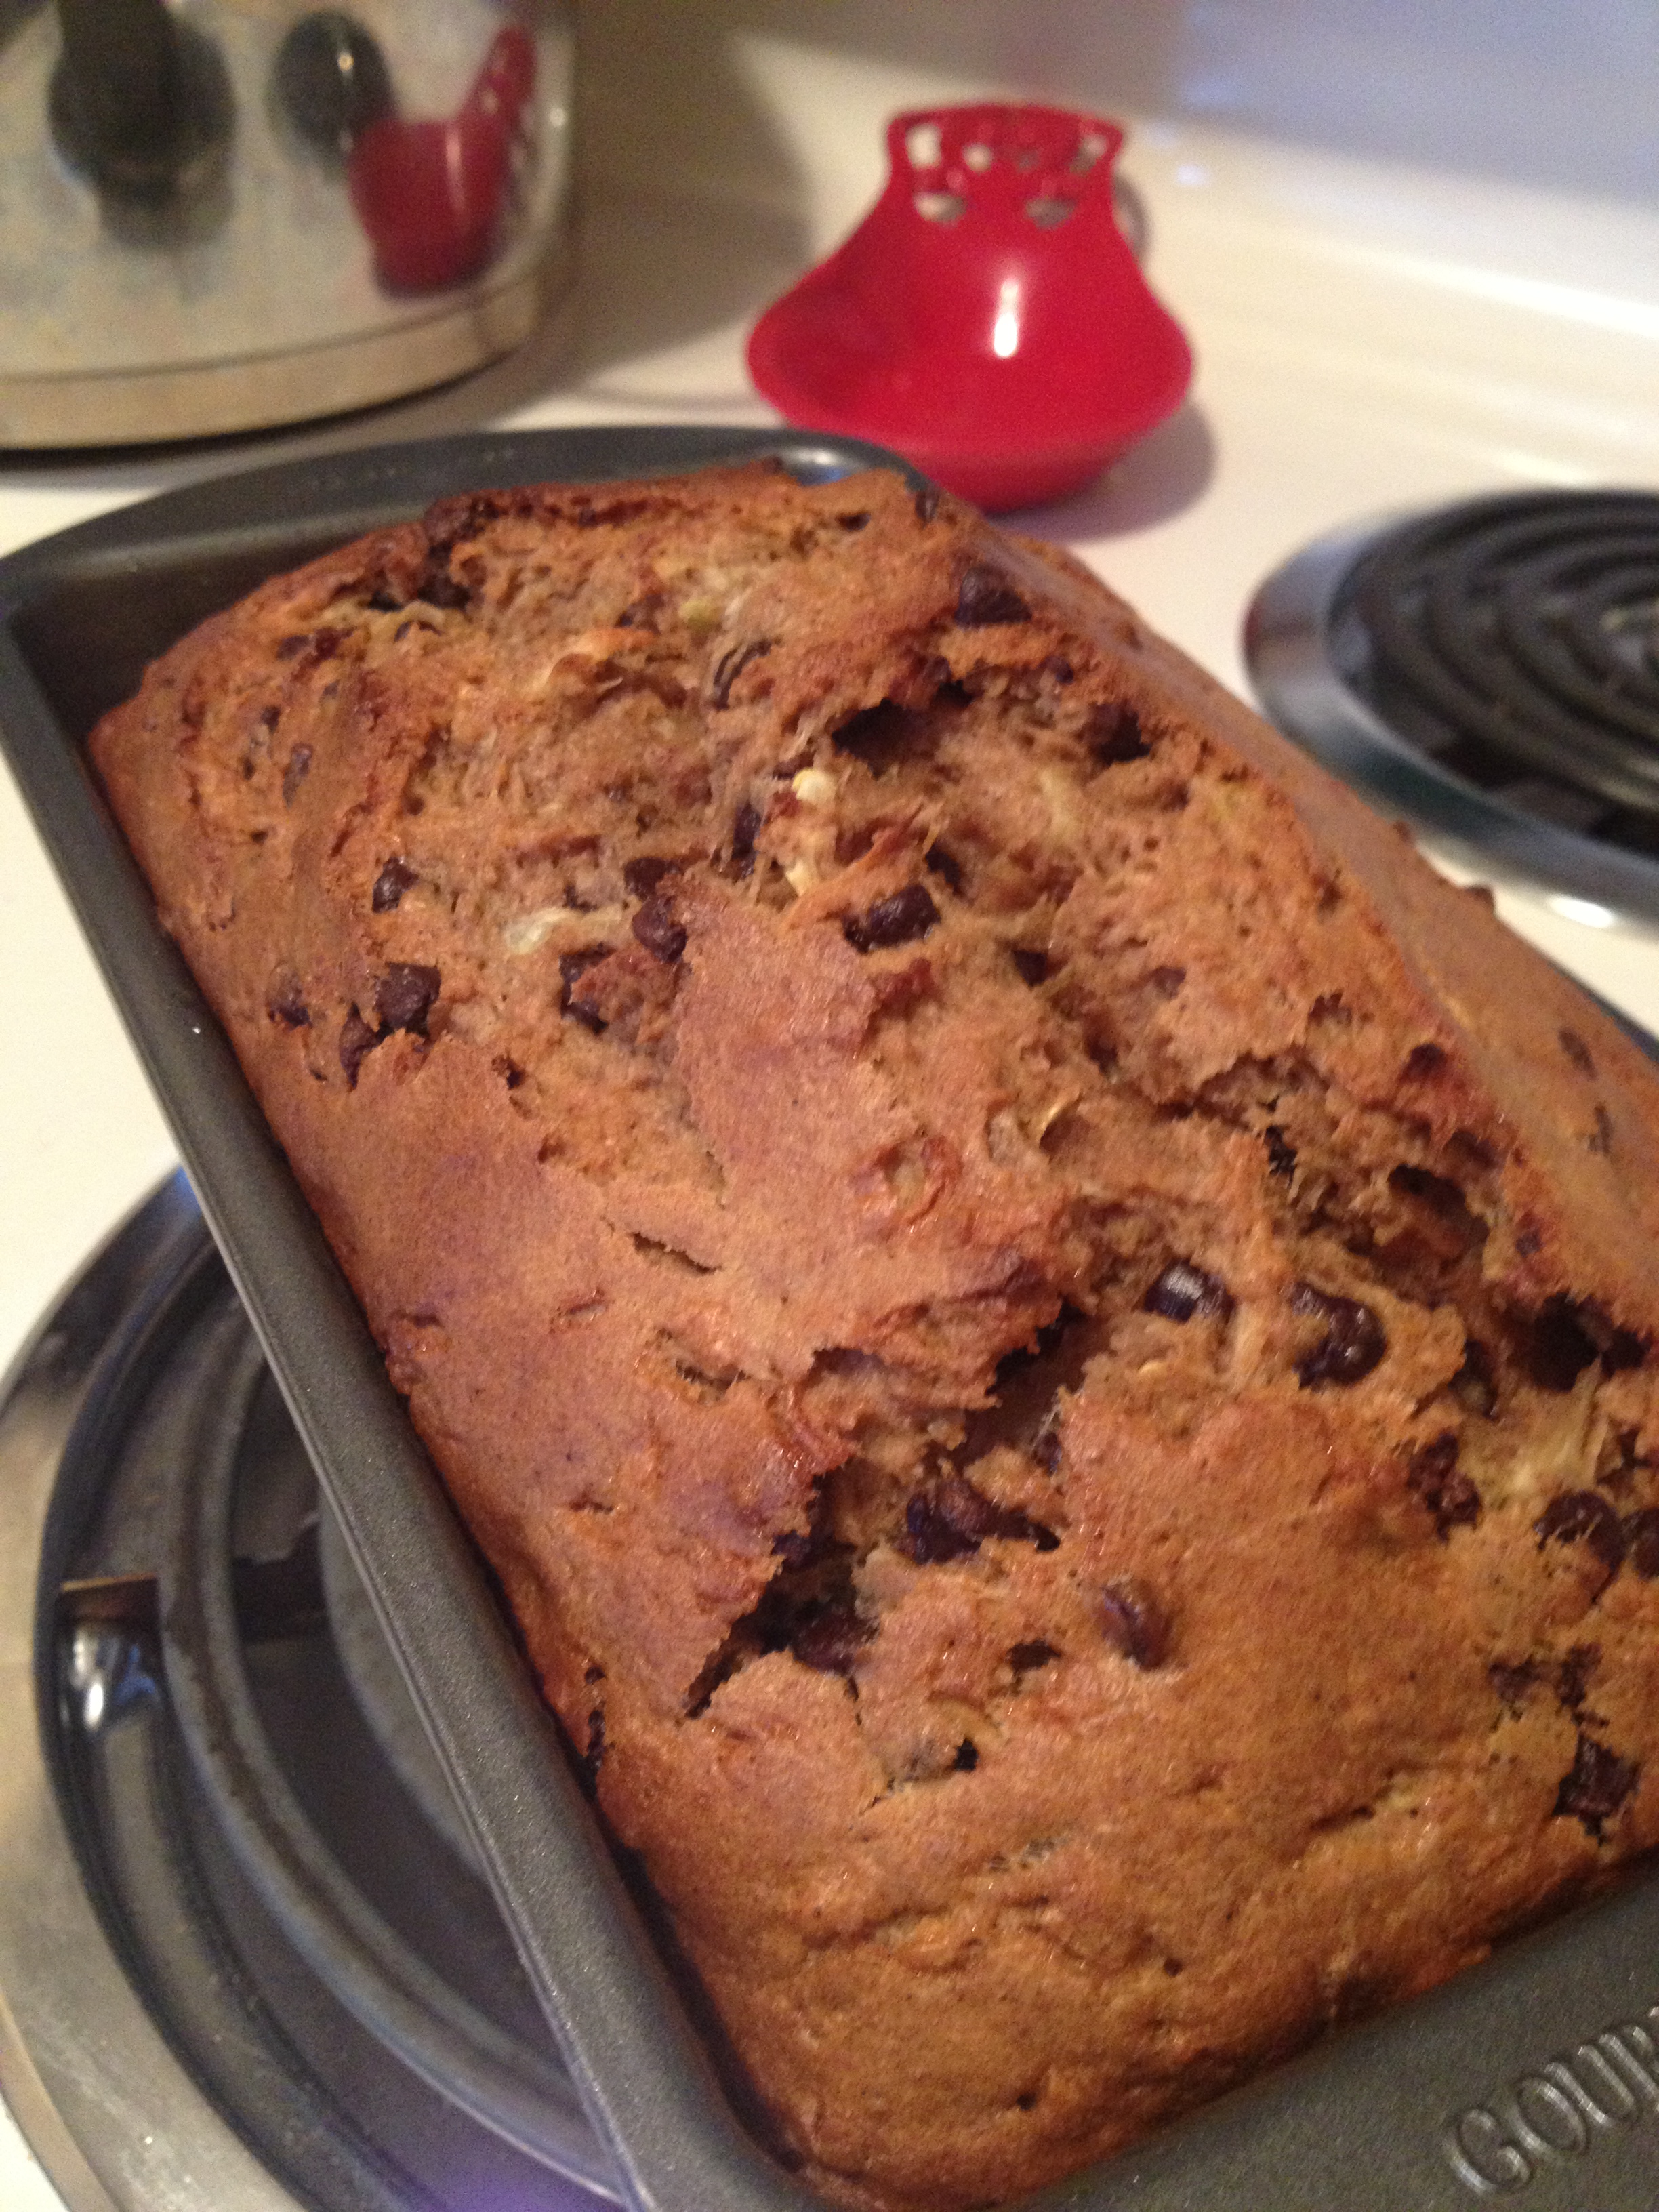
So one of my clients gave me a RIDICULOUSLY big zucchini. Enormous. Like an elephant trunk. I wish I took a picture of it. So what to do with this unholy piece of vegetable? At first I would cut it up and roast or fry it…but then I was still left with half of the zucchini (I would probably measure it at 2 feet). So I say to myself…why not bake something you’ve tried before? Whole-wheat chocolate chip zucchini bread, of course! I got the recipe from here and tweaked it. And I may have added a few dashes of things to make it more Falllike. This is one delicious and healthy recipe! Let’s get to it.

  • Prep Time: 20 minutes
  • Baking Time60 minutes

Ingredients

  • 2 cups whole-wheat flour
  • 2 cups shredded zucchini
  • 1 cup mini-chocolate chips
  • 1/3 cup olive oil
  • 1/3 cup brown sugar
  • 2 eggs
  • 1/2 cup chopped walnuts
  • 1/2 tsp nutmeg
  • 1 tsp vanilla extract
  • 1 tsp cinnamon
  • 1/3 cup honey
  • 1 tsp salt
  • 1/2 tsp baking soda
  • 1/2 tsp baking powder

Directions

  • Preheat the oven to 350 degrees F and grease a bread pan
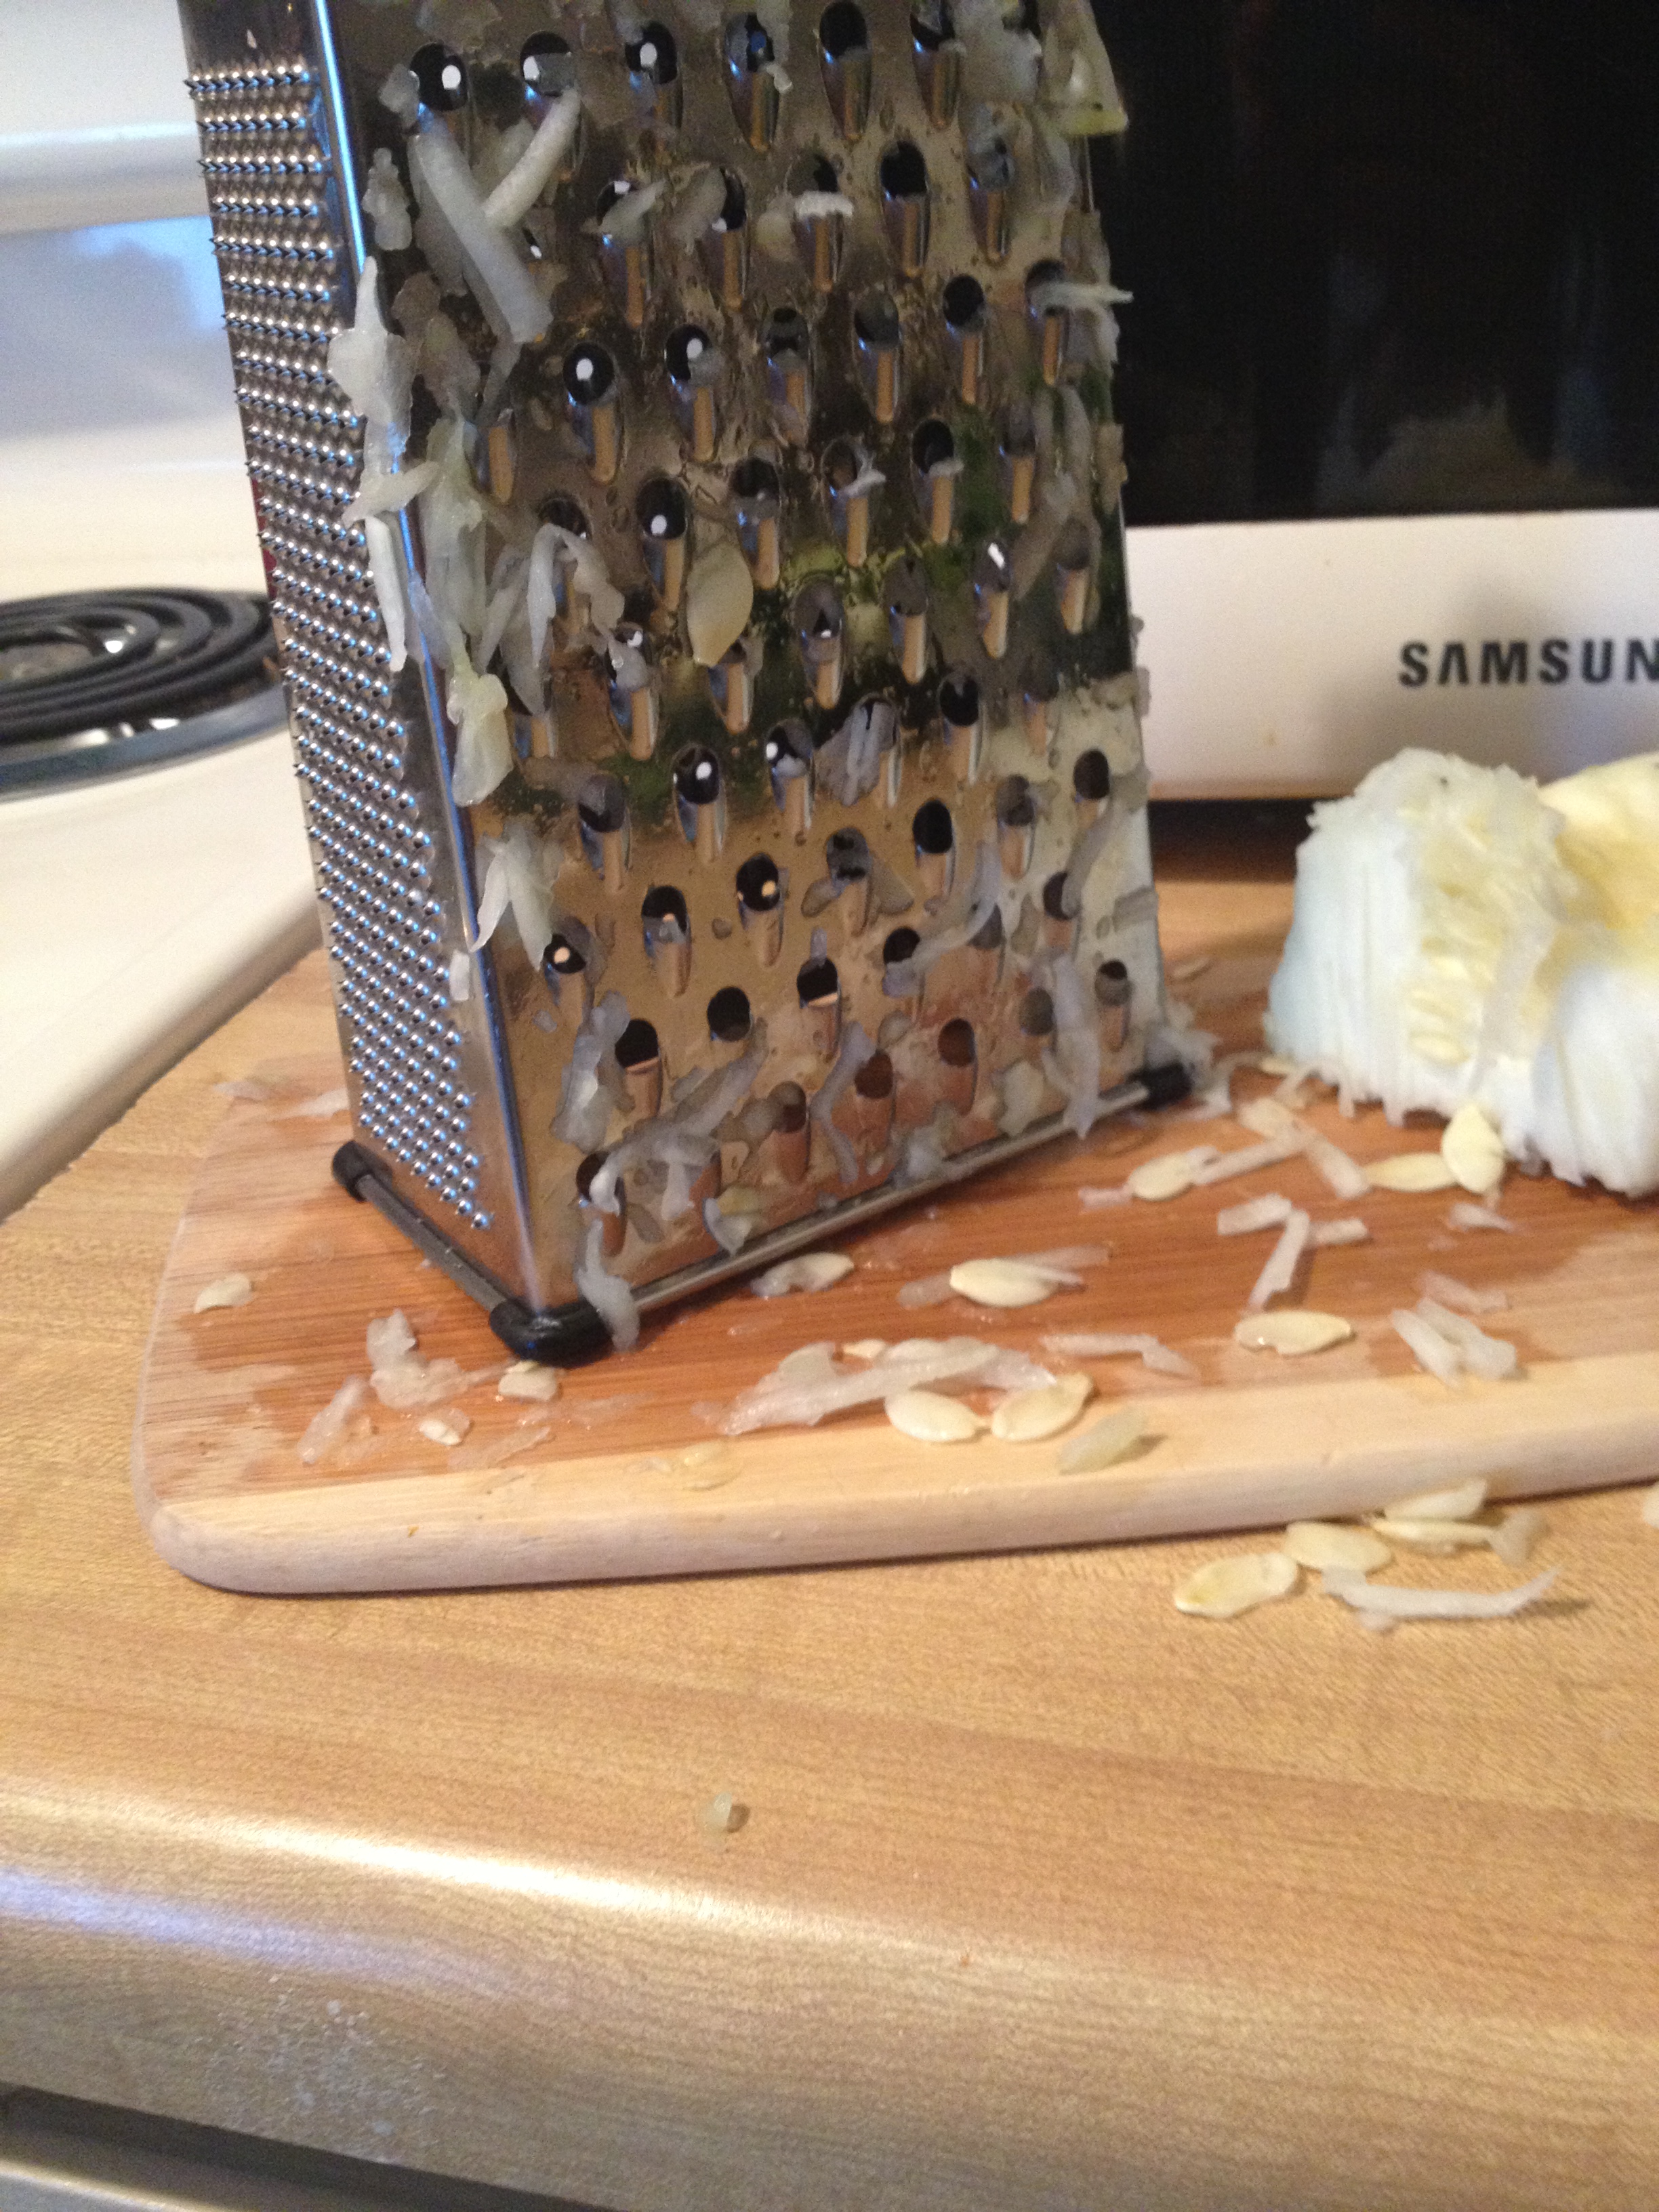
  • First off, let’s peel and shred that darn zucchini. Remember you only need 2 cups worth, so don’t get too crazy

photo 1 (12)

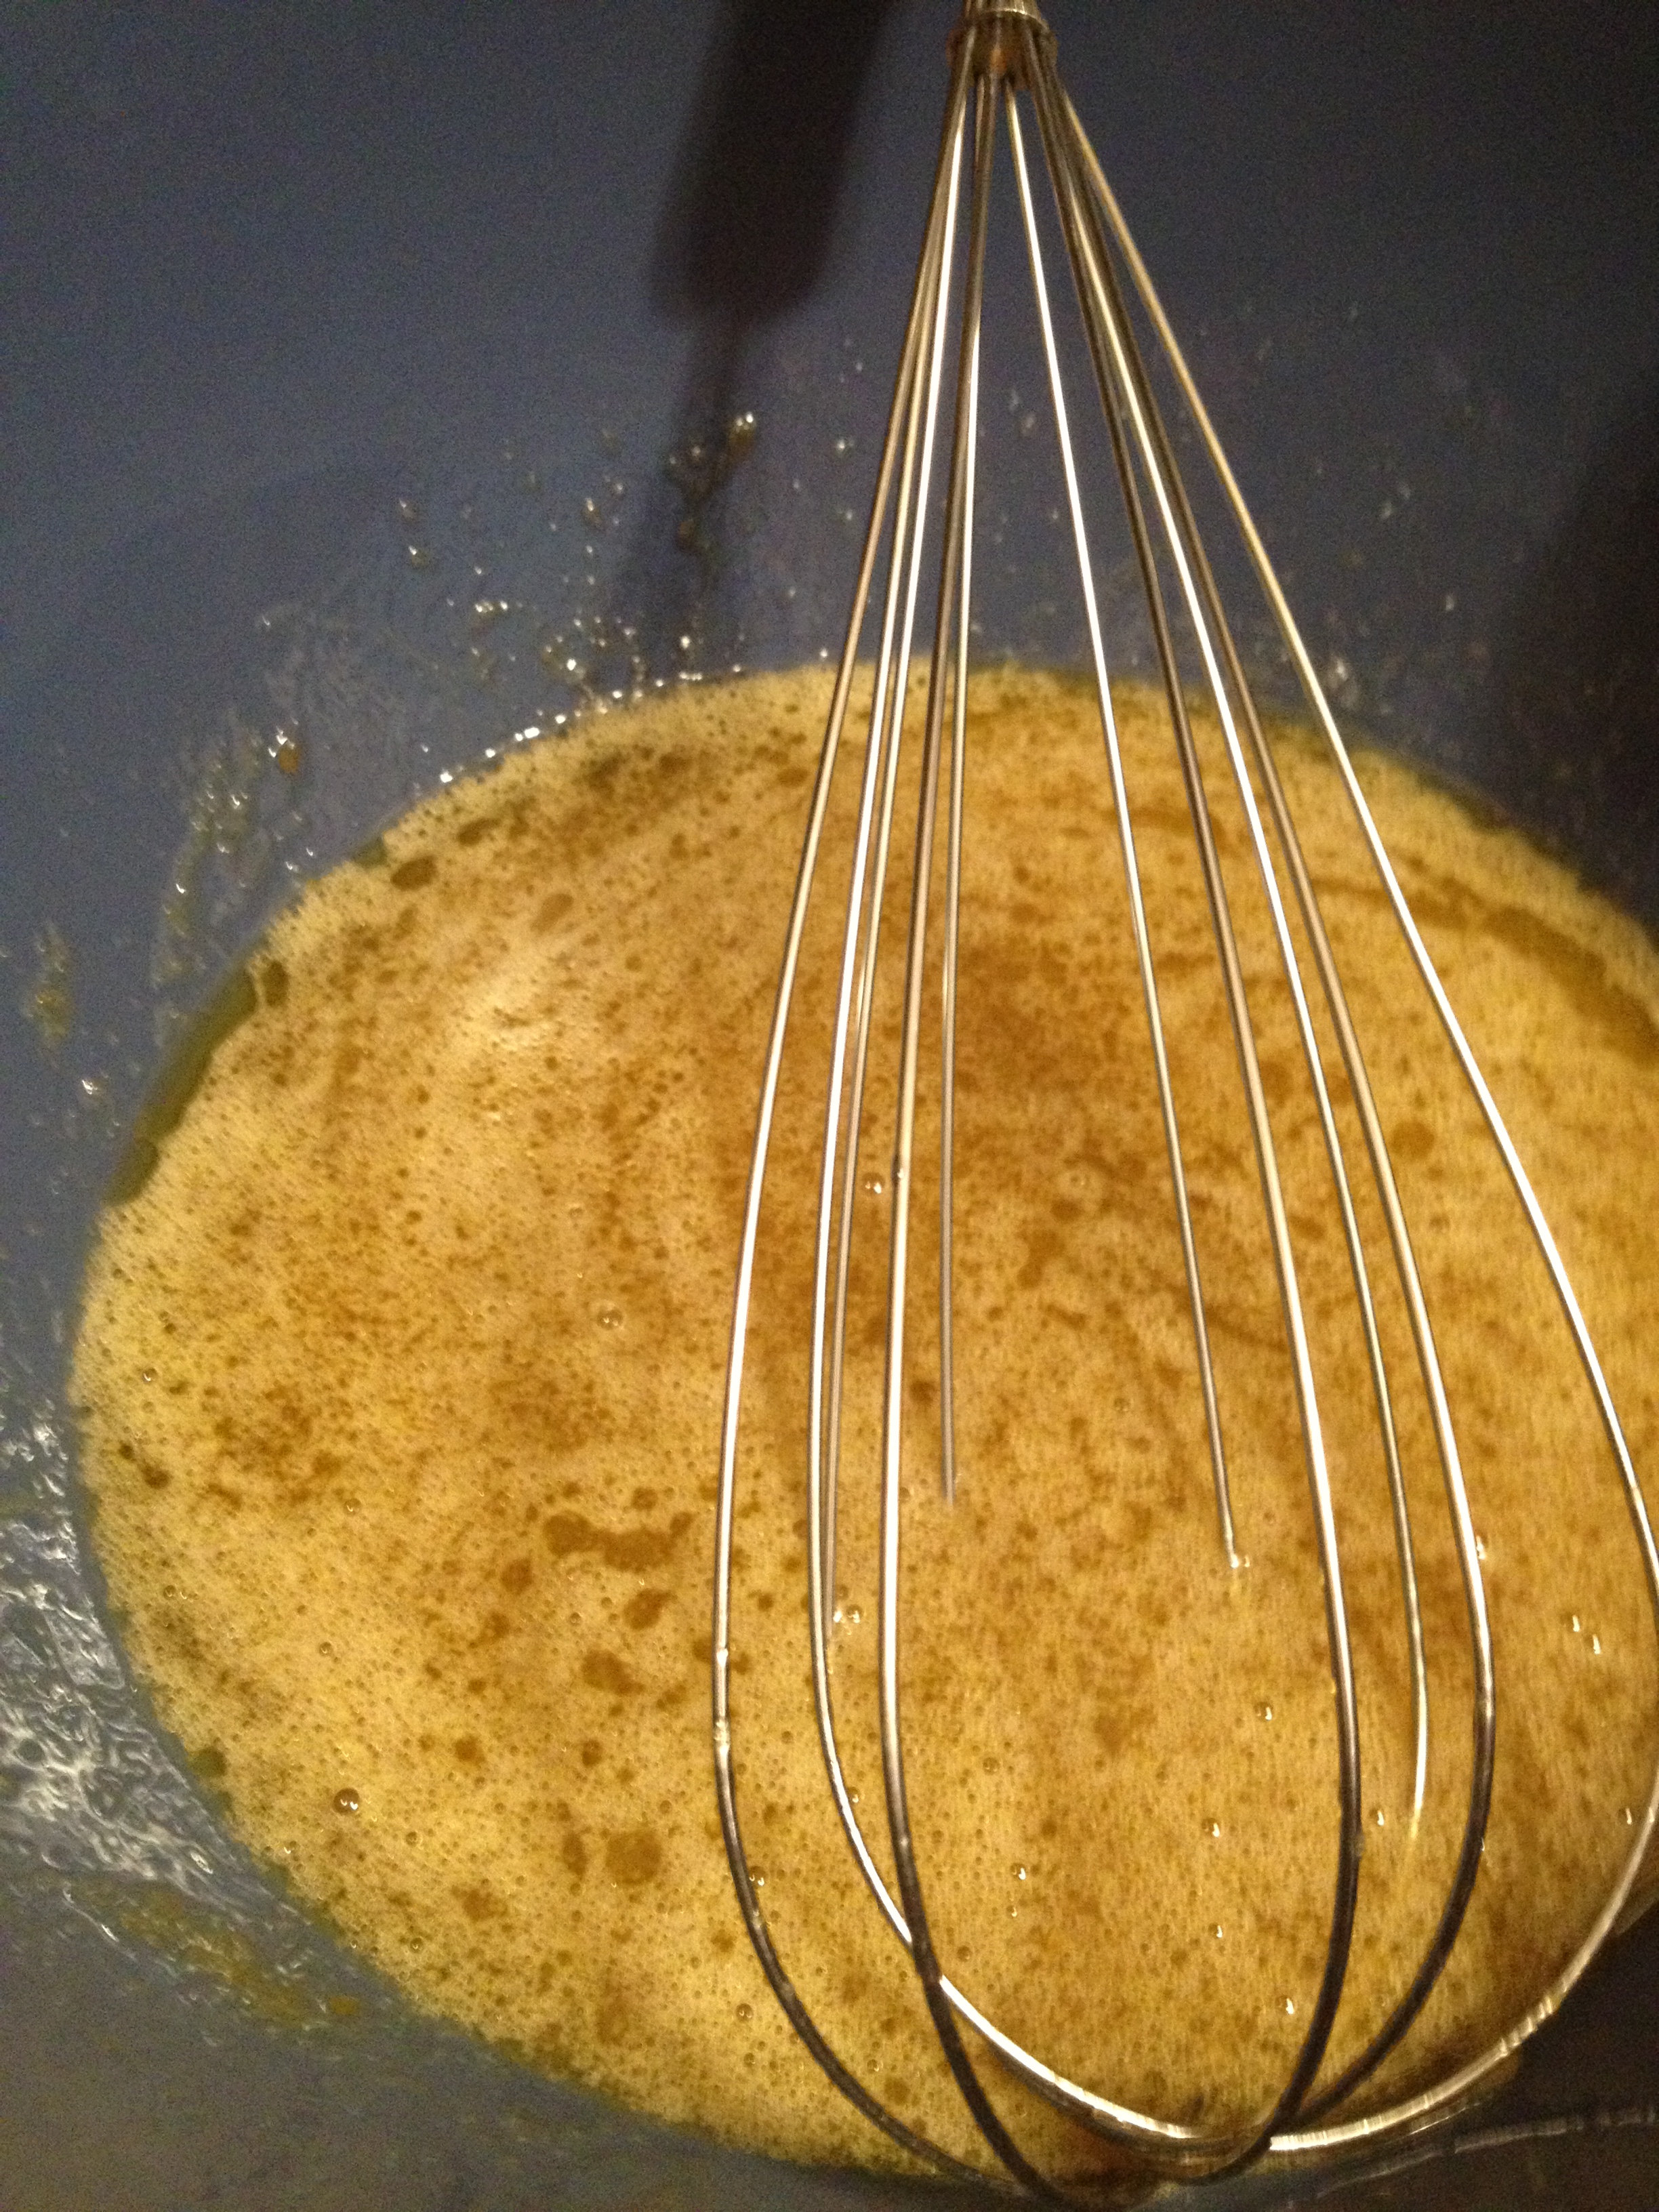
  • Mix all the wet stuff (honey, oil, sugar, vanilla, and eggs) until nice and smooth
Whisk away

Whisk away

  • Now add the flour, salt, baking powder and soda, cinnamon, and nutmeg!  Mix it well
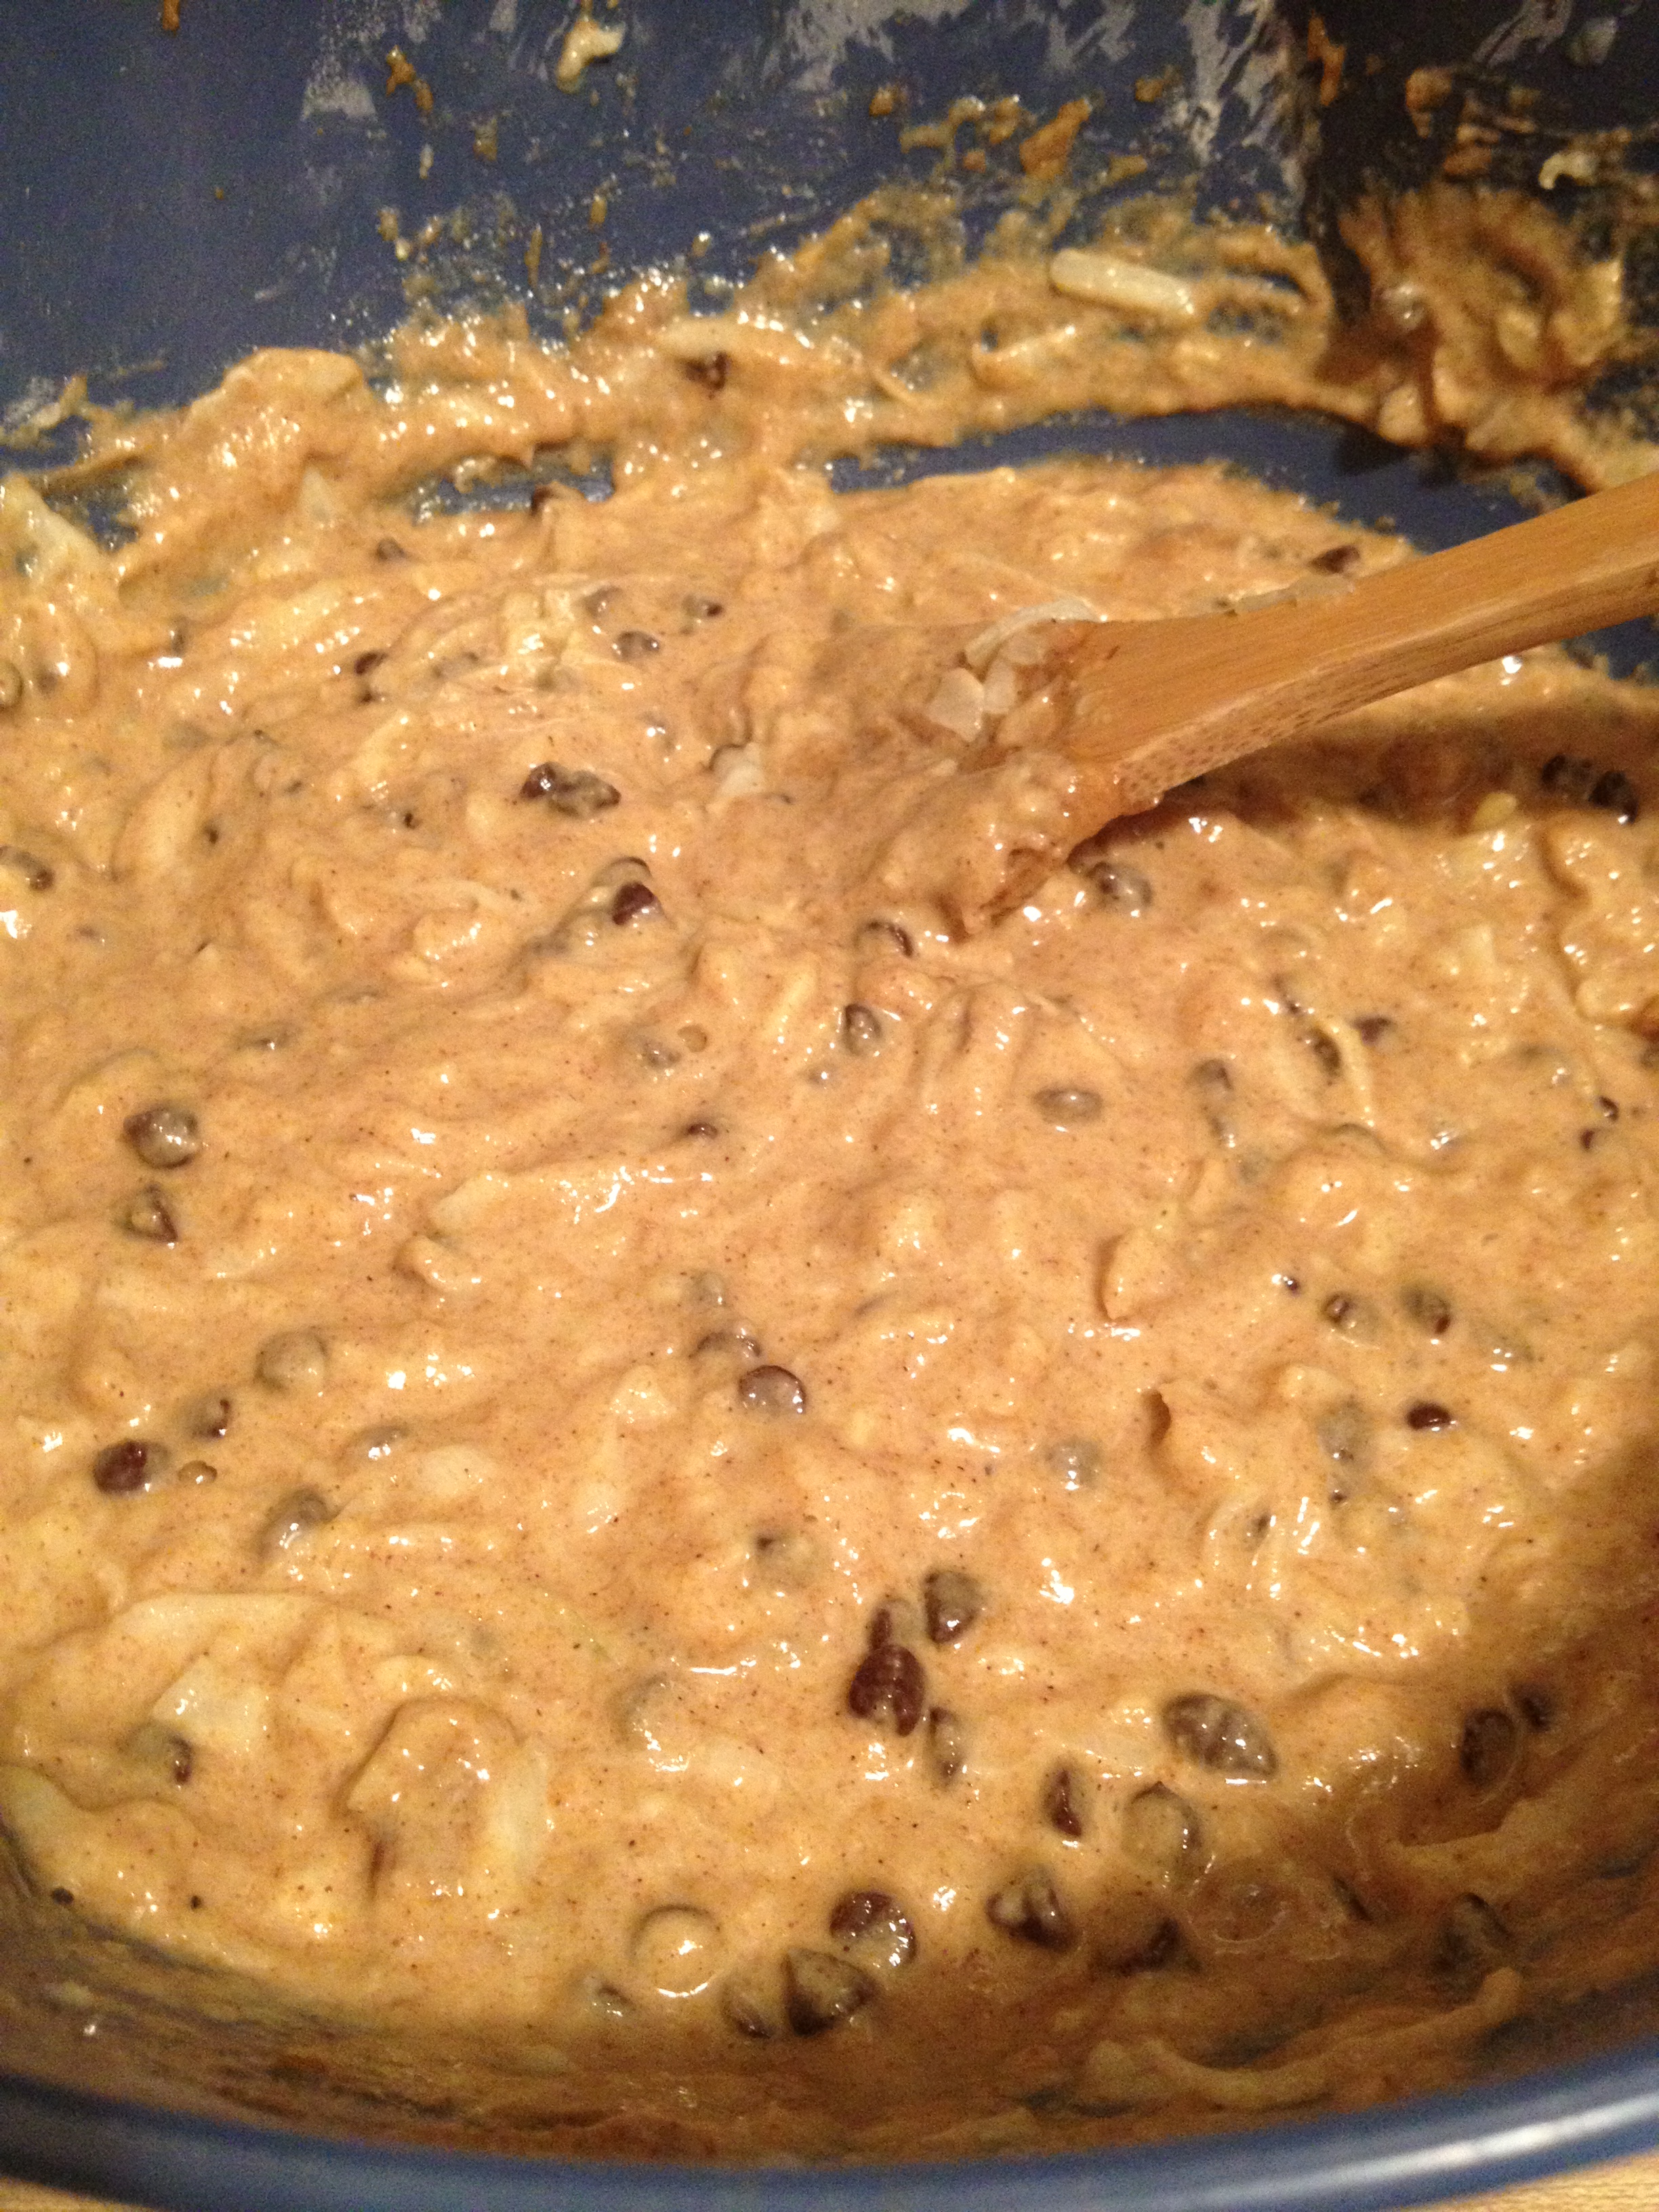
  • Now stir in the zucchini, nuts, and chocolate chips!
Could eat this batter allllll day

Could eat this batter allllll day

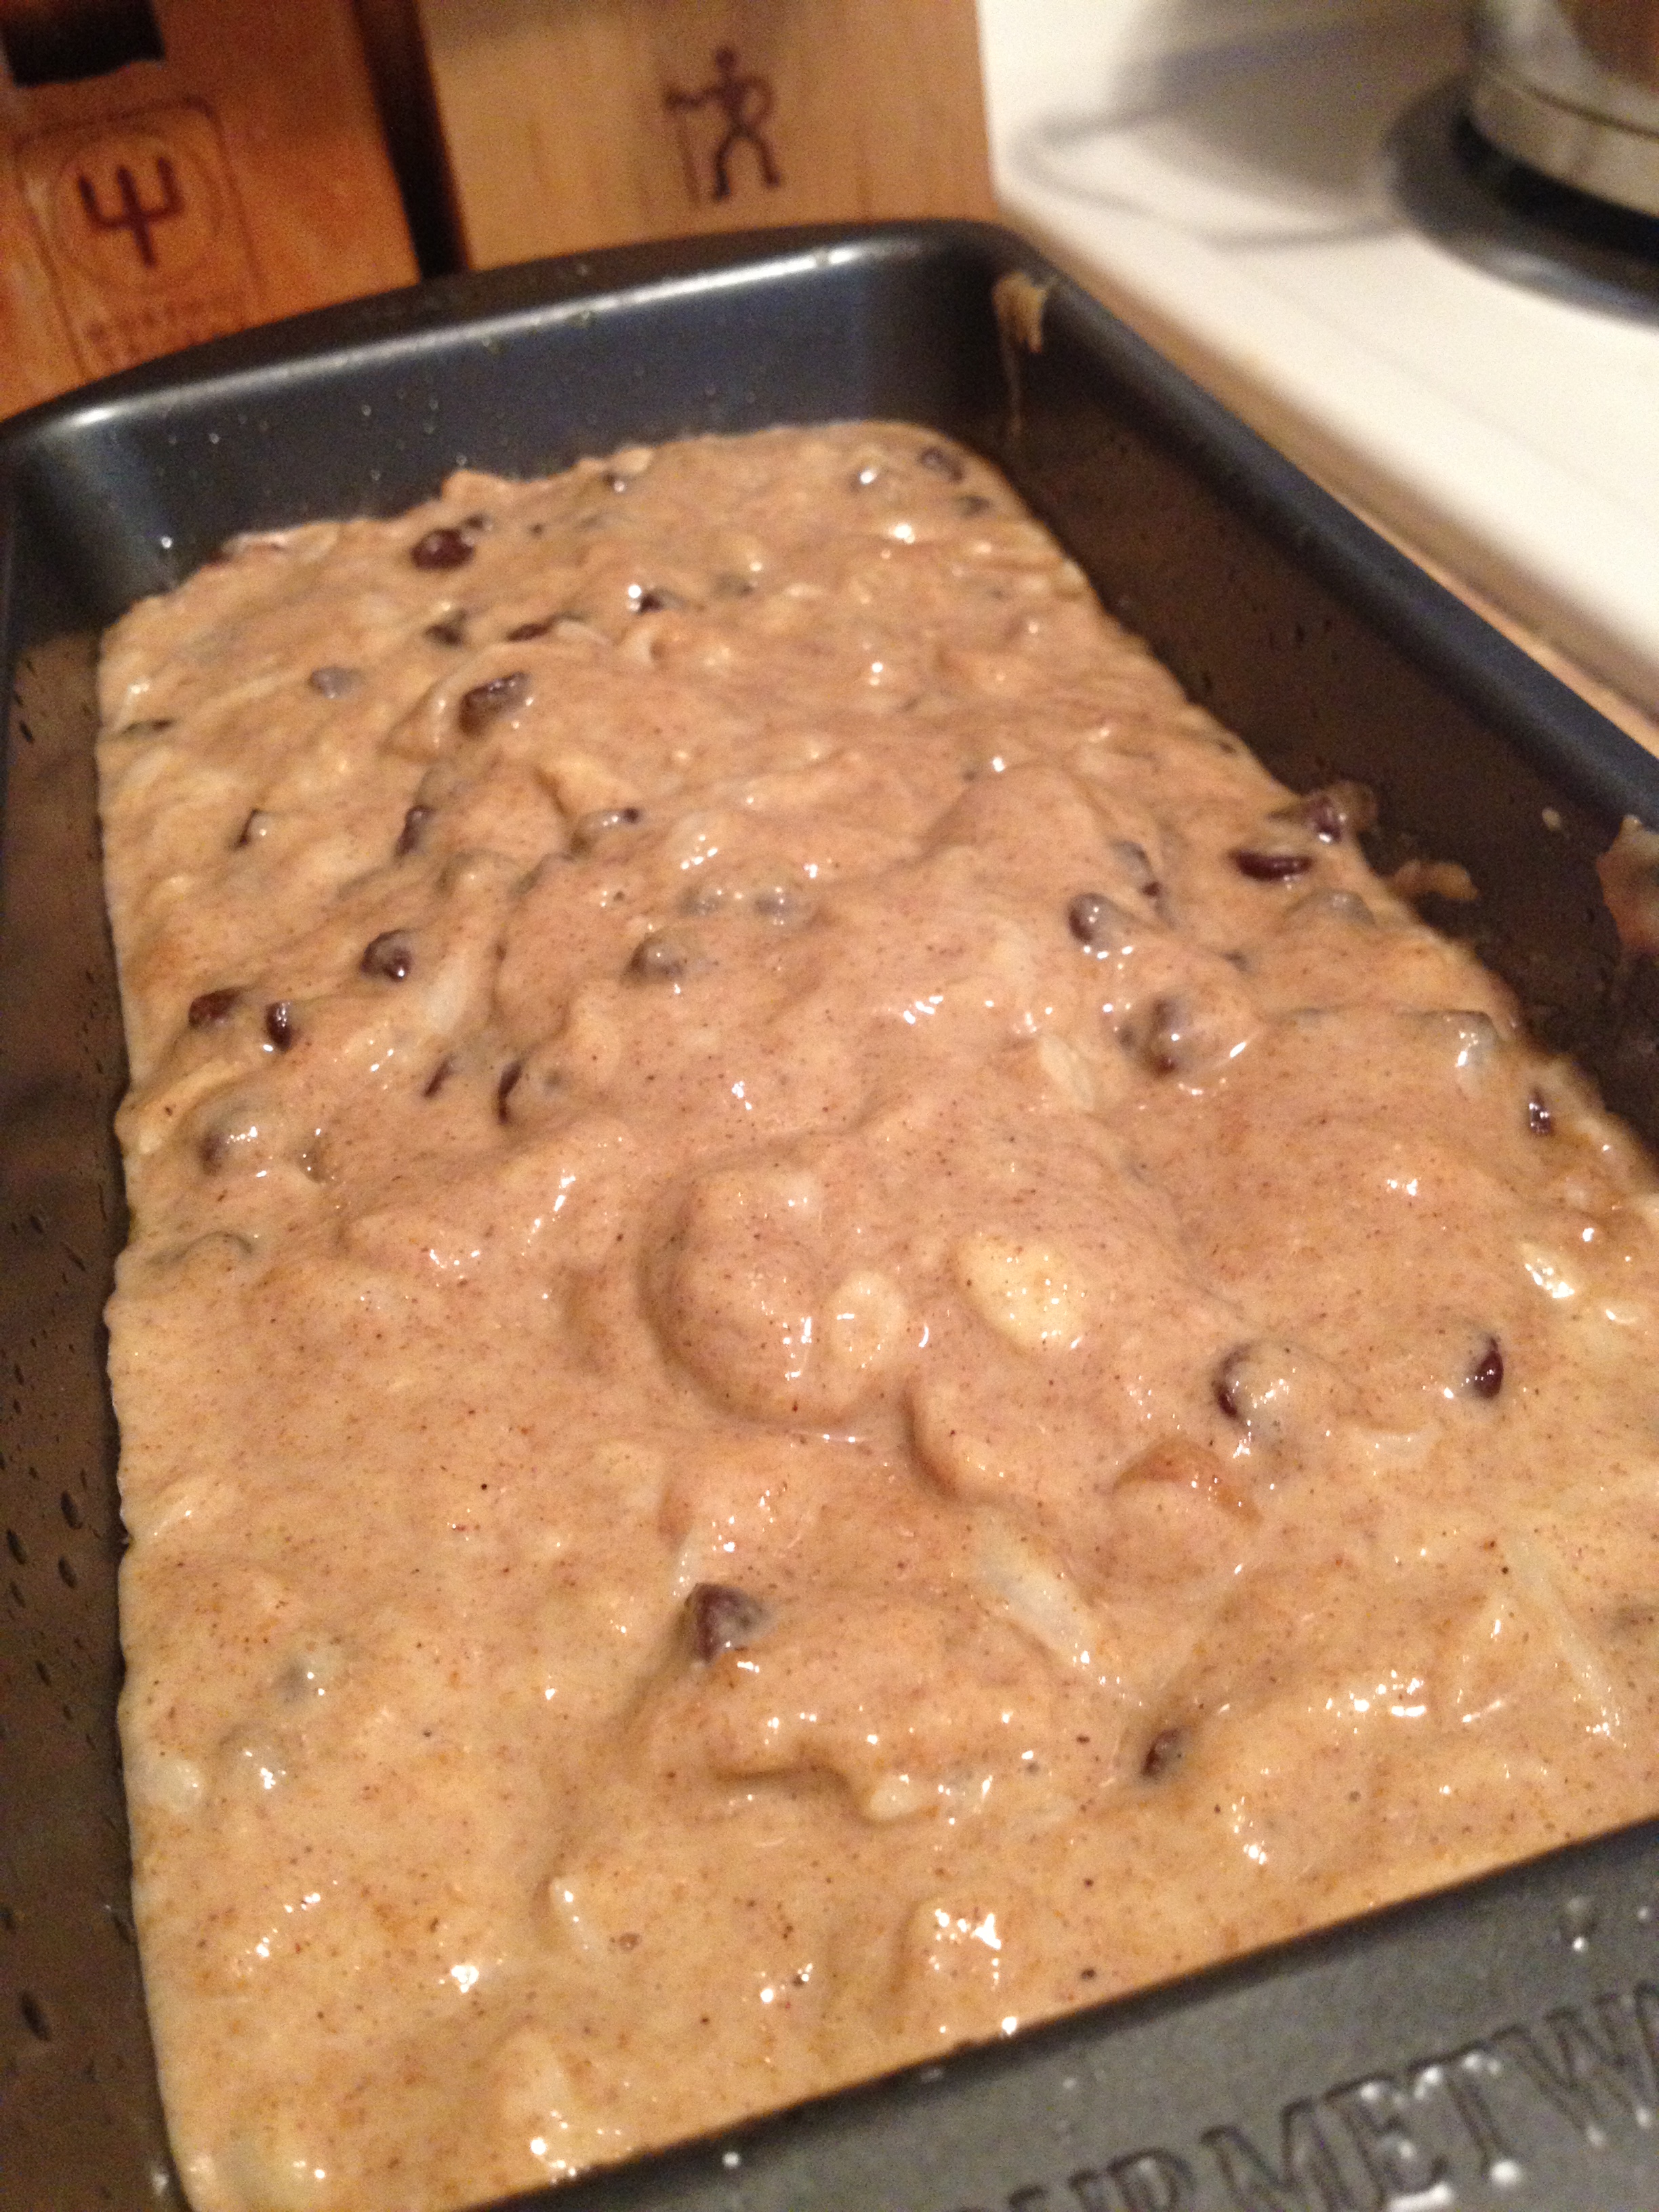
  • Now scoop this batter into that greased up bread pan and make even

photo 3 (18)

  • Now let’s put it in the oven for 55-60 minutes. Test it by sticking a fork or toothpick in it.
Nom nom nom

Nom nom nom

And that’s really it! The zucchini adds a wonderful texture to the bread. This is one great way of tricking your kids into eating zucchini by hiding it in this beautiful bread! Make sure to let cool for a little bit before serving, I know, it’s hard. Pretty simple recipe and instructions, perfect for leftover zucchini. After the first day, put in the fridge to keep the zucchini from going bad. Use this recipe to stay hungry and fit!

You might also like…

BONUS KITTY PIC

photo 5 (5)

spacer

Our Weekend in Pictures

Sorry for the no-Monday post, but I was busy studying and Chris was busy scuba-diving. I thought I would share the weekend in pictures…enjoy!

Chris getting his scuba certification

Chris getting his scuba certification

Great start to a Saturday...

Great start to a Saturday…

Visited tons of farms and went pumpkin picking

Visited tons of farms and went pumpkin picking

photo (14)

Little Salvation Army visit...

Little Salvation Army visit…

Obviously visited the Humane Society...

Obviously visited the Humane Society…

Chris almost took this guy home

Chris almost took this guy home

Awwwwwwwww

Awwwwwwwww

Video games

Video games

Castle marathons

Castle marathons

Going to the Flatirons Mall and enjoying some Sarku

Going to the Flatirons Mall and enjoying some Sarku

Grocery shopping

Grocery shopping

Some home-cooked meals

Some home-cooked meals

Study snacks (totally stole this from Chocolate Covered Race Medals)

Study snacks (totally stole this from Chocolate Covered Race Medals)

Not to mention WORKOUTS

Not to mention WORKOUTS

Chris surprised me with a 3-course meal from one of our favorite restaurants, Dagabi Cucina

Chris surprised me with a 3-course meal from one of our favorite restaurants, Dagabi Cucina

You might also like…

BONUS KITTY PIC

^.^

^.^

spacer