Archives

Almost-S’more Banana Cookies [3 Ingredients!]

After a nice light workout, and a delicious post-workout dinner at Mediterranean Market (one of our favorites), I wanted some dessert. I had eaten pretty light at dinner (it’s so easy to stuff yourself there with delicious falafel), so I was ready for a little dessert. Our favorite Mexican bakery was closed, and we’re both too congested for Glacier (best ice cream in town). We didn’t have much dessert food in the house (besides some squares of dark dark chocolate), so I decided to just make some! I remember seeing this recipe, and it was so simple and easy–the perfect cookies for tonight. And they have good macros to boot (aka pretty healthy)!
I'll take three, please

I’ll take three, please

Why almost-s’more? Because I’m not using any marshmallows. A) Because they have gelatin in them and sometimes horse hooves are used for that, but let’s be honest and turn to B) Didn’t have any in the house. Alright, let’s get to the recipe!

  • Prep Time: 3-5 minutes
  • Bake Time: 13 minutes
  • Makes: 6 cookies

Macros (per cookie)

  • Calories: 116
  • Fat: 3.5g
  • Carbs: 20g
  • Protein: 1g

Ingredients

  • 3/4 cup ground graham crackers (I had the cinnamon kind–yum!)
  • 1 banana
  • 1/4 cup mini chocolate chips

Directions

  • Set oven to 350 degrees F
  • So I tried lining up my baking sheet with parchment paper and it didn’t turn out so well for my cookies. Try just buttering or oiling your baking sheet instead
  • Crush up your graham crackers. Put them in a ziplock and roll a rolling pin over them to get ’em nice and grounded
  • Mash your banana well in a mixing bowl
  • Mix the rest of the ingredients in the bowl
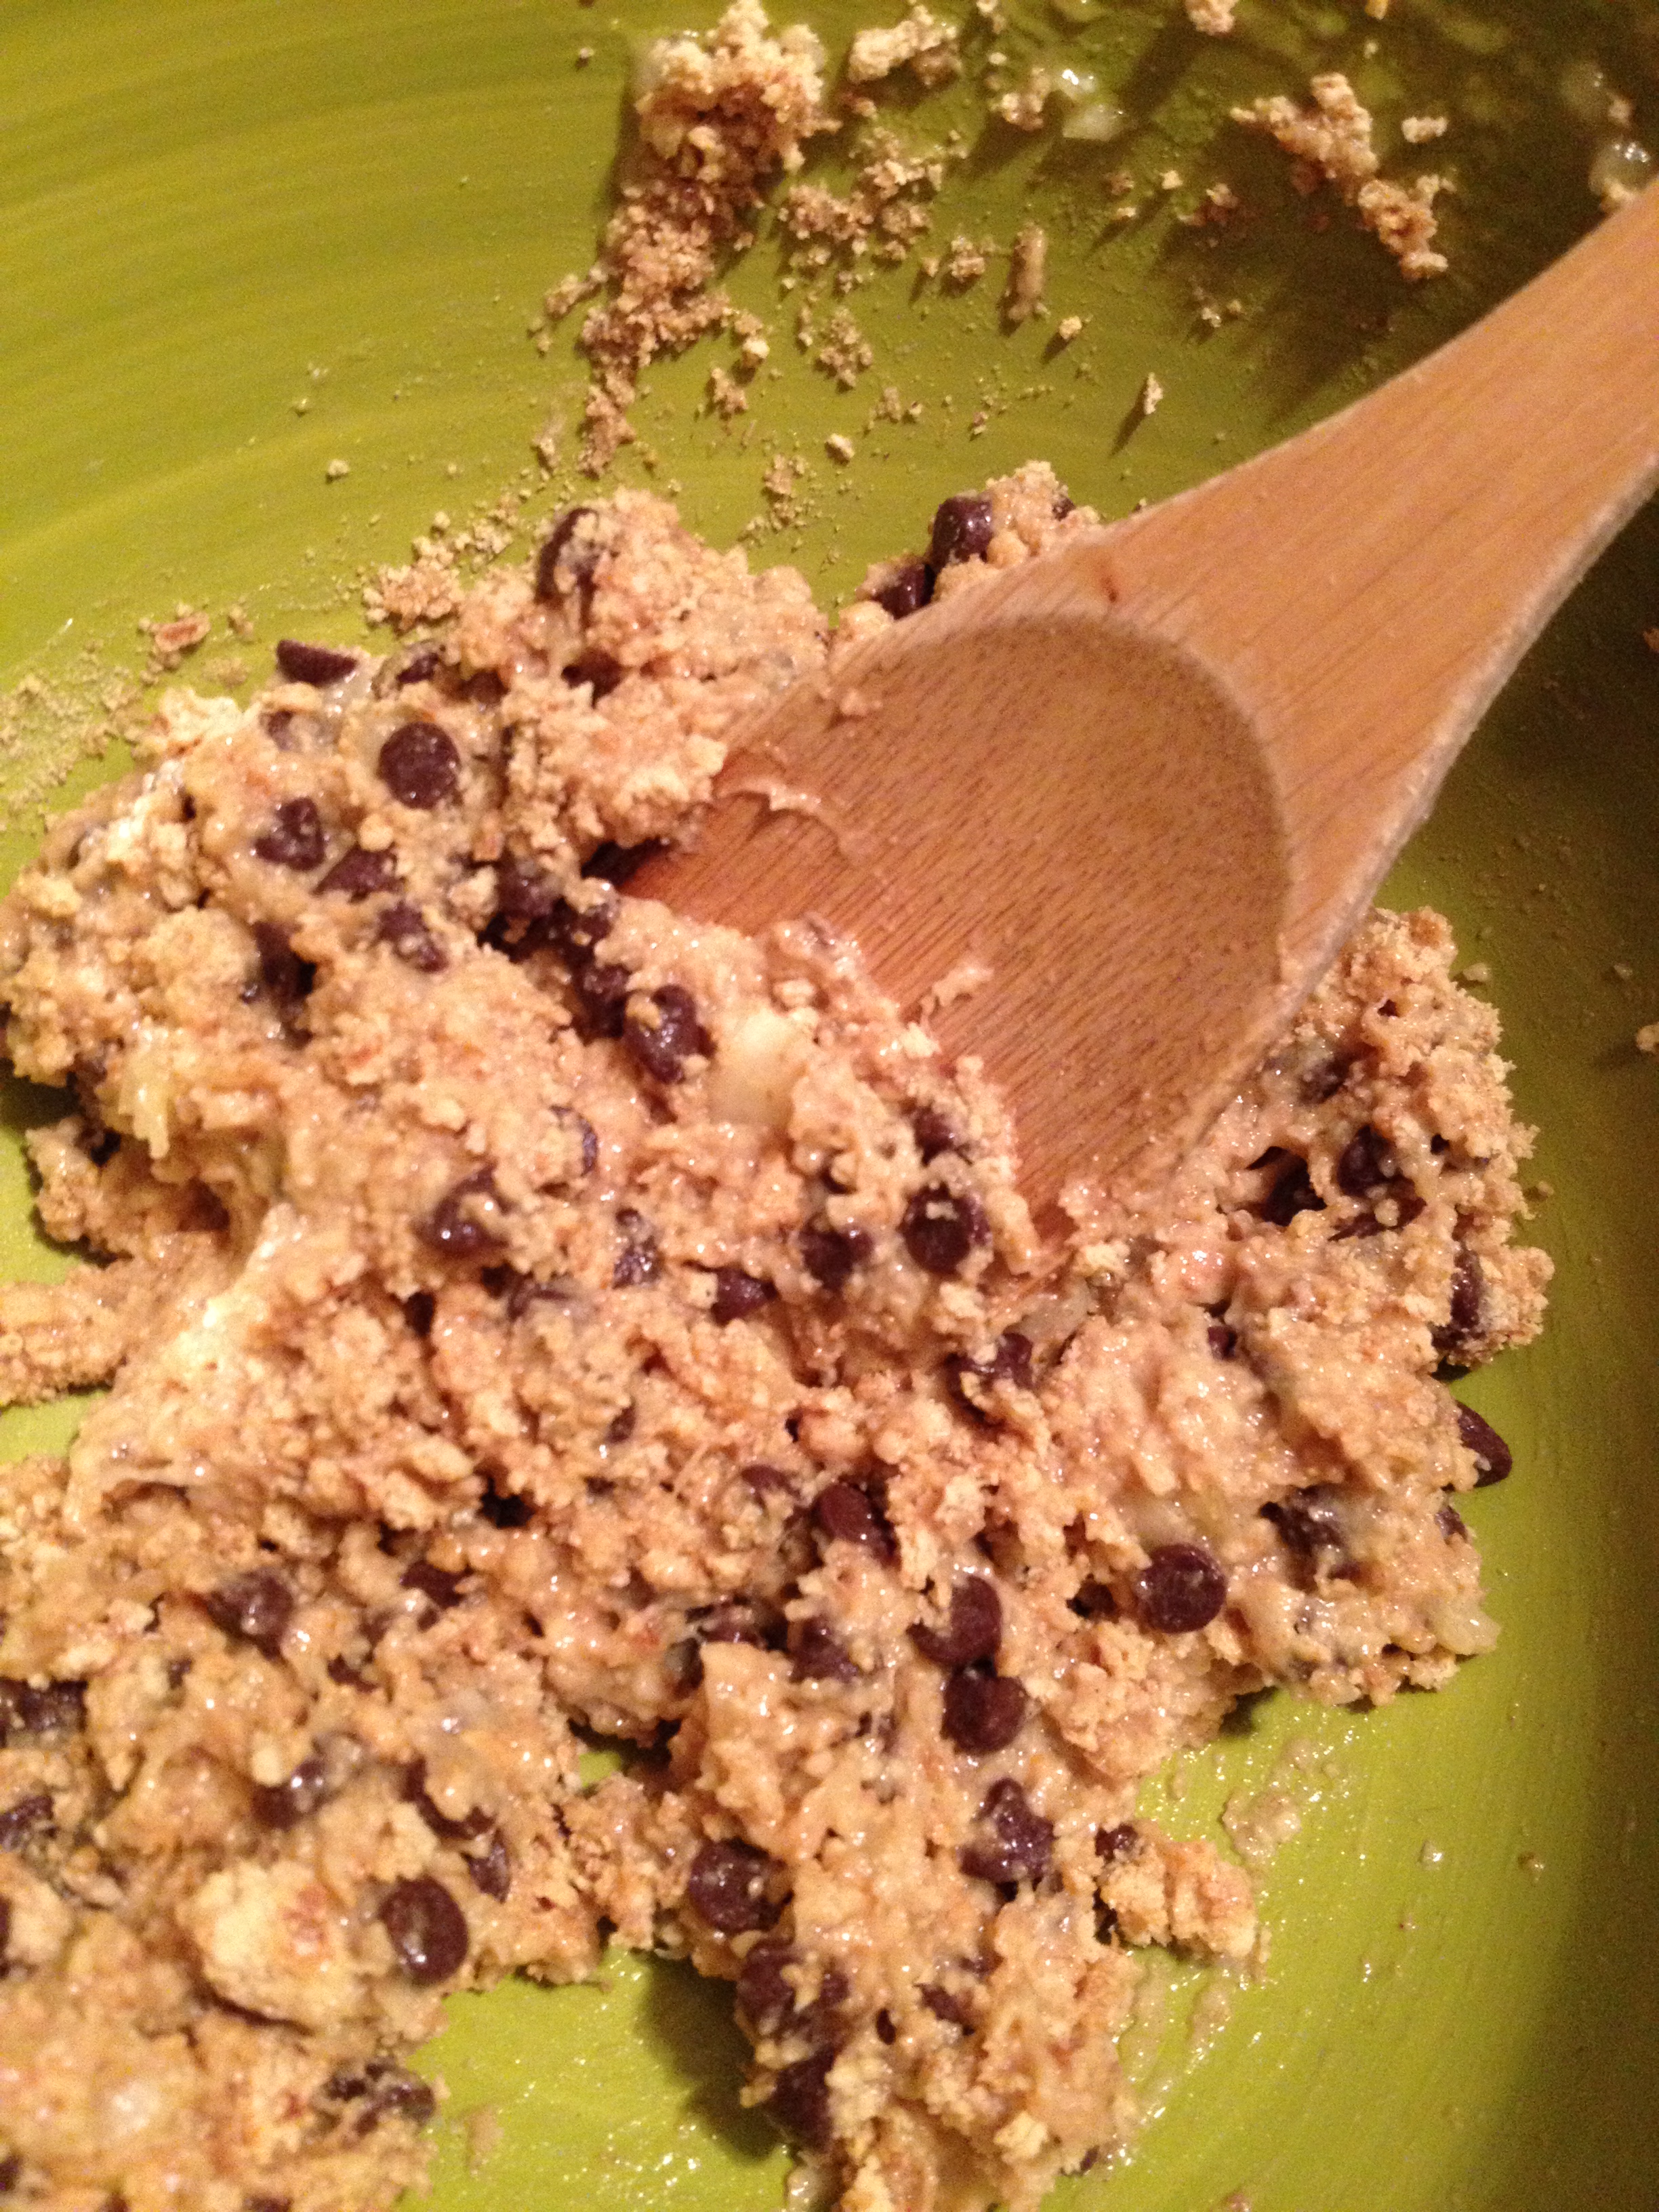
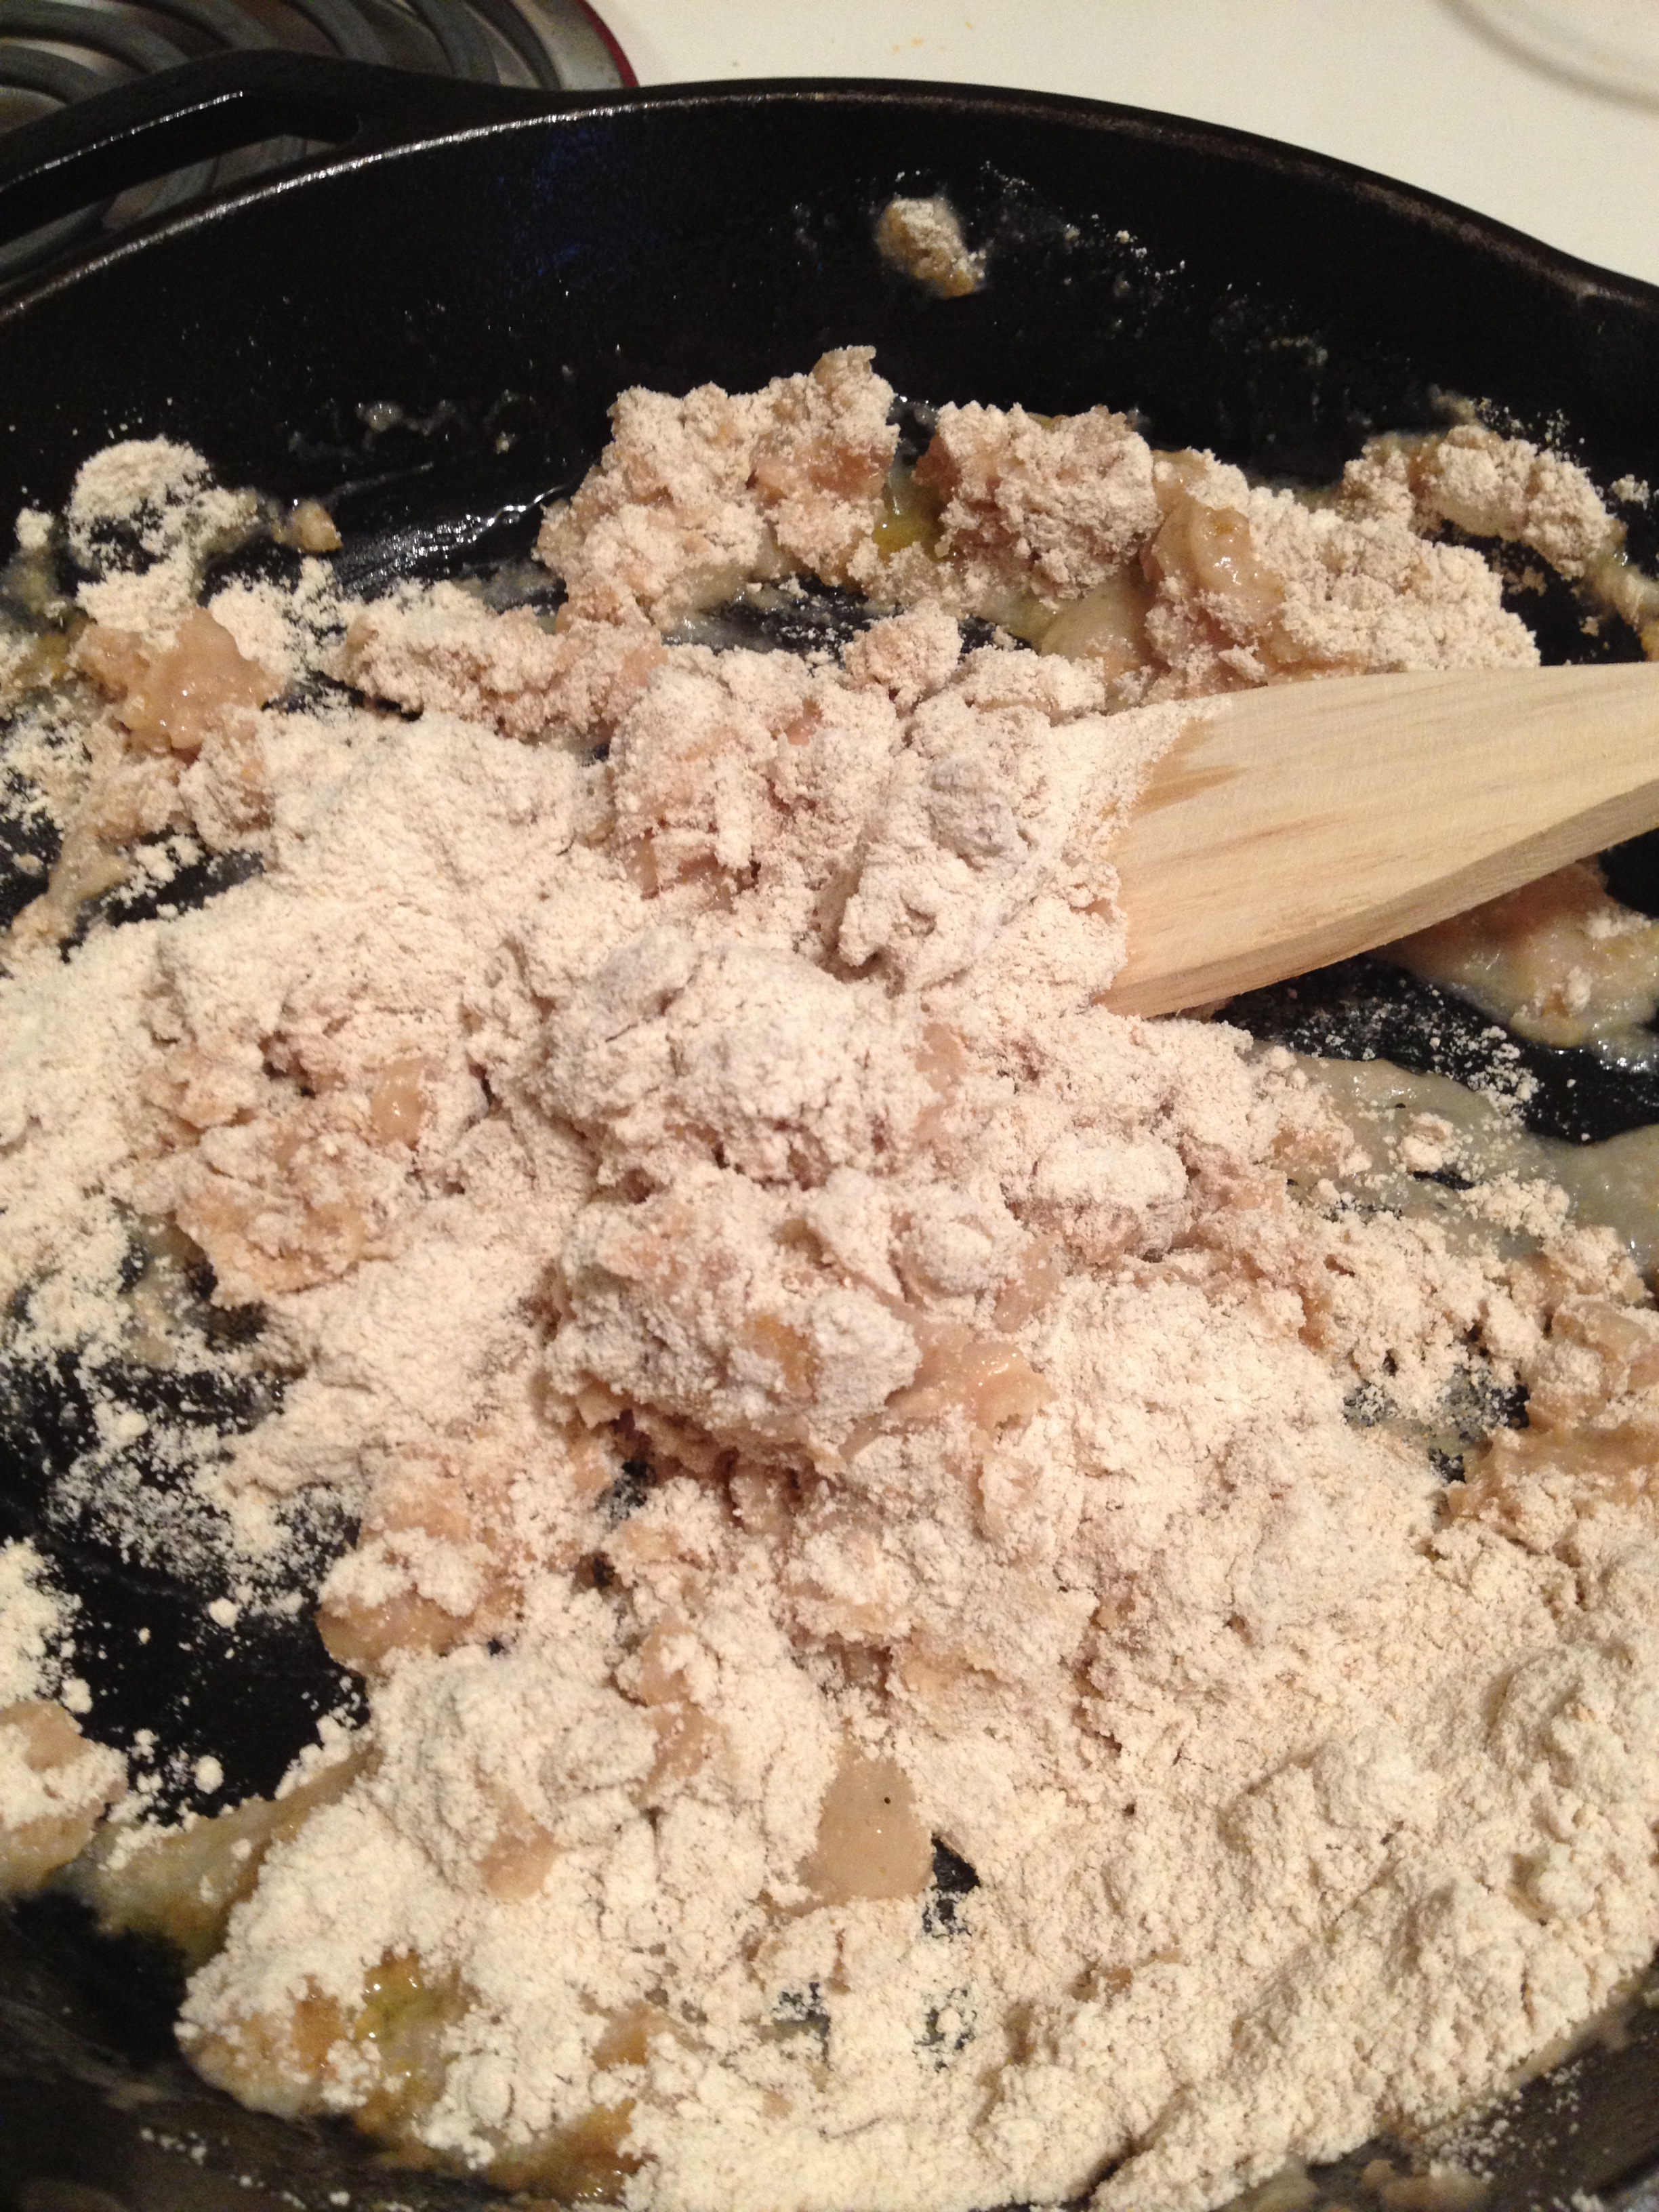
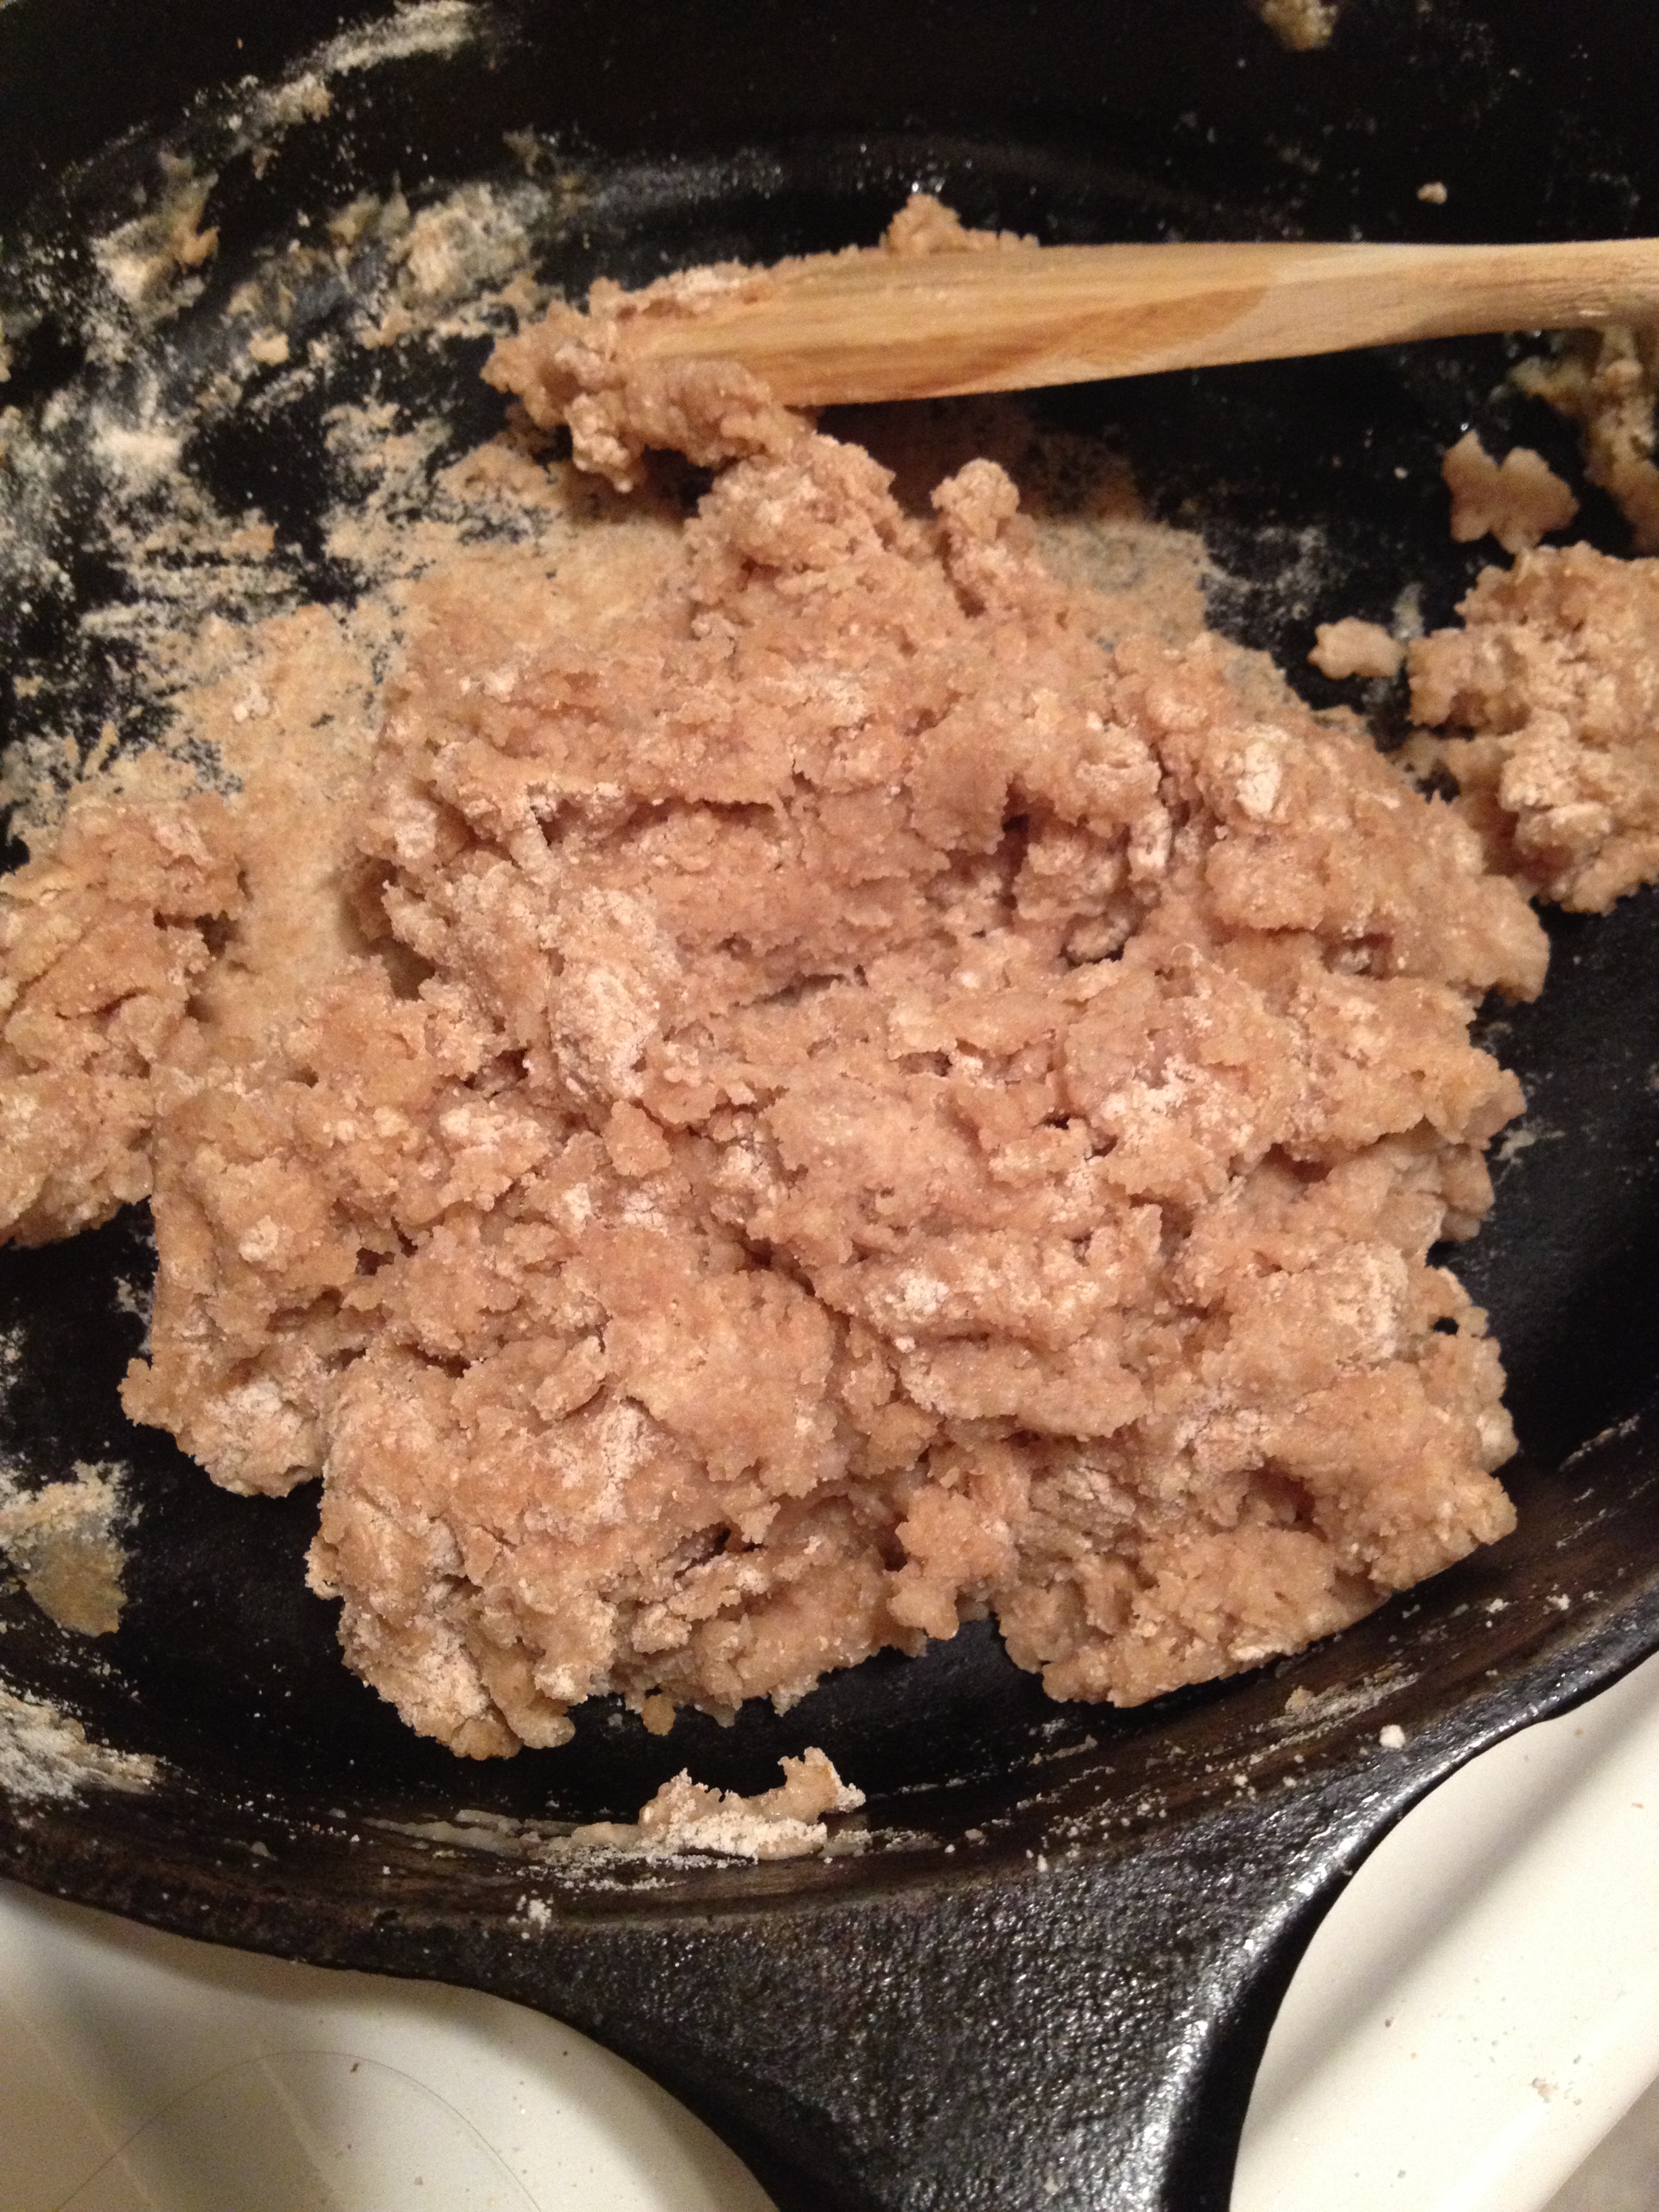
Yum mixture

Yum mixture

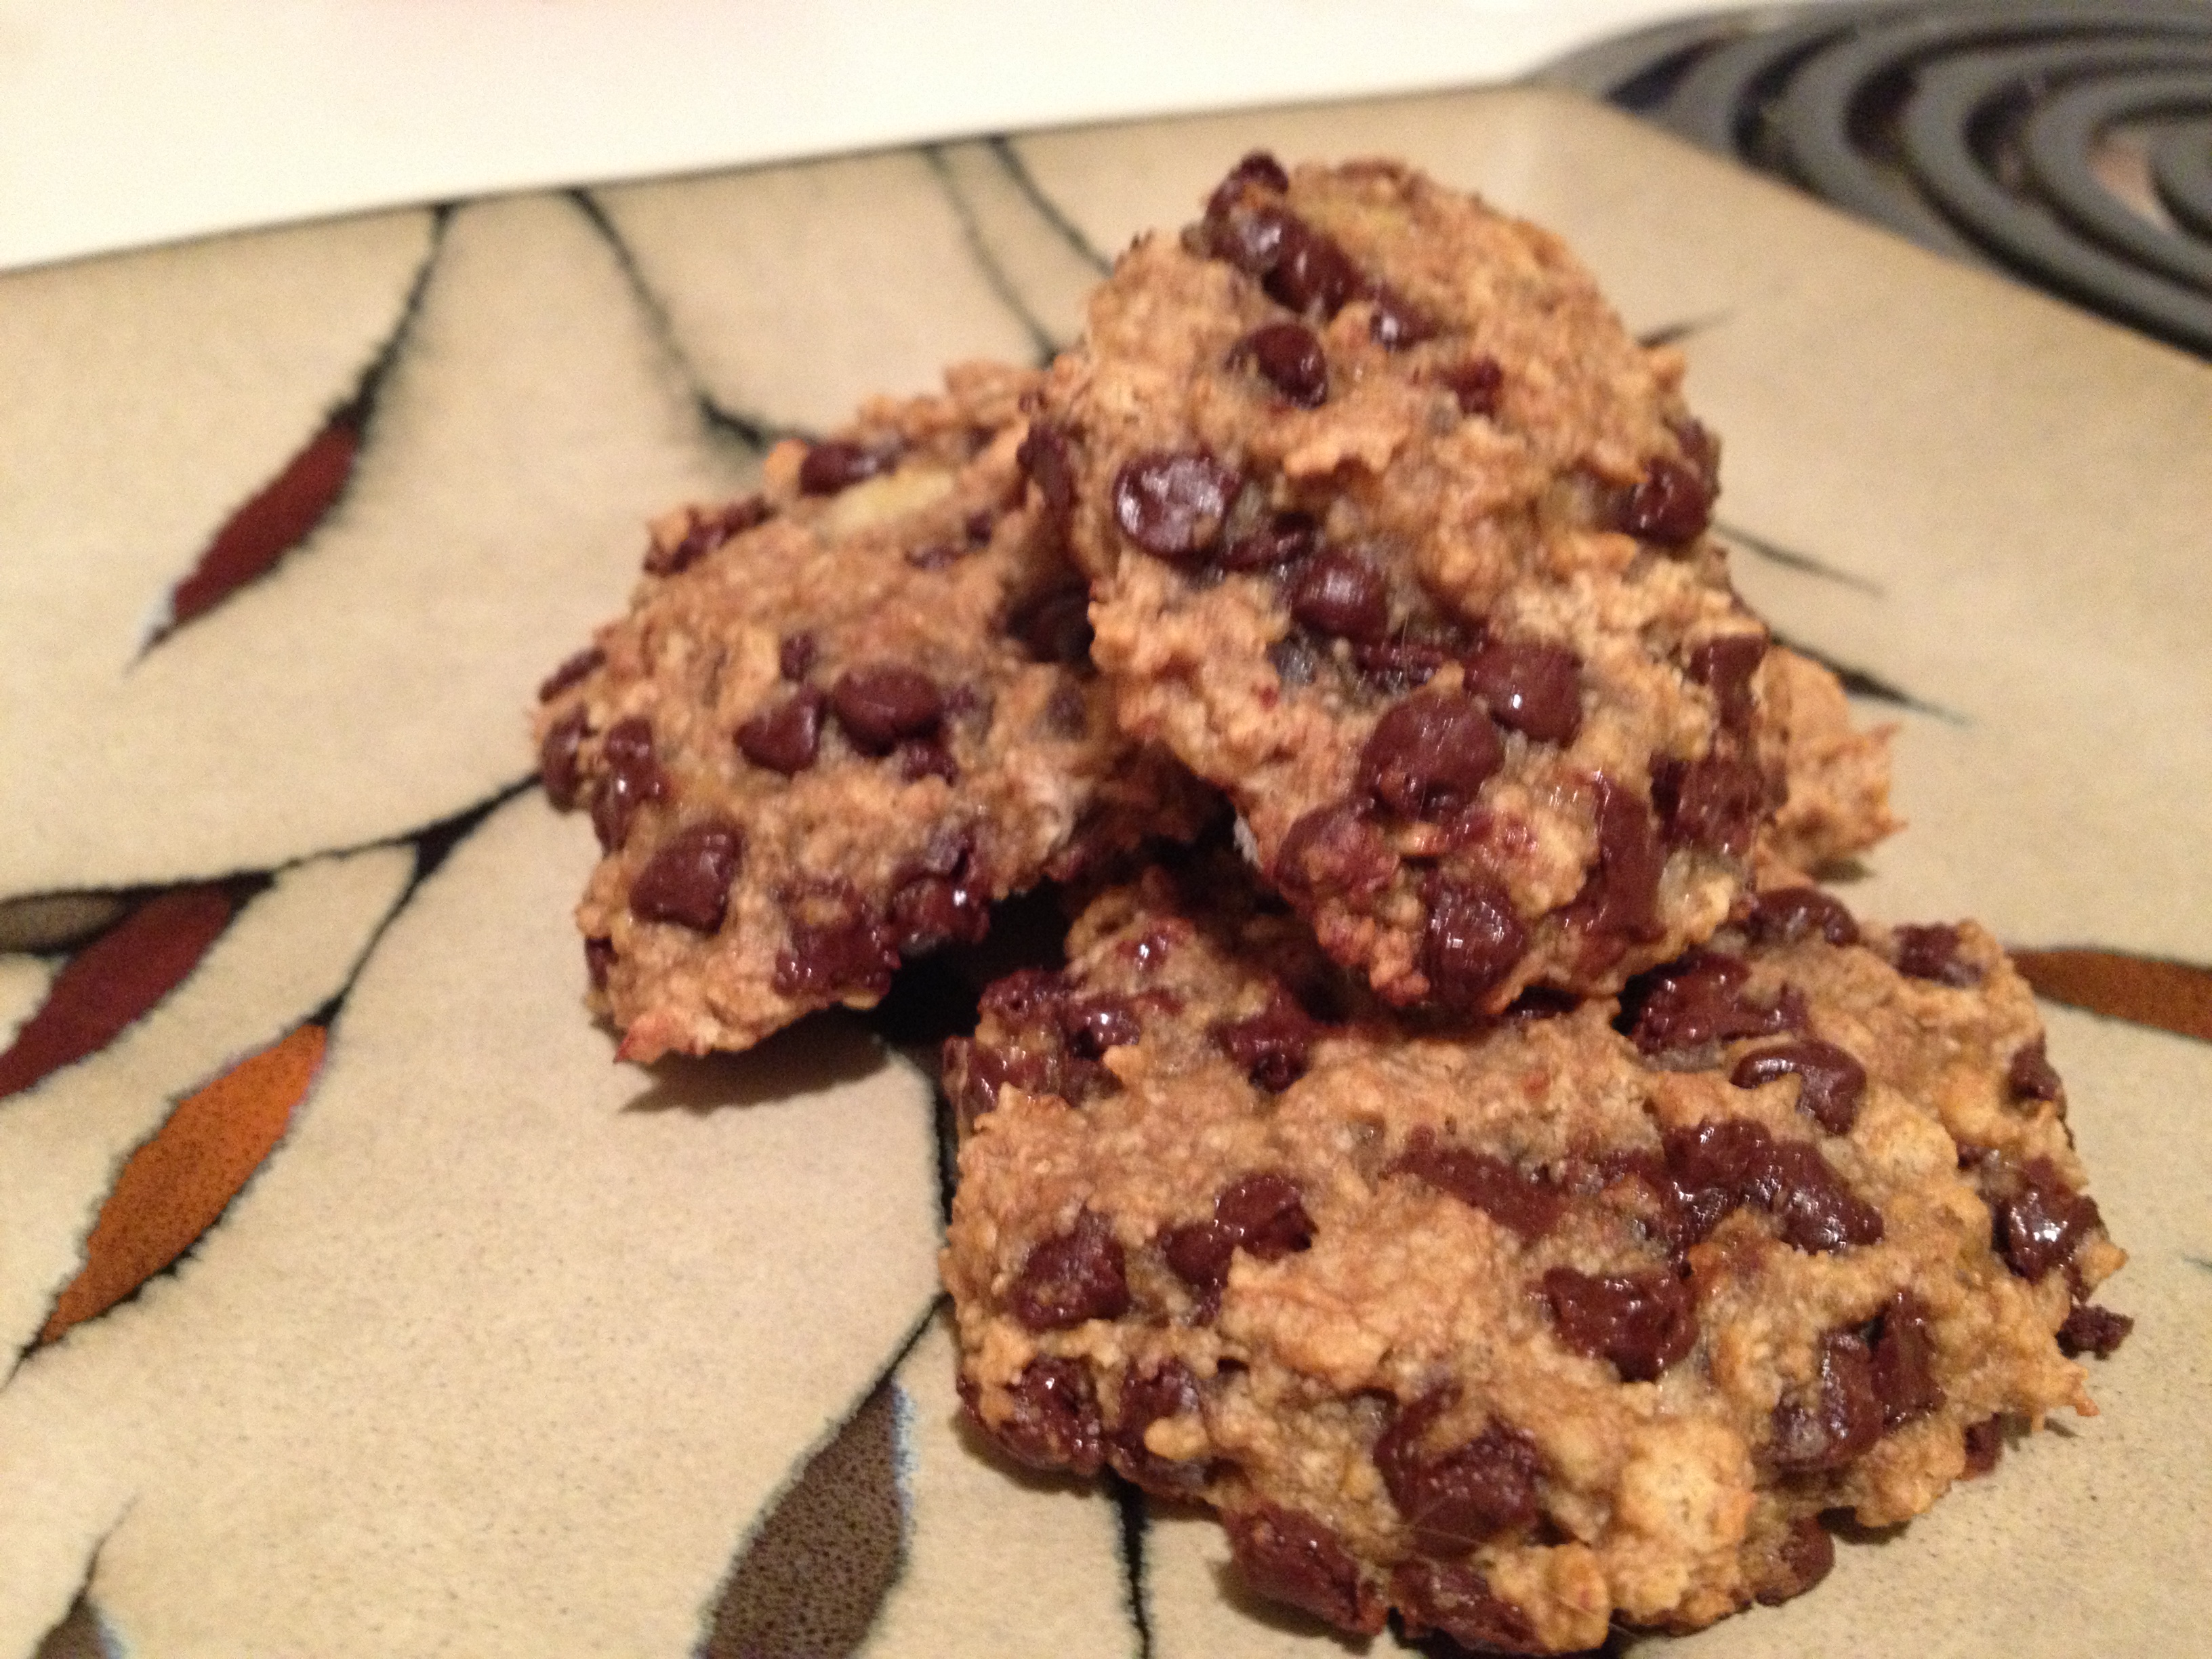
  • The original recipe made 8 cookies, but I think perhaps I made mine a bit bigger than her. So plop your cookie dough on the baking sheet any way you would like. They don’t really expand, so style them how you want them to turn out! Remember this isn’t a normal cookie dough texture
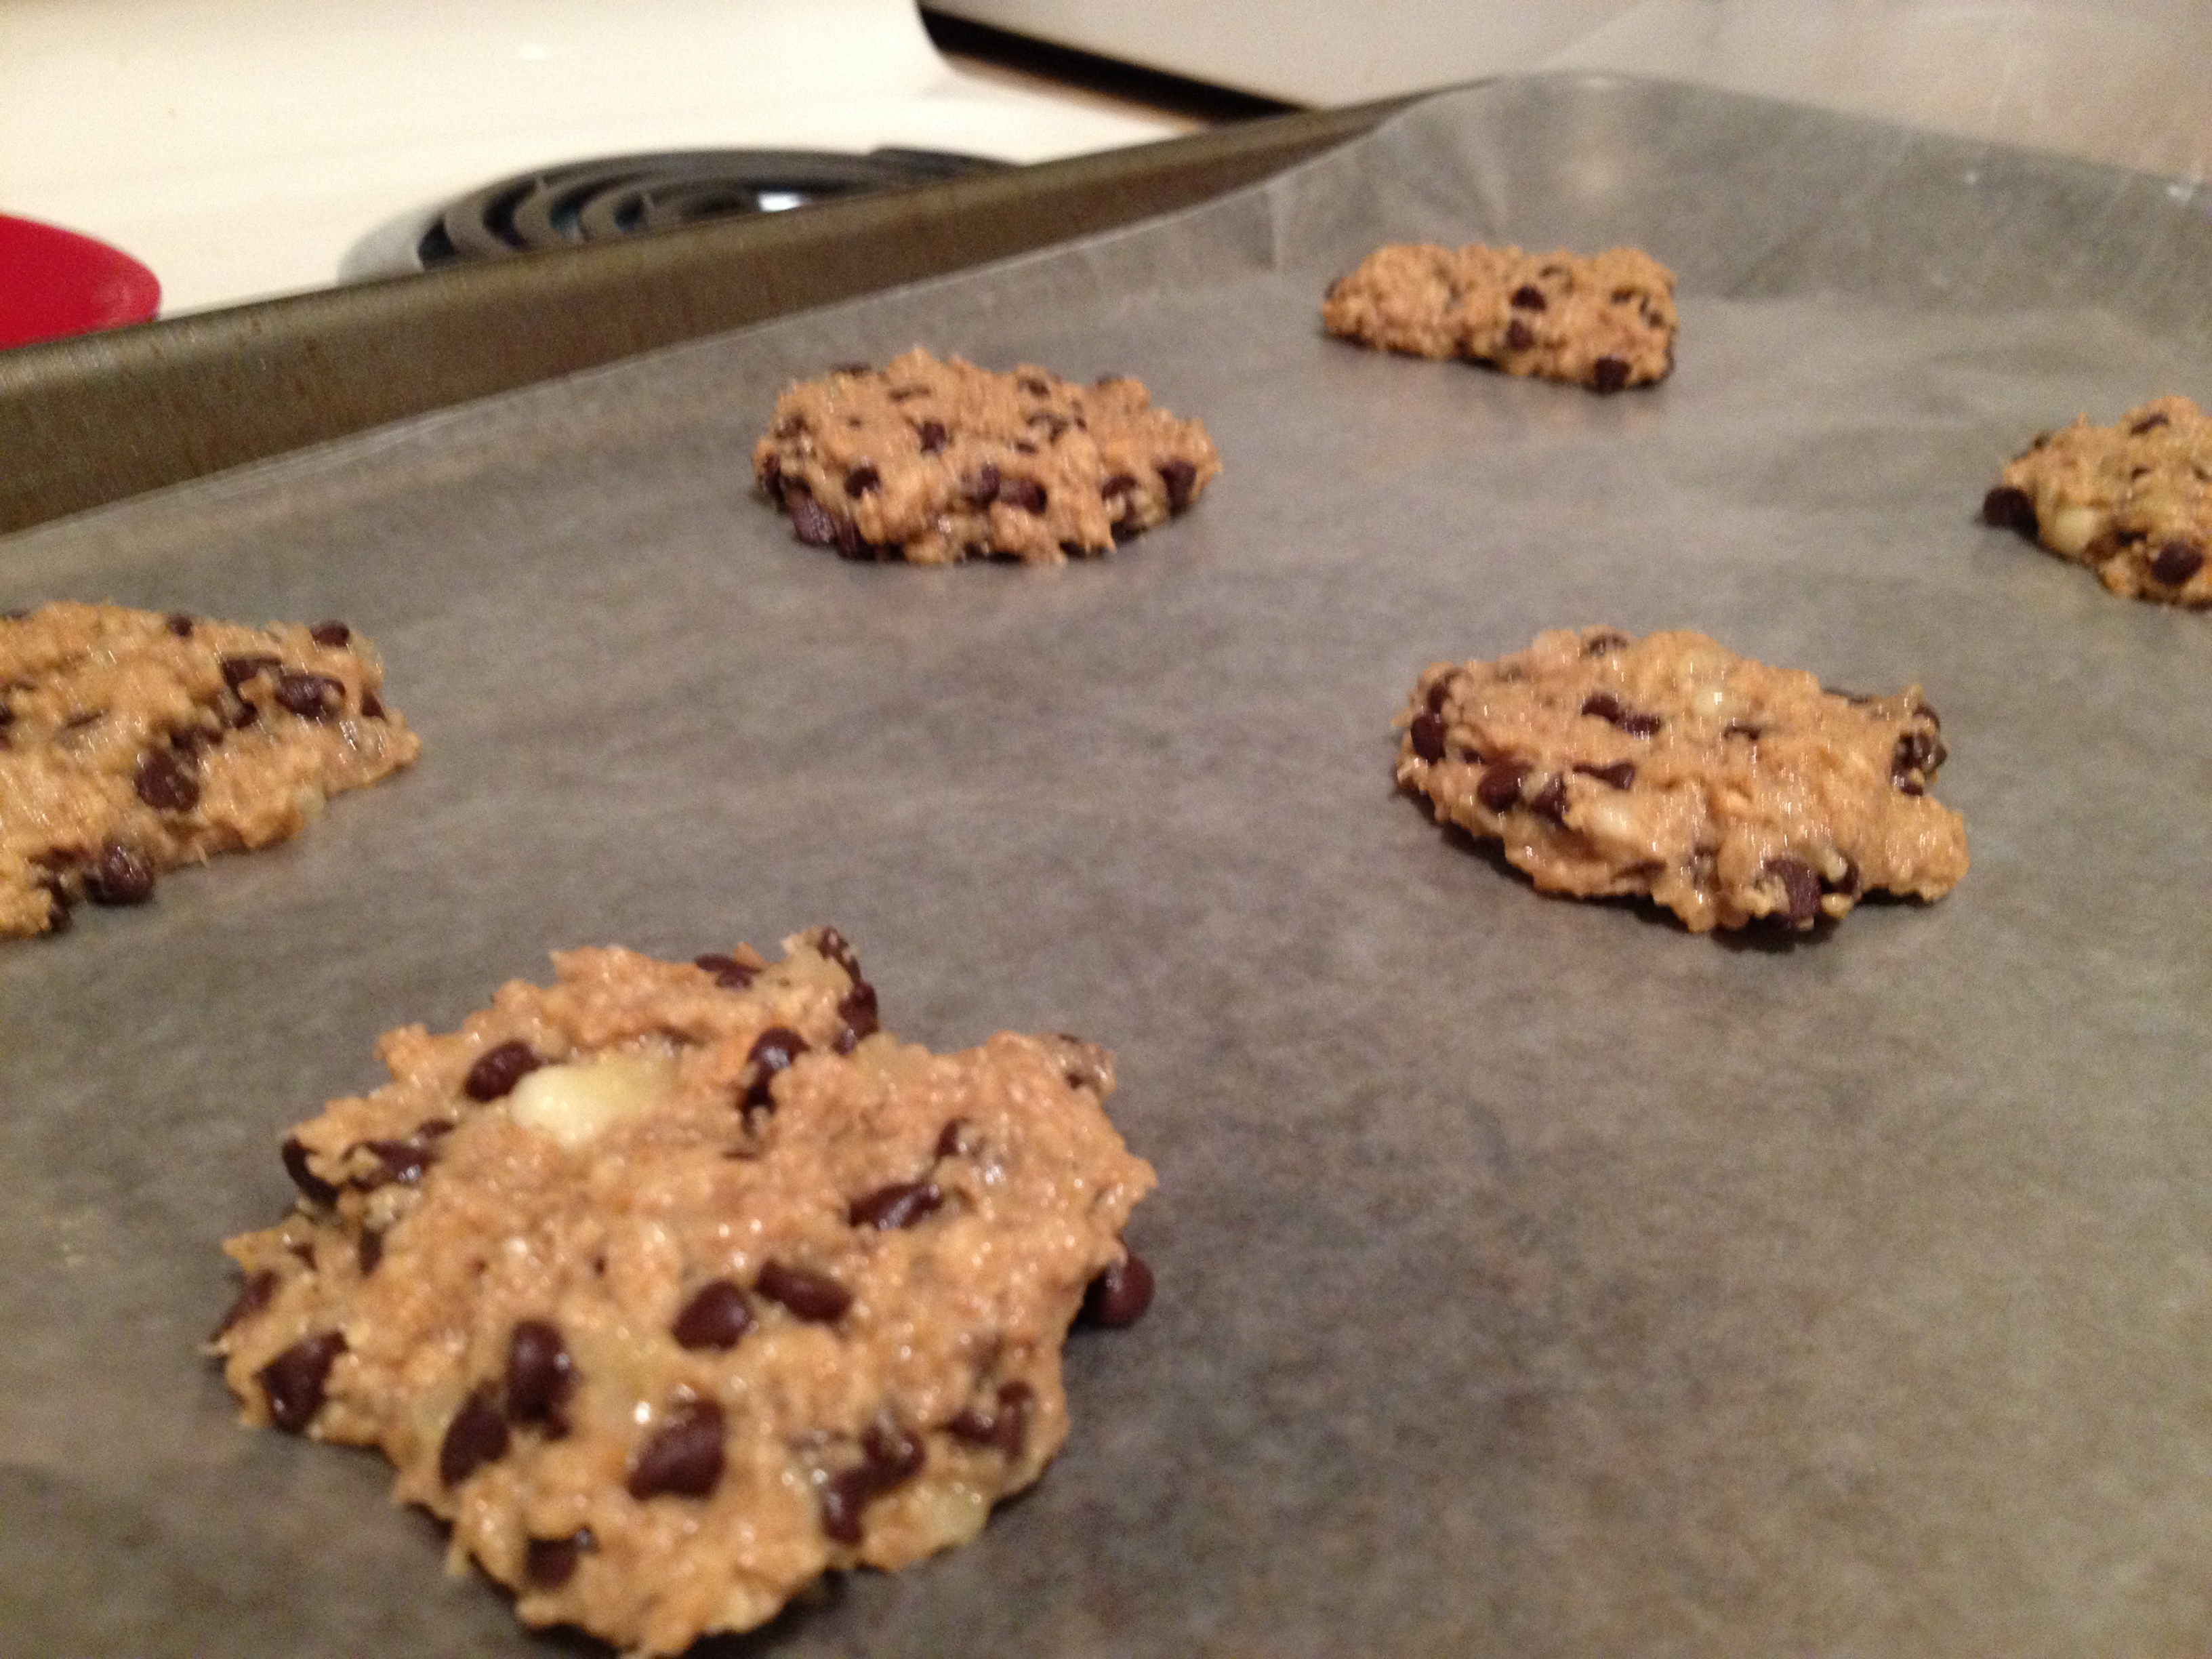
Ready to bake!

Ready to bake!

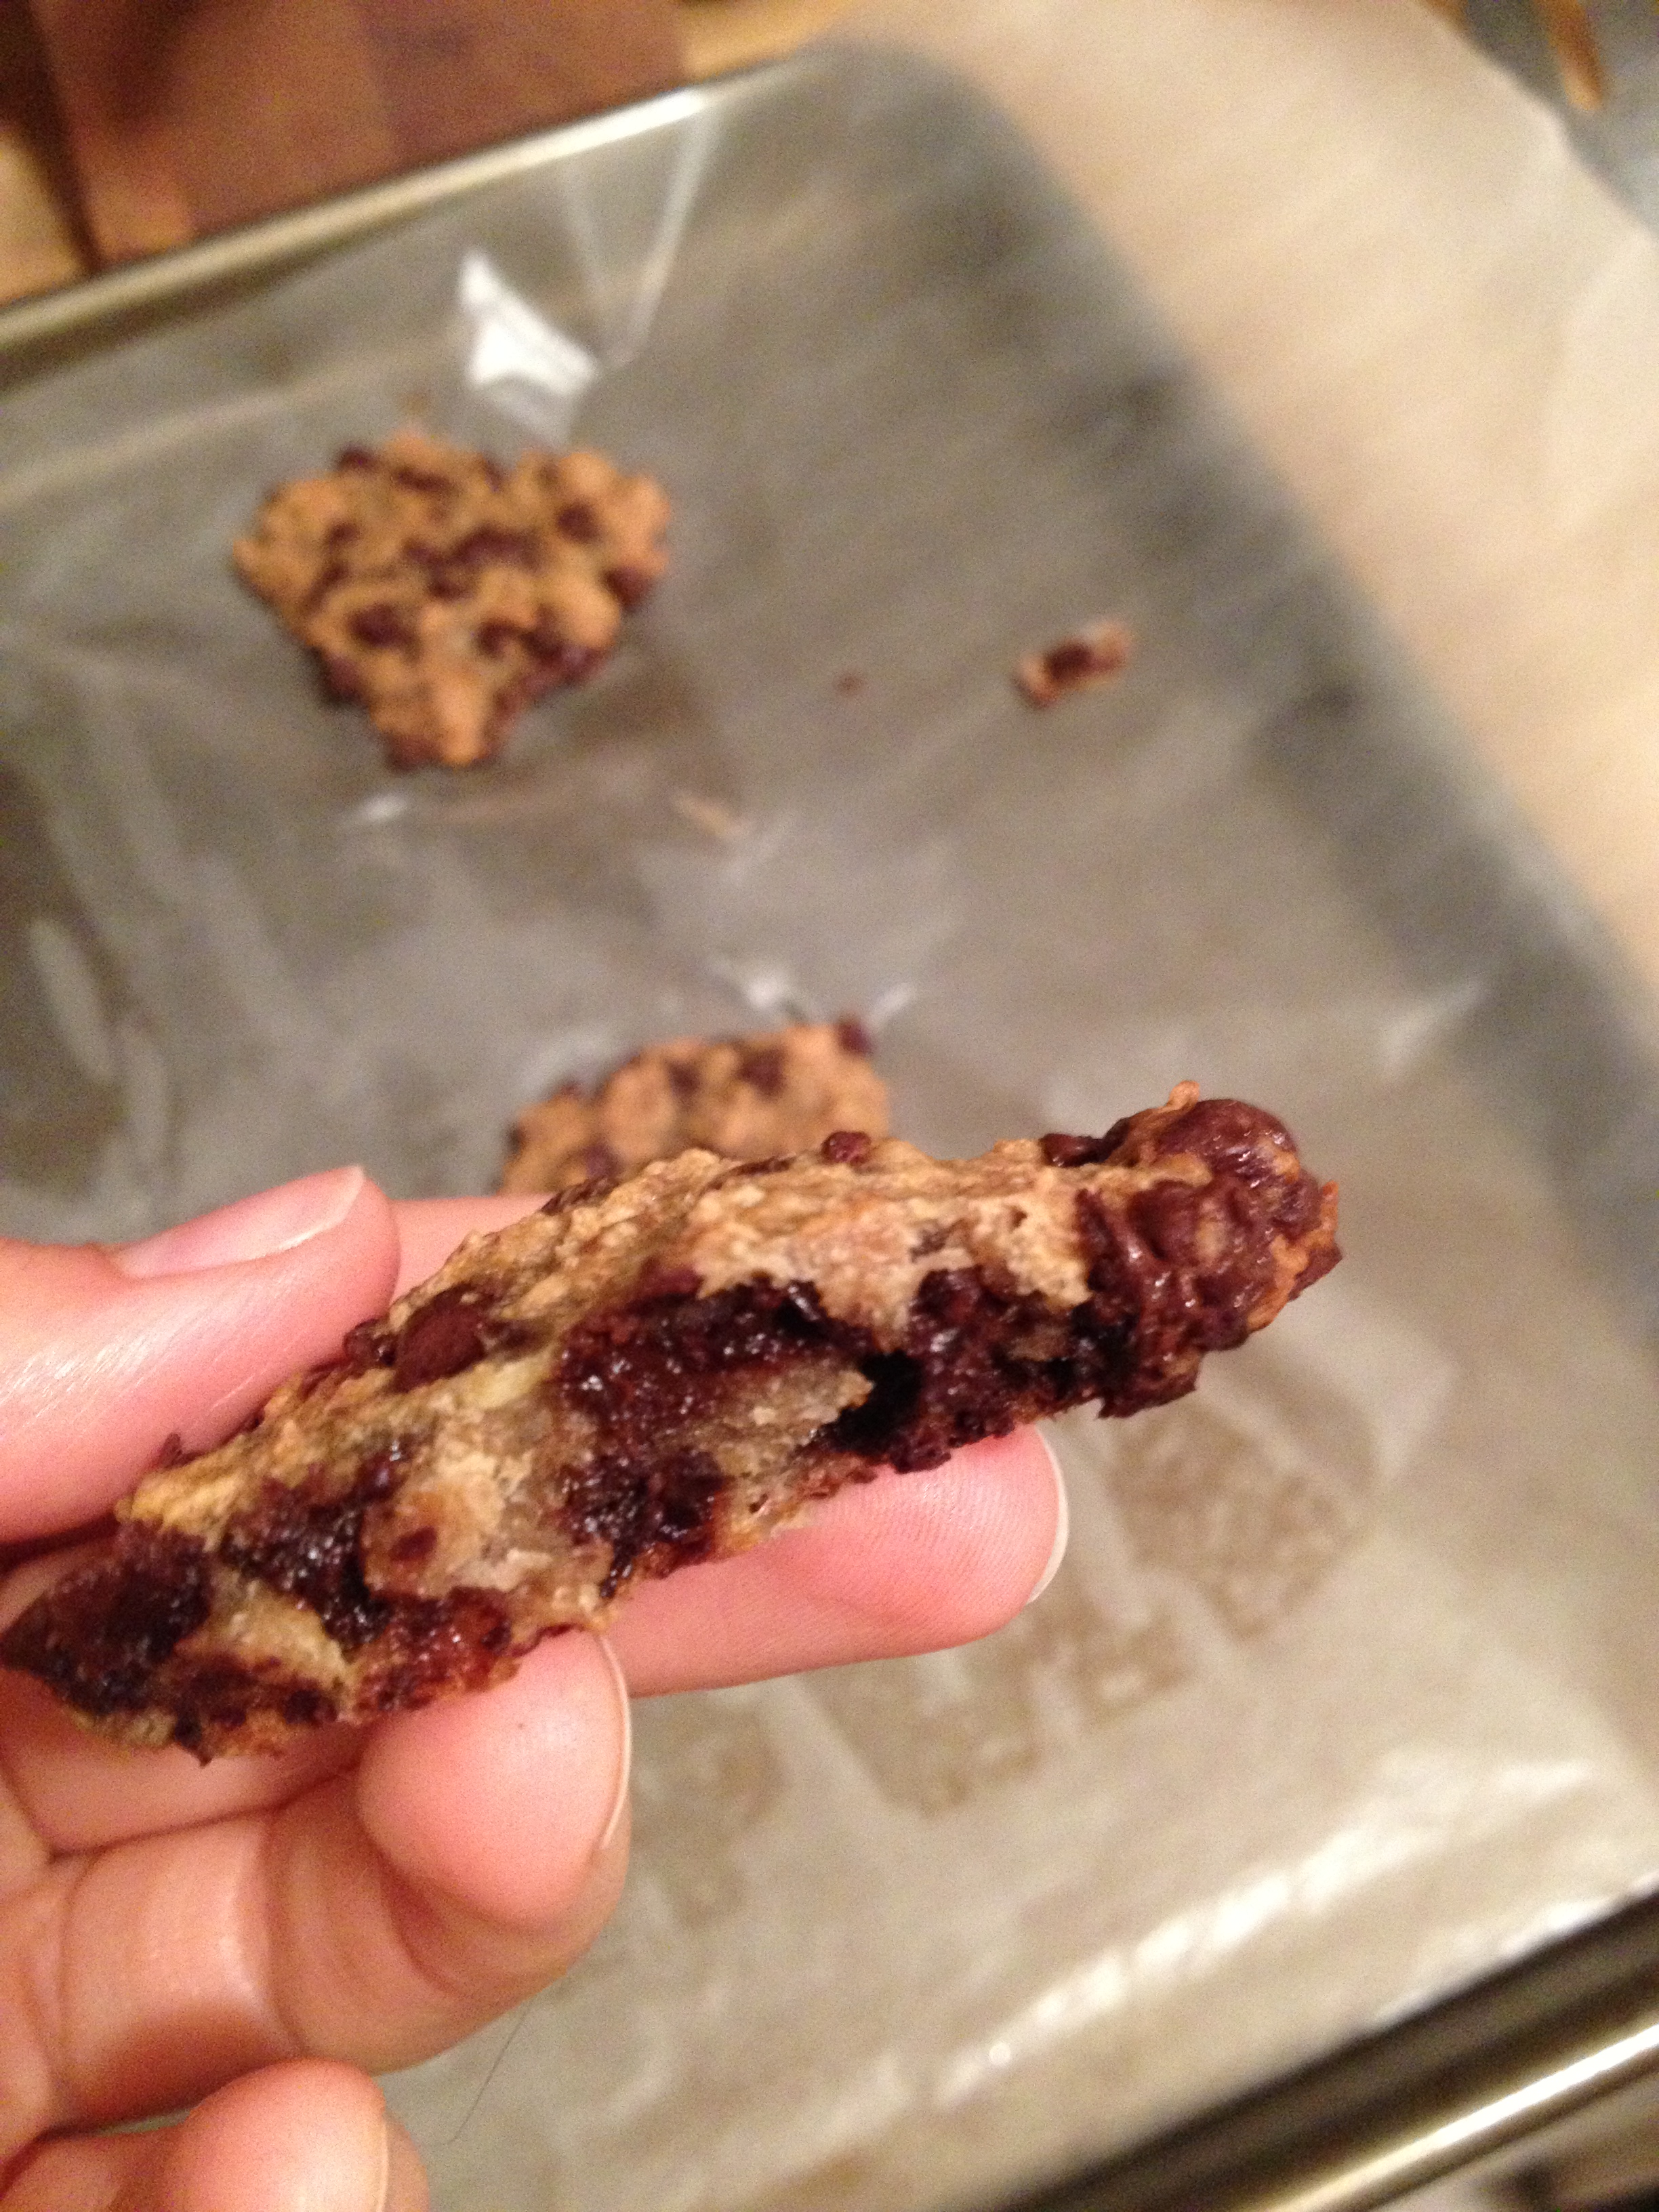
  • Bake for 13-15 minutes. Mine were promptly ready at 13. Take out and let cool for a few minutes (I know, that’s hard).
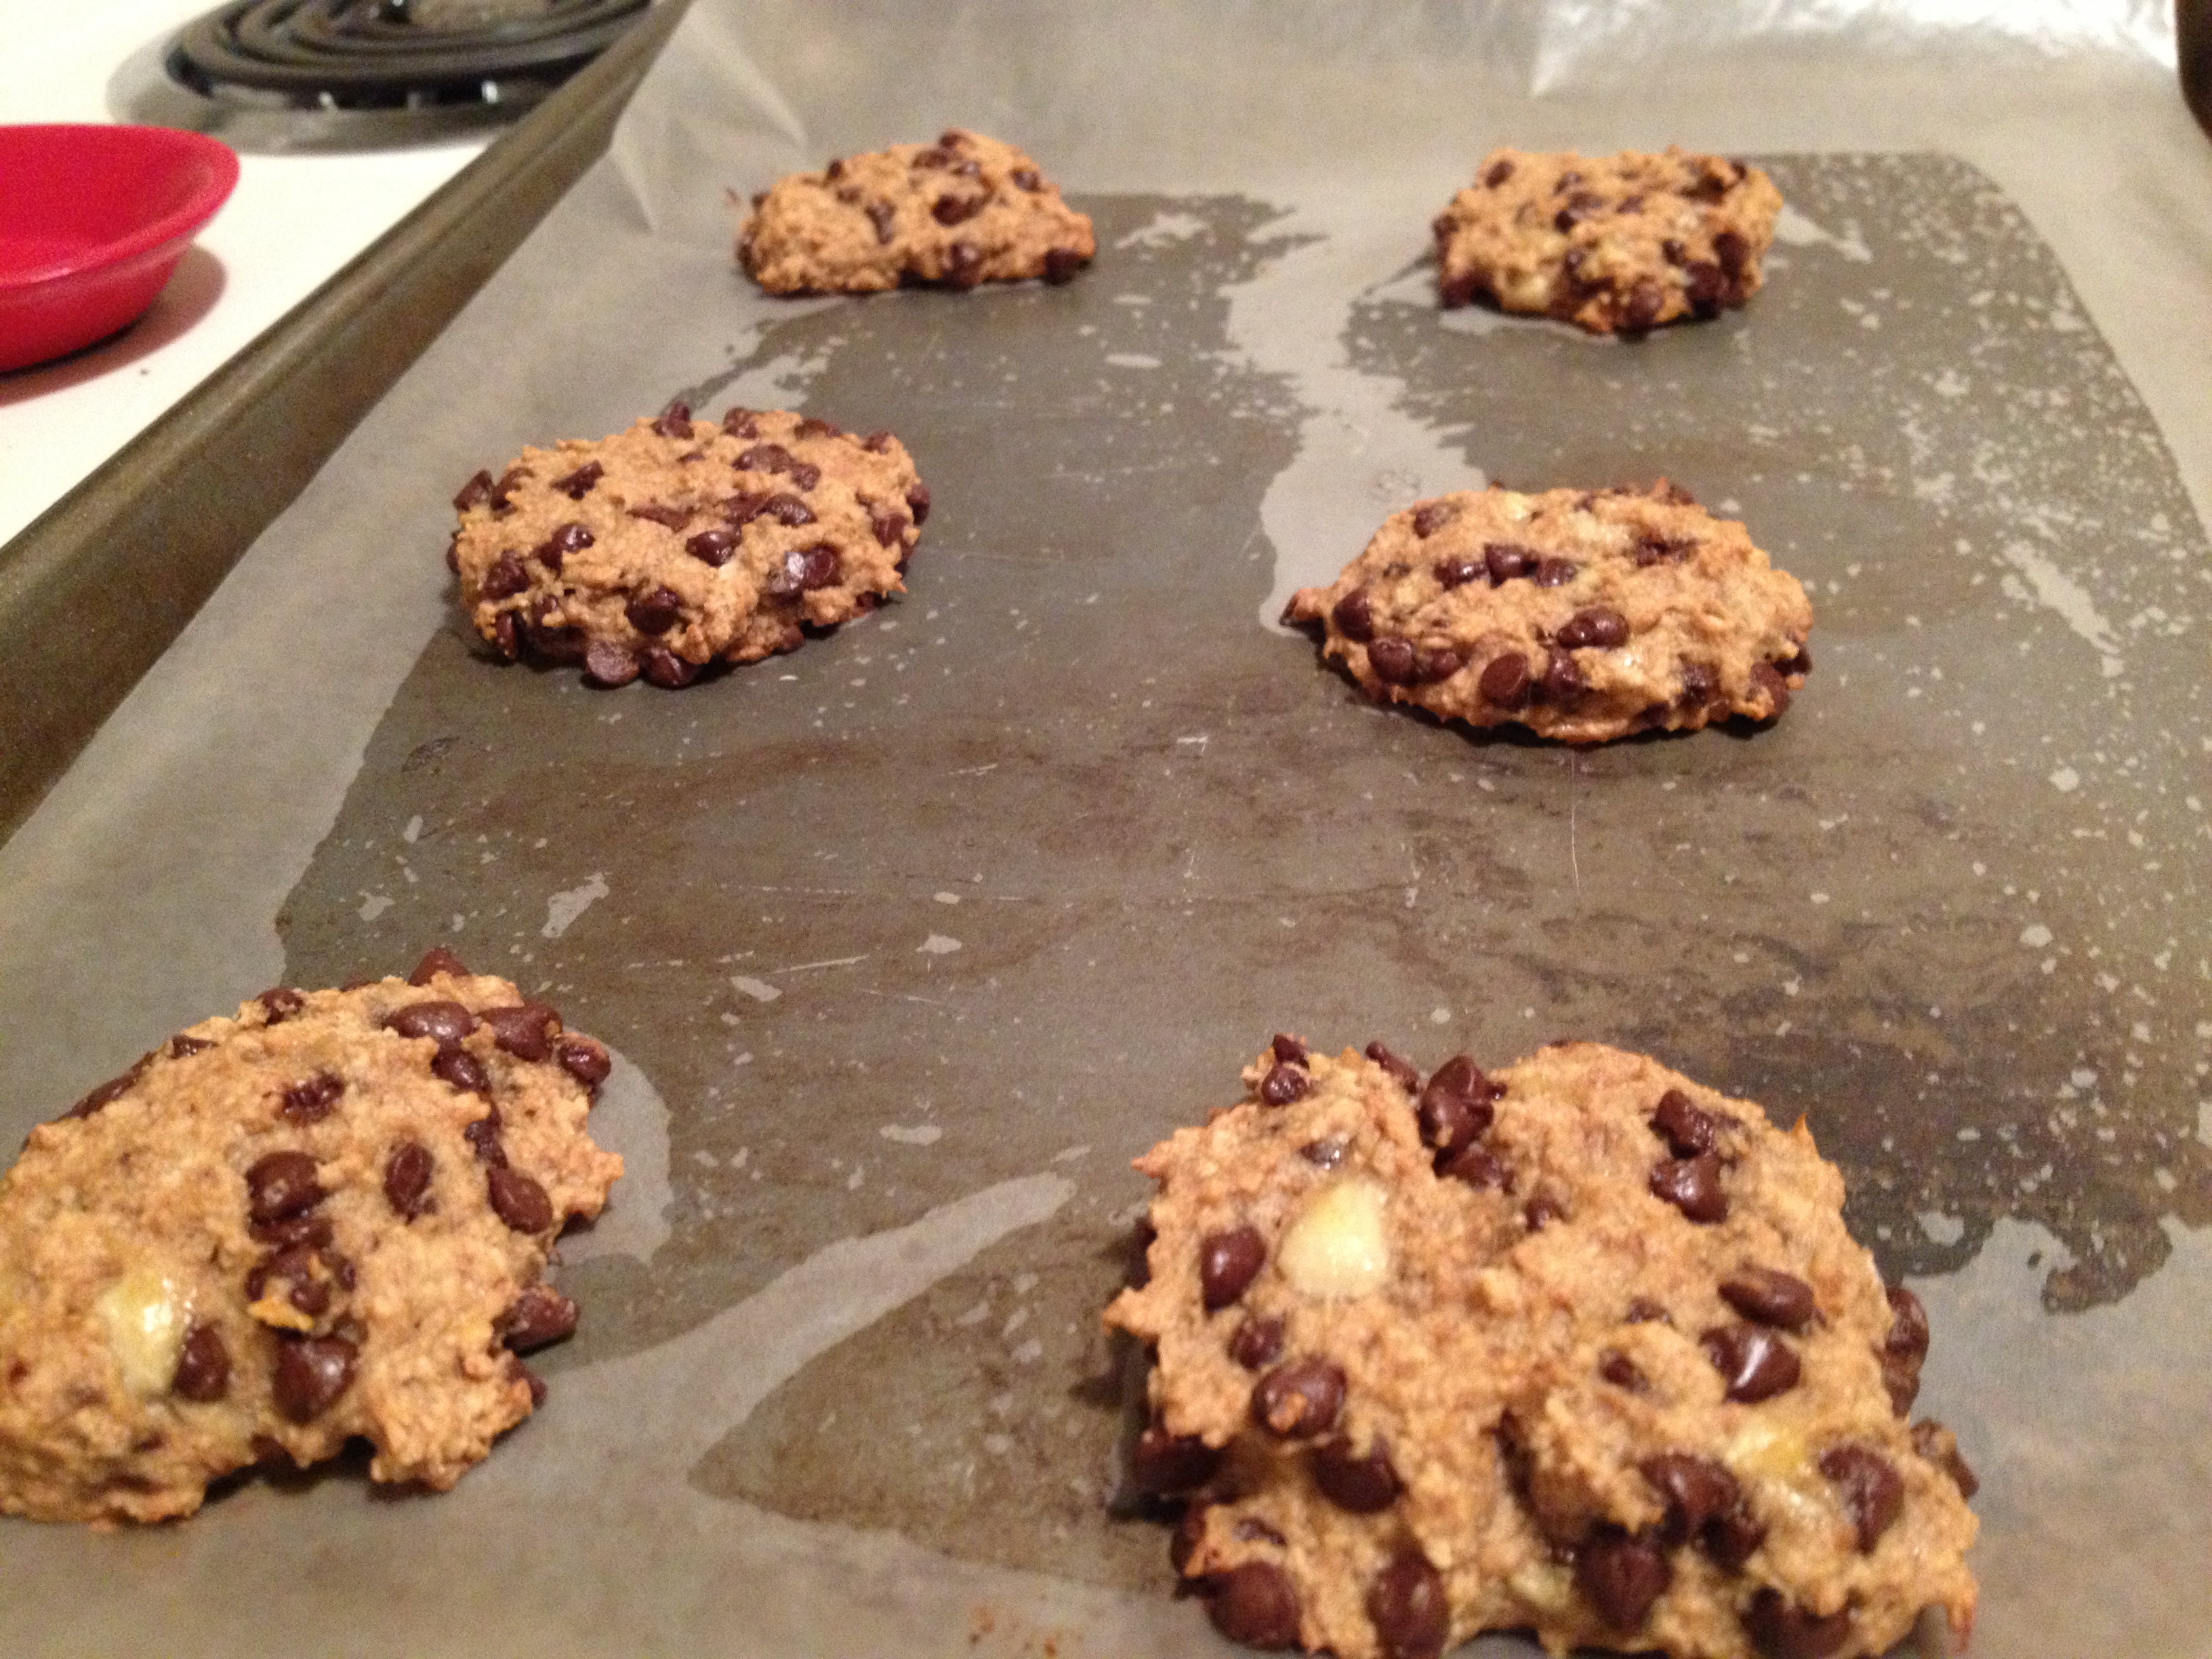
Begging to be eaten
Begging to be eaten

Oops didn't wait long enough

Oops didn’t wait long enough

How easy was that?! It took no time at all…well, it took some time for me because we got caught in the middle of a Monk marathon (best show ever). These are guilt-free cookies that don’t break the money bank or time bank. I know I’ll be using this recipe frequently when I need a dessert fix or a last-minute needed dish for friends. Use this recipe to stay hungry and fit!
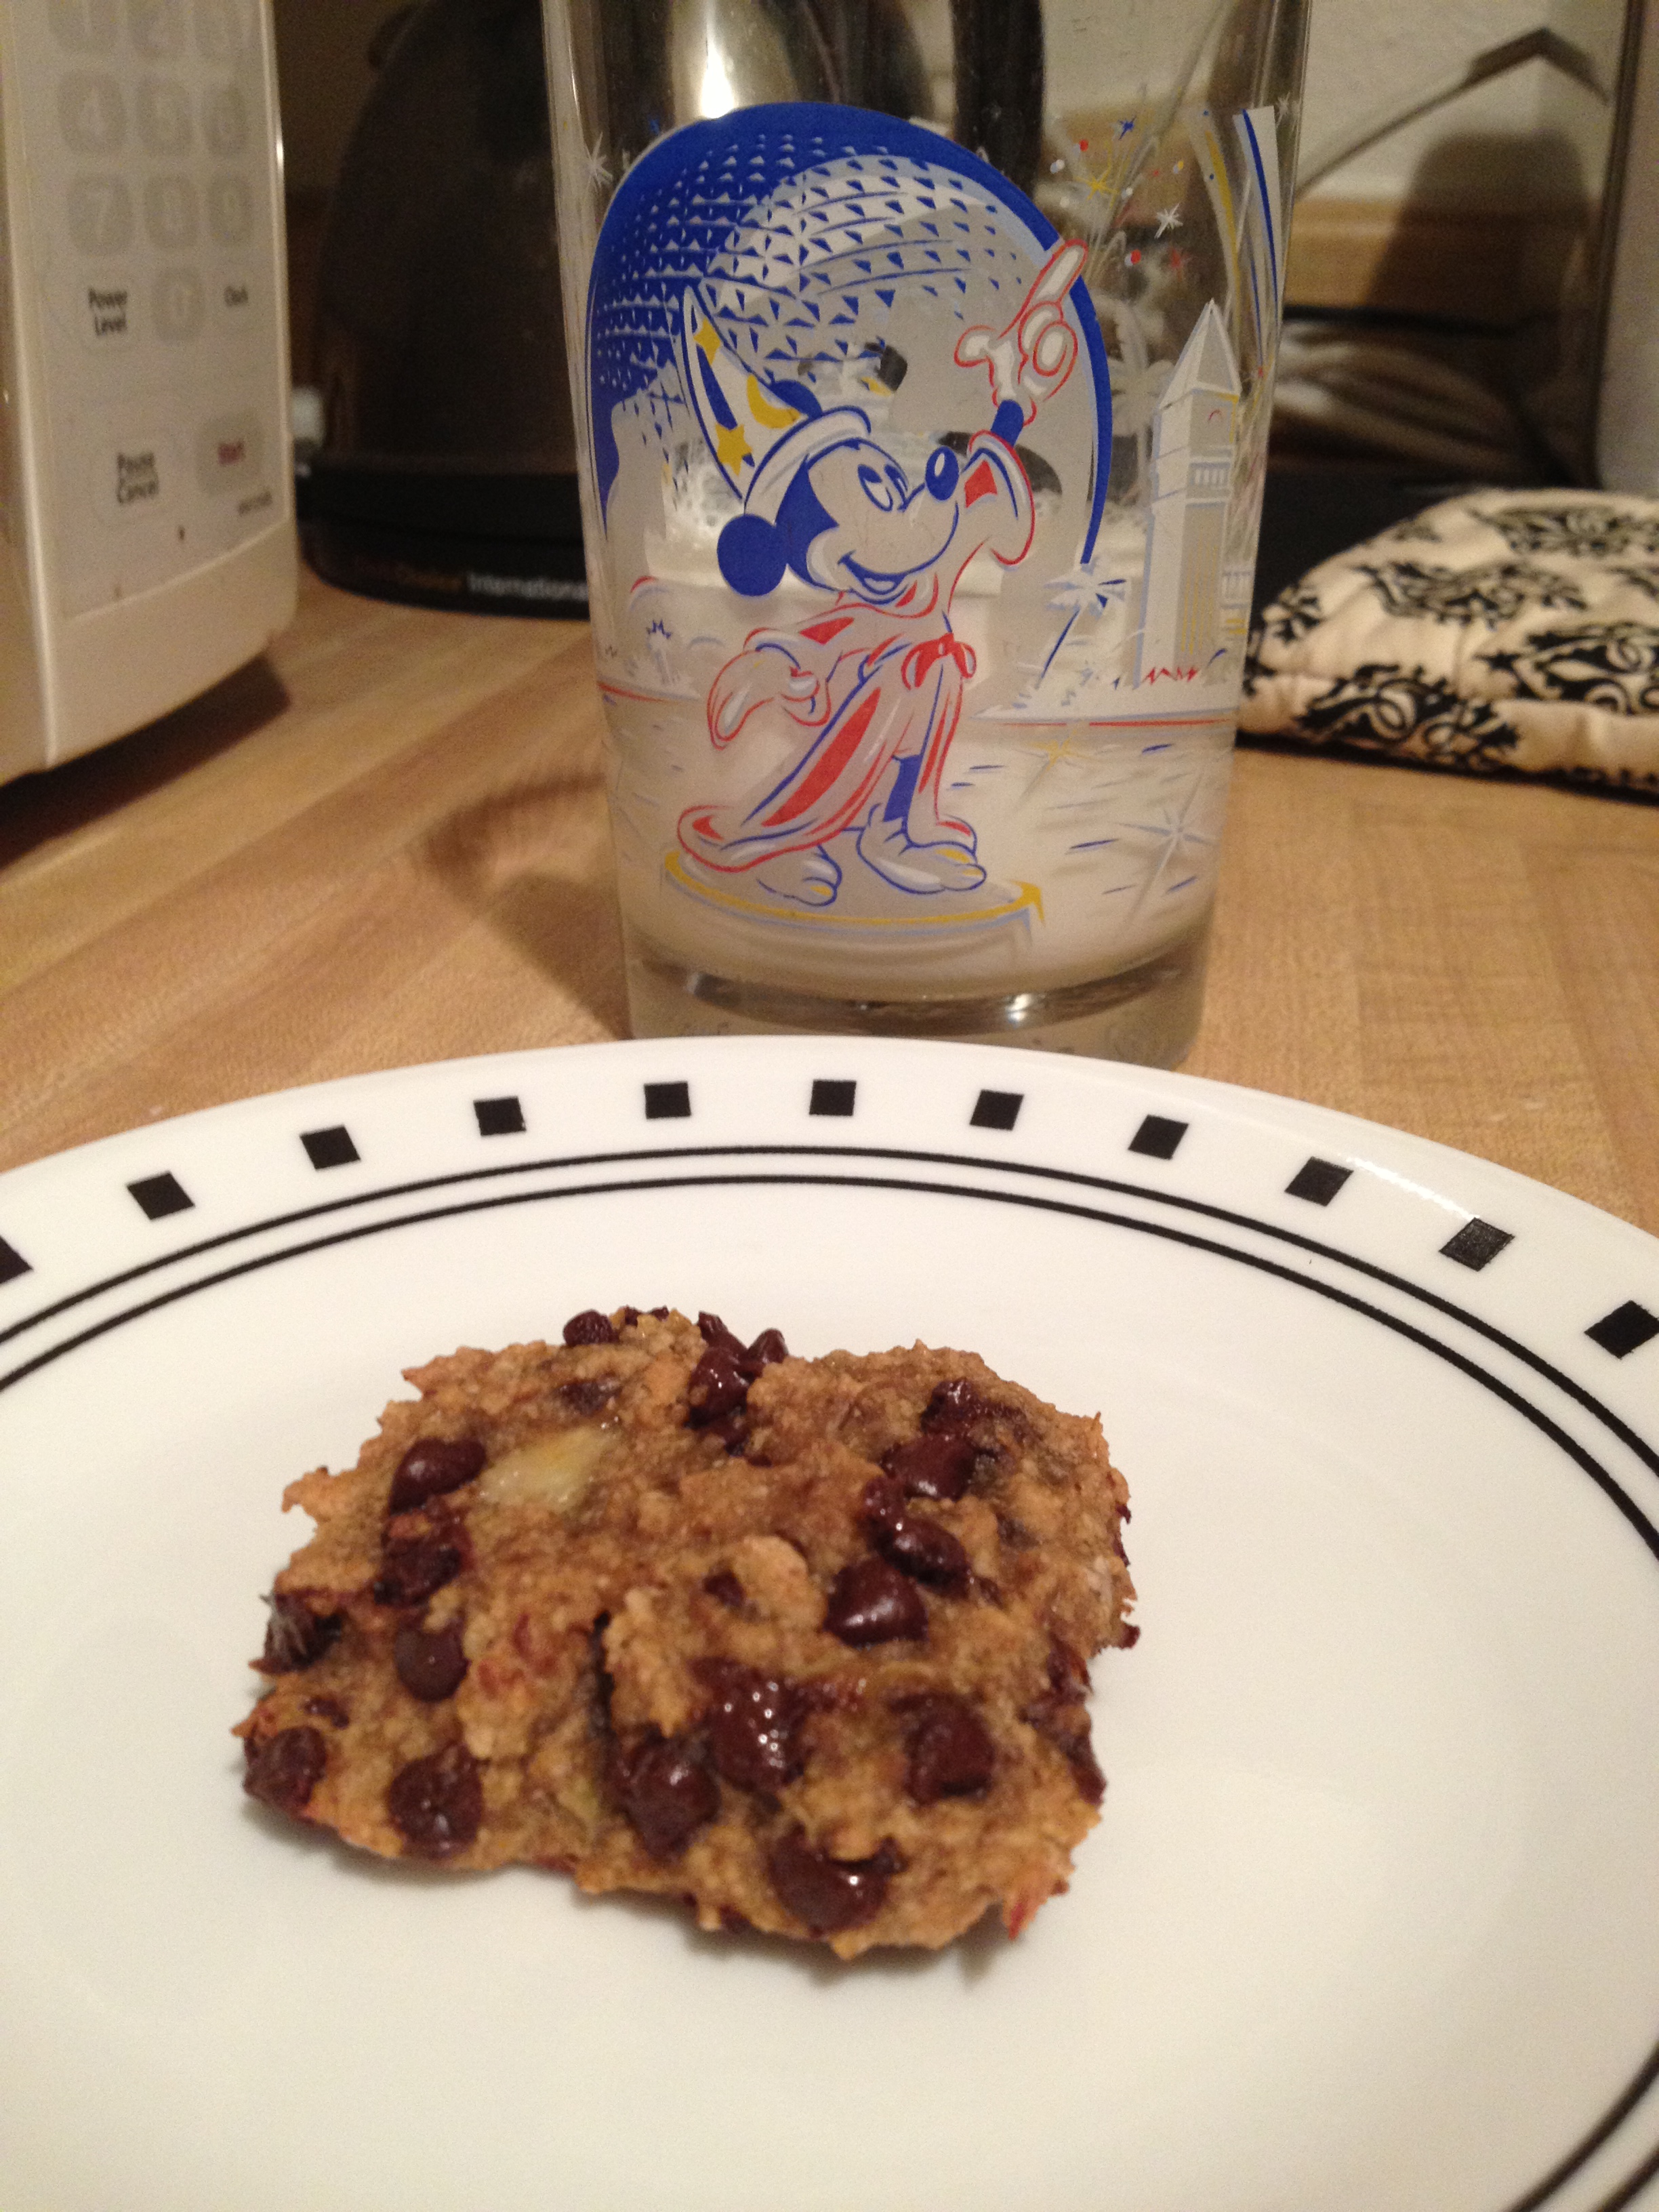
Enjoy with milk!

Enjoy with milk!

You might also like…

BONUS KITTY PIC

Sajah selfie

Sajah selfie
spacer

No-Bake, No-Sugar Chocolate Peanut Butter Cookies

Woah, what a title. Are you out of breath? Well you should be, because these are delicious. I took the recipe from this blog (which I think will be a new favorite of mine) and took out the sugar and reduced the butter. The other day, I was simply craving to bake something, but we didn’t have many ingredients in the house. We did, however, have these ingredients. This is such an easy recipe to make such decadent cookies. And you don’t even have to turn on the oven! Amen to that for hot summer nights.

Piled up, ready for eatage

Piled up, ready for eatage

  • Prep Time: 5-10 minutes
  • Baking Time: …0 minutes
  • Makes: 9 (I cut the recipe in half, if you want to double it, the way OMFG So Good did it, go for it!)

Ingredients

  • 2 cups oats
  • 1 tsp vanilla
  • 1/2 cup chunky peanut butter
  • 1/8 cup unsweetened cocoa powder
  • 1/4 cup heavy cream (or whipping cream)
  • 3/4 stick butter
  • 1/4 cup agave or honey

Directions

  • Line a baking sheet (or two) with parchment paper
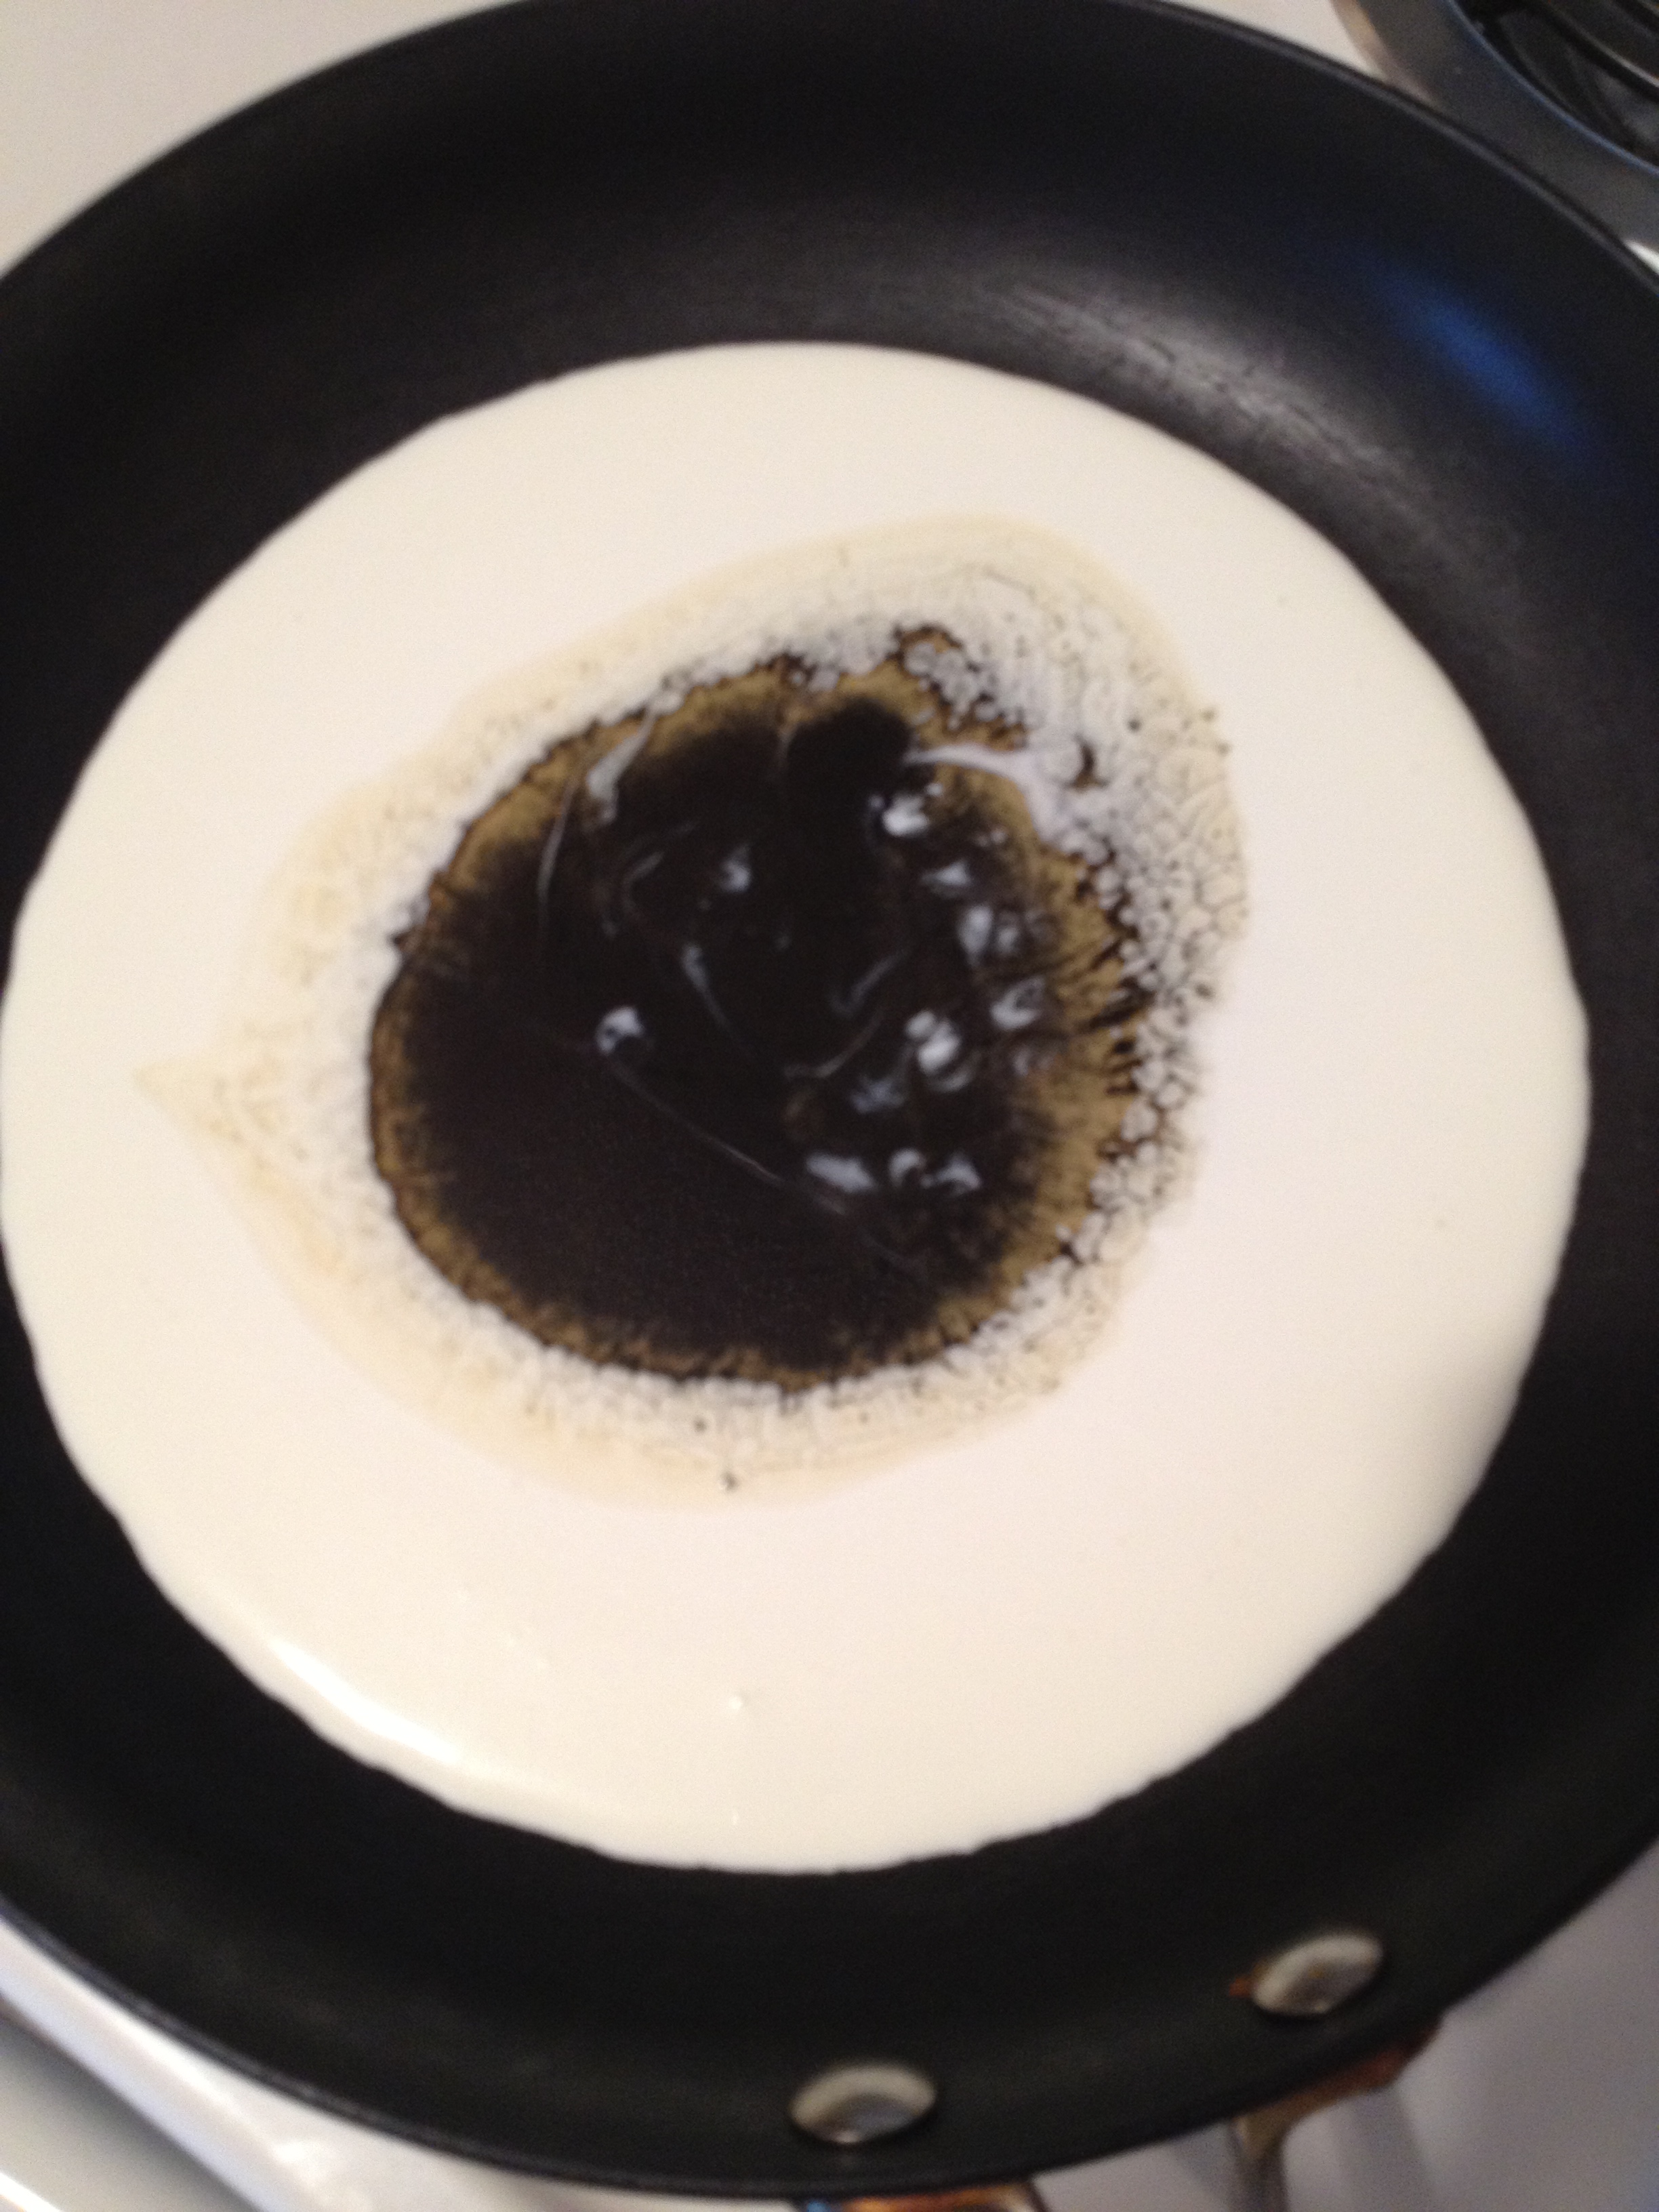
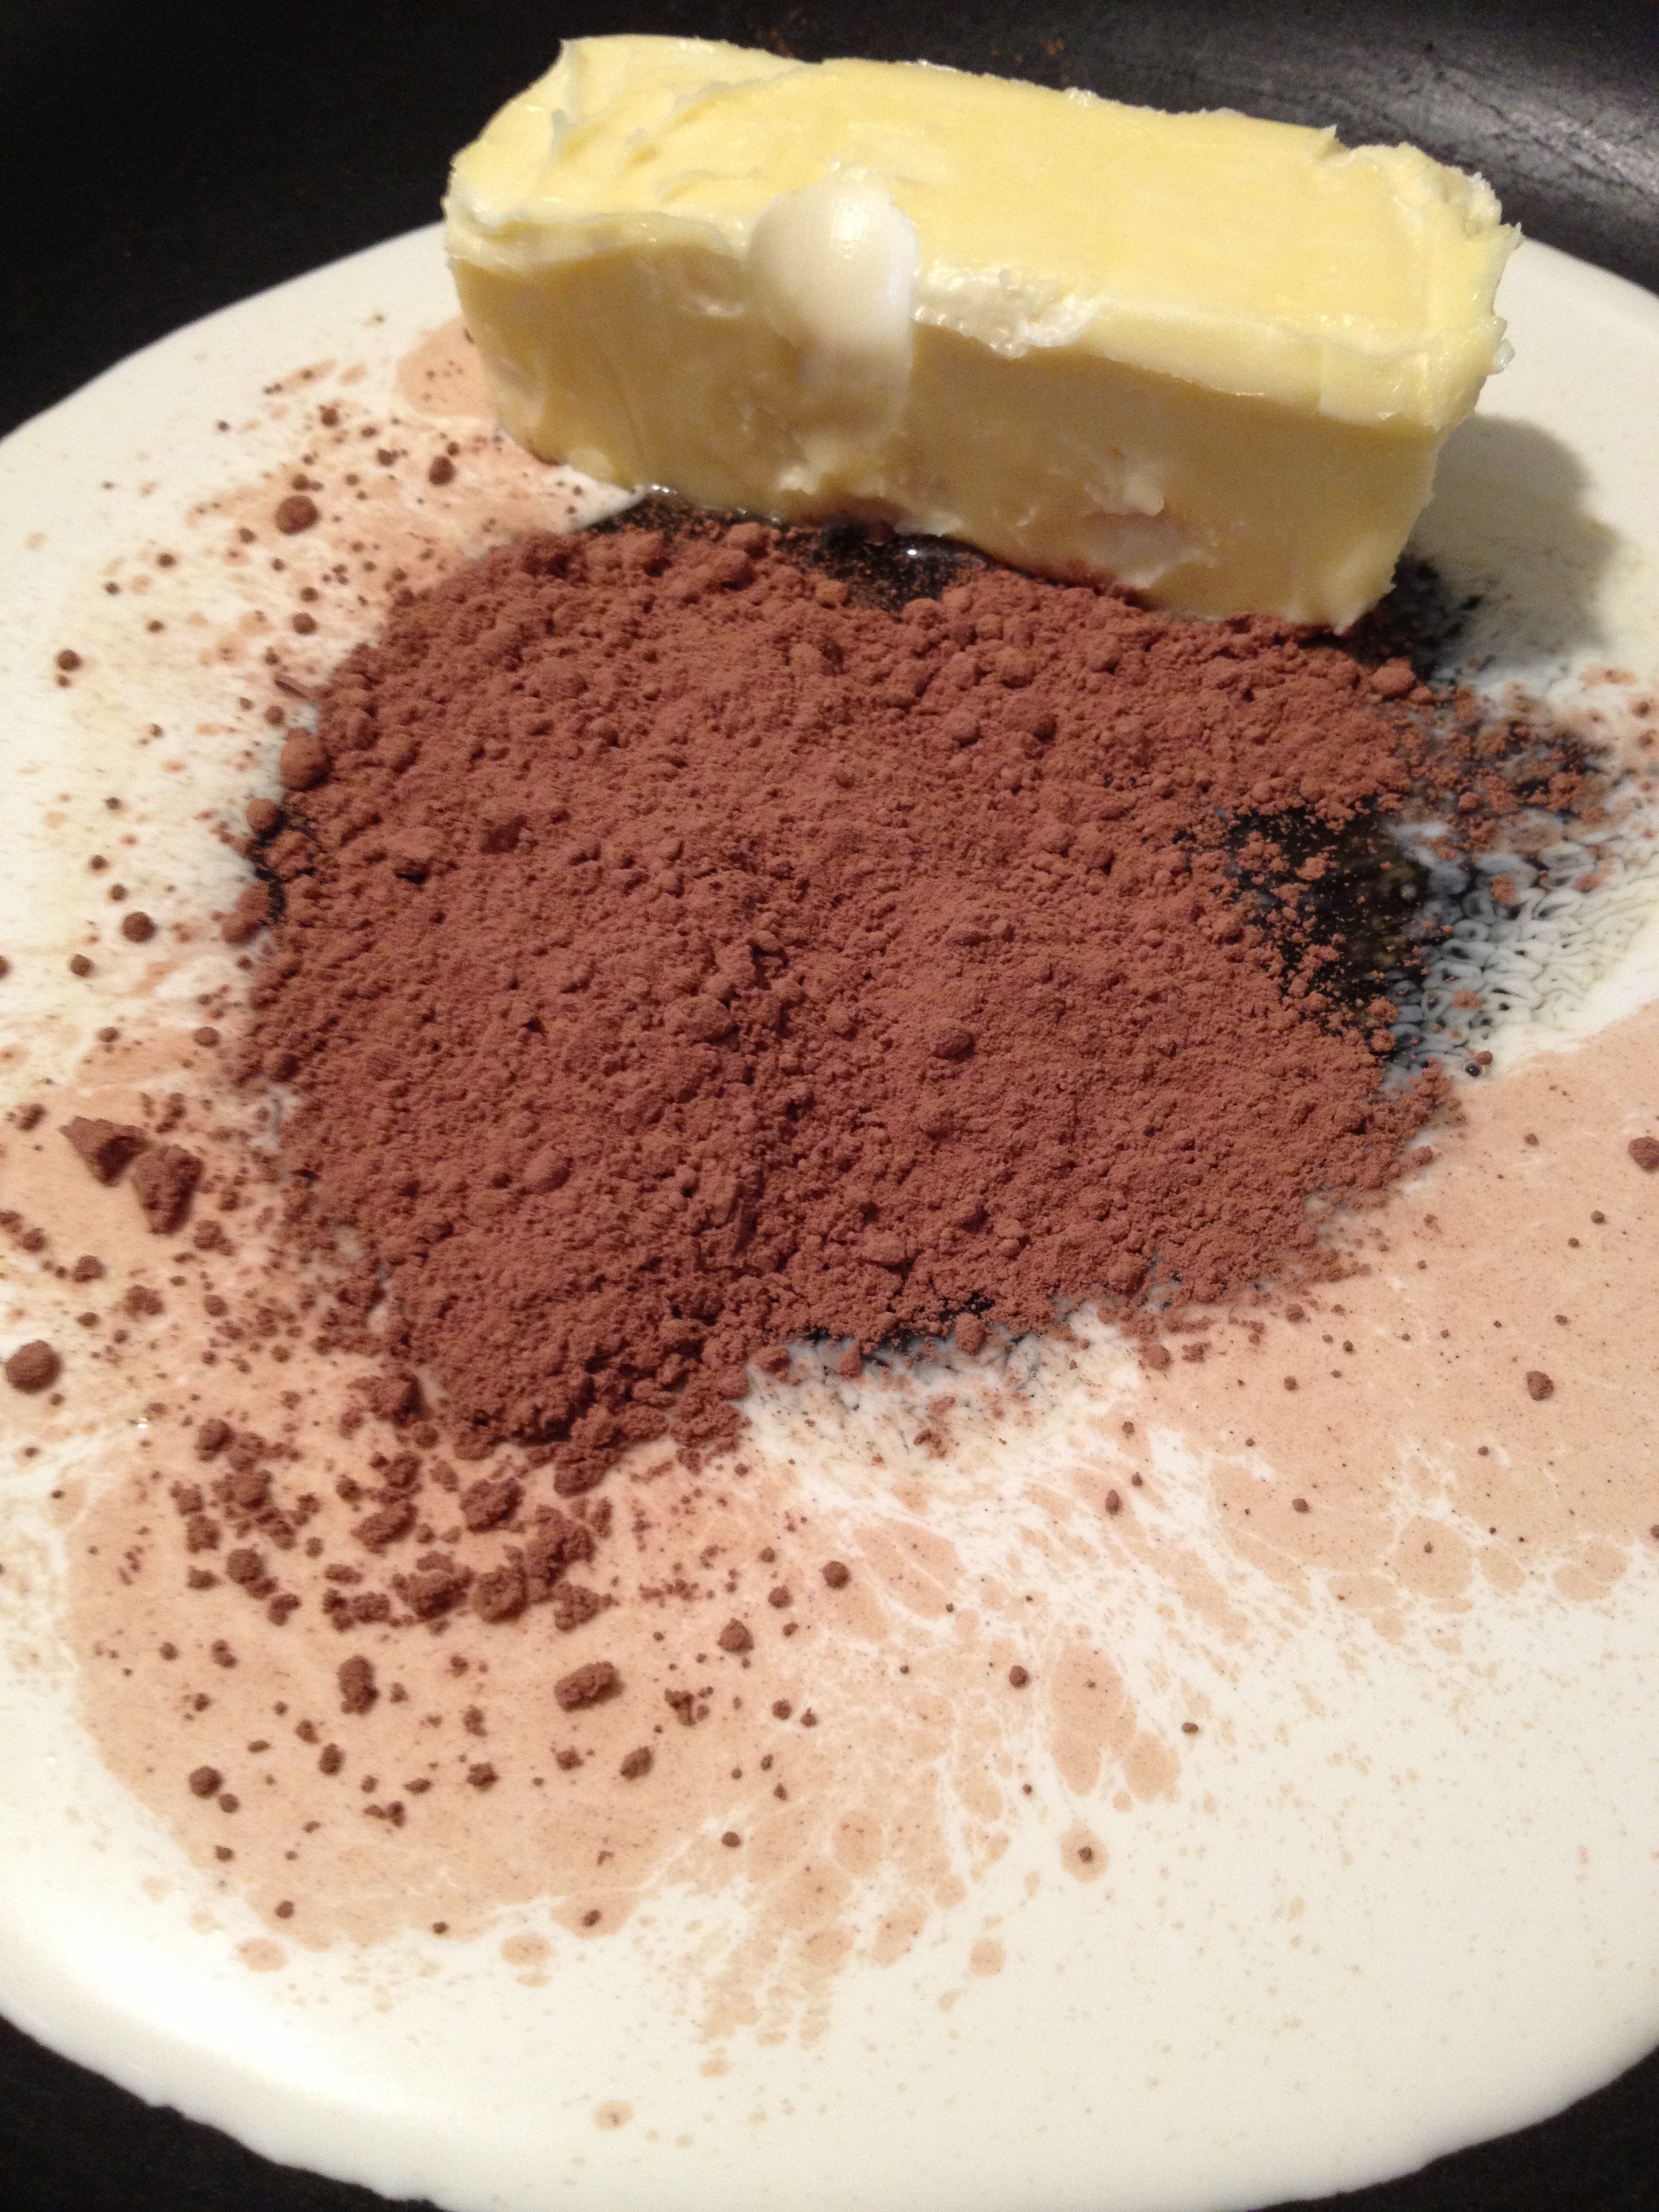
  • In a saucepan over medium heat, combine the cream, cocoa powder, butter, and honey.
I just thought it looked pretty

I just thought it looked pretty

photo 2 (7)

  • Mix and stir until butter is melted.
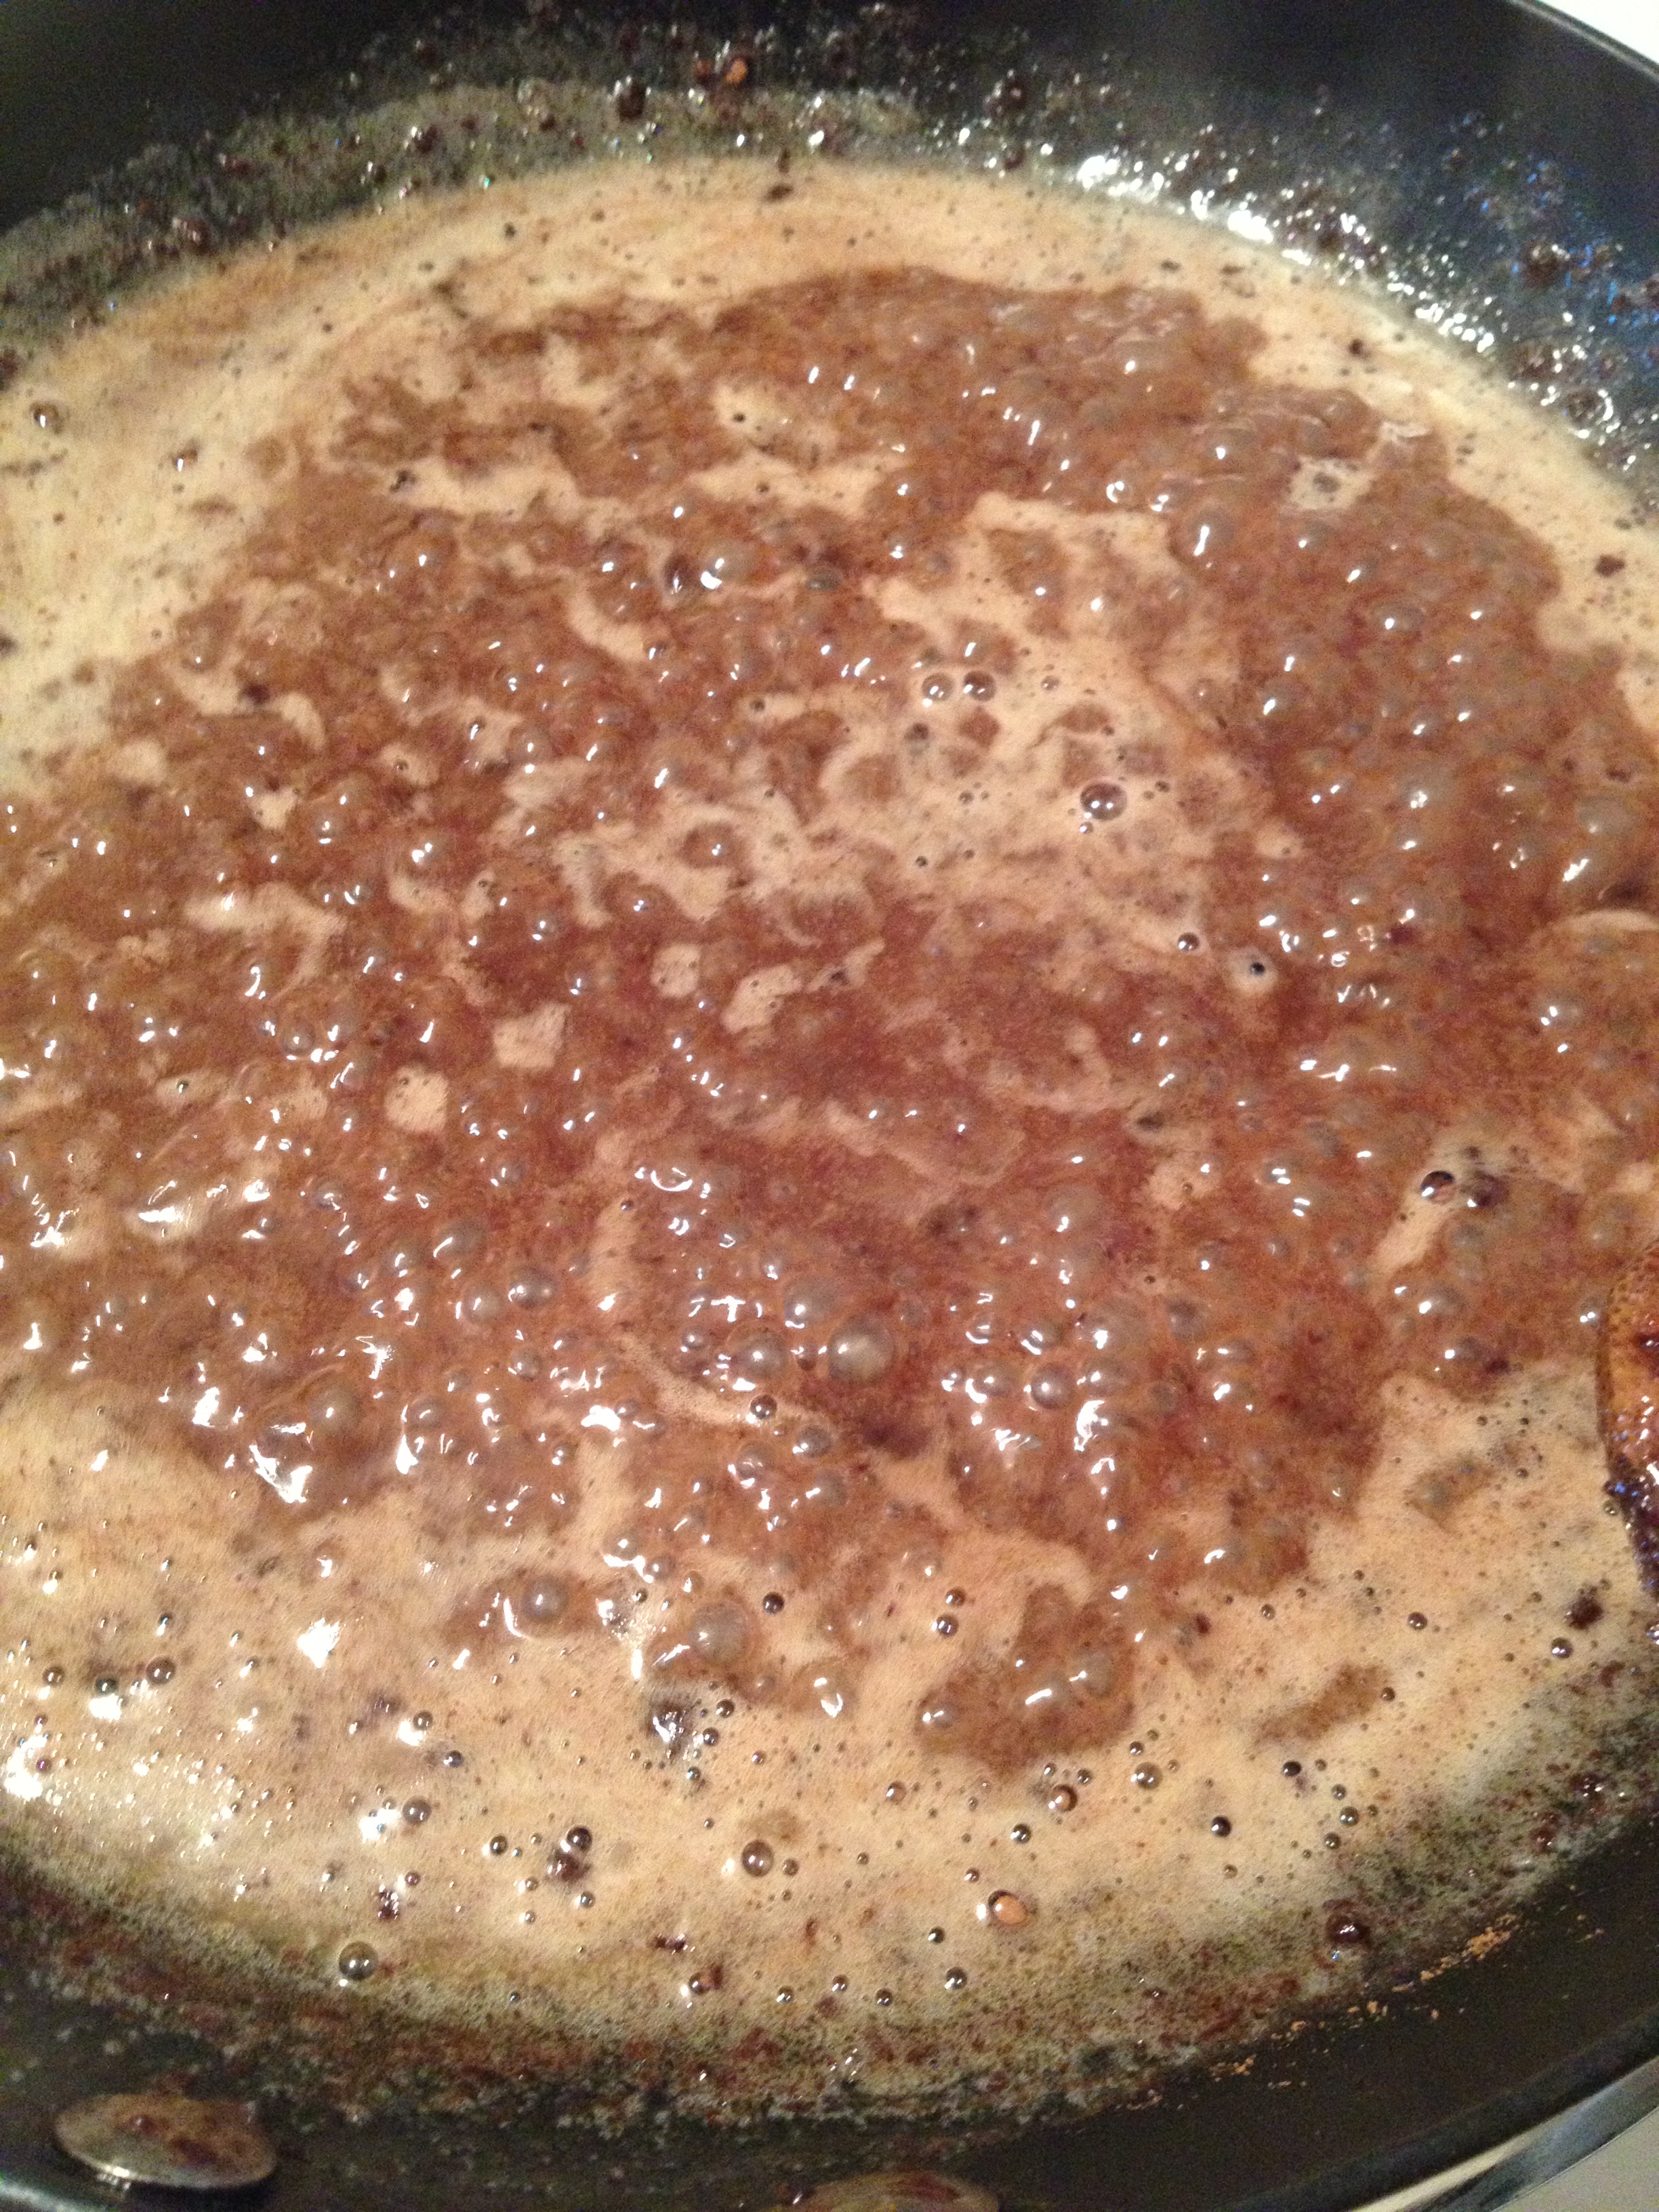
  • Bring to a boil for a little over a minute and then take off heat
Boiling boiling boiling

Boiling boiling boiling

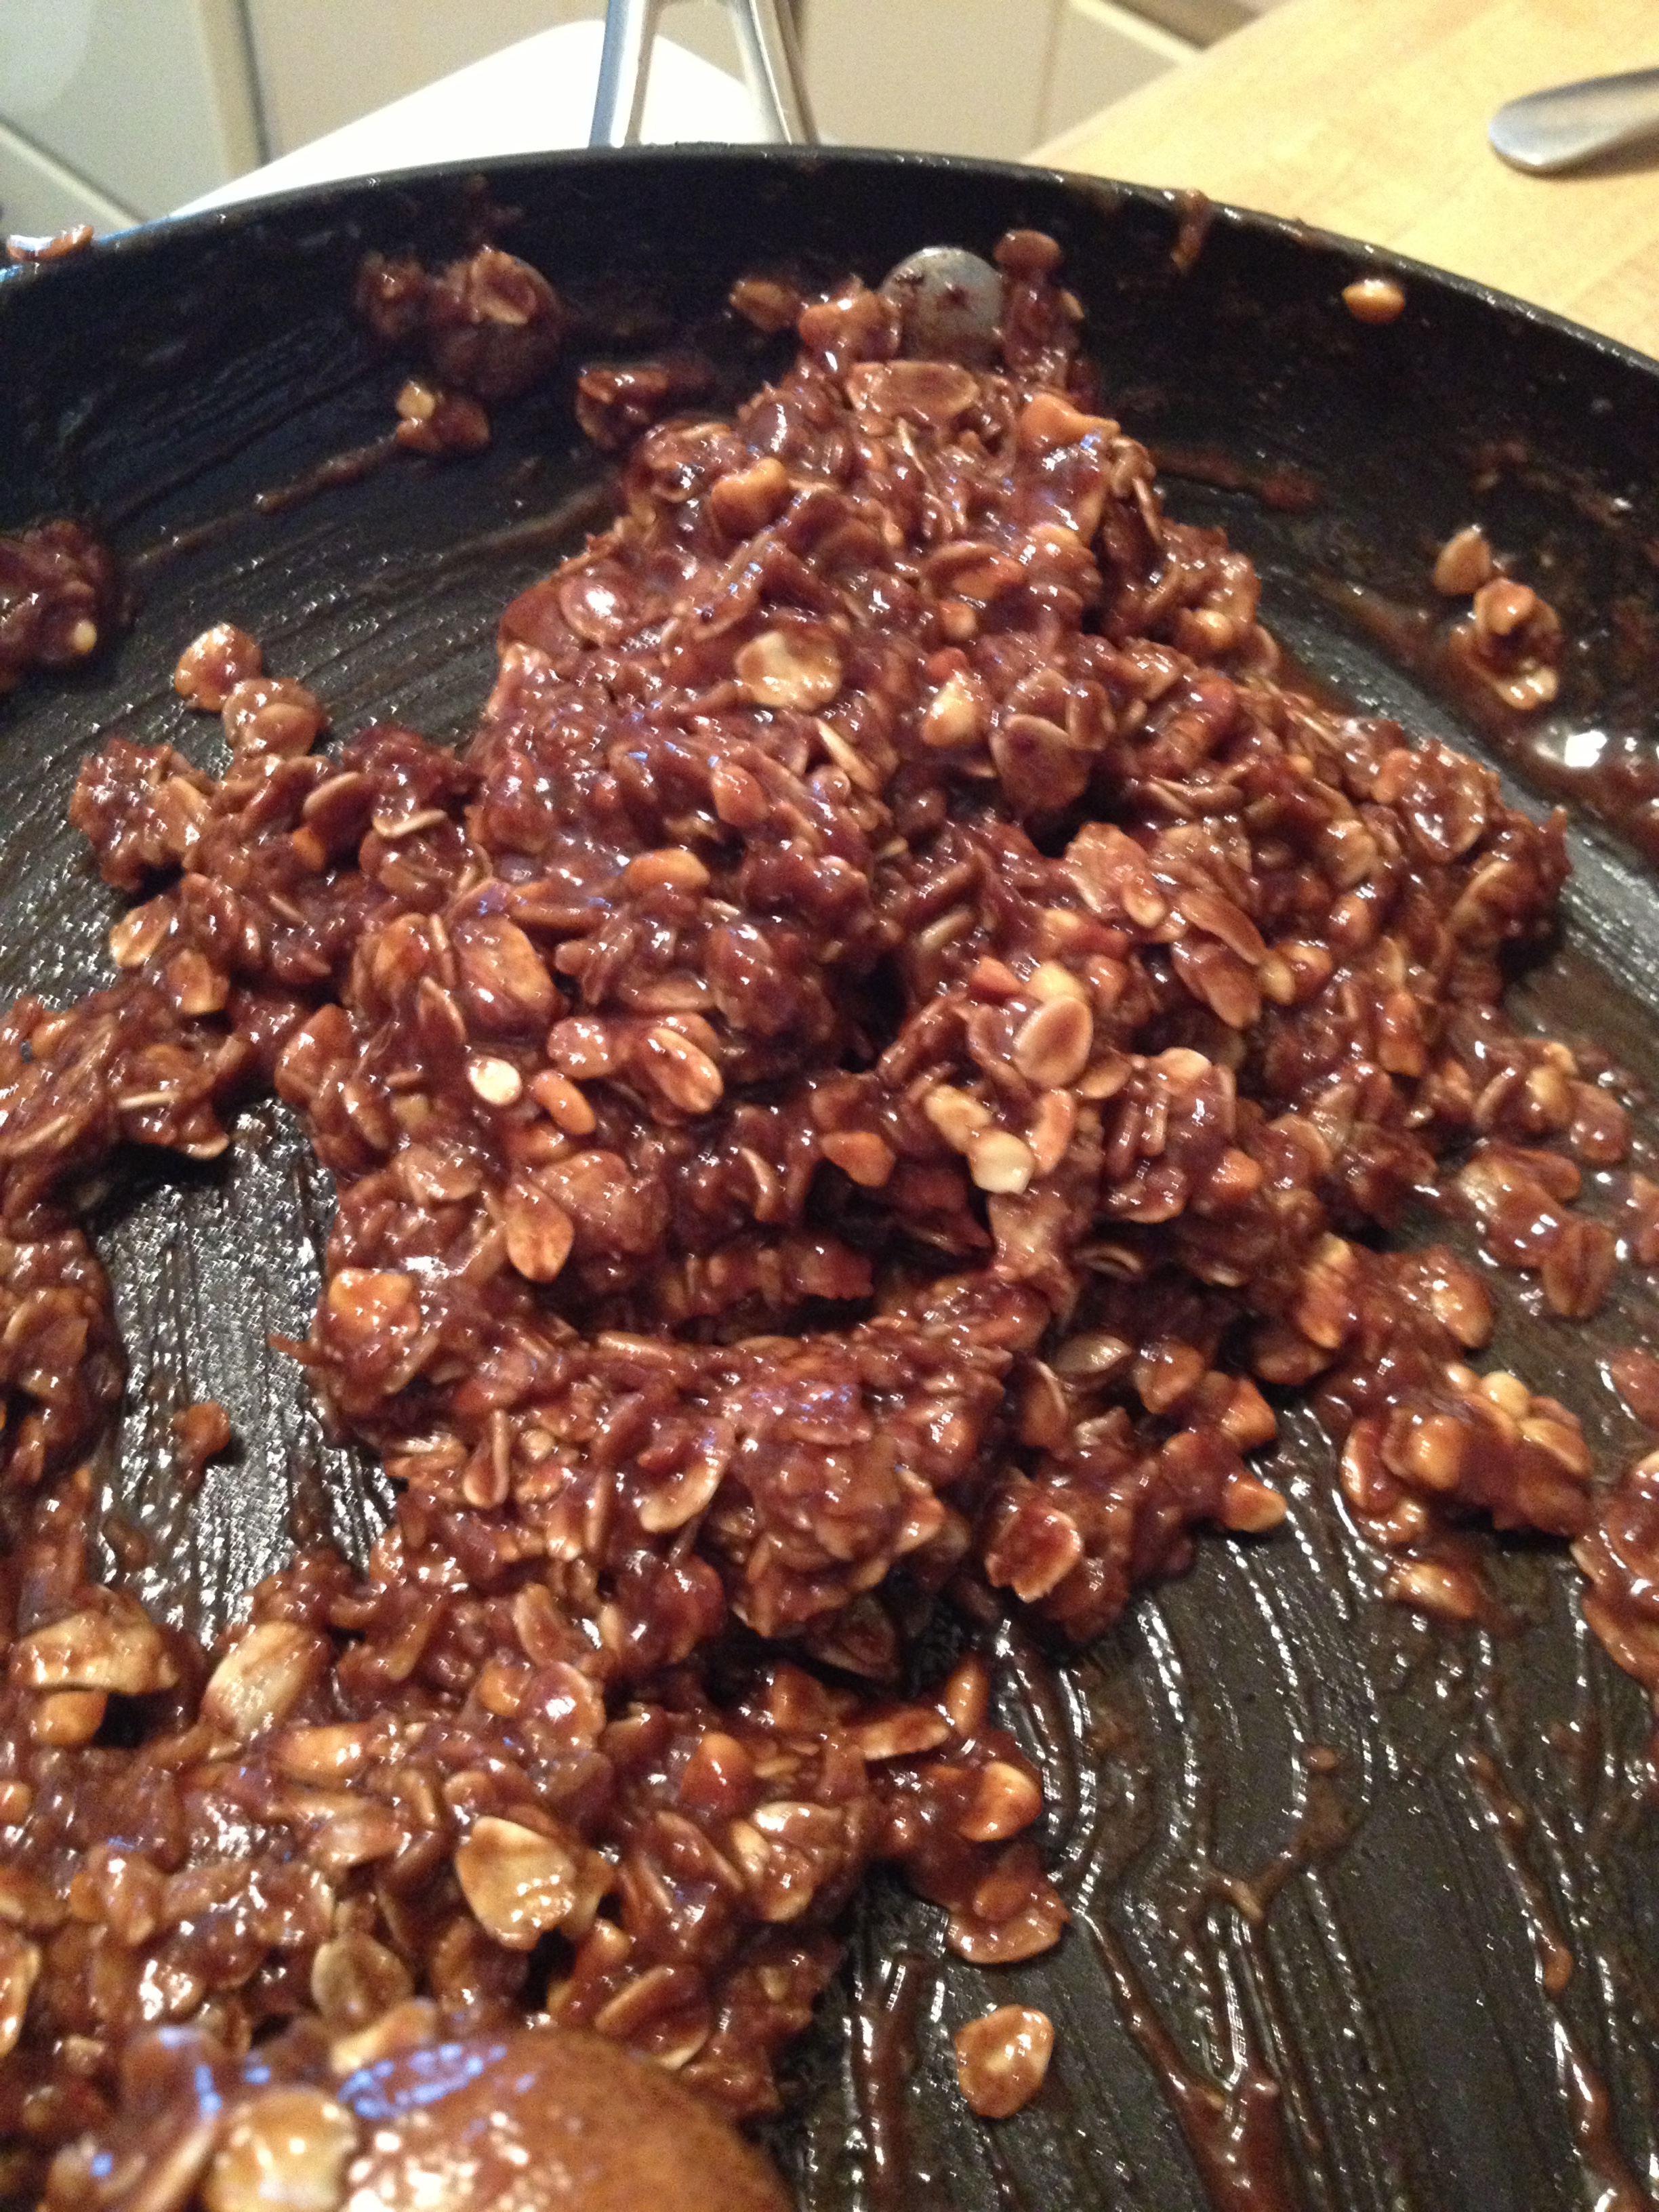
  • Once off the heat, stir in the peanut butter, vanilla, and oats. Stir it real well, getting it as smooth as you can with such ingredients.
All stirred up!

All stirred up!

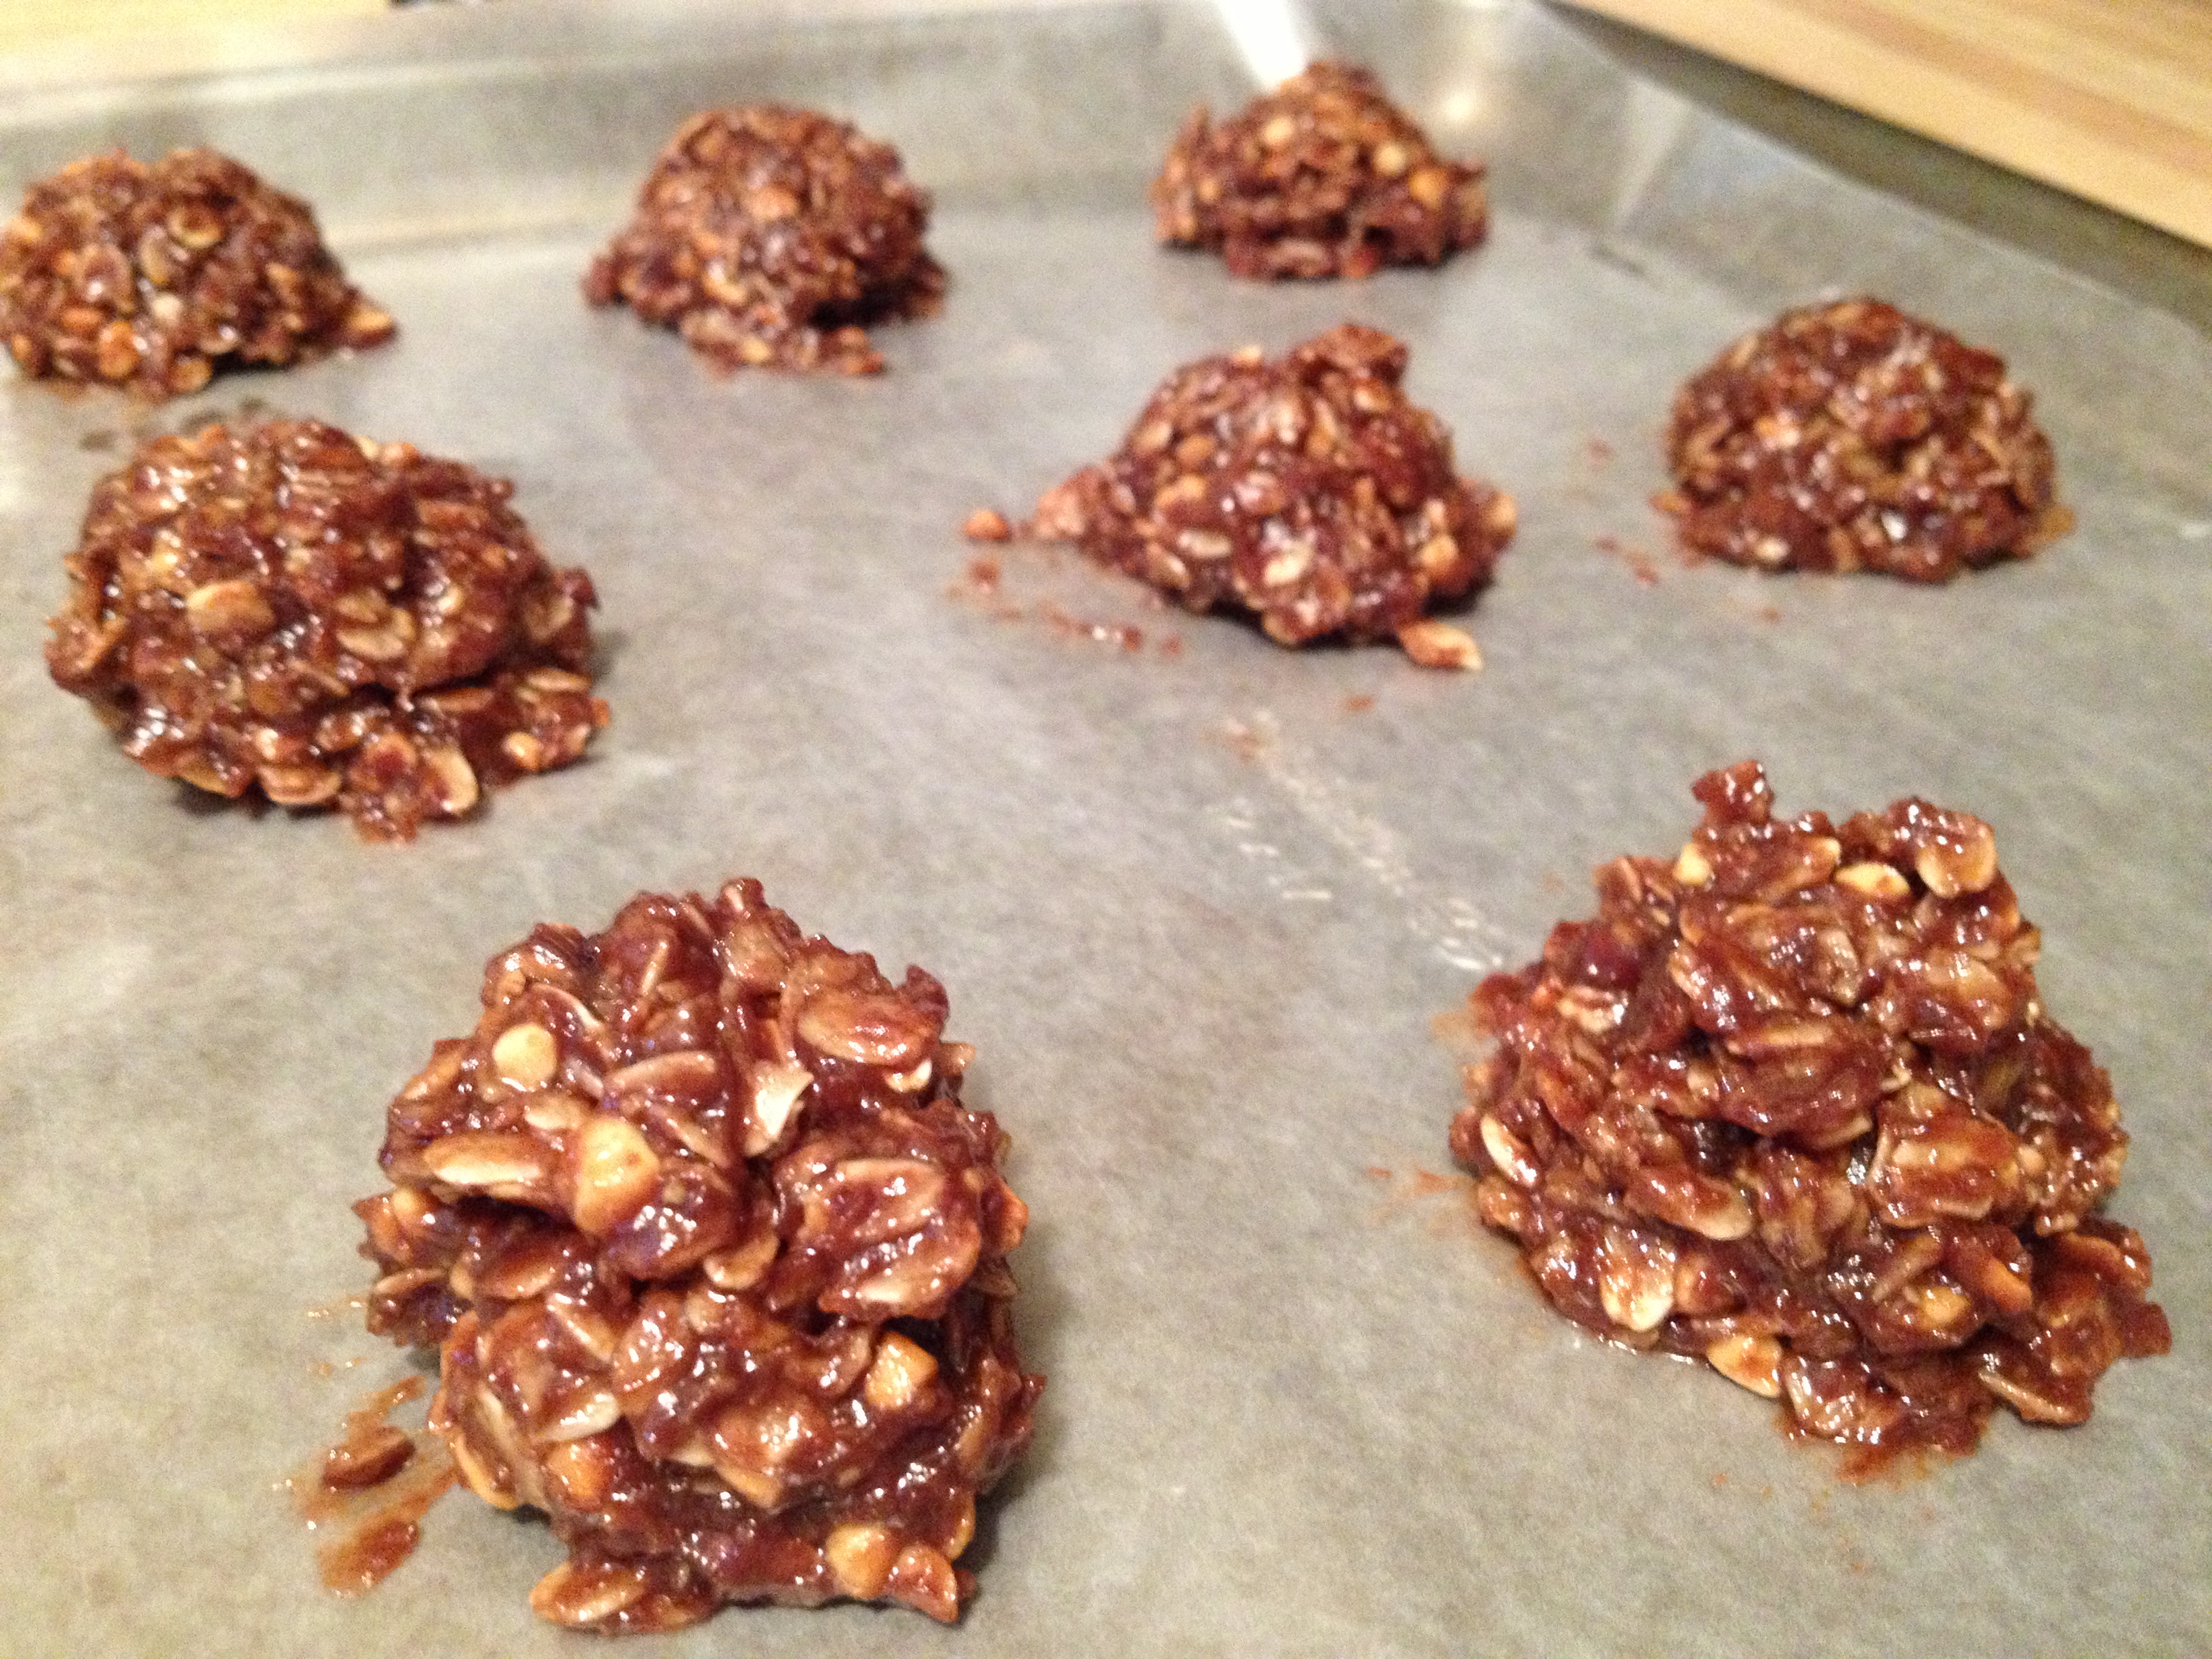
  • Use an ice cream scooper (this is the perfect way to do it!) and scoop a ball of each and plop it on your baking sheet.
  • Once they’re all lined up, let them cool for a bit and then put them in the refrigerator for at least one hour. 

photo 1 (9)

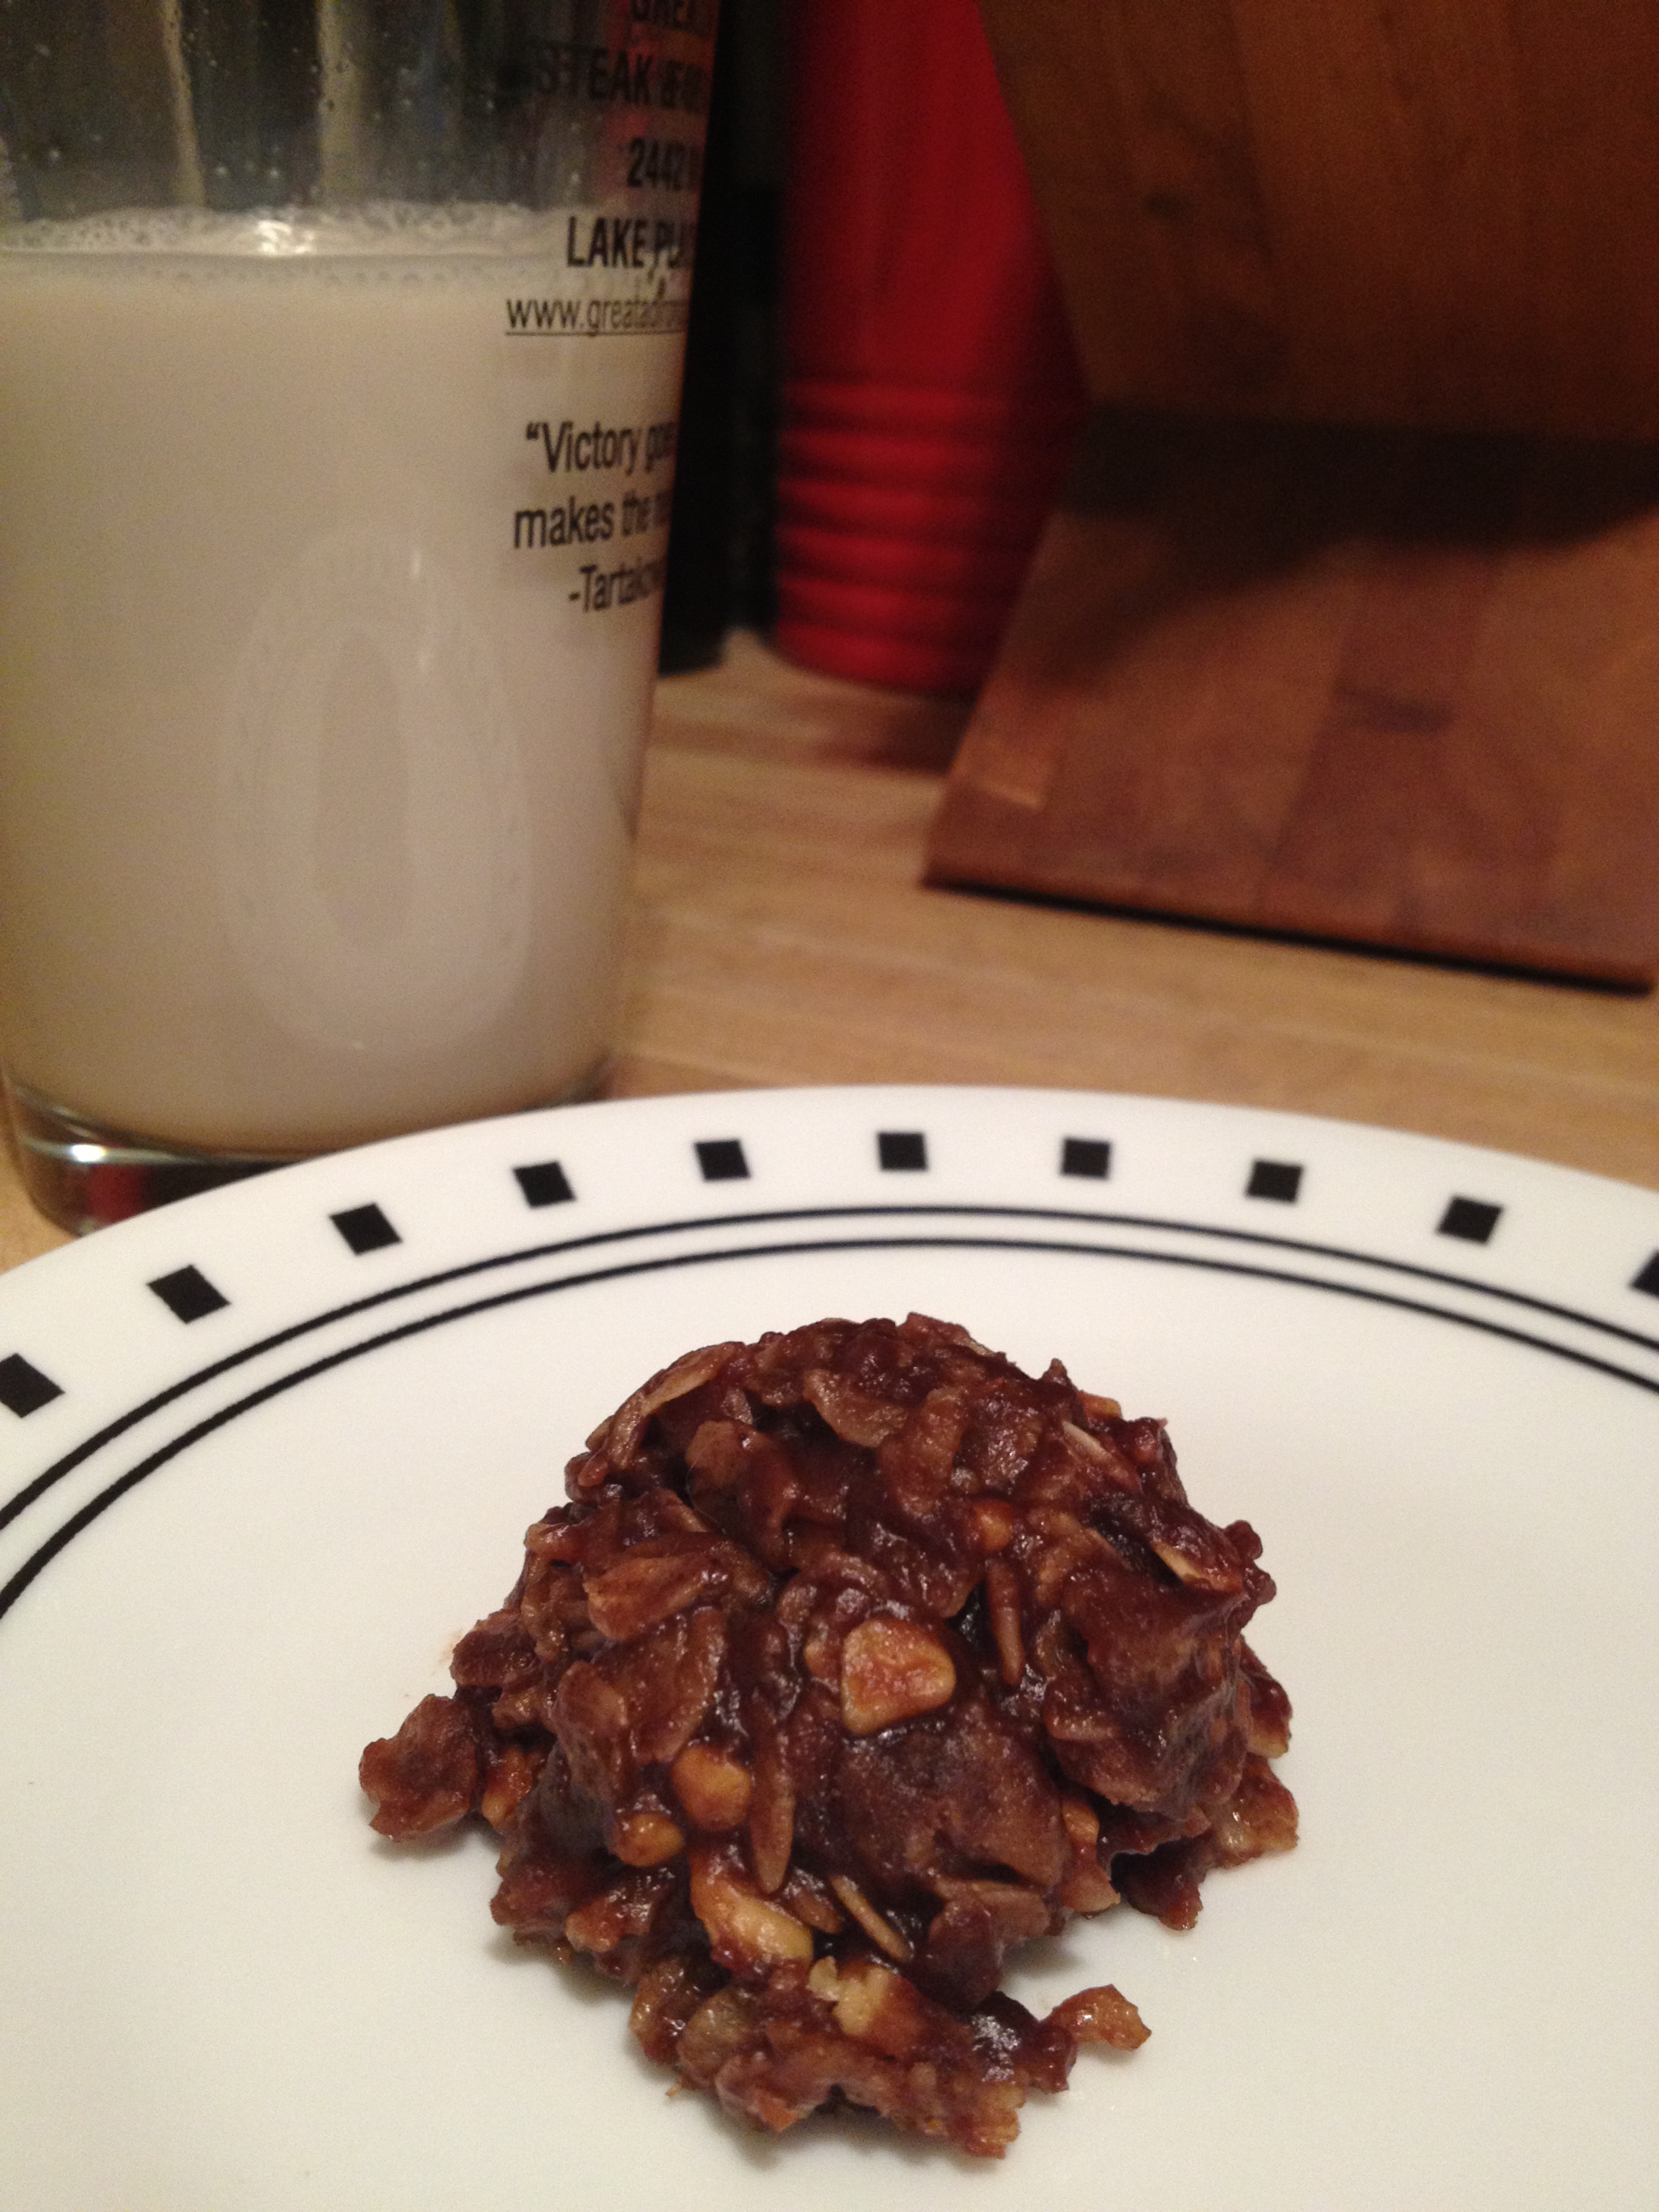
  • Once nice and cool, go ahead and serve! It’s delicious with a glass of milk (almond or regular, your choice)
Ready to be gobbled up

Ready to be gobbled up

And that’s it! Pretty simple, huh? I give thanks again to OMFG So Good (brilliant blog title too) for bringing this to my attention. And by bringing, I mean I hunted the recipe down. These are very decadent cookies, rich with the mixed combination of chocolate and peanut butter (Reese’s, anyone?). That is a combination I can near never refuse. This recipe has plenty of protein, fiber, and unsaturated fat to keep you satisfied in the afternoon! Use this recipe to stay hungry and fit!

You might also like…

BONUS KITTY PIC

Nymeria exploring the shower...

Nymeria exploring the shower…

spacer

Green Protein Smoothie

This may surprise you, but I’ve never really done “juicing” or used spinach in my smoothies. Sure I’ve had carrot/apple juices, but it’s just not something I’m into (nor am I against it–just don’t have a juicer). However, when I saw this recipe from one of my favorite bloggers, I had to try it immediately! Yes, it has spinach in it, but don’t let that deter you! It also has peanut butter, banana, and greek yogurt in it! Those are the ingredients that pulled me in. I actually wanted to make this a few days ago, but we had everything except bananas (I had just made these muffins). I was heartbroken. So the next day, we went and got bananas so I could make this first thing. I changed this recipe a little: went from smooth to chunky peanut butter, used almond milk instead of regular, and, of course, threw some protein powder in there. 

photo 4 (3)

Macros (per serving)

  • Calories: 261
  • Fat: 5.7g
  • Carbs: 28g
  • Protein: 28.6g

Ingredients

  • 1 cup raw spinach
  • 1/3 cup plain nonfat Greek yogurt
  • 1/2 cup Silk Vanilla Unsweeted Almondmilk
  • 1 tsp chunky peanut butter
  • 1 tsp honey
  • 1 scoop unflavored protein powder (but a vanilla flavor would do well too)
  • 5 ice cubes

Directions

  • Throw the ice, milk, yogurt, banana, spinach, peanut butter, and honey into the blender. Press “ice crush” a few times to get that ice down to bits. Then blend. 
  • Once it starts to become mixed, throw the protein powder in.
  • Serve!
Yum

Yum

Pretty easy directions and it serves well anytime of the day. I was a little cautious about trying it, with spinach being the main ingredient of the smoothie. However, I threw a straw in and went for it. I was so pleased and surprised–it was delicious! You could taste all the subtle flavors. The spinach didn’t overpower it at all but rather shared the palate well with the peanut butter and banana. I wish I had two servings because it was so tasty, but I was actually quite full and satisfied just after one. And I absolutely love the natural color the spinach brings out–a light fresh green. Use this recipe to stay hungry and fit!

You might also like…

BONUS KITTY PIC

photo (1)

spacer

Recipe FAIL and a Pick-Me-Up

We’ve had this cauliflower in the fridge for some time now, and we’ve just been so busy moving, house-sitting, being sick, and getting our stuff together that we haven’t done as much at-home cooking as I would like. Sure we’ve done easy peasy meals here and there like quesadillas, muffins, and ramen, but not new recipes I’ve wanted to try. Well this was about to change (or so I was hoping)! I was so successful with my other no-yeast whole-wheat pizza recipe, I was like SURE I can do this cauliflower pizza recipe from here. WRONG. It called for a food processor, but I don’t have one really. So I just chopped into lots of bits. Anyhow, as you will see below, IT DIDN’T WORK OUT. I made the crust too thin and didn’t balance the cheese ratio me thinks.

YIKES

YIKES-and a blurry pic to boot, nice, Alana

I kind of knew it went wrong after 5 minutes in the oven, but went through some self-denial until after, 25 minutes it was a burnt mess. Determination squashed, I told Chris that my dinner attempt was done and that it was his turn. He debated making a gourmet mac and cheese, but as we are both sick (who gets a cold in summer?!), we didn’t need more congestion, ESPECIALLY since Warrior Dash is this weekend. So eventually, he decided (I wouldn’t give him any input like a brat) on his favorite Chinese place in town, China Gourmet (I can’t believe we haven’t done a post about that place).

I got a delicious Pad Thai and he got Chicken and Broccoli

I got a delicious Pad Thai and he got Chicken and Broccoli

We enjoyed a nice sunset and spent some good time together sitting down and eating food we didn’t have to prepare. The motto of this story isn’t to get Chinese food after a recipe fail, but I wouldn’t be mad if that’s what you got out of it. What I want you to get out of it is to not be hard on yourself for everything and accept that you’re not perfect and you can’t be good at every little thing you do. I screwed up a recipe–who cares, we made a solution and are happy for it. So next time you burn that batch of cookies, either cook up something easy that you love, make your partner cook for you, or go out for a cheap meal! I promise you will forgive yourself. Use this advice to stay hungry and fit!

Beautiful Boulder sunset

Beautiful Boulder sunset

We got a ping pong table! And Nymeria is absolutely adorable with us playing. Need to get a video

We got a ping pong table! And Nymeria is absolutely adorable with us playing. Need to get a video

You might also like…

BONUS KITTY PIC

^_^

^_^

spacer

Whole-Wheat Churro Balls Recipe

Boy am I ecstatic to have found this recipe. And boy am I even happier to have not looked ahead and not have any regular flour on hand. What do I do when I don’t prepare properly (aka too busy drooling over the thought of churros)? I improvise! Would whole-wheat flour work with this recipe? Not so sure! Try it anyways? Sure! And guess what–I lucked out! Even though it wasn’t exactly a smooth recipe process for me, they turned out delicious and fuller with fiber without the processed flour. Yay for steps in a healthier direction! Anyone who knows me knows that I have a bad addiction to churros…and anything cinnamon. When I stumbled upon that recipe, I couldn’t contain my excitement. I finally finished my contest, so I jumped on the opportunity to do this.

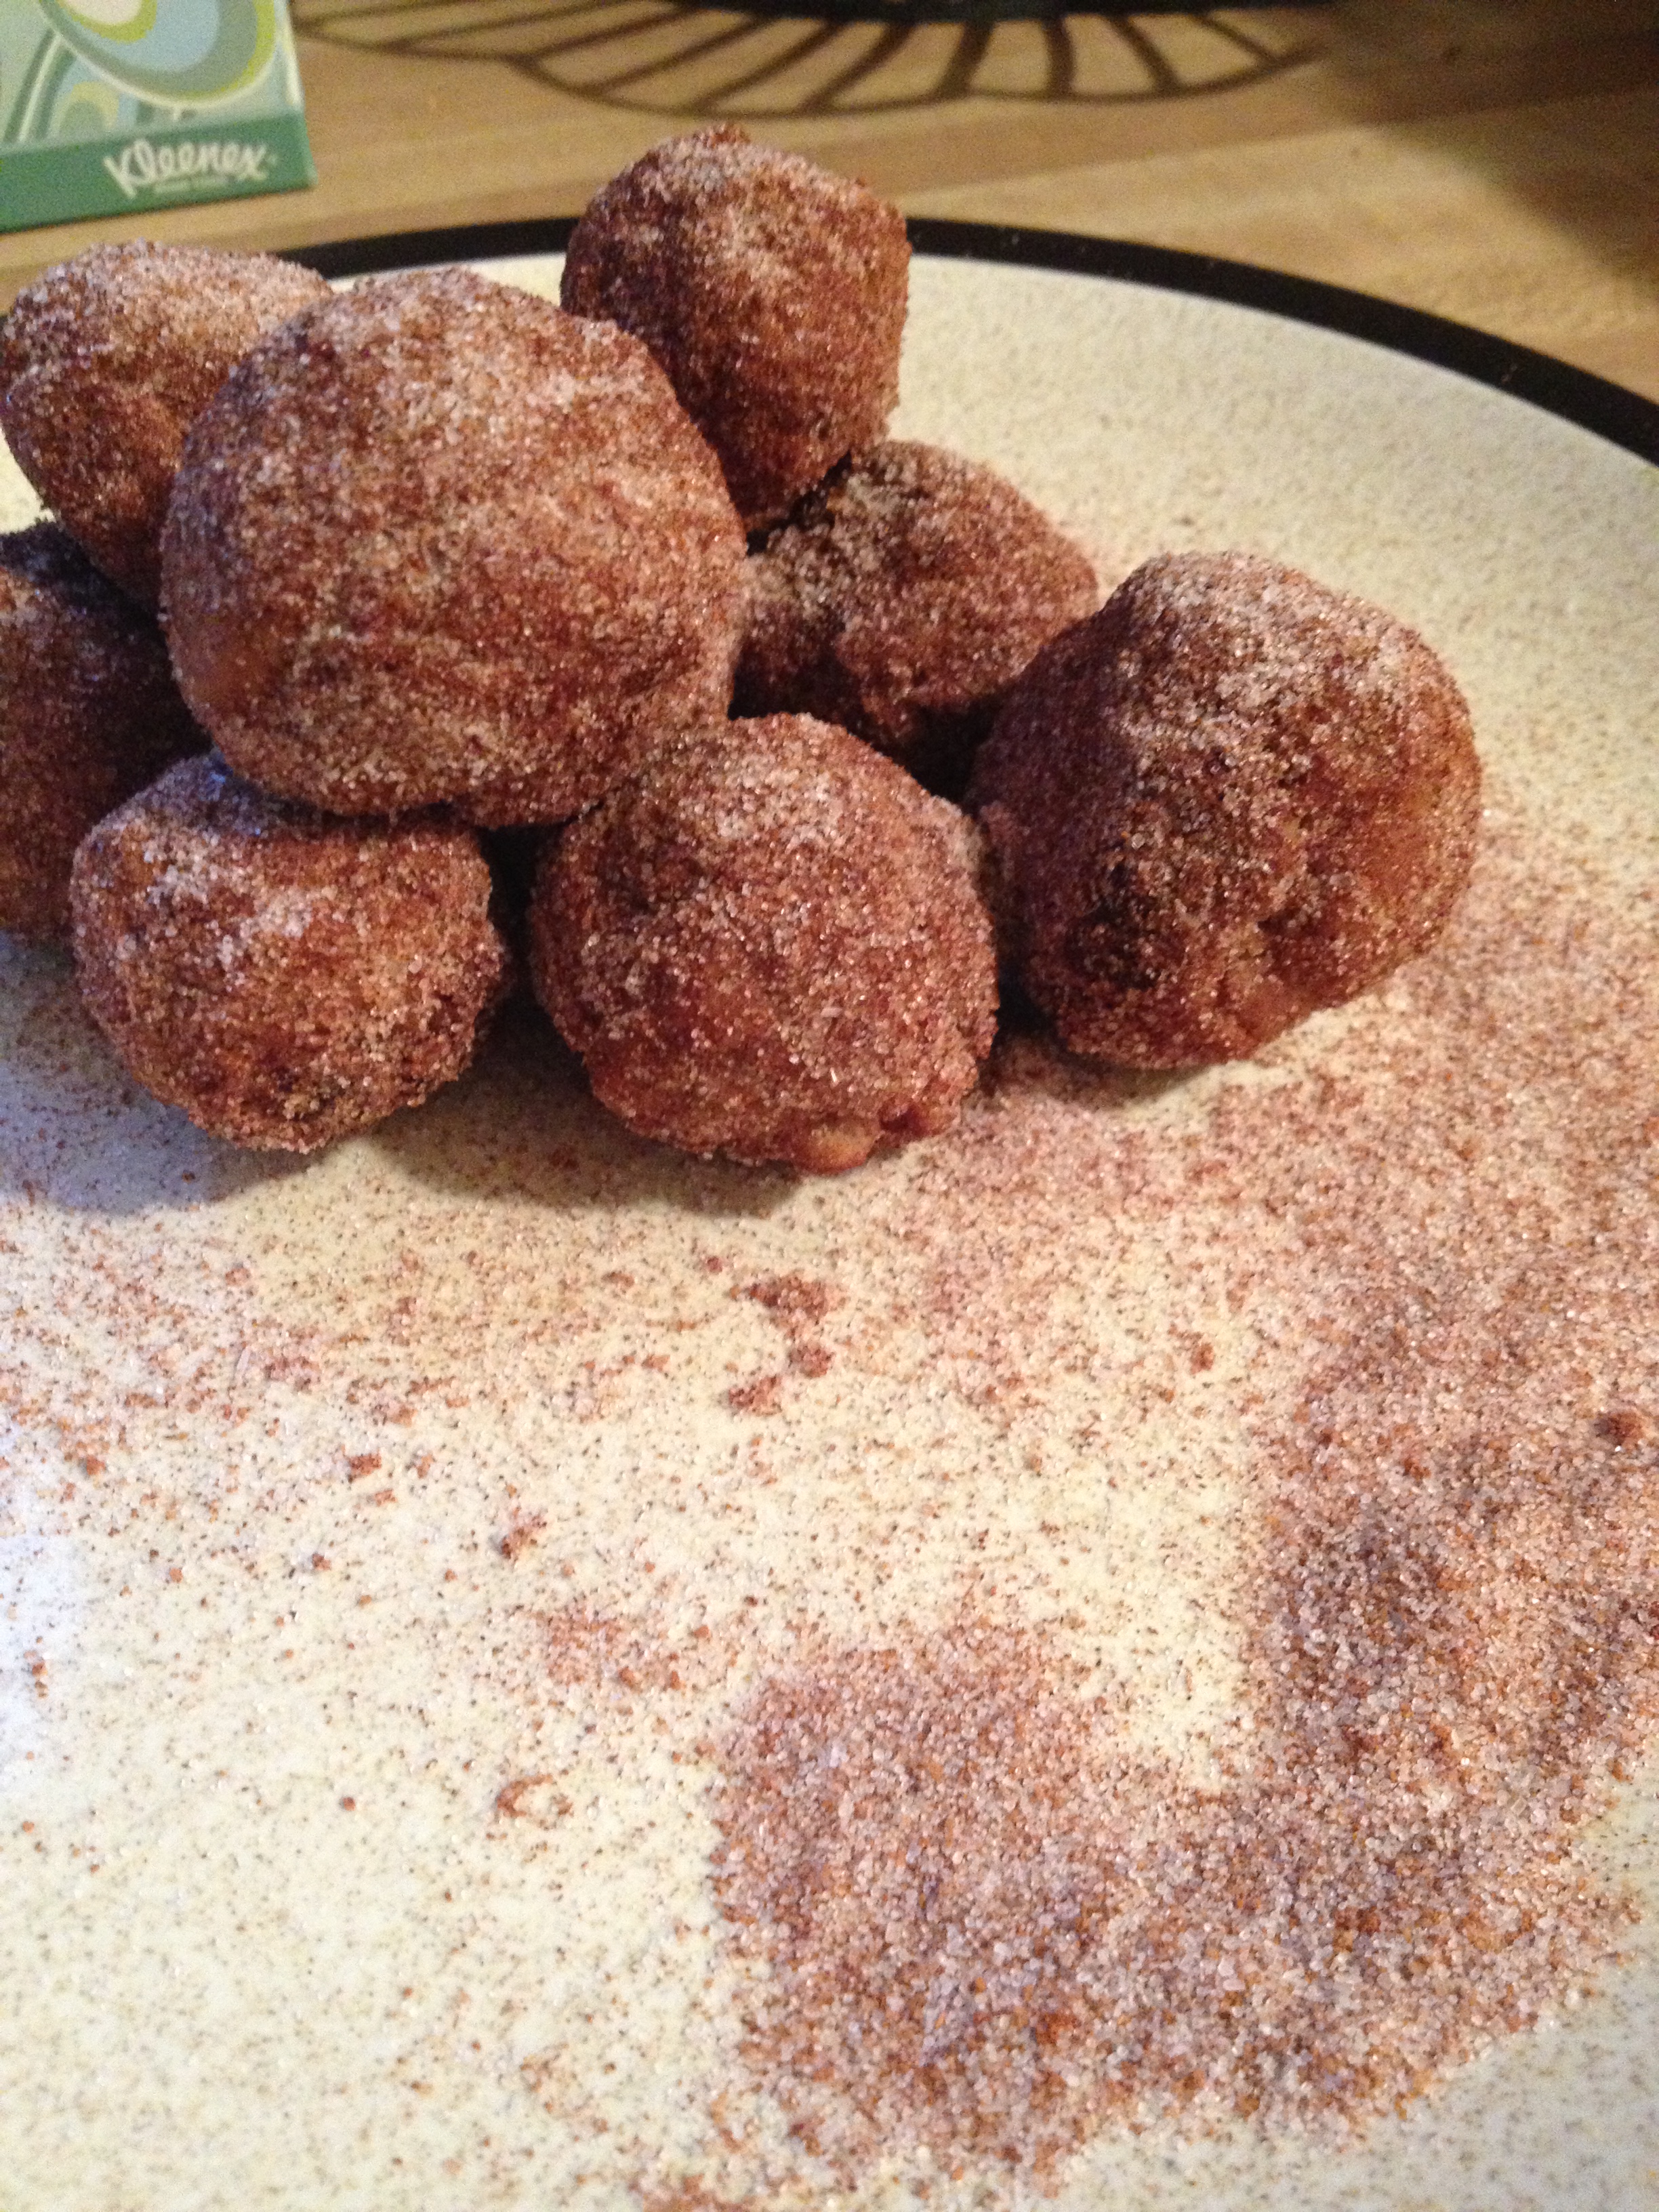
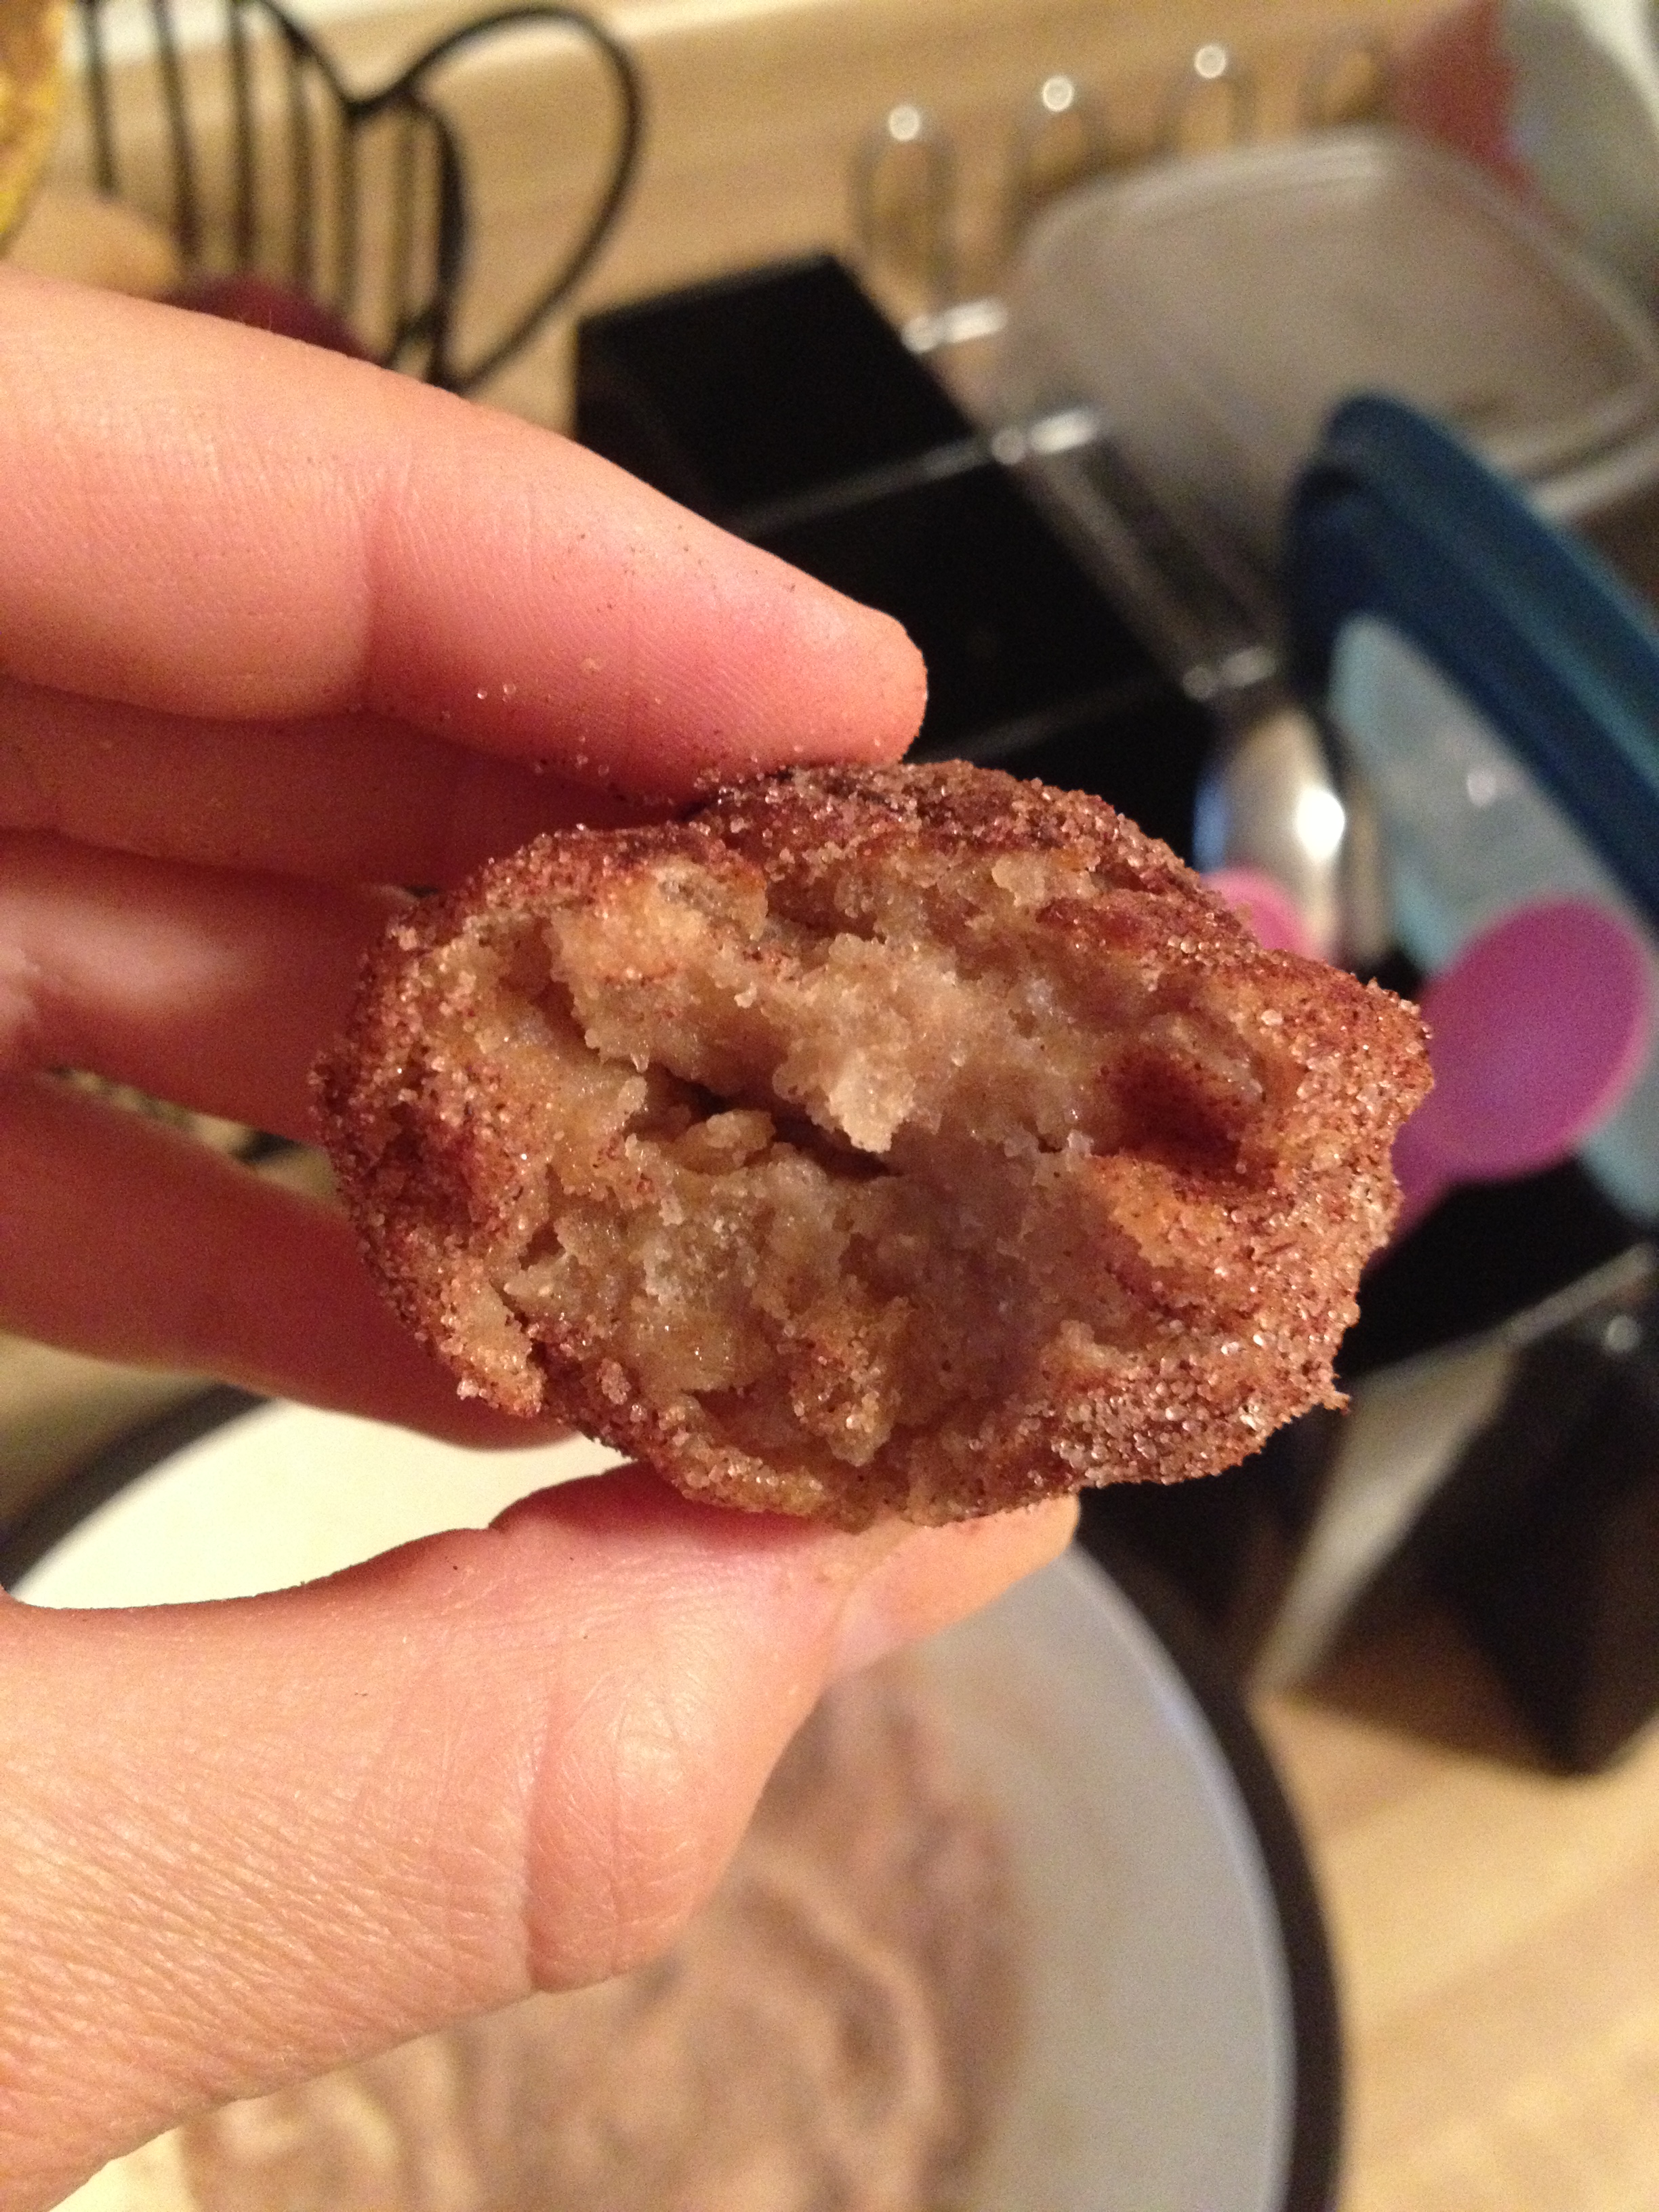
Mmmm-mm!

Mmmm-mm!

  • Prep Time: 5-7 minutes
  • Cooking Time: 4-5 minutes

Macronutrients (per ball)

  • Makes: 10-15 balls (but it depends on the size you make them, mine came to 11)
  • Calories: 58
  • Fat: 1g
  • Carbs: 11g
  • Fiber: 2g
  • Protein: 1.5g

photo 5 (4)

Ingredients

  • 1 cup water
  • 1 tablespoon white sugar
  • 1 cup whole-wheat flour
  • 1 tablespoon oil
  • oil for frying 
  • 1/4 cup white sugar
  • 1 teaspoon cinnamon

Directions

  • Combine the water, tbsp sugar, and tbsp oil in a saucepan over medium heat. Bring to a boil
  • Stir in the flour until it forms into ball-like structures
Keep mixing!

Keep mixing!

There we go

There we go

  • Heat up oil in a deep pot to fry the churro balls in. Should be 190 degrees F and that’s when you need a thermometer (which I don’t have and consequently slightly burned them…only some!)
  • While the oil is heating up, mix together the 1/4 cup sugar and cinnamon in a bowl
I could just eat this plain

I could just eat this plain

  • With your hands pick up the dough in the cooled saucepan and roll them into donut hole-like balls. Make them whatever size you want. Pop them into the hot oil and let cook for 4-5 minutes. I didn’t put enough oil in so I had to roll them around. Make sure the oil isn’t too hot so you don’t smoke the apartment out (oops)!
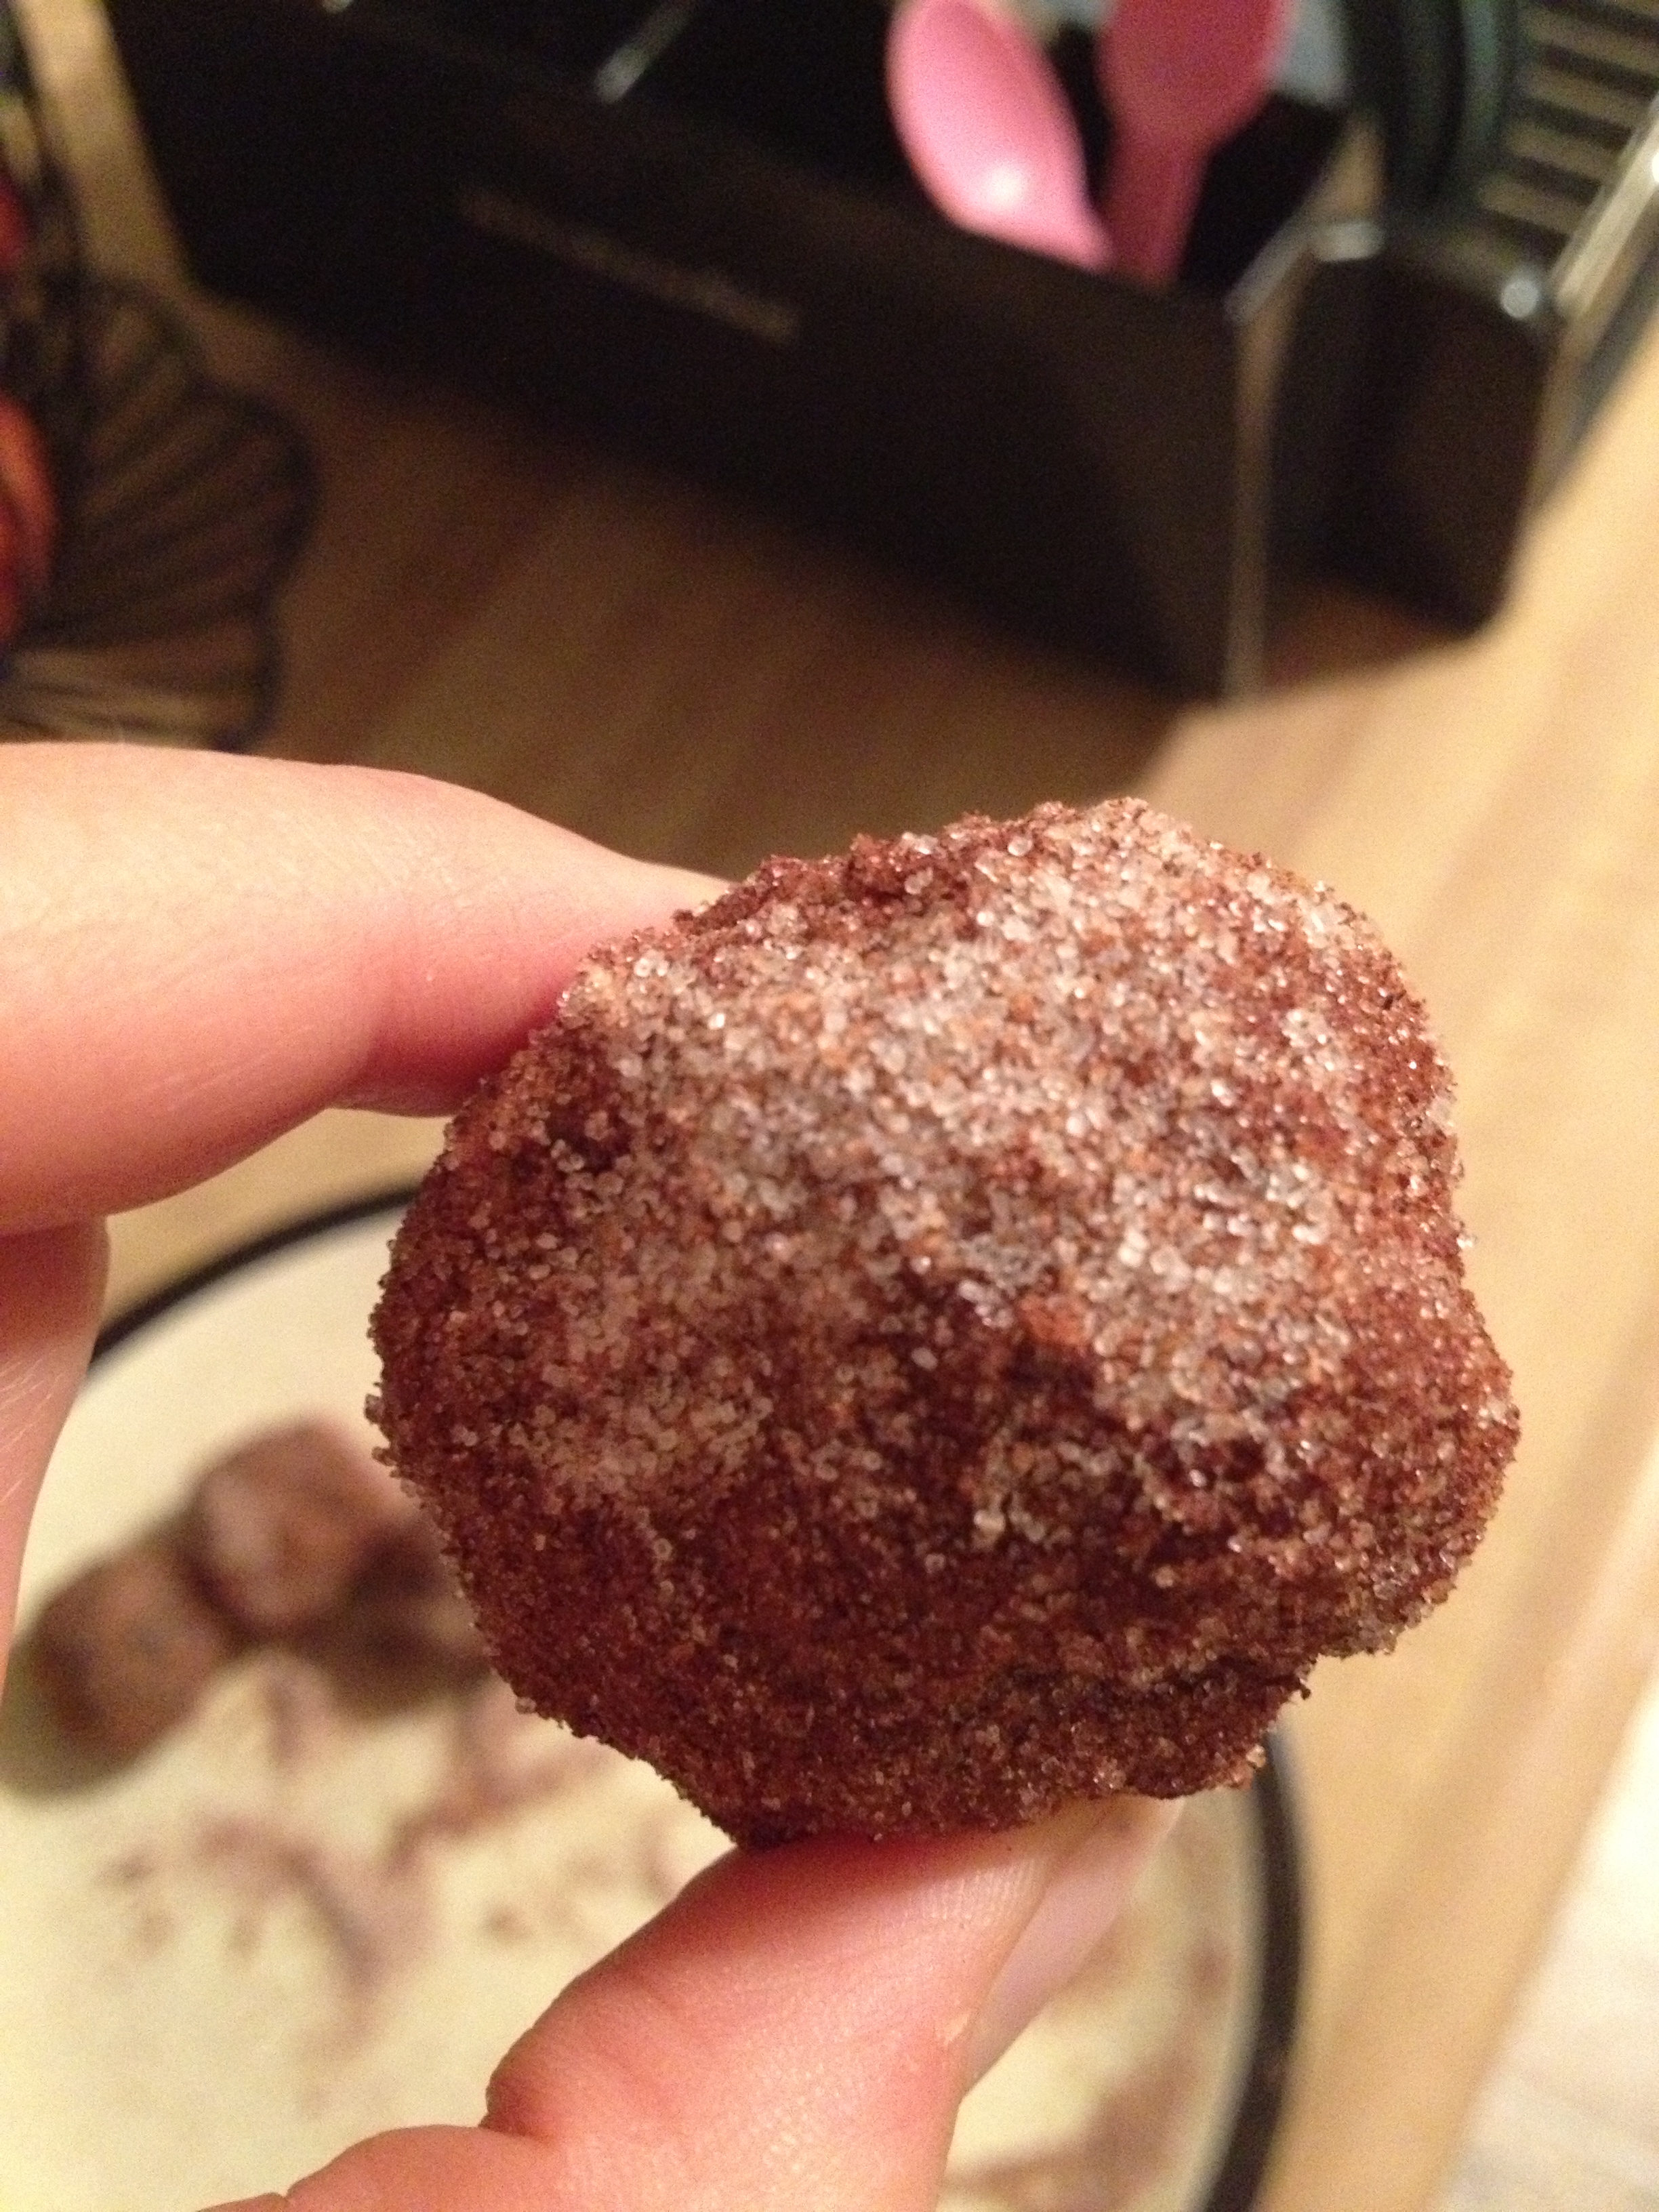
  • Take them out and drain or pat with paper towel. When cool to touch, roll them in the cinnamon-sugar mix. Get them nice and covered!

photo 3 (32)

  • Serve as a pile or just eat them all yourself! I couldn’t help myself and had four as soon as they were done. Oops.
Mmmm-mm!

Mmmm-mm!

This is such a simple recipe–I mean look at the ingredients! If you want to follow the traditional recipe, you can use regular white flour, but why not go a little healthier? Add some more fiber and whole-grain into your diet through deliciousness! They are a perfect treat for after dinner or to serve to friends. This is a recipe I will continue to use and perfect upon. I think next time I might add some cinnamon-sugar to the filling…Use this recipe to stay hungry and fit!

Don't mind if I take another...four!

Don’t mind if I take another…four!

You might also like…

BONUS KITTY PIC

Nymeria being ridiculously cute...what's new

Nymeria being ridiculously cute…what’s new

spacer

Product Review: Marukome Miso Soup

I’ve been wanting to buy some take-home miso soup powder from the store for a while. However, it’s usually expensive or has horrid ingredients. Both things I stray away from. And even ones that I have found before haven’t been good, I know my friends can attest to this. Guys…I’ve found it! I’ve found one that’s worth the money (though it wasn’t that expensive) and tastes just like from a restaurant. It may help that it’s directly from Japan too.

photo 3 (26)

The brand is called Marukome. Its ingredients are exactly what you would expect (or hope) a miso soup powder to be: powdered miso, rice, dried tofu, dried green onion, powdered yeast, bonito powder, etc. This was the first good sign (besides the price that stopped me to look at it). The next good sign was that it’s a “Product of Japan.” If I’m eating an “ethnic food” (I hate that phrase), then I want it right from where it was created. Miso soup should come Japan or a great chef. So being a product of Japan (and having a cool Japanese address too ^_^) gave it a huge plus. It also has a freaking awesome mascot, who wouldn’t want some miso soup from that guy?!

Perfect texture

Perfect texture

The directions are really simple. Pour powder into bowl, pour 1 cup of boiling water into bowl, stir and serve! That’s it! Dinner was awesome last night because it took all of 5 minutes to get everything on the table. And for the big package, you get 3 miso packet servings, so we have one left over! As you can see, I’m all about this product, and they’re not even paying me to say this! They also have a great “miso secret” about miso and your health (look at pic below). I found this at our standard grocery (no special, local, or organic grocery–just the plain main one) so you have no excuse. Use this product to stay hungry and fit!

photo 3 (28)

You might also like…

BONUS KITTY PIC 

Sajah enjoying the view

Sajah enjoying the view

spacer

Easy Chicken Parm Recipe [Made By a Vegetarian!]

This is my first time making Chicken Parmesan (or better known–Chicken Parm) and I think I did pretty darn well! I’m a vegetarian, so I can’t taste while I cook, which I don’t particularly like, but I was able to feel it out and follow directions and made ’em nice and tasty. I found this easy recipe here and changed it to fit what I wanted. This is a quick fix for any hungry meat-eater and boy did Chris like it!

photo 4 (8)

  • Prep Time: 15 minutes
  • Cook Time: 7-10 minutes
  • Serves: 2-3 people (or JUST Chris)

Ingredients

  • 4 skinless, boneless chicken breasts
  • 1/2 cup breadcrumbs
  • 1 cup parmesan cheese
  • 1 tsp dried oregano
  • 1 egg
  • 1/8 tsp salt
  • 2 tbsp olive oil
  • 1/2 cup marinara sauce (I used homemade)

Directions

  • Wrap the chicken breasts in some plastic wrap. AND BEAT IT! JUST BEAT IT! Really, smack the heck out of it until it’s around 1/3 inch thickness. Or just eye it.
  • In a bowl, combine the breadcrumbs, cheese, and oregano. In another bowl, combine the egg and salt.
  • photo 1 (26)
  • Now roll those smacked-up chicken breasts first in egg and salt mix, and then, once coated in that, roll it in the breadcrumb mixture. Really coat it.

photo 2 (24)

  • Heat up some oil and once it’s nice and hot, place those breaded-up suckers in. It should only need about 3 minutes on each side, but just keep an eye on them until they’re golden brown. The original recipe calls for putting mozzarella on top, but, ummm, I forgot to put it on and it was just fine without it.

photo 3 (20)

  • Heat up some marinara sauce (I made mine from scratch) and pour on top of the beautiful golden breaded chicken and serve!

photo 1 (27)

It was delicious and Chris literally ate all 4 chicken breasts. I served it with a broccoli-zucchini mix on the side. It’s the perfect meal for after work because it takes less than 30 minutes to make and it’s DELICIOUS. It feeds a whole family if you don’t have a freak like Chris who can eat the world (hi Vishnu). Use this recipe to stay hungry and fit!

yum!

yum!

photo 3 (21)

Homemade sauce

Homemade sauce

You might also like…

BONUS KITTY PIC 

Close-up

Close-up

spacer

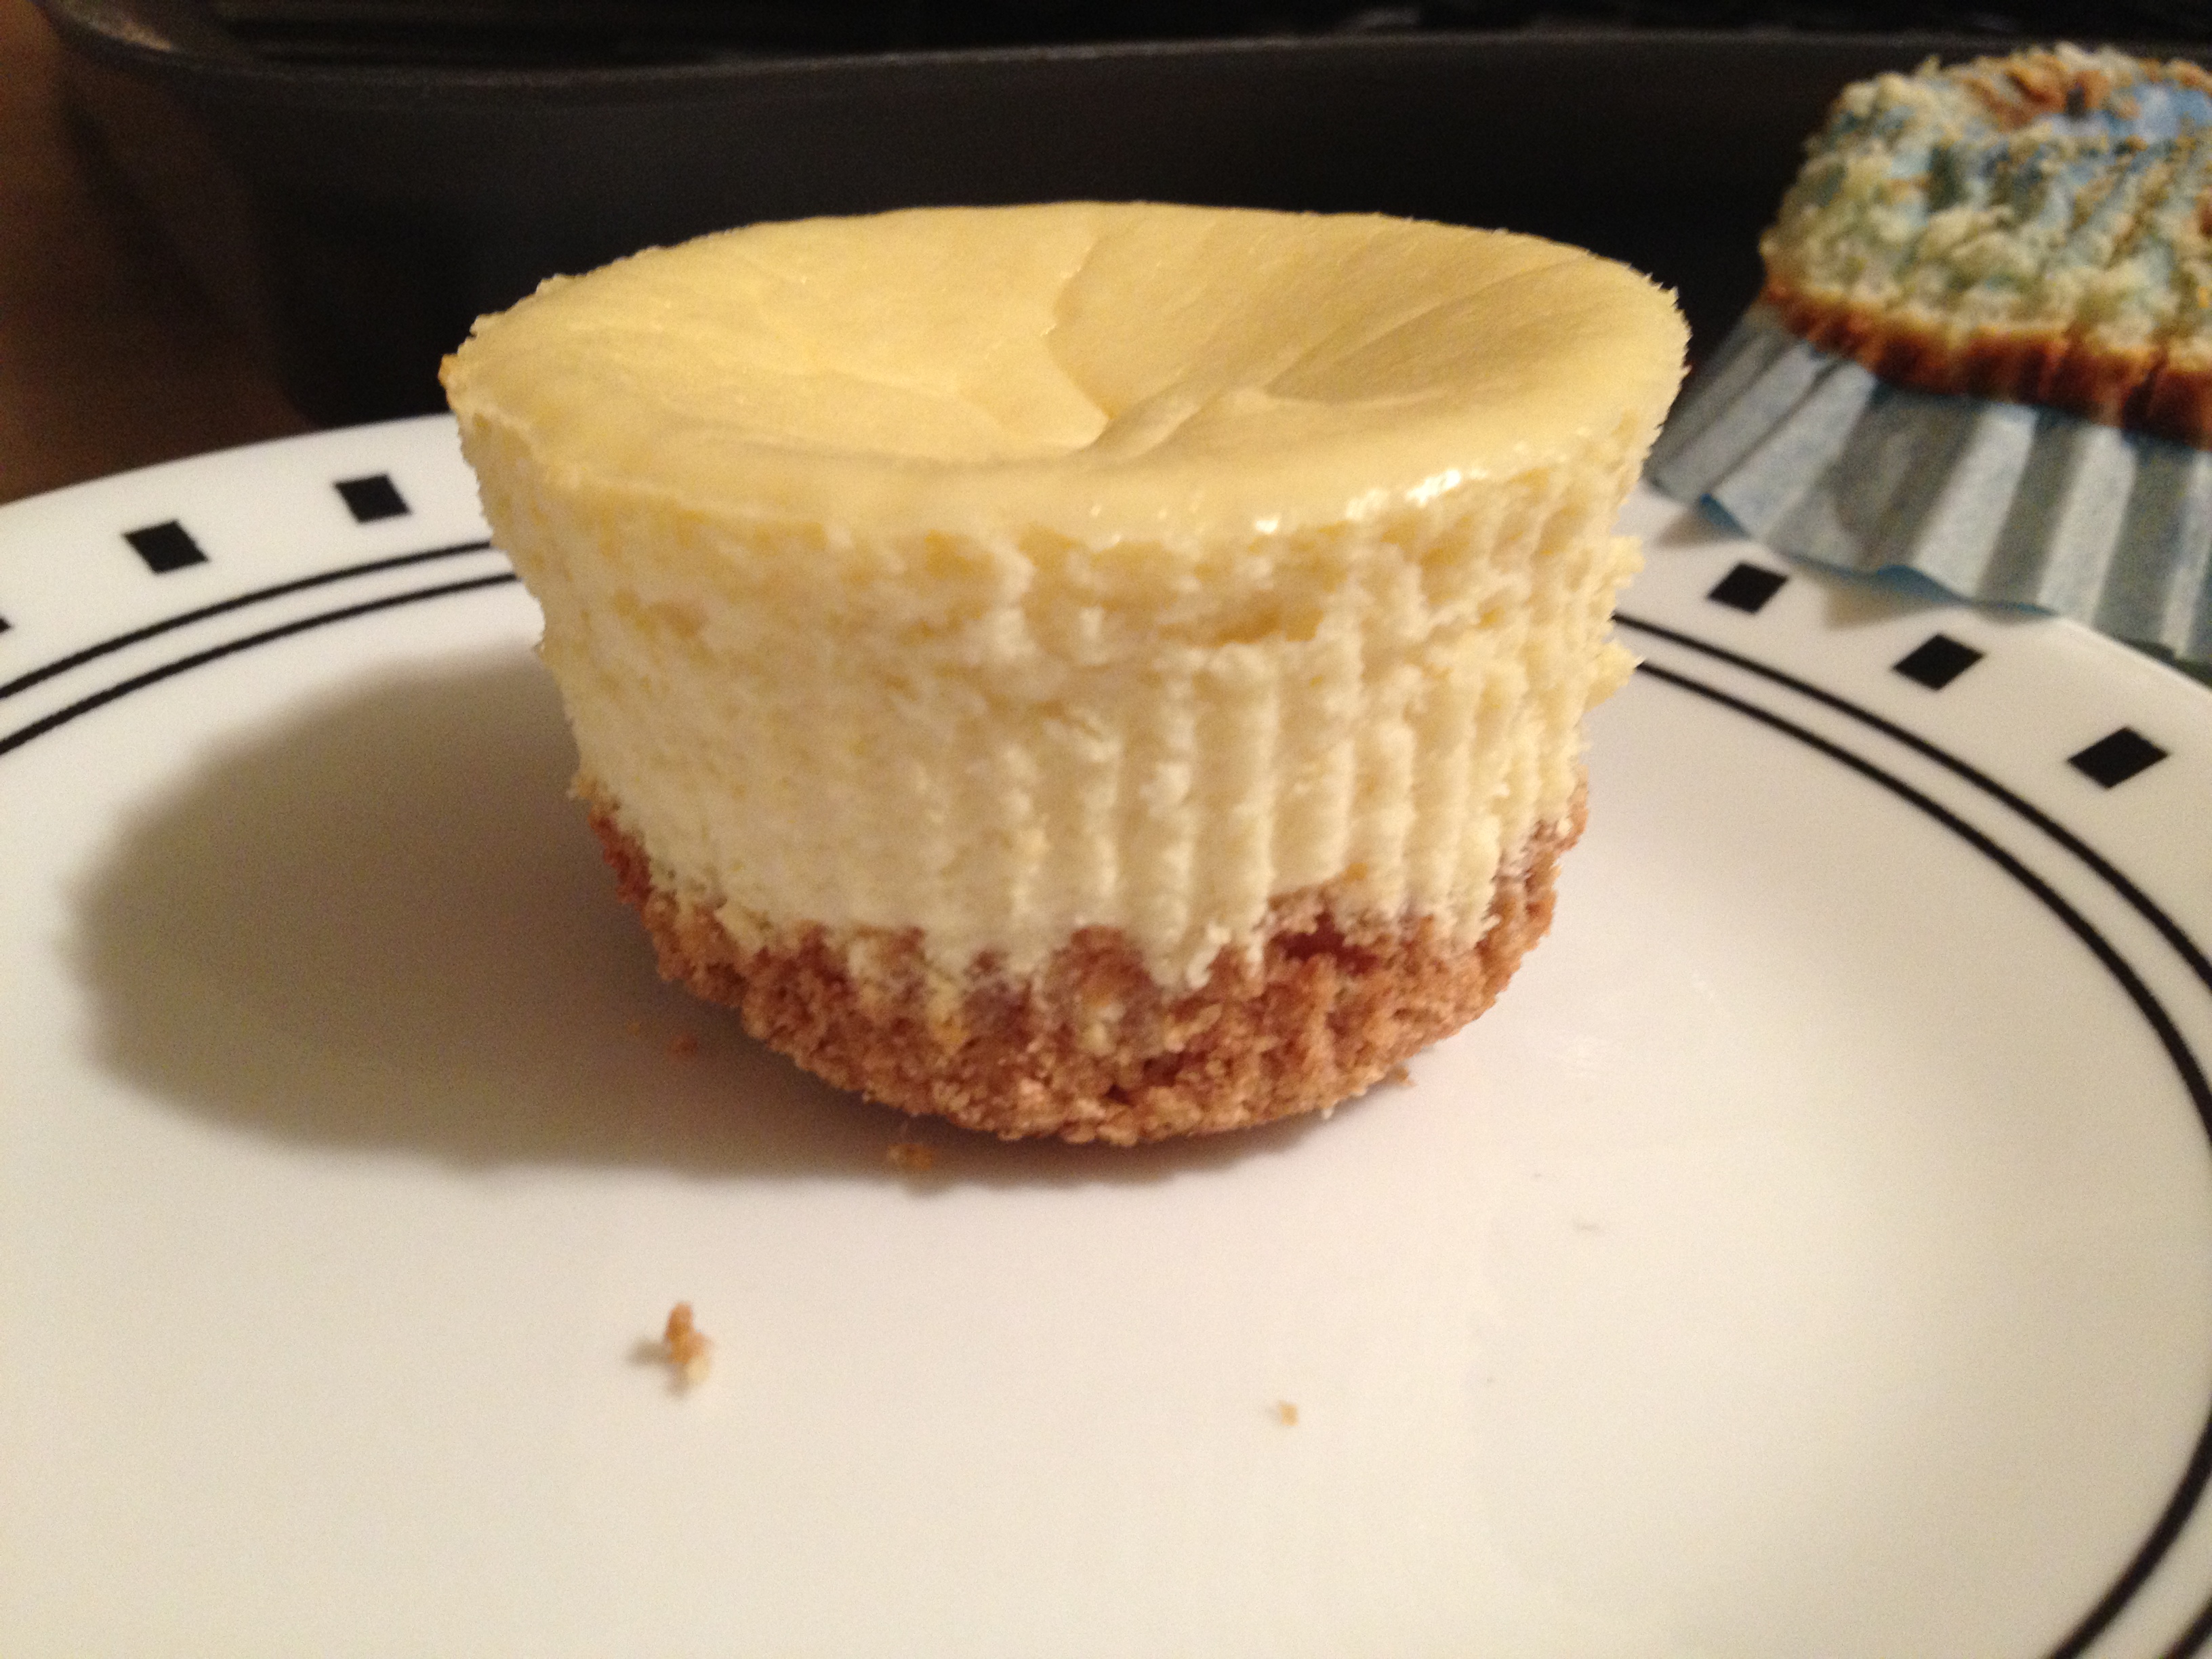
Healthy Greek Yogurt Mini-Cheesecake Recipe

I’ve been wanting to make these for a loooong time. First, the problem was I couldn’t find one ingredient anywhere. Then, it was that I was prepping for the contest, so I stayed away from dairy. Finally FINALLY, both those problems are over. I found the ingredient (Green Mountain Farms Greek Cream Cheese) at Wal-Mart (unfortunately) and this past Monday, my contest was complete!

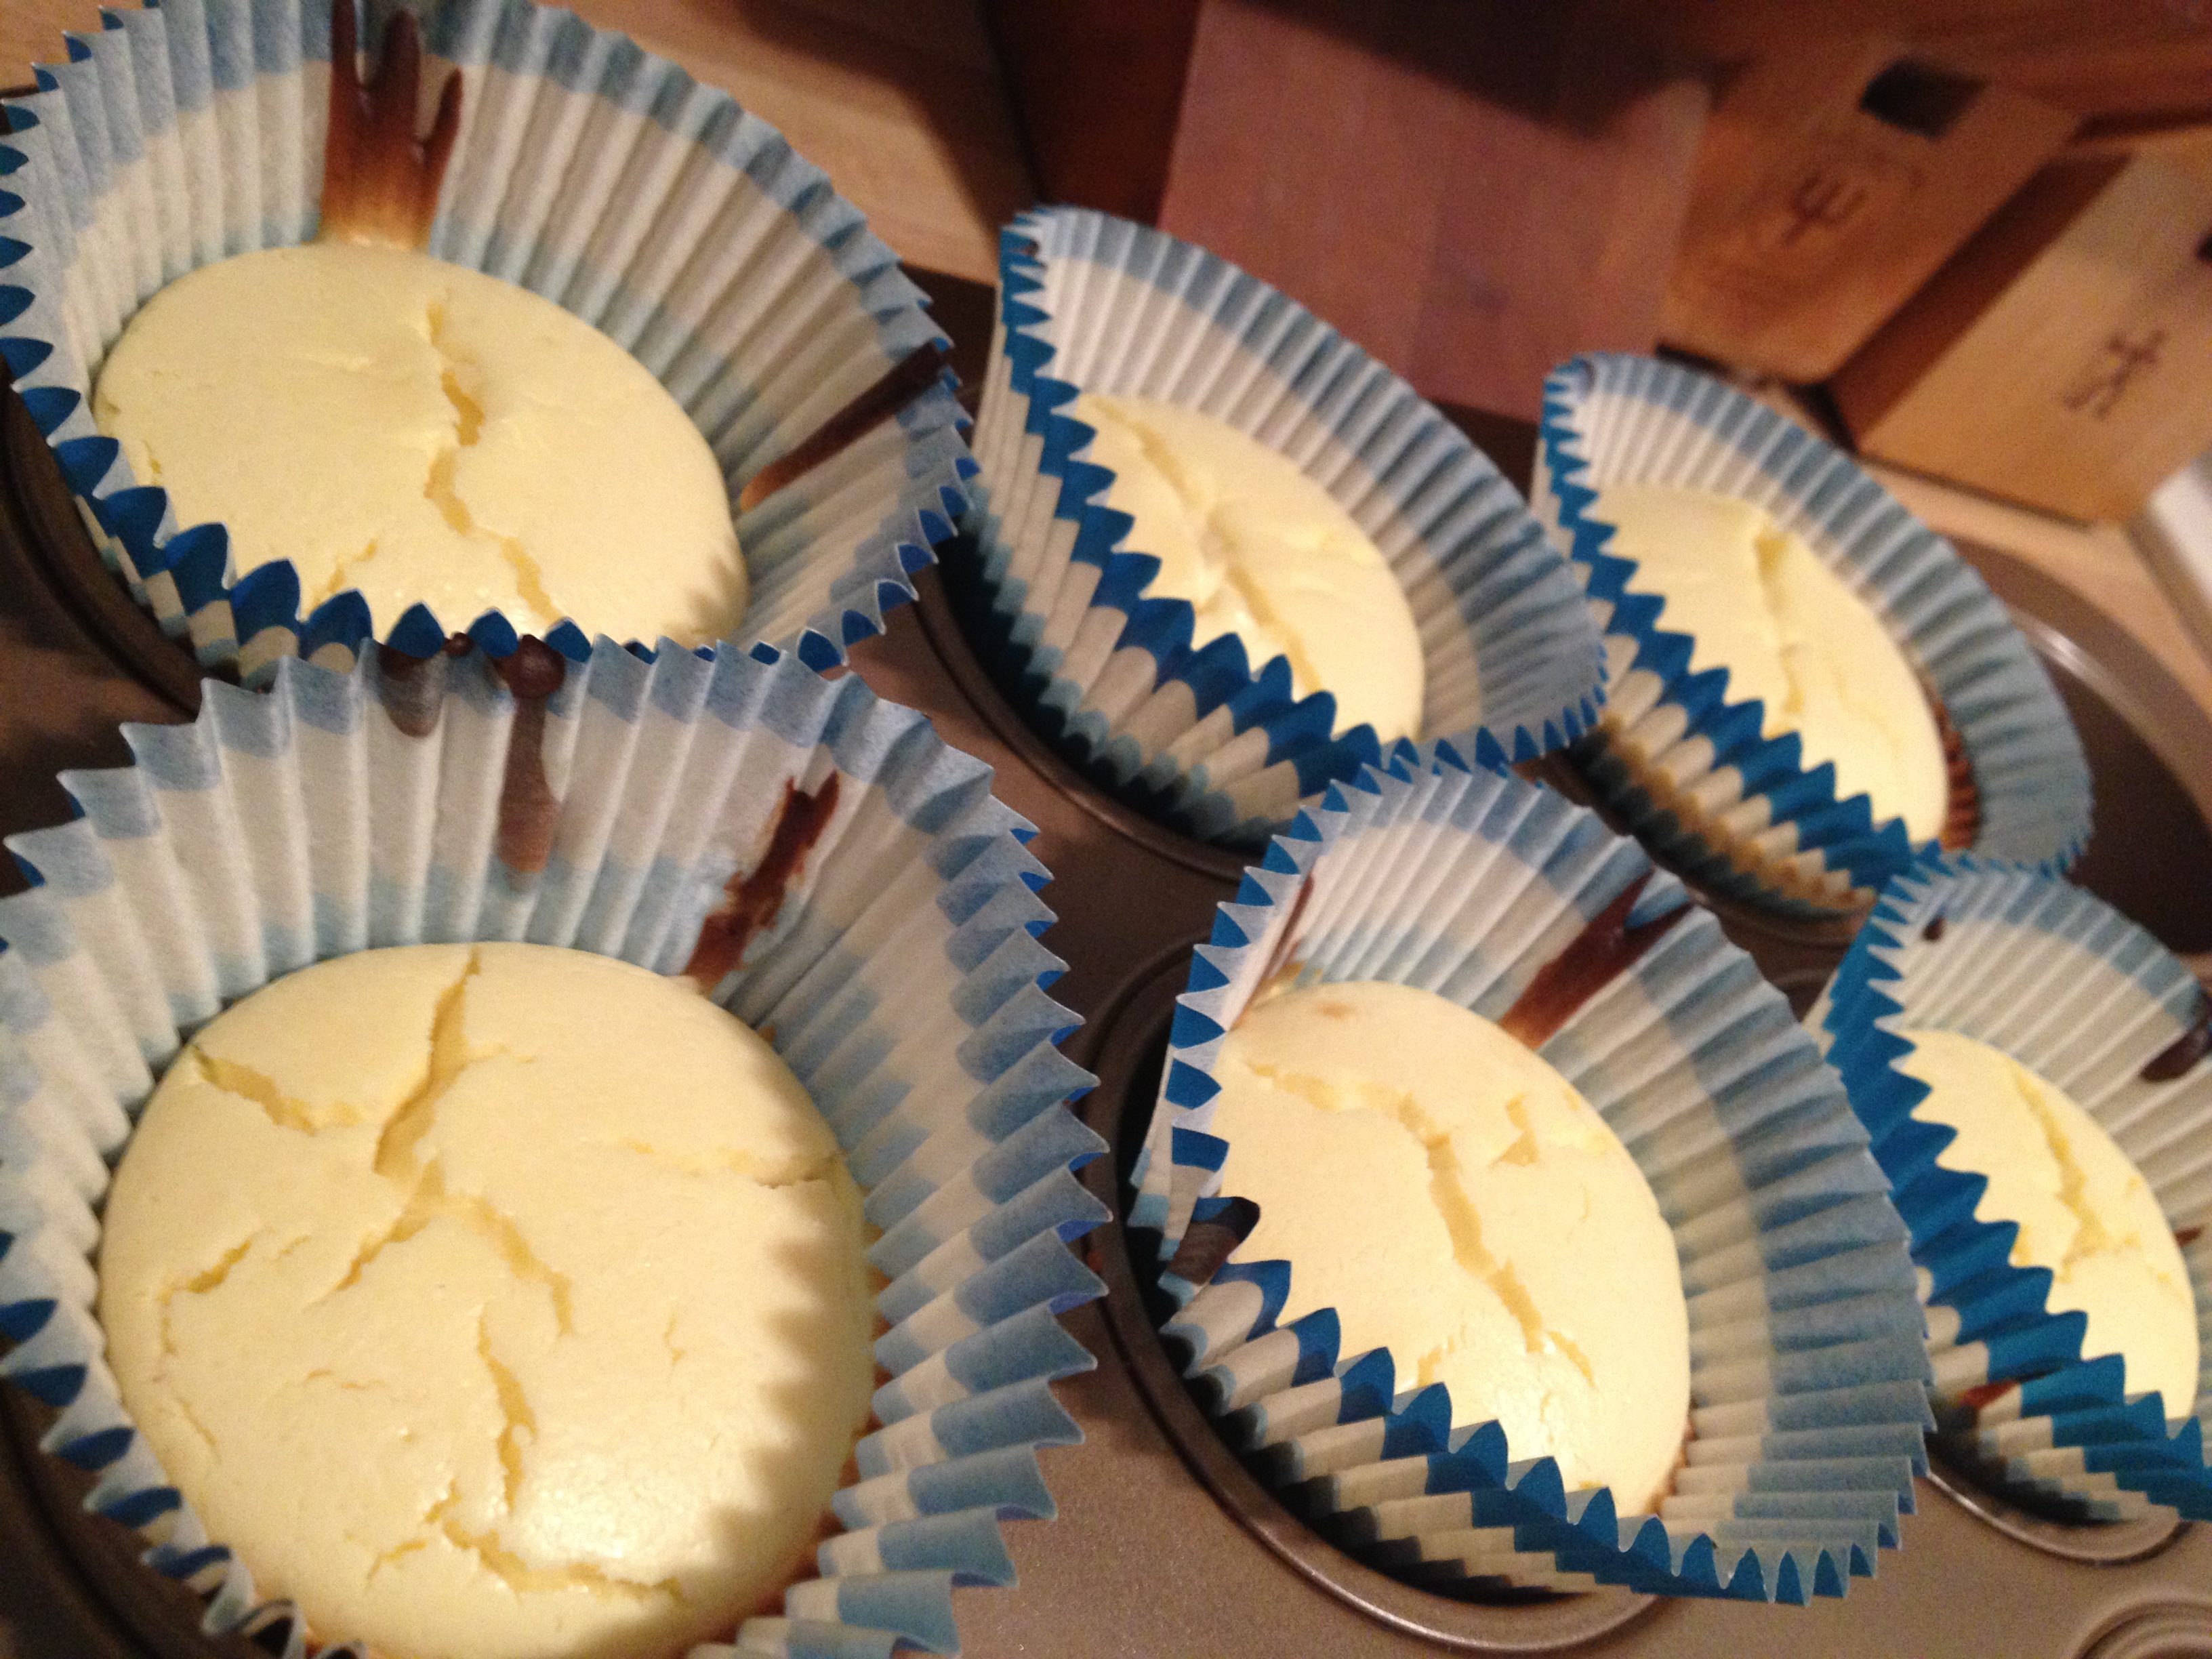
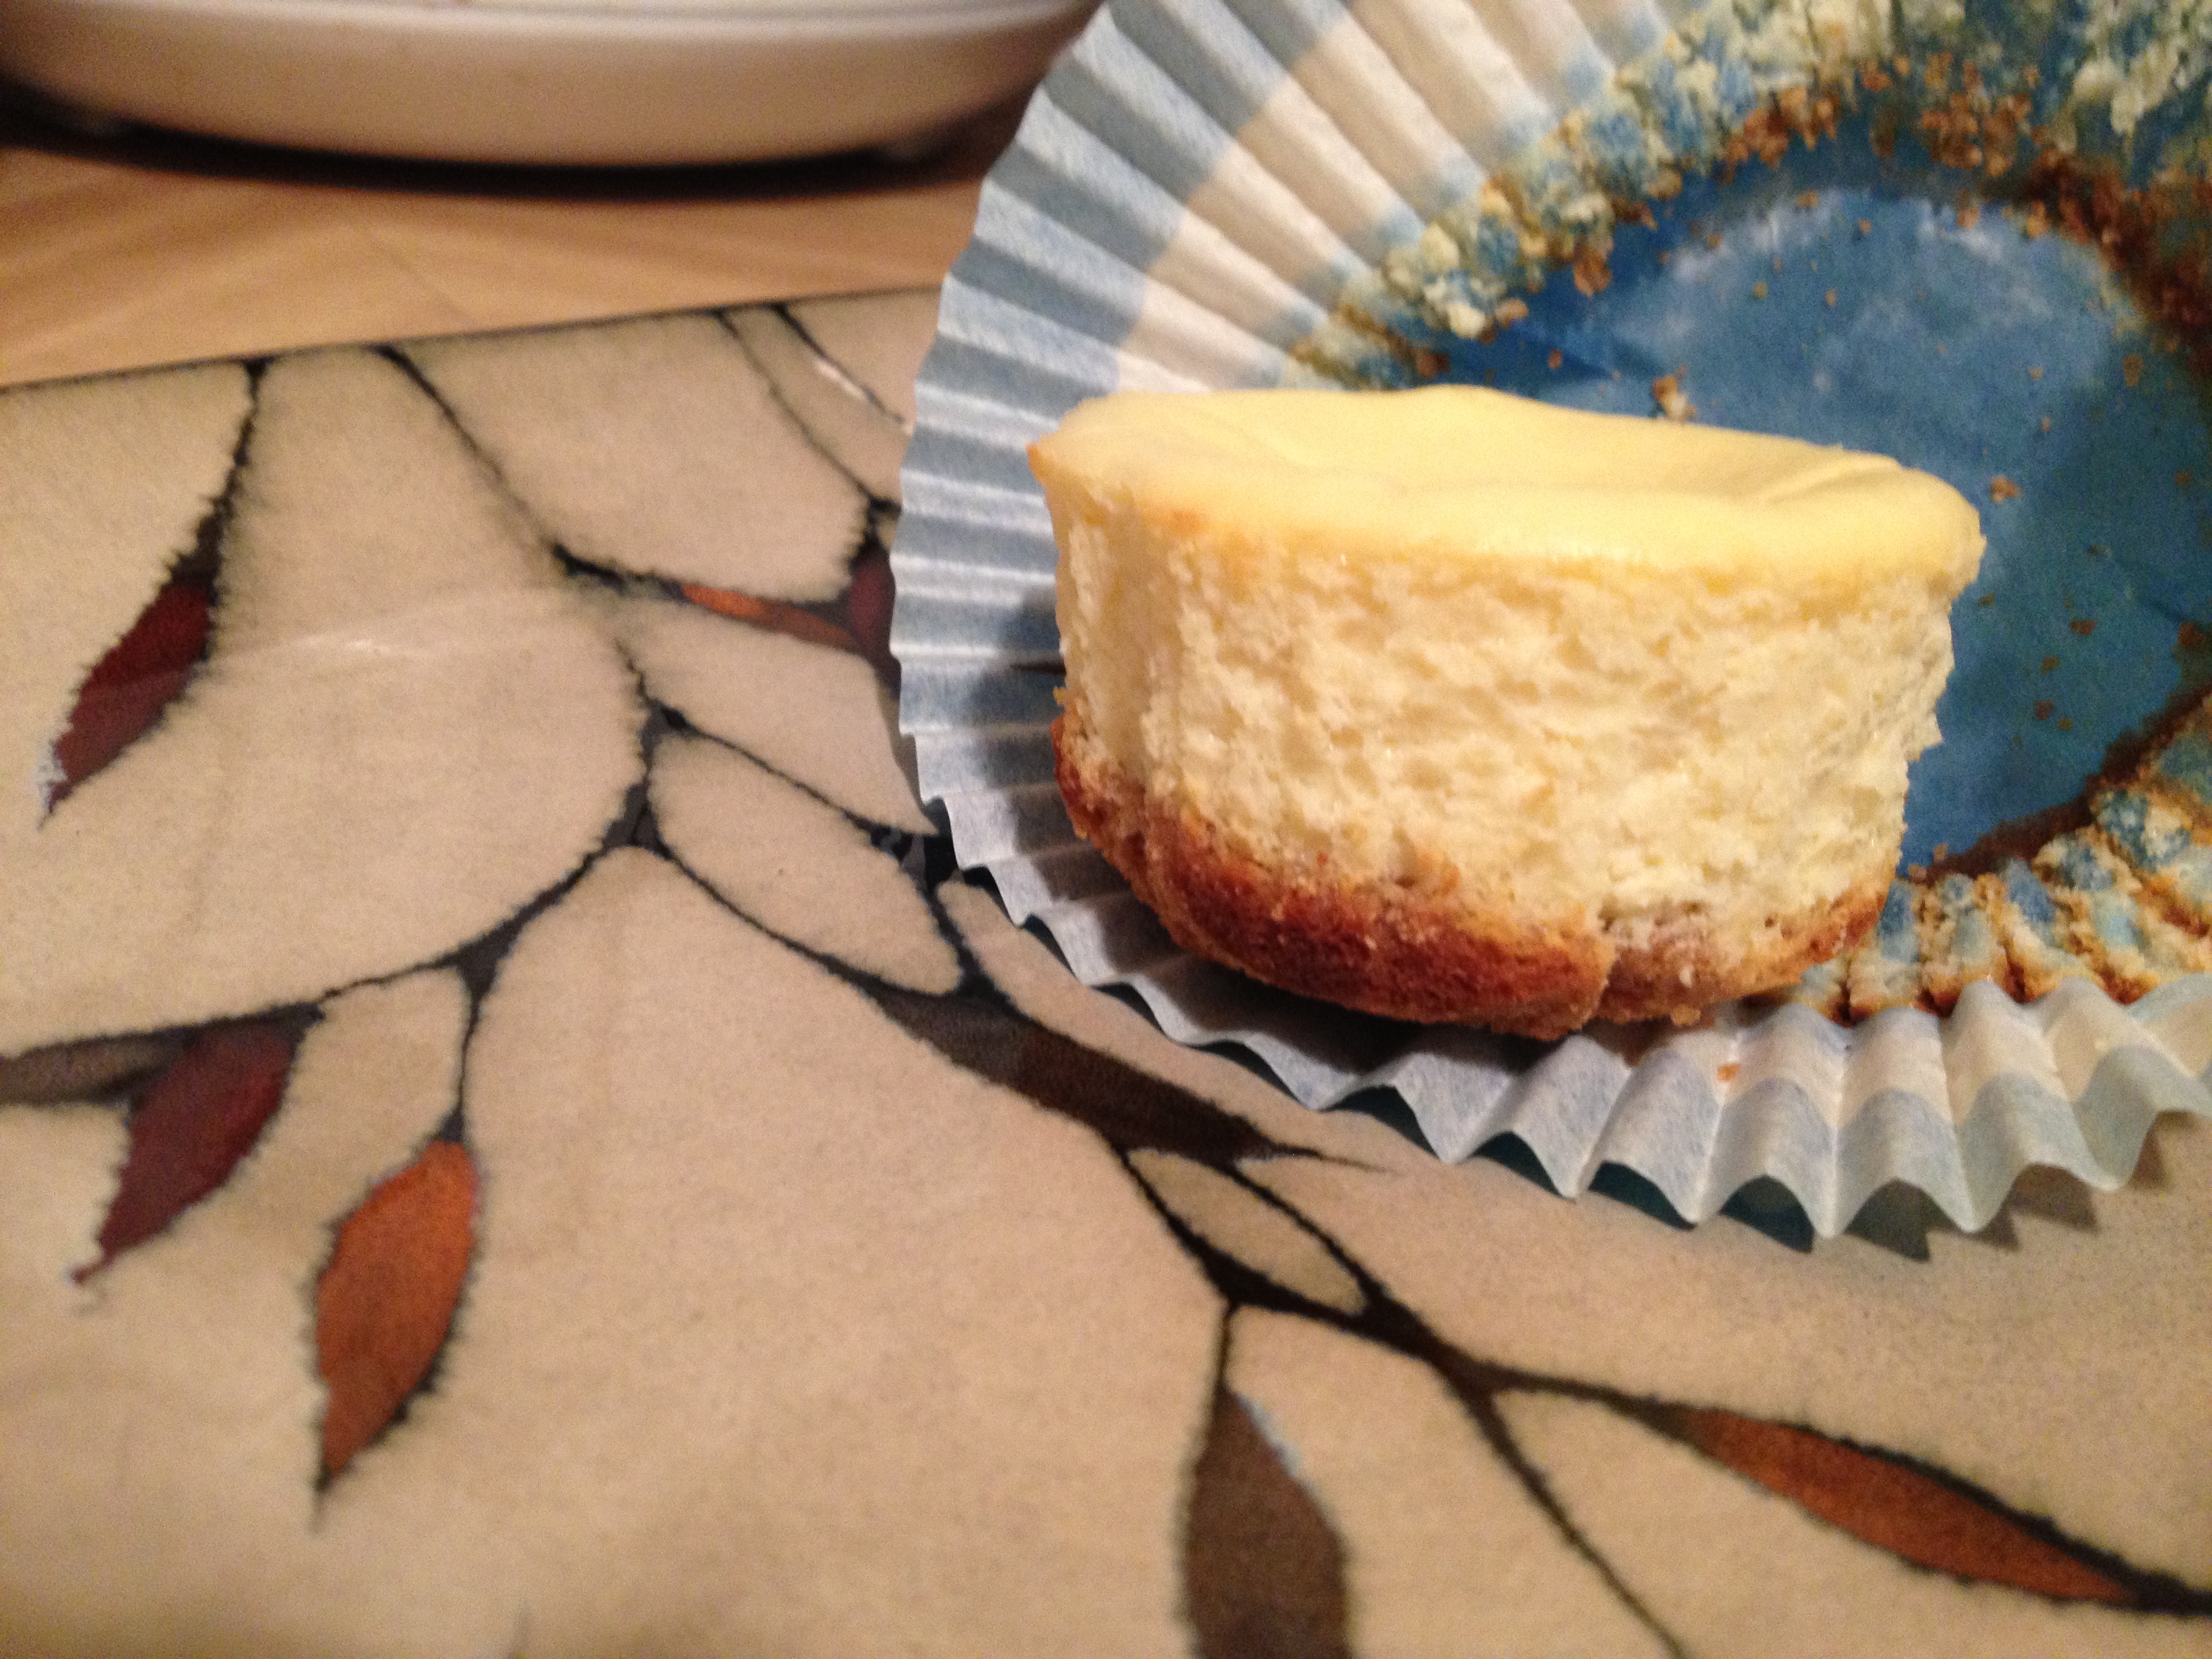
I can hear you saying, HEALTHY cheesecake?! Give me a break! Sure, it may not be better for you than a protein shake, but hear me out. This magical ingredient cuts half the normal fat of a cheesecake and deals twice the protein. Can you say SERVE ME ANOTHER?! I thought so. I got this recipe from here and cut it in half. It was very easy and so so good. Creamy, delicious, and light—and it doesn’t leave you feeling like you have a bowling ball in the tummy, which I appreciate. This is a recipe I will often go back to as Chris and I love cheesecake. You could do it with or without the lemon twist (we happen to like it).

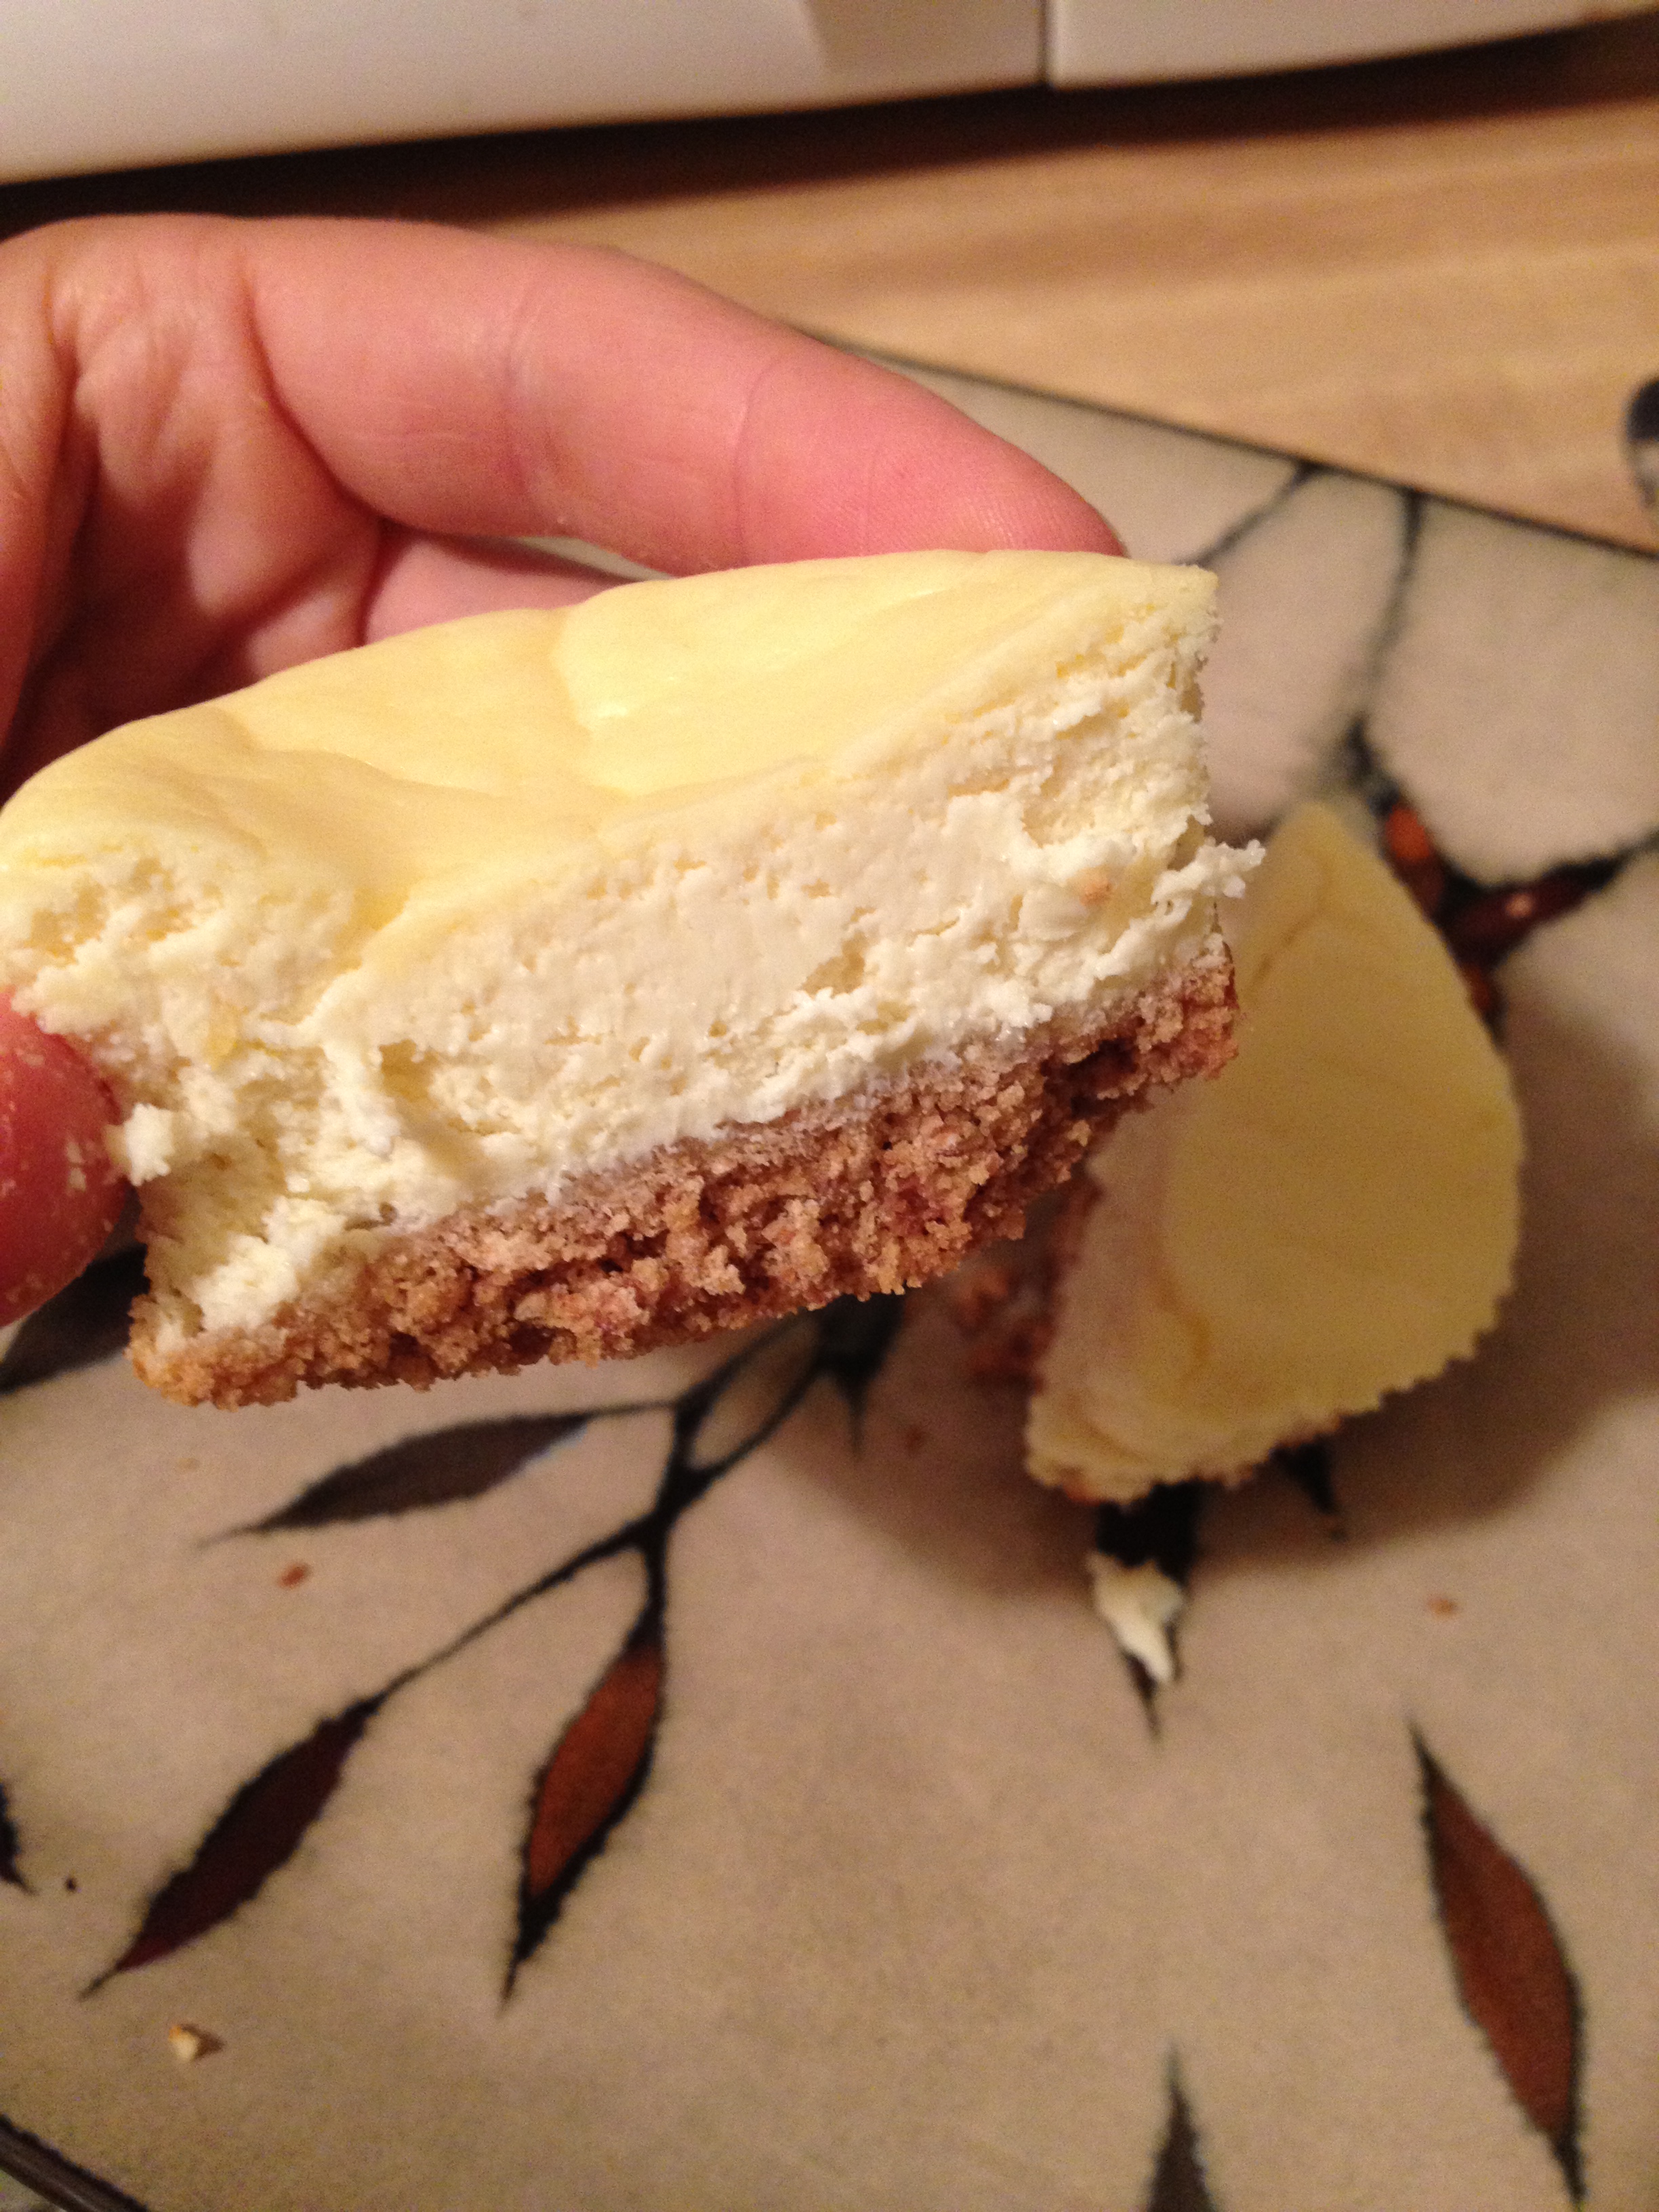
You pretty thang

You pretty thang

  • Prep Time: 10-15 minutes
  • Cooking Time: 25-30 minutes

 Macros

  • Serves: 6 (you can always double it for a bigger party)
  • Calories: 182
  • Fat: 8.9g
  • Carbs: 19g
  • Protein: 6.8g
^_^

^_^

Ingredients

  • 3 cinnamon graham crackers
  • 1 tbsp butter
  • ¼ cup sugar
  • zest of ½ lemon
  • 1 egg
  • 1 8-ounce package of Green Mountain Farms Greek Cream Cheese & Greek Yogurt
  • 1/8 cup heavy whipping cream
  • ½ tsp vanilla extract

Directions

  • Pre-heat oven to 350 degrees F
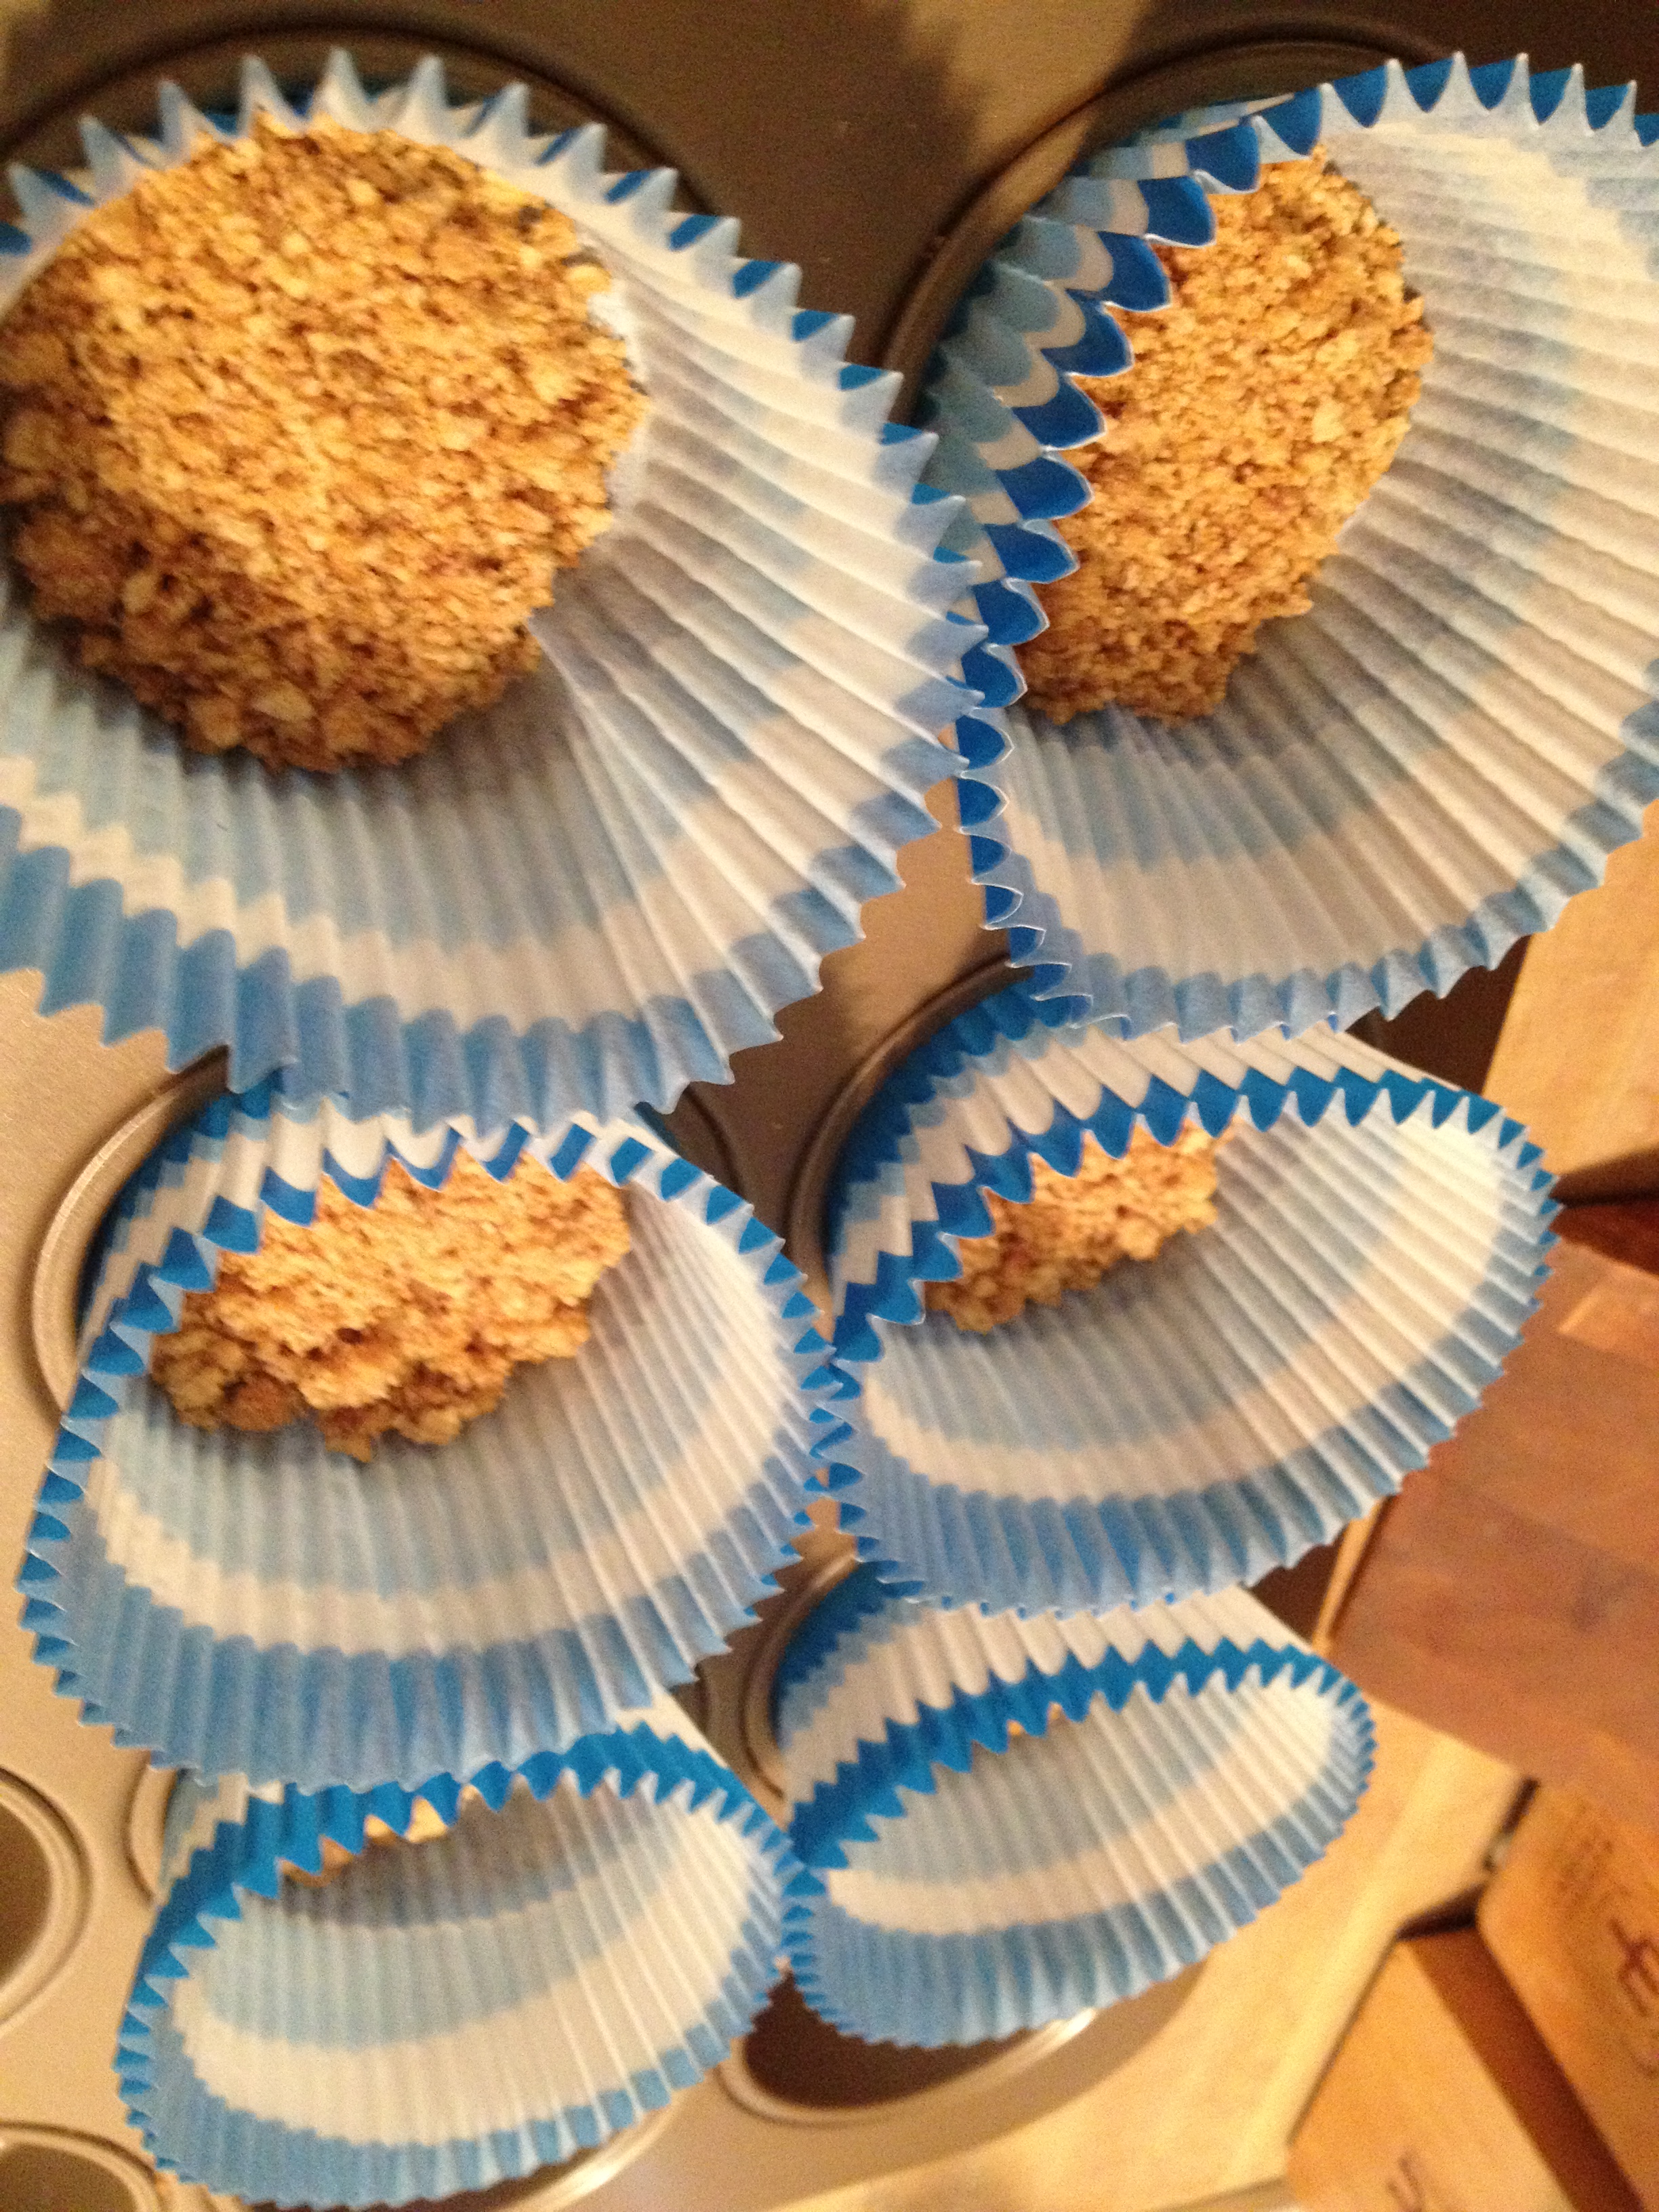
  • Line your muffin tin with cupcake liners (I used ones that were waaaaaaay too big)
  • Ground your graham crackers finely—I used the bottom of a glass and a bowl…and eventually my fingers

photo 1 (30)

  • Mix in the butter with the graham cracker crumble
  • Put the crumble at the bottom of each cupcake liner, try to make it even

photo 2 (28)

  • Bake for about 5 minutes and let cool
  • Grate some lemon zest
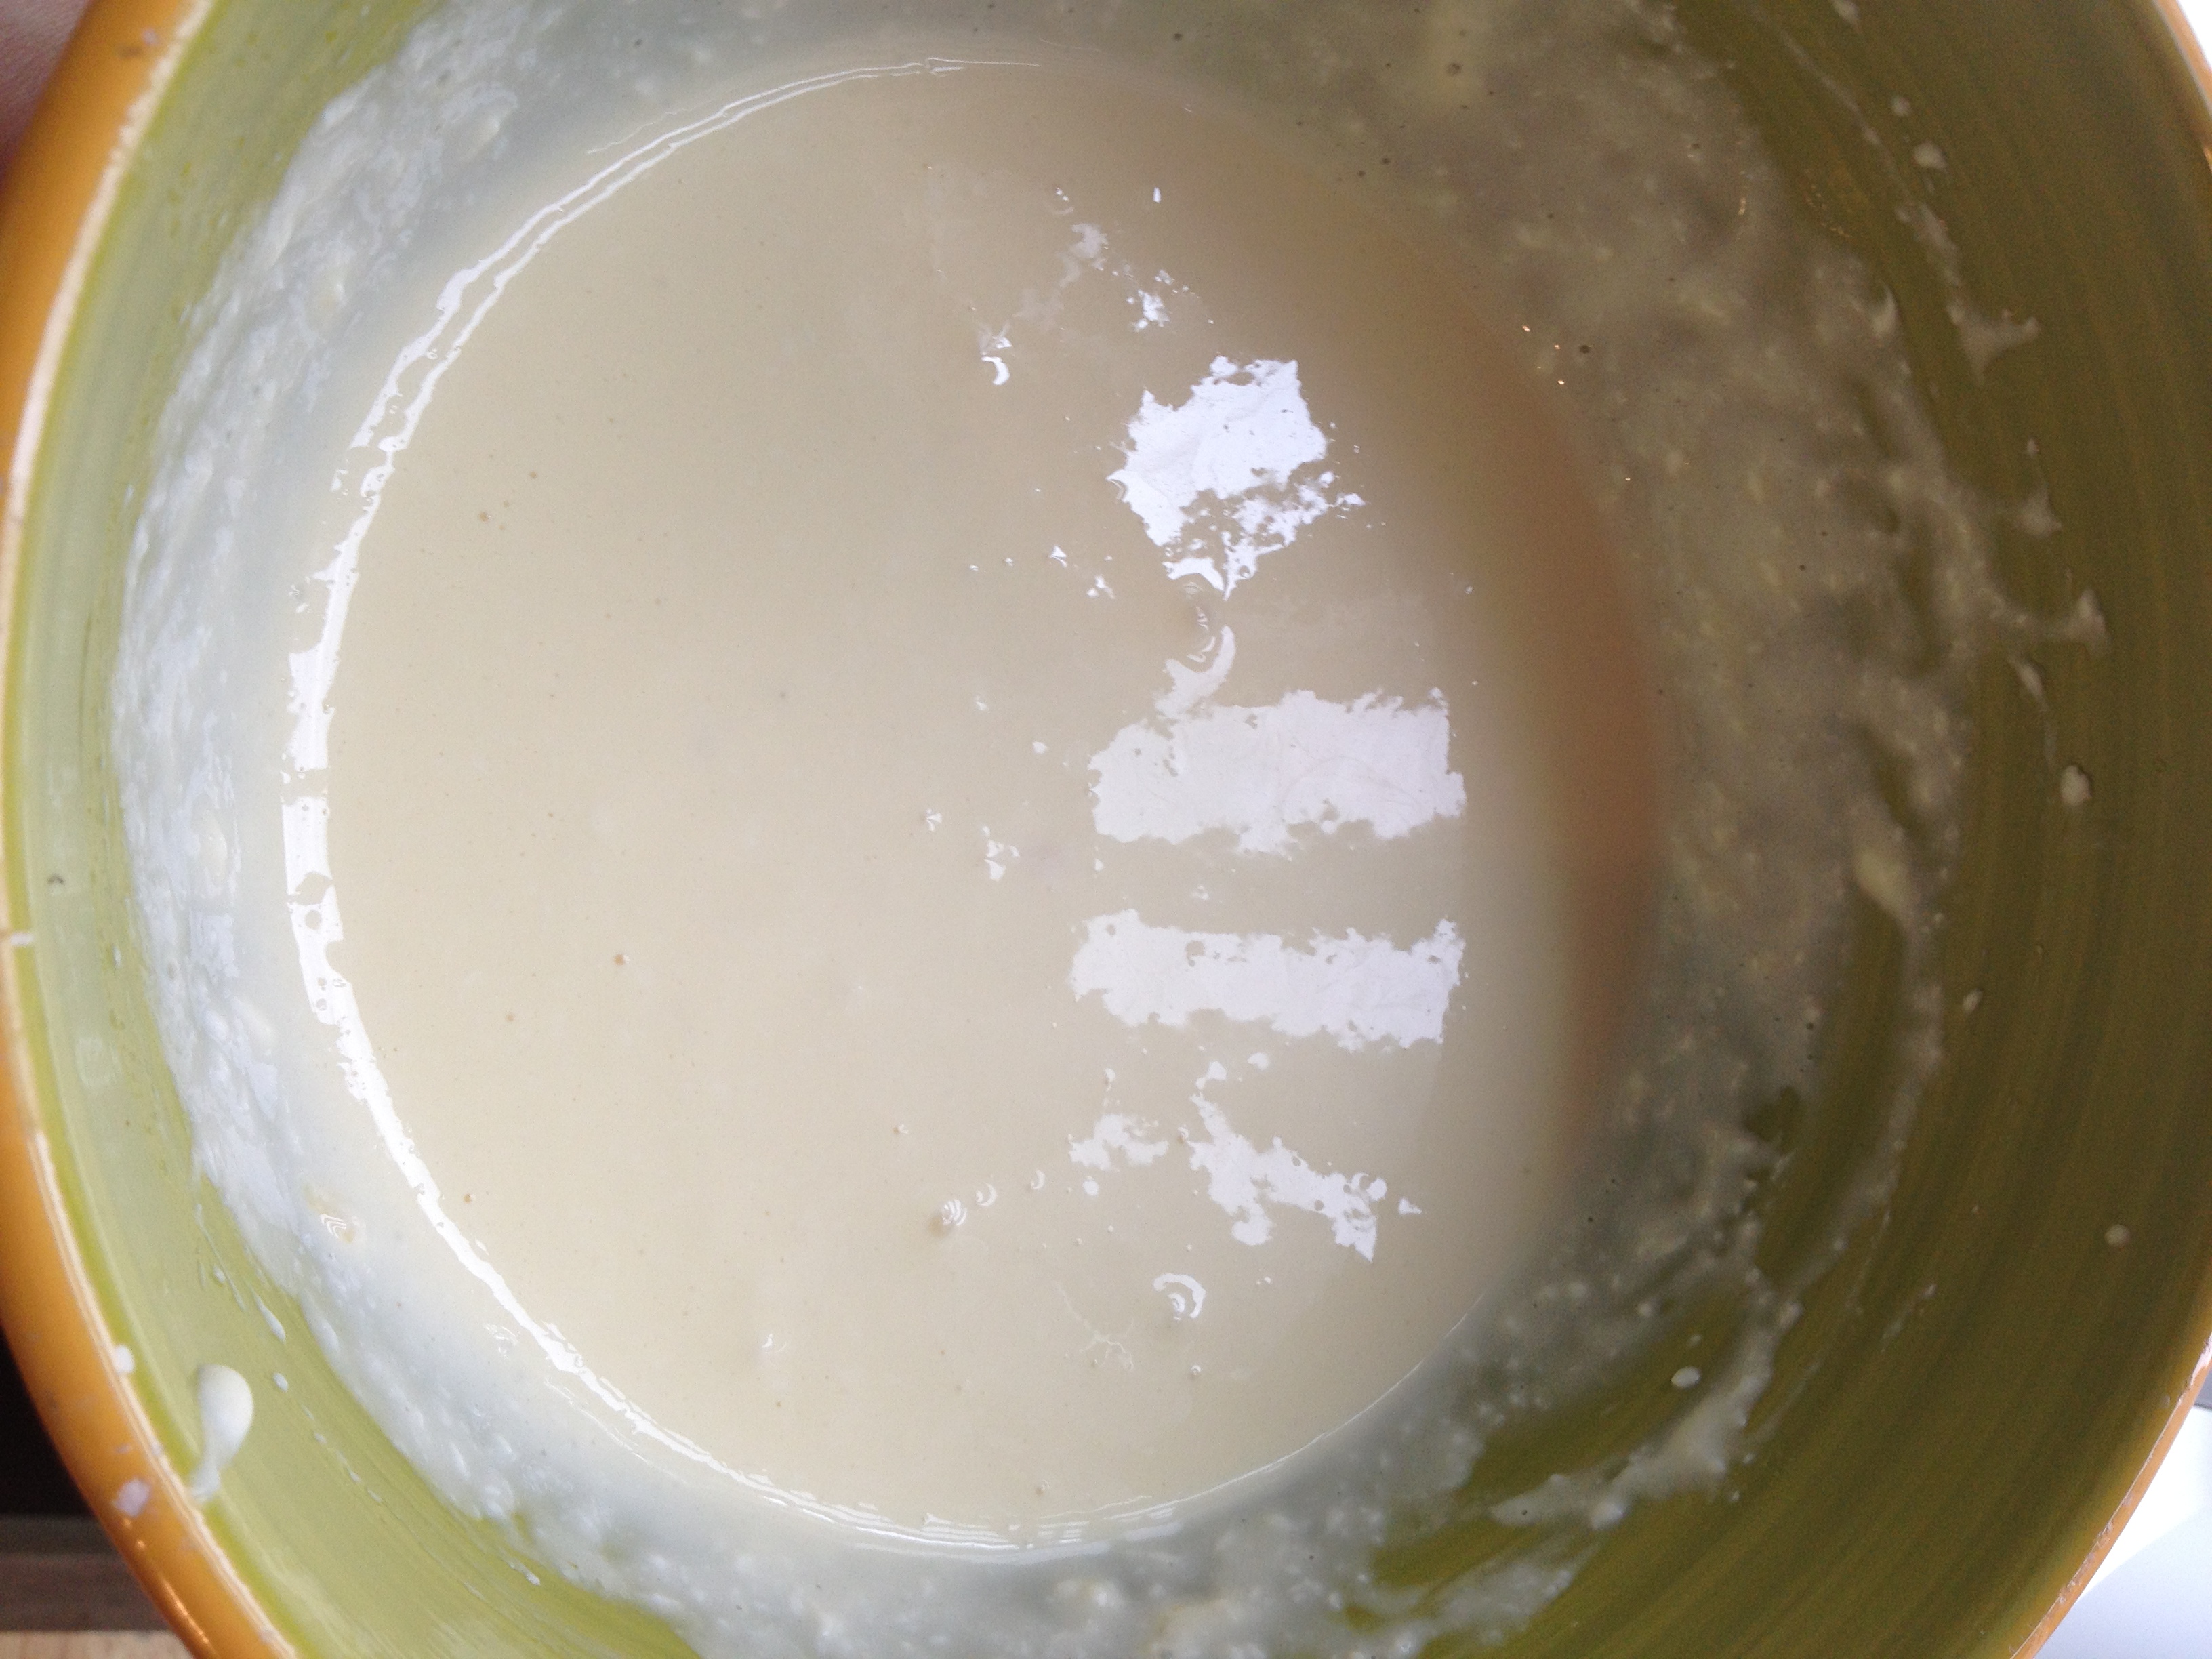
  •  The recipe asks for a stand mixer, but we don’t have one of those. So I used a whisk! Mix all the rest of the ingredients together in a medium sized bowl. Make it smooth.

photo 3 (23)

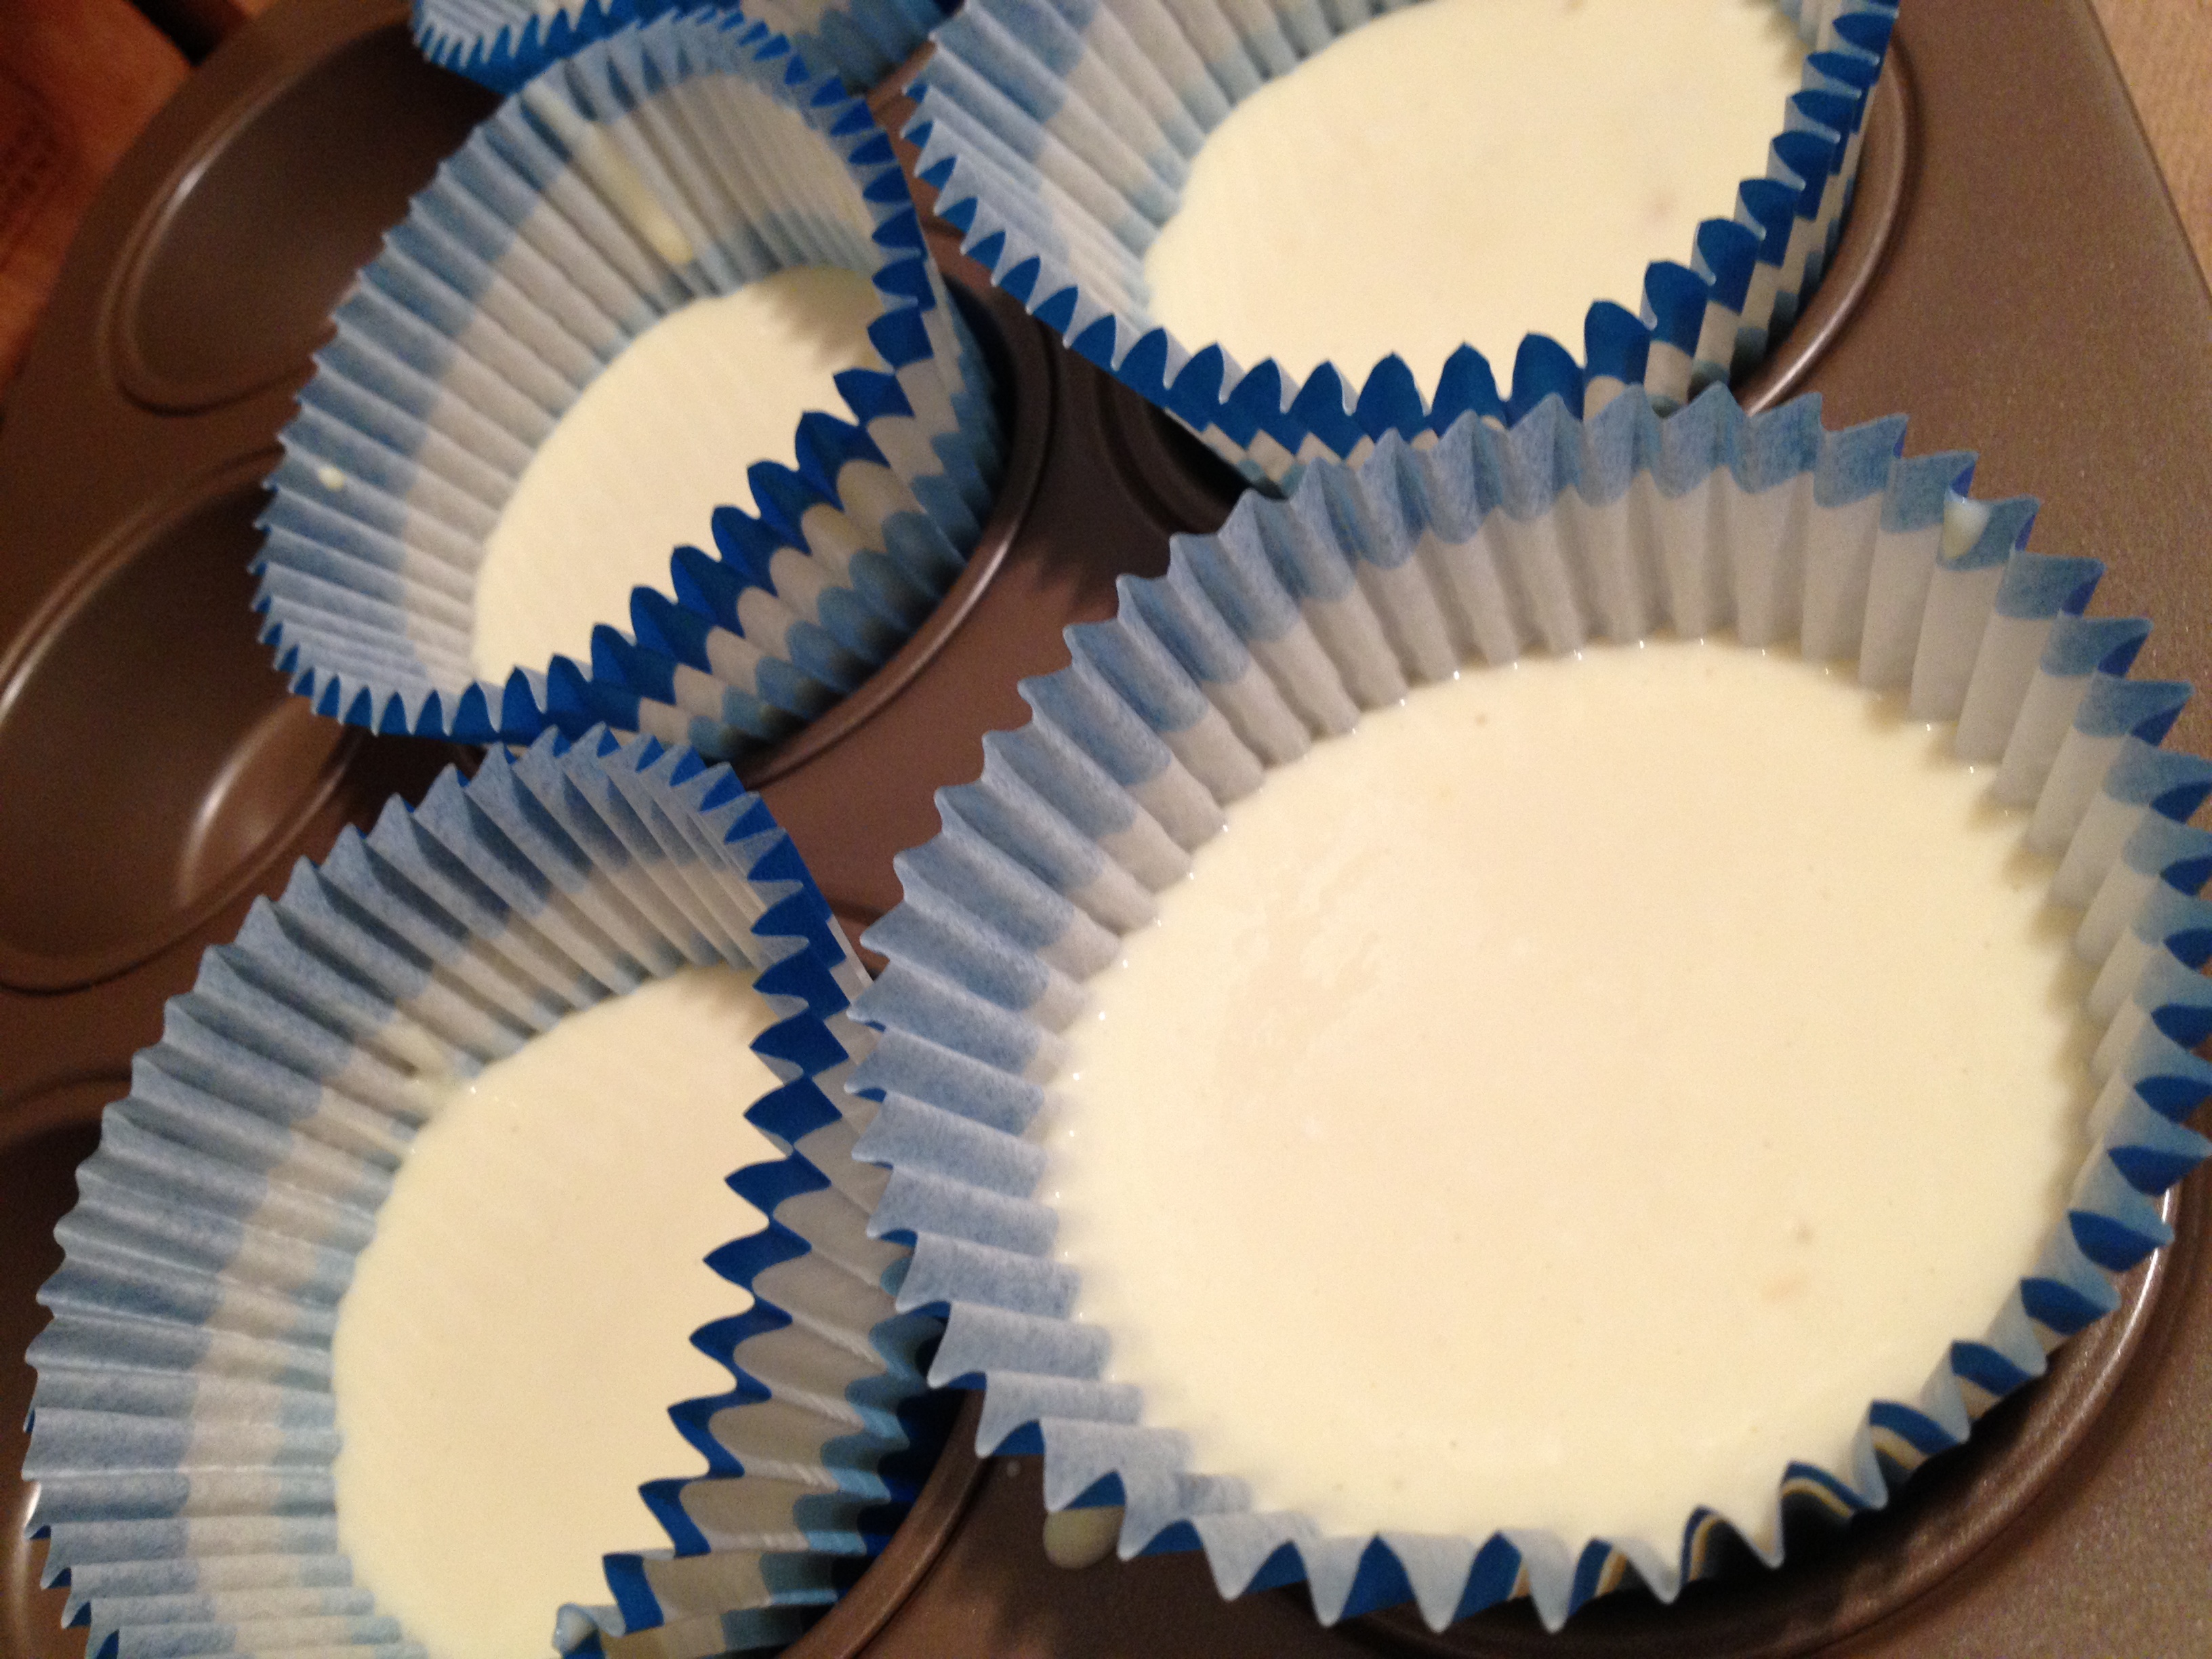
  • Pour into muffin liners about 2/3rds full. Mine definitely were not all even. Do what you can.

photo 4 (11)

  • Put in the oven for about 20-25 minutes. Mine were good at 23. A little cracked, but after refrigeration, they smoothed out.

photo 1 (31)

  • Make sure to let them cool. Then pop them into the refrigerator for about 3 hours before you serve.

photo 2 (29)

Oh so goooood

Oh so goooood

That’s it! You can garnish it if you’re feeling fancy, but I like ’em plain. These are just so good and mini…it’s perfect. And the macros don’t leave you feeling bad. It’s easy to make, easy to eat–what’s better than that? Use this delicious recipe to stay hungry and fit!

You might also like…

BONUS KITTY PIC

A hot Sajah just chillin'

A hot Sajah just chillin’

spacer

5-Minute Protein Pancakes

So I’m still prepping for contest, so I’m upping my protein and lowering carbs somewhat. It’s about two hours before my second workout (just cardio) and my tummy is rumbling. Hmmm…what to eat? I don’t want to eat any straight-up carbs (during this LAST week of contest, I’ll get my carbohydrate grams from other sources like veggies and shakes) like cereal or oatmeal, I don’t feel like having tunafish or a salad, but I could always use more protein. Hmm…oh yes–protein pancakes! I had played around with a recipe before, didn’t quite get it how I wanted it, so I used this recipe and altered it a bit to fit my needs. It’s extremely easy and filled me up without feeling sluggish.

Oooooh yes!

Oooooh yes!

spacer

5-Minute Healthy Snack Recipe

Before we went to bed last night, I was feeling a little hungry and I also knew that my macros were a little low too. However, I was also feeling tired and lazy, and didn’t want to do anything with too much prep. So what better to combine two of my favorite things? Avocado and egg. This is low in carbohydrates, low in calories, and medium-high in healthy fats! Perfect for a snack any time of the day, but mine just so happened to be around bed time. This recipe takes no longer than 5 minutes and is so delicious to boot!

  • Prep Time: 1 minute
  • Cooking Time: 2-4 minutes

Ingredients

  • 1/2 small avocado
  • 1 egg (we are house-sitting right now and get fresh eggs from the chickens every morning!)
  • Frank’s hot sauce (optional)

Directions

  • Cut avocado in half
  • Crack an egg and put it in a small saucepan on medium heat
  • While the egg is cooking, scrape out the avocado and place it on a plate kind of in a pile

photo 1 (22)

  • When the egg is done (I like over-easy), simply place the egg on top of the avocado and let the yolk drizzle out
  • If you’d like, pour some hot sauce on top (Frank’s + eggs= heaven)
Yum yum yum!

Yum yum yum!

And that’s it! A healthy, quick snack any time of the day. High in nutrients and it won’t break the calorie bank if you’re worried about that. The textures are gooey and warm–a melt in your mouth sinful sort of feeling. I can’t wait to make this again. Simple is usually the best way to go. Cheers! Use this recipe to stay hungry and fit!

You might also like…

BONUS KITTY PIC

Even though he's taking my spot, he's so damn adorable

Even though he’s taking my spot, he’s so damn adorable

spacer