Archives

Whole-Wheat Chocolate Chip Cookies

I would say one of the most popular desserts of all time are chocolate chip cookies. I’ve rarely seen people deny them out of distaste, maybe just out of nutritional reasons. Chris is always wanting some fresh-baked cookies, and I decided to be nice (rare moments, I kn0w). However, they wouldn’t be completely without a twist of health. These chocolate chip cookies have whole-wheat flour in them instead of regular, which adds more fiber into our diet! Who needs apples when you could have these cookies? Just kidding, kids… But truth be told, these are full of fiber, and not overdone with sugar and butter. These are perfect for summer days and sure to win you friends! 

Gotta love these ingredients

Gotta love these ingredients

photo 2 (78)

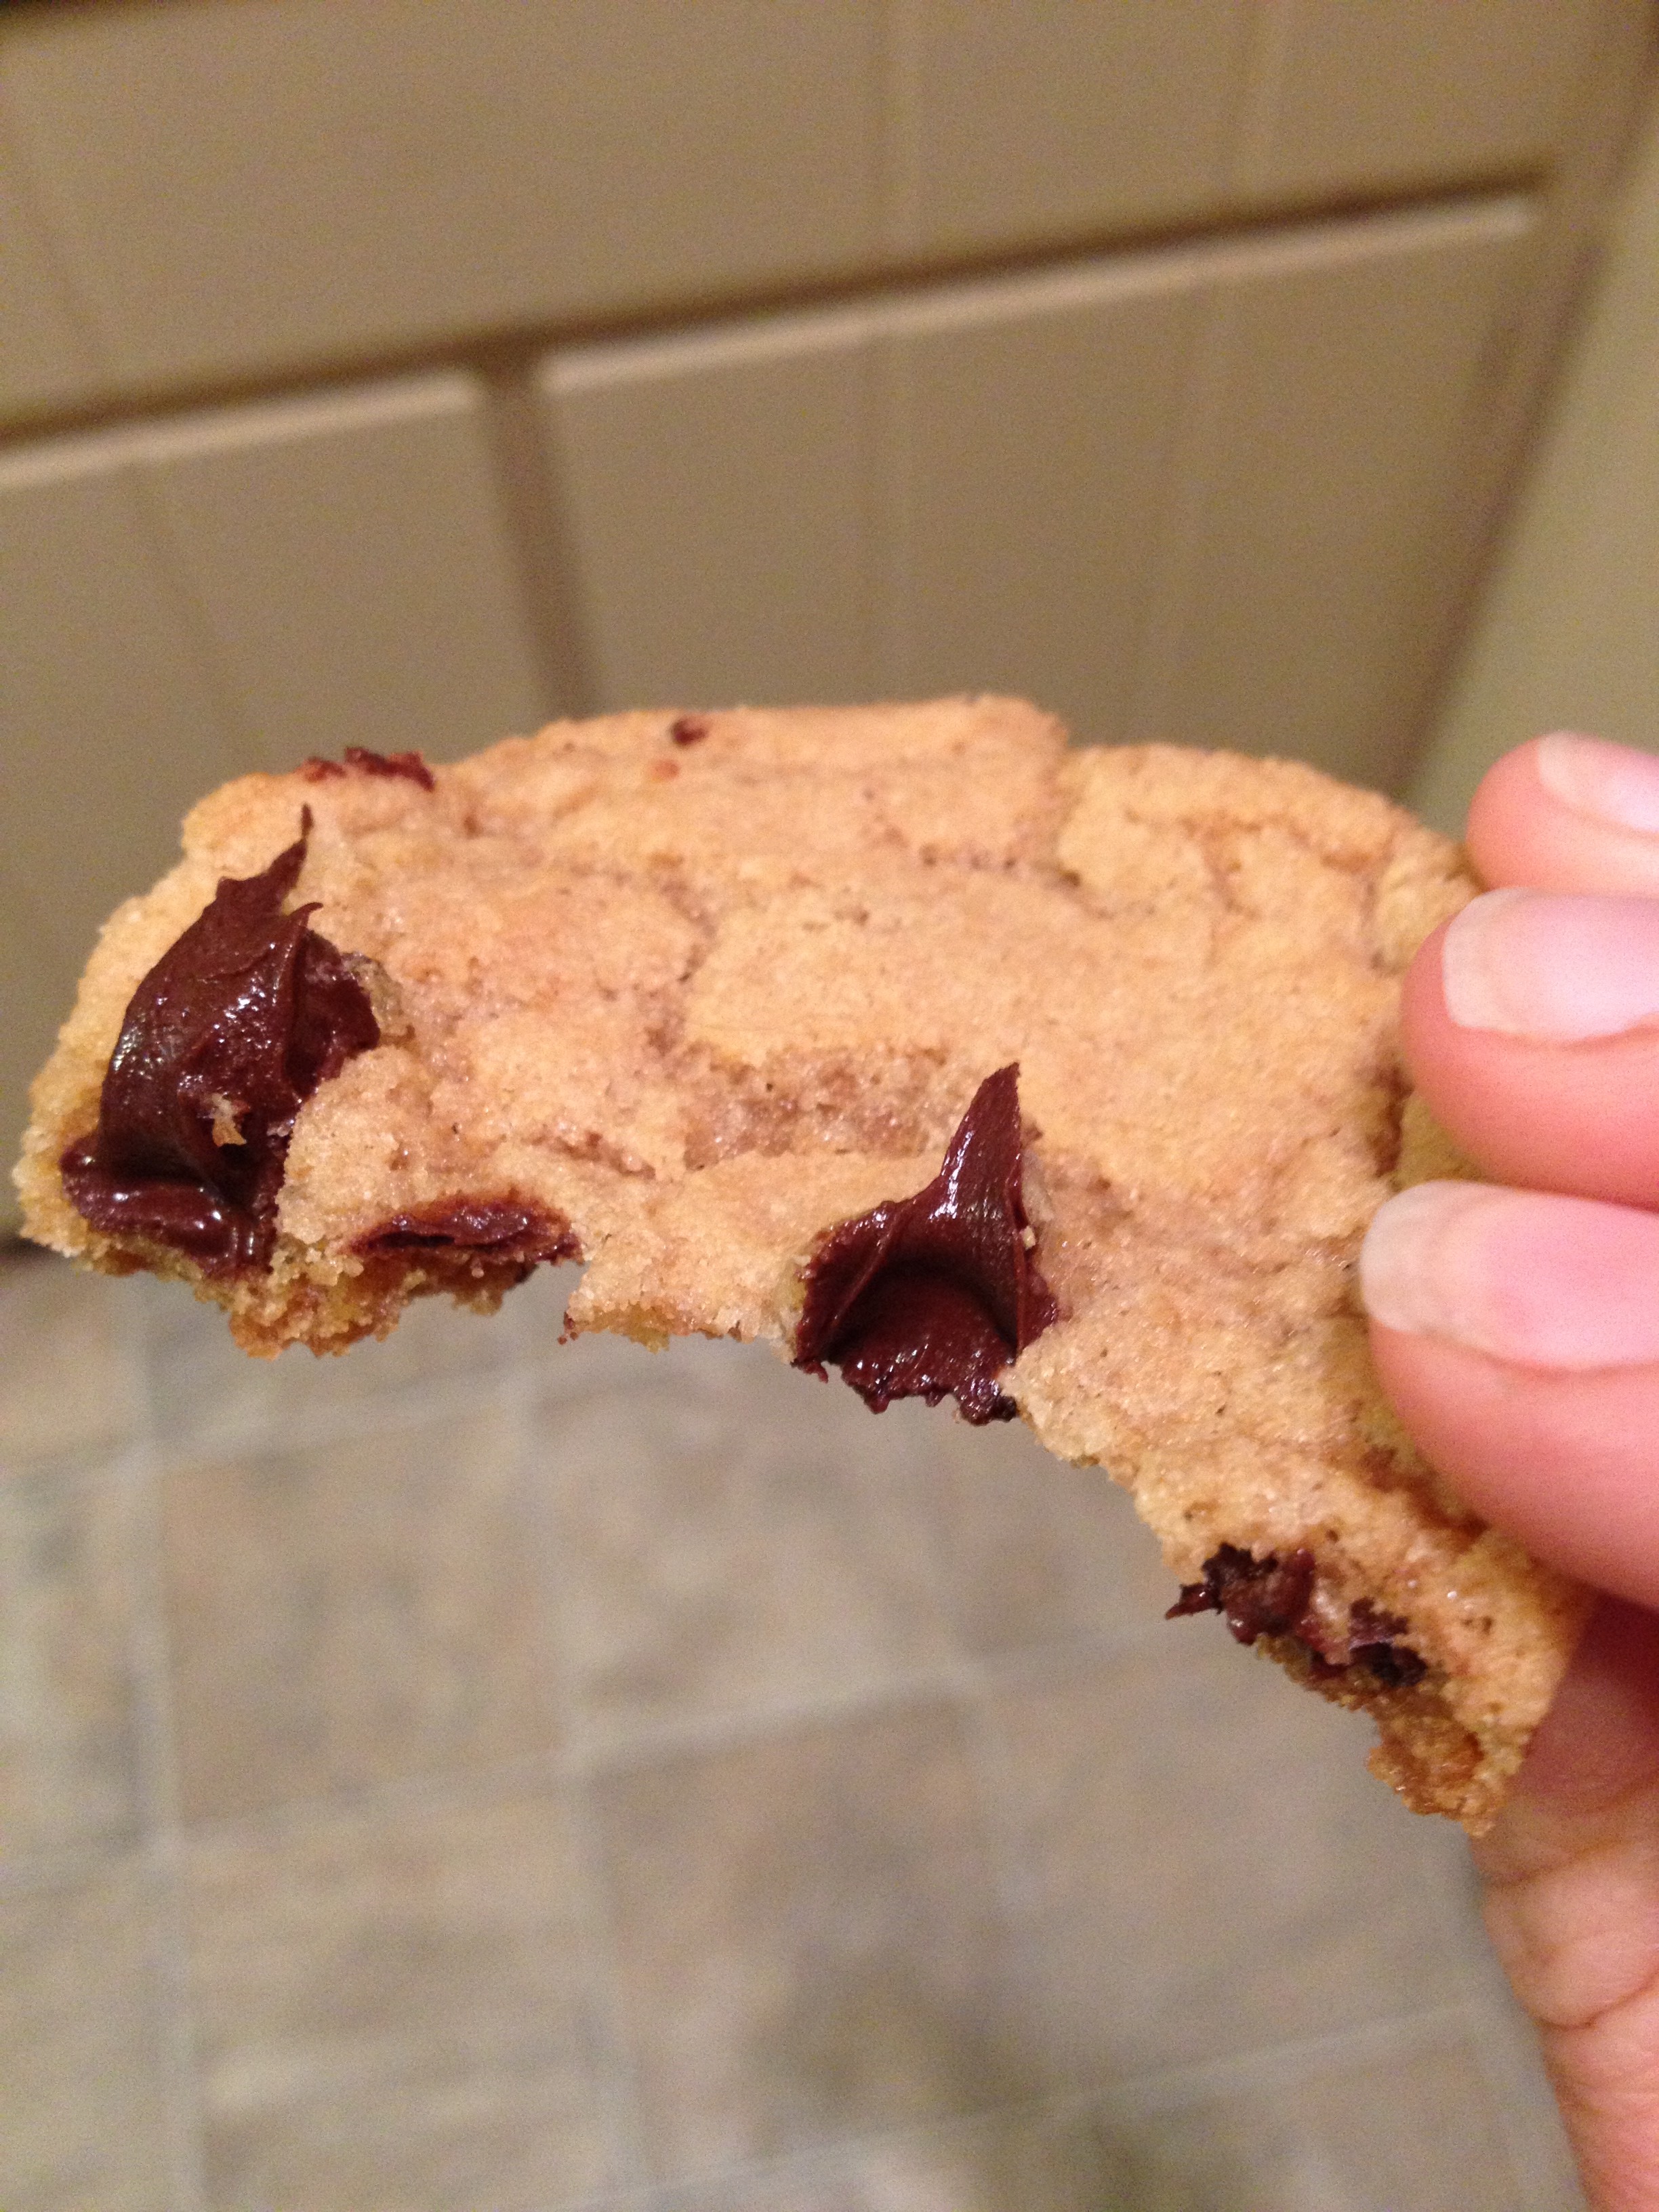
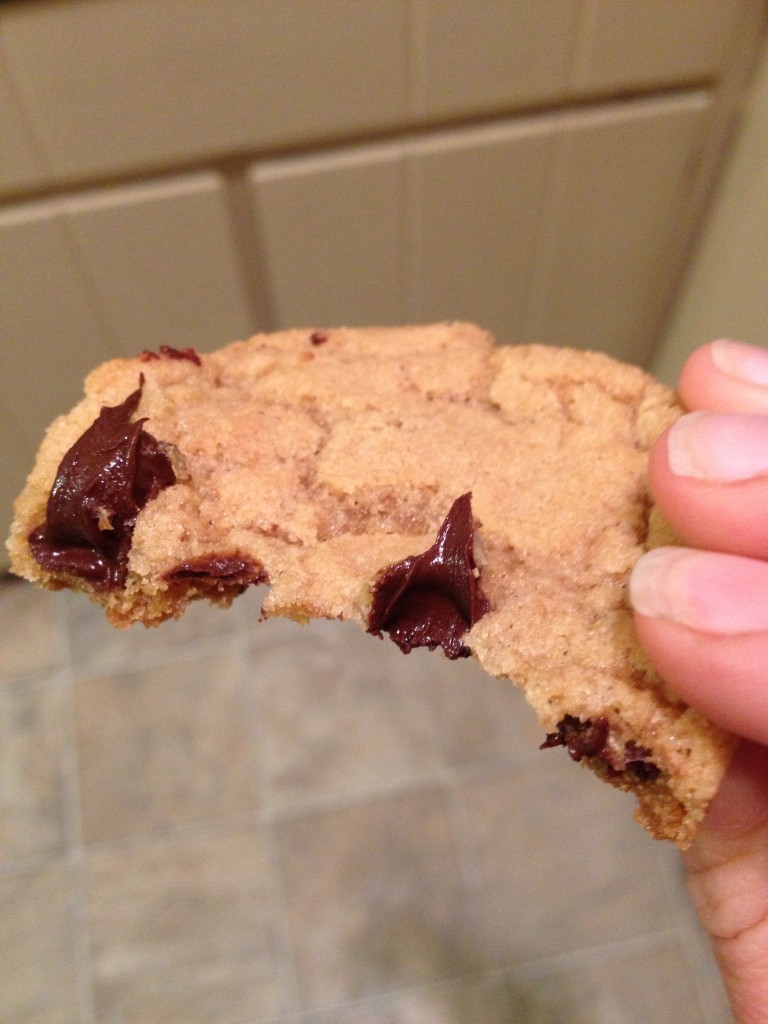
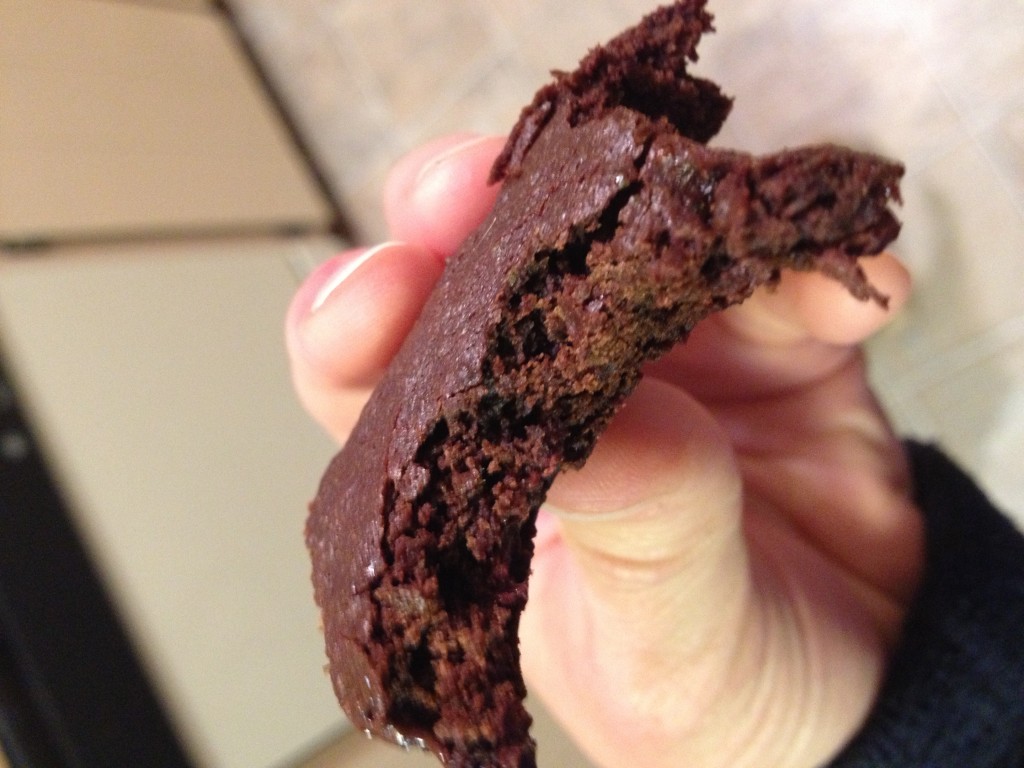
Best part to eat

Best part to eat

photo 4 (50)

Boooom!

Boooom!

photo 2 (77) photo 4 (49) photo 5 (28)

Whole-Wheat Chocolate Chip Cookies
Yields 18
A healthy spin on chocolate chip cookies
Write a review
Print
Prep Time
10 min
Cook Time
16 min
Prep Time
10 min
Cook Time
16 min
Ingredients
  1. 1.5 cups whole-wheat flour
  2. 3/4 tsp baking powder
  3. 3/4 tsp salt
  4. 1/2 tsp baking soda
  5. 1 stick butter
  6. 1/2 cup brown sugar
  7. 1/2 cup g. sugar
  8. 1 egg
  9. 1 tsp vanilla extract
  10. 1/2 bag chocolate chips
Instructions
  1. Pre-heat oven to 350 degrees F and grease a baking sheet
  2. Combine dry ingredients in a smaller bowl
  3. Beat sugar and butter together until smooth
  4. Add in egg and vanilla
  5. Slowly mix the dry into the wet mixture, but don't beat it too much
  6. Fold the chocolate chips in
  7. Roll up some dough and plop it in separate ball-type formations onto the baking sheet
  8. Bake for 16-20 minutes
Adapted from Food 52
hungry and fit https://hungryandfit.com/
These are really darn good. Hungry has been eating them for every meal I kid you not. I tried to stop him…but there’s no stopping him with a handful of chocolate chip cookies and a gallon of milk. This recipe is so easy and these cookies are really good! Try them out and let me know what you think! 

*Question of the Day: What’s your favorite kind of cookie?

BONUS KITTY PIC

Sajah being cute

Sajah being cute

spacer

Healthy Frozen Treats

If every day was like yesterday, then I’m going to need constant refreshing things to put down my gullet. Unfortunately, that may lead to unhealthier things like overdoses of ice cream and other sweet treats that don’t exactly lead to the bathing suit body we want to present in the upcoming season.

Well, ladies and gents, we have come up with a solution: SILK. No, not the nice pajamas. Silk Milk, the kind that makes you feel great and keeps you kickin‘. We have come up with a few ridiculously easy and healthy frozen treat recipes. We love that Silk appreciates keeping the calorie count low while giving us tons of flavor and goodness. No GMOs and tons of calcium. That’s what Hungry and I need. Silk keeps us healthy and strong while appeasing our taste buds.

photo 3 (41)

These sweet treats will keep your frozen sweet tooth satisfied without added sugars and heavy fat. We used various kinds of Silk milk (from plain Almondmilk to Soymilk) and mixed it up with frozen and fresh fruit. These sweet treats are on a stick, so all you need are freeze pop molds!

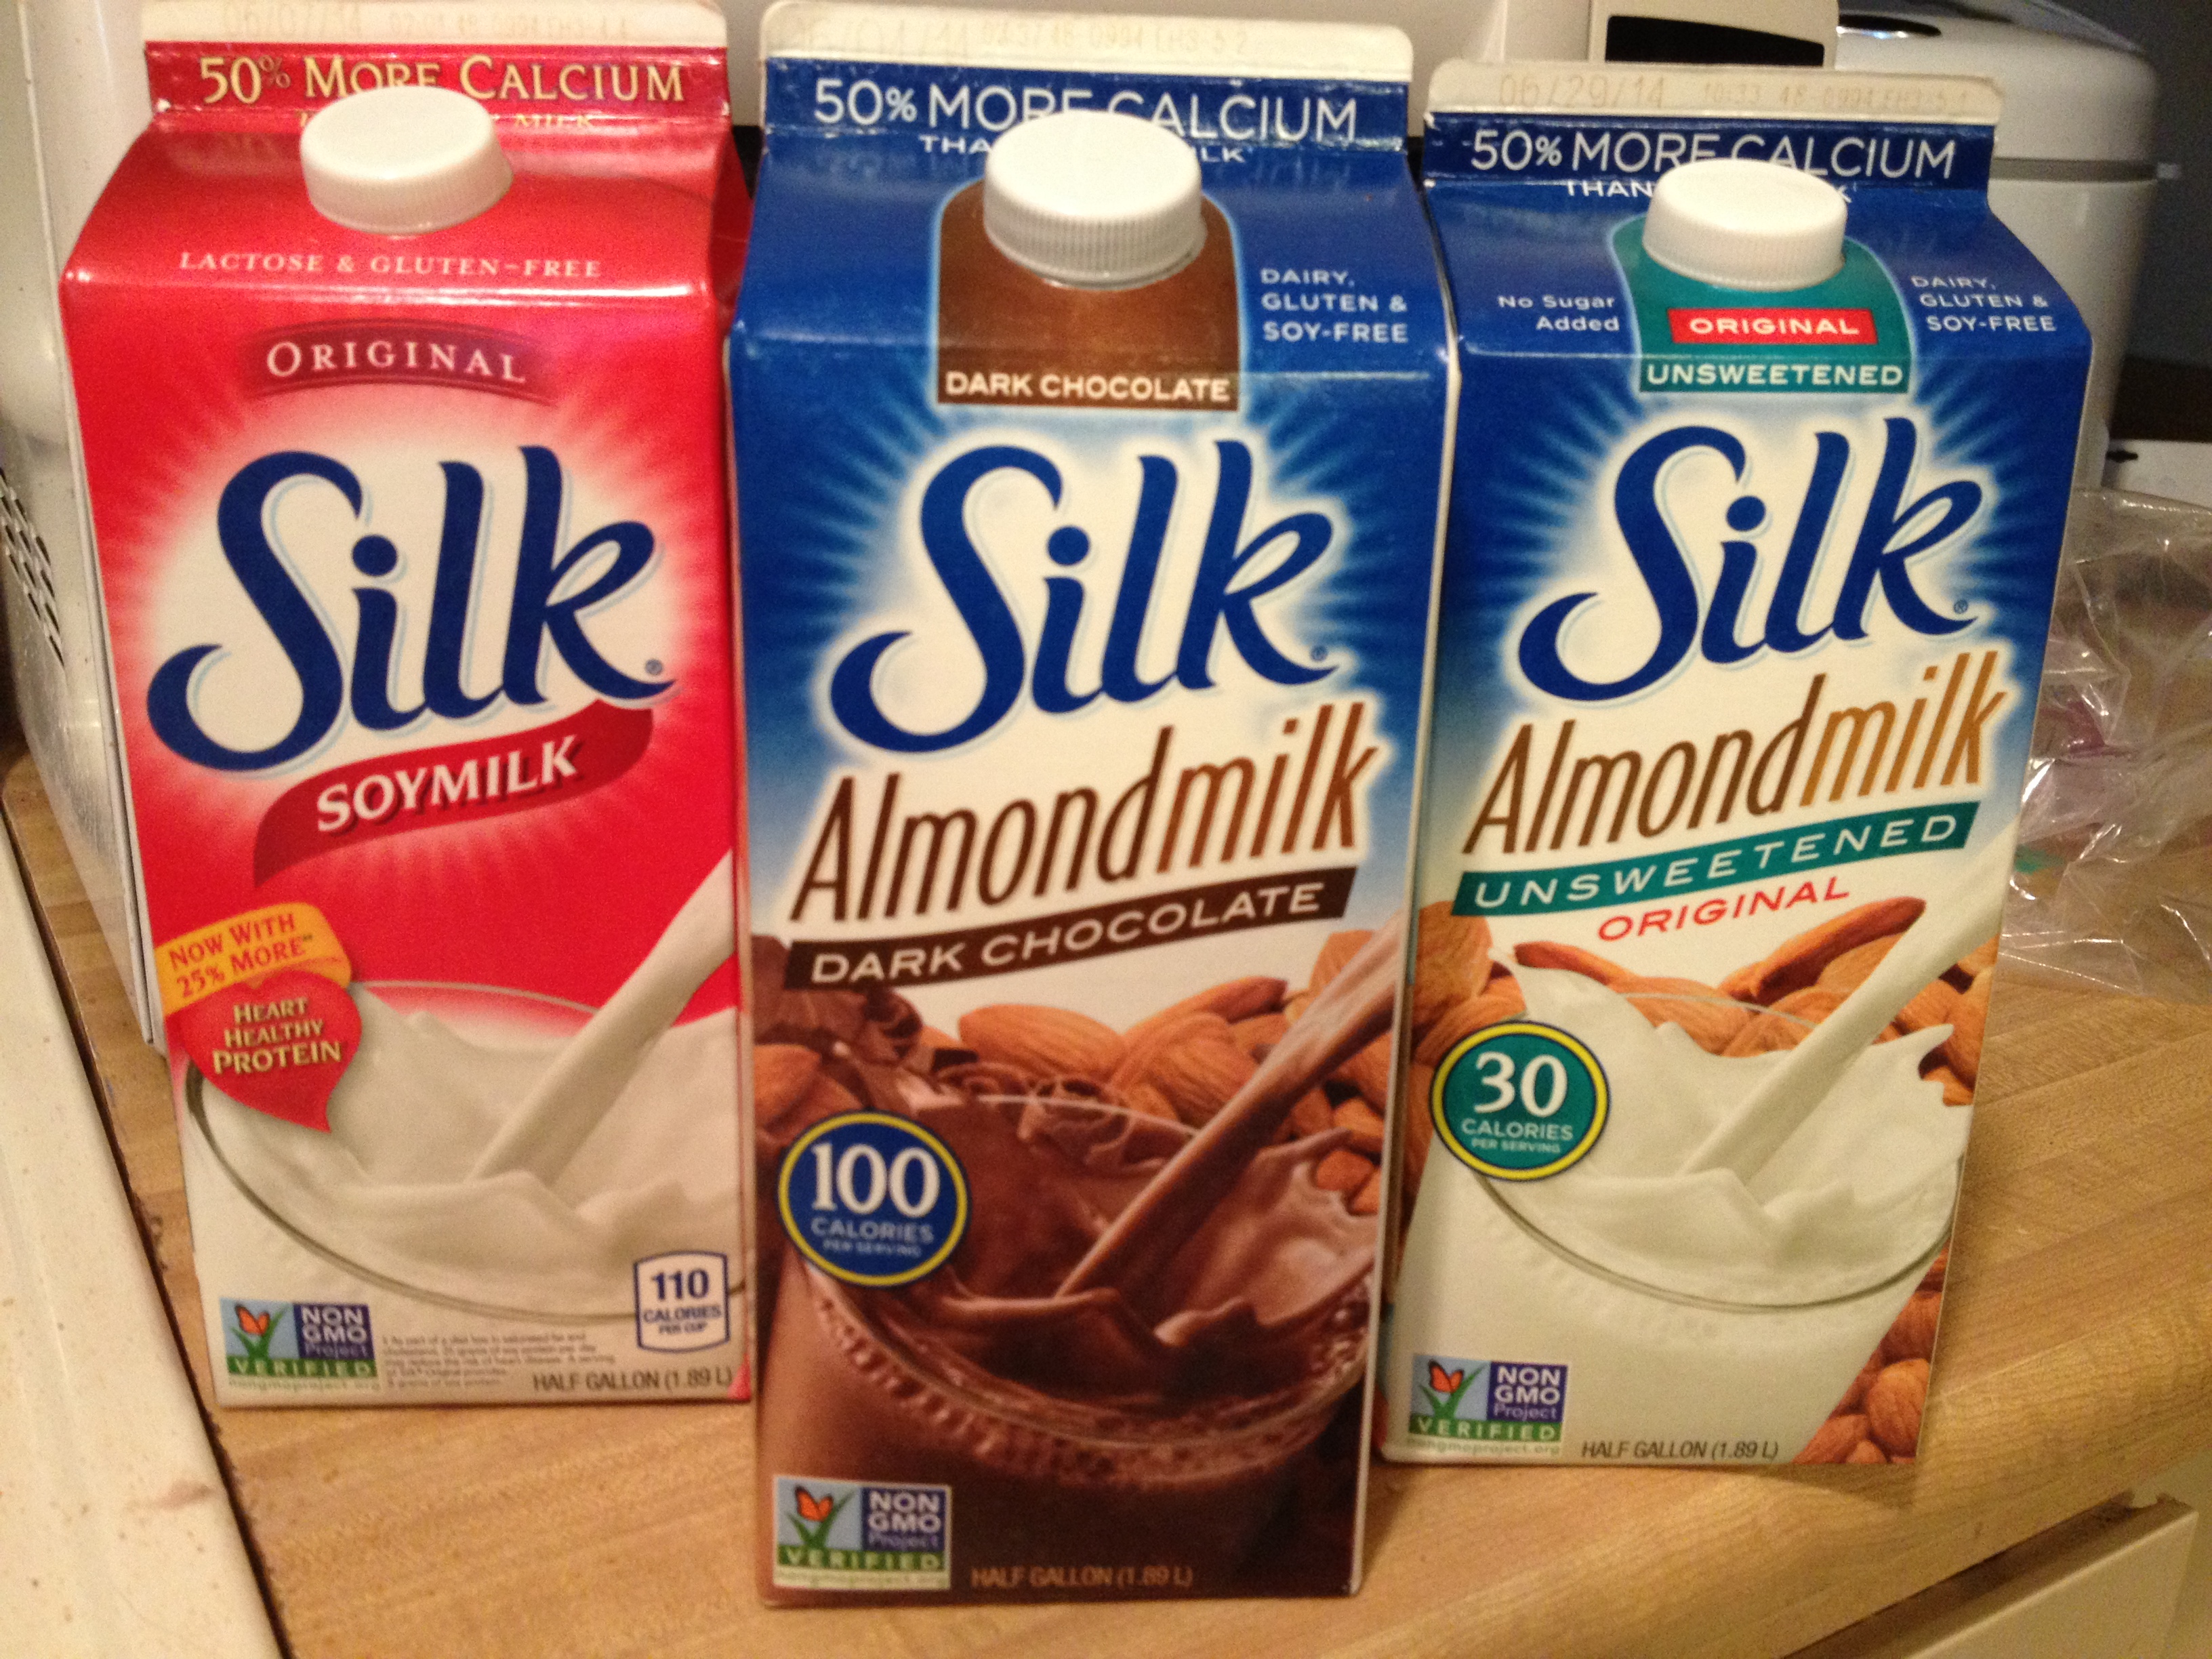
The three Silk products we used

The three Silk products we used

photo 4 (34) photo 2 (53) photo 3 (40)

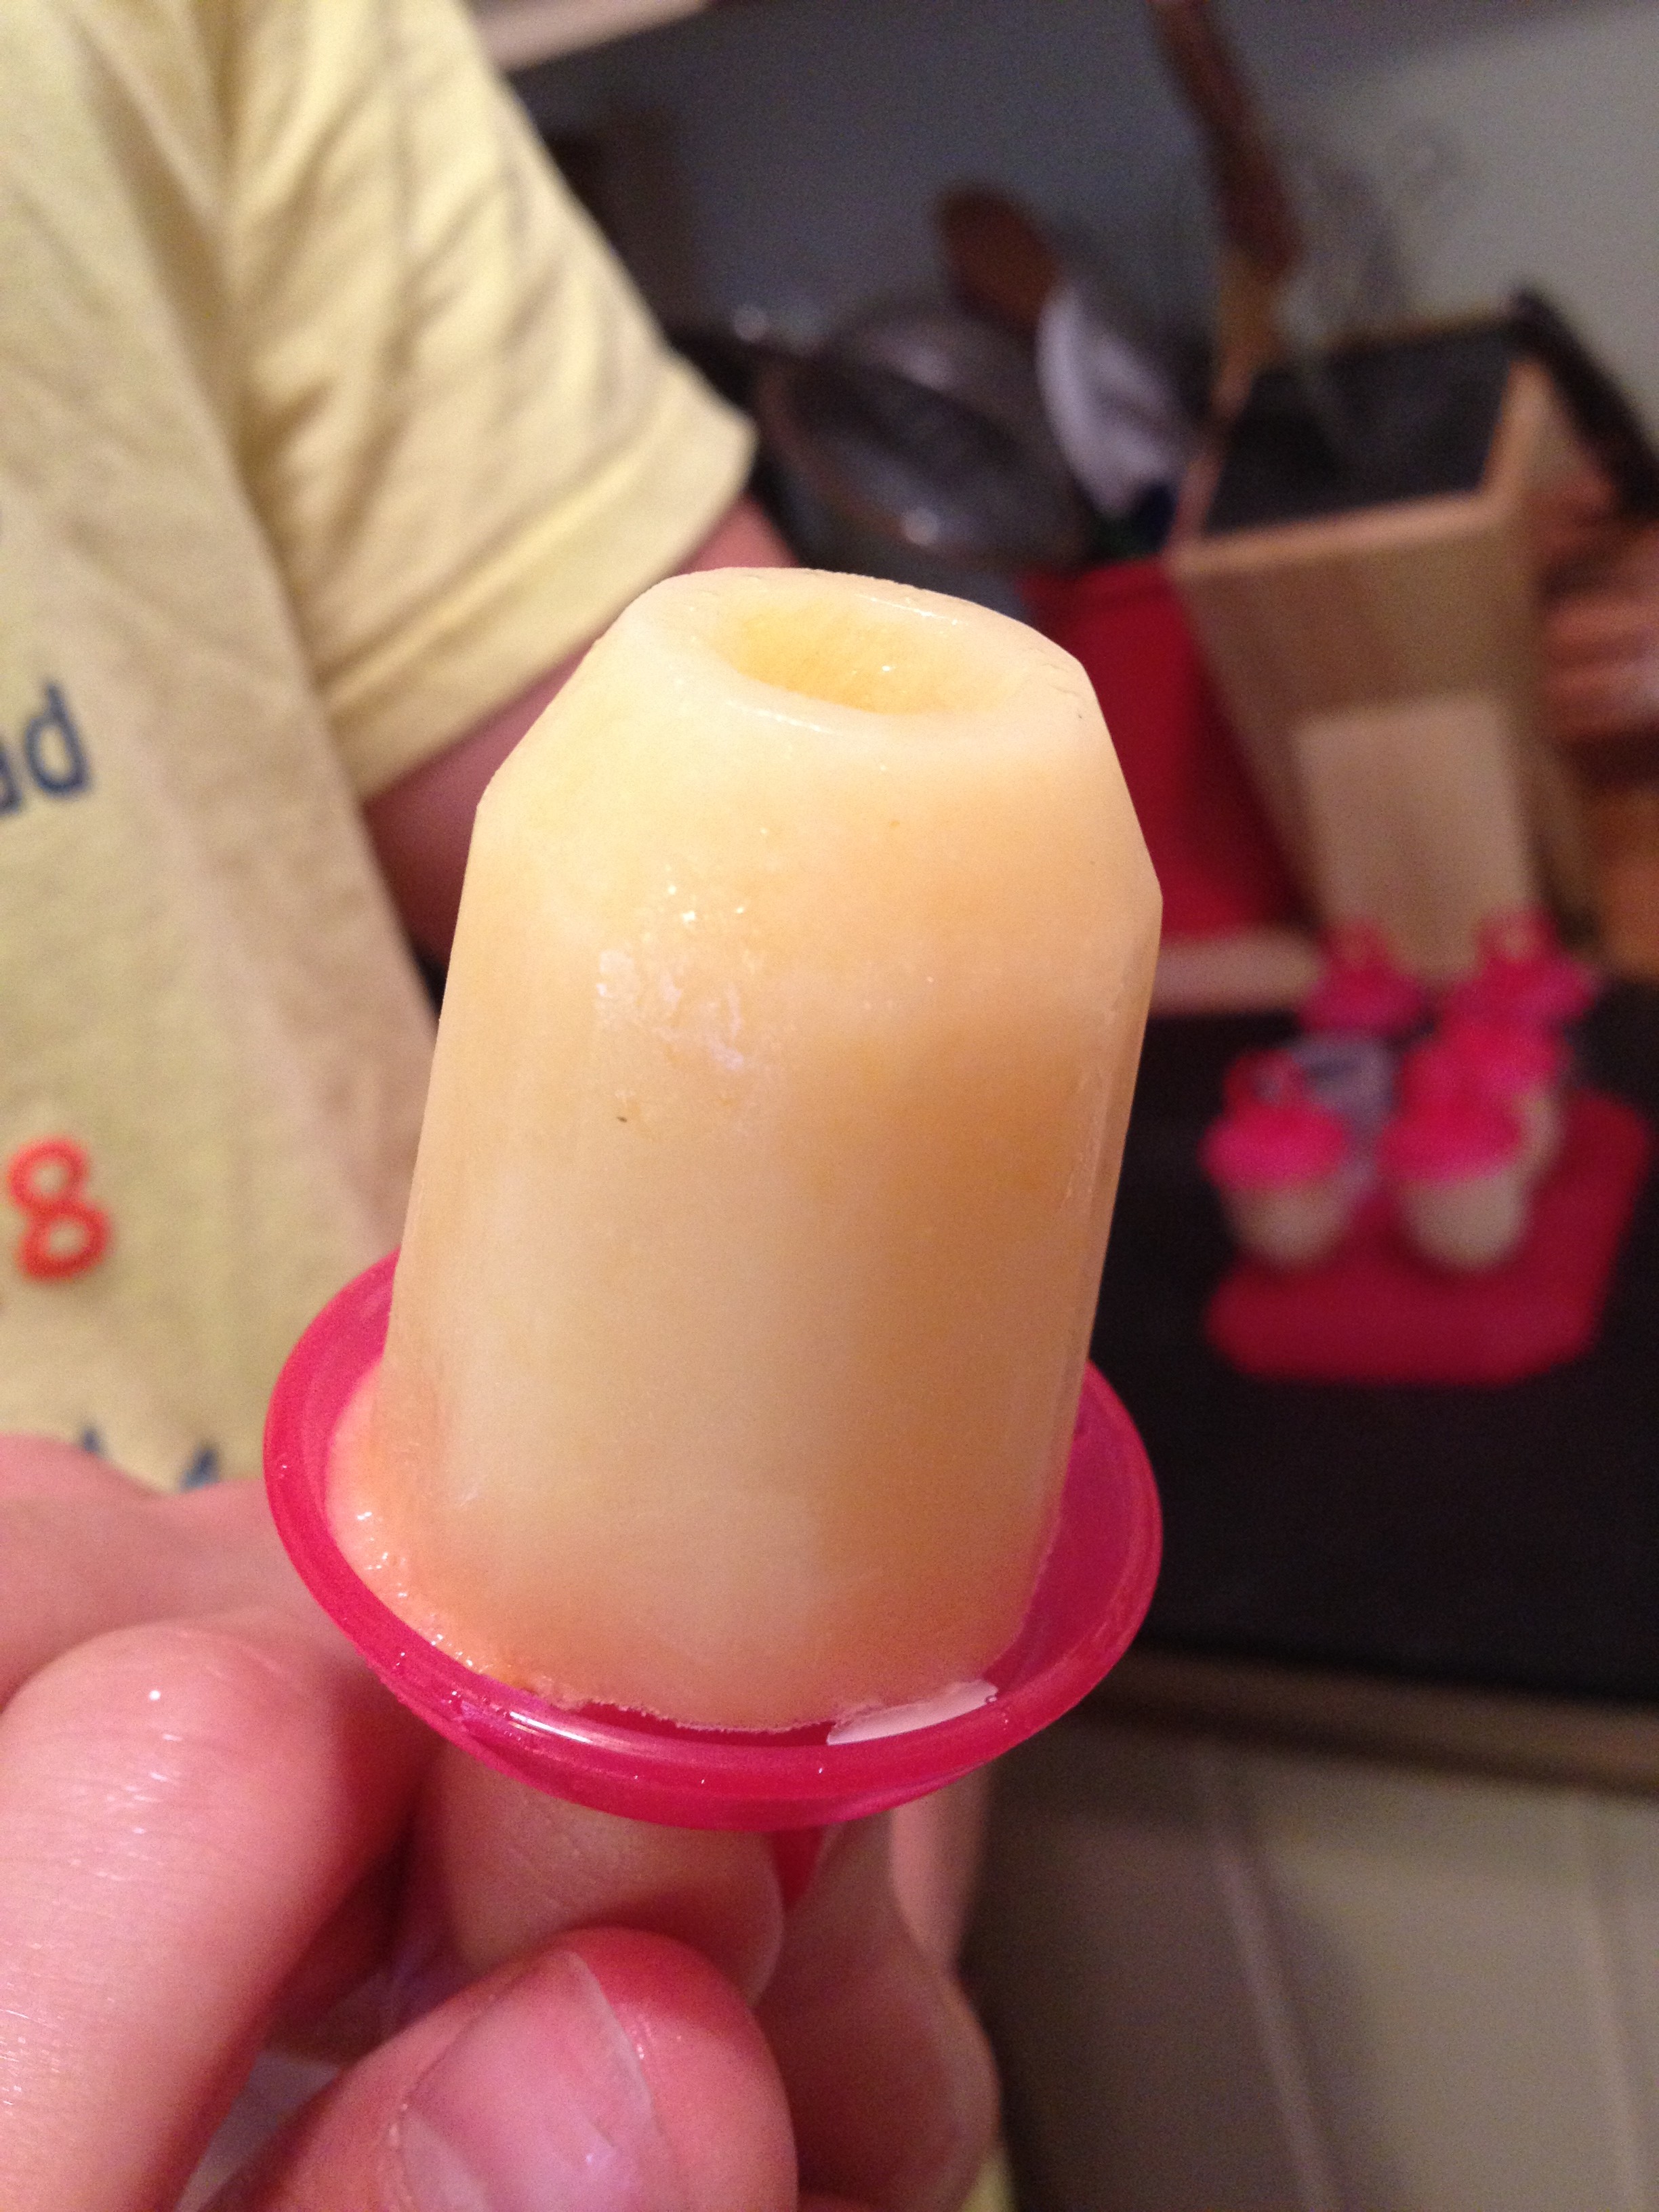
From top to bottom: Tropical Freeze, Dreamsicle, and Chocolate Strawberry Pop

From top to bottom: Tropical Freeze, Dreamsicle, and Chocolate Strawberry Pop

photo 5 (14)

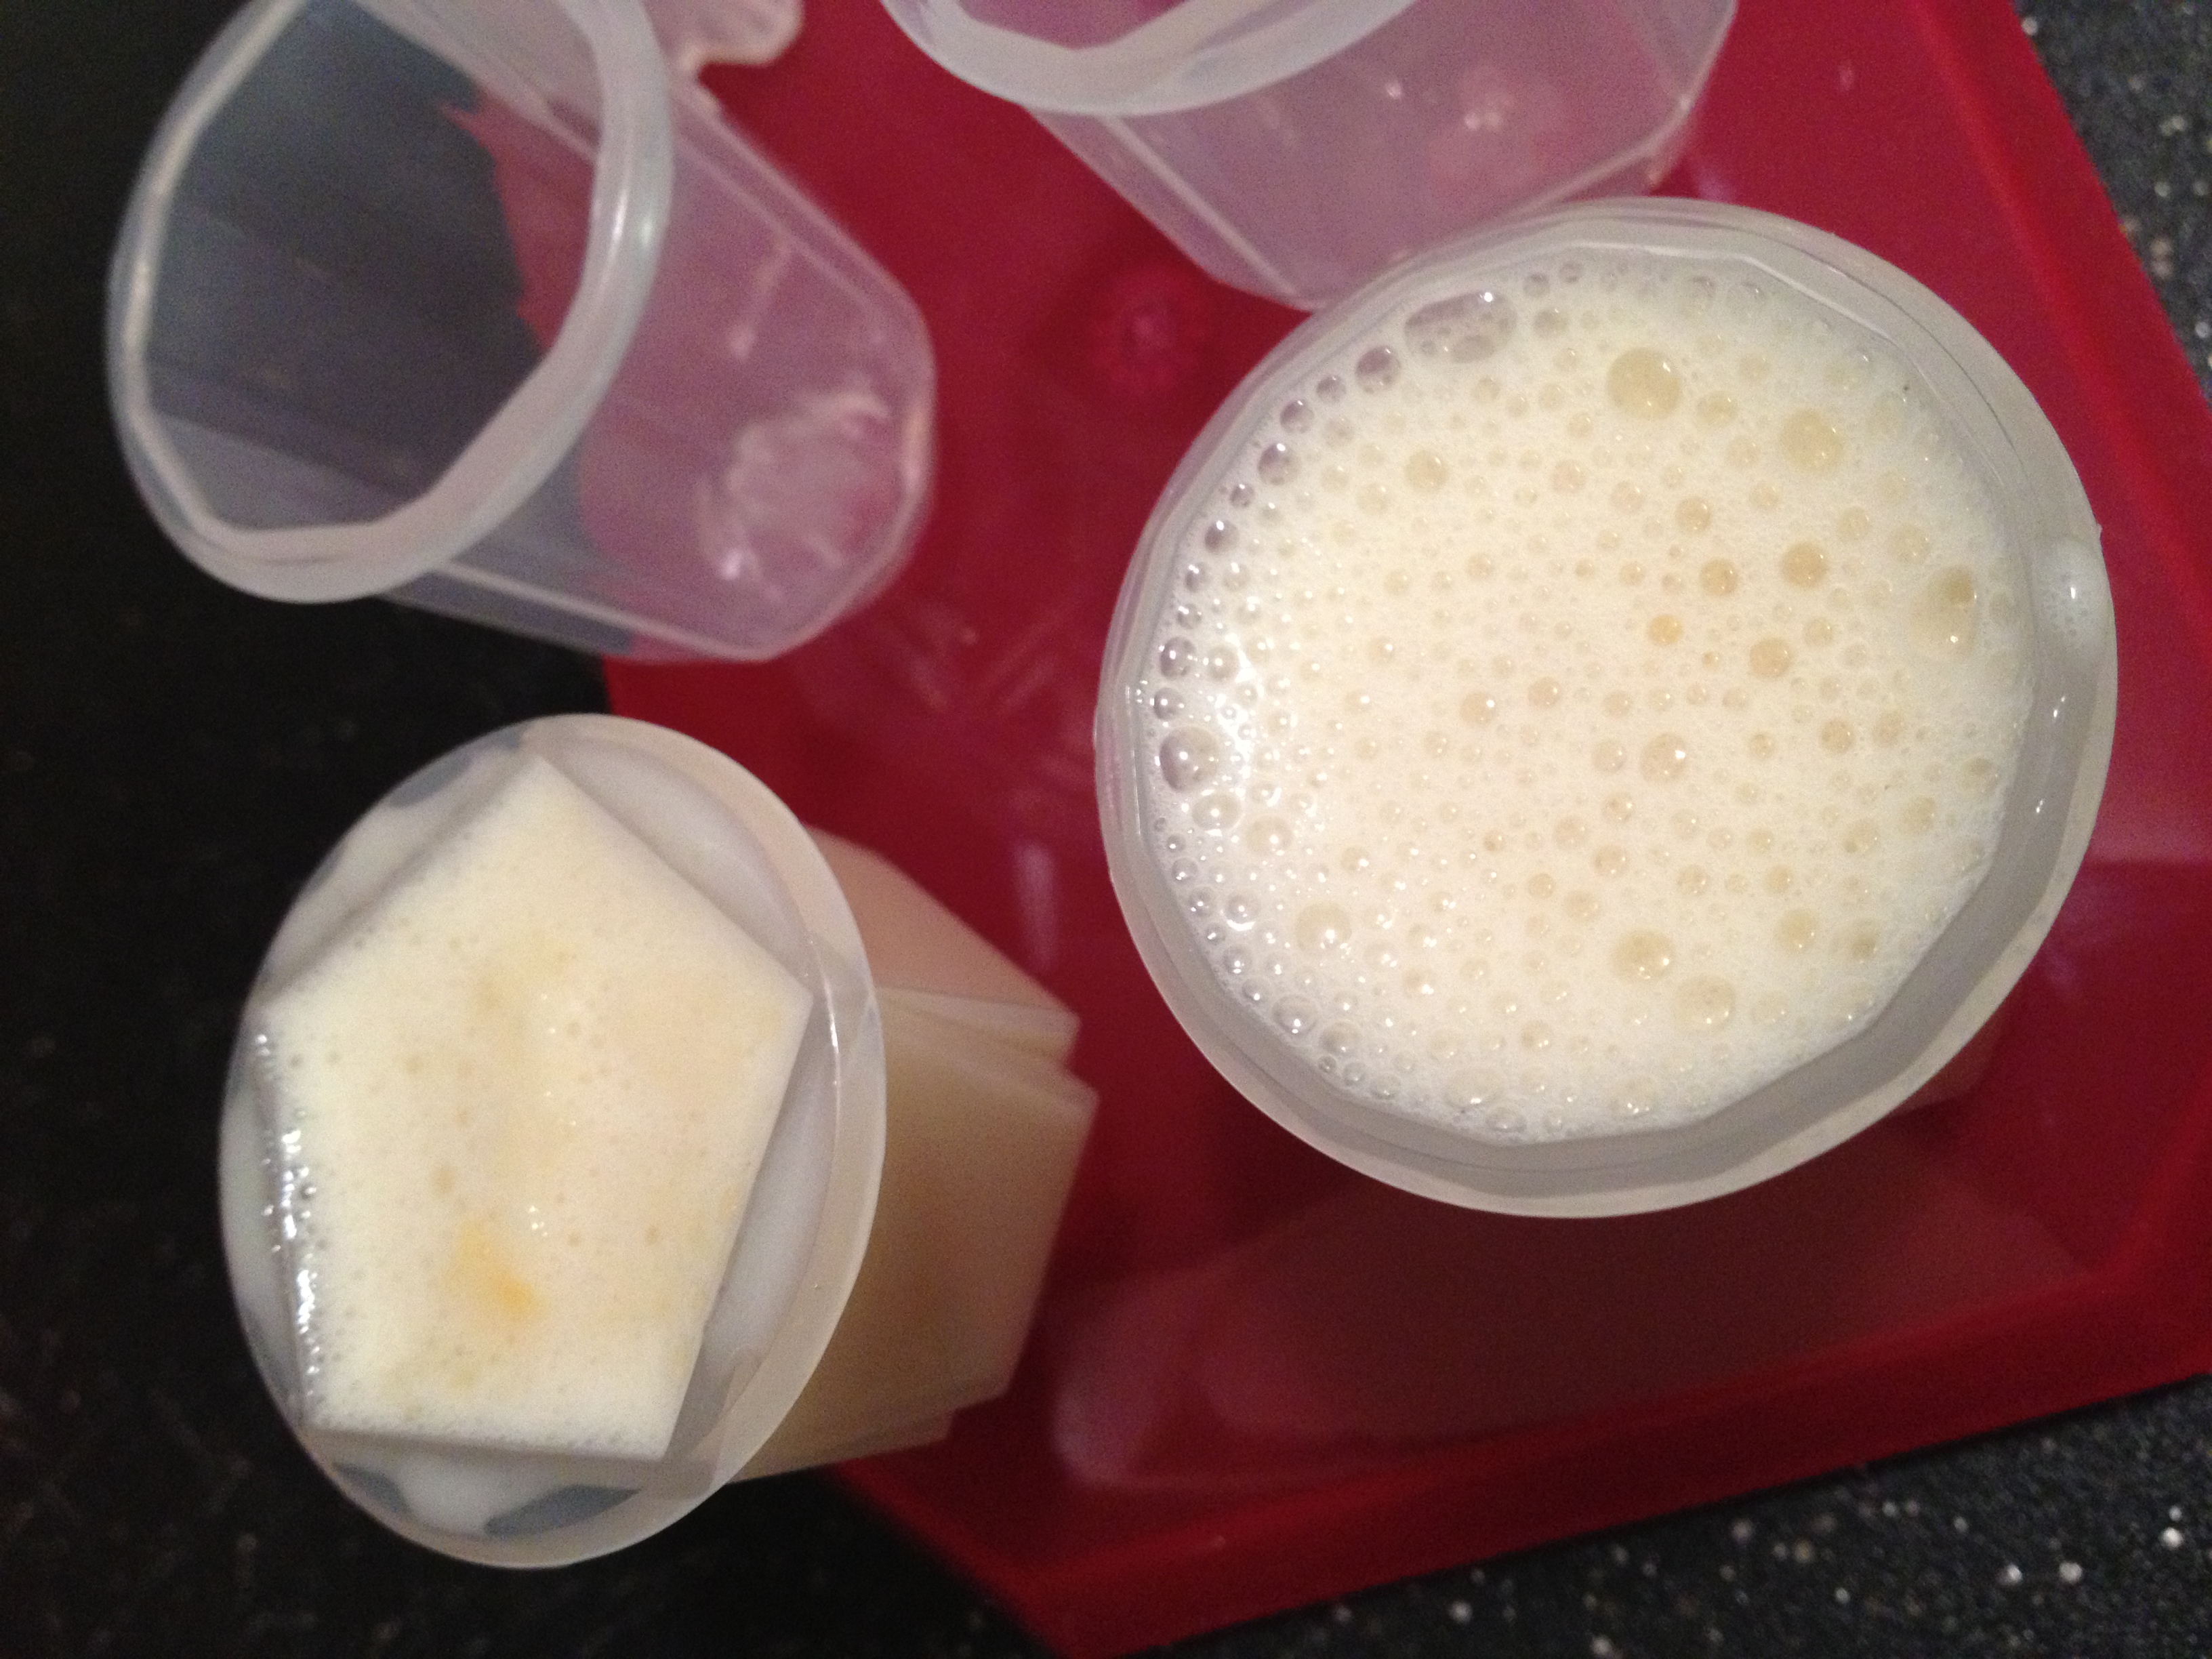
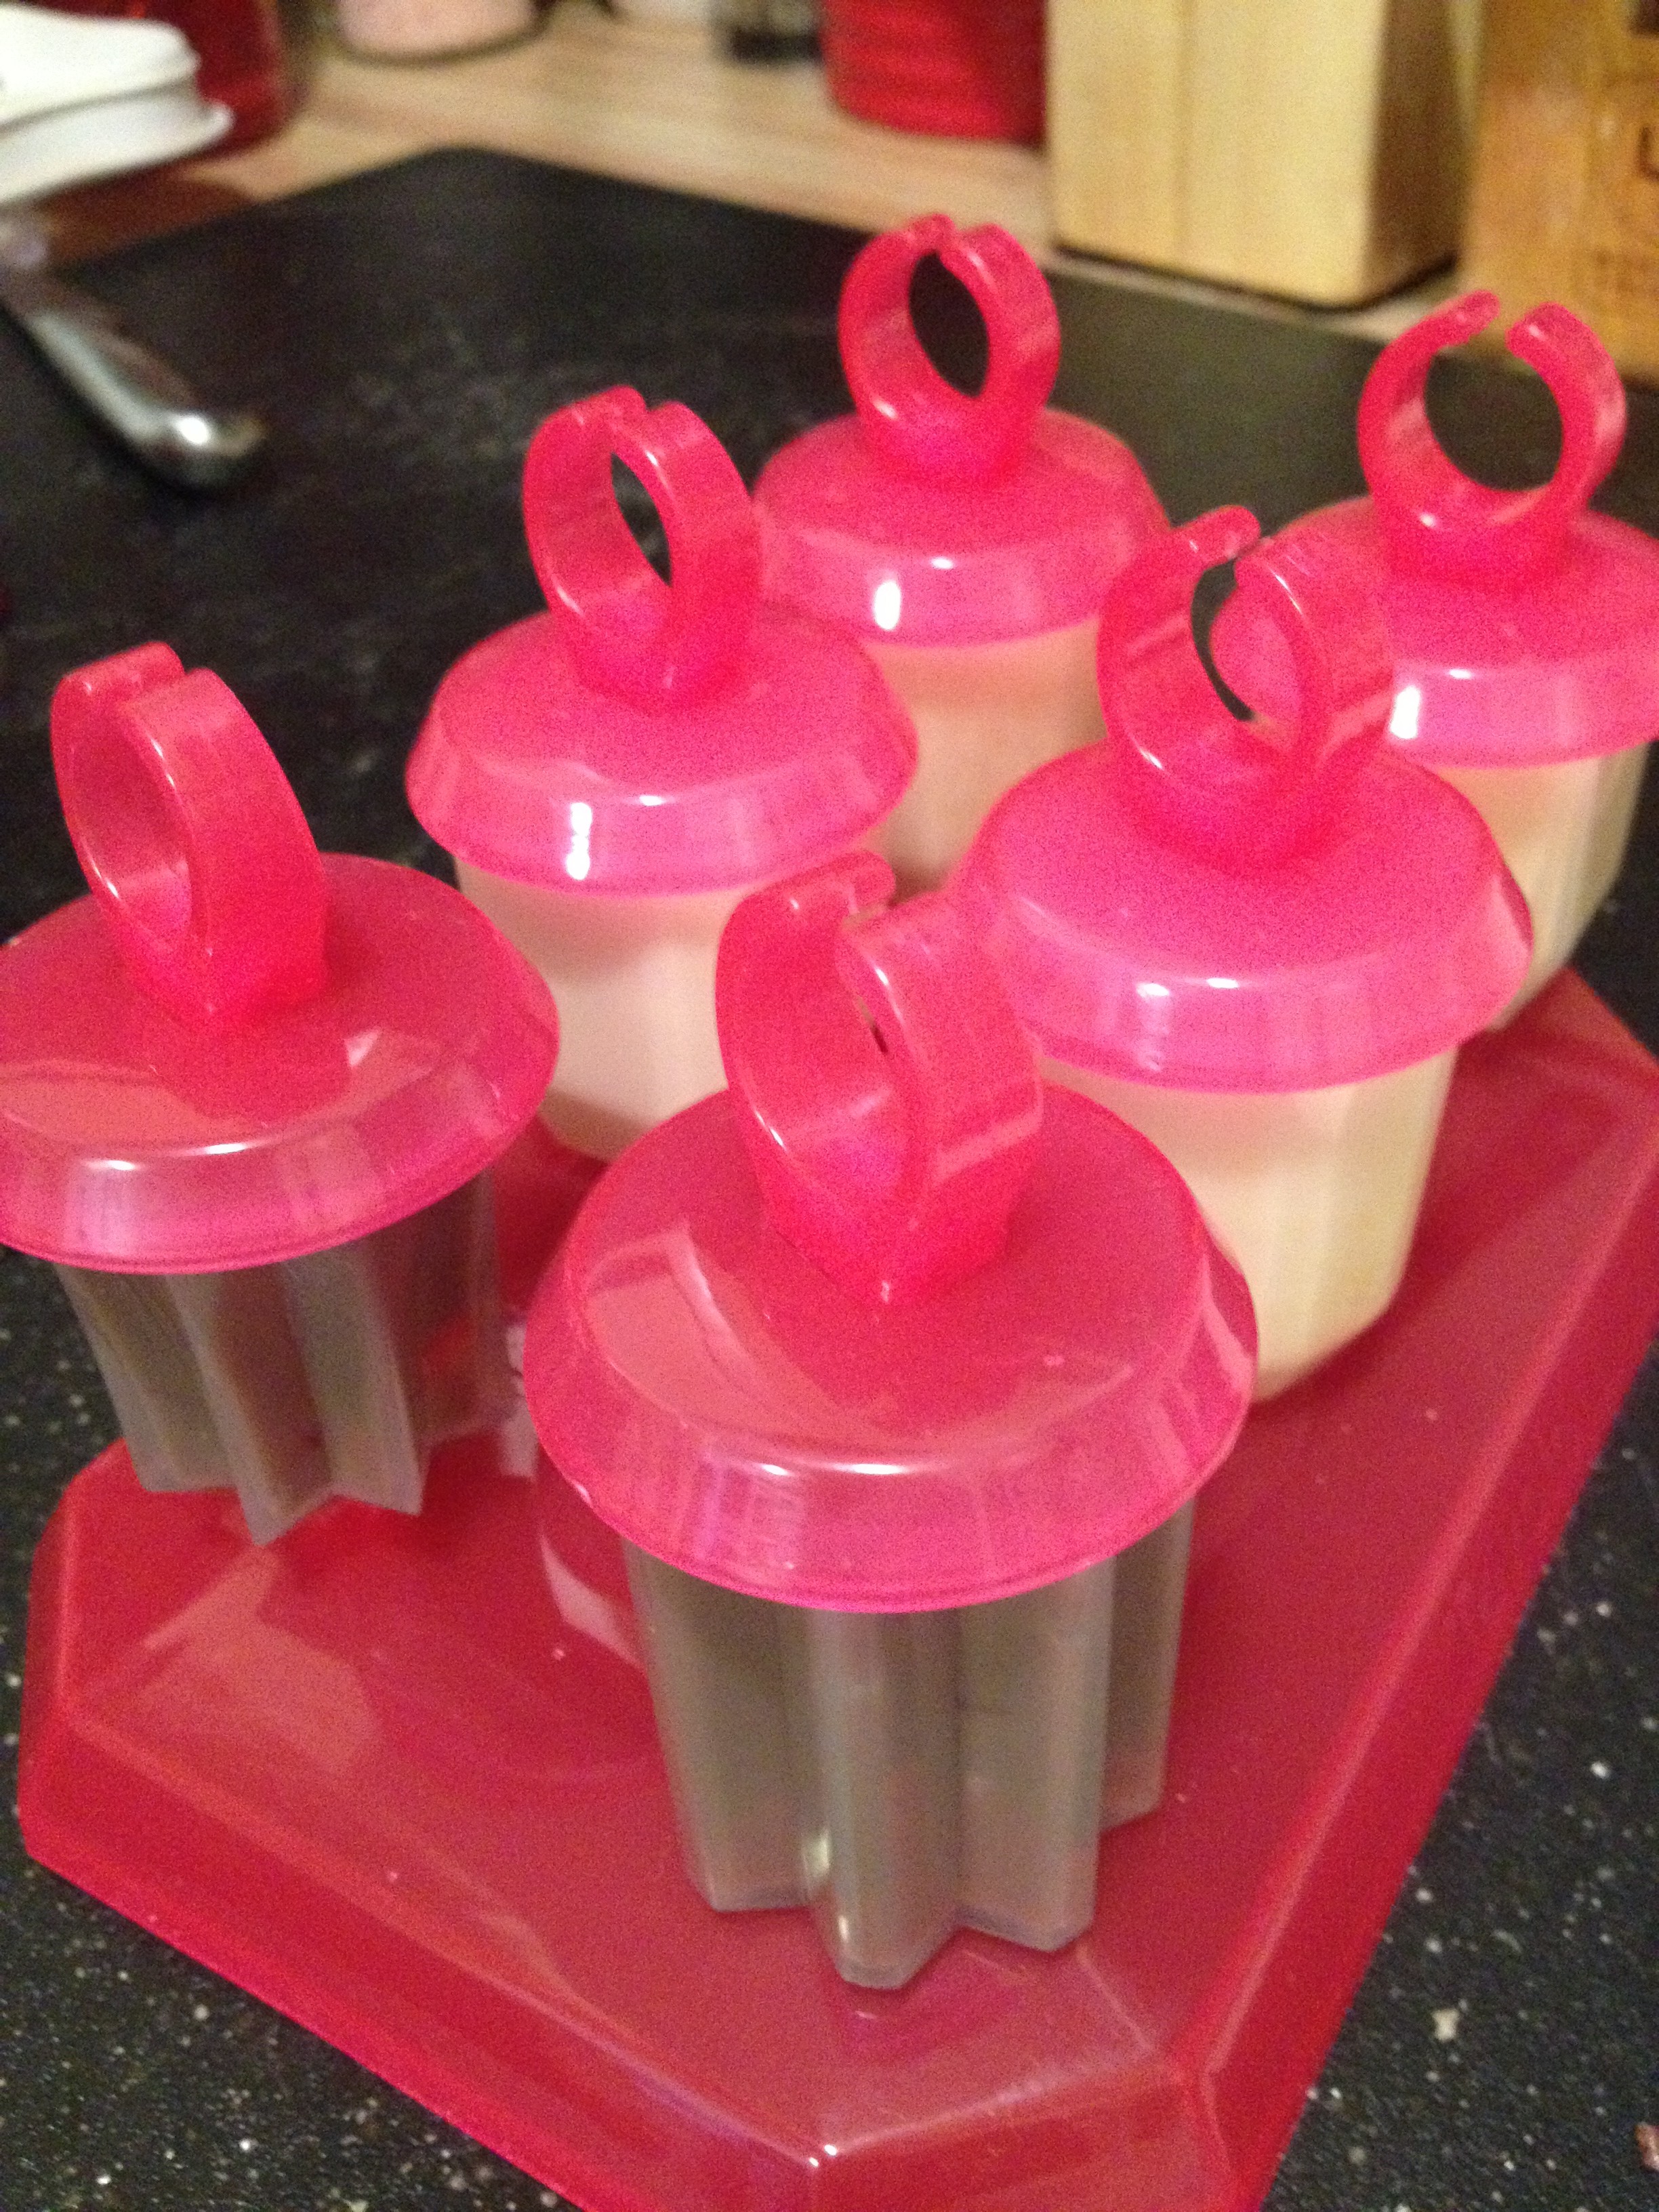
Ready to freeze!

Ready to freeze!

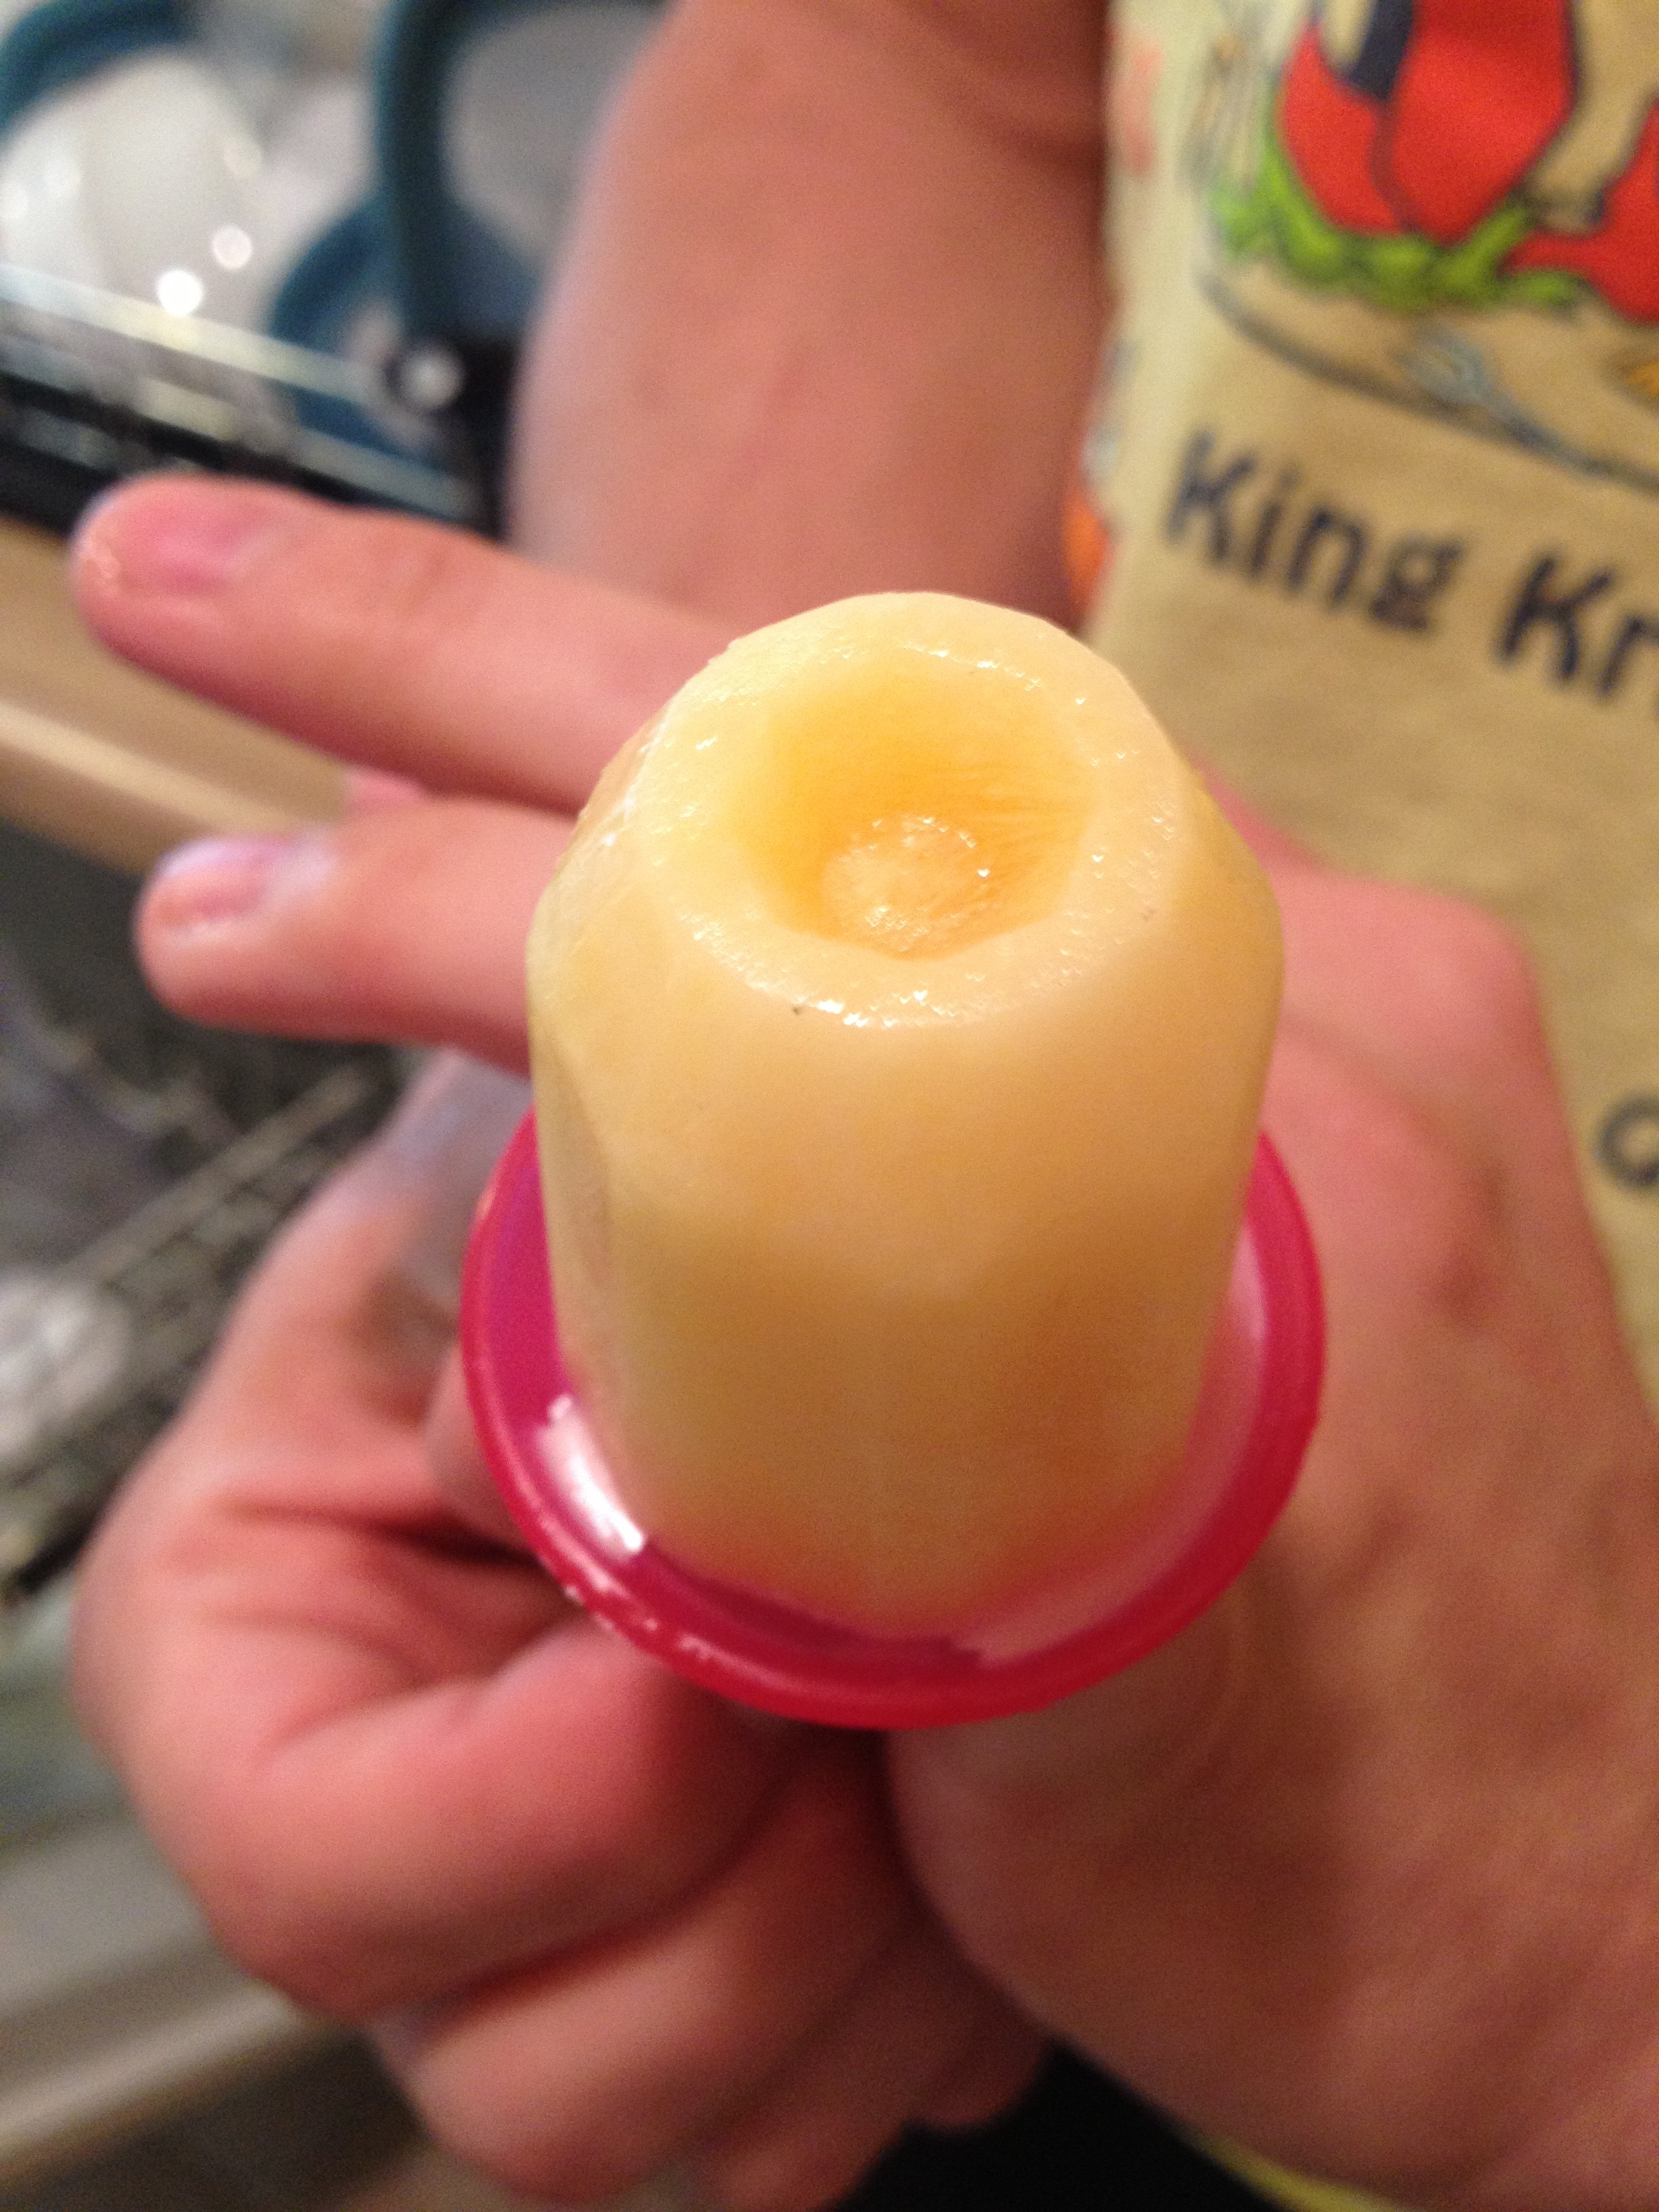
Ready to eat!

Ready to eat!

Healthy Frozen Treats
Serves 6
Three delicious, healthy freeze pop recipes that will take under 10 minutes
Write a review
Print
Prep Time
5 min
Cook Time
4 hr
Prep Time
5 min
Cook Time
4 hr
Tropical Freeze
  1. 1/4 cup Silk Unsweetened Almondmilk
  2. 1/3 cup fresh or frozen blend of tropical fruits (pineapple, mango, etc.)
Dreamsicle
  1. 1/4 cup Silk Original Soymilk
  2. 1/4 cup orange juice of your choice
Chocolate Strawberry Surprise
  1. 1/4 cup Silk Dark Chocolate Almondmilk
  2. 1 strawberry
Tropical Freeze
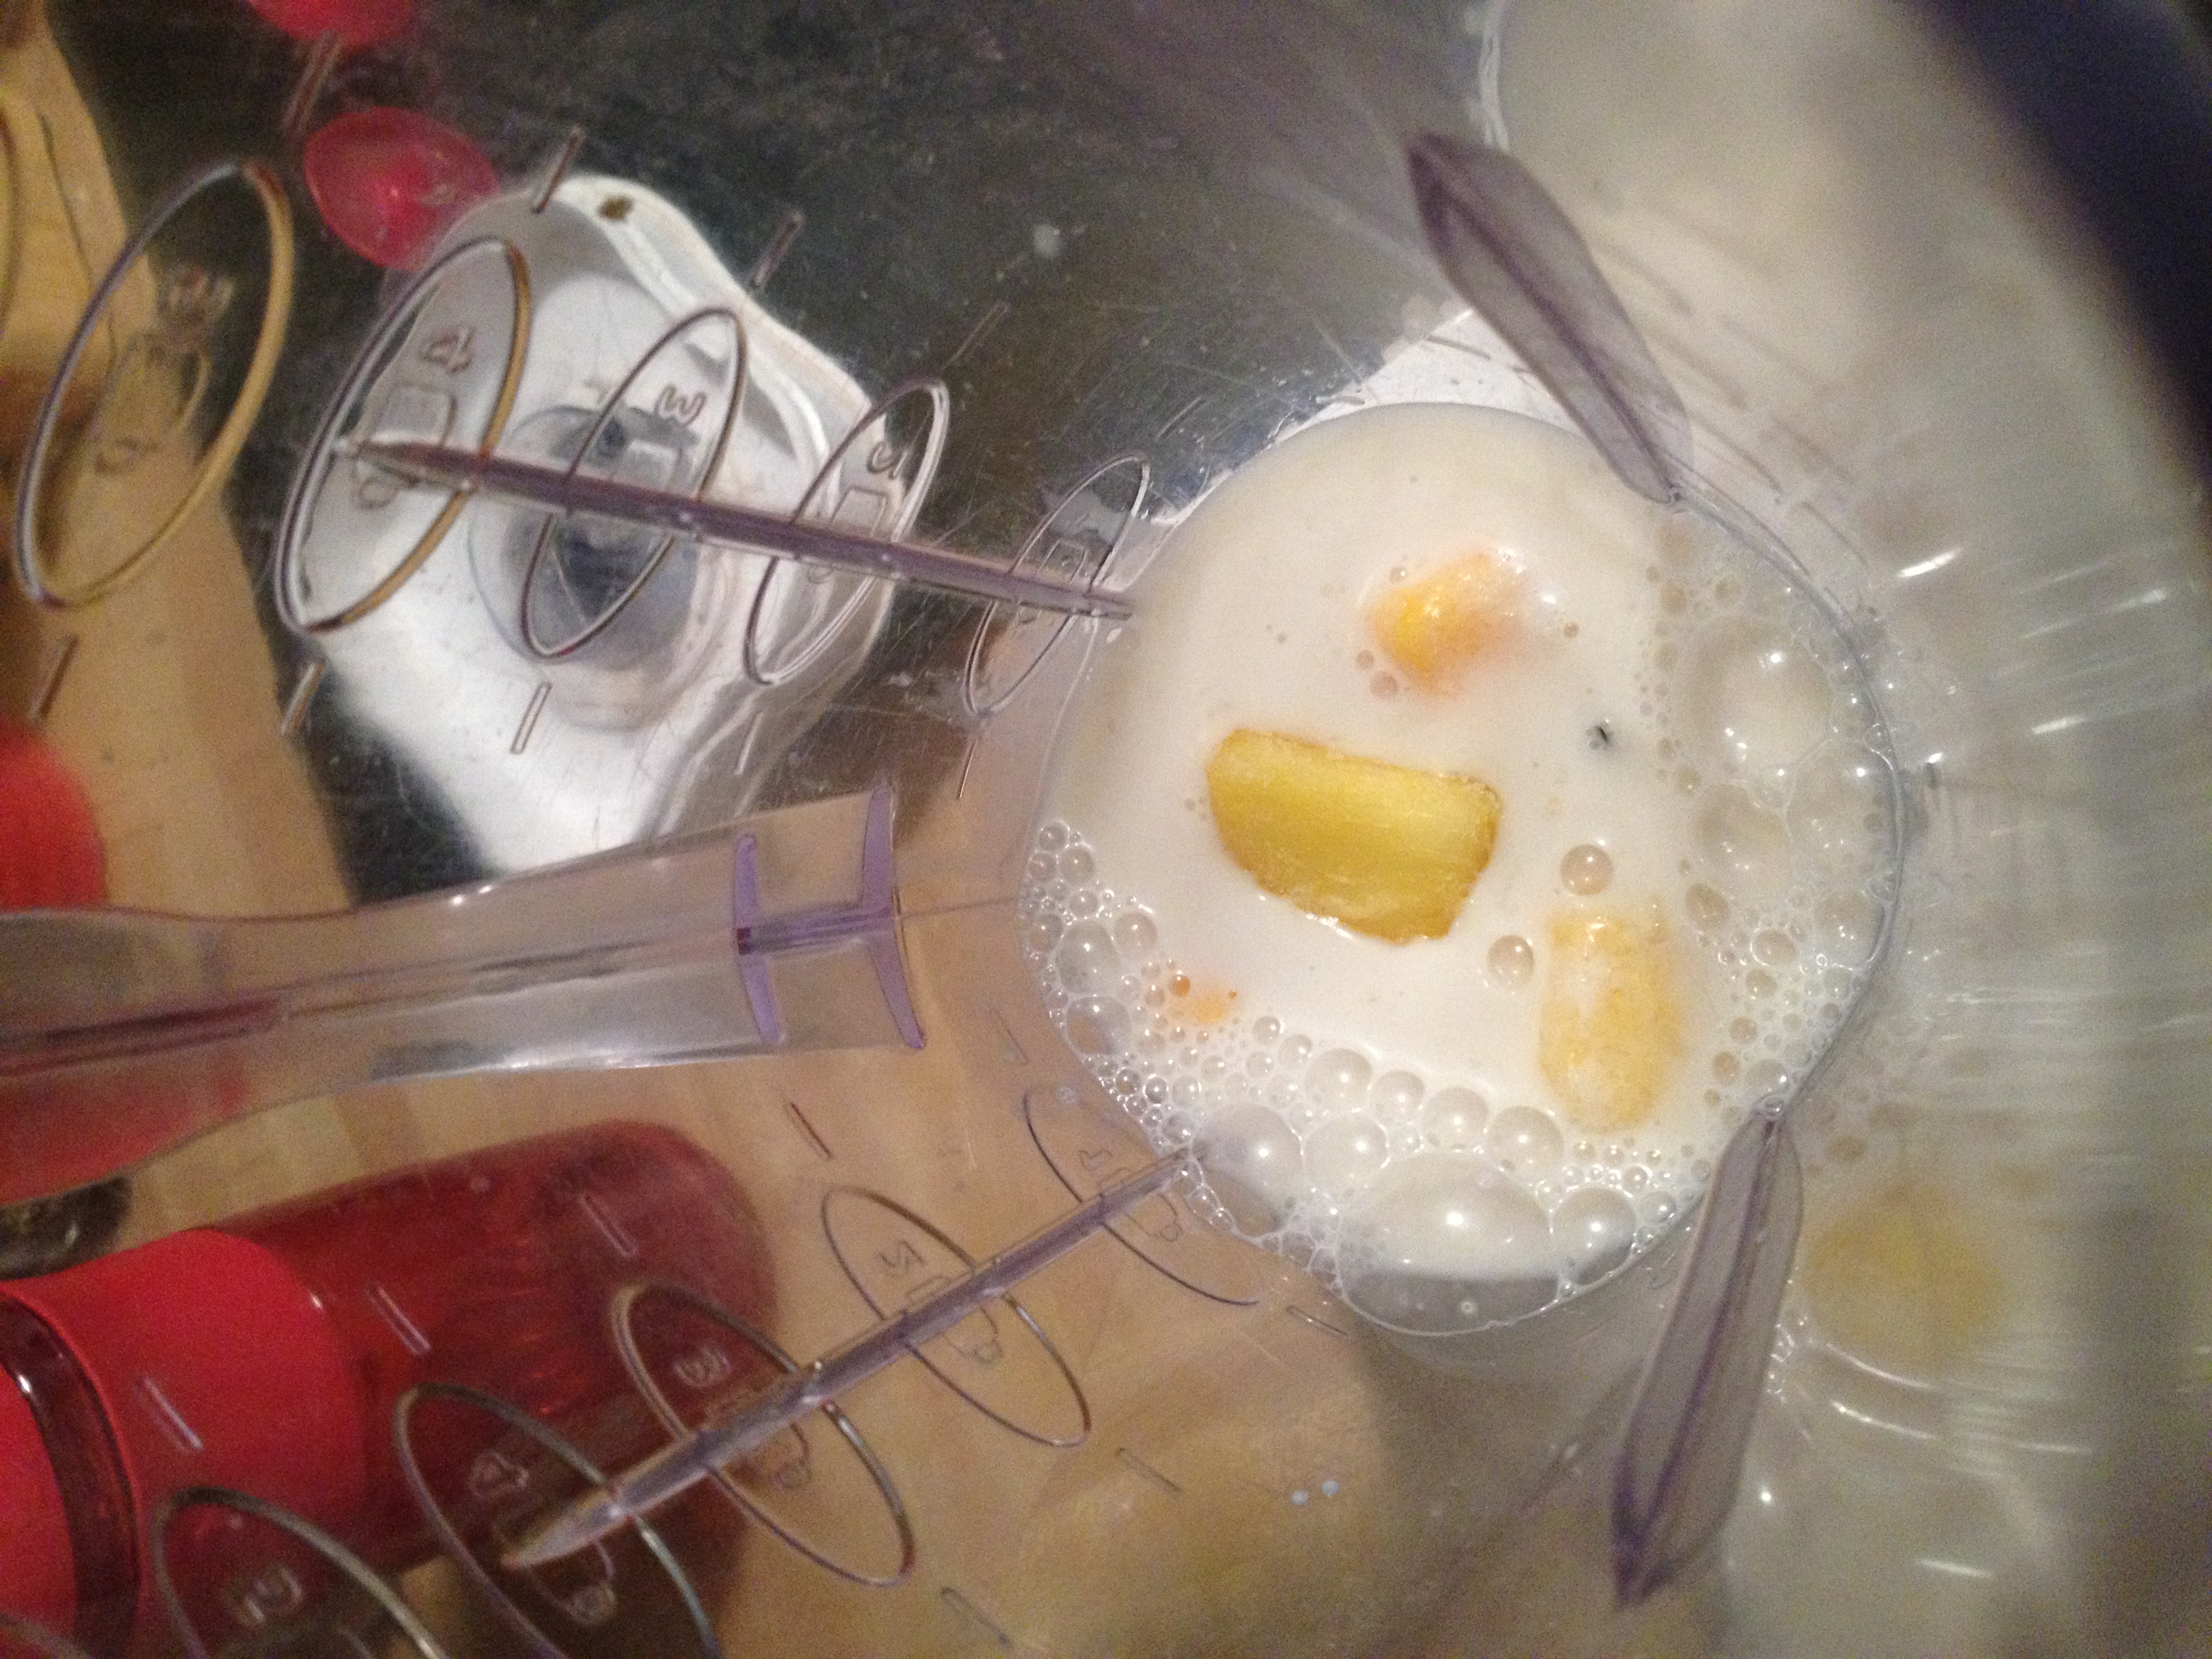
  1. Put the Silk Unsweetened Almondmilk with the tropical fruit into a blender
  2. Blend until mostly smooth
  3. Pour into mold
  4. Freeze for 4-6 hours (all freeze pop molds are different though)
Dreamsicle
  1. Pour Silk Original Soymilk into molds along with the orange juice
  2. Freeze for 4-6 hours
Chocolate Strawberry Surprise
  1. Pour Silk Dark Chocolate Almondmilk into the freeze pop mold (only 2/3 of the way to the top)
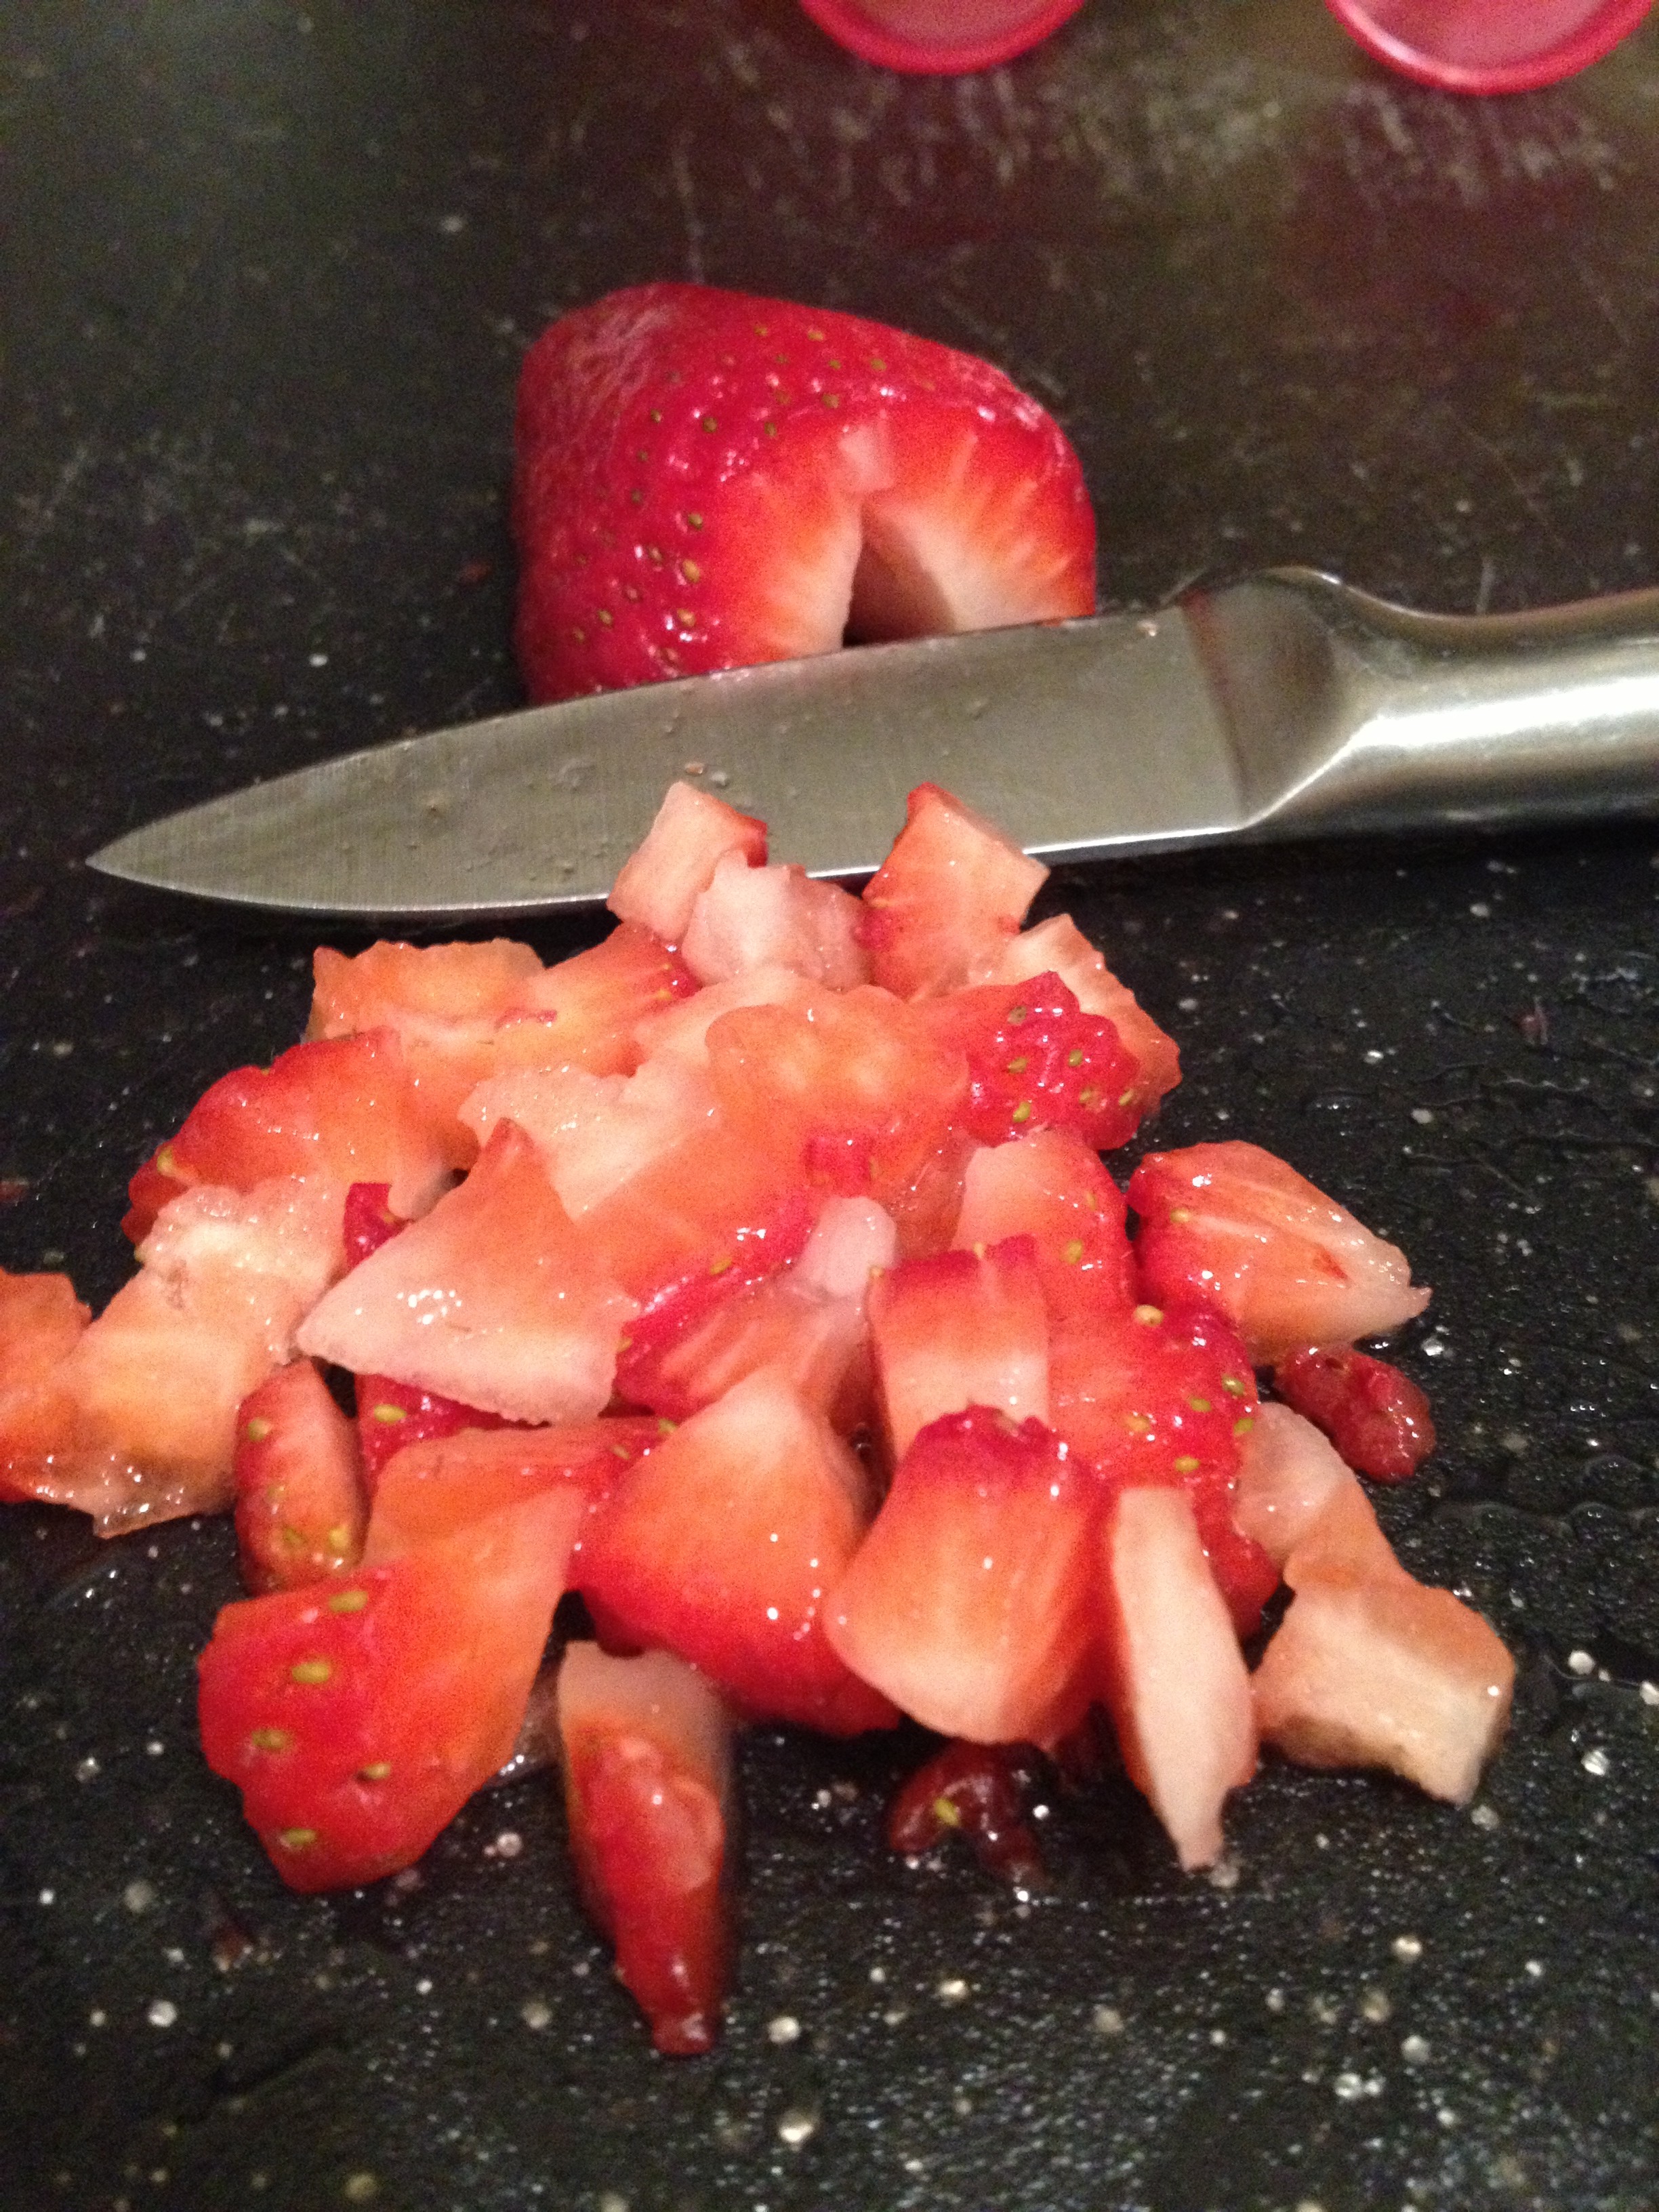
  2. Chop up the strawberry and put it in (make sure you don't let it overflow!)
Notes
  1. Every freeze pop mold is different so your freeze pops may take shorter or longer to freeze
  2. Going along with that, you may need to alter the amount of ingredients as it could be too much or too little
hungry and fit https://hungryandfit.com/
These freeze pops are light, refreshing, and delicious. They are sure to cool off any hot day and keep those around you smiling. What’s spring and summer about if it isn’t happiness? We use Silk in recipes like this so we can feel like we are indulging ourselves while staying healthy. Sign up for the Silk newsletter to get free coupons and chances of winning Silk products! I always try to stay current with the Silk Facebook page as I am always finding new recipes and tips for using Silk.  Use Silk in your recipes to stay hungry and fit!

This is a sponsored conversation written by me on behalf of Silk. The opinions and text are all mine.


spacer

Fancy Up Your Popcorn

I am popcorn-obsessed. I blame it on my family who always has it for any tv/movie event. Like about every night. So what do I do? Any excuse there is…there will be popcorn involved. Castle tonight? Popcorn, obviously. Recorded show on Food Network? Popcorn. Show at the Cinemas? Popcorn…that I sneak in (don’t tell!). I really like popcorn. But Hungry doesn’t really like popcorn (I know, it’s almost a deal-breaker). He’ll eat it if I start giving him some, but he would never start the pop himself. So as he was leaving to walk Noke one night before we were gonna watch a new show on Food Network, he asked me to “fancy up” the popcorn. Quest accepted. 

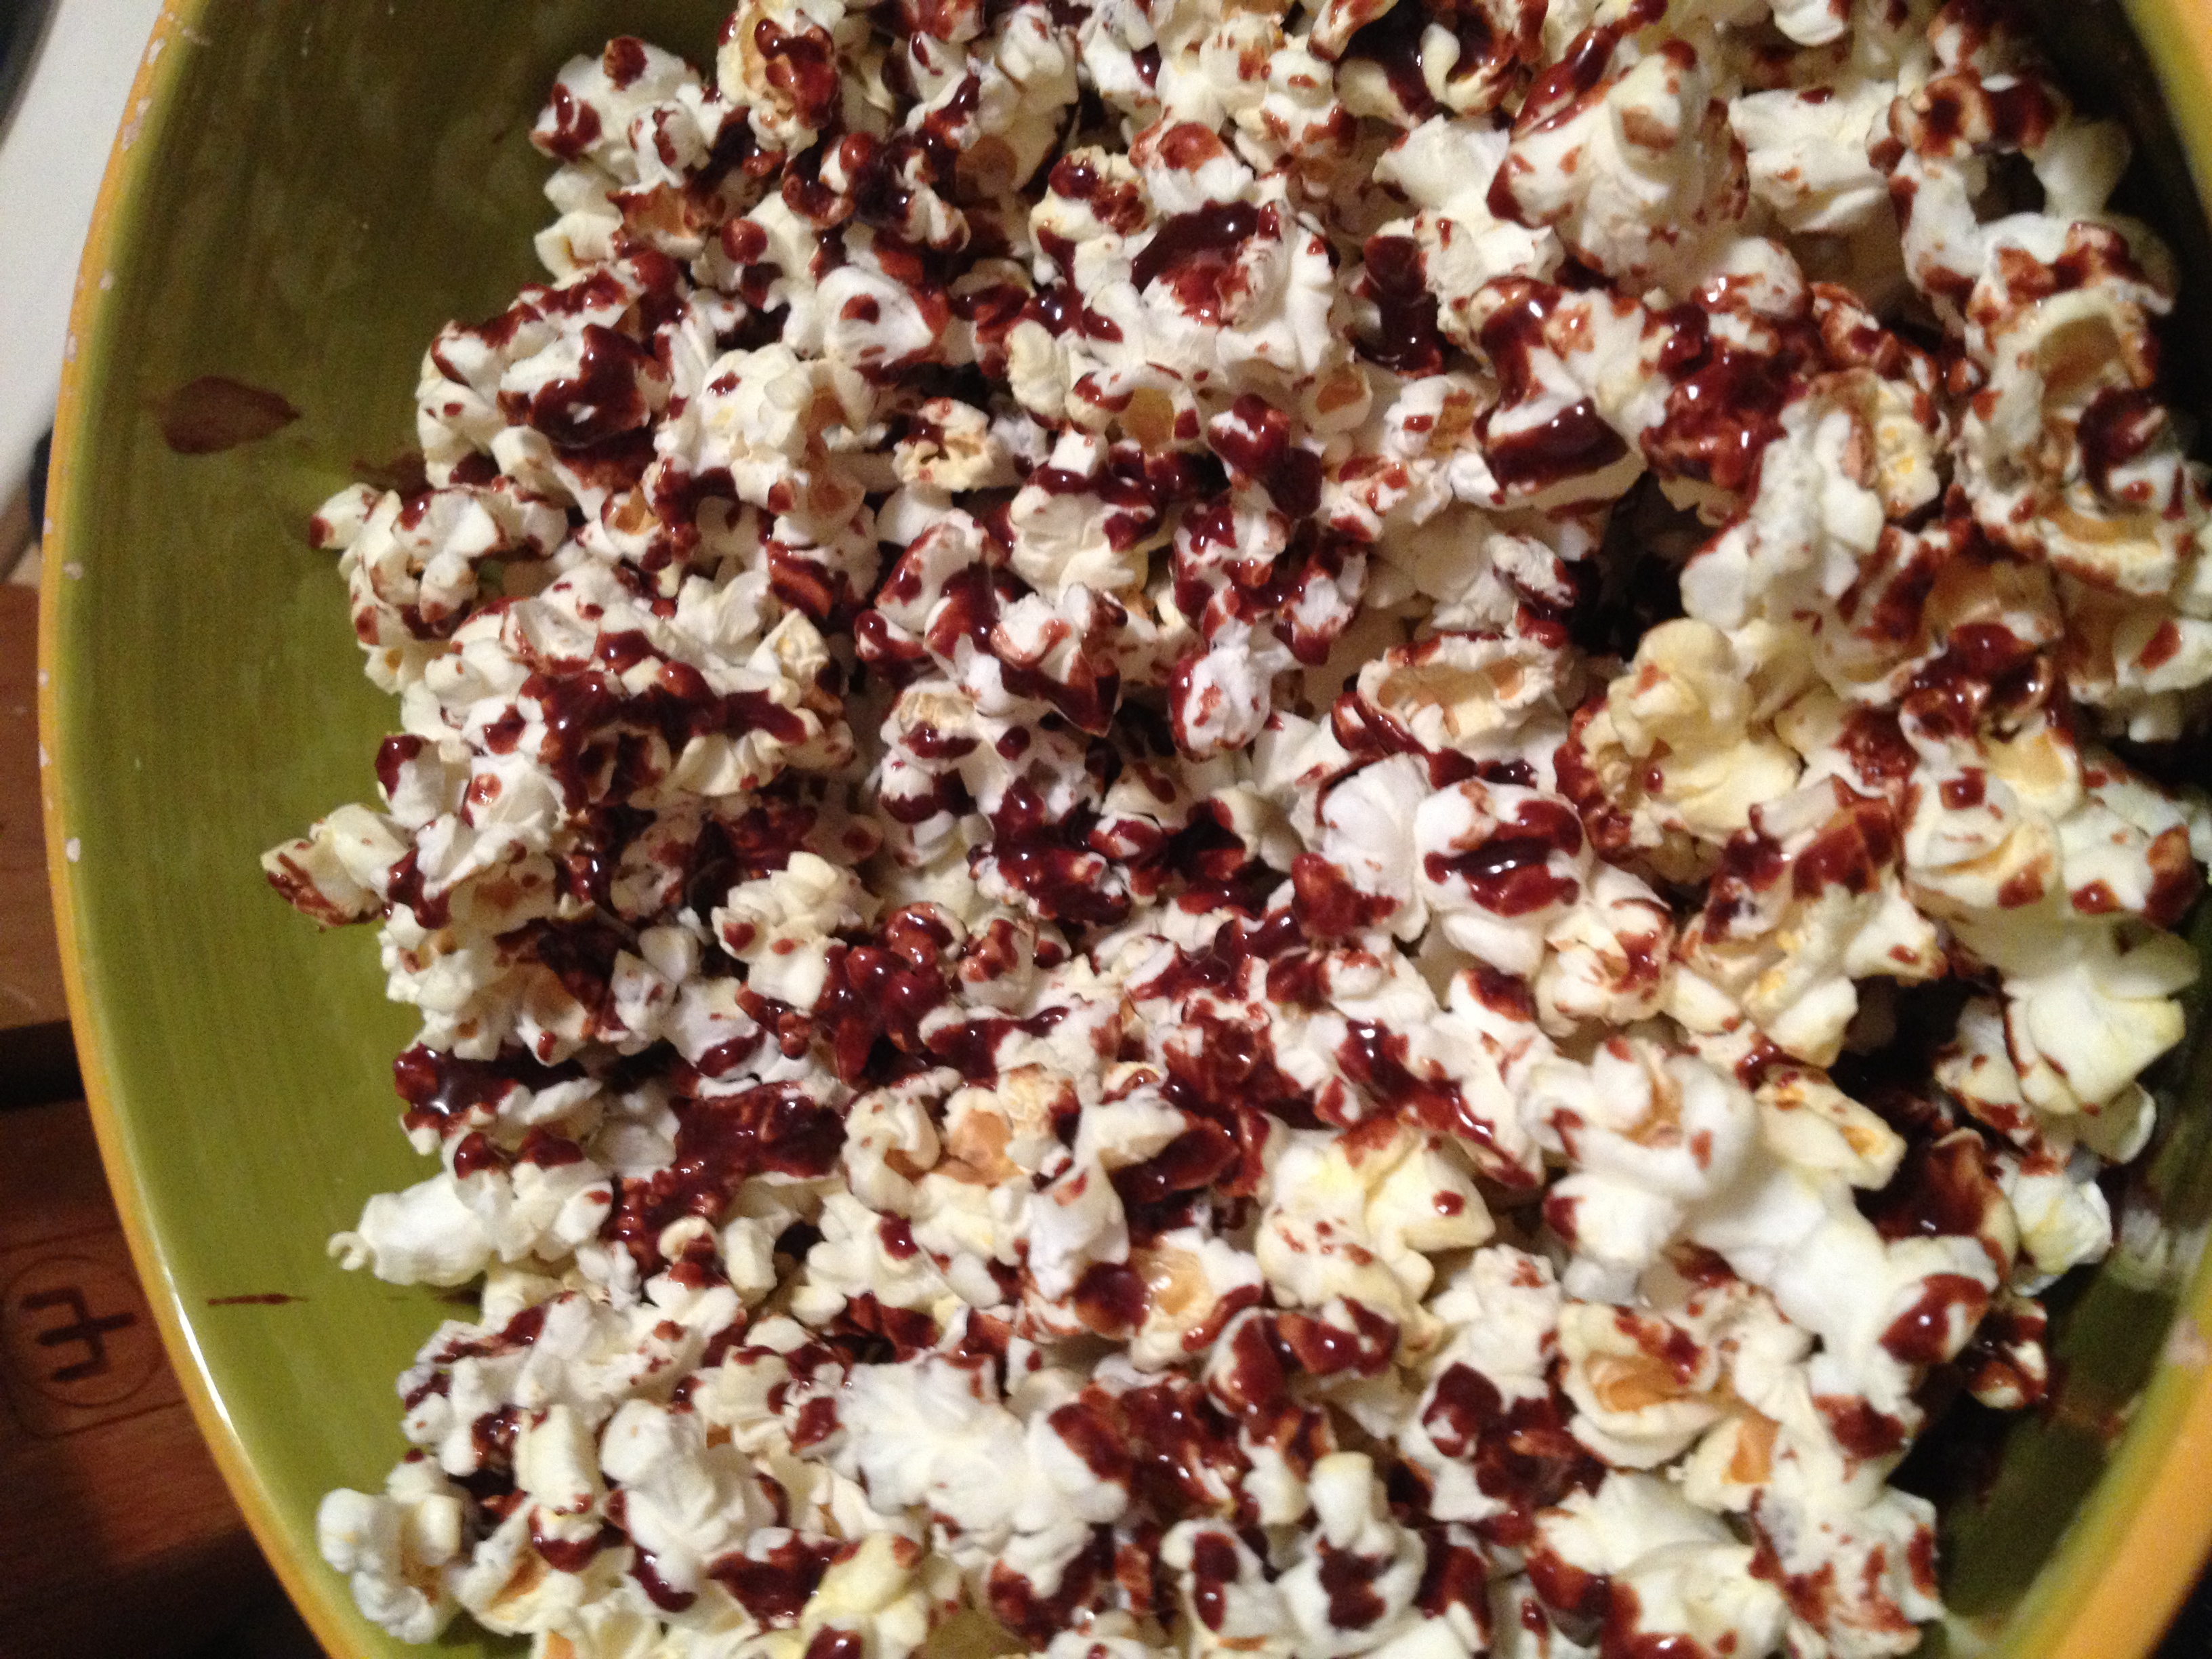
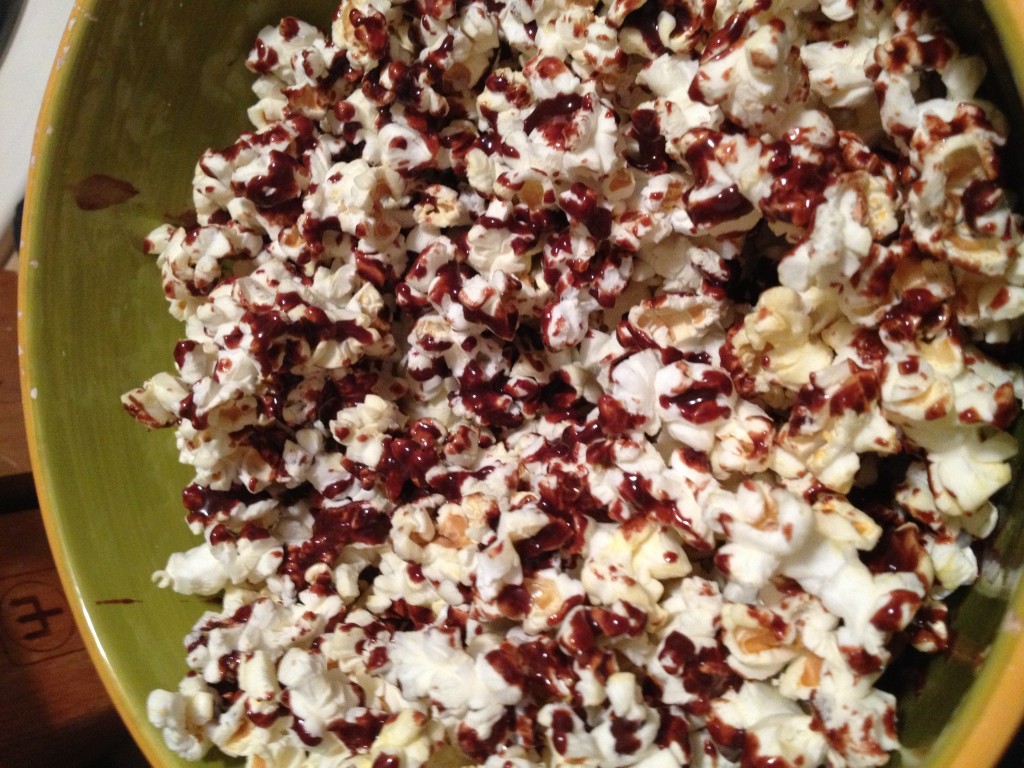
Now I’m not talking about regular fancy. I came up with Toblerone-fancy. Yes, that Swiss deliciousness was taking a visit to our bowl of popcorn. It’s incredibly easy. I learned how to make “homemade” chocolate sauces from watching my mum as she would often like to drizzle it on our homemade ice cream sundaes at home. 

photo 1 (48)

I totally snuck one before I melted them down

I totally snuck one before I melted them down

photo 3 (39) photo 5 (13)

Chocolate-Drizzled Popcorn
Serves 1
An easy way to spruce up your usual popcorn
Write a review
Print
Cook Time
5 min
Cook Time
5 min
Ingredients
  1. 1 bag of popcorn
  2. 1/2 chocolate bar (Toblerone for best results)
  3. 1/3 cup milk (can be any kind you like--we used whole)
Instructions
  1. Pop the popcorn
  2. Put chocolate and milk into a saucepan
  3. Turn on medium to low heat
  4. Stir fairly frequently at first and then let the chocolate settle into a sauce
  5. Once a smooth texture, drizzle over the popcorn
Notes
  1. You may have to play around with the amount of milk to chocolate ratio. You may have to add more milk or even tip some out. No worries, it will still be chocolate sauce no matter what!
hungry and fit https://hungryandfit.com/
There you have it. Simple, easy, and delicious. It was so good we started to eat it with a spoon! Yeah, we apparently don’t mess around. I’m looking forward to more ways to play around with our popcorn. Cinnamon and sugar sound like a good next step. Have fun when making this! And don’t forget to share! As always…stay hungry and fit!

photo 4 (33)

BONUS PUPPY PIC

photo (57)

spacer

The Clean-Eater’s Breakfast

I was going to title this “The Bodybuilder’s Breakfast,” but I was worried that would scare too many people off. As in they would see my head on Arnold’s body. Bodybuilding is just creating a toned and muscular body! But that aside…if you want to do some clean eating, here’s an easy way to start your day. I have this most days out of the week. It keeps me full for a long period of time and it satisfies my taste buds. Oatmeal and hard-boiled egg whites. Pretty common ingredients. Simple, nutritious, delicious. 

I always put hot sauce on my eggs...you could call me obsessed

I always put hot sauce on my eggs…you could call me obsessed

Oatmeal is such a foundation for creativity!

Oatmeal is such a foundation for creativity!

Clean-Eater's Breakfast
Serves 1
A great way to start the day, full of nutrition and satisfaction
Write a review
Print
Cook Time
5 min
Cook Time
5 min
Ingredients
  1. 1 cup water
  2. 1/2 cup quick-cooking oats (however you can use any kind, it will just take longer)
  3. raisins
  4. 1/2 tsp cinnamon
  5. anything else you want to add- bananas, nuts, other dried fruit, maple syrup, etc
  6. 3 hard-boiled eggs
Instructions
  1. Bring 1 cup of water to a boil
  2. Take your hard boiled eggs and delicately peel the white off and drop in a bowl
  3. Add any hot sauce you want to the eggs and cut them up with your fork
  4. Once the water for the oatmeal boils, stir in the oats
  5. Soon after, put in the cinnamon, raisins, and any other additions you would like
Notes
  1. Hard-boil the eggs beforehand to make it a super quick breakfast
hungry and fit https://hungryandfit.com/
photo 4 (30)

You can spiff up the oatmeal all you want. While I was in contest prep, I just had cinnamon in it to limit my sugars, but you can go wild with it! In college, we used to put the weirdest things in. Hey, it’s fun! This breakfast is sure to provide long-lasting satisfaction with no guilt involved. Eat clean to stay hungry and fit!

BONUS PUPPY PIC

photo 1 (45)

spacer

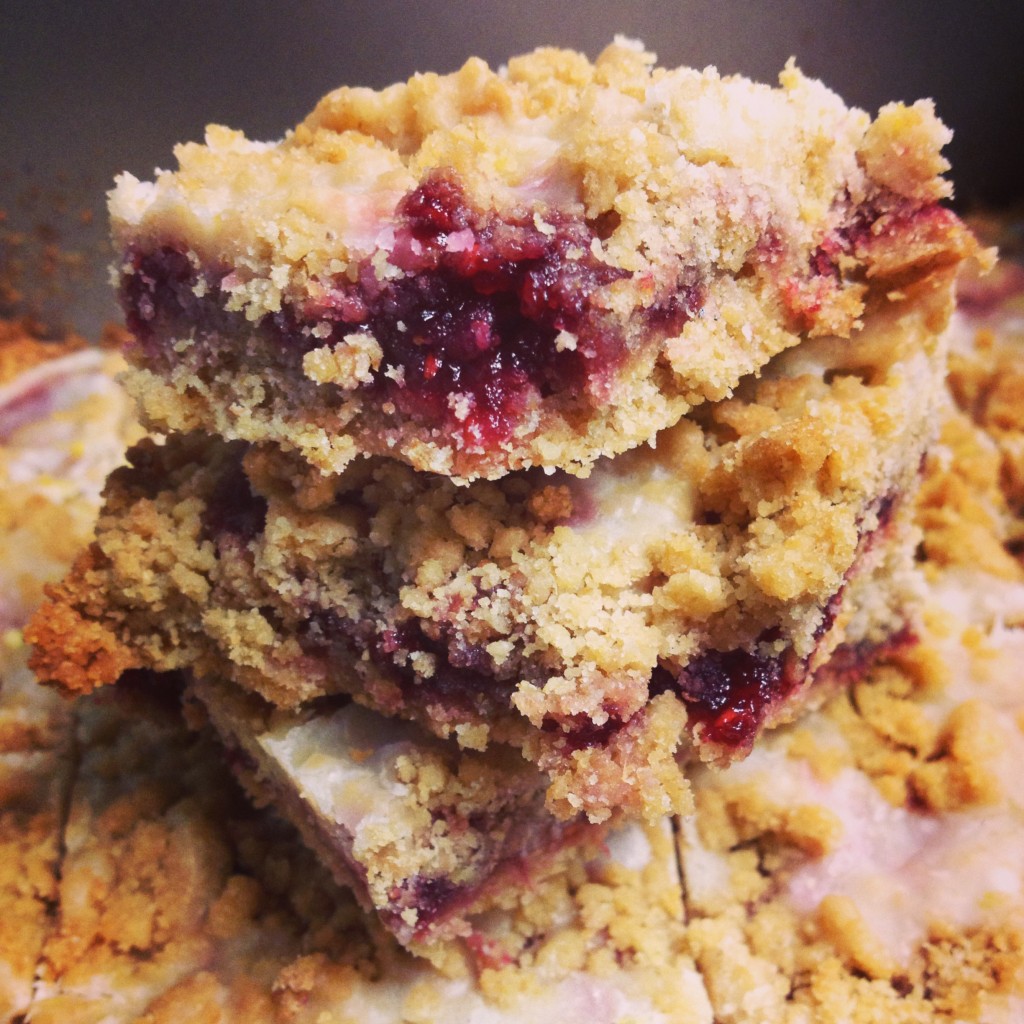
Raspberry Crumb Bars with Lemon Glaze

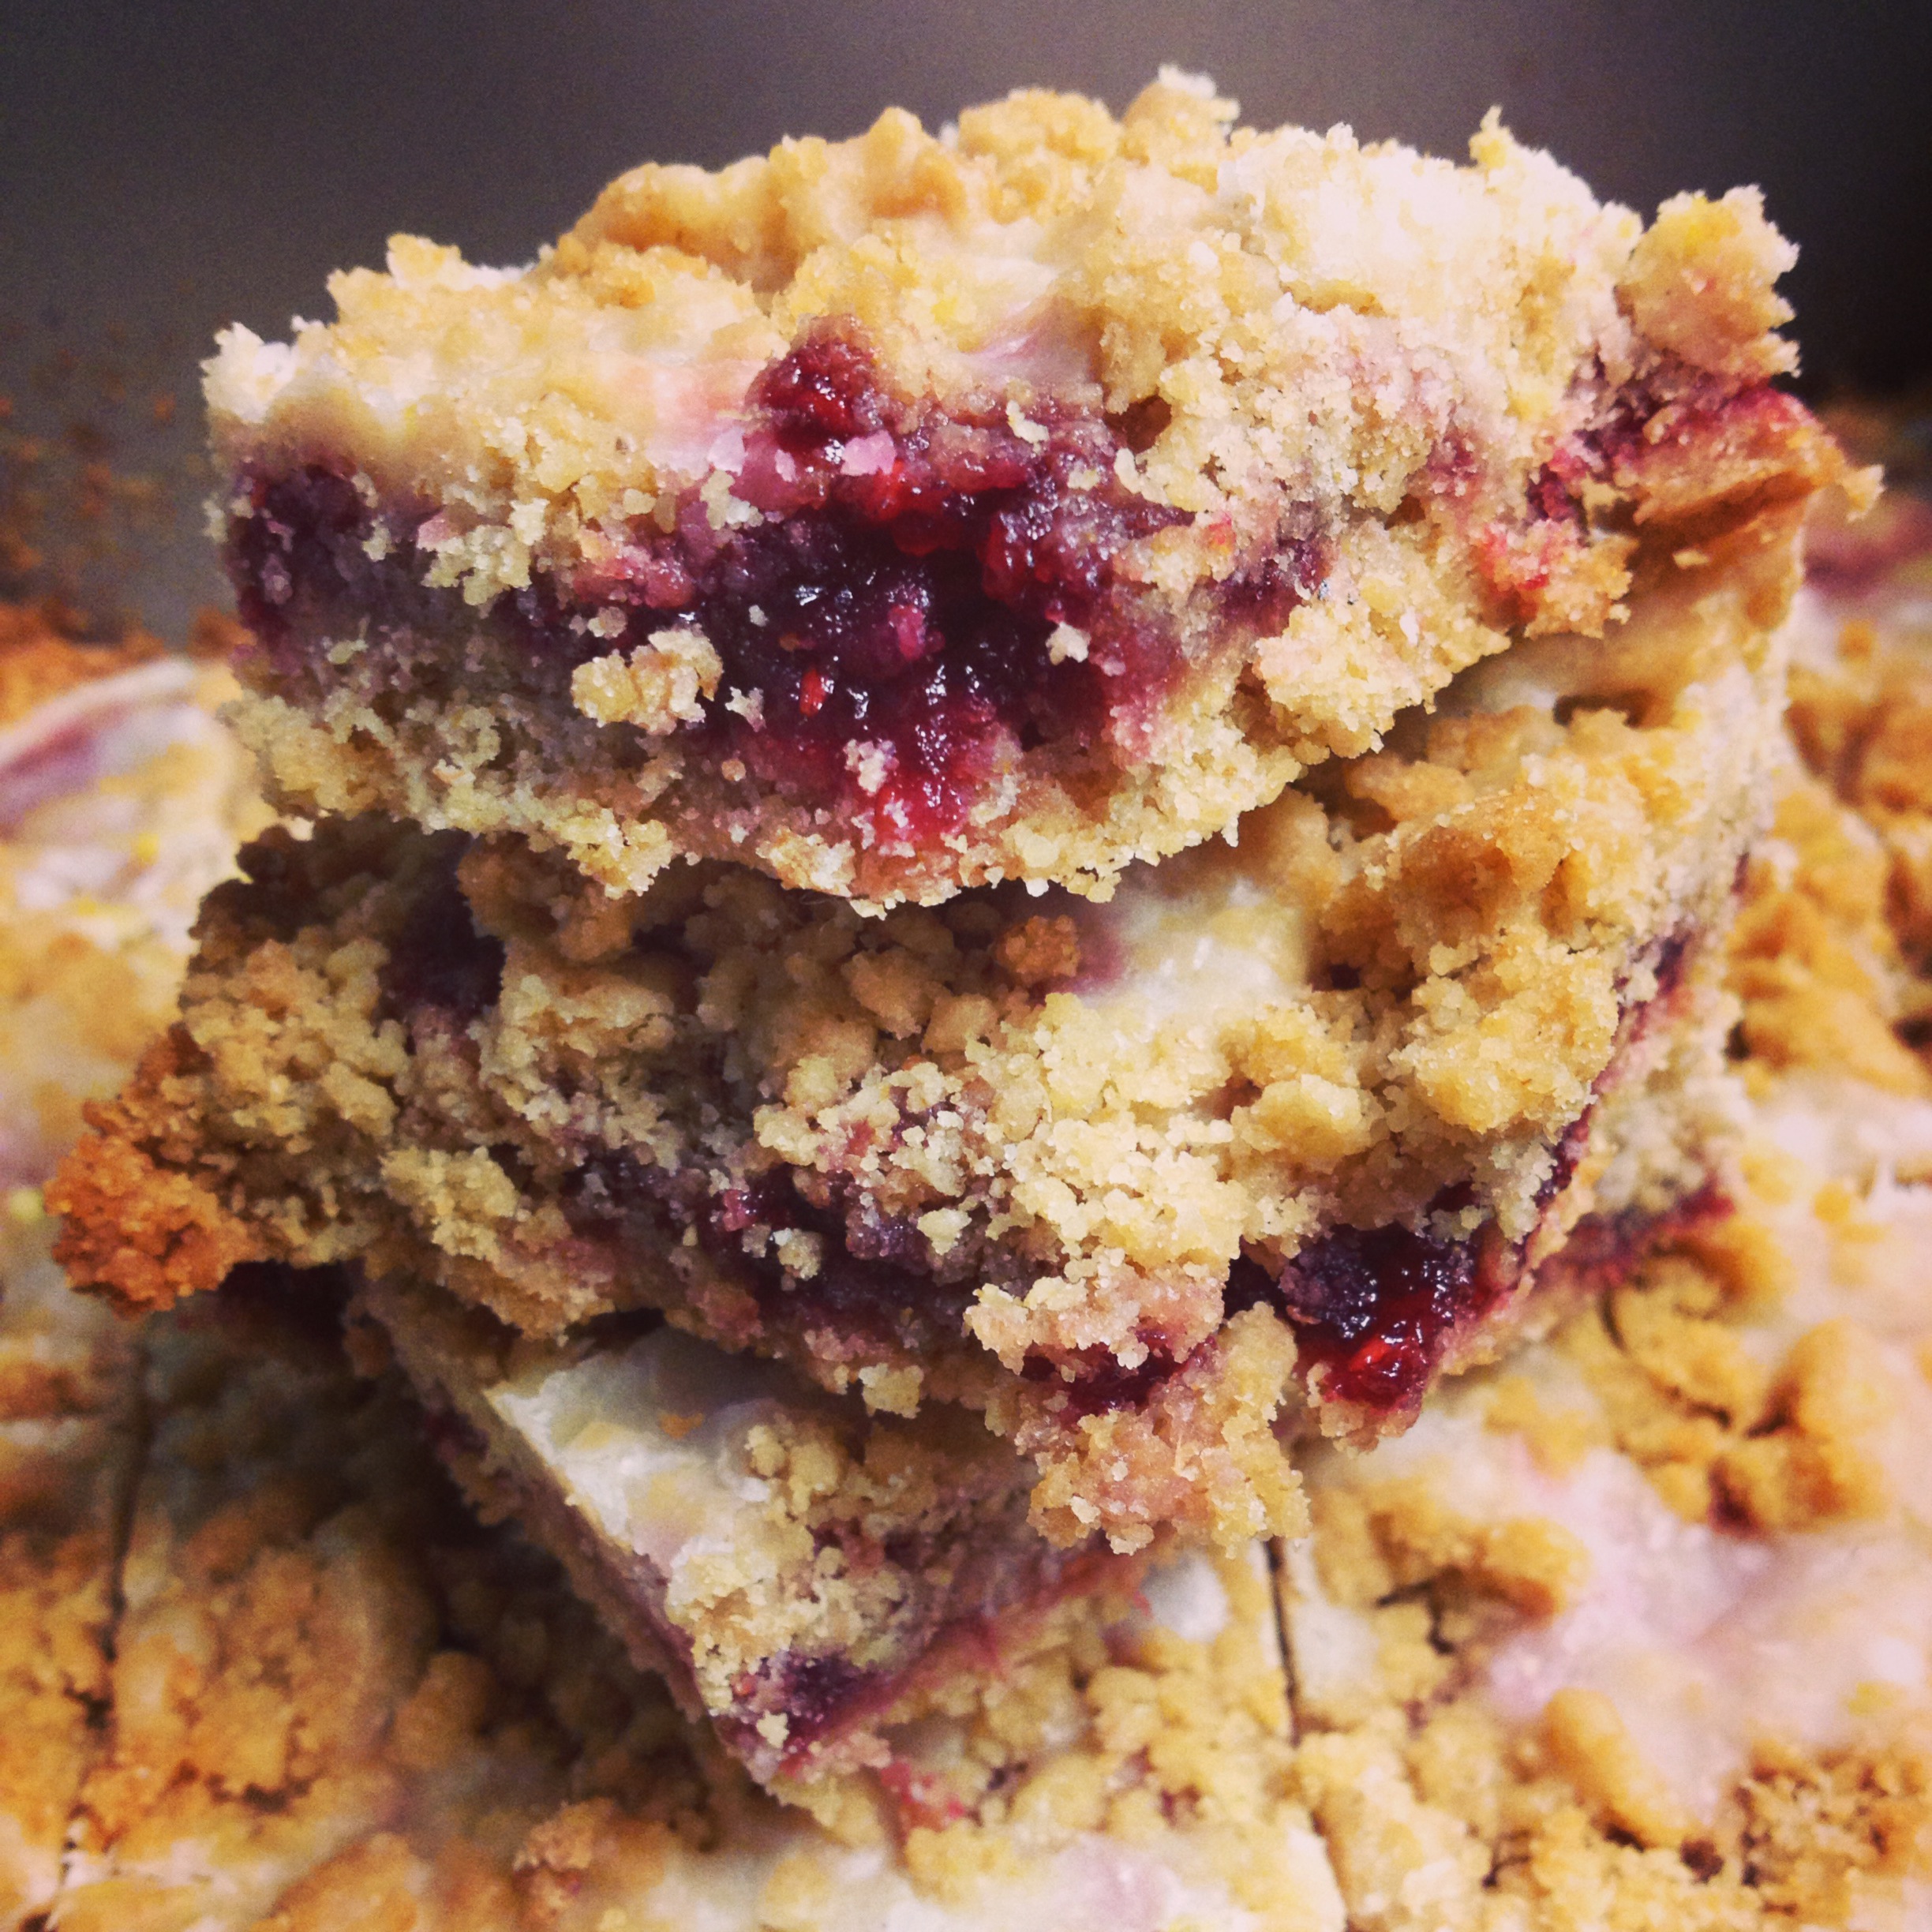
I’m trying to make it a recurring theme to bring goodies to our weekly management meeting. It’s been going pretty well so far. It also reminds me to get in the kitchen–something I love to do, but don’t do nearly enough. For the past two years, I’ve been collecting recipes I want to try. This week’s treat was a good one, if I don’t say so myself! Raspberry crumb bars with a lemon glaze. Yes, it’s as it good as it sounds. Making a crumb bar was slightly intimidating for me, but it turned out to be fairly simple. I tweaked the original recipe that this is based on, including using whole-wheat flour to up the fiber! 

photo 1 (43) photo 2 (46) photo 3 (34) photo 4 (28) photo 1 (44) photo 2 (47) photo 3 (35)

photo (54)

Raspberry Crumb Bars with Lemon Glaze
Yields 20
A delicious tart treat just over 100 calories
Write a review
Print
Prep Time
15 min
Cook Time
34 min
Prep Time
15 min
Cook Time
34 min
For the bars
  1. 1 2/3 cups whole-wheat flour
  2. 2 tbsp water
  3. 1/4 tsp salt
  4. 1/4 tsp baking powder
  5. 5 tbsp butter, at room temp
  6. 3 tbsp brown sugar
  7. 2 tsbp granulated sugar
  8. 1 egg yolk
  9. 1/2 tsp vanilla extract
  10. zest of 1 lemon
  11. 2/3 cup raspberry jam
For the lemon glaze
  1. 2/3 cup powdered sugar
  2. 2 tbsp lemon juice
  3. lemon zest
Instructions
  1. Pre-heat oven to 350 degrees F and grease up a 8x8 baking pan or dish
  2. Combine flour, salt, and baking powder in small bowl
  3. In a larger bowl, mix butter and sugars until nice and smooth (you can use electric mixer if you want)
  4. Beat in the egg yolk, vanilla and lemon zest until mixed through
  5. Slowly add the flour mixture, pouring some of that water in between. It should resemble coarse crumbs
  6. Spread 2/3 of the batter into your dish and then spread the raspberry jam as evenly as you can across the whole thing (this can be tough as the crumble wants to stick to the jam and roll with it)
  7. Pour the rest of the batter on top of the jam layer
  8. Bake for 30-35 minutes until golden on the top
  9. While it bakes, make the glaze--just mix the powdered sugar, lemon juice and zest
  10. When the bars are done, let them cool for 10-15 minutes and then drizzle that delicious glaze! Allow it to set and you're done!
Adapted from Damn Delicious
hungry and fit https://hungryandfit.com/
 Pretty simple, huh? And pretty DELICIOUS too! I’m pretty proud of achieving this one. You can play with the recipe as you want–change the flour, the jam, have fun with it! These will definitely go in my permanent recipe book…in my mind. Enjoy the recipe! And as always…stay hungry and fit!

BONUS PUPPY PIC

SHE'S SO CUTE

SHE’S SO CUTE

spacer

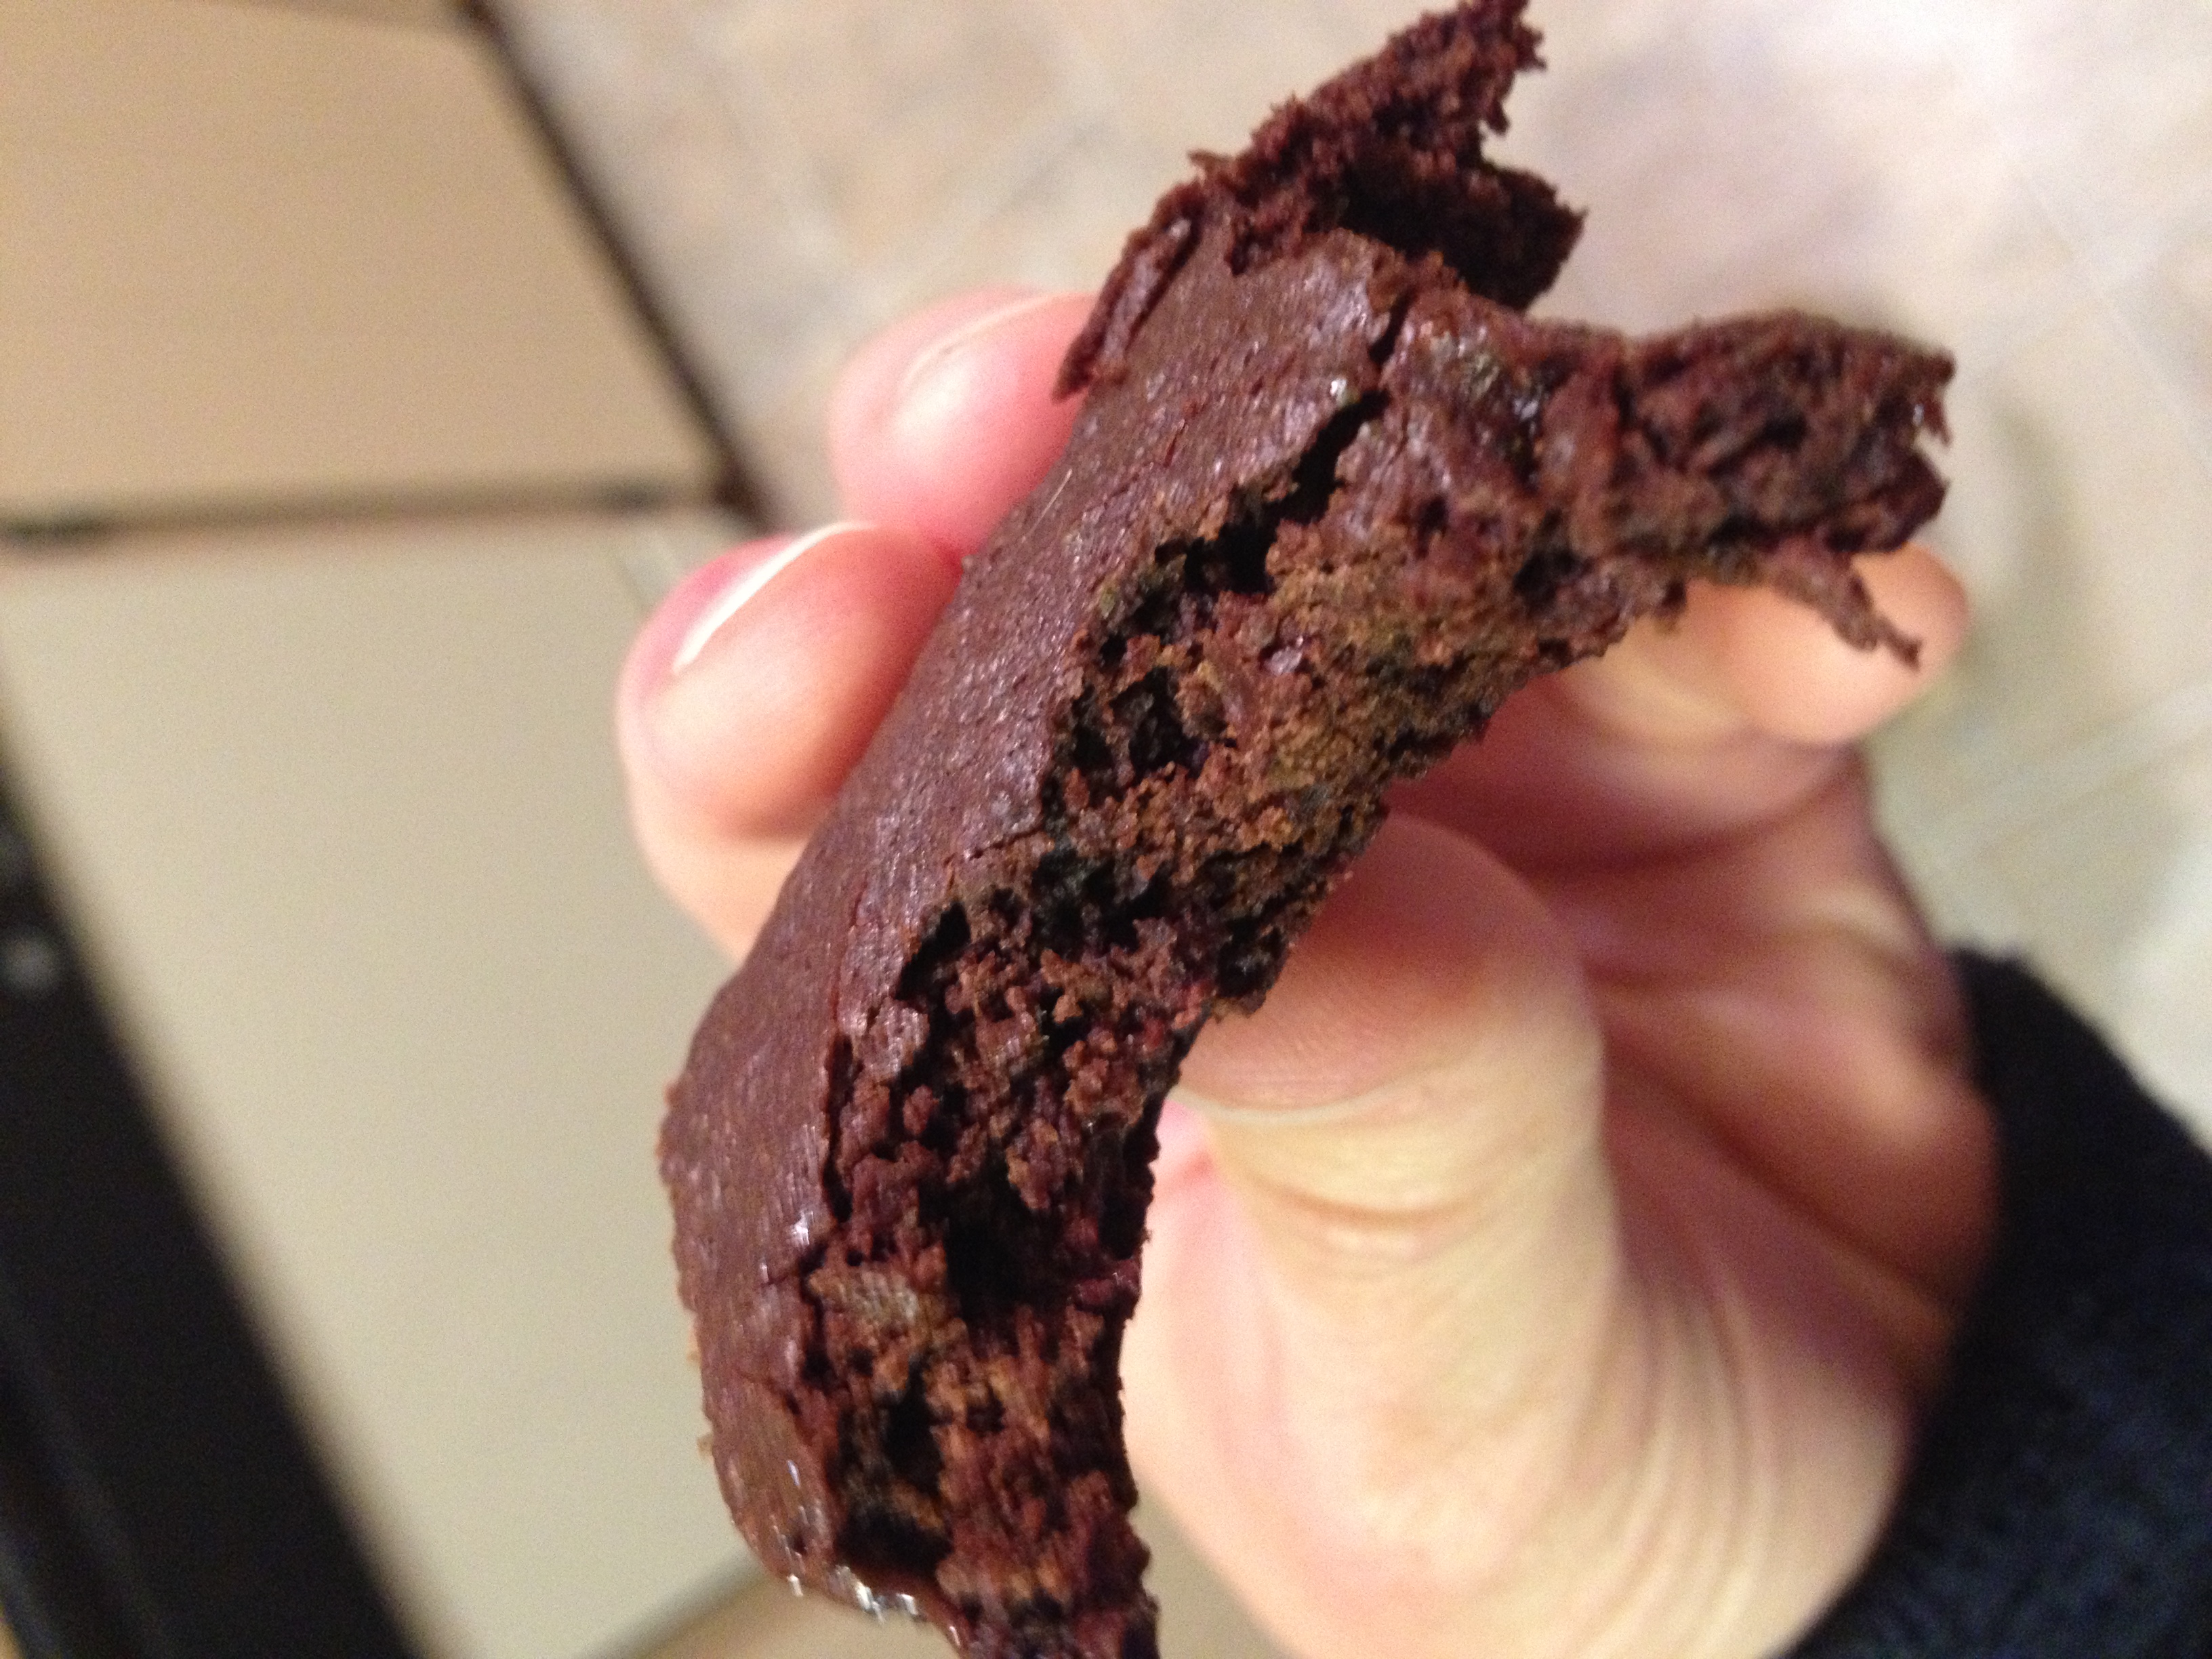
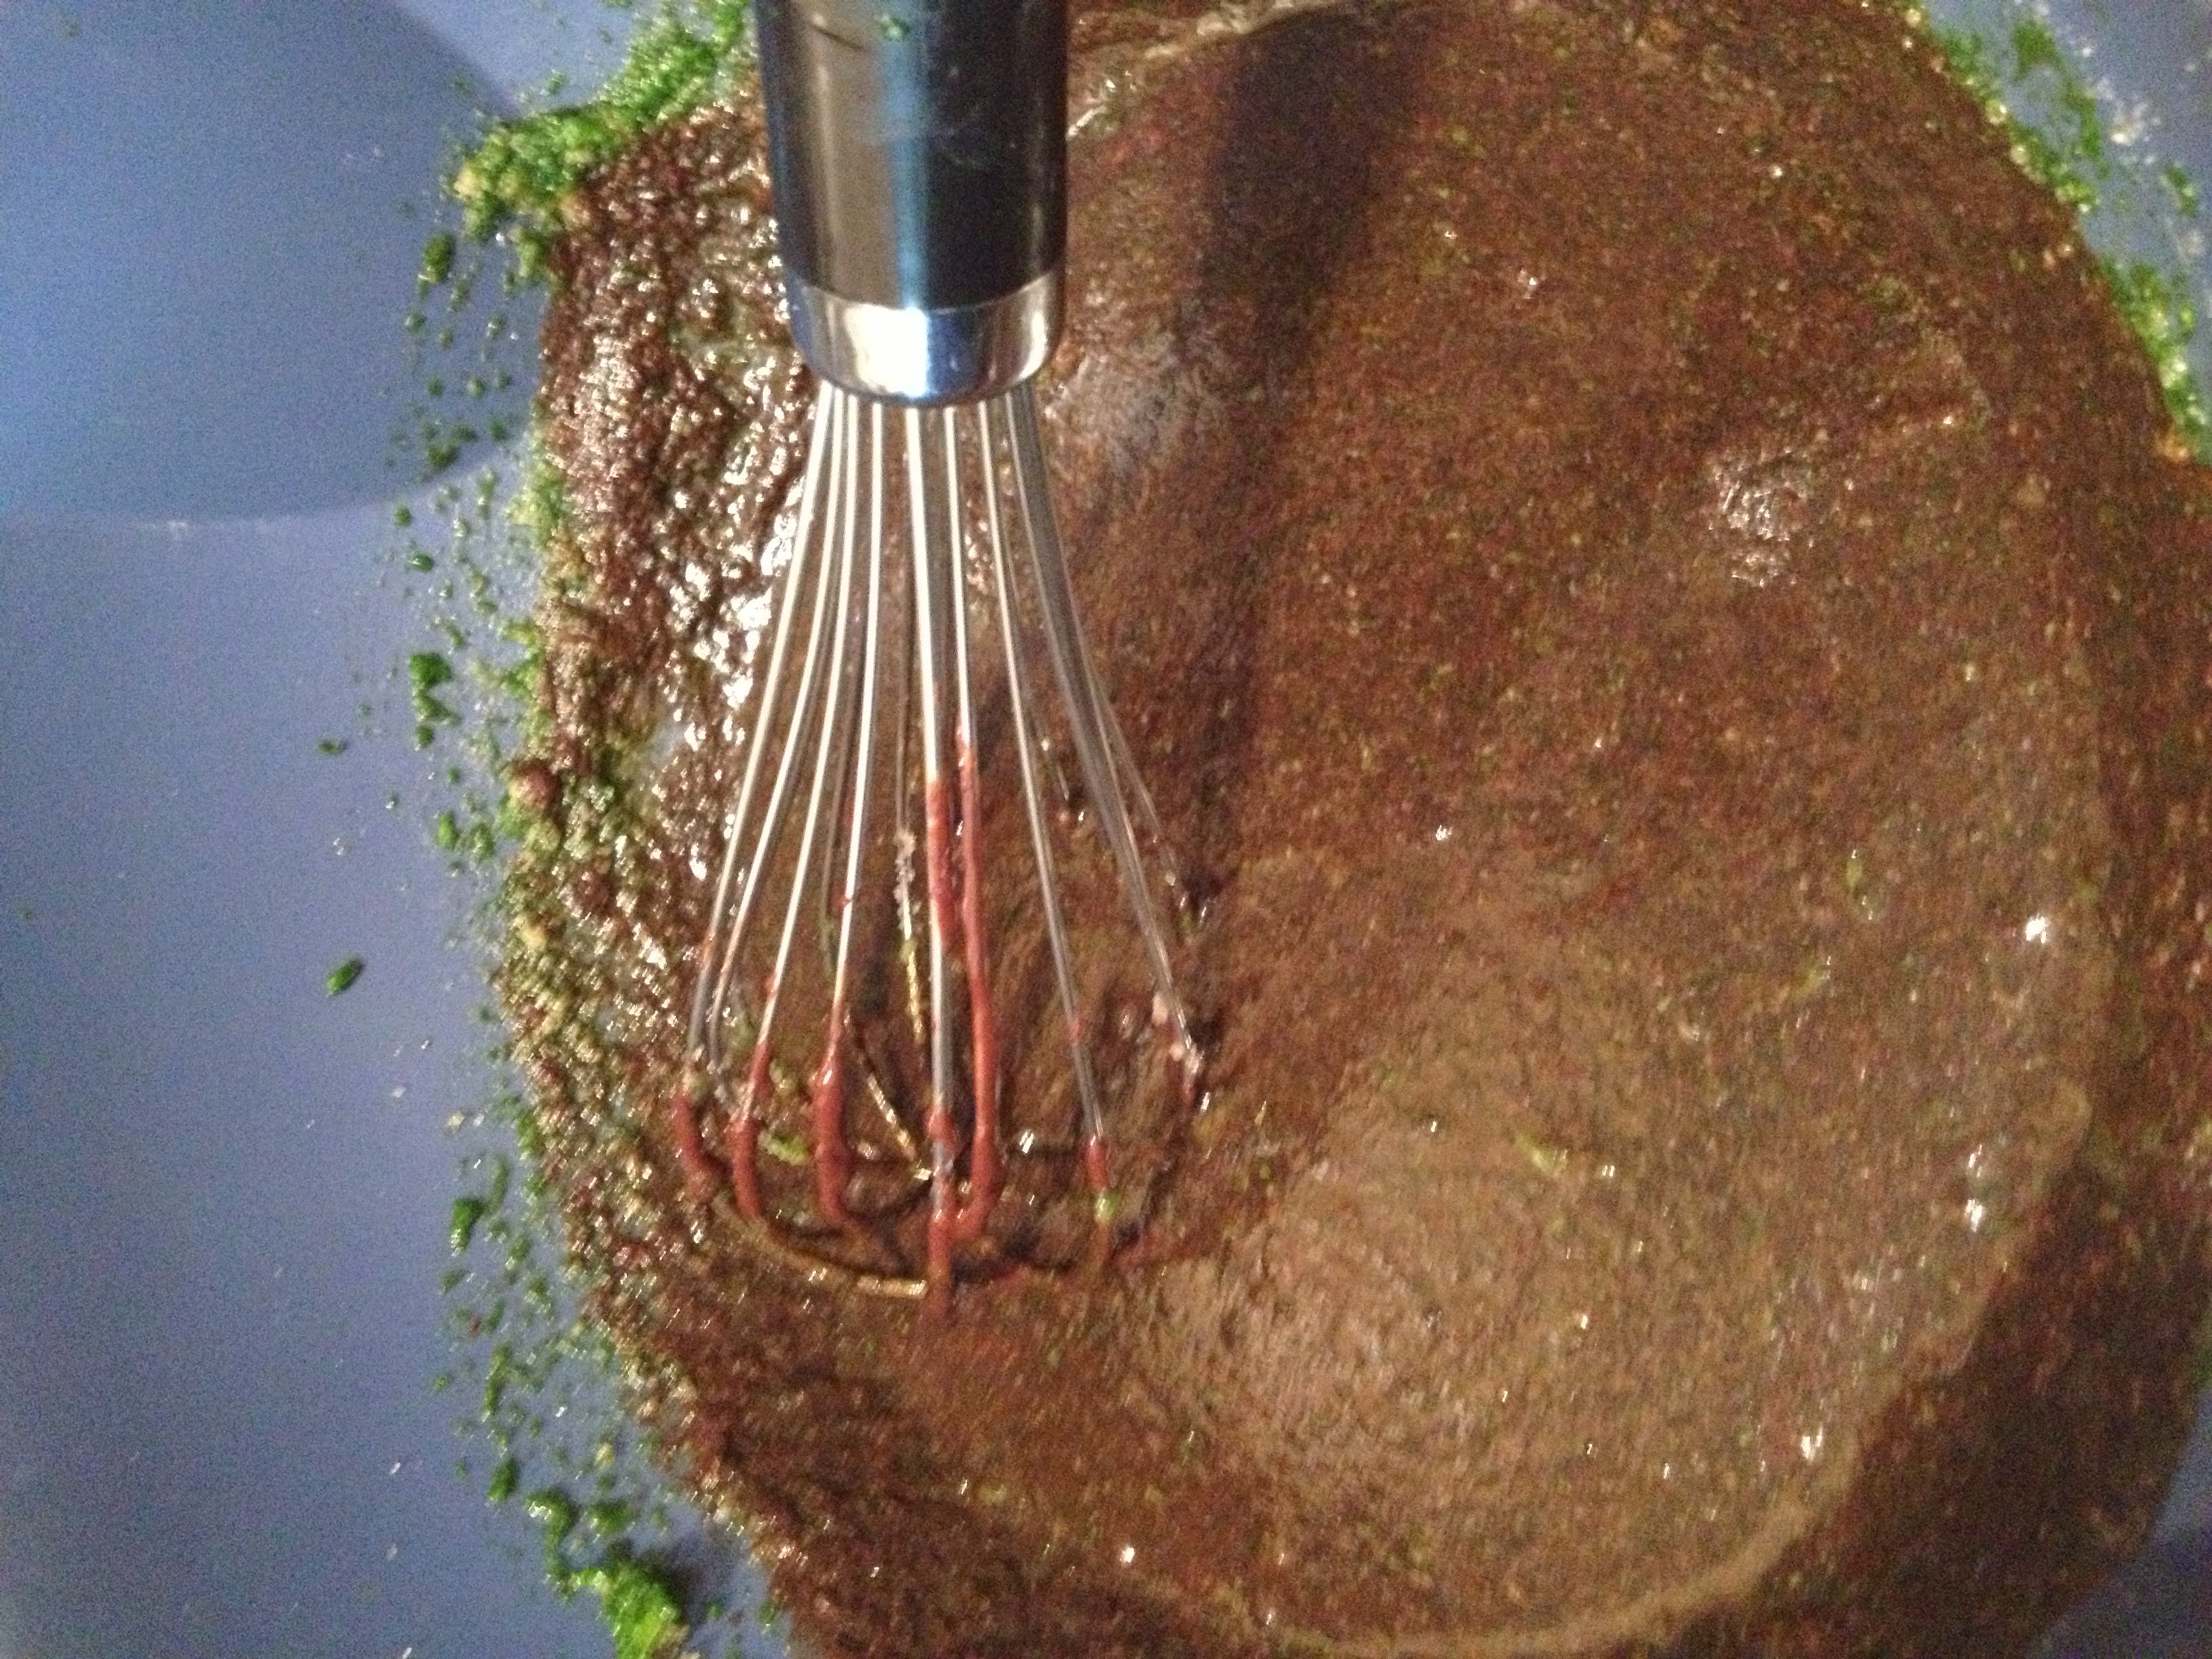
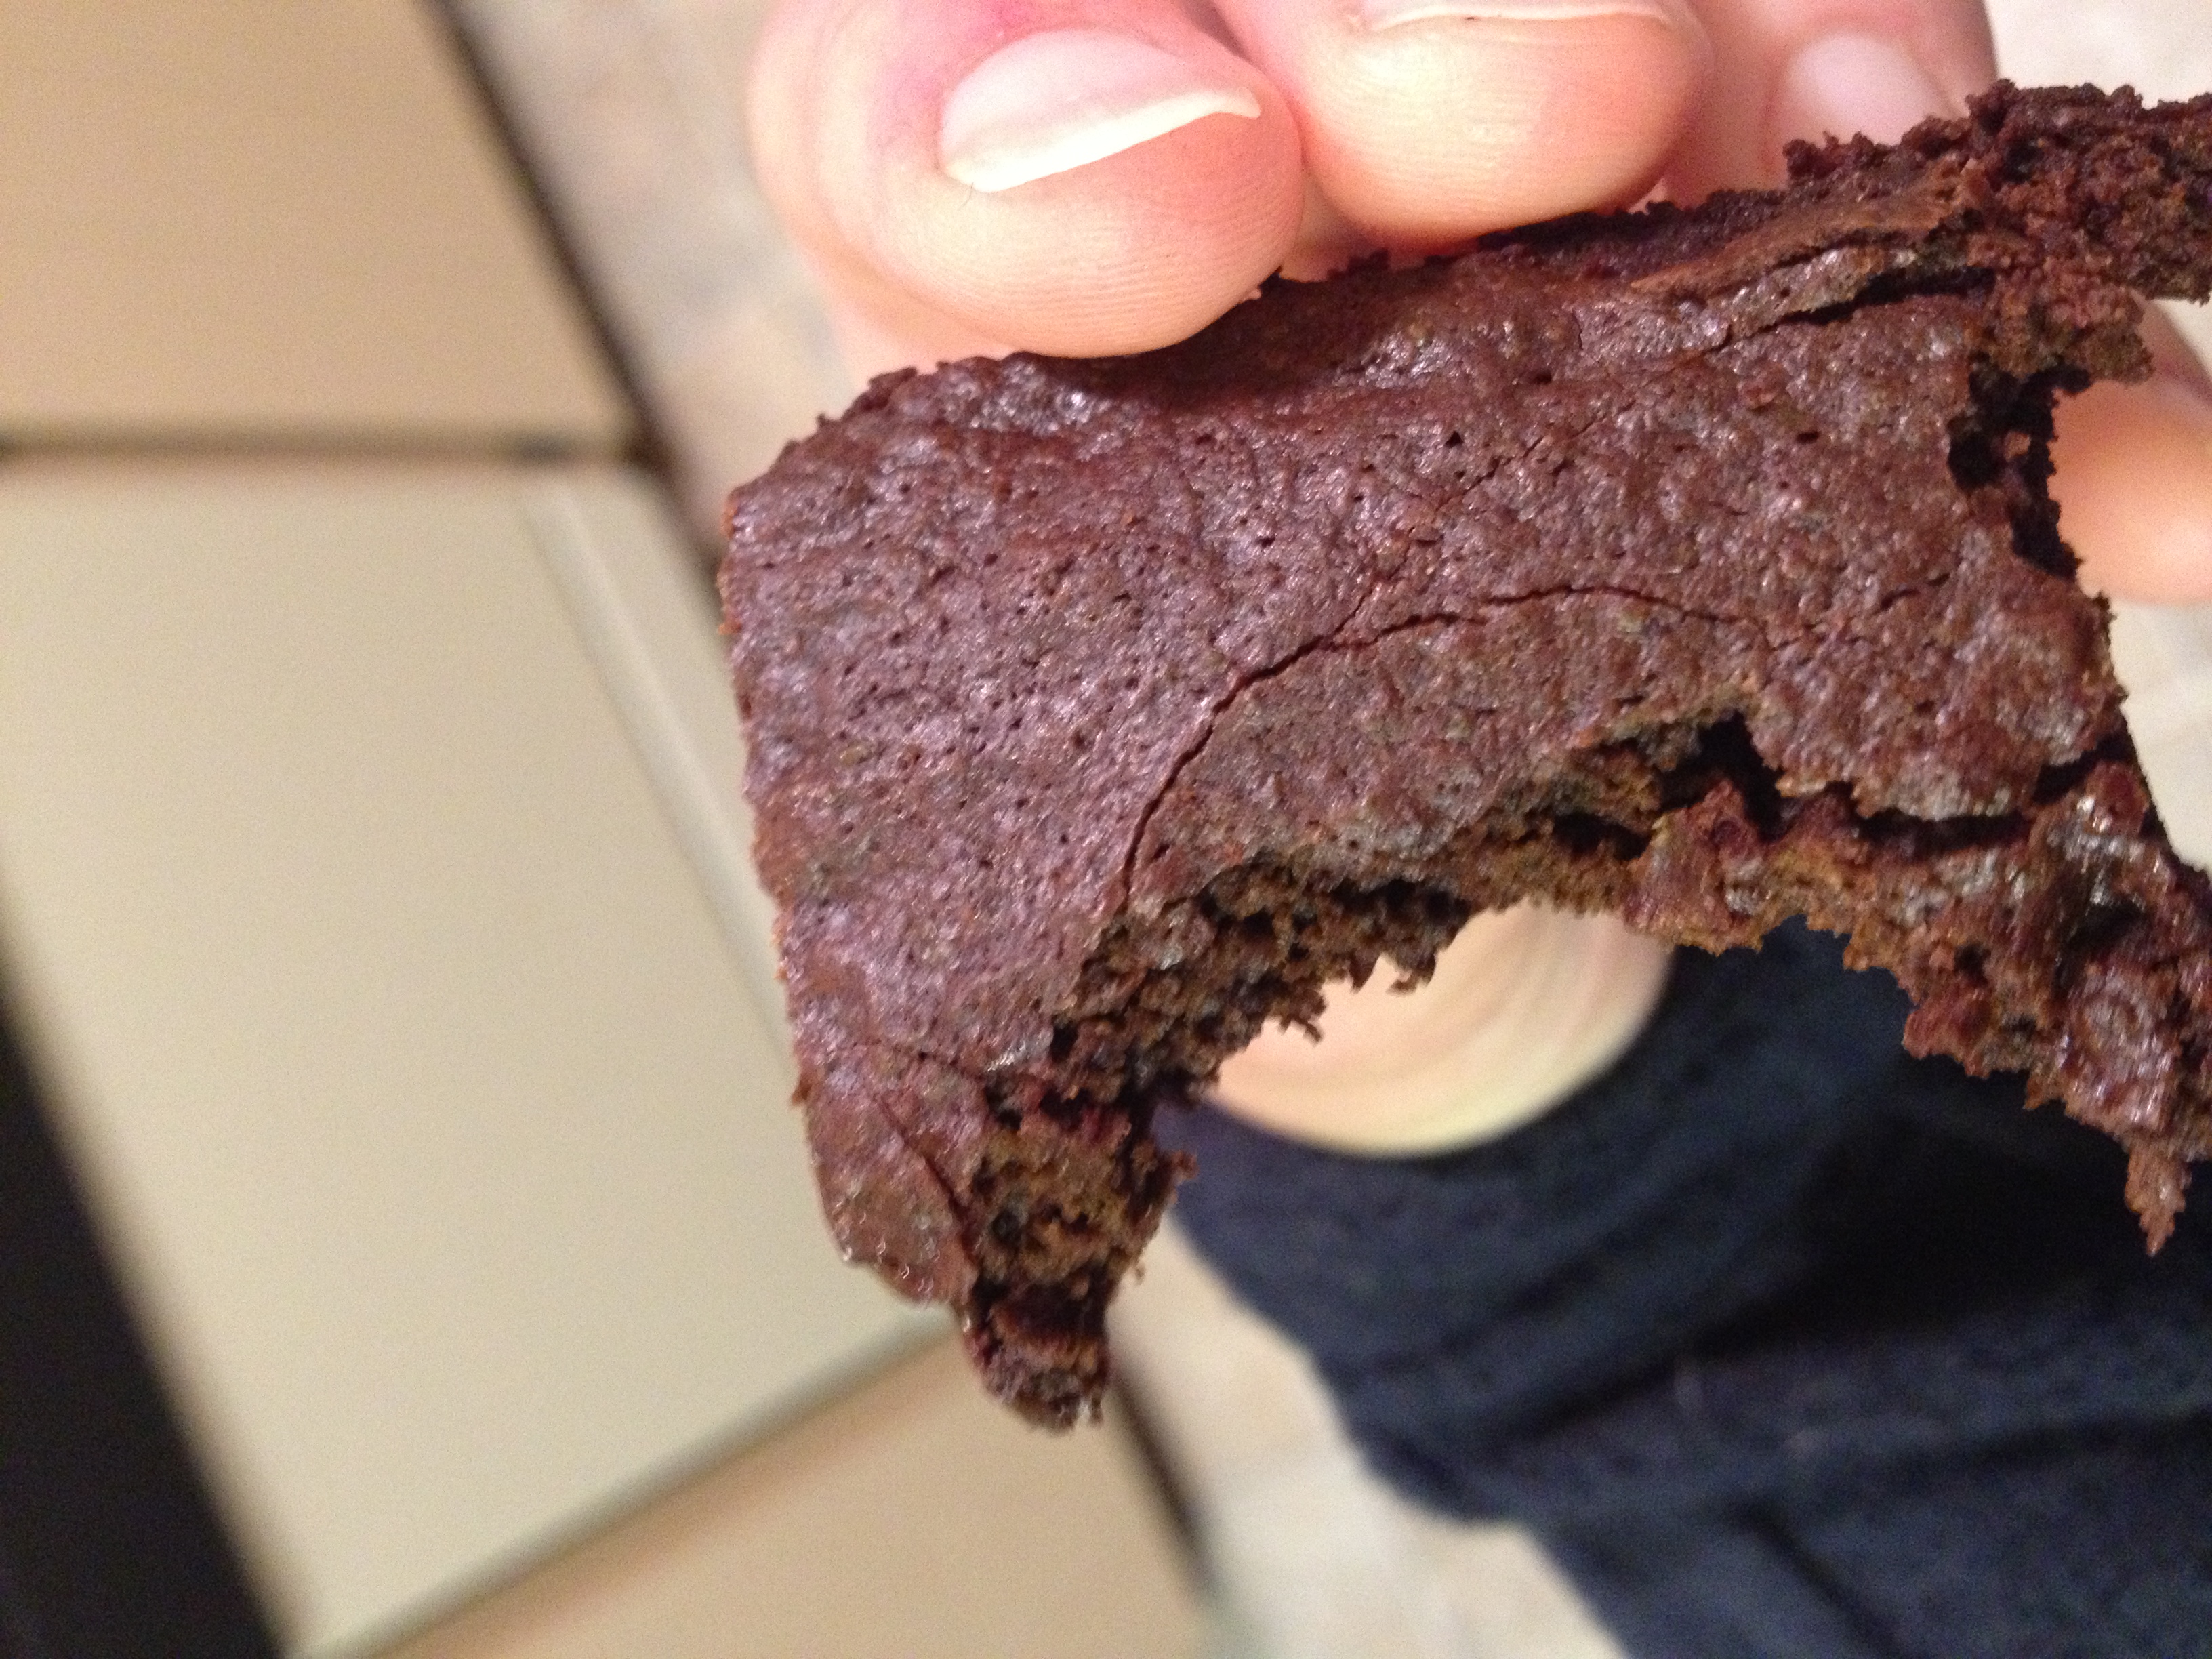
Chocolate Spinach Brownies

The first thing my dad said when I told him I made spinach brownies was “Eeew!” almost exactly. And I don’t blame him. Spinach…and chocolate…? It sounds like a weird combo, but it works. I wanted to make some sort of healthy treat for our management meeting today, and I remembered a recipe that I had bookmarked from Brooklyn Farm Girl. Perfect! Plenty of chocolate without the guilt. Now, that is something I can get behind. Especially after the cleanse, I’m trying to be good and stick to my macros (post on that coming later this week).

Whisk that mixture!

Whisk that mixture!

The dry mixture you stir into the wet...

The dry mixture you stir into the wet…

To put in the oven for 30-ish minutes

To put in the oven for 30-ish minutes

To come out like this

To come out like this

CHOMP

CHOMP

Things got a little weird in the kitchen...

Things got a little weird in the kitchen…

  • Chocolate Spinach Brownies
    A healthy version of the traditional brownie
    Write a review
    Print
    Prep Time
    15 min
    Cook Time
    33 min
    Prep Time
    15 min
    Cook Time
    33 min
    Ingredients
    1. 1/2 cup regular flour
    2. 1/2 cup cocoa powder
    3. 1 cup pureed spinach
    4. 1/4 cup melted butter
    5. 3/8 cup (little less than half) regular sugar
    6. 3/8 cup brown sugar
    7. 2 tsp vanilla
    8. 1/2 cup melted chocolate chips
    9. 1/3 cup chocolate chips
    10. 1/2 tsp baking powder
    Instructions
    1. Pre-heat oven to 350 degrees F and grease up a 8x8 (or a cake tin) pan
    2. Puree the spinach in a blender or food processor, using a few tablespoons of water
    3. Mix the melted butter with the regular sugar and brown sugar
    4. Melt the chocolate chips and mix into the butter/sugar mixture
    5. Mix in the spinach puree and the vanilla extract into the buttery sugary mix
    6. In a smaller bowl, mix together the flour, baking powder, or cocoa powder
    7. Slowly, add the dry mix to the wet until it's all in
    8. Fold in the non-melted chocolate chips into the mixture
    9. Put in the oven for 30-35 minutes and let cool
    Adapted from Brooklyn Farm Girl
    hungry and fit https://hungryandfit.com/

 Mine didn’t turn out as fluffy as I had intended because first off, I didn’t have as much spinach as I needed and second, I accidentally omitted the baking powder. OOPS! Hey no worries, they still taste divine. They’re my little short adorable brownies and I love them. Play around with the recipe and have fun! Bake spinach brownies to stay hungry and fit! 

BONUS KITTY PIC

Cuties

Cuties

spacer

Silk Helps us Stay Hungry and Fit!

Every single day we are growing. Growing into the people we want to be, growing into an ideal, or simply just growing. Sometimes people grow in an opposite direction of what they intended. And what’s relevant to me in this story is fitness. Some people grow into bodies that don’t feel like theirs. They are unhealthy, sluggish, and ultimately unhappy. This is quite the opposite of blooming into the person you want to be. It’s not always easy to bloom by yourself, so it’s nice to have tools and products that help you do so.

b7edf0ee-9e3d-11e3-8b22-22000af93a2d

People are shocked when they hear that Hungry and I can get into slumps, especially around fitness and eating. People see us as fit people. And we are…but it’s hard to stay on track 24/7. I’ve always been into athletics and fitness, but it hasn’t always been my central passion. In the first two years of college, you’re surrounded by food you usually aren’t. My family meals at home usually consisted of a protein, a carb, and lots of greens. We were always healthy. But at the college cafeteria, you could get pizza, french fries, french toast sticks, and the list goes on. So of course, (as my roommate and I cringe at this memory), we shovel all that stuff down. Now, of course, it wasn’t like that every day, and we did still eat relatively healthy and workout, but it was getting to me. Not necessarily just in weight or anything, but also the way I felt. I felt sluggish and blah and it certainly didn’t help my mood.

At the beginning of junior year in college, I decided to go vegetarian (or weird-a-tarian, I’ll only eat hunted or wild caught meat/fish) and take back my fitness. Sure, in the first two years I still did workouts and intramural sports, but I never dedicated enough time to it. It was time to take my life back to a healthy place and bloom! It’s funny because I specifically remember starting to use Silk milk in my morning cold and hot cereal. I would always go for the “blue” (as we would call it, it’s actually called Silk Vanilla Soymilk) Silk soymilk and it would leave me feeling good and refreshed. It wasn’t too thick so I didn’t feel tied down. From that point on, I have been in control of my fitness, my body, and my mind (because a healthy body is important for a healthy mind). Quite simply, Silk has helped me bloom into my role of “Fit.”

Mixing Silk Vanilla Unsweetened Almondmilk is way too delicious with cereal

Mixing Silk Vanilla Unsweetened Almondmilk is way too delicious with cereal

Continually working on my pull-ups

Continually working on my pull-ups

Nowadays, I like to stick to the Silk Unsweetened Almondmilk. I love the taste of it, the amount of calories, grams of sugar, and the silky lightness to it. I used to drink regular dairy milk, but now there is always a Silk Almondmilk in our fridge because that’s my go-to. Don’t tell Hungry, but sometimes I will drink it out of the carton (naughty girl! I can hear my mum saying)! It has become a staple in my recipes and in my life and I appreciate it every day I can glug down a glass or two without any guilt. Look below for some killer recipes that use Silk Unsweetened Vanilla Almondmilk.

Recipes using Silk Unsweetened Almondmilk

Those recipes are delicious and with using that Silk Unsweetened Vanilla Almondmilk, they are nutritious too. Phew, I love not having to worry about that. Using Silk products like this really helps me bloom into the person I am today. I can still eat and drink what I want while keeping a Spartan-like physique (just kidding, but that’s my eventual goal). I am thankful Silk has played a positive role in my life. Now it’s YOUR turn.

photo 2 (41)

Sign-up for Silk’s newsletter and you can get a $0.75 coupon on your next Silk half-gallon product. On registering, you have monthly chances of winning a year’s supply of Silk milk, Silk sweepstakes and promotions, and more. Just sign up here. Share your thoughts below! And share your Silk story with us! Use Silk to help you bloom into a hungry and fit beast!

This is a sponsored conversation written by me on behalf of Silk. The opinions and text are all mine. Comments submitted may be displayed on other websites owned by the sponsoring brand.
spacer

Mum’s Famous Banana Cake

Okay, so maybe it’s only famous among my friends and family because it’s the only cake they ever got at my birthday parties. It’s the only cake I would eat growing up, and I haven’t branched out much still (but I will take down a cheesecake or carrot cake nowadays). I don’t know, I’m just not a huge fan of cakes. But my mum’s banana cake, ooooh YES! It’s incredibly easy to make and you will want to eat piece after piece (I personally can literally eat endless amounts of this). It came from the same place that she took her scone recipe.

Banana Cake

  • Prep Time: 15 minutes
  • Baking Time: 34-40 minutes

Ingredients

  • 2 eggs
  • 1 stick butter
  • 6 oz sugar (.85 cup sugar)
  • 8 oz regular flour (1.8 cups)
  • 1 tsp baking powder
  • 2-3 bananas
  • 1 tsp baking soda
  • 2 tbsp milk

Directions

  • Get out a box/rectangular/circle pan and line it with wax paper. Tip a little flour in and spread it around. Pre-heat oven to 350 degrees F
  • Mix the baking powder and flour in a smaller bowl
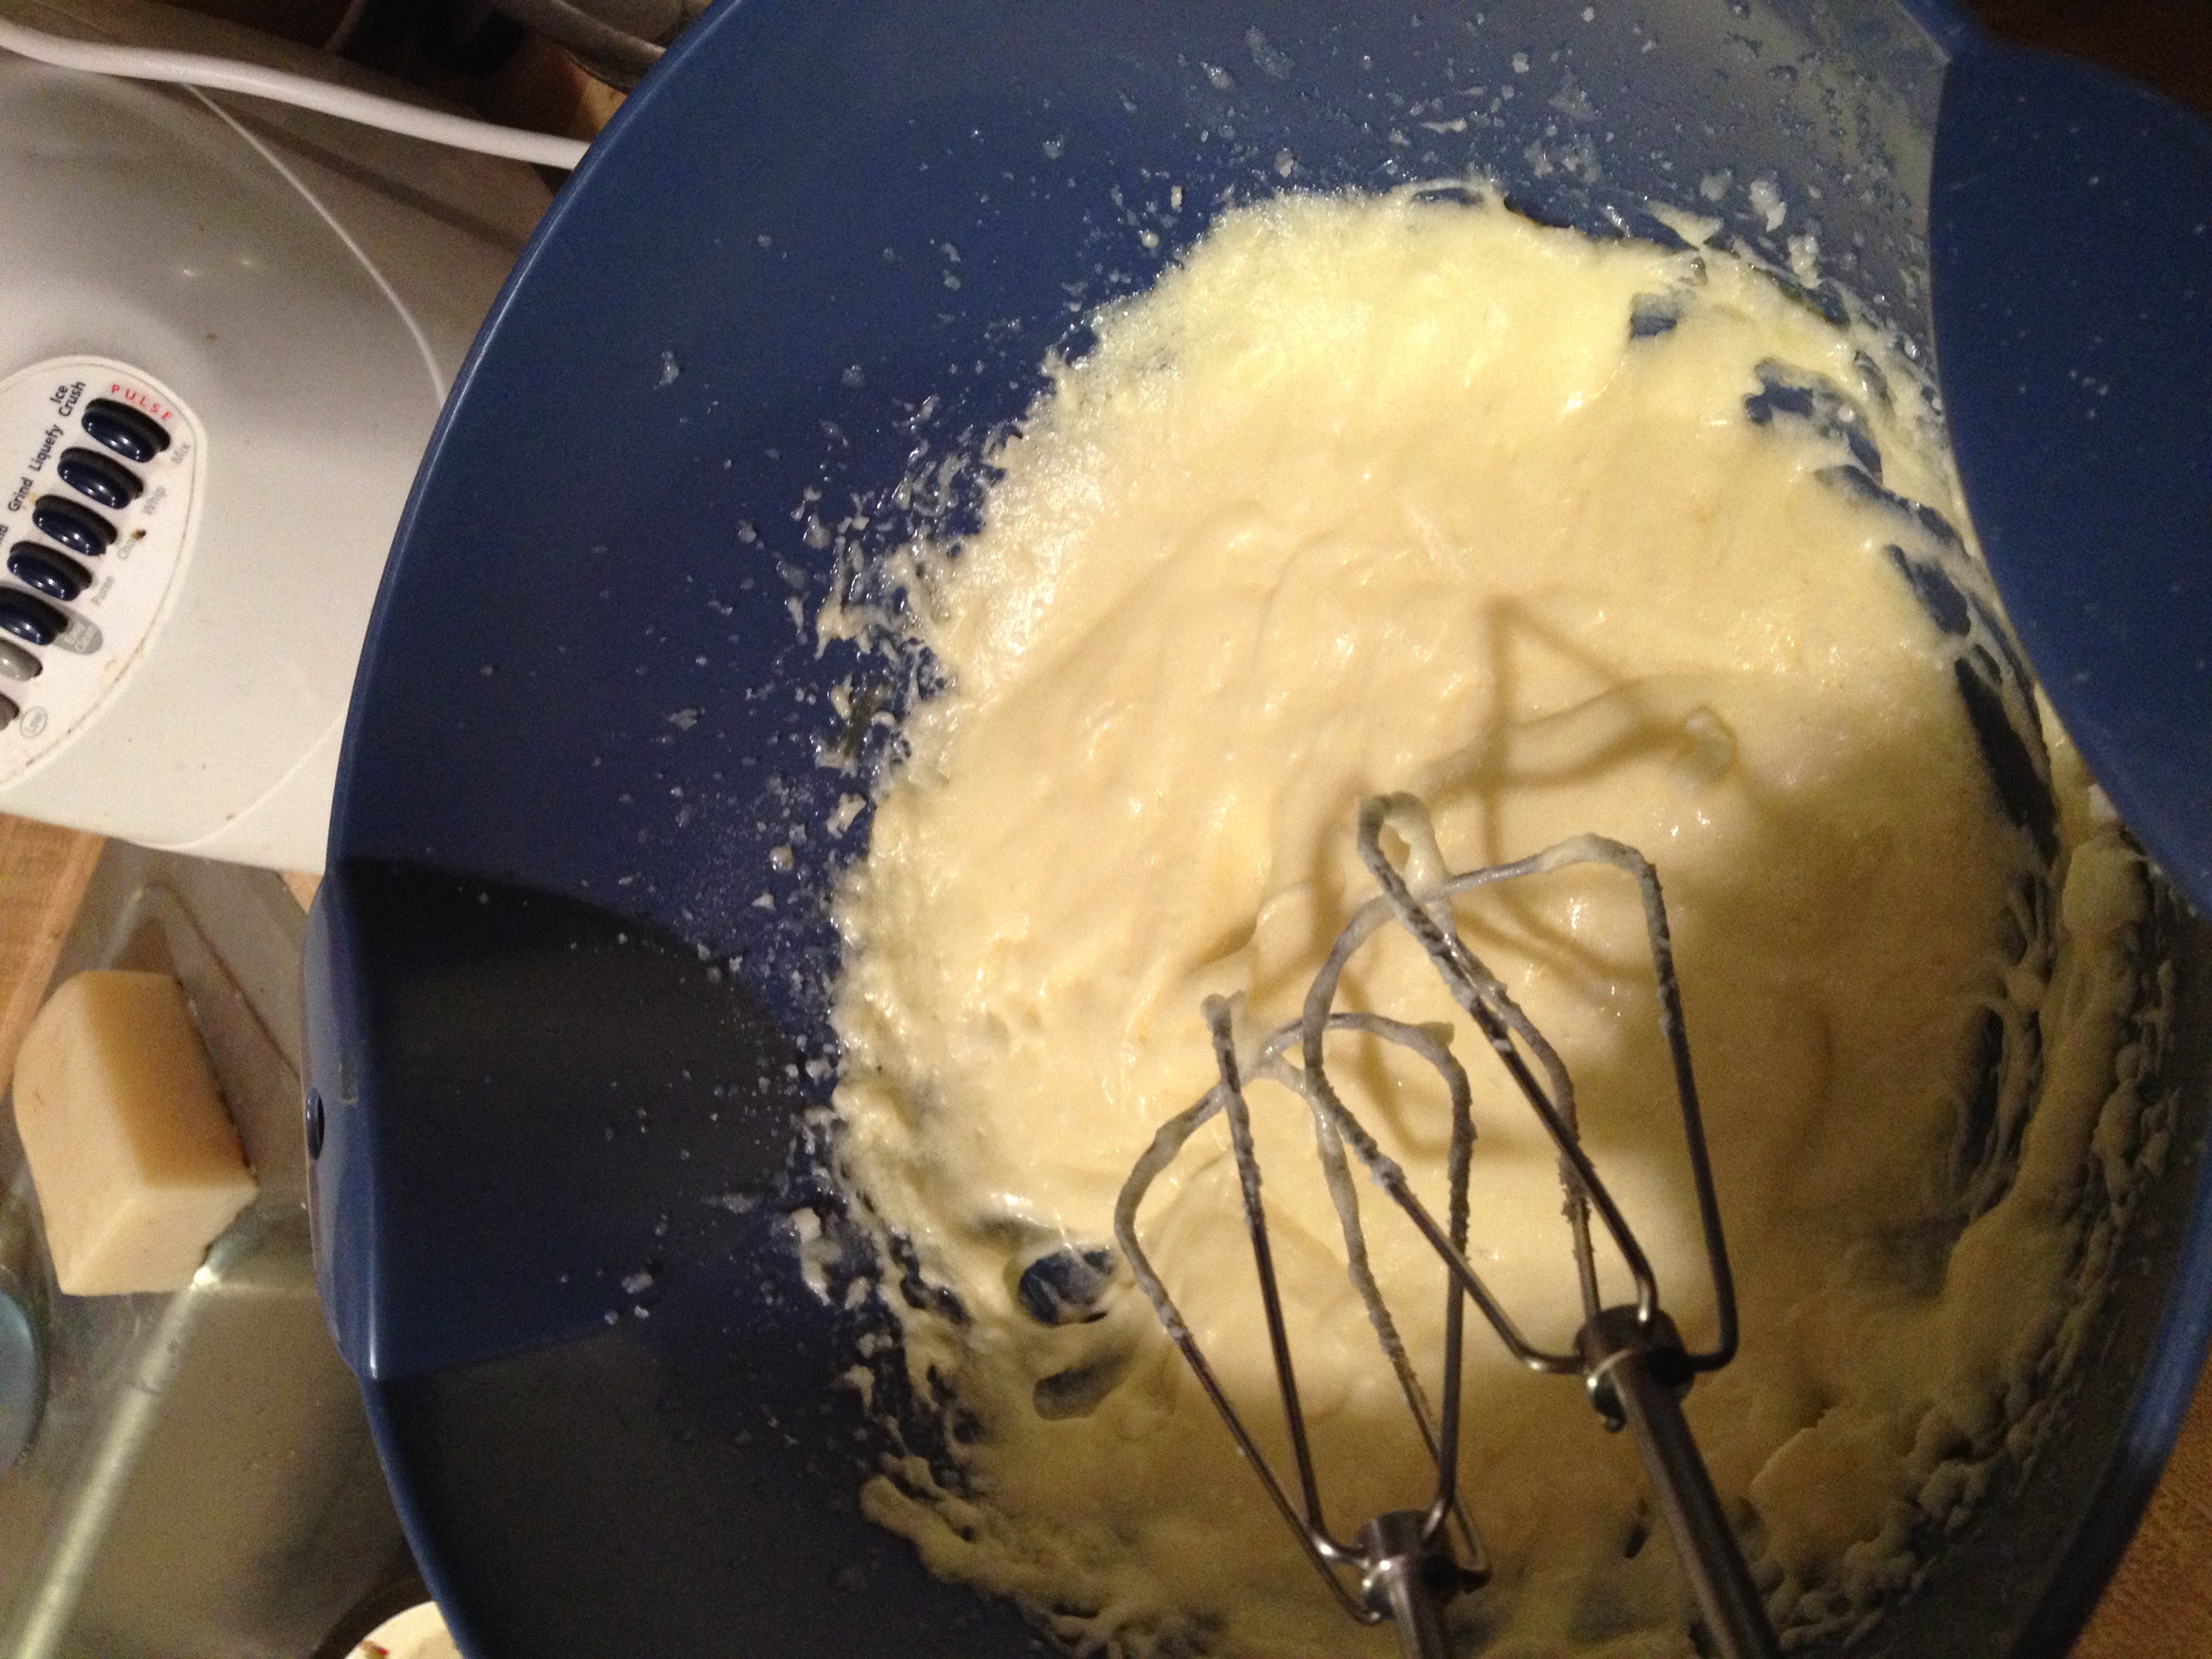
  • Cream the butter and sugar together in your main big bowl
  • Add in an egg, mix it, and then add the other egg in.

photo 1 (35)

  • Now mash your bananas into smithereens and slowly mix them in too
  • Now in a pot on the stove, put the milk in and get to a boil. Now you have to be quick at this. Quickly, stir in the baking soda. It will come up into a fluff that smells amazing. Mix that immediately into the rest of the wet ingredients.
Always fascinated me growing up...still does

Always fascinated me growing up…still does

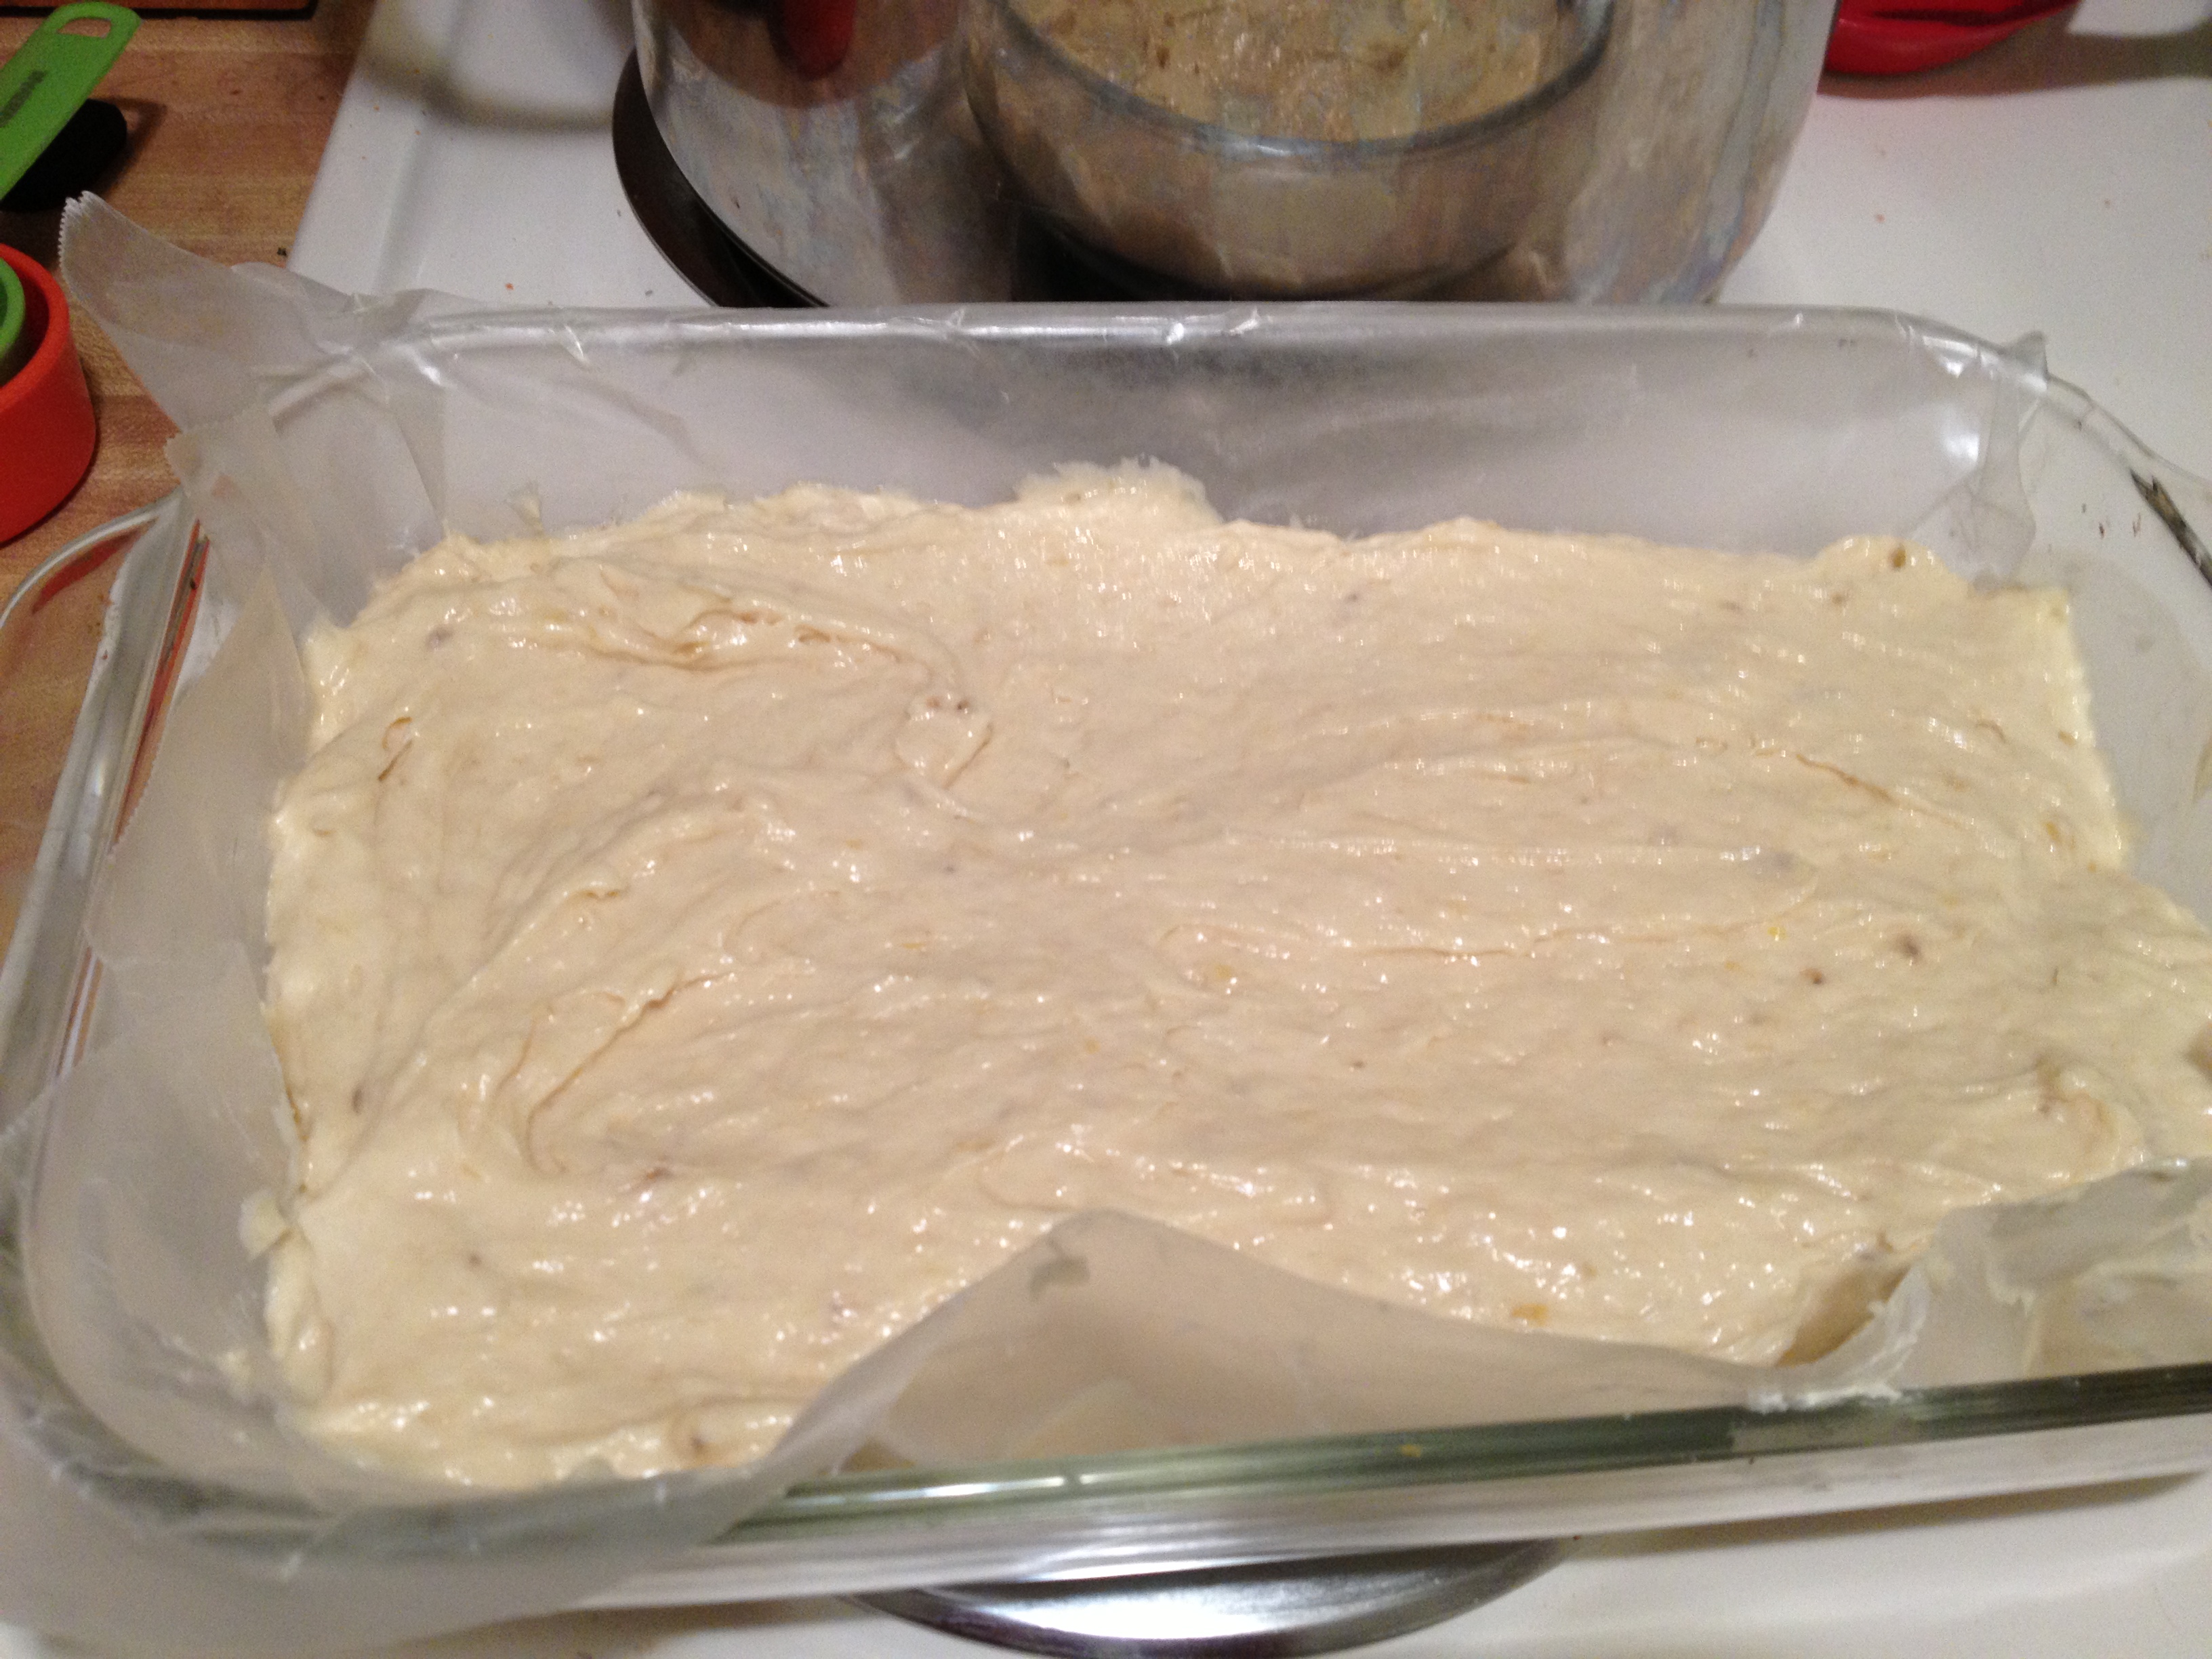
  • Finally, mix in the flour mixture. Do it nice and slowly, so that it mixes evenly. Now that you have your batter, slowly pour evenly into your wax-papered-pan
Wish I had used 3 bananas in this batch

Wish I had used 3 bananas in this batch

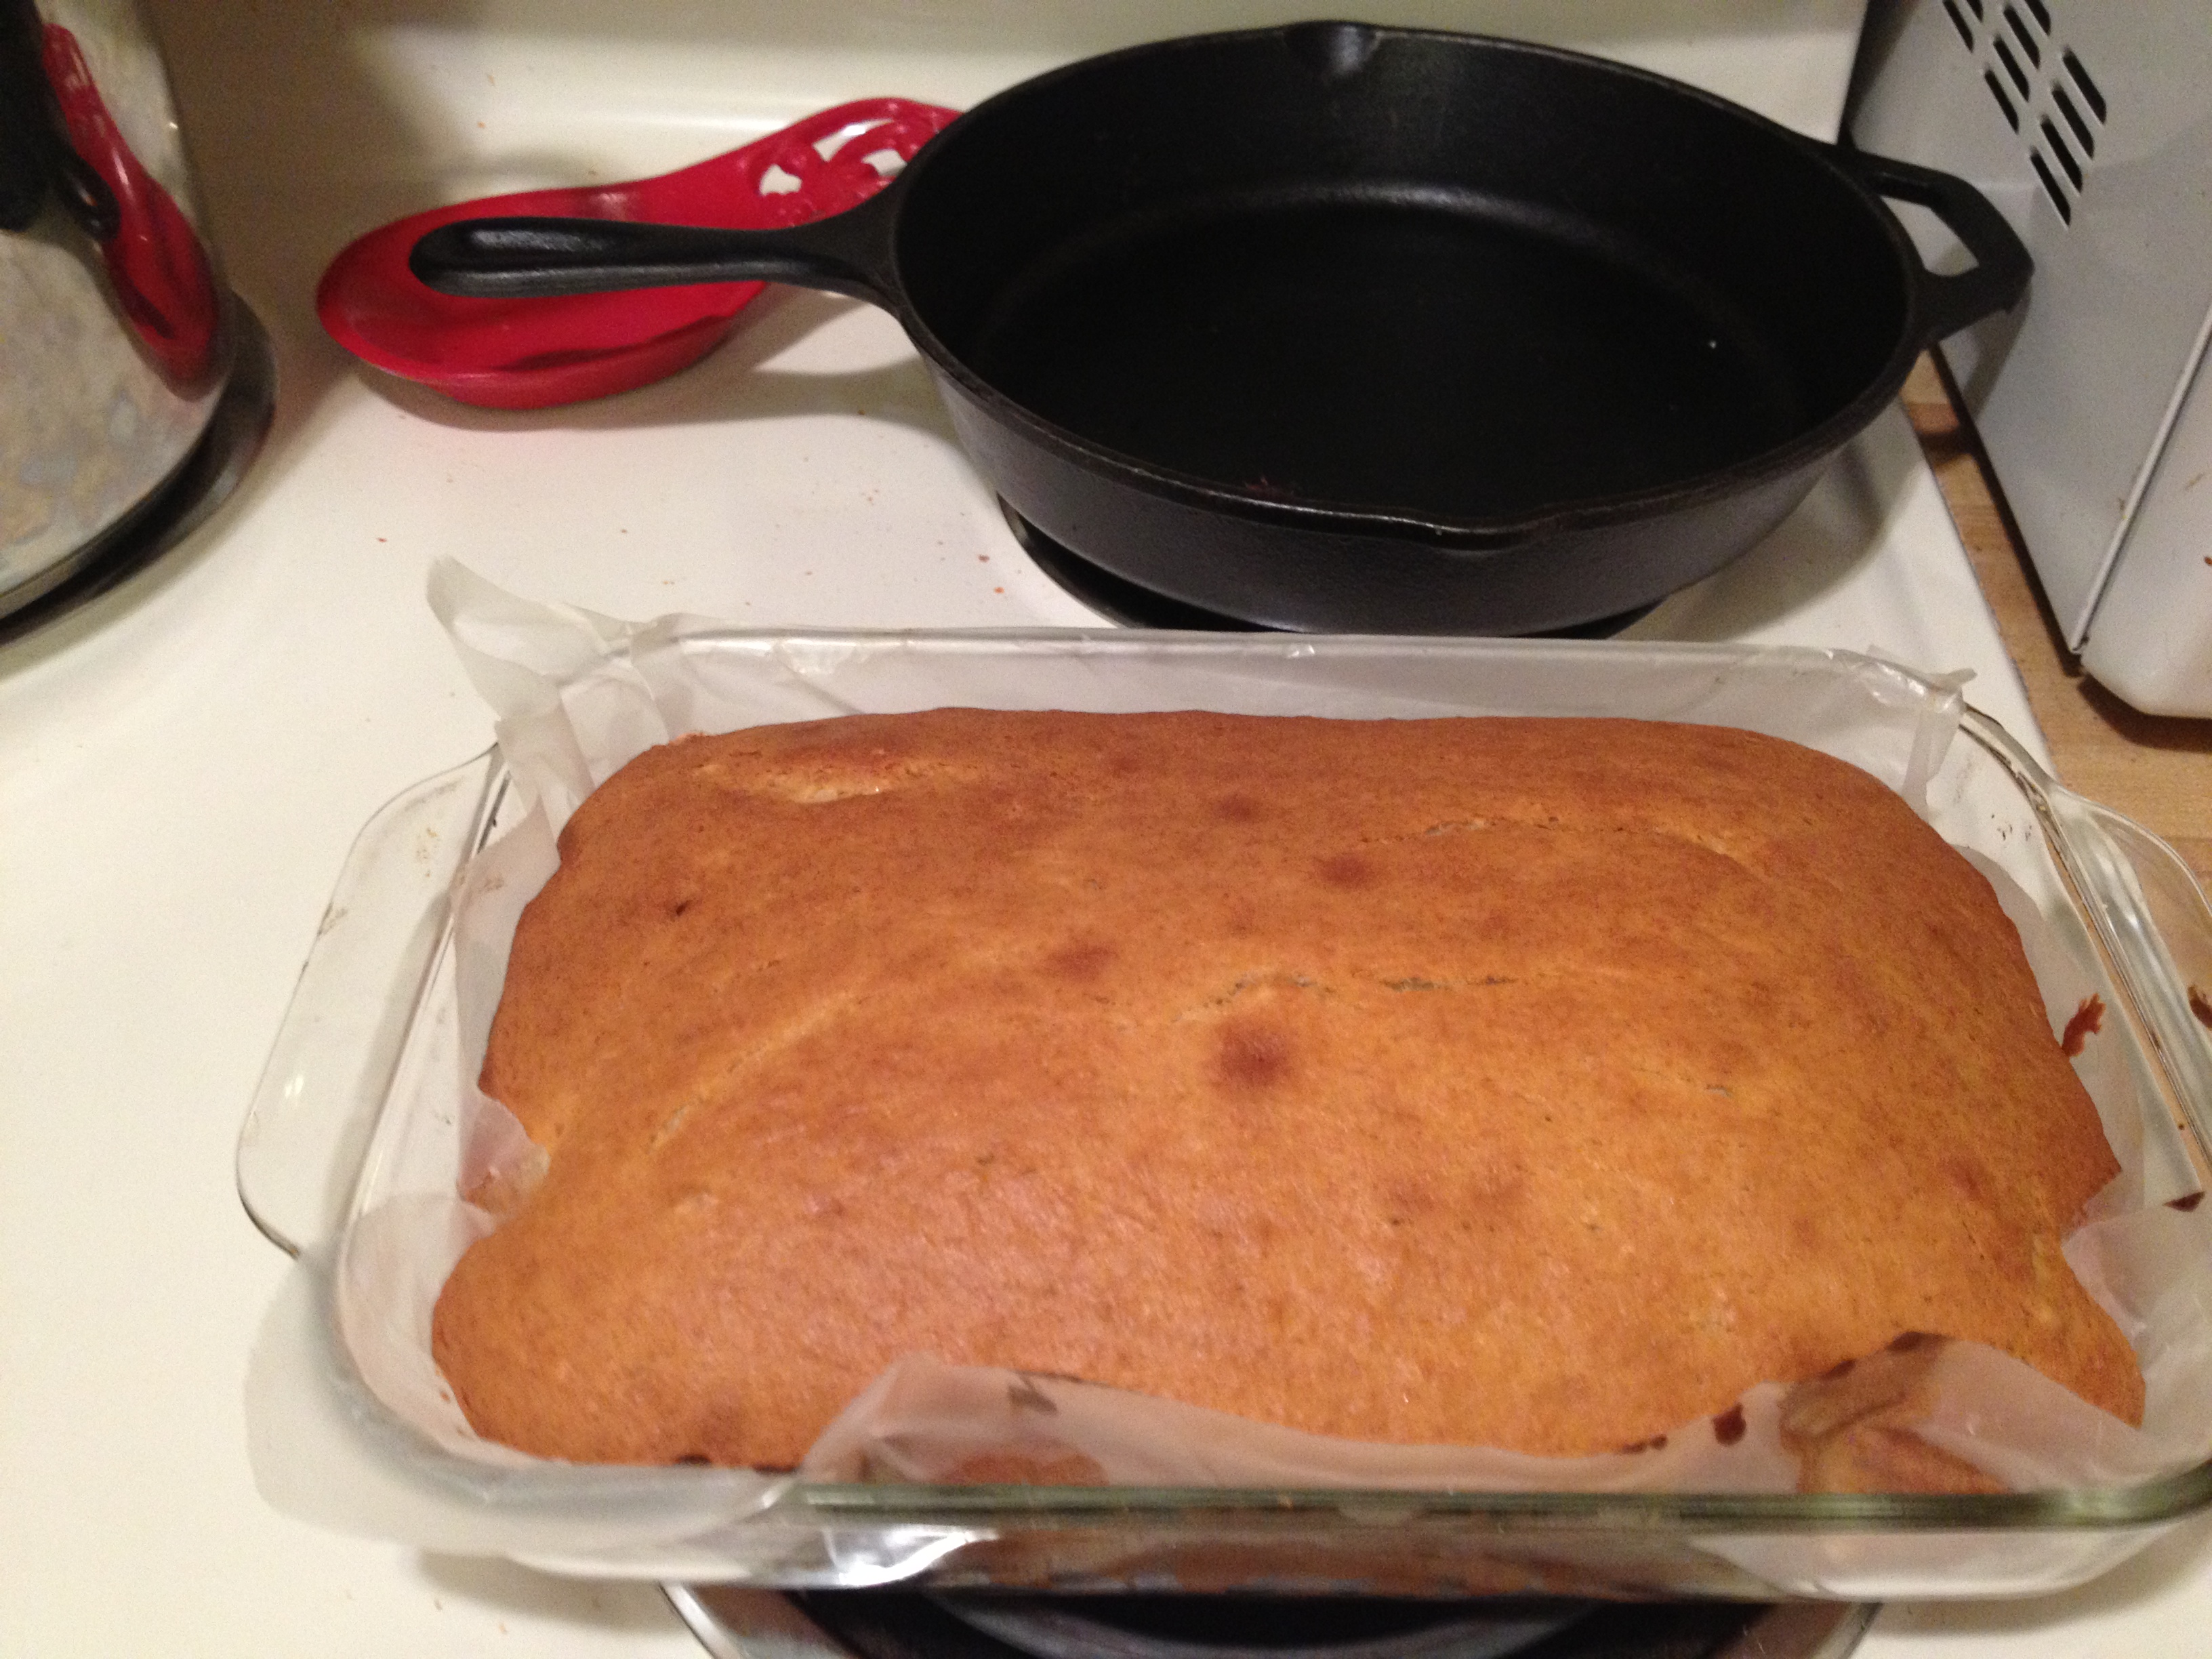
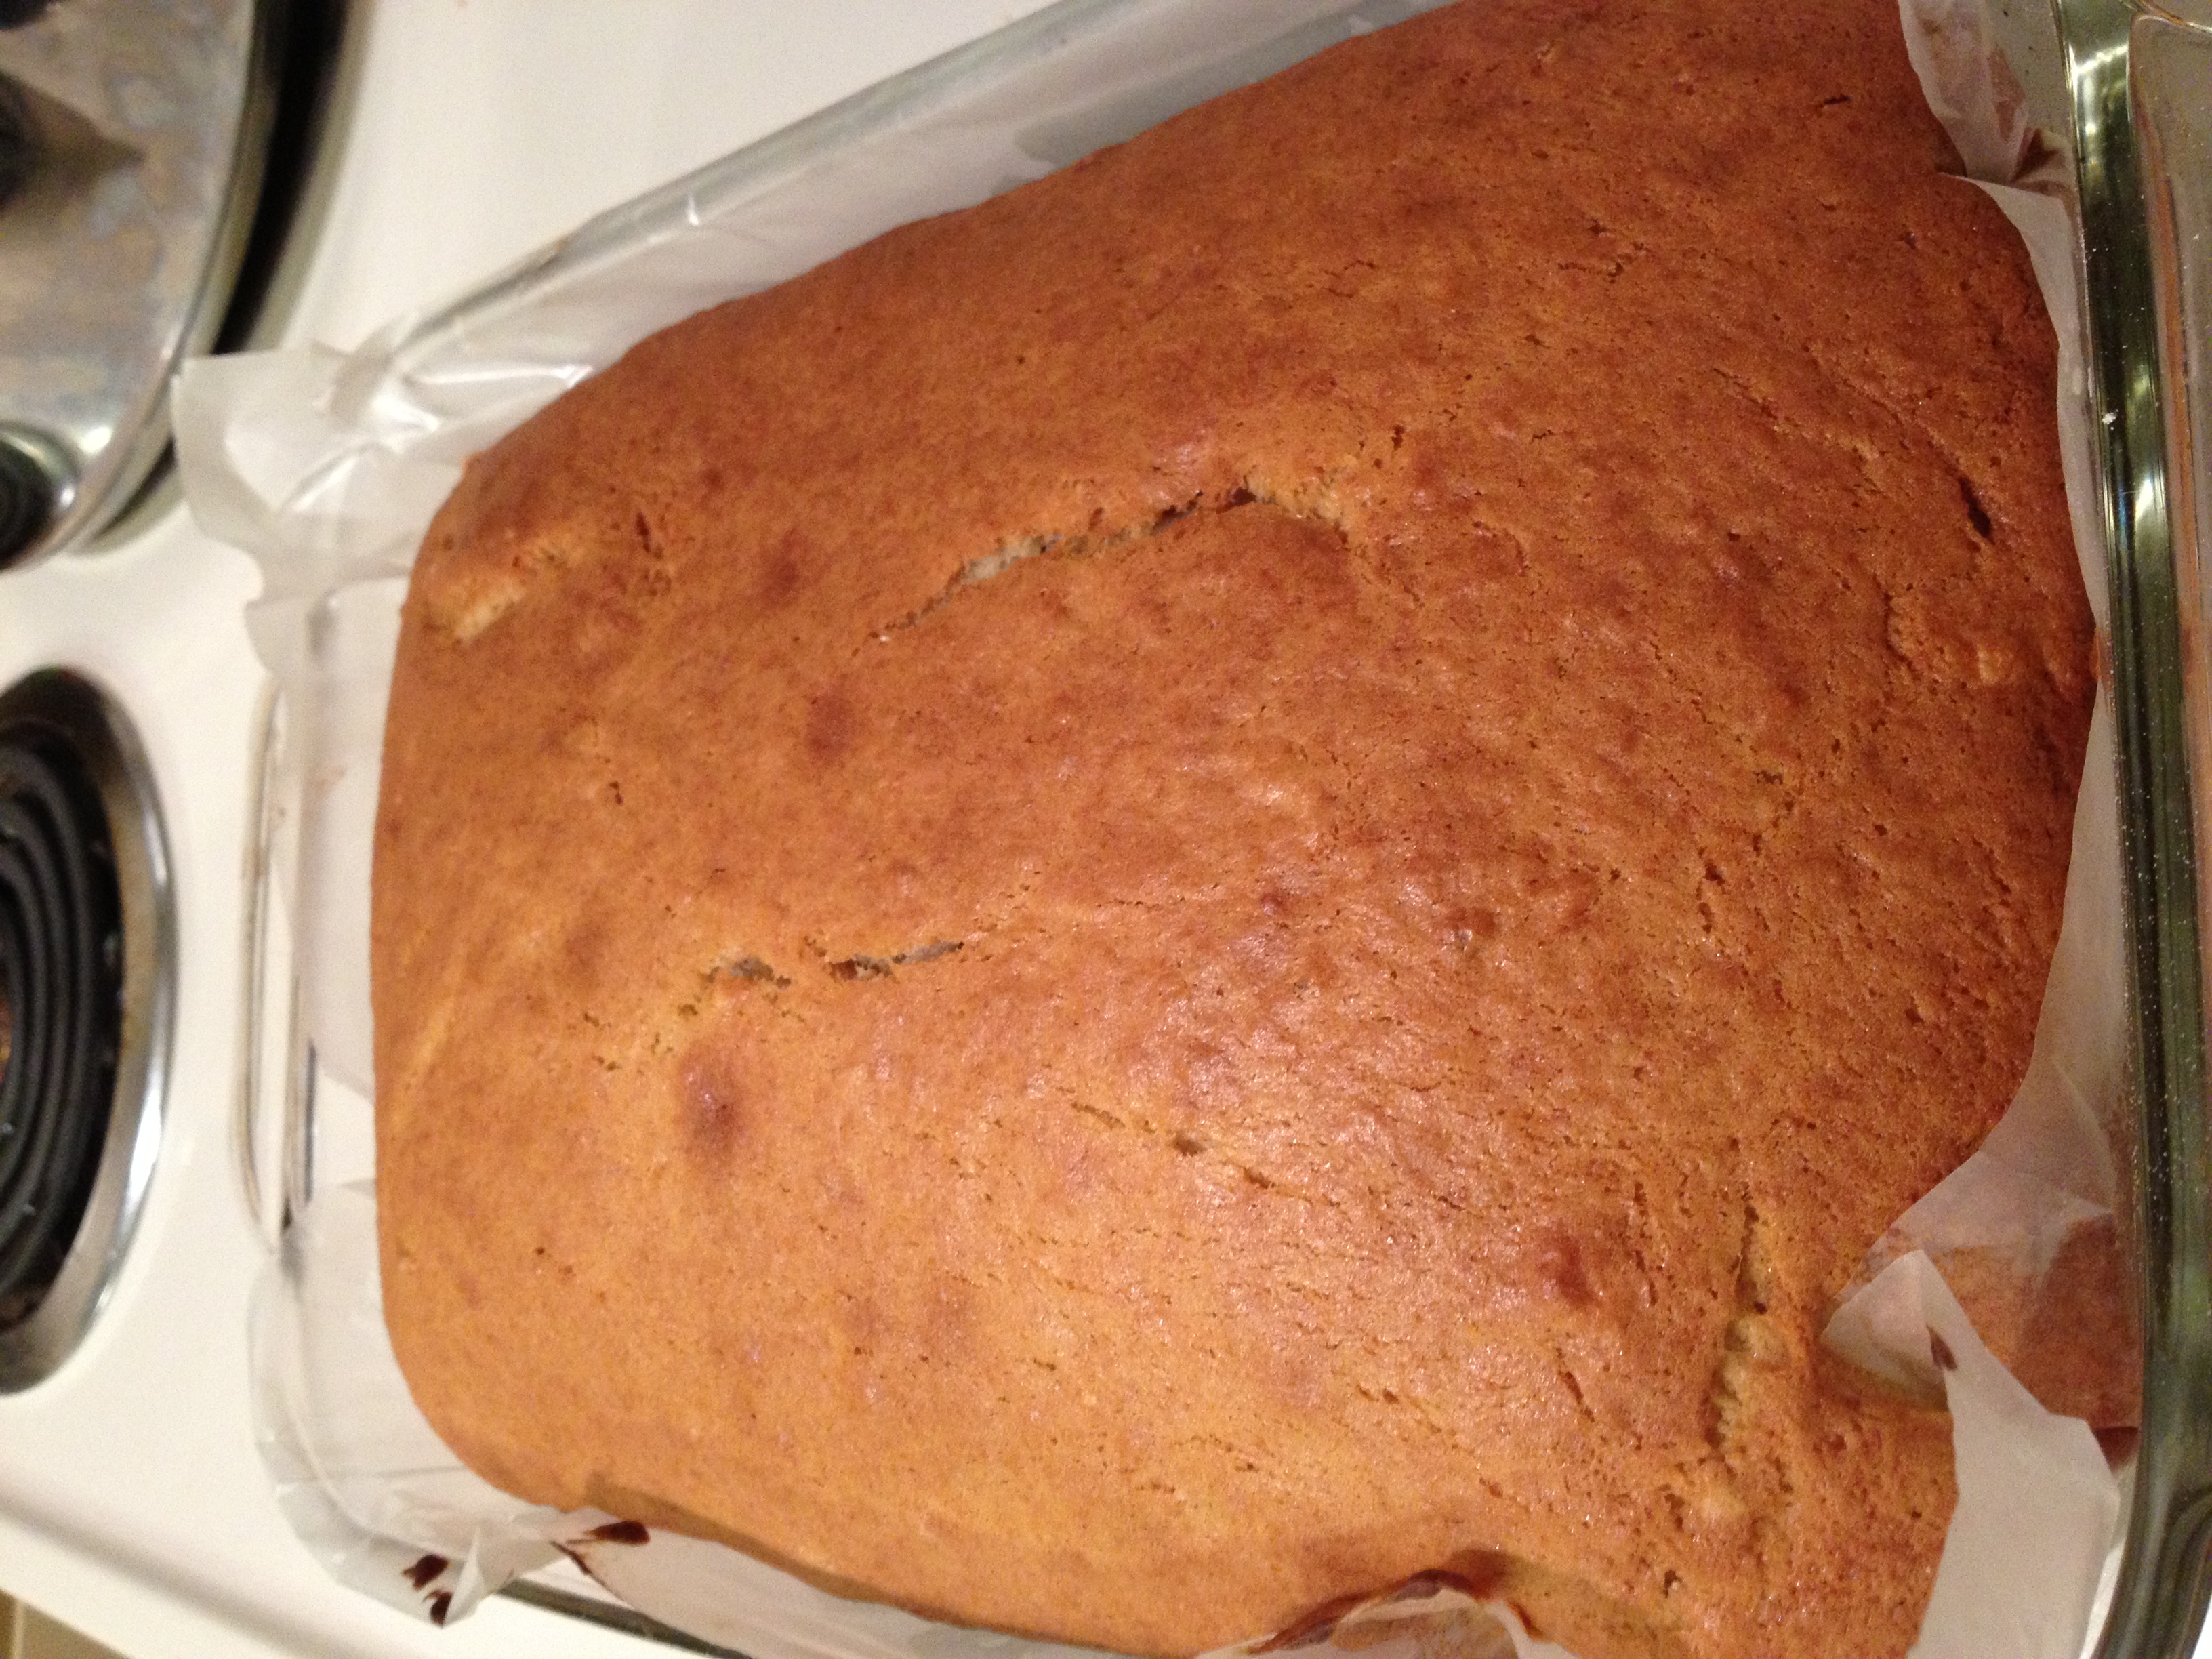
  • Put in the oven for 34 minutes. Weird number. The normal number is 40 minutes, but my mum advised me to check it at 34 and it was ready and done! Take it out and let it sit for a few minutes before putting it on a rack or another cool pan
Now just needs the icing!

Now just needs the icing!

photo 4 (22)

Lemon Icing

  • Prep Time: 3-5 minutes

Ingredients

  • 1 1/4 cup powdered sugar
  • juice of 2 mini lemons (or 1/4 cup)
  • zest of lemon
  • 2 tbsp butter

Directions

  • Pretty basic, just melt the butter in a bowl and then mix everything else in (the zest, lemon juice, and suuugarrrr)
  • Slowly start to ice the cake, using a spoon and then draping it over. It can be runny which is why it is best to do it slow so it starts to solidify
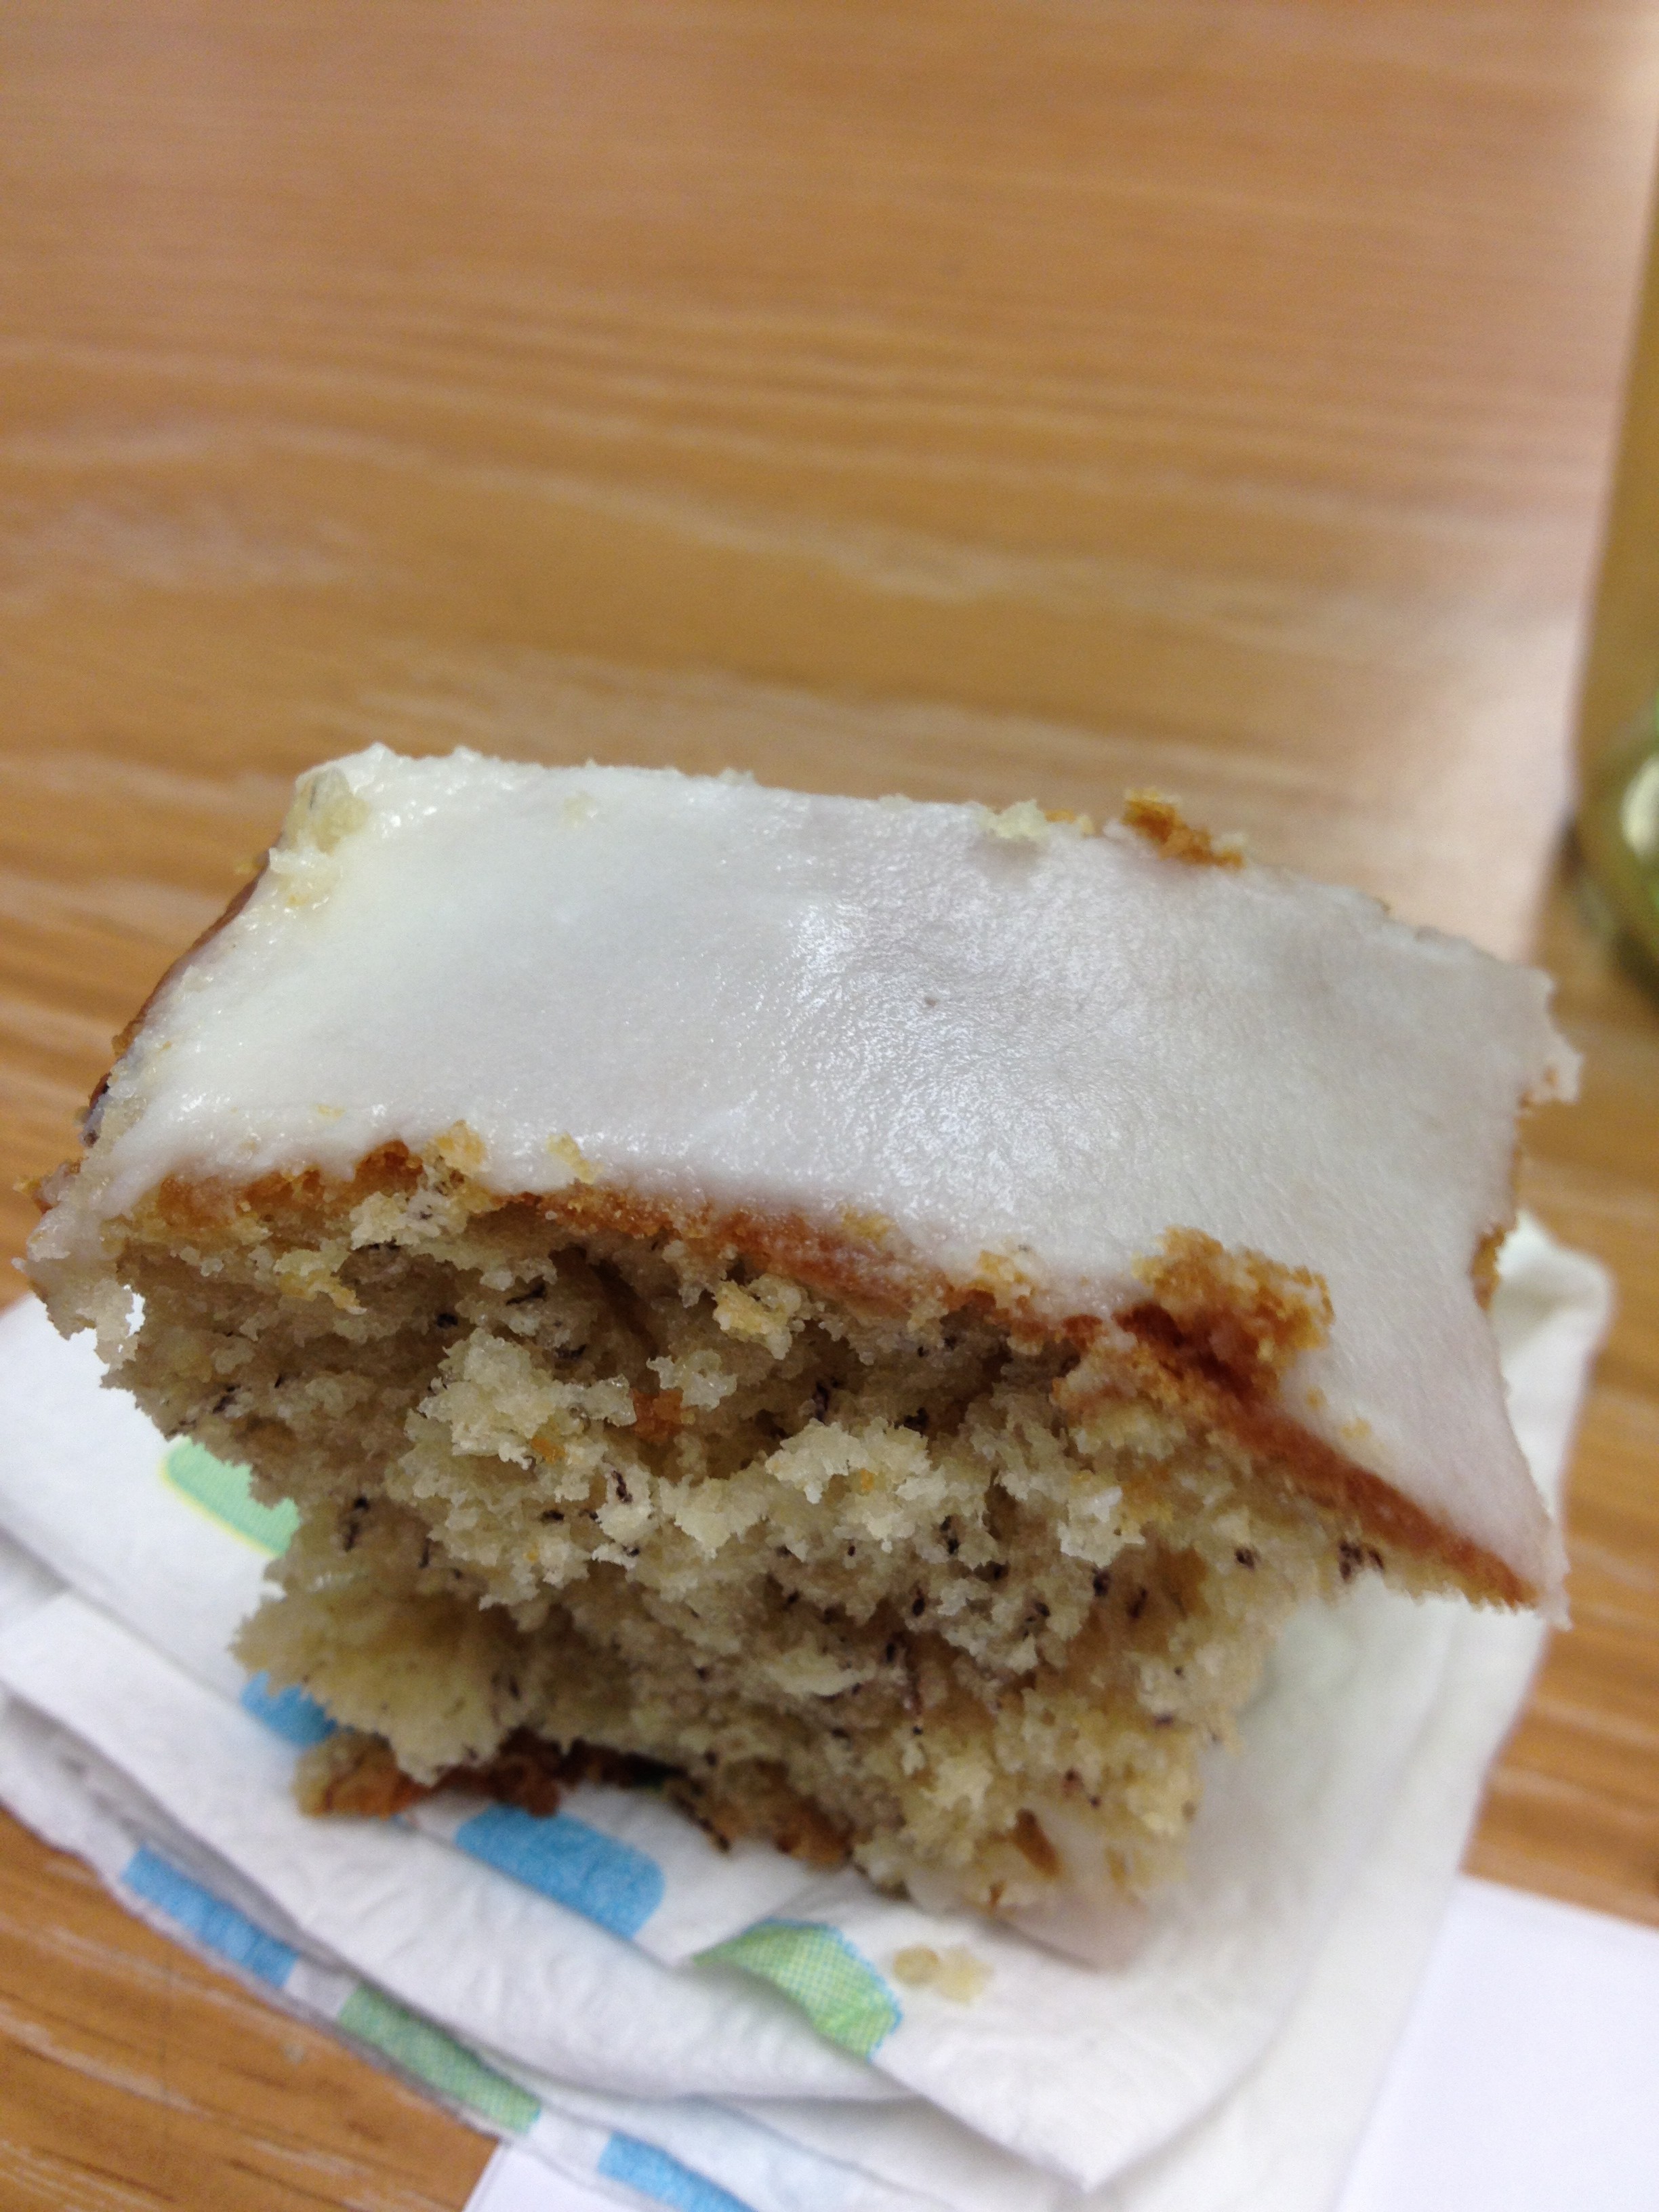
Looks like a little piece but I had at least 4...

Looks like a little piece but I had at least 4…

And then you shove as many pieces as you can in your mouth! Just kidding…but seriously. This cake is so delicious and, for me, reminds me of home. What better combination?  It was a hit at work, a little something everybody can enjoy. The subtle banana flavor with the lemon is a great combo. You gotta try this recipe! And as always…stay hungry and fit!

BONUS PUPPY PIC

photo 4 (23)

spacer

Homemade Scones and Cream Recipe

This recipe is perfect for Valentine’s Day if you want to create a treat for the special day! Some of my favorite Valentine’s Day memories involve my dad putting those little candy hearts allll over the house and me getting to look and find them. Onto the yummy stuff. I have watched my mum make her scones year after year growing up throughout my childhood, but I never actually made them myself. Sure, I helped her put on the jam or whip the cream, but I was just helping, not creating. I was thinking of what I wanted to bring to work for Valentine’s Day (I’m not a huge proponent of this day because it’s normally too gushy, but I always like an excuse to make something yummy), and then it came to me! Mum’s scones! Simple, delicious, and not too sweet. Looking back, I have to laugh, because when I asked mum for the recipe, and then when we were FaceTiming while I was making it at 6:30am (5:30am her time–sorry, Mum!), the way she actually did it was completely different. Here is a family recipe, rooting back in New Zealand that promises to not be too heavy or sweet but a definite crowd-pleaser.

The finished product

The finished product

Scones

  • Prep Time: 10-15 minutes
  • Baking Time: 10 minutes
  • Makes: 20 scones (40 halves)

Ingredients

  • 3 cups unbleached white flour
  • 1/4 tsp salt
  • 5 level tsp baking powder
  • 1/2 stick butter
  • 1 1/4 cup milk

Directions

  • Pre-heat oven to 450 degree F
  • Mix the flour, salt, and baking powder in a big bowl
  • Heat the butter in the microwave for 5 seconds and then chop up into itty bitty pieces. Throw those pieces into the flour mixture and start rubbing it in until it gets gritty similar to bread crumbs
IMG_6534

Pre-rubbed

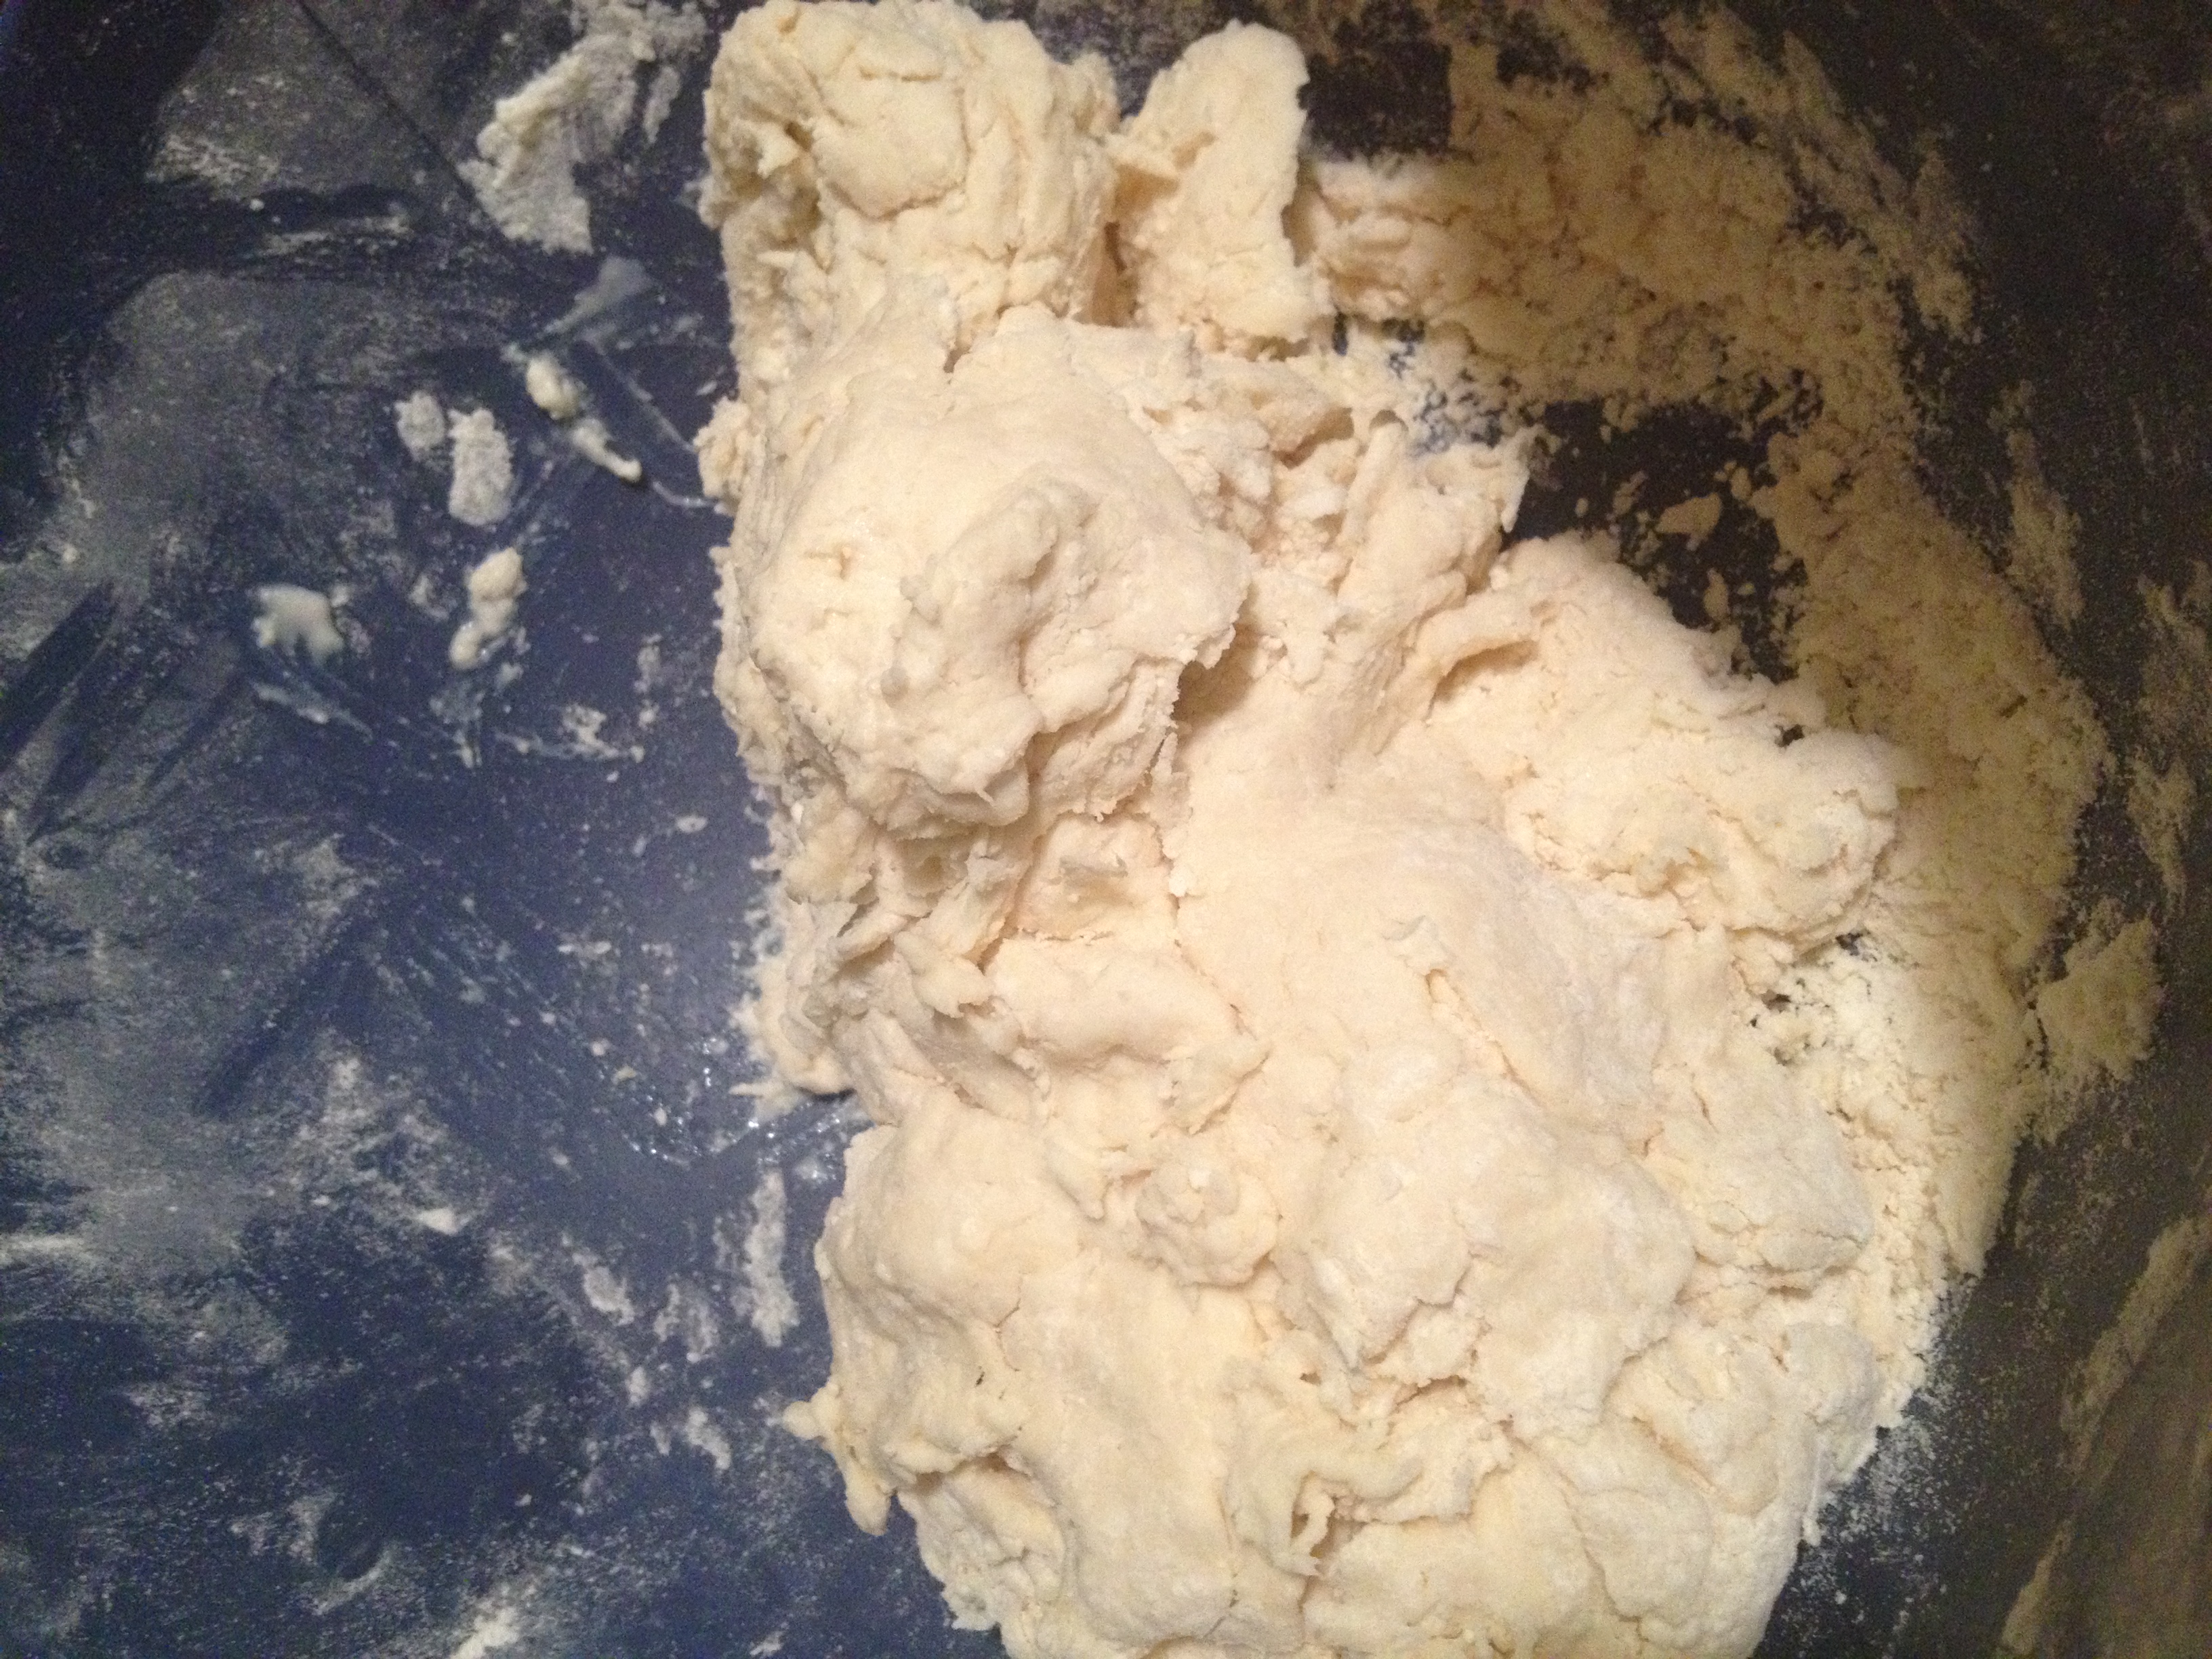
  • Now slowly pour the milk in, mixing as you pour. It should end in a dough-like consistency

IMG_6535

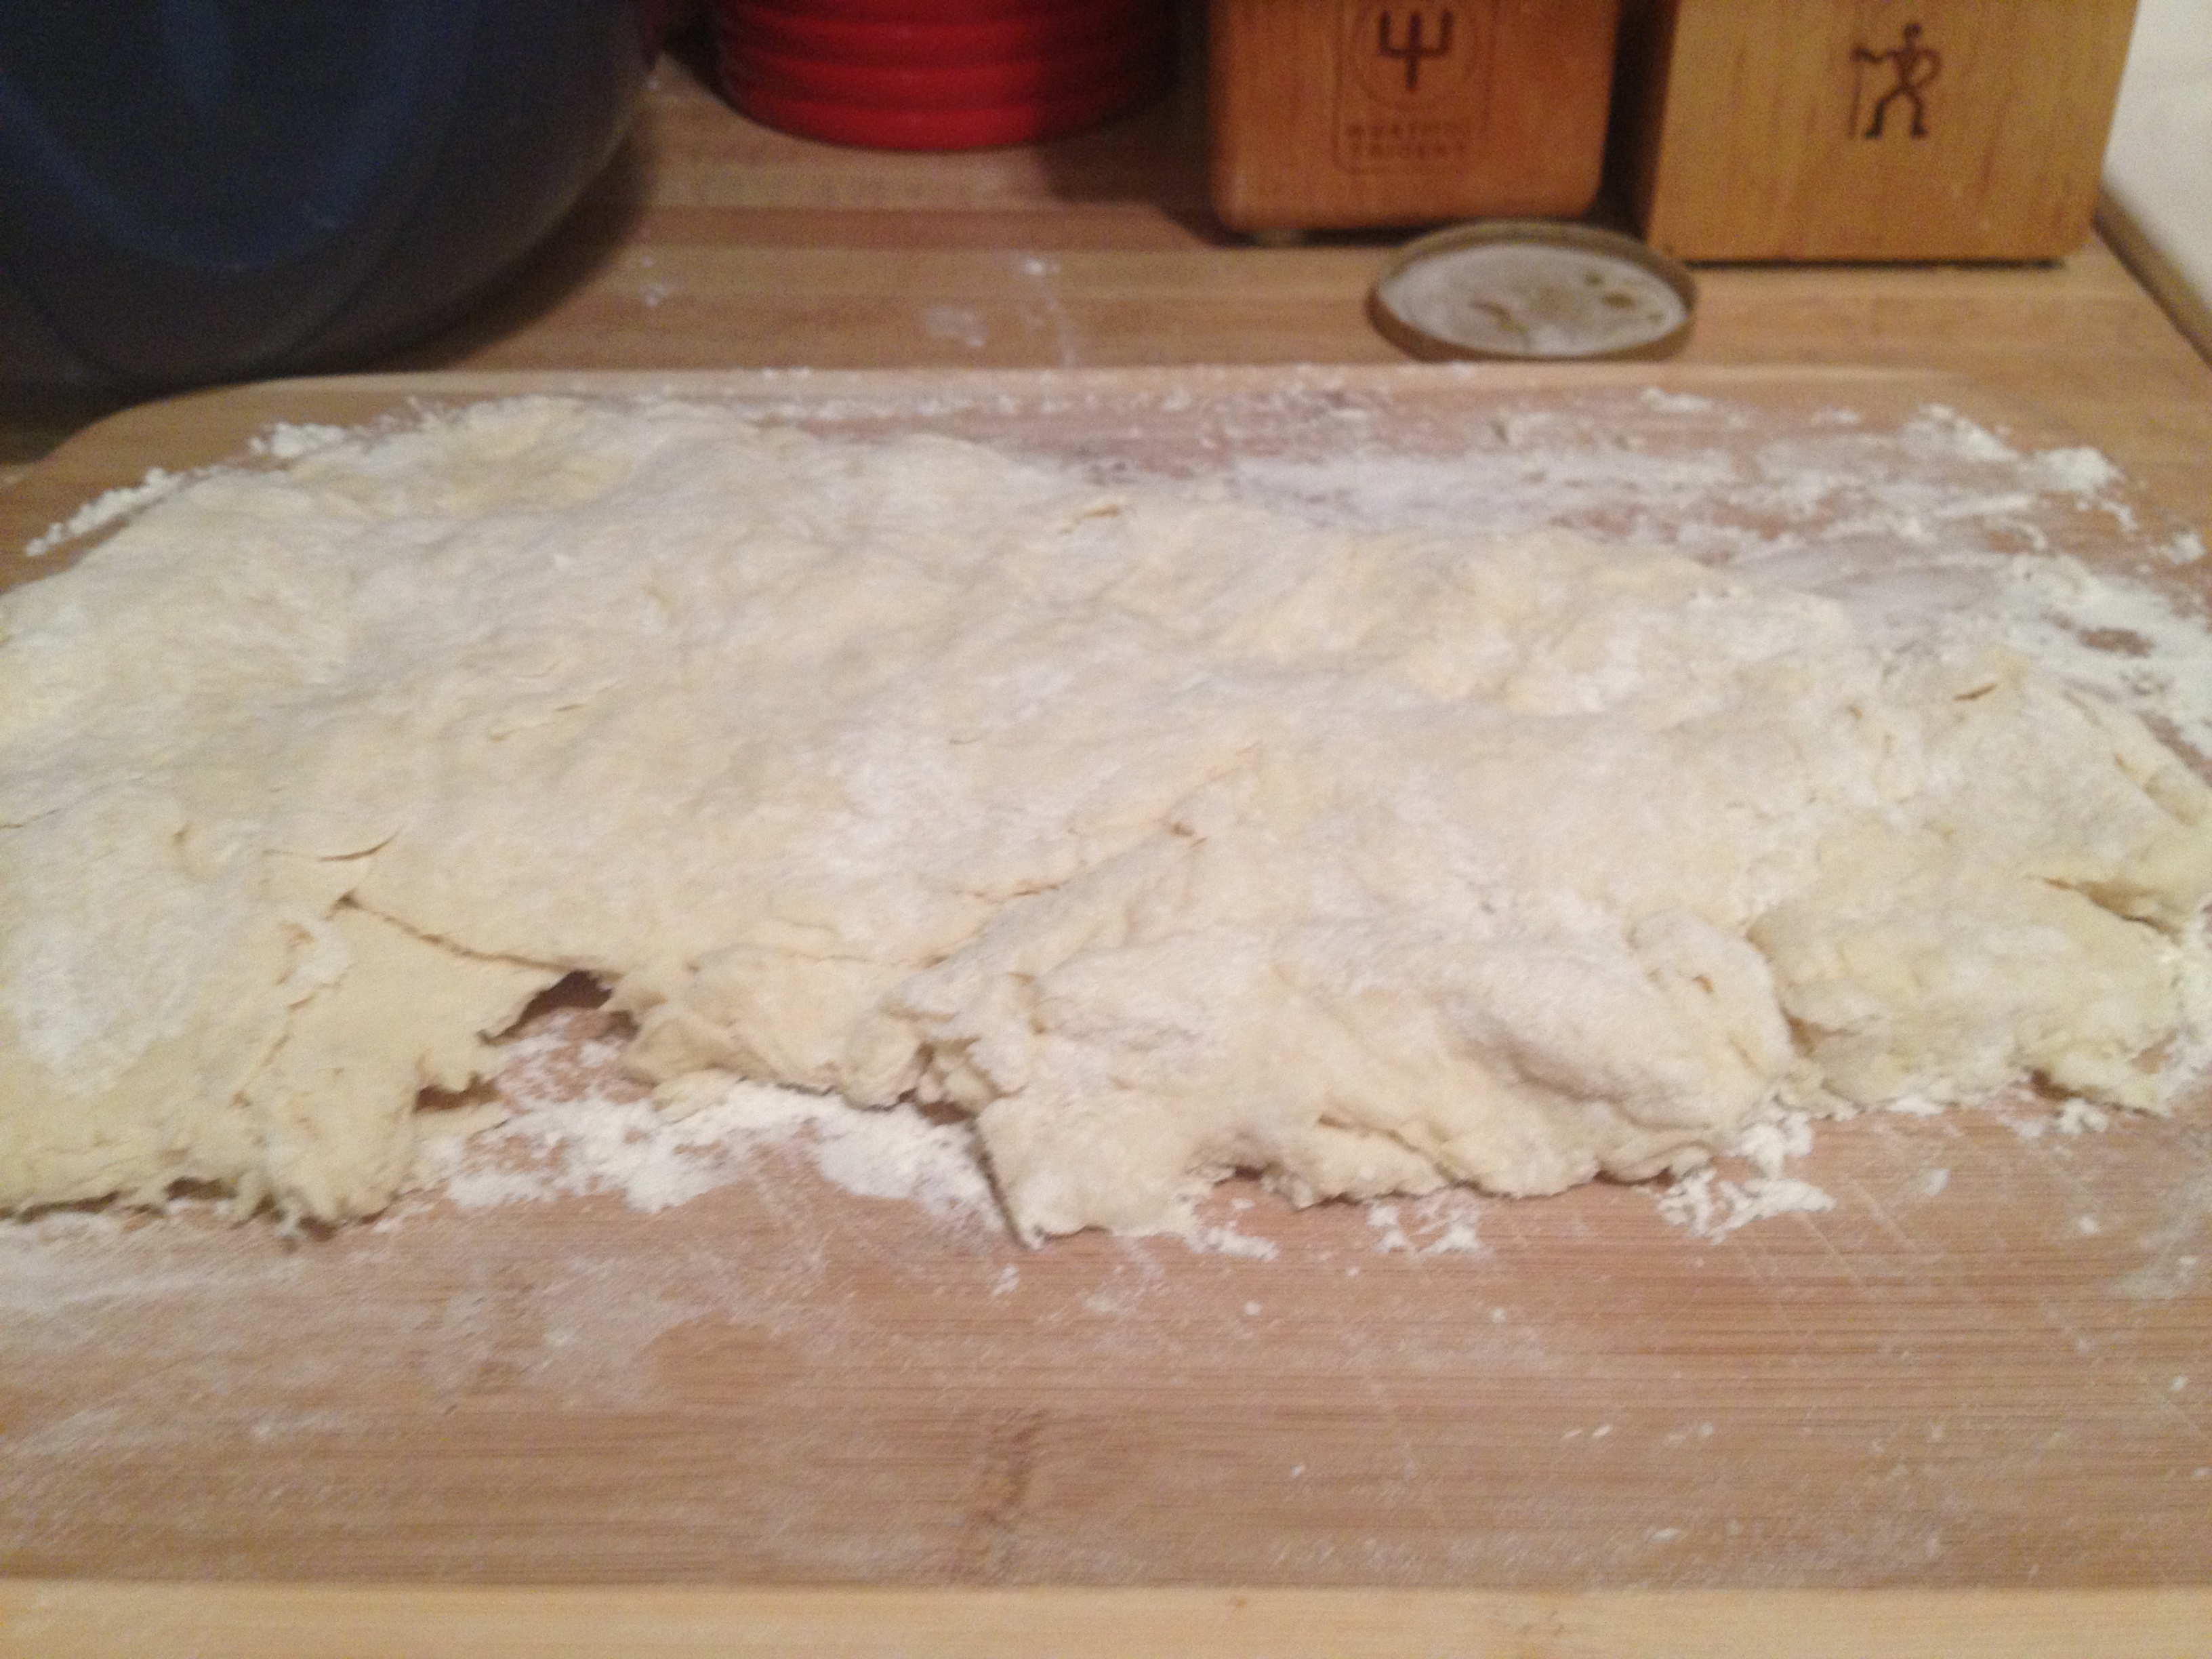
  • Put a dusting of flour on a large cutting board and knead it out, but not a lot. You want them an inch, inch and a half thick

IMG_6536

  • Now cut them all at once, vertical lines and then horizontal lines into two inch pieces. Place on the baking sheet, no greasing needed

IMG_6538

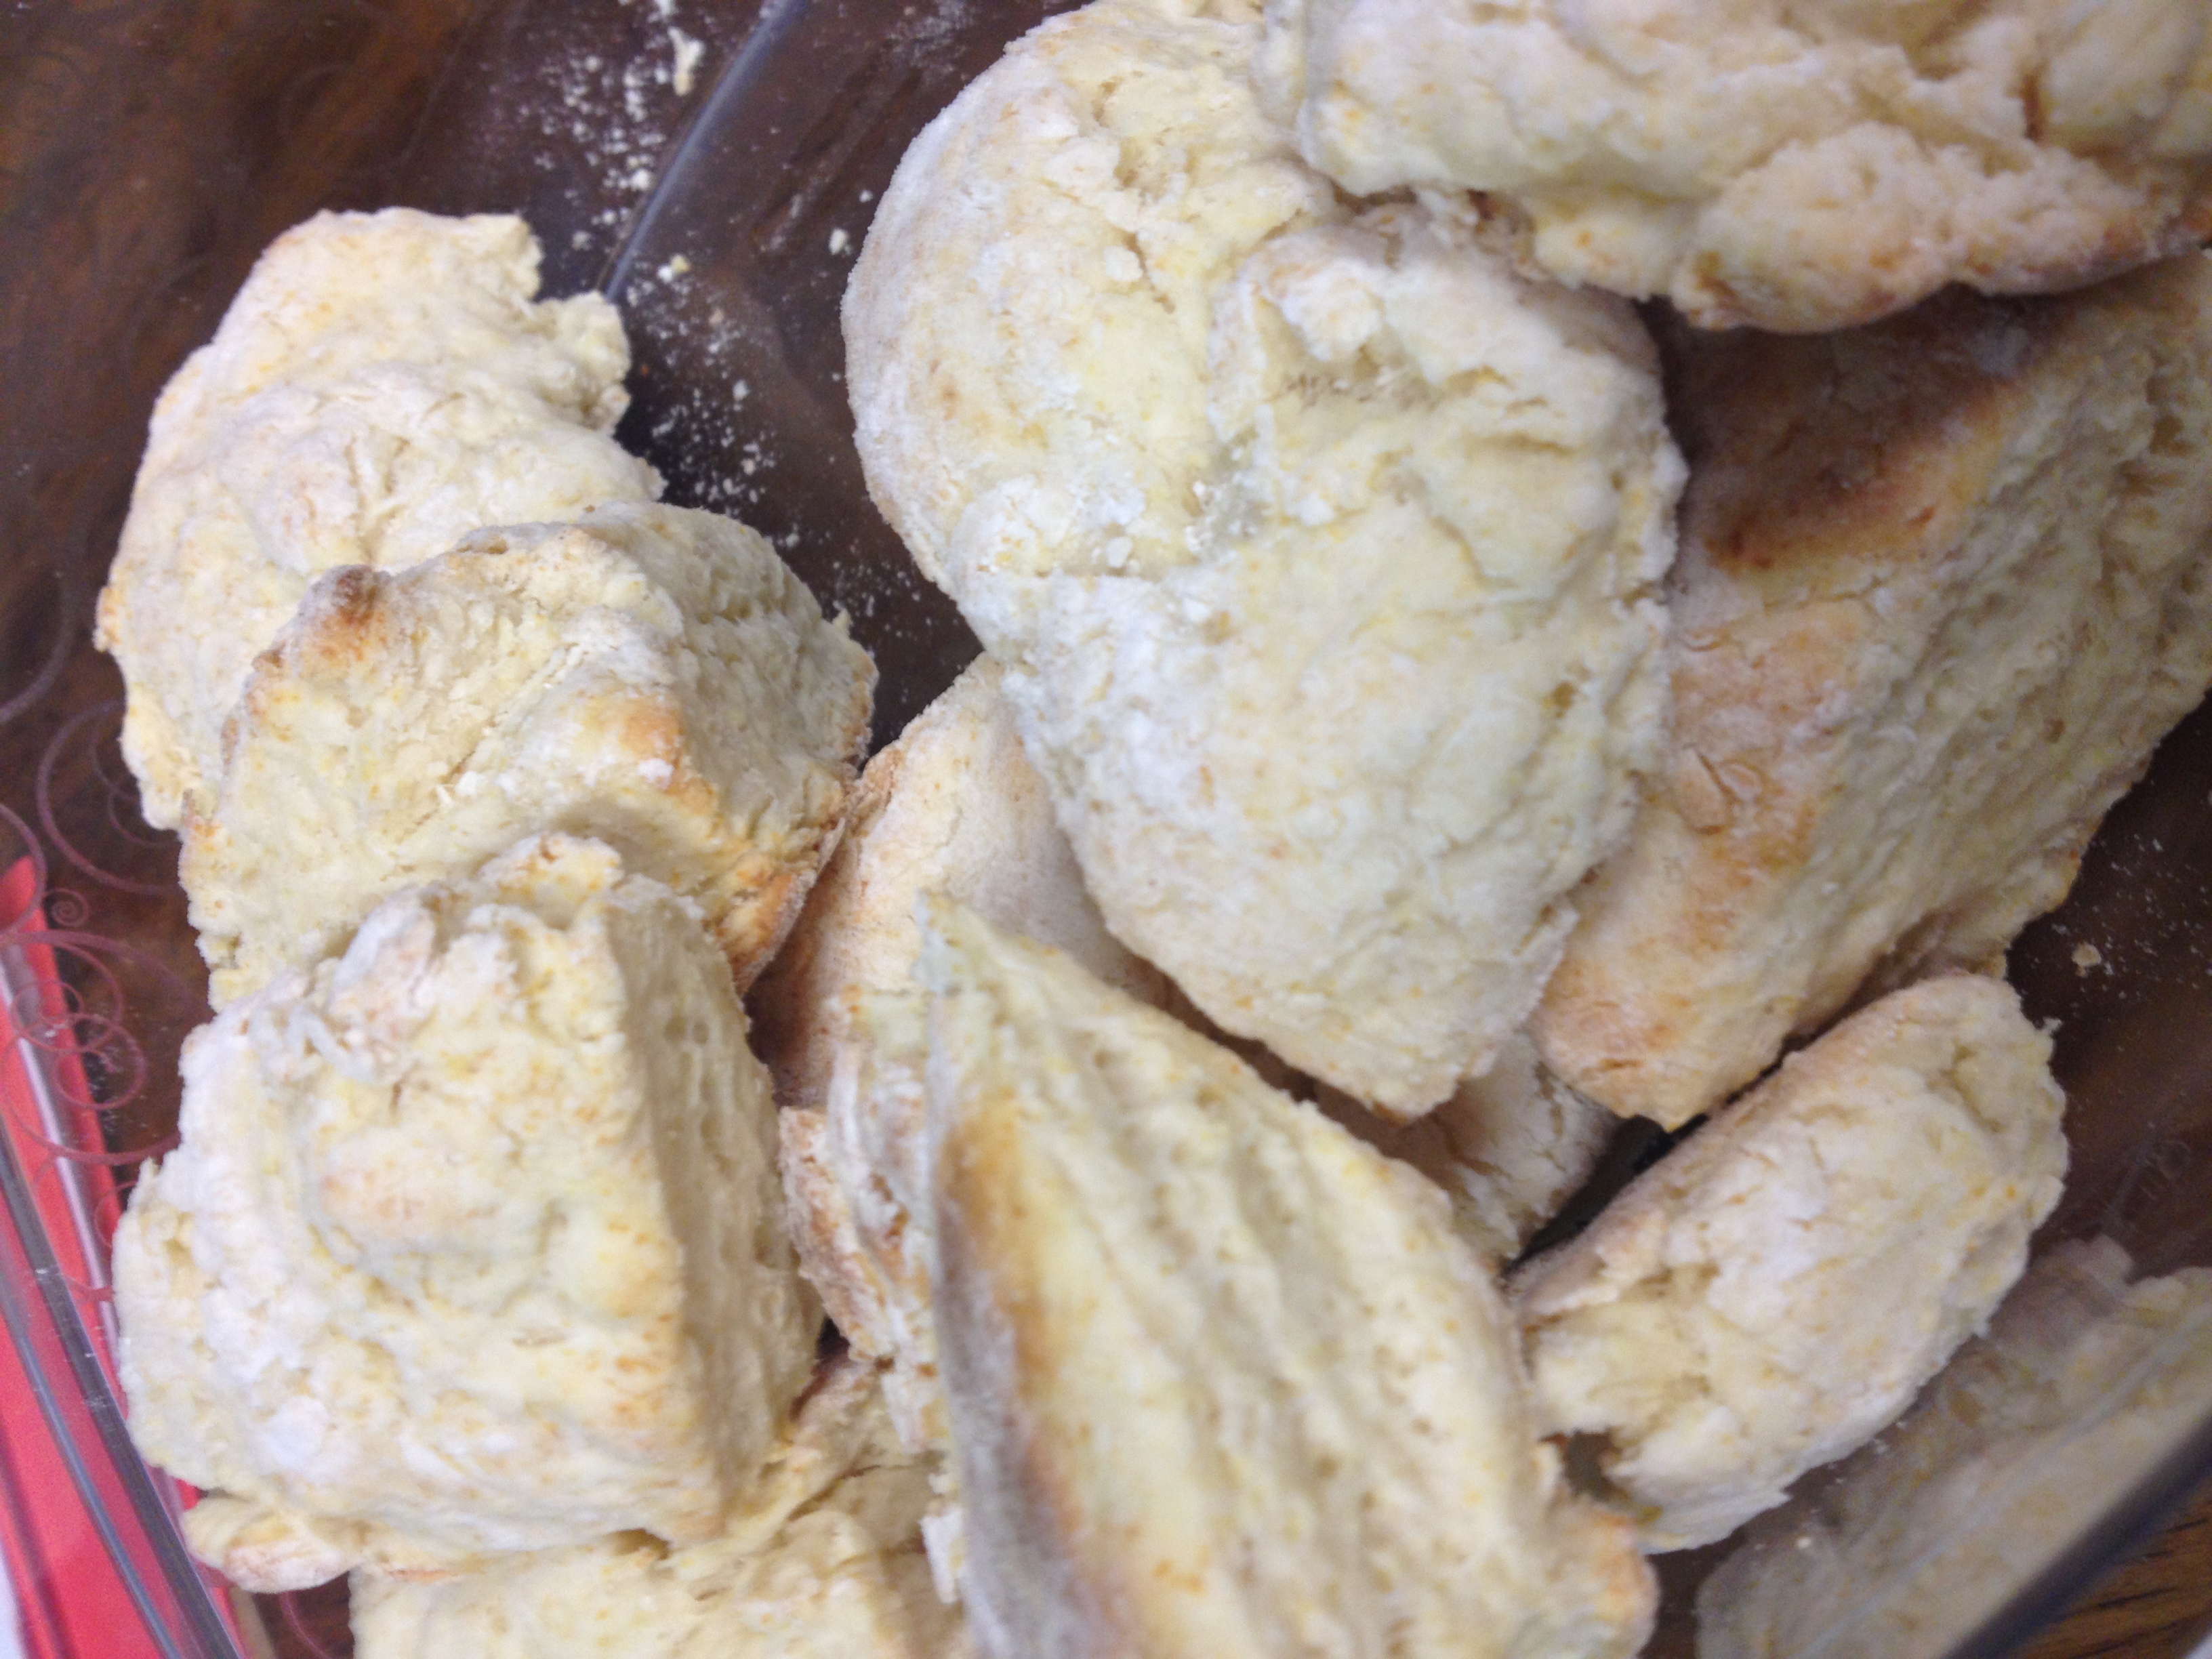
  • Check on it after 8 minutes and until 10 minutes. Check the bottom of them, don’t let them burn. After you take them out of the oven, they should cool for at least 10 minutes before you put the toppings on them
All cooked!

All cooked!

Okay, so while they are cooling….let’s make some cream! Super easy.

Cream

  • Creation Time: …1 minute 

Ingredients

  • 1 pint heavy whipping cream
  • 1/4 tsp vanilla
  • 1 tsp sugar

Directions

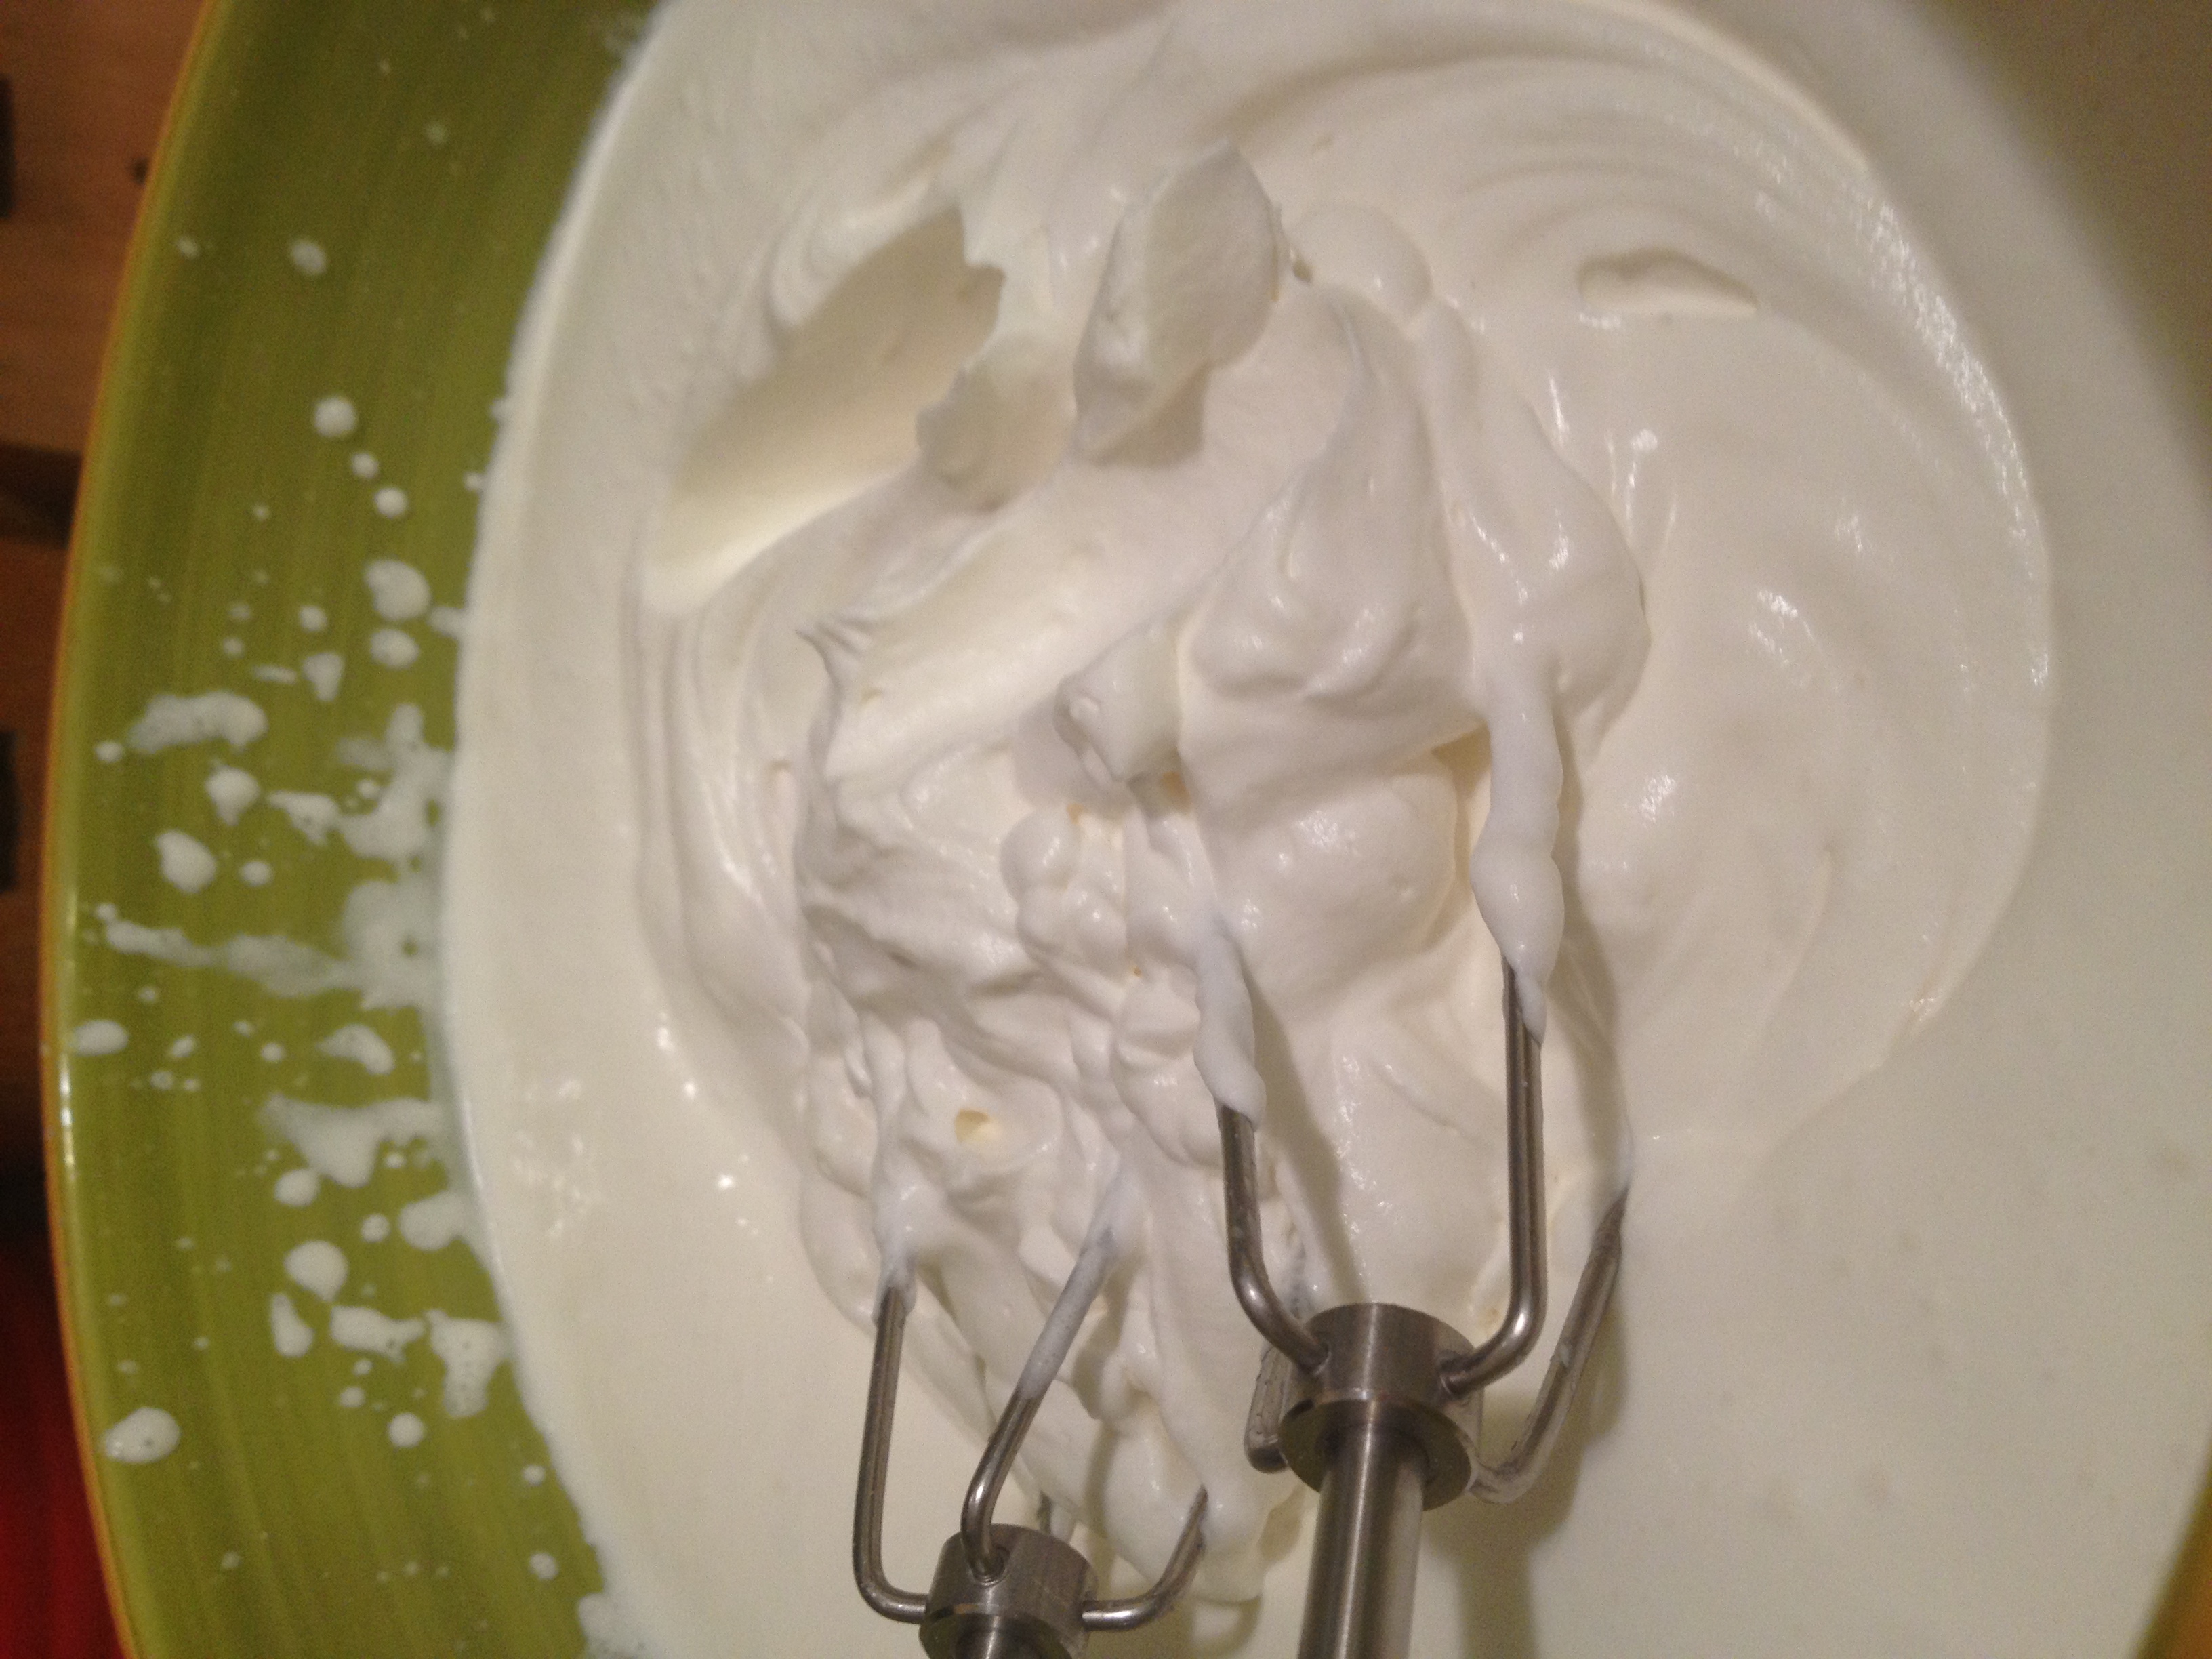
  • Put ingredients into bowl and beat them until it turns into the whipped cream you know and love

IMG_6539

NOW to put it all together! This is what you’re going to need to finish these puppies up…

  • jam (any kind you like)
  • chocolate 

Directions

  • Cut open the scones into halves and lay them out
  • Spread jam on each one (yes, takes some time)
  • Dollop the cream on each one (you can make it pretty by spreading it out, I didn’t)

IMG_6541

  • Use a grater that can grate super finely and grate chocolate over the scones. I added some red sprinkles to make it more Valentine-y

IMG_6544

And you’re done. I know this was a long post, but it actually doesn’t take that long and is worth it ten times over. These were a HUGE hit at work and they don’t leave you feeling guilty because they are certainly not heavy nor are they too sweet. That’s why Americans sometimes don’t like these kind! I am very proud to have successfully produced these, they taste very close to my mum’s. Whip these up for this lovey-dovey weekend and make people happy! You can thank my mum, not me! And as always…stay hungry and fit!

BONUS KITTY PIC

Sleeepy baby

Sleeepy baby

spacer

Maple Orange Butter Recipe

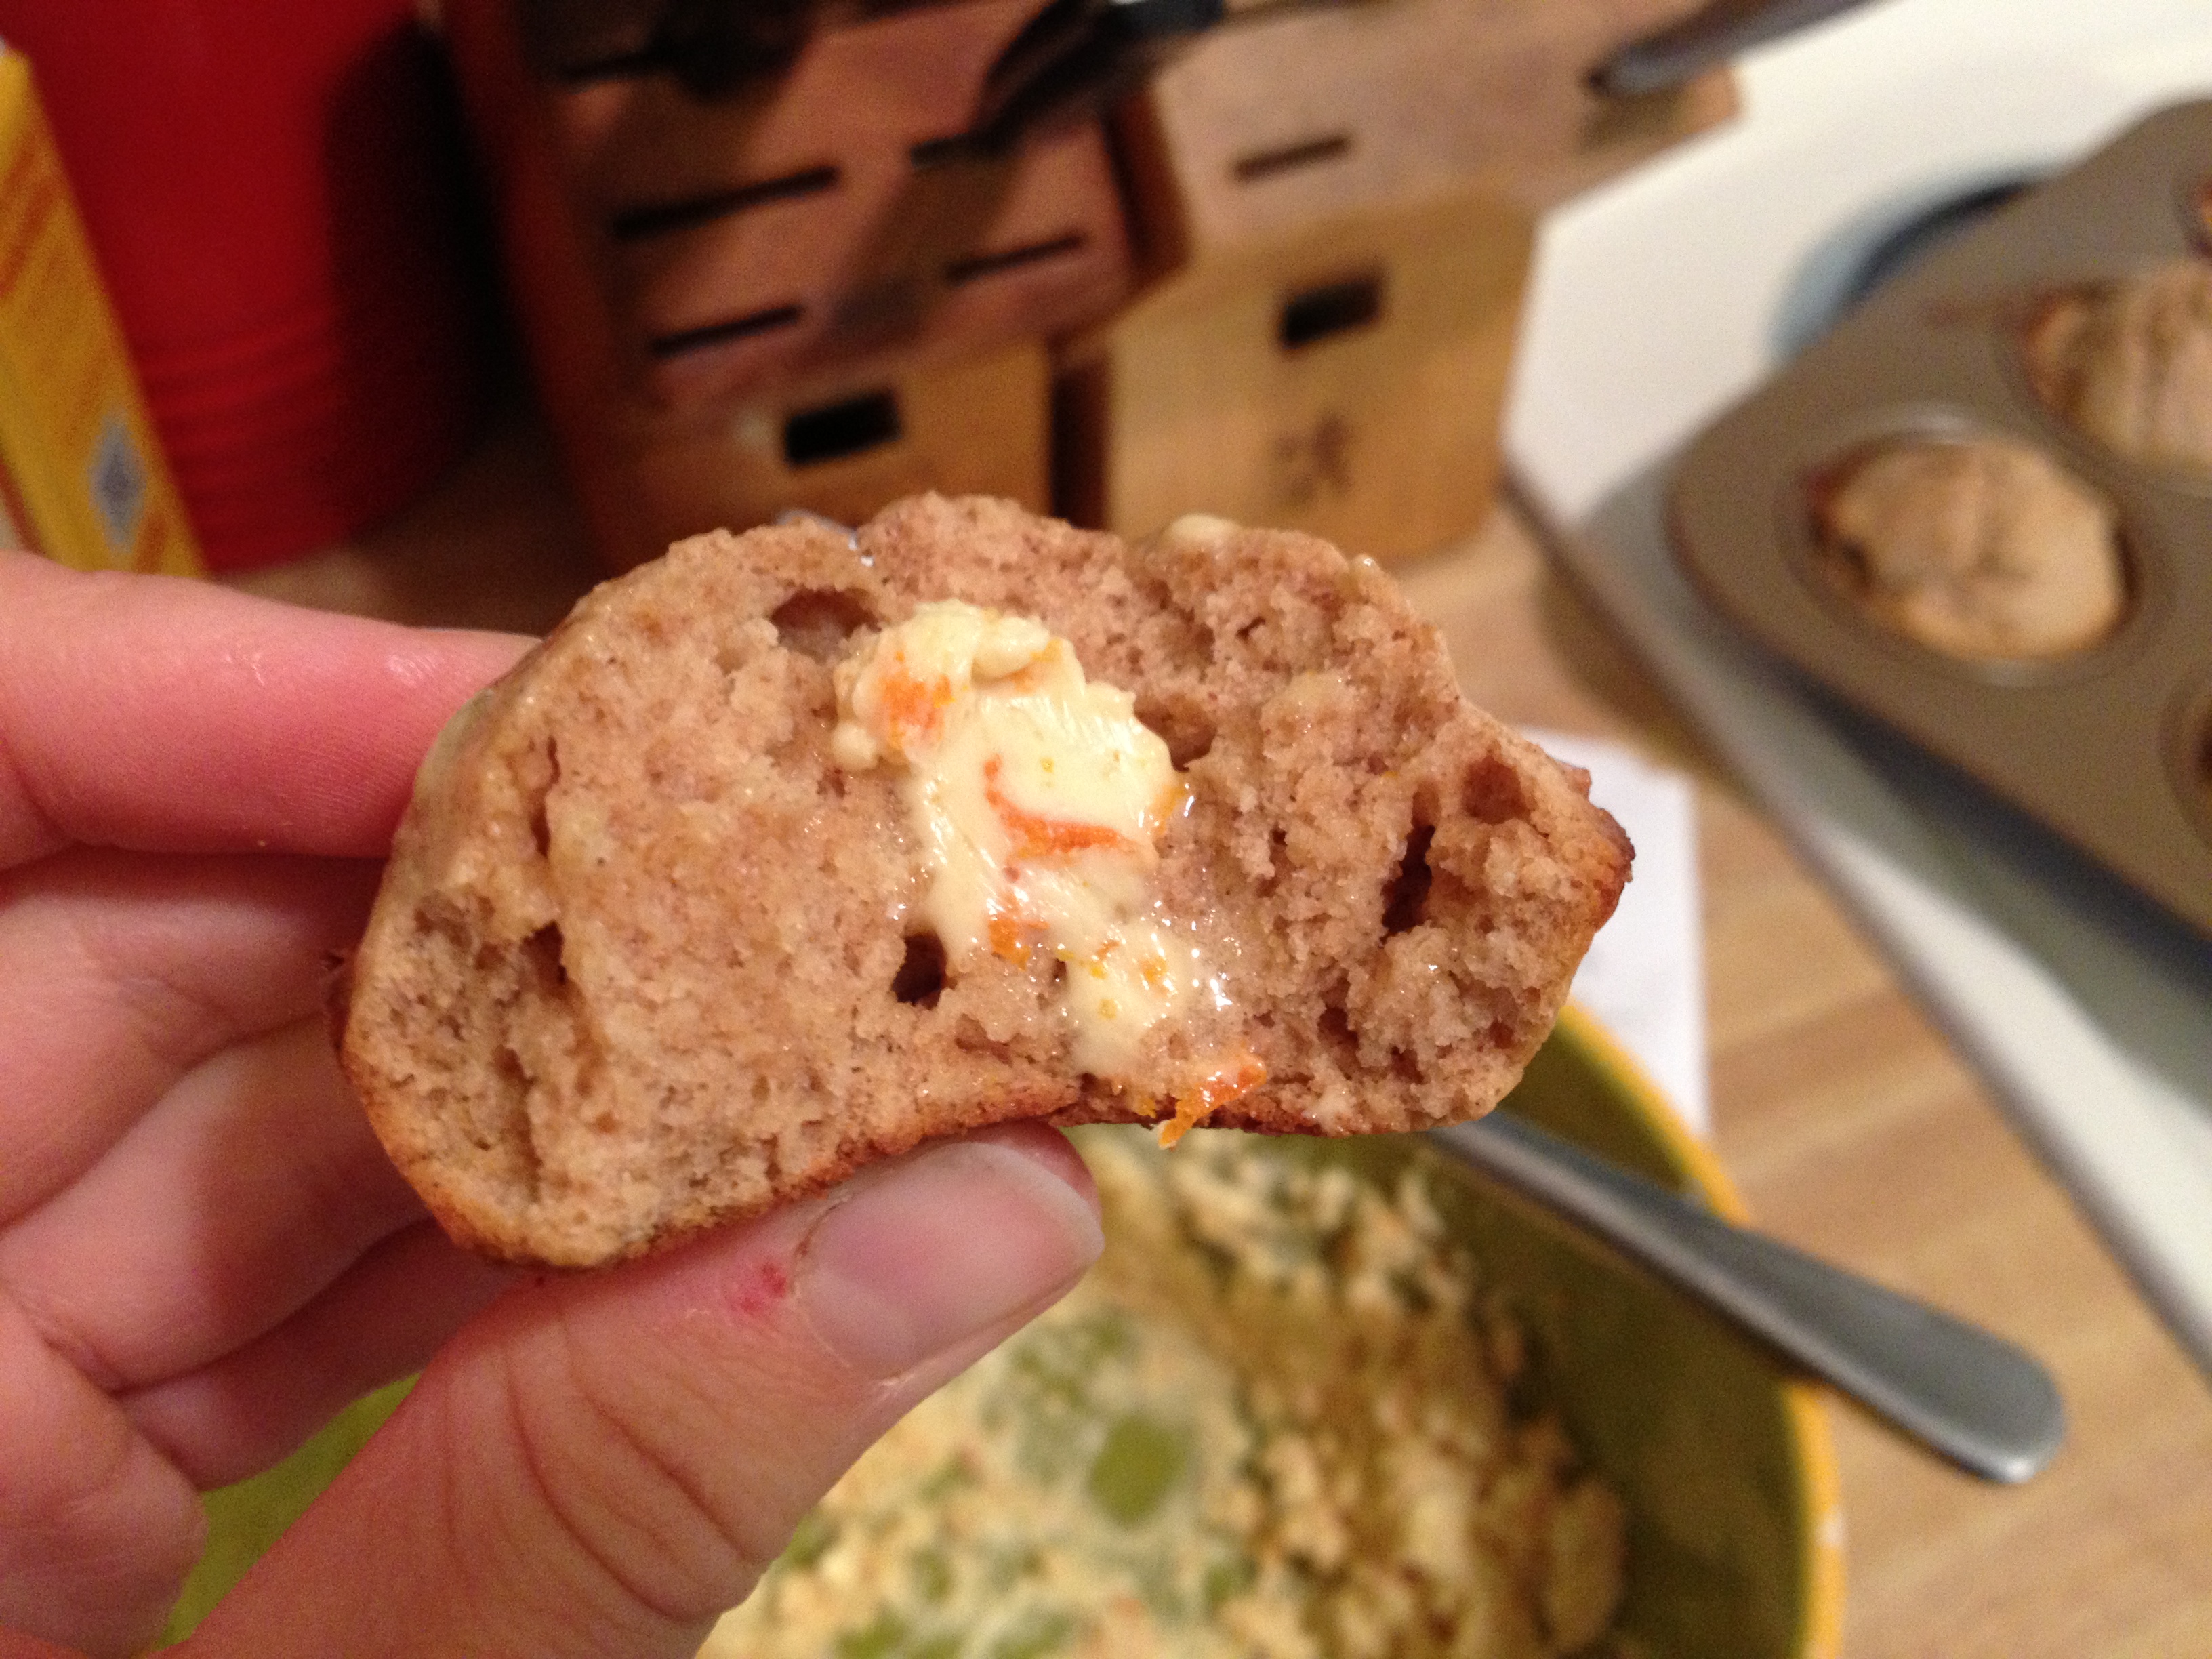
If you’re looking for a super simple, delicious recipe, then you’ve come to the right place! This post directly follows yesterday’s post as the two go together perfectly! This maple orange butter goes great on tons of things: muffins, pancakes, toast, waffles, scones–you name it! I took this right out of the Cuisinart mixer cookbook and it was so good, I wanted to share. Easy as 1-2-3!

photo 2 (35)

  • Creation Time: 5 minutes

Ingredients

  • 1/2 cup butter
  • 2 tbsp maple syrup
  • zest of 1 orange (I did two clementines)

Directions

1. Beat the butter in a bowl until nice and light

photo 1 (15)

2. Grate the orange into zest and mix that in along with the maple syrup

3. Refrigerate until ready to serve

Yeah, I was serious…1-2-3! Whip this up in five minutes to make another baked product have some shazaam! It’s easy, it’s delicious, it’s butter! Use this recipe to stay hungry and fit!

  • Question of the Day: Do you ever used flavored butters?

BONUS KITTY PIC

photo (30)

spacer