Archives

Deliciously Easy Sundae Crumble Topping

Here is a super simple recipe for a somewhat natural/healthier but still insanely delicious topping for your ice cream sundaes. (Because we all know how much Hungry & Fit love their ice cream sundaes.)

Ingredients

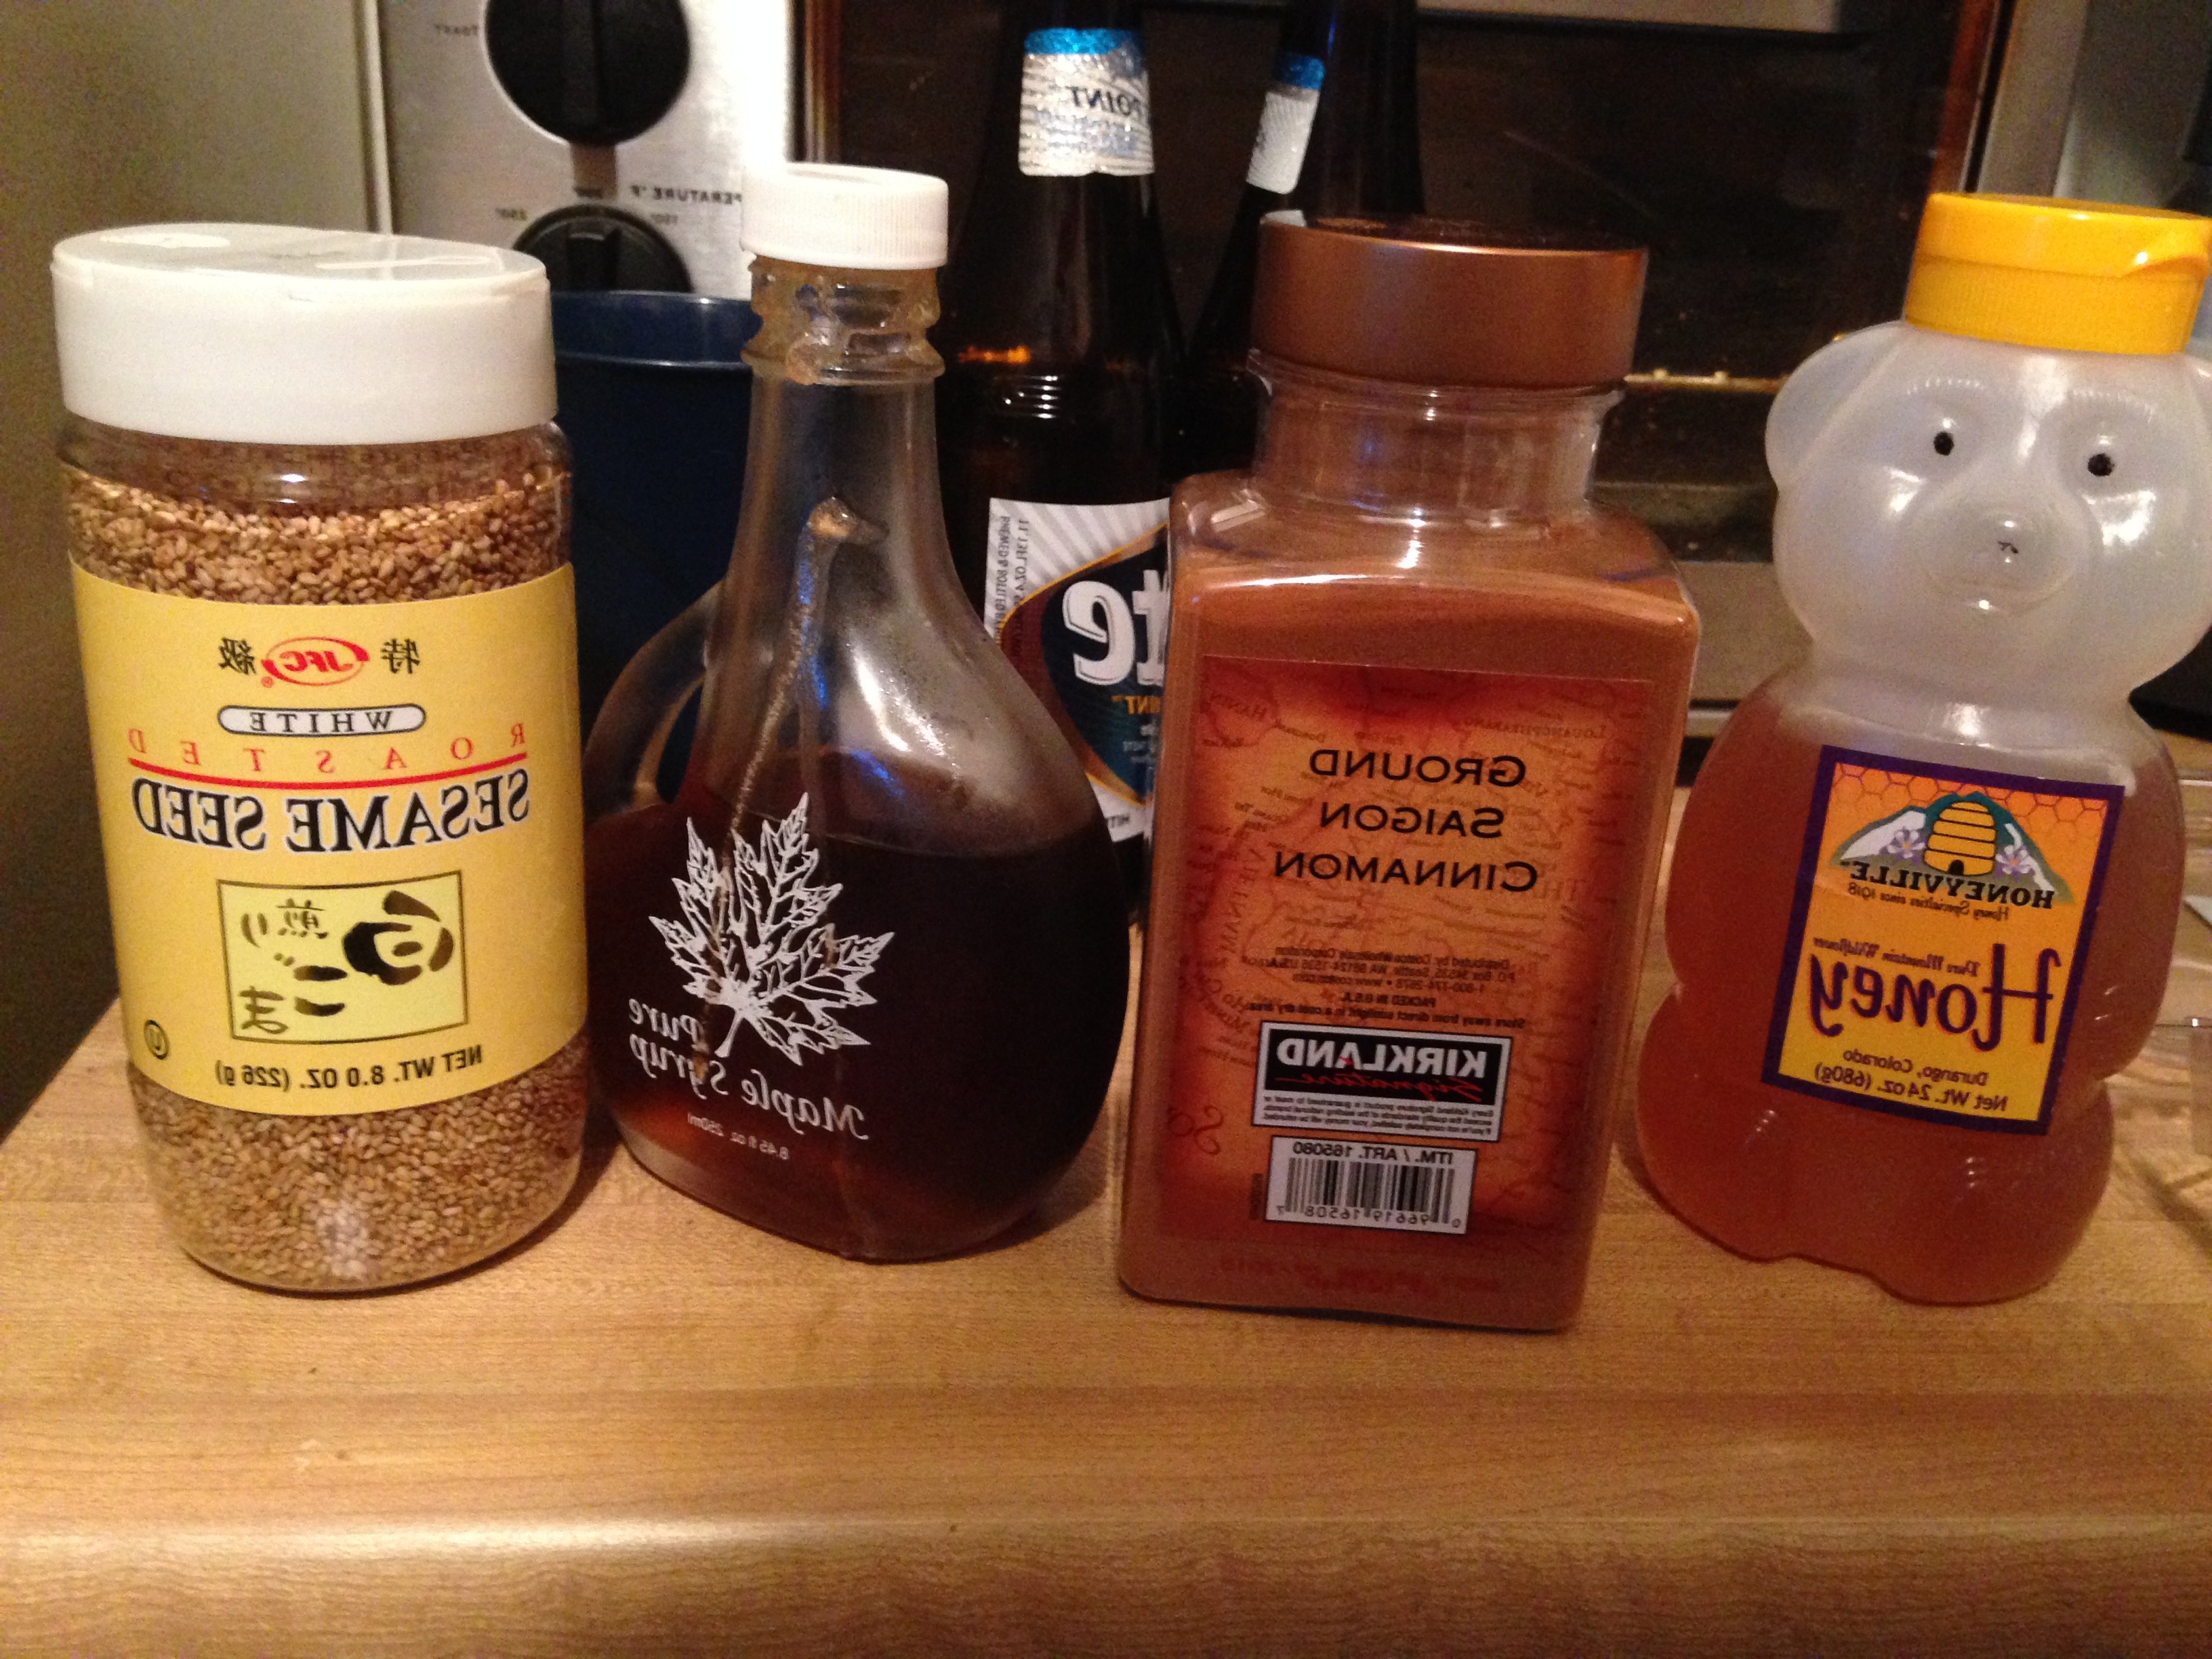
Ingredients

We always buy clearance...

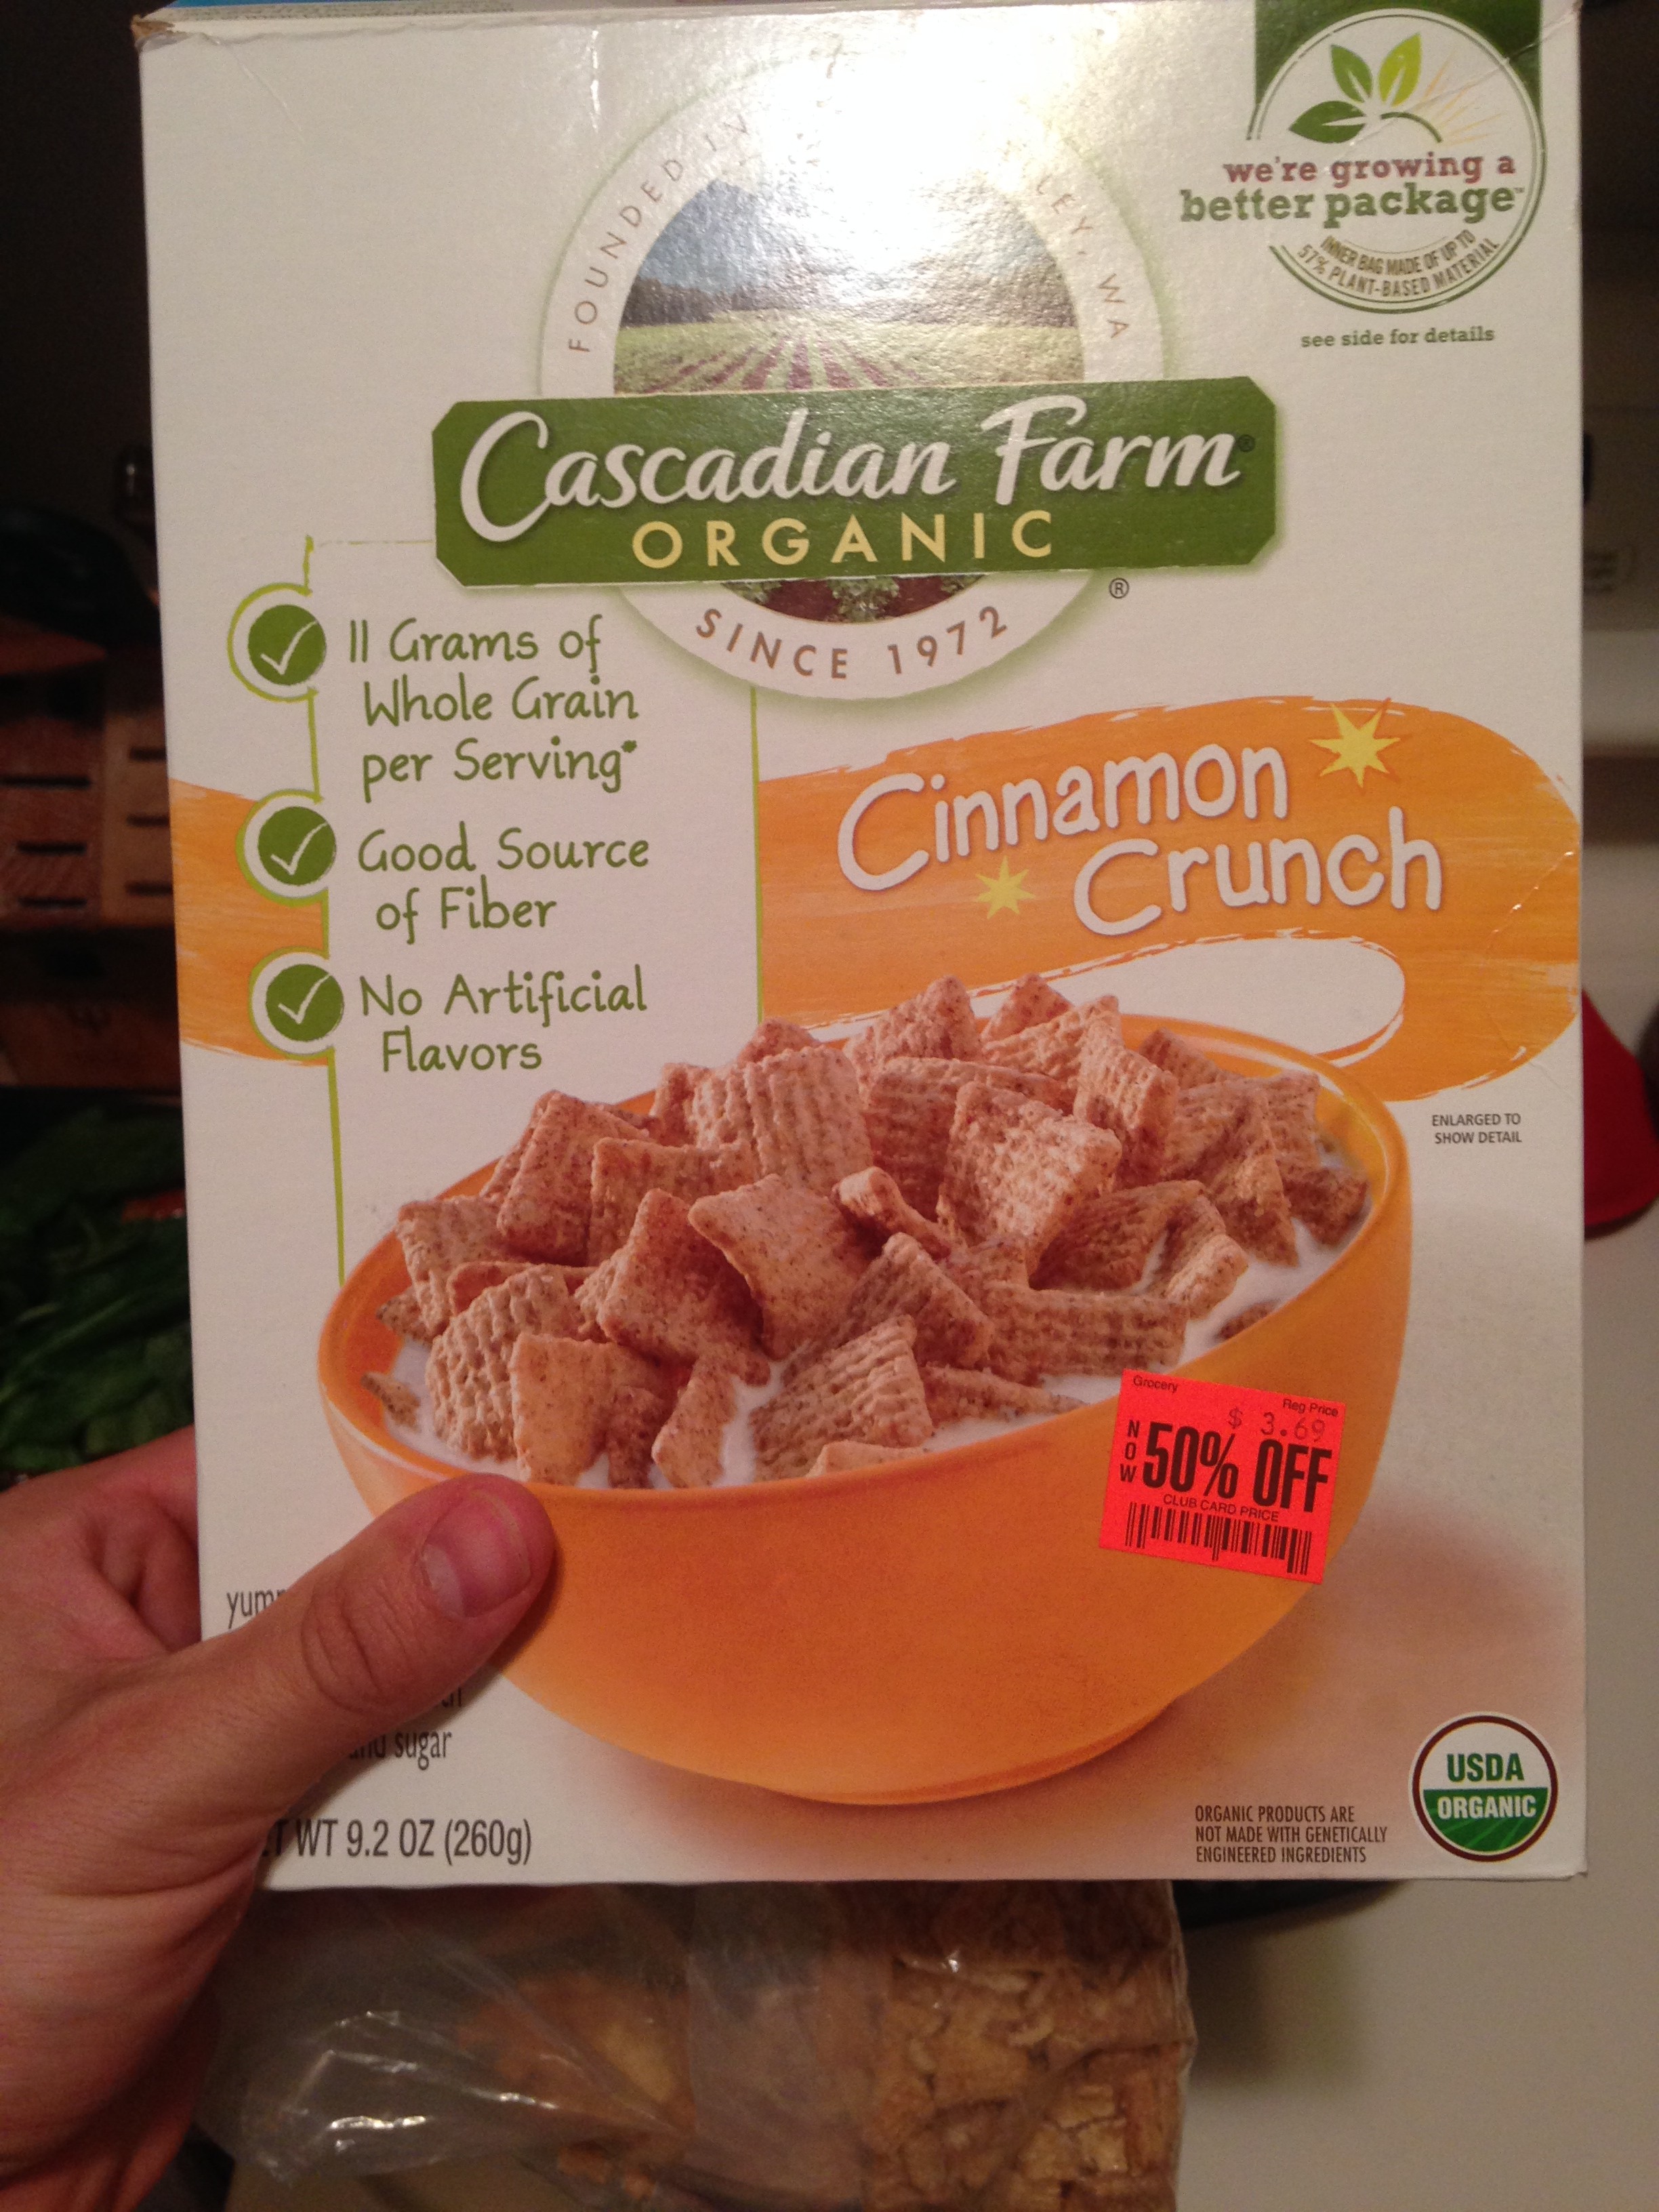
We always buy clearance…

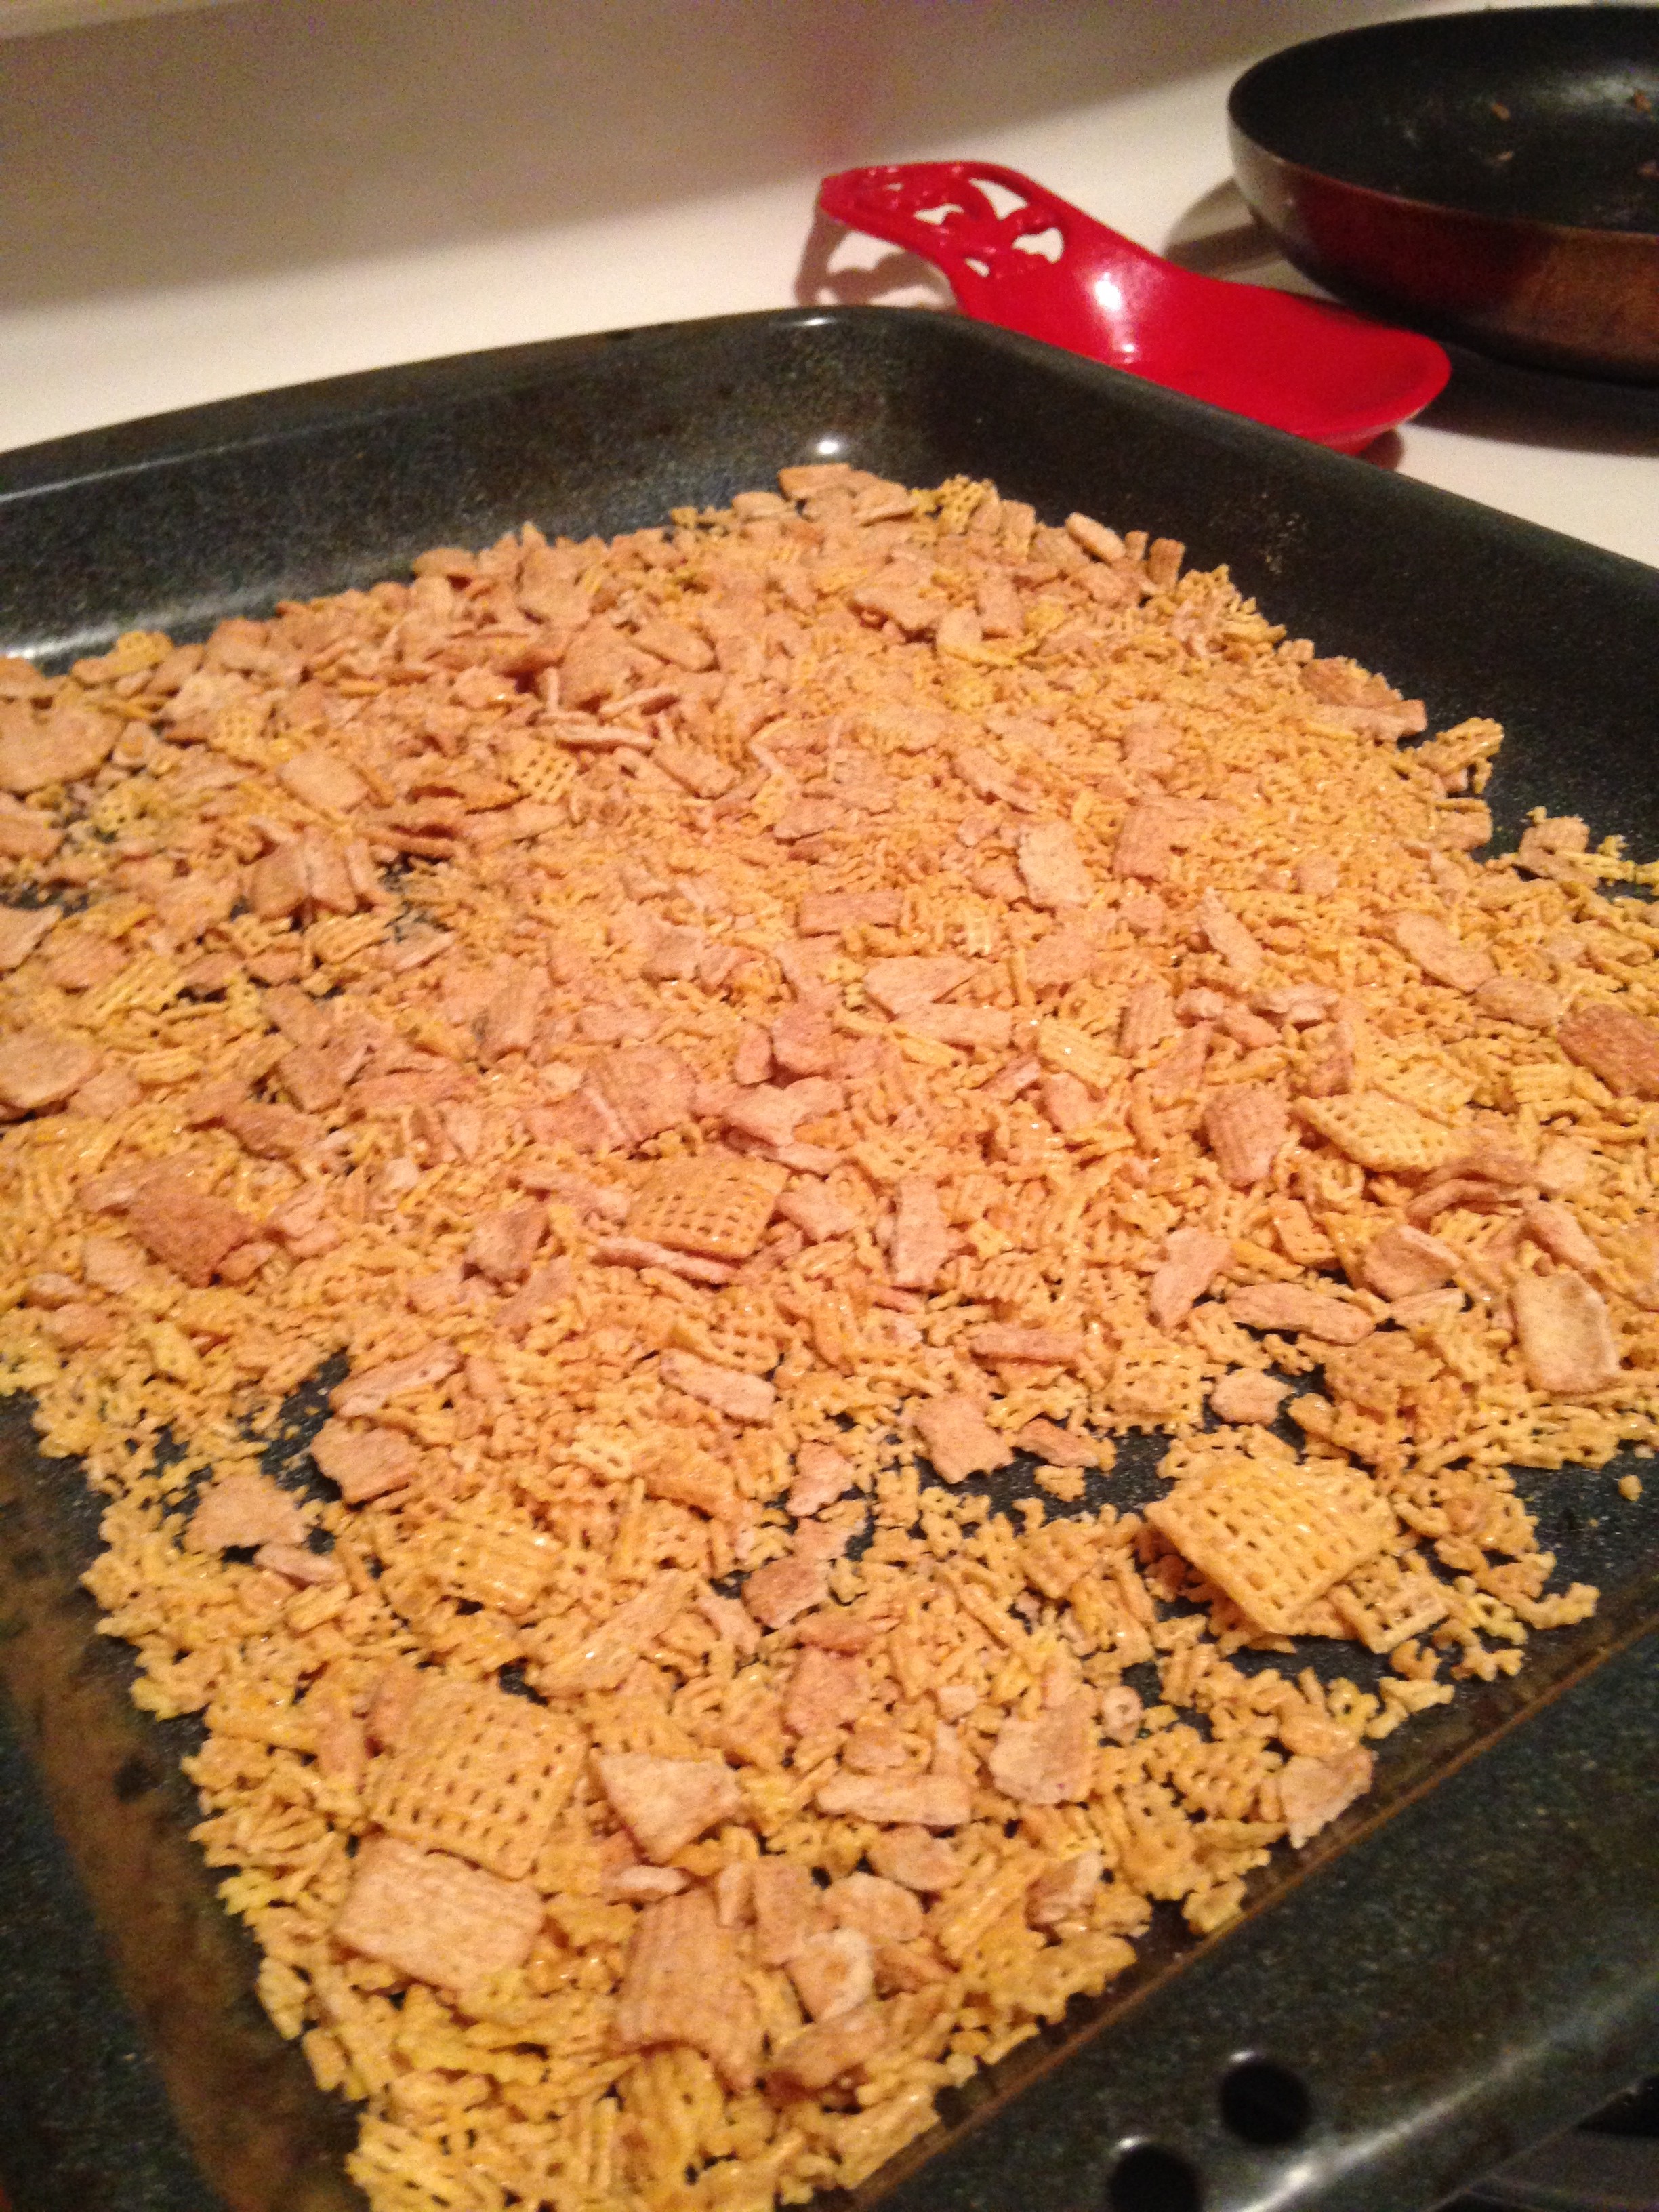
Before

Before

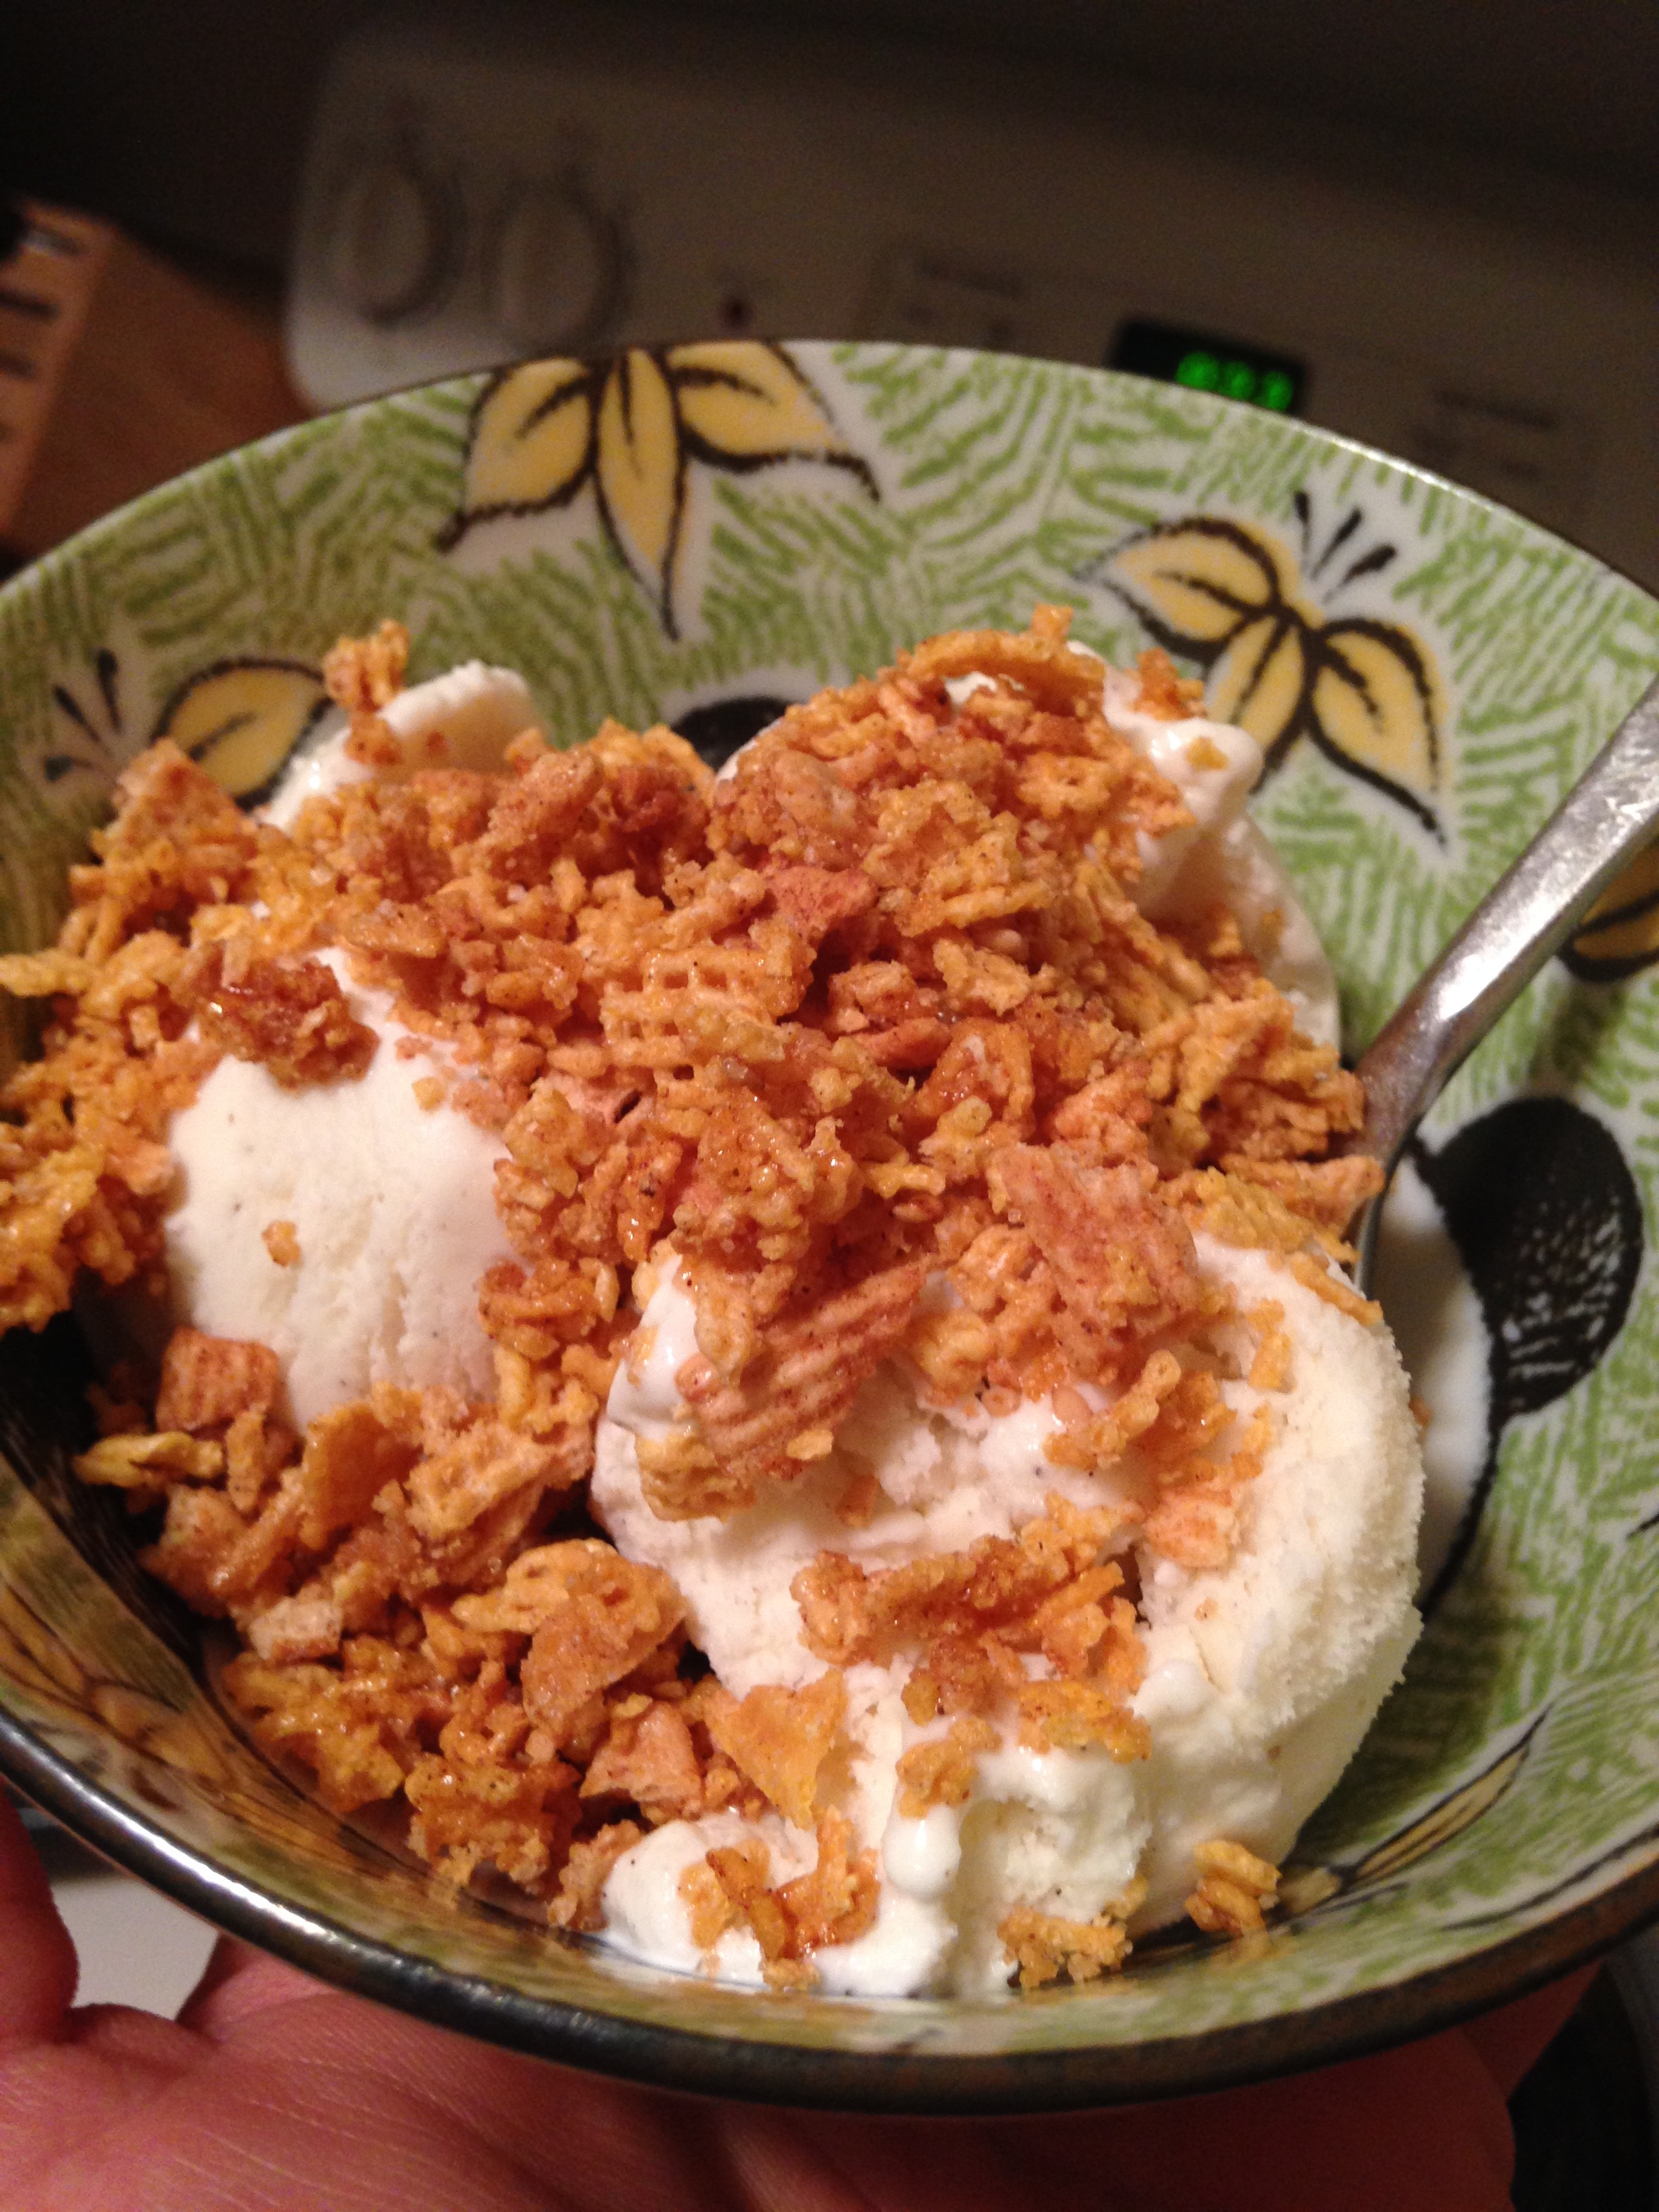
and after!

and after!

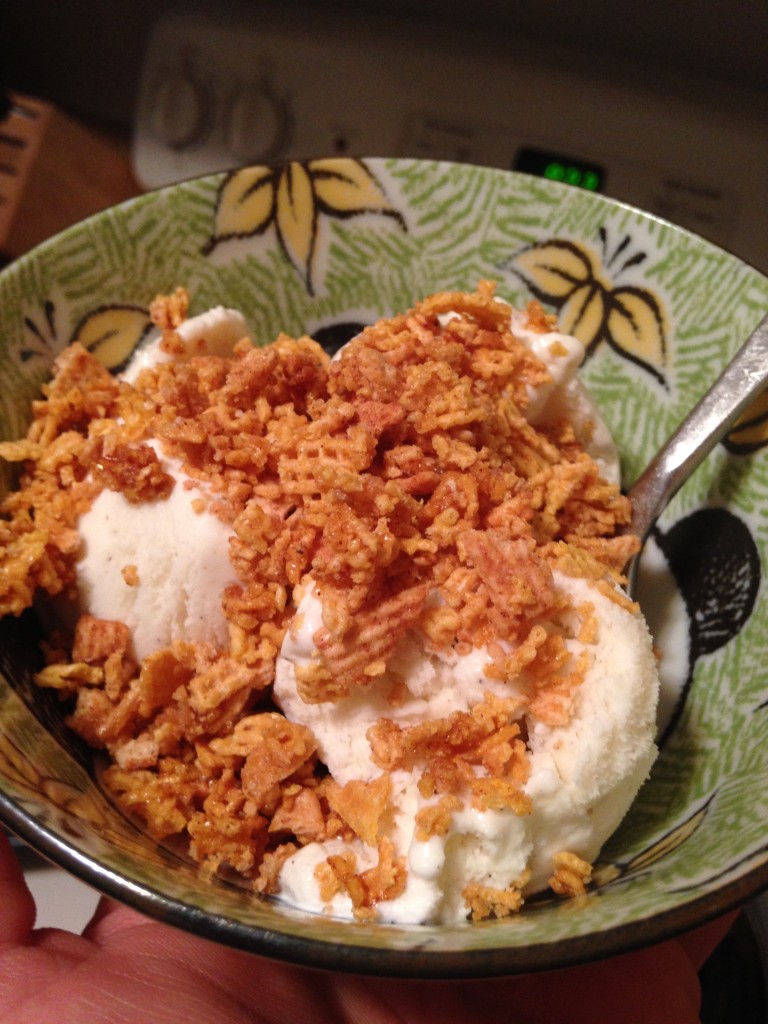
yum

yum

Delicious Cinnamon Sundae Crumble
A healthier way to spruce up your sundae without sacrificing taste
Write a review
Print
Prep Time
5 min
Cook Time
10 min
Prep Time
5 min
Cook Time
10 min
Ingredients
  1. Cereal - you see that we used a healthier cinnamon crunch cereal. Chex would be great because they taste amazing and would absorb the flavor of the other ingredients well.
  2. Cinnamon - Whatever kind you like.
  3. Honey - High quality honey!
  4. Maple Syrup - REAL, dark maple syrup. The good stuff.
  5. Sesame Seeds - any color that you want.
Instructions
  1. Preheat your oven to bake at 350 degrees.
  2. Crush the cereal in its original bag.
  3. Pour it into a large mixing bowl. Preferably glass.
  4. Add the maple syrup for an initial coating.
  5. Now coat with the honey as well.
  6. Add the cinnamon while folding together gently.
  7. Spread the mixture across a baking sheet. (You may treat it with oil or butter to prevent sticking. I did not and had no problem with sticking.)
  8. Add the sesame seeds over the spread out mixture and place in the oven.
  9. Bake until golden brown or your kitchen smells amazing
  10. Stir and top on your ice cream
Notes
  1. I did not use brown sugar but that would taste amazing. It would just be a little more difficult to evenly spread in this mixture because of it's tendency to stick together, even with a nice little moisture bear in your jar
hungry and fit https://hungryandfit.com/
I hope you enjoy this homemade sundae topping. Feel free to add fresh fruits, especially berries or bananas on top. As always, stay hungry and fit!

*Question of the Day: What are your favorite toppings for ice cream sundaes?

spacer

Stuffed Strawberries (4th of July Recipe)

This is a re-post of a recipe made last year, but it was so good, I had to bring it up again! It’s a perfect 4th of July recipe and it’s healthy and delicious. Sure, pie and such are popular on Independence Day, but you can’t beat this. You get your sweet fix without the heaviness of the usual foods. This special dish involves fruit, dairy, and happiness and doesn’t take longer than 15-20 minutes to make! I got it from here and added a bit of lemon into it and took out some sugar.

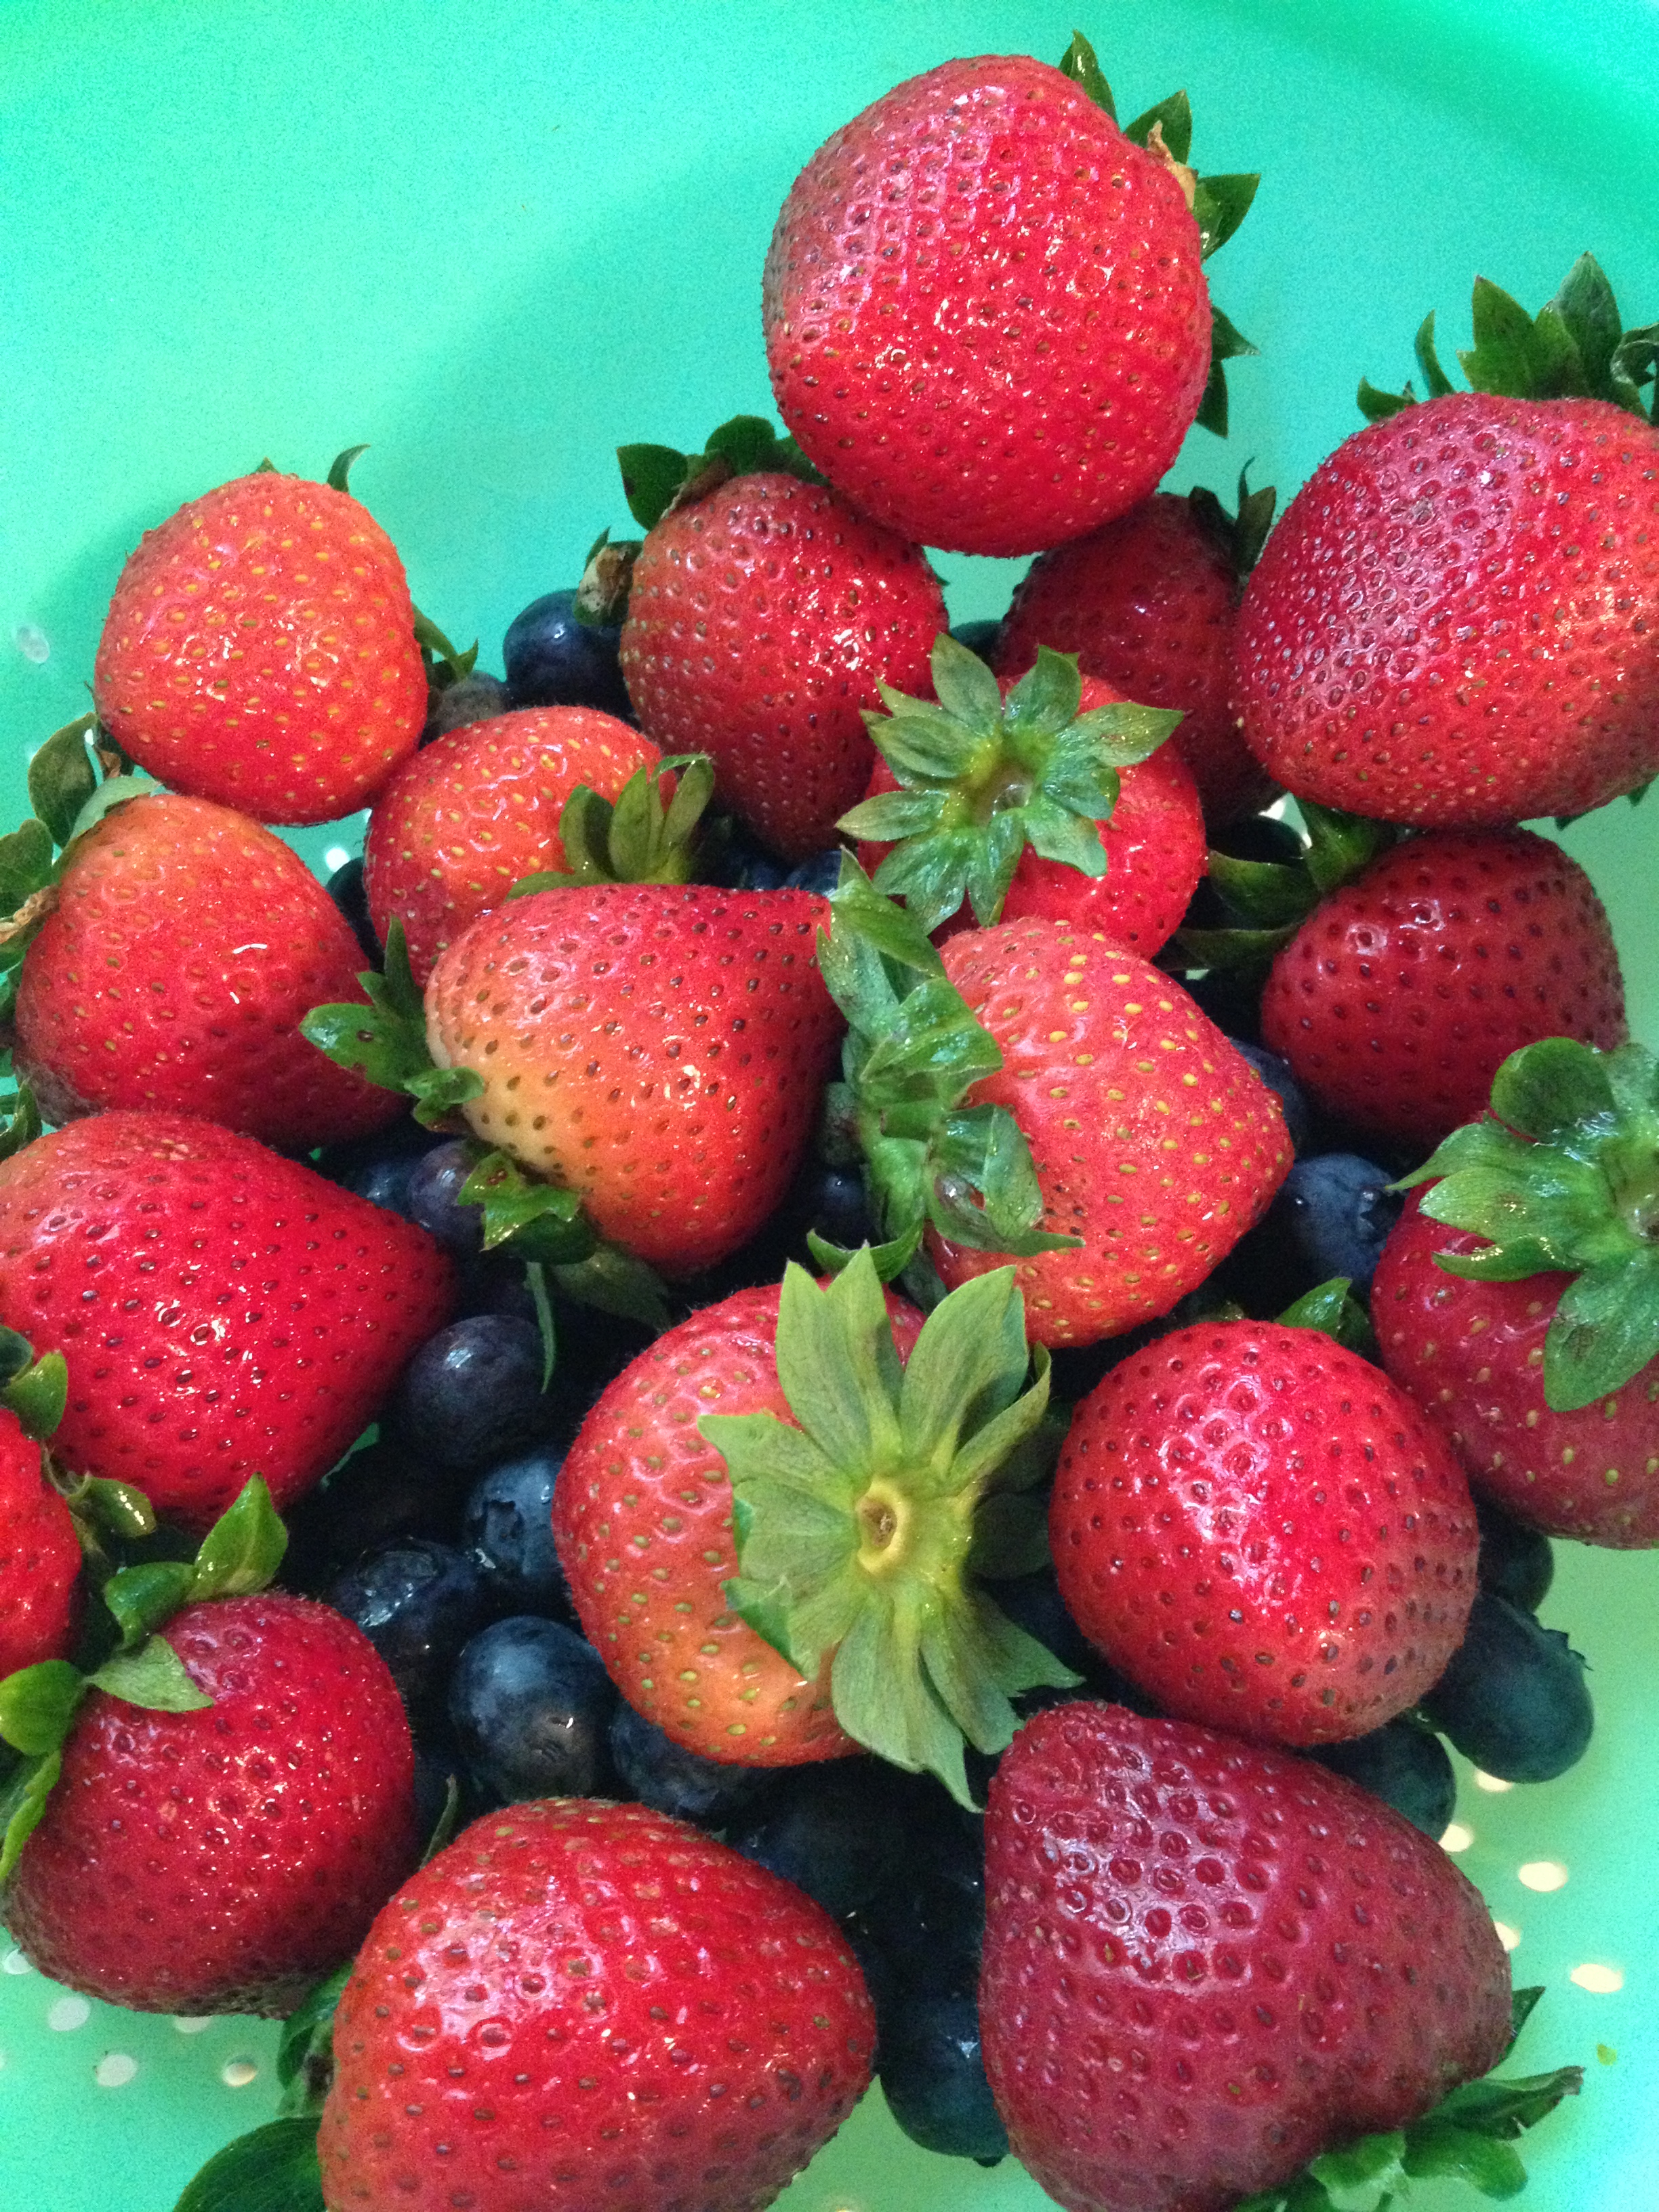
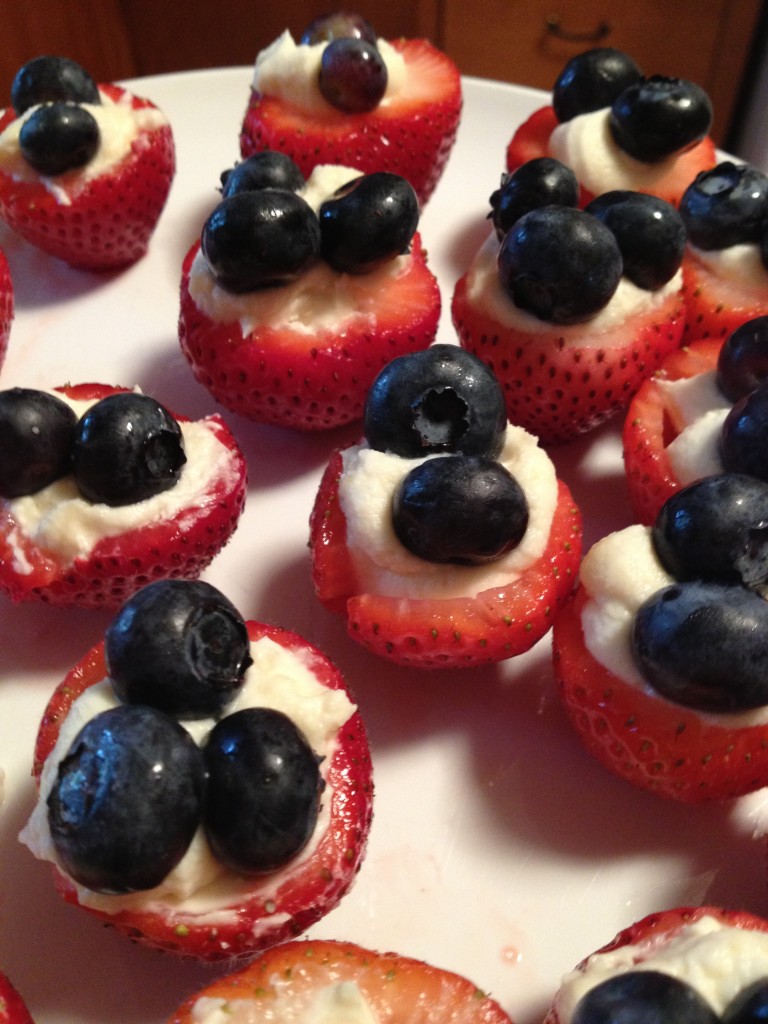
Beautiful sight

Beautiful sight

photo 2 (5)

photo 3 (5)

Hard not to eat it all

Hard not to eat it all

photo 5 (3)

Yum yum yum

Yum yum yum

photo 2 (6)

Stuffed Strawberries
A healthy treat for the 4th of July
Write a review
Print
Prep Time
15 min
Prep Time
15 min
Ingredients
  1. a tin of strawberries (I just usually get the regular pound at the grocery)
  2. a tin of blueberries (same thing)
  3. 5 oz marscapone
  4. juice of a lemon
  5. lemon zest
  6. 2 tbsp powdered sugar
  7. 1 tsp vanilla extract
Instructions
  1. Wash the fruit and pat dry all of it
  2. Take the strawberries and cut the green ends off and also a little portion of the tip so they can stand upright on a platter
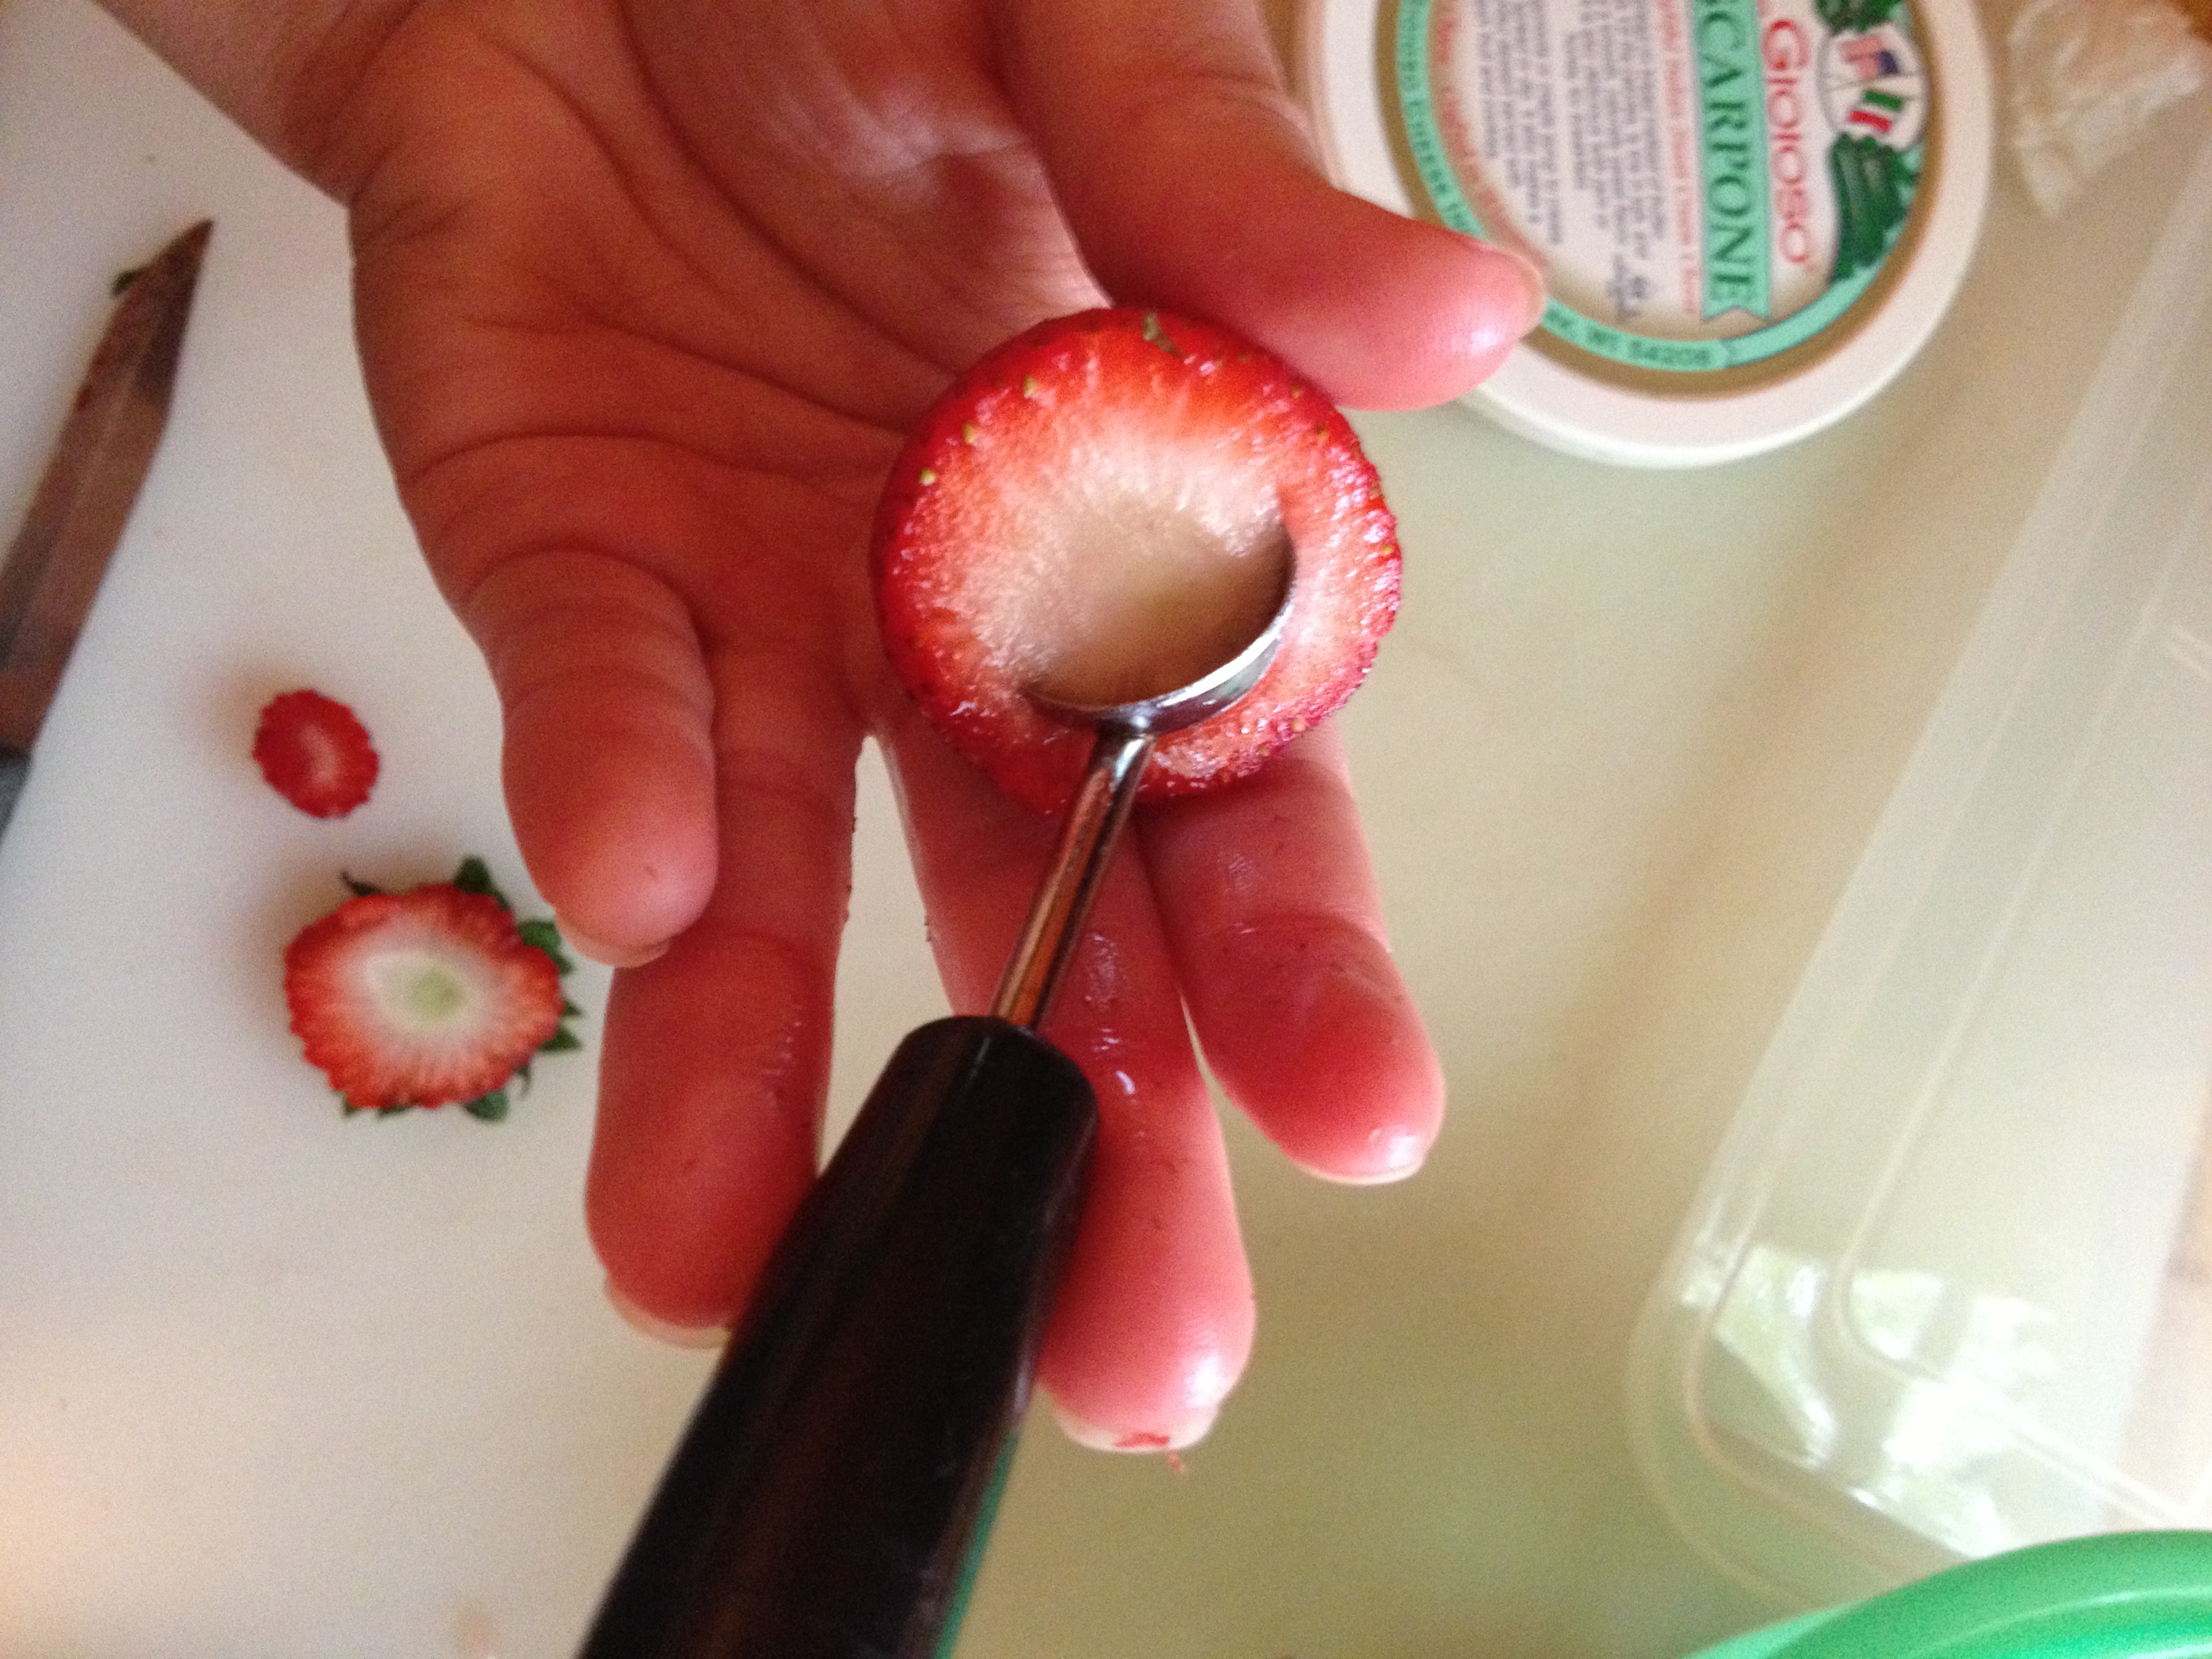
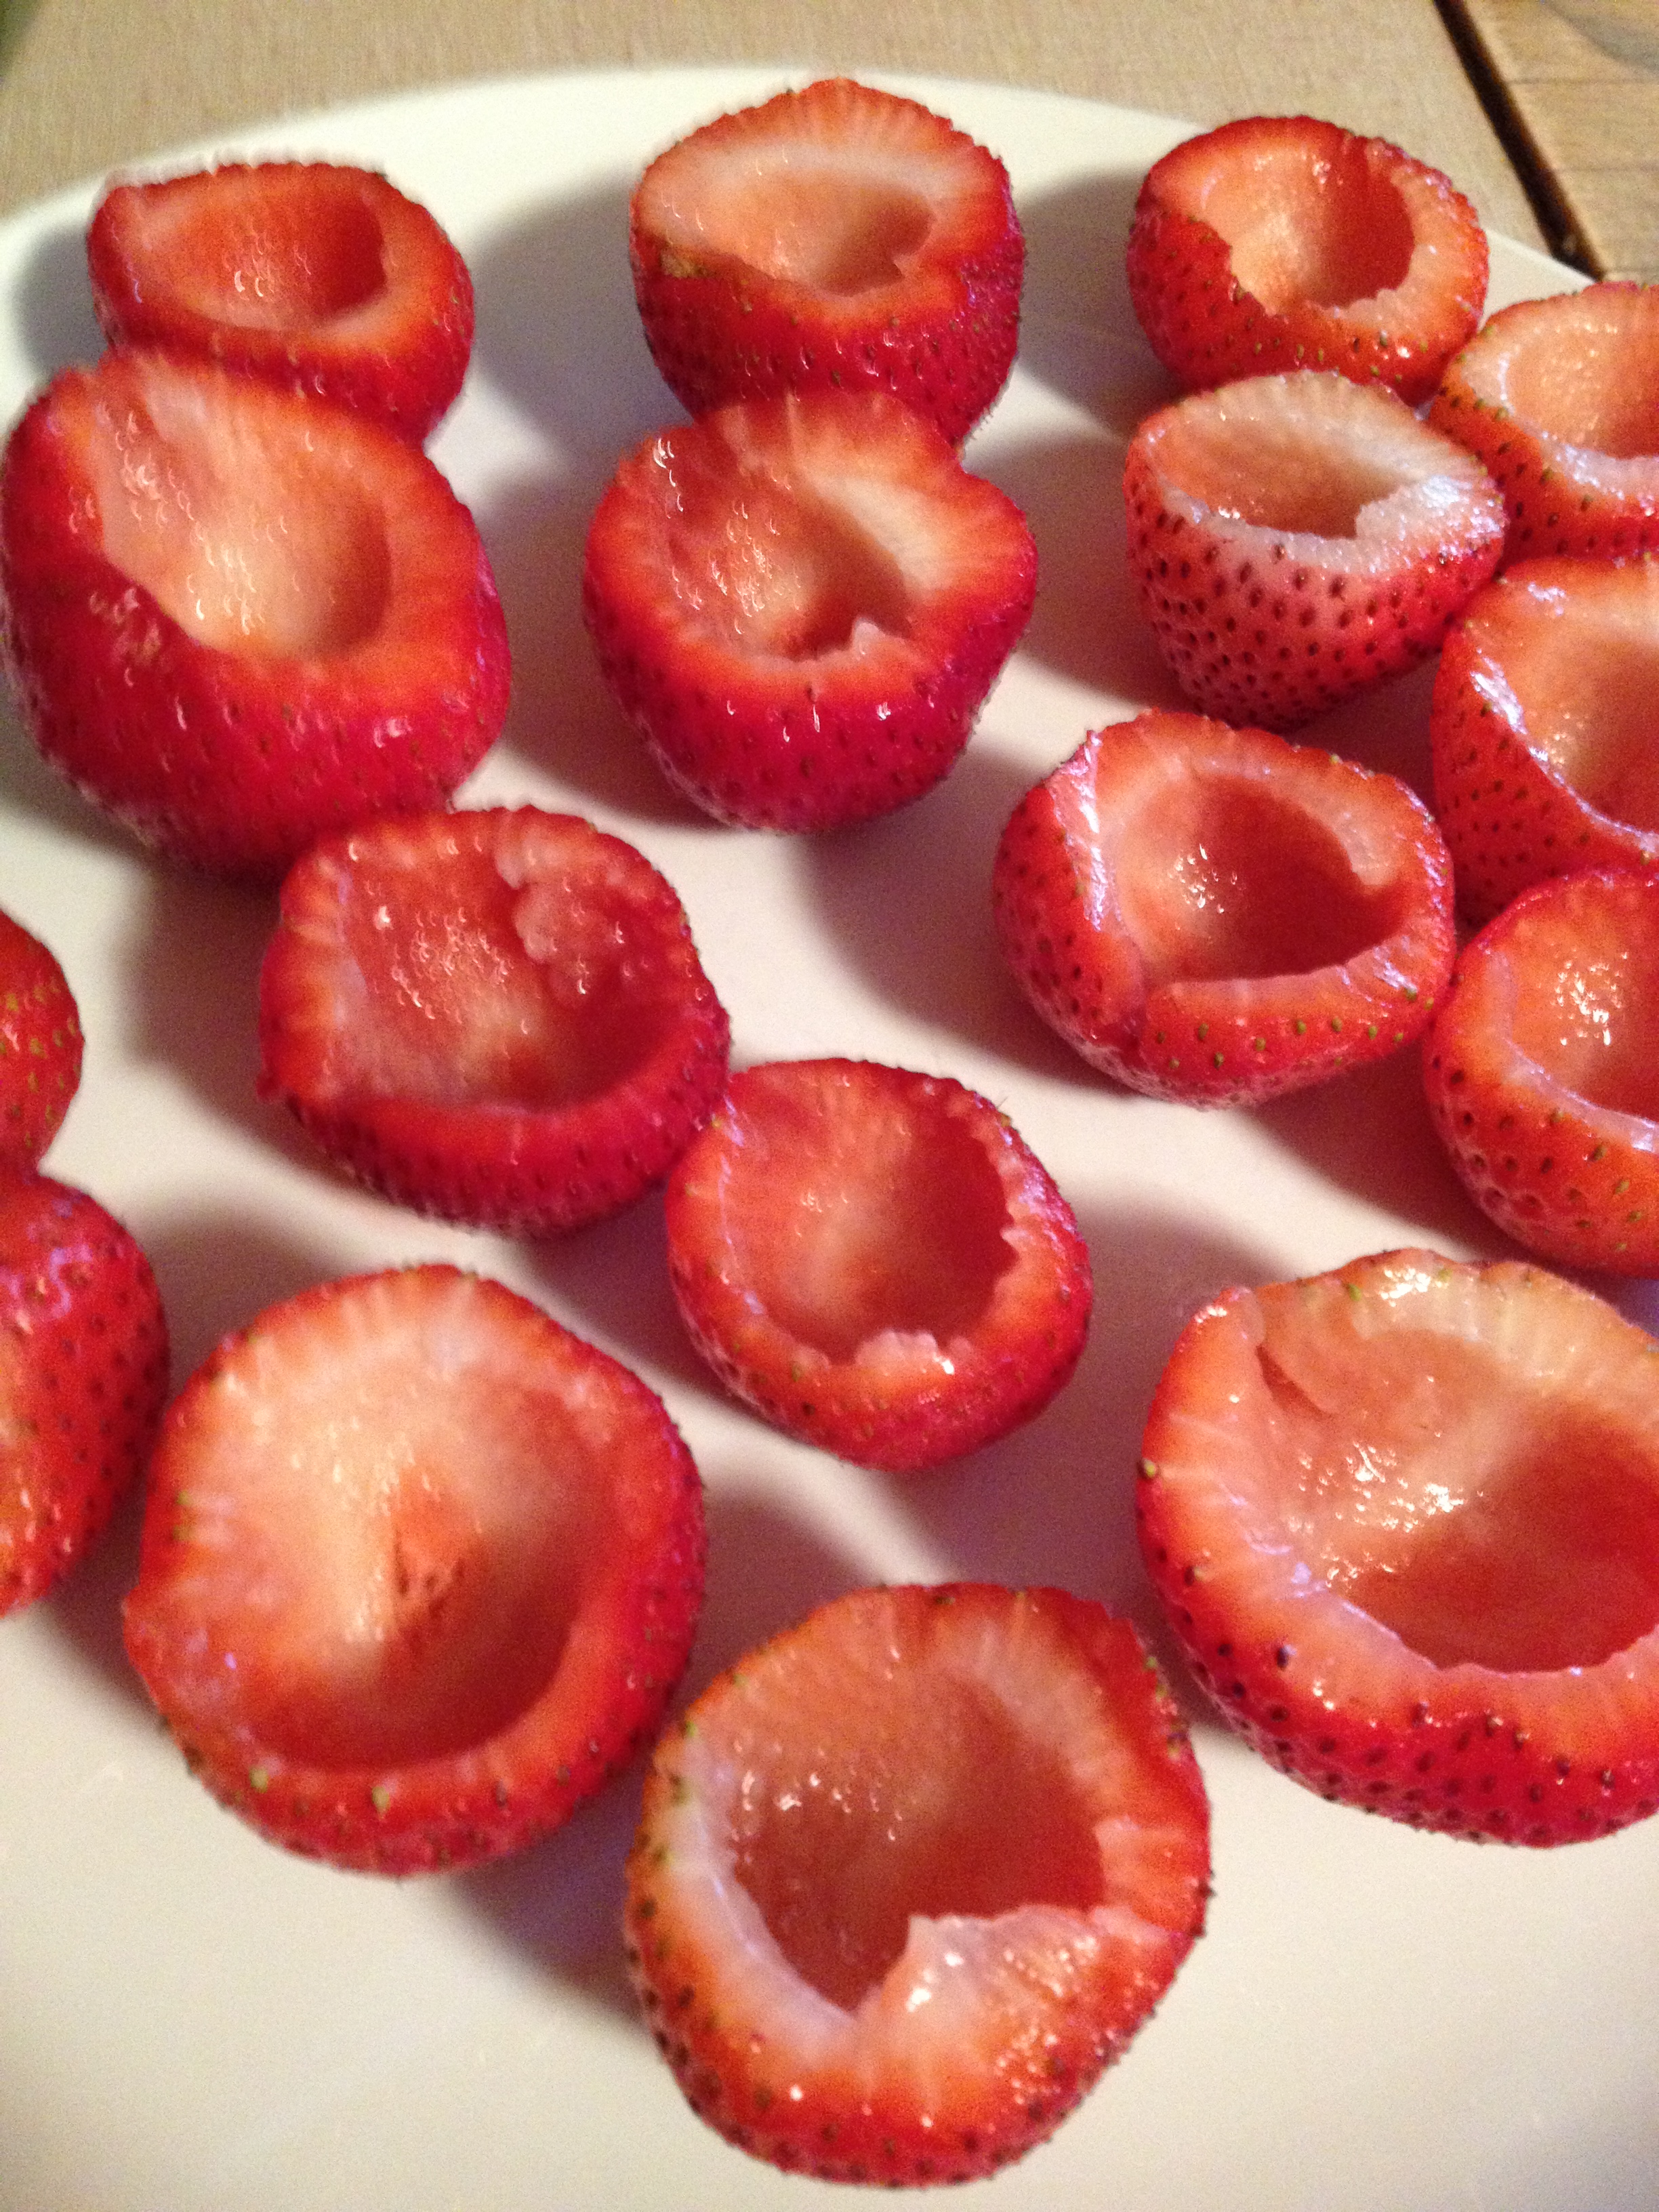
  3. Take a melon baller and ball out of the bottom, creating a crevasse.
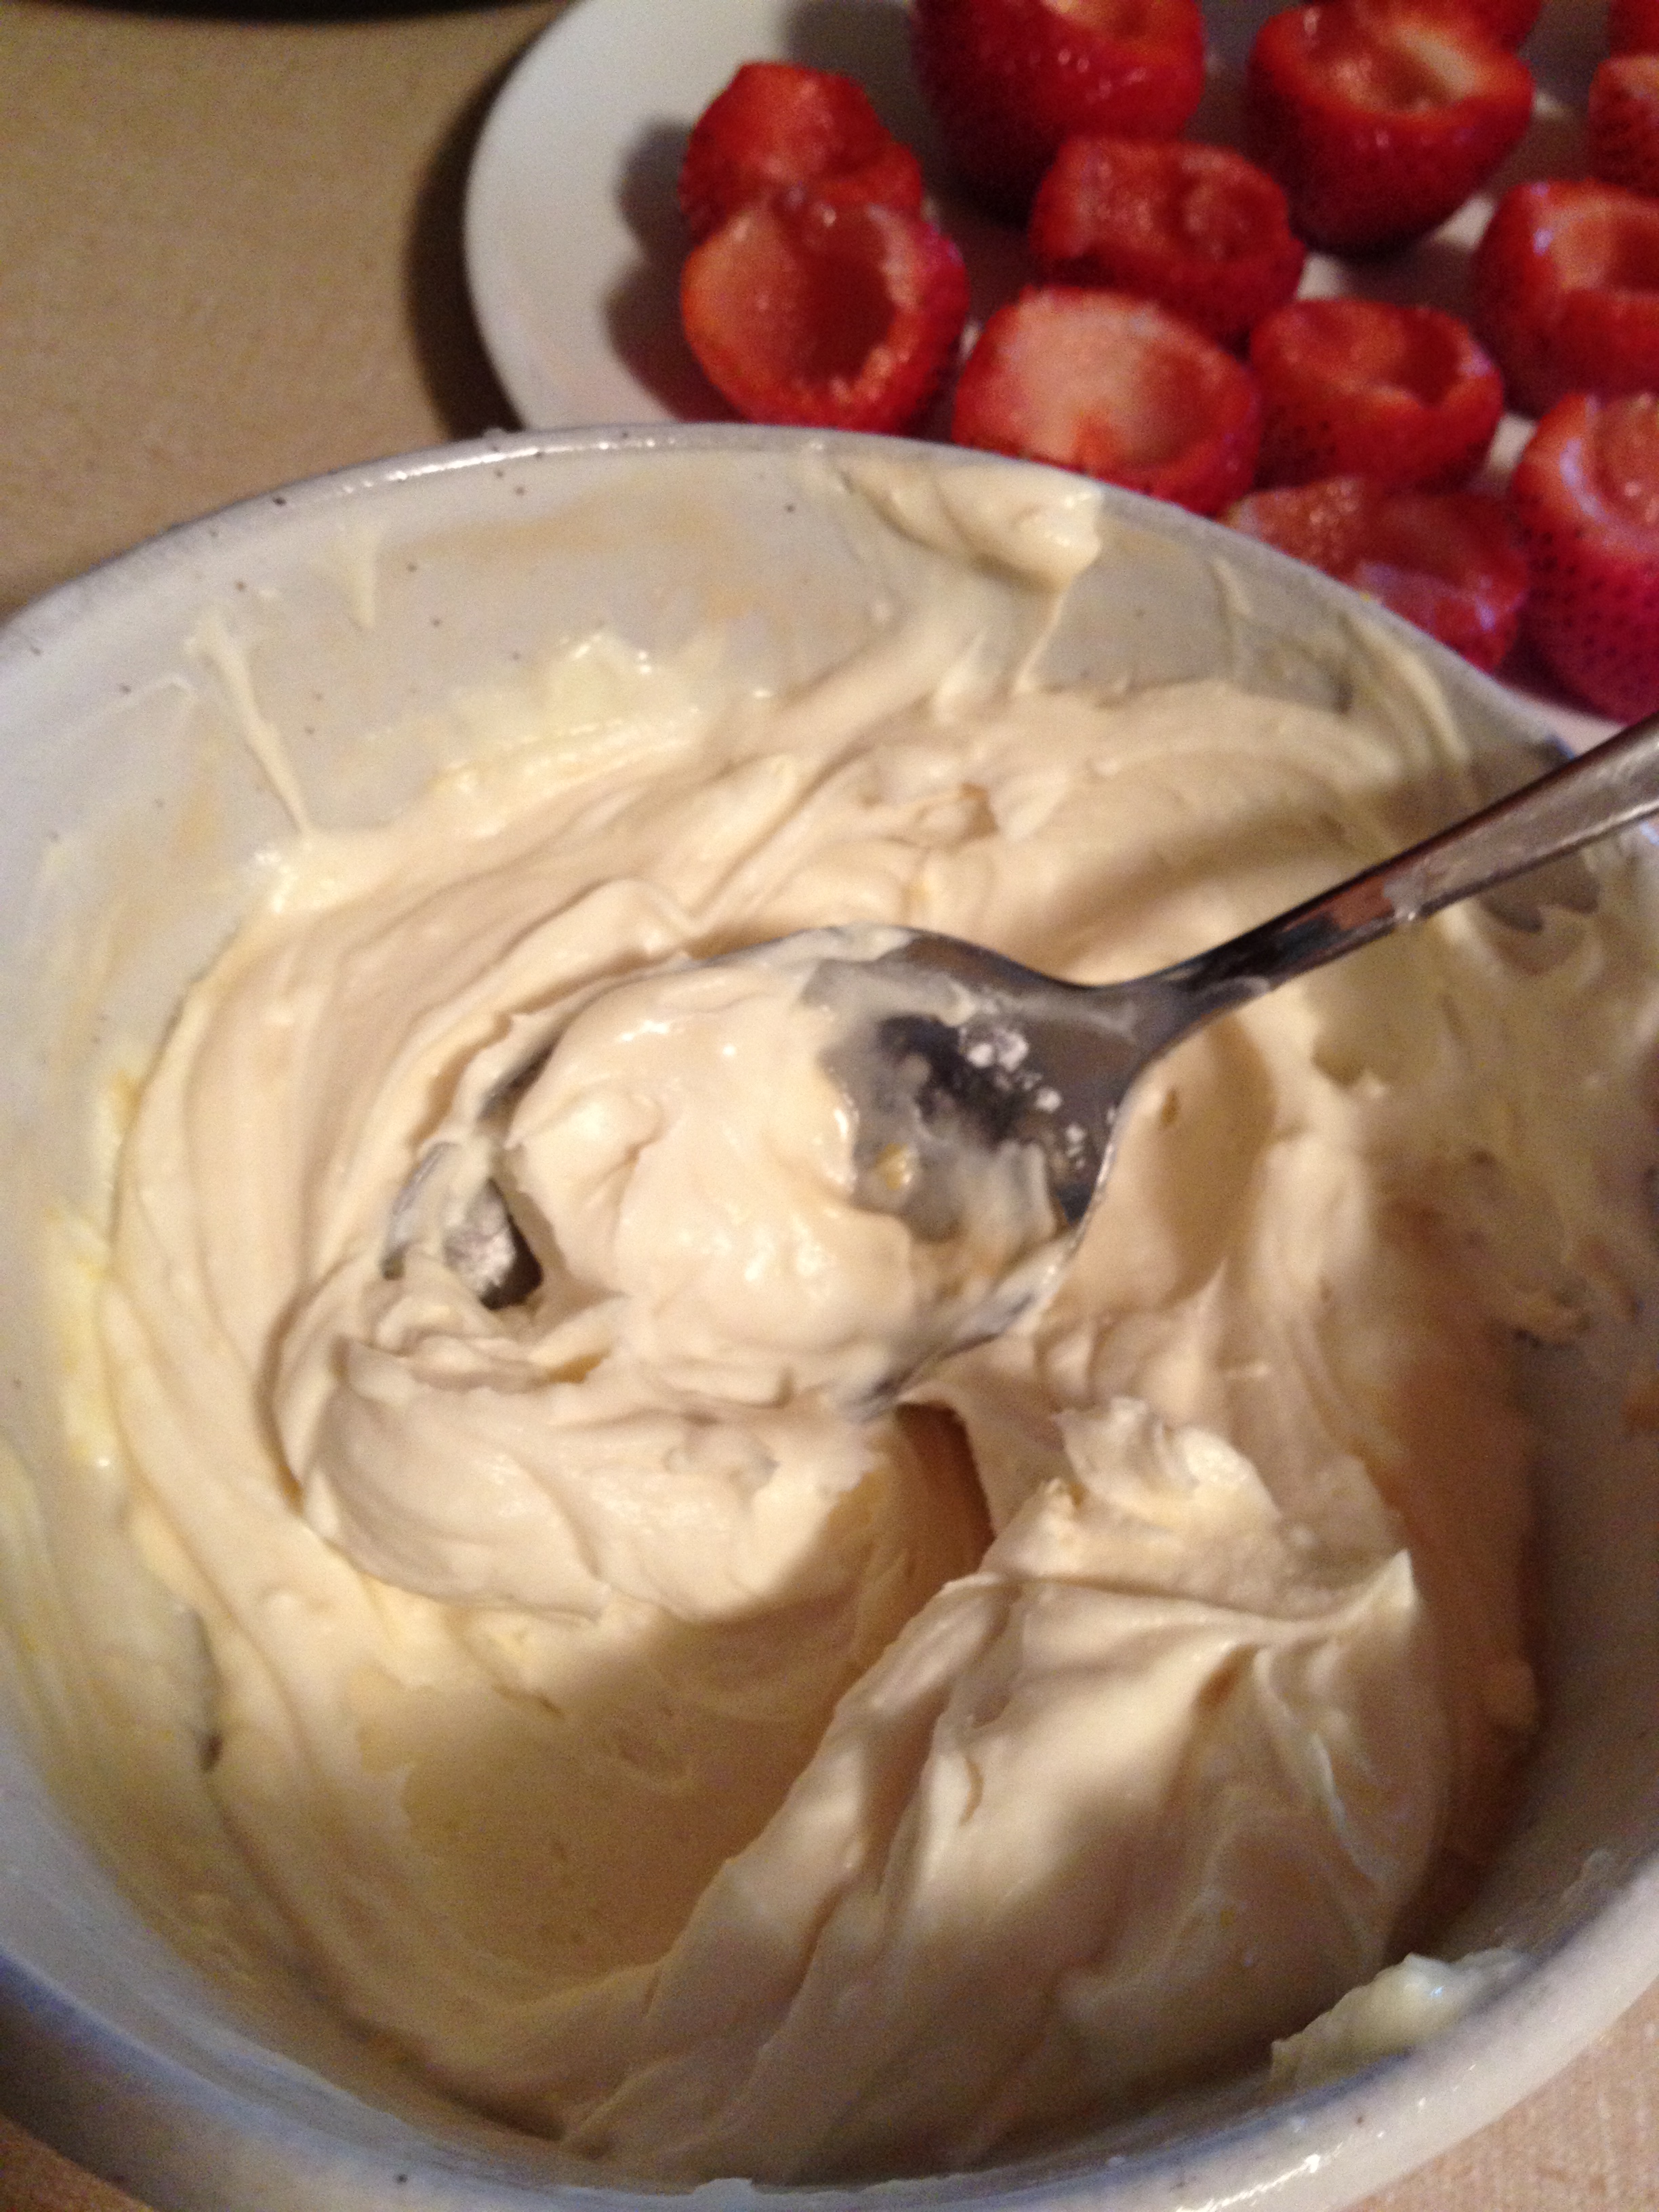
  4. Once your strawberries are all "pitted" and plated, let's turn to the filling. Put 5 ounces of marscapone cheese and put it in a small-medium bowl
  5. I would next do the lemon juice. Cut the lemon in half and squeeeeeze all that juice out.
  6. Next, grind the lemon on a grater and get a good amount of zest (people say 1 tsp, but I eyeball it)
  7. Then, throw the powdered sugar and vanilla in and stir! Mix it all up really well
  8. Now comes the most difficult part: take the marscapone mixture and put it into a re-sealable bag and snip a corner off. Use this contraption to fill the pits in the strawberries up with the mixture
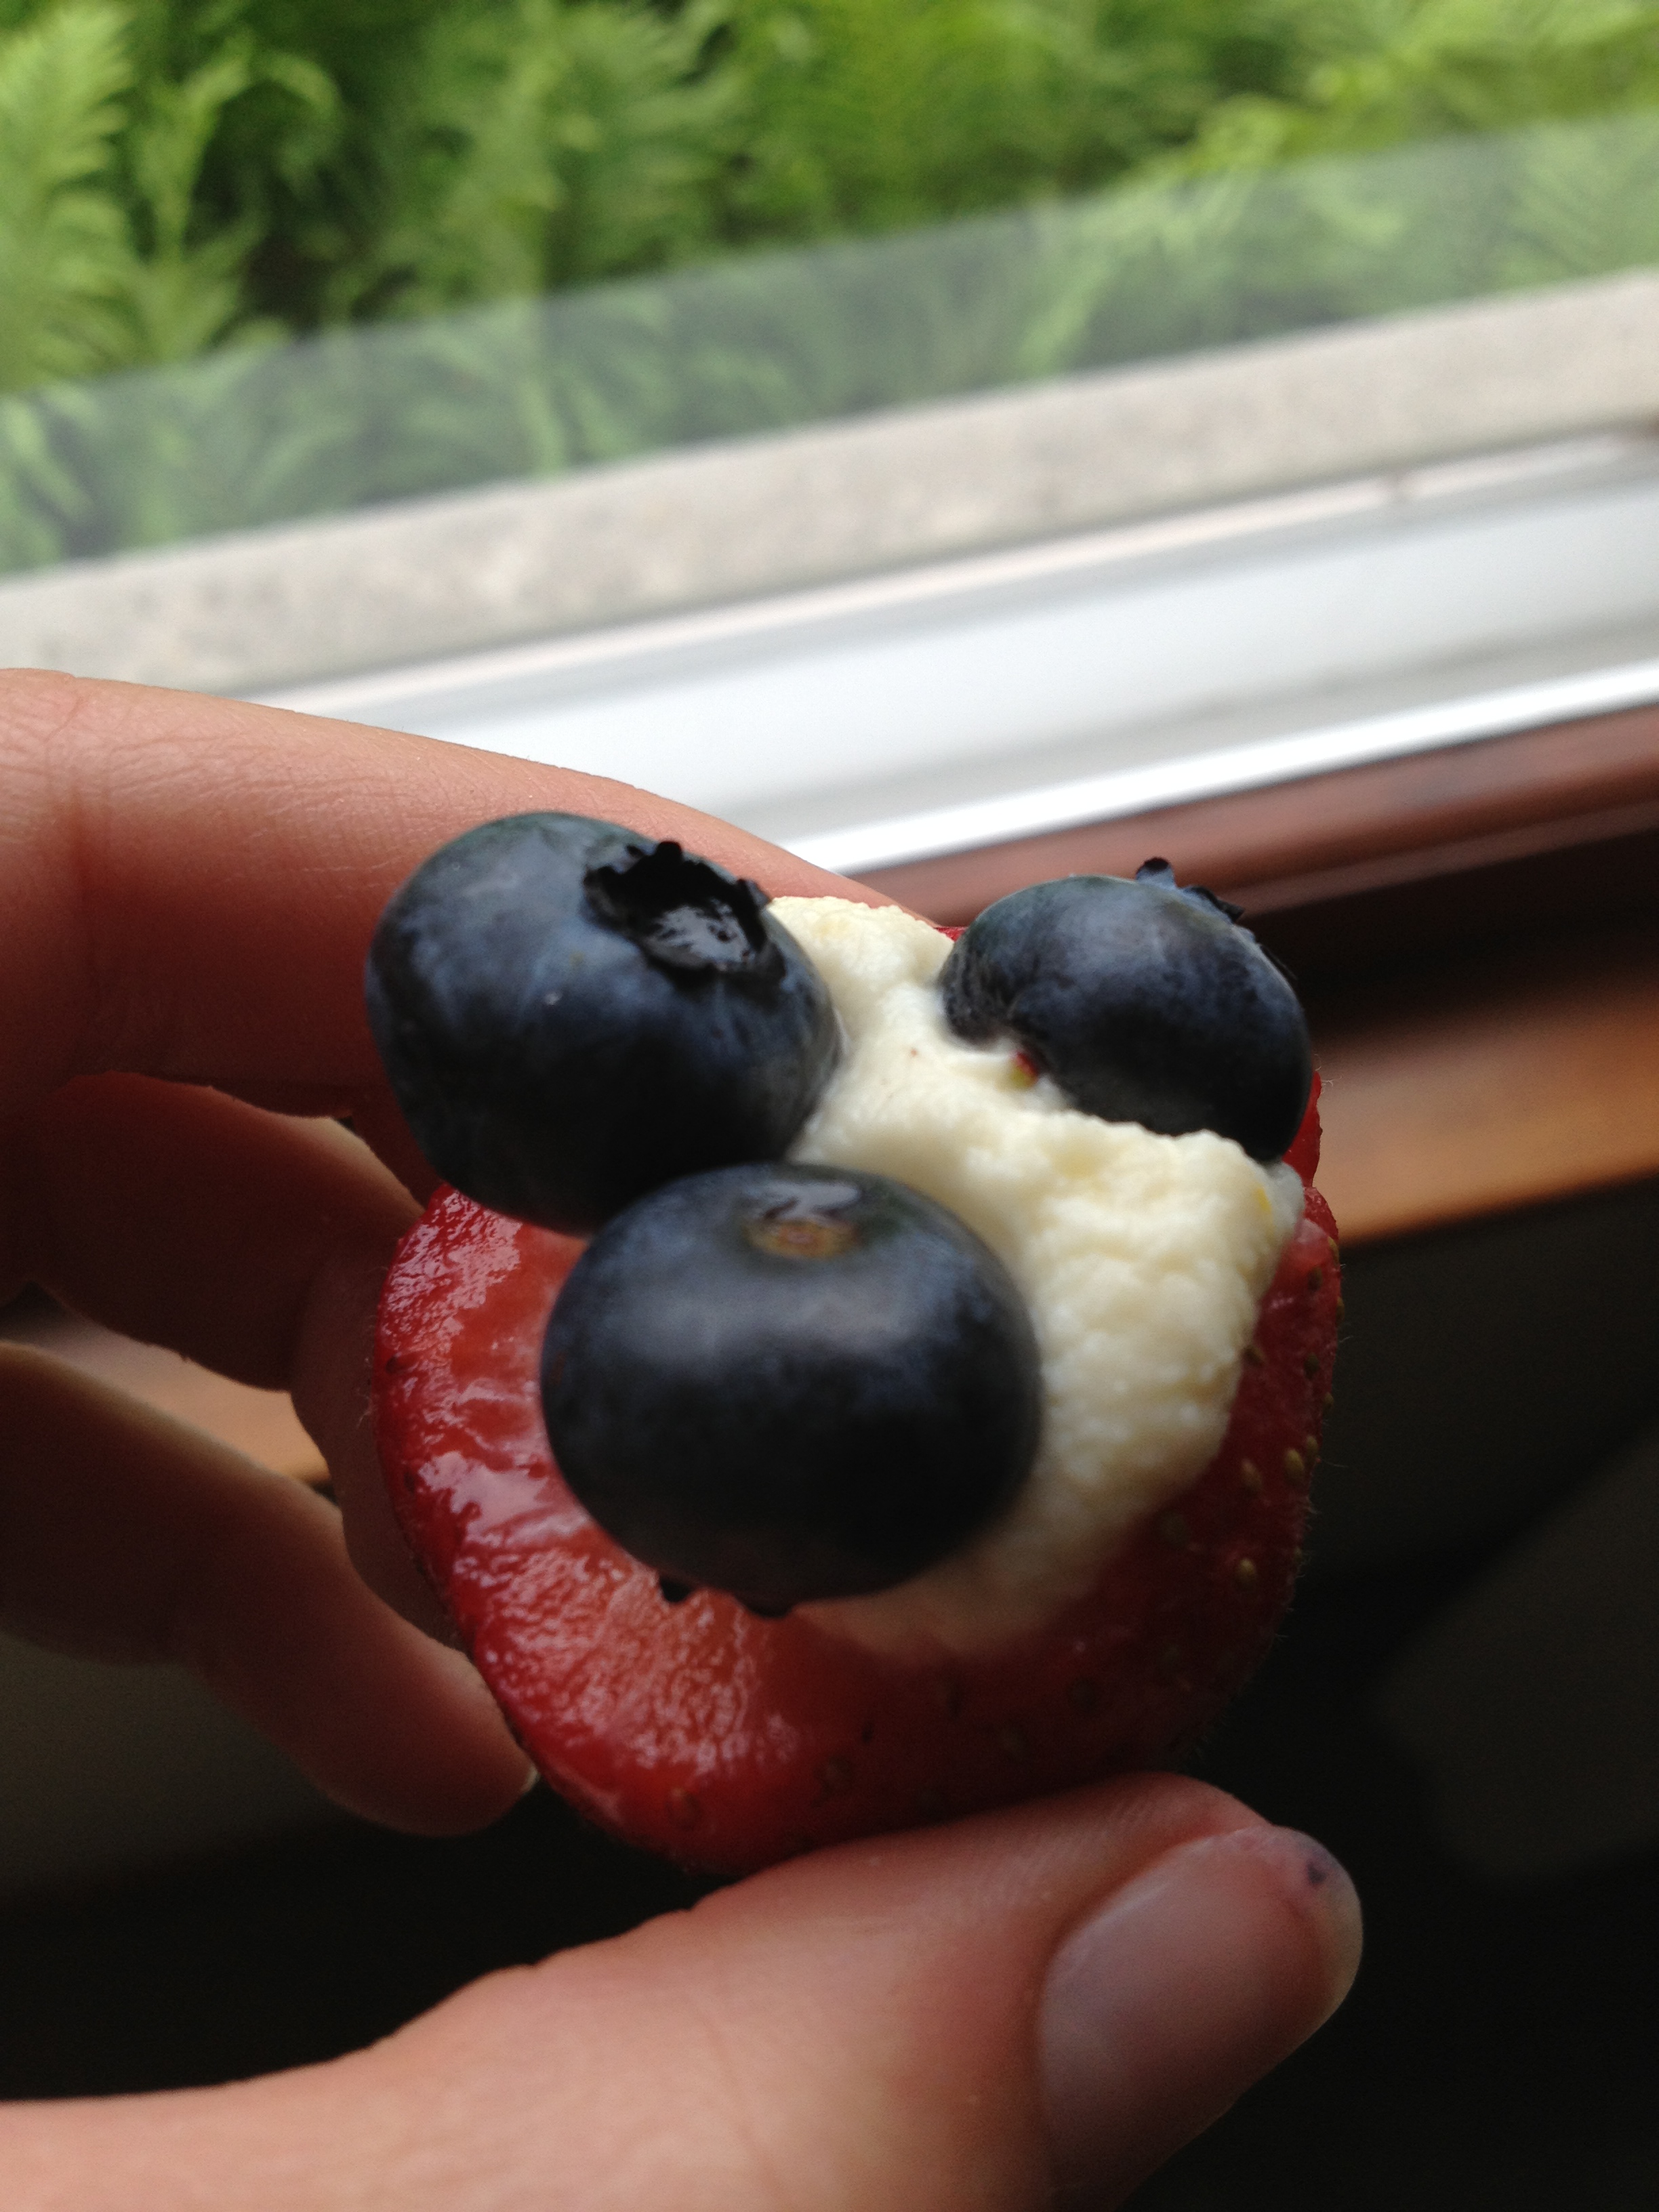
  9. Once all the strawberries are filled to perfection, place the blueberries on top of the cream in the strawberries. And that's it!
Adapted from Gina Marie's Kitchen
hungry and fit https://hungryandfit.com/
This is an easy, healthy treat you can substitute for pie or something else you’d like to stay away from on those holiday food feasts.  How could you do wrong with this one? It’s easy to do, pretty to the eye, and delicious enough to impress. I’m sure whoever you are celebrating with this year will enjoy this special, healthy treat. Make this recipe if you’re looking to stay hungry and fit! 

photo 3 (7)

spacer

A Yummy Way to Eat Your Vegetables

Easy as…garlic…lemon…and salt! But really, I know many people our age and even beyond who still don’t like their vegetables. Although this is baffling to me, I still want to help them out. And my way of doing it is also easy for people who aren’t natural cooks or don’t have the time! It’s a simple, yummy way to cook your vegetables in a way that doesn’t require much skill or effort. And it might even introduce a love for cooking and vegetables! Well, at least the house will smell nice afterwards. This is the simplest recipe of them all, let’s get started! 

photo 2 (73) photo 1 (70) photo 3 (54)

Sautéed Mushrooms and Broccoli
Serves 3
A yummy way to eat your vegetables
Write a review
Print
Prep Time
5 min
Cook Time
10 min
Prep Time
5 min
Cook Time
10 min
Ingredients
  1. Box of mushrooms
  2. Head of broccoli
  3. 1 lemon
  4. Garlic pepper & salt (can use regular)
  5. 4 cloves garlic
  6. 1 tbsp oil
Instructions
  1. Chop up the mushrooms and broccoli into bite-sized pieces
  2. Salt and pepper the veggies
  3. Heat up a pan with the oil in it (medium heat)
  4. Cut up the garlic or crush it. Put it in the heated pan with oil
  5. Put the mushrooms and broccoli into the pan
  6. Cut the lemon in half and squeeze the juice into the pan while stirring
  7. After 5 minutes, put a lid over and let it steam
  8. When vegetables are tender, take out and serve immediately
hungry and fit https://hungryandfit.com/
You can really serve this with ANYTHING! I chose to serve it with penne, red sauce, and morningstar. You can eat it with other grains, meats, whatever you fancy. It’s so delicious I couldn’t stop eating it out of the pan. And hey guess what–it’s CHEAP and easy to make. There you have it…a yummy way to eat your vegetables. As always…stay hungry and fit!

BONUS PUPPY PIC

A ridiculously silly picture of Noke

A ridiculously silly picture of Noke

spacer

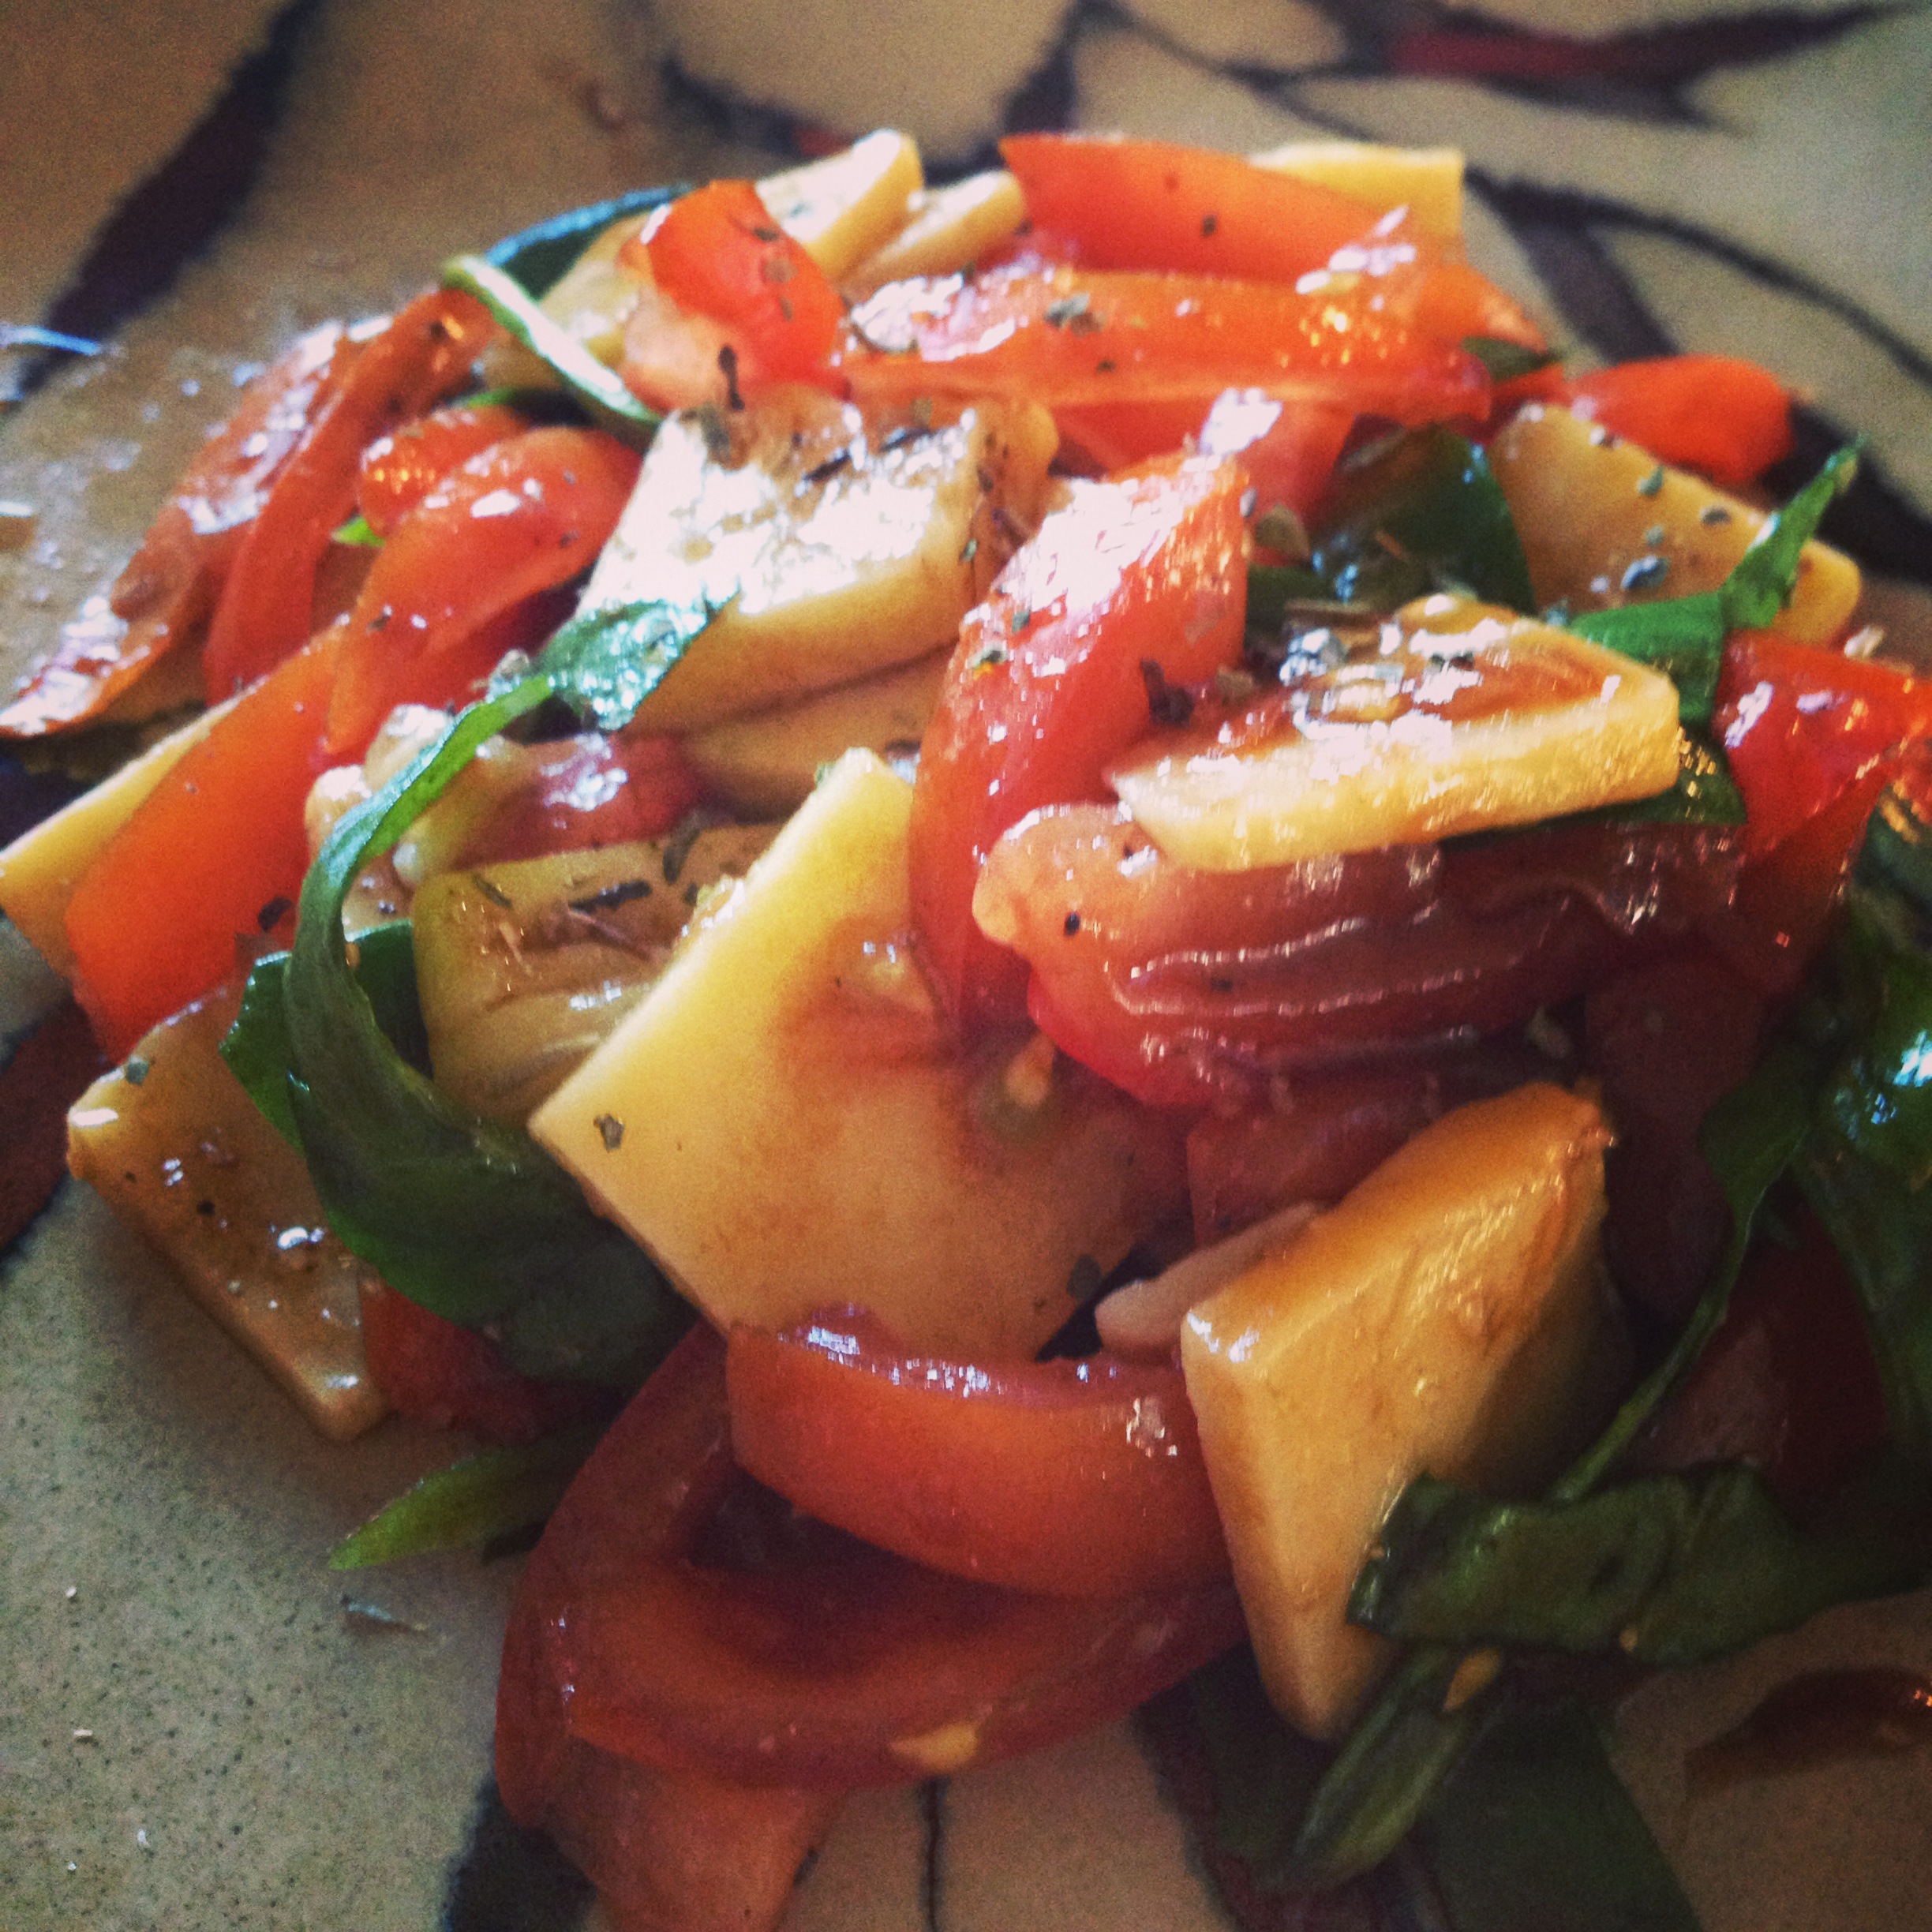
Fresh Caprese Salad

It’s hard for me to make a recipe for you to follow and I apologize for that… but I don’t! For me, recipes can be a little too formulated and strict because above all else, you need to make sure you taste your food and season it accordingly to make sure it has that perfect flavor when it is served. Preparing good food is about using the freshest and highest quality ingredients you can find, and also seasoning it properly! With that being said and taking that into consideration here is the best recipe I can provide you. 

What you need:

  • Spinach – only use the undamaged leaves
  • Tomatoes – preferably Roma tomatoes
  • Cheese – preferably a fresh, soft mozzarella
  • Olive Oil – Extra virgin, please
  • Balsamic Vinegar – I only use Balsamic Nectar
  • Salt – a coarser grind, I like Pink Himalayan
  • Pepper – Fresh ground black pepper from a mill

As for quantities, it depends on how much you are serving and what ratios you prefer. You can tell by my pictures what I prefer. Everything after the first three ingredients is to your taste, so those amounts are not designated. If you want to make it a good first course for yourself, two handfuls of spinach, a tomato, and a half a ball of mozzarella is my preference.

  • Prep Time: 10 minutes
  • Cook Time: Zero Minutes

Obviously, nothing is cooked.
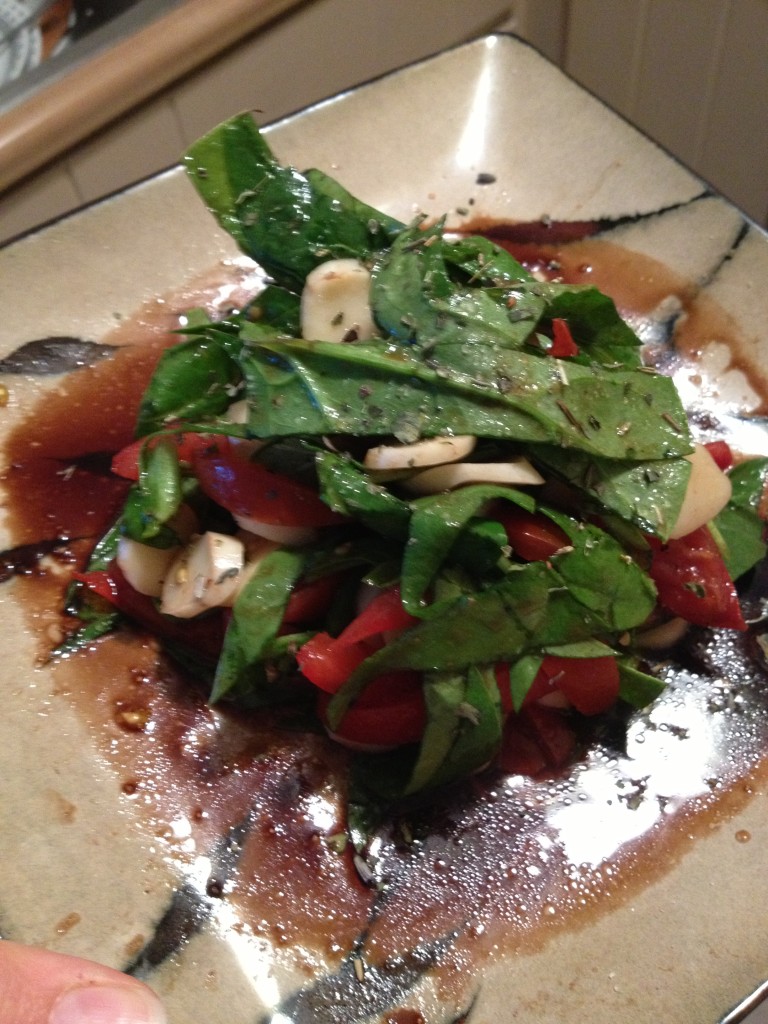
photo 3 (84)

First, thoroughly sort and clean your spinach. Only use leaves that are not bruised or wilted. Clean them without damaging them. Remove excess water.

Next, wash your tomatoes and chop them into about twelfths, if they are romas. With larger tomatoes, consider cutting them into sixteenths. A thicker tomato provides more texture to this salad and butchering them less helps retain some of those delicious natural juices. Add them to the spinach. Apply some olive oil, salt, and pepper to the two ingredients and taste. You want to be able to taste all of the elements if you have seasoned properly. I usually coat the ingredients in olive oil, toss lightly. Six to eight cracks of pepper, and a teaspoon of salt, sprinkled from 18 inches above the mixing bowl. 

Next, slice your cheese carefully, especially if it is soft as to not create messy cuts, into quarter to half inch cubes. Relatively large, I know. Again, this is meant to be a salad with larger components so that every bite can include one of each of the three main ingredients. If they are cut or added in large enough pieces, a fork can easily pierce and hold all three components. 

You are nearly finished. Add the balsamic at this point and toss lightly. I usually add half the amount of olive oil that I used.
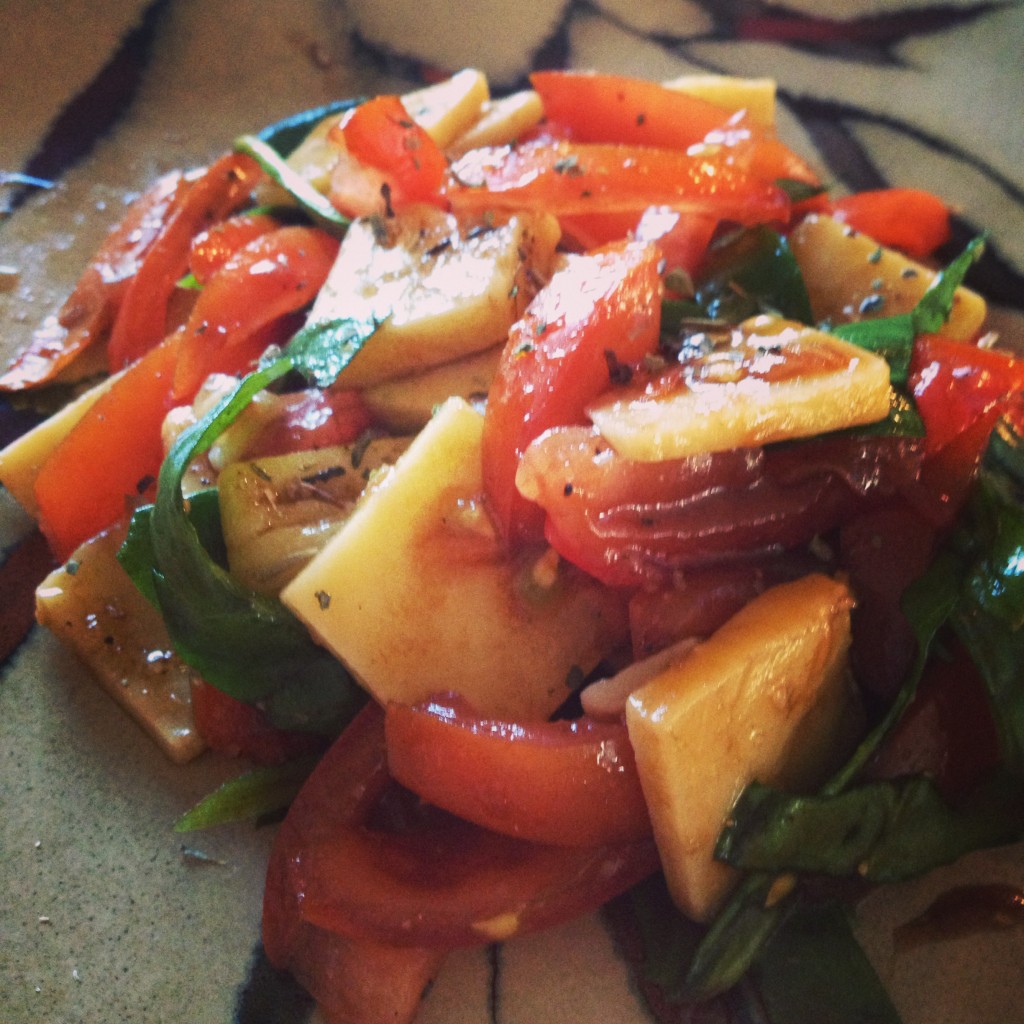
photo 1 (86)

Now comes the most important step, take a bite of your salad. All three components at once. How does it taste? What does it need? At this point I usually add a drop of the liquids, a crack or two of pepper, a healthy amount of salt. I think the salt helps bring out the other flavors in the dish and cuts the acidity of the tomatoes and the balsamic. The cheese is the only rich component along with the olive oil so the salt has a significant effect in this regard. 

Toss lightly again to ensure that every piece of the salad is dressed evenly and then drain the salad. Yes, drain it carefully. Remove the excess dressing. At this point, the salad has been treated so carefully that every component is dressed and the juice in the tomatoes will help keep the salad moist. If you dressed it properly, draining it will have no negative effect. You can save the dressing, obviously for other uses. 

The salad is ready and it is time to plate. You can take the rustic approach and use a pasta fork, much more delicate than tongs, to scoop a portion onto a side plate. I prefer serving on a plate rather than a salad bowl because of the composed nature of this salad. If you take this path, make sure that your ratios are correct and there is spinach, cheese, and tomatoes in the serving. Otherwise you can technically and methodically place the spinach first, topped with tomatoes, and finally cheese. That is up to you. A final crack of pepper, sprinkle of salt from above, and without adding final liquid components, serve with a fork. 

photo 2 (97)

French, obviously

You can also serve with a slice of good toasted bread and make a crostini. Leave that option to your guests, or yourself… whoever is eating. Note: You can actually finish with olive oil and balsamic, just make sure you do so and immediately serve to prevent the pooling of juices in the bottom of the plate. If the liquid components do pool, make sure you have a piece of bread or something to scoop it up with!

BONUS KITTY PIC

photo 4 (66)


spacer

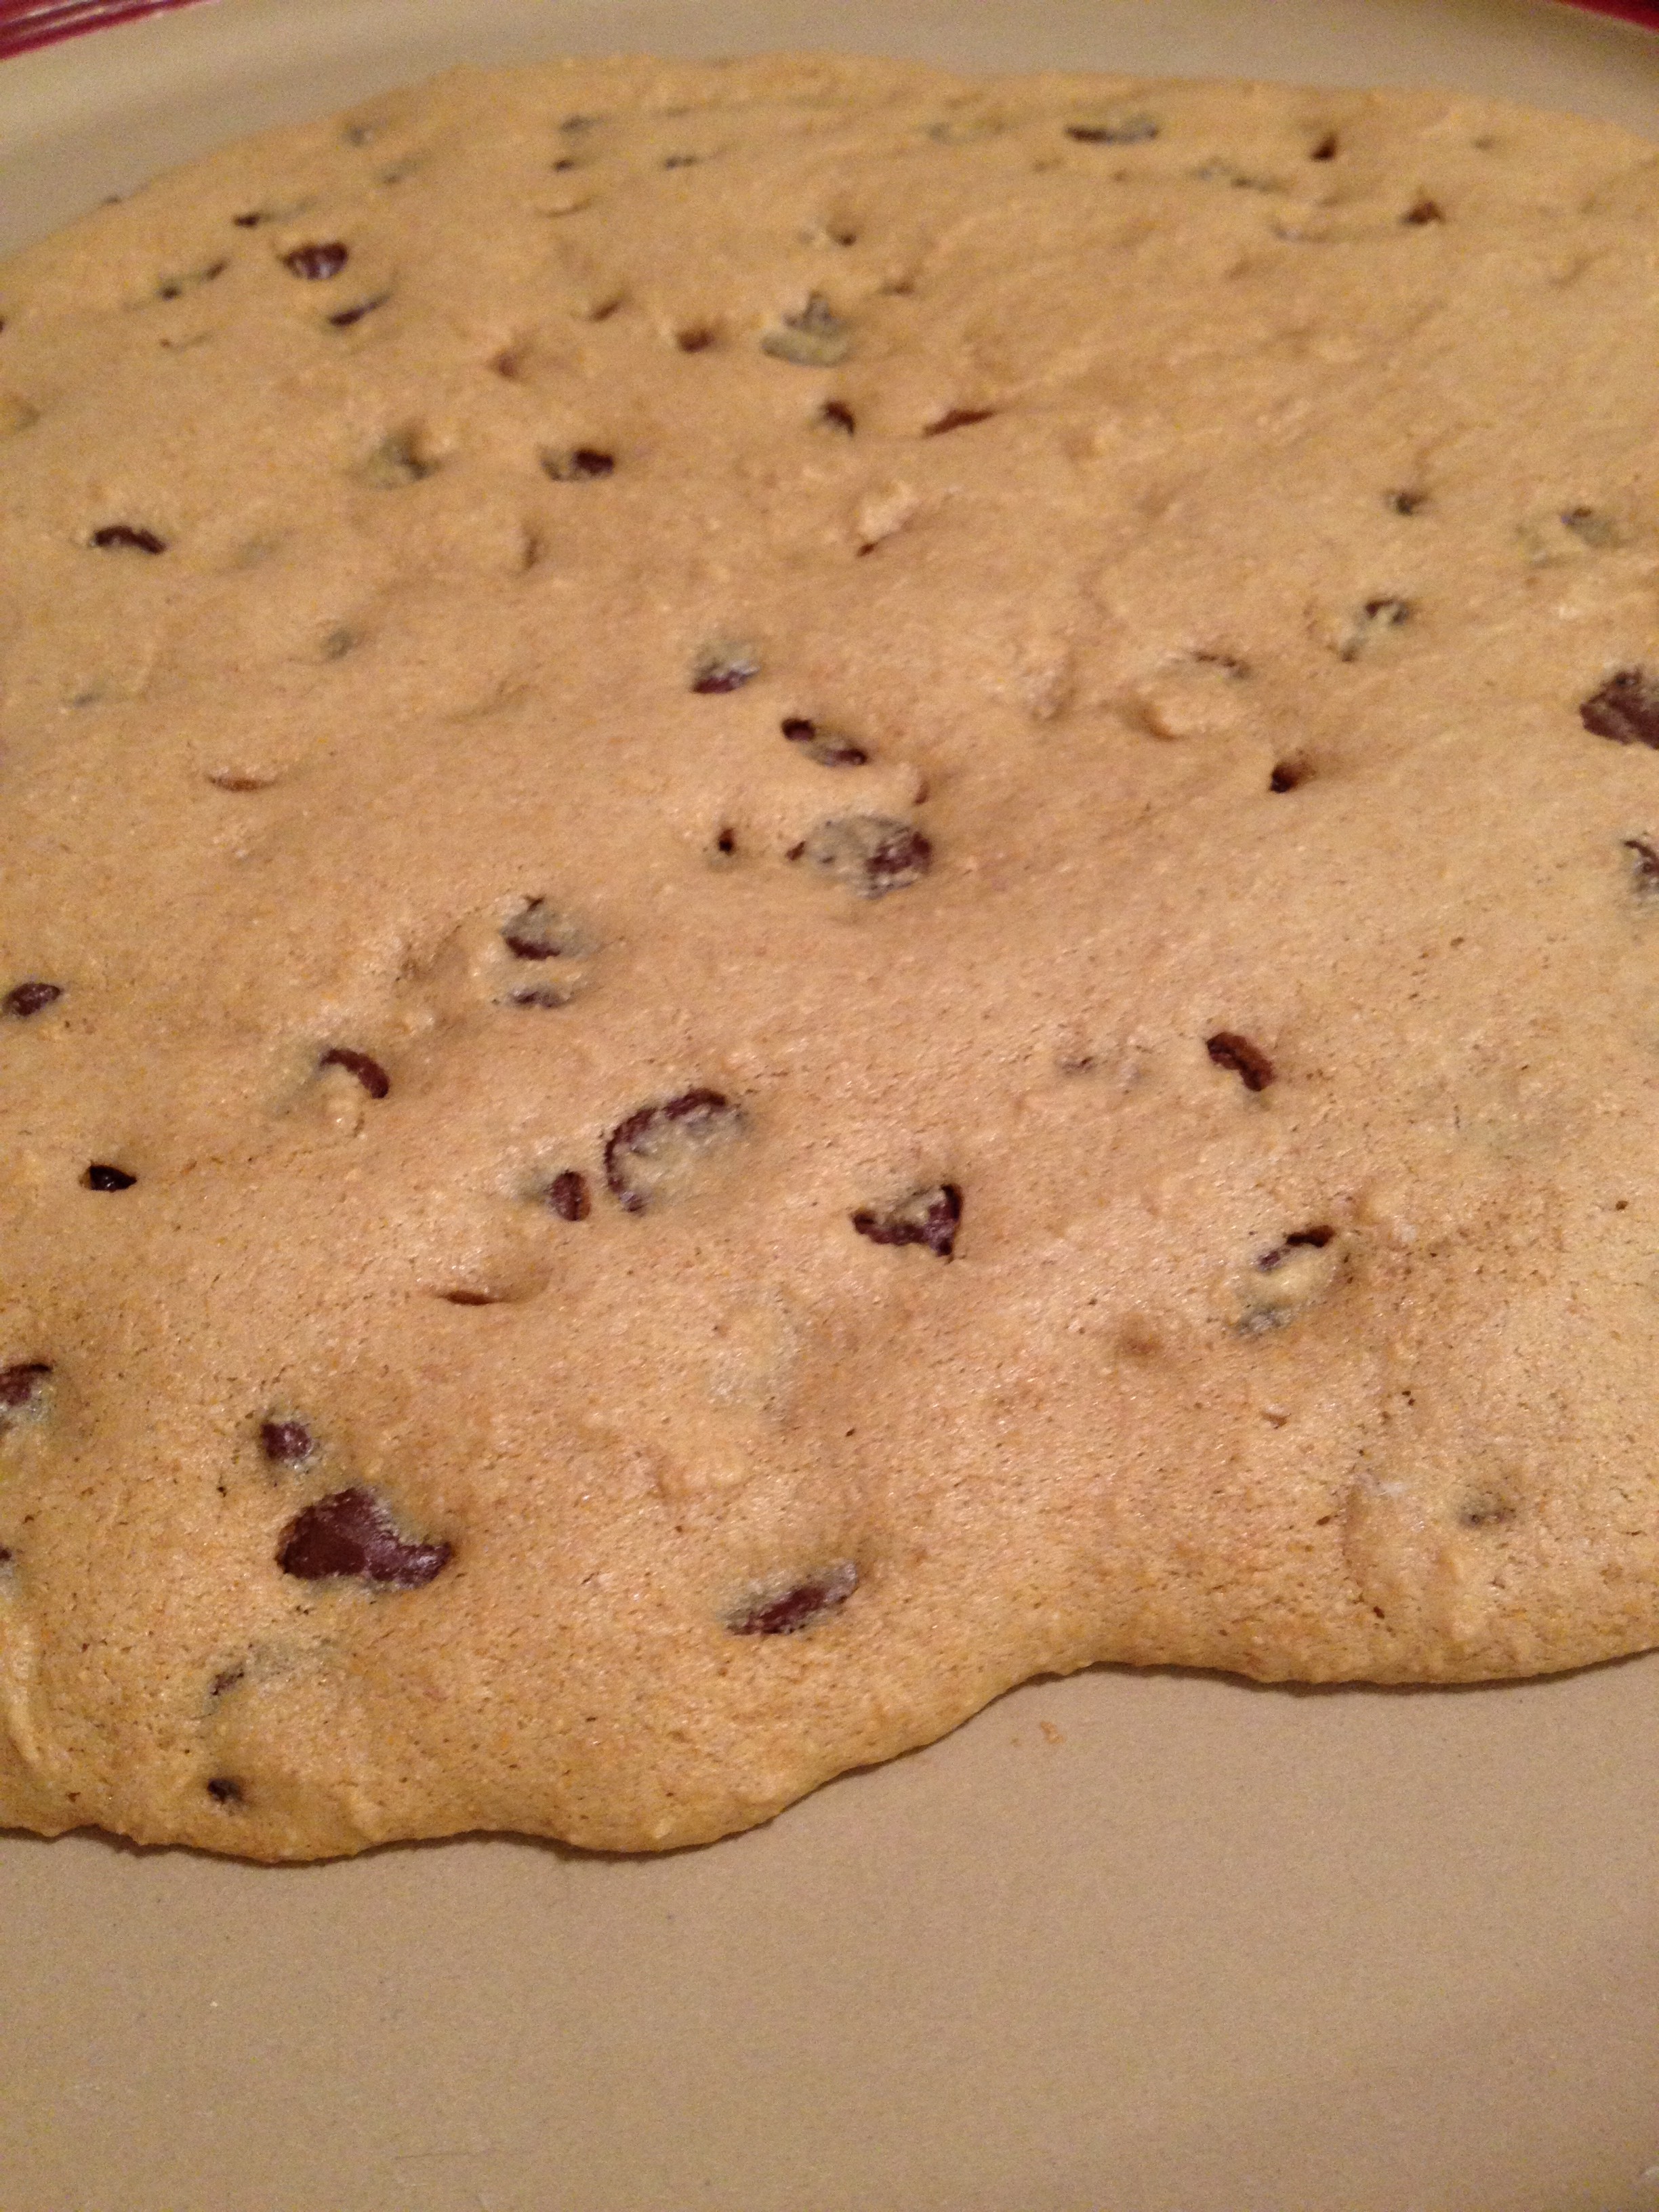
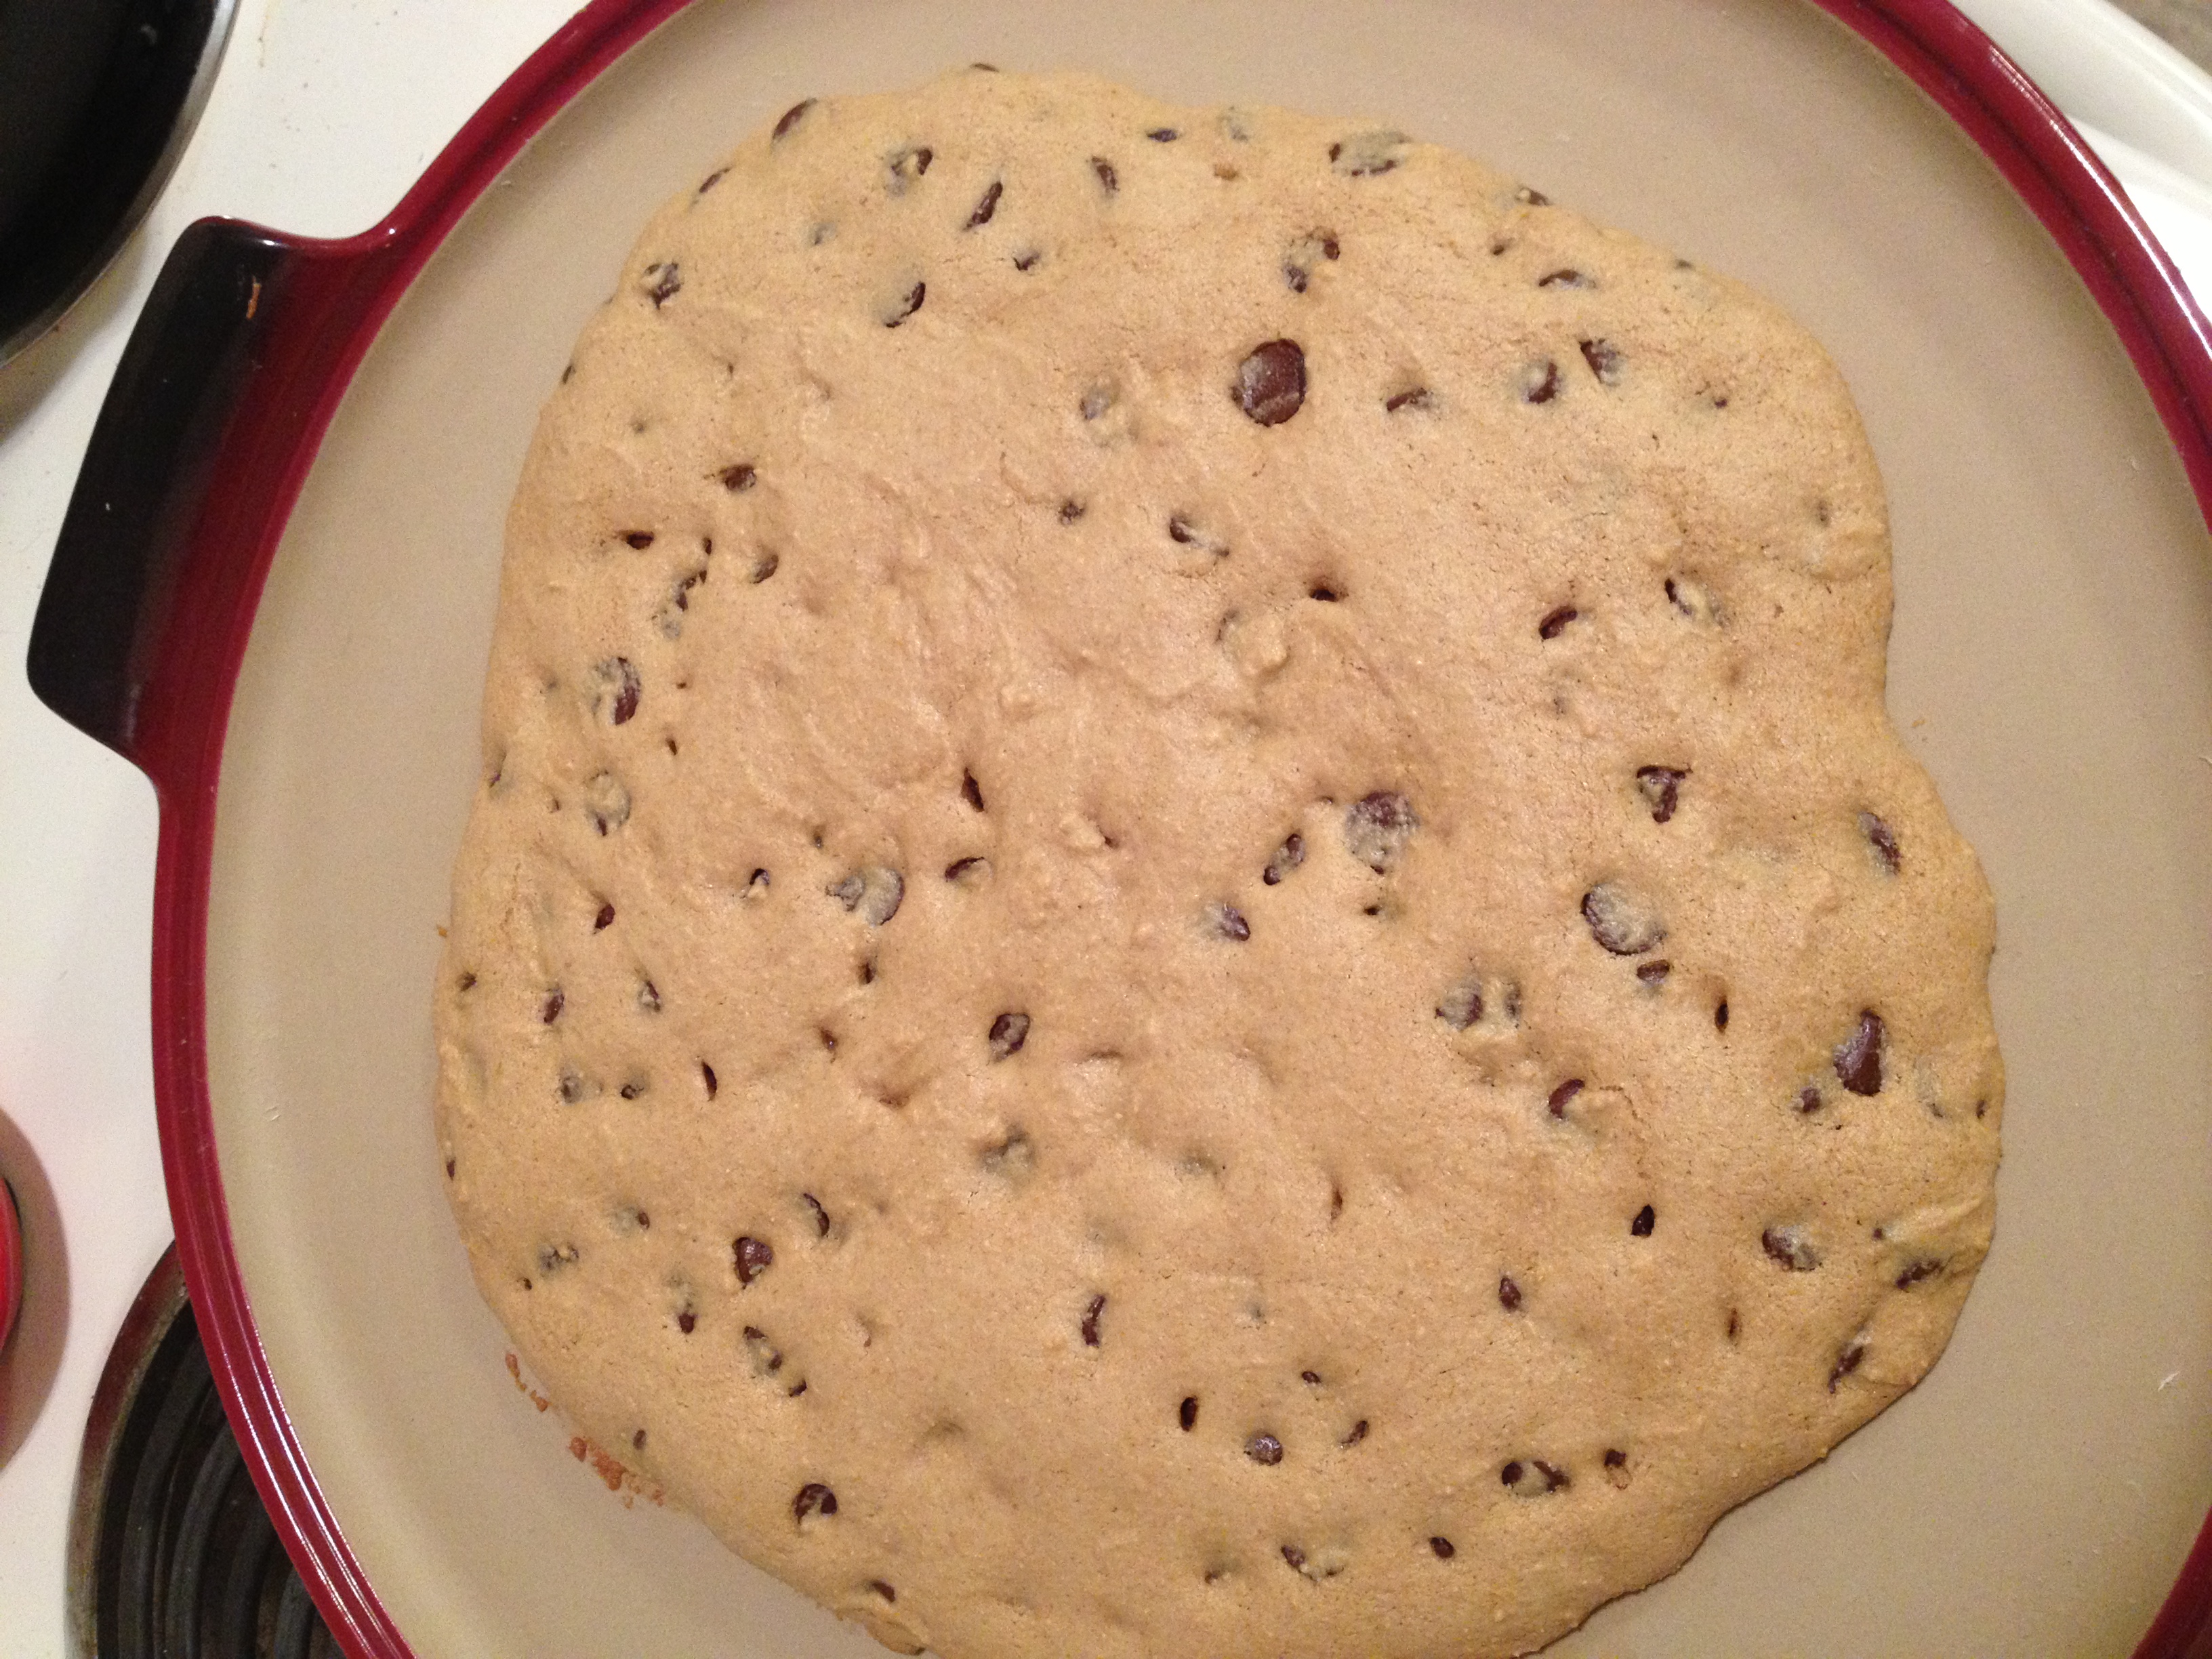
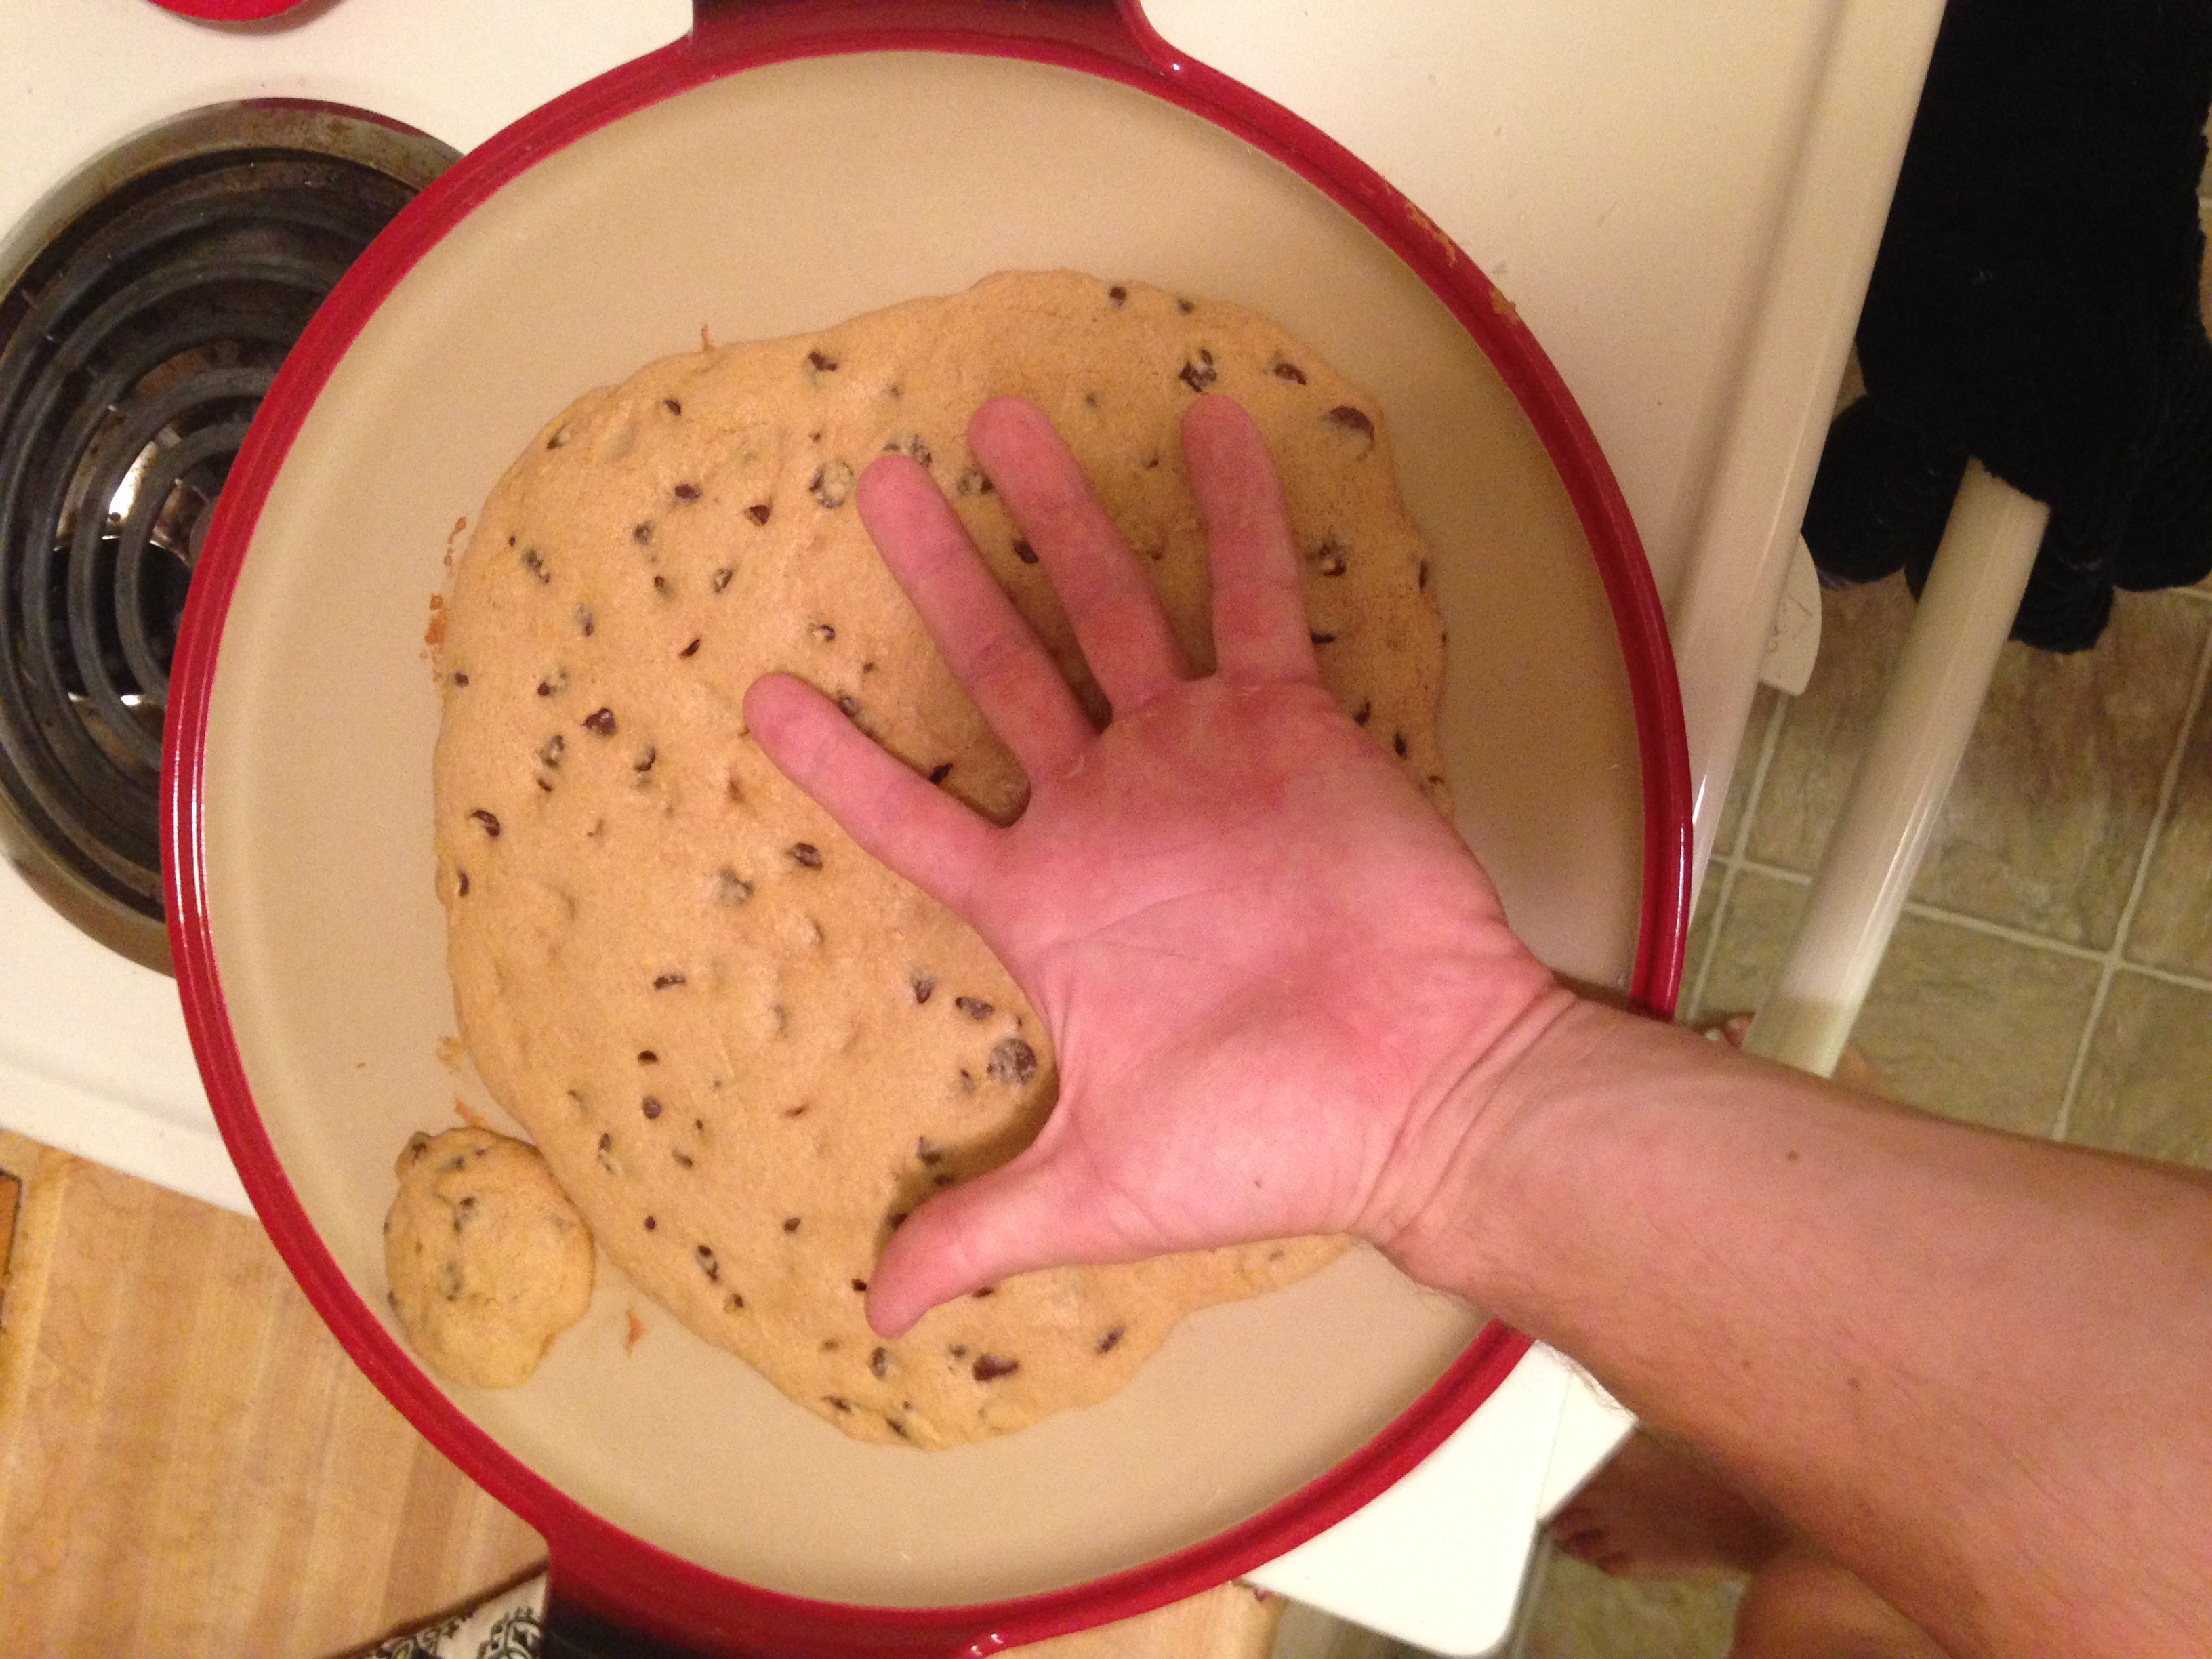
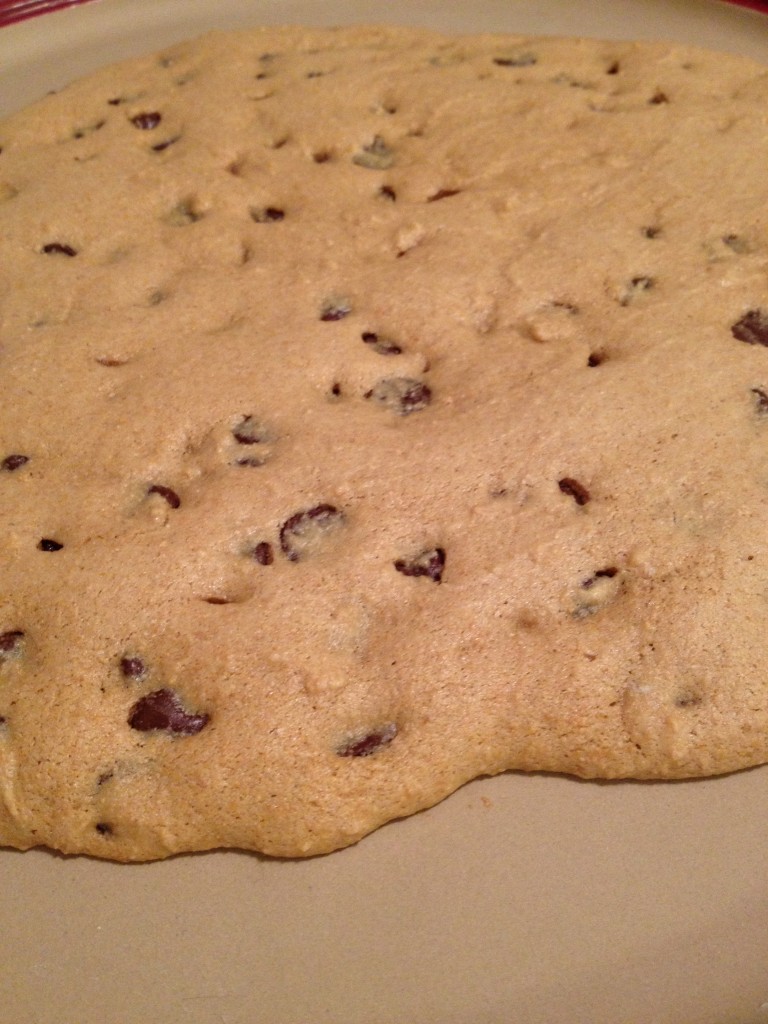
Whole-Wheat Chocolate Chip Cookie Cake

Whew, that’s a title that takes a breath out of you! And it should, really, because it is darn delicious! I love it when I have a reason to bake (even though I don’t always need one). This time it was for a co-worker’s birthday. I had just recovered from the flu, so I didn’t want to leave the house for materials. So after using the thinking cap for a moment or two, I came up with the perfect idea–chocolate chip cookie cake. Perfect for celebration as a cake, but great because I always have ingredients to make cookies. To throw a healthy spin on it, I used whole-wheat flour and not much sugar at all. One of the best parts about this recipe is that it is super simple and easy!

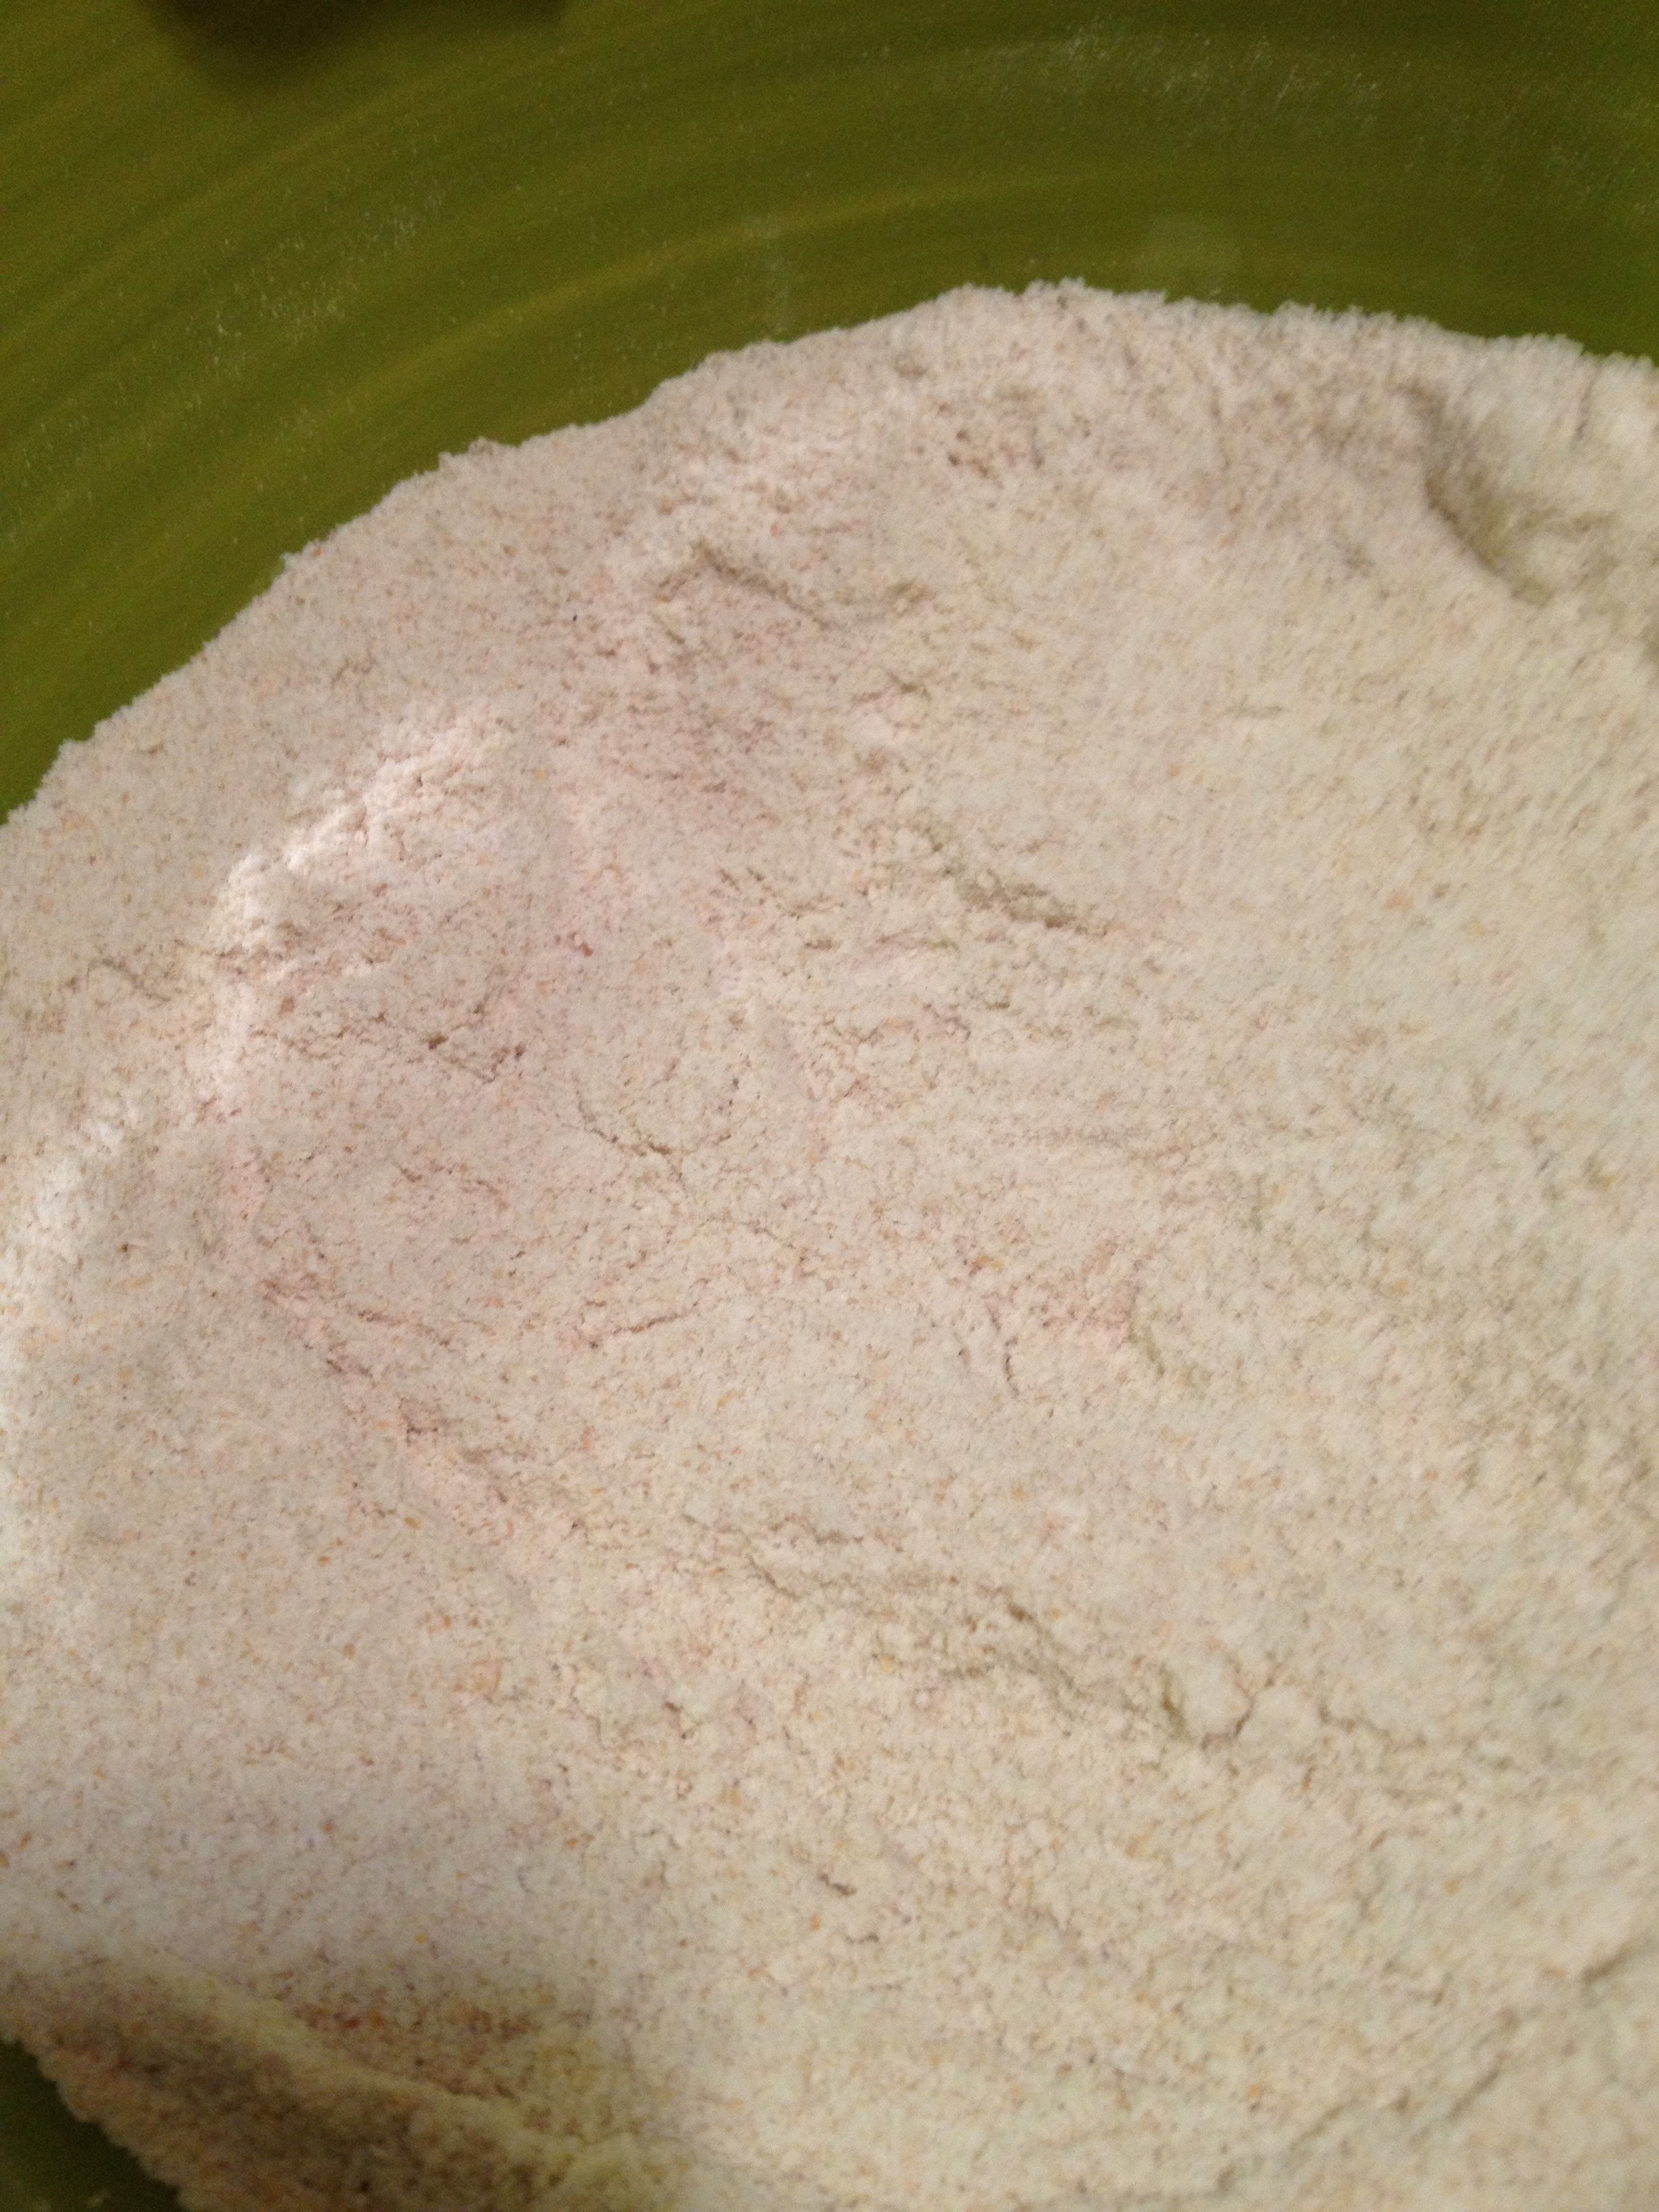
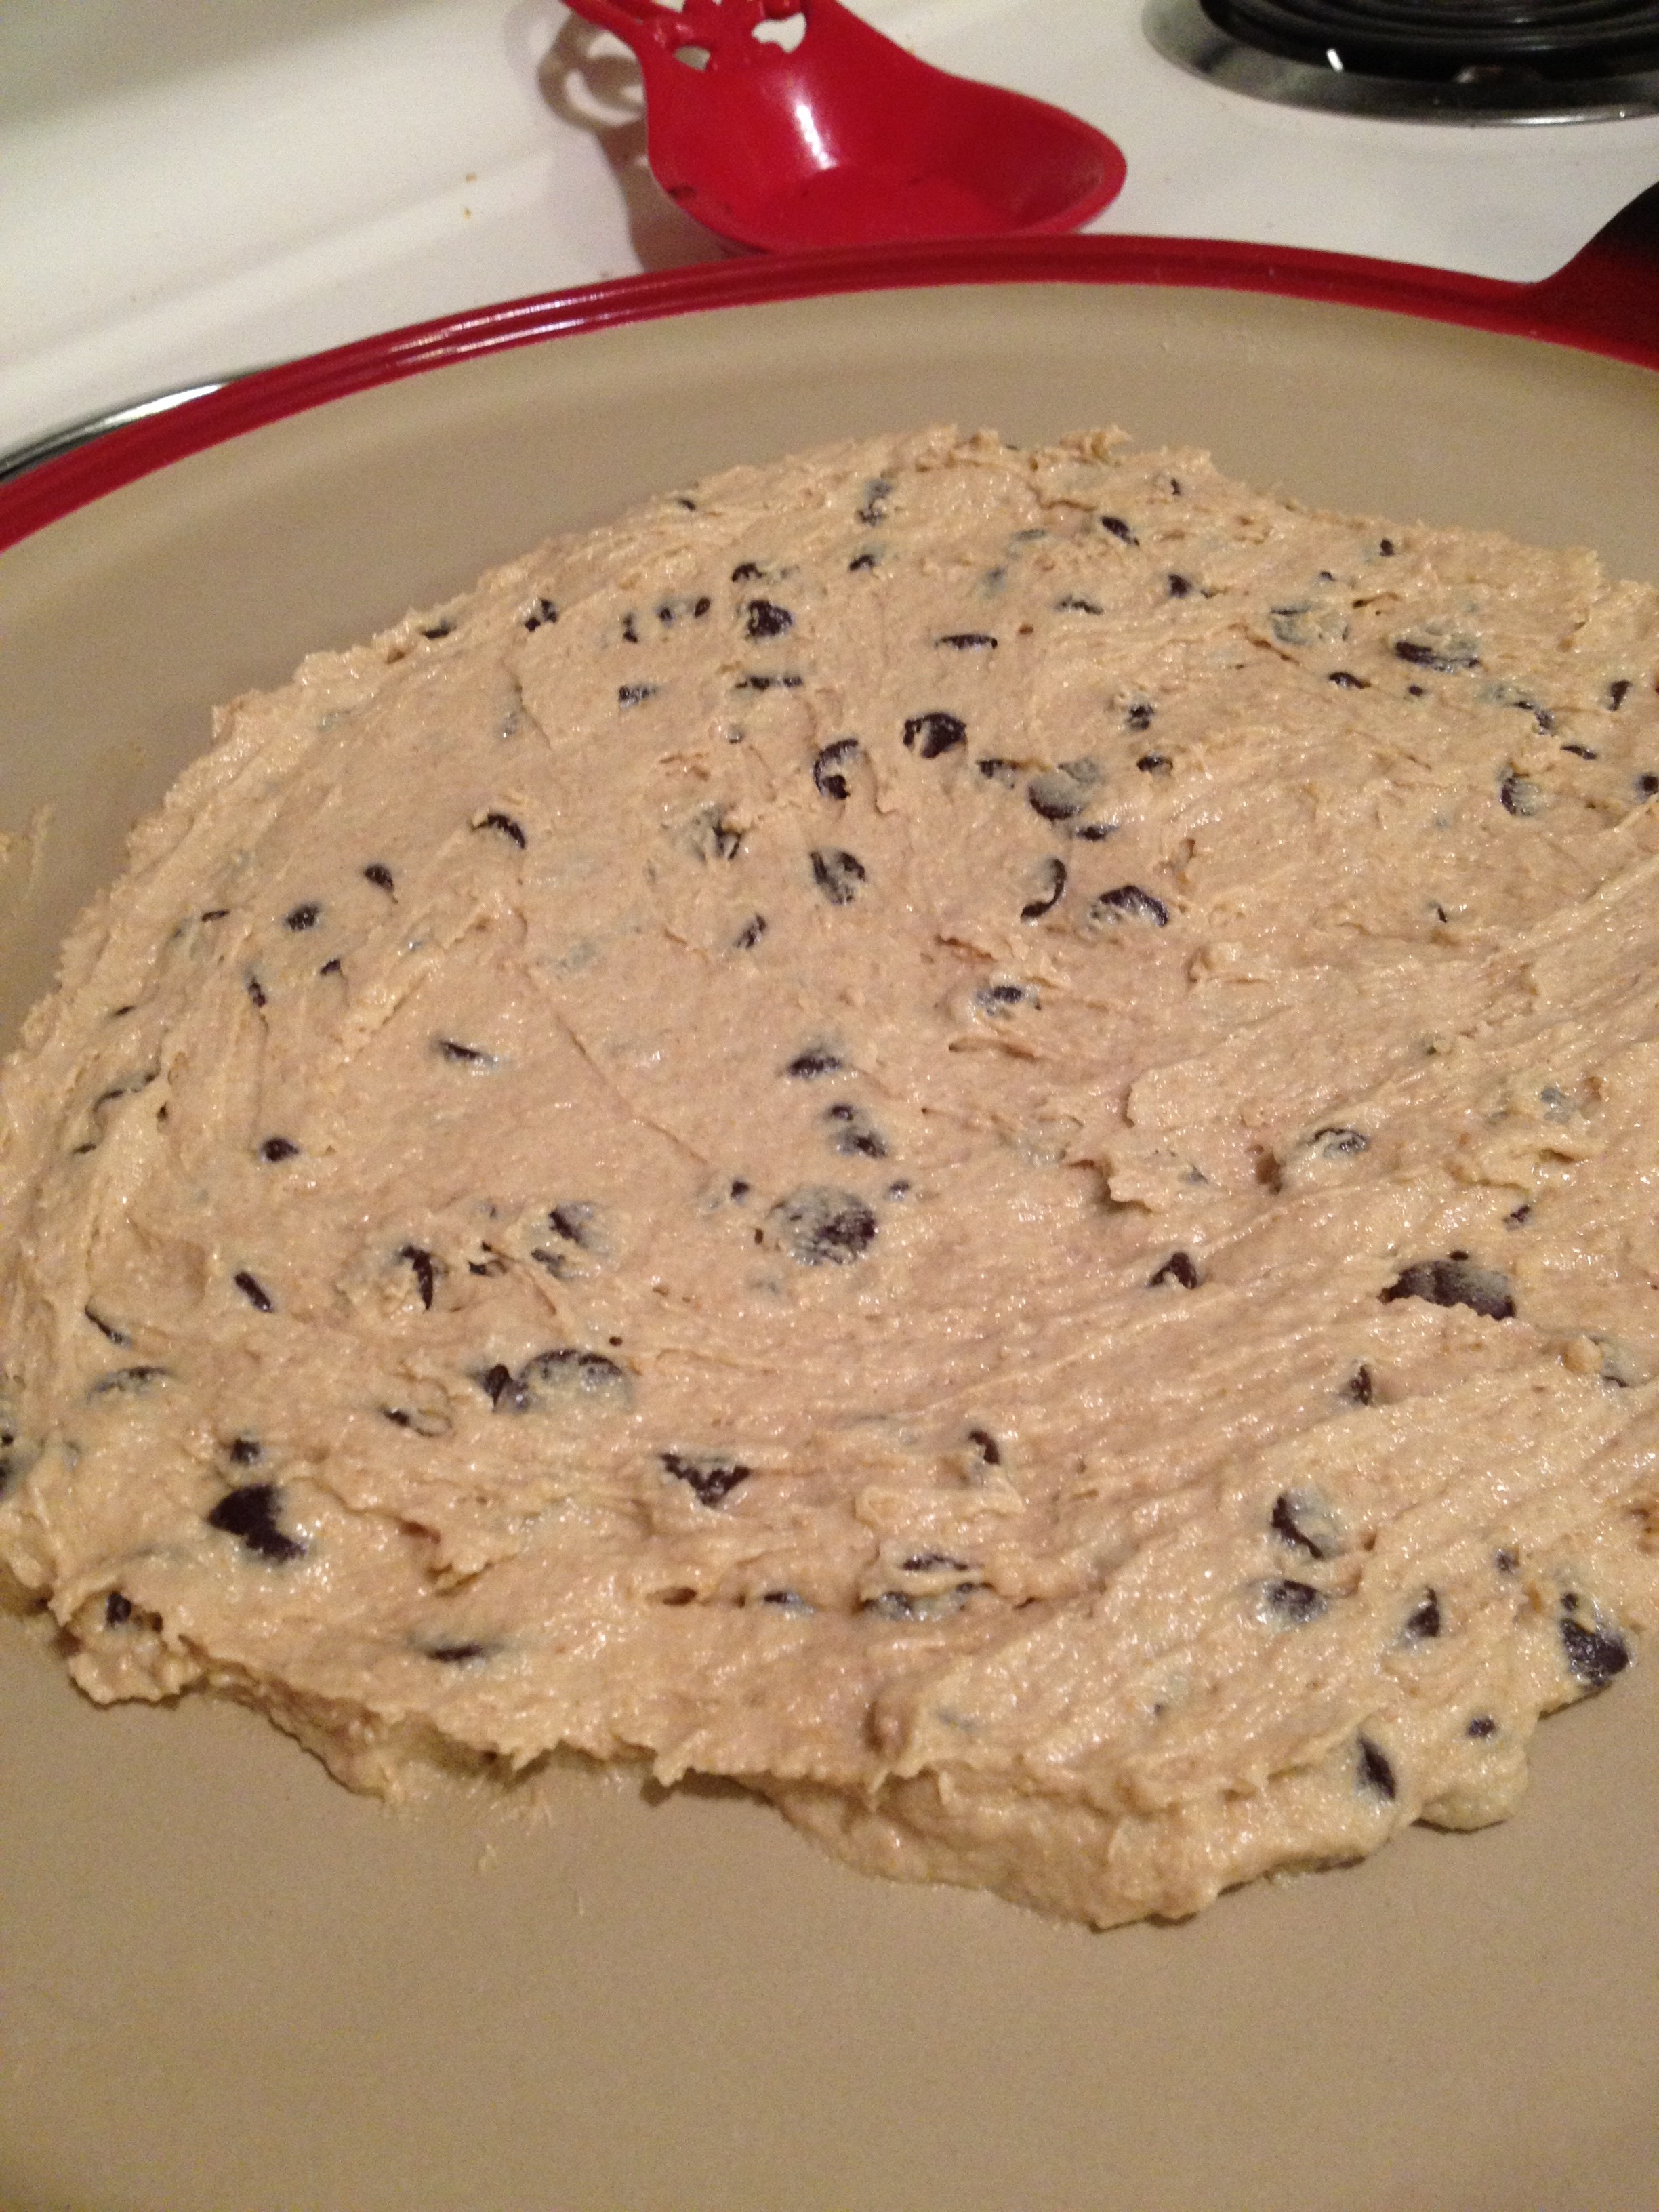
Start with the dry...

Start with the dry…

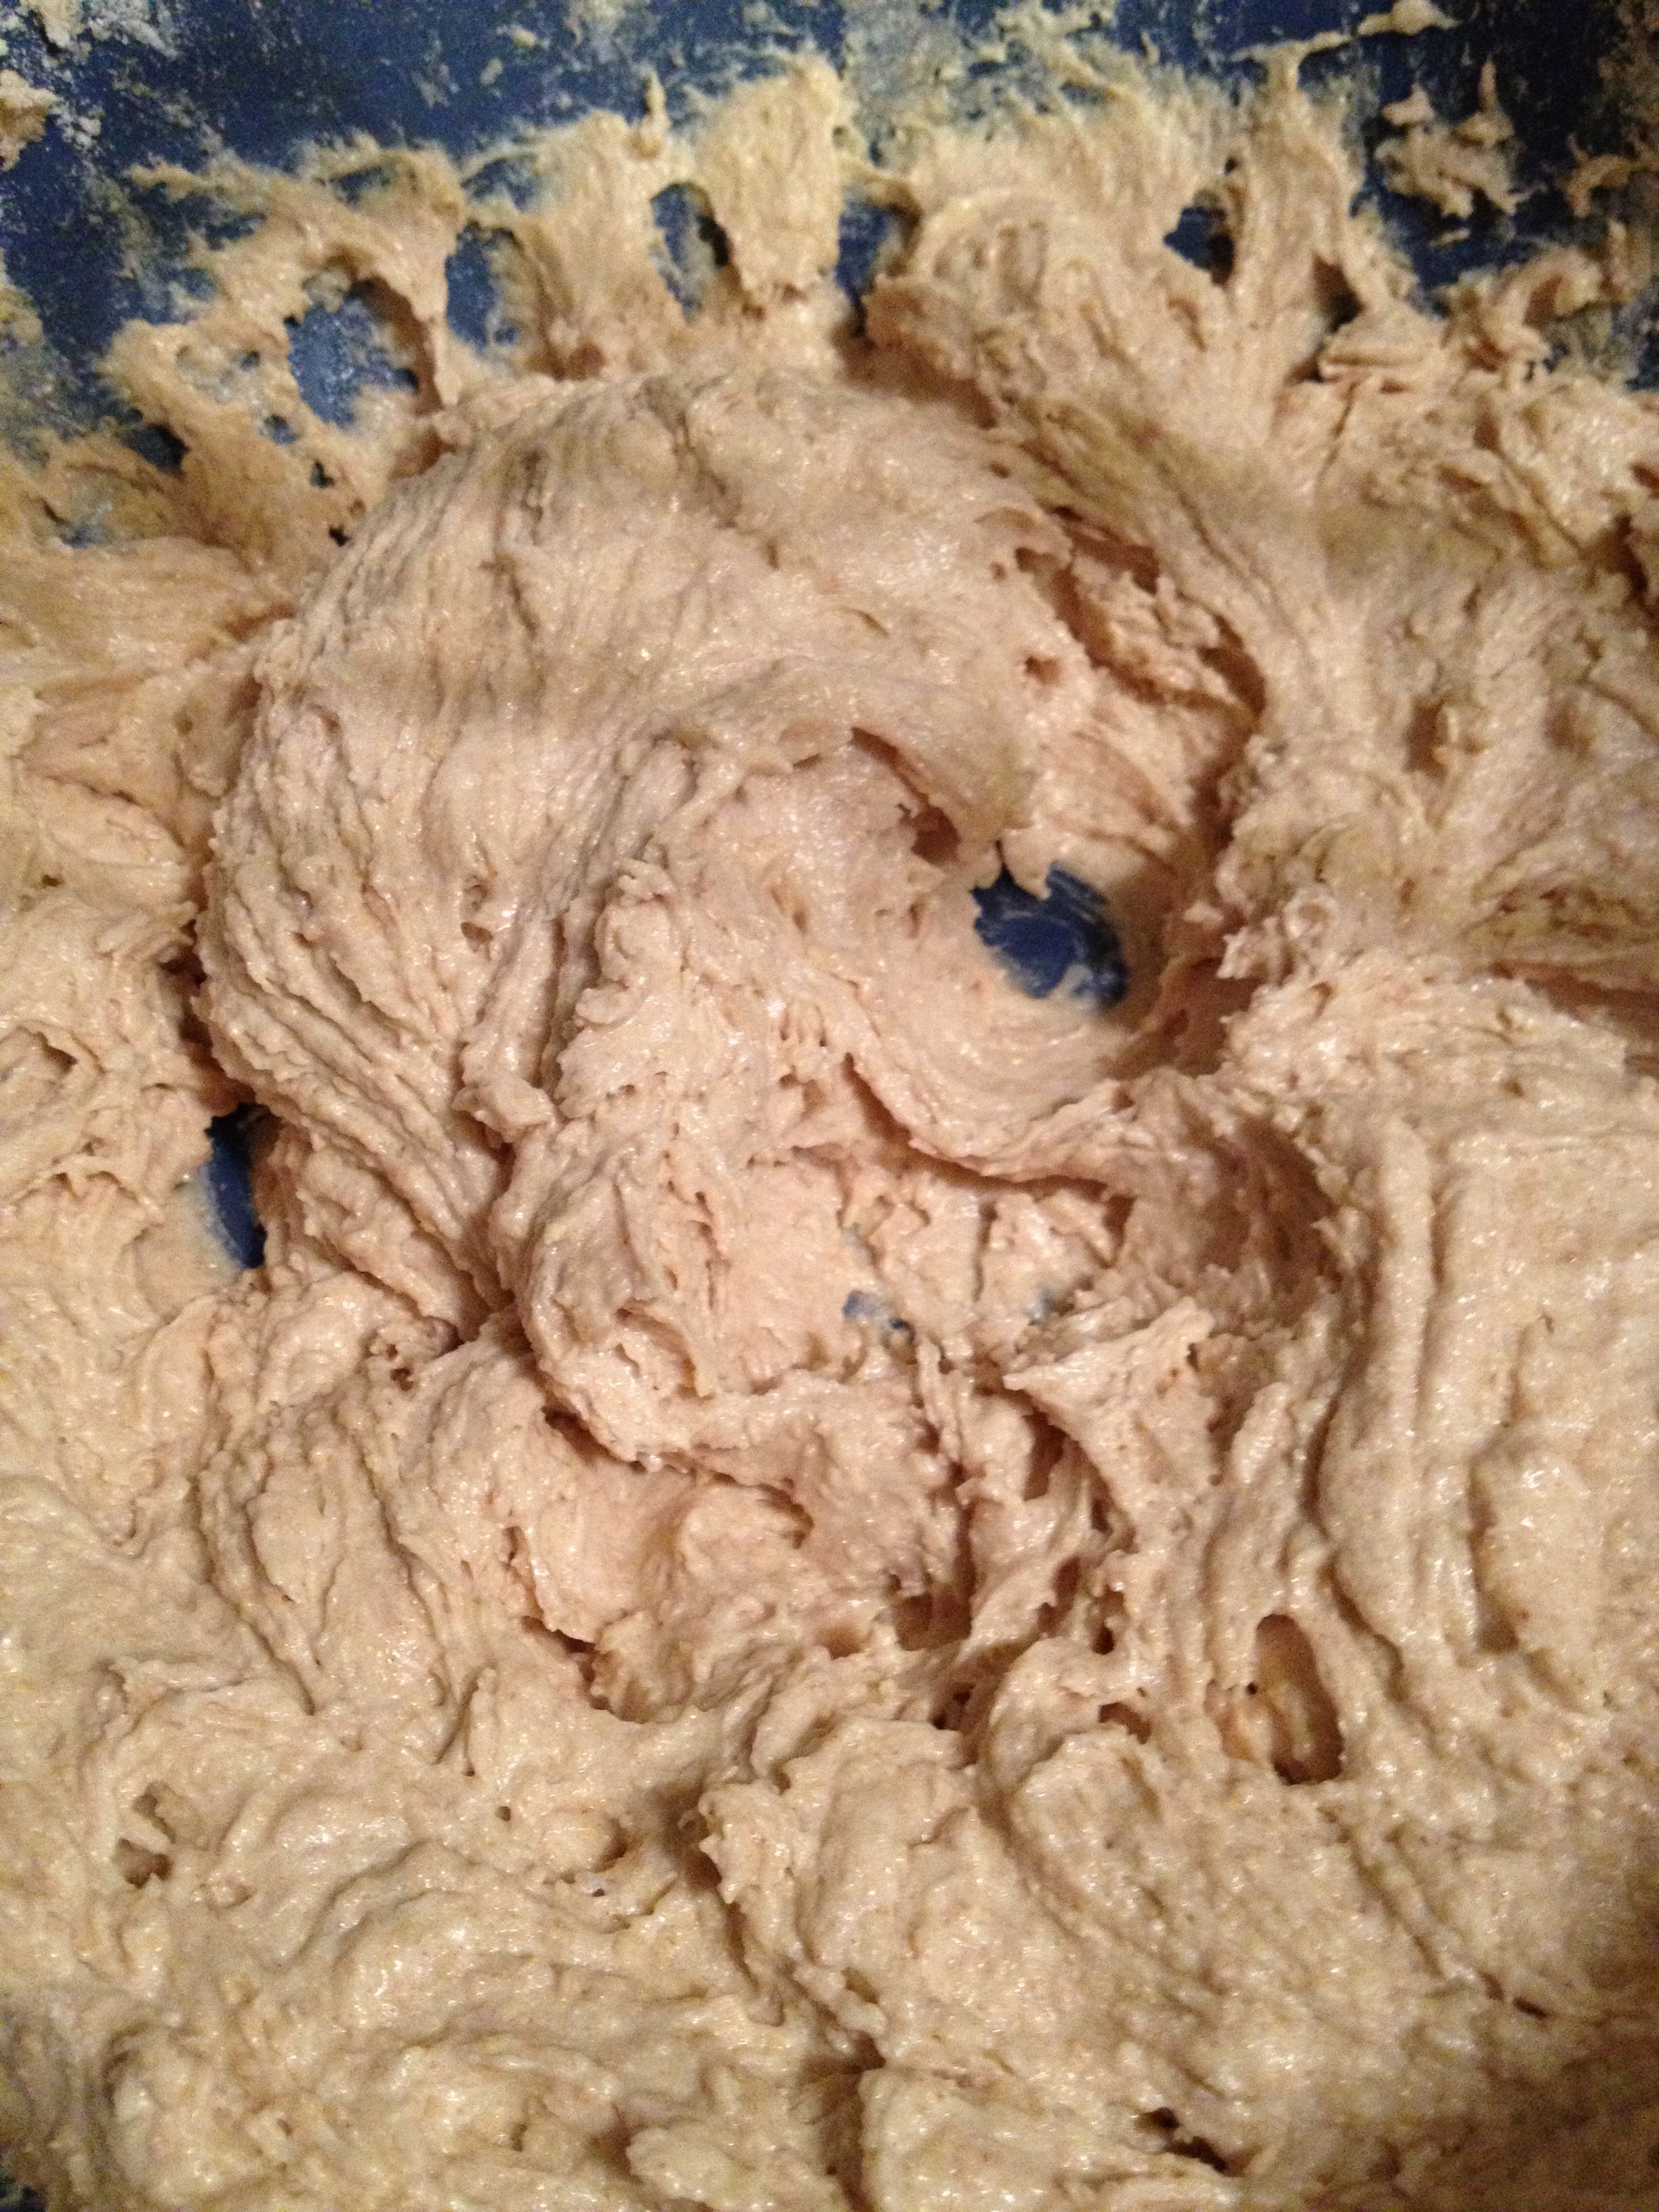
Fold it all together

Fold it all together

photo 4 (60) photo 2 (91) photo 3 (77) photo 4 (61) photo (61) photo 5 (35)

Nom nom nom

Nom nom nom

Whole-Wheat Chocolate Chip Cookie Cake
A healthier version of the cookie cake
Write a review
Print
Prep Time
10 min
Cook Time
10 min
Prep Time
10 min
Cook Time
10 min
Ingredients
  1. 1 1/4 cups whole-wheat flour
  2. 1/2 tsp baking soda
  3. 1/4 tsp salt
  4. 1/4 cup granulated sugar
  5. 1/4 cup brown sugar
  6. 1 egg
  7. 1/2 cup butter
  8. 1 tsp vanilla extract
  9. 1/2 cup milk
  10. 1 cup chocolate chips
Instructions
  1. Pre-heat oven to 350 degrees F
  2. Mix together flour, baking soda, and salt in a small bowl
  3. Get a big bowl out and either a beater or your best whisking-arm
  4. Beat the butter and sugar together until creamed
  5. Continue to mix the egg, milk, and vanilla extract in
  6. Now, beat in the dry ingredients--flour, baking soda, and salt
  7. Finally, fold in the chocolate chips. Not with a beater but with a whisk or a spoon
  8. Spread the dough out on a 12-13" baking sheet. Make it nice and even
  9. Put in for 8-12 minutes
  10. Take it out, let it cool, decorate (optional) and then serve!
Adapted from 100 Days of Real Food
hungry and fit https://hungryandfit.com/
Next time you’re thinking of baking a cake, why not go the simple route! It’s easy and everyone will be complimenting your baking prowess. It’ll be between you and I that it wasn’t too tough to produce. 😉 Have fun with it, put decorations on it! You can also add nuts or raisins, whatever be your fancy. Let me know how the recipe turns out for you! And as always…stay hungry and fit!

BONUS PUPPY PIC

My baking partner, best of the best

My baking partner, best of the best

spacer

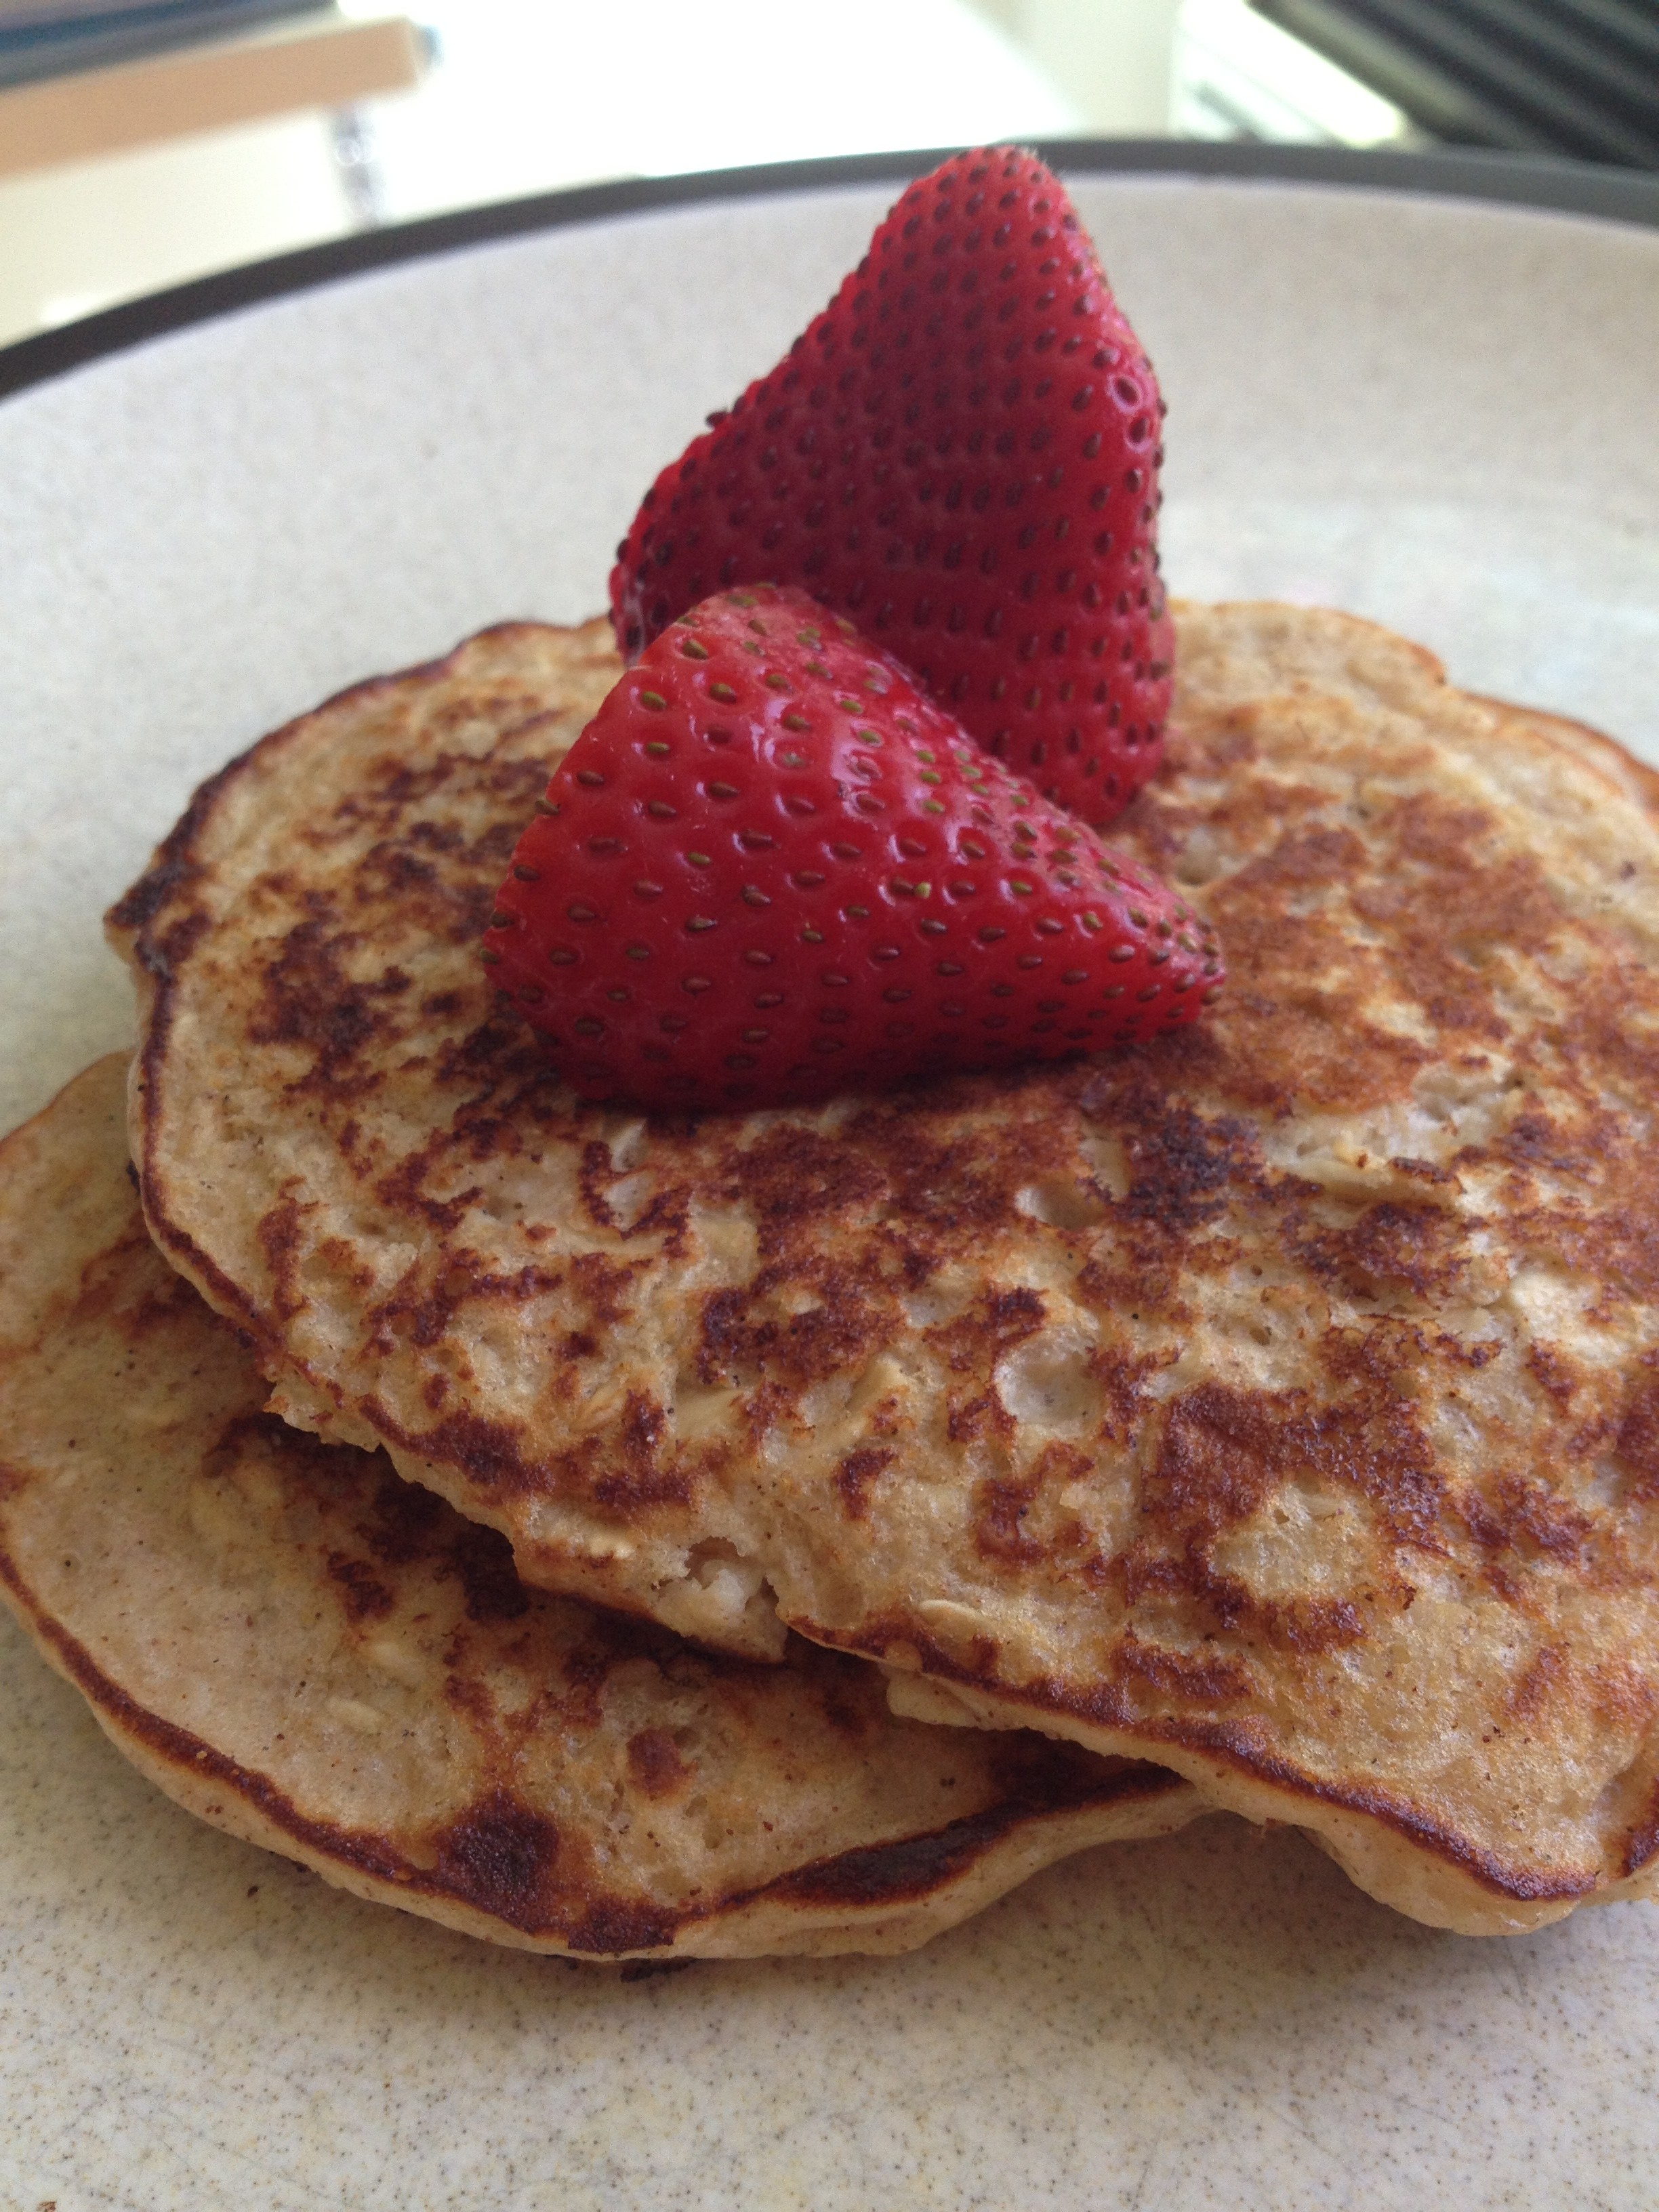
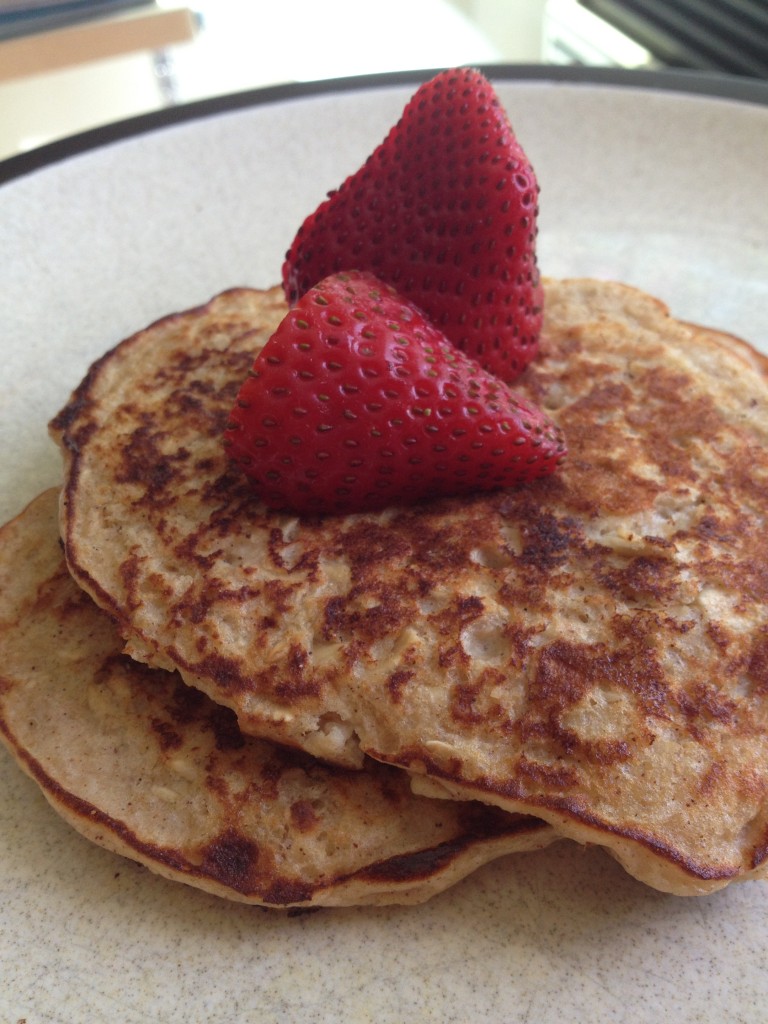
Protein Oat Pancakes

As some of you know, our 5-Minute Protein Pancakes recipe is one of our biggest hits. I would say I eat pancakes at least once a week, so I am always trying new recipes. With the help of Silk, I’ve come up with another–Protein Oat Pancakes! I know it’s weird to describe pancakes as “juicy,” but they are wonderfully akin to that on the inside. It’s not just some flat pancake without any umph– this pancake has personality! Plus, they are healthy and full of protein!

To make this recipe, you’re going to need a few items–one of which is Silk Unsweetened Vanilla Almondmilk. Before you head to the grocery, sign up at Silk.com for some free coupons!

Dry ingredients together

Dry ingredients together

Silk milk!

Silk milk!

Ready to be stirred up

Ready to be stirred up

photo 4 (57)

Wet and dry mixed together

Wet and dry mixed together

photo 4 (58)

Protein Oat Pancakes
Yields 7
Pancakes filled with healthy grains and protein
Write a review
Print
Prep Time
7 min
Cook Time
5 min
Prep Time
7 min
Cook Time
5 min
Ingredients
  1. 1 cup old-fashioned oats
  2. 1/4 cup whole-wheat flour
  3. 1/2 cup Silk Unsweetened Almond Milk
  4. 1/2 cup 0% Greek yogurt
  5. 1/4 tsp baking powder
  6. 2 tbsp honey
  7. 1 tsp vanilla extract
  8. 1 tsp cinnamon
Instructions
  1. Mix together the dry ingredients
  2. Mix together the wet ingredients
  3. Mix the dry ingredients into the wet using some sort of spoon (you don't want to over-mix the batter)
  4. Grease up a pan and once hot, spoon some of the batter into the pan (I was able to fit two pancakes in my pan at a time)
  5. These cook fast, so be ready to flip! After three or so minutes on each side, flip and finally take out
  6. You can serve with butter, syrup, fruit, or just eat it plain!
hungry and fit https://hungryandfit.com/
Simple, sweet, and nutritious. How can you get better than that? Make sure you head over to Silk’s Facebook page and like them! You can find tons more recipes like these and also ways to earn free coupons. You can also make a big batch of this overnight for the whole week! Talk about a yummy week of breakfasts. Let me know how these turn out for you! And as always…stay hungry and fit!

This is a sponsored conversation written by me on behalf of Silk. The opinions and text are all mine.


spacer

Healthy Huevos Rancheros

This brunch favorite can be yours in ten minutes or less! Okay, sorry that sounded like a sales pitch, but I’m super passionate about this dish. My spin on it is delicious and healthy! It’s always my go-to when I don’t feel like doing a lot of cooking, but still want to stay on the nutritious side. It’s pretty simple and I’m always happy eating it. Let’s try it out.

Chop dem tomaters

Chop dem tomaters

photo 1 (74)

Don't forget your tortilla!

Don’t forget your tortilla!

Healthy Huevos Rancheros
Serves 1
A healthy version of huevos rancheros you can make in ten minutes
Write a review
Print
Prep Time
5 min
Cook Time
5 min
Prep Time
5 min
Cook Time
5 min
Ingredients
  1. 1/2 can black beans
  2. 1/2 tomato
  3. 1/2 handful of spinach
  4. 1 egg
  5. 1 tortilla
  6. salt and pepper
  7. hot sauce
Instructions
  1. Heat up the beans in a pot
  2. Cook your egg
  3. Heat/toast your tortilla
  4. Put the beans down first, then the egg, then the veggies
  5. Either use your tortilla as a taco or rip it up and eat it with a fork alongside the other goodies
  6. Throw down some hot sauce and dive in!
Notes
  1. You can use different types of beans or greens
  2. You can add cheese as well
hungry and fit https://hungryandfit.com/
There you have it. I often whip it up at night when I don’t feel like doing a lot of cooking and when Hungry has found his own dinner. It’s fun to spruce it up with fresh vegetables, although tomatoes are a must (unless you aren’t a fan). Avocados would be PERFECT for this too! Have fun with it and feel free to add anything to make it yours! And as always…stay hungry and fit!

BONUS KITTY PIC

photo (55)

spacer

Delicious Vegetable Soup

This post is brought to you by Hungry’s mom! We composed the post, but she provided the recipe and pictures! Yum!

With spring and summer around, vegetables are flowing freely (yay!). We are truly happy for that and even happier with the recipes that come along with it! This vegetable soup is sure to keep everyone around the table happy and well-fed with nutritious ingredients. There is not much work to it at all! 

DSCF2251 DSCF2253 DSCF2255

Vegetable Soup
A easy-to-make vegetable soup that can last the week
Write a review
Print
Prep Time
15 min
Cook Time
1 hr 15 min
Prep Time
15 min
Cook Time
1 hr 15 min
Ingredients
  1. 1 large container(approx 32 oz) organic vegetable broth
  2. 1 large can (approx 28oz) whole peeled tomatoes
  3. 1 can 16oz (or fresh equivalent) of cannellini and red kidney beans
  4. 1 cup fresh green beans
  5. 2 cups shitake mushrooms
  6. large dash pepper
  7. large dash olive oil
  8. 2 cups diced celery
  9. 1 cup sliced carrots
  10. 1 onion, sliced
  11. 1 shallot, sliced
  12. several handfuls fresh dill
  13. 12 fresh sage leaves
  14. 1 cup thin egg noodles or similar small pasta
  15. pepper to taste or if you like it spicy, add fresh peppercorns
Instructions
  1. Make sure to do all the chopping or slicing you need to do for vegetables
  2. Add all ingredients with the exception of egg noodles to large sauce pot and bring to a boil
  3. Simmer and cover for approx 1-1.5 hours
  4. Ten minutes before serving, add egg noodles
Notes
  1. Would go great alongside ciabatta bread!
hungry and fit https://hungryandfit.com/
There you have it. Enjoy and thank Hungry’s mom for this one! This is a great way to meal prep for the entire week and not have to worry about dinner. Big batches are smart like that. Use this recipe to stay hungry and fit!

spacer

Healthy Version of Pizza

I crave pizza probably 85% of the time. And while it would be nice to grab a slice of pizza every time I get that craving, it’s best for my body that I don’t. That’s why we create alternatives and moderations to satisfy these cravings. This is a shout-out to my mum who would make this healthy version of pizza for me for a snack all the time. It’s time for pizza toast! This is a healthier, much cheaper version of pizza that is sure to kick your pizza craving in the butt. It is incredibly, incredibly simple and could call for some creativity if you want to get snazzy with it. 

photo 2 (60) photo 3 (45) photo 4 (37) photo 5 (17)


Pizza Toast
Serves 1
A healthy alternative to pizza
Write a review
Print
Prep Time
3 min
Cook Time
2 min
Prep Time
3 min
Cook Time
2 min
Ingredients
  1. 1 slice of bread
  2. 1 slice of cheese (enough to cover the bread)
  3. 1 tbsp your favorite "red" sauce
Instructions
  1. Toast the bread on both sides lightly
  2. Spread the red sauce on the toast
  3. Put the cheese on top and bake for 1-2 minutes or until melted
Notes
  1. Have fun with it and add more ingredients!
hungry and fit https://hungryandfit.com/
Super simple, super easy, and you can make it what YOU want it to be. Have fun with the cheese, the sauce (try pesto!), and whatever toppings you want. This is a great snack or light meal. Enjoy it and make it yours! Use this healthy pizza alternative to stay hungry and fit!

BONUS KITTY PIC

Nymeria stealing Noke's 3rd bed

Nymeria stealing Noke’s 3rd bed

spacer

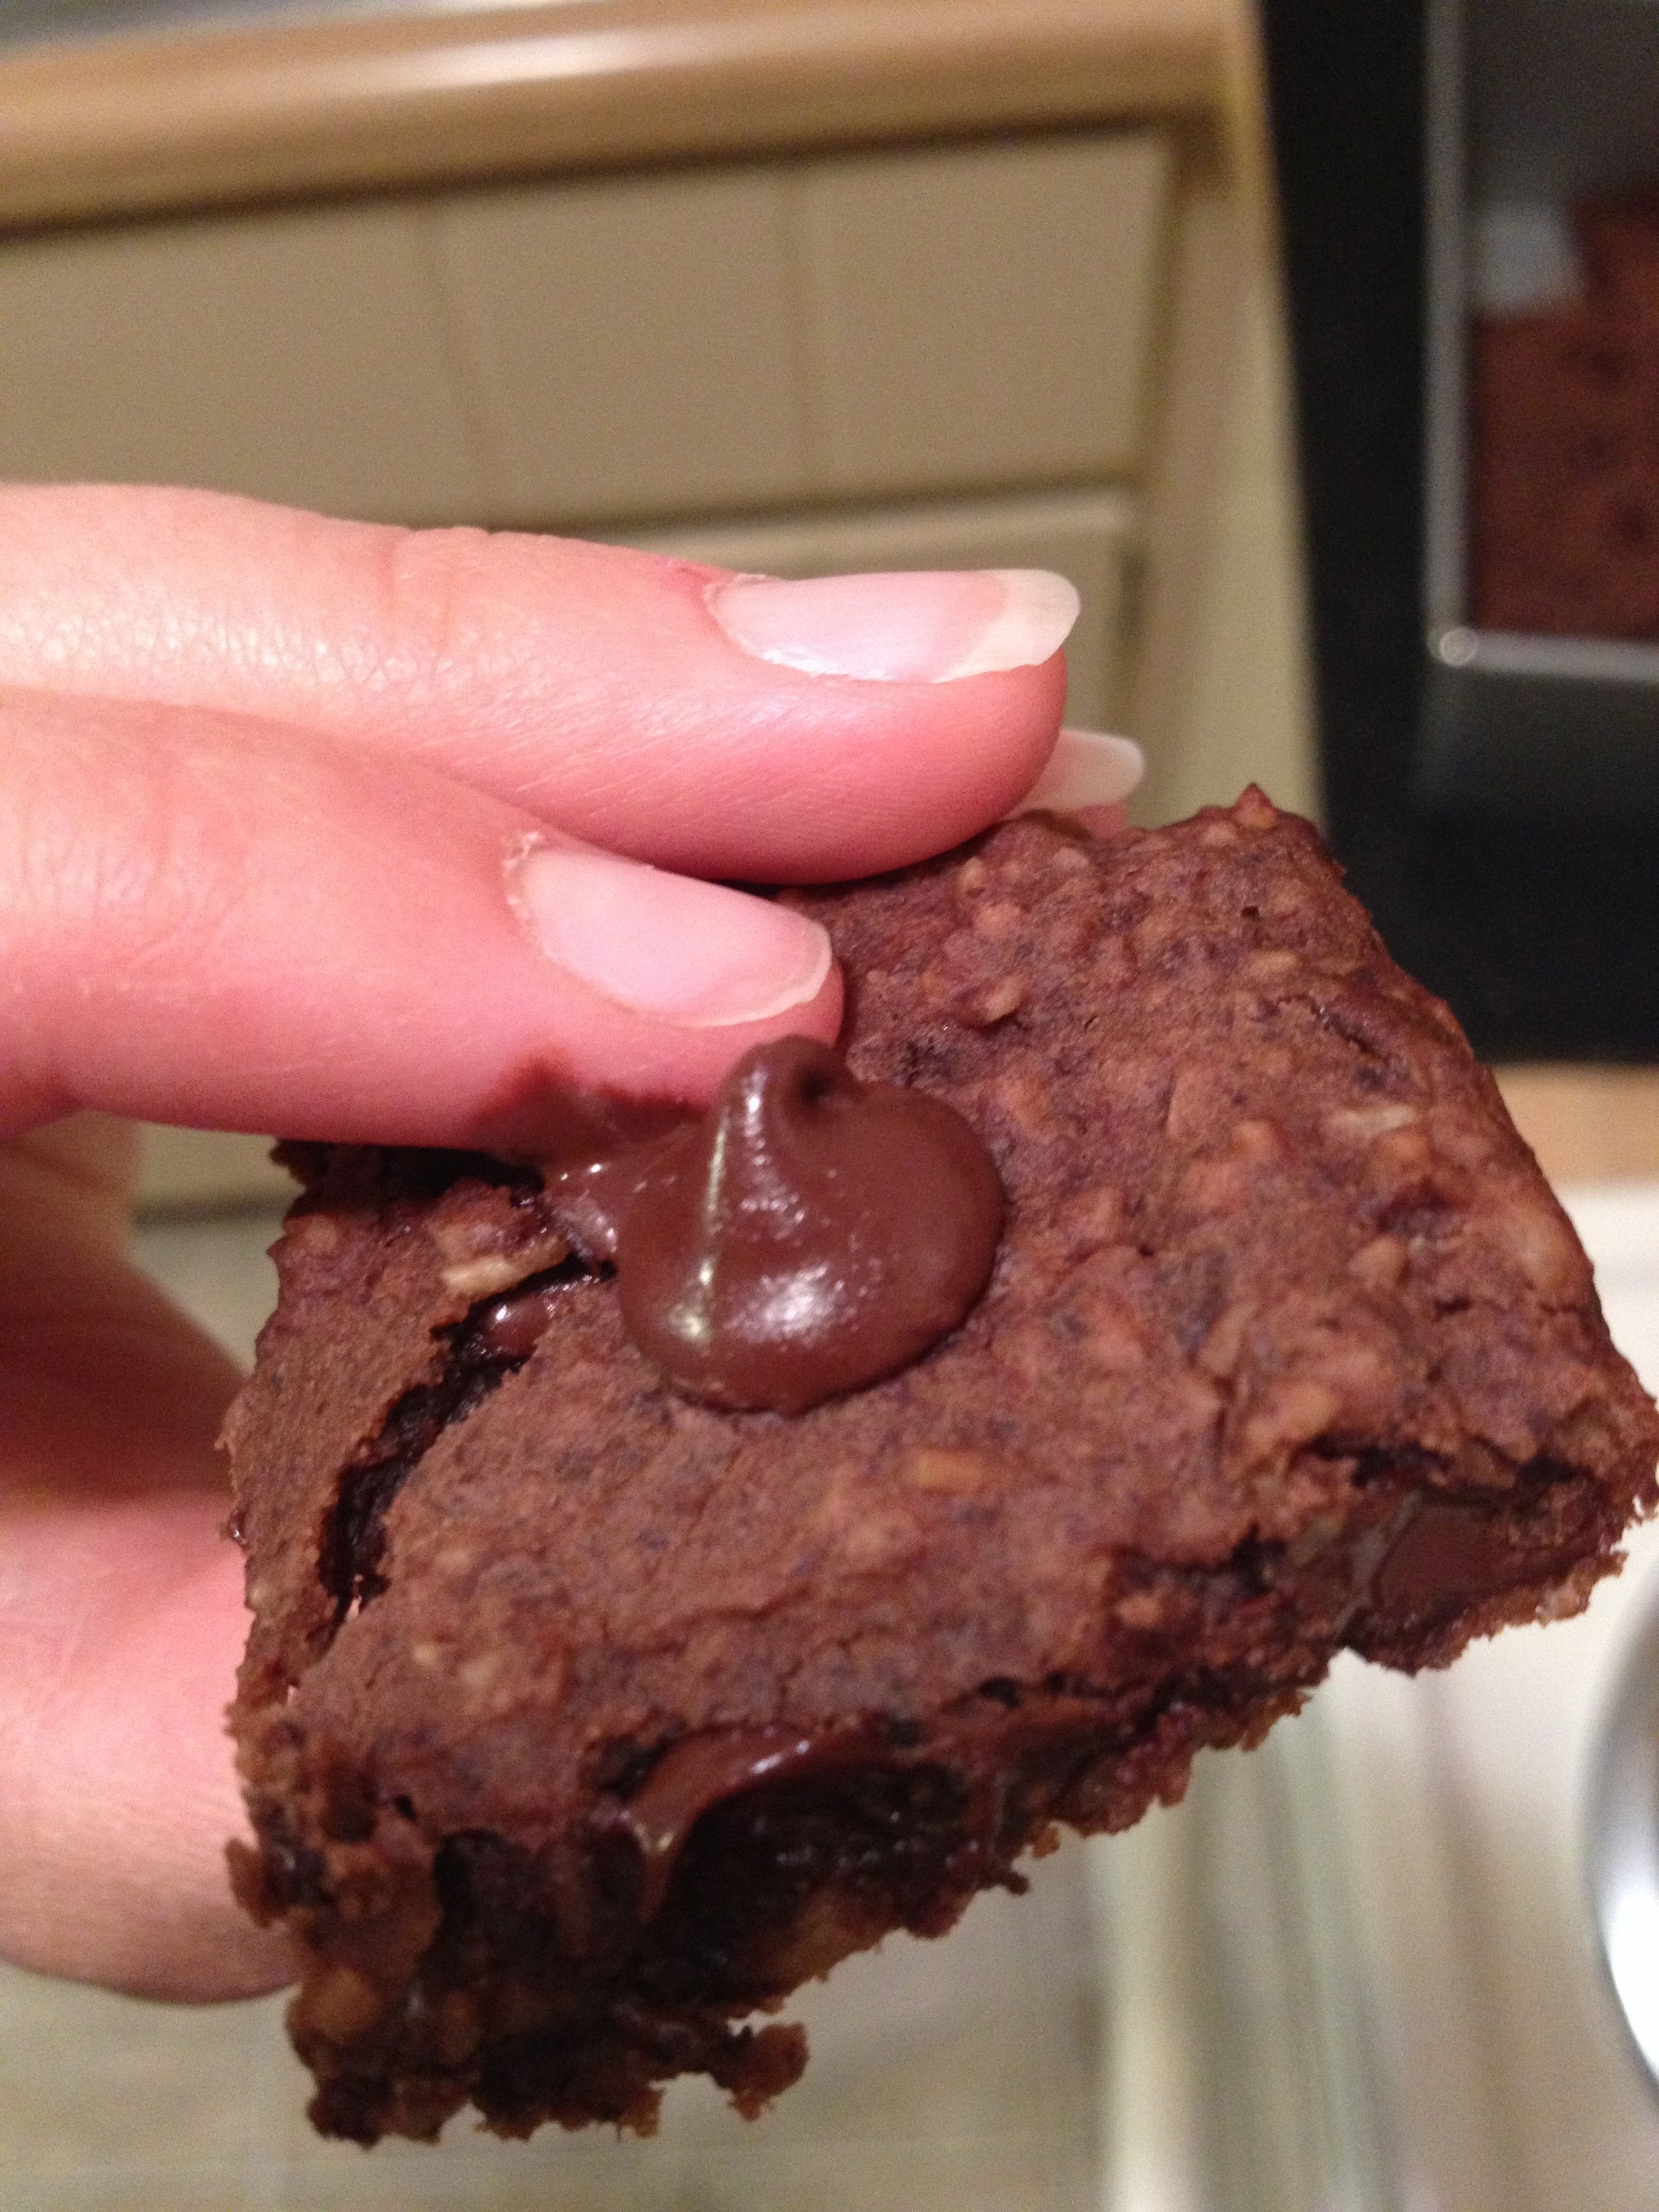
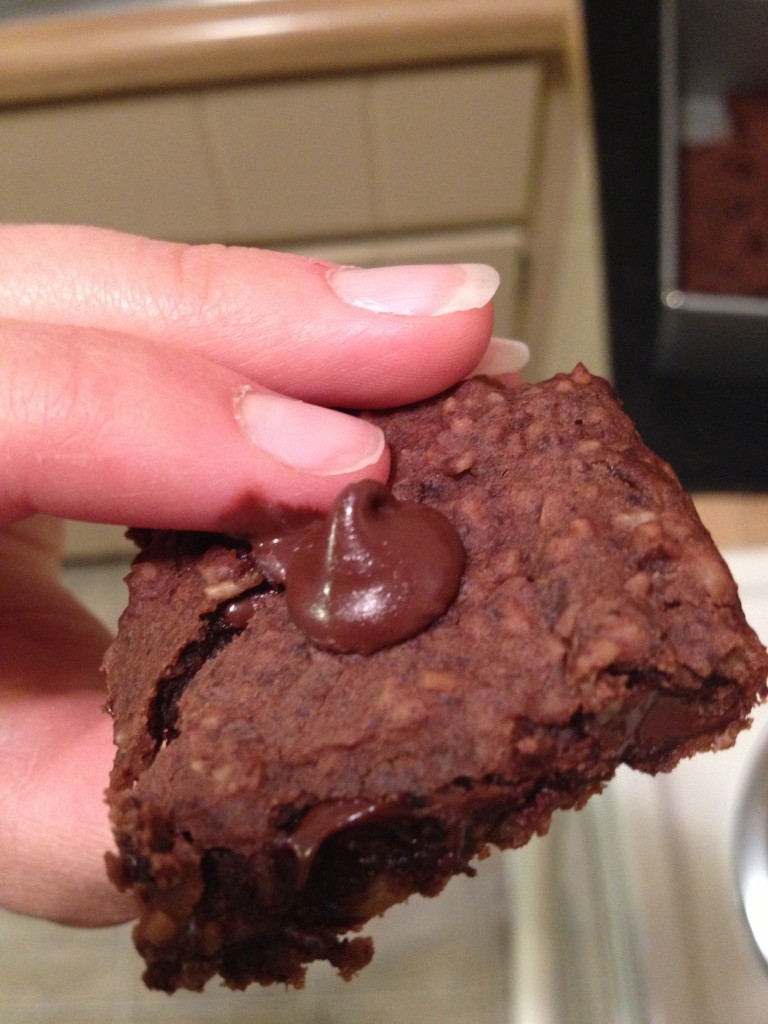
Healthy Black Bean Brownies

The first time I heard about black bean brownies, I turned my nose up. First of all, brownies aren’t my go-to dessert (although they can be delicious, see: Judith’s brownies) and second of all, BEANS?! IN BROWNIES?! Now you’re talking crazy. However, here at Hungry and Fit we’re always looking at ways to healthify things we love so we have no limits. One day, one of my trainers brought in black bean brownies and they were darn good. Black bean brownies are a sure lesson of not judging a book by its cover, because they are gooo–oood! This recipe is a sure way to eating brownies guilt-free! 

photo 1 (68) photo 2 (79) photo 4 (51) photo 5 (29) photo 1 (69) photo 2 (80) photo 3 (67)

Healthy Black Bean Brownies
Yields 12
A brownie that your taste buds AND waist line will enjoy
Write a review
Print
Prep Time
10 min
Cook Time
18 min
Prep Time
10 min
Cook Time
18 min
Ingredients
  1. 1 15oz can black beans
  2. 2 tbsp cocoa powder
  3. 1/4 tsp salt
  4. 1/2 tsp baking powder
  5. 1/4 cup oil (I used olive oil)
  6. 1/3 cup of honey
  7. 2 tbsp sugar
  8. 1/2 cup quick-cook oats
  9. 2 tsp vanilla extract
  10. 1/2 cup chocolate chips
Instructions
  1. Pre-heat oven to 350 degrees F and grease a square tin
  2. Rinse out your beans
  3. Put all ingredients into a blender or food processor
  4. Mix it up real, real well--make it smooth!
  5. Mix in the chocolate chips
  6. Pour into tin
  7. Garnish the top with chocolate chips
Notes
  1. The more you blend it, the less grittier it will be!
Adapted from Chocolate Covered Katie
hungry and fit https://hungryandfit.com/
These are healthy and delectable. I usually don’t tell people they have beans in them until they try it (unless they are on a health journey). This recipe promises not to disappoint taste buds or waist lines. I am very happy for this recipe to satisfy any chocolate craving! Use this recipe to stay hungry and fit!

BONUS PUPPY PIC
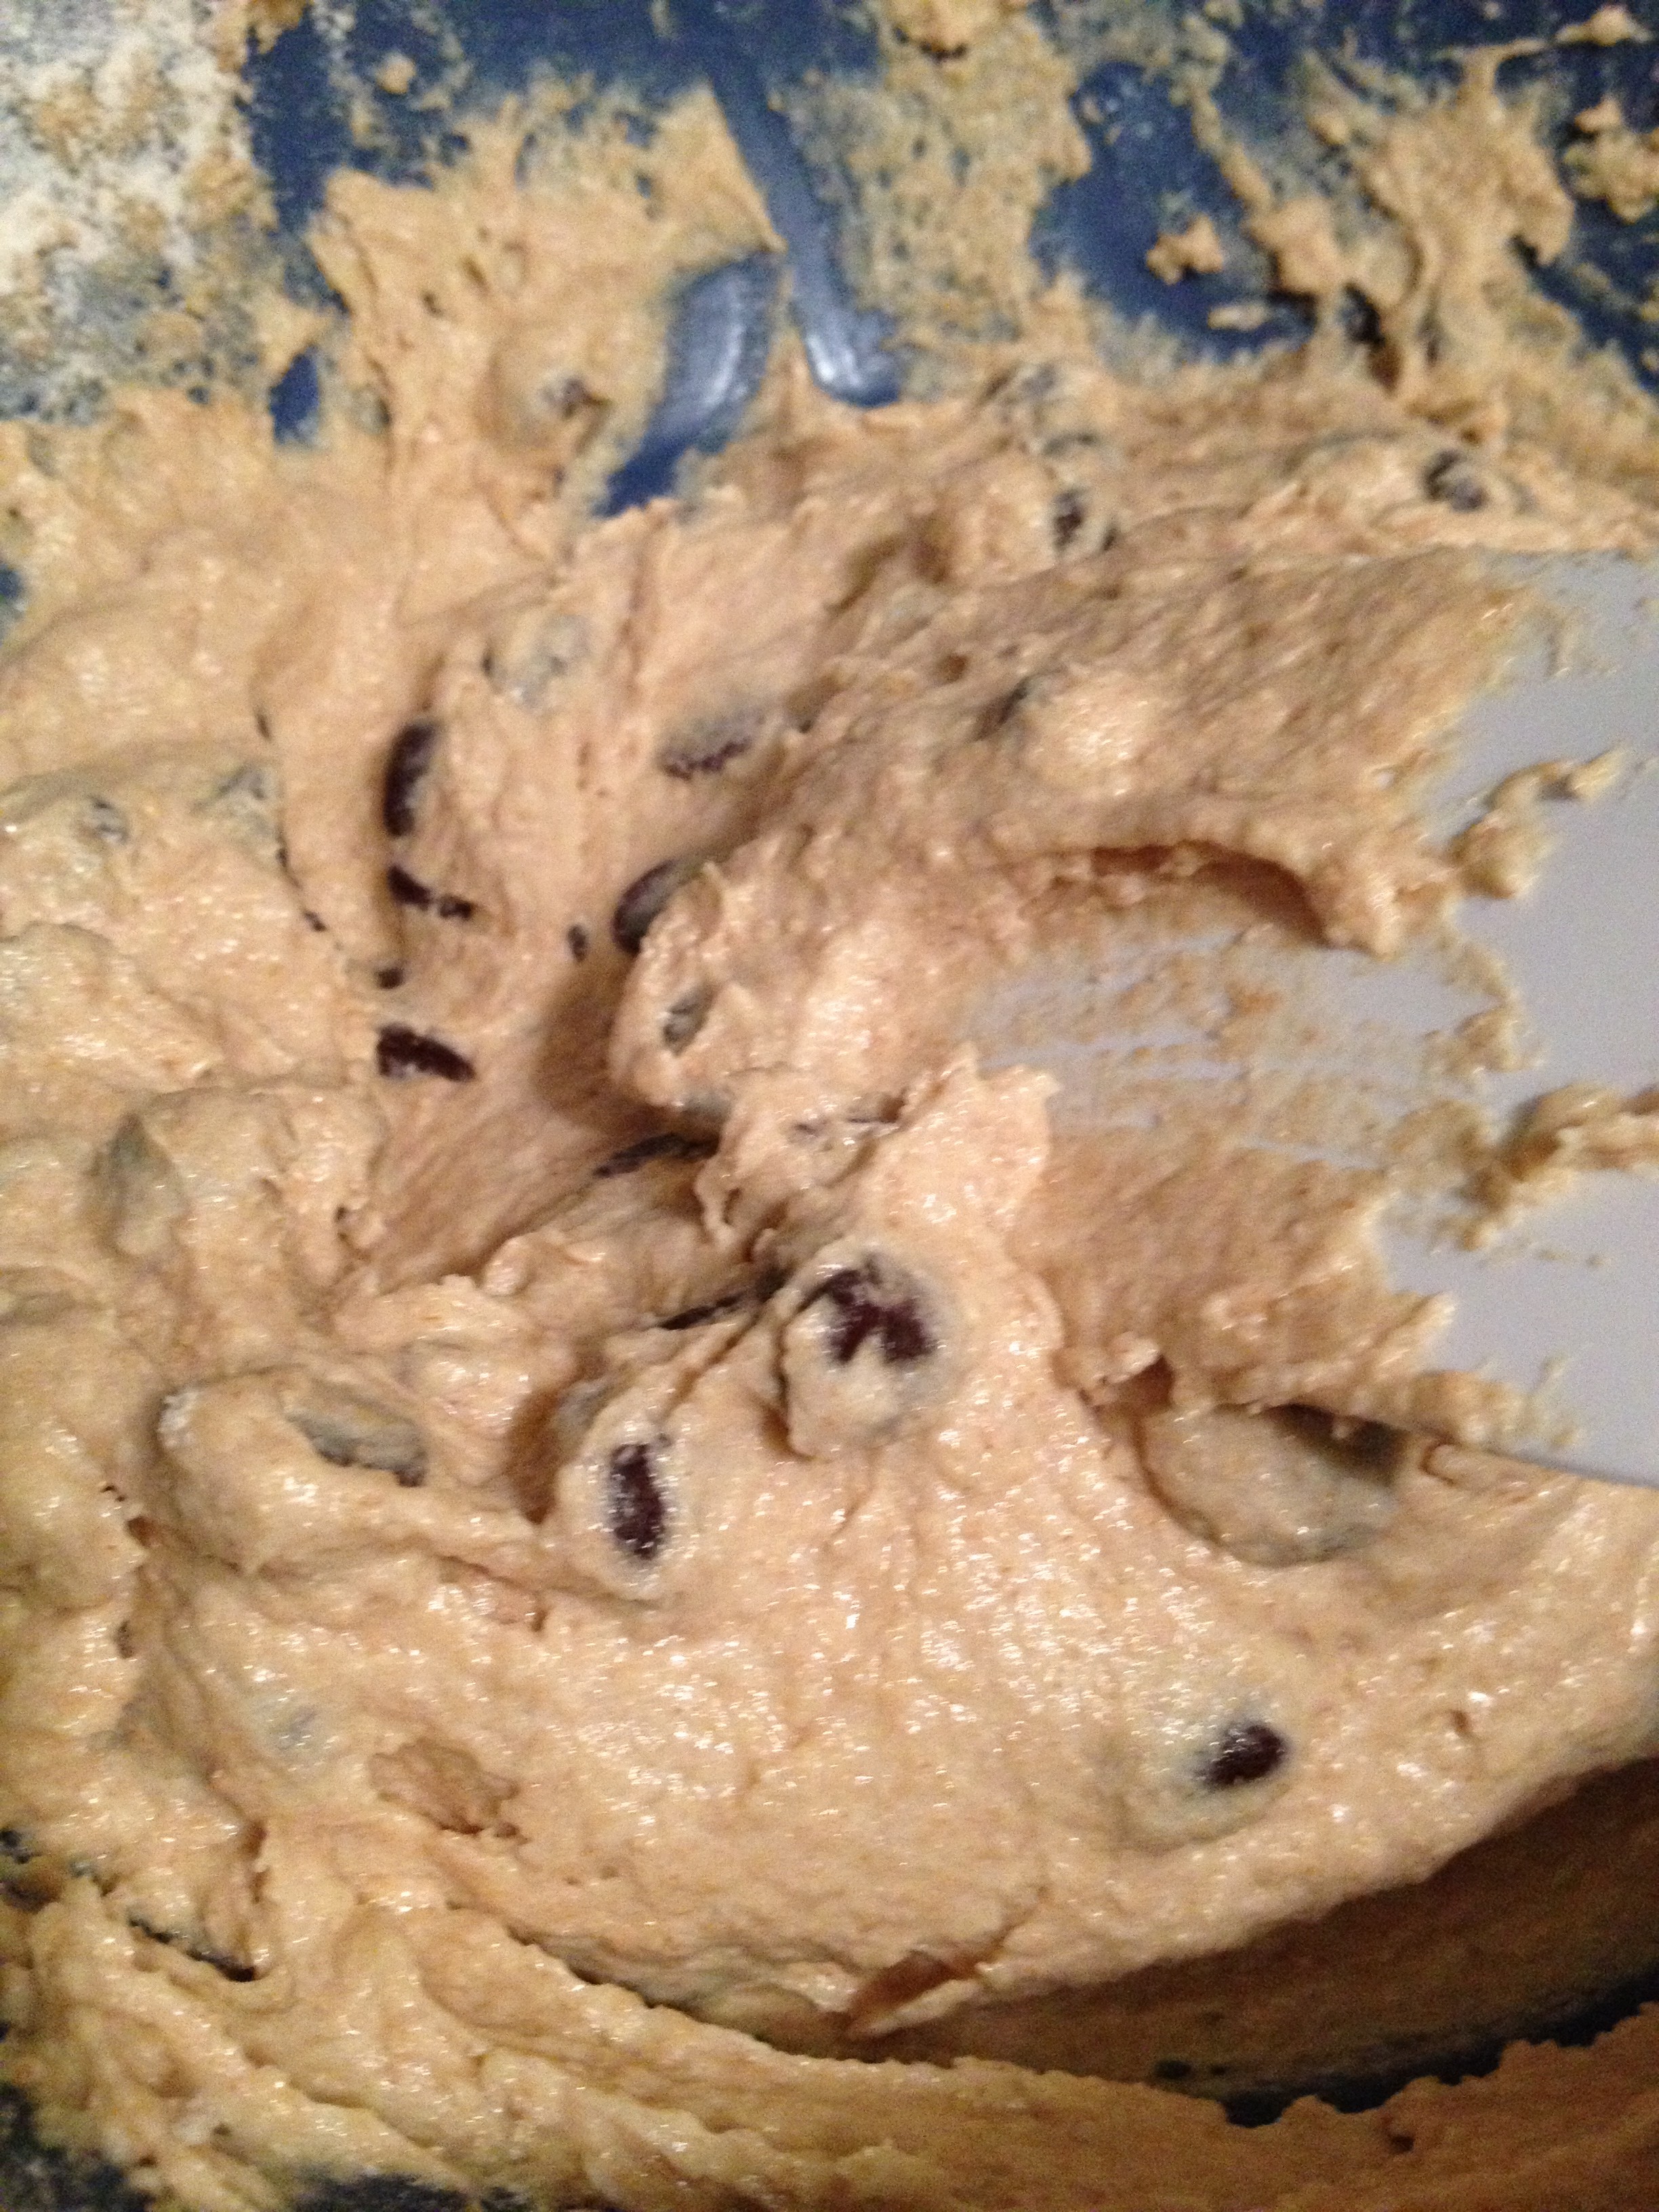
Poor puppy has been sick with giardia

Poor puppy has been sick with giardia

spacer