
This recipe is perfect for Valentine’s Day if you want to create a treat for the special day! Some of my favorite Valentine’s Day memories involve my dad putting those little candy hearts allll over the house and me getting to look and find them. Onto the yummy stuff. I have watched my mum make her scones year after year growing up throughout my childhood, but I never actually made them myself. Sure, I helped her put on the jam or whip the cream, but I was just helping, not creating. I was thinking of what I wanted to bring to work for Valentine’s Day (I’m not a huge proponent of this day because it’s normally too gushy, but I always like an excuse to make something yummy), and then it came to me! Mum’s scones! Simple, delicious, and not too sweet. Looking back, I have to laugh, because when I asked mum for the recipe, and then when we were FaceTiming while I was making it at 6:30am (5:30am her time–sorry, Mum!), the way she actually did it was completely different. Here is a family recipe, rooting back in New Zealand that promises to not be too heavy or sweet but a definite crowd-pleaser.

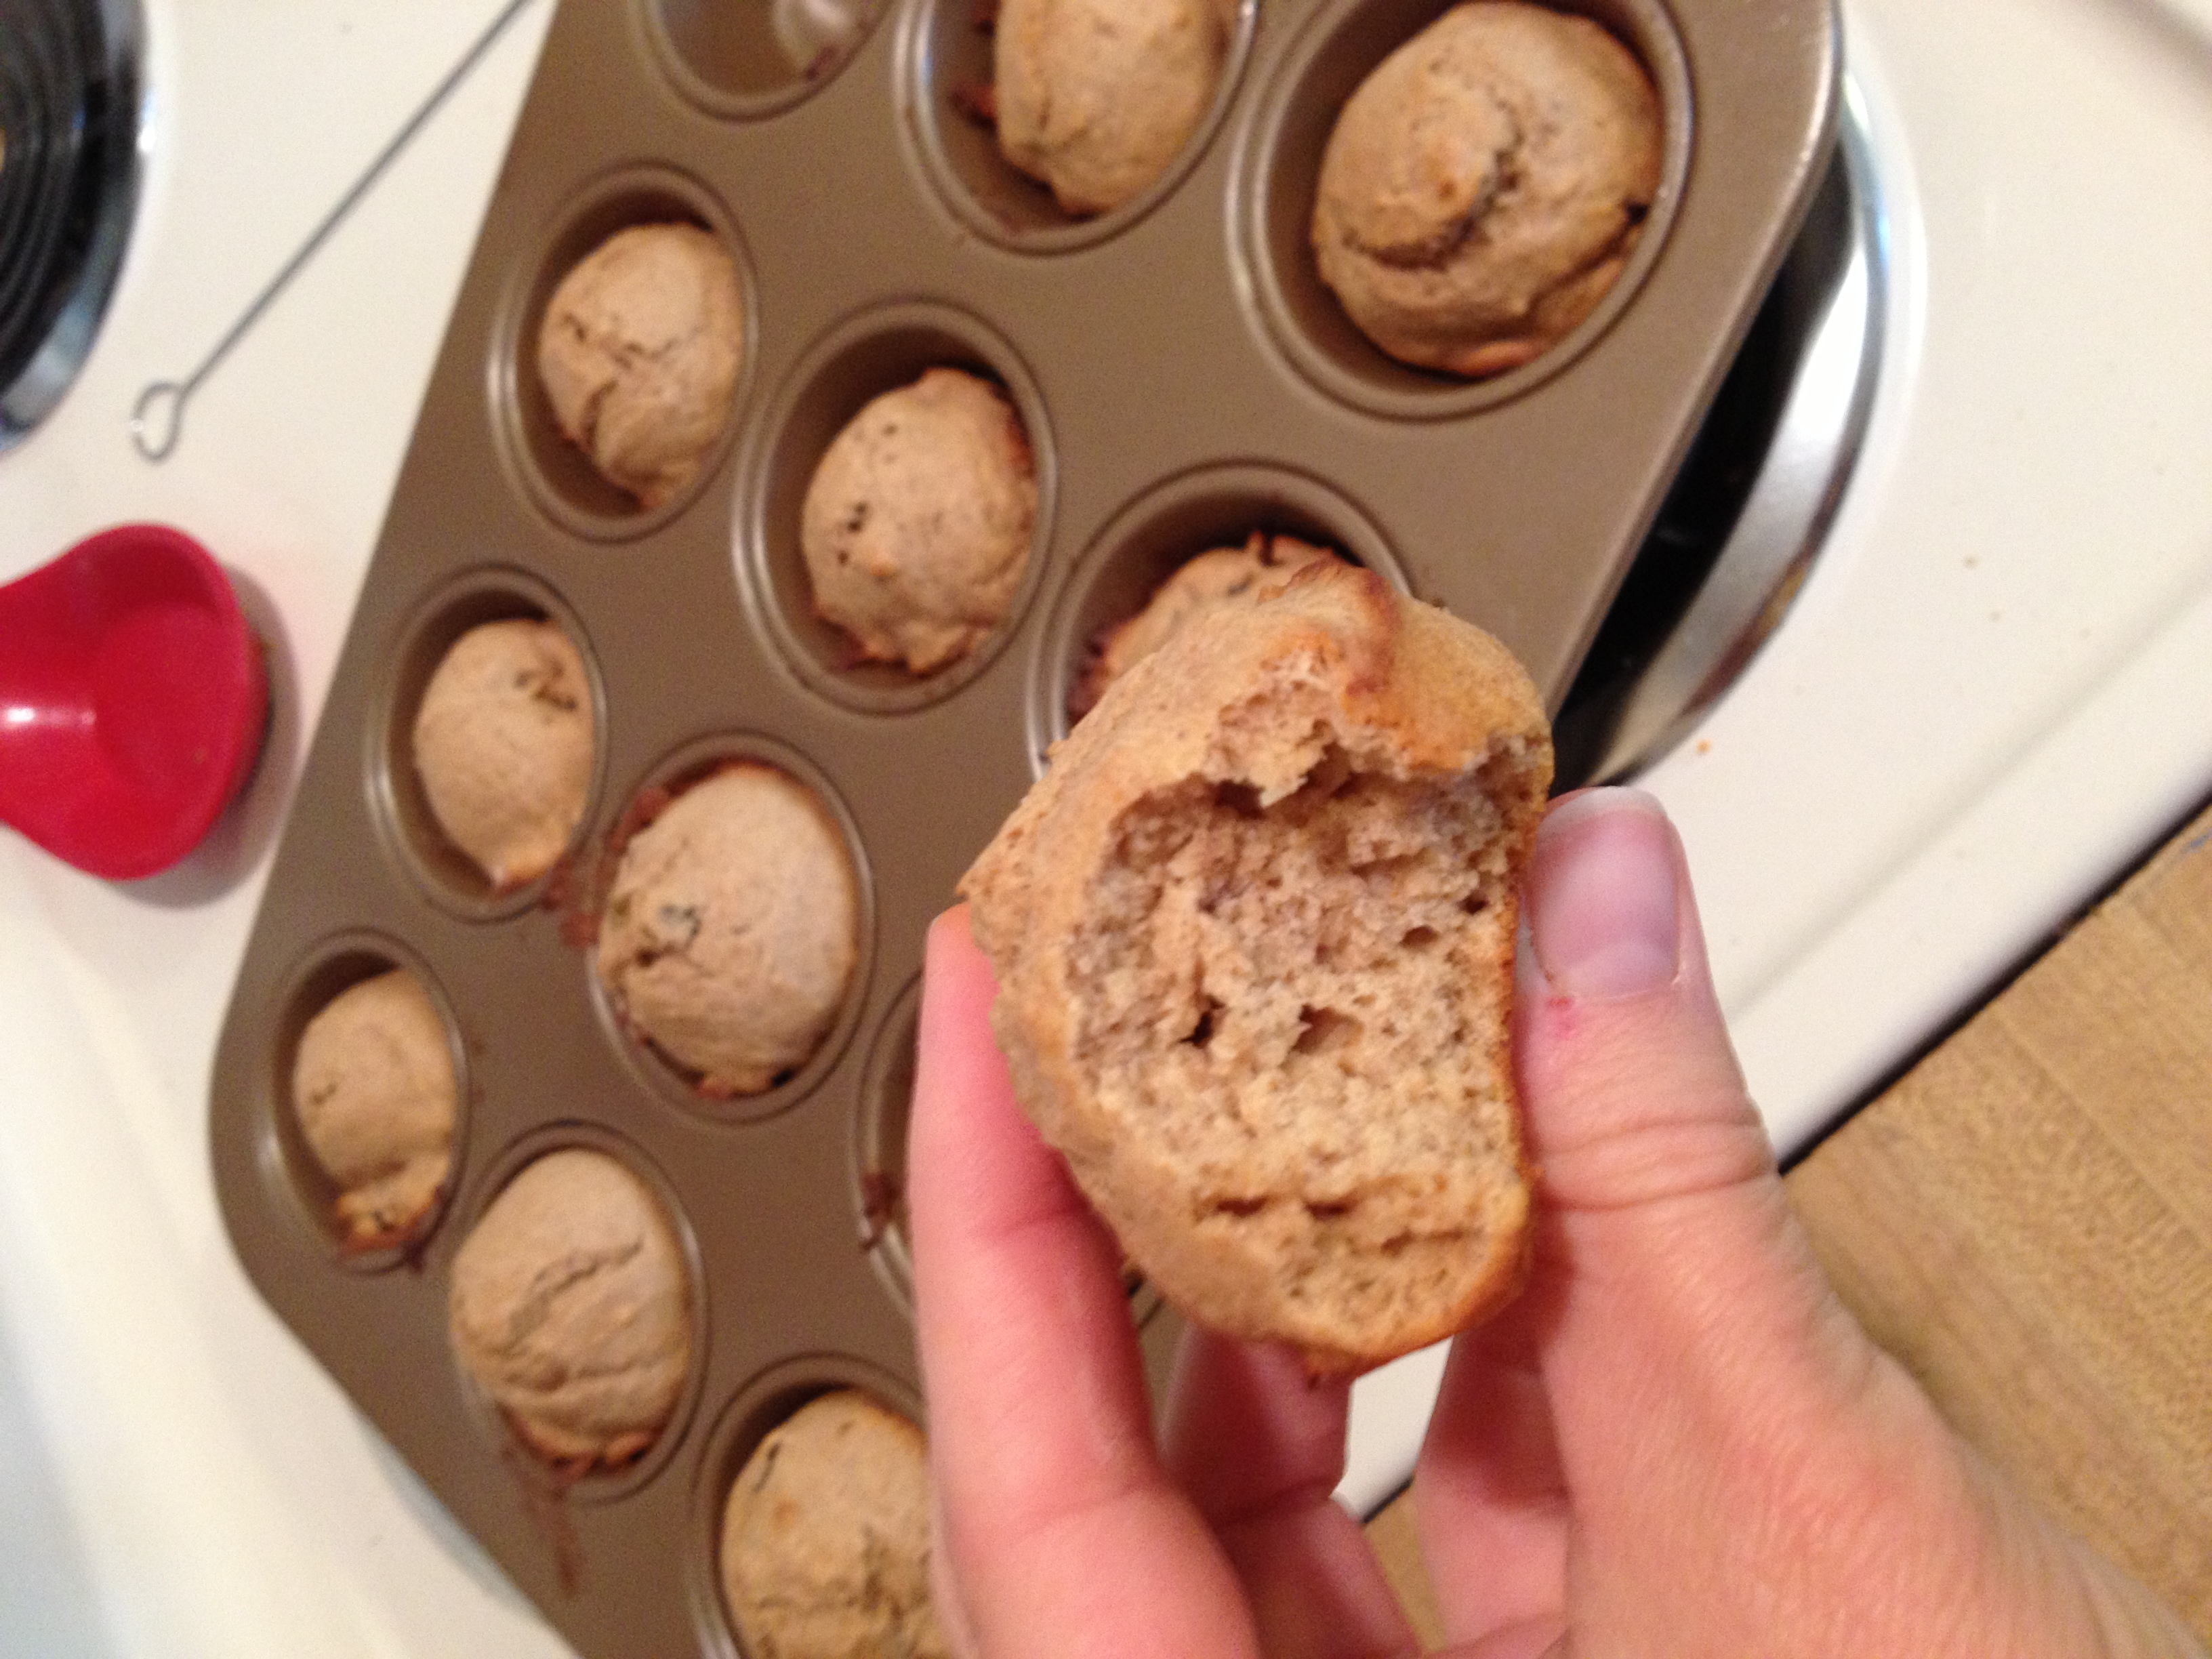
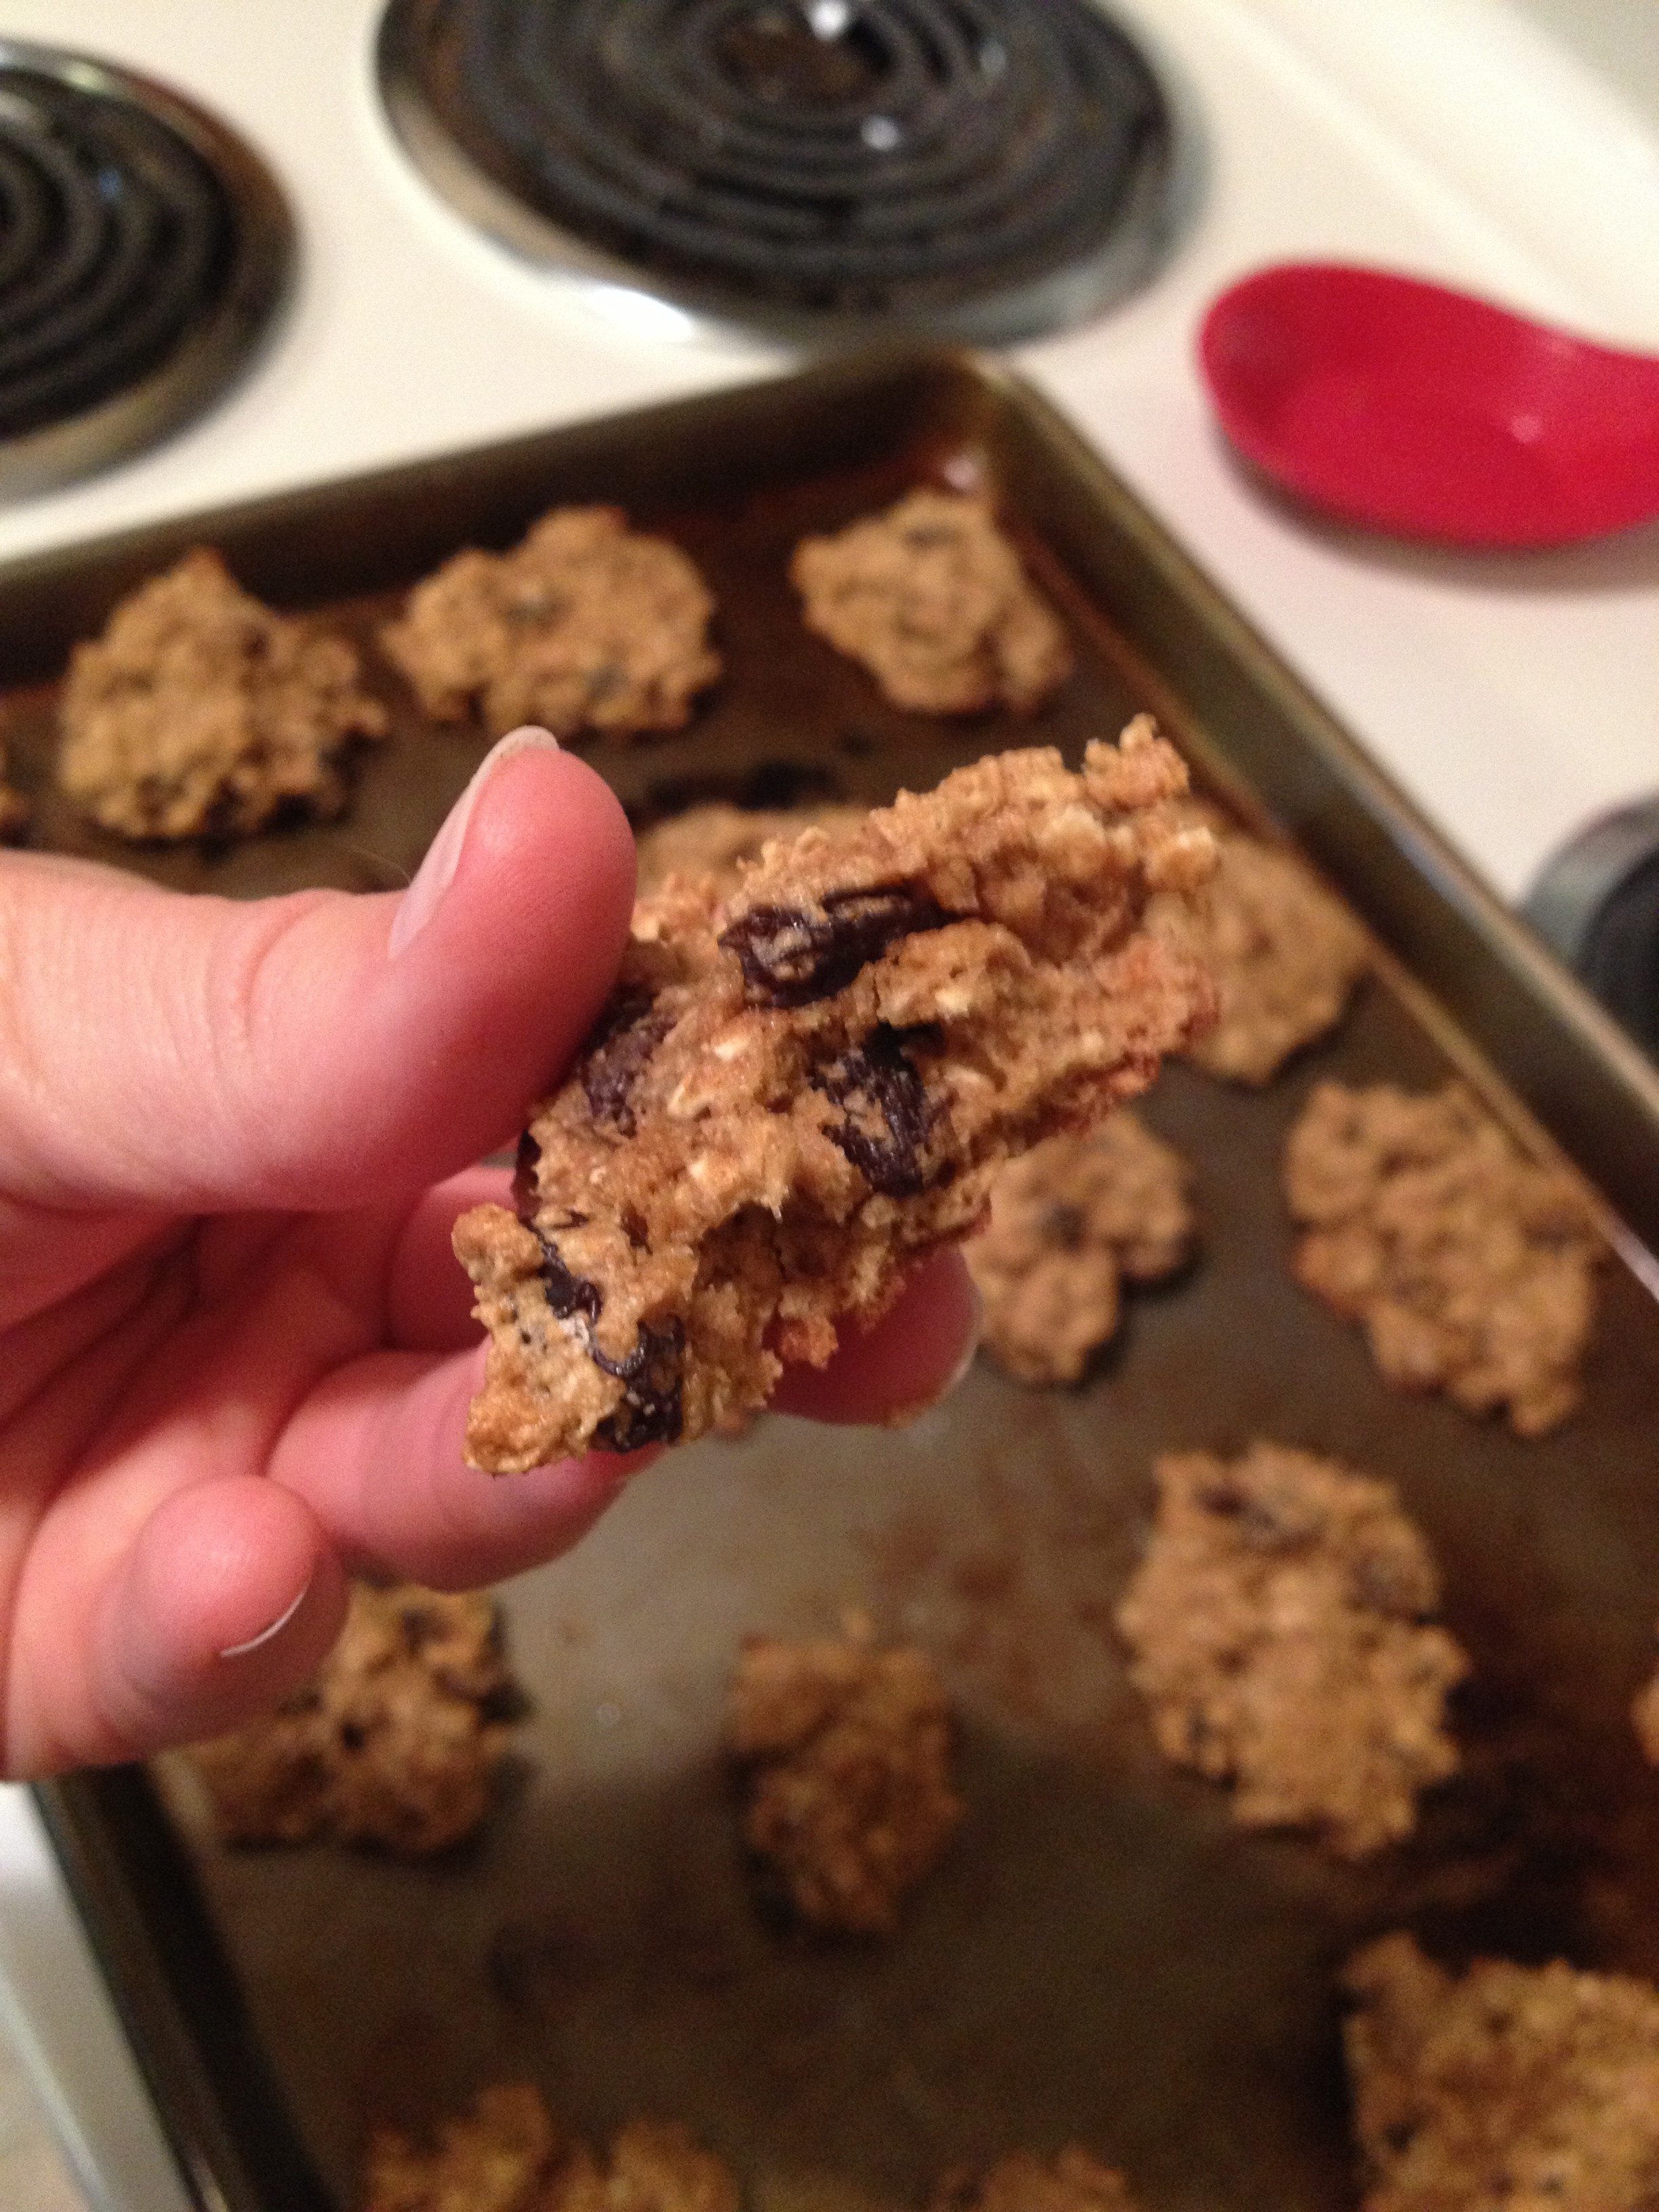
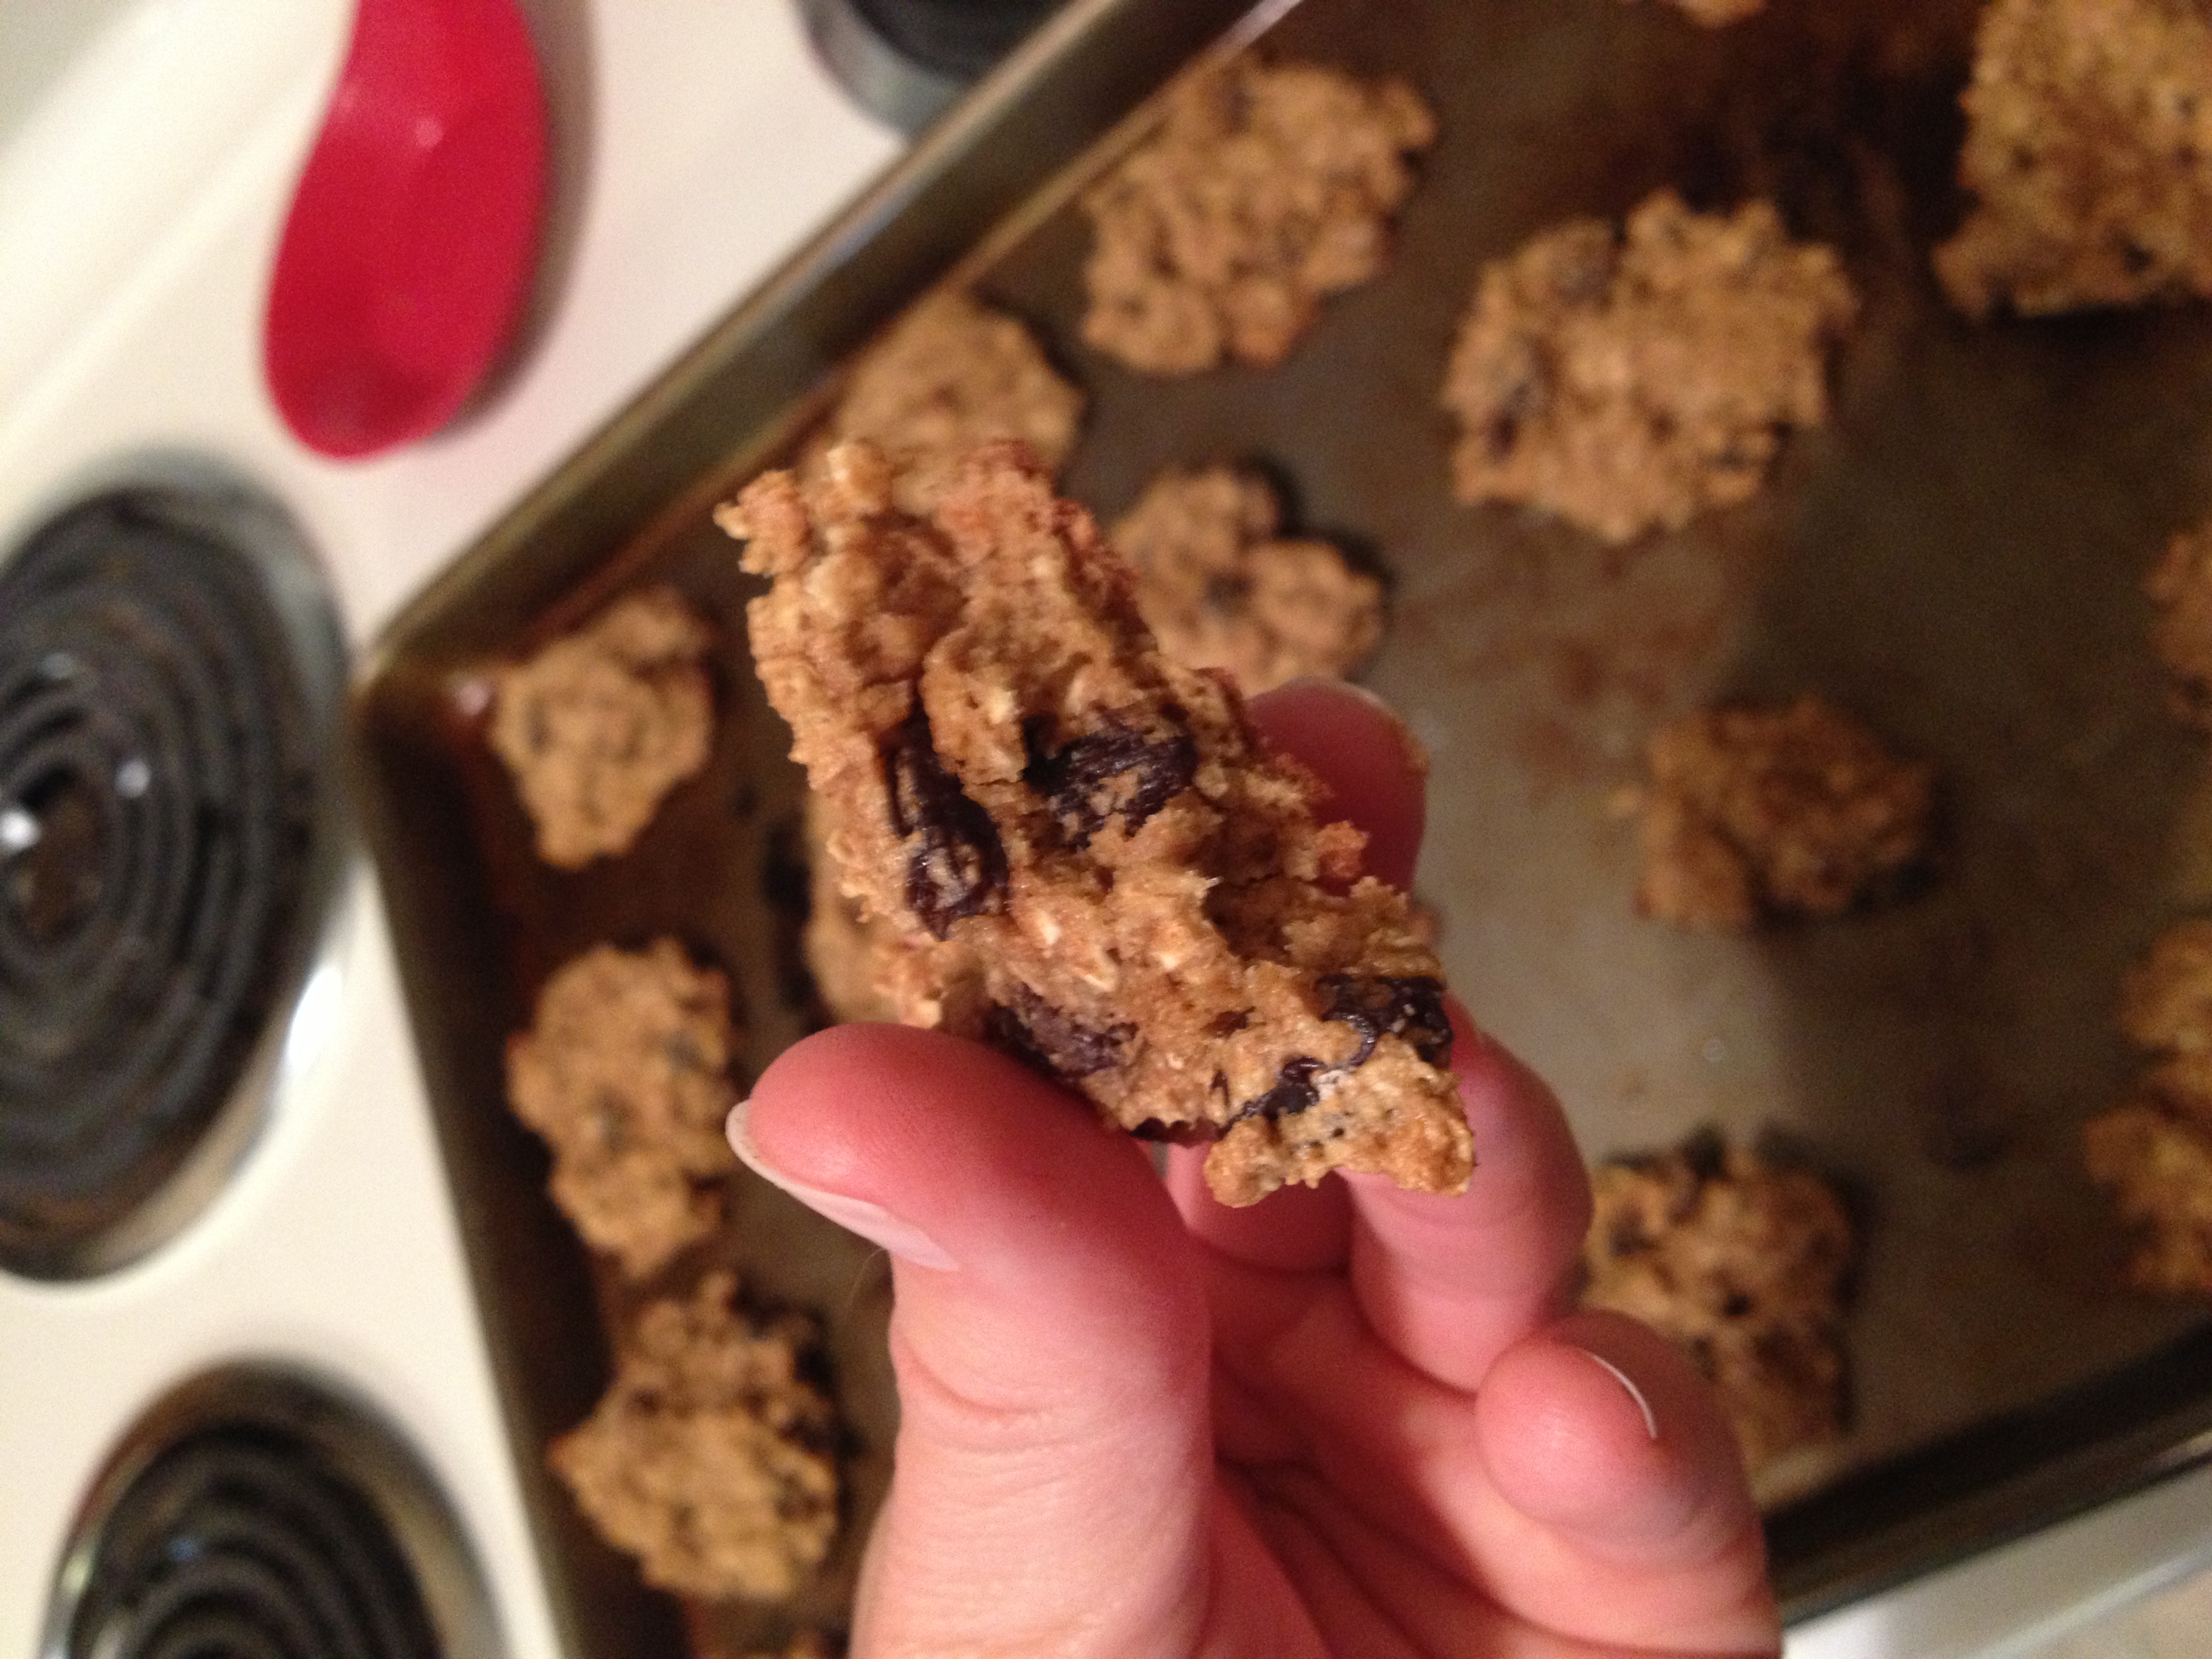
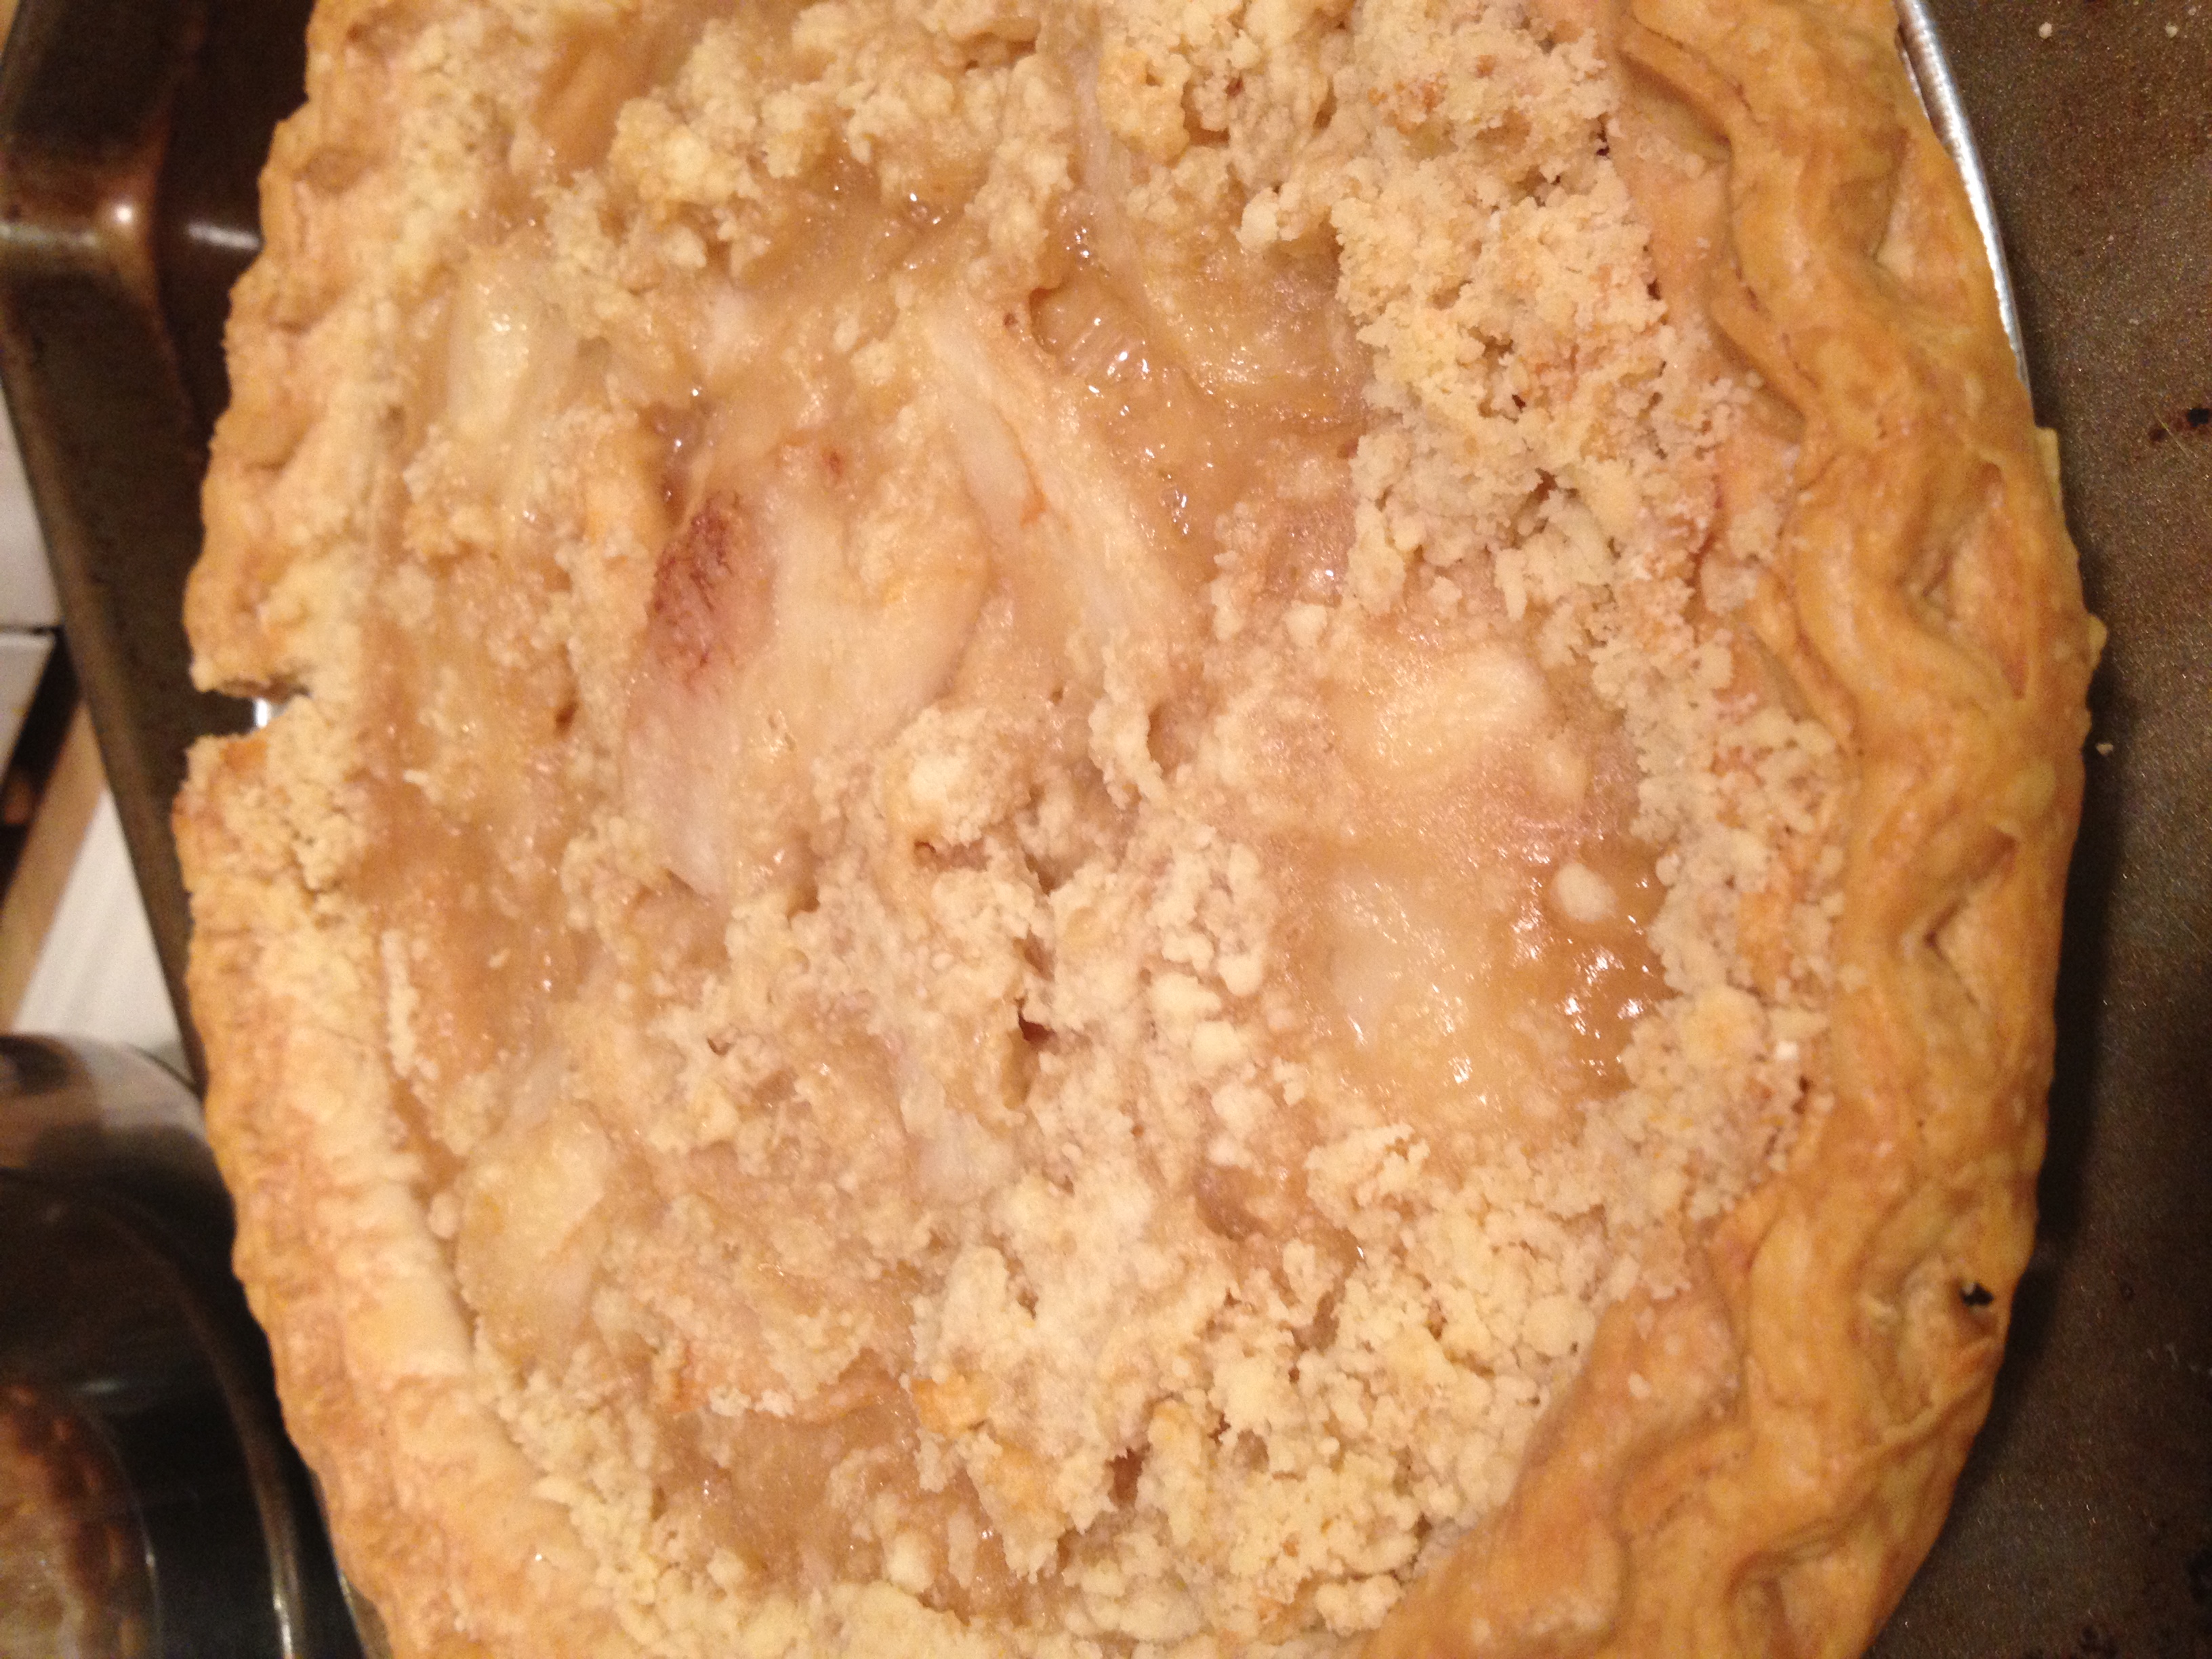
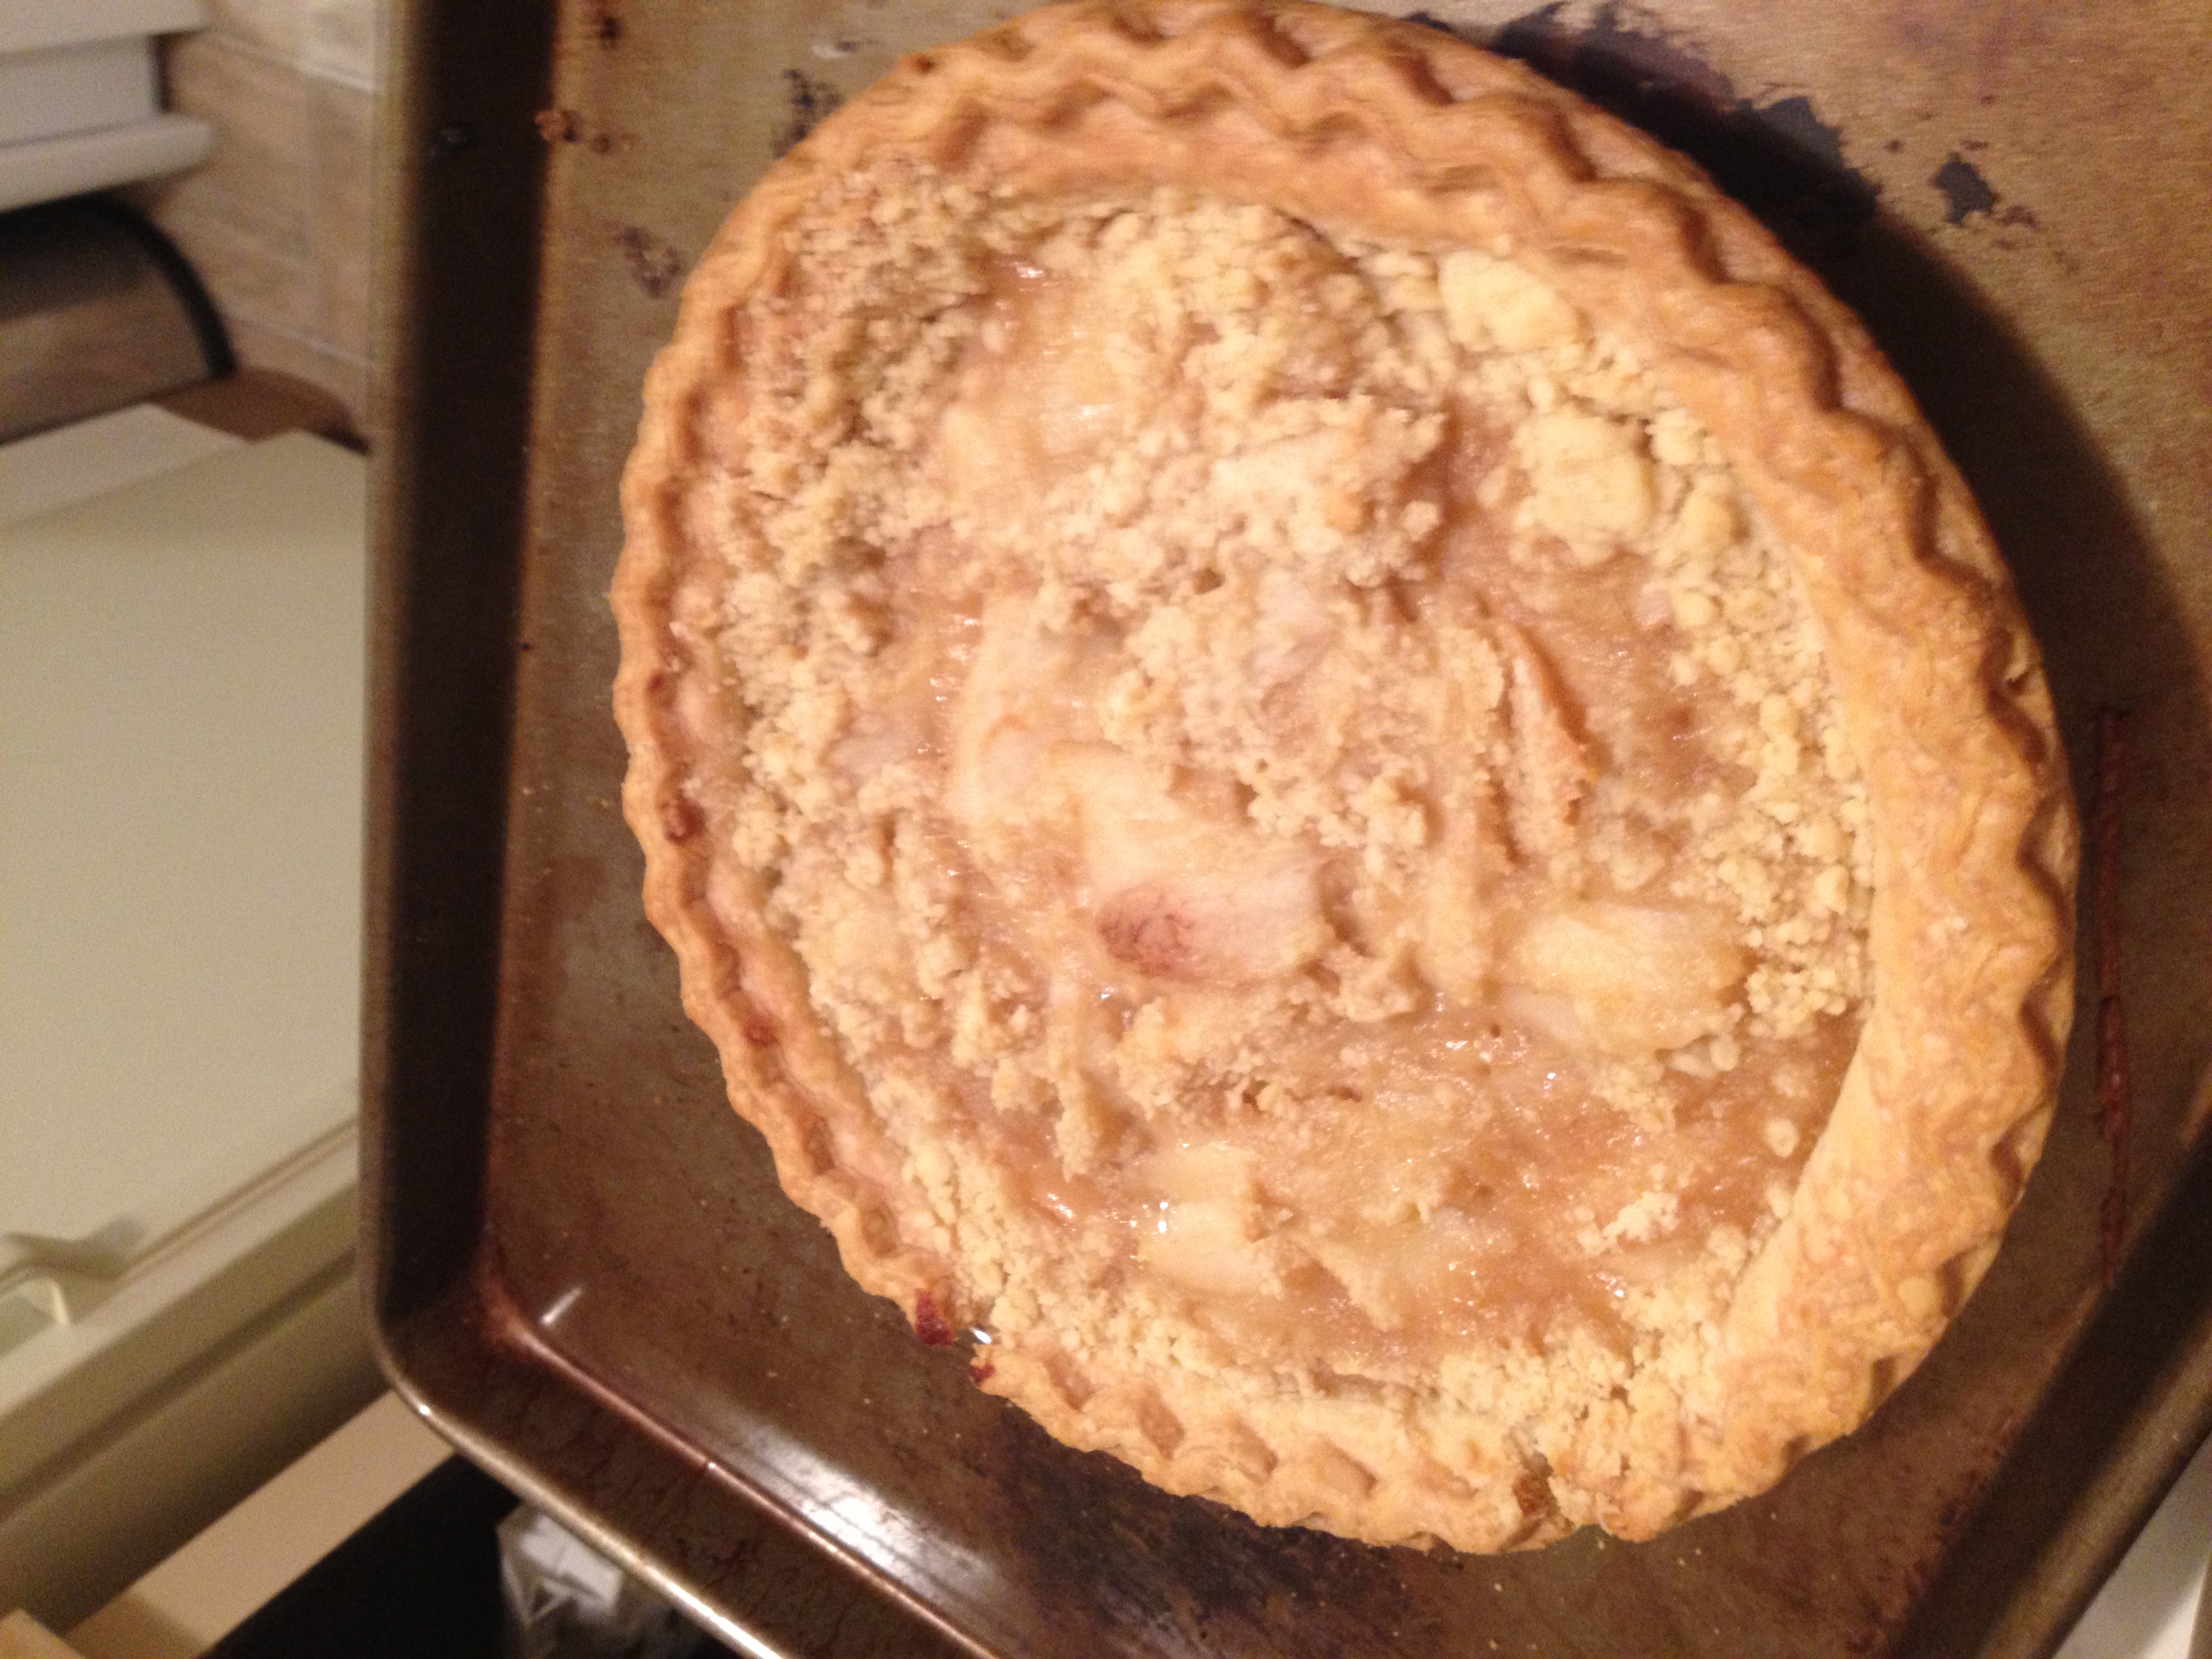
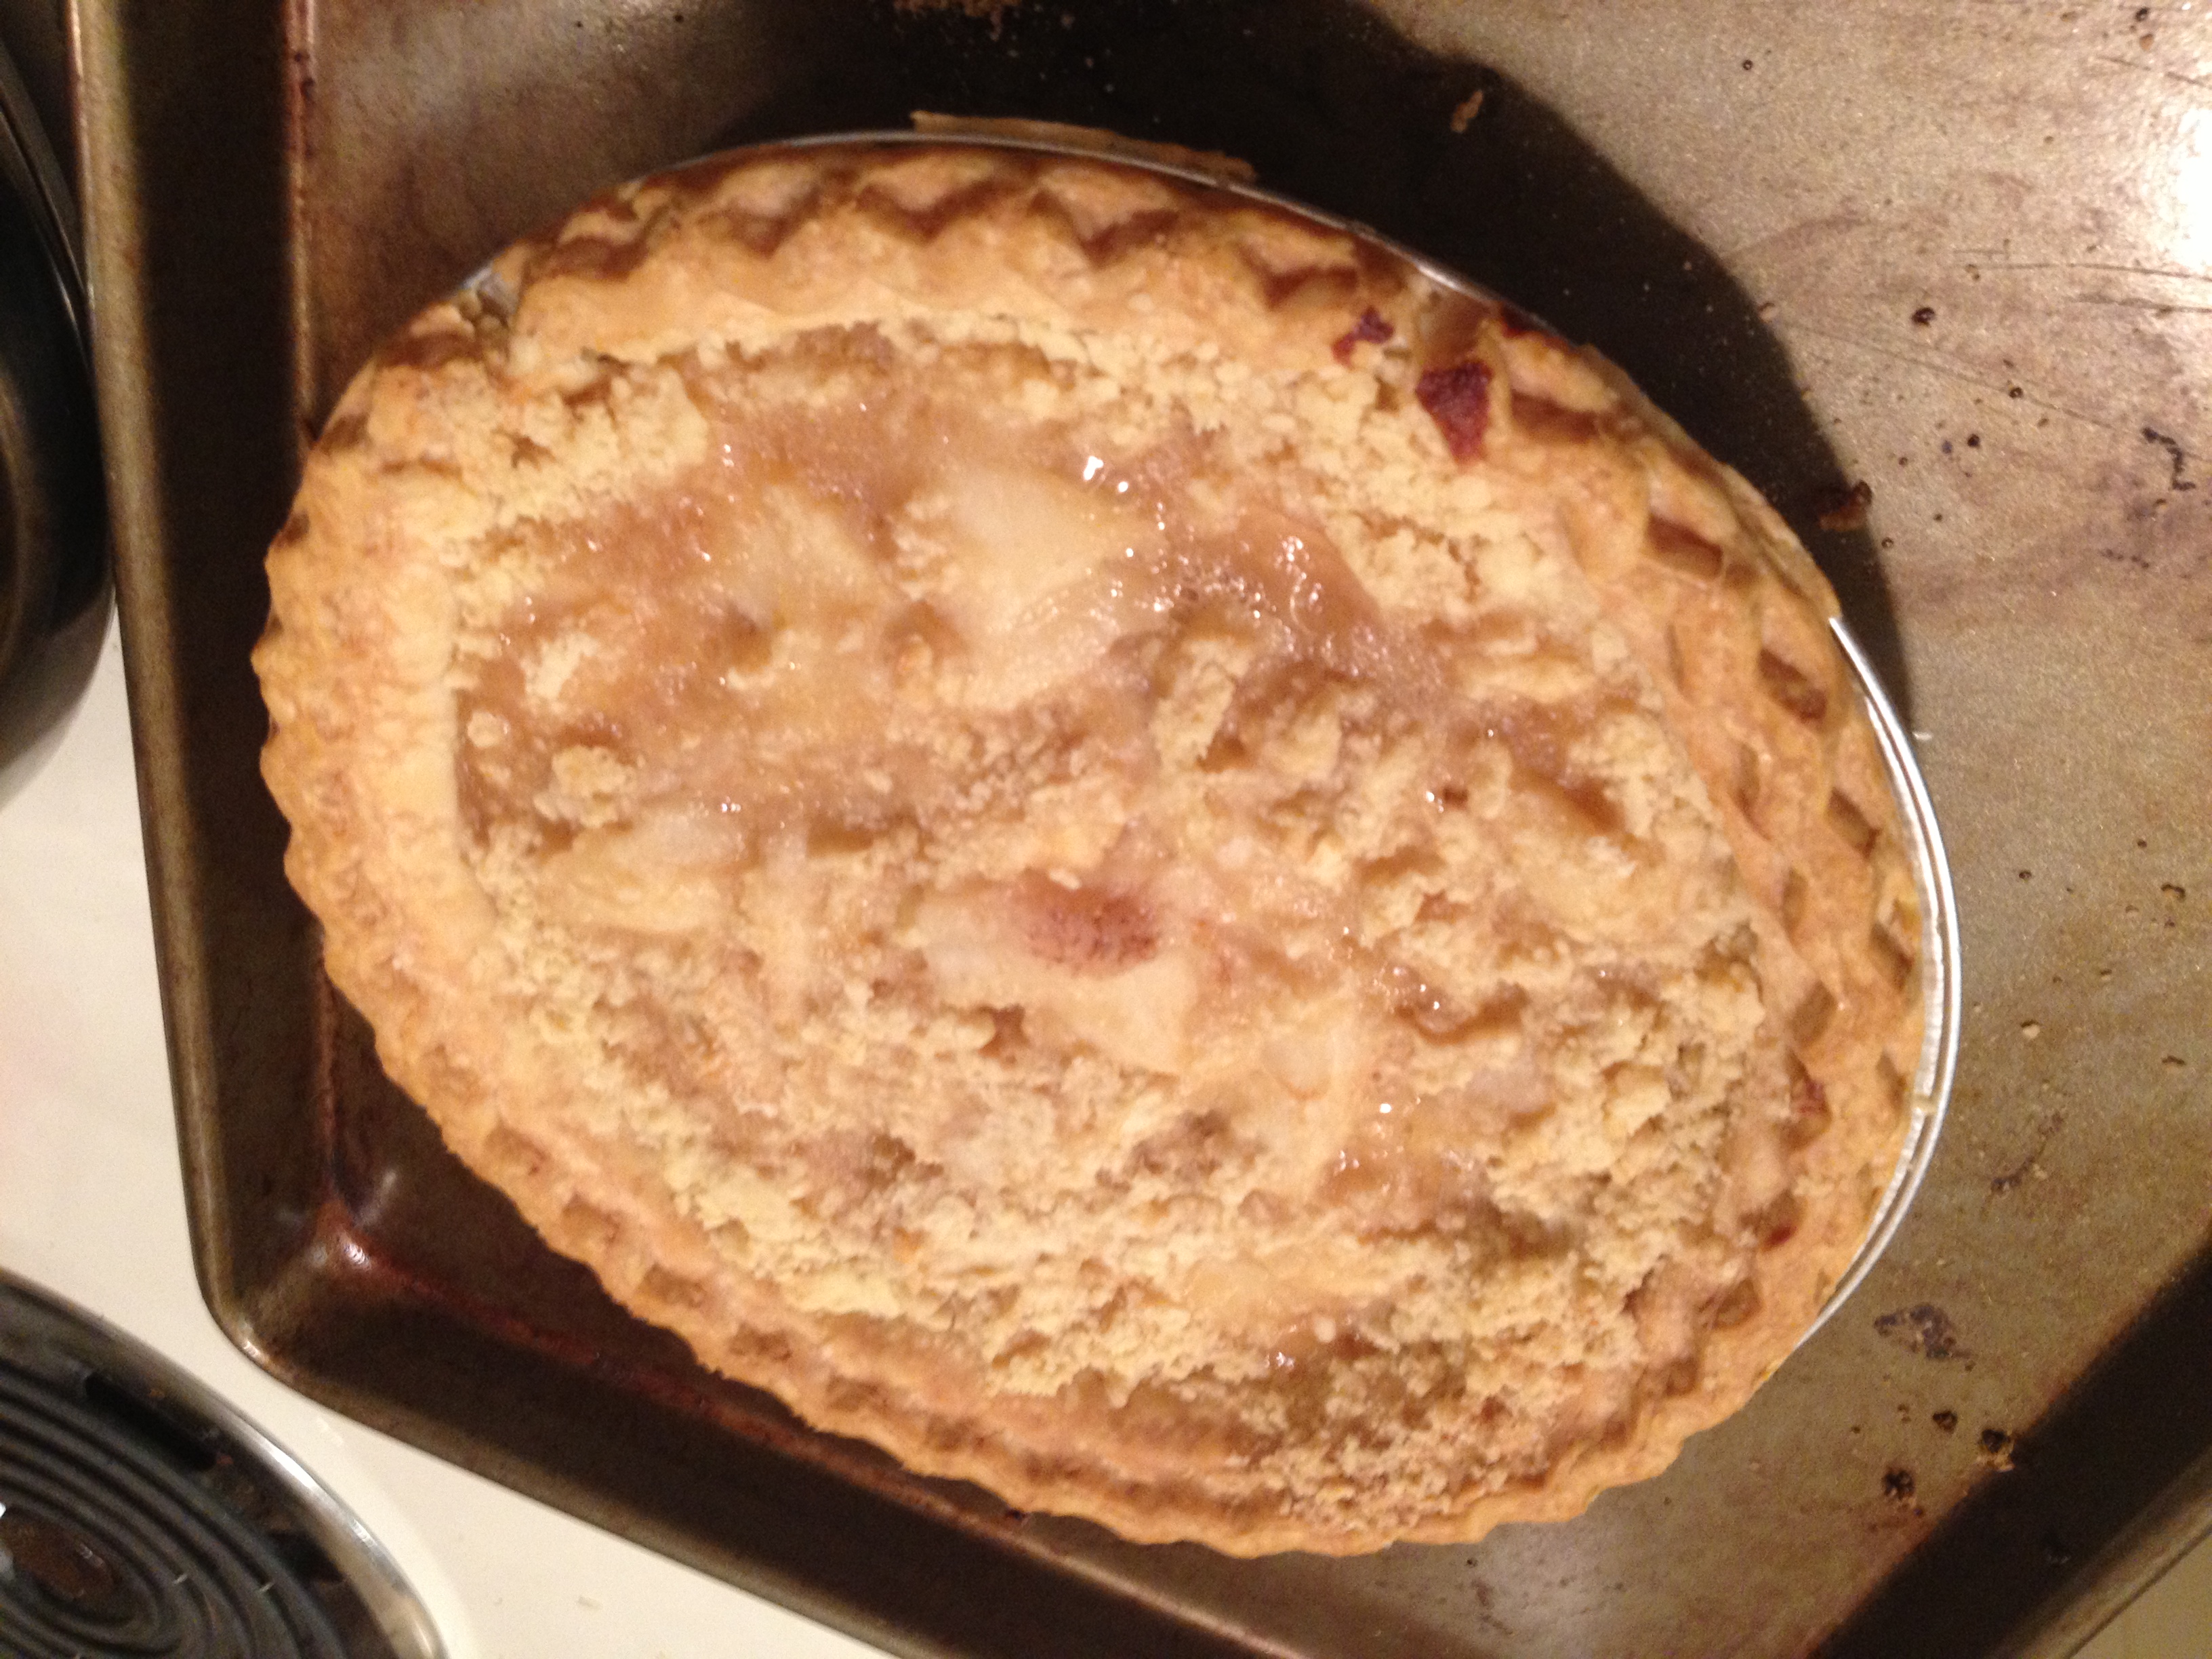
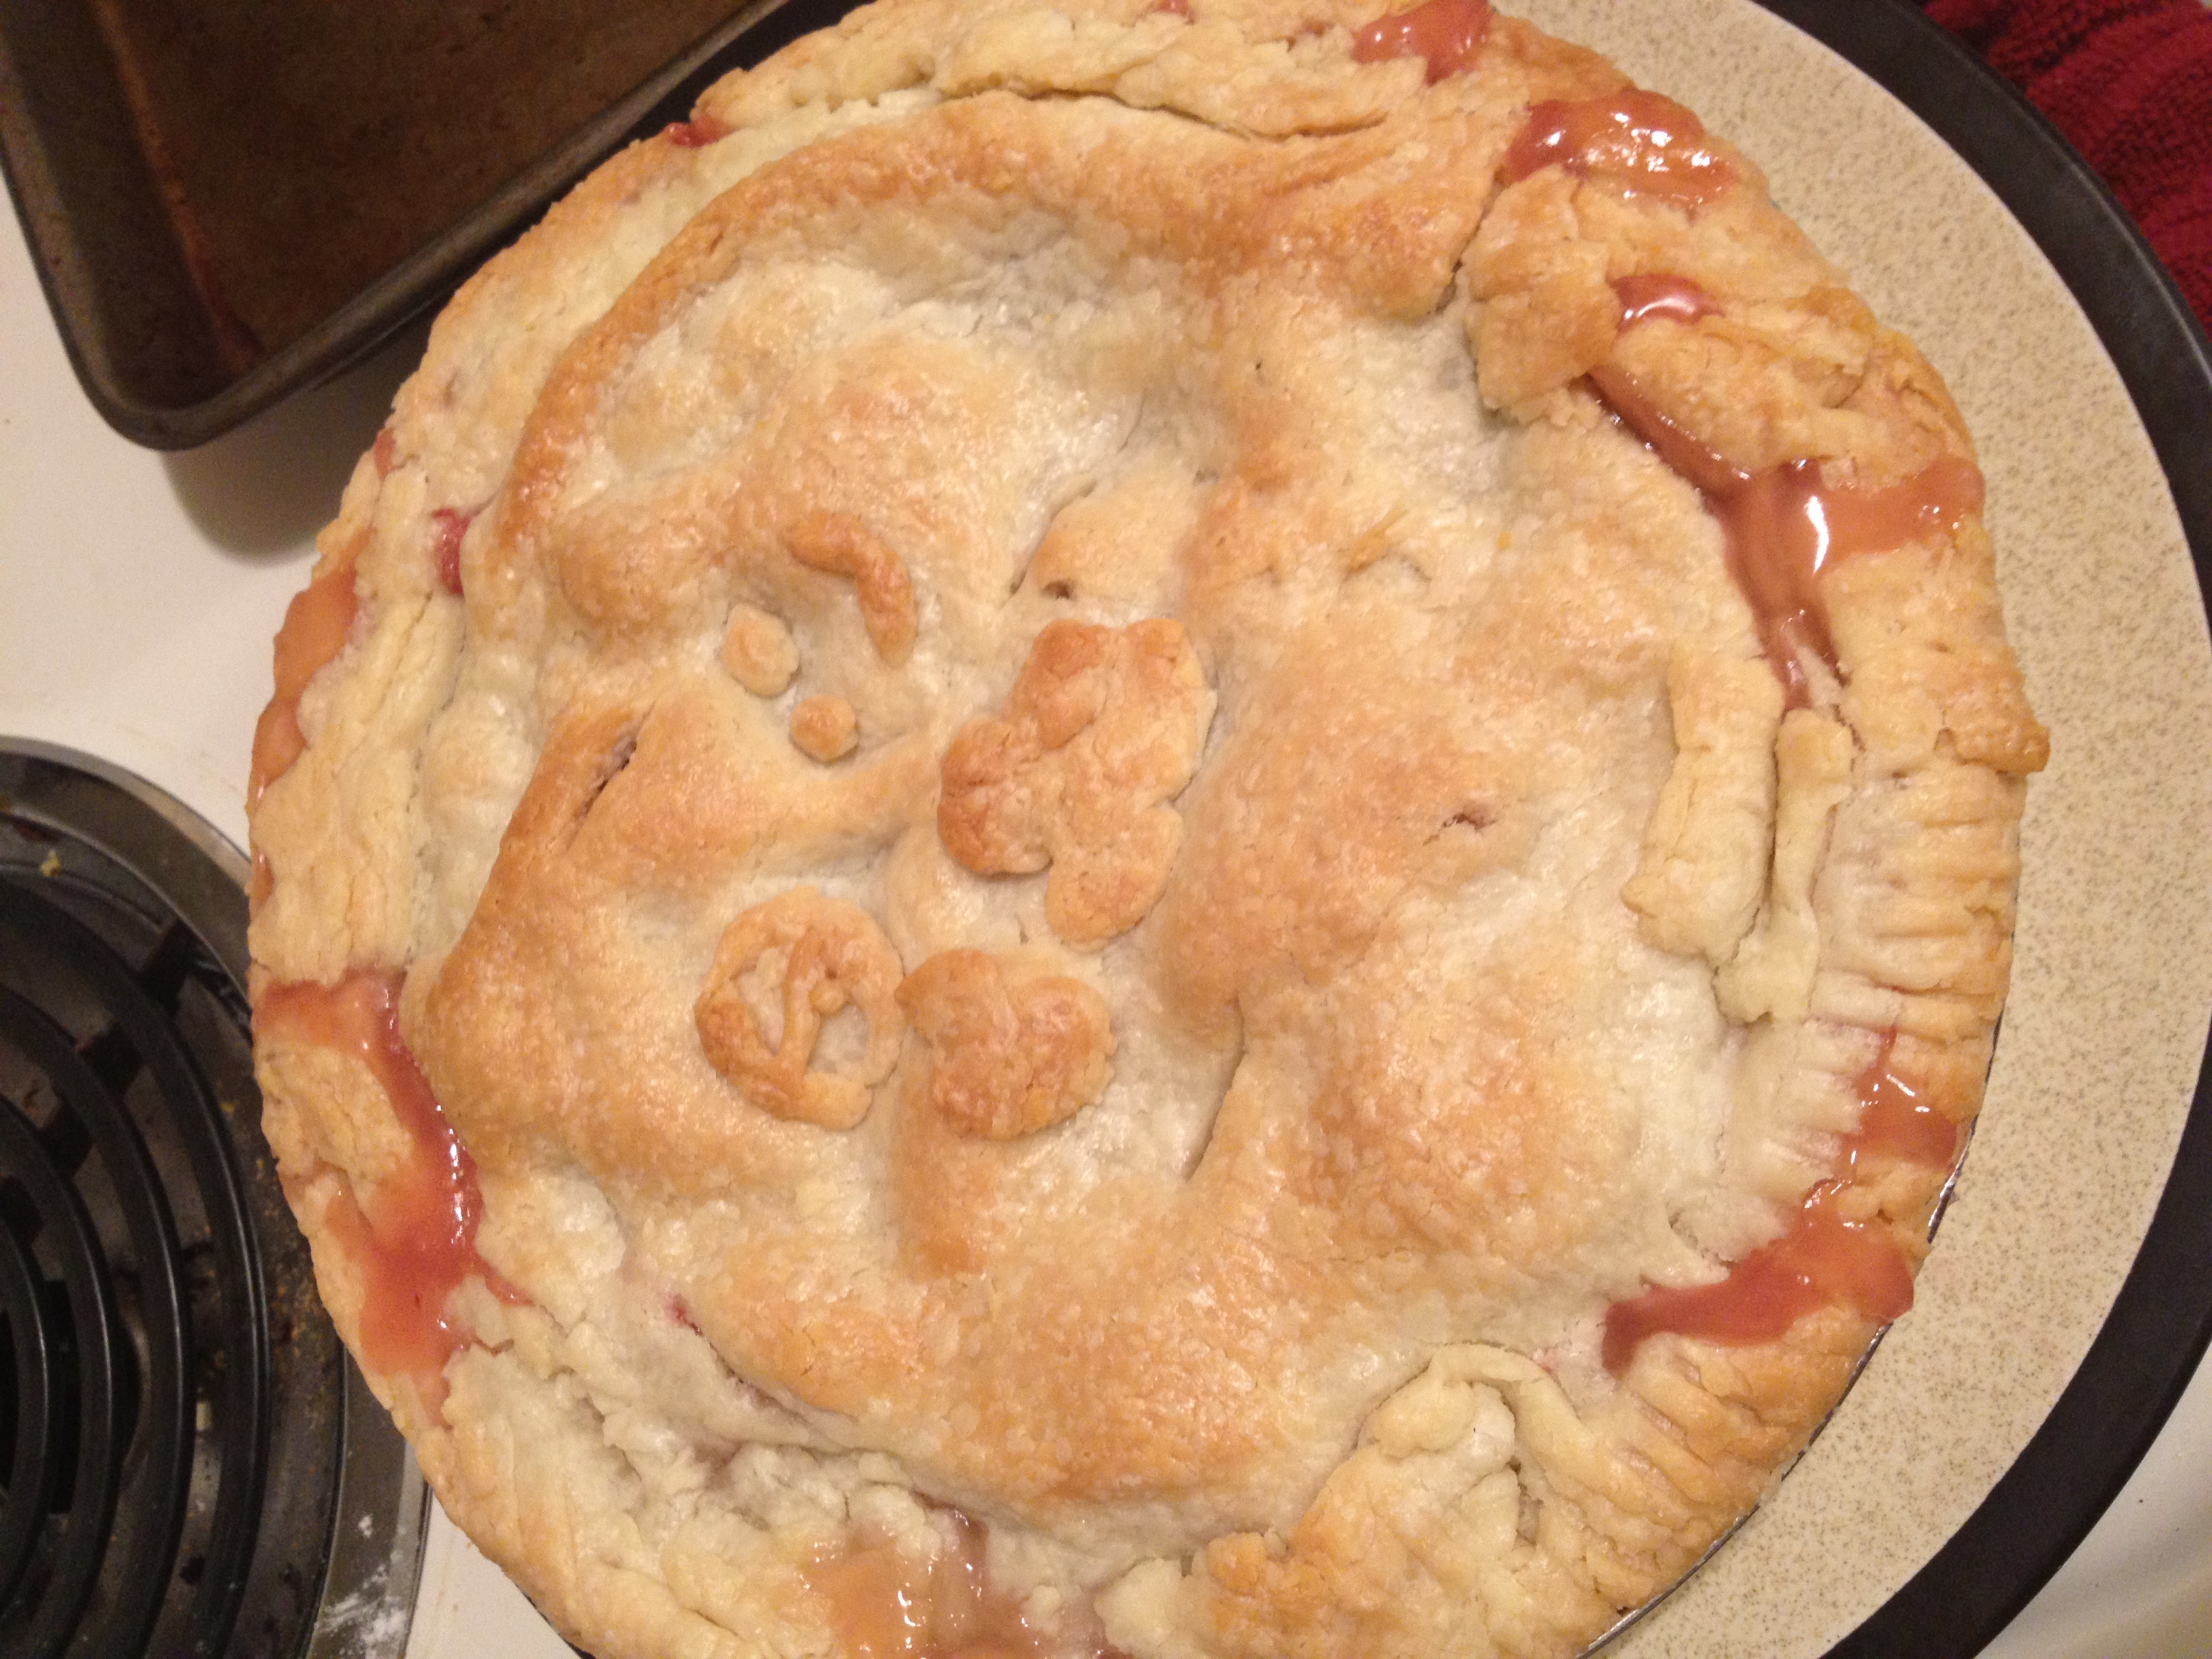
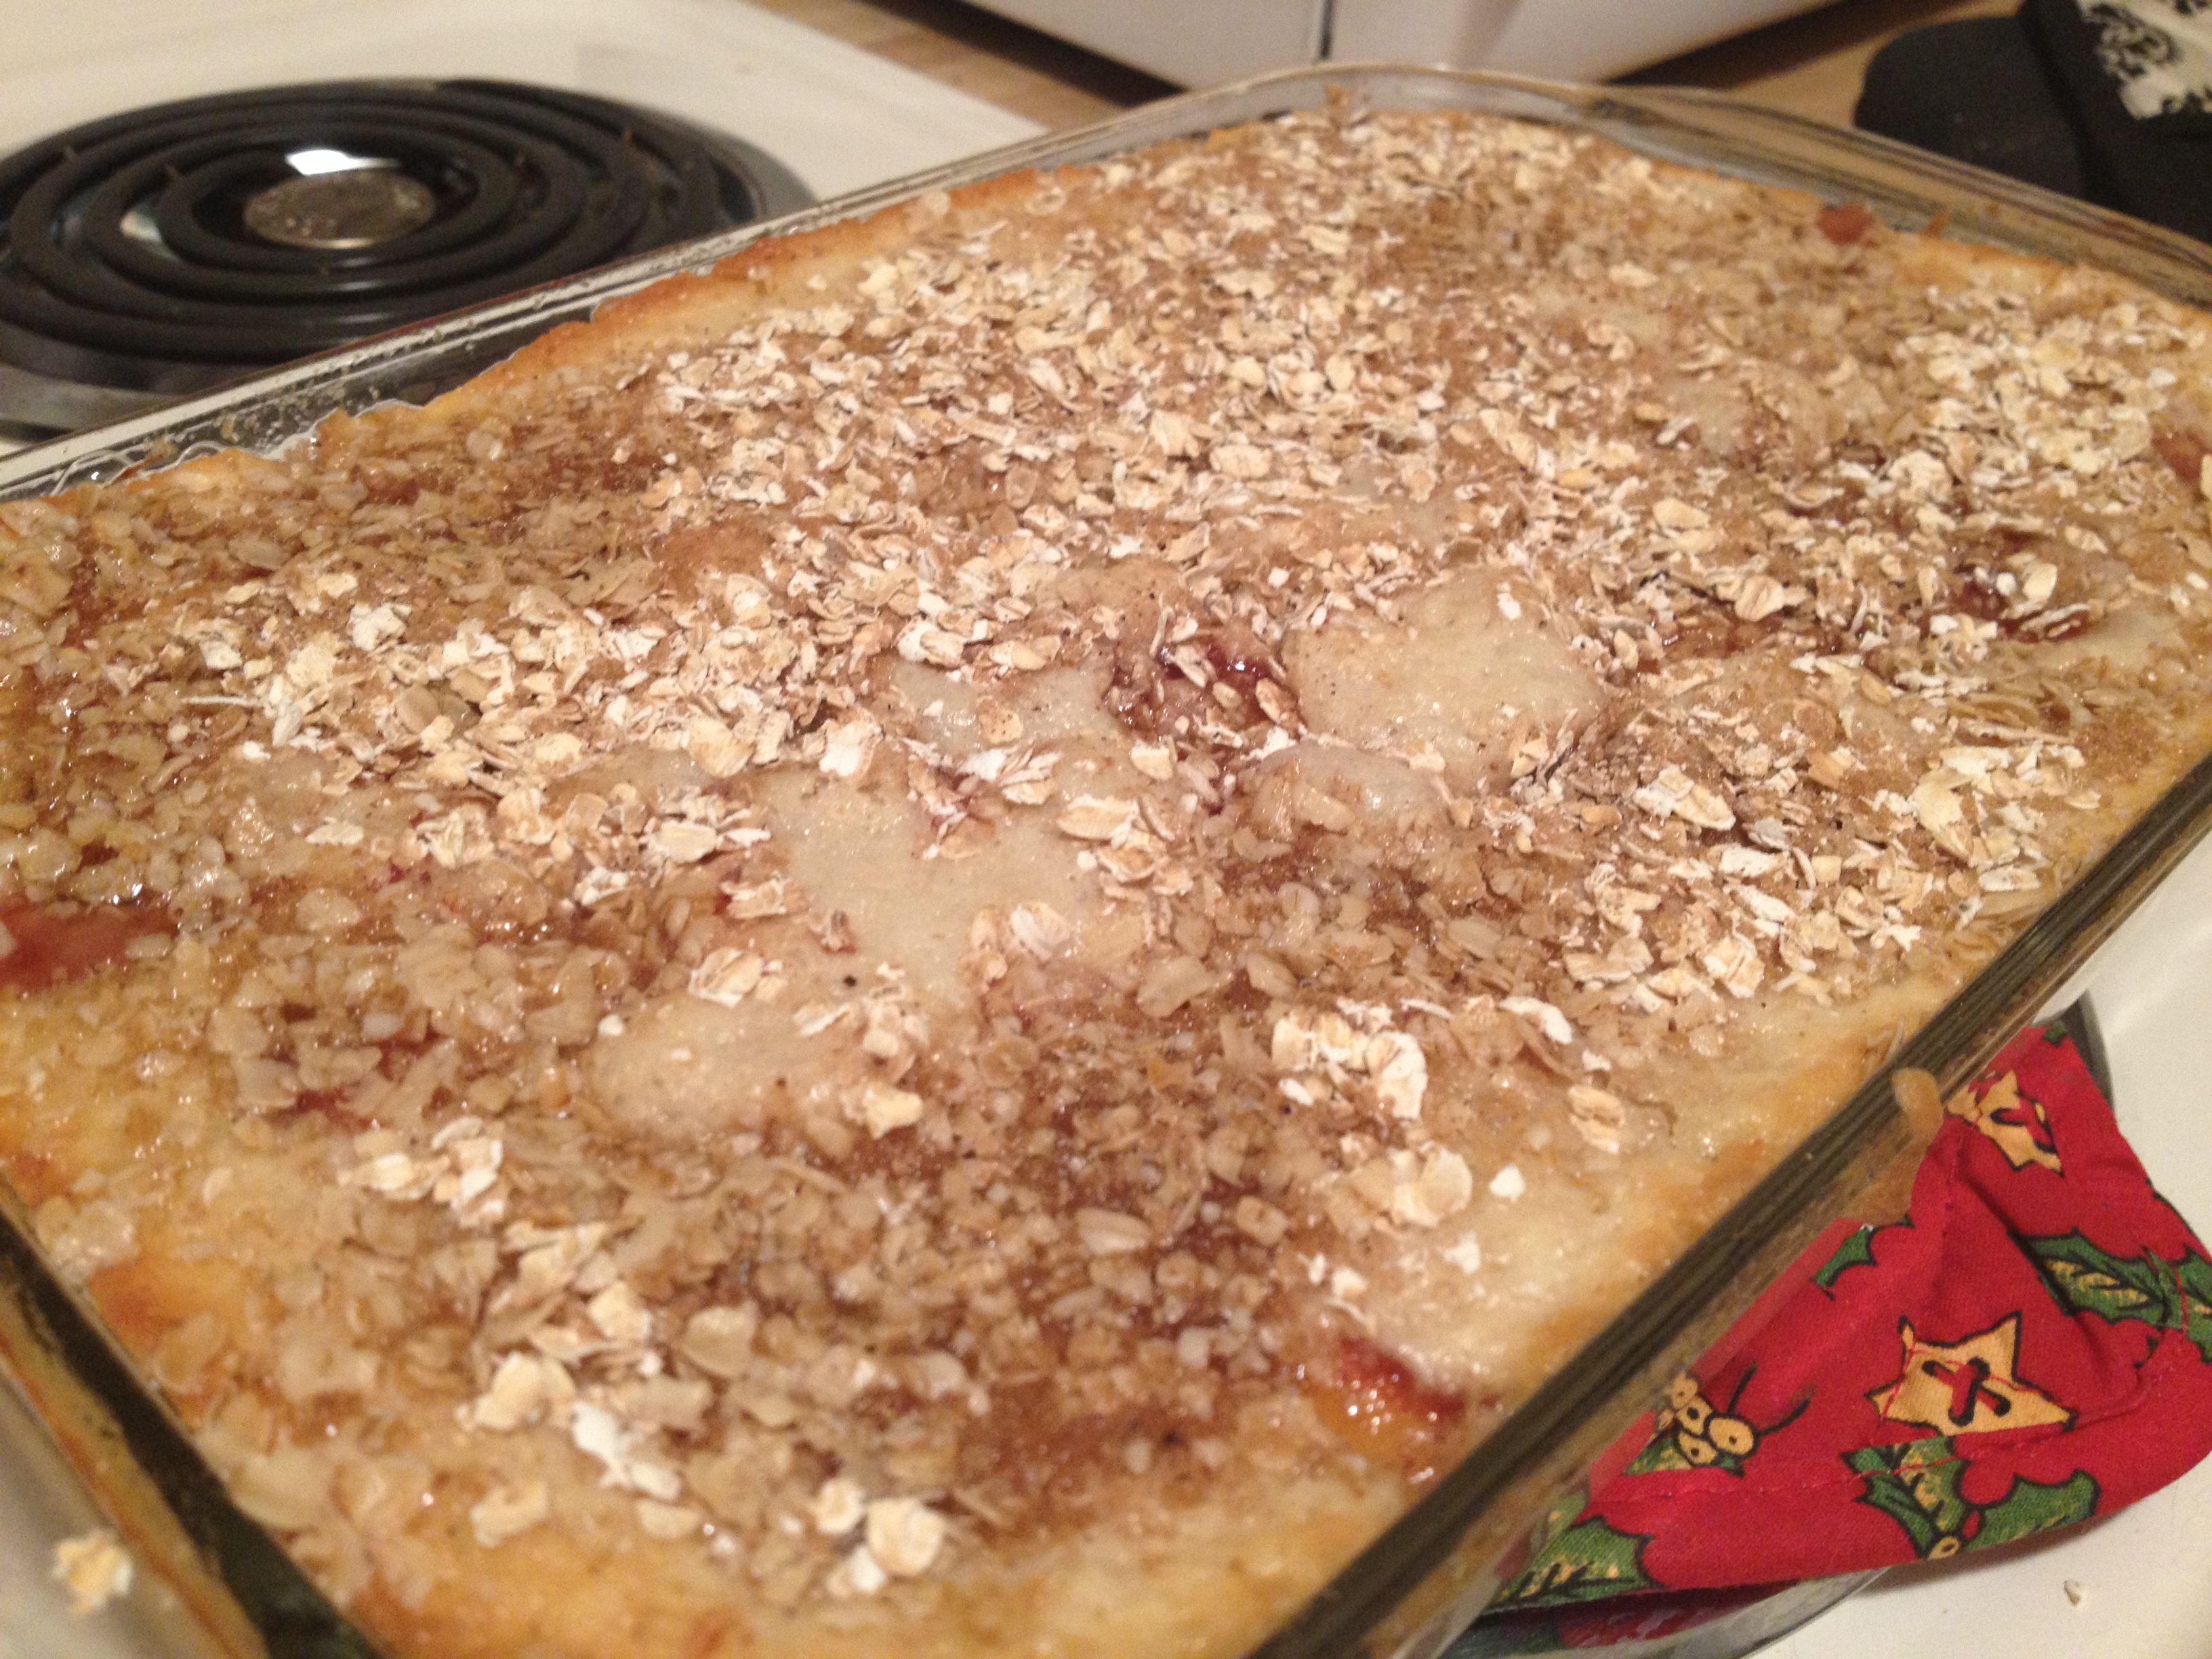
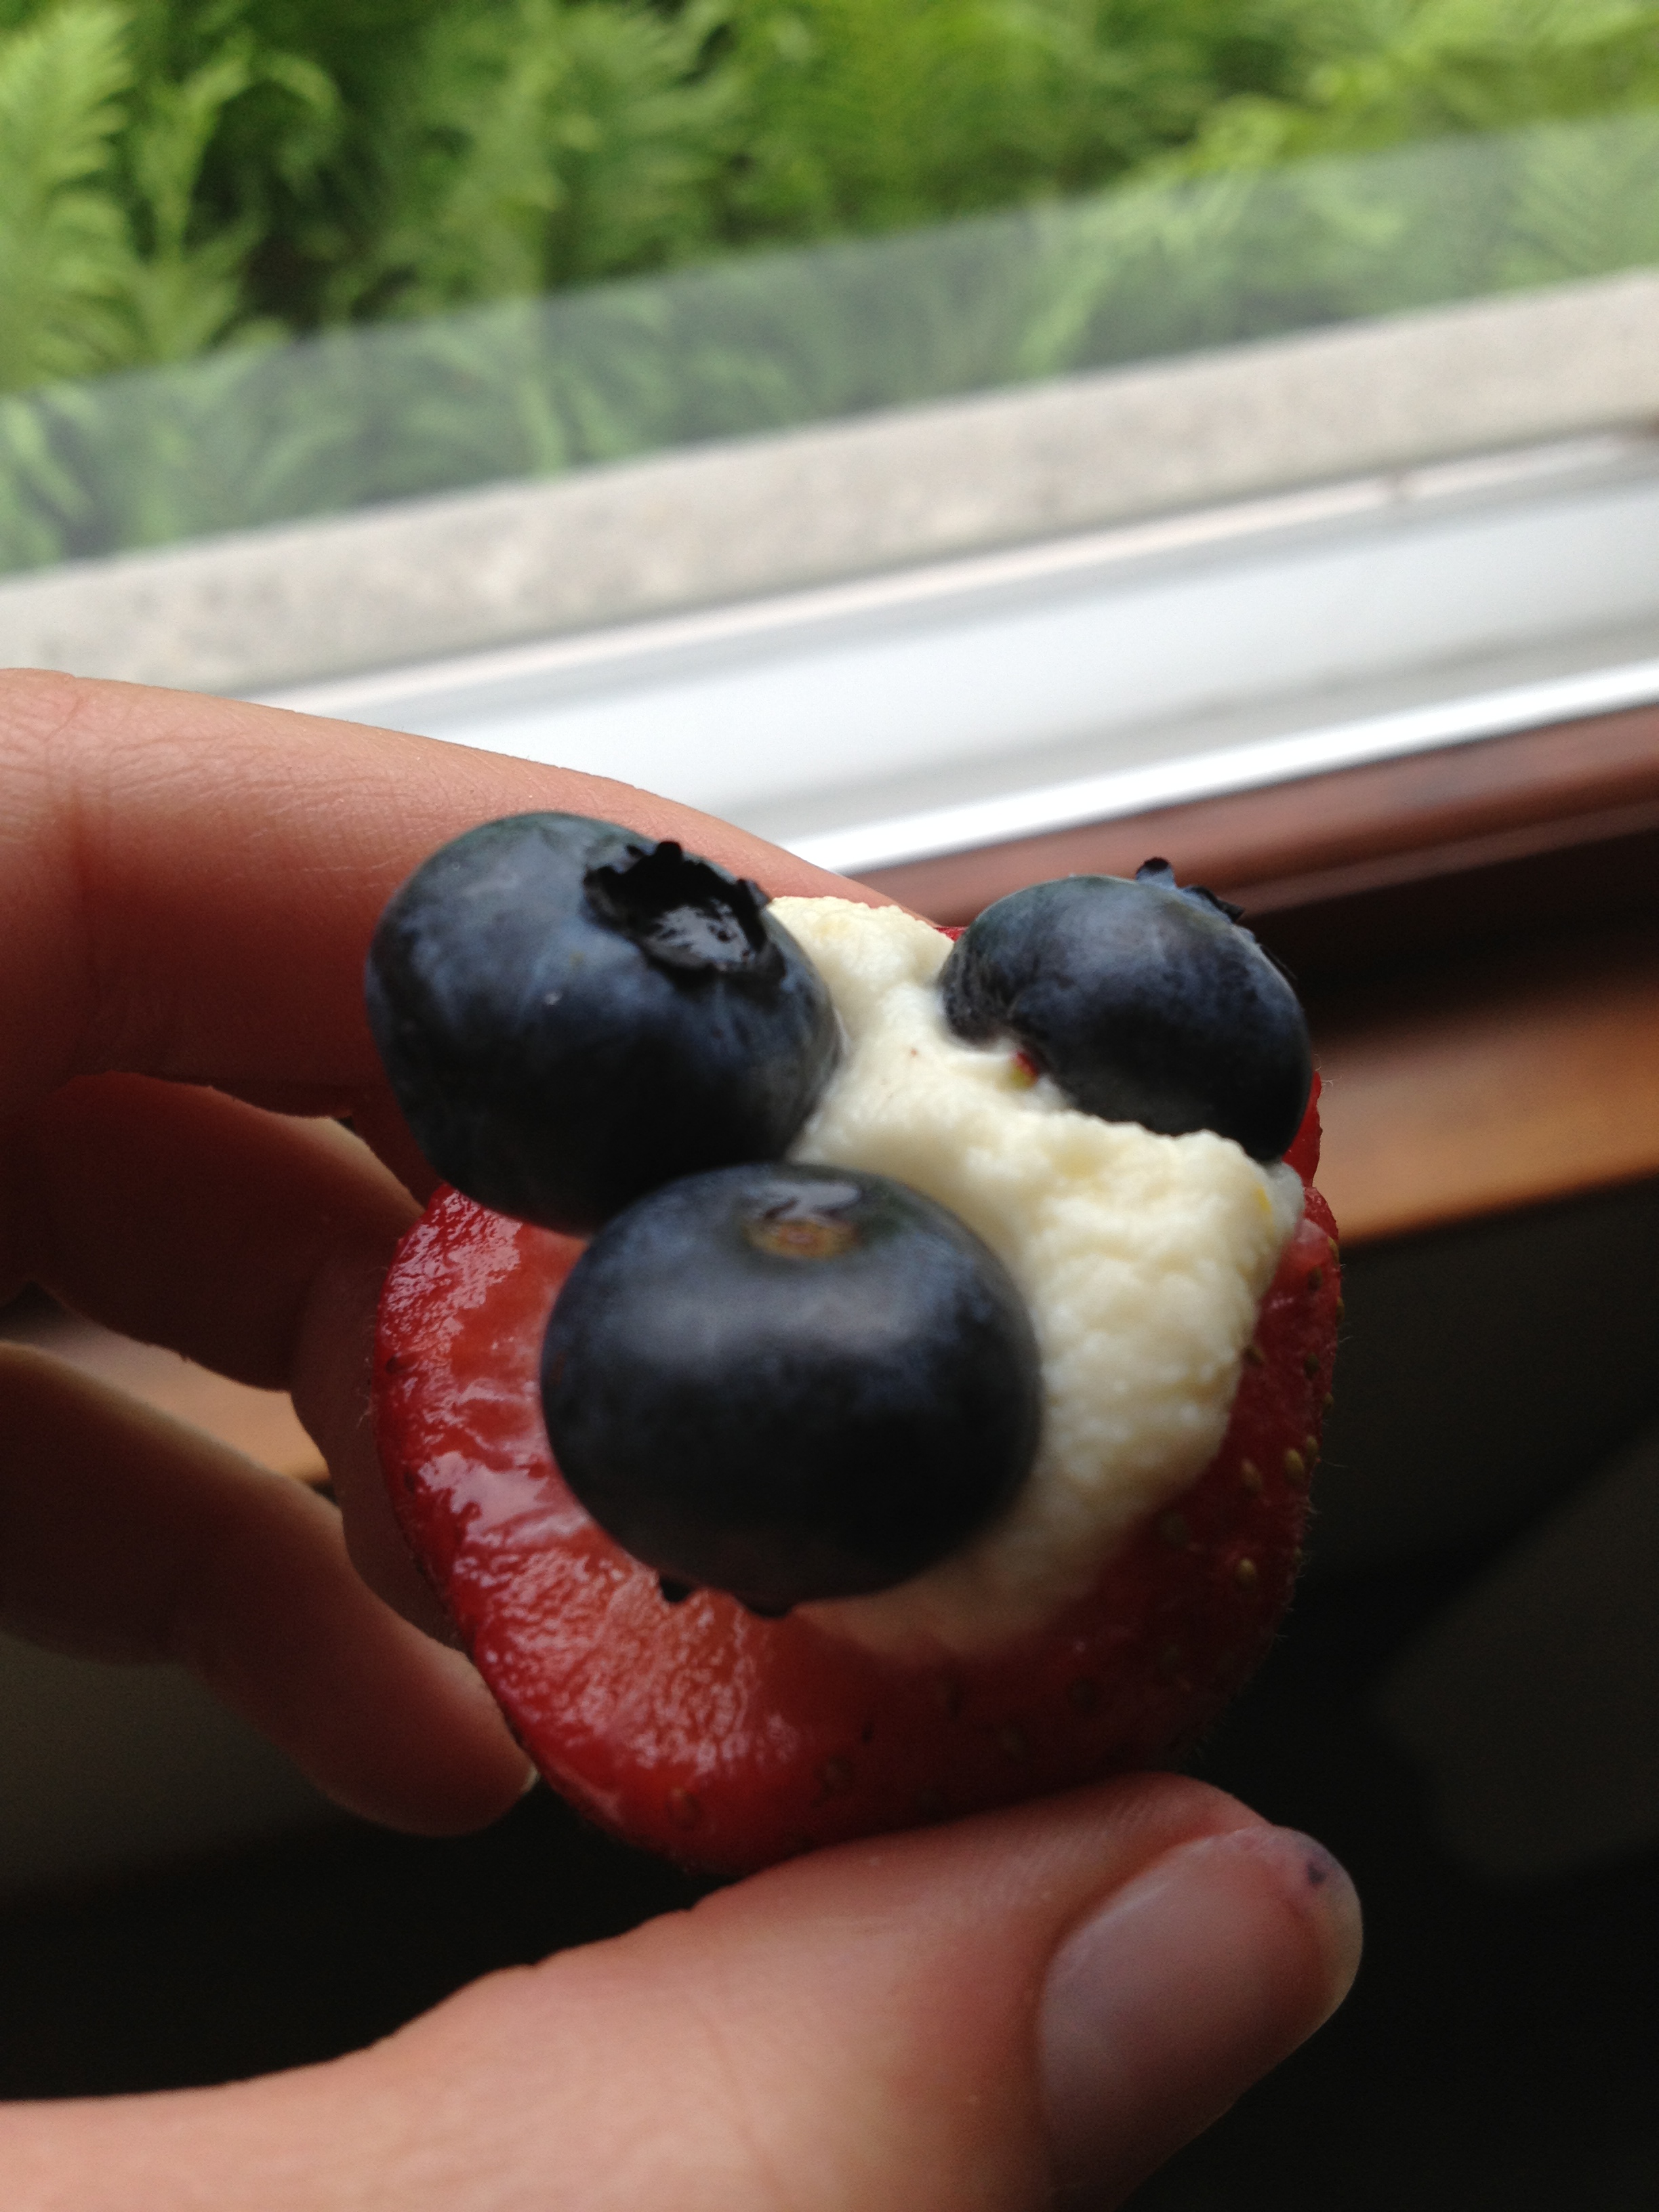
The finished product
Scones
- Prep Time: 10-15 minutes
- Baking Time: 10 minutes
- Makes: 20 scones (40 halves)
Ingredients
- 3 cups unbleached white flour
- 1/4 tsp salt
- 5 level tsp baking powder
- 1/2 stick butter
- 1 1/4 cup milk
Directions
- Pre-heat oven to 450 degree F
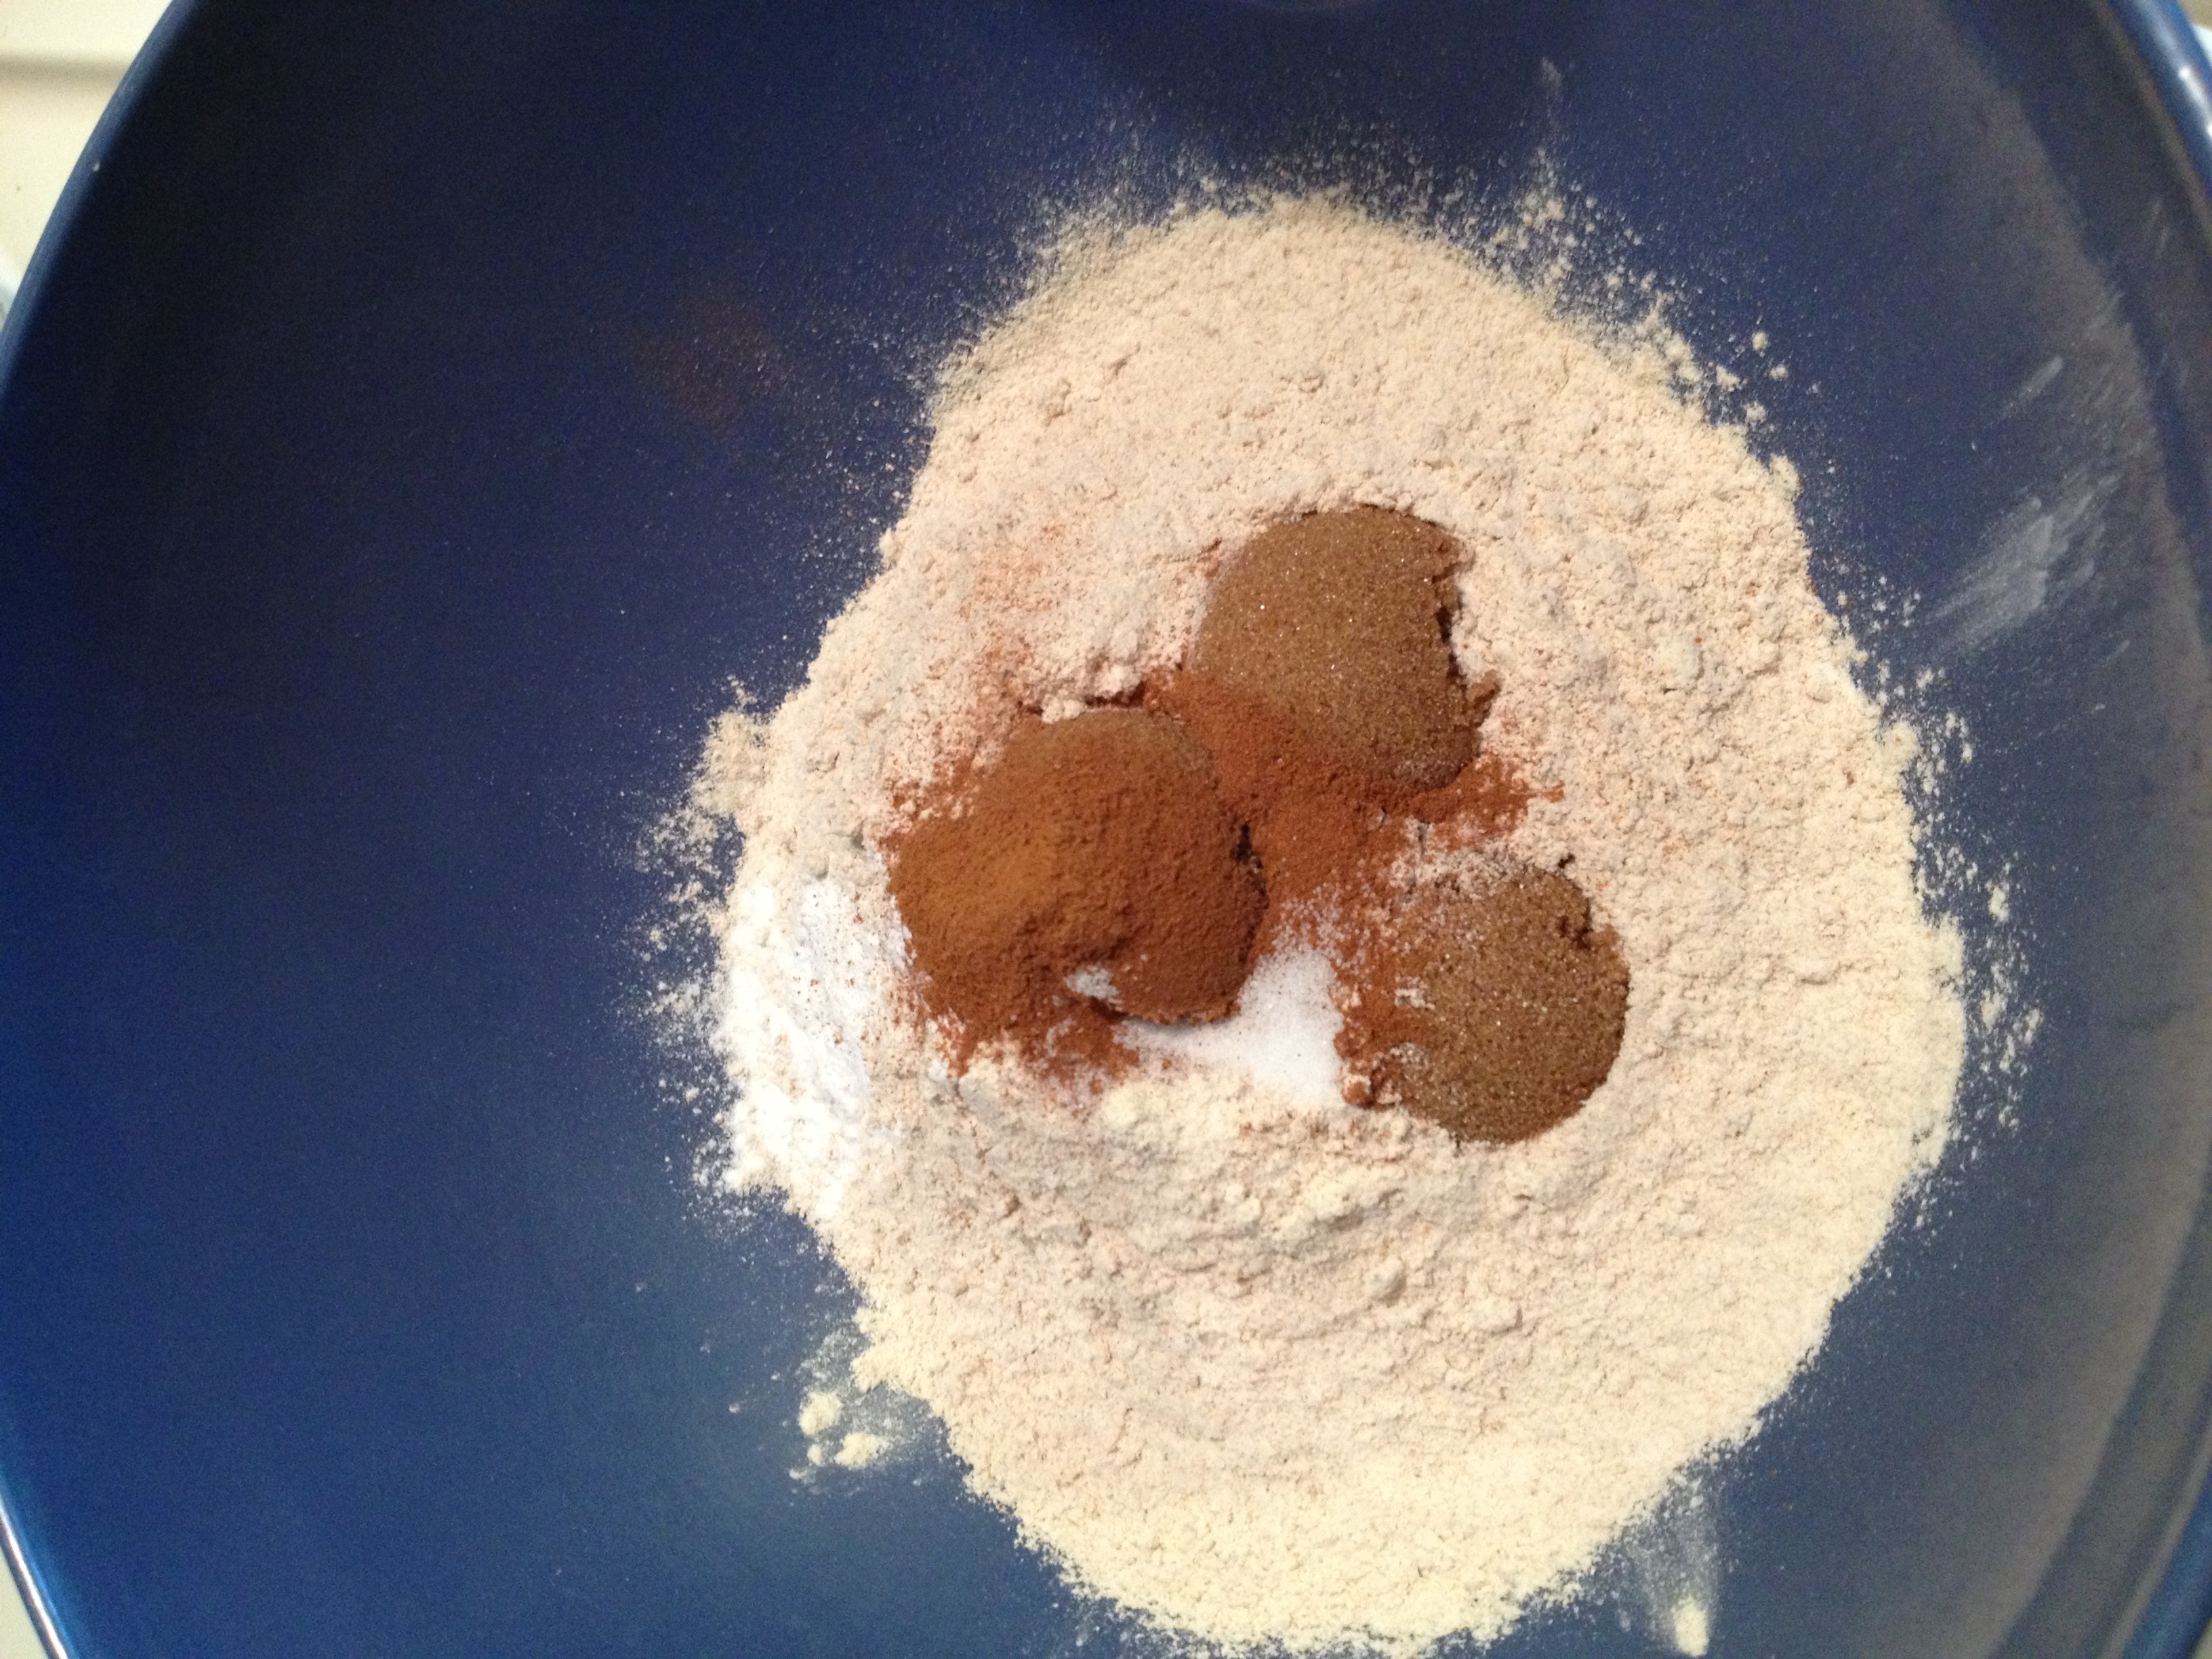
- Mix the flour, salt, and baking powder in a big bowl
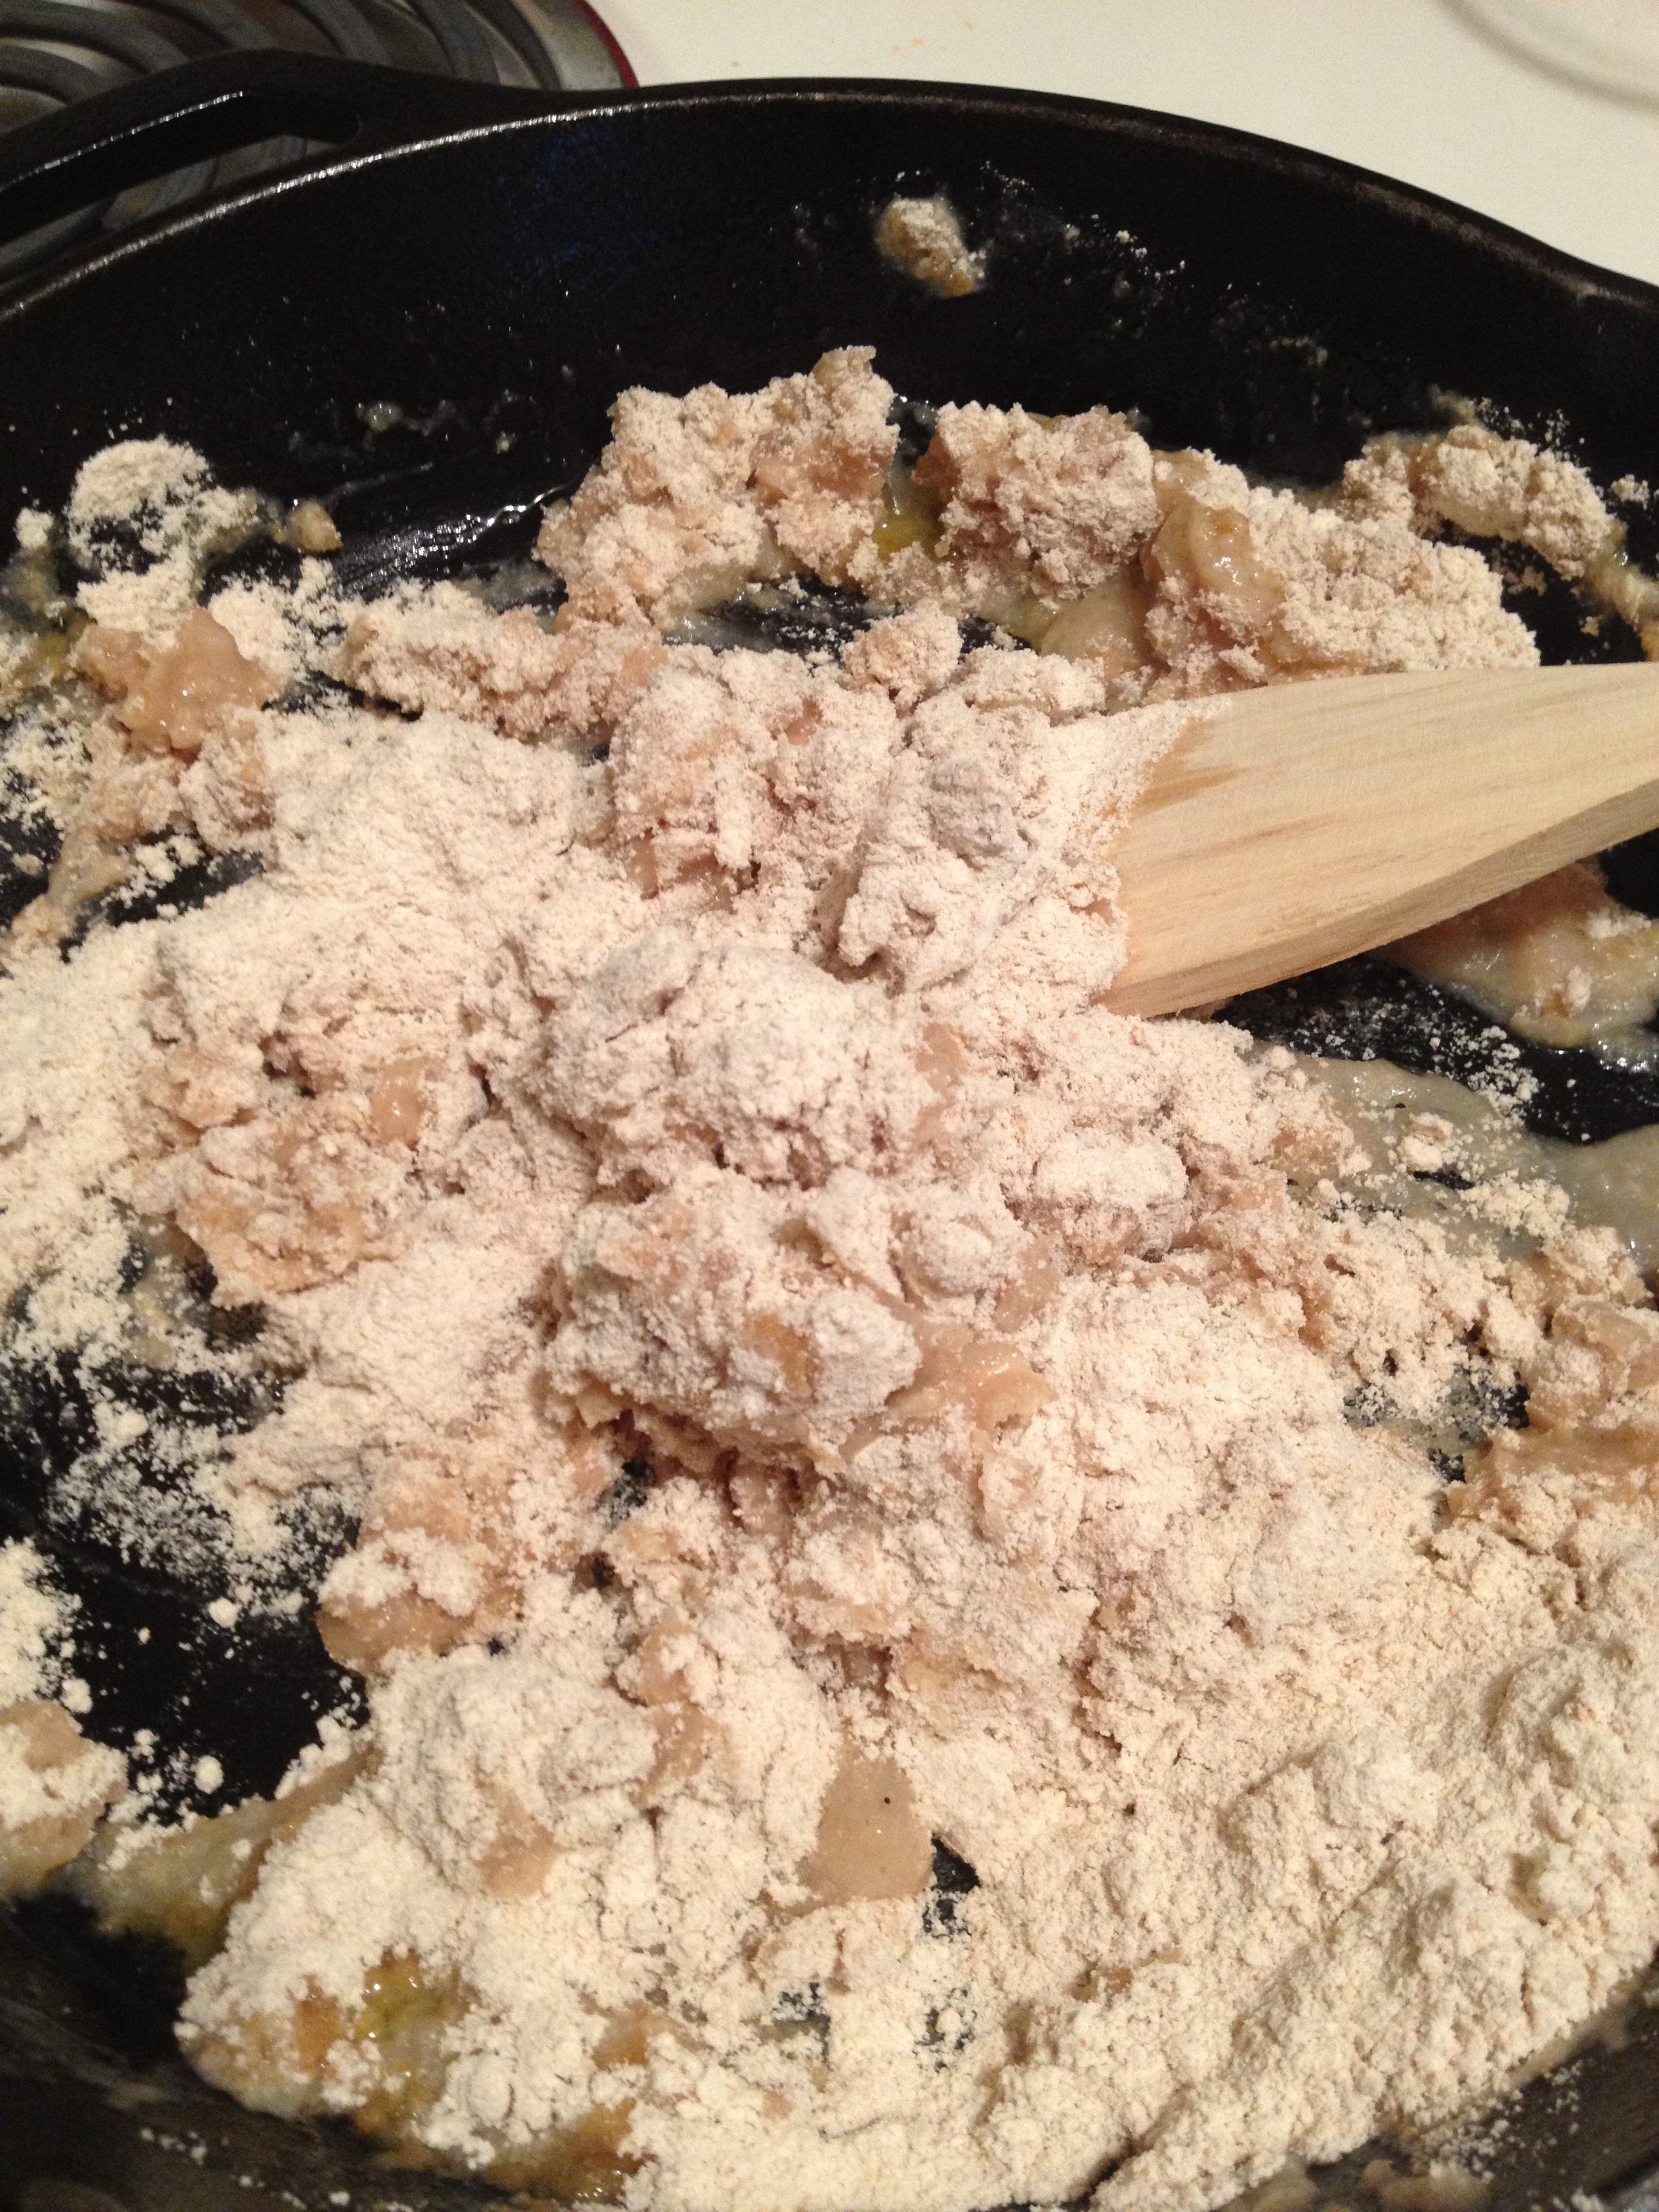
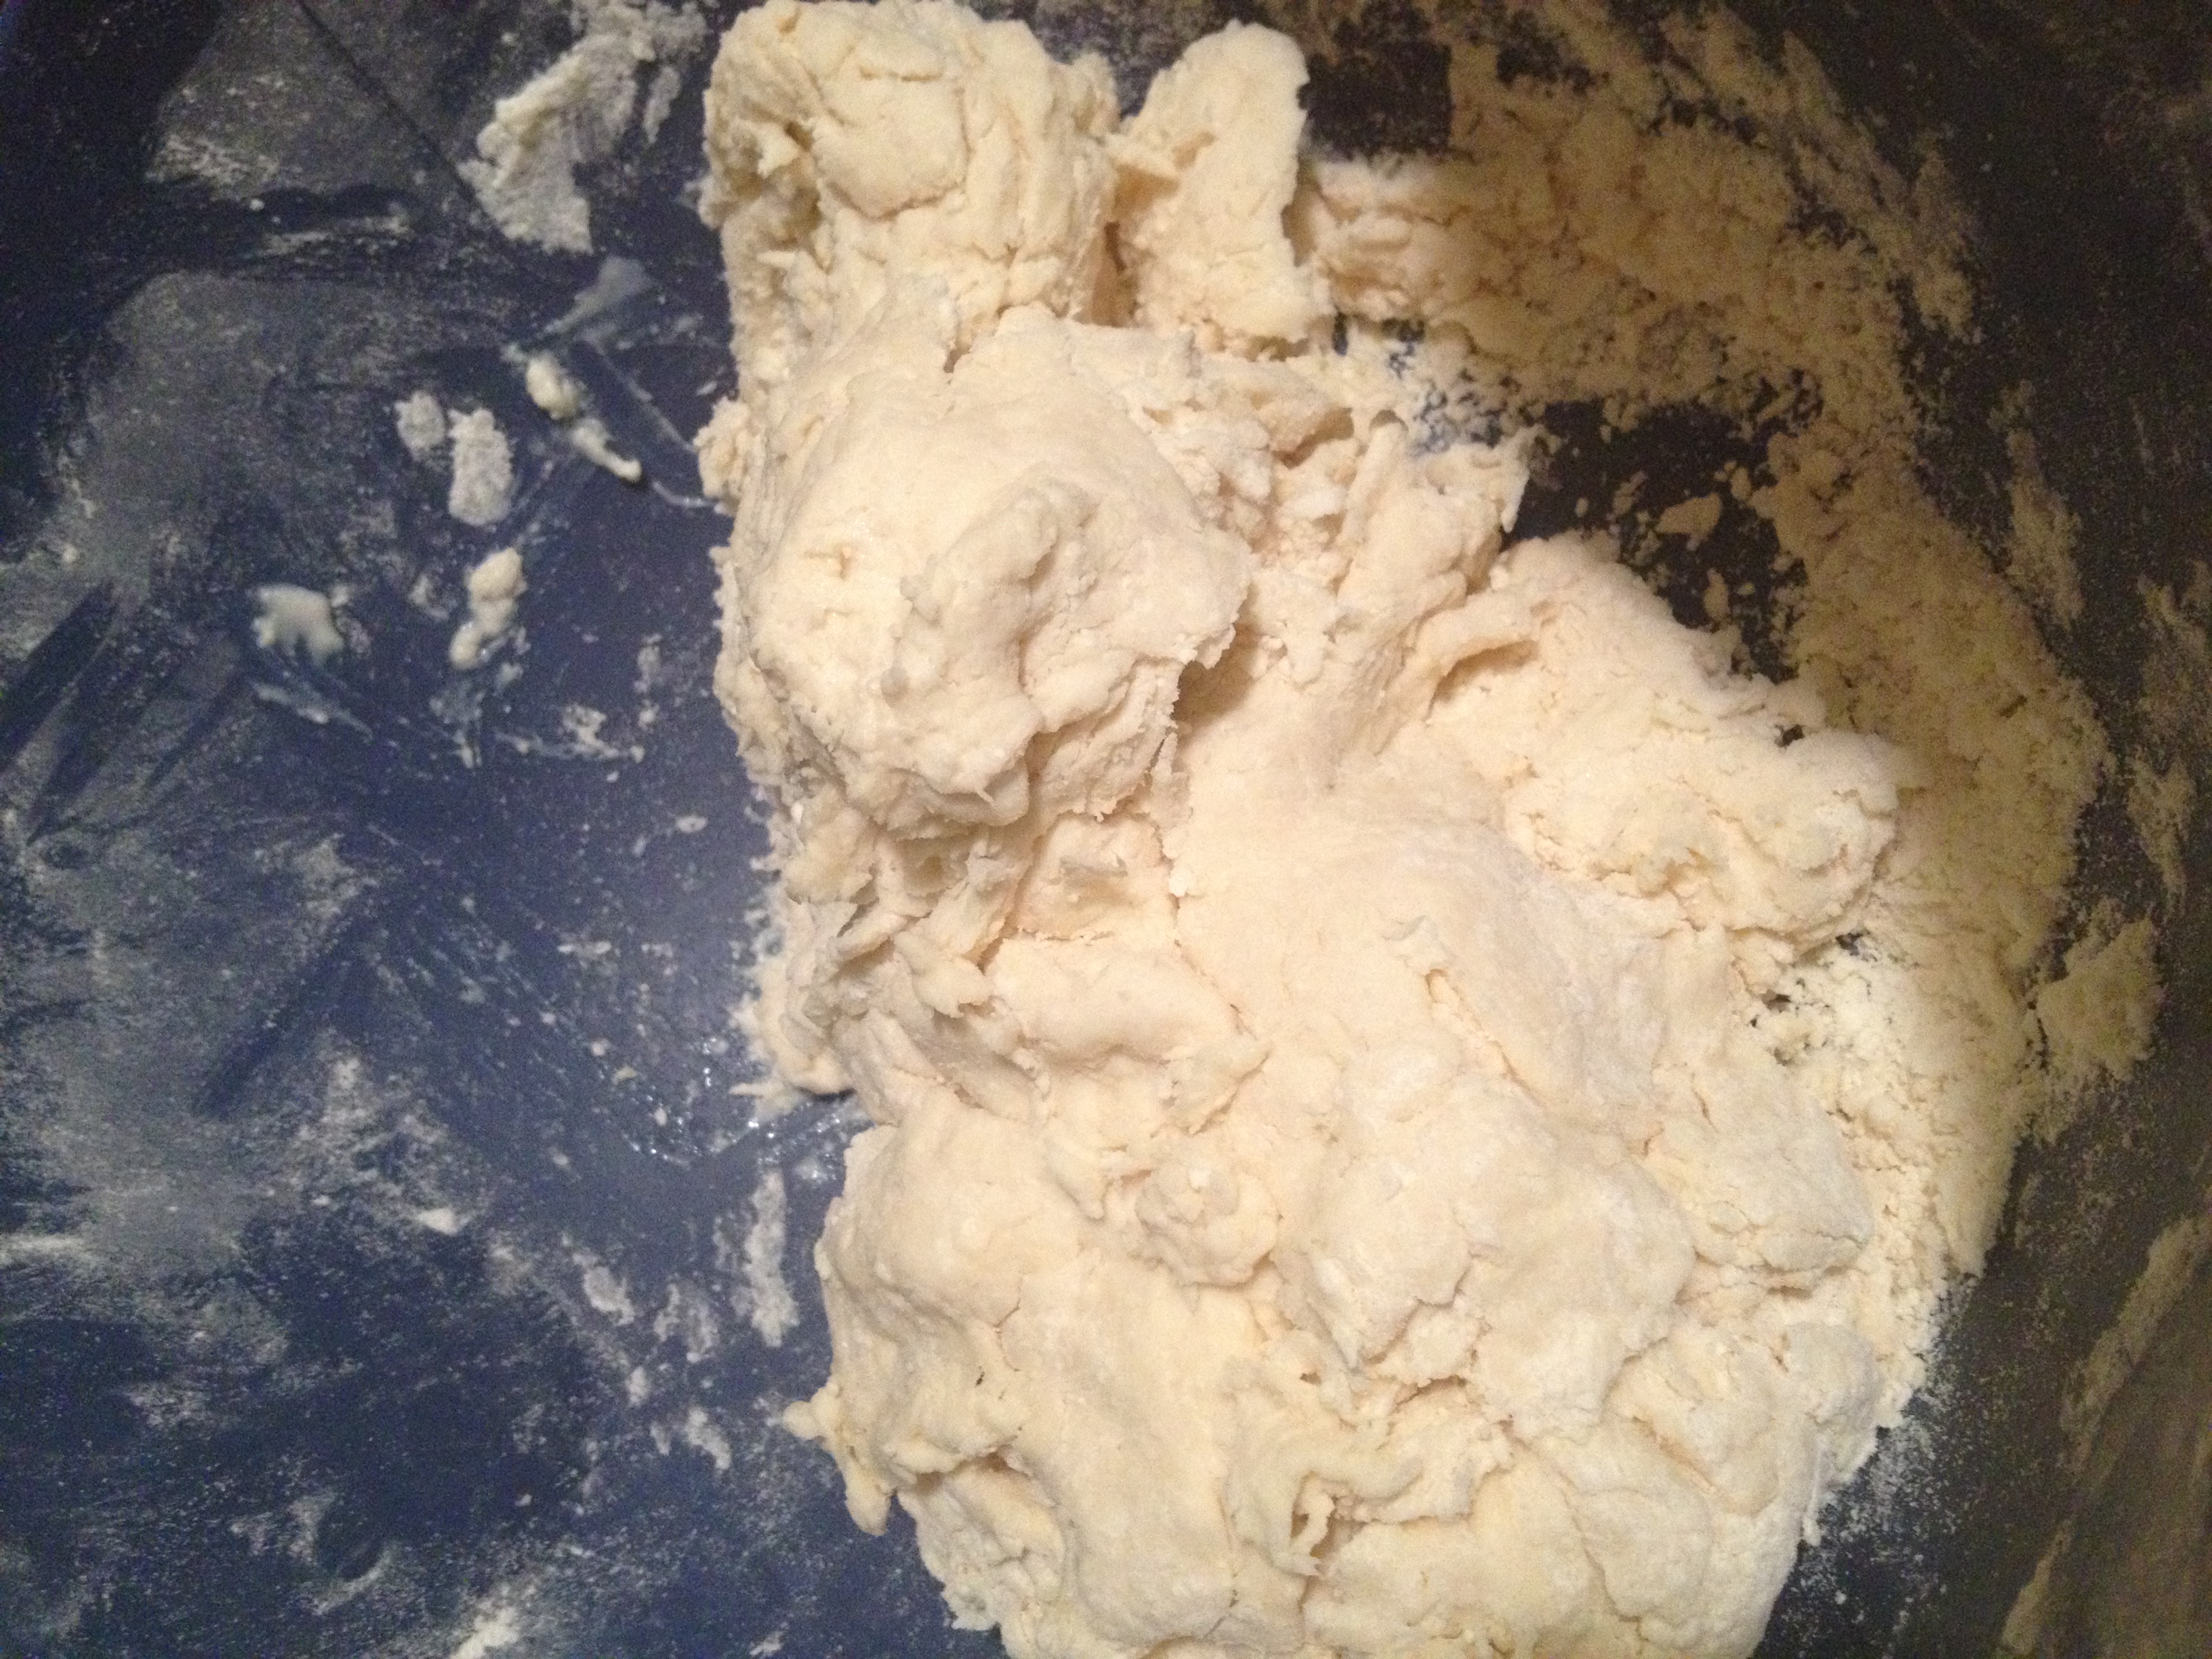
- Heat the butter in the microwave for 5 seconds and then chop up into itty bitty pieces. Throw those pieces into the flour mixture and start rubbing it in until it gets gritty similar to bread crumbs

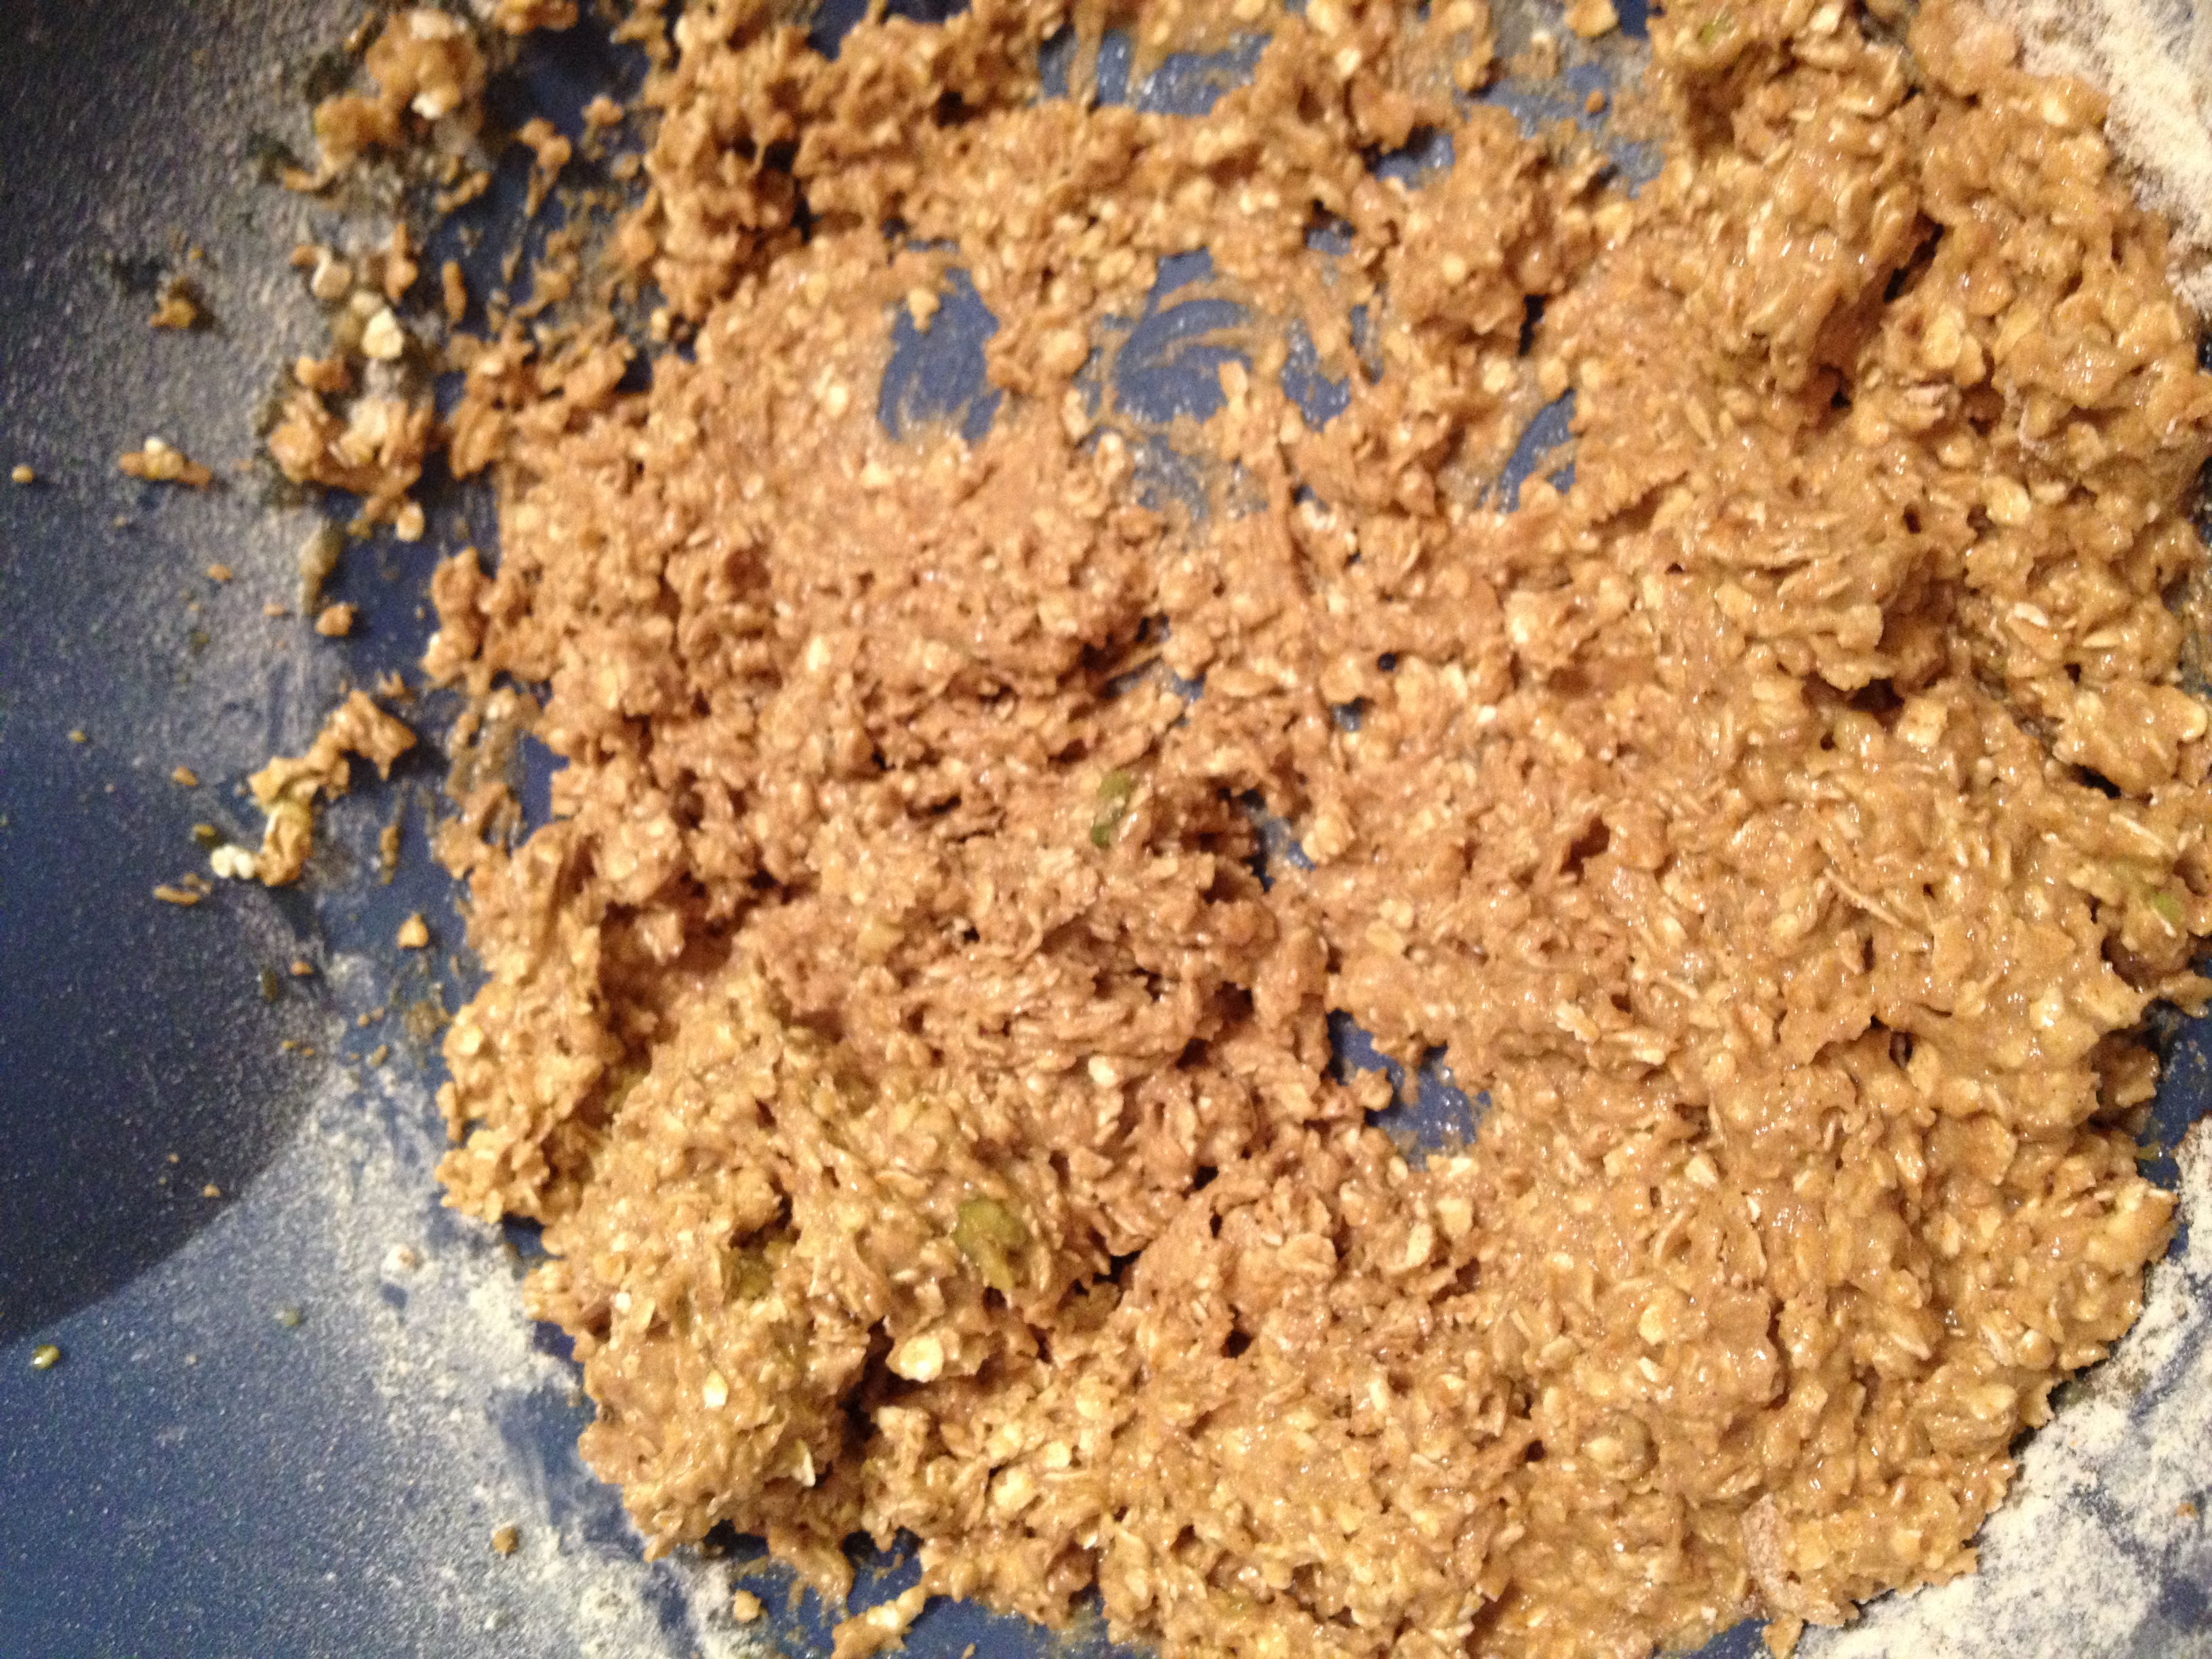
Pre-rubbed
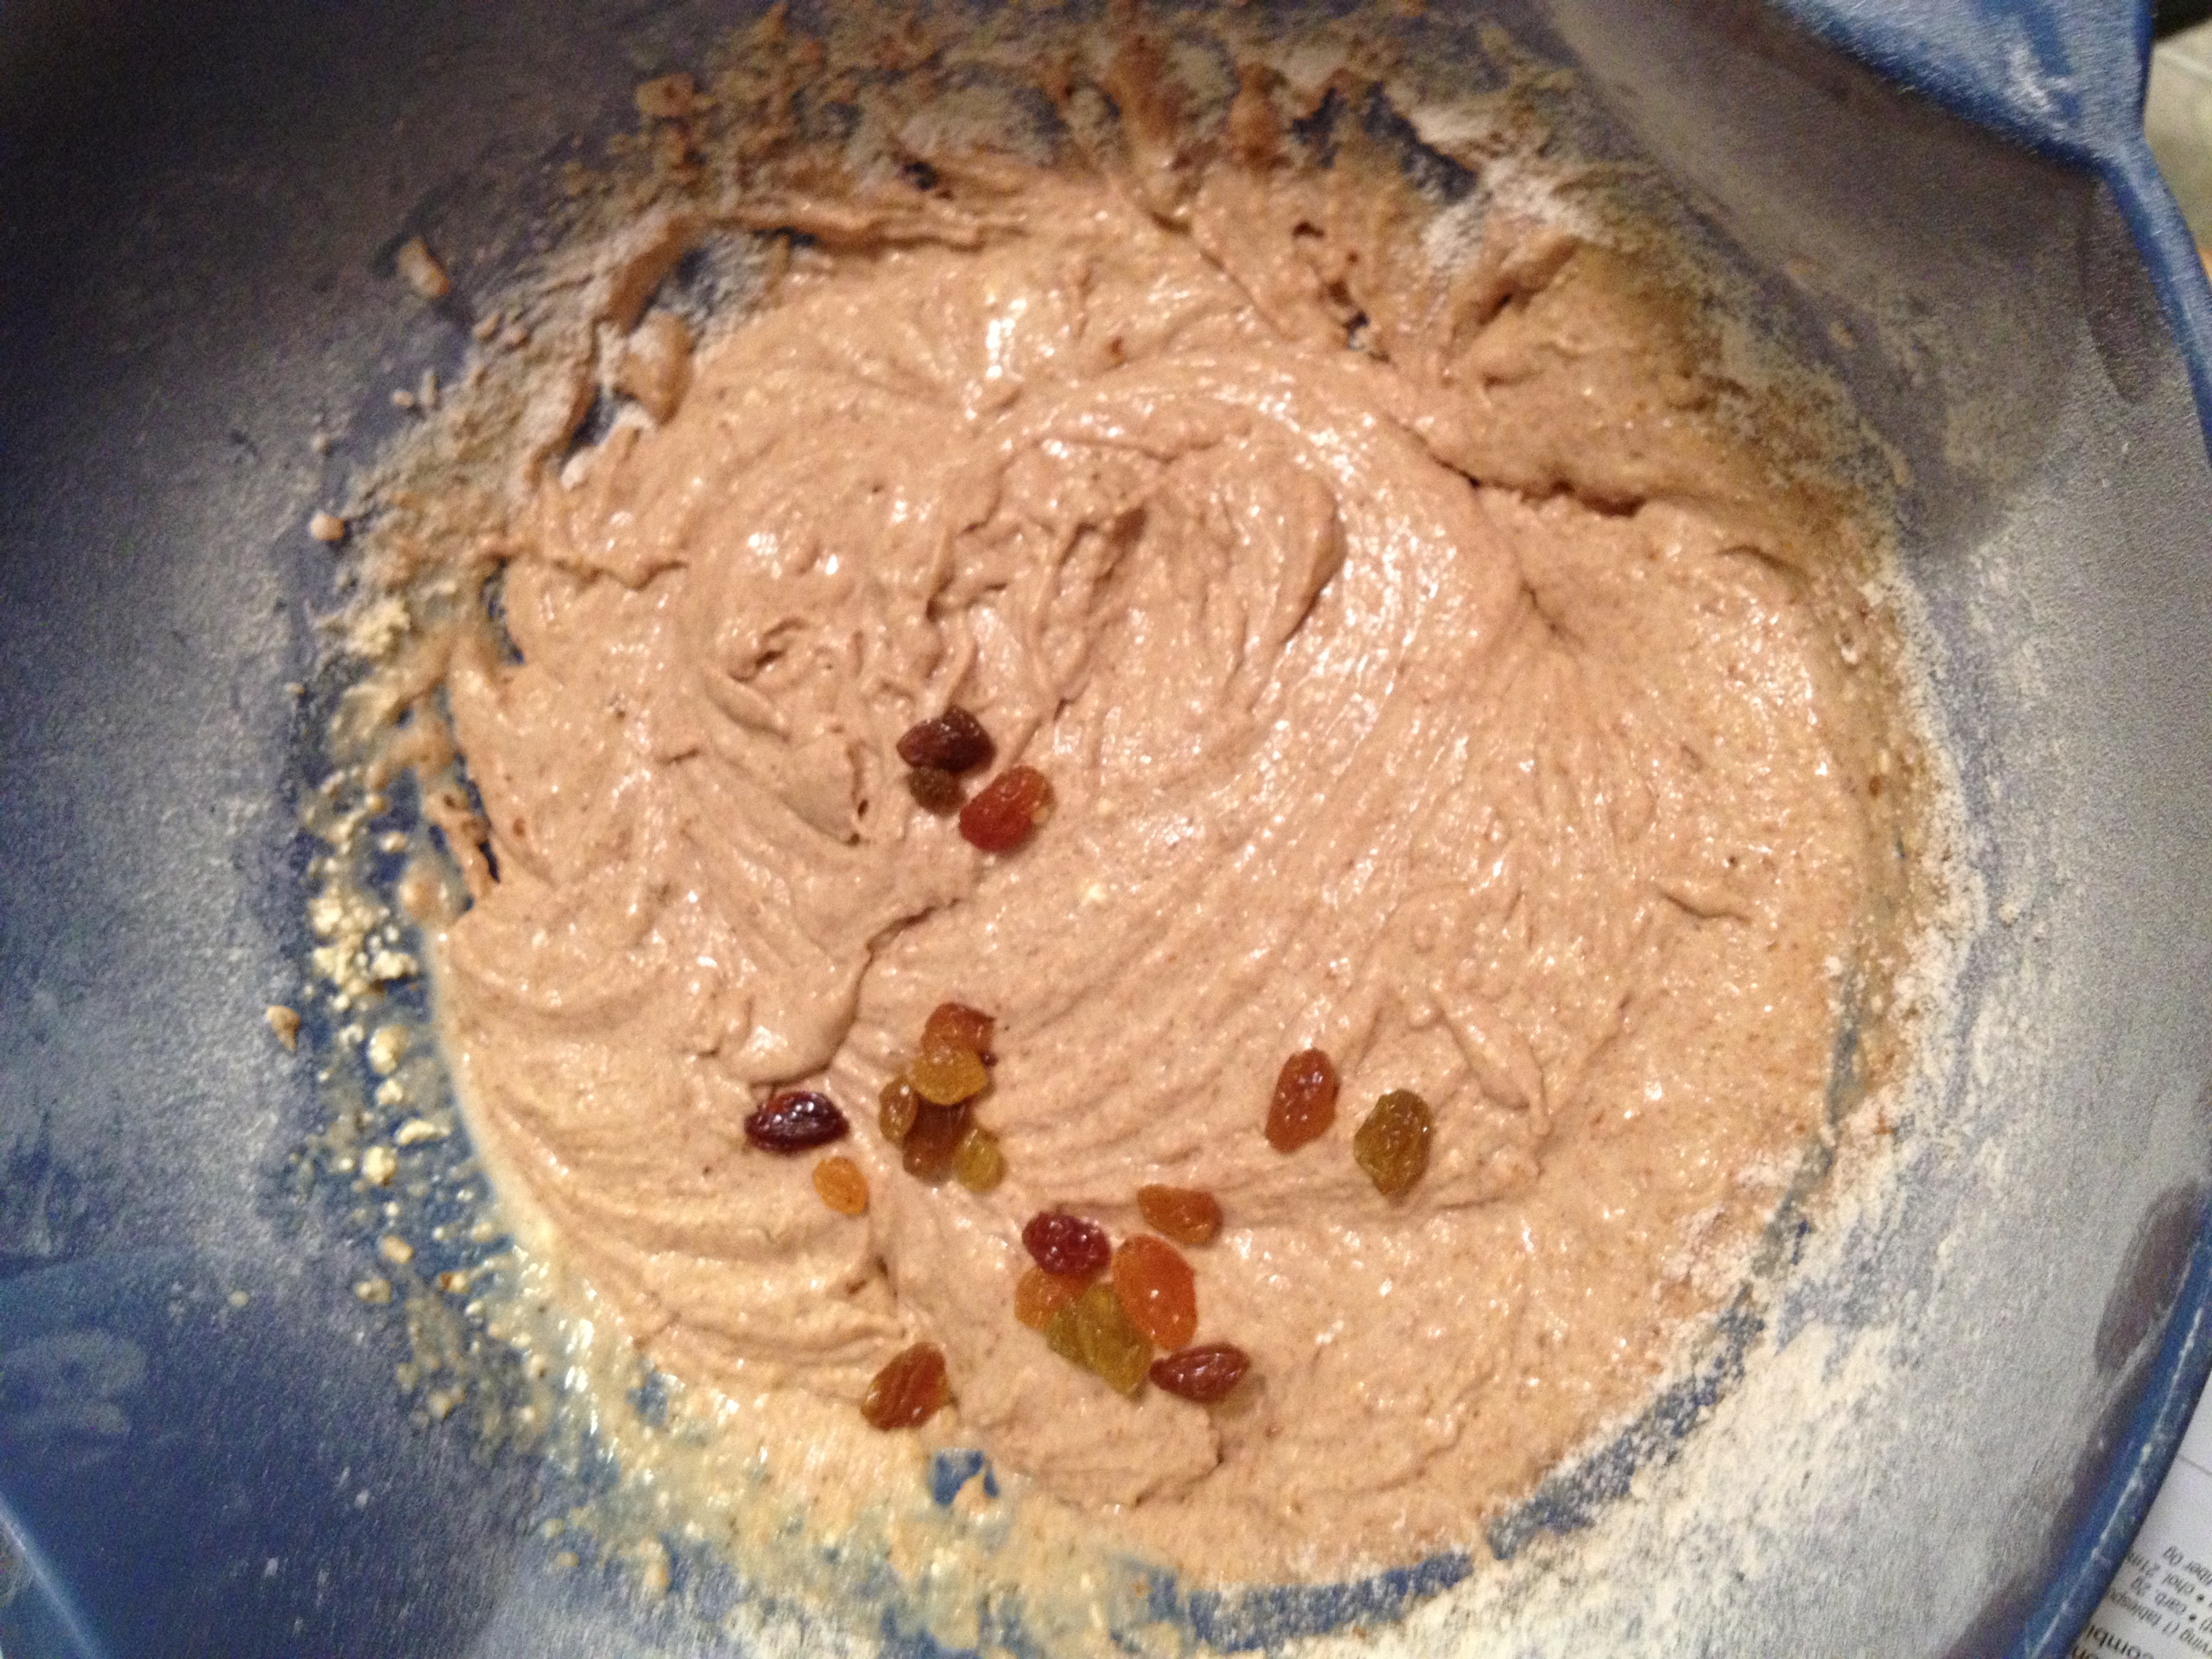
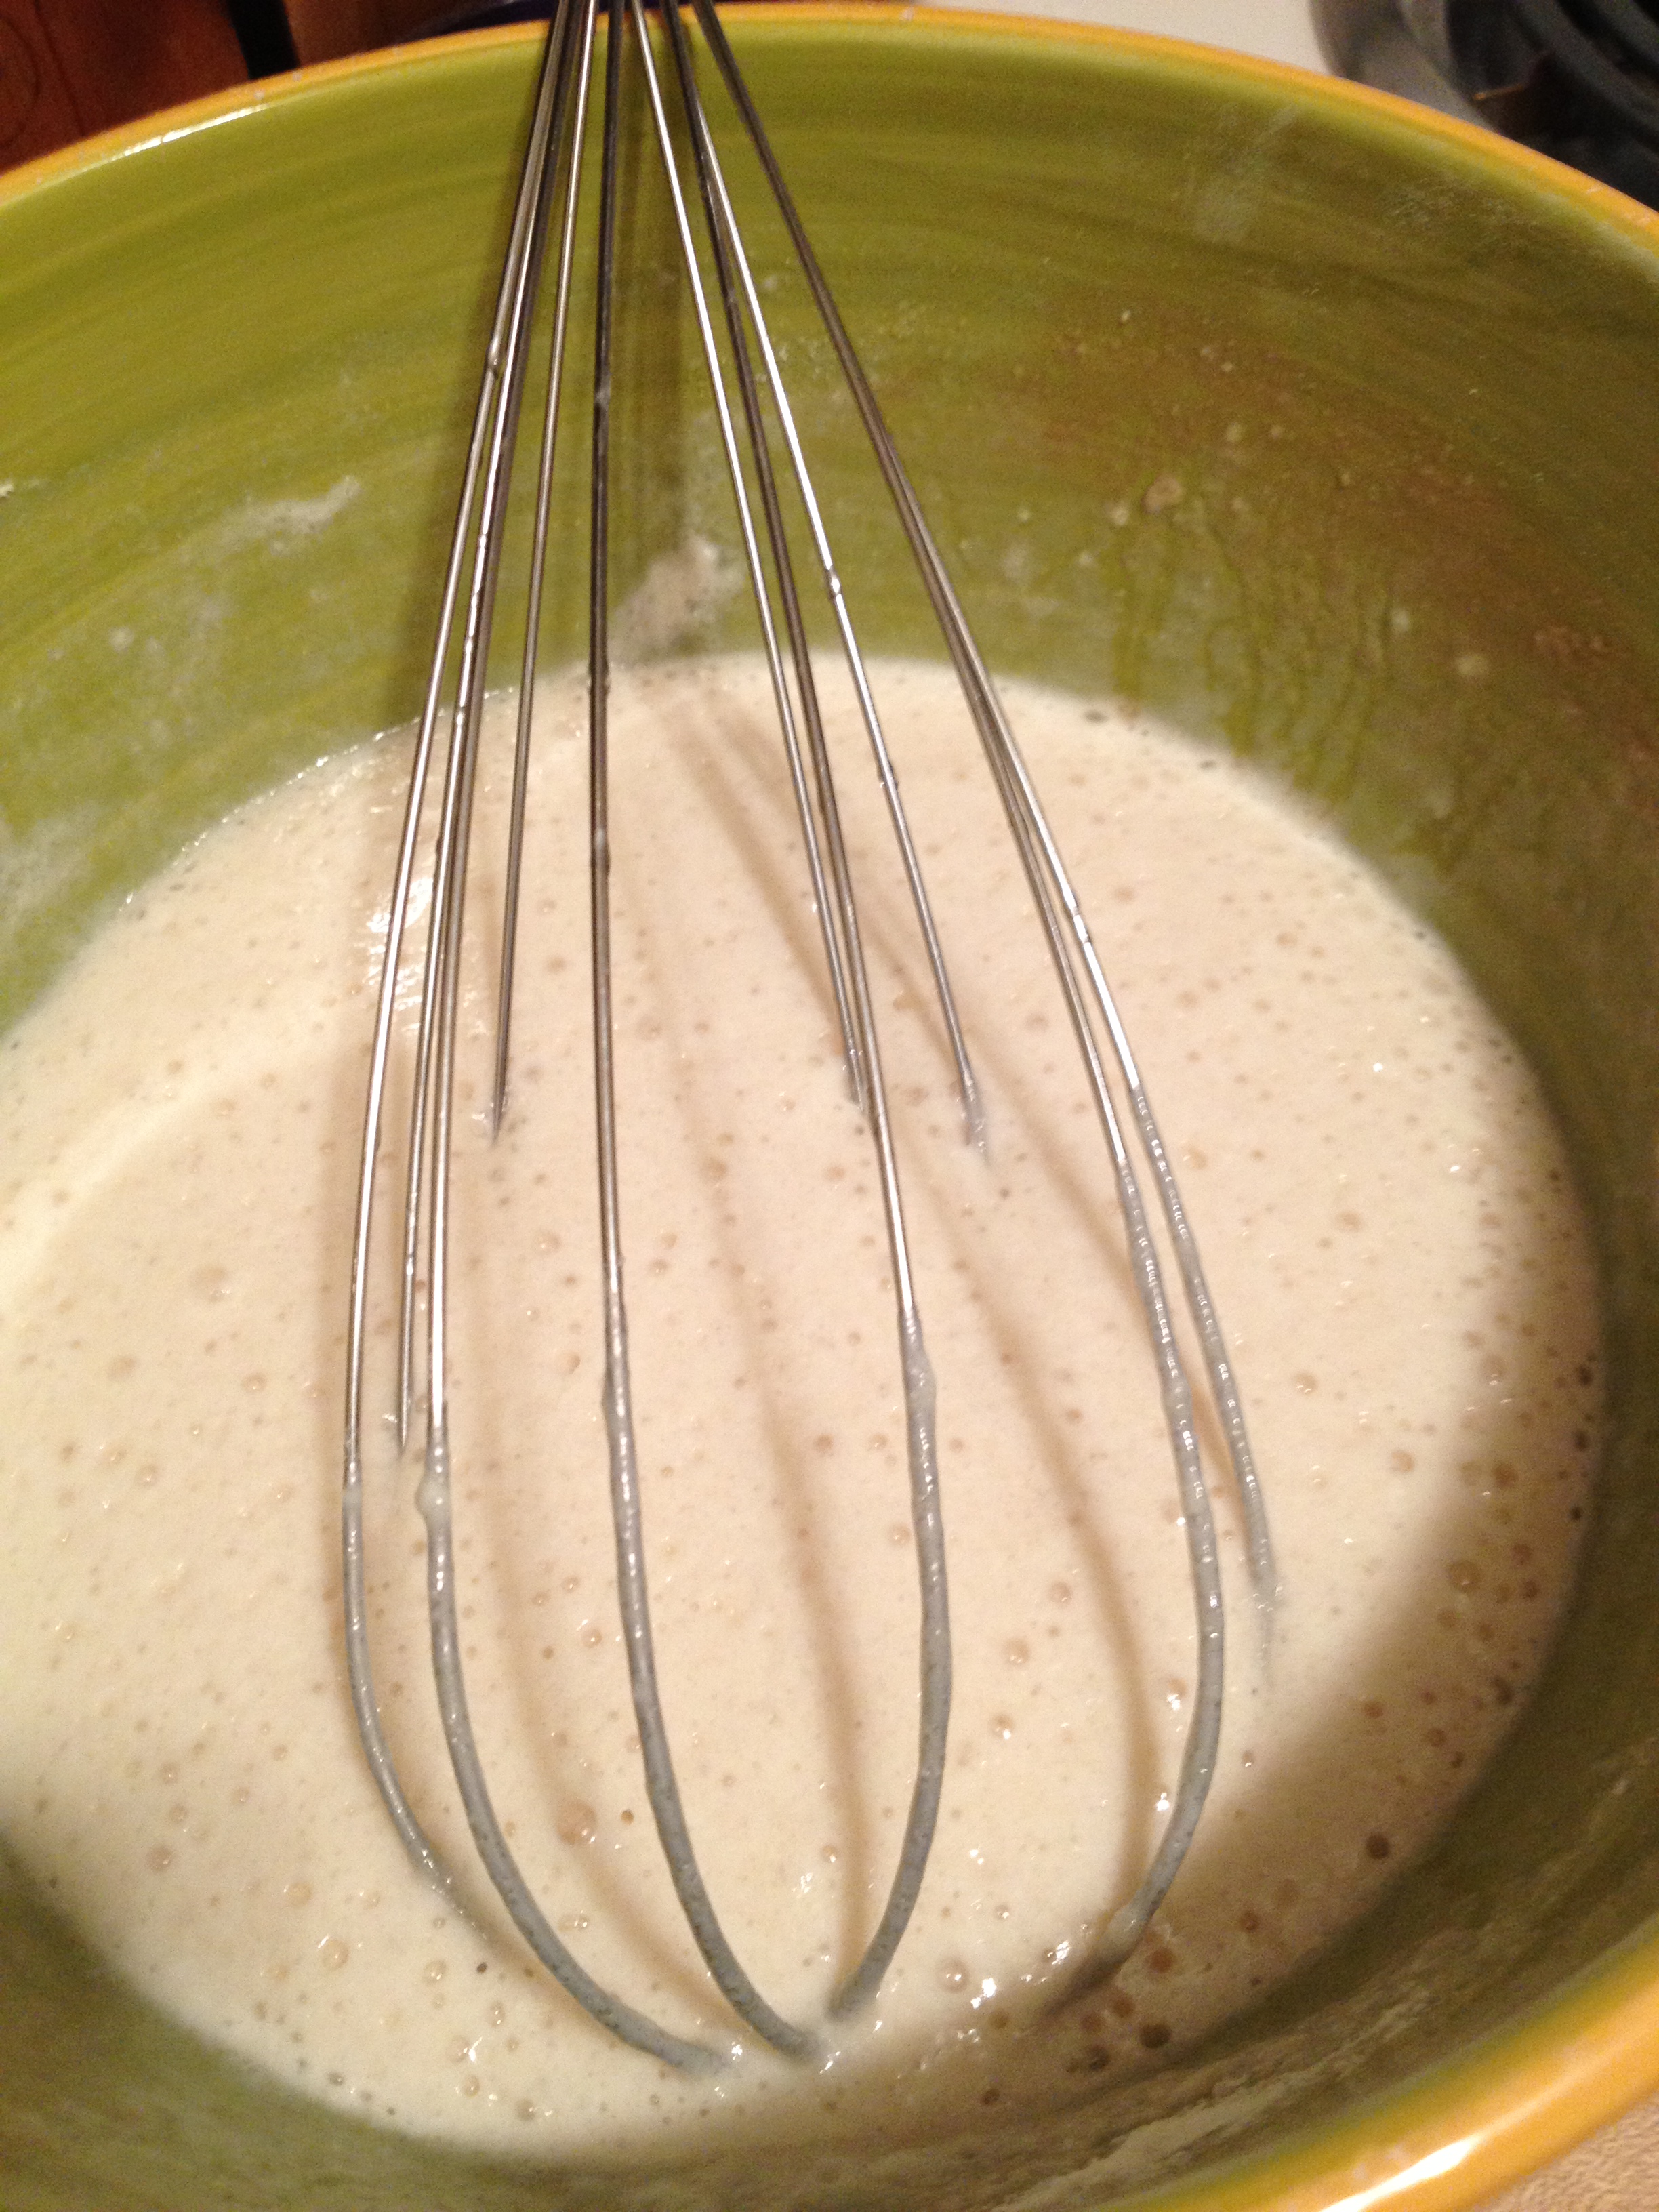
- Now slowly pour the milk in, mixing as you pour. It should end in a dough-like consistency
- Put a dusting of flour on a large cutting board and knead it out, but not a lot. You want them an inch, inch and a half thick
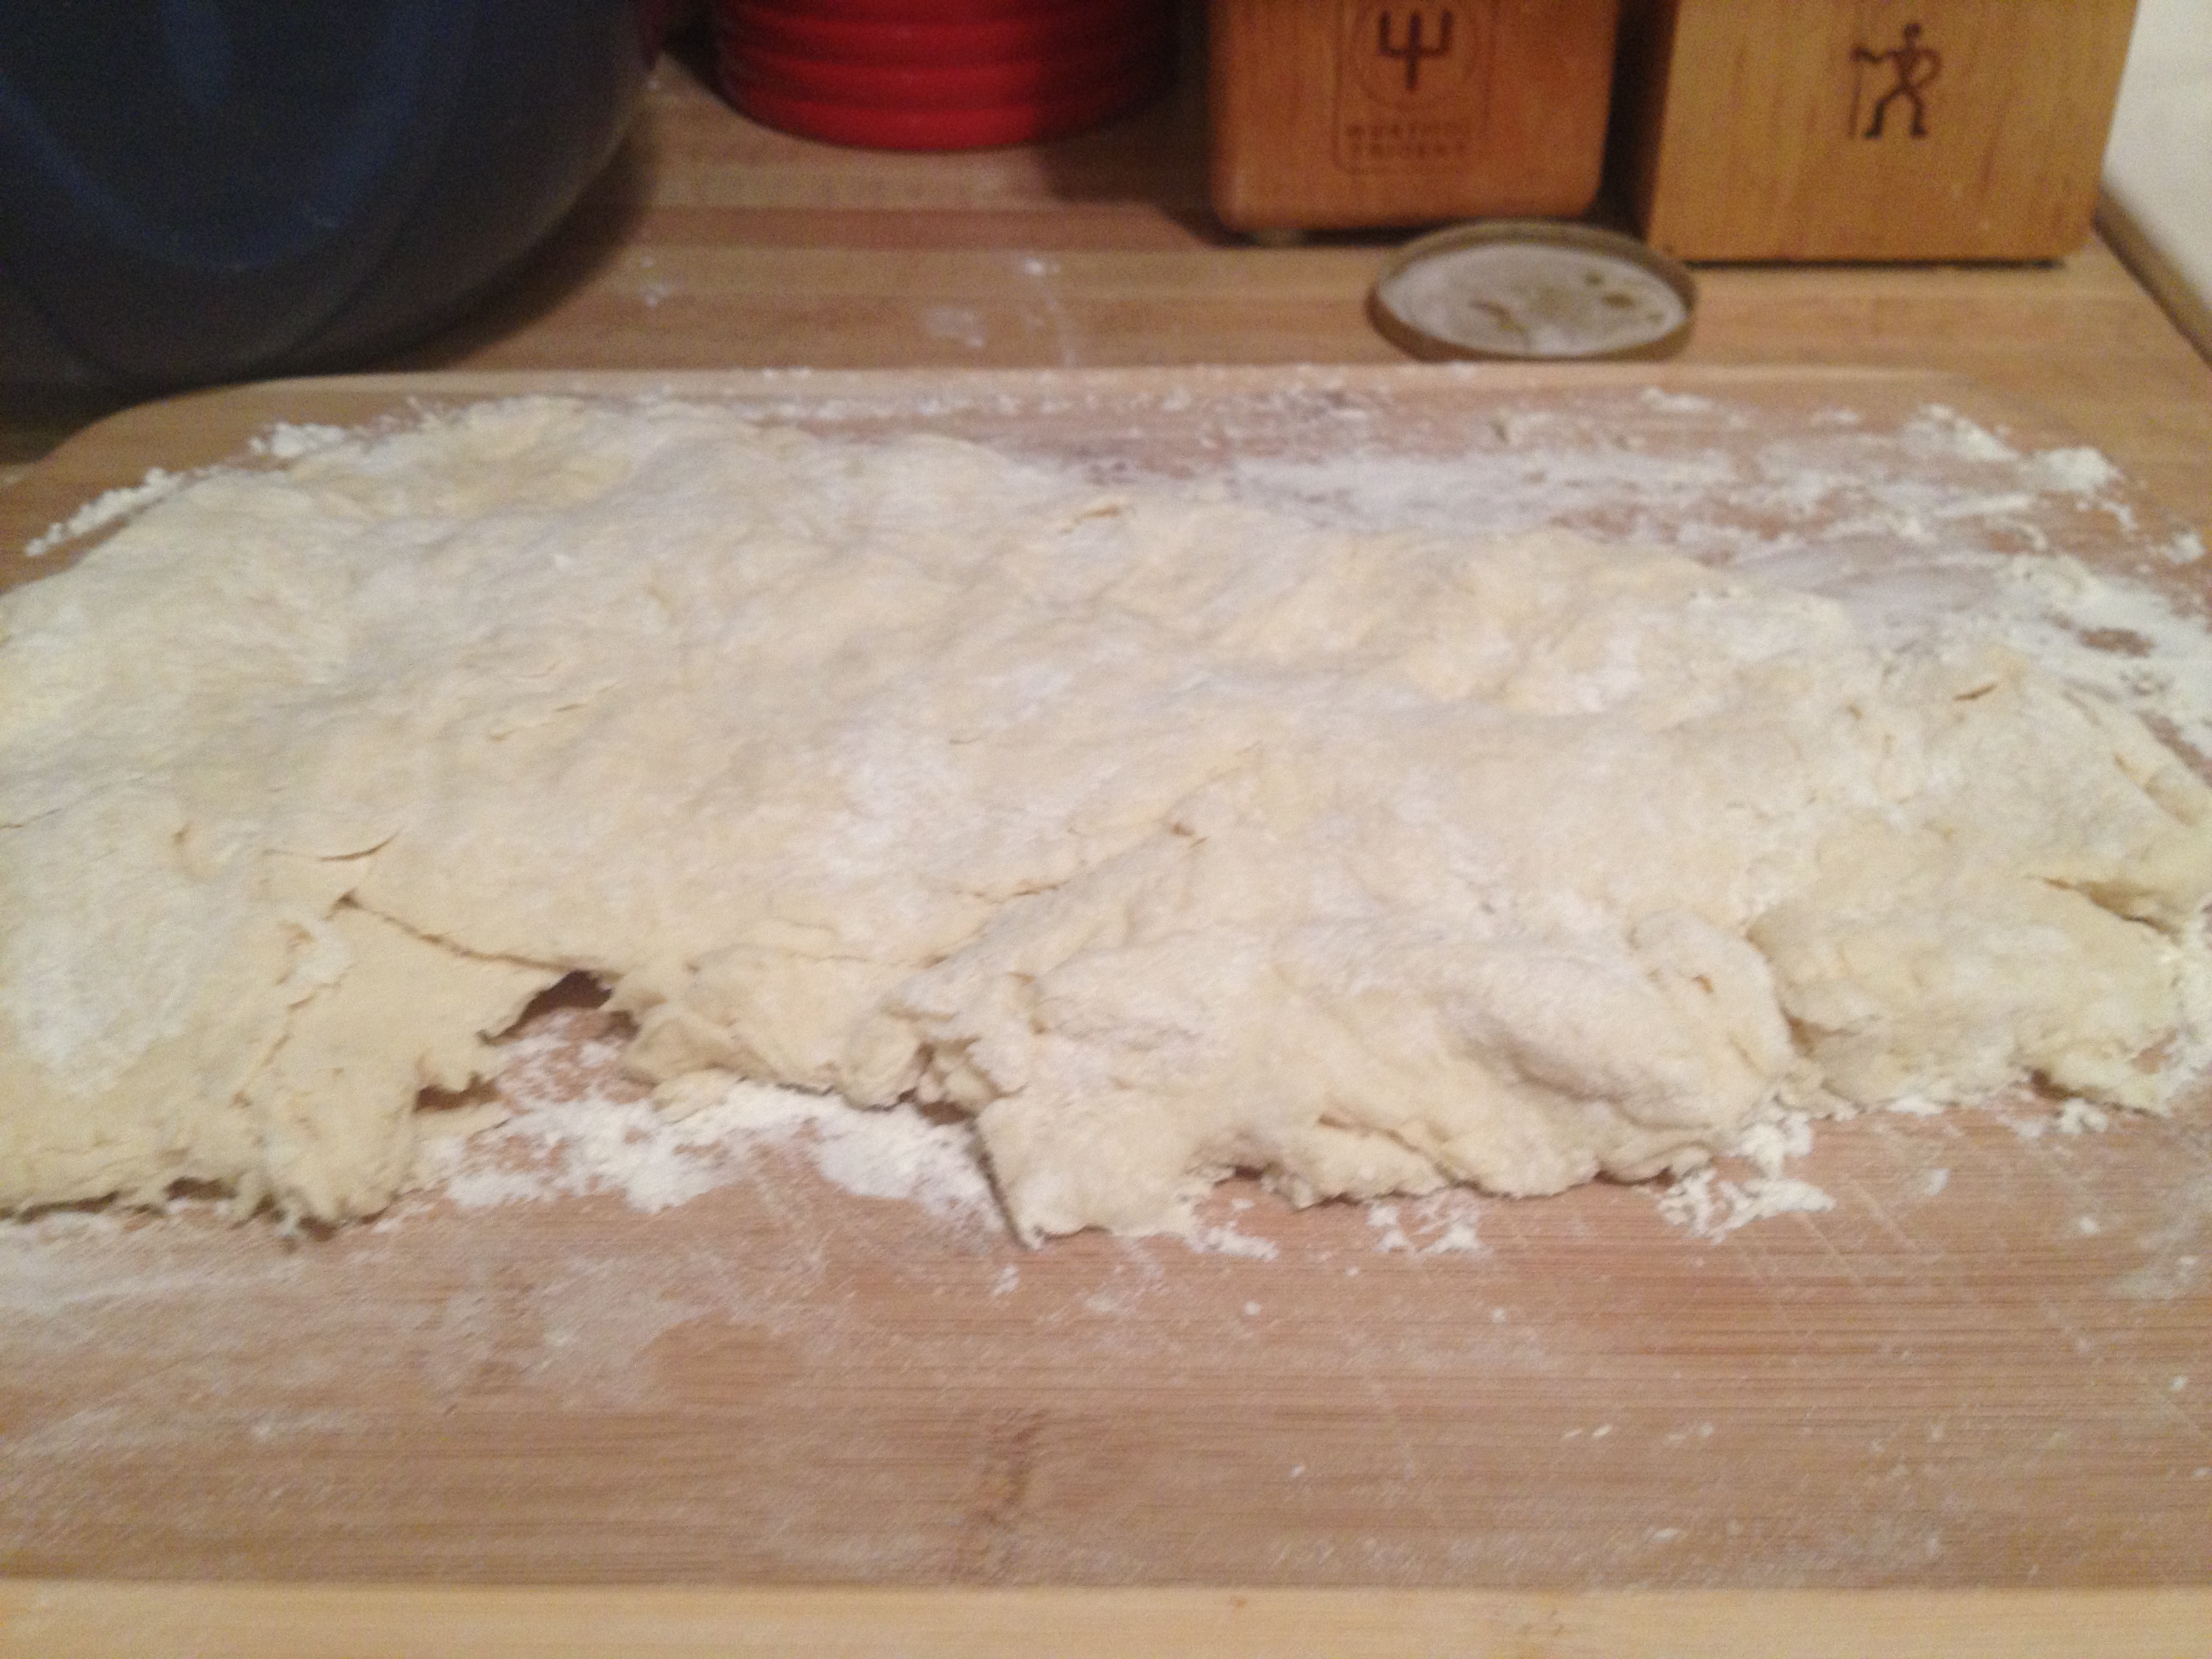
- Now cut them all at once, vertical lines and then horizontal lines into two inch pieces. Place on the baking sheet, no greasing needed

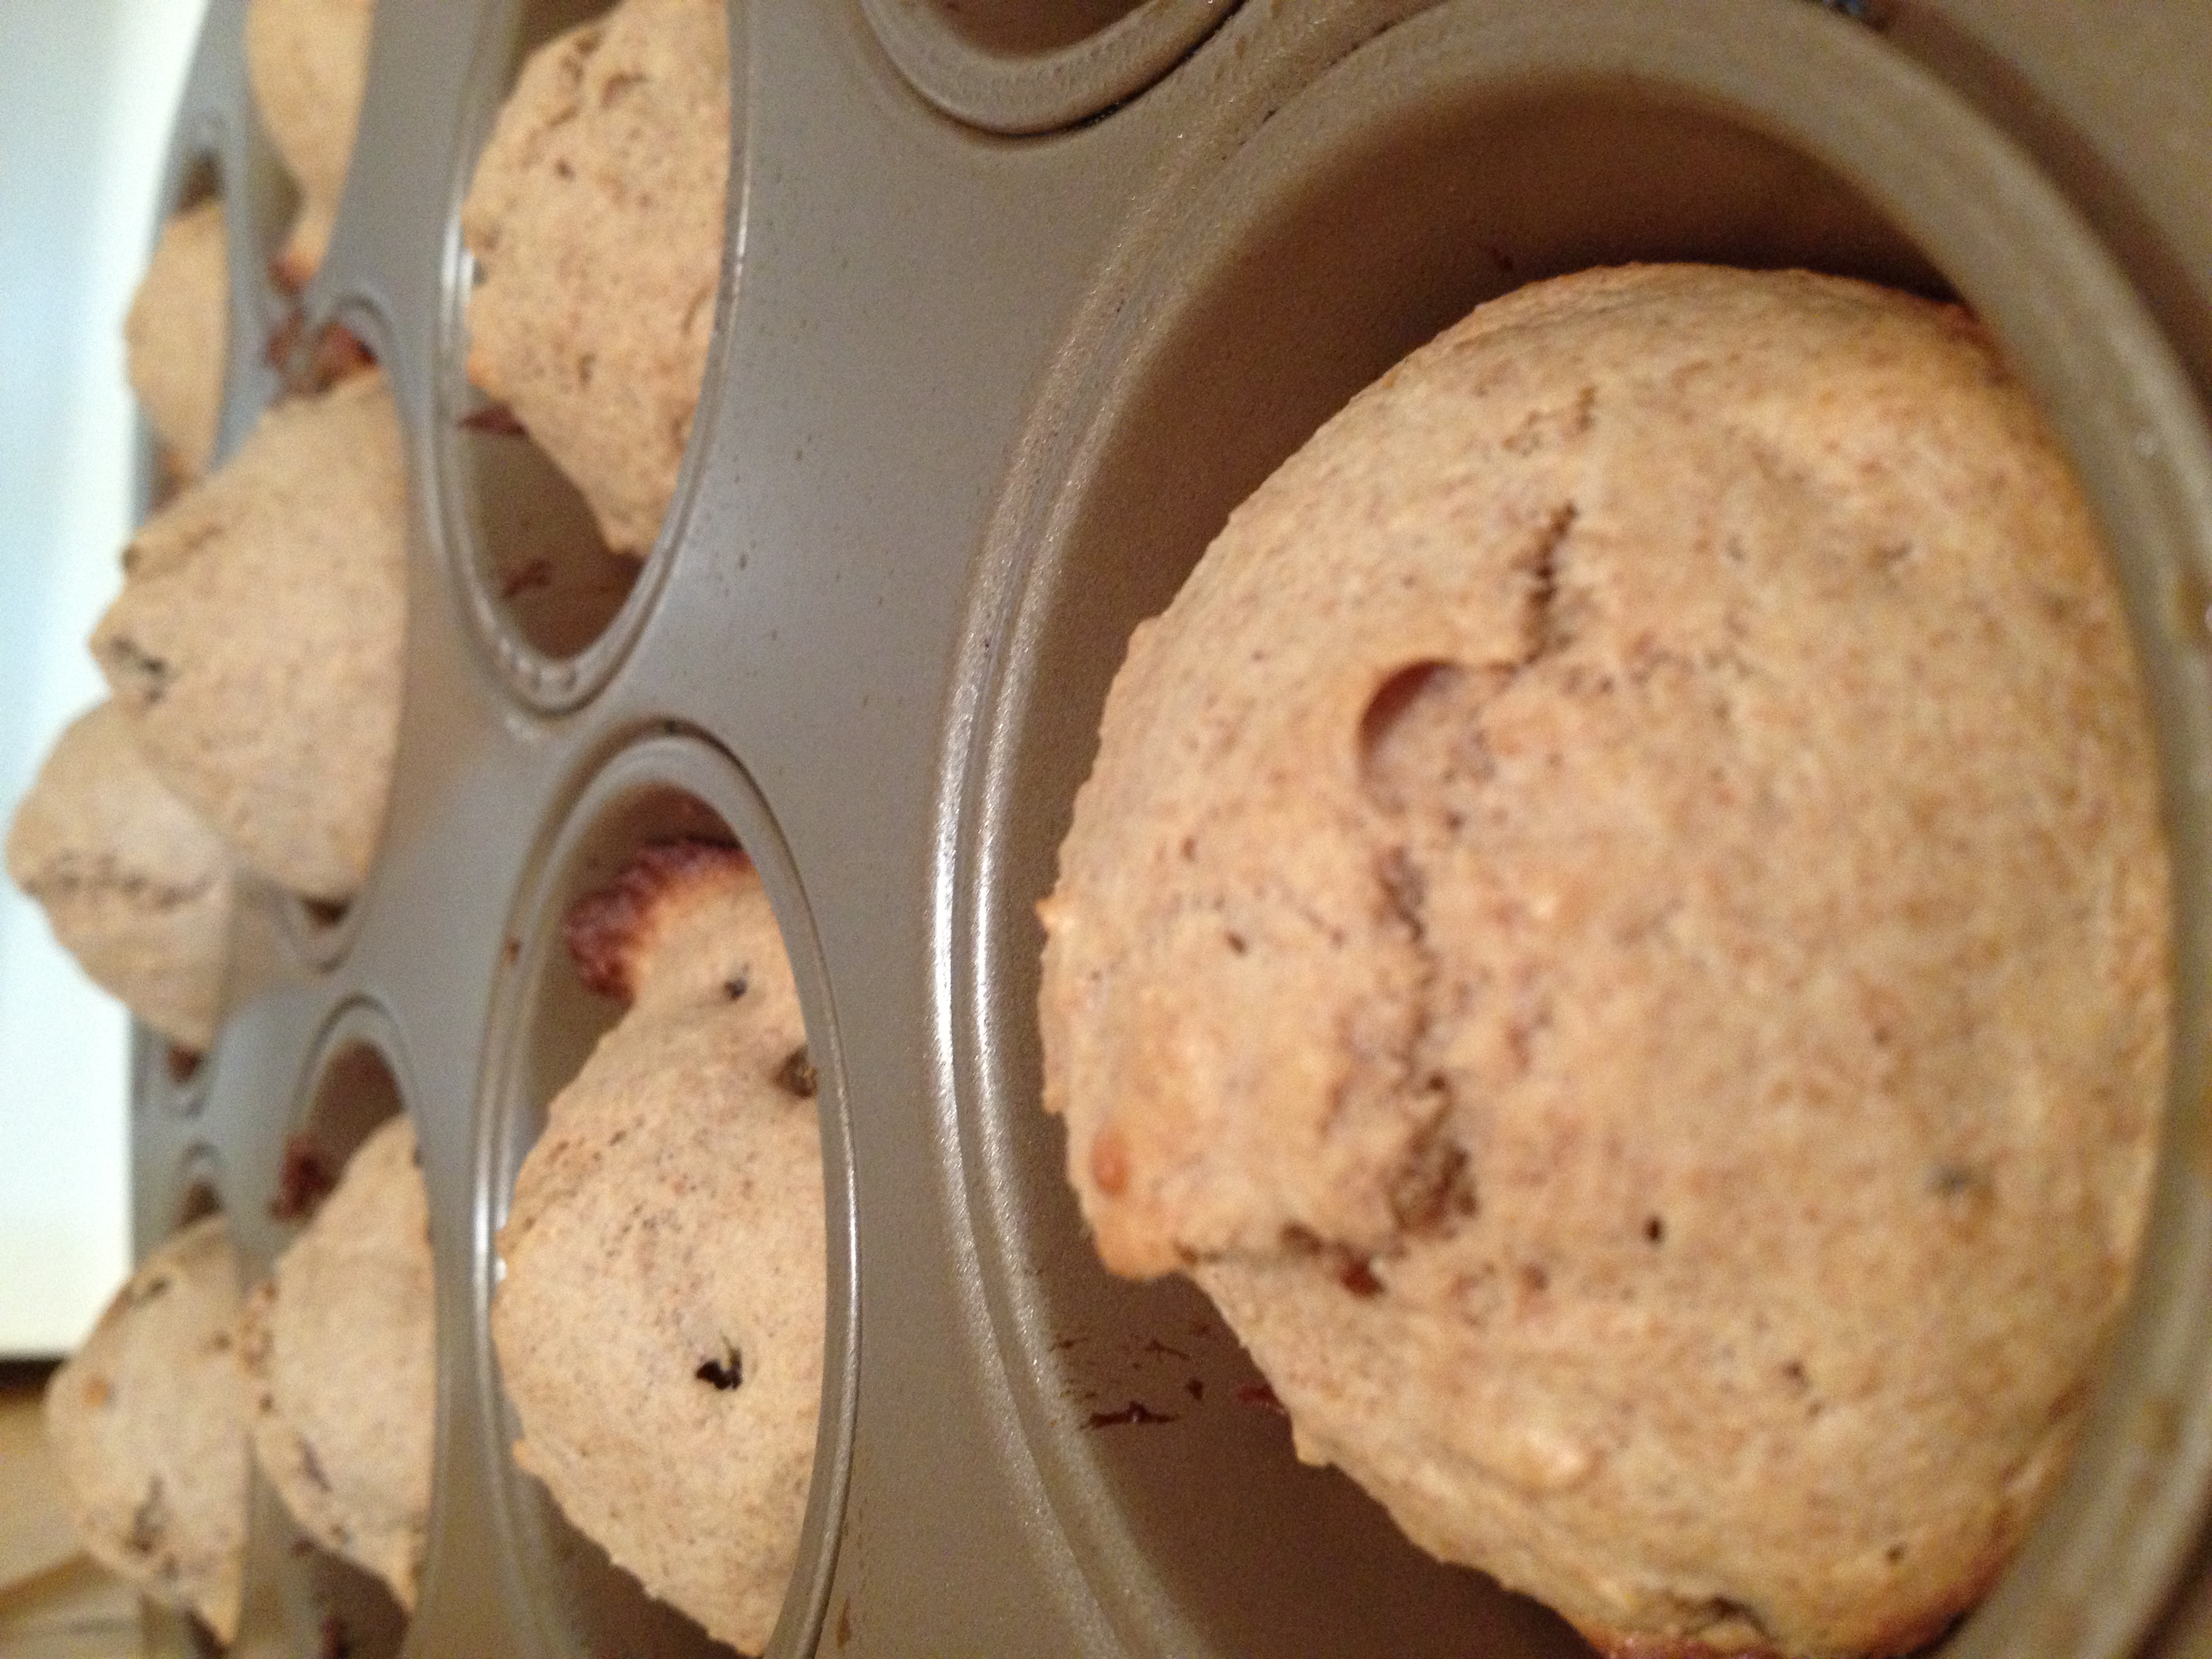
- Check on it after 8 minutes and until 10 minutes. Check the bottom of them, don’t let them burn. After you take them out of the oven, they should cool for at least 10 minutes before you put the toppings on them
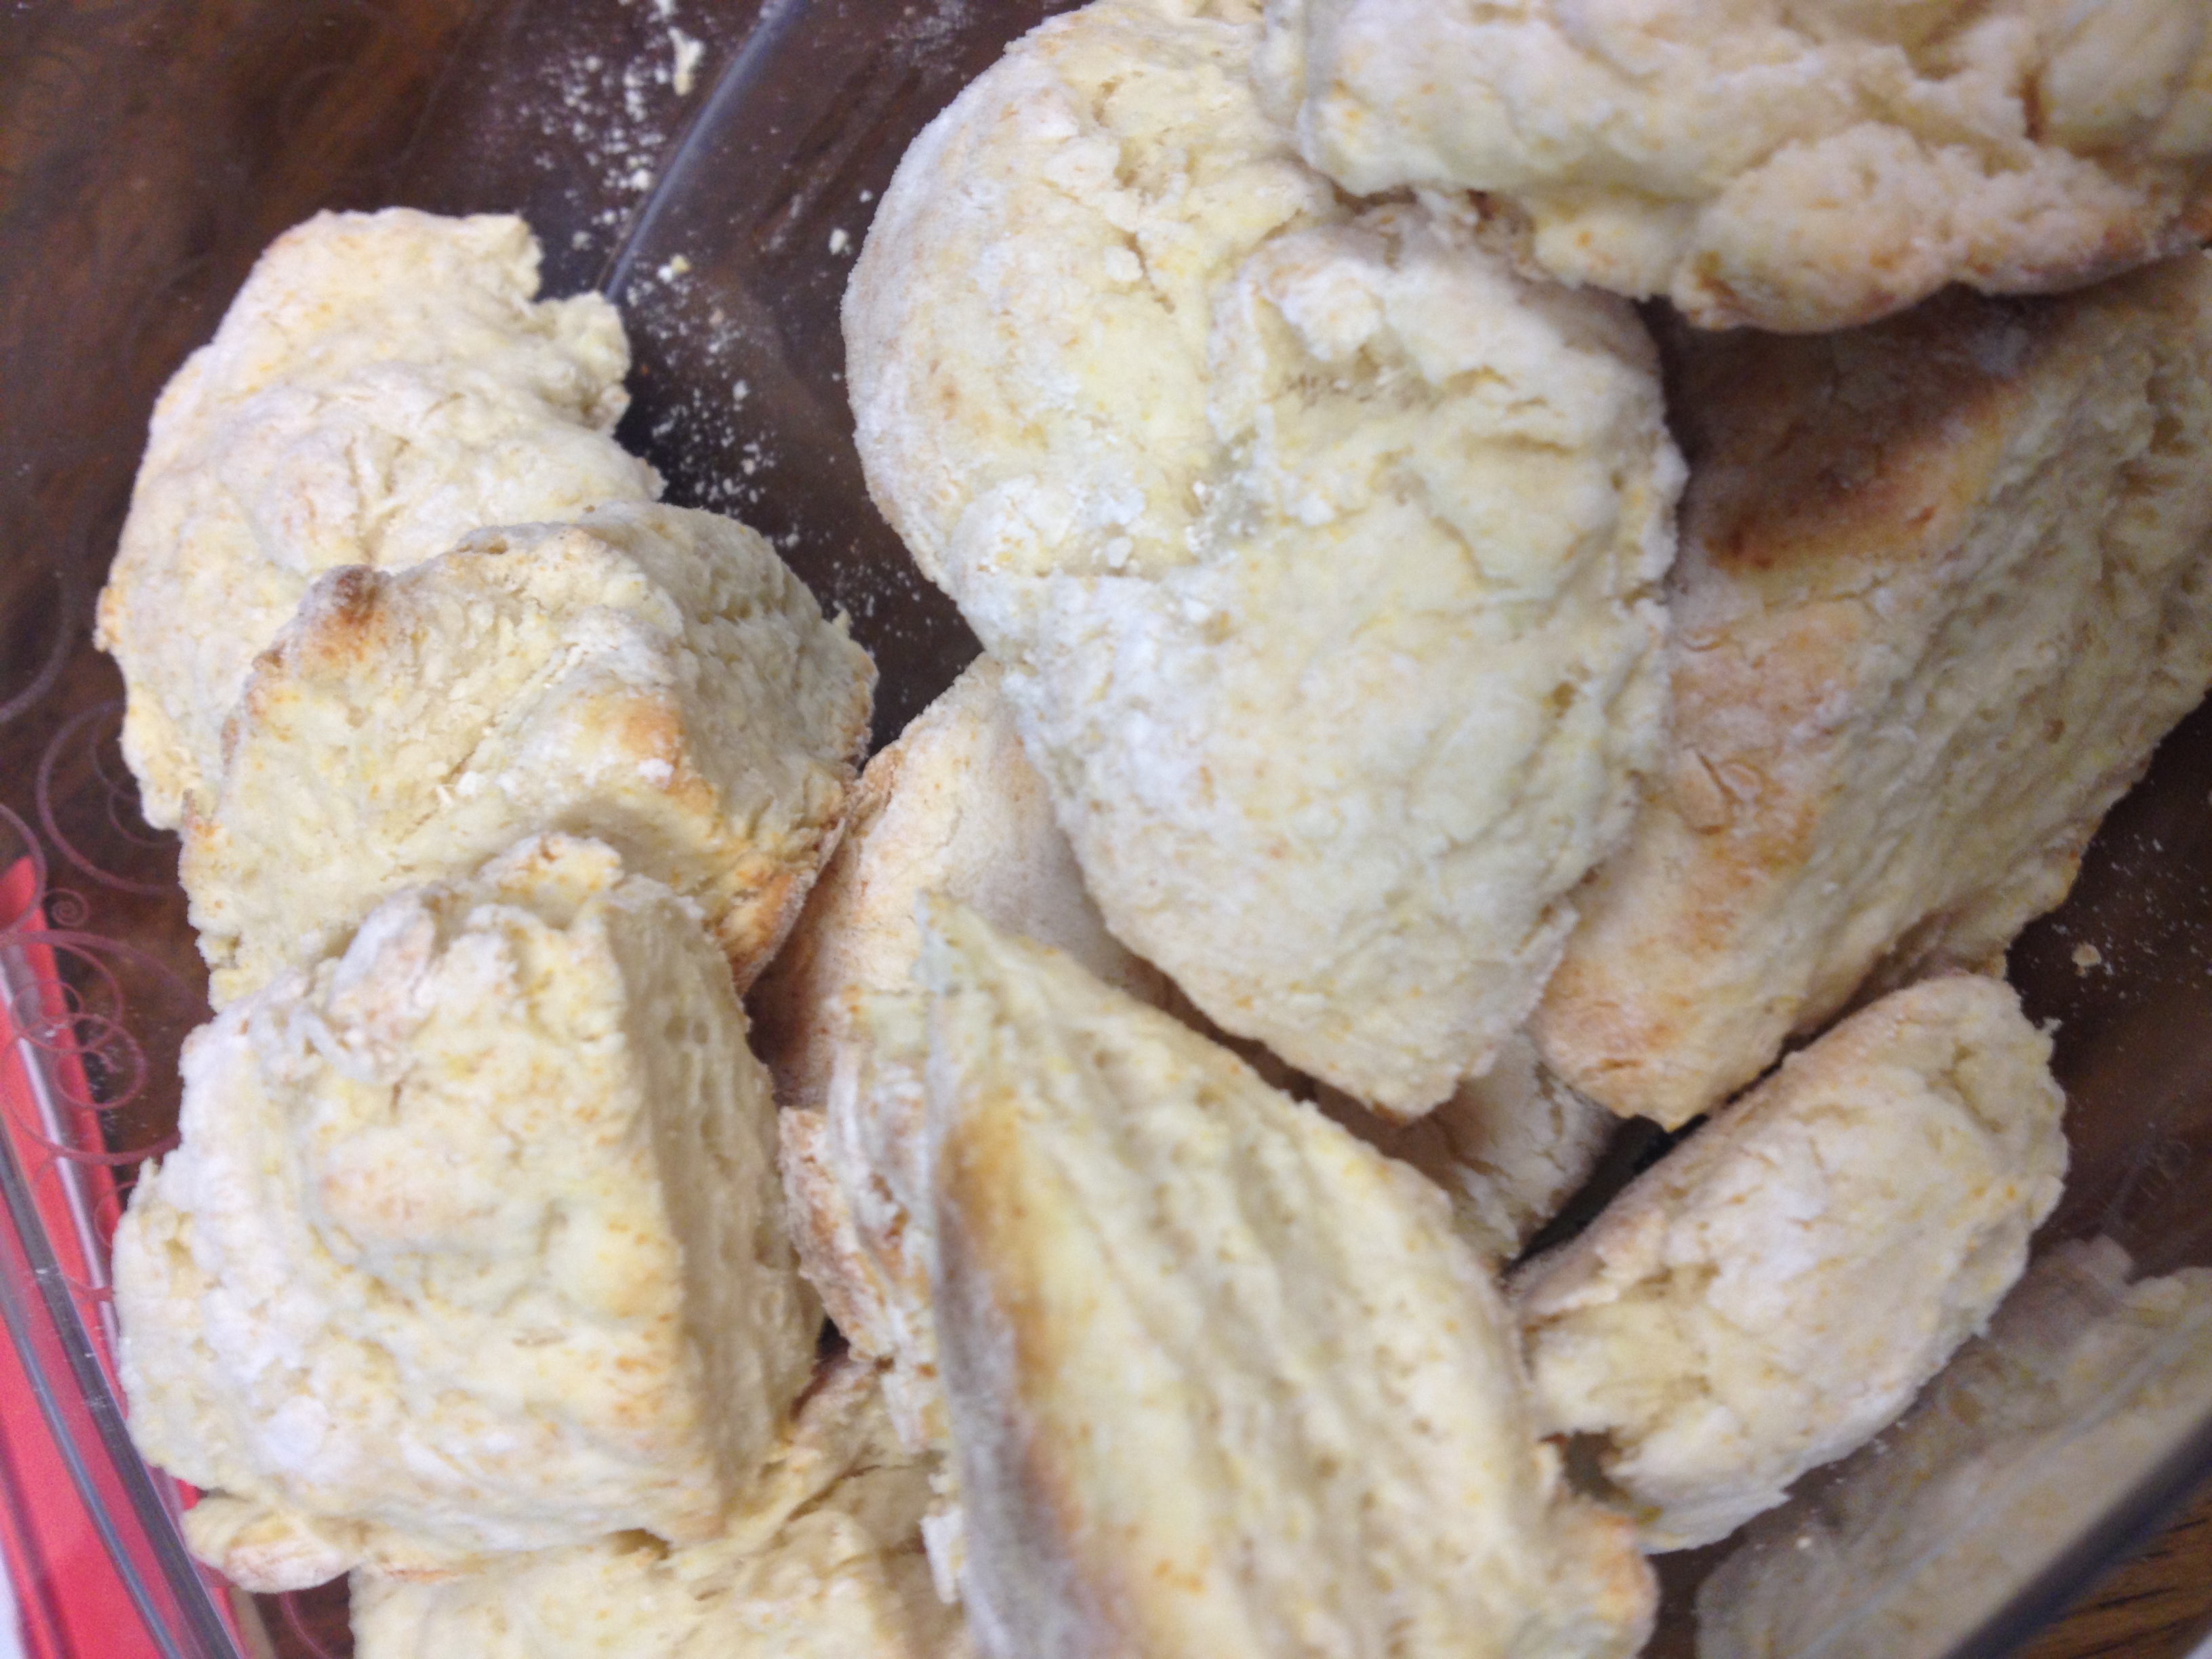
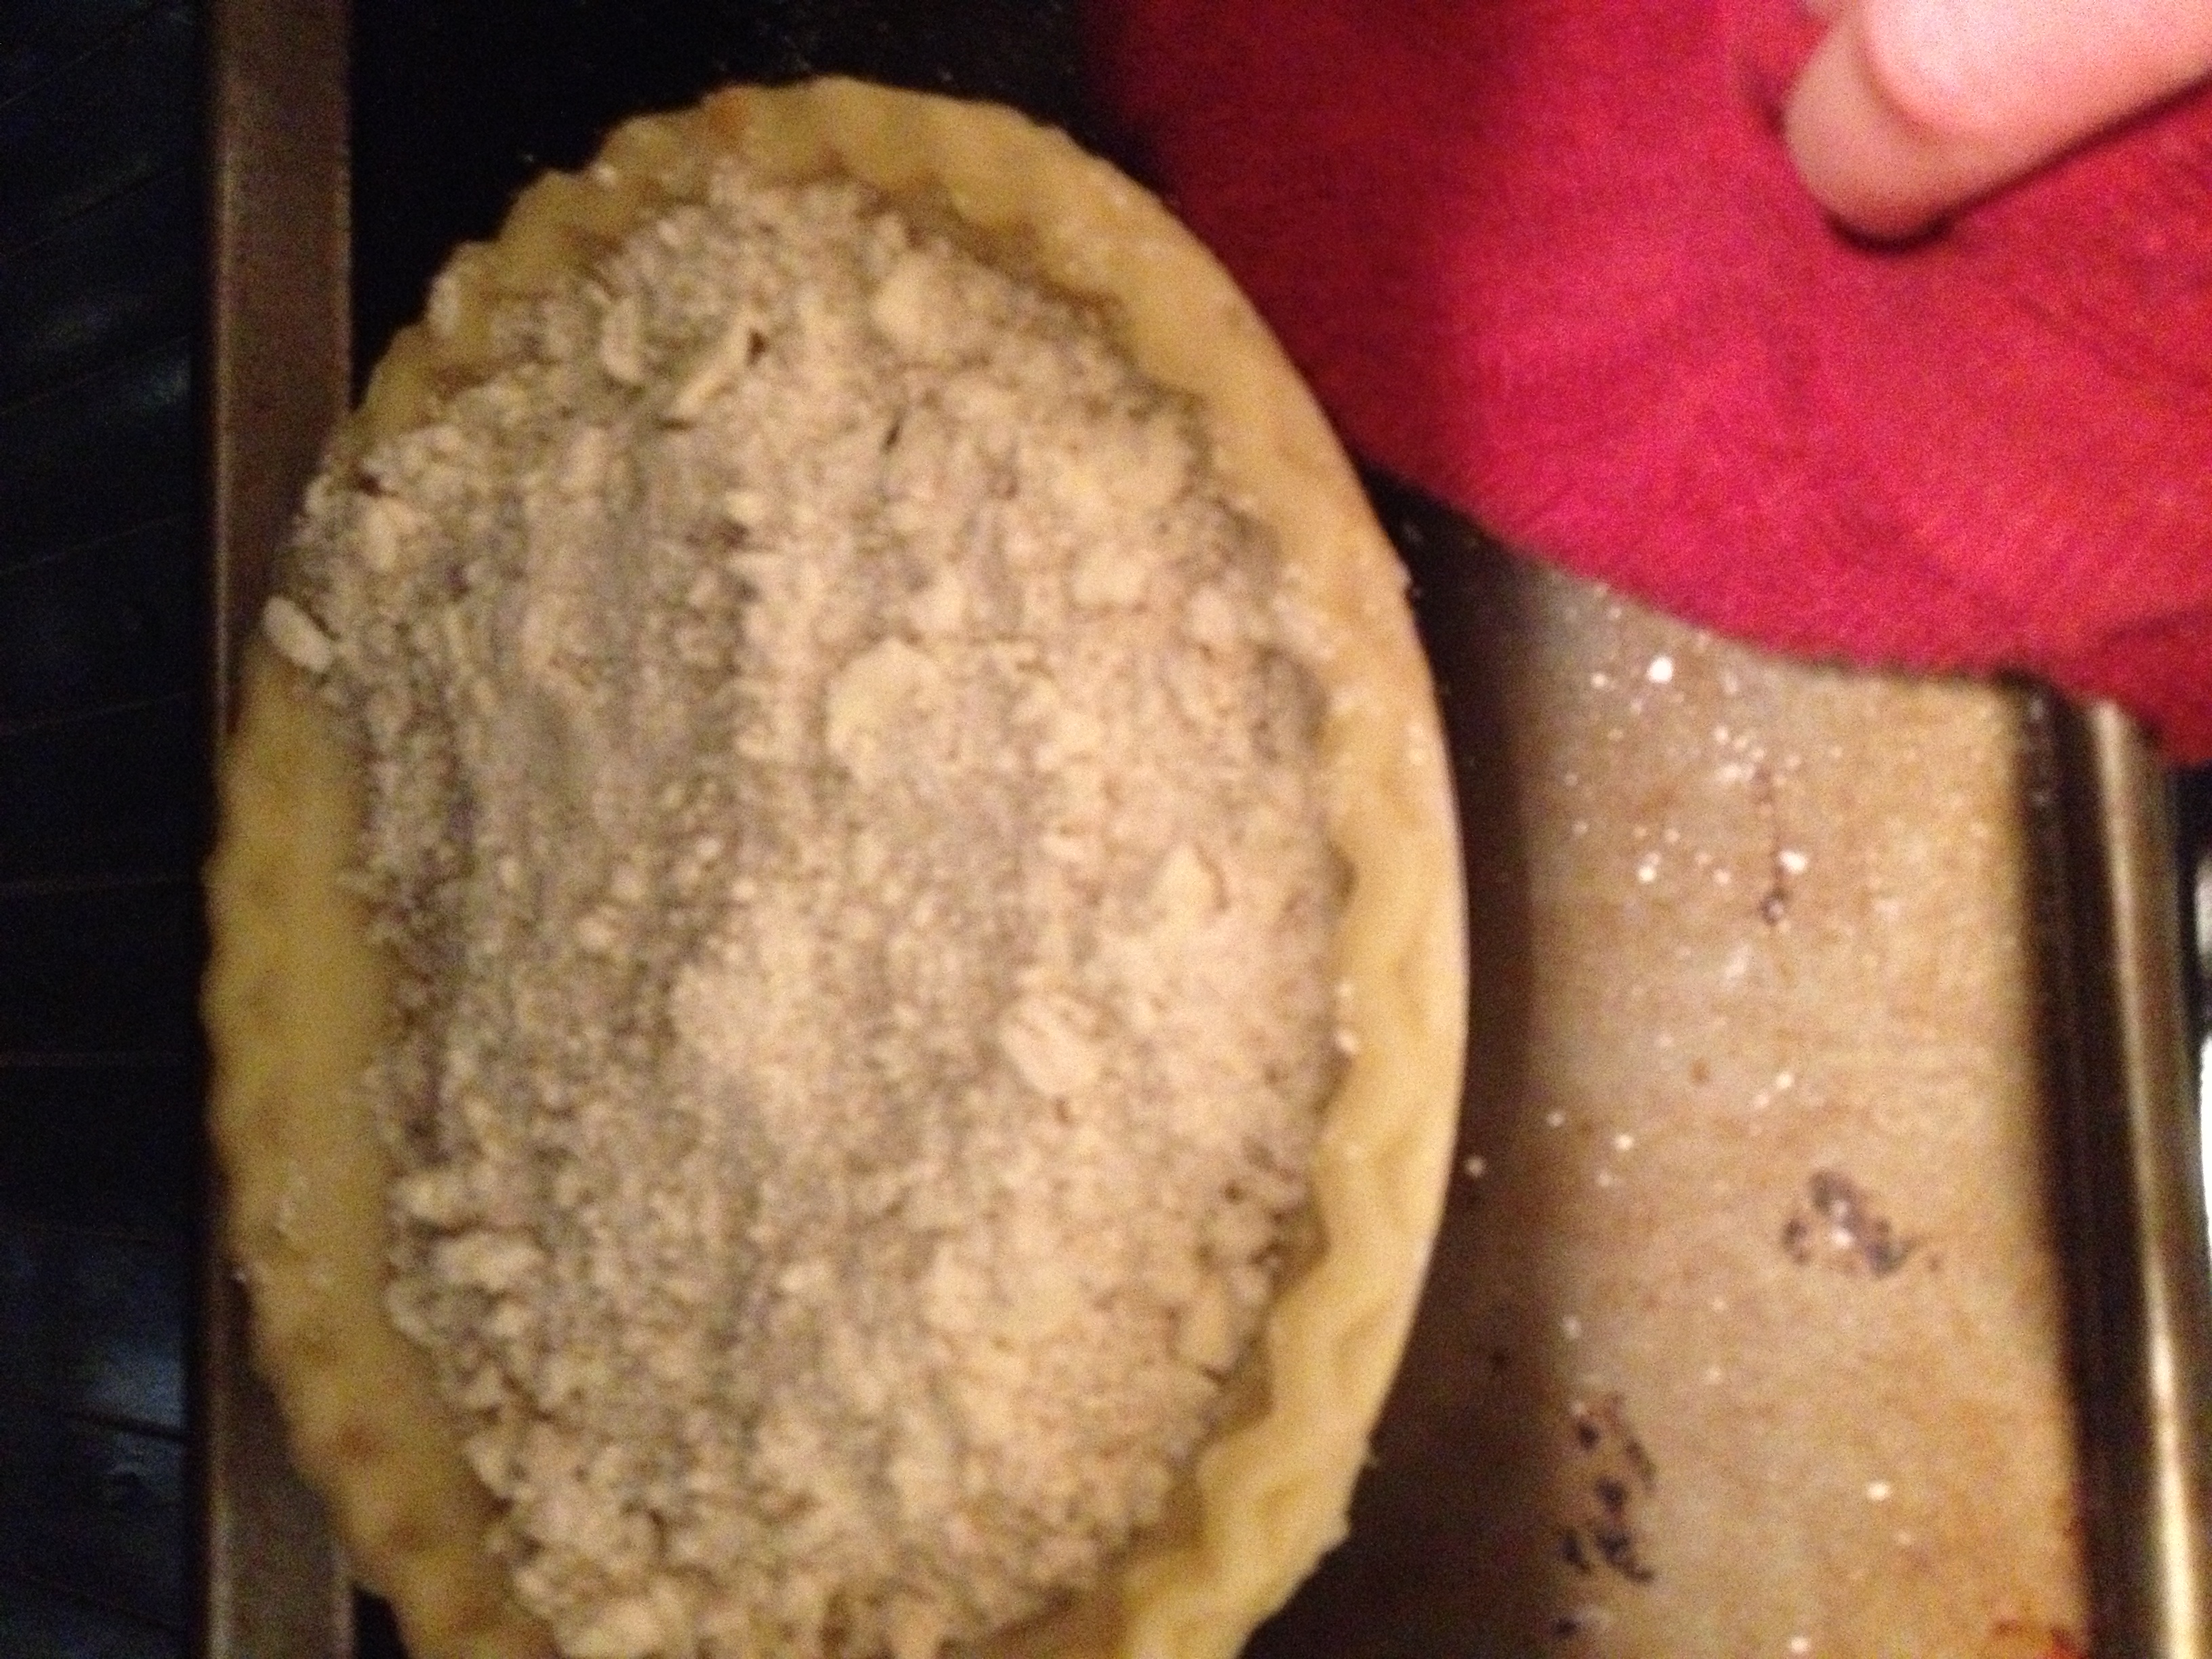
All cooked!
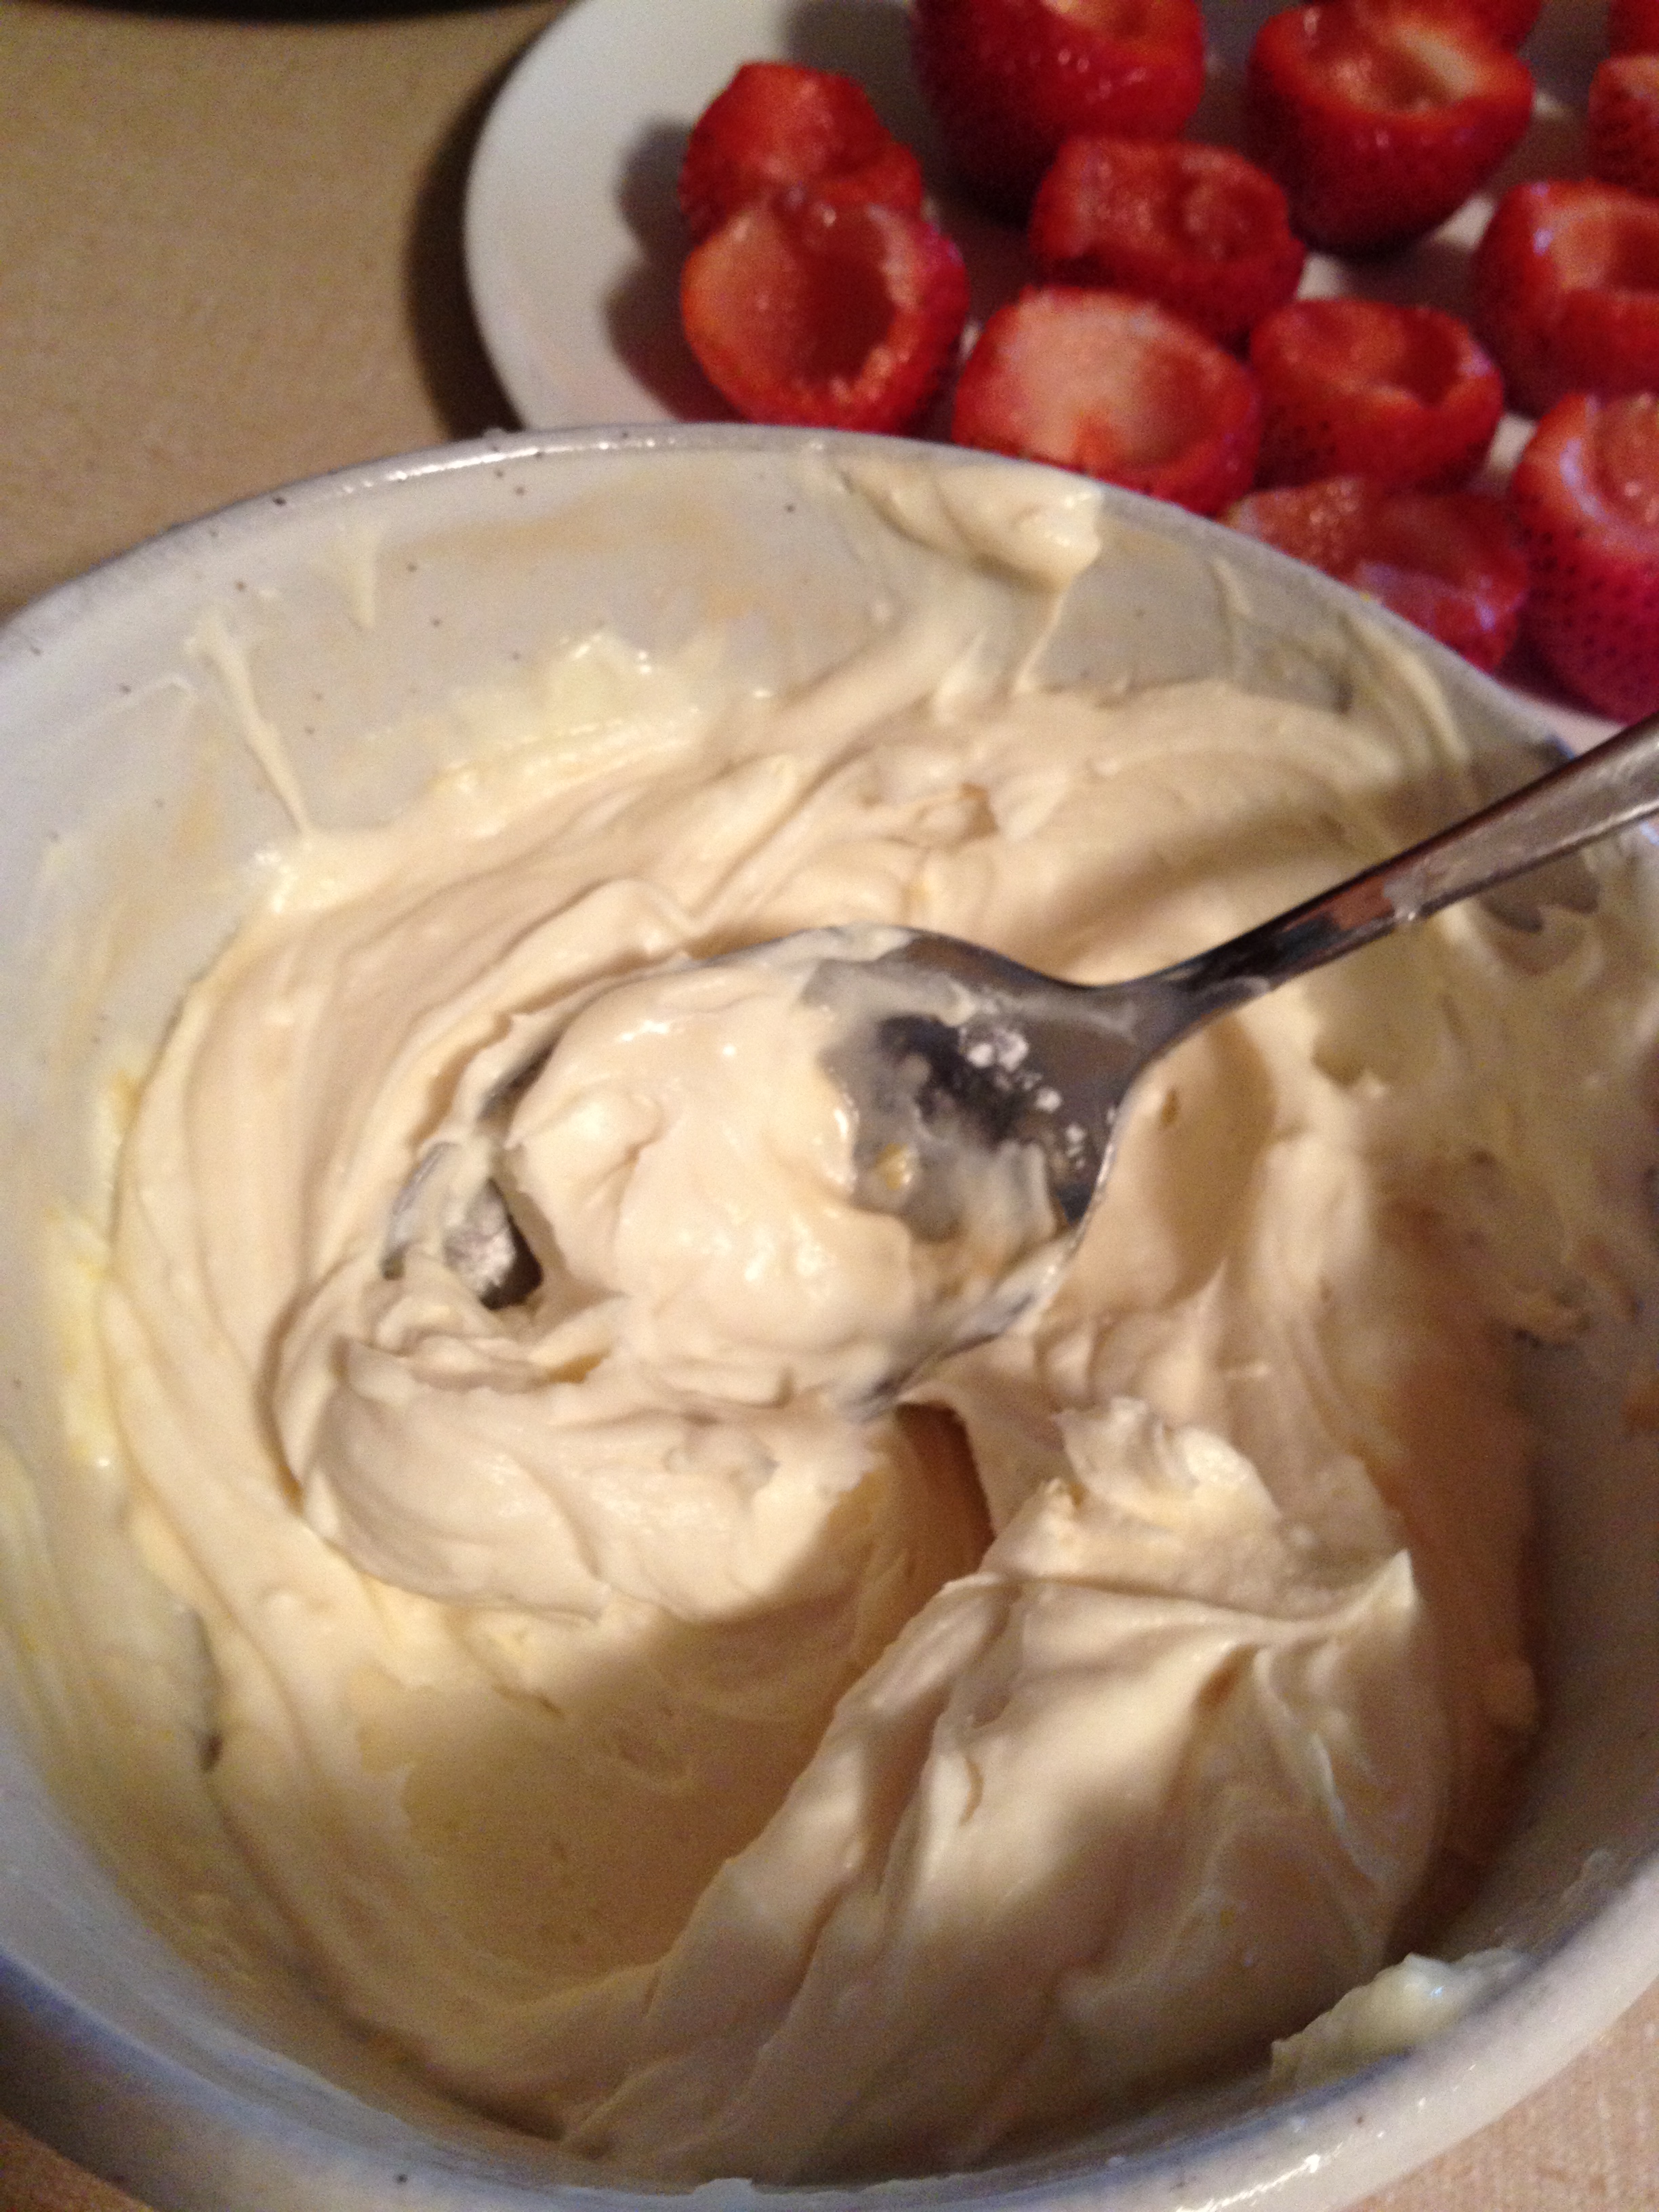
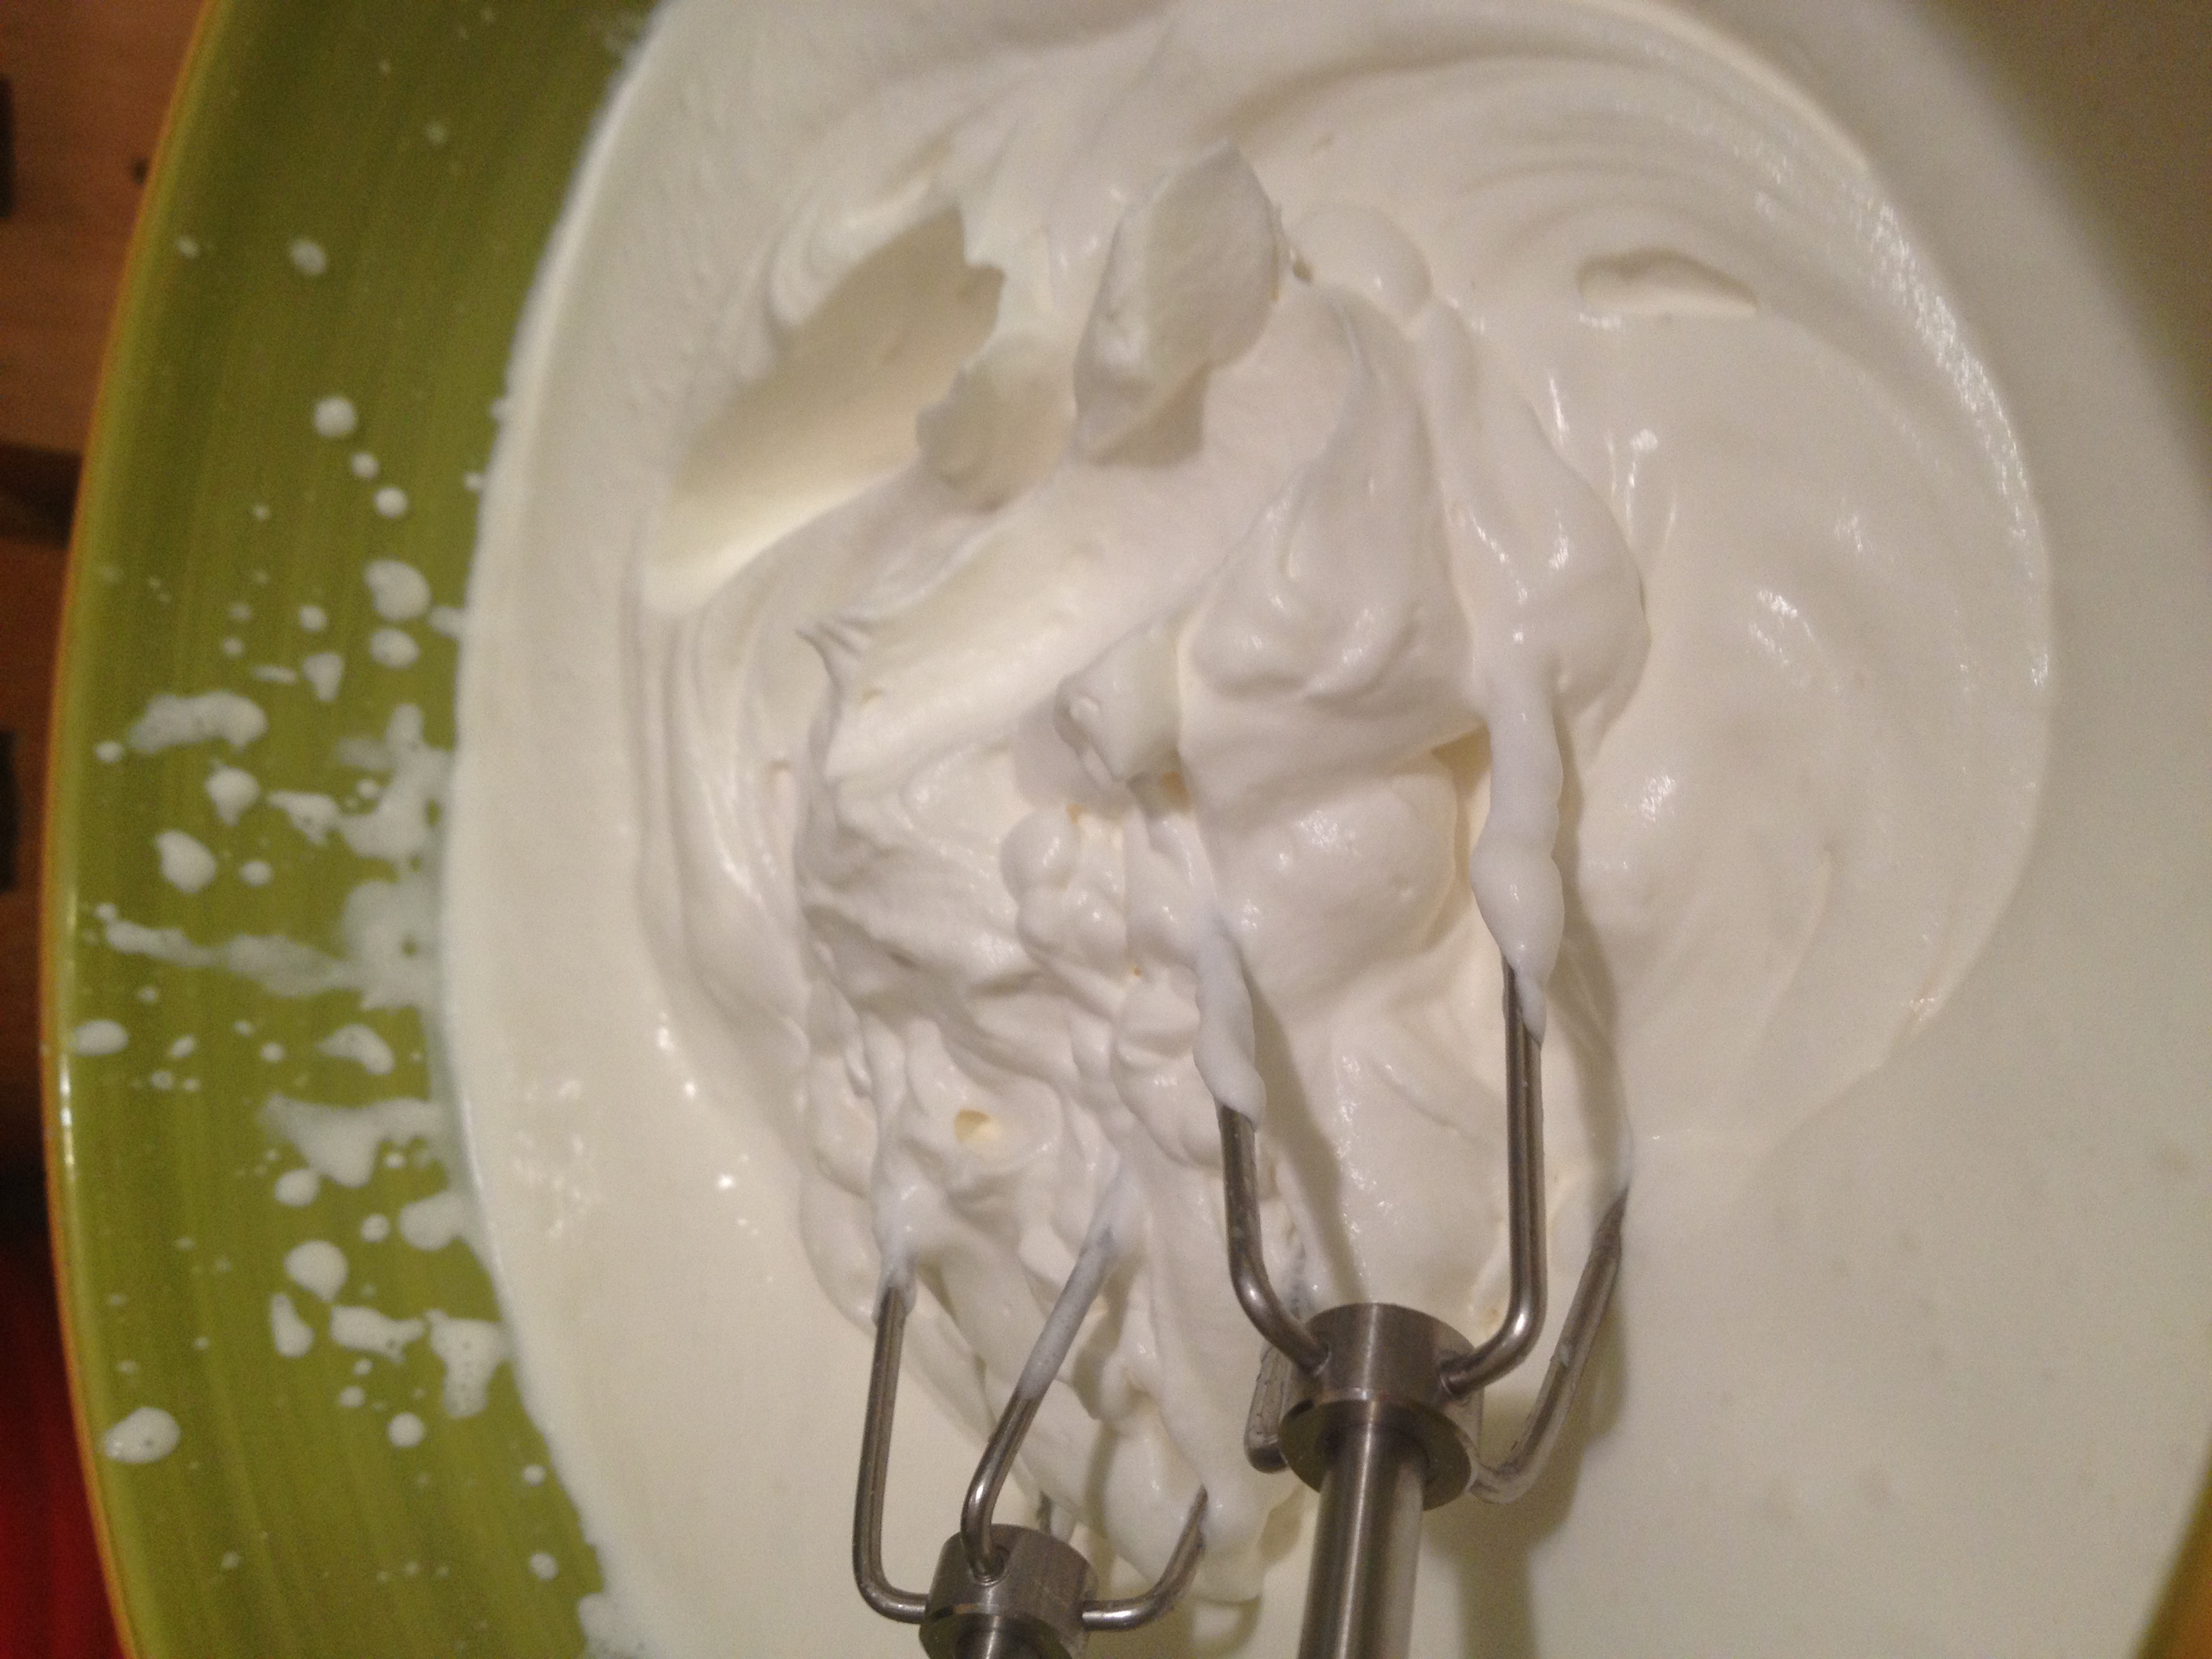
Okay, so while they are cooling….let’s make some cream! Super easy.
Cream
- Creation Time: …1 minute
Ingredients
- 1 pint heavy whipping cream
- 1/4 tsp vanilla
- 1 tsp sugar
Directions
- Put ingredients into bowl and beat them until it turns into the whipped cream you know and love
NOW to put it all together! This is what you’re going to need to finish these puppies up…
- jam (any kind you like)
- chocolate
Directions
- Cut open the scones into halves and lay them out
- Spread jam on each one (yes, takes some time)
- Dollop the cream on each one (you can make it pretty by spreading it out, I didn’t)

- Use a grater that can grate super finely and grate chocolate over the scones. I added some red sprinkles to make it more Valentine-y

And you’re done. I know this was a long post, but it actually doesn’t take that long and is worth it ten times over. These were a HUGE hit at work and they don’t leave you feeling guilty because they are certainly not heavy nor are they too sweet. That’s why Americans sometimes don’t like these kind! I am very proud to have successfully produced these, they taste very close to my mum’s. Whip these up for this lovey-dovey weekend and make people happy! You can thank my mum, not me! And as always…stay hungry and fit!
BONUS KITTY PIC

Sleeepy baby