Archives

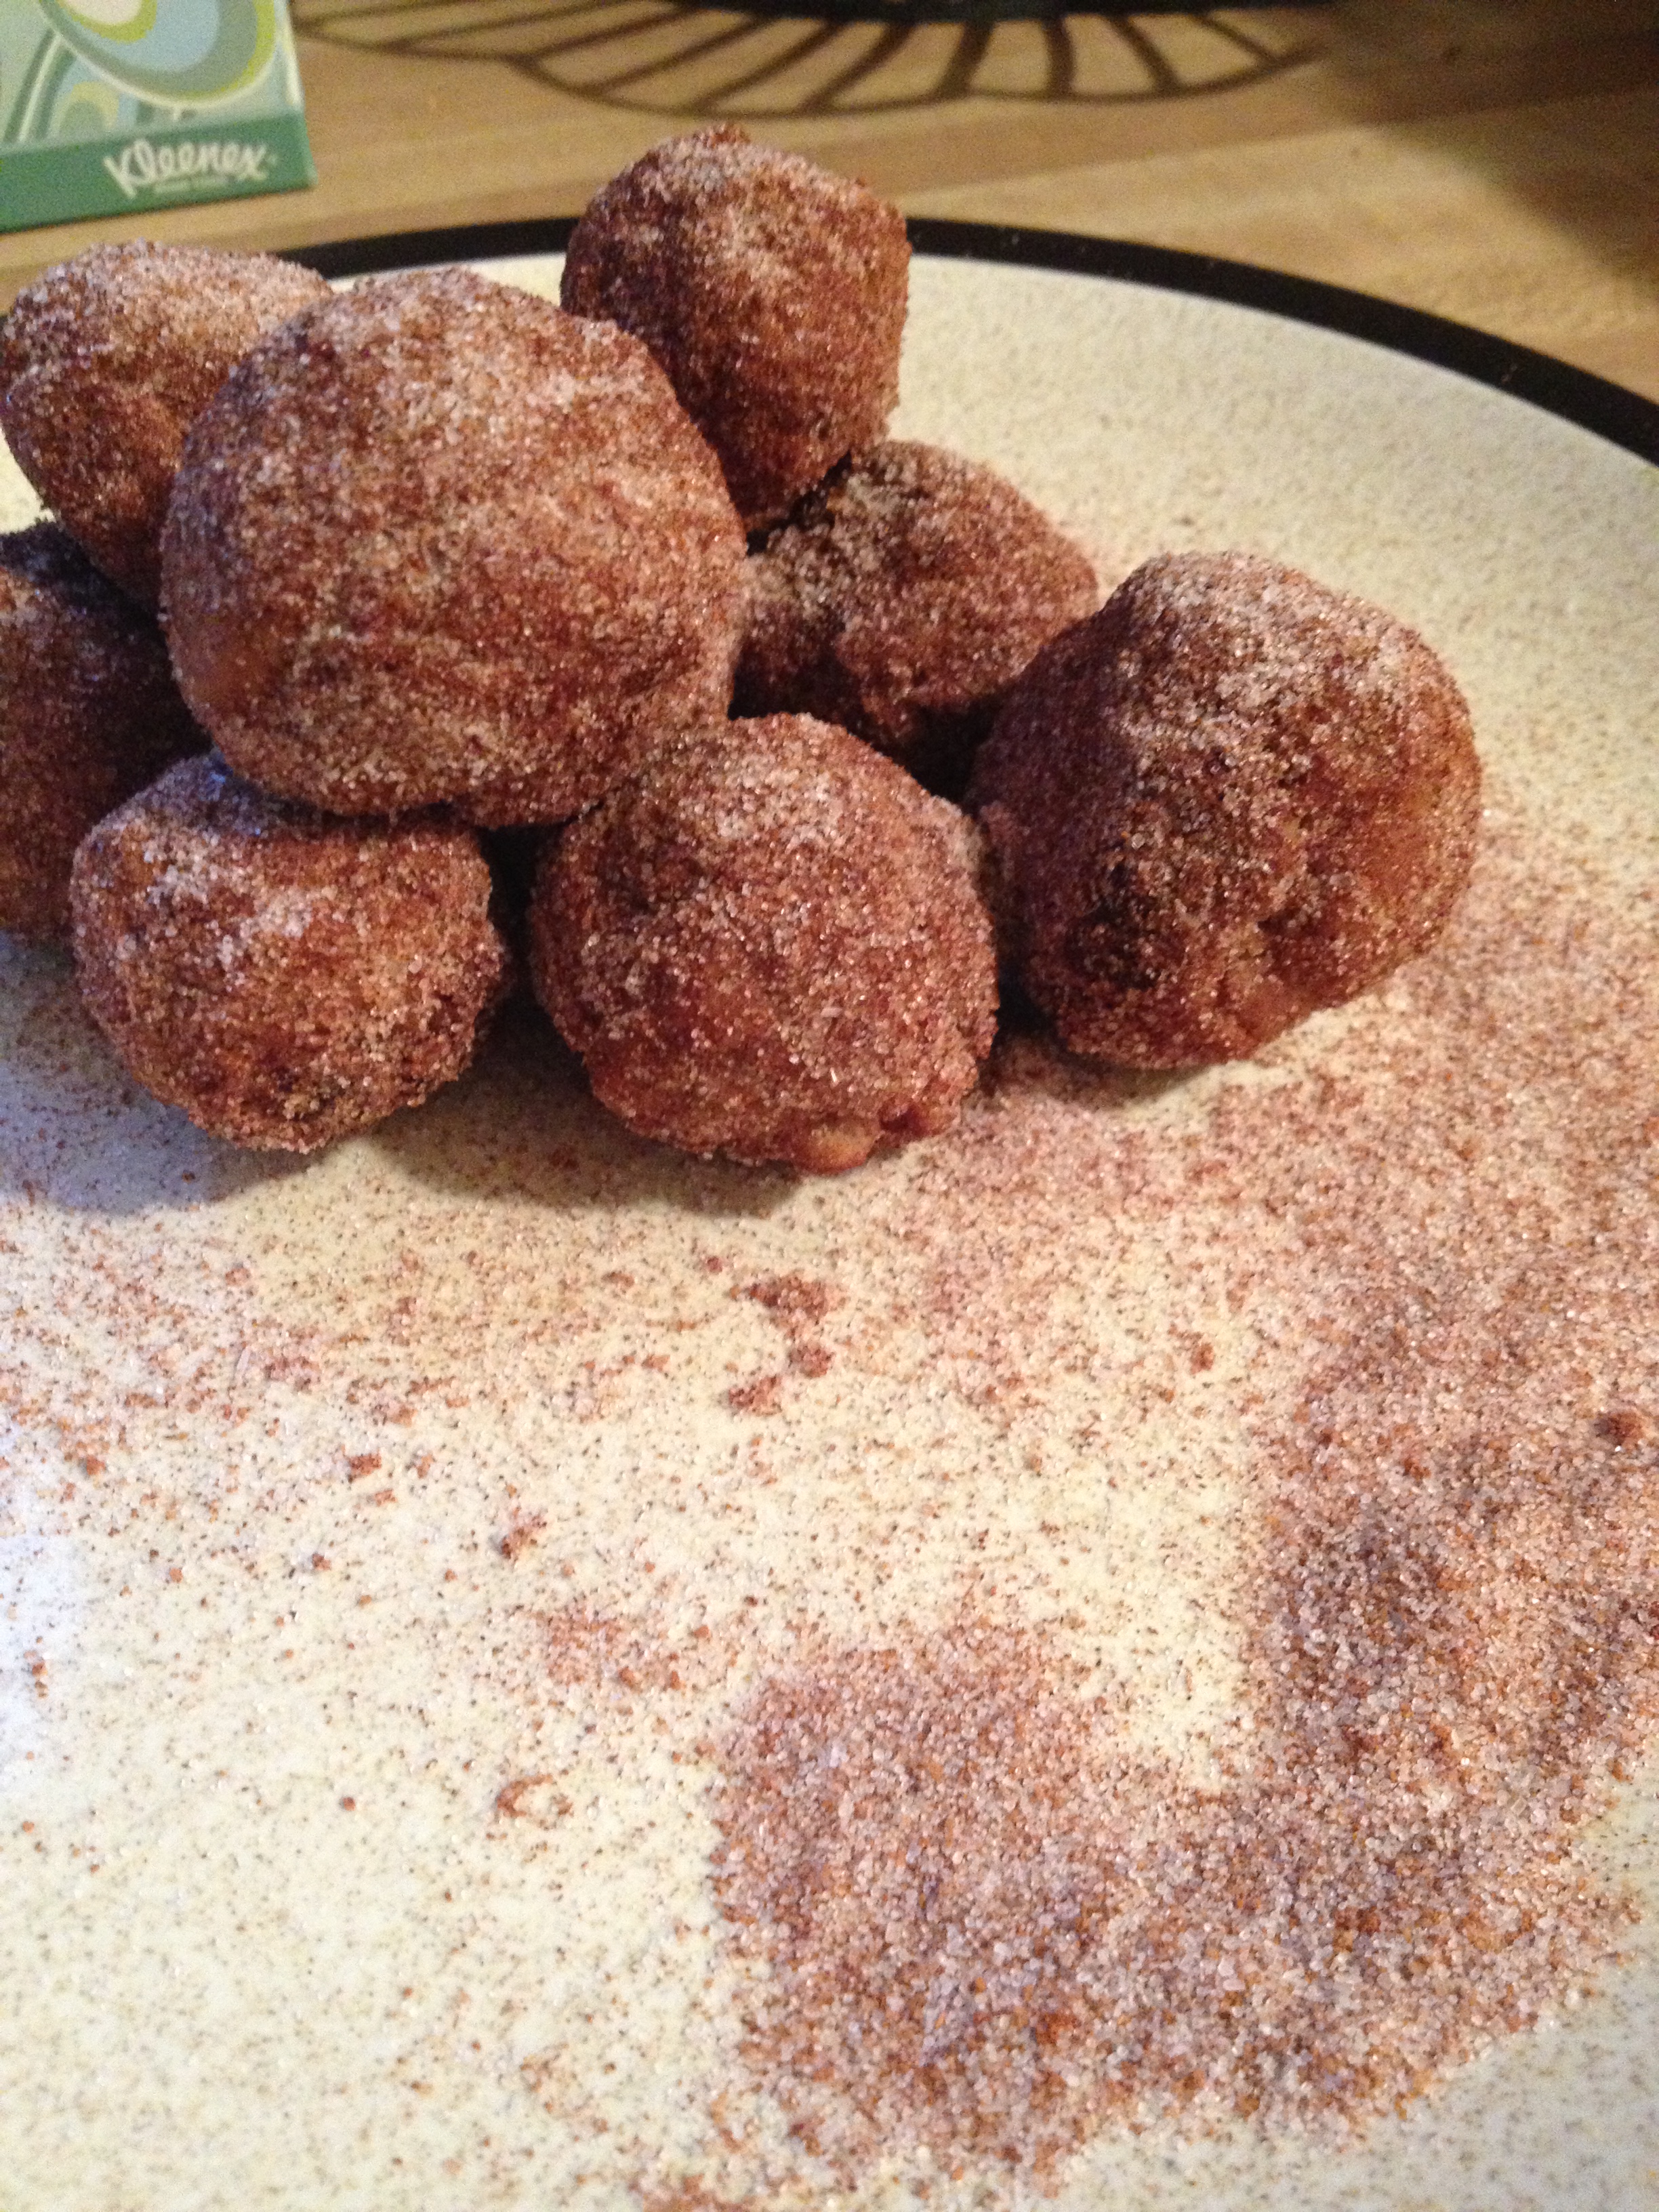
Whole-Wheat Churro Balls Recipe

Boy am I ecstatic to have found this recipe. And boy am I even happier to have not looked ahead and not have any regular flour on hand. What do I do when I don’t prepare properly (aka too busy drooling over the thought of churros)? I improvise! Would whole-wheat flour work with this recipe? Not so sure! Try it anyways? Sure! And guess what–I lucked out! Even though it wasn’t exactly a smooth recipe process for me, they turned out delicious and fuller with fiber without the processed flour. Yay for steps in a healthier direction! Anyone who knows me knows that I have a bad addiction to churros…and anything cinnamon. When I stumbled upon that recipe, I couldn’t contain my excitement. I finally finished my contest, so I jumped on the opportunity to do this.
Mmmm-mm!

Mmmm-mm!

  • Prep Time: 5-7 minutes
  • Cooking Time: 4-5 minutes

Macronutrients (per ball)

  • Makes: 10-15 balls (but it depends on the size you make them, mine came to 11)
  • Calories: 58
  • Fat: 1g
  • Carbs: 11g
  • Fiber: 2g
  • Protein: 1.5g

photo 5 (4)

Ingredients

  • 1 cup water
  • 1 tablespoon white sugar
  • 1 cup whole-wheat flour
  • 1 tablespoon oil
  • oil for frying 
  • 1/4 cup white sugar
  • 1 teaspoon cinnamon

Directions

  • Combine the water, tbsp sugar, and tbsp oil in a saucepan over medium heat. Bring to a boil
  • Stir in the flour until it forms into ball-like structures
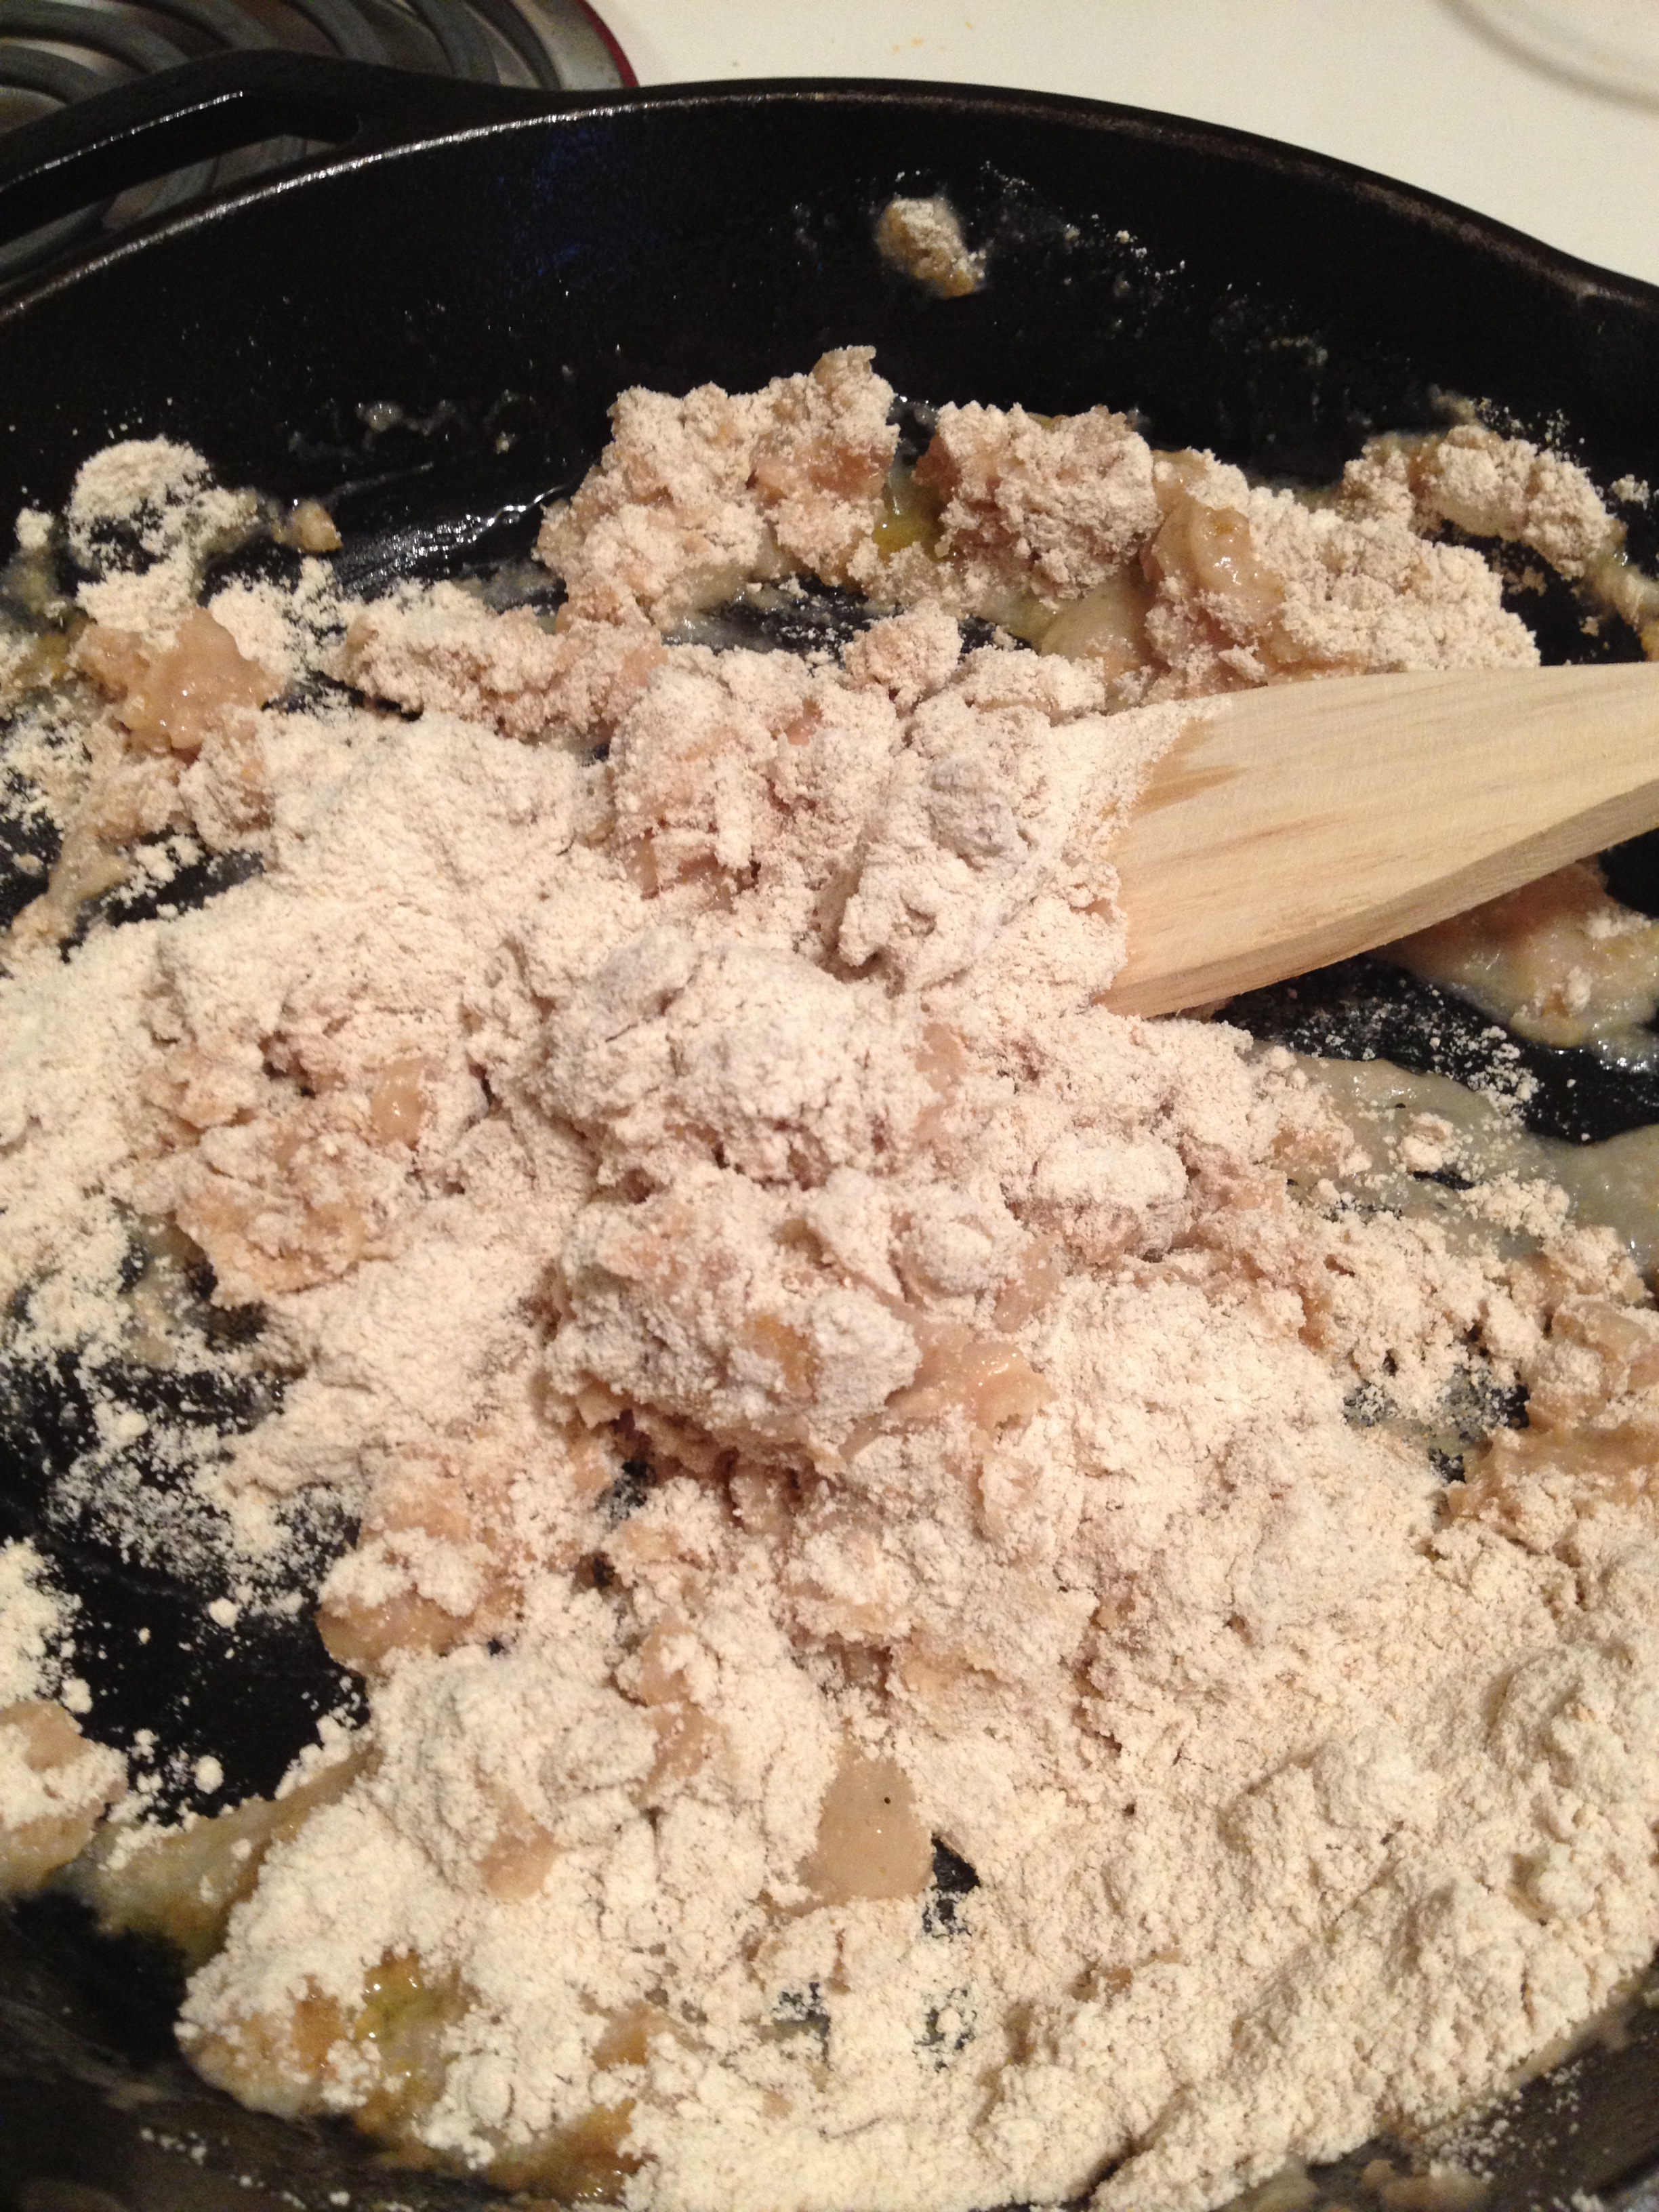
Keep mixing!
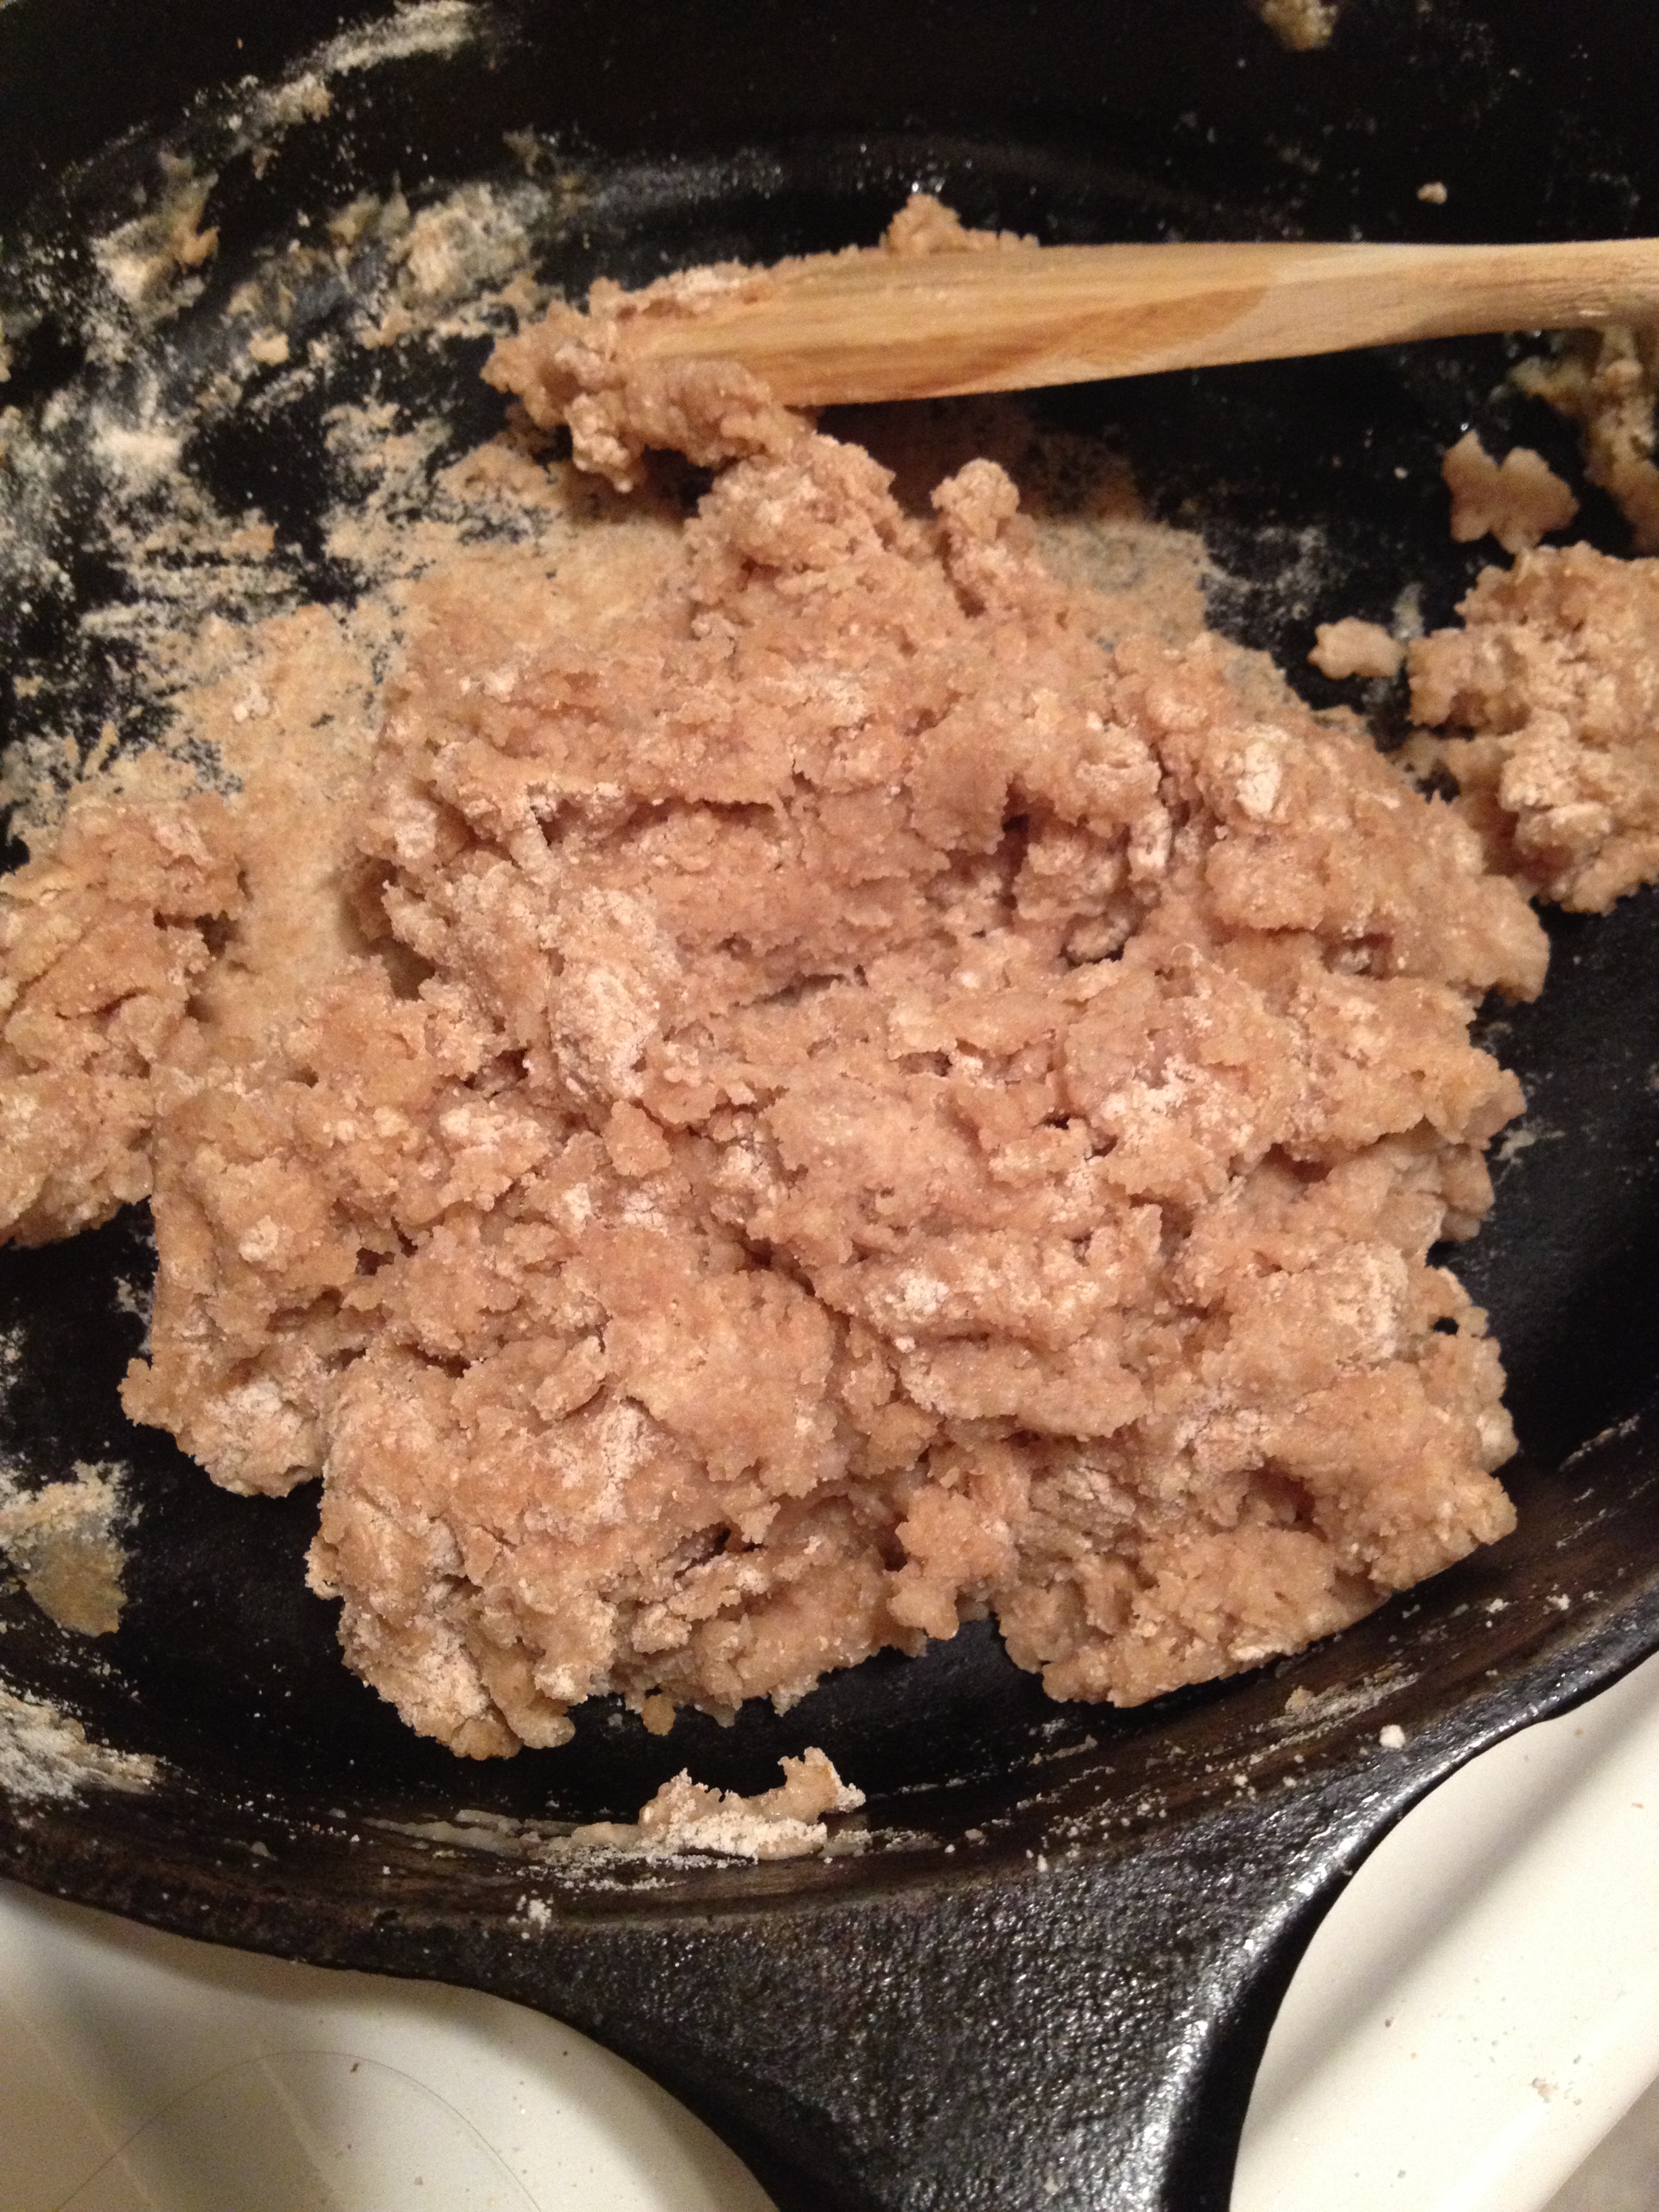
Keep mixing!

There we go

There we go

  • Heat up oil in a deep pot to fry the churro balls in. Should be 190 degrees F and that’s when you need a thermometer (which I don’t have and consequently slightly burned them…only some!)
  • While the oil is heating up, mix together the 1/4 cup sugar and cinnamon in a bowl
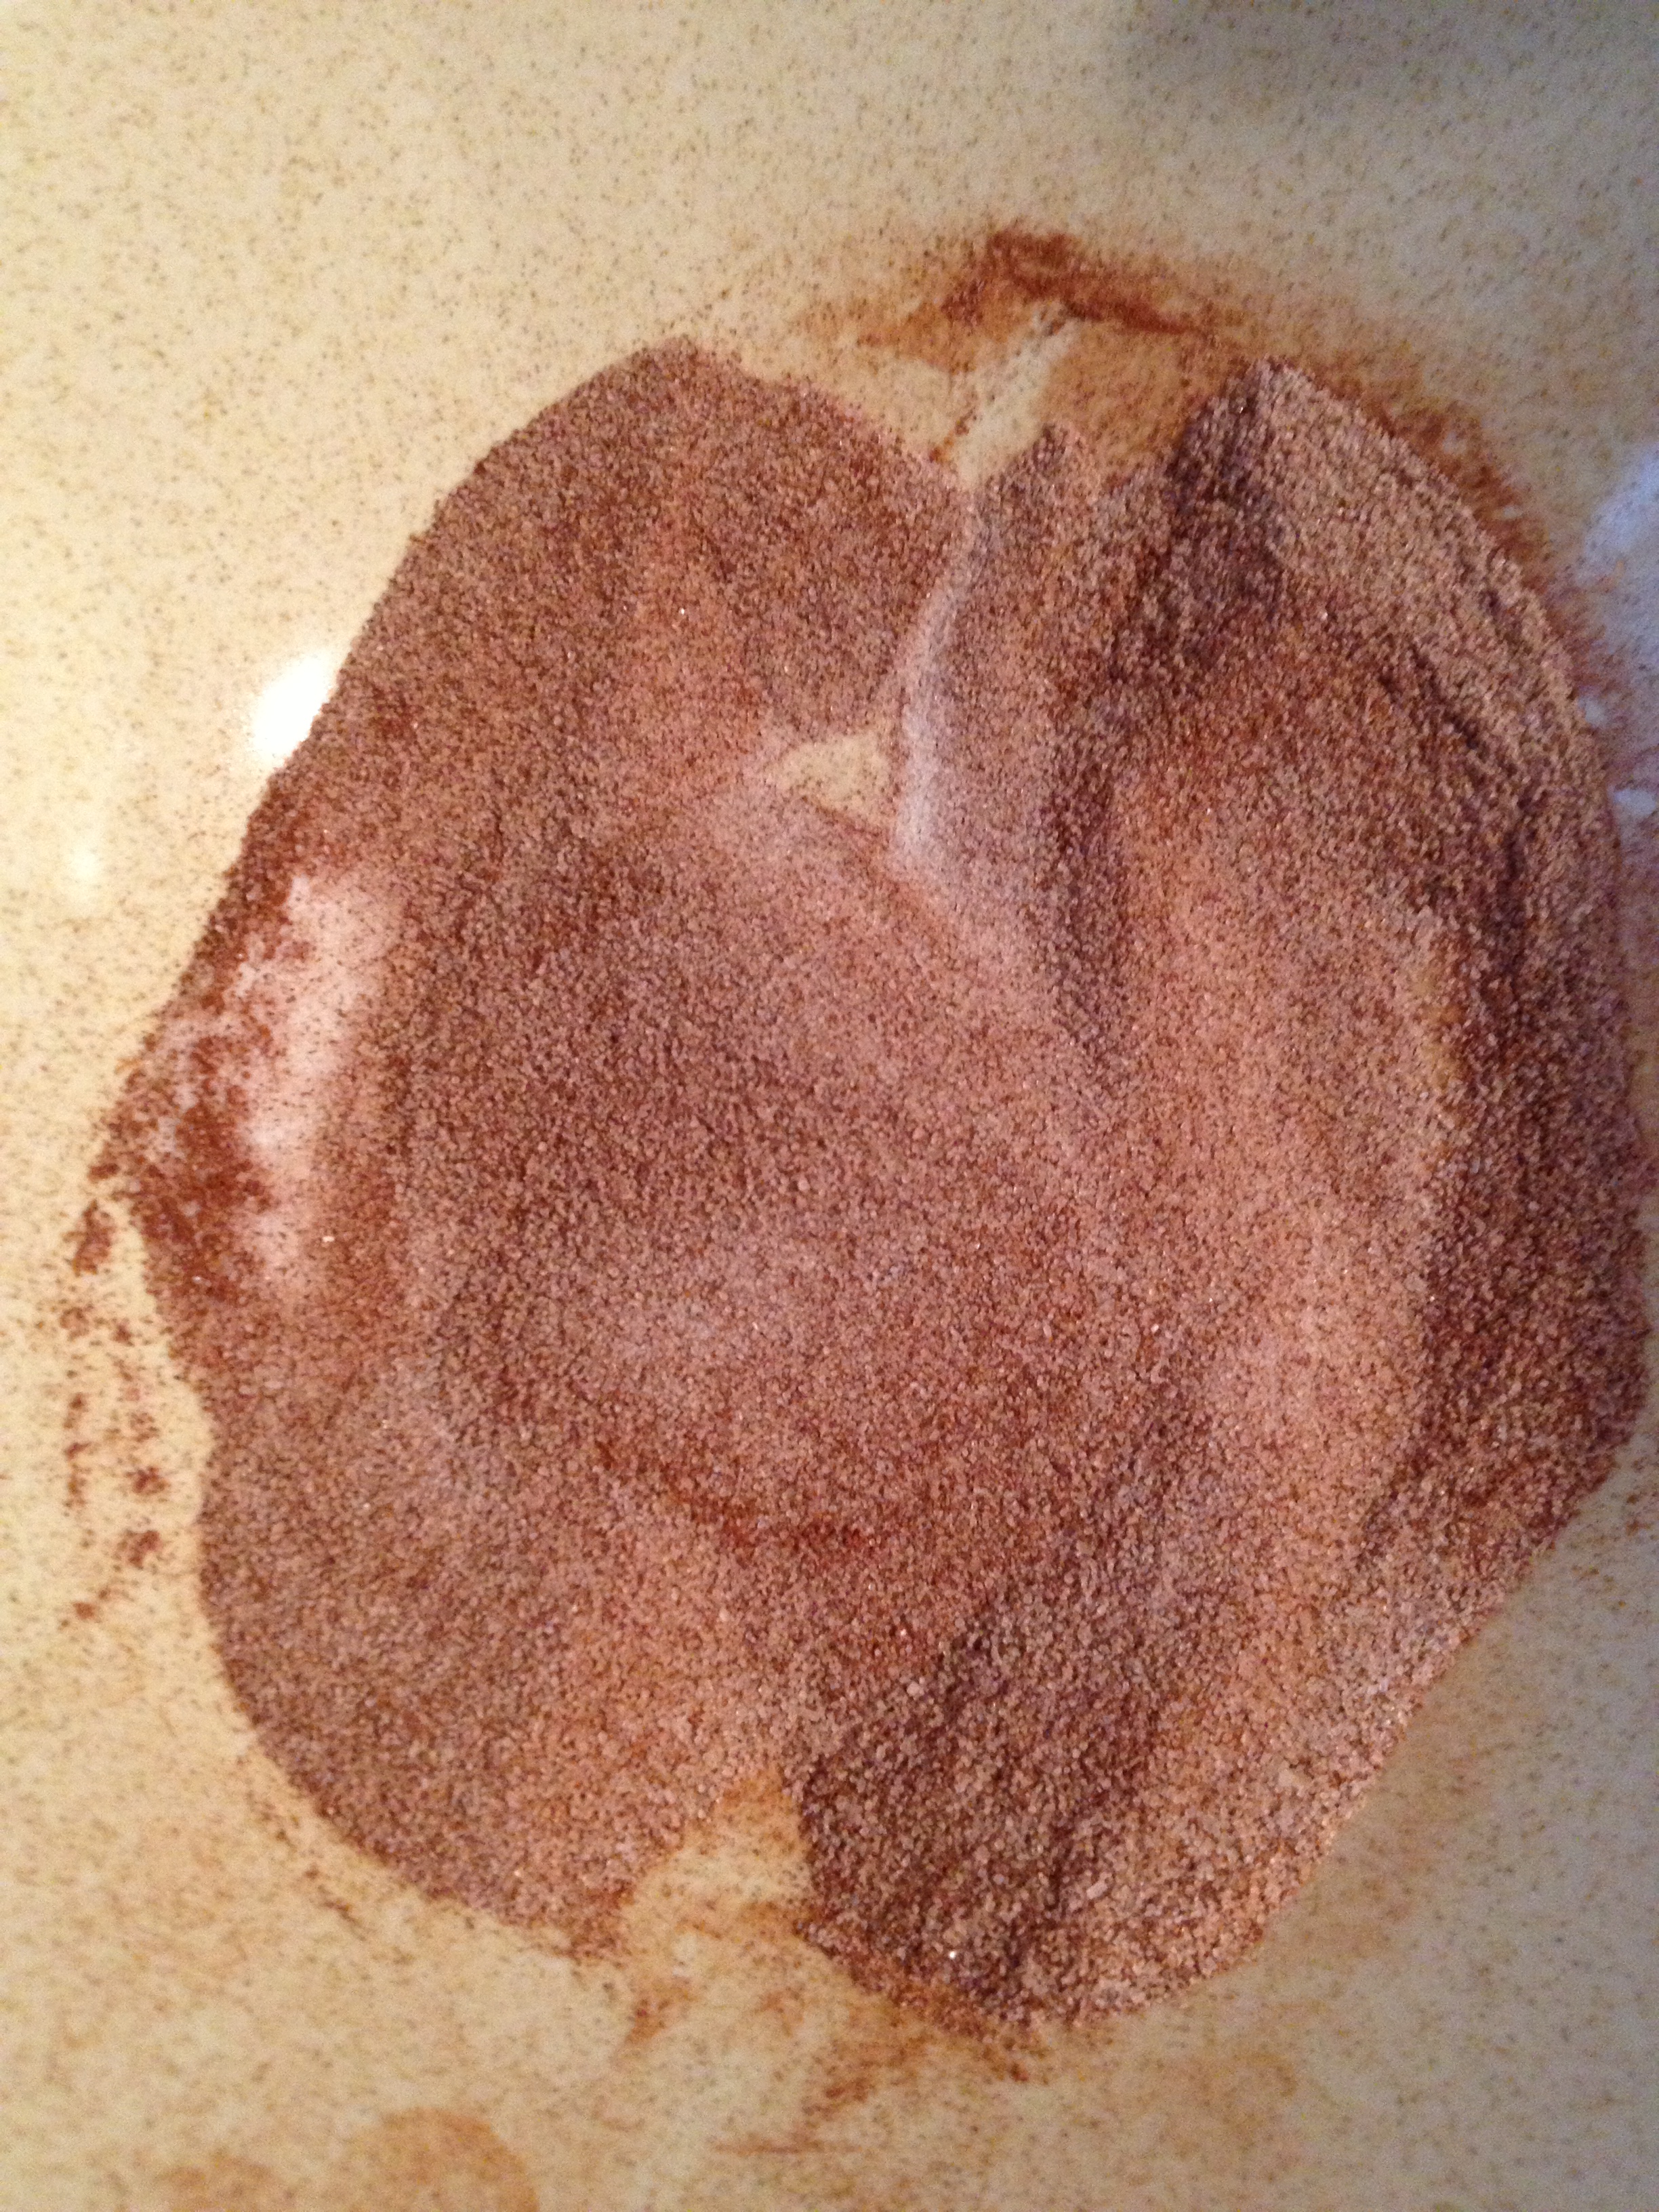
I could just eat this plain

I could just eat this plain

  • With your hands pick up the dough in the cooled saucepan and roll them into donut hole-like balls. Make them whatever size you want. Pop them into the hot oil and let cook for 4-5 minutes. I didn’t put enough oil in so I had to roll them around. Make sure the oil isn’t too hot so you don’t smoke the apartment out (oops)!
  • Take them out and drain or pat with paper towel. When cool to touch, roll them in the cinnamon-sugar mix. Get them nice and covered!

photo 3 (32)

  • Serve as a pile or just eat them all yourself! I couldn’t help myself and had four as soon as they were done. Oops.
Mmmm-mm!

Mmmm-mm!

This is such a simple recipe–I mean look at the ingredients! If you want to follow the traditional recipe, you can use regular white flour, but why not go a little healthier? Add some more fiber and whole-grain into your diet through deliciousness! They are a perfect treat for after dinner or to serve to friends. This is a recipe I will continue to use and perfect upon. I think next time I might add some cinnamon-sugar to the filling…Use this recipe to stay hungry and fit!
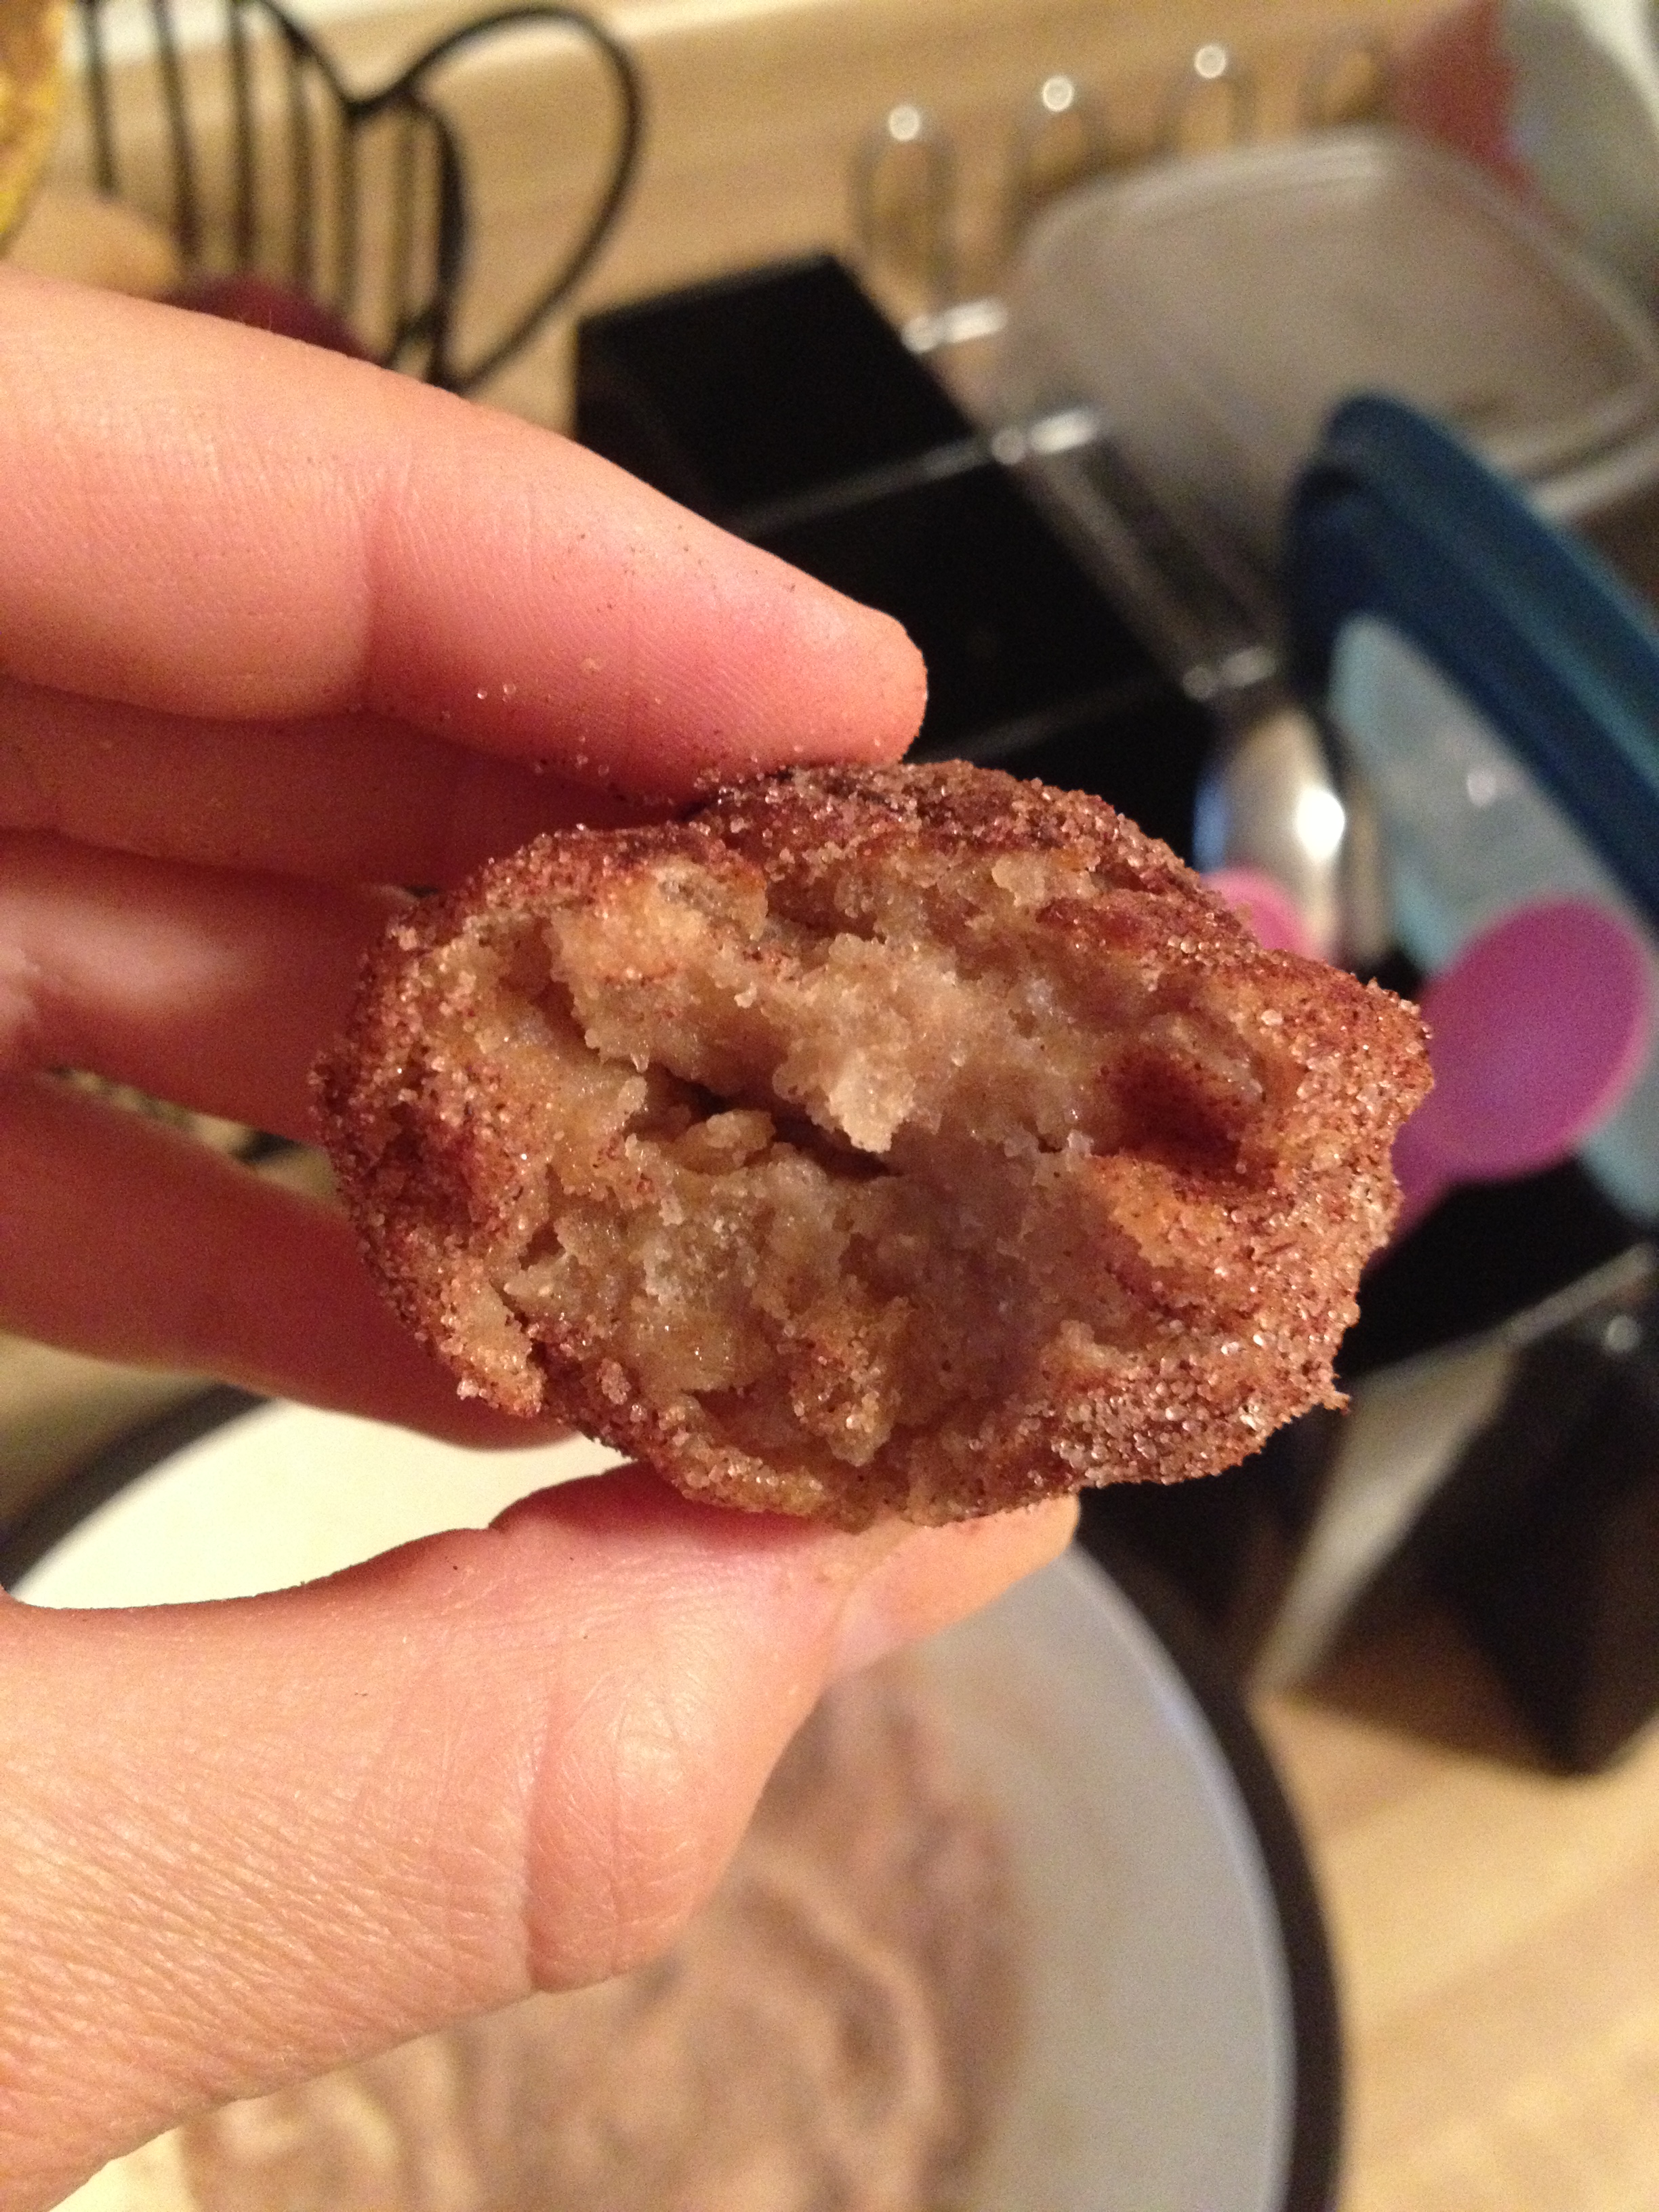
Don't mind if I take another...four!

Don’t mind if I take another…four!

You might also like…

BONUS KITTY PIC

Nymeria being ridiculously cute...what's new

Nymeria being ridiculously cute…what’s new

spacer

Product Review: Marukome Miso Soup

I’ve been wanting to buy some take-home miso soup powder from the store for a while. However, it’s usually expensive or has horrid ingredients. Both things I stray away from. And even ones that I have found before haven’t been good, I know my friends can attest to this. Guys…I’ve found it! I’ve found one that’s worth the money (though it wasn’t that expensive) and tastes just like from a restaurant. It may help that it’s directly from Japan too.

photo 3 (26)

The brand is called Marukome. Its ingredients are exactly what you would expect (or hope) a miso soup powder to be: powdered miso, rice, dried tofu, dried green onion, powdered yeast, bonito powder, etc. This was the first good sign (besides the price that stopped me to look at it). The next good sign was that it’s a “Product of Japan.” If I’m eating an “ethnic food” (I hate that phrase), then I want it right from where it was created. Miso soup should come Japan or a great chef. So being a product of Japan (and having a cool Japanese address too ^_^) gave it a huge plus. It also has a freaking awesome mascot, who wouldn’t want some miso soup from that guy?!

Perfect texture

Perfect texture

The directions are really simple. Pour powder into bowl, pour 1 cup of boiling water into bowl, stir and serve! That’s it! Dinner was awesome last night because it took all of 5 minutes to get everything on the table. And for the big package, you get 3 miso packet servings, so we have one left over! As you can see, I’m all about this product, and they’re not even paying me to say this! They also have a great “miso secret” about miso and your health (look at pic below). I found this at our standard grocery (no special, local, or organic grocery–just the plain main one) so you have no excuse. Use this product to stay hungry and fit!

photo 3 (28)

You might also like…

BONUS KITTY PIC 

Sajah enjoying the view

Sajah enjoying the view

spacer

Healthy Greek Yogurt Mini-Cheesecake Recipe

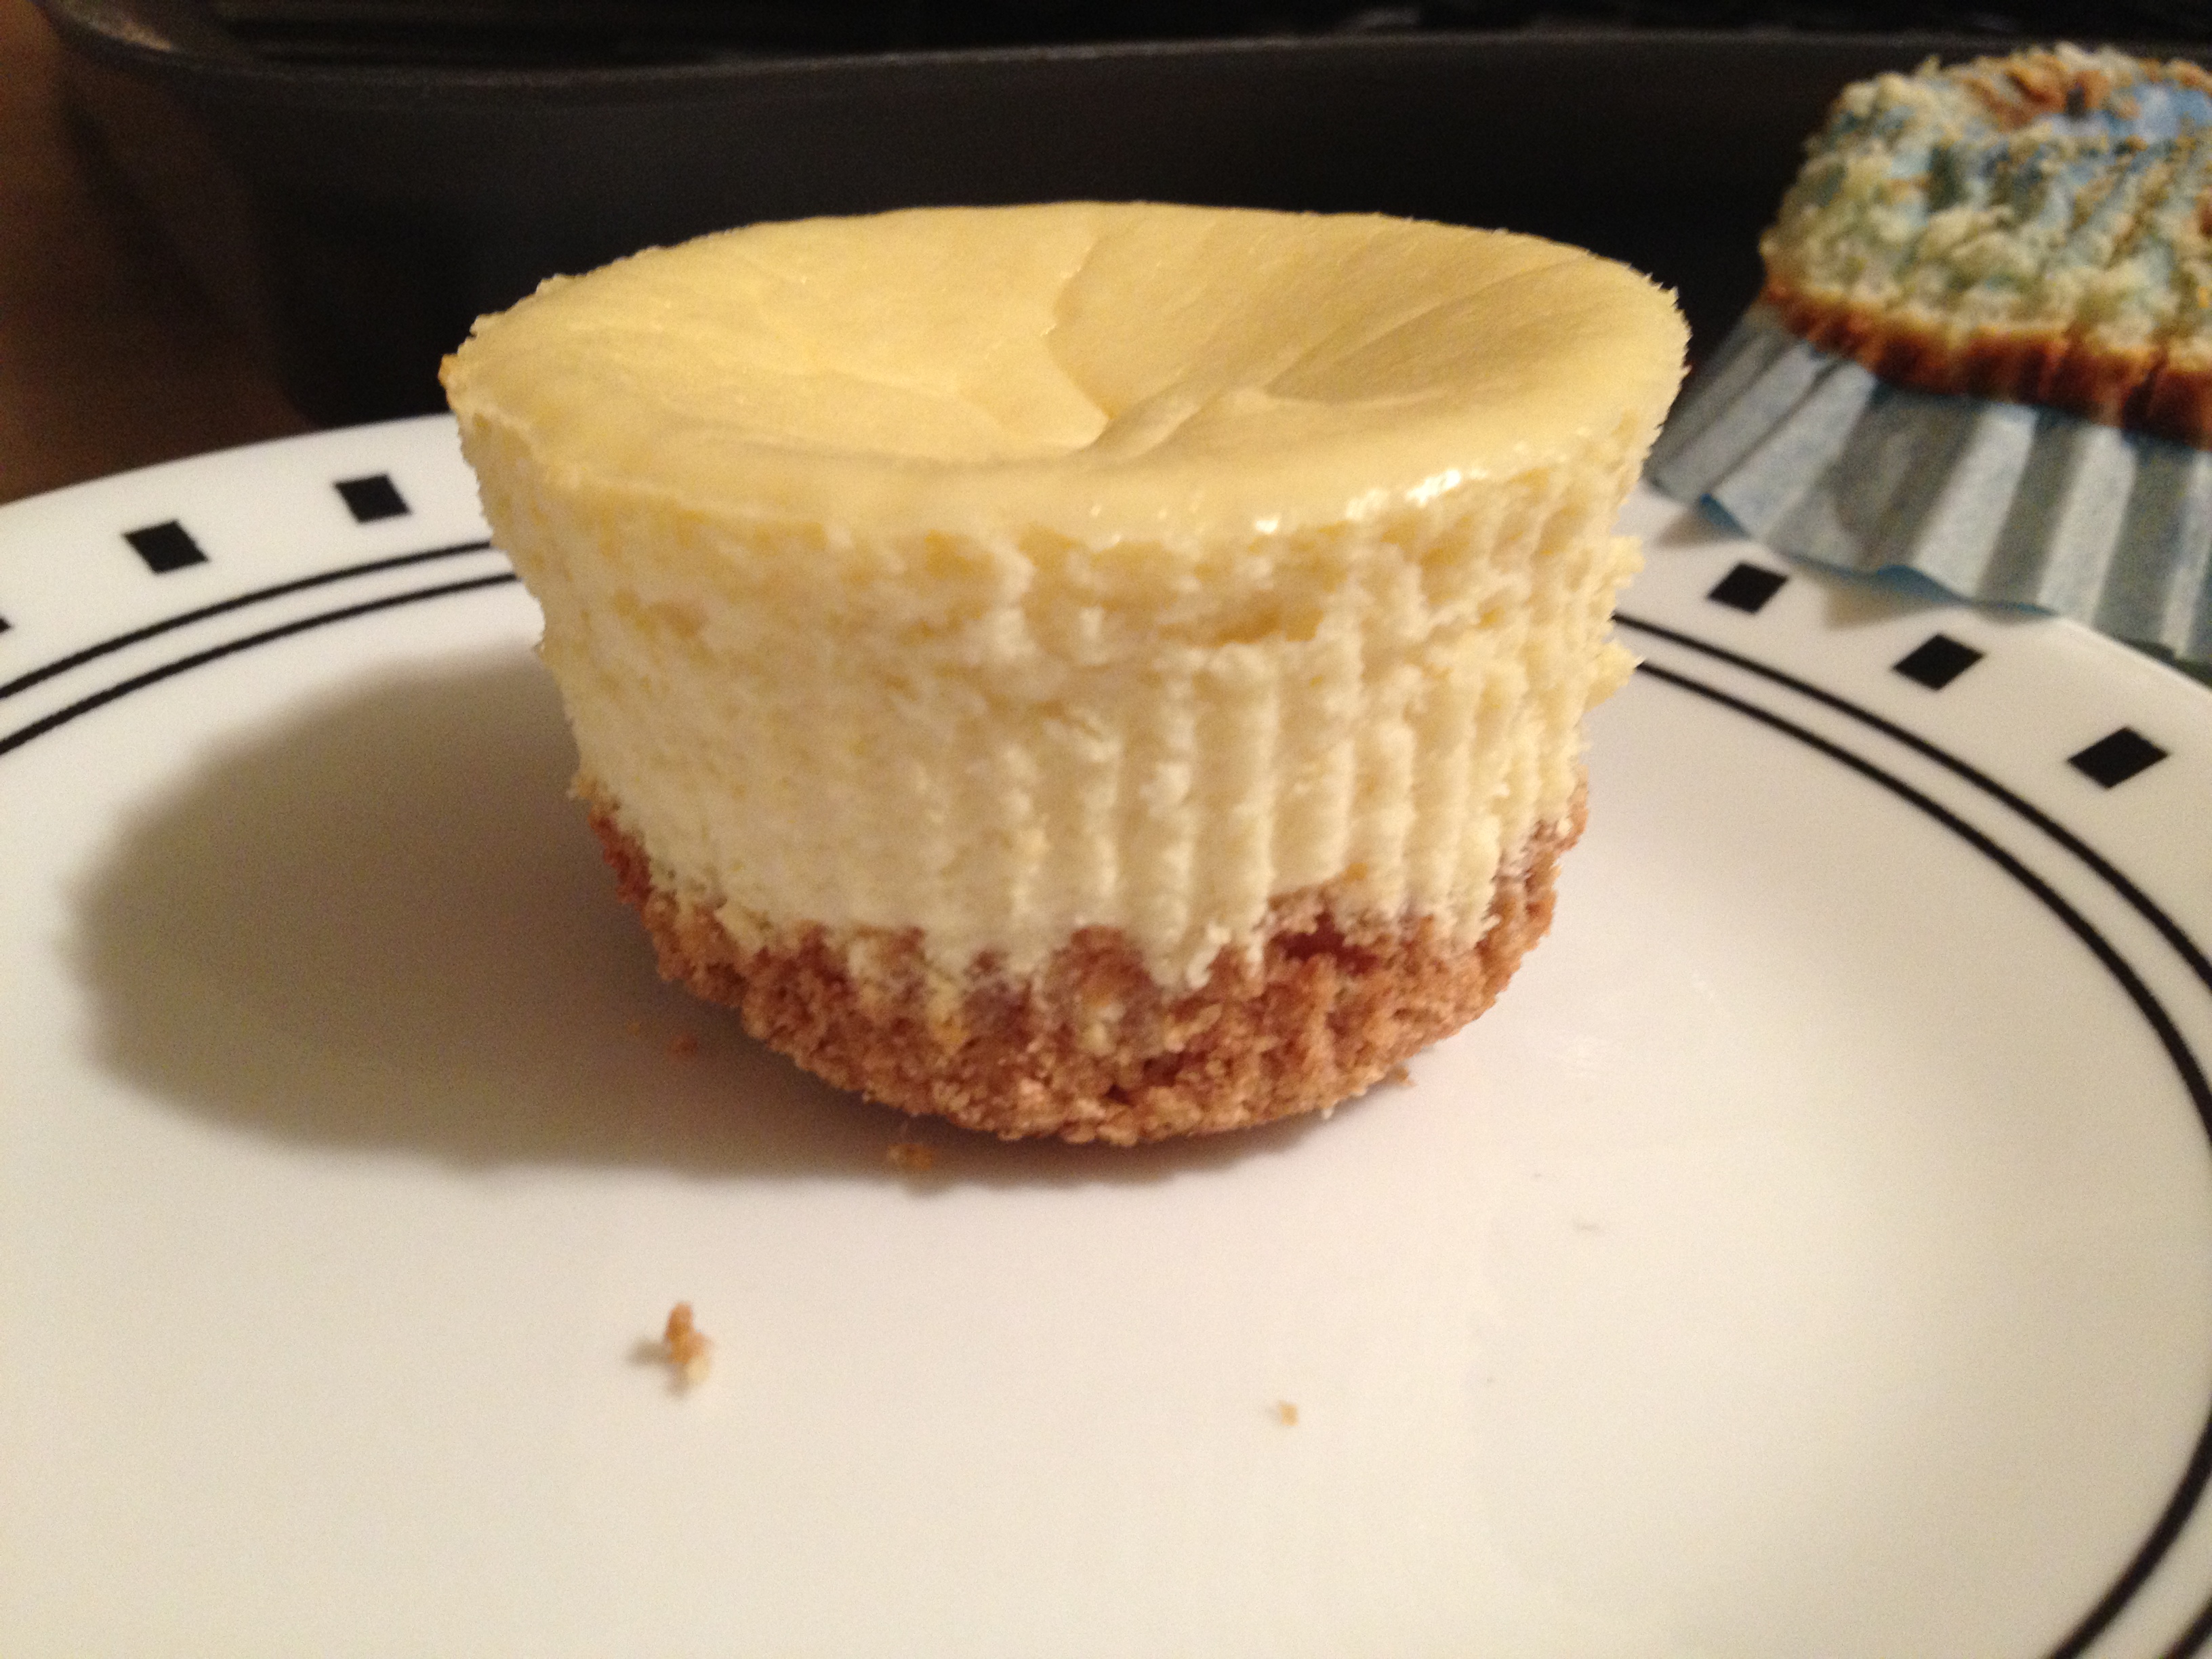
I’ve been wanting to make these for a loooong time. First, the problem was I couldn’t find one ingredient anywhere. Then, it was that I was prepping for the contest, so I stayed away from dairy. Finally FINALLY, both those problems are over. I found the ingredient (Green Mountain Farms Greek Cream Cheese) at Wal-Mart (unfortunately) and this past Monday, my contest was complete!

I can hear you saying, HEALTHY cheesecake?! Give me a break! Sure, it may not be better for you than a protein shake, but hear me out. This magical ingredient cuts half the normal fat of a cheesecake and deals twice the protein. Can you say SERVE ME ANOTHER?! I thought so. I got this recipe from here and cut it in half. It was very easy and so so good. Creamy, delicious, and light—and it doesn’t leave you feeling like you have a bowling ball in the tummy, which I appreciate. This is a recipe I will often go back to as Chris and I love cheesecake. You could do it with or without the lemon twist (we happen to like it).

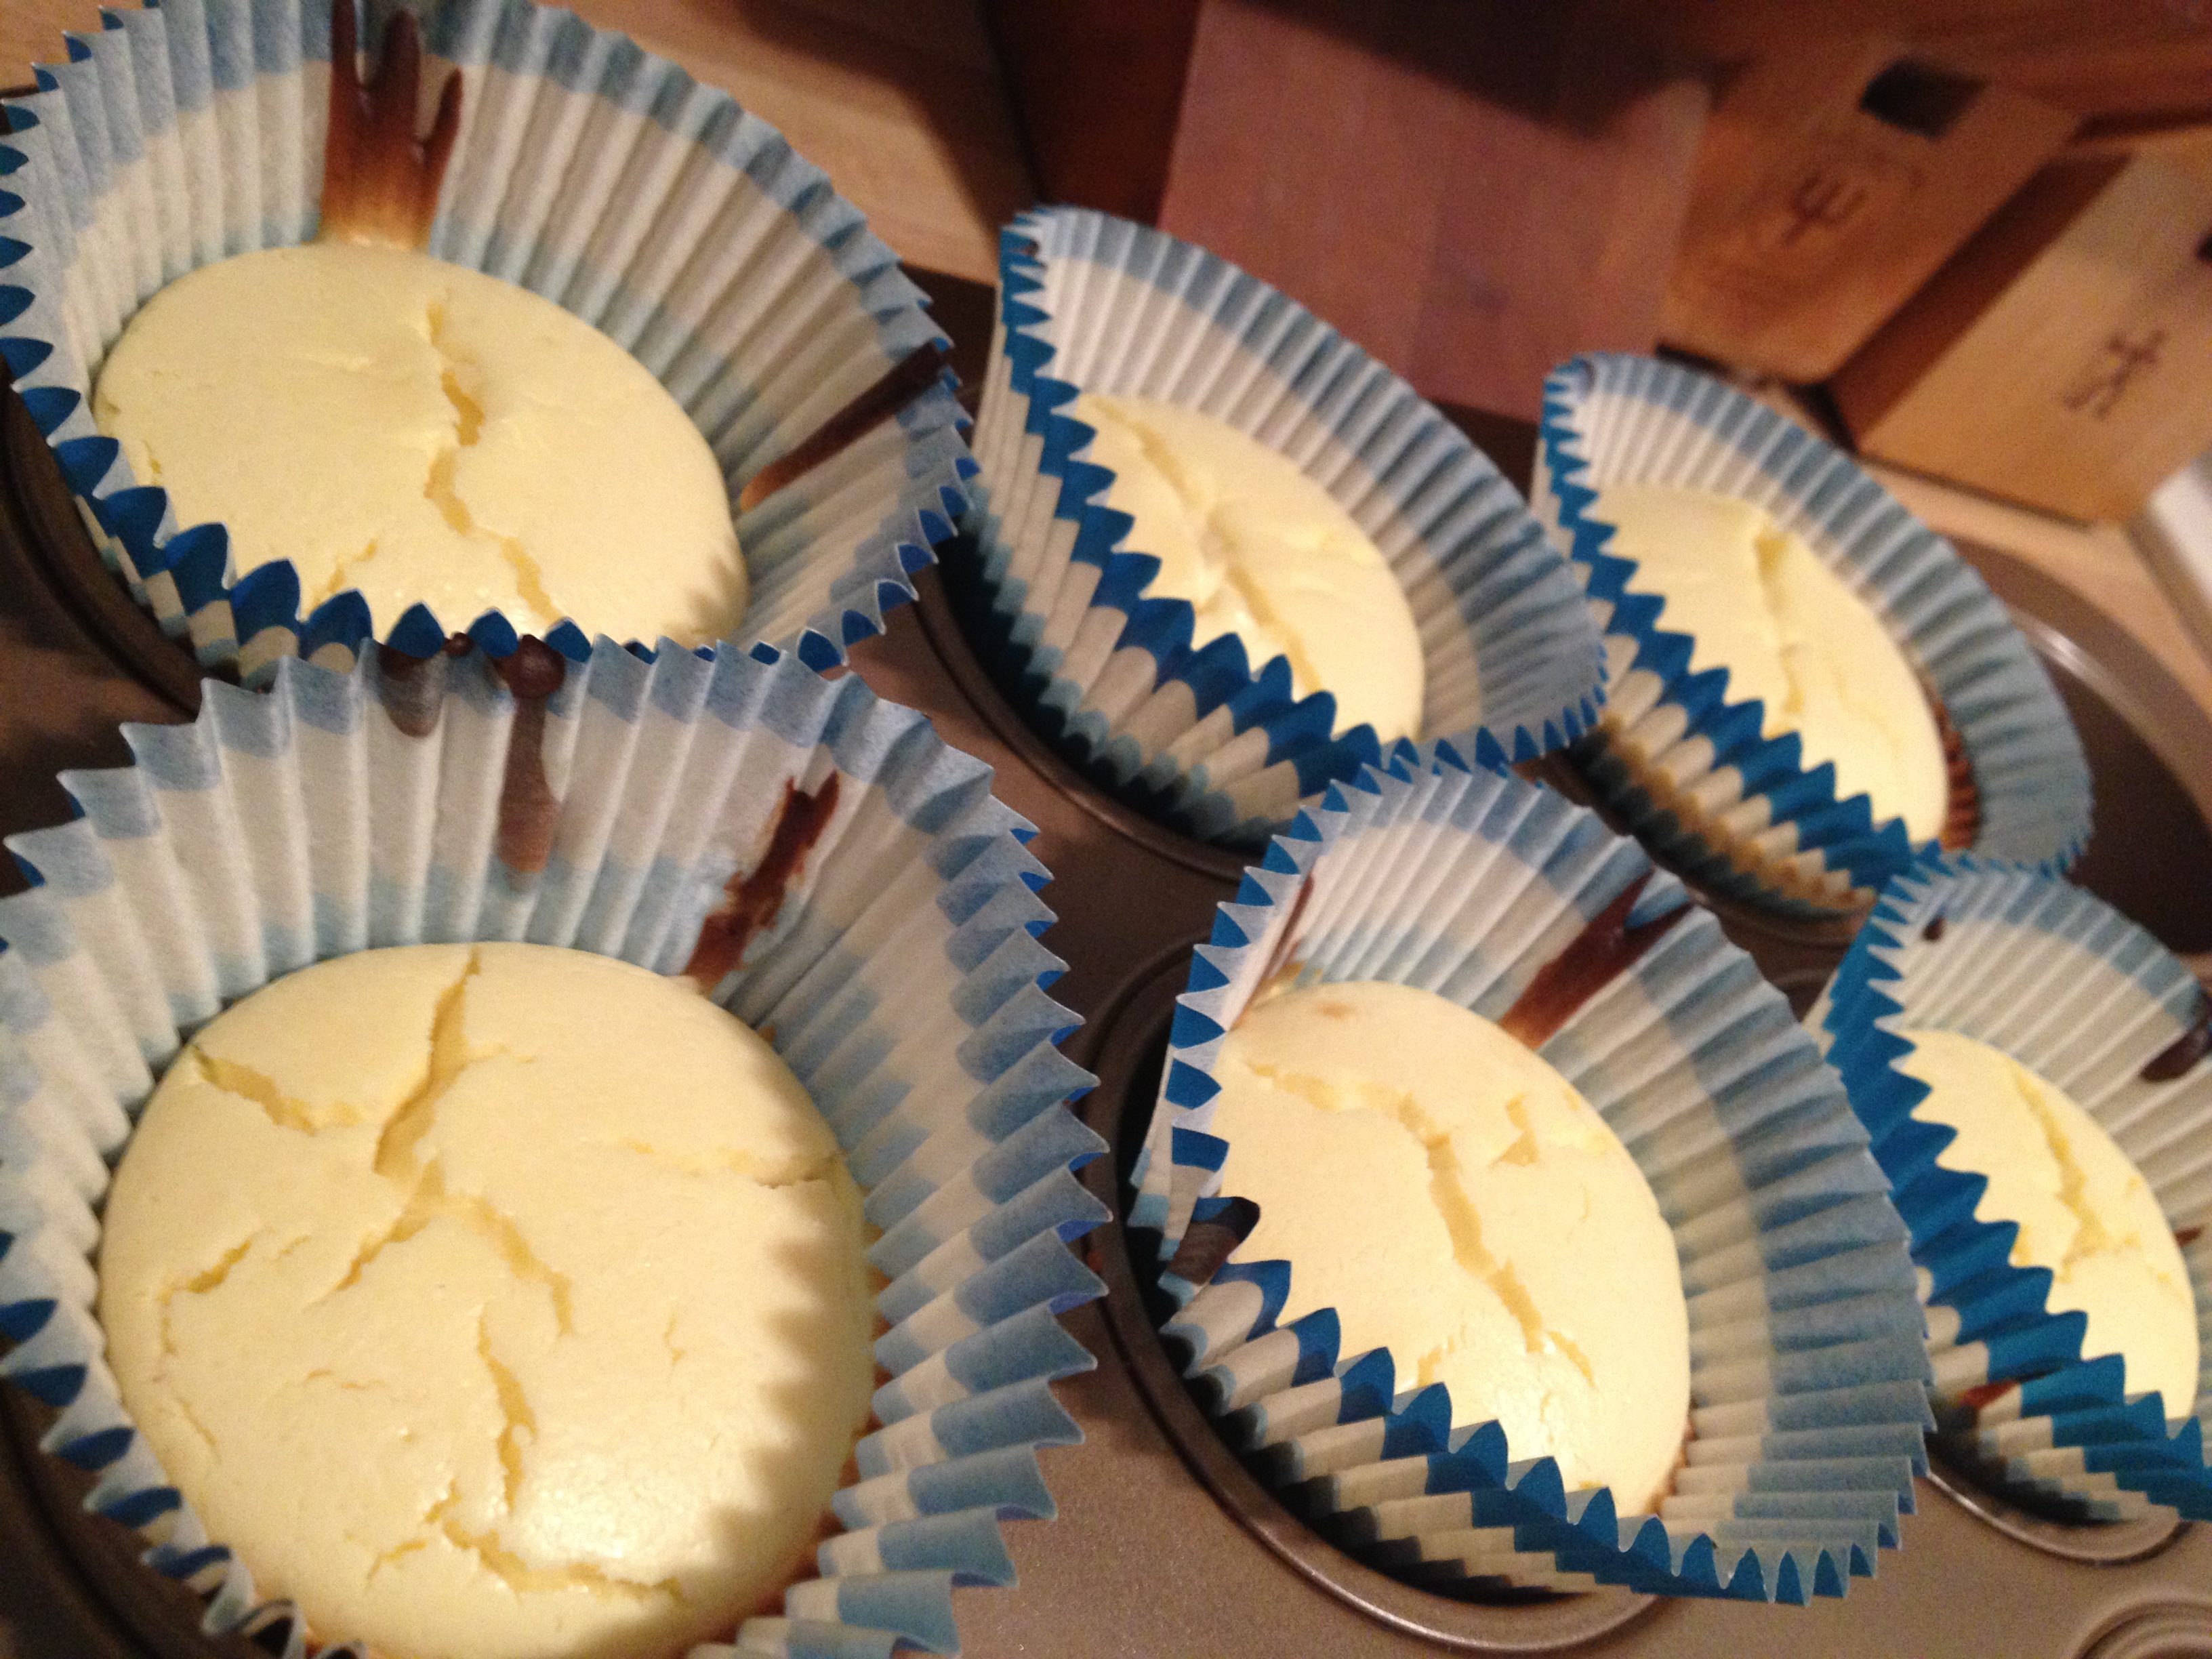
You pretty thang

You pretty thang

  • Prep Time: 10-15 minutes
  • Cooking Time: 25-30 minutes

 Macros

  • Serves: 6 (you can always double it for a bigger party)
  • Calories: 182
  • Fat: 8.9g
  • Carbs: 19g
  • Protein: 6.8g
^_^

^_^

Ingredients

  • 3 cinnamon graham crackers
  • 1 tbsp butter
  • ¼ cup sugar
  • zest of ½ lemon
  • 1 egg
  • 1 8-ounce package of Green Mountain Farms Greek Cream Cheese & Greek Yogurt
  • 1/8 cup heavy whipping cream
  • ½ tsp vanilla extract

Directions

  • Pre-heat oven to 350 degrees F
  • Line your muffin tin with cupcake liners (I used ones that were waaaaaaay too big)
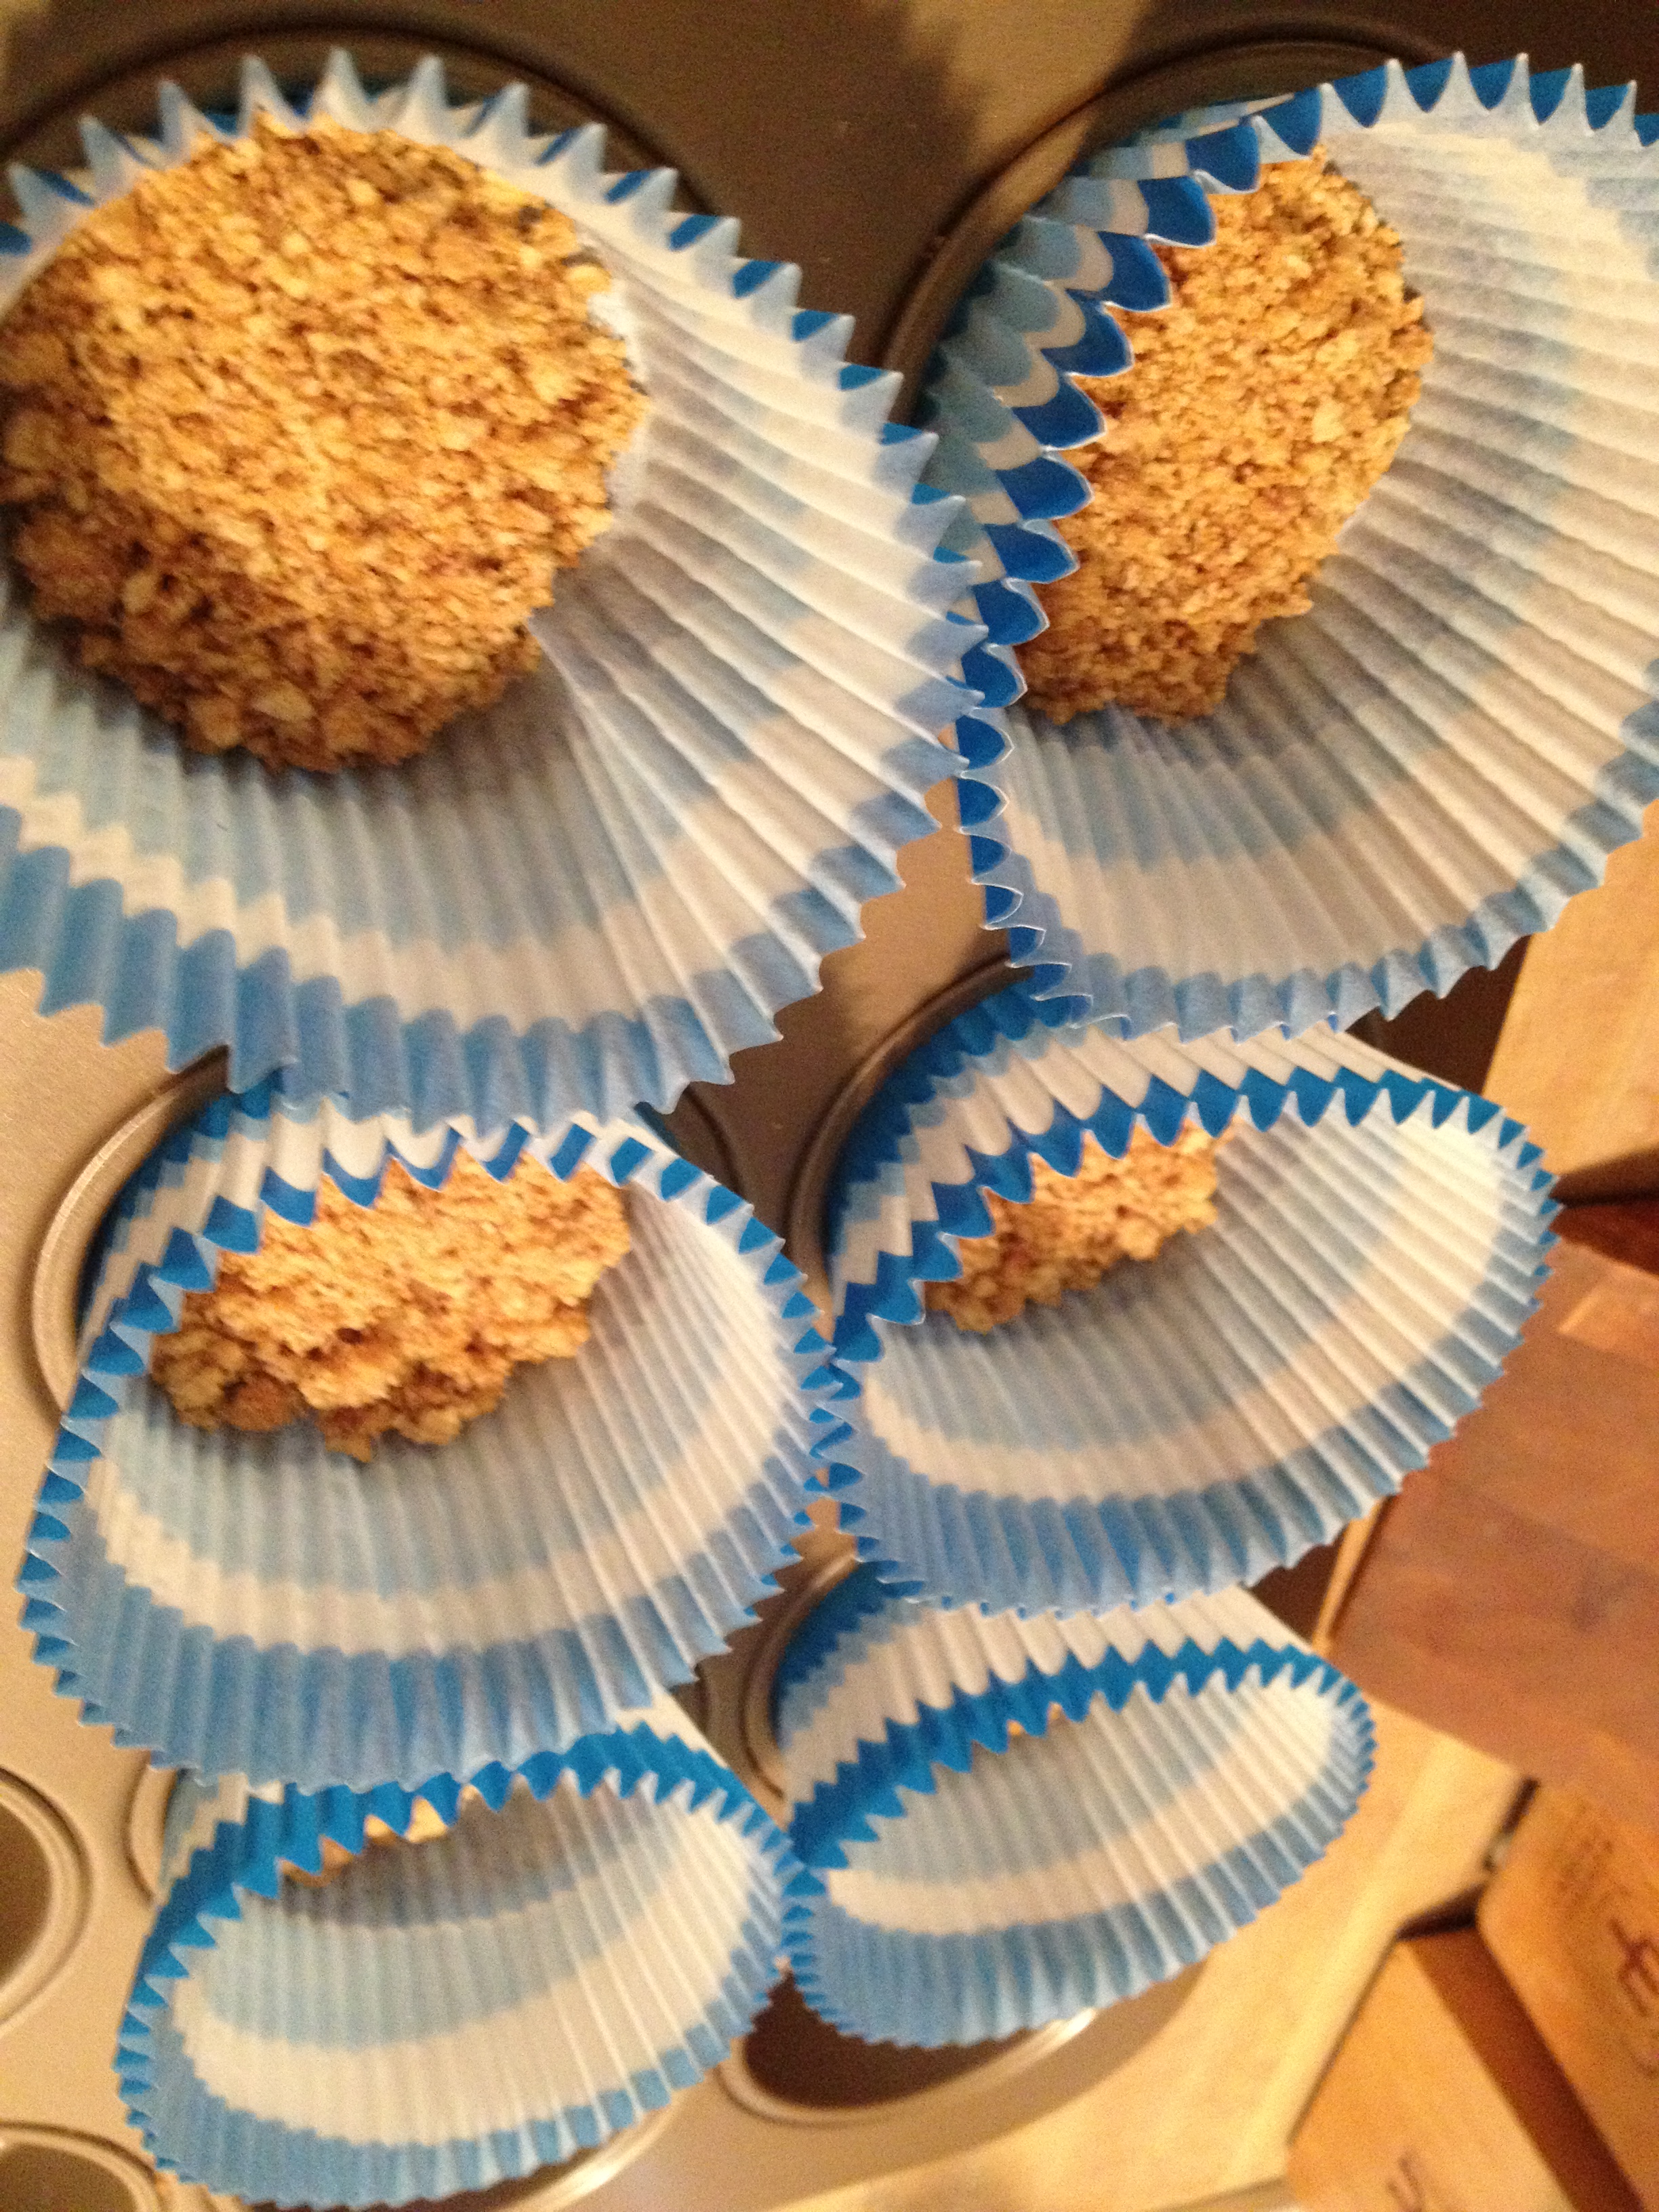
  • Ground your graham crackers finely—I used the bottom of a glass and a bowl…and eventually my fingers

photo 1 (30)

  • Mix in the butter with the graham cracker crumble
  • Put the crumble at the bottom of each cupcake liner, try to make it even

photo 2 (28)

  • Bake for about 5 minutes and let cool
  • Grate some lemon zest
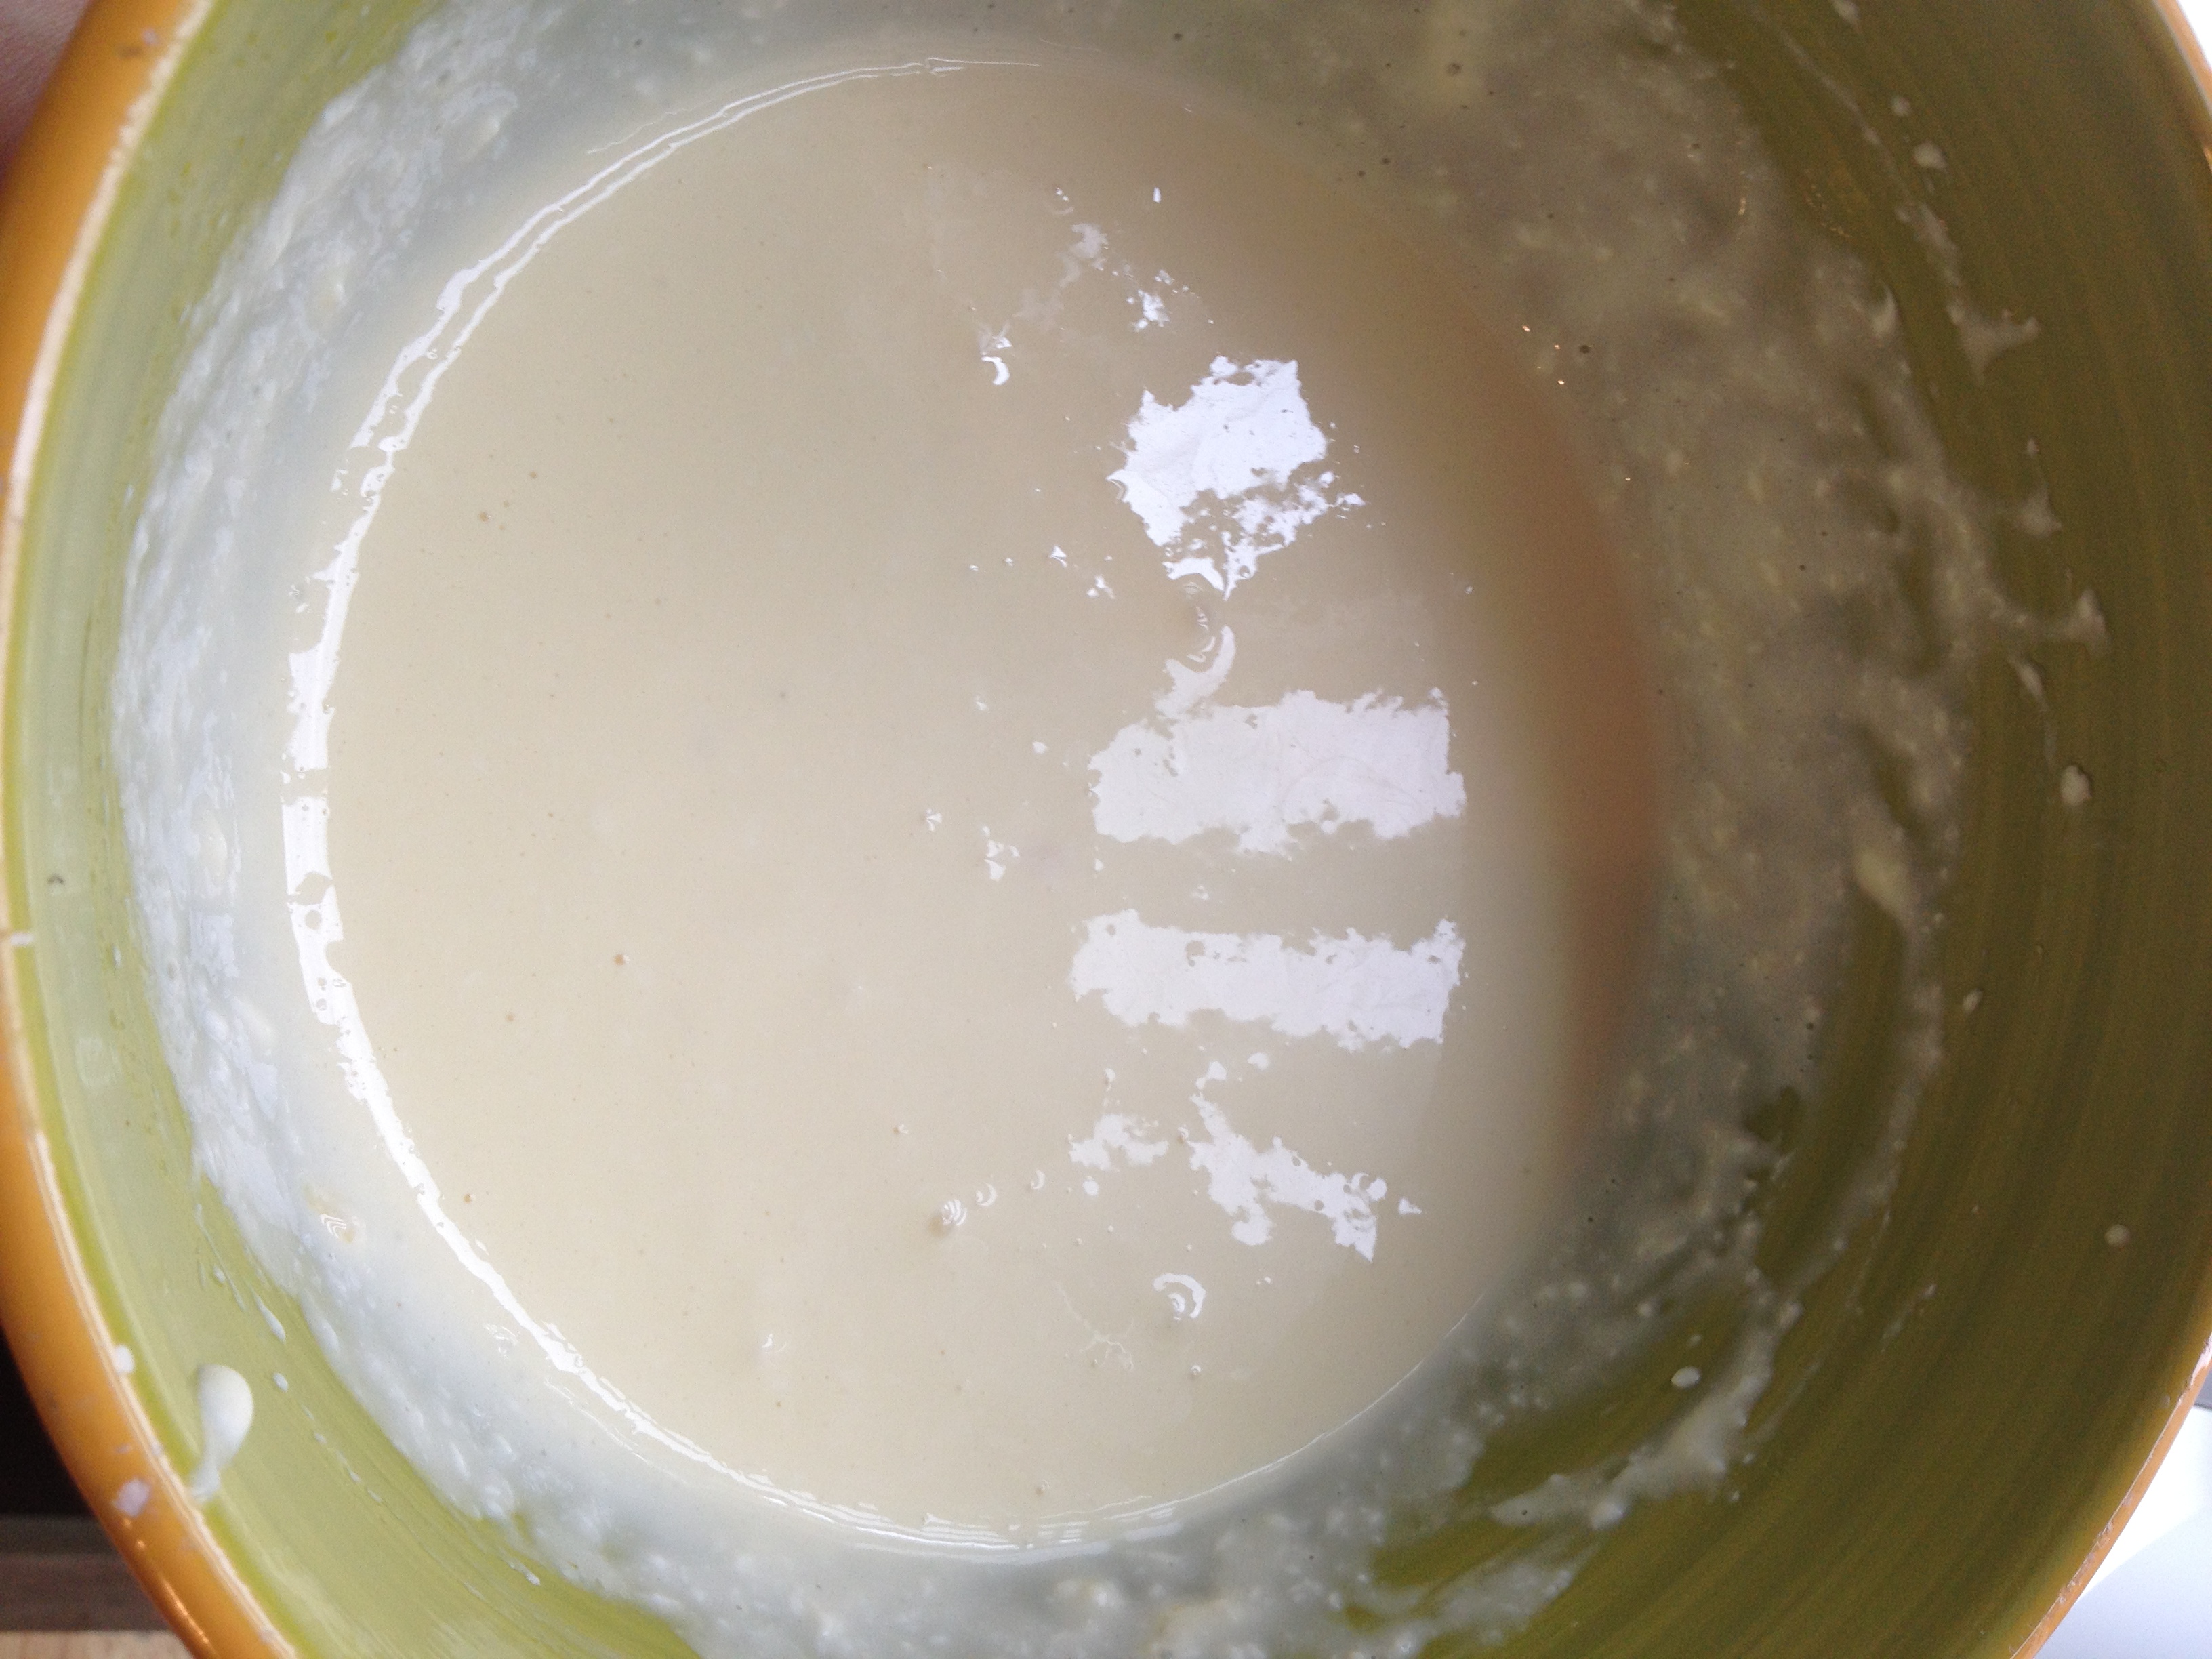
  •  The recipe asks for a stand mixer, but we don’t have one of those. So I used a whisk! Mix all the rest of the ingredients together in a medium sized bowl. Make it smooth.

photo 3 (23)

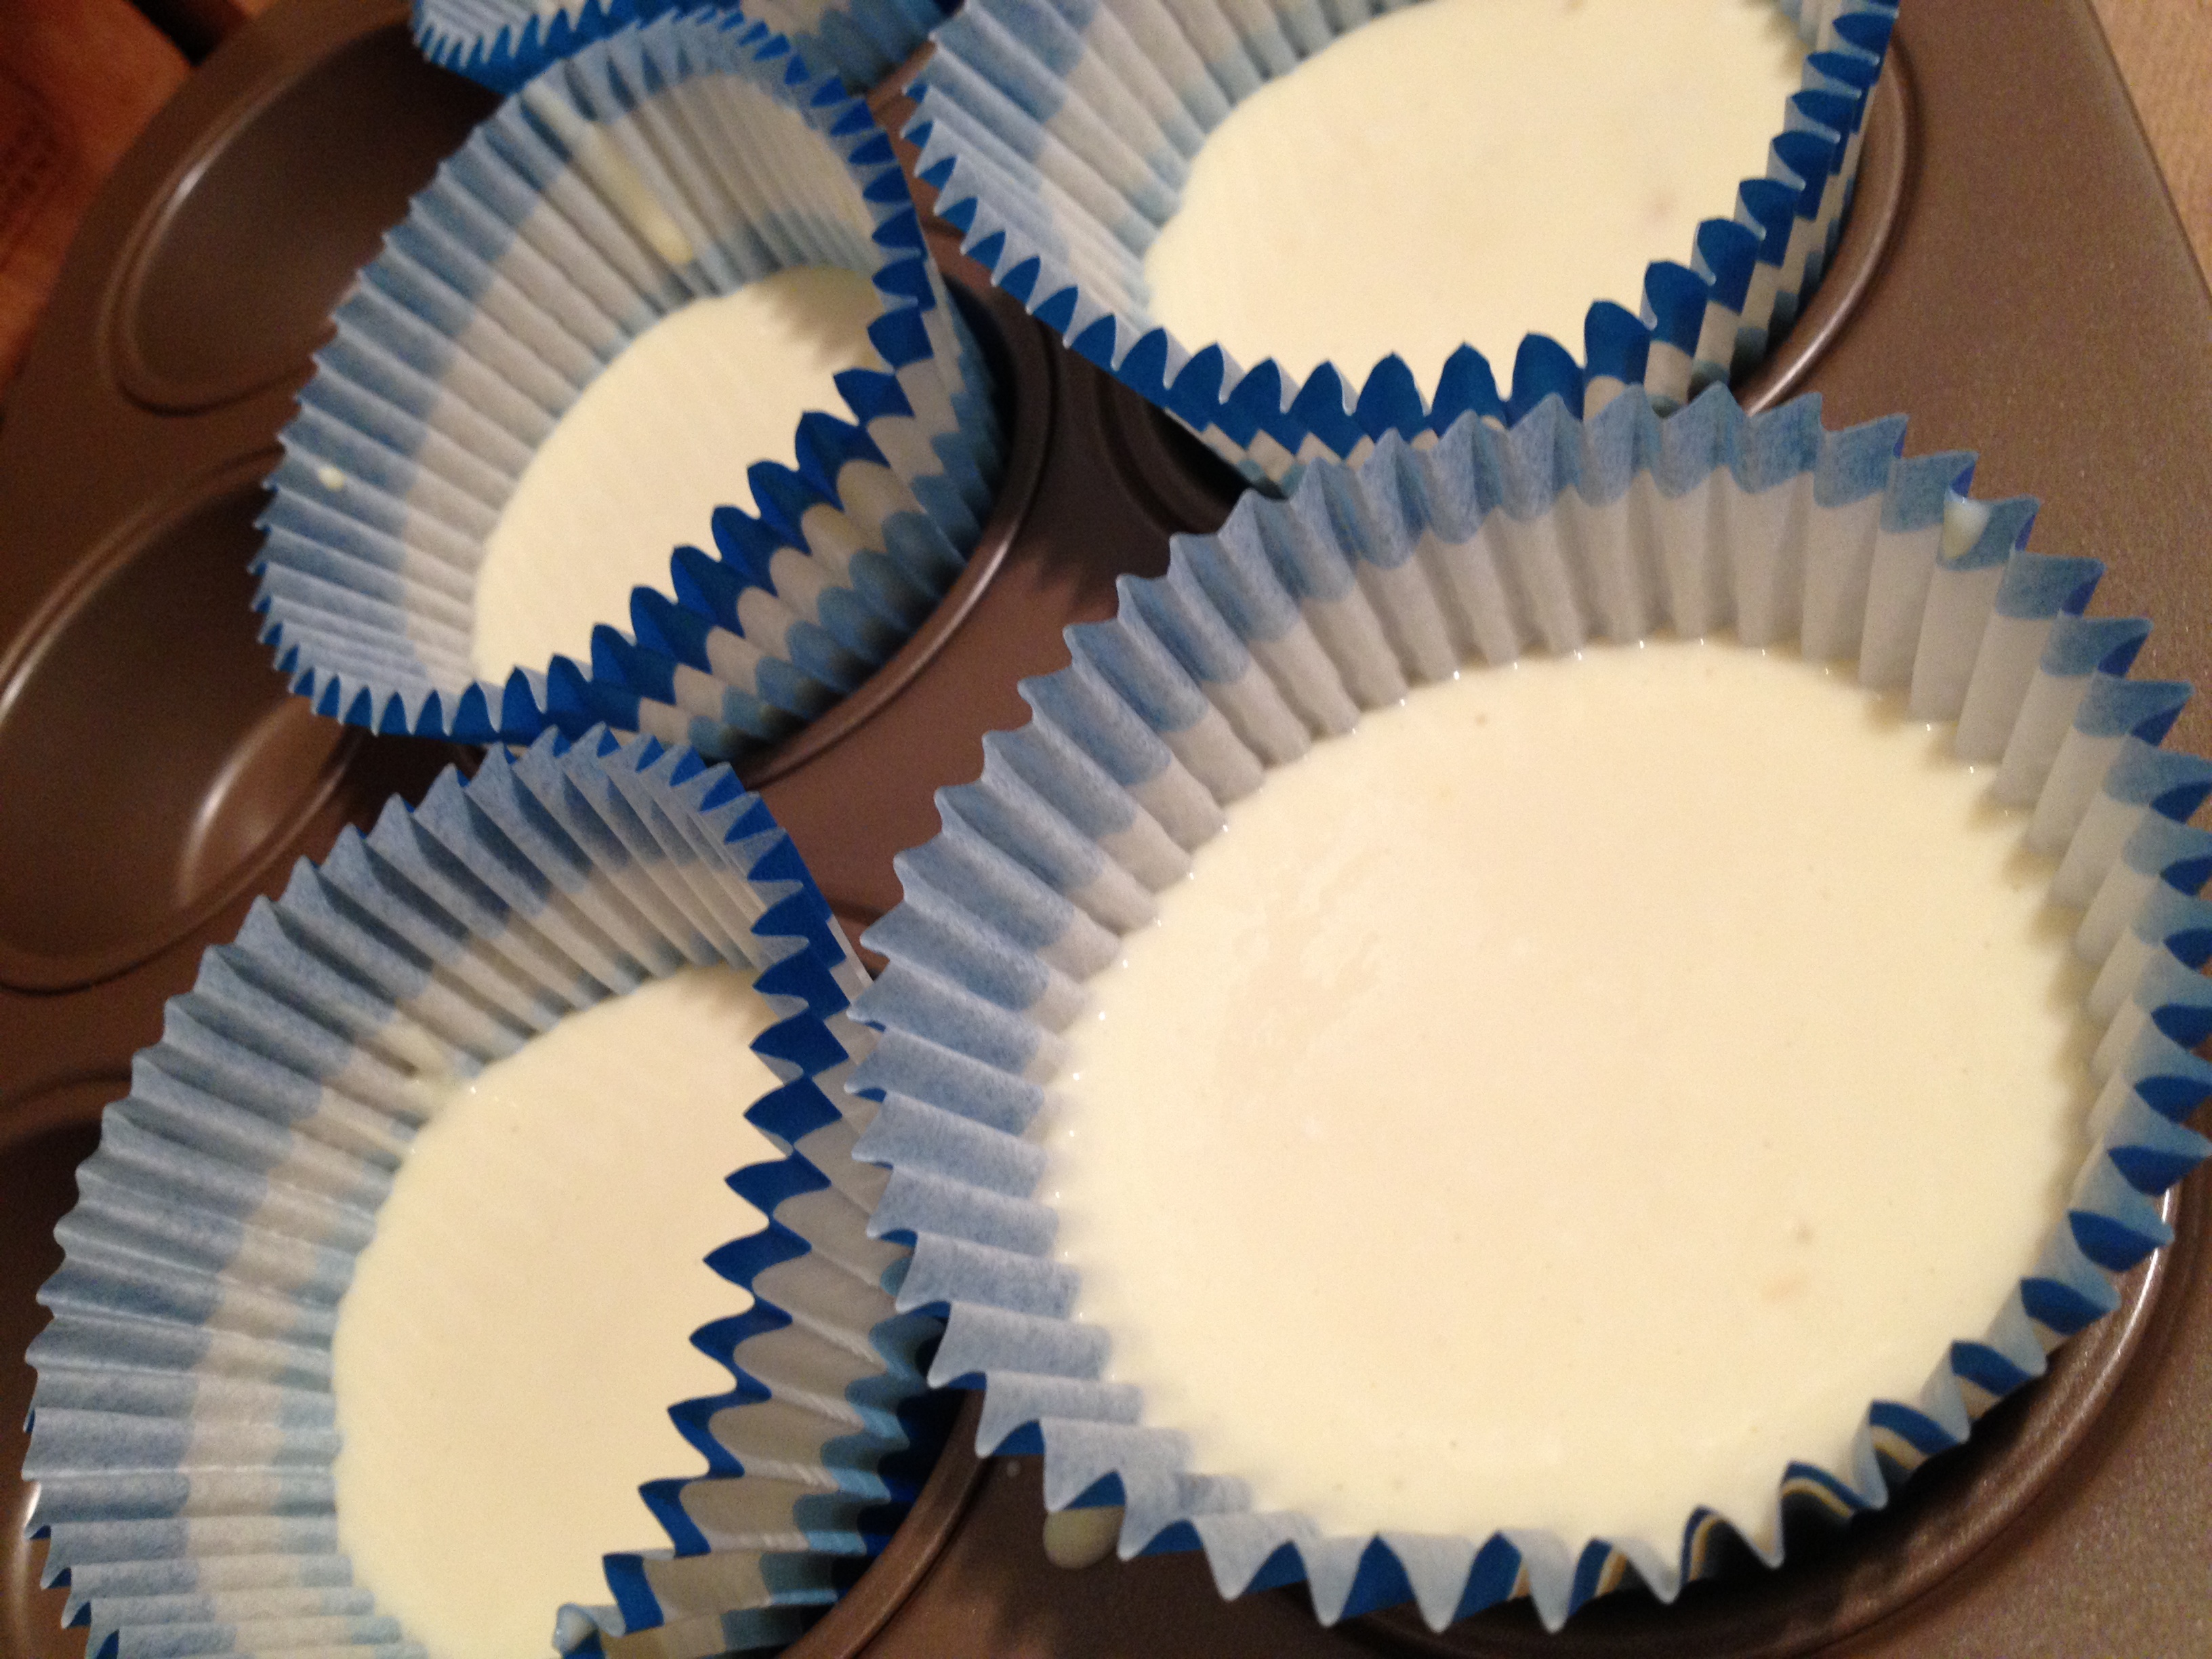
  • Pour into muffin liners about 2/3rds full. Mine definitely were not all even. Do what you can.

photo 4 (11)

  • Put in the oven for about 20-25 minutes. Mine were good at 23. A little cracked, but after refrigeration, they smoothed out.

photo 1 (31)

  • Make sure to let them cool. Then pop them into the refrigerator for about 3 hours before you serve.

photo 2 (29)

Oh so goooood

Oh so goooood

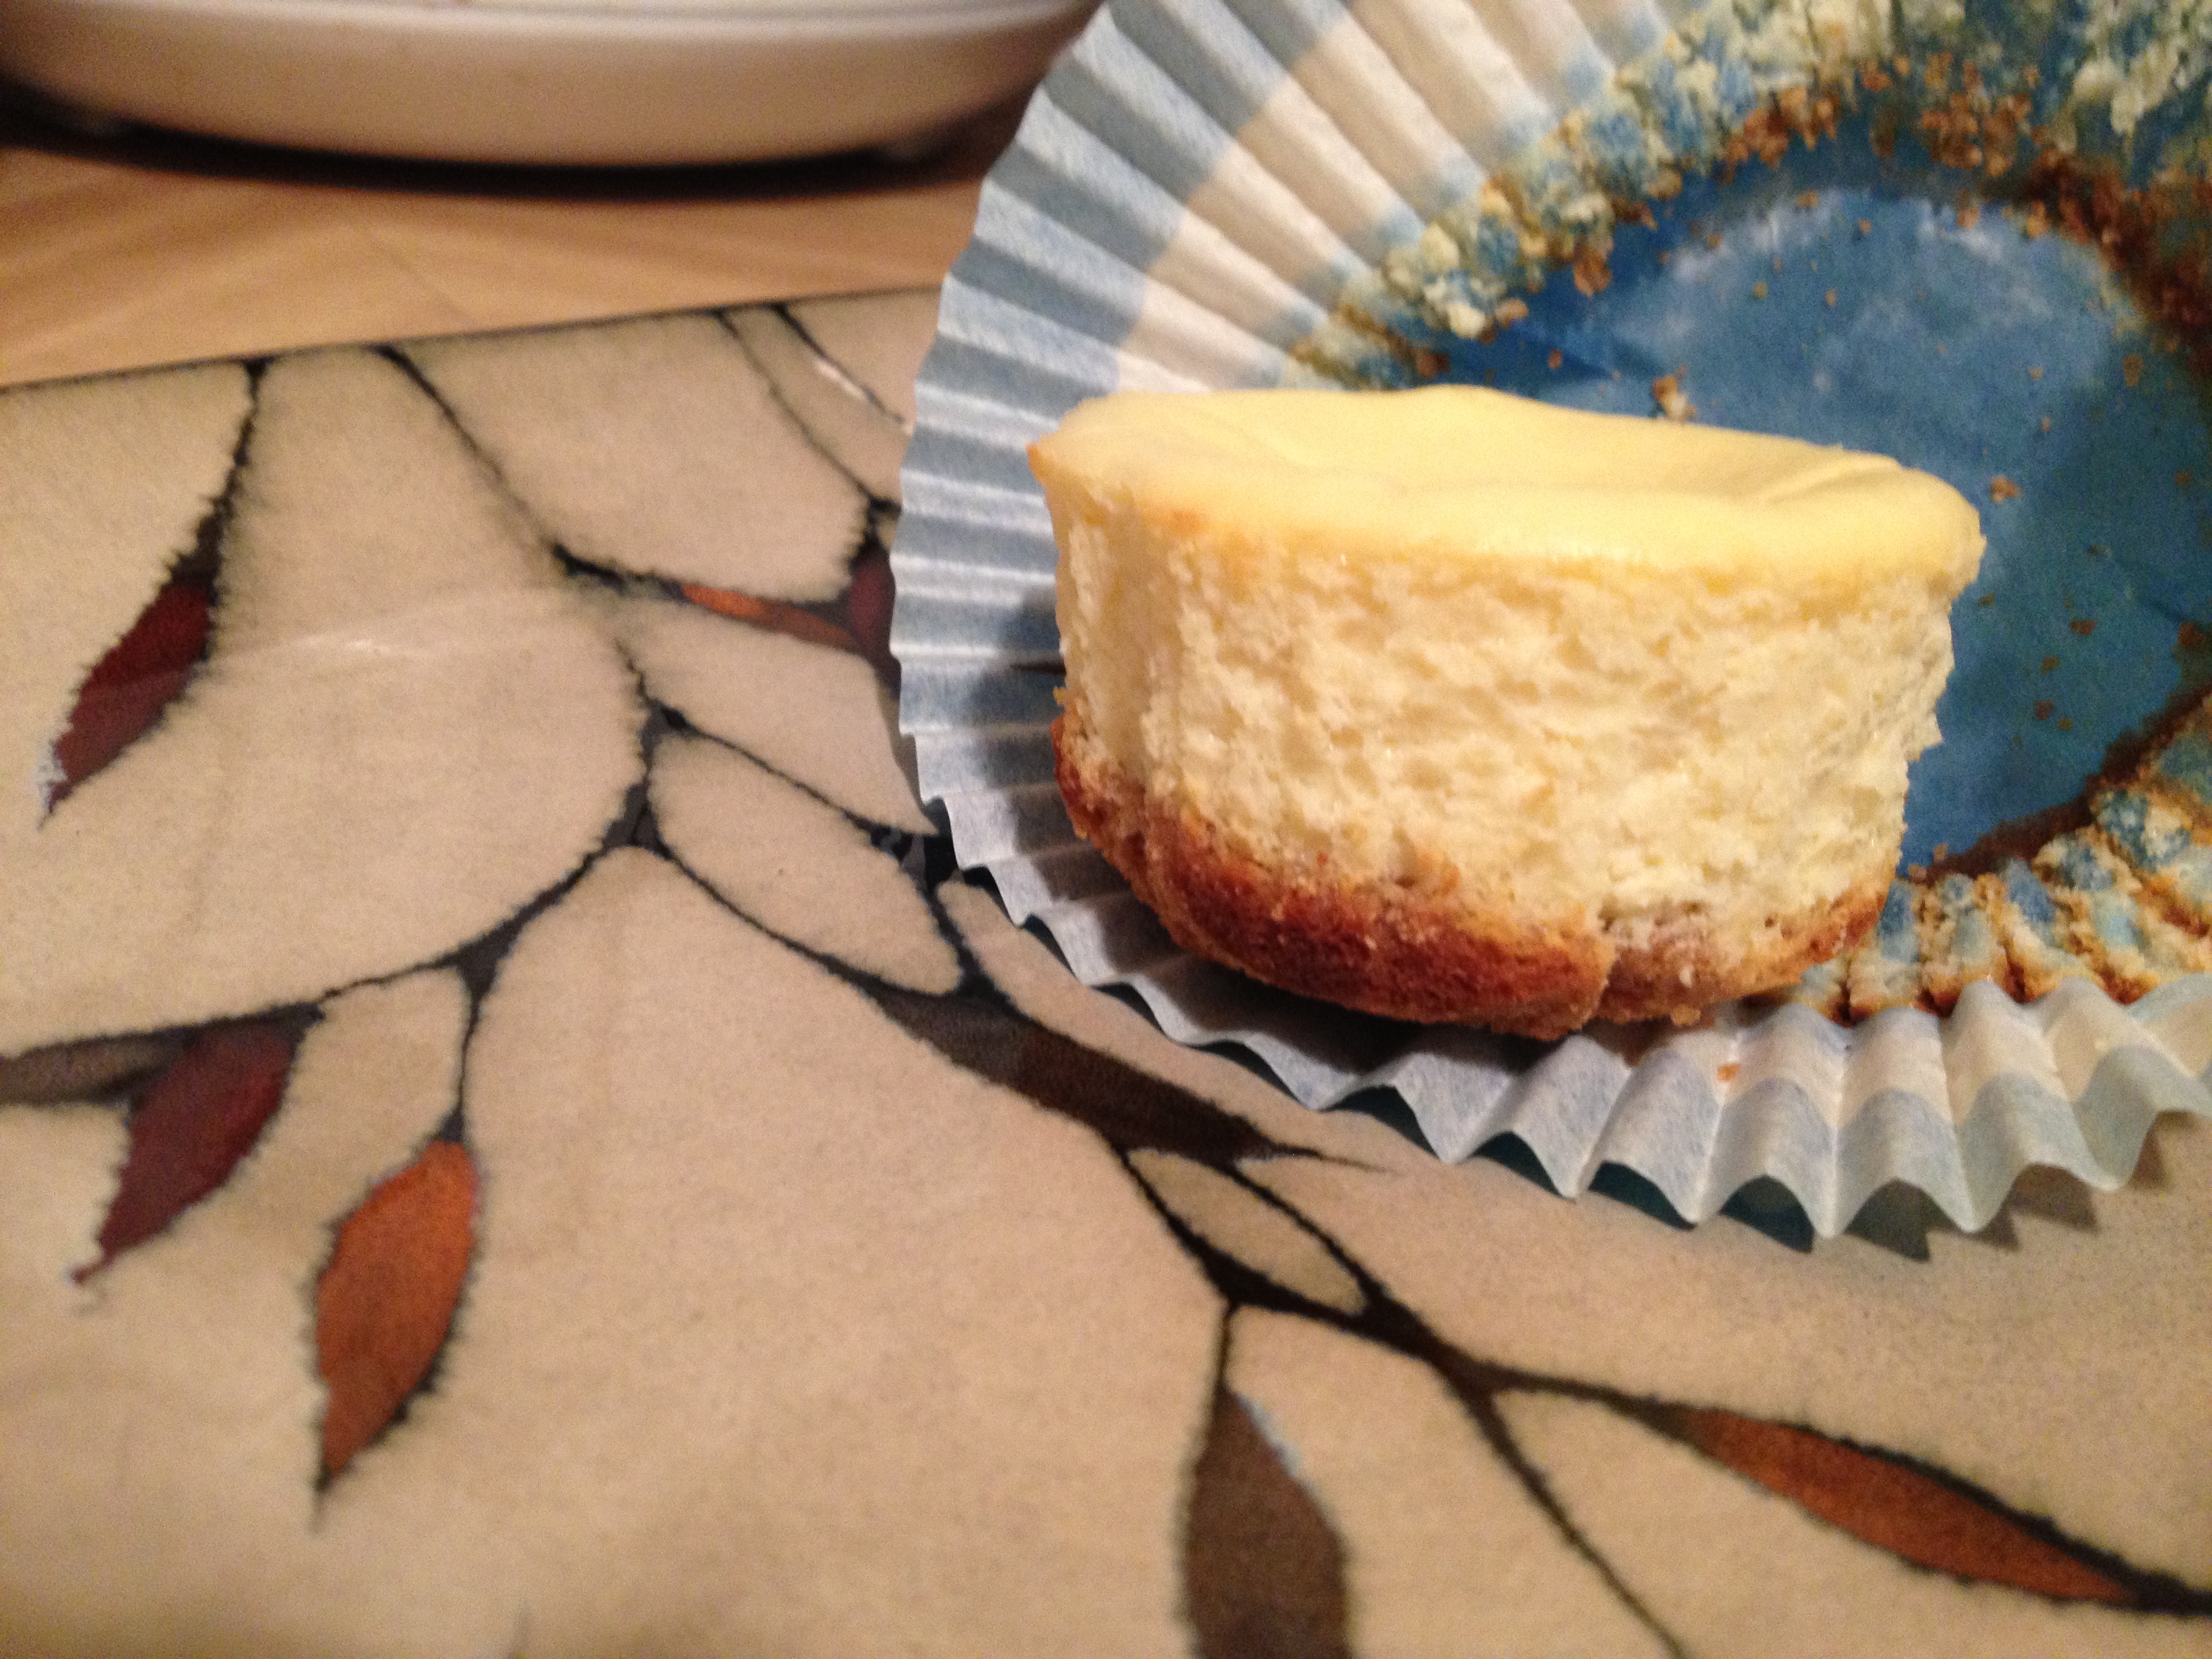
That’s it! You can garnish it if you’re feeling fancy, but I like ’em plain. These are just so good and mini…it’s perfect. And the macros don’t leave you feeling bad. It’s easy to make, easy to eat–what’s better than that? Use this delicious recipe to stay hungry and fit!

You might also like…

BONUS KITTY PIC

A hot Sajah just chillin'

A hot Sajah just chillin’

spacer

5-Minute Protein Pancakes

So I’m still prepping for contest, so I’m upping my protein and lowering carbs somewhat. It’s about two hours before my second workout (just cardio) and my tummy is rumbling. Hmmm…what to eat? I don’t want to eat any straight-up carbs (during this LAST week of contest, I’ll get my carbohydrate grams from other sources like veggies and shakes) like cereal or oatmeal, I don’t feel like having tunafish or a salad, but I could always use more protein. Hmm…oh yes–protein pancakes! I had played around with a recipe before, didn’t quite get it how I wanted it, so I used this recipe and altered it a bit to fit my needs. It’s extremely easy and filled me up without feeling sluggish.

Oooooh yes!

Oooooh yes!

spacer

5-Minute Healthy Snack Recipe

Before we went to bed last night, I was feeling a little hungry and I also knew that my macros were a little low too. However, I was also feeling tired and lazy, and didn’t want to do anything with too much prep. So what better to combine two of my favorite things? Avocado and egg. This is low in carbohydrates, low in calories, and medium-high in healthy fats! Perfect for a snack any time of the day, but mine just so happened to be around bed time. This recipe takes no longer than 5 minutes and is so delicious to boot!

  • Prep Time: 1 minute
  • Cooking Time: 2-4 minutes

Ingredients

  • 1/2 small avocado
  • 1 egg (we are house-sitting right now and get fresh eggs from the chickens every morning!)
  • Frank’s hot sauce (optional)

Directions

  • Cut avocado in half
  • Crack an egg and put it in a small saucepan on medium heat
  • While the egg is cooking, scrape out the avocado and place it on a plate kind of in a pile

photo 1 (22)

  • When the egg is done (I like over-easy), simply place the egg on top of the avocado and let the yolk drizzle out
  • If you’d like, pour some hot sauce on top (Frank’s + eggs= heaven)
Yum yum yum!

Yum yum yum!

And that’s it! A healthy, quick snack any time of the day. High in nutrients and it won’t break the calorie bank if you’re worried about that. The textures are gooey and warm–a melt in your mouth sinful sort of feeling. I can’t wait to make this again. Simple is usually the best way to go. Cheers! Use this recipe to stay hungry and fit!

You might also like…

BONUS KITTY PIC

Even though he's taking my spot, he's so damn adorable

Even though he’s taking my spot, he’s so damn adorable

spacer

Quinoa Chia Bowl

I always like saying quinoa the wrong way (“kih-no-ah”) just to bug Chris, so it’s always great when it’s in my life more frequently. This is an easy (PEASY) recipe that is perfect for breakfast, but will serve as a nice refreshing snack anytime of the day. I was inspired by Happy Fit Mama when she instagrammed a picture of this dish. I had to try! It fit my clean-eating perfectly. After all, I’m getting close to the end of contest prep! She gave me the ingredients she used, but I went ahead and created the recipe with measurements and all. Kinda winged it, but it worked! Enjoy this perfect recipe for summer living.

Mmmmmm!

Mmmmmm!

Macros (for 1 serving)

  • Serves: 2
  • Calories: 208
  • Fat: 5g
  • Carbs: 33g
  • Sugars: 4g
  • Protein: 8.3g

Ingredients

  • 3/8 cup uncooked quinoa
  • 1 tsp cinnamon
  • 2 tbsp chia seeds
  • 1/2 tsp drizzled honey
  • 1/2 cup Silk Vanilla Unsweetened Almondmilk 

Directions

  • Pre-heat oven to 350 degrees F
  • Mix together the quinoa, cinnamon, chia seeds, and honey in a small dish that can be put in the oven
Mixed up and ready for bake-age!

Mixed up and ready for bake-age!

  • Put in the oven for about 15-20 minutes (until well-bonded and kinda crisp)
THIS is the proper serving. If you eat the whole thing, double the macros at the top of the post

THIS is the proper serving. If you eat the whole thing, double the macros at the top of the post

  • Pour 1/2 cup almond milk over and enjoy!
Mmmmmm!

Mmmmmm!

Yeah it’s that easy. And I was able to have the other half for breakfast the next morning! Talk about a good deal. The texture of the chia seeds after baking and then drowned in almond milk is next to perfect. It feels like a truly wholesome meal whether you have it for breakfast or any other meal of the day. Use this recipe to stay hungry and fit!

You might also like…

BONUS KITTY PIC

Sajah trying to help me with work

Sajah trying to help me with work

spacer

Easy Korean-Style Beef Bowl

If you know us, we love Korean food (as Chris spent a summer in South Korea and consequently fell in love with the culture he had already been into). So when I stumbled upon this fantastic easy (ridiculously easy) recipe by one of my favorite food bloggers, I had to recreate it (altered it slightly)! Mine may not look as pretty, mostly because it was all for Chris so he got the entire beef bowl (4 servings) so that you can’t see the rice (oops!). My version of the recipe has less sugar, less spice (Chris has a Geographic Tongue, so he can’t have spice), and brown rice instead of white. Makes it a little bit healthier, but it was healthy from the start.  He had worked a long day at work, and I was taking a rest day on workouts, so I decided to make him something that he would love and fill him up...Korean style!

photo 2 (16)

  • Prep Time: 5 minutes
  • Cooking Time: 10 minutes
  • Serves: 3-4 normal people (Chris ate it all)

Ingredients

  • 1 pound ground beef
  • 1/4 cup brown sugar
  • 1/4 cup soy sauce
  • 1 tablespoon sesame teriyaki sauce
  • 1/4 crushed red-pepper flakes [you can use more if you like spice]
  • 1/4 teaspoon ground ginger
  • 1/4 teaspoon sesame seeds
  • 1 tablespoon oil
  • 1.5 tablespoon garlic, minced
  • 2 green onions, thinly sliced
  • cooked brown rice

Directions

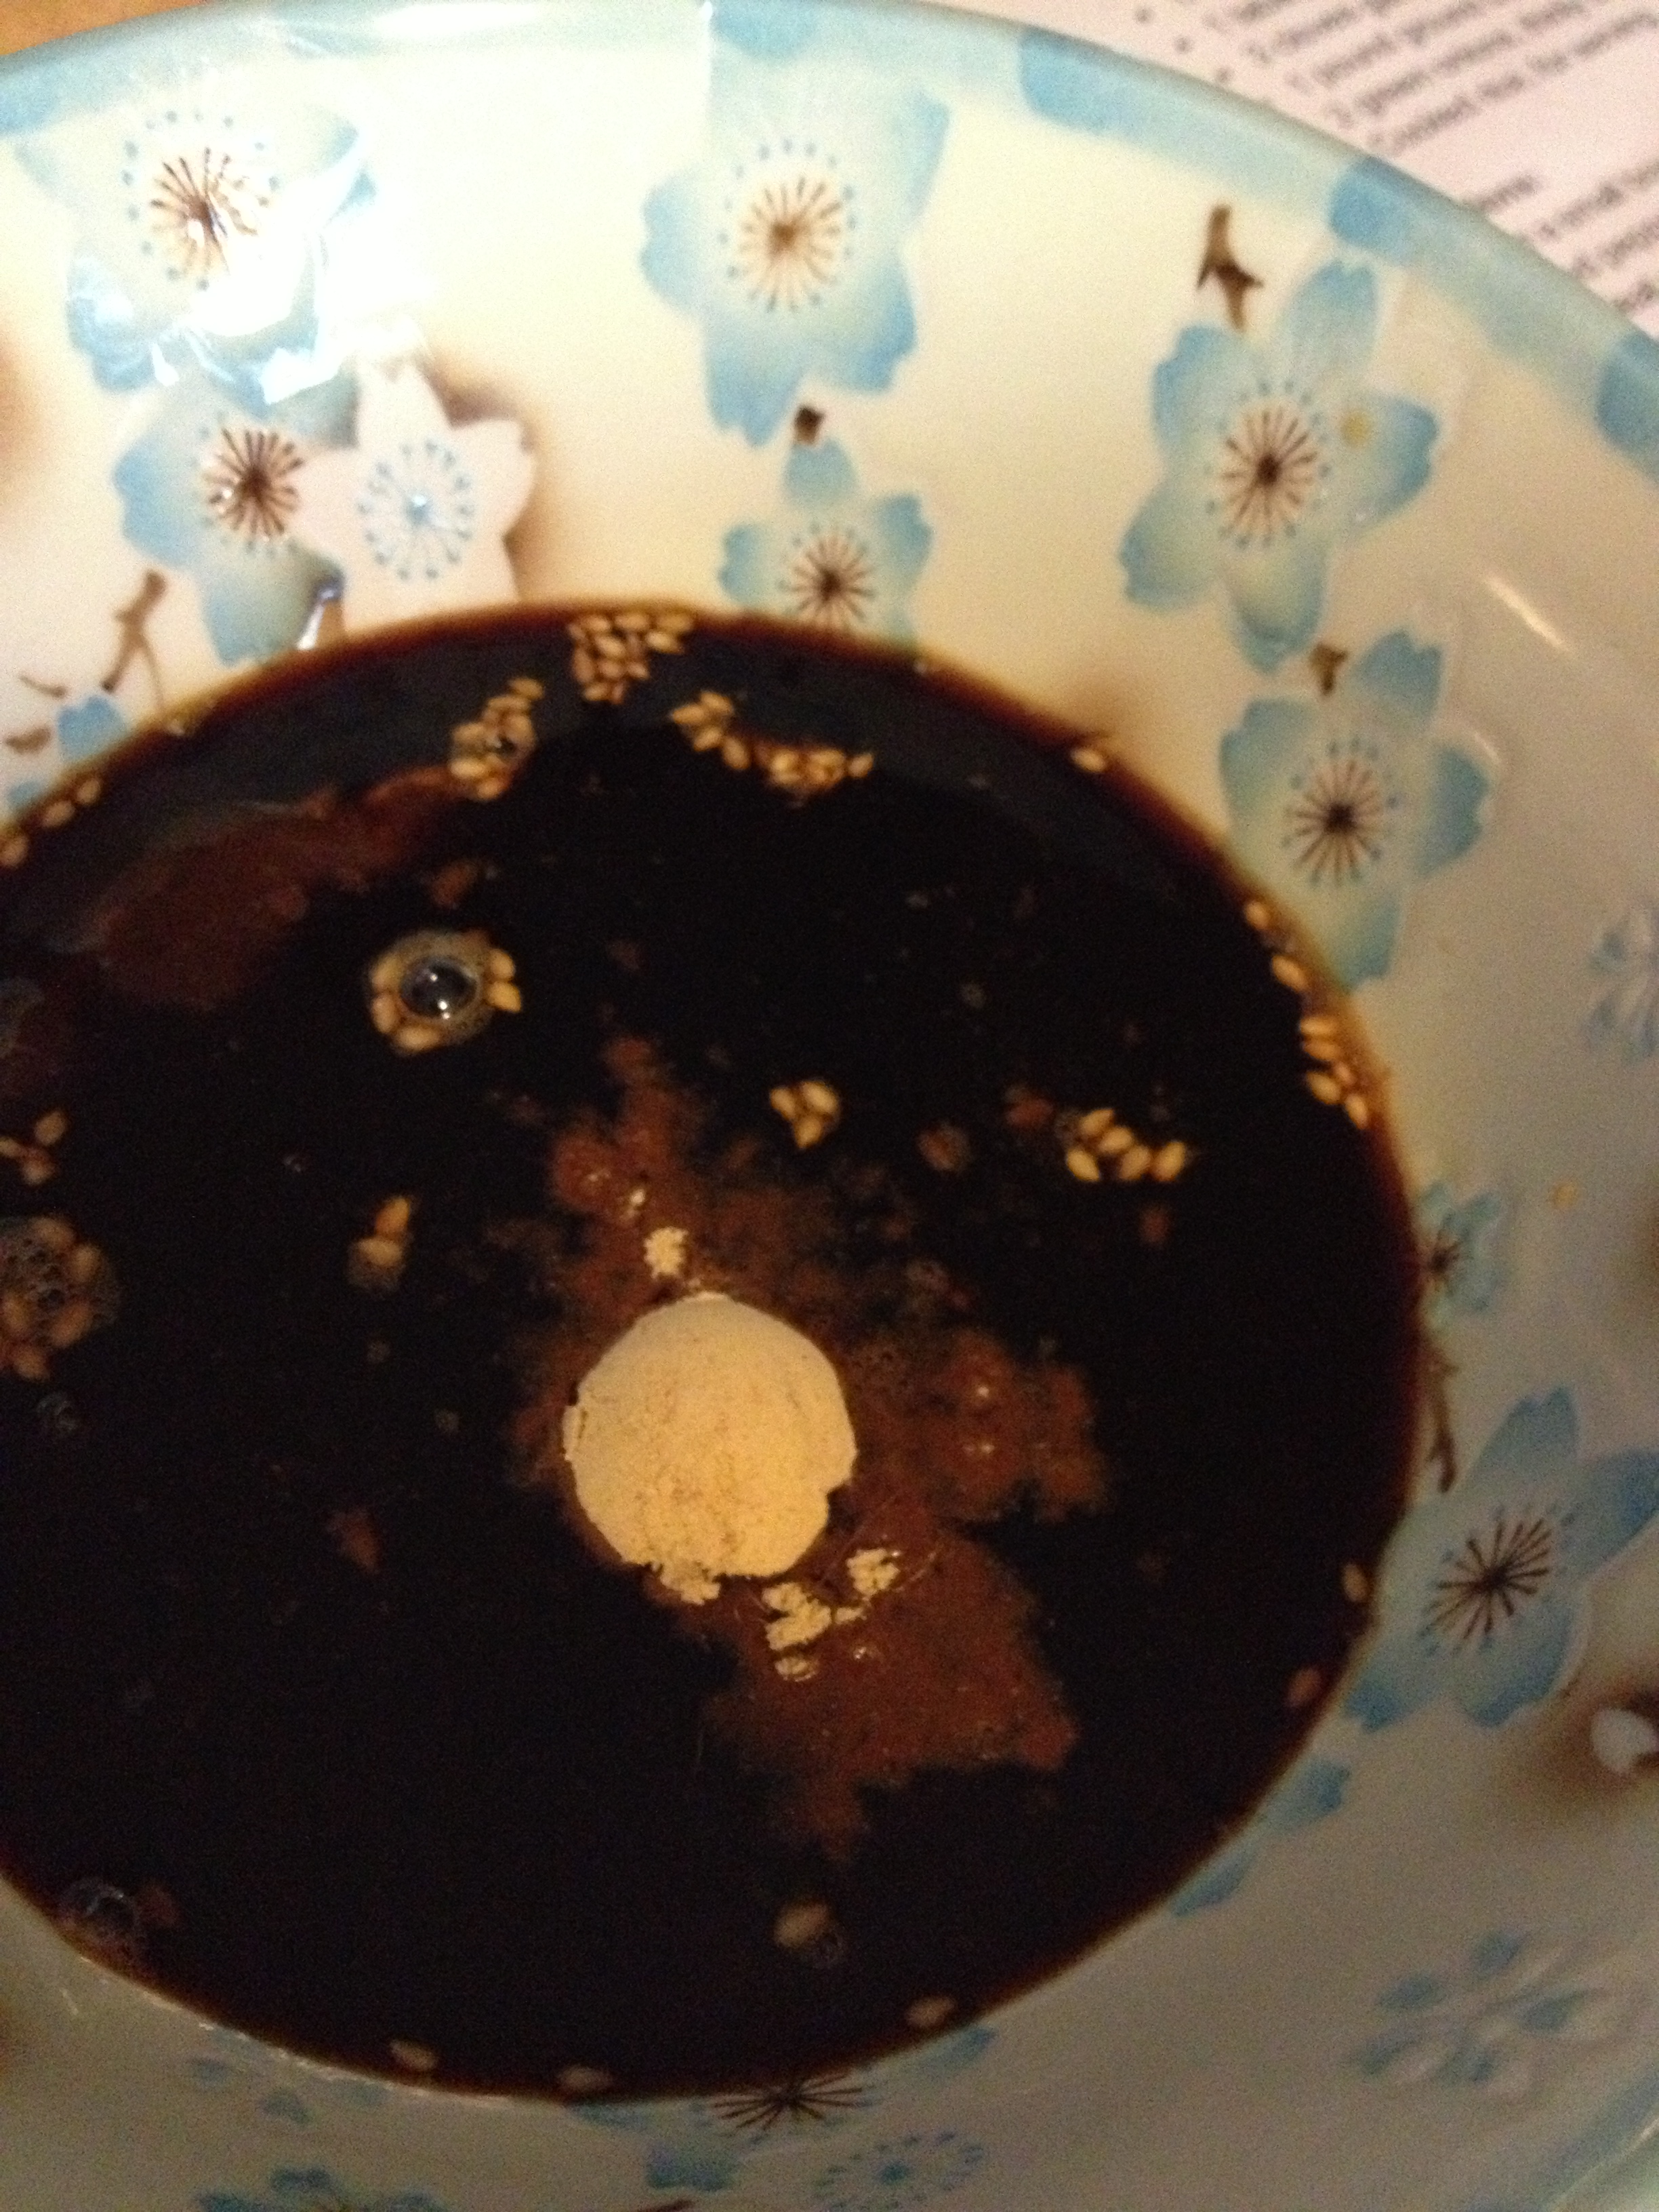
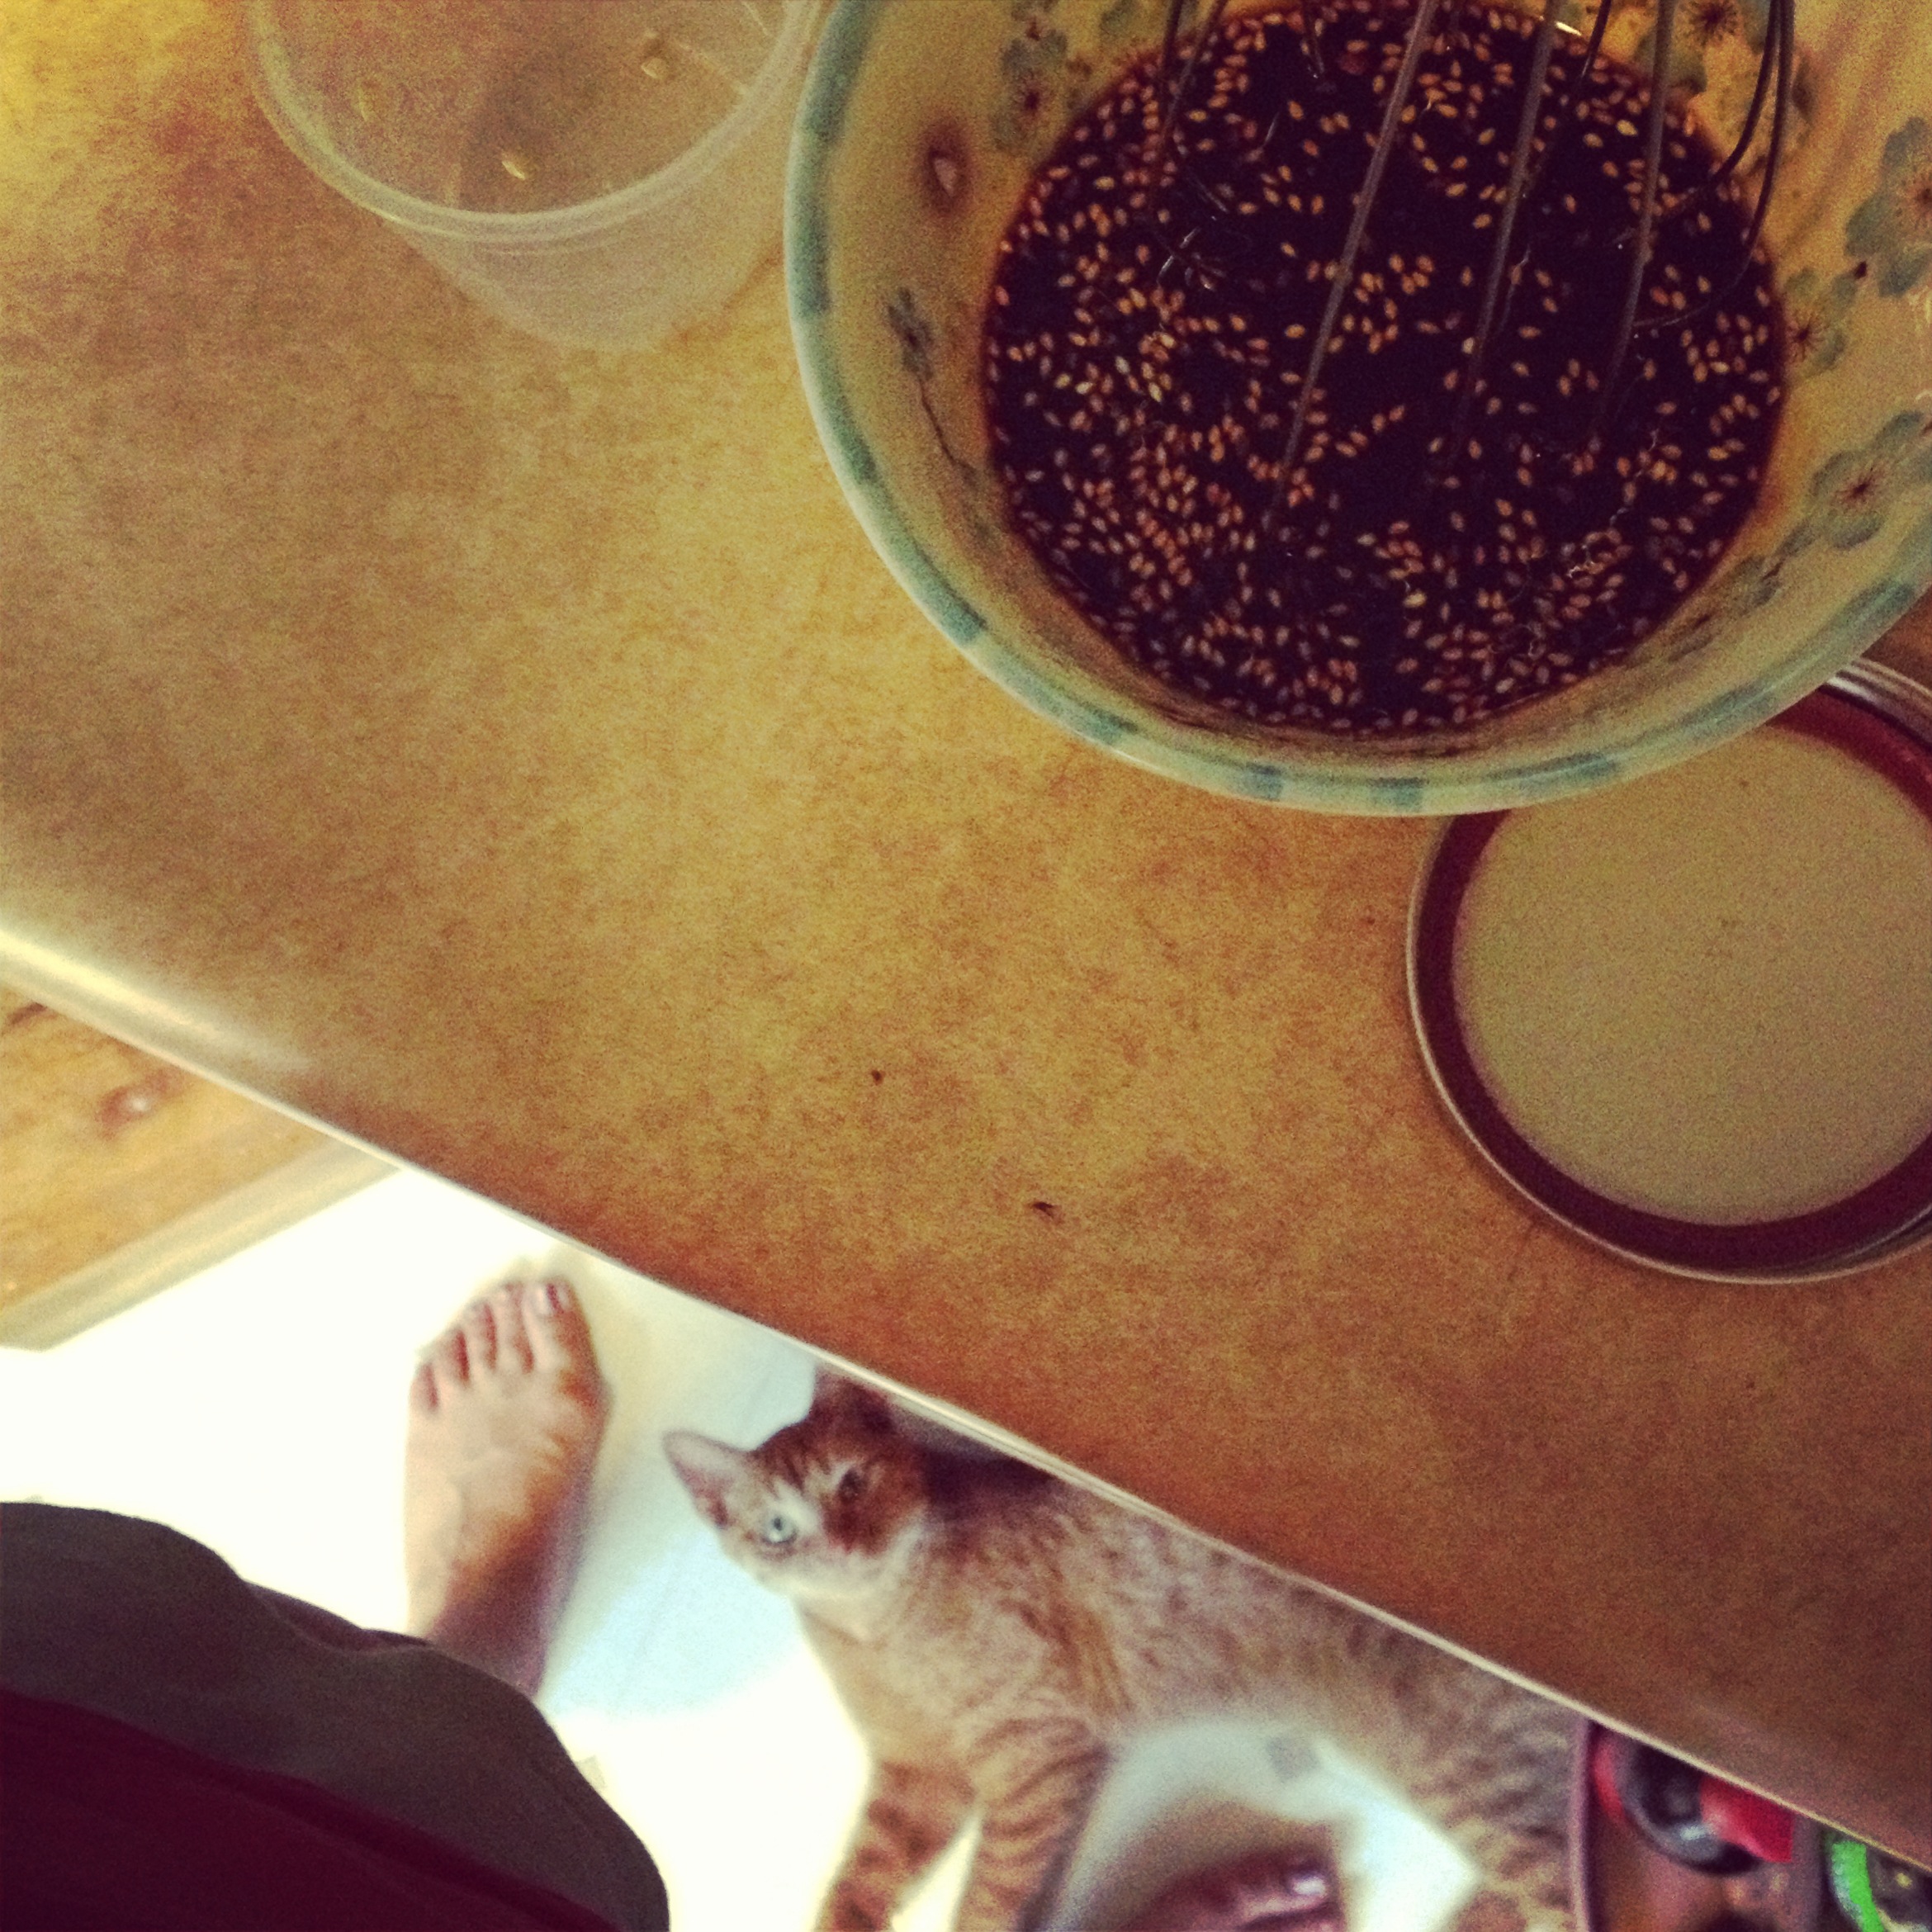
  • Mix together the brown sugar, soy sauce, sesame teriyaki sauce, ginger, sesame seeds, and red pepper flakes in a small bowl. It’d be best to use a fork or a whisk to really blend everything together.

photo 1 (18)

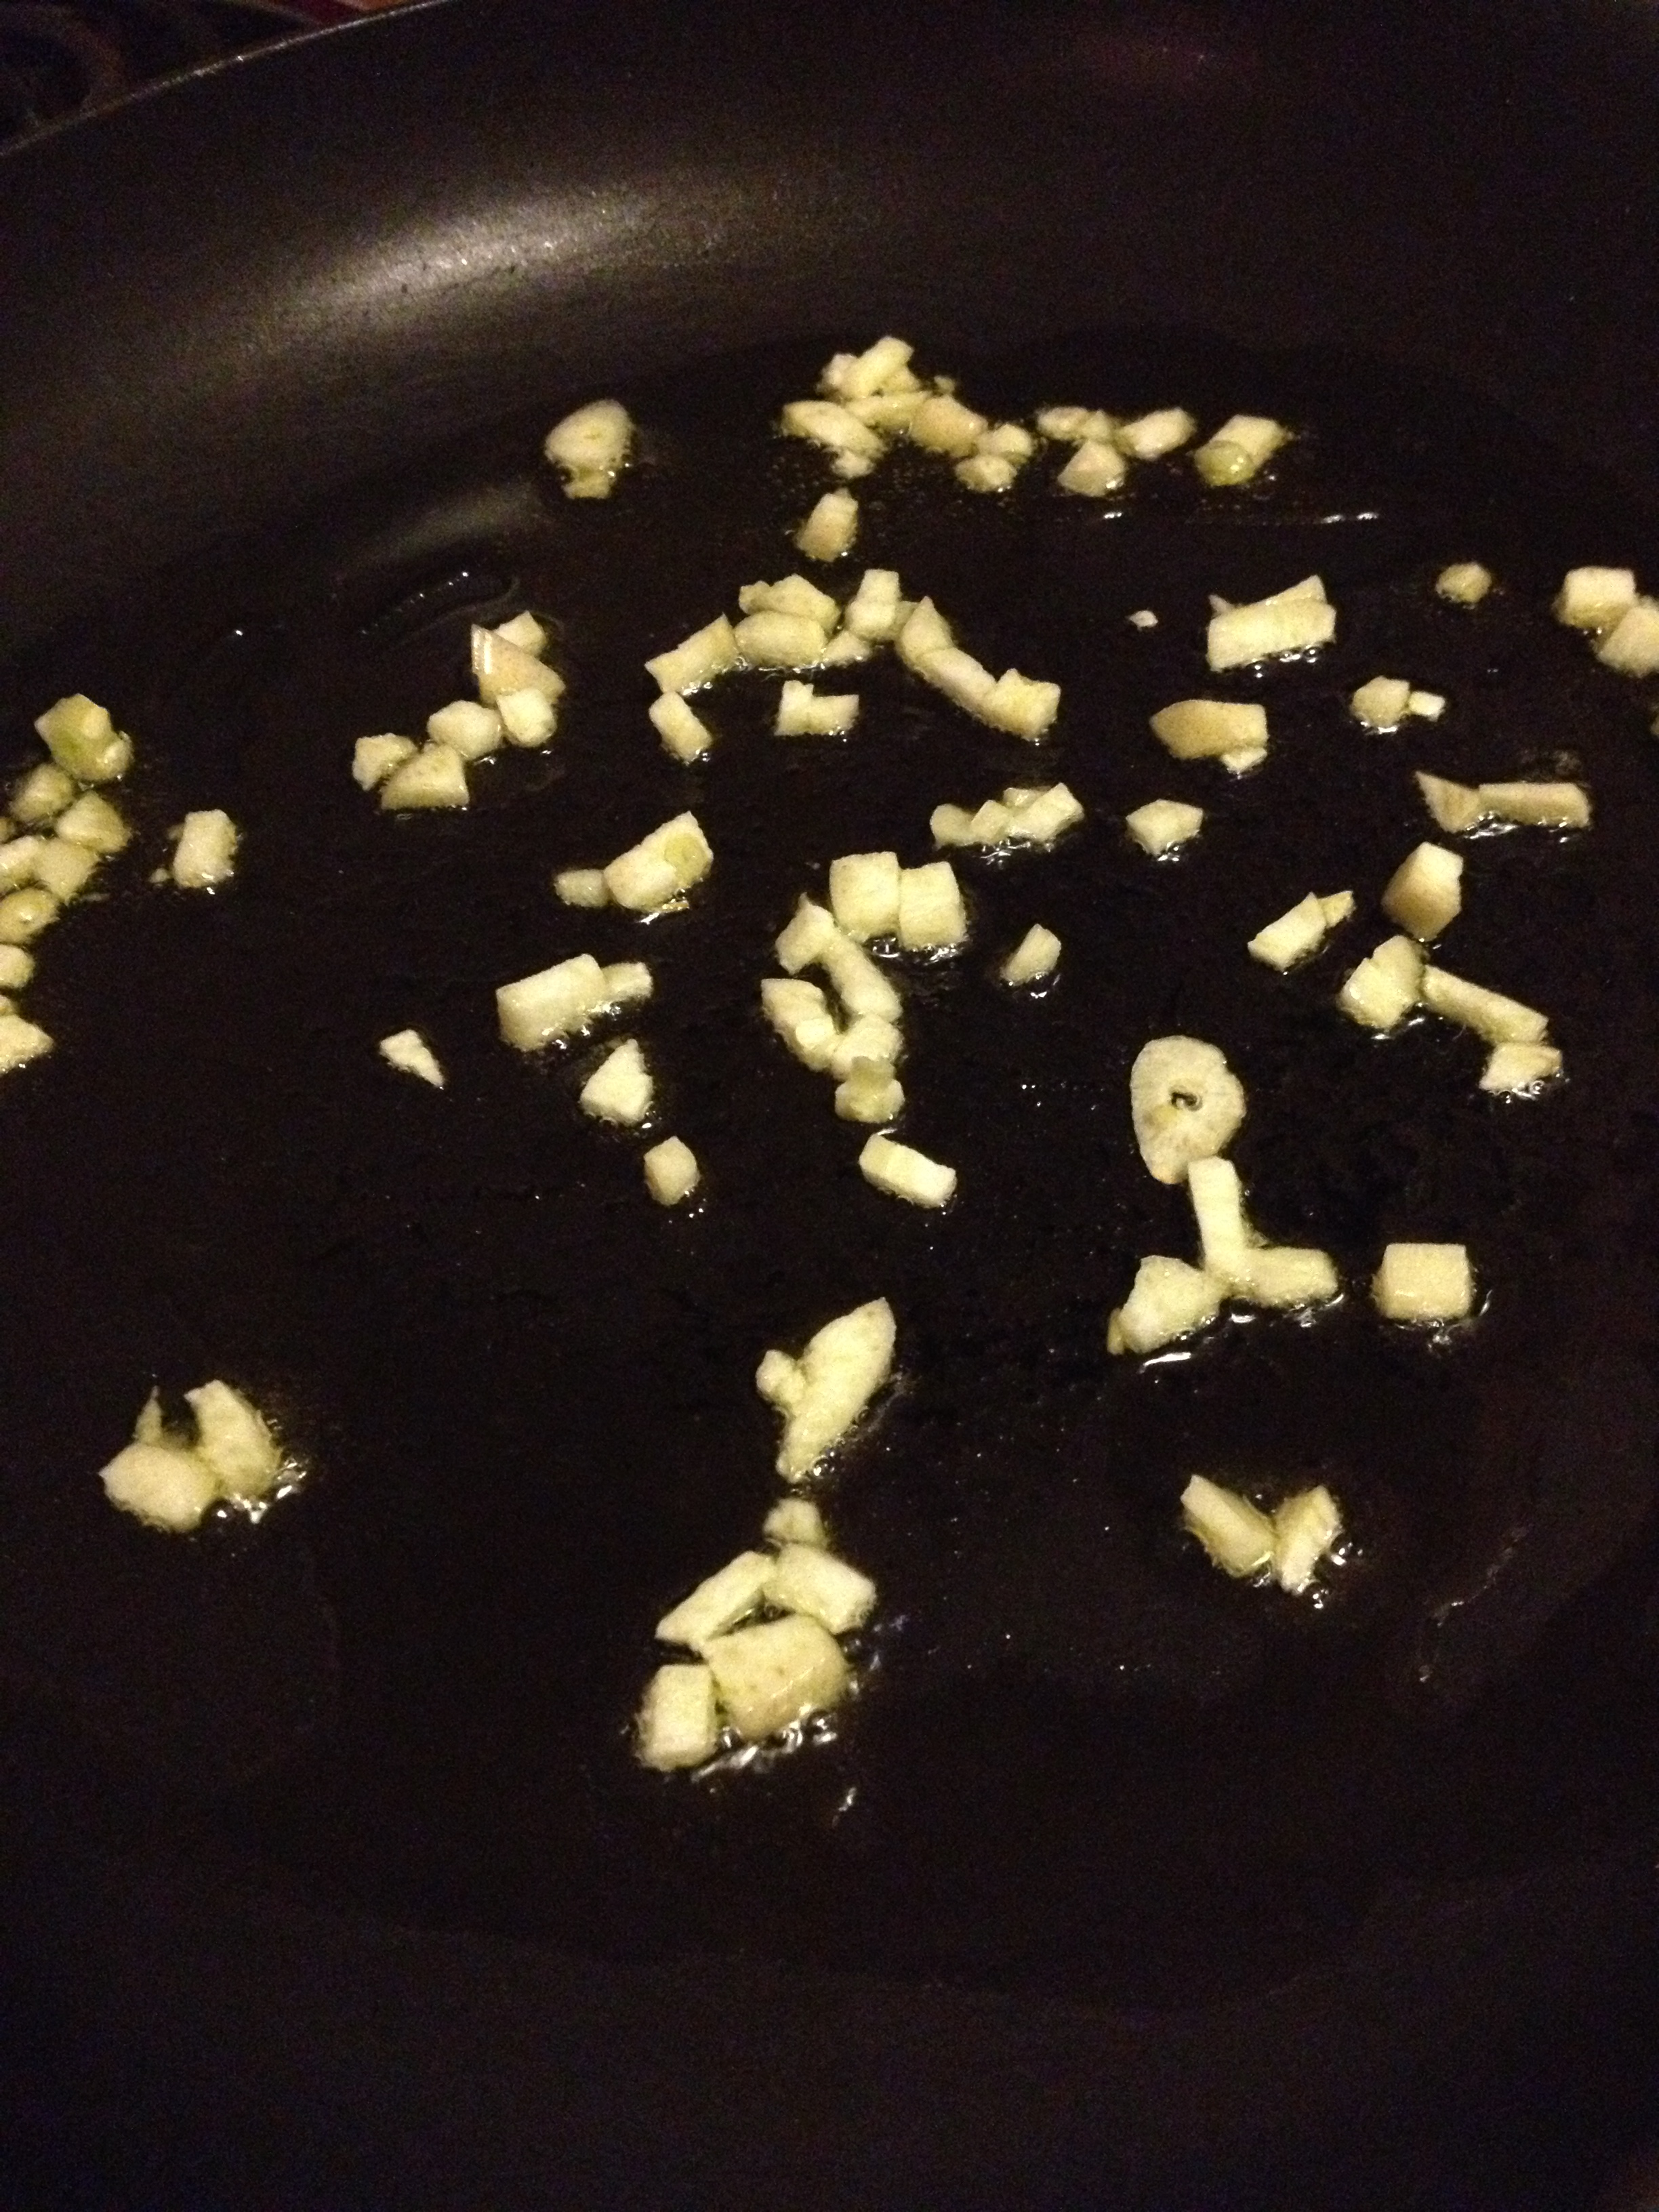
  • Leave that to the side. Heat up the oil in a saucepan over medium to high heat. Add the chopped garlic to the oil

photo 4 (8)

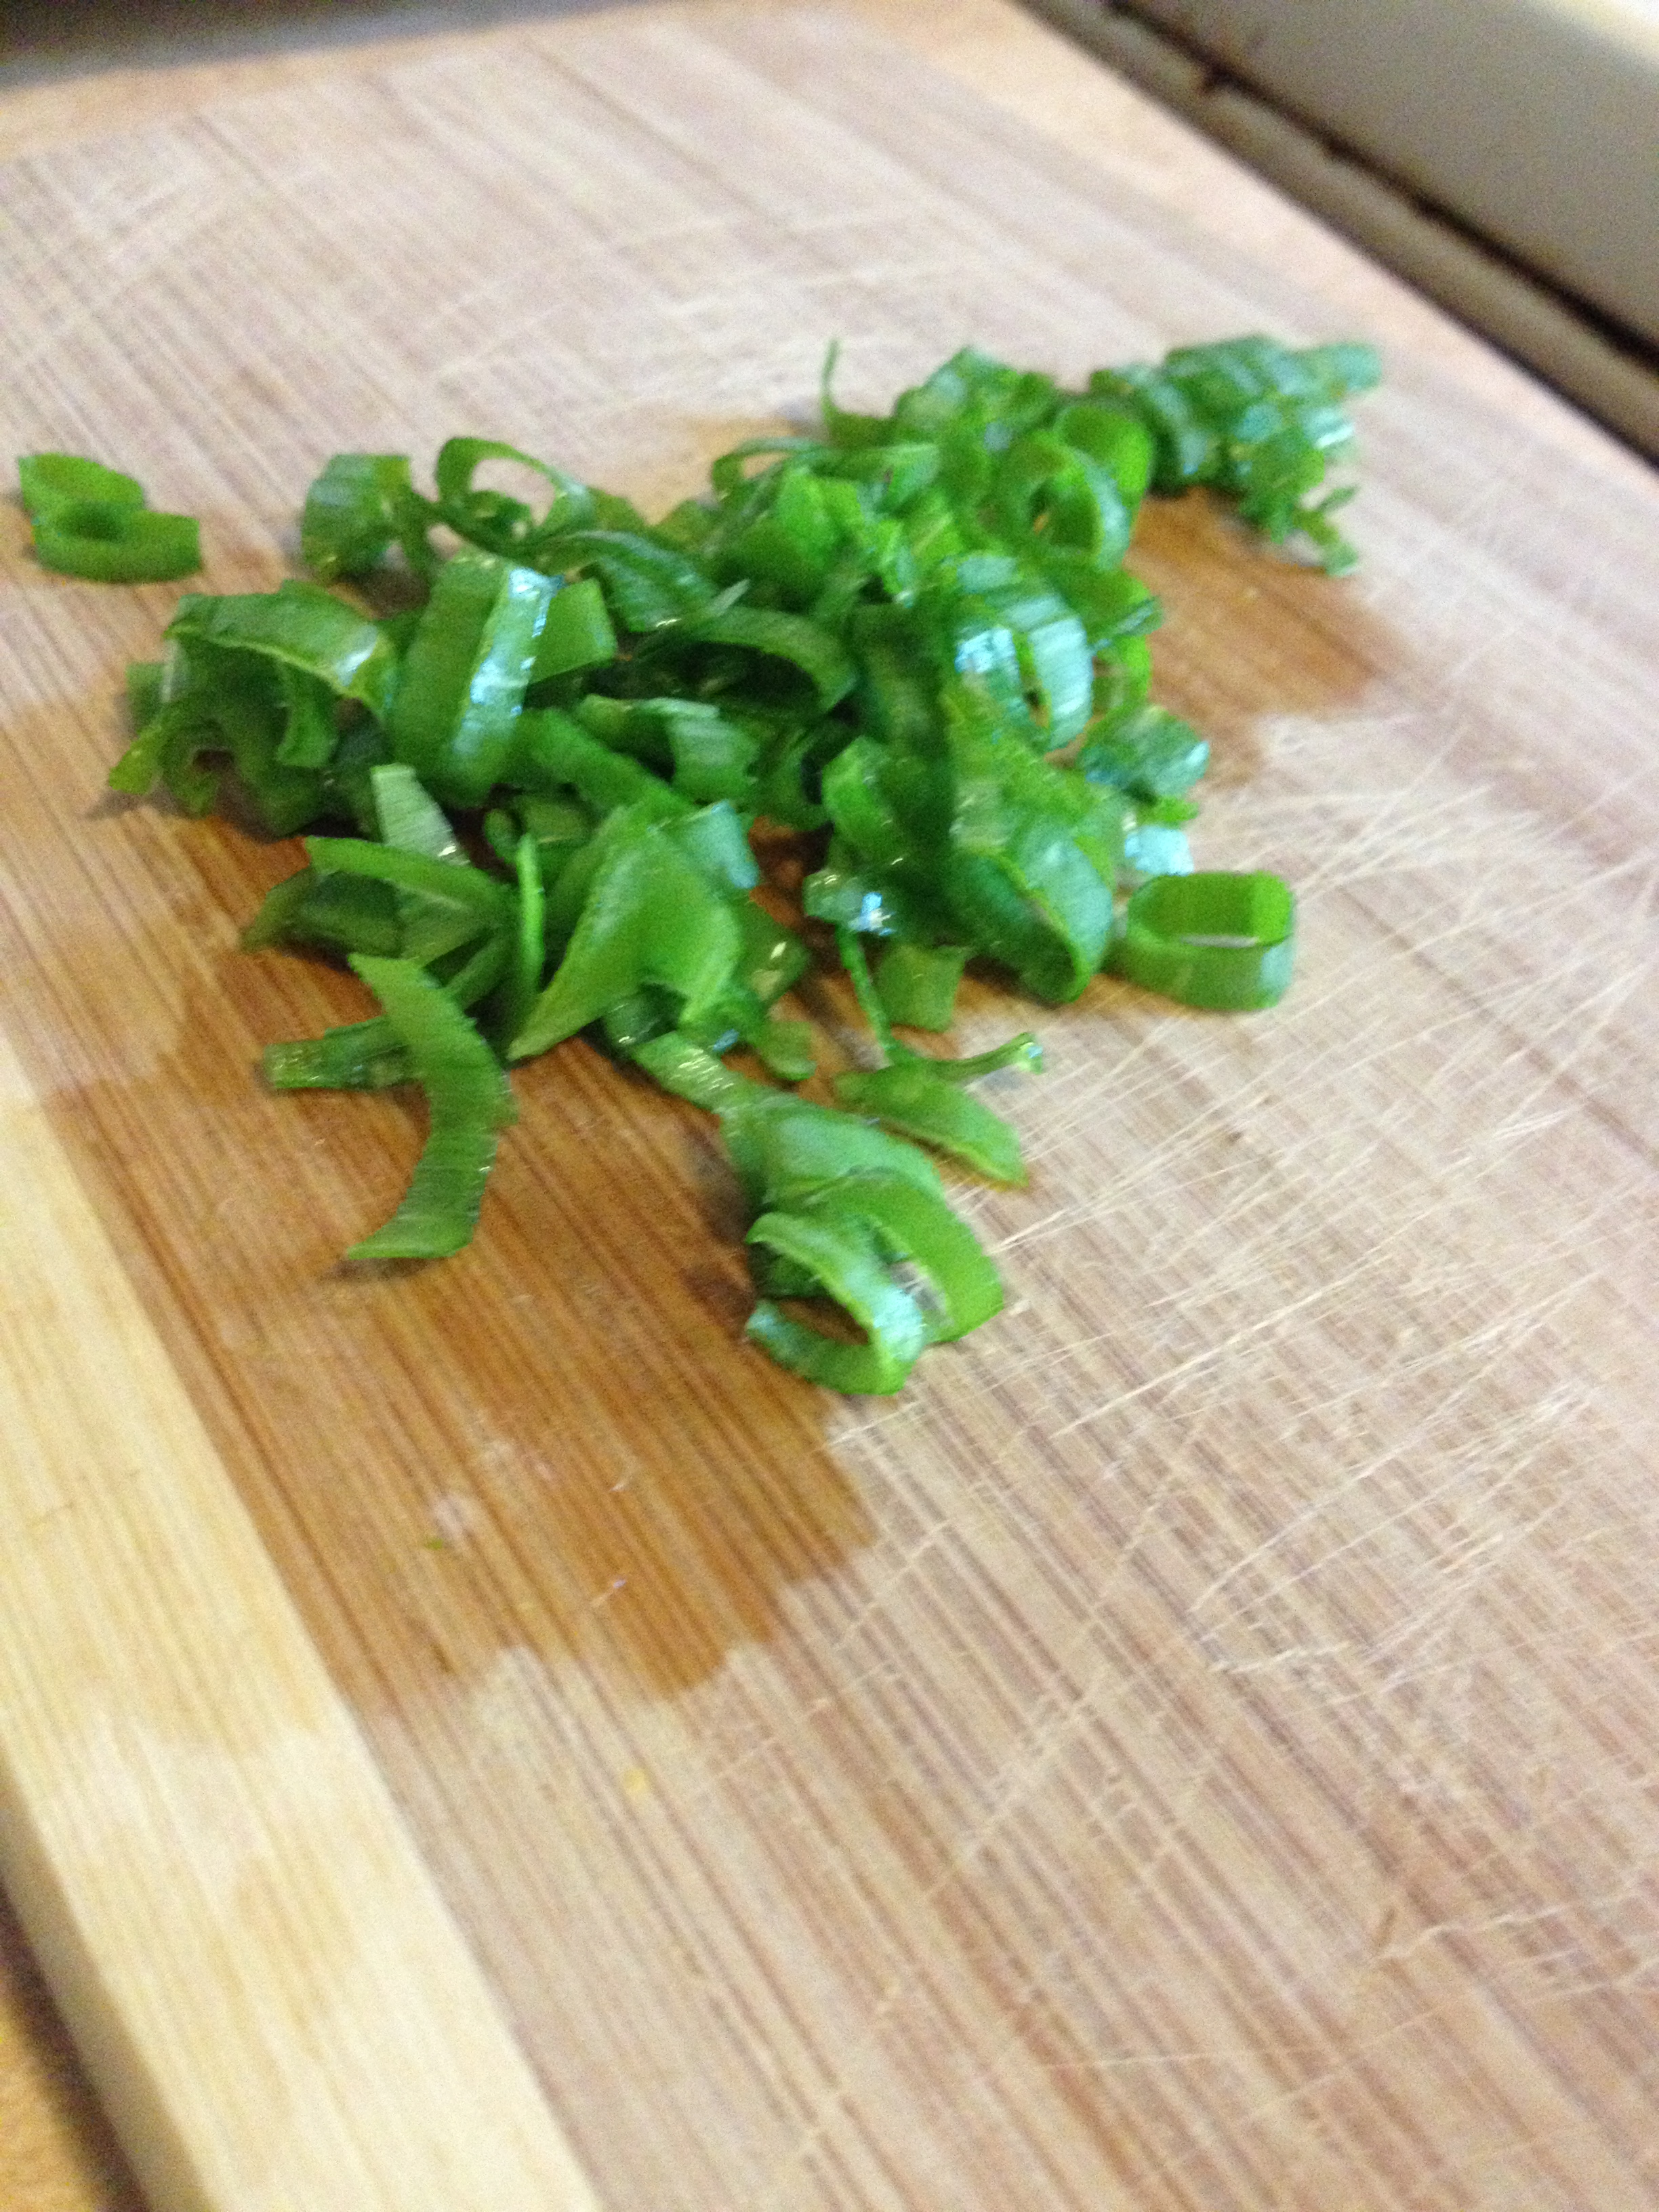
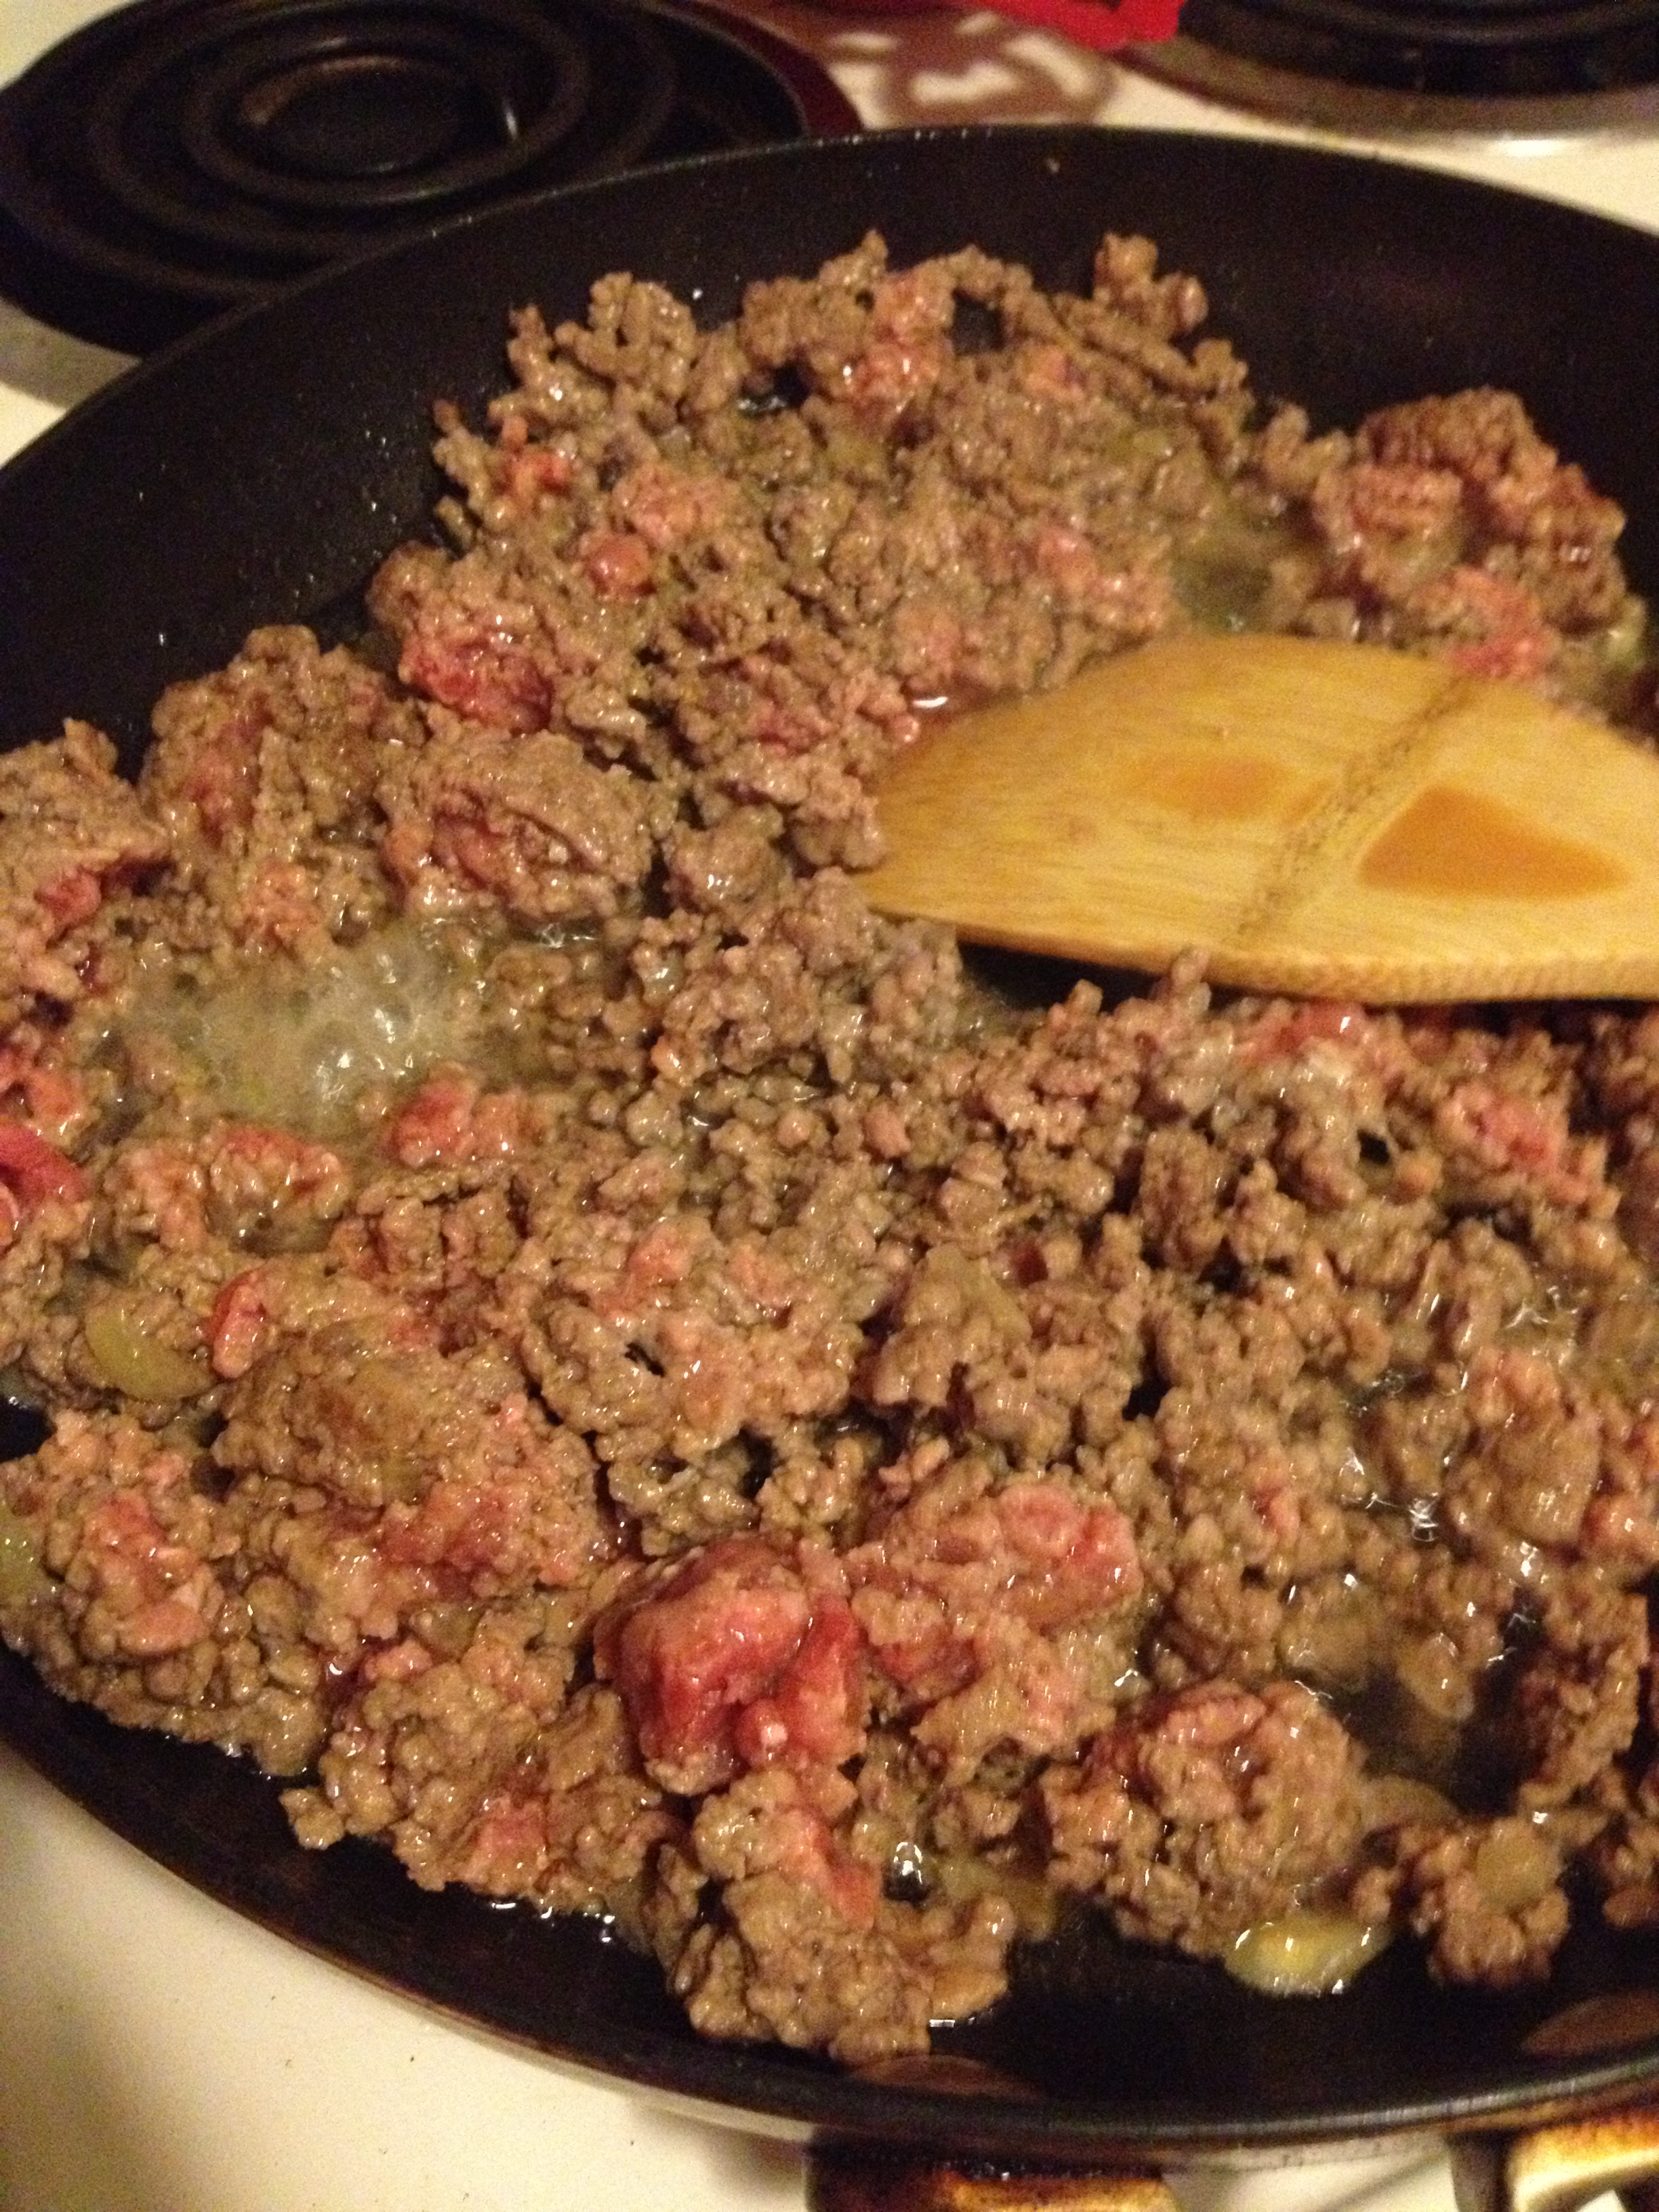
  • Once you get that lovely cooking garlic smell, it’s time to throw the ground beef in. Cook it until it’s browned, breaking it up as you do. Could take 4-8 minutes depending on your stove. While it’s cooking, chop up your green onions.
So purdy

So purdy

photo 5 (6)

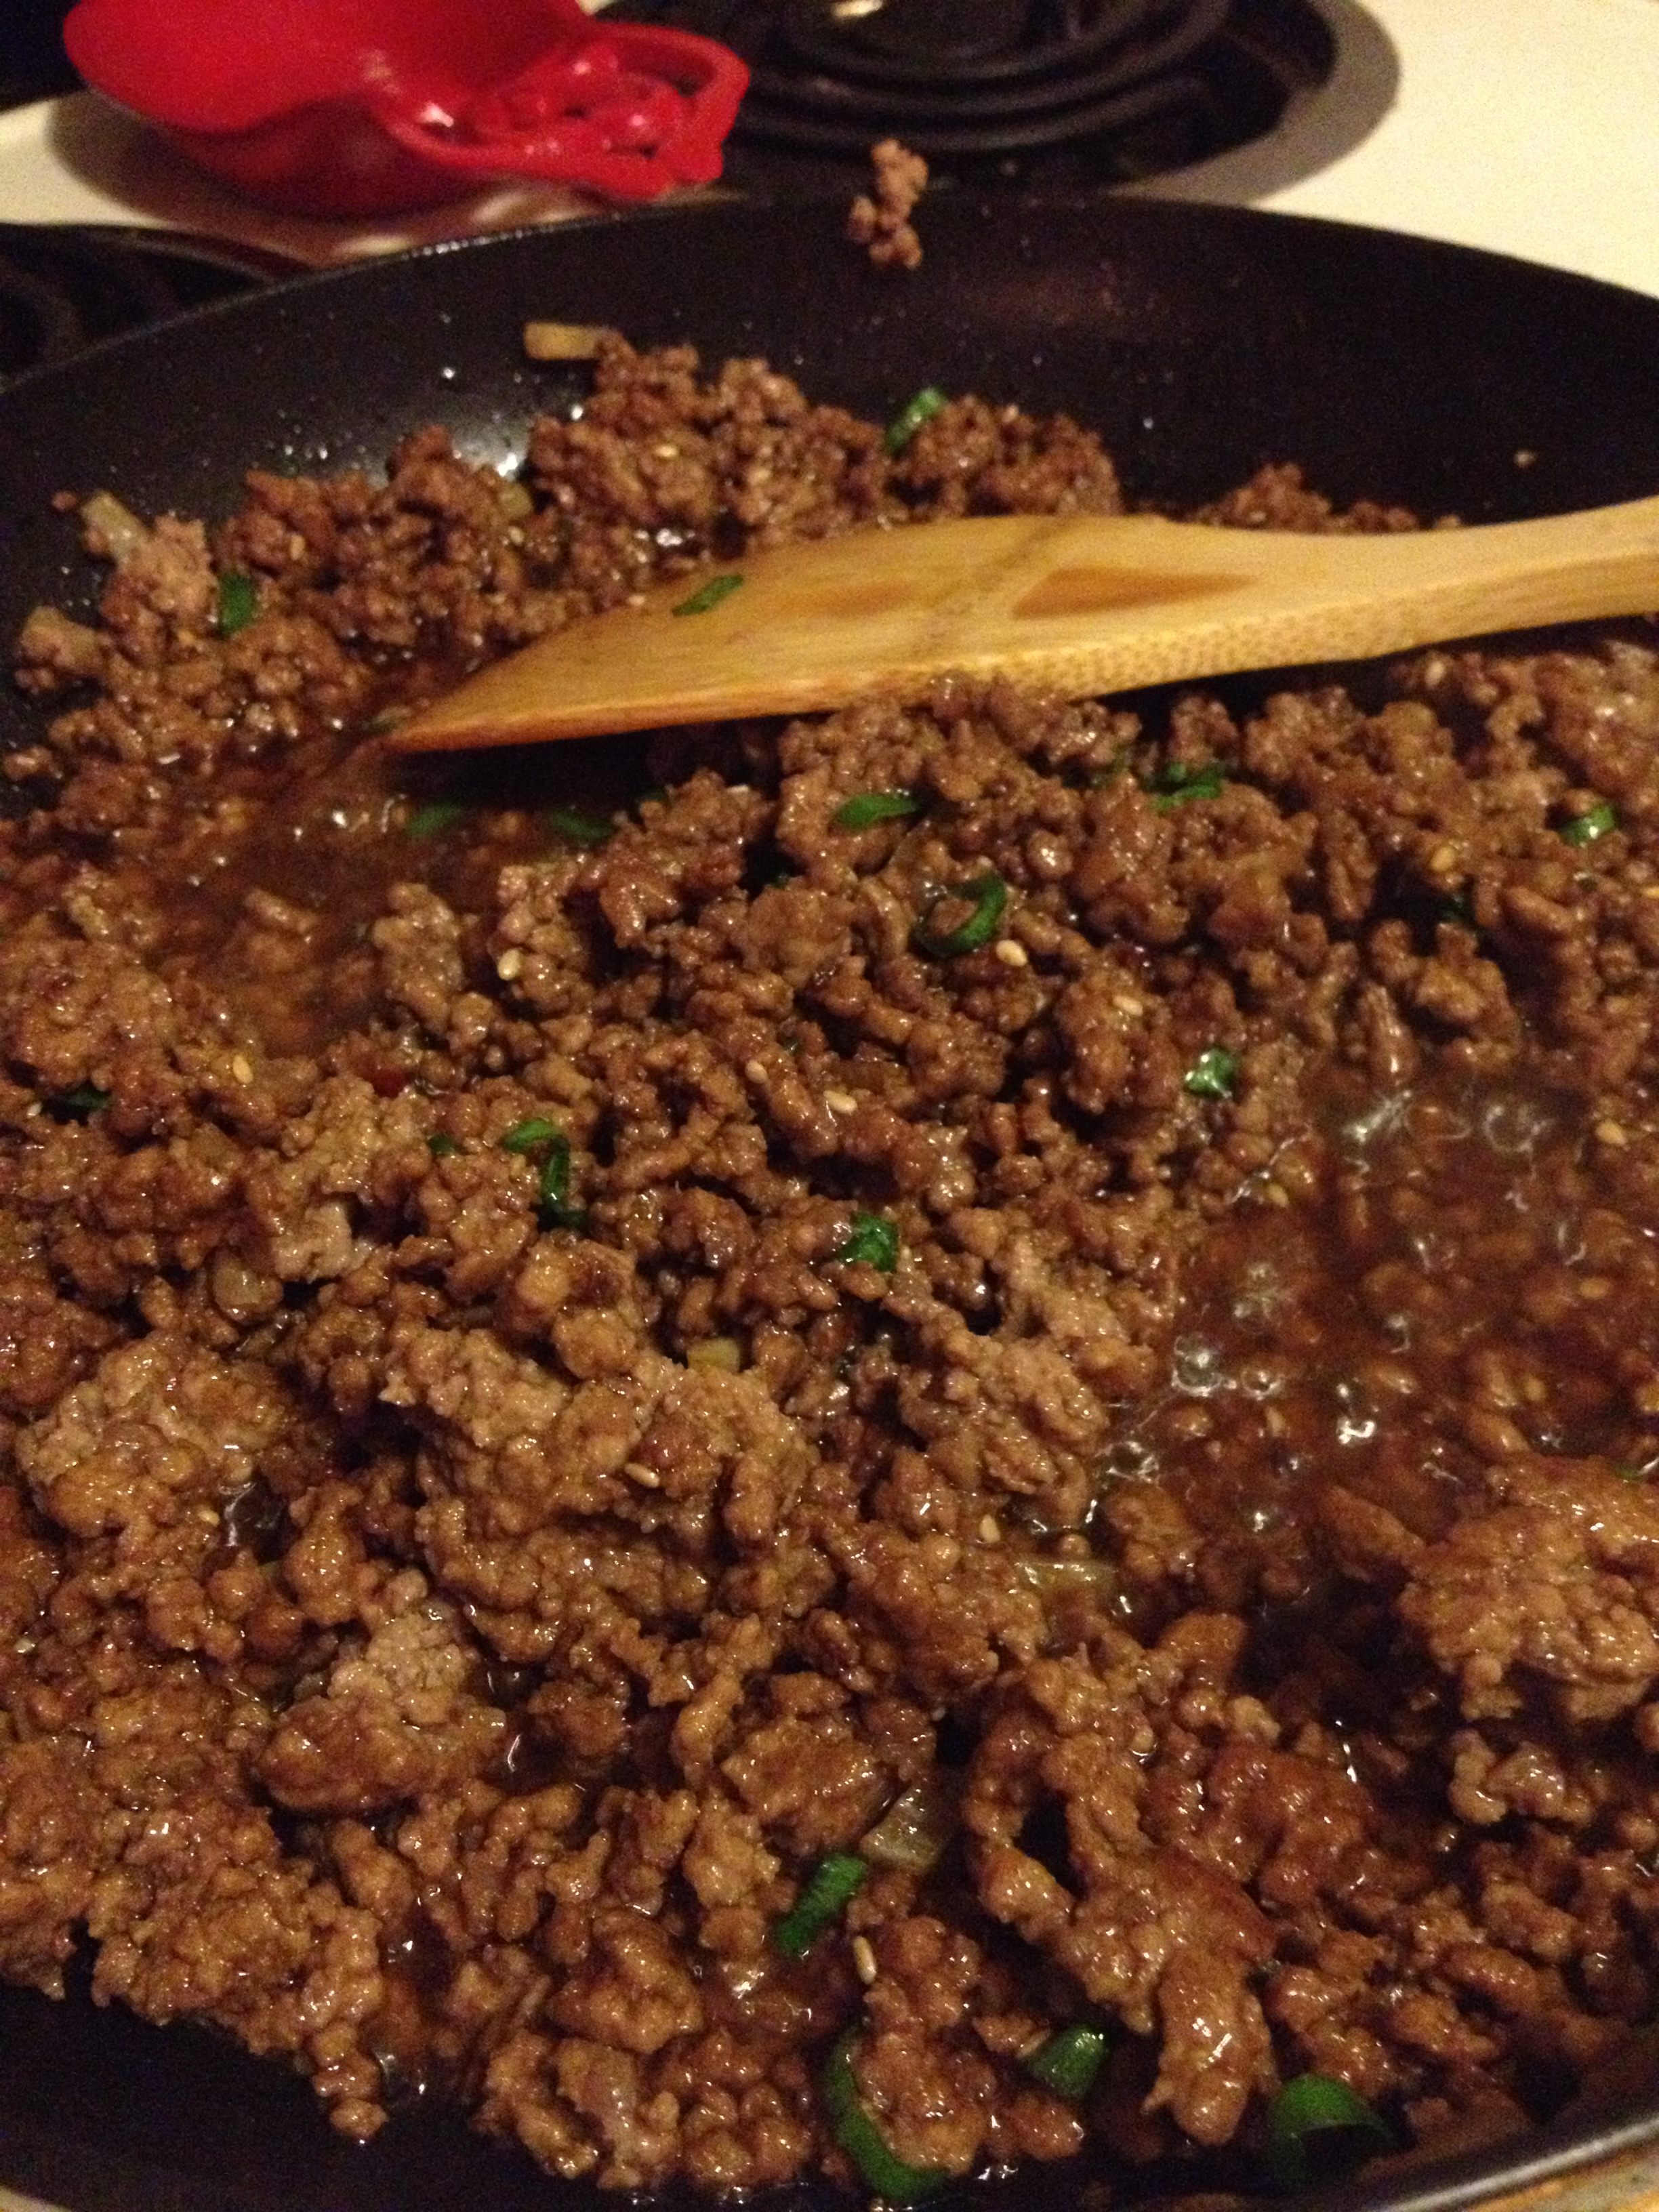
  • Drain the excess fat (ew). Stir in the magical mixture we created at the start, letting it get to all of the meat and soak up the flavor. Add the green onions as well. By this time, it will be smelling goooood. 

photo 1 (19)

  • And serve over rice! It’s smart to cook it beforehand so it’s ready there waiting for you.

photo 2 (16)

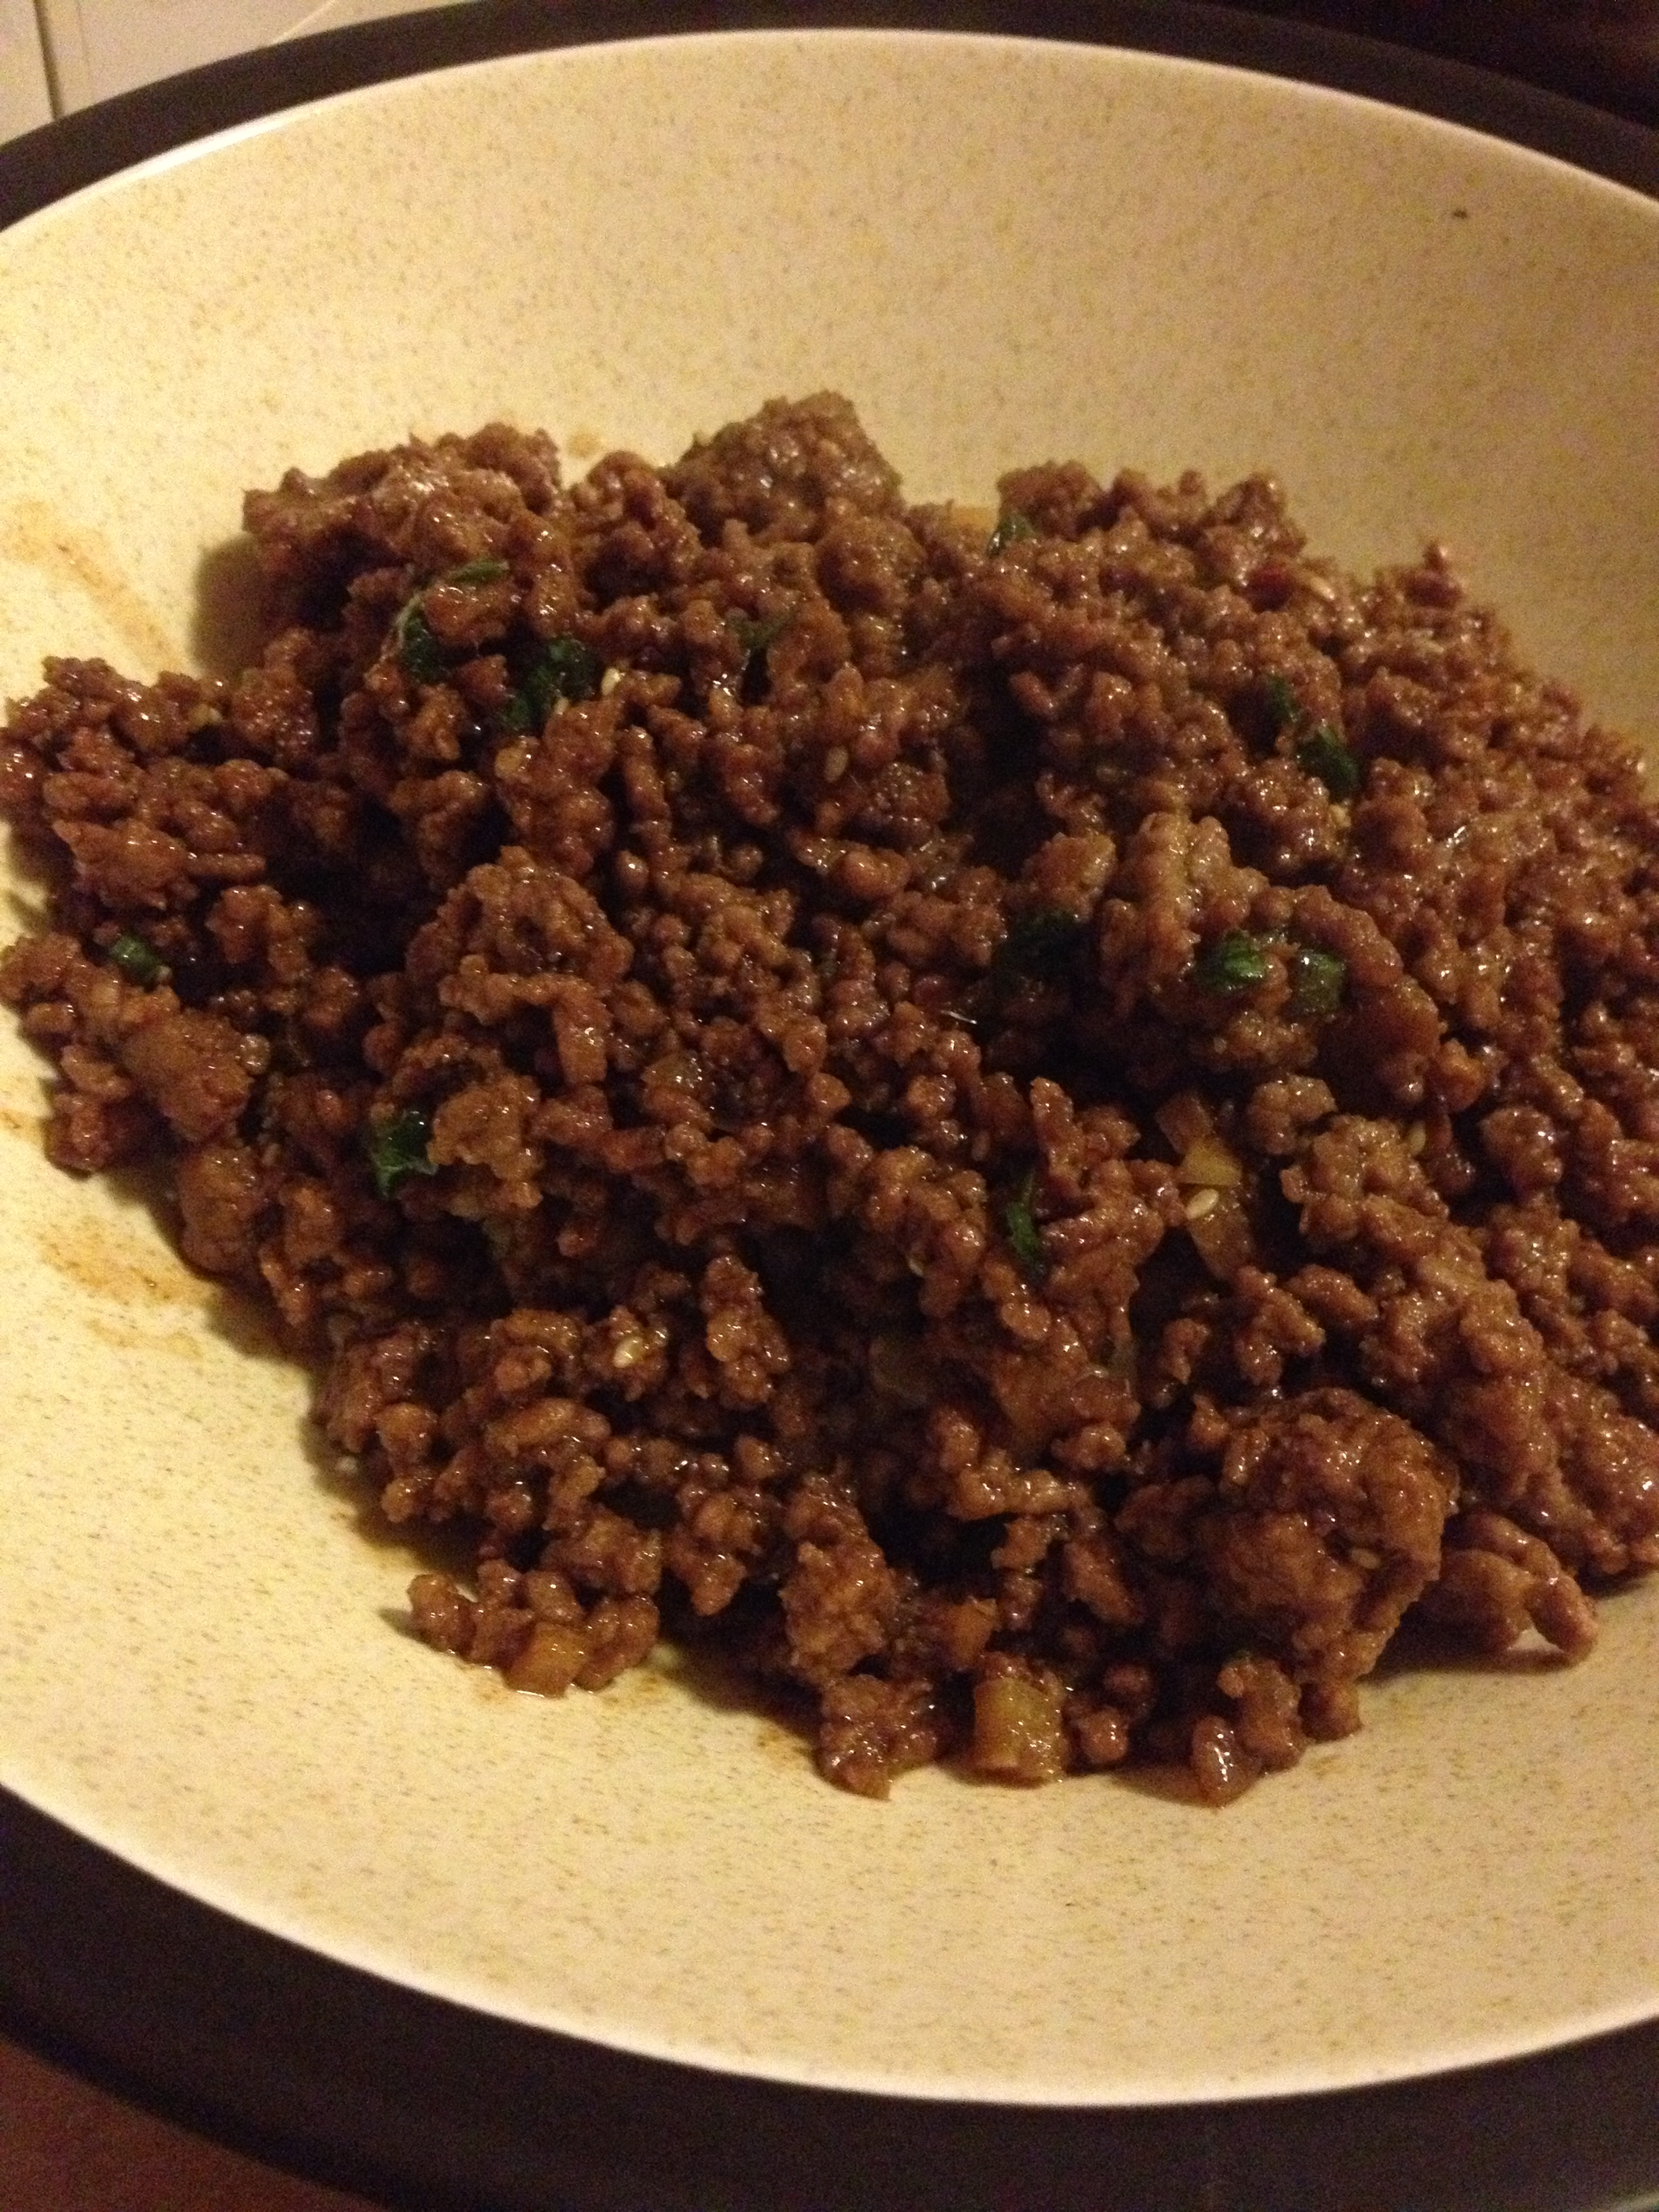
You won’t be able to see the rice in my dish, because it’s smothered by the beef! It was such an easy, quick recipe (perfect for summer days when it’s too hot to cook a lot), I would do it again in a heartbeat. Chris loved it and literally ate the whole pound of ground beef plus the rice. Guess it was alright. Thanks to DamnDelicious for the recipe and use it to stay hungry and fit!

You might also like…

BONUS KITTY PIC

Sajah watching me cook

Sajah watching me cook

spacer

The Perfect July 4th Treat: Stuffed Strawberries

Now that I think about it, it doesn’t need to be July 4th…it can be any nation’s pride day who has red white and blue. And you aren’t limited just to July 4th either because it’s a healthy and delicious treat! I may have served these on July 5th, but that’s only because we already had rhubarb pies made by my grandma. This special dish involves fruit, dairy, and happiness and doesn’t take longer than 15-20 minutes to make! I got it from here and added a bit of lemon into it and took out some sugar.

photo 2 (6)

Prep Time: 15-20 minutes

Cooking Time: …non-existent

Ingredients

  • a tin of strawberries (I just usually get the regular pound at the grocery)
  • a tin of blueberries (same thing)
  • 5 oz marscapone
  • juice of a lemon
  • lemon zest
  • 2 tbsp powdered sugar
  • 1 tsp vanilla

Directions

  • Wash the fruit and pat dry all of it
Beautiful sight

Beautiful sight

  • Take the strawberries and cut the green ends off and also a little portion of the tip so they can stand upright on a platter
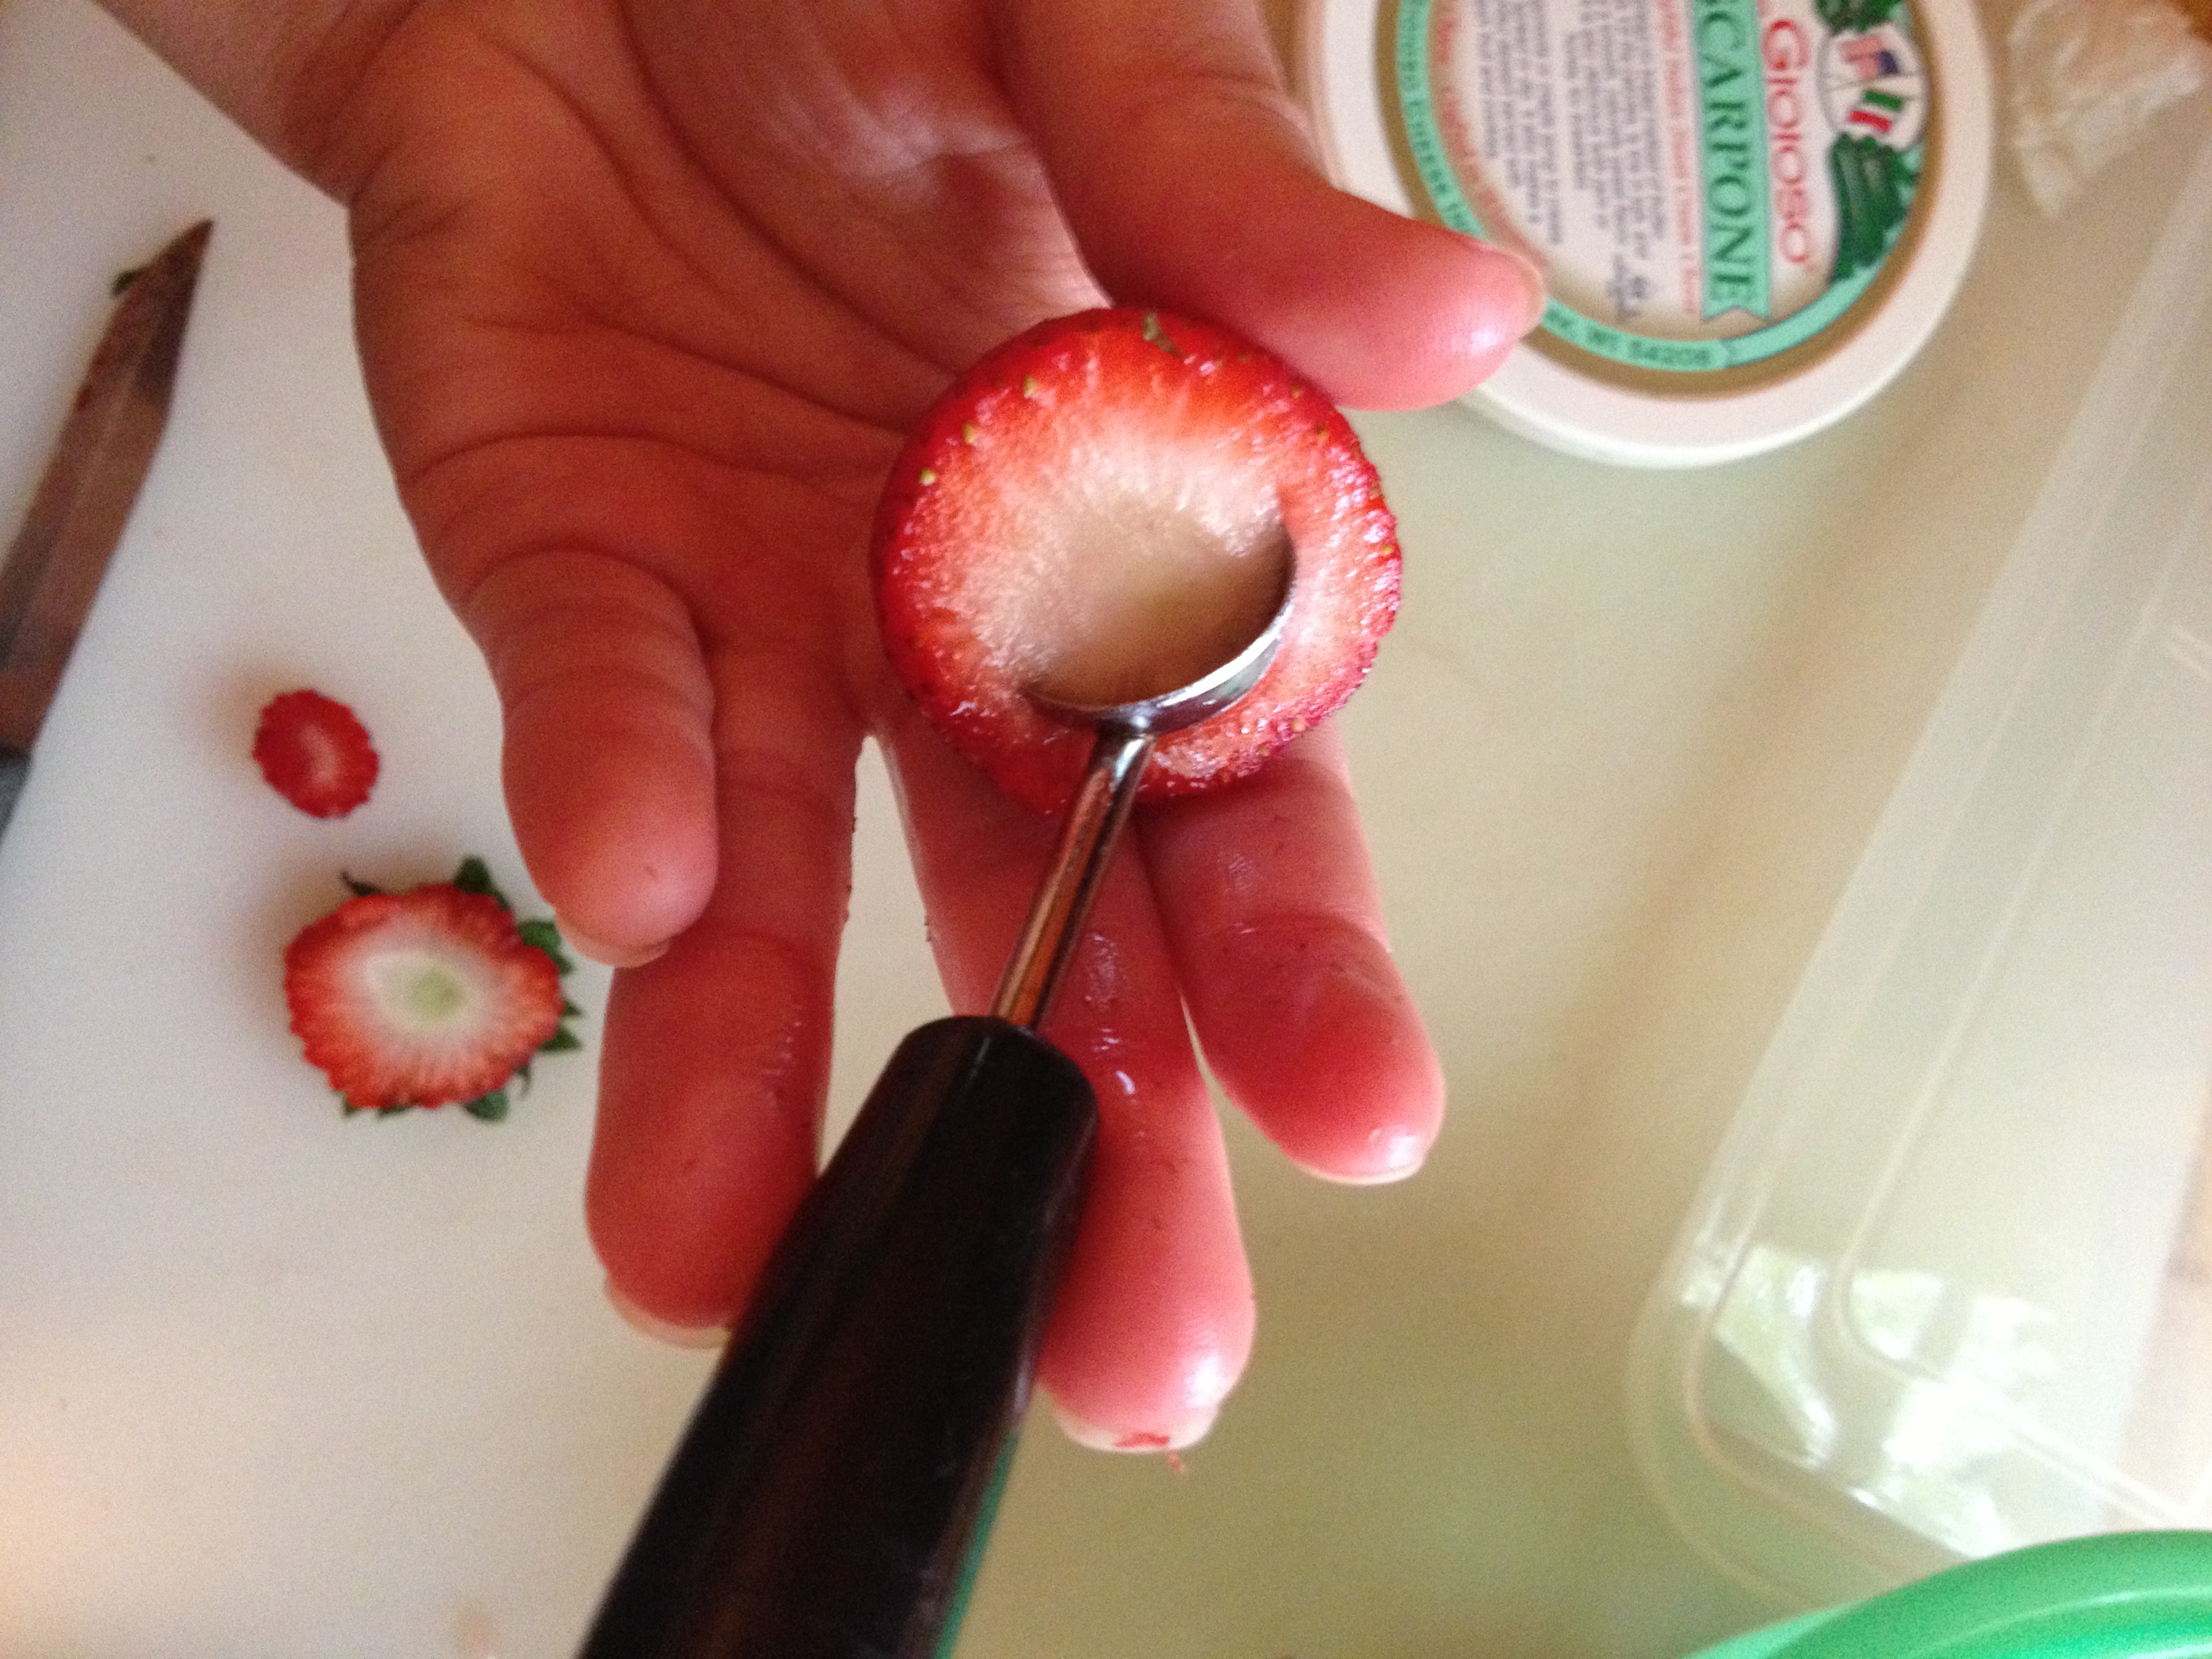
  • Take a melon baller and ball out of the bottom, creating a crevasse.

photo 2 (5)

photo 3 (5)

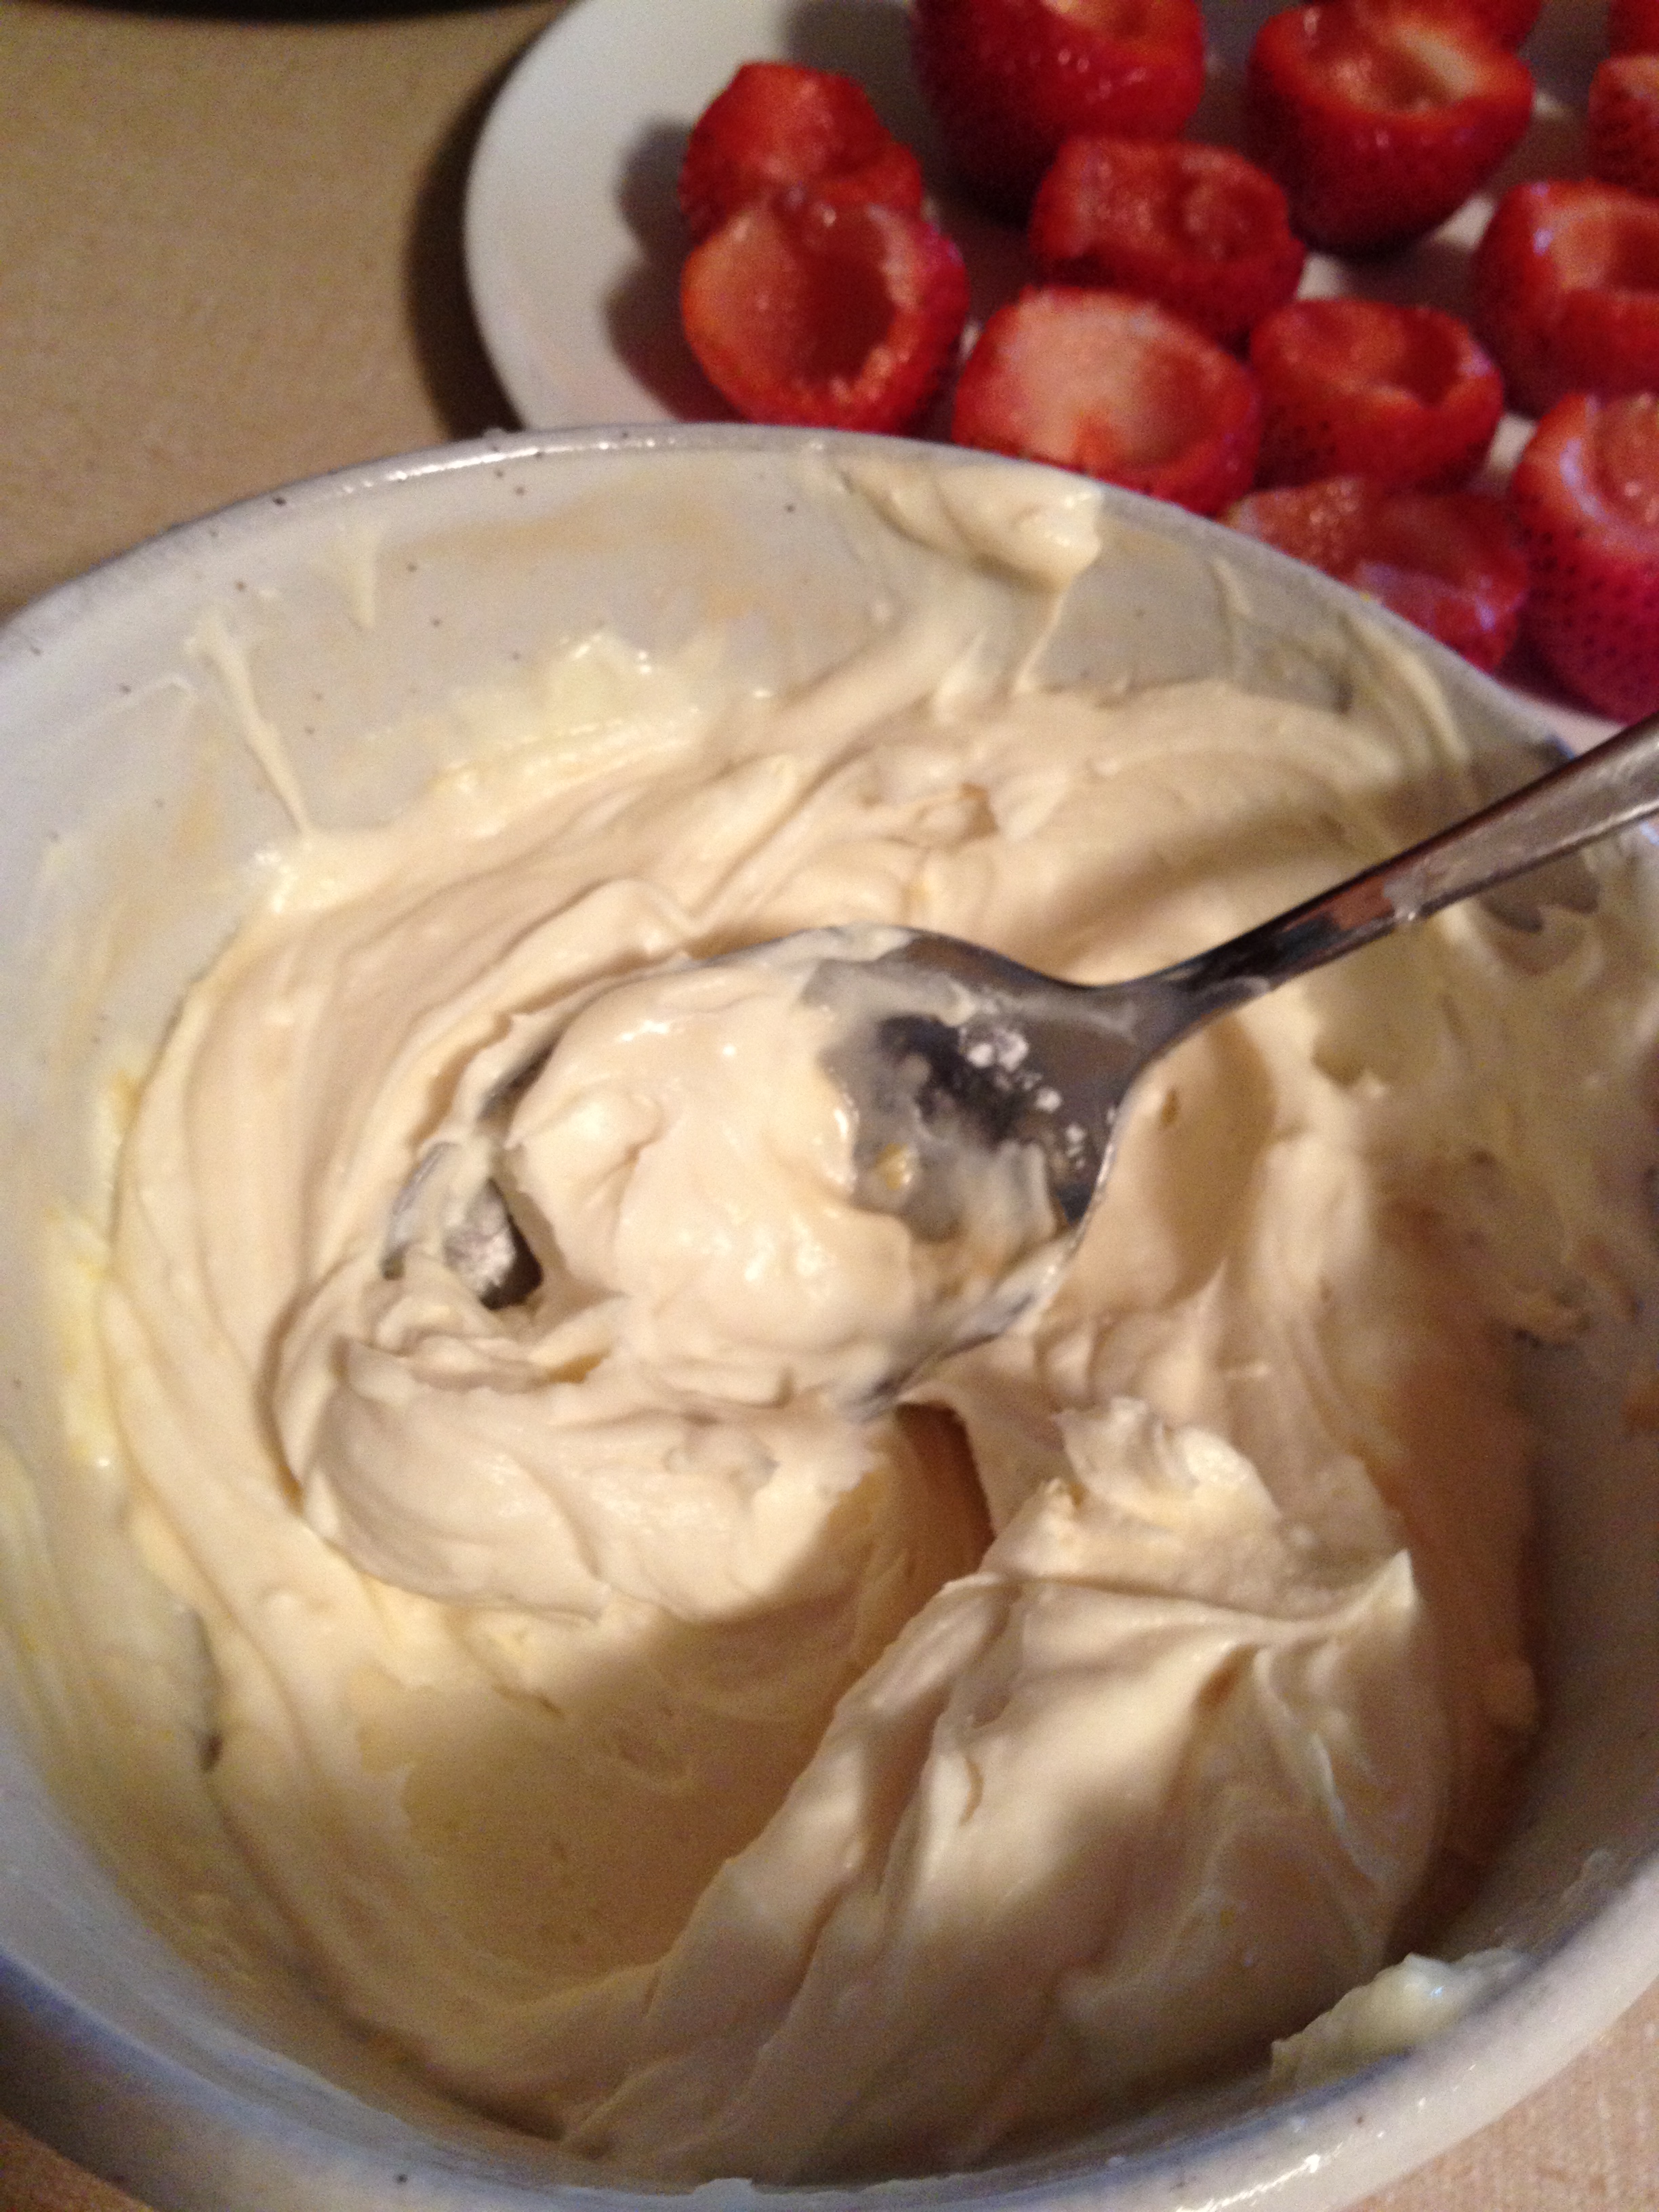
  • Once your strawberries are all “pitted” and plated, let’s turn to the filling. Put 5 ounces of marscapone cheese and put it in a small-medium bowl
  • I would next do the lemon juice. Cut the lemon in half and squeeeeeze all that juice out.
  • Next, grind the lemon on a grater and get a good amount of zest (people say 1 tsp, but I eyeball it)
  • Then, throw the powdered sugar and vanilla in and stir! Mix it all up really well
Hard not to eat it all

Hard not to eat it all

  • Now comes the most difficult part: take the marscapone mixture and put it into a re-sealable bag and snip a corner off. Use this contraption to fill the pits in the strawberries up with the mixture

photo 5 (3)

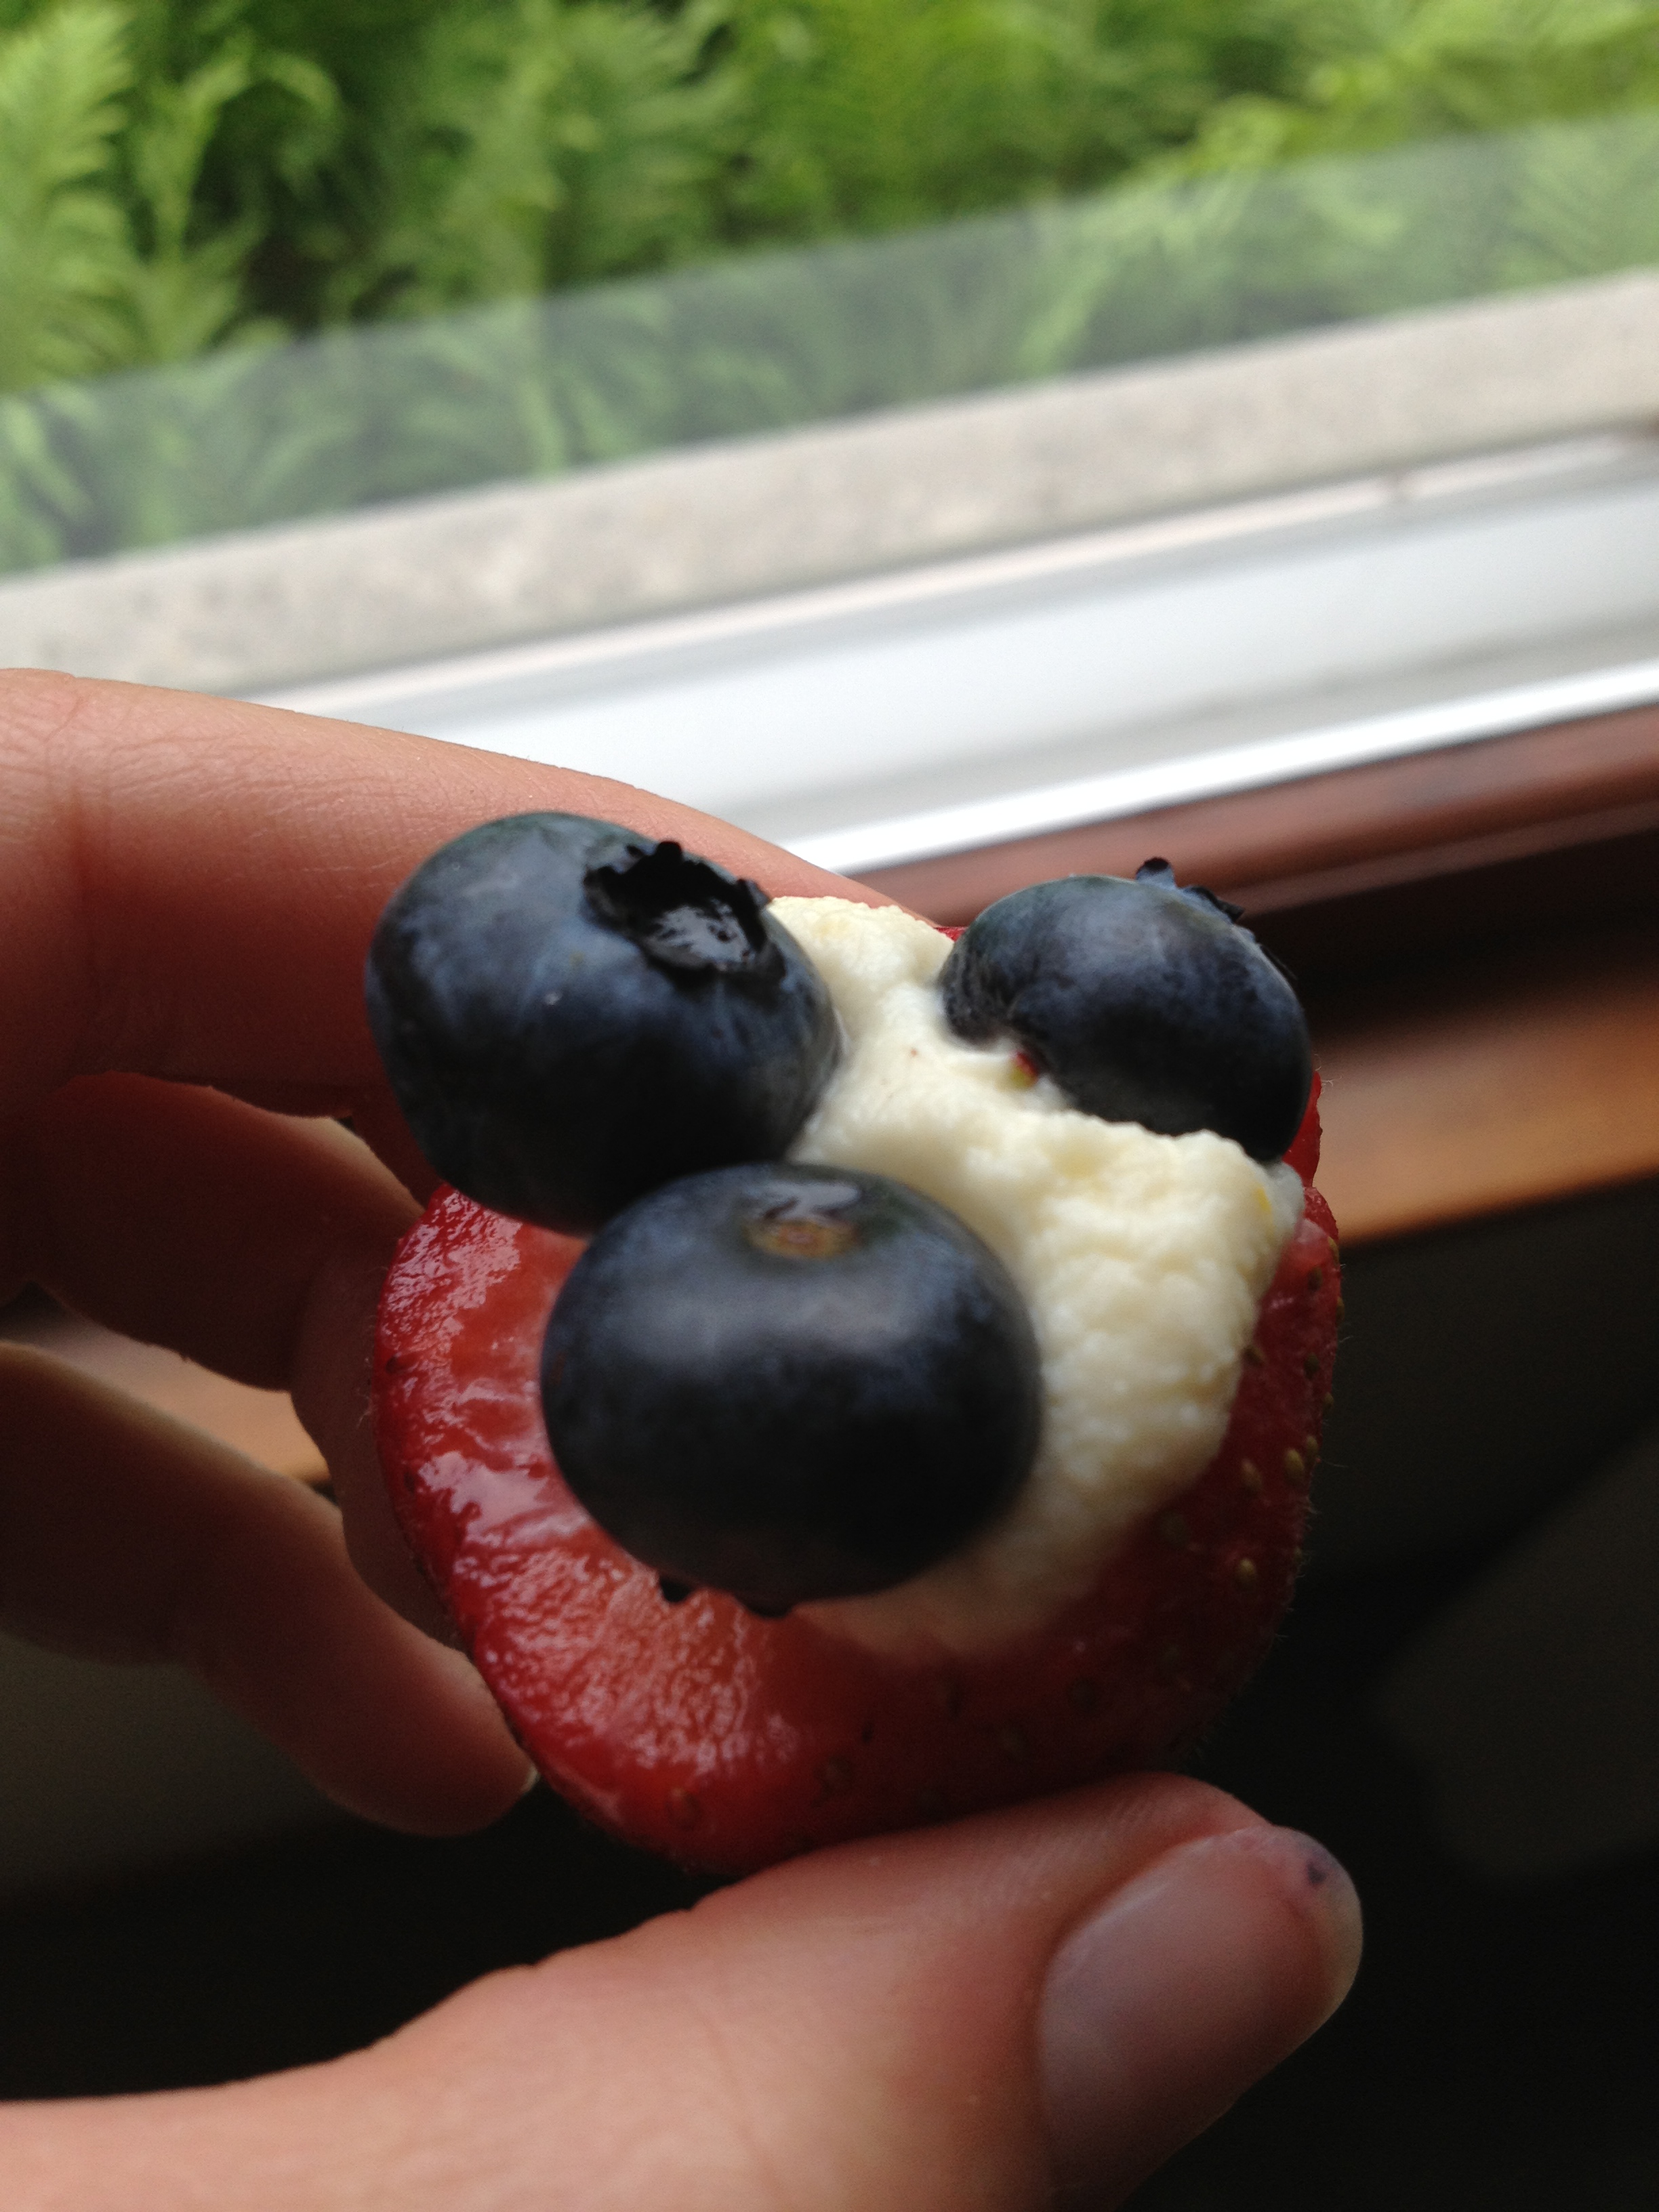
  • Once all the strawberries are filled to perfection, place the blueberries on top of the cream in the strawberries. And that’s it!
Yum yum yum

Yum yum yum

This is an easy, healthy treat you can substitute for pie or something else you’d like to stay away from on those holiday food feasts. Fresh fruit and sweet cheese. How could it go wrong? It’s easy to do, pretty to the eye, and delicious enough to impress. Make this recipe if you’re looking to stay hungry and fit! 

photo 3 (7)

You might also like…

spacer

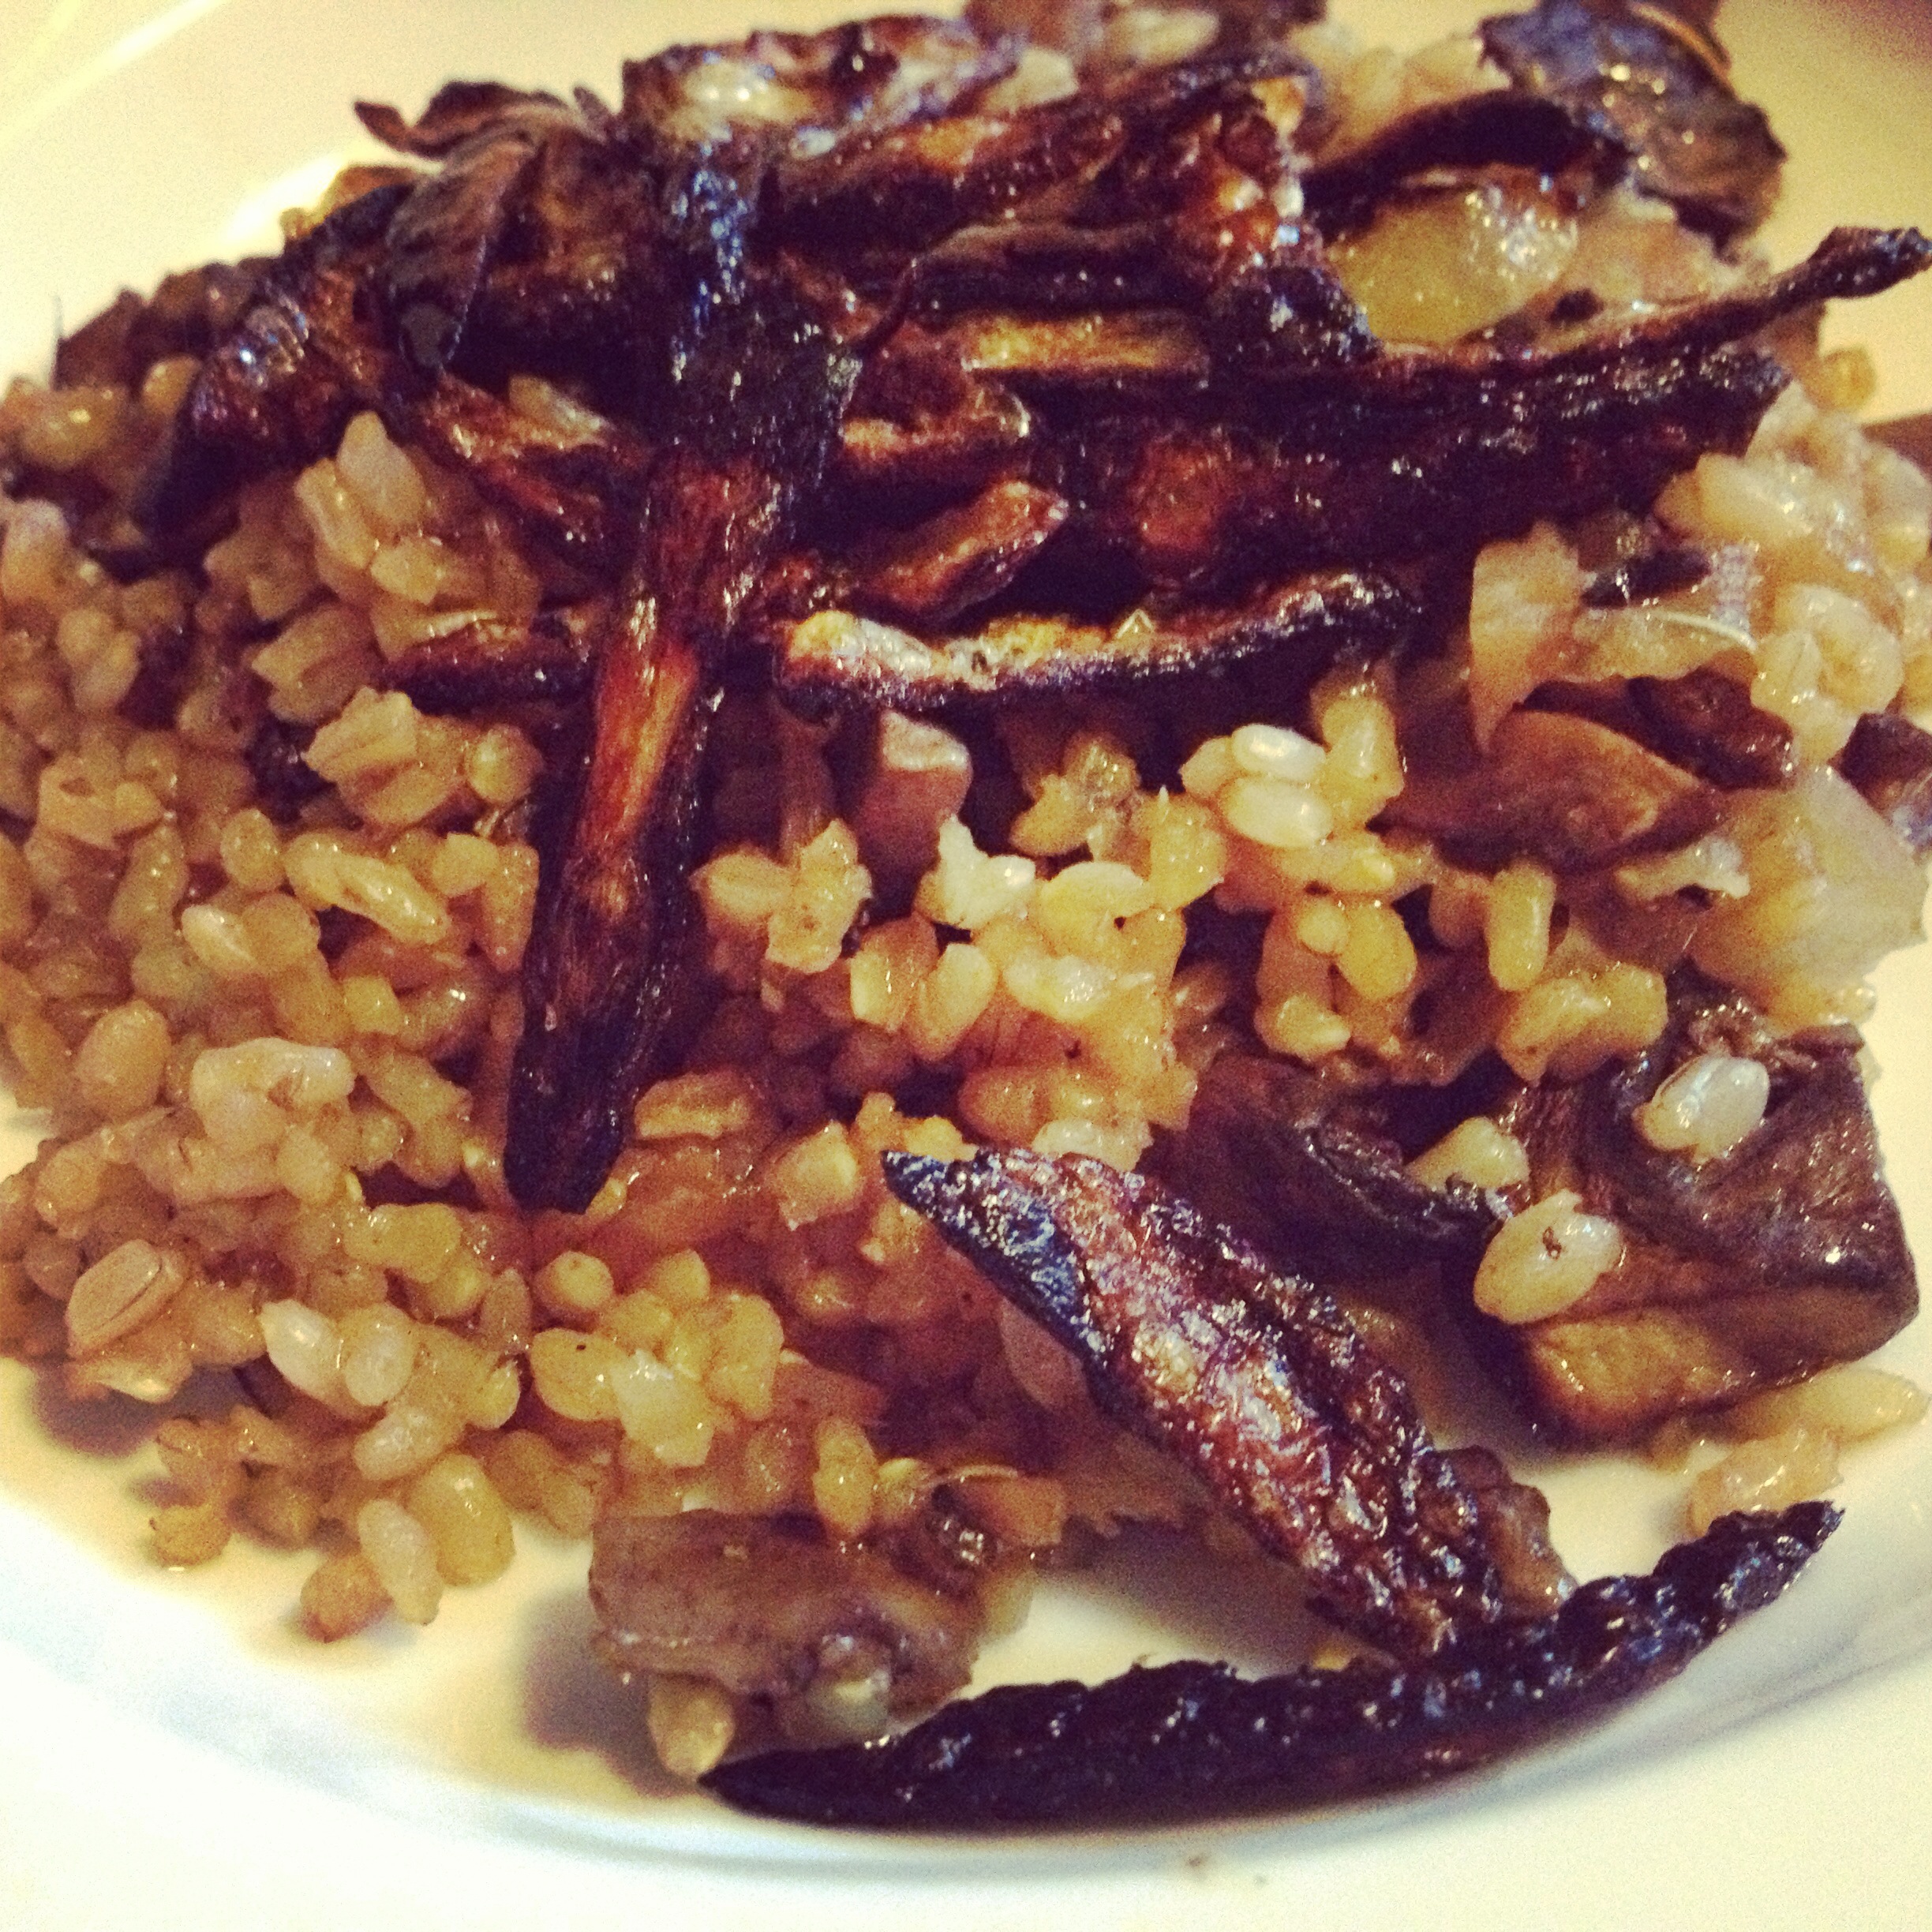
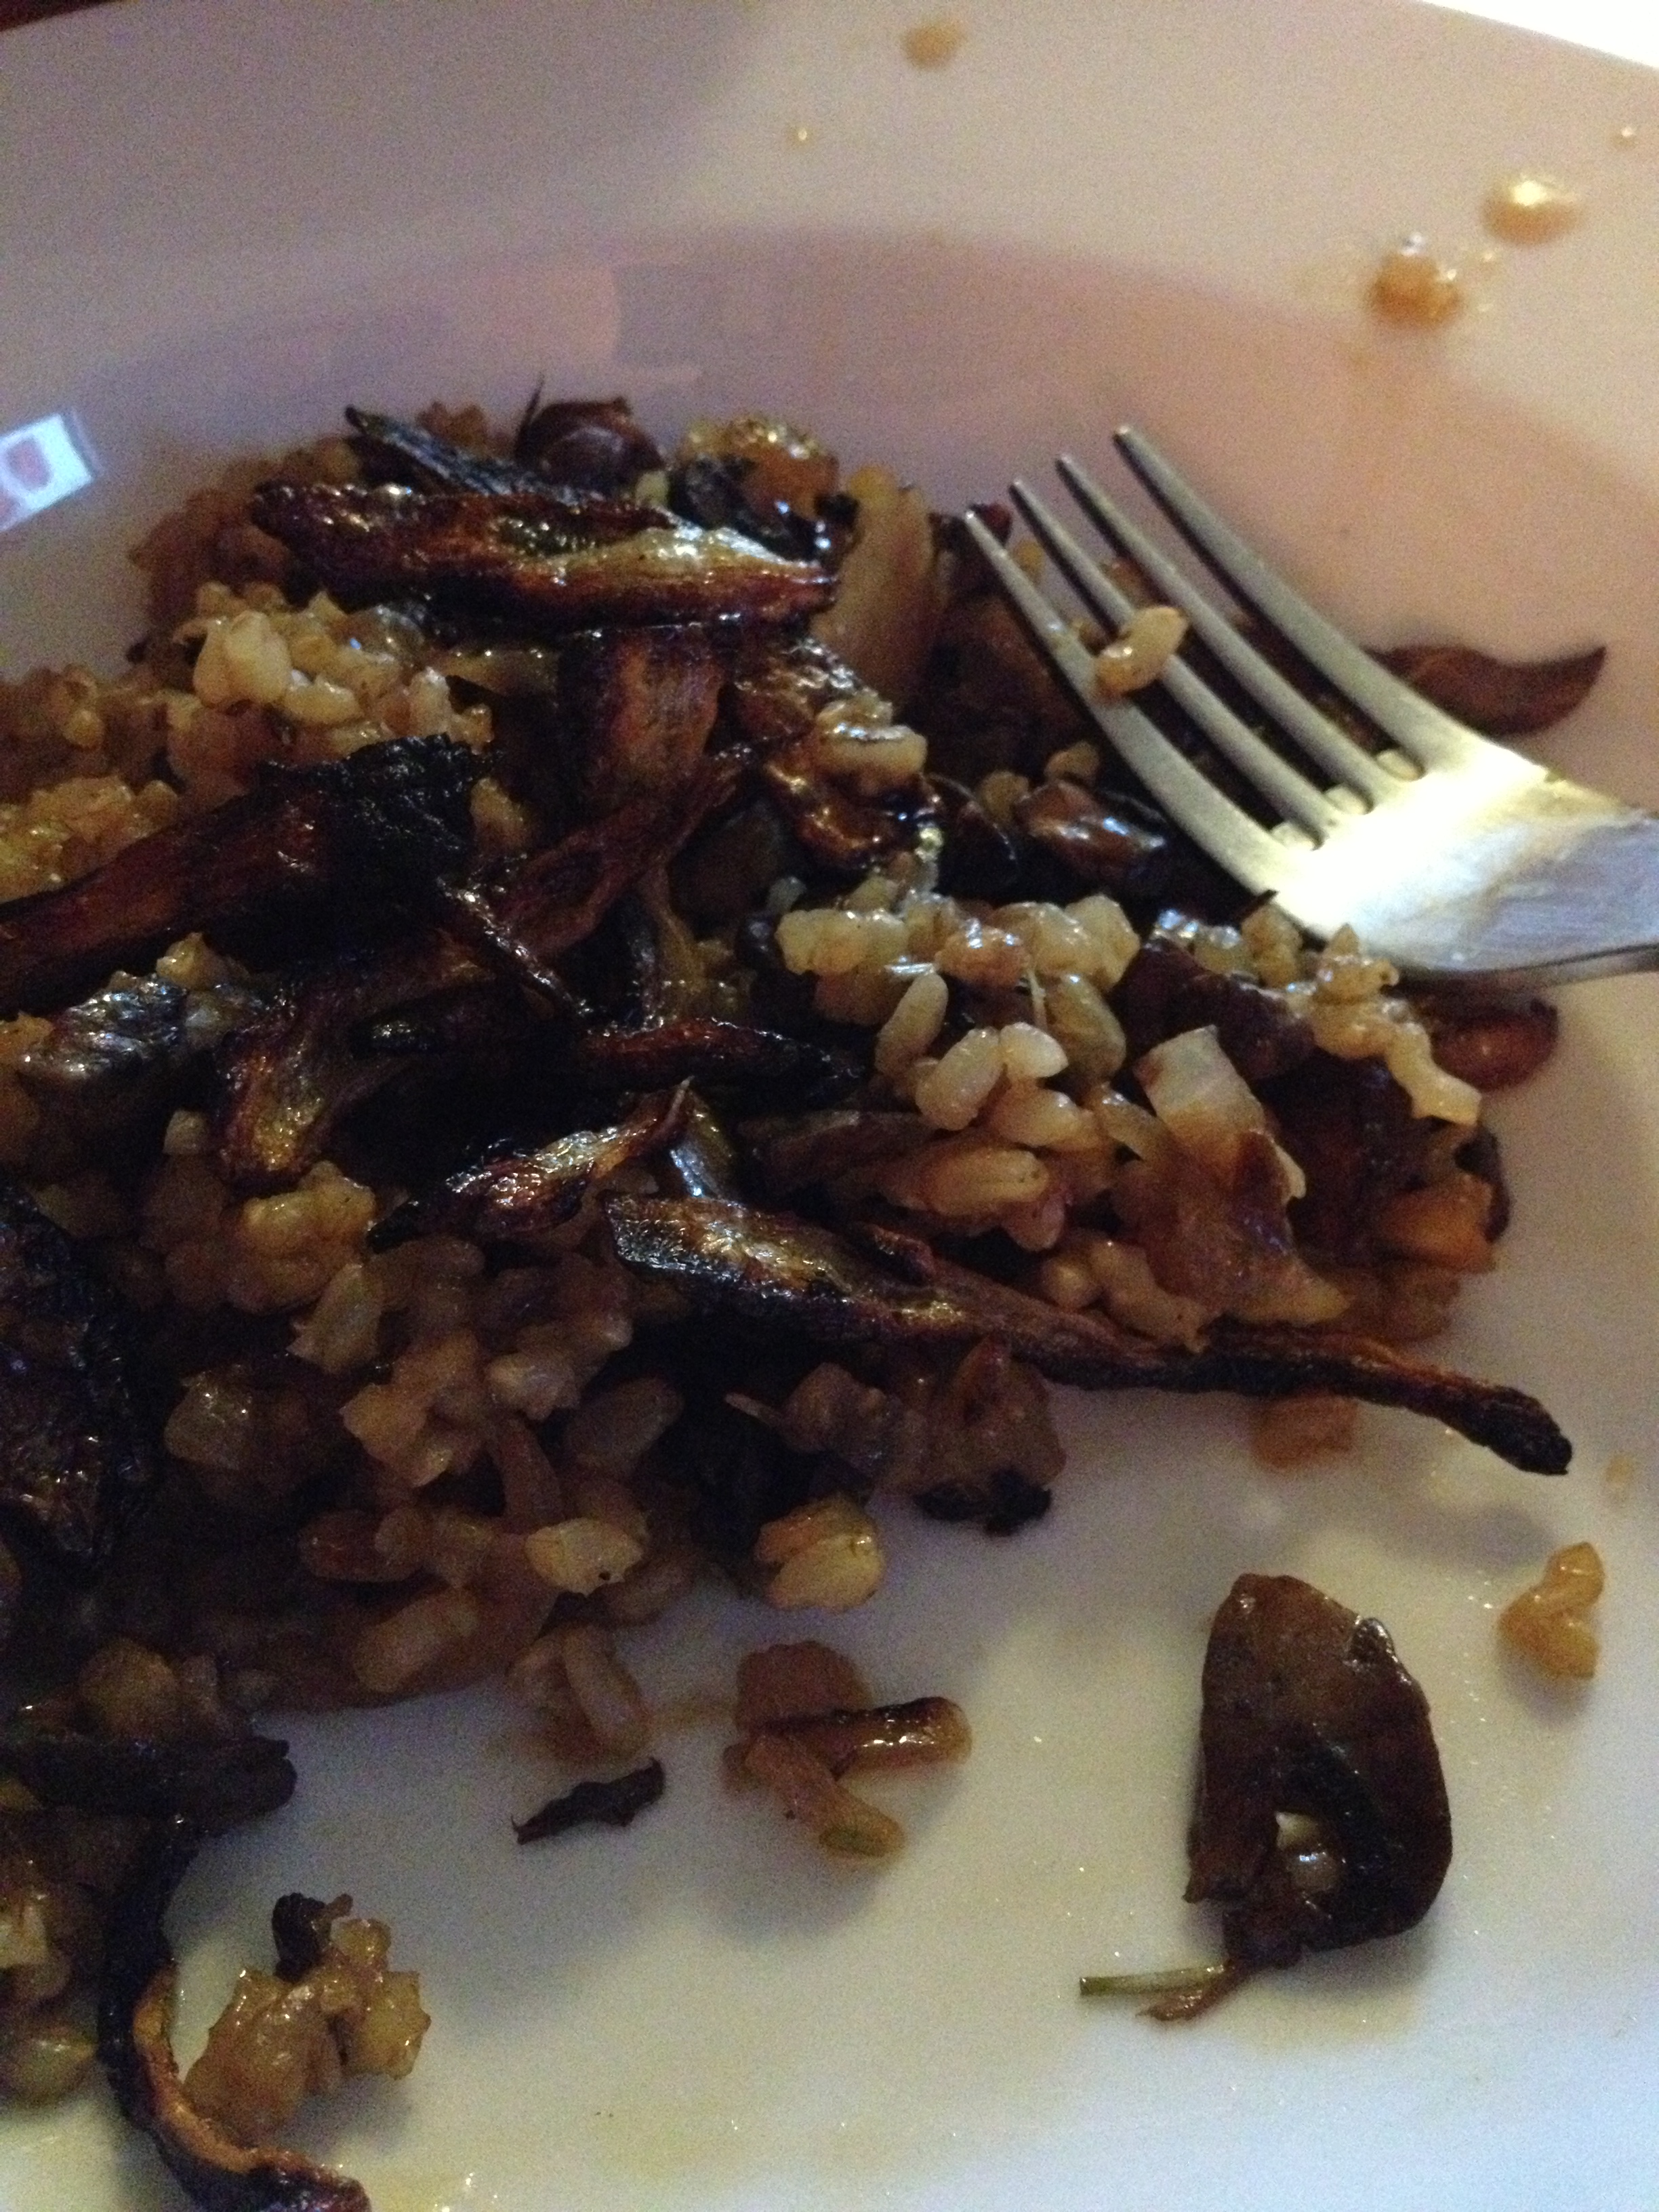
A Healthy Take on Risotto: Mushrooms and Onions Please!

As you know, I’m in an extreme clean-eating phase right now, prepping for contest. Thus, I can’t always cook or bake what I want. I’m okay with it, I’m staying strong and working hard—and I actually enjoy the food, even though it may be bland to some. Anyhow, I found a delicious recipe that fit my macros with some to spare—without skimping on flavor. I used brown rice instead of risotto or white rice. Chris had about three servings of this—he loved it and made me promise I would cook it again. Did I mention this is vegan?

photo 3 (3)

The recipe I found here, was kind of intimidating. It was a lot of steps and different instructions for seemingly the same ingredients. However, I gave myself a good hour and next time I make it, it will take half the time. When I do something once, I learn quickly and usually adept the next time around. I learn by doing, just how I am. This recipe is extremely altered that I don’t even want to base it on that link, but that’s what inspired me. I can’t say I’m a genius, because I don’t come up with ways to make it better, I am just making do with ingredients I have (or don’t have). Alright, let’s get started.

  • Prep Time: 25-45 minutes
  • Cooking Time: 35 minutes
  • Serves: 4 normal people (for us—fed me and Chris…3 servings)

Ingredients

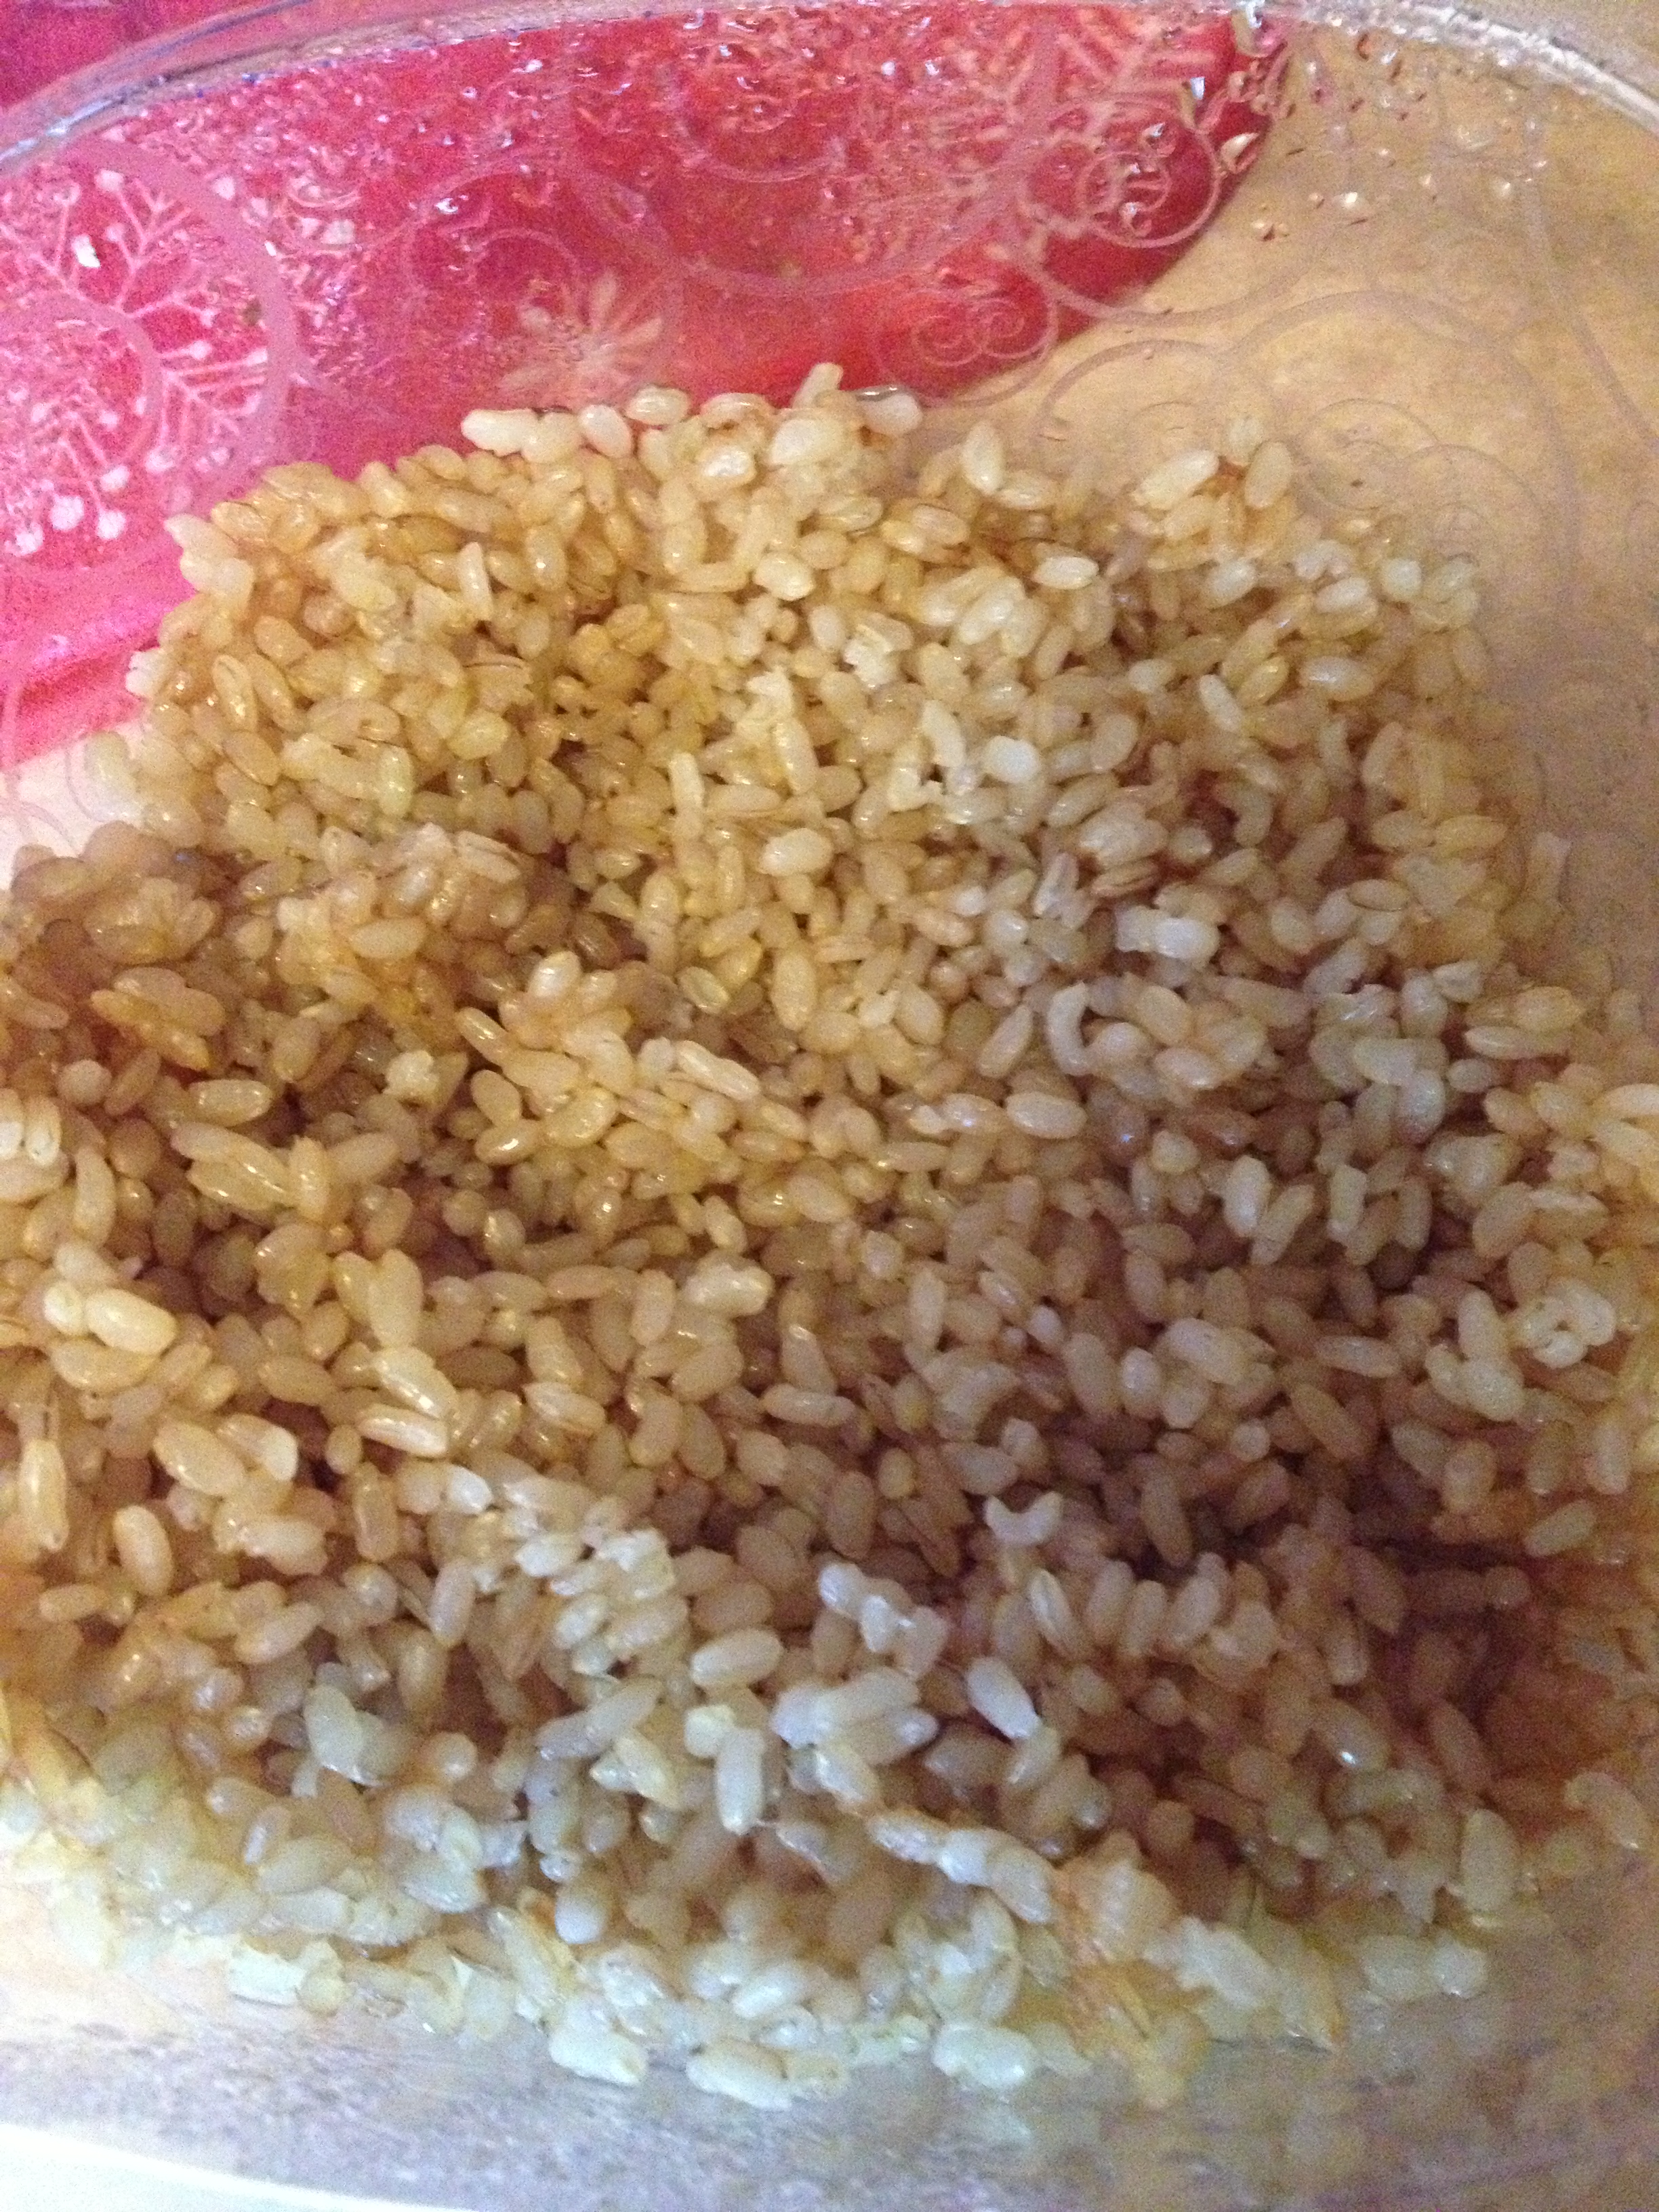
  • 1.5- 2 cups cooked brown rice
  • 2 cups vegetable broth
  • 1 yellow onion
  • 1 package brown mushrooms
  • 2 tablespoons olive oil
  • 1 teaspoon dried rosemary (use fresh if you can)
  • as much garlic as you want (I used elephant garlic, so…A TON)
  • 2 tablespoons balsamic vinegar
  • 2 cups boiling water
  • ½ cup dry white wine
  • salt & pepper

Directions

  • Pre-heat oven to 300 degrees F
  • Cut your onion in half. Put one half to the side and leave one half on cutting board.
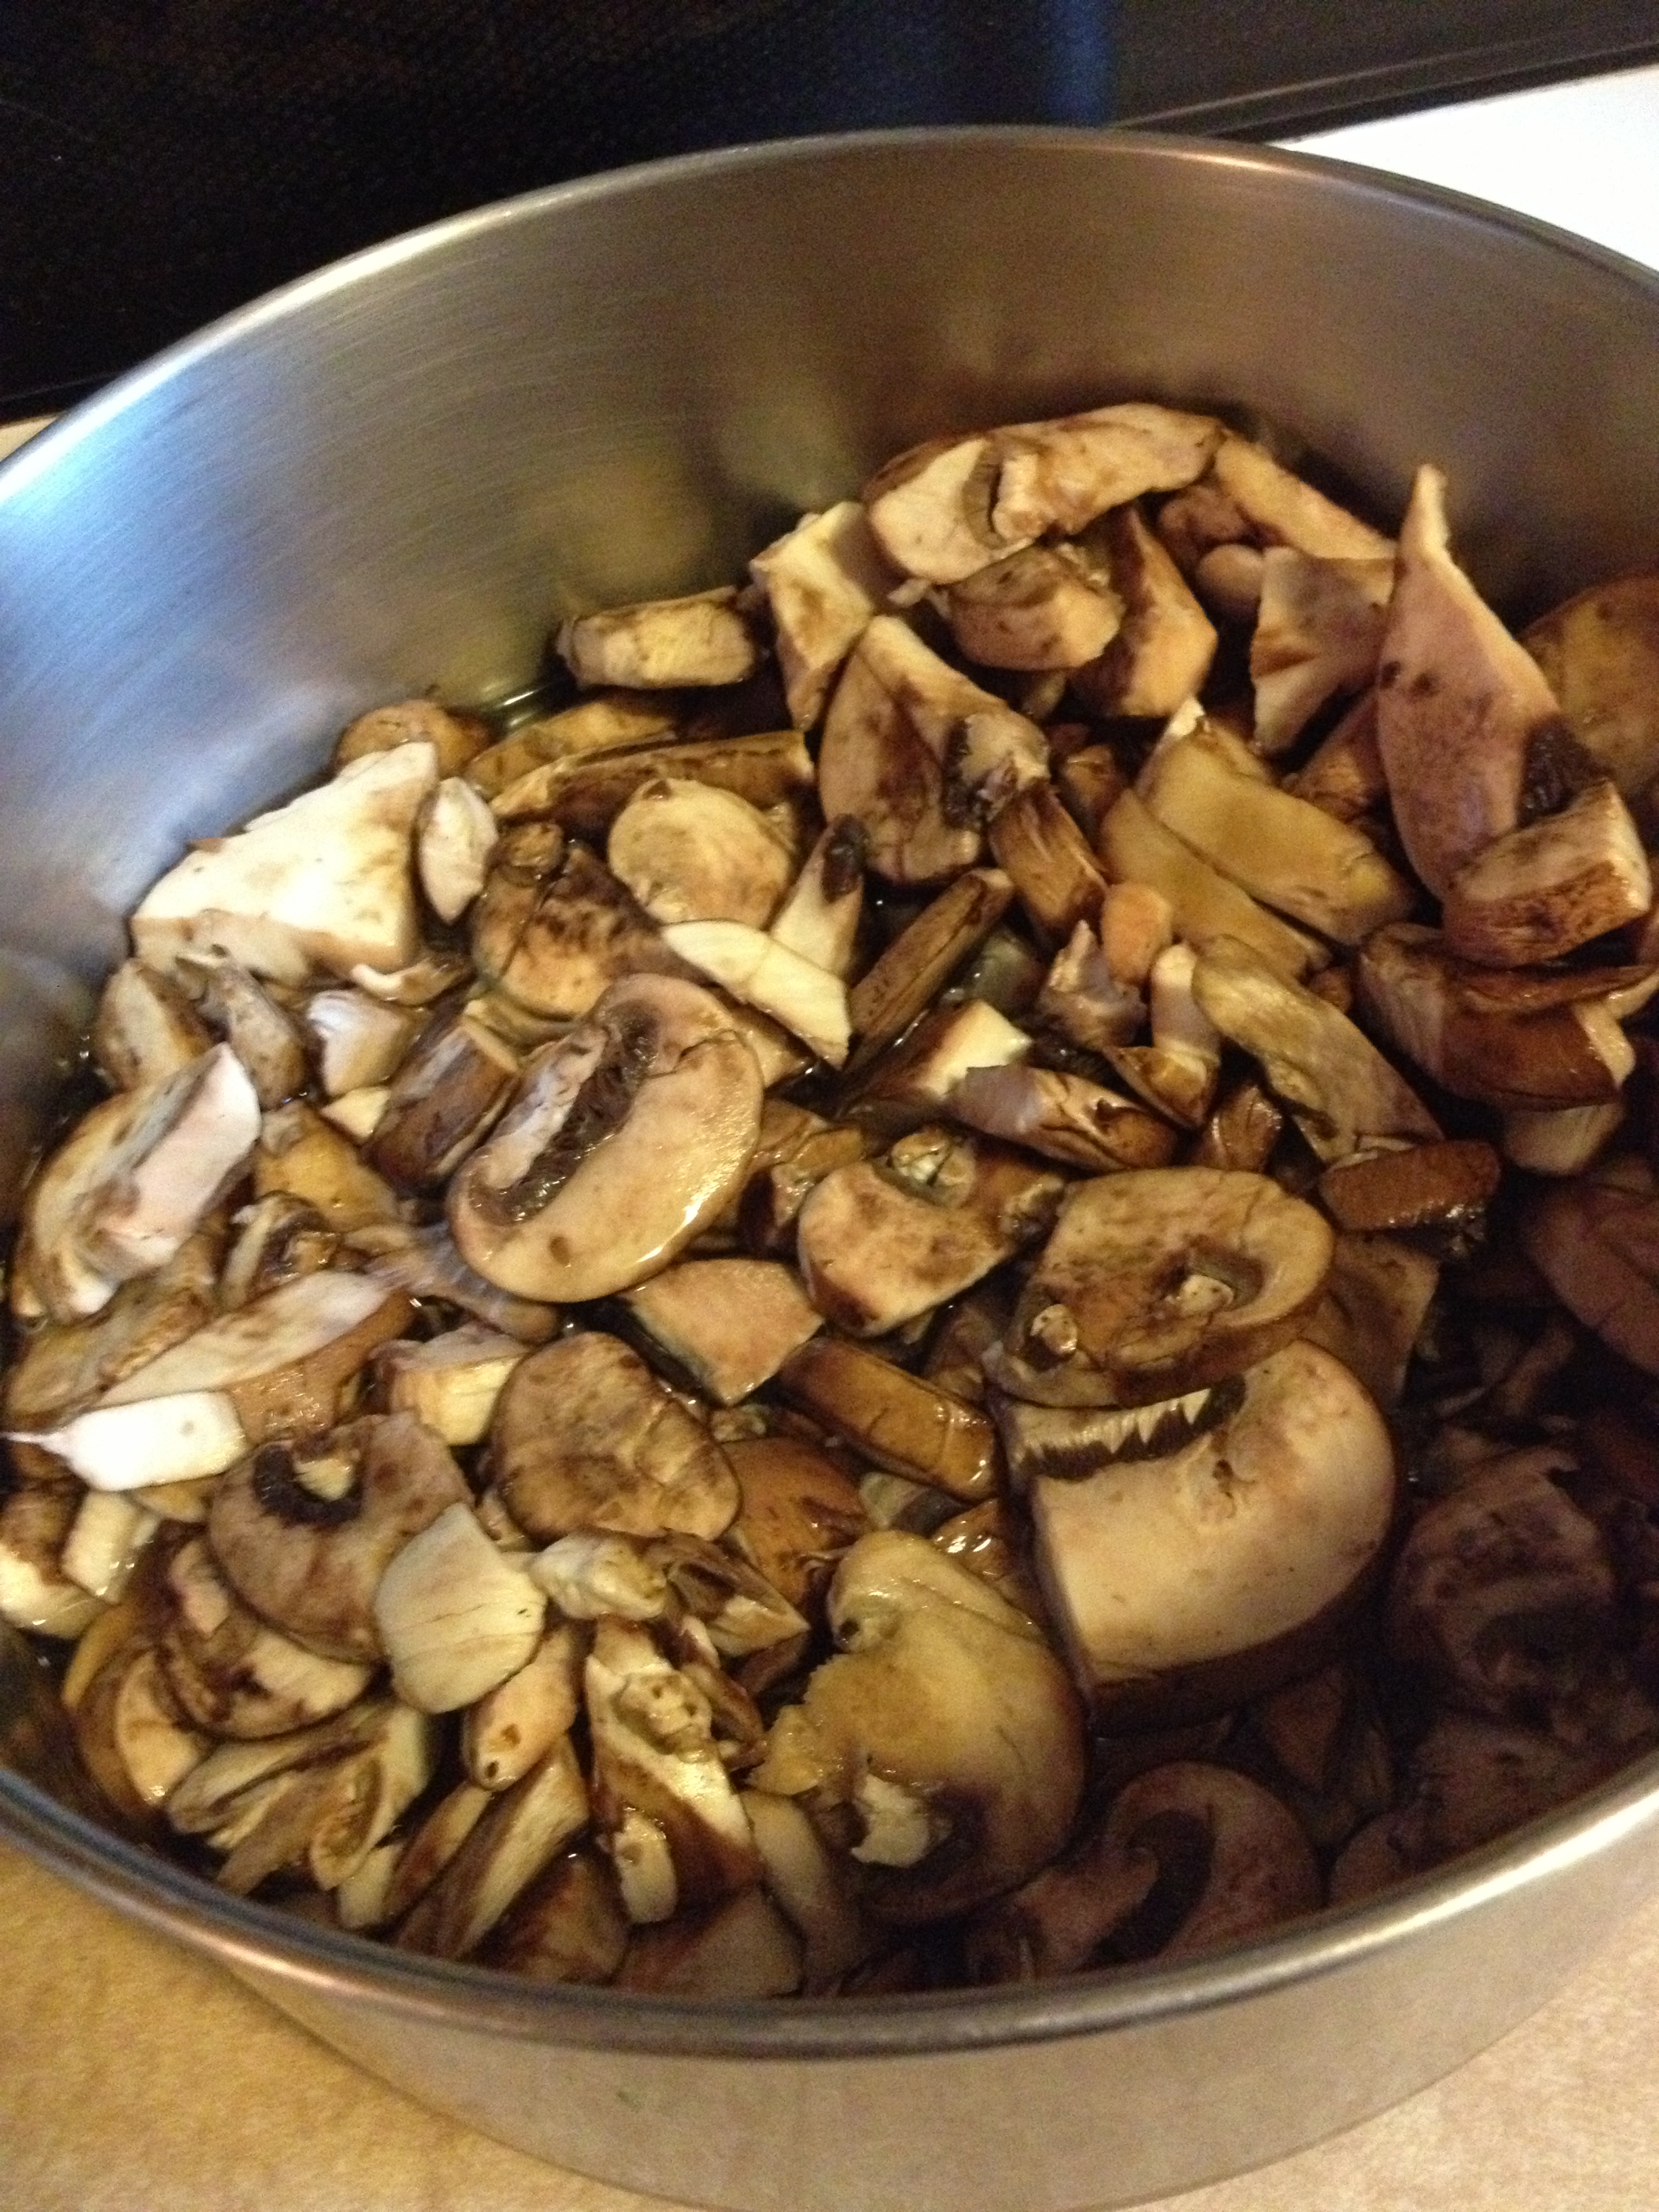
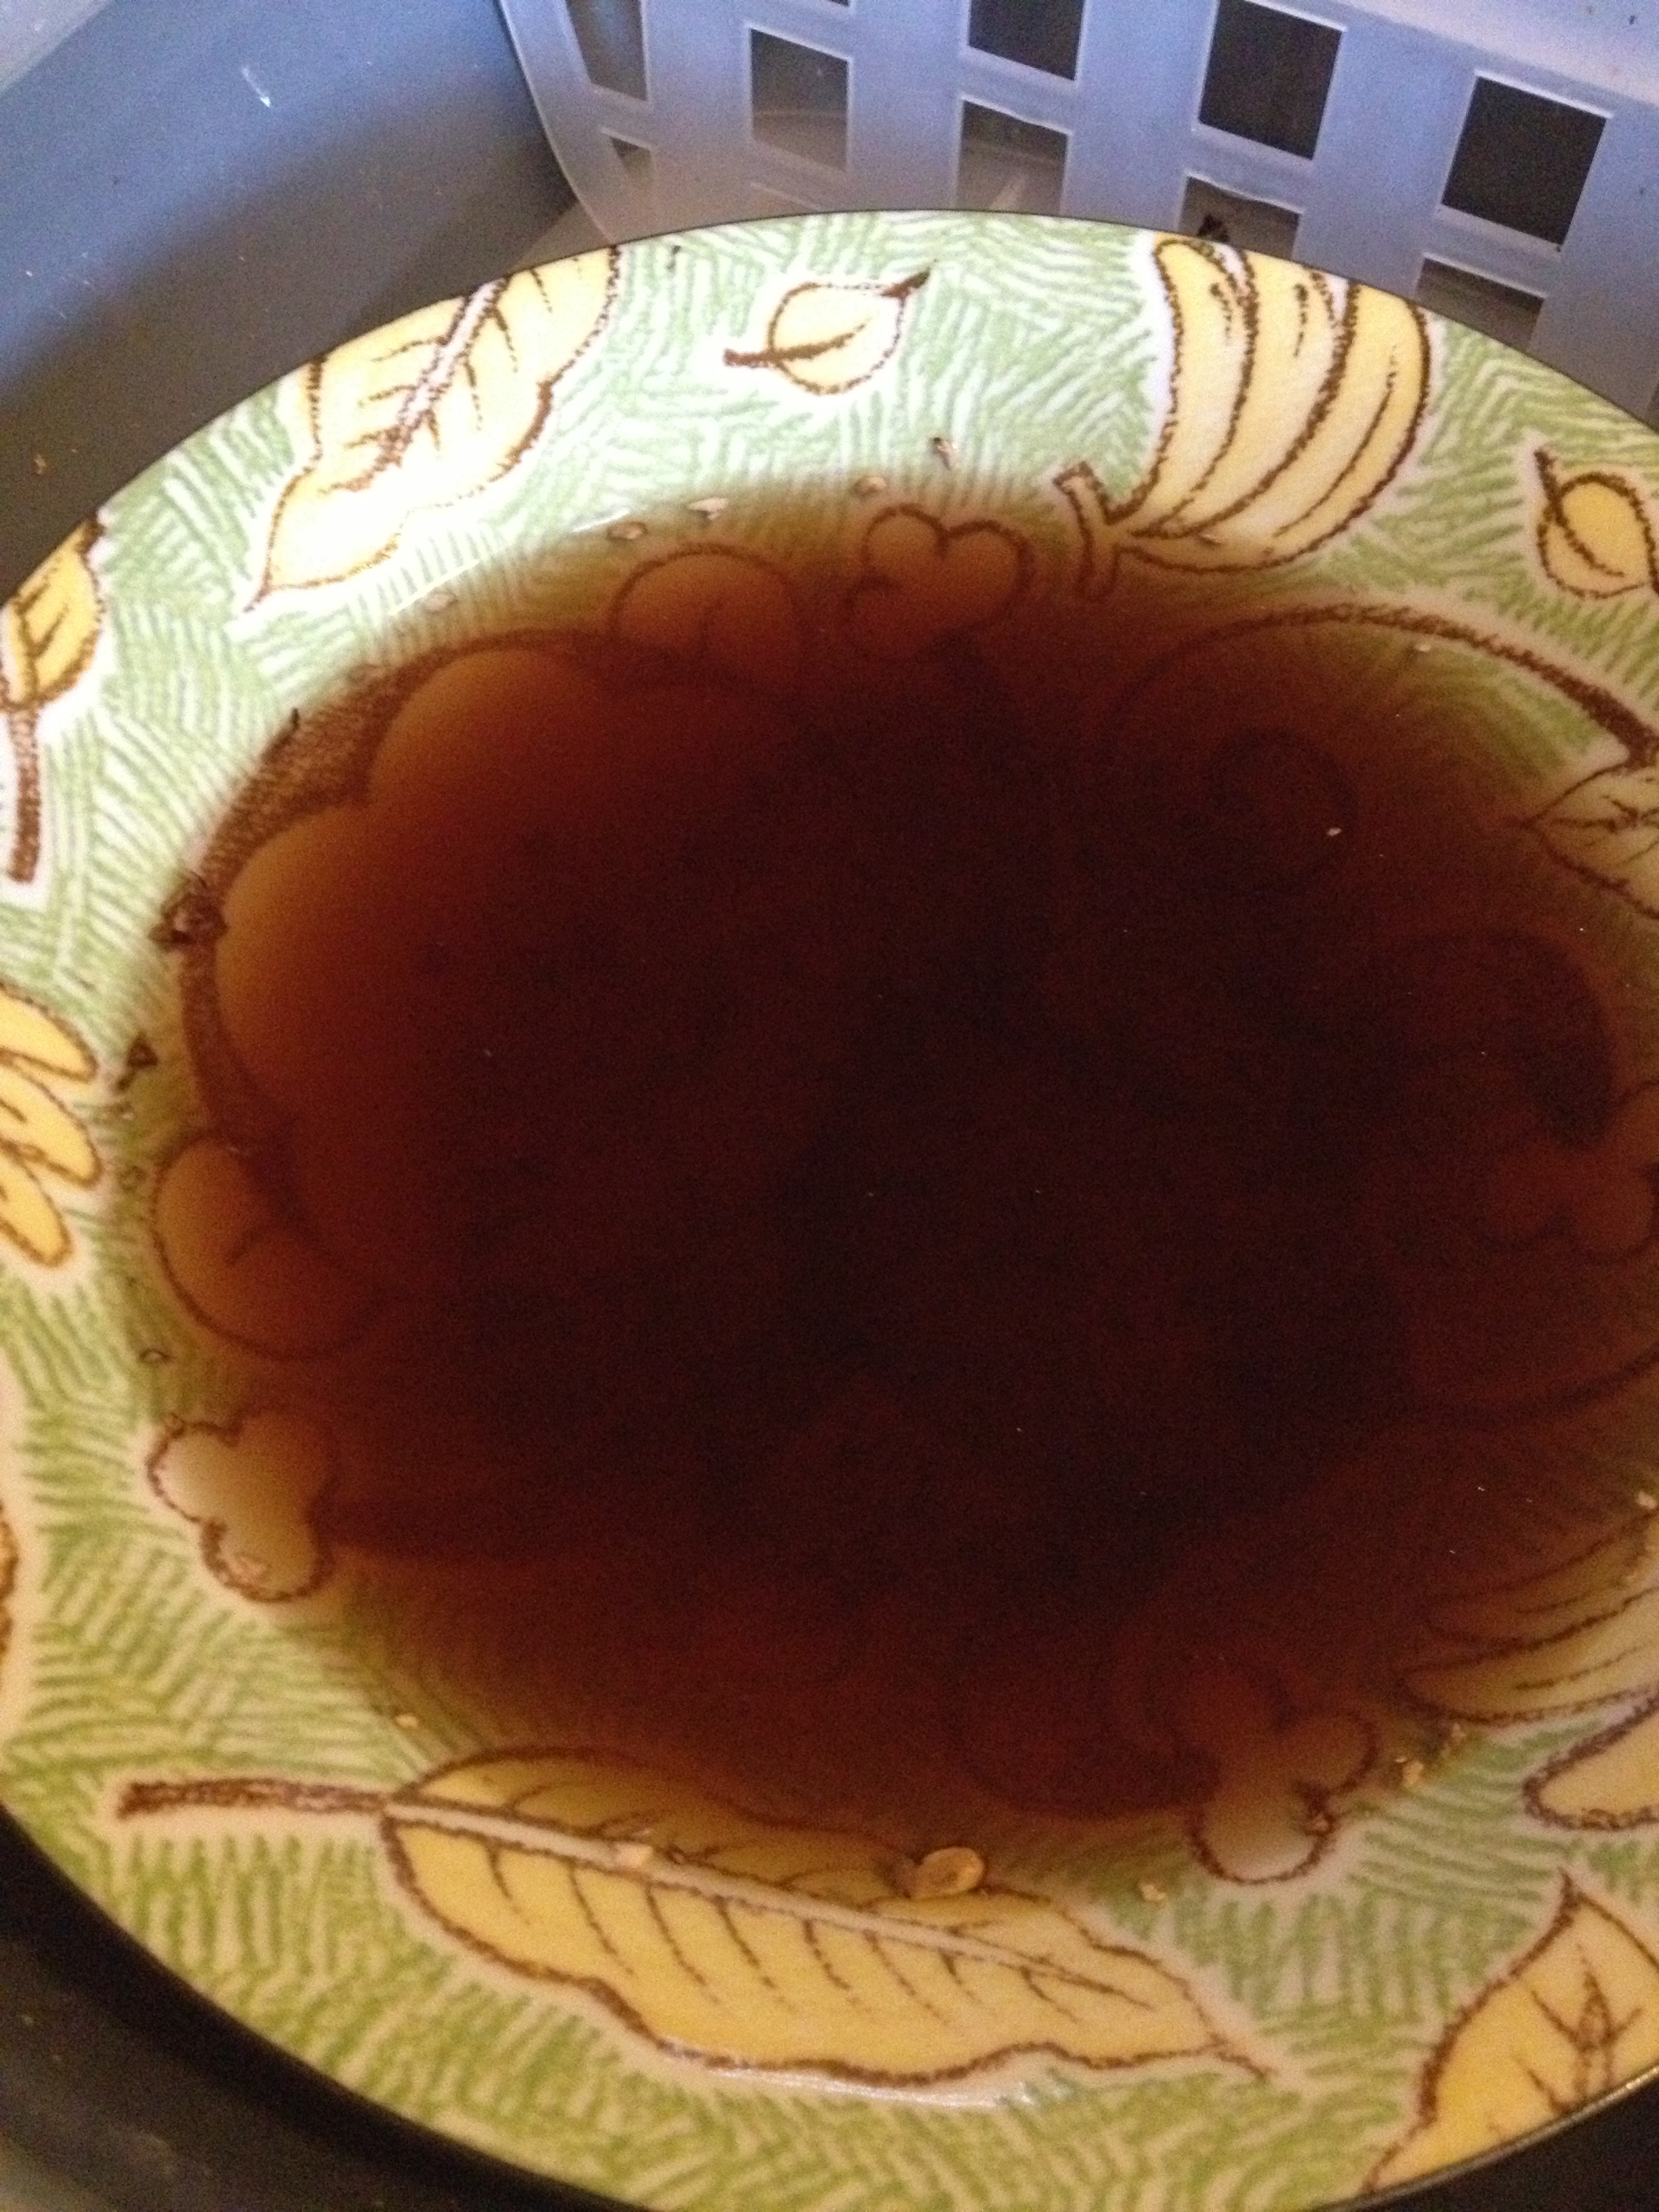
  • Slice up your mushrooms and clean them. Put them into a hot-water-proof bowl and pour the boiling water on top.
Steeping mushrooms

Steeping mushrooms

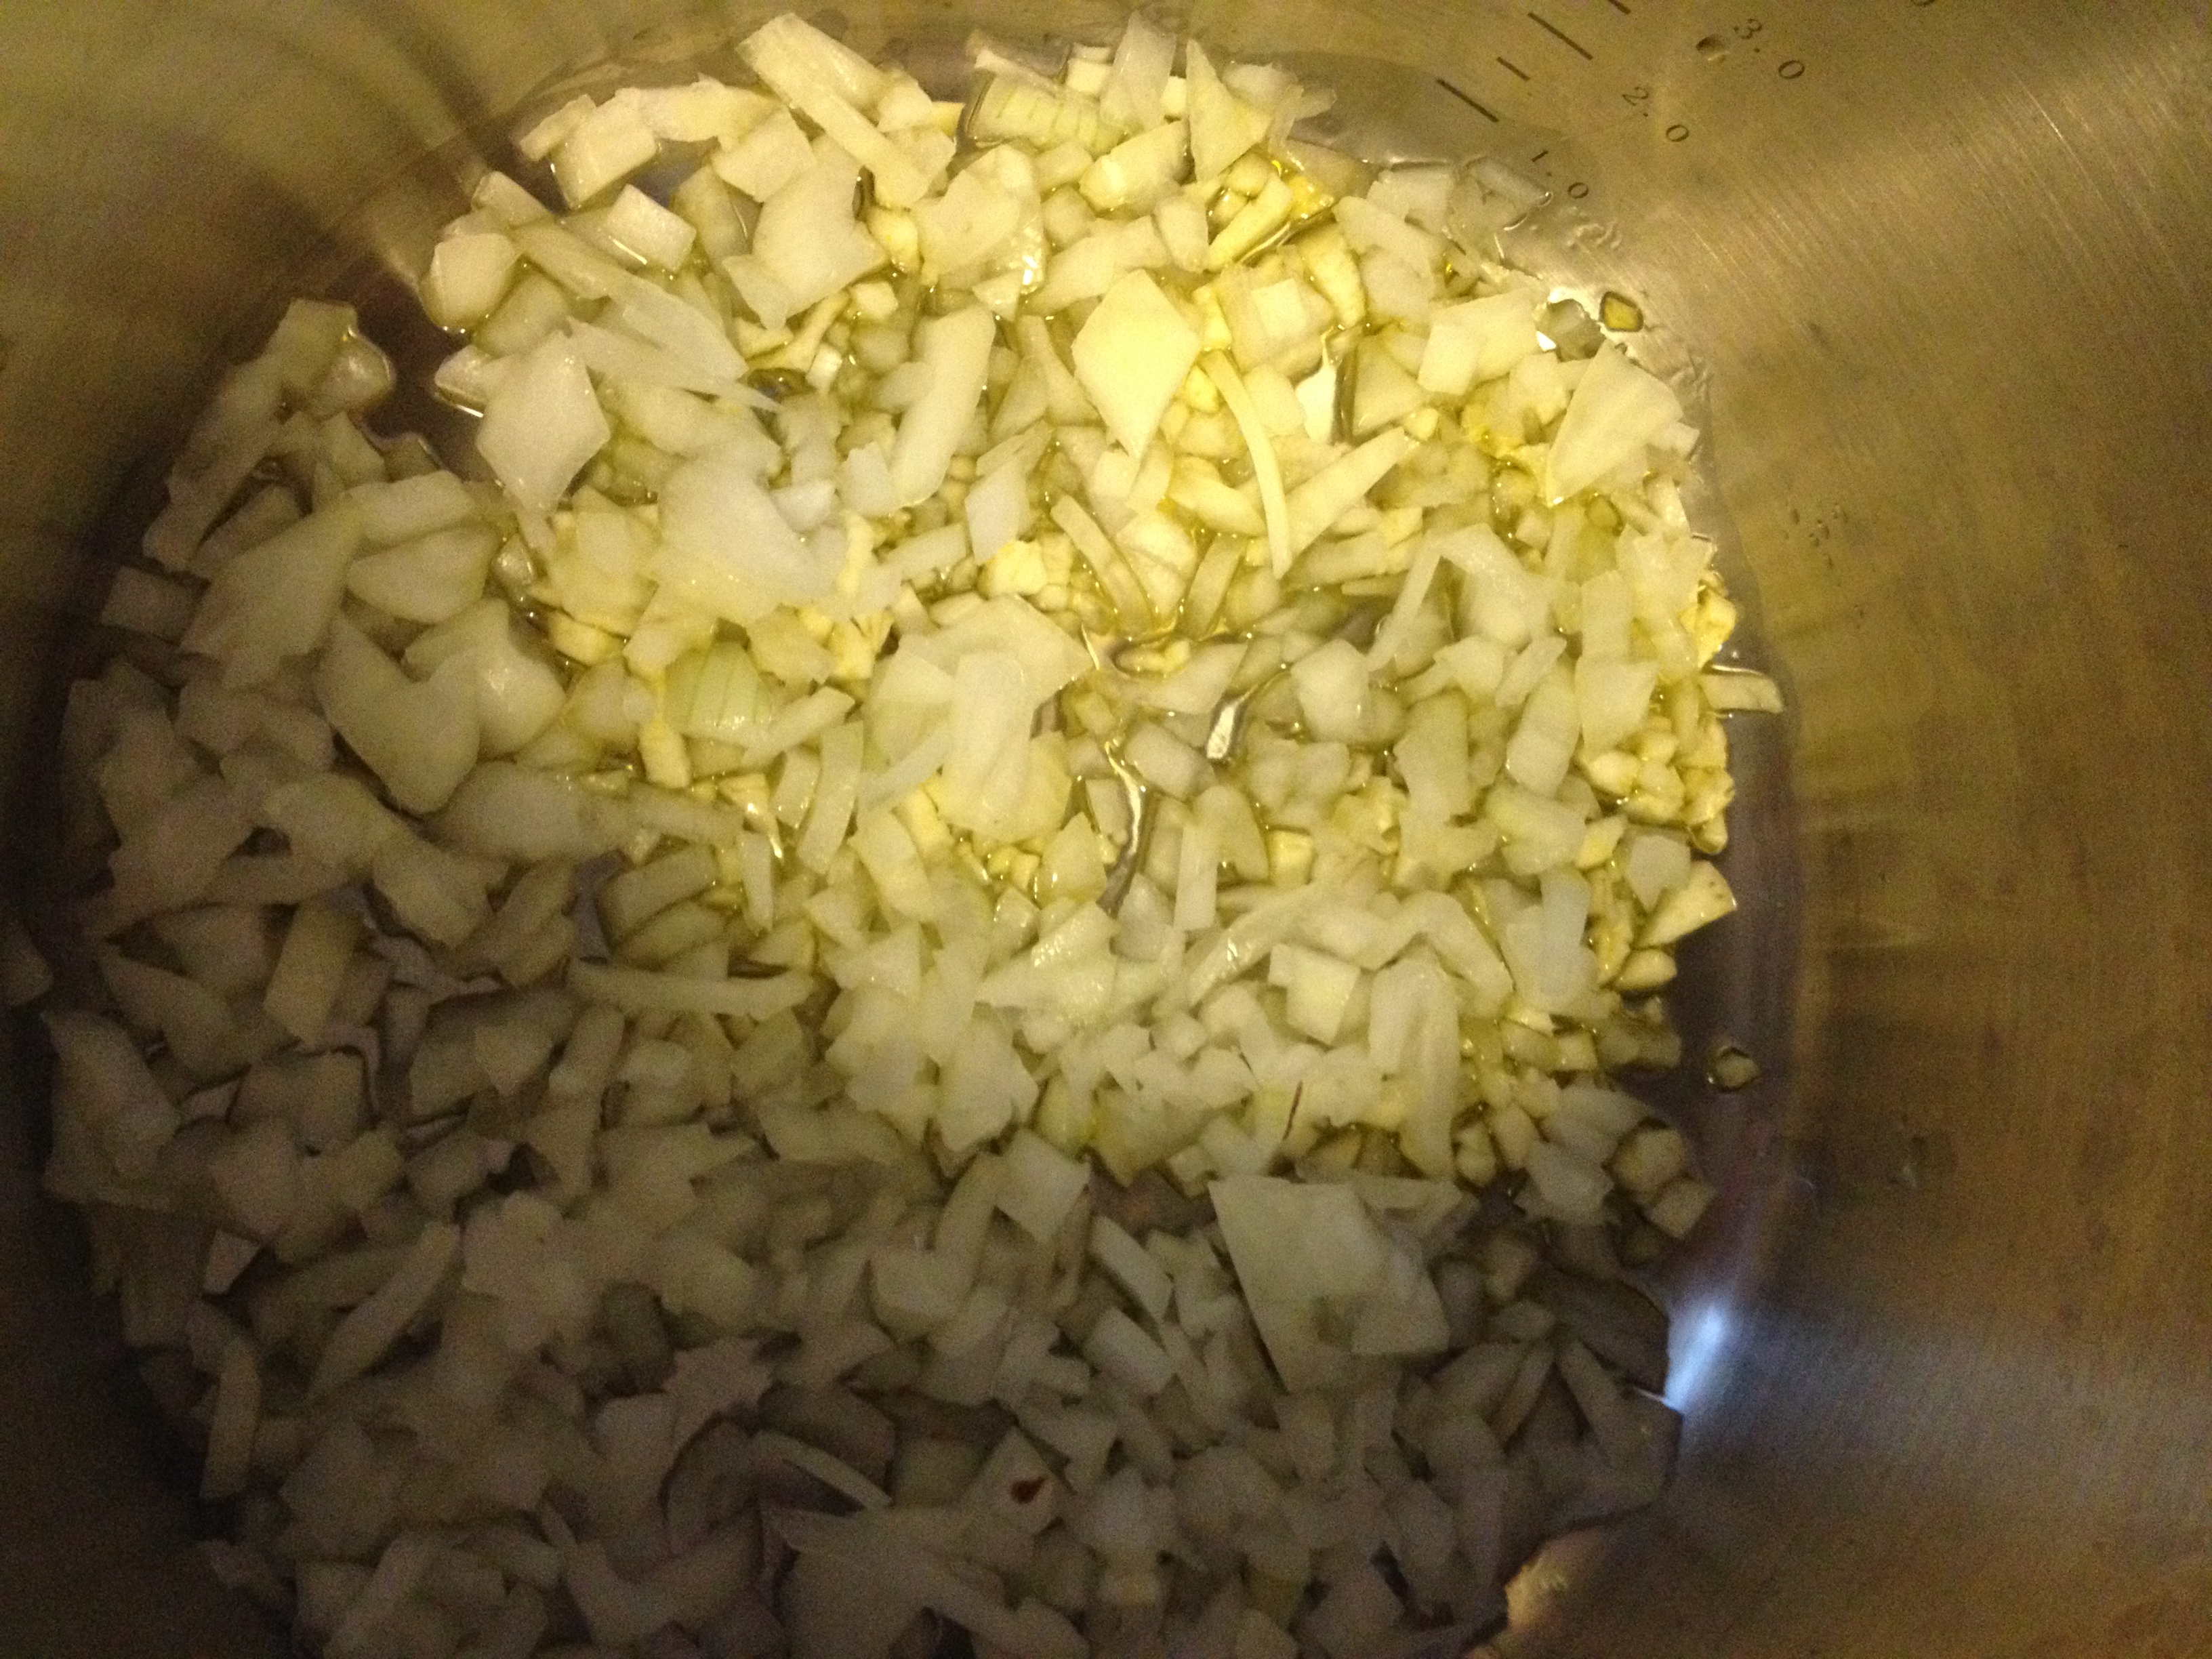
  • Turn to the half of the onion on your cutting board and dice it up into little pieces. Mince or cut your garlic here too. What better combination than this?
Chop chop chop

Chop chop chop

  • Get a deep pot ready—one that can go into an oven. Heat the two tablespoons of oil in the pot on medium heat. Put the diced onions and garlic in. Cook for 8 minutes or until nice and soft. ENJOY THAT SMELL.
Best smell ever

Best smell ever

  • Drain the steeping mushrooms but save the liquid!
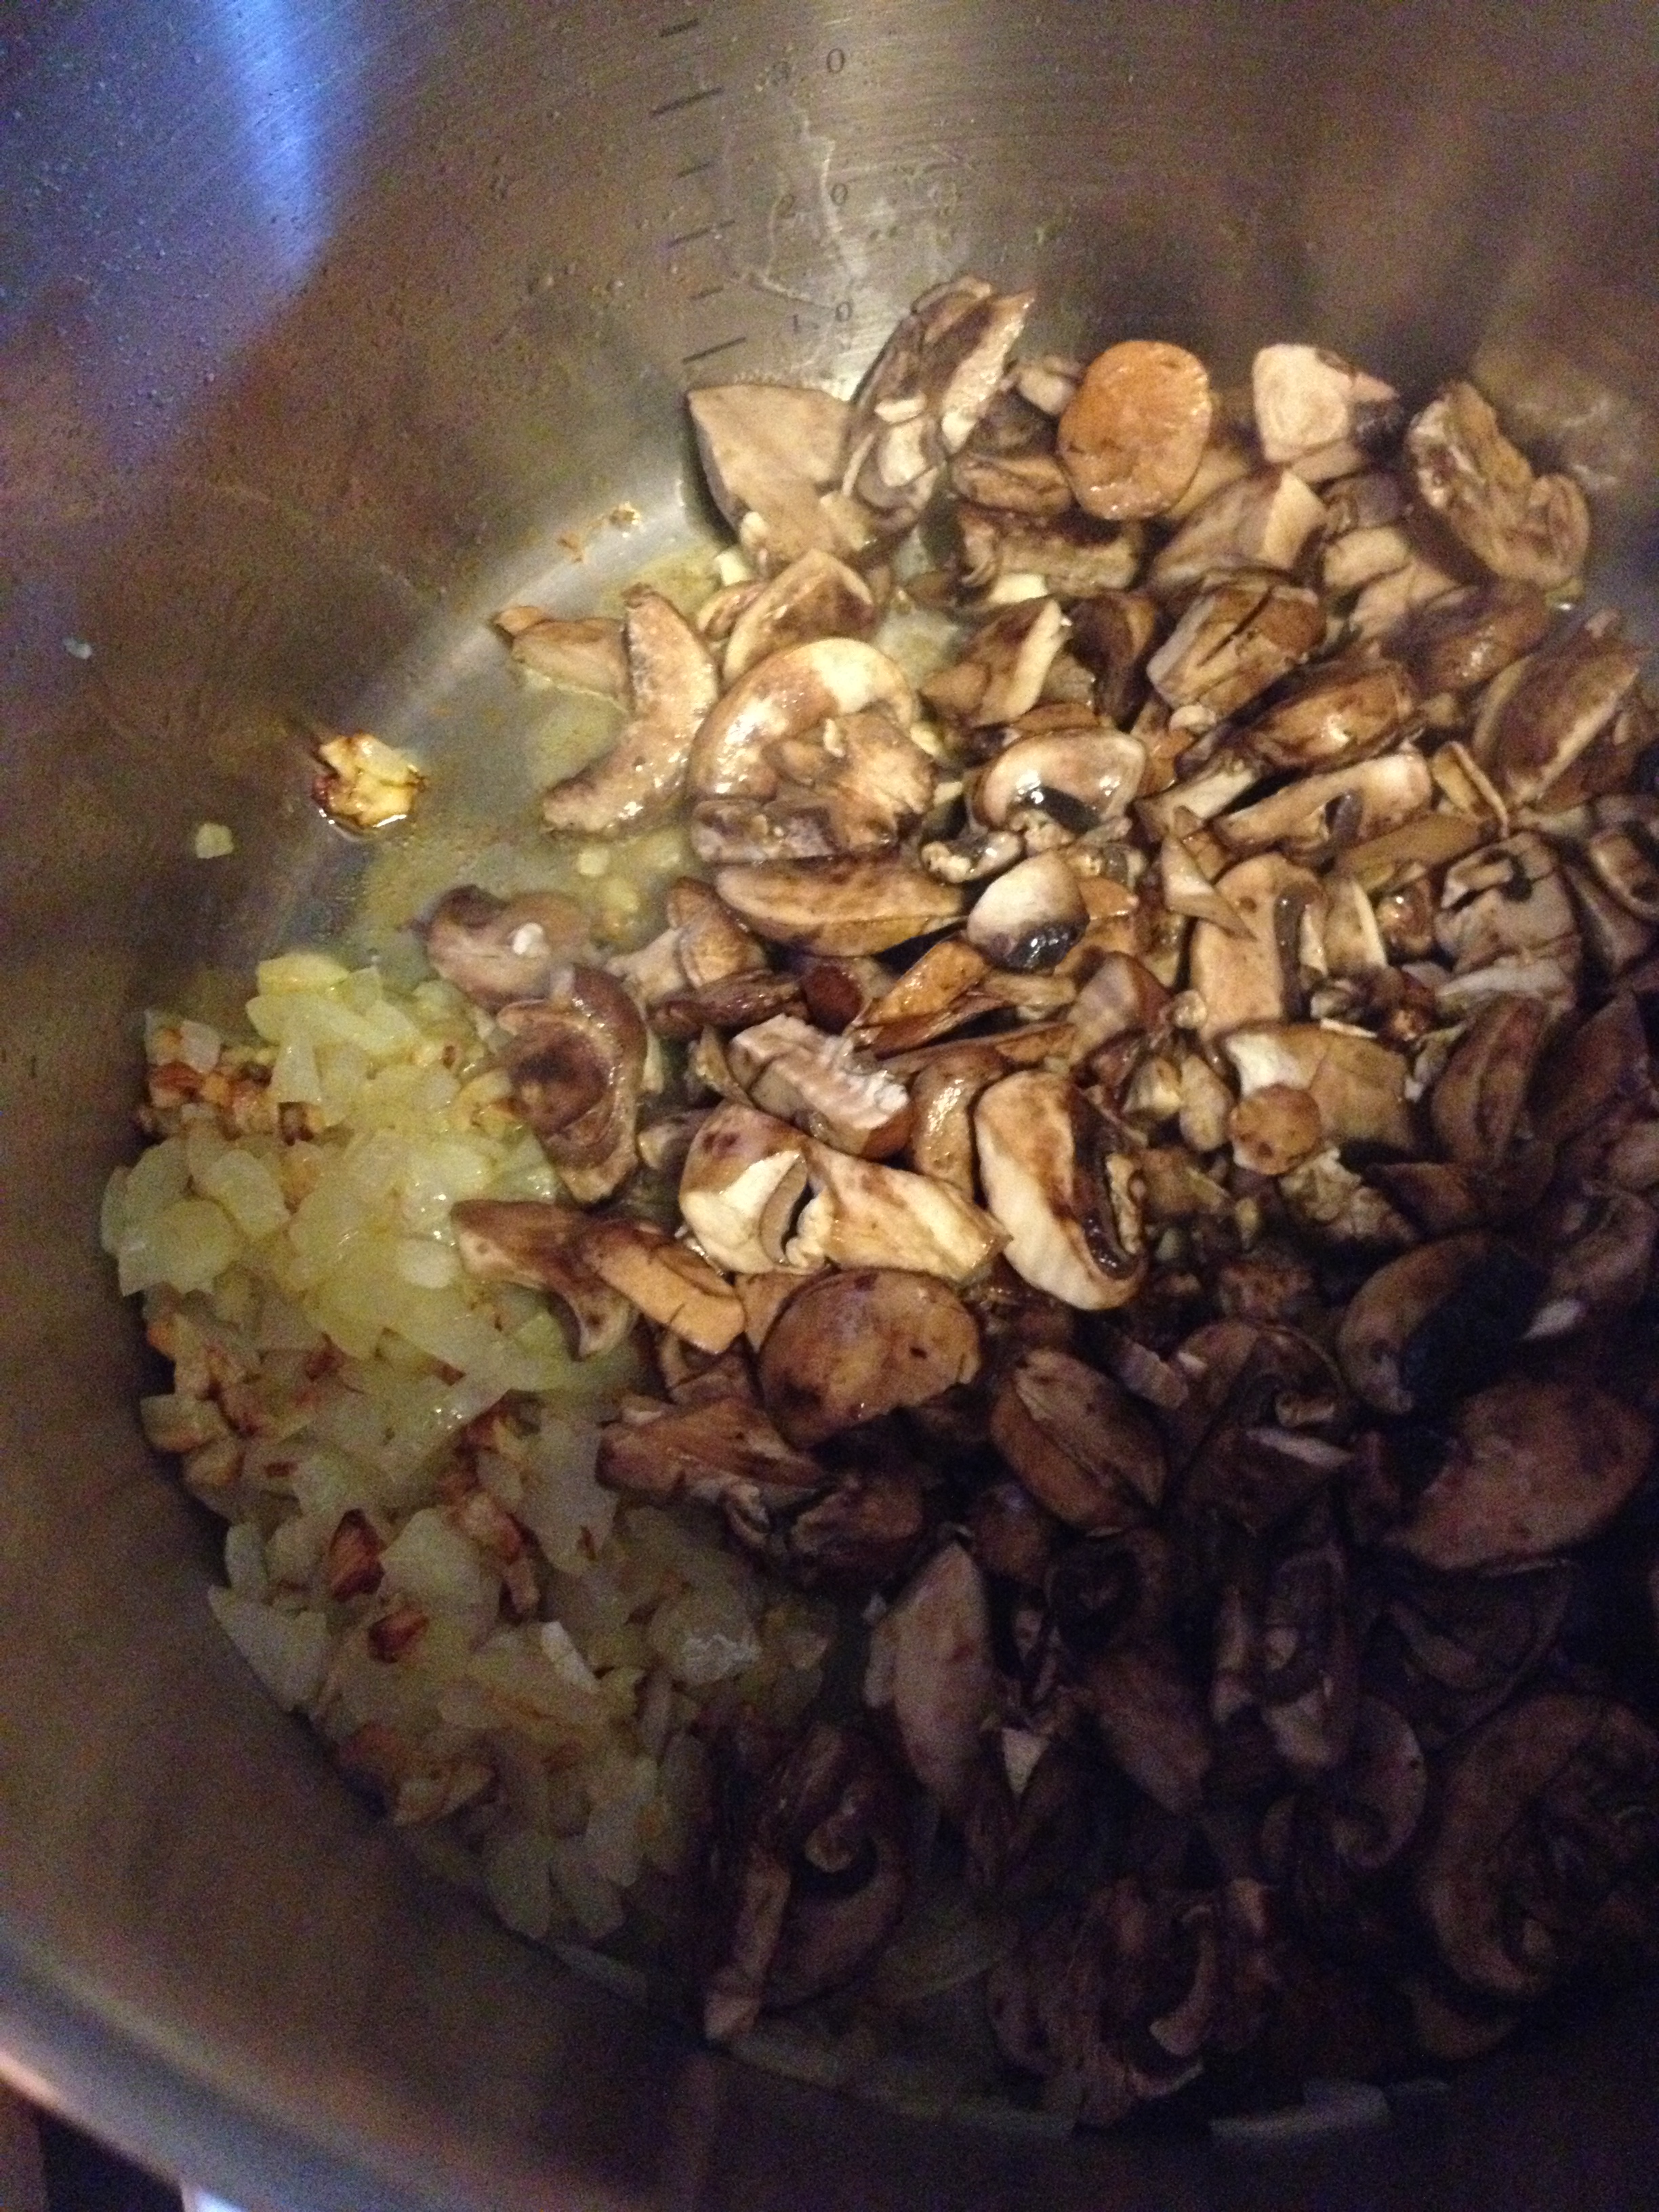
  • Push the onions in the pot to the side, turn on medium-high heat, and put the mushrooms in. Do not stir. Let them cook for 5 minutes and then turn them over, doing the same no-stirring and let cook on this side for 5 minutes. If a crust forms, that’s totally okay—kinda what you want.
  • Add in the rosemary, stirring so it gets in the mushrooms and onions.

photo 4 (2)

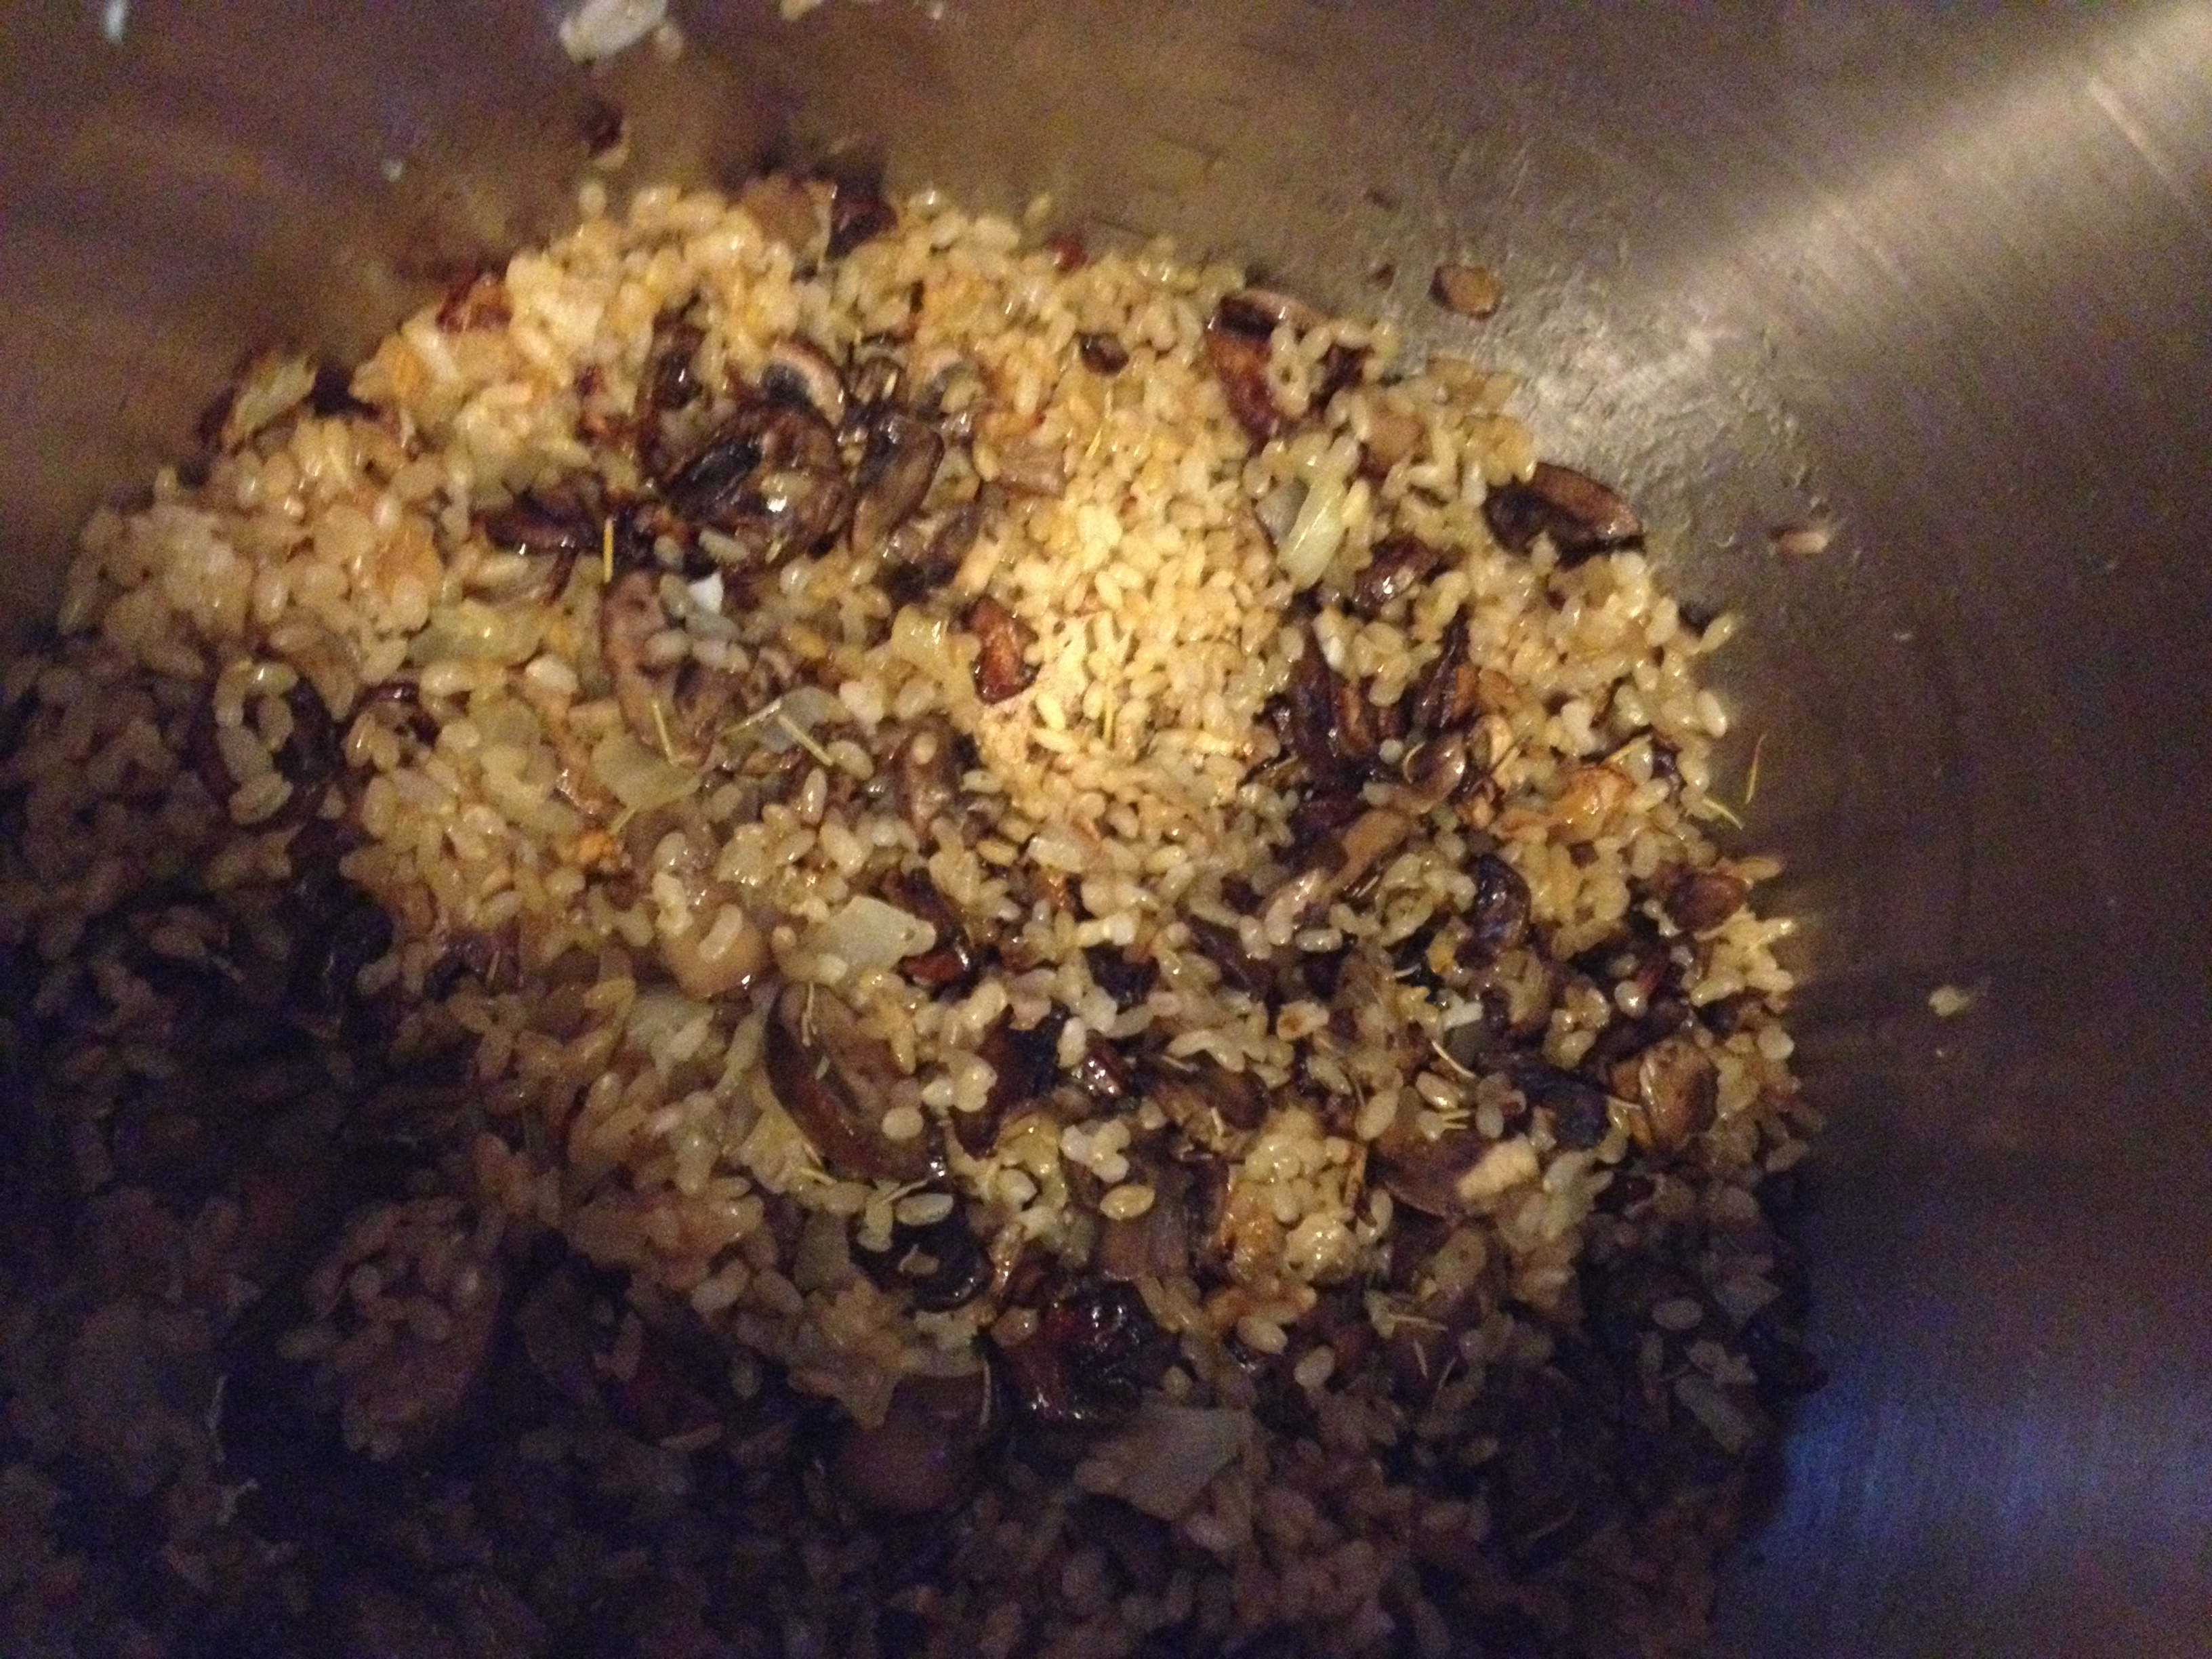
  • Add in the brown rice and let cook for 4 minutes

photo 1 (6)

  • Turn the heat to high and add the white wine, vegetable broth, balsamic vinegar, and steeped mushroom liquid

photo 2 (4)

photo 5 (1)

Mushroom liquid

  • Mix around and get anything sticking to the pot up and off
  • Mix in salt and pepper to taste

photo 3 (4)

  • Bring to a boil, put on a lid, and then put into the oven for 35 minutes.
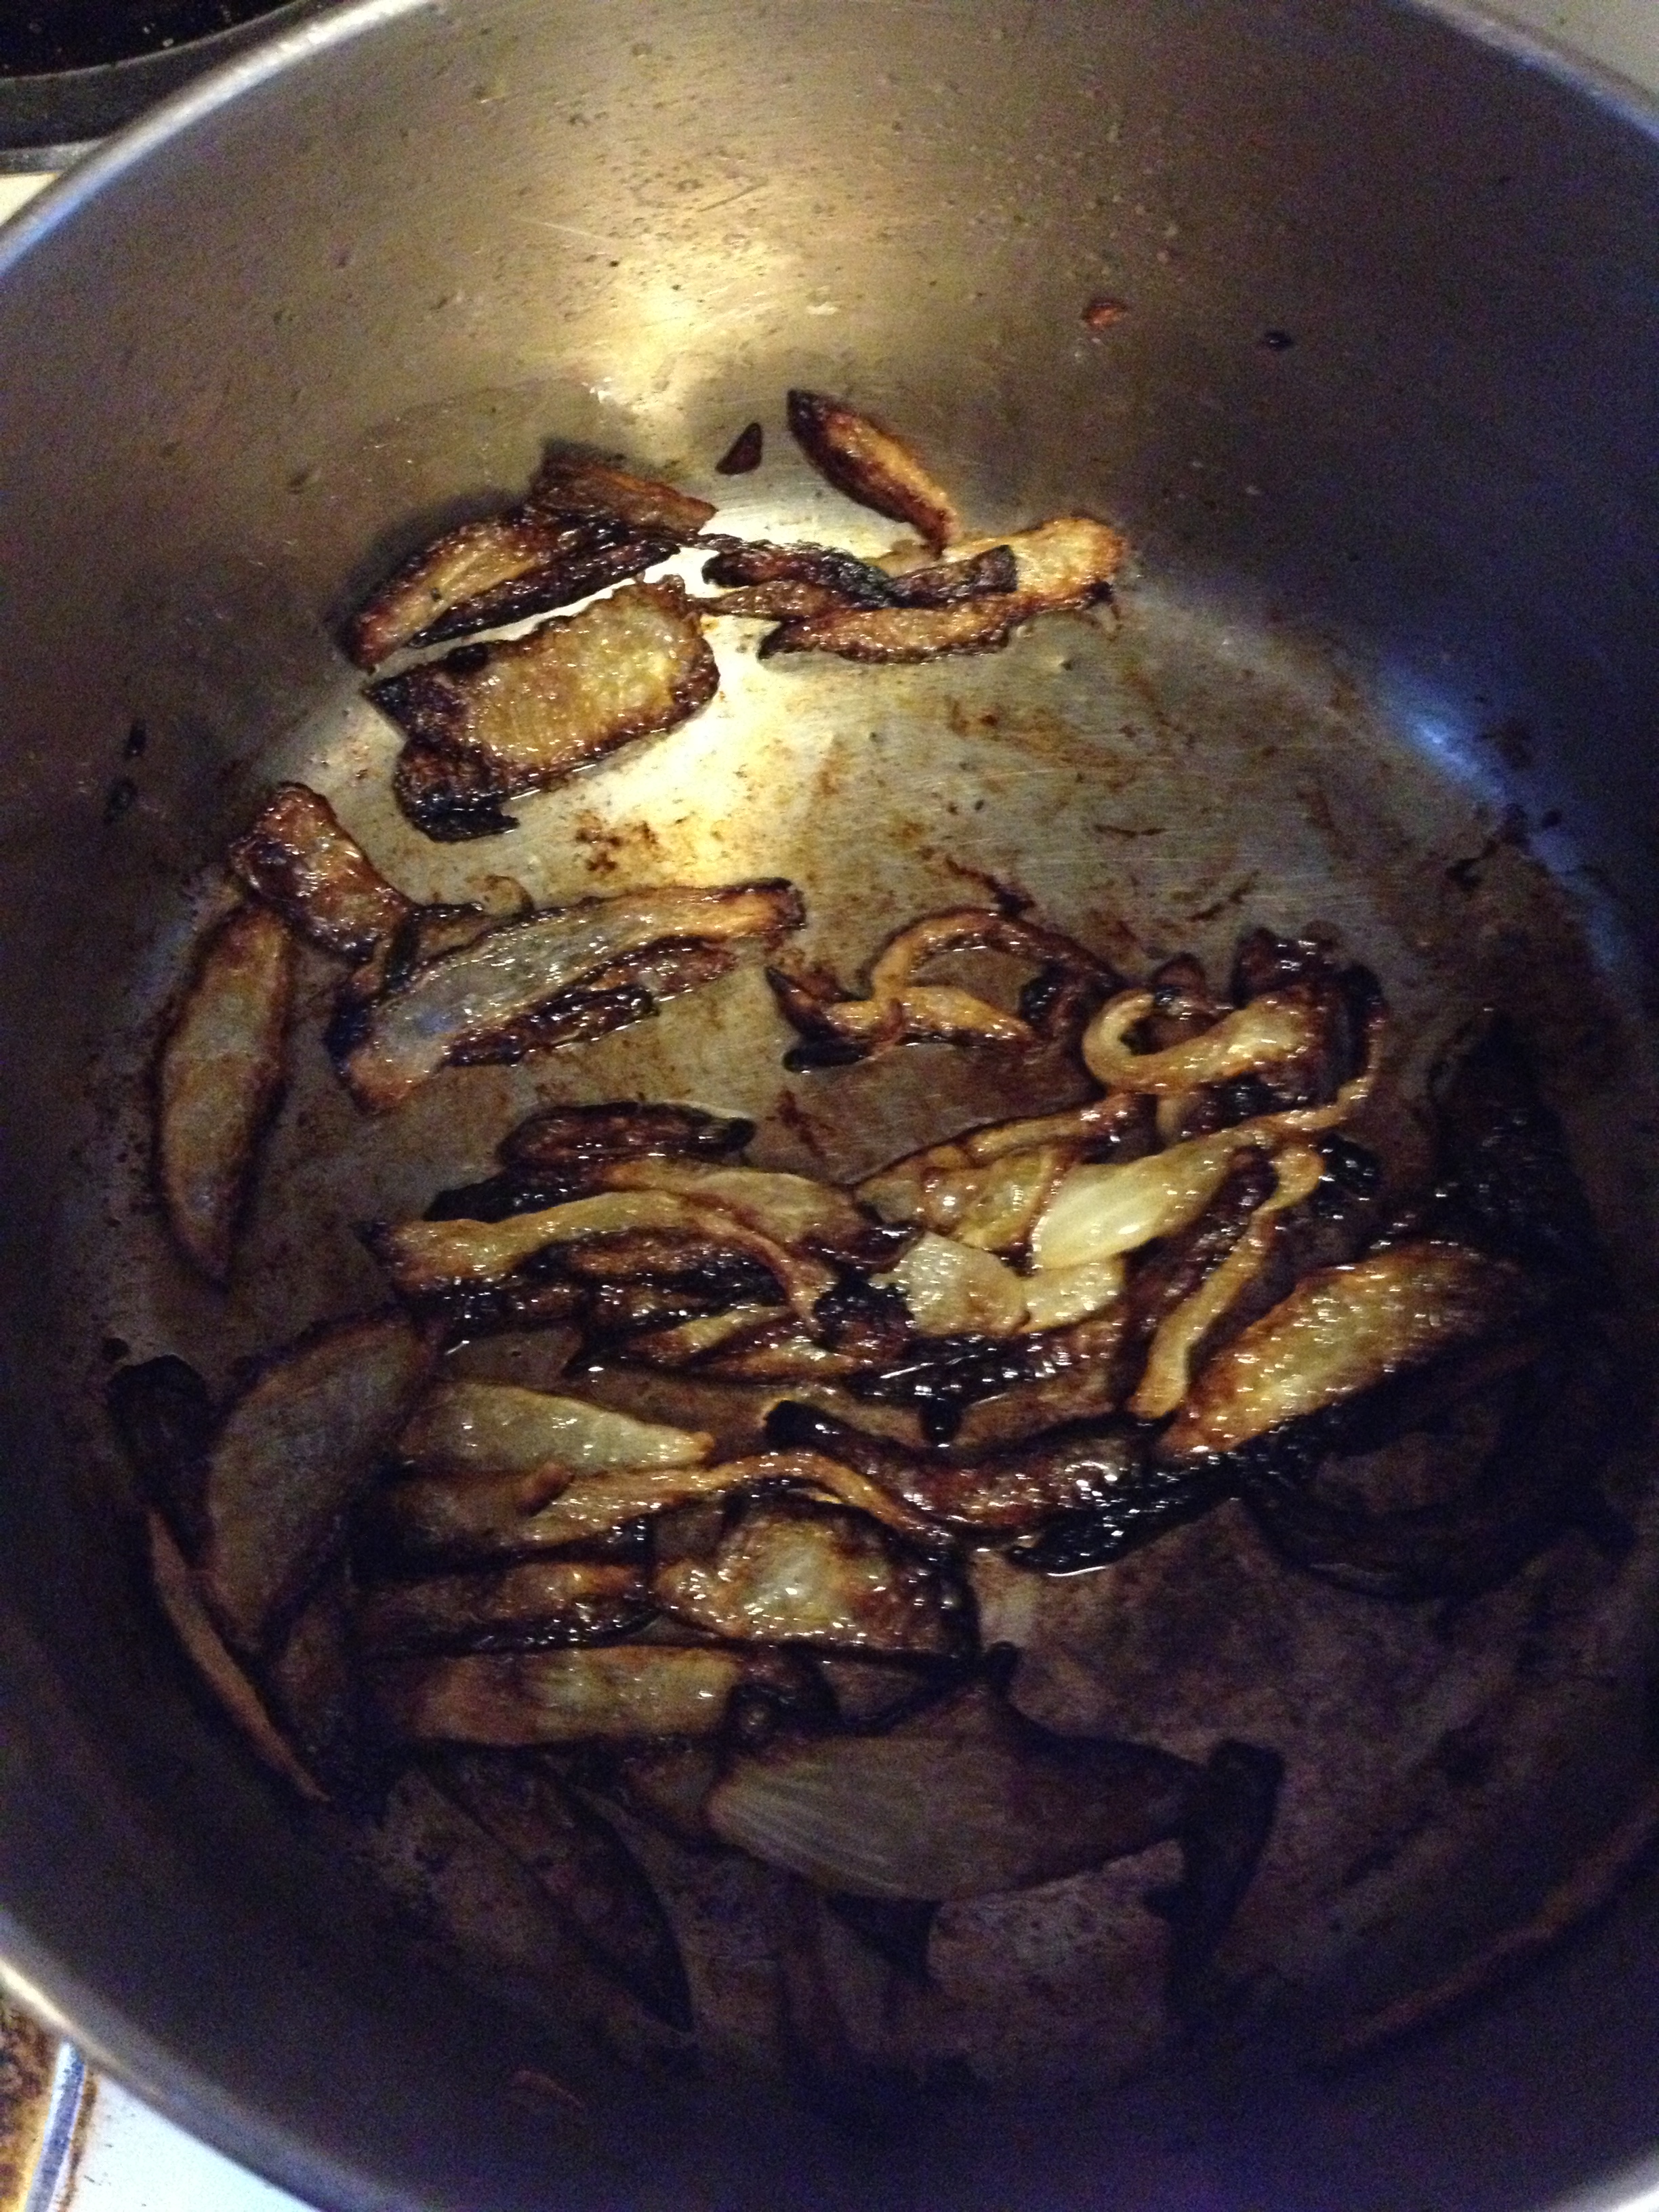
  • While the wonderful mixture is cooking, coat a pan with oil and start caramelizing the other half of the onion. Cut that onion in moon-slices and once oil is heated, put them in, and salt it. Do a low heat until the mixture is ready. Yum!
Onions caramelizing

Onions caramelizing

  • Take the risotto mixture out and let sit for a few minutes. Now, see, I get kind of impulsive when I cook and don’t always take everything into consideration when I convert a recipe for my own needs. Sure, I cut the onions from 4 to 1, but did I cut down the vegetable broth? Of course not. So, I’m sure the liquid was supposed to soak into the rice and just have solids left. However, ours had plenty of the liquid left—and we liked it that way (we used the delicious stuff to cook stuff the next day)

  • So, do it our way, use a spoon or some kind of utensil to scoop out the rice, onion, and mushroom mix out of the “soup.” Plate it and put the caramelized onions on top.

photo 3 (3)

Came out absolutely wonderfully

Came out absolutely wonderfully

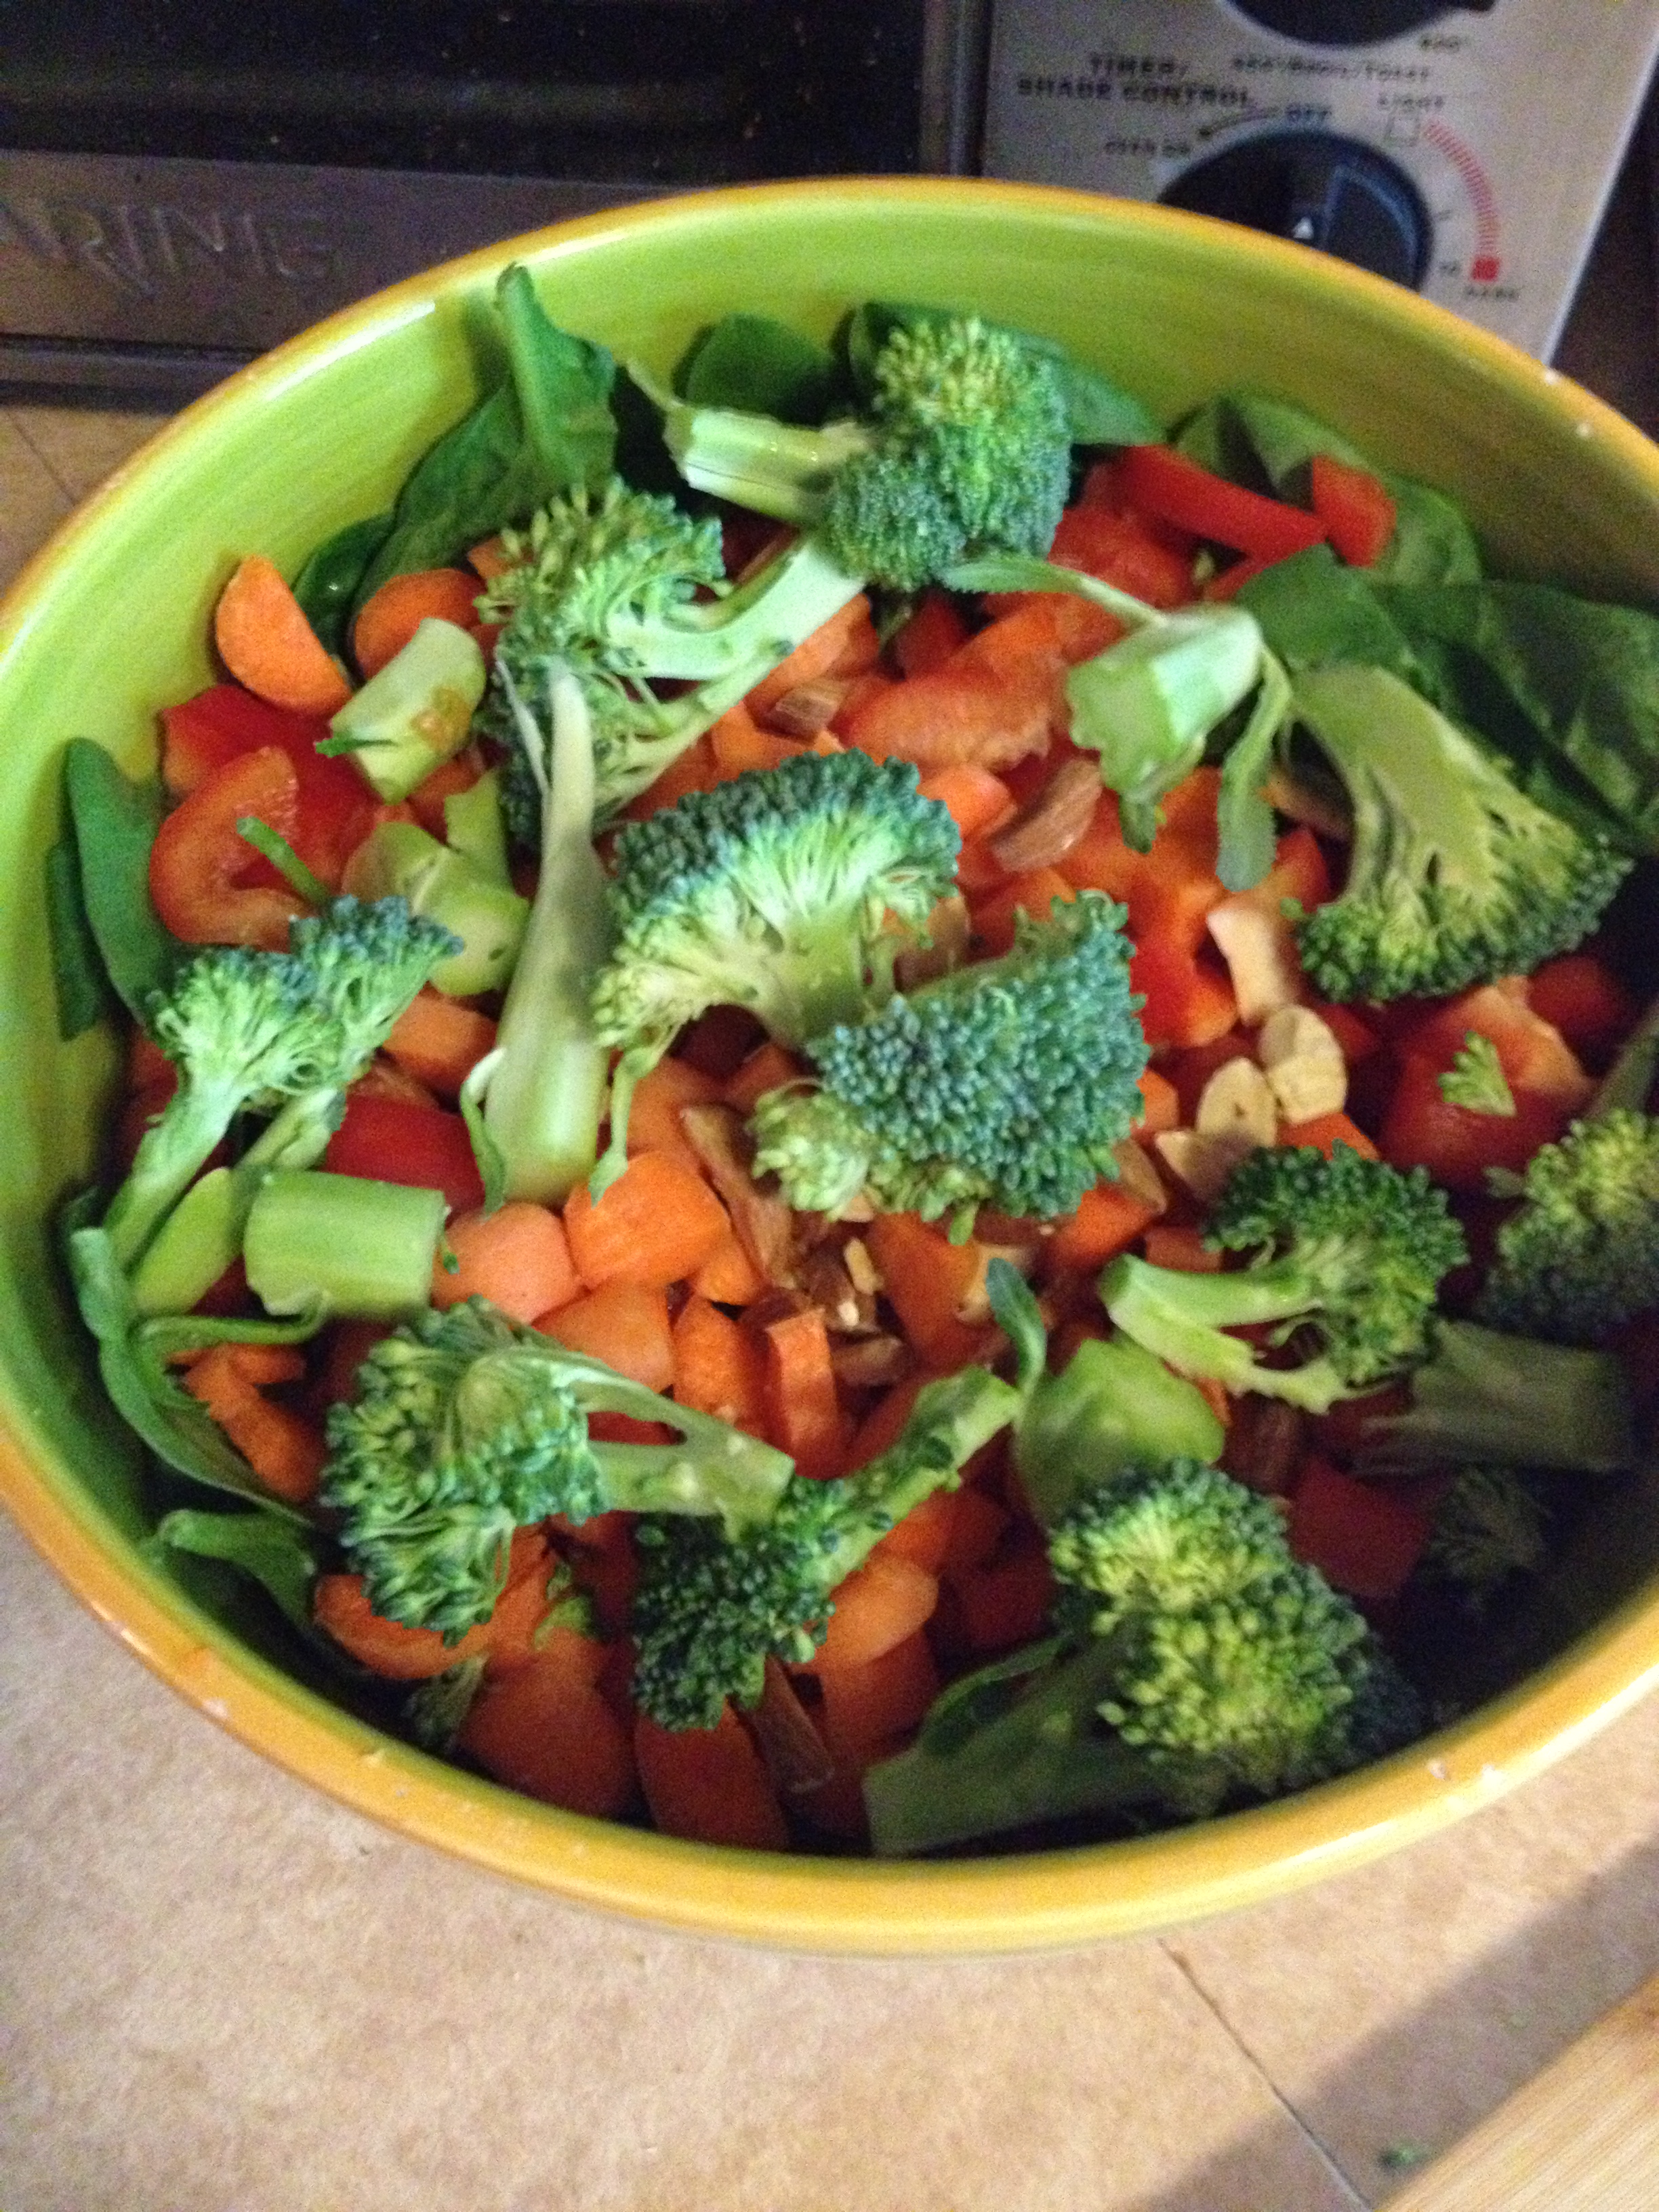
Don't forget to have some greens on the side!

Don’t forget to have some greens on the side!

It looks like a lot of steps, but many of these steps take about 10 seconds. Please don’t be intimidated by this because it really is SO delicious. And easy once you get the handle of it. So it’s not exactly risotto because I use brown rice. However, this makes it healthier—a complex carbohydrate with plenty of fiber to keep you full and slowly digest and absorb into the blood stream. Let me know if you have any comments or questions. Use this recipe to stay hungry and fit!

You might also like…

spacer

2-Ingredient Healthy Energy Rounds

Some of you may know that we are travelling to Iowa tonight (yes, we’re driving over night, 7pm-9am probably) for a 4th of July family reunion. Some may run screaming at the words, “family reunion,” but I always look forward to the chaos of it all…and the delicious food of course. I love family! And many of you know that I’m currently prepping for contest so I’m doing very clean eating. My meals mostly contain tuna, other fish, vegetables like spinach and peppers, almonds, oatmeal and brown rice. Sounds boring, but I’m alright with it (especially with hot sauce). OKAY GET TO THE POINT–I need healthy, clean food for the road trip there for my attempt to stay awake. Luckily I stumbled upon this blog for the idea.

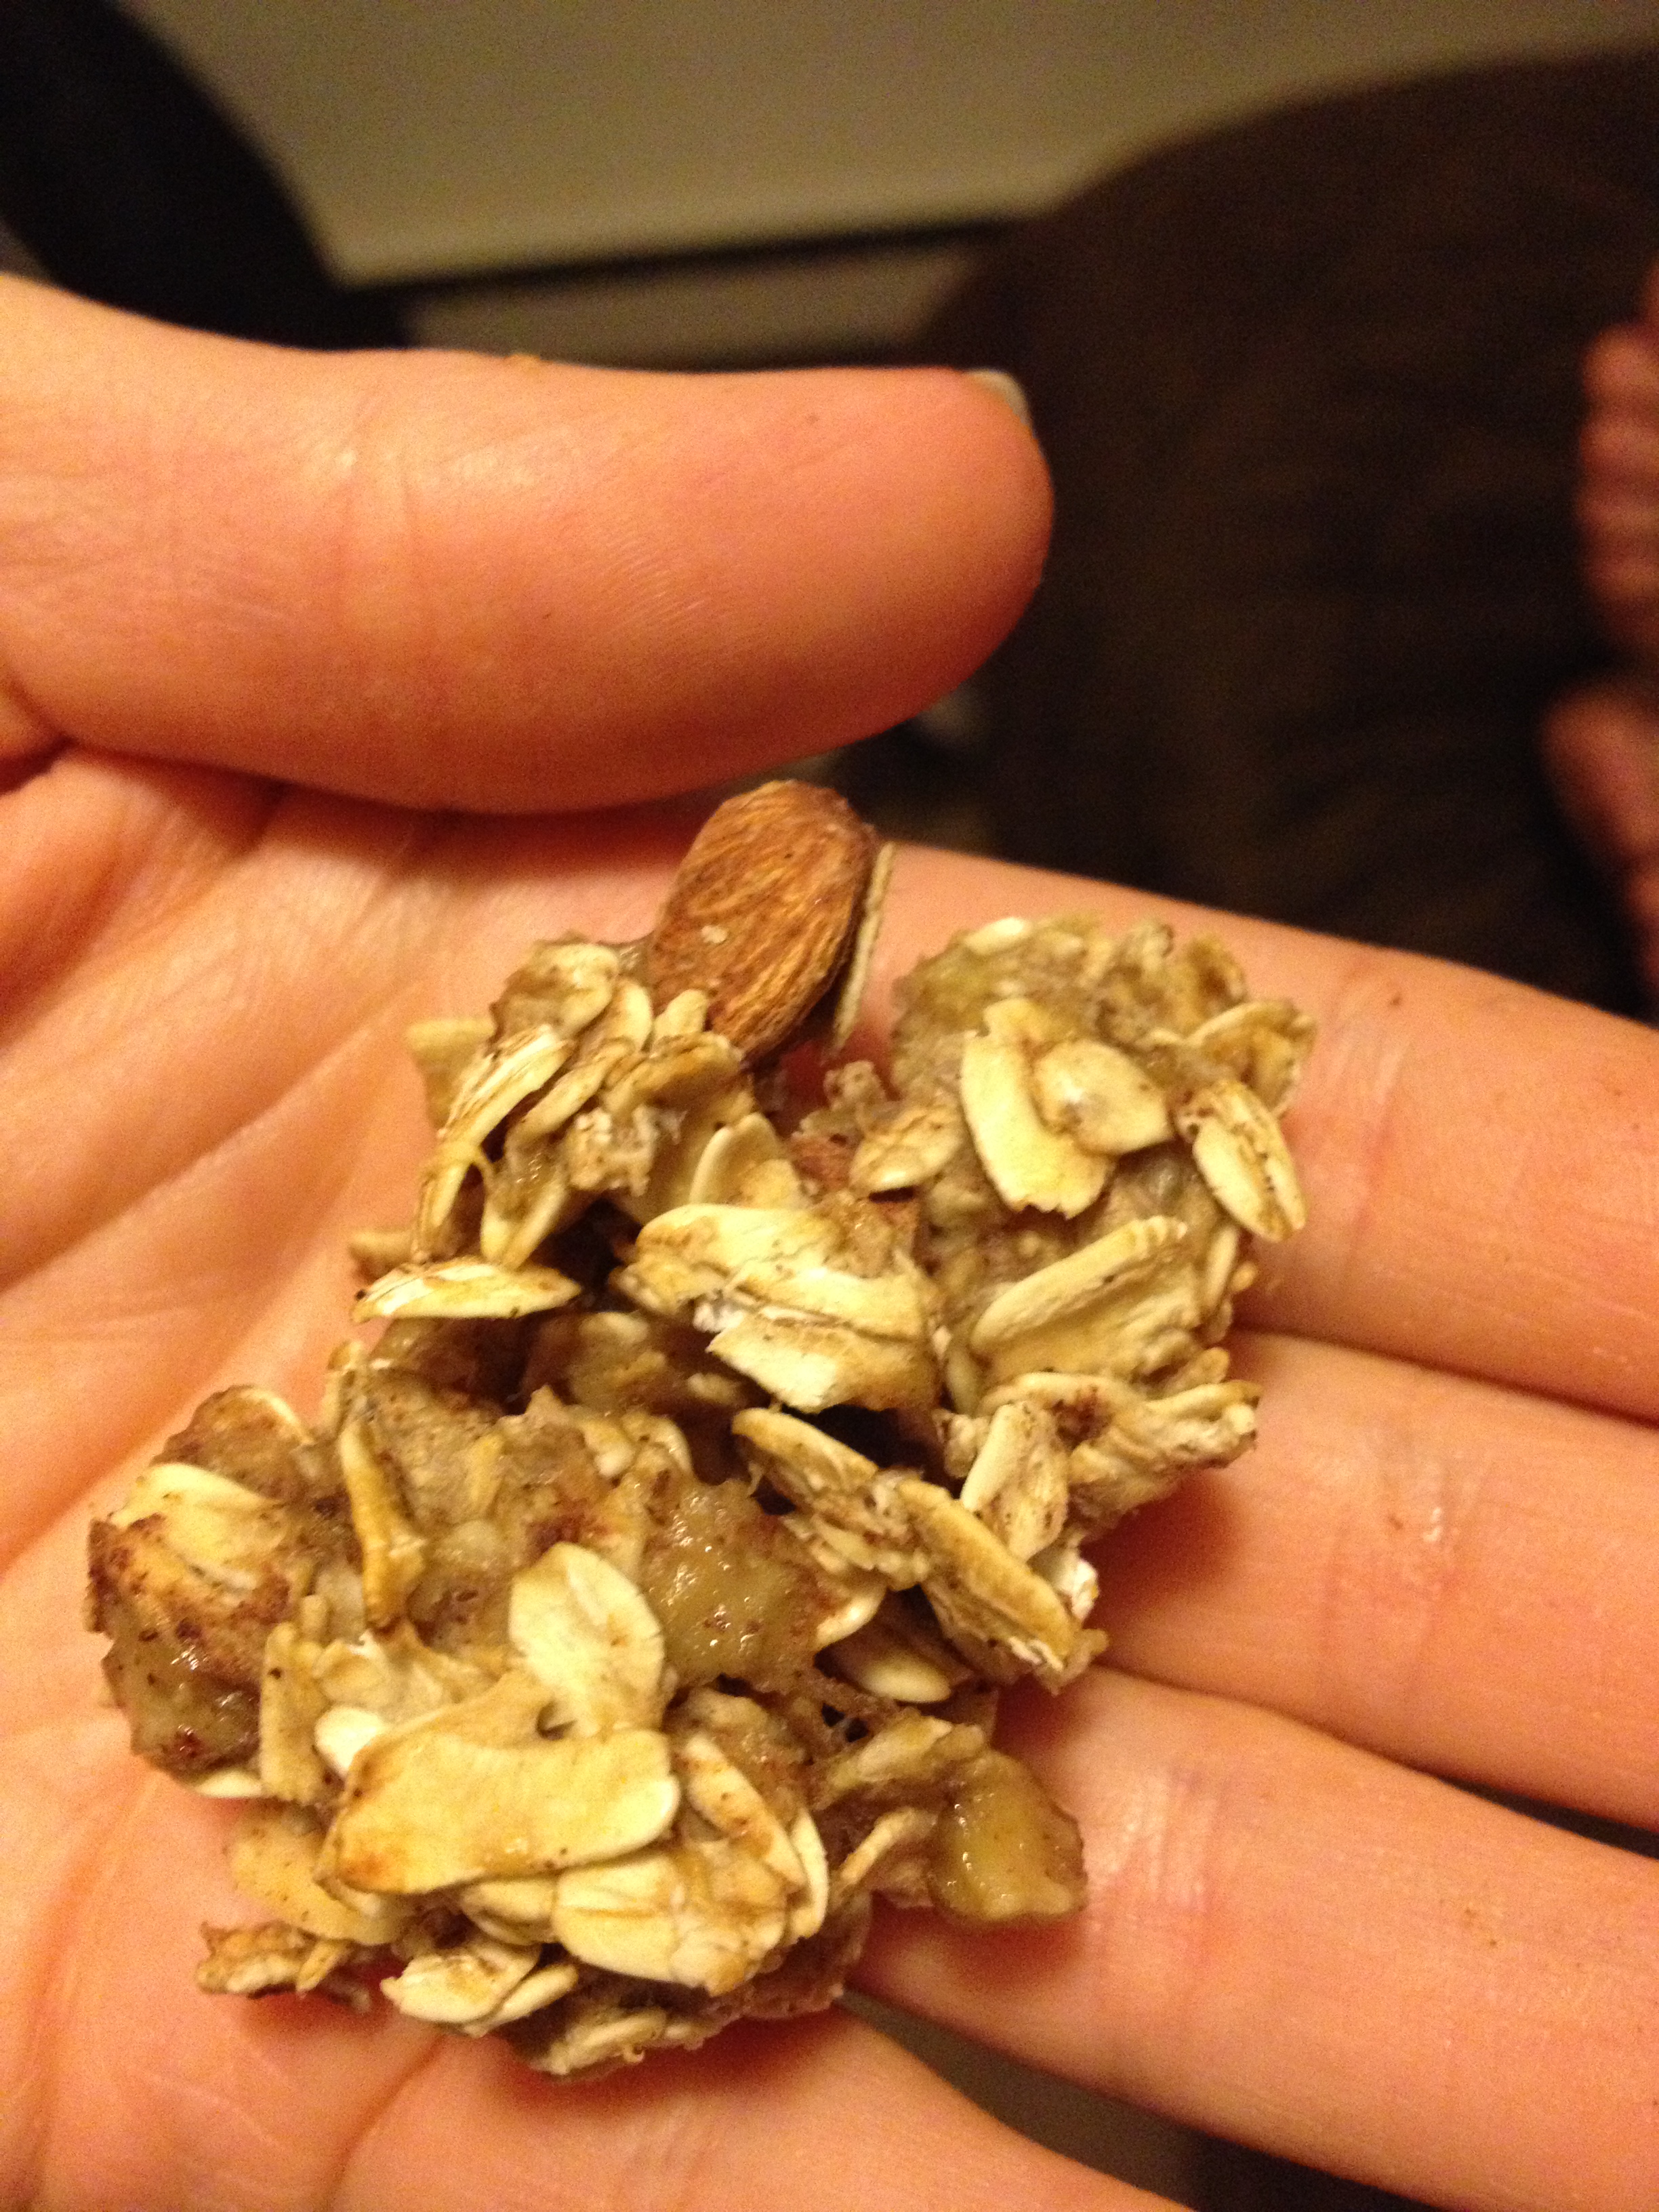
Of course, we’re bringing fruit and fiber cereal to snack on, but I wanted to bake a little something so here we are. Basically, 2-ingredient rounds full of energy and electrolytes! I can’t even tell you how easy this was to make. Perfect and delicious for snacks on the go.

Simple and delicious

Simple and delicious

  • Prep Time: 5 minutes
  • Baking Time: 12-15 minutes

Ingredients

  • 1.5 cup oats
  • 2 bananas (mashed)
  • almonds (optional)
  • cinnamon (optional)

Directions

  • You’re probably saying, “That’s IT?” to the above.  Yep.  Pre-heat oven to 350 degrees F. 
  • To start off, mash up your bananas really well, get it nice and smooth.
mash mash mash

mash mash mash

  • I had some almonds I wanted to use, so I decided to add it into the mix. Again, you don’t have to do anything more than oatmeal and bananers. If you want to use almonds, cut or grind them up.
Pathetic amount of almonds (I HATE cutting them)

Pathetic amount of almonds (I HATE cutting them)

  • Now you want to mix it all together in a big bowl. Start with a base of oats and almonds and then add the mashed bananas in and stir. 
Mixed up!

Mixed up!

  • Make sure you mix it all up really well. I added cinnamon to it because I LOVE cinnamon and put it in everything. Now line up a baking sheet with wax paper or you can use a cooking spray/oil. Plop those rounds on there. Should make about 12.
Ready to bake

Ready to bake

  • Bake for about 12-15 minutes (mine took 13). Let cool and then EAT.
Ready to be EATEN

Ready to be EATEN

They are so easy and delicious, it’s the perfect energy snack for on-the-go. And it is HEALTHY. No crap in it! And I’d imagine they’d be lovely with milk. Again, this takes no time at all, I did it while packing to show that it’s easy. Enjoy this quick, delicious, nutritious recipe to stay hungry and fit!

photo (2)

Simple and delicious

Simple and delicious

You might also like…

BONUS KITTY PIC

Sajah sleeps for EVERY kitty pic...sigh

Sajah sleeps for EVERY kitty pic…sigh

spacer