Let me start off by saying I’m pretty proud of myself for creating this dish tonight after a day’s worth of work and a workout. It took a good bit of work and time, but it was so worth it. Most of you are probably wondering…what in the heck is bibimbap? Well thanks to my Korean-obsessed partner, I am now blessed to the amazingness that is Korean food (and yes amazingness is a word). Bibimbap is basically mixed rice with vegetables, but is so much more. It really proves why and how Koreans are so healthy and why the obesity rate is so low there. I can’t wait to move to South Korea one day where this will be a regular meal.
You can really make it your own, using a variety of vegetables and proteins. I used this recipe and this one as well, deciding from each what I wanted to do. Chris had a so-so day so I wanted to surprise him with a Korean dinner that he would really enjoy. Now that I know how to do it from heart, I believe I will be doing this on the regular (I know that makes Chris happy).
- Prep Time (for n00bs like me): 20-40 minutes
- Cook Time: 20 minutes
- Serves: 2.5 normal people (Chris isn’t normal)
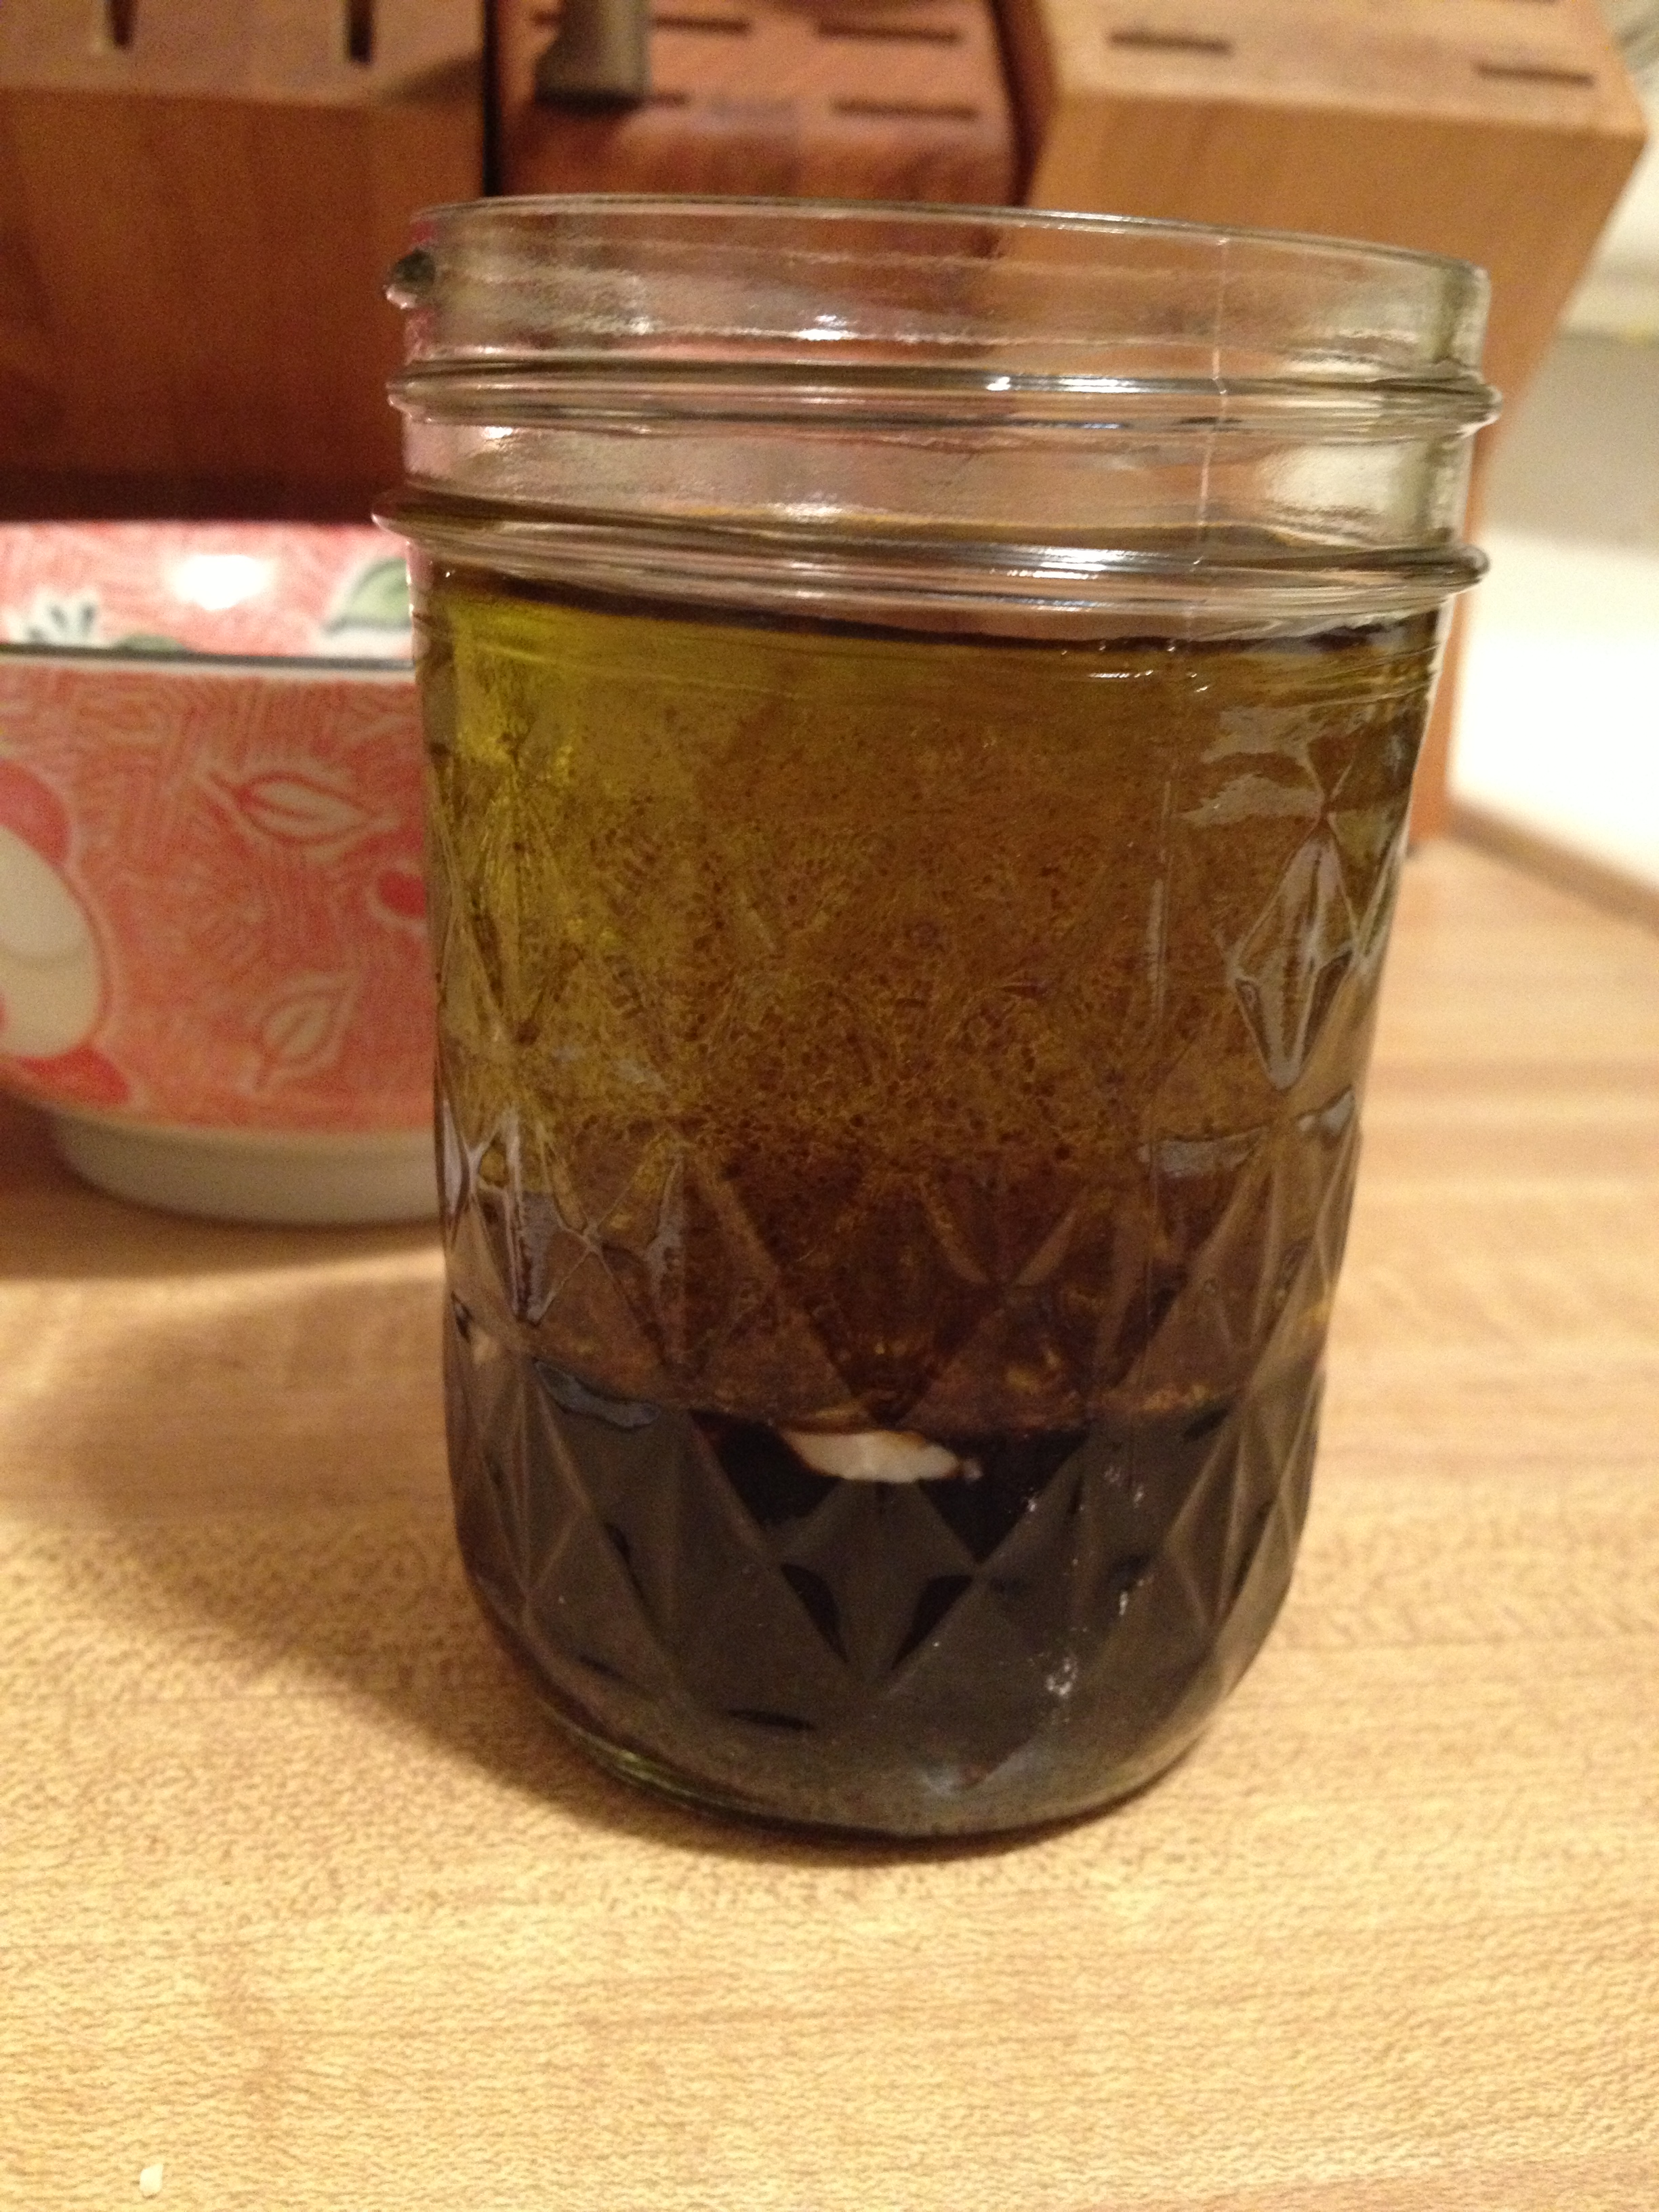
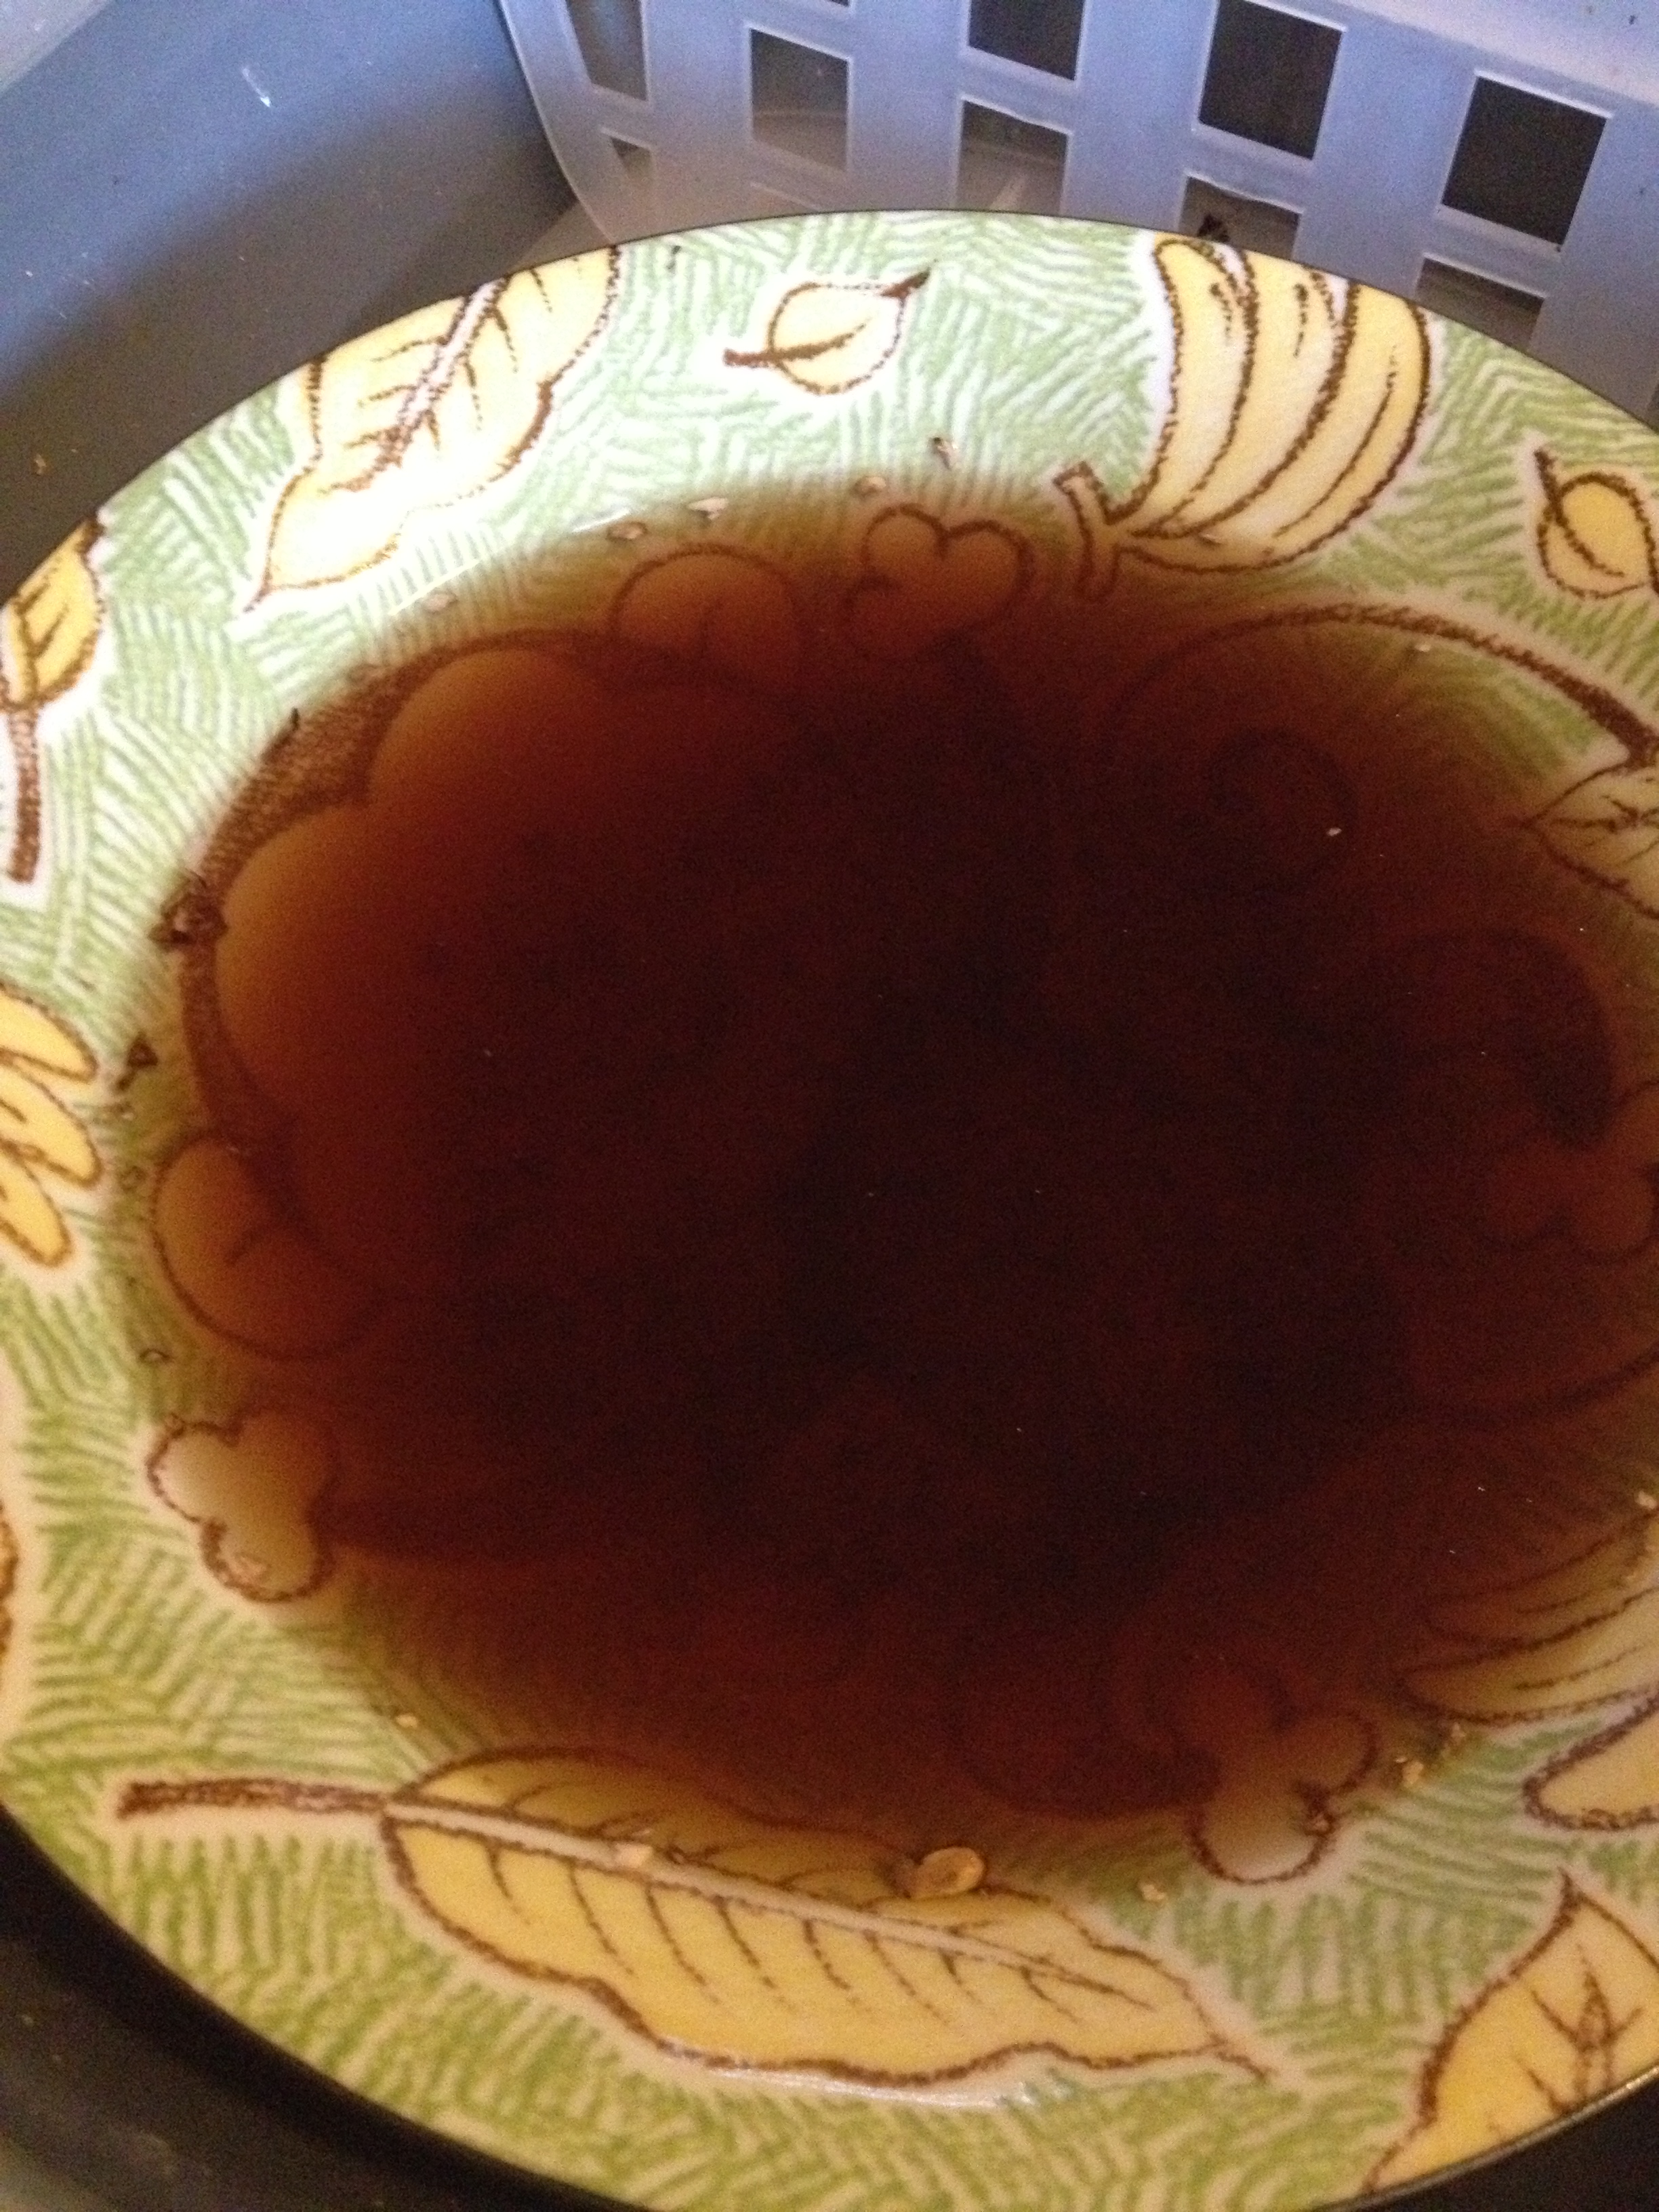
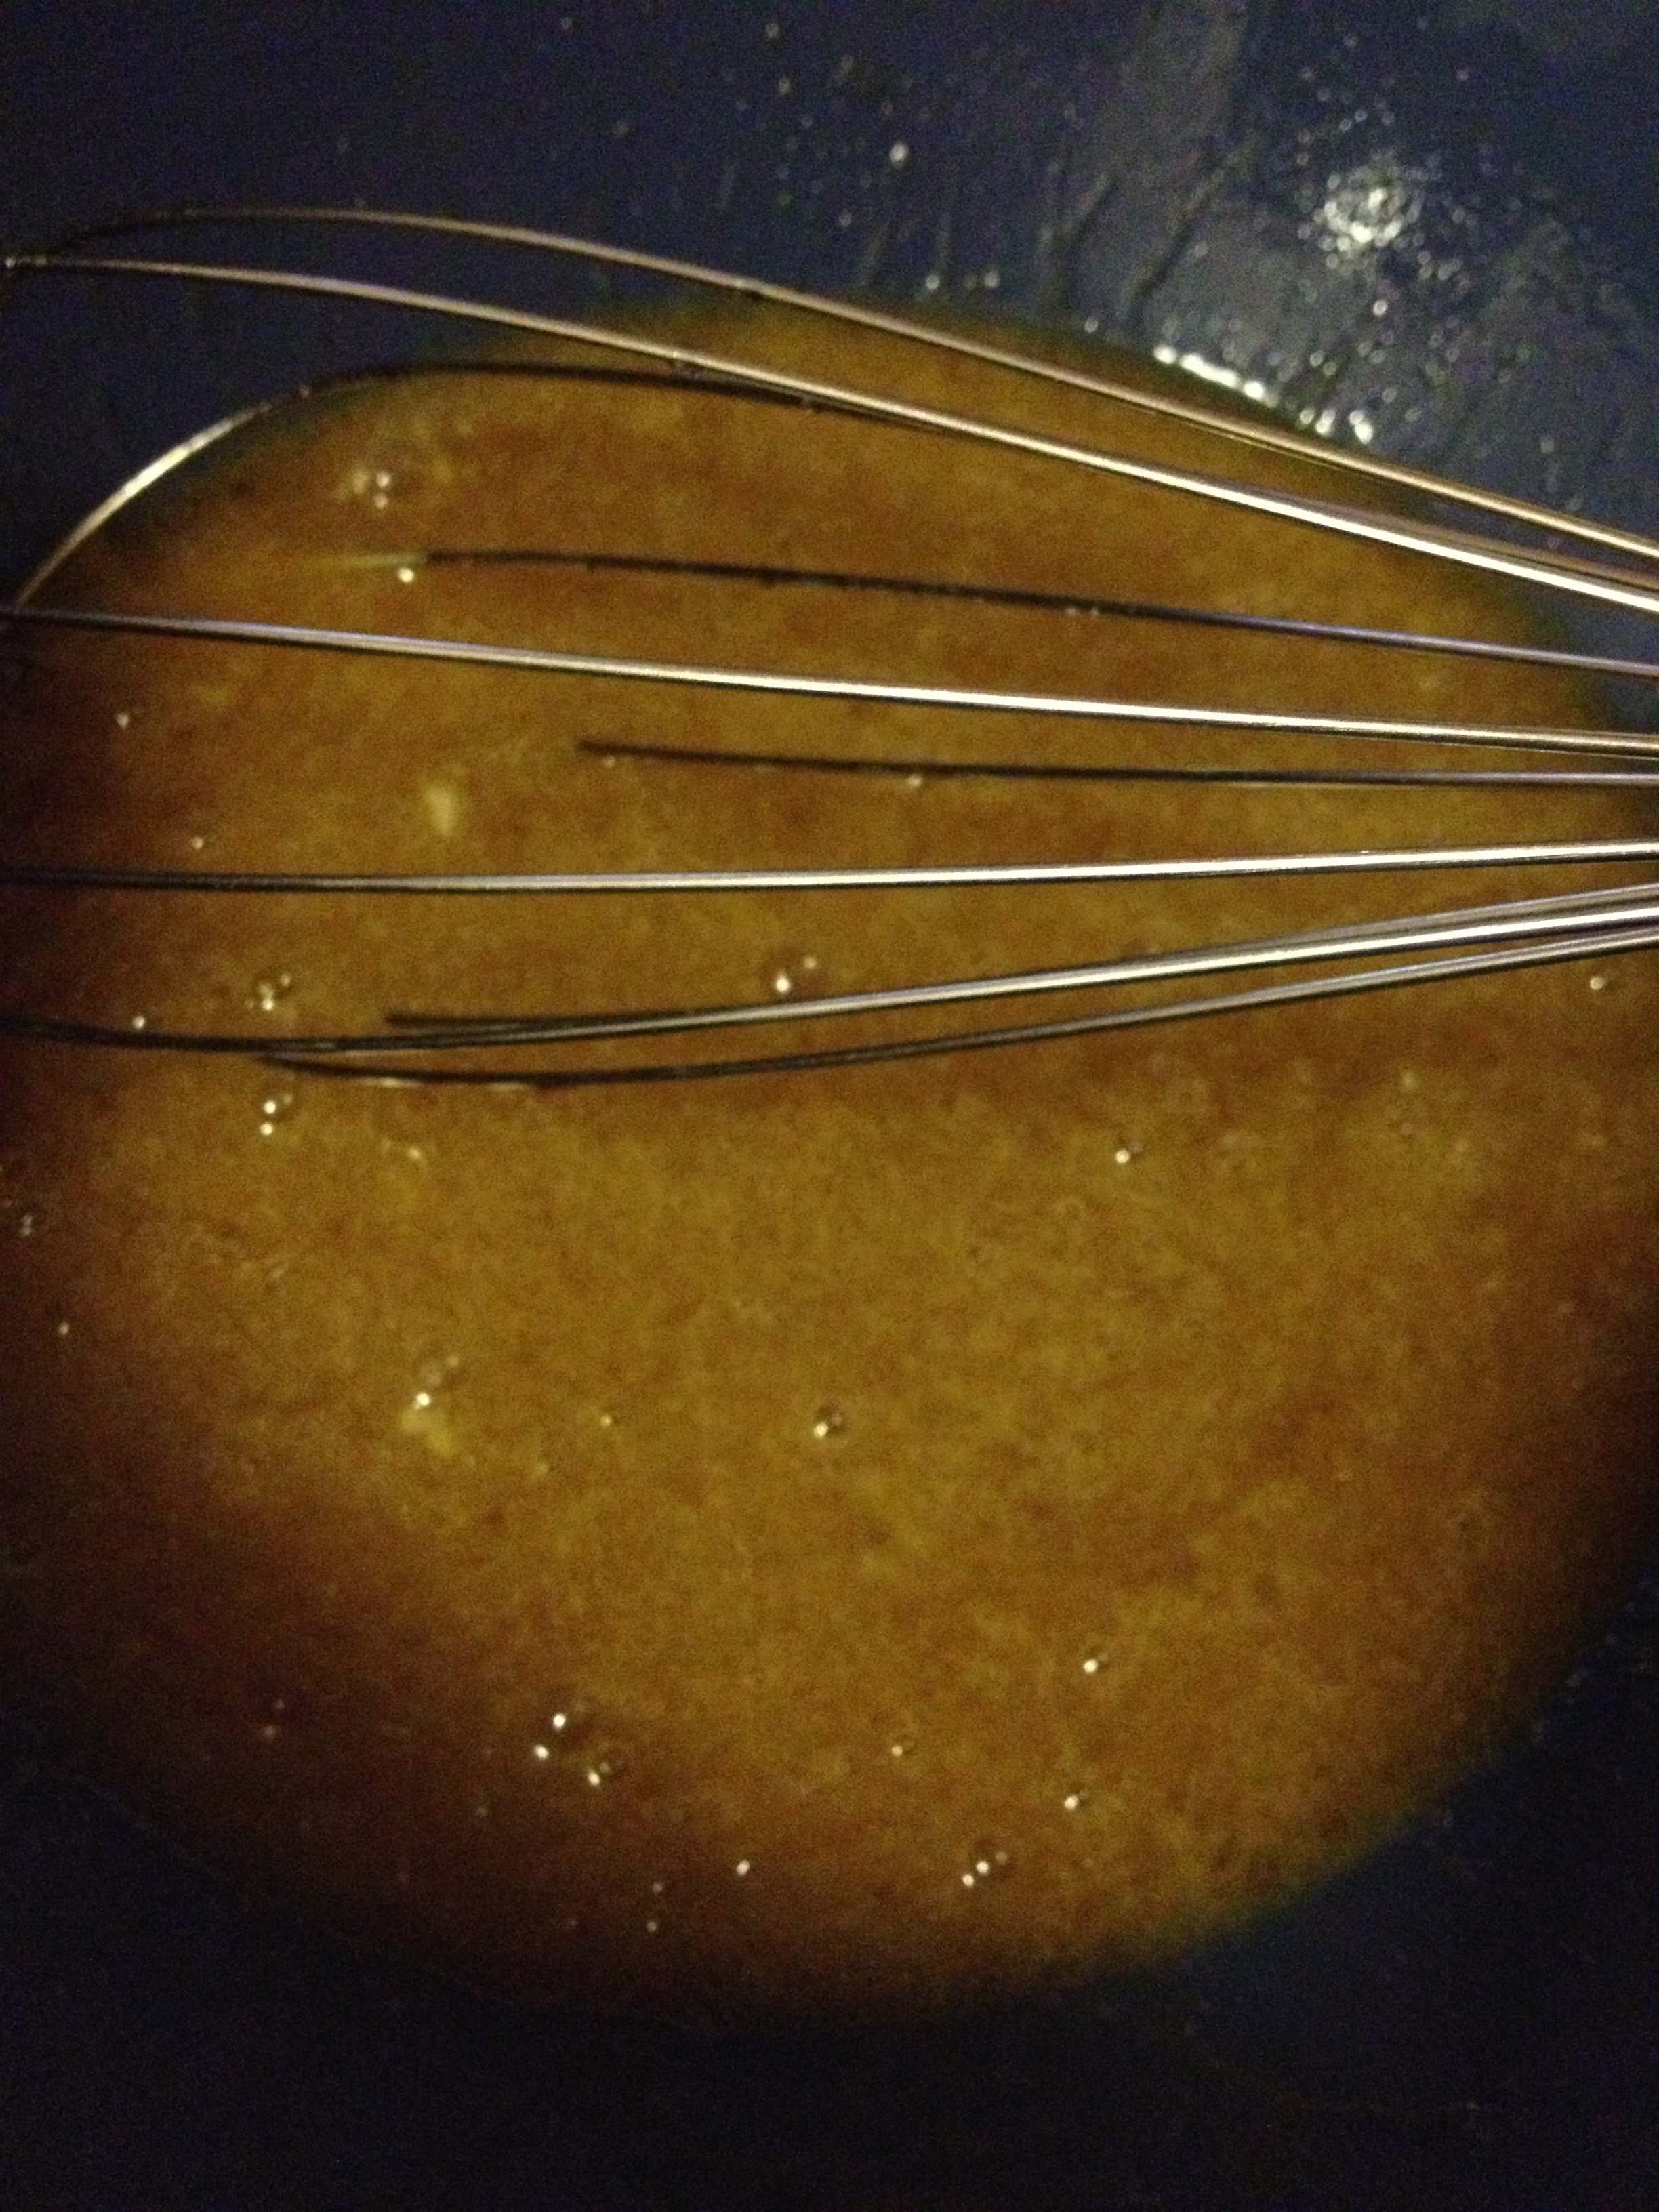
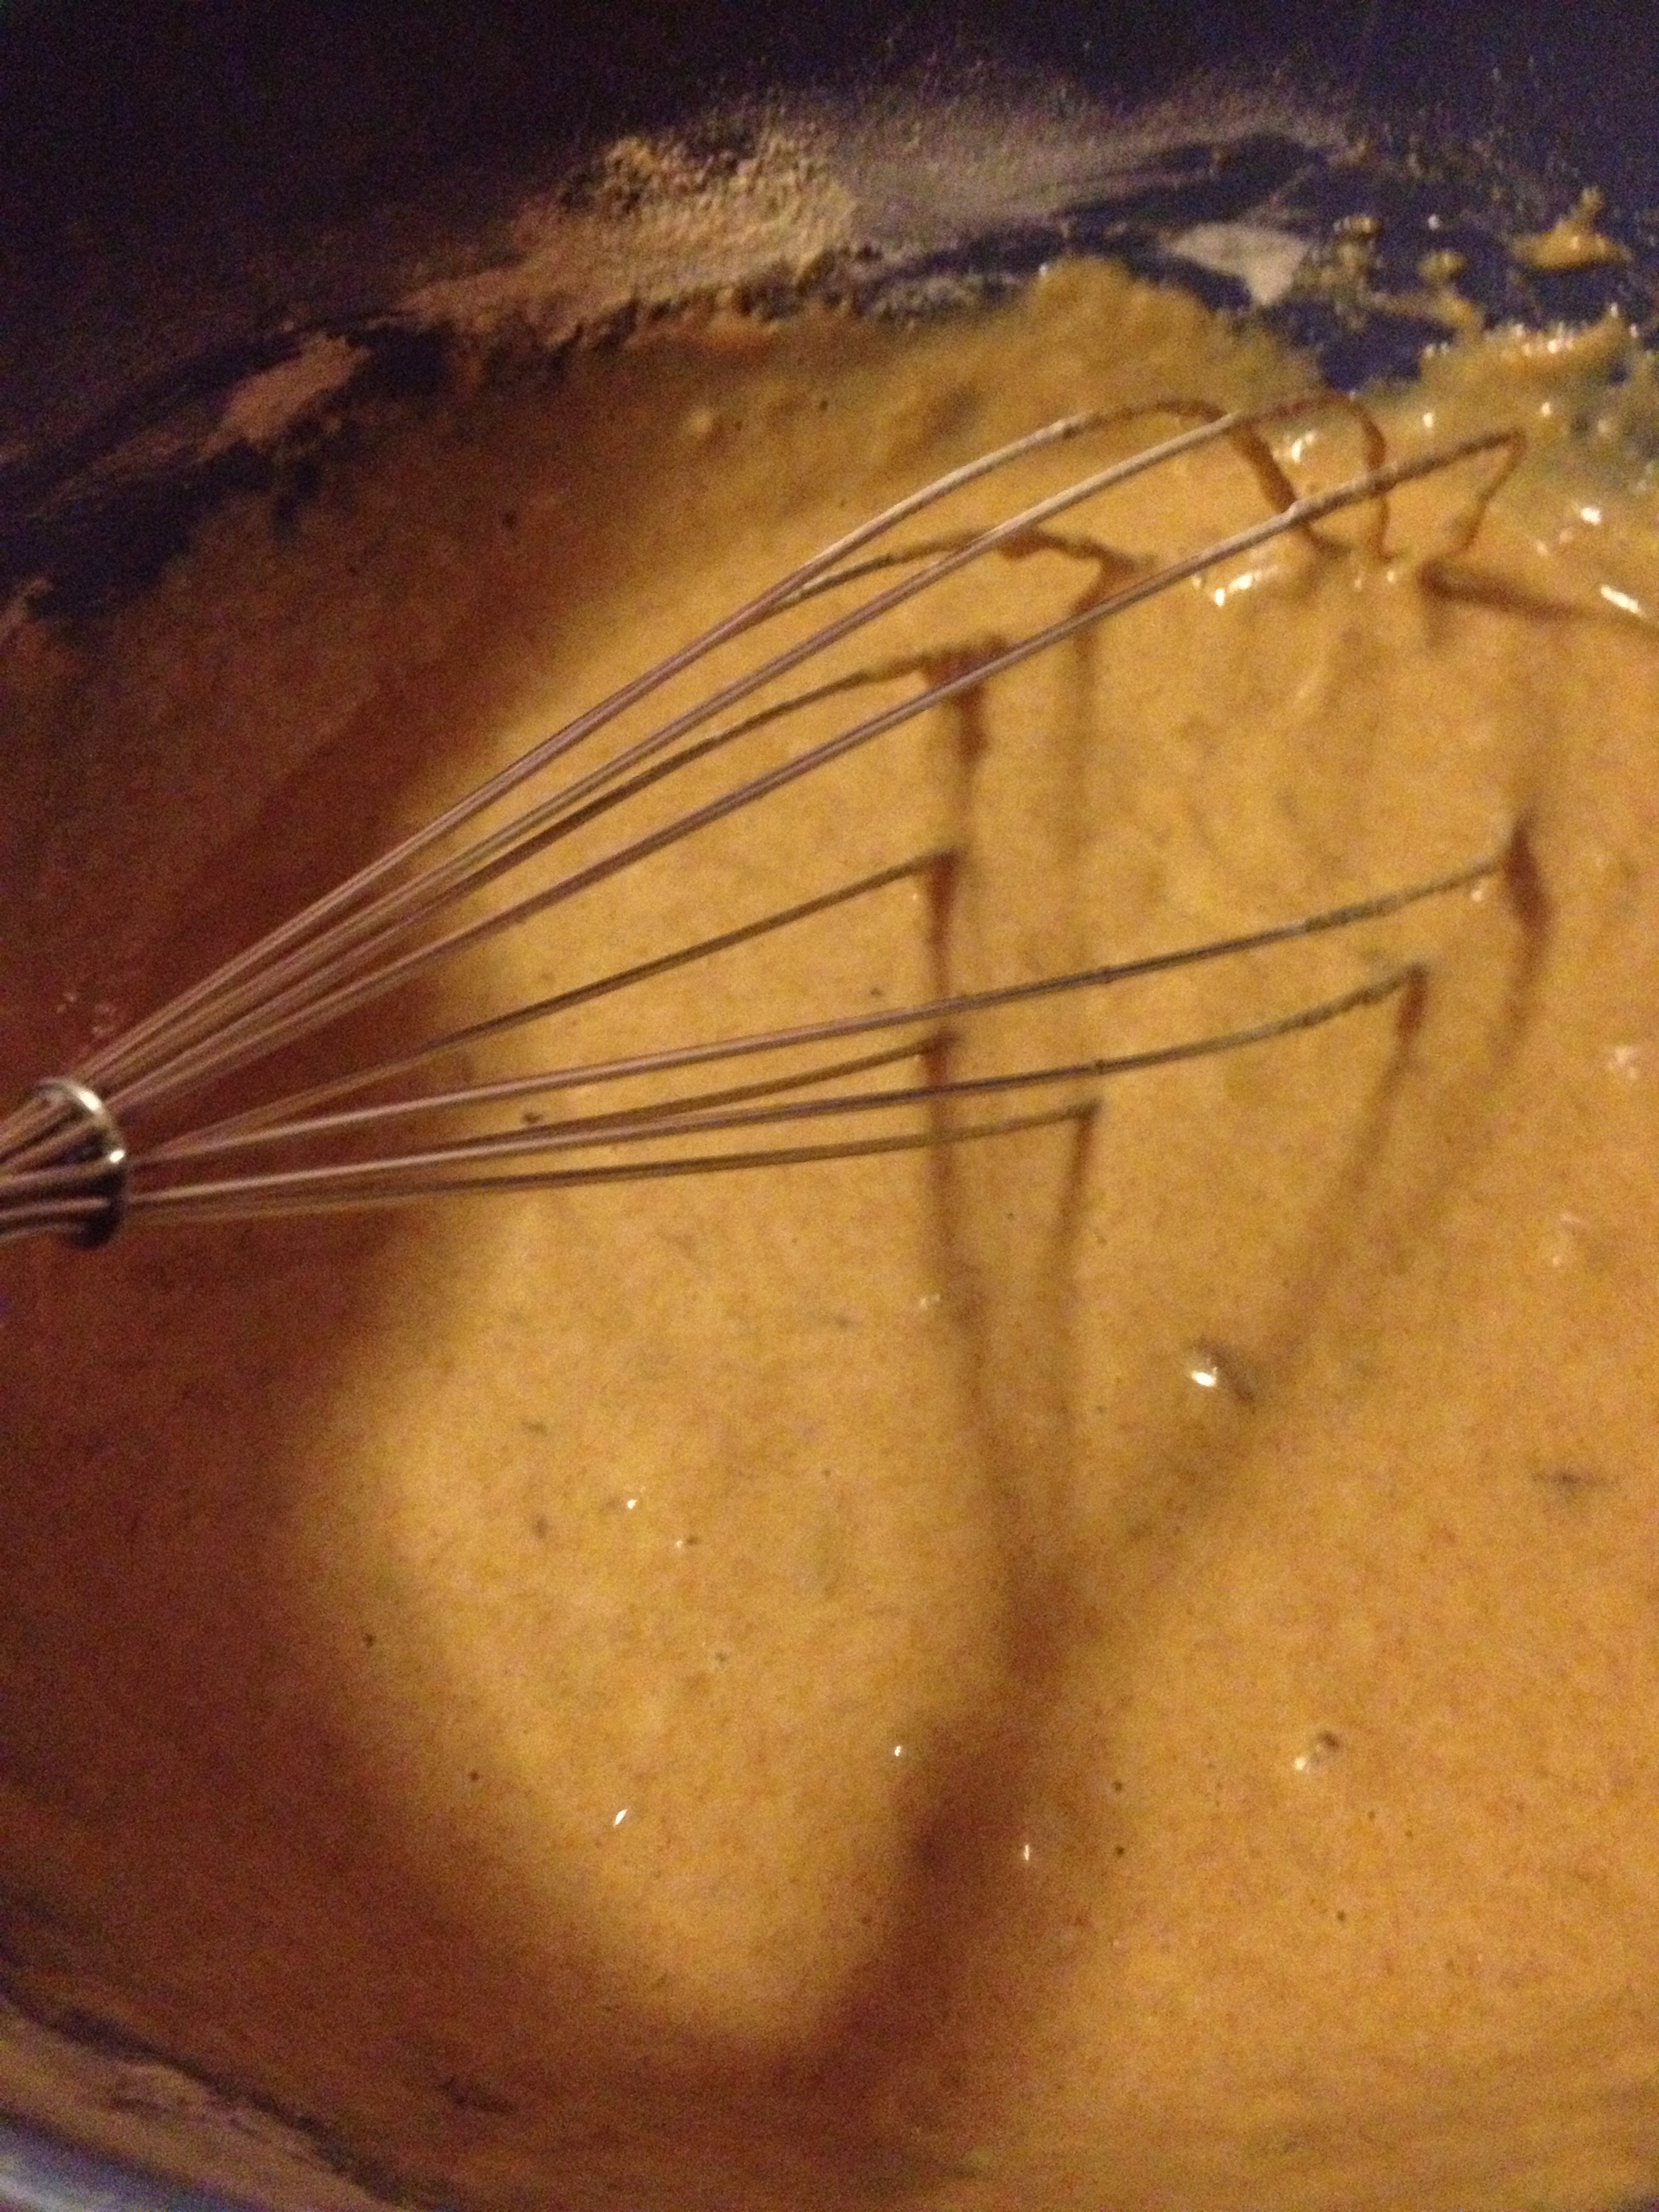
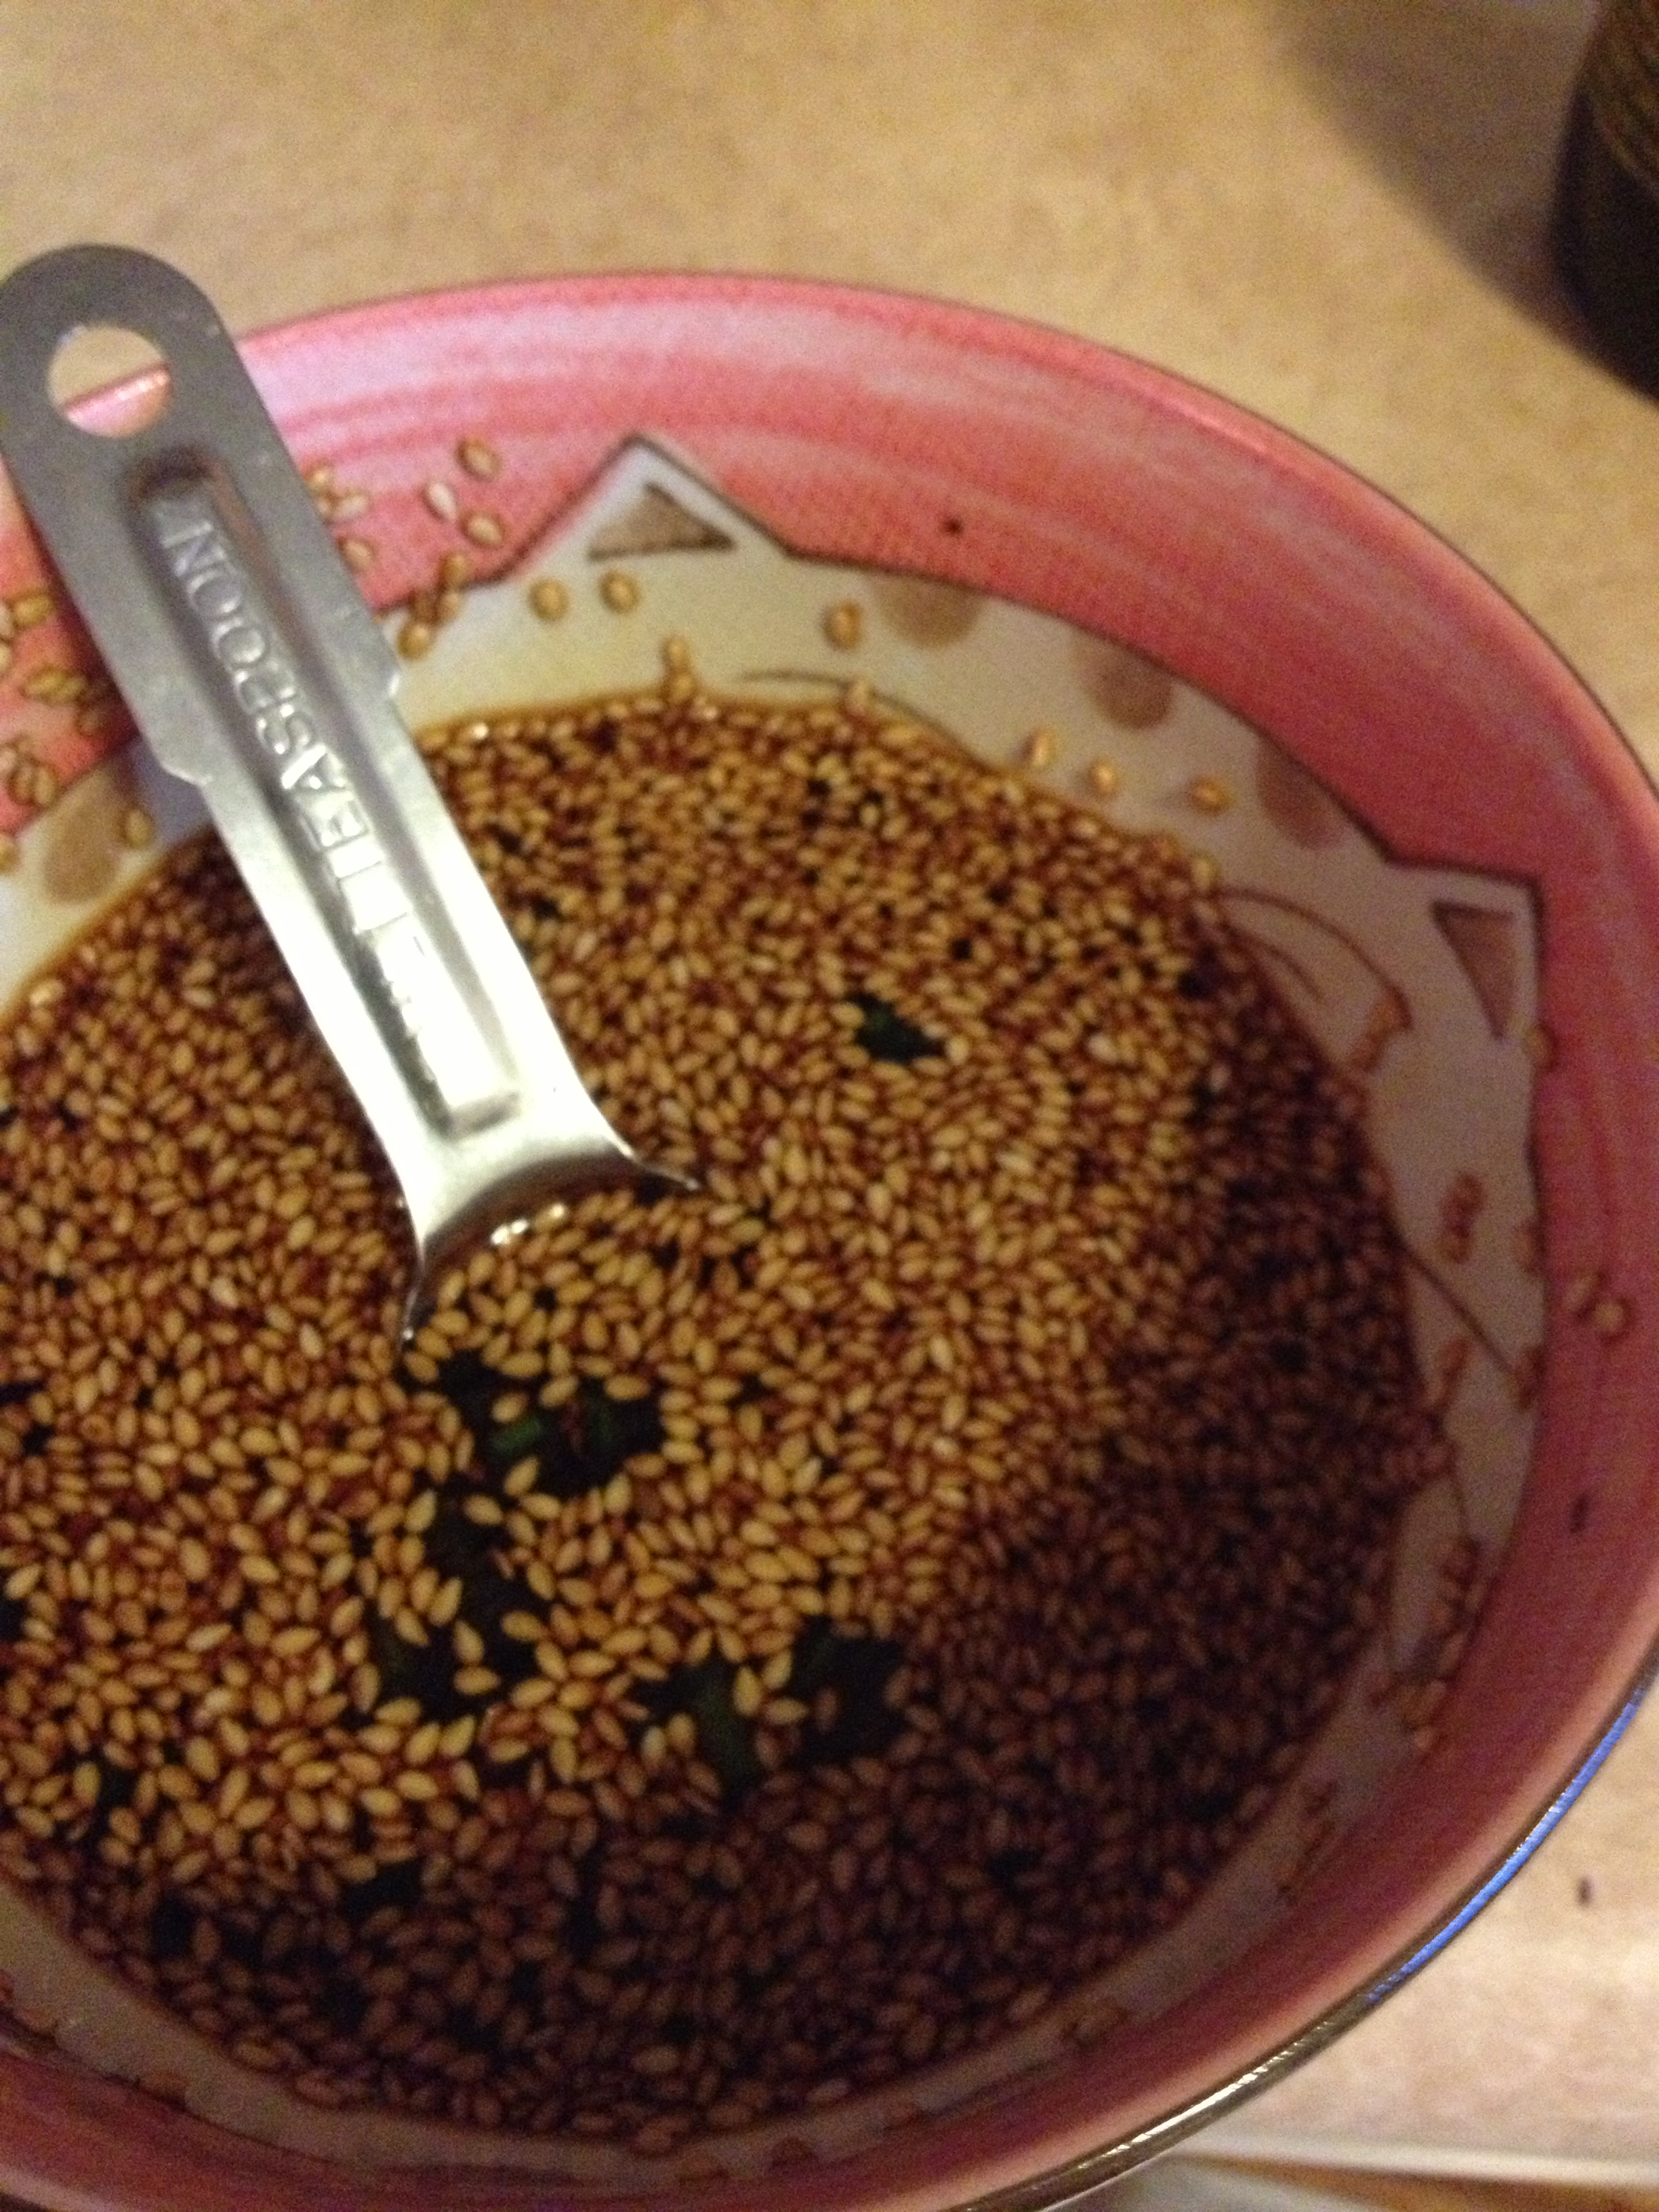
It may seem like a lot of ingredients, but it really is a simple dish once you get the hang of it. Let’s first start off with a special sauce that is for non-spice people (Chris unfortunately can’t have spice). It’s easy and delicious.
Ingredients
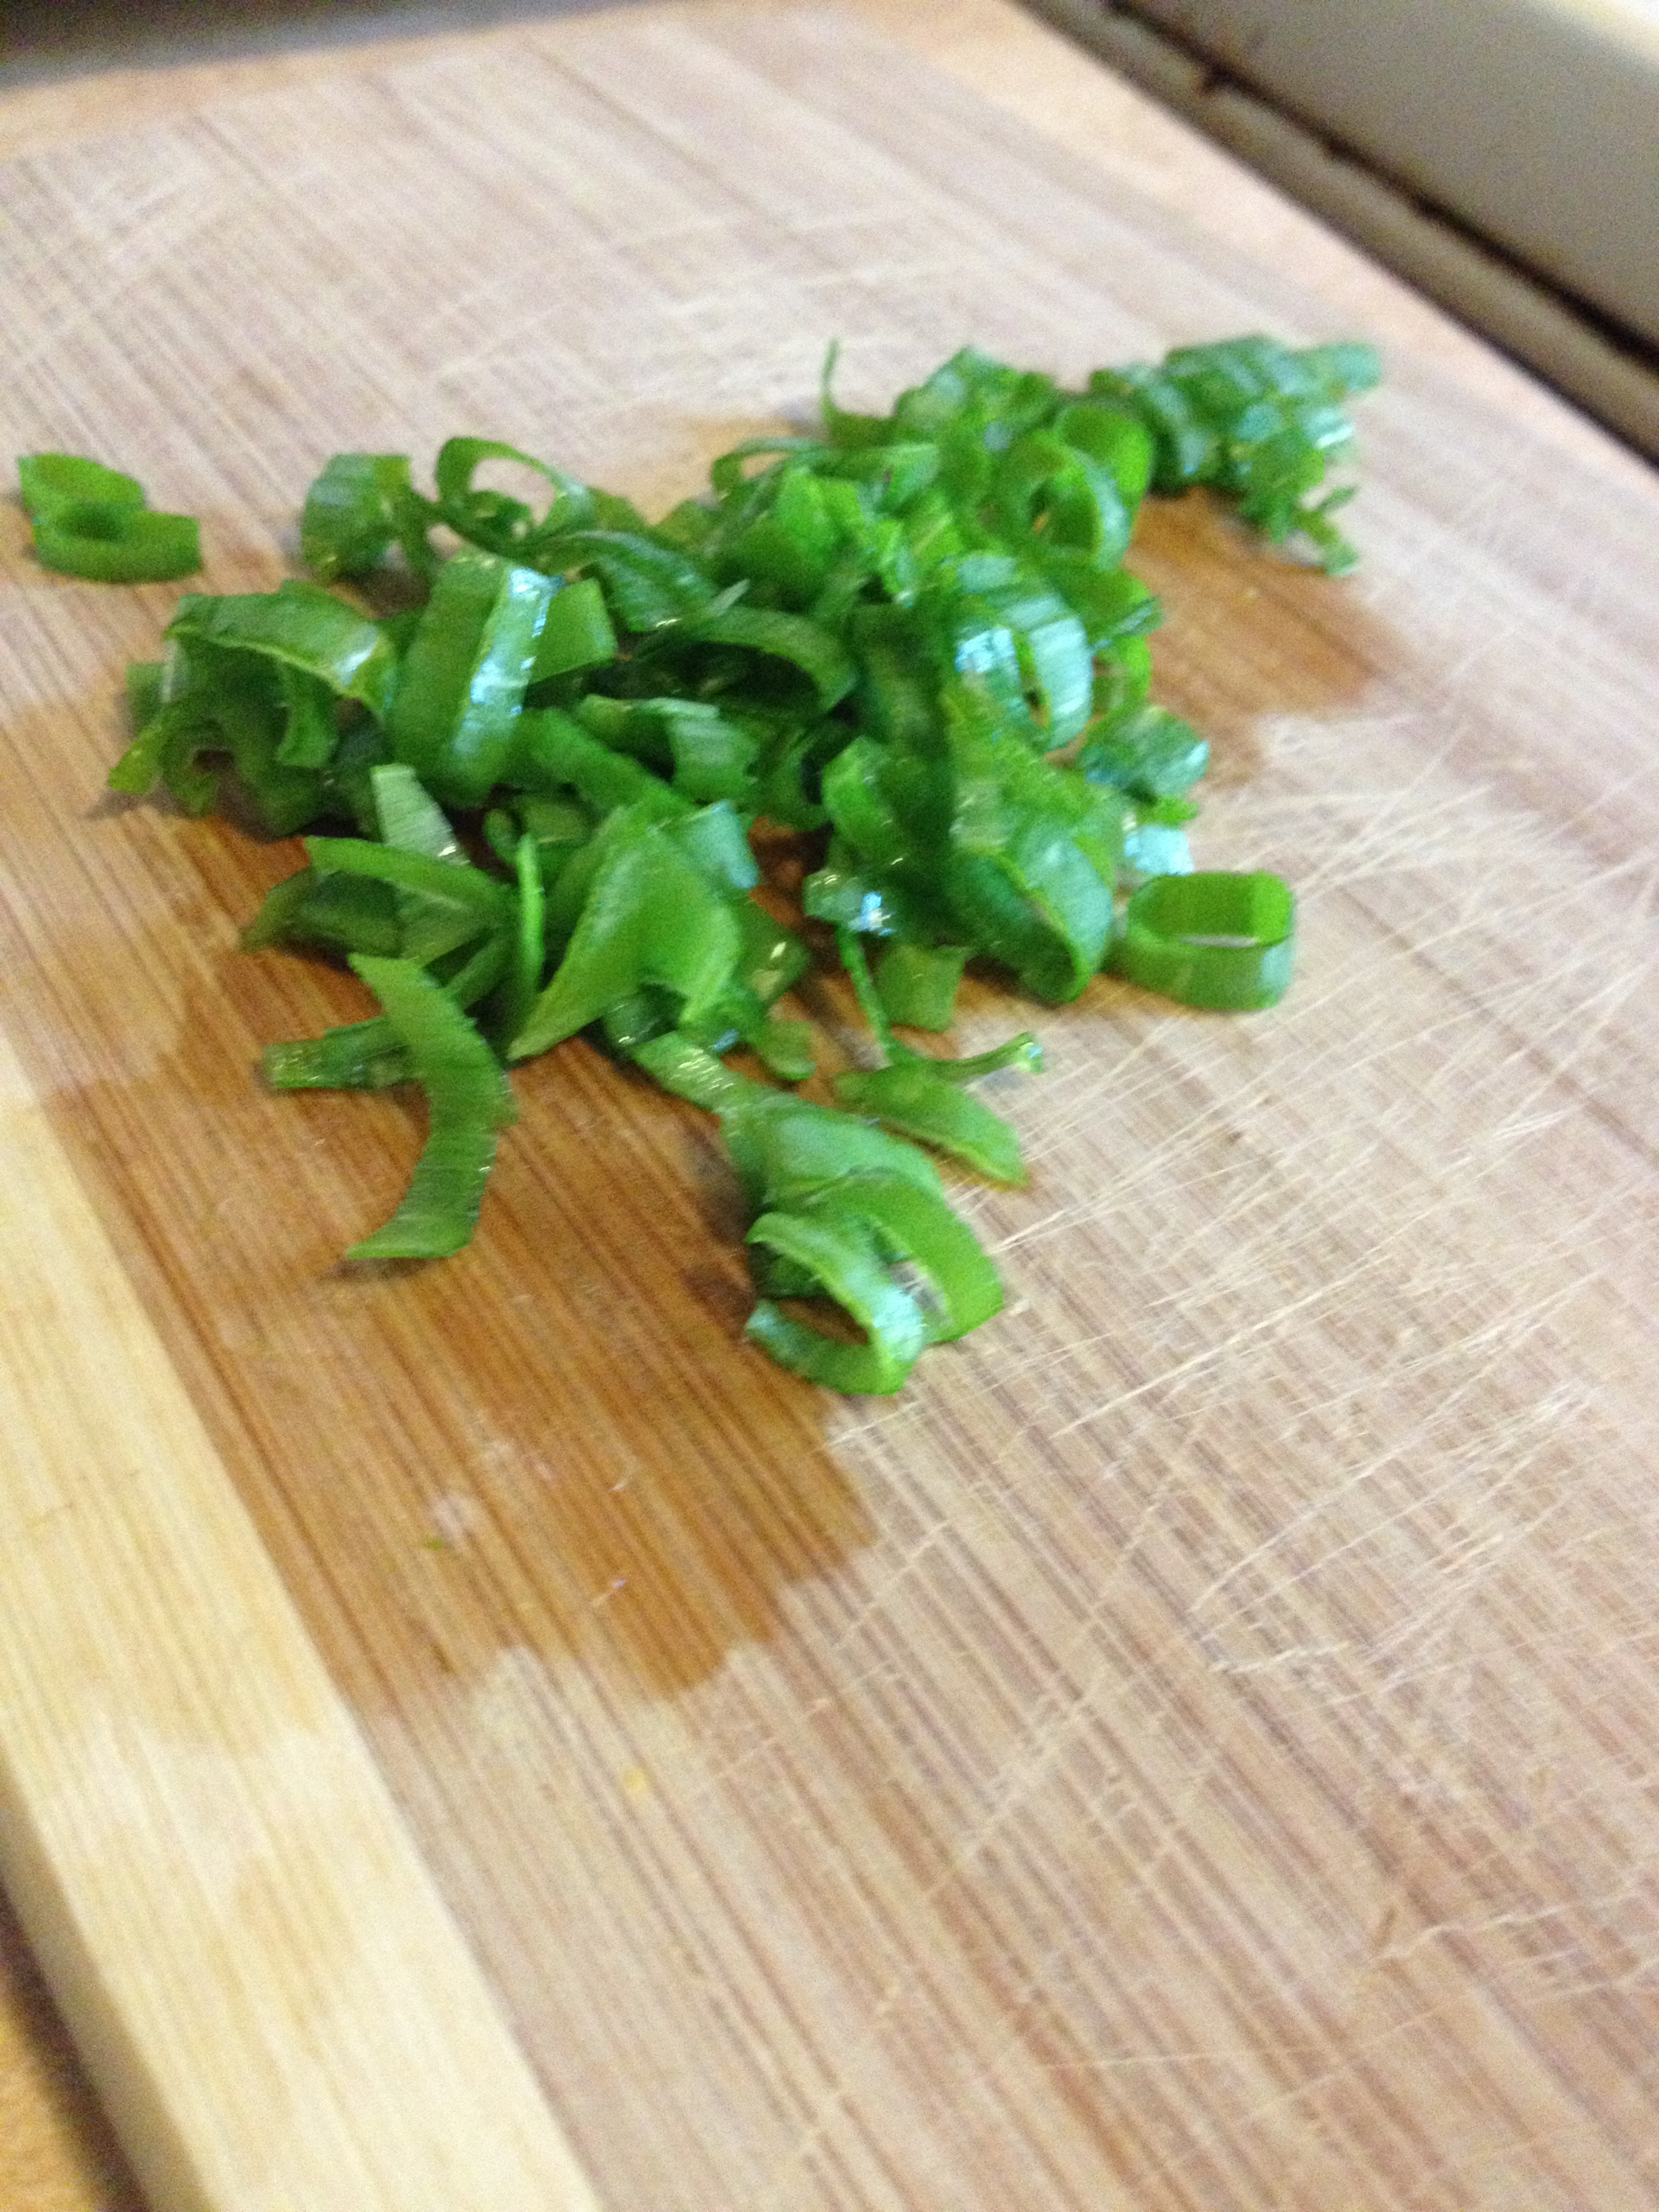
- 4 green onions
- 1/4 cup soy sauce
- 1 tbsp sesame seeds
- 2 tsp brown sugar
- 1 tsp sesame teriyaki
- 1 clove minced garlic
Directions
- Chop up the green onions and put into small bowl
- Pour in the soy sauce
- Mix in the rest of the ingredients. Stir well
Now onto the good stuff– the bibimbap!
Ingredients
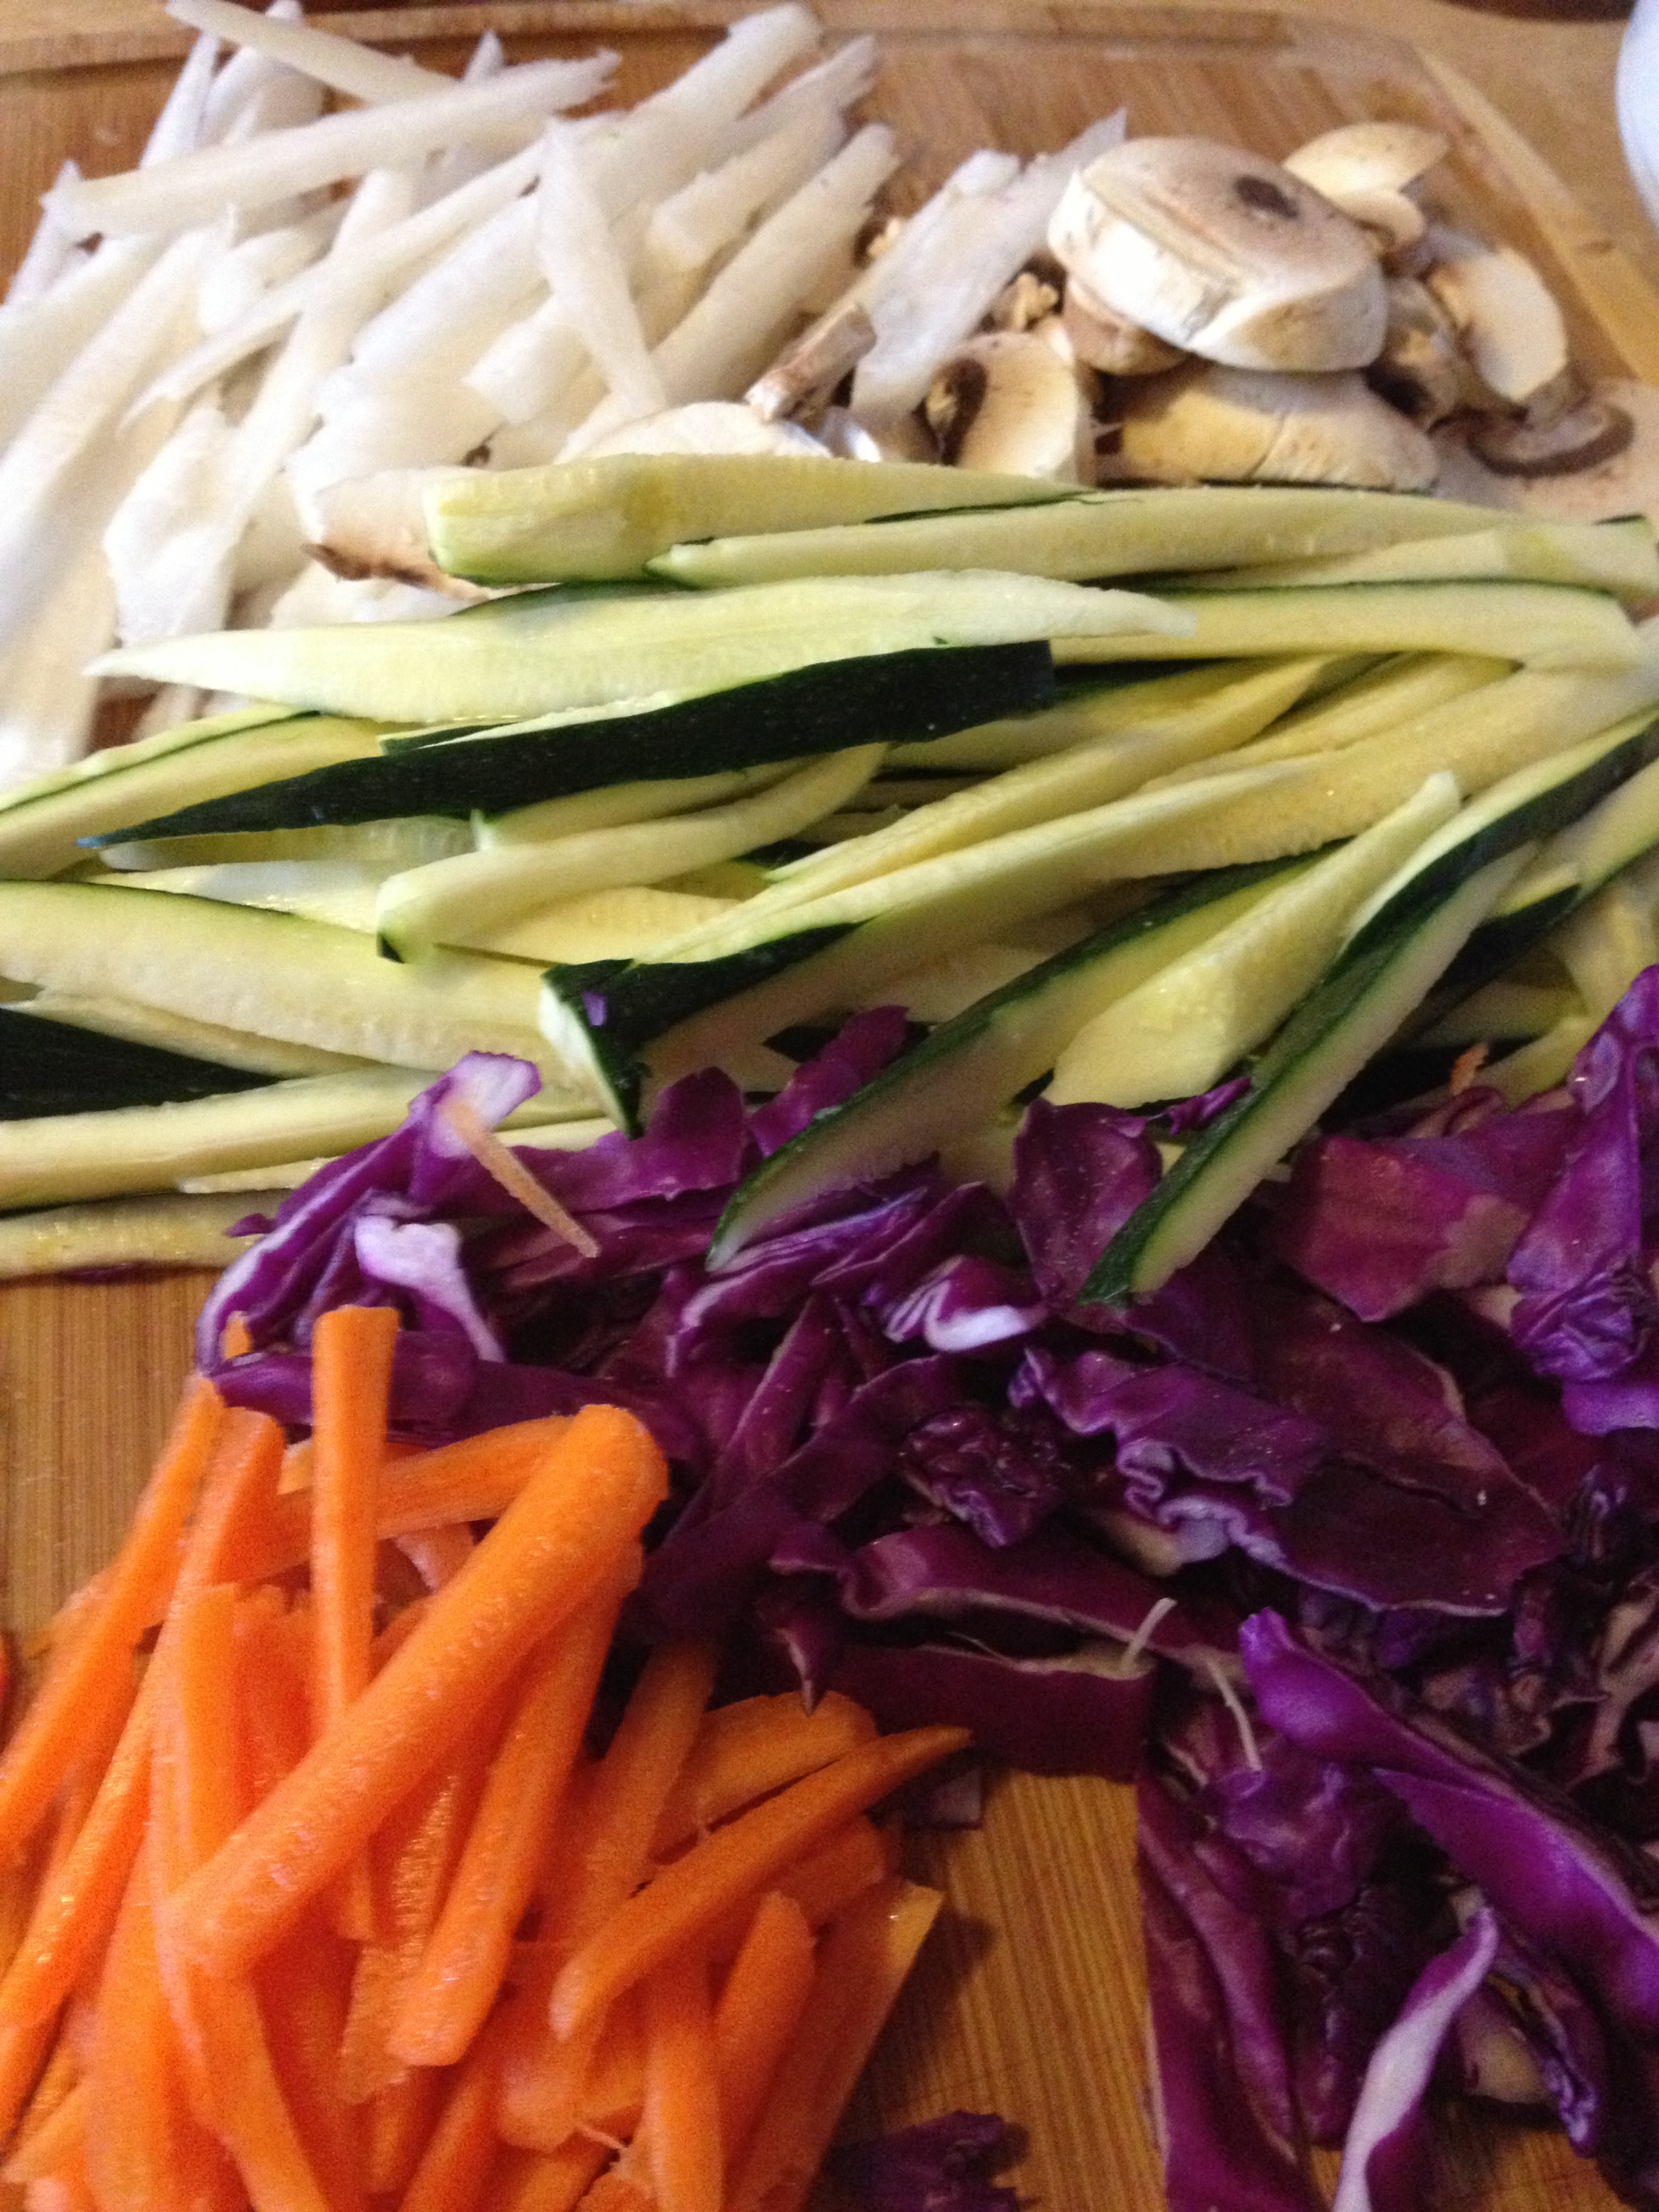
- red cabbage
- 2 small zucchini
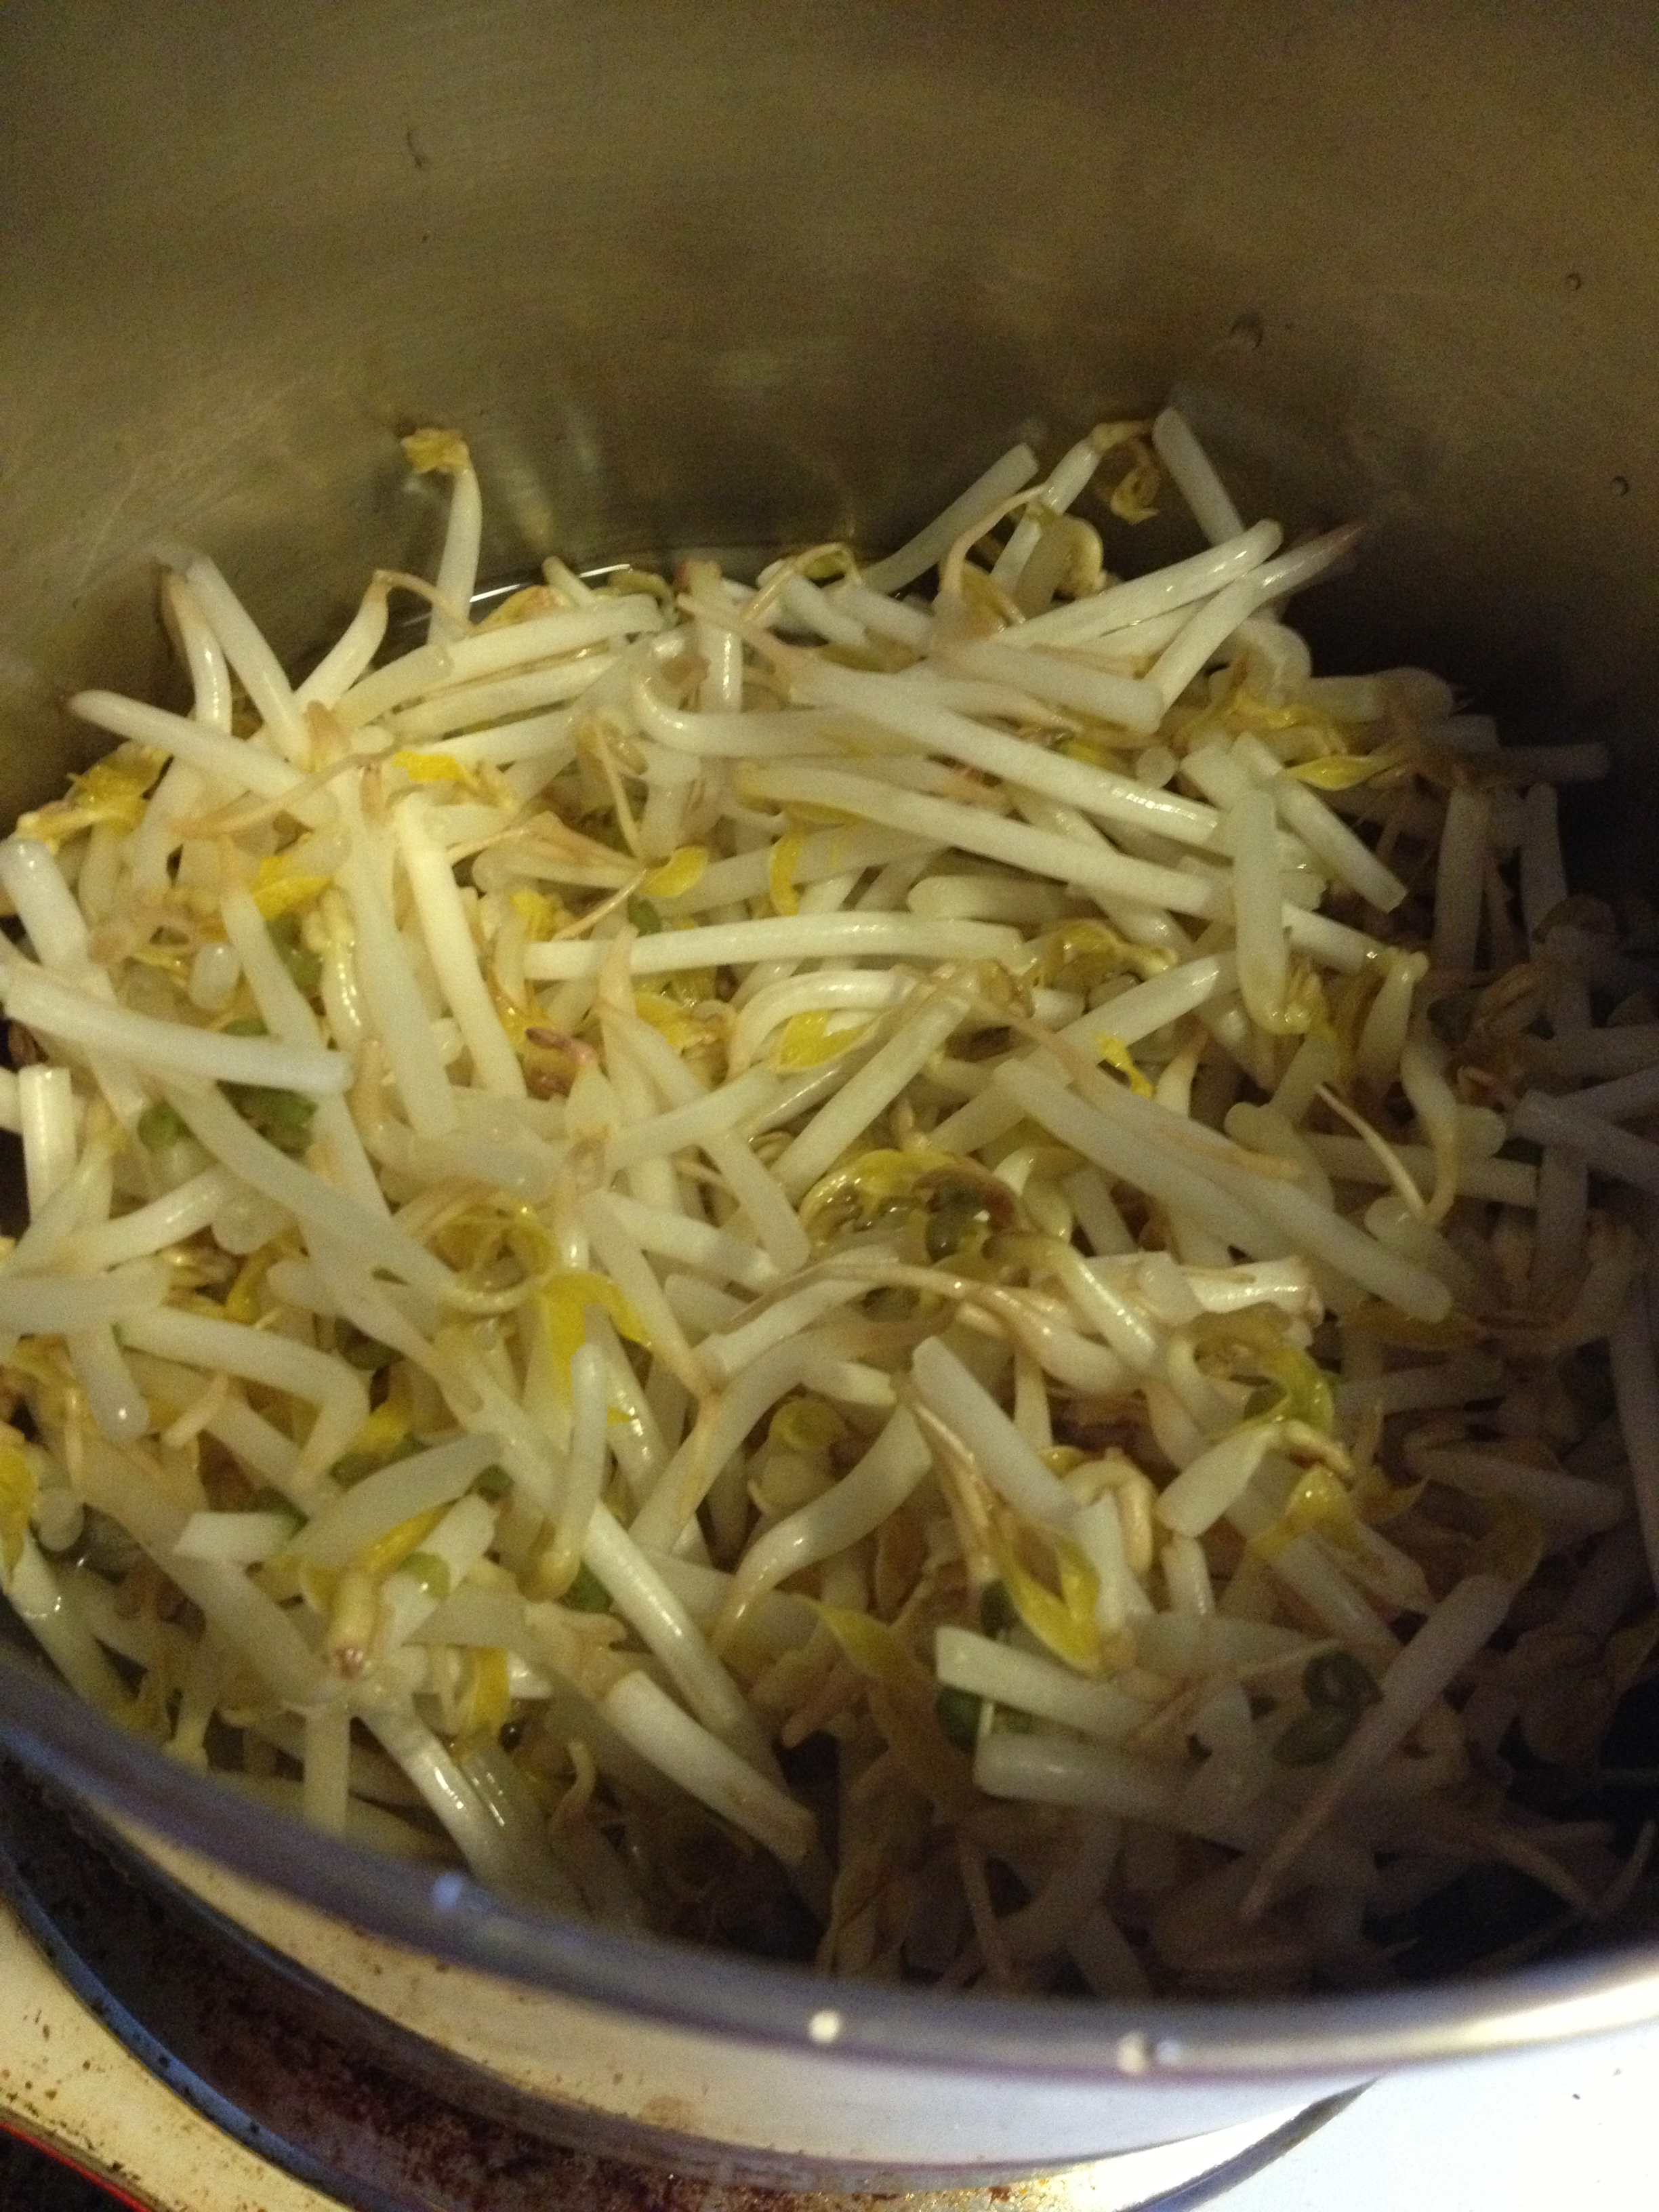
- bag of bean sprouts
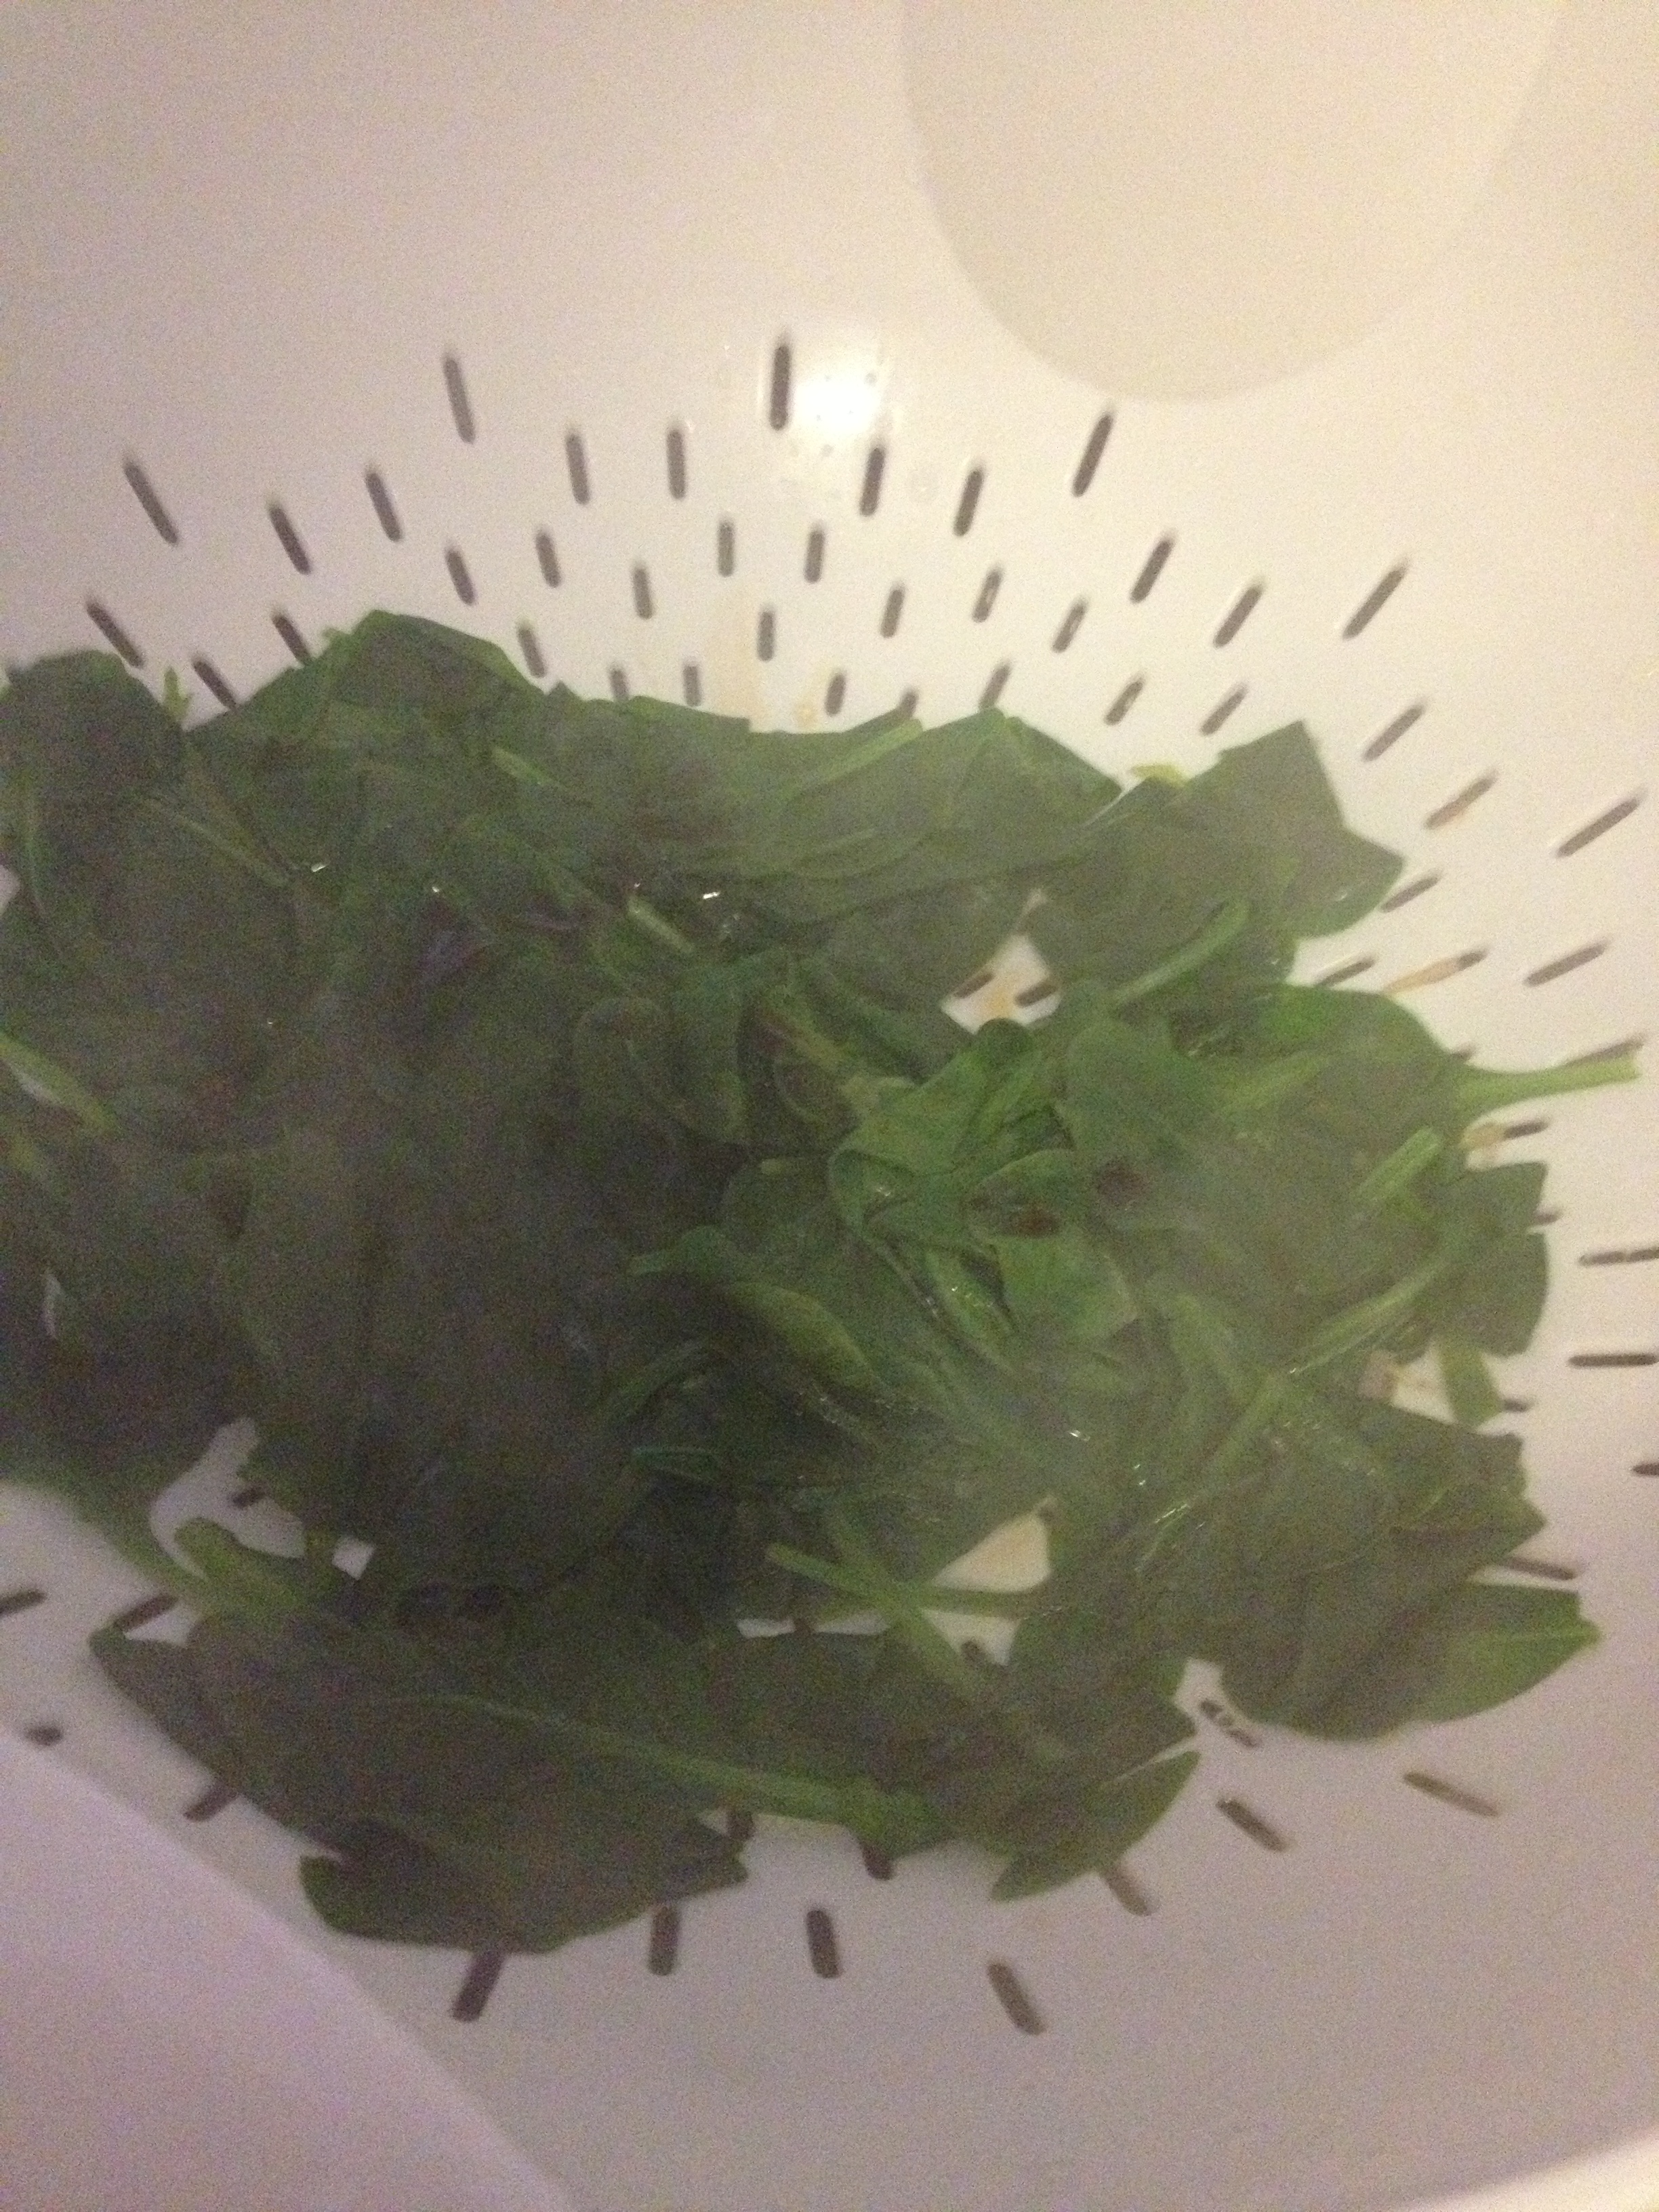
- spinach
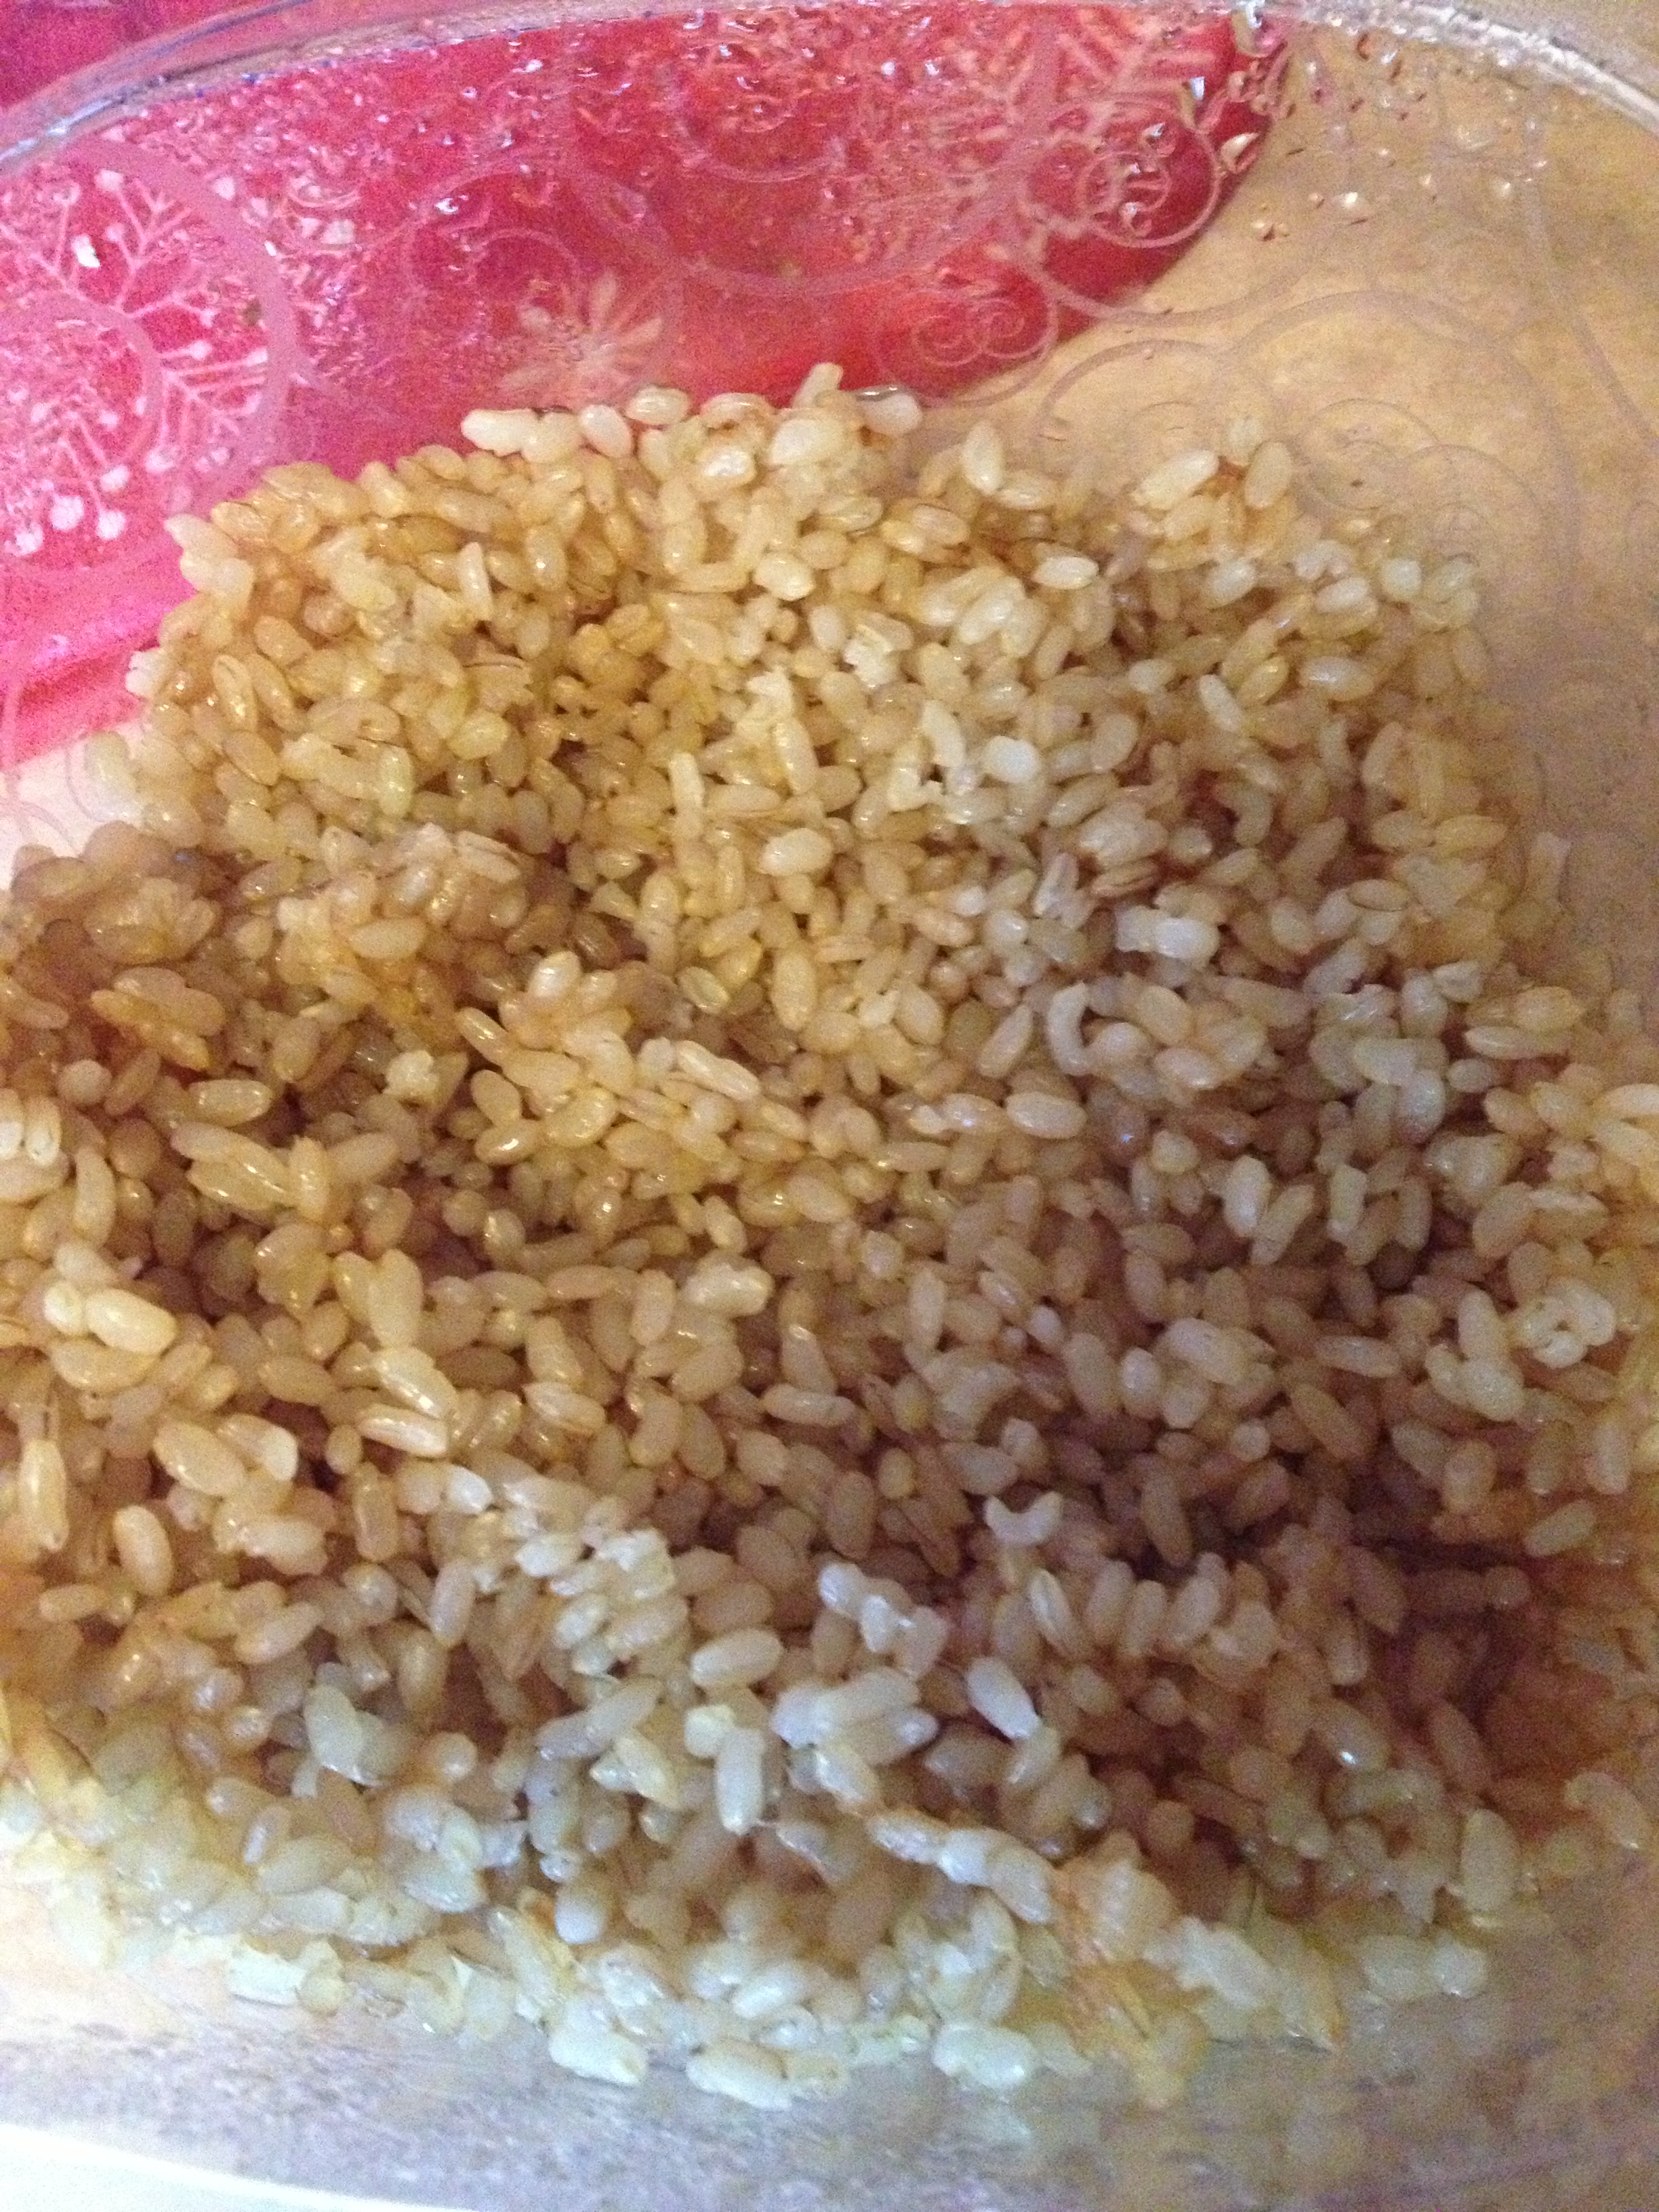
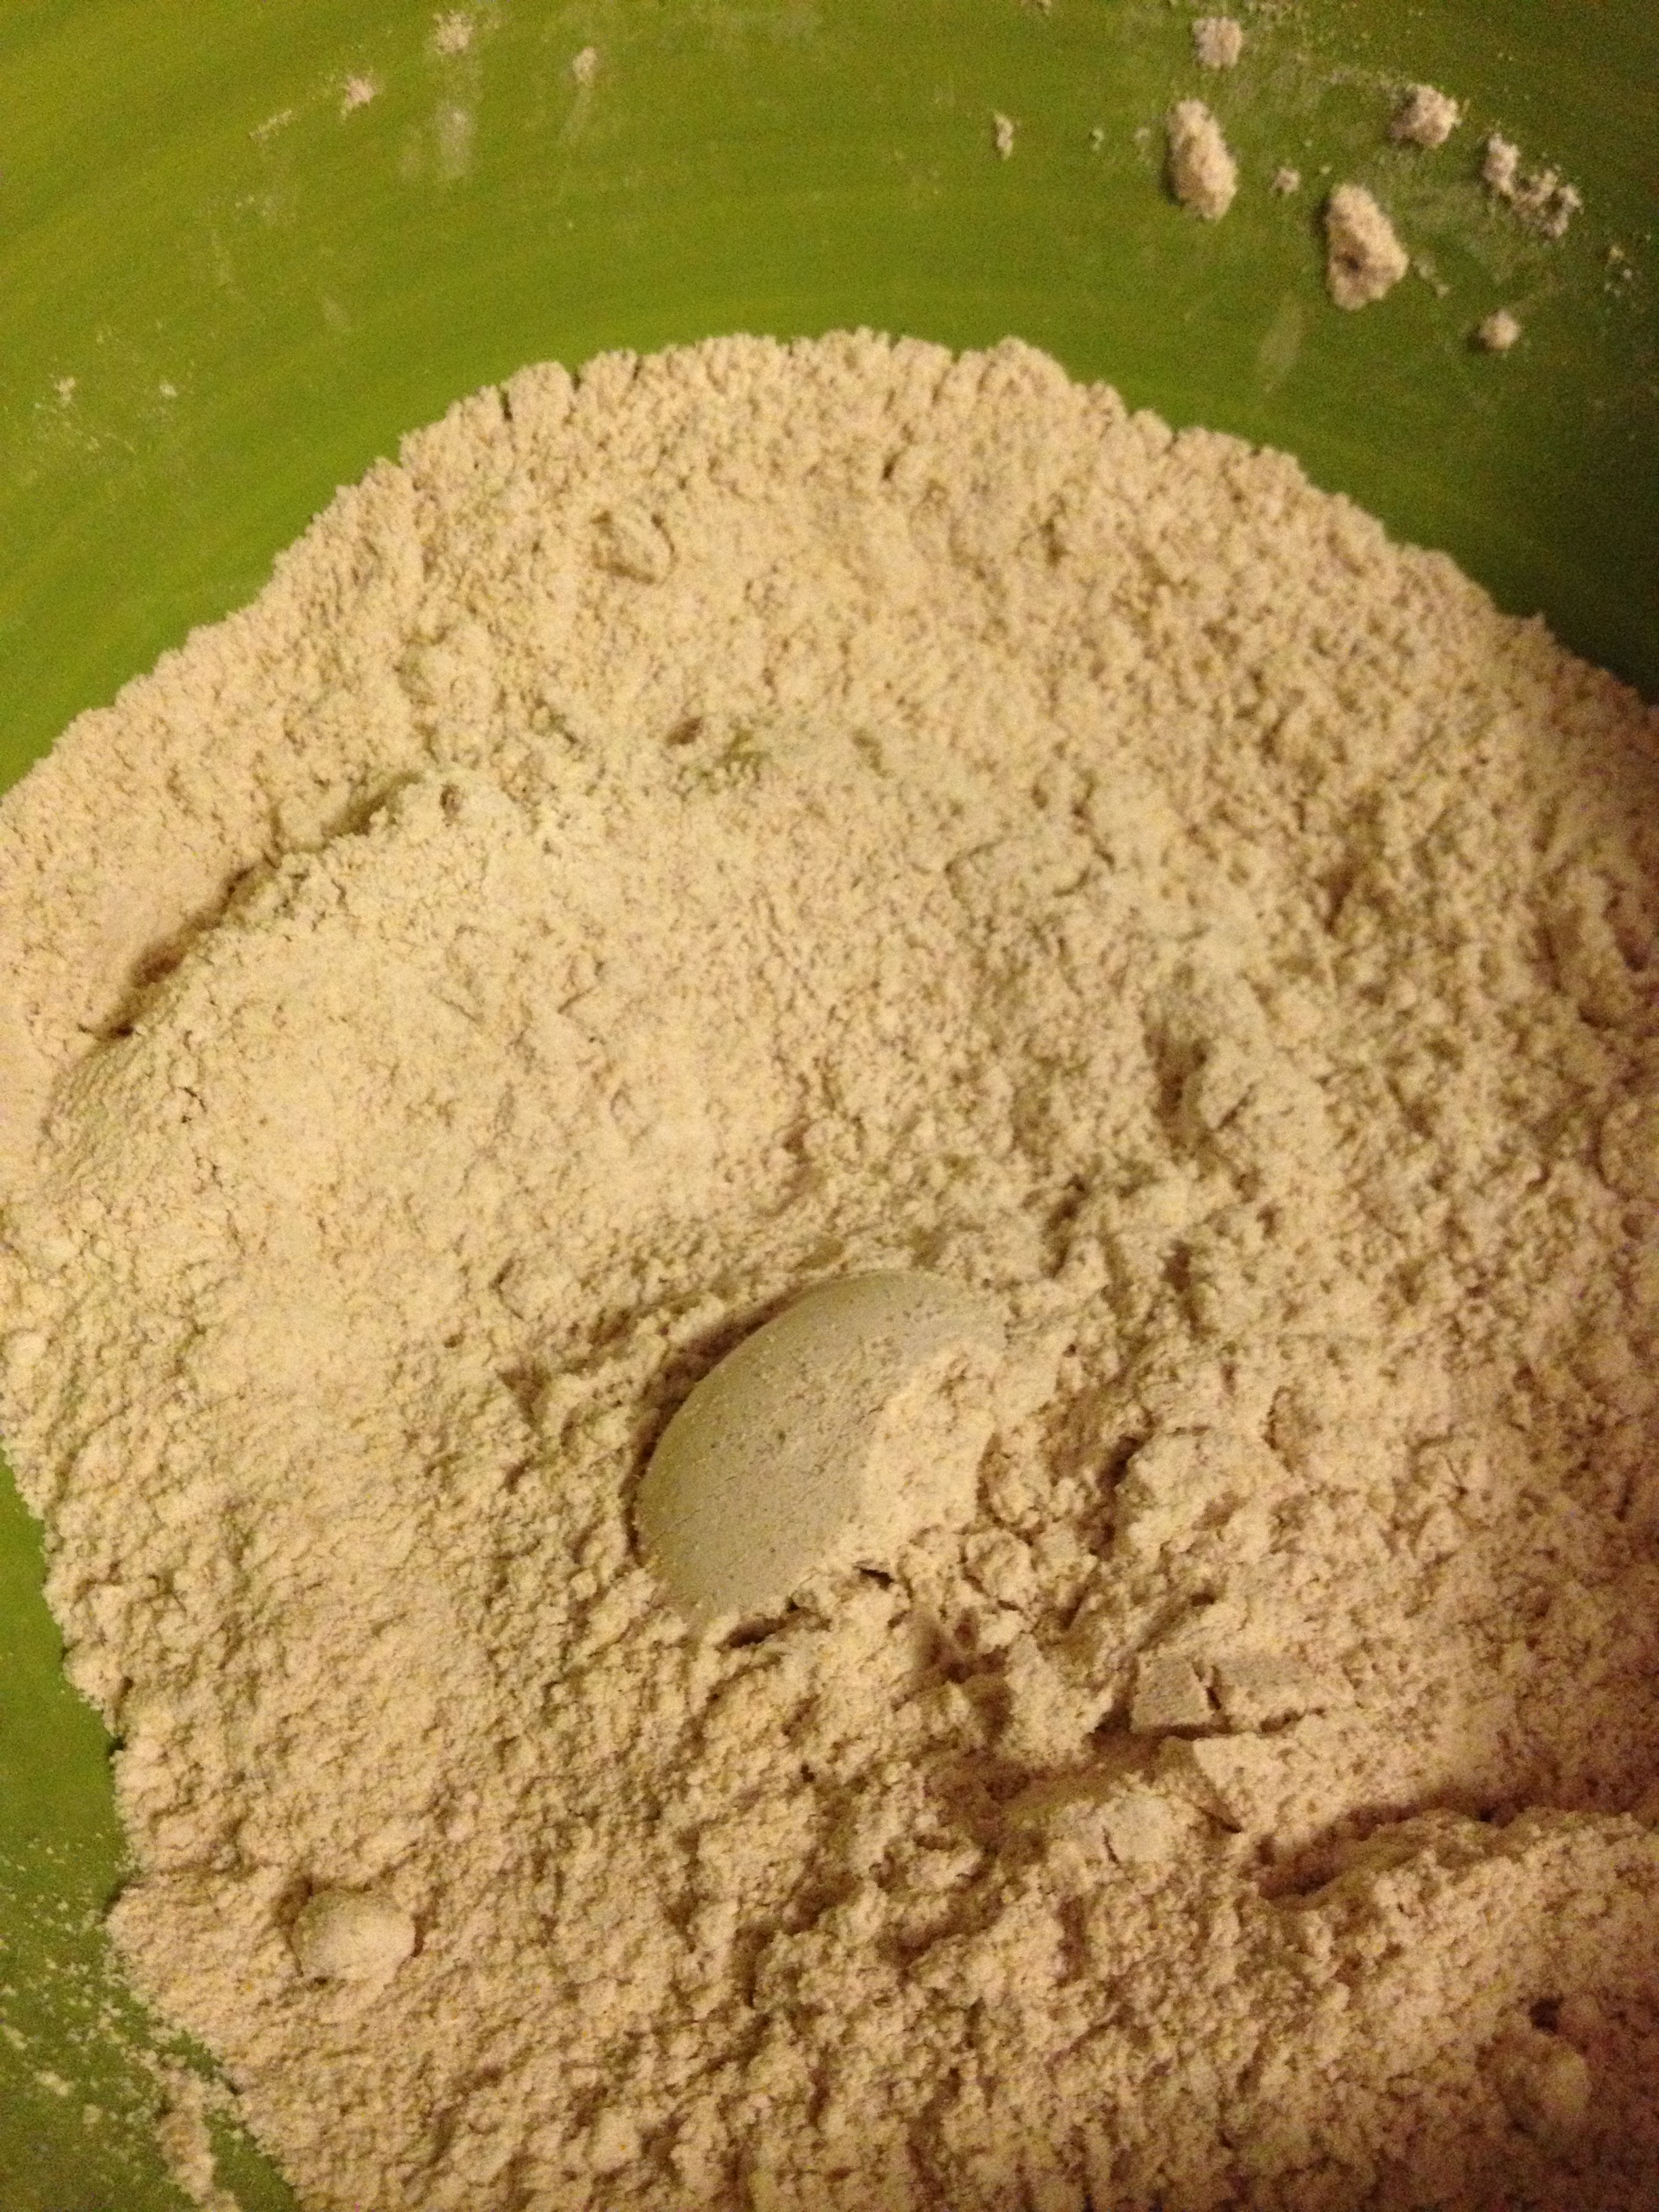
- 1 cup (uncooked) rice
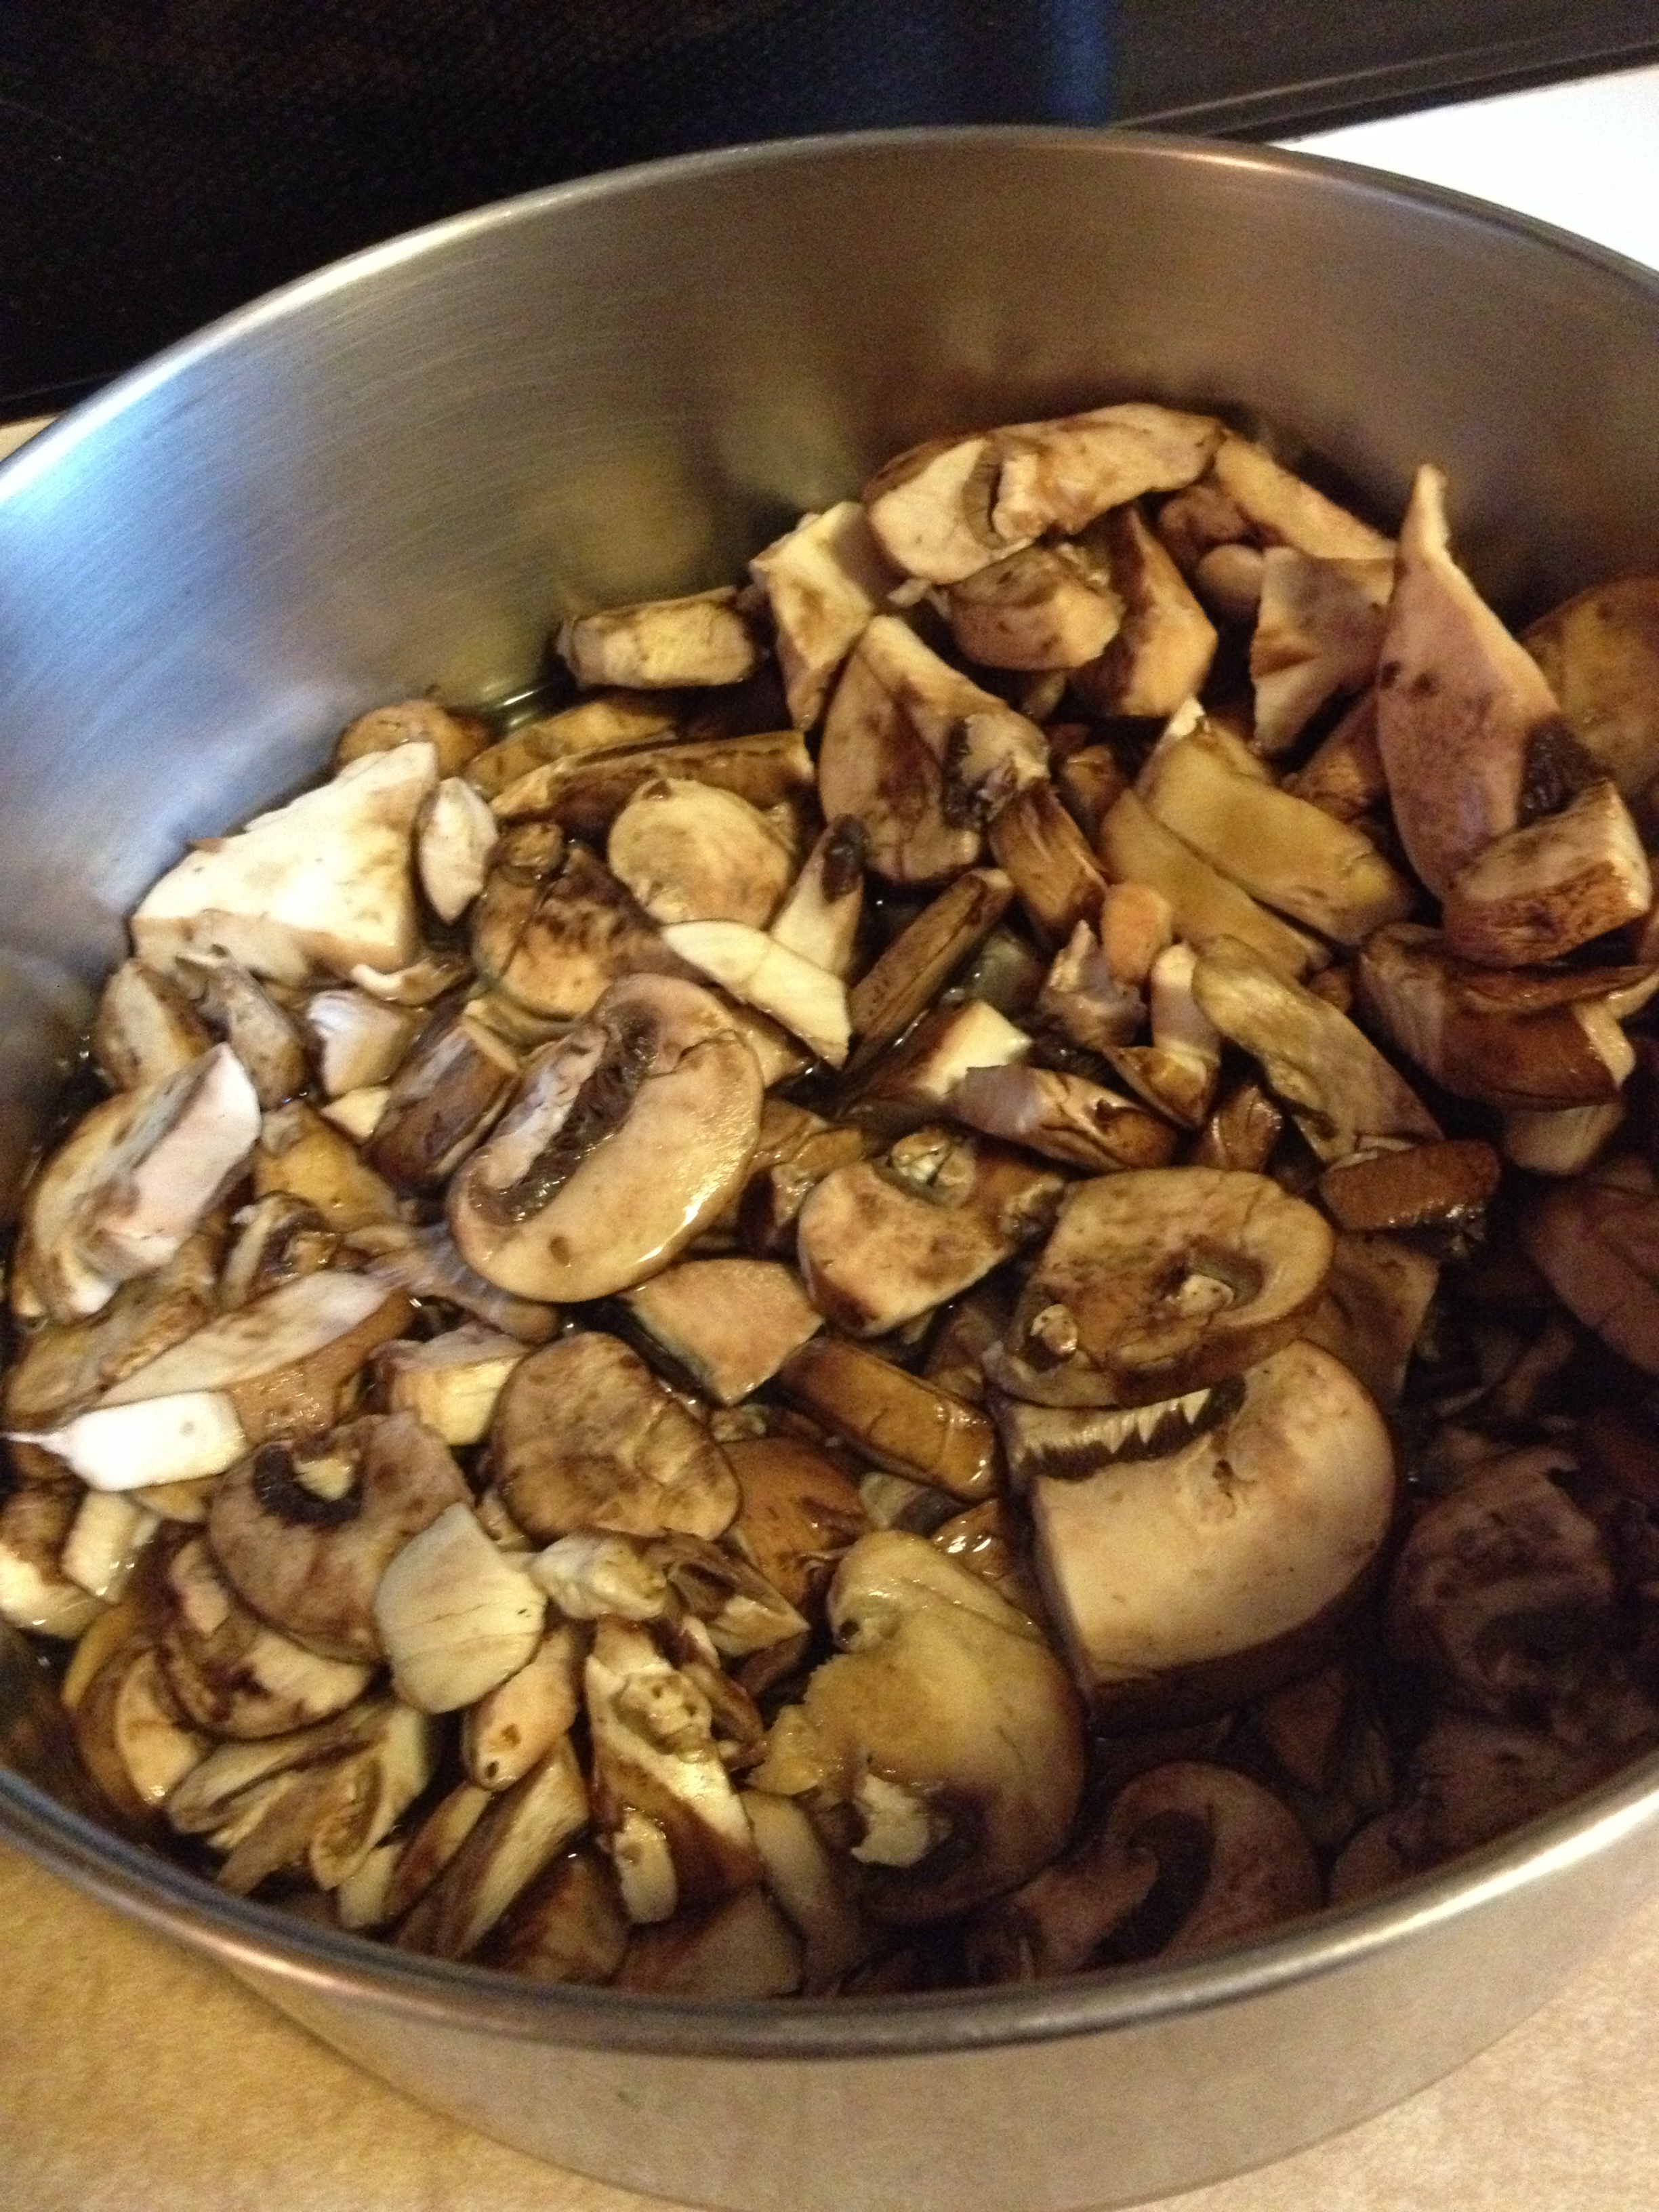
- 5 mushrooms (any kind)
- 4 baby carrots (you can use regular)
- 2 eggs
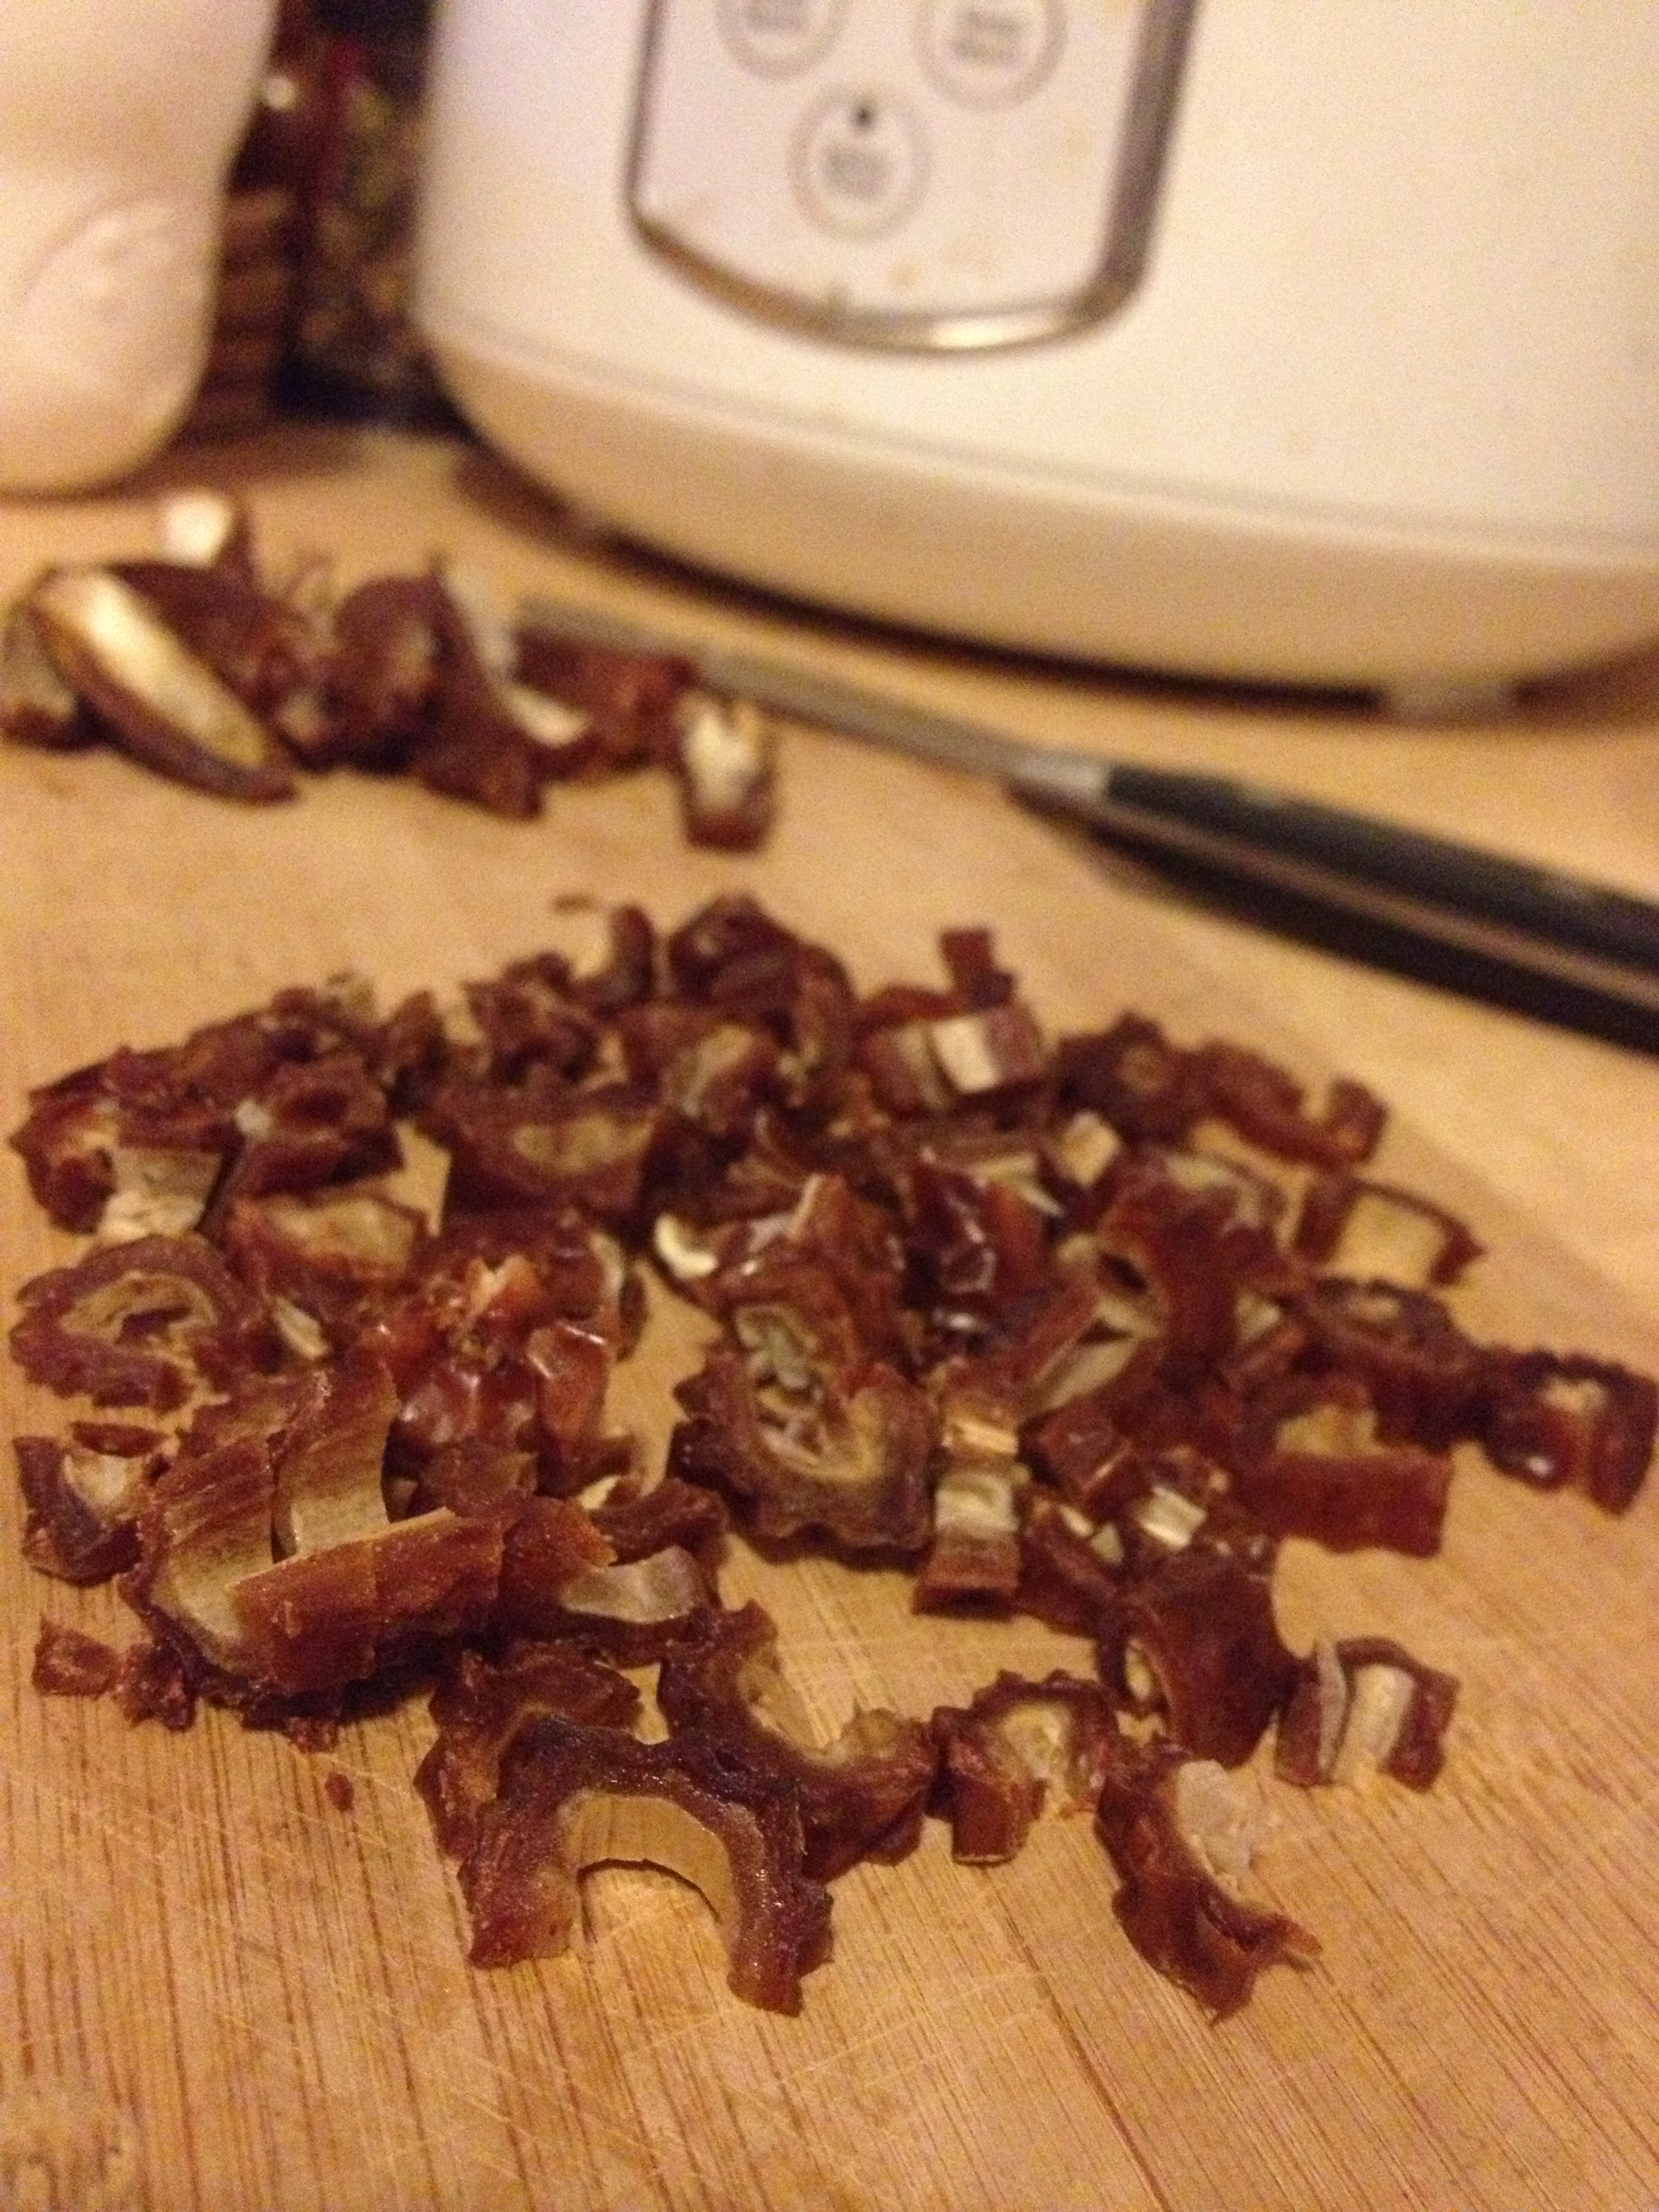
- 1 Korean radish
- sesame seeds
- soy sauce
- sesame sauce
- garlic
- salt and pepper
Directions
- First off, I didn’t include cooking time of the rice. I did a running and core workout, so before I started that, I put the rice on ahead of time. DO THIS
- Rinse your bean sprouts and cook them in hot water for 20 minutes. Drain them and season them with your special sauce and some salt
- Bring a pot of water to a boil (doesn’t need to be much water). Grab your spinach (whether it be a bunch or separate leaves) and put into boiling water for 1 minute. Take out and drain, run cold water over it, wring it out, then season with salt and sauce.
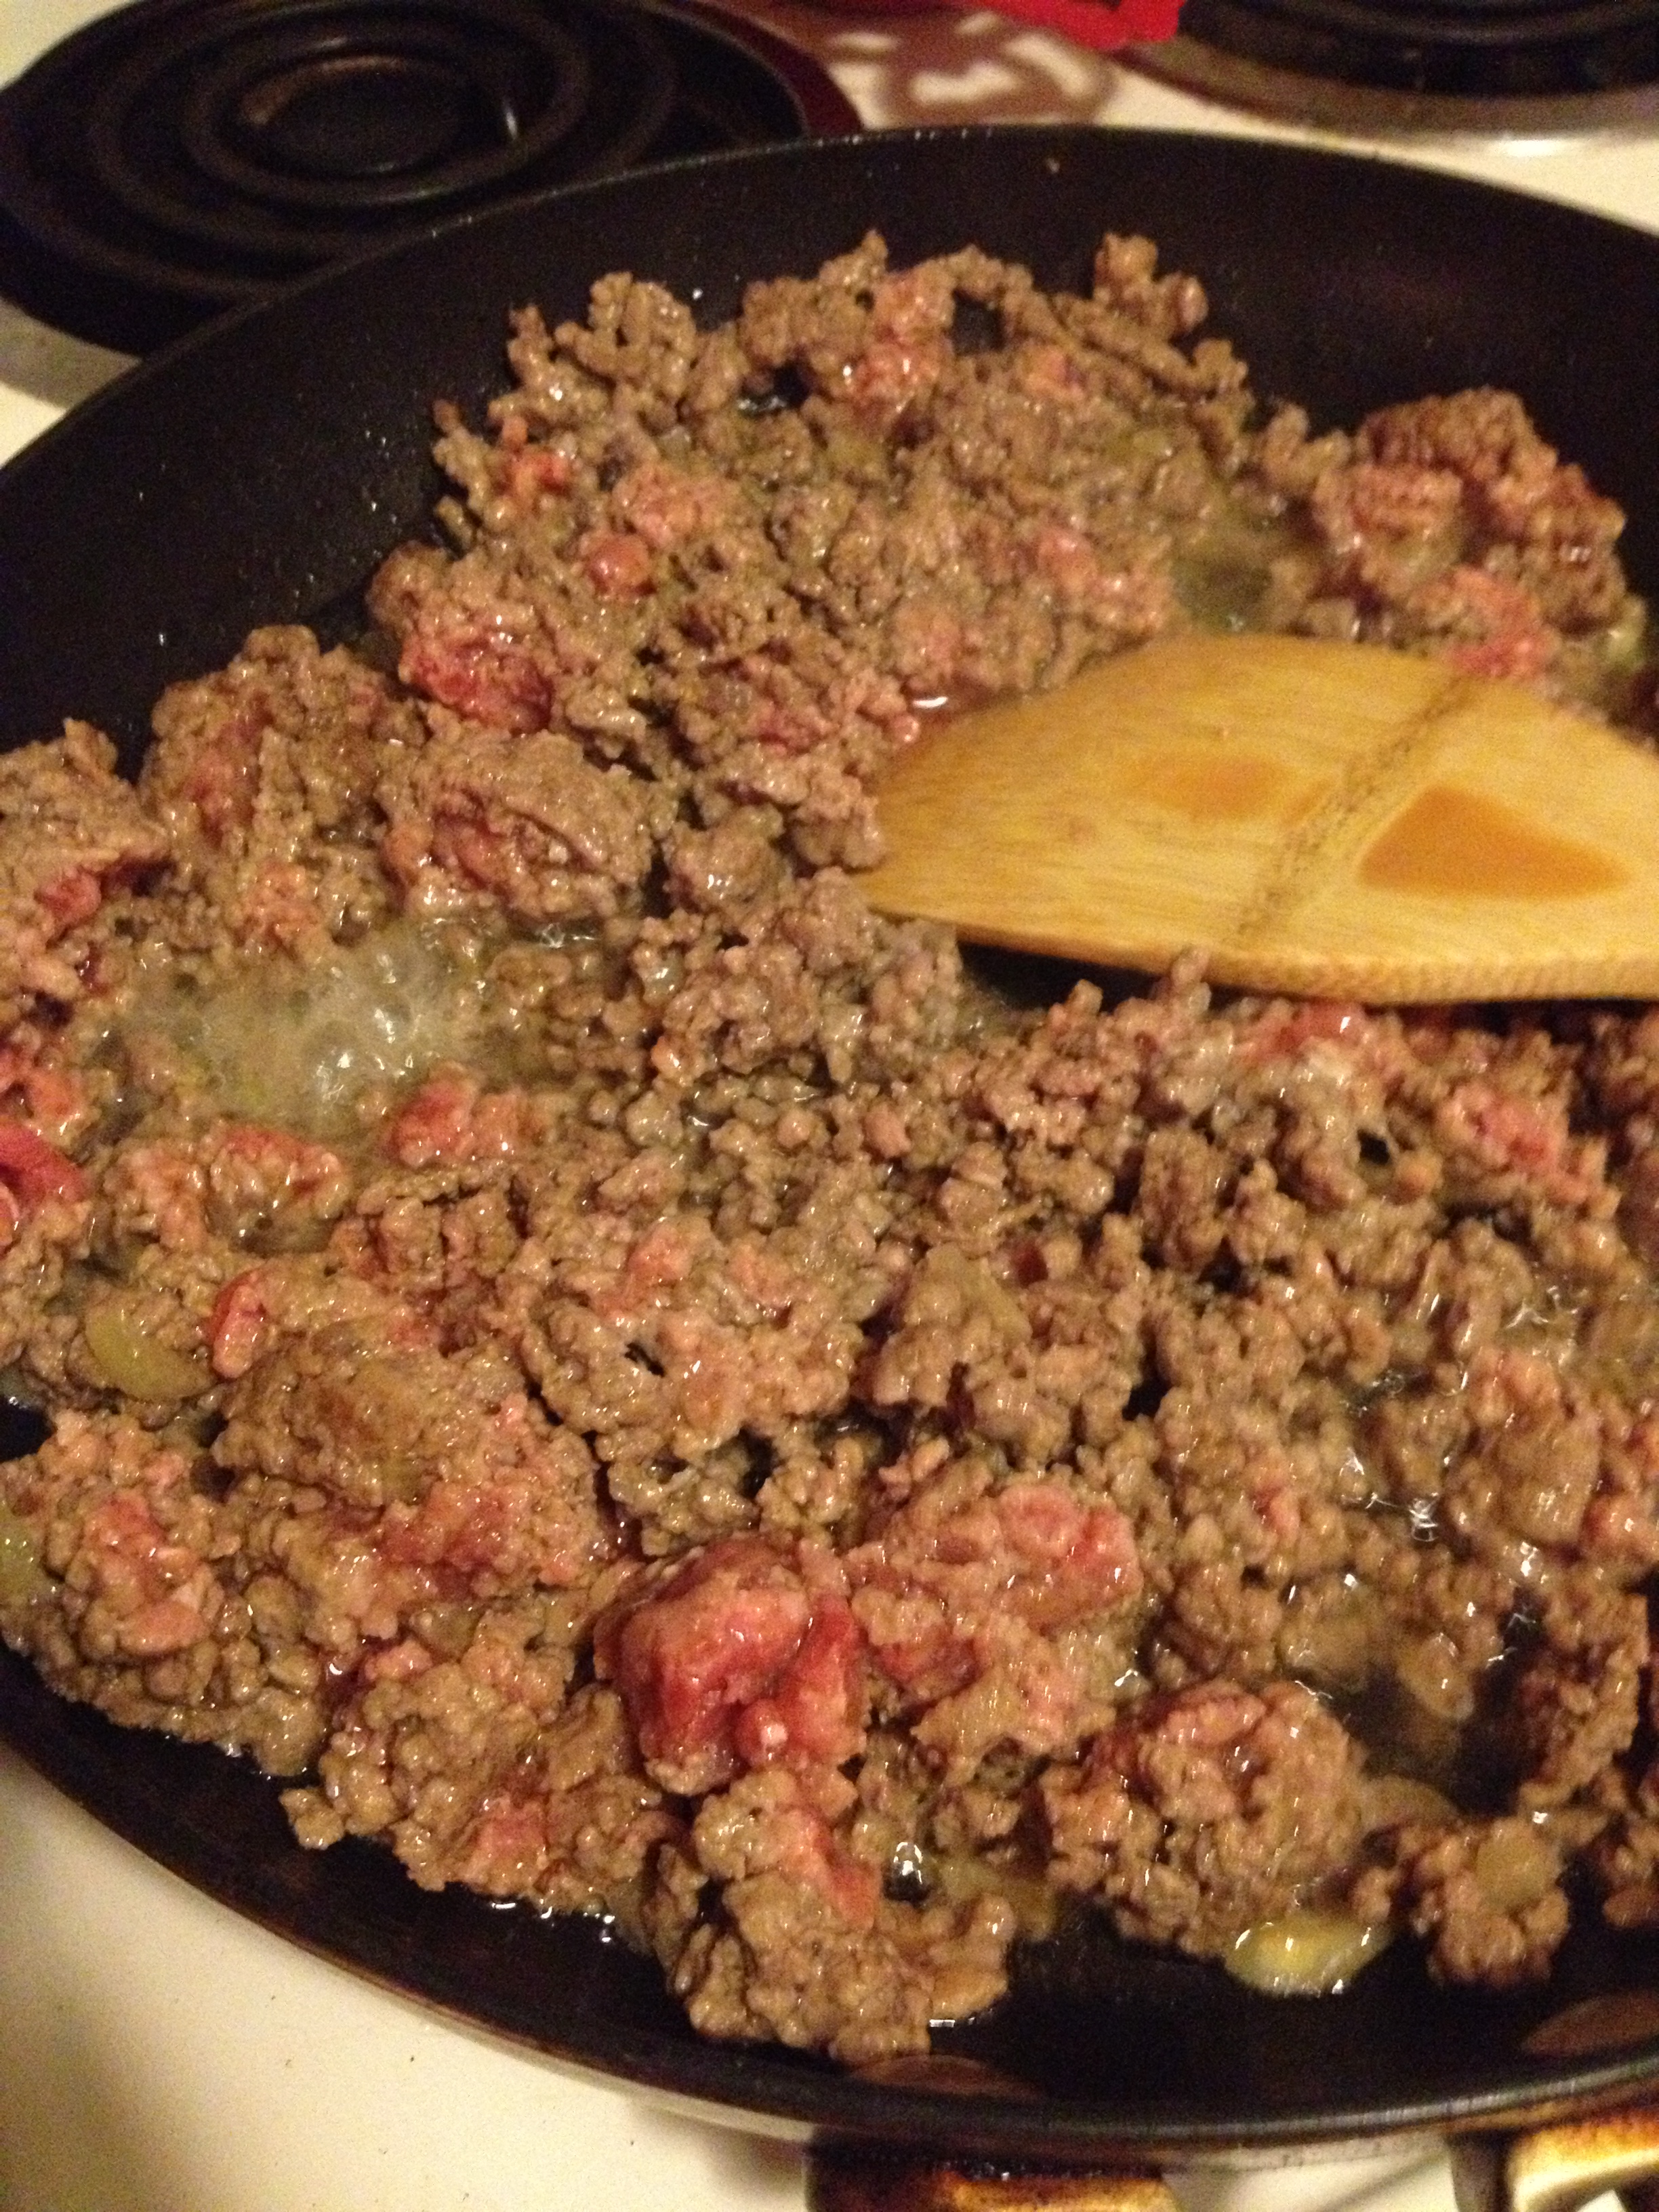
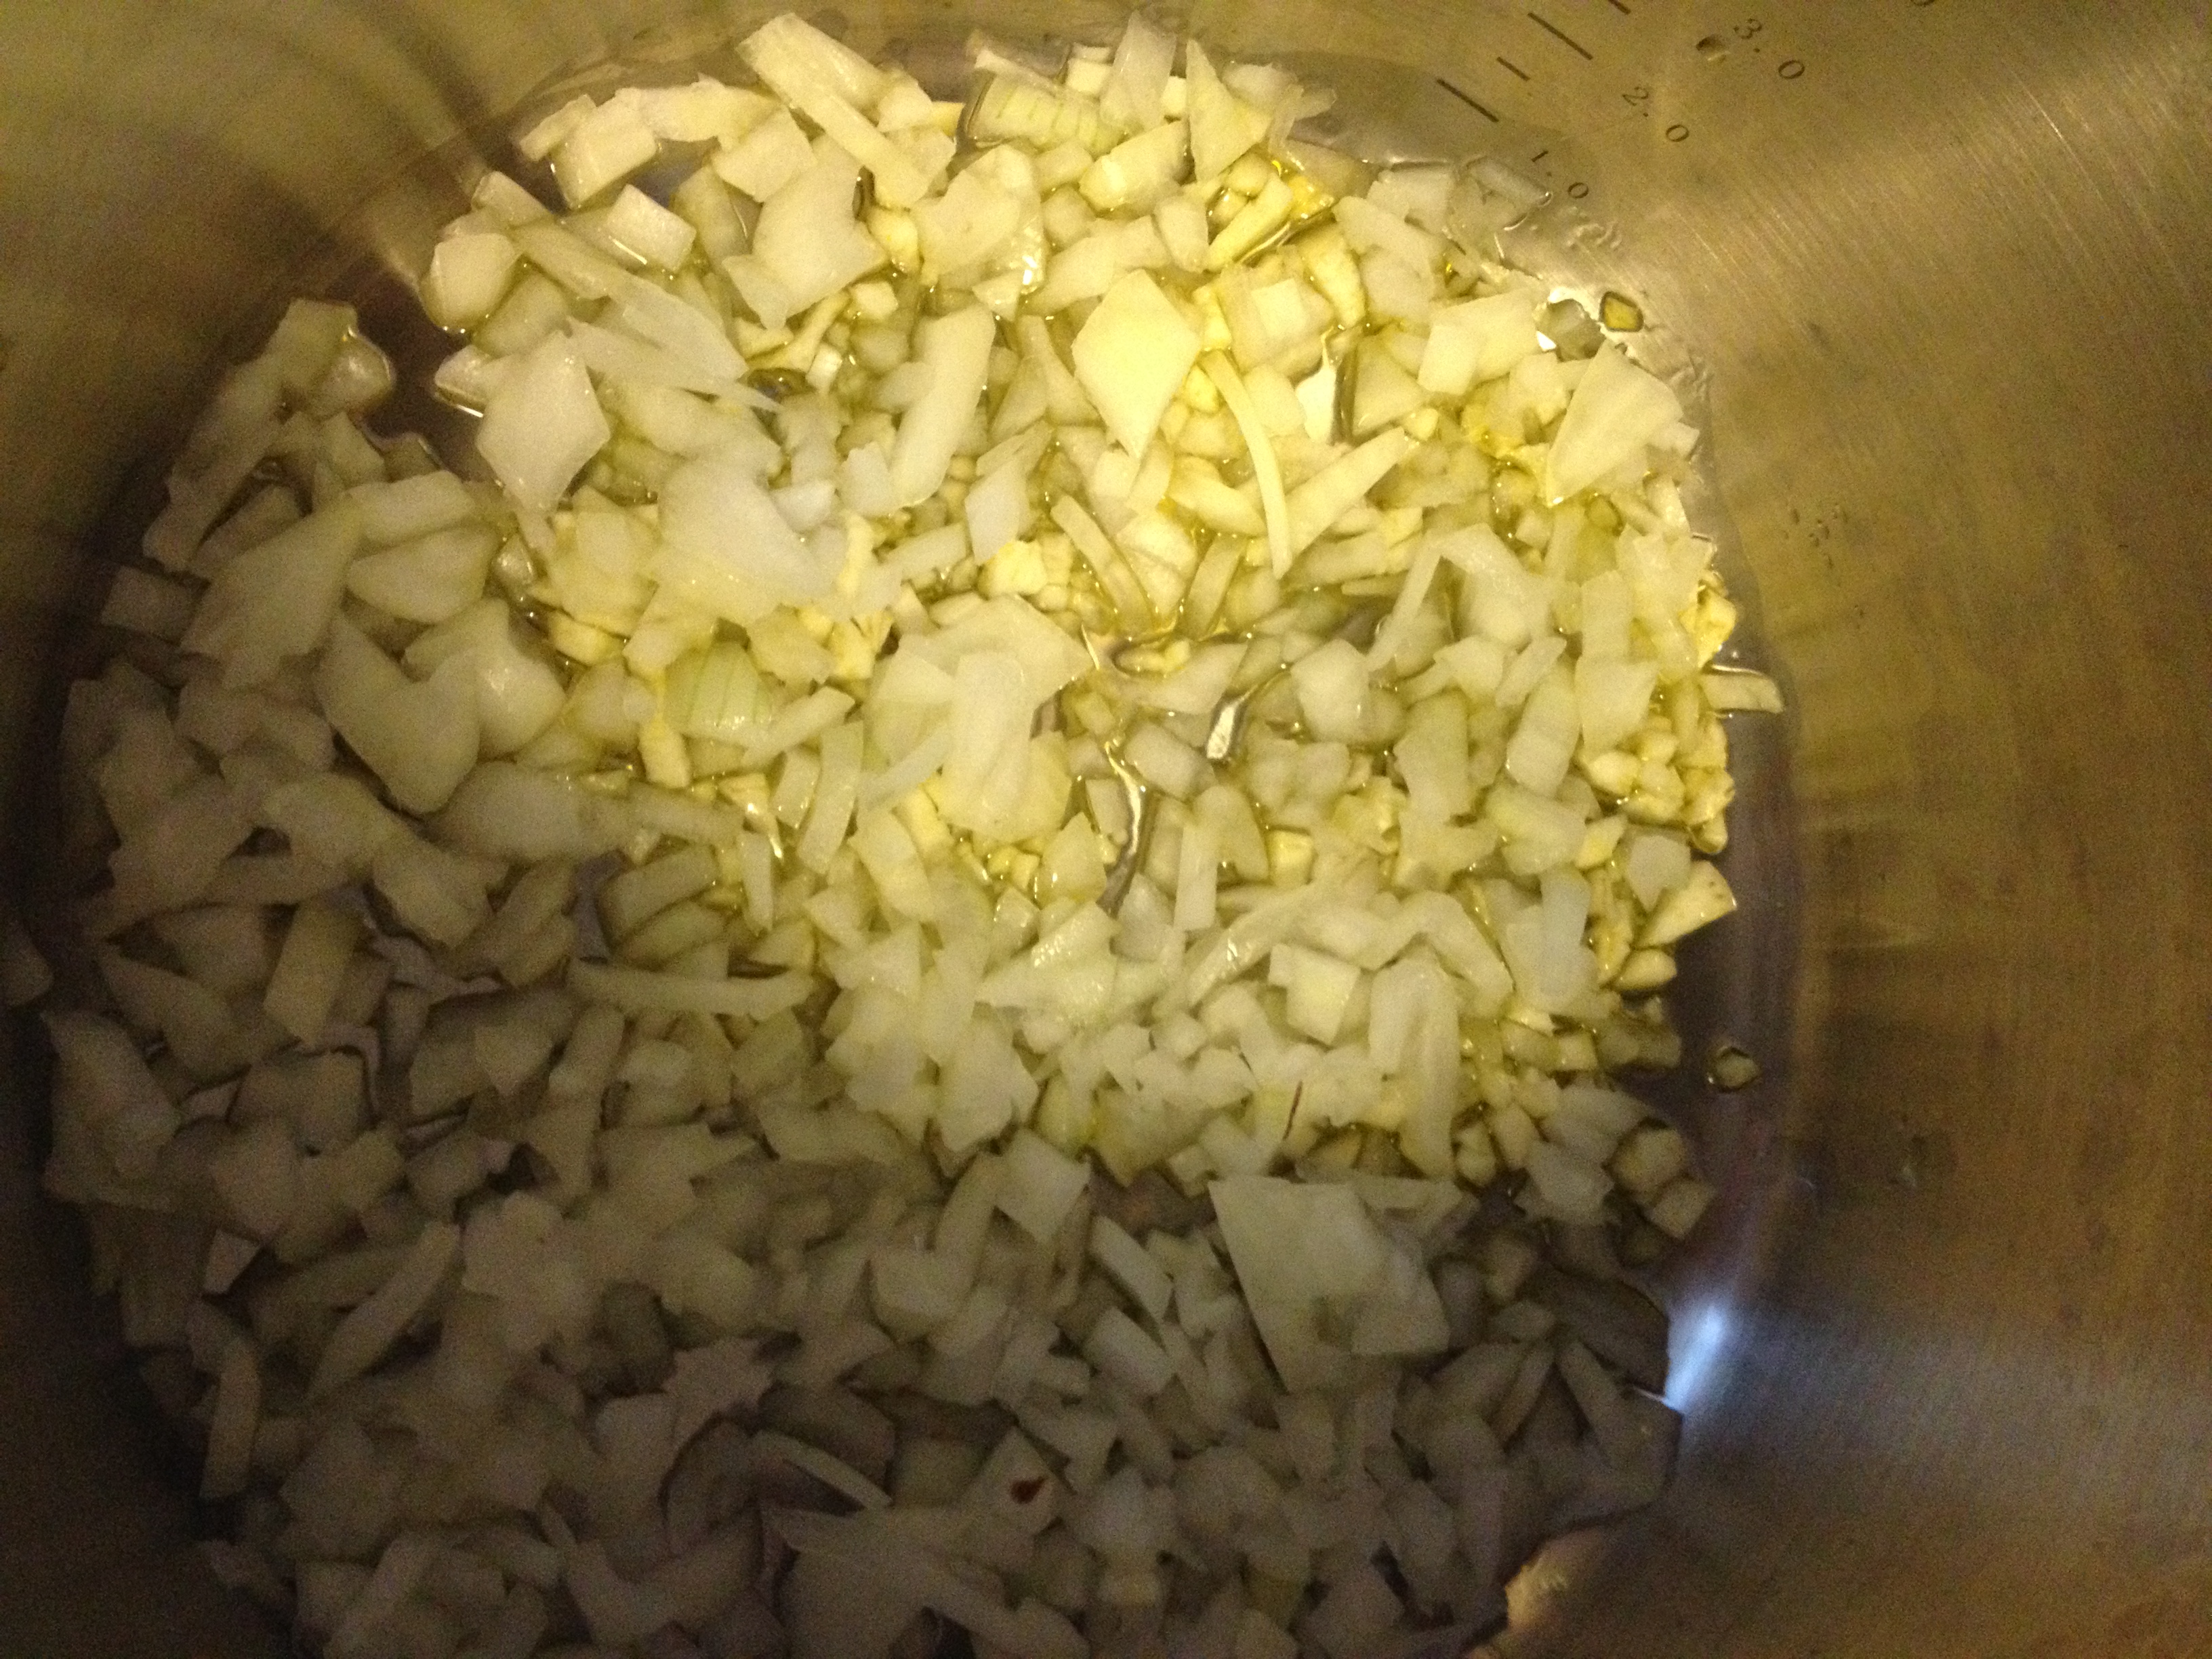
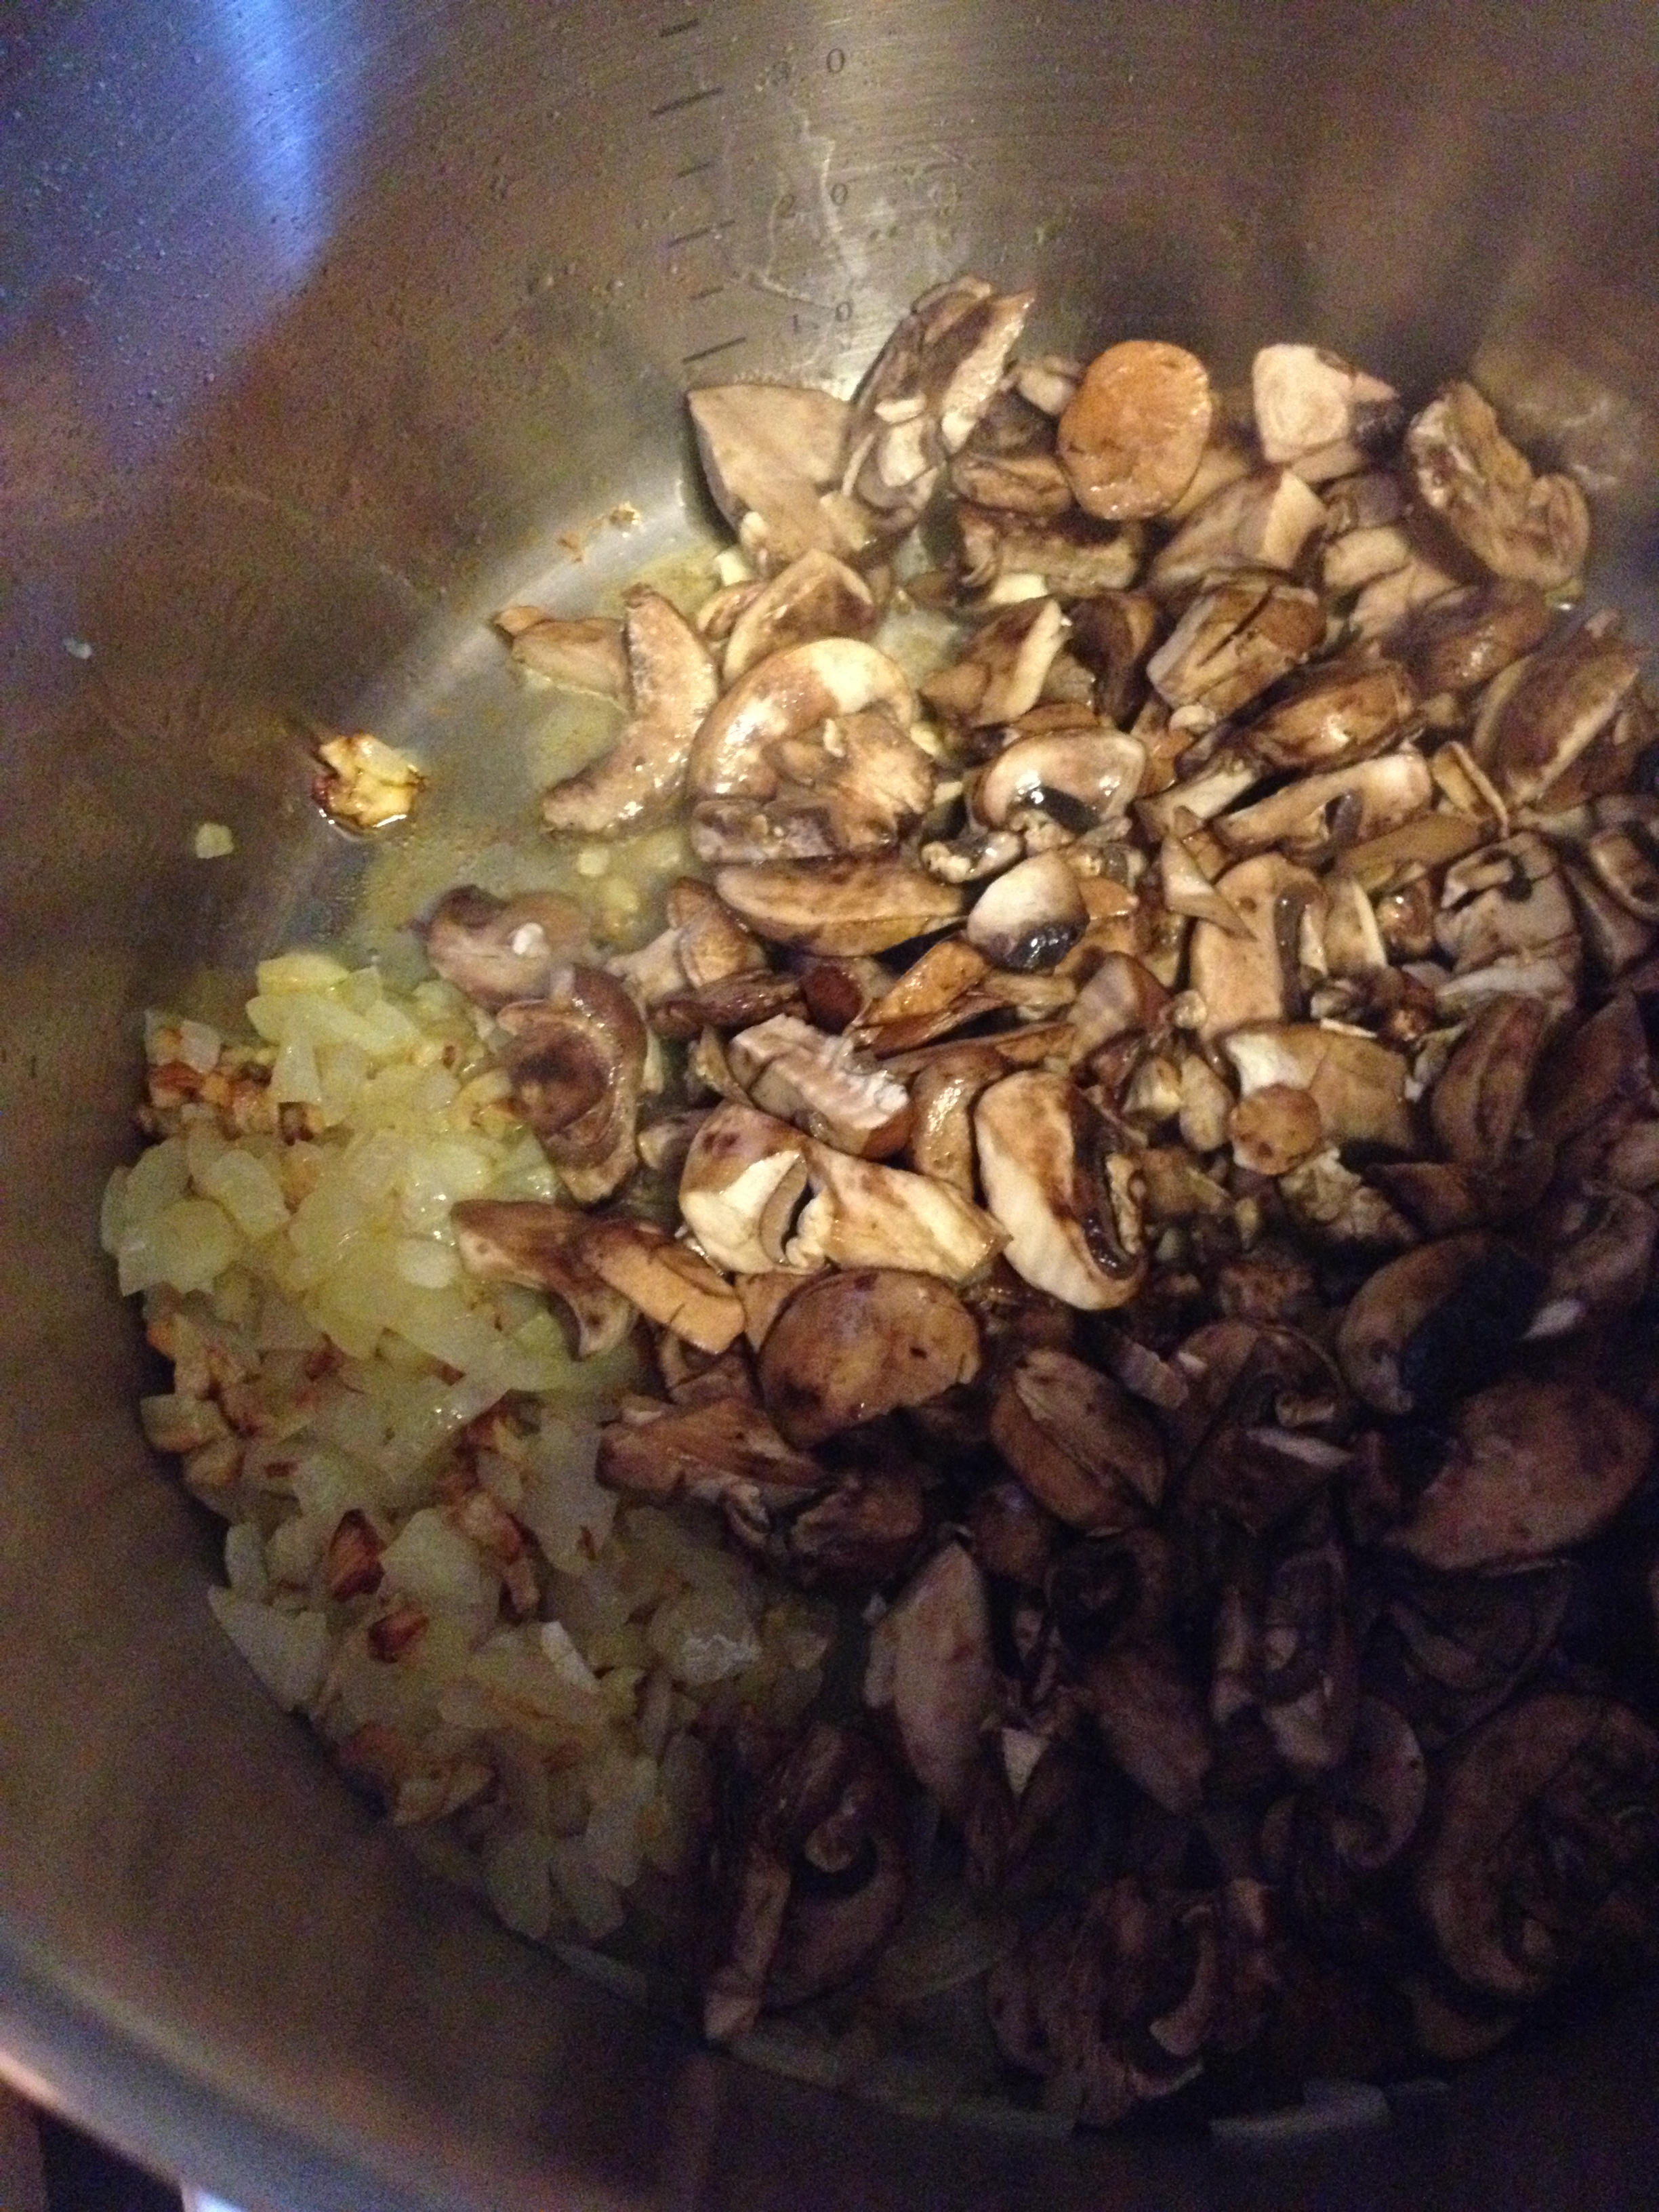
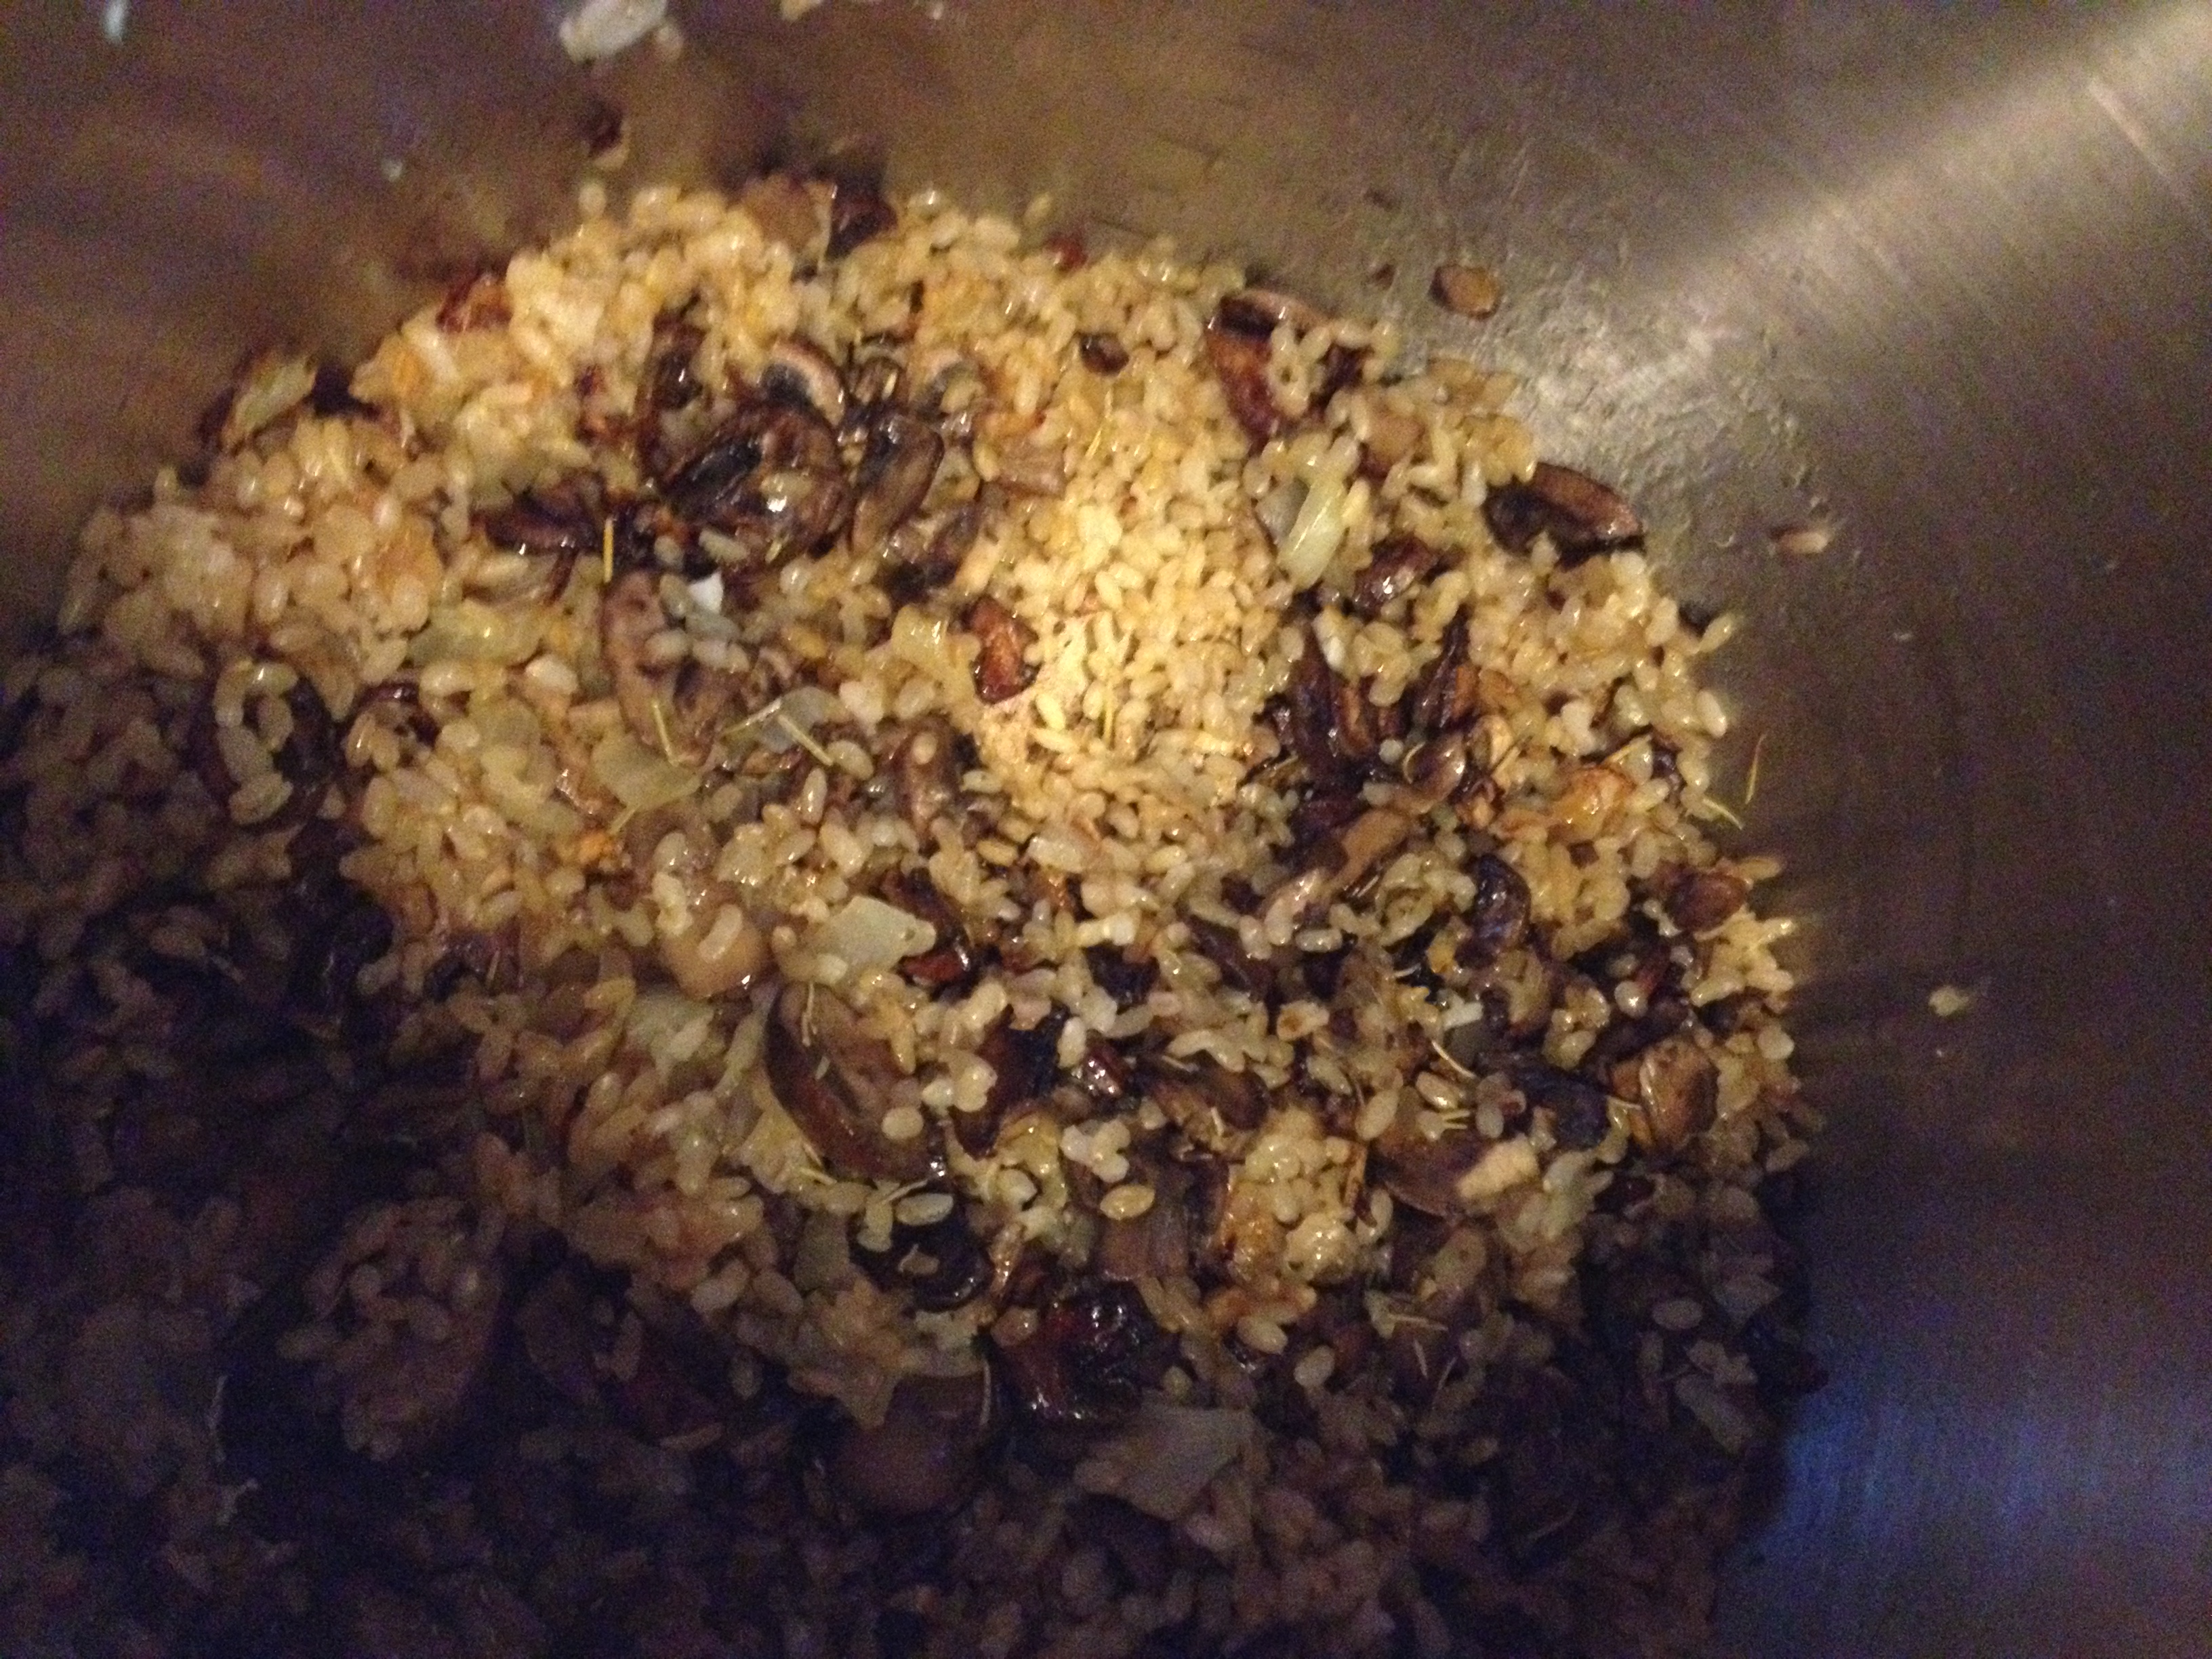
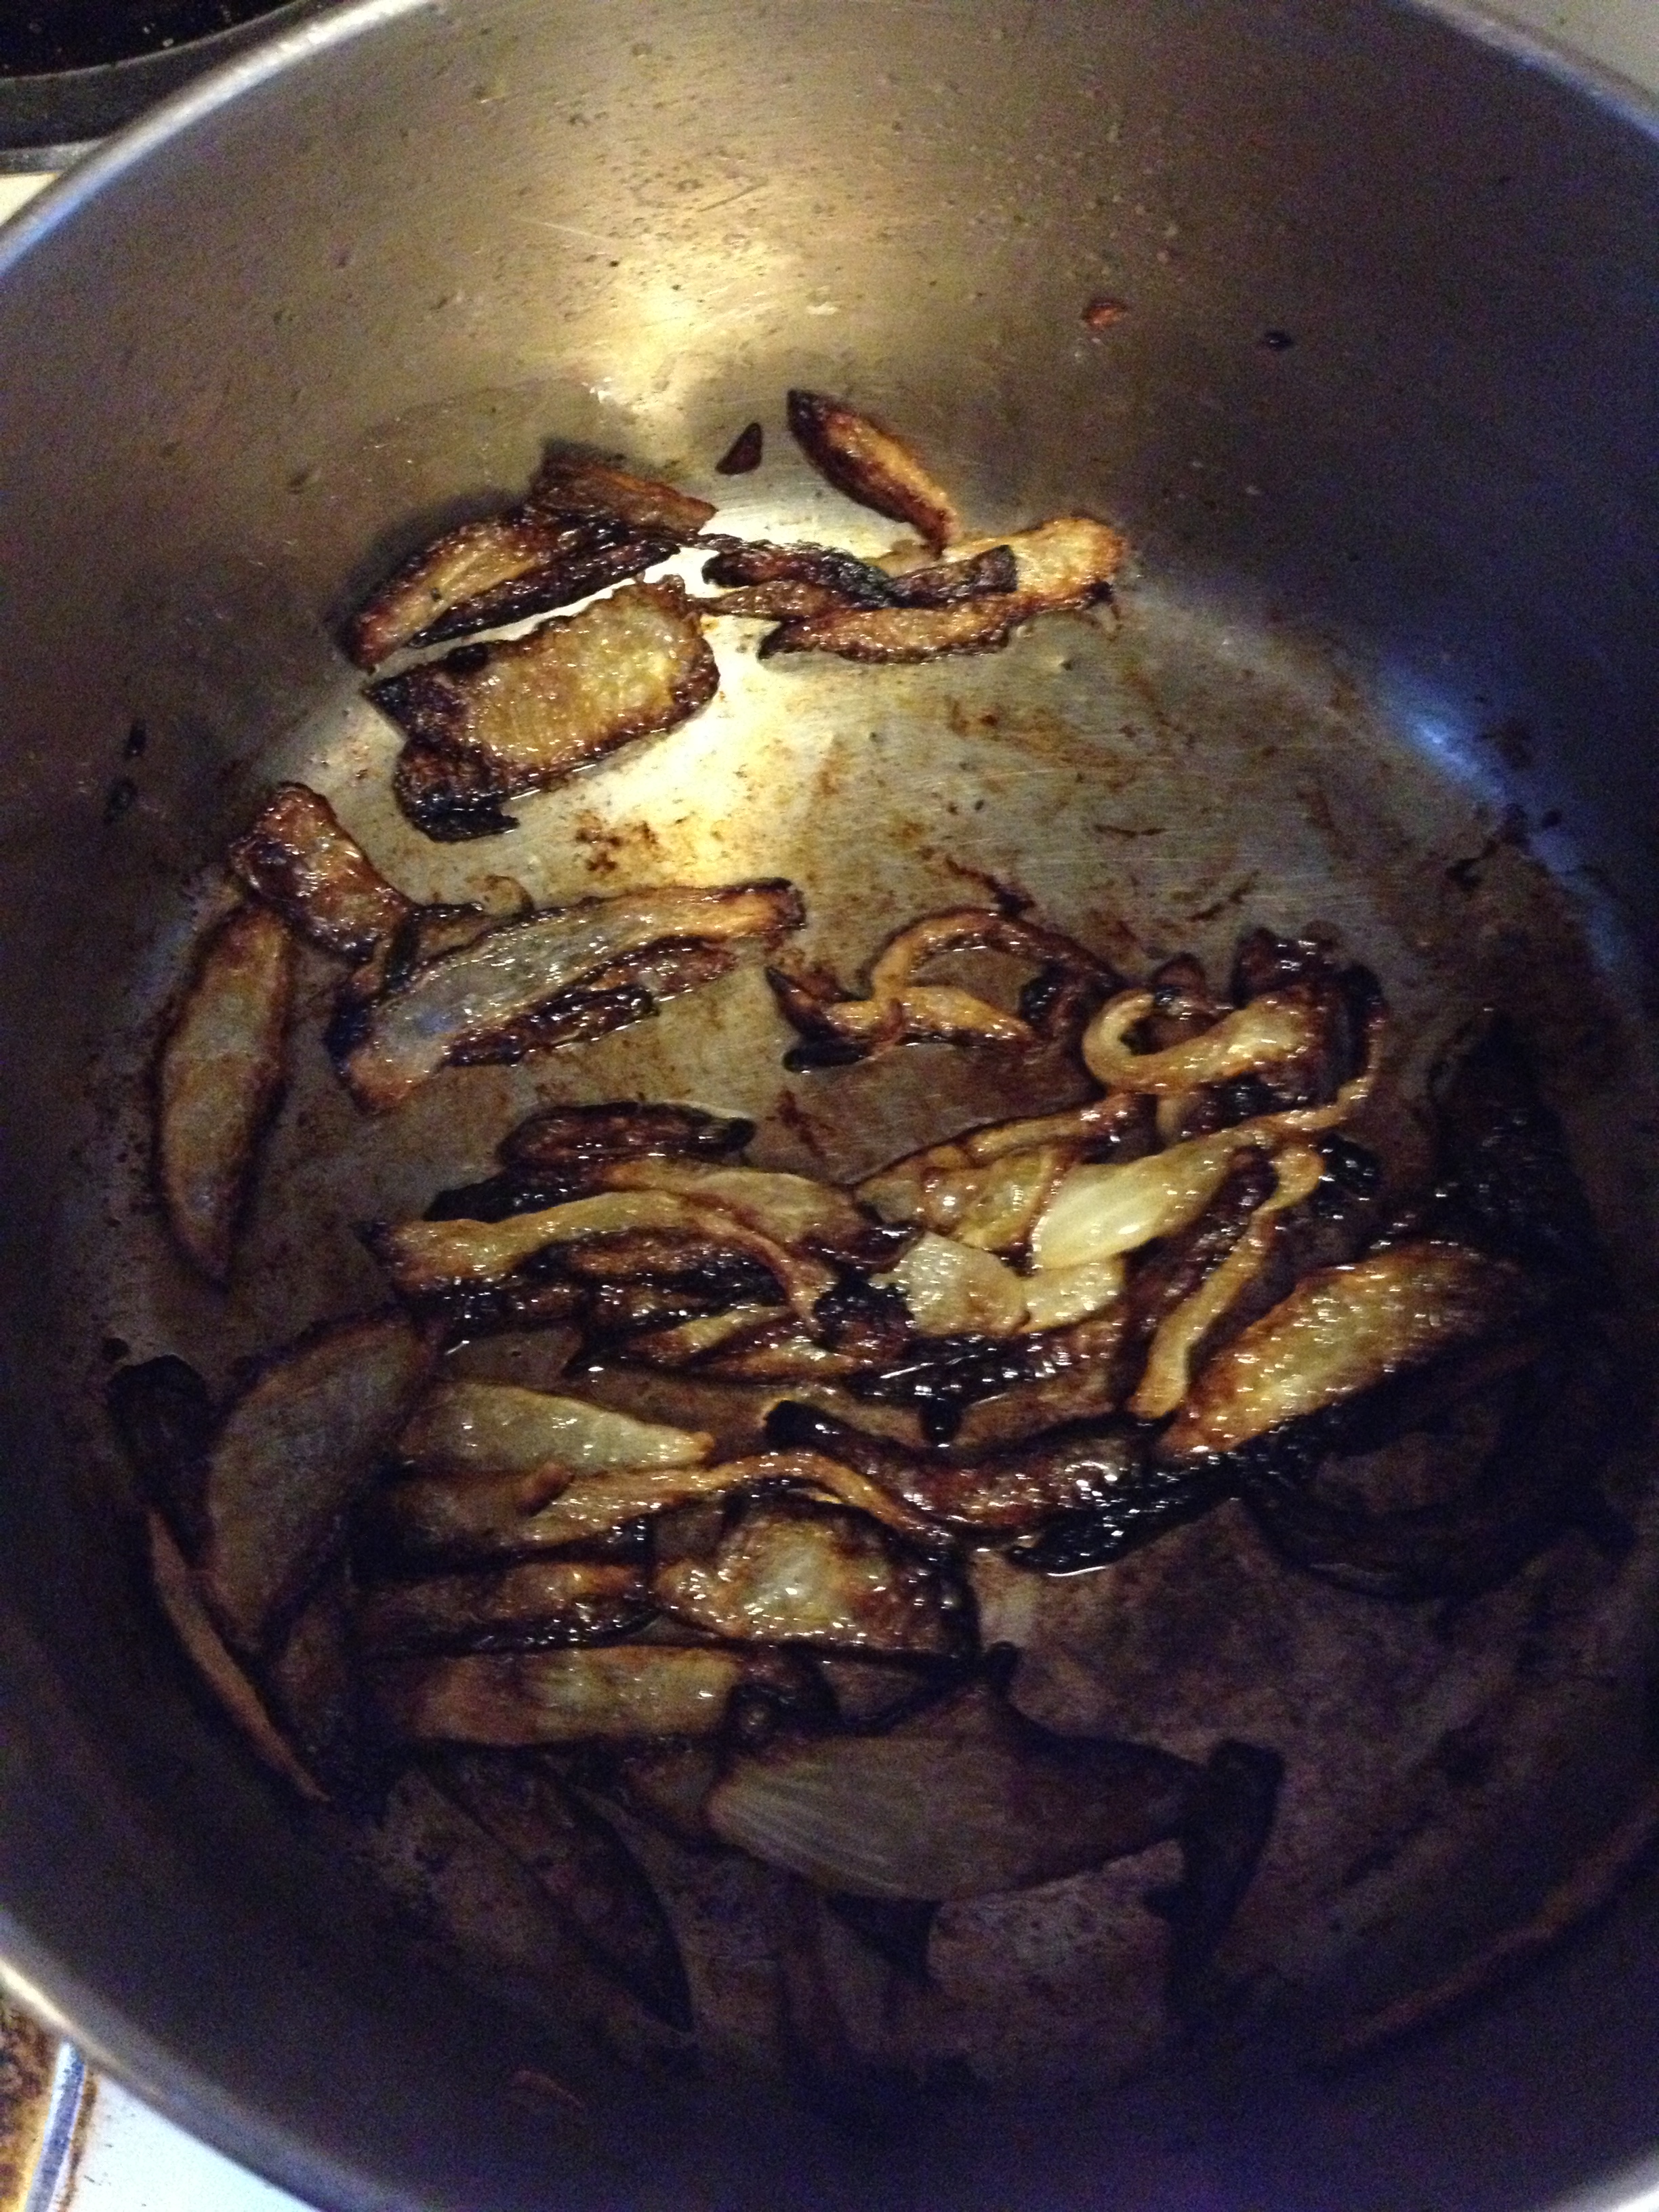
- Cut all your veggies into thin slices and sprinkle salt over
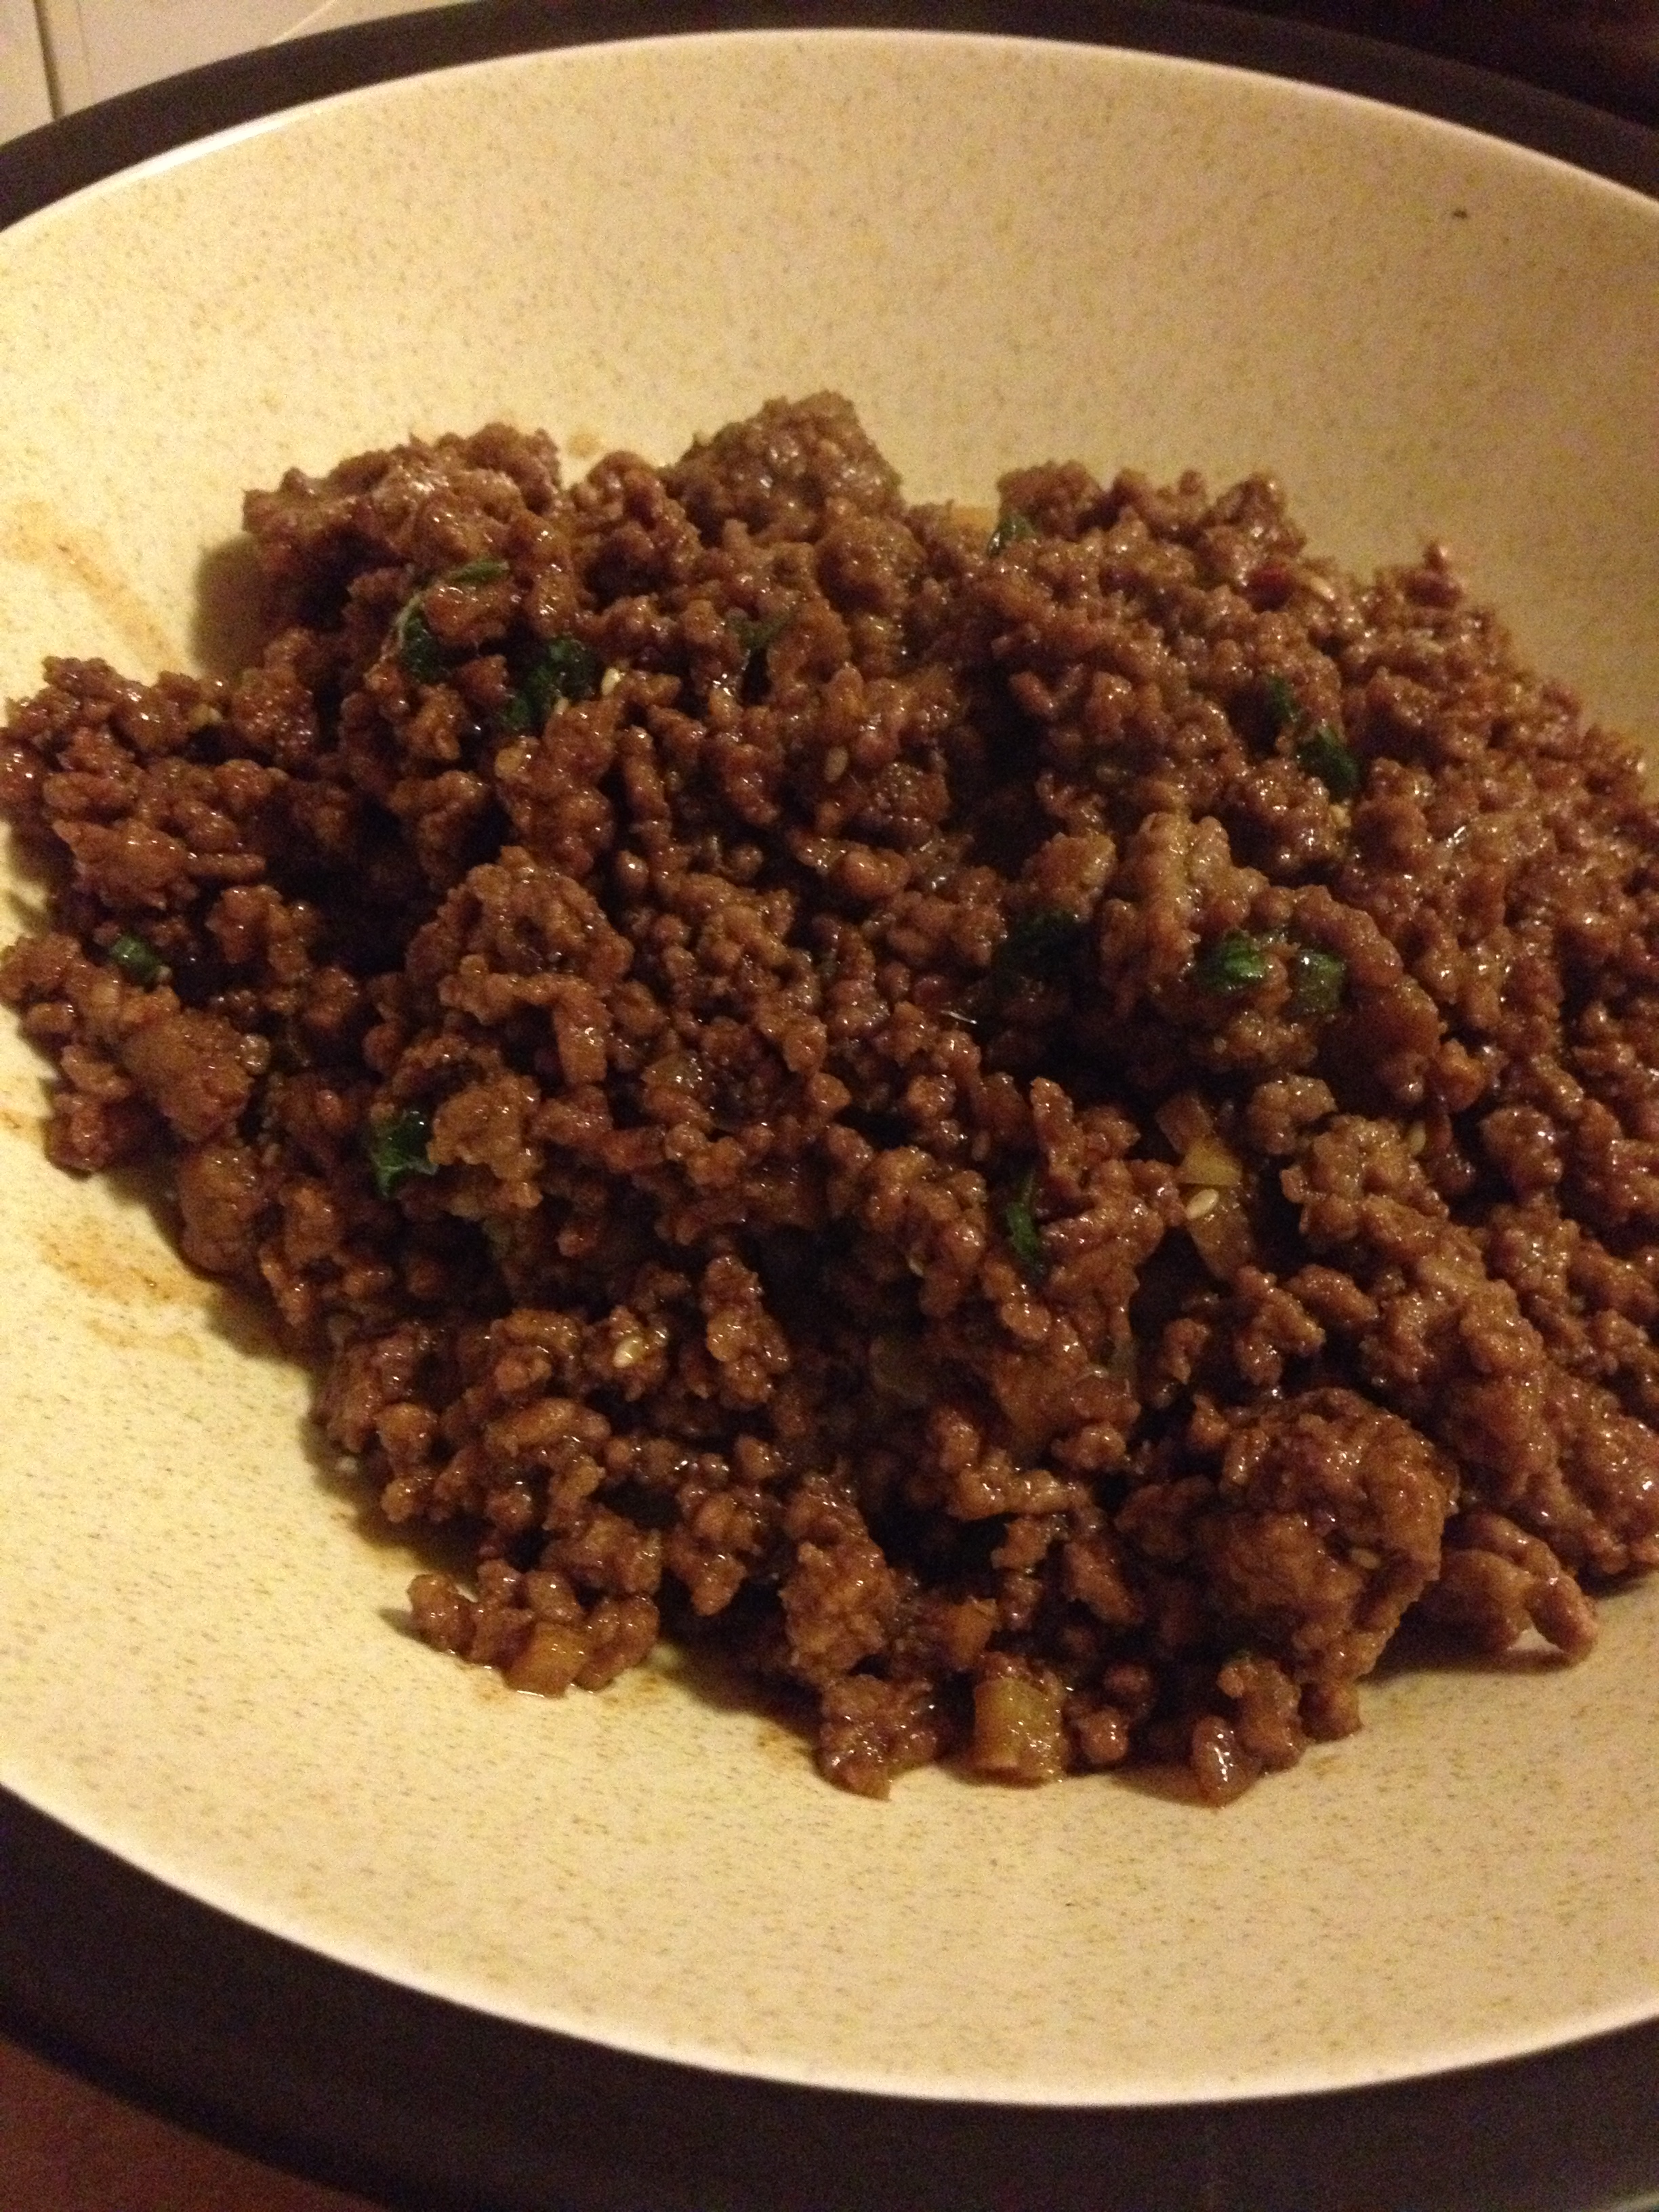
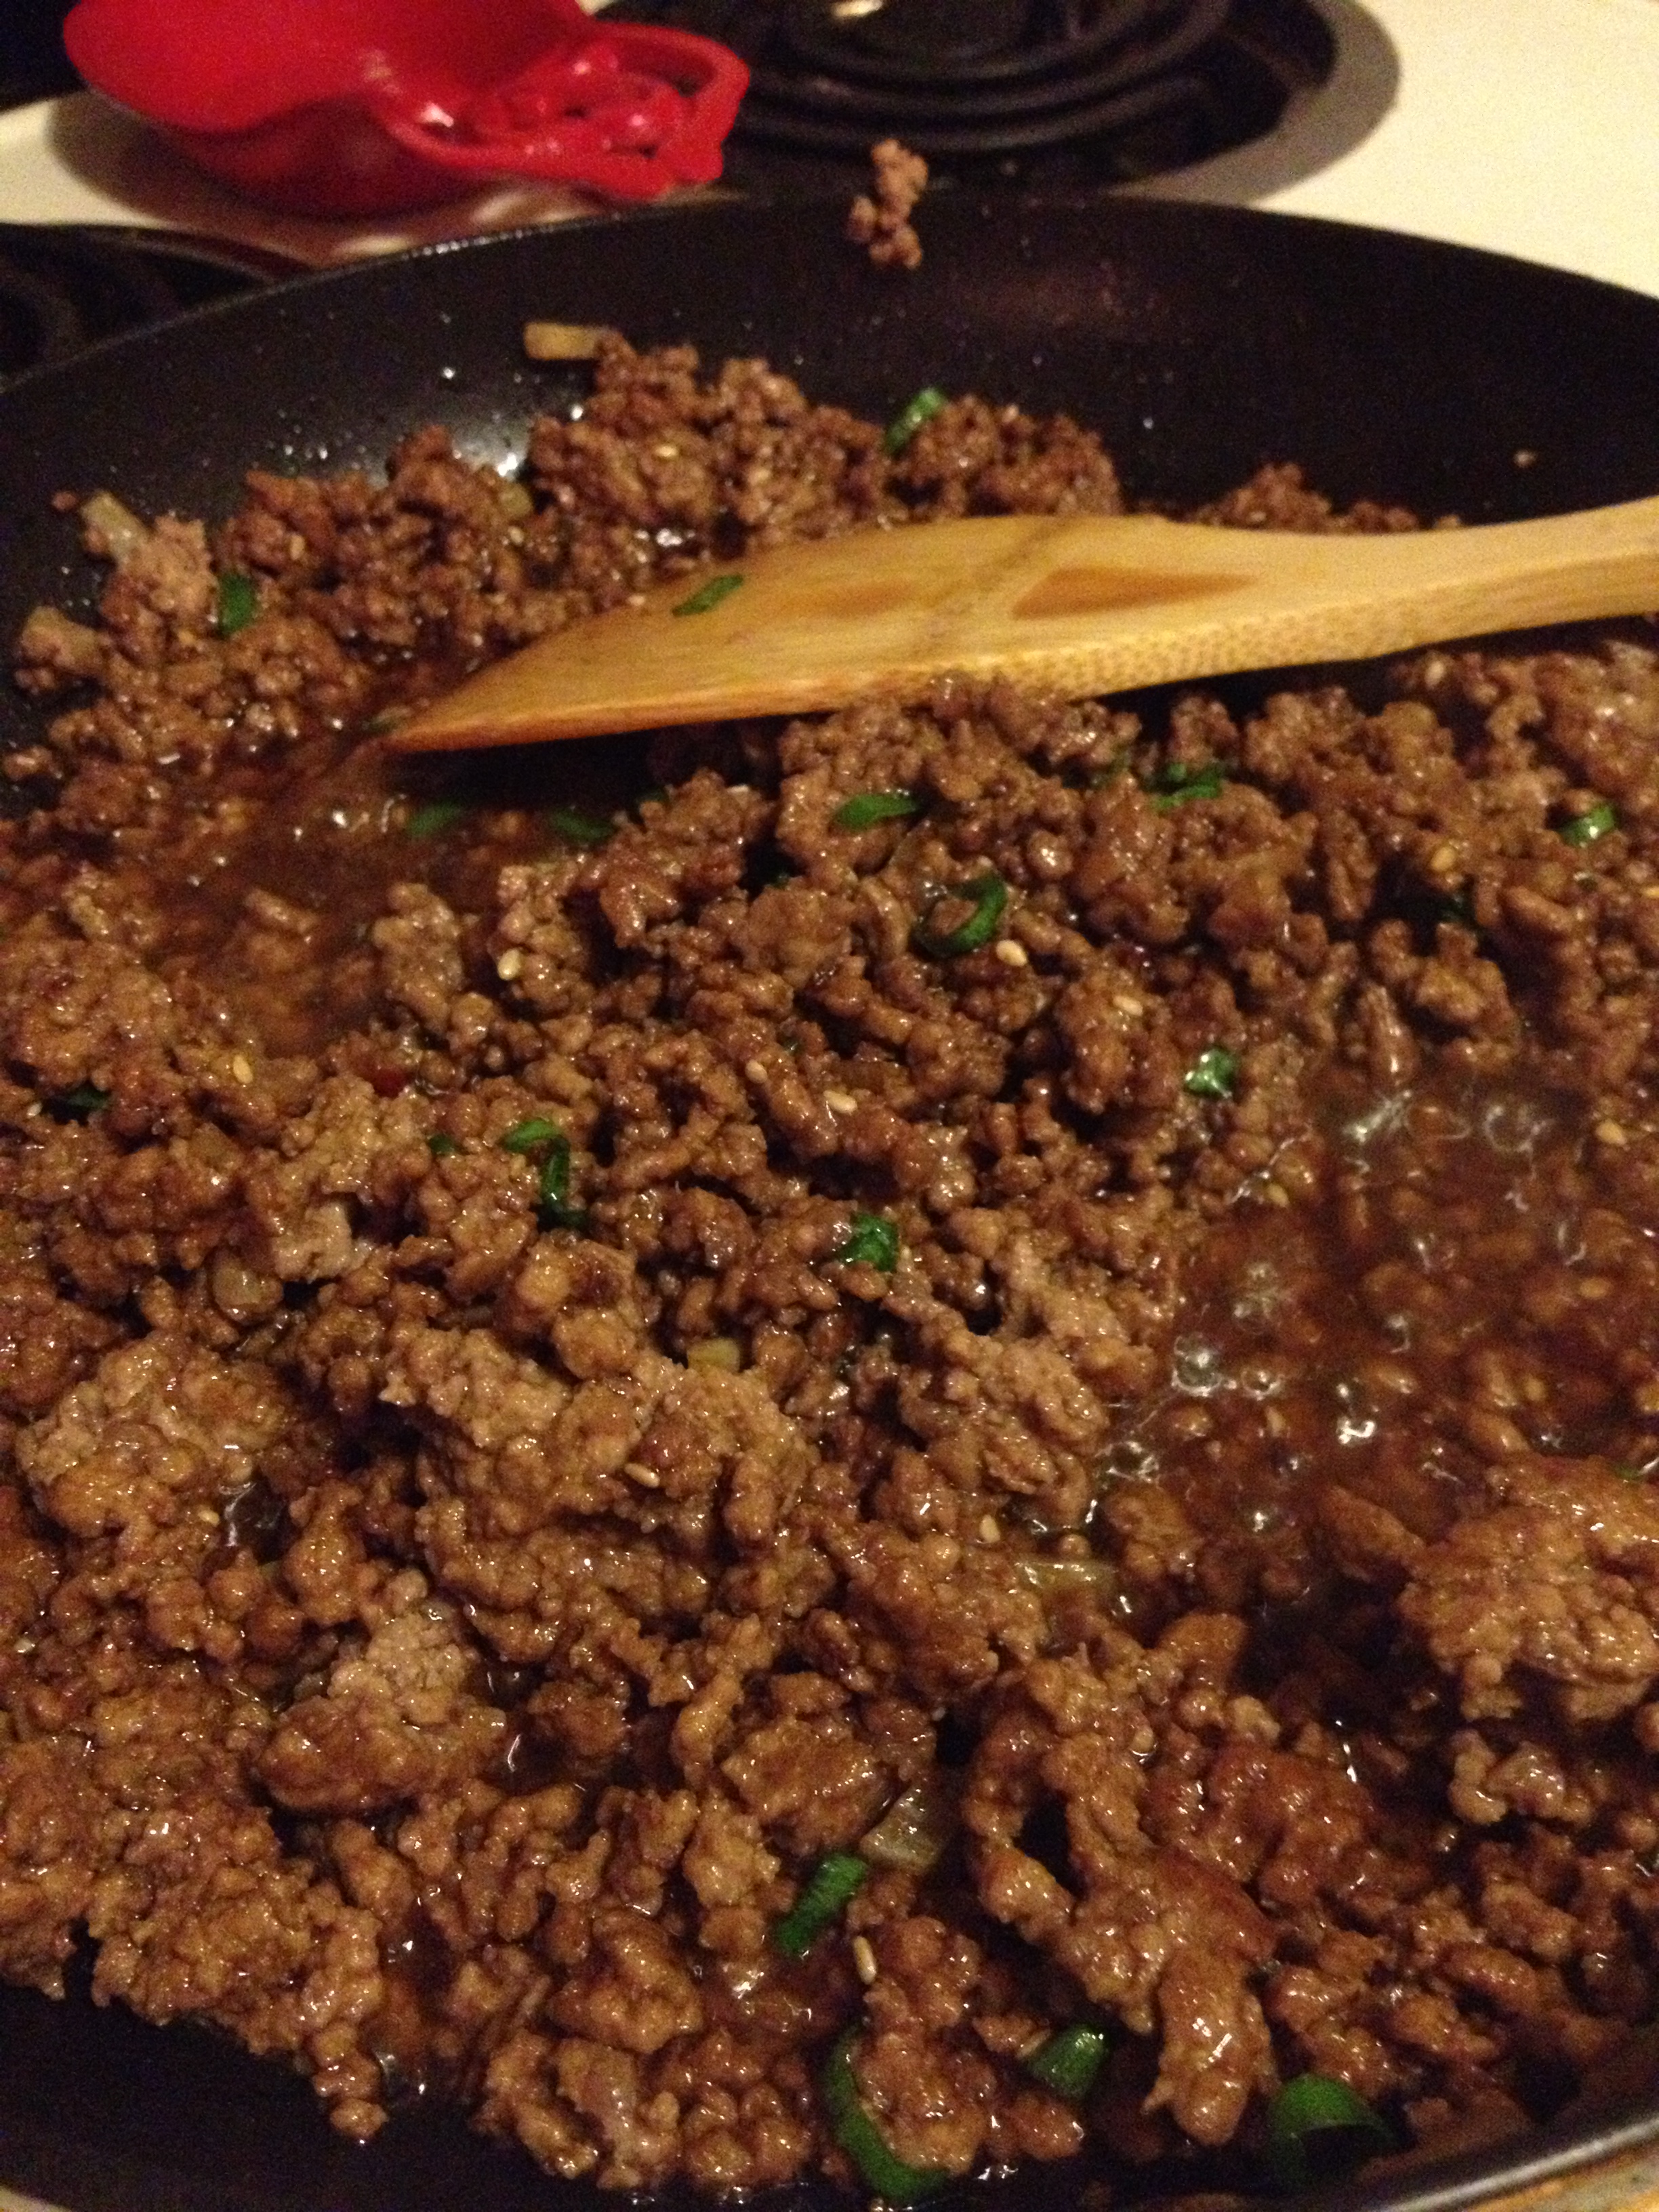
- Separately, saute each veggie one by one [except for carrots] in pan over medium-high heat. You can use oil and garlic, or use the special sauce we created earlier to season and wet them. You only need to cook them for a few minutes to heat them up and infuse them with flavor.
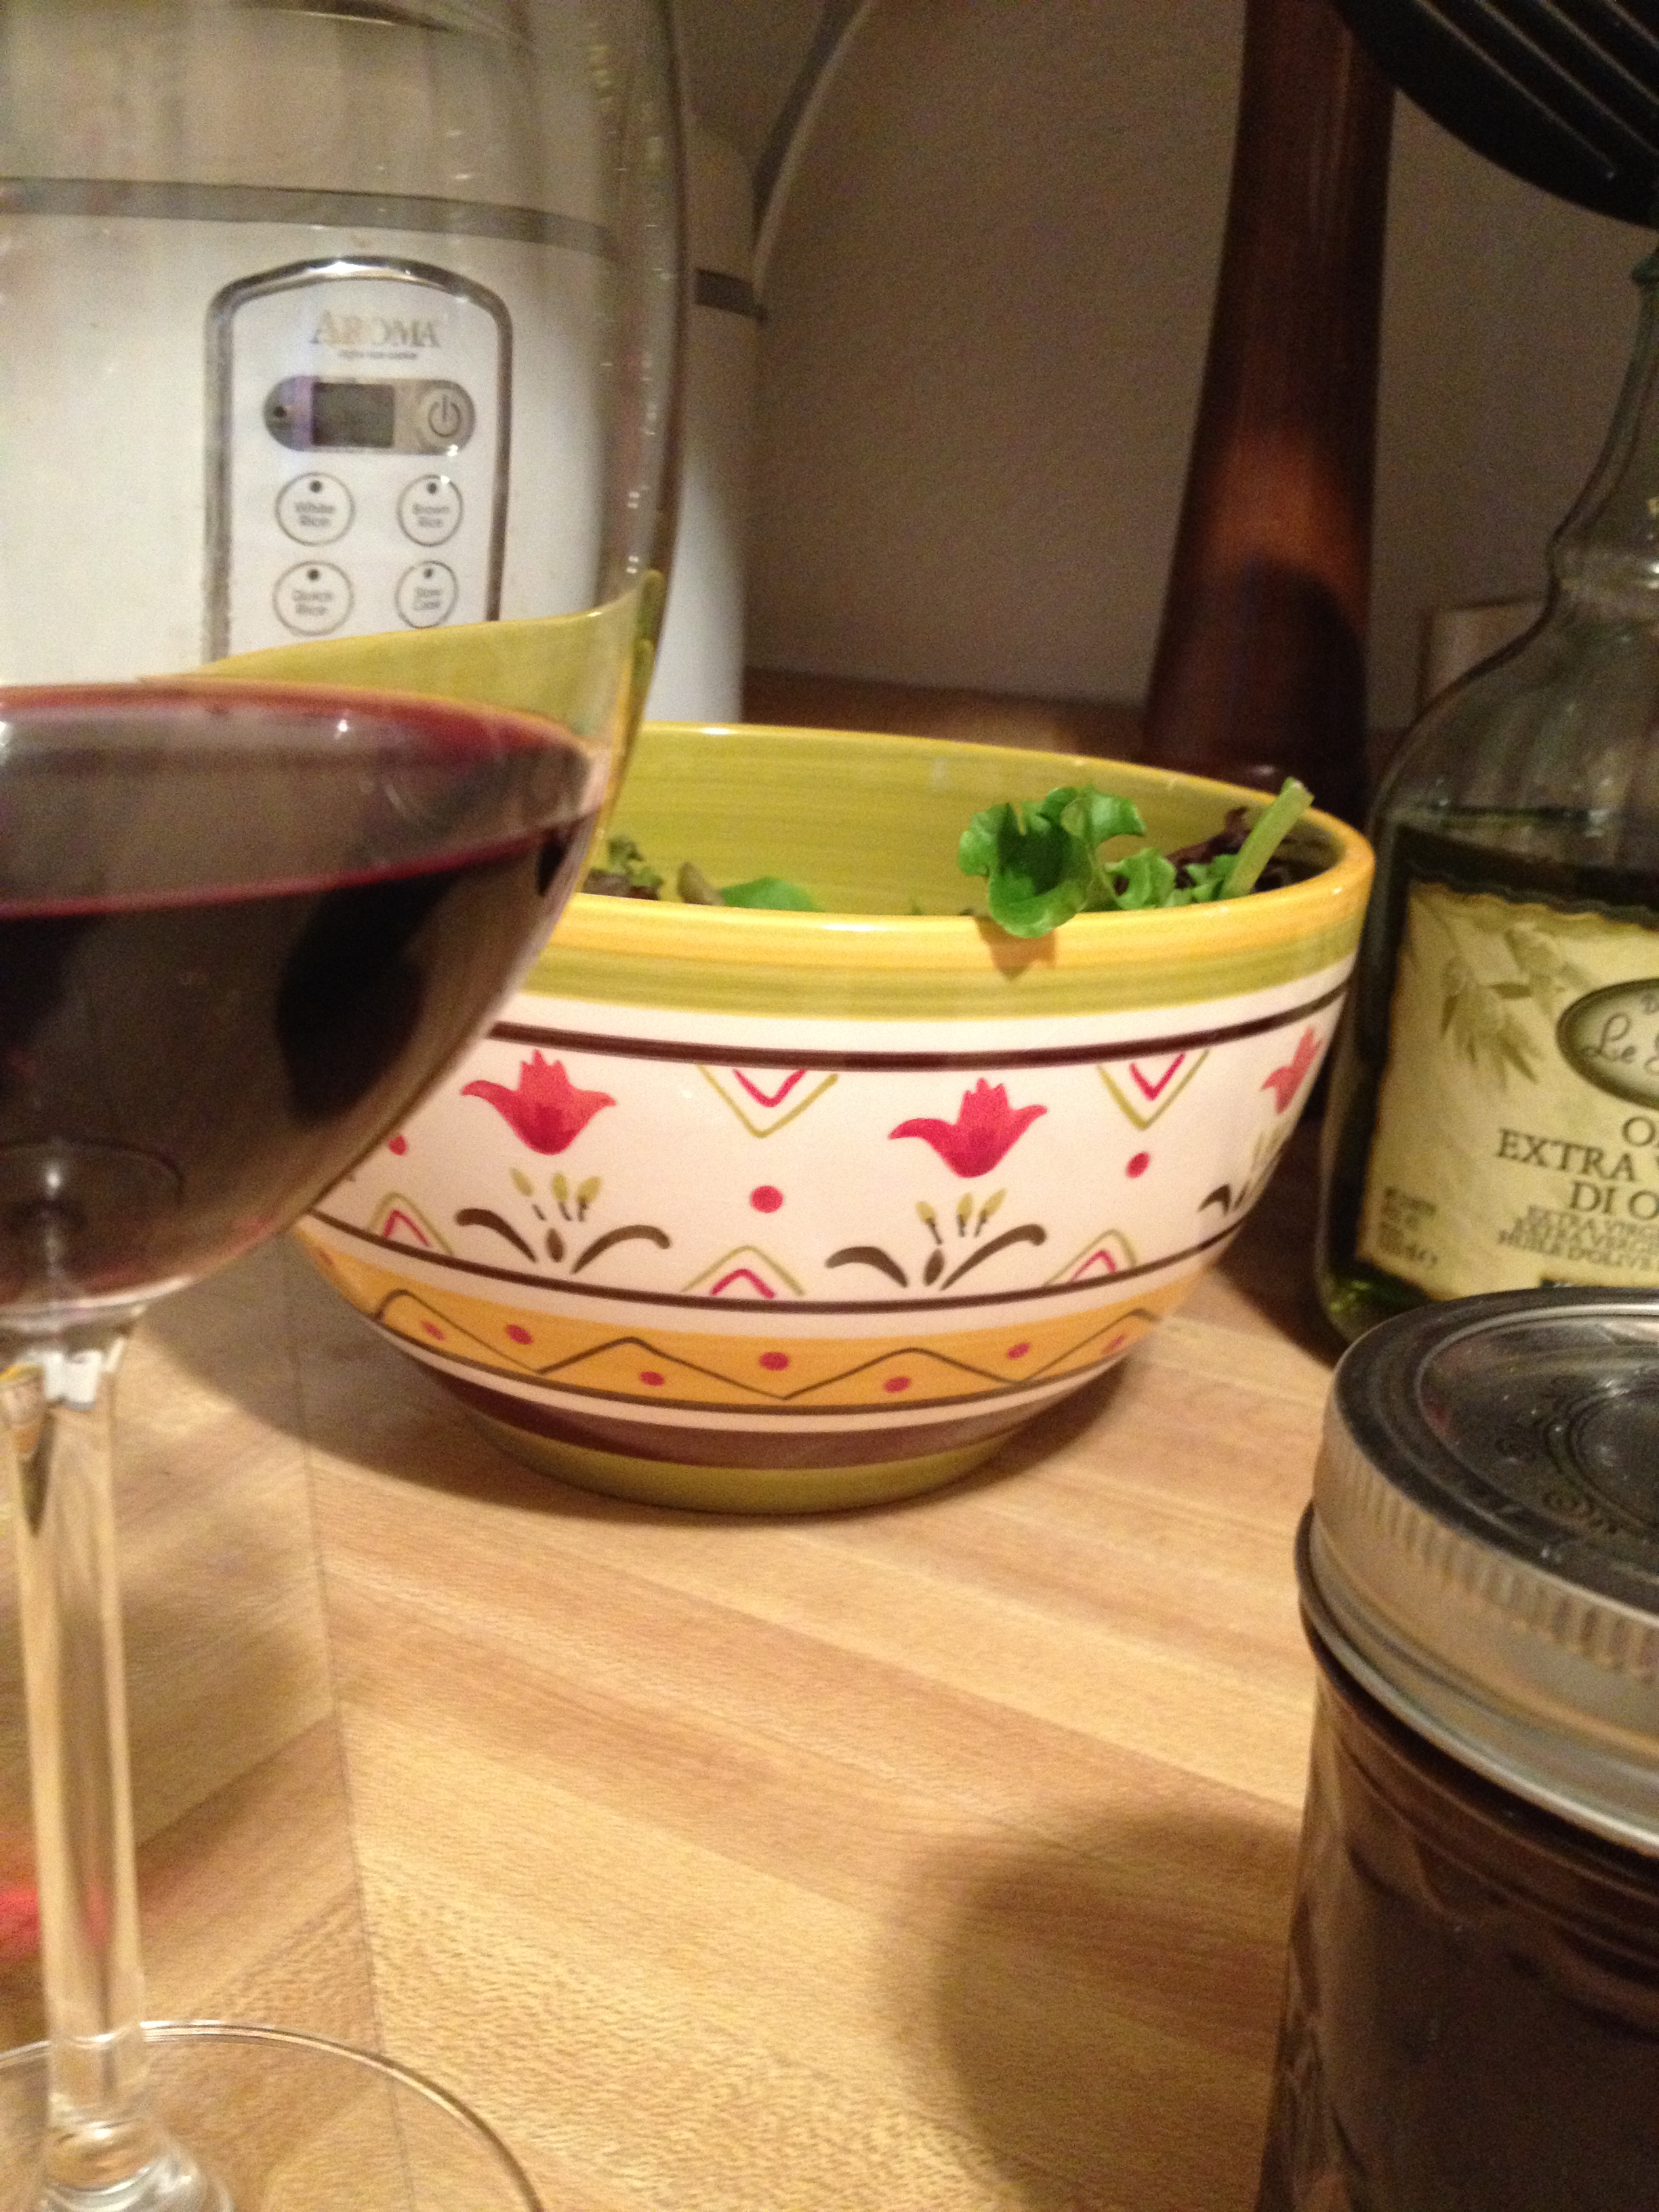
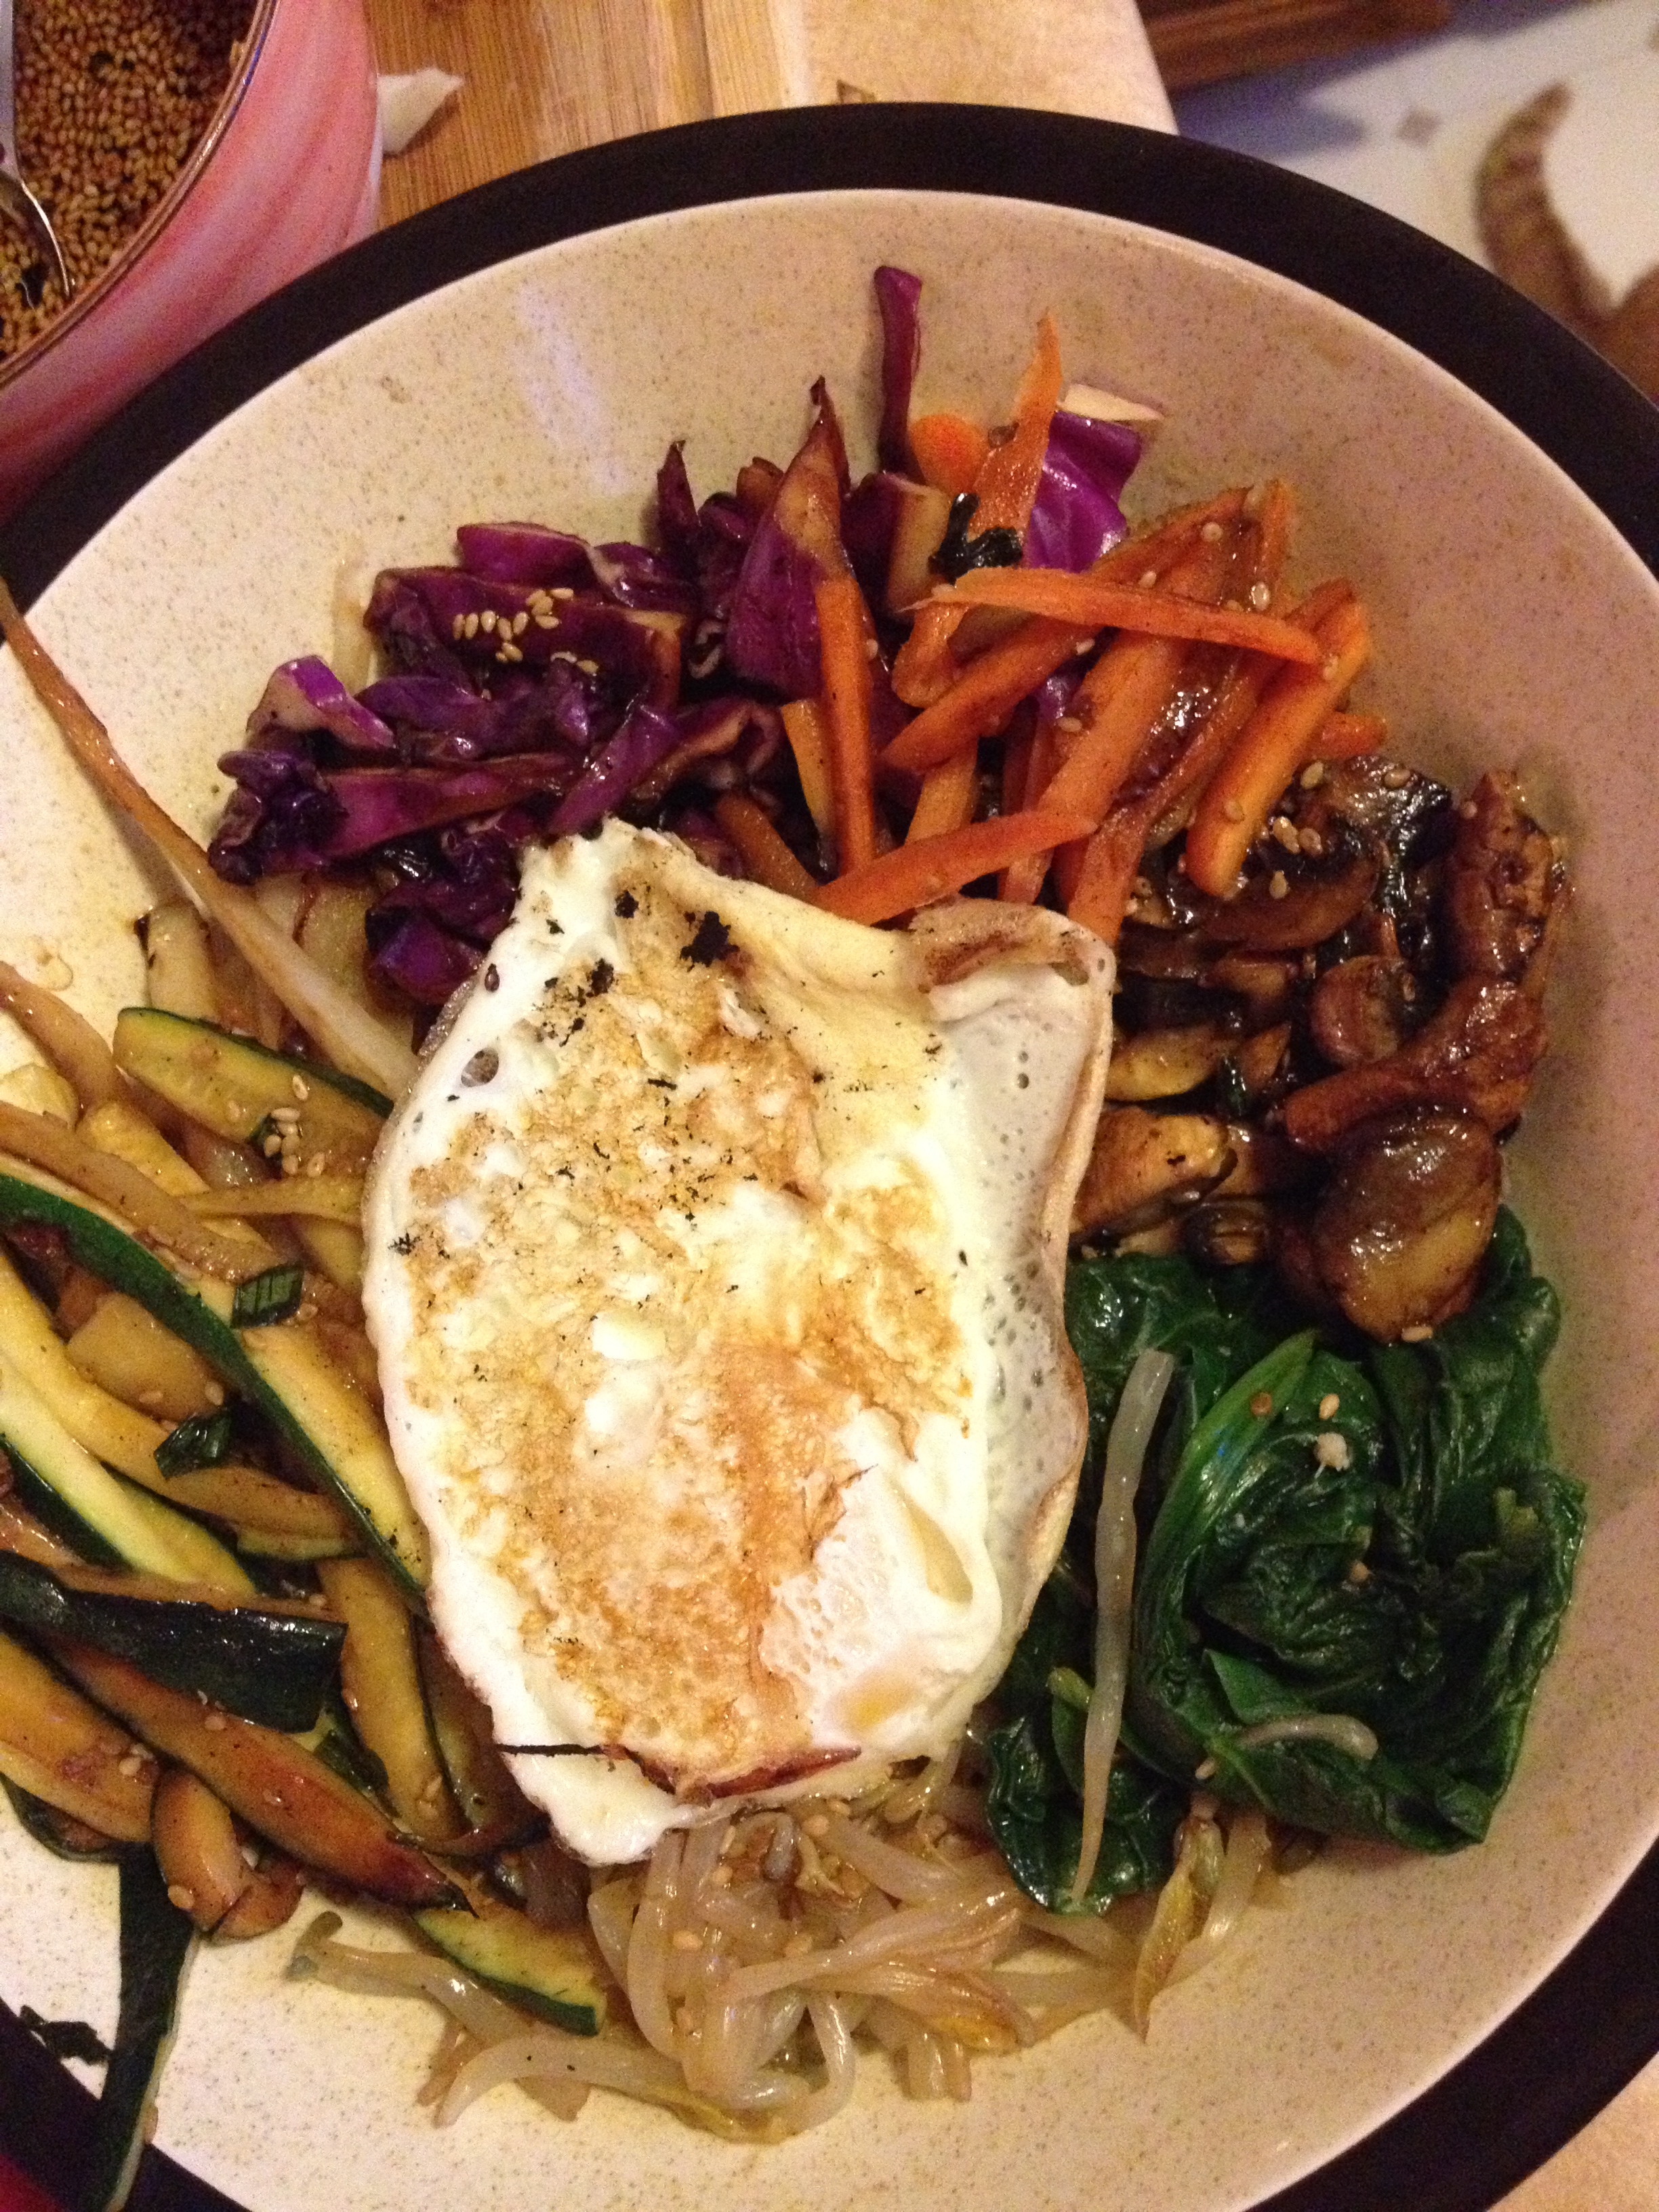
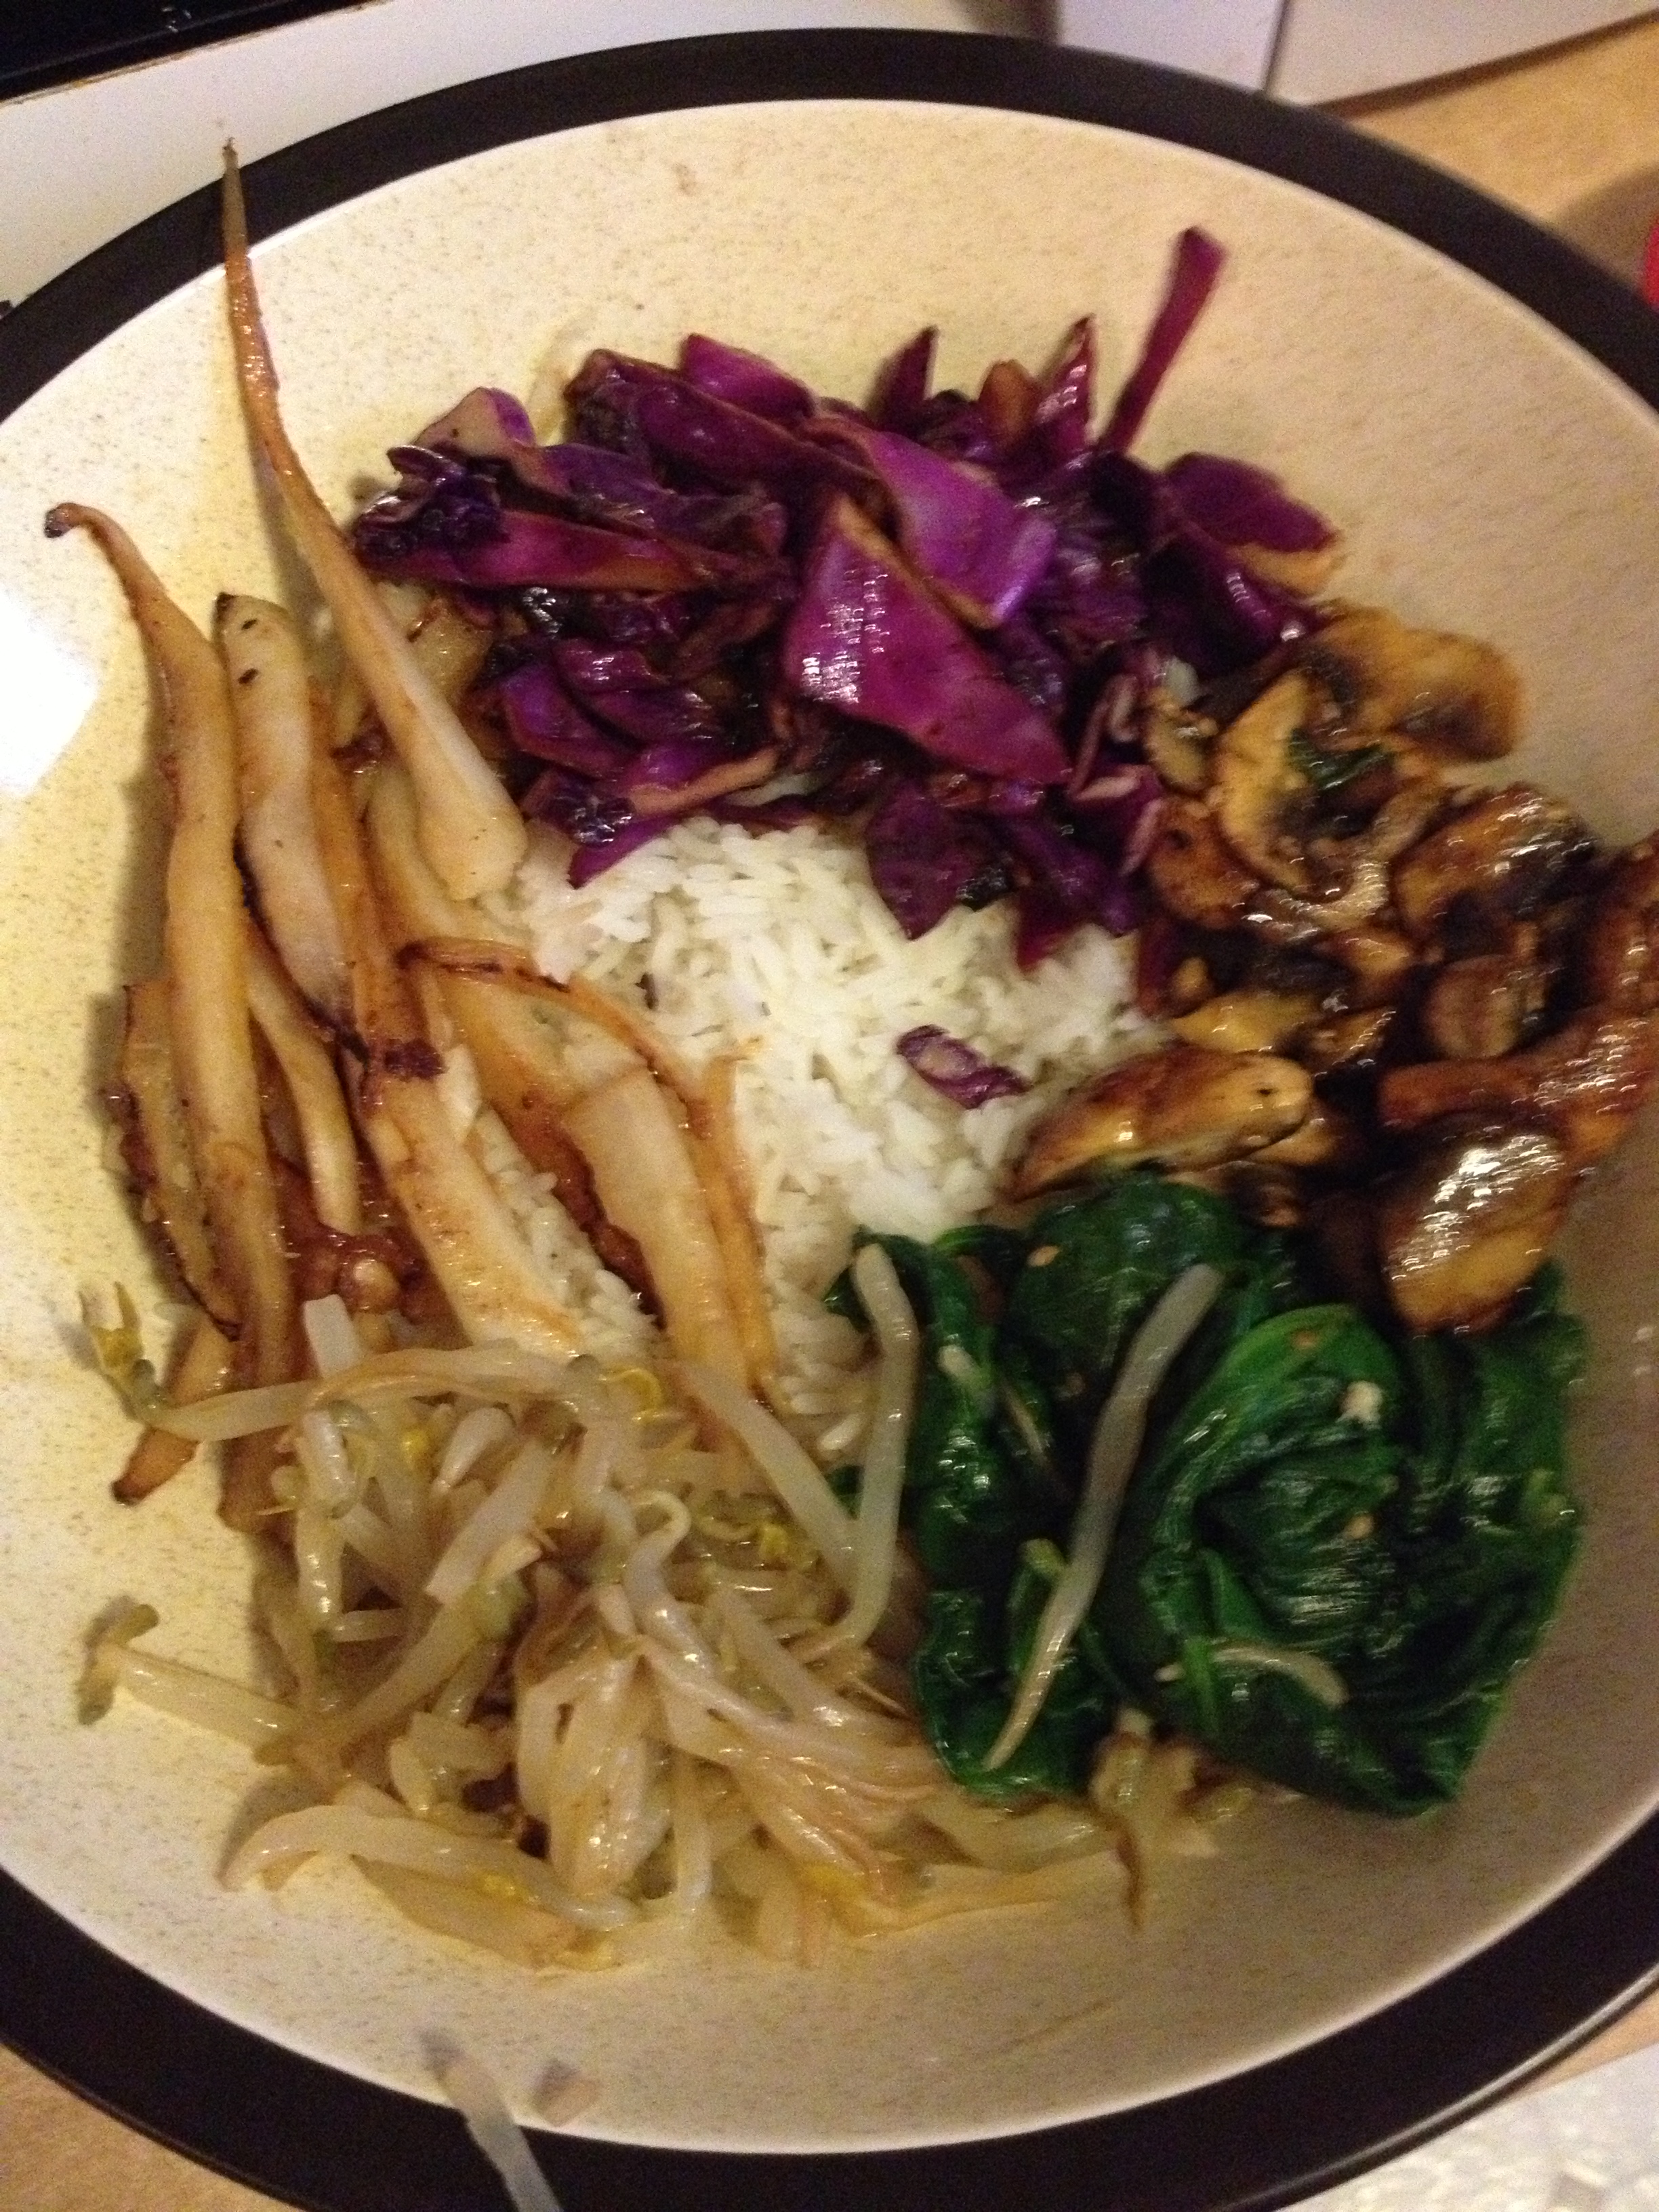
- You can either put them back on the cutting board OR have the rice ready in a wide bowl. Place the veggies in a circular fashion on the rice, leaving the middle open
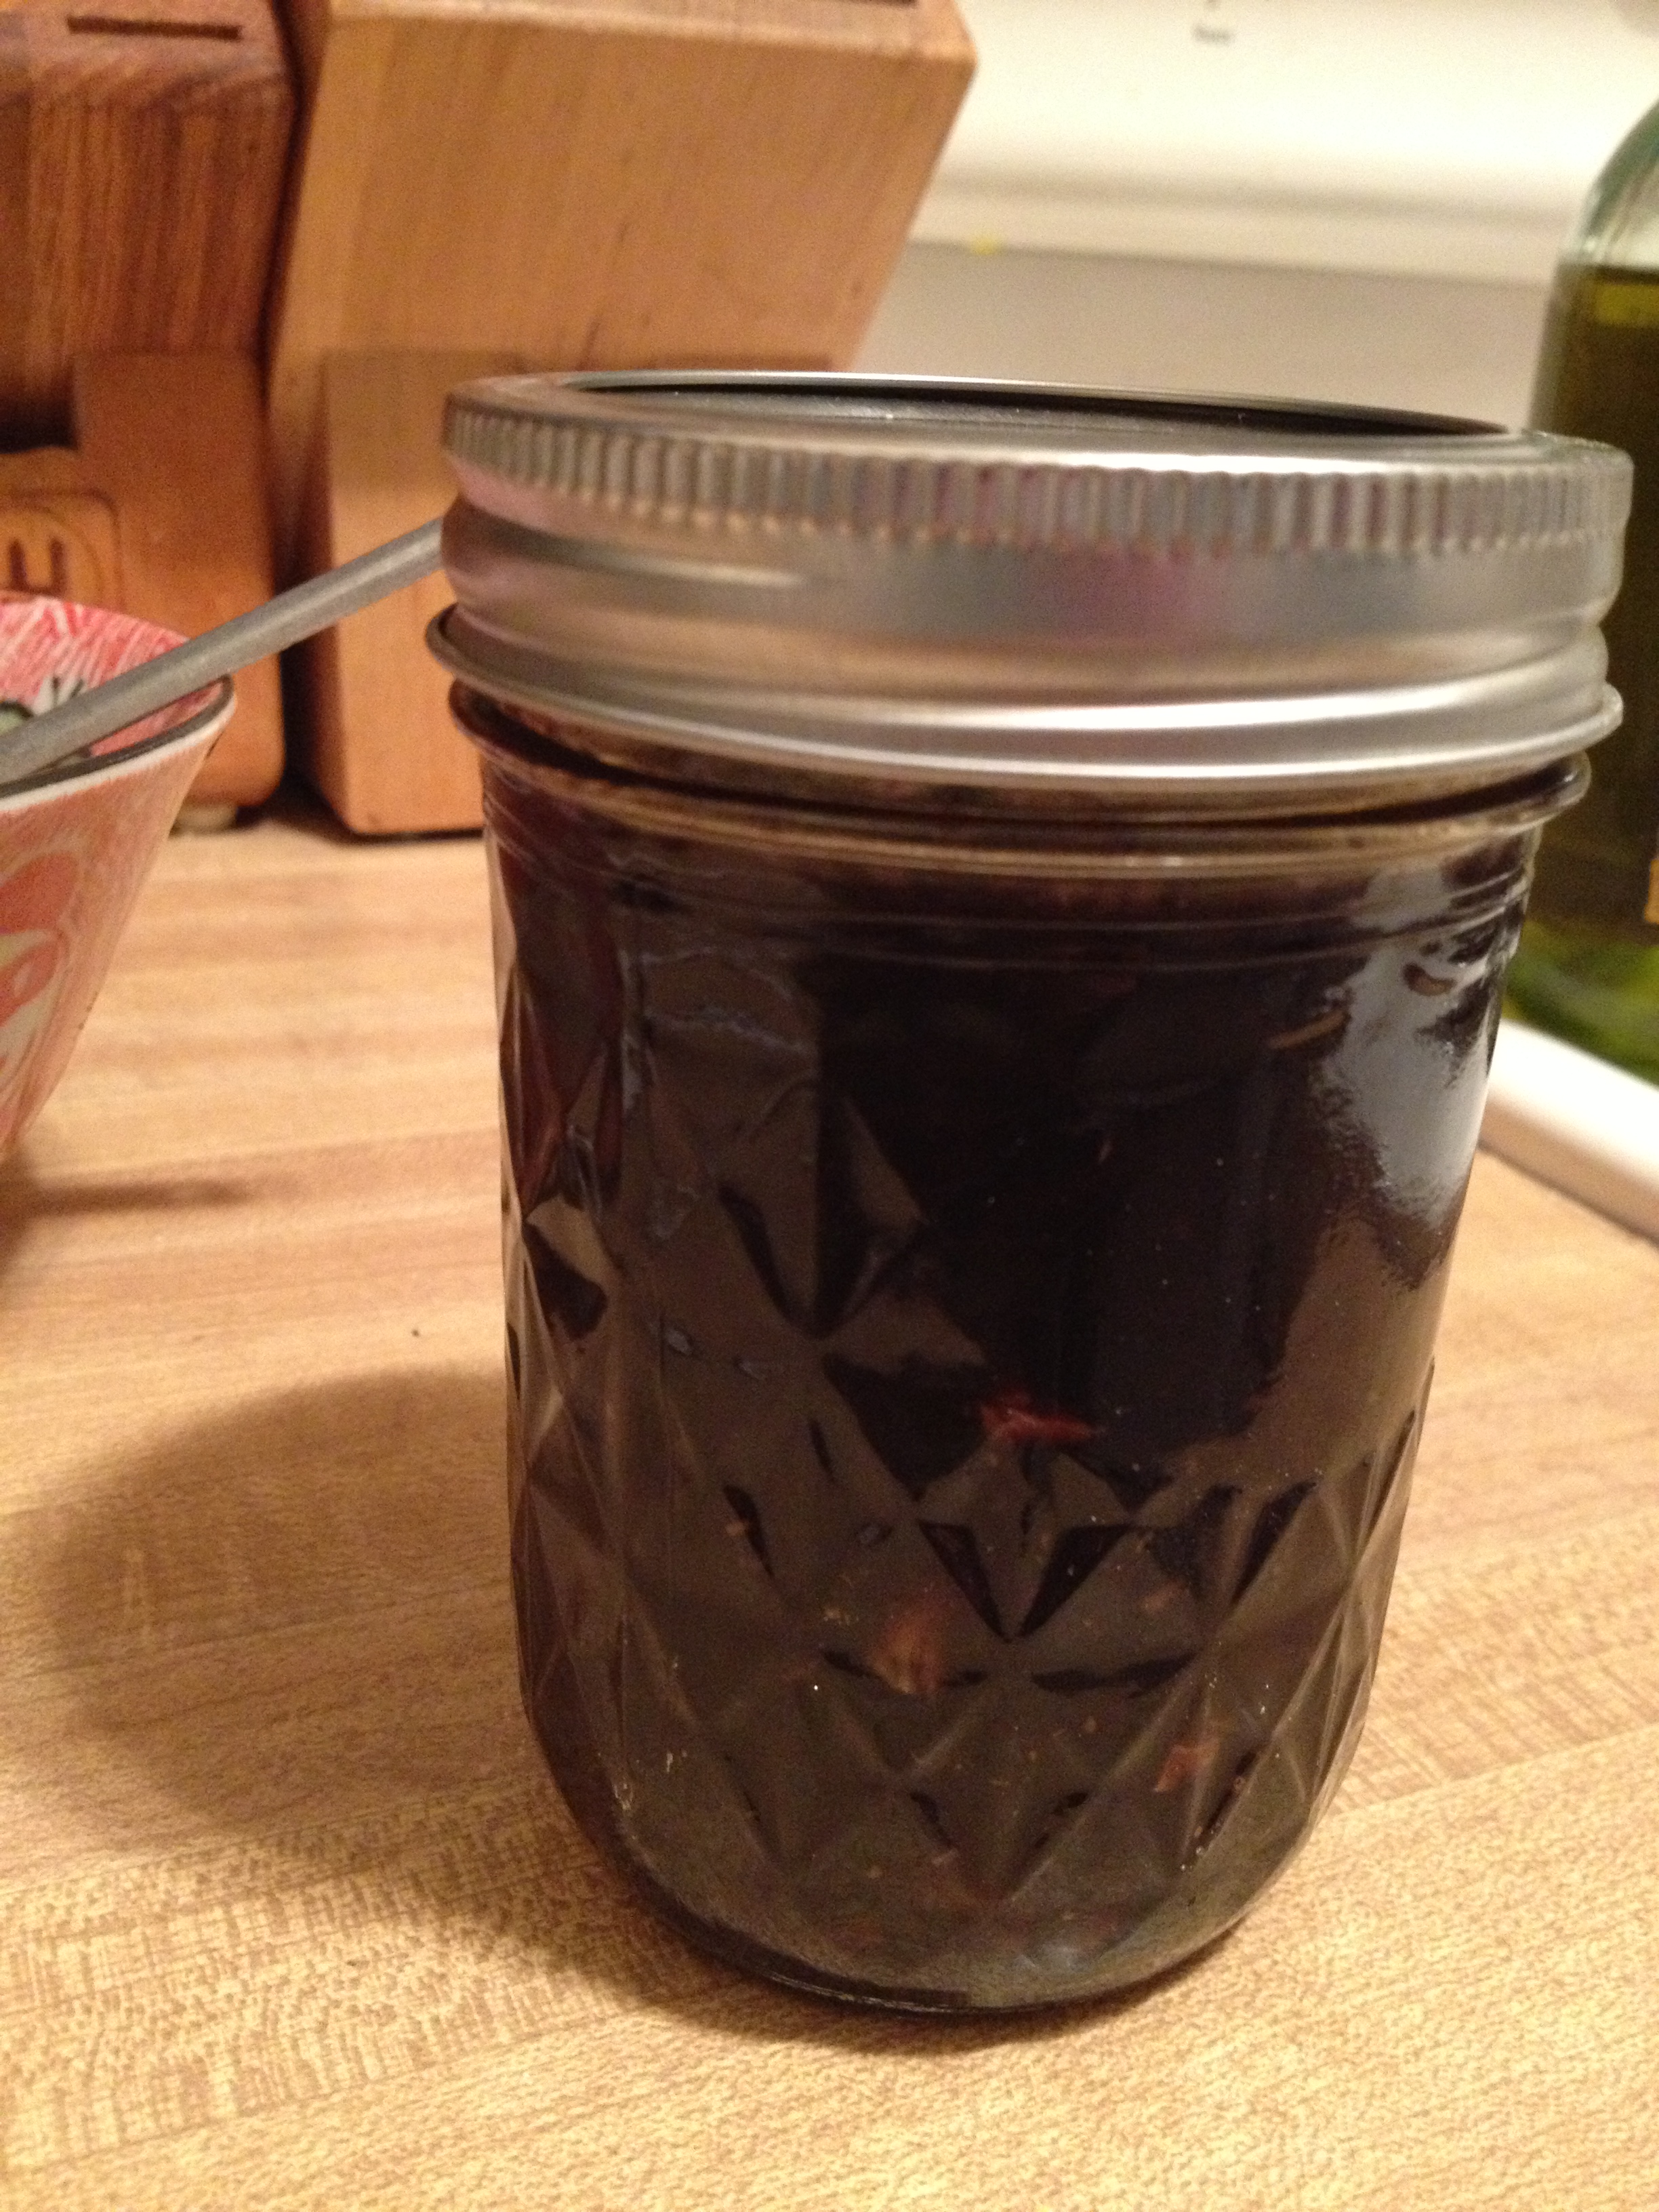
Waiting for a few more ingredients..
- For the carrots, just throw them in the hot pan for 30 seconds, so that they’re still crisp
- For the last ingredient, throw your egg (or eggs if you’re making for two or more people) in the pan on medium heat. You want to cook it sunny side up (over easy). Put the egg in the middle

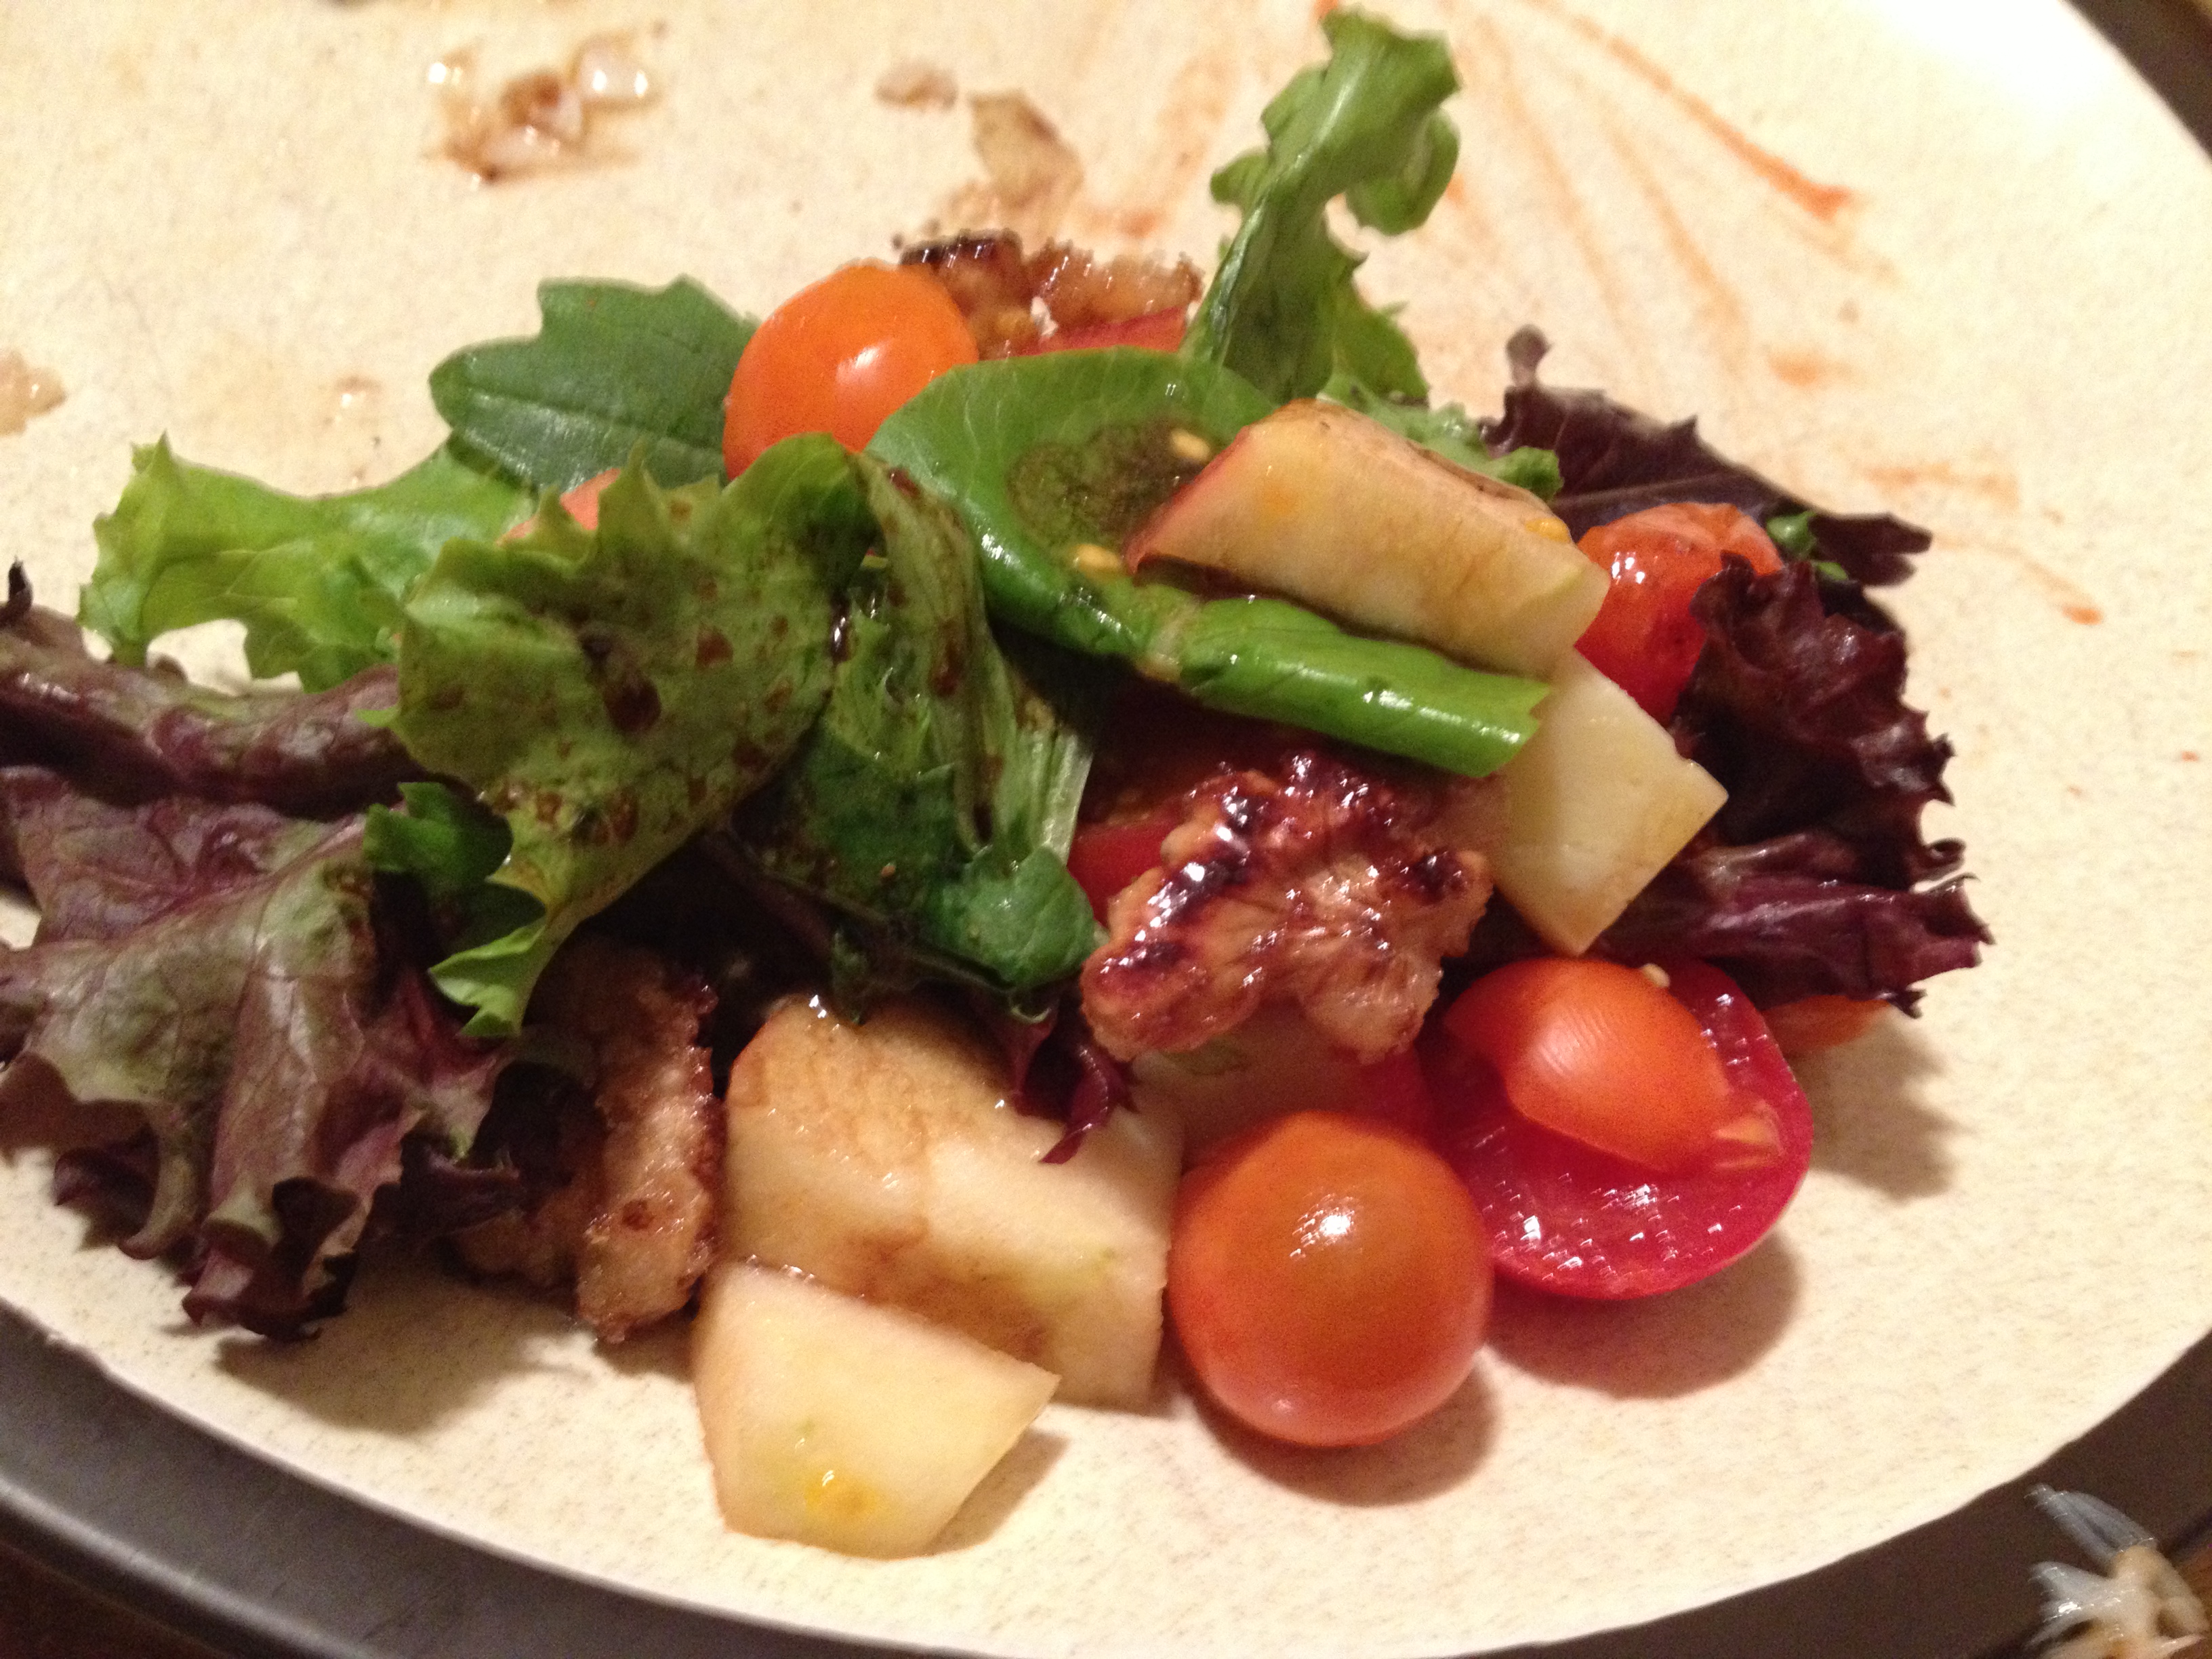
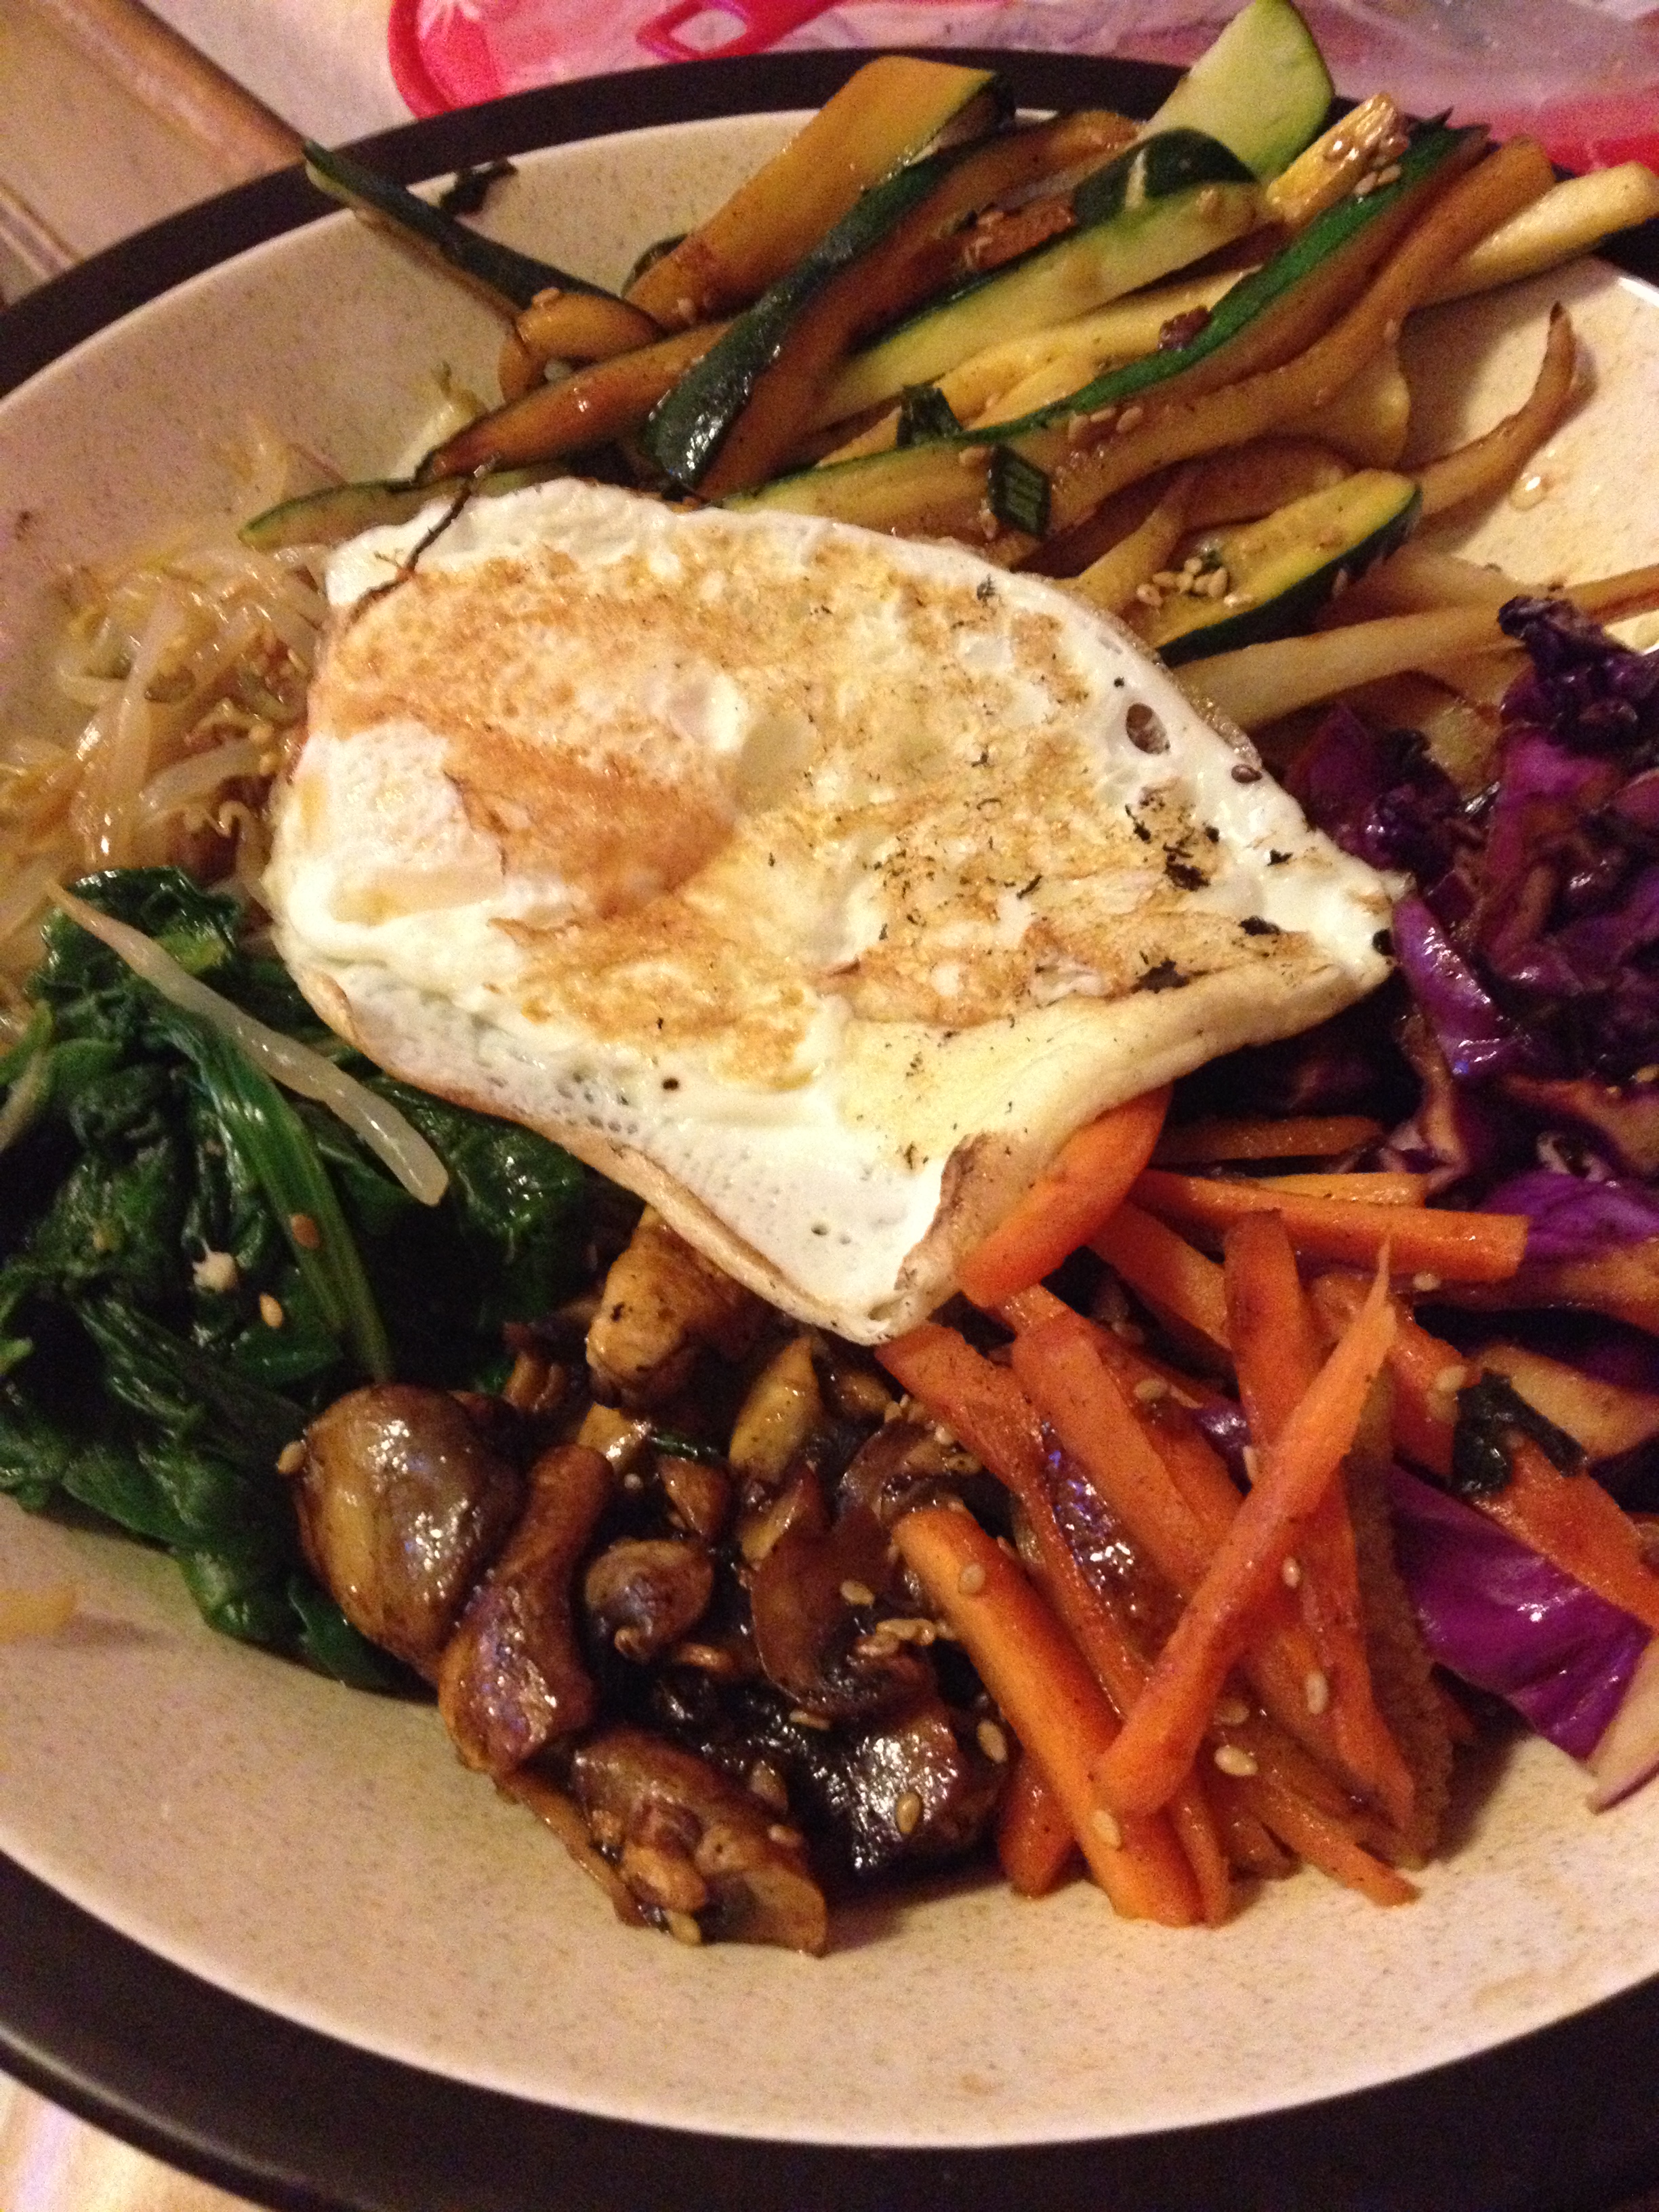
Ready to be eaten
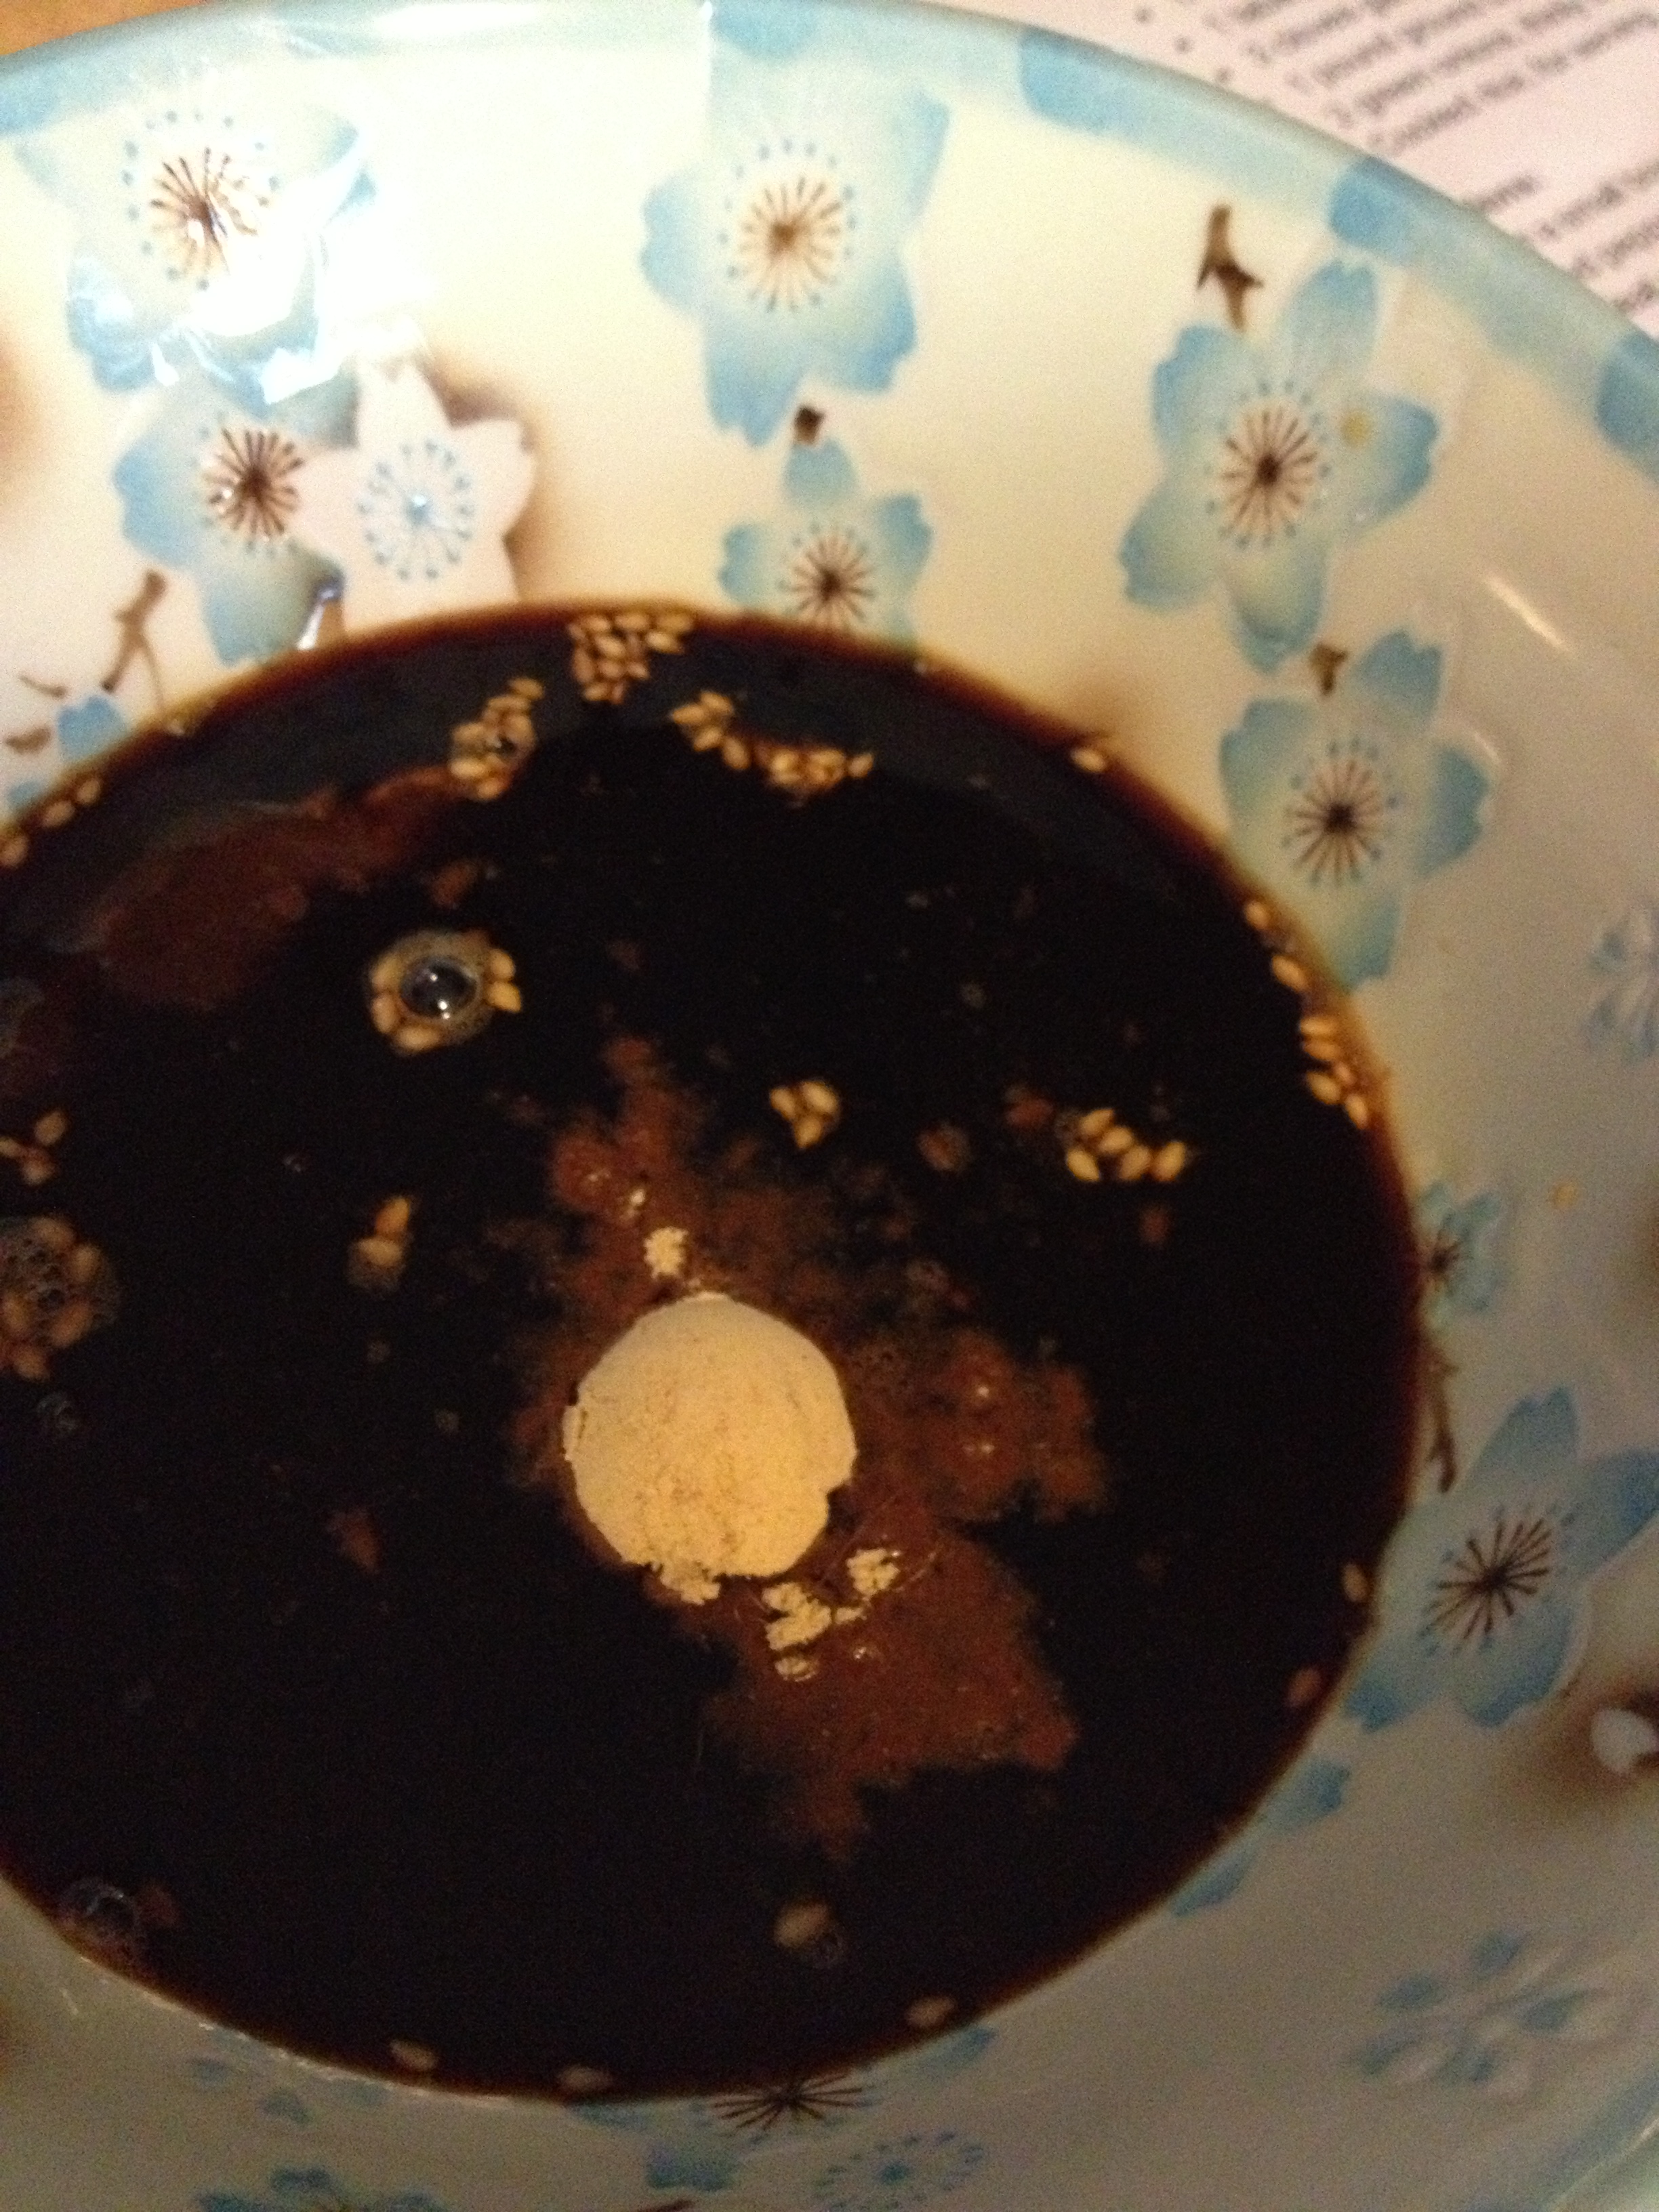
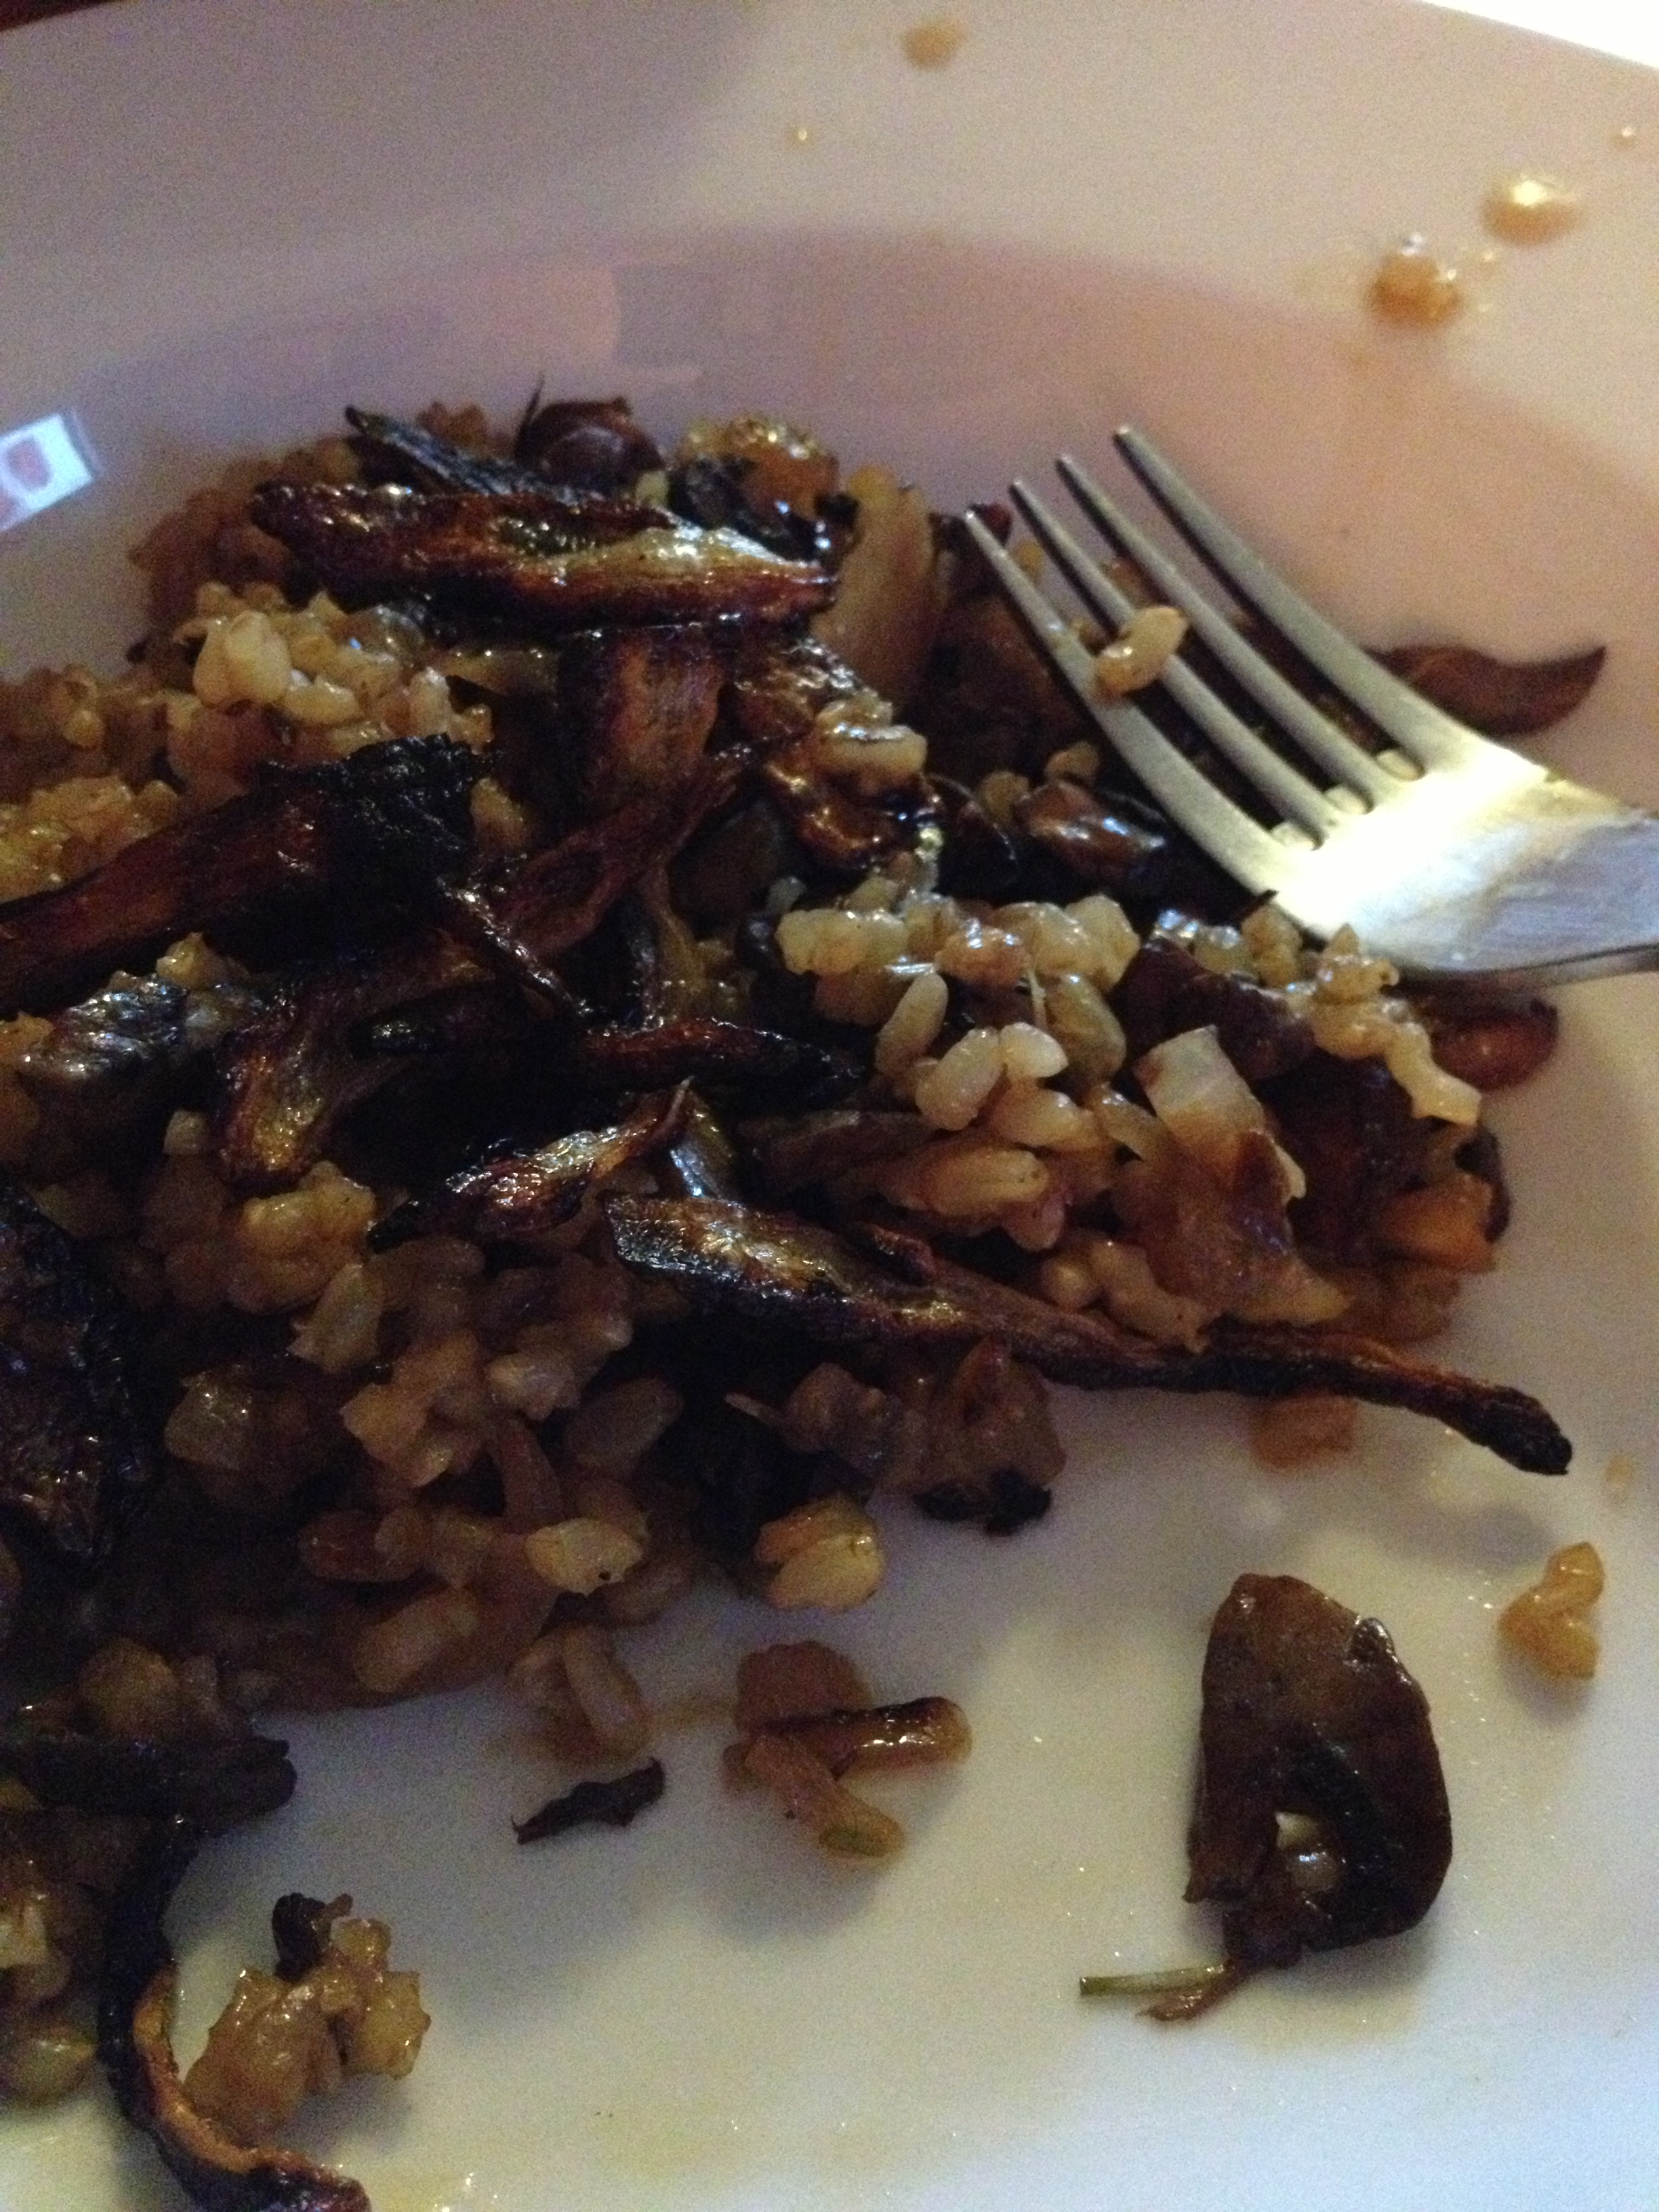
Pour the special sauce over the top for extra flavor. And that’s it! Not so hard, is it? It looks like a long list of ingredients, but once you get the hang of it, it can be done quickly (as I found out the next night–yes, I made this two nights in a row…red cabbage goes forever!). You can cycle a ton of different ingredients into this. Whatever you have or whatever is fresh at the market. Last night, I used green pepper, beets, and tofu as well as some from the night before.
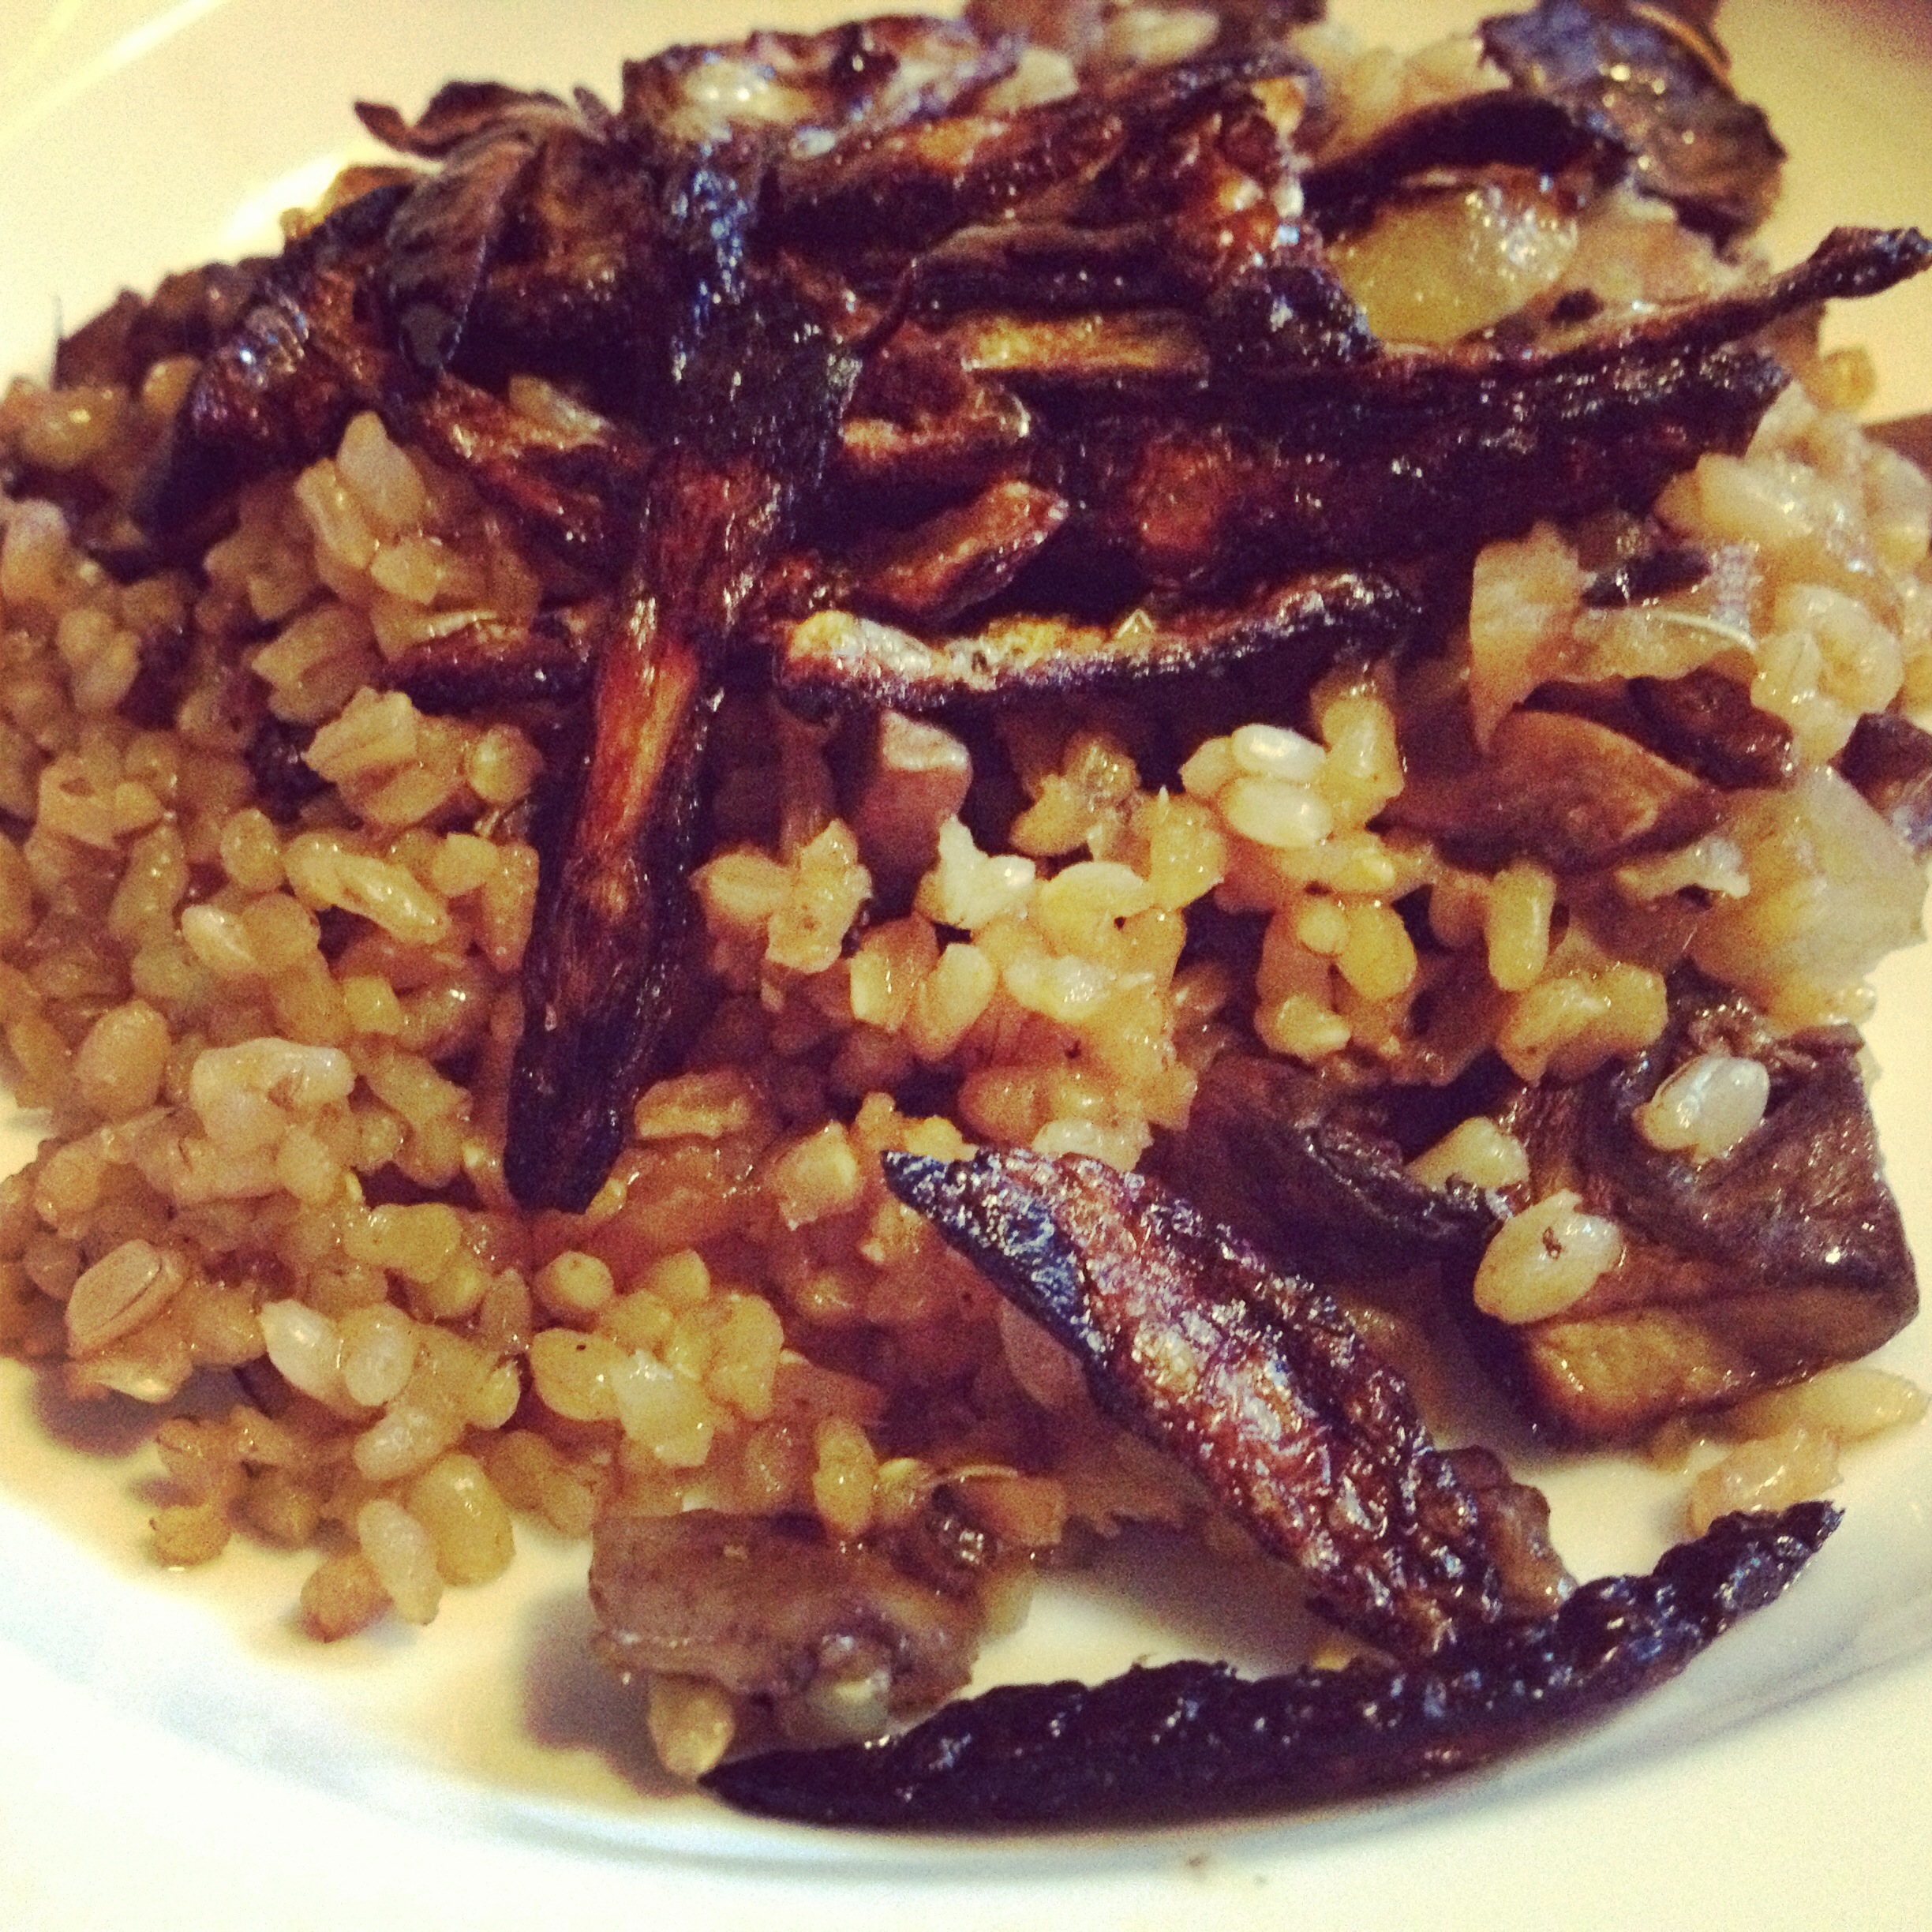
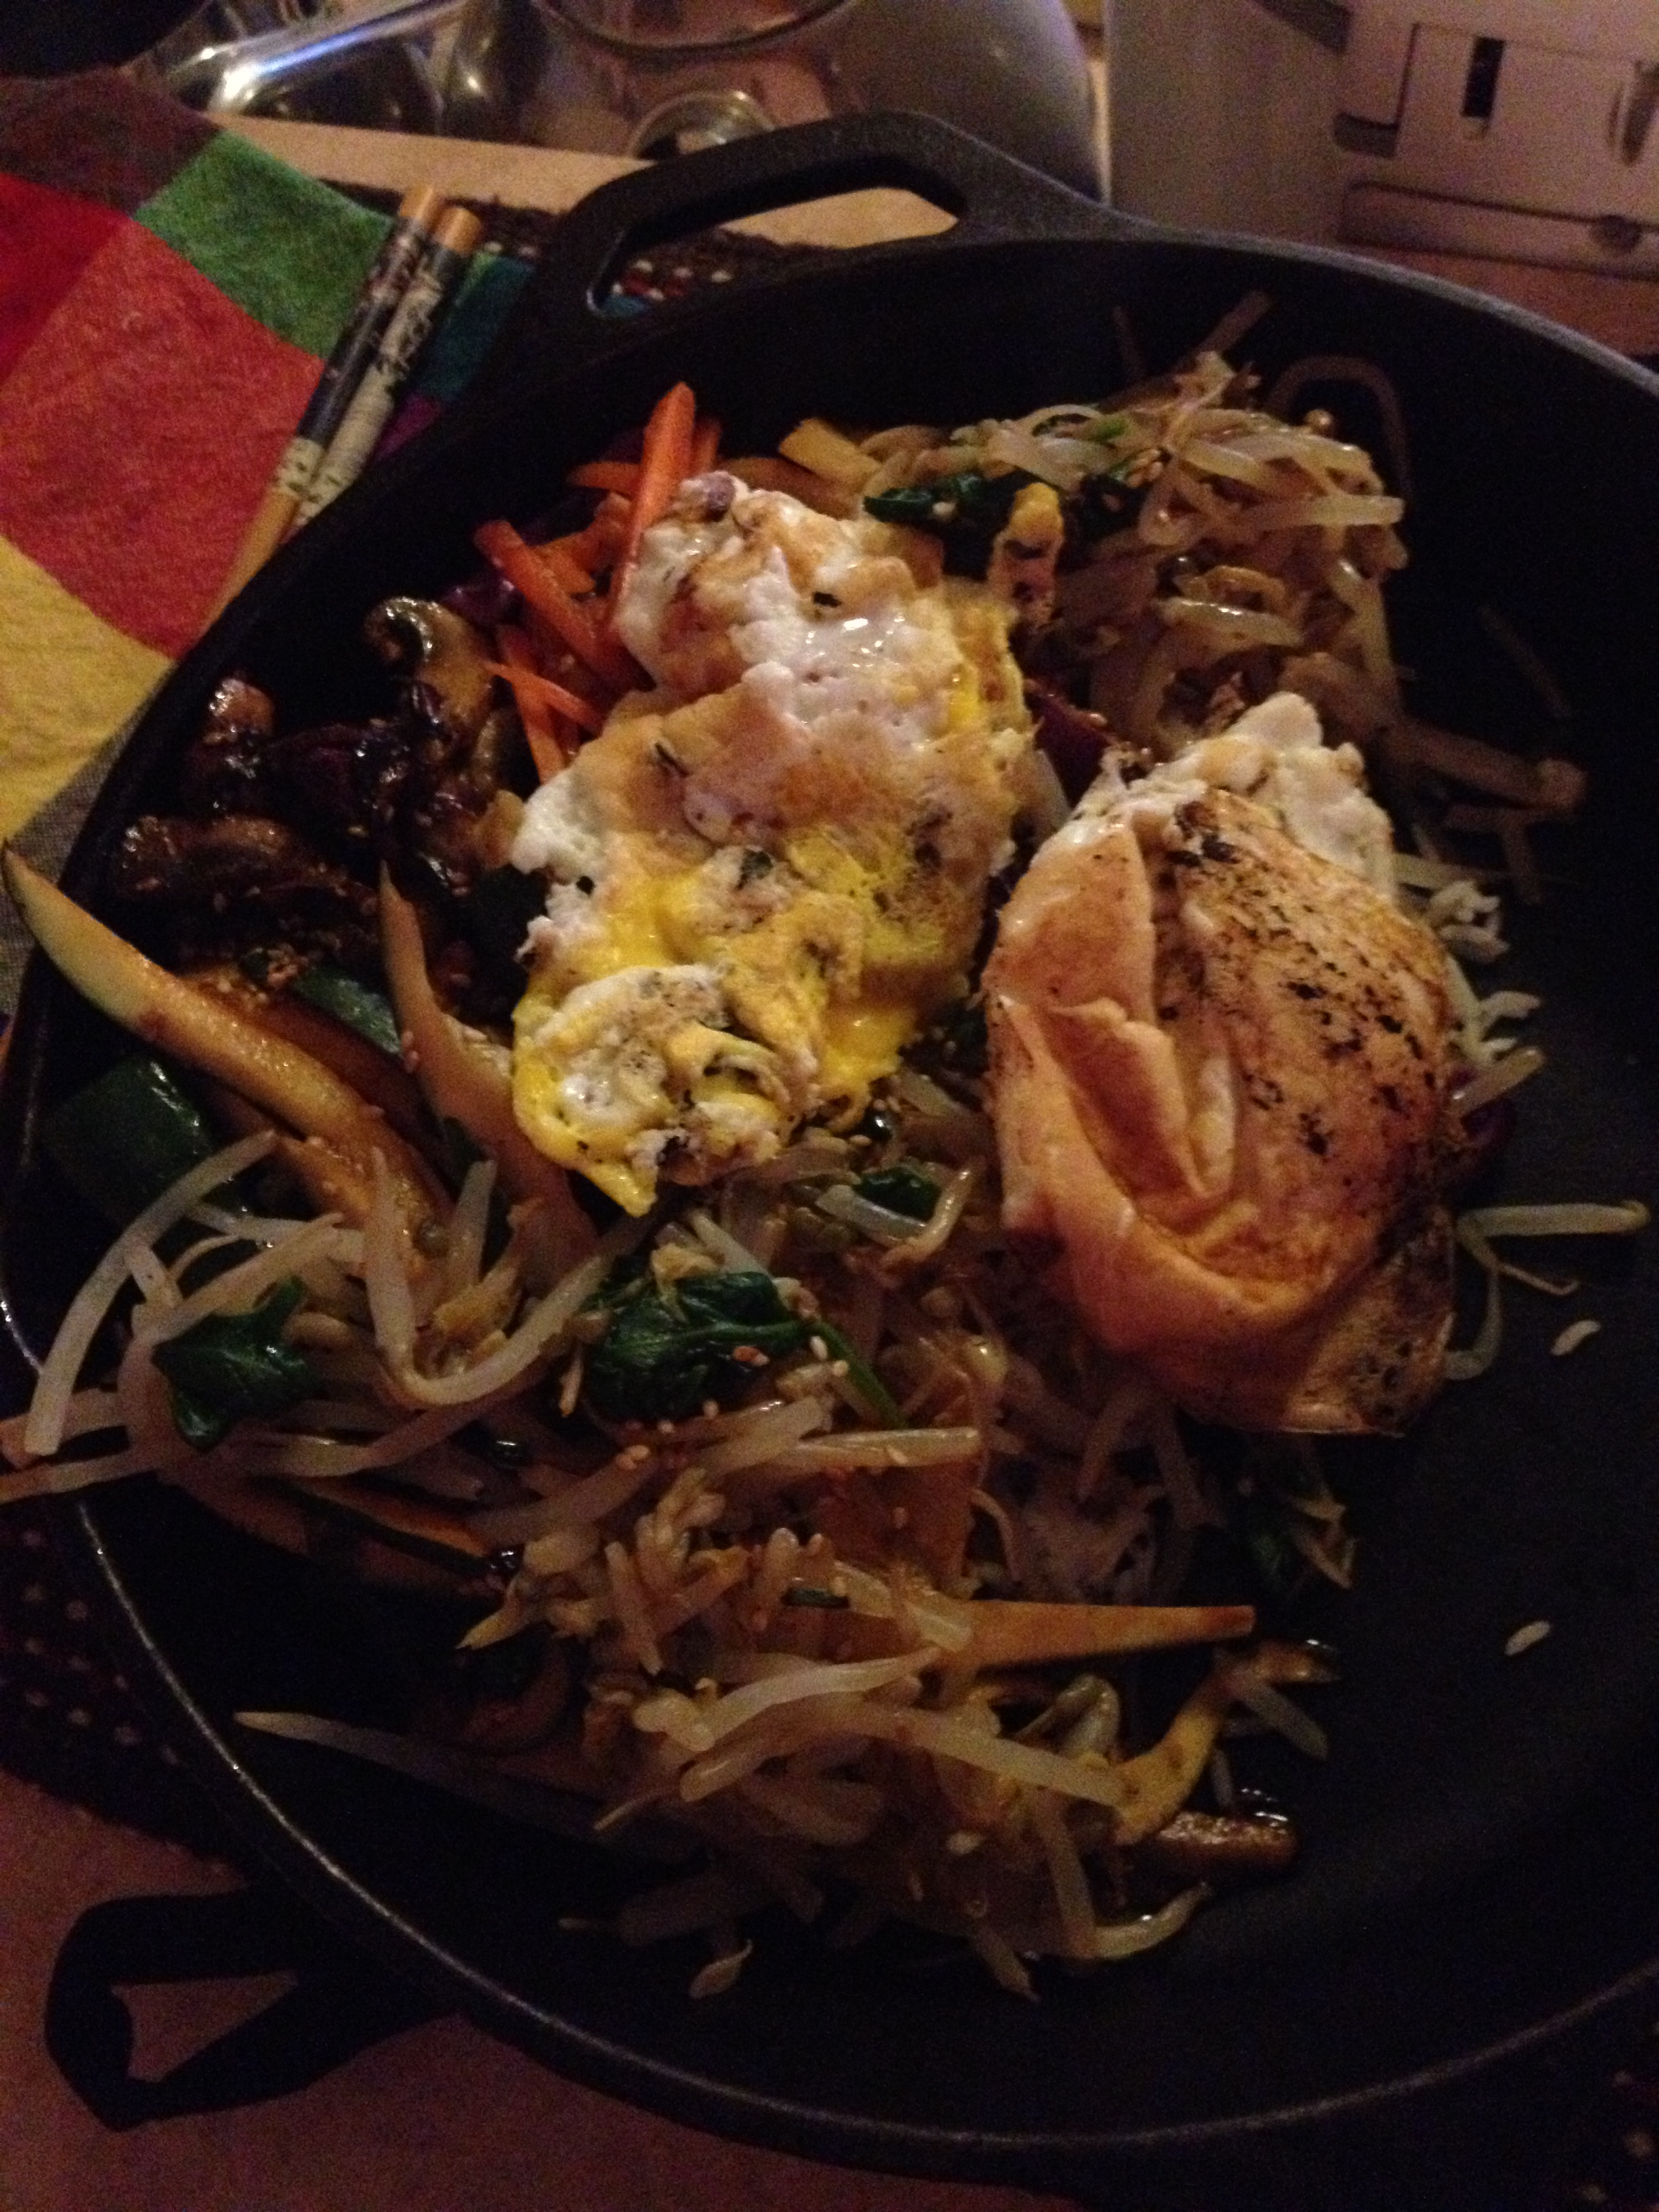
A traditional way to do this is to serve it in a hot stone bowl, so that the rice gets crispy on the bottom. I did this style for Chris, but it was less attractive as it was a little too big. But that same fresh delicious FILLING flavor.

Chris’ “plate”
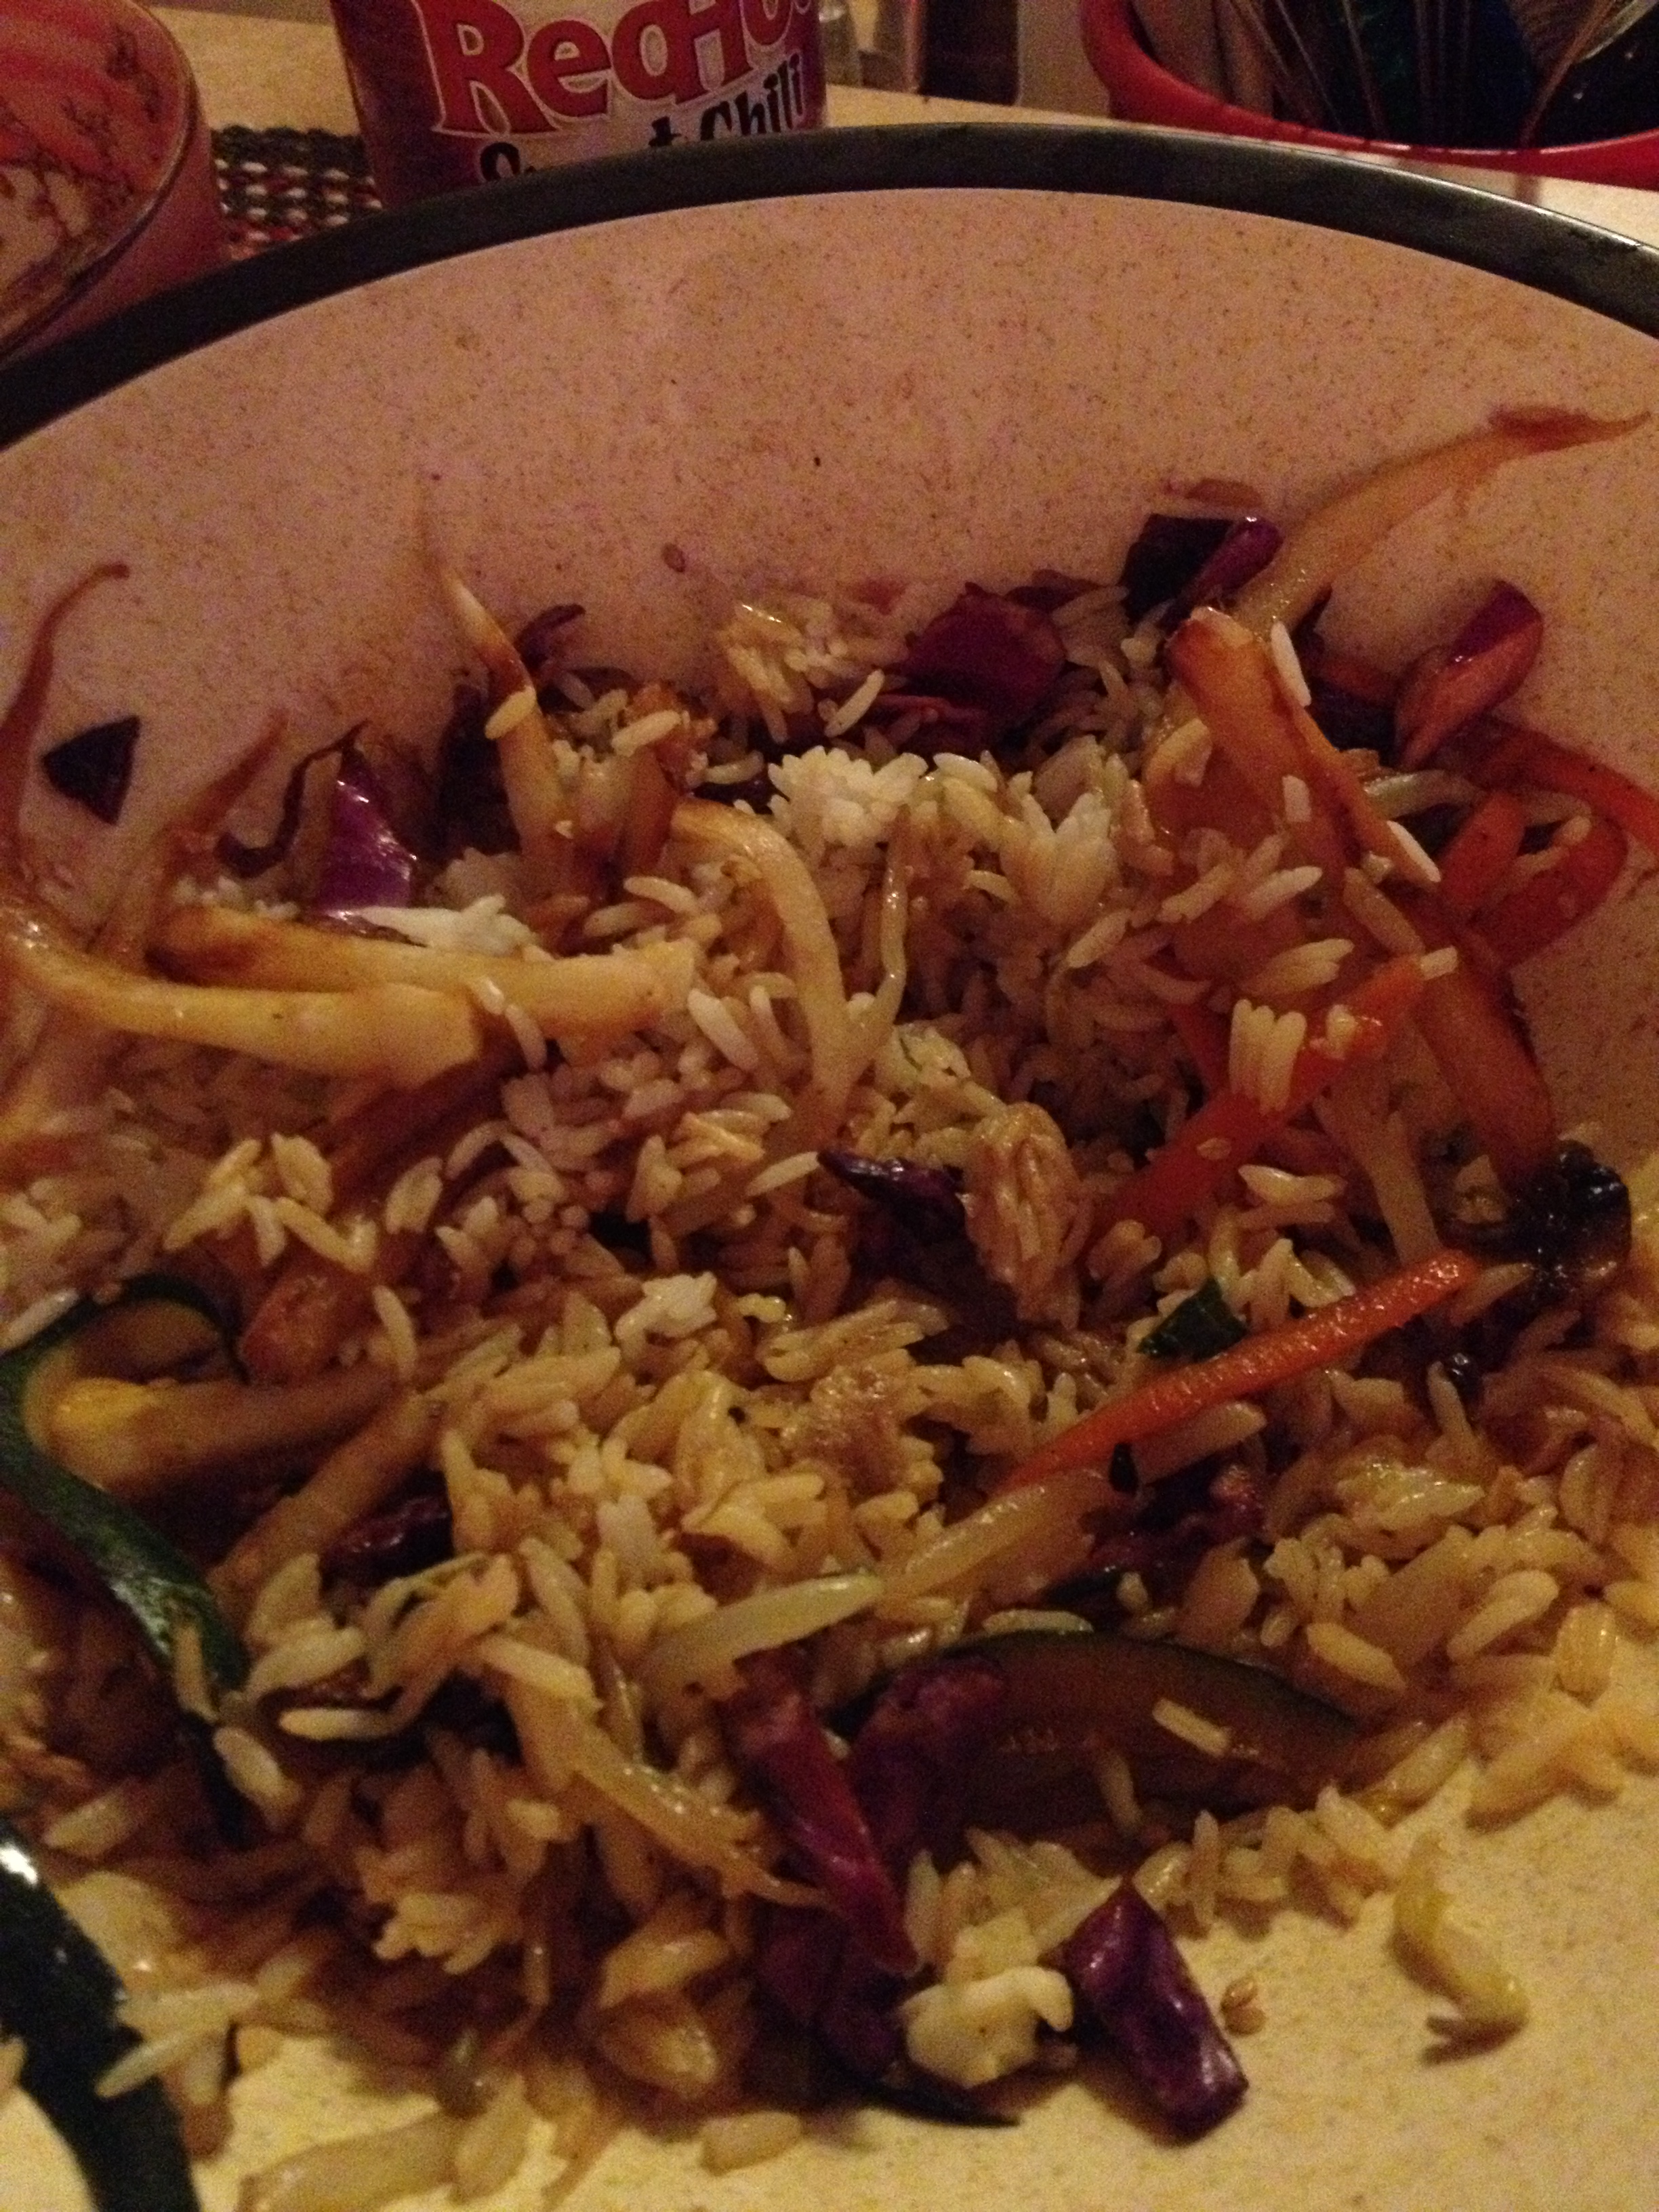
It didn’t last long as we both dug in and watched Chopped All-Stars. I, of course, couldn’t finish it all so Chris ate his huge serving AND the rest of mine. Big surprise.

After we tore into it
Enjoy! And use this recipe to…stay hungry and fit!