Archives

Easy Korean-Style Beef Bowl

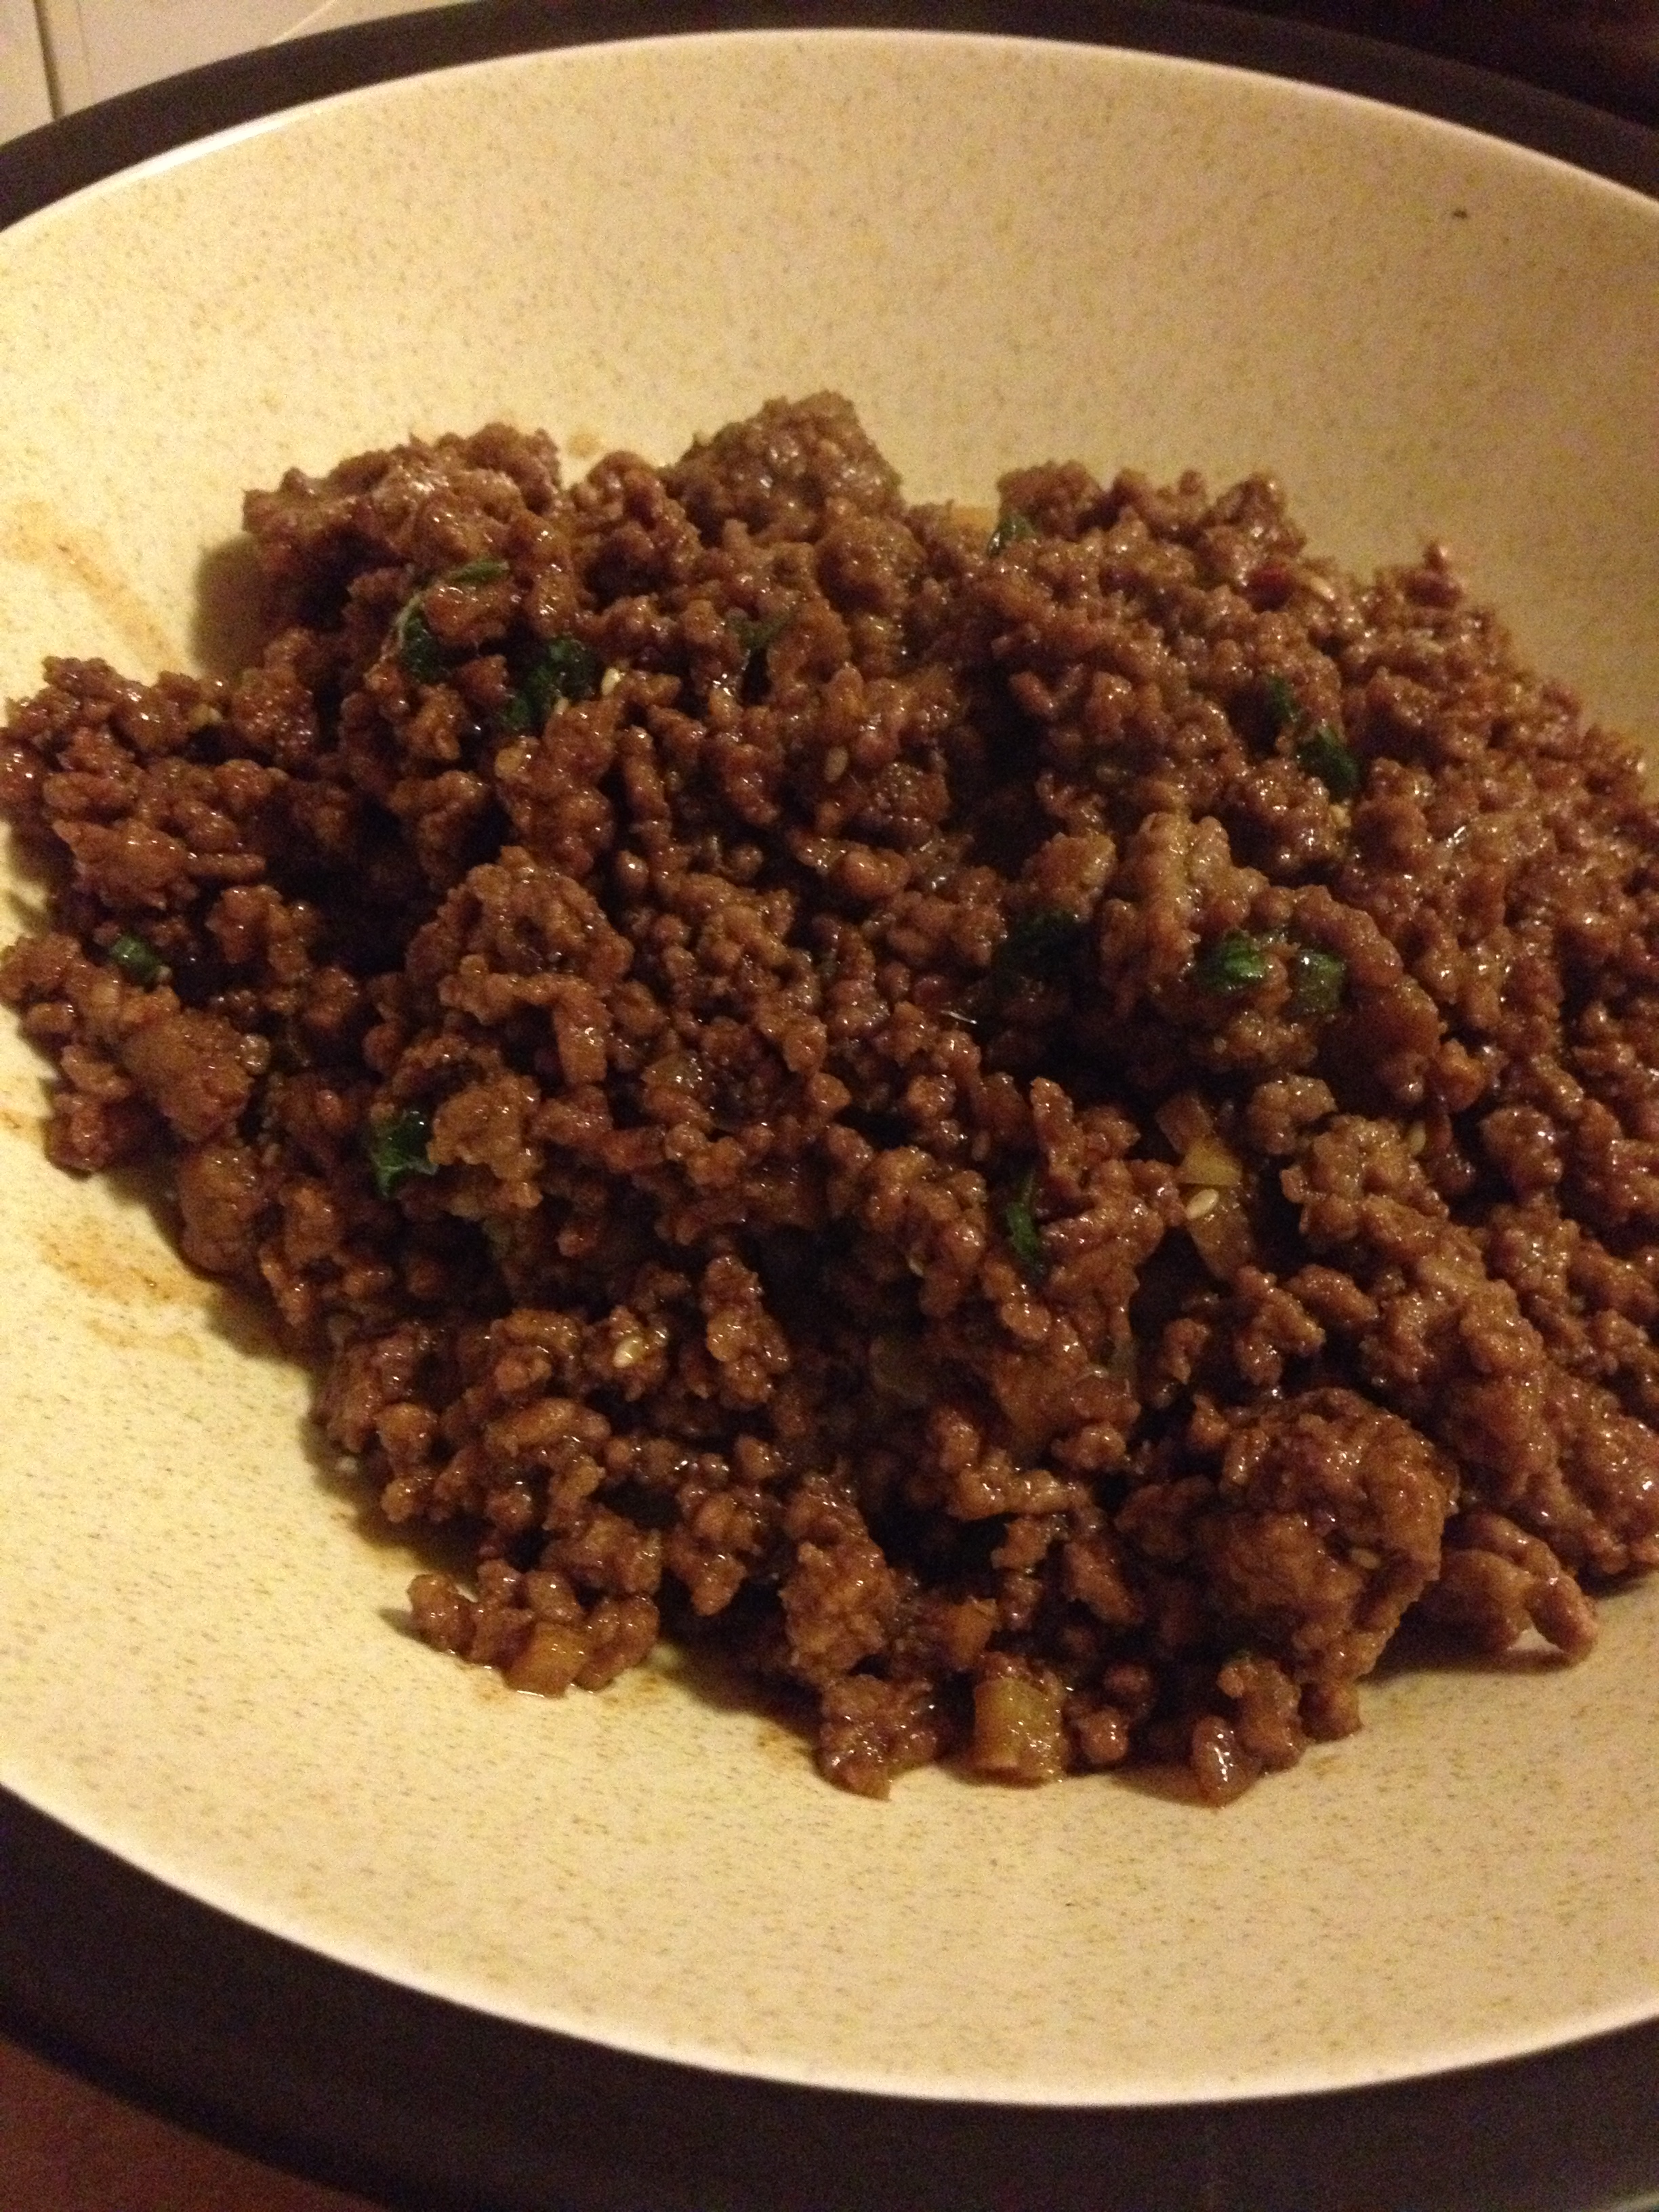
If you know us, we love Korean food (as Chris spent a summer in South Korea and consequently fell in love with the culture he had already been into). So when I stumbled upon this fantastic easy (ridiculously easy) recipe by one of my favorite food bloggers, I had to recreate it (altered it slightly)! Mine may not look as pretty, mostly because it was all for Chris so he got the entire beef bowl (4 servings) so that you can’t see the rice (oops!). My version of the recipe has less sugar, less spice (Chris has a Geographic Tongue, so he can’t have spice), and brown rice instead of white. Makes it a little bit healthier, but it was healthy from the start.  He had worked a long day at work, and I was taking a rest day on workouts, so I decided to make him something that he would love and fill him up...Korean style!

photo 2 (16)

  • Prep Time: 5 minutes
  • Cooking Time: 10 minutes
  • Serves: 3-4 normal people (Chris ate it all)

Ingredients

  • 1 pound ground beef
  • 1/4 cup brown sugar
  • 1/4 cup soy sauce
  • 1 tablespoon sesame teriyaki sauce
  • 1/4 crushed red-pepper flakes [you can use more if you like spice]
  • 1/4 teaspoon ground ginger
  • 1/4 teaspoon sesame seeds
  • 1 tablespoon oil
  • 1.5 tablespoon garlic, minced
  • 2 green onions, thinly sliced
  • cooked brown rice

Directions

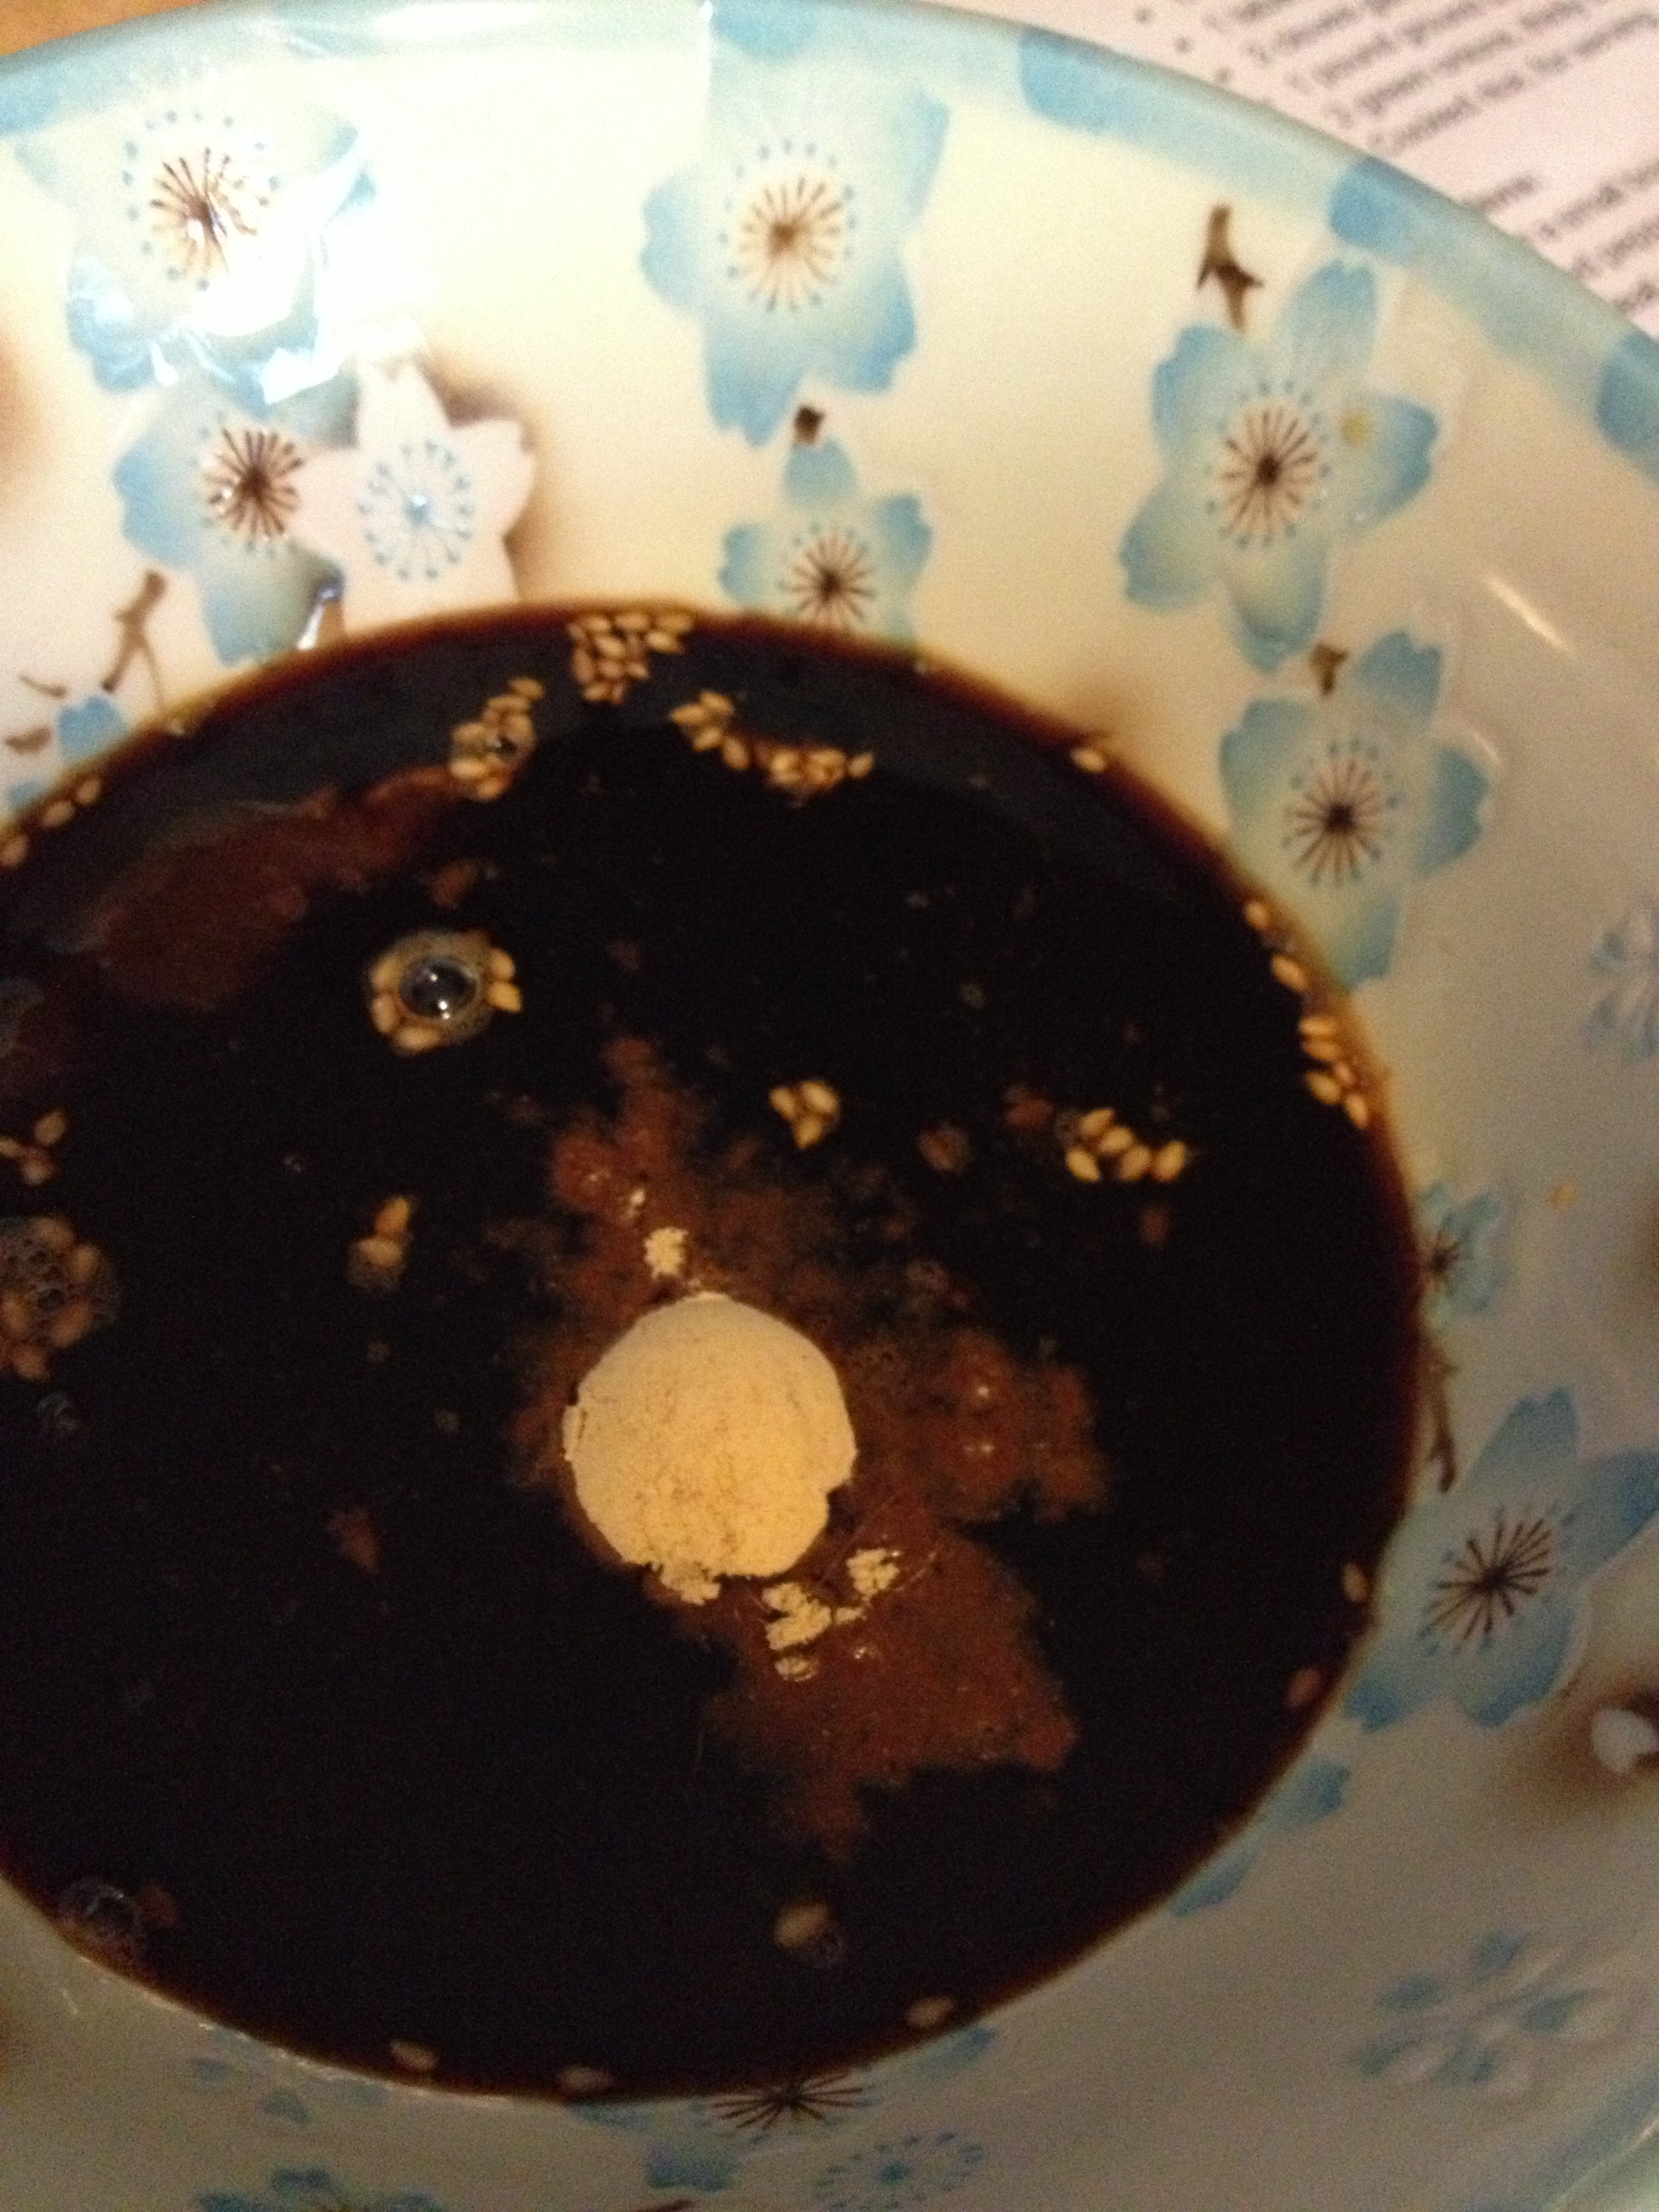
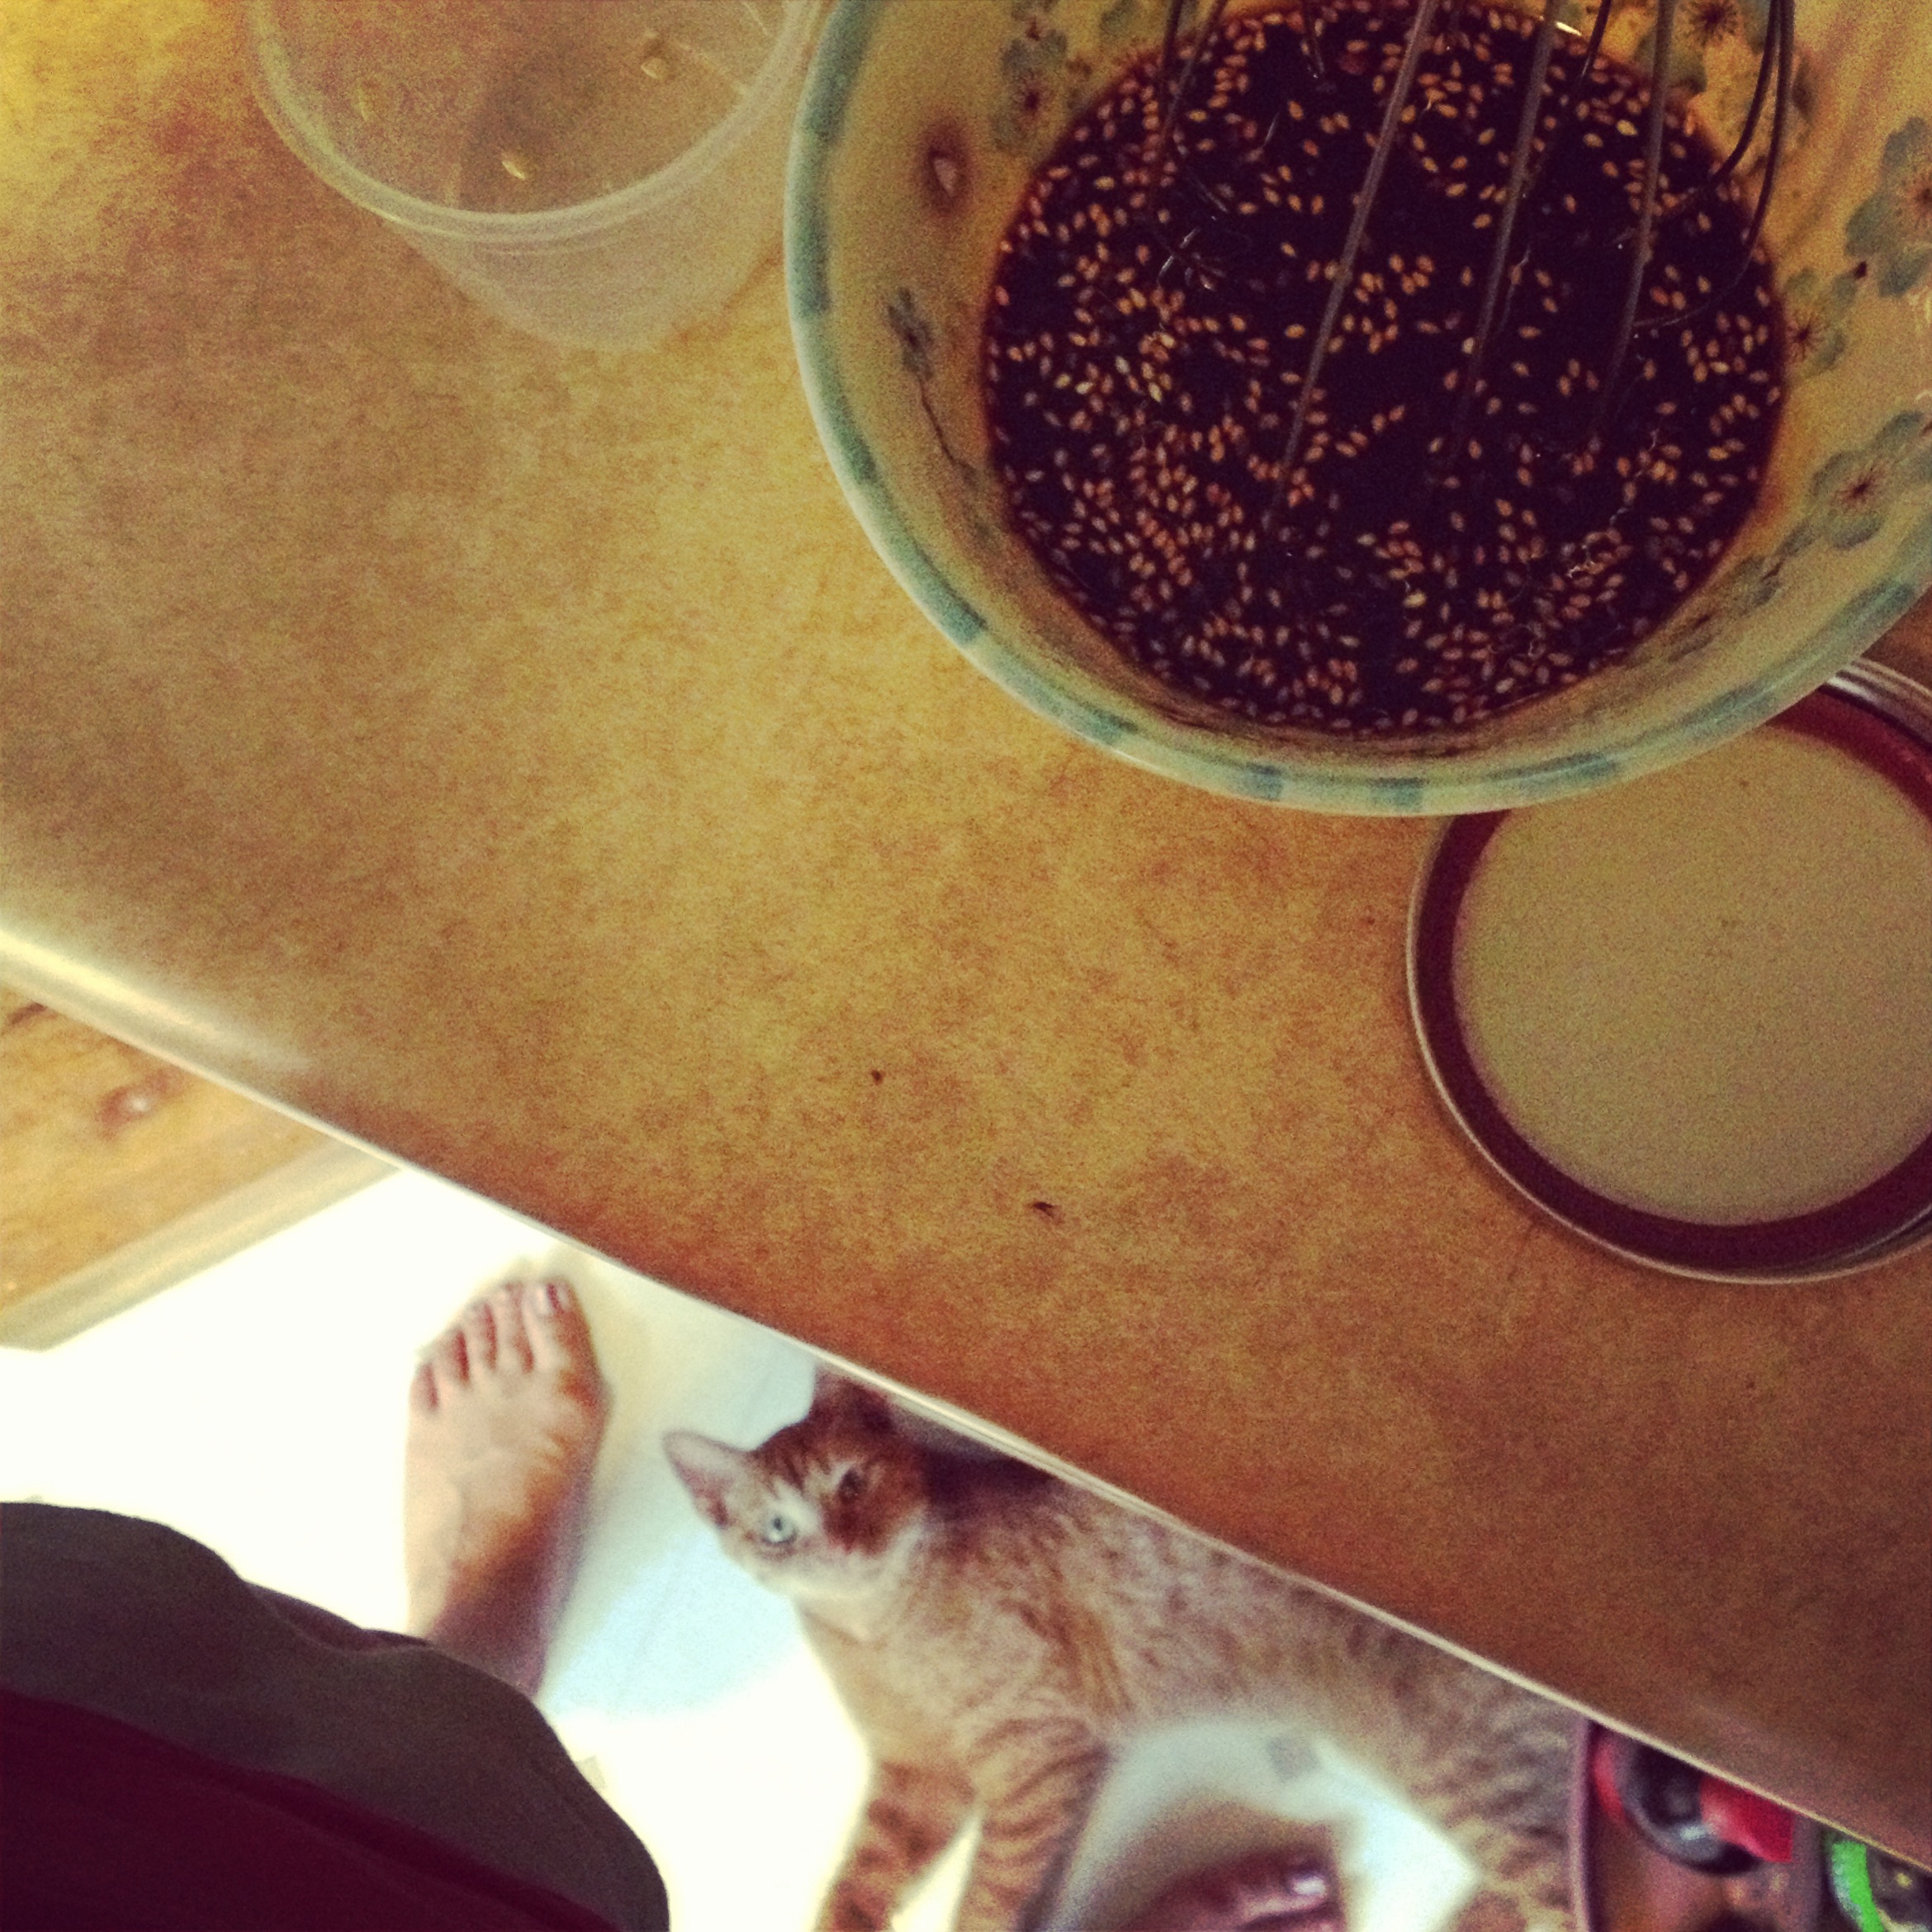
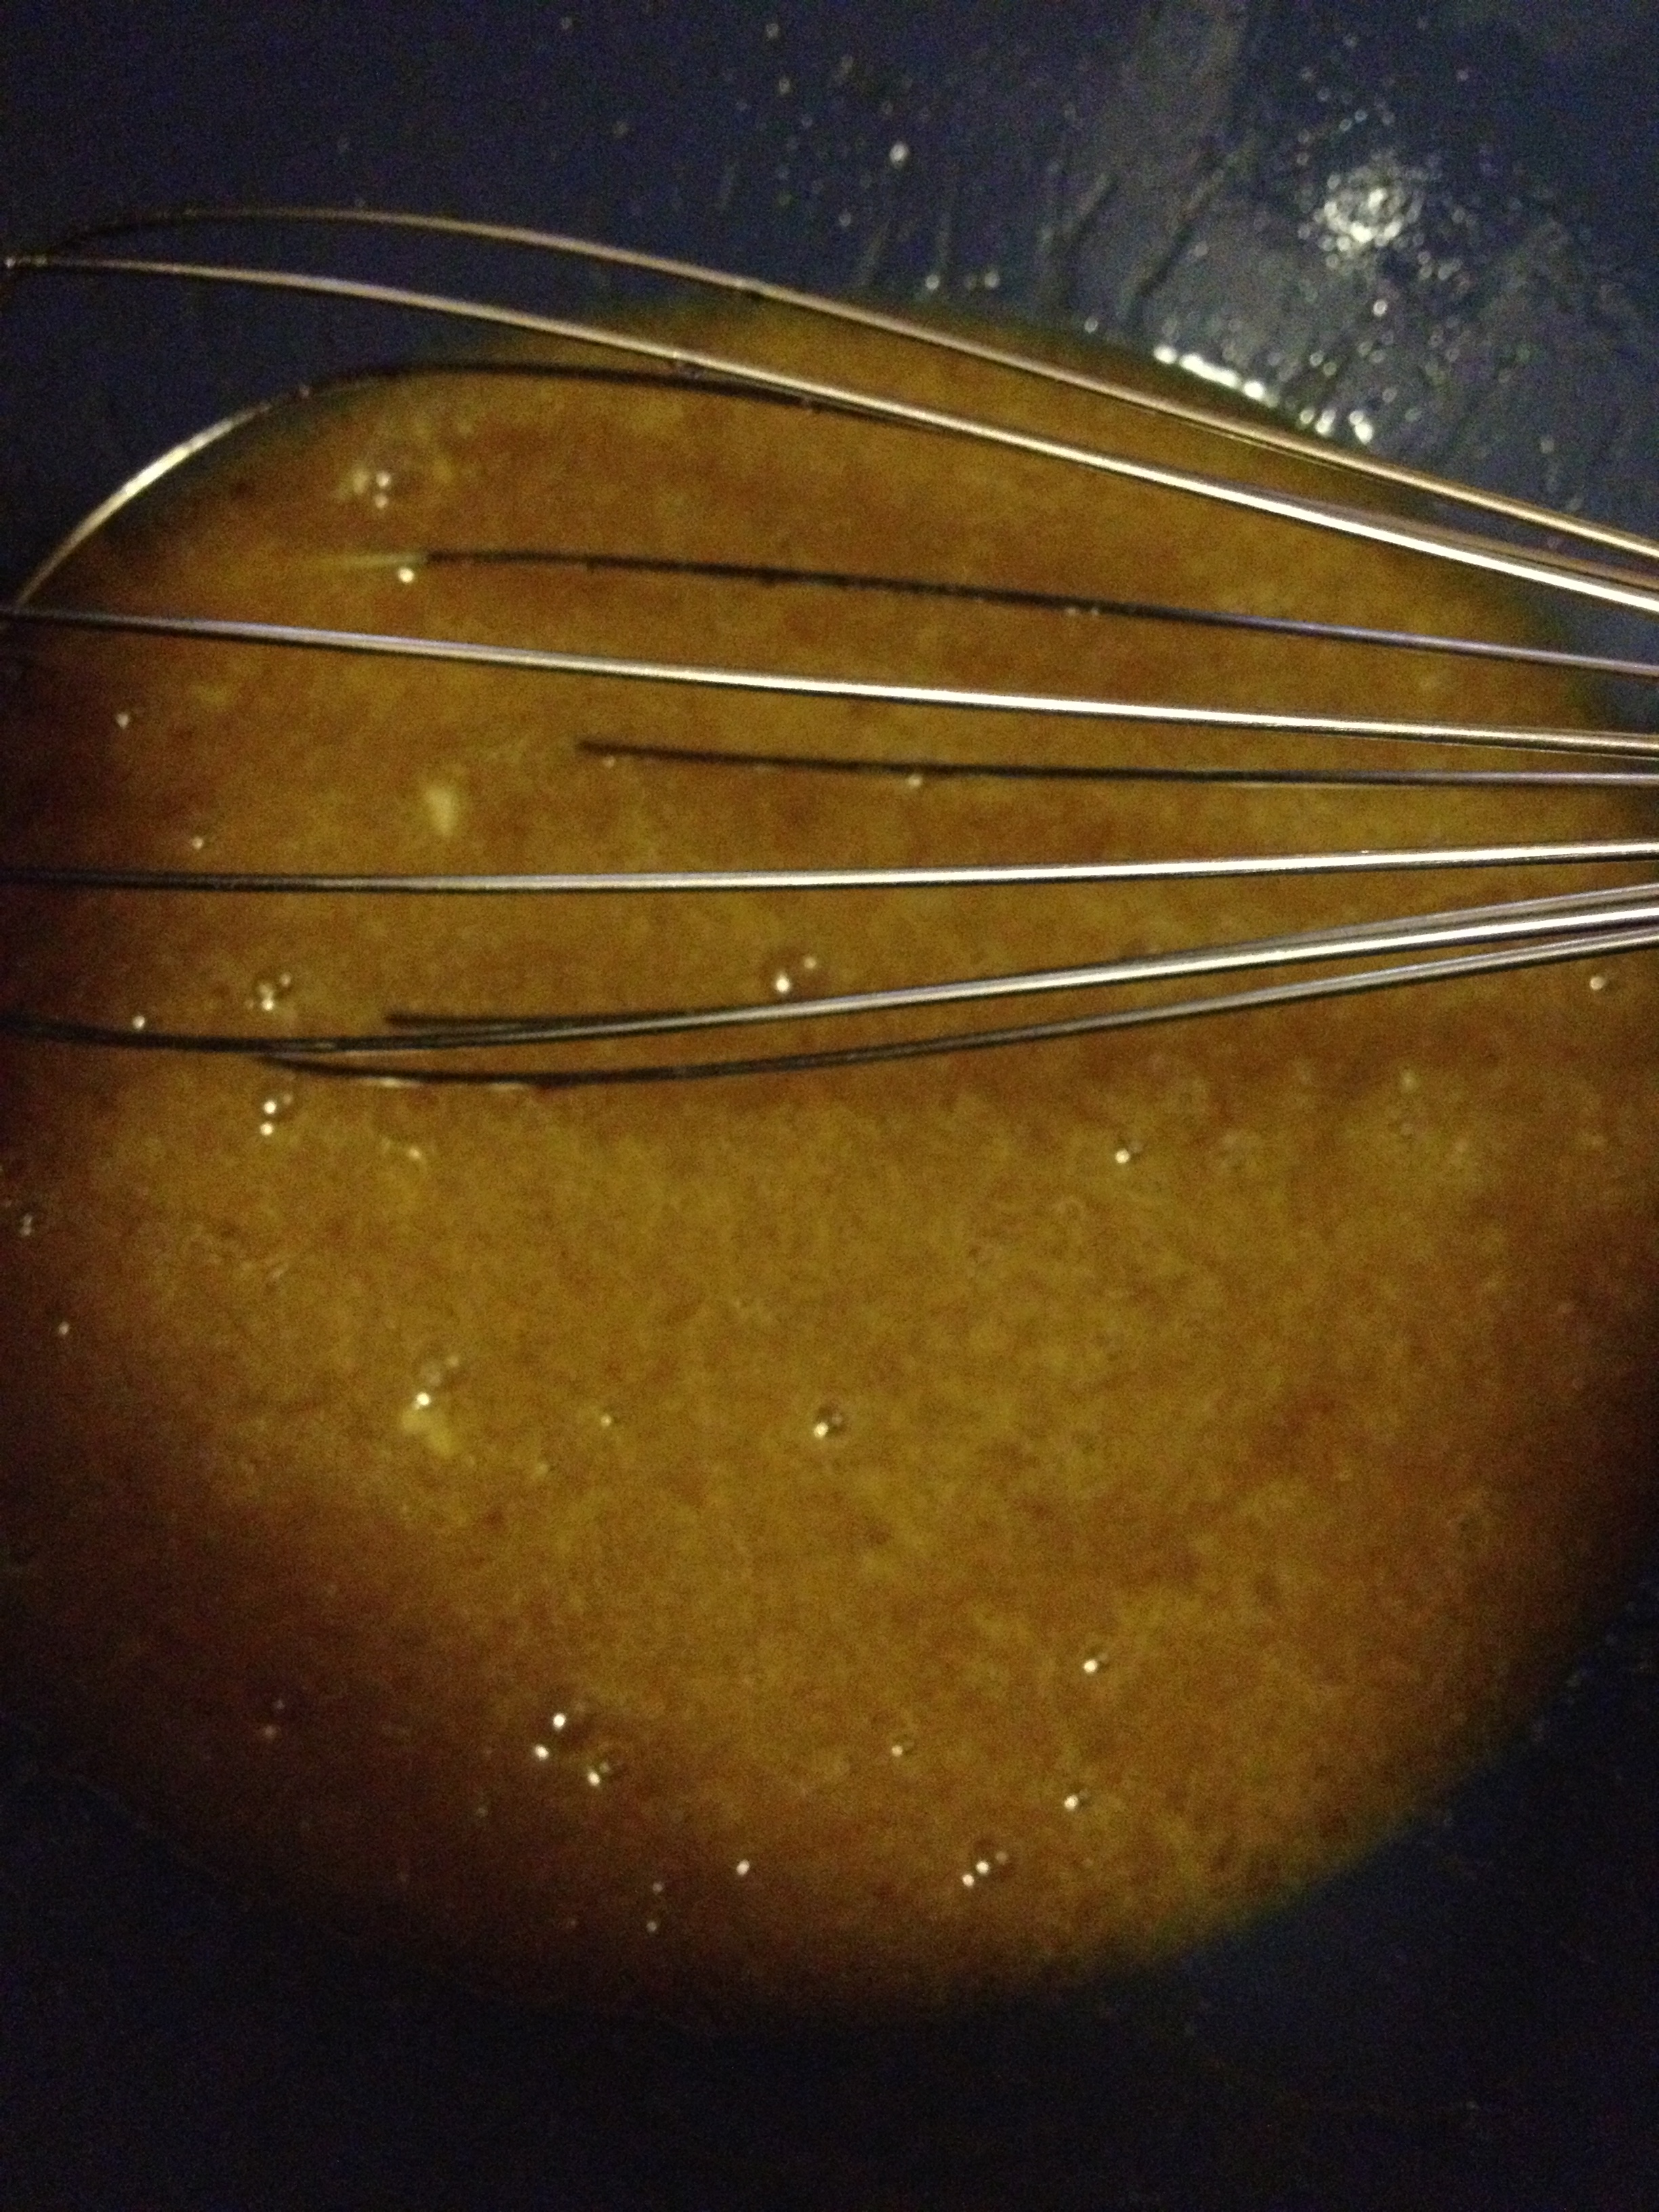
  • Mix together the brown sugar, soy sauce, sesame teriyaki sauce, ginger, sesame seeds, and red pepper flakes in a small bowl. It’d be best to use a fork or a whisk to really blend everything together.

photo 1 (18)

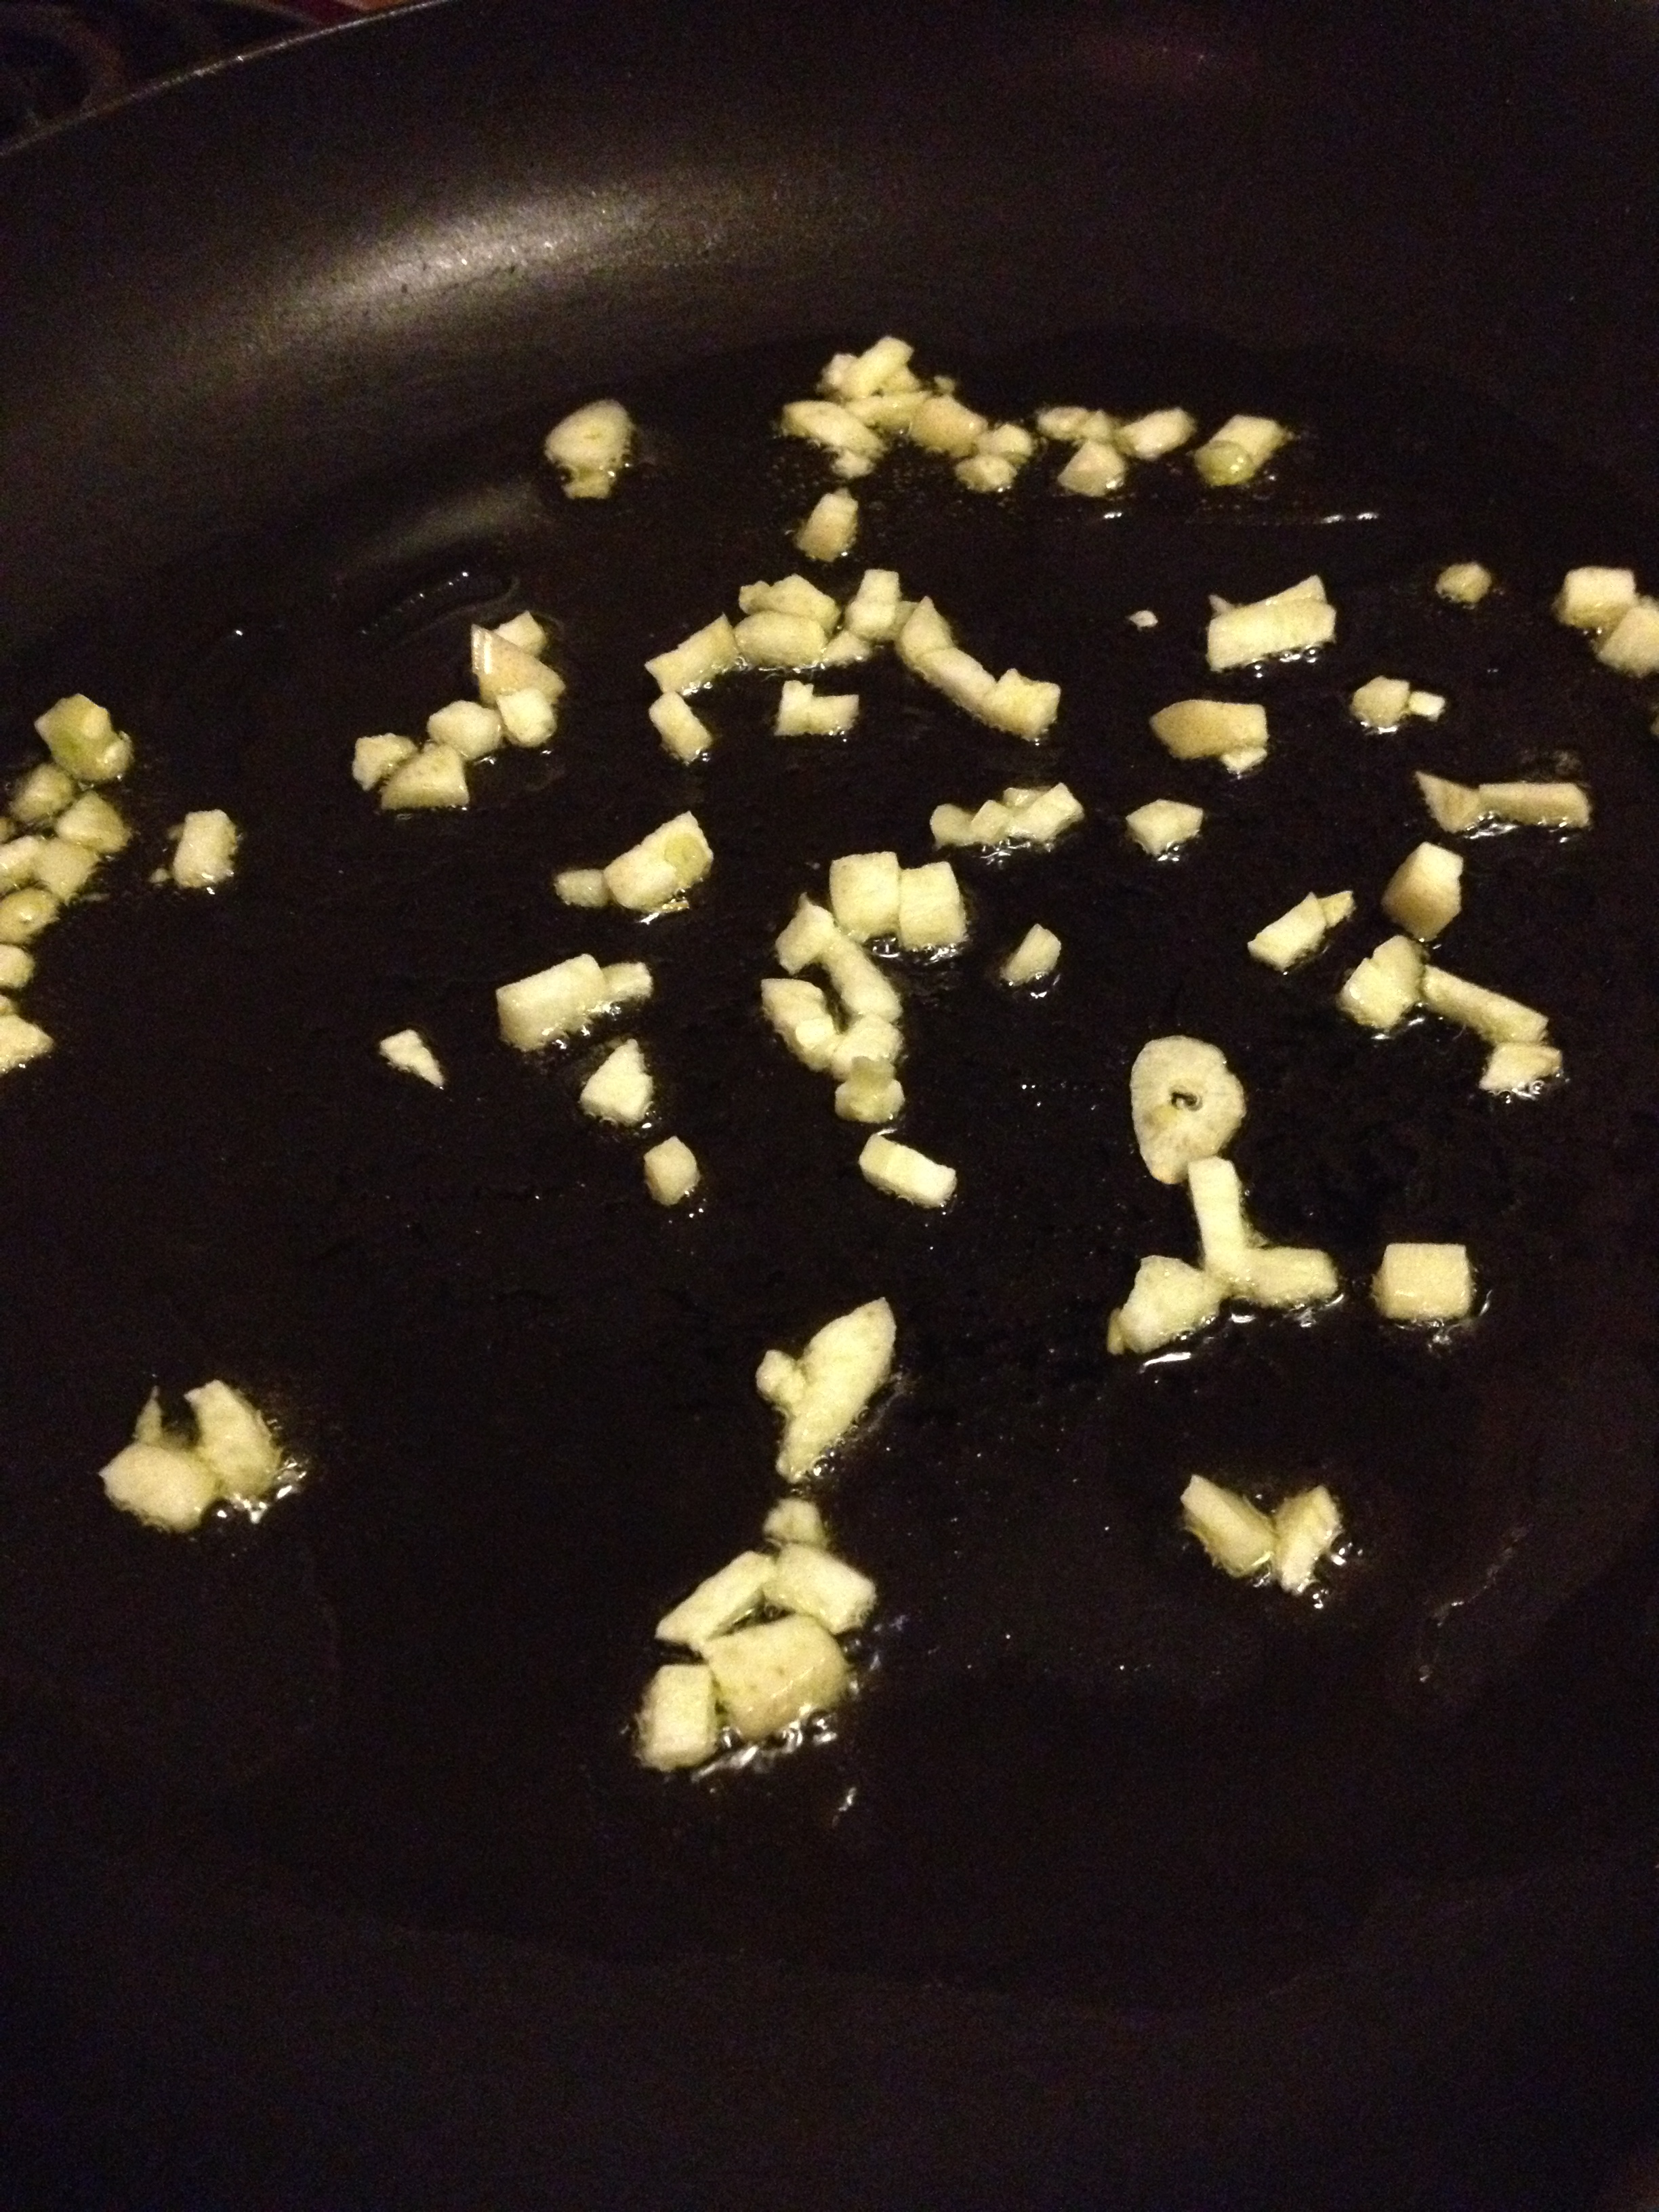
  • Leave that to the side. Heat up the oil in a saucepan over medium to high heat. Add the chopped garlic to the oil

photo 4 (8)

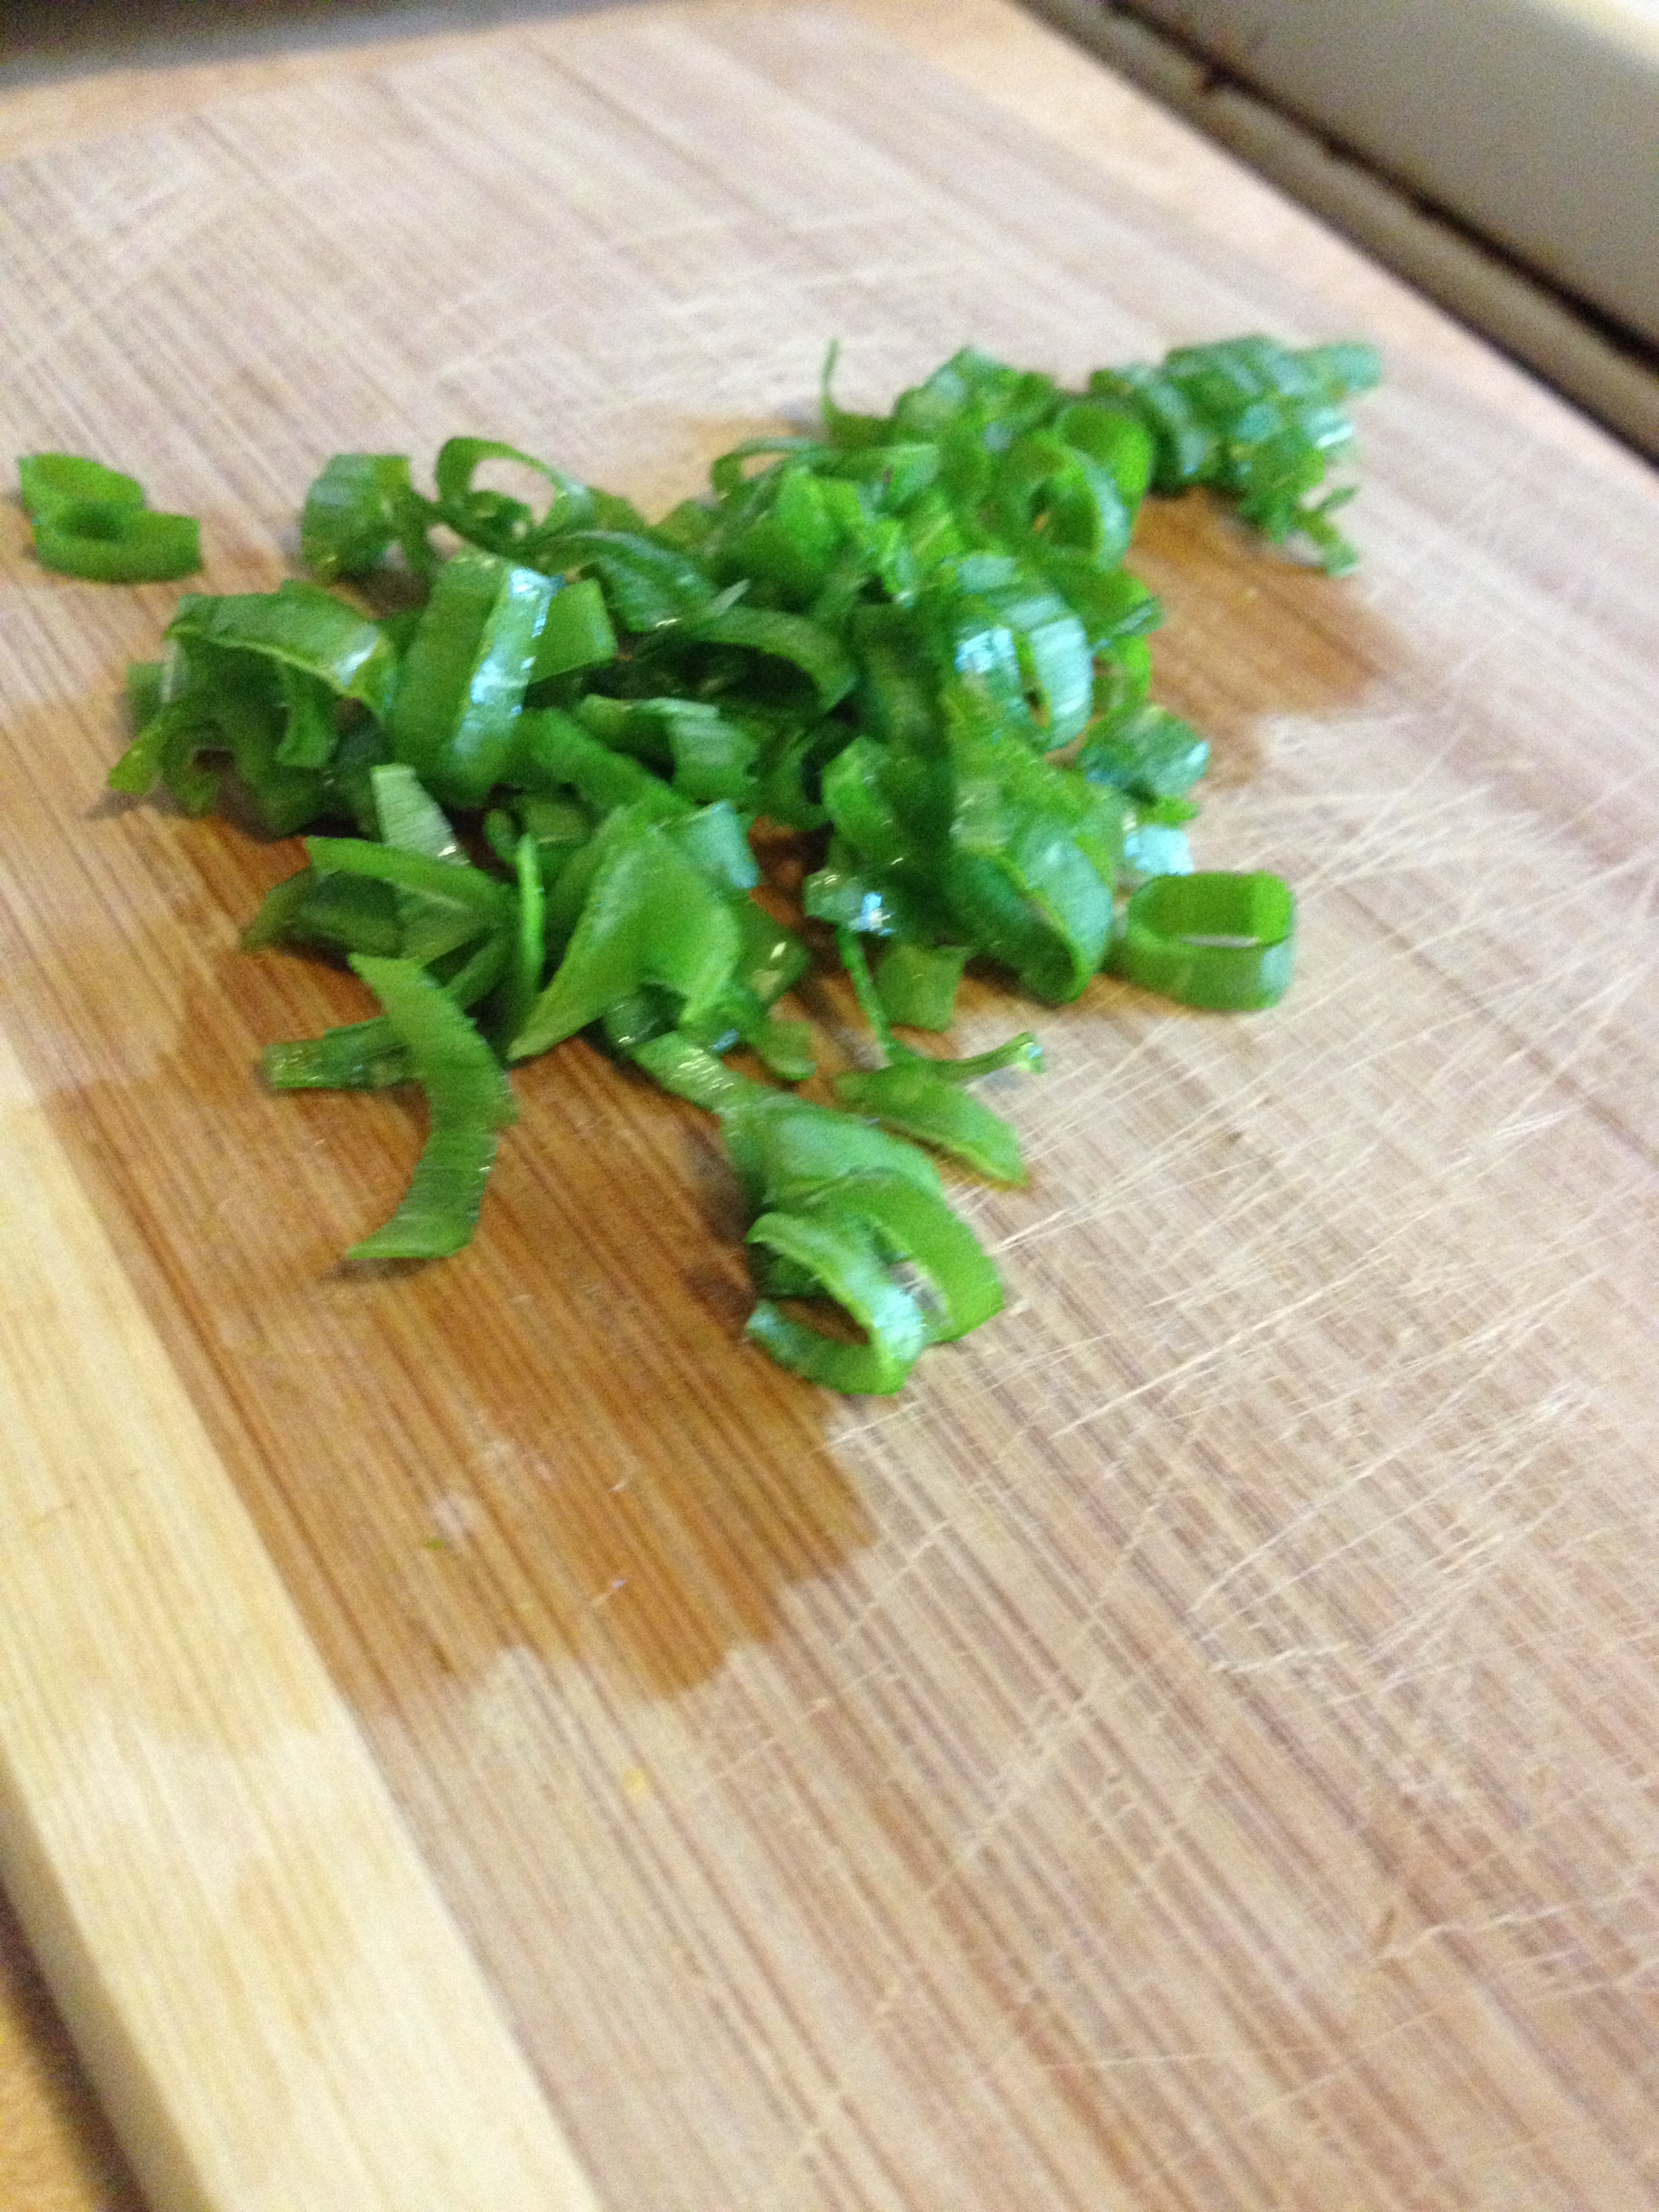
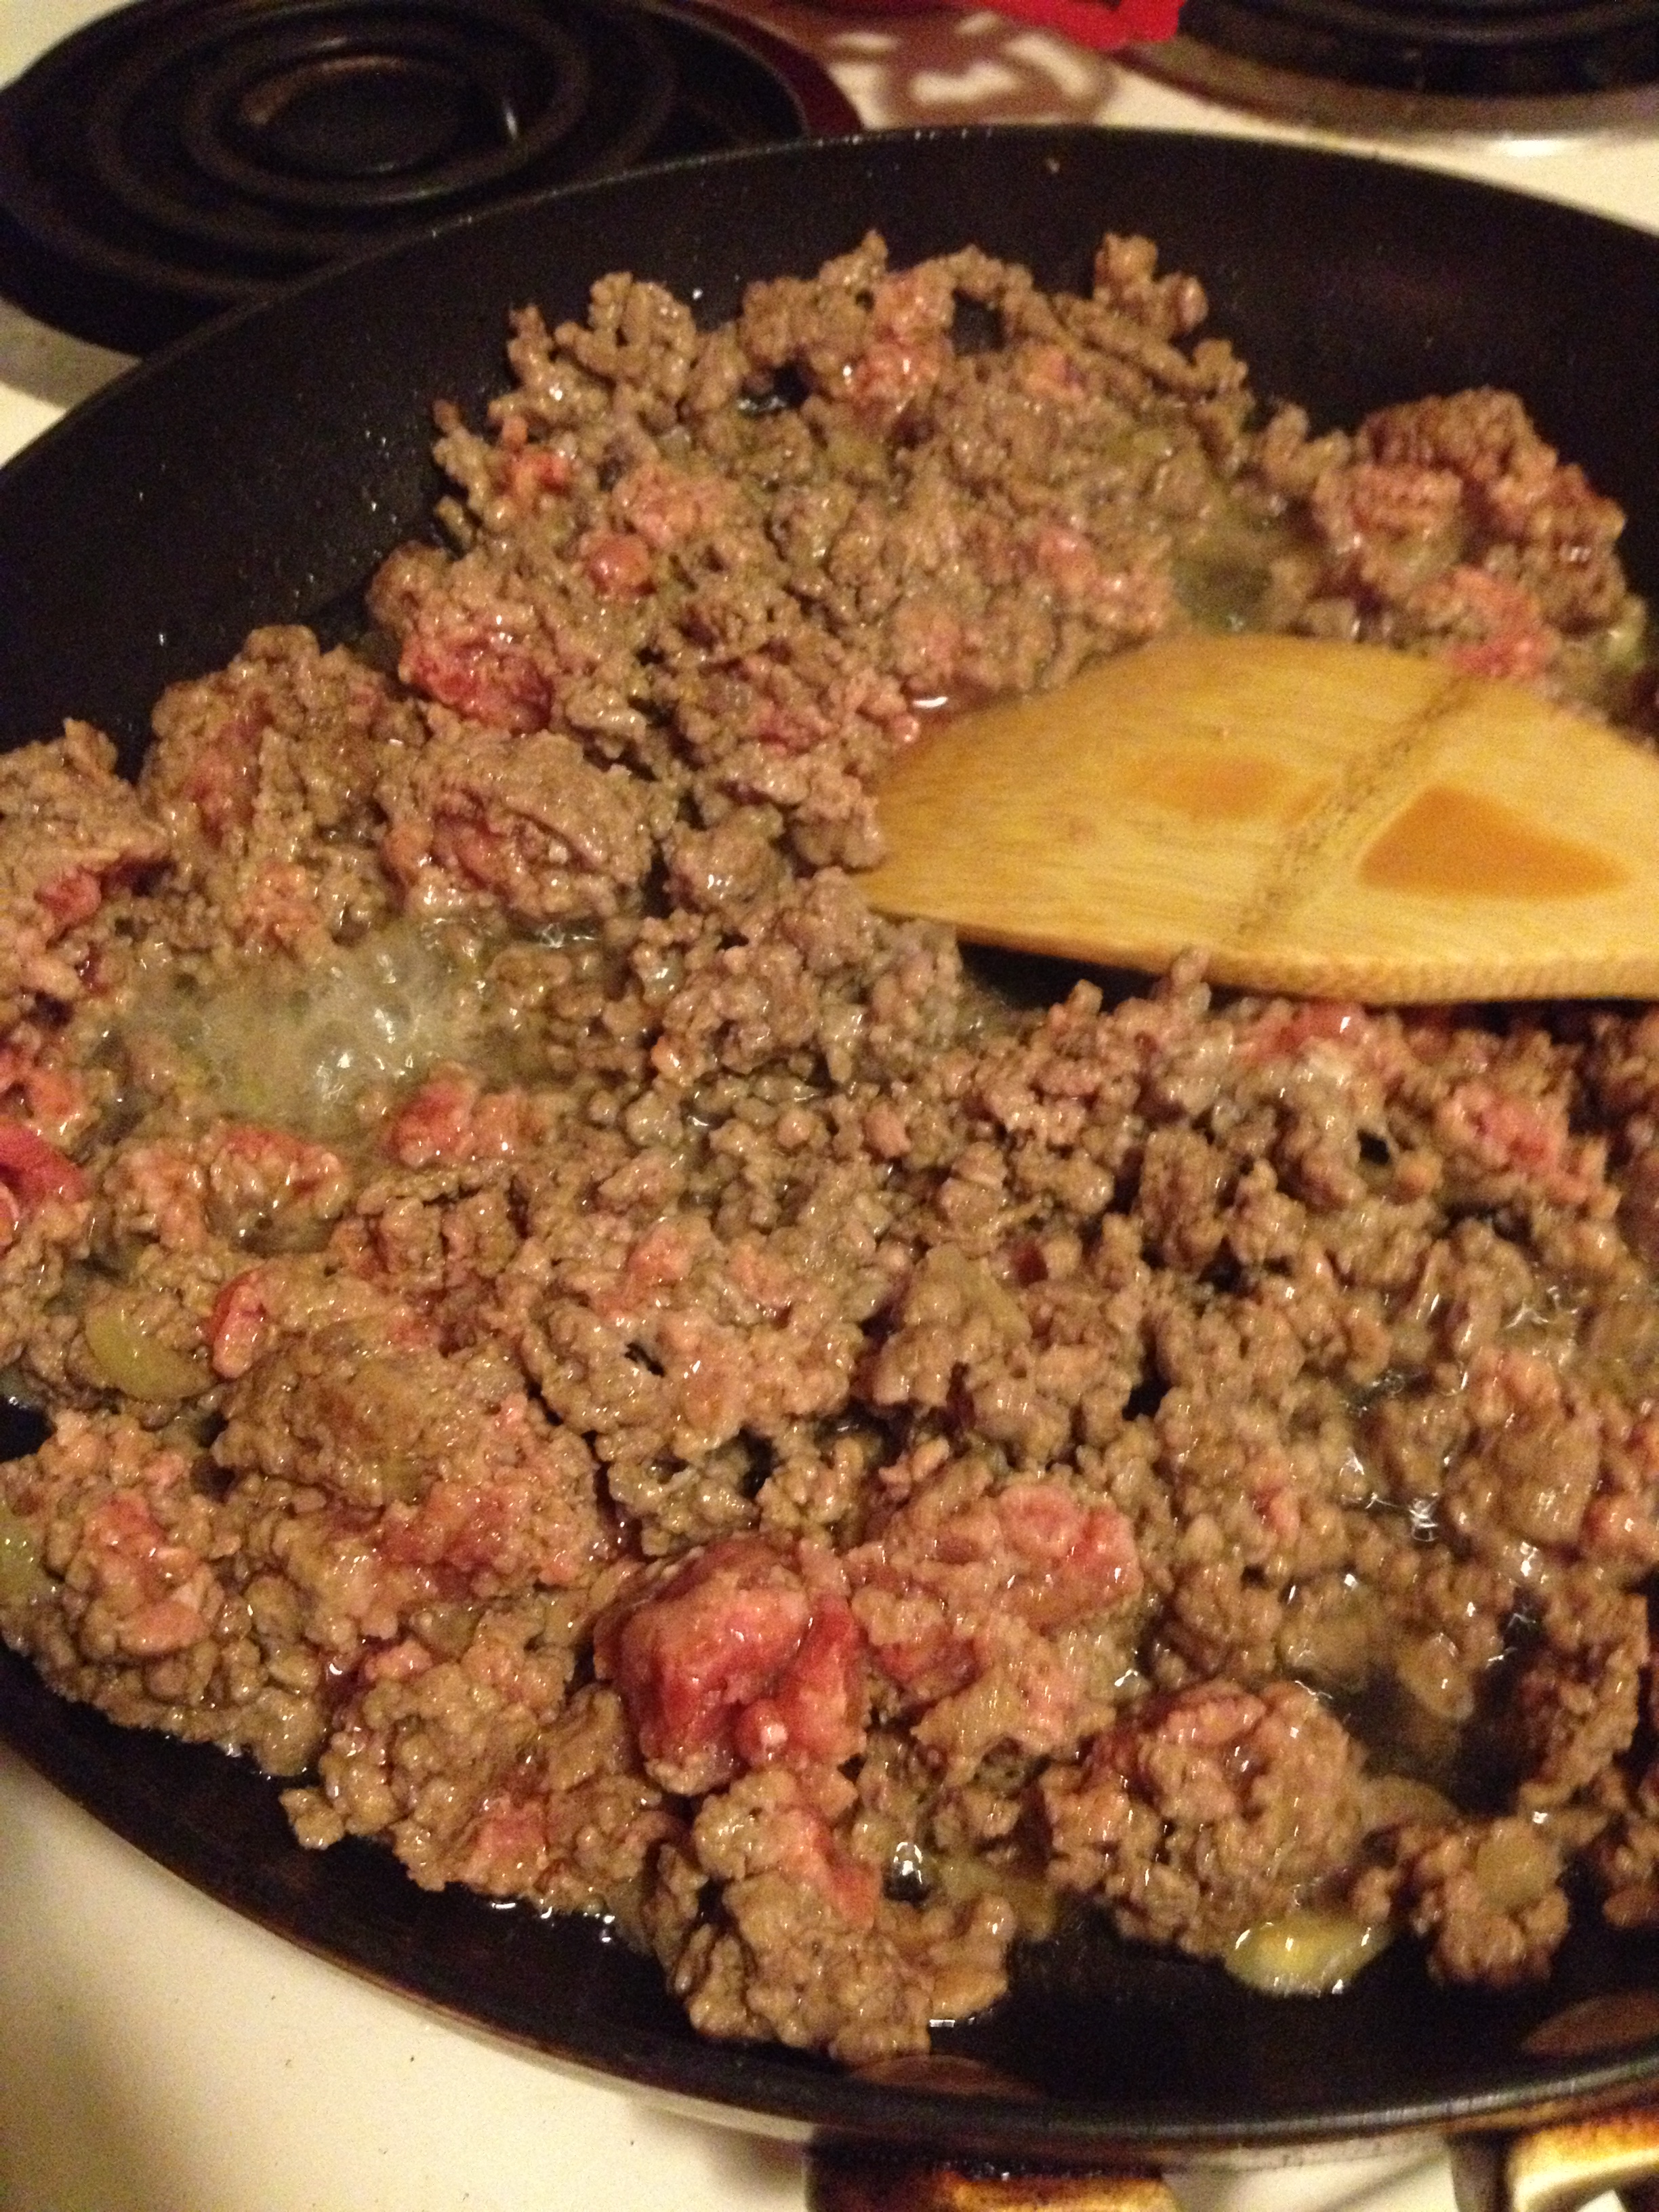
  • Once you get that lovely cooking garlic smell, it’s time to throw the ground beef in. Cook it until it’s browned, breaking it up as you do. Could take 4-8 minutes depending on your stove. While it’s cooking, chop up your green onions.
So purdy

So purdy

photo 5 (6)

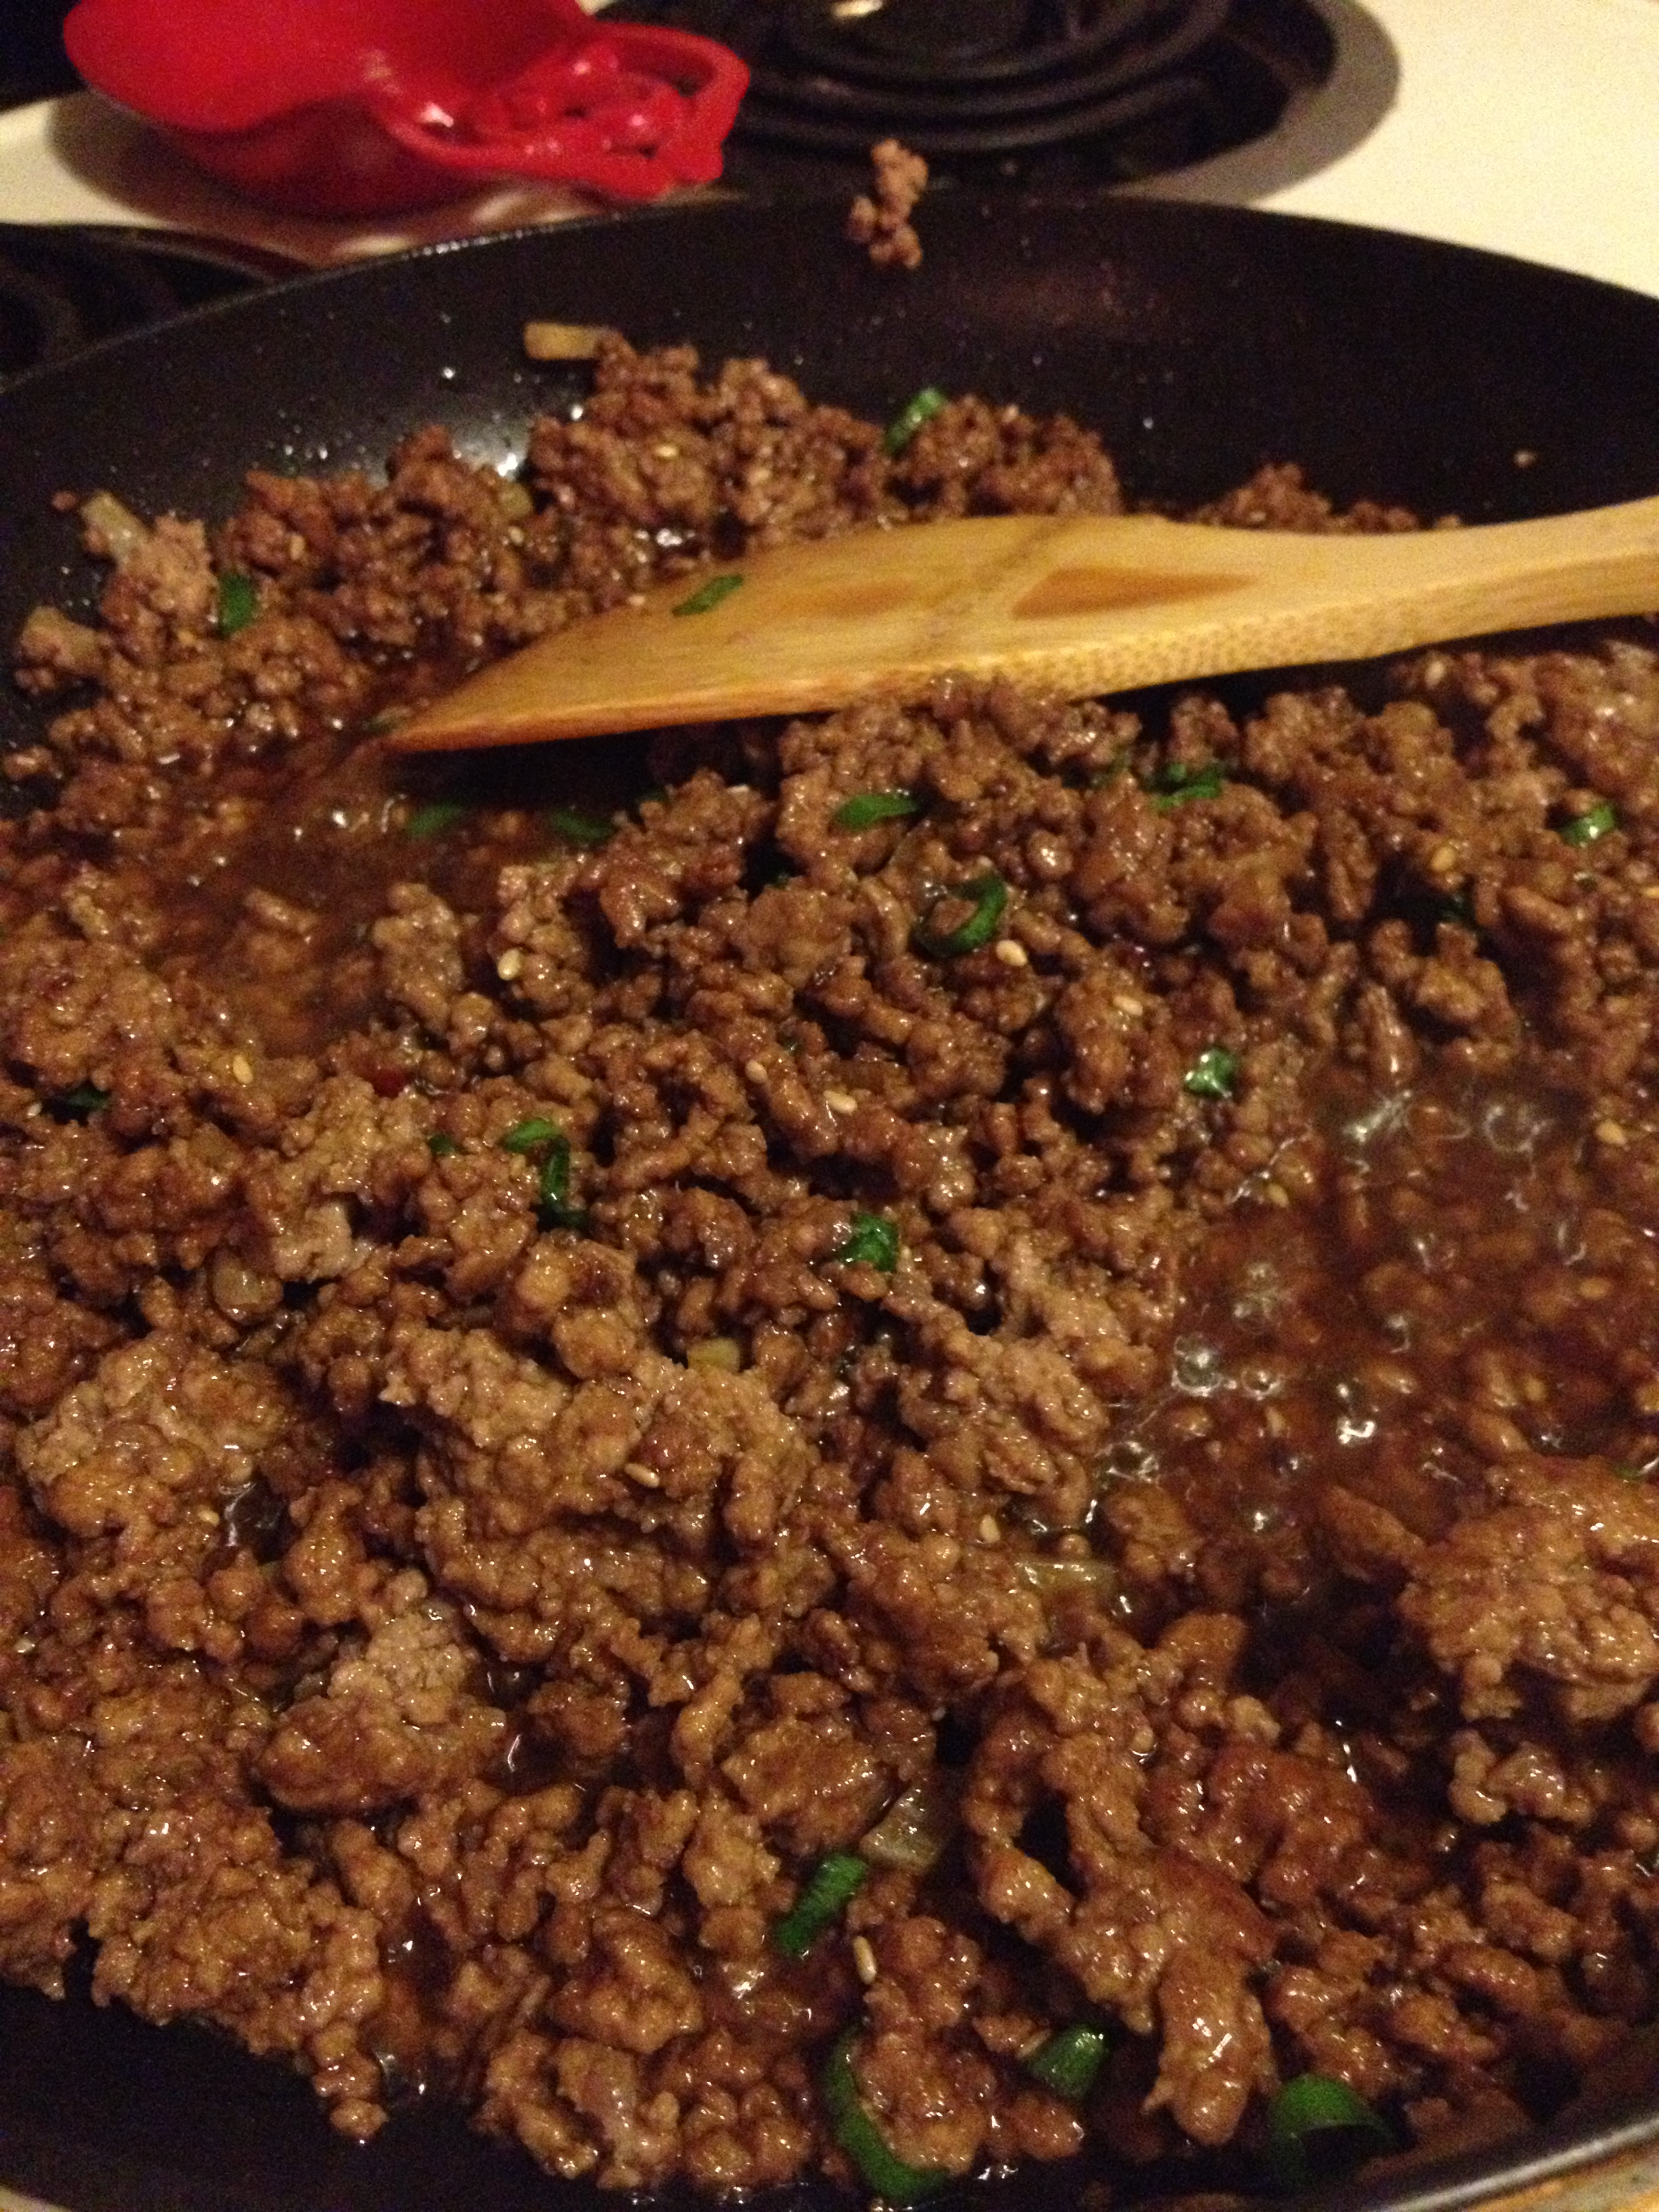
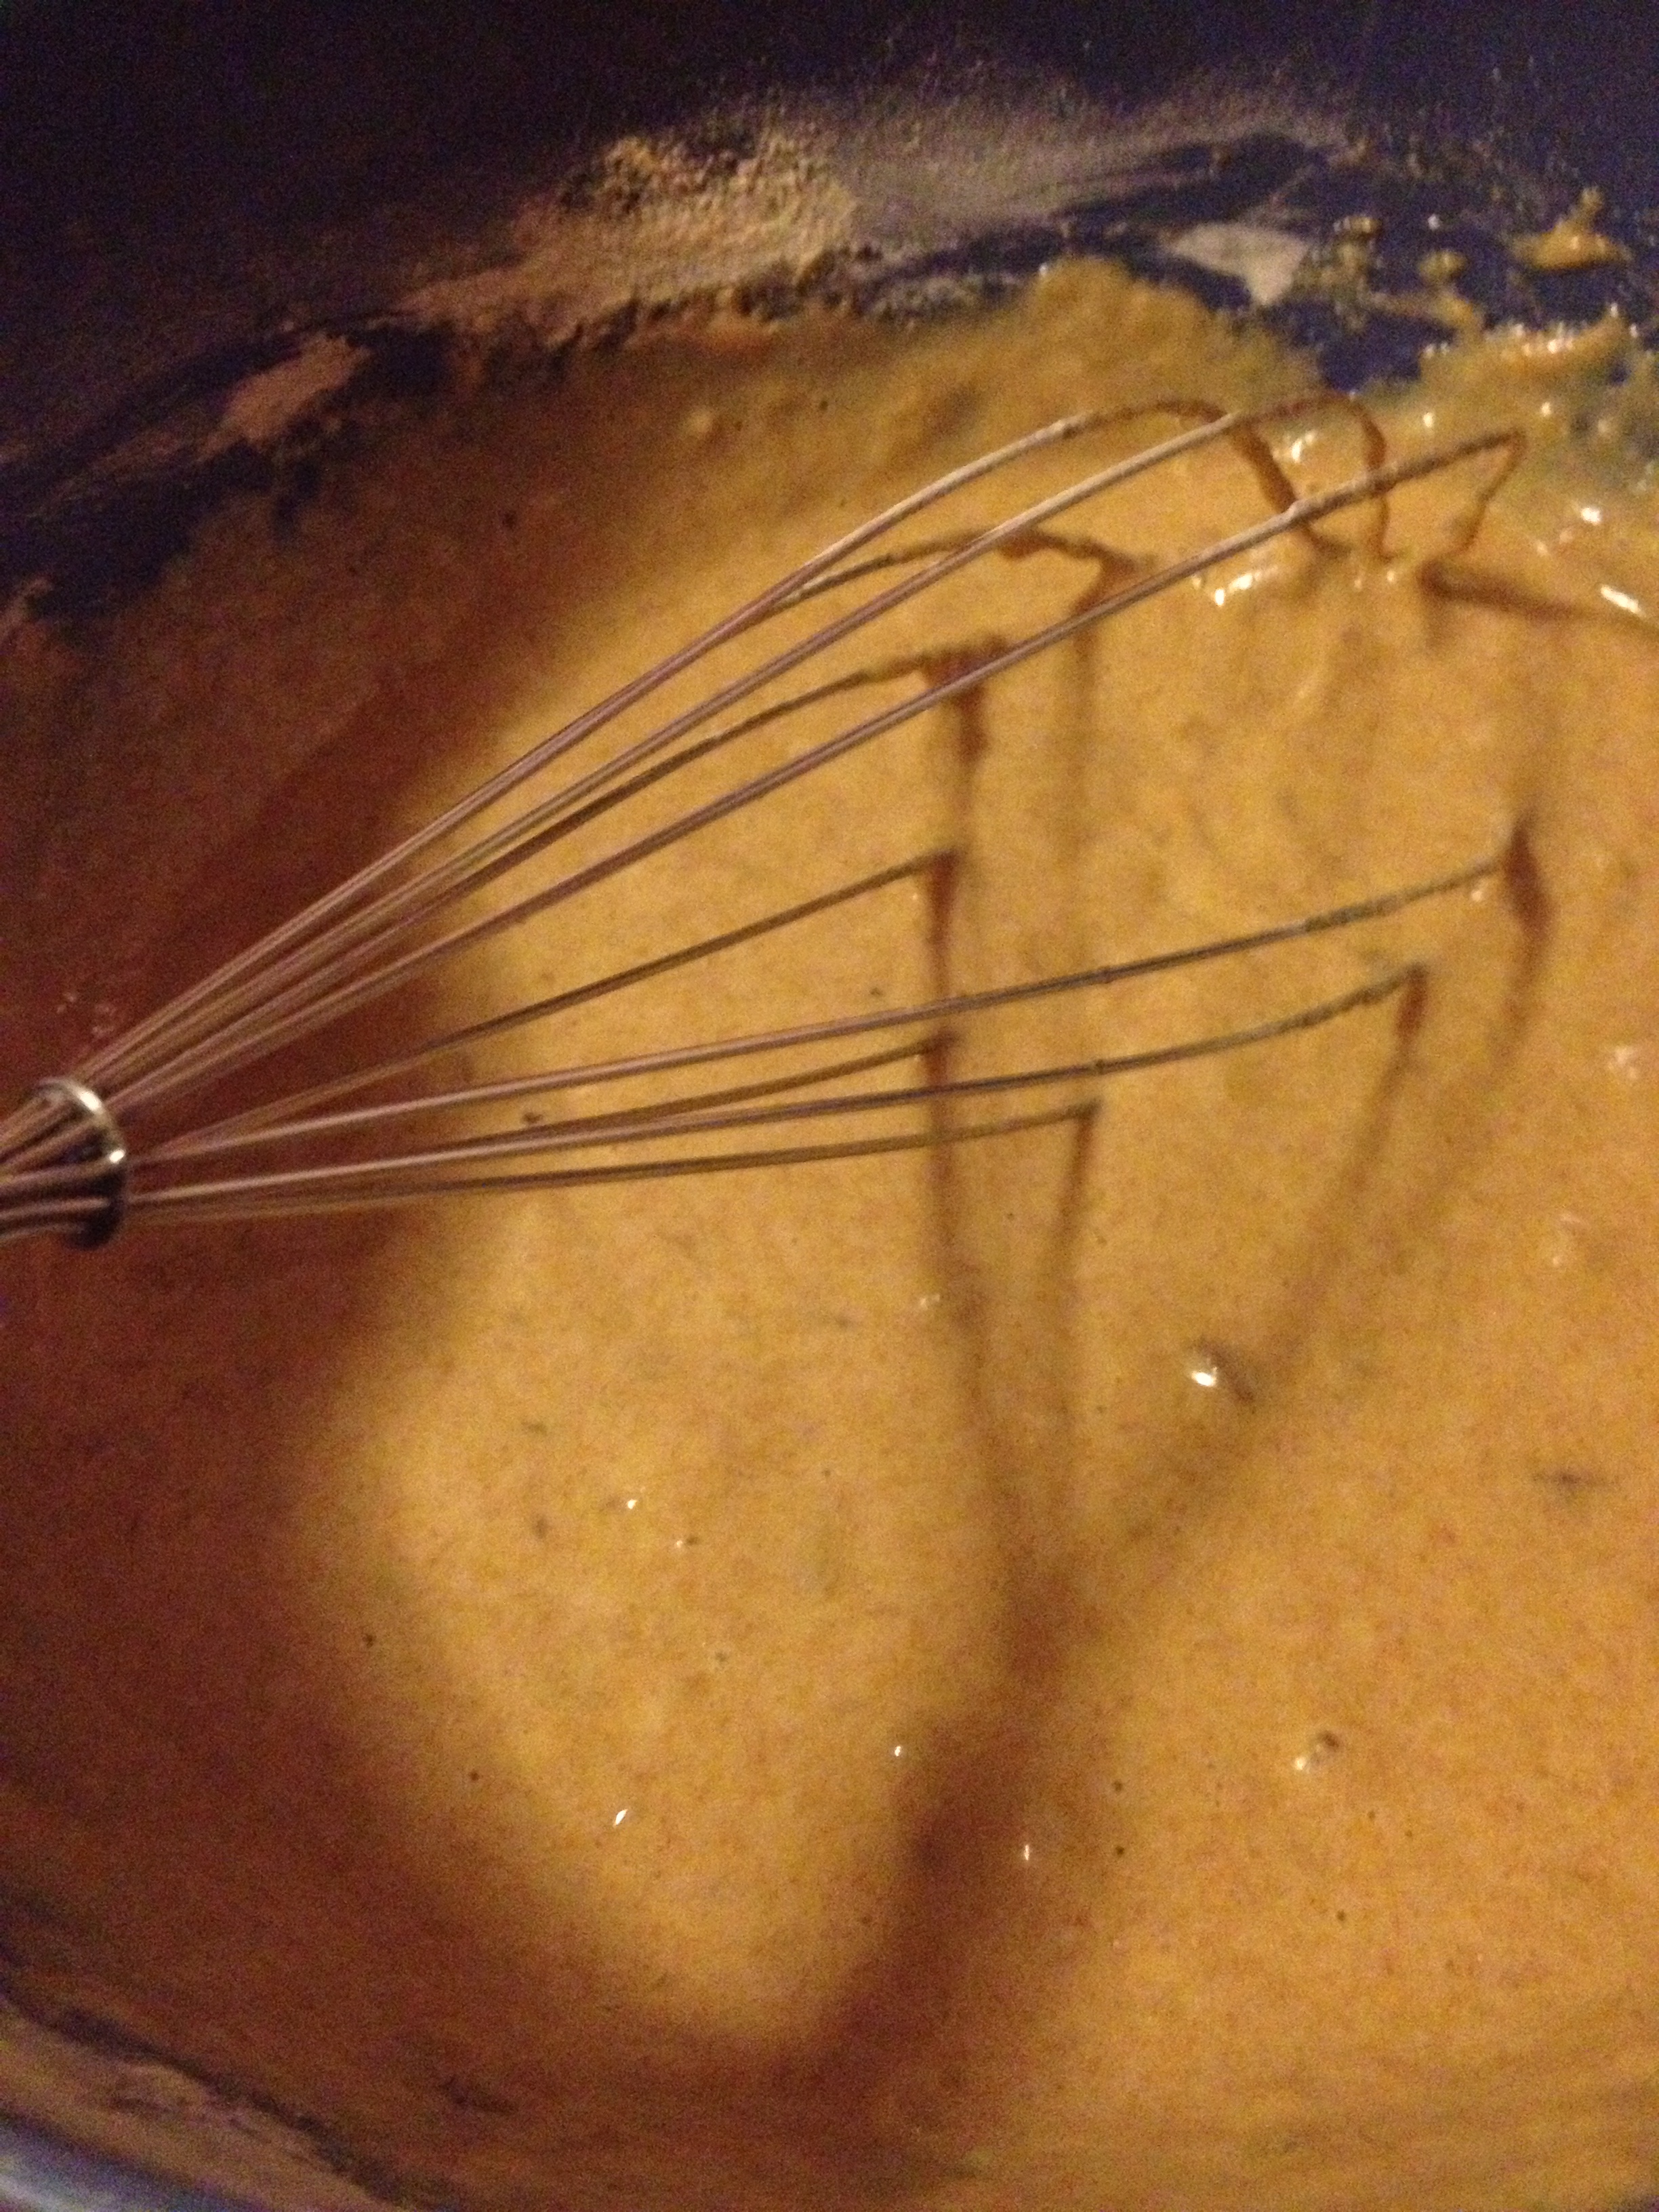
  • Drain the excess fat (ew). Stir in the magical mixture we created at the start, letting it get to all of the meat and soak up the flavor. Add the green onions as well. By this time, it will be smelling goooood. 

photo 1 (19)

  • And serve over rice! It’s smart to cook it beforehand so it’s ready there waiting for you.

photo 2 (16)

You won’t be able to see the rice in my dish, because it’s smothered by the beef! It was such an easy, quick recipe (perfect for summer days when it’s too hot to cook a lot), I would do it again in a heartbeat. Chris loved it and literally ate the whole pound of ground beef plus the rice. Guess it was alright. Thanks to DamnDelicious for the recipe and use it to stay hungry and fit!

You might also like…

BONUS KITTY PIC

Sajah watching me cook

Sajah watching me cook

spacer

How to Do Clean-Eating Right

As I continue to prep for my contest, I am doing 99% clean clean eating. Since doing my protein shake hell beforehand, this seems like heaven. I’m sure if I went straight from eating normal to this, it would be a little miserable. However, it looks like my hell week paid off in multiple ways. I’m doing clean-eating not the way a yogi would, but how a bodybuilder would. This turns a lot of people off who don’t understand that word—as if I’m food-loading like a steroid-using pumped out scary woman. I’m not, I promise! Read on to learn how to eat cleanly and enjoy it. I’m seeing differences in my health, body, and strength already after almost 2 weeks.

Working hard during a Spartacus circuit

Working hard during a Spartacus circuit

I can’t claim to be a know-all, be-all about this subject. Sure, I know how to live a healthy life, but this specific diet is more so Chris’ arena, since he’s done much more research into bodybuilding, contests, and the sort. So he set this up for me. Depending on the week (this is a 6-week contest), I’m either eating between 1300-1400 calories or 1400-1600 calories (like this week! Good thing too as we were in Iowa for family reunion…), keeping my protein and fiber count high, my fat, sugar, and carb count medium-low, and exercising away 800-1000 calories a day. Yes, I’m working really hard, lots of workouts. The eating part hasn’t really been hard for me yet, because like I said earlier, I came to this after just consuming protein shakes.

Now you know my “macros” (macronutrients). Everyone will have different macros depending on their goal and body composition. Comment below with questions and we can help you out. It’s not too hard to do this:

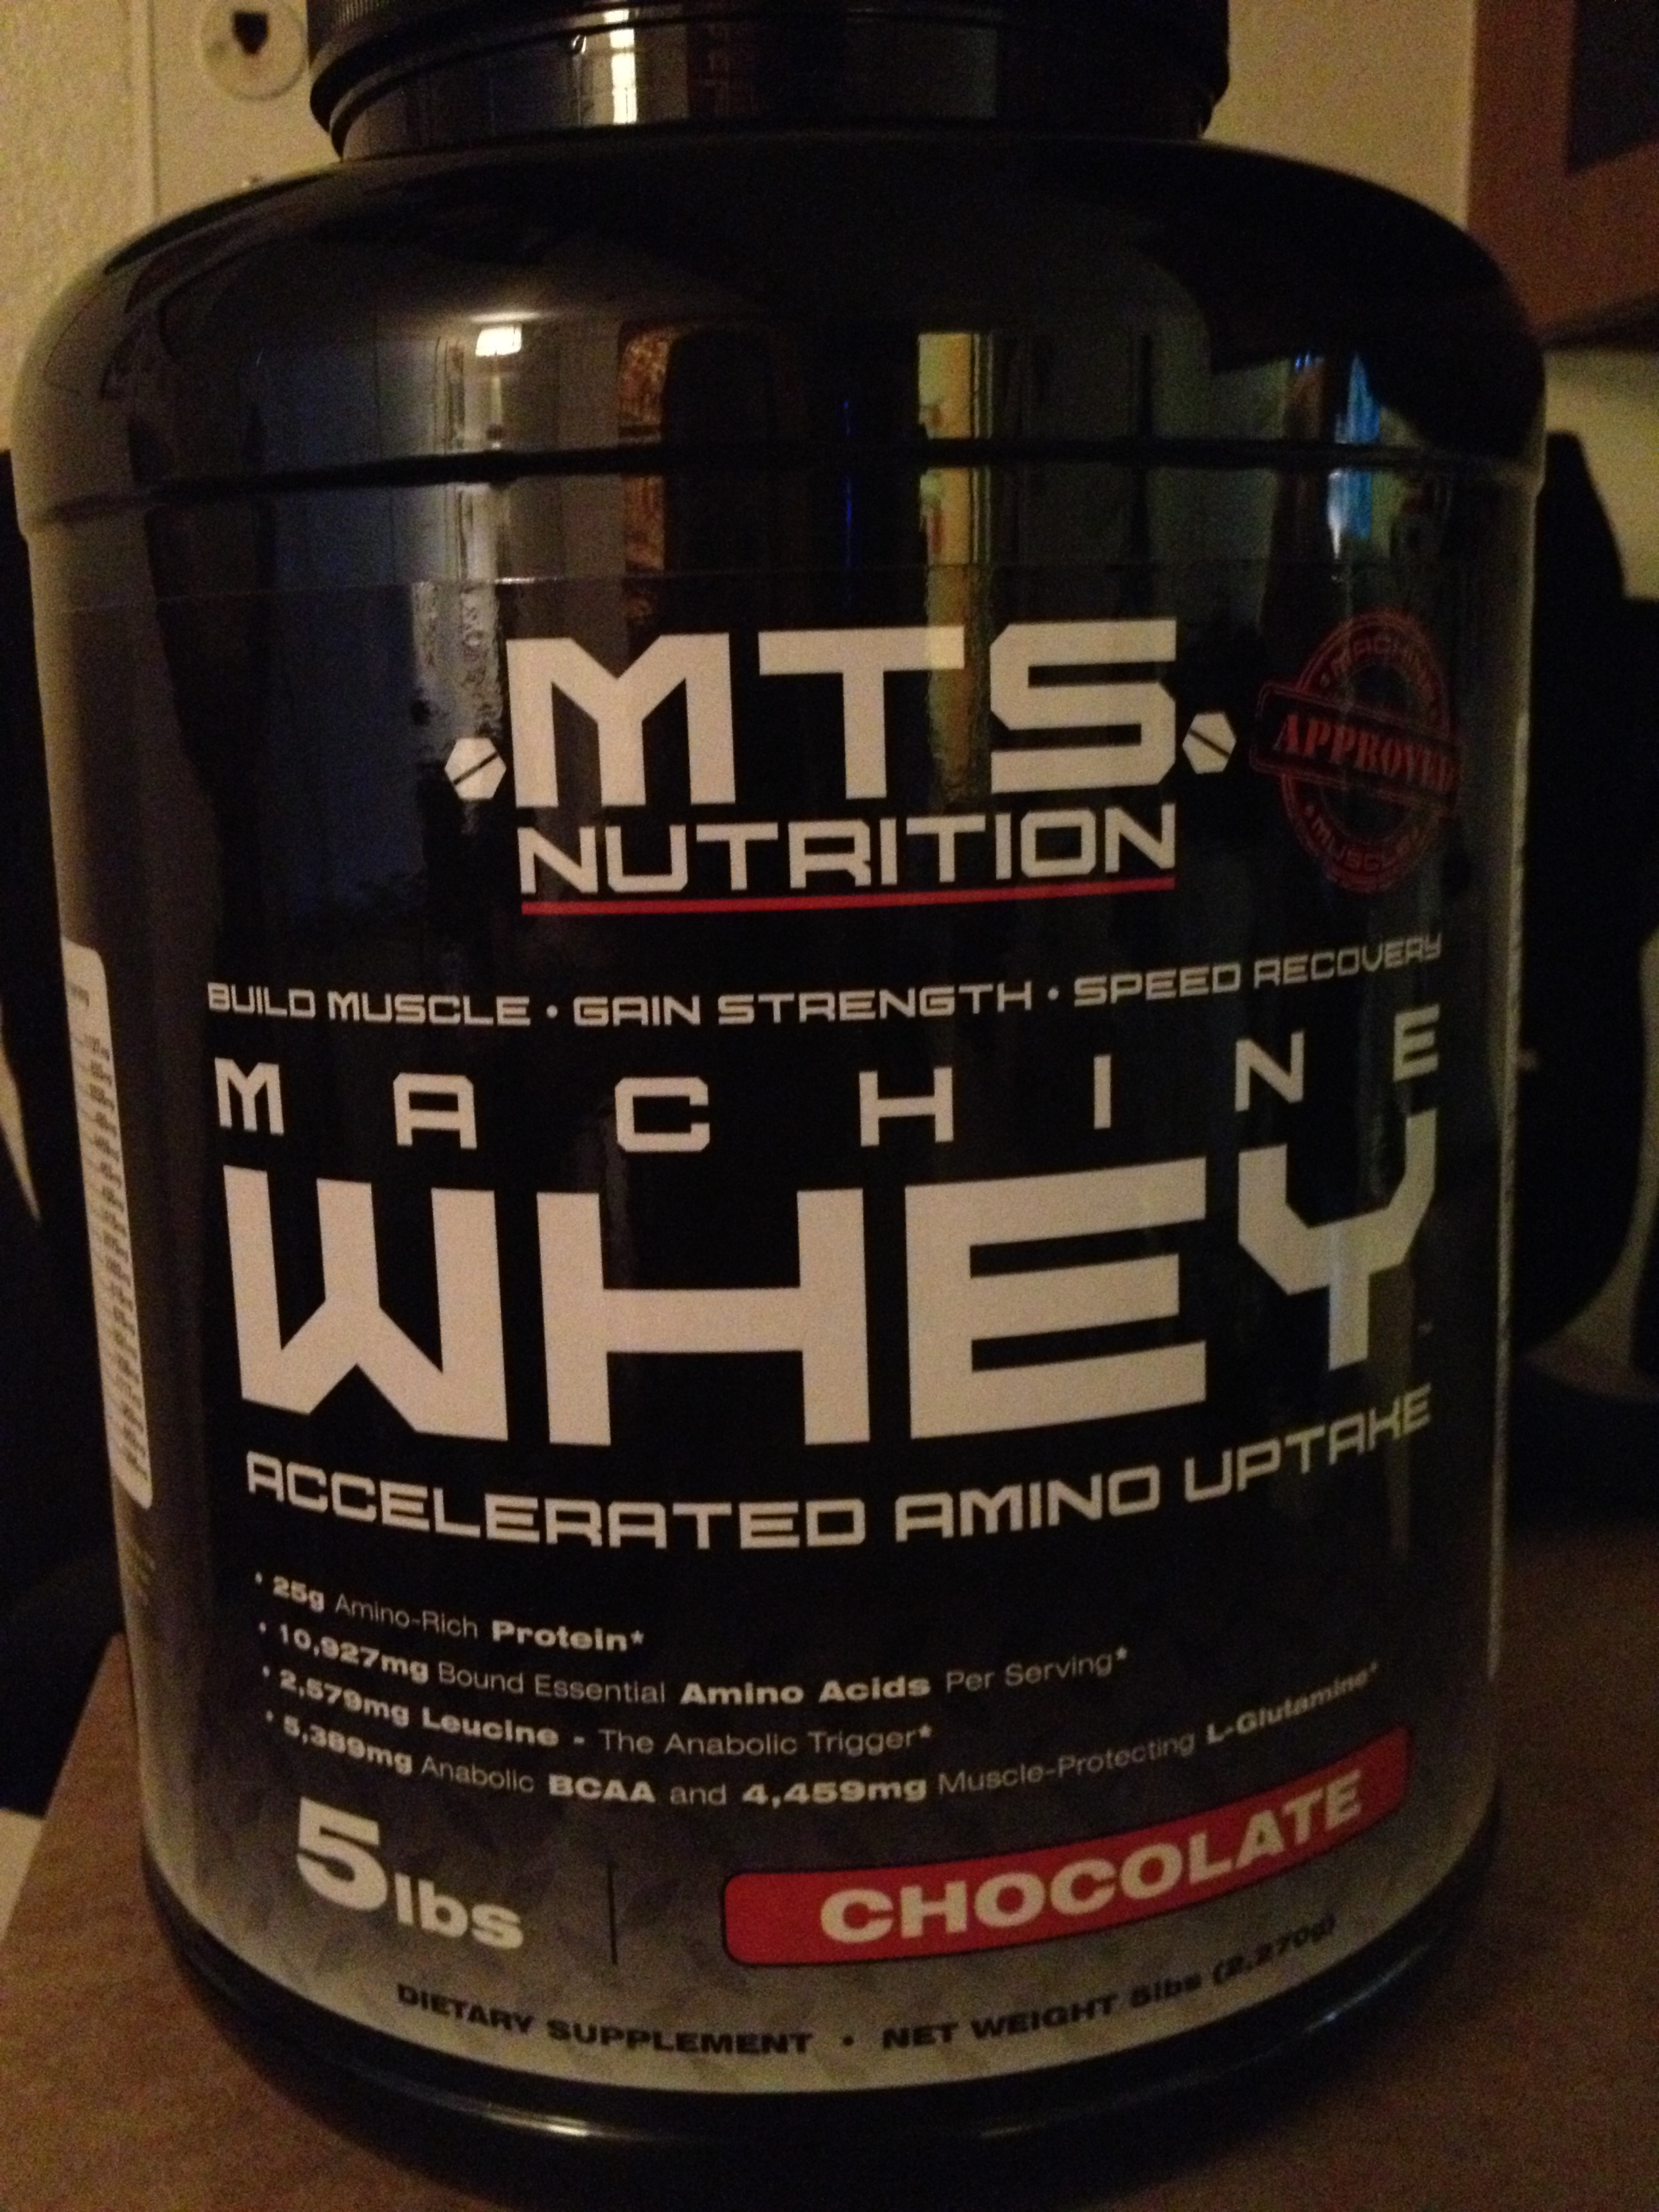
  1. Eat lean protein. I’m a strange “vegetarian,” but I’ll eat any meat or fish that’s wild-caught or hunted. Lucky me, I can eat canned tunafish! For you meat-eaters, this part and protein-macro-intake would be a lot easier. I rely on my tuna, usually mixing with a complex carb and lots of hot sauce (mmm!). Other lean proteins include other types of wild-caught fish, egg whites, tofu, and black beans. These don’t contain too many calories or fat, but are high on the healthy protein scale so they’re perfect. Another huge one is protein powder where you can get a lot of protein without too much carbs, fats, or calories. photo 1 (7)
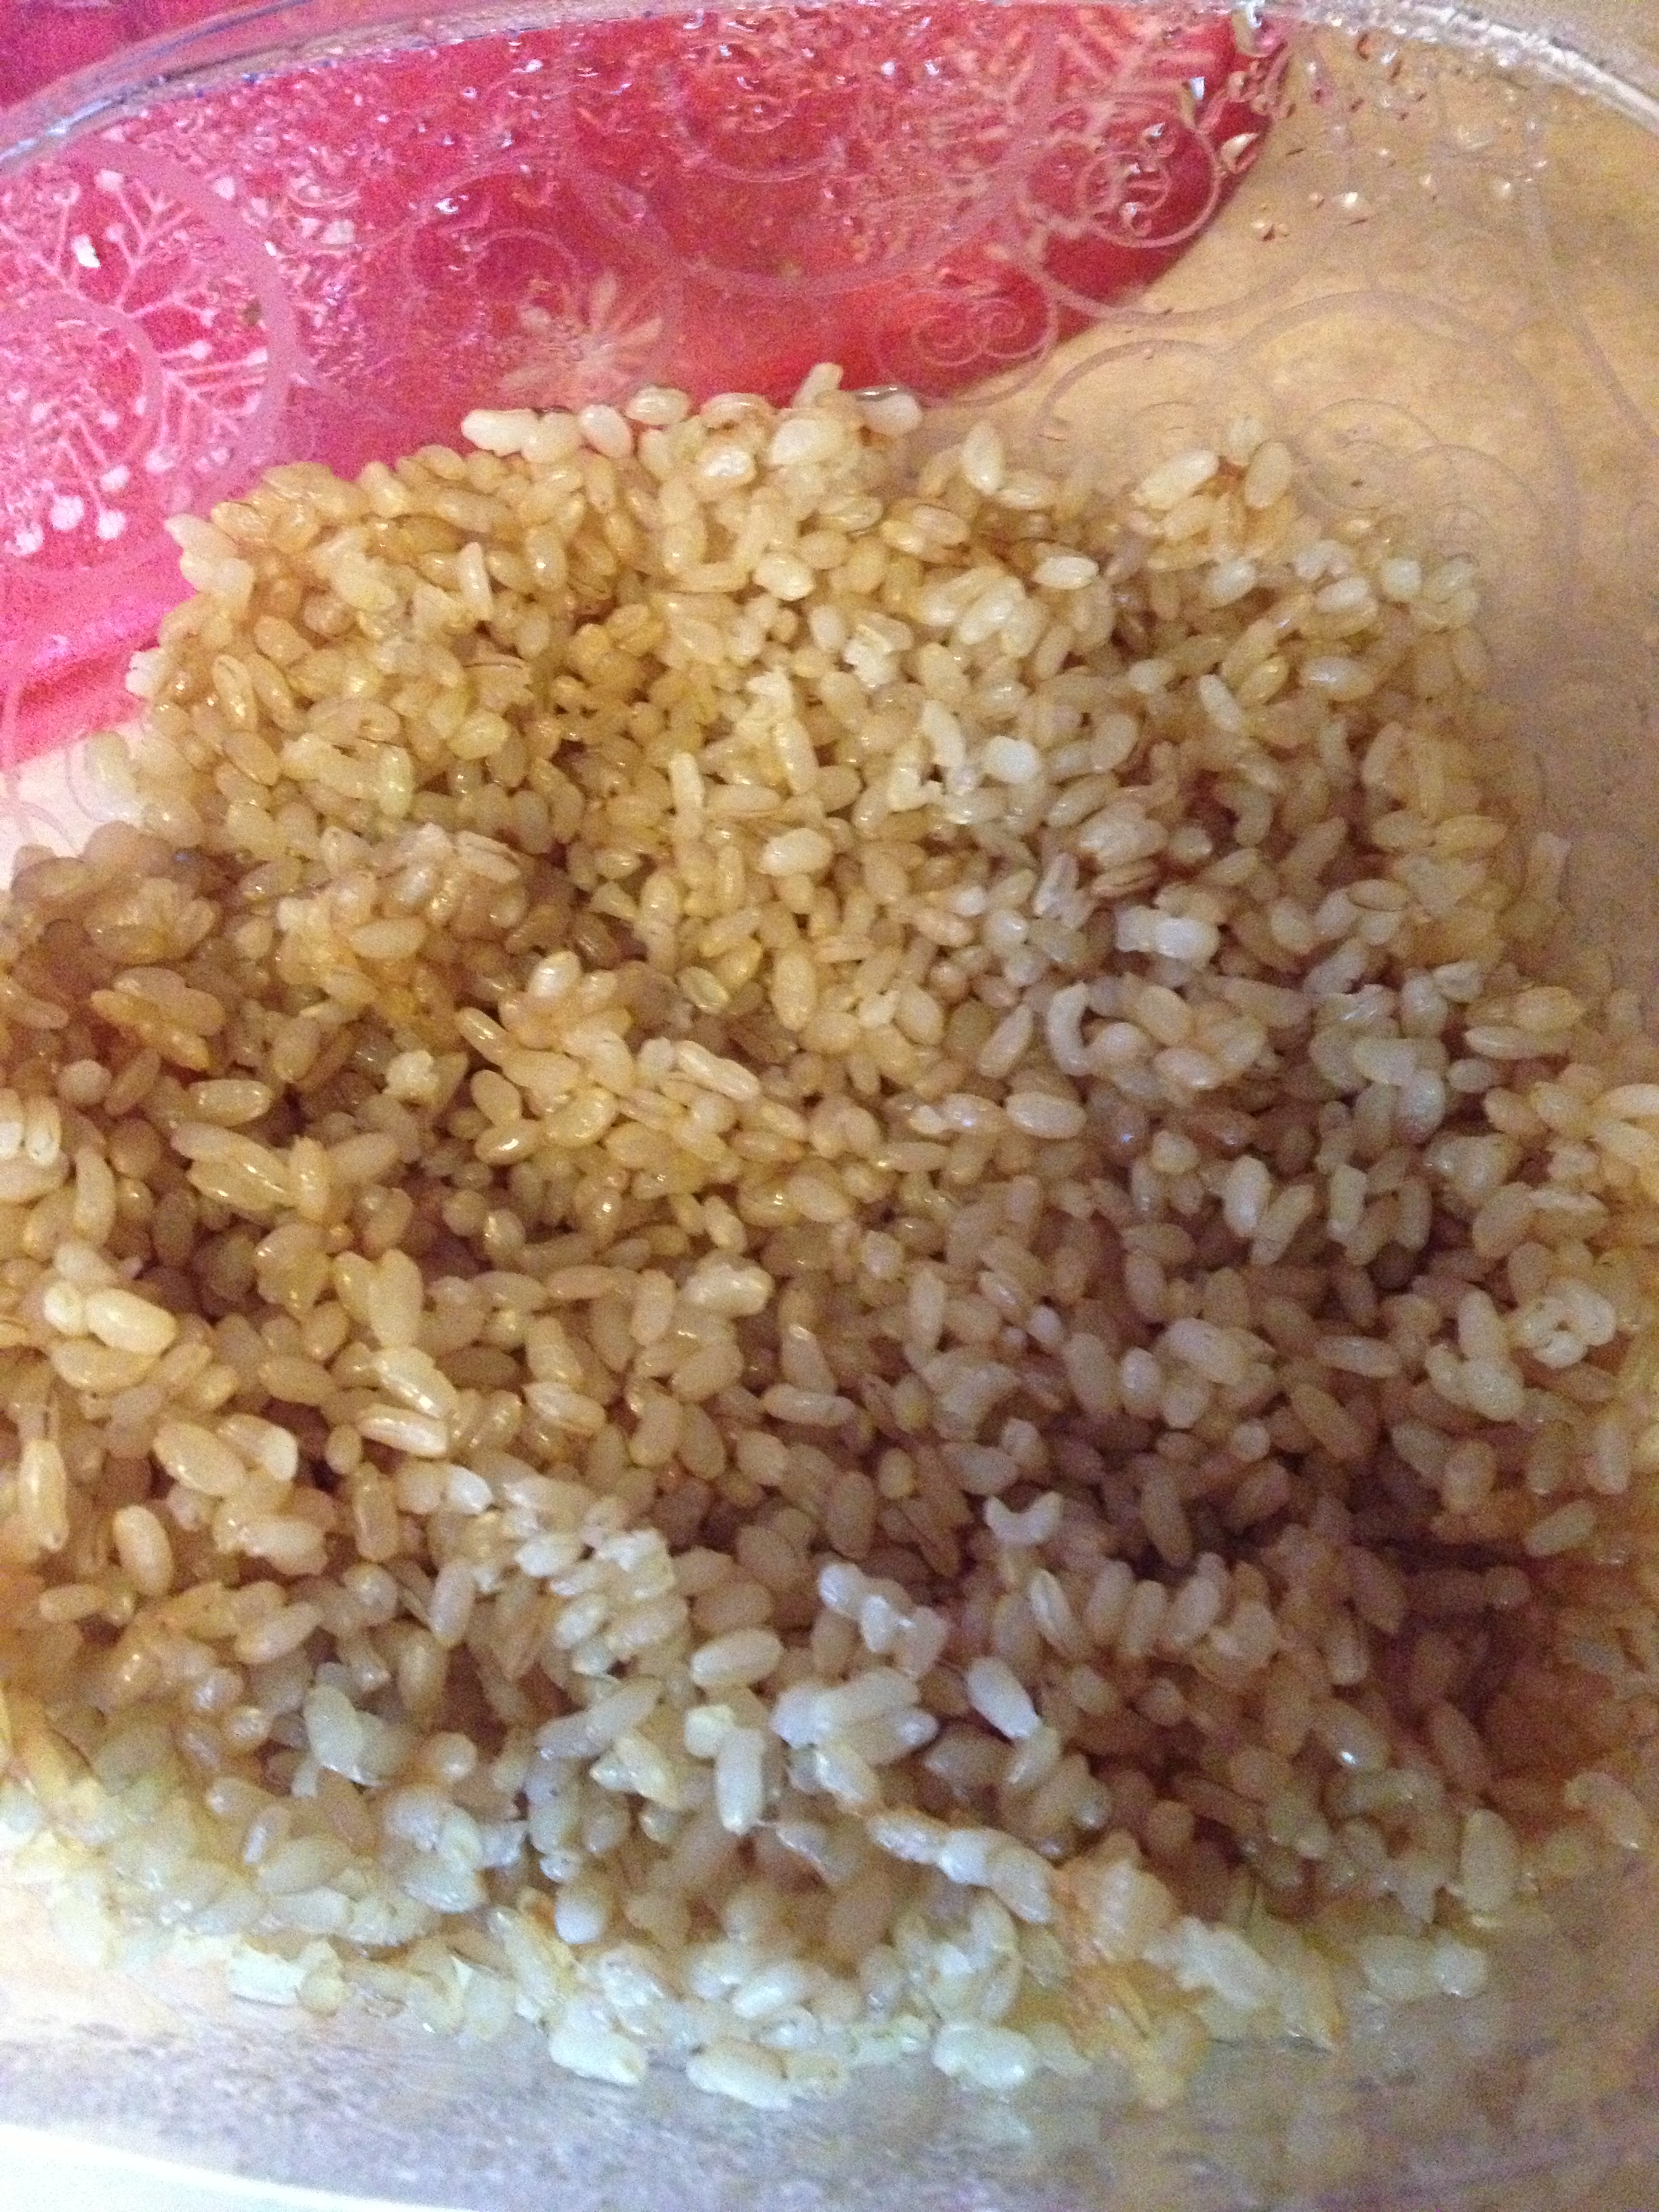
  2. Stick to complex carbohydrates. What would I eat with my canned tunafish? A slice of whole-wheat bread (we usually stick to Rudi’s organic) or brown rice. My carb intake usually doesn’t stray too far from that—yes, of course I get carbohydrates from other things like fruits and vegetables, but I’m talking about the certain “category.” And don’t forget my main carbohydrate for breakfast—oatmeal. No, not the instant crap, the “quick oats” or steel-cut. Another great carbohydrate that actually isn’t too high in carbs is sweet potato and boy is it delicious! photo 1 (6)
  3. Fruits are not a free-for-all. We’re watching our sugars and carbs, remember? Usually, fruit is a free-for-all for me, and that’s when I see my sugar count skyrocket. Don’t get me wrong, I’d rather you grab a handful of grapes than skittles. But for this contest, we don’t want grapes for fruit. The fruit you want to go for: bananas, apples, pineapple, blueberries and grapefruit. They have awesome benefits and don’t take you too far on the sugar or calorie scale. photo (15)
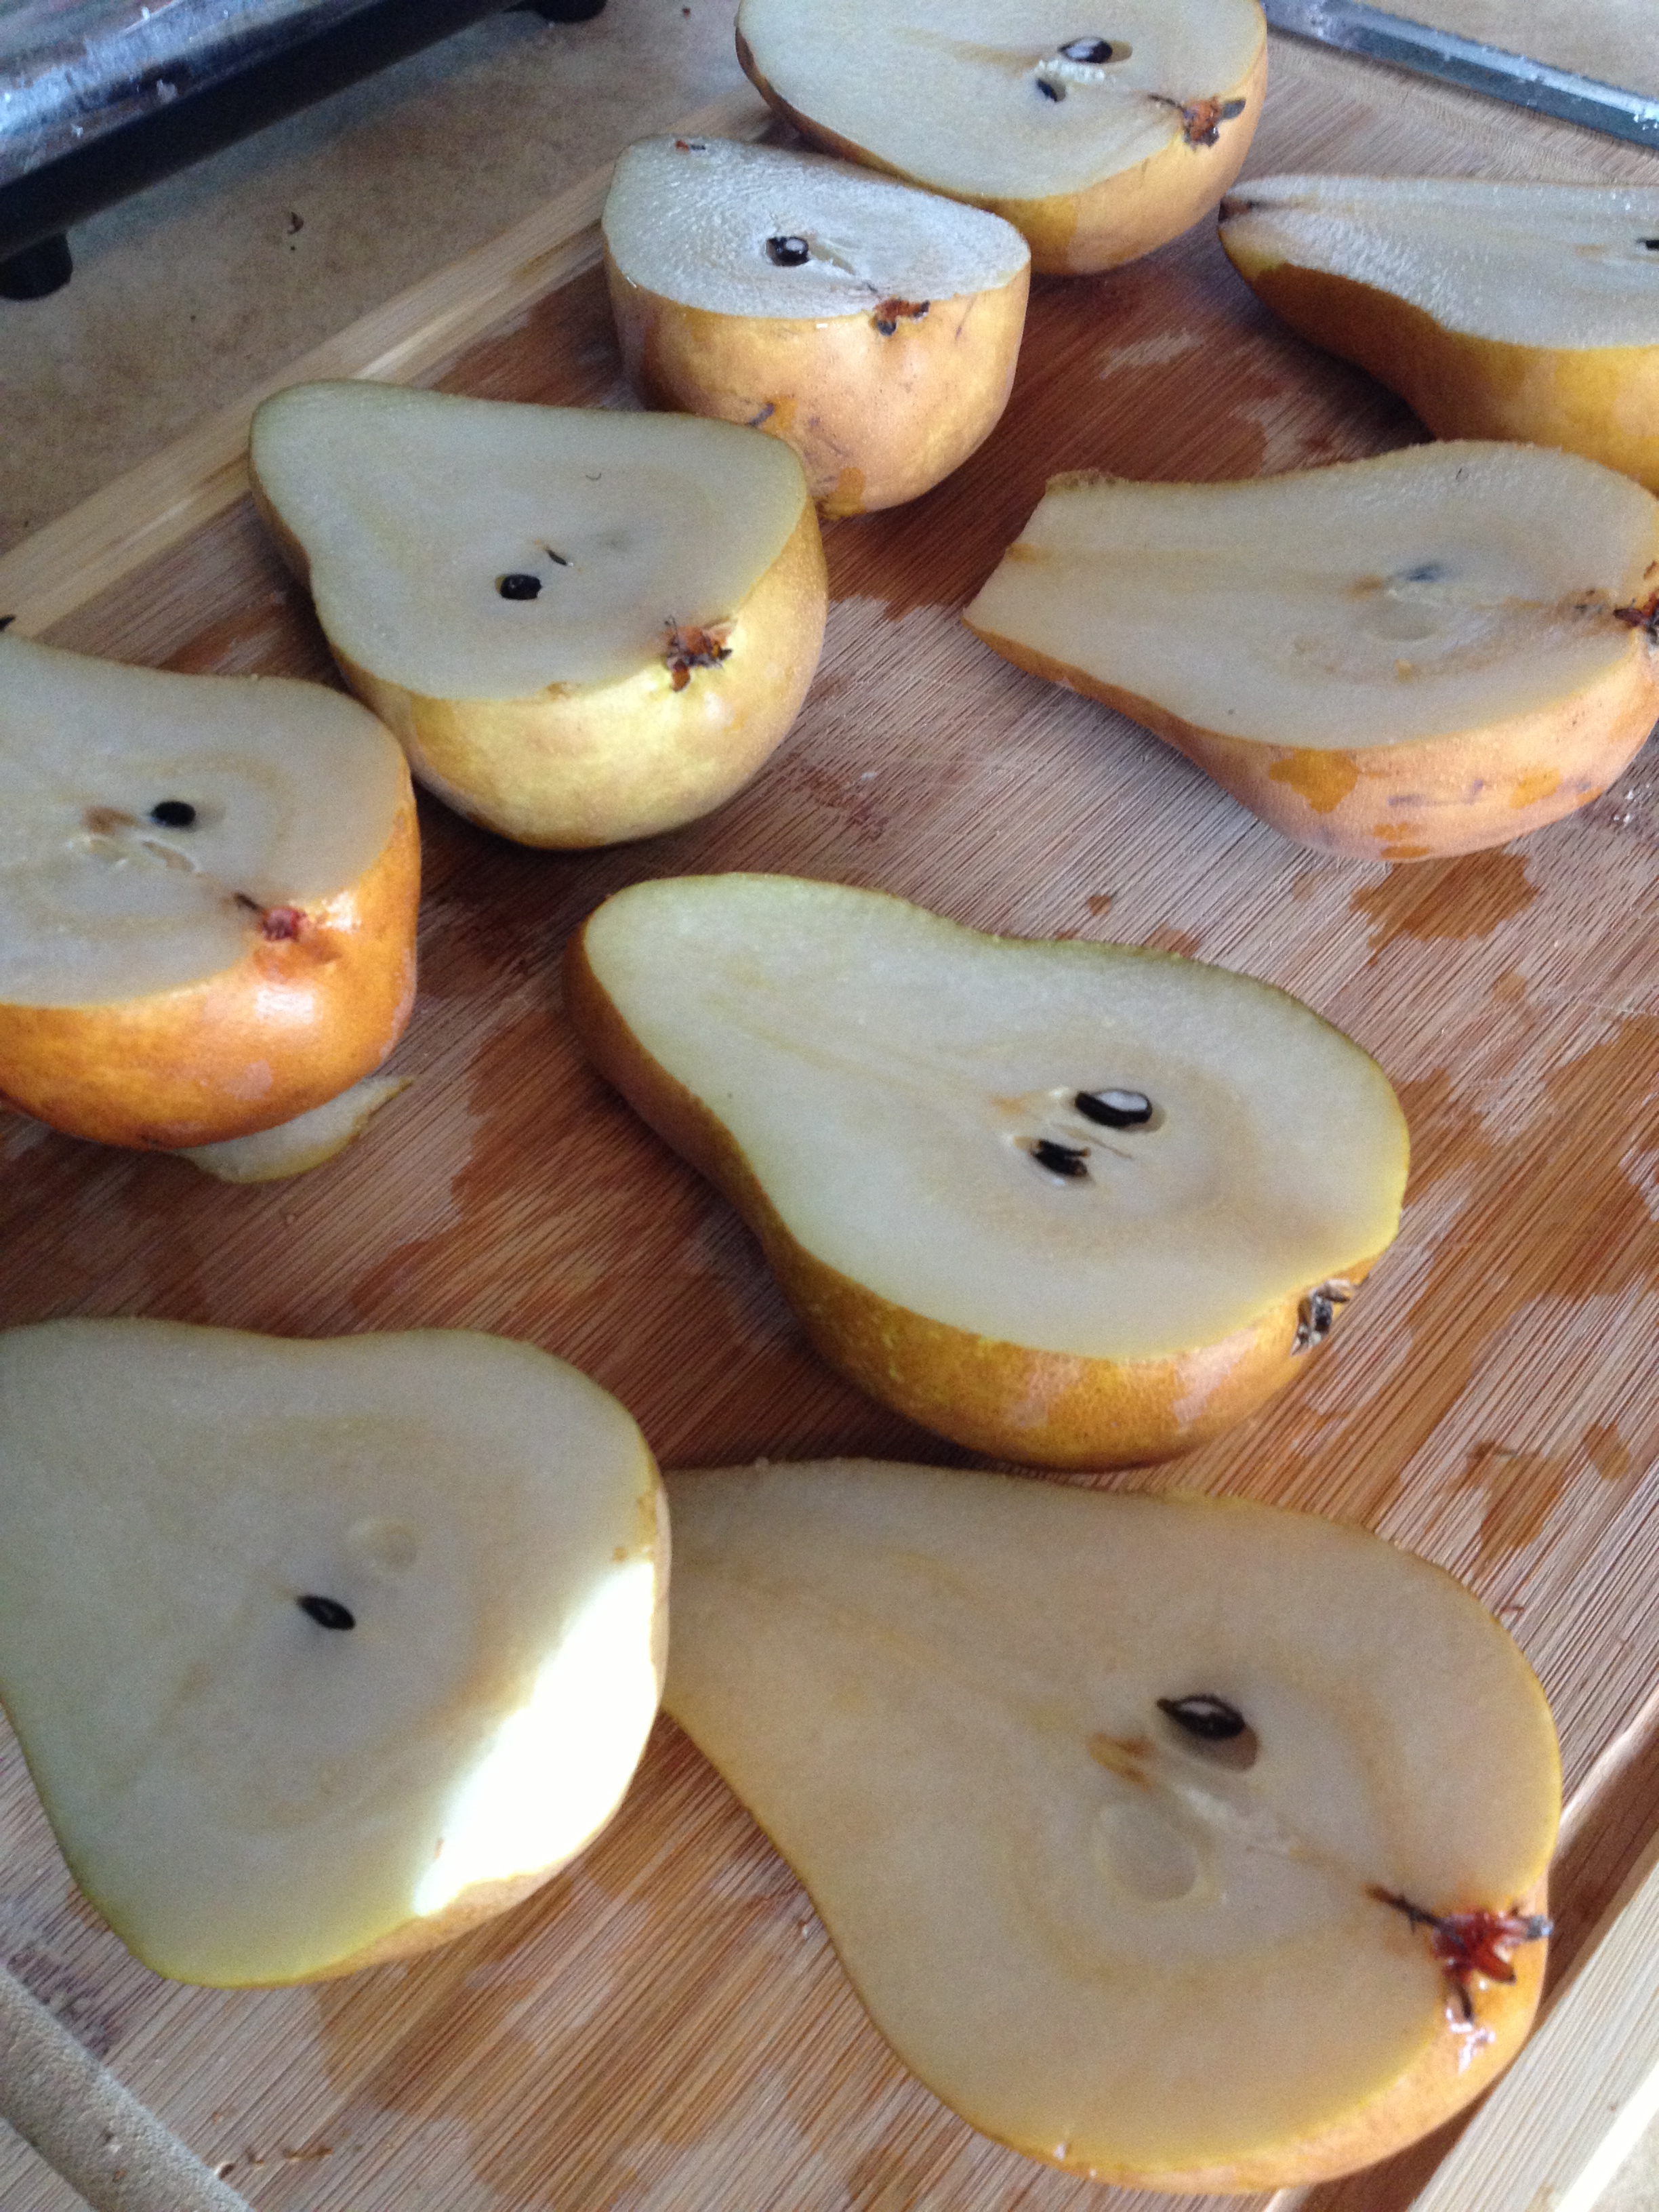
  4. Eat your vegetables! Again, you don’t want every single kind, some are more vitamin-intensive and calorically-dense than others. I will usually have some kind of vegetable with every meal, combining it with my brown rice and fish, or with my open-face tunafish sandwich. Stick to these veggies: spinach, asparagus, broccoli, and carrots. Go for dark greens and use sweet potatoes as carb substitute. photo 3
  5. Stay away from dressings, heavy oils, and the like. This is why bodybuilder’s meals seem so bland and boring. Most of them stray away from any seasoning whatsoever. However, that’s not necessary—as long as you do the right seasoning. With breakfast, I pour cinnamon on my oatmeal. Hot sauce? Try every meal. Run free with garlic. Be smart, you know what’s right and wrong. Don’t drench your salad with ranch, go for straight-up balsamic vinegar. This doesn’t have to be bland, use your seasoning (hot sauce is my absolute go-to).  
  6. Know your fibers: soluble fiber versus insoluble fibers. Right now, we definitely want fiber in our diet. And we want both kinds, depending on the situation. Soluble fiber dissolves in water and forms a gel, making us have that full feeling and slows our digestion. Soluble fibers include oatmeal, beans, nuts, and oranges. Insoluble fibers are good for our gut too because they improve our digestion and have a laxative-like effect. These don’t dissolve in water so they pass through quickly and speed up the process of food and waste.  Insoluble fibers include whole grains, dark leafy vegetables, and root vegetable skinsphoto 3 (4)

Pretty easy rules to follow and understand. Let me give you an example of some meals that I cycle frequently:

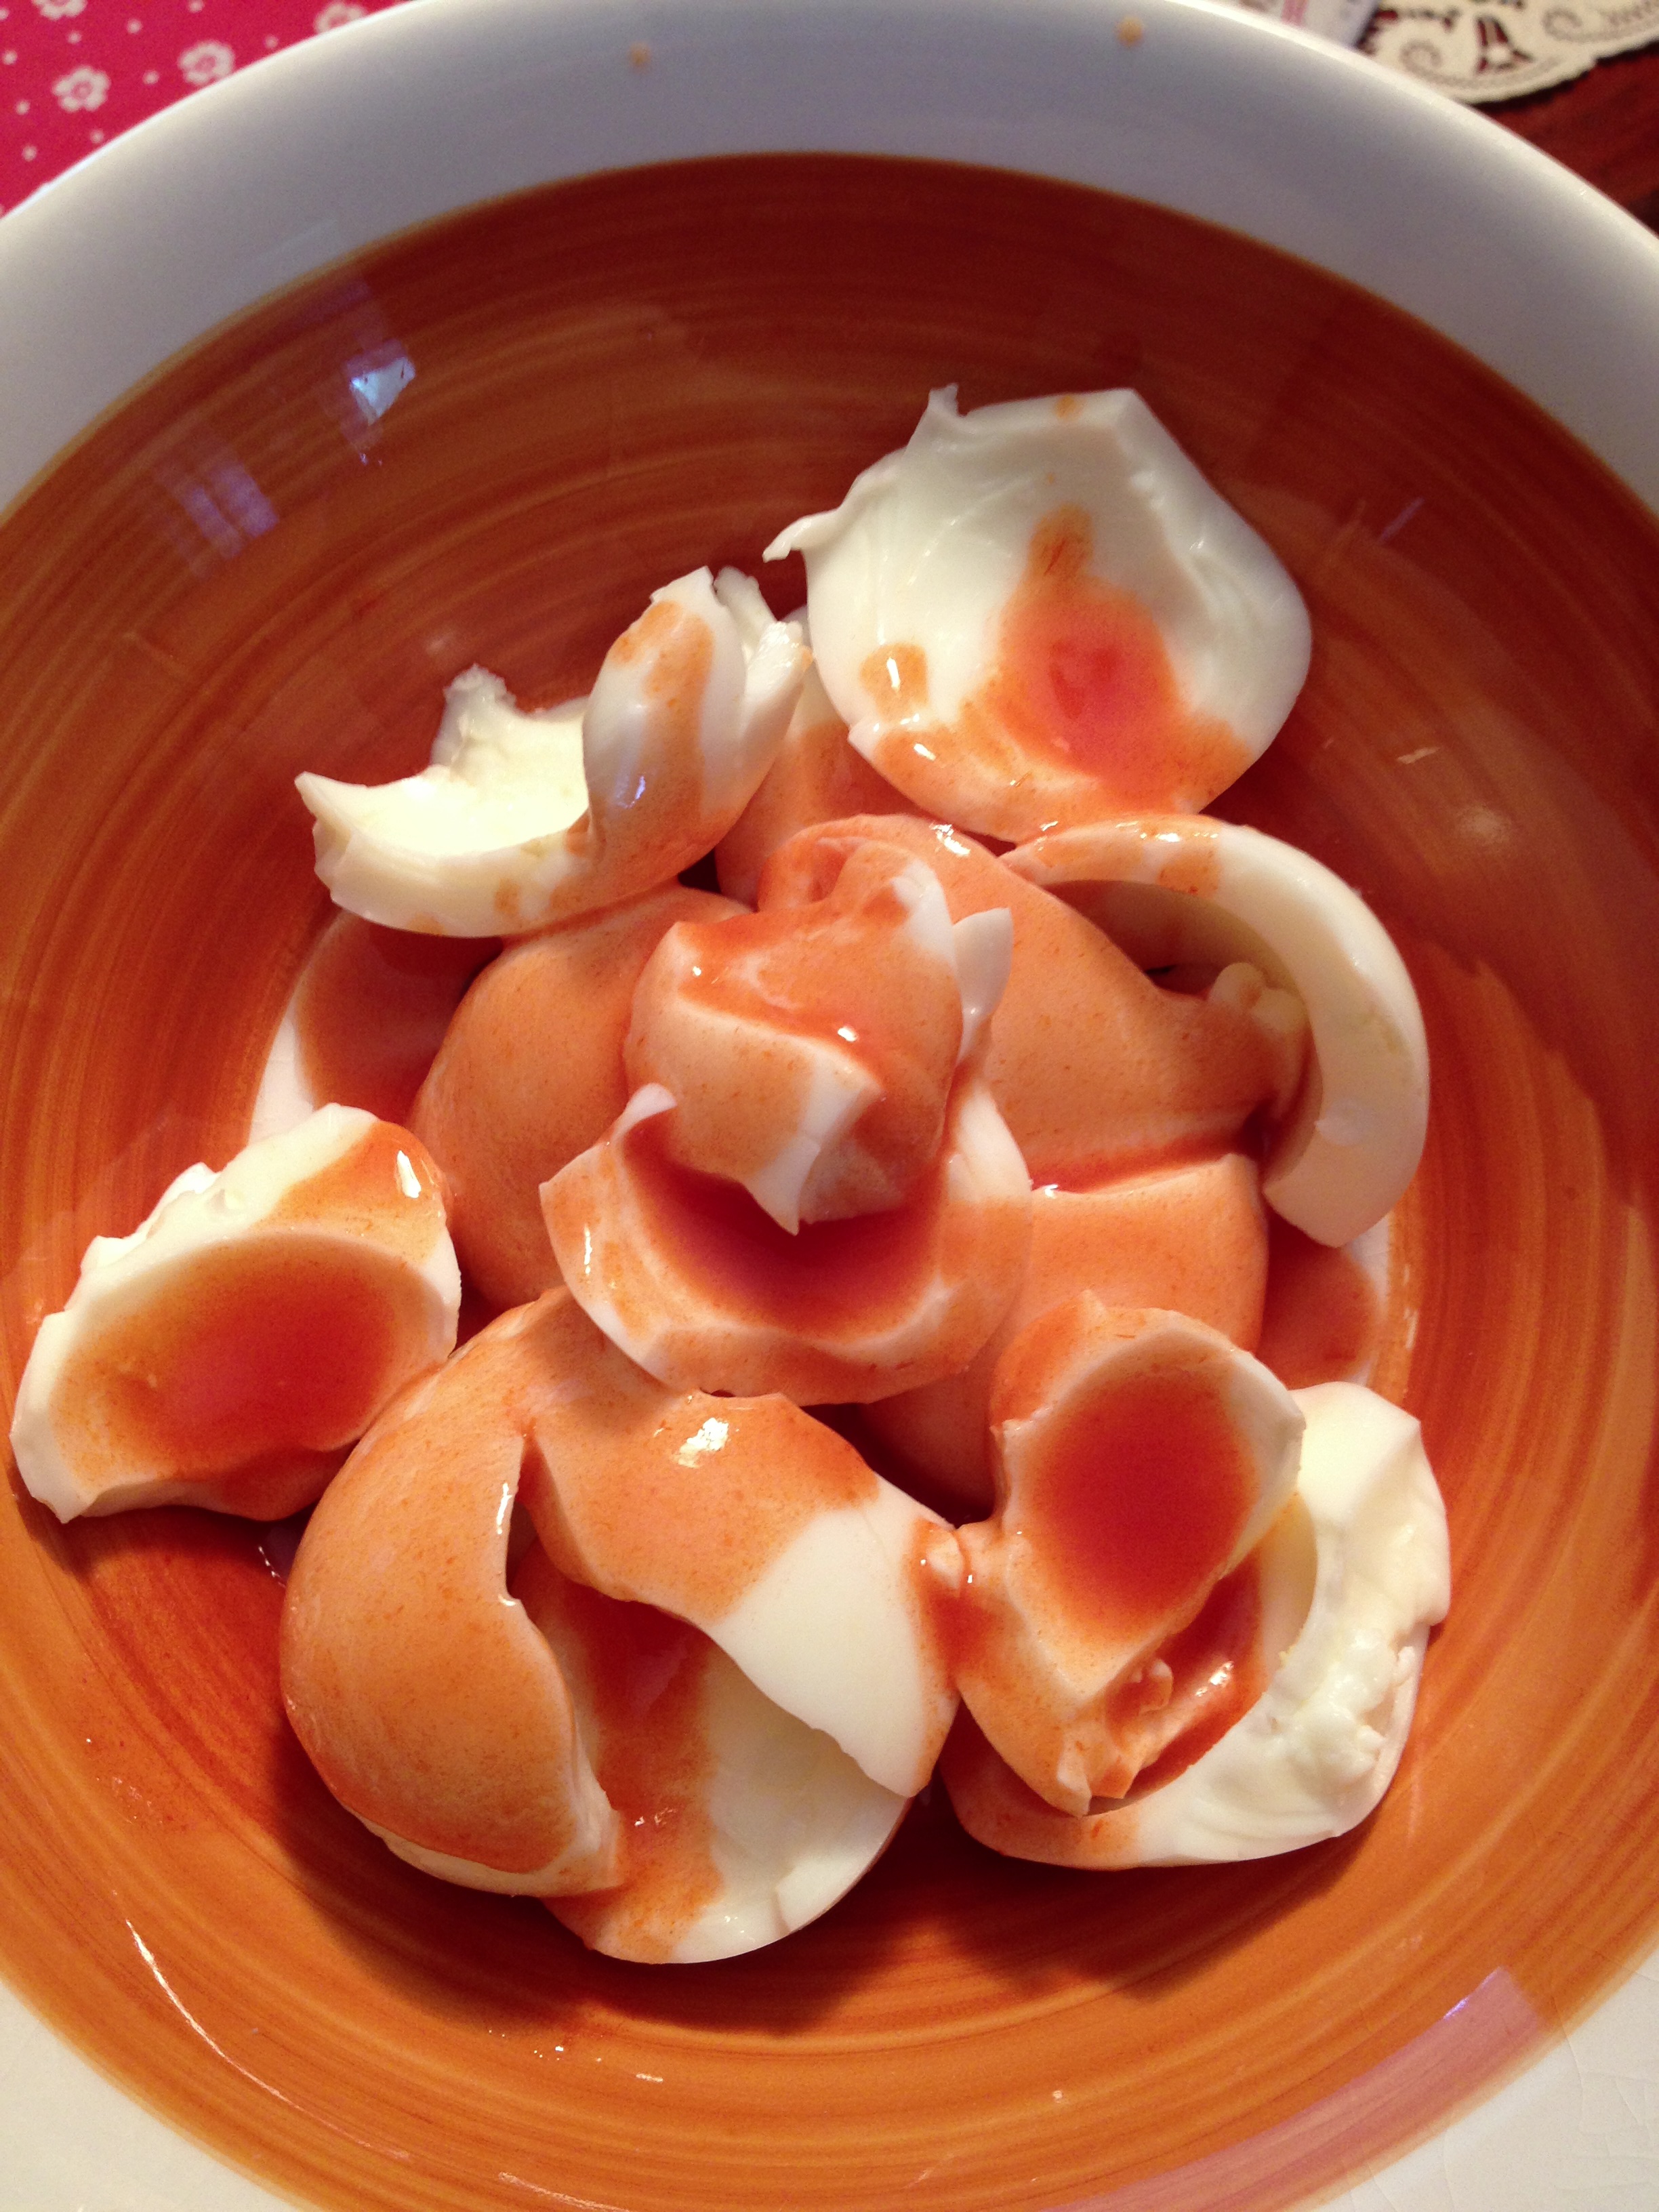
  • For breakfast: 1/2 cup oatmeal, 3 hard-boiled egg whites with Frank’s hot sauce 
  • photo 4 (5)For snack: 10 almonds OR banana OR apple OR grapefruit
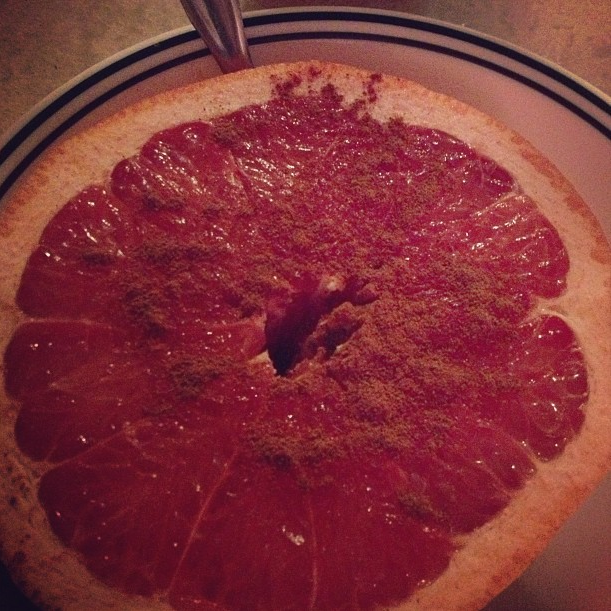
grapefruit

  • For lunch: 1 can tuna, peas, beans and Tapatillo hot sauce 
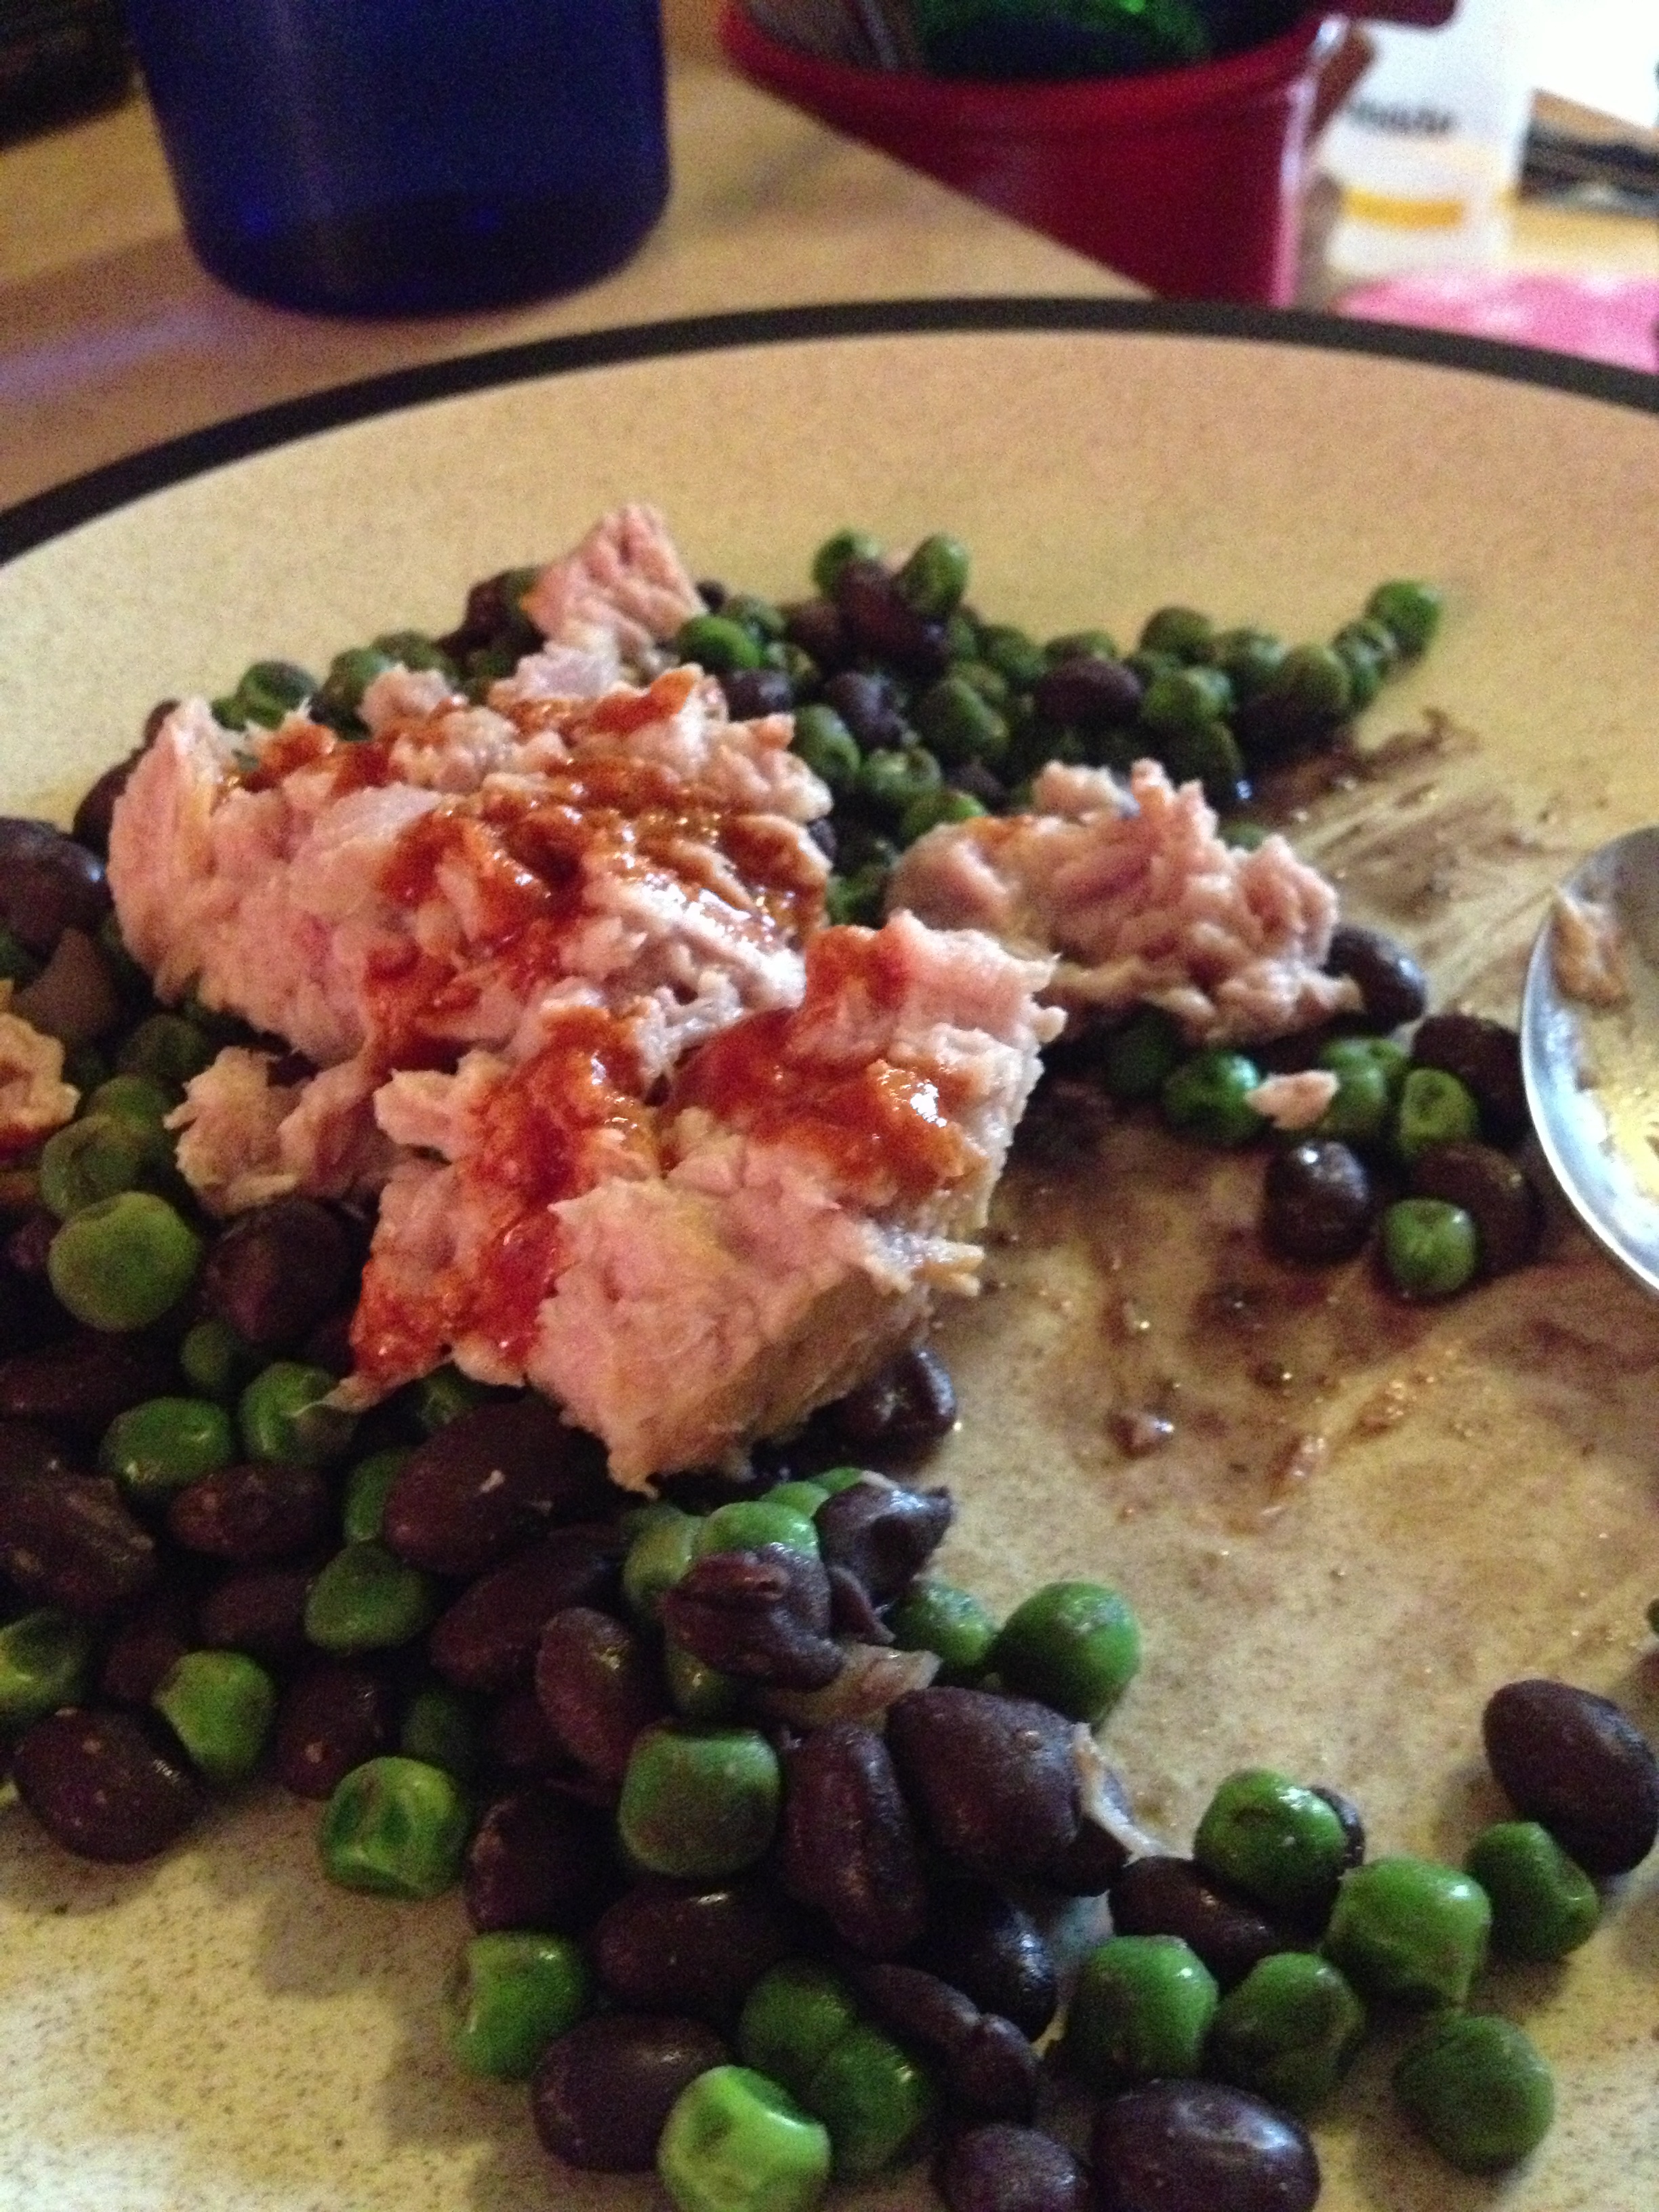
photo 1 (11)

  • For snack: avocado, pepper, bean, and onion salad 
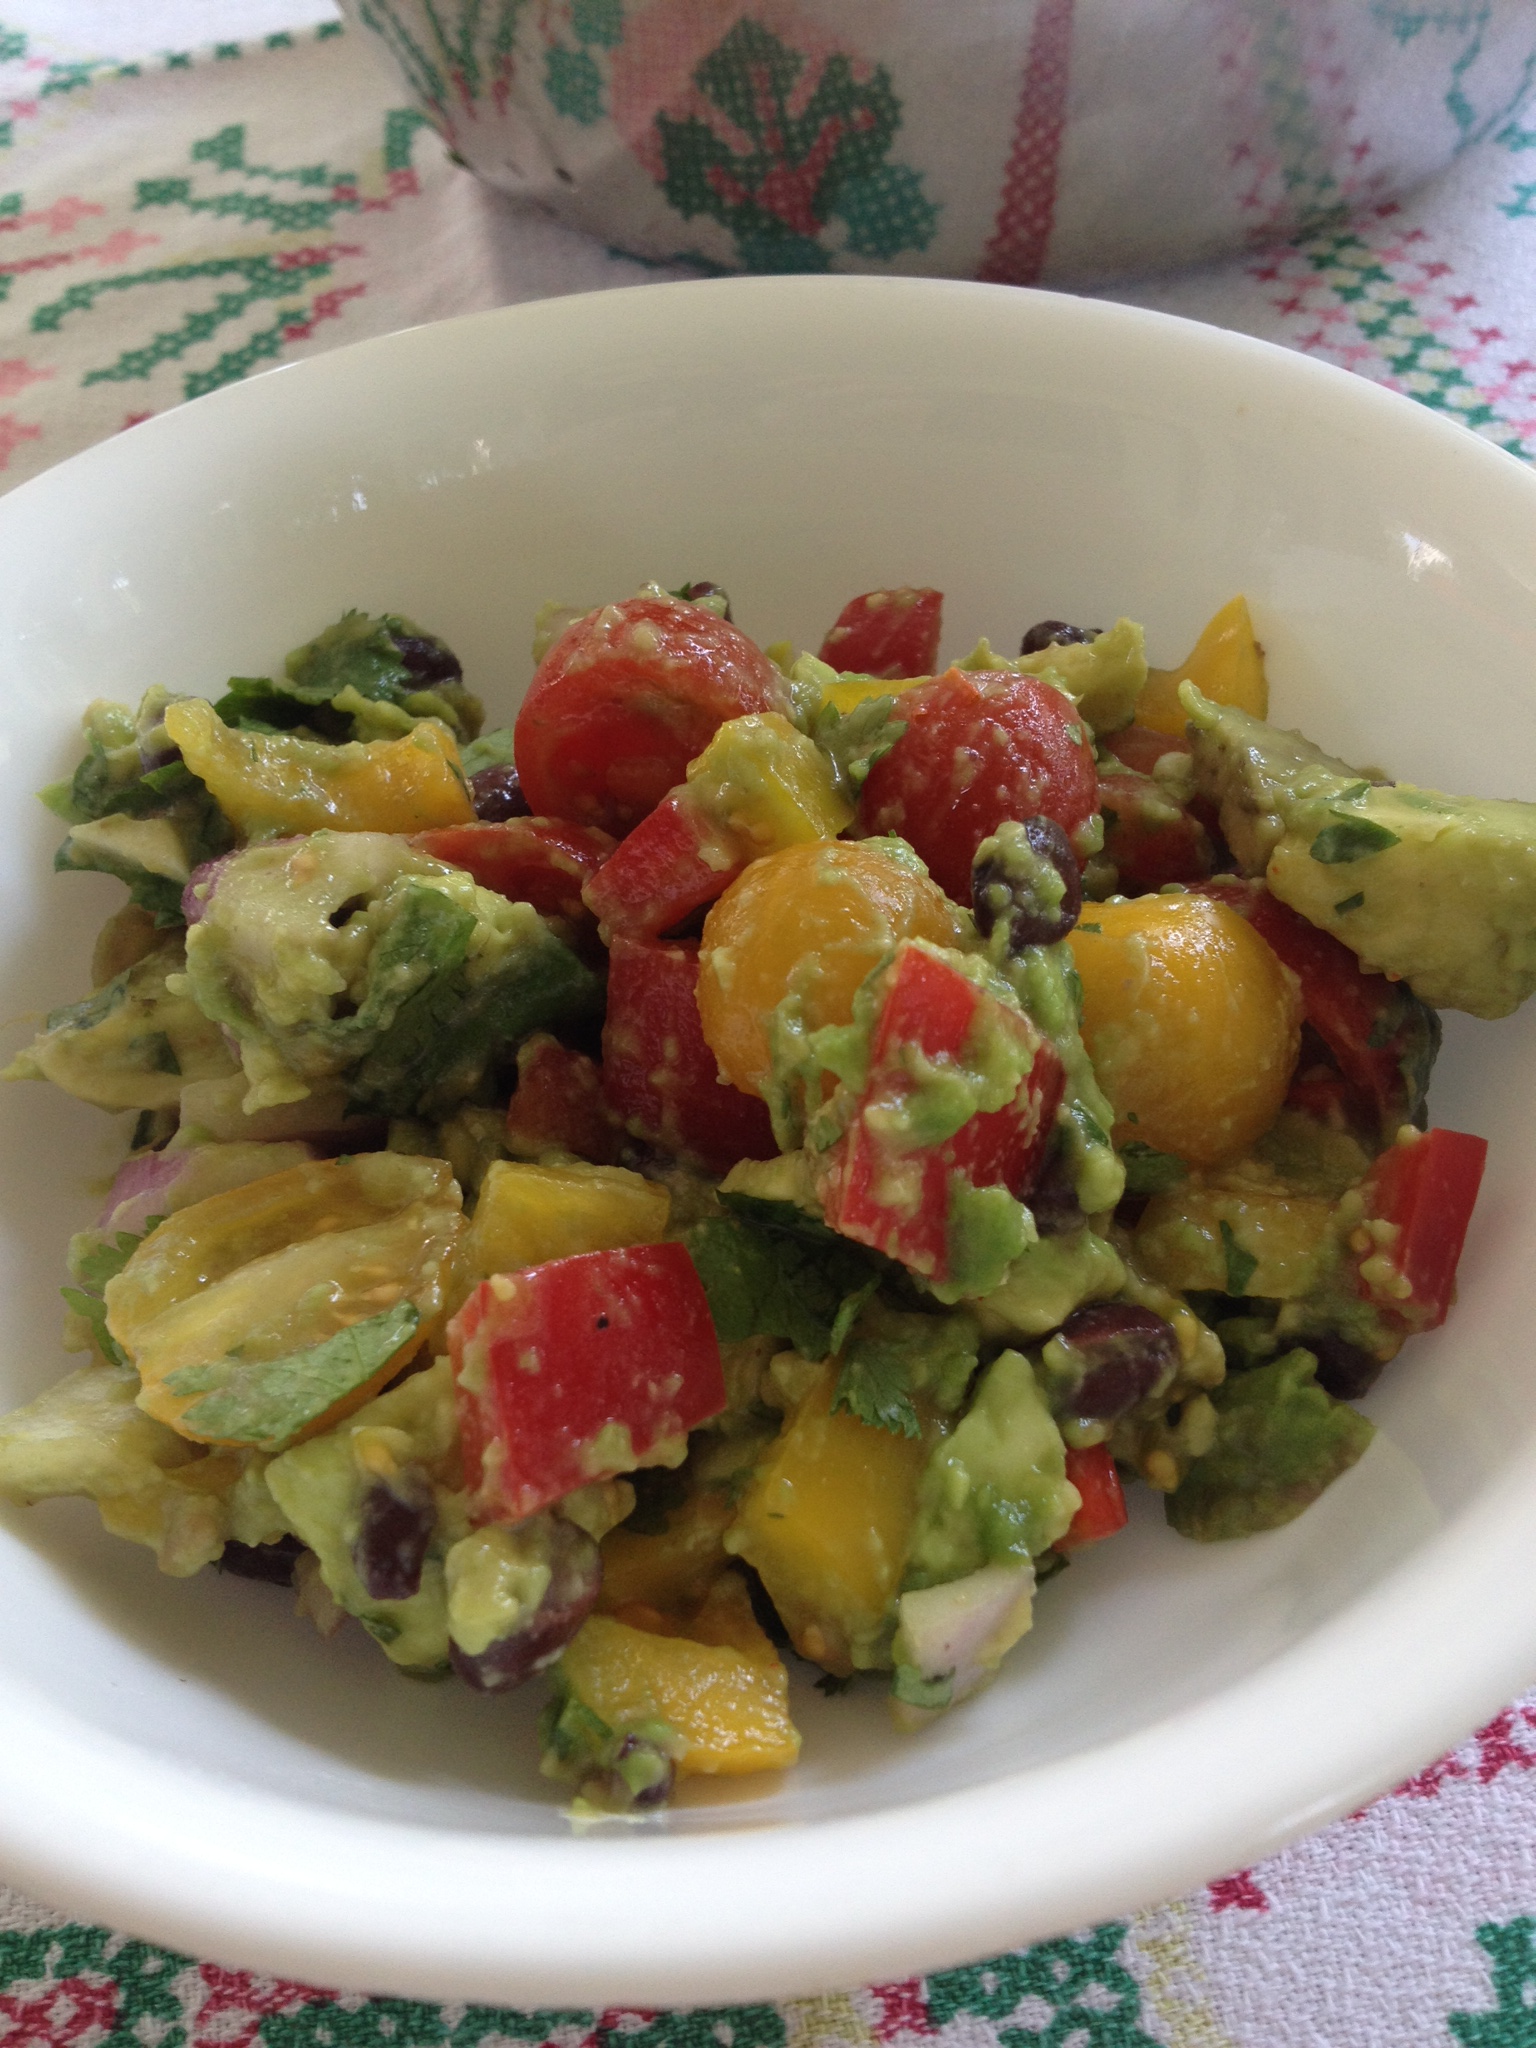
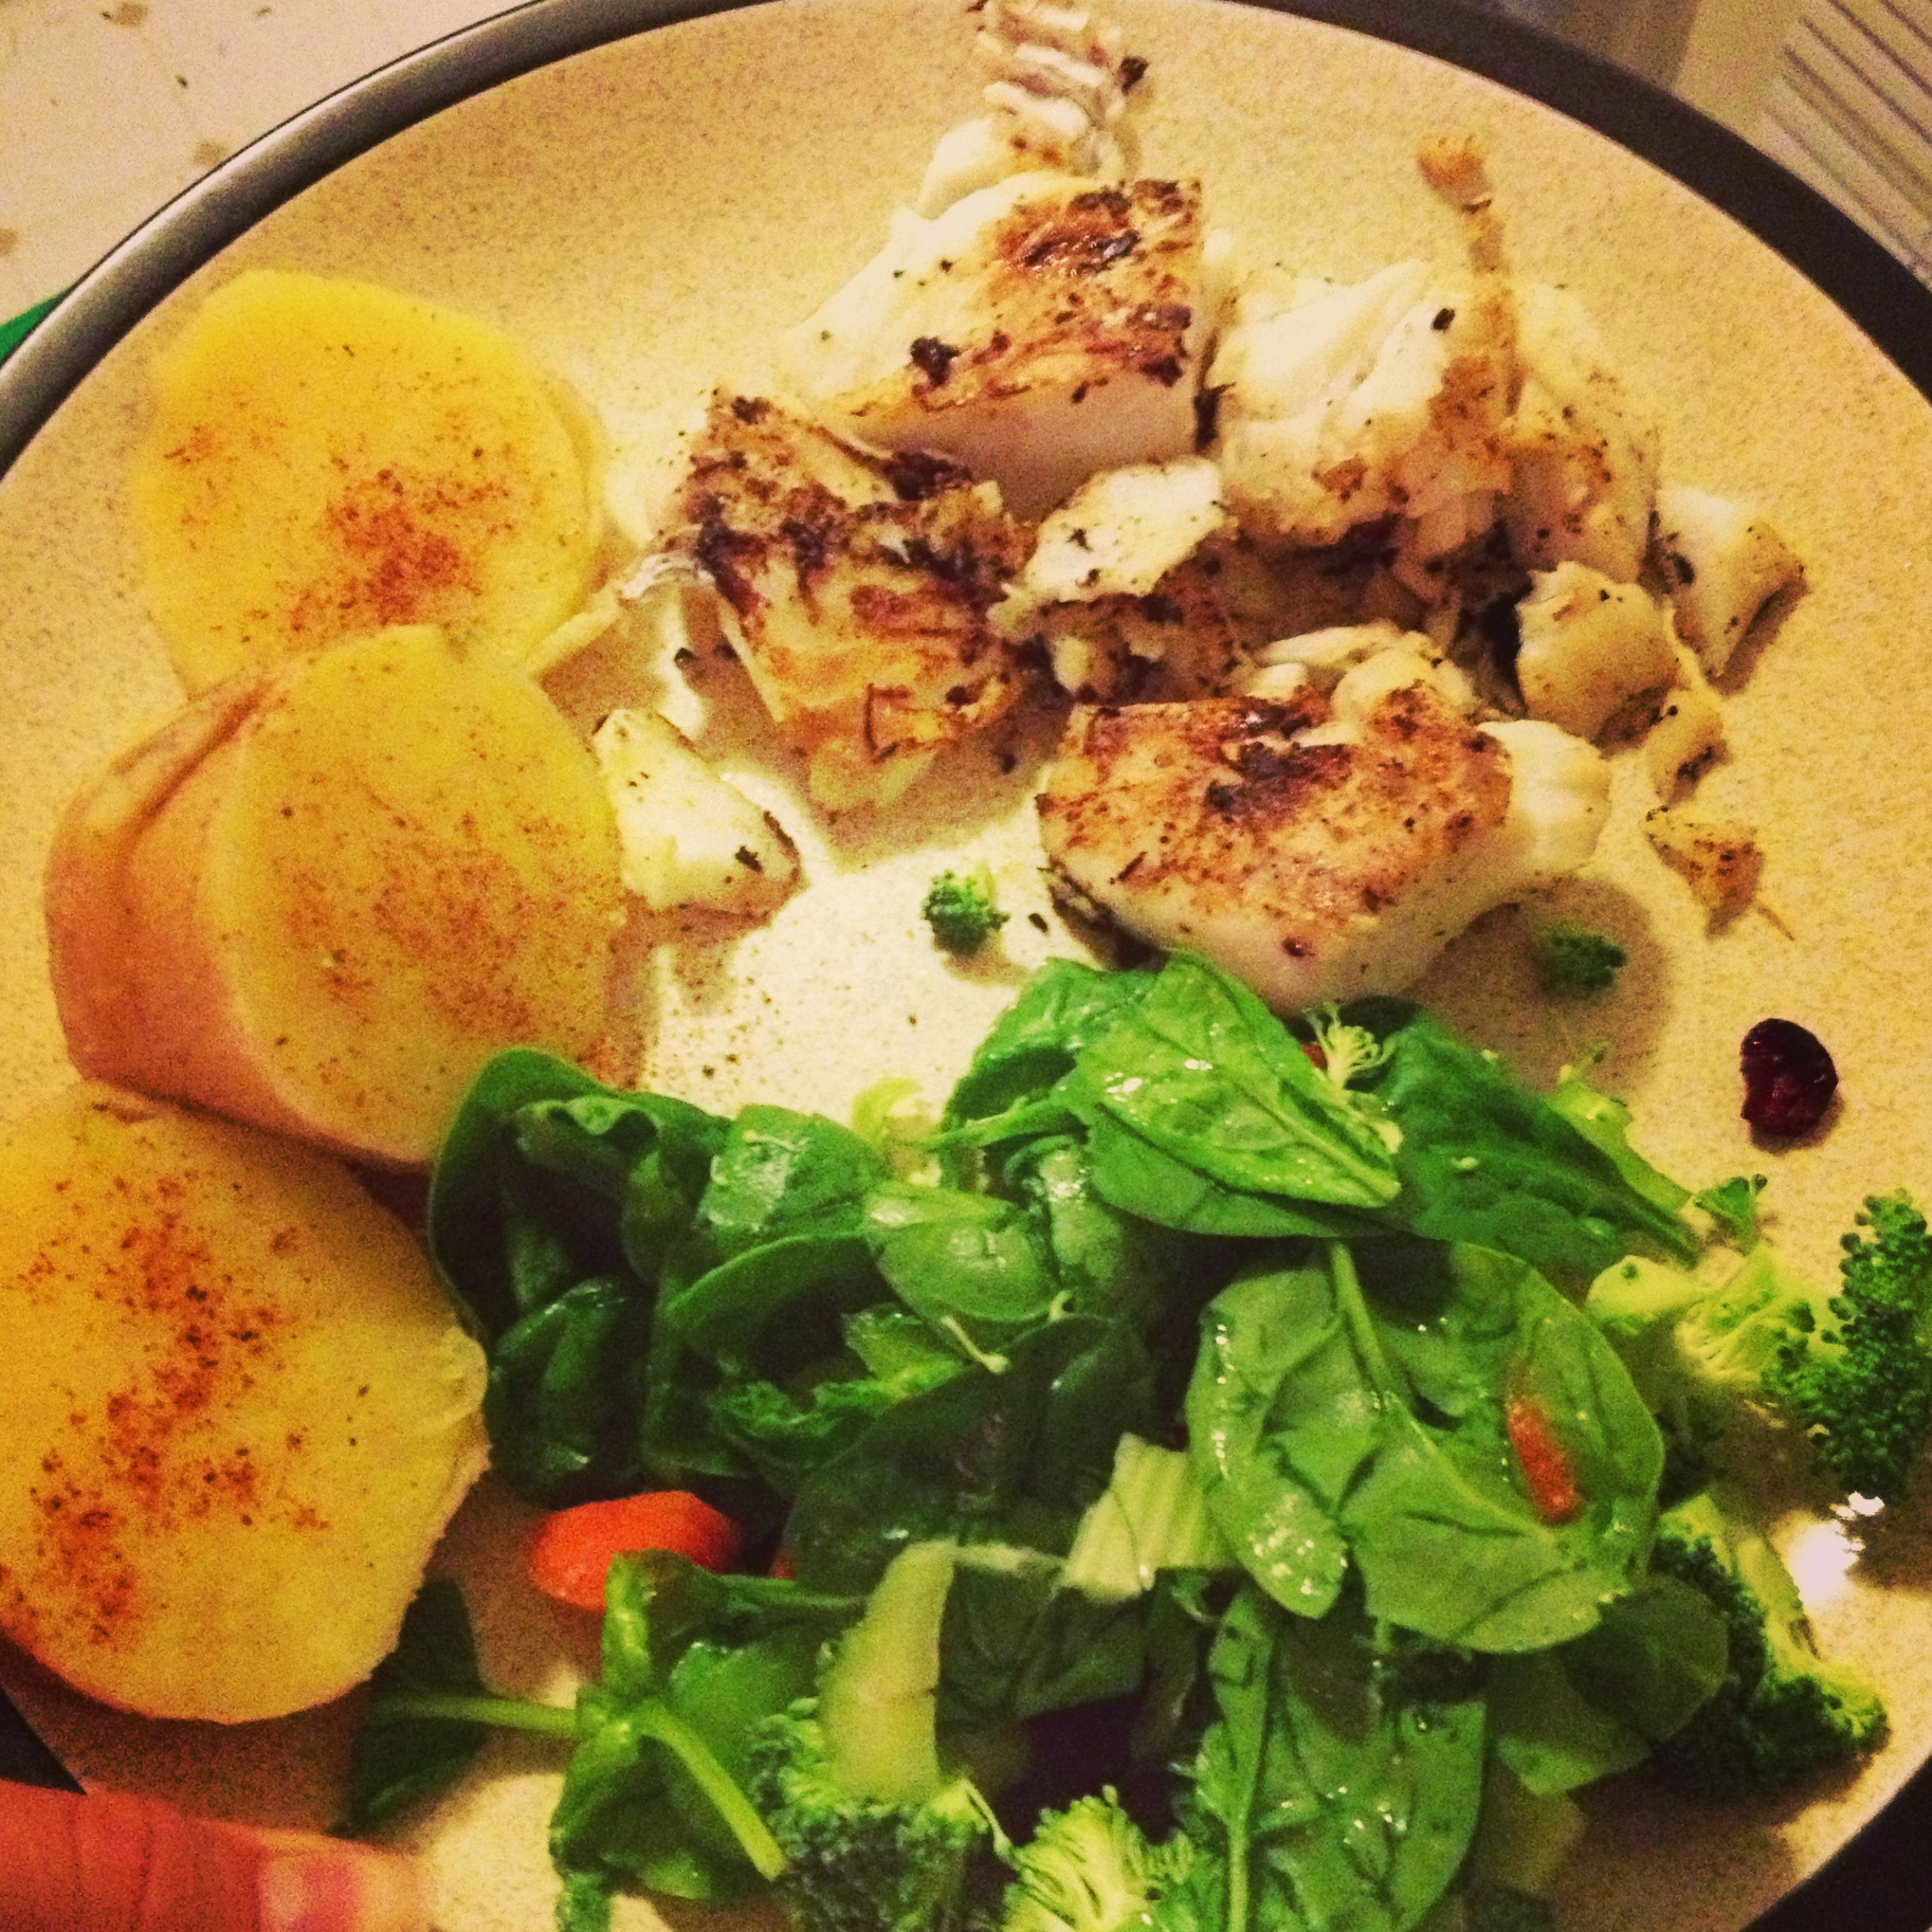
  • photo 3 (9)For dinner: pan-grilled cod, sweet potato, and salad 

photo 2 (8)

  • For snack: protein shake OR carrots and hummus OR cabbage tuna wraps with 1 cup almond milk
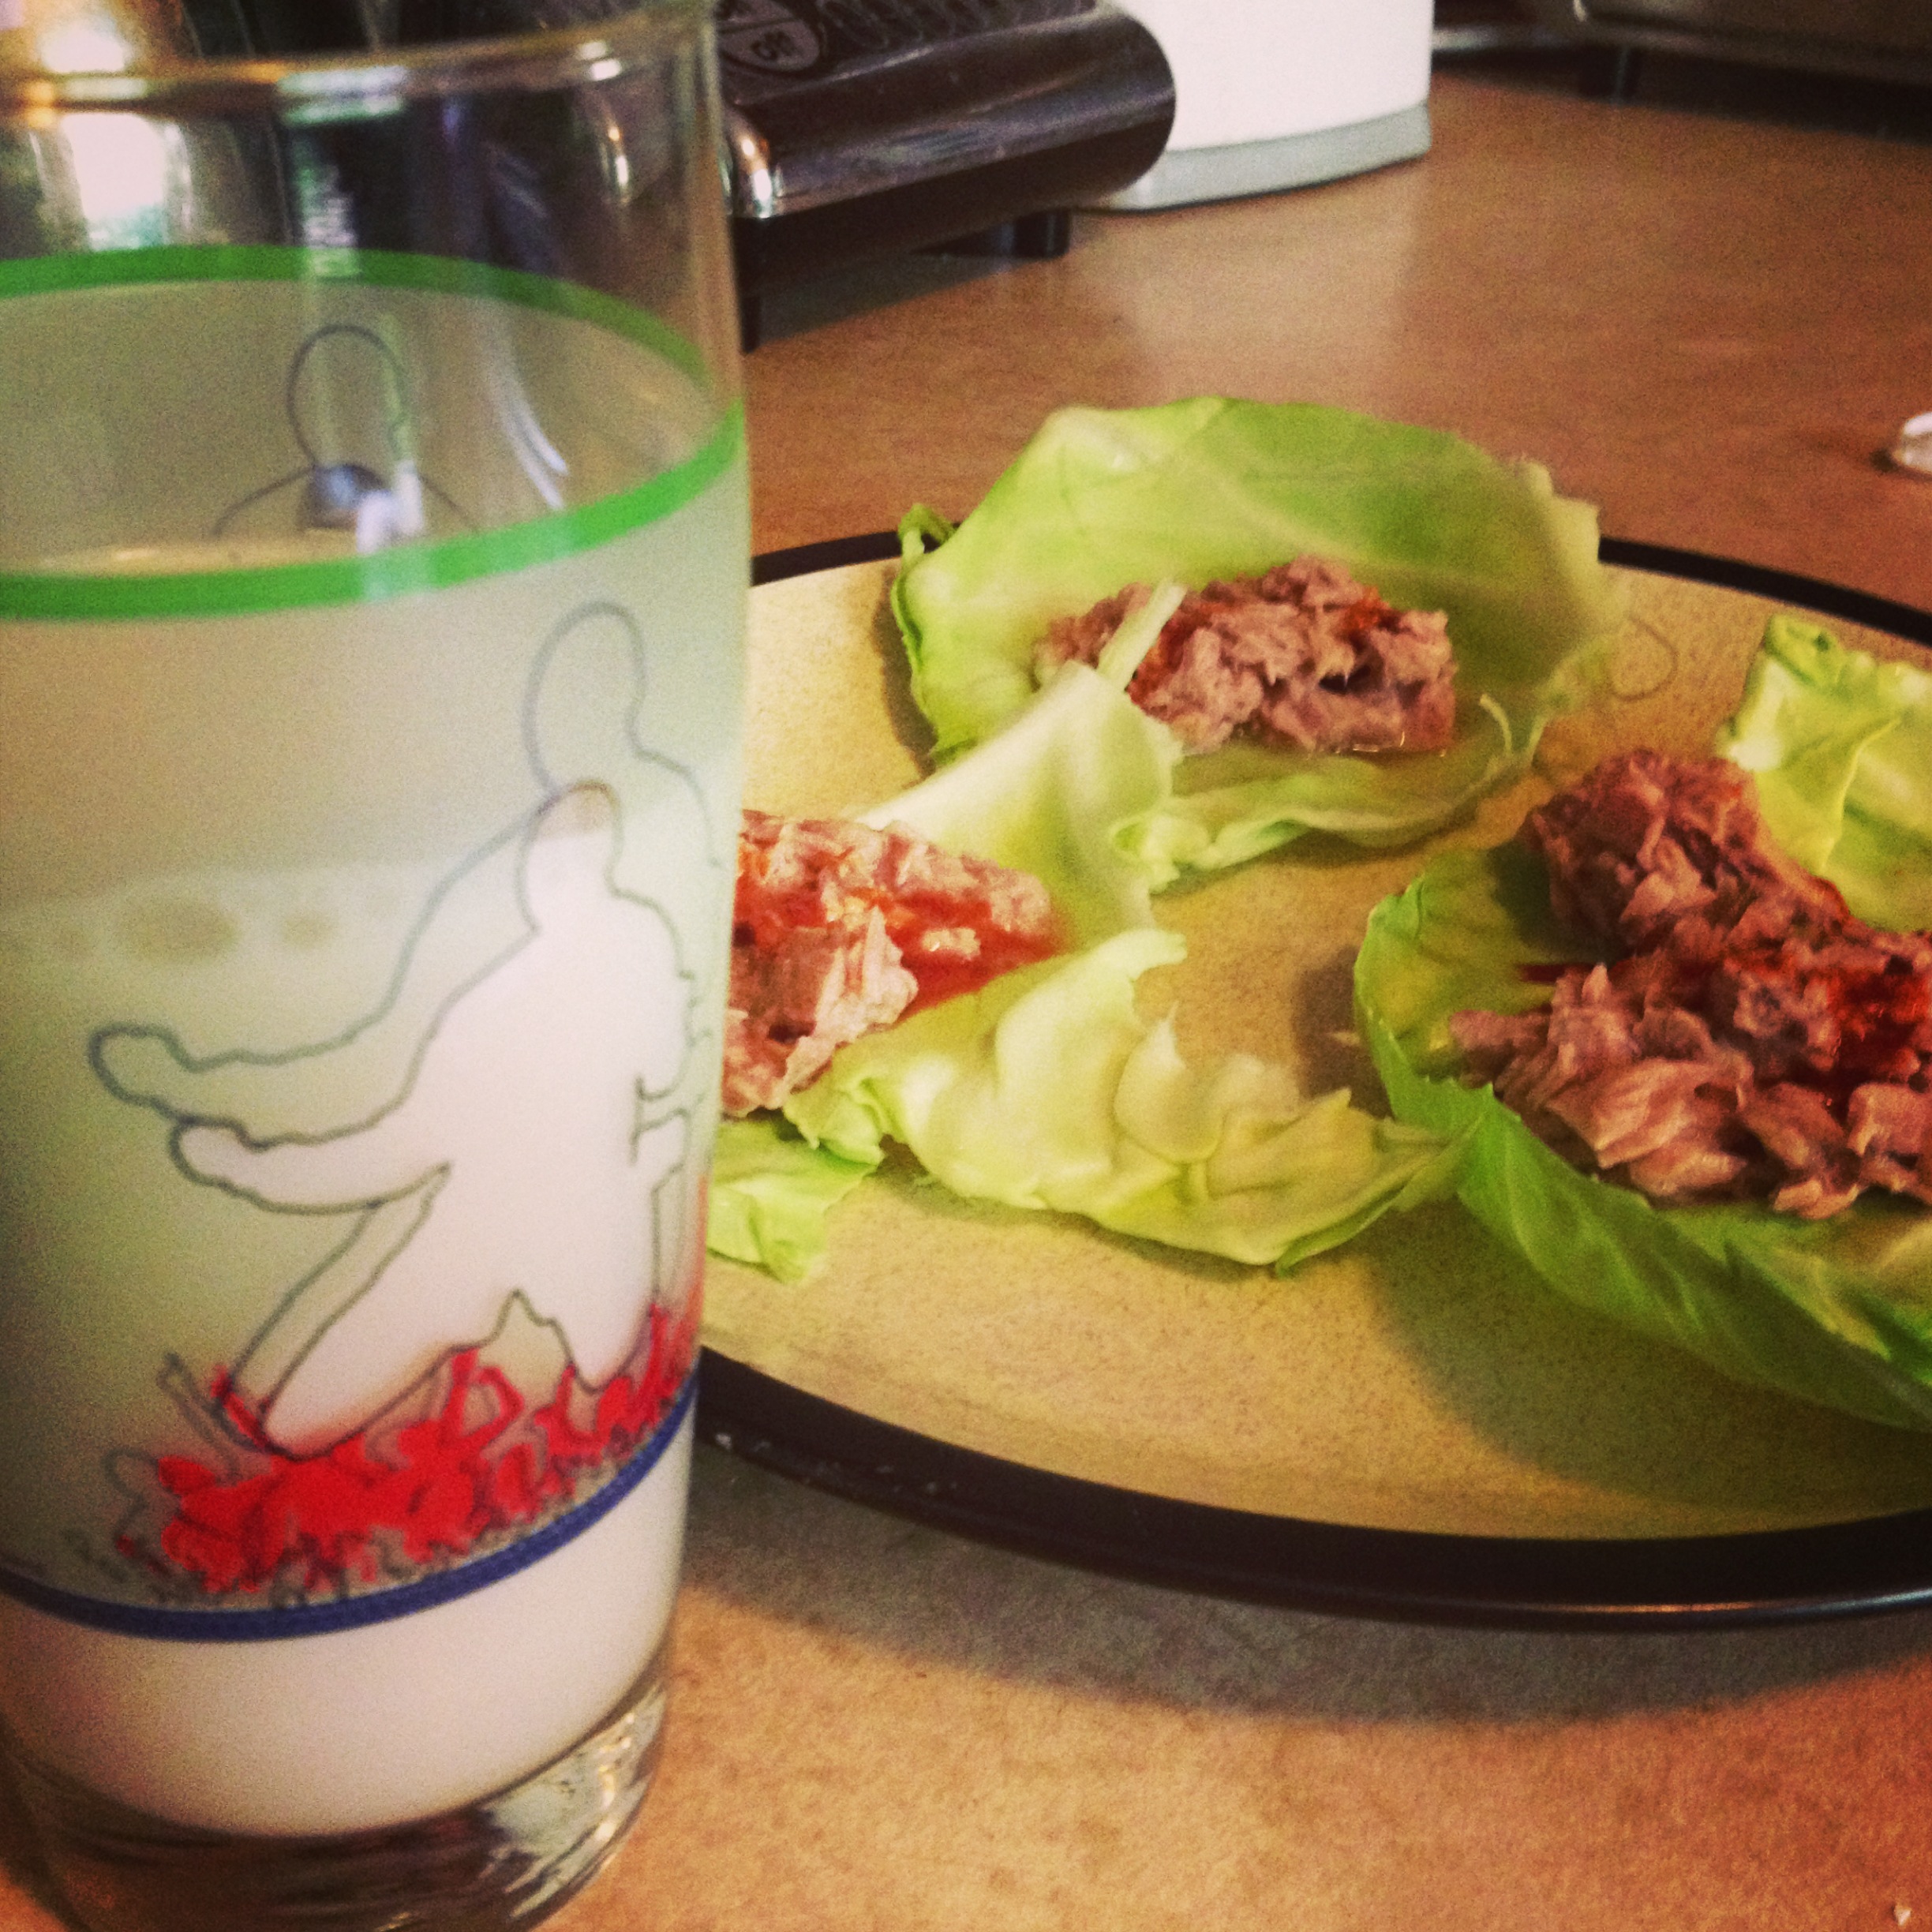
photo 5 (4)

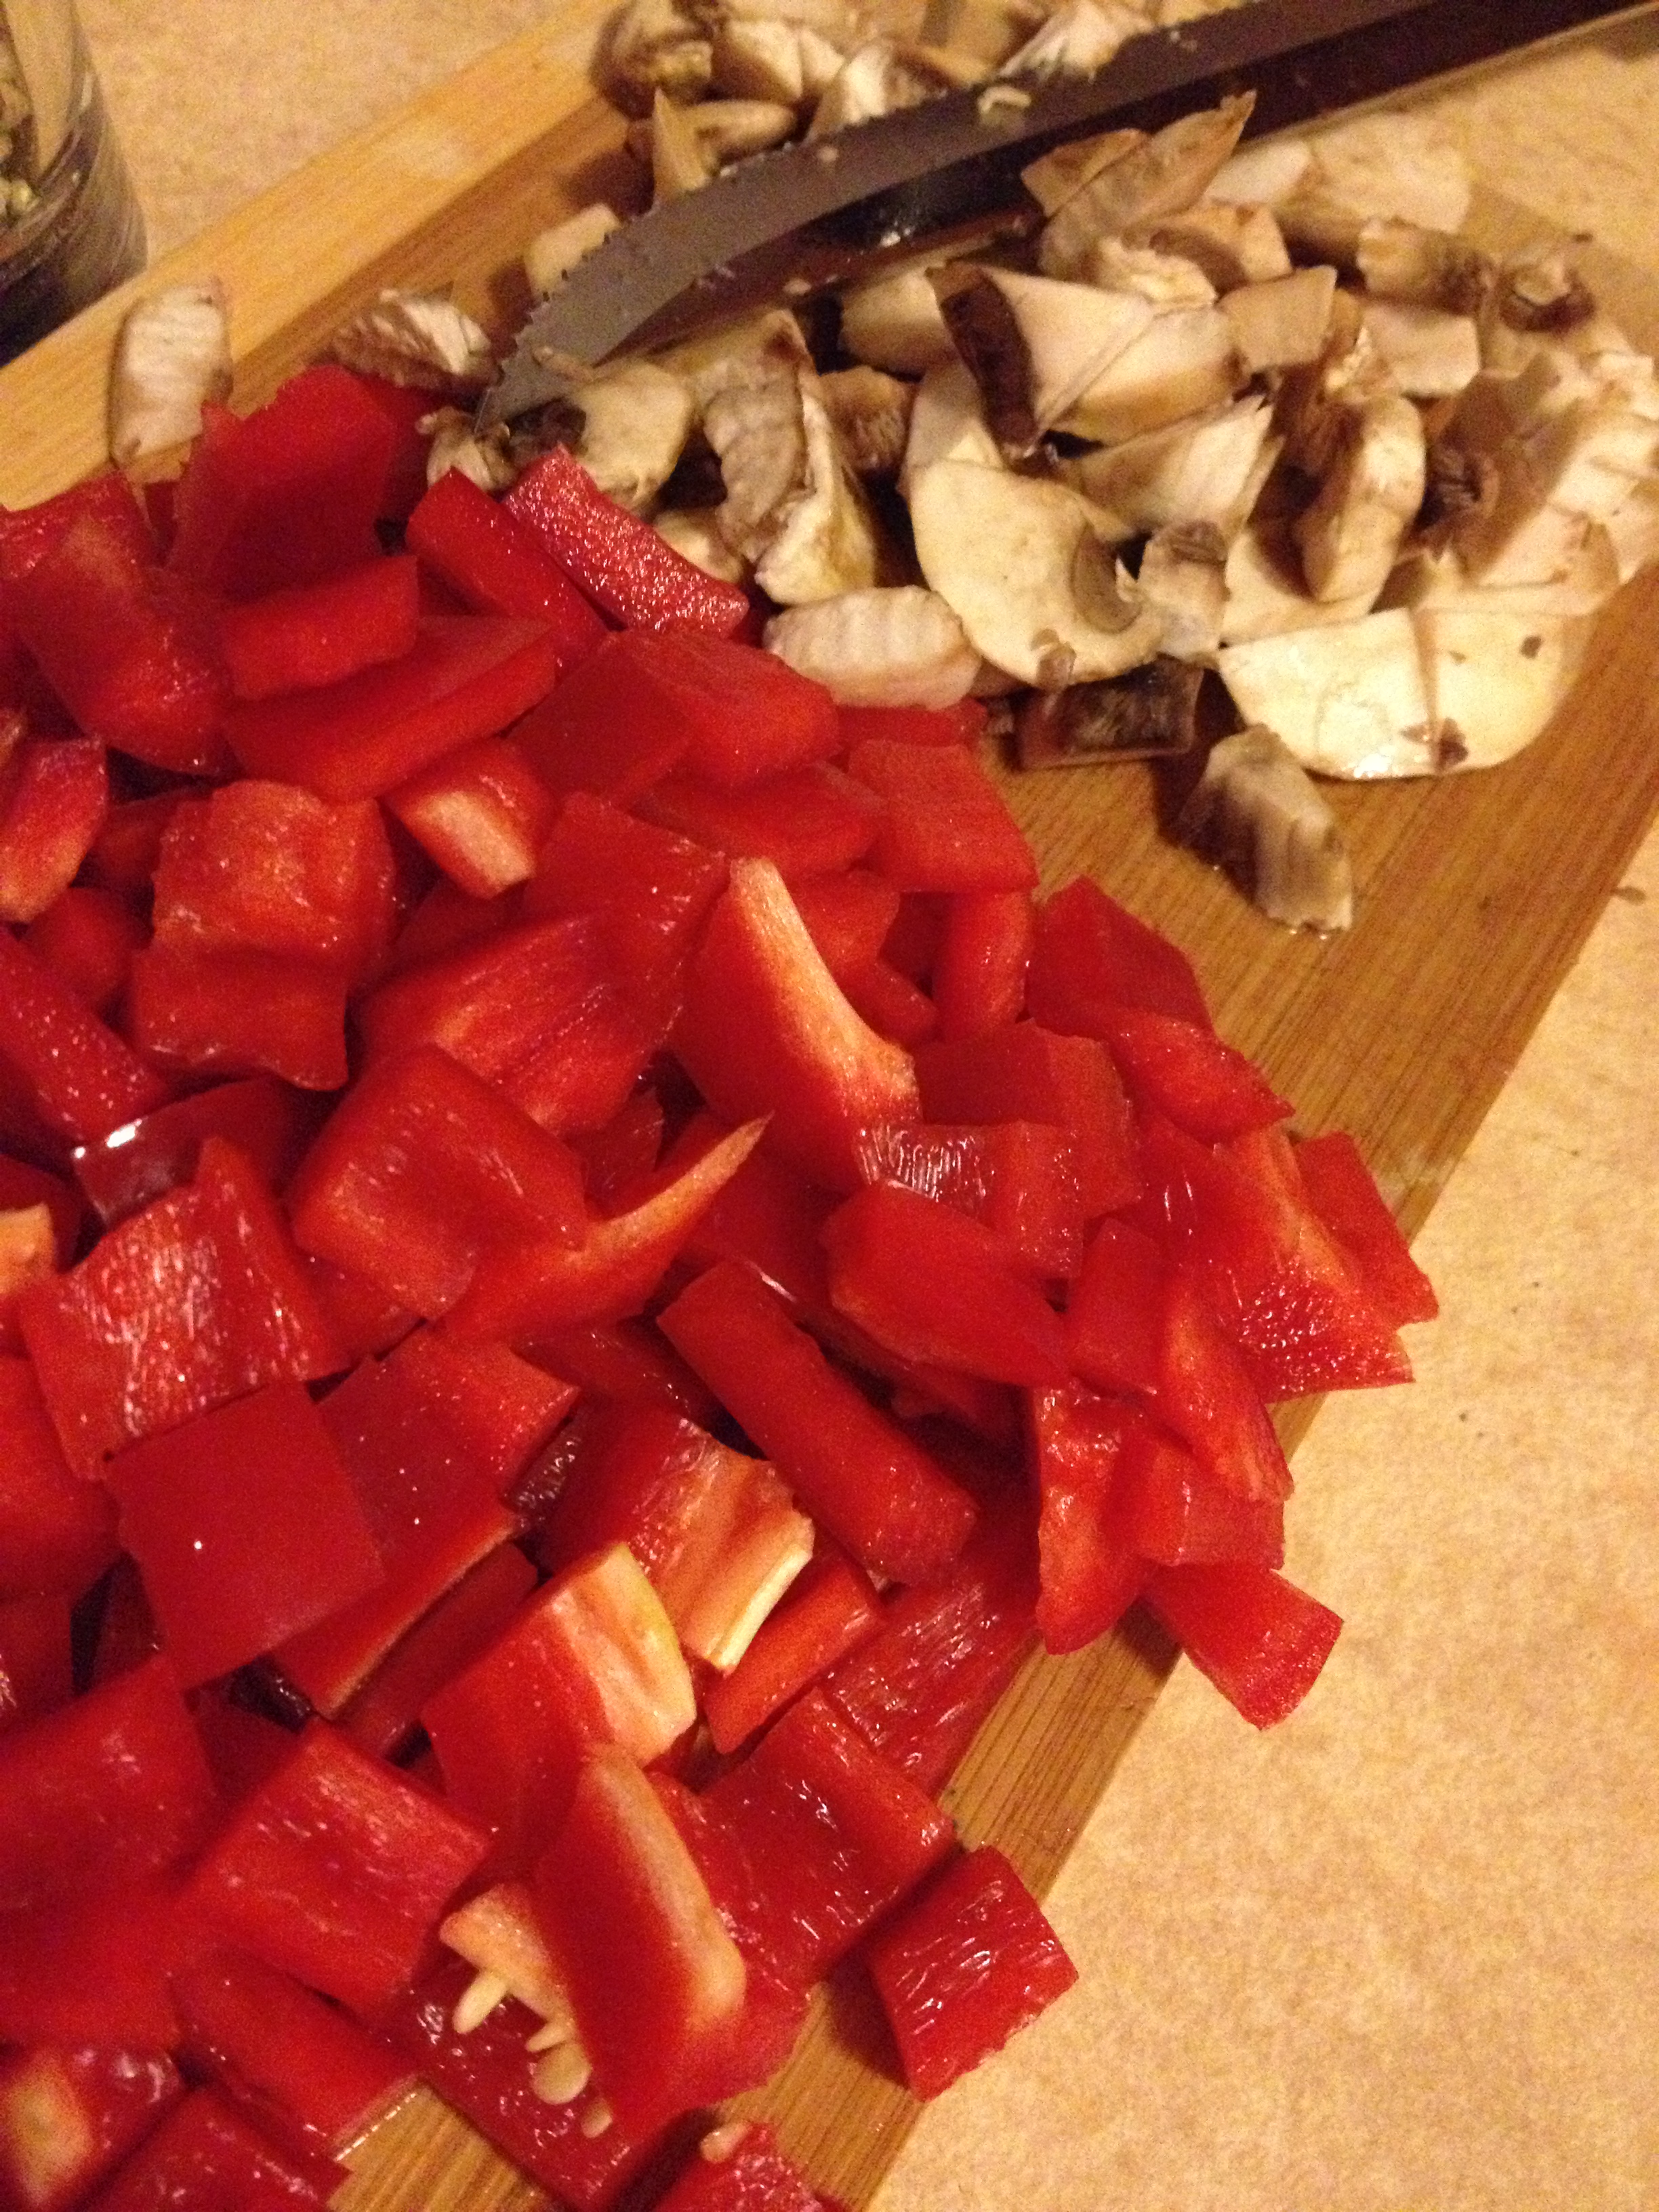
That’s one day. You can add or take from the above, with the knowledge you now have. Here are some other meals that are smart for macros:
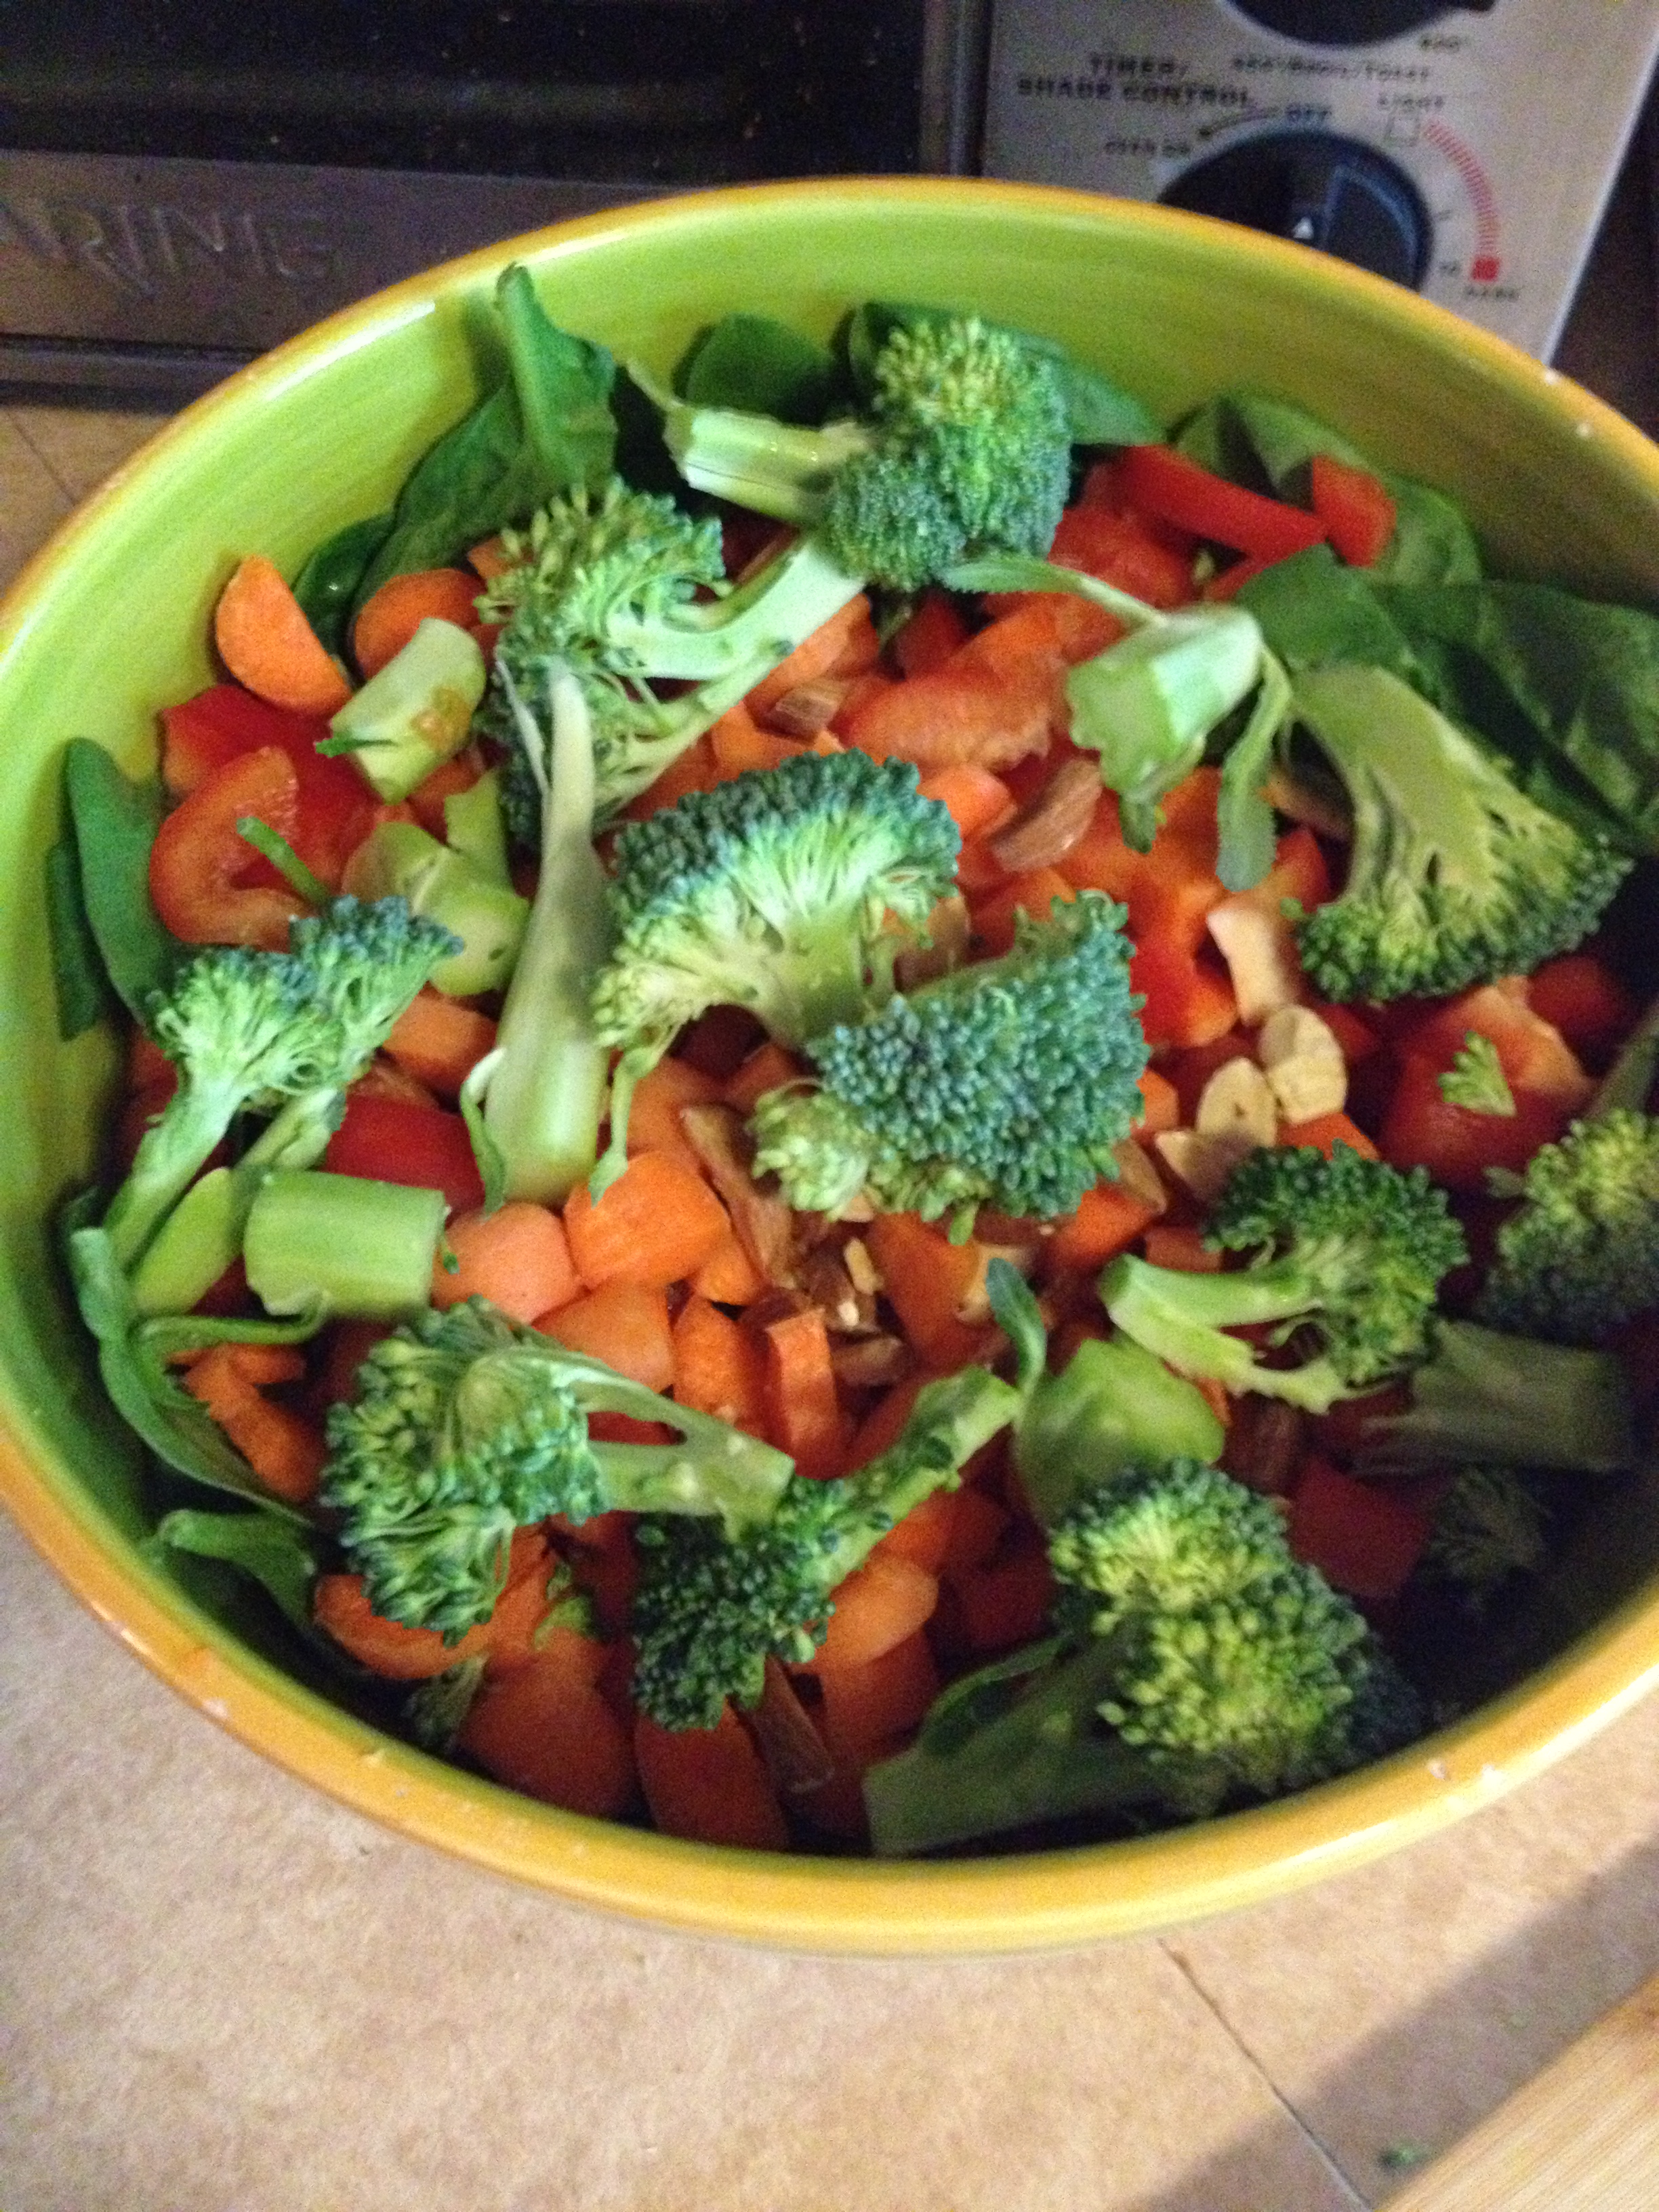
Salad
Salad

Raw veggies

Raw veggies

Alright, that’s enough picture overload. I was just saying to Chris, I may be on a strict macro diet, but eating all of this food is enjoyable. I get fish and “chips,” I get tons of yummy vegetables, I get tons of hot sauce. It really isn’t that hard. You can do it too and your body will thank you. You feel so good, light, and healthy. You aren’t starving yourself, you’re giving your body what it needs. And hey, if it fits the macros, go ahead and have an ice cream like I did during my family reunion. Clean eating is one of the best ways to stay hungry and fit!

You might also like…

BONUS KITTY PIC

Sajah hot in the apartment

Sajah hot in the apartment


spacer

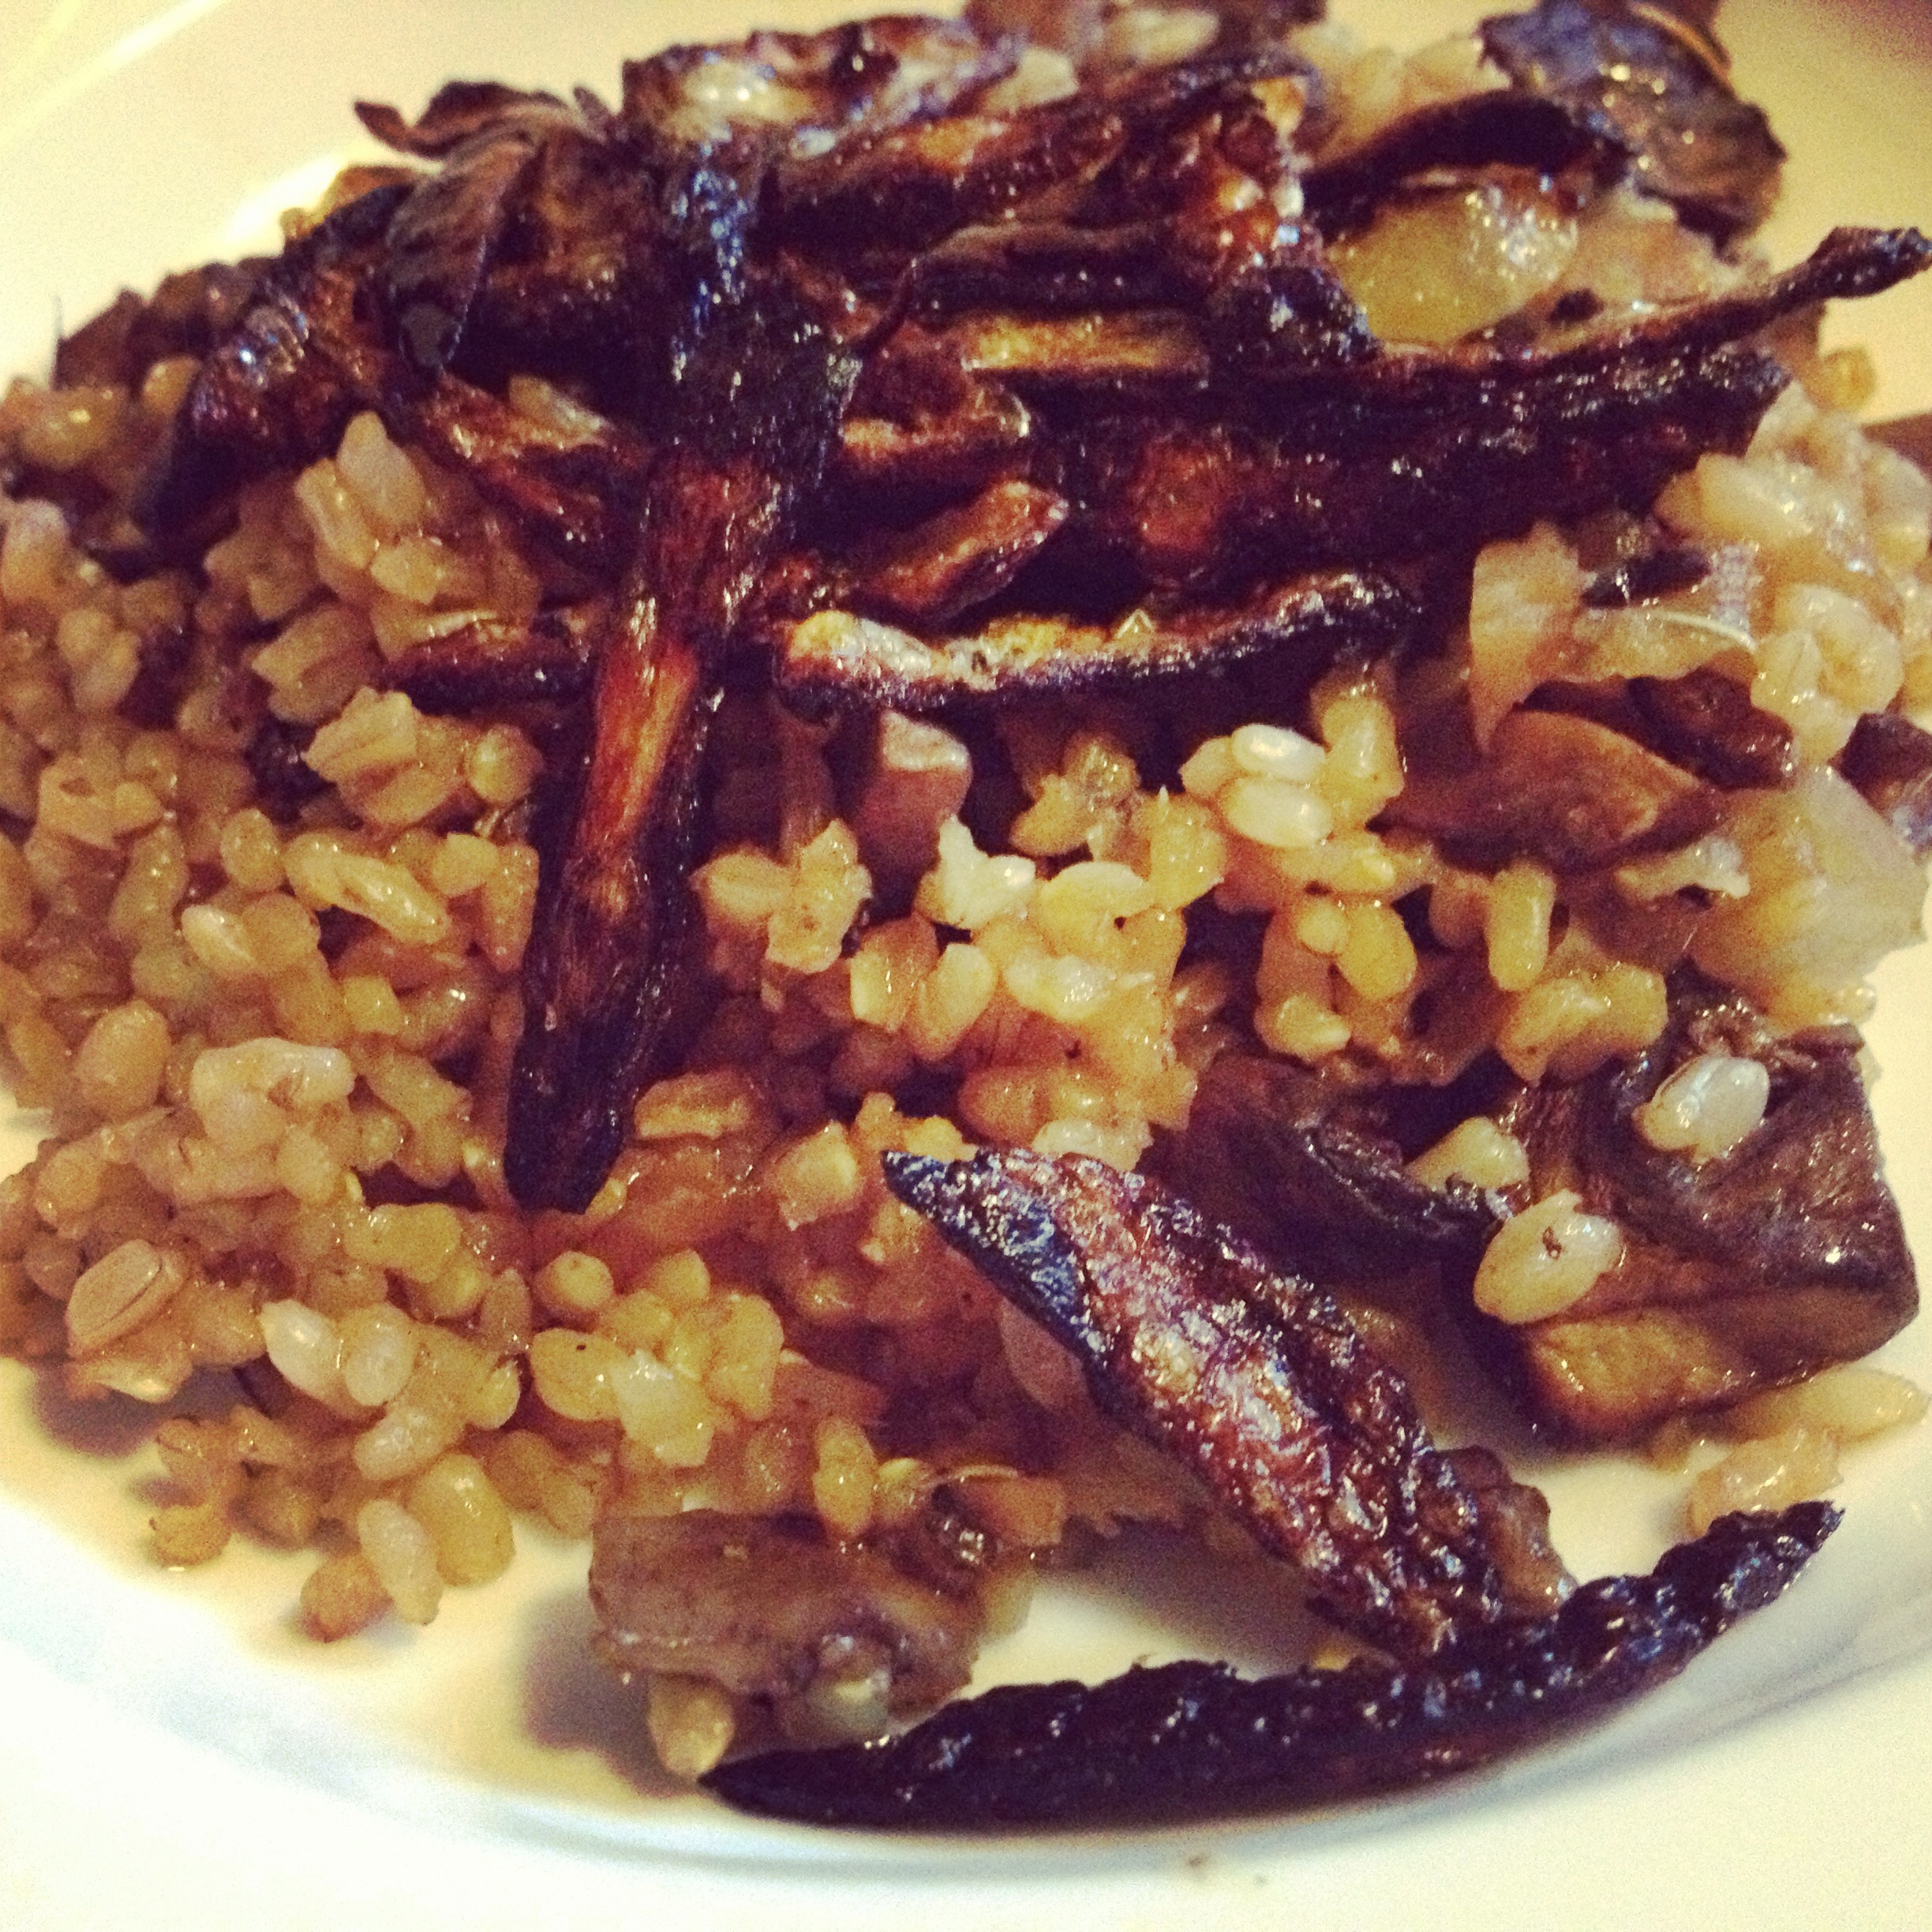
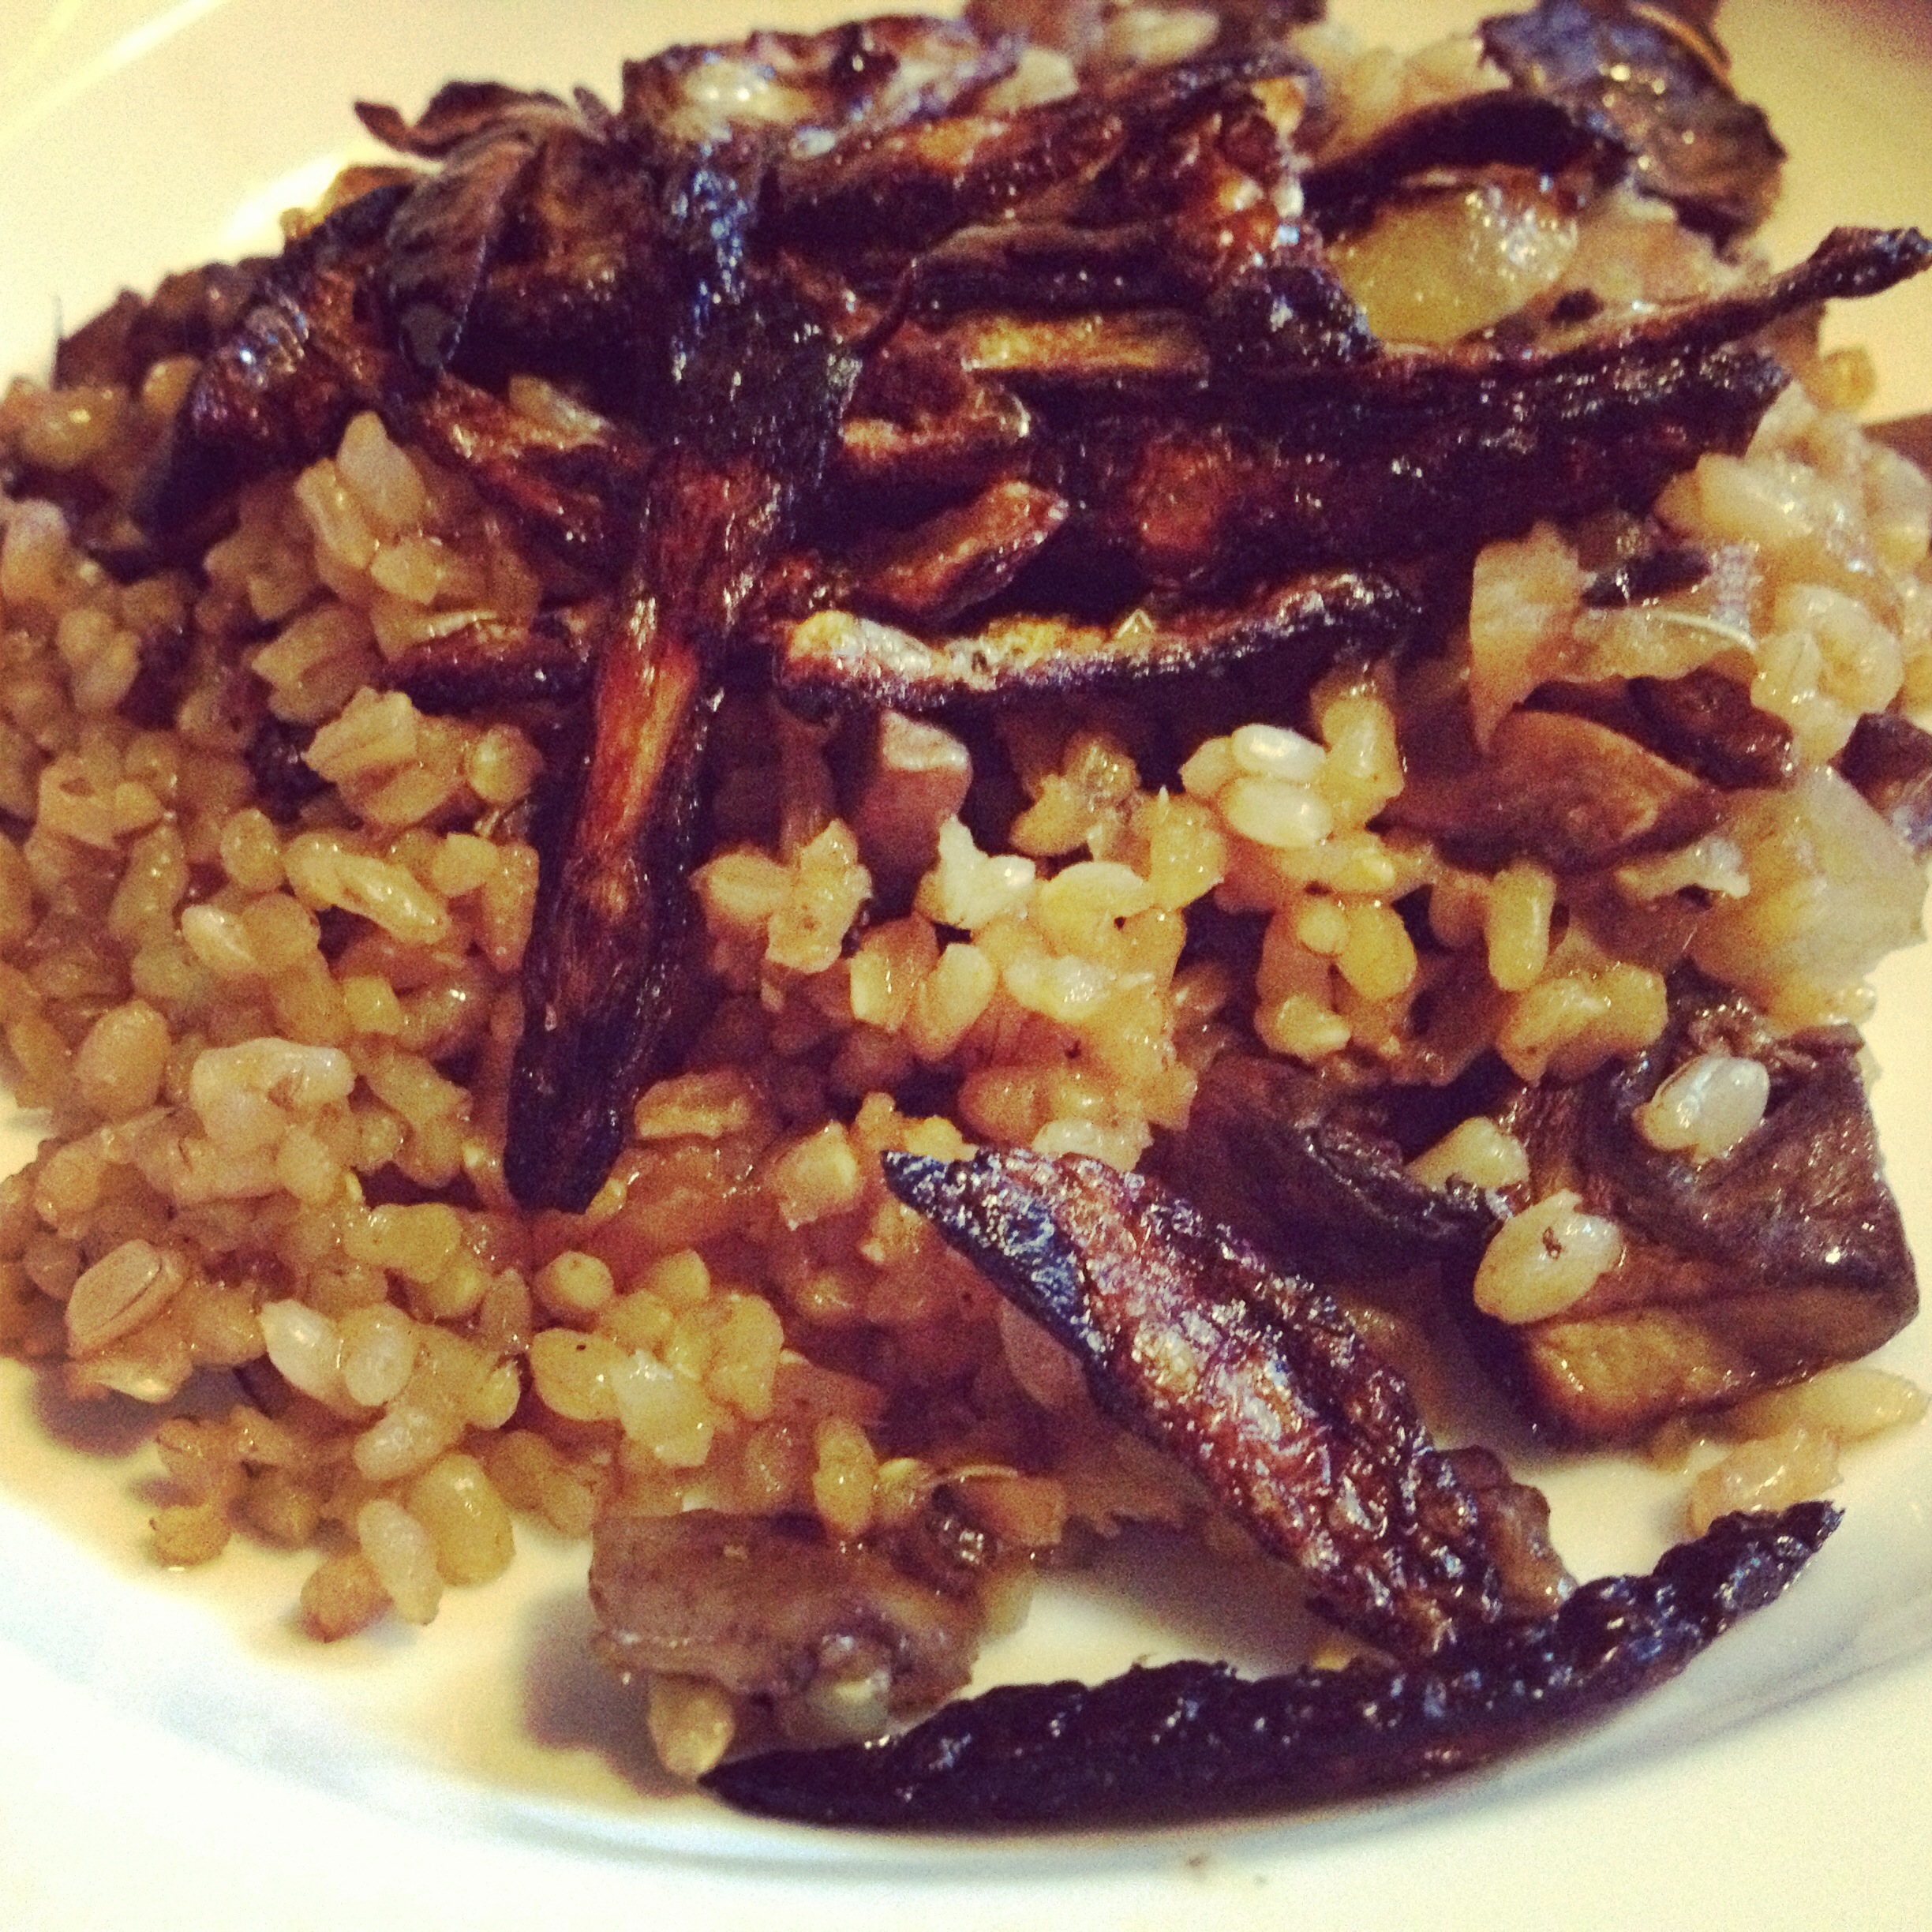
A Healthy Take on Risotto: Mushrooms and Onions Please!

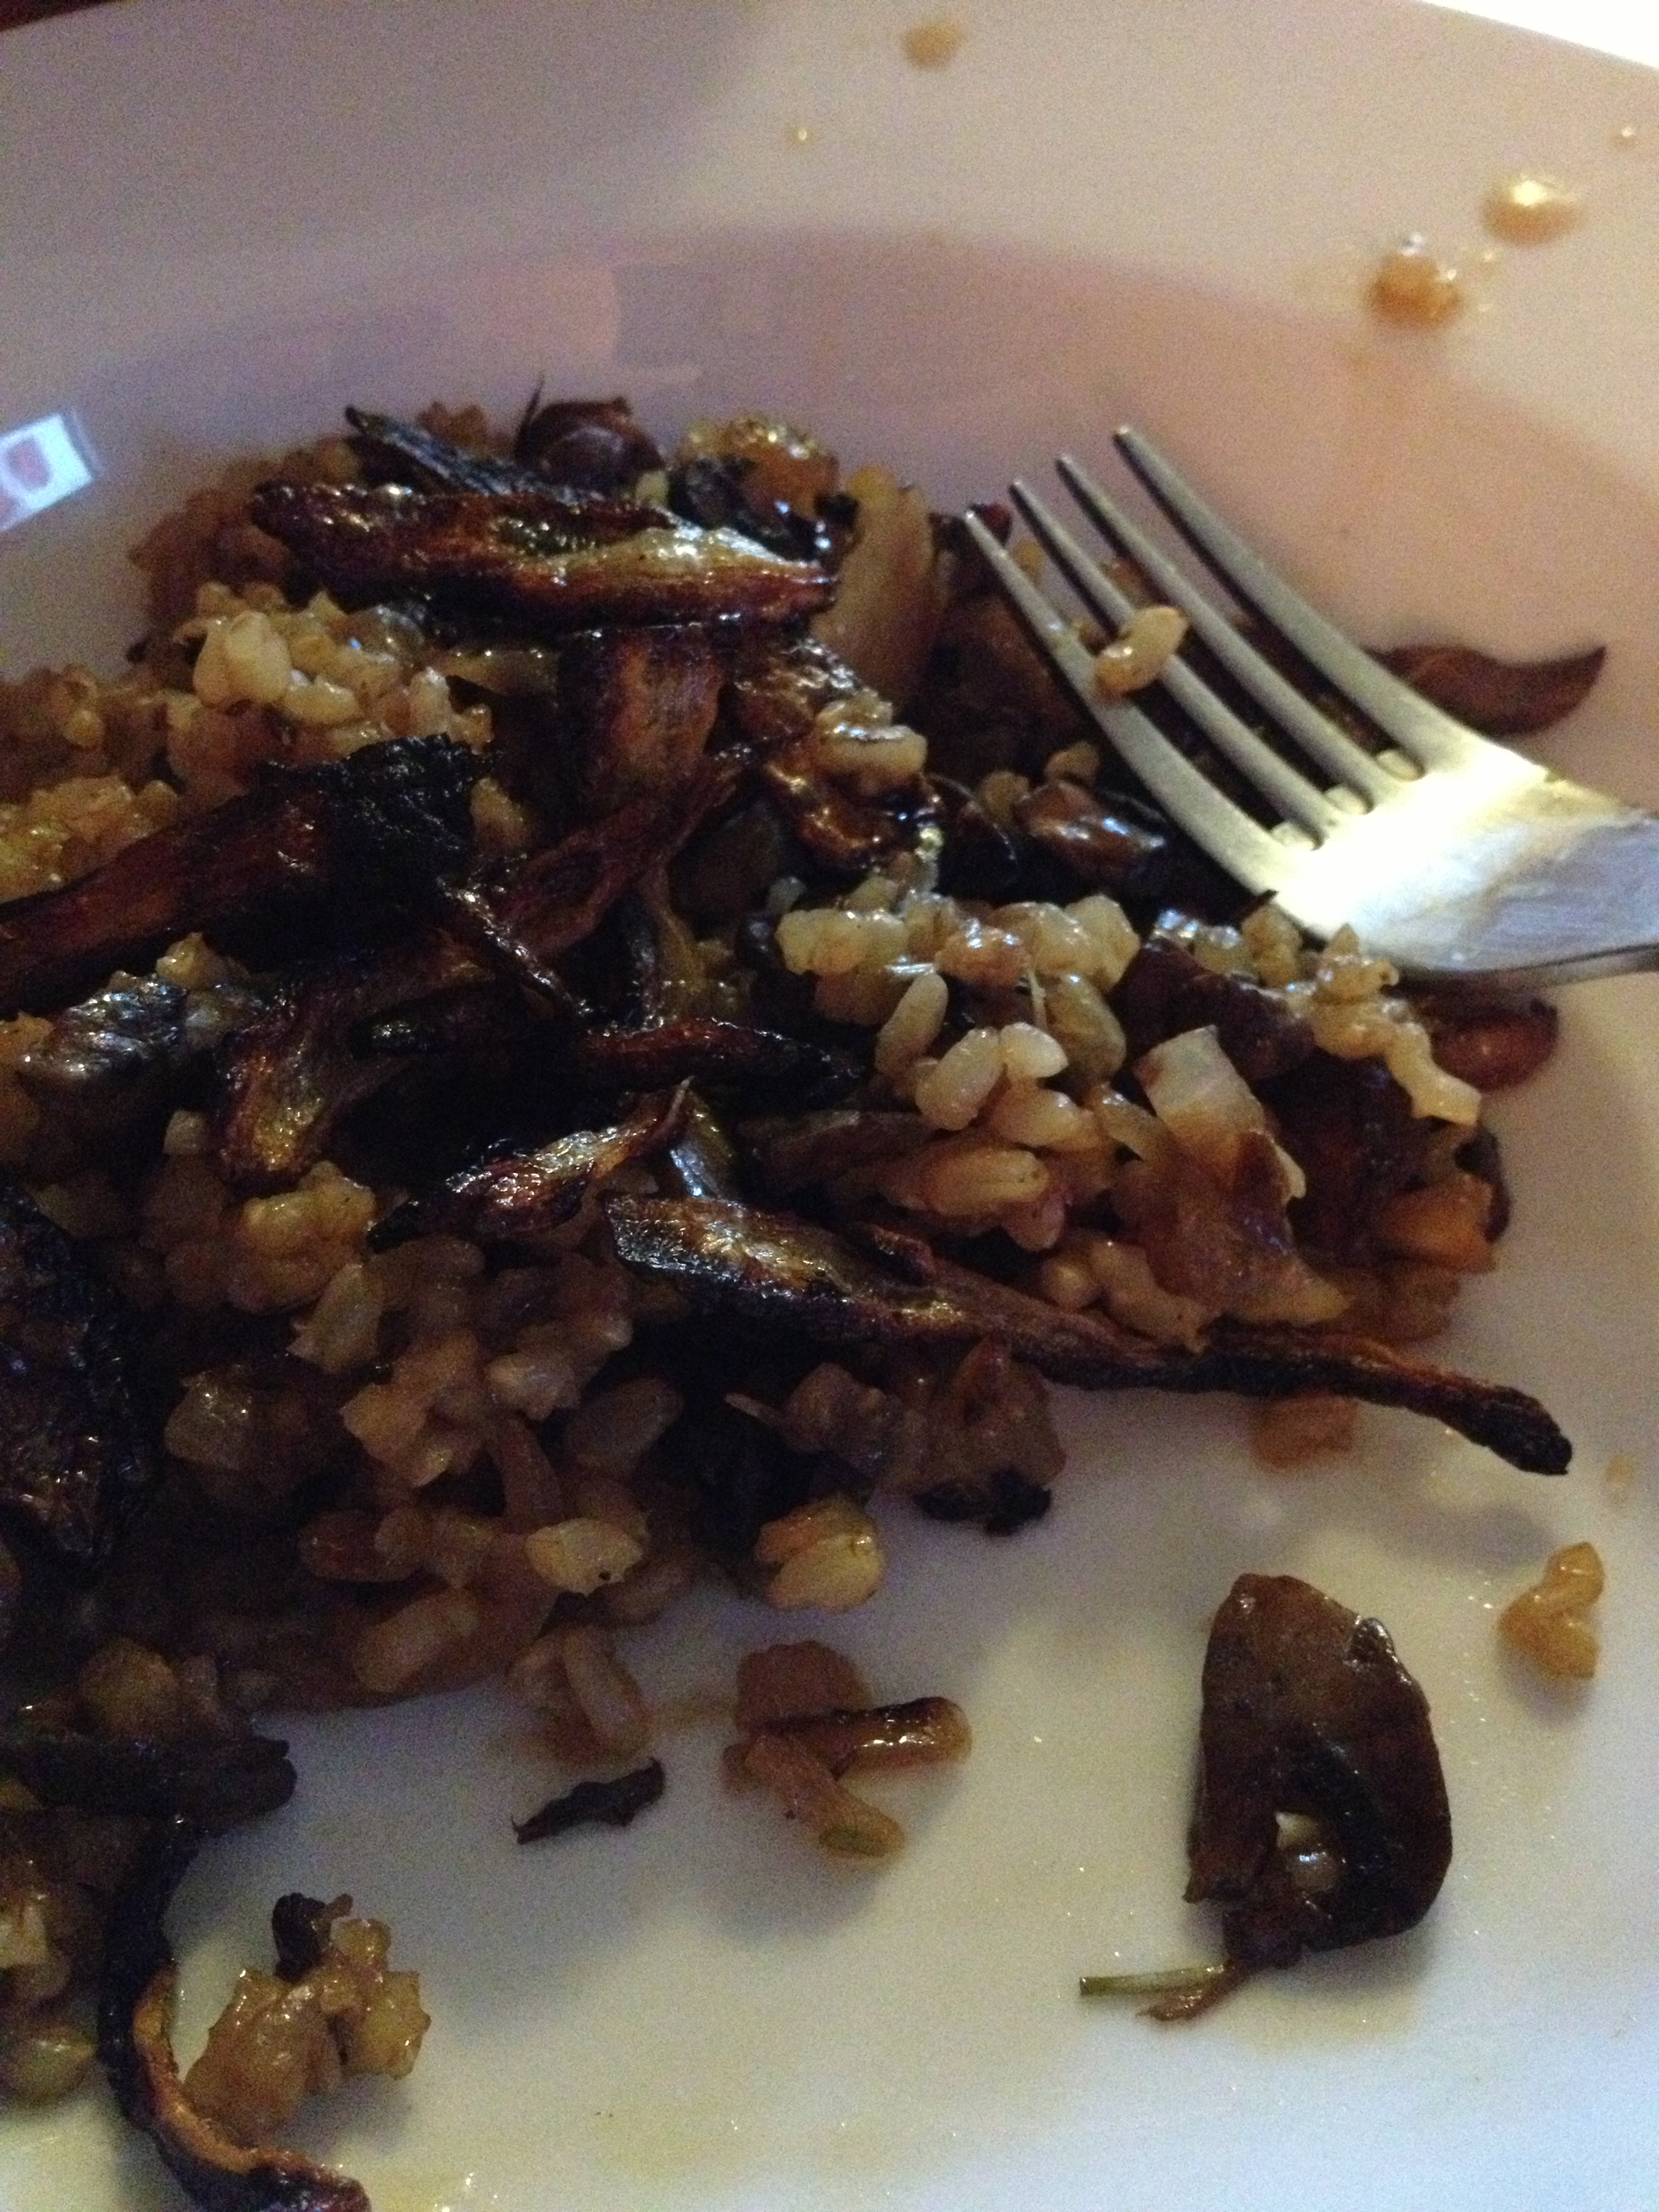
As you know, I’m in an extreme clean-eating phase right now, prepping for contest. Thus, I can’t always cook or bake what I want. I’m okay with it, I’m staying strong and working hard—and I actually enjoy the food, even though it may be bland to some. Anyhow, I found a delicious recipe that fit my macros with some to spare—without skimping on flavor. I used brown rice instead of risotto or white rice. Chris had about three servings of this—he loved it and made me promise I would cook it again. Did I mention this is vegan?

photo 3 (3)

The recipe I found here, was kind of intimidating. It was a lot of steps and different instructions for seemingly the same ingredients. However, I gave myself a good hour and next time I make it, it will take half the time. When I do something once, I learn quickly and usually adept the next time around. I learn by doing, just how I am. This recipe is extremely altered that I don’t even want to base it on that link, but that’s what inspired me. I can’t say I’m a genius, because I don’t come up with ways to make it better, I am just making do with ingredients I have (or don’t have). Alright, let’s get started.
  • Prep Time: 25-45 minutes
  • Cooking Time: 35 minutes
  • Serves: 4 normal people (for us—fed me and Chris…3 servings)

Ingredients

  • 1.5- 2 cups cooked brown rice
  • 2 cups vegetable broth
  • 1 yellow onion
  • 1 package brown mushrooms
  • 2 tablespoons olive oil
  • 1 teaspoon dried rosemary (use fresh if you can)
  • as much garlic as you want (I used elephant garlic, so…A TON)
  • 2 tablespoons balsamic vinegar
  • 2 cups boiling water
  • ½ cup dry white wine
  • salt & pepper

Directions

  • Pre-heat oven to 300 degrees F
  • Cut your onion in half. Put one half to the side and leave one half on cutting board.
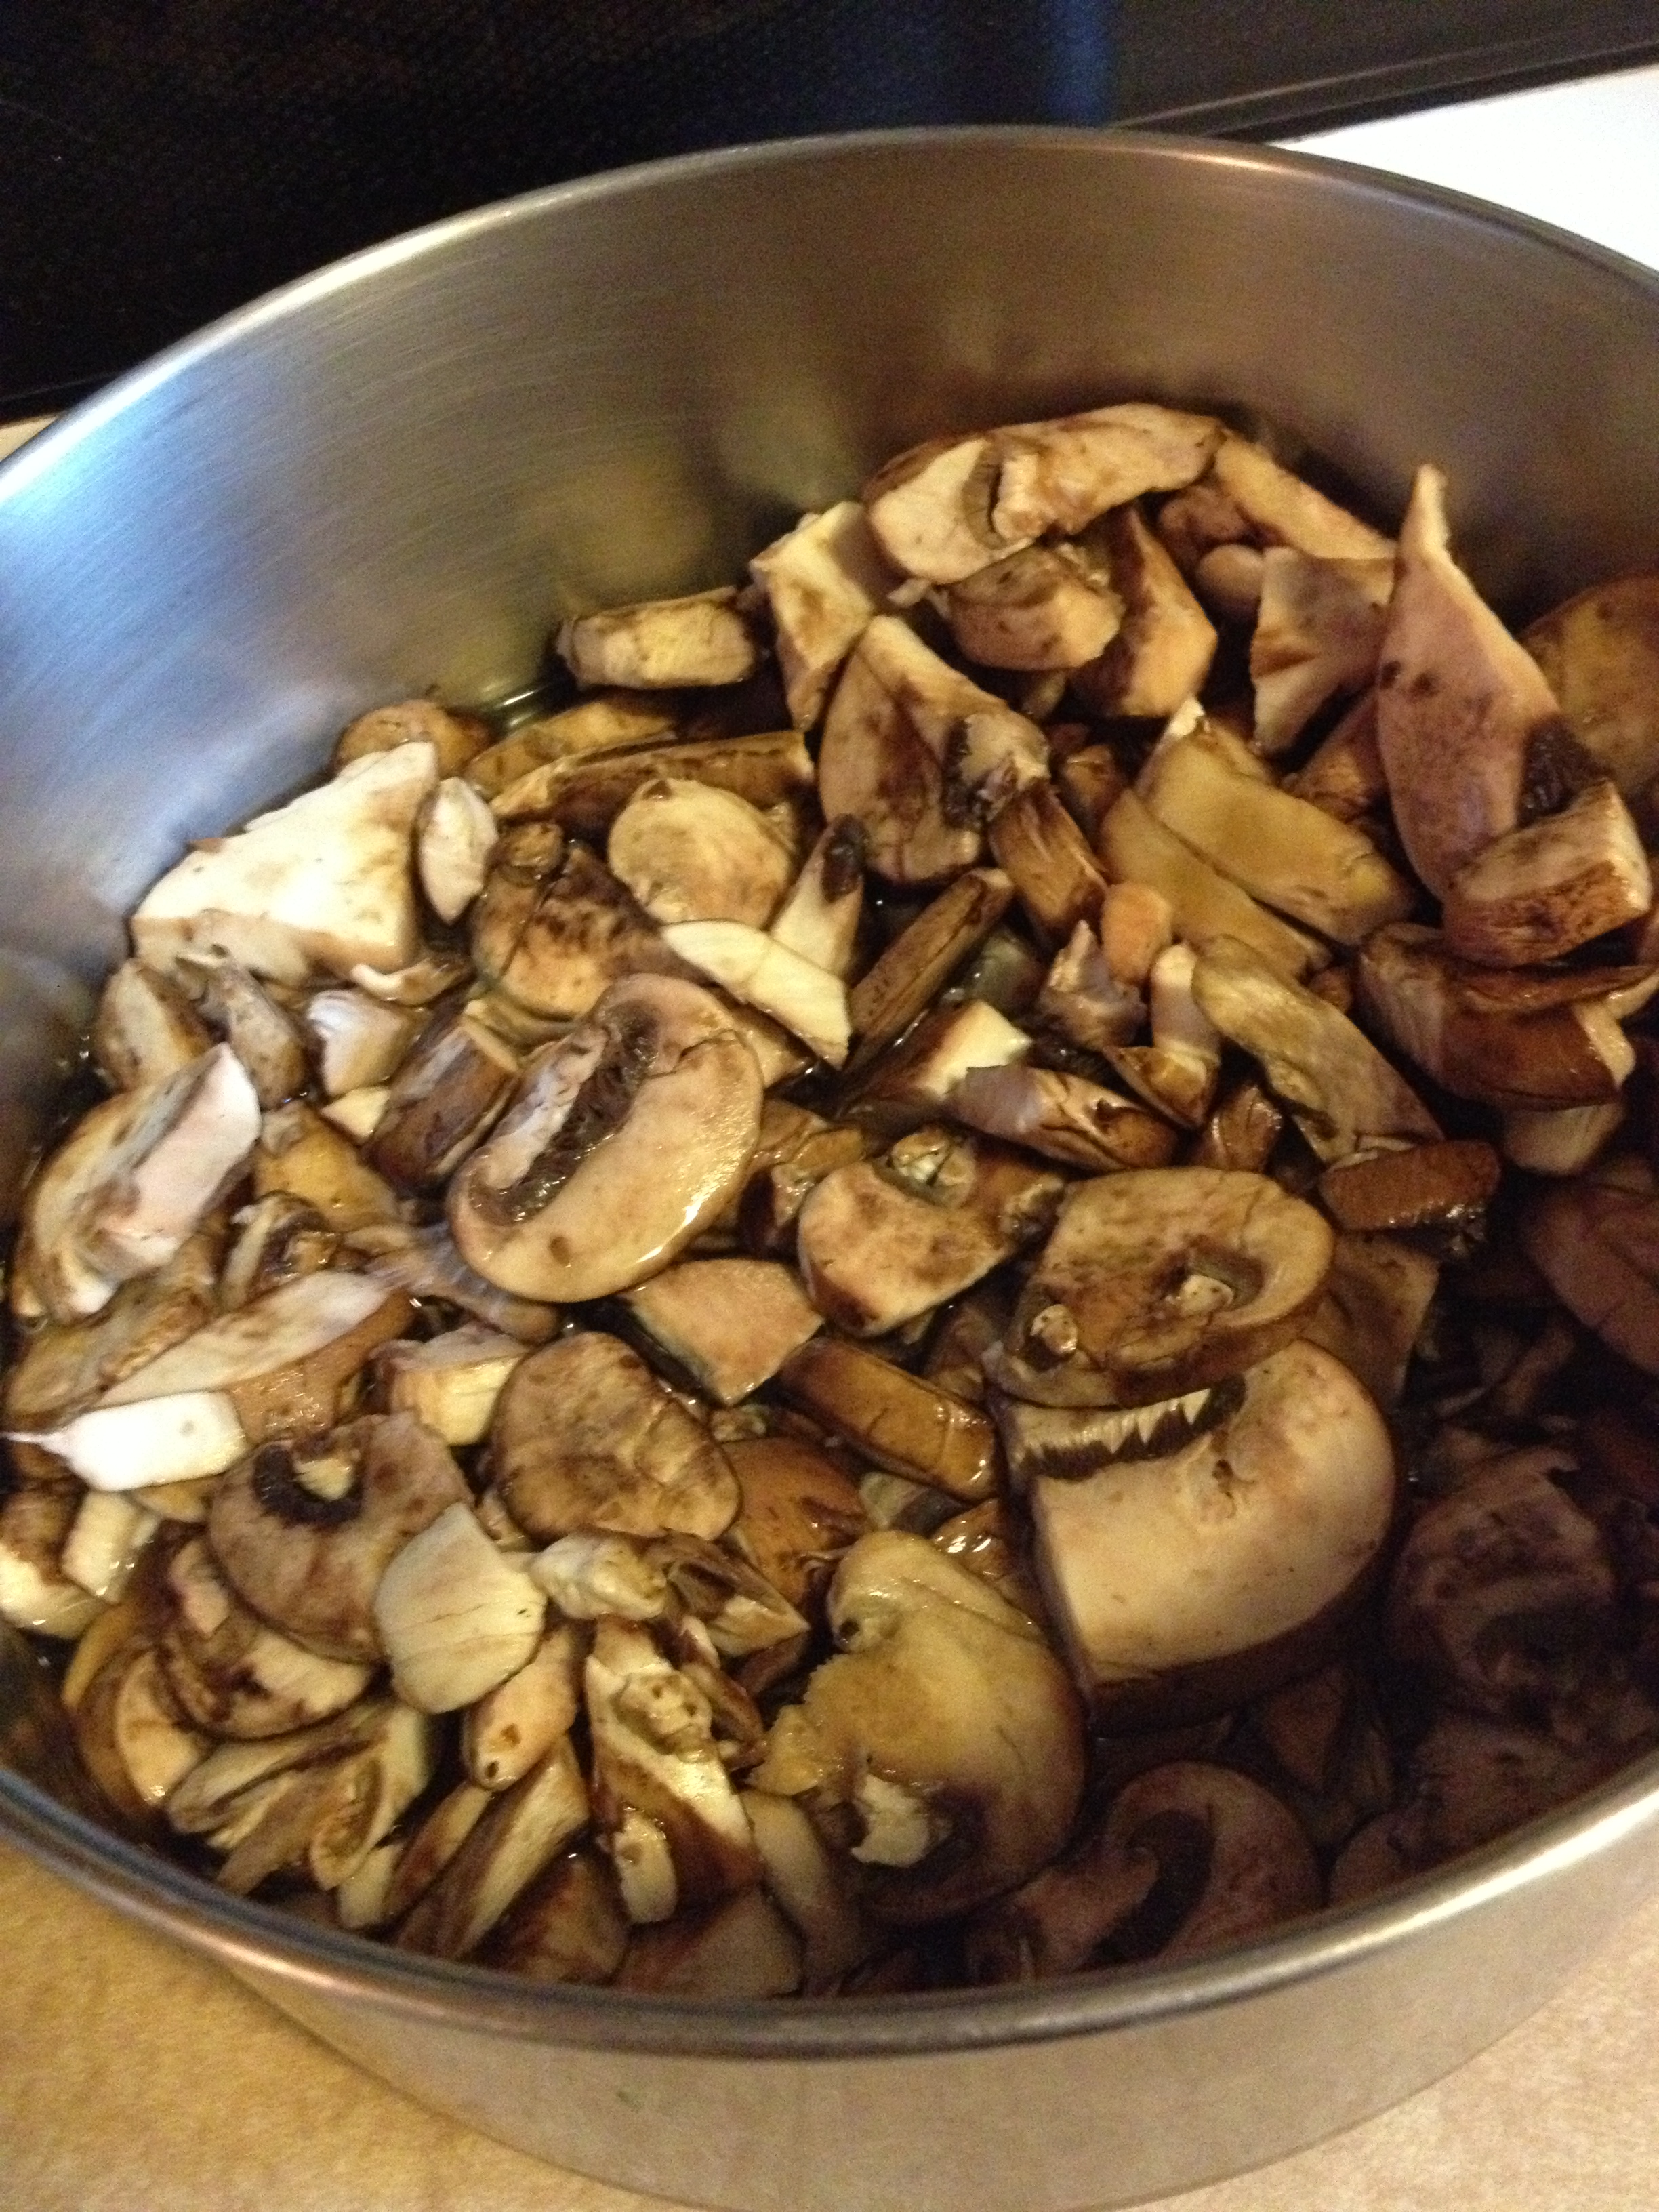
  • Slice up your mushrooms and clean them. Put them into a hot-water-proof bowl and pour the boiling water on top.
Steeping mushrooms

Steeping mushrooms

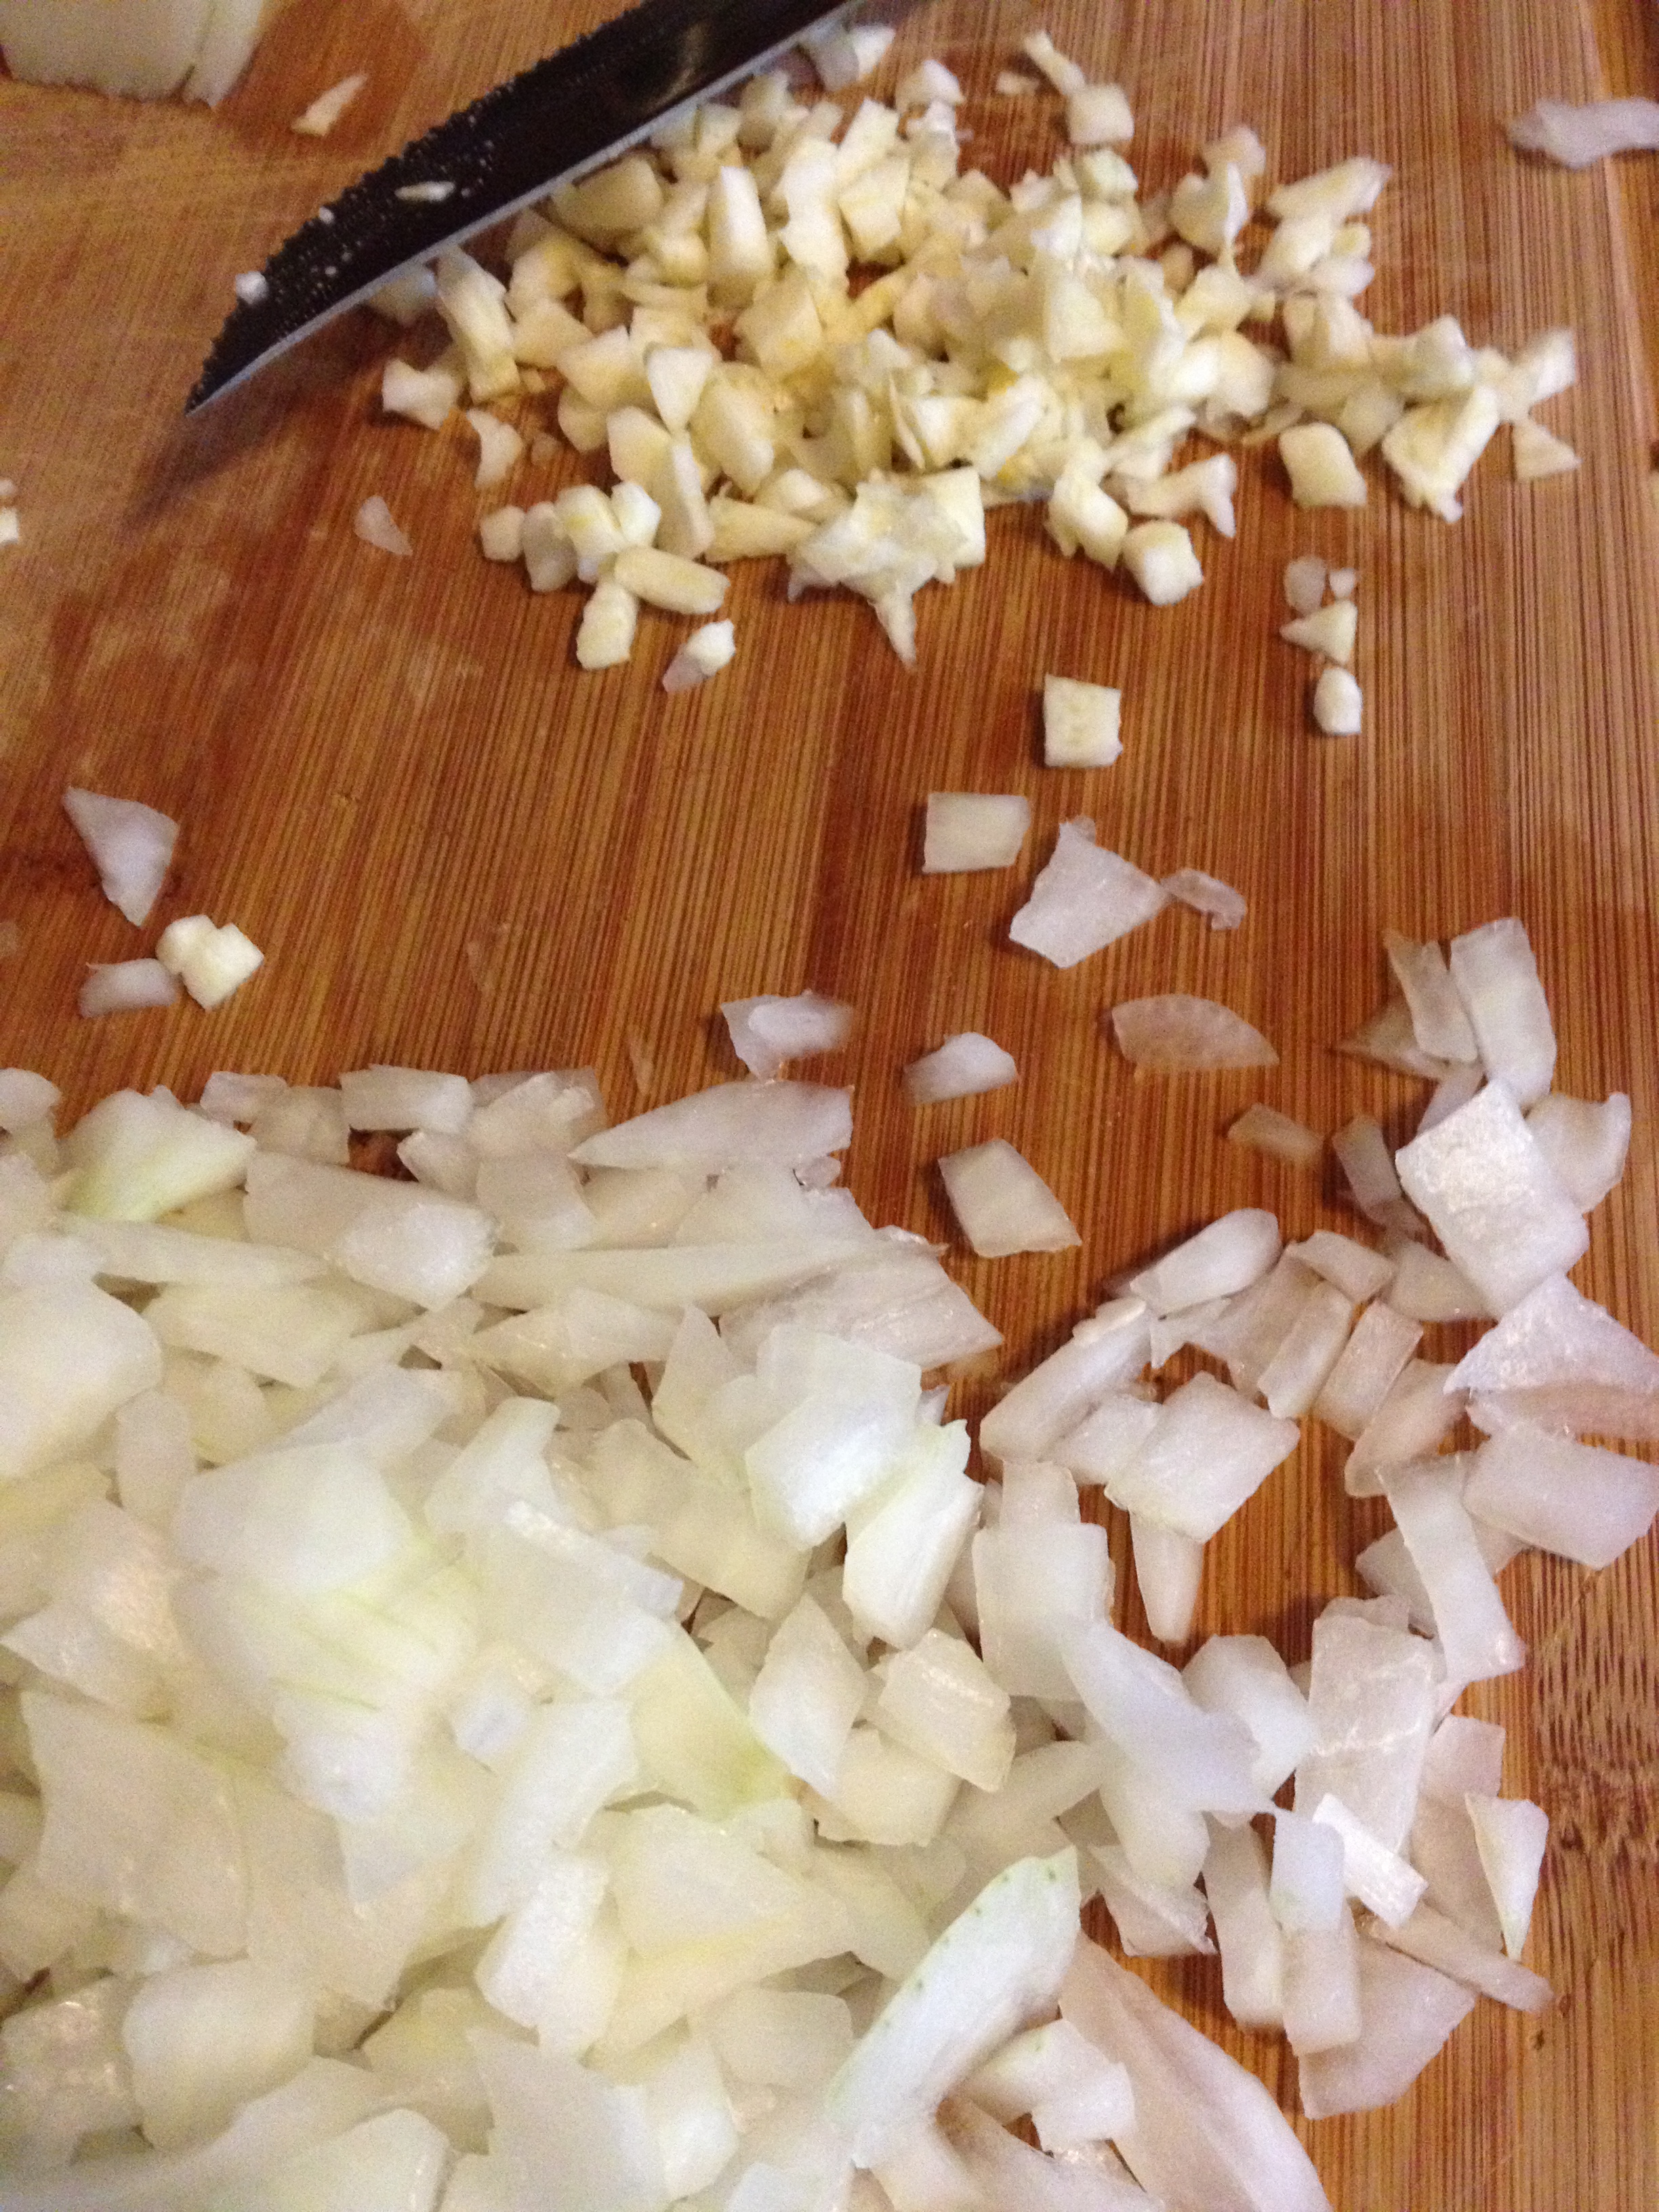
  • Turn to the half of the onion on your cutting board and dice it up into little pieces. Mince or cut your garlic here too. What better combination than this?
Chop chop chop

Chop chop chop

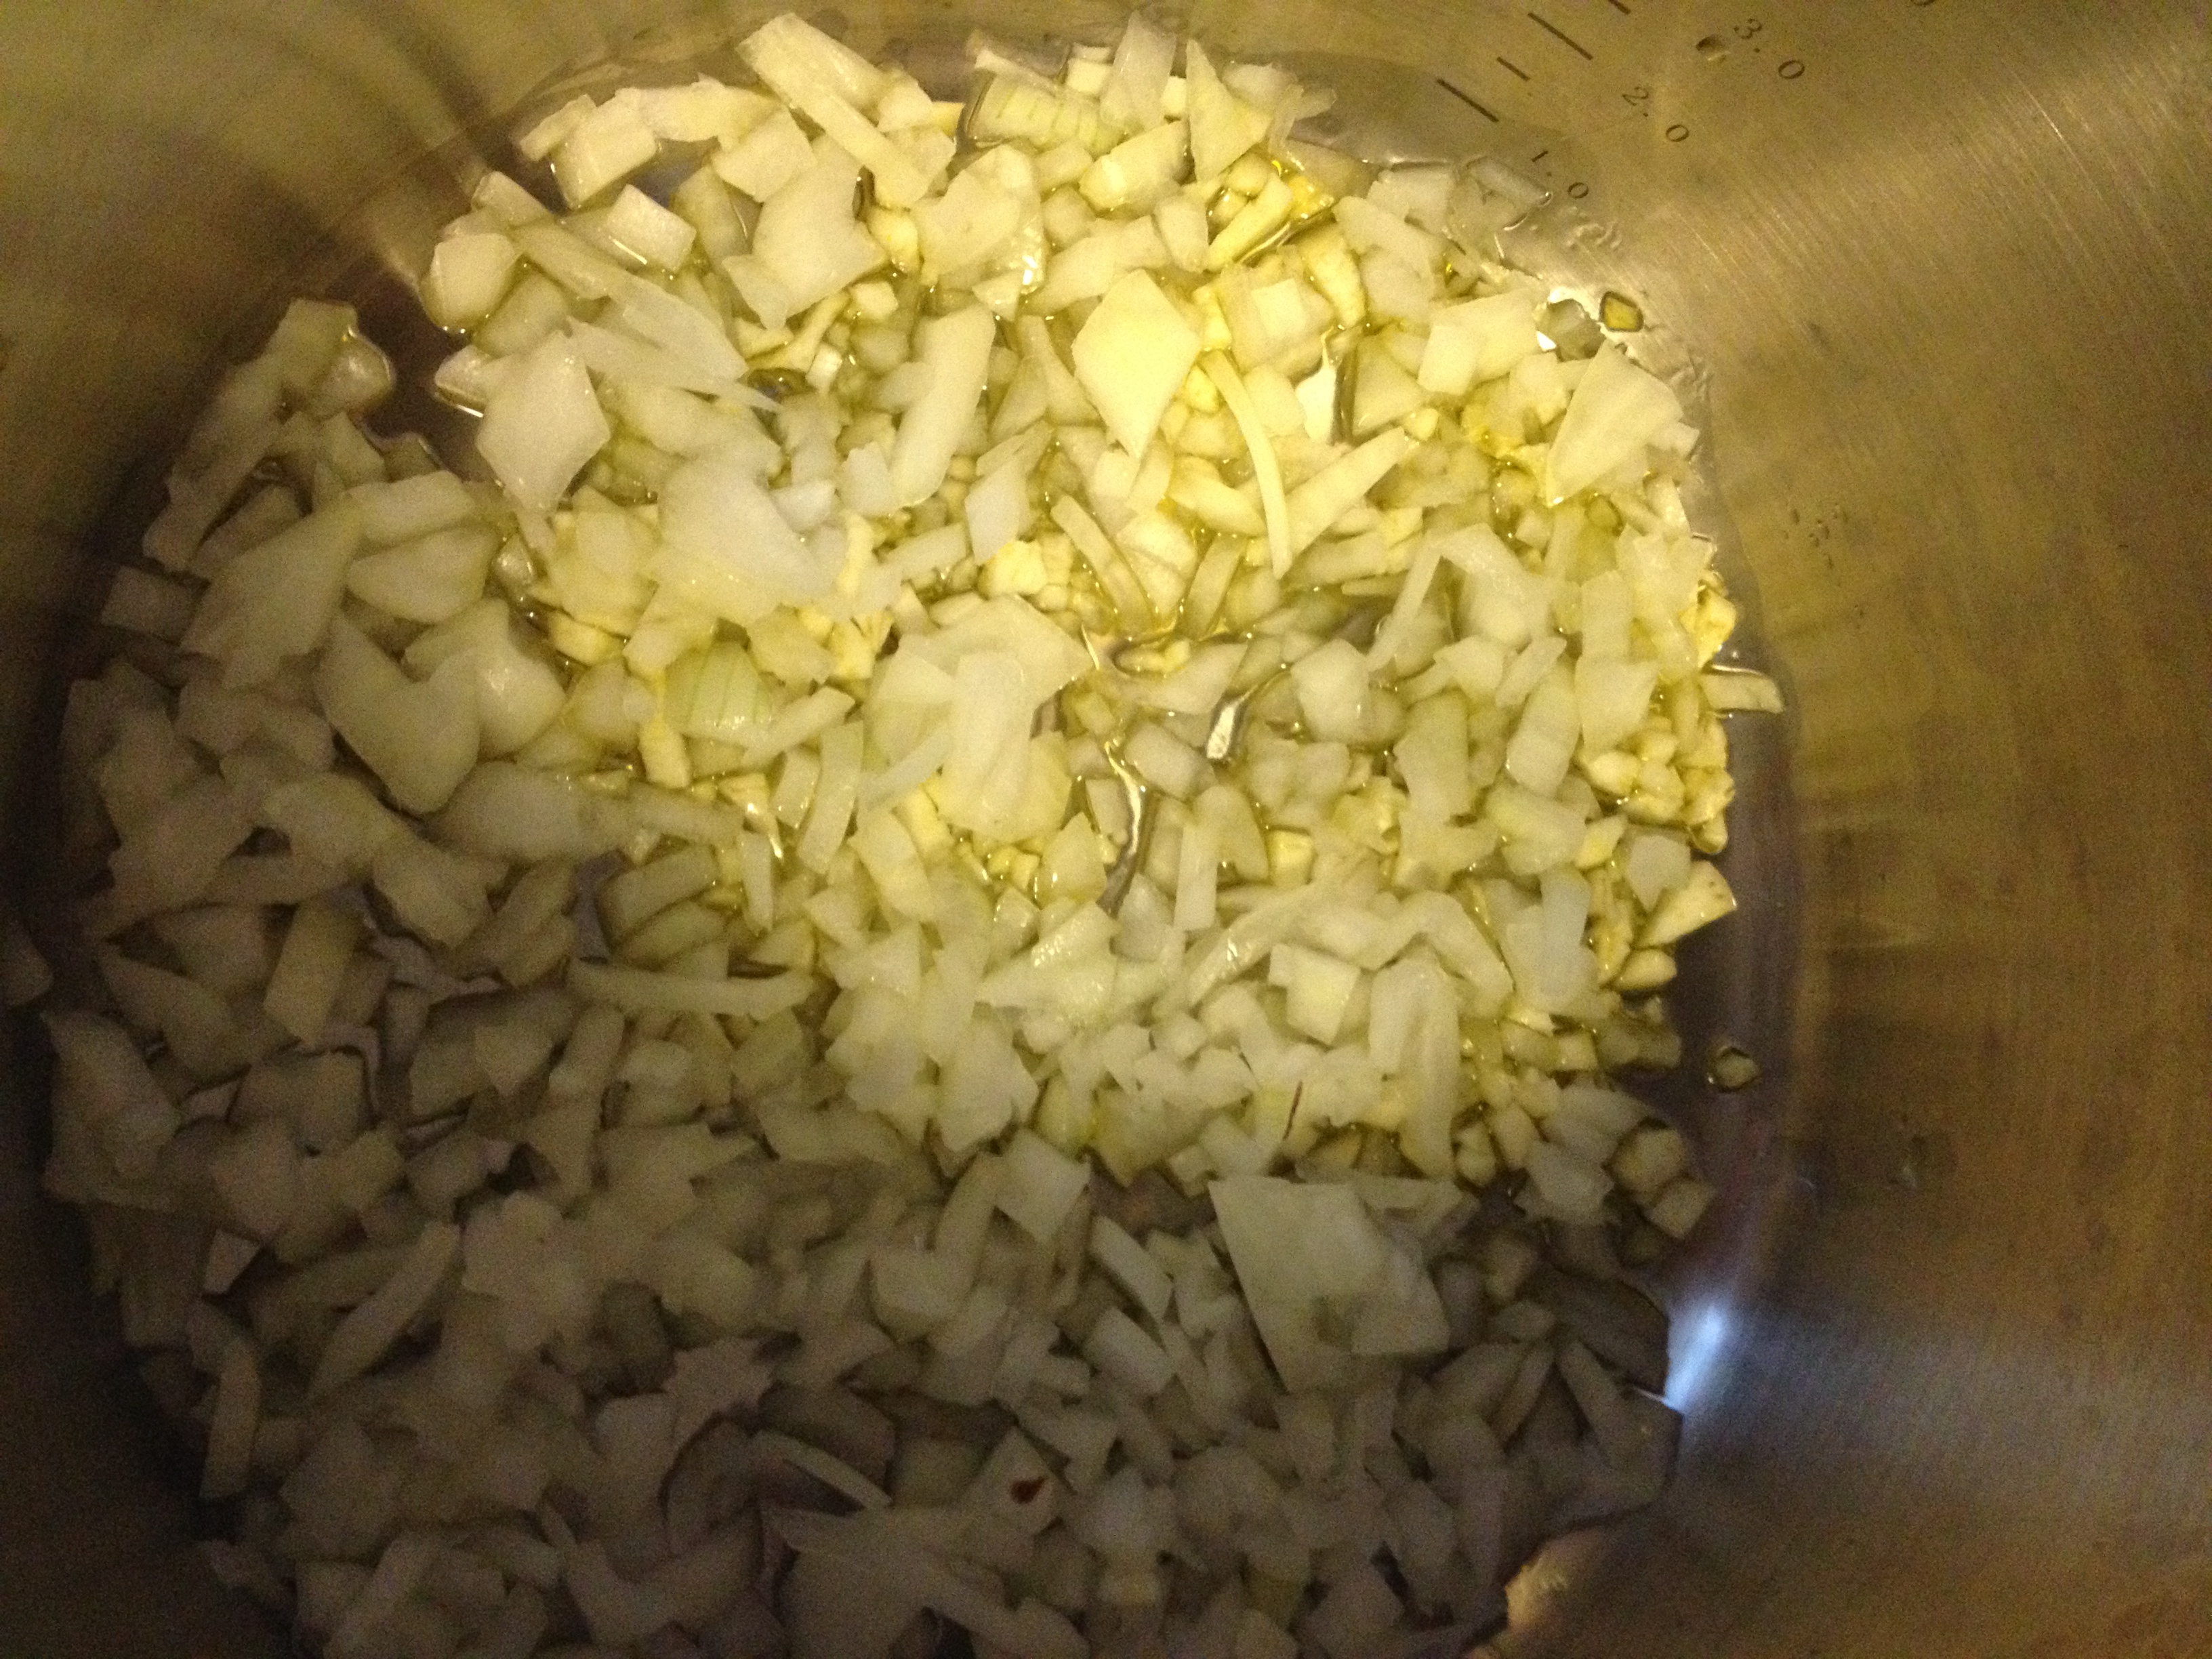
  • Get a deep pot ready—one that can go into an oven. Heat the two tablespoons of oil in the pot on medium heat. Put the diced onions and garlic in. Cook for 8 minutes or until nice and soft. ENJOY THAT SMELL.
Best smell ever

Best smell ever

  • Drain the steeping mushrooms but save the liquid!
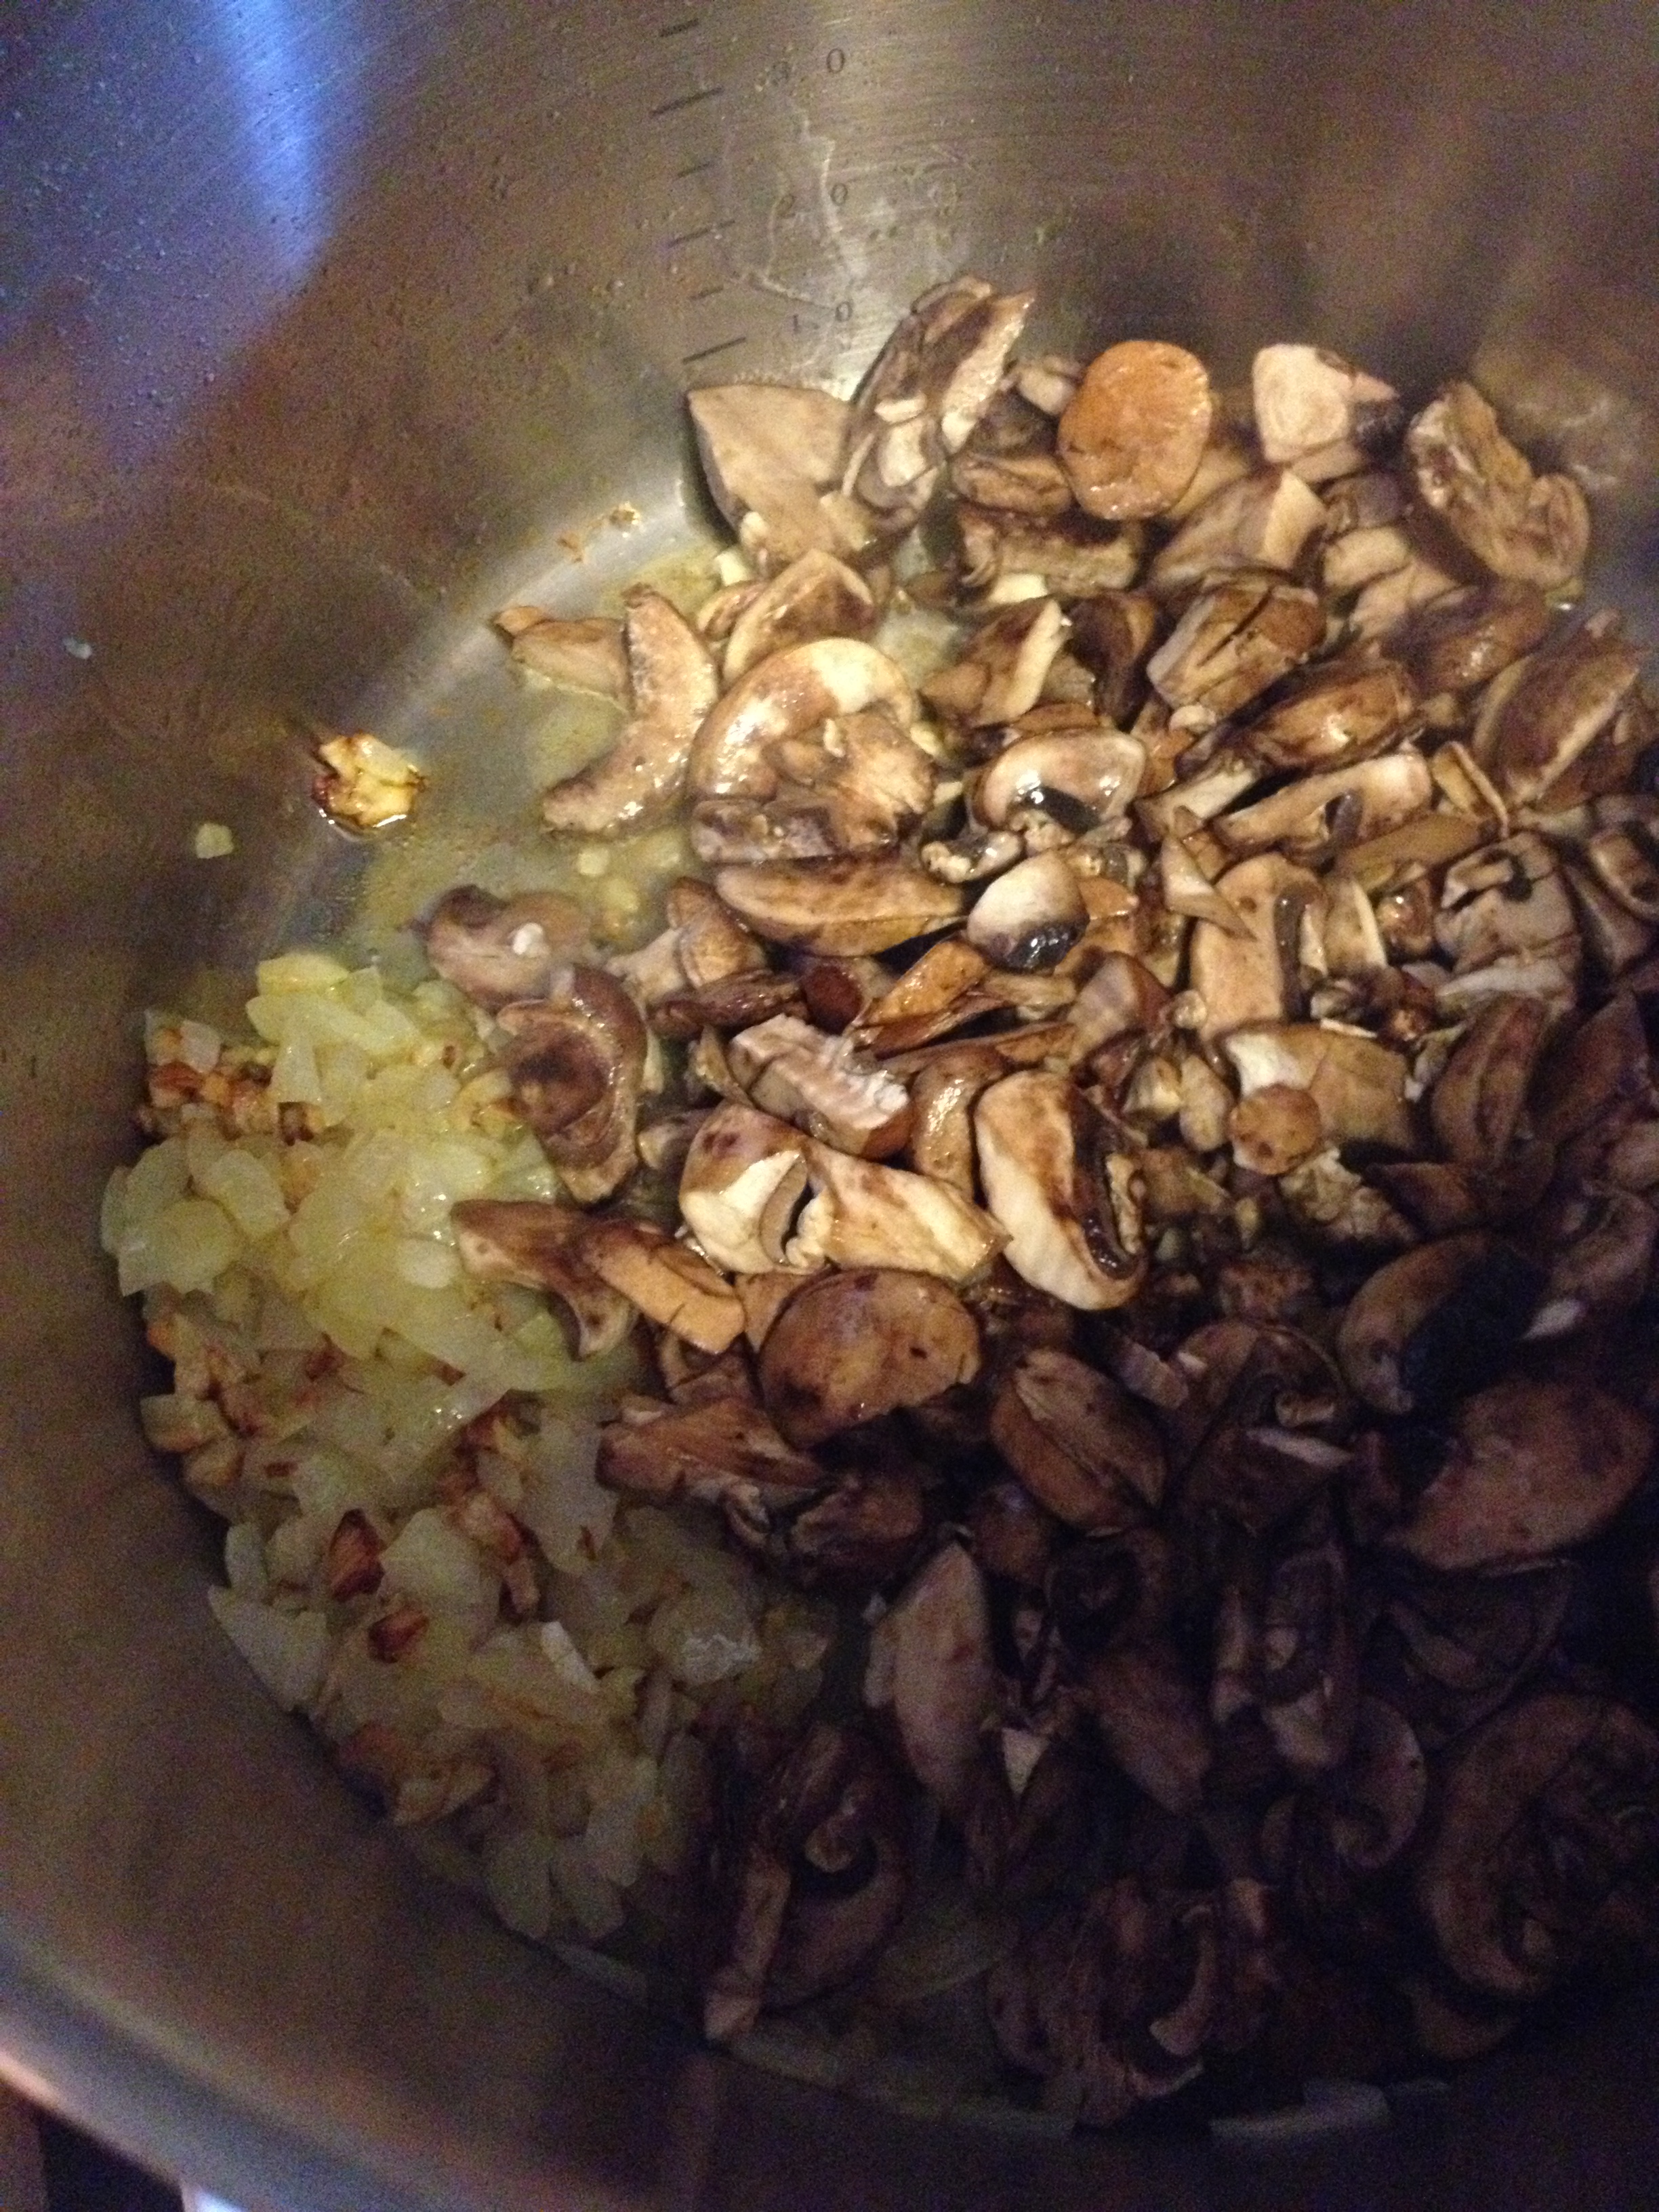
  • Push the onions in the pot to the side, turn on medium-high heat, and put the mushrooms in. Do not stir. Let them cook for 5 minutes and then turn them over, doing the same no-stirring and let cook on this side for 5 minutes. If a crust forms, that’s totally okay—kinda what you want.
  • Add in the rosemary, stirring so it gets in the mushrooms and onions.

photo 4 (2)

  • Add in the brown rice and let cook for 4 minutes

photo 1 (6)

  • Turn the heat to high and add the white wine, vegetable broth, balsamic vinegar, and steeped mushroom liquid

photo 2 (4)

photo 5 (1)

Mushroom liquid

  • Mix around and get anything sticking to the pot up and off
  • Mix in salt and pepper to taste

photo 3 (4)

  • Bring to a boil, put on a lid, and then put into the oven for 35 minutes.
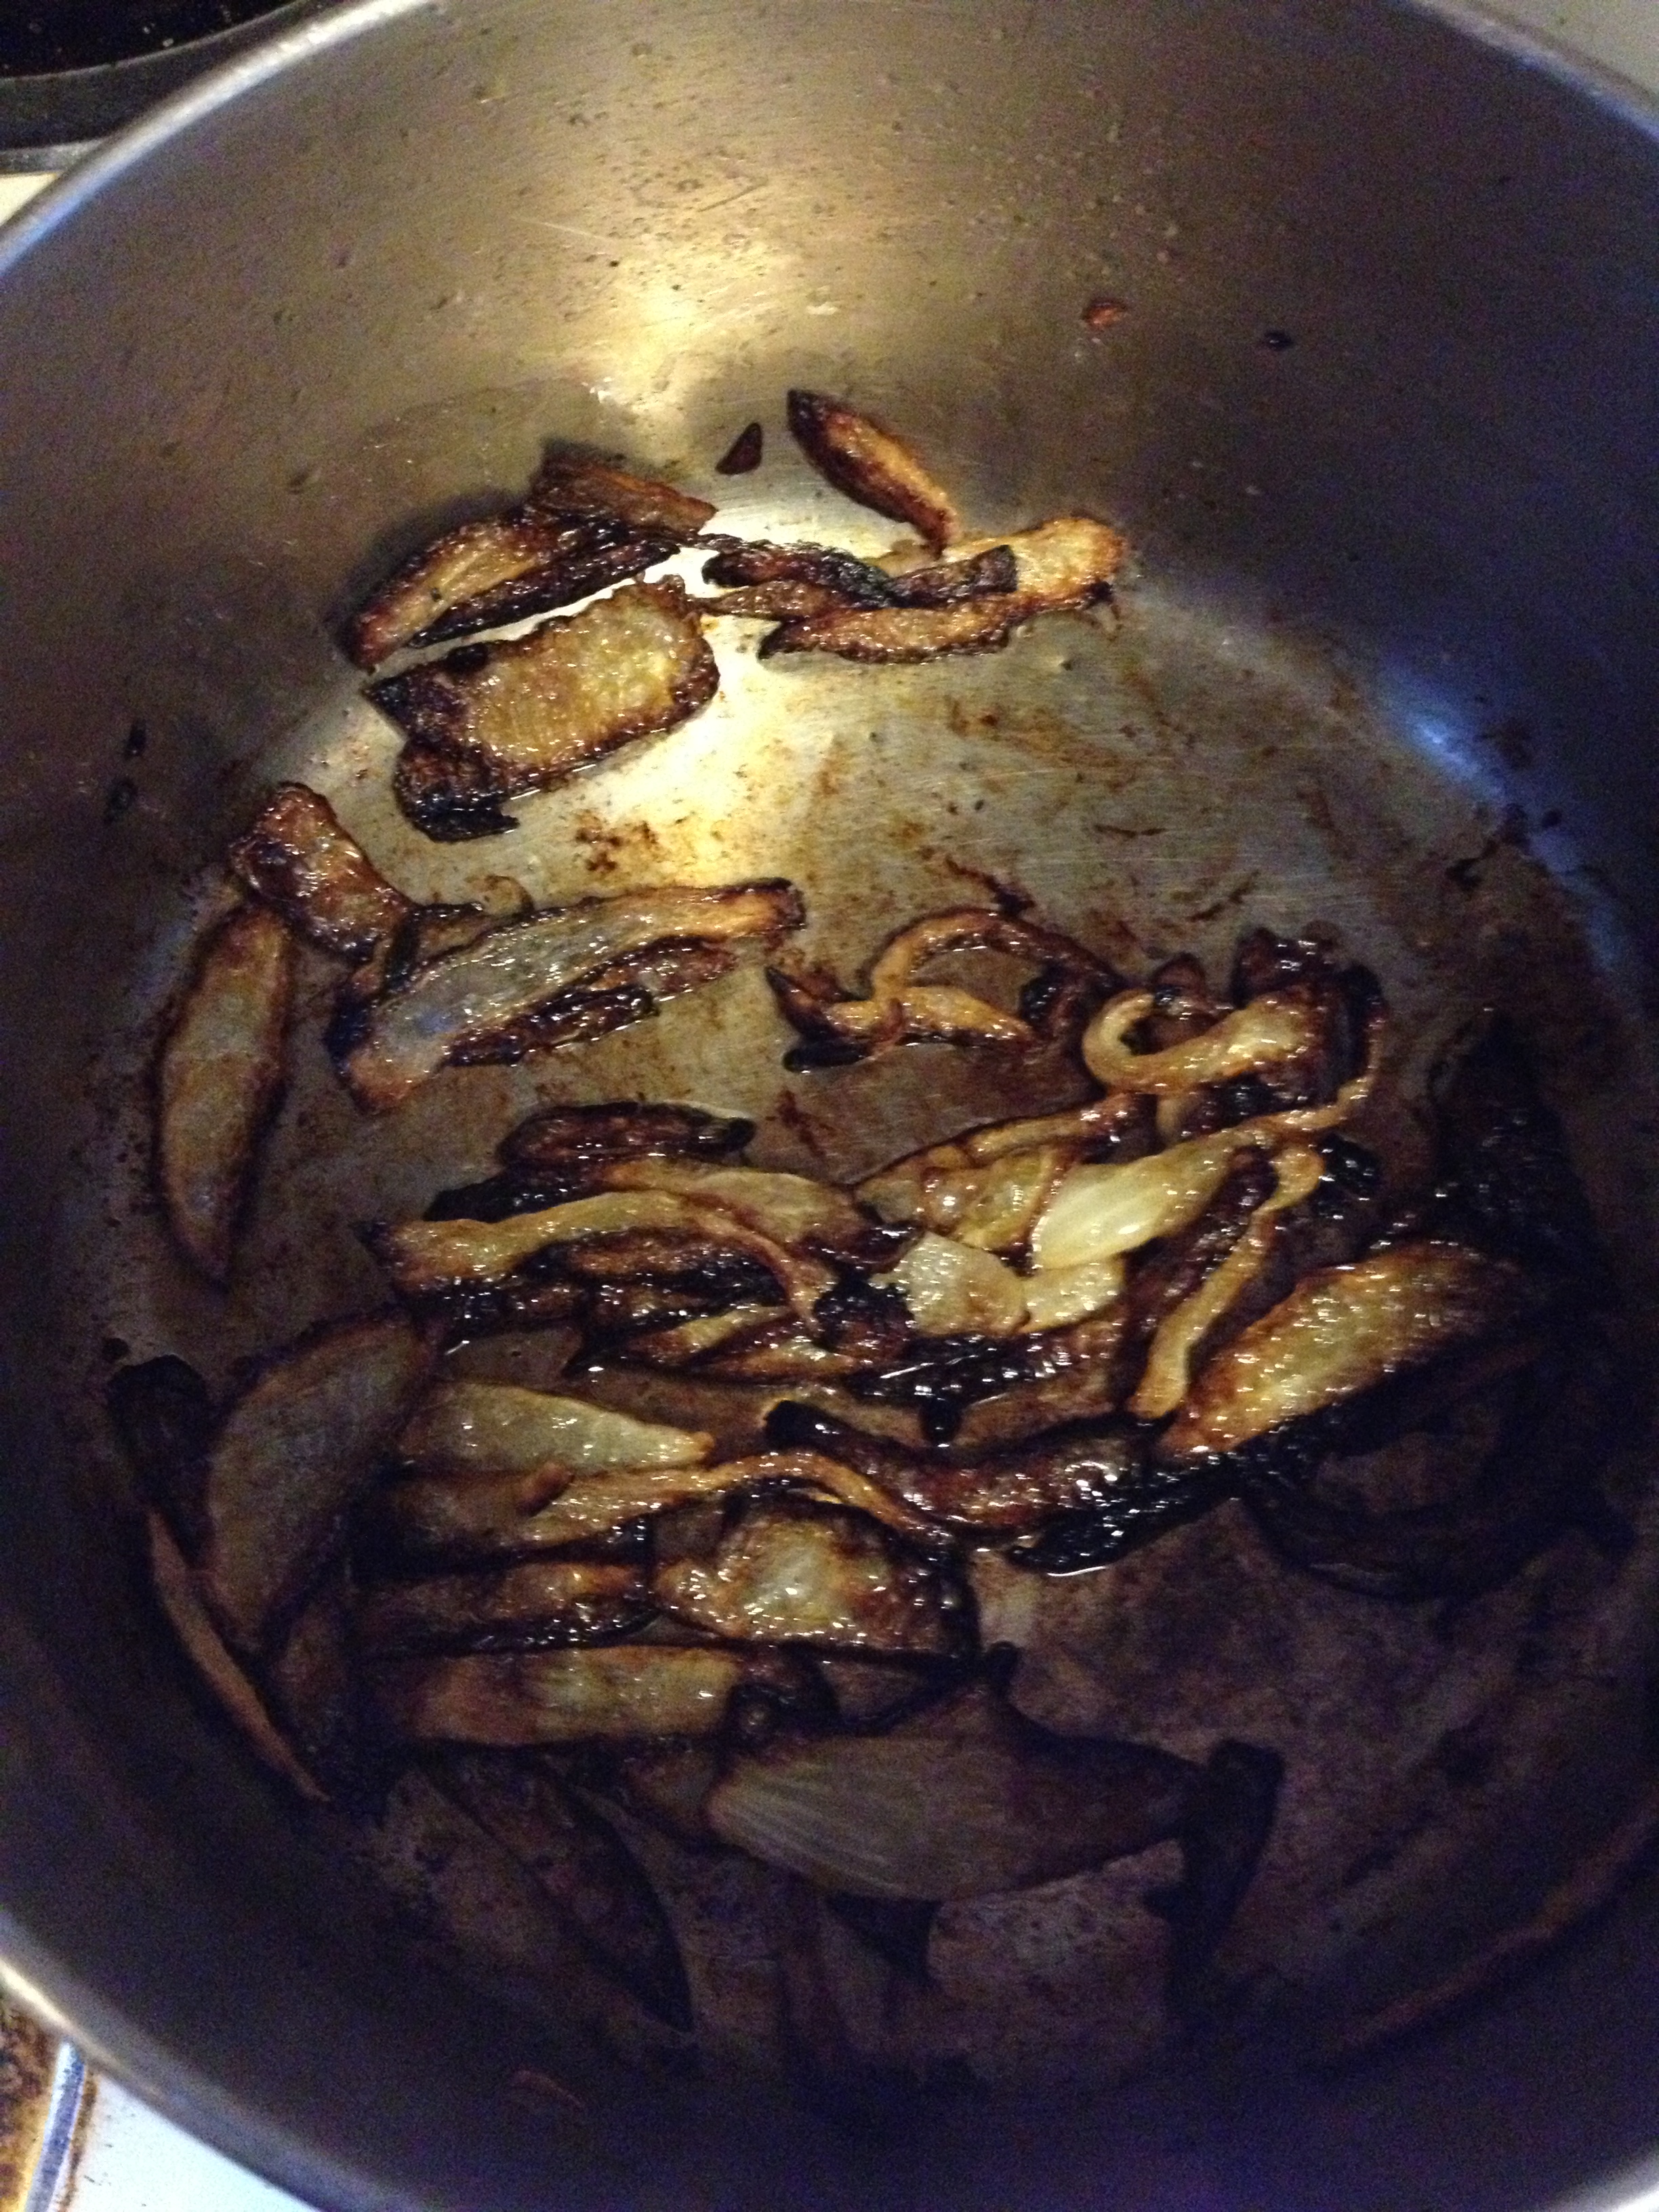
  • While the wonderful mixture is cooking, coat a pan with oil and start caramelizing the other half of the onion. Cut that onion in moon-slices and once oil is heated, put them in, and salt it. Do a low heat until the mixture is ready. Yum!
Onions caramelizing

Onions caramelizing

  • Take the risotto mixture out and let sit for a few minutes. Now, see, I get kind of impulsive when I cook and don’t always take everything into consideration when I convert a recipe for my own needs. Sure, I cut the onions from 4 to 1, but did I cut down the vegetable broth? Of course not. So, I’m sure the liquid was supposed to soak into the rice and just have solids left. However, ours had plenty of the liquid left—and we liked it that way (we used the delicious stuff to cook stuff the next day)
  • So, do it our way, use a spoon or some kind of utensil to scoop out the rice, onion, and mushroom mix out of the “soup.” Plate it and put the caramelized onions on top.

photo 3 (3)

Came out absolutely wonderfully

Came out absolutely wonderfully

Don't forget to have some greens on the side!

Don’t forget to have some greens on the side!

It looks like a lot of steps, but many of these steps take about 10 seconds. Please don’t be intimidated by this because it really is SO delicious. And easy once you get the handle of it. So it’s not exactly risotto because I use brown rice. However, this makes it healthier—a complex carbohydrate with plenty of fiber to keep you full and slowly digest and absorb into the blood stream. Let me know if you have any comments or questions. Use this recipe to stay hungry and fit!

You might also like…

spacer

2-Ingredient Healthy Energy Rounds

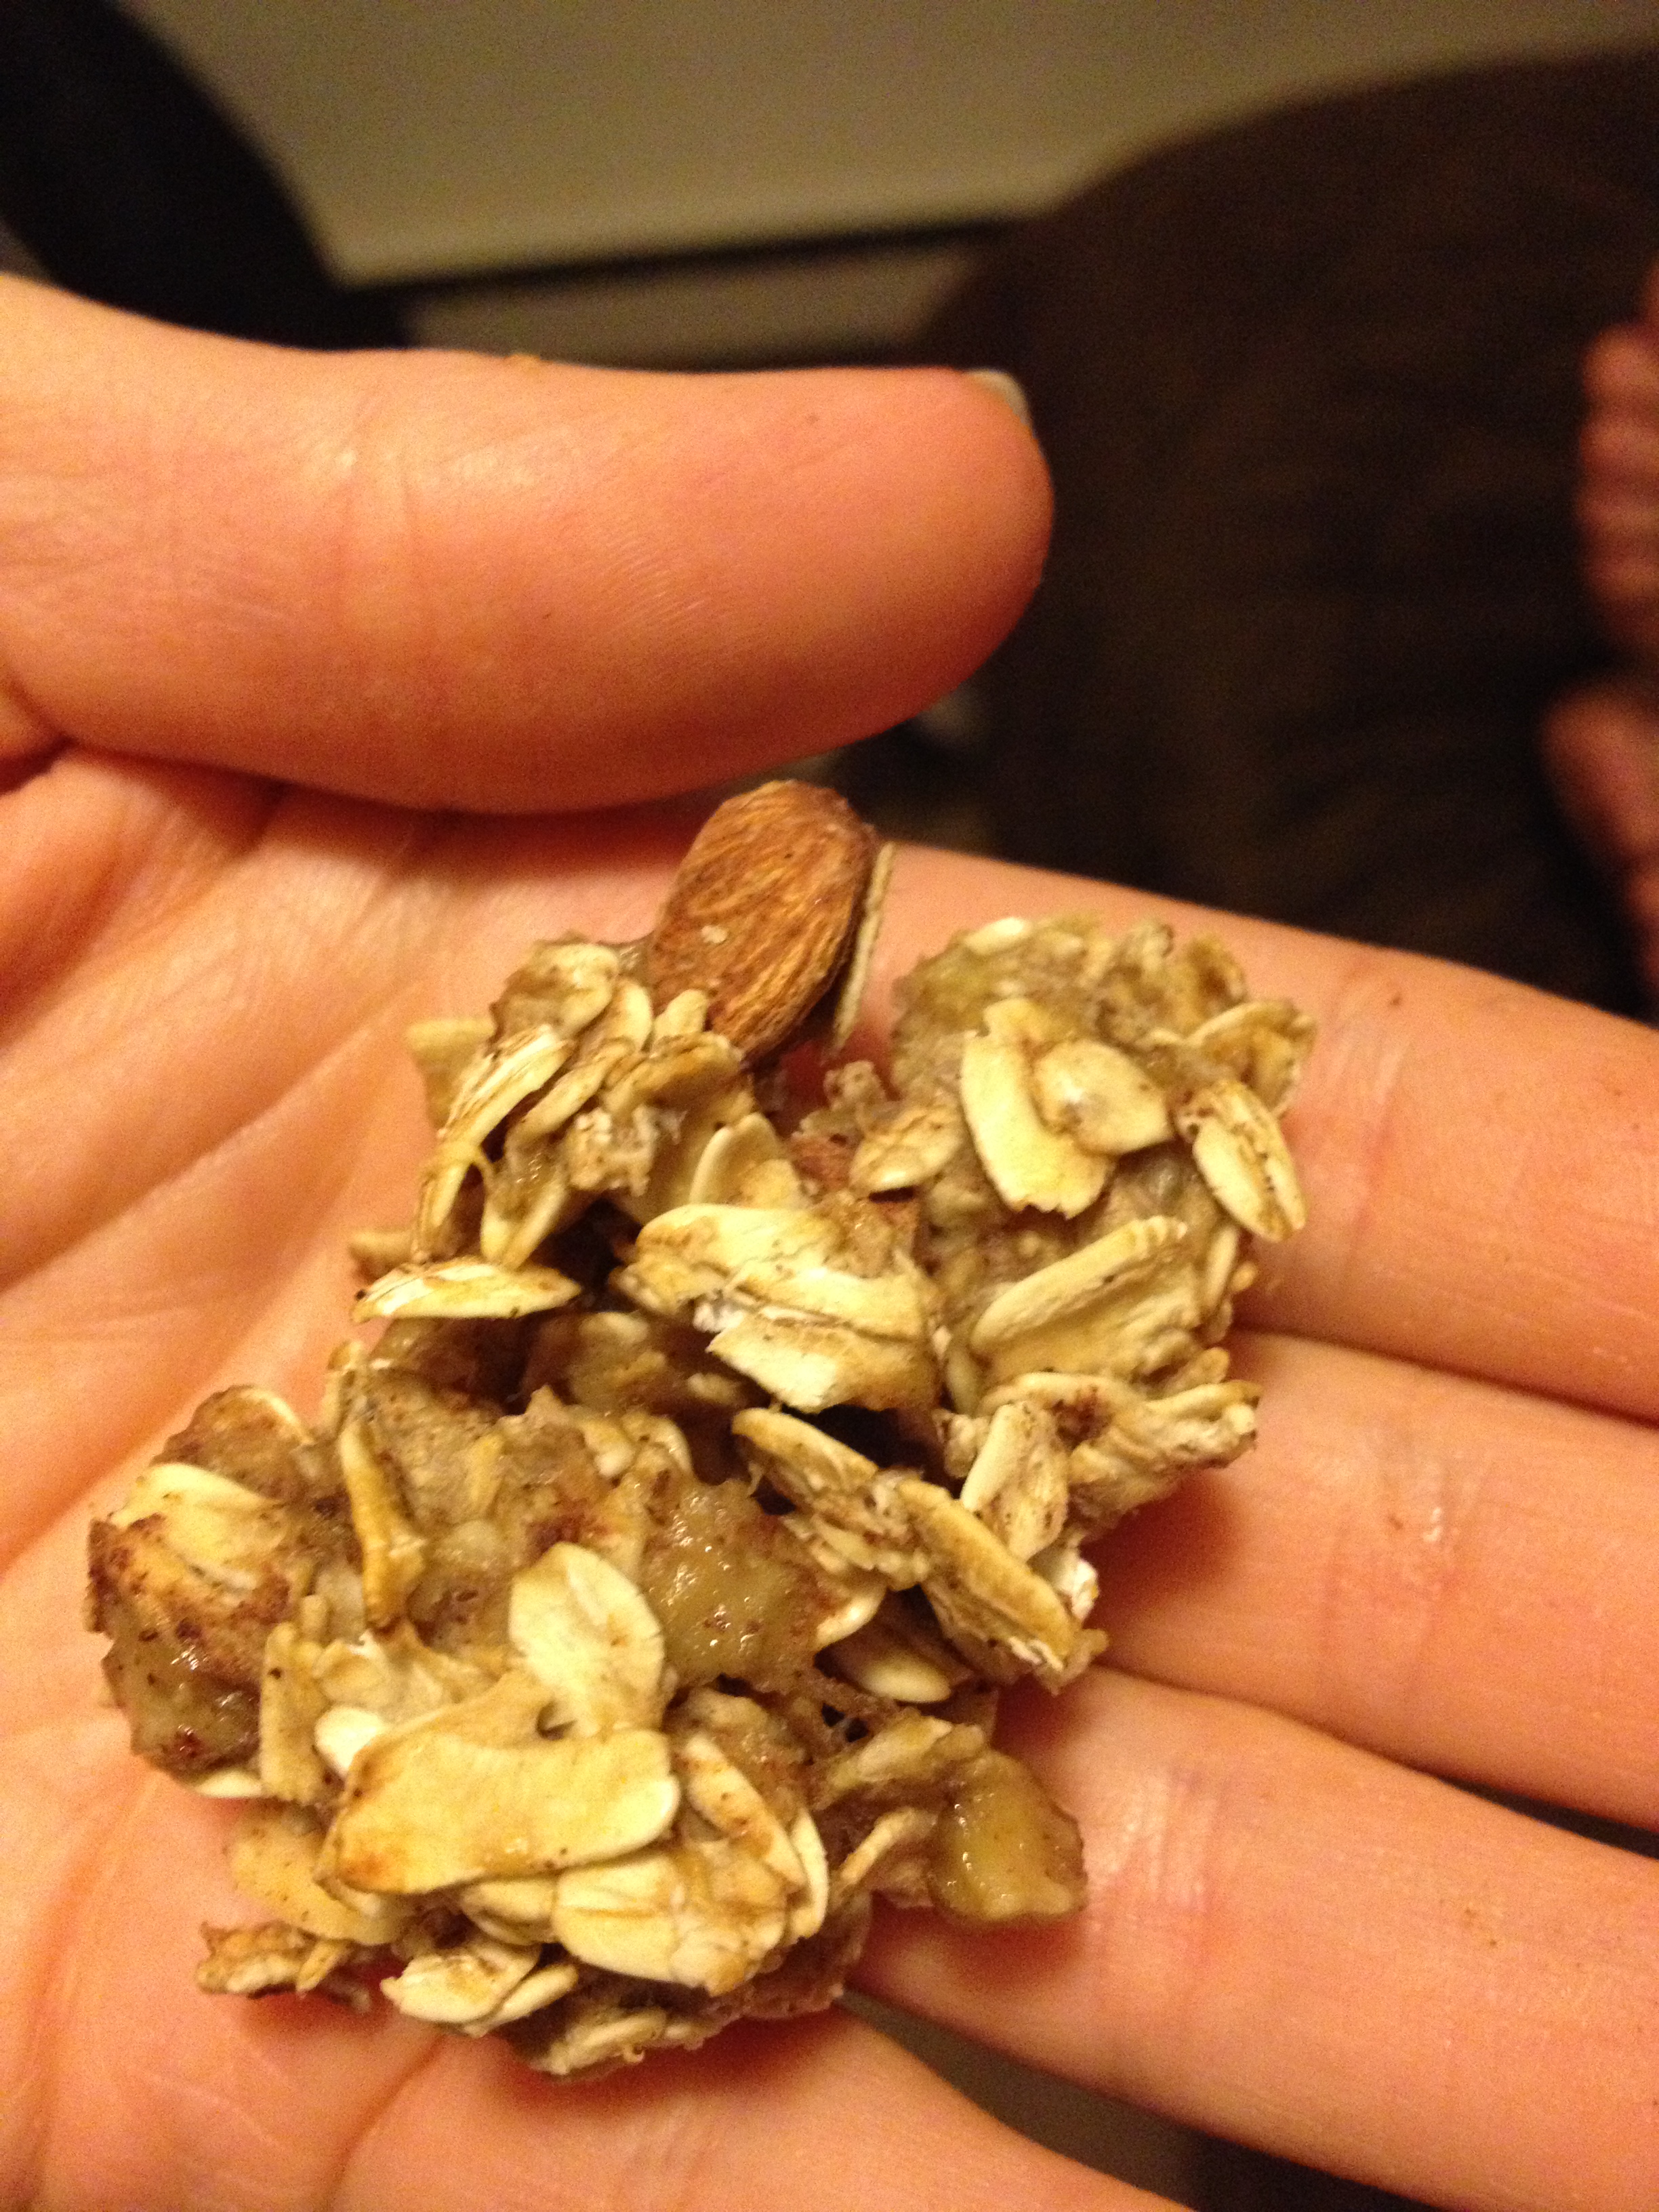
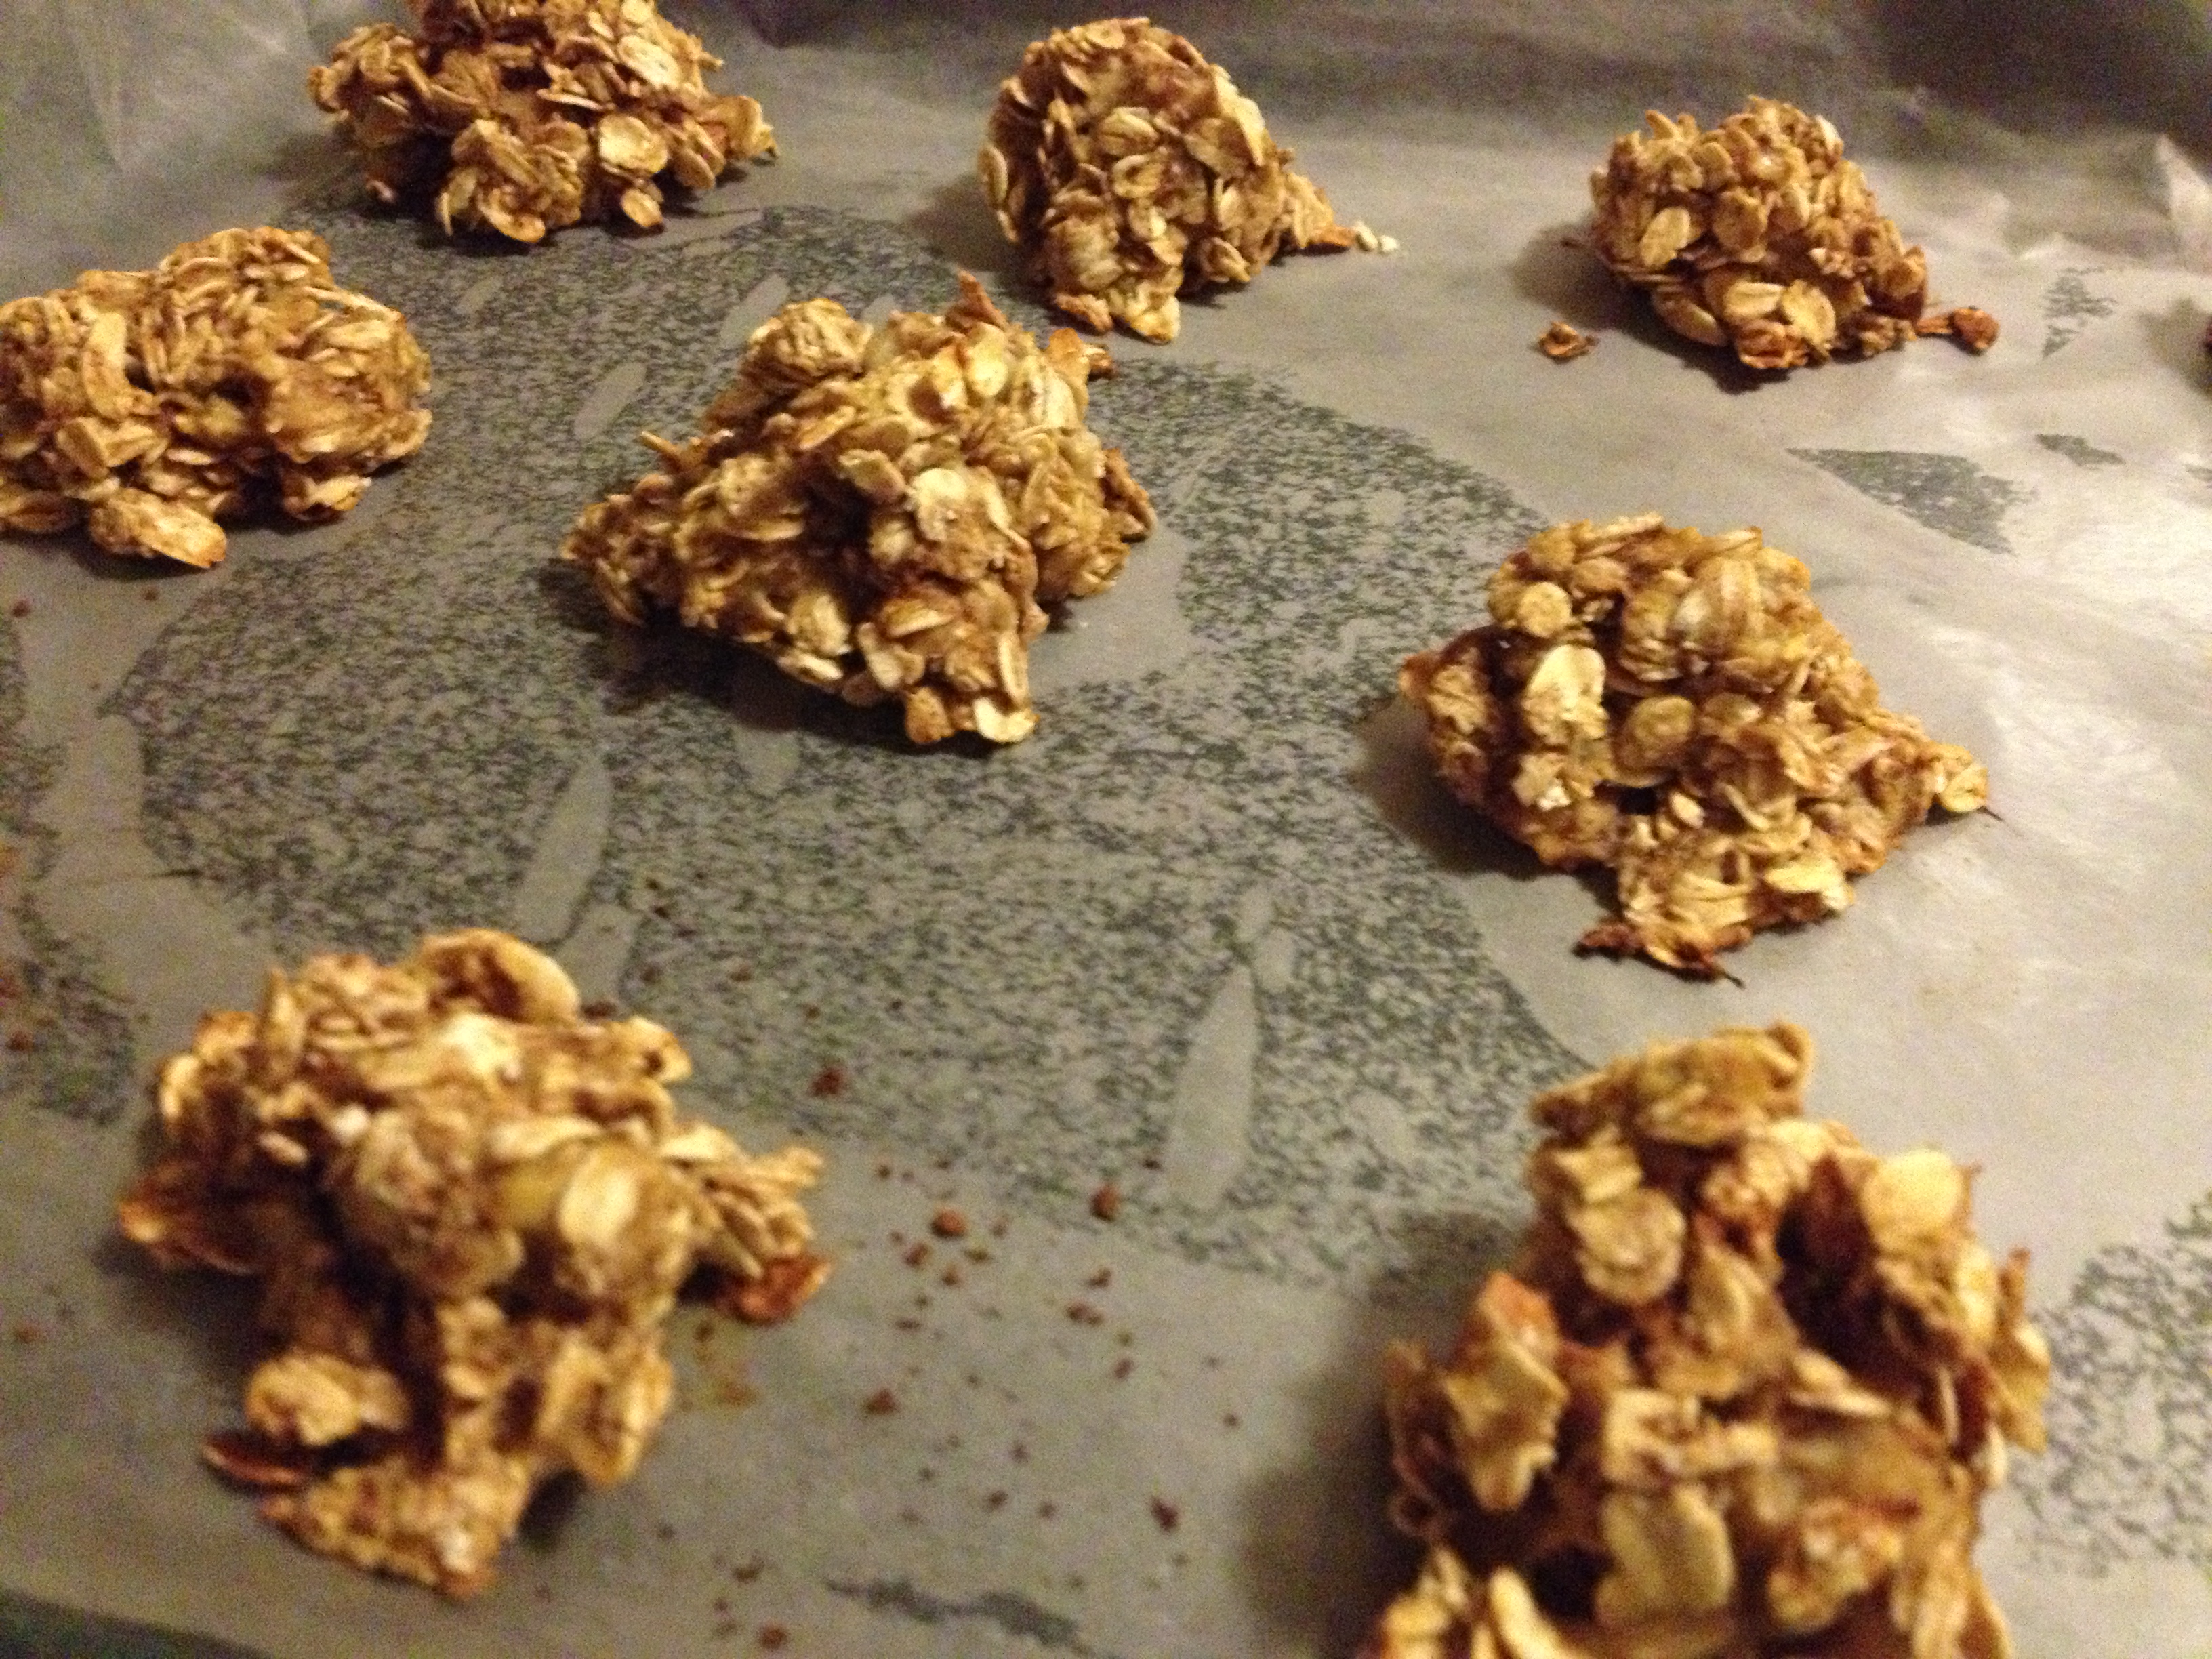
Some of you may know that we are travelling to Iowa tonight (yes, we’re driving over night, 7pm-9am probably) for a 4th of July family reunion. Some may run screaming at the words, “family reunion,” but I always look forward to the chaos of it all…and the delicious food of course. I love family! And many of you know that I’m currently prepping for contest so I’m doing very clean eating. My meals mostly contain tuna, other fish, vegetables like spinach and peppers, almonds, oatmeal and brown rice. Sounds boring, but I’m alright with it (especially with hot sauce). OKAY GET TO THE POINT–I need healthy, clean food for the road trip there for my attempt to stay awake. Luckily I stumbled upon this blog for the idea.

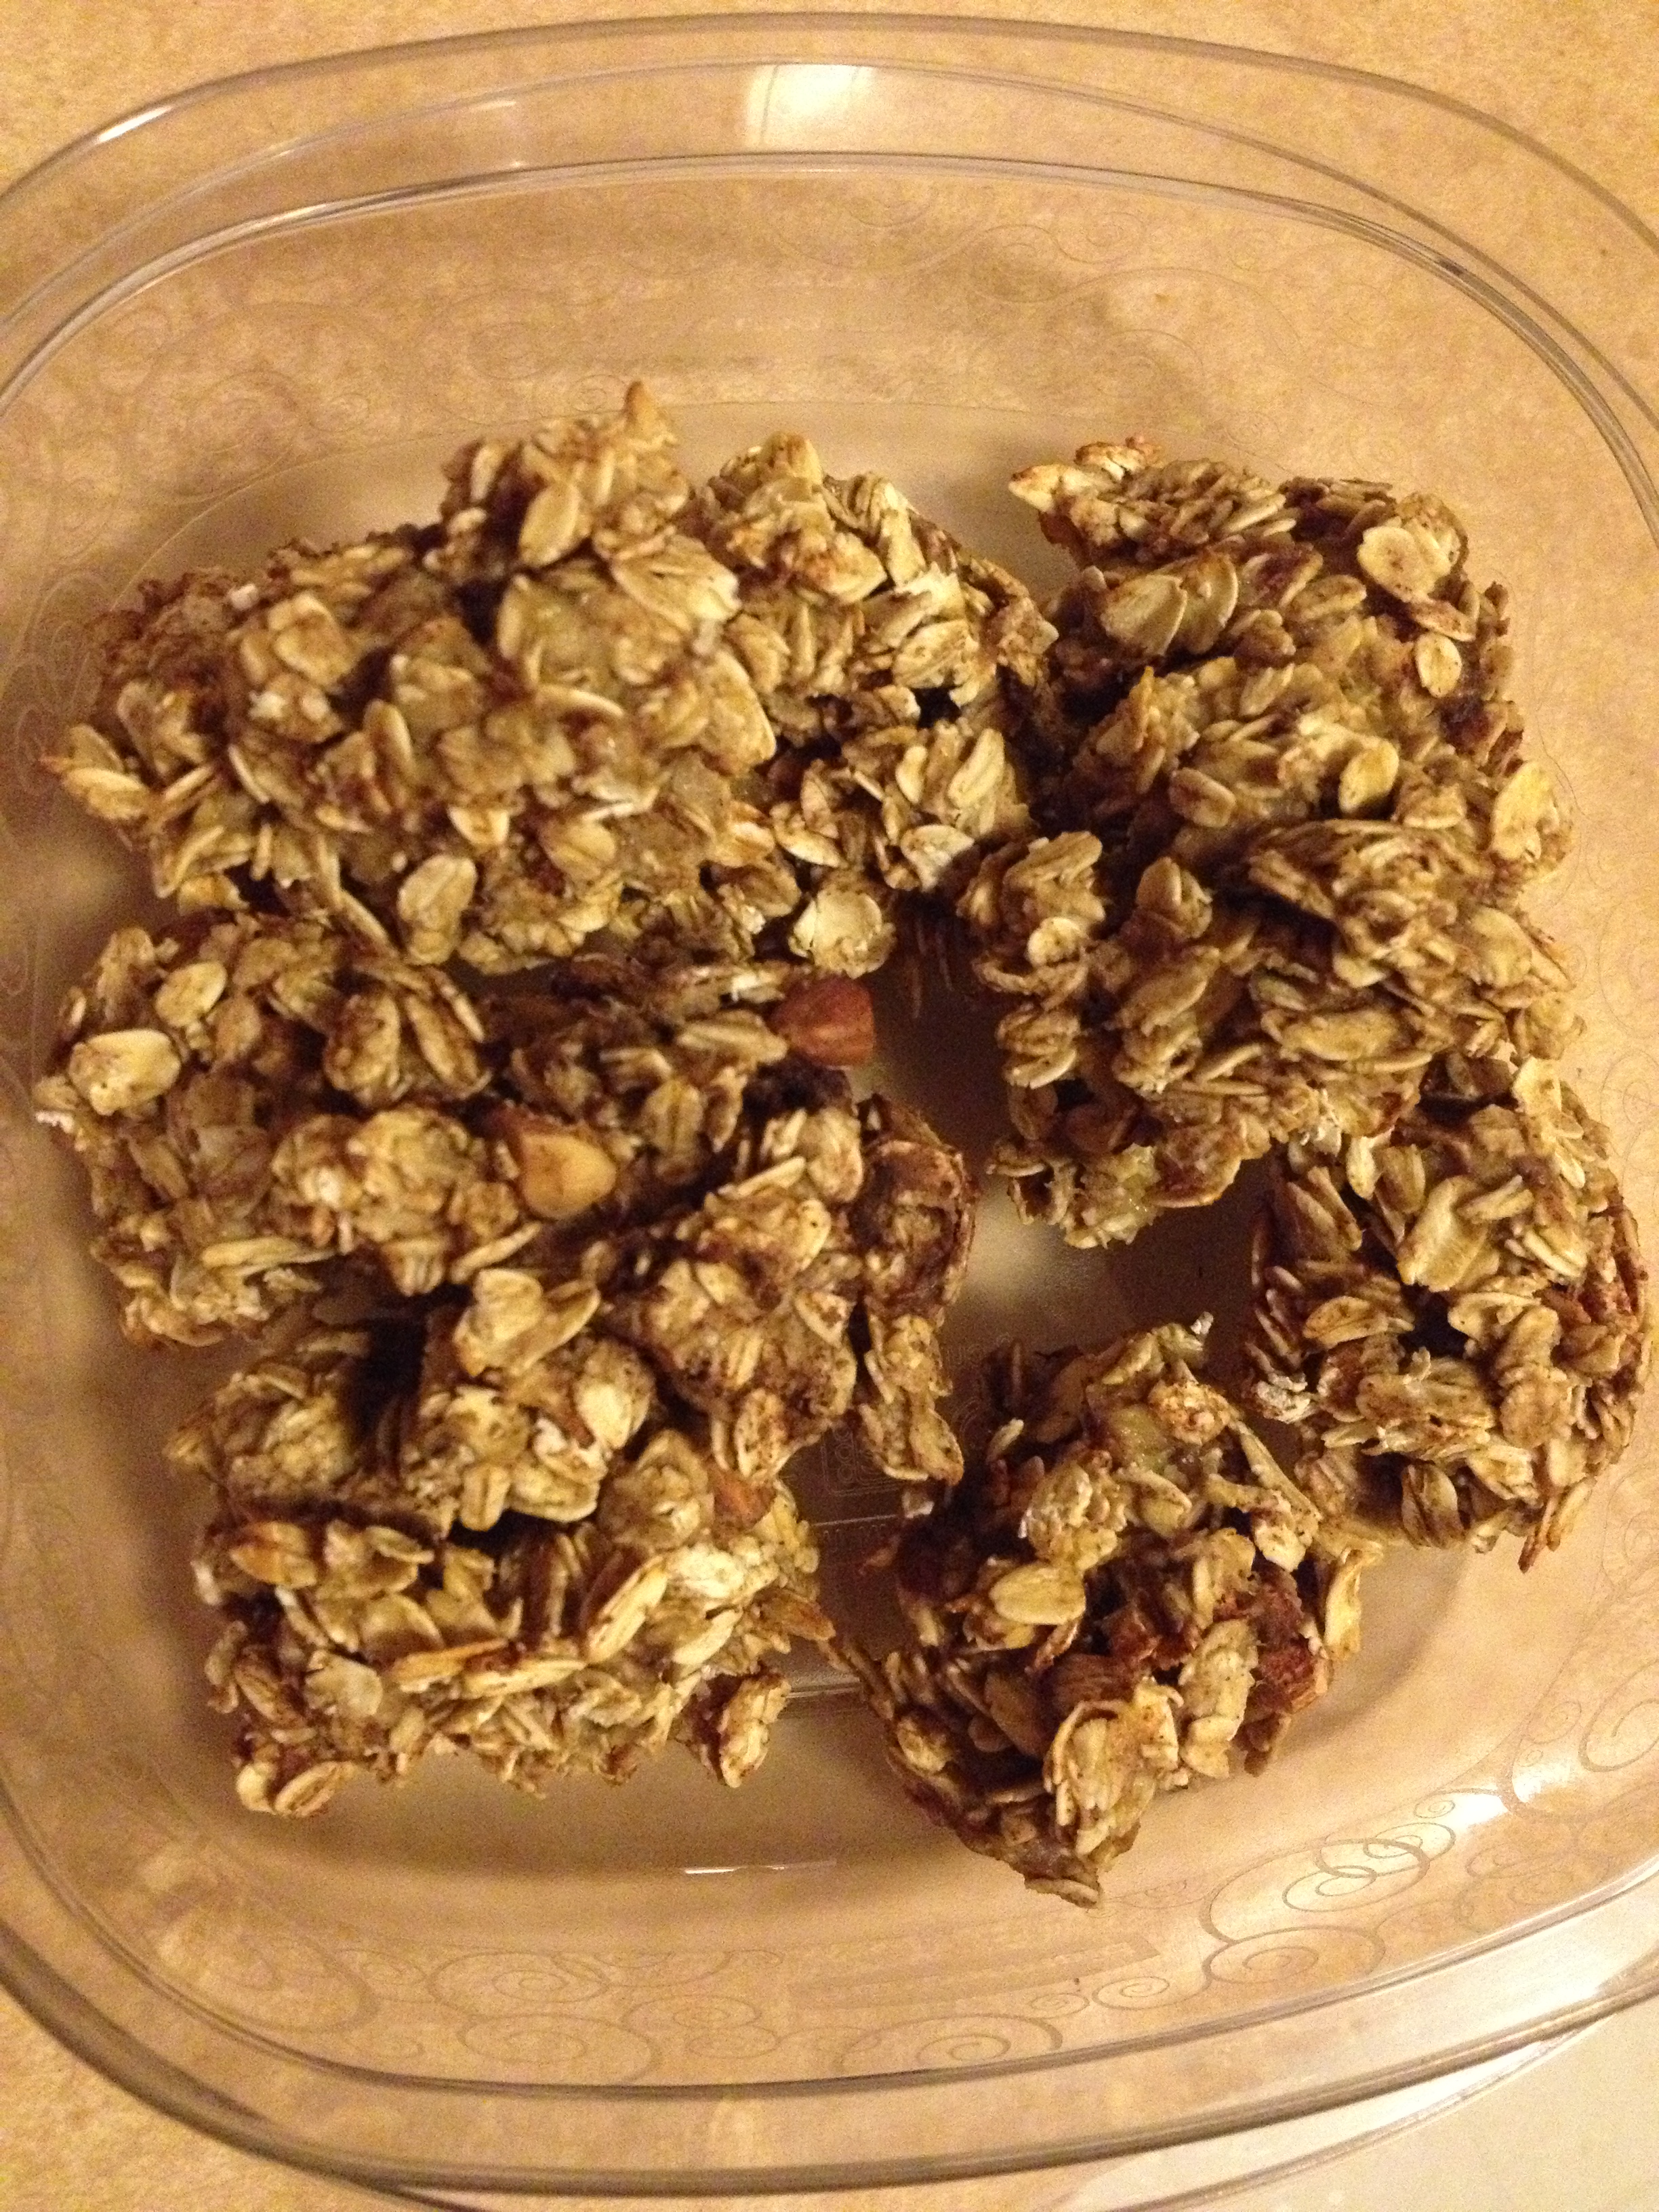
Of course, we’re bringing fruit and fiber cereal to snack on, but I wanted to bake a little something so here we are. Basically, 2-ingredient rounds full of energy and electrolytes! I can’t even tell you how easy this was to make. Perfect and delicious for snacks on the go.

Simple and delicious

Simple and delicious

  • Prep Time: 5 minutes
  • Baking Time: 12-15 minutes

Ingredients

  • 1.5 cup oats
  • 2 bananas (mashed)
  • almonds (optional)
  • cinnamon (optional)

Directions

  • You’re probably saying, “That’s IT?” to the above.  Yep.  Pre-heat oven to 350 degrees F. 
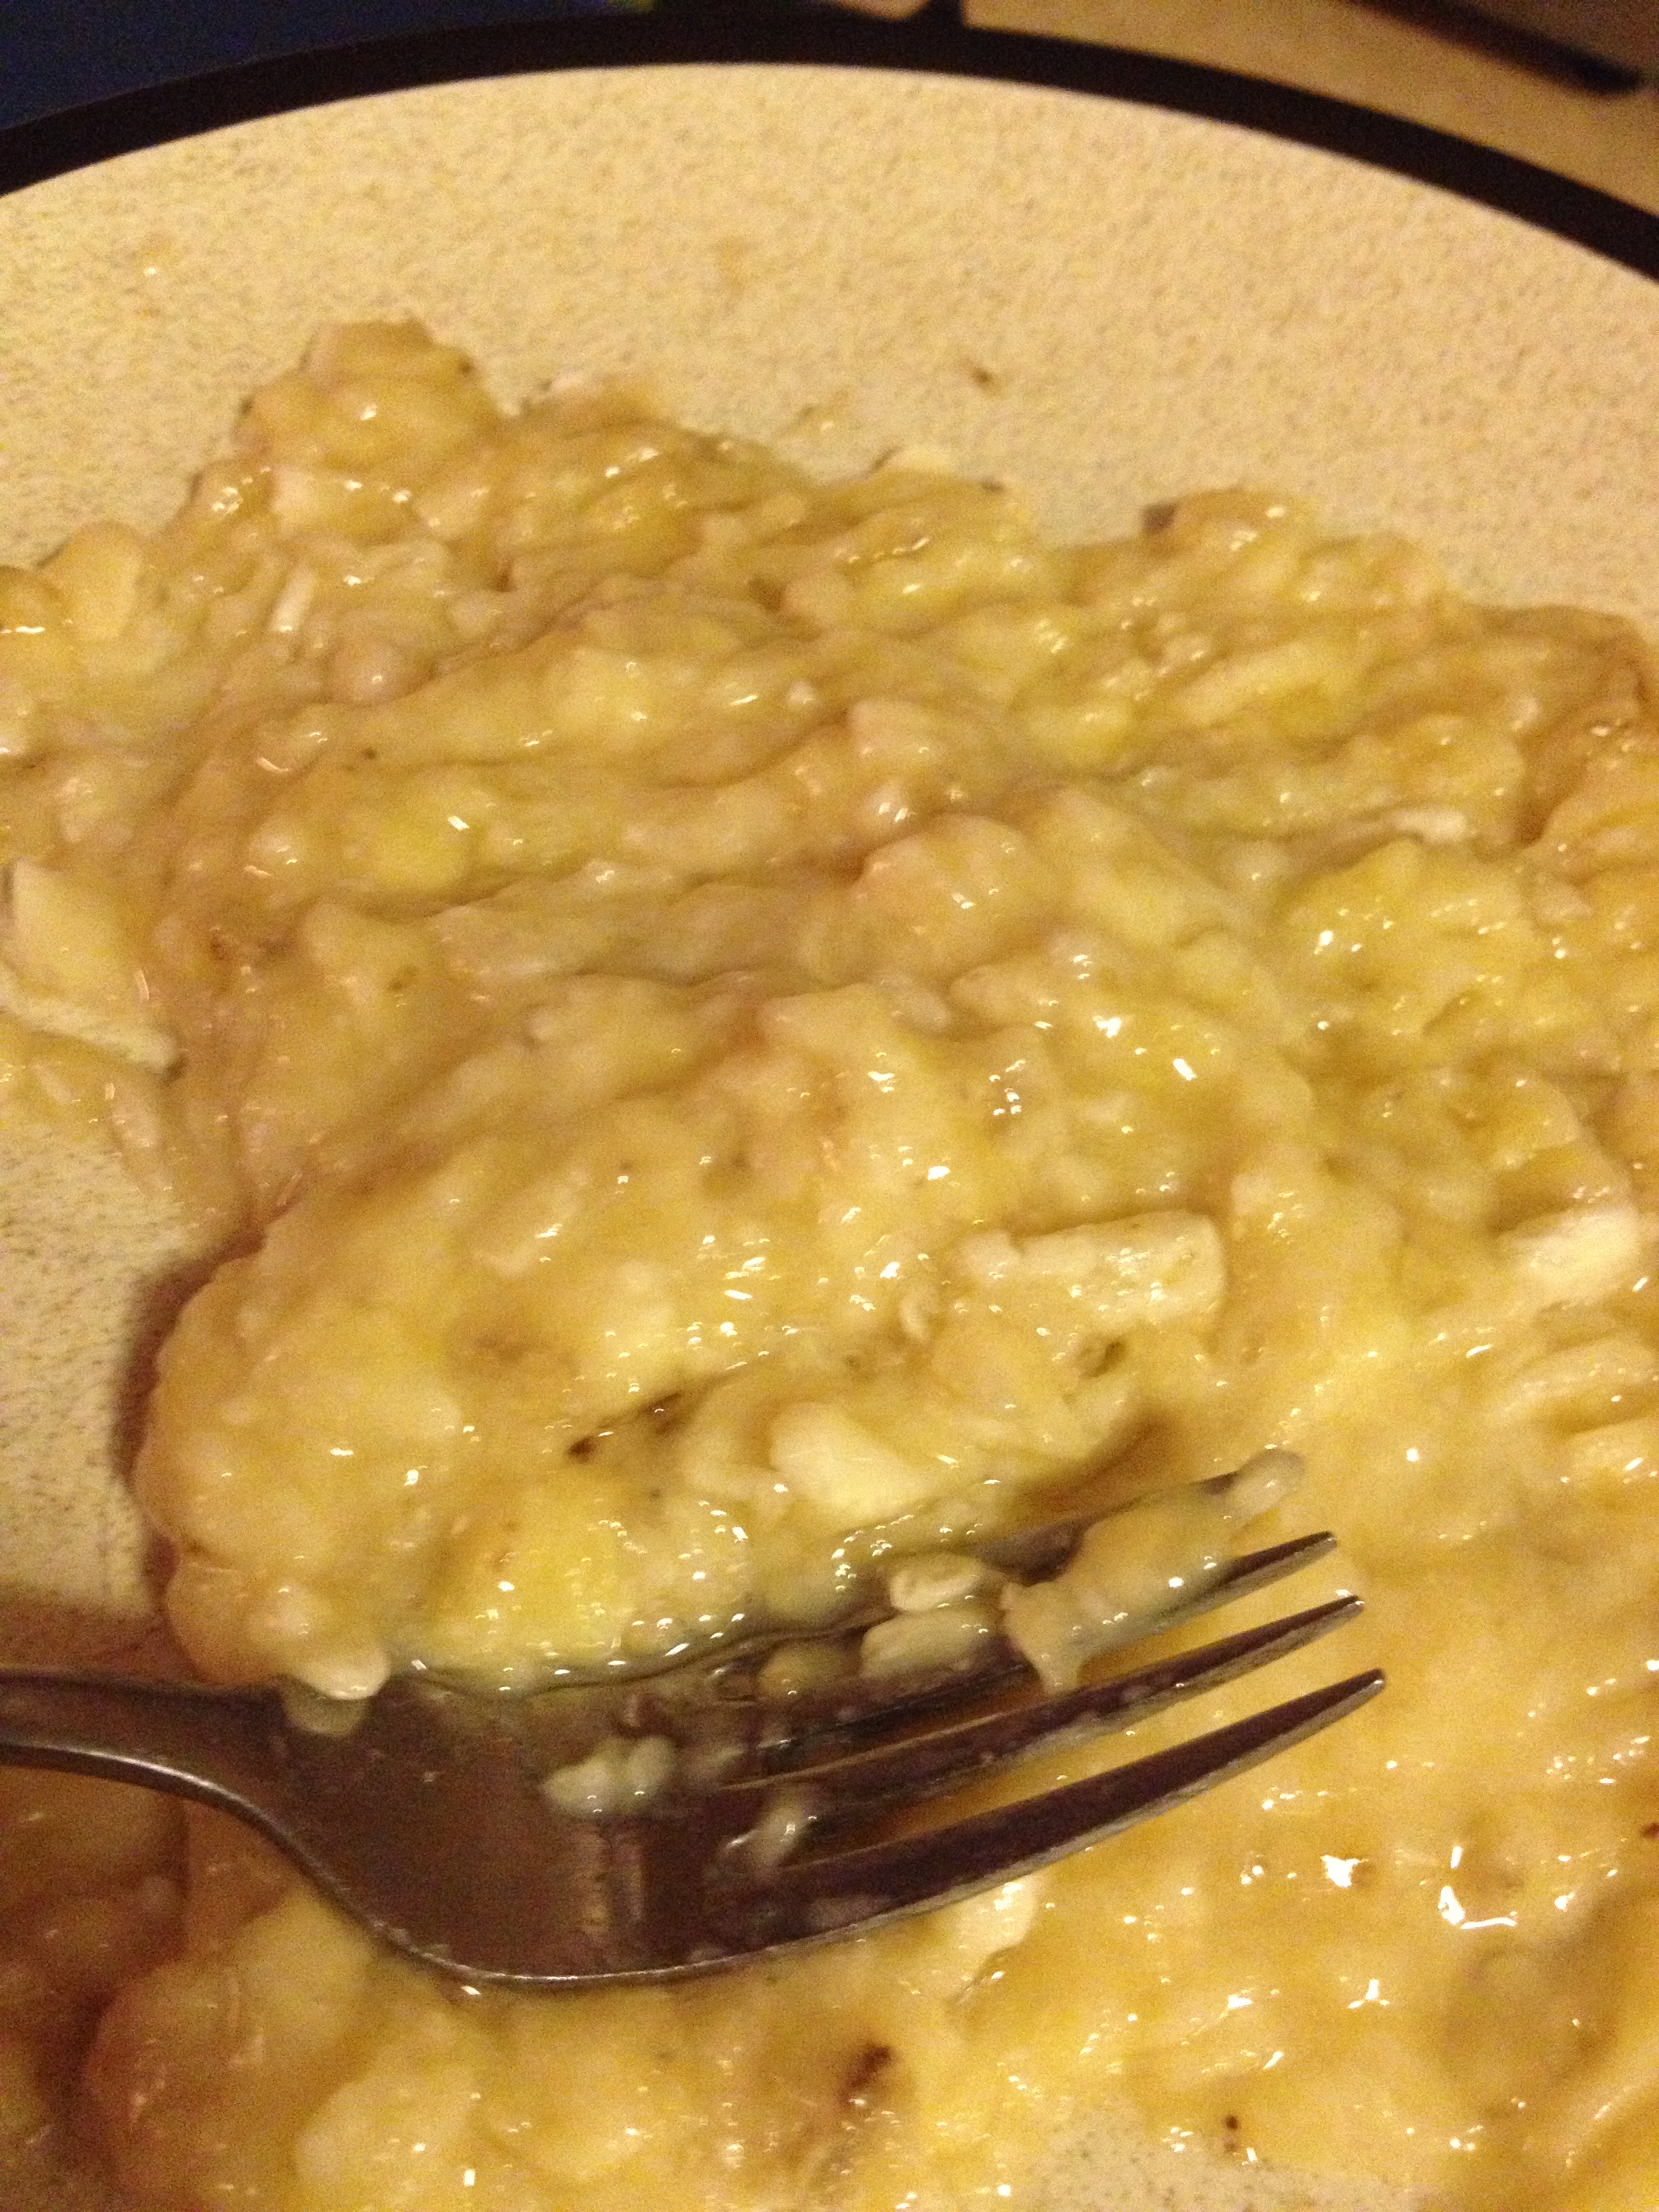
  • To start off, mash up your bananas really well, get it nice and smooth.
mash mash mash

mash mash mash

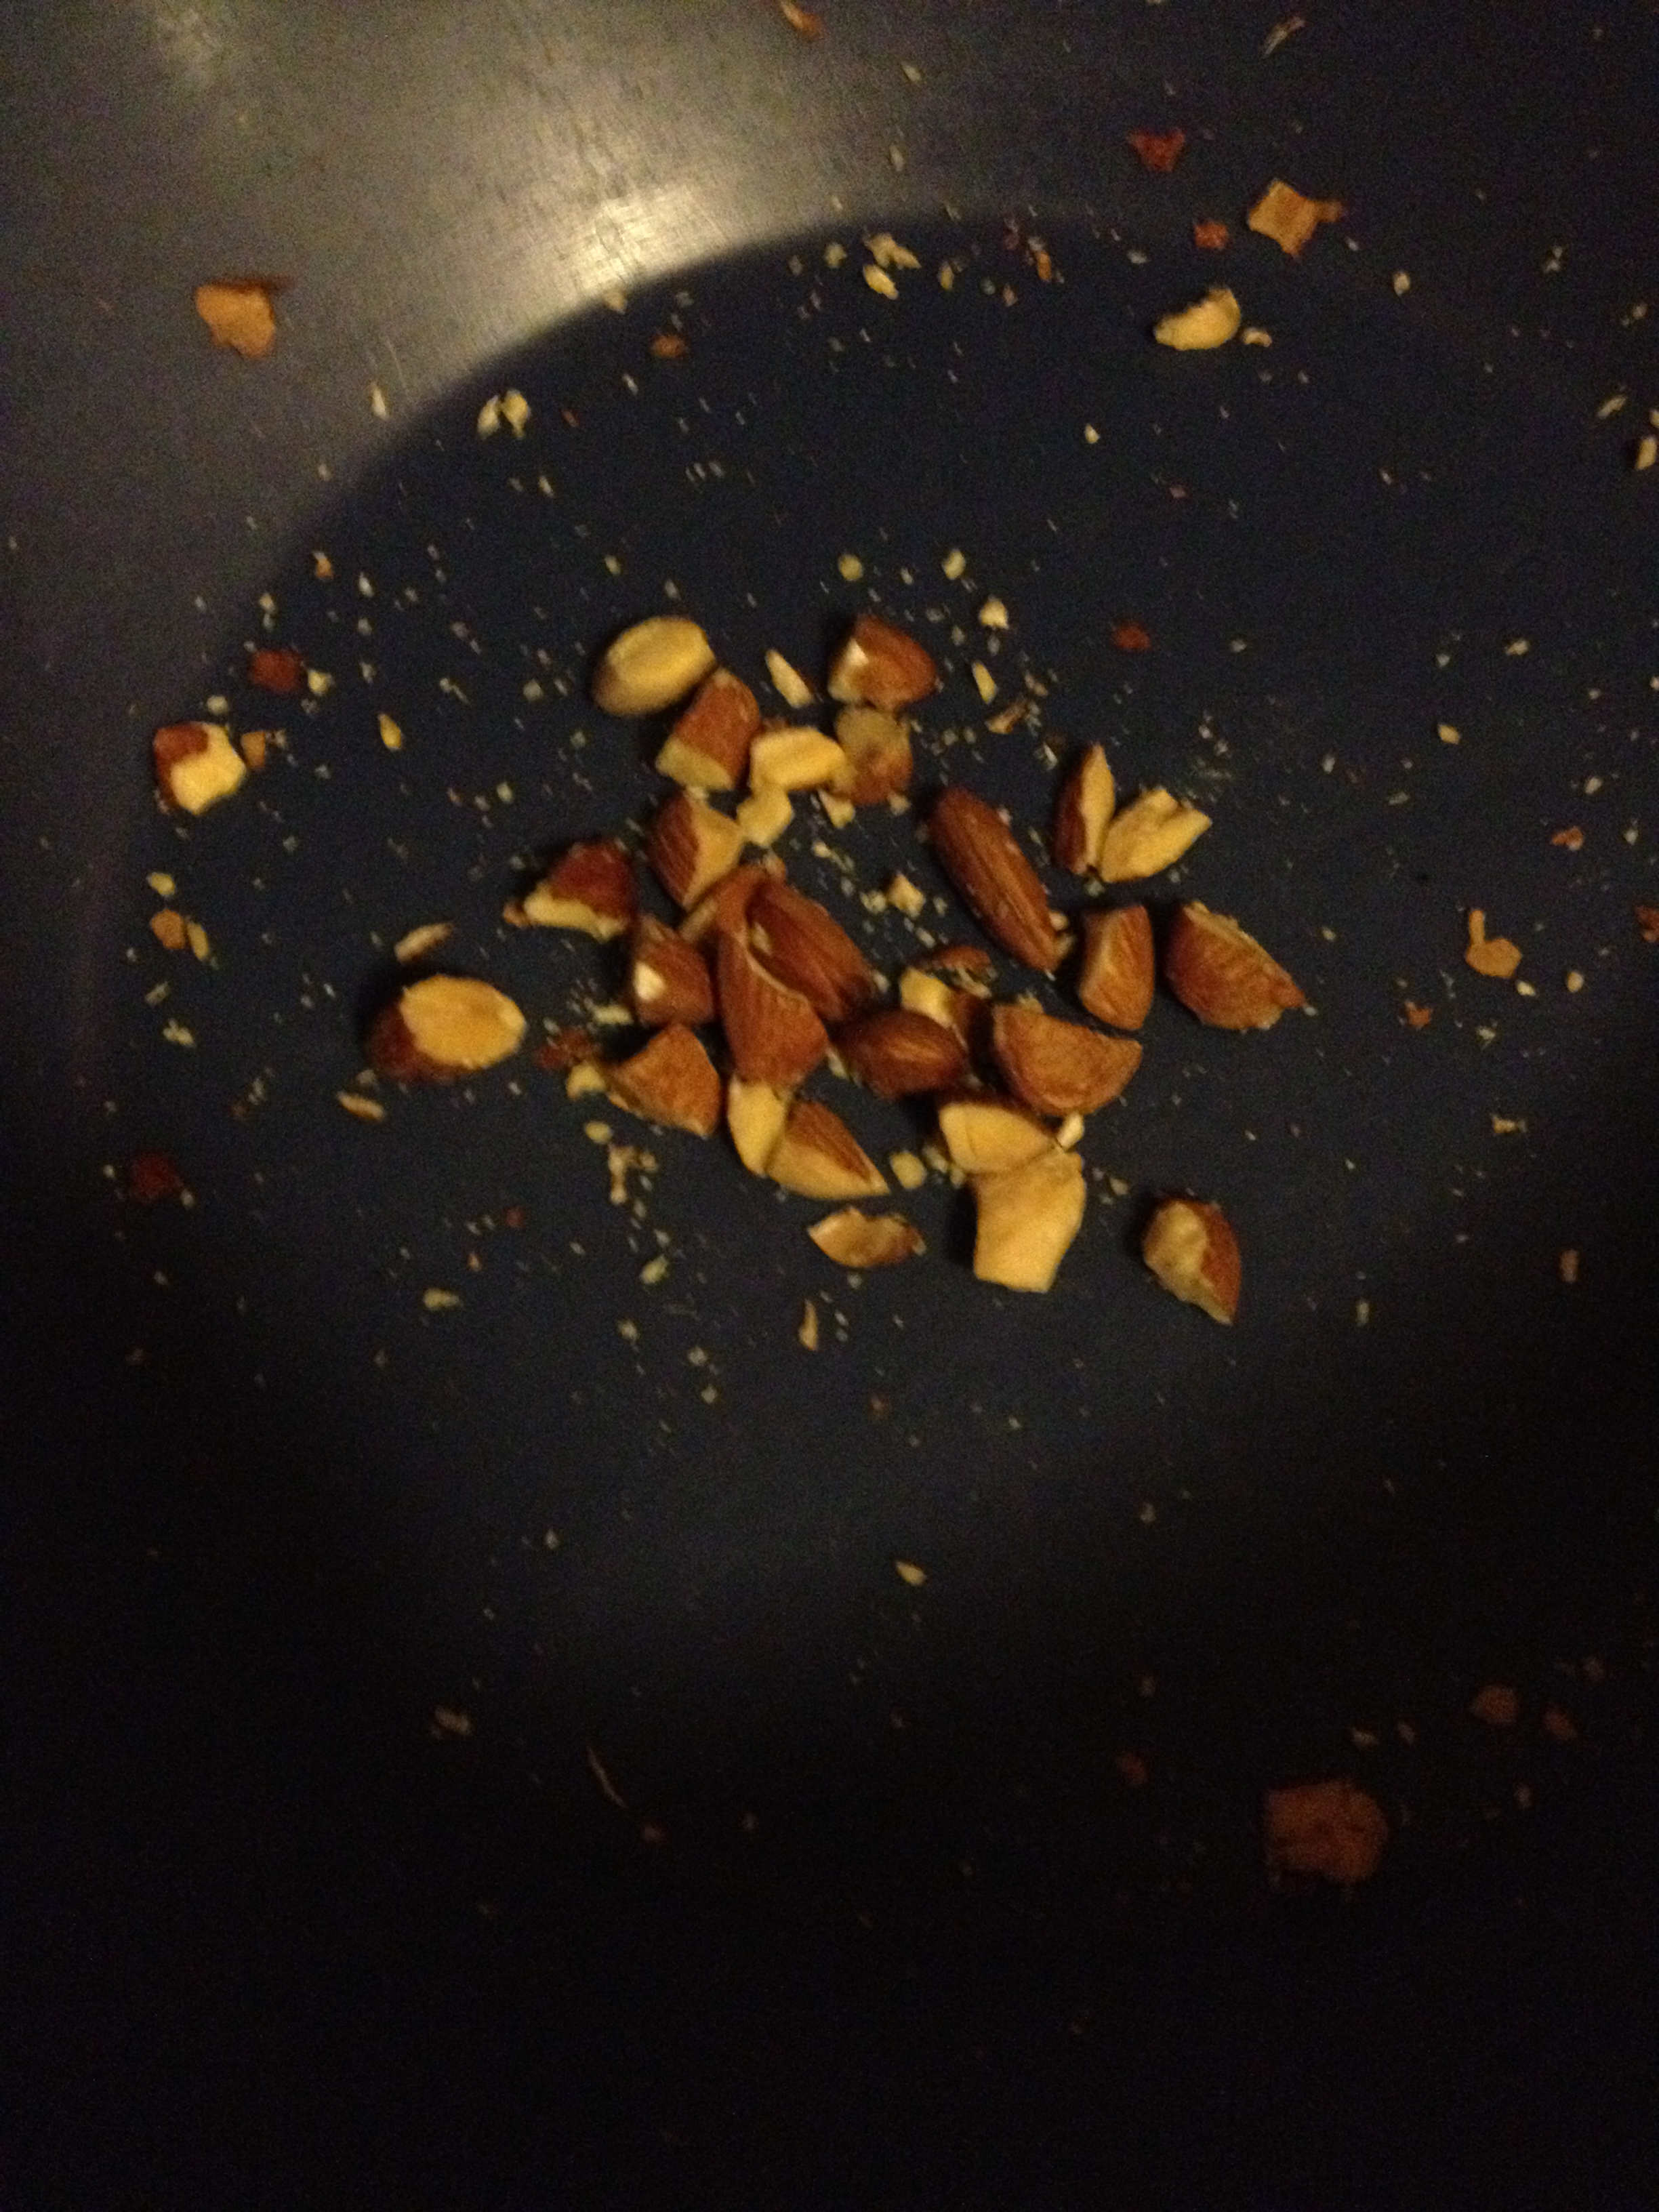
  • I had some almonds I wanted to use, so I decided to add it into the mix. Again, you don’t have to do anything more than oatmeal and bananers. If you want to use almonds, cut or grind them up.
Pathetic amount of almonds (I HATE cutting them)

Pathetic amount of almonds (I HATE cutting them)

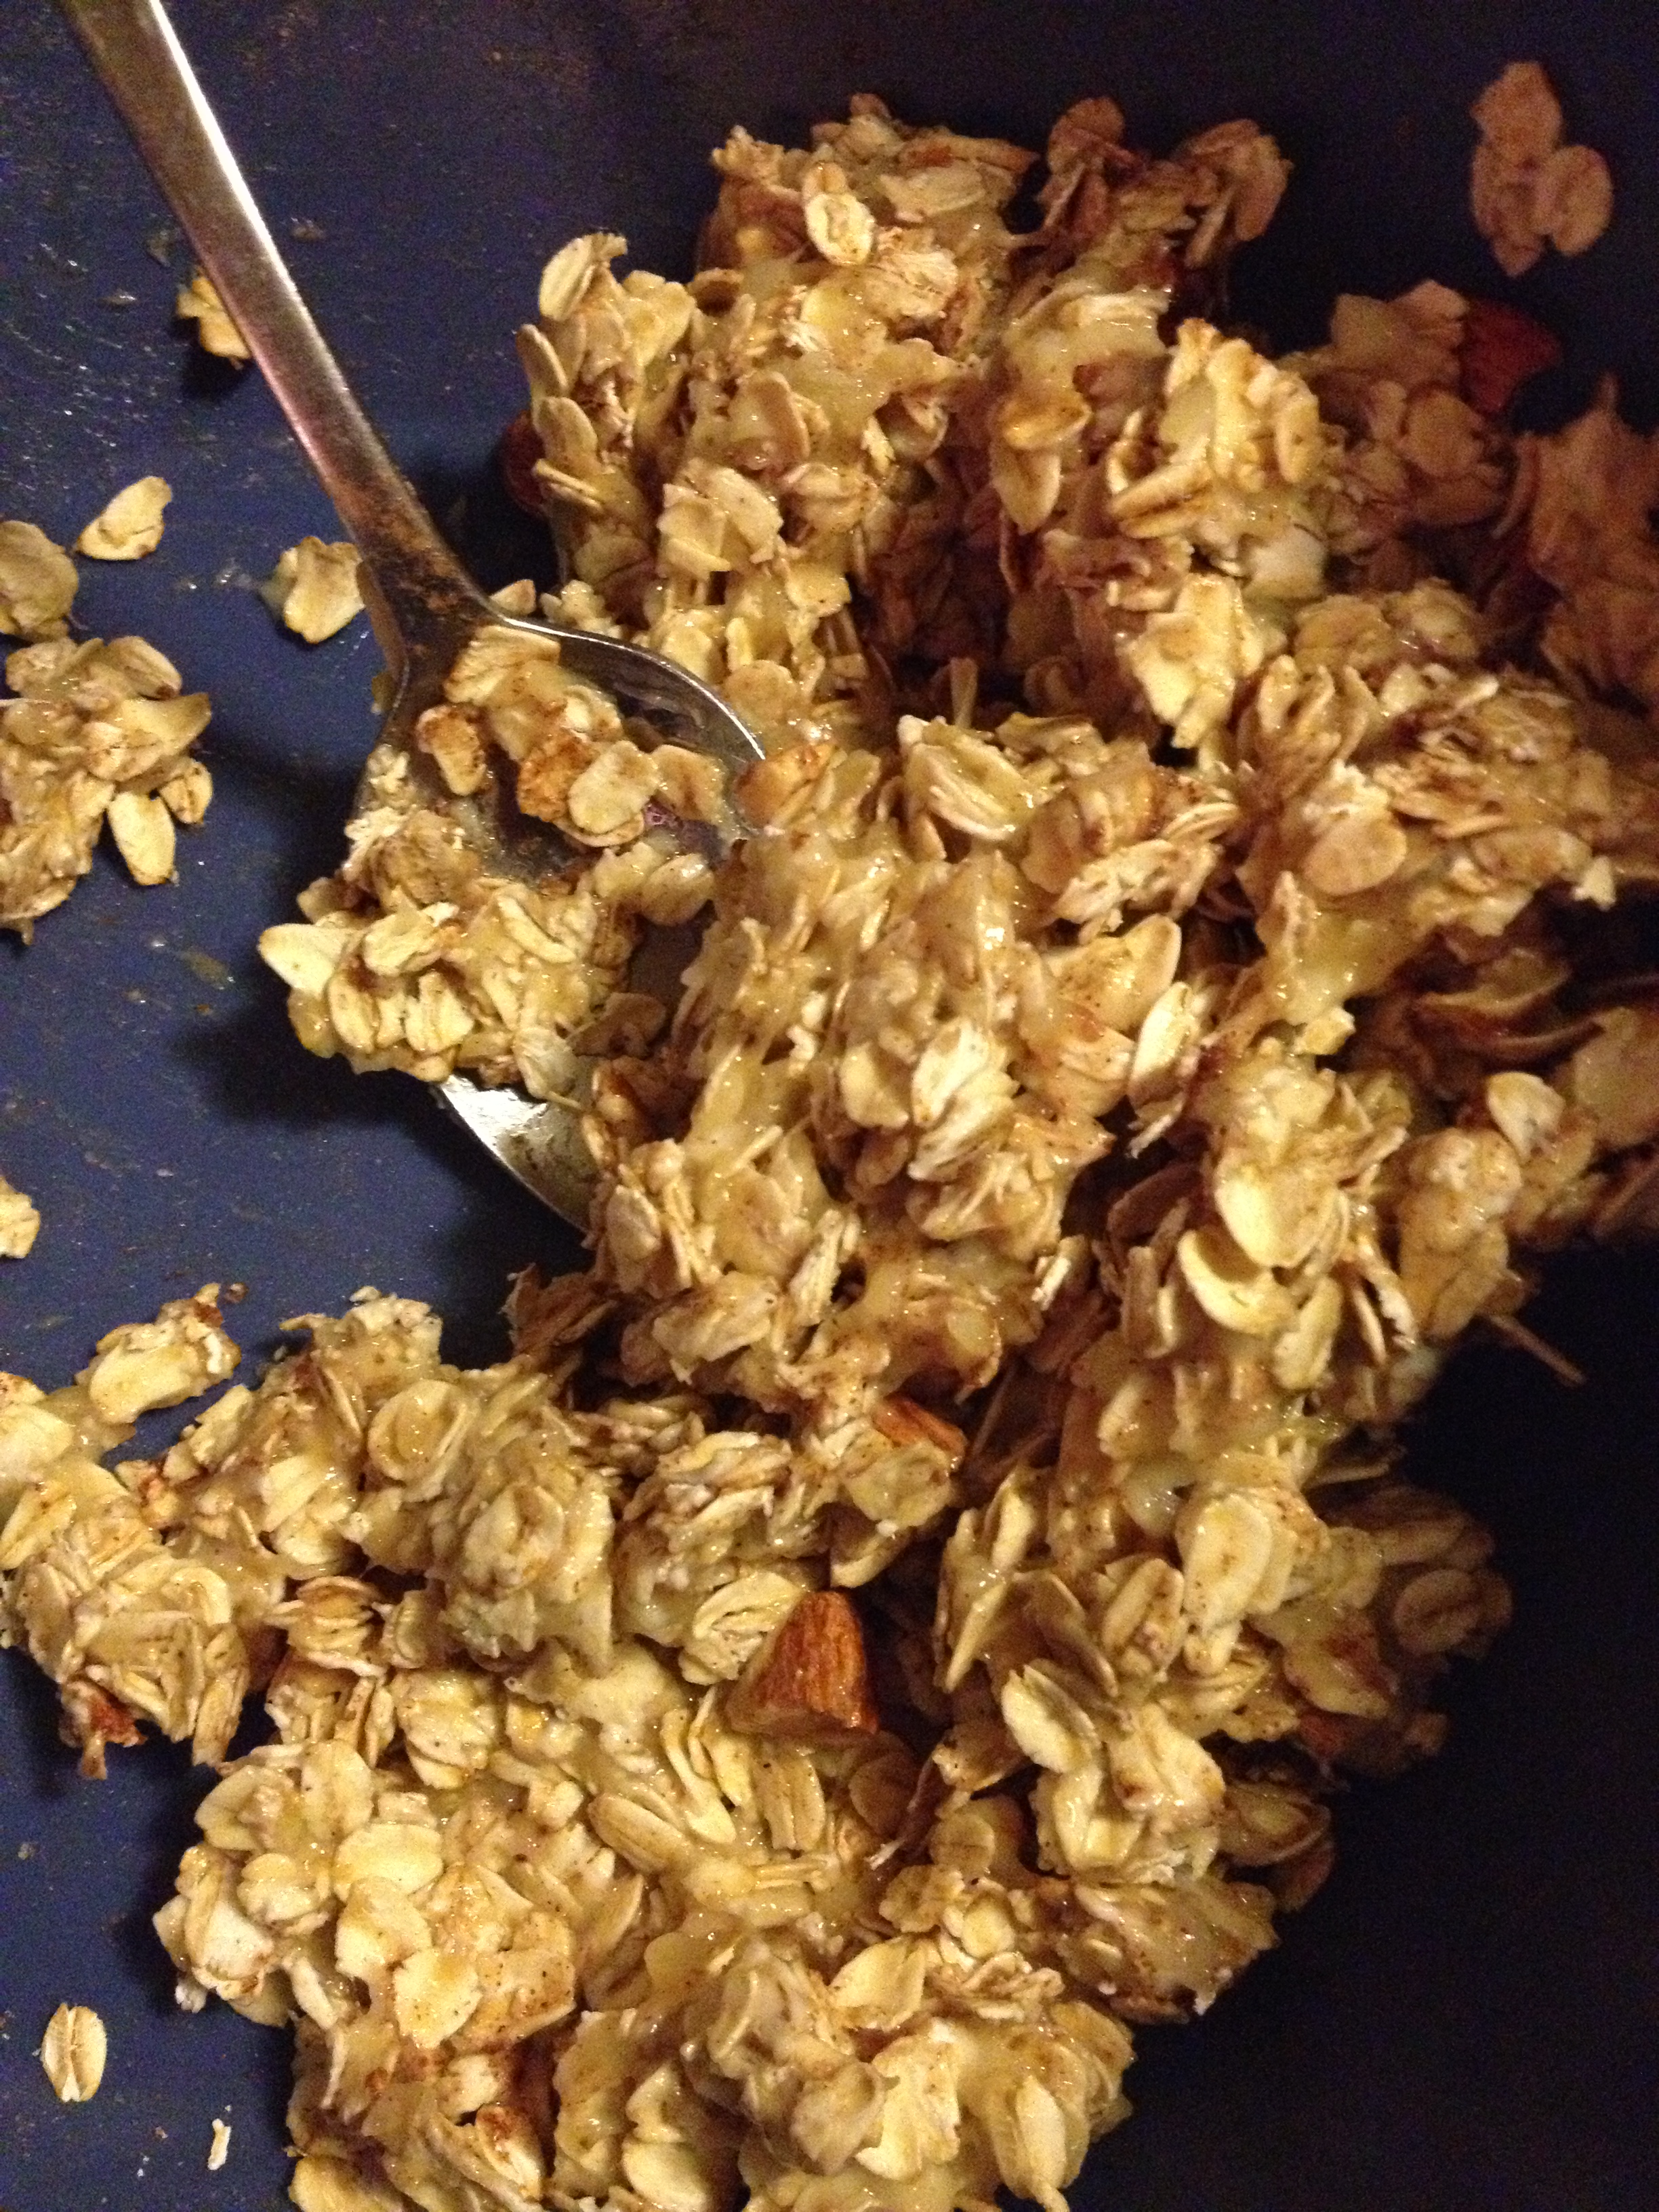
  • Now you want to mix it all together in a big bowl. Start with a base of oats and almonds and then add the mashed bananas in and stir. 
Mixed up!

Mixed up!

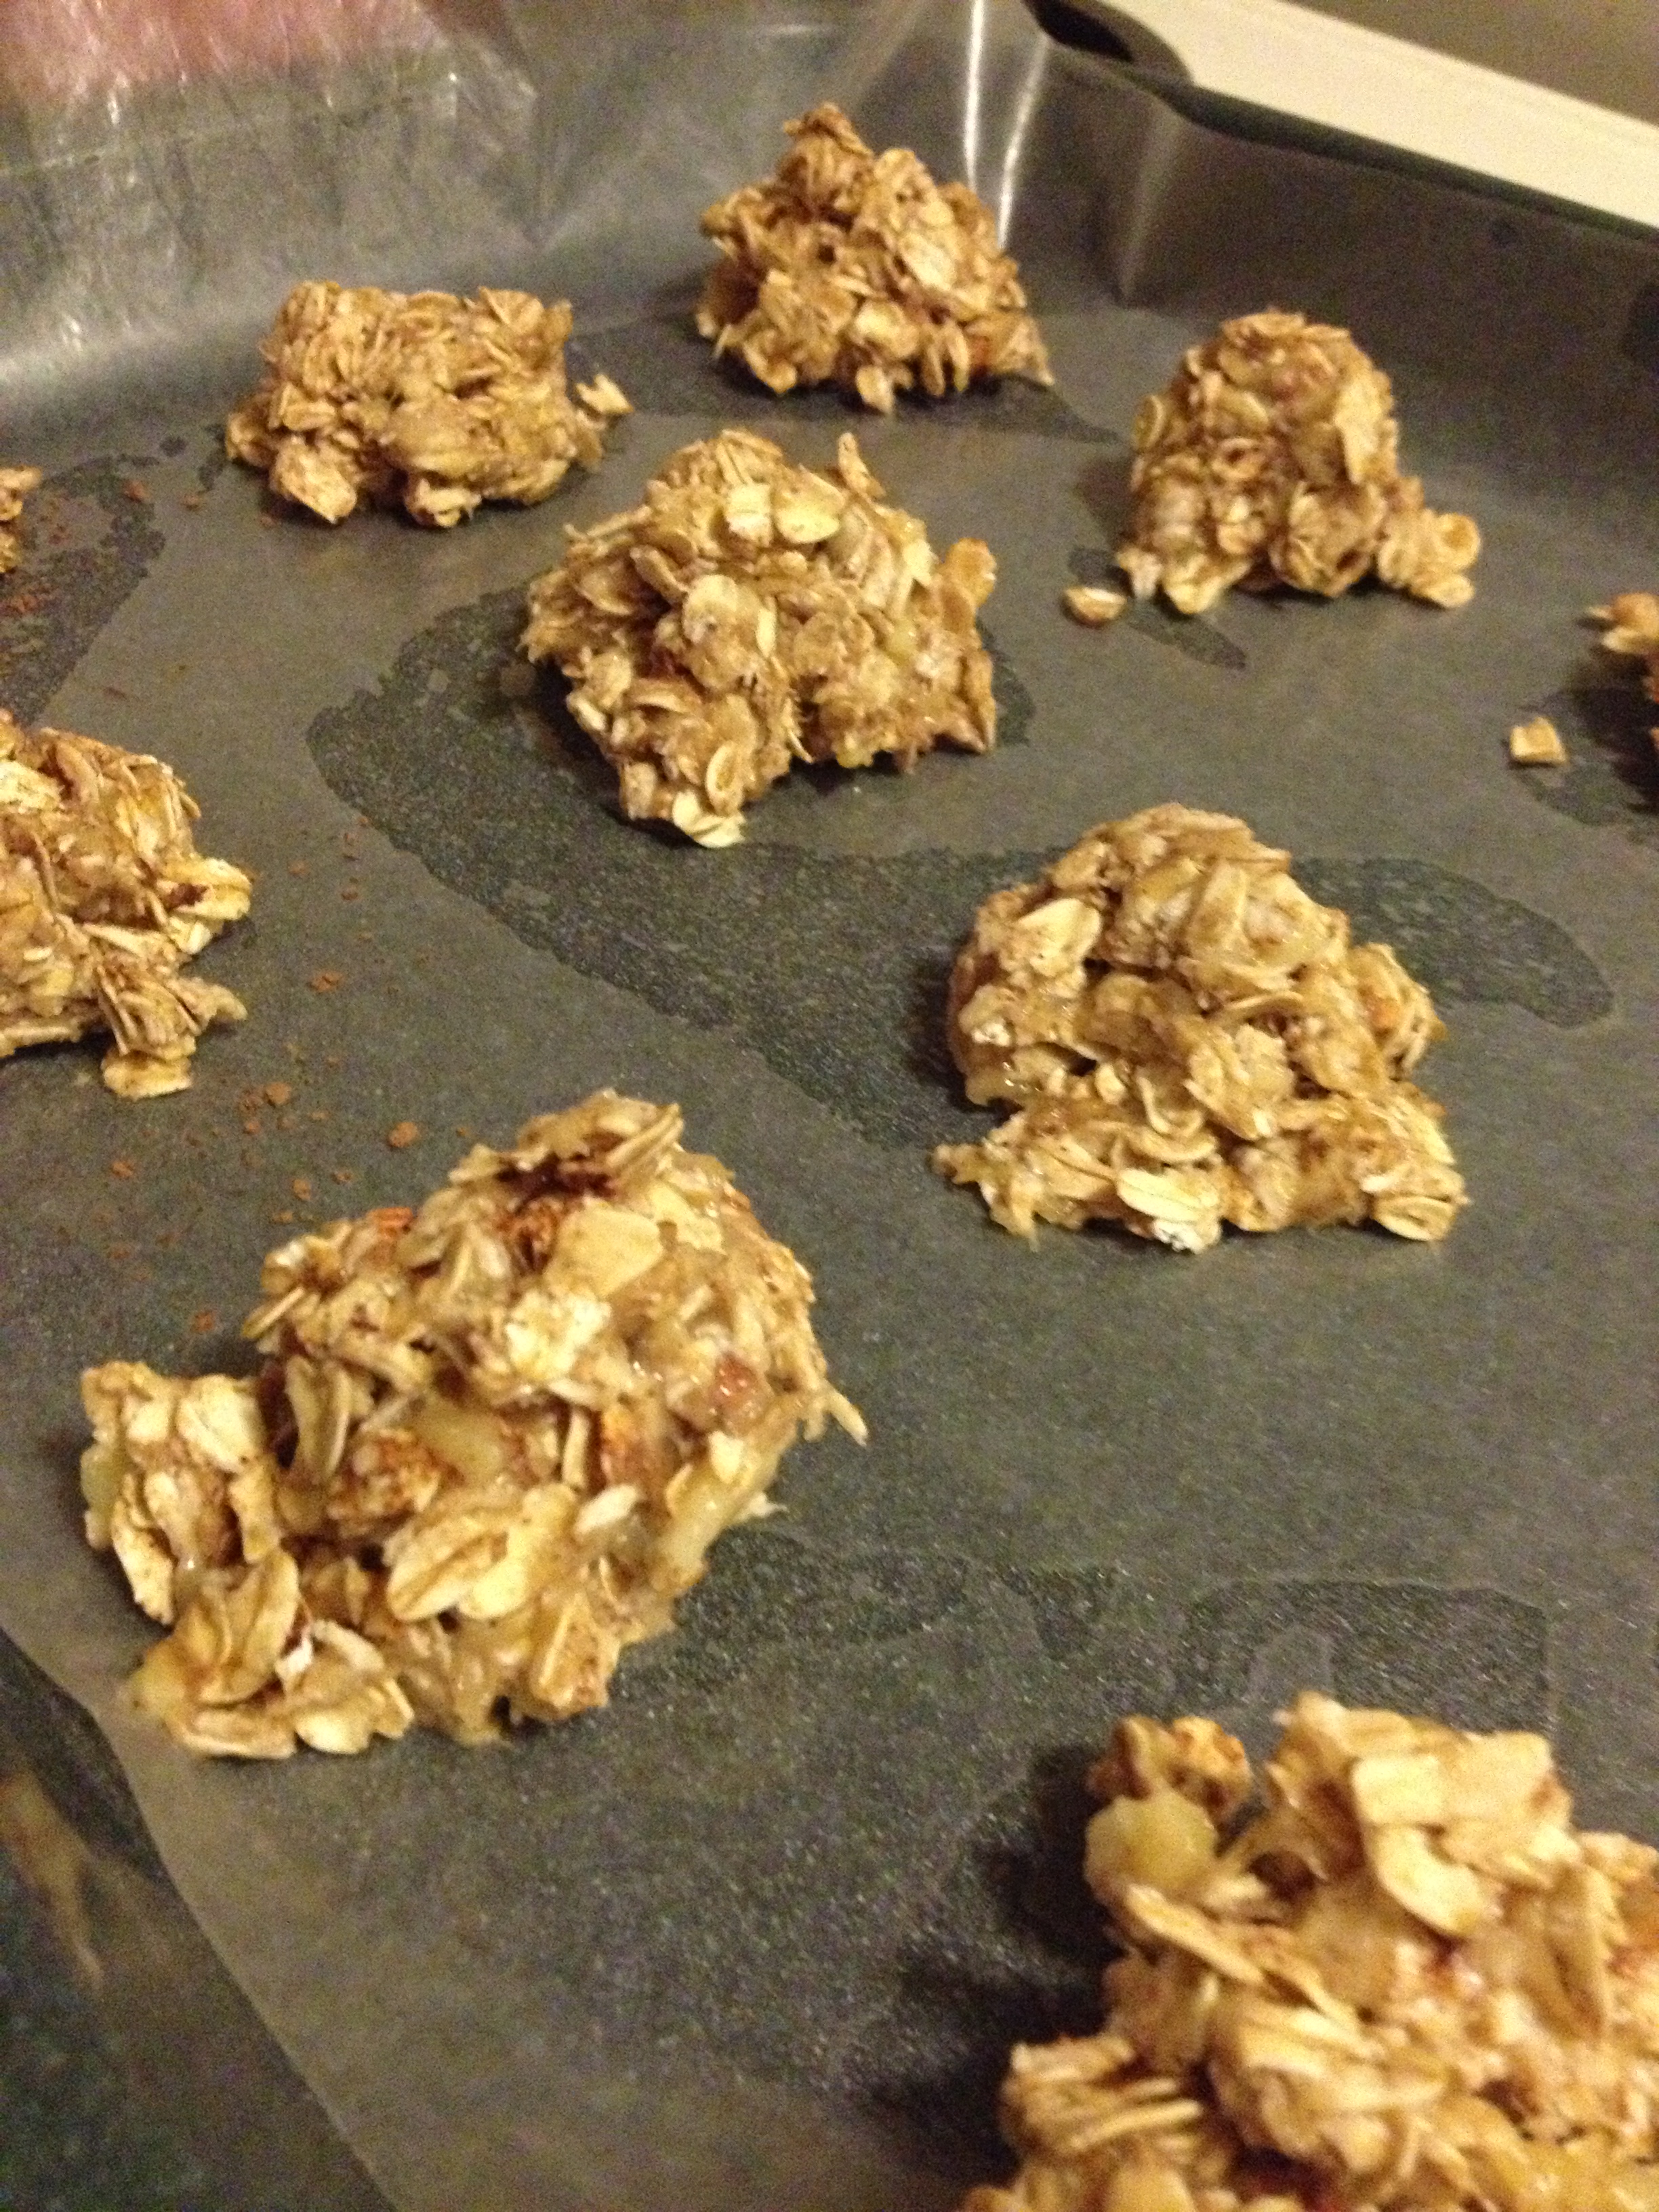
  • Make sure you mix it all up really well. I added cinnamon to it because I LOVE cinnamon and put it in everything. Now line up a baking sheet with wax paper or you can use a cooking spray/oil. Plop those rounds on there. Should make about 12.
Ready to bake

Ready to bake

  • Bake for about 12-15 minutes (mine took 13). Let cool and then EAT.
Ready to be EATEN

Ready to be EATEN

They are so easy and delicious, it’s the perfect energy snack for on-the-go. And it is HEALTHY. No crap in it! And I’d imagine they’d be lovely with milk. Again, this takes no time at all, I did it while packing to show that it’s easy. Enjoy this quick, delicious, nutritious recipe to stay hungry and fit!

photo (2)

Simple and delicious

Simple and delicious

You might also like…

BONUS KITTY PIC

Sajah sleeps for EVERY kitty pic...sigh

Sajah sleeps for EVERY kitty pic…sigh

spacer

Breakfast, Lunch, or Dinner: Tofu Scramble

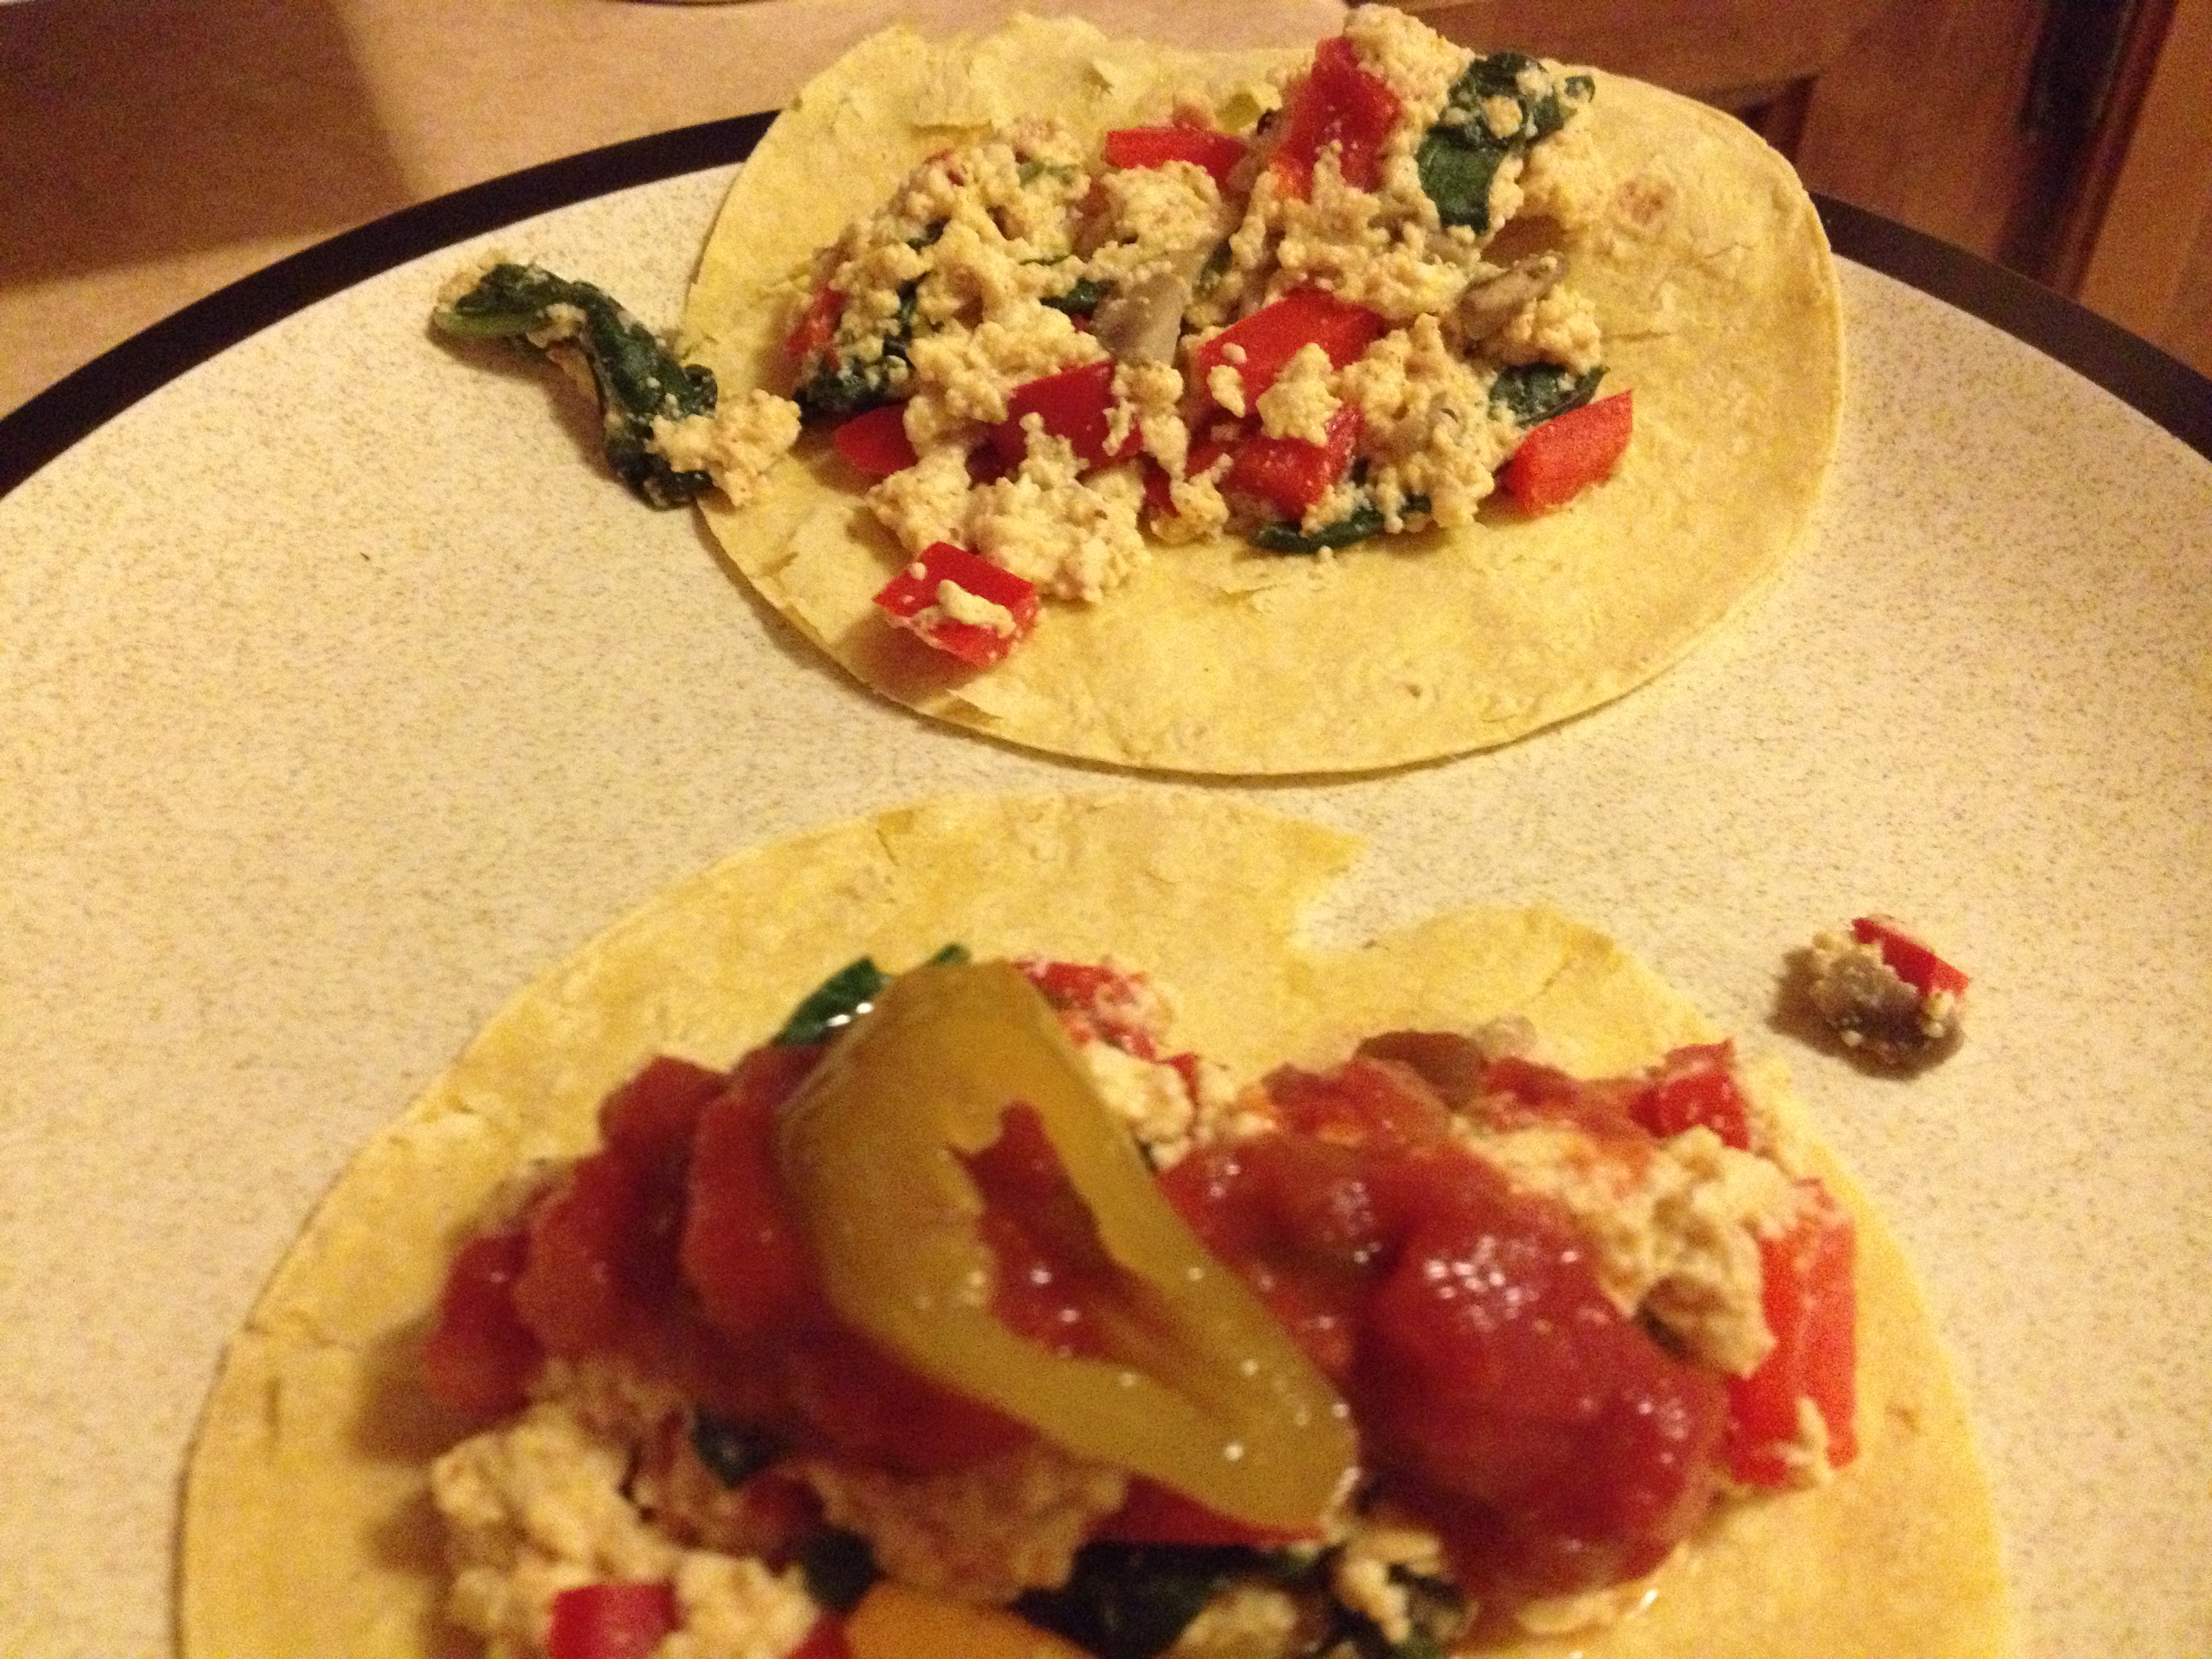
Now this is another recipe from the great book my lovely client got me: the McDougall Quick & Easy Cookbook. It’s full of delicious, healthy recipes that don’t take the whole evening to prepare. My client encouraged me to try the tofu scramble and I finally did. I am very thankful I did so, and I was rewarded by having it for many meals since it makes plenty of servings. This recipe is healthy and easy to make, especially for those who take lunch to work. You can have it any time of the day with anything–toast, eggs, stir fry! It is SUPER easy.

Feel free to spice it up!

Feel free to spice it up!

  • Prep Time: 10 minutes
  • Cooking Time10 minutes

Ingredients

  • 1 packet firm tofu
  • 1/2 cup water
  • 1 red bell pepper, chopped
  • 1-2 cups mushrooms, chopped
  • 1 cup spinach
  • 2 tbsp mustard
  • 1/2 tsp nutritional yeast
  • 1/2 tsp garlic powder
  • 1/2 tsp curry powder
  • 1/2 tsp paprika

Directions

  • Put the water in a medium frying pan and turn on heat
  • Put in the chopped mushrooms and bell pepper
Ready to be cooked!

Ready to be cooked!

  • Once the mushrooms and peppers have been somewhat cooked, throw the spinach in as well. Feel free to season how you’d like

photo 2 (4)

  • While it continues to cook, take out your tofu and put it in a bowl. Mash it up, reeeal well. Keep going!
  • Put all your seasonings in with the tofu and mix it around the mash
  • Add the tofu to the veggies and cook for another 5 minutes or so, until you see fit.

photo 3 (4)

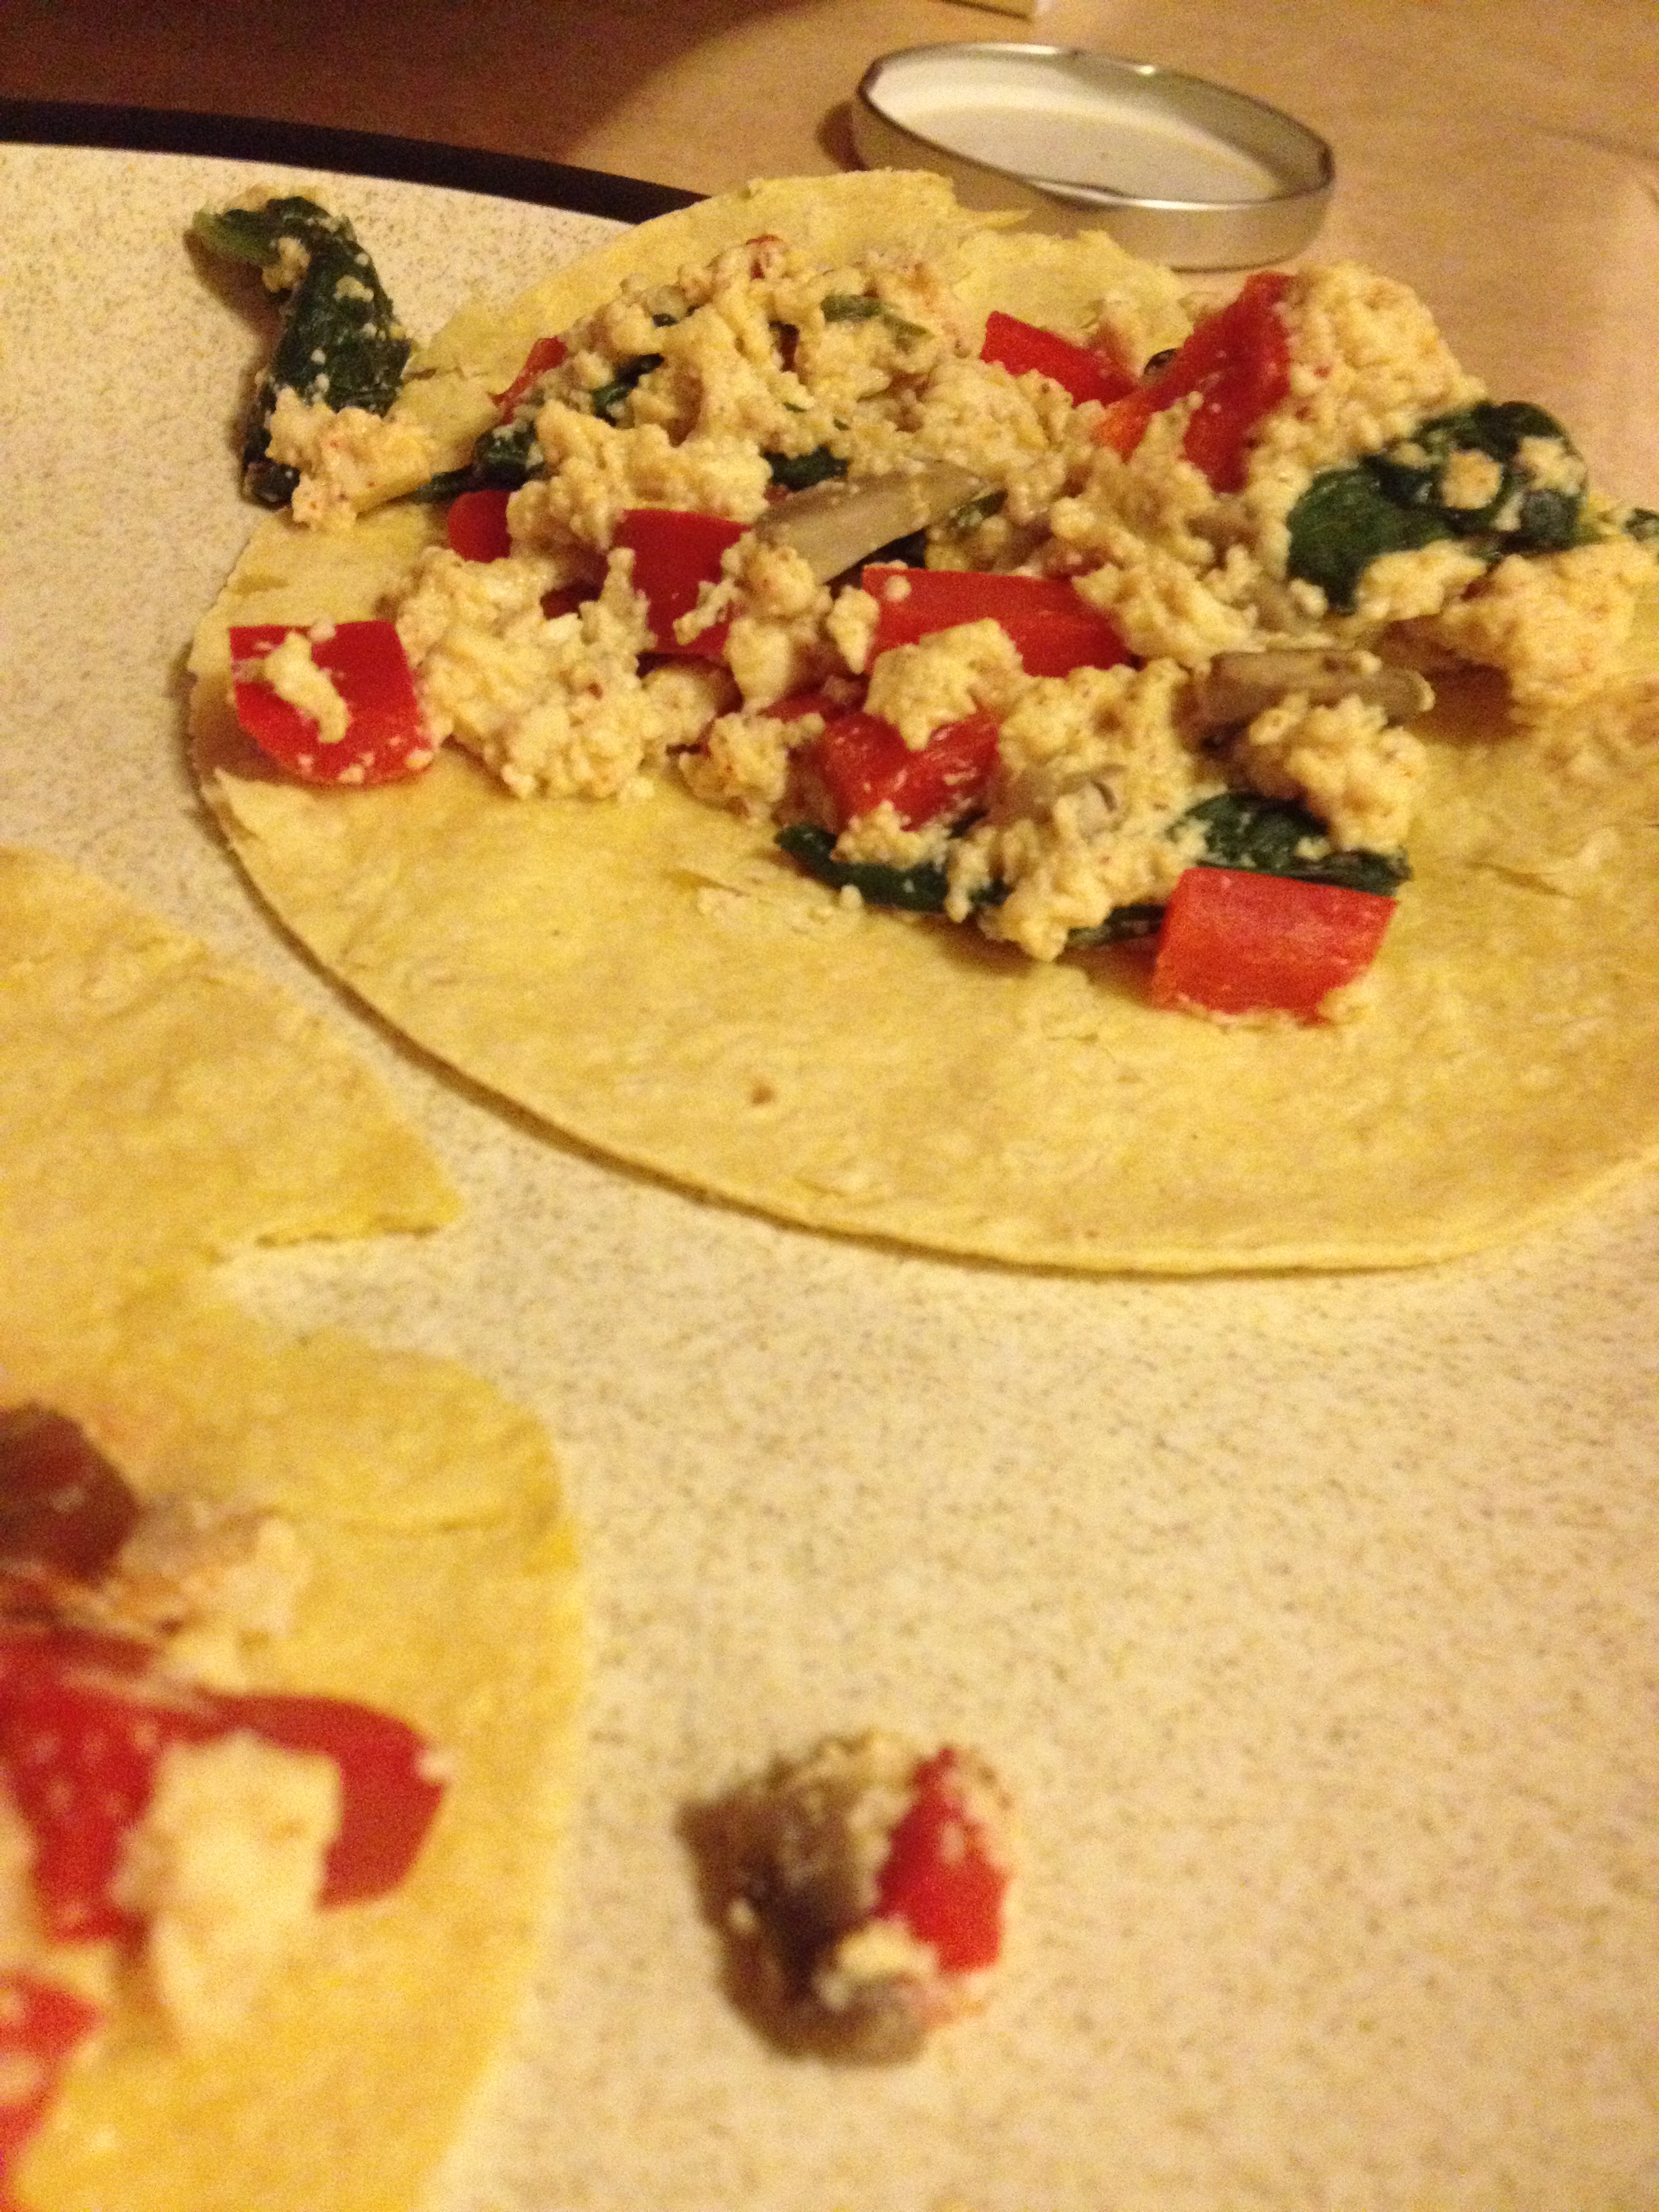
  • You can serve with potatoes, tacos, eggs–whatever meal it is and whatever you are in the mood for!
I, of course, opted for the tacos

I, of course, opted for the tacos

Feel free to spice it up!

Feel free to spice it up!

It  may not be pretty, but it is nutritious and delicious! It’s easy to whip up (I did it after a long workout) and it kept me fed for a few days after I made it! Definitely worth it. There’s so many ways you can change it around. The original recipe calls for onion, but I say whatever vegetables you have in the house, throw them in! This is the perfect recipe to stay hungry and fit!

You may also like…

BONUS KITTY PIC

Bed cuddles

Bed cuddles

spacer

Fresh Bell Pepper Stir Fry

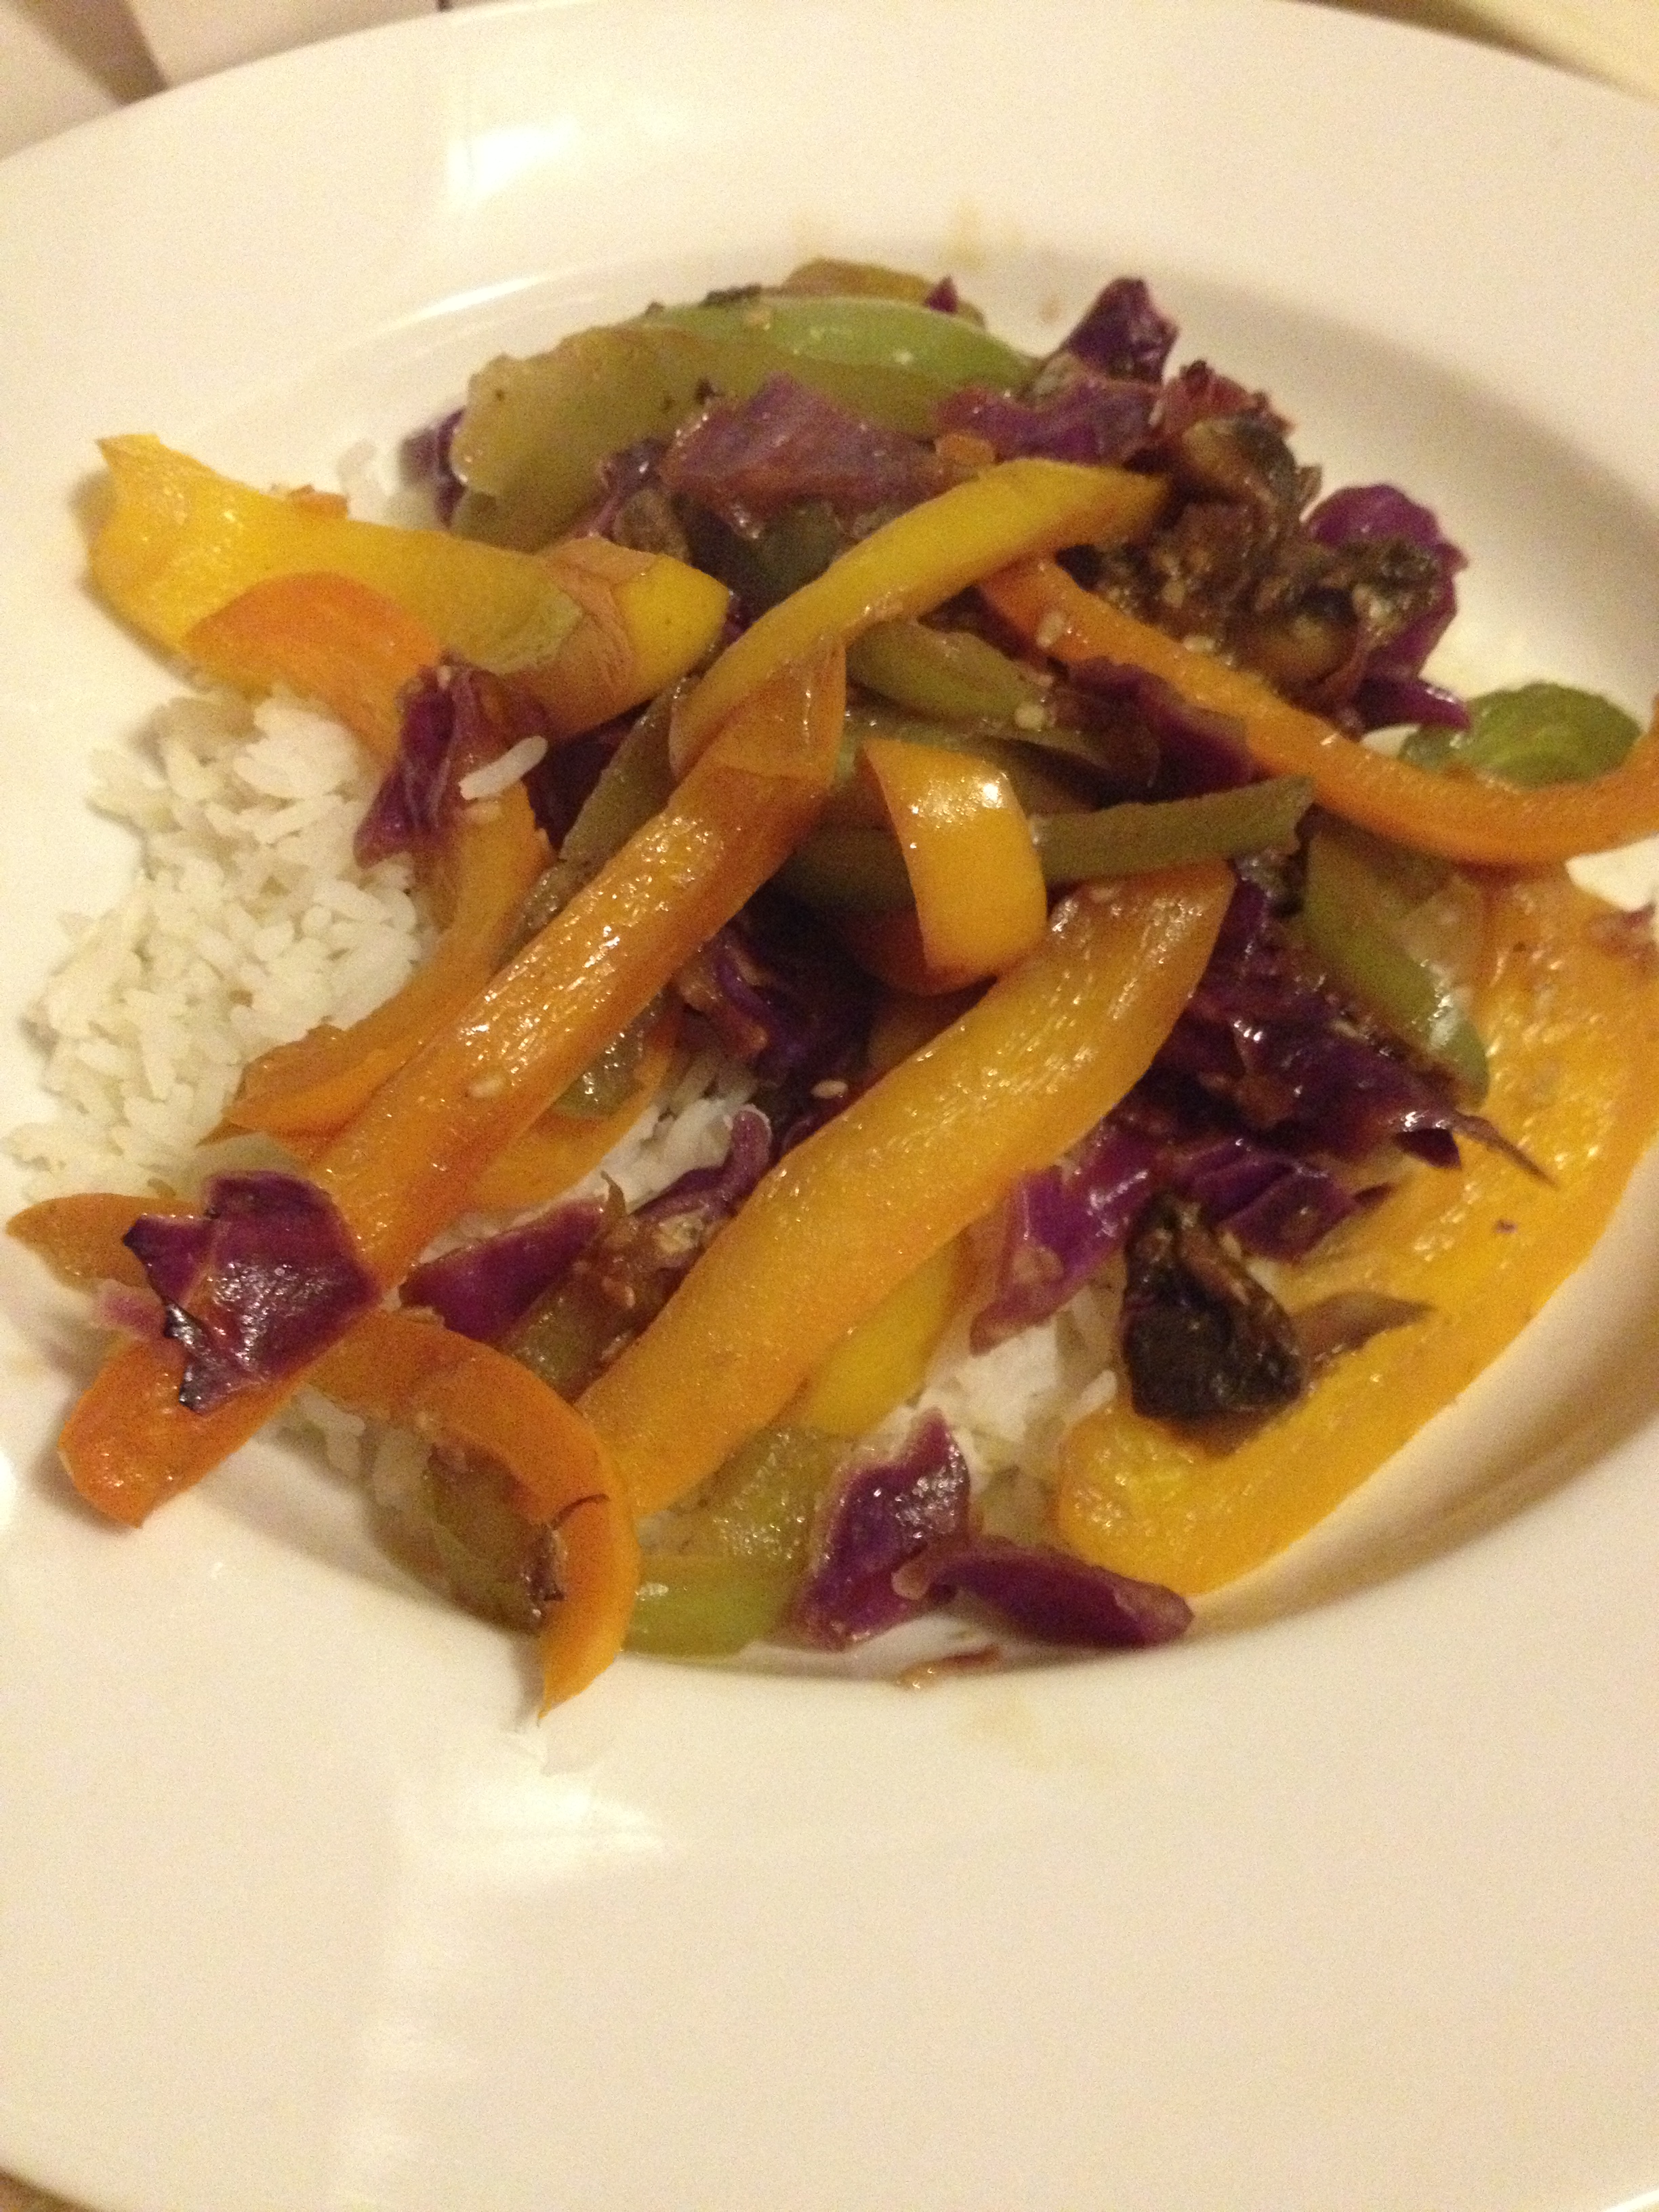
We’ve done some other stir frys, like one with noodles. This time we chose to go with our Indian rice that we use. Stir fry should always be a go-to if you have fresh veggies in the house. This stir fry centers around bell peppers as I grabbed a bunch from the grocery for a great price. Easy to do, if you’re pressed for time at night, you could always chop them earlier on or the night before (I chopped them up before our push-muscle workout–sample here). This can be vegetarian or not, I added some chicken in for Chris, and I stayed with the veggies.

My plate

My plate

  • Prep Time: 15 minutes
  • Cooking Time: 10 minutes
  • Serves: 3 normal people [I always have to put in normal because Chris eats everything in the world]

Ingredients

  • 4 bell peppers
  • 1/4 red cabbage
  • 3 cloves garlic
  • 4 mushrooms
  • 1 package boneless skinless chicken
  • soy sauce
  • sesame teriyaki [optional: you can use whatever sauce you would like]
  • 1 cup rice
  • 1 tbsp rice vinegar
  • 1 tbsp sesame seeds

Directions

  • Put your rice in the rice cooker and get that ready to go
  • Once rice is done, toss some rice vinegar and sesame seeds in there and mix around, let it
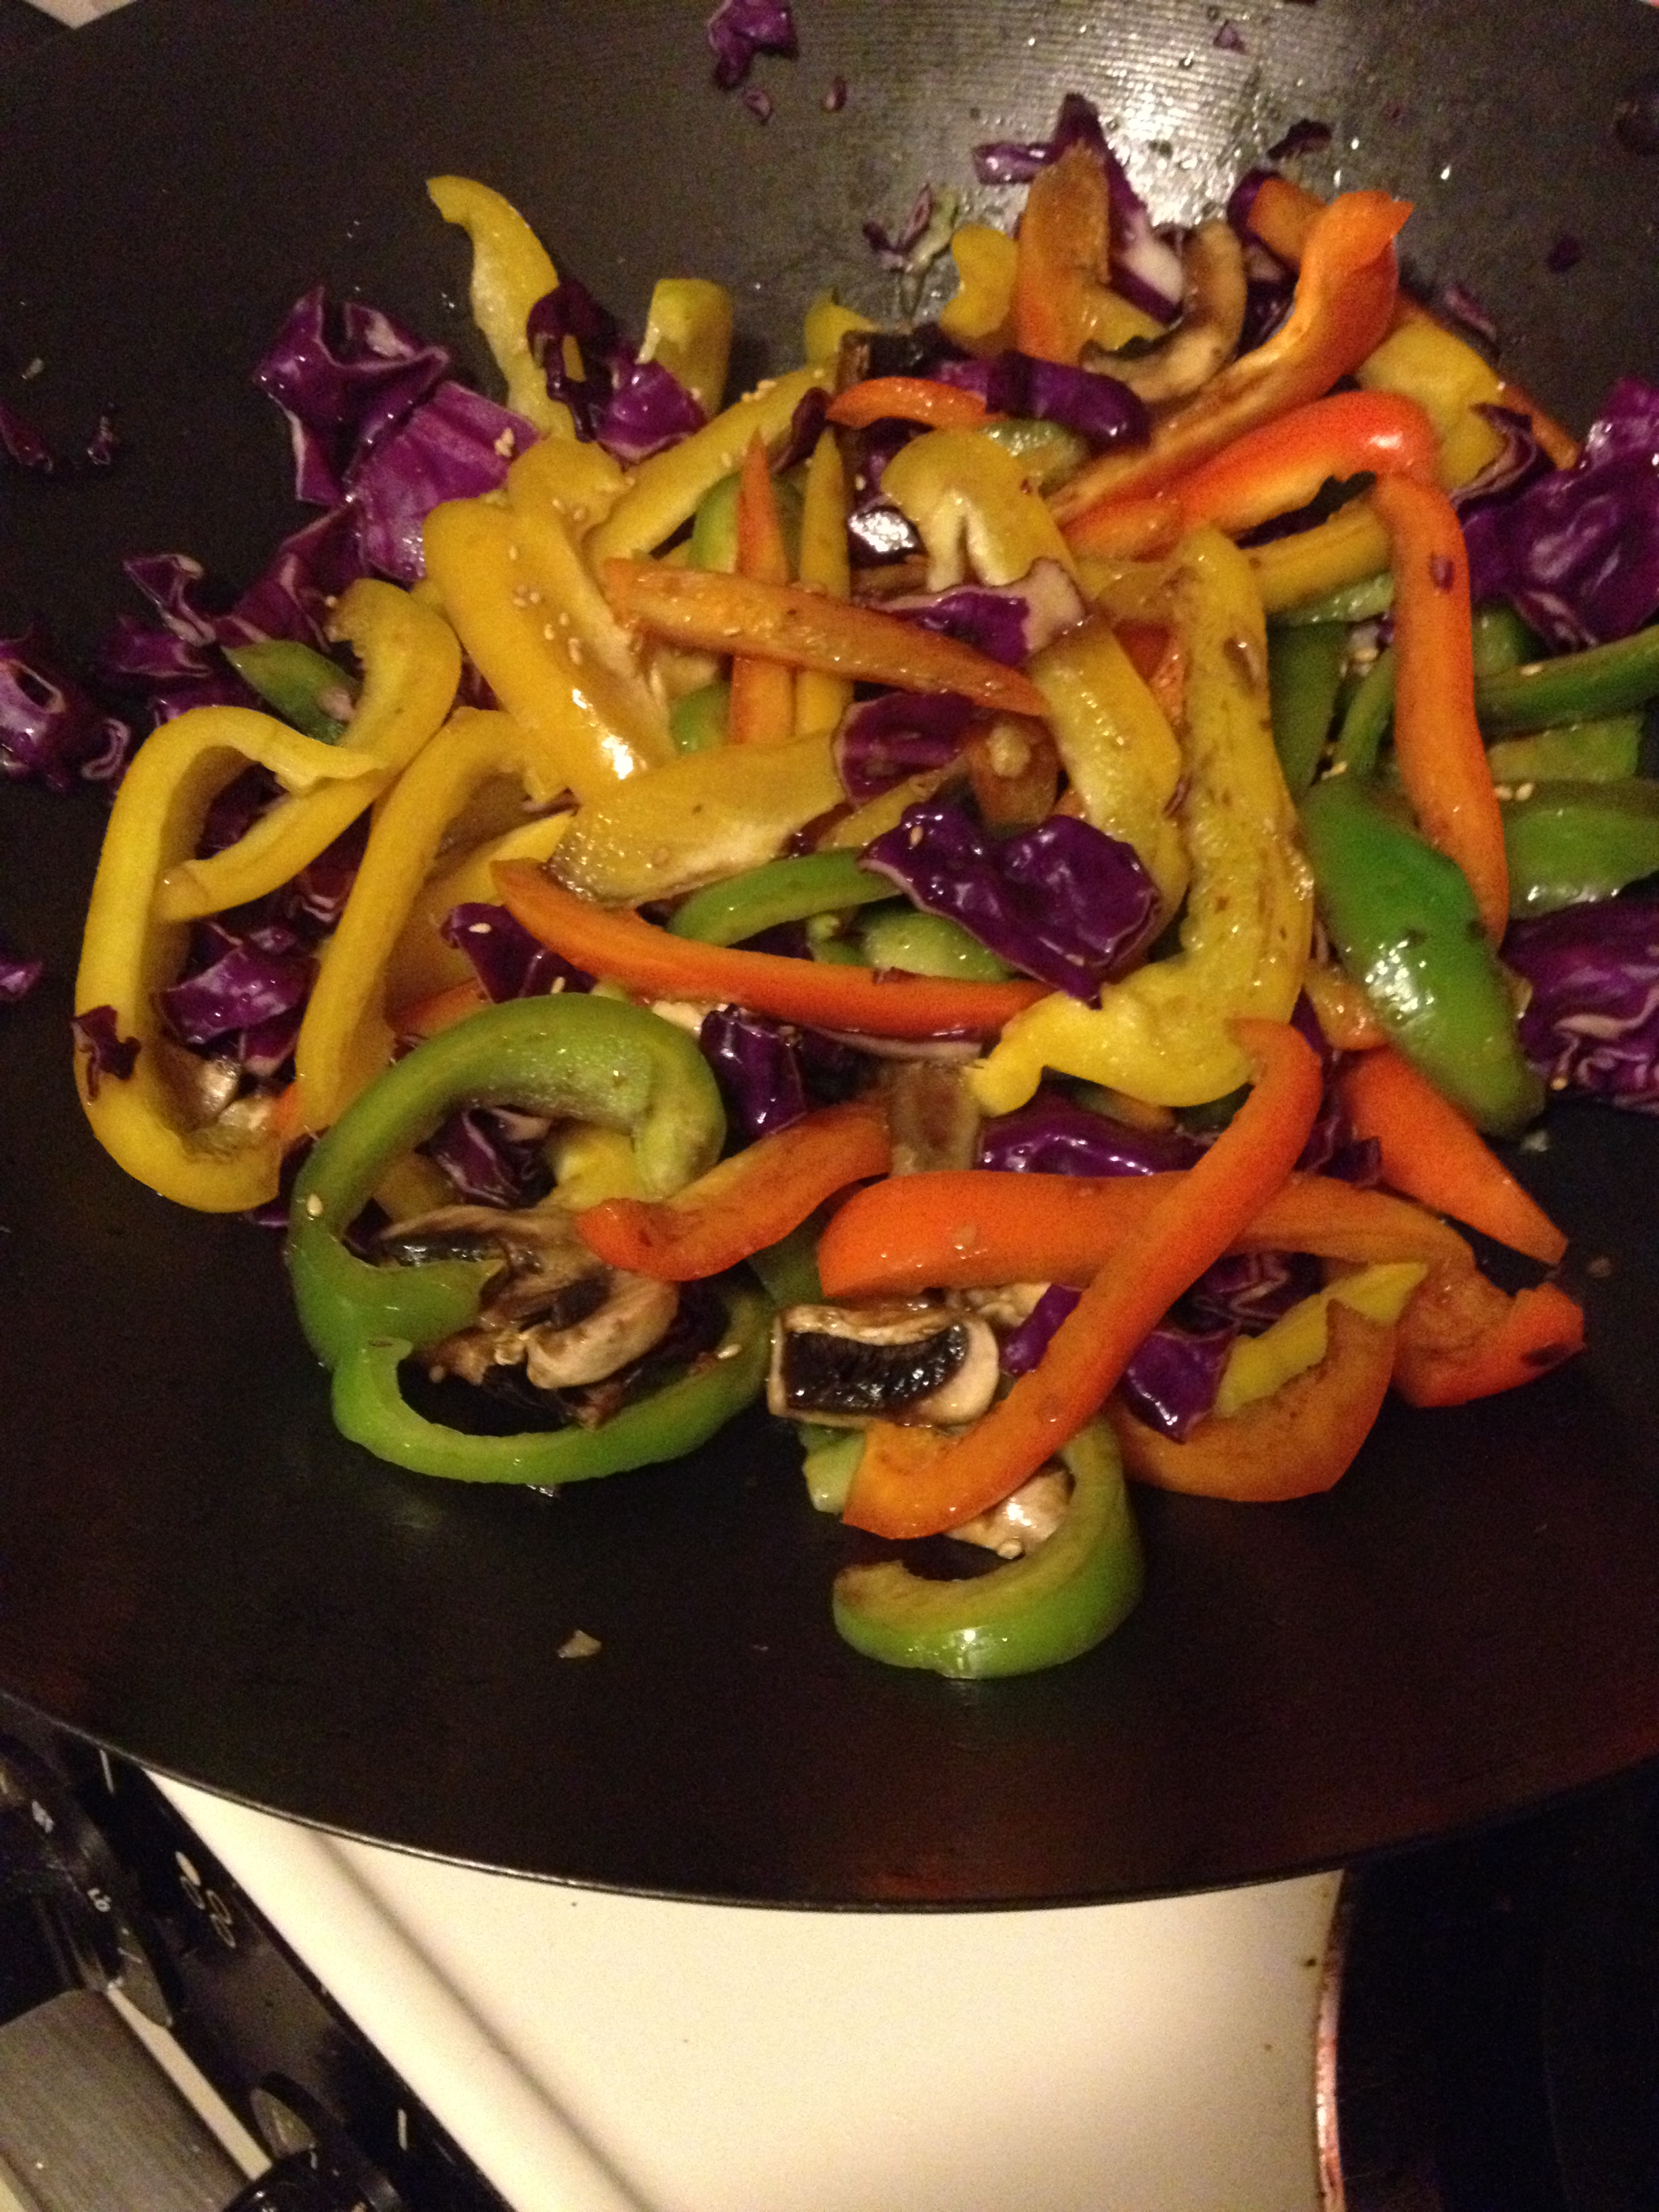
  • Cut up all your veggies
So beautiful

So beautiful

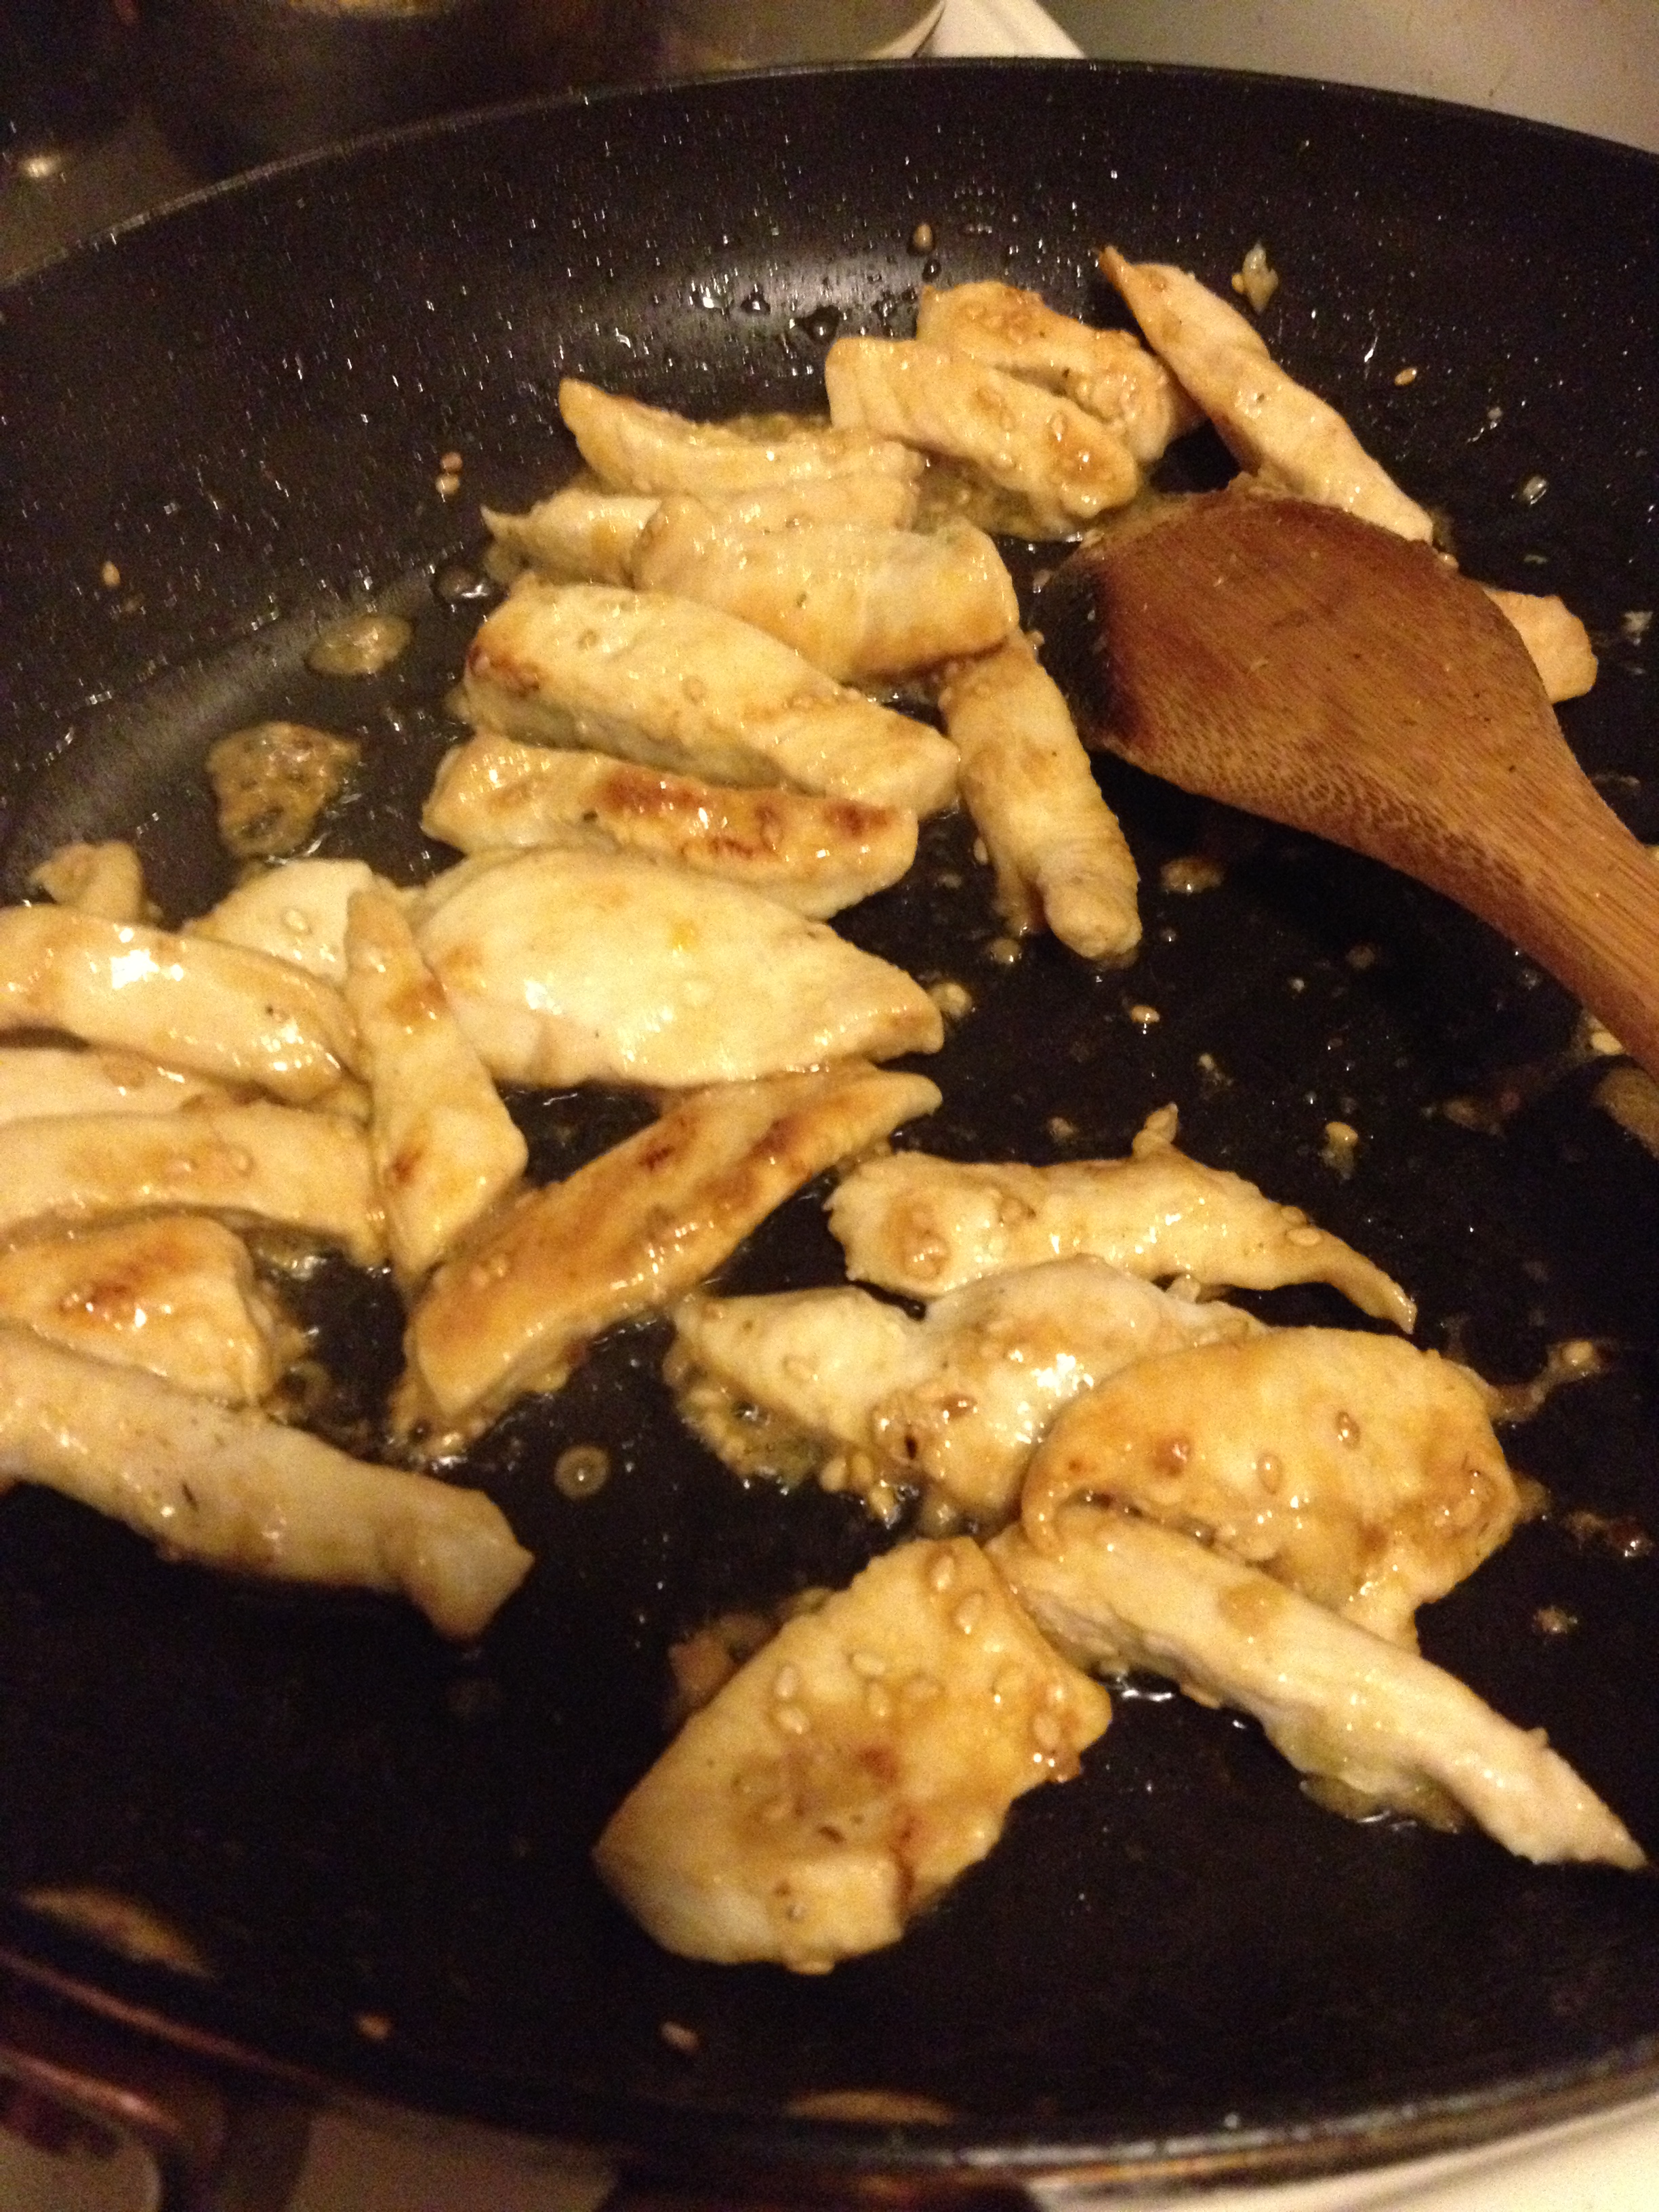
  • Cut the chicken into thin strips on a different board if you are eating meat

photo 4

  • Put oil into a wok and throw some crushed or cut garlic in there. Then, add the vegetables to the wok. Pour soy sauce and any other sauces you would like to flavor the veggies
Still pretty

Still pretty

  • Once the vegetables are cooked and flavored to your desire, throw some oil and garlic in another smaller saucepan and heat it up. Then put the chicken strips into this pan and cook. This only takes 5 minutes max. Toss with soy sauce, teriyaki, and sesame seeds

photo 2 (1)

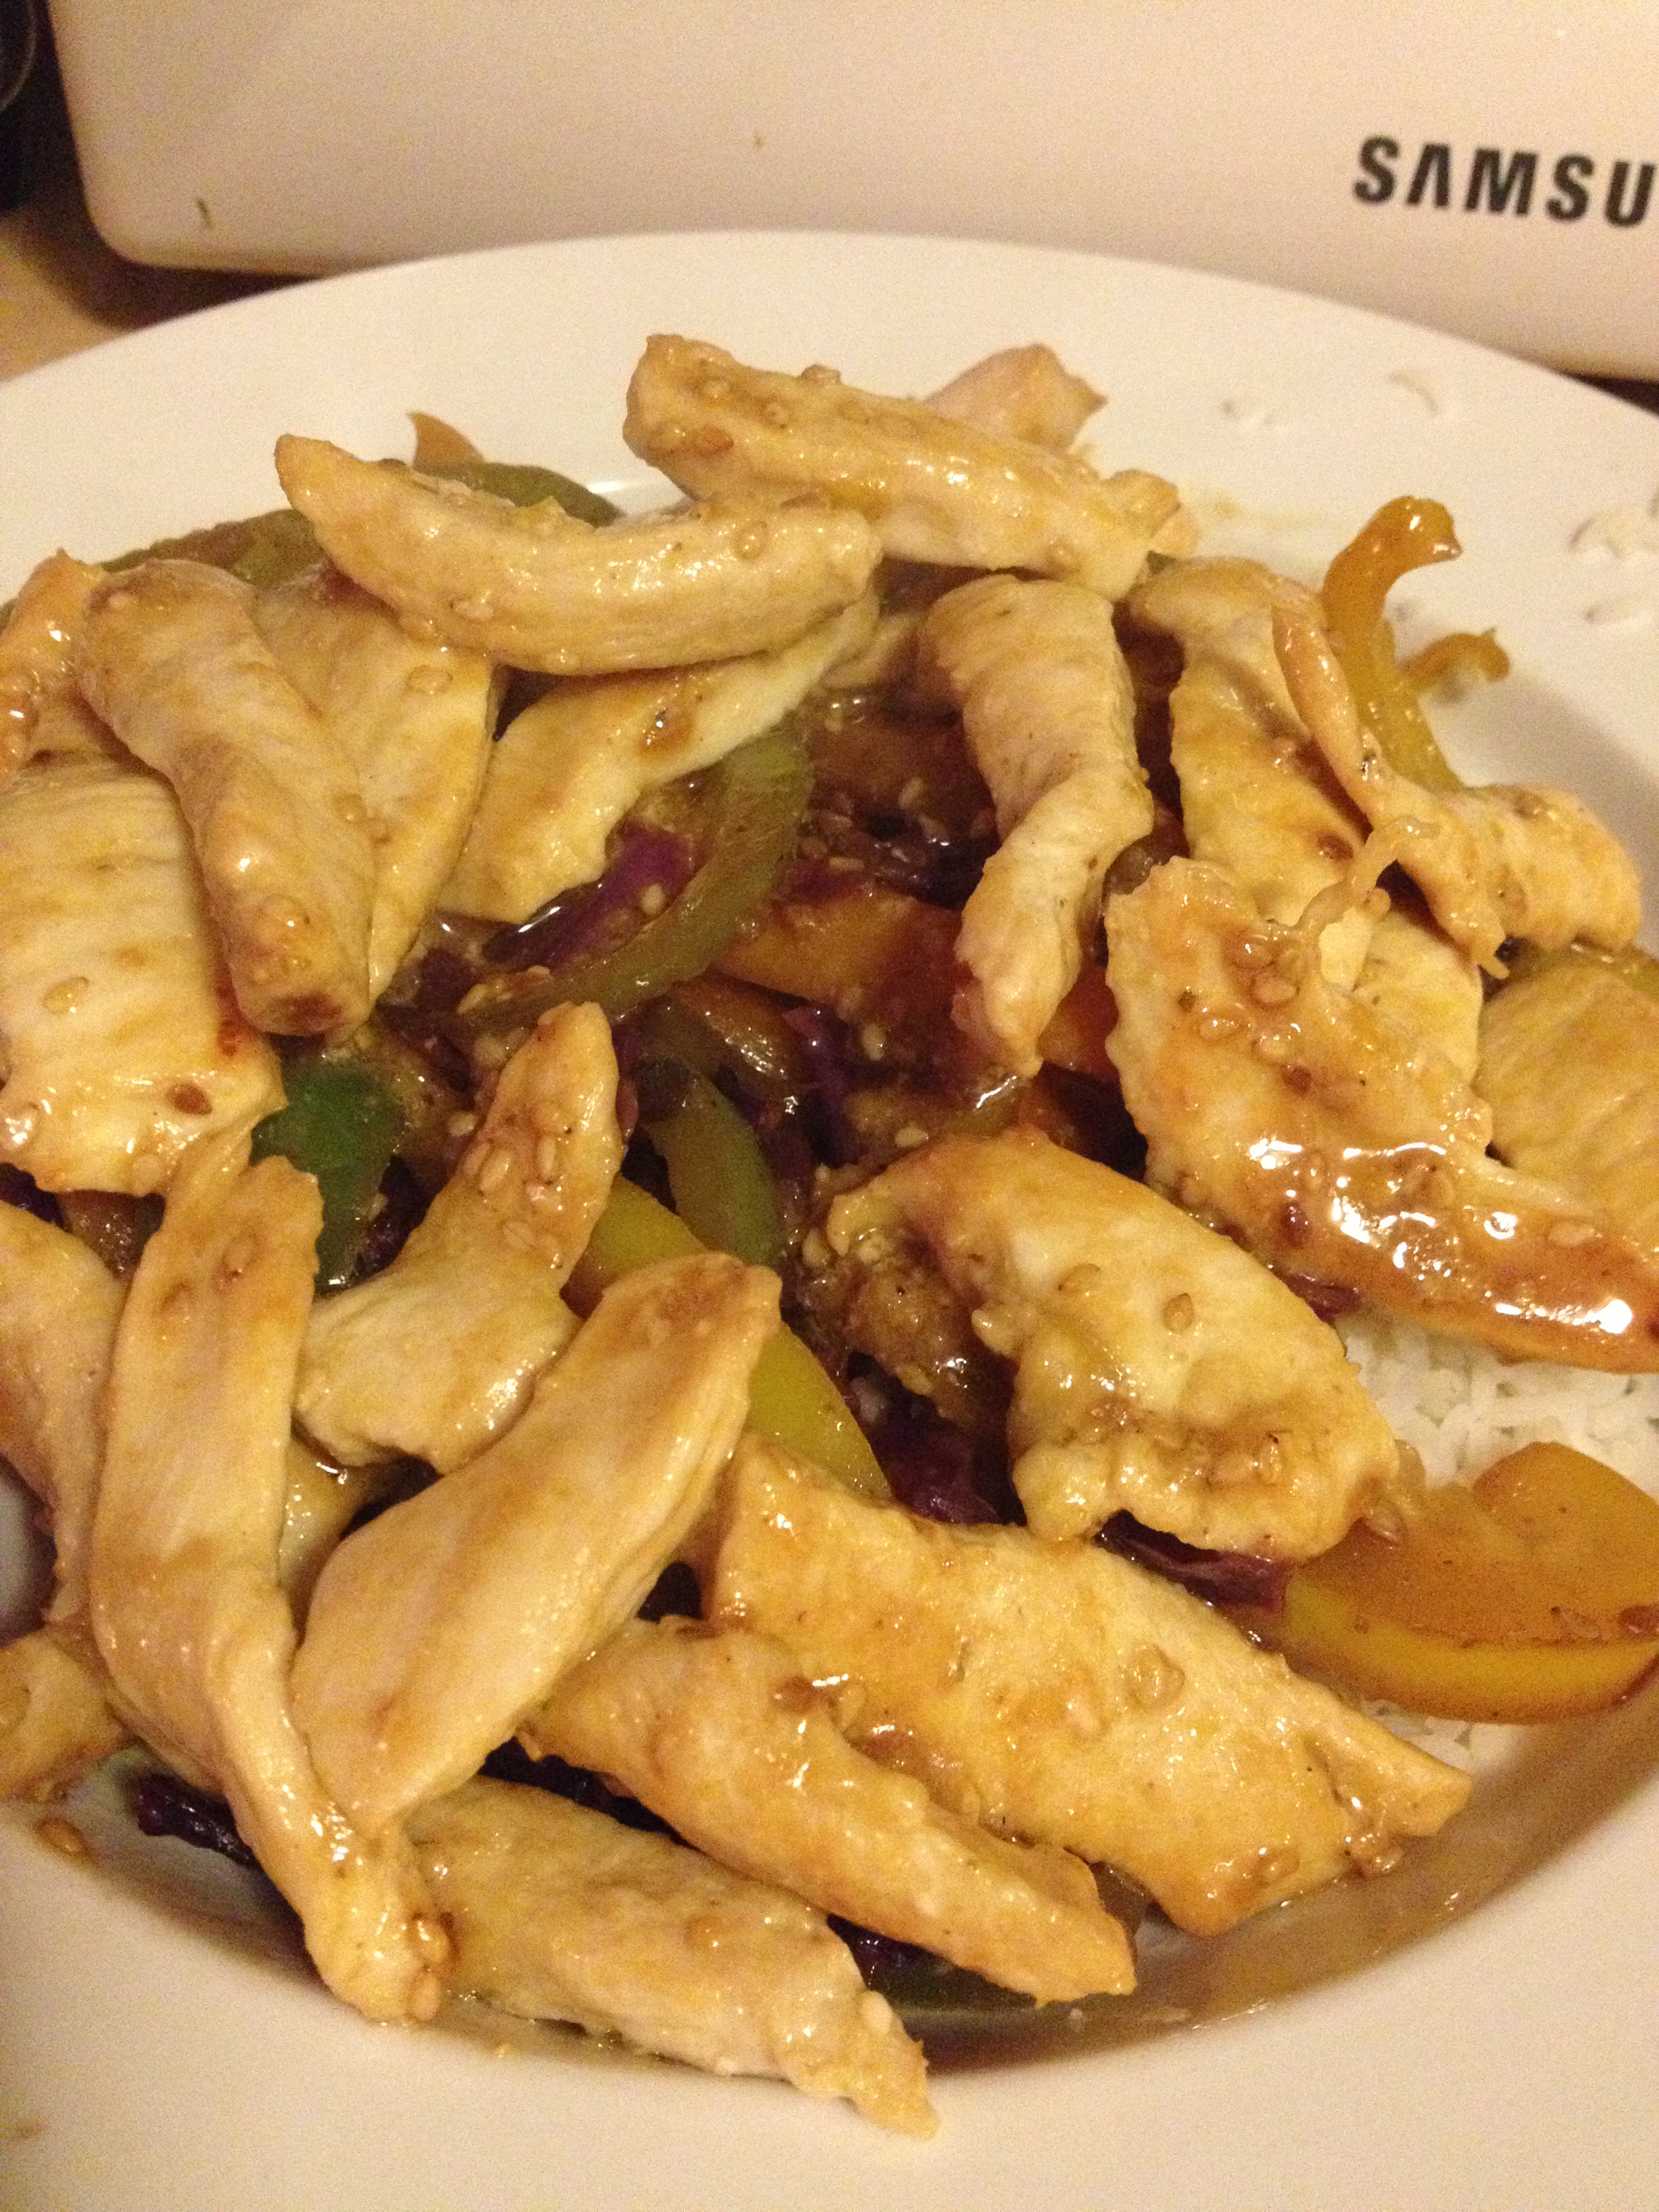
  • Once your chicken is done, assemble plates. Load the bottom with rice, top it with vegetables, and then some chicken (if you are eating chicken). It’s good to go!
My plate

My plate

Chris' plate

Chris’ plate

Again such an easy dish to make and such an easy dish to eat too! It’s delicious, nutritious, and filling. It also has beautiful colors if you use different peppers. Enjoy with whatever vegetable and seasoning you have. This is a great dish to stay hungry and fit! Cheers!

spacer

The Easiest Black Bean Soup You’ll Ever Make

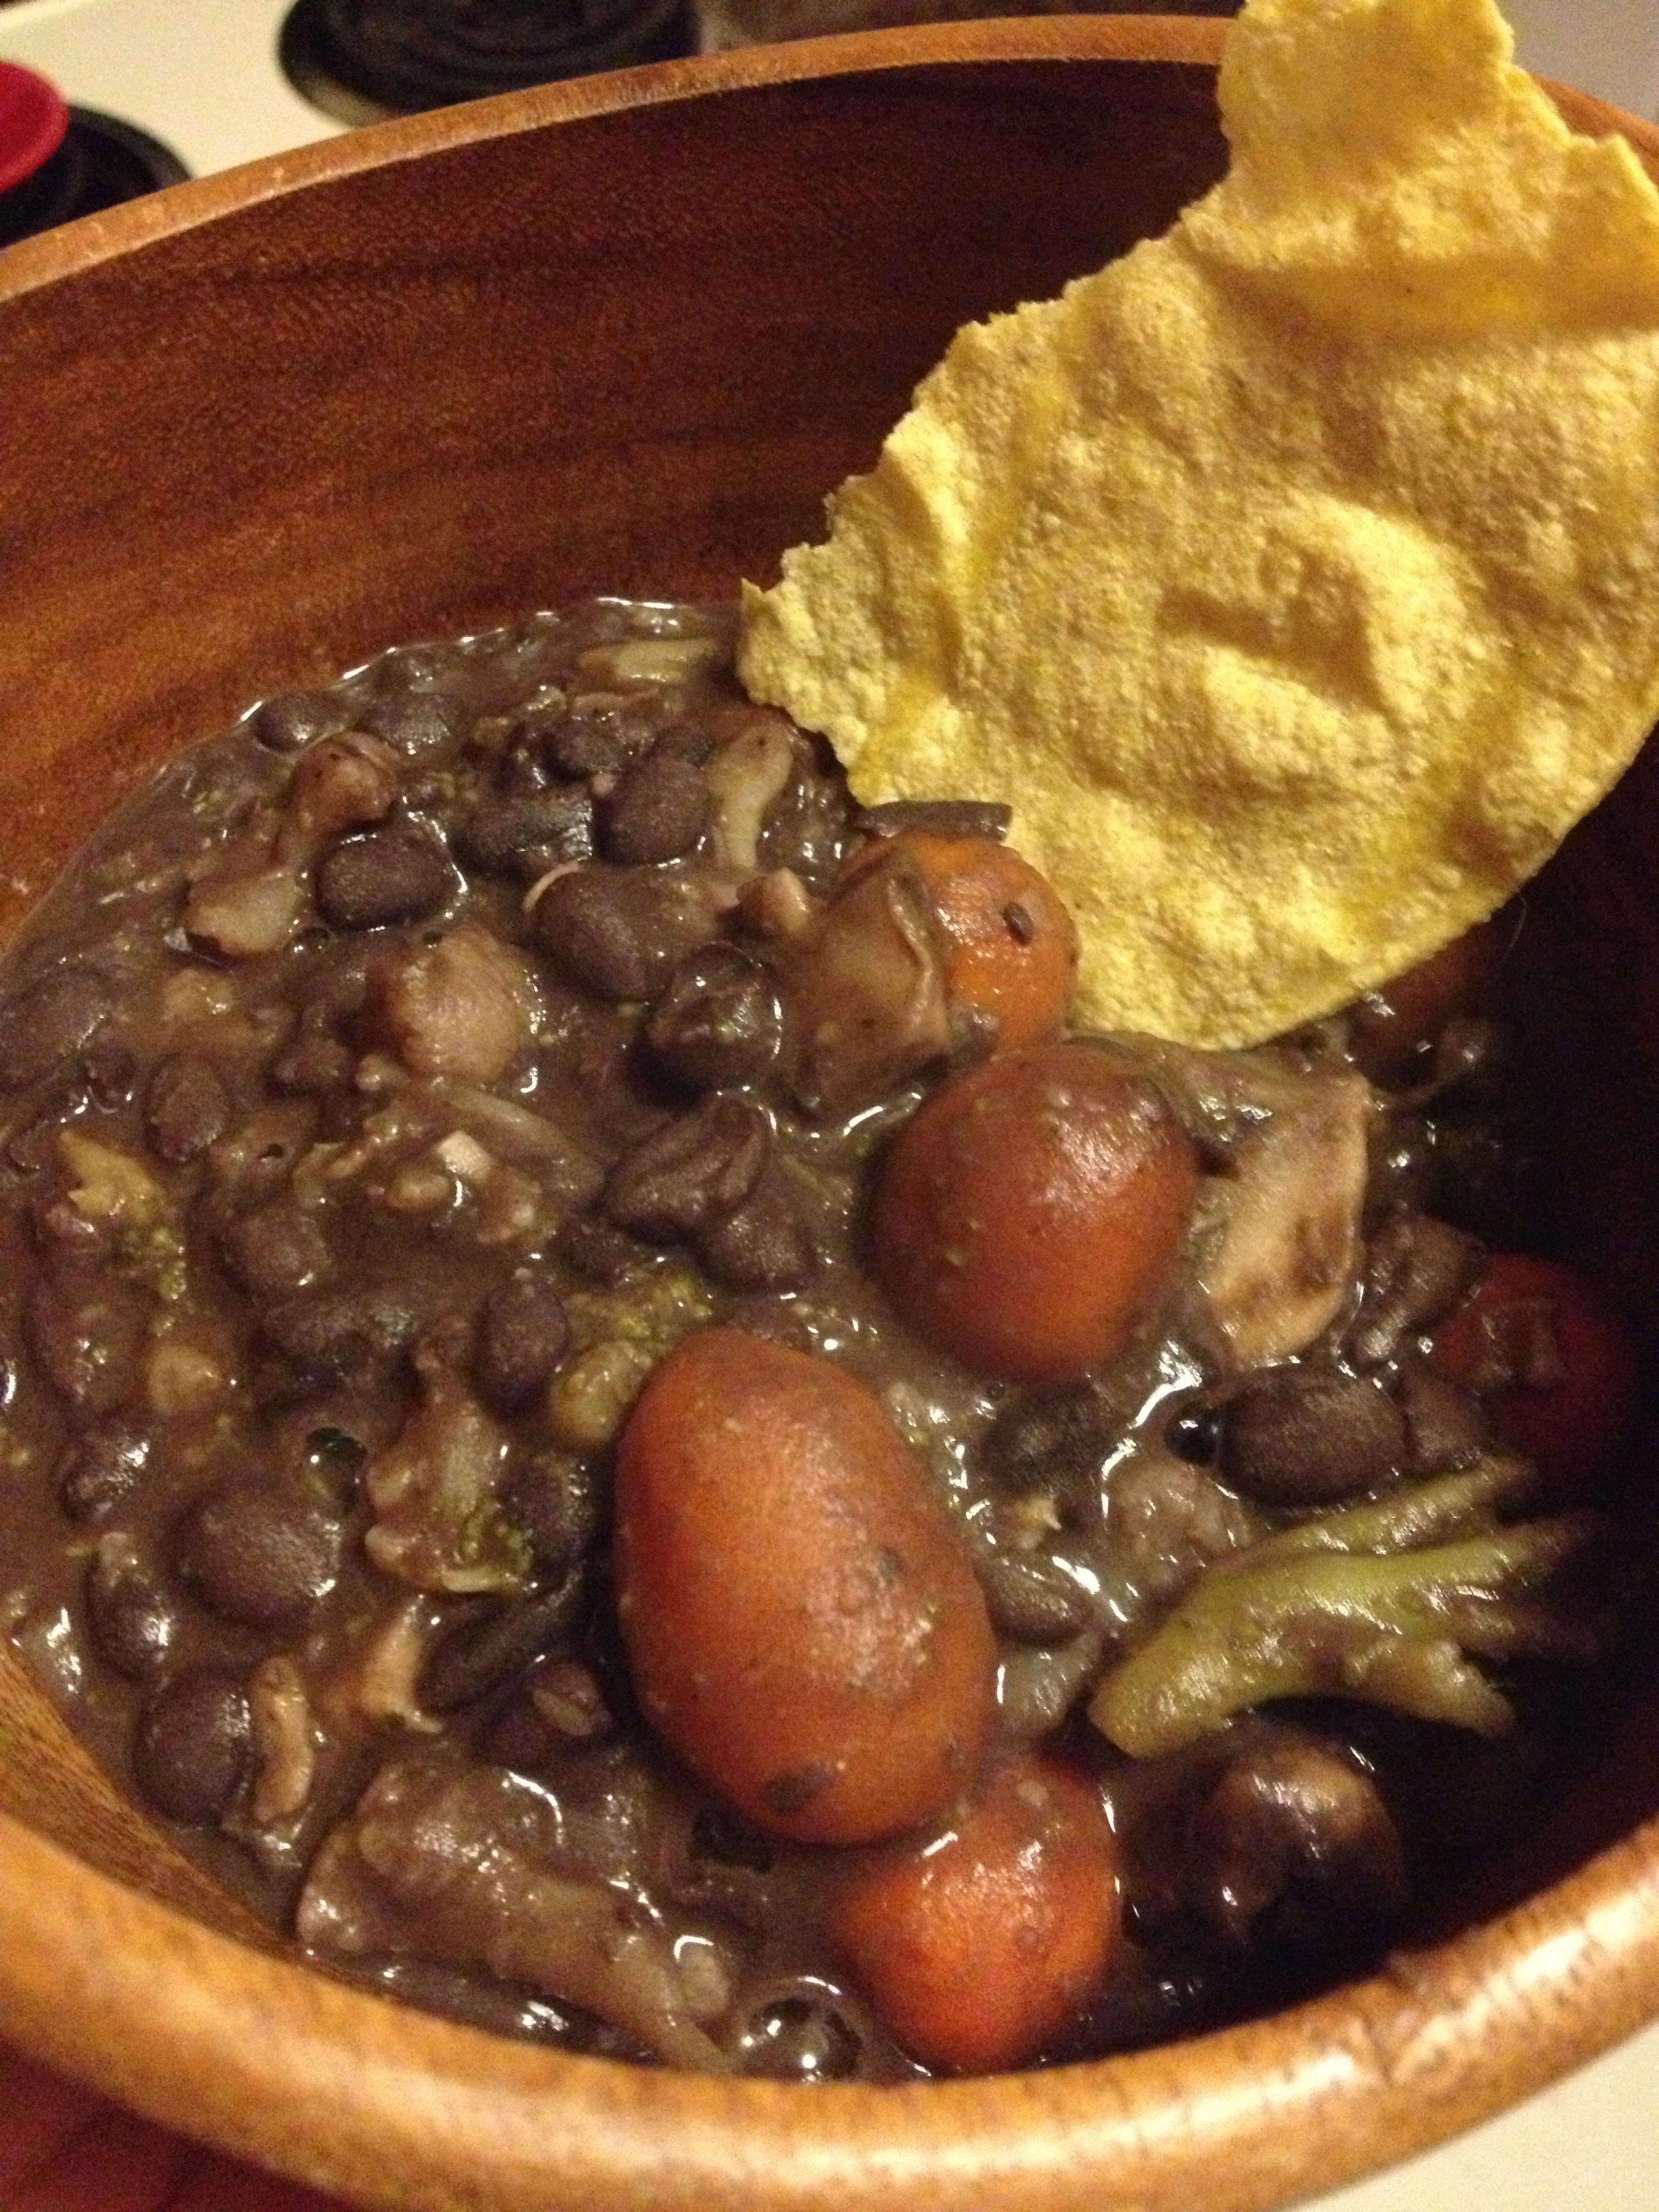
If you’ve been following our blog, you’ll know it’s been pretty rainy here in Colorado (see my thunderstorm run). I wanted an easy, hearty dish to fill our stomachs with warmth and comfort on another rainy night. I got the recipe from here, and added my own goodies to it. The simplicity of this “soup” is ridiculous. Seriously. And it’s vegan too, if that’s how you want it.

Ready to be eaten!

Ready to be eaten!

  • Prep Time: 1 min
  • Cooking Time: 10 min
  • Serves: 3-4 normal people

Ingredients

  • 2 cans black beans 
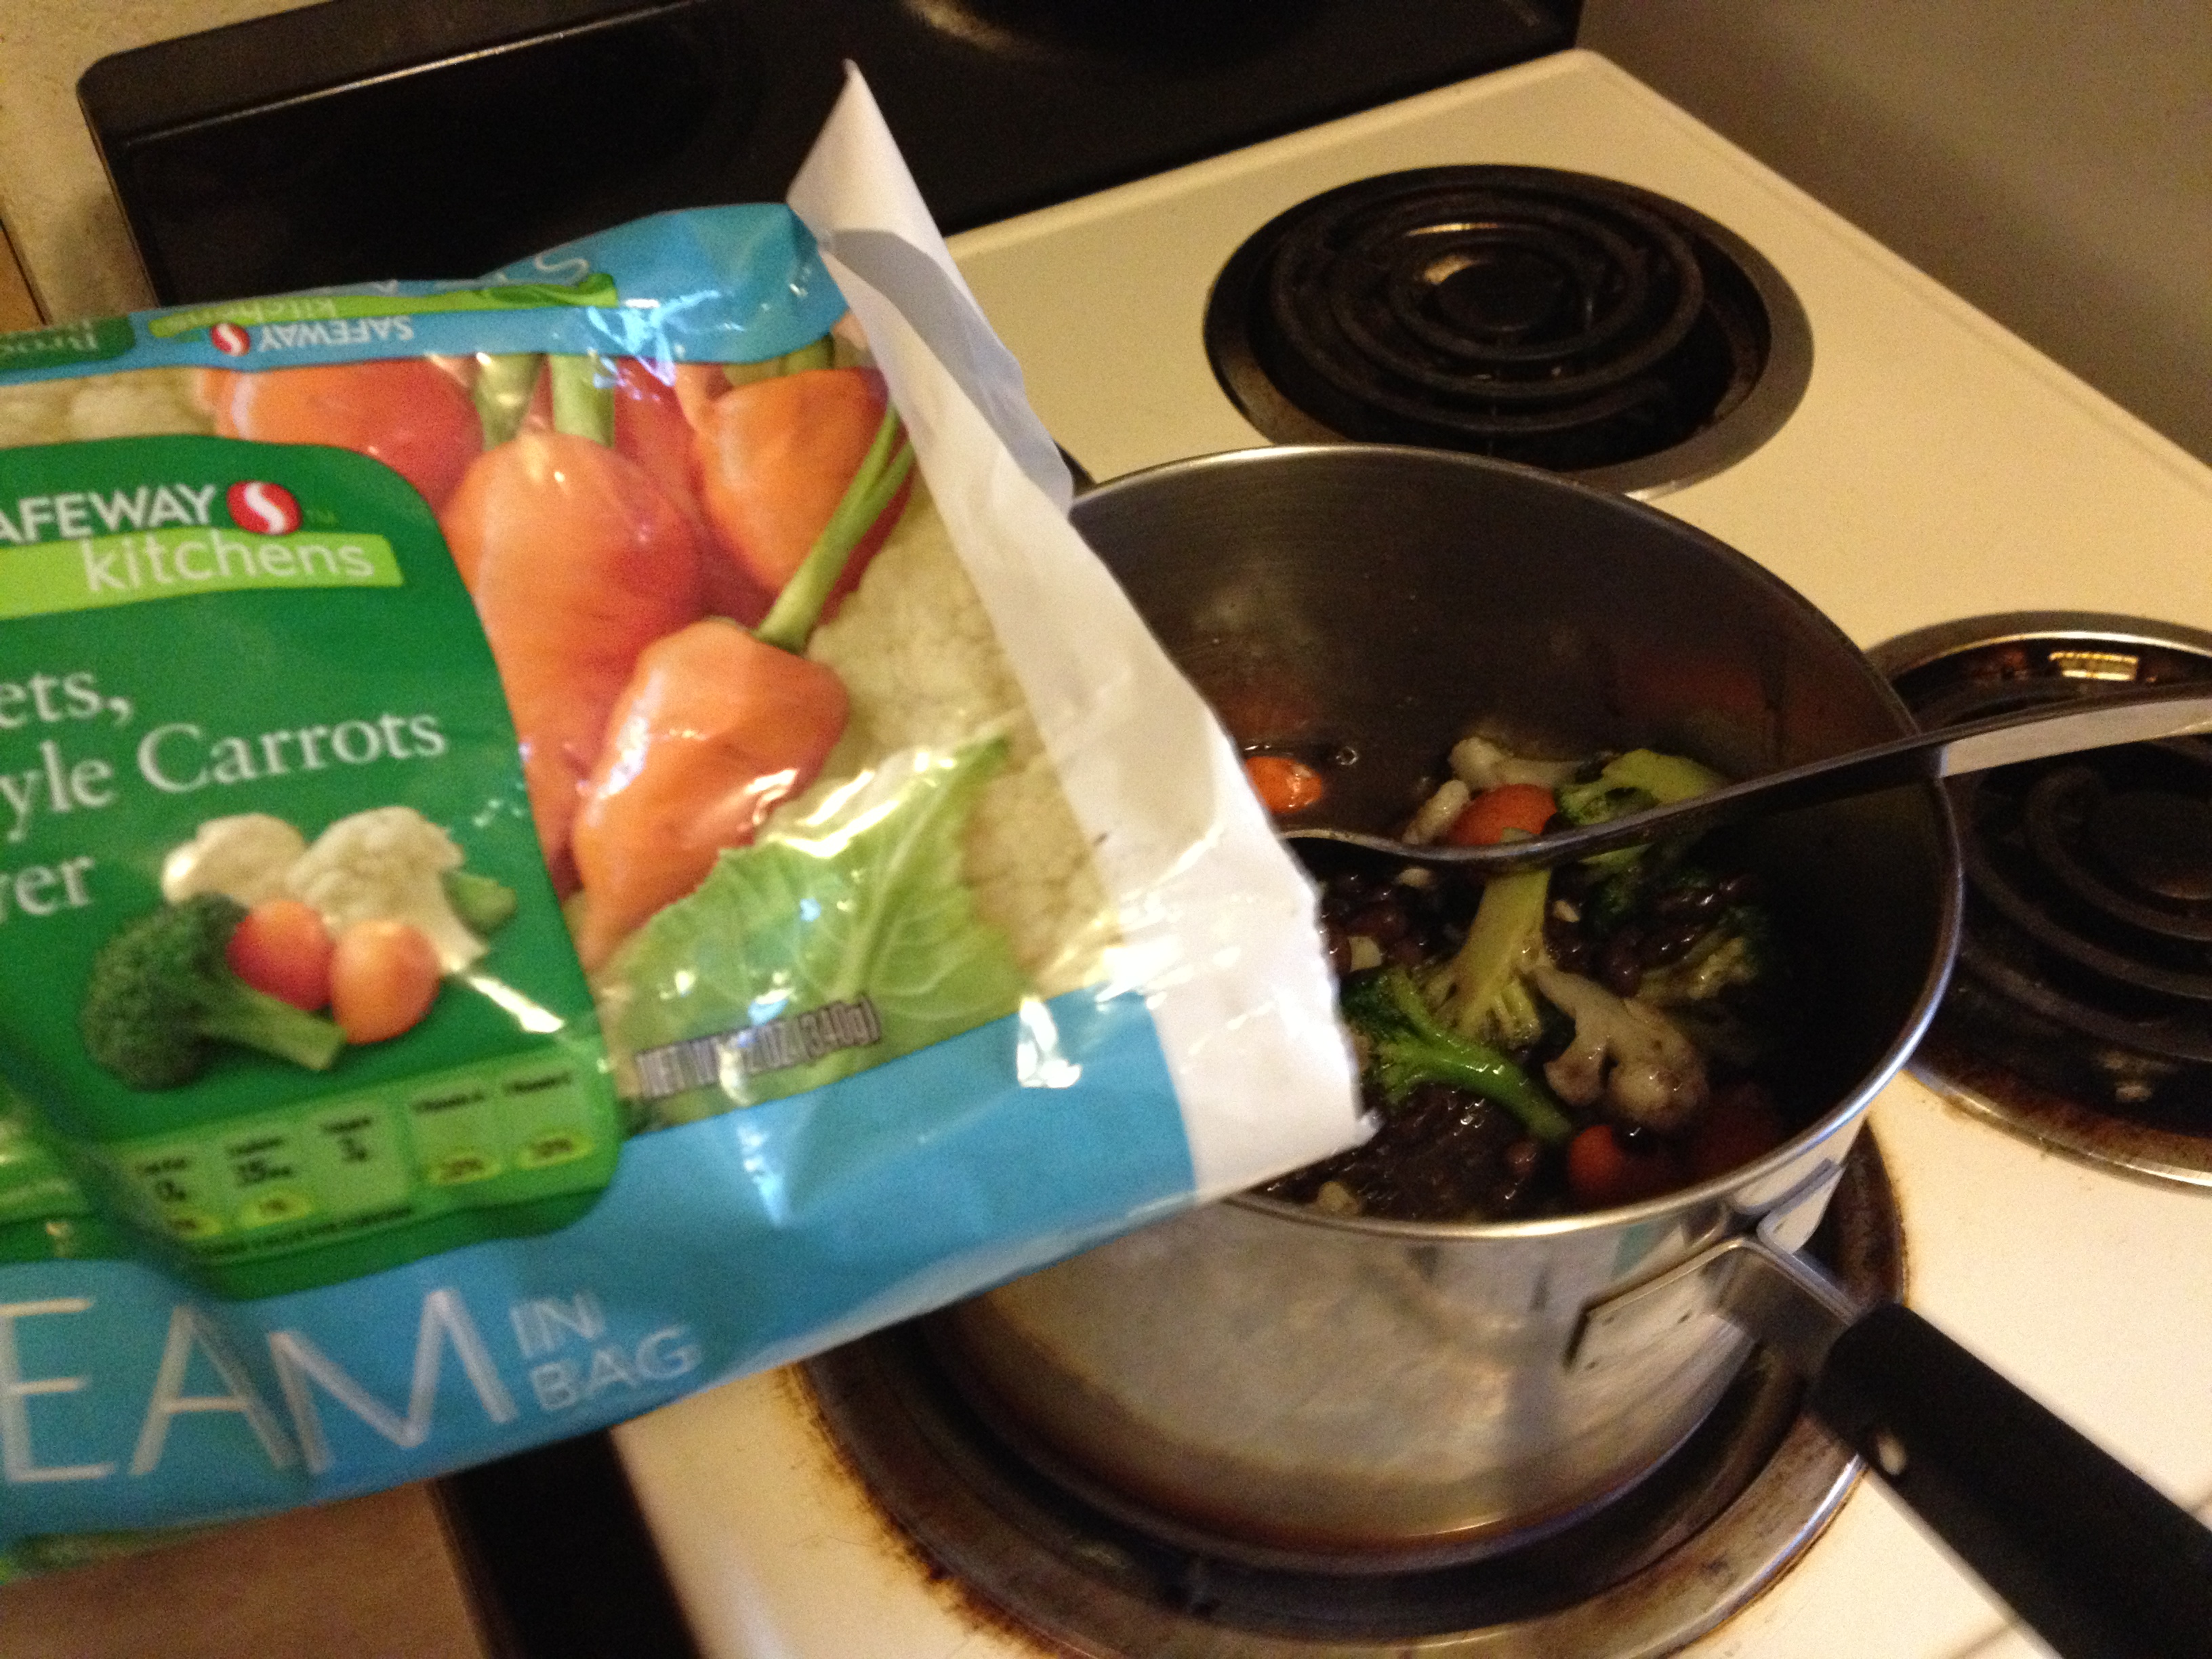
  • 1 bag frozen veggies
  • your own blend of spices
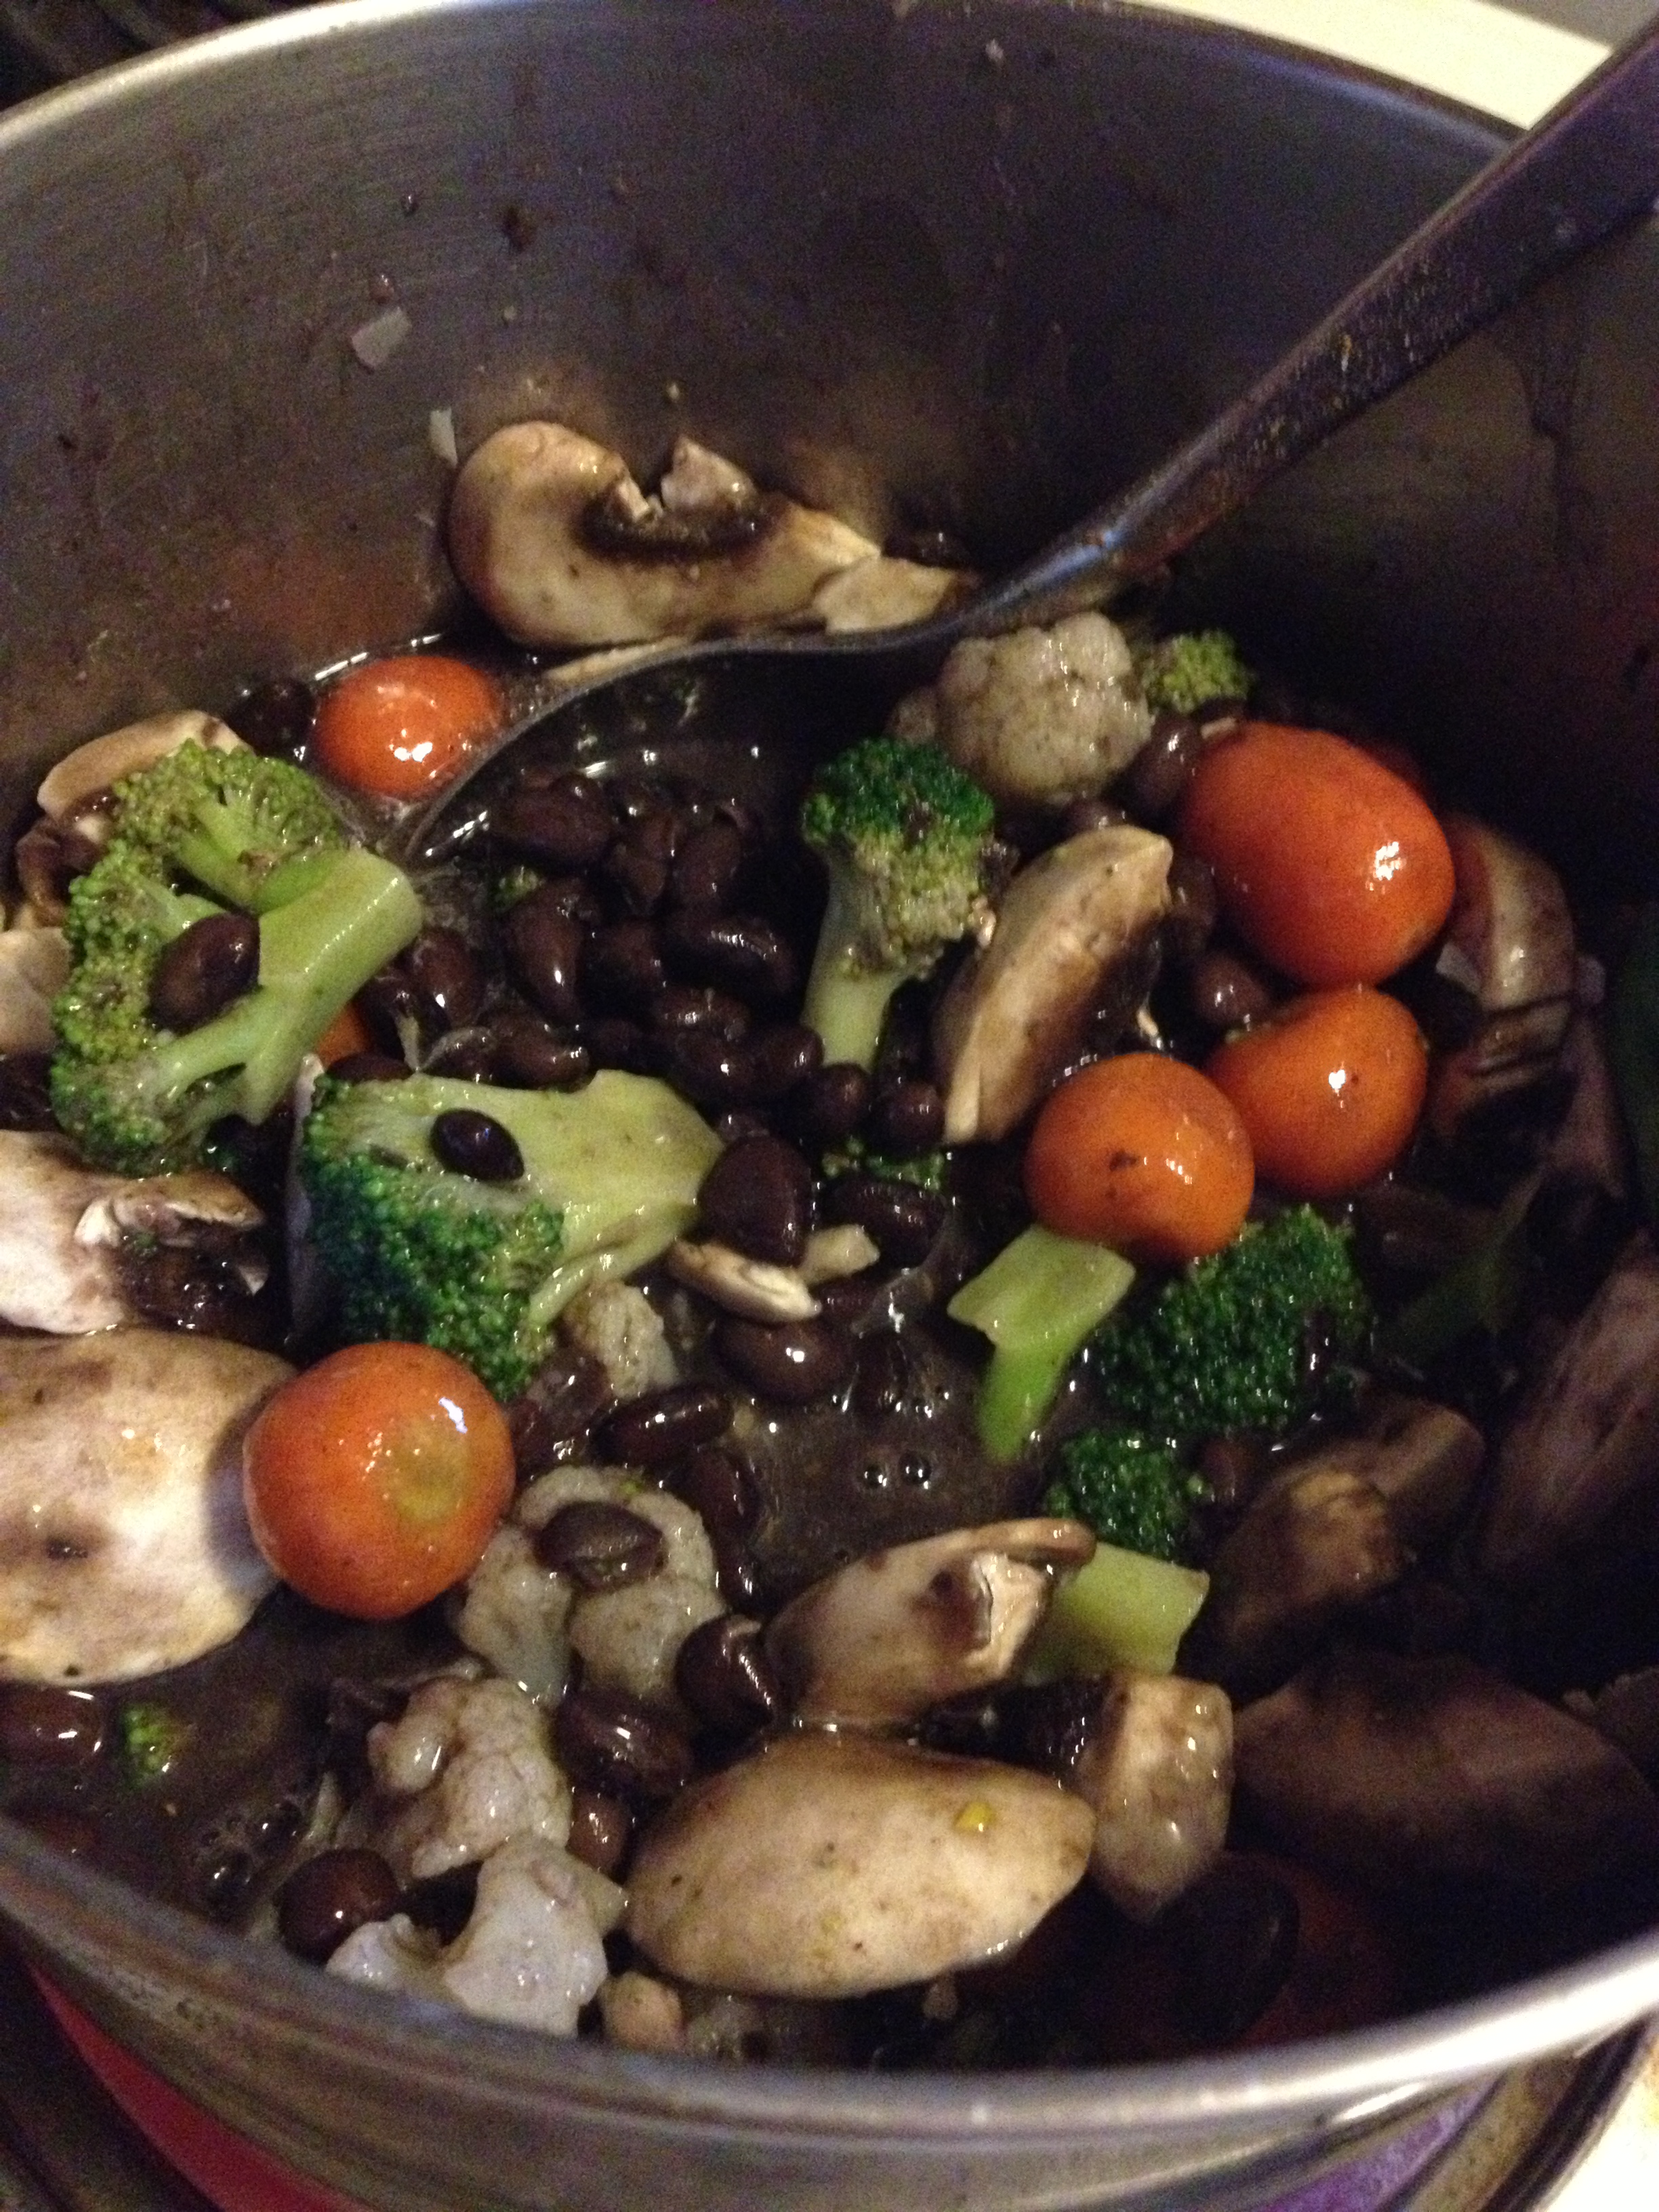
  • [optional] mushrooms

Directions

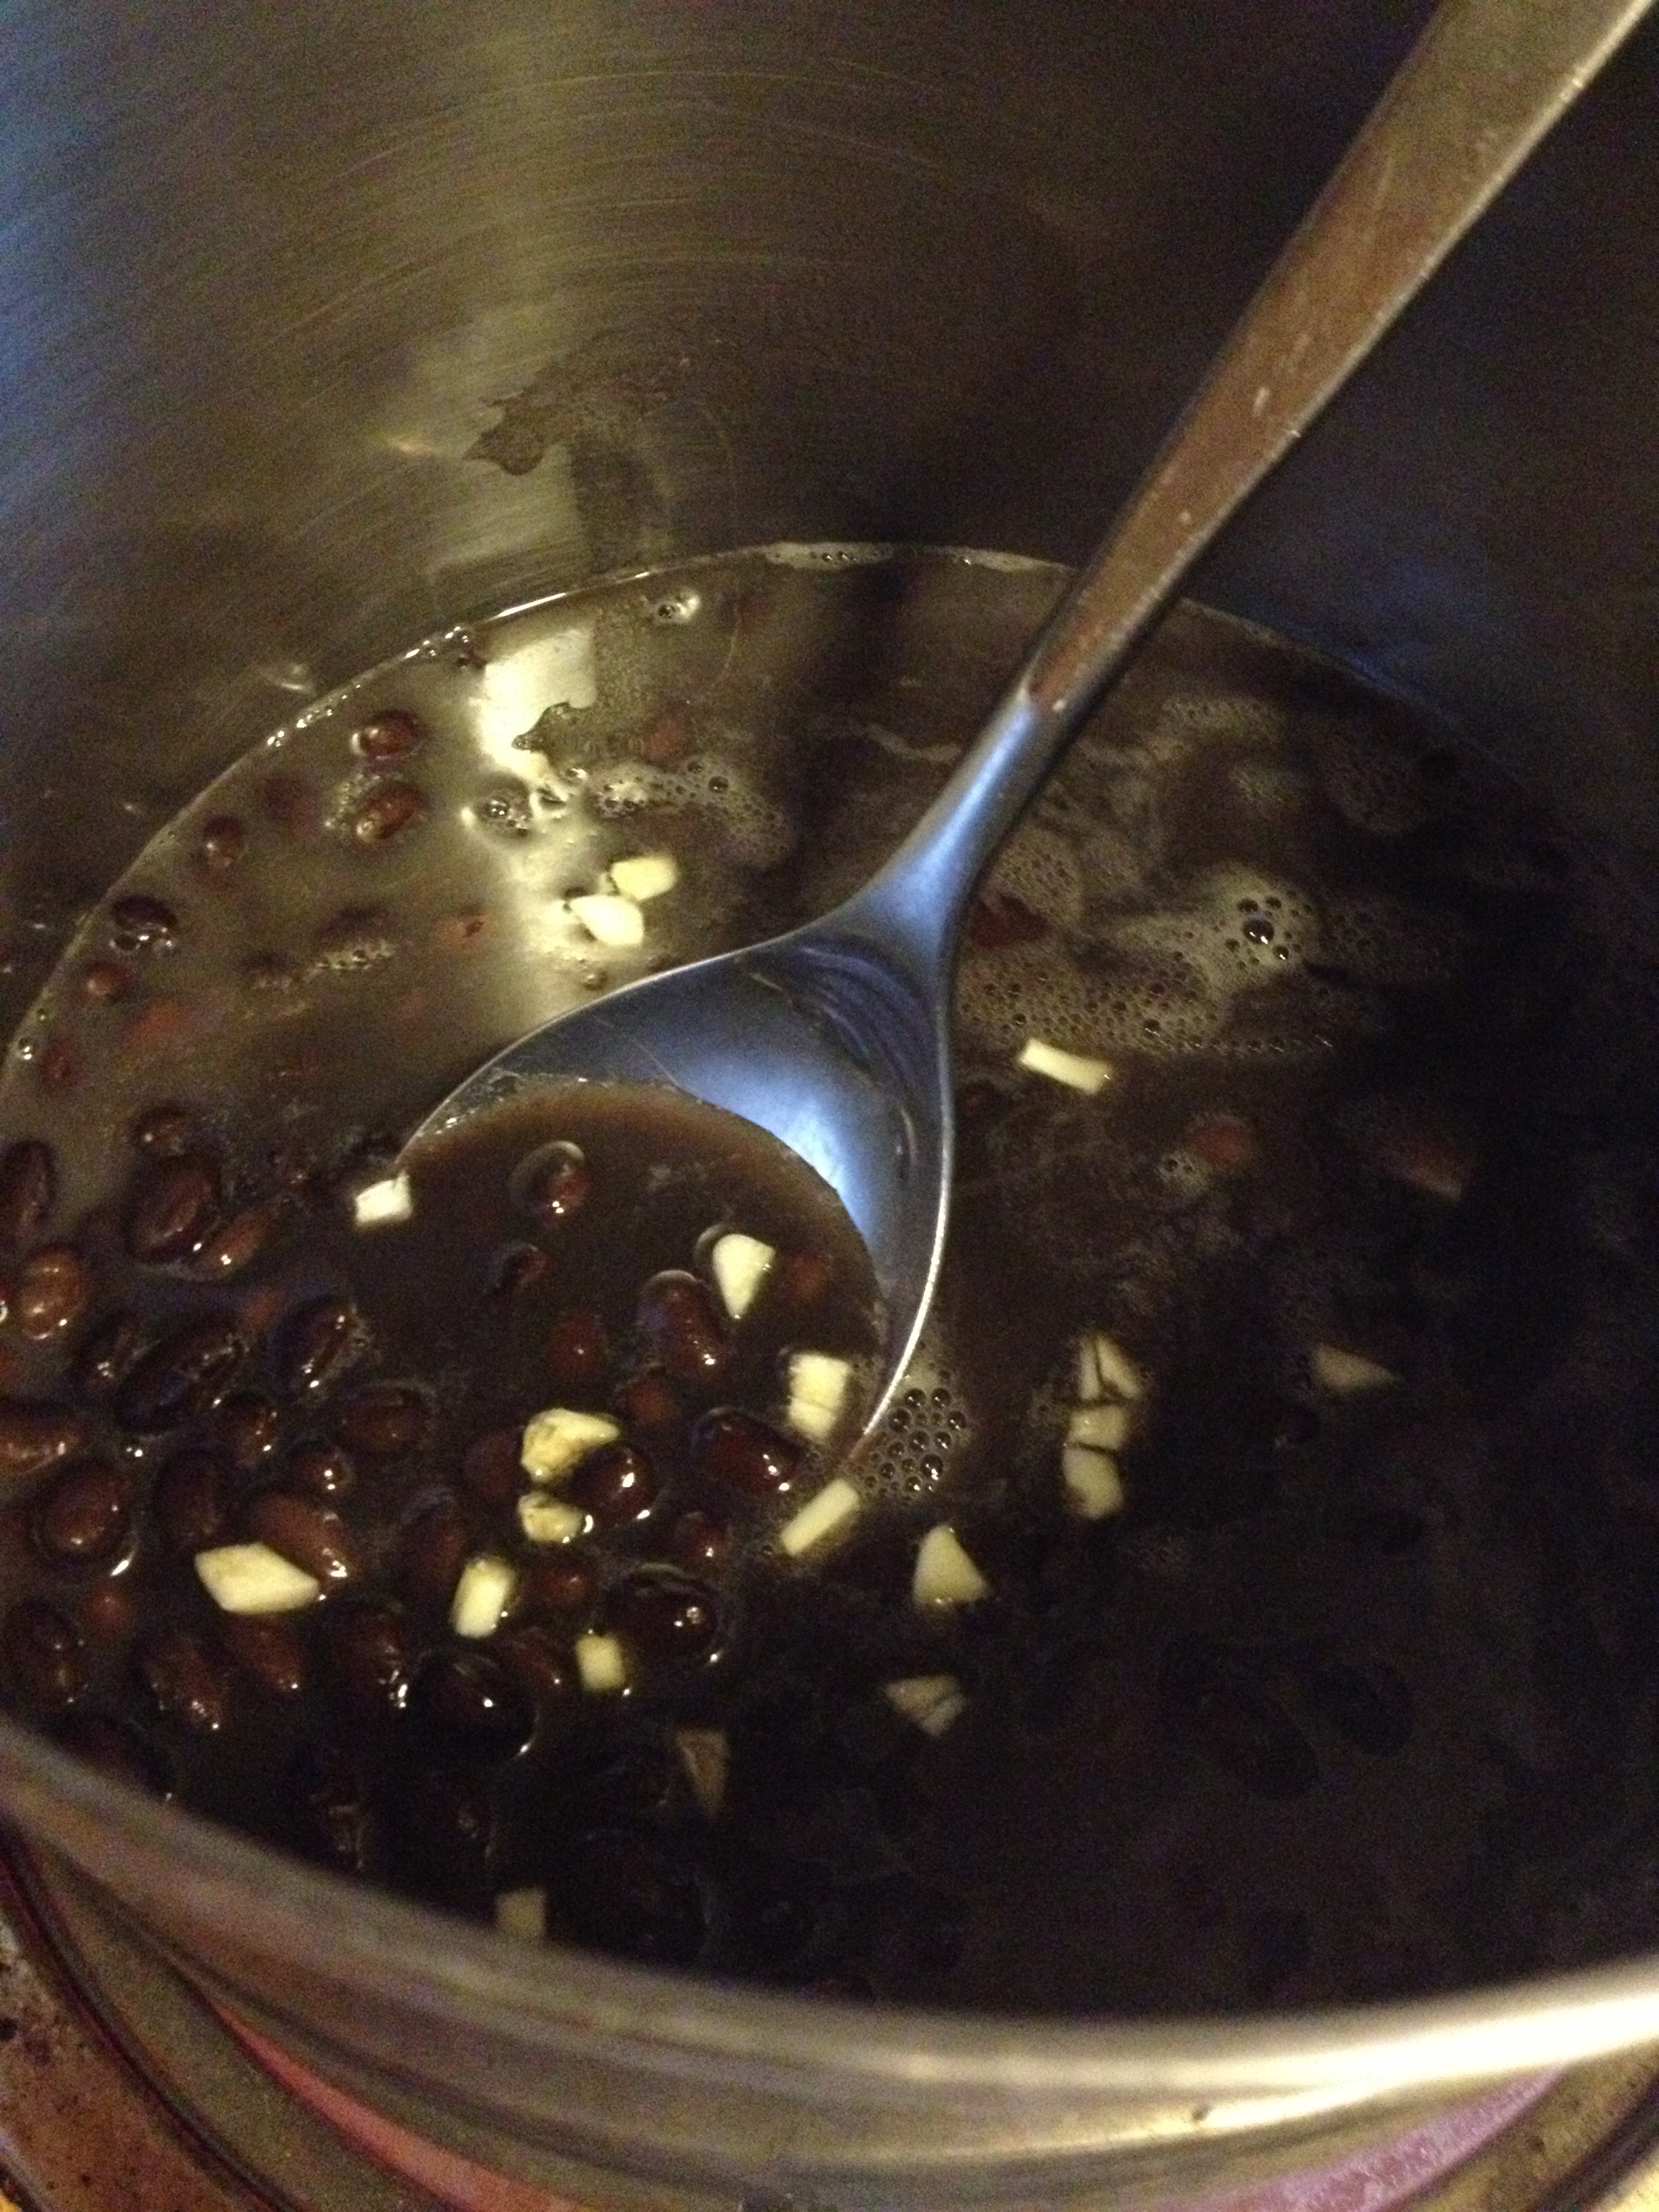
  • Put 2 cans black beans into the pot and start simmering in a pot
  • This is optional, but I put about 3 cloves of garlic into the pot as well

photo 1 (9)

  • Add your frozen veggies and any other herbs, spices, or veggies you would like (or meat)

photo 2 (5)

photo 3 (4)

  • Let it simmer for at least 10 minutes (until everything is warm) and stir occasionally. If you are cooking ahead of time, it doesn’t hurt to simmer as long as you want to for deeper flavor
  • Serve with a side (I did cornbread)

photo 5

Ready to be eaten!

Ready to be eaten!

I prepared all of this before a workout. After the core workout (sample core workout here), I came home, popped the cornbread batter in the oven, and heated the soup up again on the stove. It was definitely the perfect meal for a rainy night and I get to enjoy it again for a rainy lunch. It has ample amounts of protein for my healing muscles and great fiber for the whole body.

Cheers! Stay hungry and fit!

spacer

Power Protein Breakfast: Waffles, Greek Yogurt, and Fruit

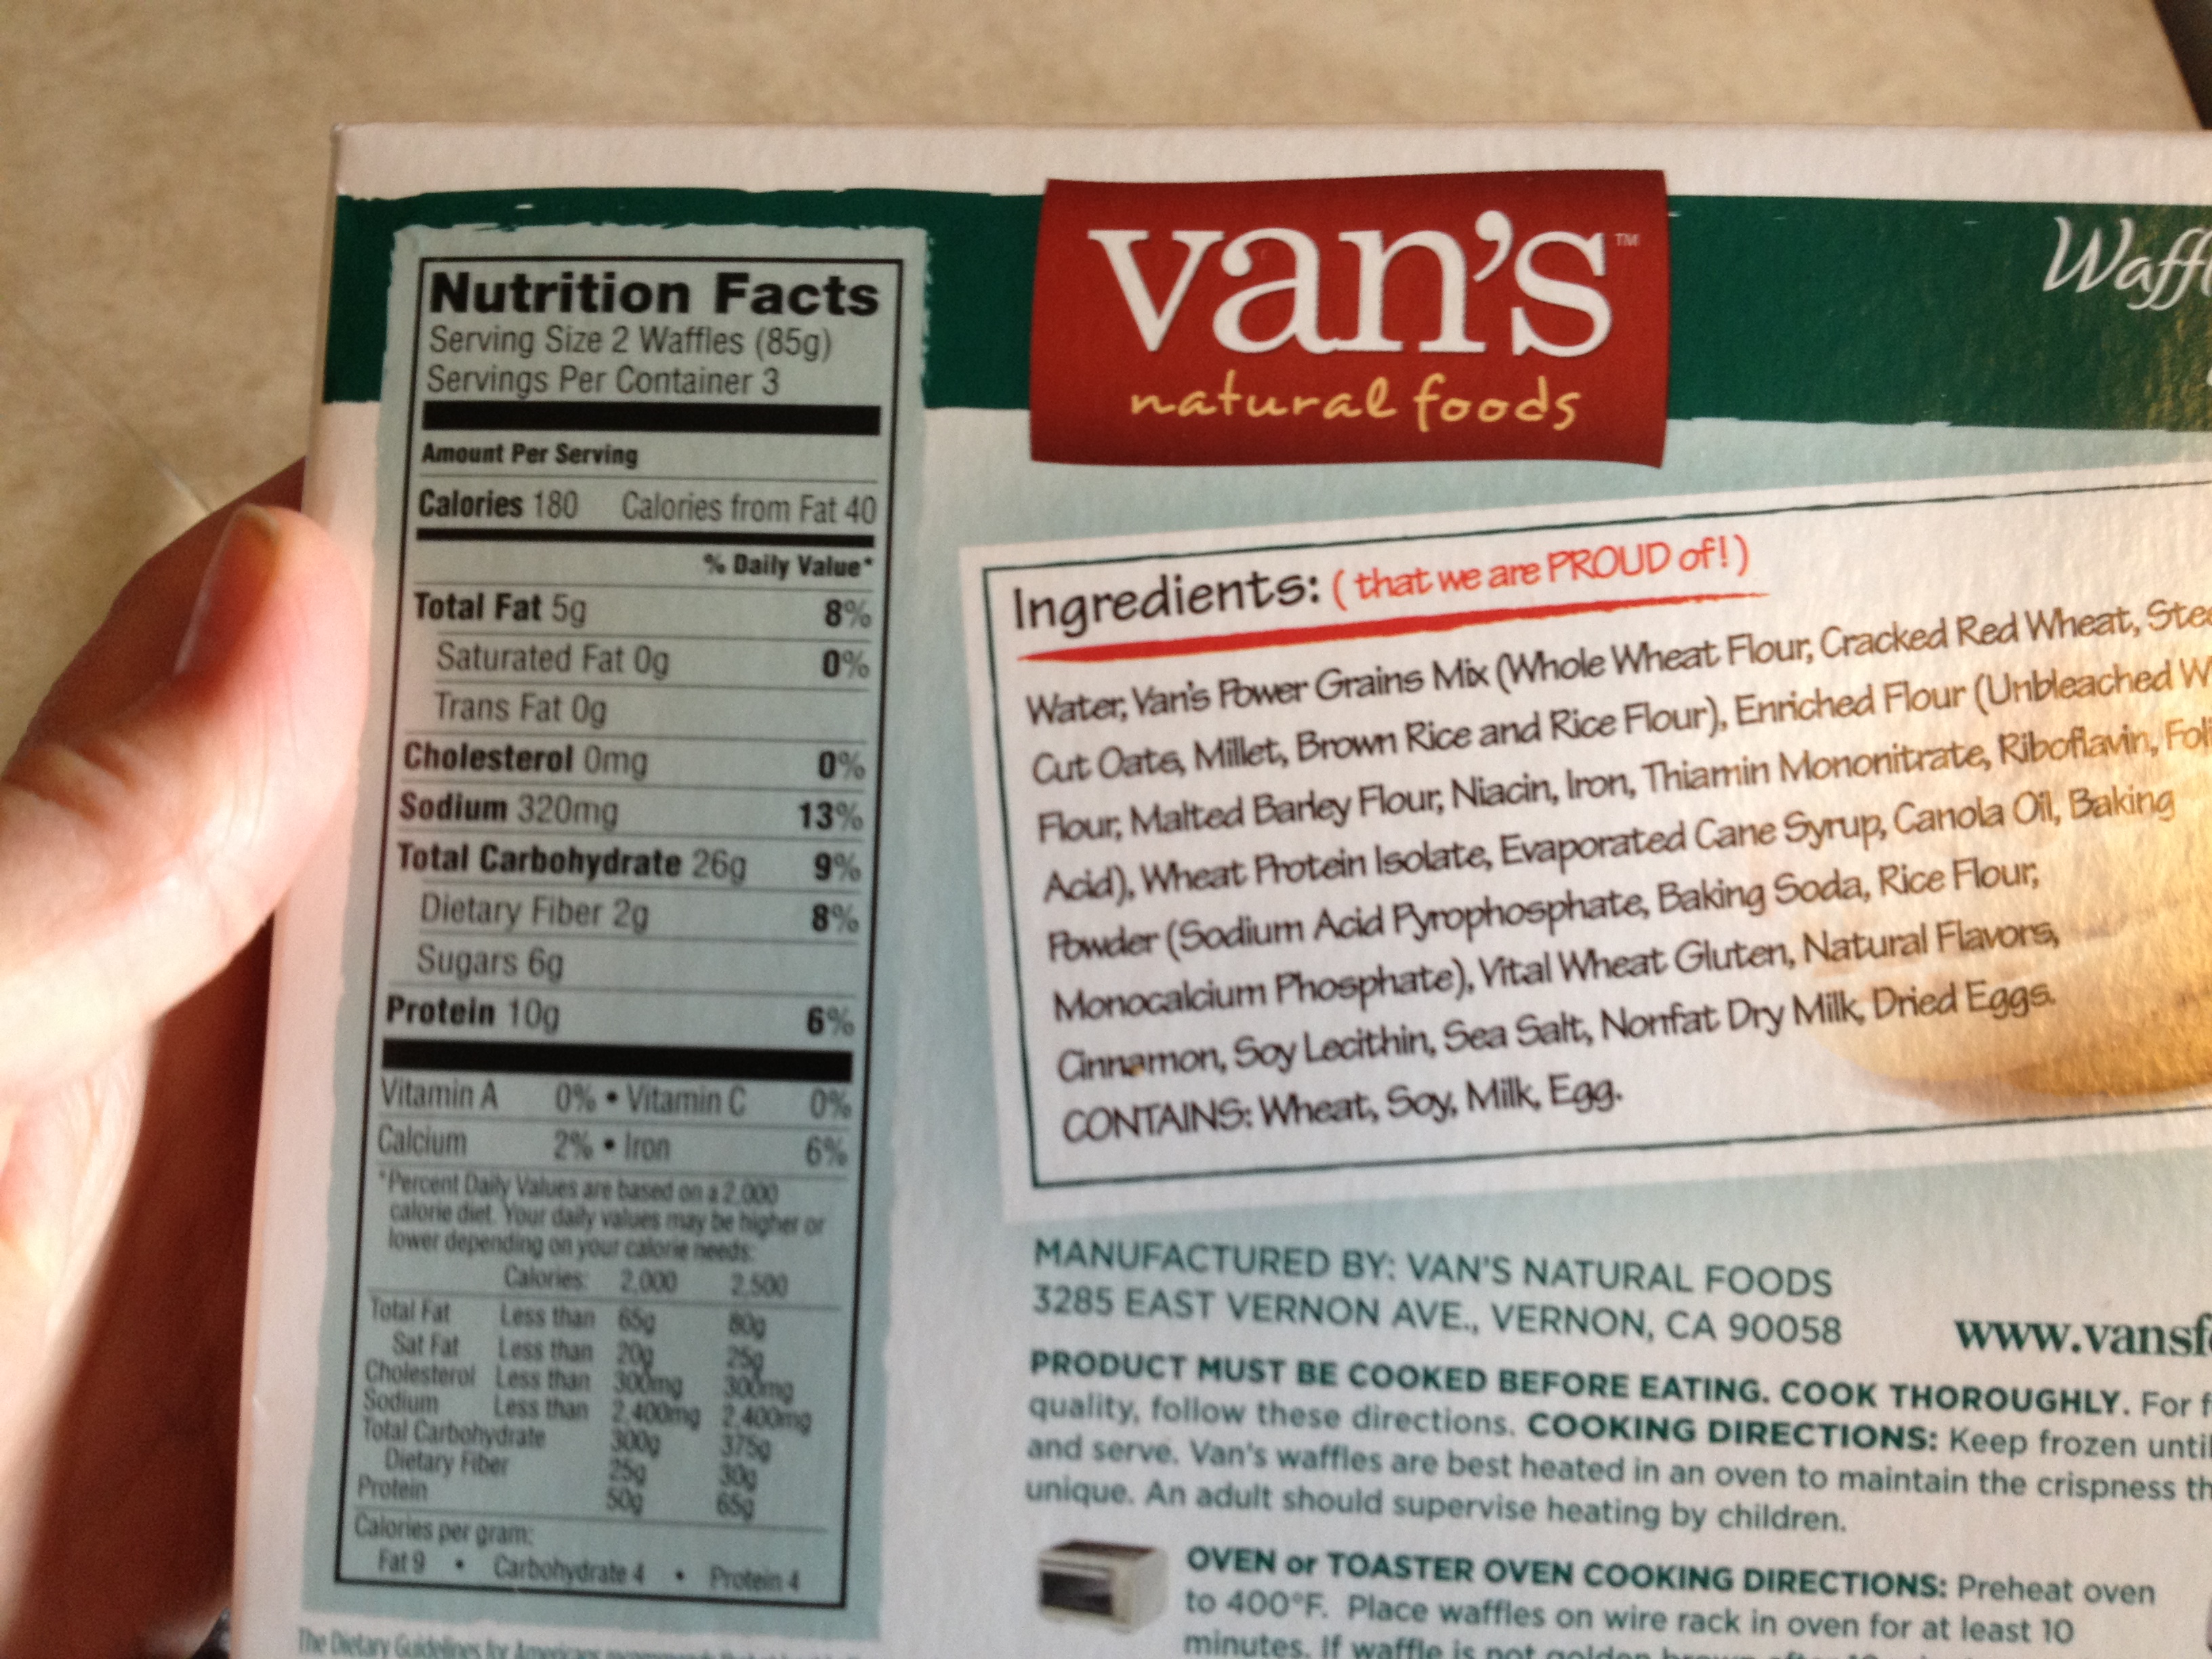
Besides Weetabix, this has become one of my go-to breakfasts when I have enough time in the morning. It’s packed with protein and fiber, sending you ready to kick butt on the day ahead. Now, typically, store-bought waffles aren’t the best for you. But that all changed when one day I was craving waffles while we were grocery shopping, and I scoured the frozen section for some decent waffles. Tip: always pass up the Eggo’s. Another tip: NEVER PASS UP THE VAN’S. 

photo 1

Yep. The name of this natural brand of waffles is Van’s. And no, I did not receive any money from them for this post (though, I wouldn’t mind a tip if they stopped by). Good nutritional value at 180 calories per 2 waffles, 10g protein, 2g fiber, 6g sugar and no saturated fat. Can you say, “YES PLEASE.” But there’s more to this power protein breakfast. What’s a breakfast without greek yogurt? Alright, enough chit-chat–look down for this 5-10 minute breakfast recipe.

photo 1 (2)

Ingredients

  • 2 Van’s protein waffles
  • 2 dollops of 0% Fage Greek yogurt (or any kind you have)
  • 1/2 tsp butter (optional)
  • 100% pure maple syrup OR agave nectar
  • 2 strawberries (but any fruit will do)

[I’m literally salivating as I write this–it’s that good]

Directions

  • Put waffles into toaster/toaster oven for 5-10 minutes (or until golden brown on both sides)

photo 2

  • If you want to, spread a minuscule amount of butter atop the two waffles and plate them.
  • Put a spoonful of greek yogurt on each waffle

photo 3

  • Pour your syrup or agave on top (however much you’d like)
  • Cut up your fruit and put on top

photo 4

And DIG IN. I literally look forward to this the night before I know I have time in the morning to make it. It’s a perfect-sized breakfast with enough protein to start the day off deliciously and will keep you satisfied more than that bowl of Raisin Bran. Next time you go waffle shopping, try Van’s. It is so worth it. This is a mouth-watering breakfast that doesn’t leave you feeling guilty or heavy afterwards. I have a very active job (I’m a personal trainer after all…) and this is the perfect thing to start the day right. This is a meal that will encourage you to be…hungry and fit! ENJOY! 

I mean, come on, LOOK AT THAT

I mean, come on, LOOK AT THAT

BONUS KITTY PIC

Nymeria being lazy and tired...and cute

Nymeria being lazy and tired…and cute

spacer

Scrumptious Whole-Wheat Banana Date Muffins

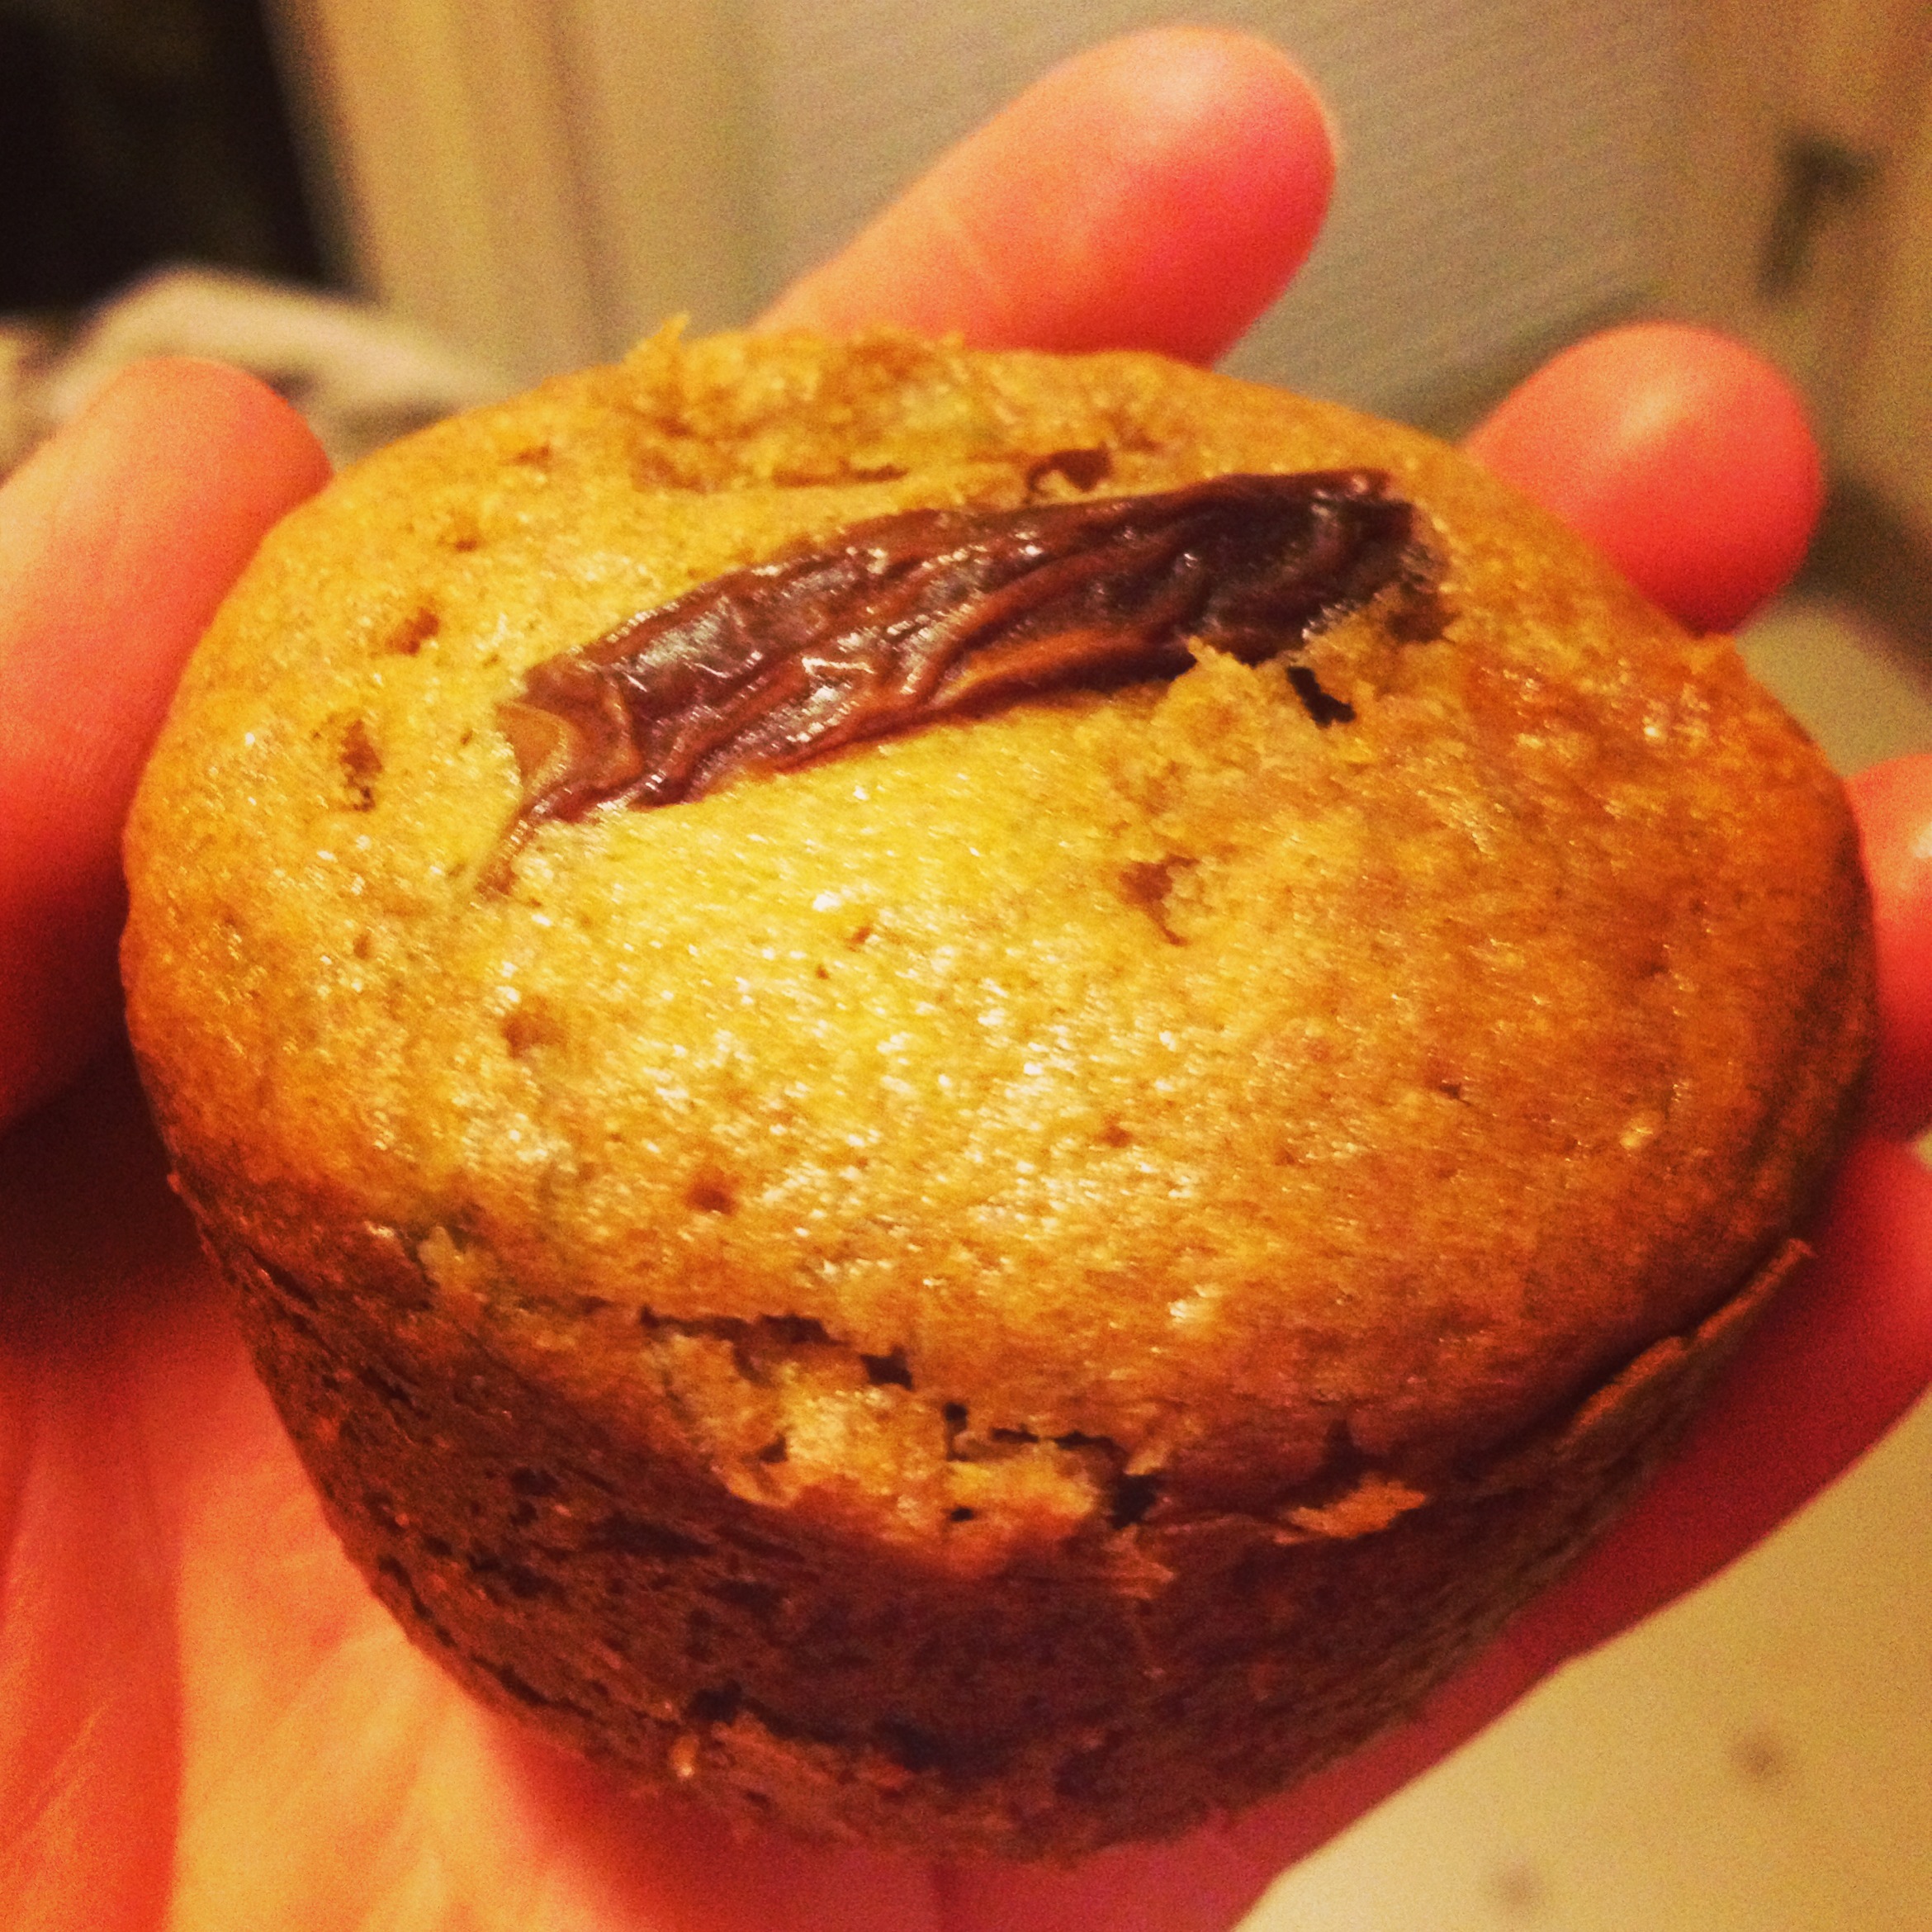
We had dates and bananas that needed to be used. Okay maybe the dates didn’t need to be used since they last forever, but I’ve been wanting to try this. Like my other muffin recipe (which this one is actually based on), it’s super simple and quick to do. I threw this together late last night after a leg workout. It’s very healthy, estimated at about 167 calories with 3 grams of protein and fiber! Not too shabby.

photo 3 (3)

  • Prep Time: 7 minutes
  • Bake Time: 15-20 minutes

Ingredients

  • 1 3/4 cups whole wheat flour
  • 10 dates
  • 1 tsp baking soda
  • 1/2 teaspoon salt
  • 1/3 cup olive oil
  • 3/8 cup honey [a little more than 1/3]
  • 2 eggs
  • 2 bananas mashed
  • 1/4 cup hot water

Directions

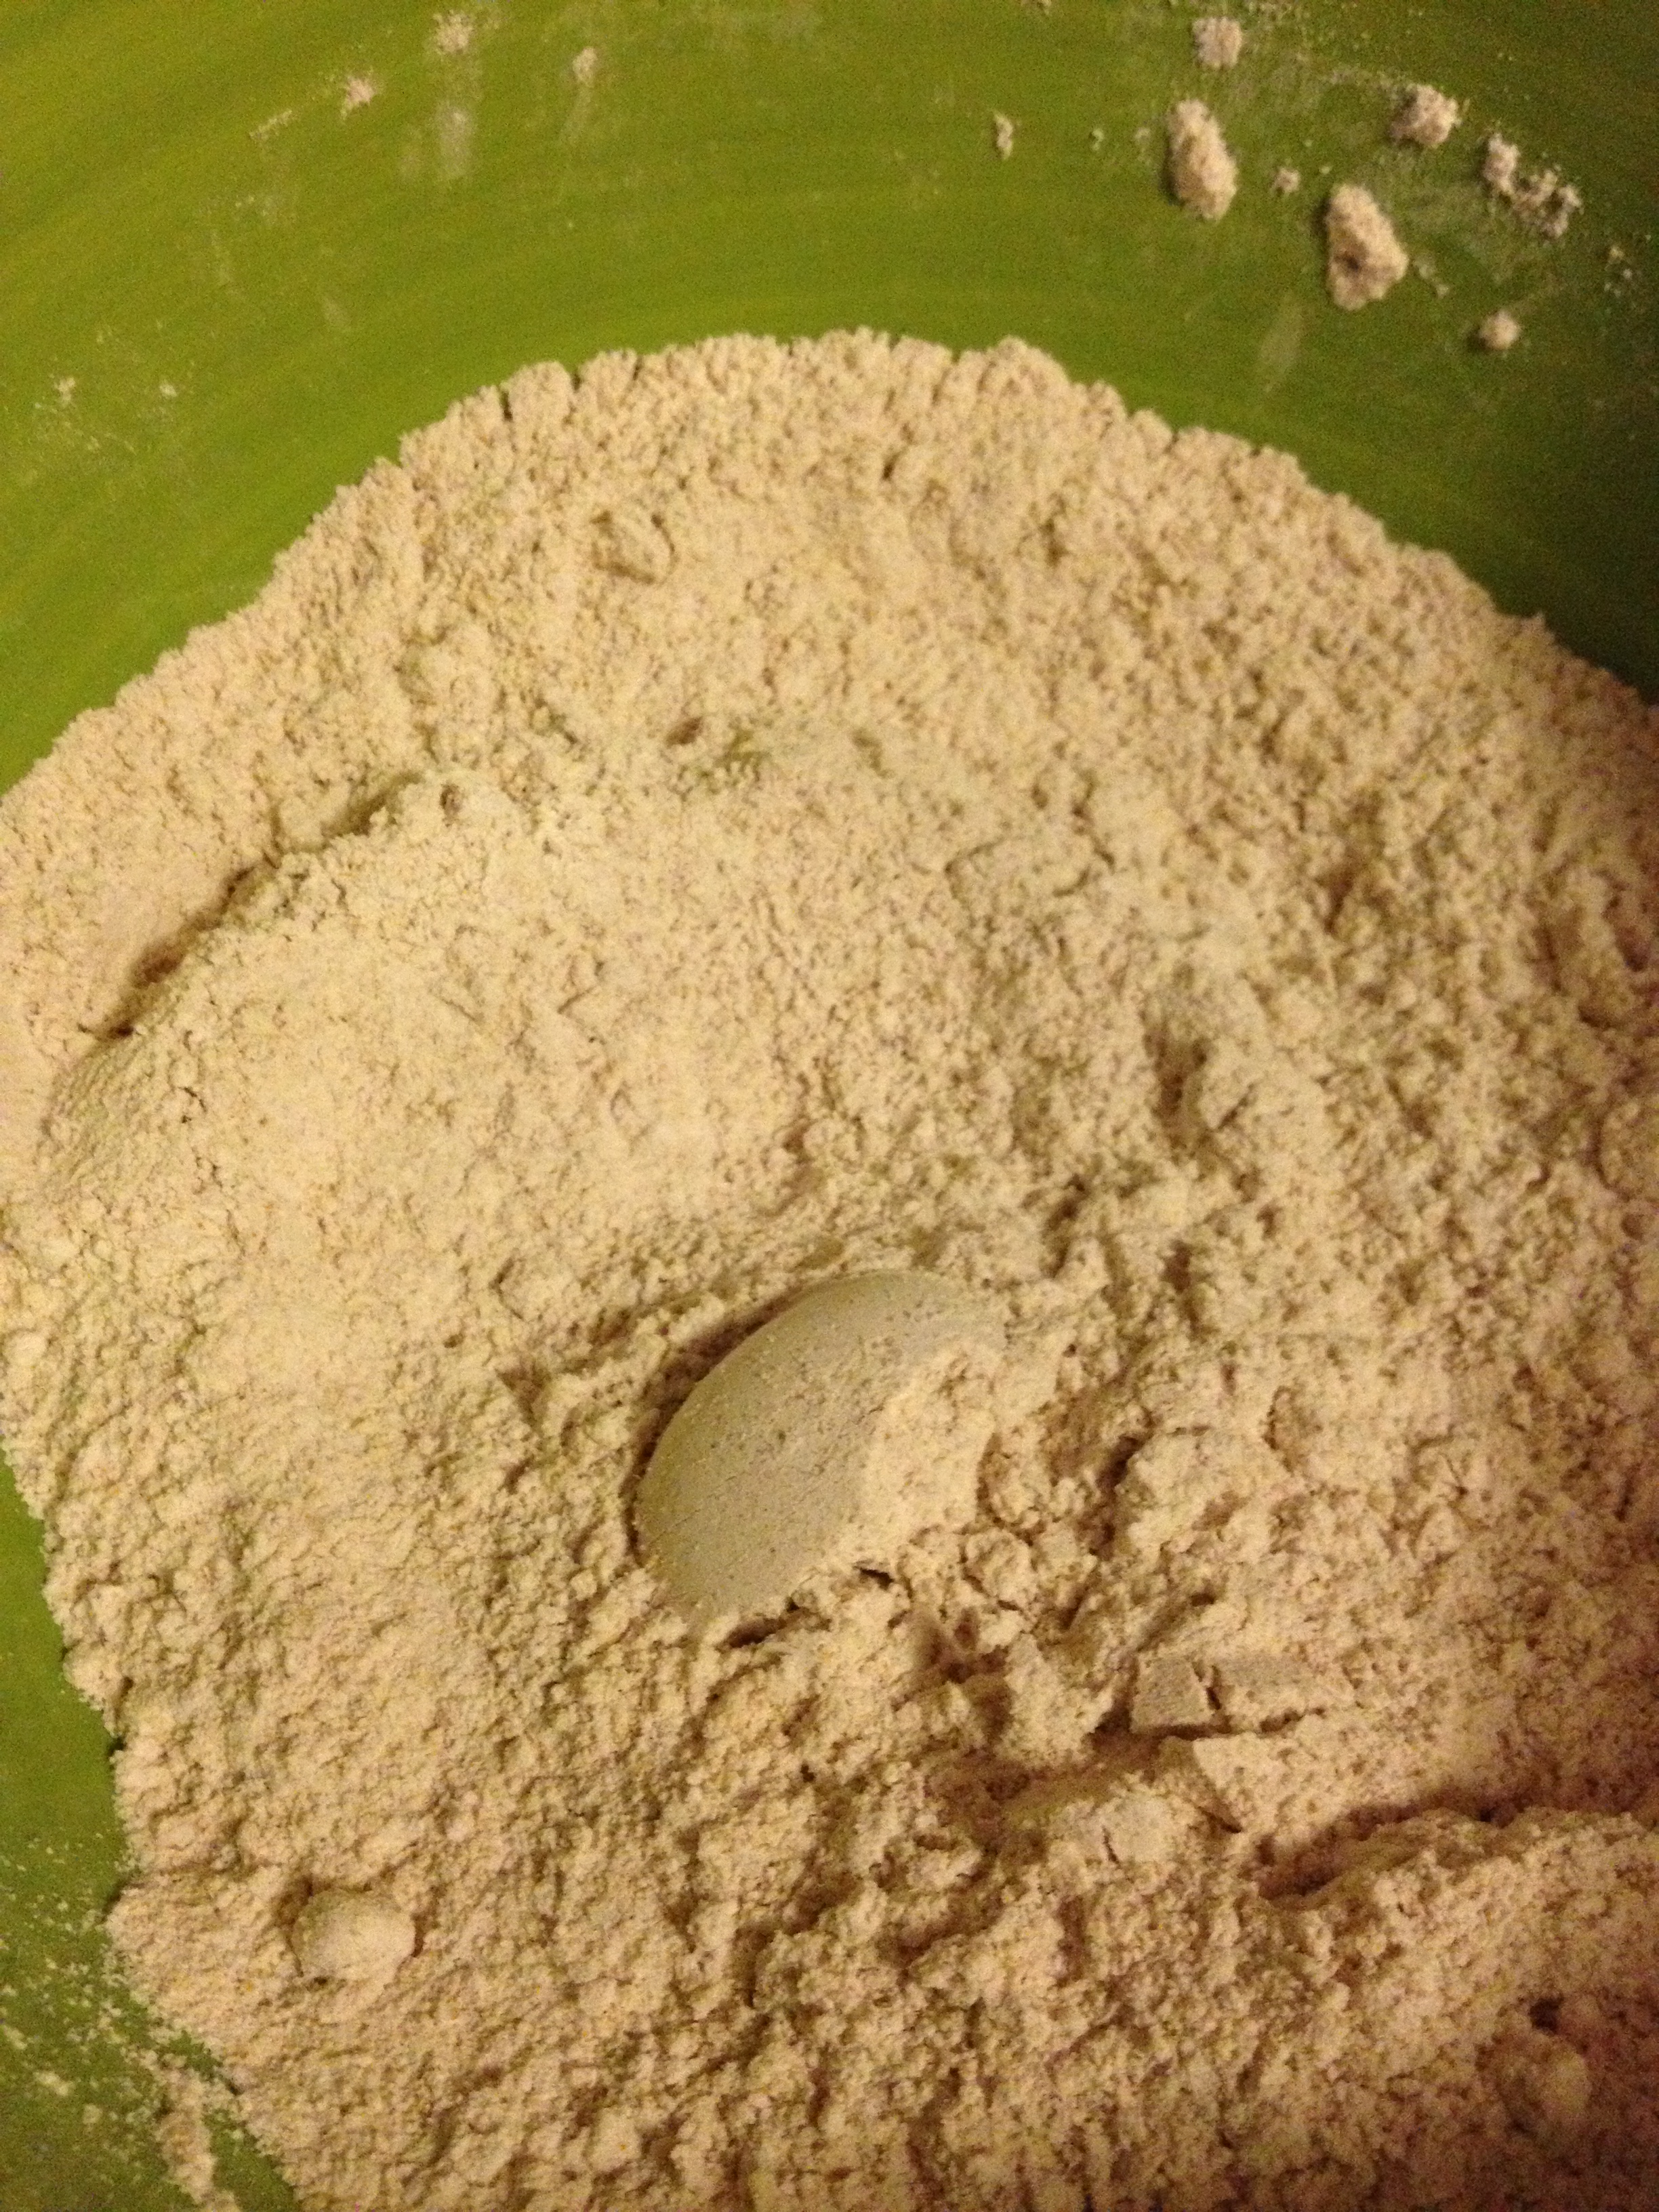
  • In a small bowl, mix together dry ingredients: whole-wheat flour, salt, and baking soda

photo 3 (2)

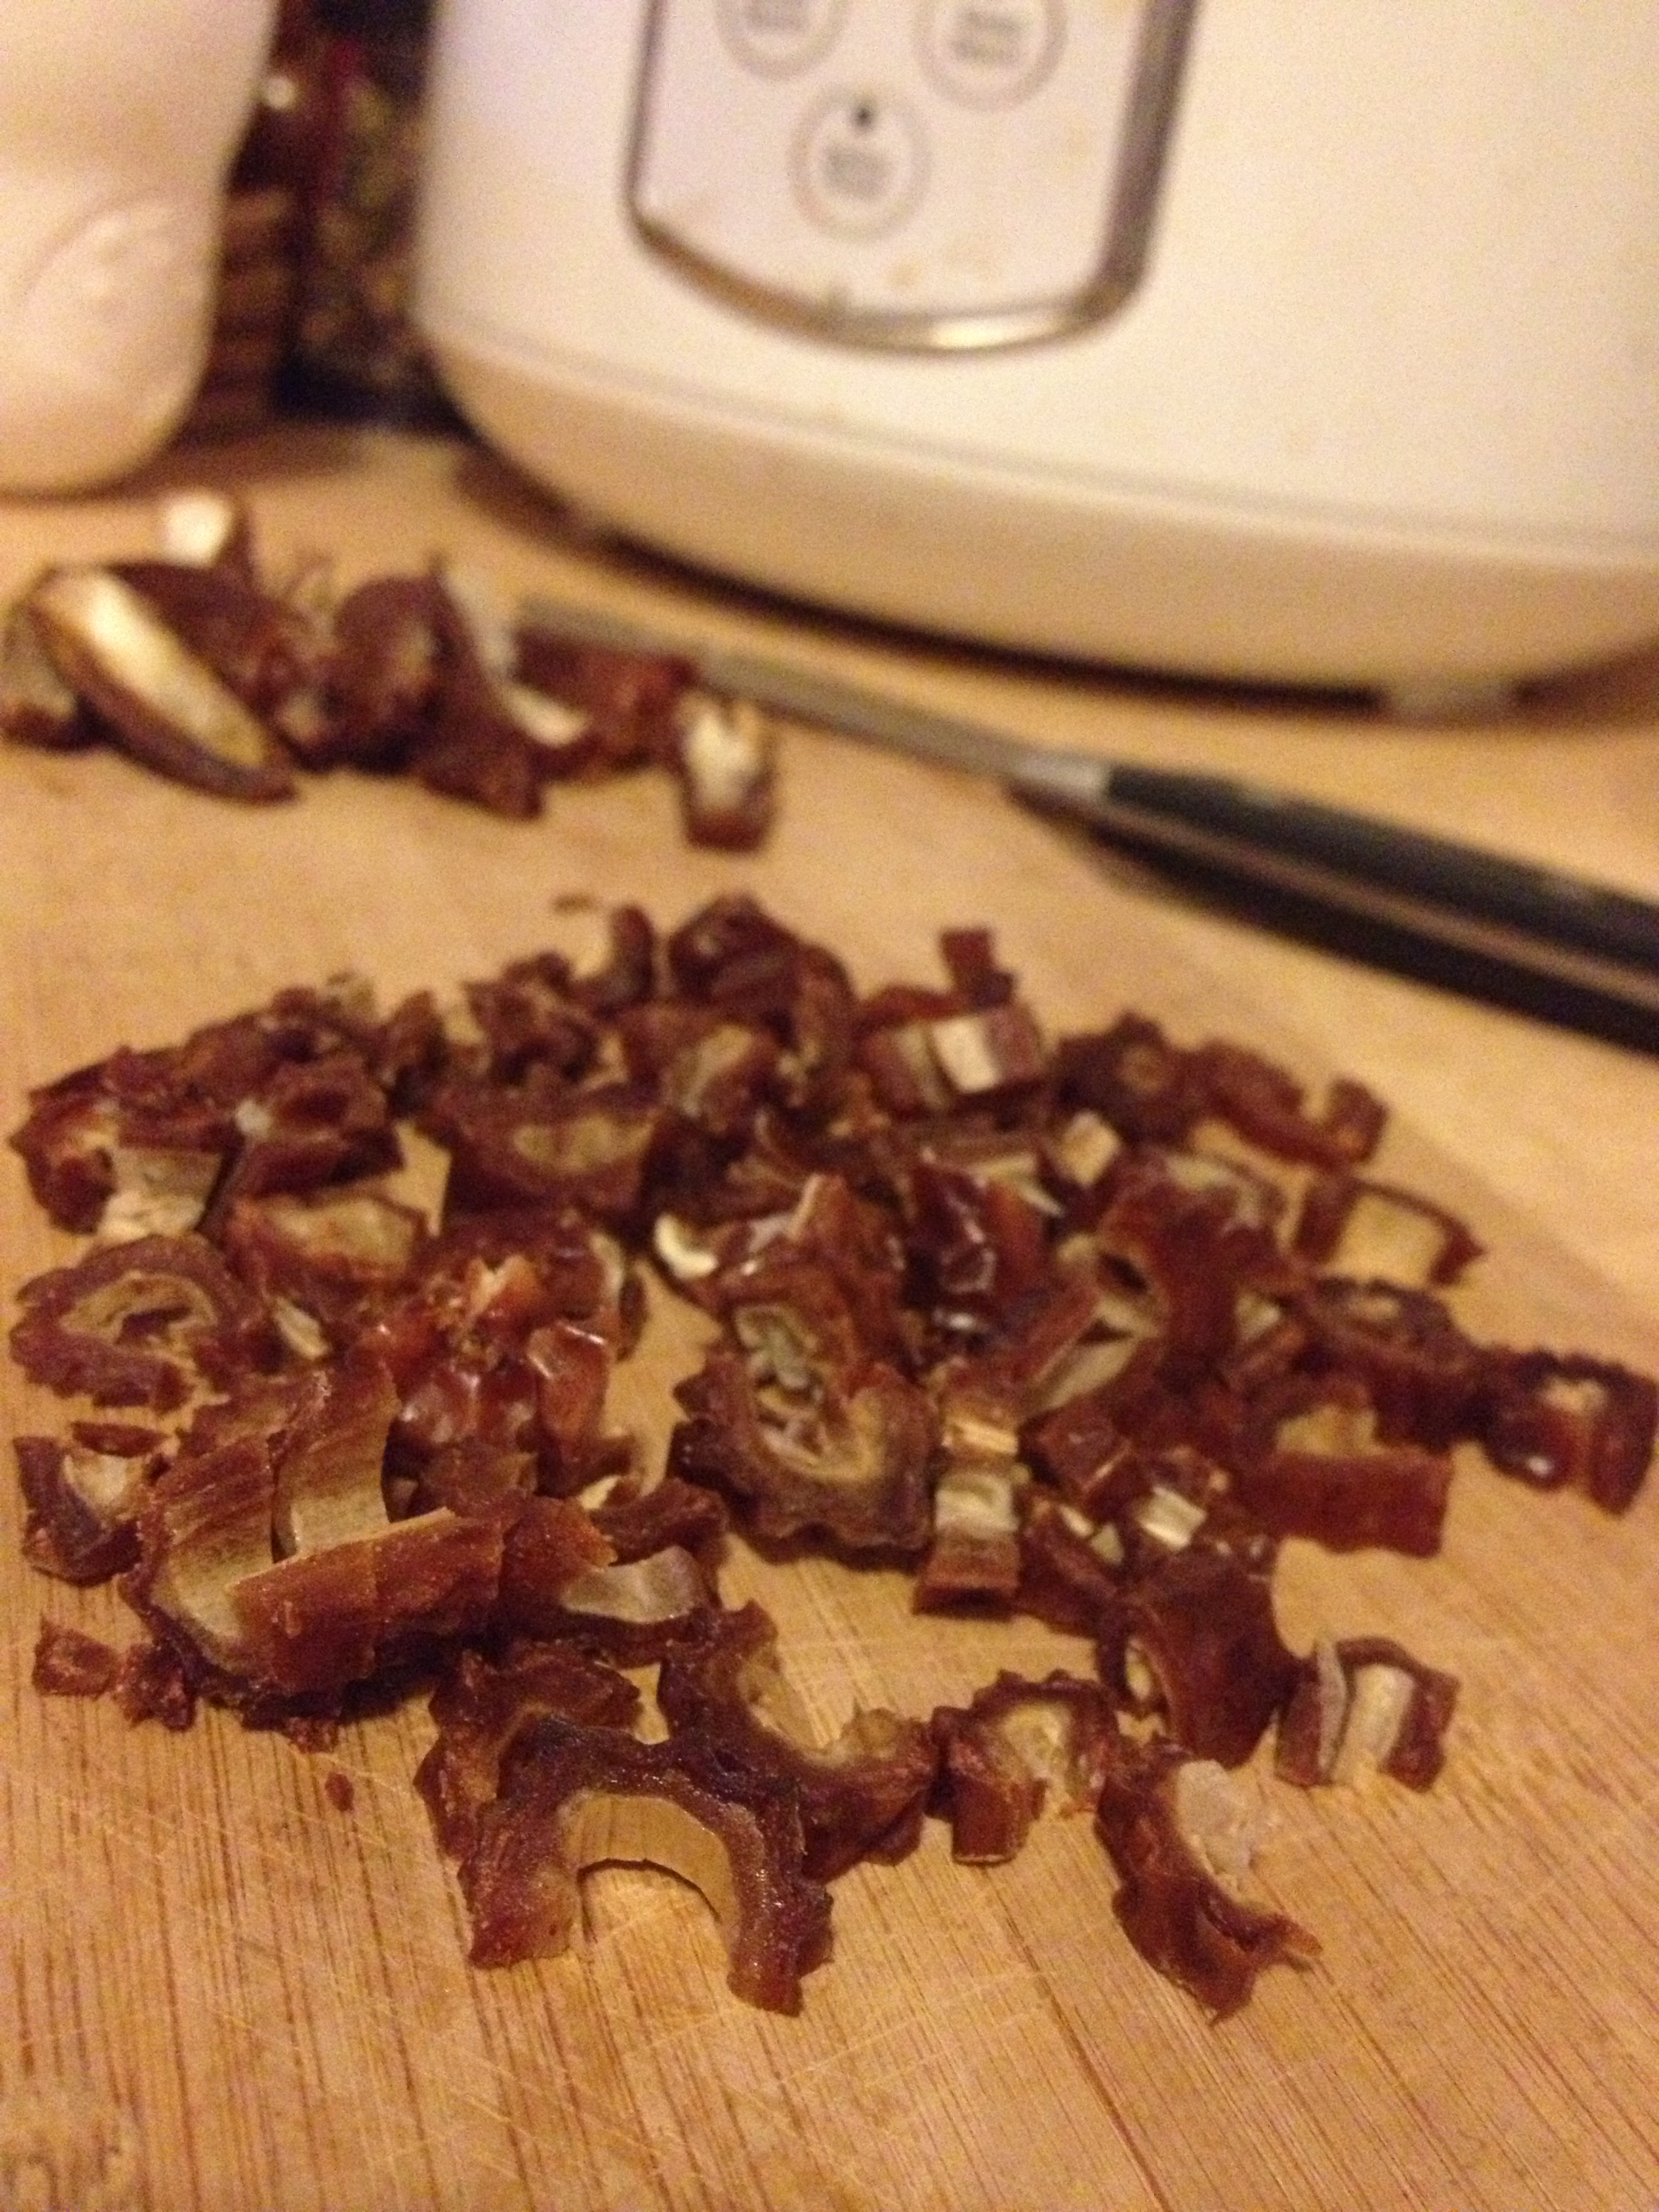
  • Chop up your dates, 5 into little pieces, 5 into long quarters

photo 2 (3)

  • Put dry ingredients to the side and get a bigger mixing bowl. Put the olive oil and honey into big bowl and whisk!

photo 4 (2)

  • Crack both eggs and drop them in. Whisk away!
  • Now, mash your bananas so they are nice and smooth. Scrape the bananas into the wet mixture
  • Add the finely chopped dates (don’t put in the long date quarters)

photo 1 (7)

  • Slowly stir in the dry ingredients into the wet ingredients, alternating with pouring in hot water

photo 2 (5)

  • Grease your muffin tin and pour them in. Make sure they don’t overflow, but you want them high enough so they puff over the top when baked.

photo 3 (4)

  • Top each muffin with the quarter slivers of dates we cut ahead of time as a garnish!

photo 4 (3)

  • Bake for 15-20 minutes. Mine took about 17 minutes

photo 1 (6)

And enjoy! Oh they are SO good warm right out of the oven. And of course, before I brought them into work, I had to taste test them. And…I approve! Another fail-proof recipe to enjoy and not feel the slightest guilt eating them.

photo 3 (3)

photo 2 (4)

BONUS KITTY PIC 

photo 1 (5)

Nymeria cuddling Chris

spacer

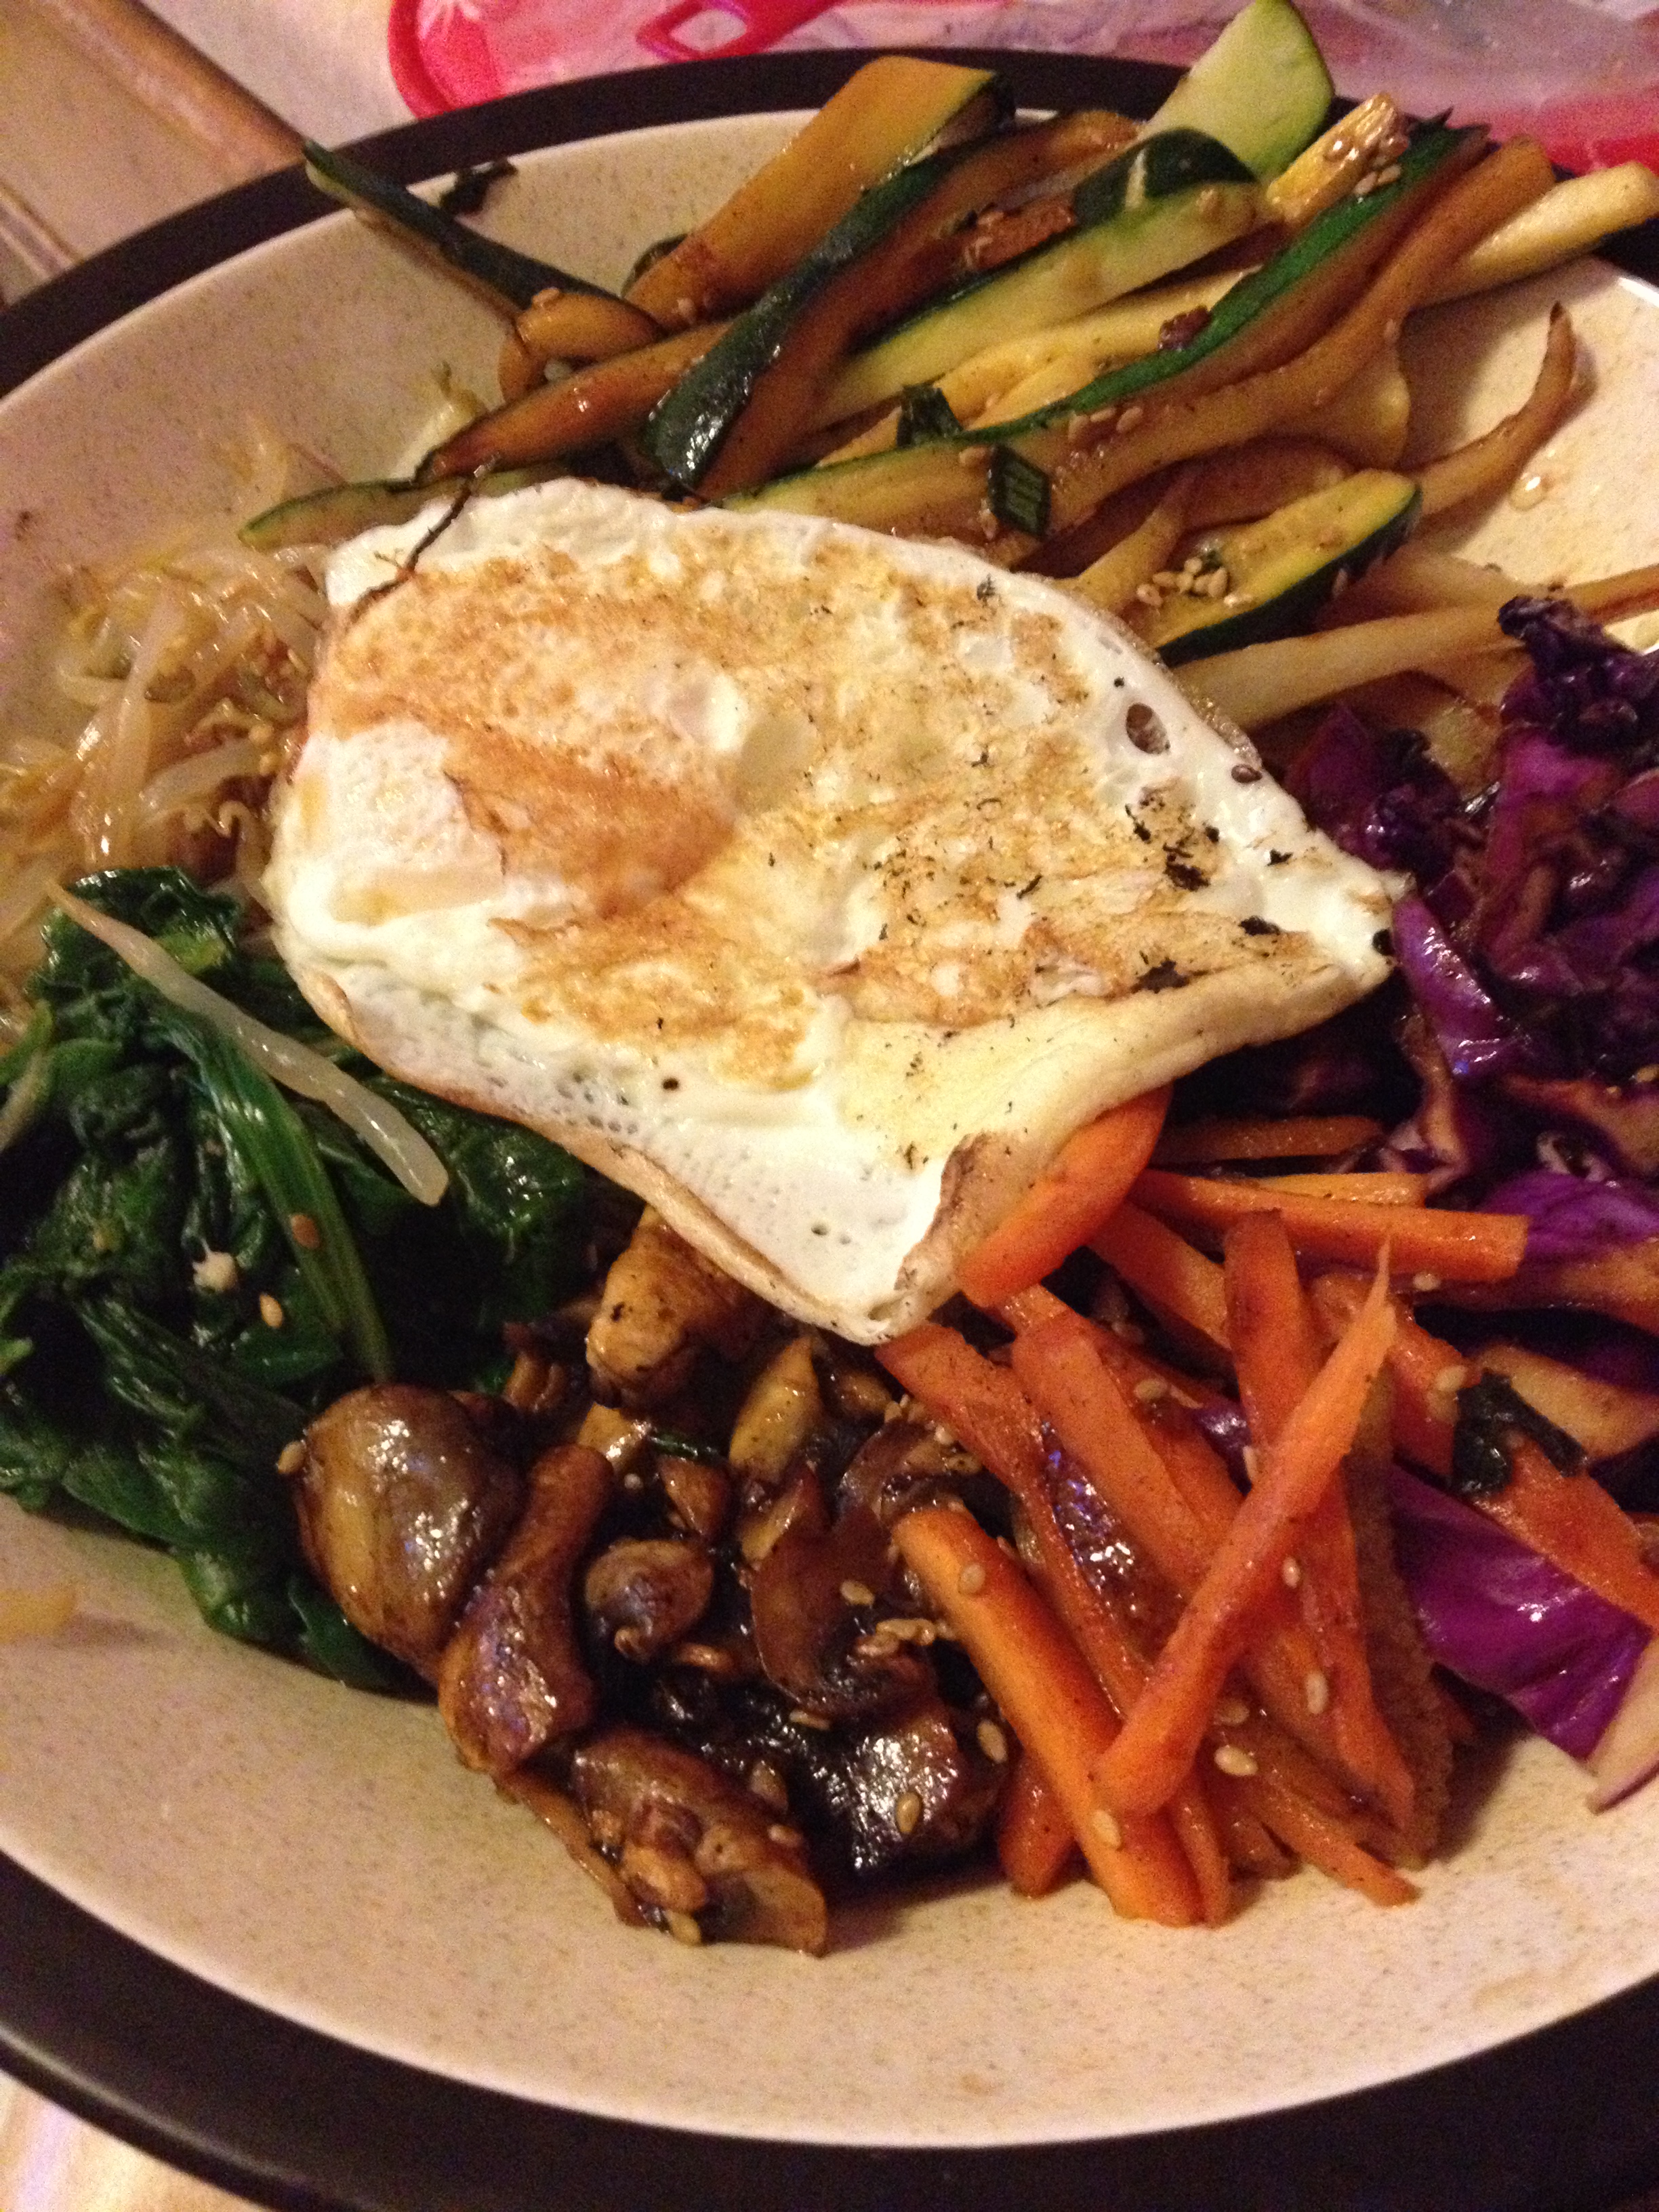
Bibimbap: Korea’s Perfect Meal

Let me start off by saying I’m pretty proud of myself for creating this dish tonight after a day’s worth of work and a workout. It took a good bit of work and time, but it was so worth it. Most of you are probably wondering…what in the heck is bibimbap? Well thanks to my Korean-obsessed partner, I am now blessed to the amazingness that is Korean food (and yes amazingness is a word). Bibimbap is basically mixed rice with vegetables, but is so much more. It really proves why and how Koreans are so healthy and why the obesity rate is so low there. I can’t wait to move to South Korea one day where this will be a regular meal.

photo 3 (1)

You can really make it your own, using a variety of vegetables and proteins. I used this recipe and this one as well, deciding from each what I wanted to do. Chris had a so-so day so I wanted to surprise him with a Korean dinner that he would really enjoy. Now that I know how to do it from heart, I believe I will be doing this on the regular (I know that makes Chris happy).

  • Prep Time (for n00bs like me): 20-40 minutes
  • Cook Time: 20 minutes
  • Serves: 2.5 normal people (Chris isn’t normal)

It may seem like a lot of ingredients, but it really is a simple dish once you get the hang of it. Let’s first start off with a special sauce that is for non-spice people (Chris unfortunately can’t have spice). It’s easy and delicious.

Ingredients

  • 4 green onions
  • 1/4 cup soy sauce
  • 1 tbsp sesame seeds
  • 2 tsp brown sugar
  • 1 tsp sesame teriyaki 
  • 1 clove minced garlic 

Directions

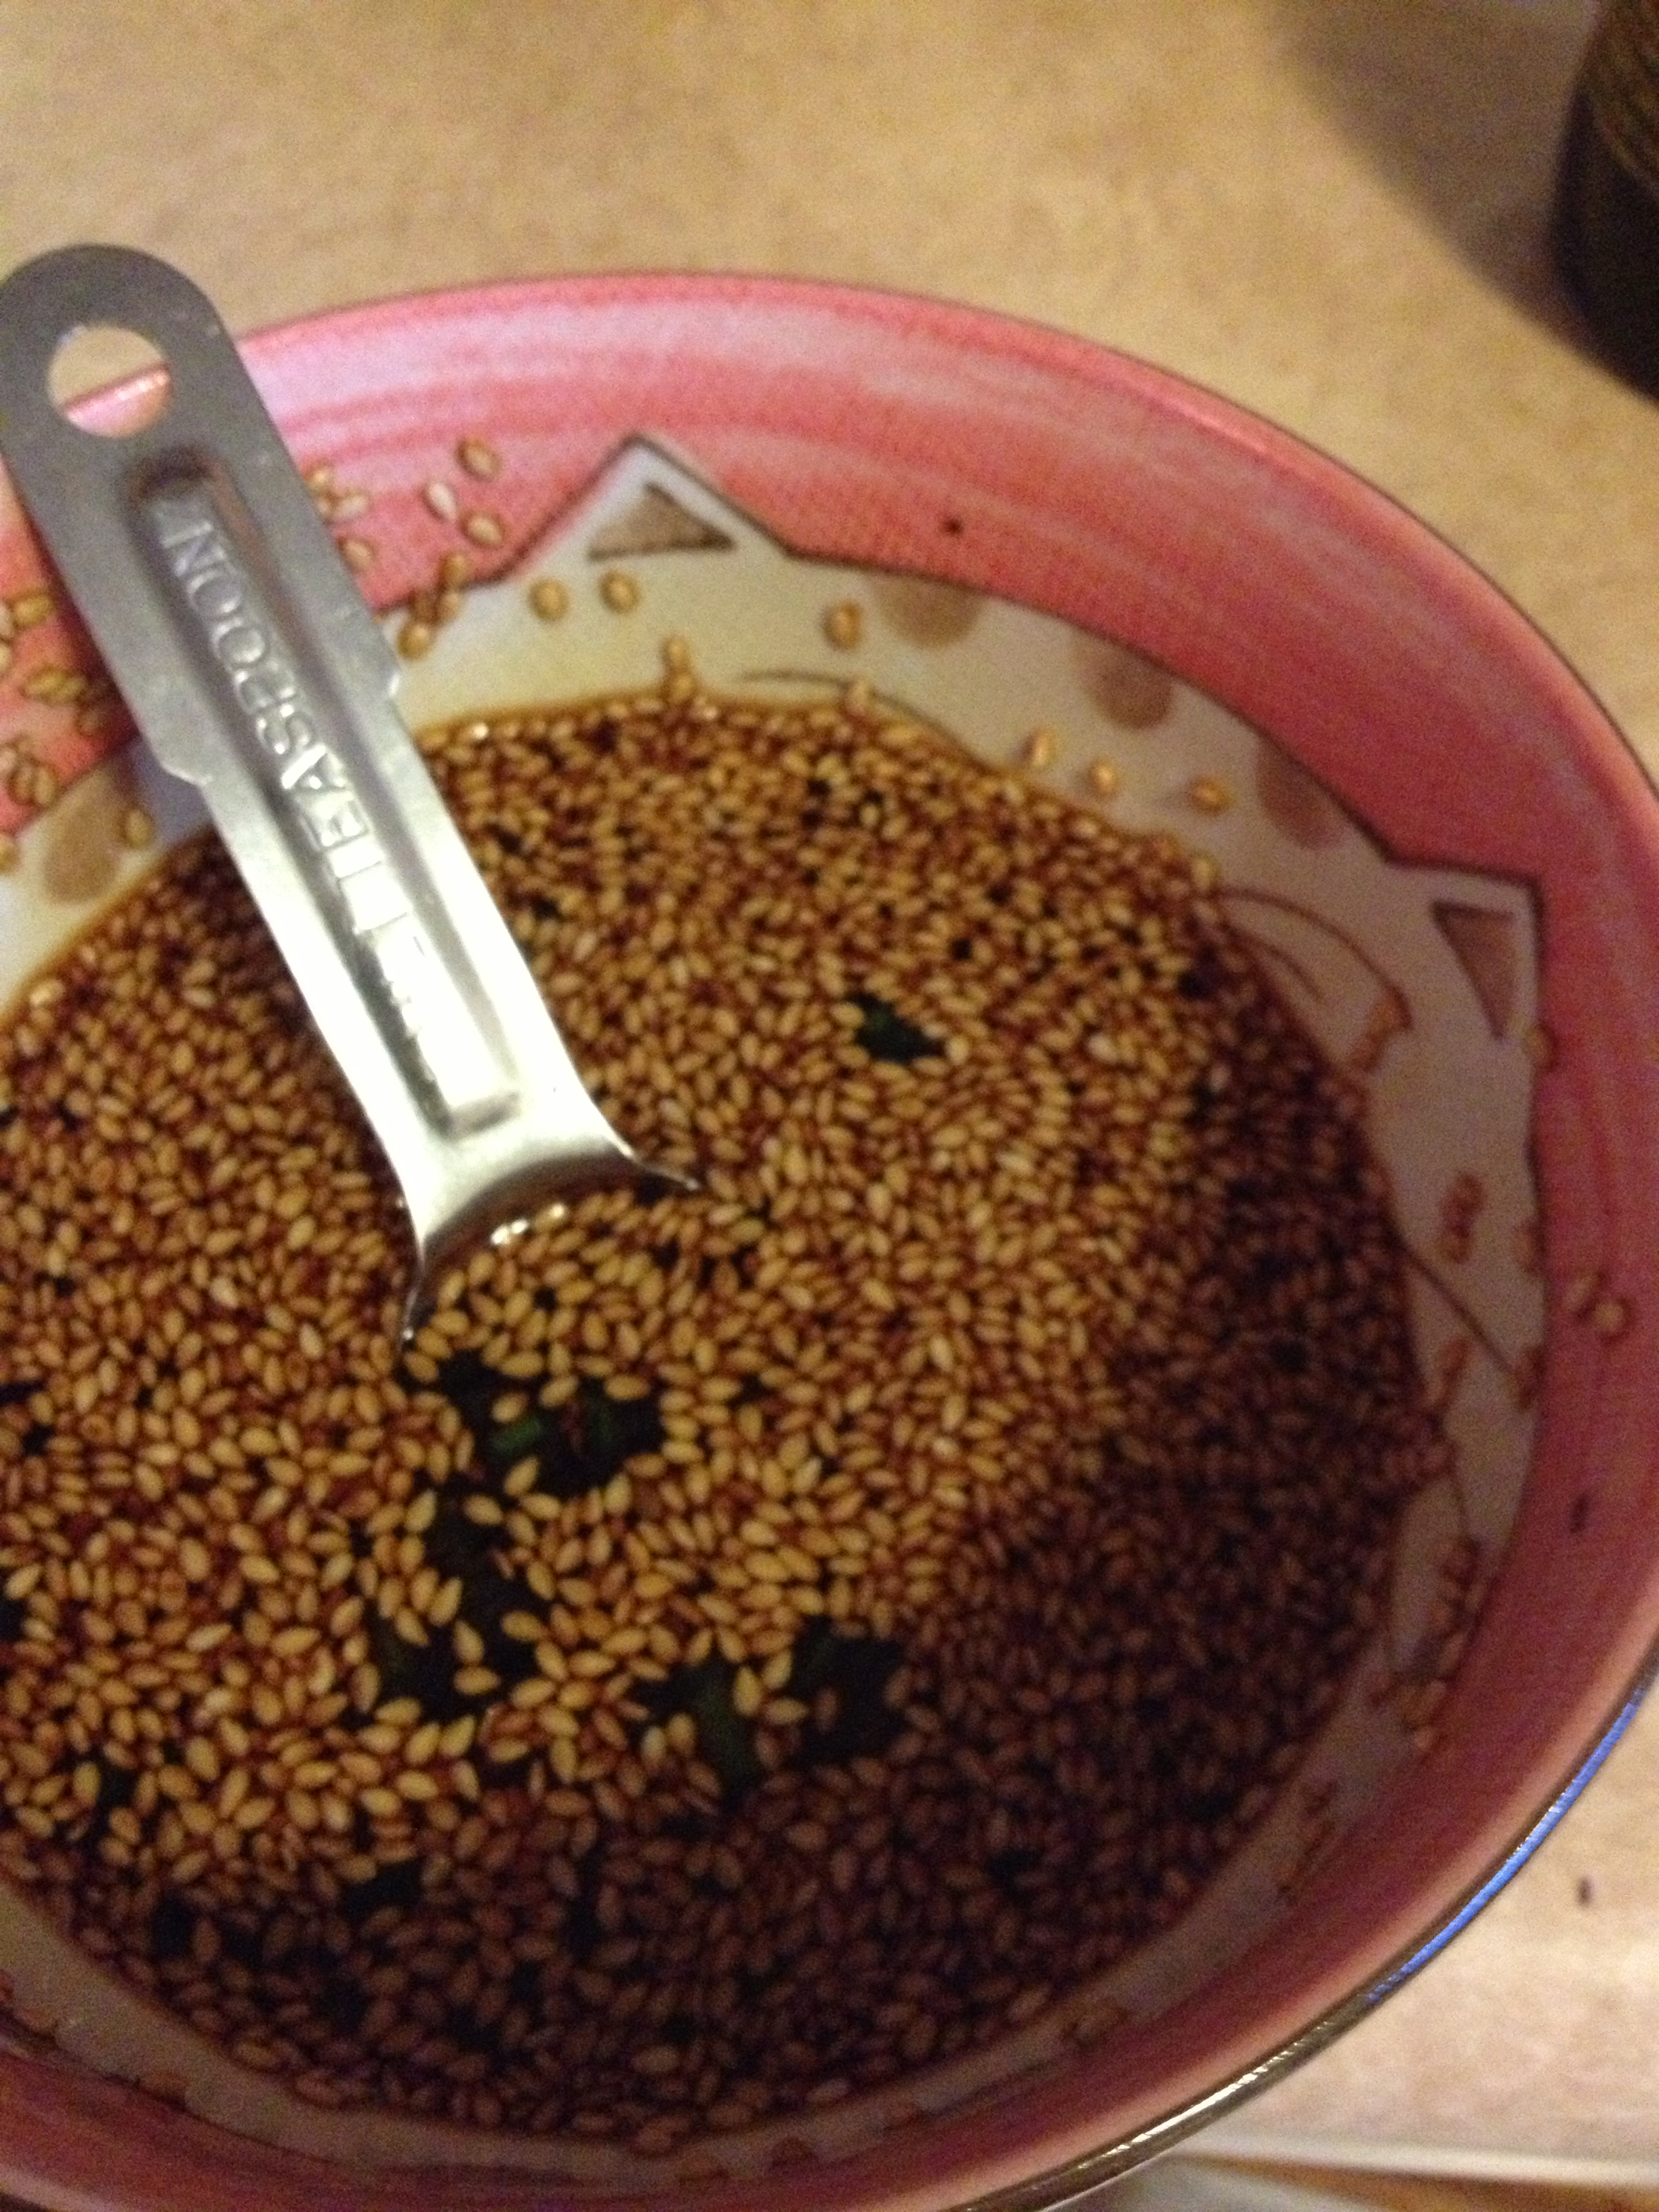
  • Chop up the green onions and put into small bowl
  • Pour in the soy sauce
  • Mix in the rest of the ingredients. Stir well

photo 4

Now onto the good stuff– the bibimbap!

Ingredients

  • red cabbage
  • 2 small zucchini
  • bag of bean sprouts
  • spinach
  • 1 cup (uncooked) rice
  • 5 mushrooms (any kind)
  • 4 baby carrots (you can use regular)
  • 2 eggs
  • 1 Korean radish
  • sesame seeds
  • soy sauce
  • sesame sauce
  • garlic
  • salt and pepper

Directions

  • First off, I didn’t include cooking time of the rice. I did a running and core workout, so before I started that, I put the rice on ahead of time. DO THIS
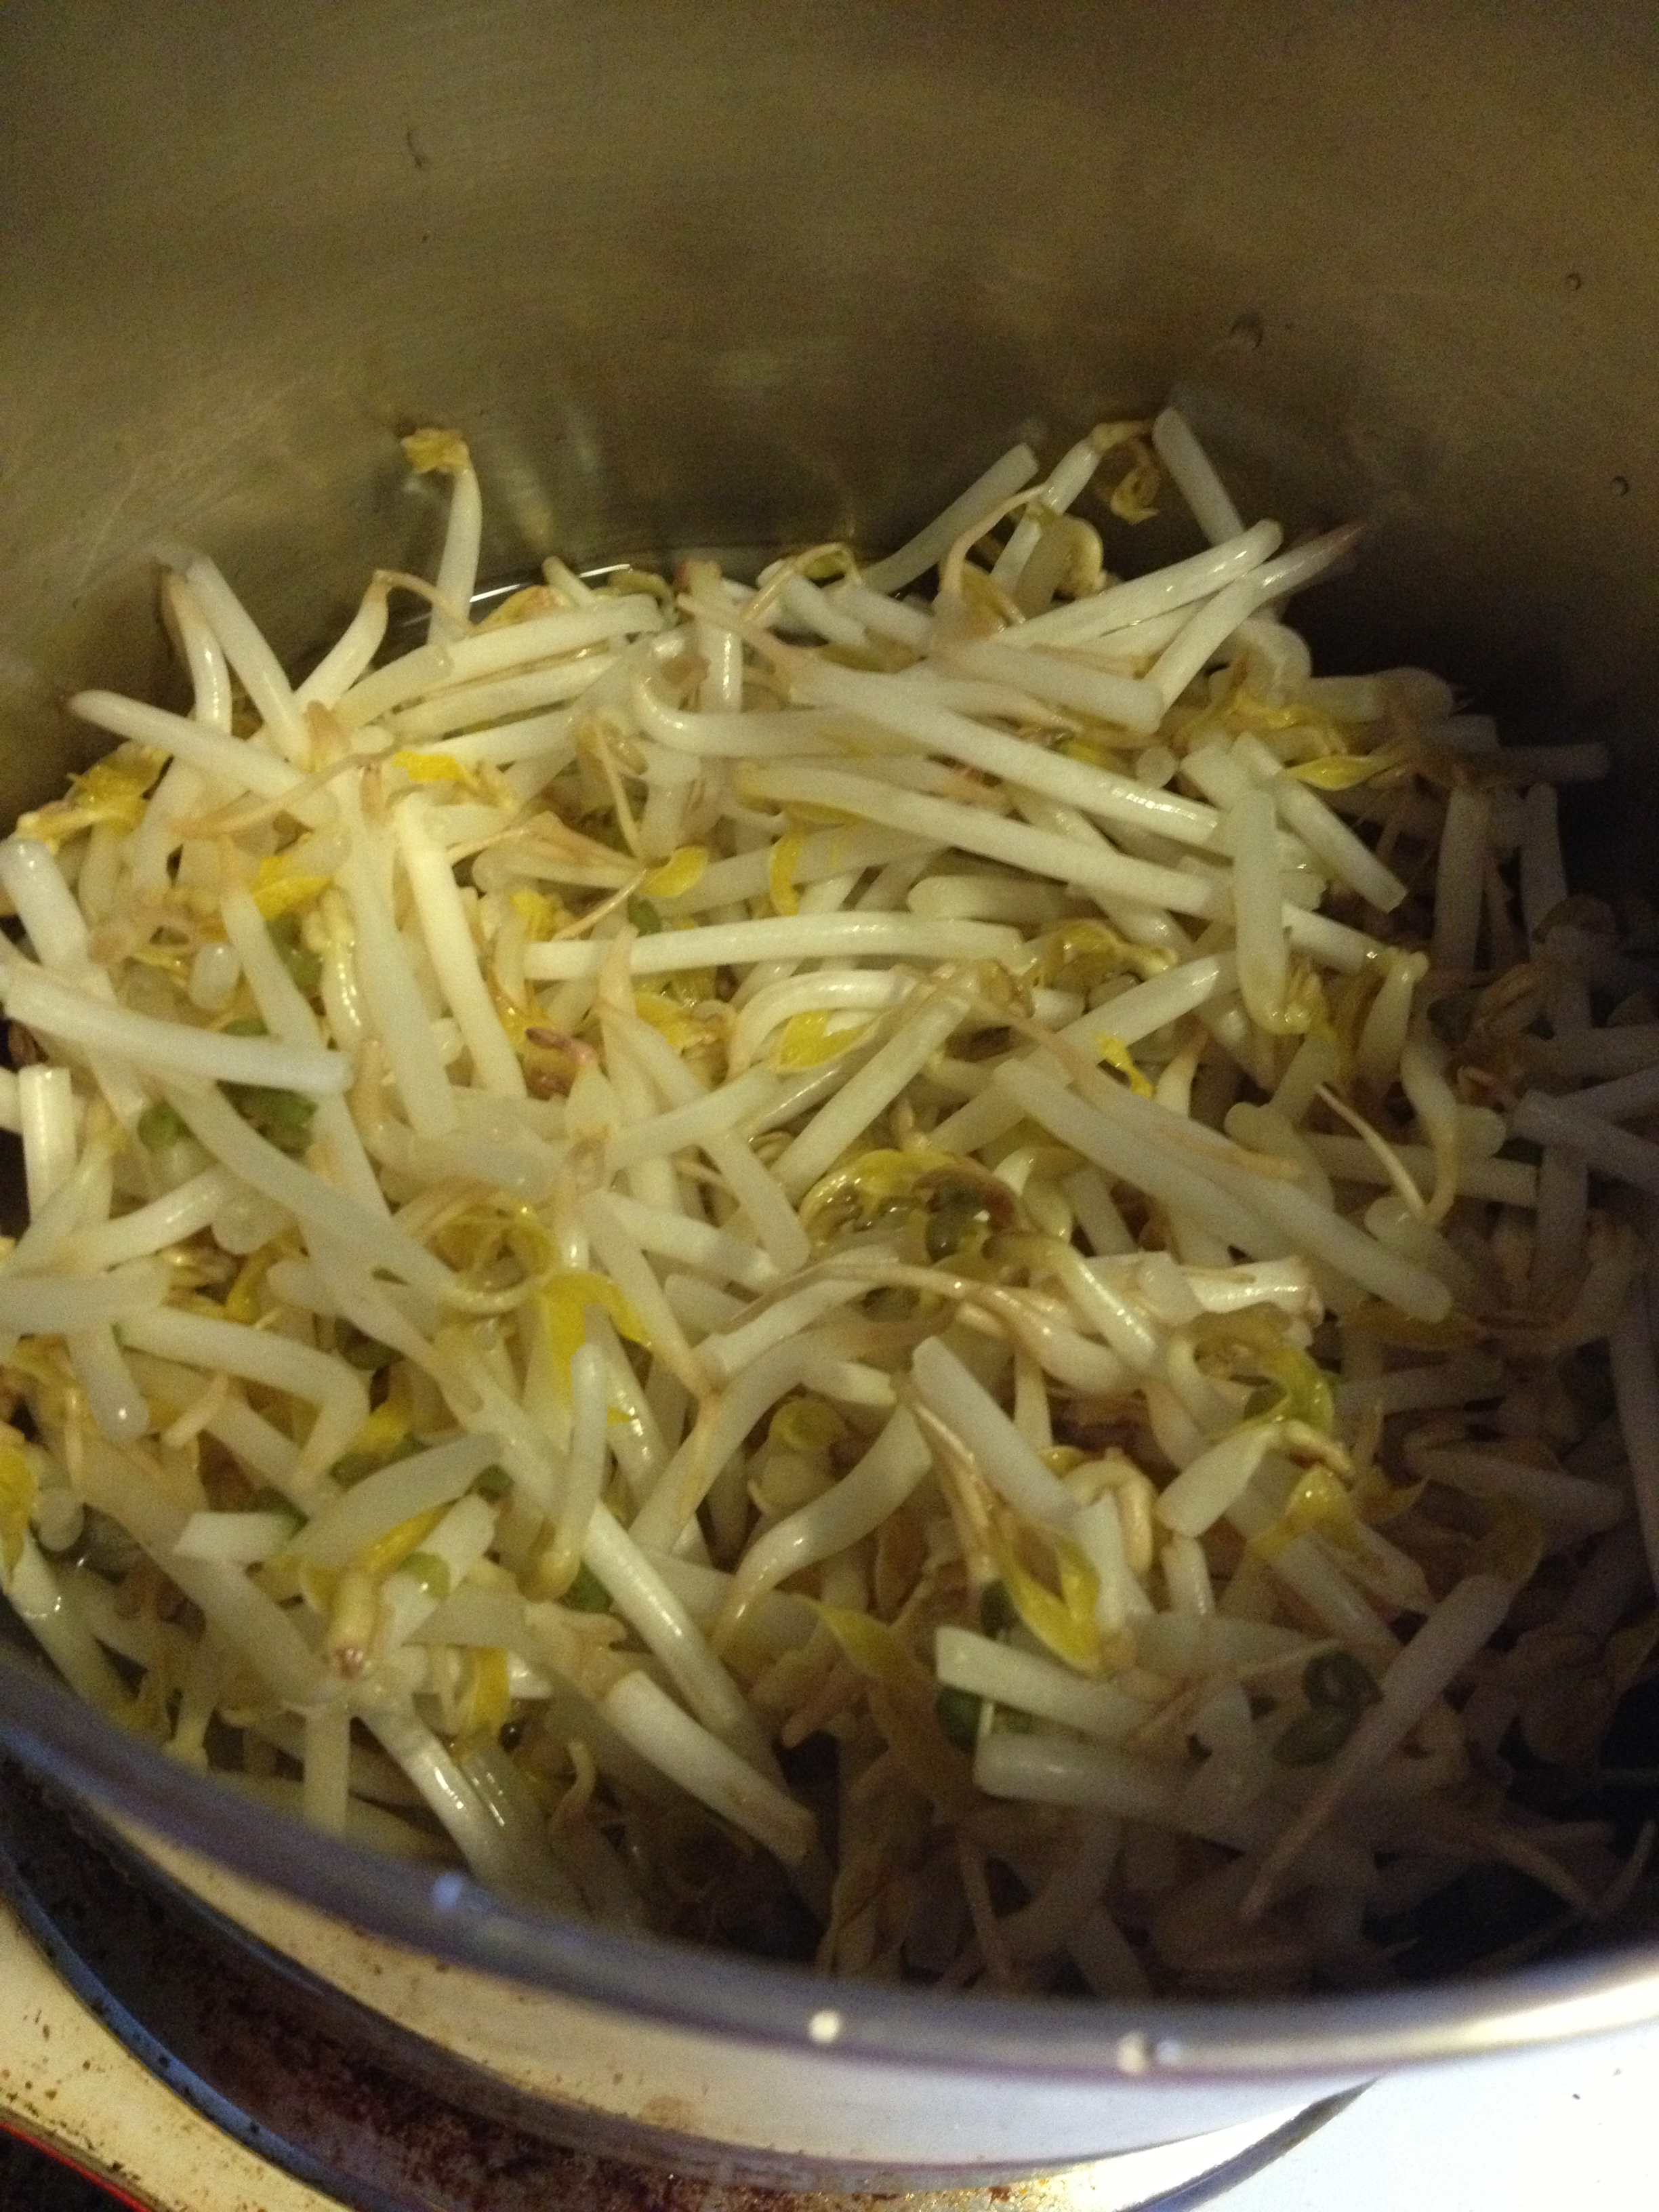
  • Rinse your bean sprouts and cook them in hot water for 20 minutes. Drain them and season them with your special sauce and some salt

photo 1

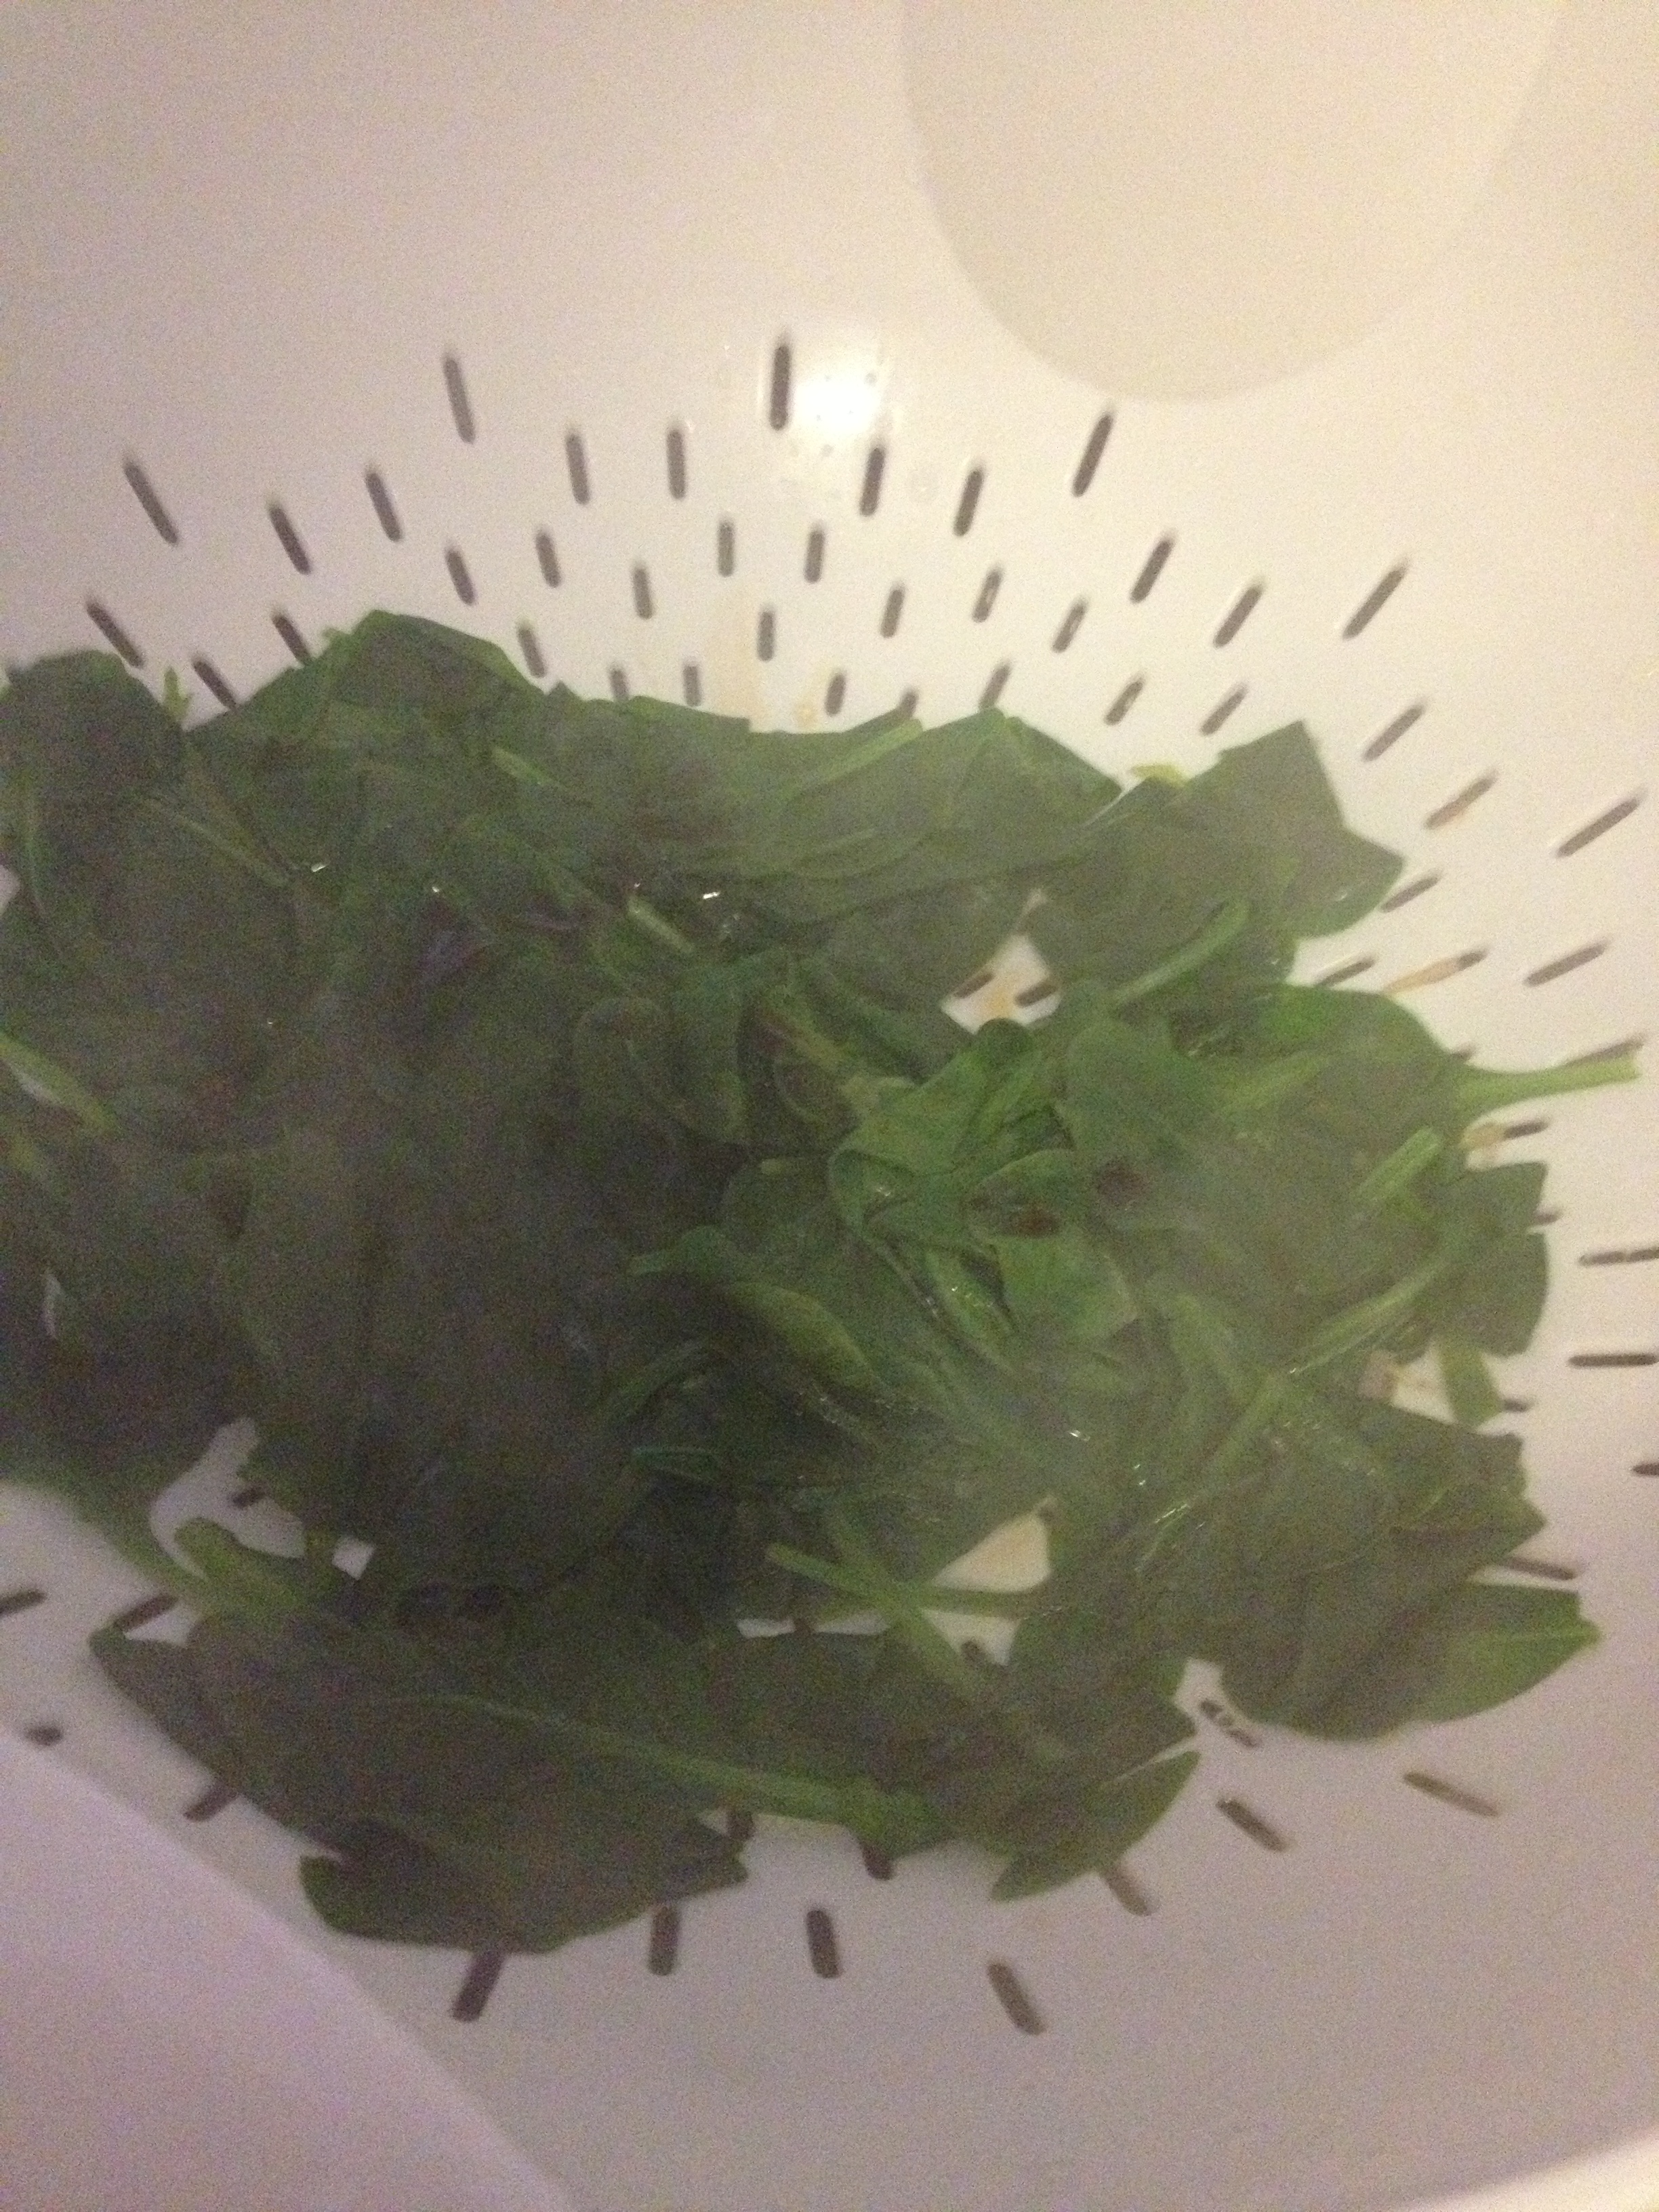
  • Bring a pot of water to a boil (doesn’t need to be much water). Grab your spinach (whether it be a bunch or separate leaves) and put into boiling water for 1 minute. Take out and drain, run cold water over it, wring it out, then season with salt and sauce.

photo 2

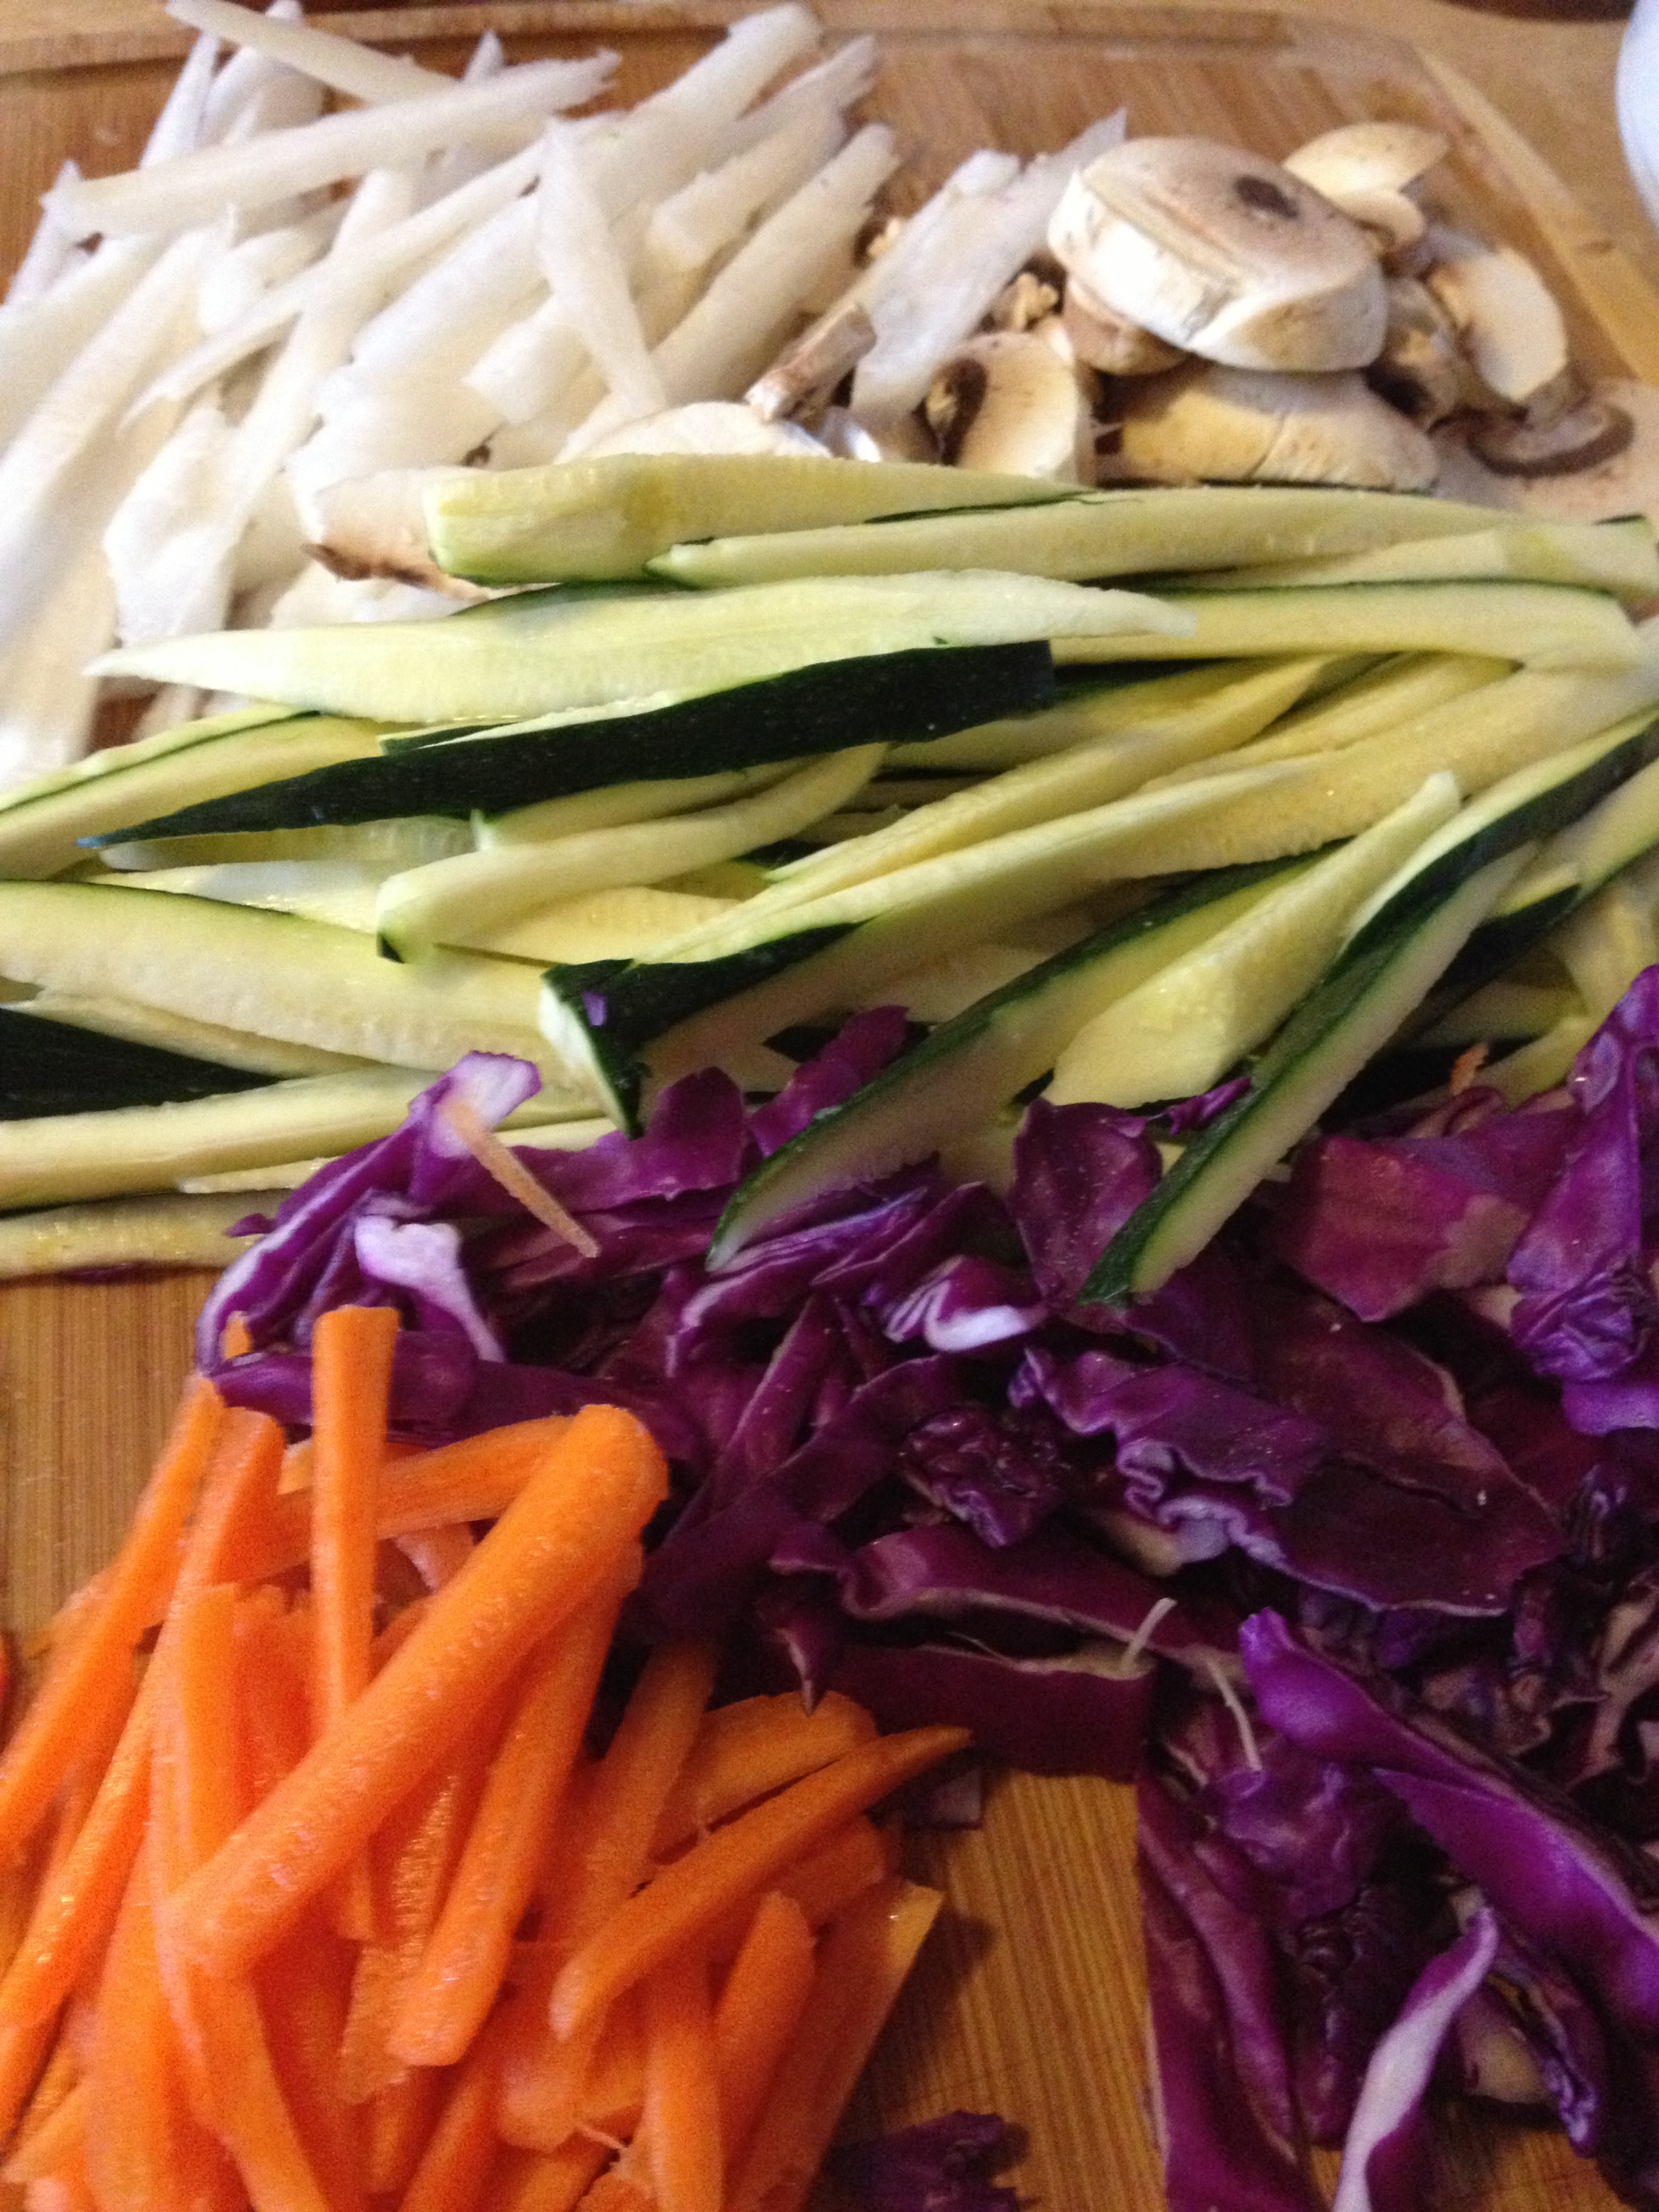
  • Cut all your veggies into thin slices and sprinkle salt over  

photo 3

  • Separately, saute each veggie one by one [except for carrots] in pan over medium-high heat. You can use oil and garlic, or use the special sauce we created earlier to season and wet them. You only need to cook them for a few minutes to heat them up and infuse them with flavor.
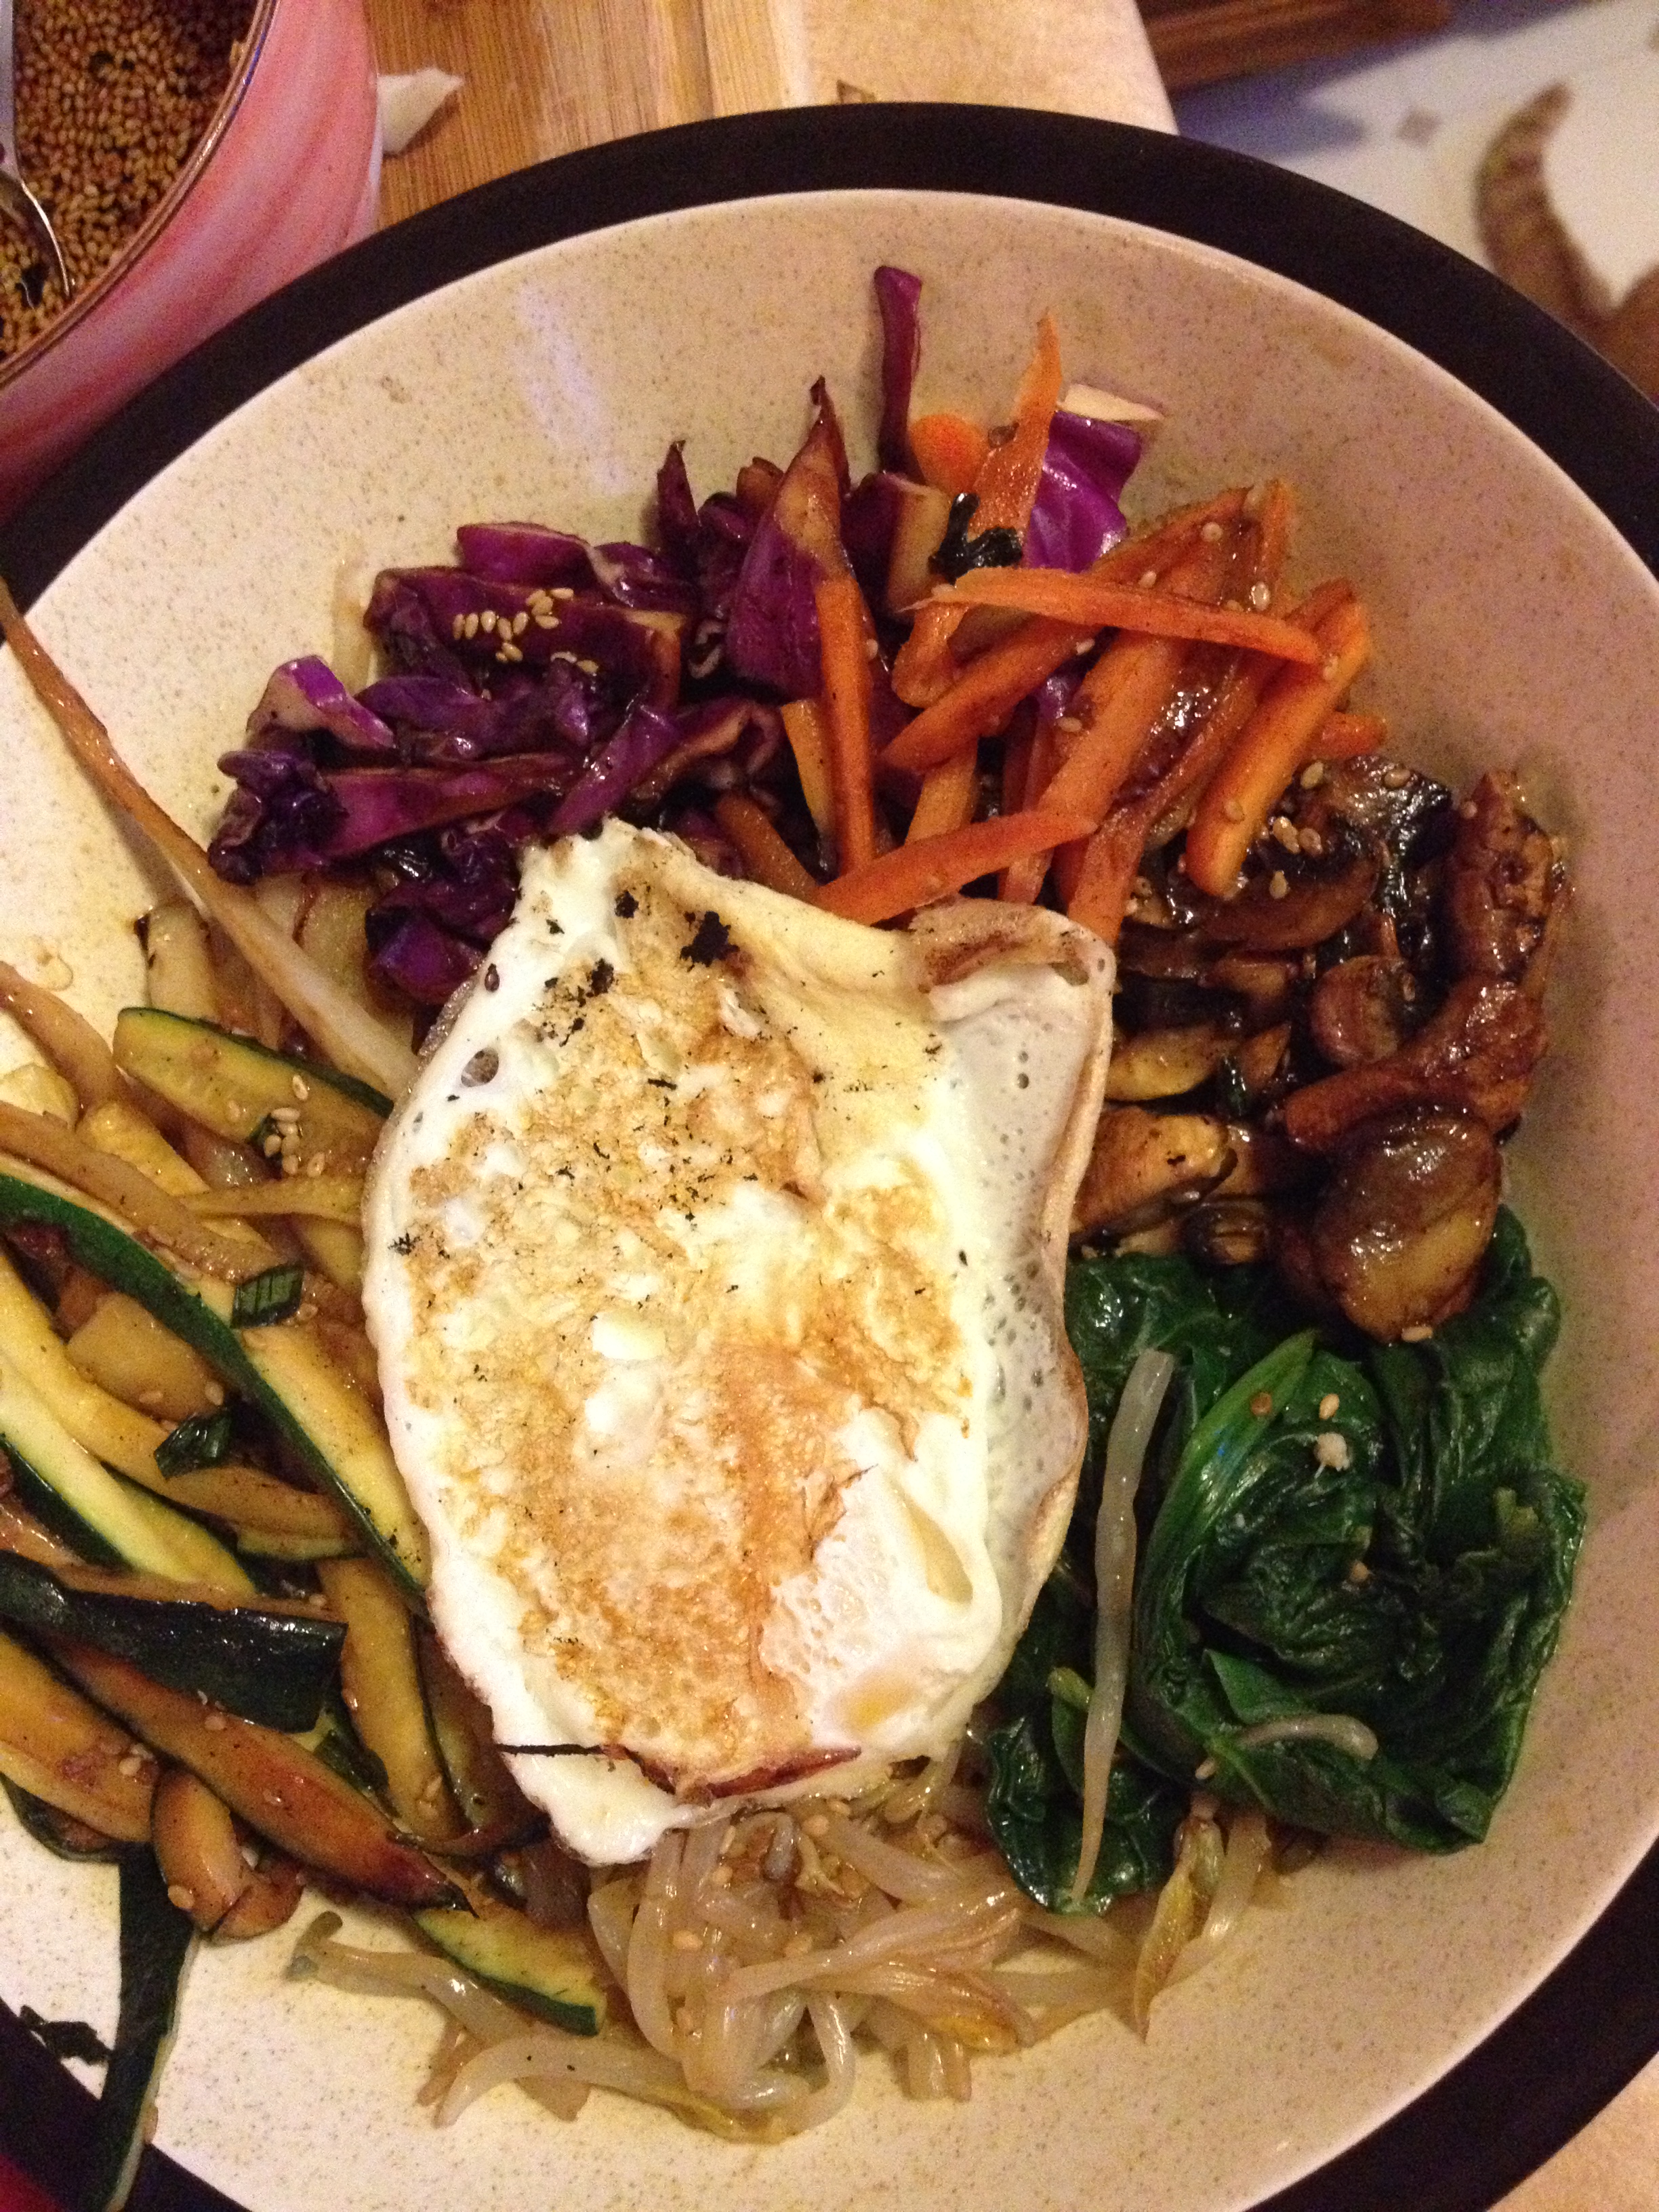
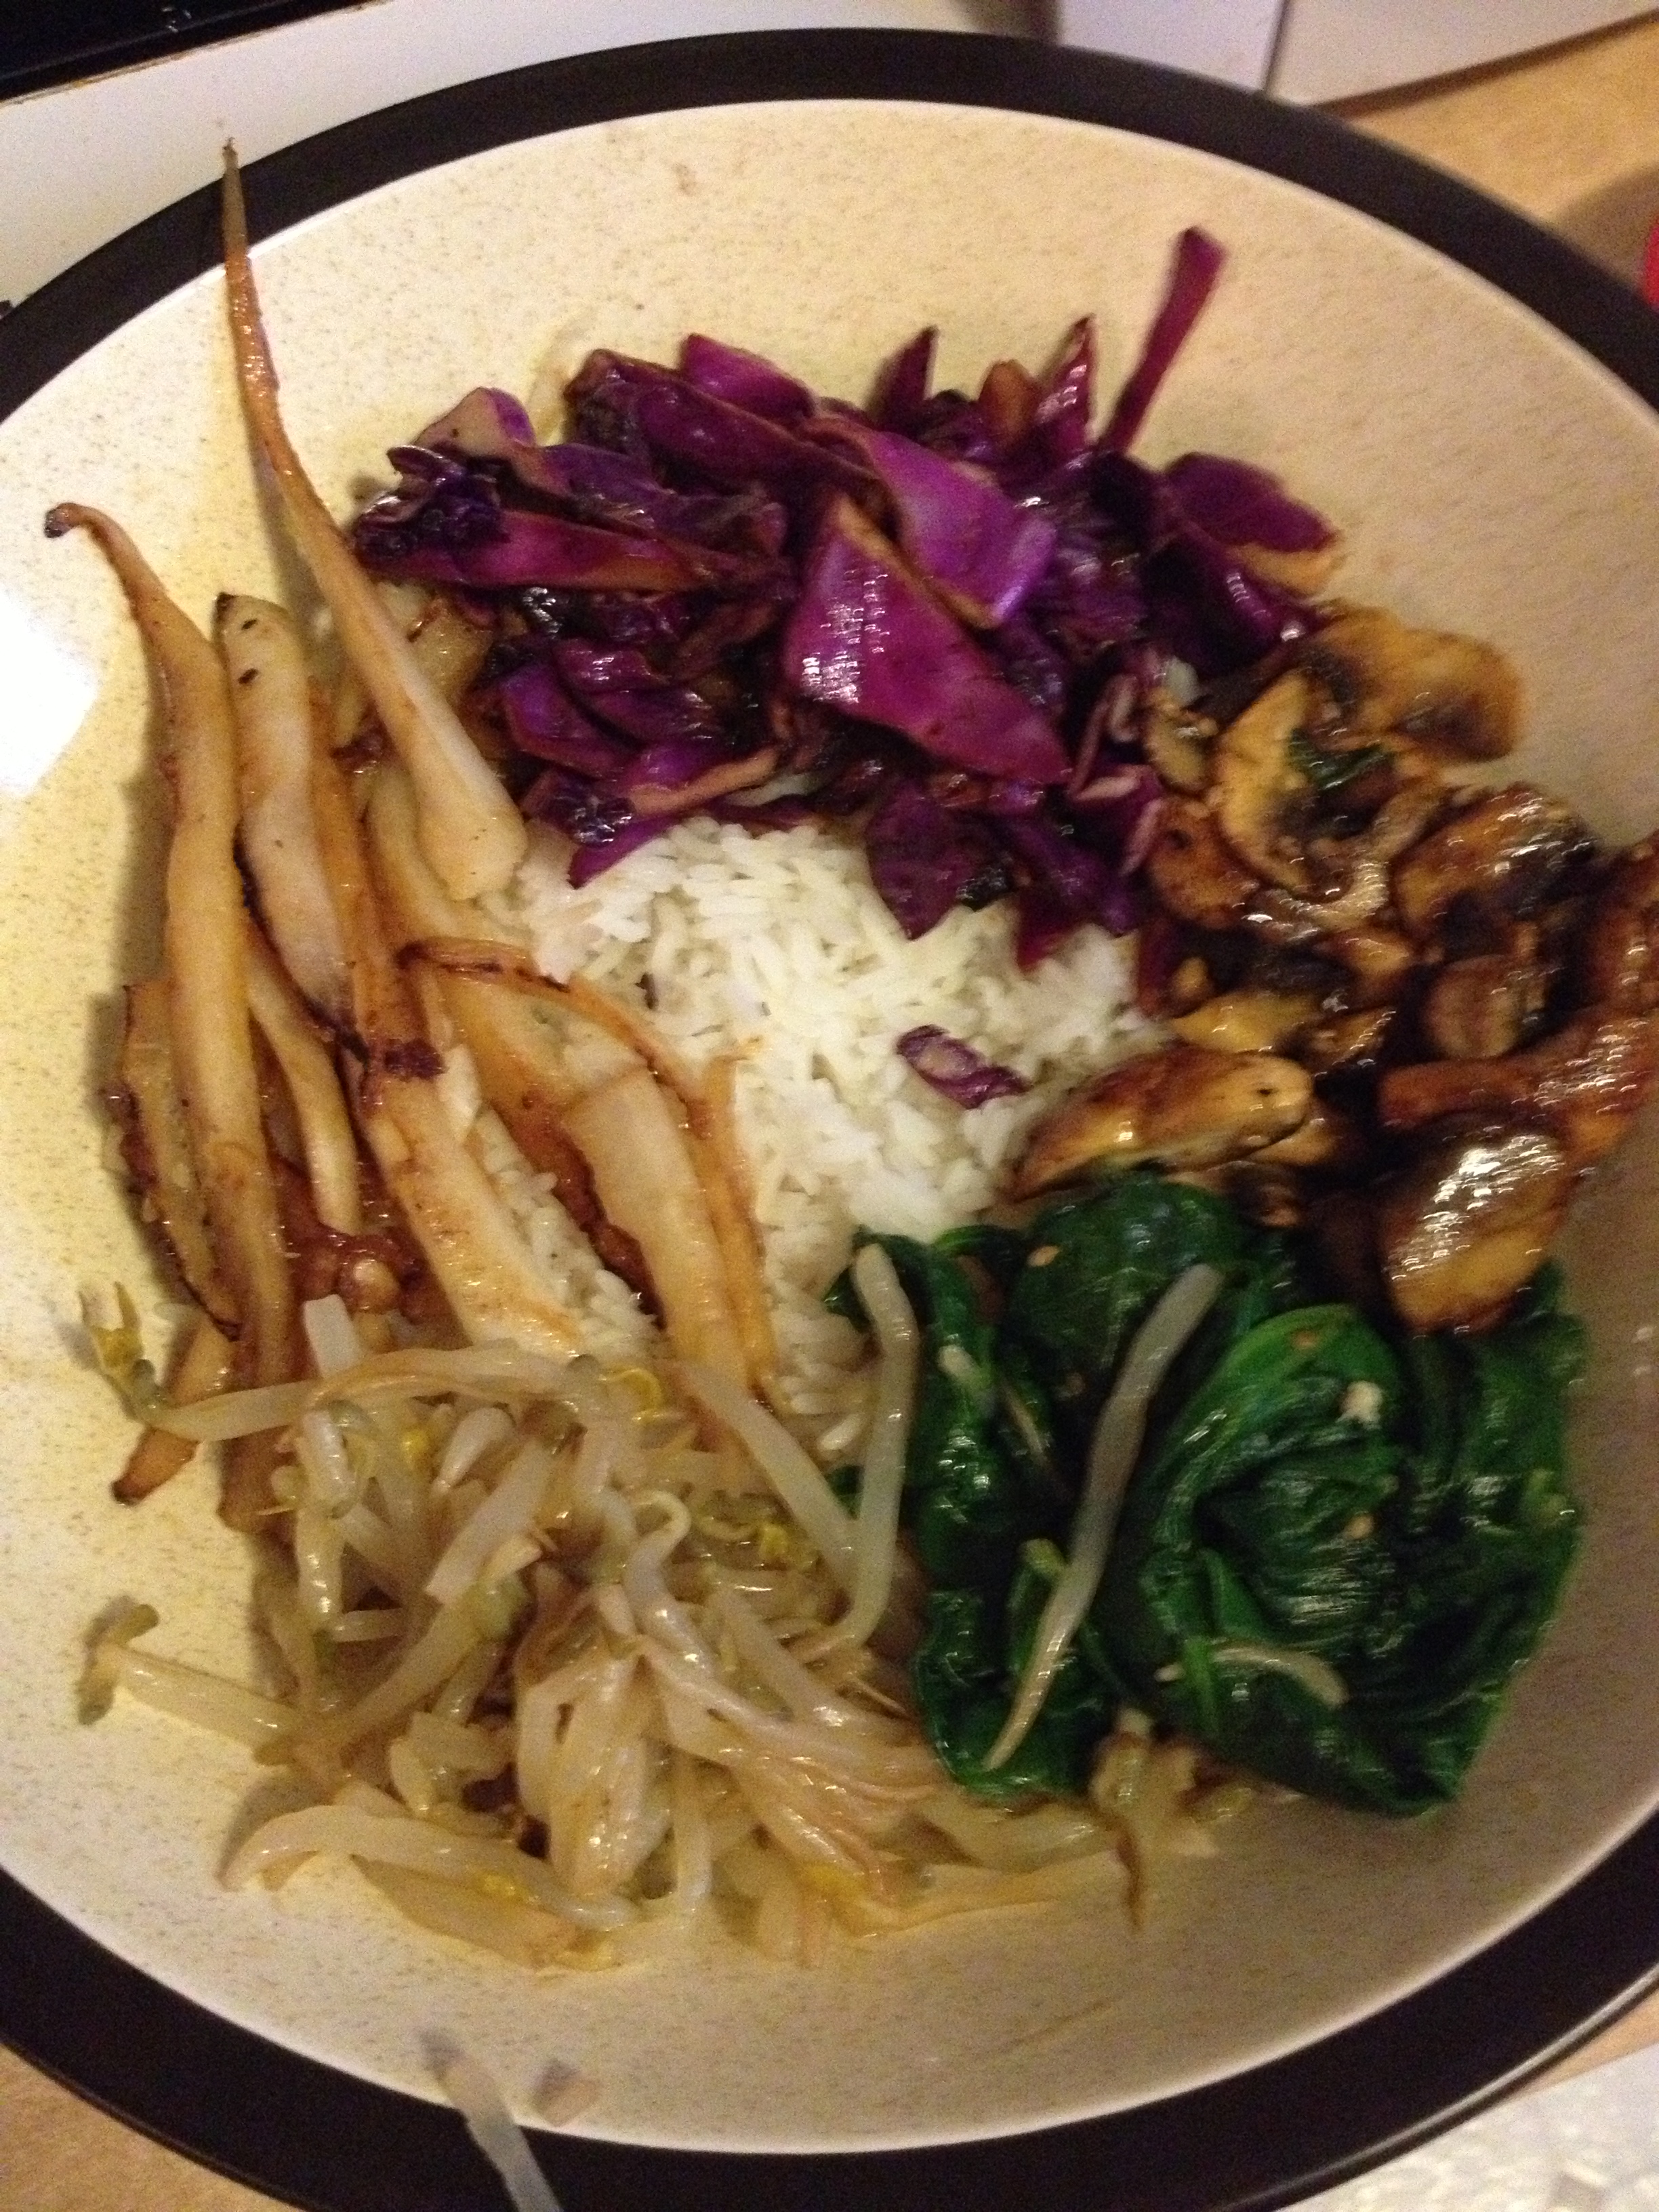
  • You can either put them back on the cutting board OR have the rice ready in a wide bowl. Place the veggies in a circular fashion on the rice, leaving the middle open
Waiting for a few more ingredients..

Waiting for a few more ingredients..

  • For the carrots, just throw them in the hot pan for 30 seconds, so that they’re still crisp
  • For the last ingredient, throw your egg (or eggs if you’re making for two or more people) in the pan on medium heat. You want to cook it sunny side up (over easy). Put the egg in the middle
Ready to be eaten

Ready to be eaten

Pour the special sauce over the top for extra flavor. And that’s it! Not so hard, is it? It looks like a long list of ingredients, but once you get the hang of it, it can be done quickly (as I found out the next night–yes, I made this two nights in a row…red cabbage goes forever!). You can cycle a ton of different ingredients into this. Whatever you have or whatever is fresh at the market. Last night, I used green pepper, beets, and tofu as well as some from the night before.

A traditional way to do this is to serve it in a hot stone bowl, so that the rice gets crispy on the bottom. I did this style for Chris, but it was less attractive as it was a little too big. But that same fresh delicious FILLING flavor.

Chris' "plate"

Chris’ “plate”

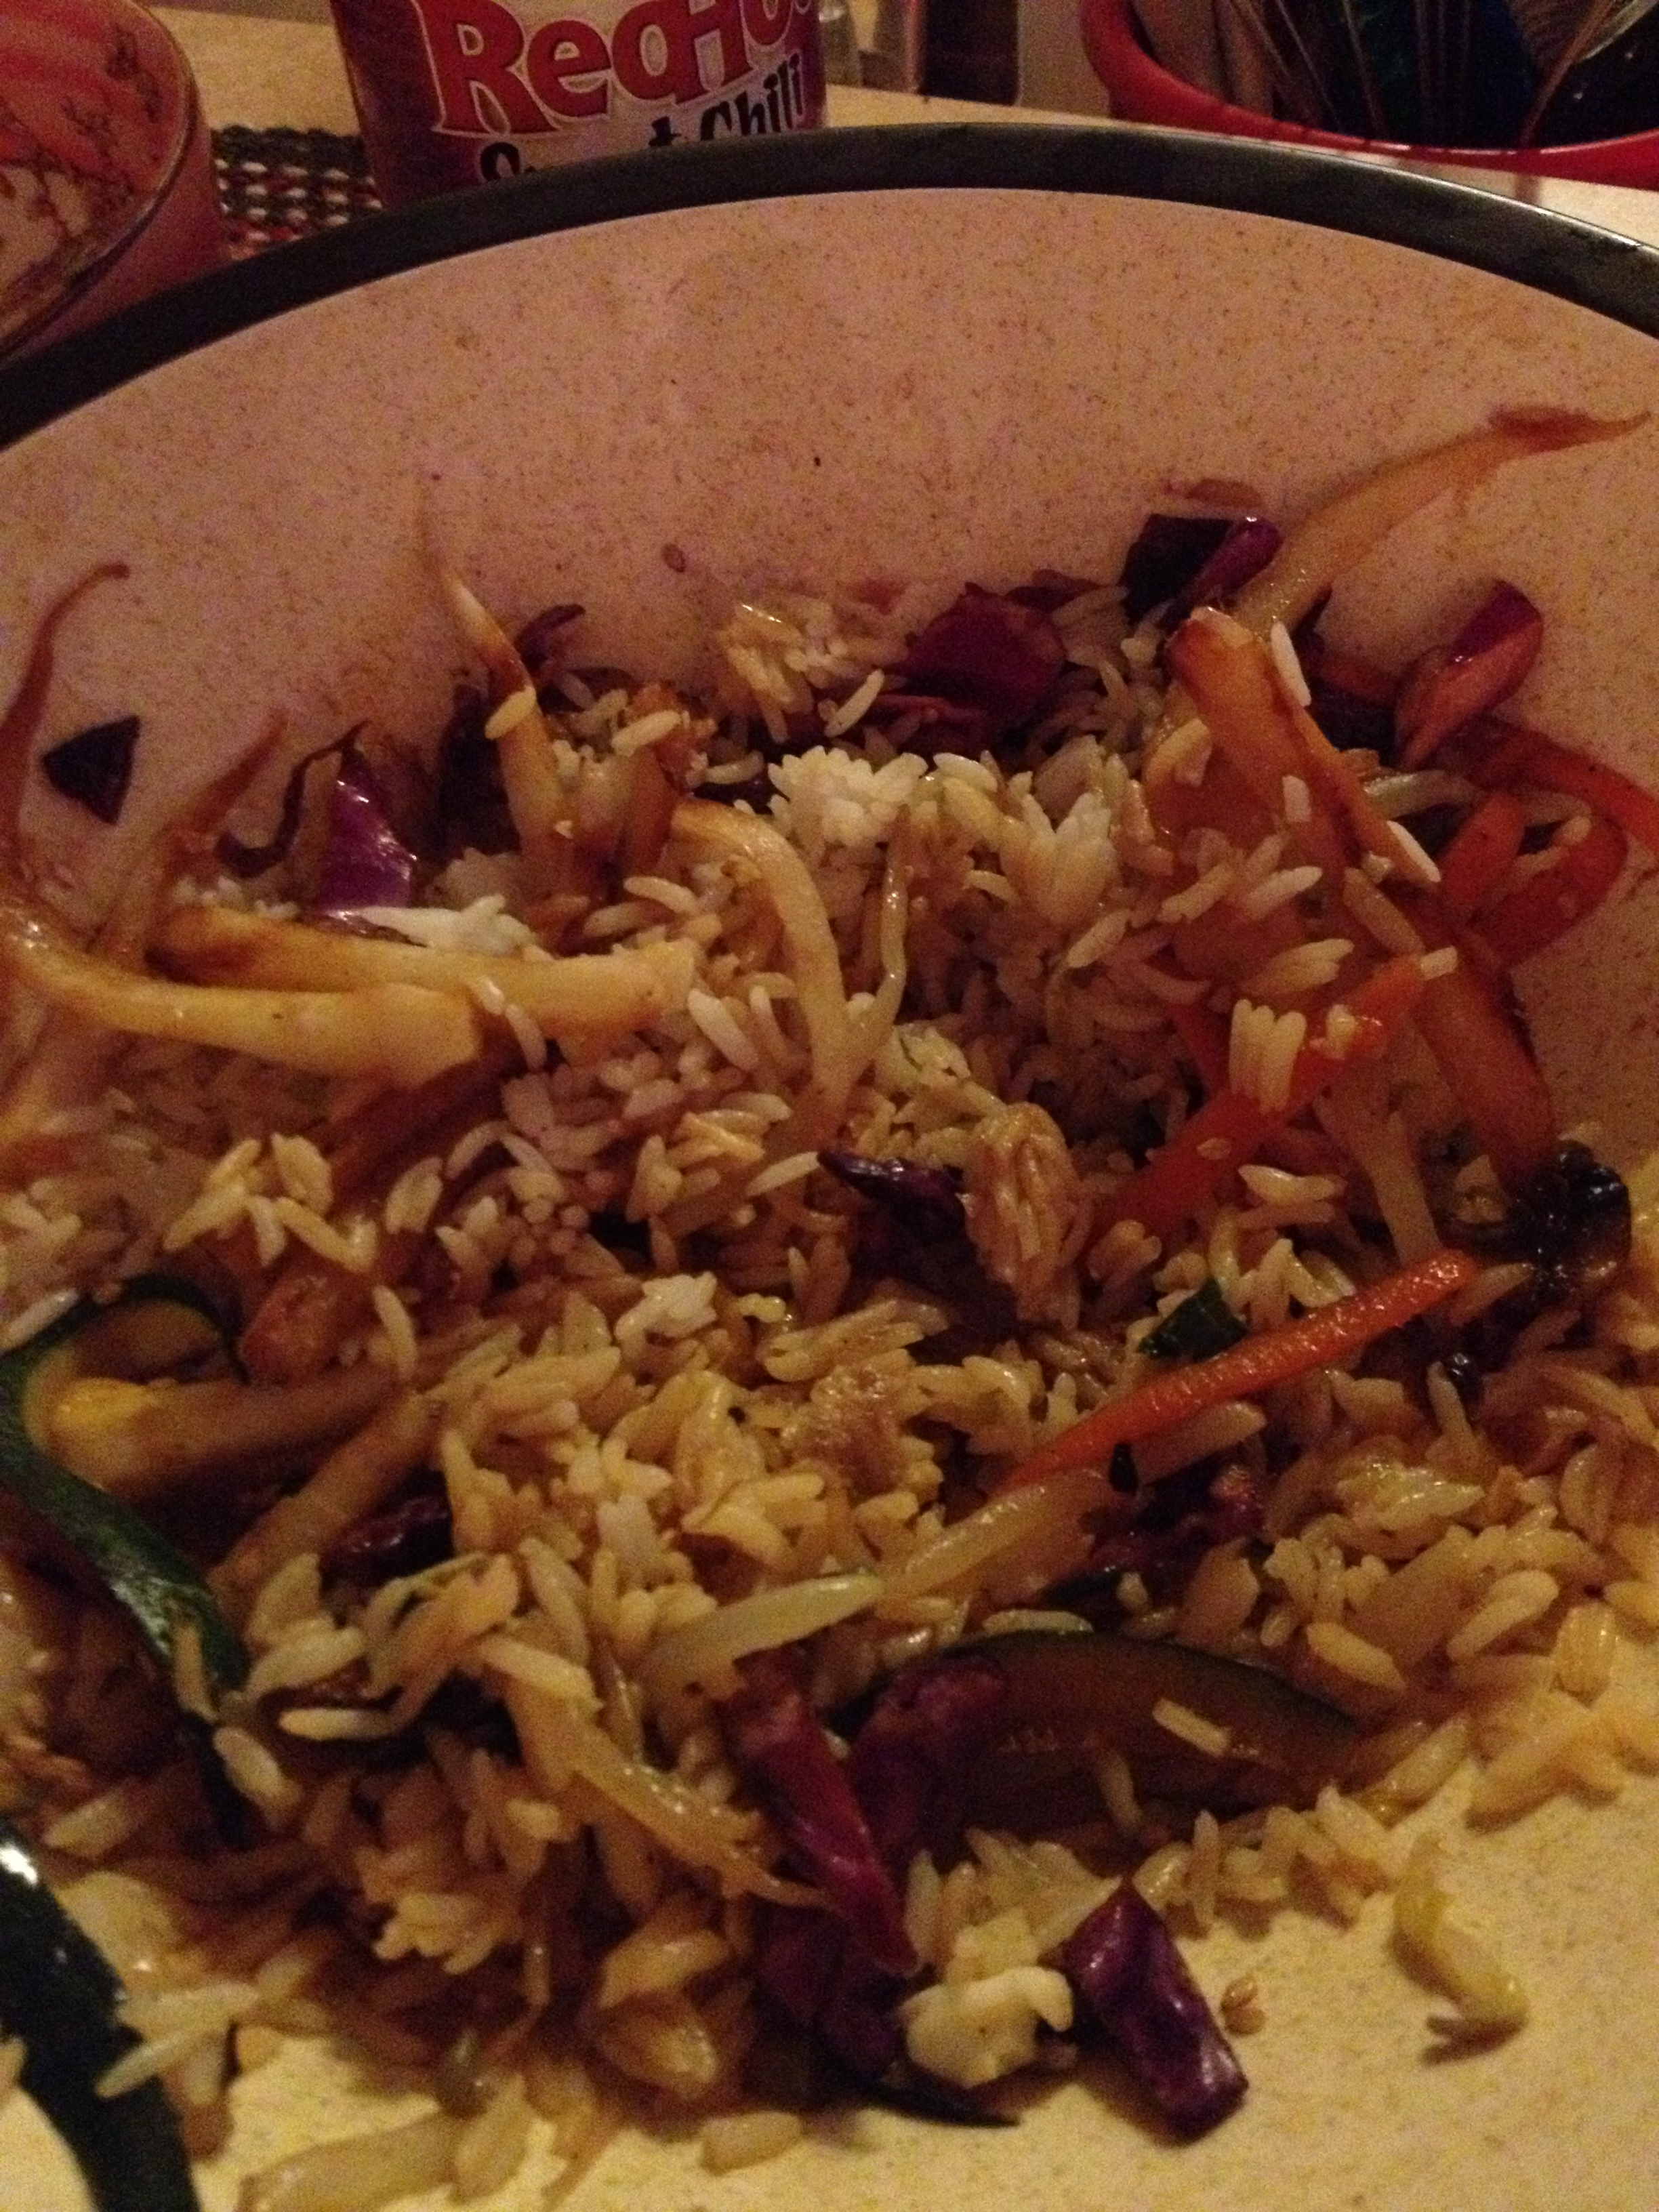
It didn’t last long as we both dug in and watched Chopped All-Stars. I, of course, couldn’t finish it all so Chris ate his huge serving AND the rest of mine. Big surprise.

After we tore into it

After we tore into it

Enjoy! And use this recipe to…stay hungry and fit!

photo 3 (1)

spacer