Archives

Healthy Chocolate Protein Truffles

Summer is slipping away, bikinis are being put back in the drawers, and the trench coats are coming out. This may put us in a “in-the-grind” type of mindset where we push ourselves to work hard, stay relaxed, and put our health on the back-burner. Stop right there! Just because we aren’t donning our swimwear, does not mean that we can let health and fitness slip away! We still want to feed ourselves in a nutritious manner and keep our movement flowing.

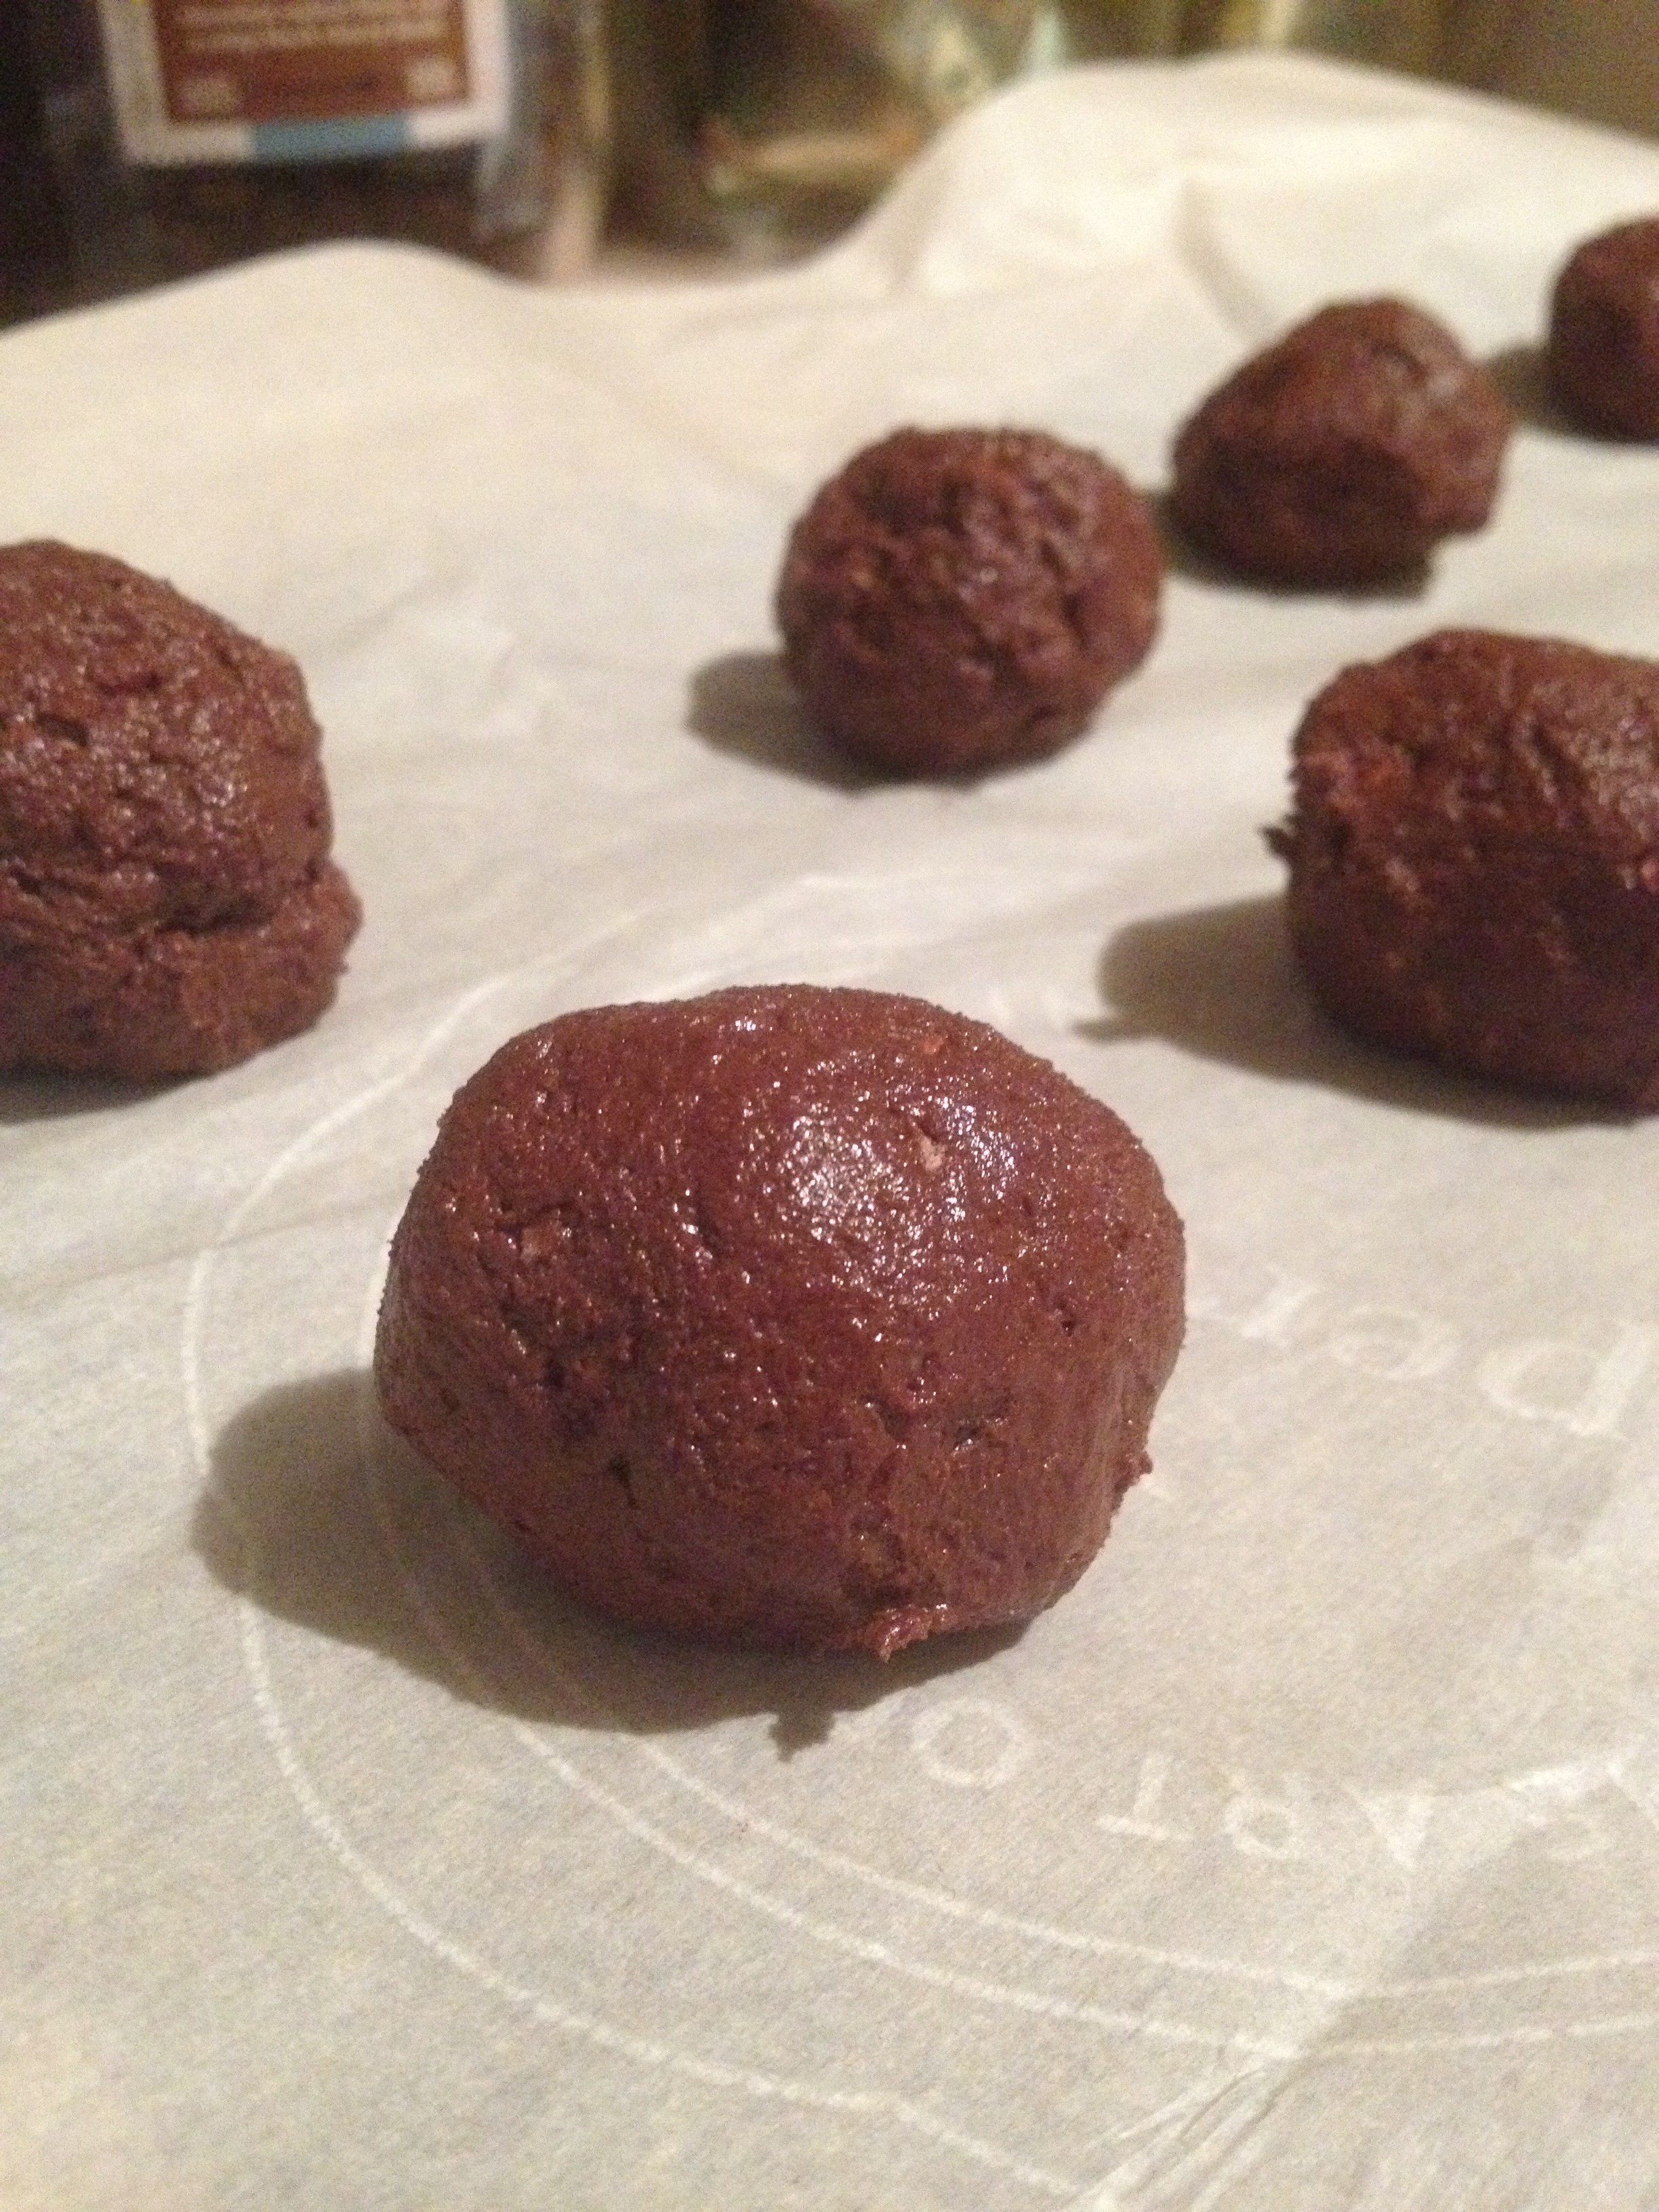
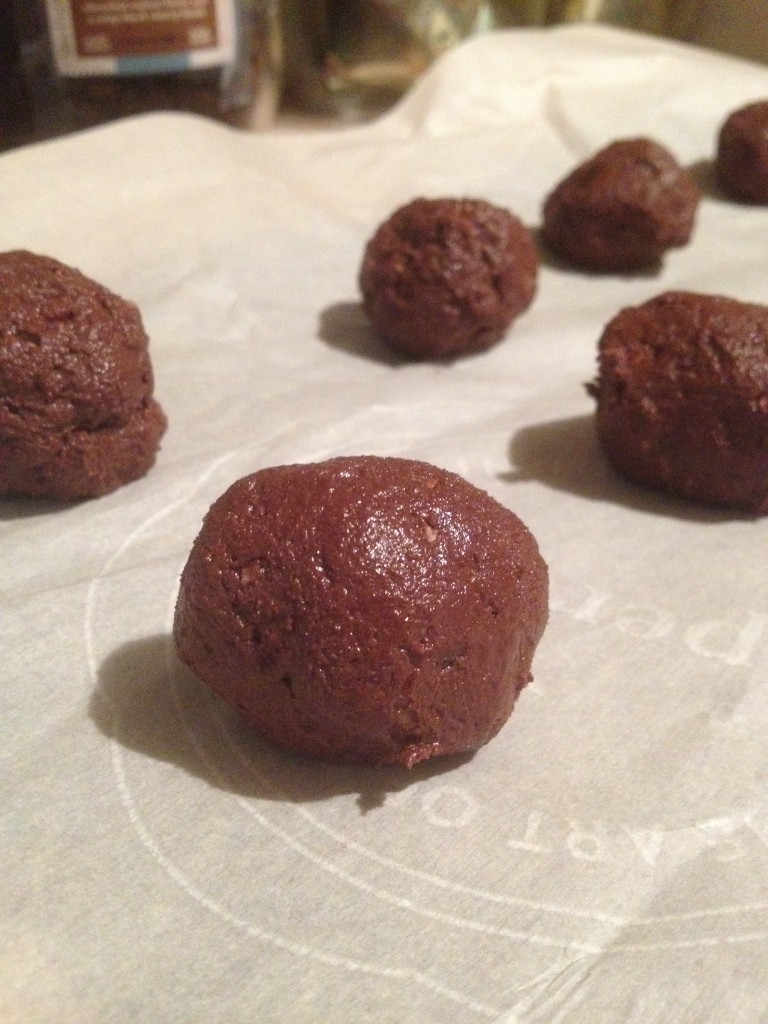
These healthy chocolate protein truffles will bring you to that fitness mindset. They are incredibly easy to prepare and also easy to pop in your mouth! The whole thing took me about 7 minutes to make, and by the time it’s morning–they’re ready! This recipe inspired me. They are chock full of protein and only sweetened by honey. I also use Silk Vanilla Soymilk to give it some yummy vanilla flavor while keeping the calories down.

photo 1 (80) photo 2 (66) photo 3 (62) photo 4 (49)photo (91)


Healthy Chocolate Protein Truffles
Yields 12
A healthy approach to a classic dessert
Write a review
Print
Prep Time
7 min
Prep Time
7 min
Ingredients
  1. 3/4 cup chocolate protein powder
  2. 1/3 heaping cup cocoa powder
  3. 2 1/2 tbsp butter
  4. 1 tbsp honey
  5. 5 tbsp Silk Vanilla Soymilk
  6. 2 tbsp ground almond
Instructions
  1. Mix all ingredients together (doesn't matter in what order)
  2. Form into small balls and place on a baking sheet with parchment paper atop
  3. Put in the fridge for a few hours or overnight
hungry and fit https://hungryandfit.com/
See? Easy peasy truffle time. I just have to limit myself to a couple per hour. Silk has helped me achieve a healthier recipe. If you want more Silk in your life (and the chance to win an entire year’s worth of Silk products), sign up for the Silk newsletter. There are coupons at least once a month, plus lots of cool giveaways. Silk Facebook page has also inspired me to make recipes such as this one. The versatility of their products has always amazed me which is why I continue to use their products. Be playful with this recipe–you can use any kind of protein powder, any flavor, and any type of Silk milk! Have fun and make it your own. Use this recipe to stay hungry and fit!

This conversation is sponsored by Silk. The opinions and text are all ours.


spacer

The Best Meatloaf Recipe Ever

Protein! Get your protein here! But, seriously–this meatloaf is chock full of protein and damn good flavor. My mum found a recipe for meatloaf and changed it to make her own and I was lucky enough to be nearby–it turned out to be the best meatloaf recipe ever. I may be a vegetarian, but the rest of my family really enjoyed it. Hungry even said it was one of the best he’s ever had–better than restaurant quality. That’s a rare compliment! It’s an incredibly simple recipe that even has vegetables! This is a great back-to-school recipe that can feed the whole family twice over. You know protein and flavor are important to us and that’s why this recipe is a hit.

photo 1 (71) photo 2 (59) photo 3 (54) photo 4 (45) photo 2 (58)

Nommmm

Nommmm

The Best Meatloaf Ever
Yields 1
A meatloaf chock full of protein and flavor
Write a review
Print
Prep Time
15 min
Cook Time
1 hr 10 min
Prep Time
15 min
Cook Time
1 hr 10 min
Ingredients
  1. 1 cup fine fresh bread crumbs
  2. 1/3 cup 1% milk
  3. 1 medium onion
  4. 3 garlic cloves
  5. 1 medium celery
  6. 2 tbsp butter
  7. 2 tbsp Worcestershire sauce
  8. 1 tbsp cider vinegar
  9. 1/4 tsp allspice
  10. 1 1/2 lbs ground beef (75%)
  11. 1/2 lb pork (80%)
  12. 2 eggs
  13. 1/3 cup parsley
  14. Meat thermometer
Instructions
  1. Preheat the oven to 350 degrees F
  2. Soak your bread crumbs in the milk in a large bowl
  3. Chop onion, carrot, celery, and garlic
  4. Cook onion, carrot, celery, and garlic in butter in a large pan over medium heat and stir for 5 minutes
  5. Cover the pan and reduce to low heat and simply cook until carrot is tender
  6. Remove from the heat and stir in the Worcestershire sauce, allspice, cider vinegar, salt, and some pepper
  7. Add veggies to the bread mixture
  8. Pack mixture into an oval loaf and then put into a 13 by 9 inch baking dish or pan
  9. Bake until center of meatloaf reaches 155 degrees F which will take between 1 hour and 1 hour and 15 minutes
  10. Let stand for a bit before serving and then DIVE IN
Adapted from Ian Knauer
hungry and fit https://hungryandfit.com/
This is a crowd-pleaser and a crowd-filler! Rarely does anyone leave the table eating this meatloaf saying they didn’t get enough to eat. We love that it has lots of protein, vegetables, and is absolutely delicious. You can also have fun with it and throw in anything you’d like, just to spice it up in your own way. Use this recipe to stay hungry and fit!

BONUS PUPPY PIC

photo 1 (70)

Dog days of summer

spacer

Seasoning Your Food: Heat vs Spice

Don’t worry, this will not be a rant! Although it could be, I am going to take it the other way and use it as an opportunity to educate people about preparing food properly. Nowadays, with the rising popularity of genetically modified peppers and the presence of Sriracha on every table in the United States, it’s obvious that the average adult and young adult’s palette favors spiciness.

People want heat. Furious Pete and other food enthusiasts eat Moruga Scorpions and Ghost Peppers whole while millions watch. Those are multiple times spicier than the habanero you’ve probably heard of at some point in time. Some might think it’s insane, but it’s reality and the gourmet world has been affected as well. So here are some important tips to remember when you are making your own food or ordering it from someone else.

photo 3 (49)

1. There is spice and there is spice. Some use spice to refer to heat, Scoville units, etc. Spices are used to preserve, color, and FLAVOR food. They can be roots, seeds, leaves, and many other items that are used for their ability to enhance food. There are over 300 spices that are used in the culinary arts and they all have unique properties. Don’t just rely on a few and go outside the box.

2. Don’t settle for heat. Sometimes when people fail to develop proper flavor in a dish, they just cover it in hot sauce. (I put hot sauce on my egg whites when I eat them in bulk.) If you’re trying to create a dish with a rich and deep flavor profile, keep experimenting until you get that level of near perfection. Don’t just throw hot sauce on it… don’t give up!

3. Heat and spice can create amazing flavors. Ever had Thai or Indian food? Ethiopian? (We could go on for hours.) When chefs can merge extreme heat and still retain the flavor development of less dominant spices, it shows incredible skill and the results are amazing. When that same chef can alter the level of heat without changing the presence of the other flavors, it’s mastery.

photo 1 (65)

So there you have it, a few things to remember when seasoning your food. Eventually, we might have some more posts about specific spices. Remember, don’t settle for that hot sauce. Keep trying different ratios of spices and preparations (toasting) so that you can cook your own meals at home that you love. Restaurants are a nice treat but no one knows what you want more than you do! As always, stay hungry and fit!

BONUS KITTY PIC

photo (83)

spacer

Easy Hummus Recipe

 Please enjoy our guest blogger, Jamie, and her wonderful hummus recipe. 

Jamie’s passion for food and cooking began as a young girl, while watching her Italian mother in the kitchen.  During her time studying at UC Santa Cruz, she came to love the process of cooking and experimenting in her own kitchen.  Her curiosity has pushed her to learn how to make a lot of her own products from scratch instead of buying it at the market like hummus, granola, yogurt, pickles, and much more. As the Alternative Food Chef at a Yosemite summer camp, Jamie cooked for campers and staff with dietary restrictions.  This challenged her to use unconventional ingredients to create hearty and healthy comfort food.  Jamie is currently studying to become an Occupational Therapist and would love to incorporate cooking into her practice one day.

jamie bio

Chickpeas are a type of legume also known as garbanzo beans. In Arabic, the word for chickpea is hummus, which we know as a creamy, garlic-y spread made from chickpeas and tahini (sesame seed paste). You can find all different types of hummus at your local grocery store, but often times store-bought hummus is chock full of unnecessary additives and preservatives that you can’t pronounce. Luckily, it is incredibly easy to make!

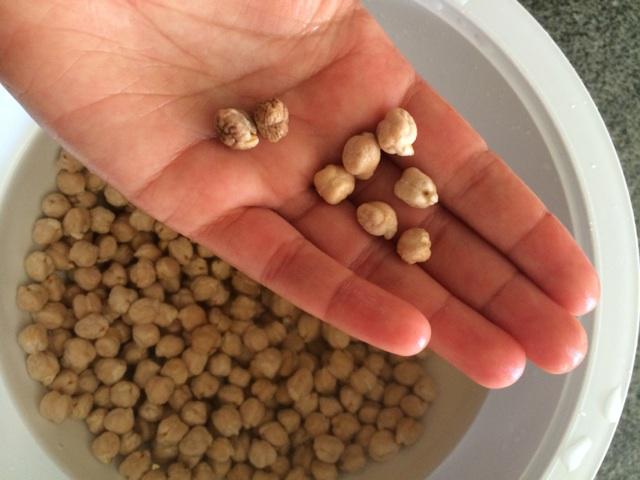
Since I ran out of tahini, I decided to spice up my hummus by adding roasted red bell pepper and garlic, but if you have tahini, I would recommend using it. Also, I used chickpeas that I cooked from scratch, which takes longer since you have to let them soak overnight, so feel free to make the hummus using canned chickpeas instead.

Roasted Red Bell Pepper Hummus

Ingredients:

  • ¾ C chickpeas (dry) or 1 can cooked chickpeas
  • 3-5 Cardamom Pods (optional)
  • ½ Red Bell Pepper
  • 4 cloves of garlic
  • ½ lemon
  • 2-3 T Olive oil
  • S and P to taste
  • 2 t Paprika or Chipotle Powder
  • ¼ C Tahini

Directions:

  1. Sort through Chickpeas and pick out any off-color or shriveled ones. Soak Chickpeas in water overnight. If using canned beans skip to step 3. chick pea
  1. Drain and rinse chickpeas. Place in large pot and cover with a couple of inches of water. Add a pinch of salt and cardamom pods or any other fresh herb you like (adds a nice aroma and subtle flavor to chickpeas). Bring to a boil then reduce to simmer for 60-90 min or until tender. chick pea cooking
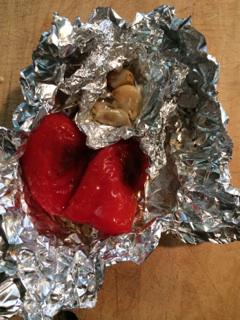
  1. While the chickpeas are cooking, place bell pepper and two cloves of garlic (skin on) in aluminum foil and drizzle with olive oil, salt, and pepper. Place the foil pouch in toaster oven or oven at 350 degrees F for about 45 min. bell pep
  1. Once chickpeas are tender and the bell pepper and garlic are roasted, place in food processor or blender, adding a few tablespoons of the water that the chickpeas were cooked in. Make sure to take the skin off the garlic.
  2. Roughly chop the other two cloves of garlic and add it to food processor along with the juice of half a lemon (or a little more to taste), olive oil, salt, pepper, and paprika or chipotle powder.
  1. Blend until smooth, top with drizzle of olive oil and a sprinkle of paprika, and enjoy!
Yum!

Yum!

Hummus is loaded with protein and fiber and will help you to stay hungry and fit!

spacer

The Spice Lab at UncommonGoods

11 Pyrex test tubes. 1 custom wood holder. 1 tasting spoon. 1 passport to the world of SALT. All of this tucked snugly in the perfect sized box as an amazing gift idea for the right person.

This gourmet collection of eleven of the finest salts that the United States has to offer provides a grand variety of flavor, color, and texture. If you are color-blind, then you’re a bit out of luck, but if you can, see all the colors of the rainbow and more. Then the small card that comes with the set tells you what the salts pair nicely with: vegetables, chicken, red meat, fish, sauces & soup. It also tells you if they work for finishing, cooking, and/or table. 

photo (76)

It gets maximum points for appearance and design, so let’s talk about the product and why someone would want such a collection of salts.

I can’t tell you how many times I have seen a PROFESSIONAL chef been sent home on Chopped or any other competitive cooking show for a lack of seasoning. More than any other offense, that lack of season comes from using little or no salt. Salt really is an amazing thing in the culinary and gourmet world. It can seem so simple but can augment the complexities of flavors that other ingredients offer. It’s not just about adding salt to water before cooking pasta, it’s also about using salt to FINISH dishes right before they hit the table. 

photo 1 (60)

Here is a break down of my favorite salts in the collection and why they can make your dishes taste THAT much better without any negative health effects. (SALT is healthy, and soon Hungry & Fit will tell you why!) 

Best Taste: Carolina Hickory. The amount of flavor that they managed to pack into each grain of salt in this tube is unbelievable. It’s as potent as some of the best BBQ that I have ever had.

Best Fragrance: Apple Wood Smoked. Simply, an explosion of smell when you open the test tube. These larger pieces of salt have quite the abundant fragrance and with the popularity surge of bacon in recent years, everyone would love this smell.

Best Texture: Seneca Salt Flakes. Hailing from New York, these pieces of salt have the most majestic form. They remind me of large snow flakes from Quebec. Absolutely gorgeous and with their plain white color, they are the perfect finishing salt for look.

Best Overall: Vintage Merlot Infused. A beautiful purple color. A subtle salty aroma. A delicate flavor that brings out the best in other ingredients. This California Sea Salt is versatile and show stopping. 

photo 4 (36) photo 3 (45)

All of this is not to say that the other salts are lacking, they just have a more specific duty. The variety offers something for everyone, but we will make good use of all the sea salts.

This present will be perfect for anyone involved in nutrition or the culinary arts. A mother or father that enjoys cooking for the family or a professional chef can appreciate this. As an inspiring chef when I was just a child, I would have loved to experiment with these different flavors. And this isn’t the only salt collection or culinary delight that can be found at UncommonGoods.

photo 2 (49)

This unique company has a lot to offer: putting artists first with amazing hand-crafted goods, being a B Corp to use their business to try to solve social and environmental issues, and a big heart. For every item you purchase, UncommonGoods donates $1 to the non-profit of your choice–now that’s something we can get behind! There are many more cool products just like this one at UncommonGoods. Click here for ideas for gifts for women and click here for gift ideas for that special, unique someone. I know I could spend days looking through their stuff…well, I may already have. Just visit the website and have fun exploring all of the amazing gifts, for others or yourself, since the holiday season is just around the corner! And as always, stay hungry and fit!

spacer

Parmesan Zucchini Rounds

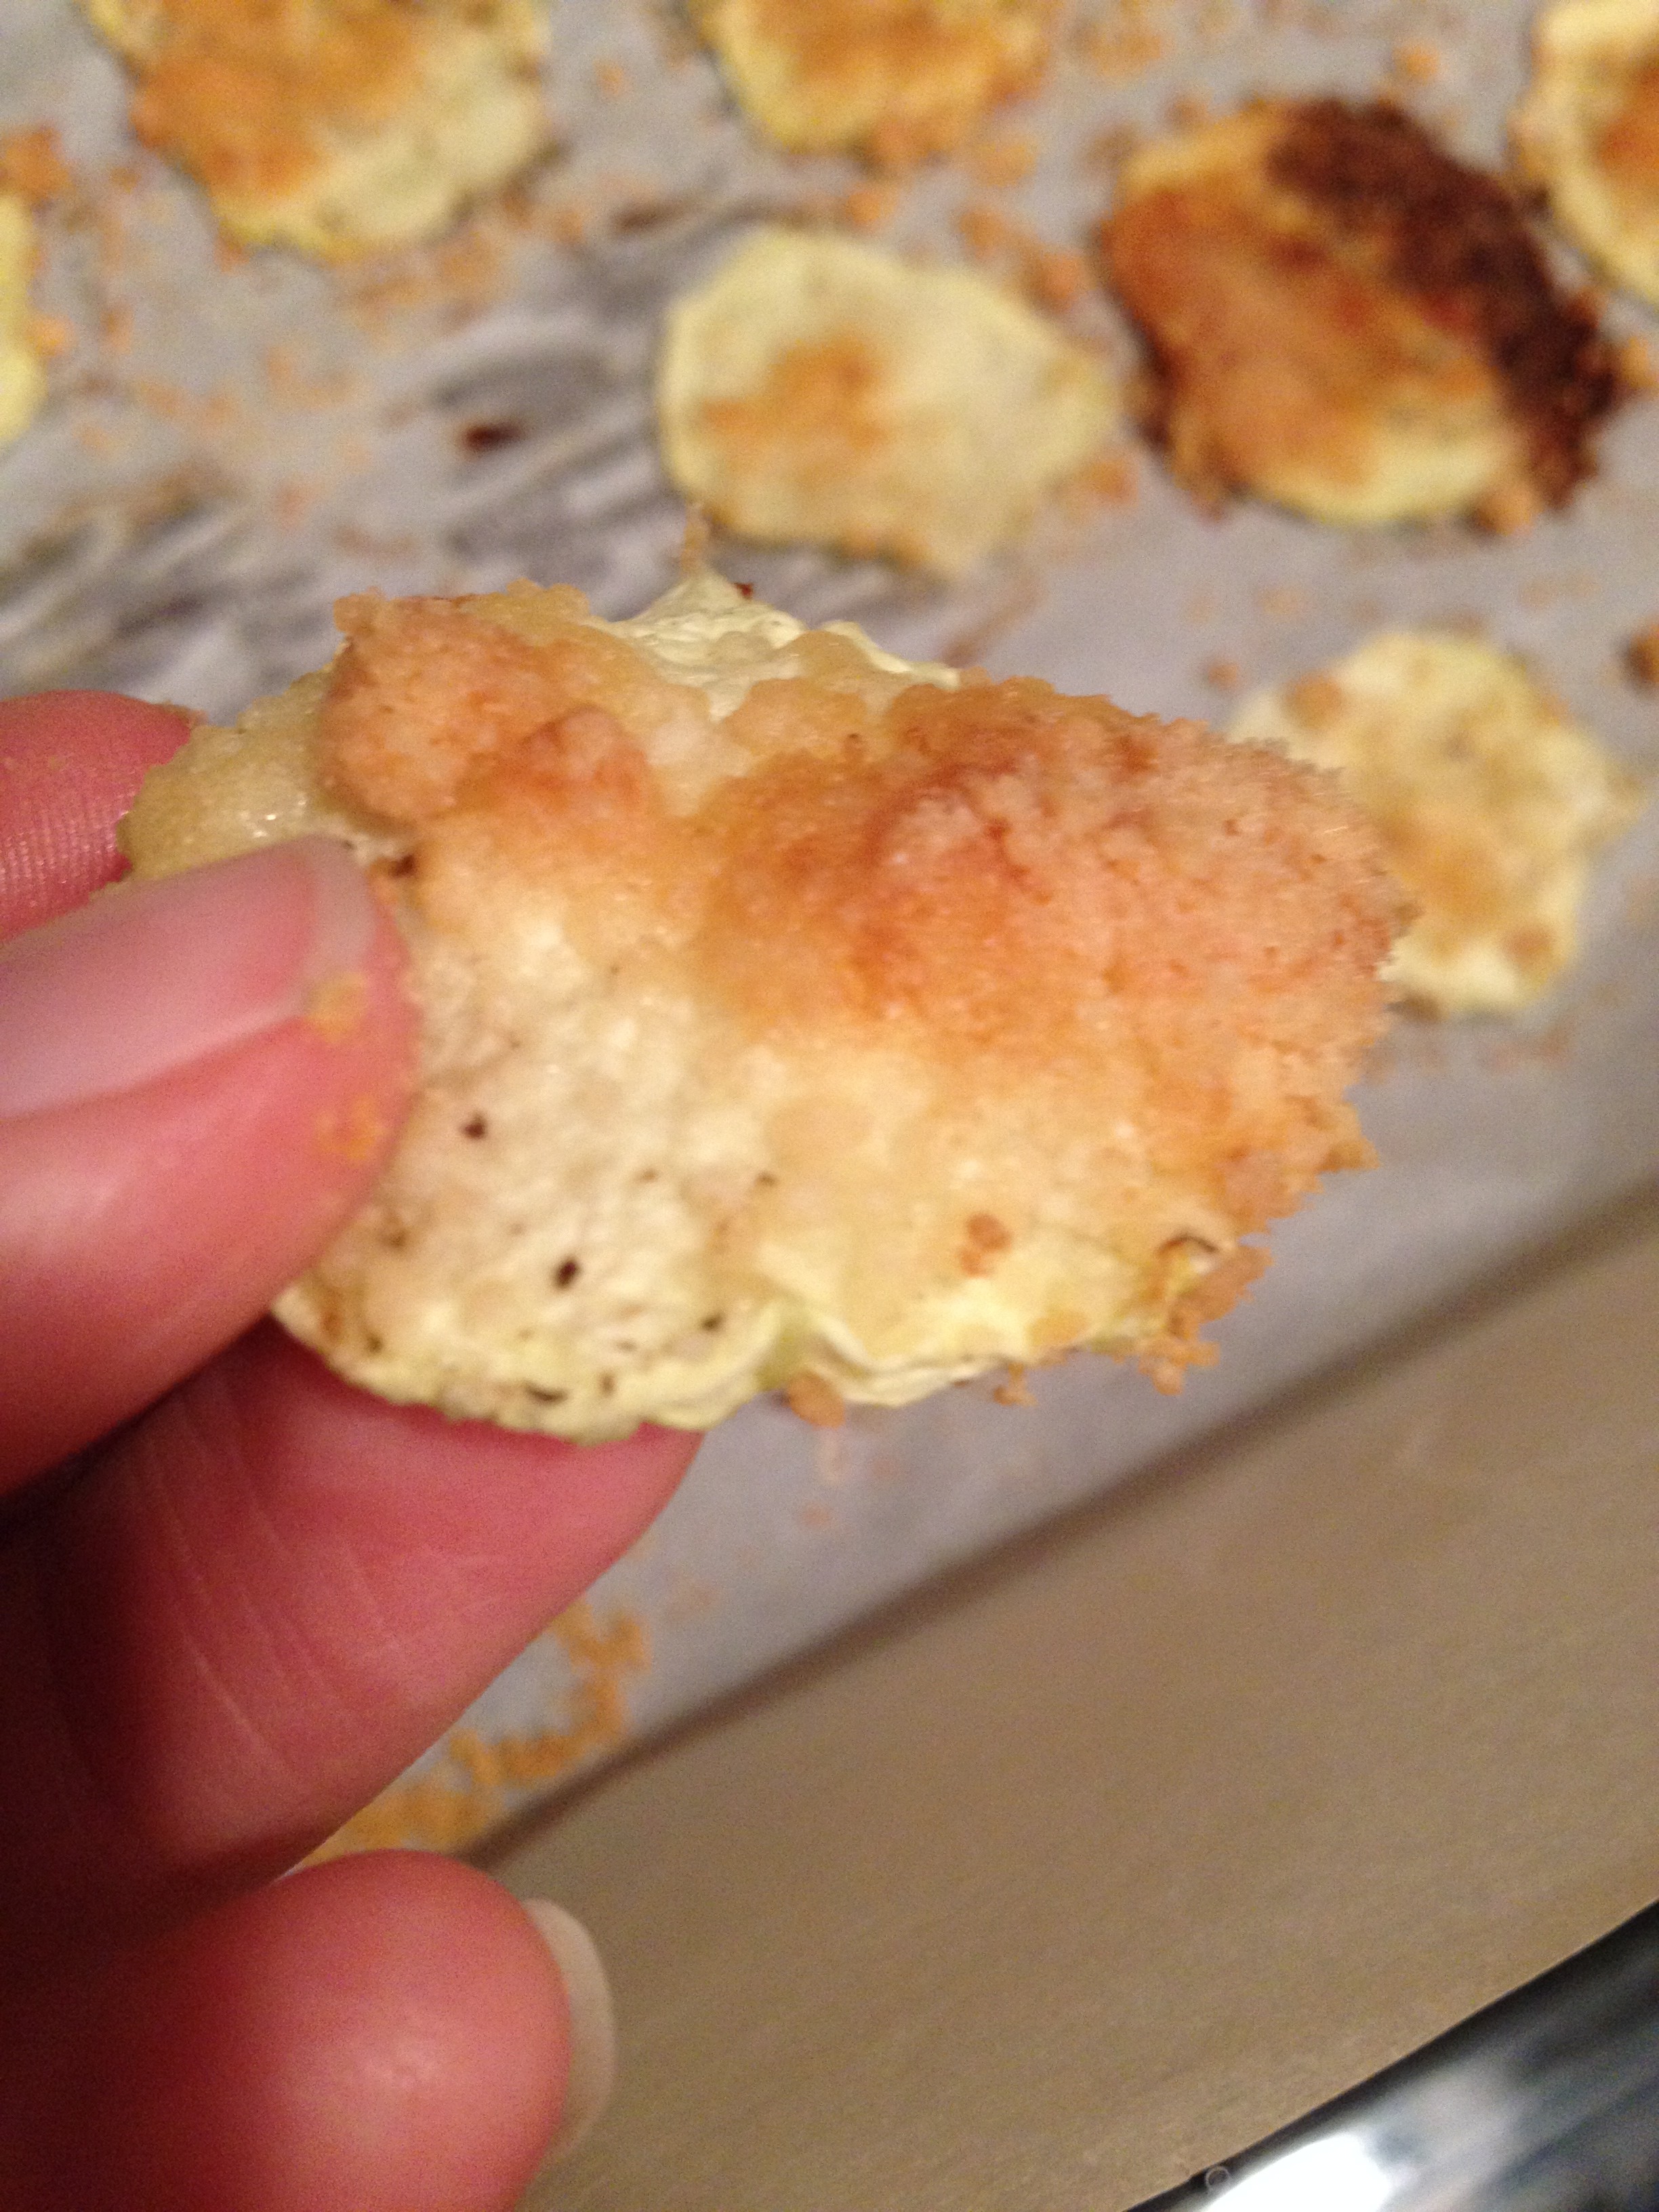
We are on our last leg here in Colorado as we get ready to move to California. Which means we have bits and scraps of odd food items we are trying to get rid of. One of the surplus foods we have are zucchini! Summer time always yields tons of zucchini, so we always need to find use for them. I wanted a quick side to our dinner before we went and saw Hercules (review coming) and realized we had Parmesan too. Perfect! Parmesan Zucchini Rounds— delicious bites of vegetable and cheese, yum! The recipe is ridiculously easy and tasty. 

photo 2 (41) photo 1 (52)


Parmesan Zucchini Rounds
An easy cheesy, healthy snack
Write a review
Print
Prep Time
6 min
Cook Time
25 min
Prep Time
6 min
Cook Time
25 min
Ingredients
  1. 1 zucchini
  2. Parmesan
  3. Salt
Instructions
  1. Set oven to 425 degrees F
  2. Peel your zucchini
  3. Cut into quarter inch rounds
  4. Place rounds on parchment paper or a greased baking sheet
  5. Put a sprinkle of salt on each one
  6. Put a small spoonful of grated Parmesan on each one
  7. Bake in oven for 20-30 minutes
  8. Serve immediately
Notes
  1. Feel free to put garlic on as well!
hungry and fit https://hungryandfit.com/
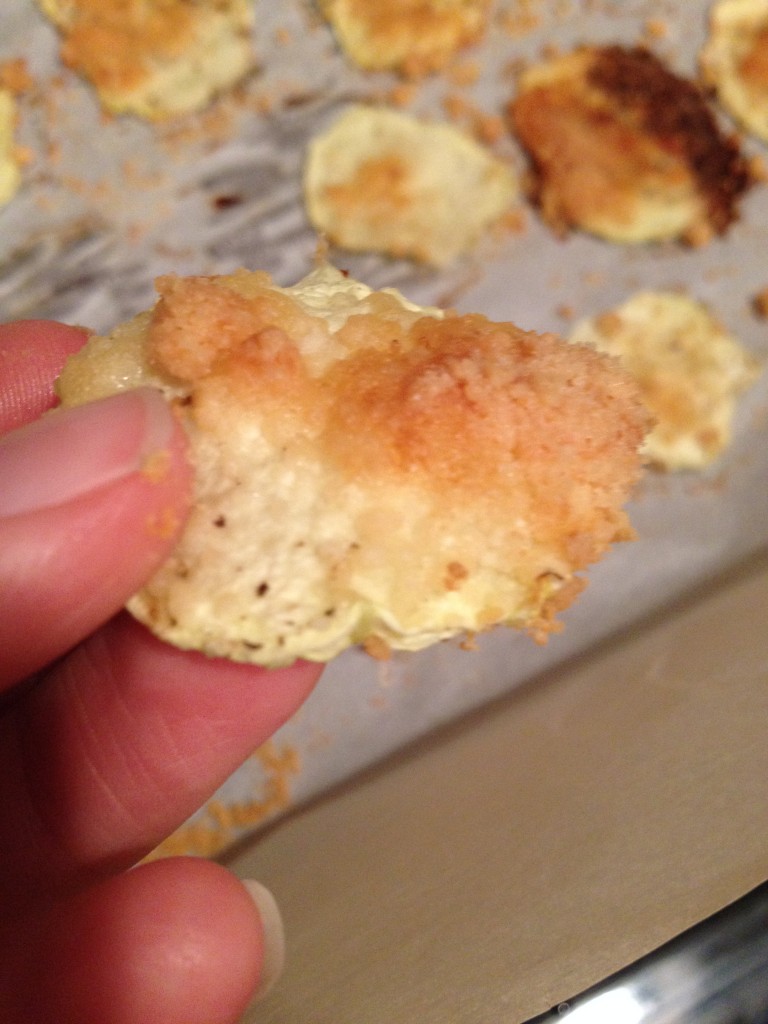
They may not look purdy, but they are yummy. I could literally eat a whole zucchini by myself if I cook them this way. It’s my new go-to snack. Cheesy bites while getting your fill of veggies! You can use any size zucchini, and it’s a crowd pleaser (even the kids). Use this recipe to stay hungry and fit!


spacer

A Yummy Way to Eat Your Vegetables

Easy as…garlic…lemon…and salt! But really, I know many people our age and even beyond who still don’t like their vegetables. Although this is baffling to me, I still want to help them out. And my way of doing it is also easy for people who aren’t natural cooks or don’t have the time! It’s a simple, yummy way to cook your vegetables in a way that doesn’t require much skill or effort. And it might even introduce a love for cooking and vegetables! Well, at least the house will smell nice afterwards. This is the simplest recipe of them all, let’s get started! 

photo 2 (73) photo 1 (70) photo 3 (54)

Sautéed Mushrooms and Broccoli
Serves 3
A yummy way to eat your vegetables
Write a review
Print
Prep Time
5 min
Cook Time
10 min
Prep Time
5 min
Cook Time
10 min
Ingredients
  1. Box of mushrooms
  2. Head of broccoli
  3. 1 lemon
  4. Garlic pepper & salt (can use regular)
  5. 4 cloves garlic
  6. 1 tbsp oil
Instructions
  1. Chop up the mushrooms and broccoli into bite-sized pieces
  2. Salt and pepper the veggies
  3. Heat up a pan with the oil in it (medium heat)
  4. Cut up the garlic or crush it. Put it in the heated pan with oil
  5. Put the mushrooms and broccoli into the pan
  6. Cut the lemon in half and squeeze the juice into the pan while stirring
  7. After 5 minutes, put a lid over and let it steam
  8. When vegetables are tender, take out and serve immediately
hungry and fit https://hungryandfit.com/
You can really serve this with ANYTHING! I chose to serve it with penne, red sauce, and morningstar. You can eat it with other grains, meats, whatever you fancy. It’s so delicious I couldn’t stop eating it out of the pan. And hey guess what–it’s CHEAP and easy to make. There you have it…a yummy way to eat your vegetables. As always…stay hungry and fit!

BONUS PUPPY PIC

A ridiculously silly picture of Noke

A ridiculously silly picture of Noke

spacer

Fresh Caprese Salad

It’s hard for me to make a recipe for you to follow and I apologize for that… but I don’t! For me, recipes can be a little too formulated and strict because above all else, you need to make sure you taste your food and season it accordingly to make sure it has that perfect flavor when it is served. Preparing good food is about using the freshest and highest quality ingredients you can find, and also seasoning it properly! With that being said and taking that into consideration here is the best recipe I can provide you. 

What you need:

  • Spinach – only use the undamaged leaves
  • Tomatoes – preferably Roma tomatoes
  • Cheese – preferably a fresh, soft mozzarella
  • Olive Oil – Extra virgin, please
  • Balsamic Vinegar – I only use Balsamic Nectar
  • Salt – a coarser grind, I like Pink Himalayan
  • Pepper – Fresh ground black pepper from a mill

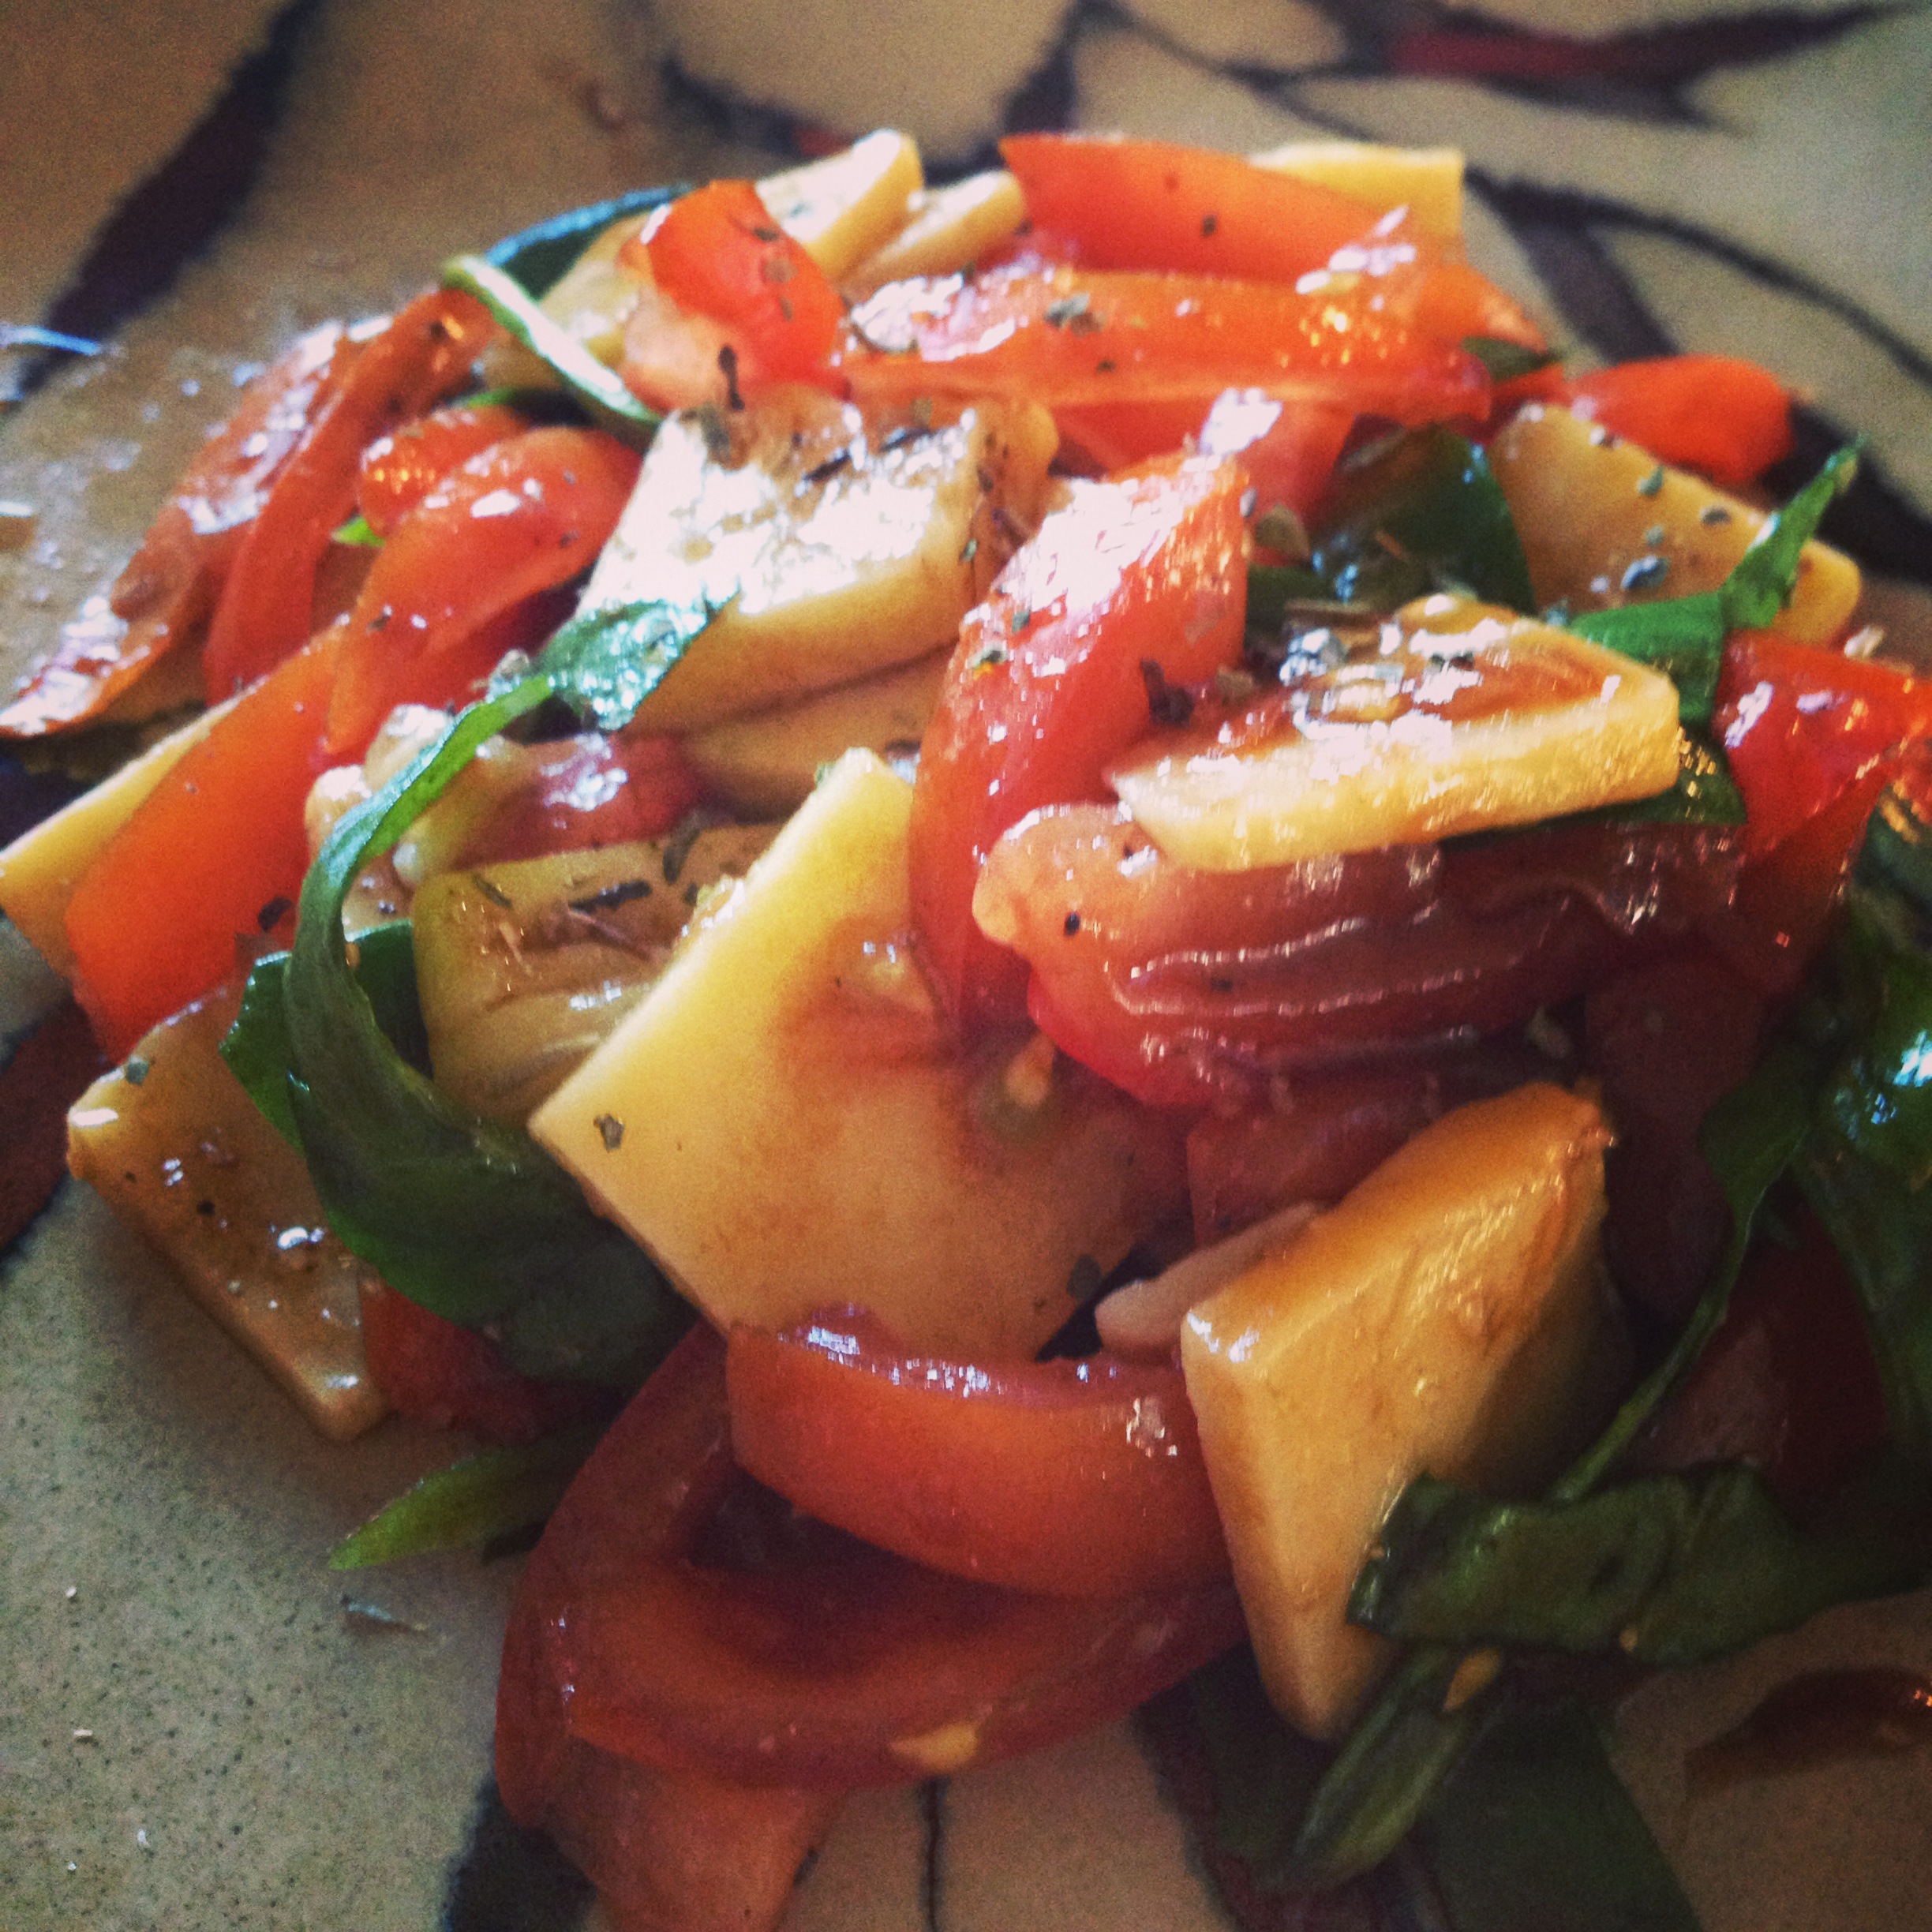
As for quantities, it depends on how much you are serving and what ratios you prefer. You can tell by my pictures what I prefer. Everything after the first three ingredients is to your taste, so those amounts are not designated. If you want to make it a good first course for yourself, two handfuls of spinach, a tomato, and a half a ball of mozzarella is my preference.

  • Prep Time: 10 minutes
  • Cook Time: Zero Minutes

Obviously, nothing is cooked.
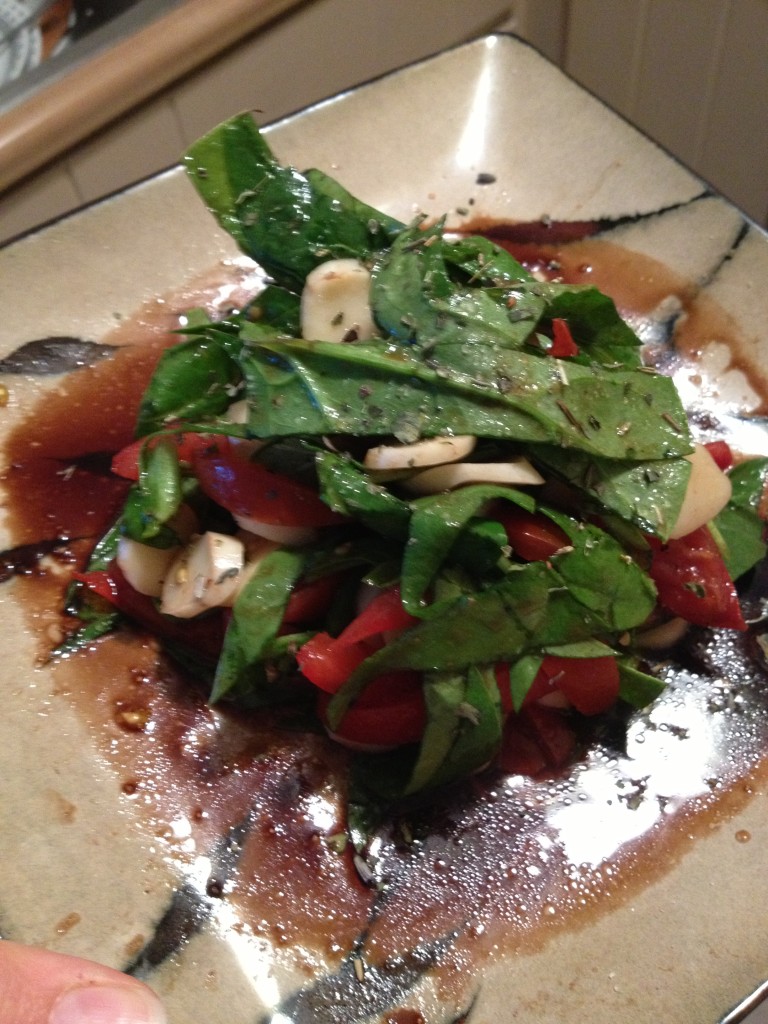
photo 3 (84)

First, thoroughly sort and clean your spinach. Only use leaves that are not bruised or wilted. Clean them without damaging them. Remove excess water.

Next, wash your tomatoes and chop them into about twelfths, if they are romas. With larger tomatoes, consider cutting them into sixteenths. A thicker tomato provides more texture to this salad and butchering them less helps retain some of those delicious natural juices. Add them to the spinach. Apply some olive oil, salt, and pepper to the two ingredients and taste. You want to be able to taste all of the elements if you have seasoned properly. I usually coat the ingredients in olive oil, toss lightly. Six to eight cracks of pepper, and a teaspoon of salt, sprinkled from 18 inches above the mixing bowl. 

Next, slice your cheese carefully, especially if it is soft as to not create messy cuts, into quarter to half inch cubes. Relatively large, I know. Again, this is meant to be a salad with larger components so that every bite can include one of each of the three main ingredients. If they are cut or added in large enough pieces, a fork can easily pierce and hold all three components. 

You are nearly finished. Add the balsamic at this point and toss lightly. I usually add half the amount of olive oil that I used.
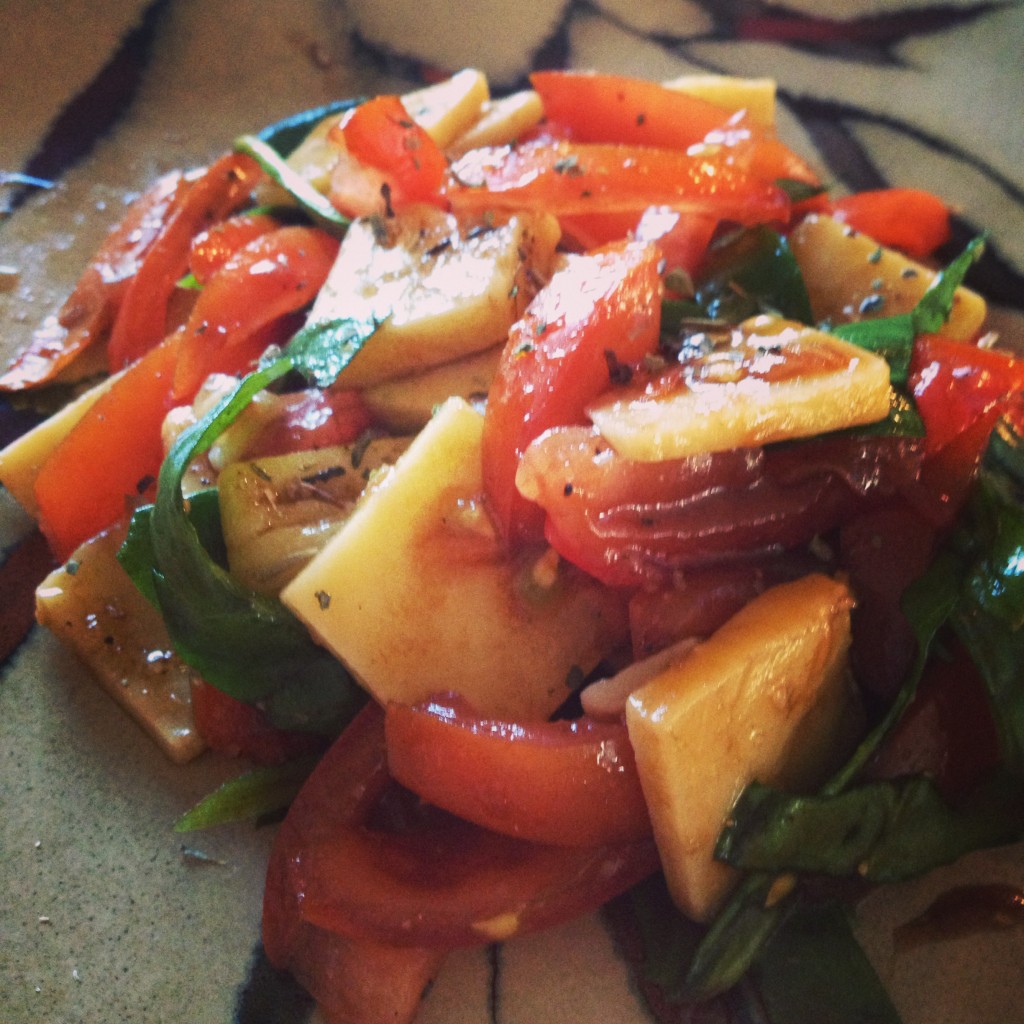
photo 1 (86)

Now comes the most important step, take a bite of your salad. All three components at once. How does it taste? What does it need? At this point I usually add a drop of the liquids, a crack or two of pepper, a healthy amount of salt. I think the salt helps bring out the other flavors in the dish and cuts the acidity of the tomatoes and the balsamic. The cheese is the only rich component along with the olive oil so the salt has a significant effect in this regard. 

Toss lightly again to ensure that every piece of the salad is dressed evenly and then drain the salad. Yes, drain it carefully. Remove the excess dressing. At this point, the salad has been treated so carefully that every component is dressed and the juice in the tomatoes will help keep the salad moist. If you dressed it properly, draining it will have no negative effect. You can save the dressing, obviously for other uses. 

The salad is ready and it is time to plate. You can take the rustic approach and use a pasta fork, much more delicate than tongs, to scoop a portion onto a side plate. I prefer serving on a plate rather than a salad bowl because of the composed nature of this salad. If you take this path, make sure that your ratios are correct and there is spinach, cheese, and tomatoes in the serving. Otherwise you can technically and methodically place the spinach first, topped with tomatoes, and finally cheese. That is up to you. A final crack of pepper, sprinkle of salt from above, and without adding final liquid components, serve with a fork. 

photo 2 (97)

French, obviously

You can also serve with a slice of good toasted bread and make a crostini. Leave that option to your guests, or yourself… whoever is eating. Note: You can actually finish with olive oil and balsamic, just make sure you do so and immediately serve to prevent the pooling of juices in the bottom of the plate. If the liquid components do pool, make sure you have a piece of bread or something to scoop it up with!

BONUS KITTY PIC

photo 4 (66)


spacer

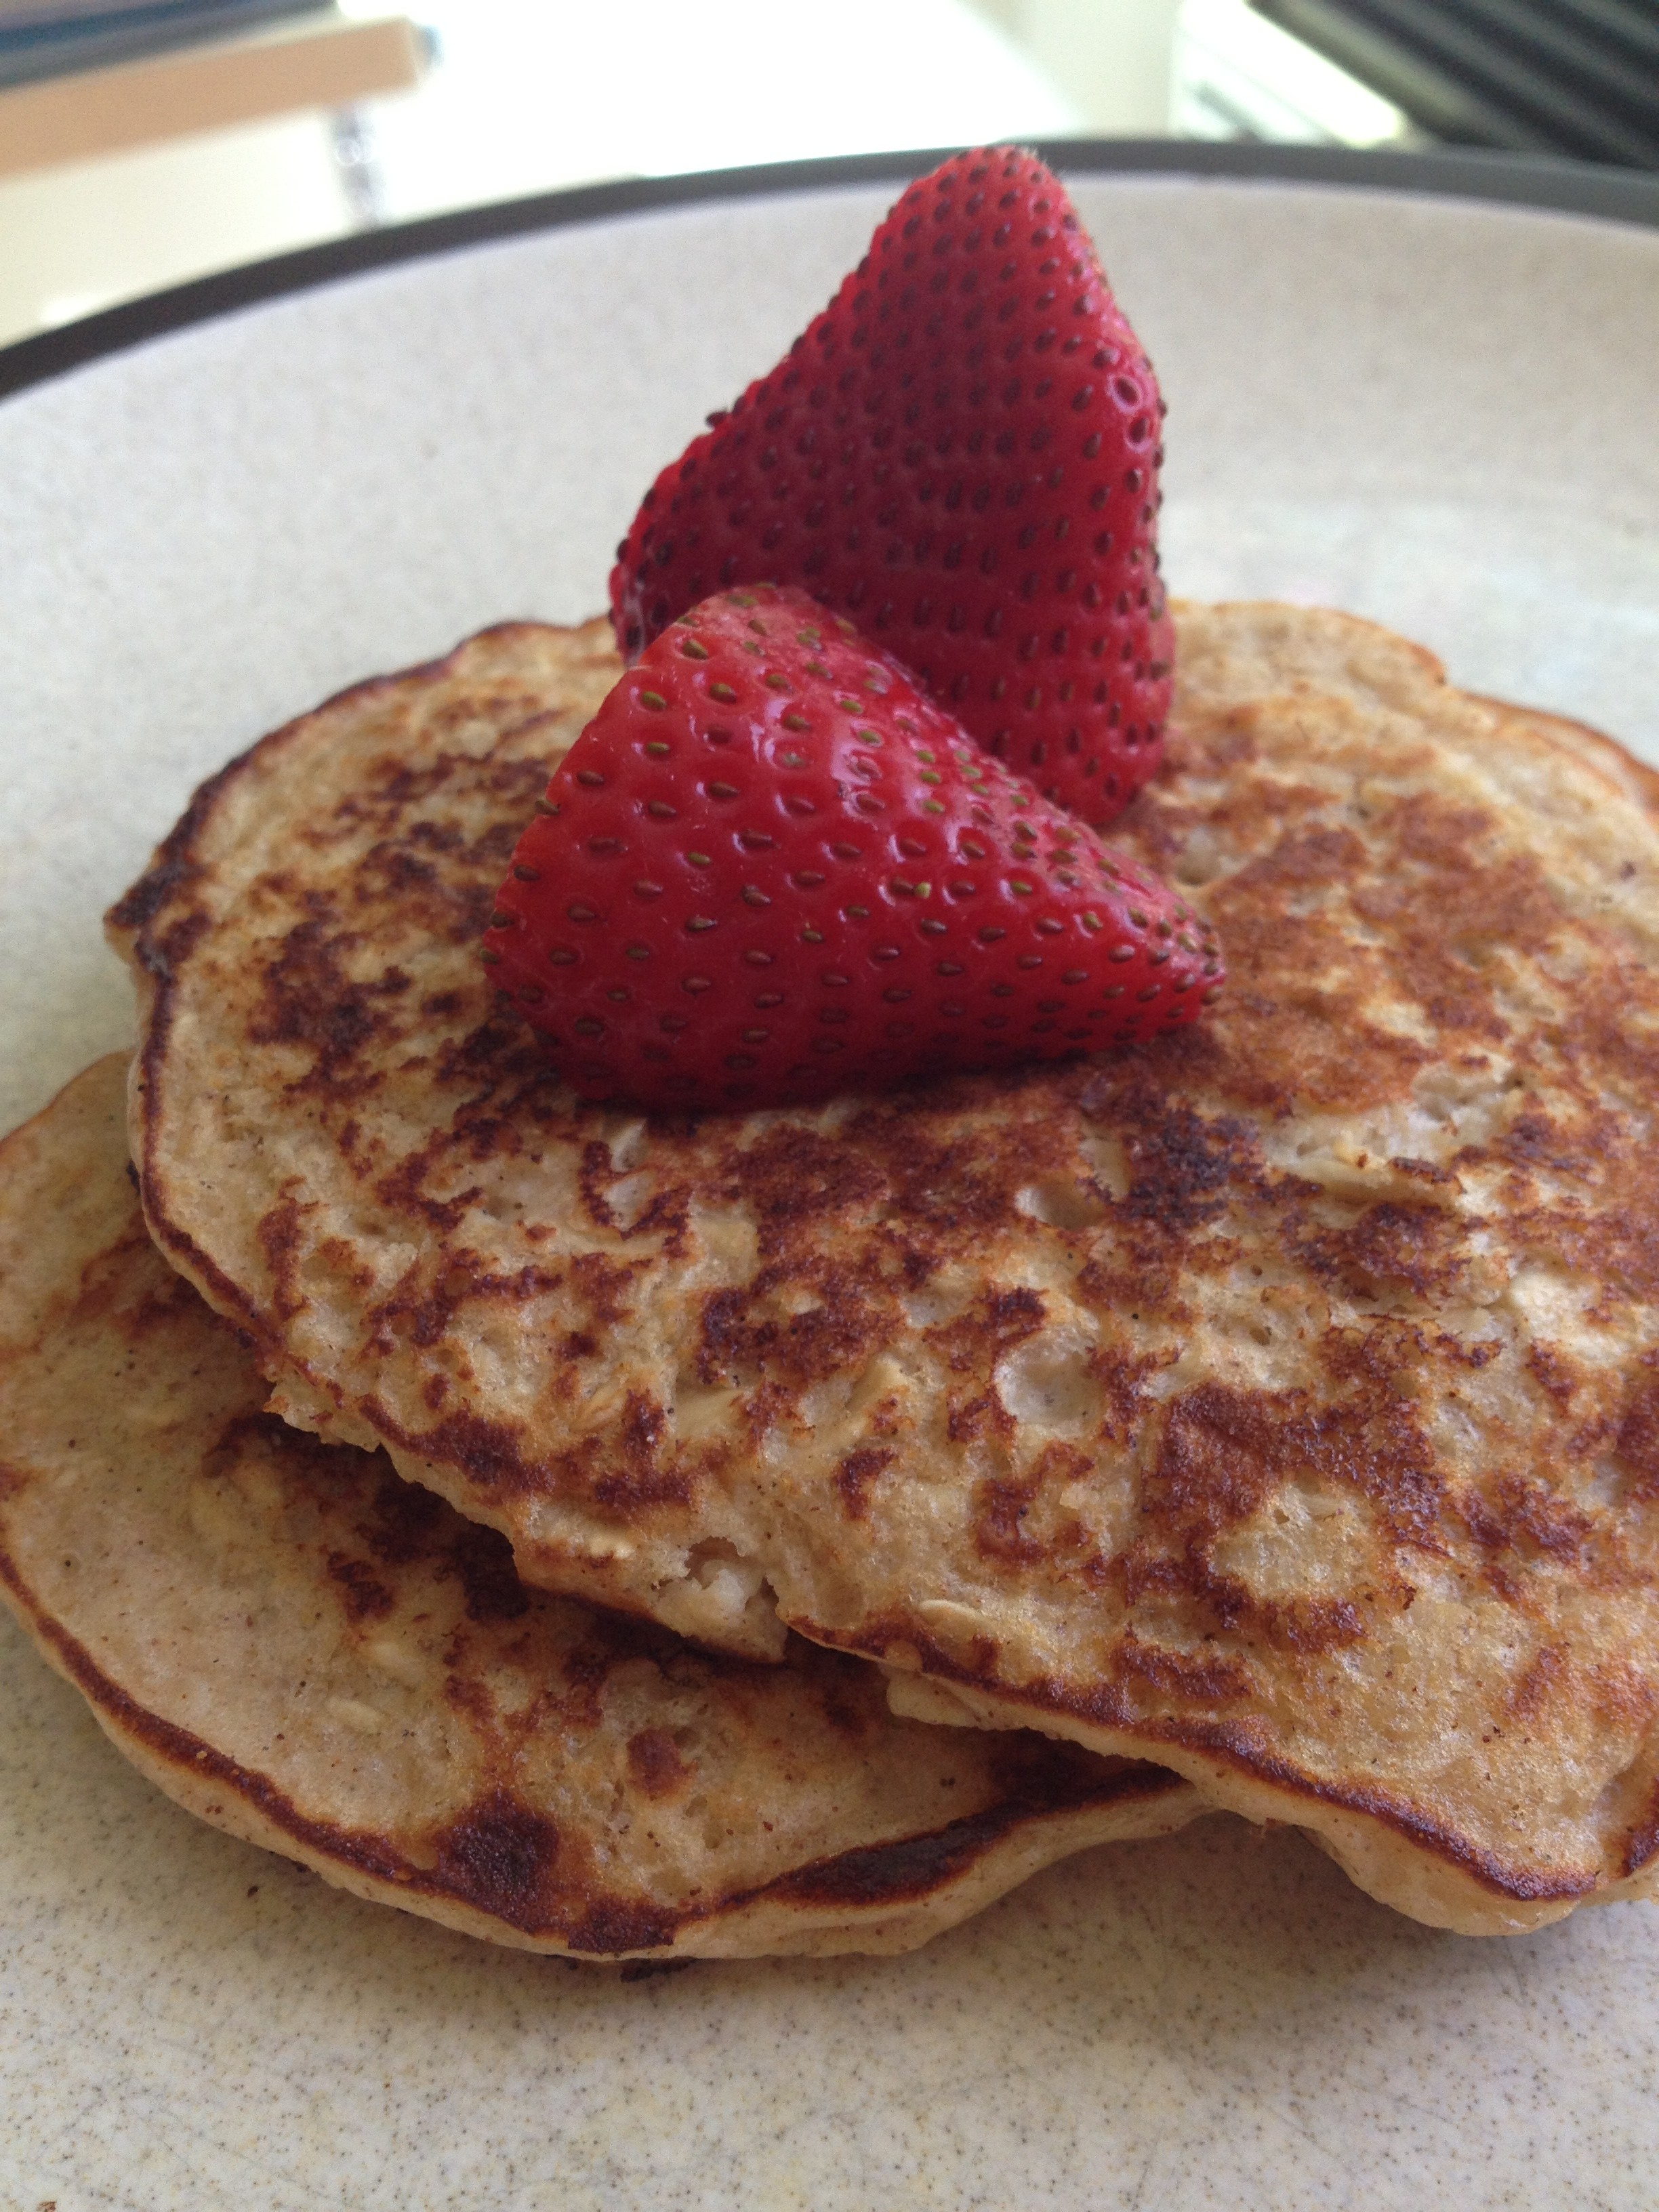
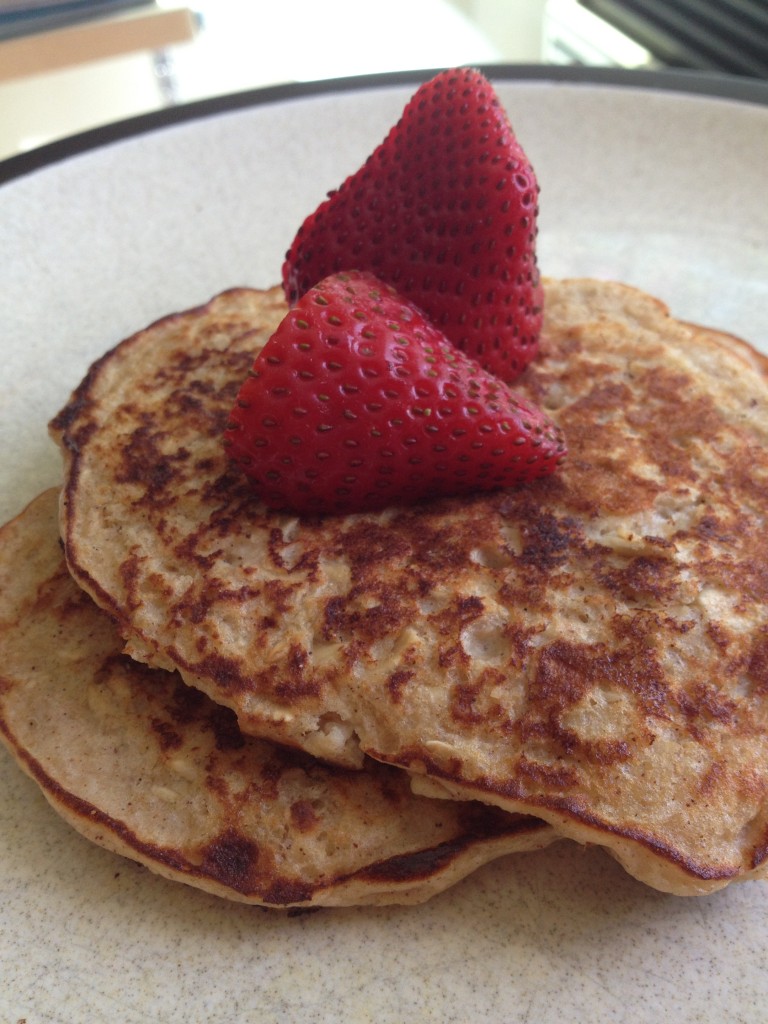
Protein Oat Pancakes

As some of you know, our 5-Minute Protein Pancakes recipe is one of our biggest hits. I would say I eat pancakes at least once a week, so I am always trying new recipes. With the help of Silk, I’ve come up with another–Protein Oat Pancakes! I know it’s weird to describe pancakes as “juicy,” but they are wonderfully akin to that on the inside. It’s not just some flat pancake without any umph– this pancake has personality! Plus, they are healthy and full of protein!

To make this recipe, you’re going to need a few items–one of which is Silk Unsweetened Vanilla Almondmilk. Before you head to the grocery, sign up at Silk.com for some free coupons!

Dry ingredients together

Dry ingredients together

Silk milk!

Silk milk!

Ready to be stirred up

Ready to be stirred up

photo 4 (57)

Wet and dry mixed together

Wet and dry mixed together

photo 4 (58)

Protein Oat Pancakes
Yields 7
Pancakes filled with healthy grains and protein
Write a review
Print
Prep Time
7 min
Cook Time
5 min
Prep Time
7 min
Cook Time
5 min
Ingredients
  1. 1 cup old-fashioned oats
  2. 1/4 cup whole-wheat flour
  3. 1/2 cup Silk Unsweetened Almond Milk
  4. 1/2 cup 0% Greek yogurt
  5. 1/4 tsp baking powder
  6. 2 tbsp honey
  7. 1 tsp vanilla extract
  8. 1 tsp cinnamon
Instructions
  1. Mix together the dry ingredients
  2. Mix together the wet ingredients
  3. Mix the dry ingredients into the wet using some sort of spoon (you don't want to over-mix the batter)
  4. Grease up a pan and once hot, spoon some of the batter into the pan (I was able to fit two pancakes in my pan at a time)
  5. These cook fast, so be ready to flip! After three or so minutes on each side, flip and finally take out
  6. You can serve with butter, syrup, fruit, or just eat it plain!
hungry and fit https://hungryandfit.com/
Simple, sweet, and nutritious. How can you get better than that? Make sure you head over to Silk’s Facebook page and like them! You can find tons more recipes like these and also ways to earn free coupons. You can also make a big batch of this overnight for the whole week! Talk about a yummy week of breakfasts. Let me know how these turn out for you! And as always…stay hungry and fit!

This is a sponsored conversation written by me on behalf of Silk. The opinions and text are all mine.


spacer

Healthy Huevos Rancheros

This brunch favorite can be yours in ten minutes or less! Okay, sorry that sounded like a sales pitch, but I’m super passionate about this dish. My spin on it is delicious and healthy! It’s always my go-to when I don’t feel like doing a lot of cooking, but still want to stay on the nutritious side. It’s pretty simple and I’m always happy eating it. Let’s try it out.

Chop dem tomaters

Chop dem tomaters

photo 1 (74)

Don't forget your tortilla!

Don’t forget your tortilla!

Healthy Huevos Rancheros
Serves 1
A healthy version of huevos rancheros you can make in ten minutes
Write a review
Print
Prep Time
5 min
Cook Time
5 min
Prep Time
5 min
Cook Time
5 min
Ingredients
  1. 1/2 can black beans
  2. 1/2 tomato
  3. 1/2 handful of spinach
  4. 1 egg
  5. 1 tortilla
  6. salt and pepper
  7. hot sauce
Instructions
  1. Heat up the beans in a pot
  2. Cook your egg
  3. Heat/toast your tortilla
  4. Put the beans down first, then the egg, then the veggies
  5. Either use your tortilla as a taco or rip it up and eat it with a fork alongside the other goodies
  6. Throw down some hot sauce and dive in!
Notes
  1. You can use different types of beans or greens
  2. You can add cheese as well
hungry and fit https://hungryandfit.com/
There you have it. I often whip it up at night when I don’t feel like doing a lot of cooking and when Hungry has found his own dinner. It’s fun to spruce it up with fresh vegetables, although tomatoes are a must (unless you aren’t a fan). Avocados would be PERFECT for this too! Have fun with it and feel free to add anything to make it yours! And as always…stay hungry and fit!

BONUS KITTY PIC
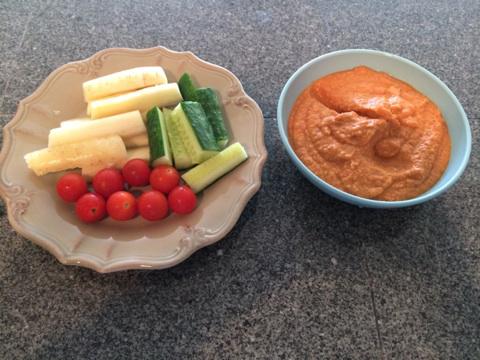
photo (55)

spacer