Archives

Delicious Vegetable Soup

This post is brought to you by Hungry’s mom! We composed the post, but she provided the recipe and pictures! Yum!

With spring and summer around, vegetables are flowing freely (yay!). We are truly happy for that and even happier with the recipes that come along with it! This vegetable soup is sure to keep everyone around the table happy and well-fed with nutritious ingredients. There is not much work to it at all! 

DSCF2251 DSCF2253 DSCF2255

Vegetable Soup
A easy-to-make vegetable soup that can last the week
Write a review
Print
Prep Time
15 min
Cook Time
1 hr 15 min
Prep Time
15 min
Cook Time
1 hr 15 min
Ingredients
  1. 1 large container(approx 32 oz) organic vegetable broth
  2. 1 large can (approx 28oz) whole peeled tomatoes
  3. 1 can 16oz (or fresh equivalent) of cannellini and red kidney beans
  4. 1 cup fresh green beans
  5. 2 cups shitake mushrooms
  6. large dash pepper
  7. large dash olive oil
  8. 2 cups diced celery
  9. 1 cup sliced carrots
  10. 1 onion, sliced
  11. 1 shallot, sliced
  12. several handfuls fresh dill
  13. 12 fresh sage leaves
  14. 1 cup thin egg noodles or similar small pasta
  15. pepper to taste or if you like it spicy, add fresh peppercorns
Instructions
  1. Make sure to do all the chopping or slicing you need to do for vegetables
  2. Add all ingredients with the exception of egg noodles to large sauce pot and bring to a boil
  3. Simmer and cover for approx 1-1.5 hours
  4. Ten minutes before serving, add egg noodles
Notes
  1. Would go great alongside ciabatta bread!
hungry and fit https://hungryandfit.com/

There you have it. Enjoy and thank Hungry’s mom for this one! This is a great way to meal prep for the entire week and not have to worry about dinner. Big batches are smart like that. Use this recipe to stay hungry and fit!

spacer

Healthy Version of Pizza

I crave pizza probably 85% of the time. And while it would be nice to grab a slice of pizza every time I get that craving, it’s best for my body that I don’t. That’s why we create alternatives and moderations to satisfy these cravings. This is a shout-out to my mum who would make this healthy version of pizza for me for a snack all the time. It’s time for pizza toast! This is a healthier, much cheaper version of pizza that is sure to kick your pizza craving in the butt. It is incredibly, incredibly simple and could call for some creativity if you want to get snazzy with it. 

photo 2 (60) photo 3 (45) photo 4 (37) photo 5 (17)


Pizza Toast
Serves 1
A healthy alternative to pizza
Write a review
Print
Prep Time
3 min
Cook Time
2 min
Prep Time
3 min
Cook Time
2 min
Ingredients
  1. 1 slice of bread
  2. 1 slice of cheese (enough to cover the bread)
  3. 1 tbsp your favorite "red" sauce
Instructions
  1. Toast the bread on both sides lightly
  2. Spread the red sauce on the toast
  3. Put the cheese on top and bake for 1-2 minutes or until melted
Notes
  1. Have fun with it and add more ingredients!
hungry and fit https://hungryandfit.com/
Super simple, super easy, and you can make it what YOU want it to be. Have fun with the cheese, the sauce (try pesto!), and whatever toppings you want. This is a great snack or light meal. Enjoy it and make it yours! Use this healthy pizza alternative to stay hungry and fit!

BONUS KITTY PIC

Nymeria stealing Noke's 3rd bed

Nymeria stealing Noke’s 3rd bed

spacer

Healthy Black Bean Brownies

The first time I heard about black bean brownies, I turned my nose up. First of all, brownies aren’t my go-to dessert (although they can be delicious, see: Judith’s brownies) and second of all, BEANS?! IN BROWNIES?! Now you’re talking crazy. However, here at Hungry and Fit we’re always looking at ways to healthify things we love so we have no limits. One day, one of my trainers brought in black bean brownies and they were darn good. Black bean brownies are a sure lesson of not judging a book by its cover, because they are gooo–oood! This recipe is a sure way to eating brownies guilt-free! 

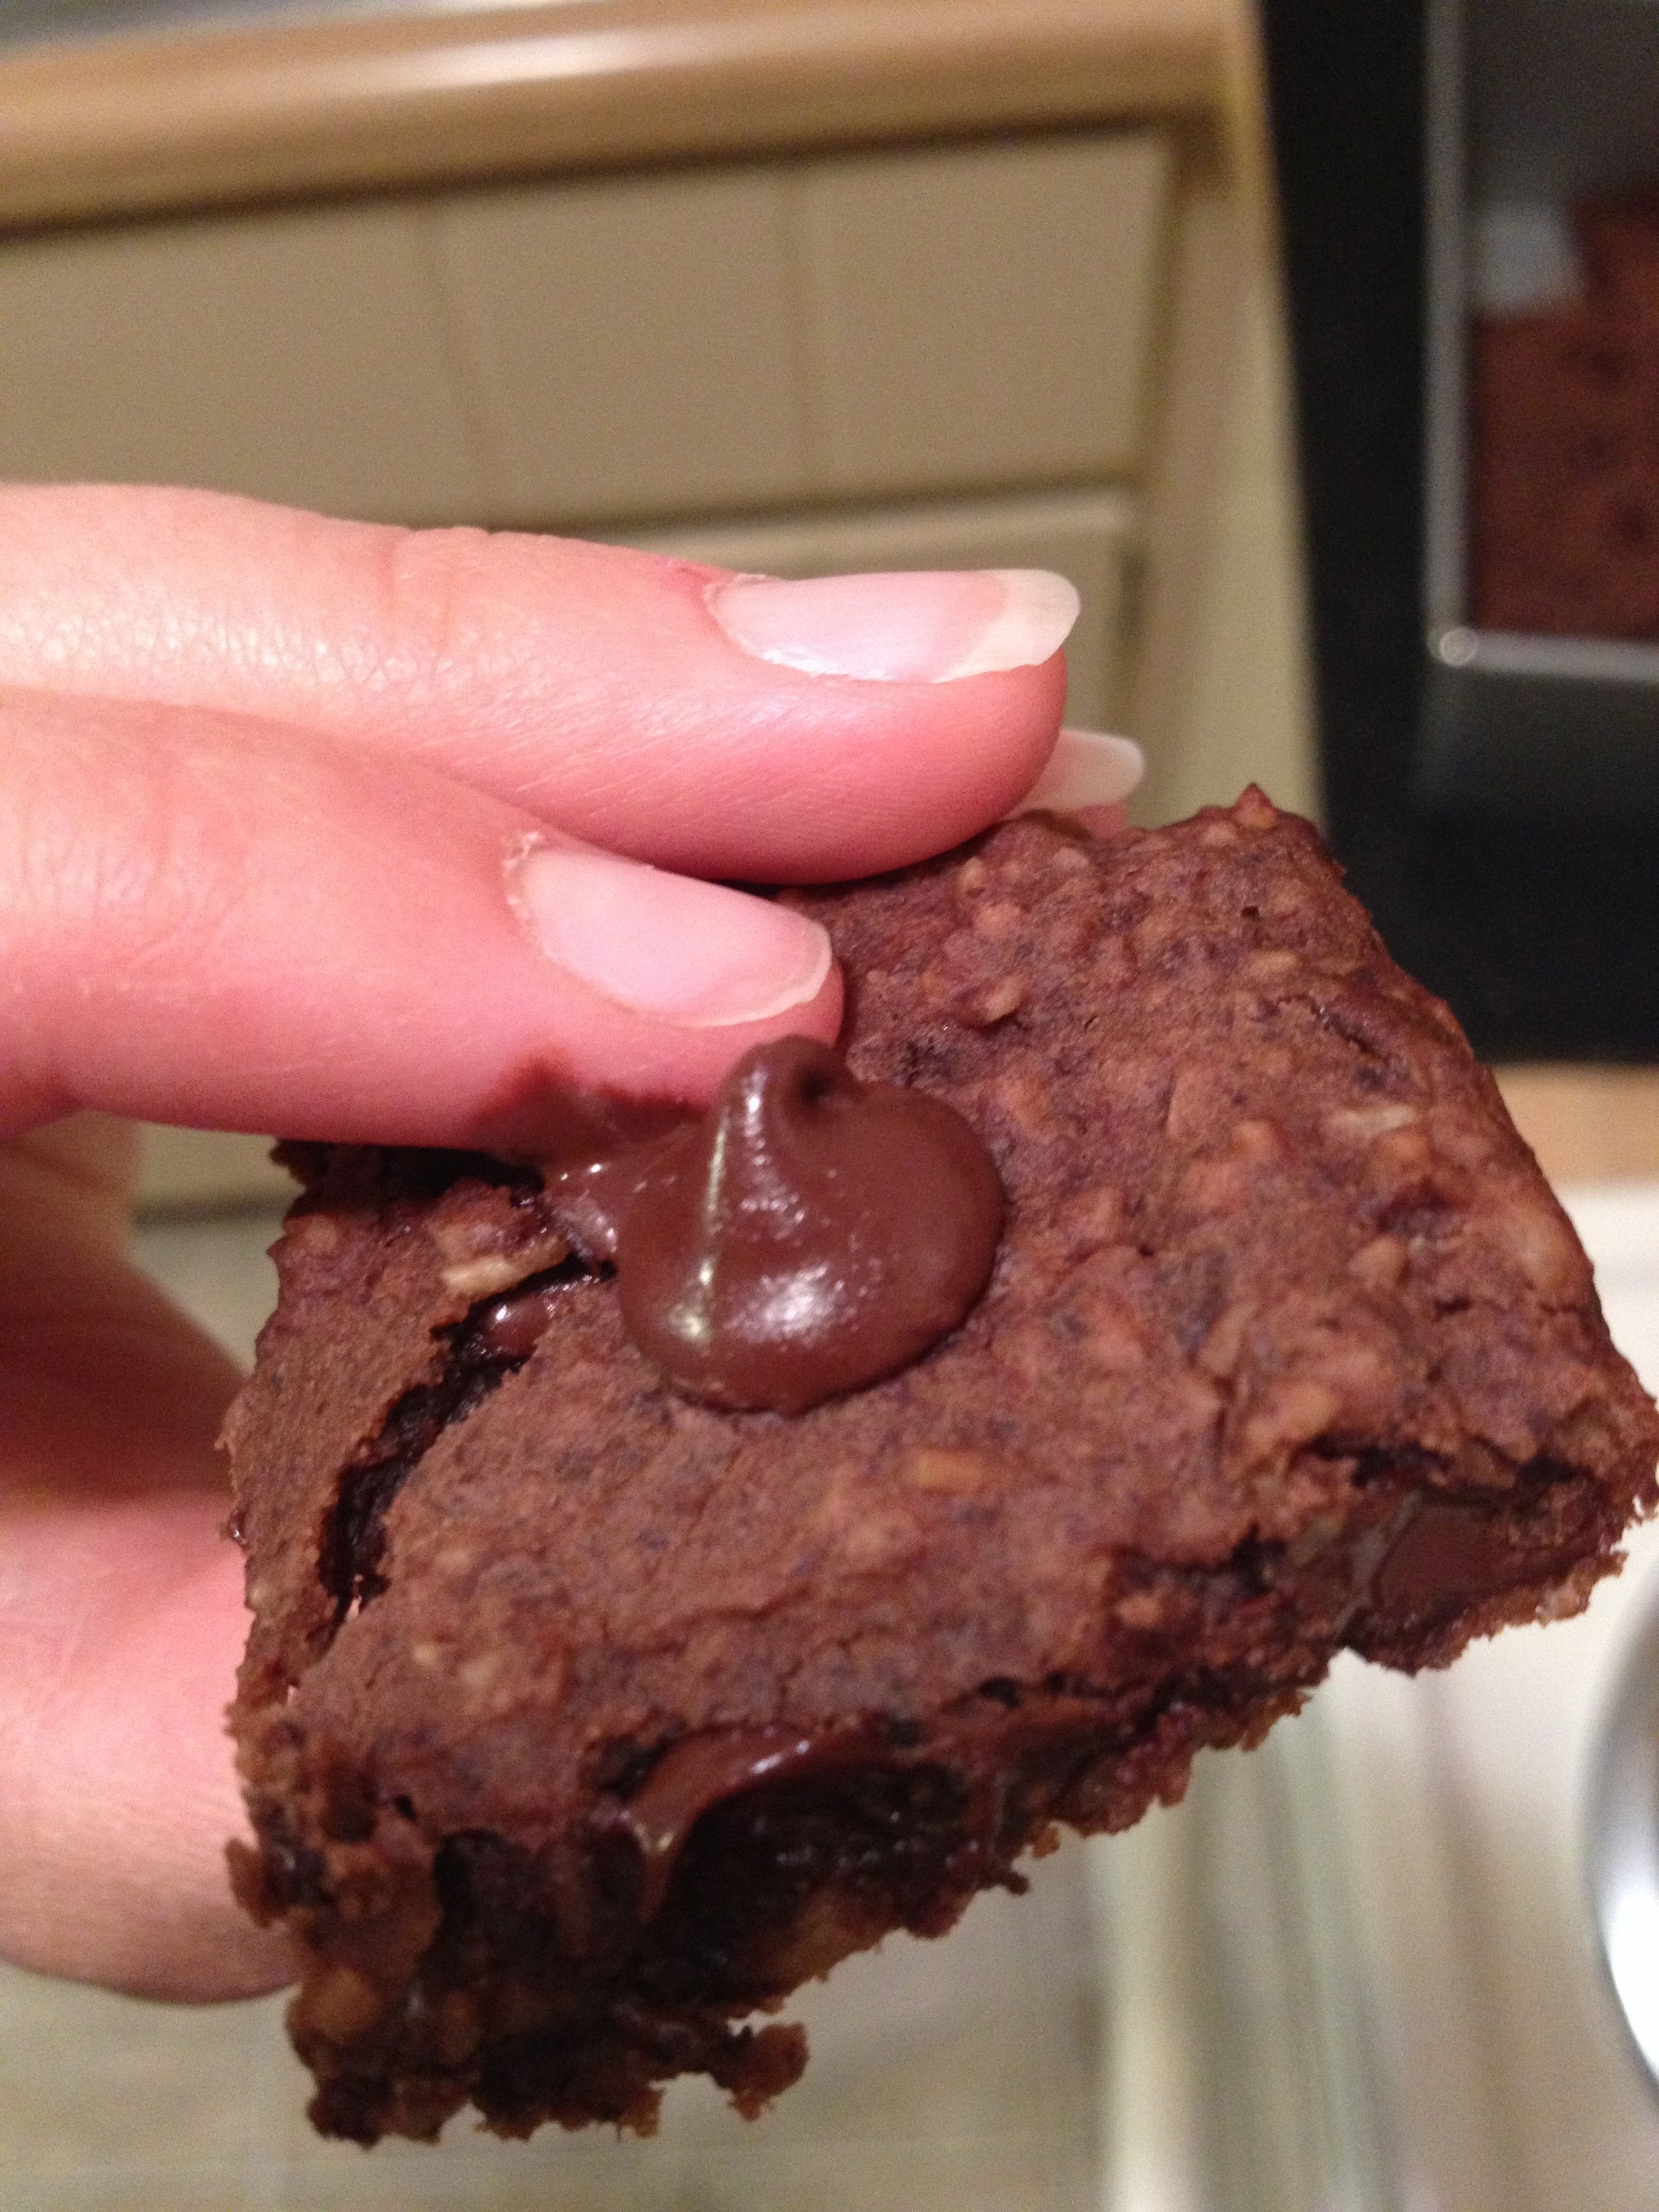
photo 1 (68) photo 2 (79) photo 4 (51) photo 5 (29) photo 1 (69) photo 2 (80) photo 3 (67)

Healthy Black Bean Brownies
Yields 12
A brownie that your taste buds AND waist line will enjoy
Write a review
Print
Prep Time
10 min
Cook Time
18 min
Prep Time
10 min
Cook Time
18 min
Ingredients
  1. 1 15oz can black beans
  2. 2 tbsp cocoa powder
  3. 1/4 tsp salt
  4. 1/2 tsp baking powder
  5. 1/4 cup oil (I used olive oil)
  6. 1/3 cup of honey
  7. 2 tbsp sugar
  8. 1/2 cup quick-cook oats
  9. 2 tsp vanilla extract
  10. 1/2 cup chocolate chips
Instructions
  1. Pre-heat oven to 350 degrees F and grease a square tin
  2. Rinse out your beans
  3. Put all ingredients into a blender or food processor
  4. Mix it up real, real well--make it smooth!
  5. Mix in the chocolate chips
  6. Pour into tin
  7. Garnish the top with chocolate chips
Notes
  1. The more you blend it, the less grittier it will be!
Adapted from Chocolate Covered Katie
hungry and fit https://hungryandfit.com/
These are healthy and delectable. I usually don’t tell people they have beans in them until they try it (unless they are on a health journey). This recipe promises not to disappoint taste buds or waist lines. I am very happy for this recipe to satisfy any chocolate craving! Use this recipe to stay hungry and fit!

BONUS PUPPY PIC

Poor puppy has been sick with giardia

Poor puppy has been sick with giardia

spacer

Whole-Wheat Chocolate Chip Cookies

I would say one of the most popular desserts of all time are chocolate chip cookies. I’ve rarely seen people deny them out of distaste, maybe just out of nutritional reasons. Chris is always wanting some fresh-baked cookies, and I decided to be nice (rare moments, I kn0w). However, they wouldn’t be completely without a twist of health. These chocolate chip cookies have whole-wheat flour in them instead of regular, which adds more fiber into our diet! Who needs apples when you could have these cookies? Just kidding, kids… But truth be told, these are full of fiber, and not overdone with sugar and butter. These are perfect for summer days and sure to win you friends! 

Gotta love these ingredients

Gotta love these ingredients

photo 2 (78)

Best part to eat

Best part to eat

photo 4 (50)

Boooom!

Boooom!

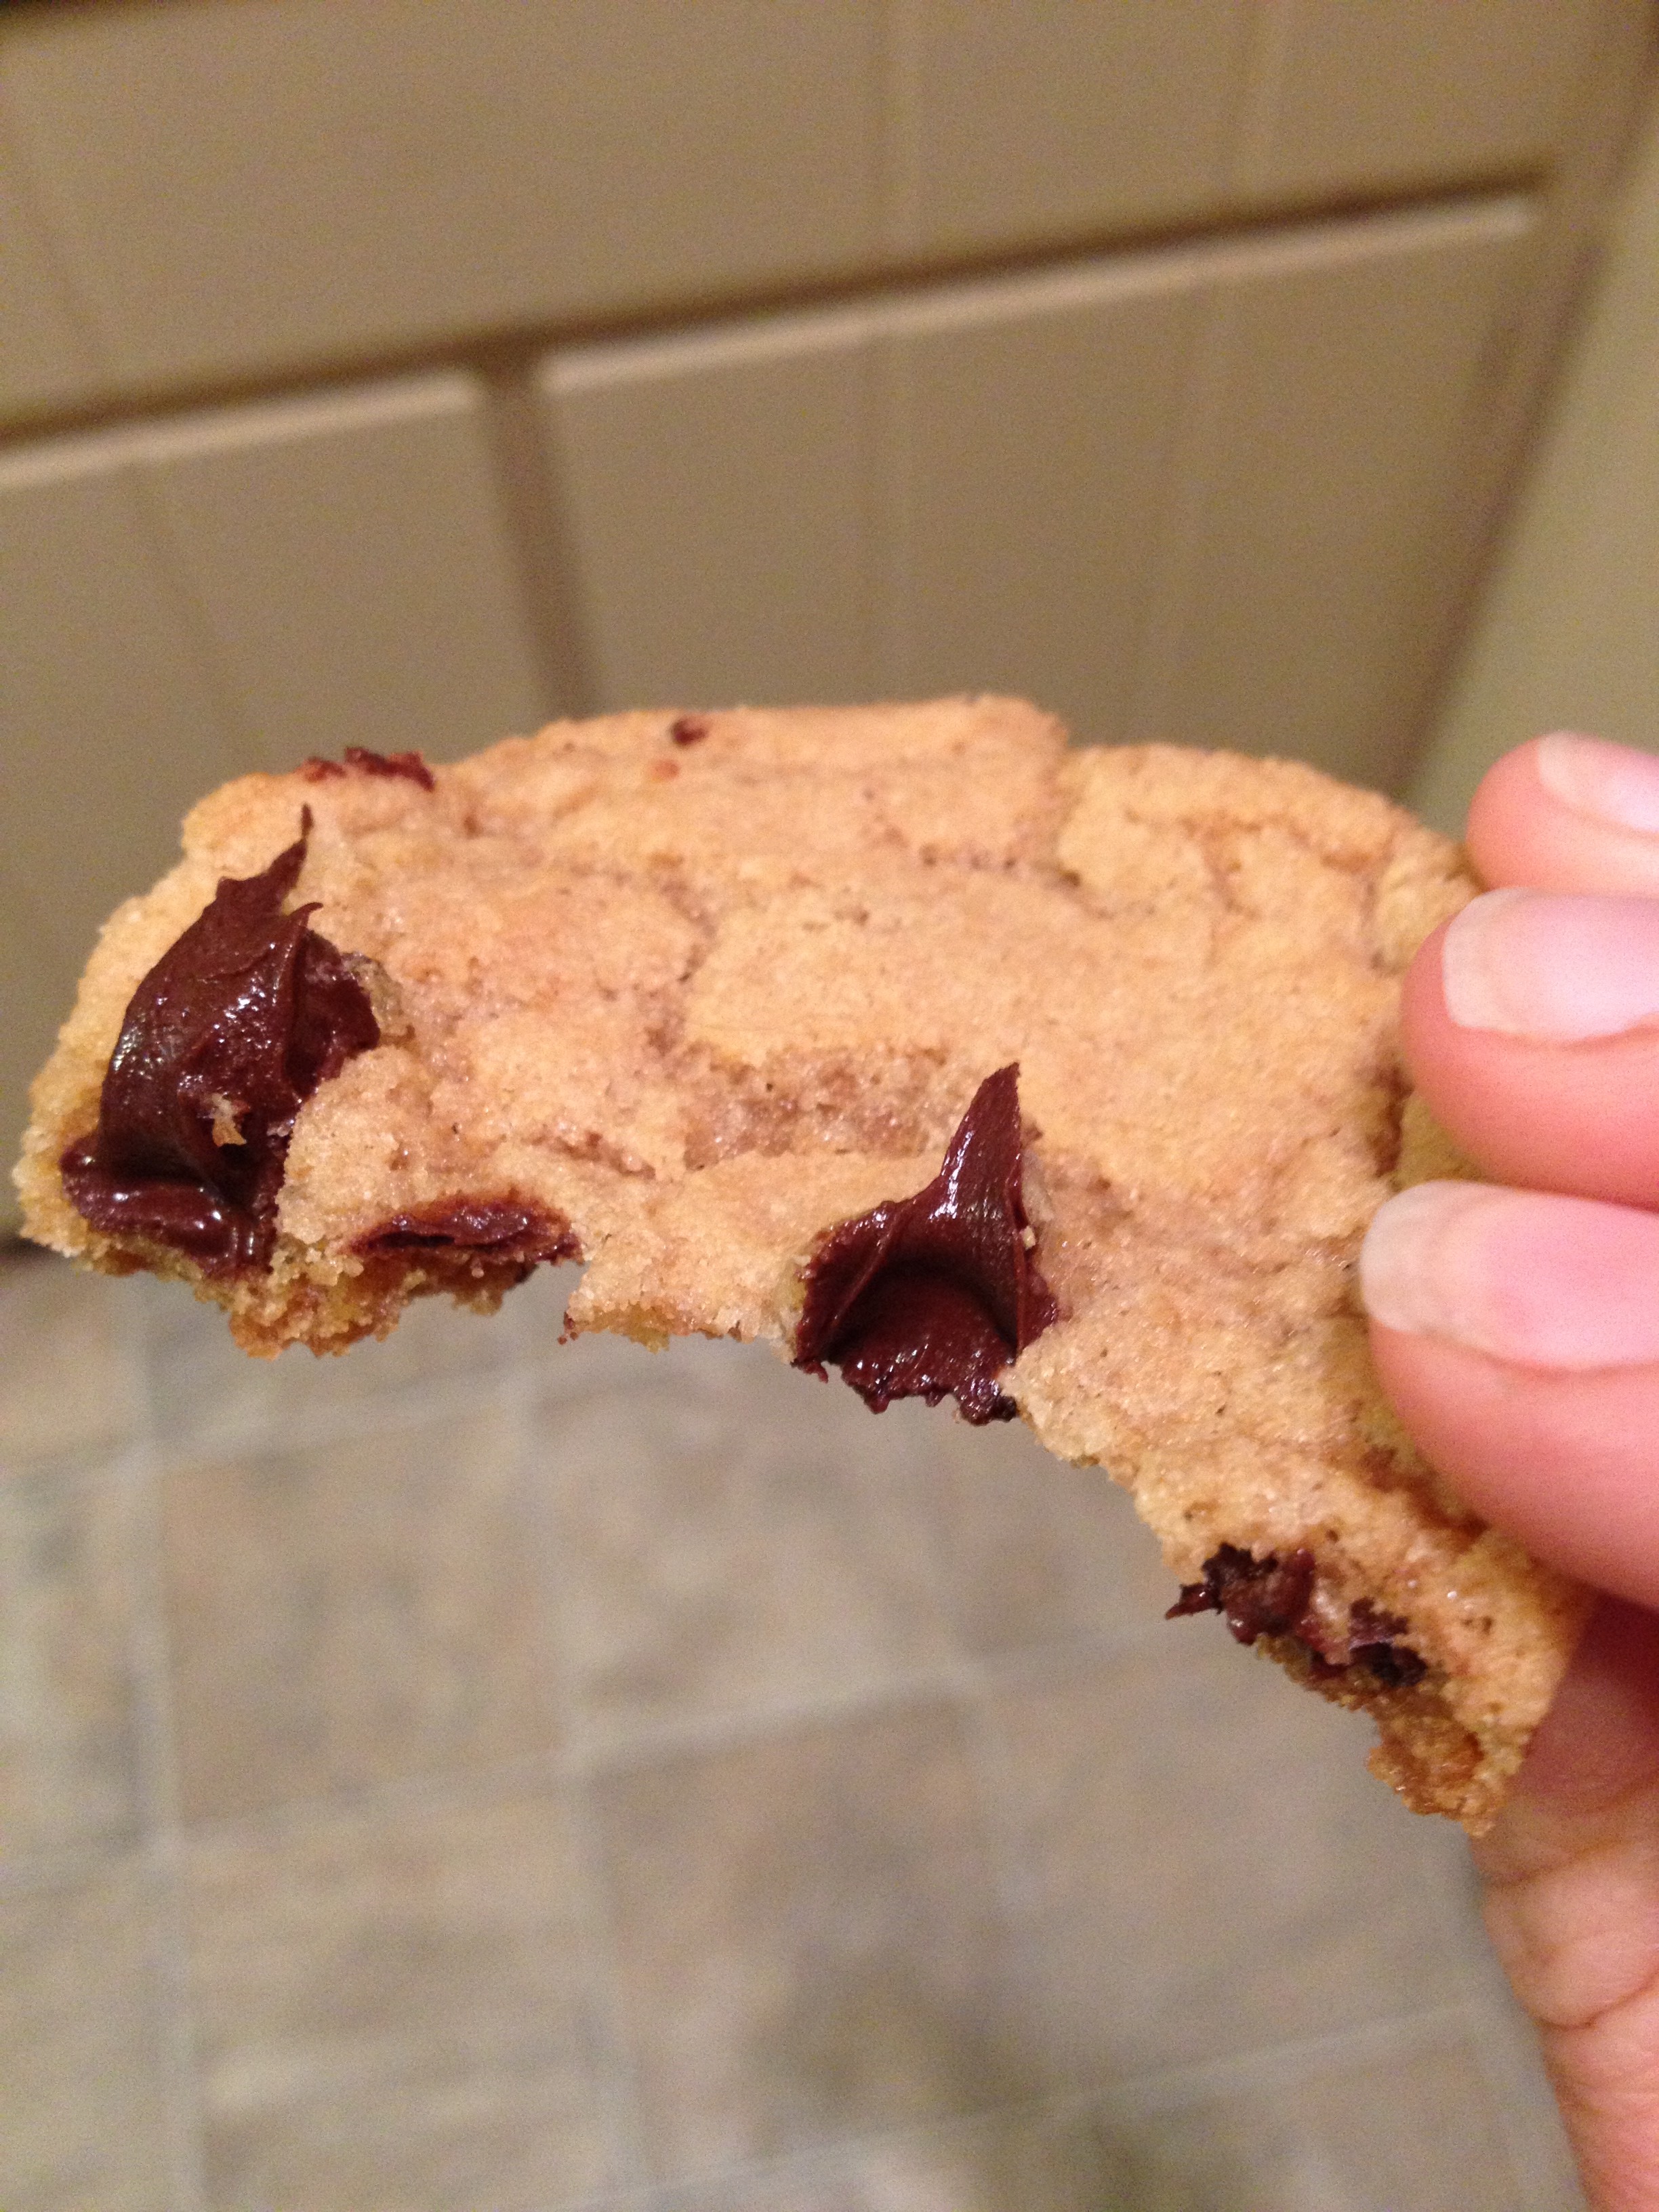
photo 2 (77) photo 4 (49) photo 5 (28)

Whole-Wheat Chocolate Chip Cookies
Yields 18
A healthy spin on chocolate chip cookies
Write a review
Print
Prep Time
10 min
Cook Time
16 min
Prep Time
10 min
Cook Time
16 min
Ingredients
  1. 1.5 cups whole-wheat flour
  2. 3/4 tsp baking powder
  3. 3/4 tsp salt
  4. 1/2 tsp baking soda
  5. 1 stick butter
  6. 1/2 cup brown sugar
  7. 1/2 cup g. sugar
  8. 1 egg
  9. 1 tsp vanilla extract
  10. 1/2 bag chocolate chips
Instructions
  1. Pre-heat oven to 350 degrees F and grease a baking sheet
  2. Combine dry ingredients in a smaller bowl
  3. Beat sugar and butter together until smooth
  4. Add in egg and vanilla
  5. Slowly mix the dry into the wet mixture, but don't beat it too much
  6. Fold the chocolate chips in
  7. Roll up some dough and plop it in separate ball-type formations onto the baking sheet
  8. Bake for 16-20 minutes
Adapted from Food 52
hungry and fit https://hungryandfit.com/
These are really darn good. Hungry has been eating them for every meal I kid you not. I tried to stop him…but there’s no stopping him with a handful of chocolate chip cookies and a gallon of milk. This recipe is so easy and these cookies are really good! Try them out and let me know what you think! 

*Question of the Day: What’s your favorite kind of cookie?

BONUS KITTY PIC

Sajah being cute

Sajah being cute

spacer

Fancy Up Your Popcorn

I am popcorn-obsessed. I blame it on my family who always has it for any tv/movie event. Like about every night. So what do I do? Any excuse there is…there will be popcorn involved. Castle tonight? Popcorn, obviously. Recorded show on Food Network? Popcorn. Show at the Cinemas? Popcorn…that I sneak in (don’t tell!). I really like popcorn. But Hungry doesn’t really like popcorn (I know, it’s almost a deal-breaker). He’ll eat it if I start giving him some, but he would never start the pop himself. So as he was leaving to walk Noke one night before we were gonna watch a new show on Food Network, he asked me to “fancy up” the popcorn. Quest accepted. 

Now I’m not talking about regular fancy. I came up with Toblerone-fancy. Yes, that Swiss deliciousness was taking a visit to our bowl of popcorn. It’s incredibly easy. I learned how to make “homemade” chocolate sauces from watching my mum as she would often like to drizzle it on our homemade ice cream sundaes at home. 

photo 1 (48)

I totally snuck one before I melted them down

I totally snuck one before I melted them down

photo 3 (39) photo 5 (13)

Chocolate-Drizzled Popcorn
Serves 1
An easy way to spruce up your usual popcorn
Write a review
Print
Cook Time
5 min
Cook Time
5 min
Ingredients
  1. 1 bag of popcorn
  2. 1/2 chocolate bar (Toblerone for best results)
  3. 1/3 cup milk (can be any kind you like--we used whole)
Instructions
  1. Pop the popcorn
  2. Put chocolate and milk into a saucepan
  3. Turn on medium to low heat
  4. Stir fairly frequently at first and then let the chocolate settle into a sauce
  5. Once a smooth texture, drizzle over the popcorn
Notes
  1. You may have to play around with the amount of milk to chocolate ratio. You may have to add more milk or even tip some out. No worries, it will still be chocolate sauce no matter what!
hungry and fit https://hungryandfit.com/
There you have it. Simple, easy, and delicious. It was so good we started to eat it with a spoon! Yeah, we apparently don’t mess around. I’m looking forward to more ways to play around with our popcorn. Cinnamon and sugar sound like a good next step. Have fun when making this! And don’t forget to share! As always…stay hungry and fit!

photo 4 (33)

BONUS PUPPY PIC

photo (57)

spacer

Glazed Cinnamon Scones

You know what day it is–Wednesday! The day I bring some form of treat to my co-workers. It was a toss-up today between glazed cinnamon scones and another healthy version of brownies. This won out this week! It looked slightly intimidating, but it was fine once I got rolling. Similar process in making the scones as in my mum’s. I substituted a few things like put less sugar and added in whole-wheat flour to make it a little more healthy. These are delicious. They simply crumble into your mouth as you bite into it. The cinnamon settles nicely with the texture–it’s a keeper. Let’s try it out! 

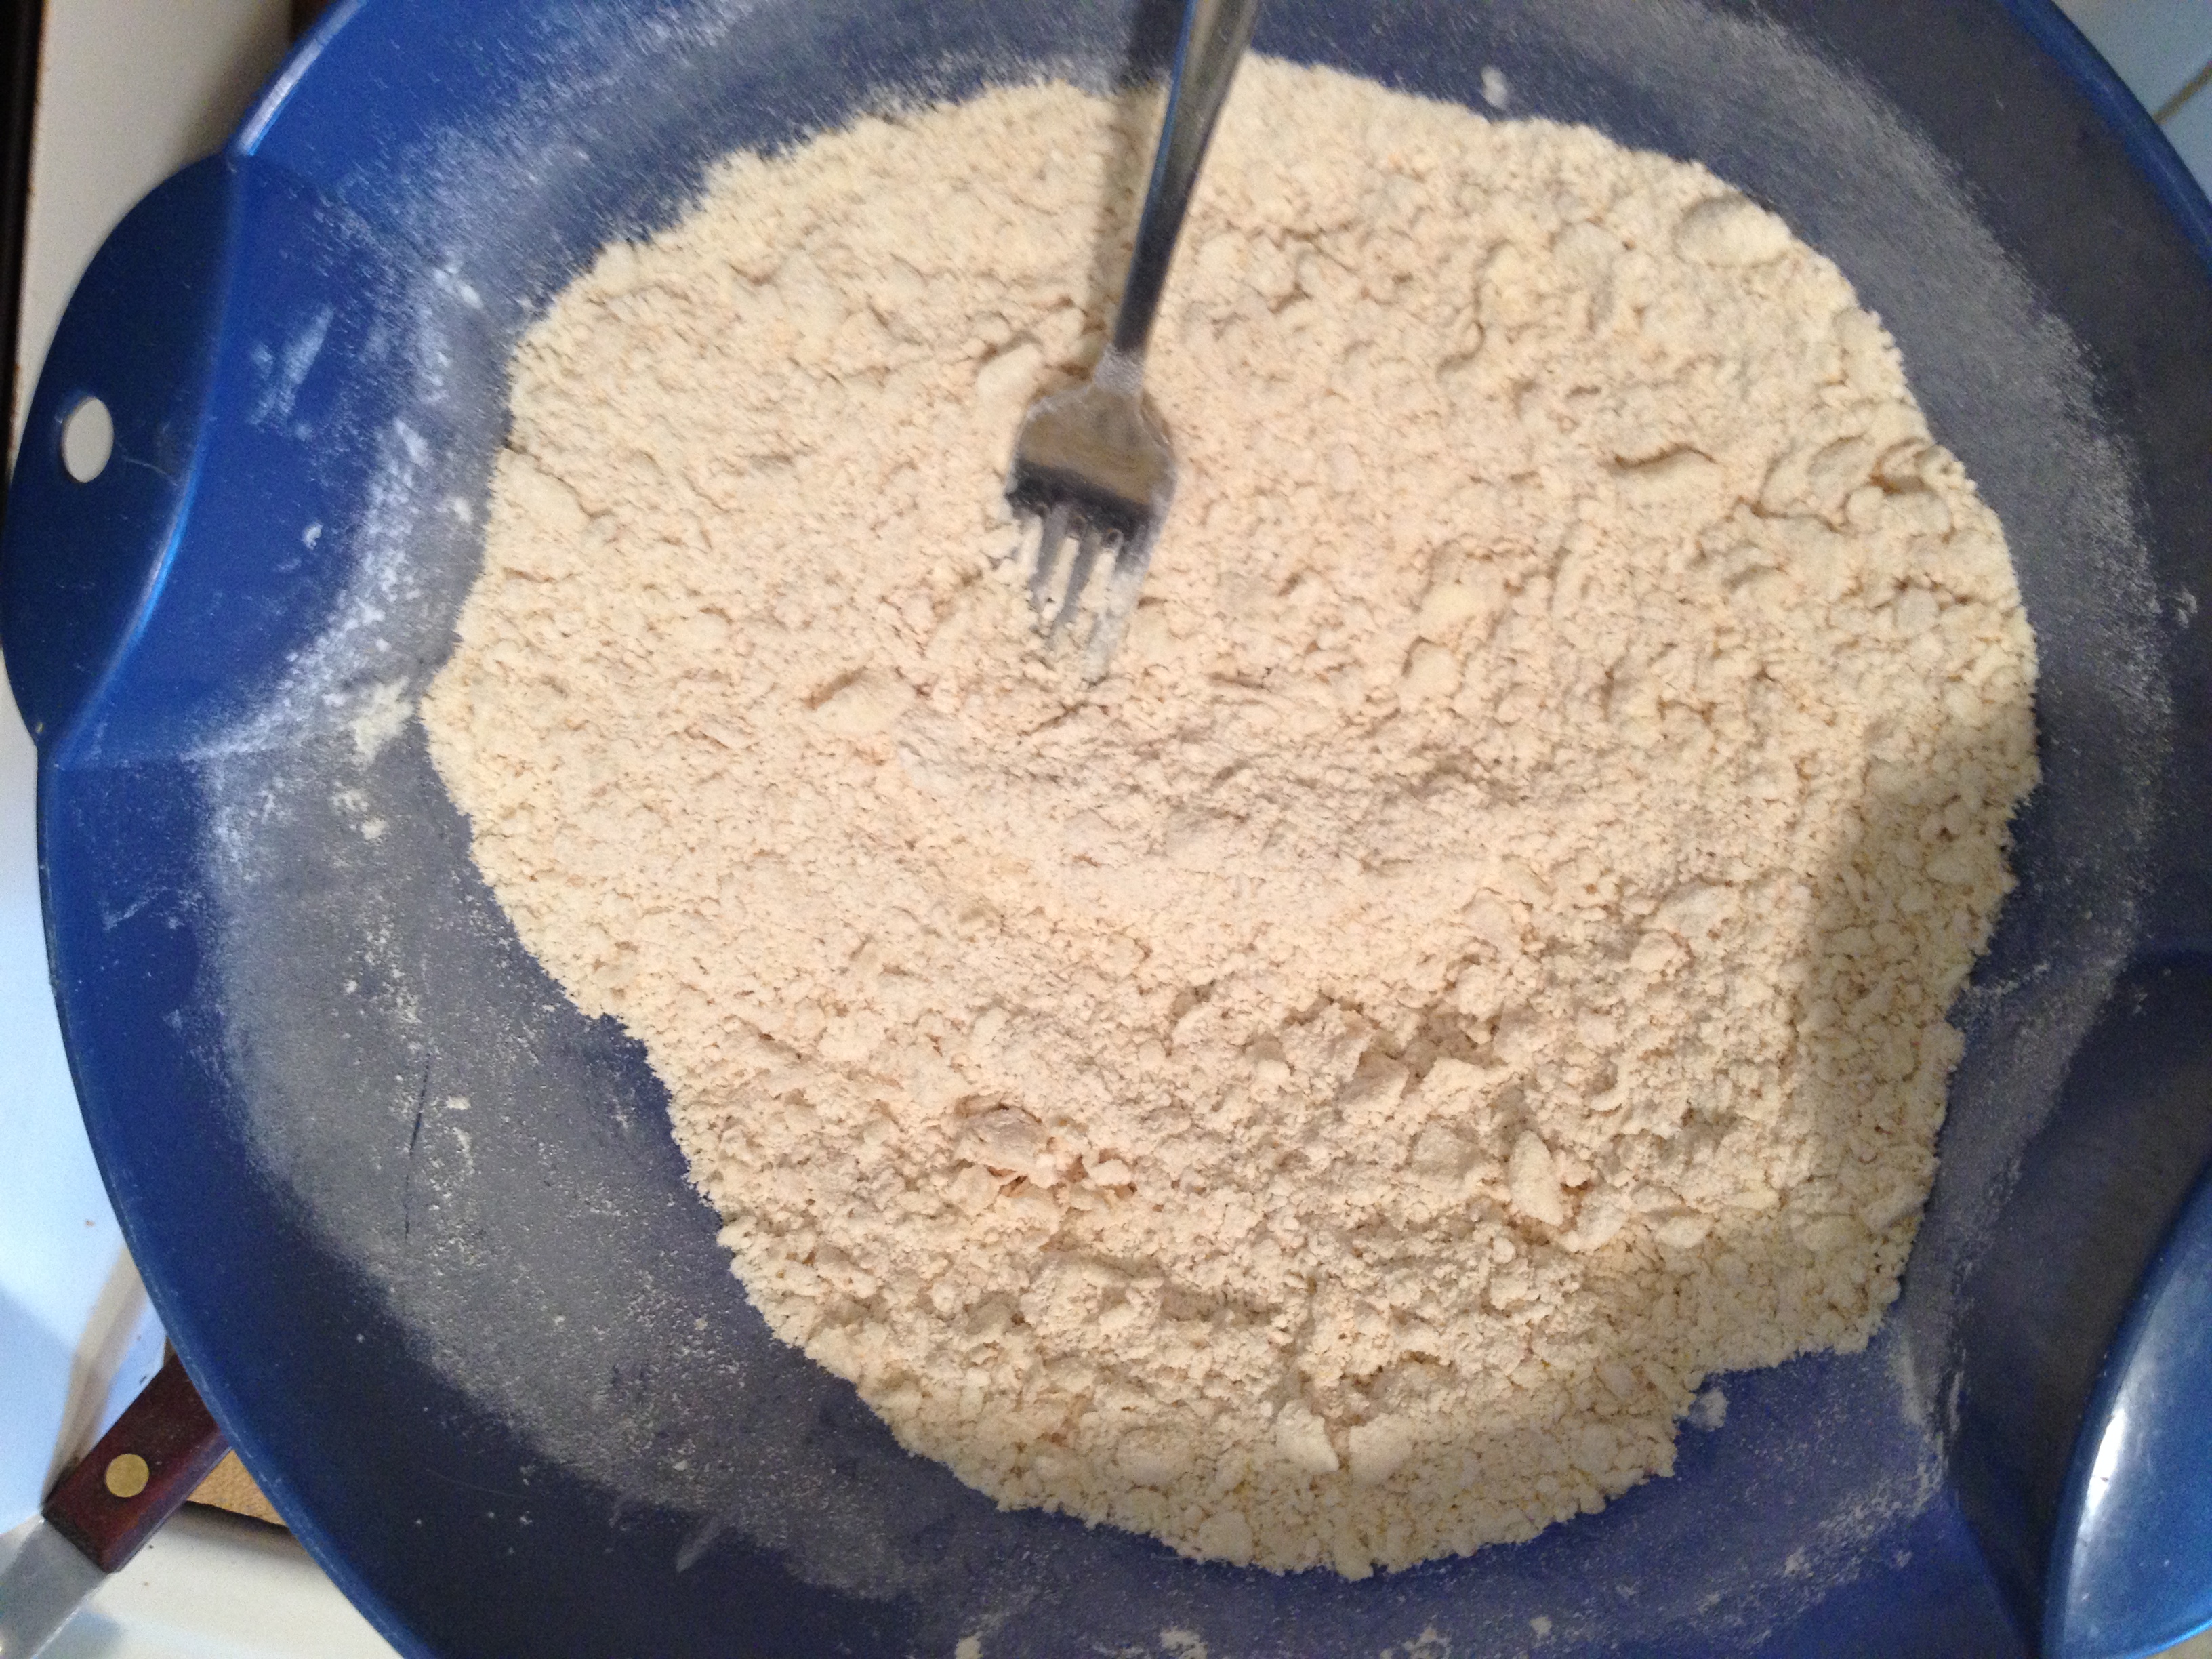
Crumble it up!

Crumble it up!

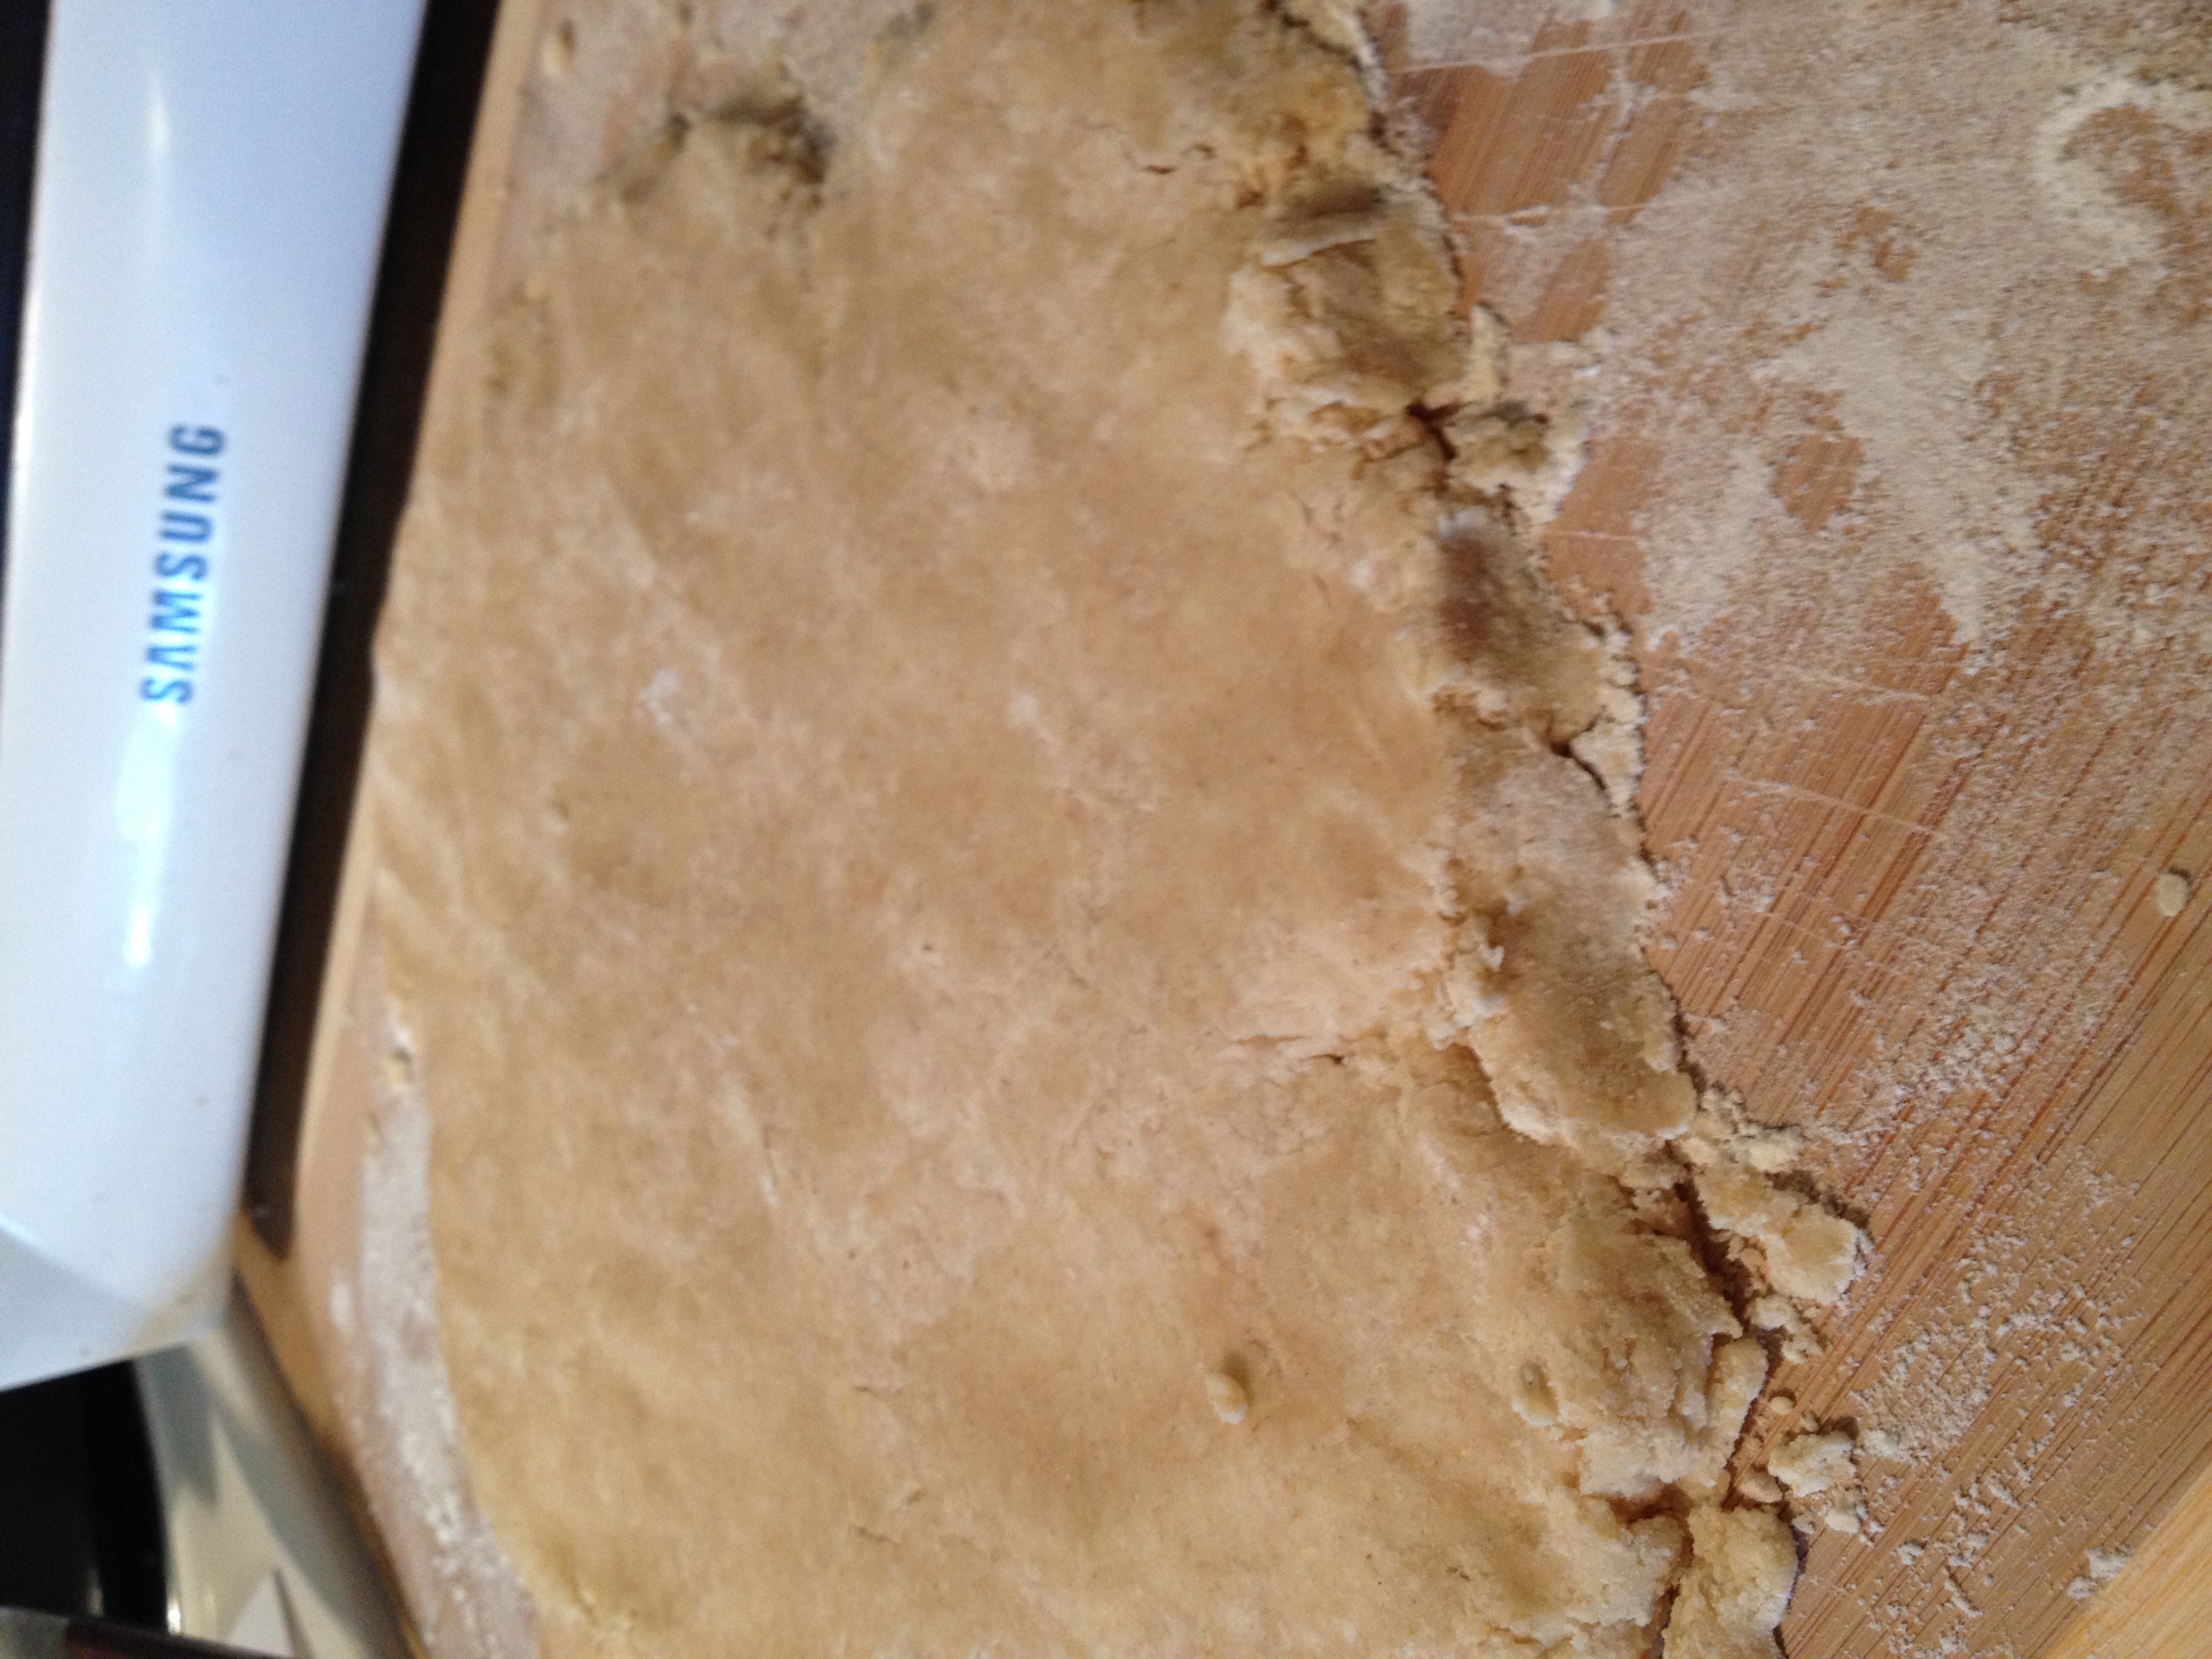
Knead it out!

Knead it out!

Pie?

Pie?

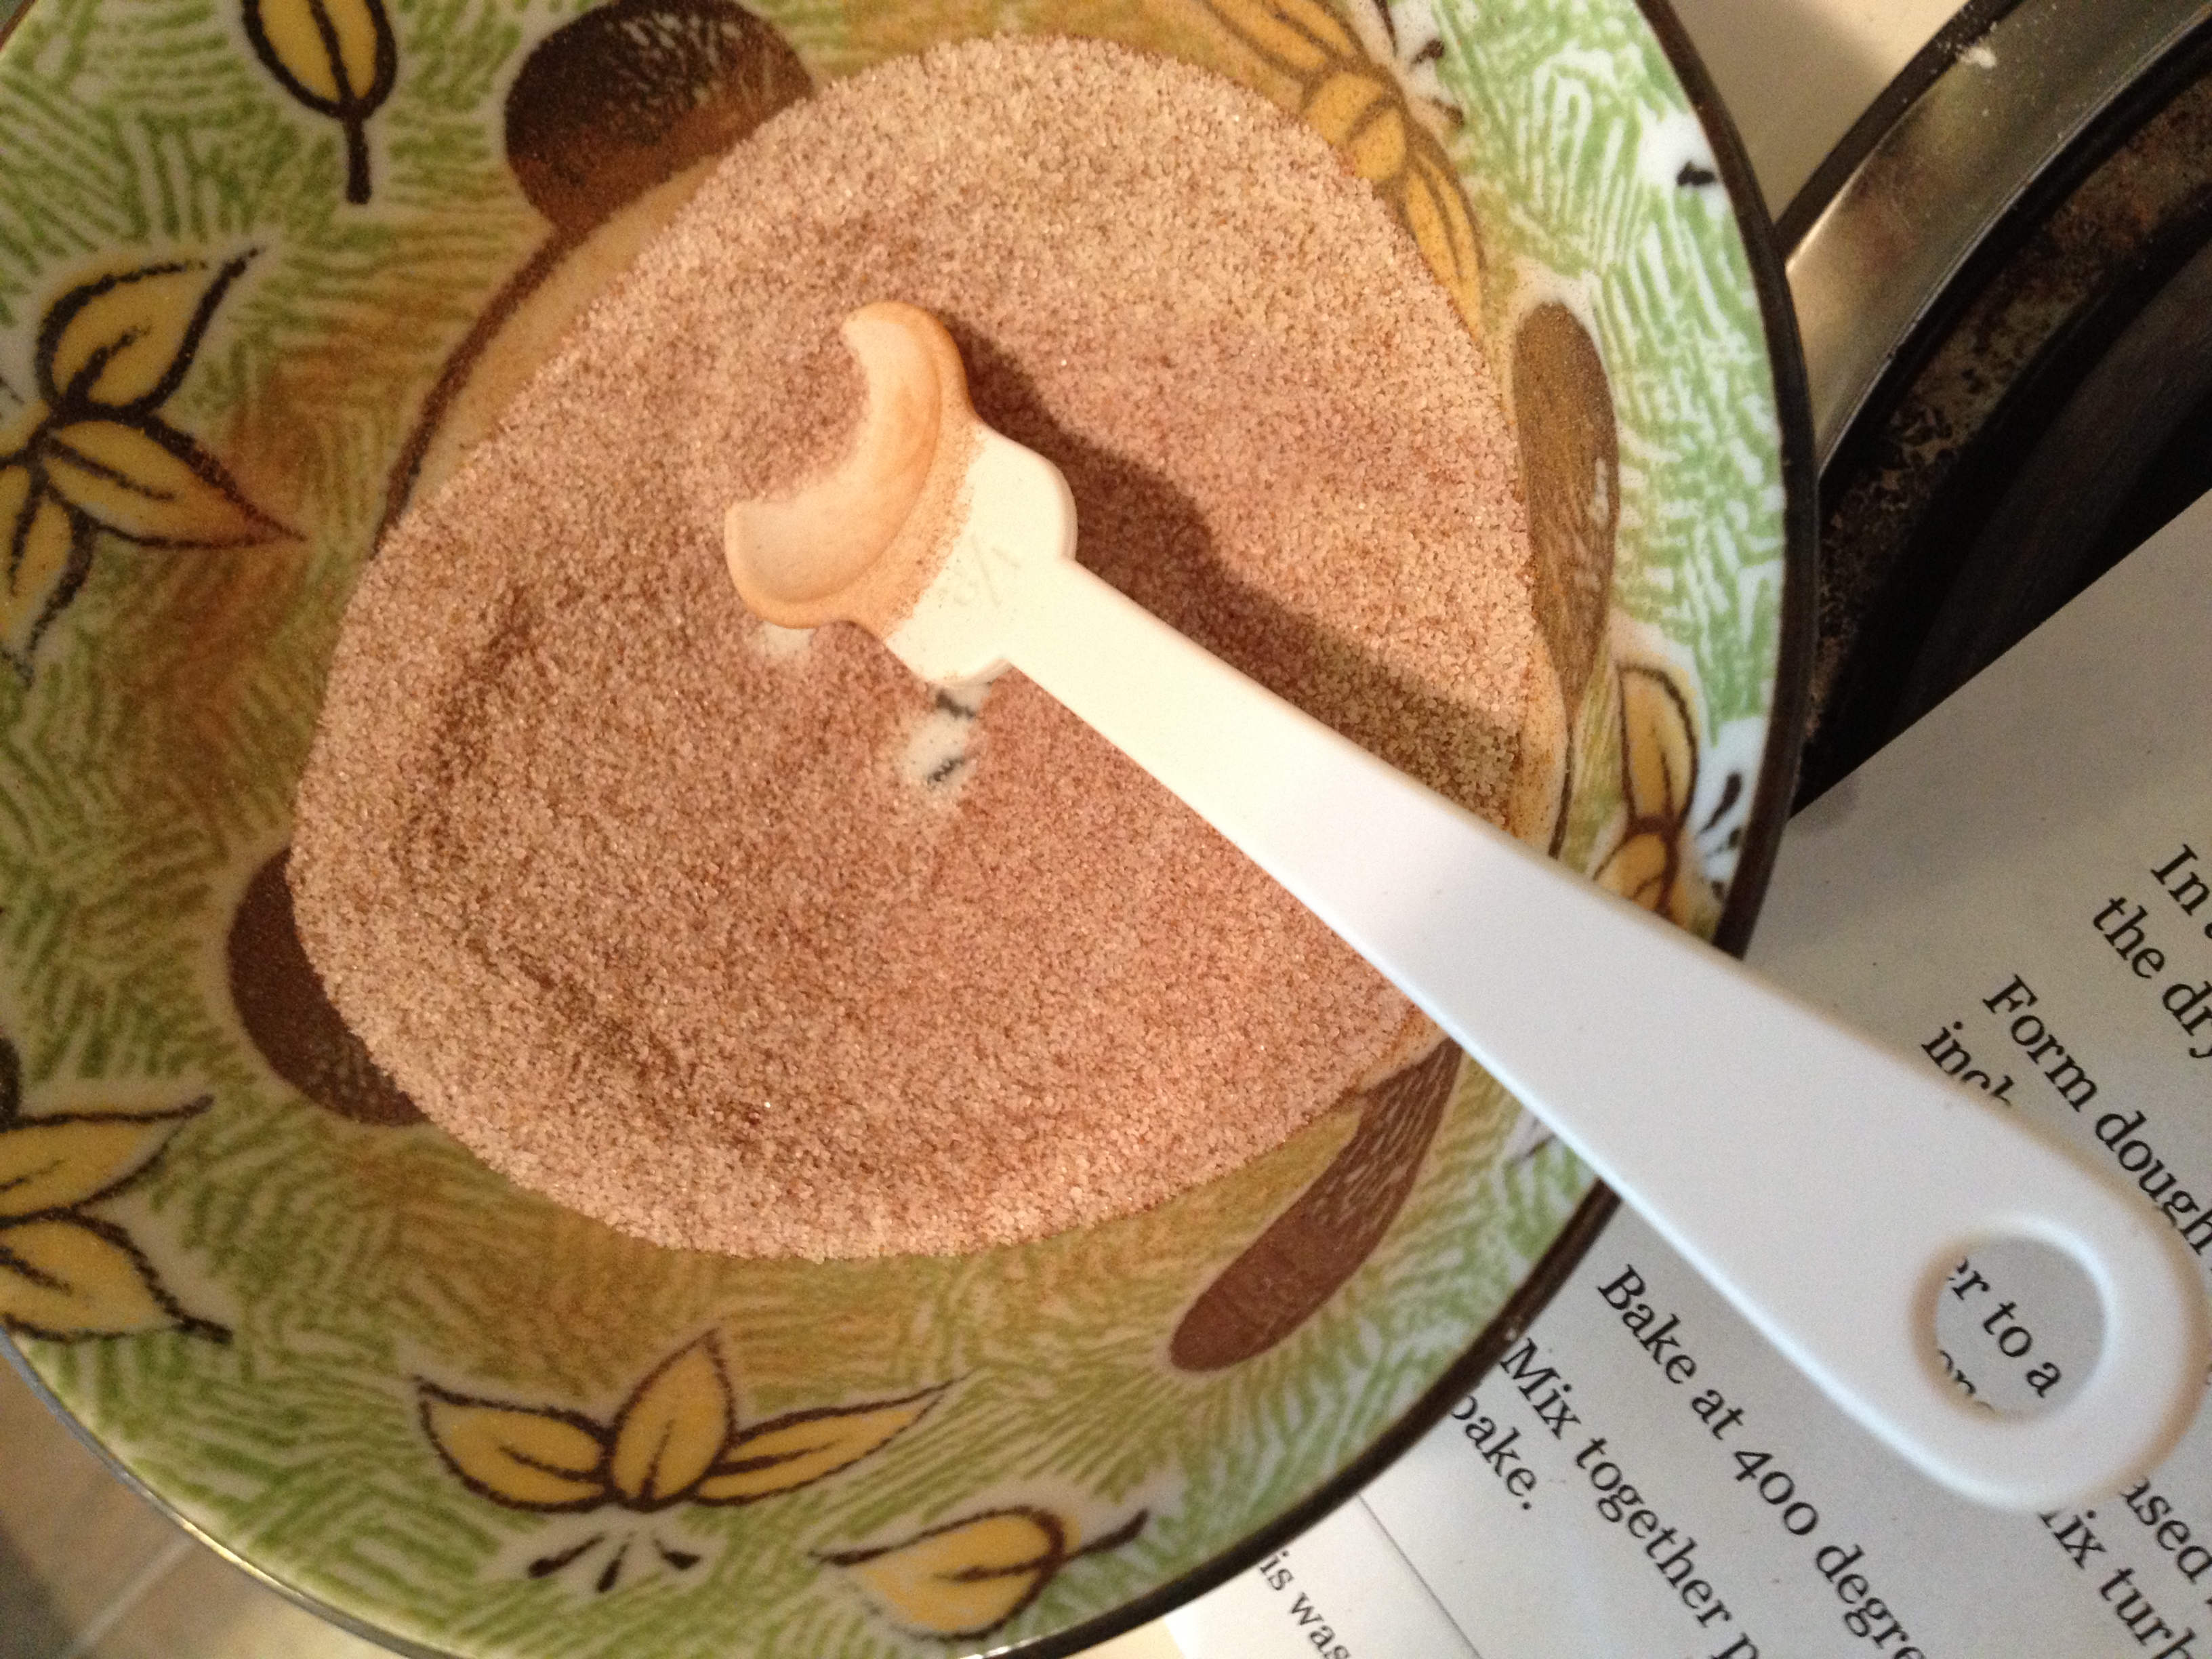
Love this mixture...

Love this mixture…

photo 5 (12) photo 2 (50) photo 4 (32) photo 3 (38)

Glazed Cinnamon Scones
Serves 8
A fiber-rich delicious glazed cinnamon scone
Write a review
Print
Prep Time
17 min
Cook Time
11 min
Prep Time
17 min
Cook Time
11 min
Scone Ingredients
  1. 2 cups flour (1 whole-wheat, 1 regular)
  2. 2 tsp baking powder
  3. 1/2 tsp baking soda
  4. 1/2 tsp salt
  5. 1/3 cup milk
  6. 1/2 tsp lemon juice
  7. 1 egg
  8. 1/2 cup butter
  9. 3 tbsp granulated sugar
Dust Ingredients
  1. 1 tbsp sugar
  2. 1/2 heaping tsp cinnamon
Glaze Ingredients
  1. 3/4 cup powdered sugar
  2. 3 tsp milk
  3. 1/2 tsp maple syrup
Instructions
  1. Let's first start with the scones. Pre-heat oven to 400 degrees F and grease up a baking sheet.
  2. Get out a big bowl and put your flour, baking powder, baking soda, and salt in there. Cut the butter into the dry mixture until it gets crumb-y.
  3. Separate the egg and put the egg YOLK in a separate bowl along with the sugar, milk, and lemon juice. Mix that up.
  4. Add this to the dry ingredients and mix it until it combines (don't overdo it)
  5. Flour up a surface (I use a cutting board) and put the dough you've made into a ball on the surface
  6. Knead it into around 1/2 inch thickness and then cut into eight pieces
  7. Place the eight pieces on the baking sheet
  8. Take out the egg white and whisk it until frothy. Brush it onto the scone pieces
  9. Mix the sugar and cinnamon together and sprinkle over the egg-whited scones
  10. Put in oven for 10-11 minutes
  11. While it bakes, let's make the glaze. Mix the powdered sugar, milk and maple syrup until it forms up properly into a glaze
  12. When the scones are done, let them cool a bit and then drizzle the glaze over
Adapted from Money Saving Mom
hungry and fit https://hungryandfit.com/
 Once you get rolling, you won’t stop! There may be one or two less scones going to work tomorrow because they perhaps made a way into my stomach. Oops? I hope you enjoy this recipe and use it to spread happiness all around! Keep baking to stay hungry and fit!

BONUS KITTY PIC

Sleepies

Sleepies

spacer

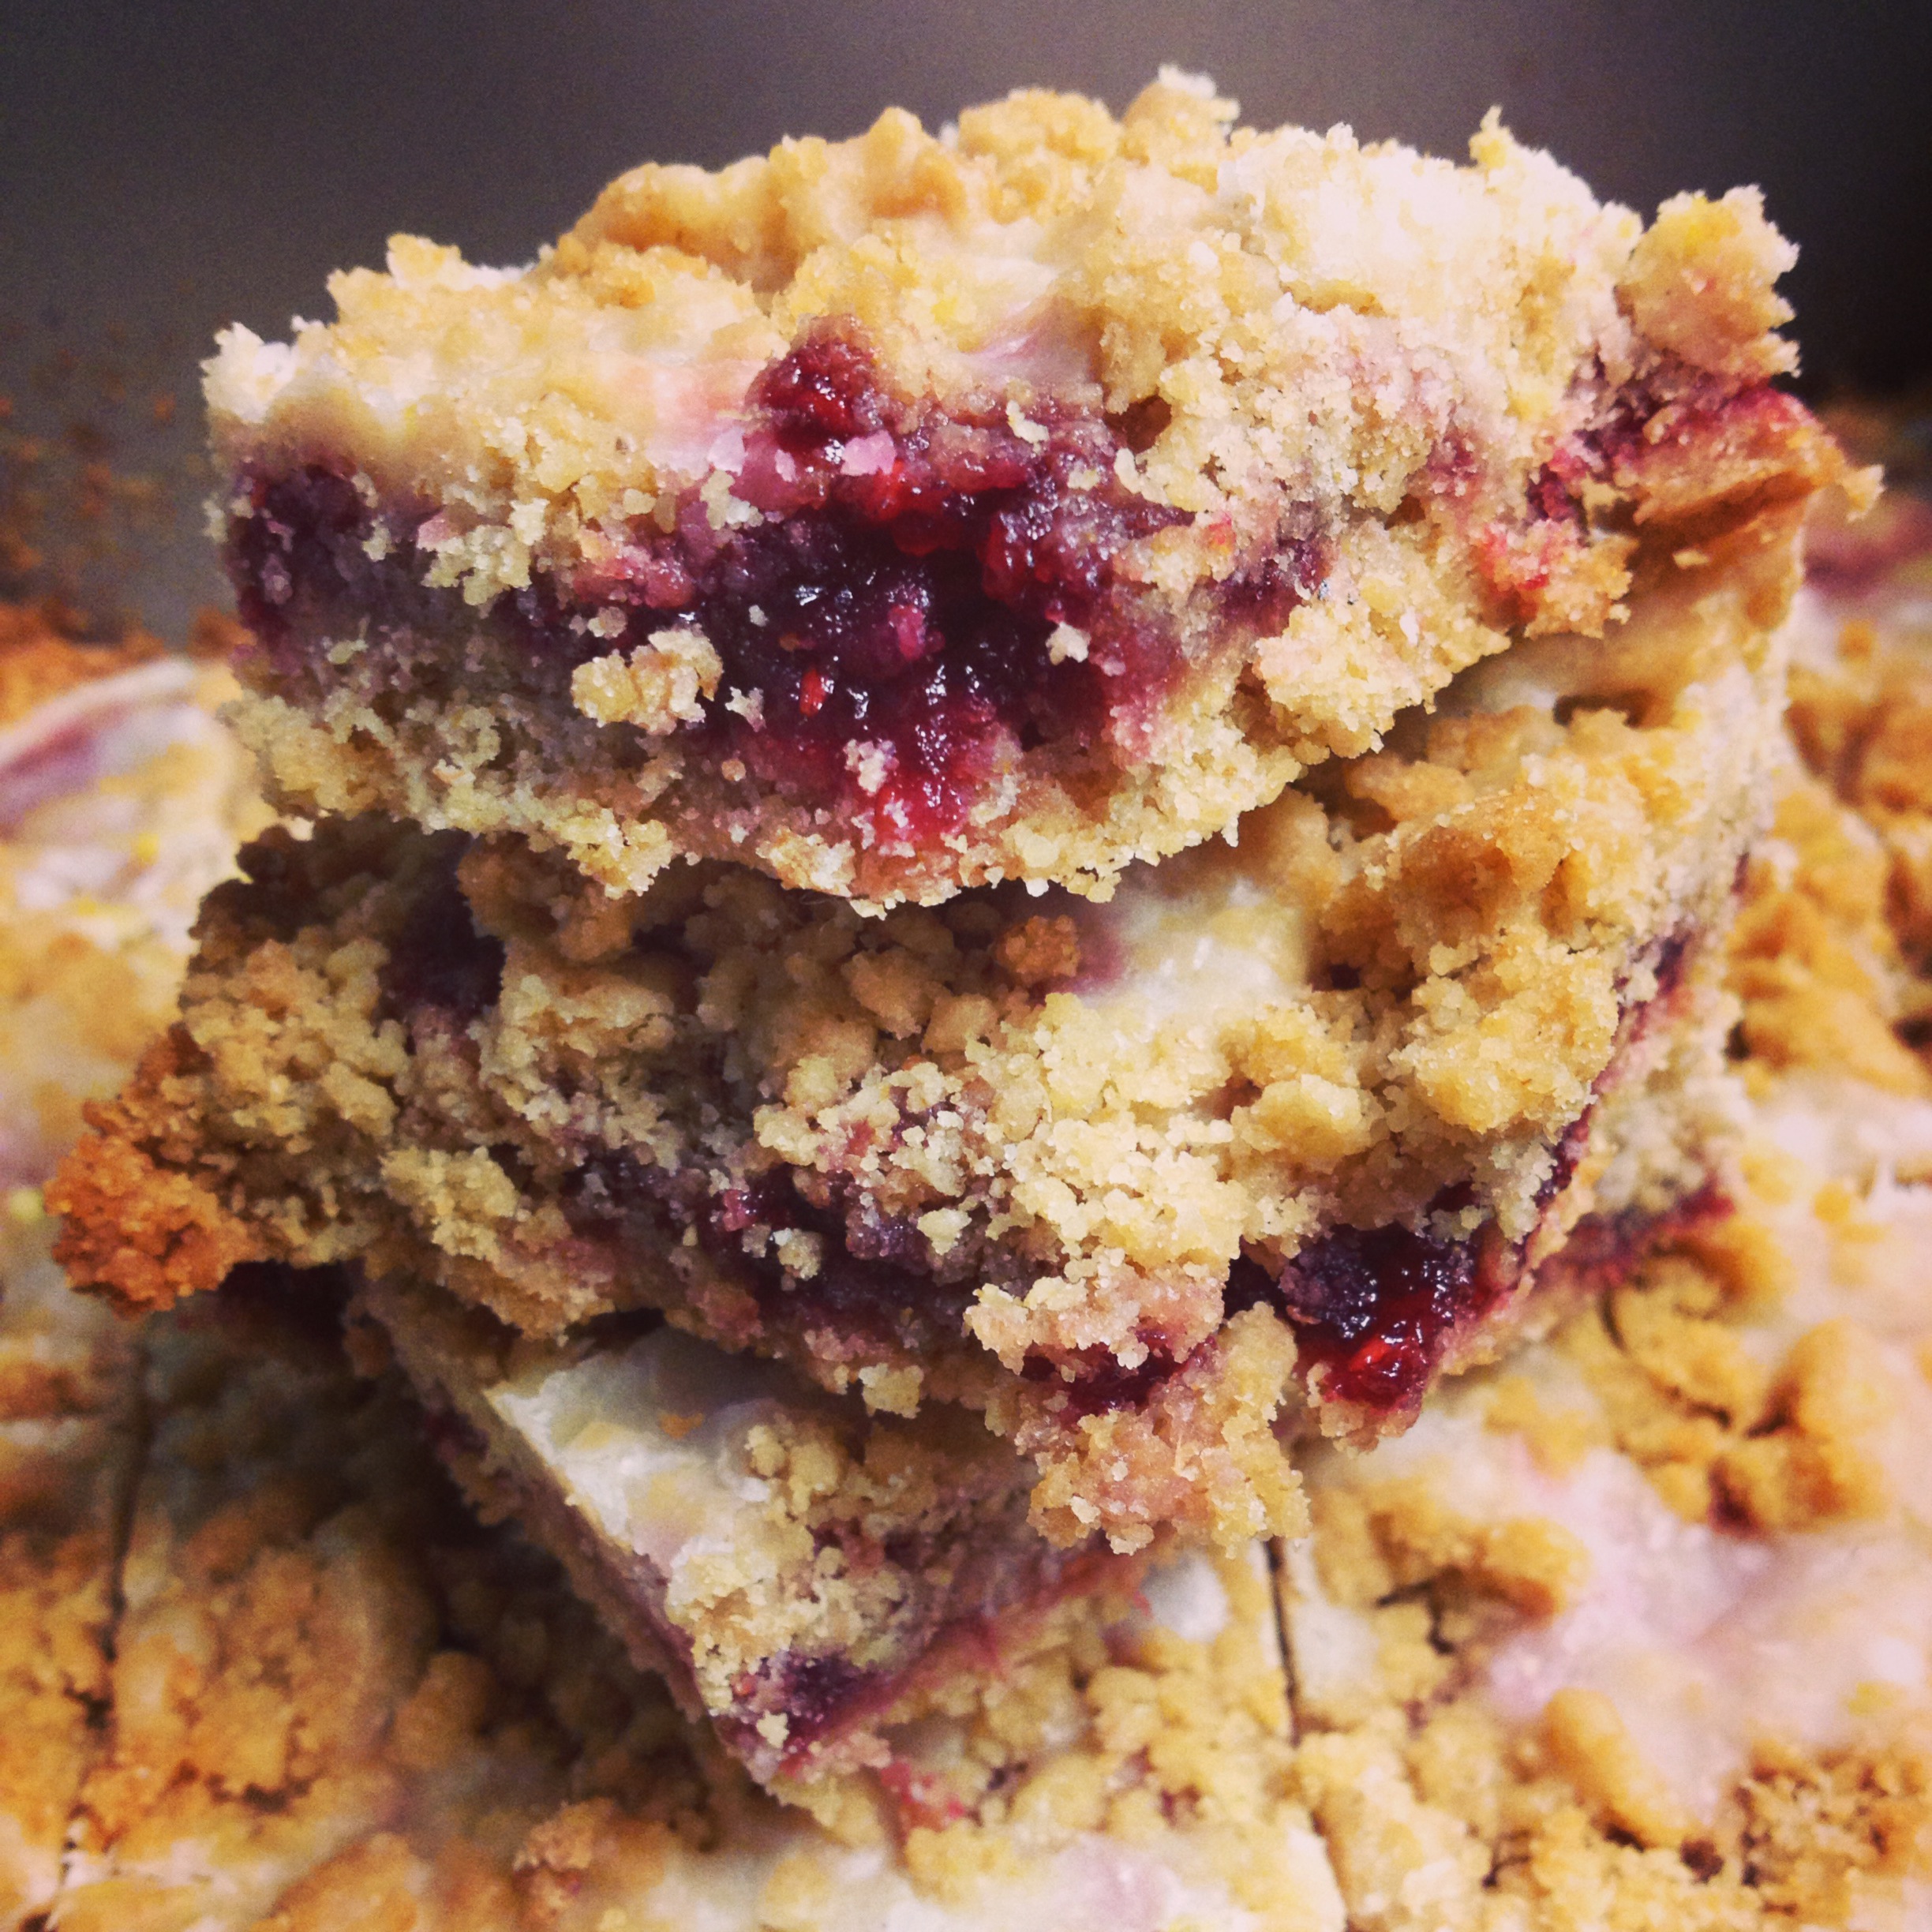
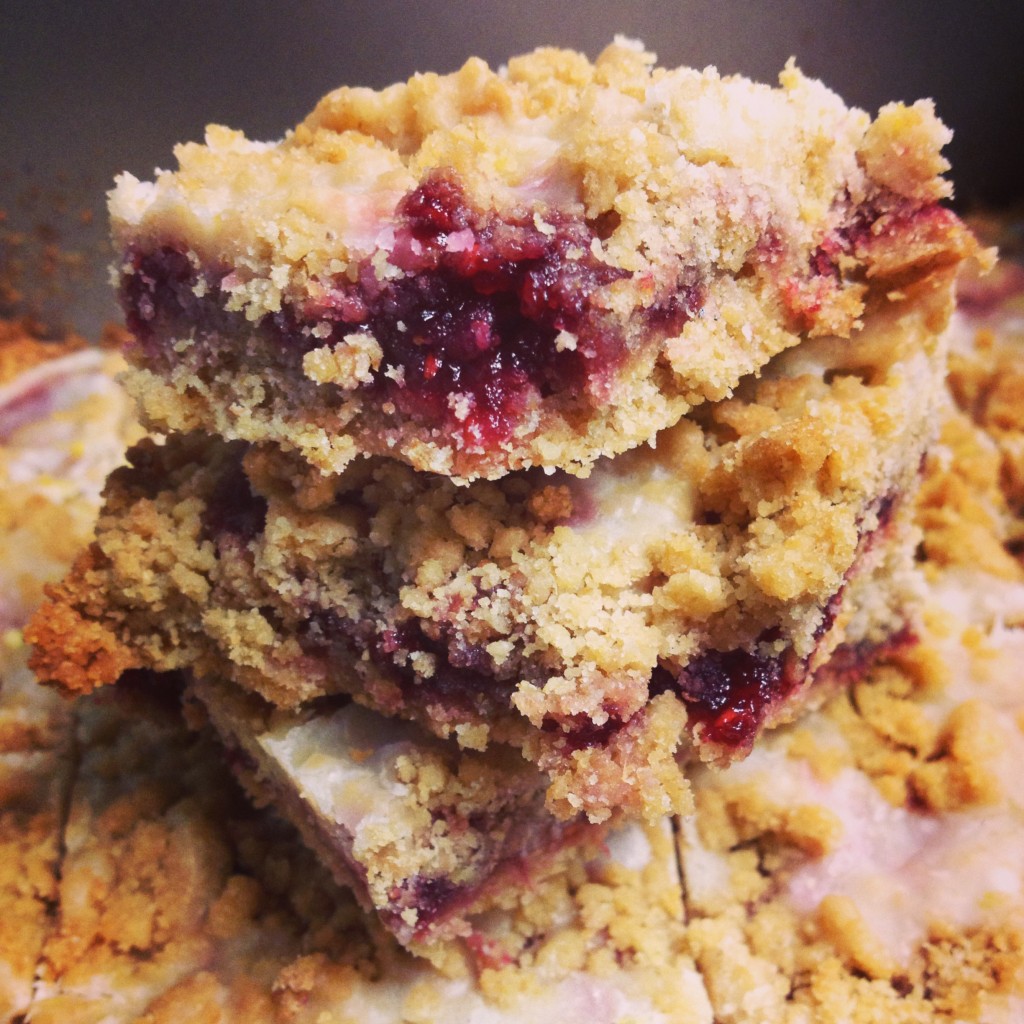
Raspberry Crumb Bars with Lemon Glaze

I’m trying to make it a recurring theme to bring goodies to our weekly management meeting. It’s been going pretty well so far. It also reminds me to get in the kitchen–something I love to do, but don’t do nearly enough. For the past two years, I’ve been collecting recipes I want to try. This week’s treat was a good one, if I don’t say so myself! Raspberry crumb bars with a lemon glaze. Yes, it’s as it good as it sounds. Making a crumb bar was slightly intimidating for me, but it turned out to be fairly simple. I tweaked the original recipe that this is based on, including using whole-wheat flour to up the fiber! 

photo 1 (43) photo 2 (46) photo 3 (34) photo 4 (28) photo 1 (44) photo 2 (47) photo 3 (35)

photo (54)

Raspberry Crumb Bars with Lemon Glaze
Yields 20
A delicious tart treat just over 100 calories
Write a review
Print
Prep Time
15 min
Cook Time
34 min
Prep Time
15 min
Cook Time
34 min
For the bars
  1. 1 2/3 cups whole-wheat flour
  2. 2 tbsp water
  3. 1/4 tsp salt
  4. 1/4 tsp baking powder
  5. 5 tbsp butter, at room temp
  6. 3 tbsp brown sugar
  7. 2 tsbp granulated sugar
  8. 1 egg yolk
  9. 1/2 tsp vanilla extract
  10. zest of 1 lemon
  11. 2/3 cup raspberry jam
For the lemon glaze
  1. 2/3 cup powdered sugar
  2. 2 tbsp lemon juice
  3. lemon zest
Instructions
  1. Pre-heat oven to 350 degrees F and grease up a 8x8 baking pan or dish
  2. Combine flour, salt, and baking powder in small bowl
  3. In a larger bowl, mix butter and sugars until nice and smooth (you can use electric mixer if you want)
  4. Beat in the egg yolk, vanilla and lemon zest until mixed through
  5. Slowly add the flour mixture, pouring some of that water in between. It should resemble coarse crumbs
  6. Spread 2/3 of the batter into your dish and then spread the raspberry jam as evenly as you can across the whole thing (this can be tough as the crumble wants to stick to the jam and roll with it)
  7. Pour the rest of the batter on top of the jam layer
  8. Bake for 30-35 minutes until golden on the top
  9. While it bakes, make the glaze--just mix the powdered sugar, lemon juice and zest
  10. When the bars are done, let them cool for 10-15 minutes and then drizzle that delicious glaze! Allow it to set and you're done!
Adapted from Damn Delicious
hungry and fit https://hungryandfit.com/
 Pretty simple, huh? And pretty DELICIOUS too! I’m pretty proud of achieving this one. You can play with the recipe as you want–change the flour, the jam, have fun with it! These will definitely go in my permanent recipe book…in my mind. Enjoy the recipe! And as always…stay hungry and fit!

BONUS PUPPY PIC

SHE'S SO CUTE

SHE’S SO CUTE

spacer

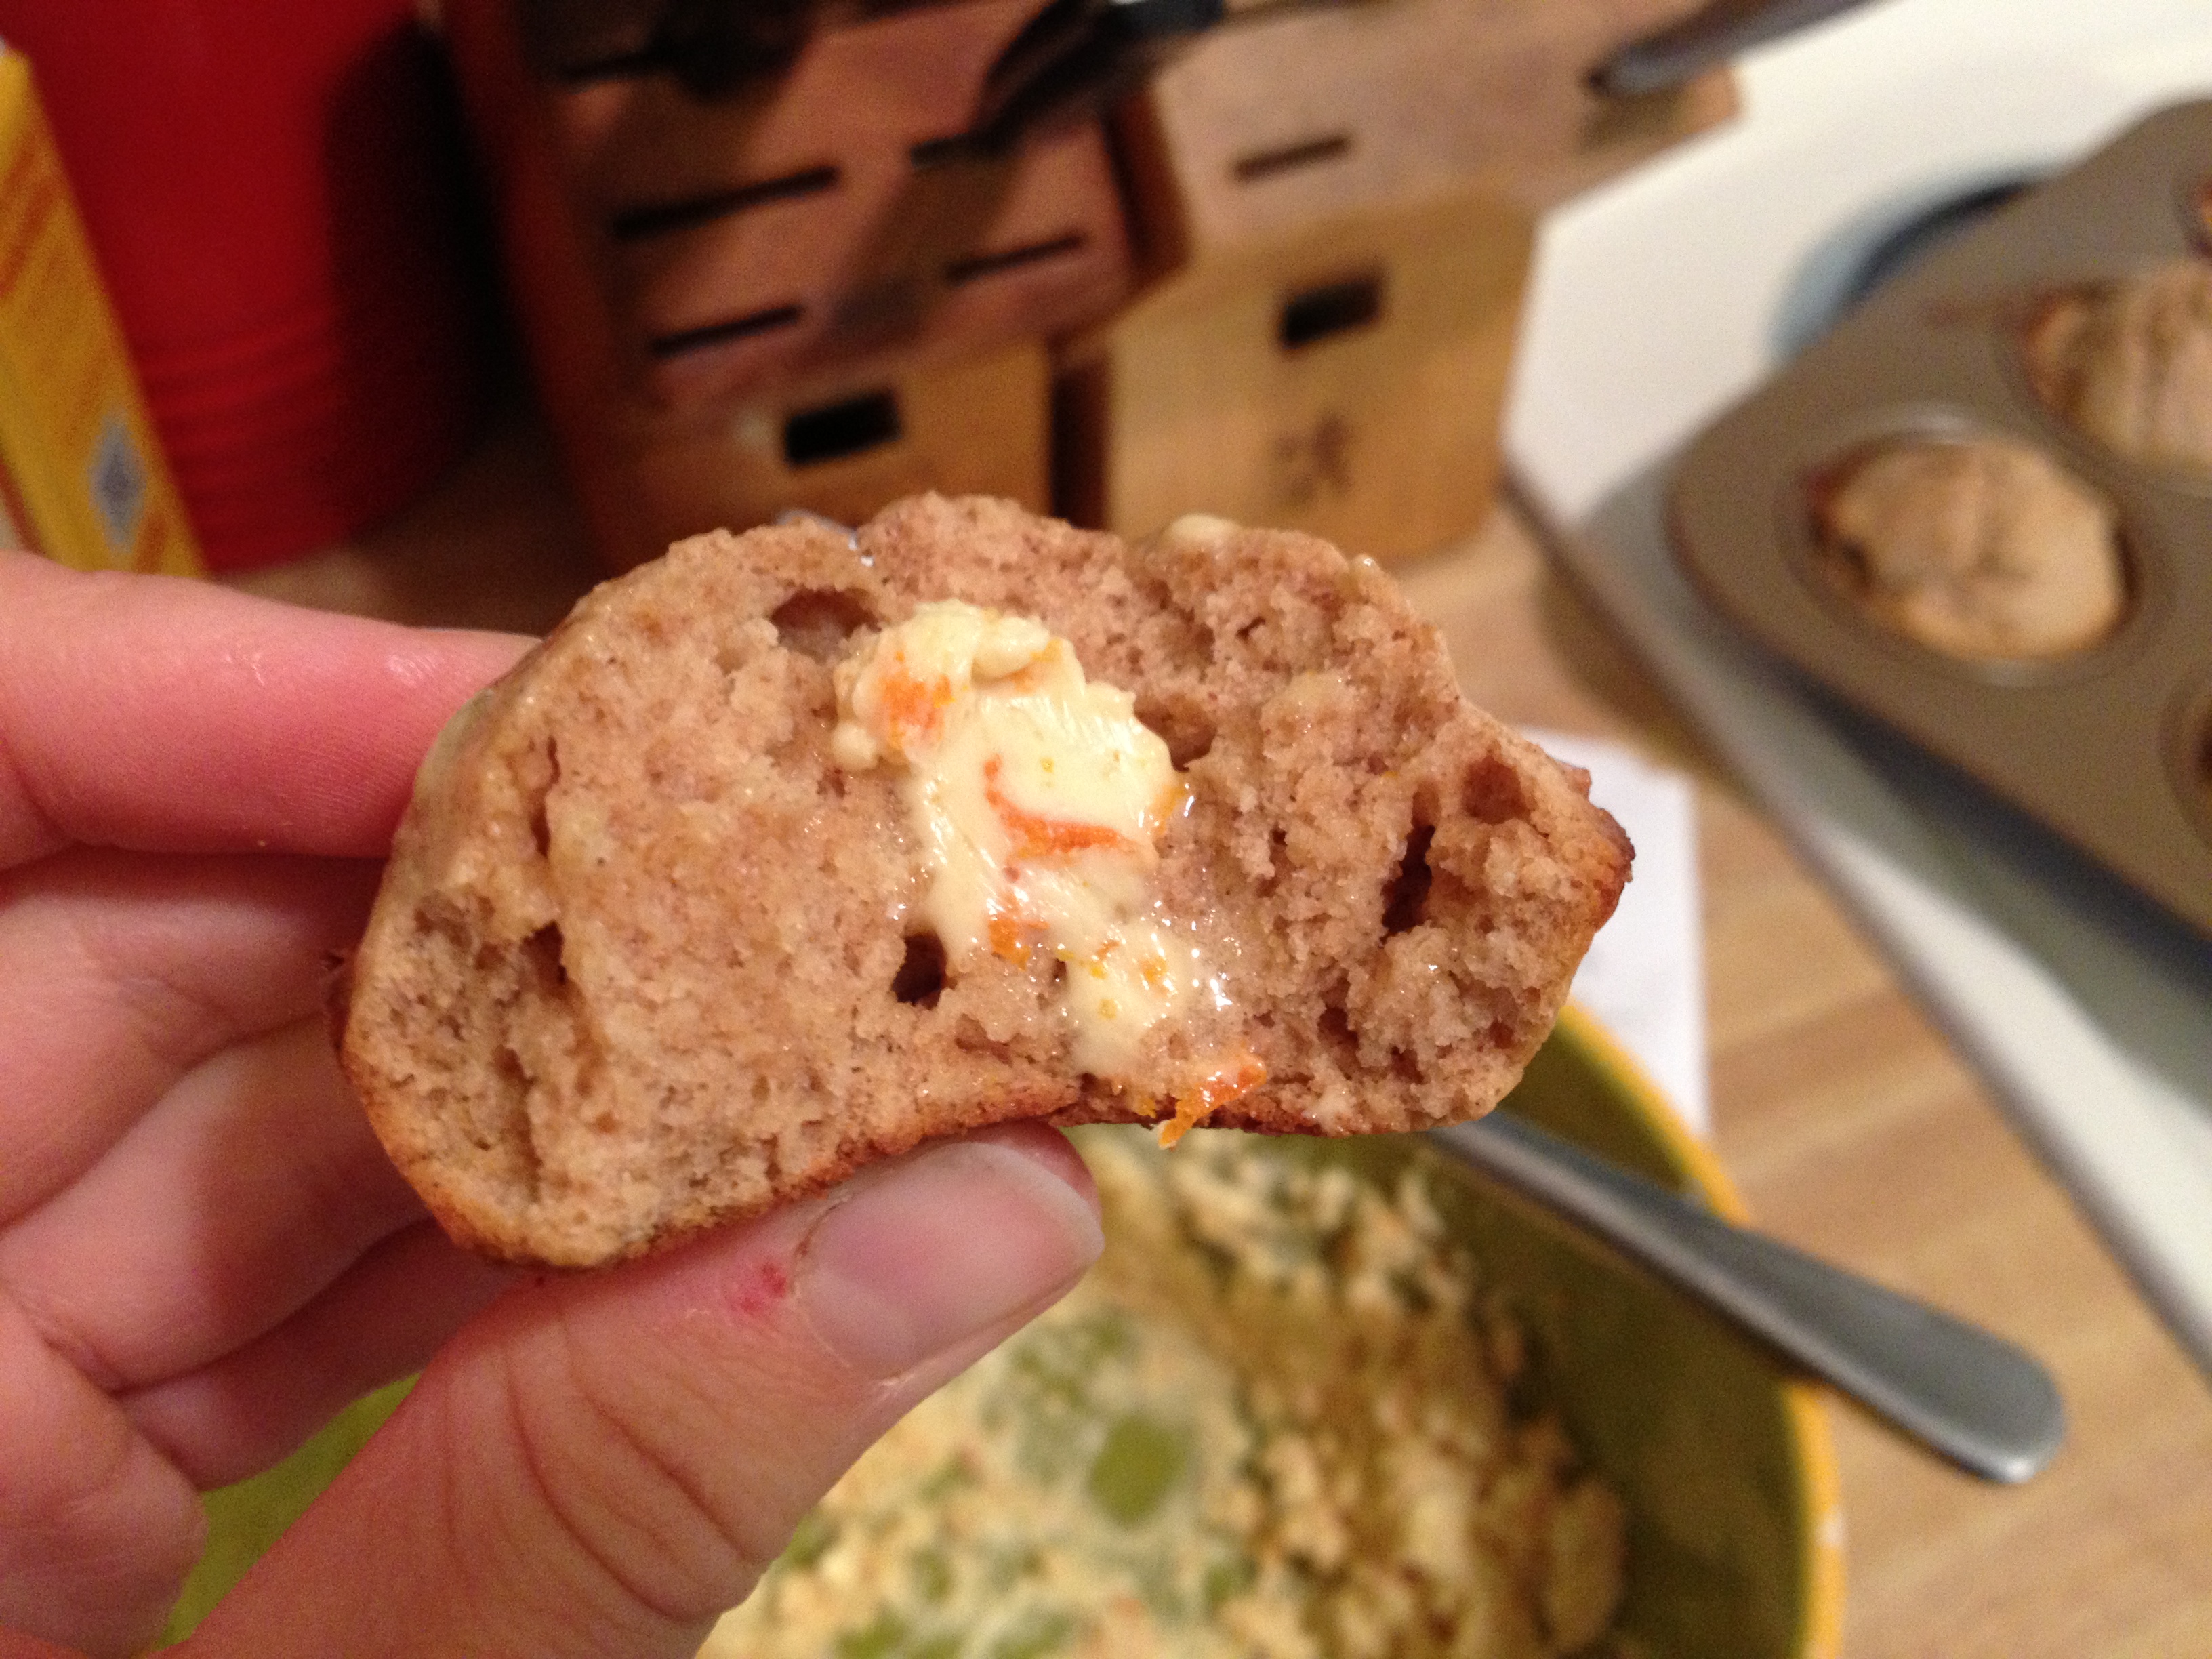
Maple Orange Butter Recipe

If you’re looking for a super simple, delicious recipe, then you’ve come to the right place! This post directly follows yesterday’s post as the two go together perfectly! This maple orange butter goes great on tons of things: muffins, pancakes, toast, waffles, scones–you name it! I took this right out of the Cuisinart mixer cookbook and it was so good, I wanted to share. Easy as 1-2-3!

photo 2 (35)

  • Creation Time: 5 minutes

Ingredients

  • 1/2 cup butter
  • 2 tbsp maple syrup
  • zest of 1 orange (I did two clementines)

Directions

1. Beat the butter in a bowl until nice and light

photo 1 (15)

2. Grate the orange into zest and mix that in along with the maple syrup

3. Refrigerate until ready to serve

Yeah, I was serious…1-2-3! Whip this up in five minutes to make another baked product have some shazaam! It’s easy, it’s delicious, it’s butter! Use this recipe to stay hungry and fit!

  • Question of the Day: Do you ever used flavored butters?

BONUS KITTY PIC

photo (30)

spacer

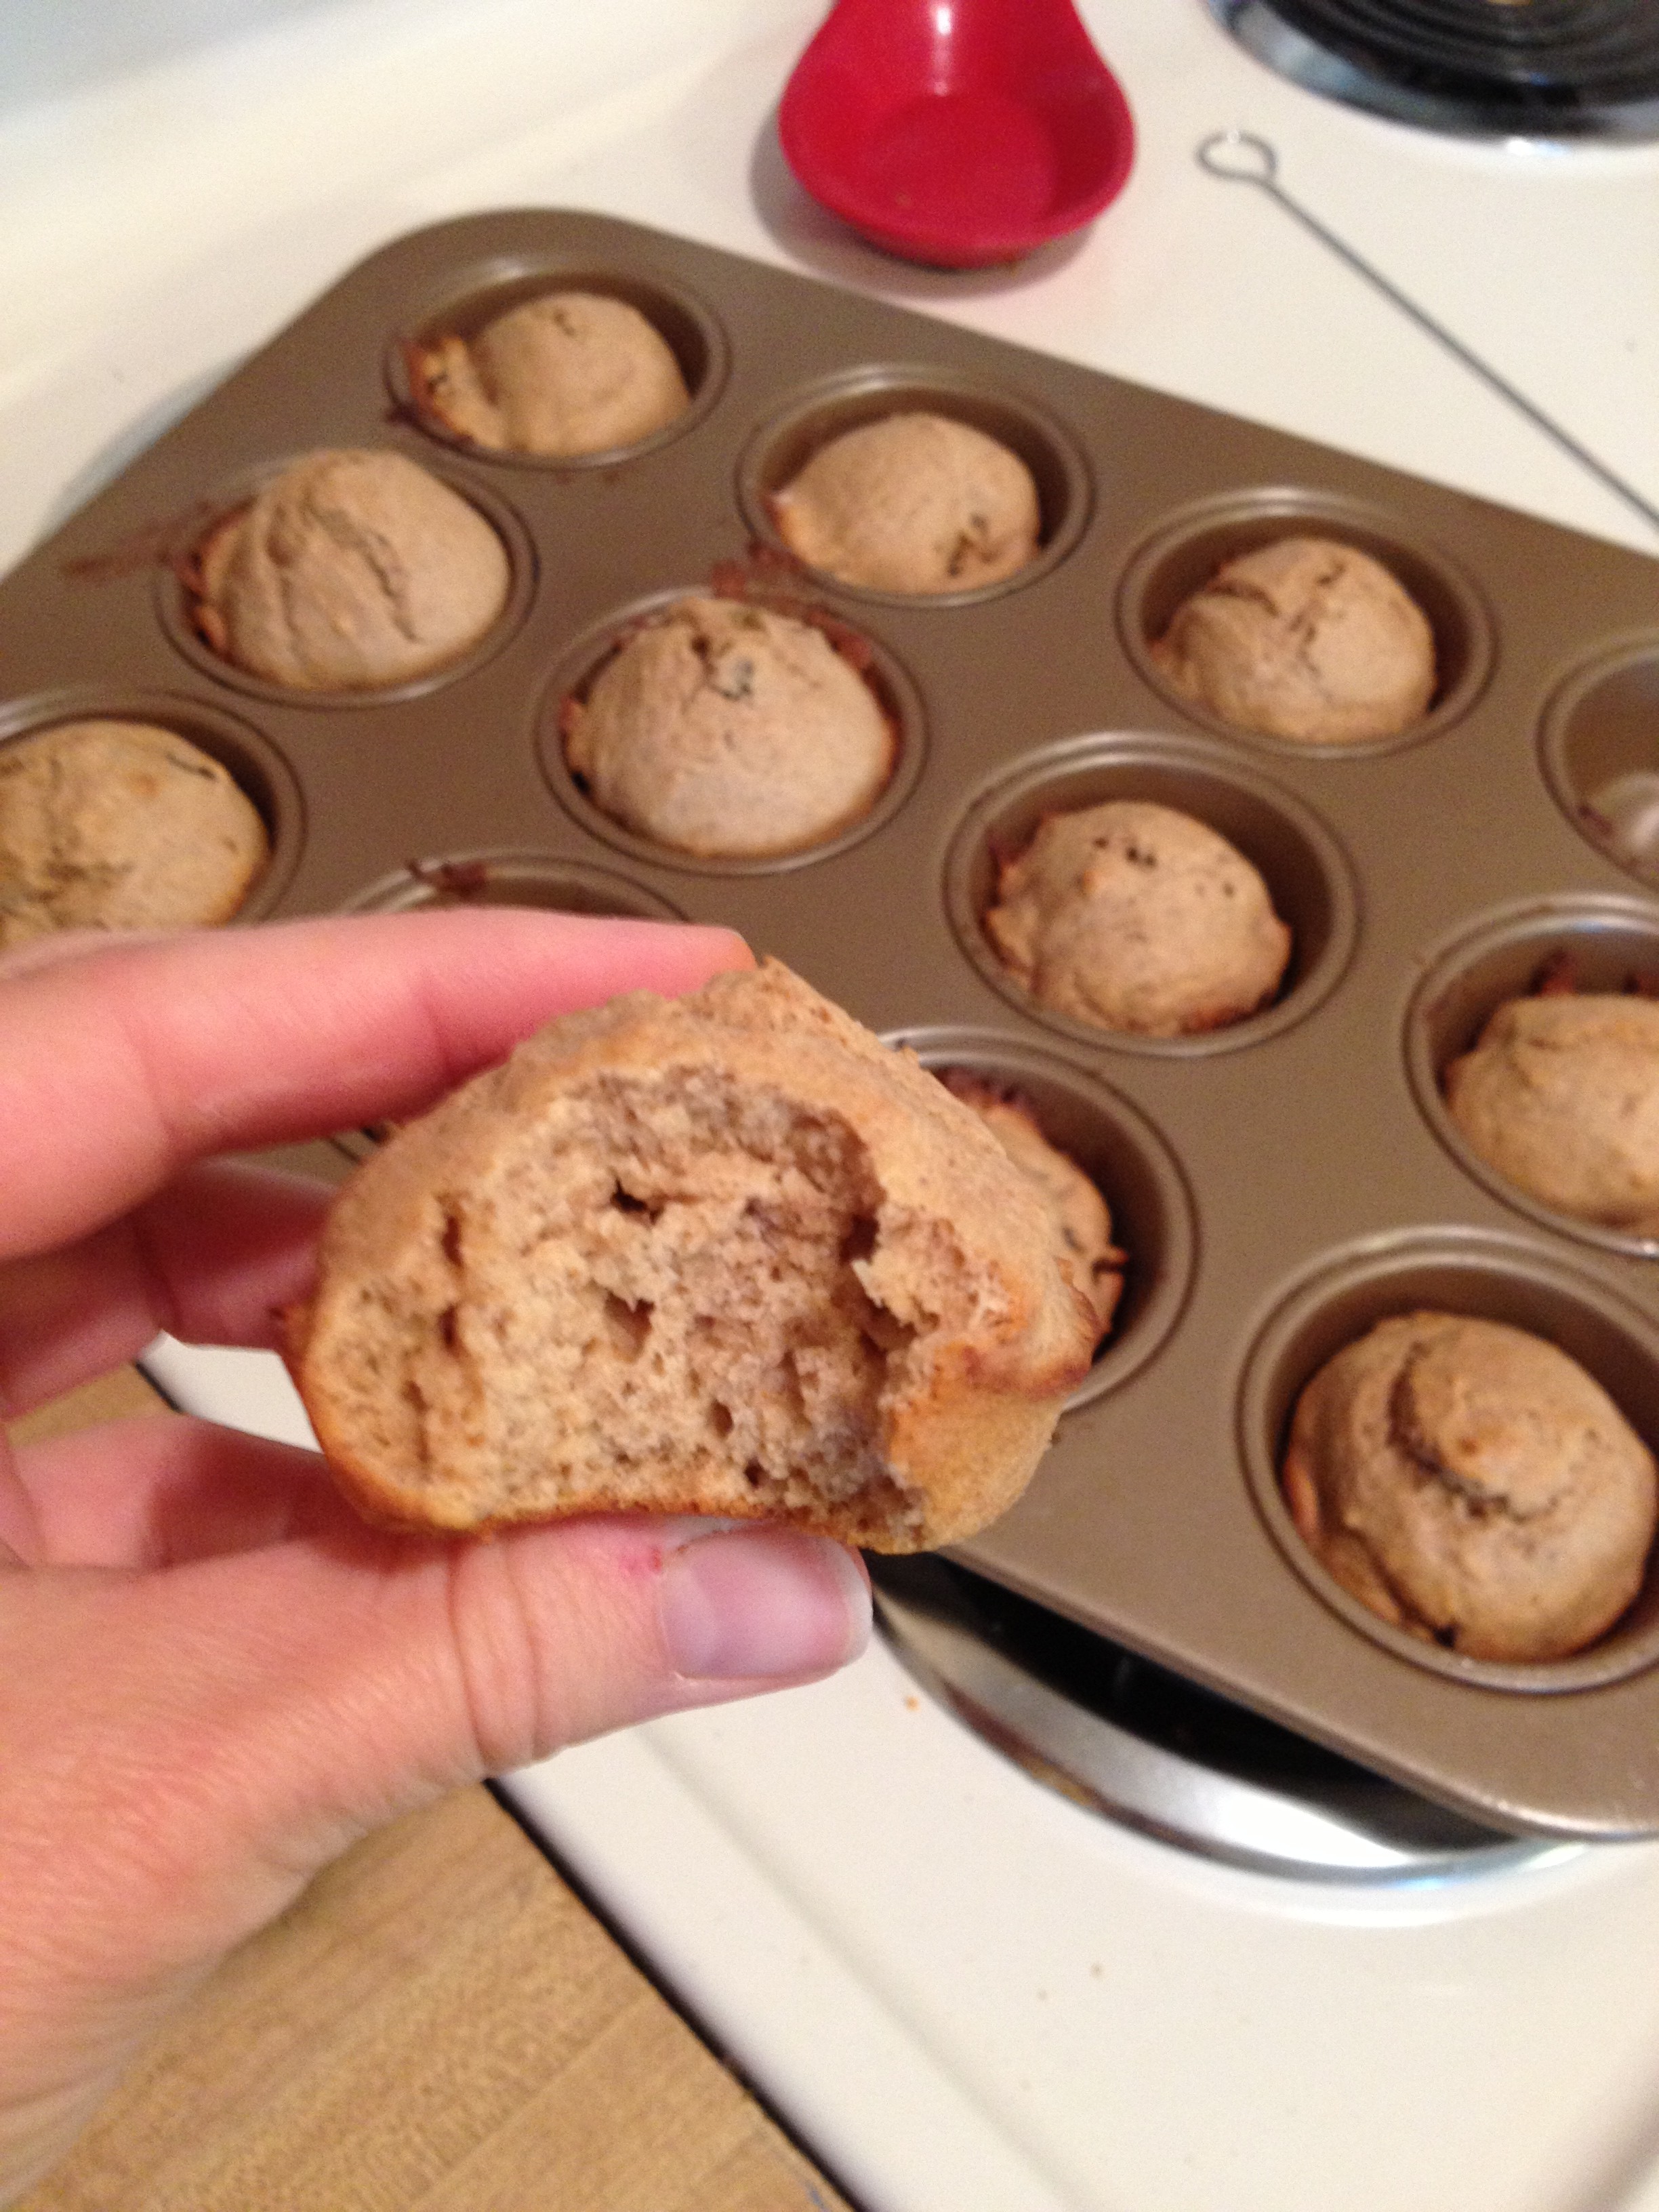
Whole Wheat Cinnamon Raisin Muffins

A muffin we don’t have to regret eating! Hurray! Ever since I got my new hand mixer (thanks, mum), I’ve been wanting to try out the recipes that came with it in a little booklet. This muffin recipe is from that booklet (Cuisinart), but I changed it to what I wanted it to be. These muffins are perfect to me because it’s a good ball of energy when I don’t have a lot of time to eat (mostly between clients). They are tasty, without being overly sweet, and leave you feeling great (rather than the sugar-coated, fat-loaded ones you will find elsewhere). I also made a maple orange butter to go along with it, but let’s save that for another post. This recipe is super easy too! I always value that.

Yum yum yum

Yum yum yum

  • Prep Time: 5-7 minutes
  • Bake Time: 18-20 minutes

Ingredients

  • 2 cups whole-wheat flour
  • 3 tbsp brown sugar
  • 1 tbsp baking powder
  • 1 tsp cinnamon
  • 1/4 tsp salt
  • 2 eggs
  • 1 cup evaporated milk
  • 1/4 cup whipped butter
  • 1/2 cup raisins

Directions

1. Pre-heat oven to 375 F. Grease up your muffin tin. I made 12 muffins, but you can make 24 mini muffins and it will take less time to bake

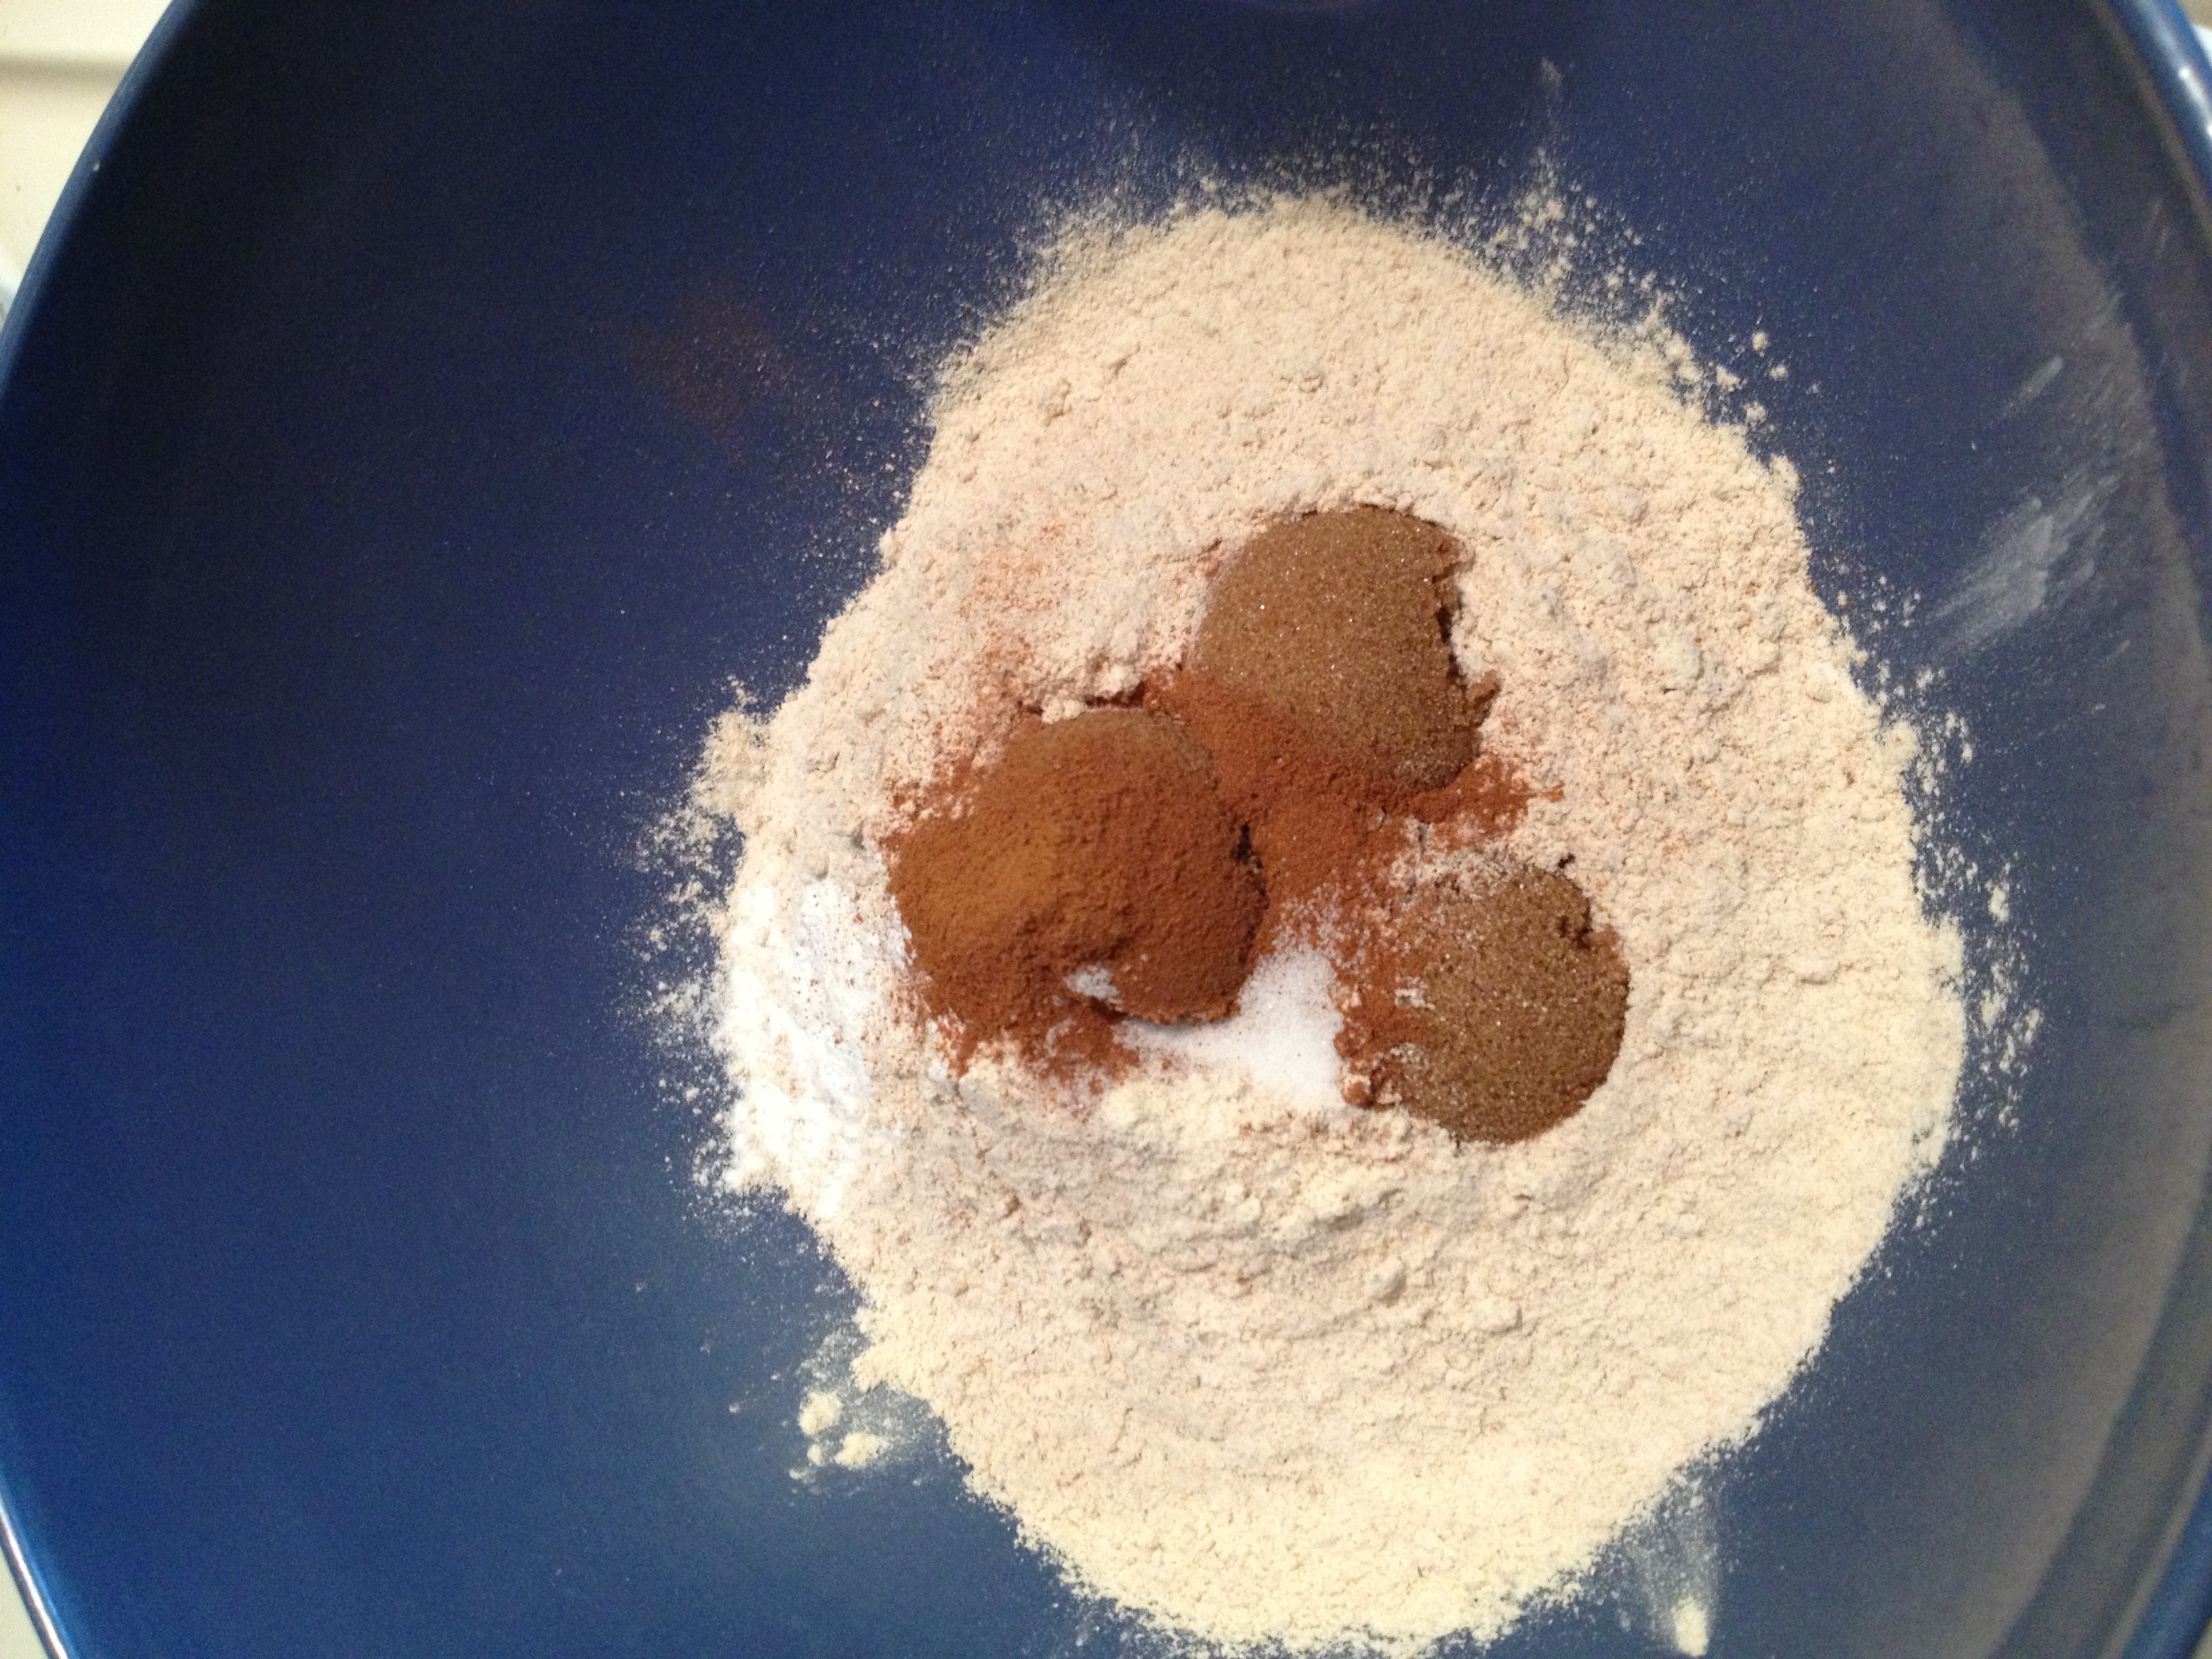
2. Put the flour, sugar, salt, cinnamon, and baking powder into a big bowl and mix

photo 1 (28)

3. Put the eggs in a smaller bowl and beat them until they become foamy.

4. Add the evaporated milk and butter into the egg mixture

5. Pour the small bowl of wet ingredients into the large bowl of dry ingredients. Mix everything together

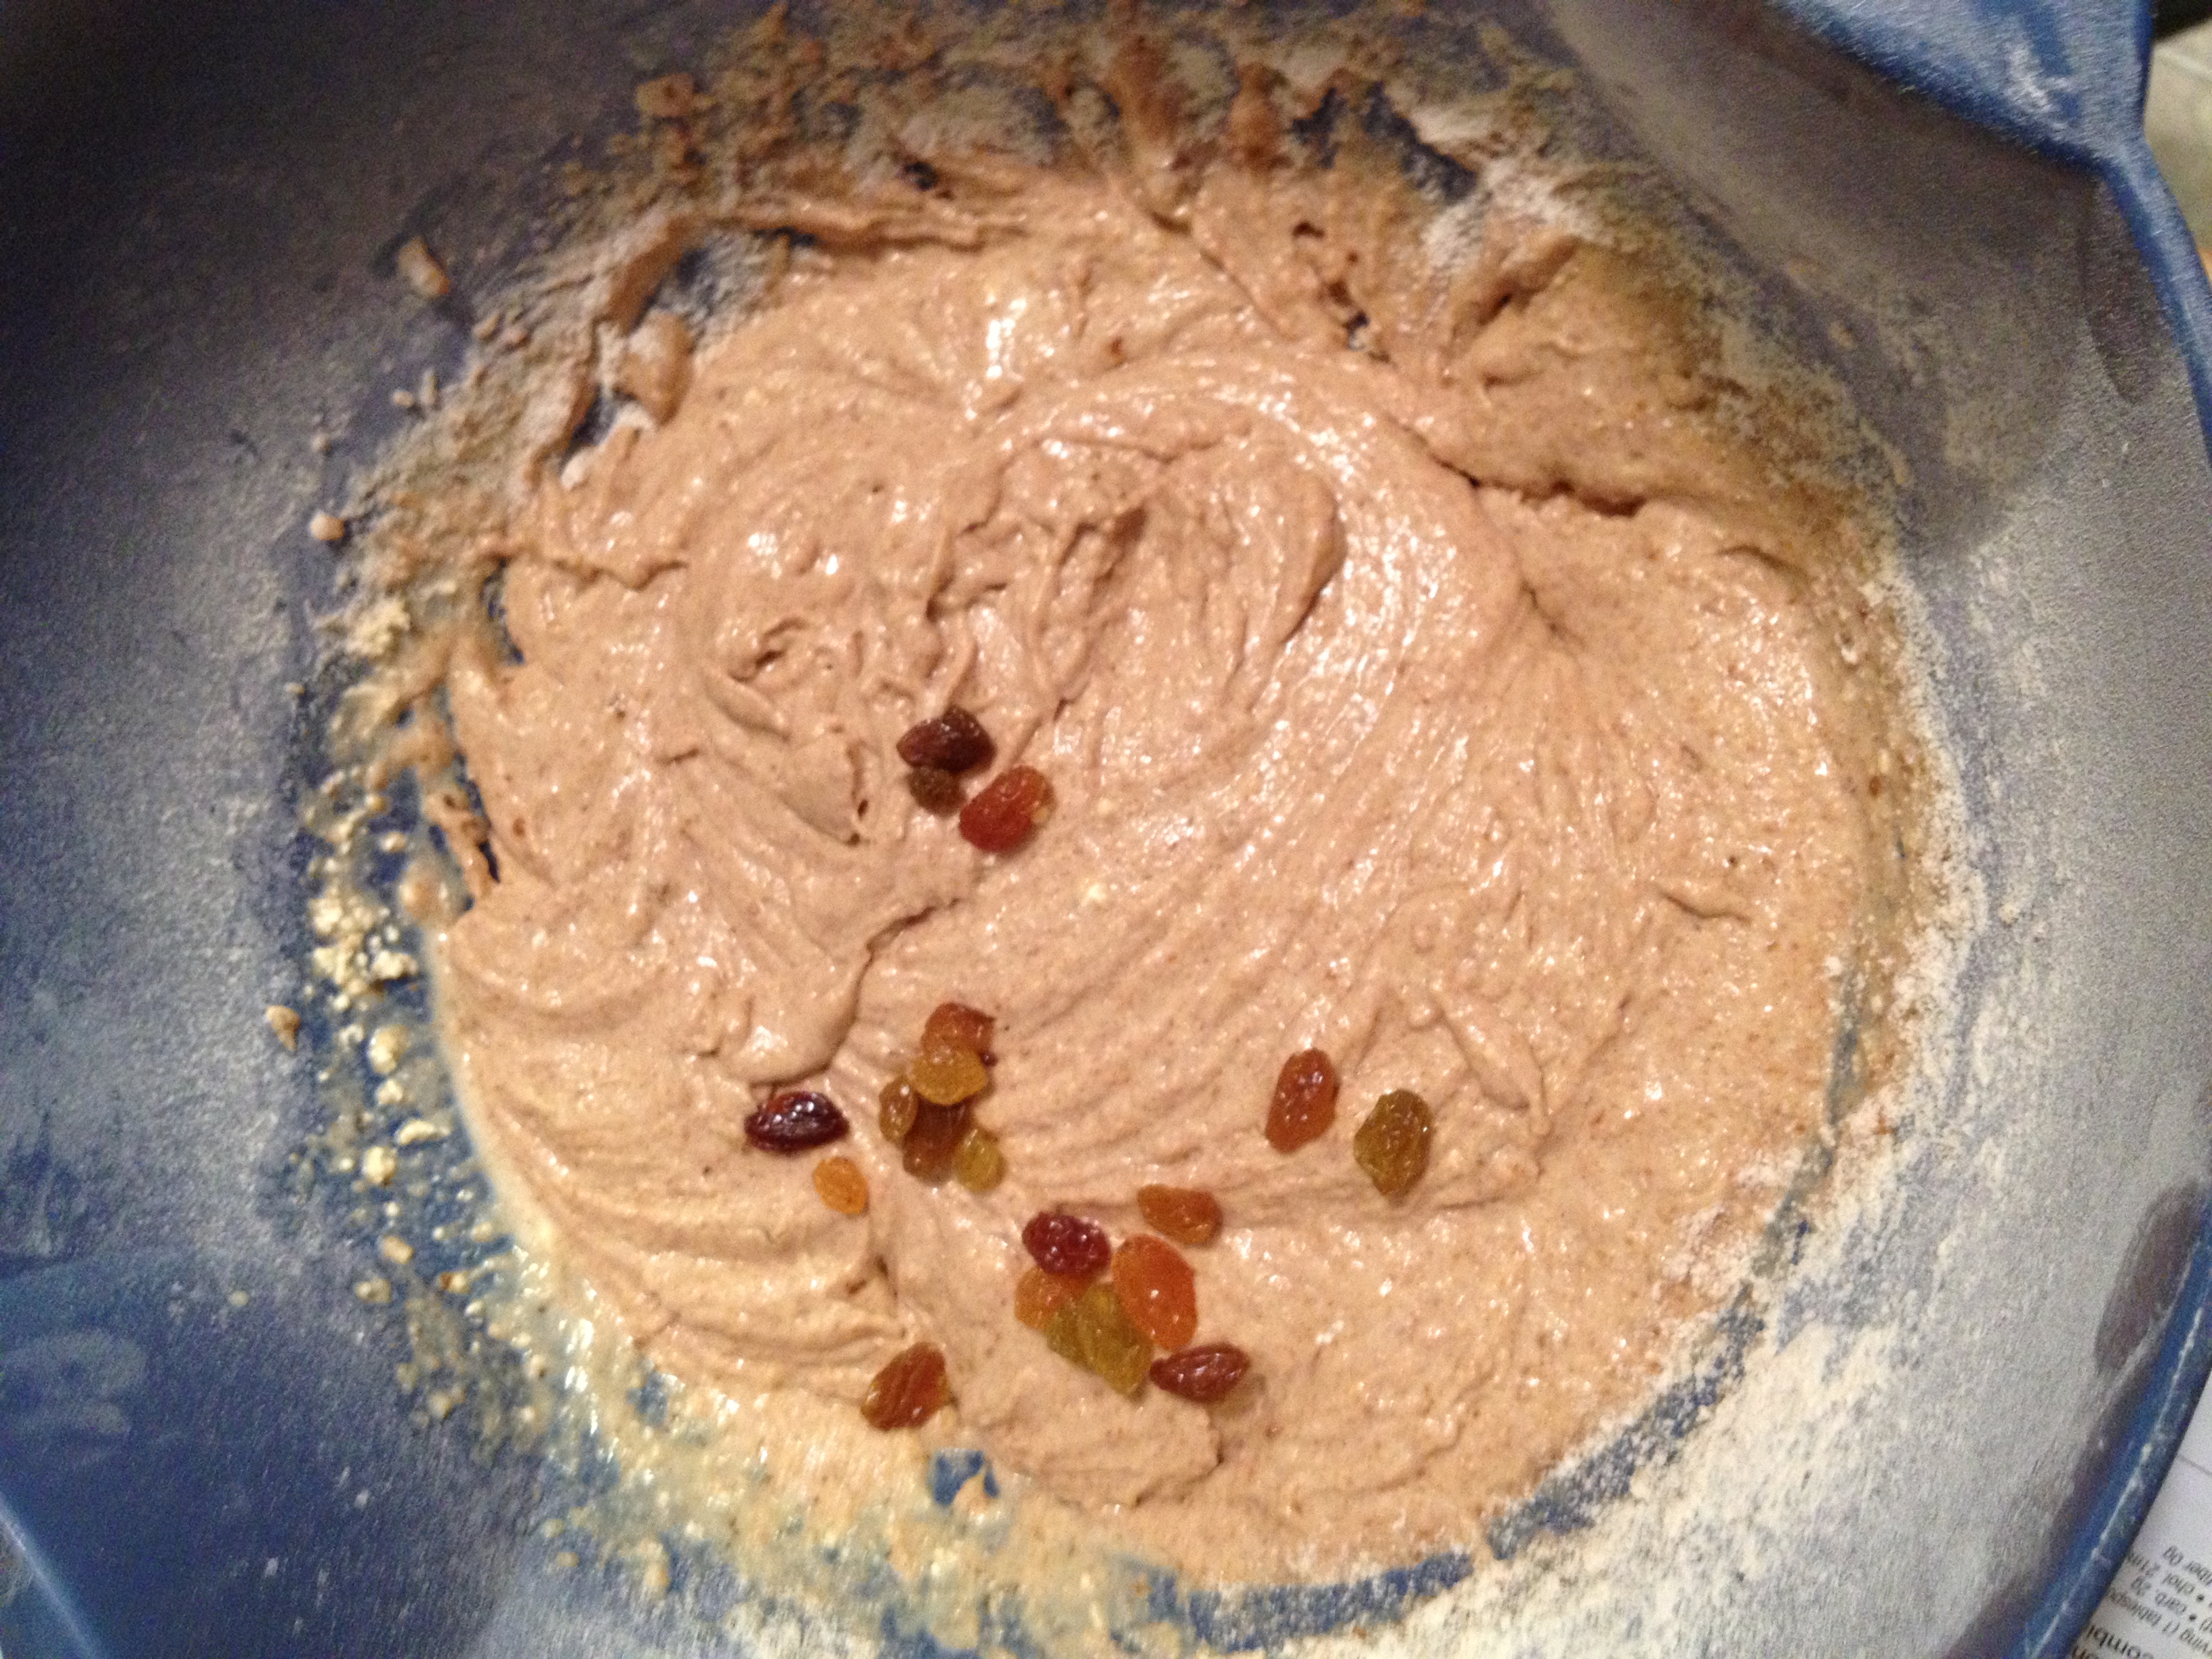
6. Fold in your raisins, can be any type, I chose golden raisins

photo 2 (29)

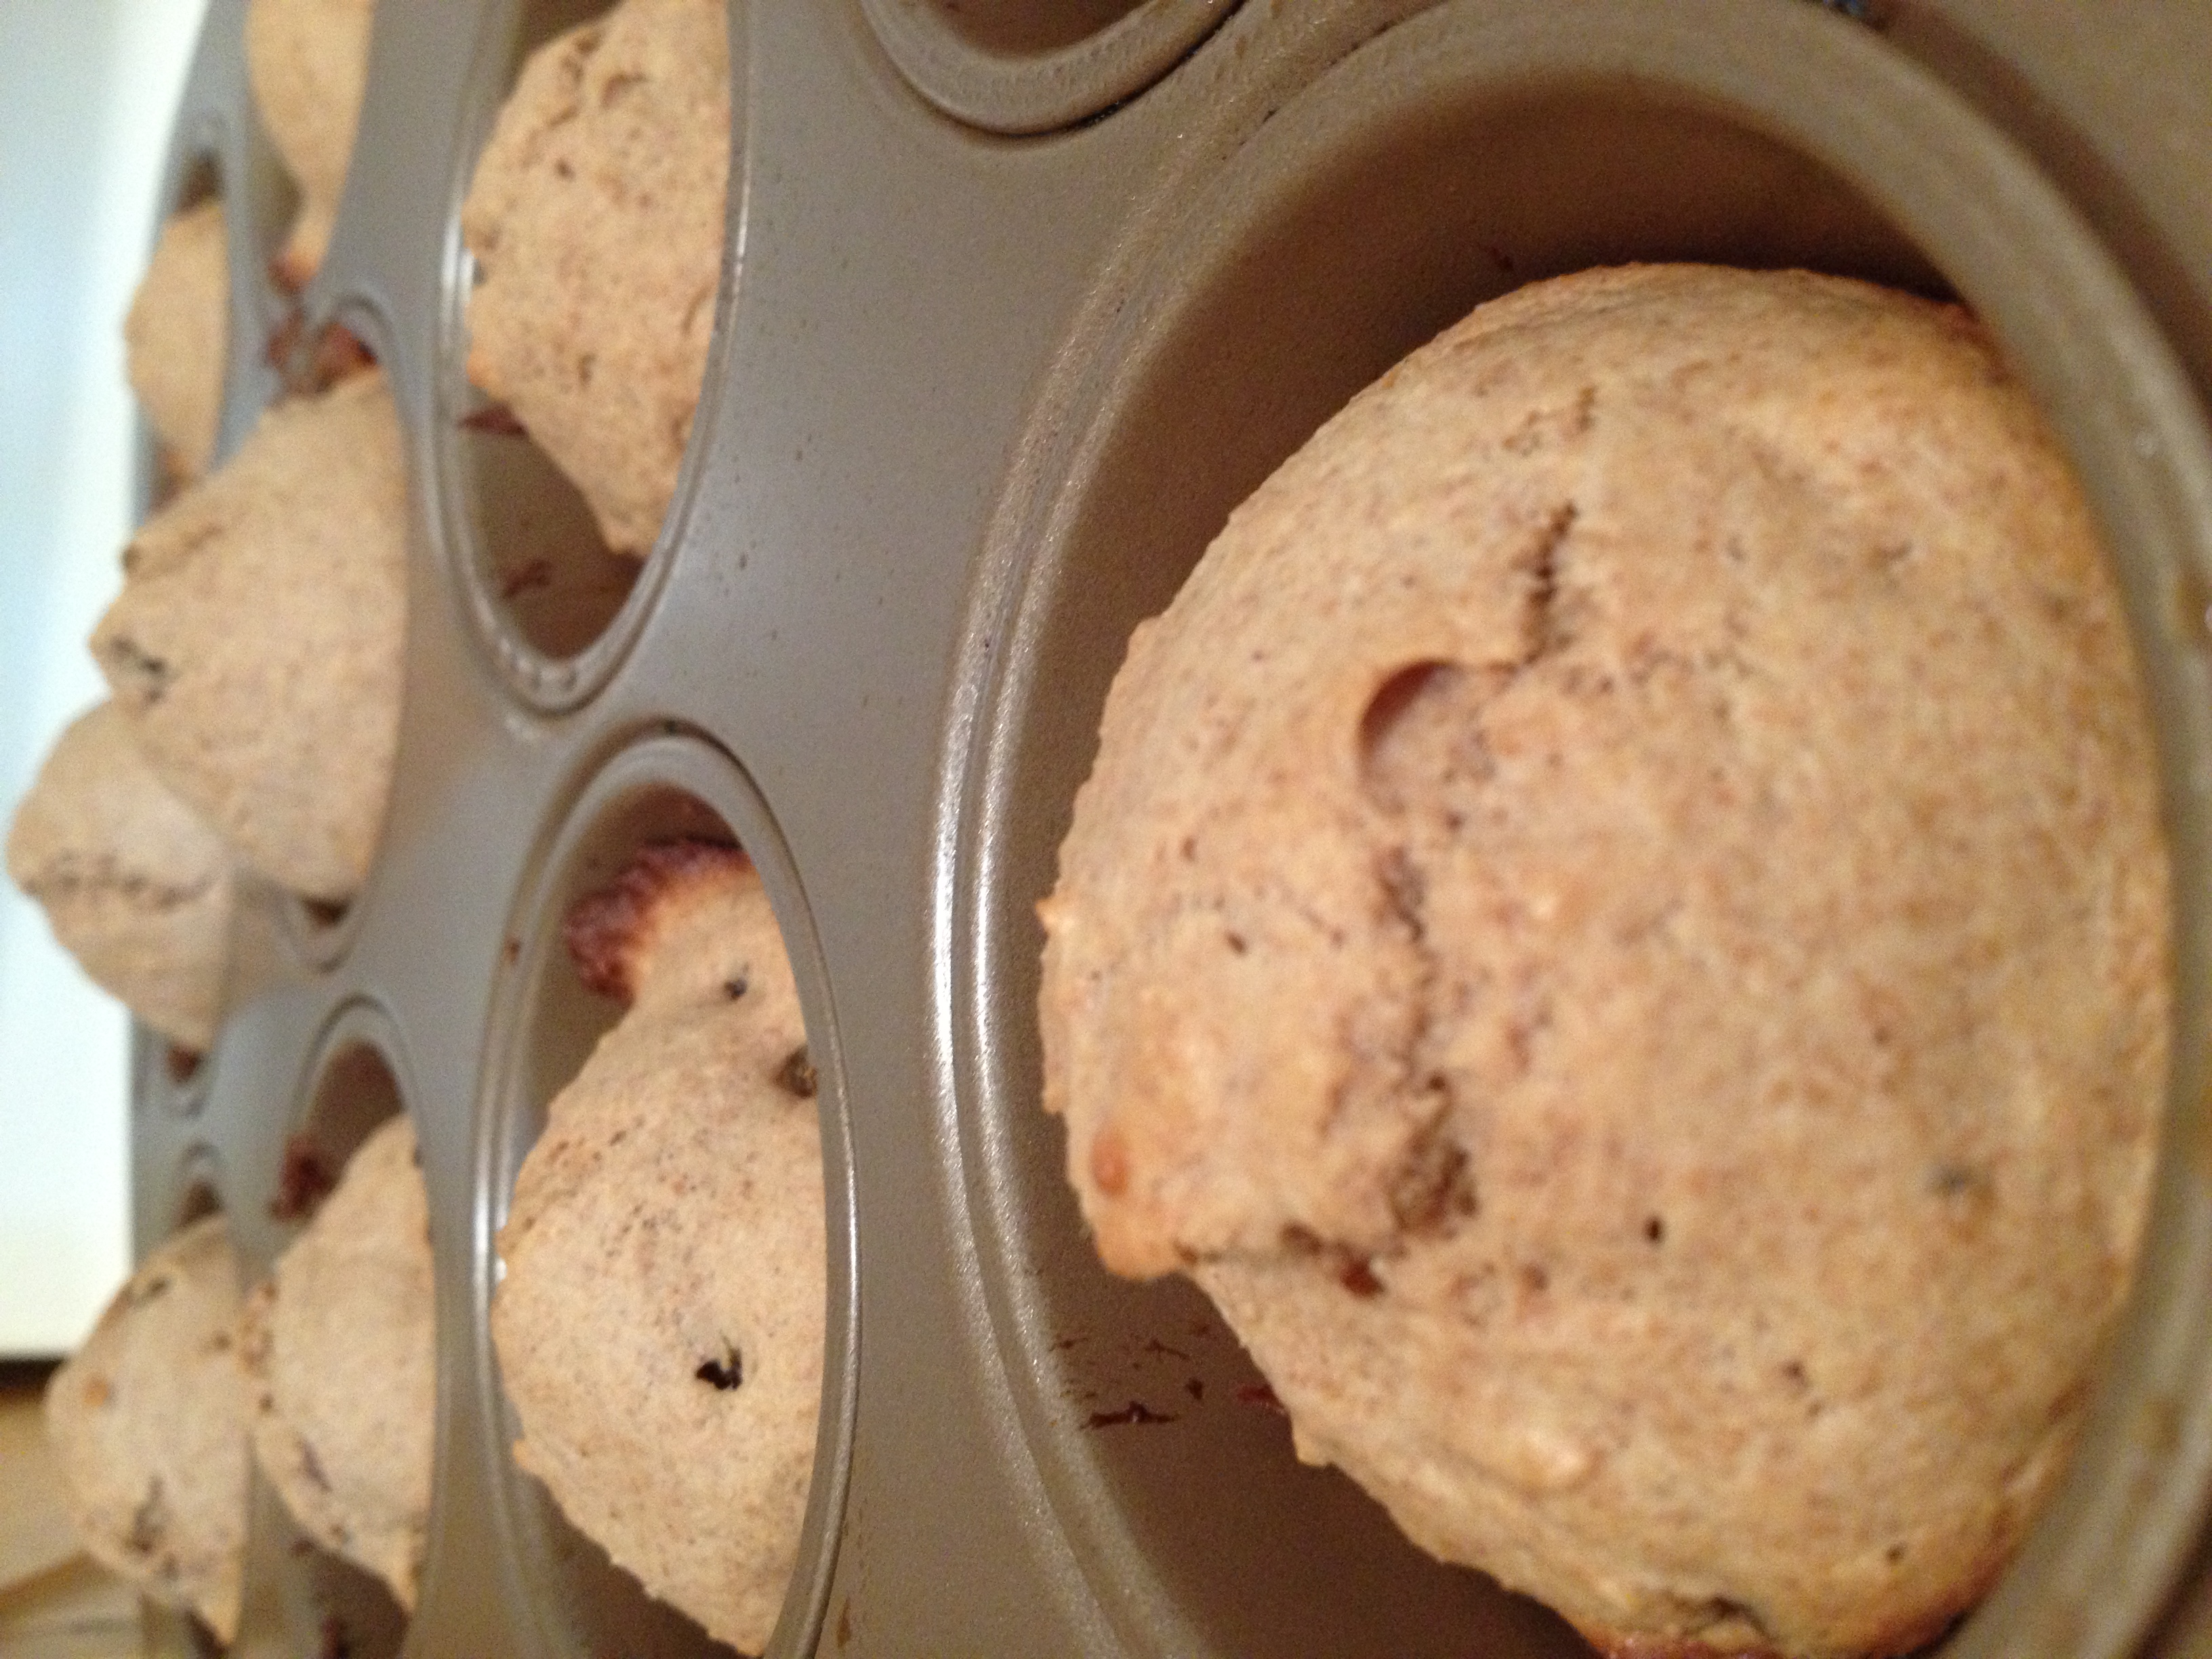
7. Spread your mixture evenly into the muffin tins. Bake for 18-20 minutes for 12 muffins, 14-16 minutes for 24 mini muffins.

photo 3 (21)

And that’s it! Really simple, huh? My favorite pair is simple and healthy. It can’t get much better than that, at least in my opinion. Use this recipe to stay hungry and fit!

  • Question of the Day: What’s your favorite type of muffin?
BONUS KITTY PIC


Sajah loves the sheepskin from New Zealand!

Sajah loves the sheepskin from New Zealand!

spacer

Healthy, Delicious Kale Dip Recipe

This past week, I bought way too much kale. Chris was so nice, he didn’t say anything, but seriously–there’s only two of us! The Super Bowl was nearing and you’ve got to have dips while watching football, can’t get much more American. I do love spinach artichoke dip, but neither were in my fridge and I believe in using what you’ve got! So I grab my enormous bag of kale and set to work on a dip! It was adapted from this recipe. This dip recipe is simple and, more importantly, delicious! It tastes like spinach and artichoke dip, but with more of a sharp flavor mixed in with that garlic creaminess. Oh, did I mention that it’s healthy too?! Read on.

photo 5 (5)

  • Total Prep & Cook Time: 15-20 minutes

Ingredients

  • 3-4 big fistfuls of chopped kale
  • 6 oz of nonfat greek yogurt
  • 2 tsp lemon juice
  • small pinch of red pepper flakes
  • 1 garlic clove
  • salt to taste

Directions

  • First, chop up your kale and garlic into very thin pieces. Try to get all the stems of your kale out.
  • Heat up a pan with some olive oil in it and then toss all your kale and garlic in. You can put the salt over it now. Cook until kale turns its dark color, about 4-5 minutes, stir now and then.

photo (41)

  • Pour the kale garlic mixture into a food processor if you have one, or if you don’t (or don’t know how to use yours yet–cough, not me at all) then just put it in a bowl and get ready to use a beater! Before you start beating, blending, or mixing, put in the greek yogurt, lemon juice, and pepper flakes! Stir up that mixture as much as you can until it’s relatively smooth!
photo 4 (16)

Beat it! (Thanks, mum, for the hand mixer!)

photo 1 (25)


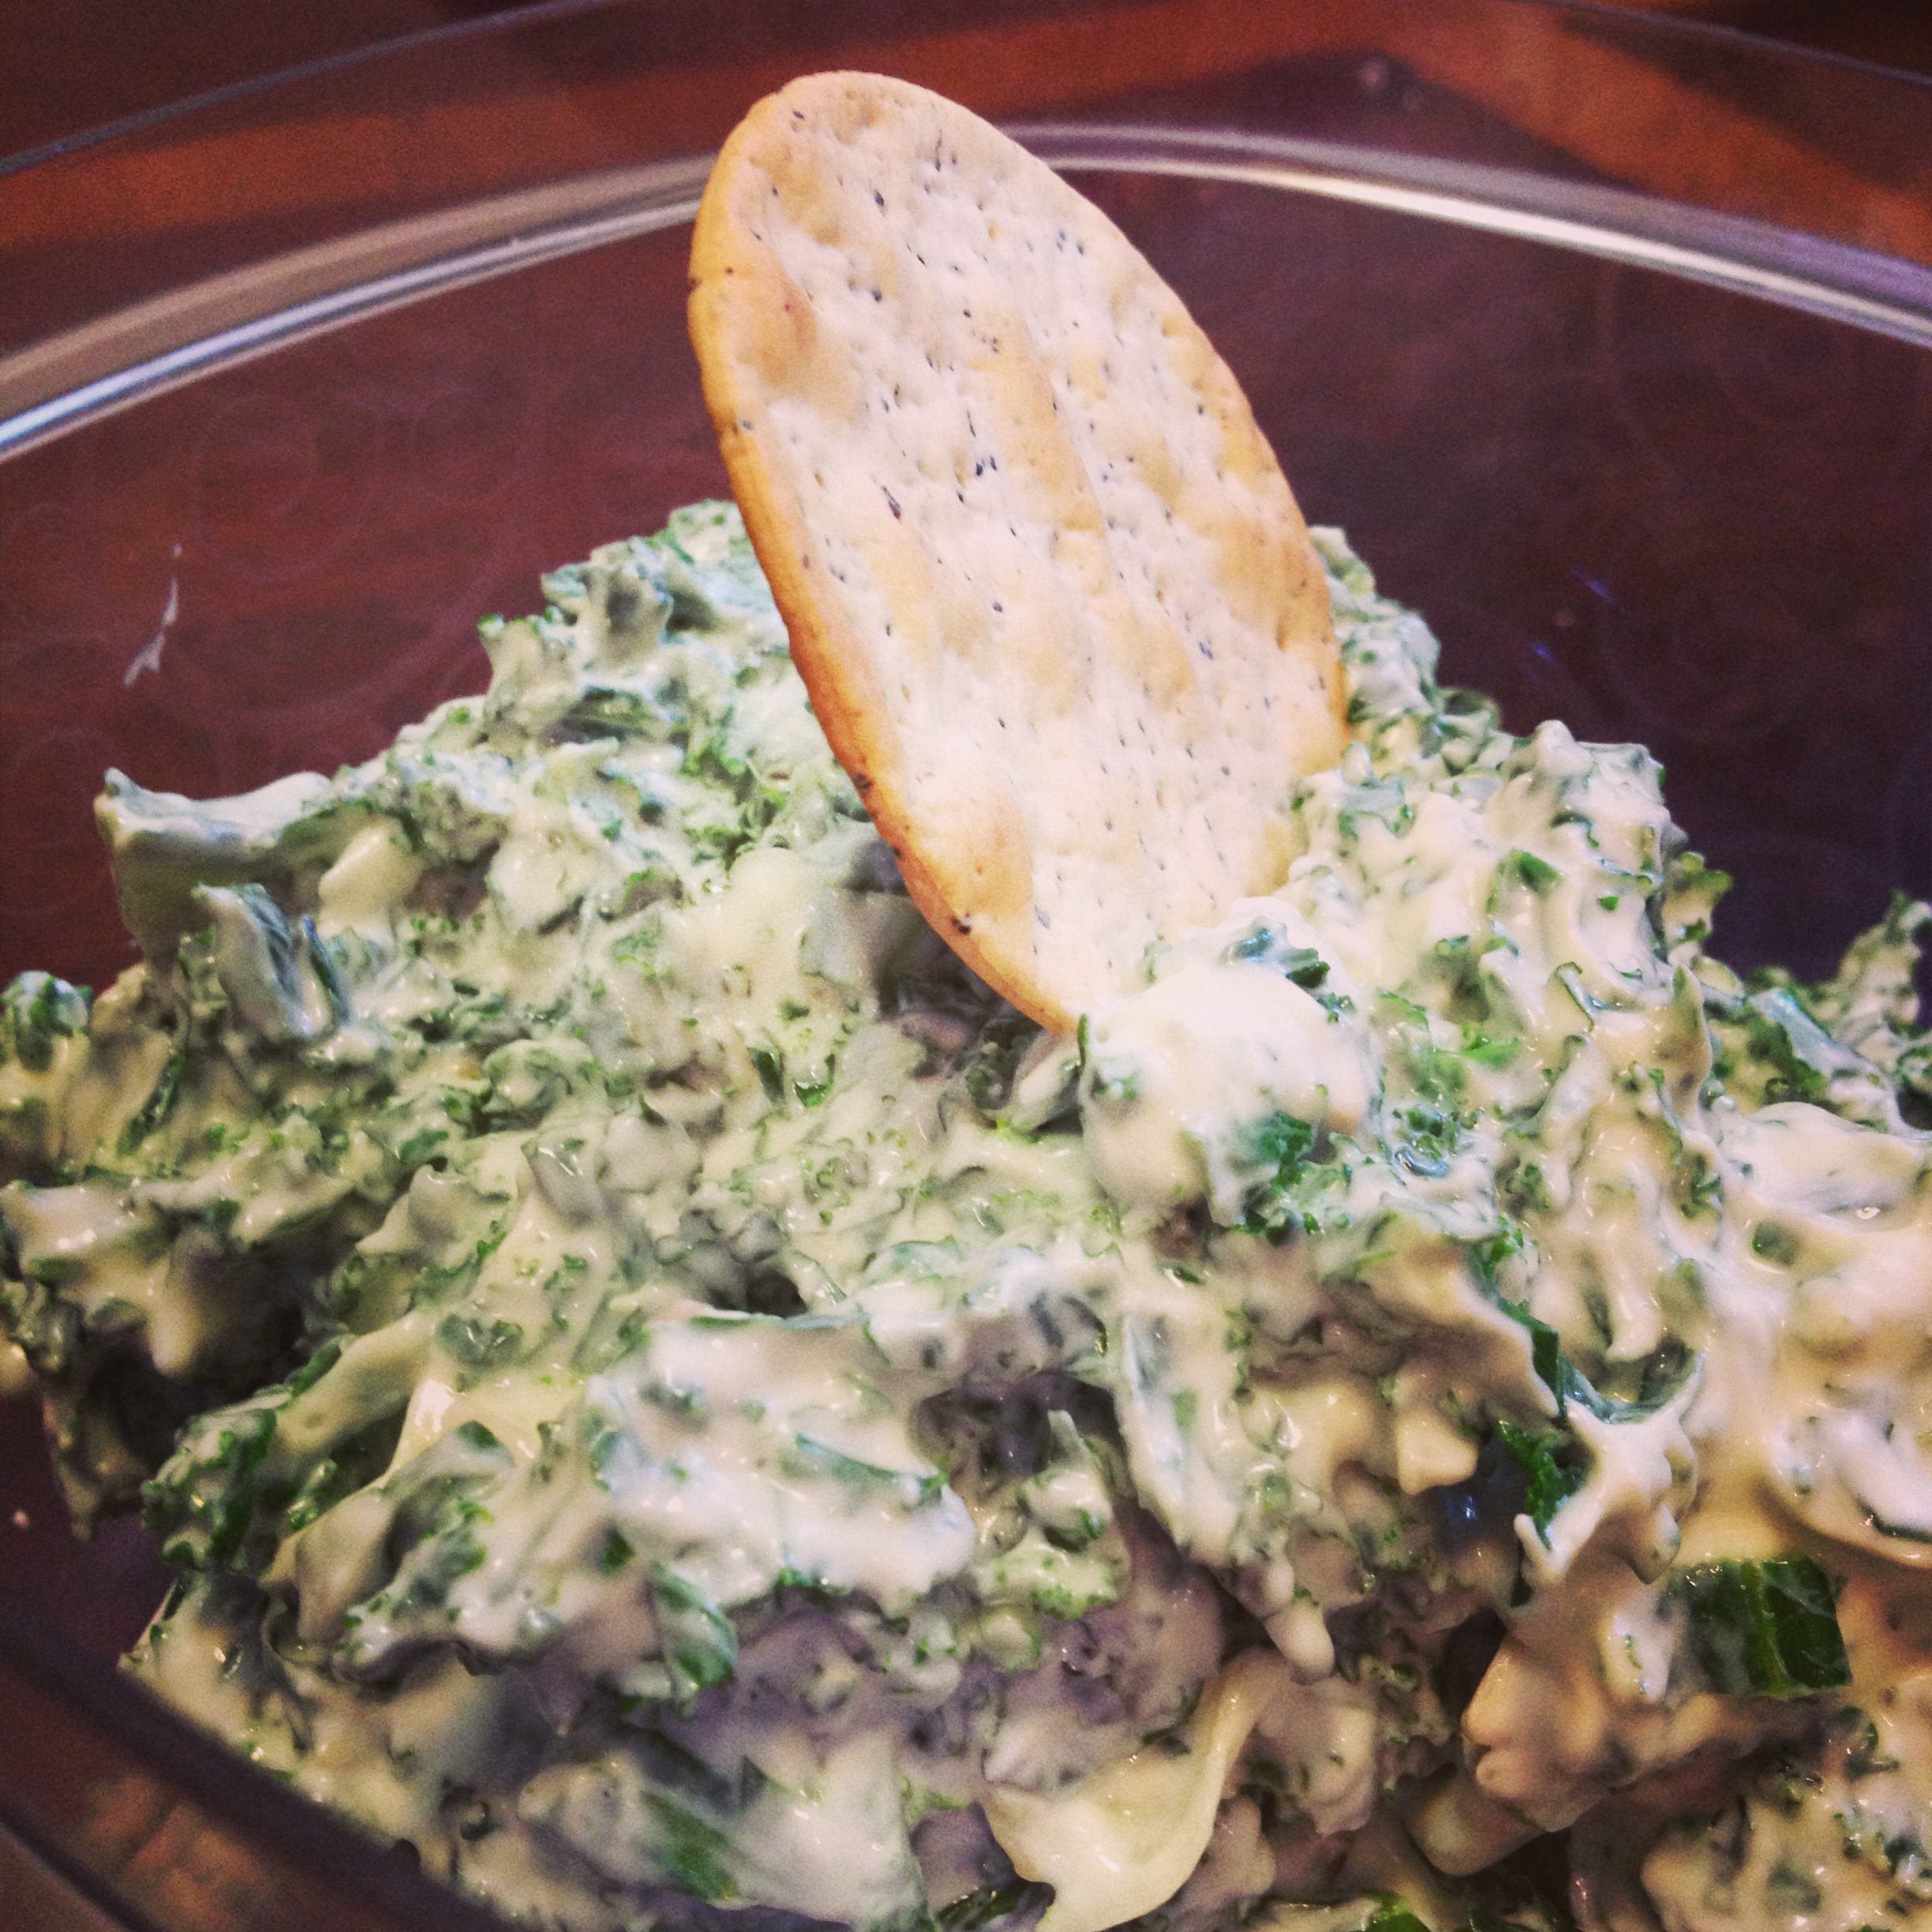
  • And…serve. Yeah, it’s that simple. Once you get a hang of the chopping, then it’s a breeze.

photo 2 (26)‘

I would serve warm or luke warm, although you can refrigerate for a few days if you aren’t going to be using it right away. I liked this dish so much I made two batches! The garlic creaminess mixed with the sharp flavor of the kale is a winner in my book. And unlike with other dips, there’s no sense feeling guilty about it because it has all great ingredients! This one will come up again, I can assure you. Try this recipe out to stay hungry and fit!

*Question of the Day: What’s your favorite dip?

photo 3 (19)

spacer