Archives

Healthy Oatmeal Raisin Cookies

I think I talked many times about how baking is therapy. Not shoving sugar in your face, but the act of baking itself. It’s the act of creation and producing something, I think. Also getting to work with your hands helps too. Bringing several ingredients together to make something completely different is fun and satisfying. The process consumes you so you aren’t thinking about the challenges or difficulties in your life. Also, another great byproduct is the delicious things themselves! However, we don’t want to feel guilty about eating this “invention,” we should instead enjoy them. 

This recipe is based on of this one here. It’s an incredibly easy recipe that’s hard to go wrong (just make sure you measure). It doesn’t take many ingredients, in fact, if you bake often, you’ll probably have most of them in your pantry. Sometimes Hungry doesn’t like when I bake “healthy” recipes, but I’m thinking that this time he did because they didn’t last over 24 hours (and there were at least a dozen of them). Praise to healthy oatmeal raisin cookies! This recipe is a crowd pleaser without making you feel the guilt!

Stiiir it up

Stiiir it up

spacer

How to Make Cream

This may be the simplest recipe you will ever see coming from us. But when it’s done, right, boy is it sooo good. Most Americans will usually pick out the whipped cream out of a can, but that’s a no go for Kiwis. Plus, once you go real cream, you can never really go back. I’m drooling just thinking of it. Thick, barely sweet cream good atop anything you can picture up. Plus, there’s no excuse not to make your own cream because it is so darn easy! So you want to know how to make cream? Let’s go over the incredibly difficult recipe. 

IMG_6539-e1392353286768-768x1024

Homemade Cream
An easy way to make your own cream
Write a review
Print
Total Time
2 min
Total Time
2 min
Ingredients
  1. 1 pint heavy whipping cream
  2. 1/4 tsp vanilla
  3. 1 tsp sugar
Instructions
  1. Put ingredients into bowl
  2. Beat them until it turns into whipped cream
Notes
  1. The higher quality heavy whipping cream, the better your cream will come out
hungry and fit https://hungryandfit.com/
I know you're lying to me if you tell me this doesn't look good

I know you’re lying to me if you tell me this doesn’t look good

Remember, the better quality heavy whipped cream you start out with will dictate how good your final product will be. You can use this cream for anything: pie, hot chocolate, coffee, fruit–the list never ends. I will make a big bowl when I make scones and then savor the rest of it for decadent hot chocolate nights in winter time. Can’t get better than that, huh? I swear, once you go homemade, you’ll never buy a can again! As always, stay hungry and fit!

*Question of the Day: What’s your favorite thing to put whipped cream on?

BONUS ANIMAL PIC

Can you spot all three critters?

Can you spot all three critters?

spacer

Hungry’s Hearty Hash – Veggie Mode Engaged

Here is a vegetarian breakfast option that packs a ton of protein! It also has a decent amount of fats and carbs too, so this is a real winner in my book! It’s simple too. You’ll only need one burner, one skillet, one spatula and or your favorite thing to move stuff around in a pan with! And a microwave doesn’t hurt.

 photo 2 (16) photo 3 (14) photo 4 (10)

Hungry's Hearty Hash (Vegetarian Style)
Serves 2
A vegetarian style of a hearty breakfast--a complete meal with protein, carbs, and fat!
Write a review
Print
Prep Time
3 min
Cook Time
8 min
Prep Time
3 min
Cook Time
8 min
Ingredients
  1. 1 potato
  2. 3 eggs
  3. 1 cup spinach
  4. 4 cloves garlic
  5. 2 Morningstar sausage patties
  6. 1 piece toast
  7. Olive oil
  8. Salt pepper
Instructions
  1. Wash your potato and cut into small cubes so they cook faster.
  2. Throw them in a skillet at medium heat, then treat with olive oil, salt, and pepper.
  3. Throw your patties into the microwave for a minute. Use that minute to rough chop your garlic.
  4. Put your garlic in with the potatoes.
  5. Cut your patties into 8-12 pieces each and wash your spinach.
  6. Put the patties into the skillet, then cover everything with the slightly wet spinach.
  7. Once the spinach has cooked down, crack three eggs into the skiller.
  8. Add some more salt and pepper as you spread the egg around the pan evenly.
  9. Now, once it looks like a beautiful omelet that is ready to flip, smash it into a hash.
  10. Serve with your favorite ketchup or hot sauce!
hungry and fit https://hungryandfit.com/
It’s a fast one that should take under ten minutes total! It filled us for an amazing Sunday. We believe starting the day includes a great, hearty breakfast. Especially if that day includes Dragon Age and workouts. We believe it’s good to include all macronutrients in a meal, if possible. And we show you despite being a vegetarian, it is possible to get all your nutrients! Even a meat-eater like Hungry knows it. Eat this breakfast to stay hungry and fit!

Question of the Day: What’s your favorite breakfast?

spacer

Peanut Butter Pancake Cookies

Here’s another good recipe for a quick snack for plenty of people. This one is inspired by Carrots n Cake, but I kind of changed it drastically. Pancakes are great. Cookies are great. Putting them together is absolute genius…meet the Pancake Cookie. I was nervous about the recipe, but it ended up turning out well. I like that this recipe is totally versatile and you can make it what you want it to be. Plus, it only took about 15 minutes to create–that’s a time I can get behind. This is actually a perfect breakfast idea because it’s a PANCAKE ON THE GO! What! Genius! Alright, alright, let’s get to the actual yumminess.

photo 3 (12) photo 1 (16)

Maple syrup is king

Maple syrup is king

Peanut Butter Pancake Cookies
Yields 7
A cross-breed between a pancake and a cookie that is downright delicious and easy to make.
Write a review
Print
Prep Time
3 min
Cook Time
12 min
Prep Time
3 min
Cook Time
12 min
Ingredients
  1. 1 cup pancake mix (we used Protein Kodiak Cake)
  2. 1/2 cup milk
  3. 1/4 cup peanut butter
  4. 1/4 tsp cinnamon
  5. handful of chocolate pretzels (but you can use chocolate chips)
Instructions
  1. Pre-heat 350 degrees F
  2. Mix all ingredients together
  3. Put dollops (cookie-size) onto a greased baking sheet
  4. Put in for 10-12 minutes
  5. Take out and enjoy
Notes
  1. I would definitely serve with maple syrup if you can!
Adapted from Carrots n Cake
hungry and fit https://hungryandfit.com/
Simple, healthy, delicious. Three words that describe this recipe. I was actually shocked about how quick this recipe was and pleased as well. When I need a snack or a breakfast, I can whip these up in a second and store them for the week. What do you think? They may look strange, but they do taste good and they are guilt-free! They go so well with maple syrup and a glass of milk so I highly suggest doing this. And remember, you can put whatever you want in this recipe! Go crazy, have fun! Try this recipe to stay hungry and fit!

spacer

Pack a Sandwich!

A short post that is to the point! You need to eat! Whether you are trying to gain, maintain, or lose weight, eating consistently is important. You have to continue to provide your body with the proper macro and micronutrients. Proteins, fats, carbohydrates, vitamins, minerals, etc. Those substances help you live a healthy life with body systems that function properly! Now, if you don’t have a specific goal or program, keep reading because this is for the people who just want some general guidance in their eating. Since I am telling you that you need to eat, now I will tell you how to construct a simple sandwich that will help you get through the day. 

Yes, that is a sandwich.

Yes, that is a sandwich.

Step 1: Bread

Try to steer clear of anything that has your typical “bad” ingredients. The less ingredients, generally, the better. (Remember that) Stick to breads that have a lot of whole grains to regulate your digestion. Look for whole wheat and nuts or seeds if you can tolerate them.

Hungry’s Choice: Rudy’s Honey Sweet Whole Wheat

Step 2: Condiments

I love mayo, but mustard is a much friendlier option for your body. It should really only have mustard seed and vinegar, too much more and it’s a bit over-processed. Again, look for whole grains for some texture and don’t be afraid to try something spicy. Remember, nutritionists say that spicy foods actually help you burn calories because of their heat-bearing properties. 

Hungry’s Choice: Inglehoffer Stone Ground Mustard

Step 3: Cheese

My favorite! Please don’t be afraid to eat some cheese. It may not be a primary source of protein, but good cheeses contain some healthy-ish fats. And we need fat. Cheese will be the main source of fat on your sandwich, so don’t feel too bad about it! If you’re not on a super tight budget, try to splurge on a higher quality cheese… it’s less processed and the proteins haven’t been denatured as much, often.

Hungry’s Choice: Kerrygold Dubliner Cheese

Step 4: Meat

Who doesn’t love bologna, taylor ham, salami, or any other fatty meat? I certainly do, and while a slice or two may find its way onto the sandwich for some extra calories… we all know that lean meats should be your primary protein source. I’m looking at you turkey and chicken breast. (Or tuna for the fish eaters. Or big mushrooms for the veggies. Or Morningstar products for whoever wants those!) 

Hungry’s Choice: Columbus Cracked Peppered Turkey Breast

Hungry’s Spurge: Hormel Di Lusso Genoa Salami

Step 5: Vegetables

Yes, pickles count as vegetables! But you should have some more nutritious ones as well. Darker leafy greens are a good source of iron and help add that fresh taste. Spinach is a front-runner but arugula gives you that bitter bite. Also, consider using kale since it’s just so popular now!

Hungry’s Choice: Organic Baby Spinach

Hungry’s Splurge: Bubbie’s Bread & Butter Chips

OH, and here is my game changer to the sandwich game. I only put mustard on one slice of bread. On the other, I put HUMMUS. TAKE THAT! Whatever it may be, make your sandwich something you want to eat in order to keep that fuel tank running! Make sure to use whole grains when you can and make it healthy! And as always, stay hungry and fit!

spacer

Tofu Pad Thai Recipe

Who doesn’t love Pad Thai? Well, I’m sure plenty of people don’t, but I do. I invited my brother, Kai, and his girlfriend, Sophie, over to have dinner and hang out last night while Hungry was in San Diego with his brother. Sophie had the fun idea to cook Pad Thai for dinner. I had never made Pad Thai completely from scratch, so this was a fun project. There were certainly the ups and downs, like roasting the peanuts to perfection and then overcooking the noodles, but it’s all a part of the journey! Sophie came up with this recipe and it is really simple to do, even if the directions look lengthy. It’s basically cut, cook, and season! It’s an incredibly easy Pad Thai recipe that will make sure to load you up with your vegetables. You can add or take out whatever you’d like–make it your own and most importantly, have fun!

Chop it up

Chop it up

photo 2

Sophie and Noke cooking

 photo 5 photo 4 photo 2 (1)

Easy Pad Thai
Serves 6
A fun dinner to cook at home for the whole family
Write a review
Print
Prep Time
15 min
Cook Time
15 min
Prep Time
15 min
Cook Time
15 min
Ingredients
  1. 3 cloves garlic
  2. 3 carrots
  3. 1 red bell pepper
  4. 1/2 cabbage
  5. 1/2 a bunch of green onions
  6. Olive oil
  7. Soy sauce
  8. 1 block firm tofu
  9. 3 eggs
  10. 1 package of flat thin rice noodles
  11. 1 cup bean sprouts
  12. Hoisin sauce
  13. 2 limes
  14. 1 cup peanuts
  15. Red pepper flakes
Instructions
  1. Cut up carrots and red bell peppers into strips. Slice up cabbage and loosely chop up green onions
  2. Put water on to boil in a large pot
  3. Put raw peanuts in a skillet with salt on a low heat
  4. Square the tofu and put in oiled skillet, top with soy sauce. Cook tofu on medium-high heat with a lid on it
  5. Heat up a wok and saute garlic in olive oil. Add carrots, green onions, and red bell peppers for 5 minutes and add soy sauce
  6. Put in the cabbage and add soy sauce (only if low sodium)
  7. Scoot the vegetables to the side in order to scramble the eggs on the other side. Once the eggs are cooked, mix in with the vegetables
  8. Once the water in the pot is boiled, cook noodles as directed on your packet
  9. Drain noodles and put in the with vegetables and olive oil. Add the tofu. Mix together with tongs
  10. Chop the roasted peanuts
  11. Serve with lime, bean sprouts, and chopped peanuts
hungry and fit https://hungryandfit.com/
Pad Thai always fills me with warm good memories of eating it growing up with friends and family. This will be another great addition to the string of happy memories. Even if it may seem intimidating, I want you to try it! Go out and get the veggies you want and then dive in. This is a great meal for a group and even more fun to cook with people! The most important part of journeys, whether they be exploring a new recipe or diving into a new career path, is that you should never take yourself too seriously and always allow yourself to have fun. What’s the point otherwise? Anyhow, enjoy and use this recipe to stay hungry and fit!

BONUS PUPPY PIC

Noke certifiably shredded up her bed yesterday

Noke certifiably shredded up her bed yesterday

spacer

Nutty Granola Bars

[Please welcome back our guest food blogger, Jamie, along with her wonderful recipe!]

**Jamie’s passion for food and cooking began as a young girl, while watching her mother in the kitchen.  Her curiosity has pushed her to learn how to make a lot of her own products from scratch instead of buying it at the market like hummus, granola, yogurt, pickles, and much more.  Jamie is currently studying to become an Occupational Therapist and would love to incorporate cooking into her practice one day.**

jamie bio

It can be hard to find the right granola or power bar; they are usually too expensive, high in calories, or just taste bad.  These Nutty Granola Bars, loosely inspired by Kind bars, are high in protein and fiber, and super easy to make!  They are a perfect afternoon snack to get you through the long workday, quick energy before a workout, or an easy breakfast.

In my making these, I played around with spices, coffee grounds, and fancy Hawaiian sea salt to create a more complex flavor, but feel free to use whatever flavors you love.  Also, my friend dehydrates her own fruit so I was lucky enough to get to use a beautiful assortment of freshly dried fruits! 

Ingredients:

  • ¾ cup millet puff cereal (or rice puff cereal)
  • ¾ cup quick cooking oats
  • 1 ½ cups almonds, pecans, and pumpkin seeds (use whichever nuts and seeds you like or have on hand)
  • 1 cup dried figs, apples, peaches, and strawberries, chopped
  • 2 tablespoons Chia seeds
  • 2 tablespoons coffee grounds
  • 2 teaspoons chili powder
  • 1 teaspoon nutmeg
  • ½ cup honey
  • ¼ cup almond butter
  • ½ teaspoon Hawaiian sea salt

Directions:

 1. Preheat oven to 350 degrees F.

2. Place nuts, seeds and oats onto a baking pan and toast in the oven for 15 minutes, stirring every now and then.

baking

3. While nuts and oats are toasting, line an 8×8 baking pan with aluminum foil so that the edges hang over the side.

pan

4. Chop your dried fruit.

dry fruit cut fruit

5. Mix puff cereal, toasted nuts, seeds, oats, dried fruit, Chia seeds, coffee grounds, chili powder, and nutmeg in large bowl. Set aside.

6. Whisk honey, almond butter, and salt in a small saucepan for about 2 minutes or until smooth.

almond butter

7. Pour hot mixture over the dry ingredients, and stir until dry ingredients are coated equally.

8. Transfer to lined pan and spread evenly. Using a spatula, or the bottom of a measuring cup, press mixture tightly.

spread

9. Place in fridge for about 2 hours.

10. Pull block of granola out of pan using the overhanging foil and cut into bars.

granolablock

11. Individually wrap bars in parchment and store in an airtight container.

So yum!

So yum!

 Yields 10 bars. Use this recipe to stay hungry and fit!

 BONUS KITTY PIC

jamie kitty pic

spacer

Homemade Almond Milk

[Please welcome back our guest blogger, Jamie, with another one of her delicious recipes!]

KITCHEN EXPERIMENTS WITH JAMIE

**Jamie’s passion for food and cooking began as a young girl, while watching her mother in the kitchen.  Her curiosity has pushed her to learn how to make a lot of her own products from scratch instead of buying it at the market like hummus, granola, yogurt, pickles, and much more. Jamie is currently studying to become an Occupational Therapist and would love to incorporate cooking into her practice one day.**

jamie bio

Today, one can find milk made from almost anything—soy, rice, different kinds of nuts, etc. They can be a little easier to digest than milk and I personally like the taste. While it is possible to find great quality milk substitutes at Whole Foods and other health food stores, they can be pricy and some brands can be high in sugar and contain additives. So, why not make your own?

Making your own almond milk is unbelievably easy and resourceful because you can utilize the whole almond with zero waste. After pulverizing the almonds to make tasty milk, try using the almond grounds in granola, in baked goods, or even just toast them in the oven with some sugar or spices and use them as sweet or savory crunchy topping.

Here’s my recipe for homemade almond milk. As always, feel free to play around with it!

Ingredients:

  • 2 cups raw almonds, soaked in water overnight
  • 5-7 cups water
  • 5 Tbs. simple syrup (use any sweetener you like)
  • 2 tsp. vanilla extract (or a whole vanilla bean, chopped)
  • small pinch of salt
  • Cheesecloth and large bowl

Directions:

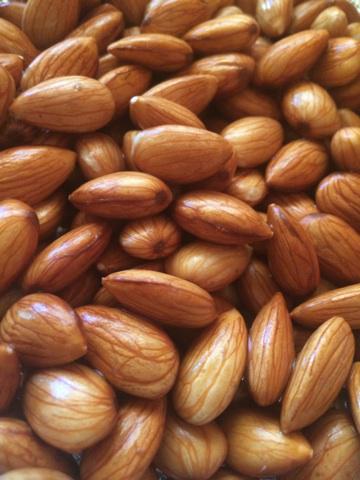
1. Drain and rinse the soaked almonds.

almonds

So pretty!

So pretty!

2. Place almonds in a blender along with the water, simple syrup, vanilla, and pinch of salt. (I had to do mine in batches because my blender could not hold all the liquid)

3. Blend for a minute or so.

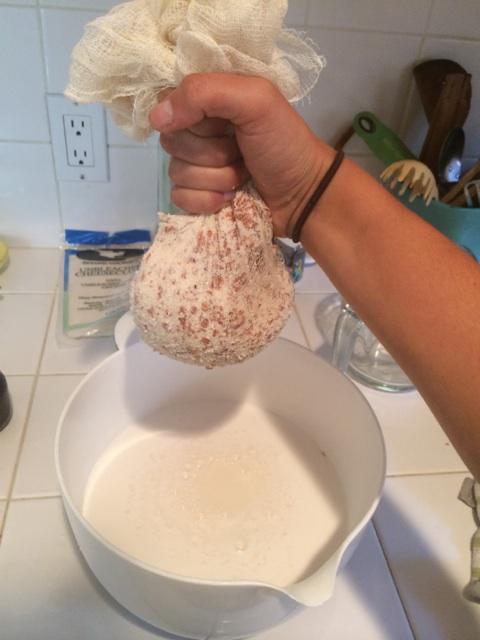
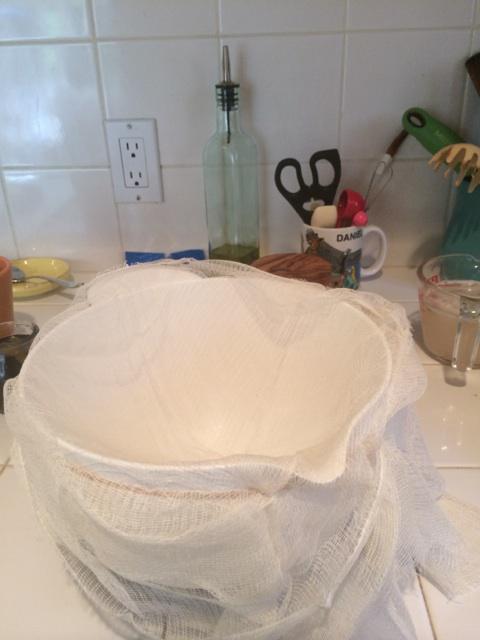
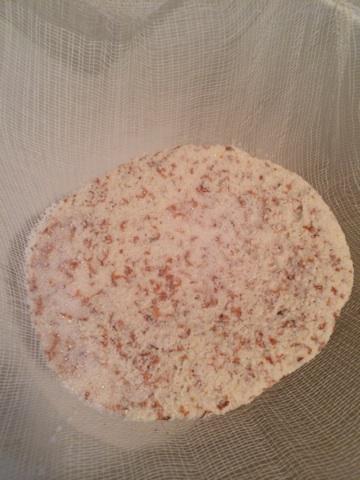
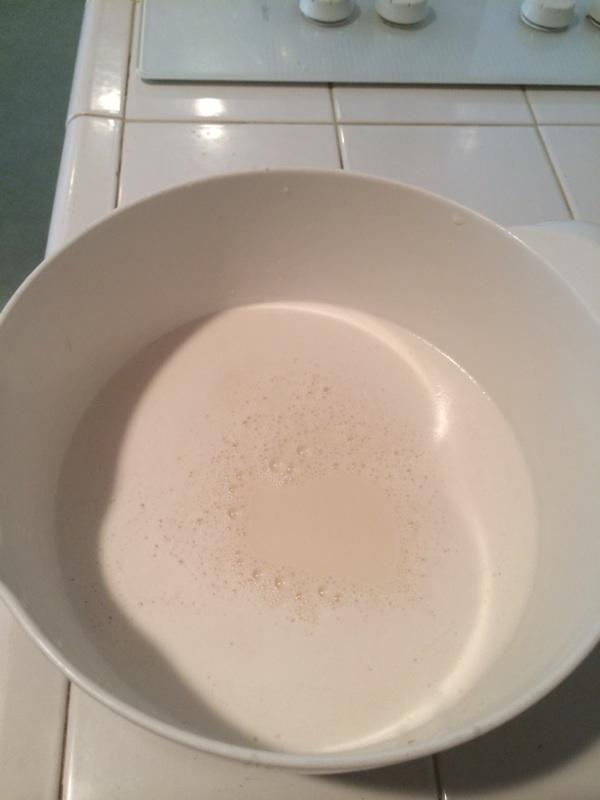
4. Place cheesecloth over large bowl (I held mine in place by wrapping a rubber band around it), and slowly pour almond mixture over it. Squeeze the bottom of the cheesecloth to release the milk.

cheese cheese out almond bits

So cool!

So cool!

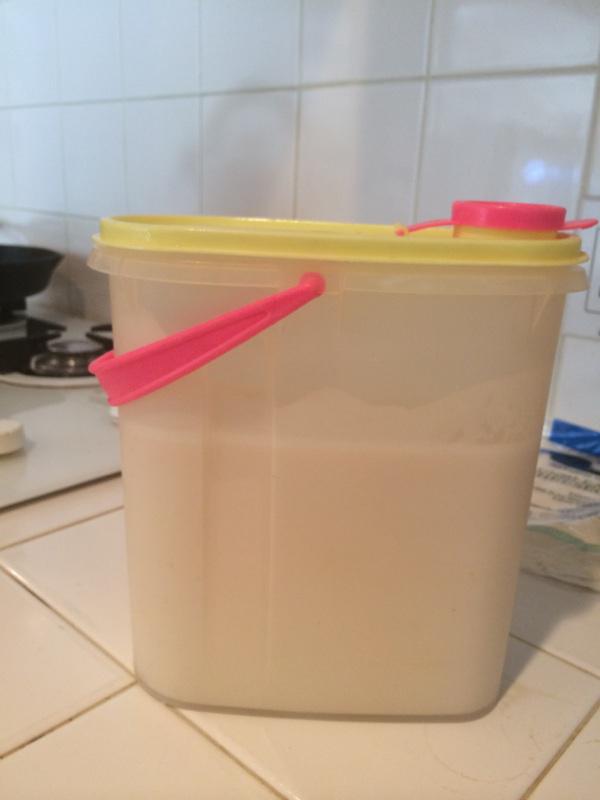
5. Pour into a pourable container to store in the fridge for about 5 days.

almondmilk almondmilk store

Makes 5-7 cups

You can make your own simple syrup by boiling equal parts sugar and water until the sugar dissolves and letting it cool to room temperature. I like to infuse mine with herbs like rosemary or sage and vanilla beans! Enjoy this recipe and as always, stay hungry and fit!

BONUS KITTY PIC

Jamie's adorable cats

Jamie’s adorable cats

spacer

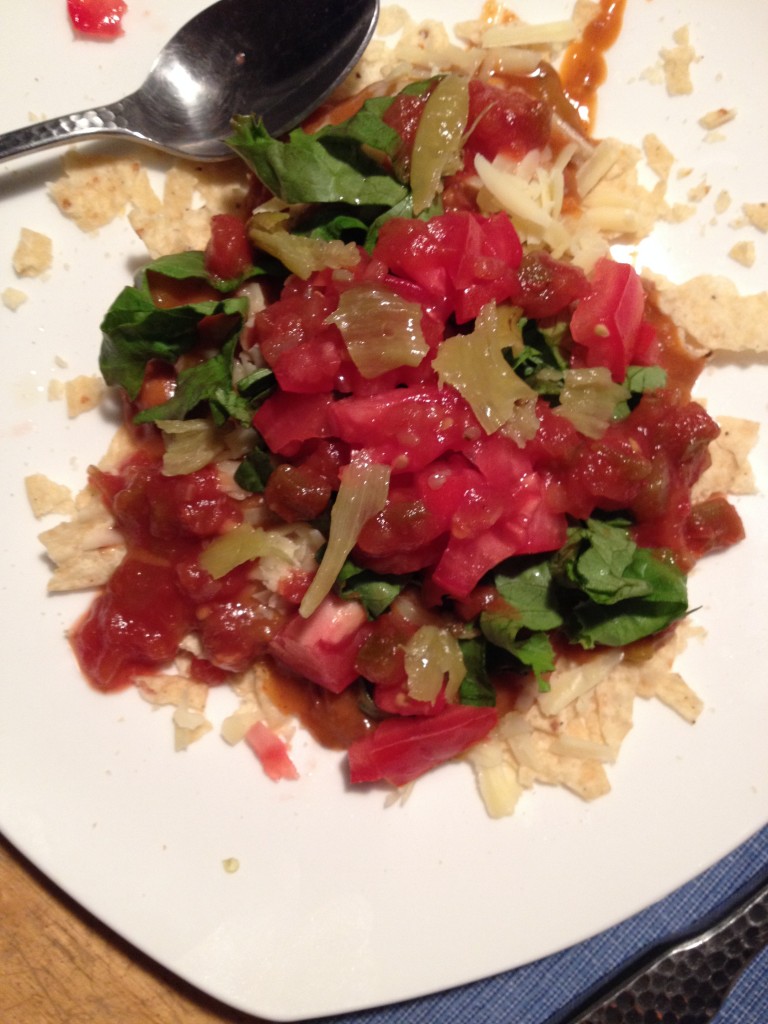
Iowan Surprise Recipe

Growing up, I was the luckiest girl when it came to food. My family is full of recipes. From my mum’s recipes to my grandma’s recipes, I was surrounded by flavor and diversity. One that particularly stands out to me is Iowan Surprise–or simply “Surprise” for short. This one comes from my Grandma in Iowa. You’re probably asking, What is “Surprise” anyway? Well. it’s basically a special version of chili, if you want to relate it to another food. It’s a wonderful comfort food while being a great family meal. Plus, there is so much variation allowed in this recipe. There’s a meat version, a vegetarian version, a spicy version, a non-spicy version, and so on! I obviously had the vegetarian style, while the rest of my family had the meat version. All you have to do is leave out the beef. Let’s get to the recipe. 

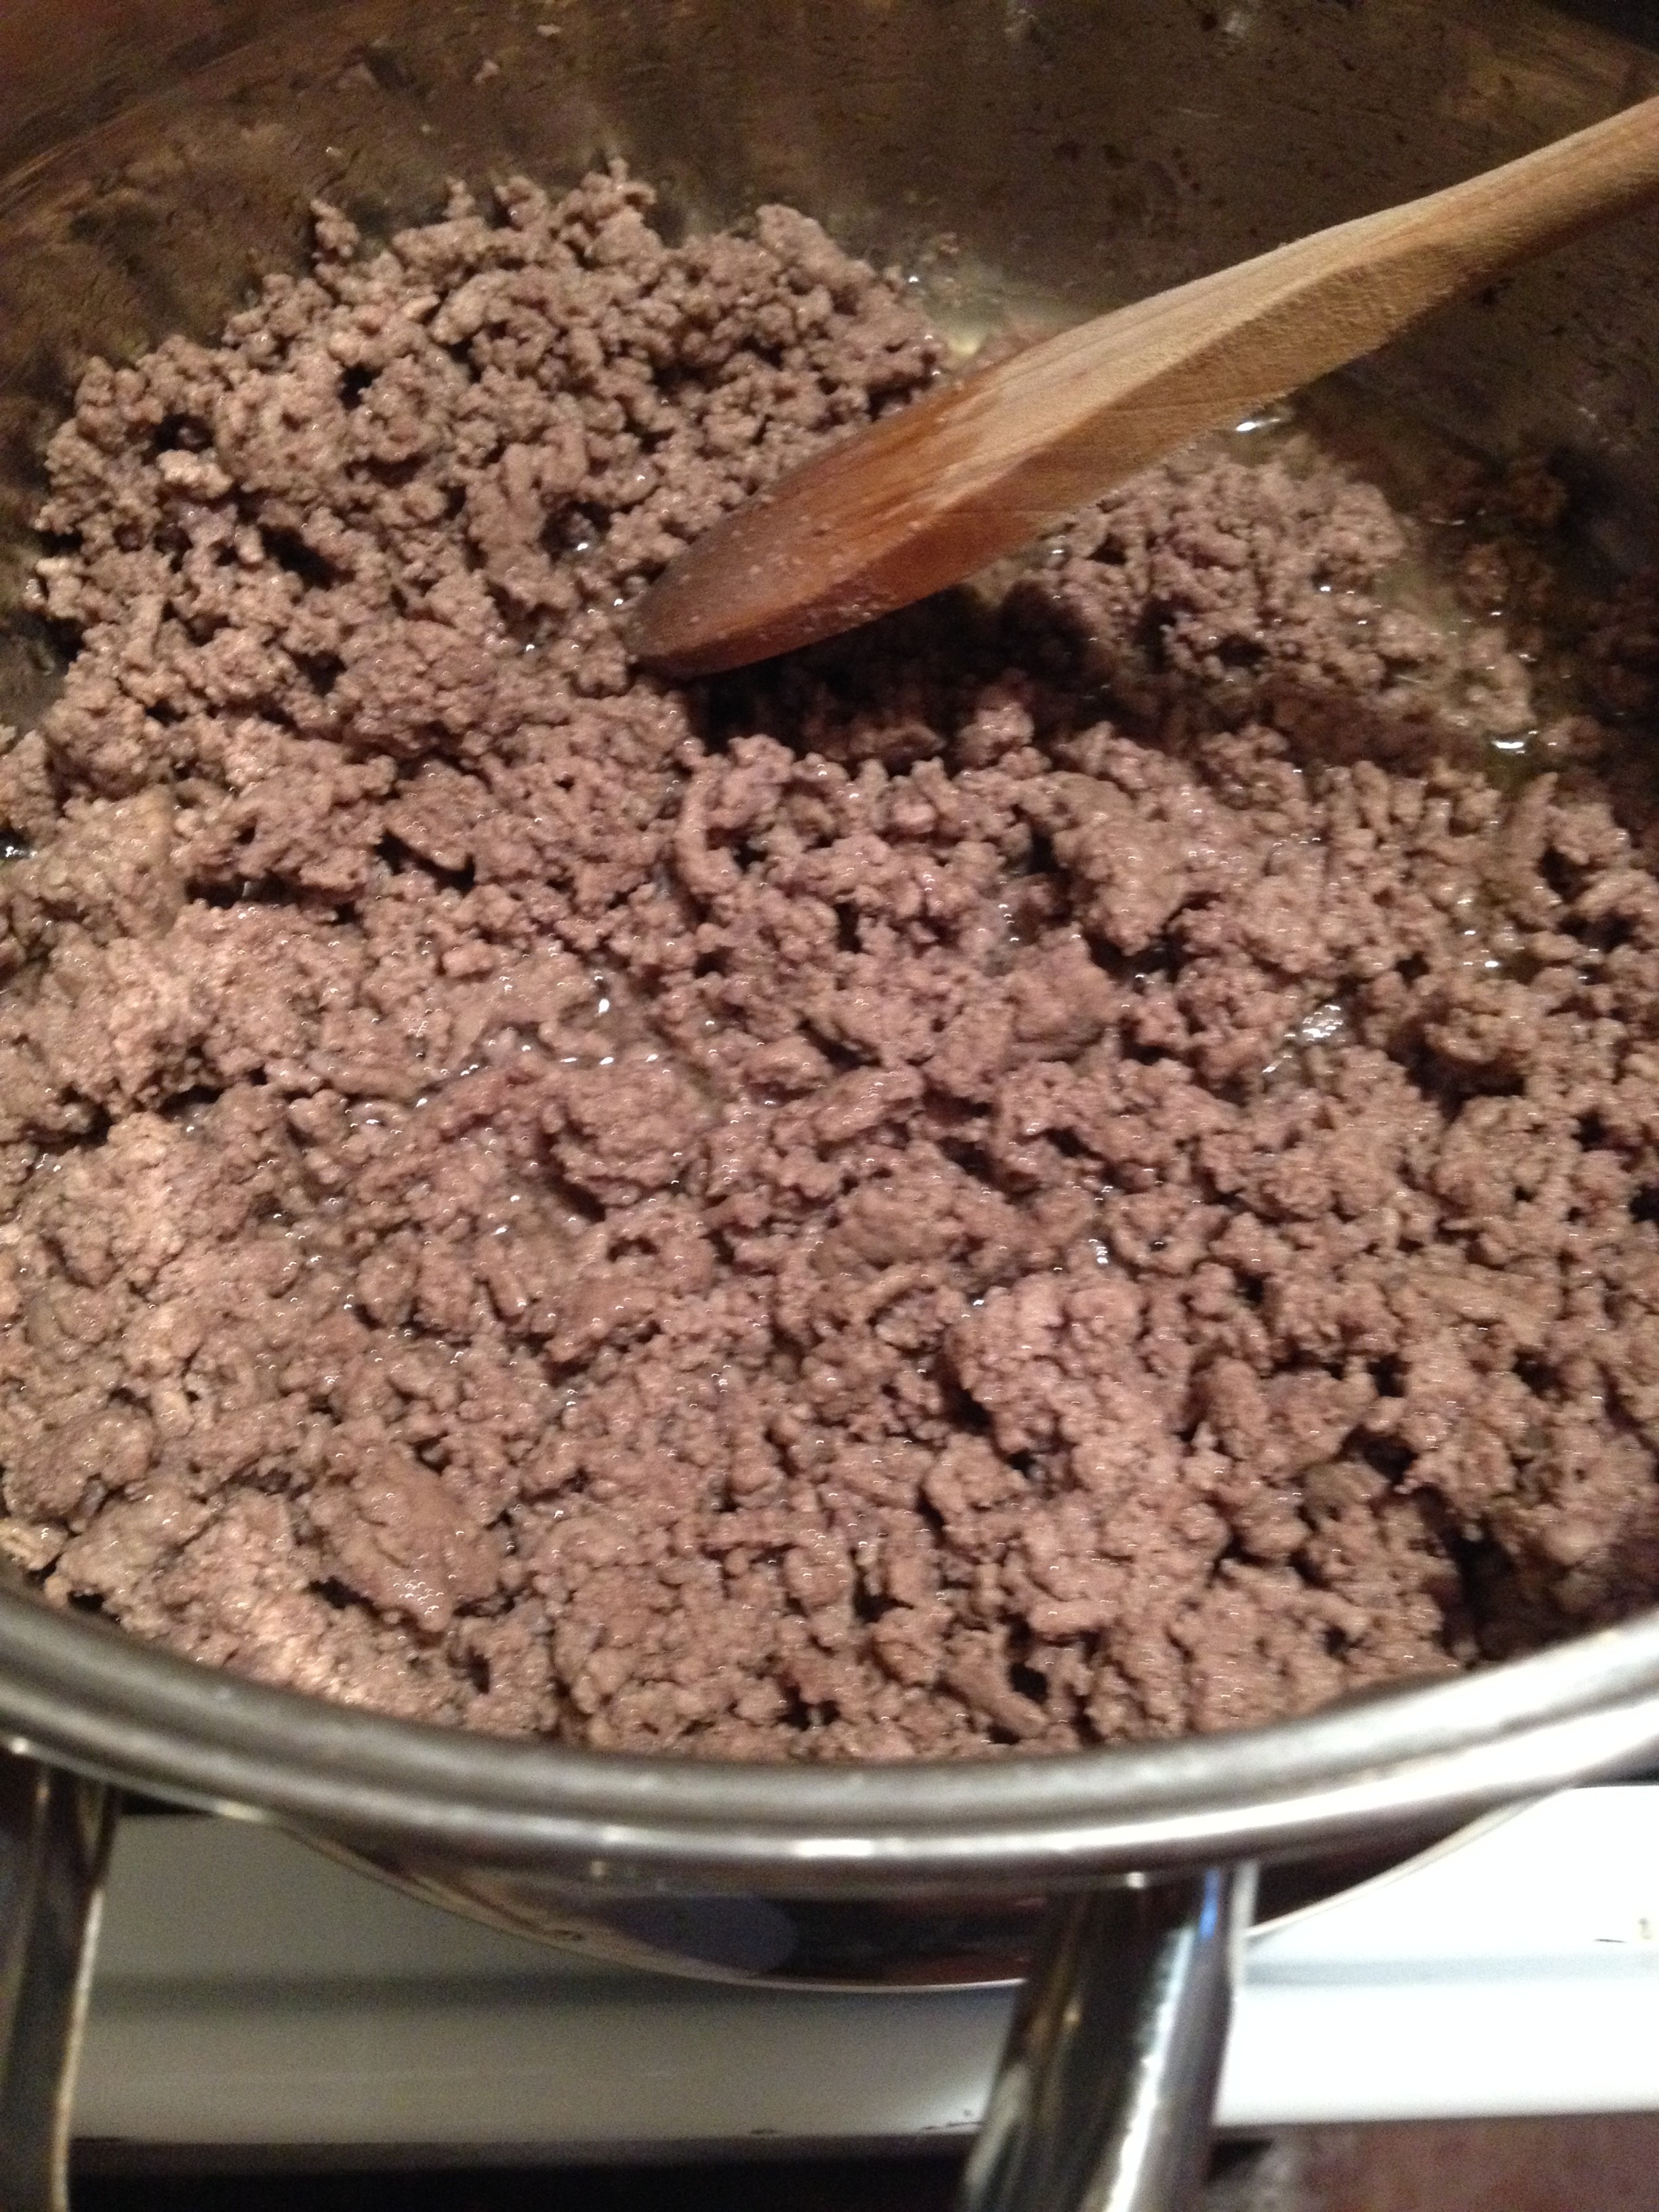
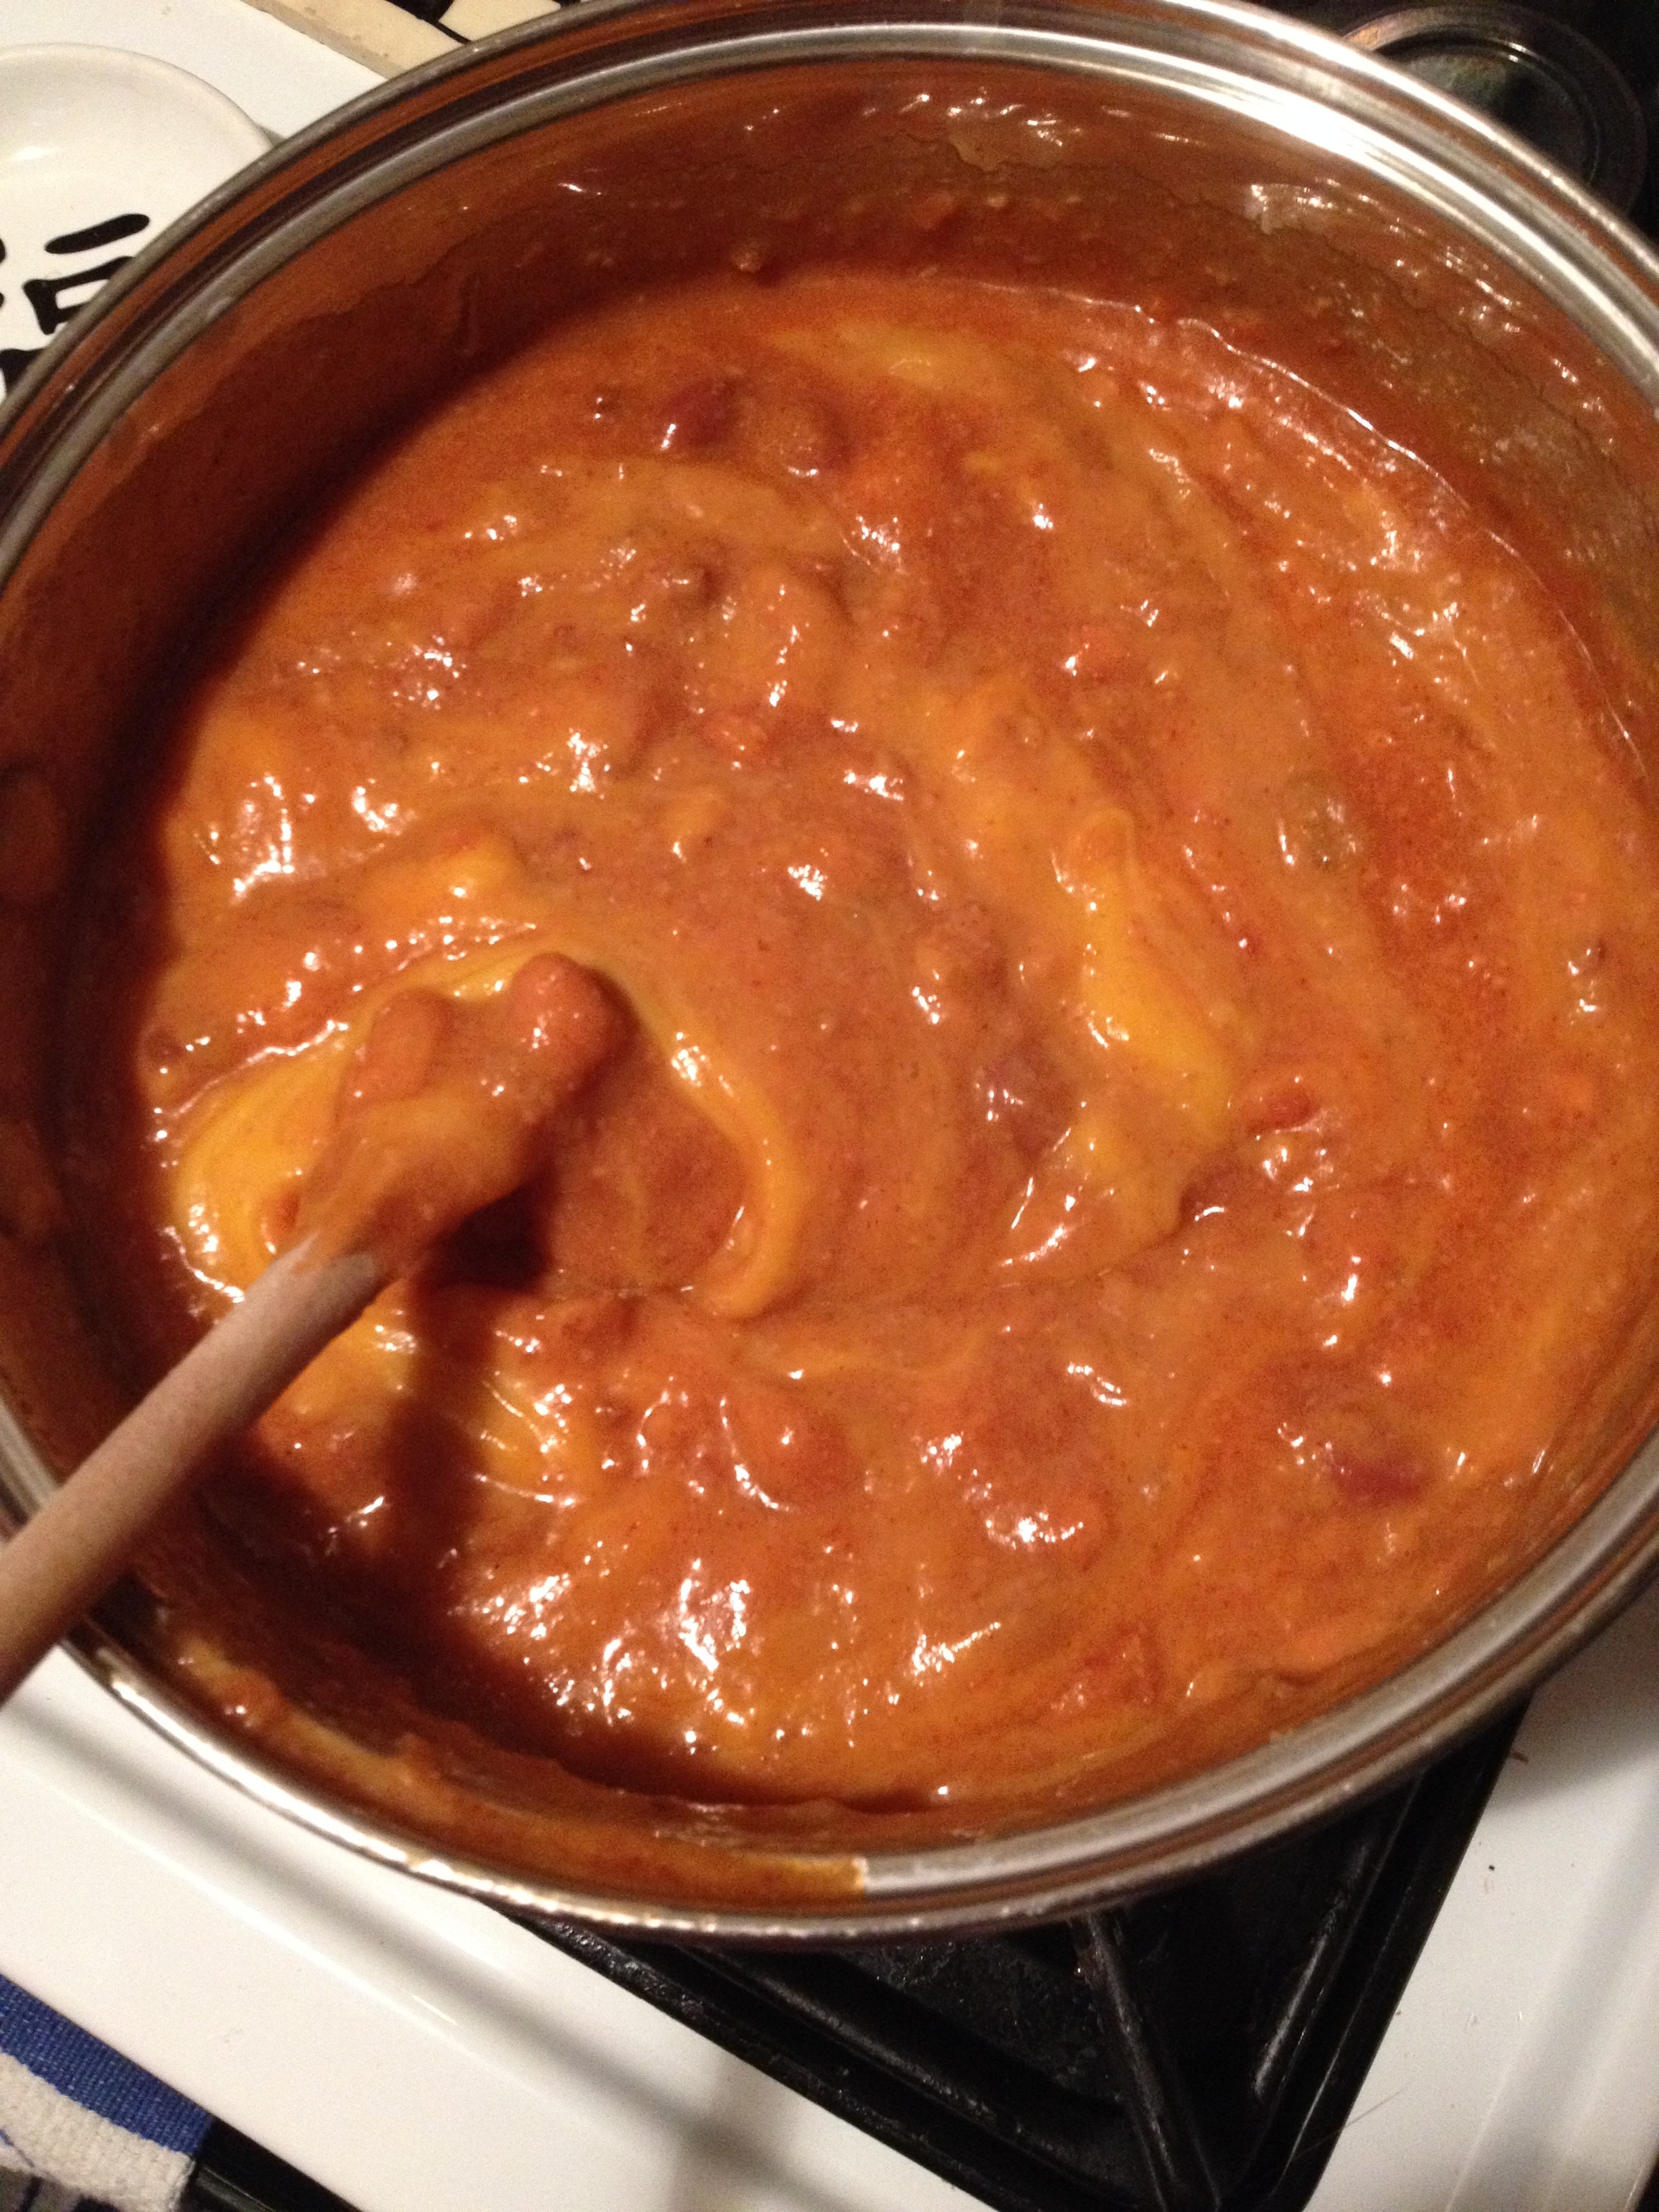
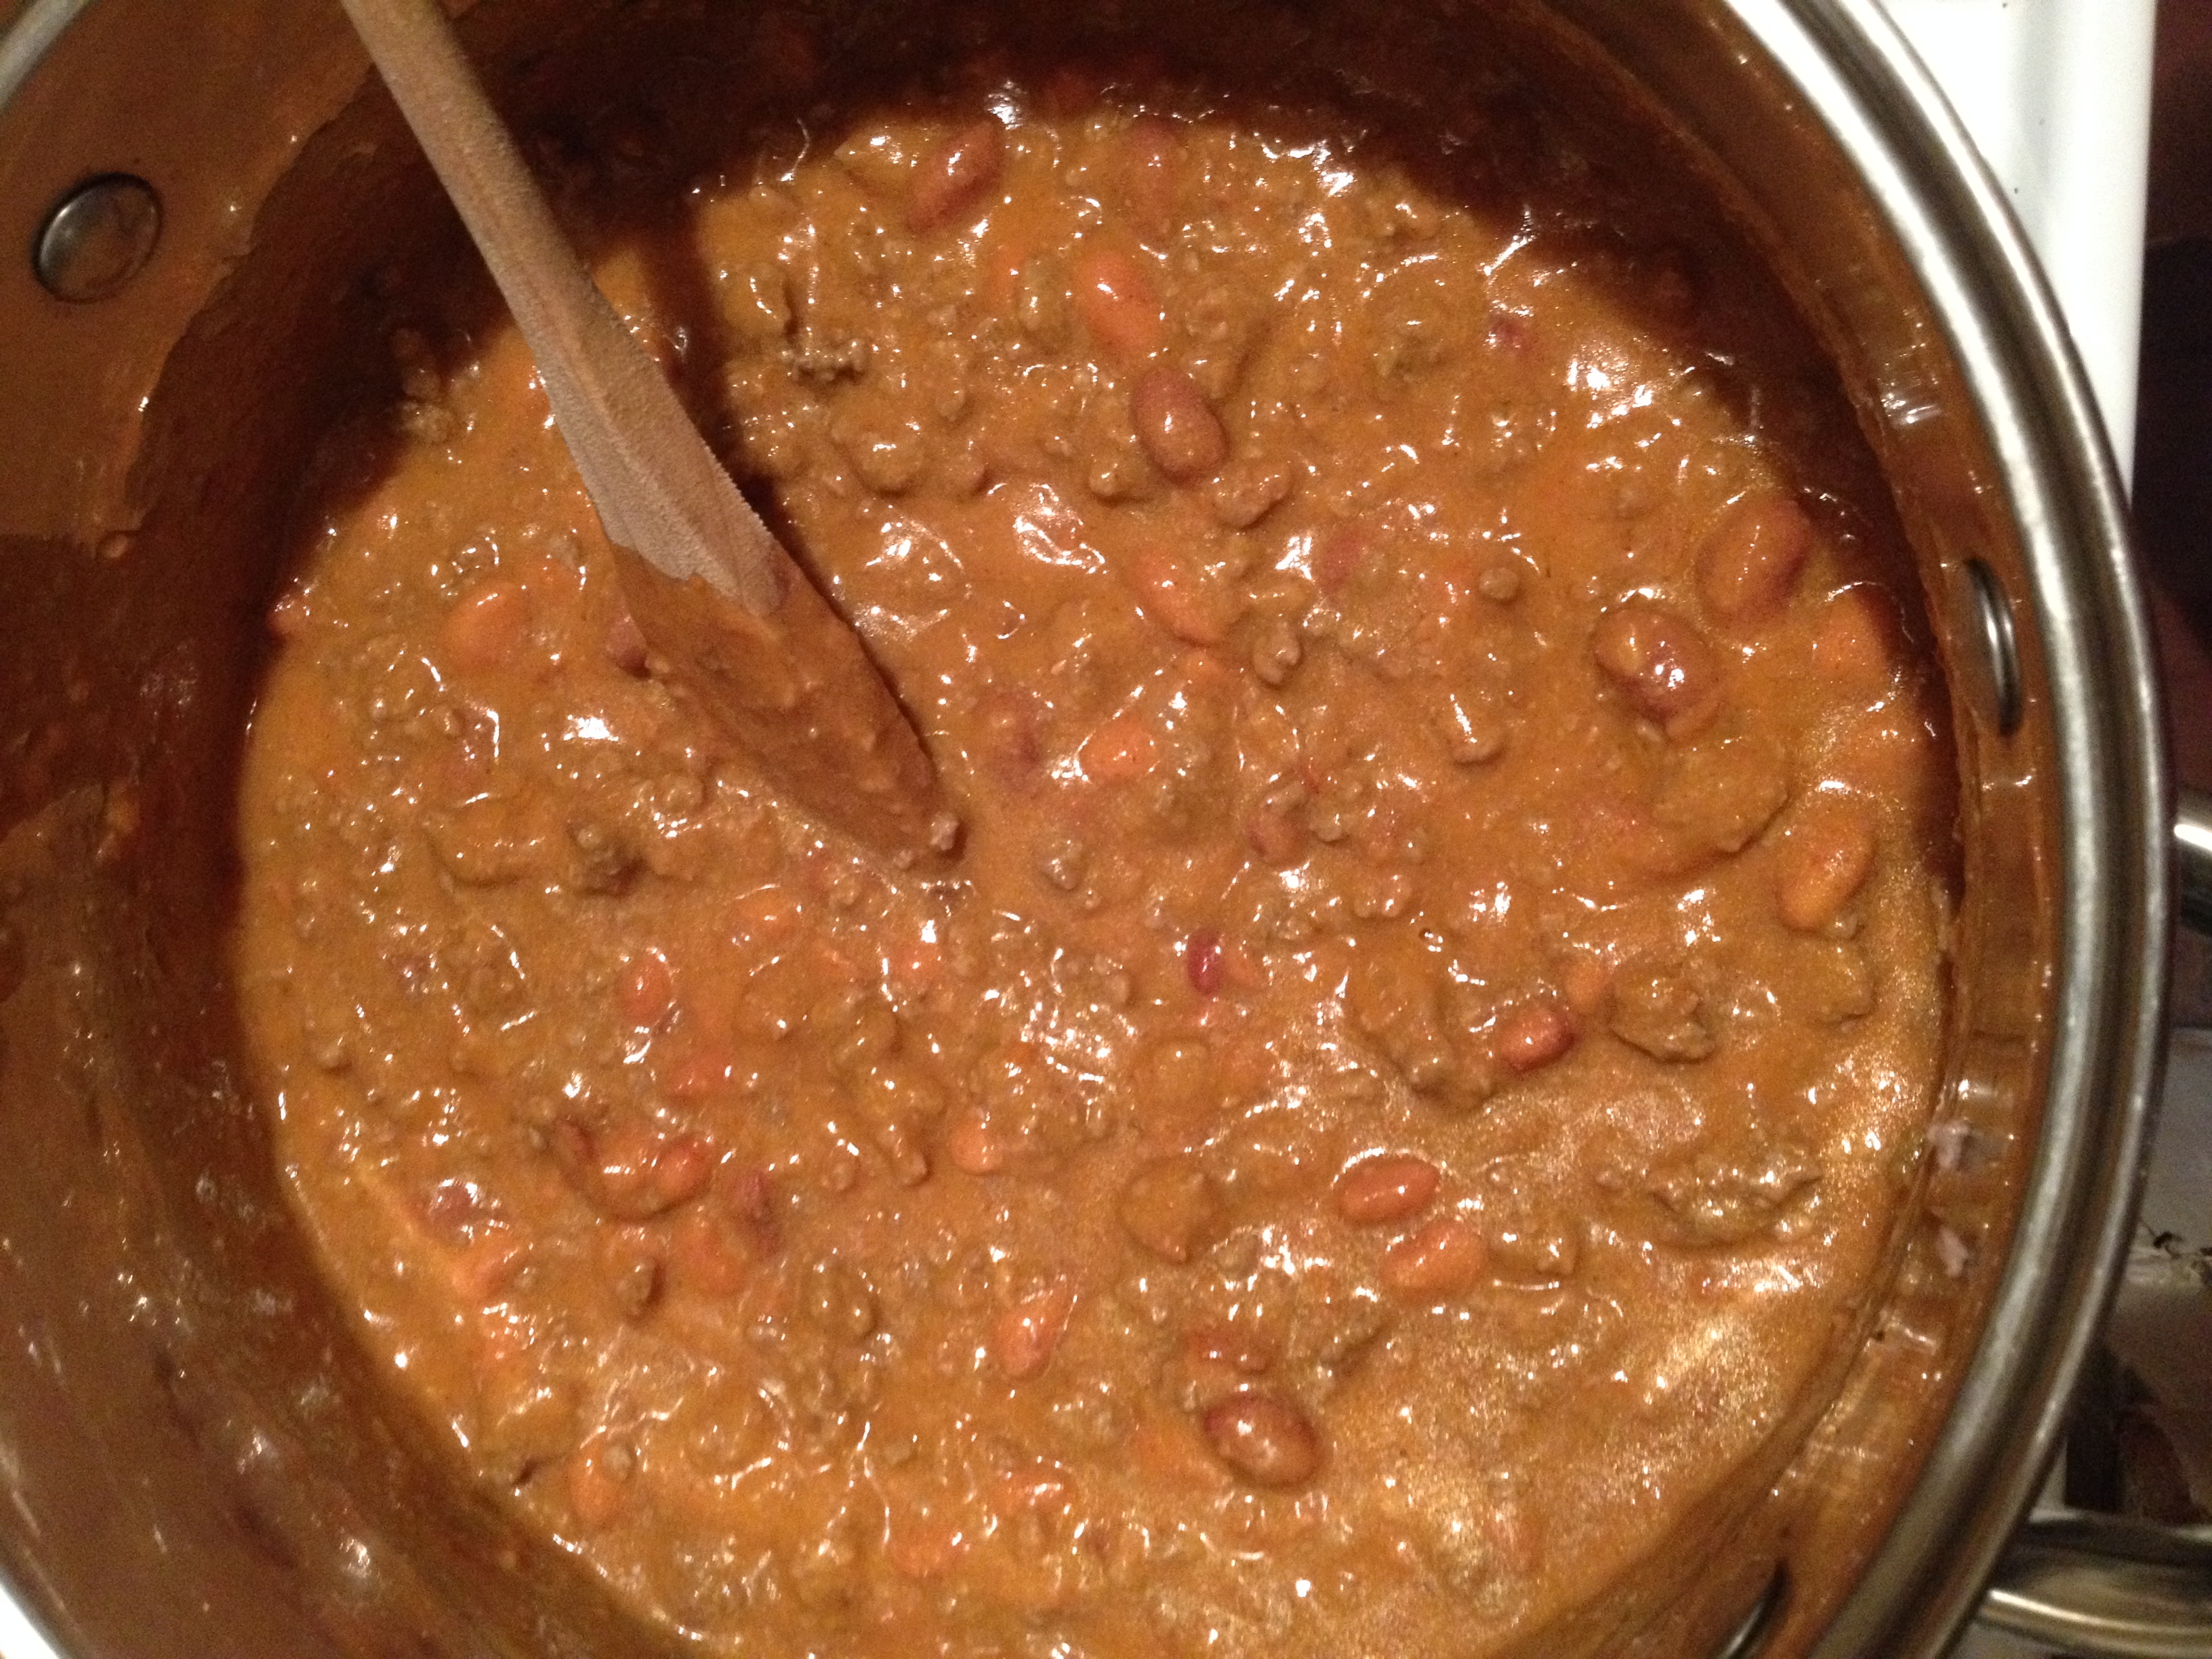
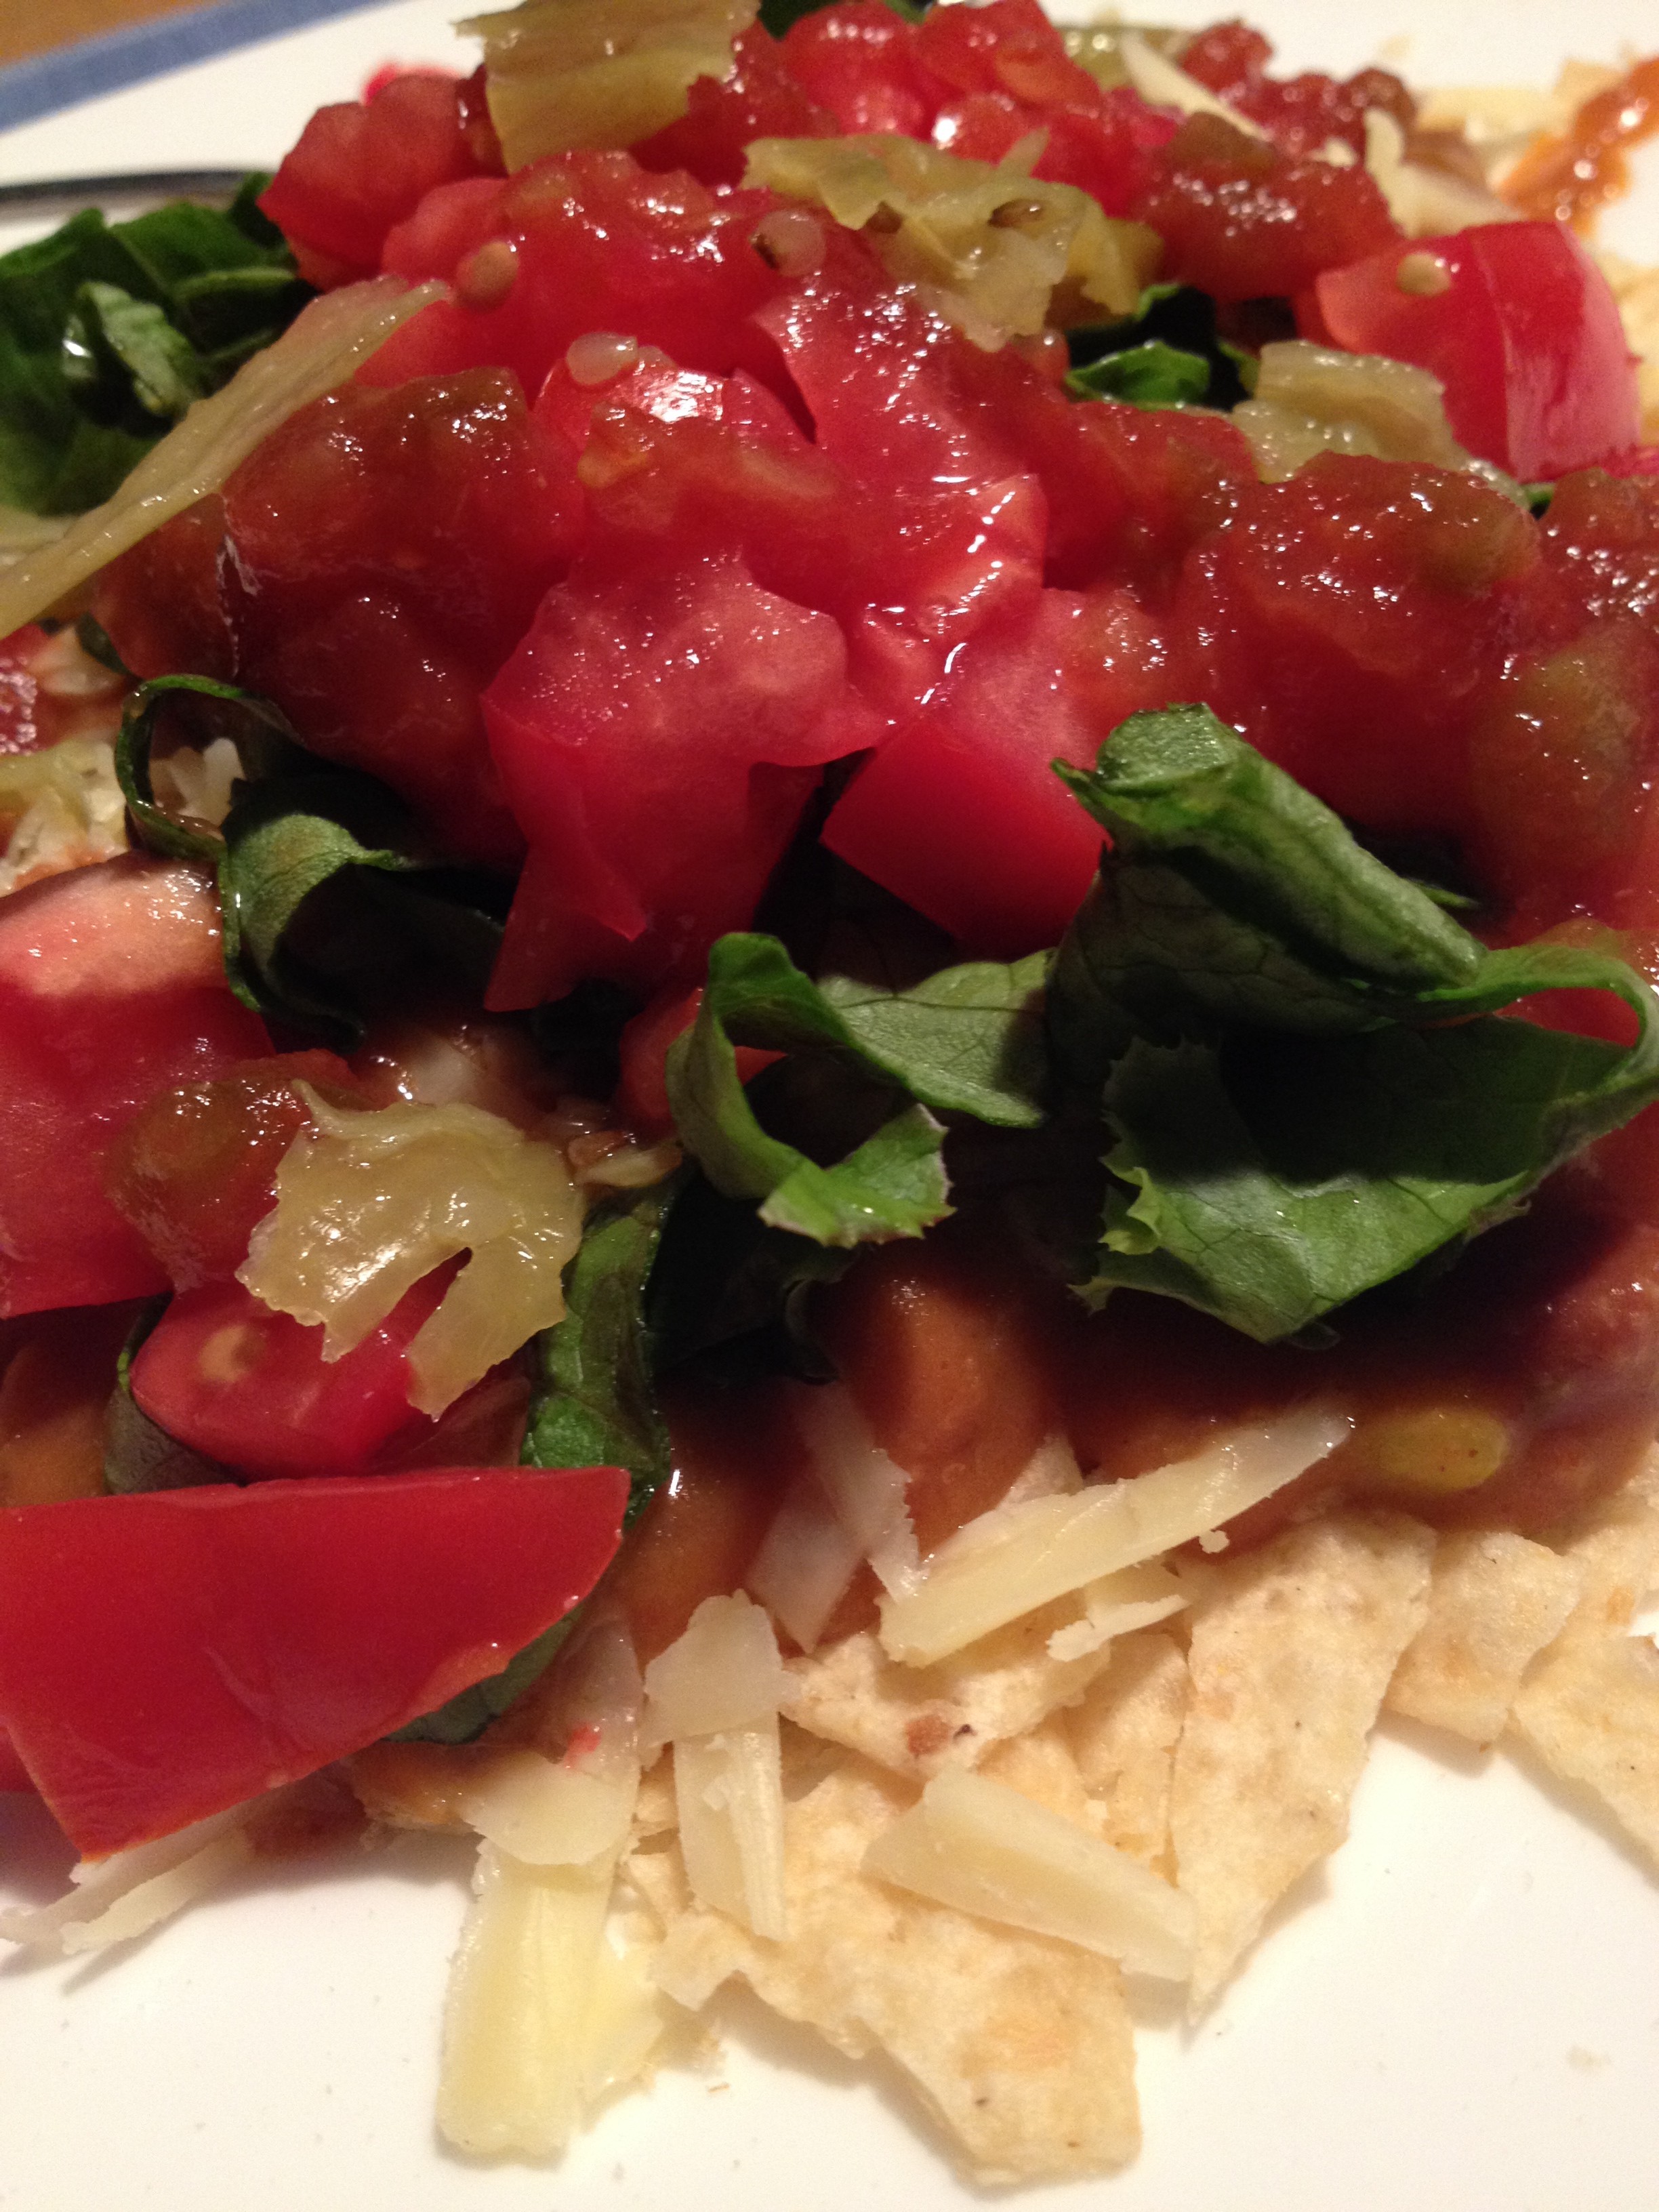
photo 1 (84) photo 2 (70) photo 3 (64) photo 5 (30) photo 4 (51)

Iowan Surprise
Serves 8
A wonderful version of chili atop crushed tortilla chips
Write a review
Print
Prep Time
2 min
Cook Time
15 min
Prep Time
2 min
Cook Time
15 min
The Goop
  1. 1lb ground beef (for meat version...obviously)
  2. 1 15oz can condensed cheddar cheese soup
  3. 1 15oz can enchilada sauce
  4. 1 large can of refried beans
  5. 1 4oz can chopped green chilies
The Toppings
  1. 1 bag tortilla chips
  2. 1 cup grated cheese
  3. 1 cup chopped tomatoes
  4. Guacamole or avocado
  5. 1 cup chopped lettuce
  6. Salsa
  7. Peppers (for spice)
Instructions
  1. Brown the beef and drain the fat
  2. Add all the canned ingredients except the chopped green chilies
  3. Heat the ingredients through and then add the chopped green chilies right before you're ready to serve
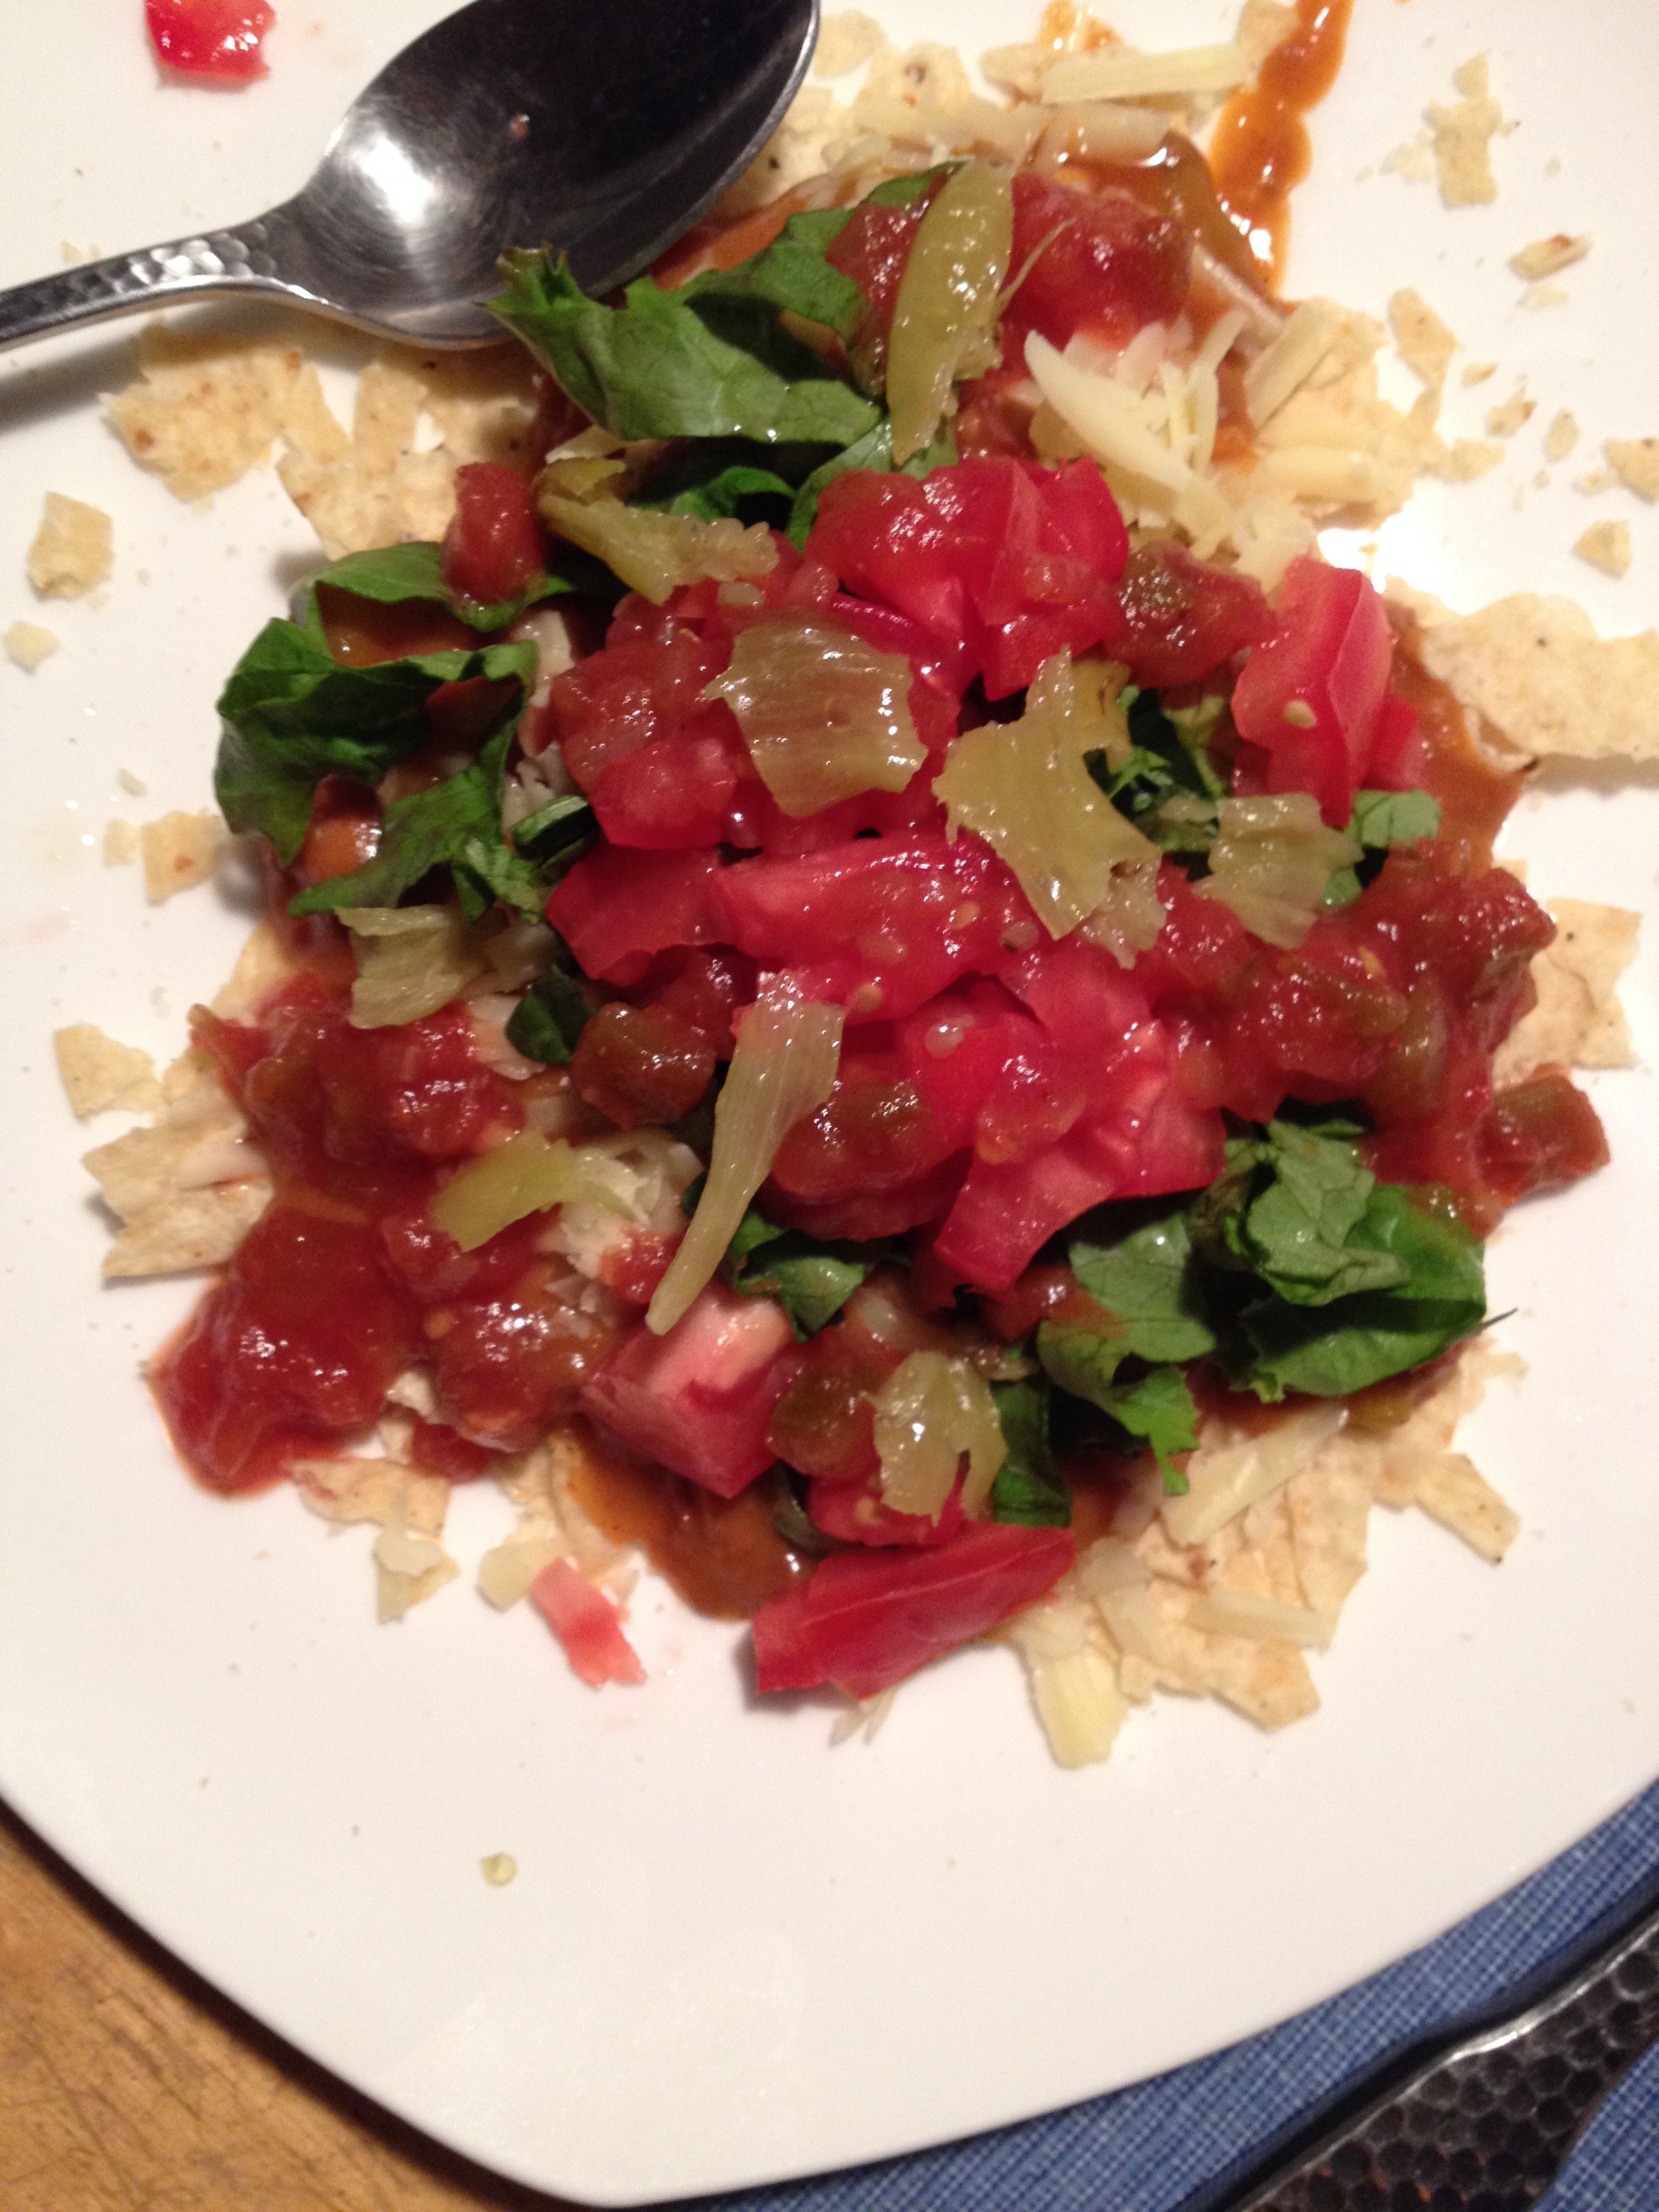
  4. To serve, crush your tortilla chips up, then put the goop on top, and then add your toppings!
Notes
  1. If you like it to be spicier, add the green chilies earlier
Adapted from Grandma
hungry and fit https://hungryandfit.com/
This recipe always brings a smile to my face and I always try to fit another serving in my belly even when there isn’t room. It keeps really well for leftovers and it takes no effort and next to no time to make. This is the perfect Fall recipe for busy families, and people like me! It’s a treasured family recipe that will continue to put smiles on eater’s faces. Make this recipe to stay hungry and fit!

spacer

Homemade Banana Fritters

In my experience, it seems like banana fritters are not a huge thing in the United States. However, growing up in my household with a Kiwi mother promises otherwise. Oh homemade banana fritters, how can words do justice to your magnificence? Banana fritters are a special part of weekend breakfasts in my family. They are basically a banana and flour mixture that’s fried in oil on the stove top. We usually top them with powdered sugar. It’s so delicious. And better even still–they are incredibly simple to make! Let’s get to the recipe.

photo 1 (83) photo 2 (69) photo 3 (63) photo 1 (82) photo 5 (29) photo 4 (50) photo 2 (68)

Banana Fritters
Yields 8
A decadent breakfast recipe that takes under 15 minutes to make
Write a review
Print
Prep Time
5 min
Cook Time
6 min
Prep Time
5 min
Cook Time
6 min
Ingredients
  1. 1/2 cup flour
  2. 1/2 tsp baking powder
  3. water
  4. powdered sugar
  5. 2 bananas
Instructions
  1. Sift flour and baking powder
  2. Mix with water to batter consistency (water amount could be different for everyone)
  3. Slice bananas and stir them into the batter
  4. Heat a pan with quarter of an inch of oil
  5. Take a large spoonful (see pictures) of fritter mix and plop into pan
  6. Cook until little bubbles start to appear in batter (roughly 3 minutes)
  7. Flip and do the same
  8. Take out of pan and put on paper towel
  9. Sprinkle with powdered sugar
hungry and fit https://hungryandfit.com/
I can usually only get through about two because they are very rich and quite rewarding. I’m sure many other Americans would love to play around with this recipe like put syrup or fruit on top. You should experiment! For me, it’s powdered sugar until the end. This is my mum’s recipe and I feel very lucky indeed to have it and also to be able to share it with you all! She’s been making it for who knows how many years, so it’s almost as easy as making a cup of tea for her. Enjoy this recipe to stay hungry and fit!

*Question of the Day: What’s a special breakfast tradition for your family?

spacer