
Archives

Mary Kate’s Easy Delicious Peanut Butter Cookie Recipe

Who is Mary Kate? Good question. Mary Kate is one of my best friends from college. We were put randomly as roommates together freshman year and since then, it’s history. Shout out to my baby girl. Anyways…we both share a passion for cooking and baking. Nearly every night, when we were both RAs and no longer living together, I would trek over to her apartment no matter the weather. She would always have something cooking or baking, or simply in the works so that we got the chance to cook/bake together, which we loved.

Mary Kate, Chris and I on MK's and my graduation

Mary Kate, Chris and I on MK’s and my graduation

Talking about it makes me miss it way too much so let’s get on to the food. Besides the many amazing things she’s created, one of my favorite and easiest recipes was her peanut butter cookie recipe. On any given night while watching X Factor or Family Guy, Katie and I (Katie was her roommate at the time) demanded peanut butter cookies and wouldn’t shut up until she made them for us. Luckily for her, it was quick and easy. So here it is, I take no credit for it, except maybe the chunky peanut butter because I’m pretty sure it was supposed to be creamy.

  • Prep Time: 5 minutes?
  • Bake Time: 9-12 minutes (took mine 11 minutes)
  • Set Oven to: 350 degrees

Ingredients

  • 1 egg
  • 1 cup peanut butter
  • 1 cup sugar
  • handful of chocolate chips (optional)

And that’s it…I kid you not. Just talking about them makes me want to run to my kitchen and eat more. SO SIMPLE YET SO GOOD.

Directions

  • Butter up or grease your baking sheet
  • Drop that egg in a mixing bowl and slowly whisk in the cup of sugar
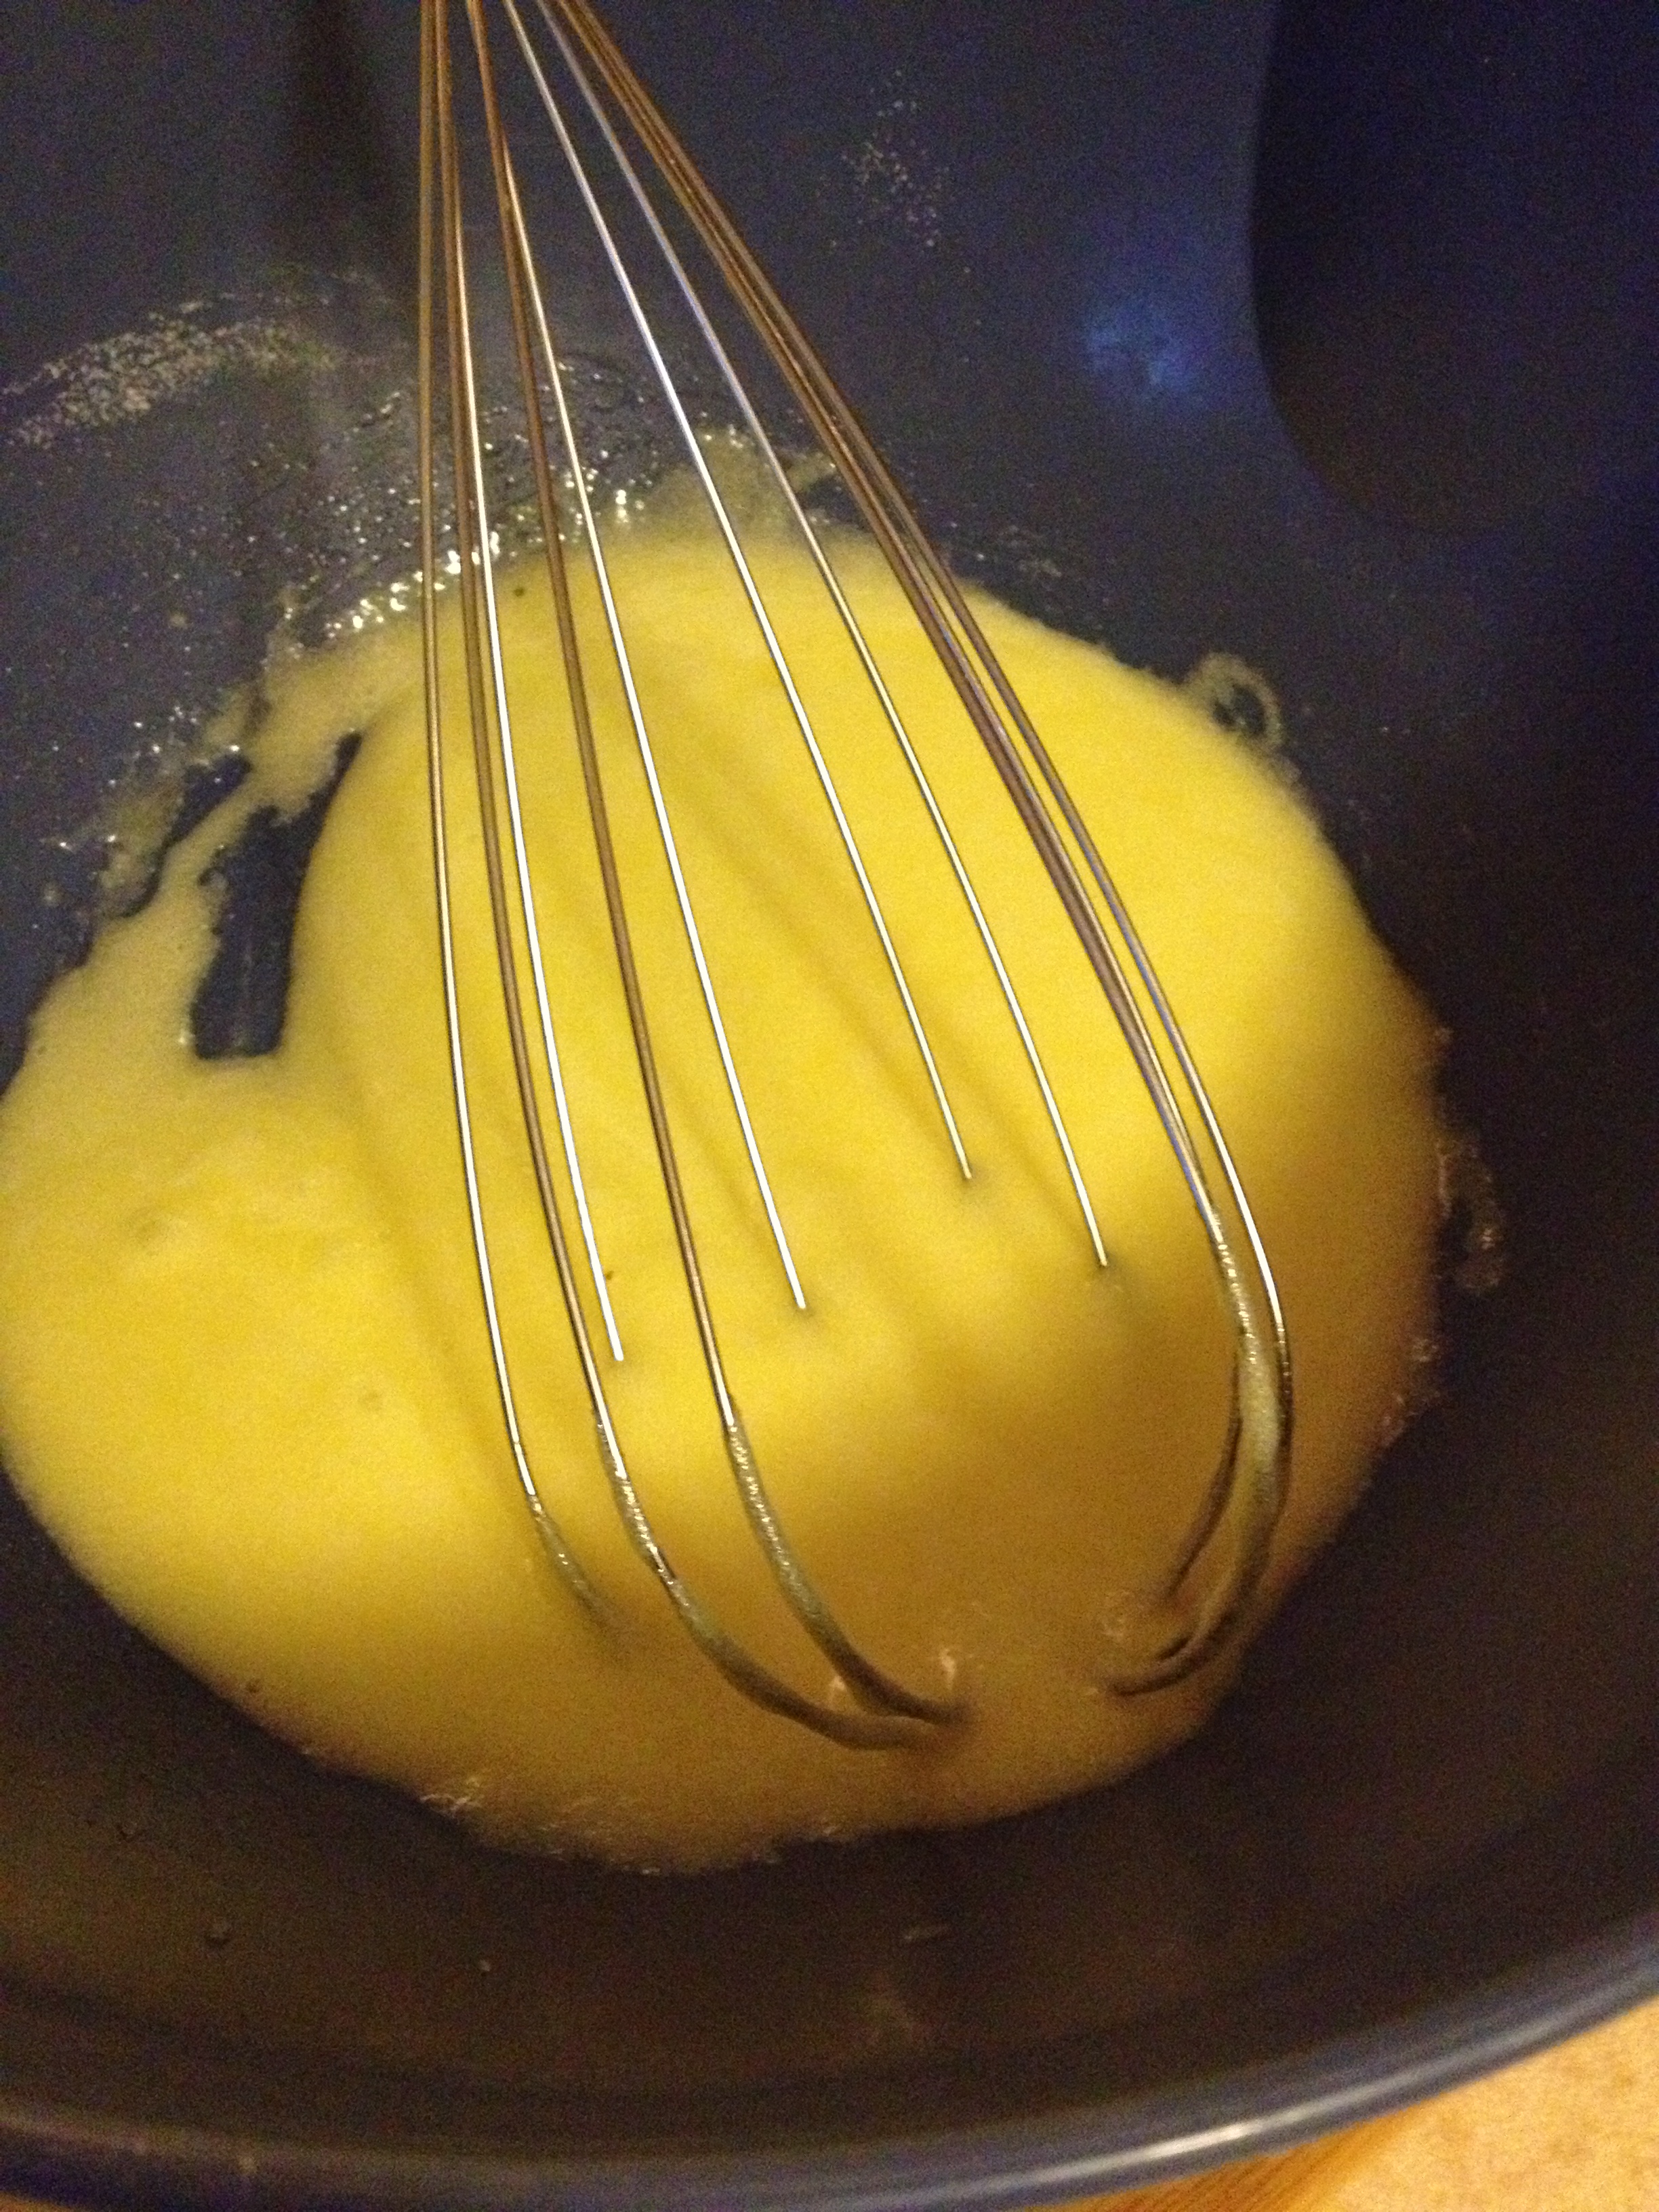
egg + sugar

  • Using a wooden spoon (or whatever you’ve got), stir in the cup of peanut butter into the egg-sugar mixture
  • Now, you don’t have to use chocolate chips, but she suggested I did, so I went for it and it added an amazing counter-taste to the peanut butter. Classic combo, right? So I just grabbed a handful of the chocolate chips and folded them in the peanut buttery mixture.

choco choco chip

  • And that’s it! That’s all the prep time! Now use a spoon or your fingers to place them on the baking sheet, spaced apart enough.
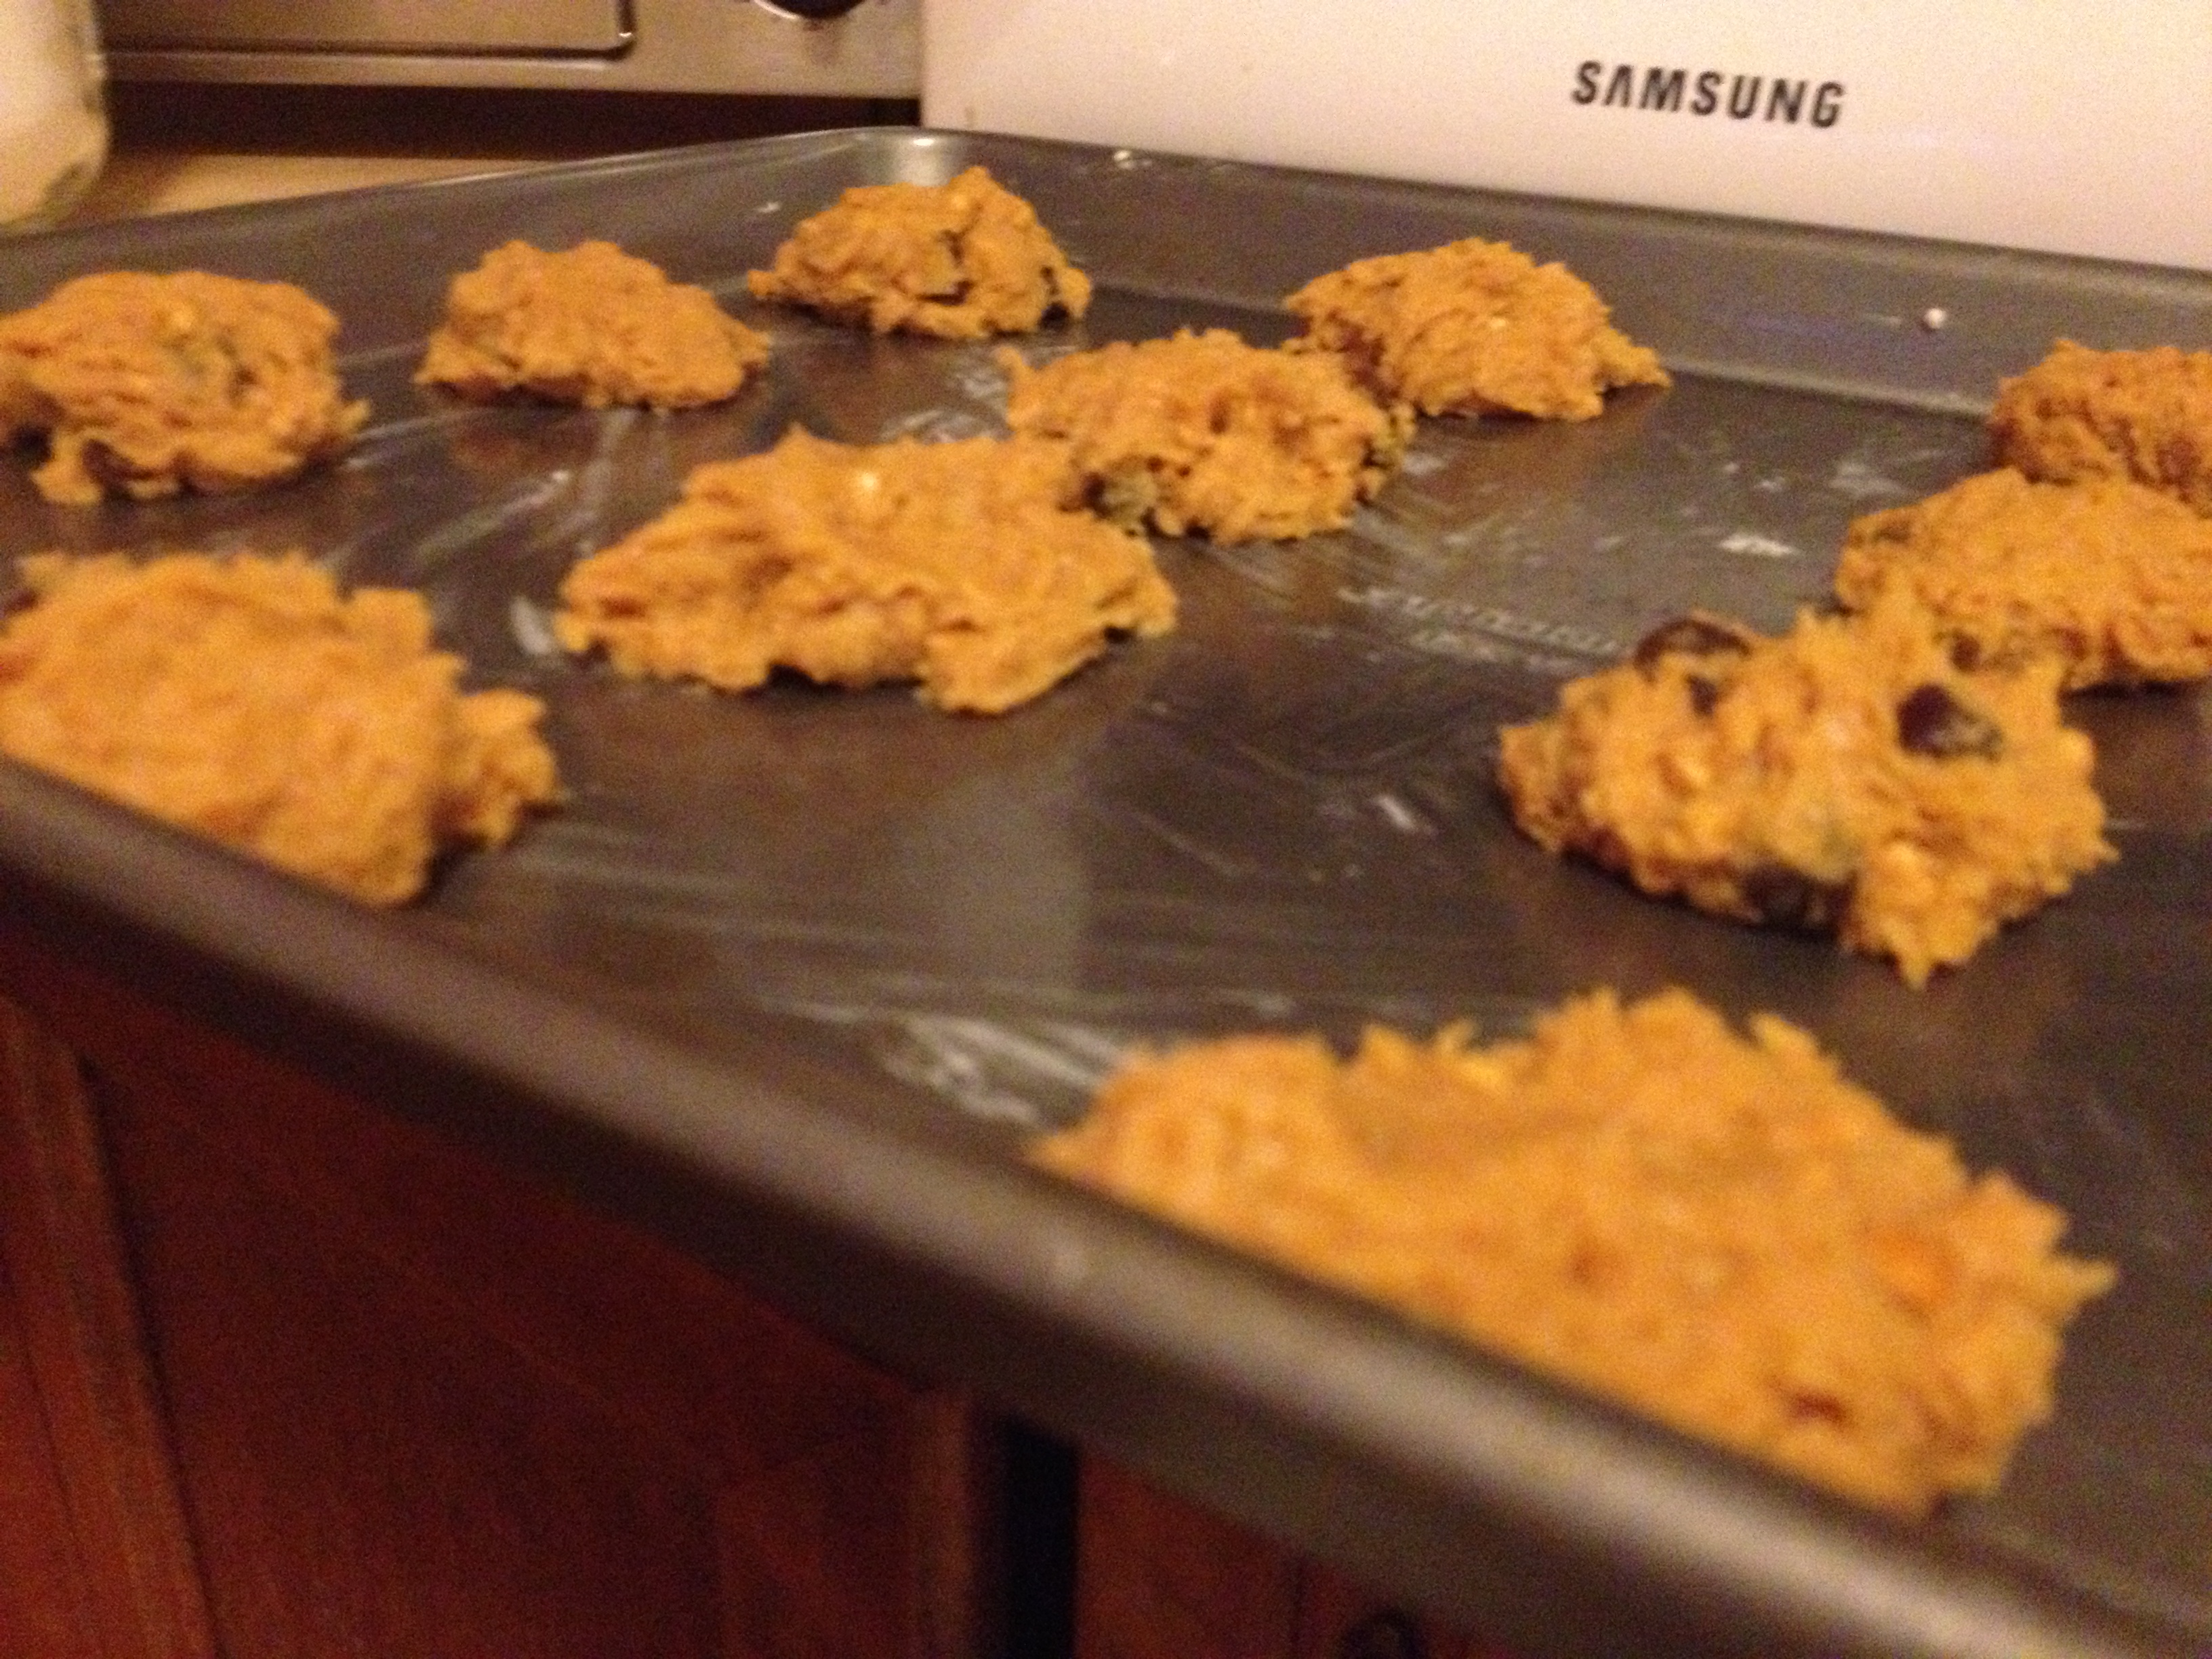
Waiting to bake

Waiting to bake

  • Now pop em in the oven for 9-12 minutes. Mine took 11 minutes. Take out, leave them a bit to stiffen up…THEN EAT THEM!!
They turned out lovely, and it brought me back to baking with her which was probably the biggest plus of this recipe. I hope you enjoy how easy and delicious this recipe is. Give thanks to Mary Kate!


photo (48)

spacer

Wild Boar Burgers

If you know me, you know I have a weird diet philosophy. I call myself a vegetarian, but I will eat any wild-caught fish or hunted meat. Just my desire to go back to a more natural age before the meat industry. ANYHOW, now that you know how and what I eat, let me introduce tonight’s dinner: Wild Boar Burgers and Chips. Everything homemade, of course. It actually turned out great despite my NEVER cooking boar before and rarely (pun intended) ever cook meat. Check it out

Ingredients

  • 2 potatoes
  • kaiser rolls
  • wild boar meat
  • grilled onions
  • tomato
  • spinach
  • pickles 
  • garlic
  • dried rosemary & basil
  • salt & pepper

Directions

  • First thing I did was cut up my taters. Slice into very thin pieces, so they cook into crispy chips (fries, for you Americans)

Sliced uncooked taters

  • Now, I cooked and cut up my condiments. It’s your choice if you want to do this now or later, but this is how I did it. I grilled up some onions, cut tomatoes, and pickles. I also got out some spinach to go atop the burger as well.

Platter of toppers

  • Now it’s time to tackle the boar meat. We got ours ground, so it was pretty easy. Put the meat in a sizable bowl so you can season it. You can season it however you want, but I used garlic, garlic pepper, salt, dried basil and rosemary. I use plenty of garlic, 2 cloves and slice it up. Oh, and a little dash of soy sauce.  Then dig around and make sure it’s somewhat evened out.

MEAT

  • Now have two pans with oil getting hot on the stove. Flatten out the patties semi-thin, just not thick. Put your potatoes in one pan and salt them up. Now put your patties in the other pan, put them on a medium-low heat, so they don’t get burnt on the outside while they’re cooking on the inside.

Patties cooking

  • Now it’s really up to you to monitor the burgers and the chips. Maybe go set the table, get some drinks out. You want the chips nice and crispy and the boar burgers cooked well, but still juicy. We cooked ours for about 6 minutes. Aaaaand done!

Finished product

It turned out very well, the chips were crispy, the burgers were loaded with flavor, and our bellies were very happy. I hadn’t eaten any kind of meat (last time was wild bison) in about a year. Oh, and our drink of choice, none other but gourmet root beer.

Root beer Go ahead and try out the recipe, let us know if you have any questions about anything. PS- you can see Nymeria on the step-stool in the picture above.

Burgerlicious

Cheers! 

spacer

Stir Fry Creations

Stir fry is one of my favorite dishes. It’s because there are endless possibilities. And it’s so easy to do. All you need is some veggies and a form of protein in your fridge–you can mix and match and throw things together that don’t seem normal. And that’s the beauty of it! If you have veggies, rice,  and/or noodles, you have no excuse for not home cooking. Let me share with you a dish I just recently prepared, with an attempt to make it as Asian as possible for Chris.

Alana’s Monday Stir Fry

  • Prep Time: 10 minutes
  • Cook Time: 10 minutes 

Ingredients

  • a bunch of bok choy
  • 1/2 an onion
  • 2 large carrots
  • 1 yellow pepper
  • 1 case of Udon noodles 
  • 1/2 pound of wild-caught scallops
  • 1 case of tofu 
  • wok oil & soy sauce 
  • spices such as ground ginger, fresh garlic, pepper, salt, 5 spice, and garlic pepper 

Flower of the Bok Choy

Directions

1. Let’s tackle the boy choy first. Wash the bok choy, scrub out any dirt under cold water. Cut until the stem is almost gone.

2. Cut the rest of the vegetables: thinly slice the onions and carrots. Do proper thick slices of the yellow pepper.

Chopped beauties

3. Put the wok oil and soy sauce in the wok (or frying pan, whatever you have) and heat that baby up! Crush some garlic in there and let the smells get you.

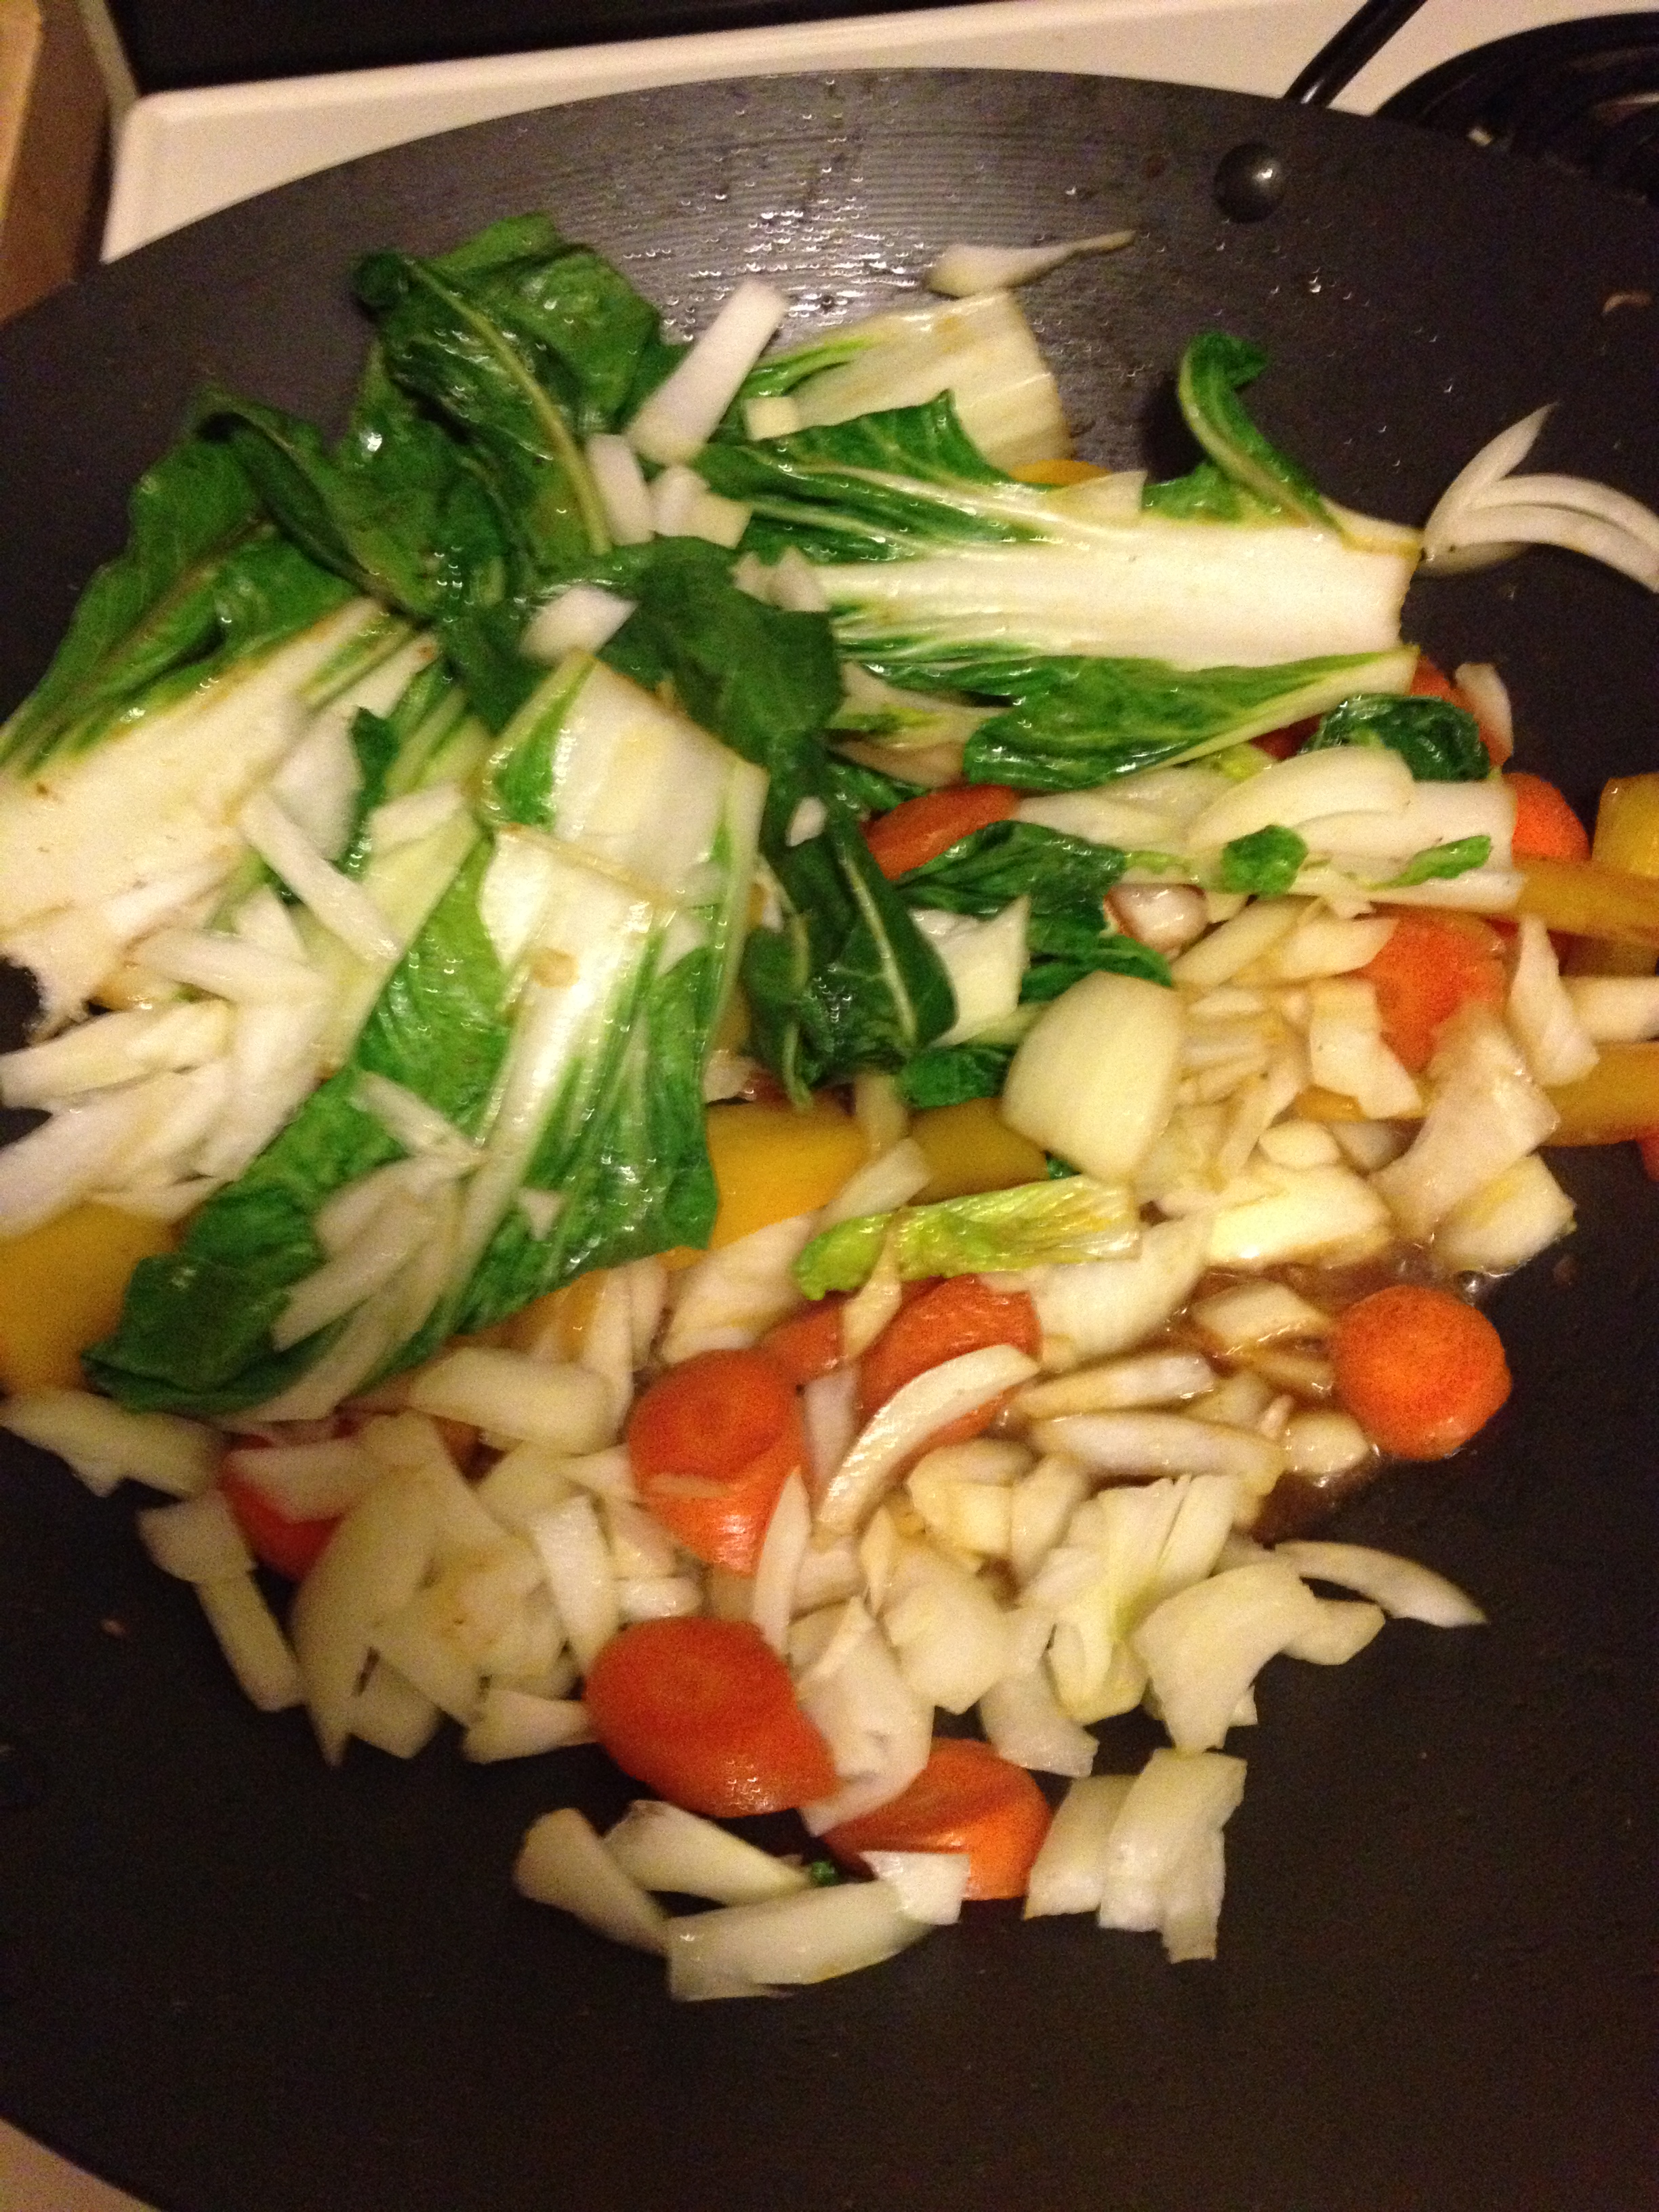
4. Once it is heated, throw those veggies in there. As you are tossing them in the oil, put your spices in, whatever they may be. I put in lots of ginger, garlic, and pepper. Make sure you are constantly tossing the vegetables so that your spices get on it all.

Stir frying!

5. Cube the tofu, wash the scallops, and unwrap the udon noodles. Throw it all into the already cooking mixture. Again, make sure to keep stirring and tossing so that everything soaks up that flavor.

6. Cook to taste and decide when it’s ready! For me it took about 10 minutes, maybe not even that.

Plate of stir fryAnd there you have it, an easy 20-minute dish with tons of nutrient-filled vegetables and protein. PS- there are eggs in the picture, but I didn’t end up using them, but they are a great addition! Get creative. This is only my recipe, and it’s one of many stir-frys.

Cheers and Happy Cooking! 

spacer

Berry Delicious! HEALTHY Berry Whole-Wheat Pie/Crumble

First of all, yes, yes, I know…brilliant title. I thought of it myself. And second of all, it IS healthy and GUILT FREE. Why? There’s barely any sugar in it. It’s weird. But I don’t lie. And for record, this is my first pie/crumble/whatever-you-want-to-call-it that I’ve made by myself from scratch. I took it from here, but as usual, modified. It didn’t take too long either. It was a very pleasant process.

Ingredients (Pie Filling)

  • 2 boxes of blackberries
  • 2 boxes of raspberries
  • 1/3 cup sugar
  • 2 teaspoons flour

Ingredients (Crust)

  • 2 cups whole wheat flour
  • 1.5 sticks butter
  • 1 teaspoon salt
  • 12 teaspoons cold water

So first, let’s take care of the pie filling (will take approx…2 minutes!).

Directions (Pie Filling)

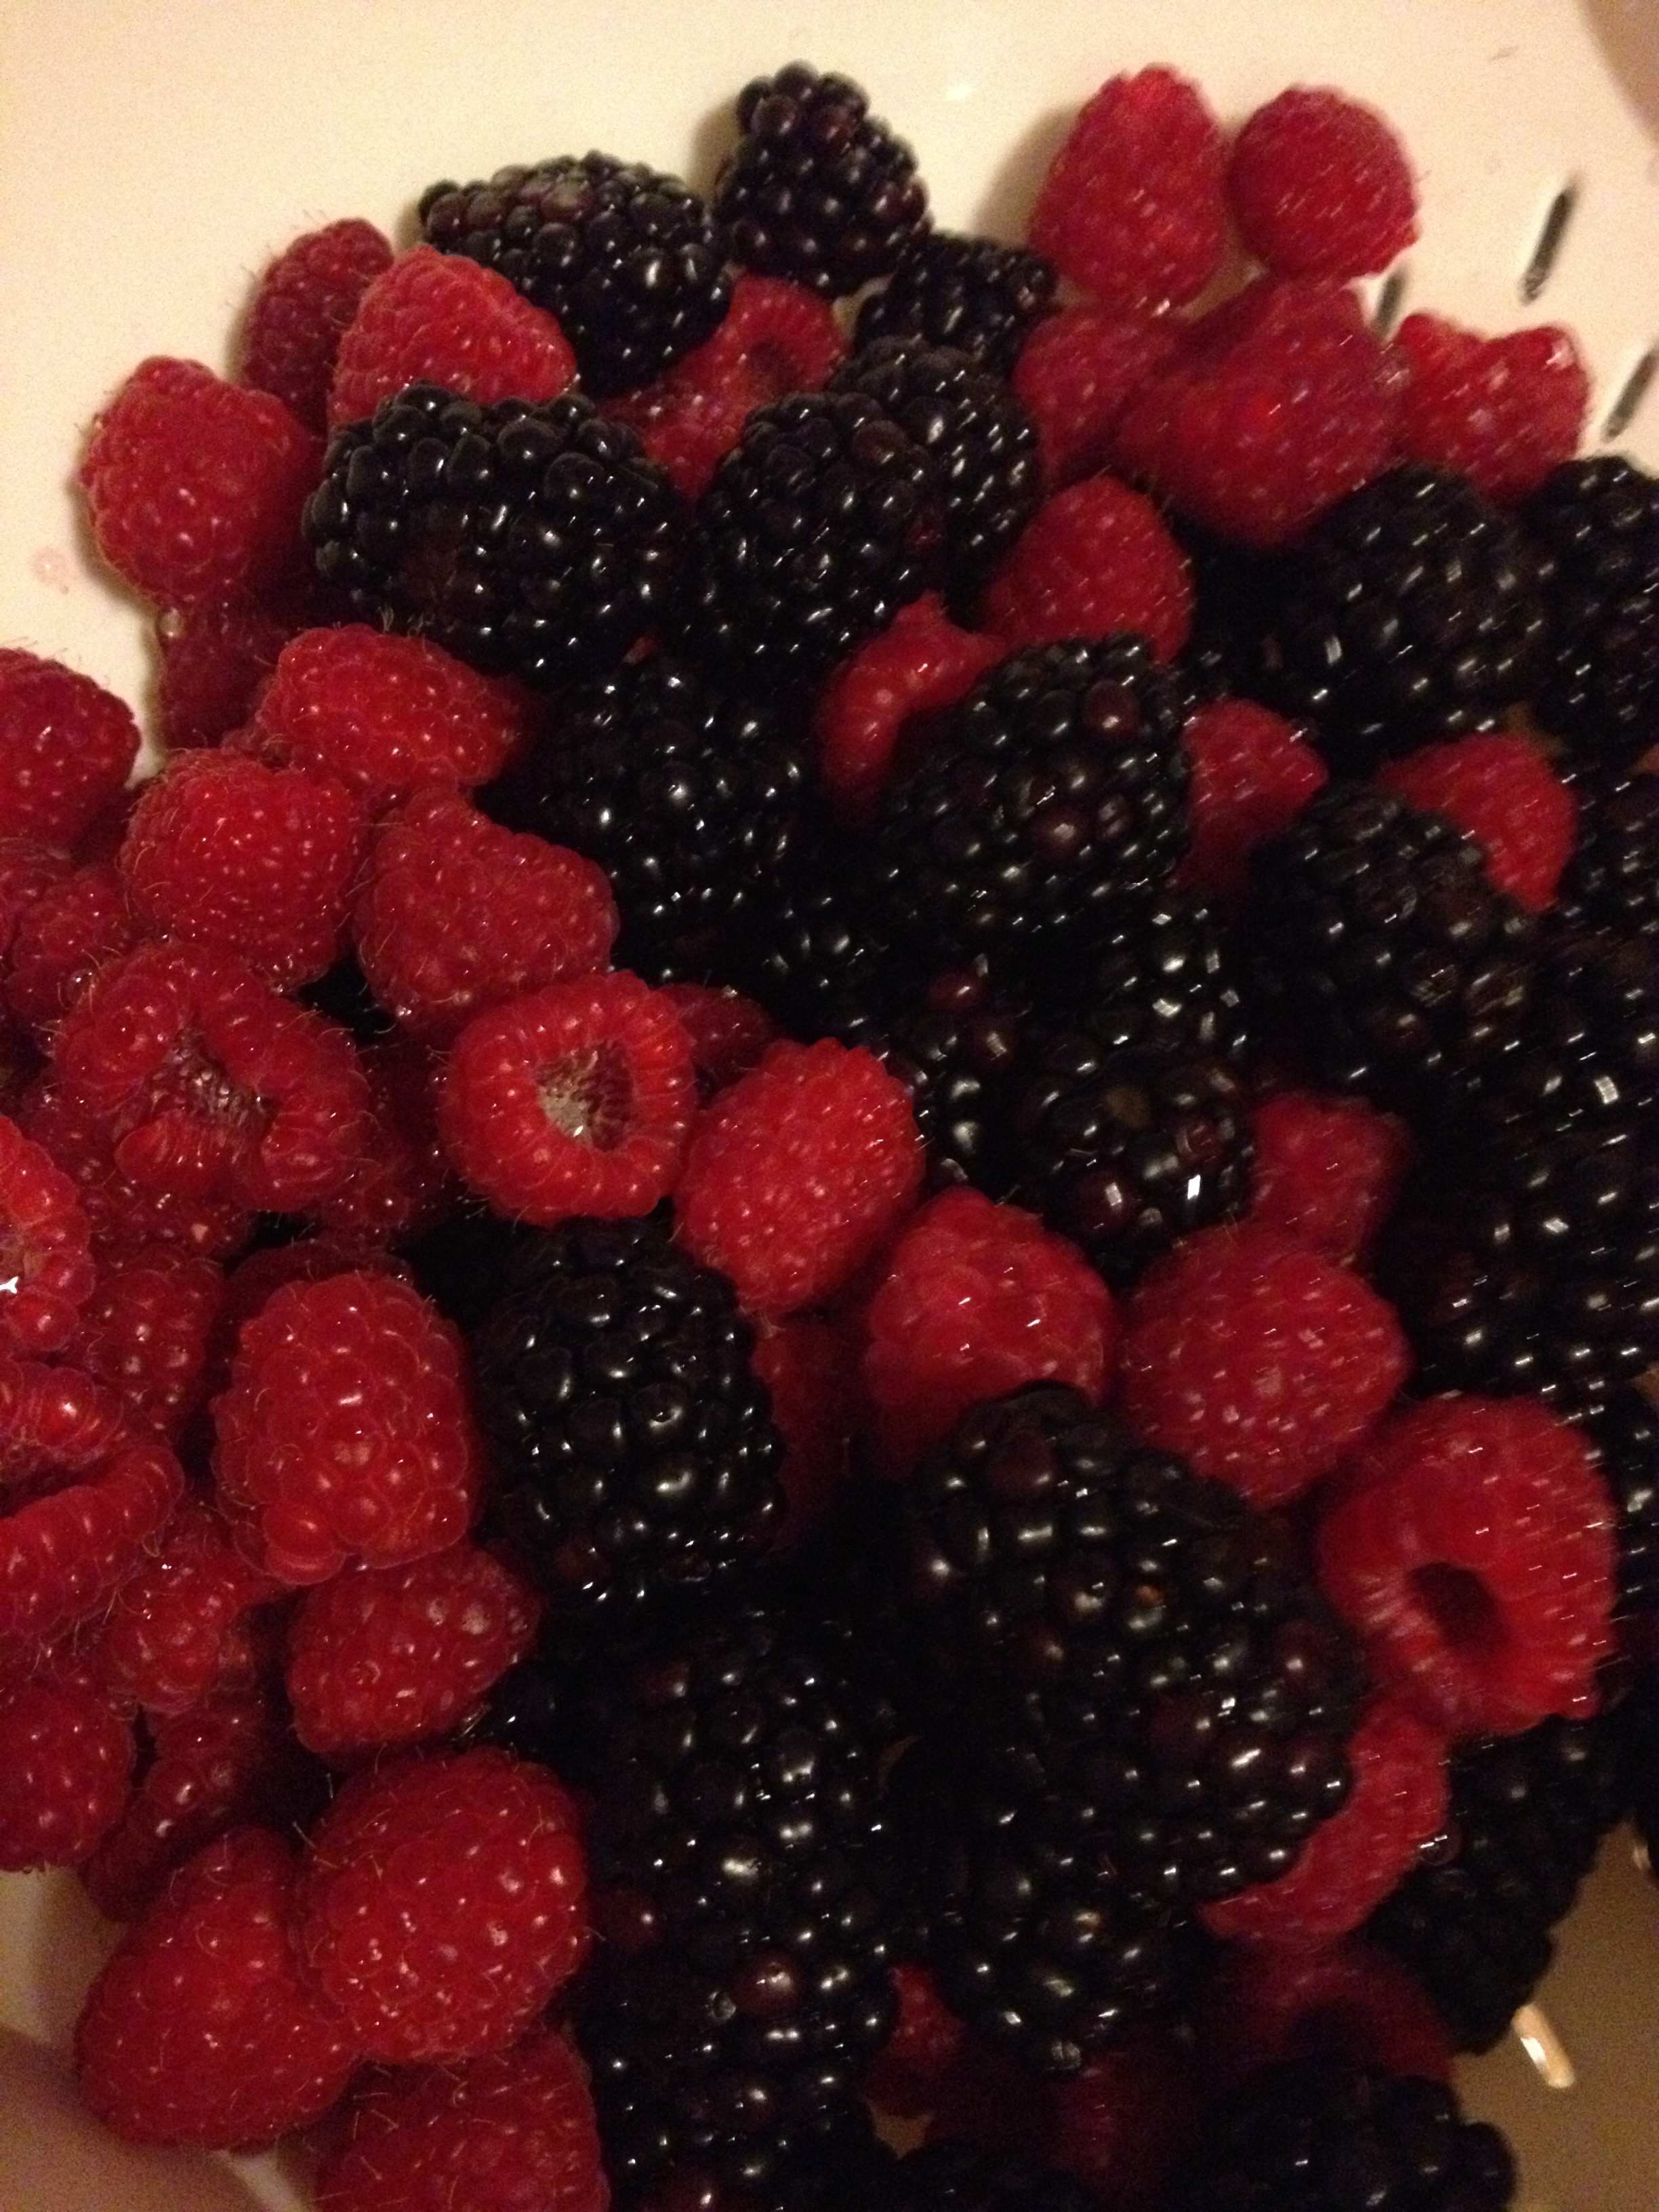
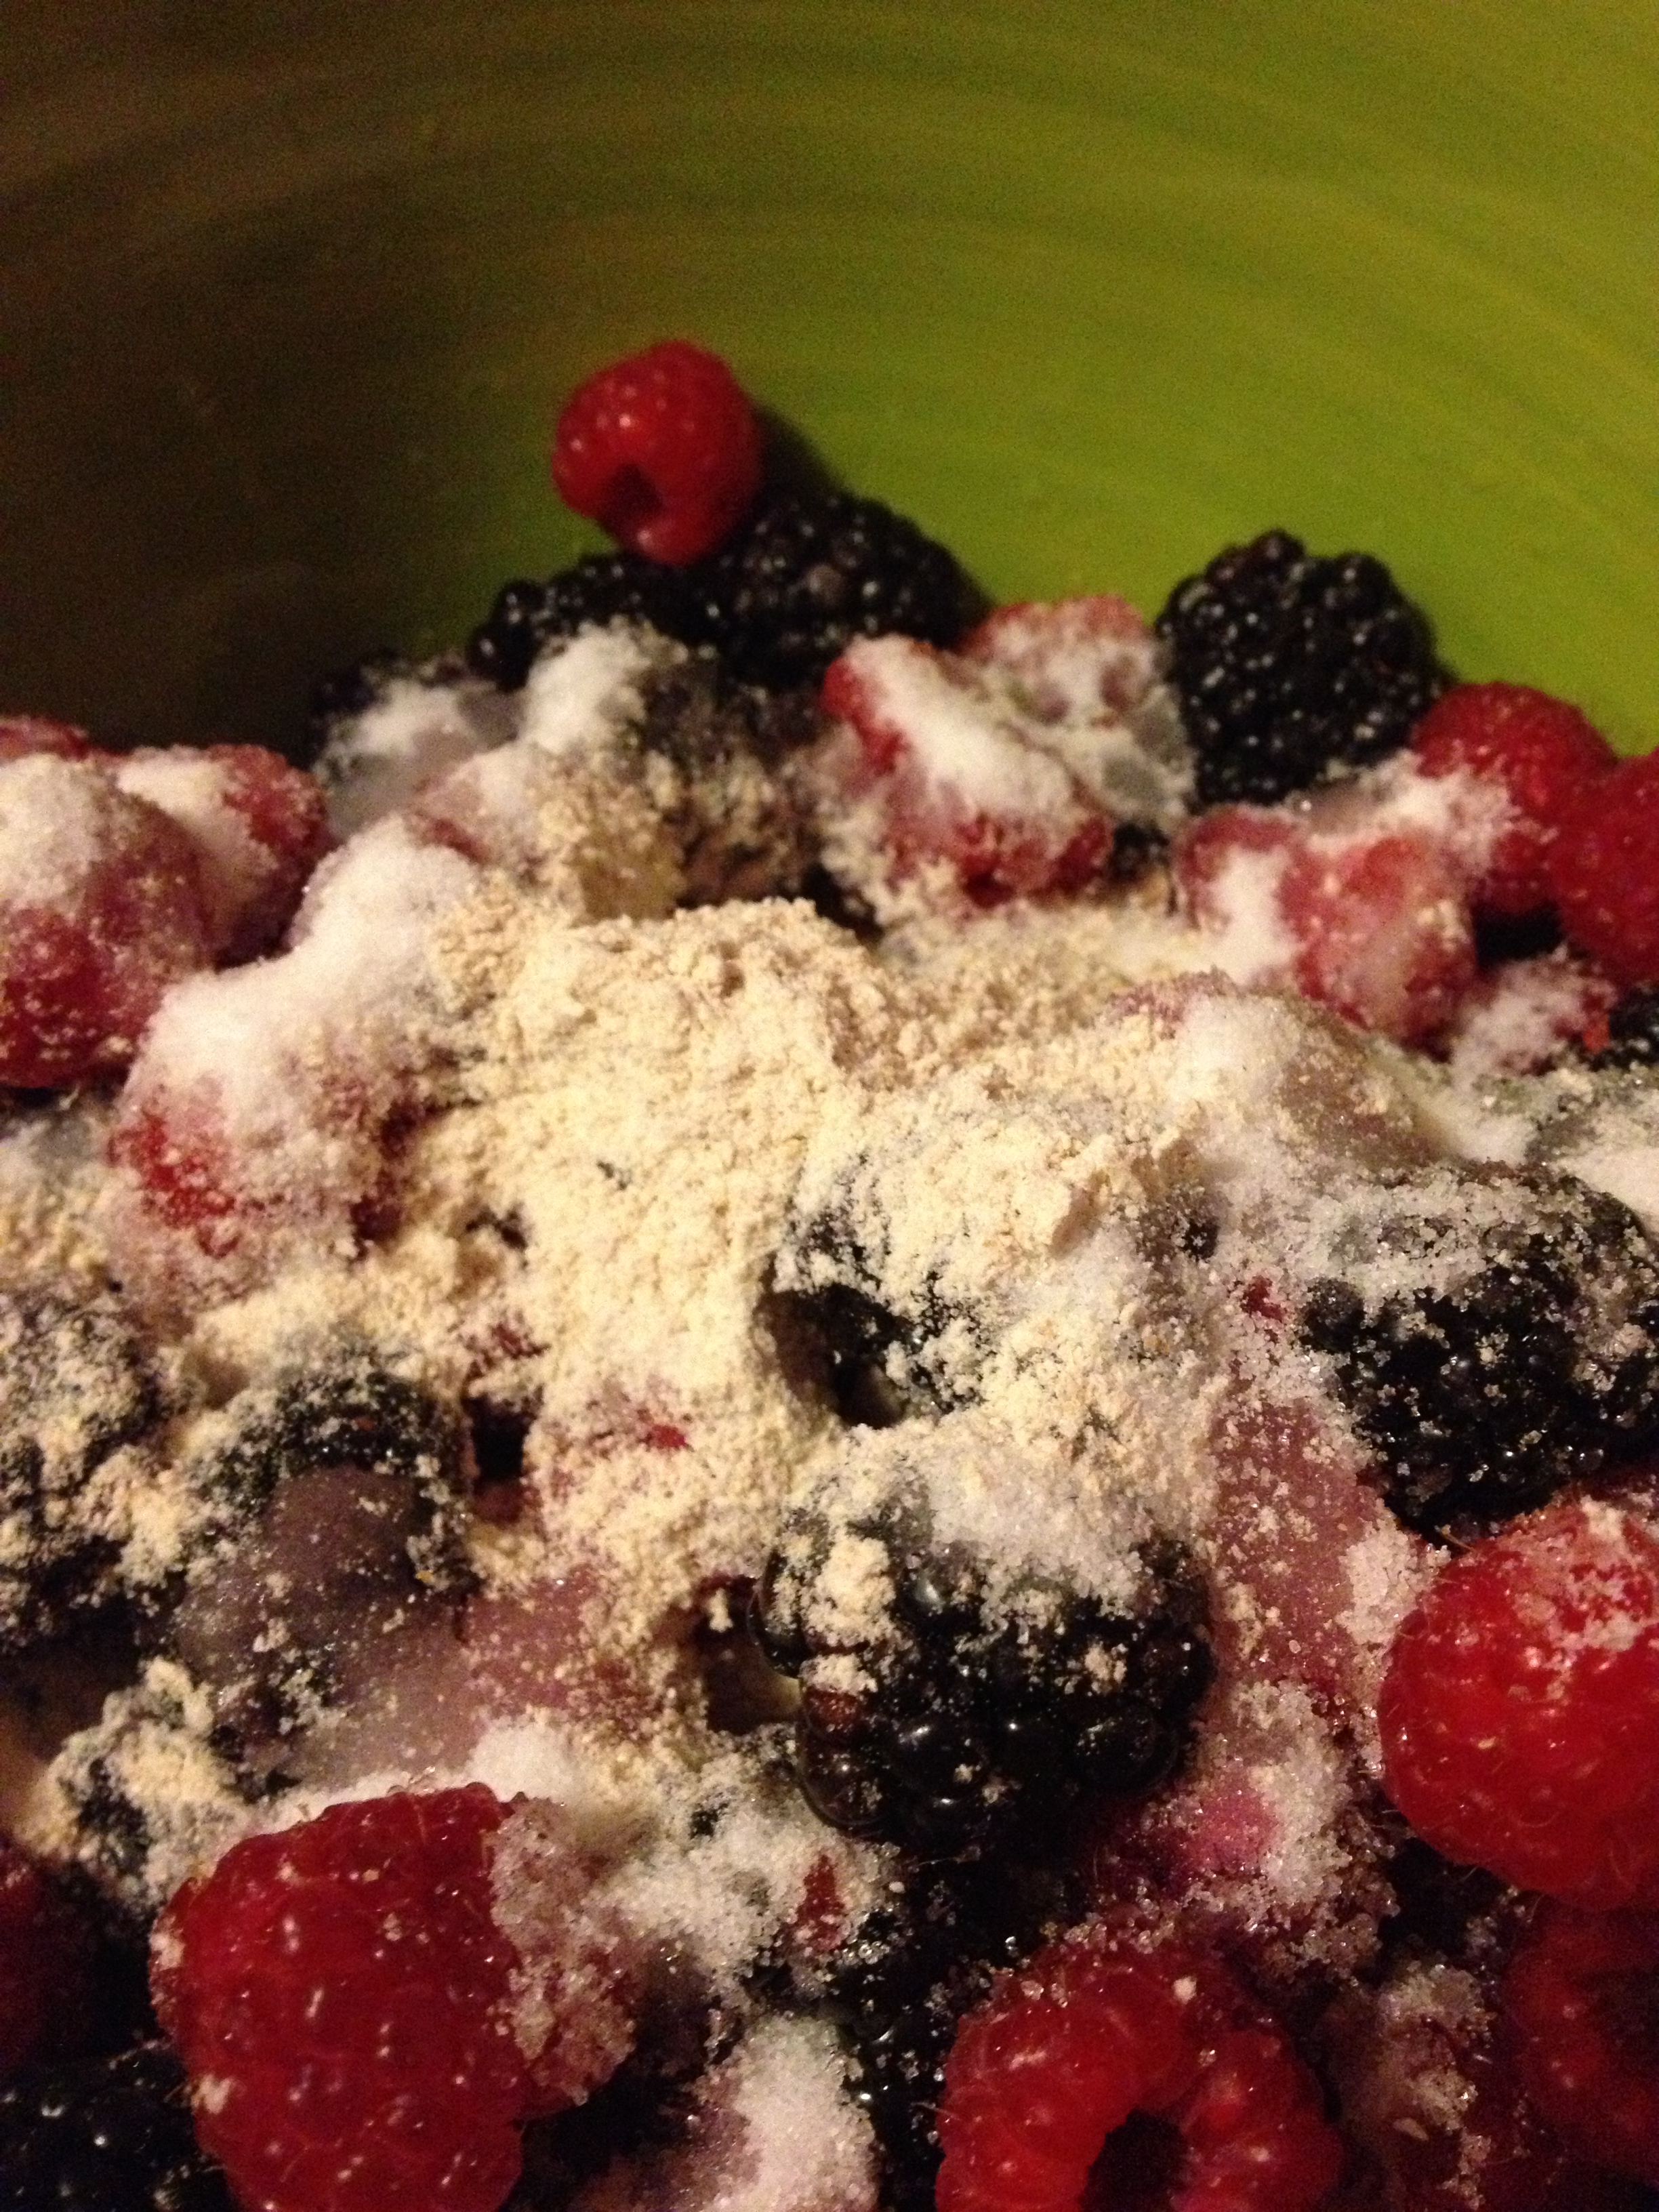
  • Put the berries, flour, and sugar into a bowl (take note that it’s just the 2 teaspoons of flour)

Berries!

Mix it up

Directions (Crust)

  • Preheat oven to 400 degrees
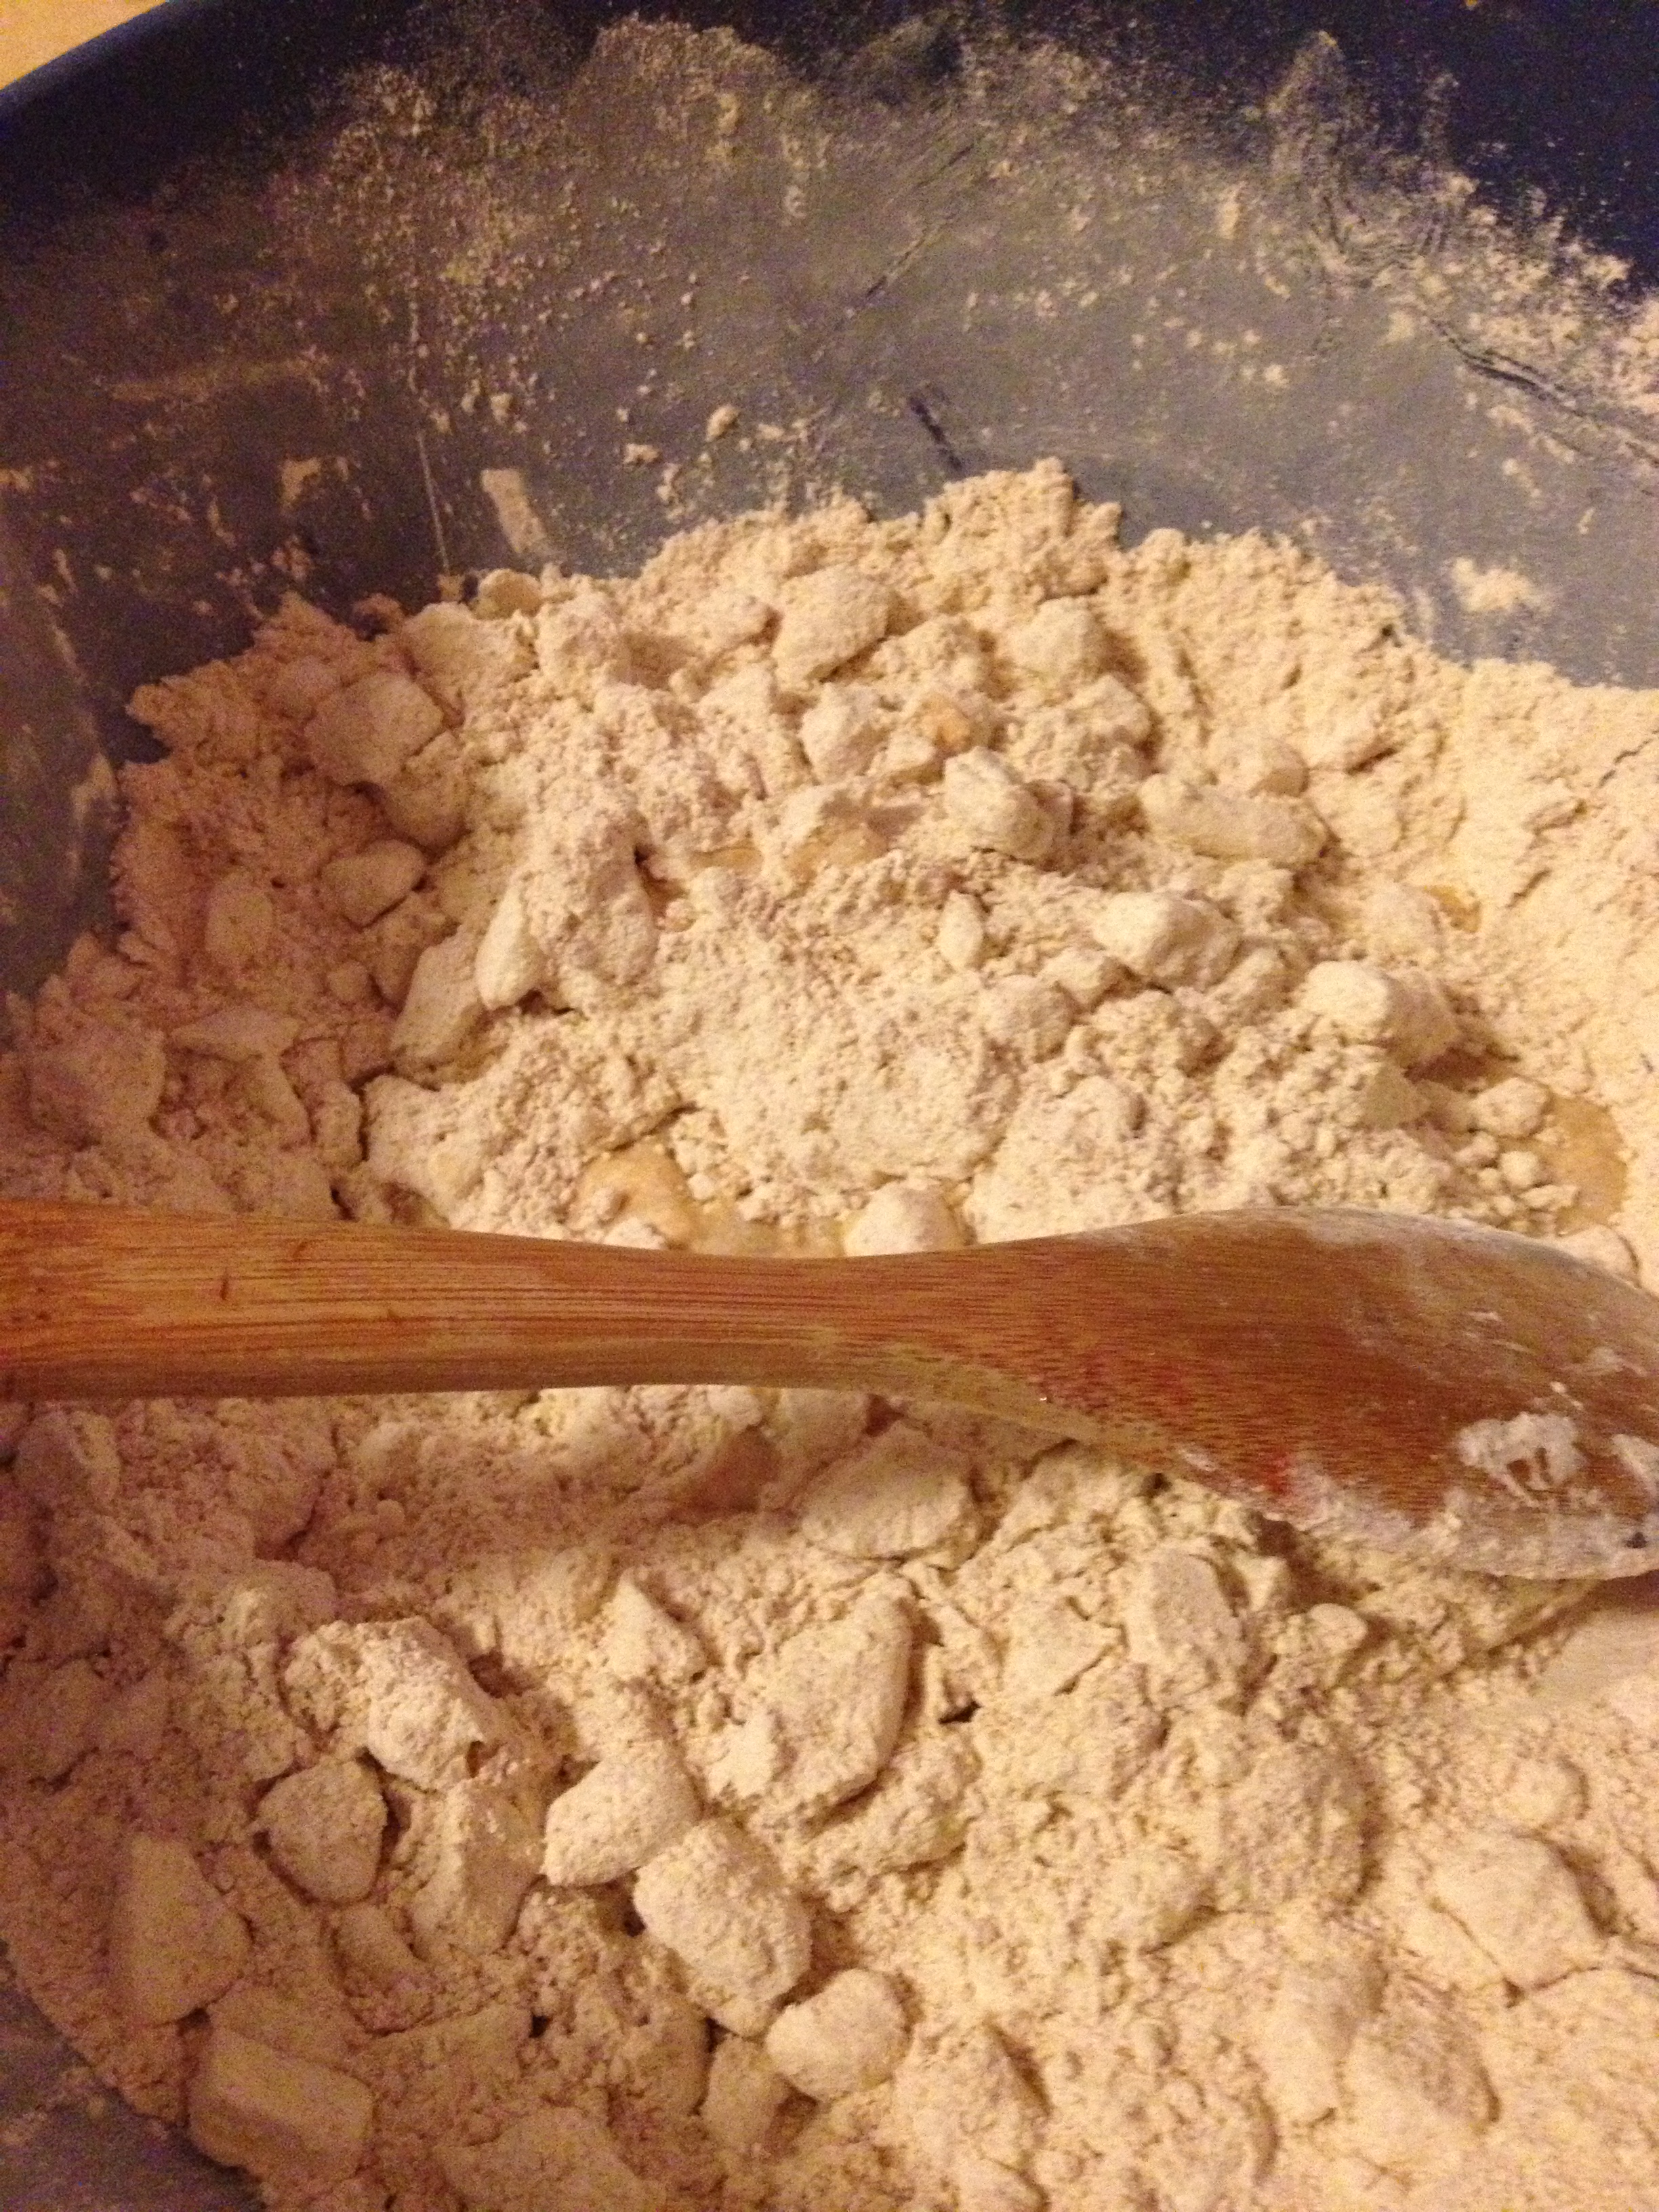
  • Combine the flour and salt in a big mixing bowl (this time 2 cups flour)
  • Cut up the cold butter into little pieces and place in flour mixture

Butter and flour

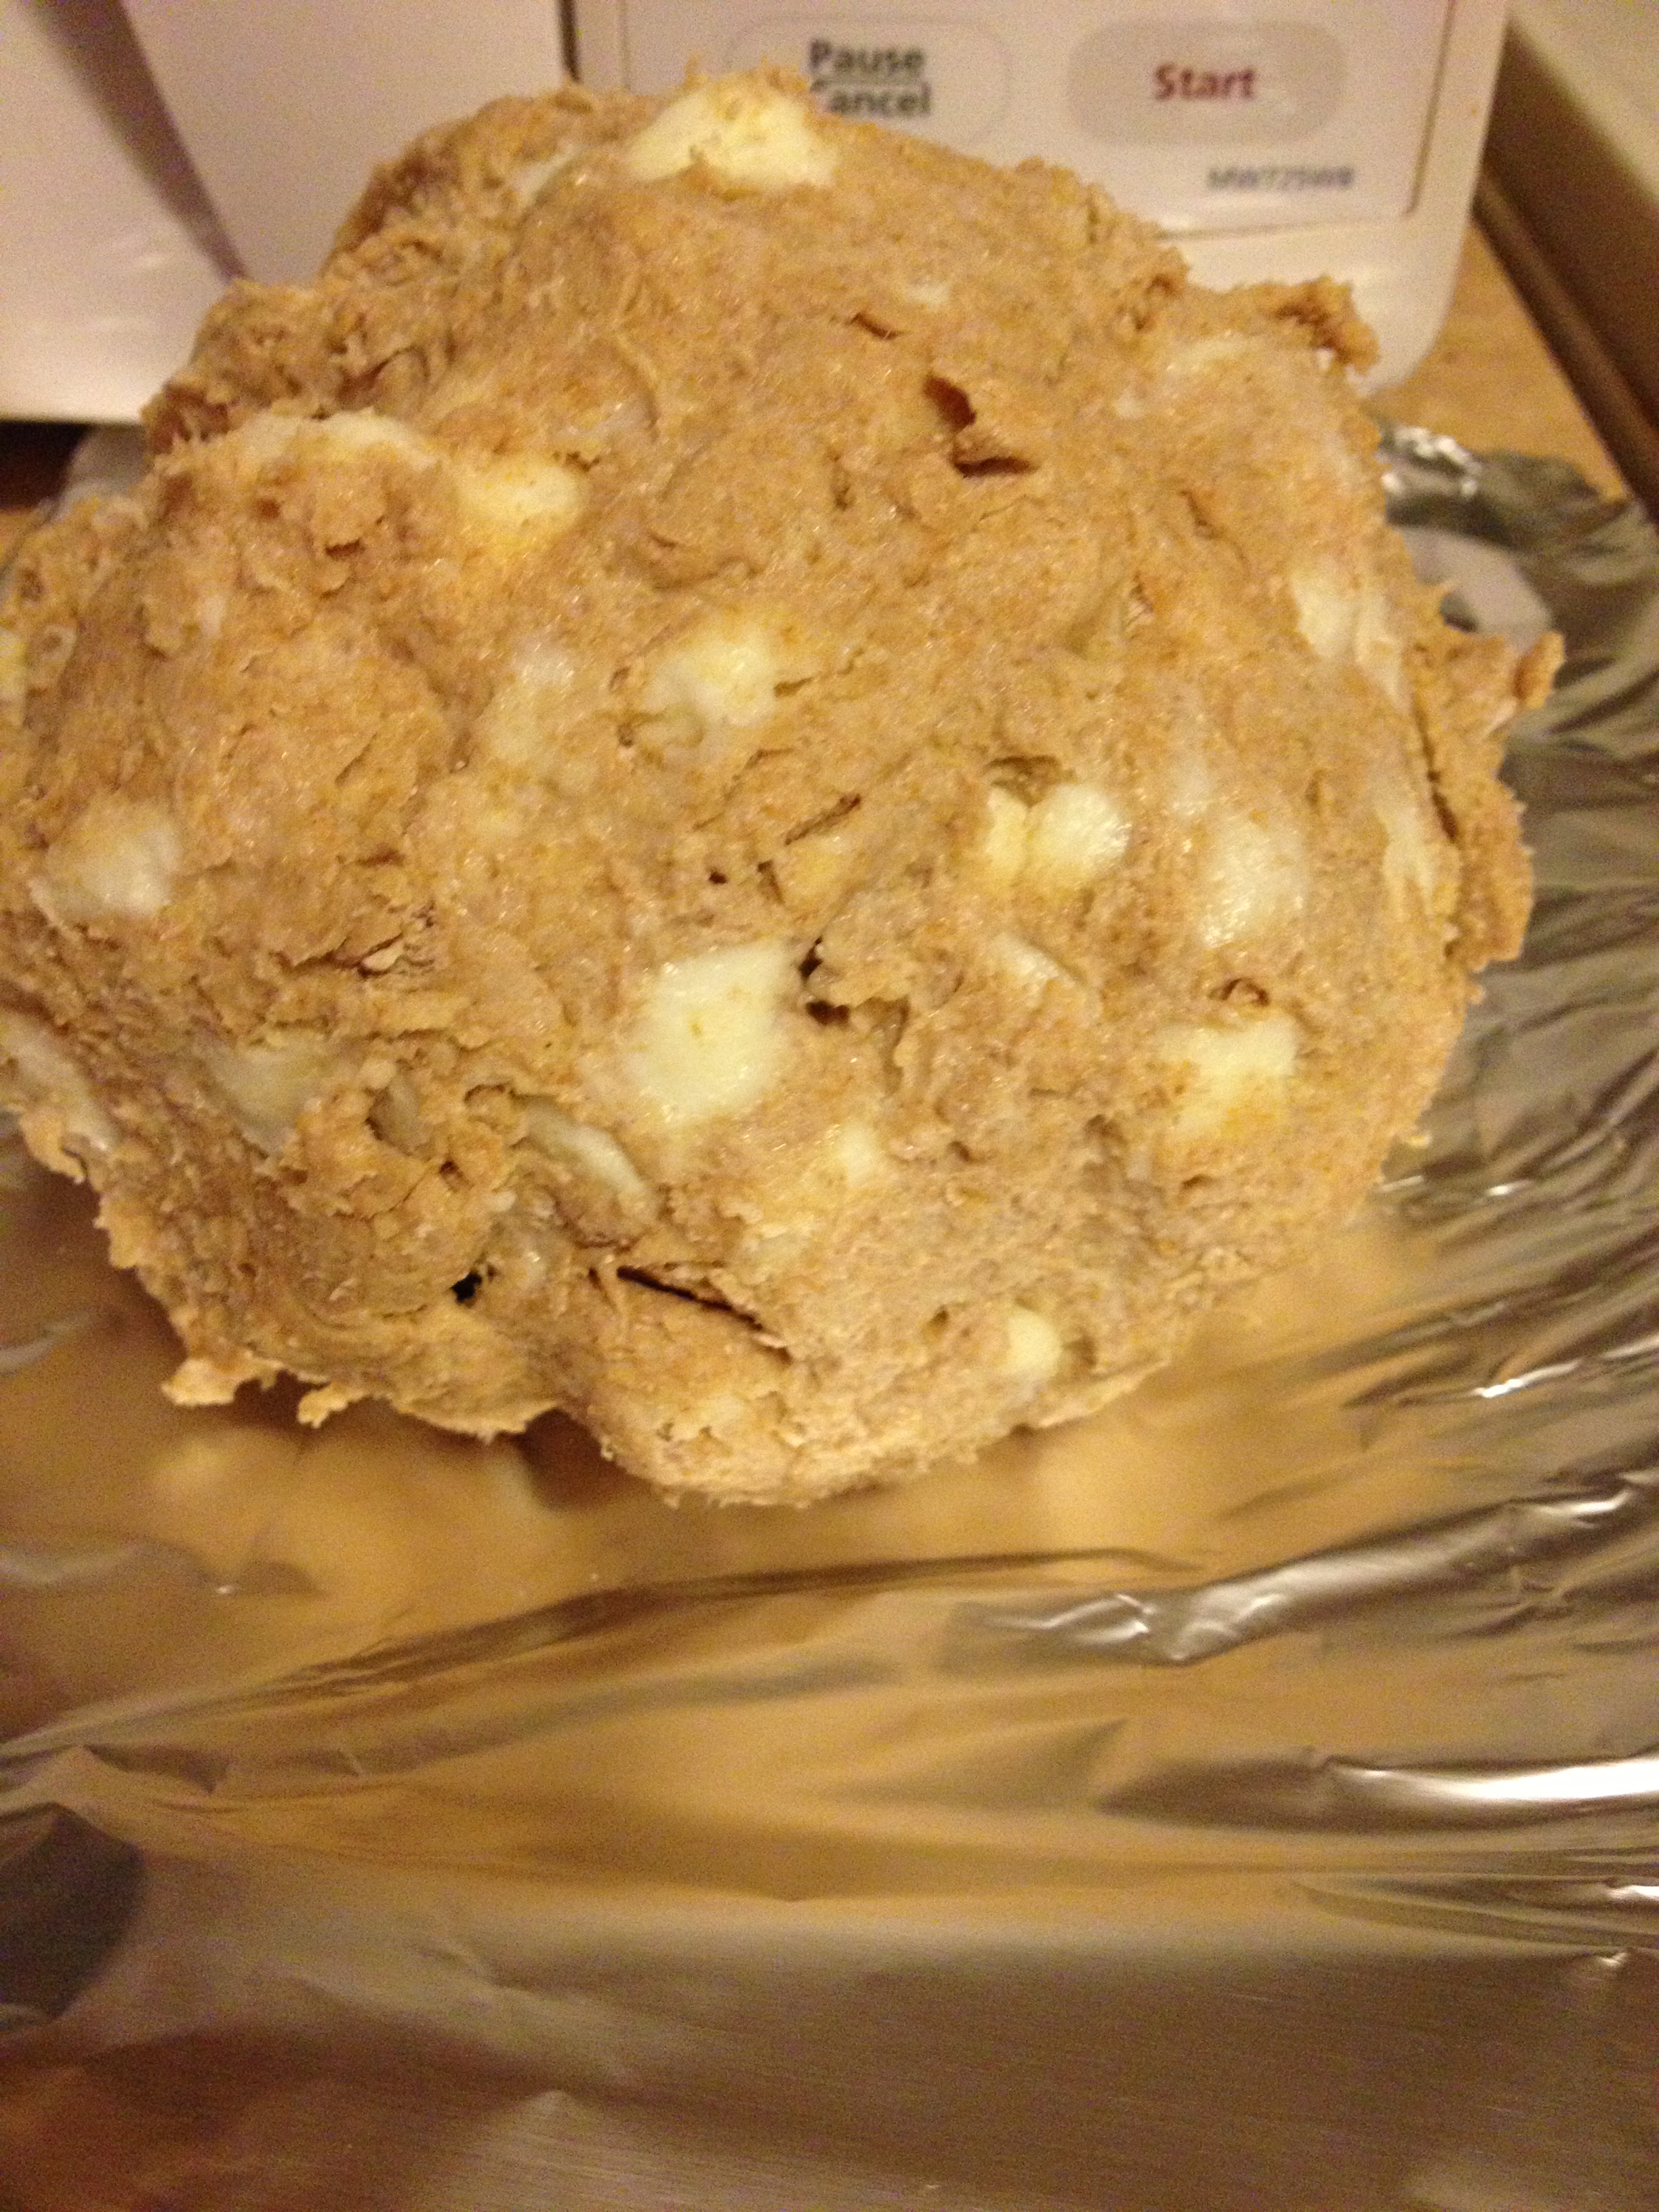
  • Next, add enough cold water for the flour to stick together and can be rolled into a massive ball of dough.

Monster ball

  • Place in the freezer for 15 minutes
  • Take out of freezer, and use glad wrap or wax paper to really roll it out as thin as you want the crust
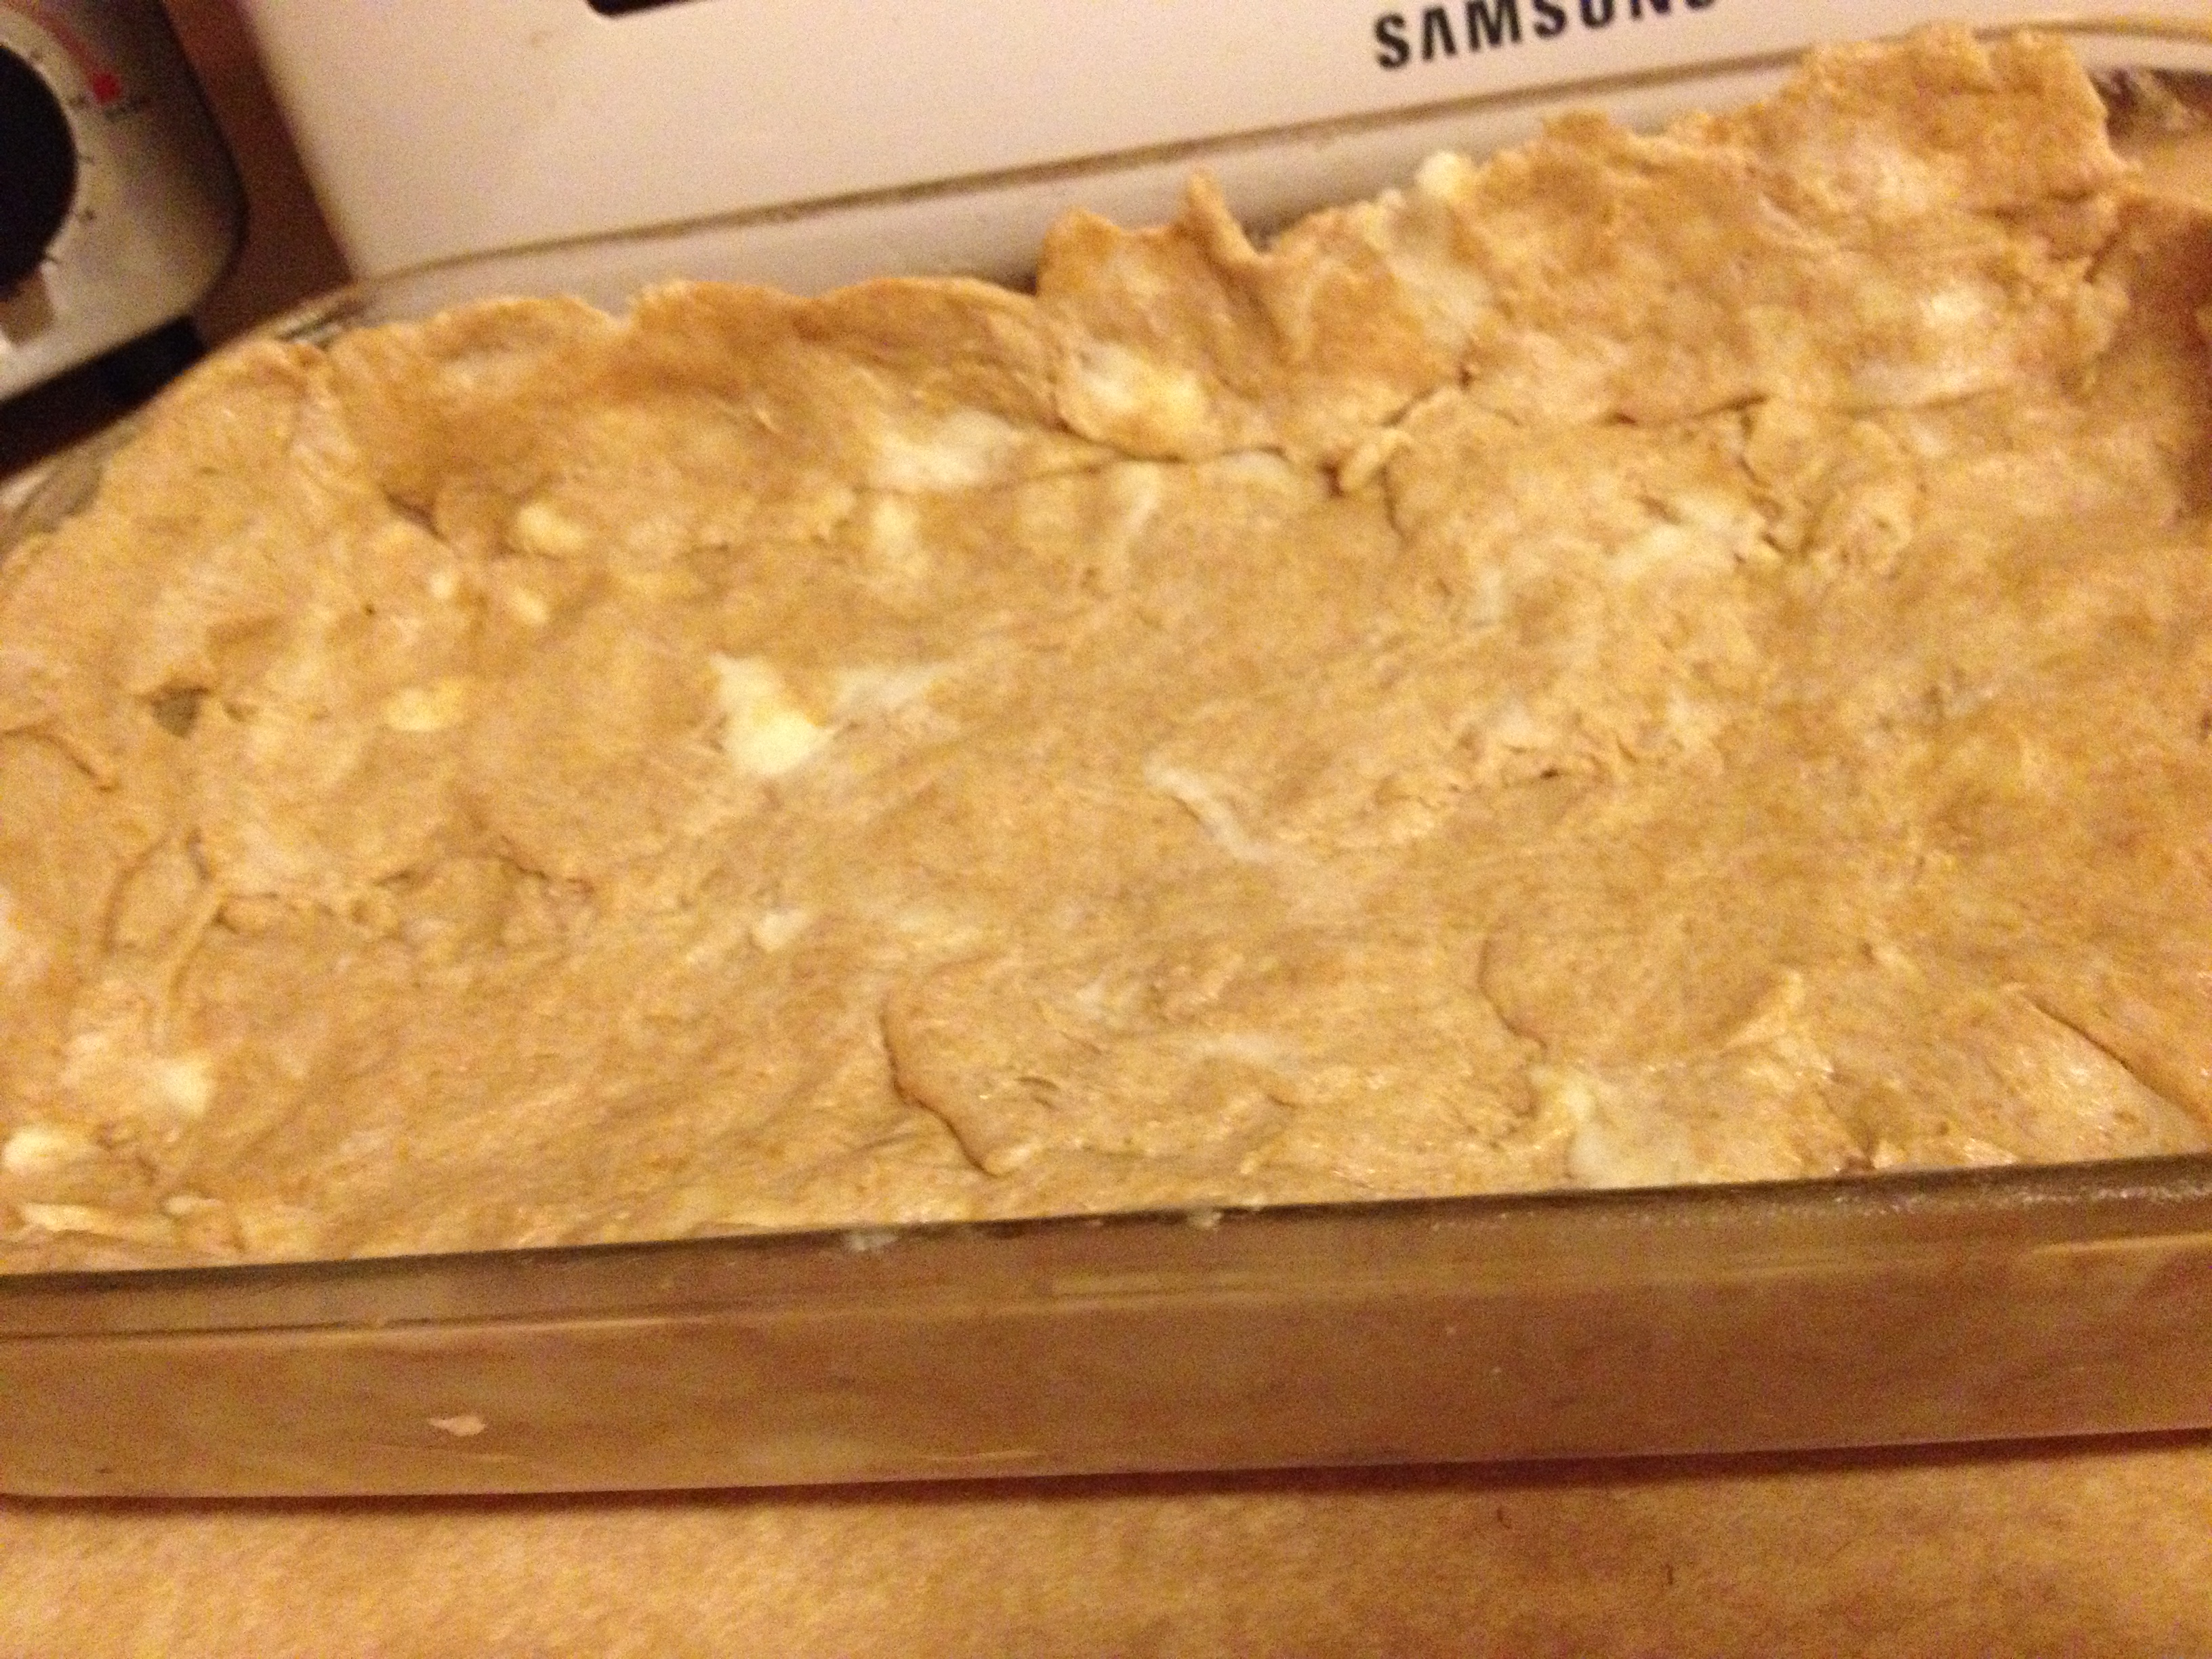
  • Once the crust is rolled out, place half of it on the bottom of your pan (or whatever you may use)

Bottom crust

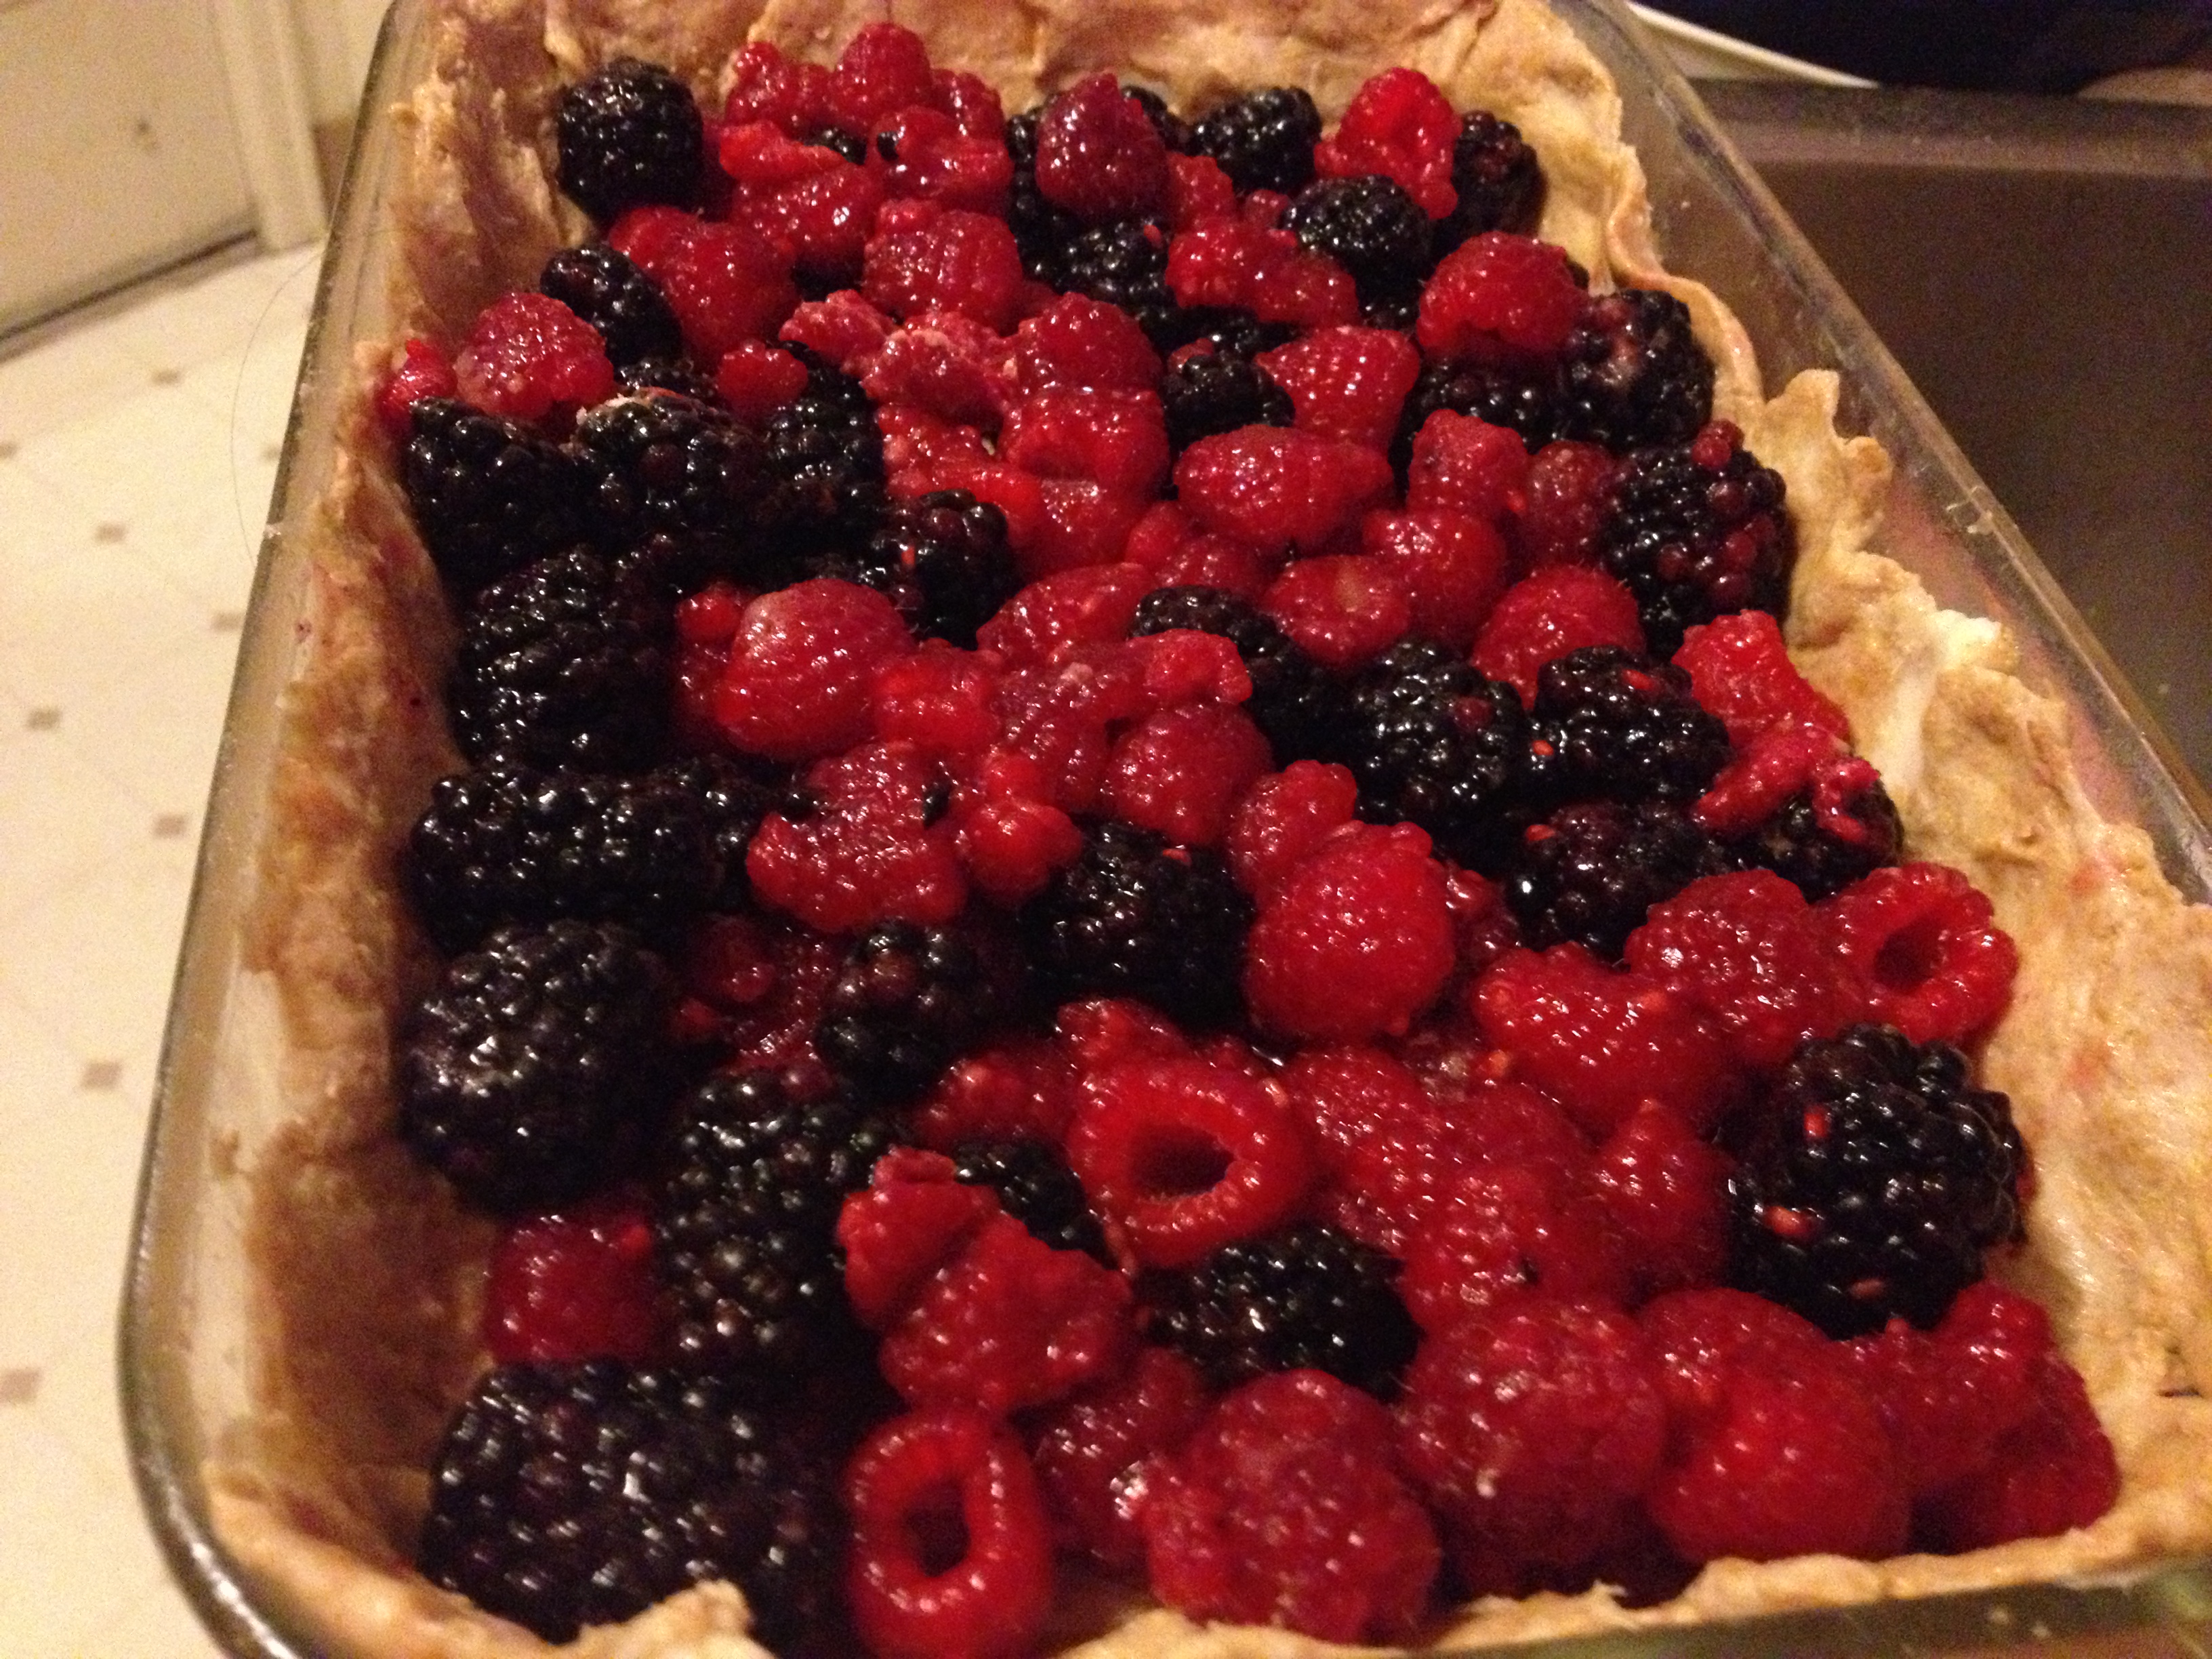
  • Next, get that fruit filling in there, to make it look truly beautiful.

Mmmm

  • Using the rest of the pie dough, make the top of the crumble/pie

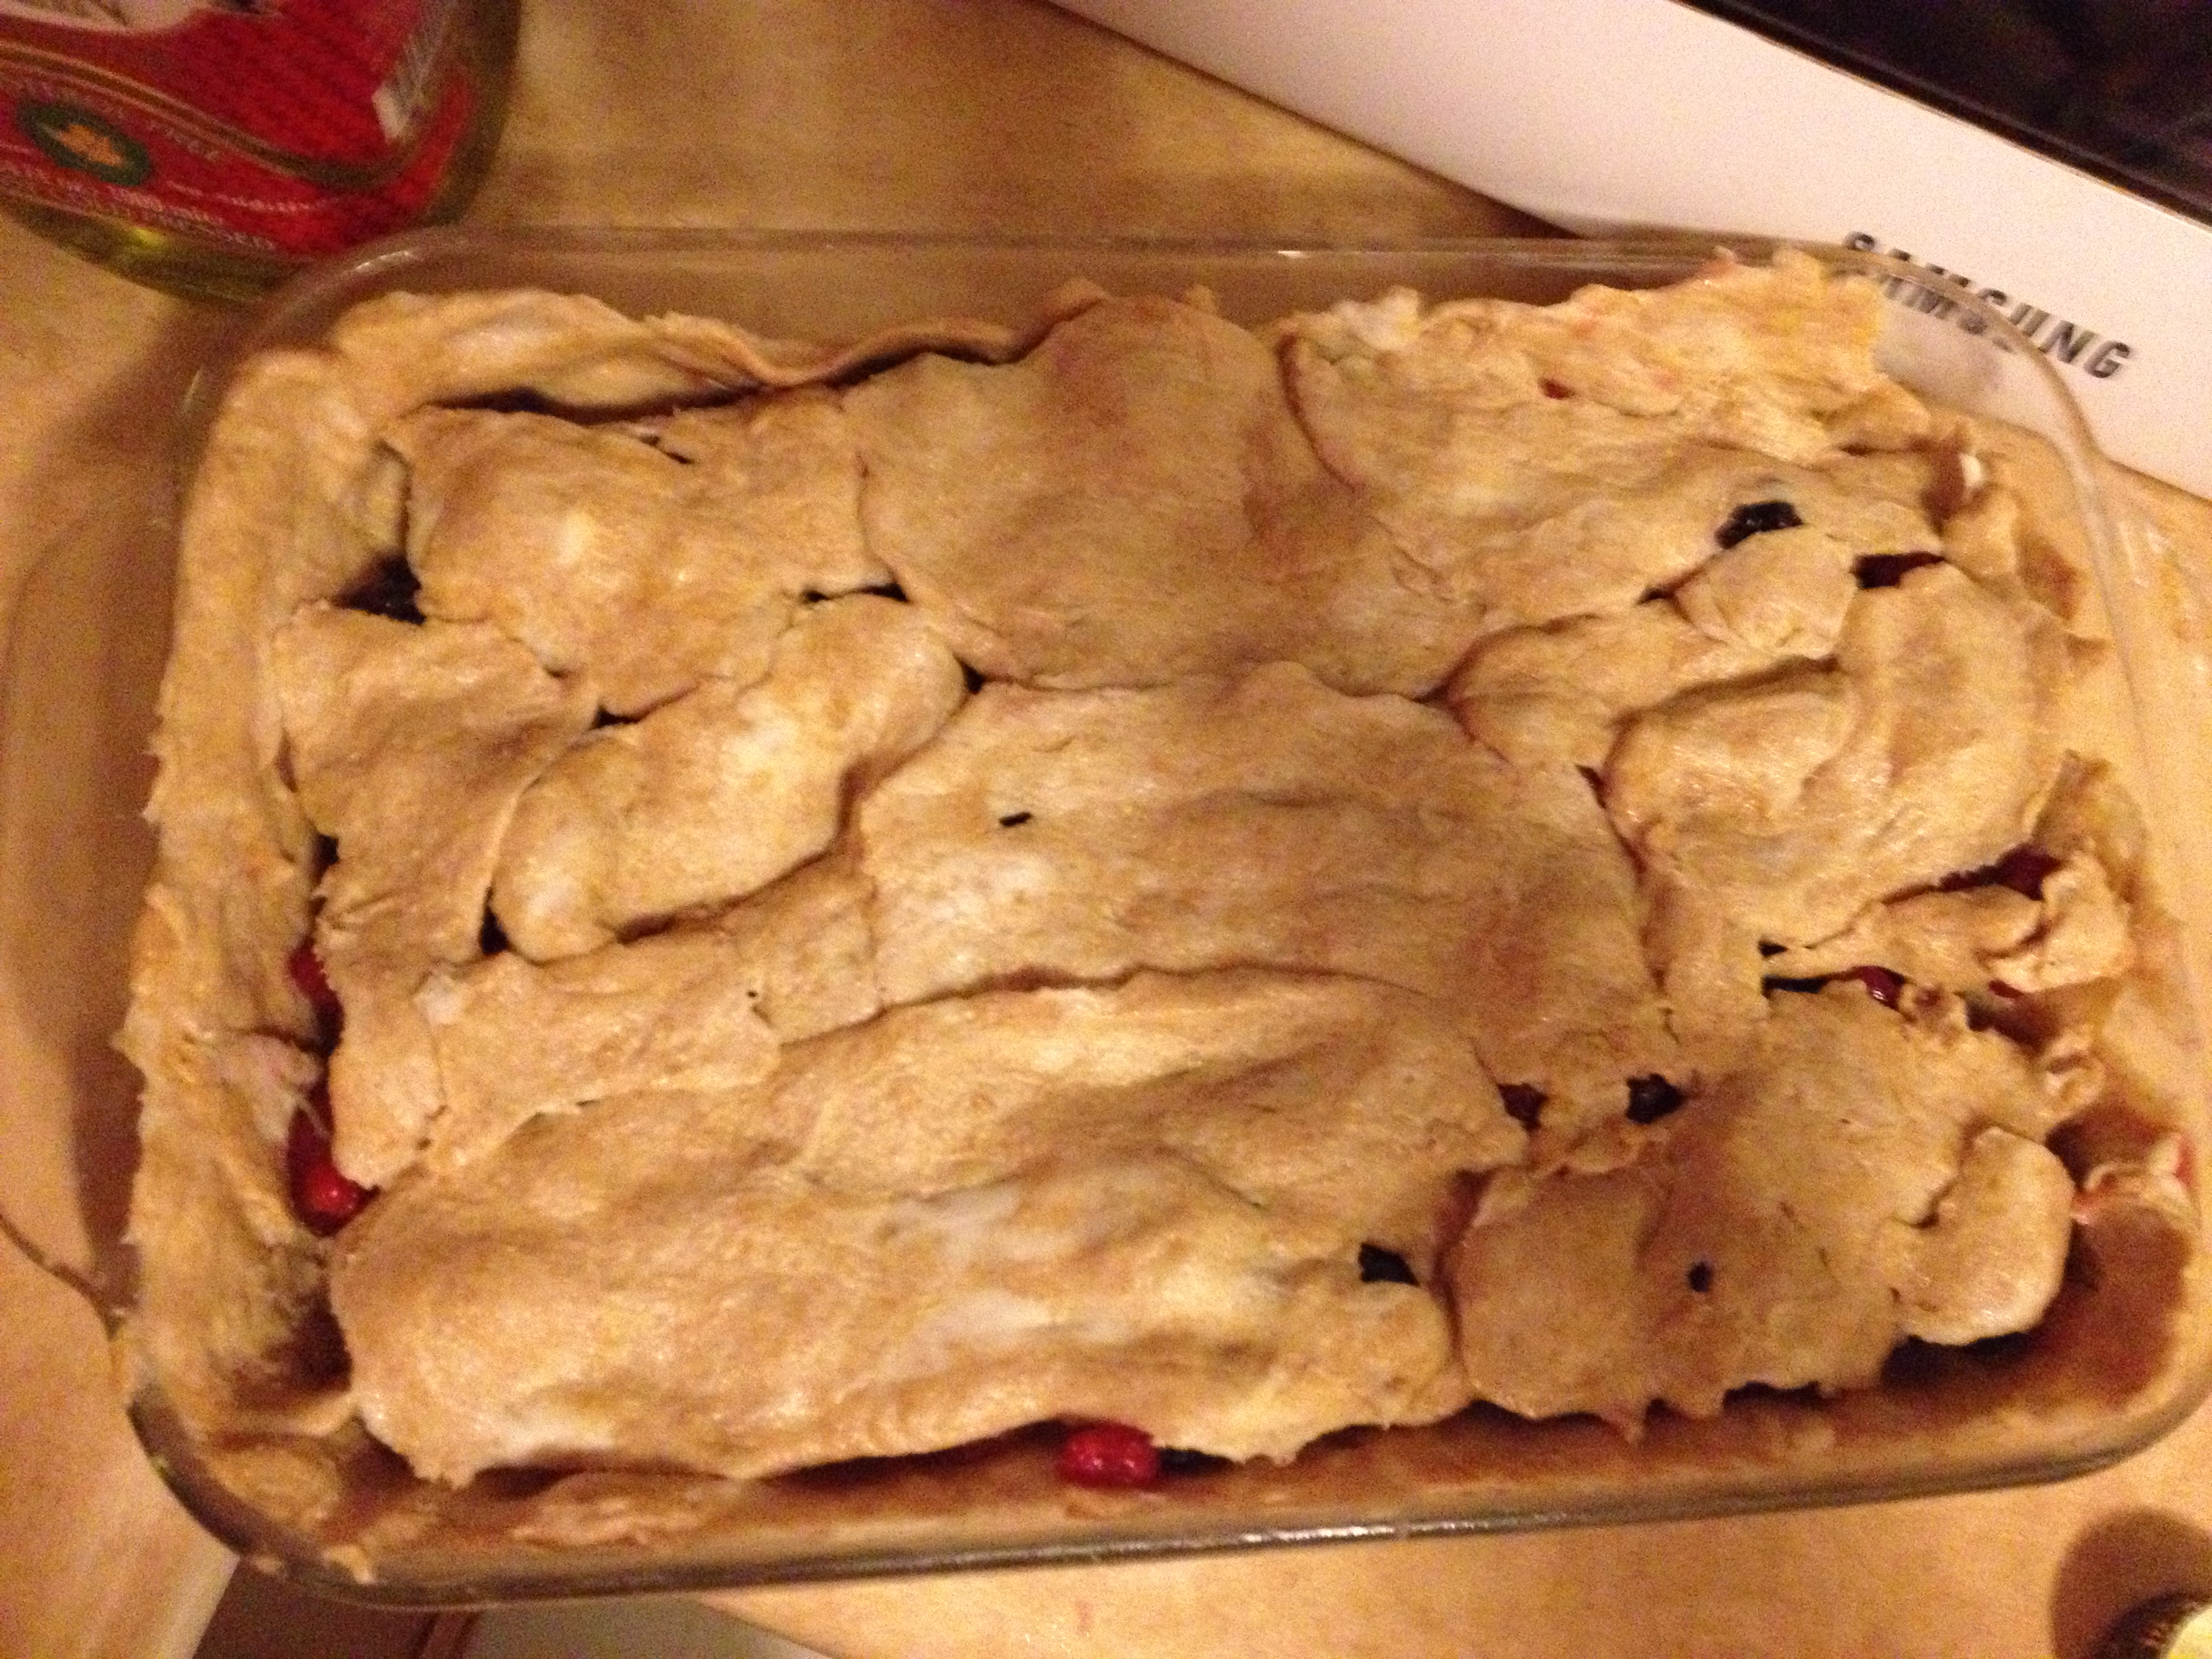
Bake me!

  • Put in the oven for 35-45 minutes. Mine took about 42 minutes I would say.
  • ENJOY!

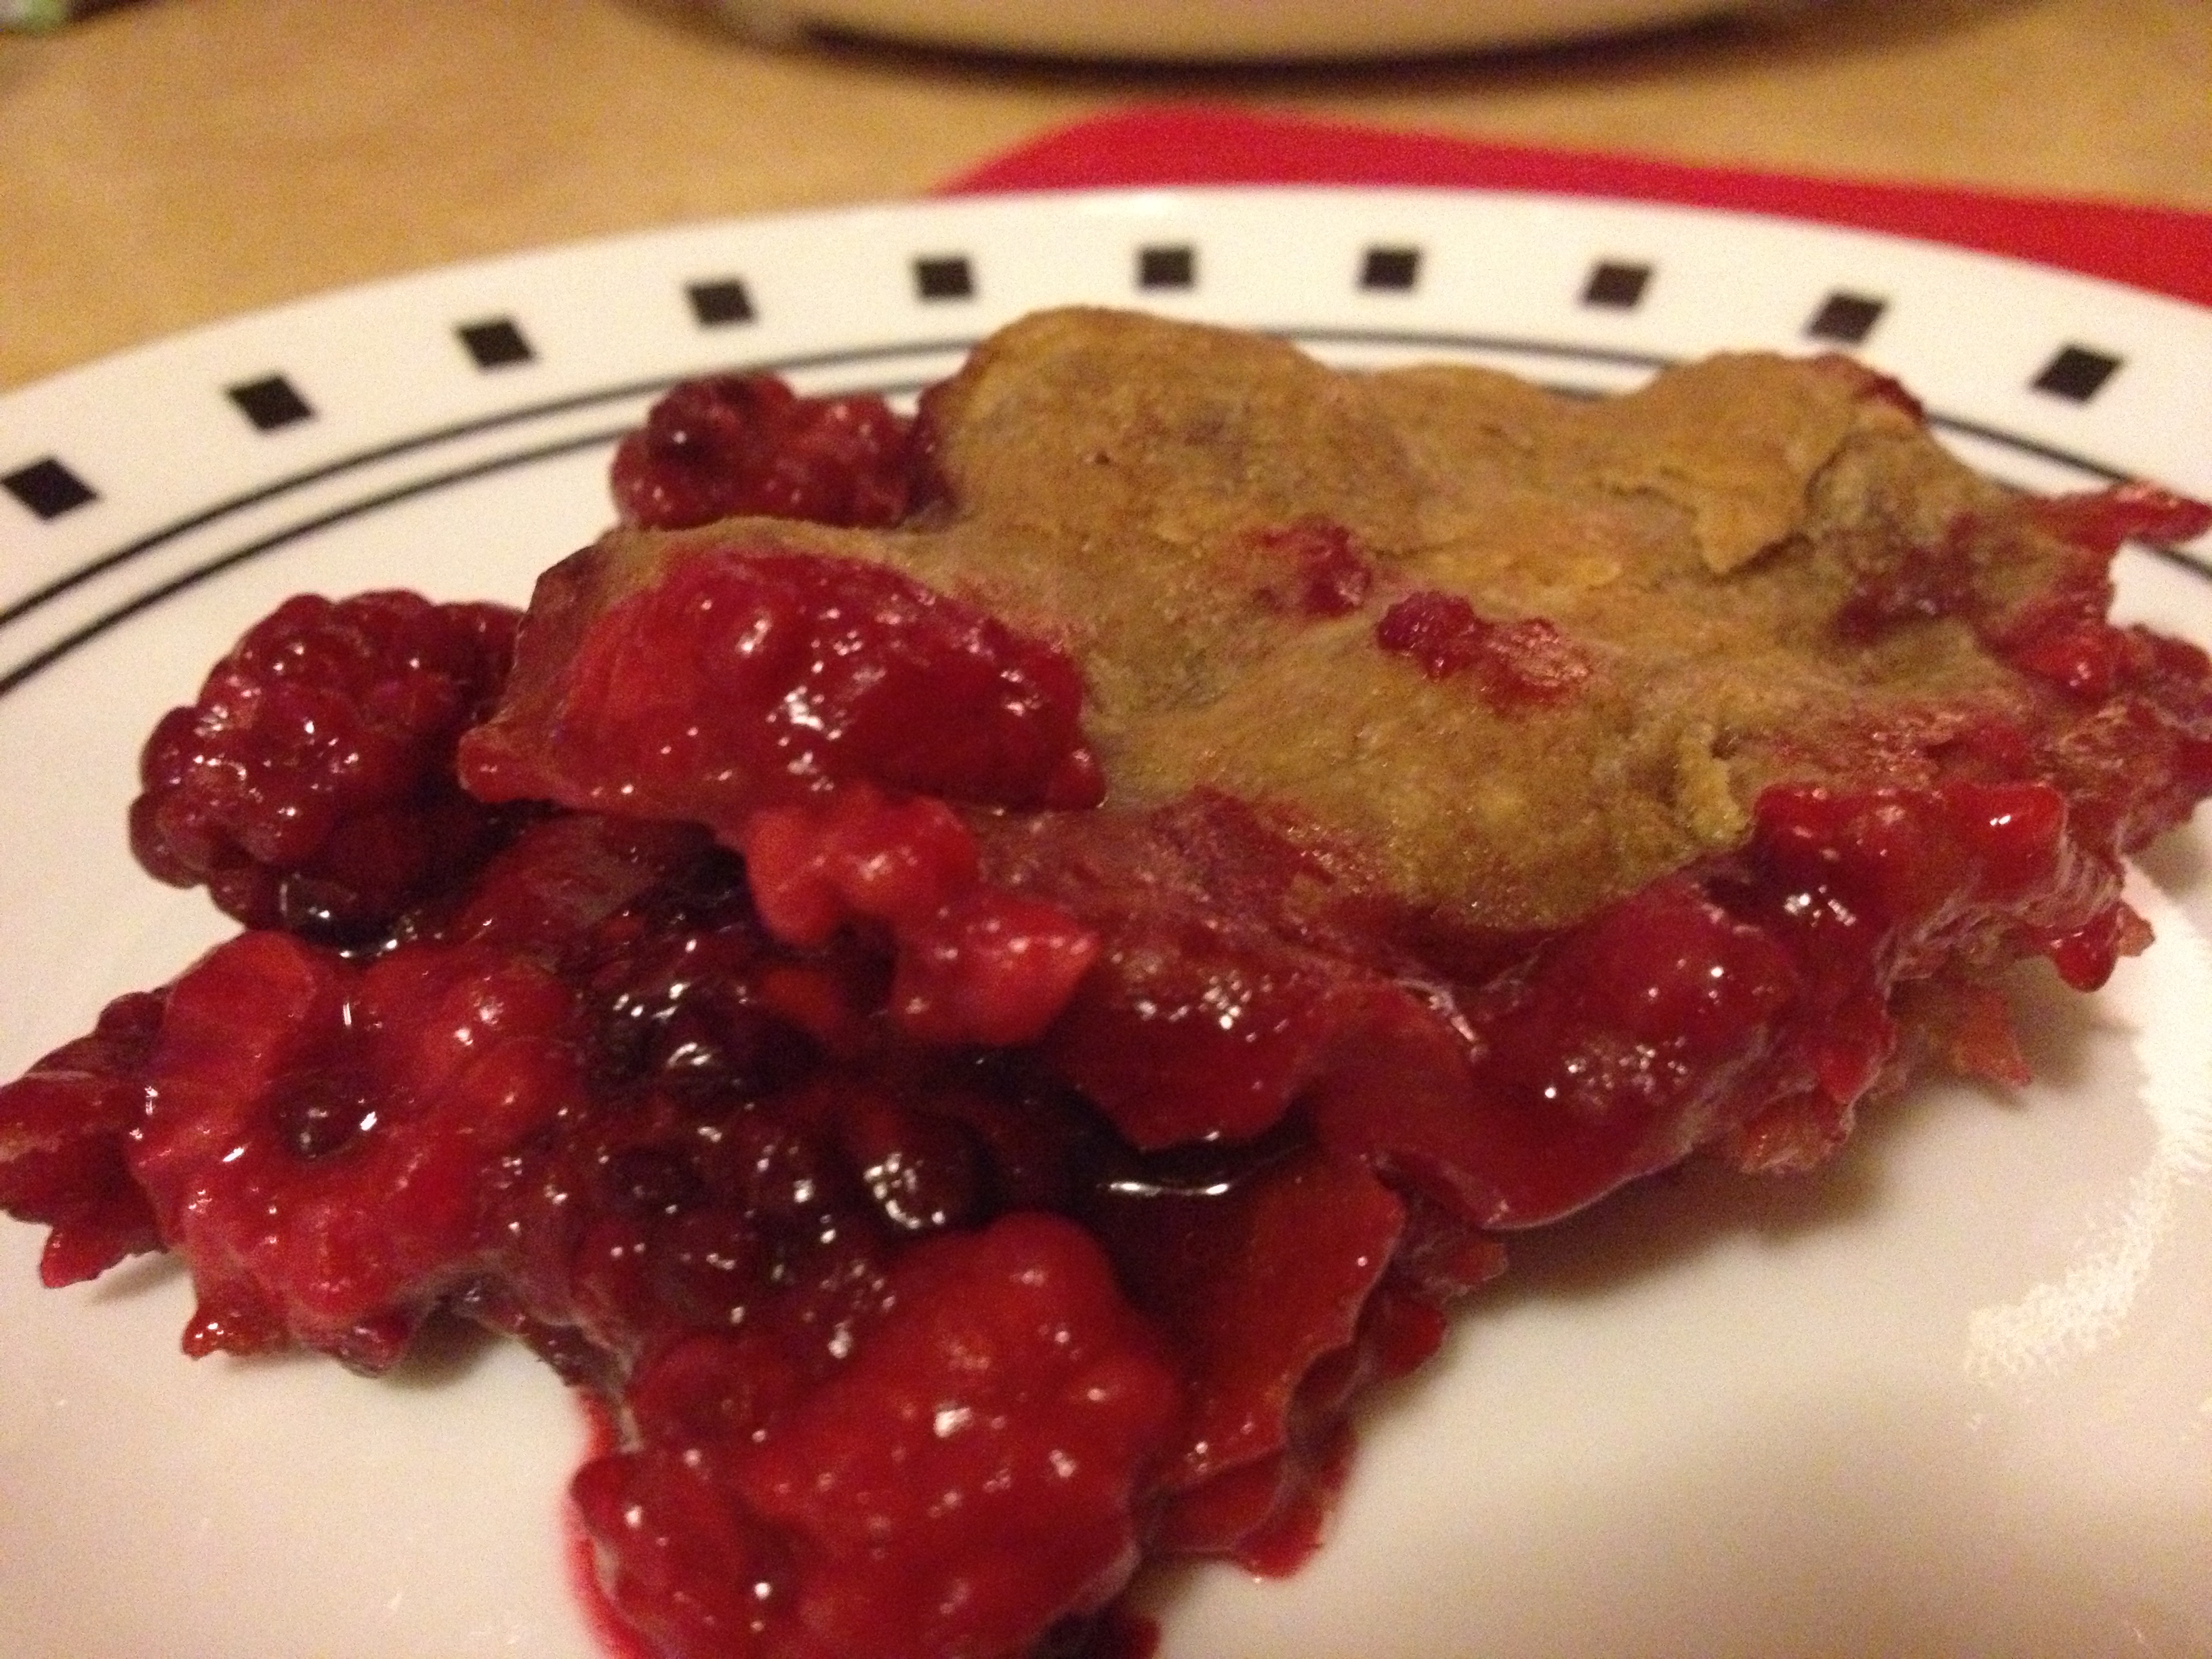
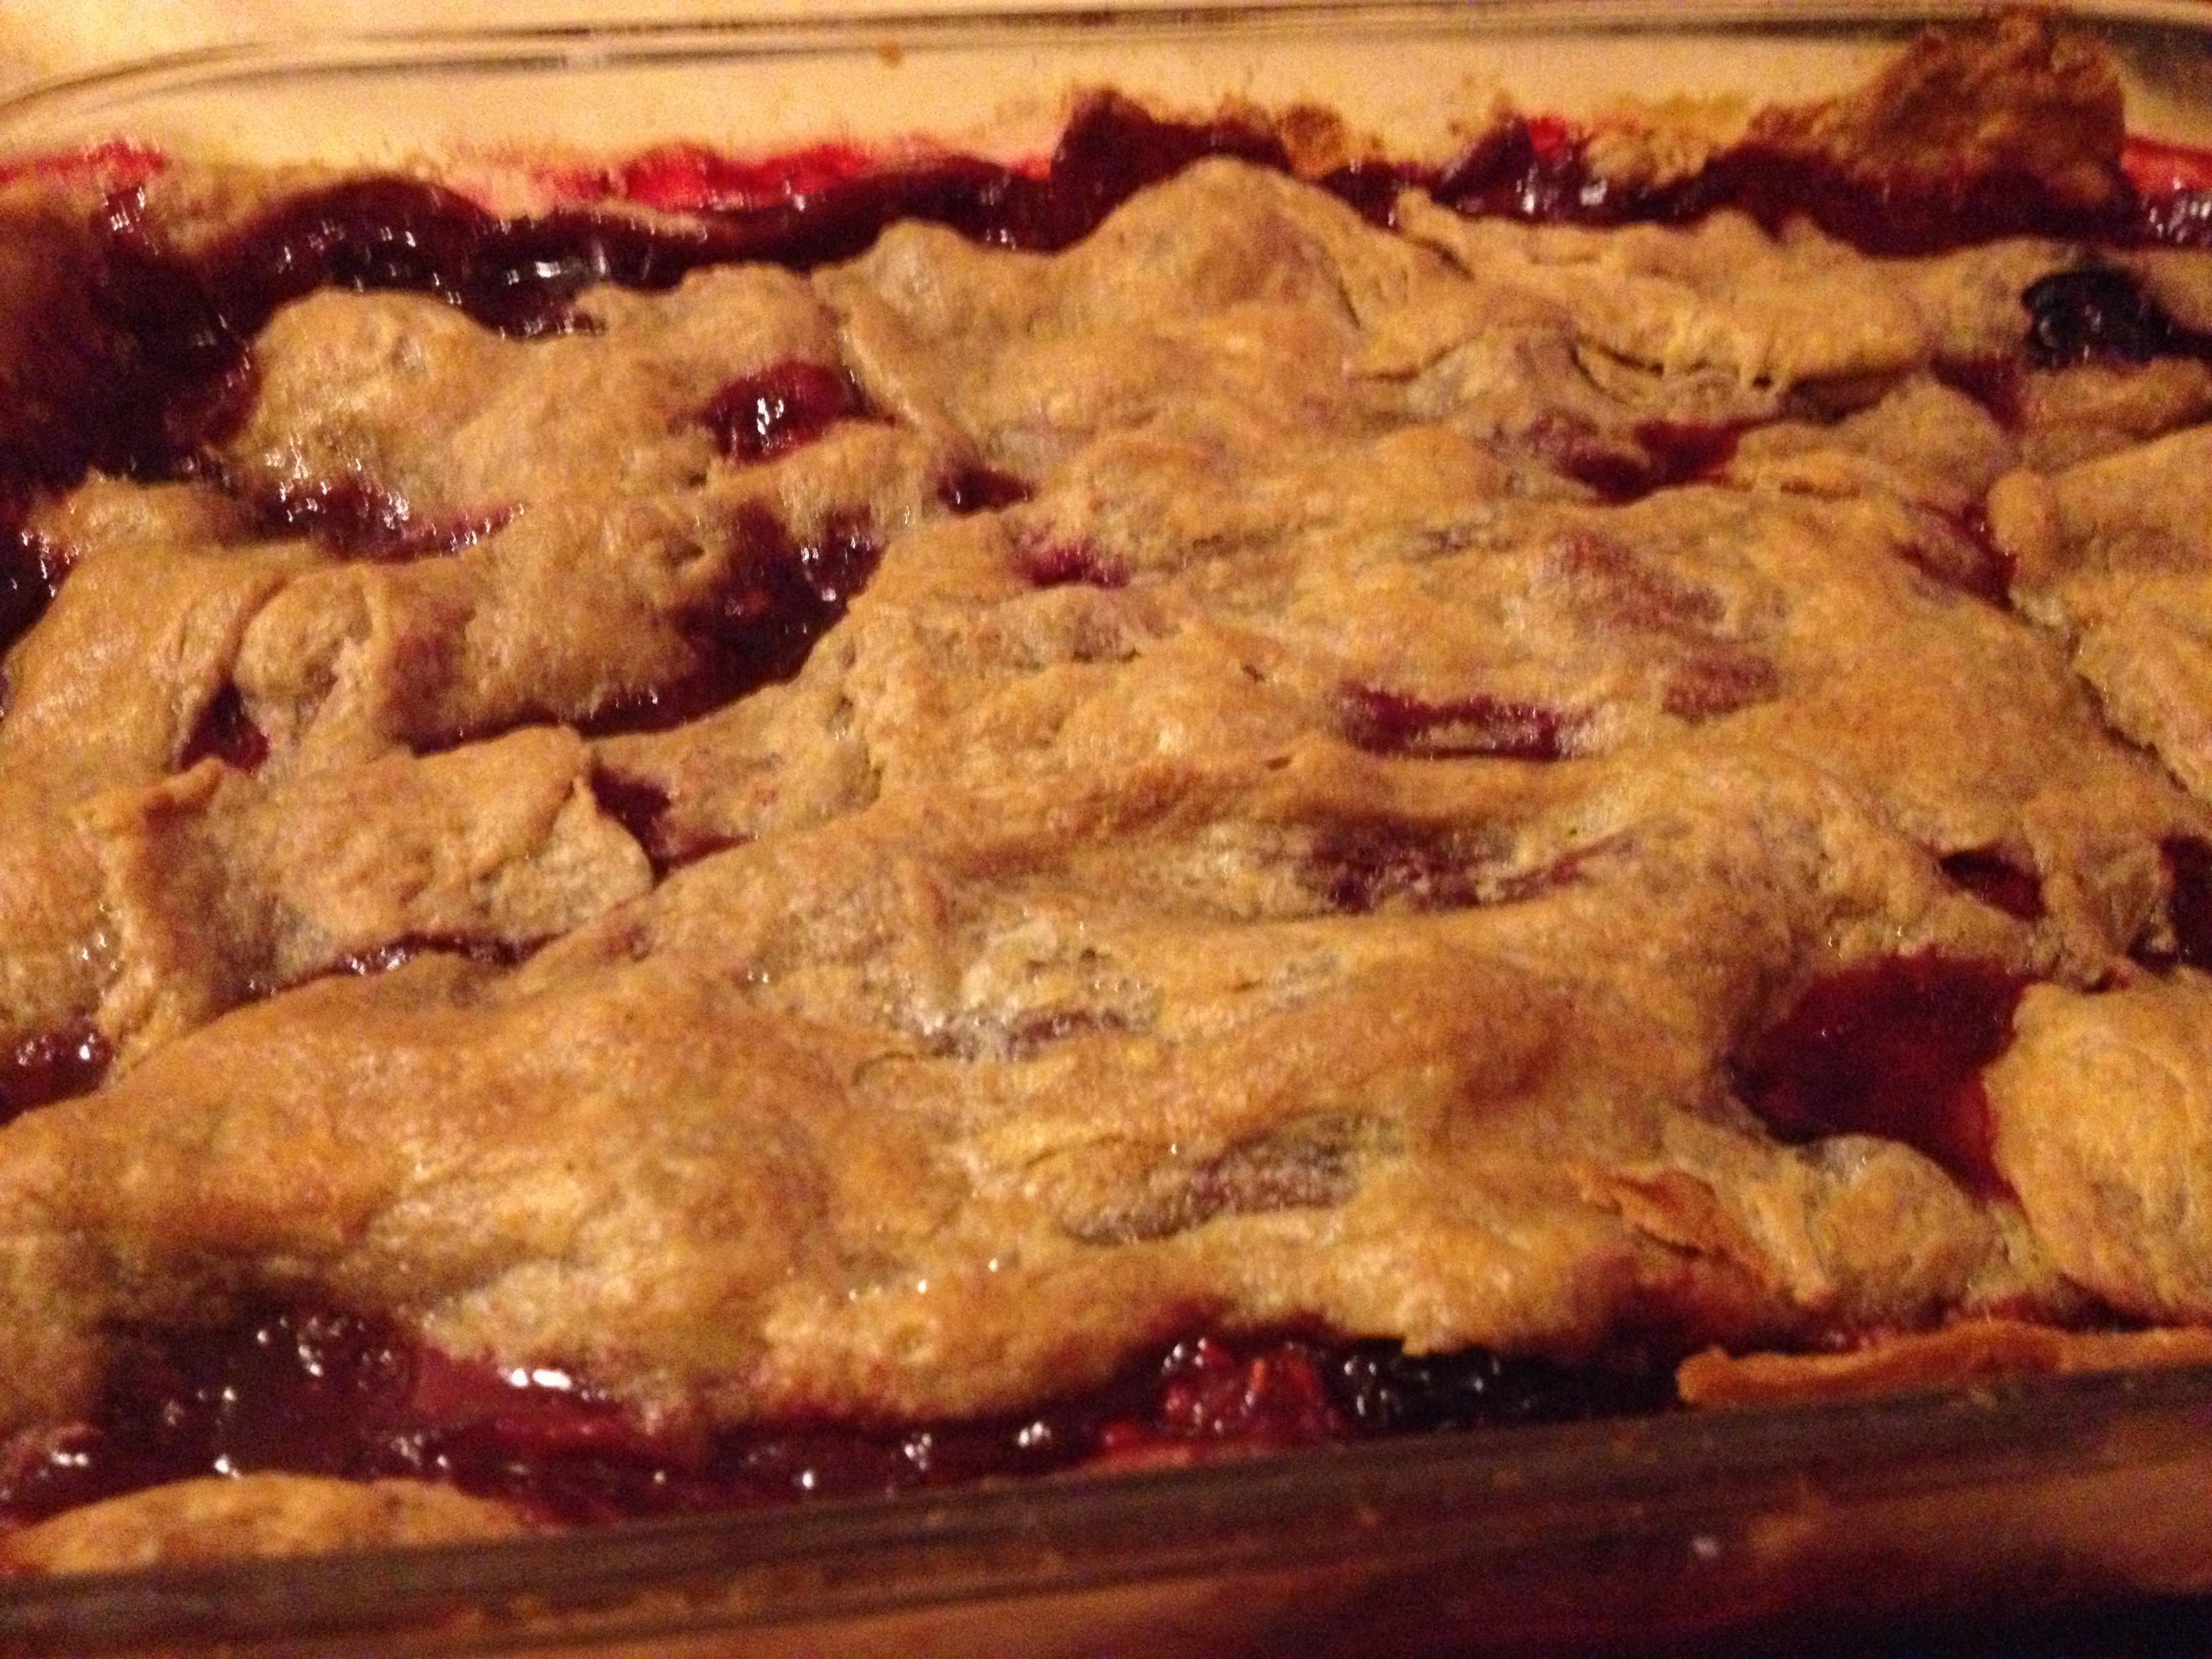
Delicious

Berry Crumble Pie

Even though the crust wasn’t perfect, I definitely had two servings. Have fun! 

spacer

Thanksgiving Feast: Do it Right

Okay, so we’ve been gone for…a week. But we have plenty reason why! My family came in and it was a very excellent, fun, way-too-fast vacation for all of us here in Boulder. But you’re not here to listen to my excuses about family and not being able to post. You’re here to see food. And since we’re just getting back to full-time blogging, I’ll post a nice light array of food.

Thanksgiving was wonderful. When is it not? Don’t answer that, yes I know the turkey could light the house on fire. Family, food, sunset walks, and good tv. WHAT CAN GO WRONG? Don’t answer that. But seriously, everything went well for us and we had an amazing time (kittens included). So, my parents and brother came in for the week and we had a 9-person Thanksgiving. It was beautiful and great and just LOOK AT IT ALL. 

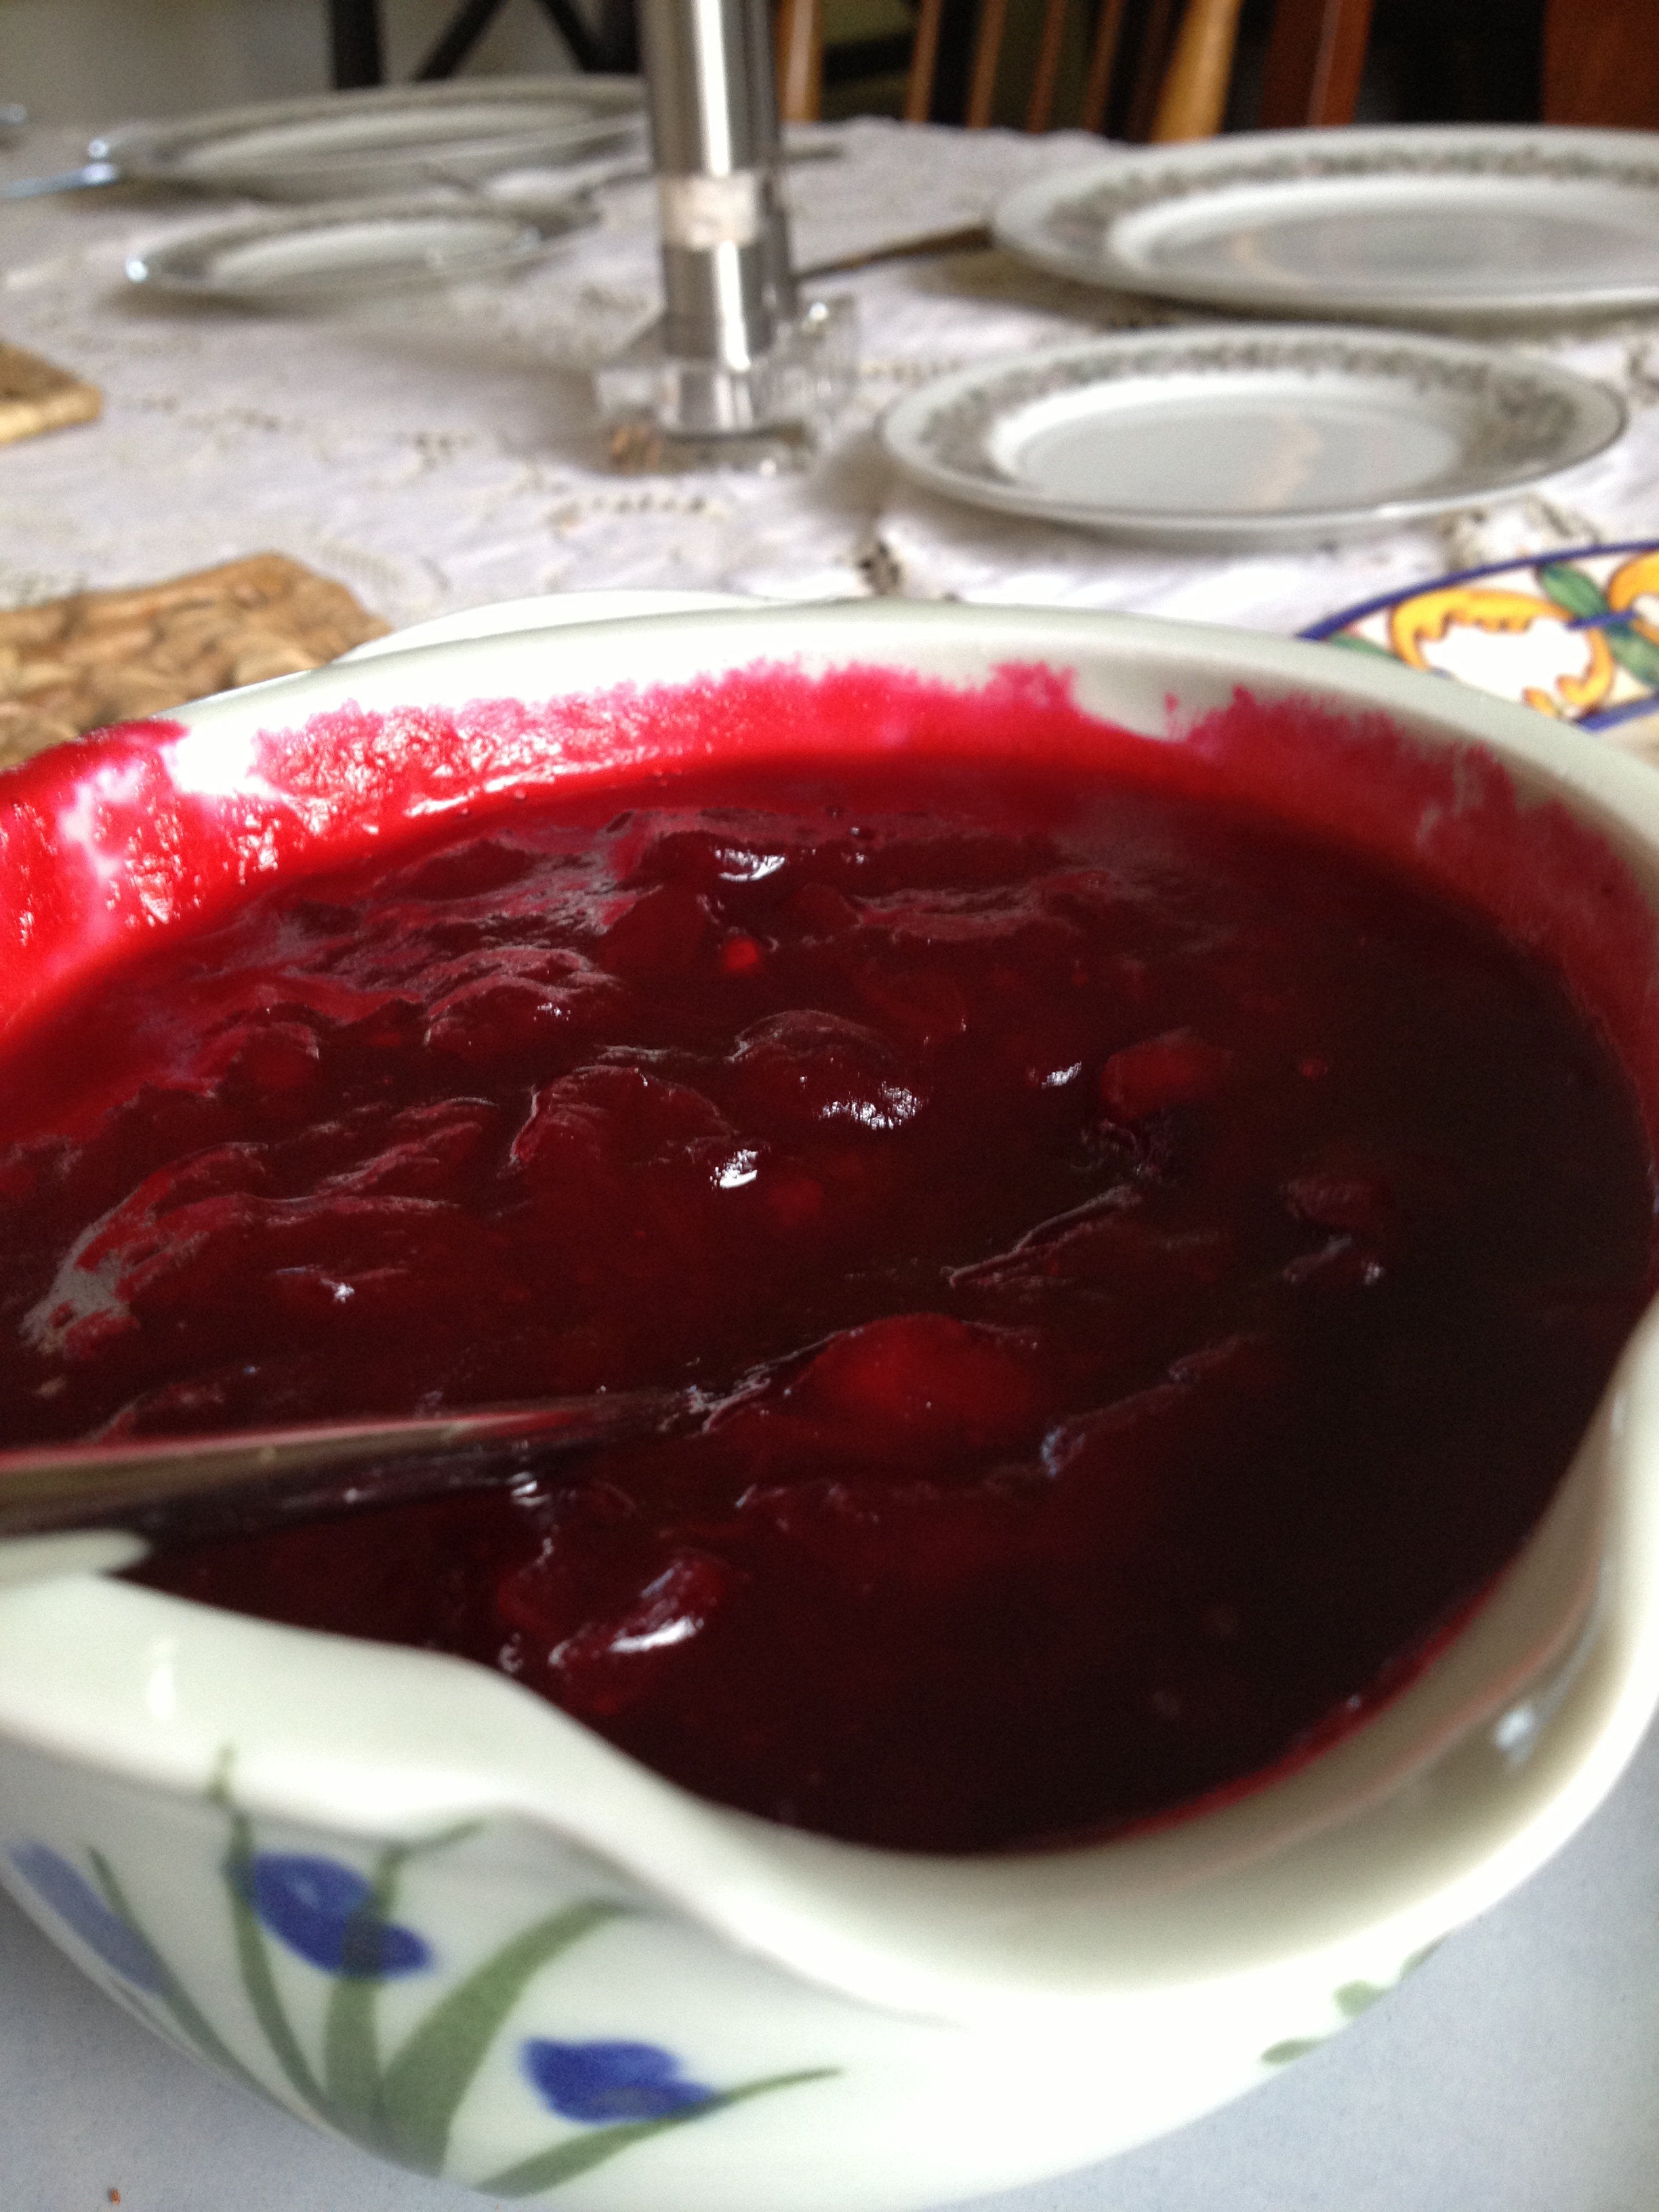
Mum’s homemade cranberry sauce, from stewed cranberries and sugar

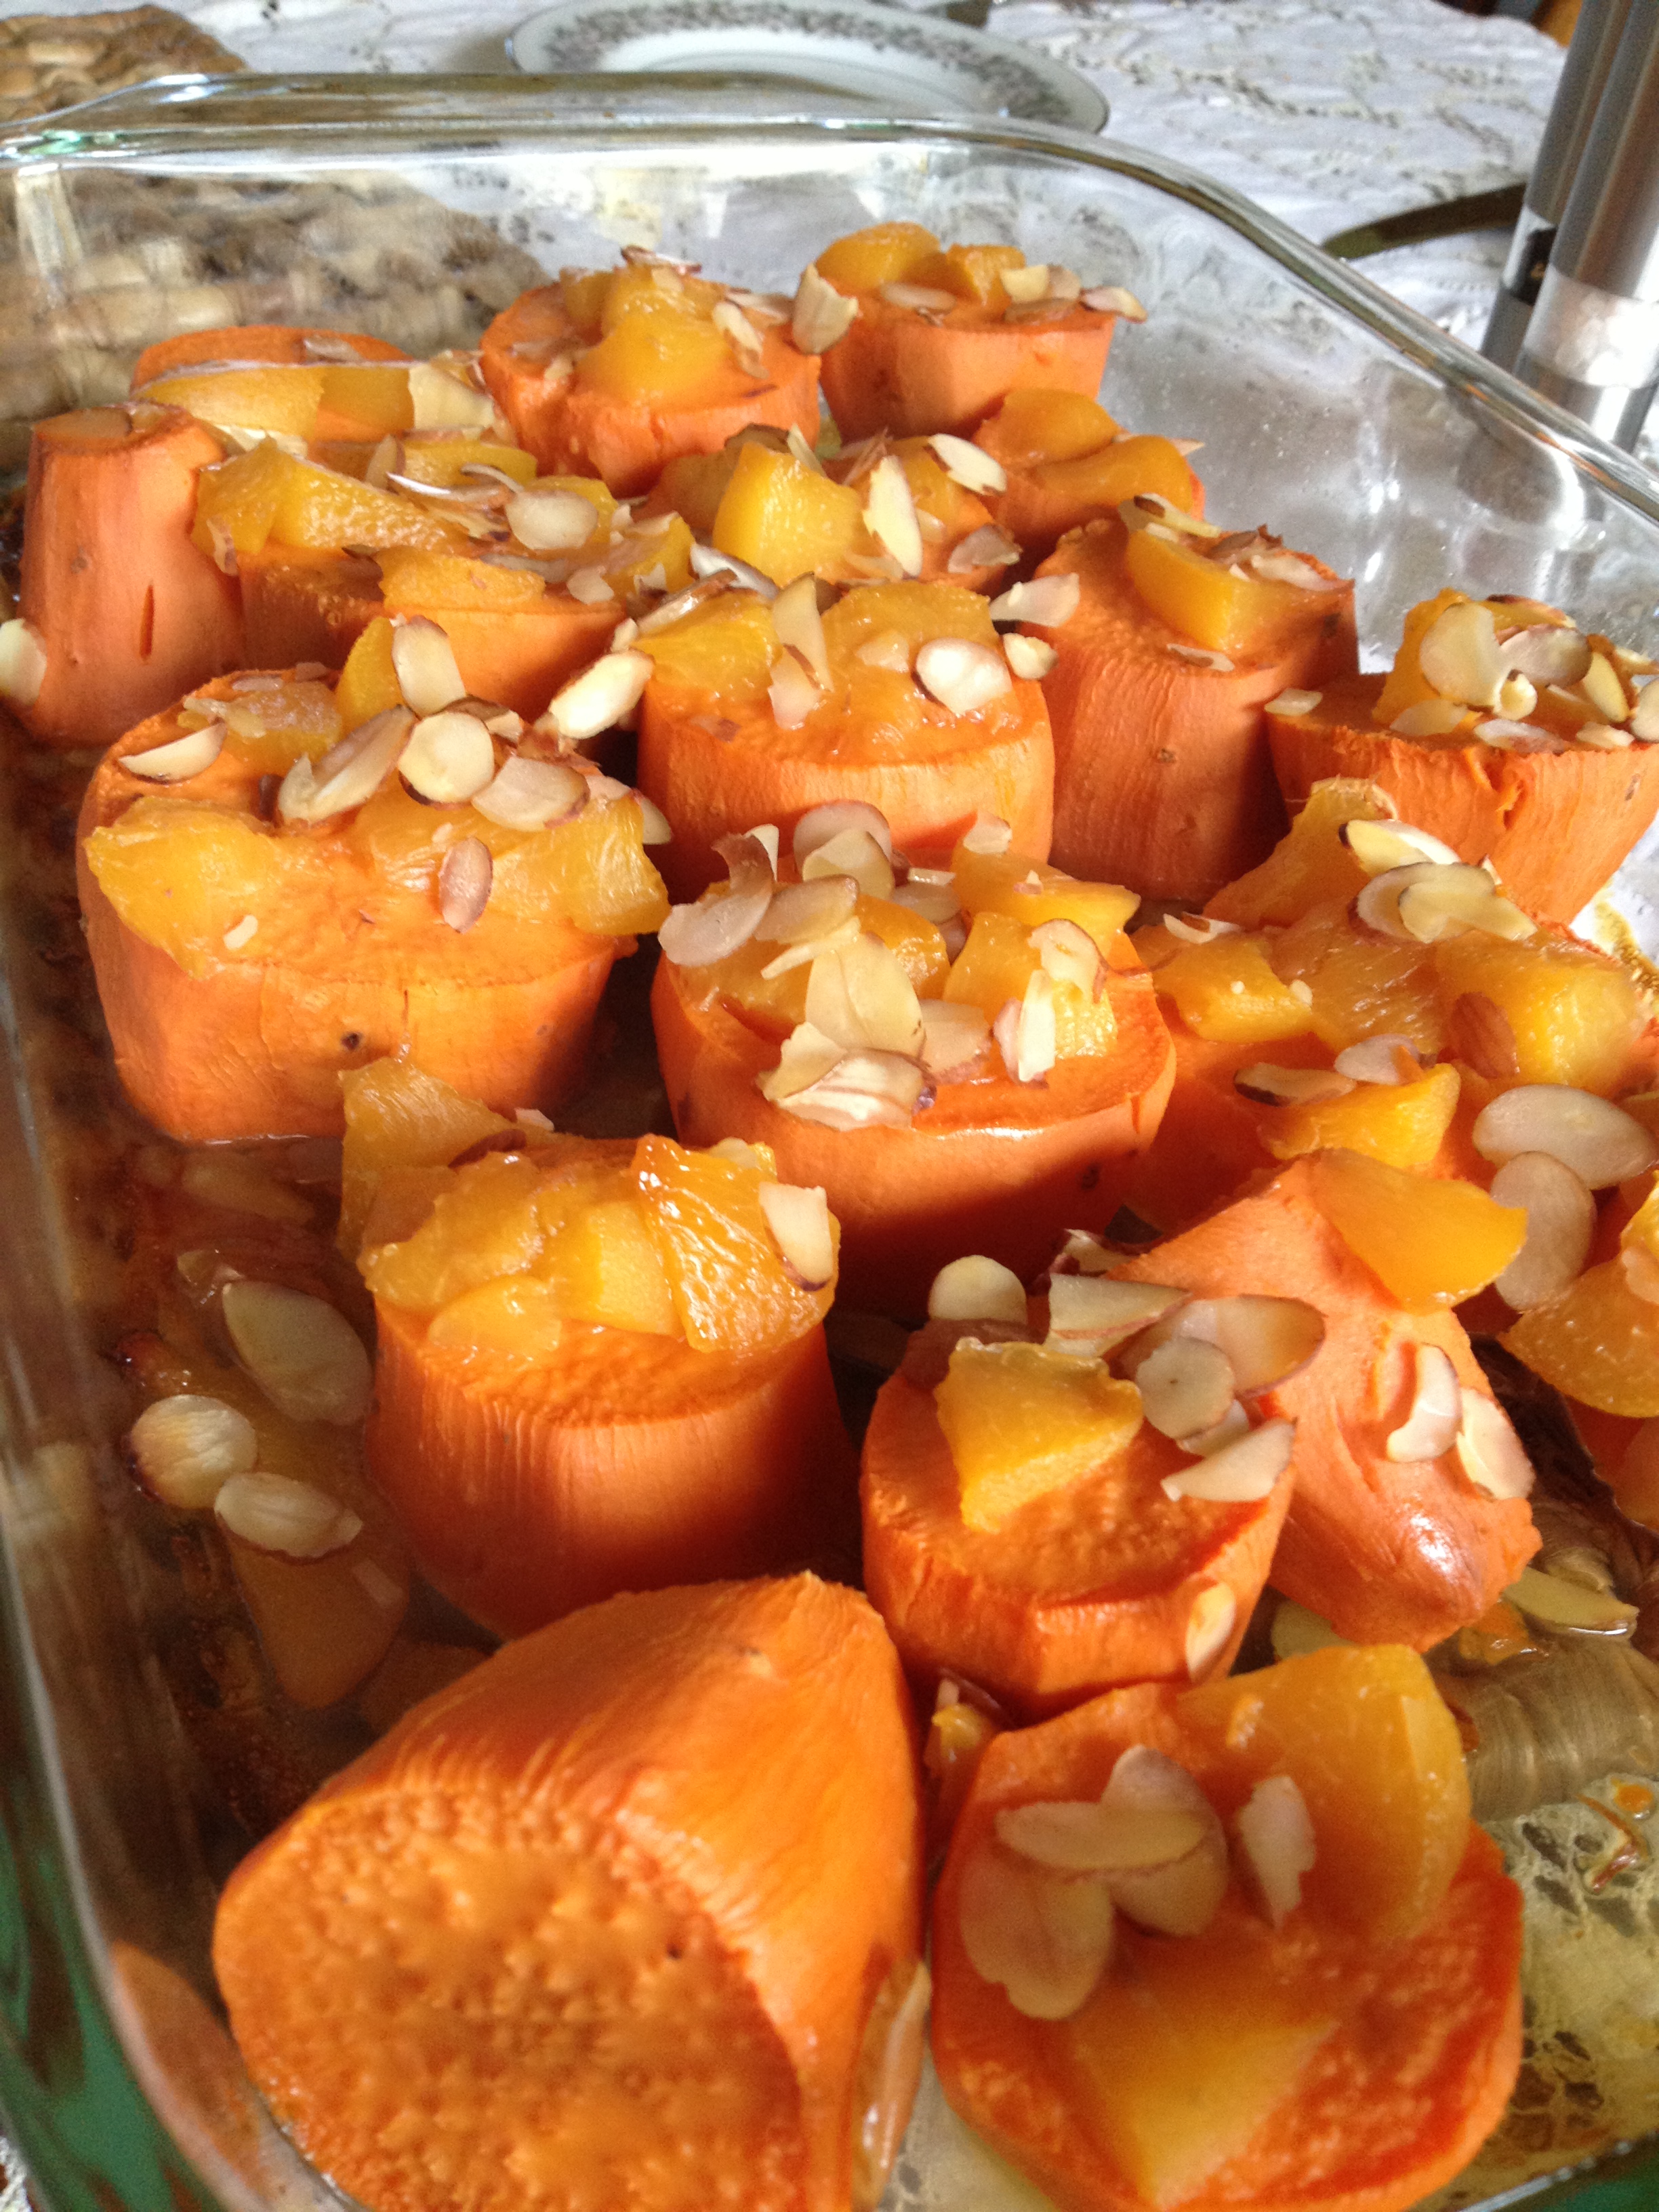
Baked yams with shaved almonds on top

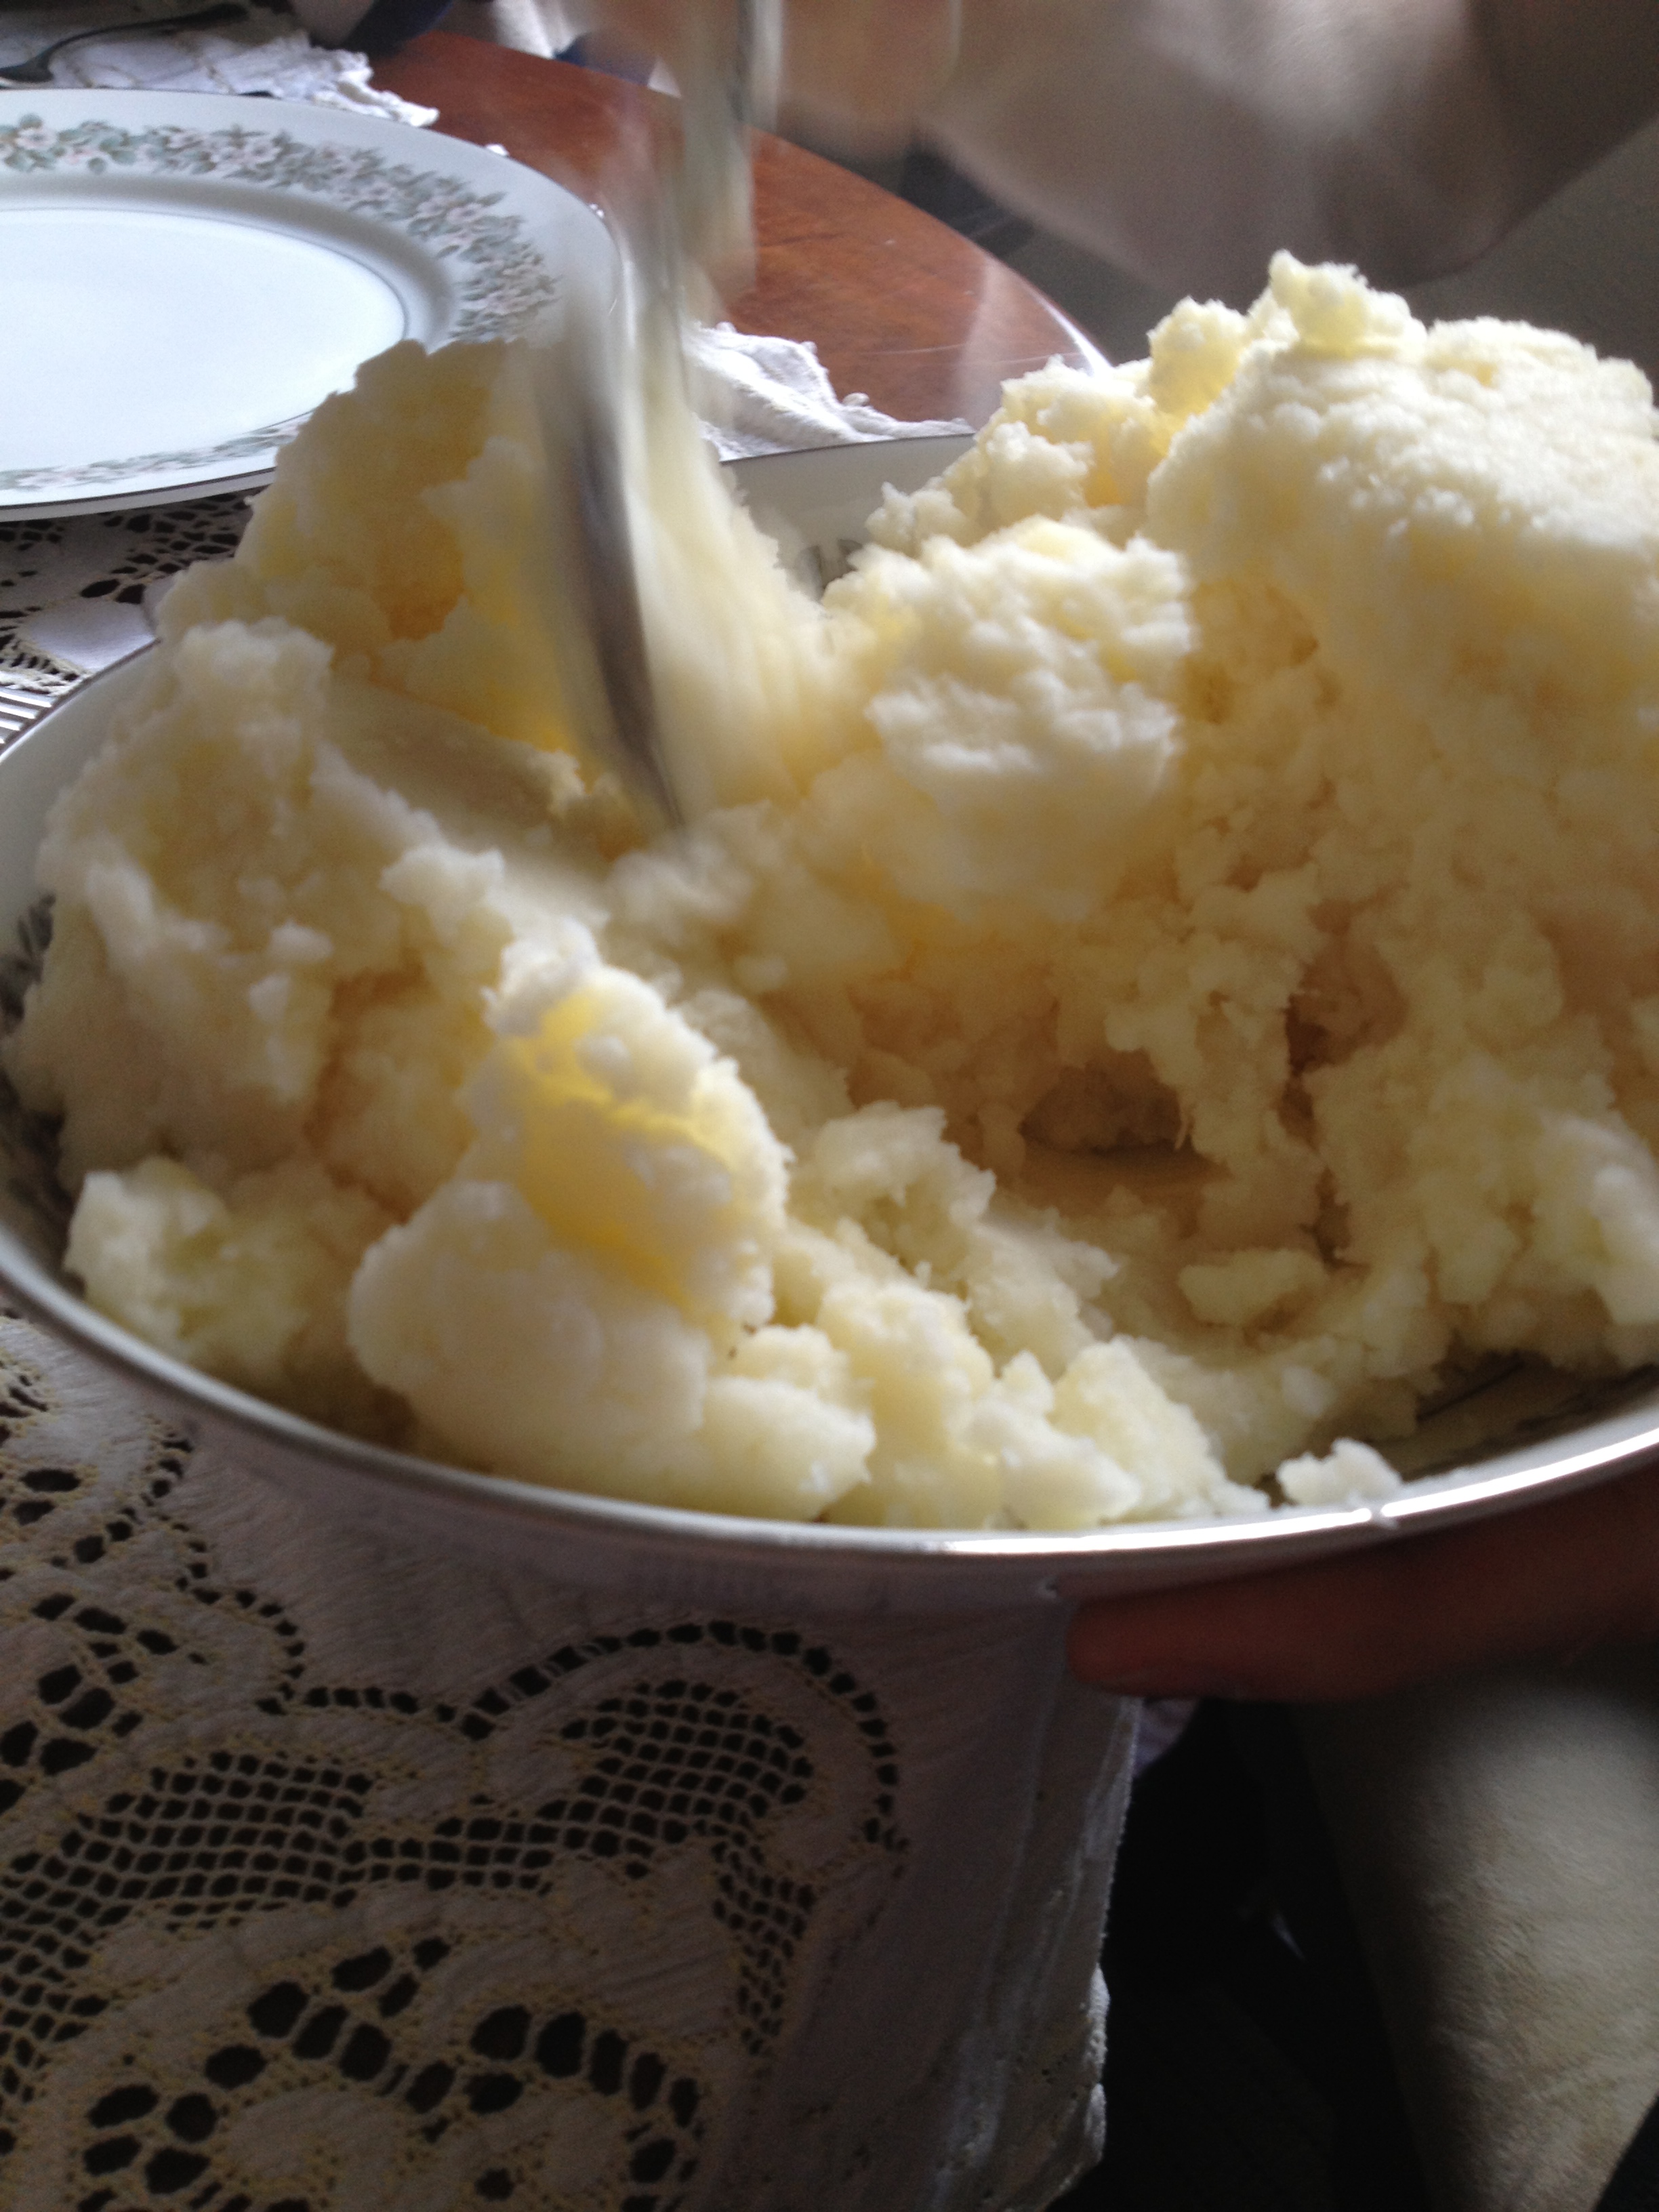
Mashed potatoes (of course)

Martinelli’s…Thanksgiving Classic 

TURKEY. We didn’t eat it, but others did 

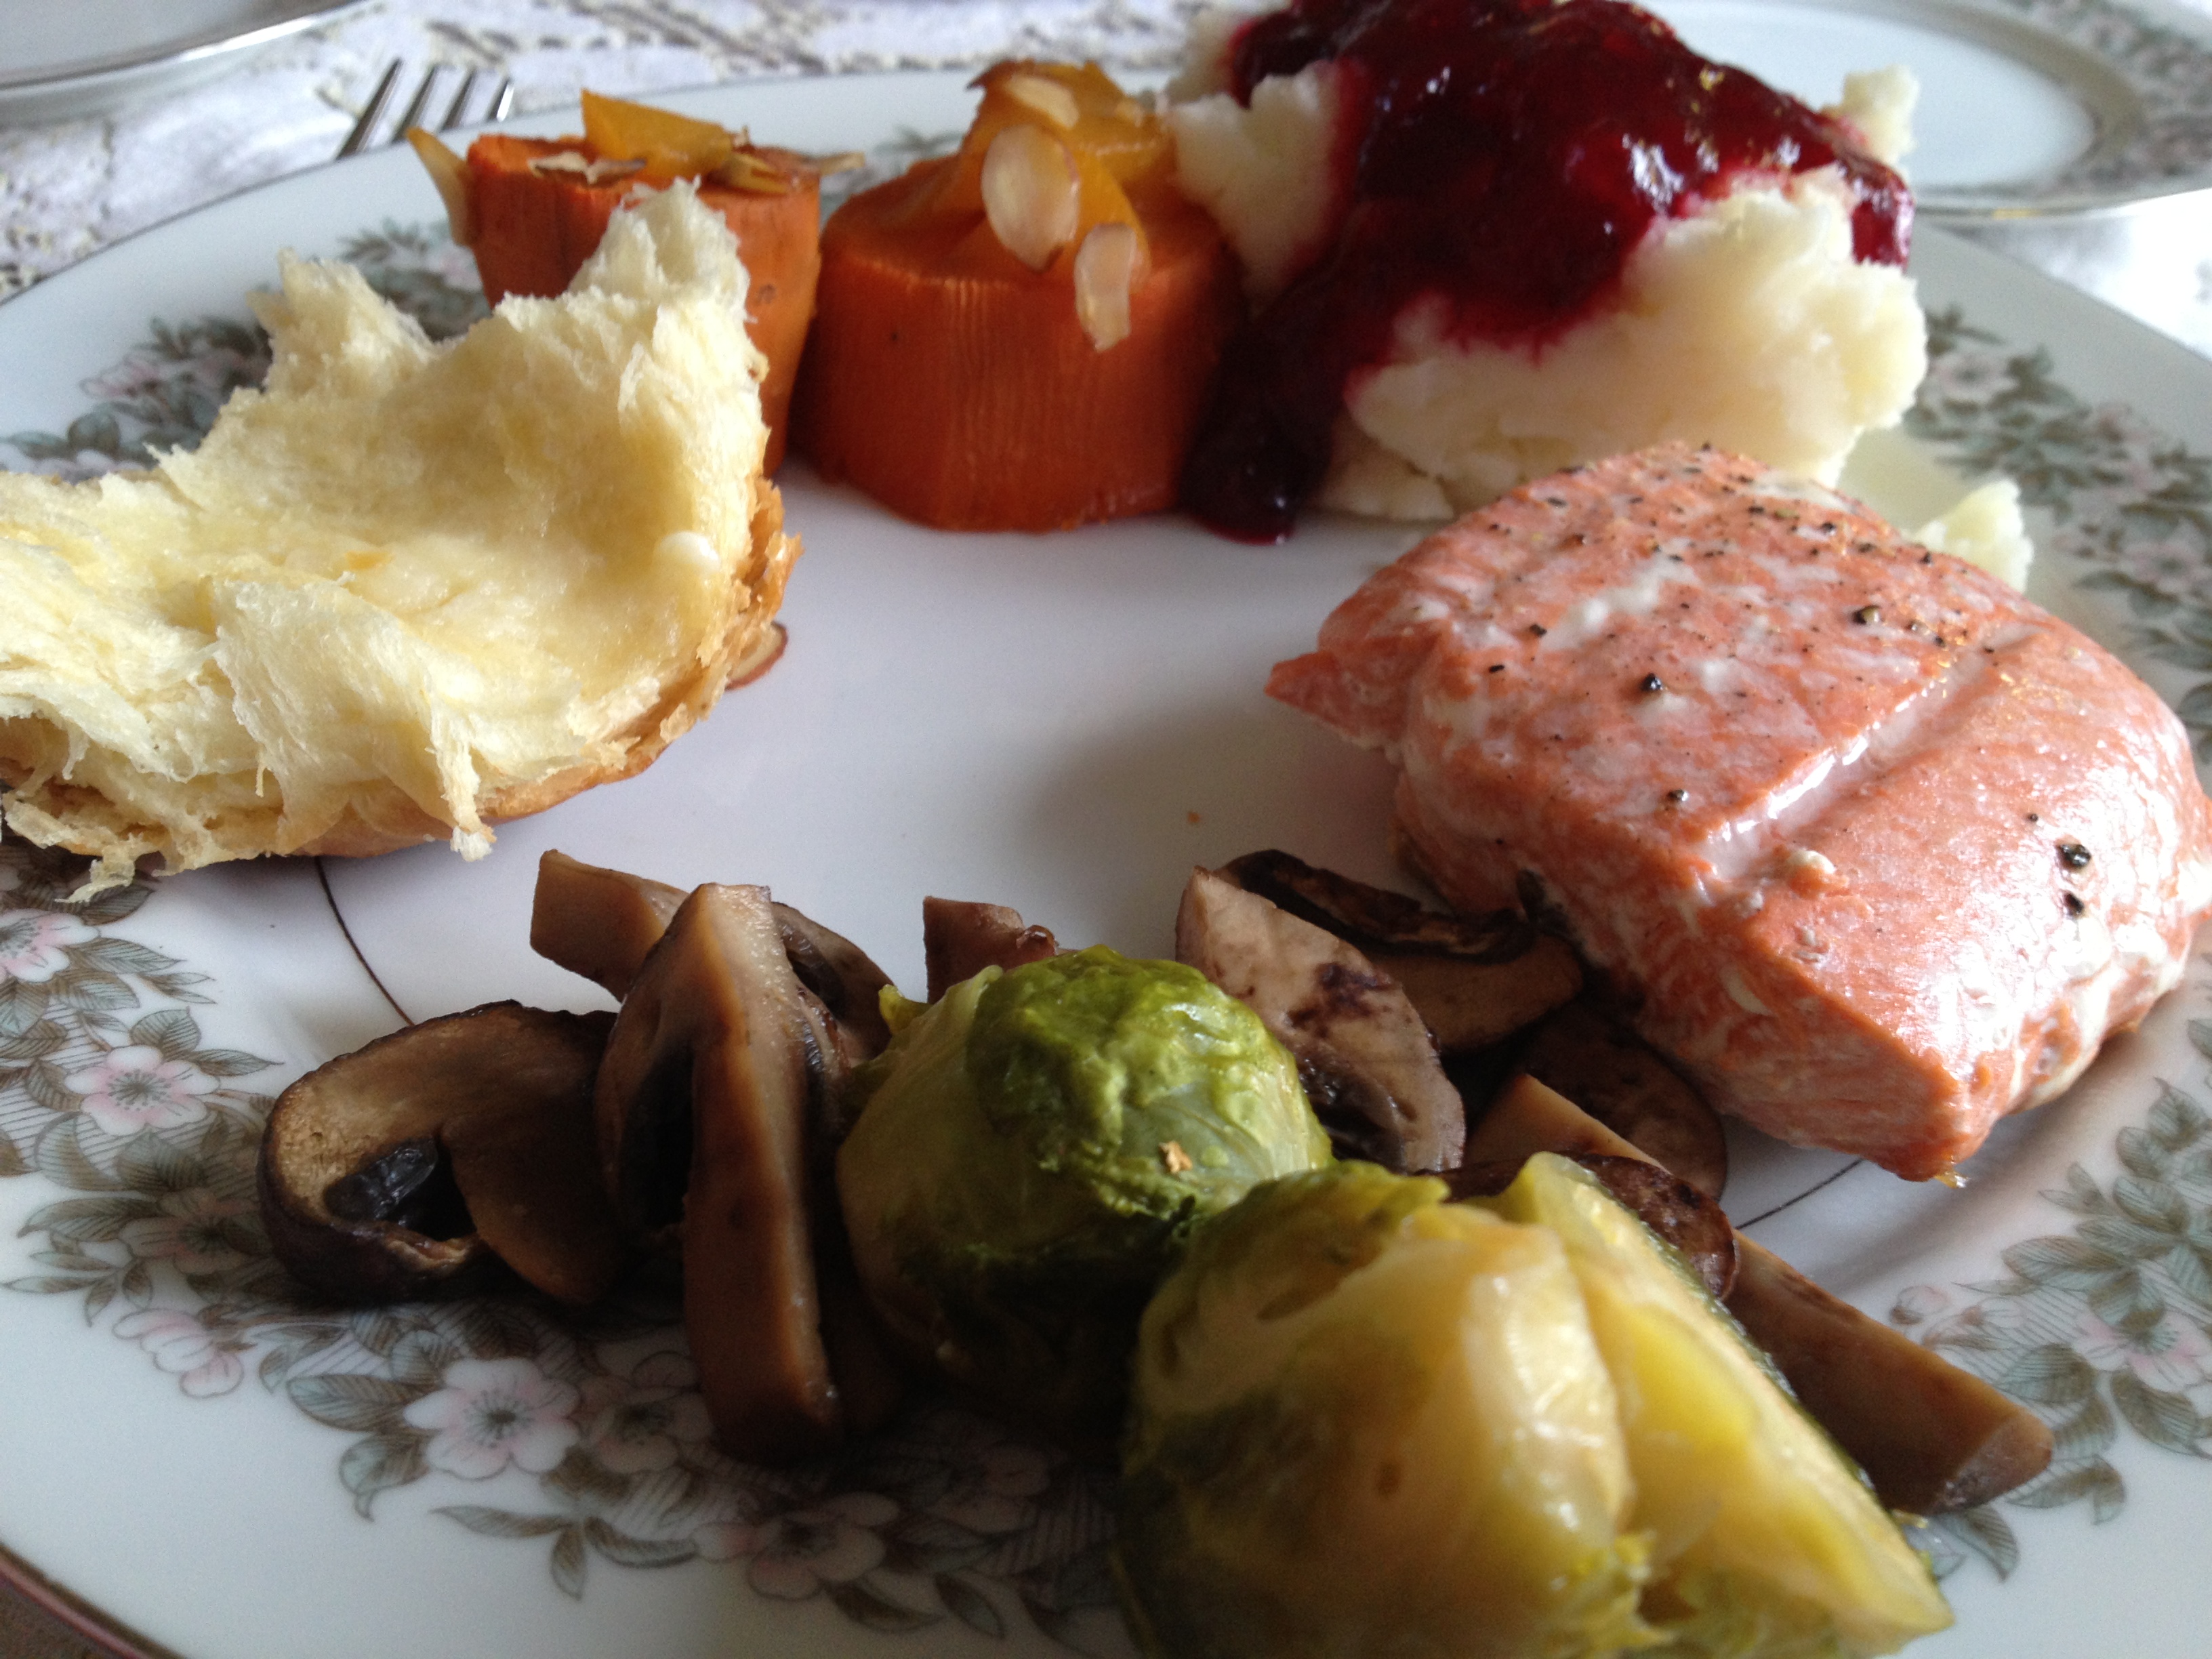
My beautiful plate…you can see salmon (wild caught) as my meat in addition to a roll, mushrooms, and brussel sprouts (as well as other food covered already)

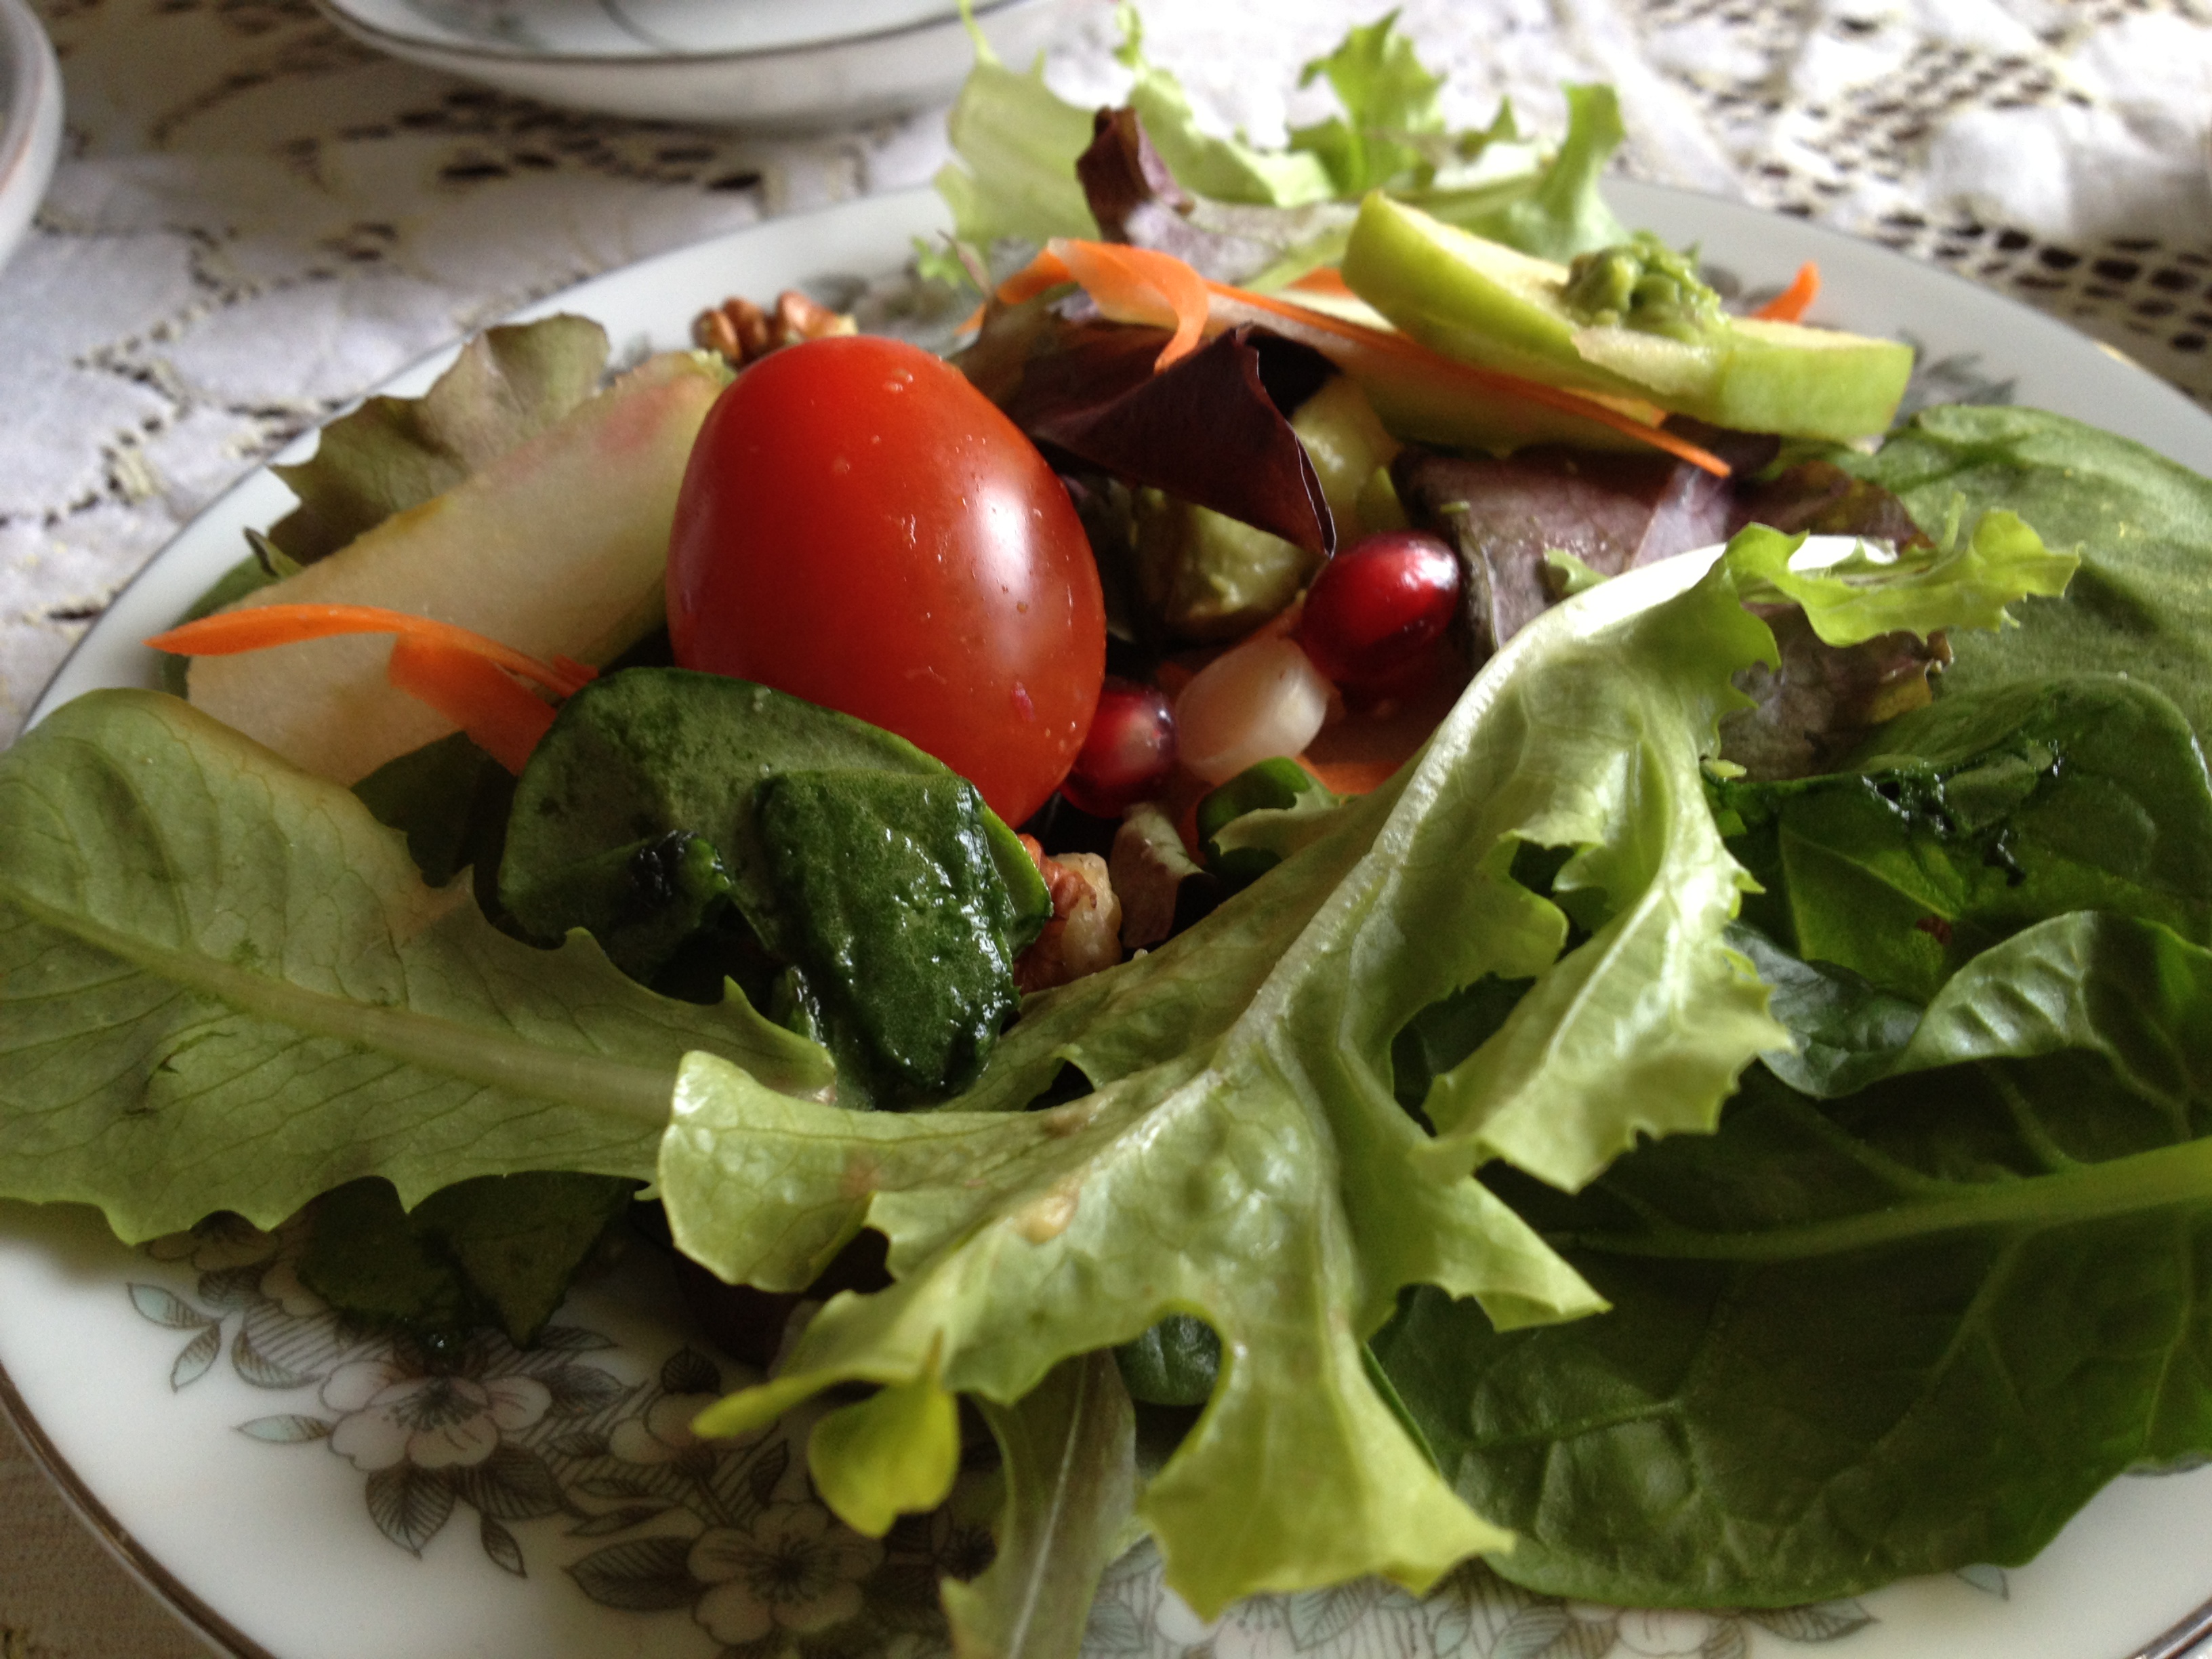
You will always find amazing salads at Marga’s house 

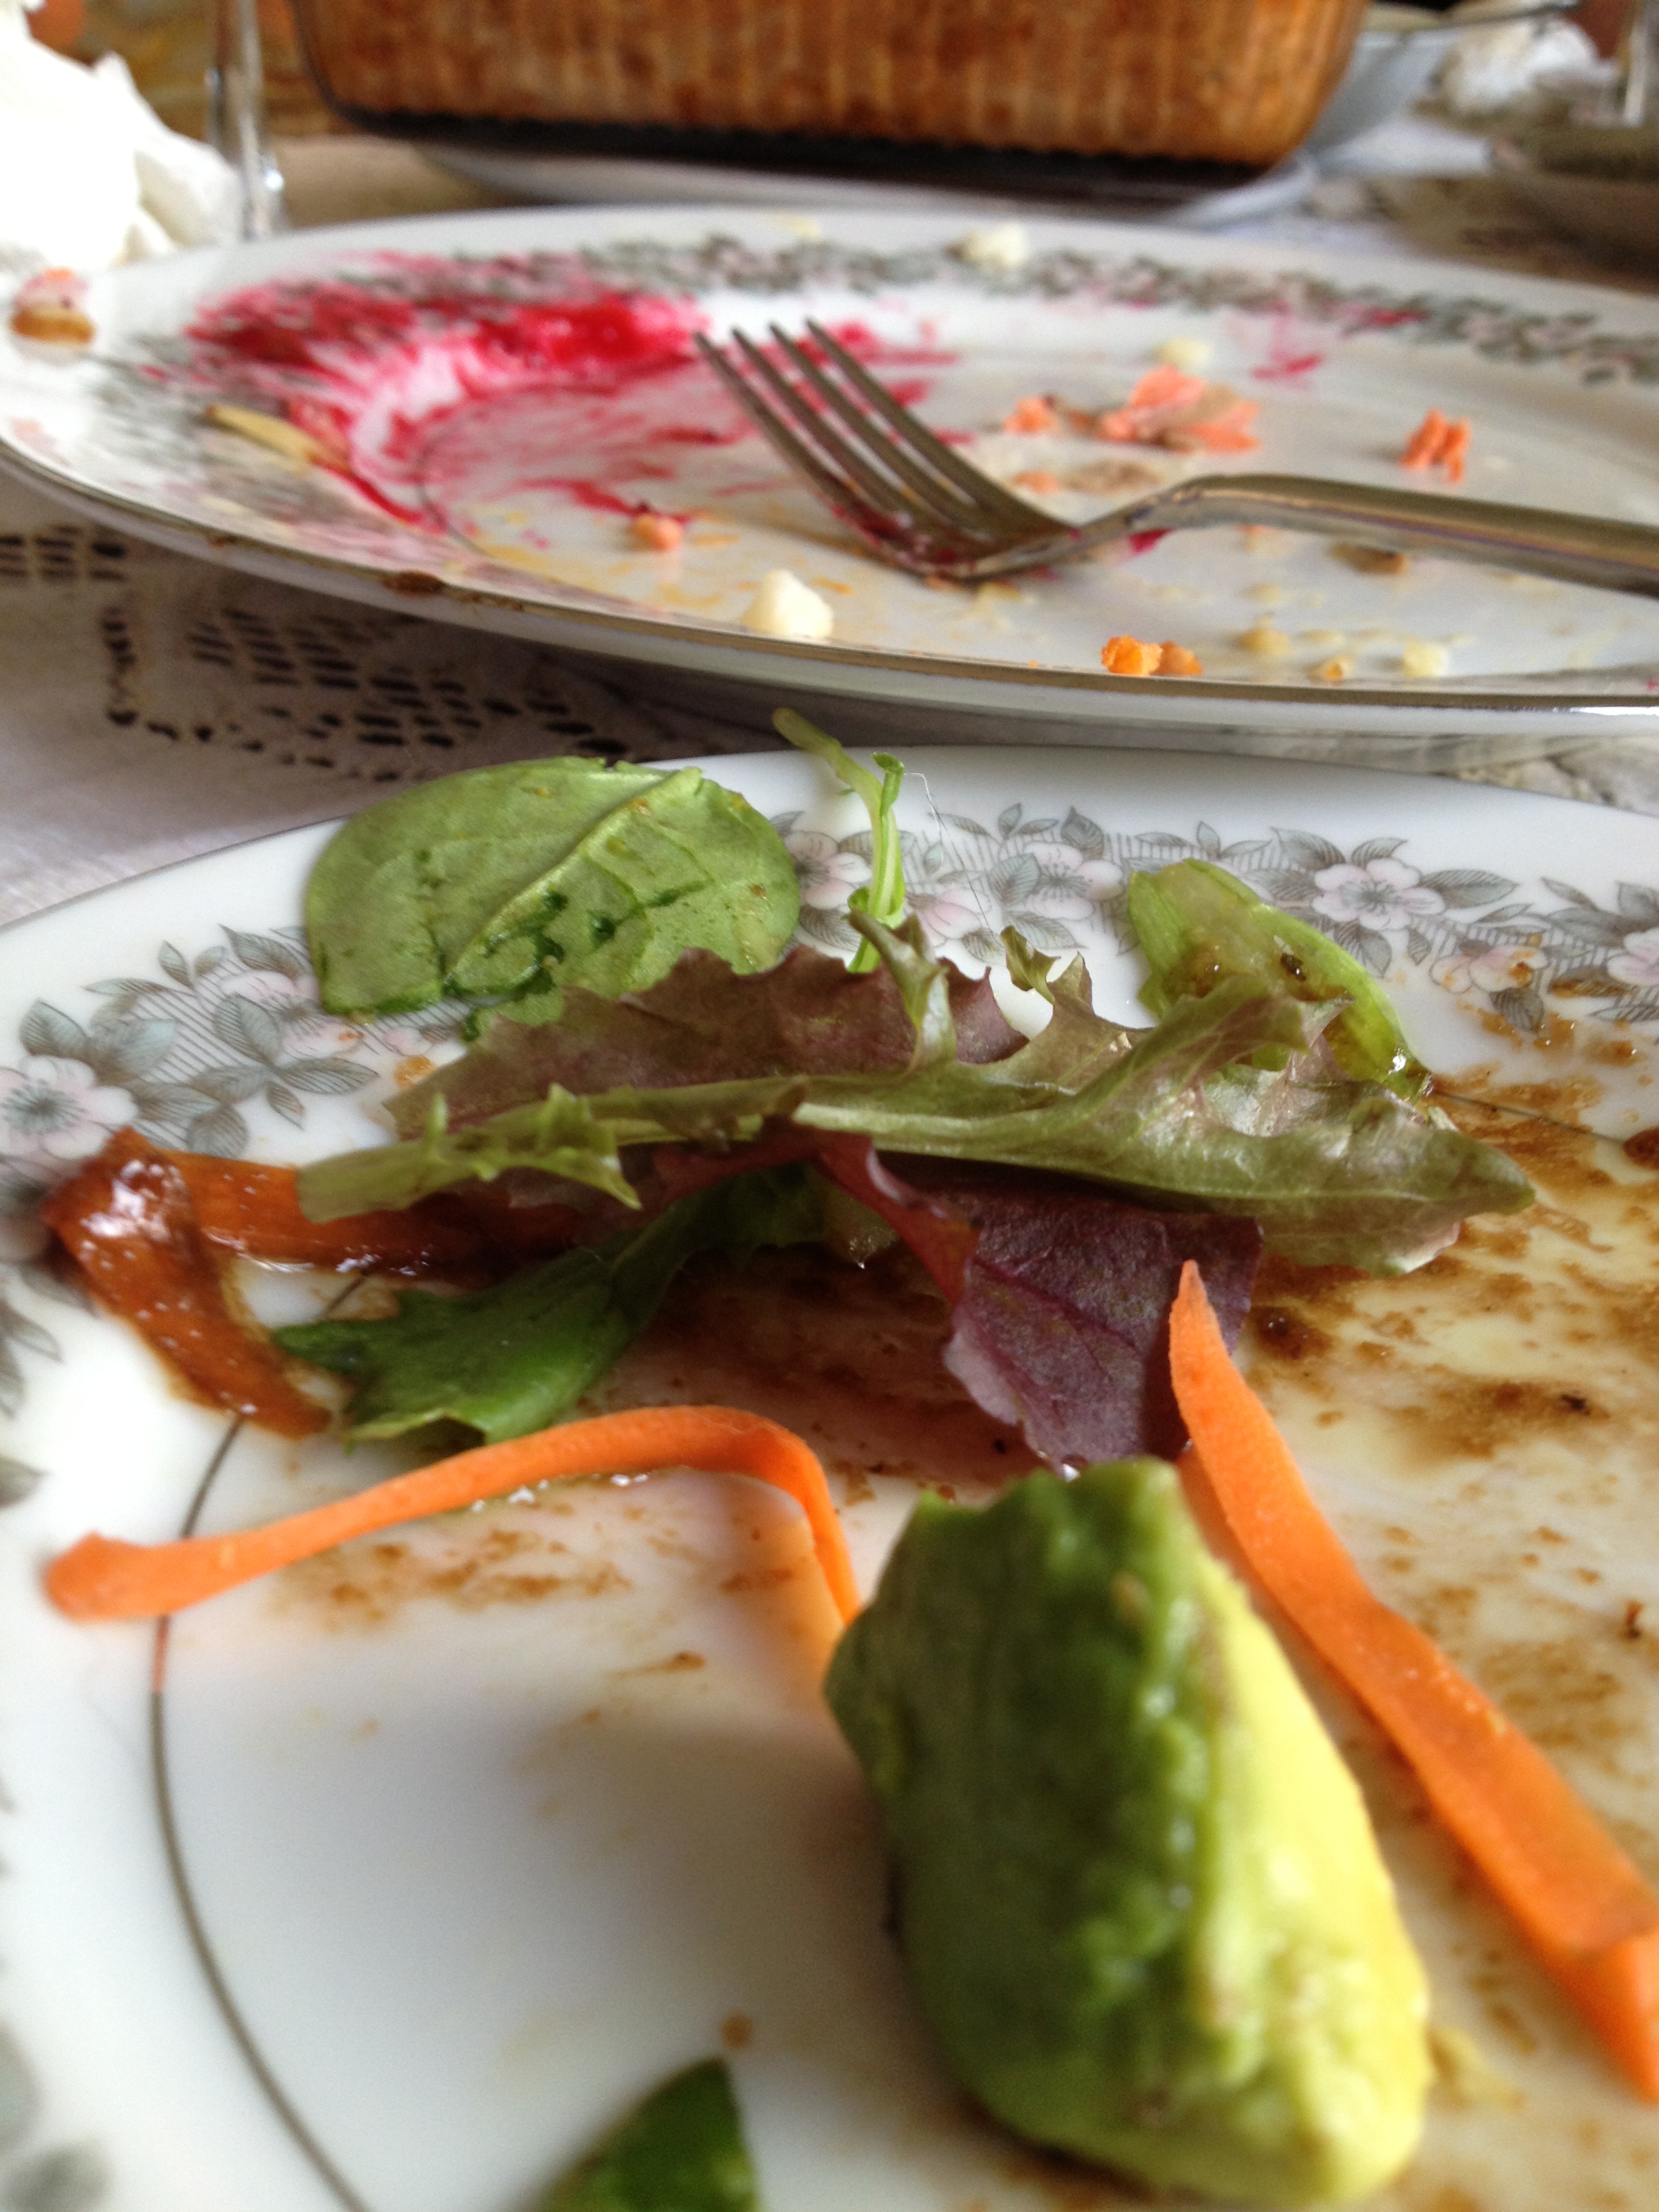
Plate all clean! Well except for the avocado Kai dropped on the floor

One of the two pies we had. This one was a bakery-made Peach-Raspberry (yum) and Megan made a top-notch pumpkin pie that I wish still existed

So that really covers it for Thanksgiving food…except for the stuffing and gravy and other alcohol served. Everyone had a good stuffed time. How was yours?

You know it…BONUS KITTY PIC 

spacer

Lactose-Intolerant? I’m Sorry…But Here’s Something for You!

Now Chris’ mom is a fantastic cook and baker, so this one is a treat. Especially for you folks out there who are lactose-intolerant (what a sad world that is) and have other allergies. She’s prepared a Pumpkin Pie Recipe (Lactose Free) for everyone out there for the upcoming holiday!

That sure looks good, doesn’t it? Now trust me, I’ve had many many things she’s cooked or baked from her amazing Thanksgiving Stuffing to her Chocolate Mocha Cake. She’s got it all and she has it down-pat.

Head over to her Etsy site for this delicious recipe and more. She doesn’t just cook–she also crafts. She makes wonderful jewelry and headbands…she paints too! It would really be worth your time to take a look at everything she’s got. And I’m not just saying this because it’s Chris’ mom…it’s because I truly enjoy her good, healthy food and you will too!

(you know it…BONUS KITTY PIC)

spacer

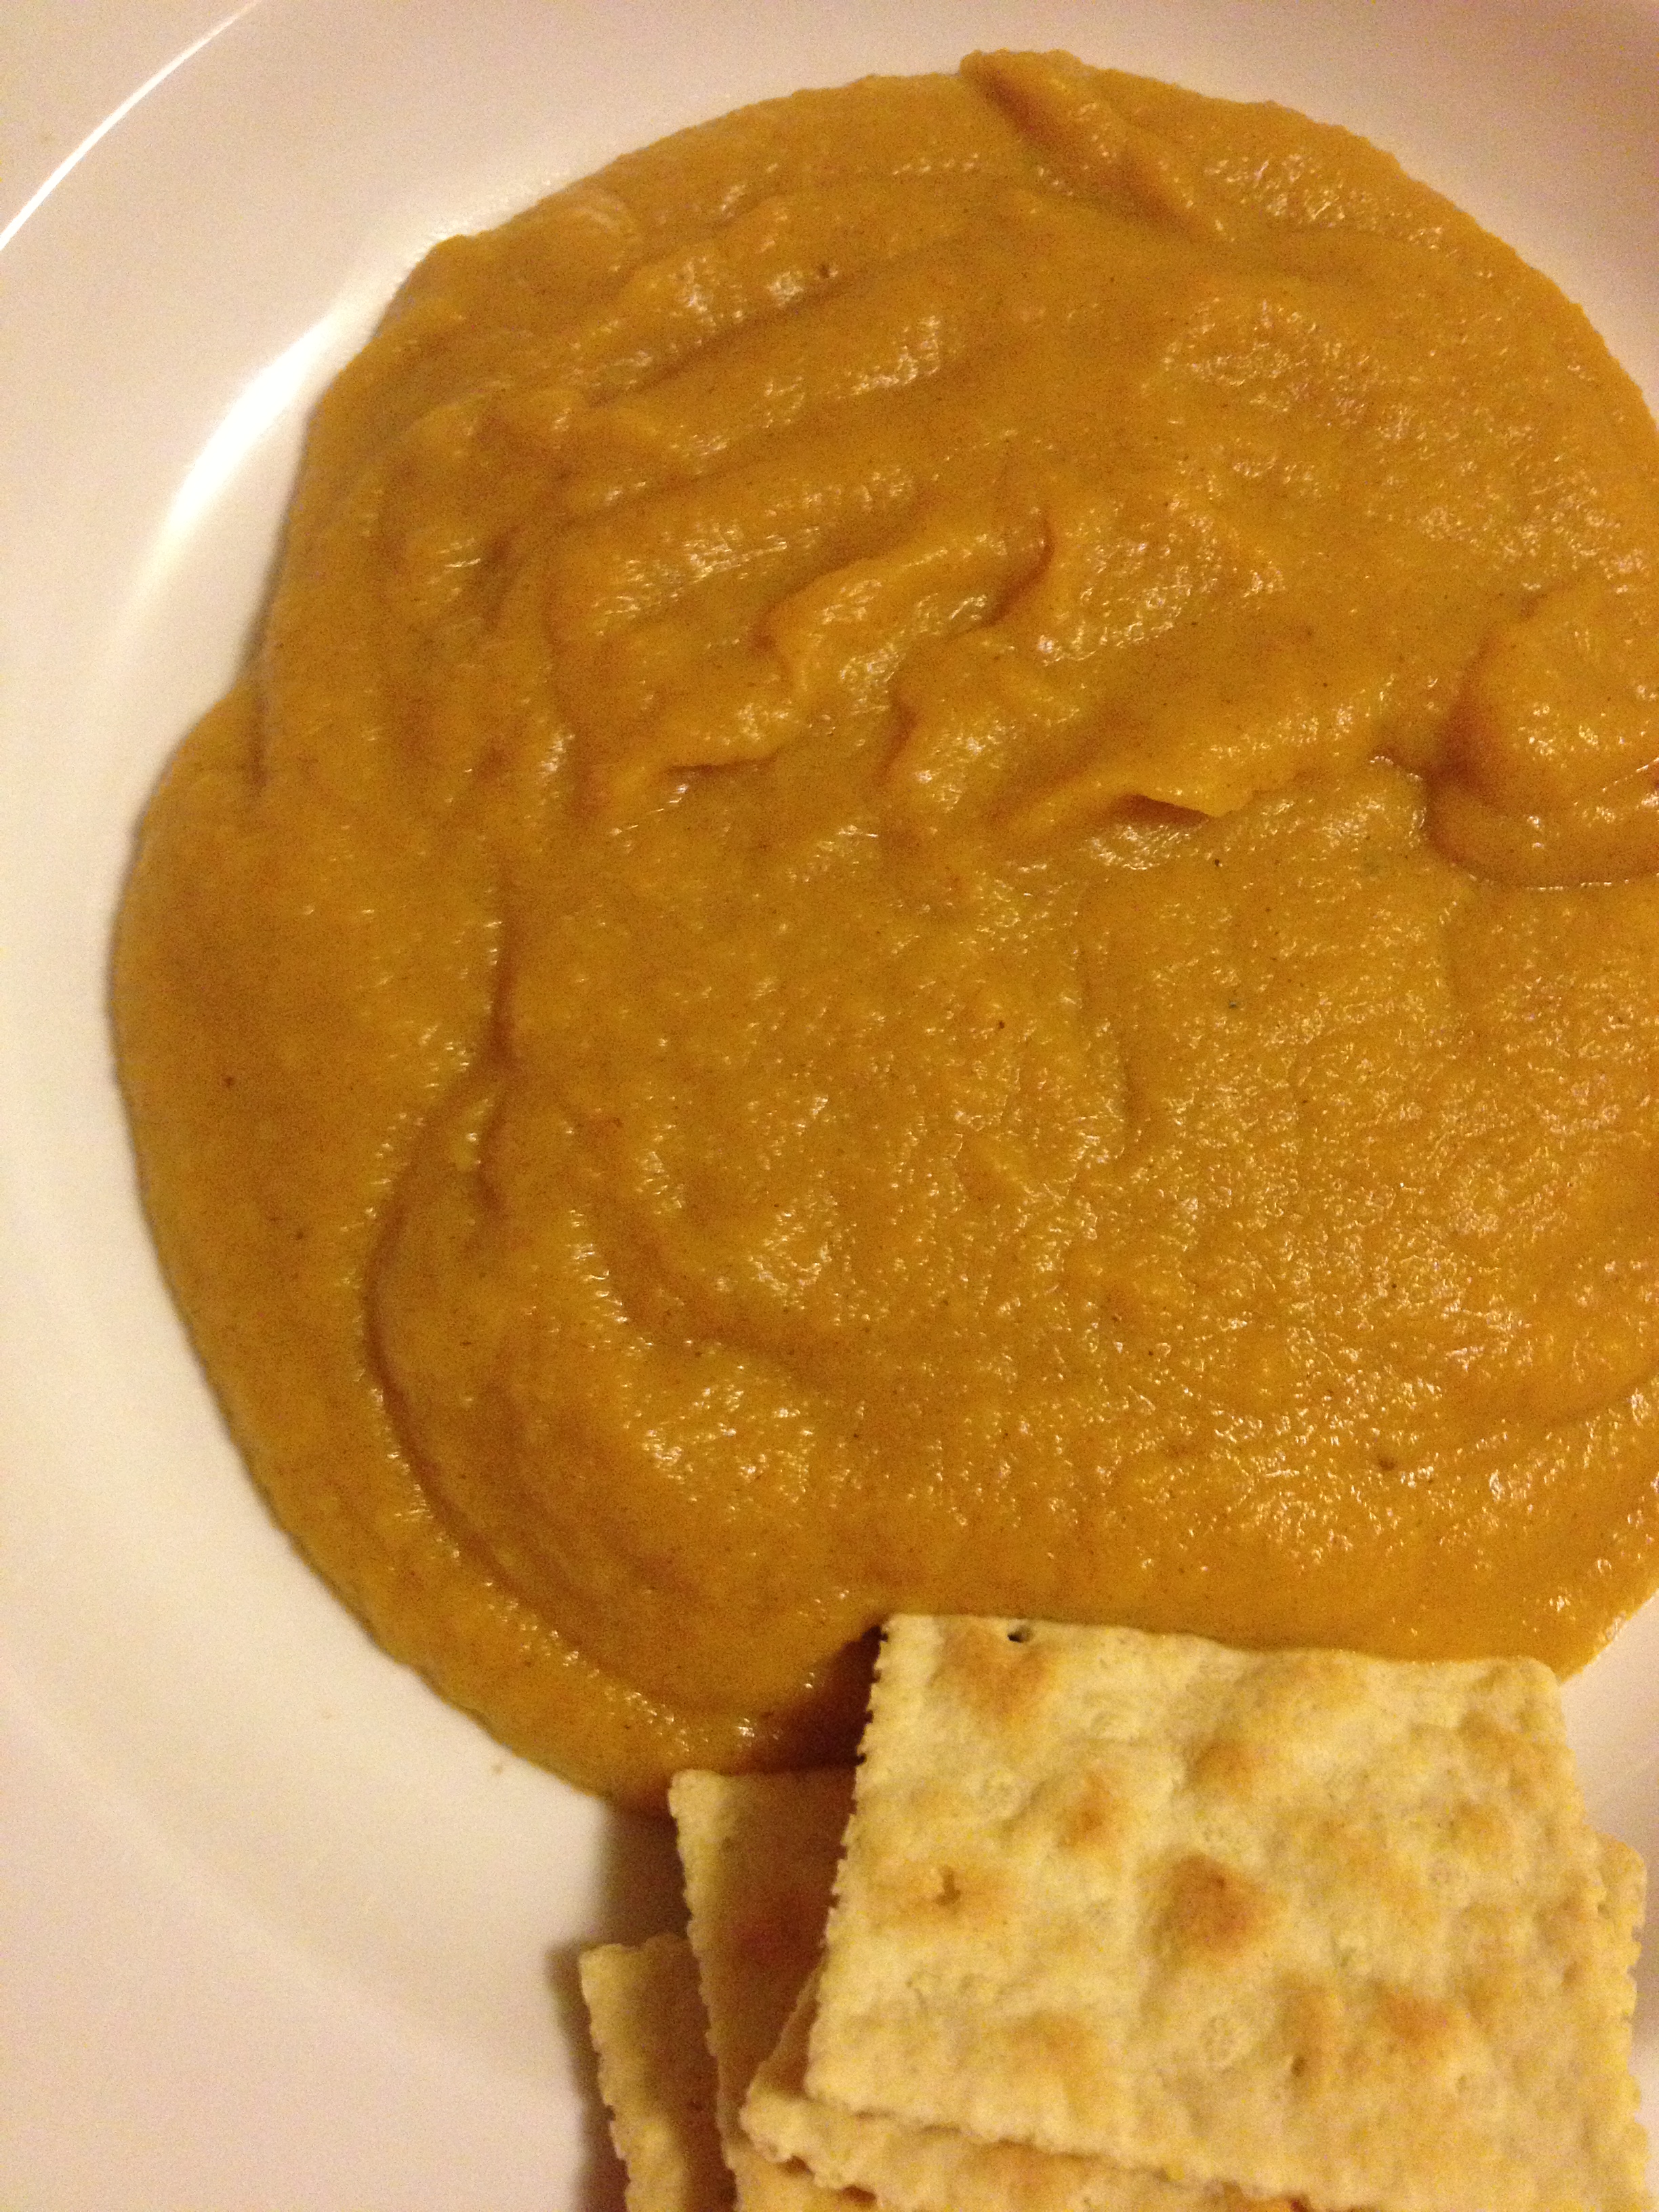
Bisque Me! Beautiful Butternut Squash Bisque

Now, I’m no Master Soup-Maker. In fact, this is my first time cooking a soup (or bisque, rather) from scratch. And it turned out really well! I got my basis for the recipe here, but I really changed this one up. Also, apologies for the lack of postings, busy lives! We’ll get back into it, we have a lot in store for you still. Alright, get ready!

Ingredients:

  • Olive oil
  • Butter
  • 1/2 onion
  • 3/4 cup of diced carrots
  • Butternut squash
  • Vegetable stock
  • Salt/pepper to taste
  • Cinnamon to taste
  • Brown sugar to taste
  • Ground ginger to taste
  • Garlic

Alright! Semi-long list but once you have everything cut up it’s easy. And the last few are to taste, throw your own ideas in there too. Ginger, brown sugar, and cinnamon just gave that nice soothing Fall flavor. So amazing on the cold nights we’ve been getting in Boulder.

Directions:

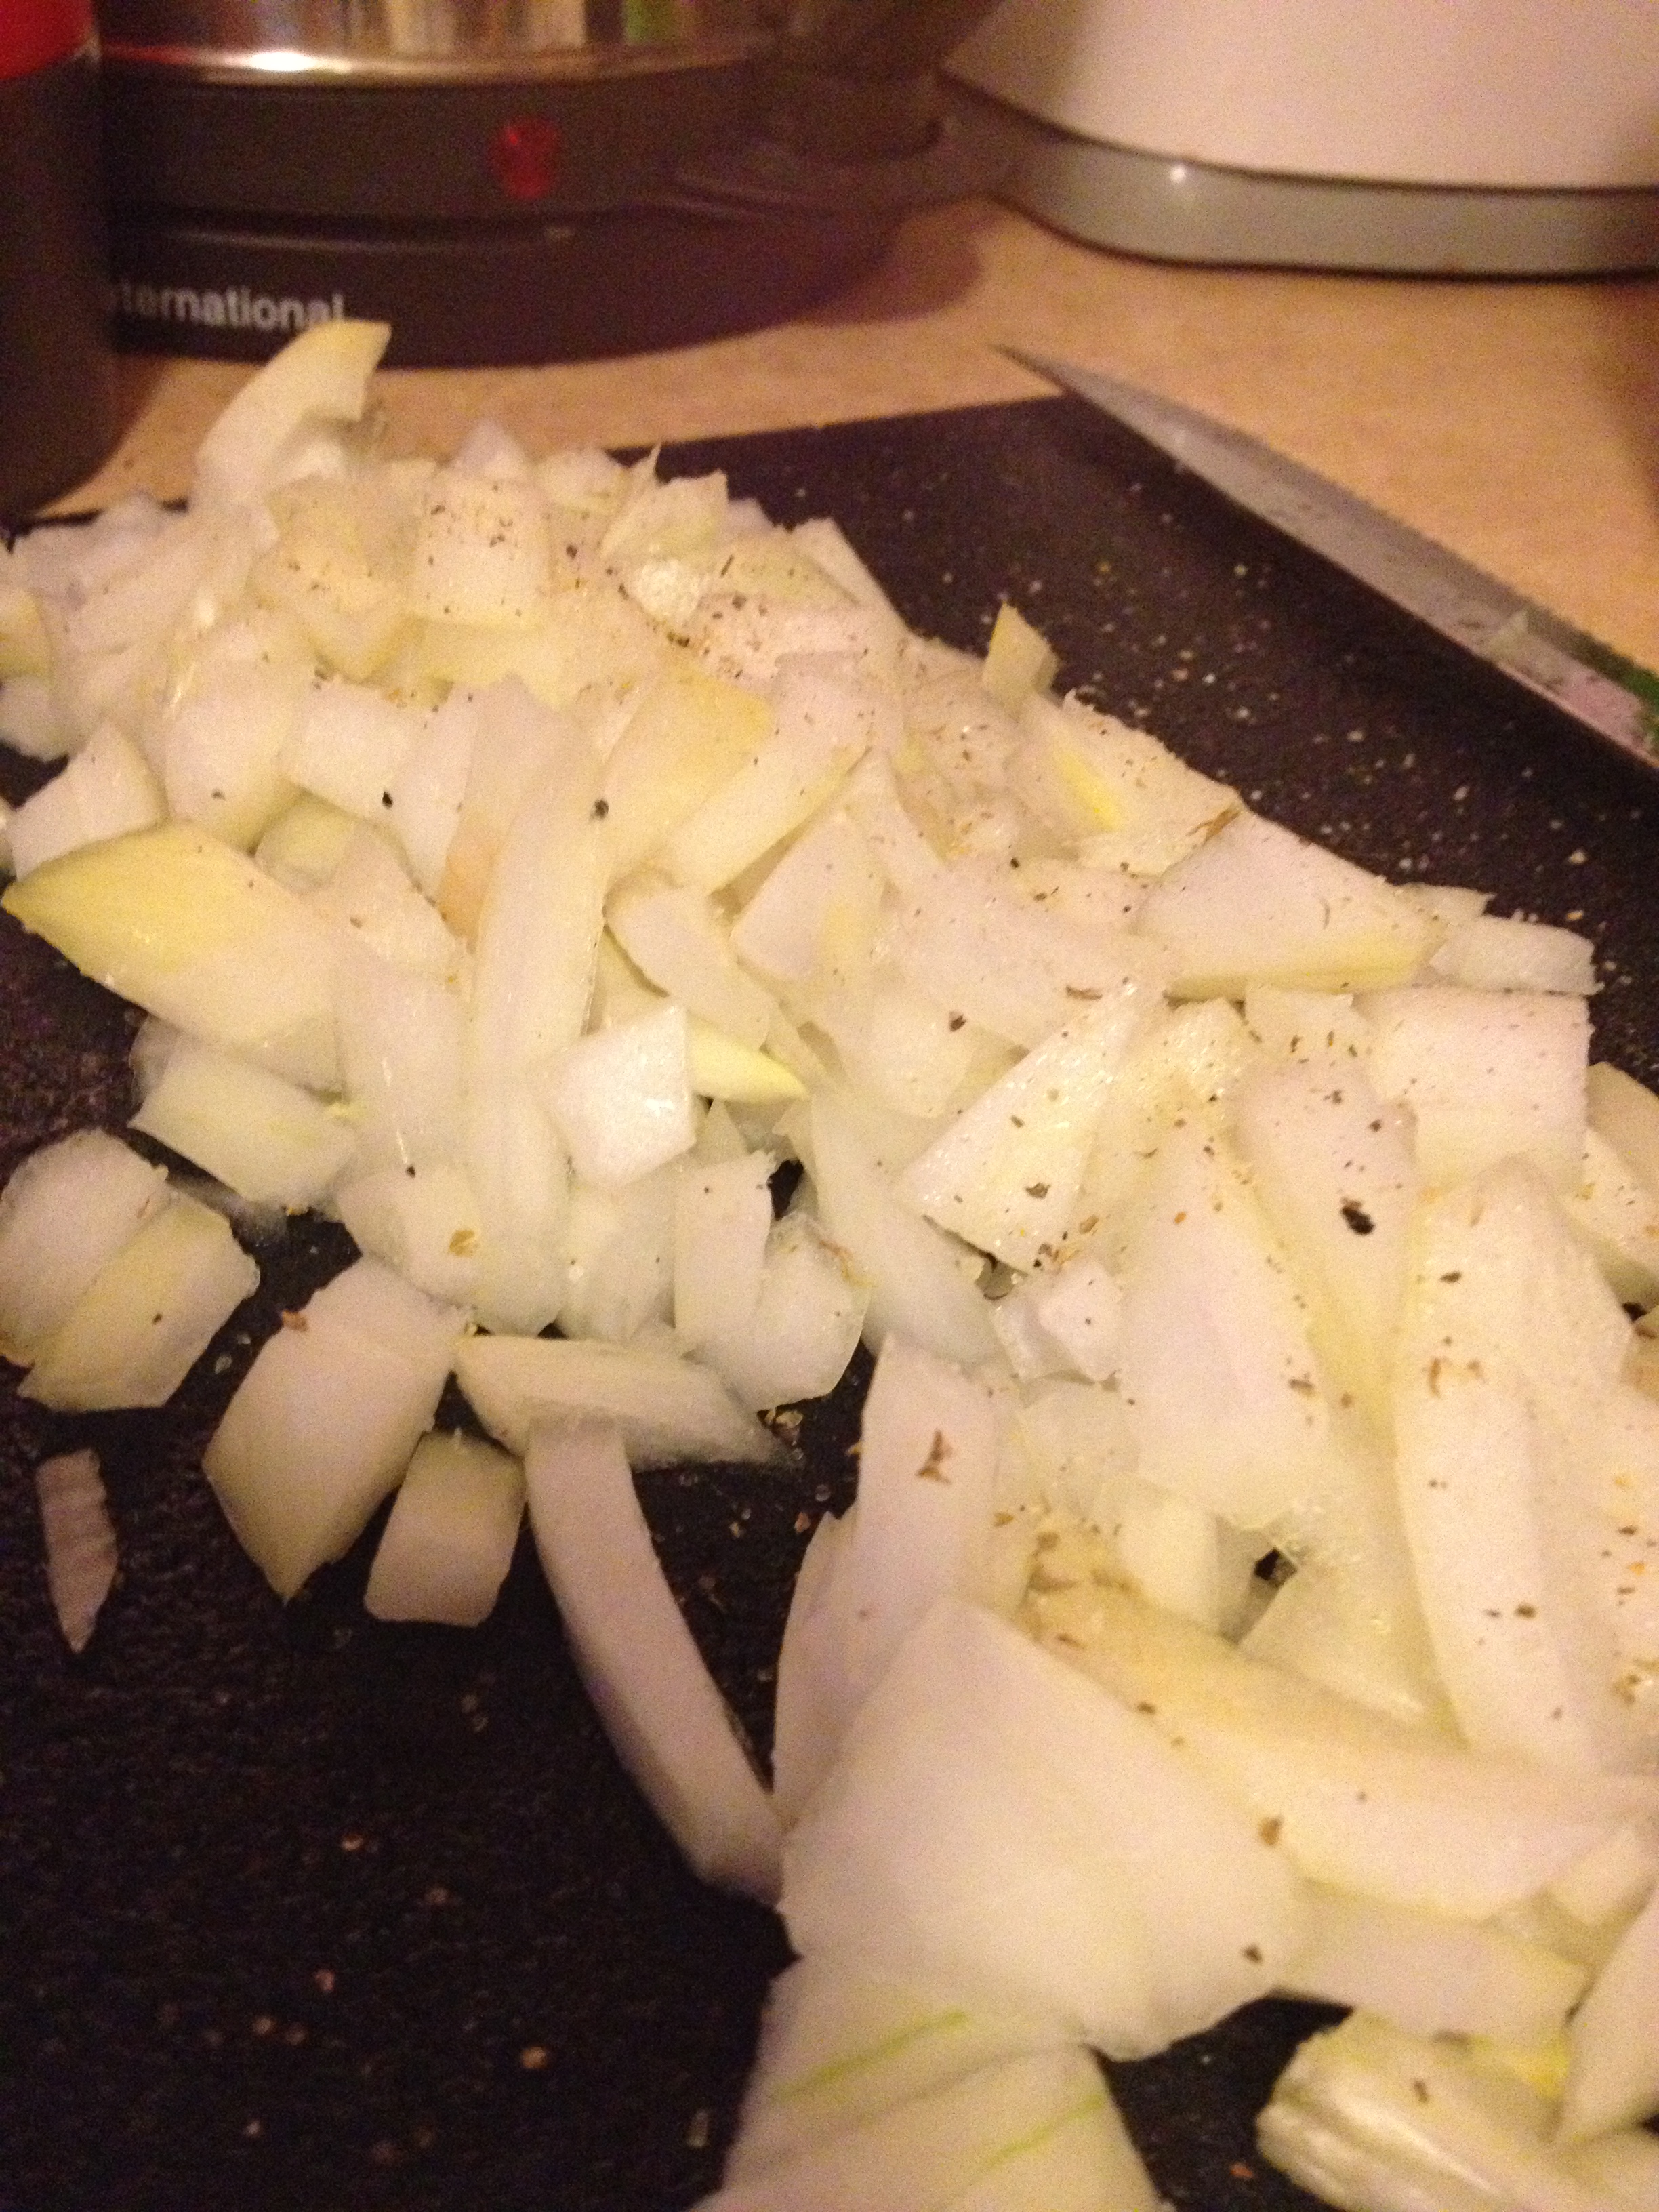
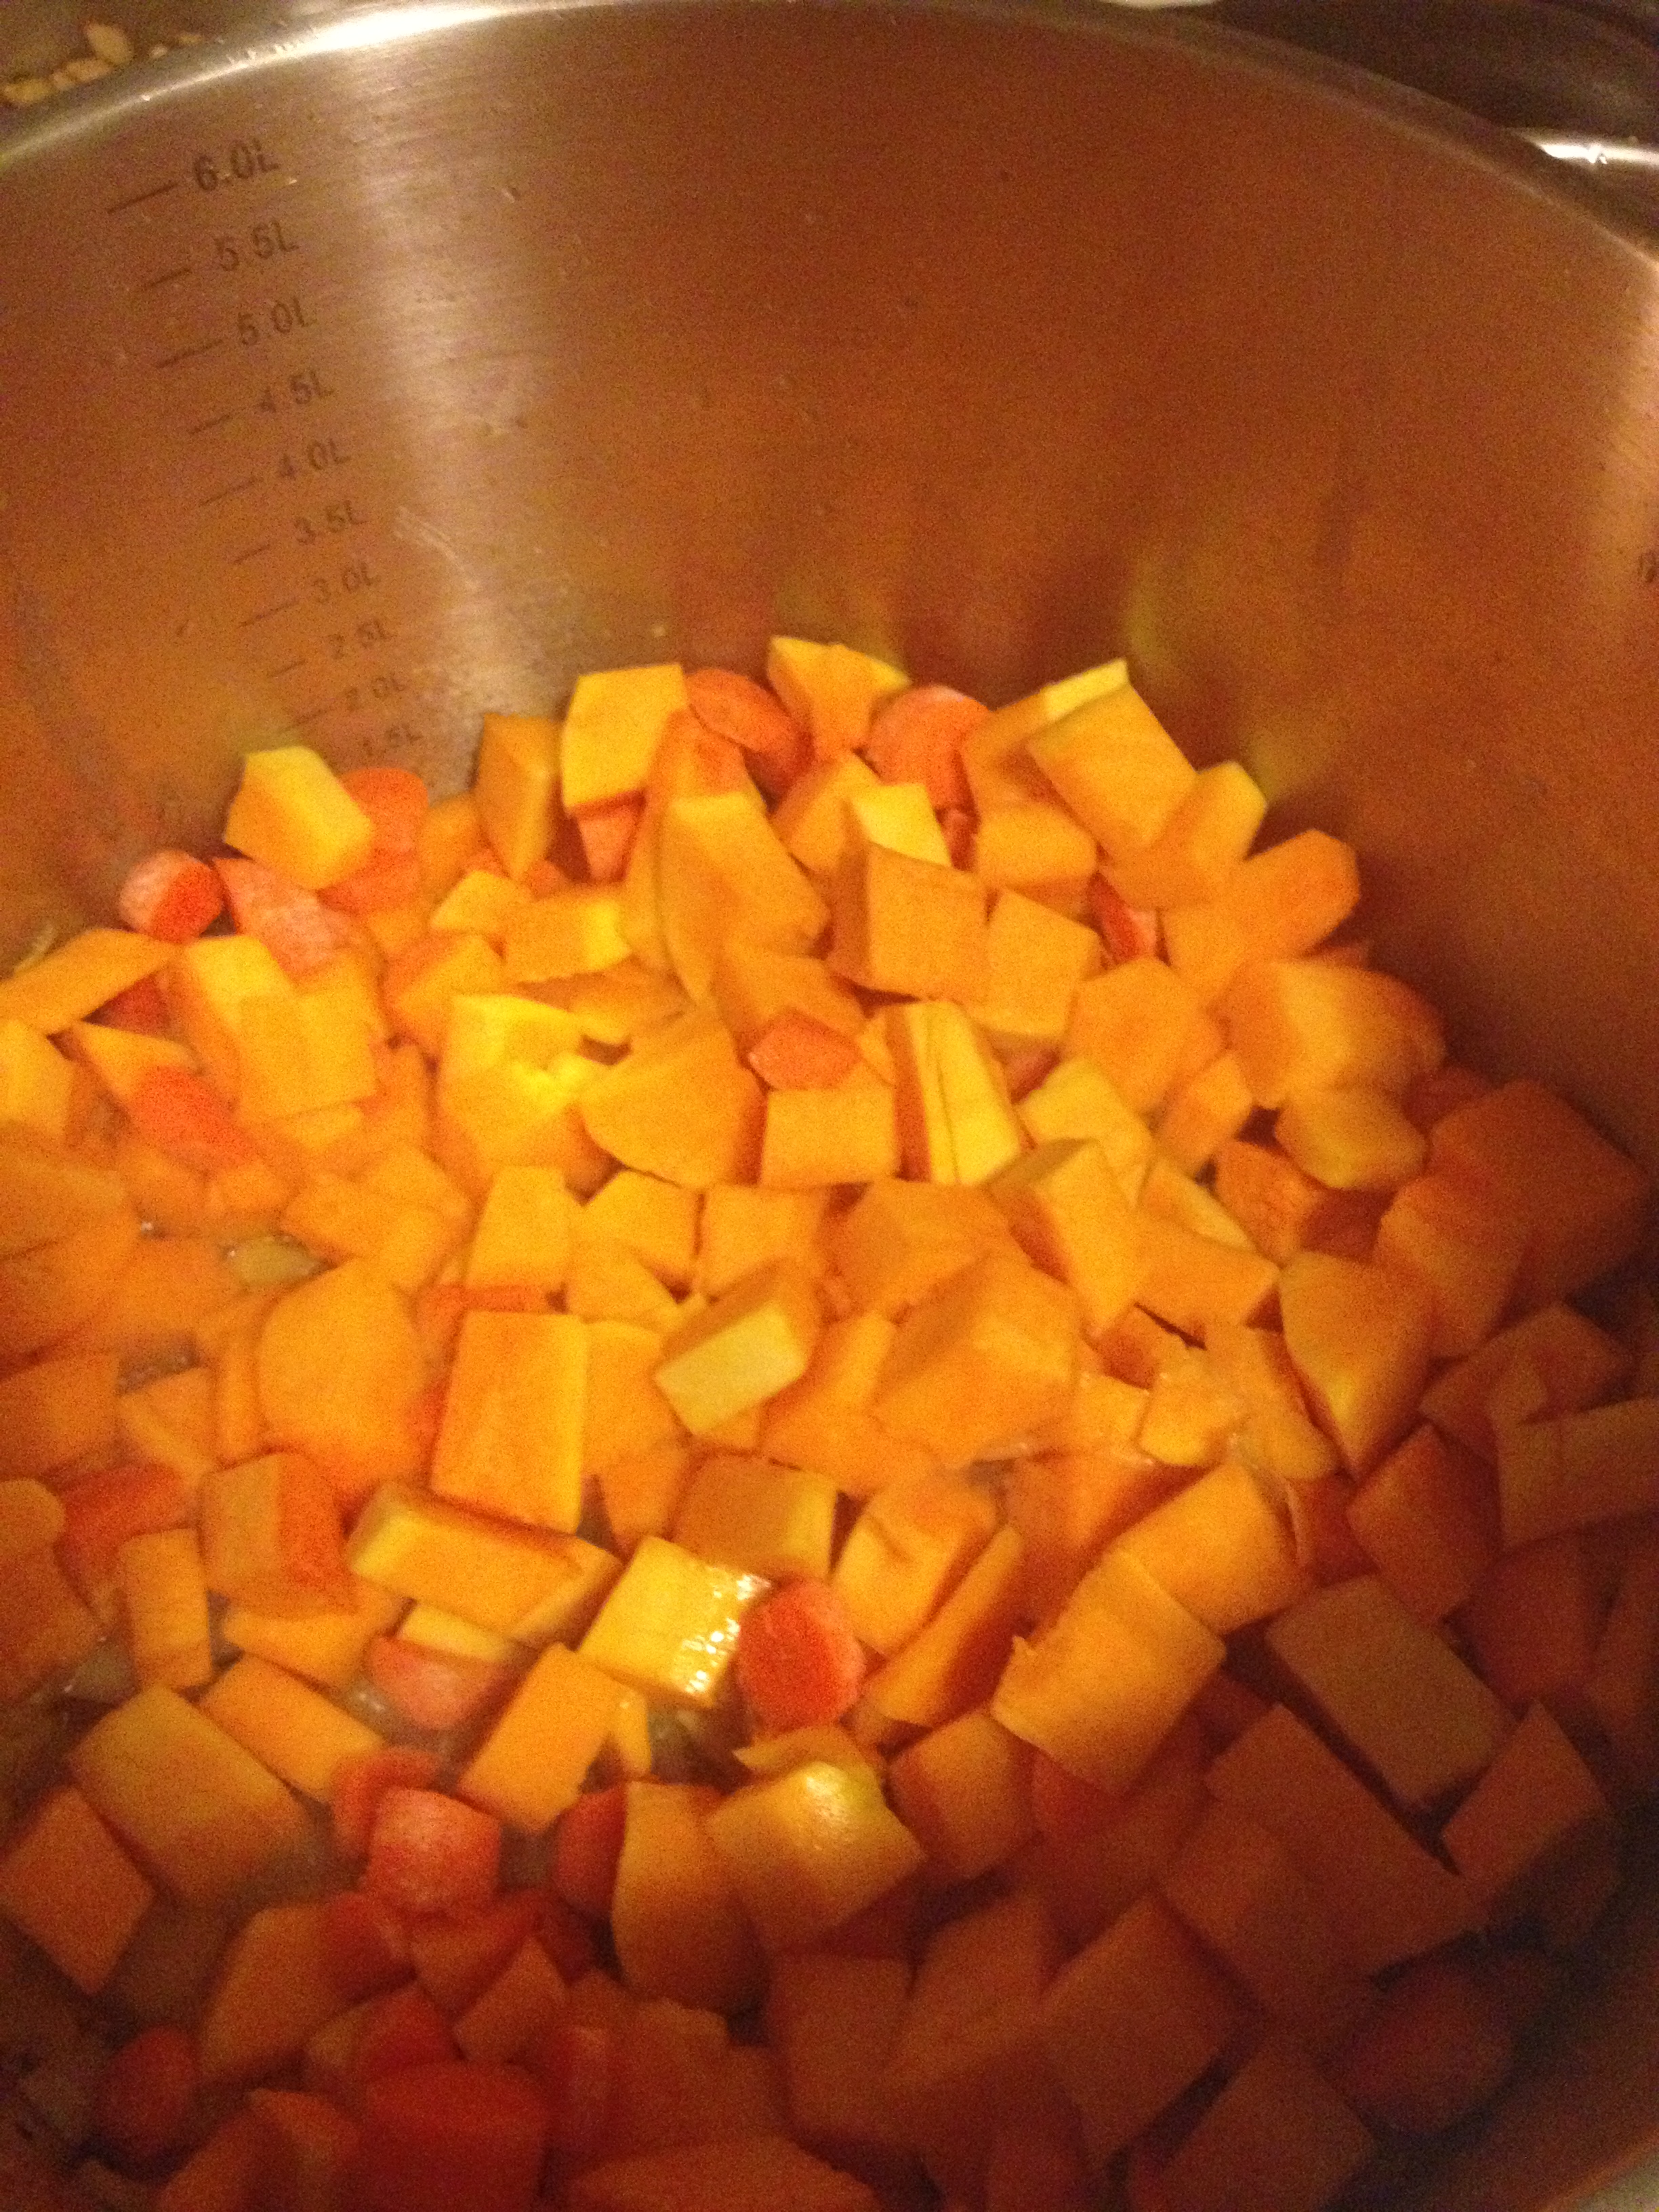
  • Cut up your butternut squash (I would roast it before hand, it was NOT fun to cut raw), carrots, and onions into cubes or small pieces.

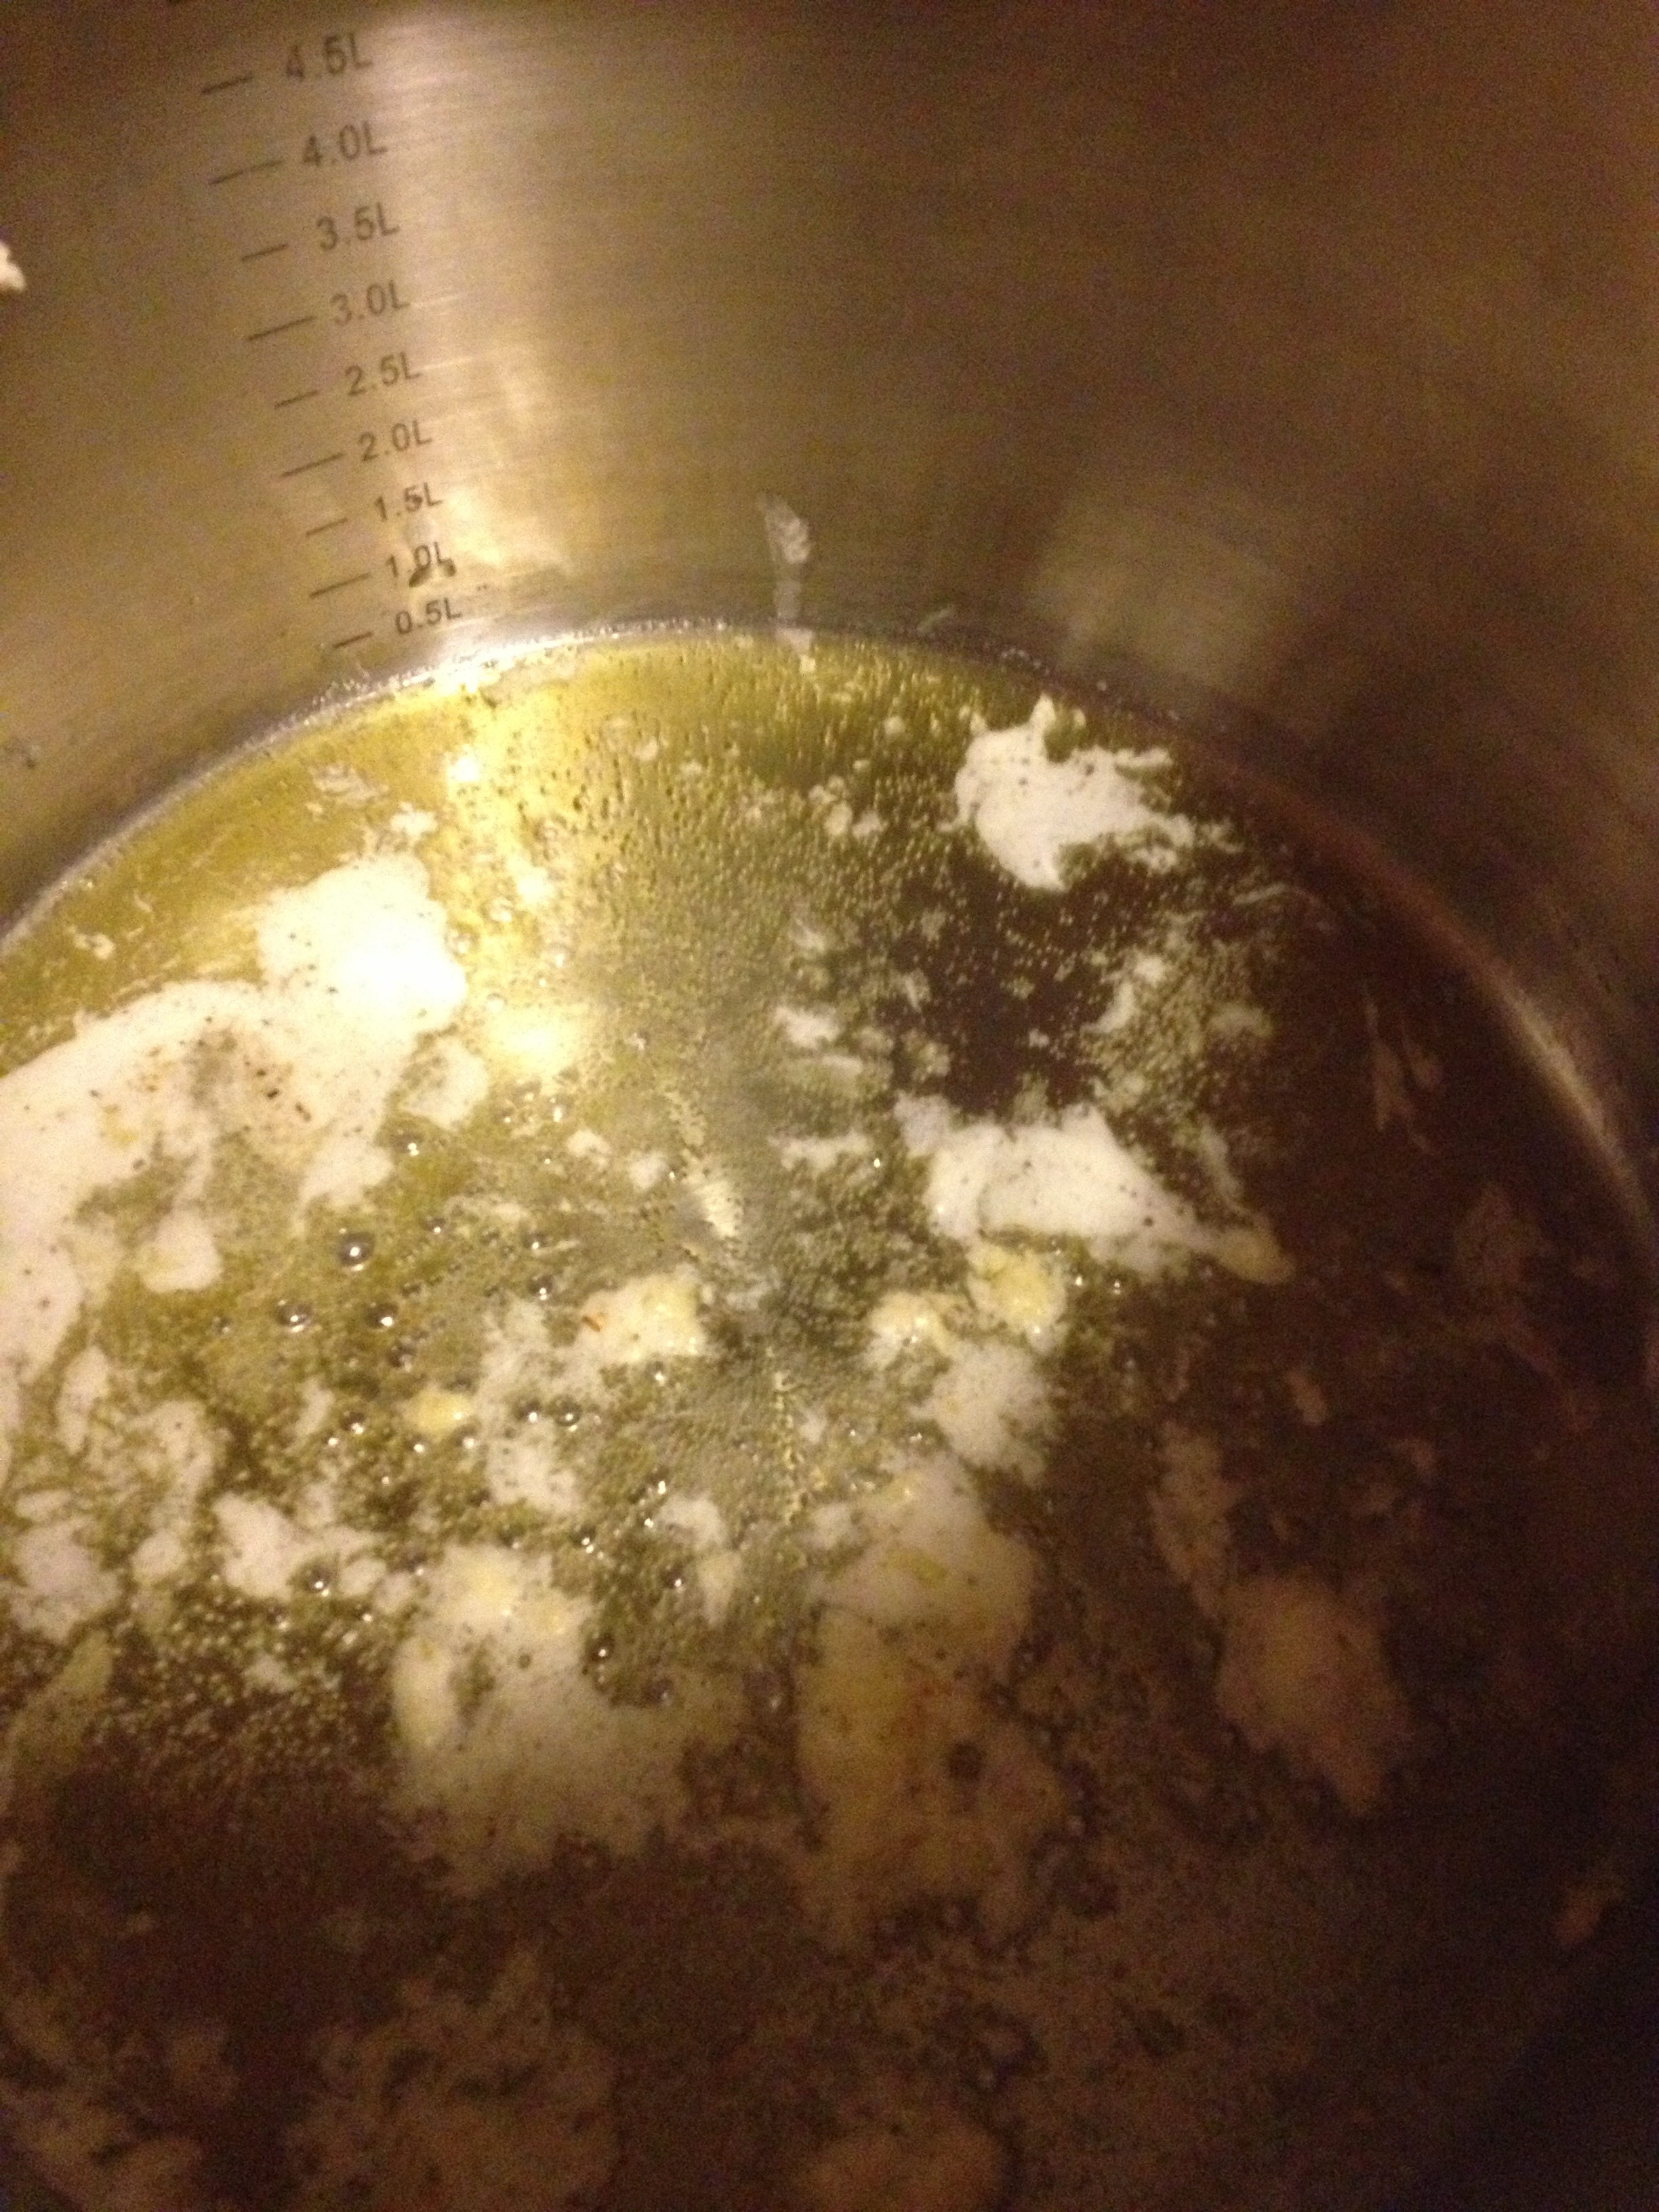
  • Next, put some oil and butter into a big pot. I added some garlic in there too. Watch out, the smell is divine.

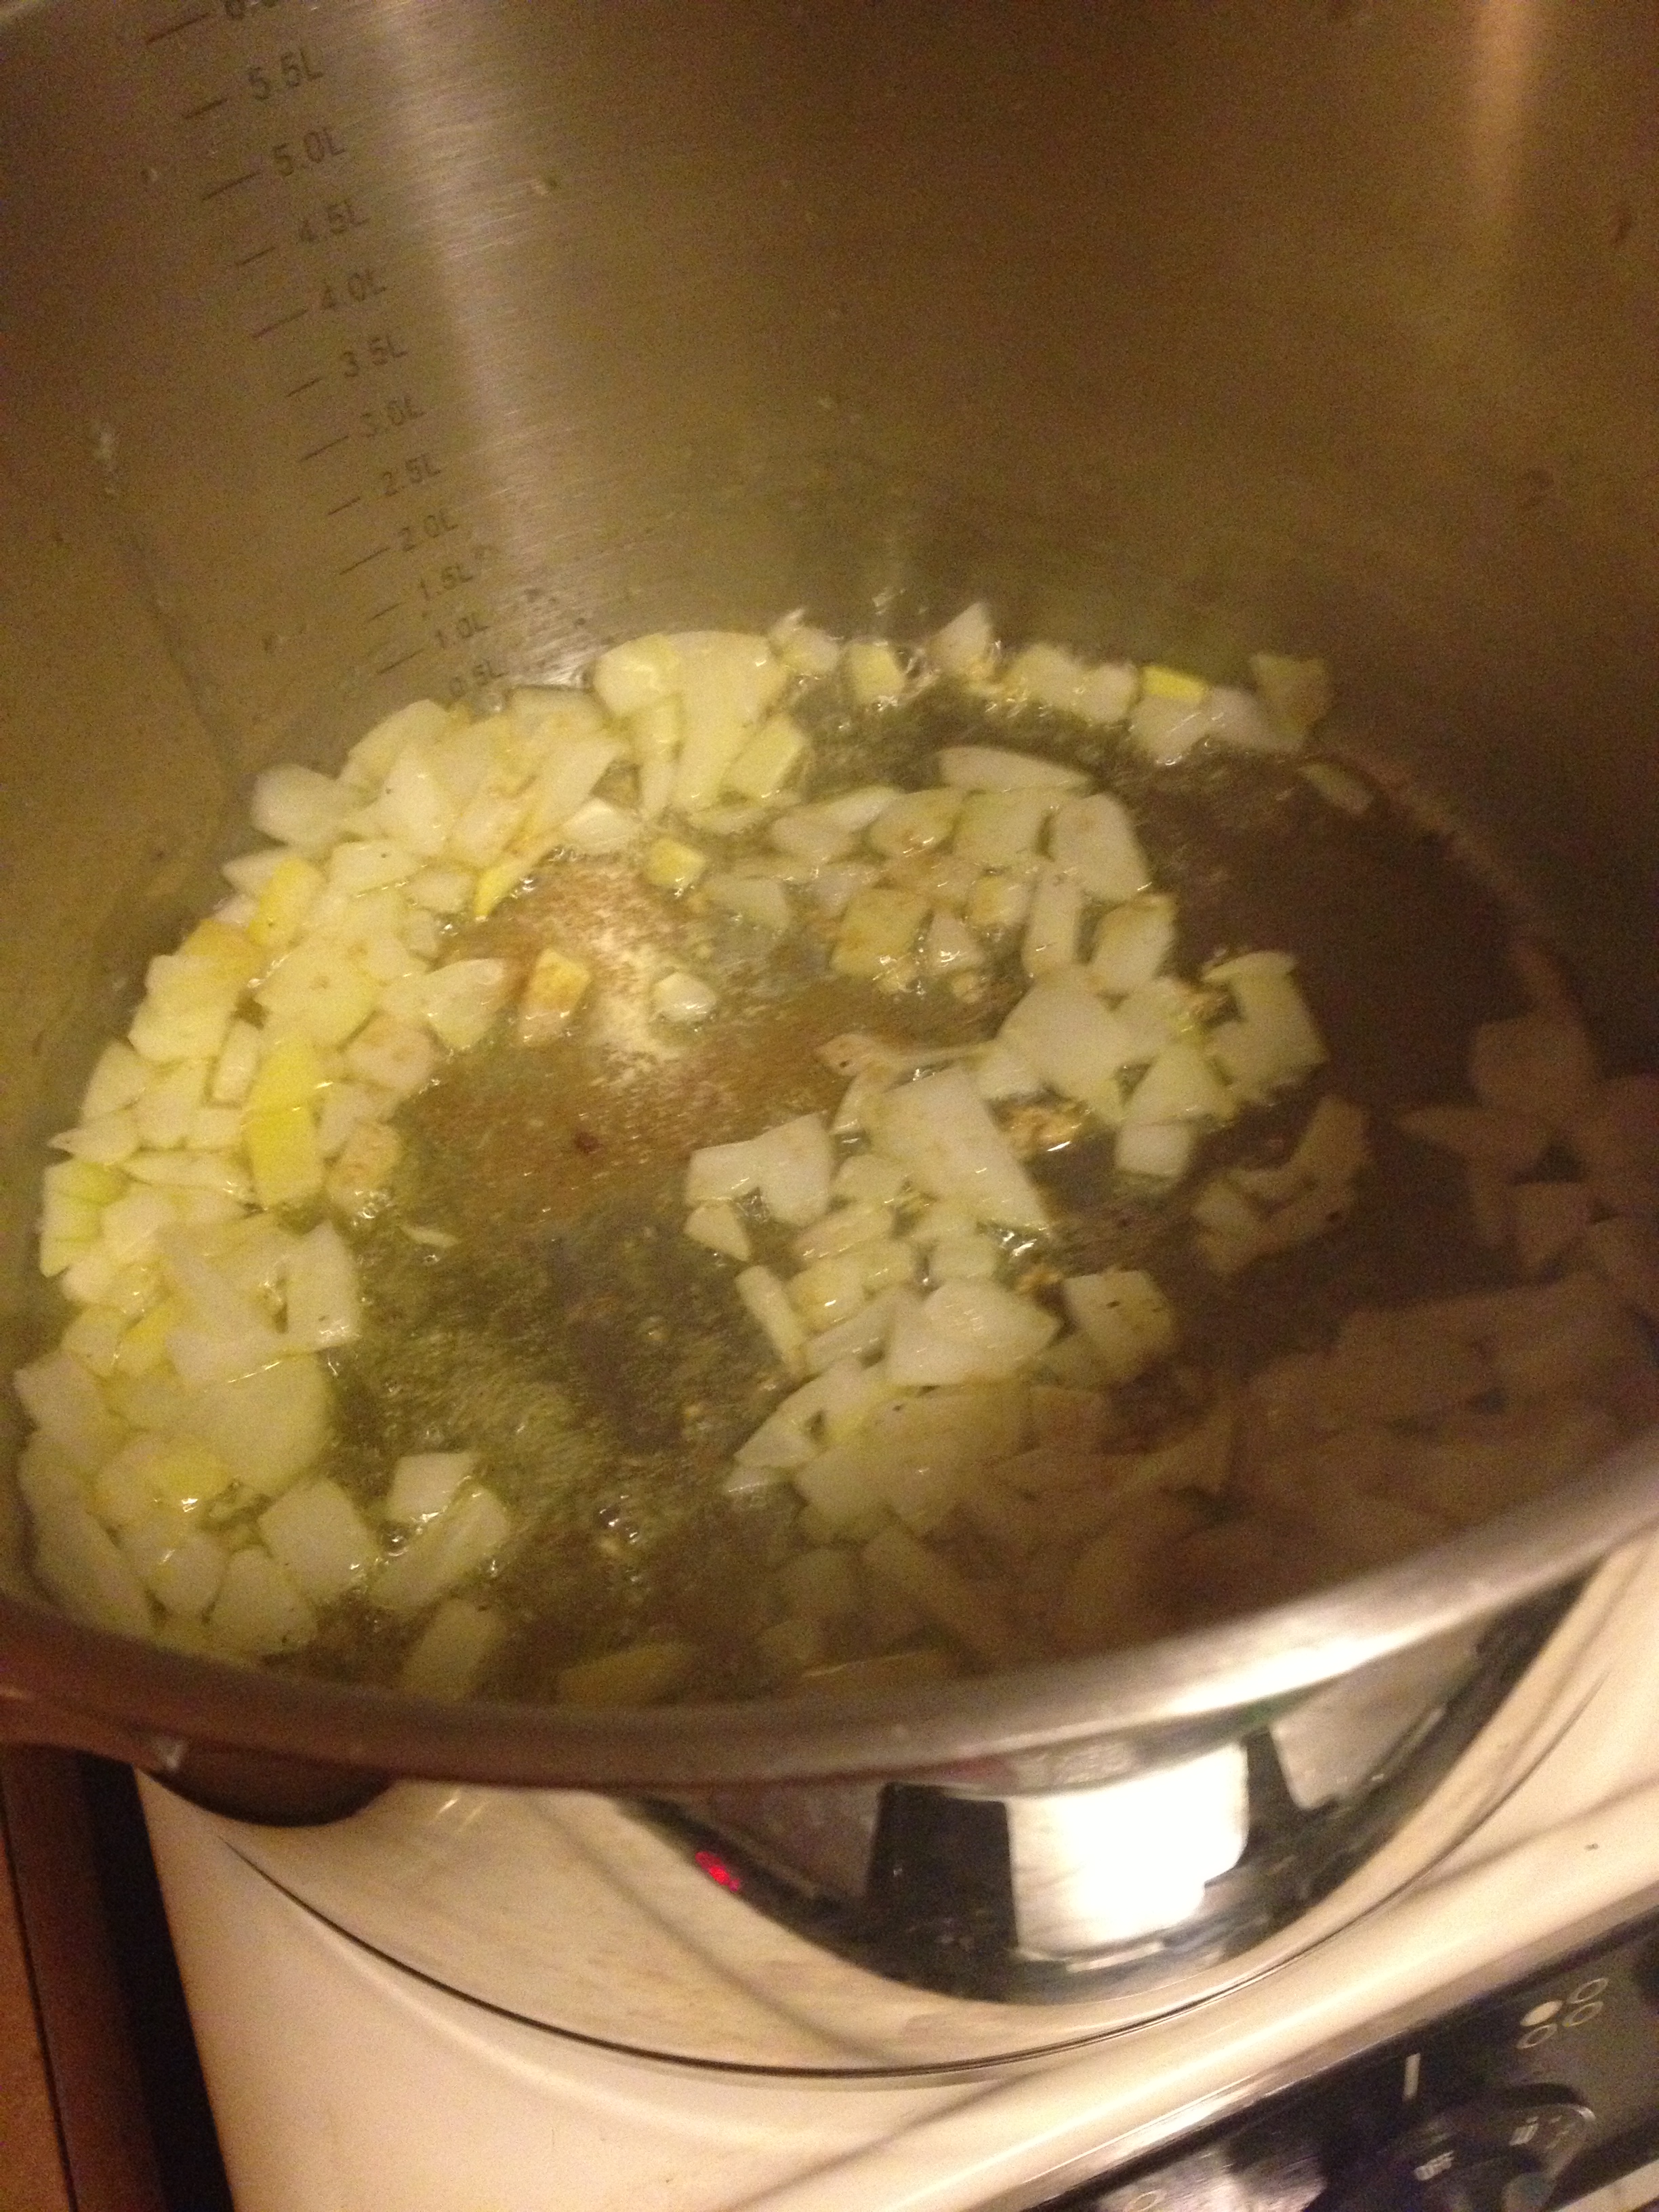
  • Once that’s nice and hot, pop in the onions.

  • Once the onions are nice and tender, put in the carrots and squash. And, though I’m not explicitly saying it, throughout this I’m putting in salt, pepper, garlic pepper, cinnamon, brown sugar, etc. Do it to taste. Make it your own.

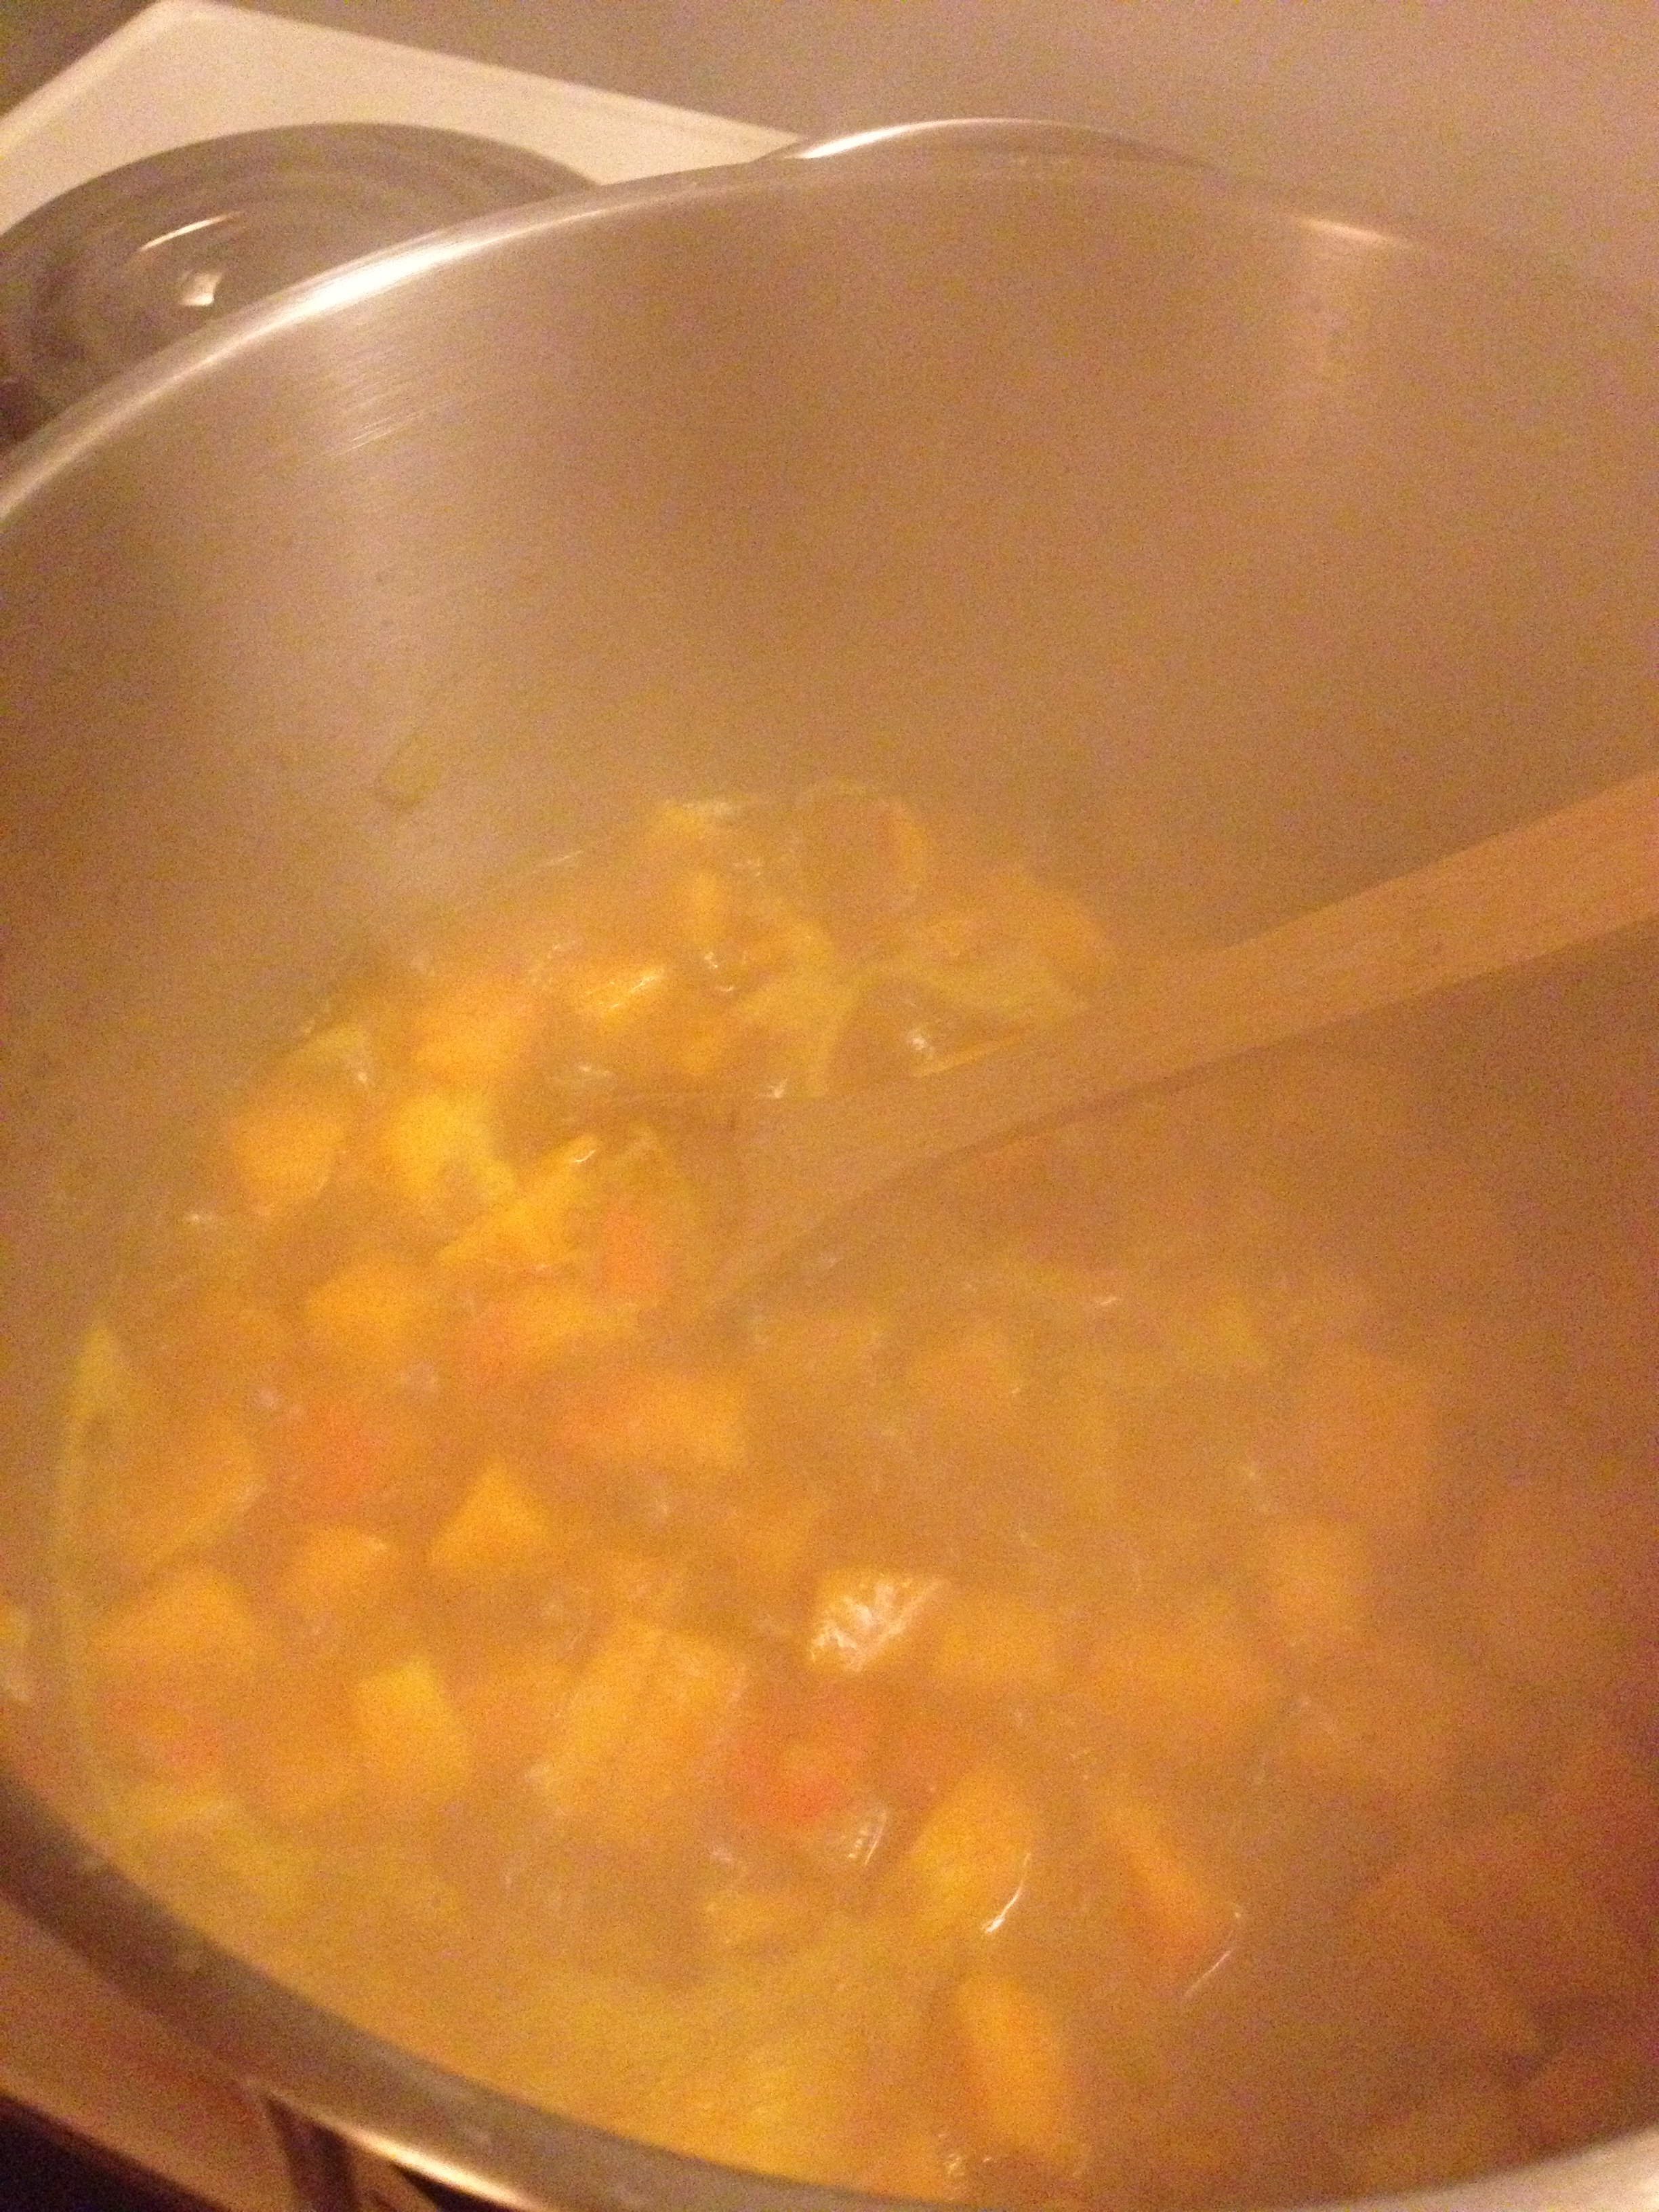
  • Stir it around and then pour your vegetable stock in and bring to boil. You’re going to leave these in here, boiling, until all the vegetables are nice and tender.

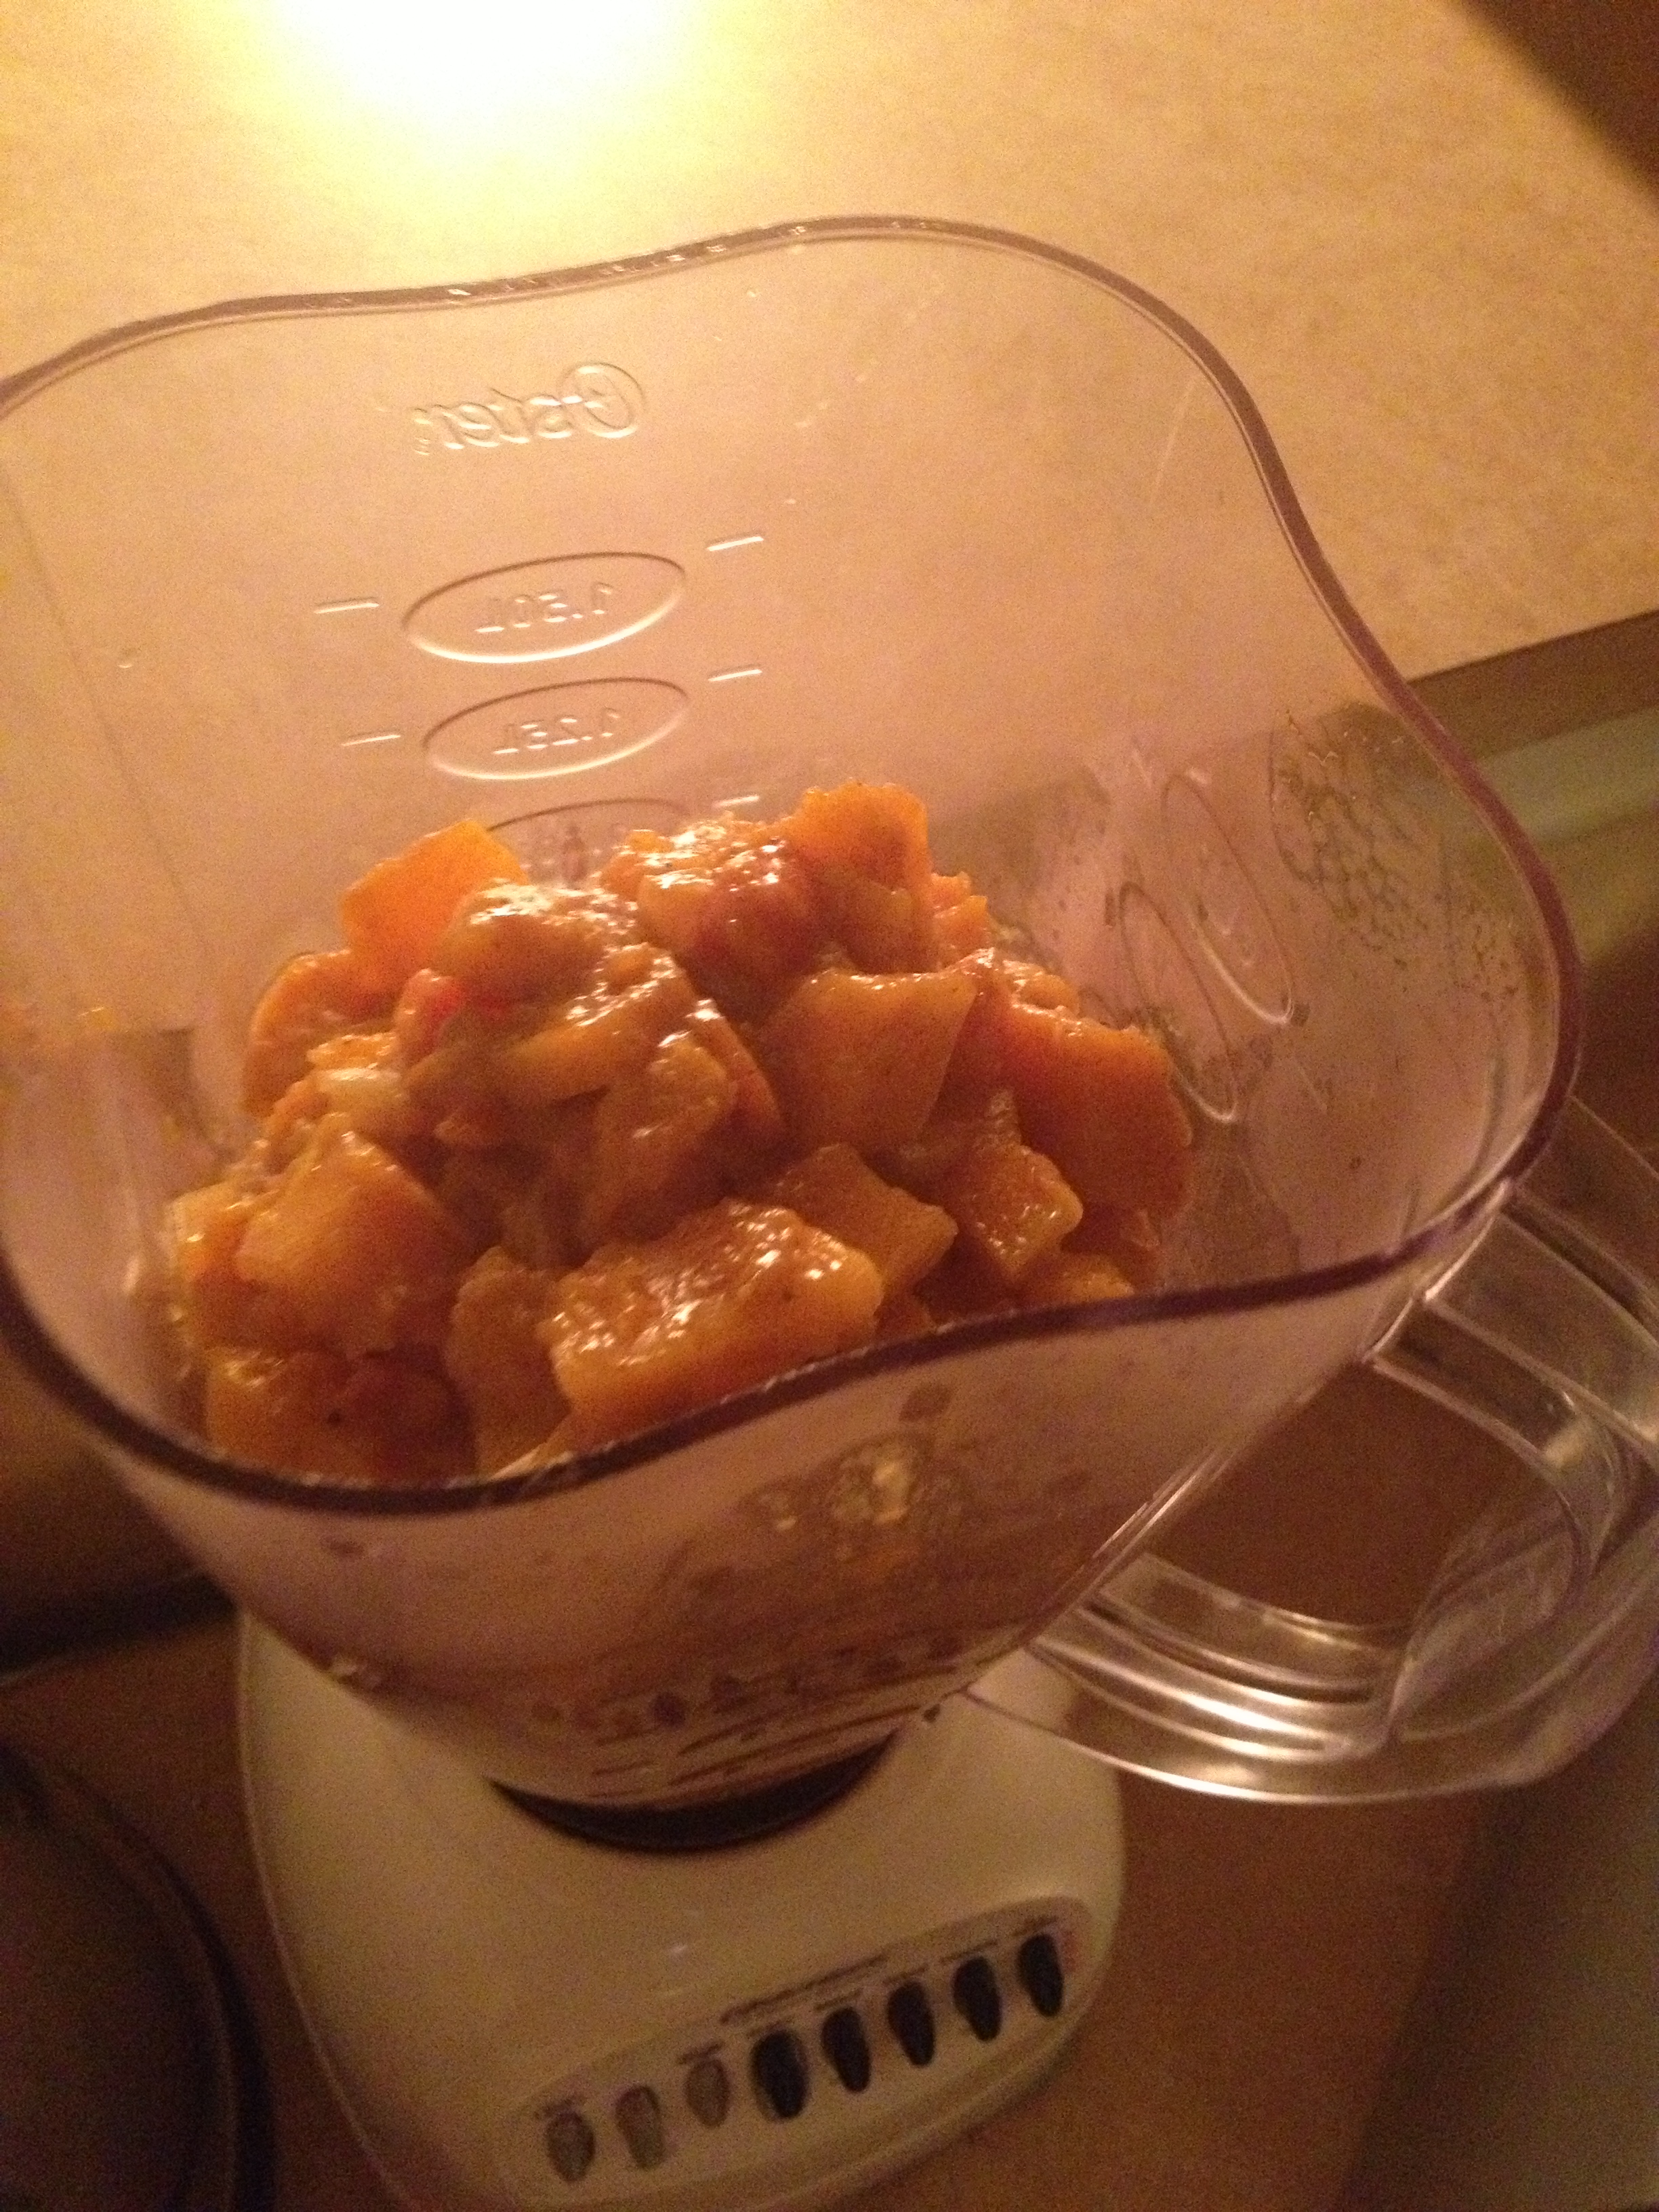
  • Alright! So your veggies and nice and tender…I hope you have a blender or food processor! Because you want to throw all that mixture into that blender or food processor and blend it until smooth. Now we have a really bad blender, and although it took some time, even ours was able to blend all these. So you can do it!

  • Once that’s all blended, pour back into the heated pot. Here, you can add cream into it if you want (I didn’t). I stirred in a lot of cinnamon, ground ginger, and brown sugar in at this point to get it to that flavor I wanted to. Just stir and taste until you are satisfied.


And voila! You are done! Wasn’t too hard, was it? I really really suggest it as we move into winter…it is so nice and hearty. Very warm. There might be a holiday coming up where you can use this… Let me know if you have any questions!

(BONUS KITTY PIC)


spacer

Get Yo Autumn On: Whole-Wheat Banana PUMPKIN Bread

Oh yes I said it…pumpkin. I’ve made tons of banana breads, but now it was time to introduce the beloved fall vegetable, pumpkin. How many times do you think I can say pumpkin in this paragraph? Anyways, this pumpkin banana bread is one, absolutely delicious, two, easy to make, and three, doesn’t leave you feeling guilty. It uses a bit of brown sugar and honey to sweeten things up, as well as the banana and pumpkin that go along with it. I found this recipe here and varied it a bit, put more cinnamon in it, more honey, typical stuff for me. Alrighty, get ready.

Ingredients:

  • WET
  • 1/2 cup butter
  • 2/3 cup brown sugar
  • 3 tablespoons honey
  • 1 cup pumpkin puree
  • 2 eggs
  • 1 banana
  • 2 tablespoons orange juice (weird)
  • 1 teaspoon vanilla extract
  • DRY
  • 1.5 cups whole-wheat flour 
  • 1/4 teaspoon baking powder
  • 1 teaspoon baking soda
  • 3/4 teaspoon salt
  • 1 teaspoon cinnamon

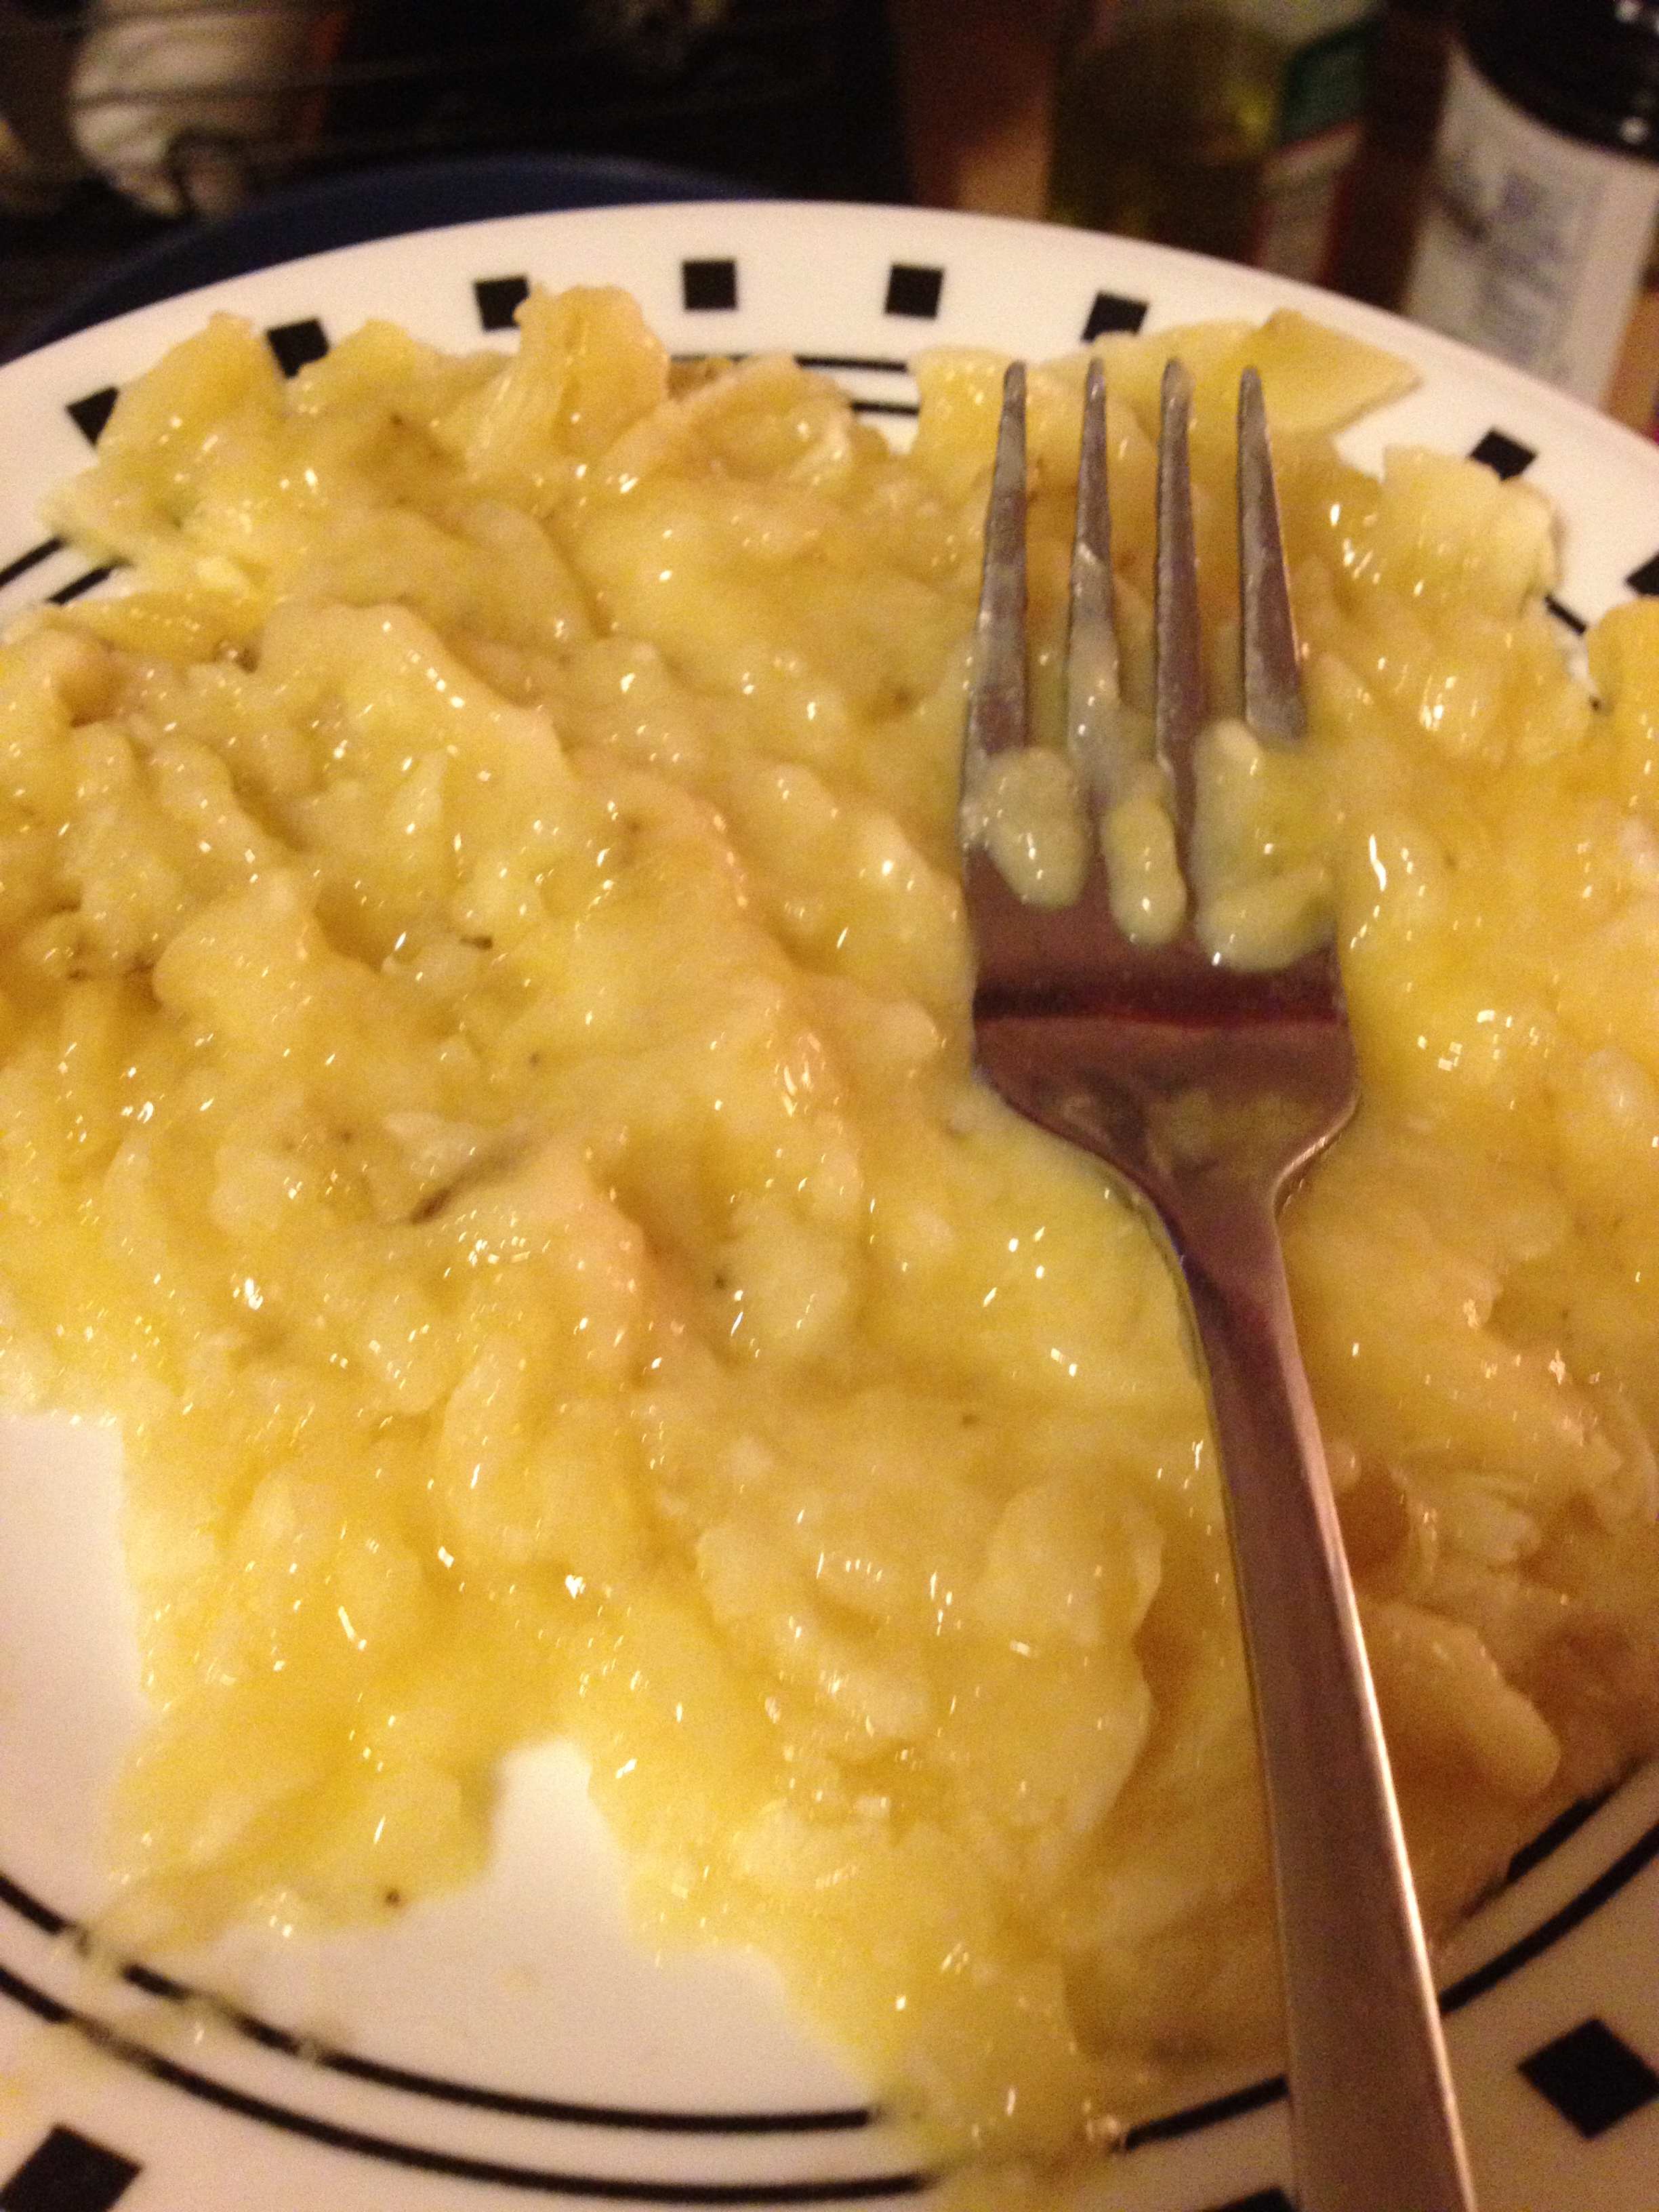
This is the pumpkin puree I use. You can find it…ANYWHERE right now

Okay, looks like a long list but it doesn’t take long to prepare.

  • Prep Time: 15 minutes
  • Cook Time: 55-70 minutes

Directions:

  • Preheat oven to 350 degrees
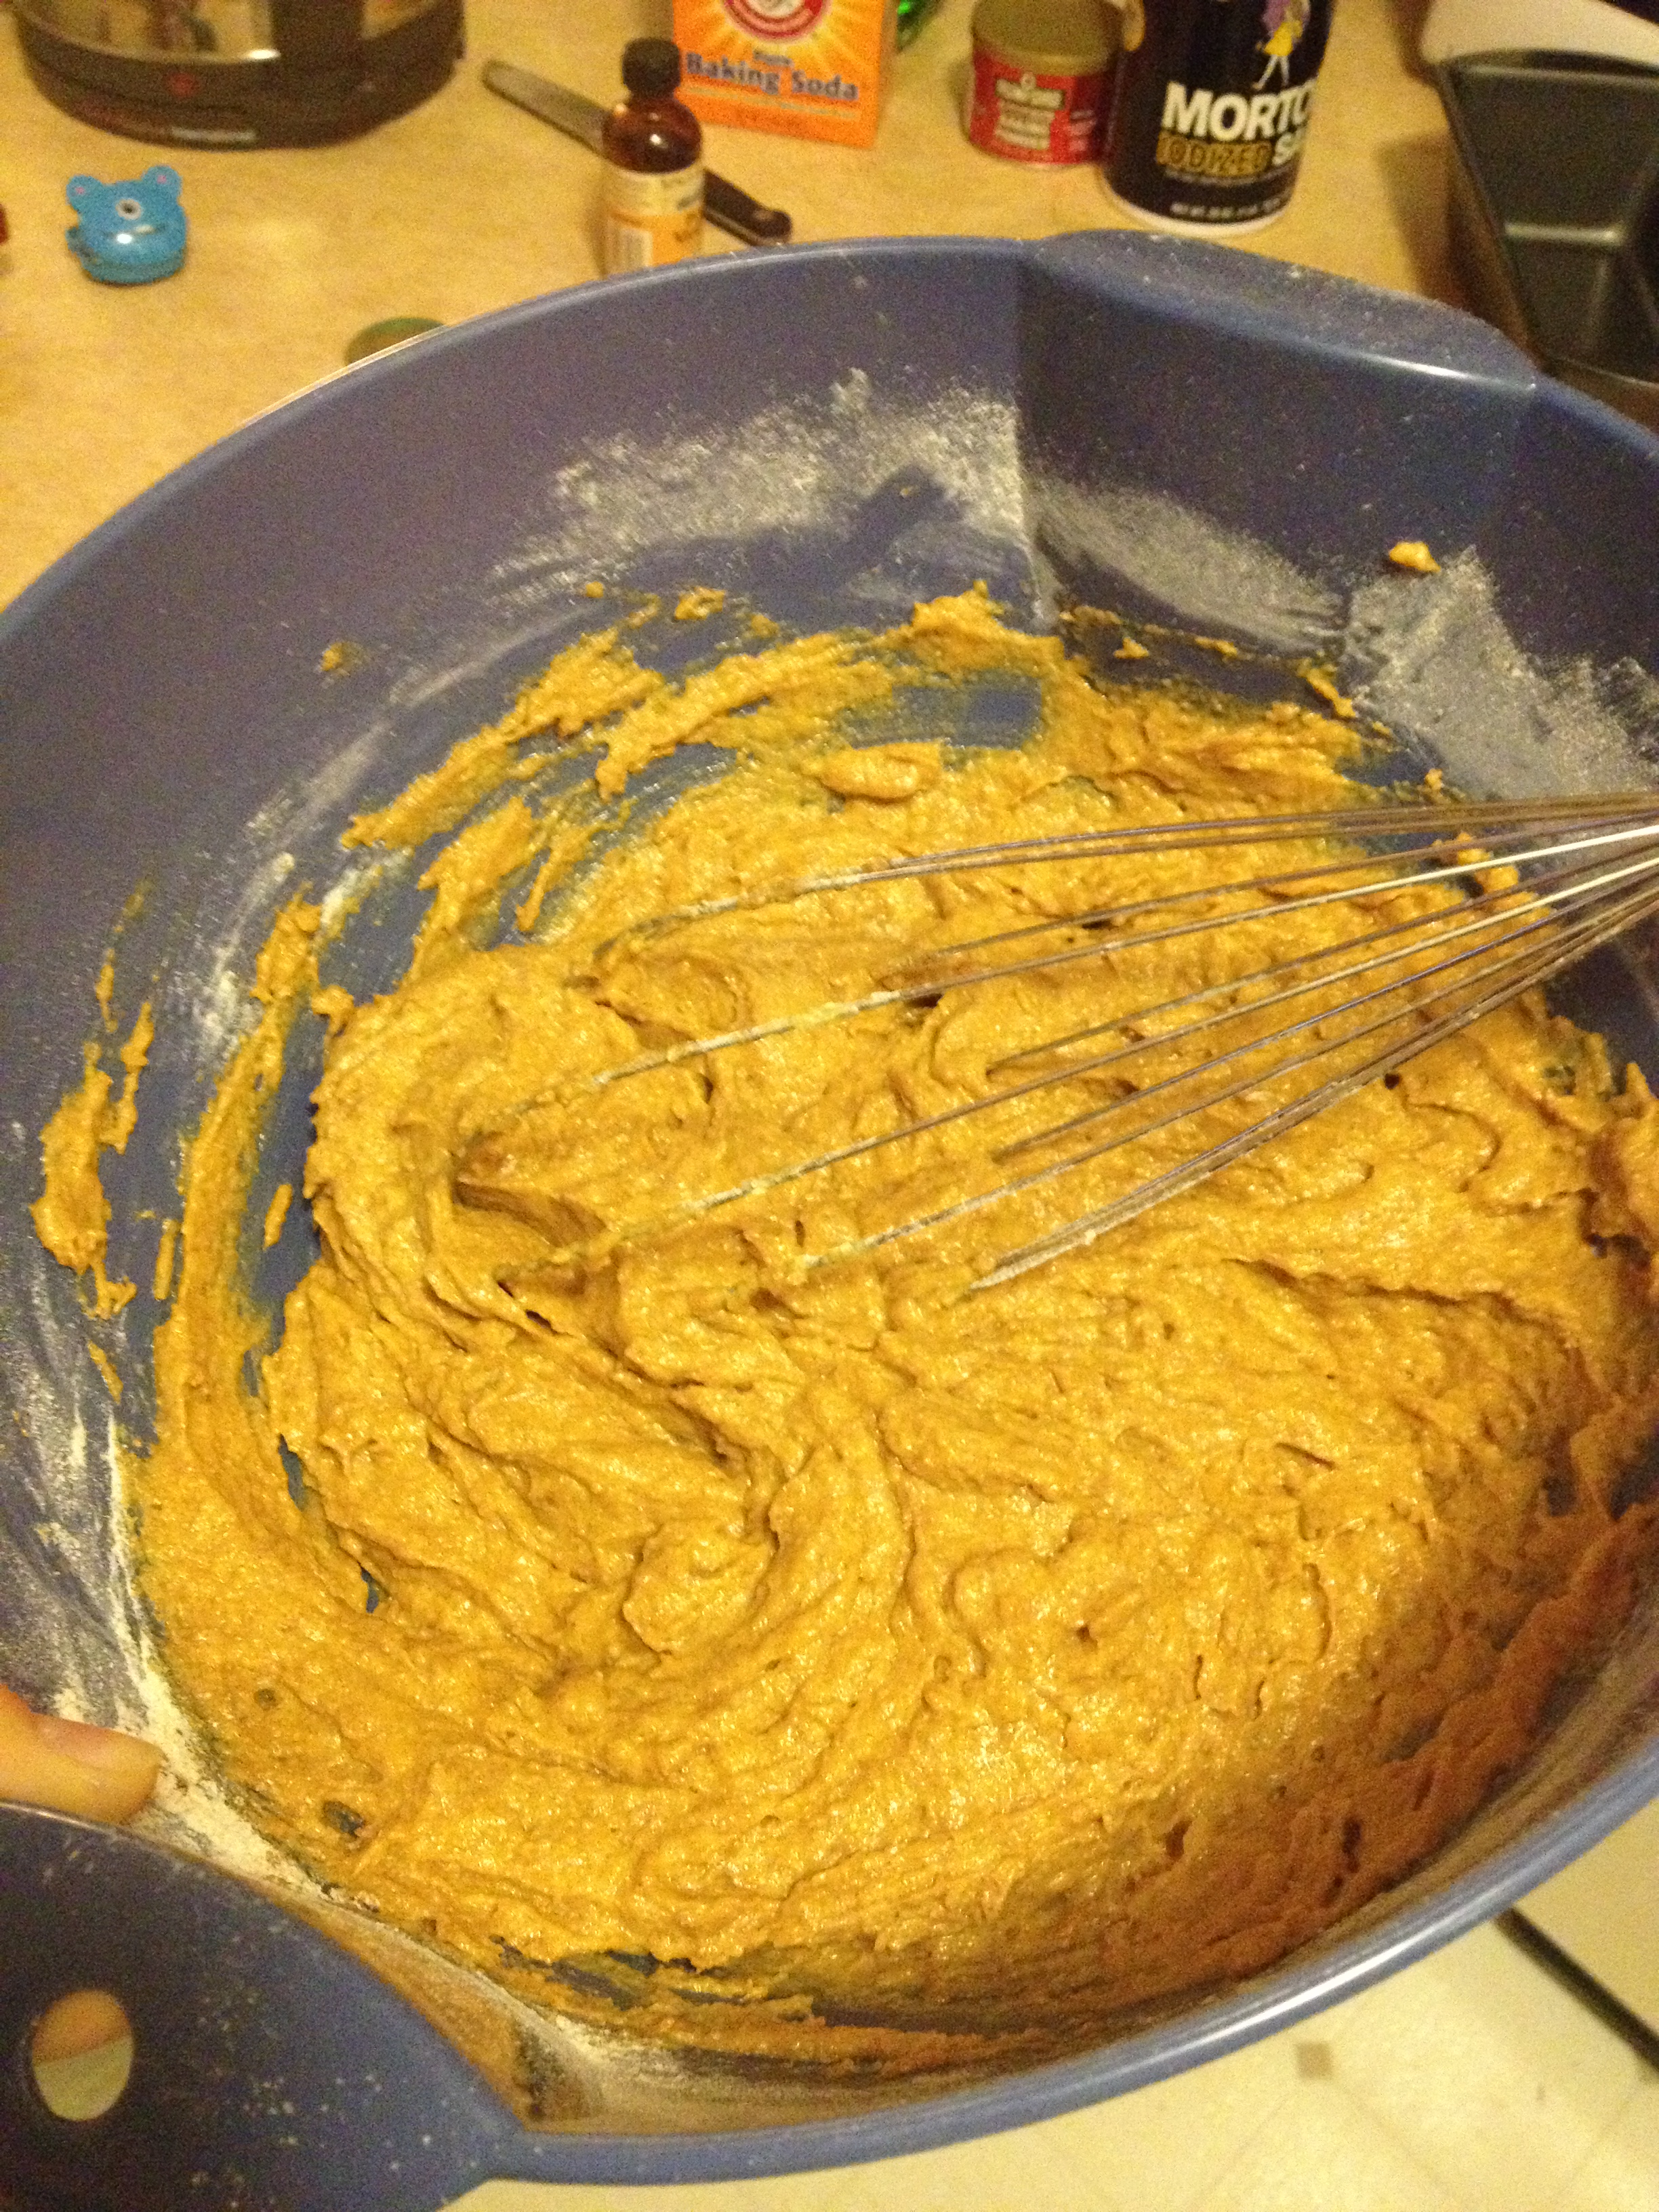
  • REAL simple here. Mix all the wet ingredients together

  • Then, you mix in the dry ingredients like the flour, baking soda, etc. Just look up at the ingredient list above, I organized it for you (it was really hard).

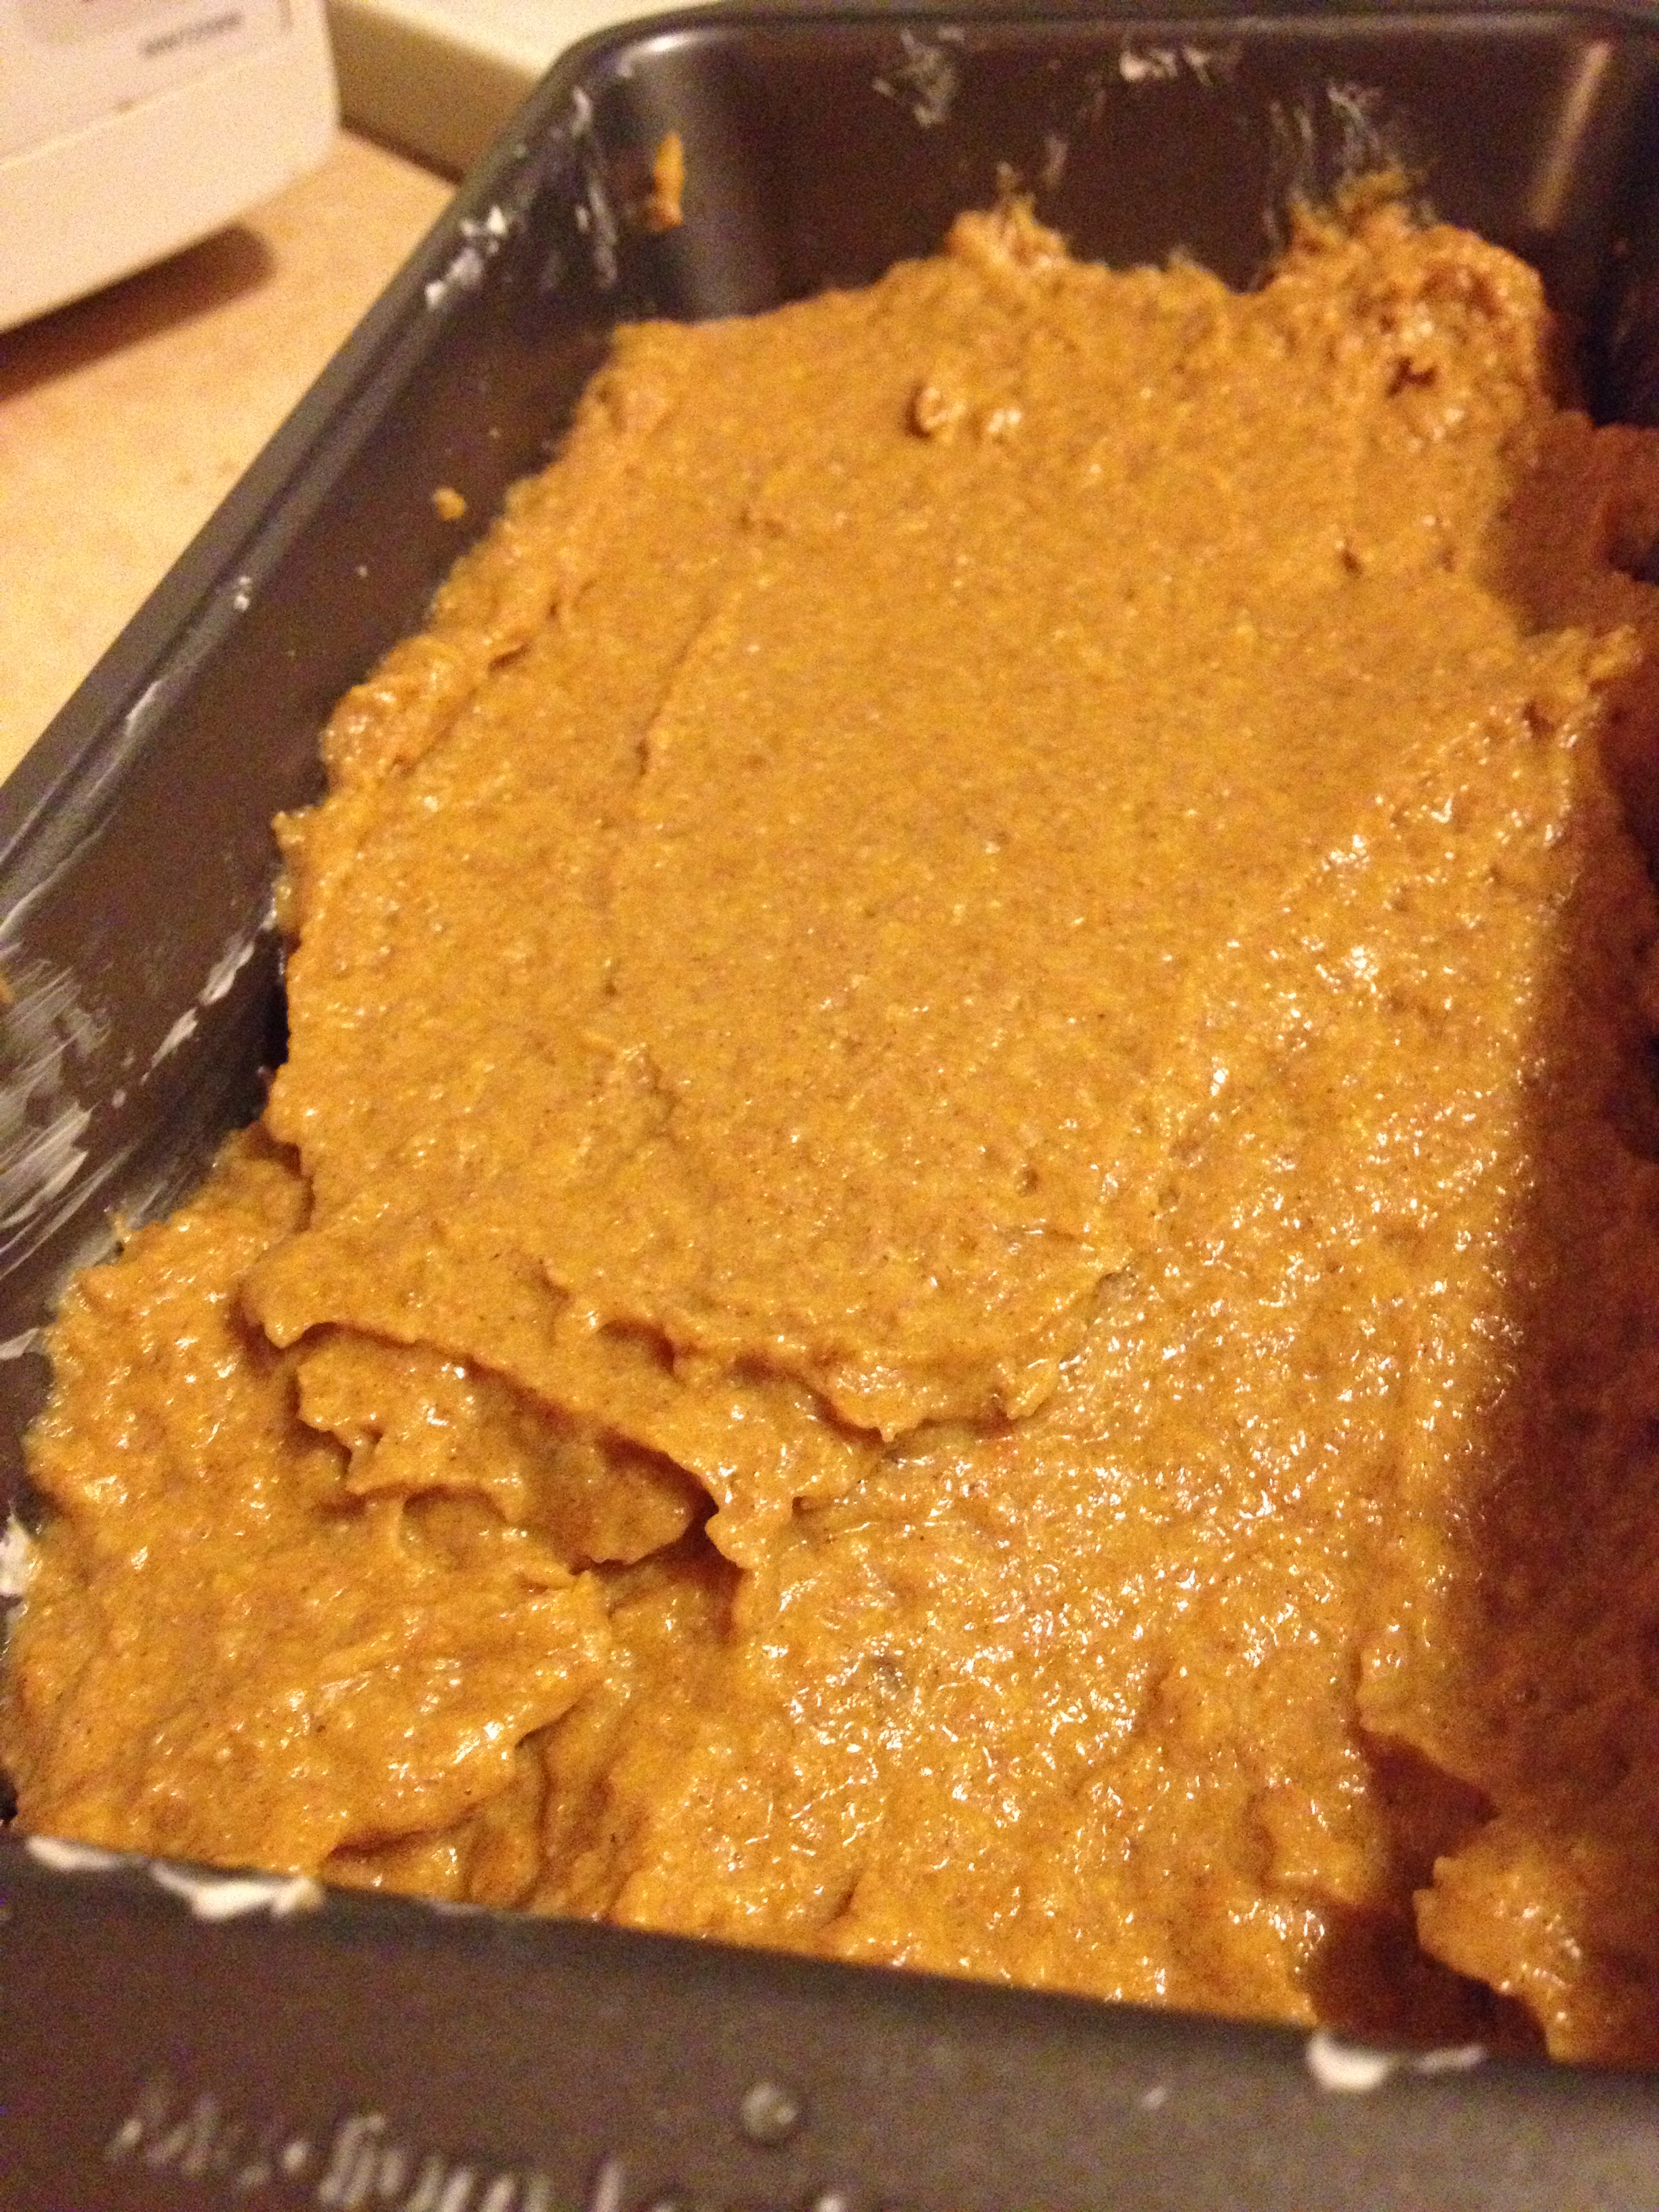
  • Spoon it all into the buttered or oiled baking tin and place into oven!

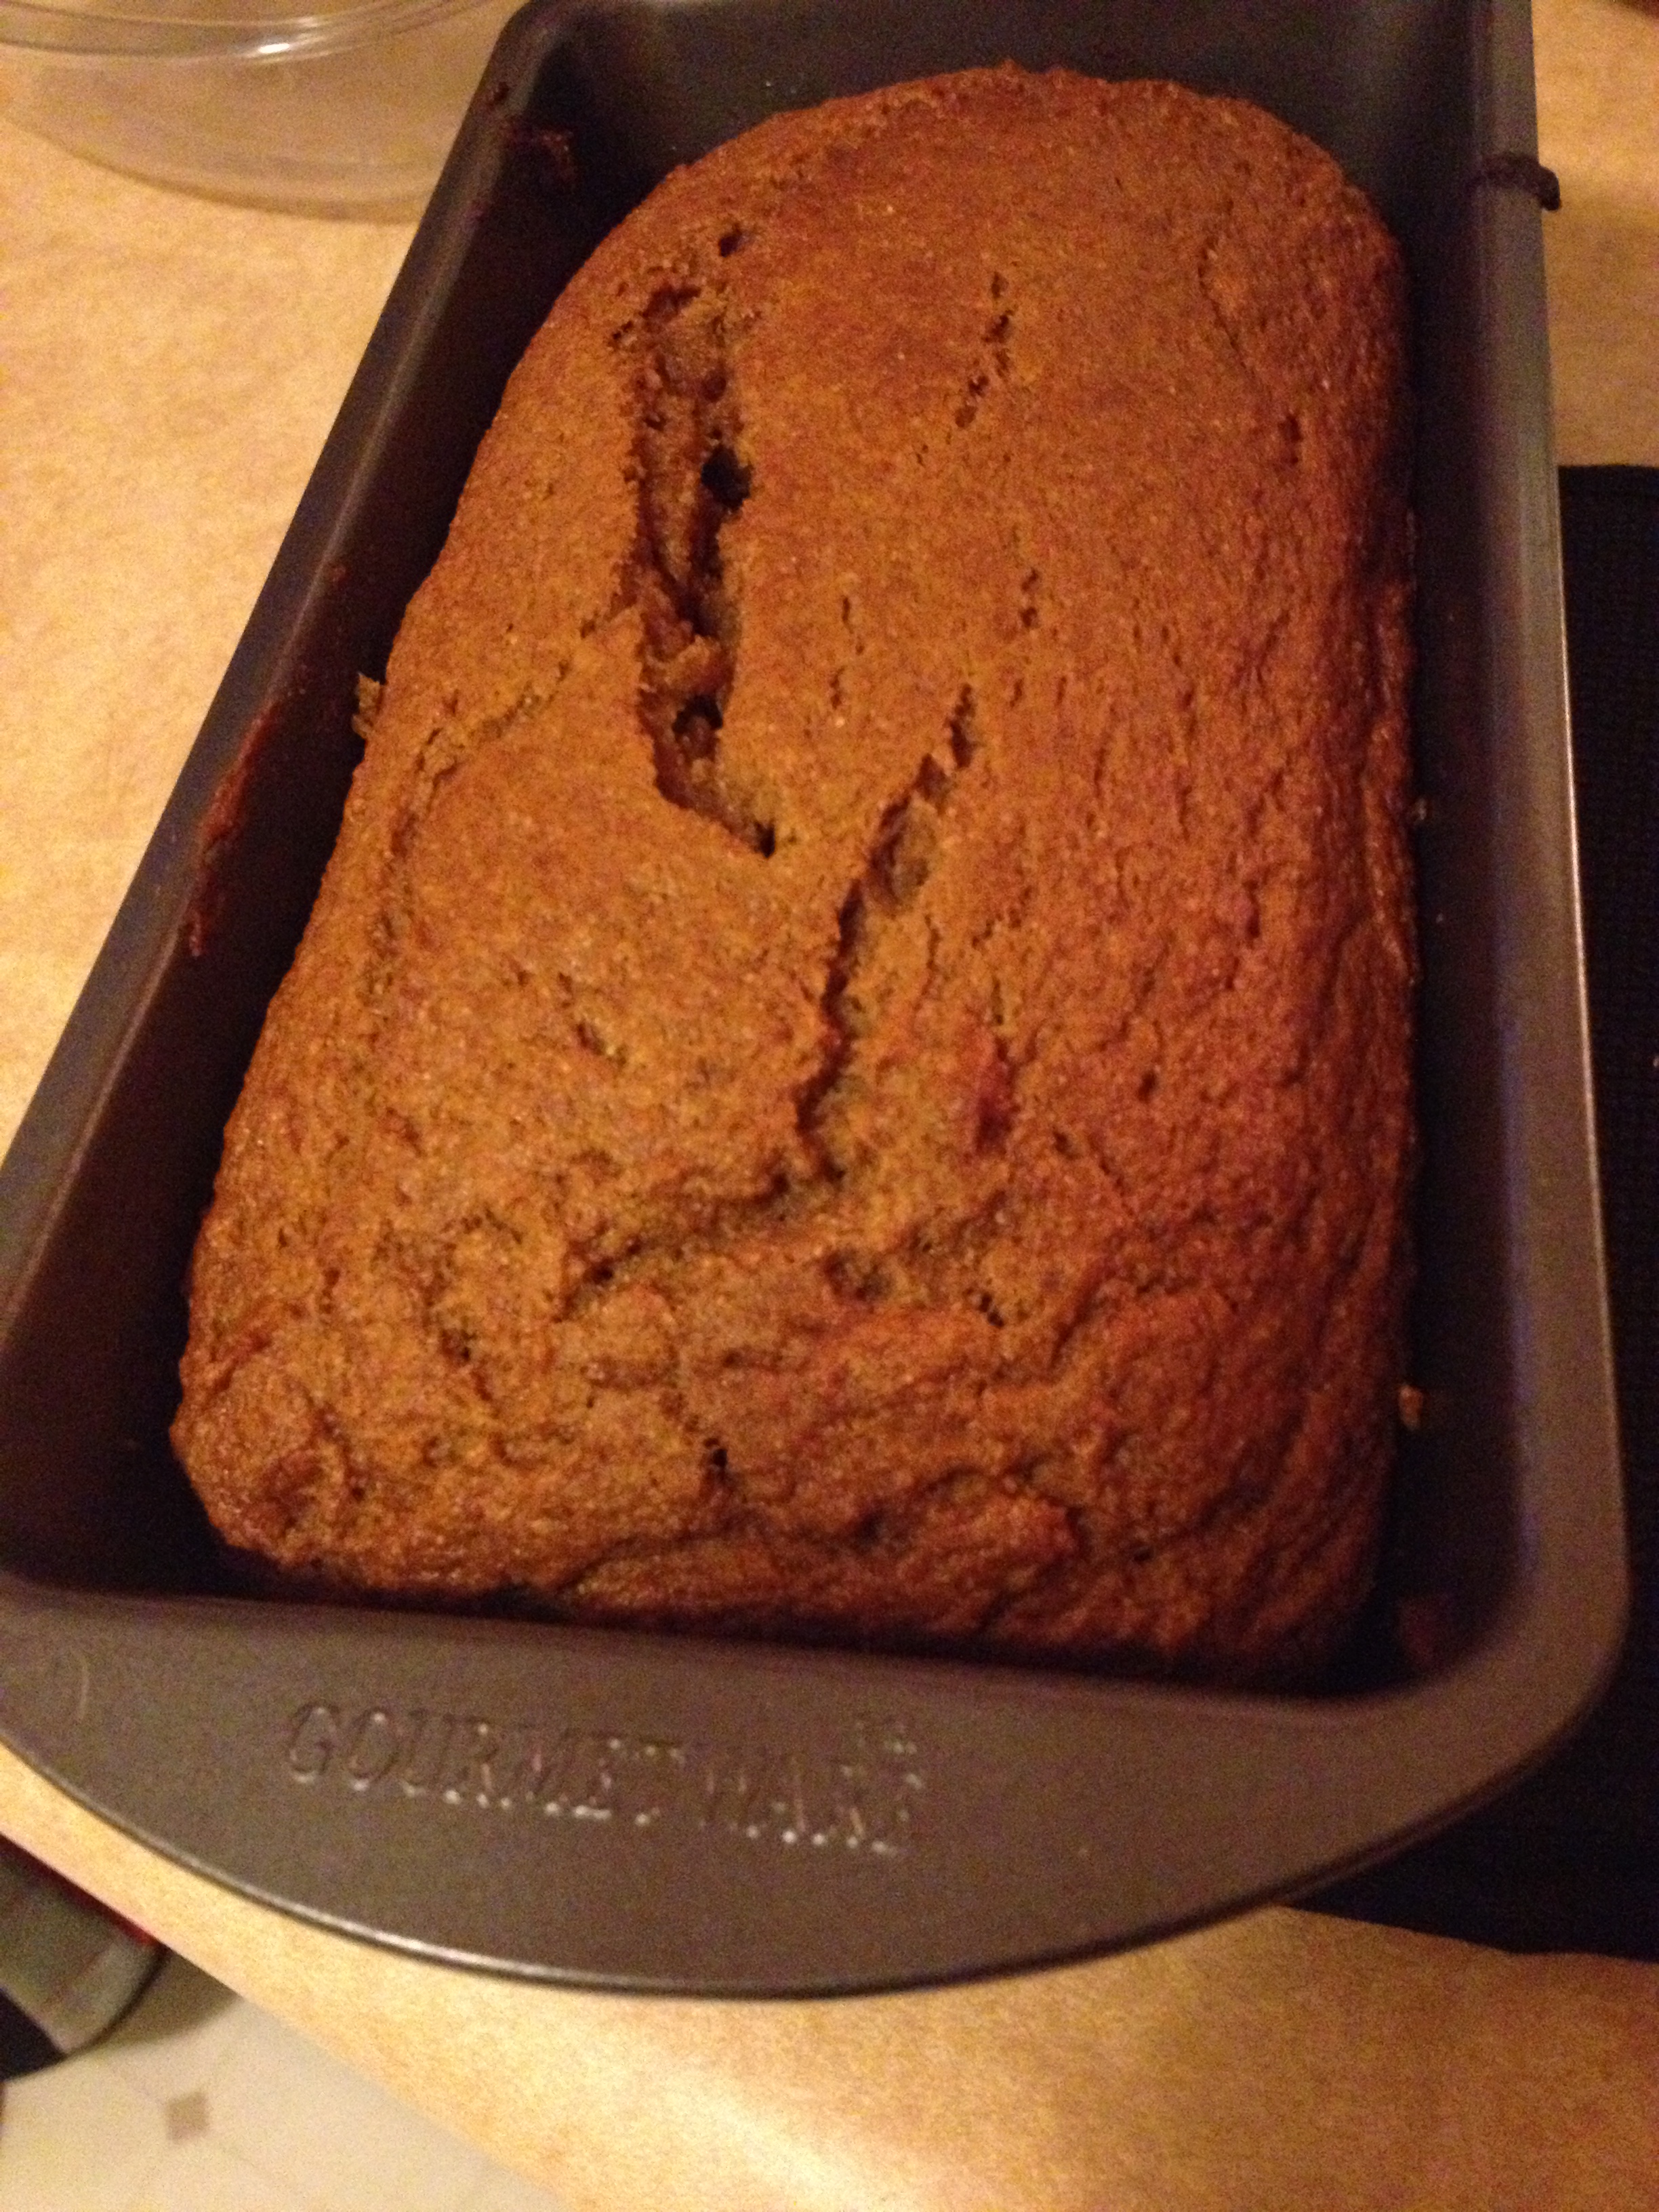
  • Bake for 55-75 minutes. Test it in the middle with a fork or a toothpick to make sure it’s cooked all the way through.

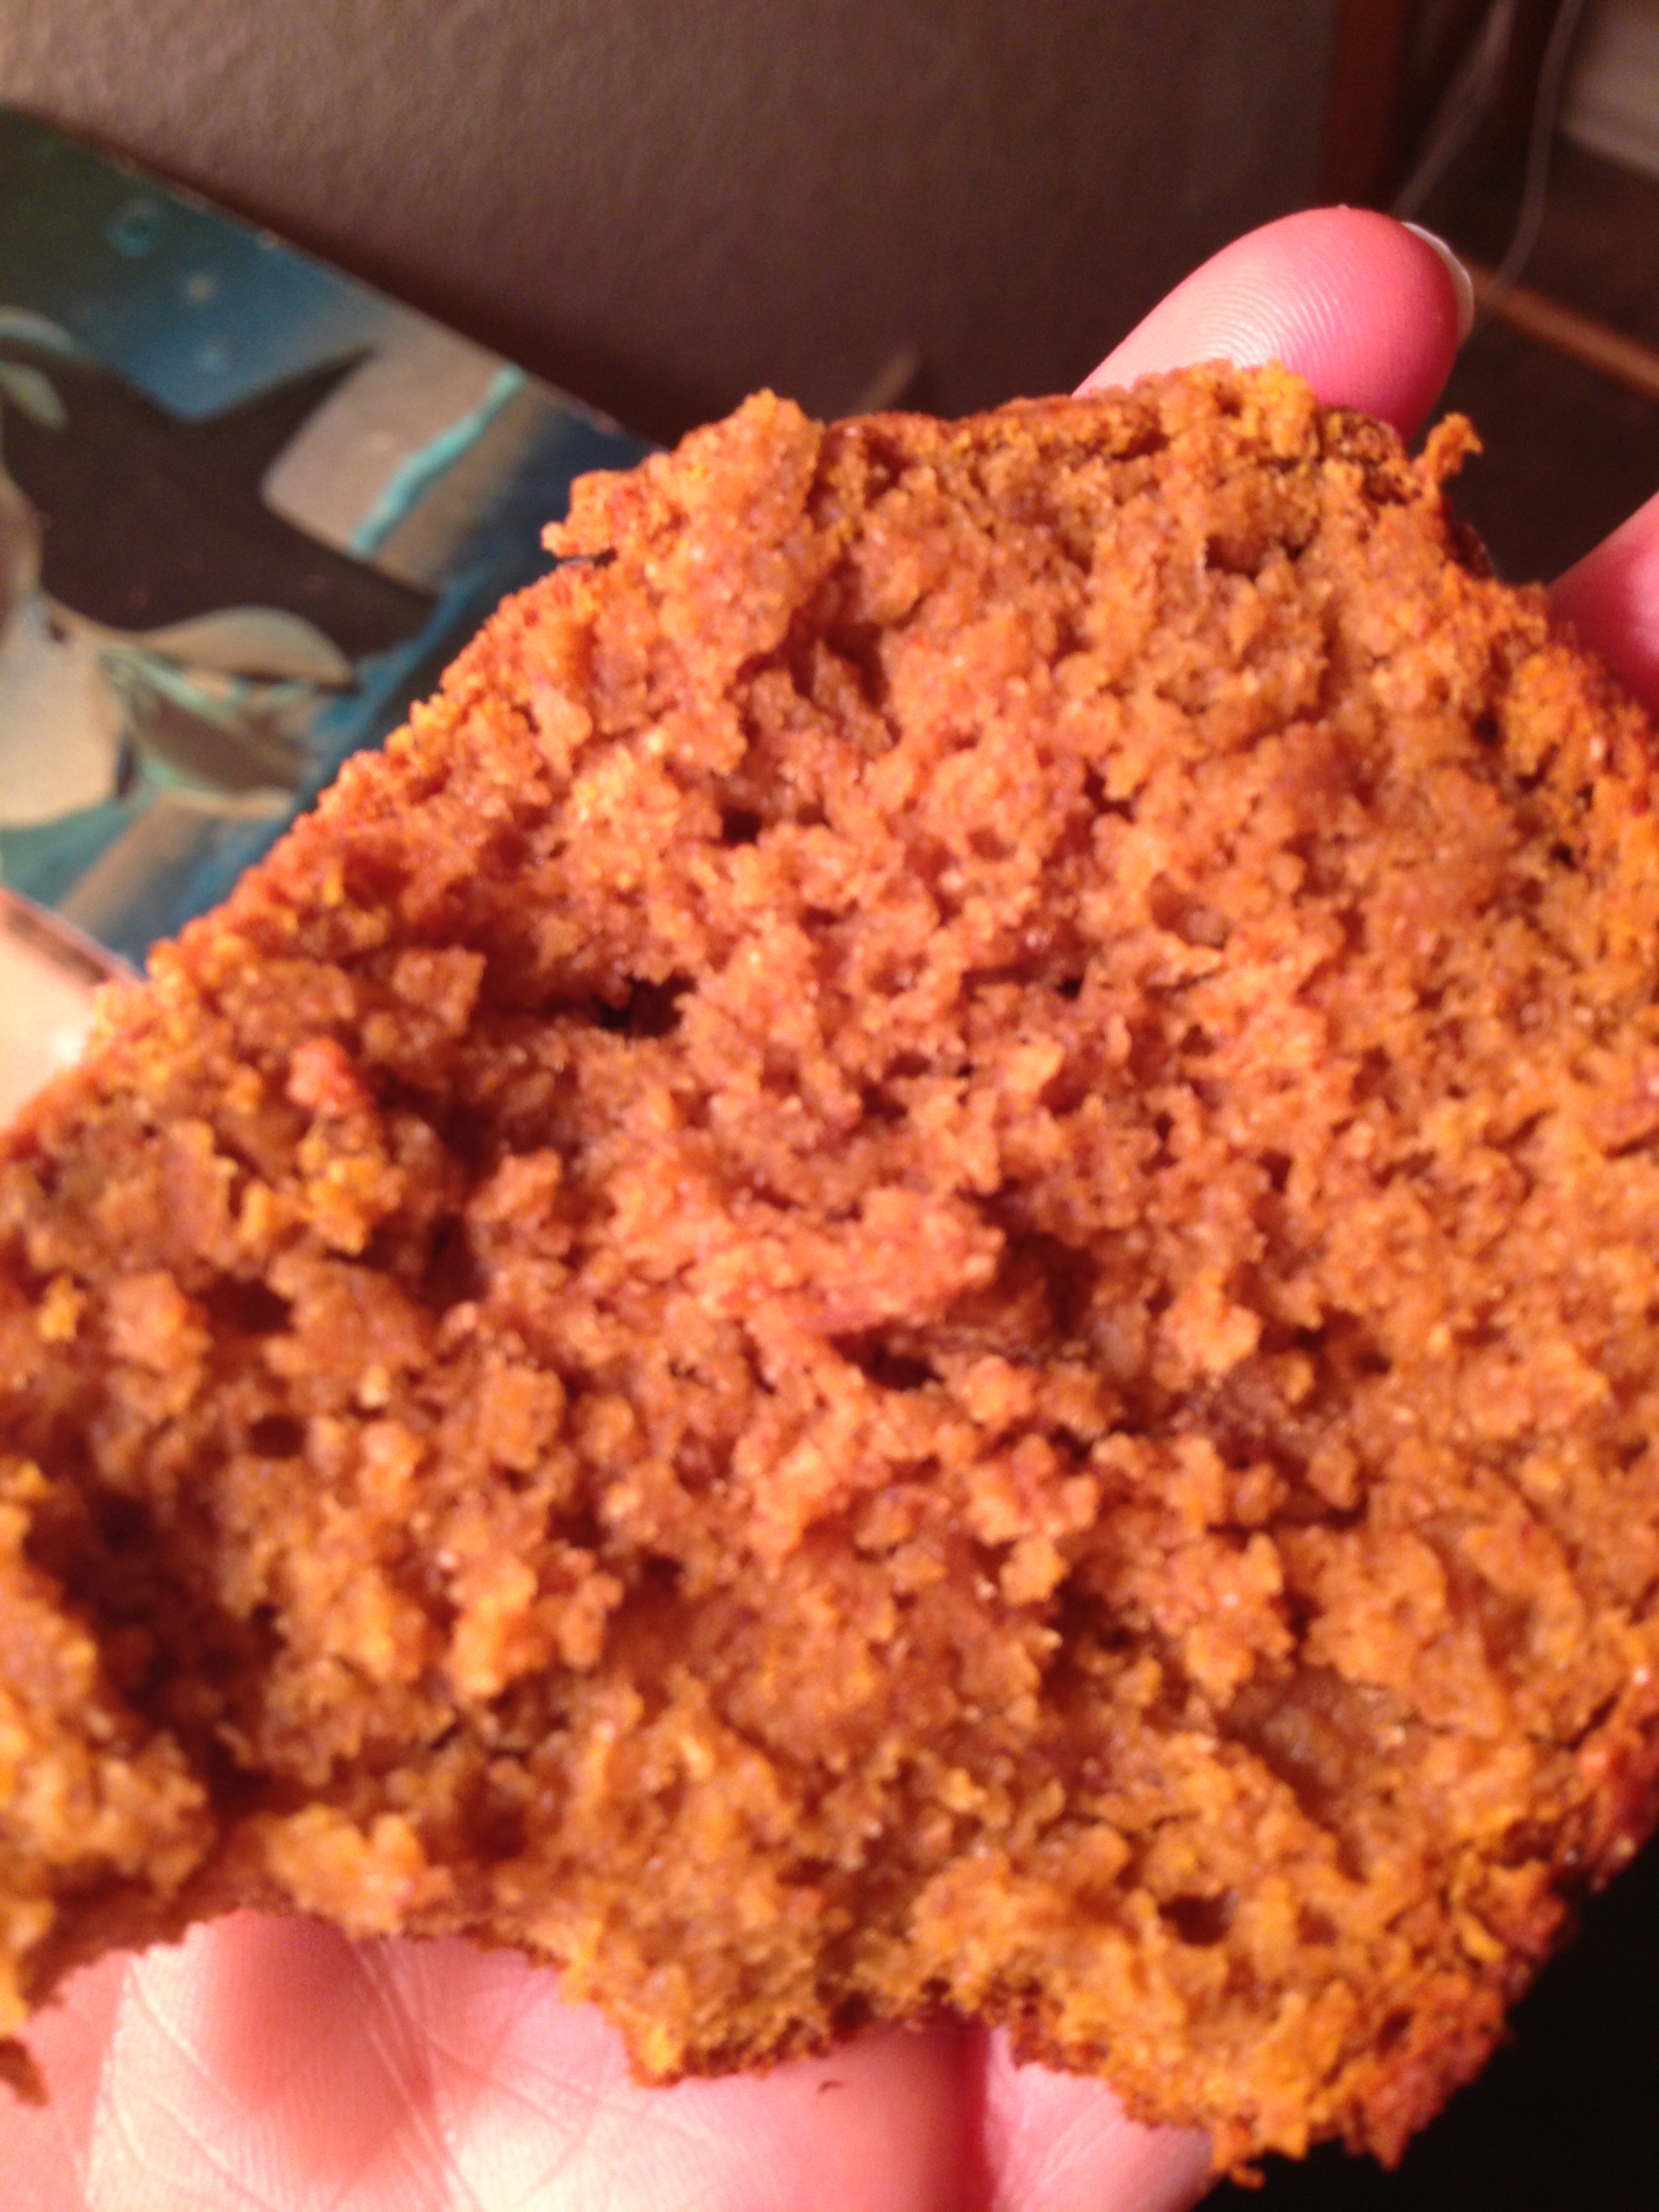
Hope you enjoy it as much as we will! I’m bringing this over to my aunt’s and cousins’ to watch the Election Night coverage as we bite our fingernails. Now that I think about it, I probably baked this to subconsciously soothe myself.  Don’t forget to VOTE tomorrow. Please.

BONUS KITTY PIC

spacer

Yes, That’s a Beautiful Pumpkin–But Don’t Throw Out the Seeds!

Yikes, what a long title. Anyways, I’m here to bring you something that could be possibly even more amazing than carving a pumpkin…its seeds. As some of my friends may know (cough LENA), I absolutely love pumpkin seeds. In fact, I love them so much I can eat a whole container of them (sorry, Esther). The flavor of it, the grittiness, the amount of protein in the middle. There’s no downside (at least for me, but Chris doesn’t like how long it can stay in his mouth).

Indeed, it’s a great protein source. Did you know that one ounce of pumpkin seeds can give you 9.35 grams of protein? Not bad! Well said, Watto. And it is so easy it’s not even funny. We carved our pumpkins with paring knives (that was the hard part) and then I gutted them. I have memories of my dad letting my brother and I draw faces on our pumpkins, he would cut it, then let me do all the dirty work of grabbing its seeds and goo. And I loved it. So of course, I was the one to do it this time. But I was not going to throw them out, oh no! I collected all the seeds from the two pumpkins and prepared them. All in all, it took about an hour. However, 40 minutes of that was cooking time. The rest is easy.

What You Need:

  • Raw pumpkin seeds
  • Melted butter (or oil)
  • Salt

First, set the oven to 350 degrees.

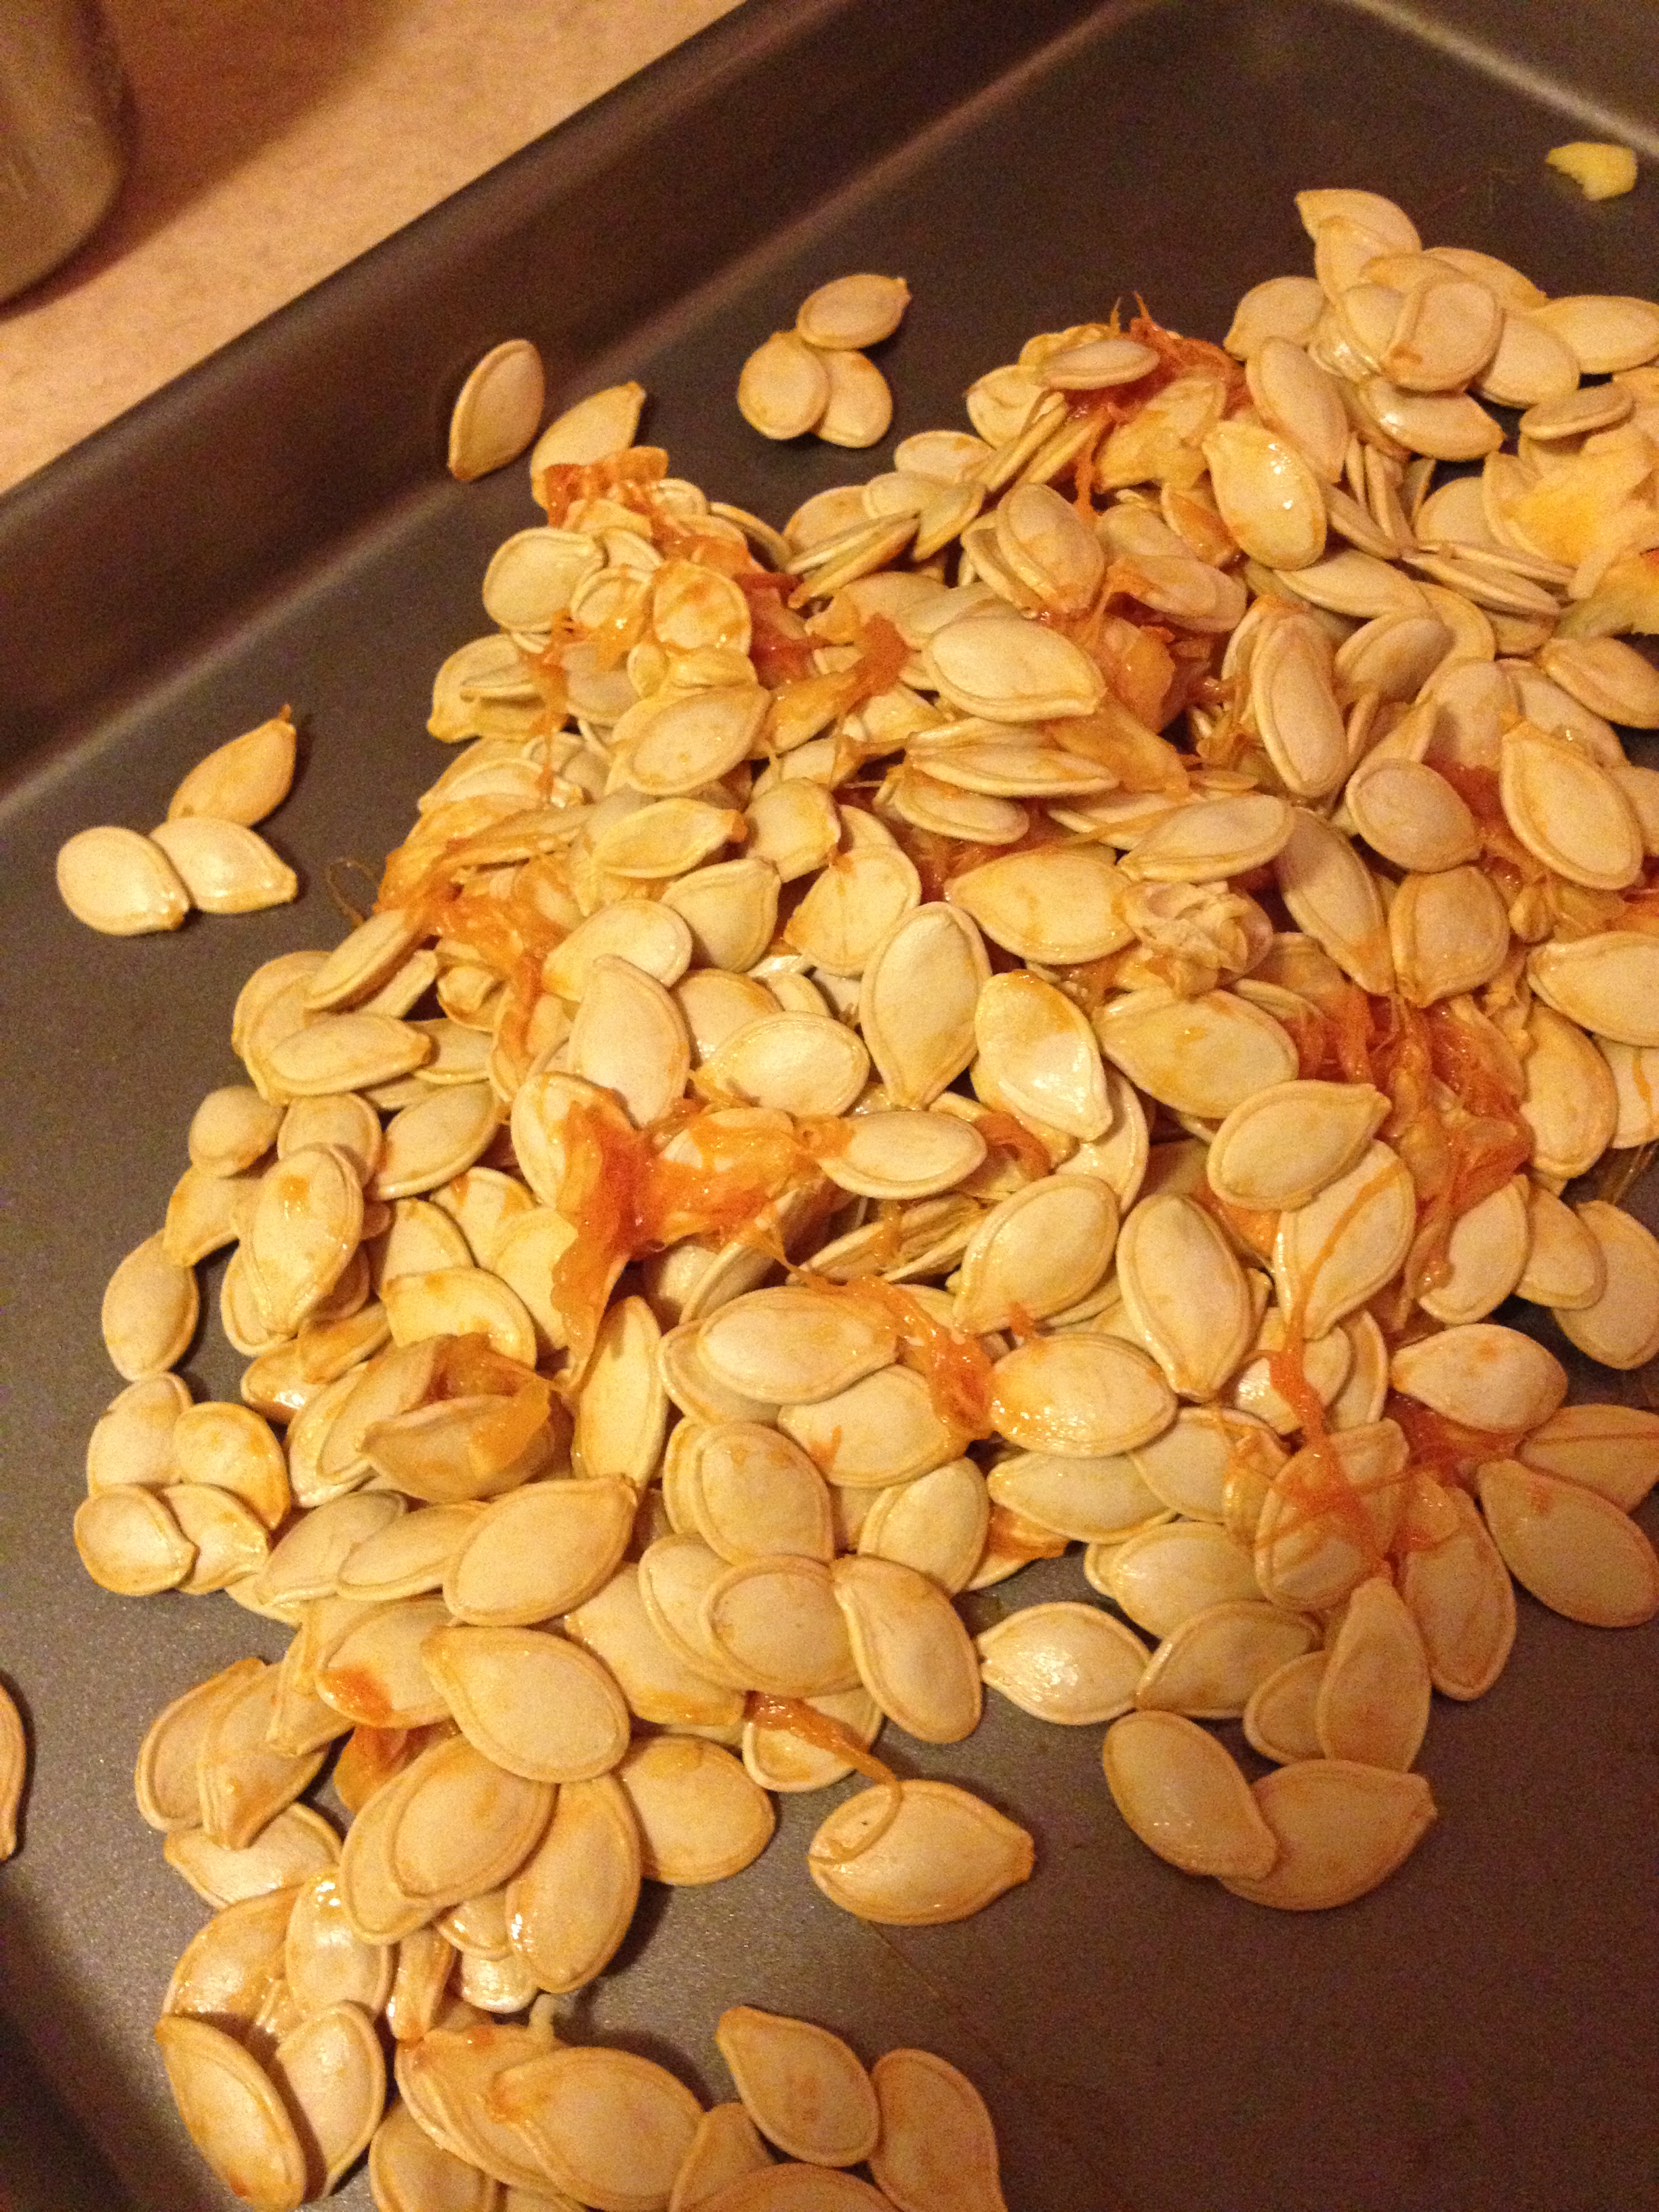
Next, get all the guts of your pumpkin(s) and place them in a strainer. This will take the most work. Have a light flow of water running over the strainer as you pick the seeds from the gunk and place the gunk in the sink.

Once you have all the seeds by themselves, place them into a small mixing bowl.

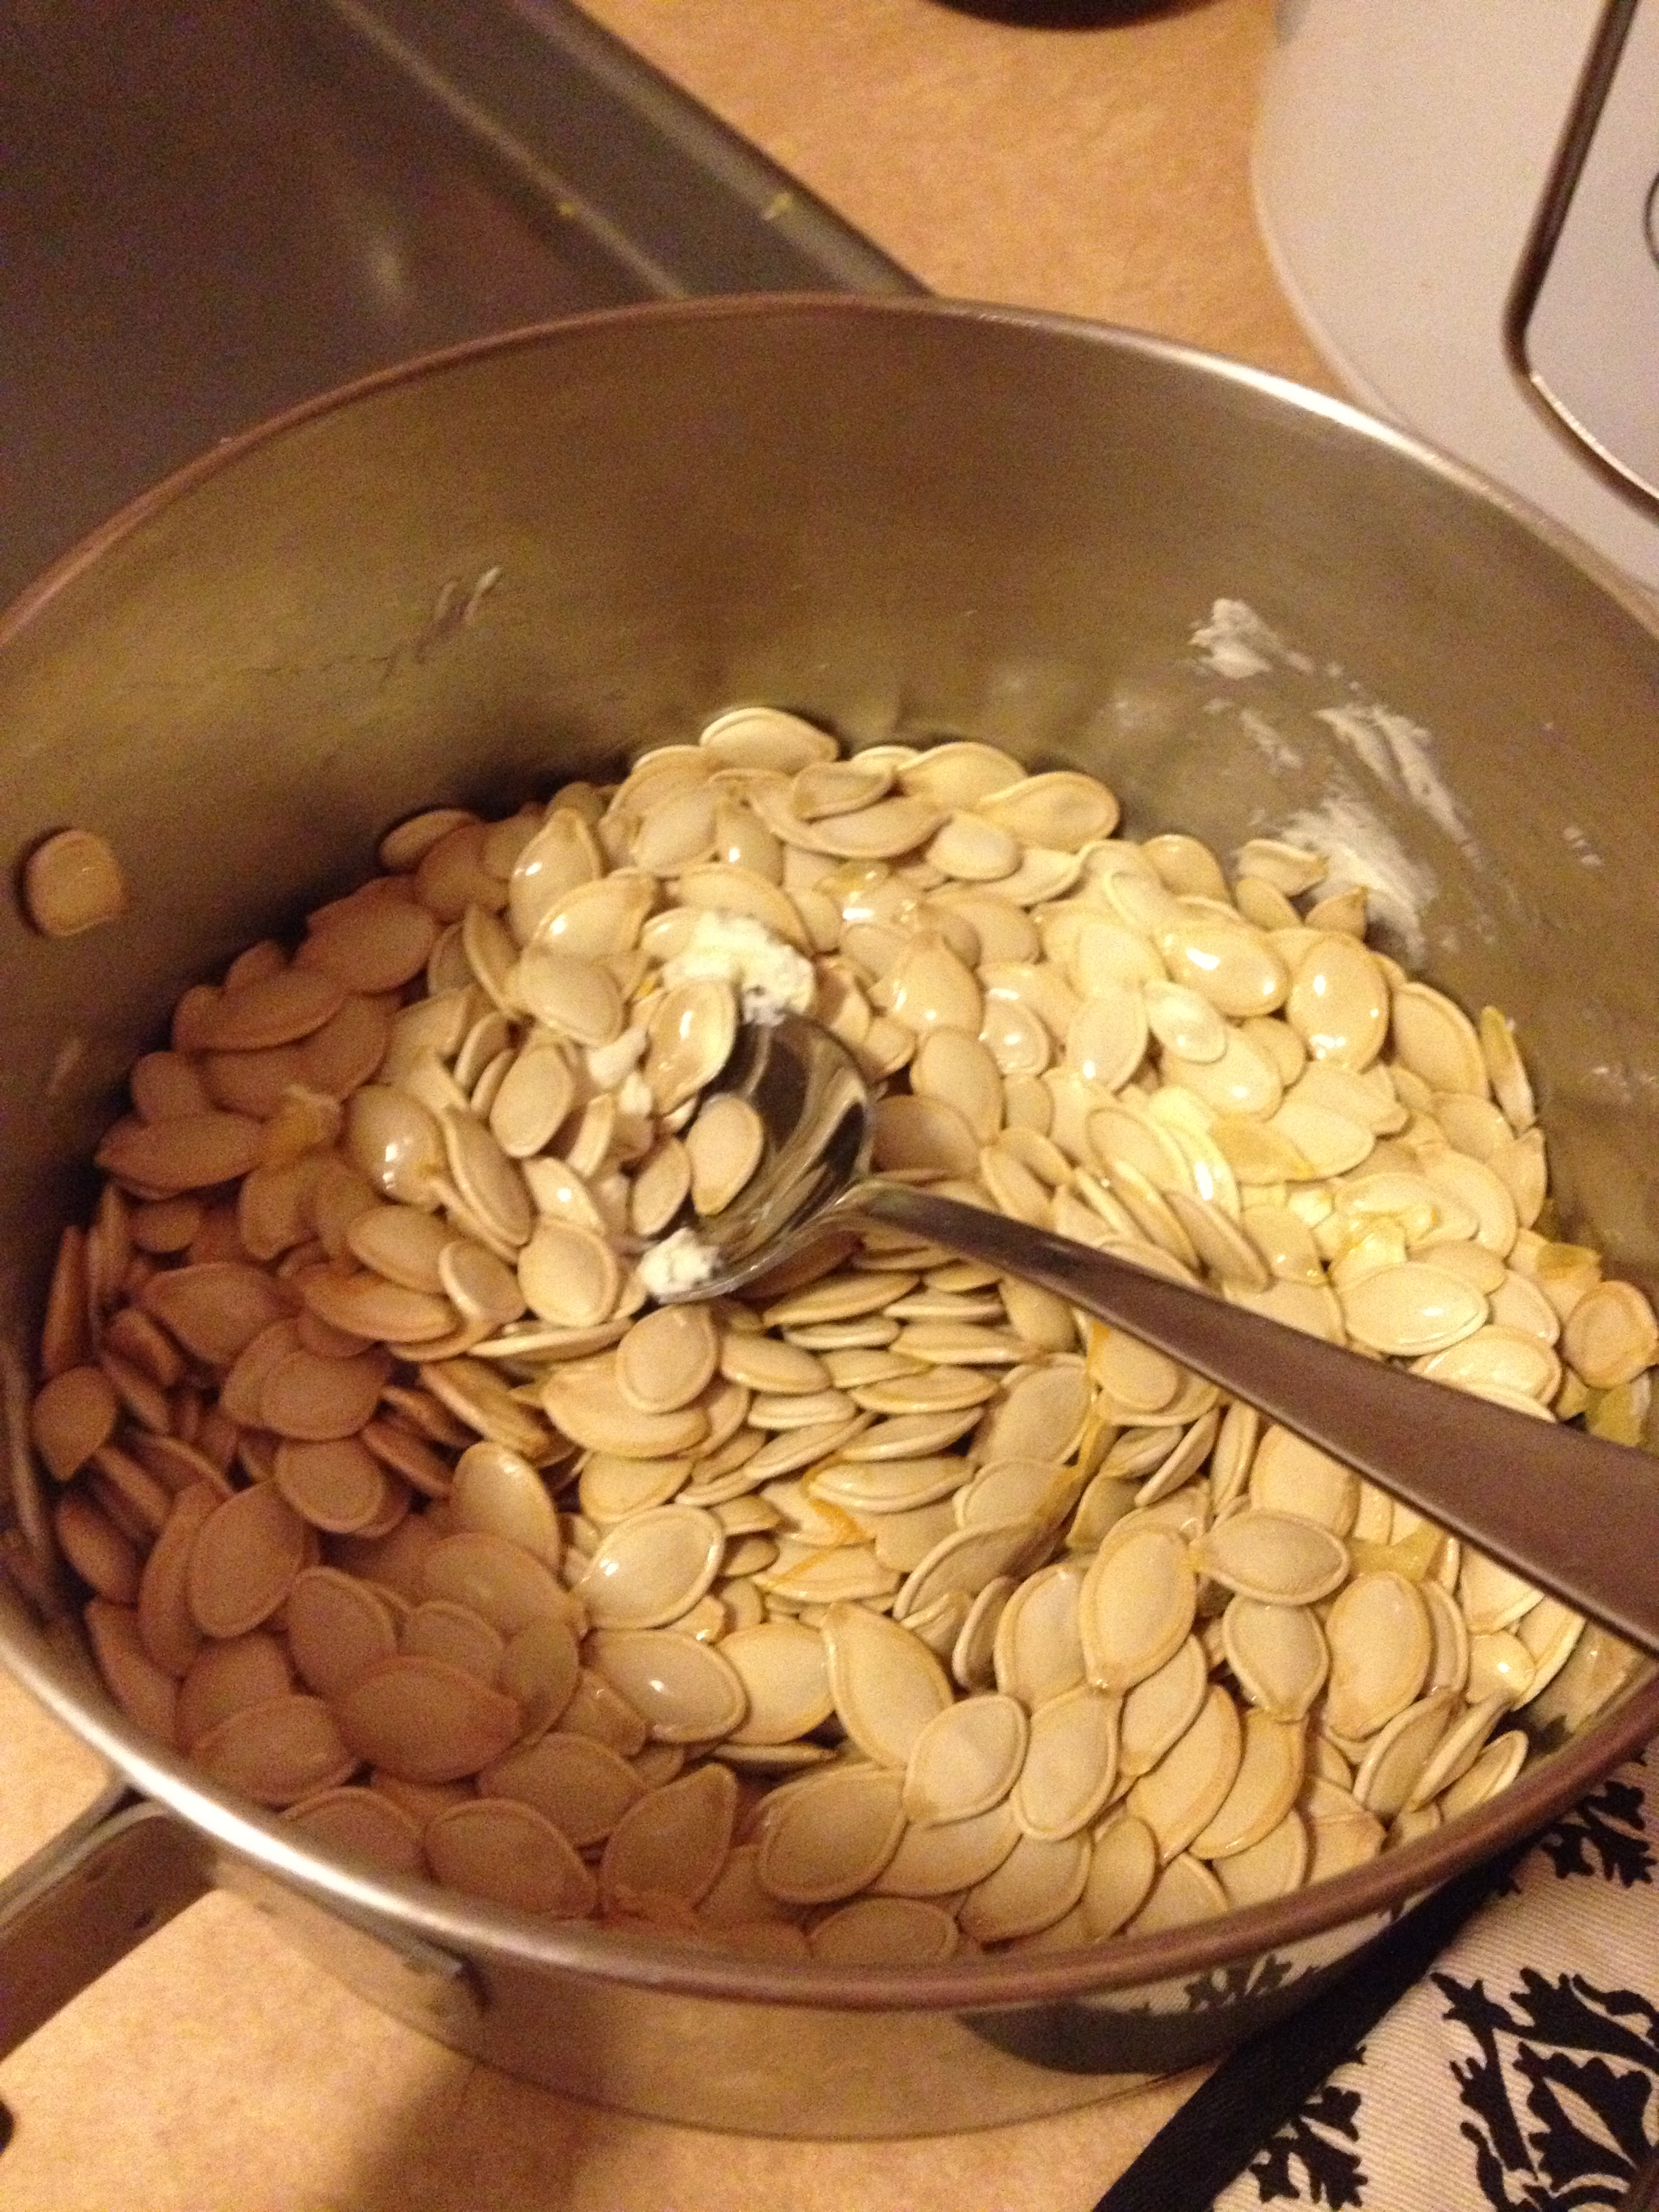
Place the melted butter into the bowl with the seeds (I used about 3/4 of a tablespoon) and mix around.

Then, shake plenty of salt into the bowl and mix again.

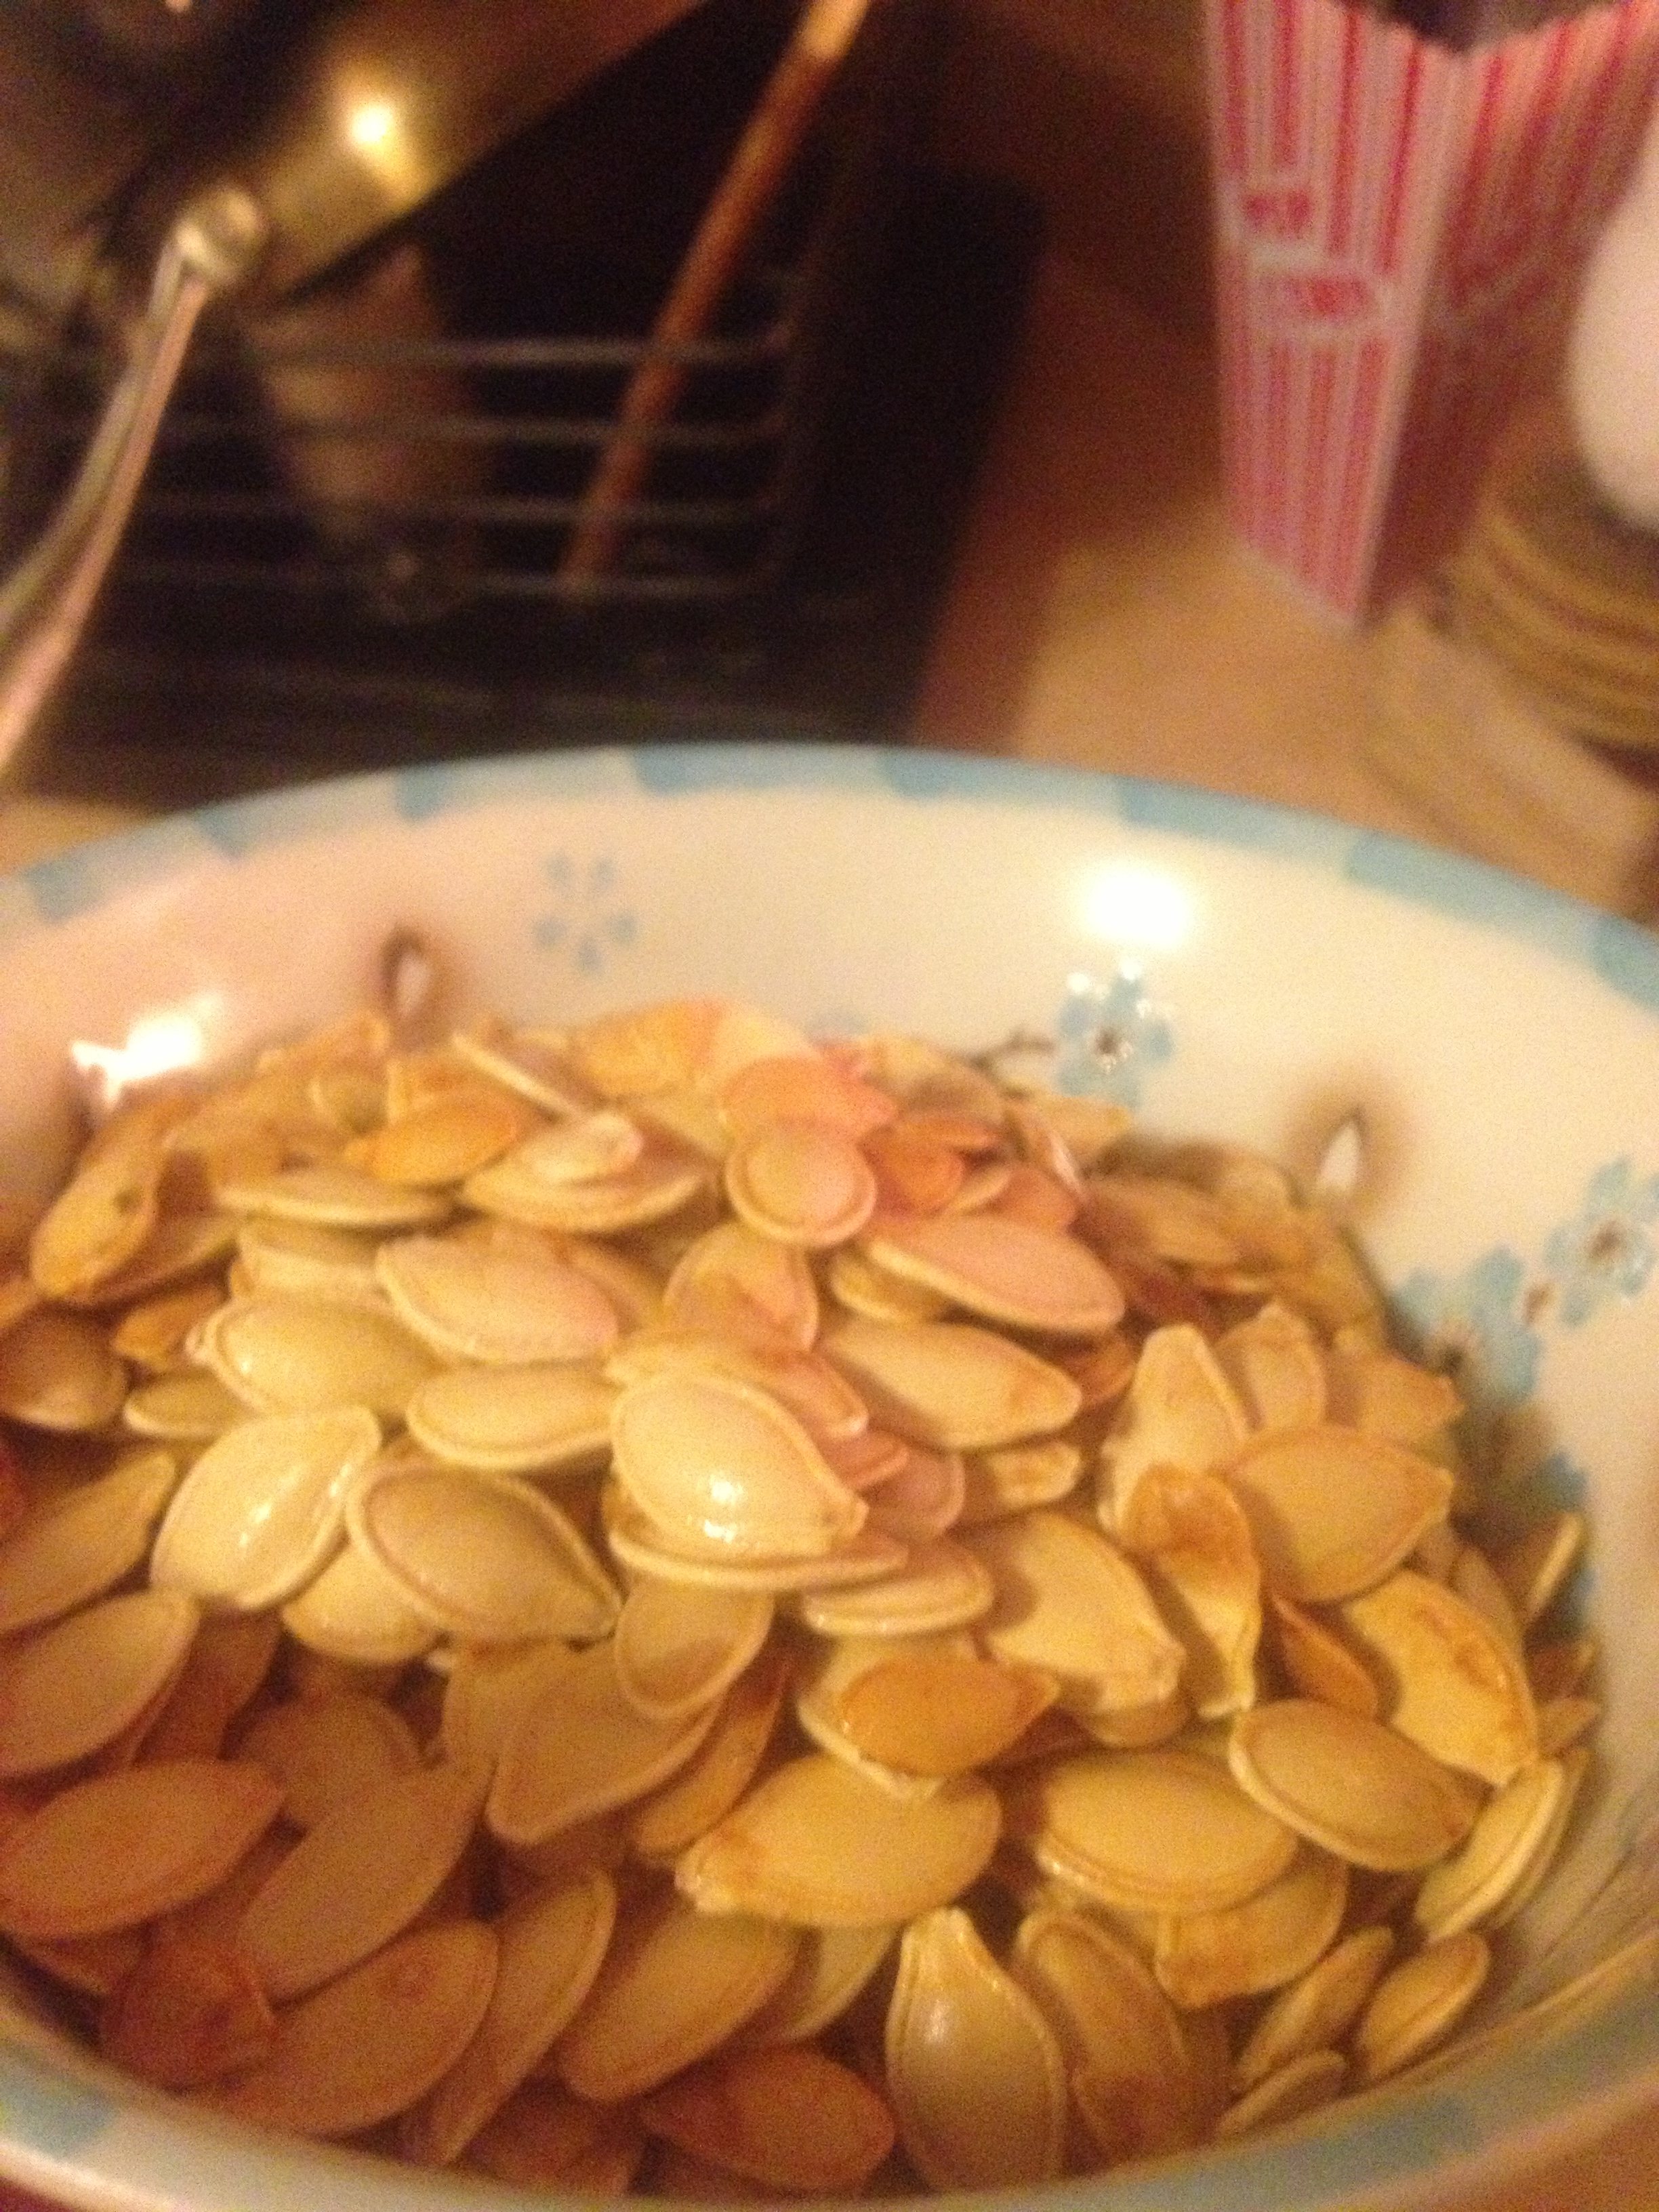
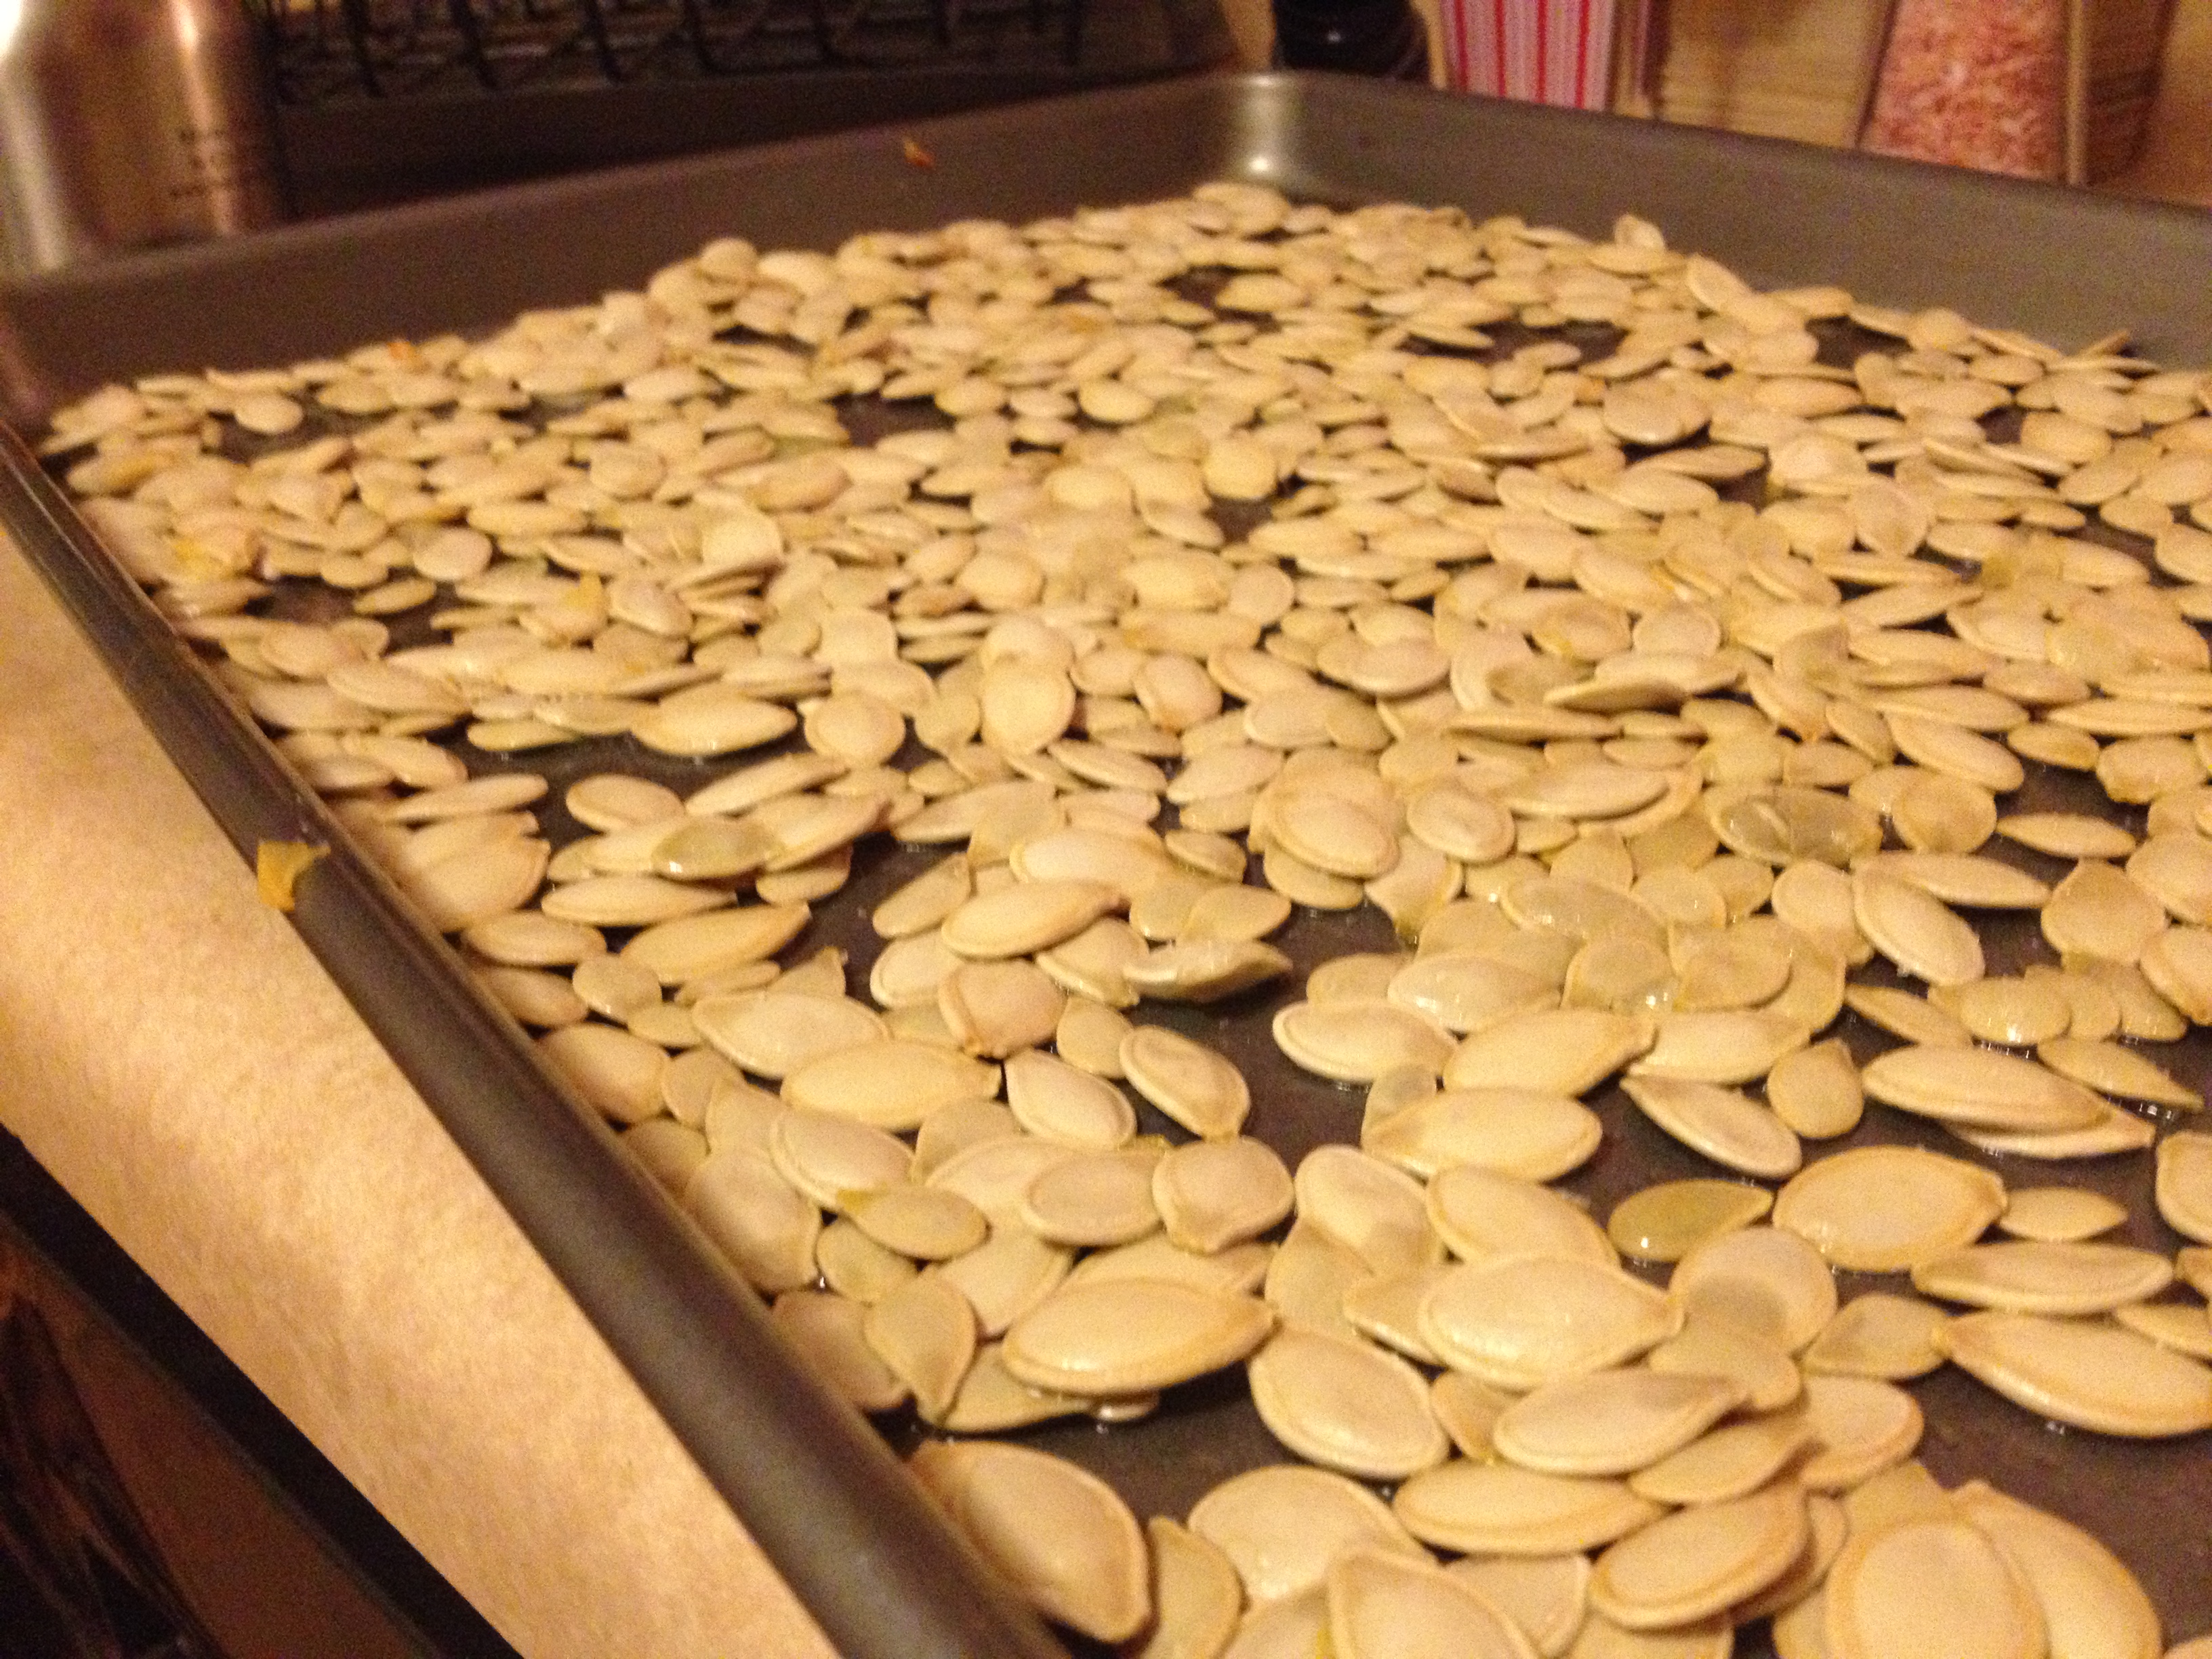
Spread out all the pumpkin seeds as flat as you can on a baking sheet. Then place in the oven from 20-40 minutes (depending on your oven and how many seeds you have) or until golden brown.

And that’s it! Serve and enjoy. I won’t be able to stop munching.

(Nymeria loved eating all the bits of pumpkin dropped on the floor)

spacer

Save Money and Devour Nutrients: the Grown-Up Lunch Box

For a little while now I’ve wanted lunch boxes like this: 

Or this

Anyways, putting my lunchbox fantasies aside, I wanted to let you know how easy it is to save money at the very same time you are devouring nutrients and getting good calories. Another healthy article? I know, I know, I’m sorry! But it’s really easy, again, like I was saying before. Then, I was talking about general meals and putting little effort into making them healthy (not hard). But now, I’m talking about bringing your lunch to work. 

Are you one to usually buy lunch? Let’s stop that. No need to waste money, and especially to waste it on bad food. It’s so important to know what is in the food you are eating. Preparing your own meals is the perfect way to do that. Don’t have time in the morning to pack a lunch? Do it the night before. I promise it won’t get bad. Making this effort could really save your eating from junk food to health food. Again, go to the market and get the veggies and fruits on sale, meaning they are in season. There are so many things you can do that take 5-10 minutes. Let me show you some lunches I pack.

Here we have a guacamole, spinach, tomato, and morning star chicken sandwich. Healthy ingredients, protein, veggies, and grain right for you. Whole-Wheat bread. Easy. Took Chris about 5 minutes to make for me. I ate this with an orange and some yogurt-covered raisins. 

This is my most frequent lunch meal. We have a huge thing of organic spinach in the fridge and we use it for almost every meal. I chop up whatever vegetables we have (this one has red pepper, cucumber, avocado, and tomato) and throw some morning star protein in as well. I use my cousin’s wonderful Balsamic Nectar and throw in a little oil too. Don’t feel full from salads? I always do from mine. Add protein to it or a healthy fat like avocado. Eat an orange or an apple with it. 

Here’s another good example of a usual meal including other things that accompany my main dish (salad or sandwich or leftovers). I always add a fruit and usually some kind of carb (here is my Grandma’s featured trail mix!). That sandwich is spinach, hummus, morning star, and tomato. I have a big thing of water that I keep by me at all times to constantly drink up. 

And here’s an example of other foods that accompany my salad or sandwich. I don’t know why that apple looks so freakishly large, bad camera angle maybe. I will usually have the apple and raisins with my main lunch meal, and then eat the Clif bar a few hours later. I can’t eat much at one time, but I get hungry quickly so I usually eat every three hours if possible. 

So there you have it. Examples of easy, simple, quick-to-make lunches to bring with you every day, no matter where you work. You don’t even need to refrigerate it. Just try it one day. You’ll find it very rewarding, I promise, and you’ll want to do it every day. You’re making yourself a nutrient-packed meal that will make your coworkers feel bad about themselves.

Tell me what lunches you bring to work! Enjoy 🙂

spacer