Archives

Eating Healthy Really Isn’t Too Hard

America has an obesity rating of 34.4%.

I want to give you recipes and ideas that will make you realize, “Oh, eating healthy isn’t that hard!” and “wow, this tastes good!” I don’t want you to resort to fast food or processed junk (although In ‘n Out is always okay and so are Wendy’s Frosty’s).  And it’s really not expensive! I would be considered poor right now and we have great home cooked meals almost every night. Here’s a few rules to live by:

1. Buy the produce on sale at the supermarket–it’s probably the ones in season. Seeing a multitude of apples and squash on sale? For really nice prices? Buy them. It’s almost like they’re yelling at us to eat what’s in season and get in with the cycle of the earth.

2. Stick to fruits and veggies. These are almost always going to be the most nutrition to value ratio every time and once again, in-season ones will not be pricey.

3. Get grains you cook yourself. Don’t get the pre-packaged stuff like ramen (though we may or may not have that in the house due to Chris’ obsession)–get the most fiber-filled rice you can at Costco for $20. What a deal.

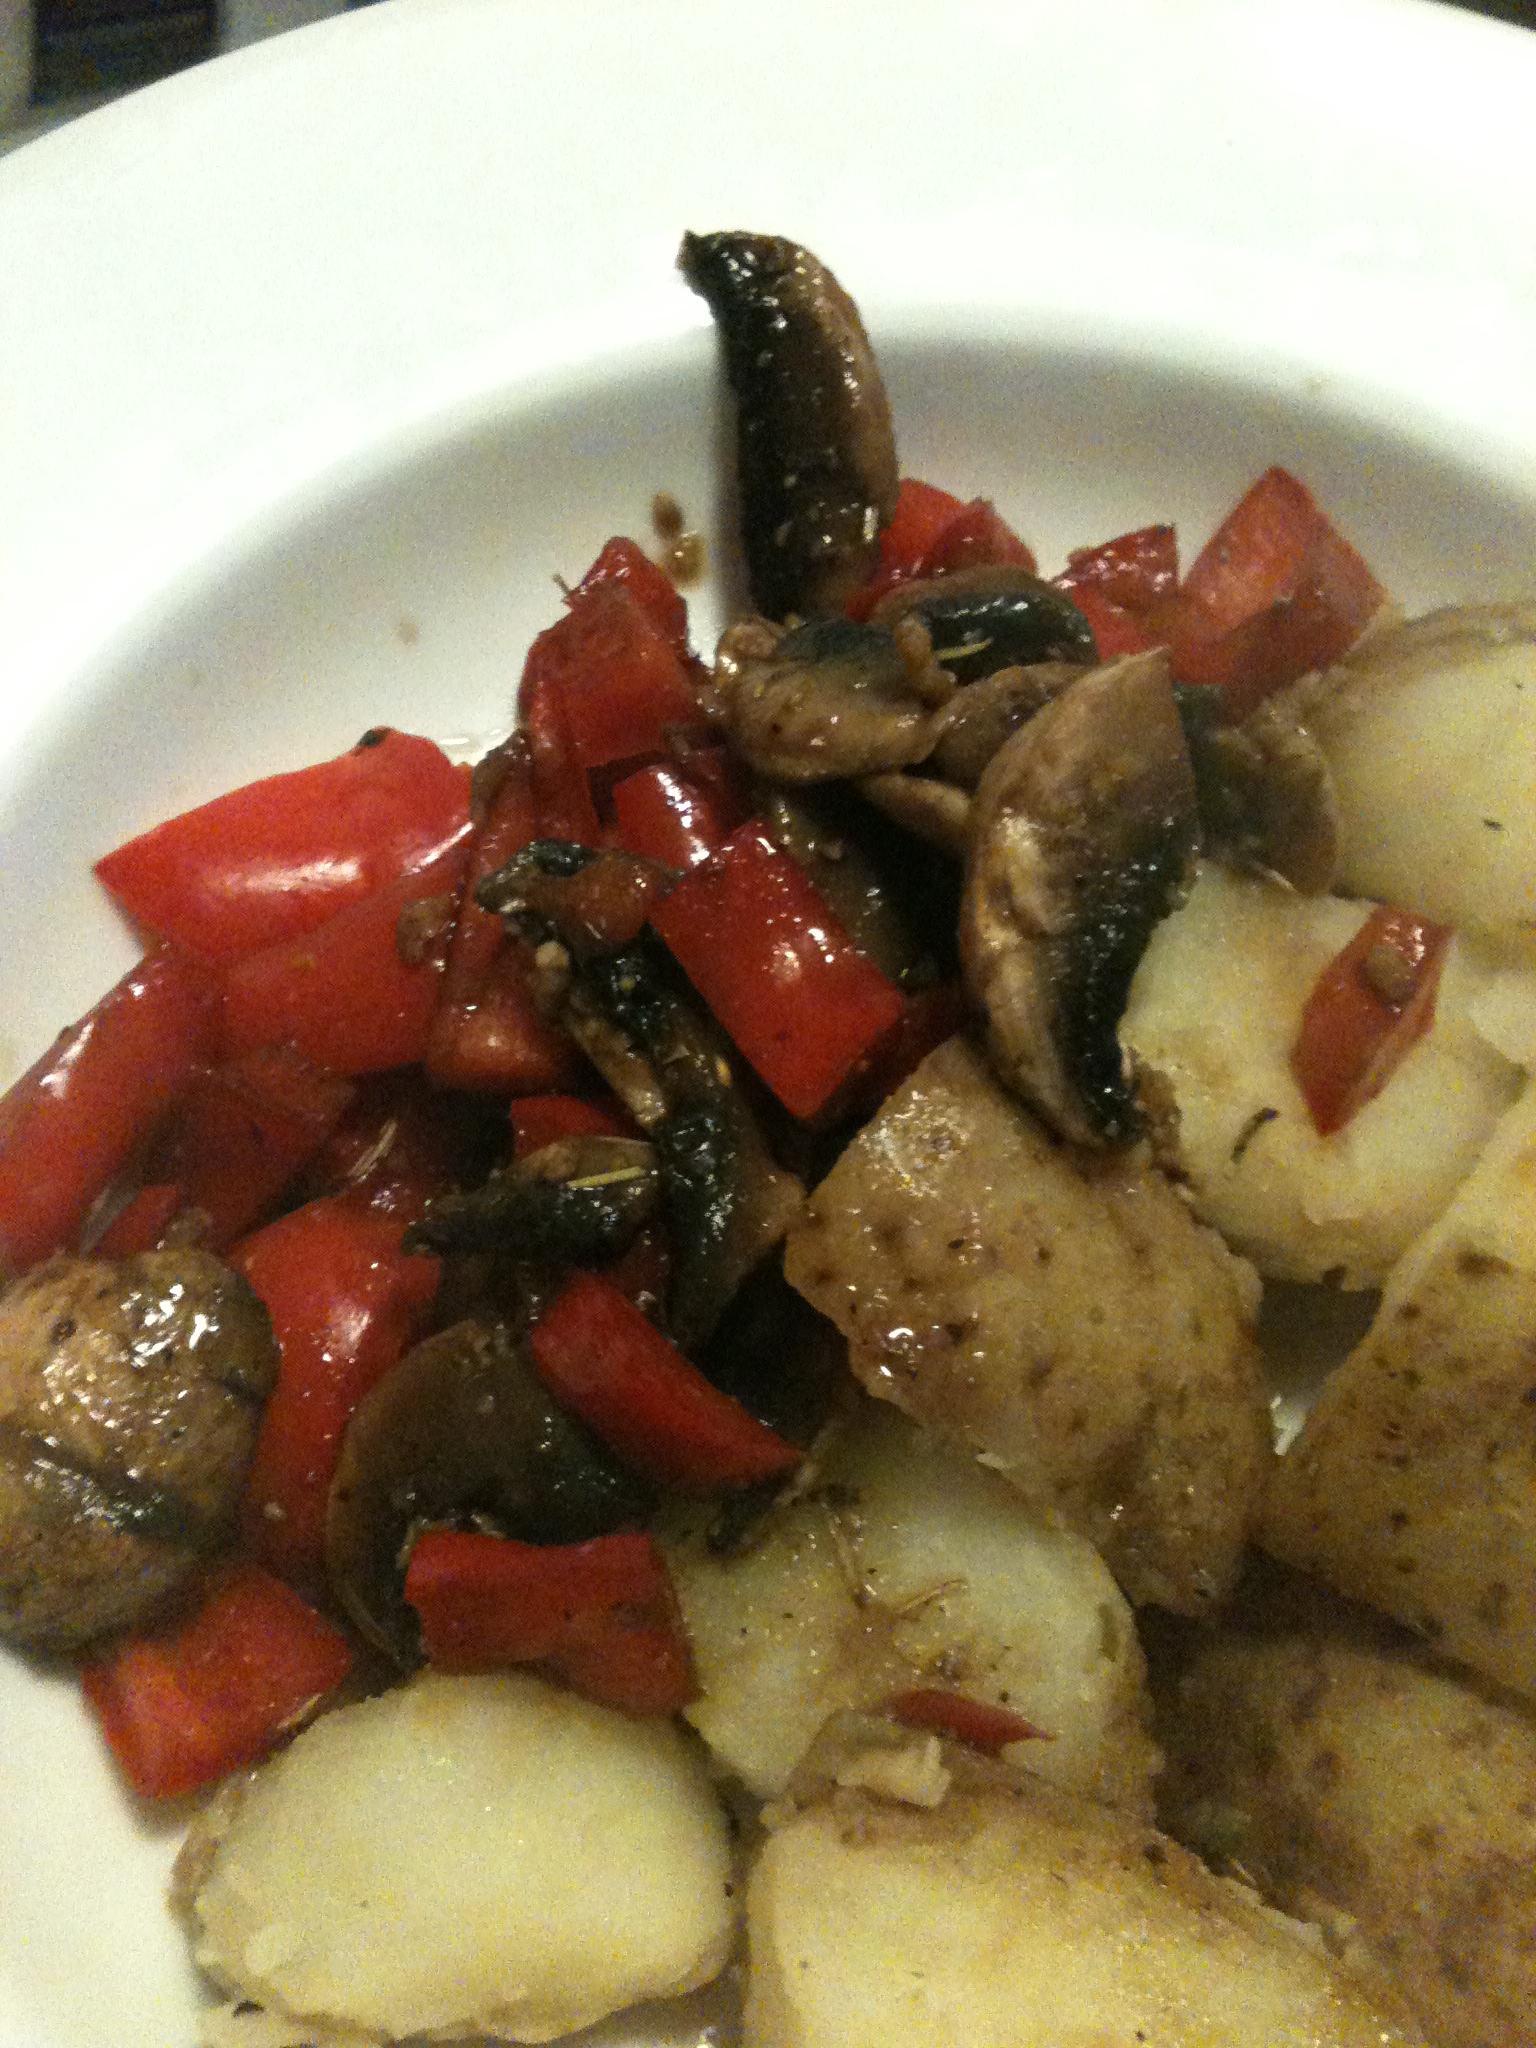
Anyhow, above wasn’t my primary point for this post. I have an easy little-work recipe good for dinner or whenever you’d like. As most of you know we’re a weird breed of vegetarian/pescatarian so the only meat it contains is mushrooms. Which of course isn’t an actual meat. Let me spit the recipe at ya:

Ingredients

  • 5 small white mushrooms
  • 1 red pepper
  • 4 potatoes 
  • Whatever seasoning you’d like

Short list, right? Let’s move on to directions.

Directions

  • First and foremost, get the potatoes washed and cut into quarters. Then plop them in a pot full of water and set on high. We want these bad boys to boil!
  • Next, you’ll have some time. It takes around 15-20 min for the taters to boil
  • So we’ll move onto the veggies. Cut the mushrooms and red pepper into small slices. Grind some pepper and salt over them and whatever other seasoning you’d like.
  • When the potatoes are close to being boiled (say after 10 minutes), let’s cook the veggies. I sauteed them in white wine, soy sauce, and garlic (YUM). I also put some rosemary and garlic pepper in too.
  • Keep an eye on it and stir. Make sure to taste, they won’t take too long to cook, but you want all that moisture to soak in. Especially into the mushrooms
  • Drain those potatoes and put them back in the pot. Put half a teaspoon of butter in, a little soy sauce, and some garlic pepper in and mix around.
  • Serve and enjoy!

 It was super juicy and flavorful–my favorite. Didn’t last long. And was a very cheap meal, didn’t even breach $7. Cheers!

spacer

Whole-Wheat Oat Banana Cookies: Get a Padlock Ready

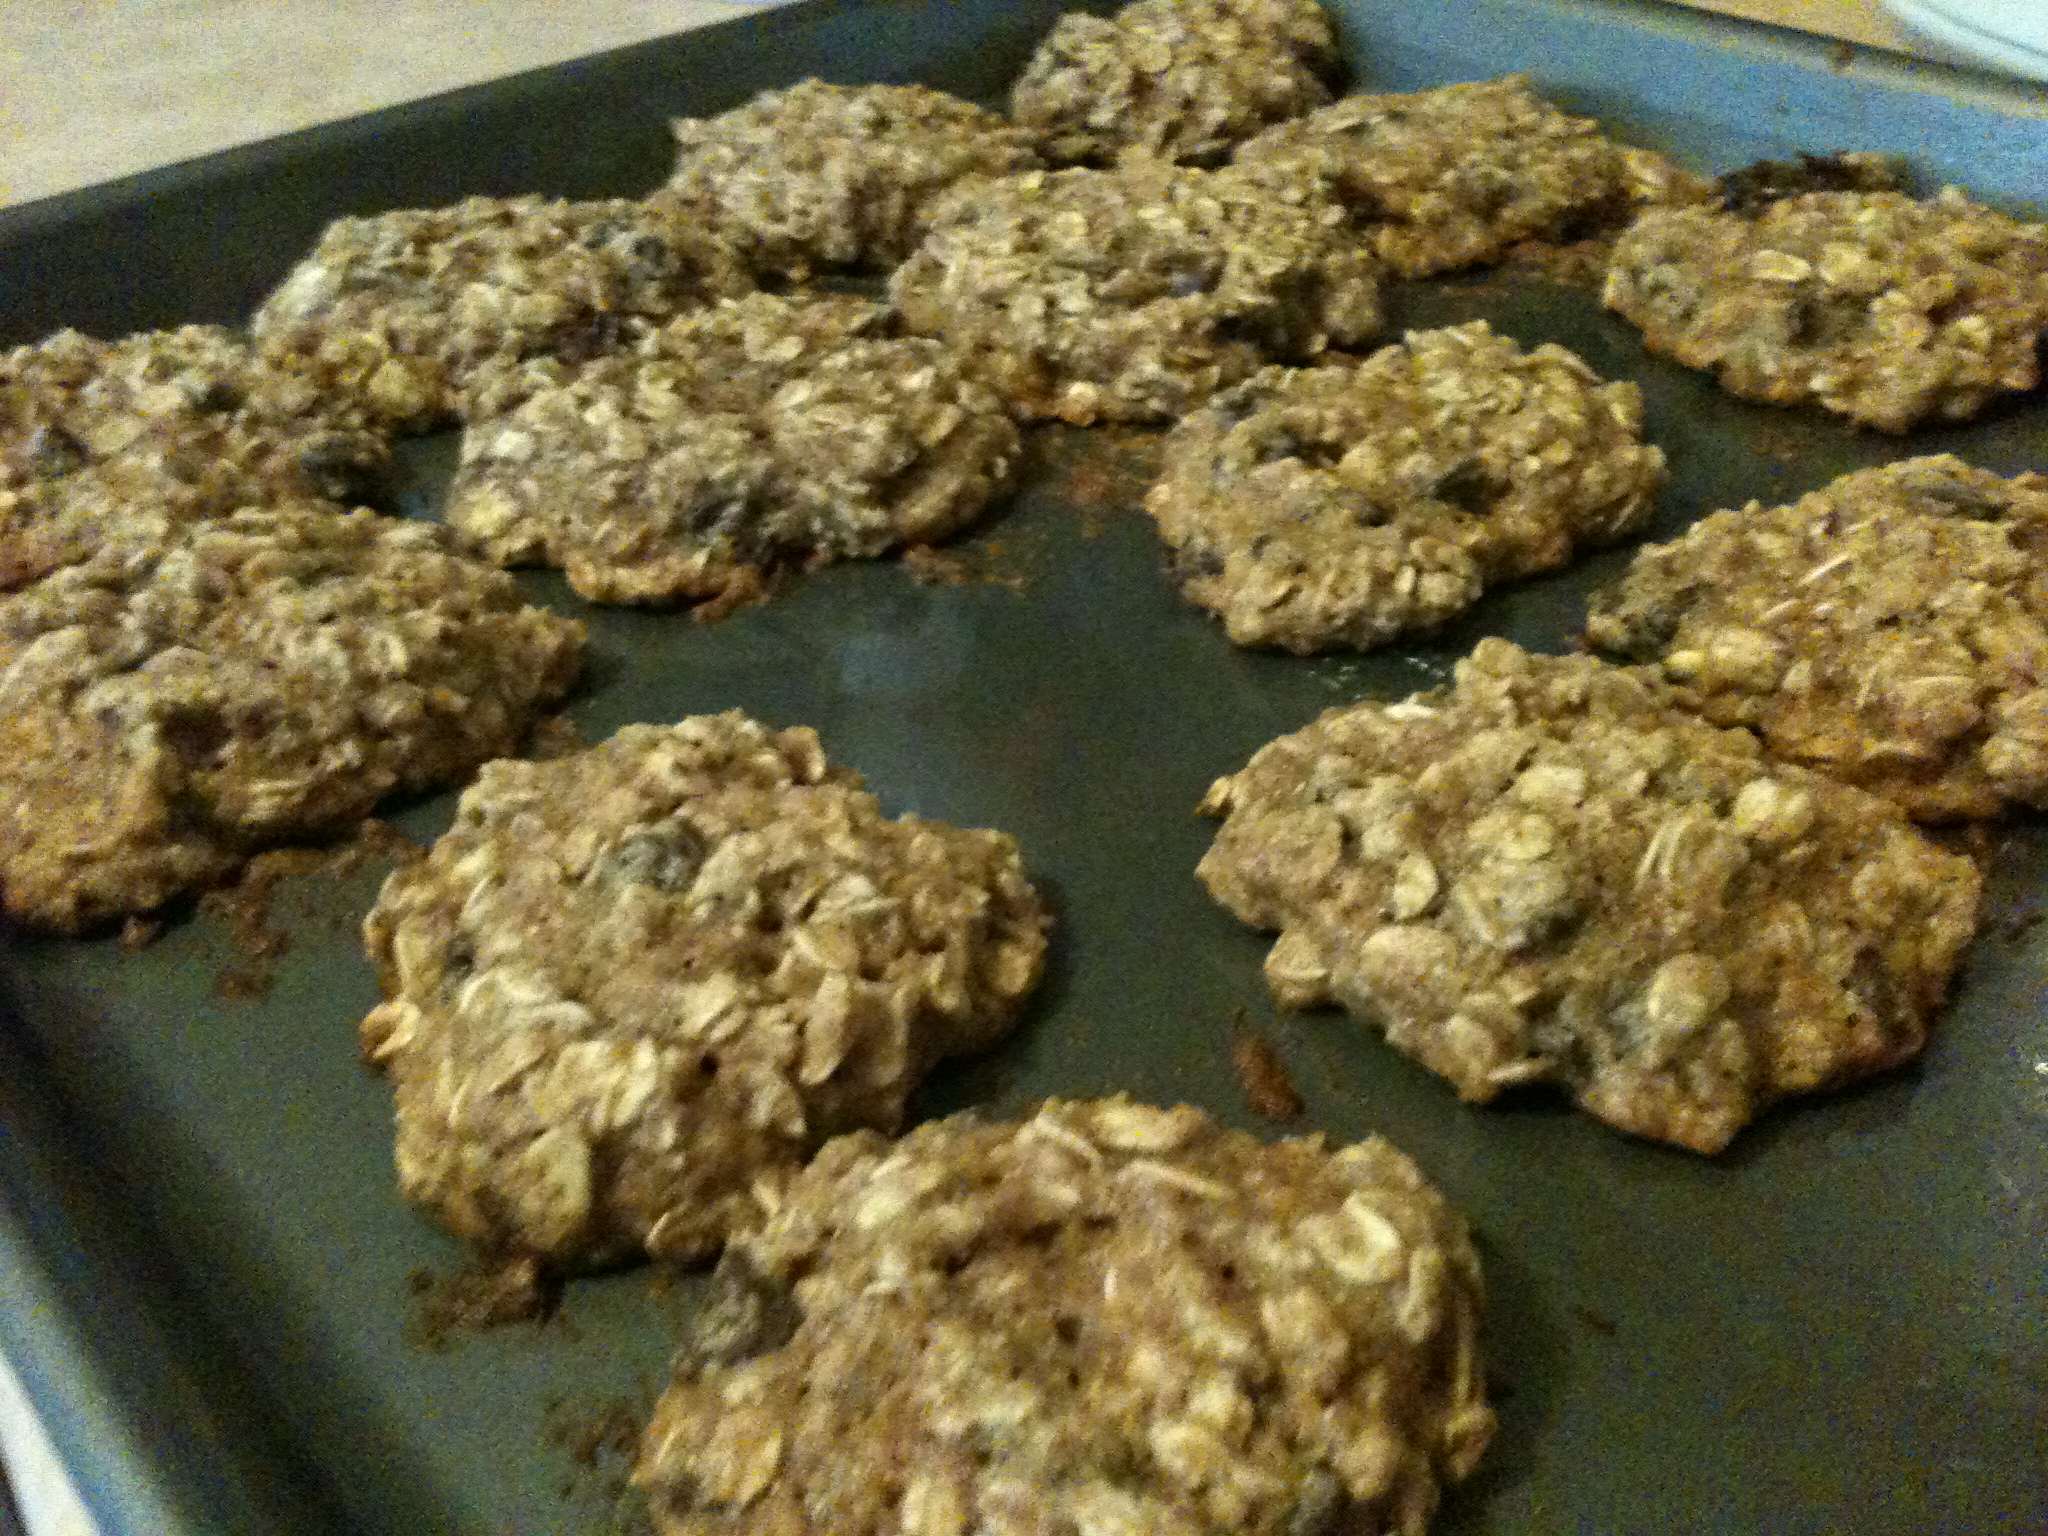
I’m pretty upset I didn’t take a picture of the banana I used. It was bad. Like really really bad. Like not even brown and black, but a gray-black color, desperately begging to be used. So instead of the normal banana bread route, I wanted to make cookies (Chris was all in favor of this, for some reason, I think he might like cookies?). And I definitely wanted needed to use that banana. So I found a recipe from another blog and always…altered it! And for the padlock comment? Let’s just say…Chris may have substituted one of his meals with these, but…more on that later.

There is no reason to feel guilty about eating these cookies, barely any butter or sugar, with lots of oats to keep your fiber count happy! Let’s take a look at the ingredients.

Ingredients:

  • 1 cup whole wheat flour
  • 2 cup oats
  • 1 tsp baking powder
  • 1/2 tsp baking soda
  • 1/2 tsp salt
  • 1/2 tsp cinnamon 
  • 2 tbsp butter
  • 1/2 cup regular sugar
  • 1/2 cup brown sugar
  • 1 egg
  • 1 banana
  • 1/2 tsp vanilla extract 
  • 3/4 cup chocolate chips 

It may seem like a long list, but it goes by very quickly. I think this whole process (including cooking) maybe took 20 minutes max. Pretty nice, and I find cooking/baking relaxing and cheerful anyhow. Okay, let’s get started! Preheat oven to 350 degrees. Butter up baking pan.

Instructions:

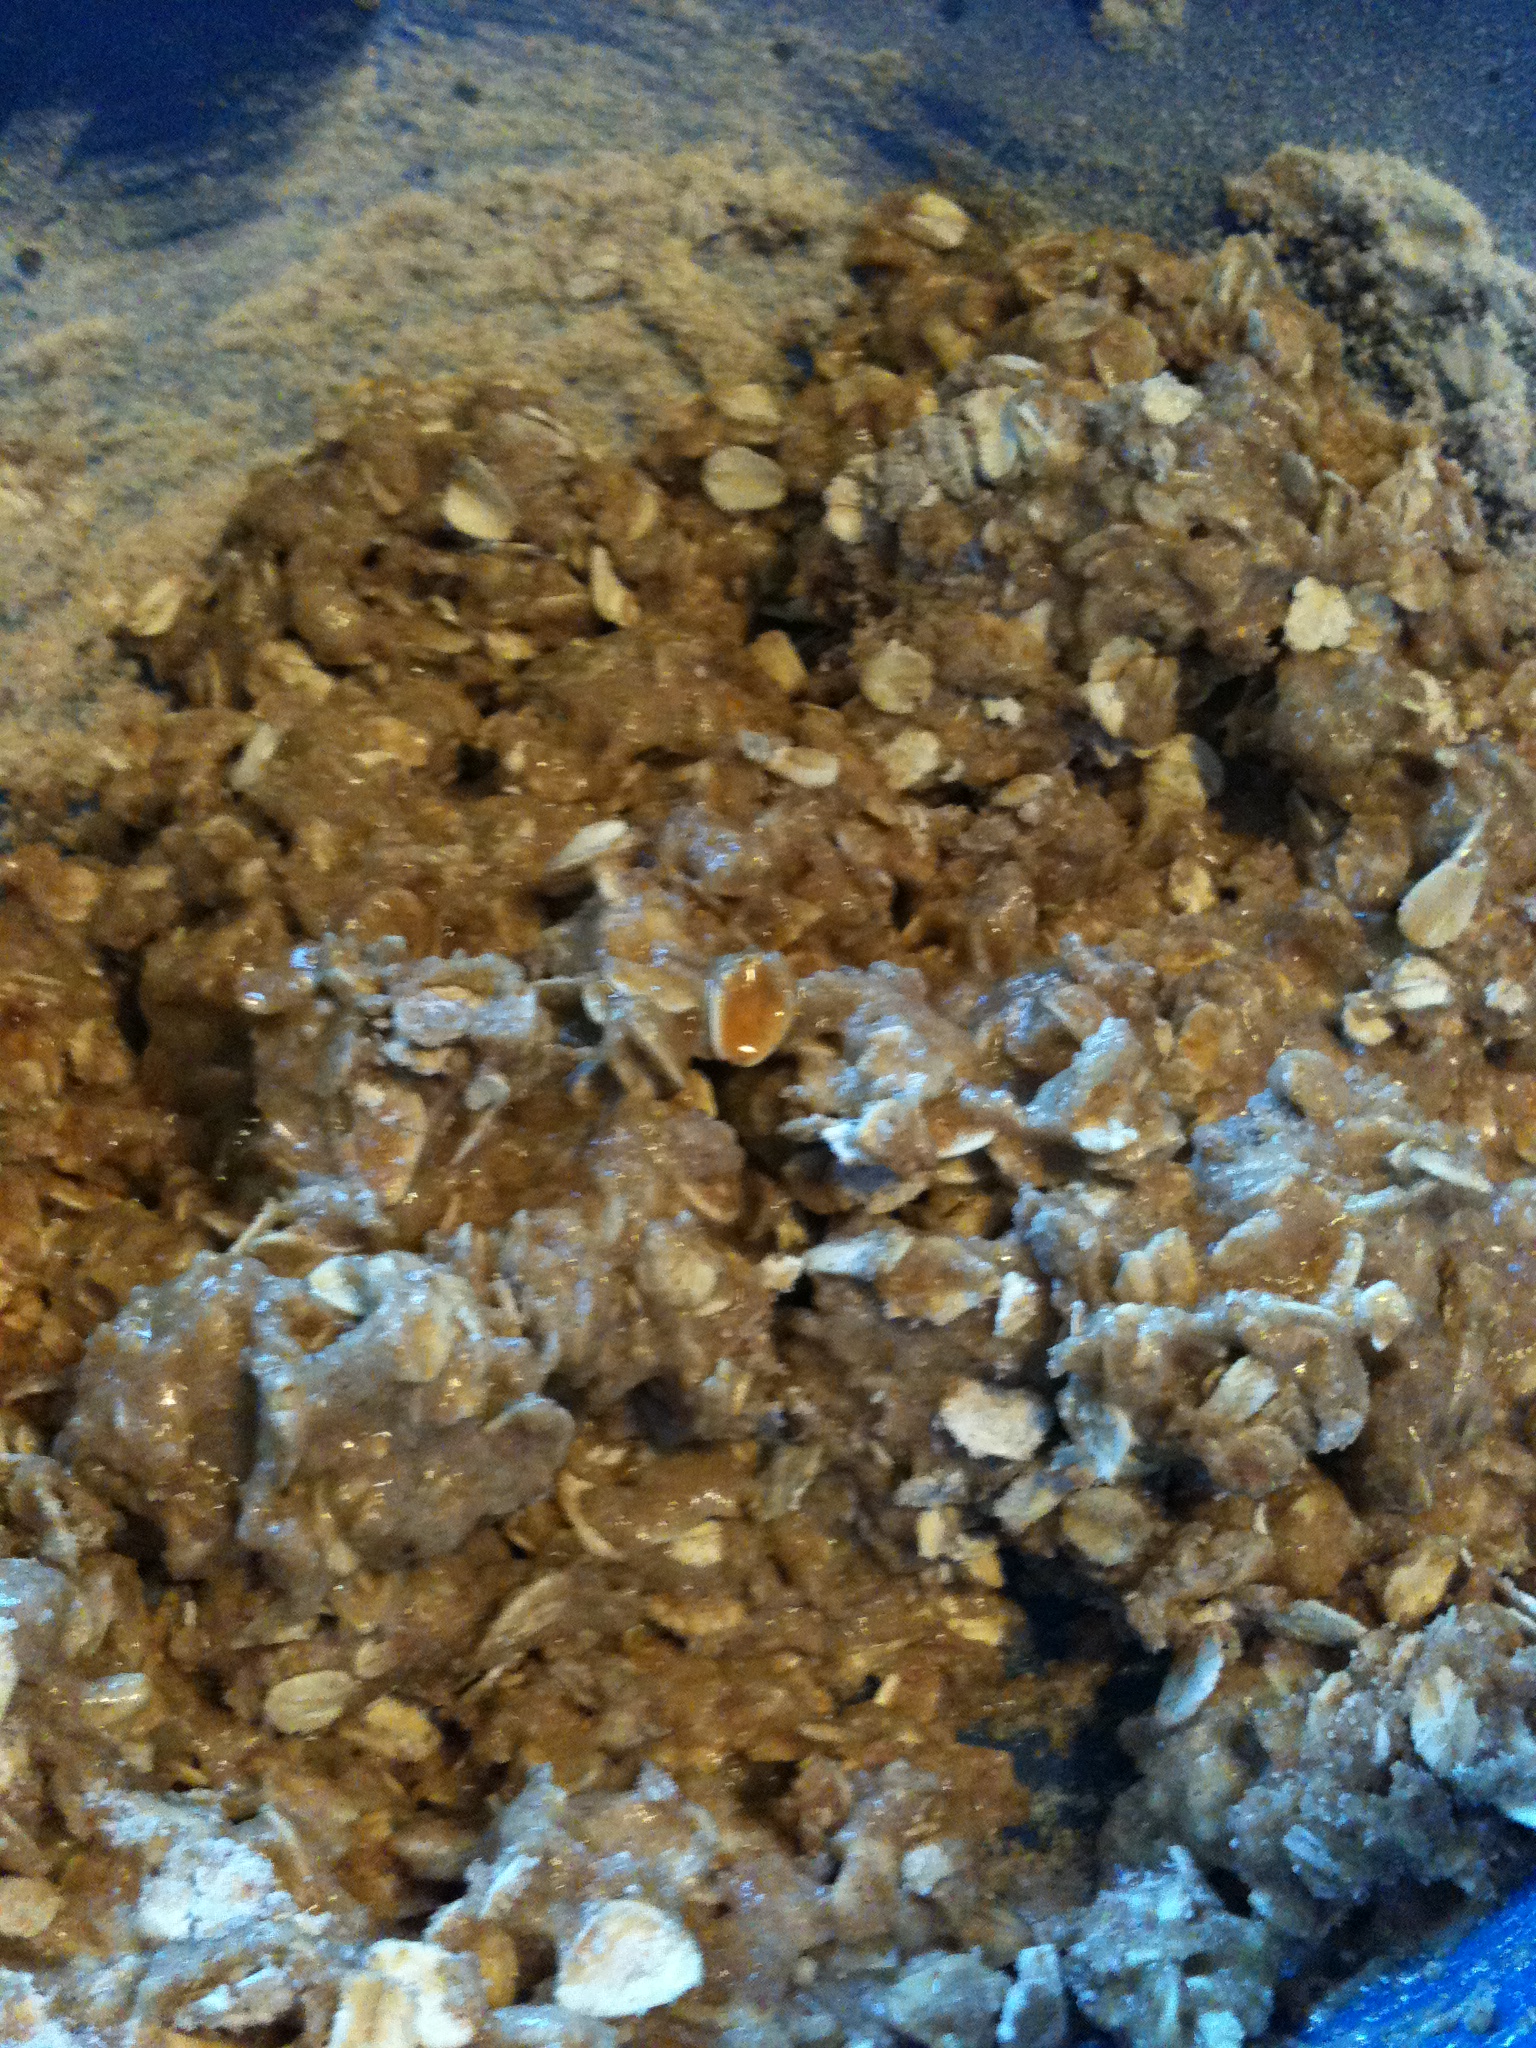
  • First, in a medium bowl (please note: this will not be your final mixing bowl, I don’t know how many times I’ve short-sightedly followed a recipe thinking it was going to be the main mixing bowl), get your dry ingredients ready. Mix together the  flour, oats, baking powder, baking soda, salt and cinnamon. 

  • Next, in your large mixing bowl (this is it, folks! This is the bowl that everything will end up in!), we will combine the butter and the two sugars. Whisk that puppy up.
  • Then, we’ll put the egg, vanilla extract, and (MASHED) banana into the mixture. Good to use a whisk.
  • In comes the dry ingredients, rudely interrupting the wet-ingredient get-together. Slowly pour in the medium bowl ingredients into the large bowl (flour, etc. –> sugar, egg, butter, etc.). Mix that up.

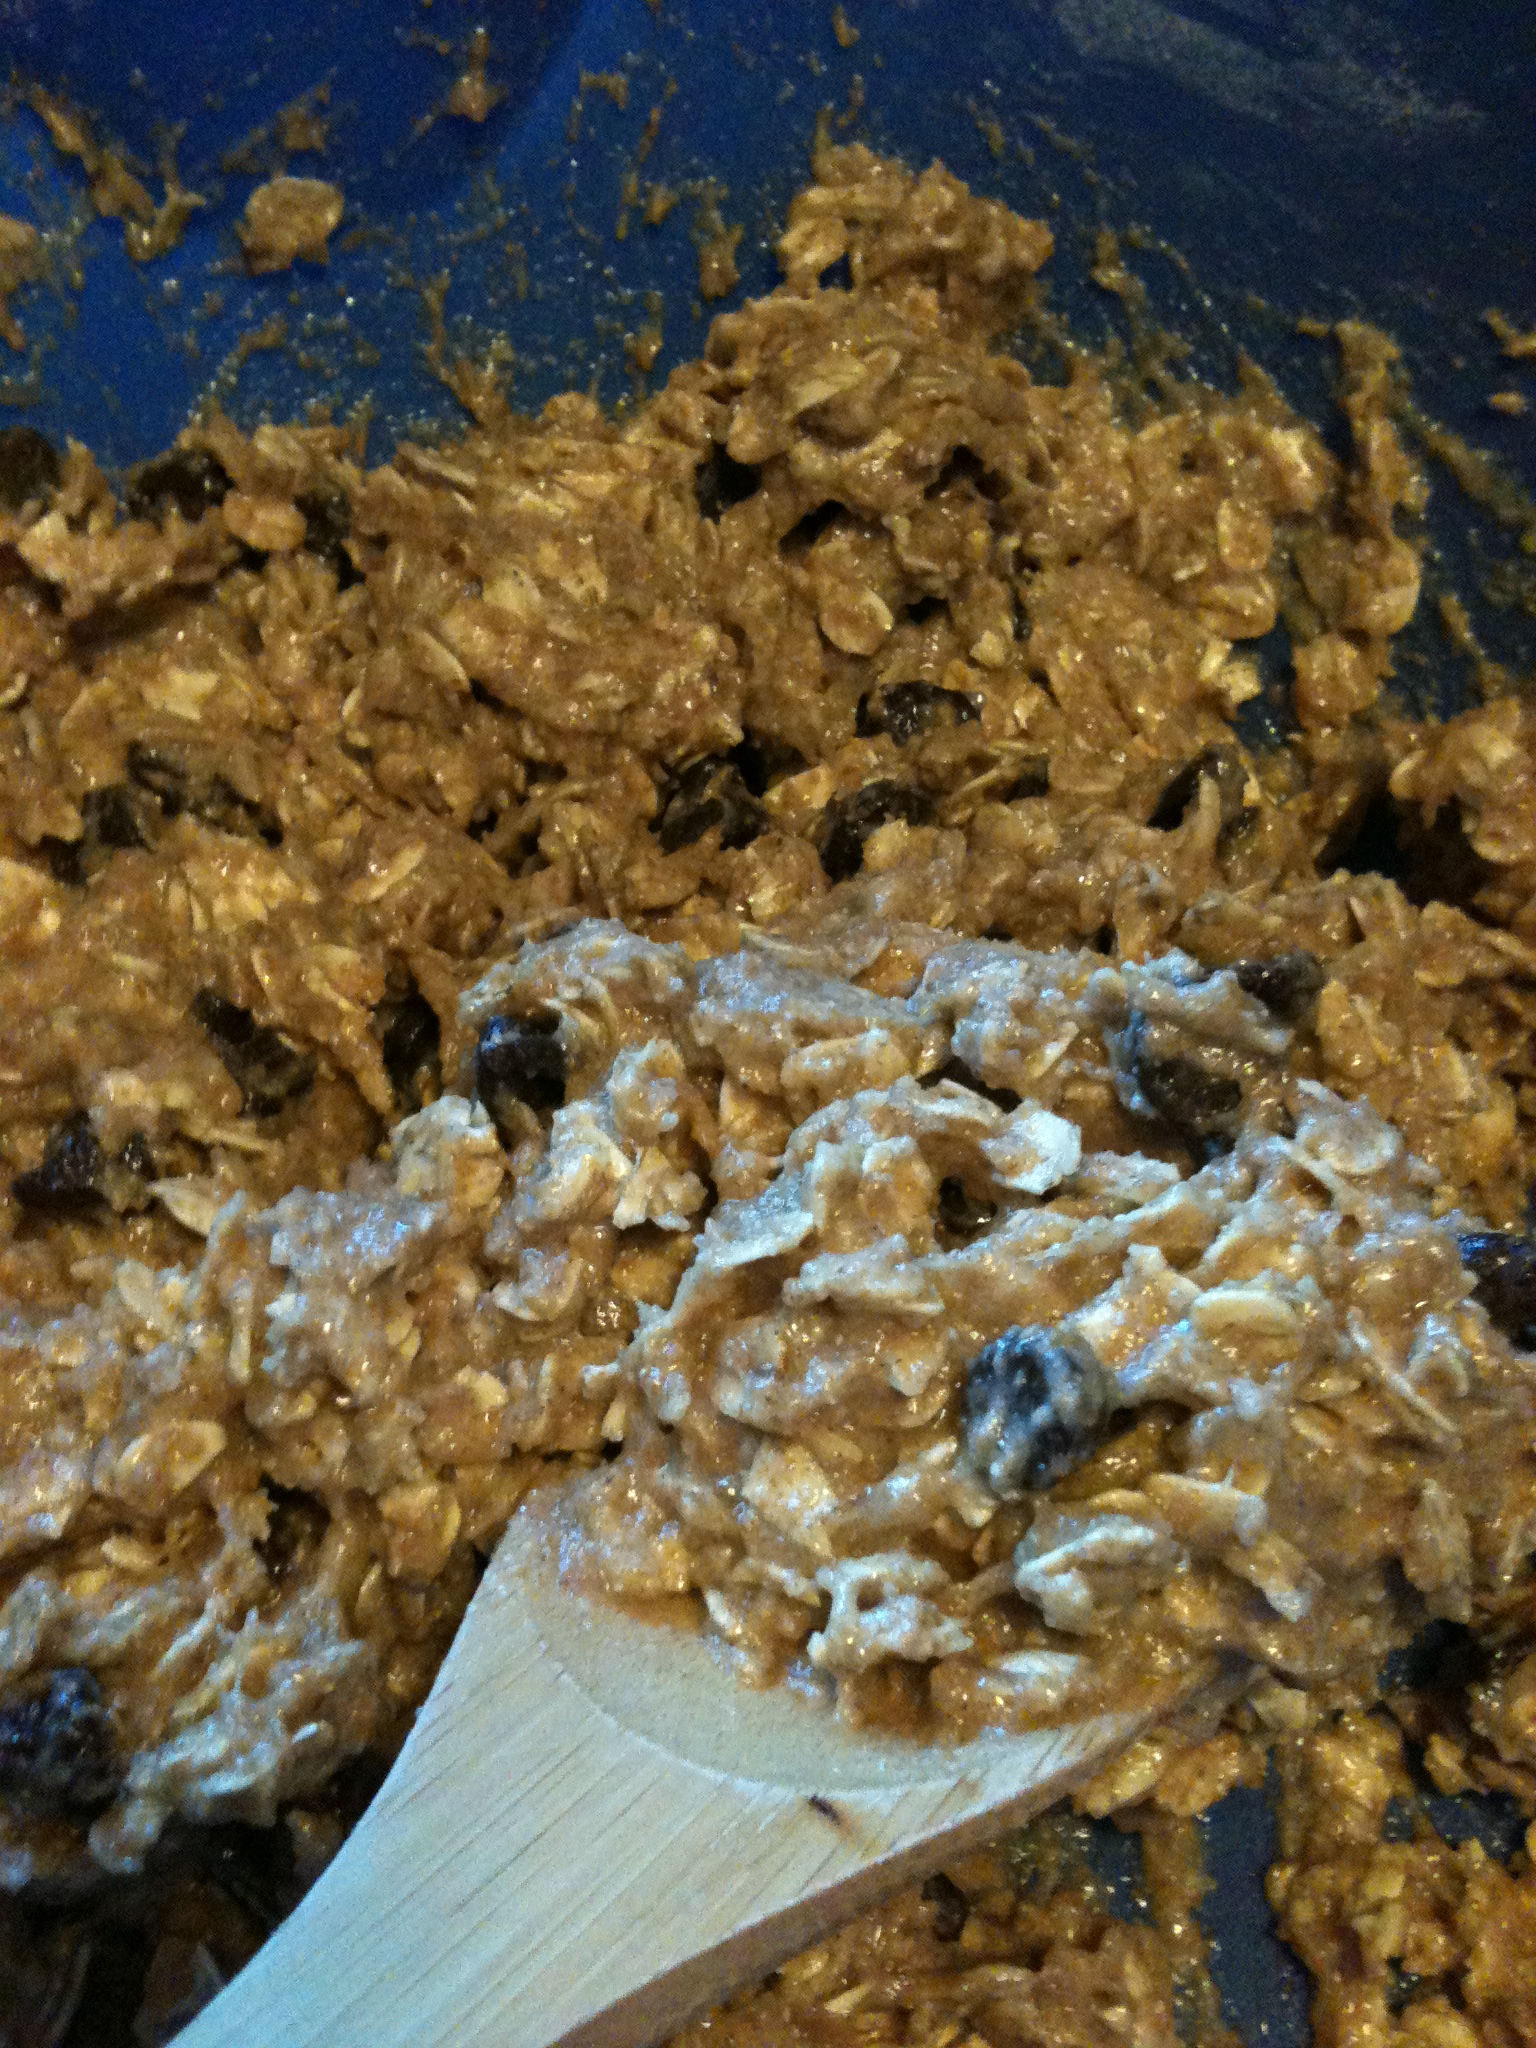
  • Now, for the (almost) final step! Fold the chocolate chips into your mixture, make sure they’re evenly spread out so one cookie doesn’t greedily get them all.

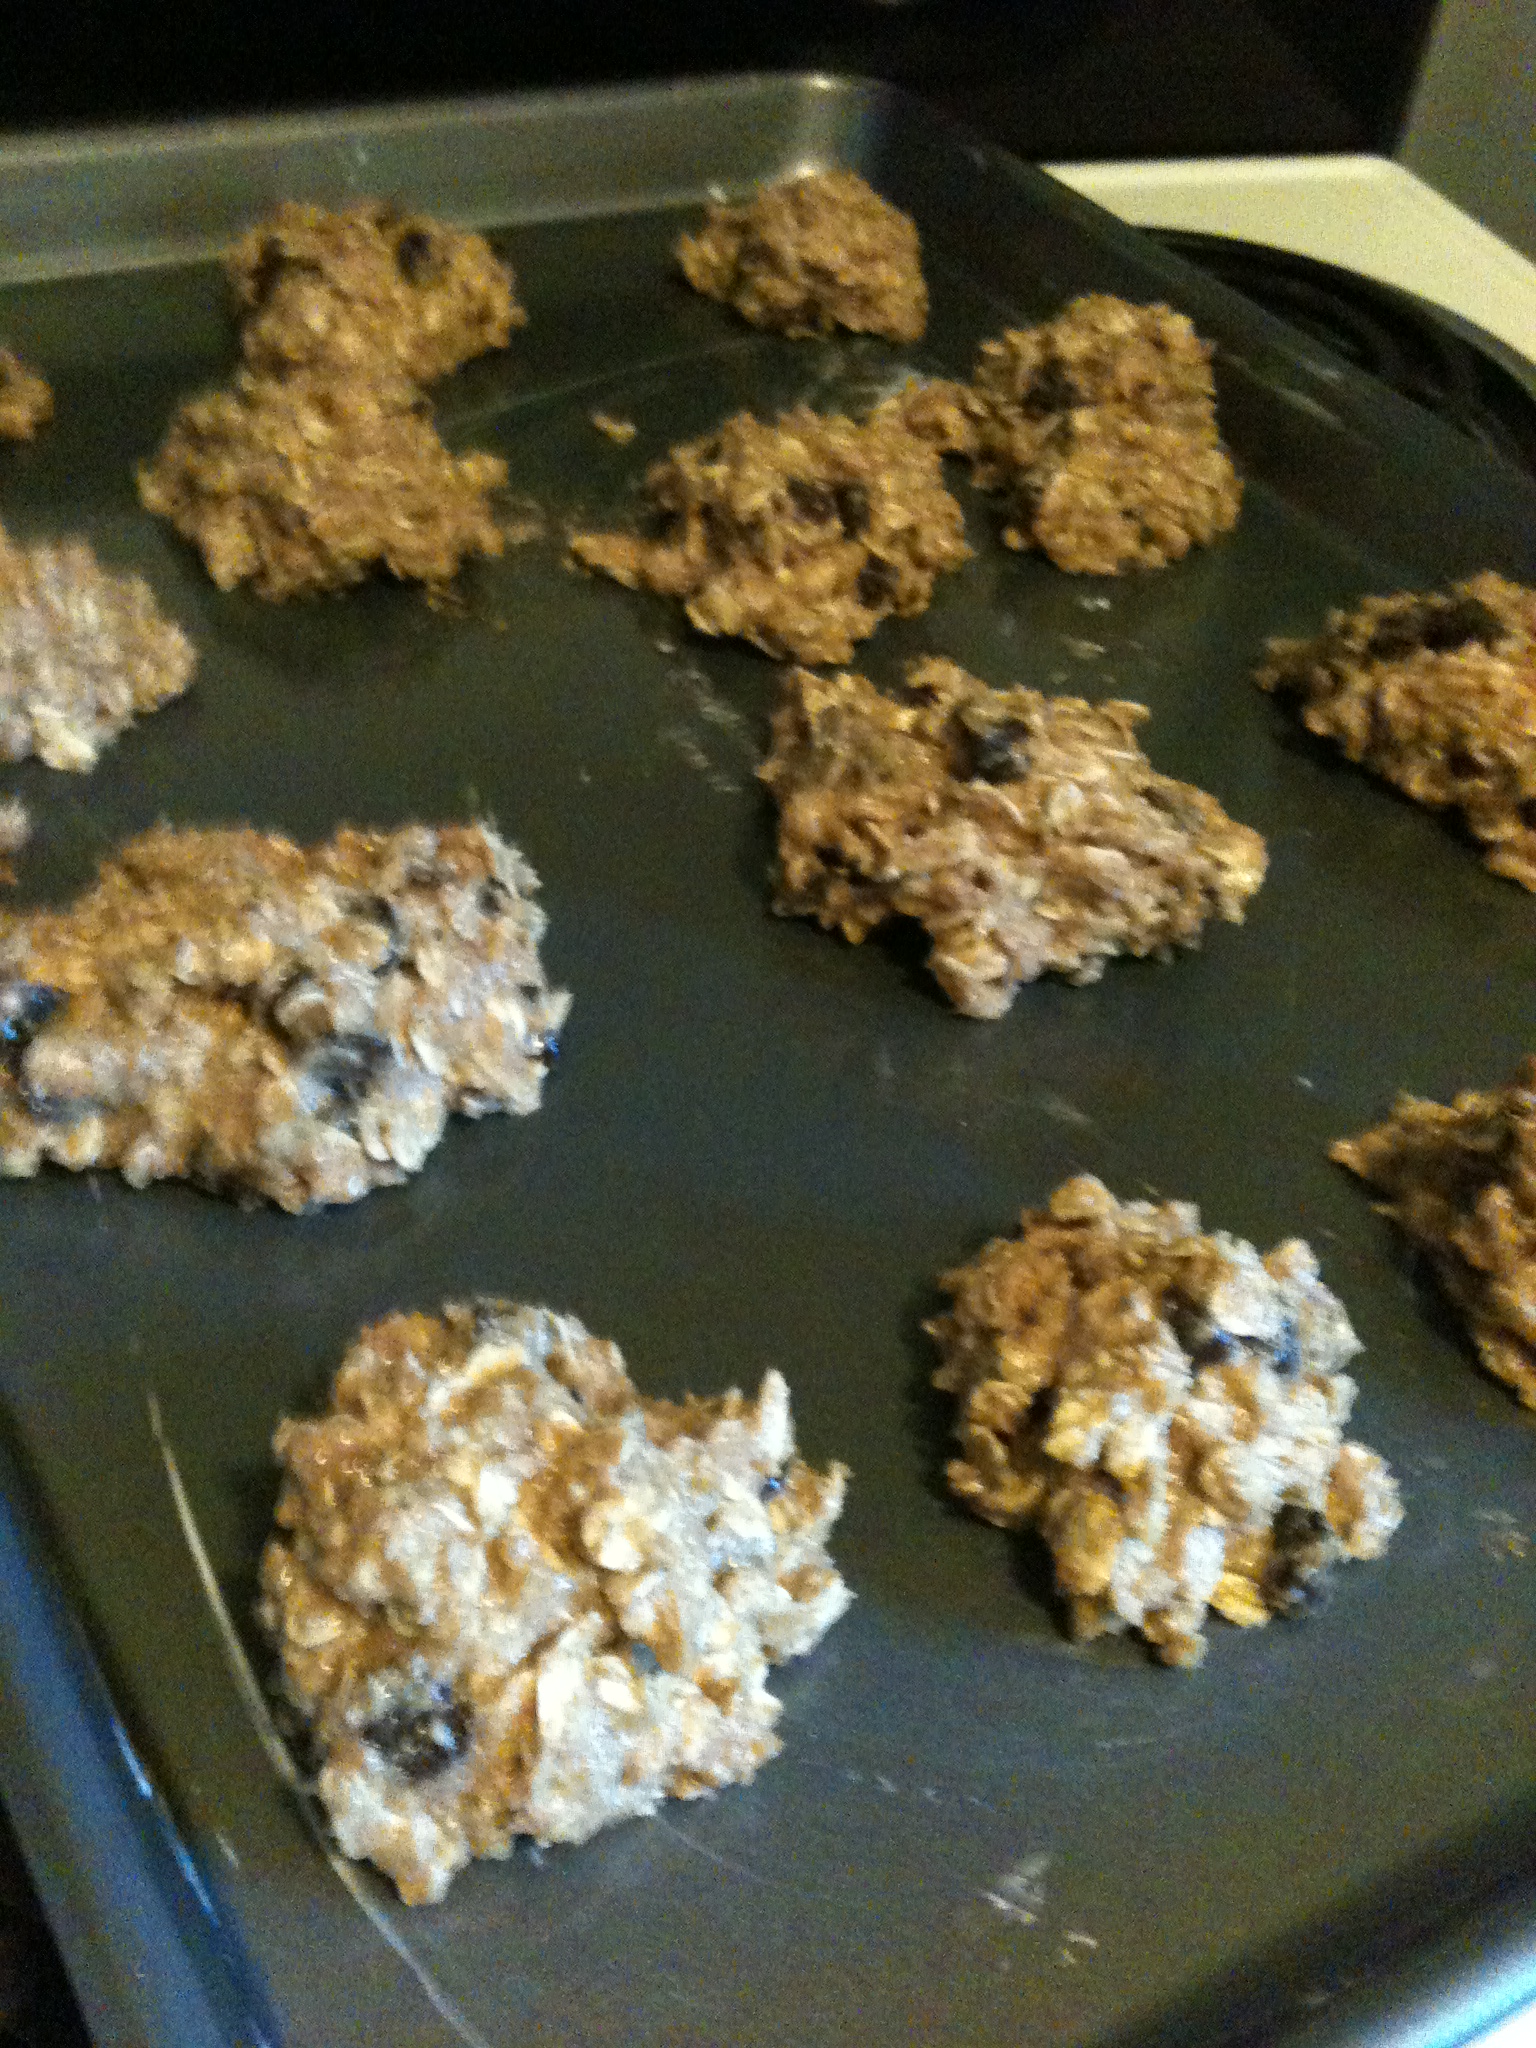
  • Take gobs of the beautiful cookie dough (again, I ate too much of it and afterwards could not eat enough of my Mexican dinner twenty minutes later) and place upon your greased up baking sheet.

  • Set timer for 10-12 minutes. Mine took 12 minutes because I always make HUGE cookies. And voila! You’re done.

So for the padlock comment expanded…while I was working at the assisted living home yesterday, Chris ate five cookies (and they are BIG). Choosing to eat cookies instead of a real lunch. So, baker, wherever you are, keep a close eye on these cookies, they are sure to disappear rather quickly…

spacer

Whole-Wheat Pizza — No Yeast Necessary

Hey there, ladies and gents, here’s a dish that will make you drool the instant it’s about to go in the oven and even more so after. And the recipe will make your stress meter happy: it’s a quick one (surprisingly, for pizza). If your dough is right, then it could take just twenty minutes (including cooking time!). AND YOU DON’T KNEAD ANY YEAST (sorry I had to). I don’t know if you’re getting it…it’s an easy quick recipe! I got it from this blog, but altered it a good deal. Okay sorry, let’s get to business.

Ingredients:

  • 2 cups regular whole wheat flour
  • 2 cloves garlic (pressed)
  • 2 tsp baking powder
  • 3/4 cup water
  • 1/4 cup olive oil
  • anything you want to put on top

Directions:

  • Preheat oven to 400 degrees
  • Put all those ingredients [spare the toppings (anytime I say ‘spare,” I think of Voldemort’s “Kill the spare!” sorry I digress)] into a big bowl and mix by hand. You want to knead it all together to make a dough. You want it to feel spongy and happy.

  • Get a baking sheet, oil it lightly and press the dough down onto it in whichever shape you desire. Try to get it as flat as possible without tearing it

  • Bake for 5-15 minutes, depending on how thick your crust is. You want it to firm up so you can put your toppings on
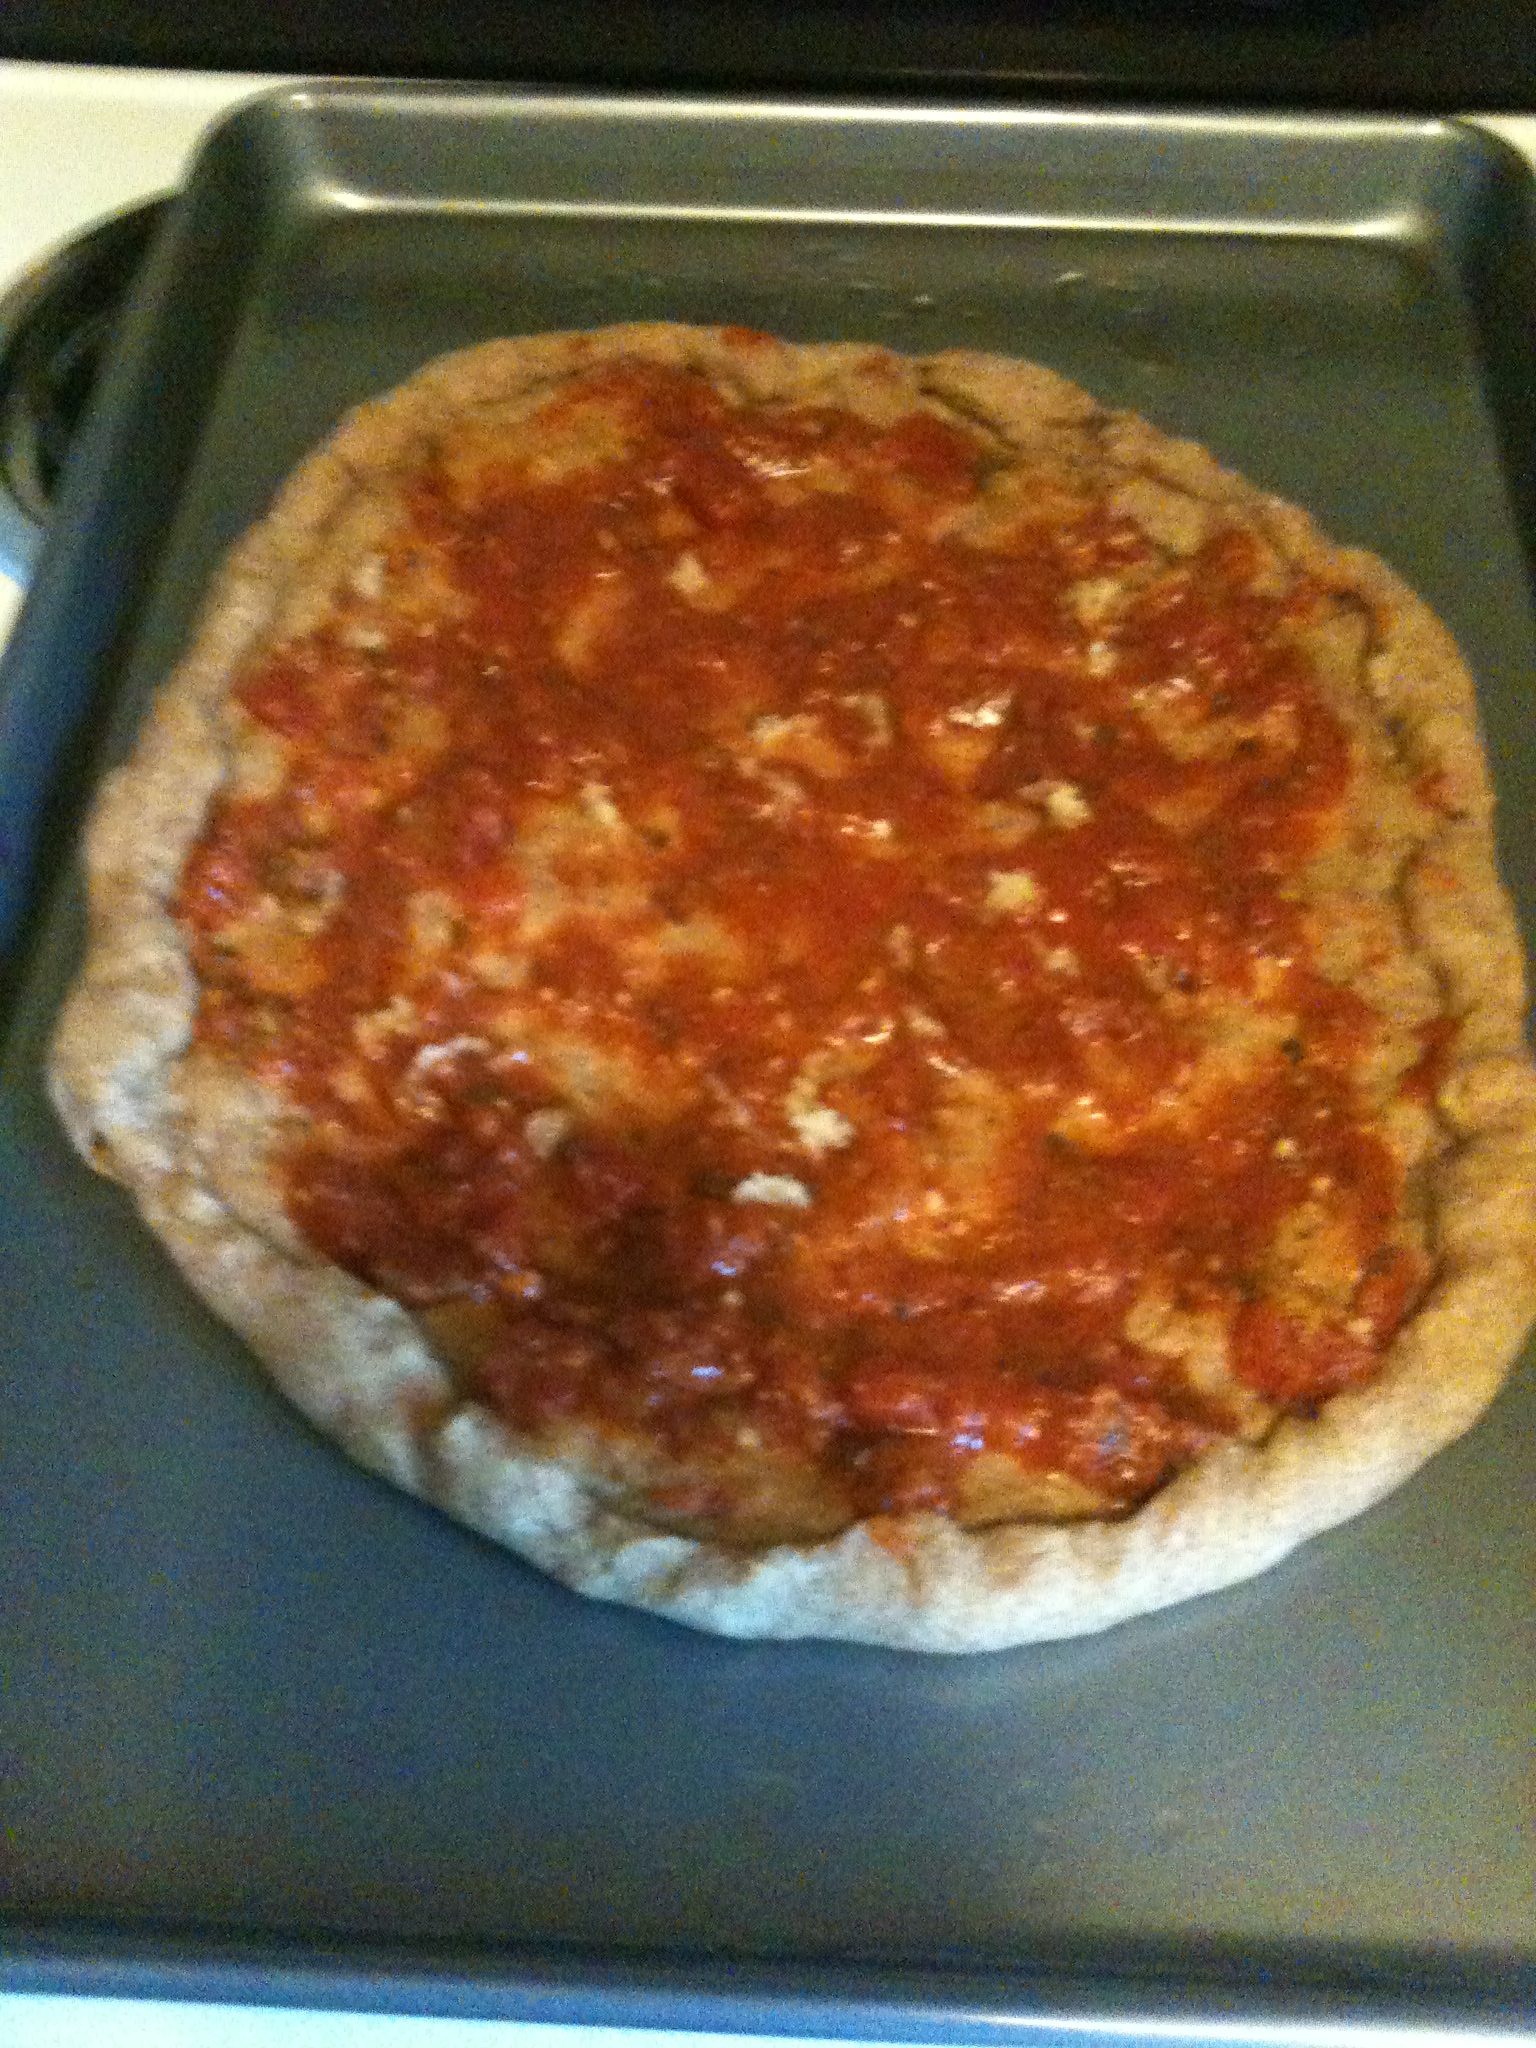
  • Take out and put your toppings on! I started with pesto and marinara sauce, with garlic pressed into it too

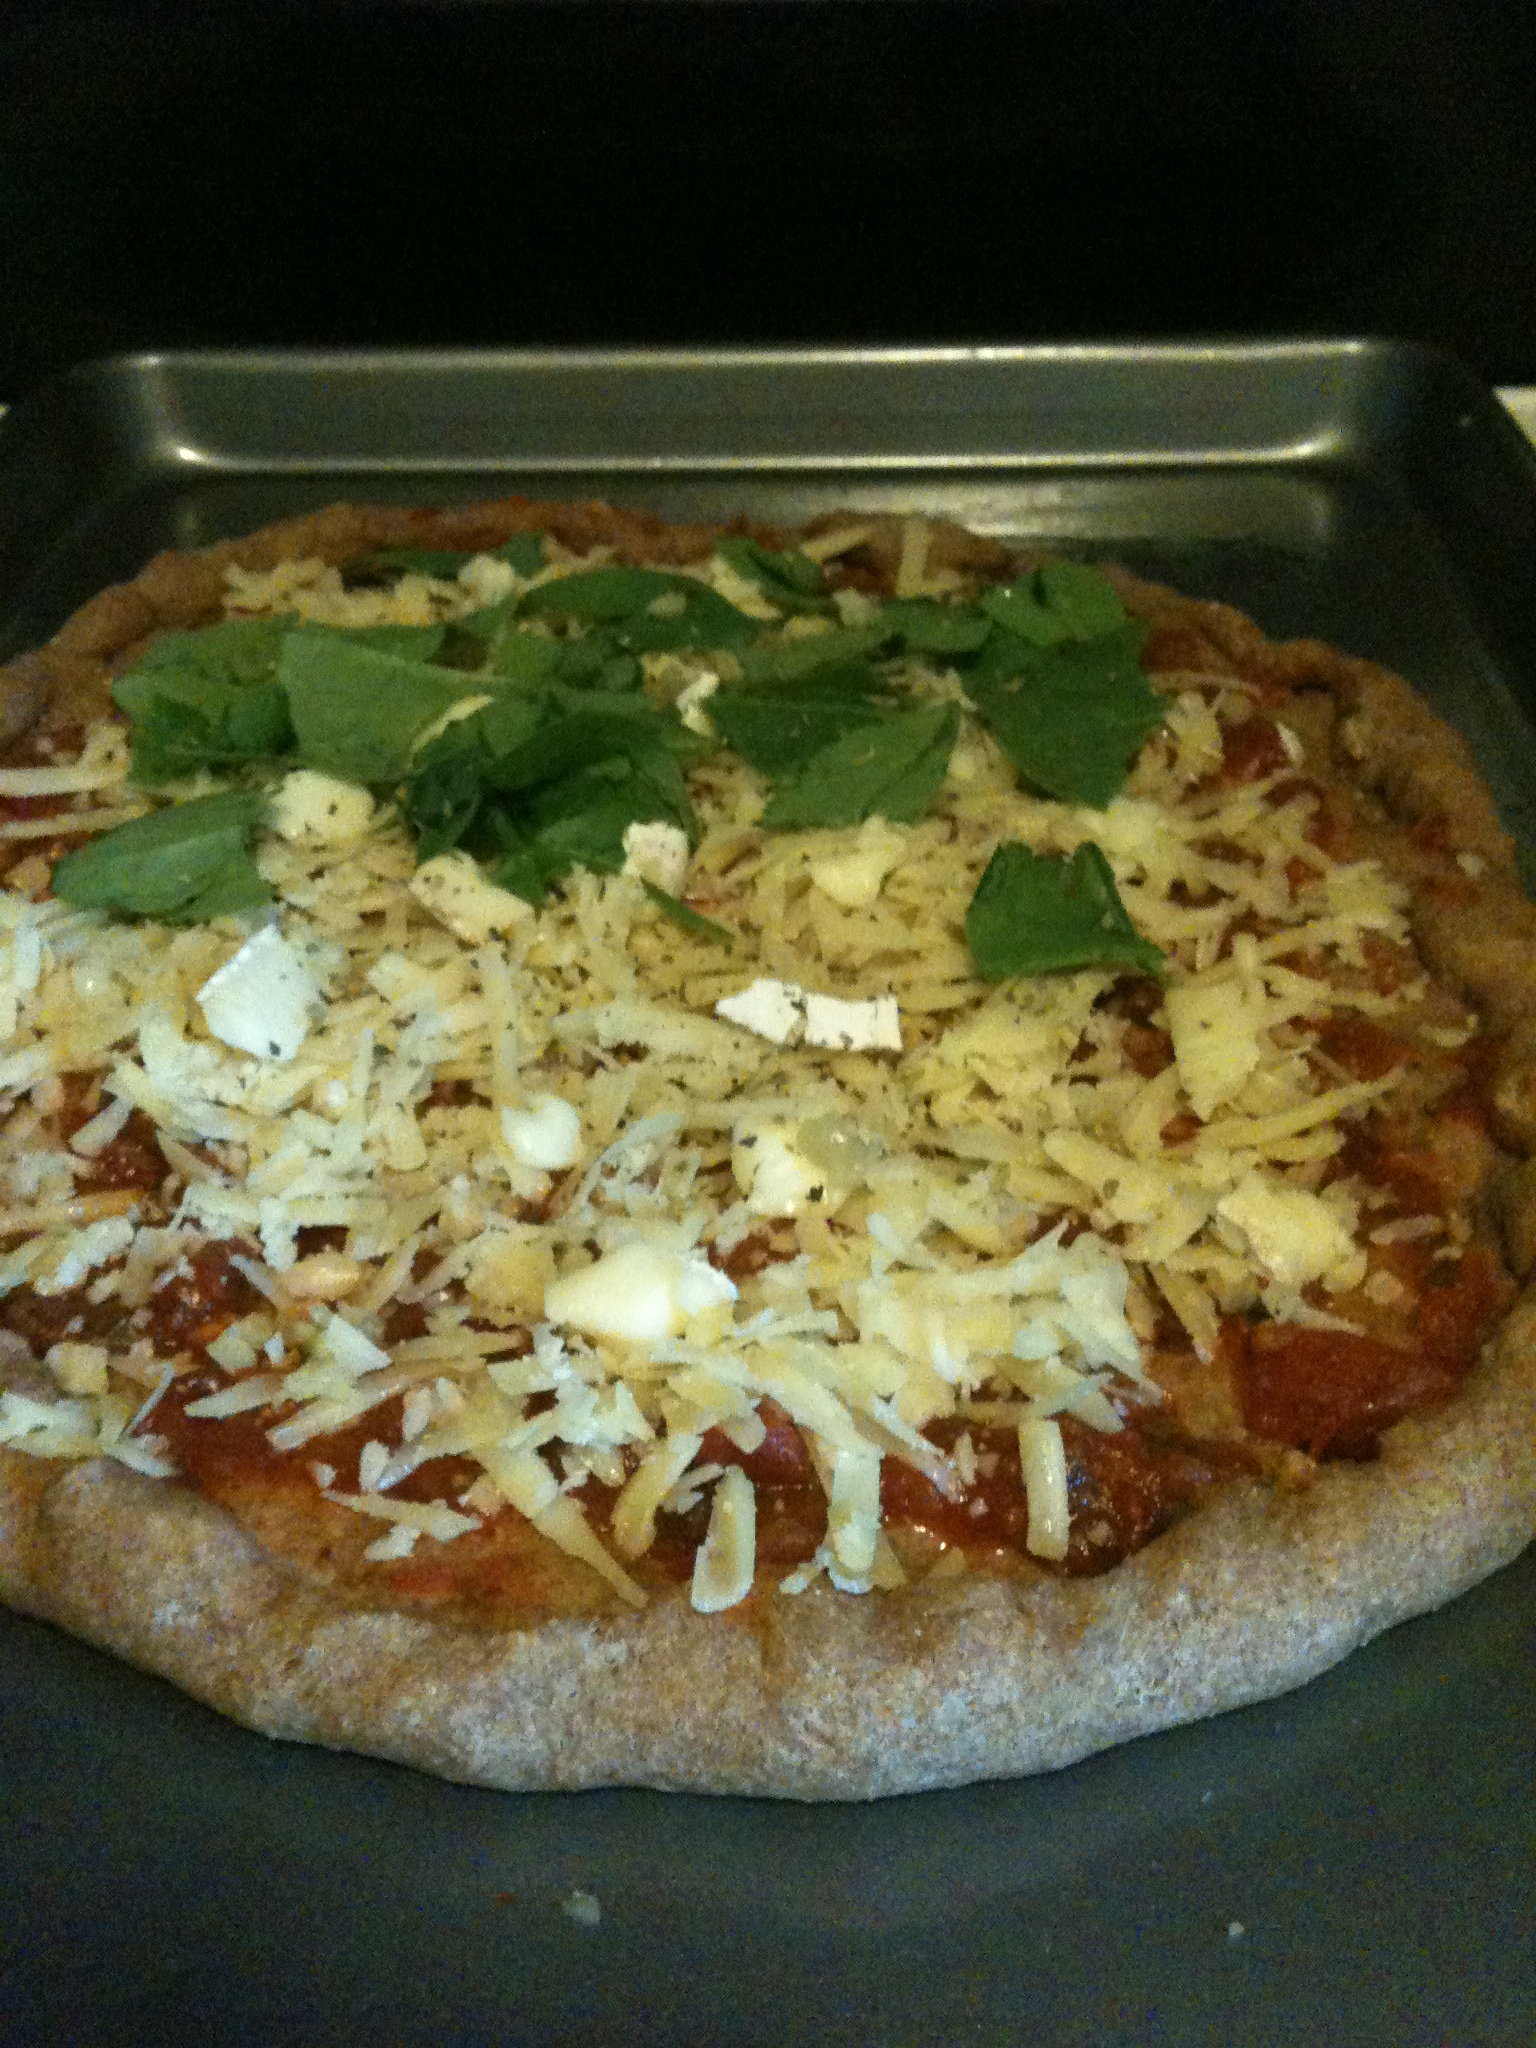
  • Then I put grated cheddar cheese and brie all over. On one half, I loaded on the spinach (eat your vegetables!). I also put dried basil and oregano on top

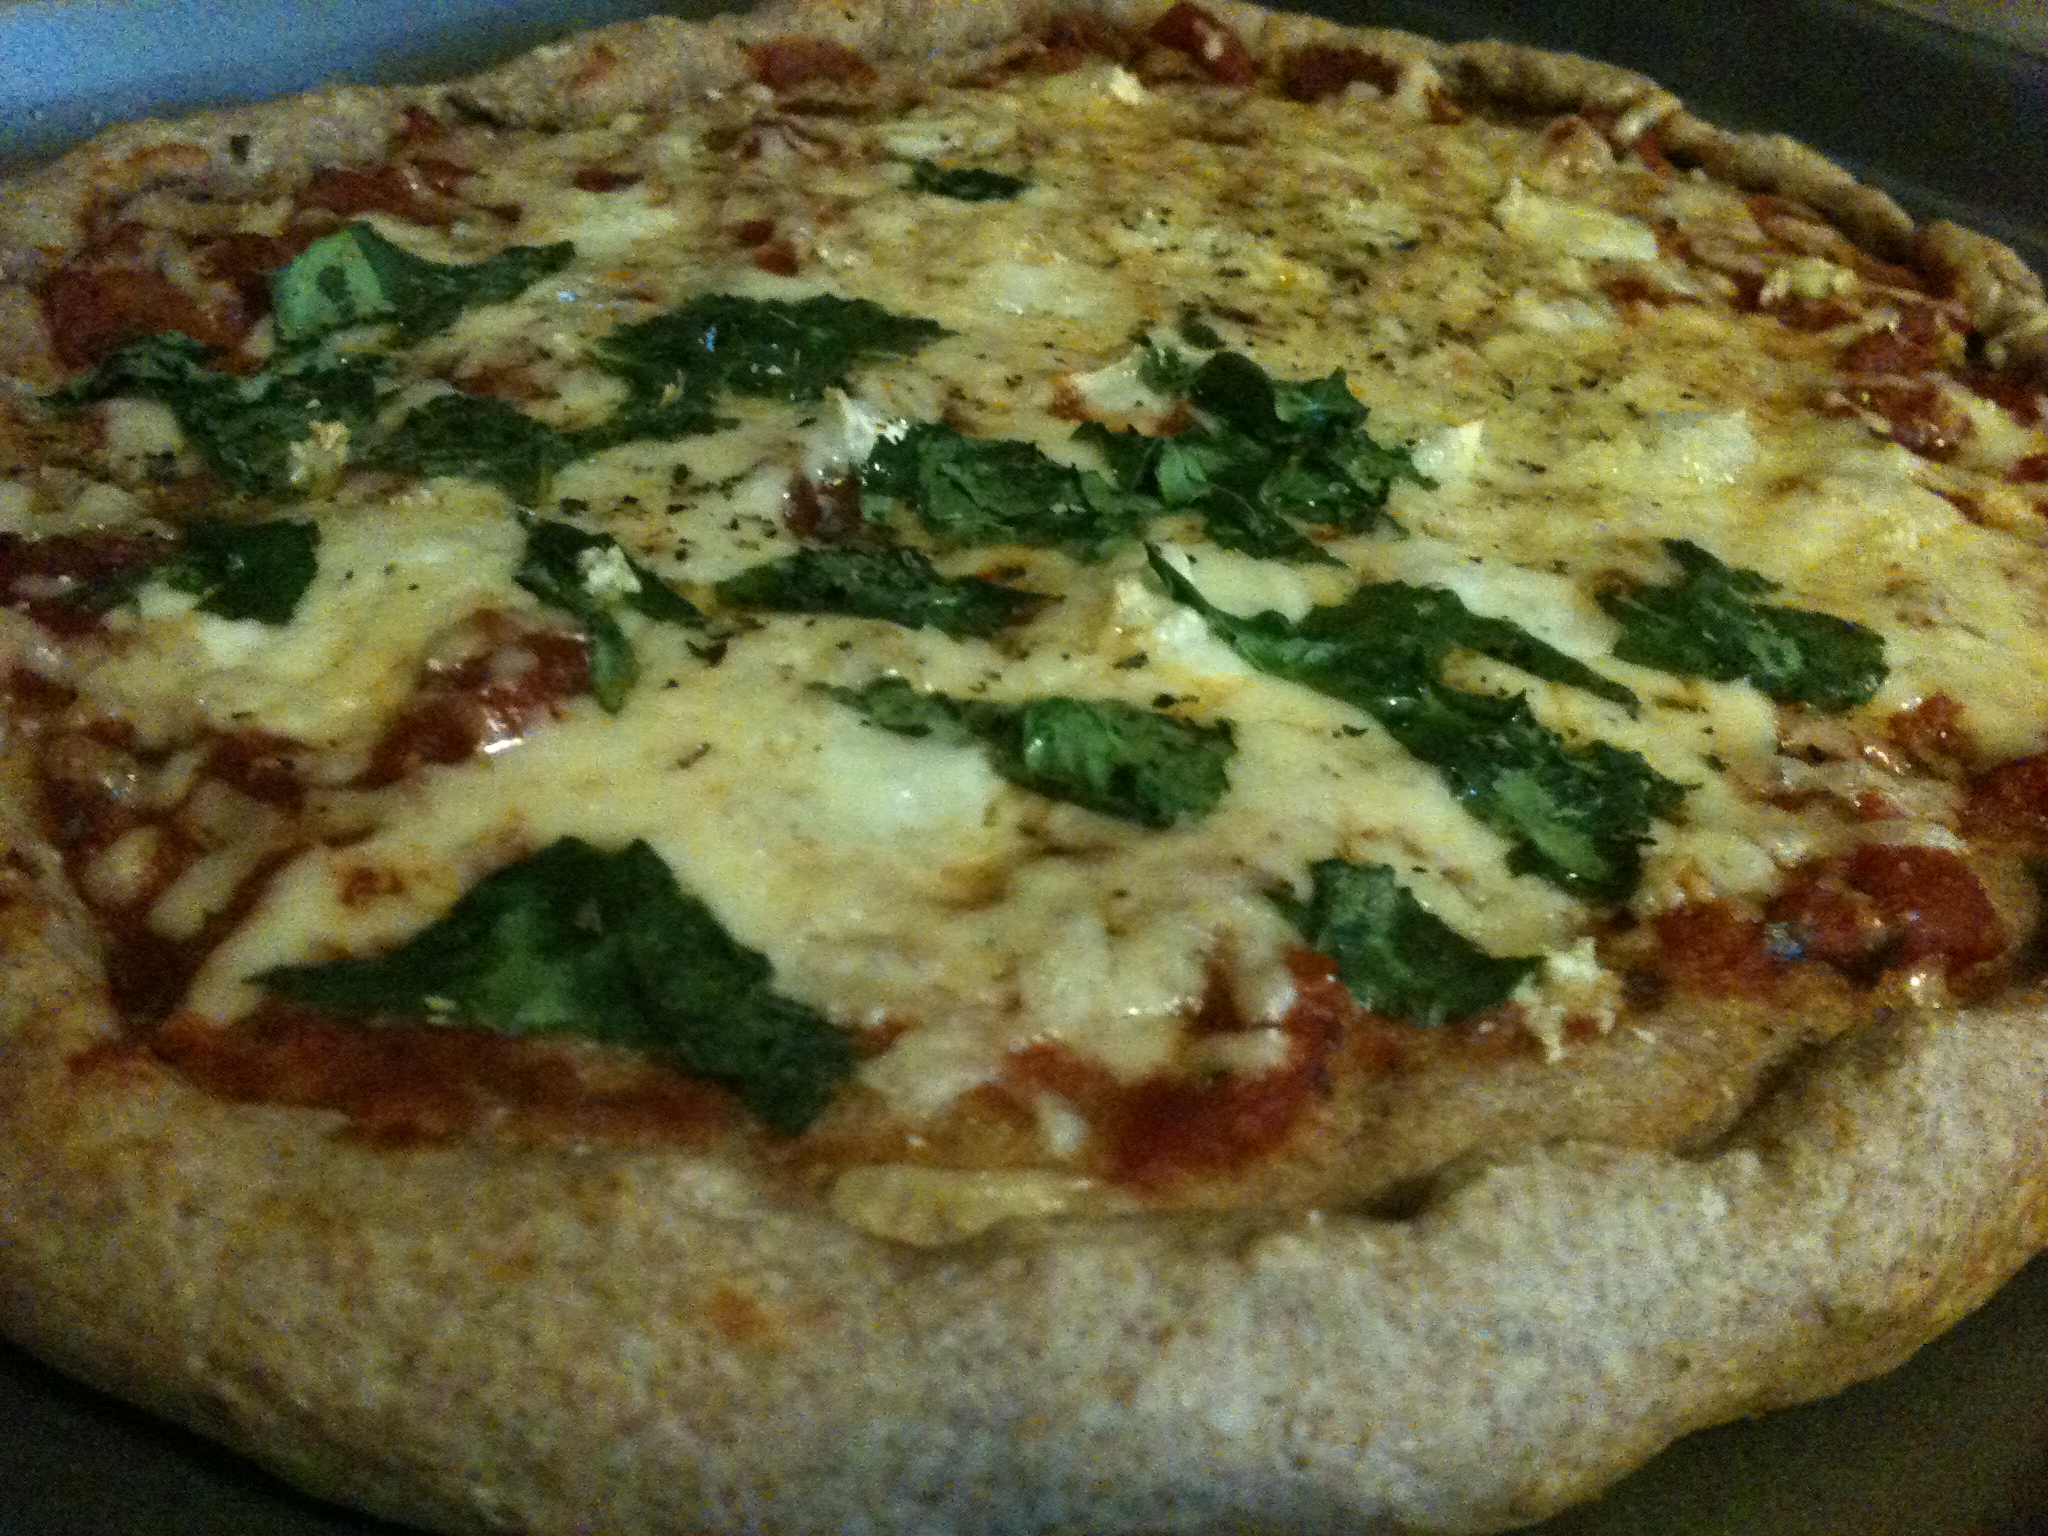
  • Put in oven for 10-20 minutes (depending on the thickness of the crust). You want it until the edge of the crust is a light brown and your toppings are cooked

And there you have it! That wasn’t hard, was it? It’s near impossible not to enjoy this–unless you burn your mouth, so be careful! This dish maybe lasted eight minutes. Maybe. Just try it, you won’t be disappointed.

Sir, you’re drooling everywhere

spacer

HEALTHY Whole-Wheat Banana Bread

We usually have a bunch of bananas in the house. For fruit salads and more so primarily, for protein shakes (rahh!). However, sometimes we forget about them, or don’t do heavy workouts, so we feel like we don’t deserve one of Chris’ amazing protein shakes (that post is coming up!). So they sit in the lazy Susan cupboard, lonely for attention.

And so later in the week, I stumble upon them in their browning blackish glory. Aha! I know exactly what to do with you! So, the spotted way-too-ripe bananas get pulled from the cupboard and onto our maniacal counter-top. It’s easy, folks. IF you have over-ripe bananas, MAKE BANANA BREAD. I don’t want to hear any excuses. And if you throw them out…you’re in trouble. Let’s get started. I pulled this recipe from here, but altered it slightly (no nuts, nutmeg, etc.).

  • Prep Time: 15 minutes (I was slow, watching Empire Strikes Back/Diners, Drive-Ins, and Dives)
  • Cook Time: 50 minutes (on the dot!)
  • Set Oven To: 350 degrees

Ingredients:

  • 1 stick unsalted butter
  • 1/2 cup sugar
  • 3/4 teaspoon baking soda
  • 3/4 teaspoon salt
  • 1/2 teaspoon ground cinnamon
  • 1 teaspoon vanilla extract
  • 1-3 bananas (I suggest more than one, but that’s all I had to work with tonight)
  • 1/4 cup honey
  • 2 eggs
  • 2 cups whole wheat flour

Remember to get out a bread pan and butter it or oil it up. Sticking is your enemy. Now first, beat the butter, sugar, baking soda, salt, cinnamon, and vanilla in a bowl.

Yes, that is a whisk! I’m moving up in the world!

For this next step, make sure the bananas are mashed as much as possible. Then, mix those bananas, eggs, and honey in. I want it smooooth.

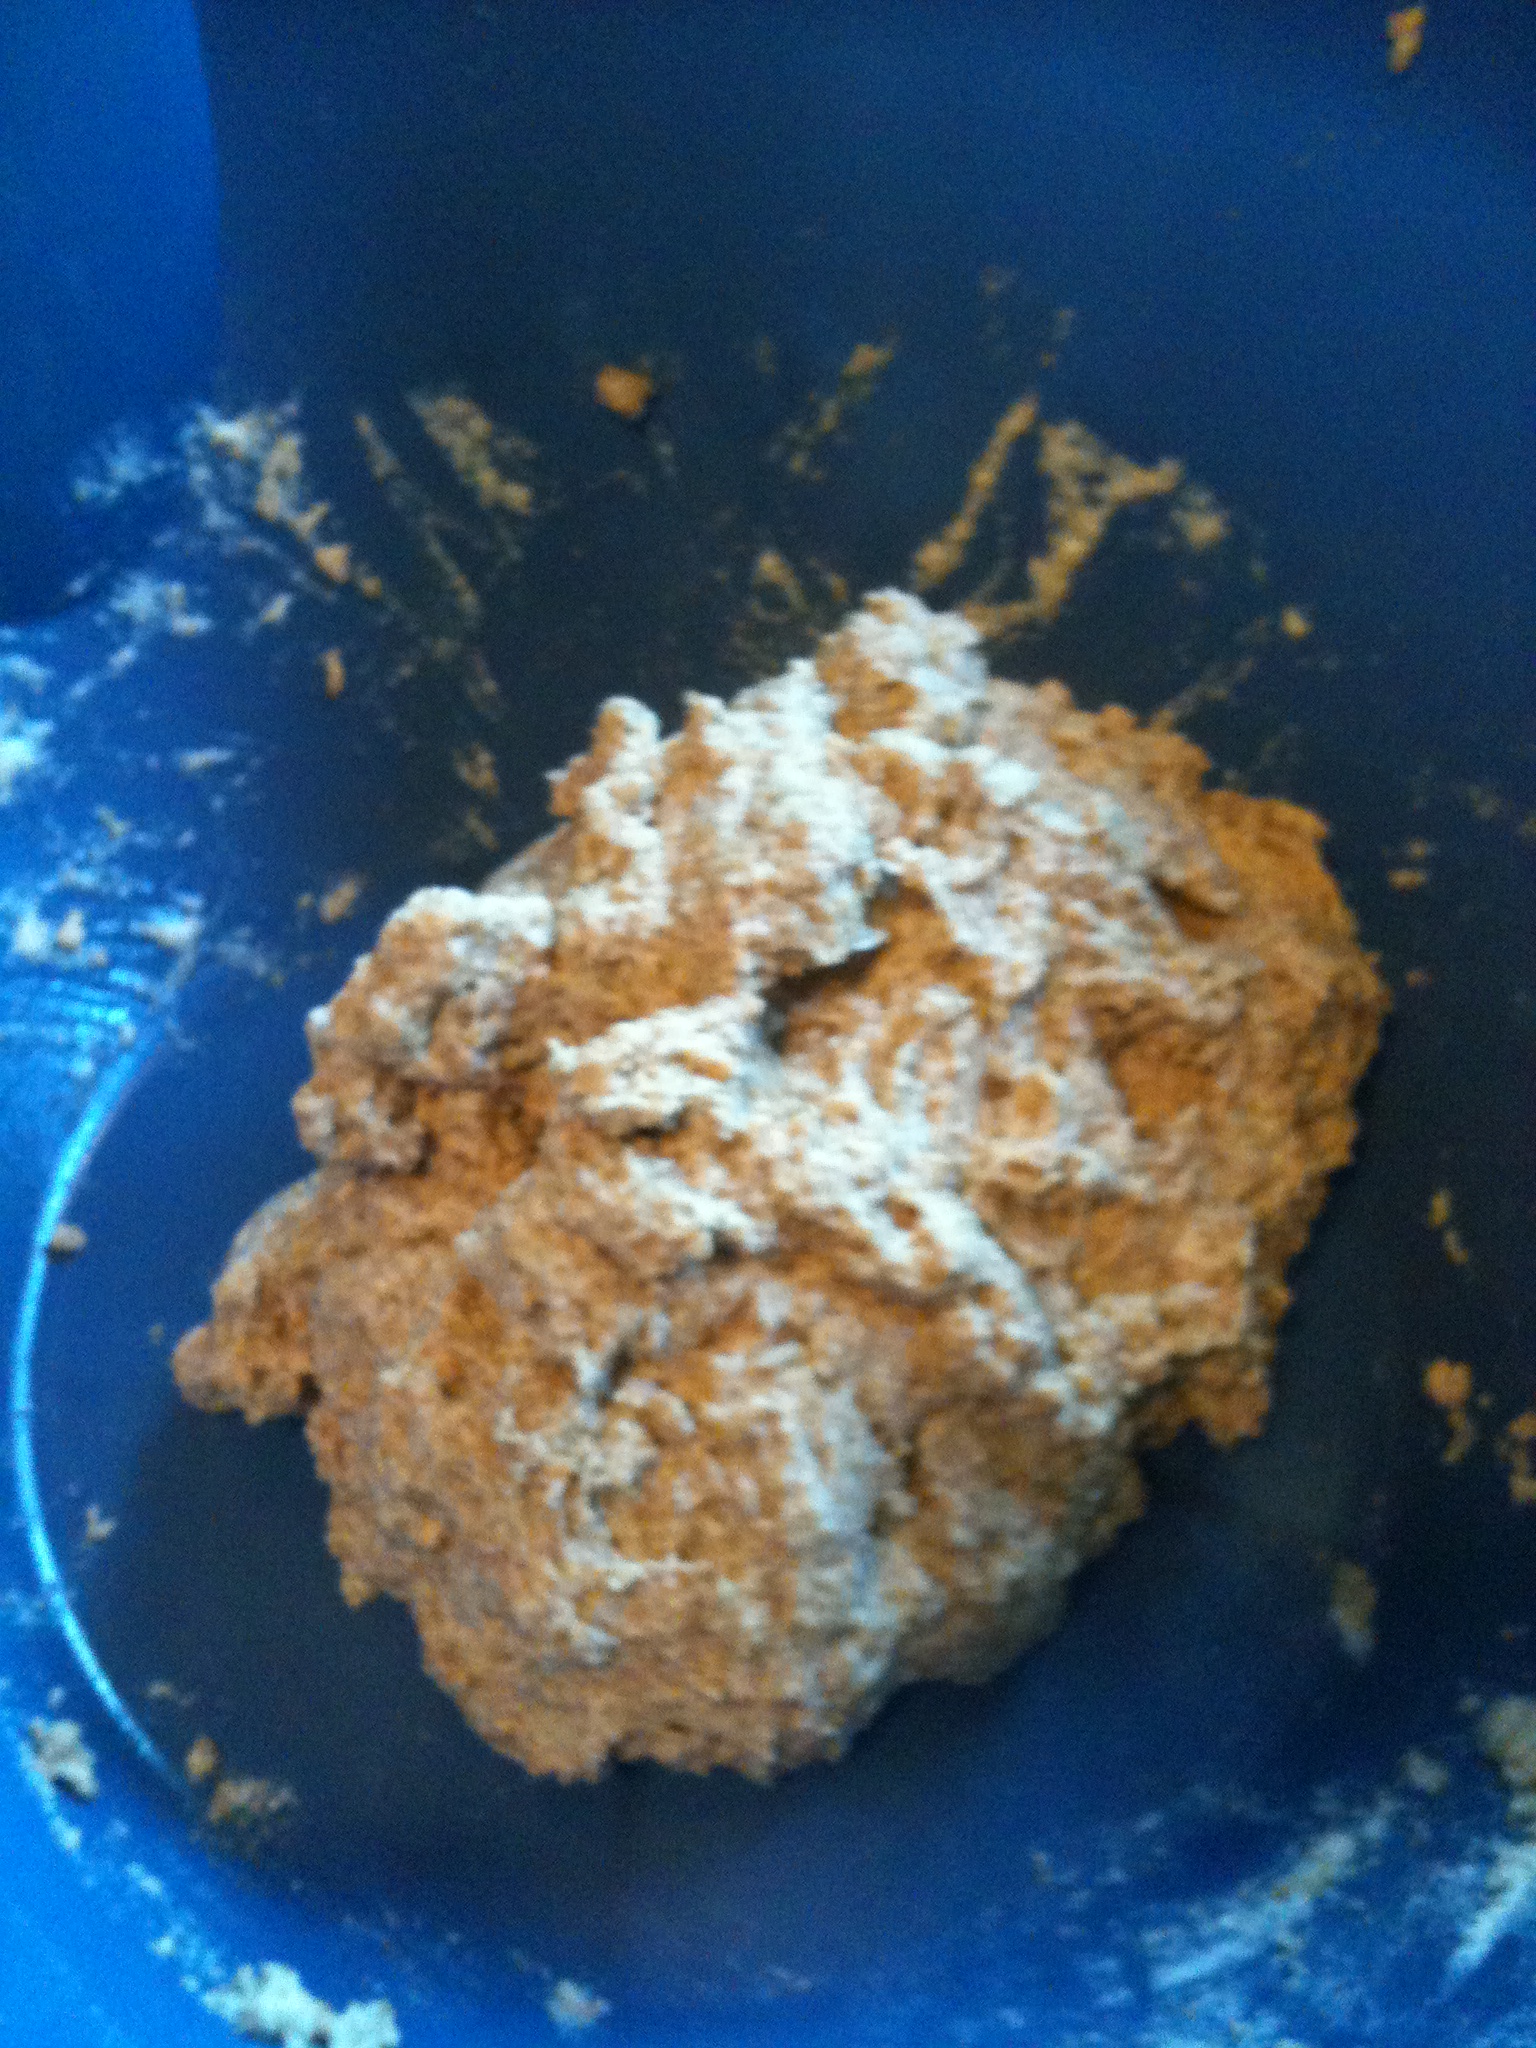
You’re almost there!! The final step is to slowly add in the whole-wheat flour. Put a little in, stir it, put some more in, stir it, and so forth. It should come out looking like this:

Then pour it into your already-greased pan. I lost a good amount of the batter to a tragic accident…my appetite.

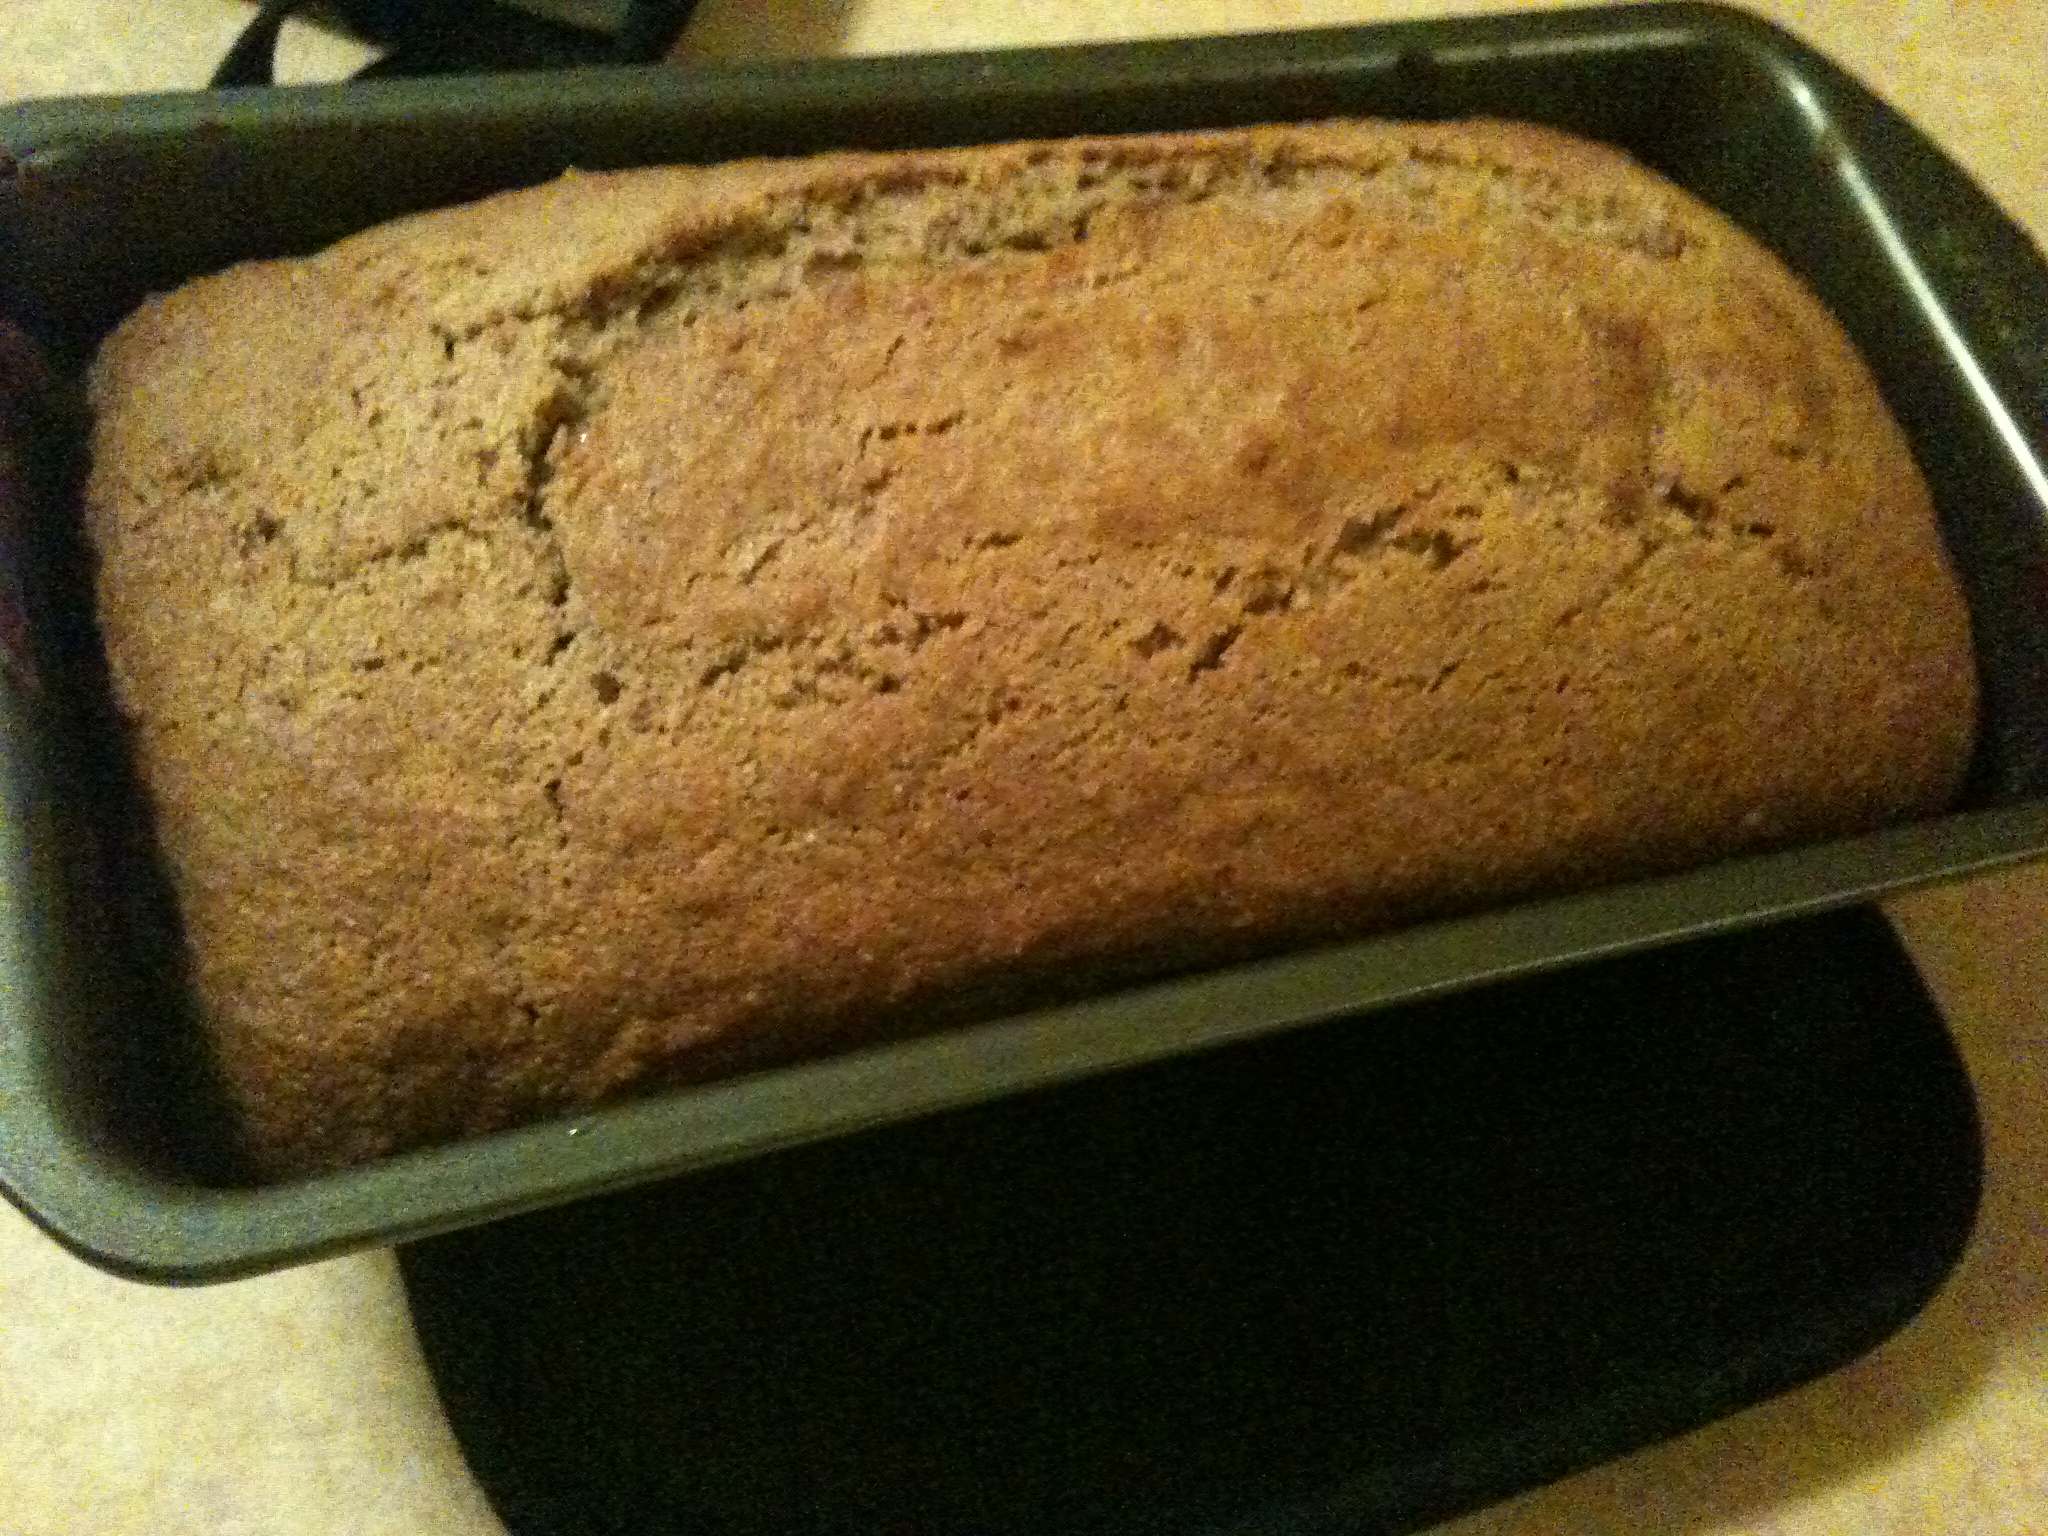
Now put it in the oven! Remember it should be at 350 degrees. For me, it took exactly 50 minutes to bake. I took it out, tested it with a fork to see if any batter stuck and it was ready! I usually have to stick it in for another ten minutes or so. It came out really well!

Remember that this only has half a cup of sugar in it. That’s barely ANYTHING when it comes to baking. So don’t feel guilty as you shovel this down, it’s got good ingredients. We always love to put butter on ours, gives it a great added flavor, especially when it’s nice and hot.

Unfortunately, it didn’t last long before I could get the picture, so that’s a sliver of a piece. Hope you enjoy!

Oh, and…meow!

spacer

[HEALTHY] Fast-Food — the Asian way

I know this sounds sketchy, but LISTEN UP! 

Chris, during his time teaching in South Korea, lived on kimbap which is something you will find in any Korean gas station, 7-11 type stores, and groceries. Images probably cross your mind of seaweed fried twinkies (which even makes me gag), but no, it’s so much more than that.

How to Make Onigiri (おにぎり) / Omusubi (おむすび)

My first experience with kimbap was the Japanese version. This version is called onigiri (or omusubi)–pretty much the same thing. It’s basically a rice ball, filled with magical goodness. I first experienced this in no other than my hometown CITY of Santa Monica. It was a hole in the wall we passed tons of times until one time we didn’t. We stepped inside, speculative, and Chris immediately perked up at the fact of omusubi being served here in Santa Monica! It seemed pretty legit too. This place is called Sunny Blue, and they provide fresh omusubi filled with various ingredients: miso beef, mushroom, pickled plum, etc.

No joke, we literally hit this place up at least twice a week. Sorry, dog-walking cash…

So, ever since my experience with omusubi, I crave for it often. Unfortunately, I haven’t found a substitute yet here in Boulder, but to be honest, I haven’t looked hard yet. Thus, when everywhere else fails you DO IT YOURSELF! …and depend on your partner for instruction.

SO. Look below for a recipe, although the stuffing can be altered to whatever you want. We just chose to go with spinach and mushrooms because that’s what the fridge gods had in store for us:

  • 1 cup sticky rice
  • 1 huge portobella mushroom
  • 2 handfuls of spinach
  • Sprinkle of sesame seeds
  • Nori seaweed 
  • Ton of soy sauce

First, you need to make some sticky white rice. I don’t care how you do it, just do it.

Then, stir-fry the mushrooms and spinach in a pool of soy sauce…(and garlic)

Once those are cooked to perfection, in comes the mastery. That’s when I stepped out and Chris stepped in to handle the rolling of it.
DISCLAIMER: We didn’t have the right saran-wrap to shape them the proper way, so we attempted to use wax paper (fail with hot rice) and then settled with our hands. So you’re getting the ghetto version. Which may be what you want 😉

First, lay out the rice so you can embed the wonderful stuffing ingredients inside

Then, roll it up (with your hands or with plastic wrap) into a ball and pour sesame seeds on top.

Once that’s done, you put the nori seaweed on the rice ball to wrap it around for that delicious crunch. And voila–DELICIOUS.

Enjoy and comment if you have any questions!

Enhanced by Zemanta
spacer