Archives

The Easiest Healthiest Dessert Recipe Ever: Sweet Baked Pears

I really need to cut down on these title lengths. Anyways, to the recipe. I discovered this recipe through a program I work with at the YMCA, called MEND. It’s a free program to fight childhood obesity and change the lifestyle to a healthy one at home. It’s been very successful! During each session, the participants get a MEND “cookbook”–a compilation of MEND-friendly (aka HEALTHY) recipes. This is from there. This is a guilt-free recipe. It’s basically fruit, cheese, and cinnamon. ENJOY!
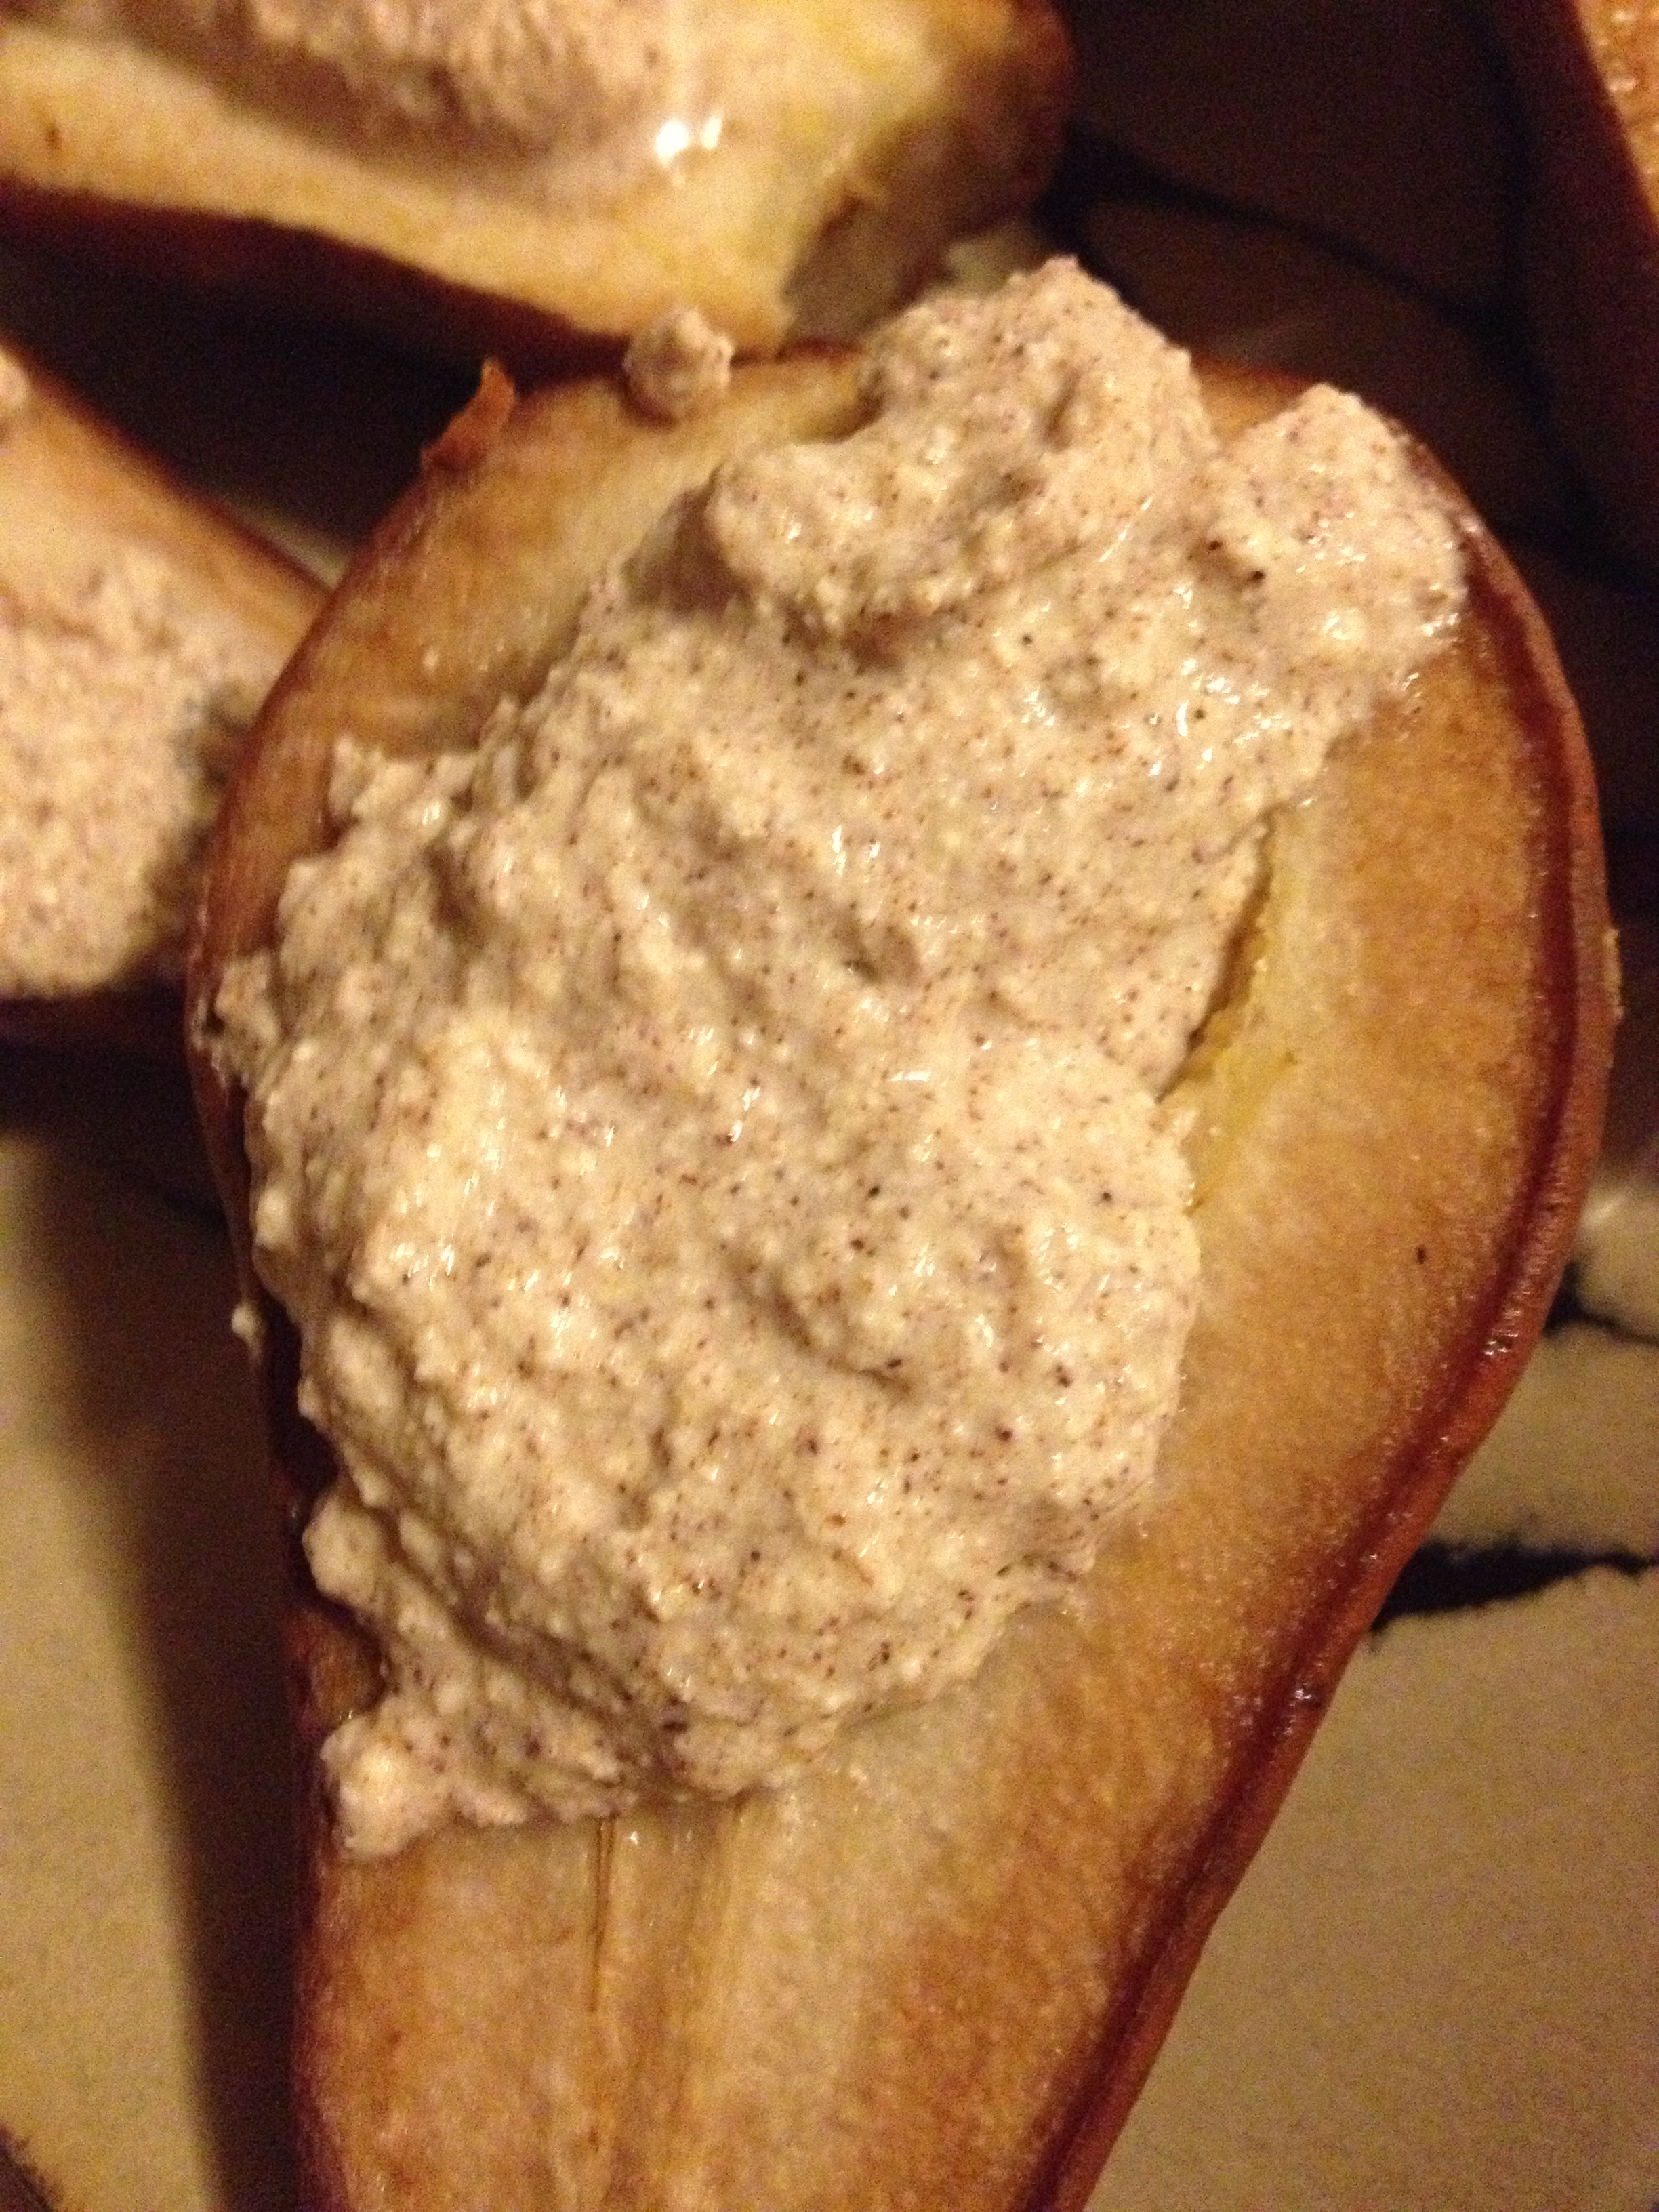
Finished product

Finished product

  • Prep Time: 5 minutes
  • Cooking Time: 20 minutes

Ingredients [serves 6-8 people]

  • 6 pears (if you’re less-hungry people, you can use less)
  • 1 1/3 cup ricotta
  • 1 1/2 tbsp cinnamon
  • 2 tbsp agave nectar (or honey)
  • 1 1/2 tbsp vanilla extract

Directions

  • Pre-heat oven to 325 degrees
  • Wash the pears and cut them into halves
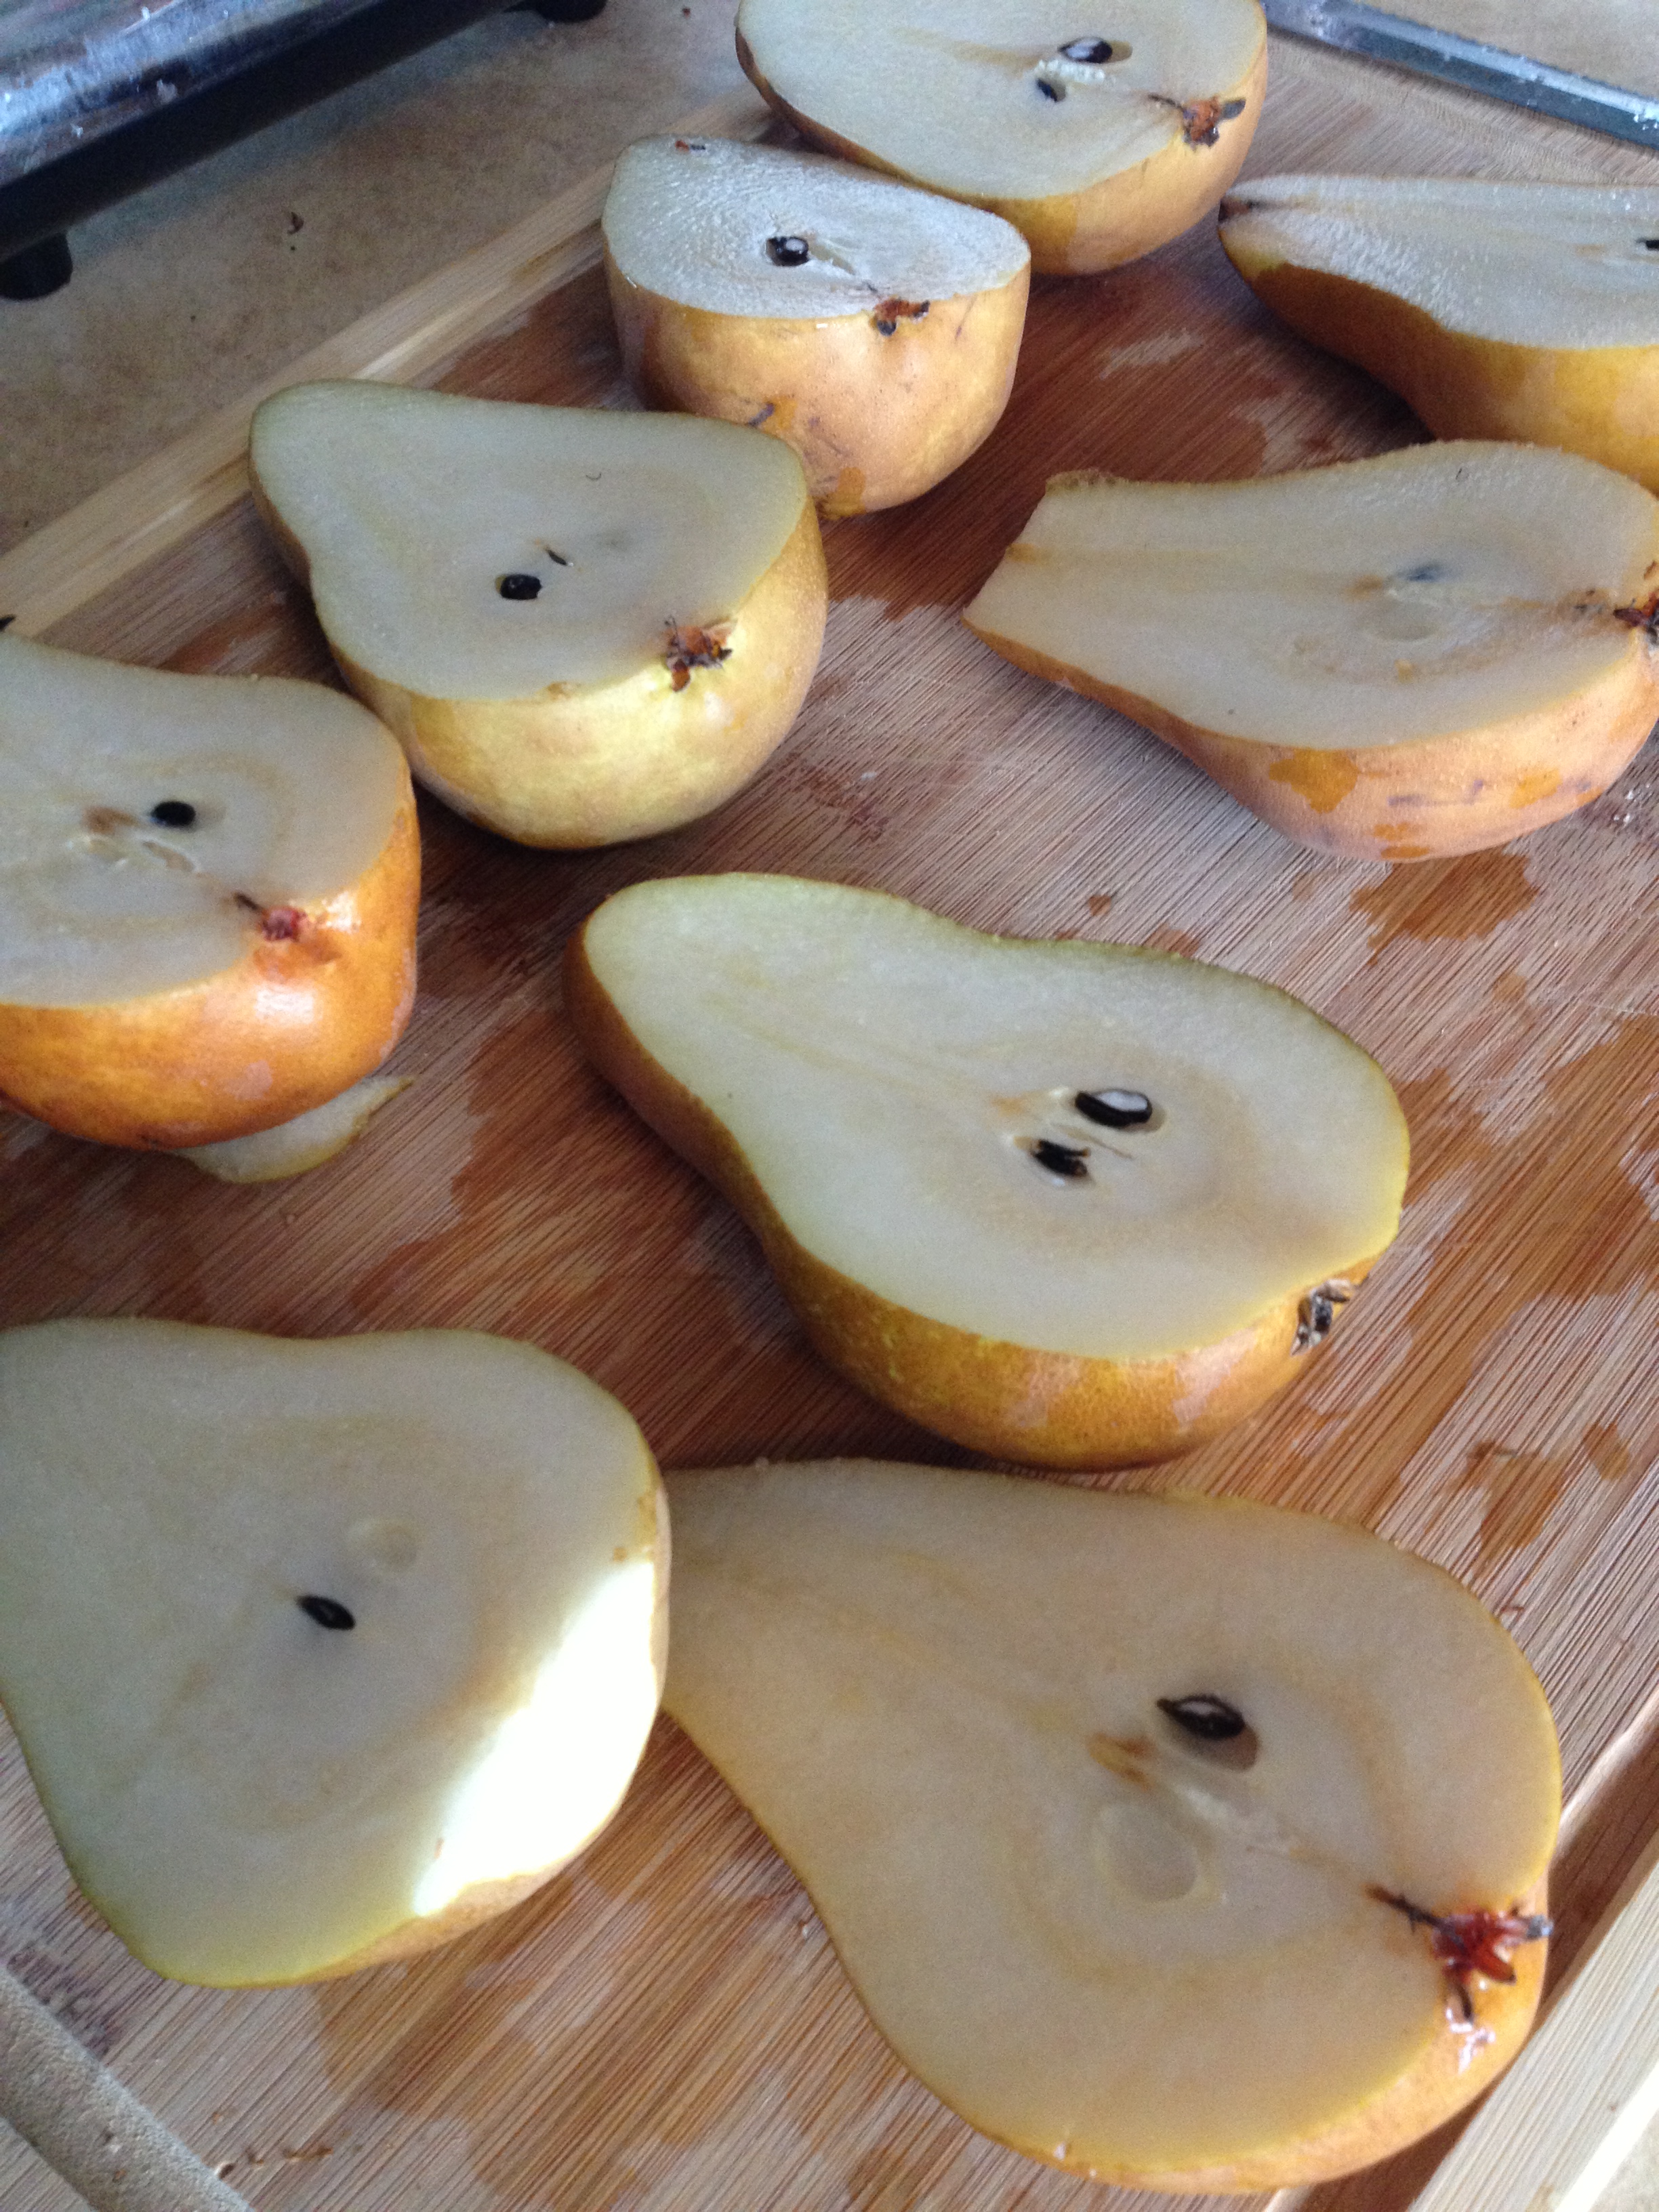
photo (15)

  • Scoop out the seeds and most of the middle
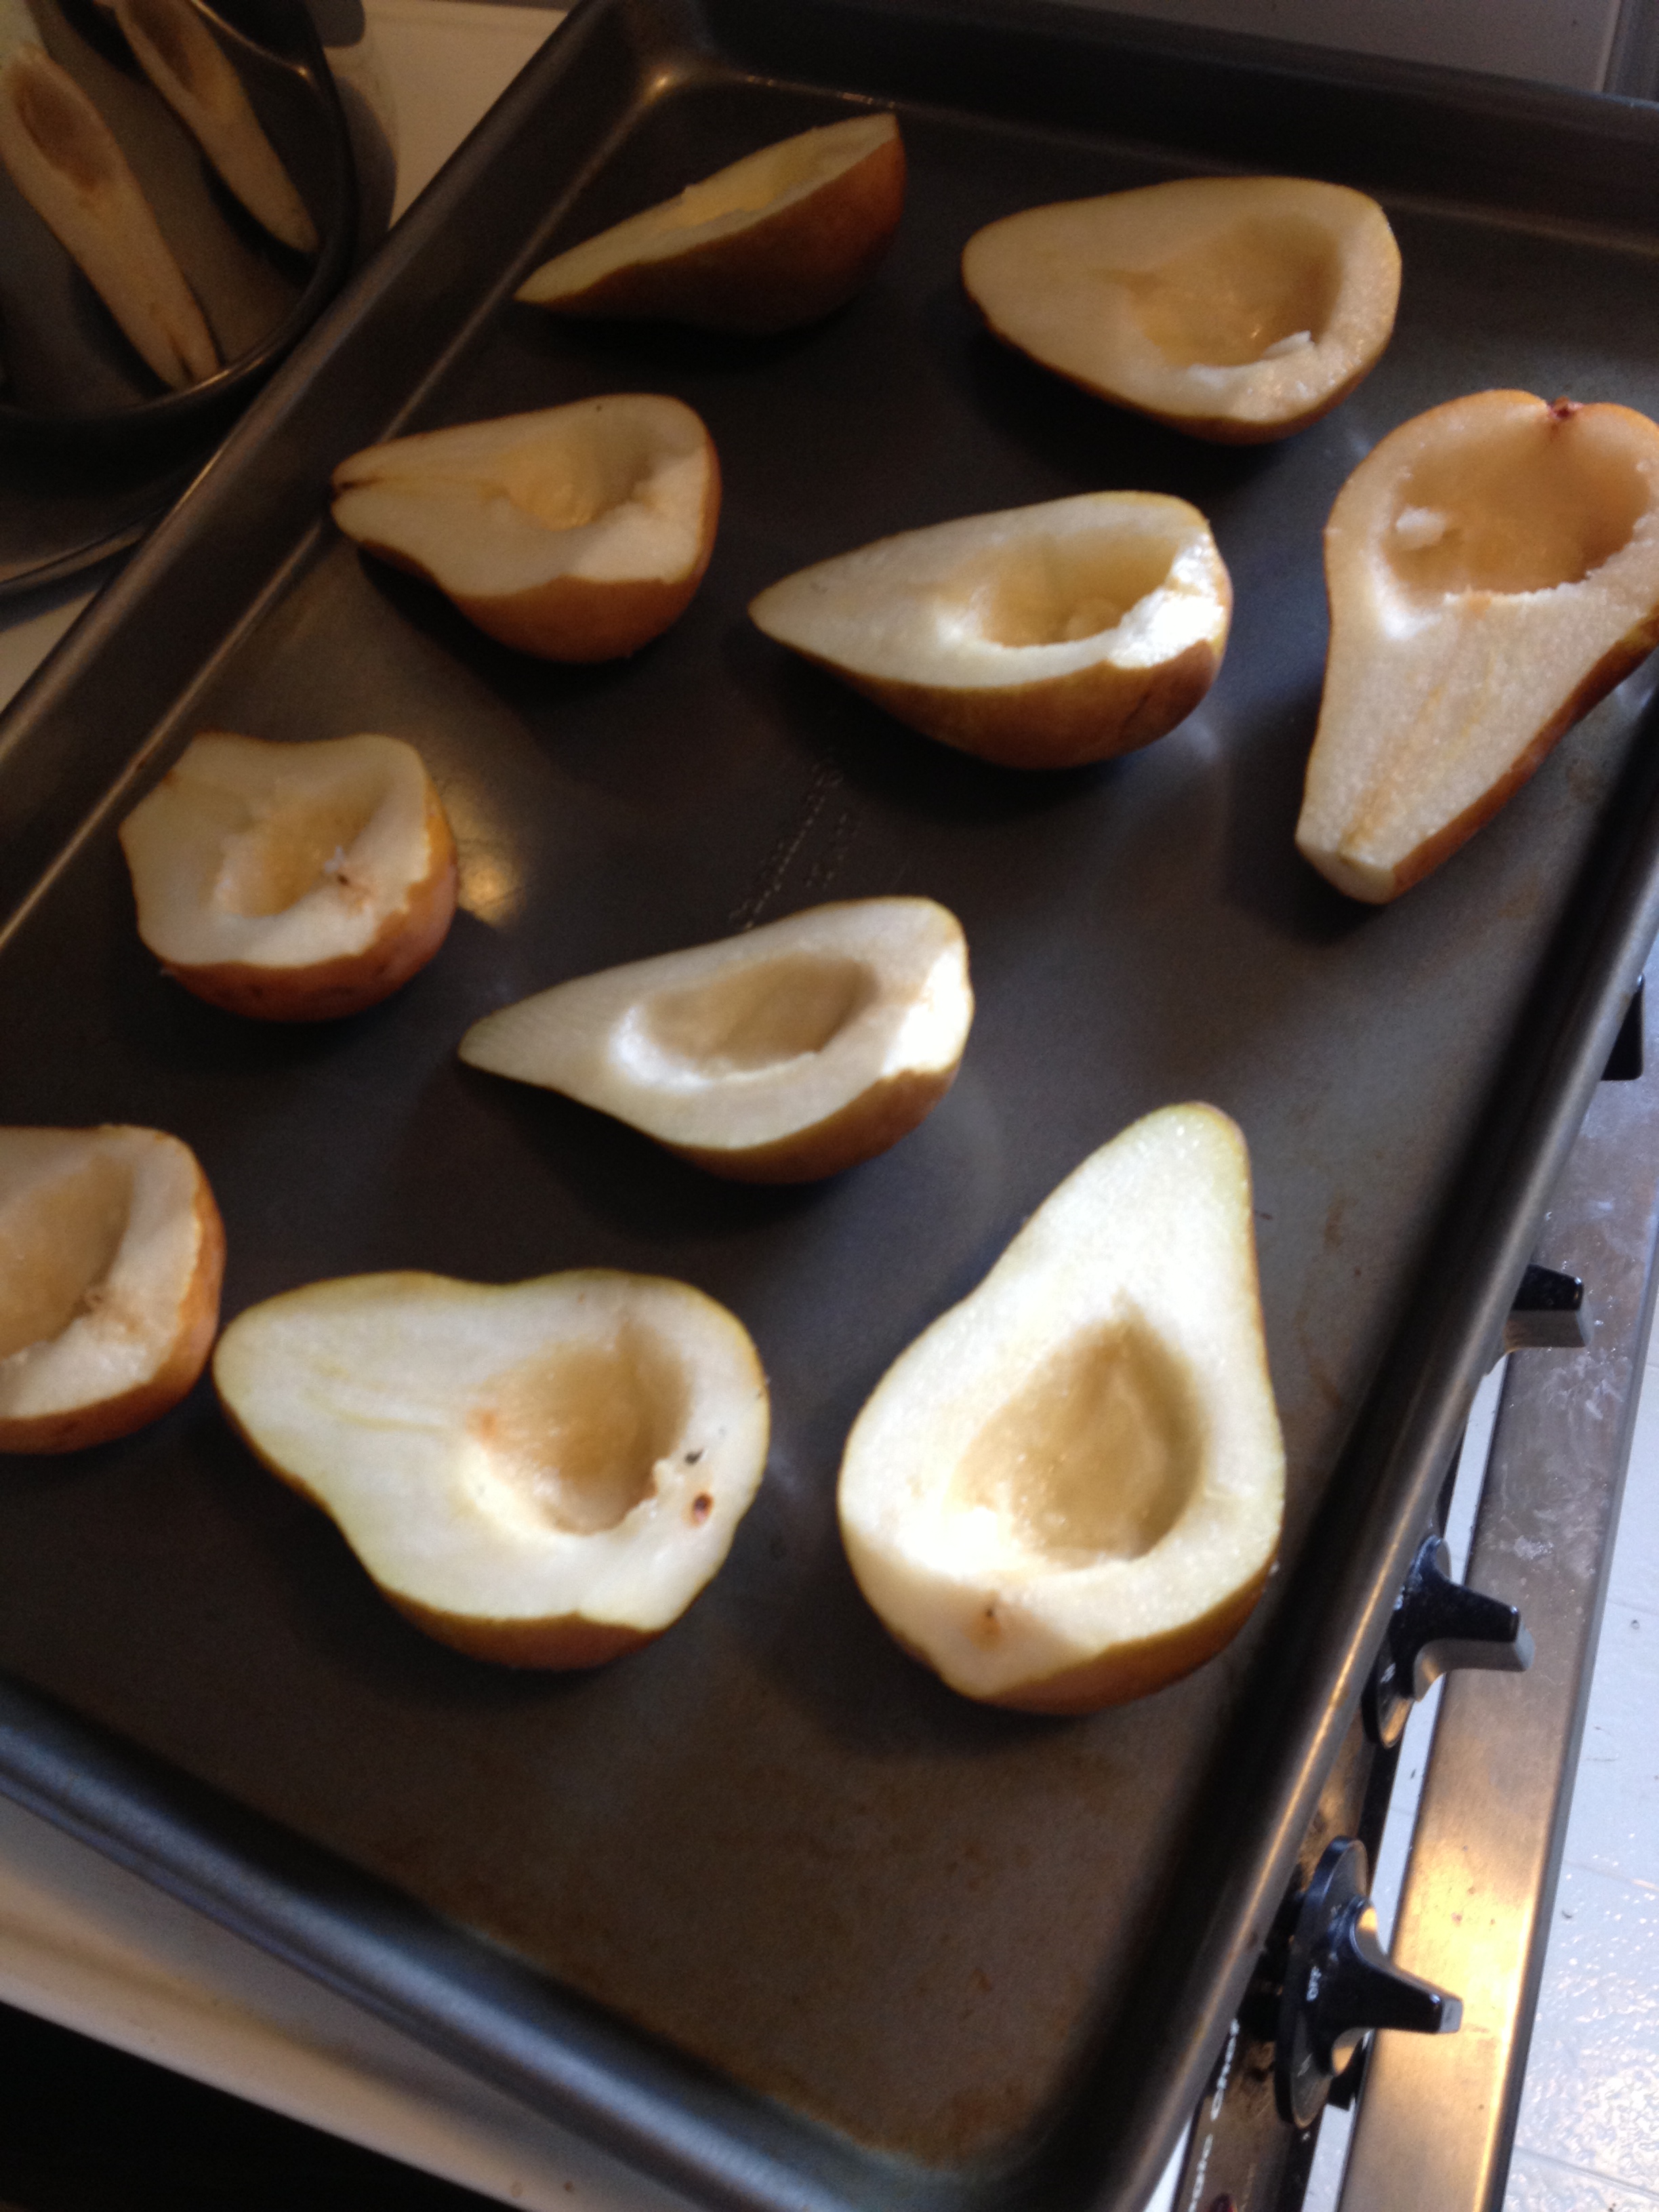
photo (20)

  • Put the pears on a baking sheet (no oil required) and put in the oven for 20 minutes
  • Let’s now turn our focus to the mixture. Put all the other ingredients (ricotta, vanilla extract, cinnamon, and agave/honey) into a small-medium bowl and mix! Feel free to taste
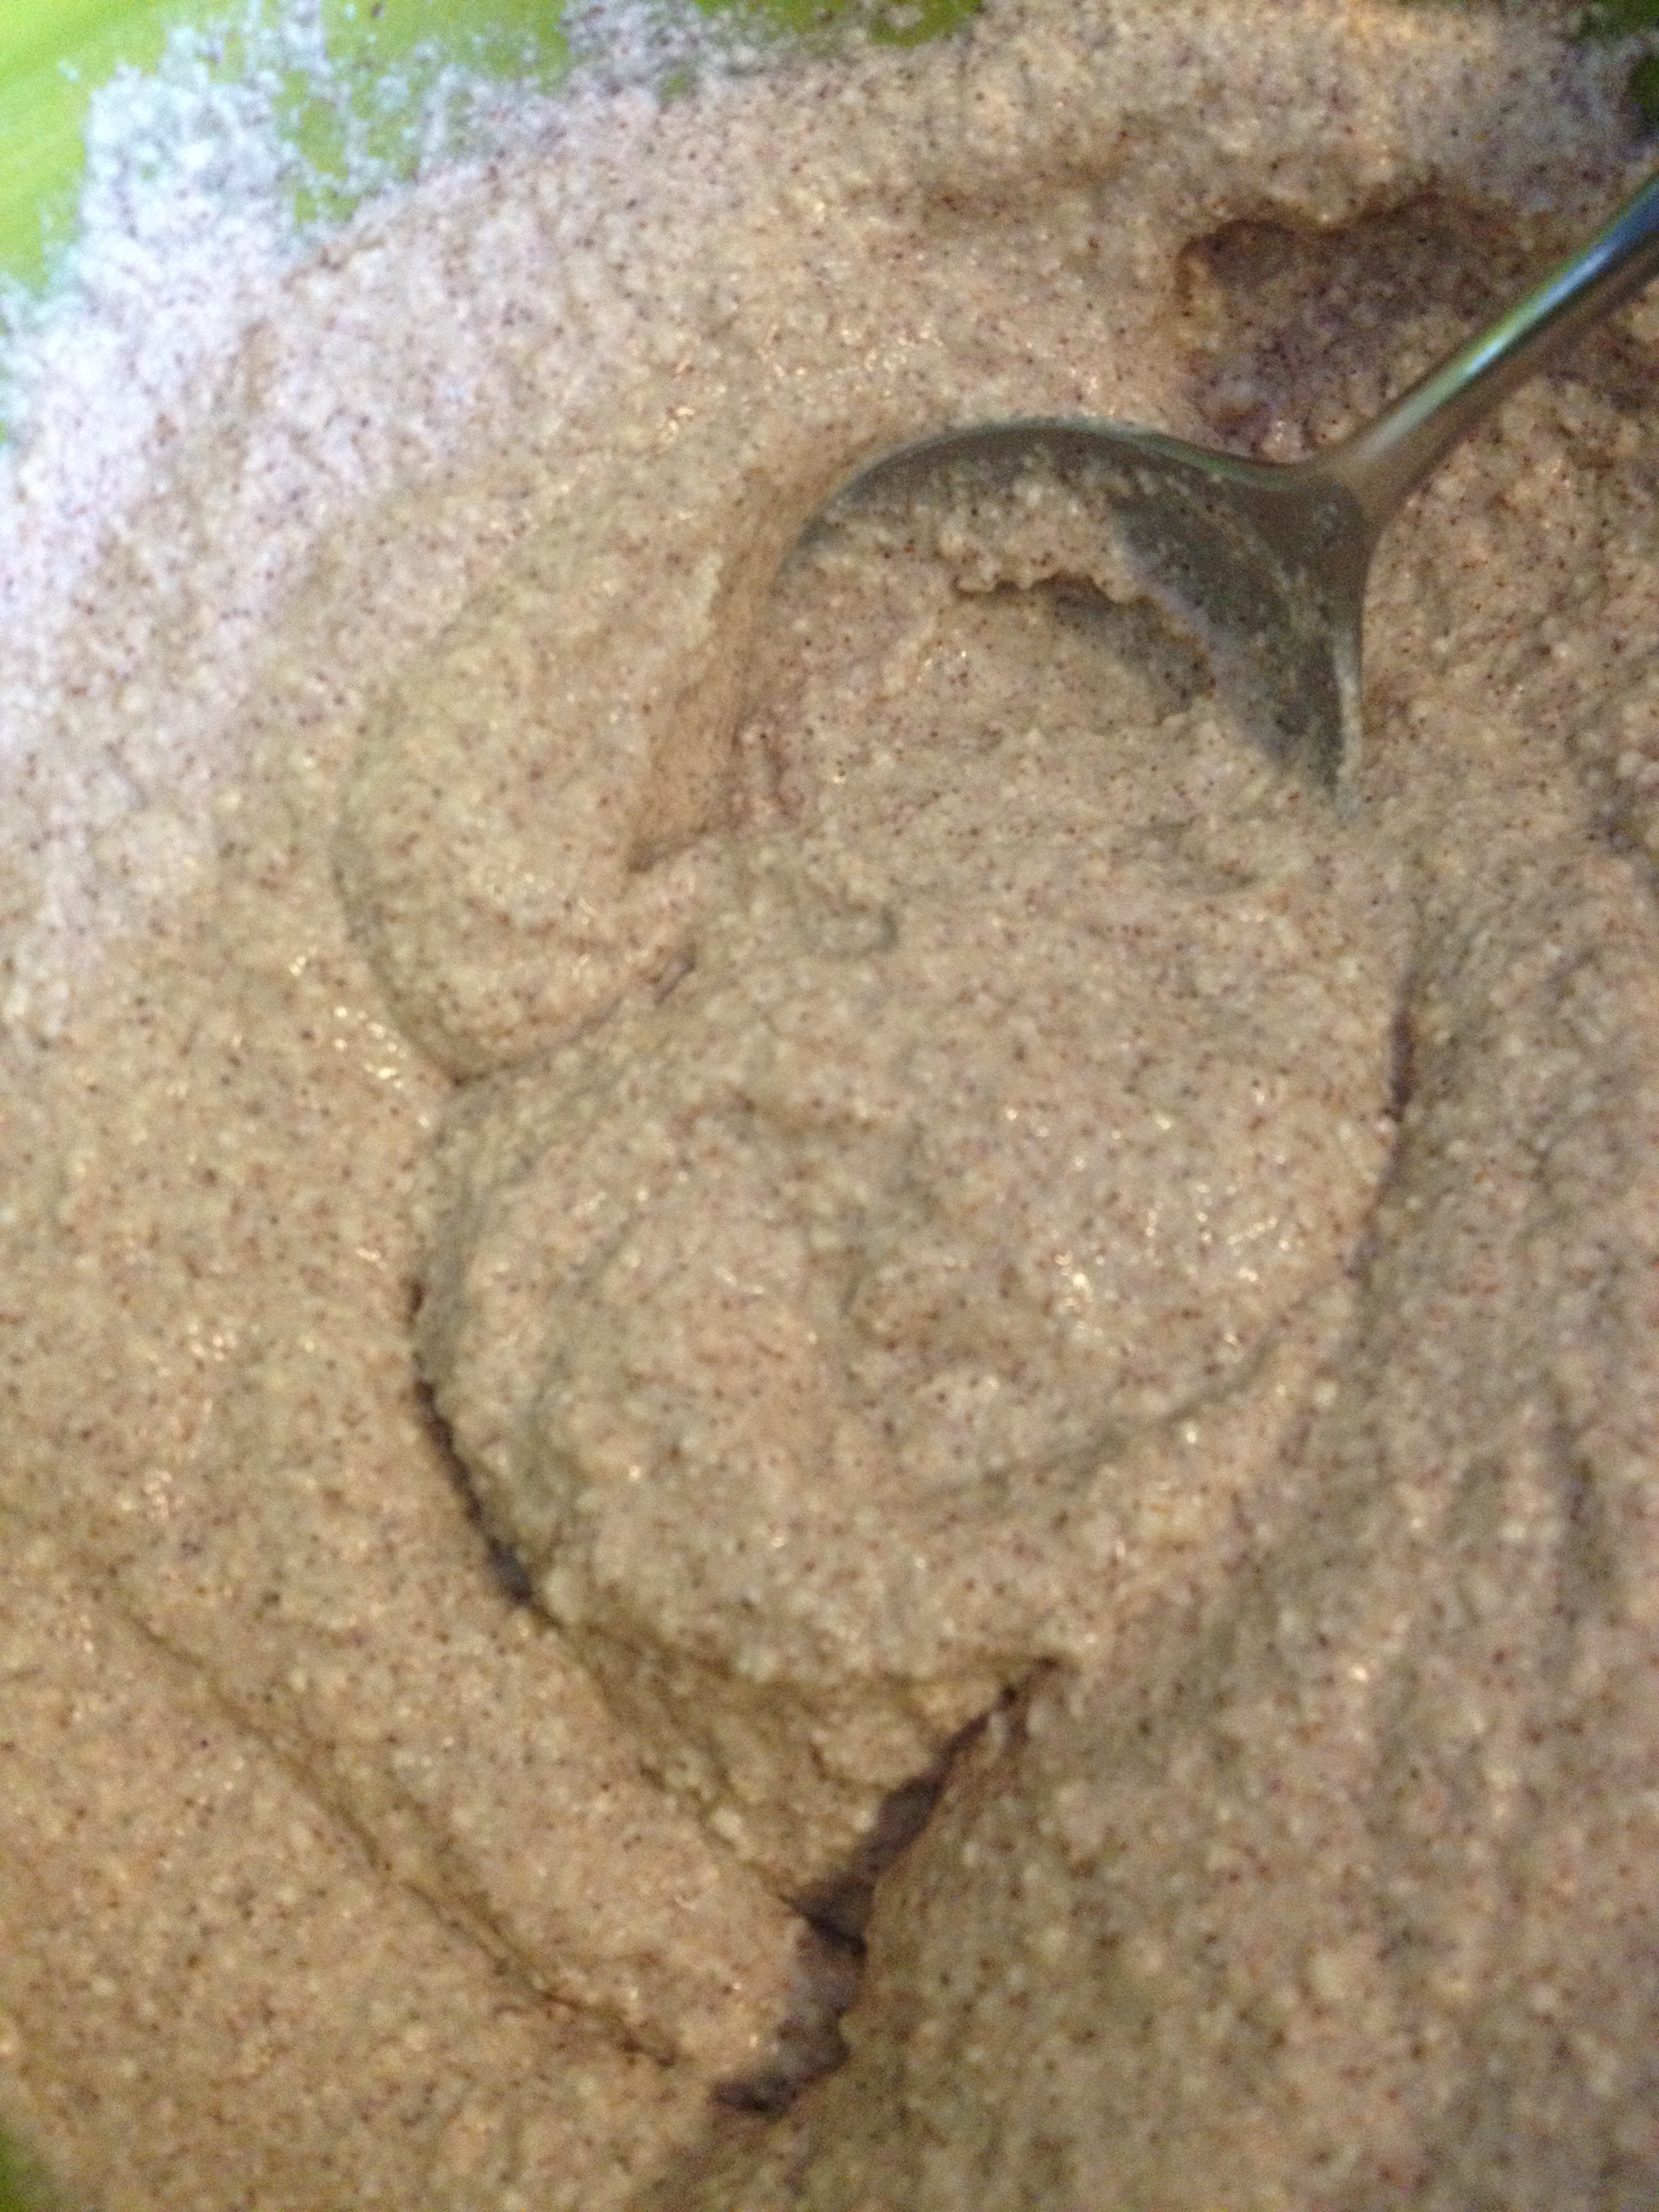
photo (23)

  • Put the mixture into the fridge to chill until you serve.
  • Take out the pears from the oven after 20 minutes
  • When ready to serve, put dollops of mixture in the hollowed part of the pears!

photo (26)

And that’s IT! Seriously amazing, delicious, and you don’t feel bad eating it because there isn’t any crap in it. This is a recipe I will be frequenting. I whipped it up very quickly after a gym session before we went to a friend’s house for dinner–it’s amazingly simple for how delicious it is. Enjoy!

BONUS KITTY PIC

Someone's sleepy...

Someone’s sleepy…

spacer

Jodi Boylan’s Amazing Irish Soda Bread

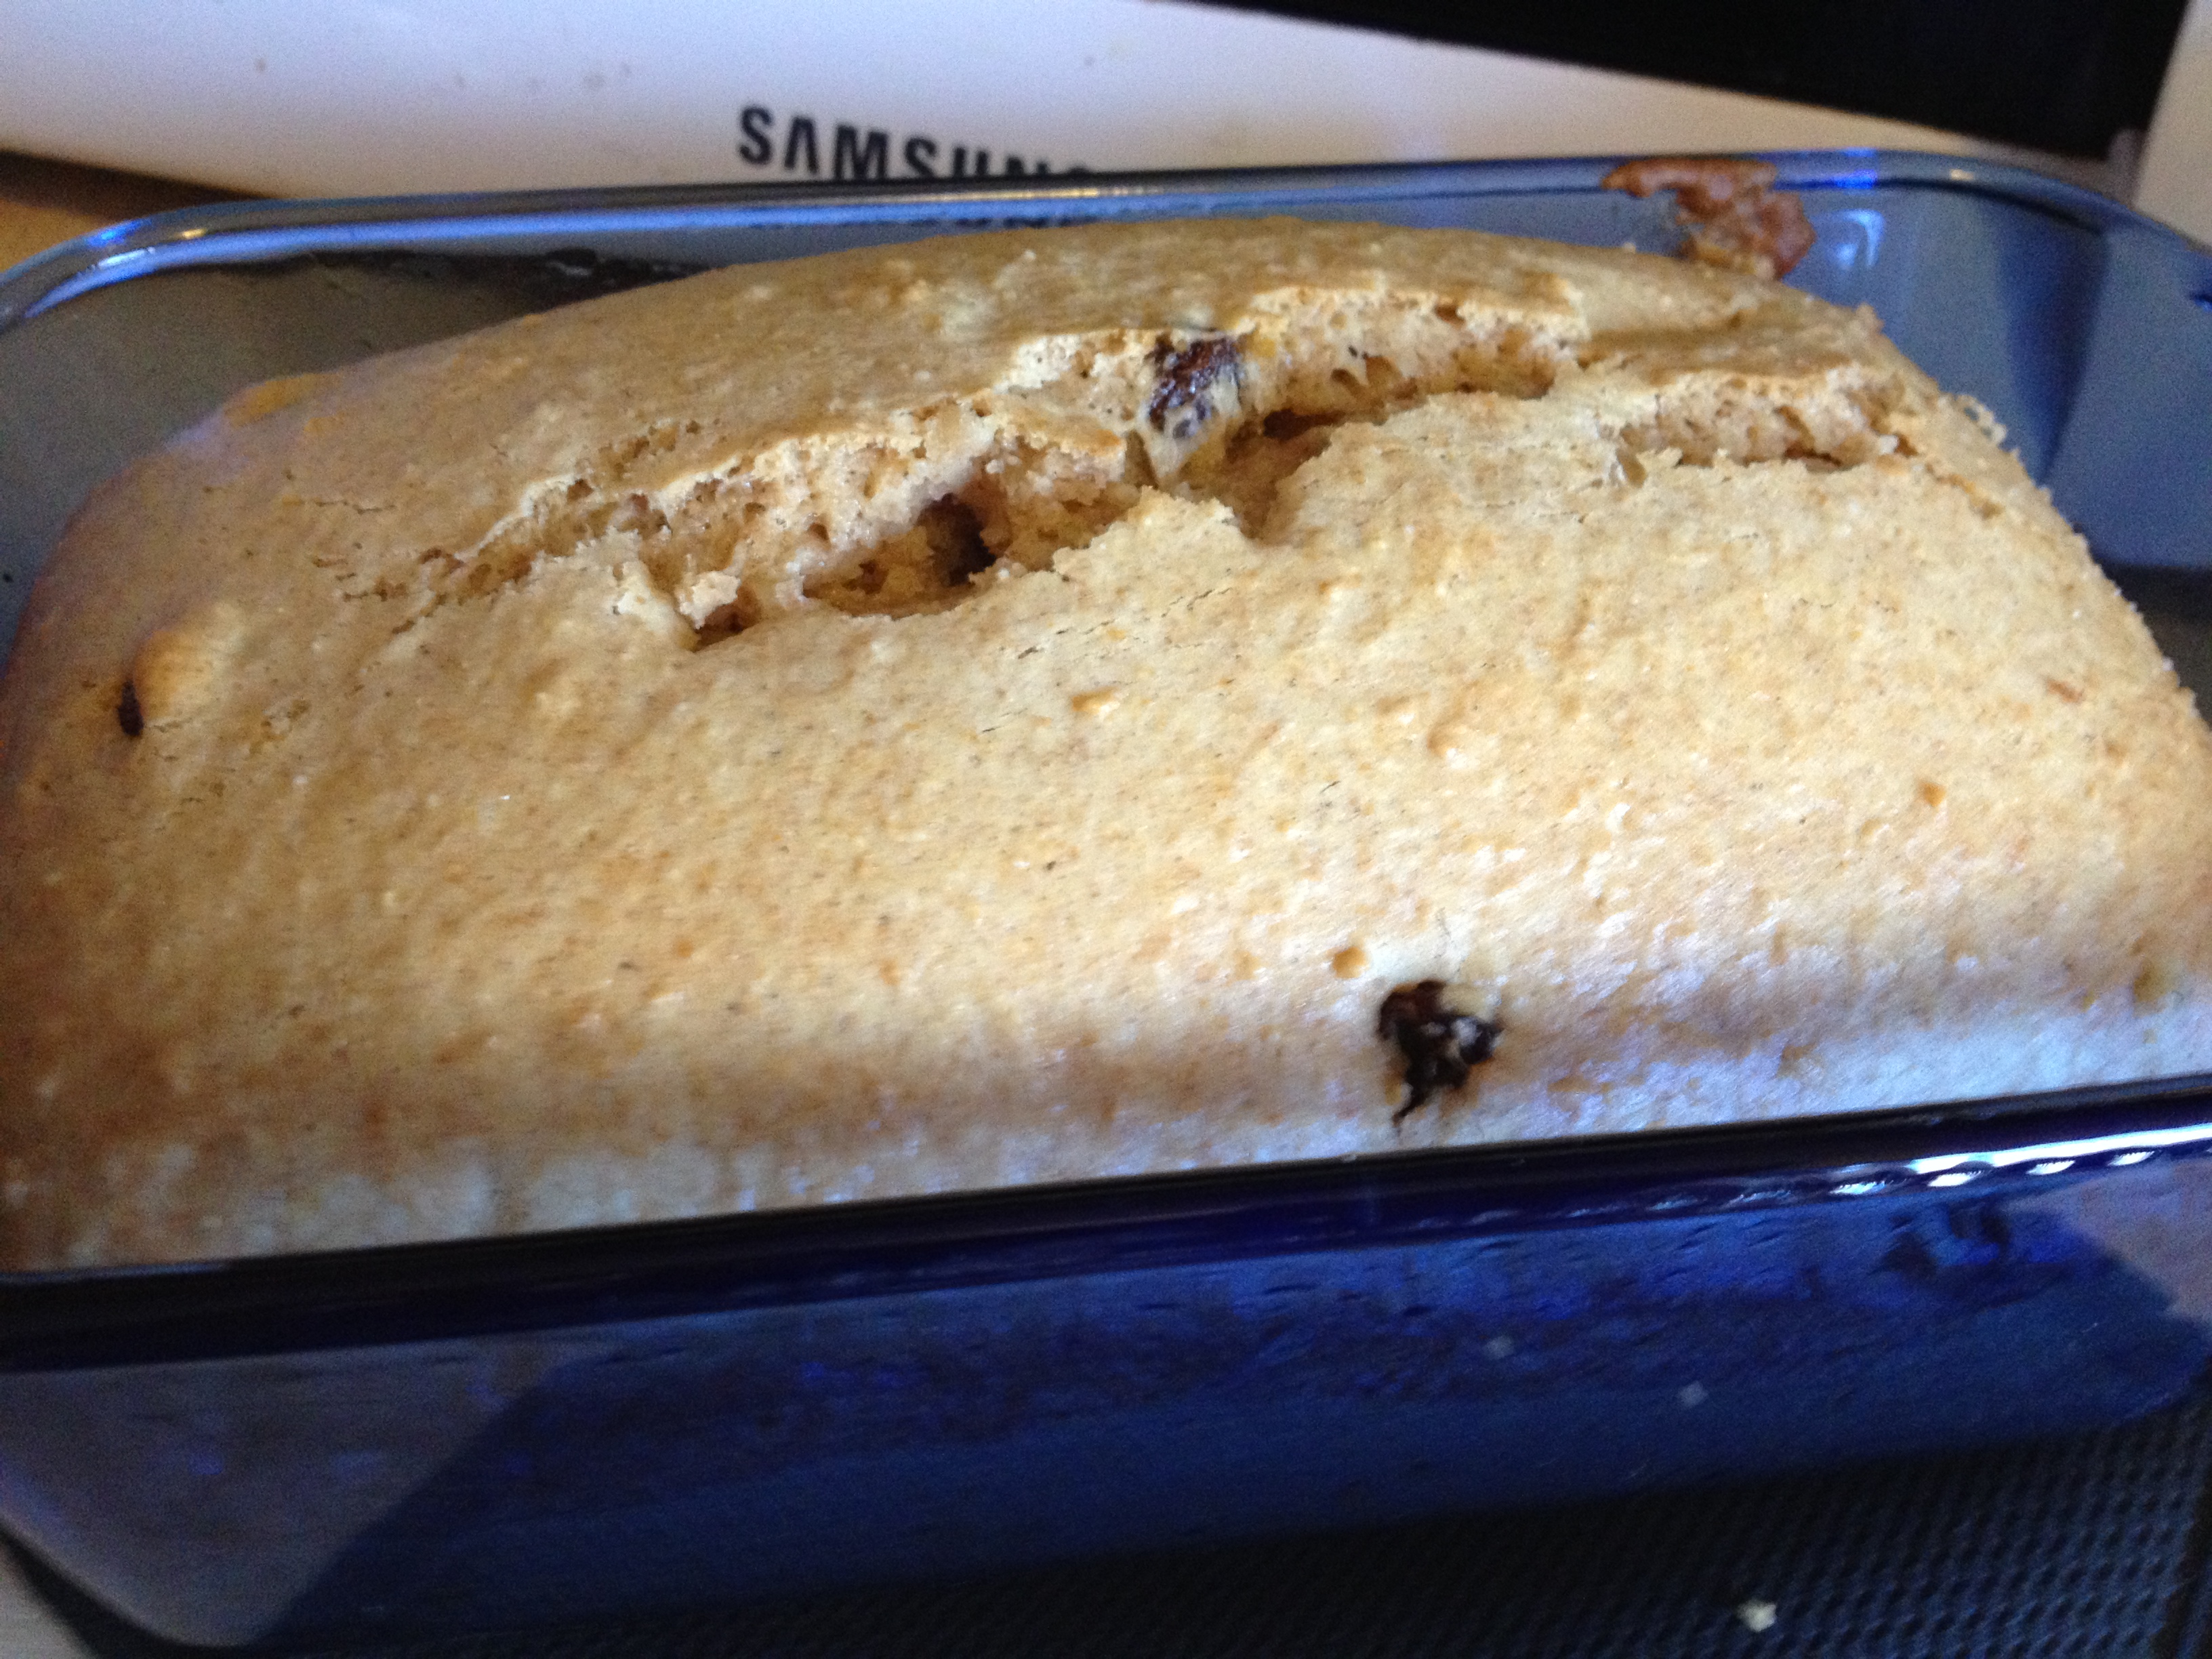
So, yes, this is going to come back to Mary Kate again. You probably think I’m obsessed with her…which I kinda am, but it’s cool. Mary Kate and her family really brought me into the Irish culture which I am now in love with so I’m very thankful to her for that. But I’m here to present Mary Kate’s mother’s (Jodi) amazing soda bread recipe. Last year I baked a soda bread (not her recipe) and it came out botched, so I was so so happy with this recipe and it came out beautifully this past Sunday. I take absolutely zero credit for this one, it is all Mary Kate’s mom. Try it out–you will definitely want to save this one!

Jodi (or Joj) with Packie, one of her five children

Jodi (or Joj) with Packie, one of her five children

  • Prep Time: 12 minutes
  • Bake Time: 50-55 minutes

Ingredients

  • 2 cups flour [I used 1 cup whole wheat flour, 1 cup regular–Mary Kate’s idea, came out wonderfully]
  • 3/4 cup sugar
  • 1/2 stick butter [softened]
  • 1 egg
  • 3/4 cup buttermilk
  • 1/2 tsp baking soda
  • 1/4 cup raisins, craisins, chocolate chips [any of the extras you want to throw in]

Directions

  • Pre-heat the oven to 350 degrees
  • Grease up a bread pan
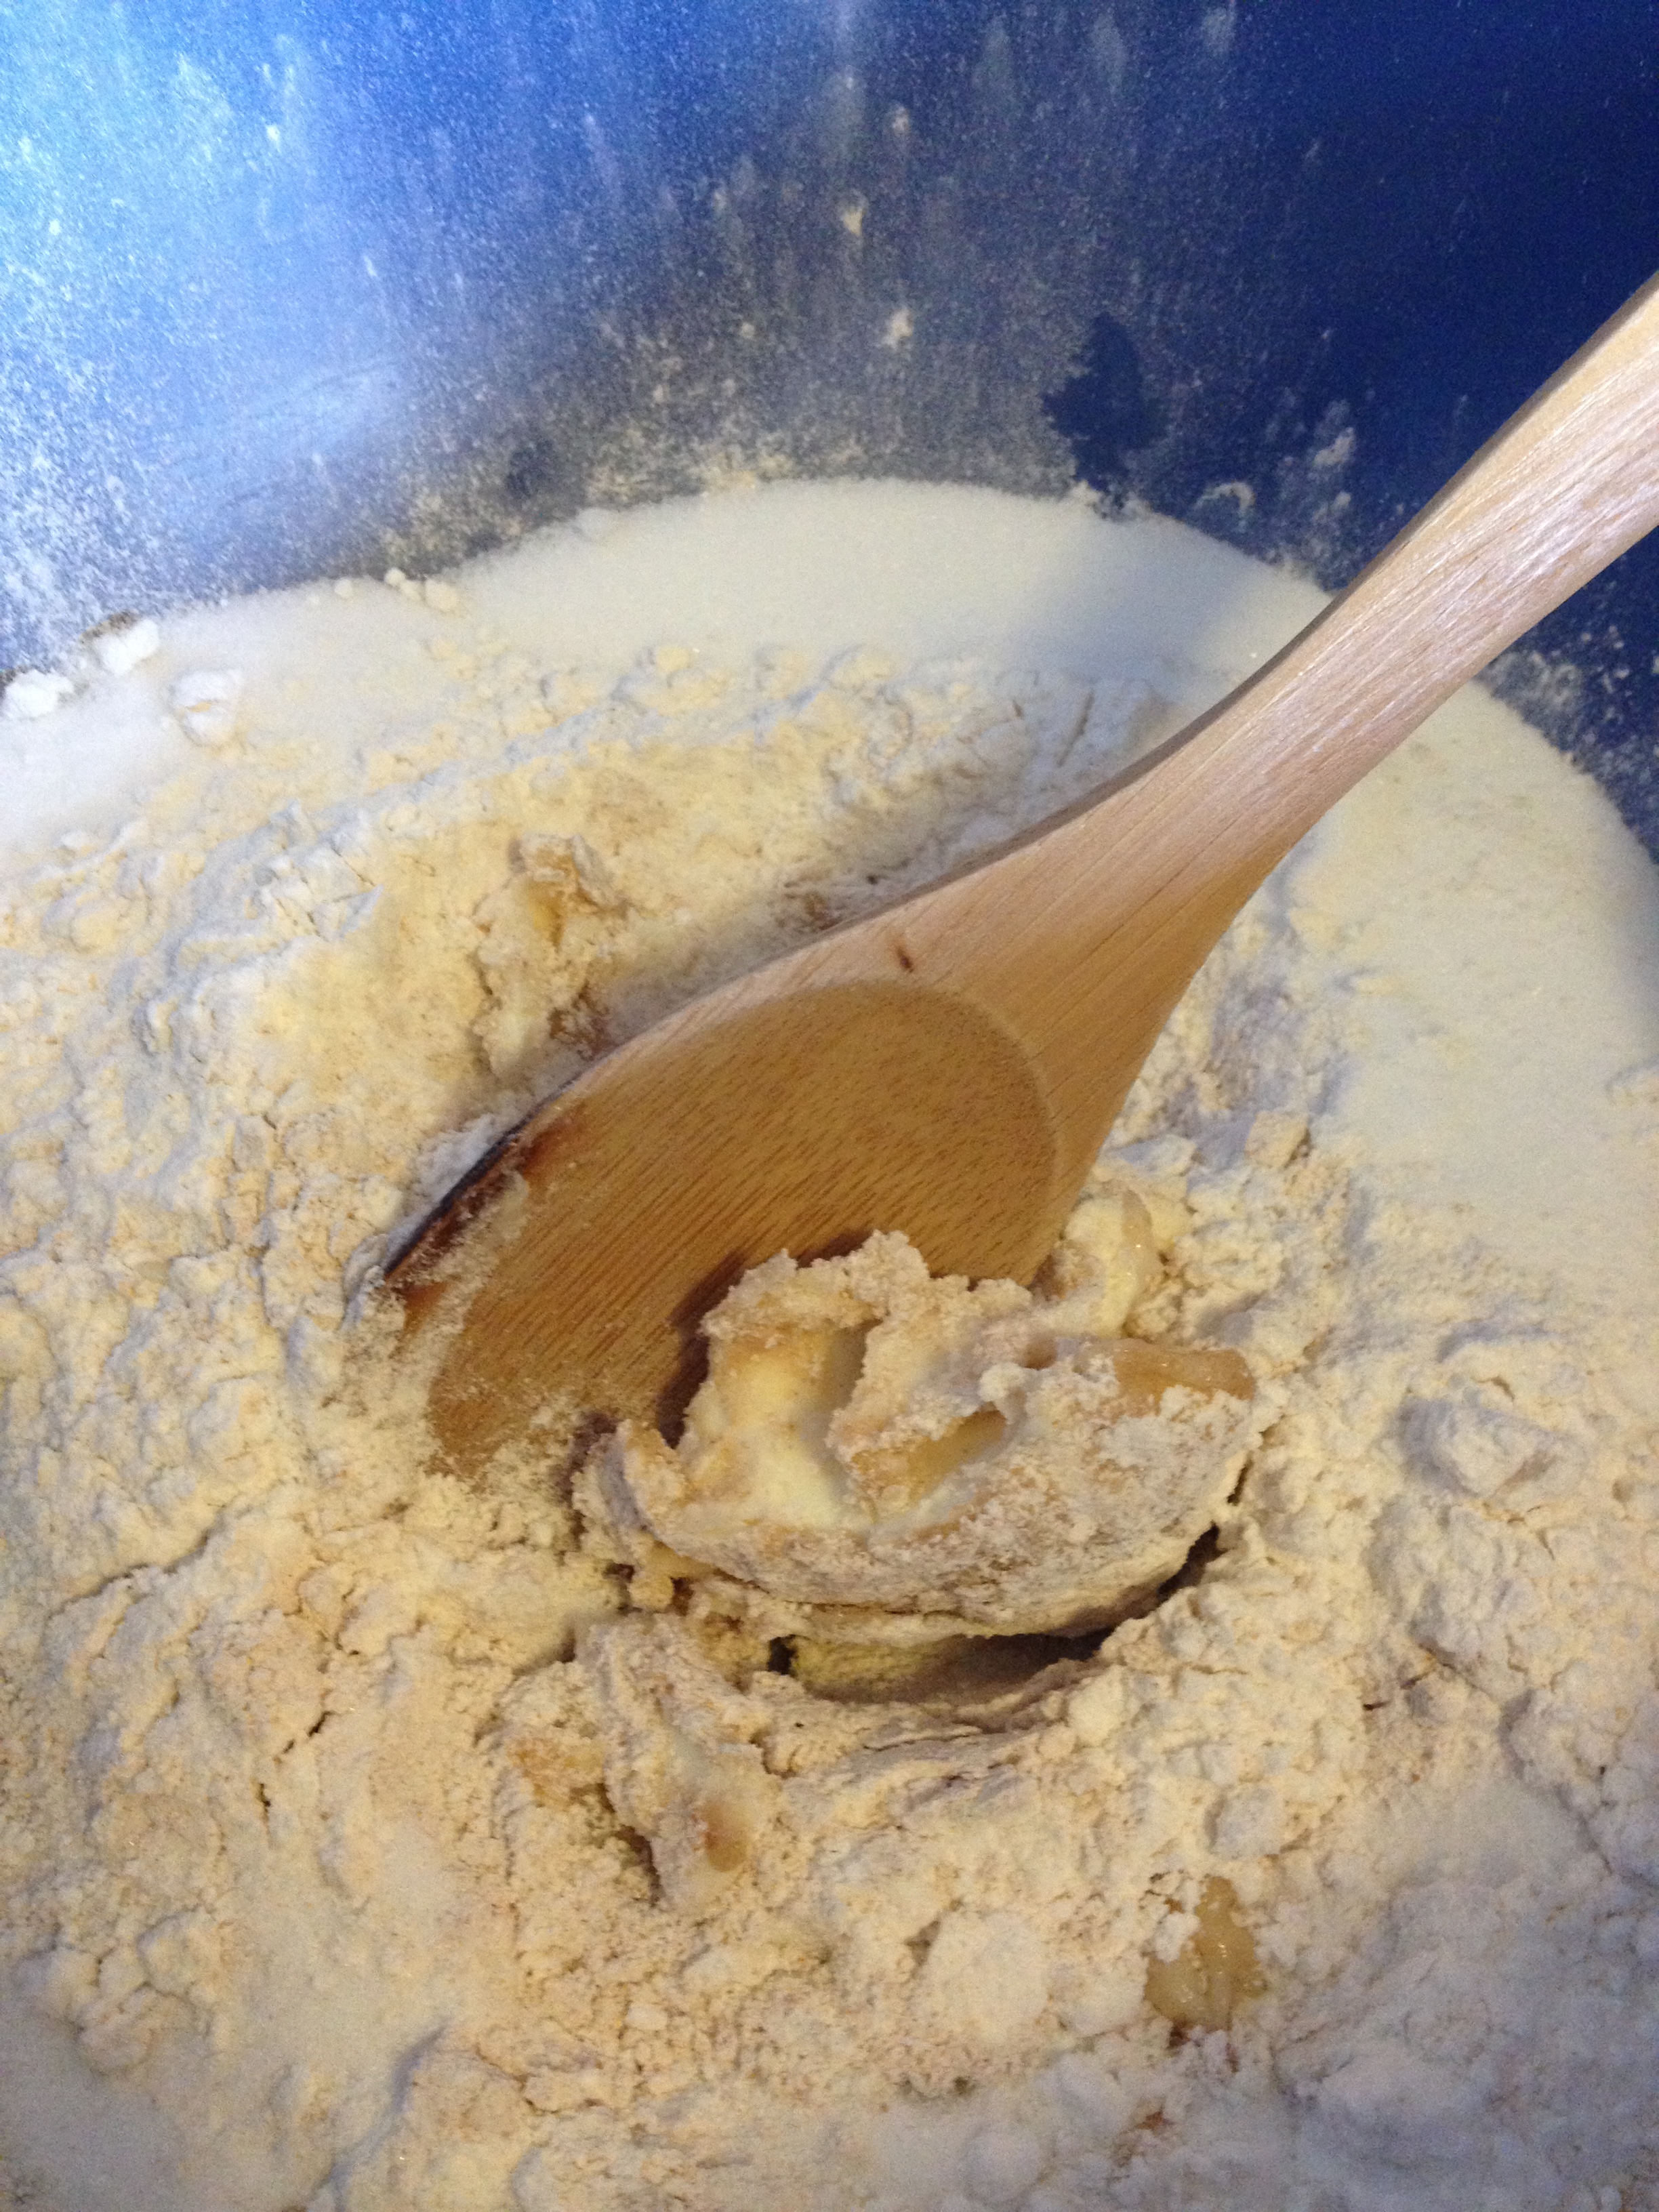
  • Mix the two flours, the sugar, and the butter together in a medium or large-sized bowl

IMG_3345

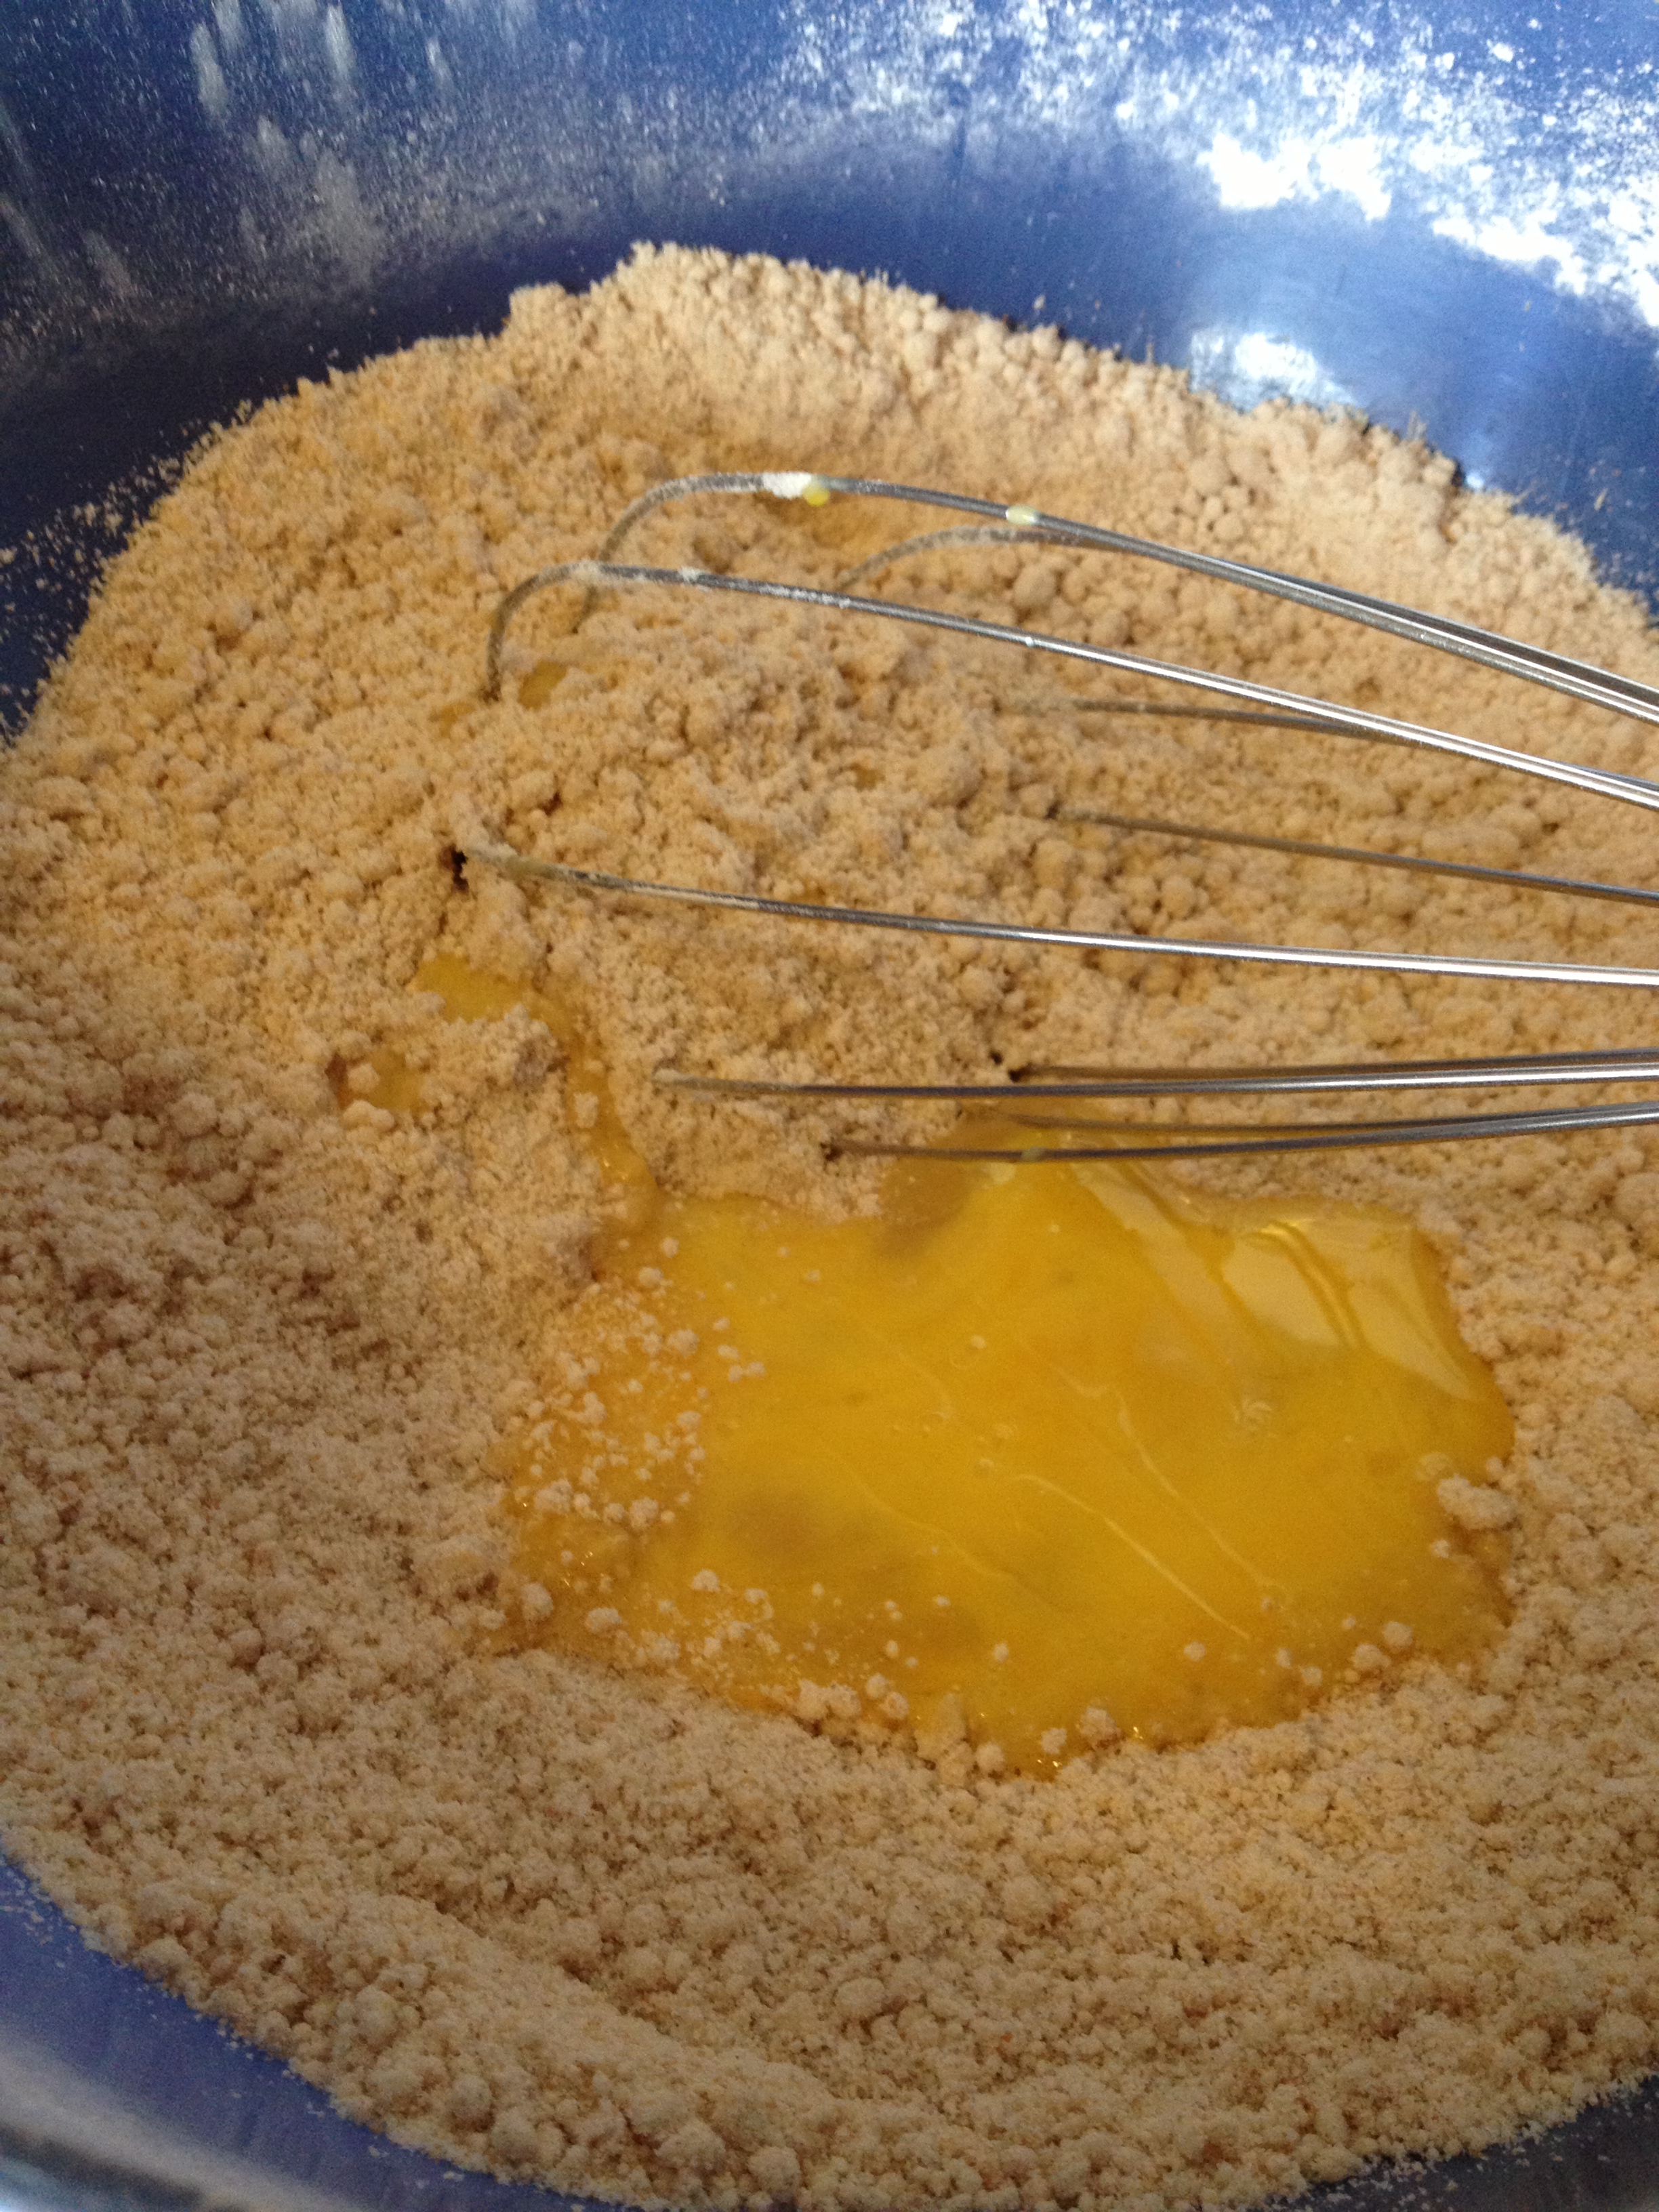
  • Beat the egg and then put it into the flour/sugar/butter mixture

IMG_3346

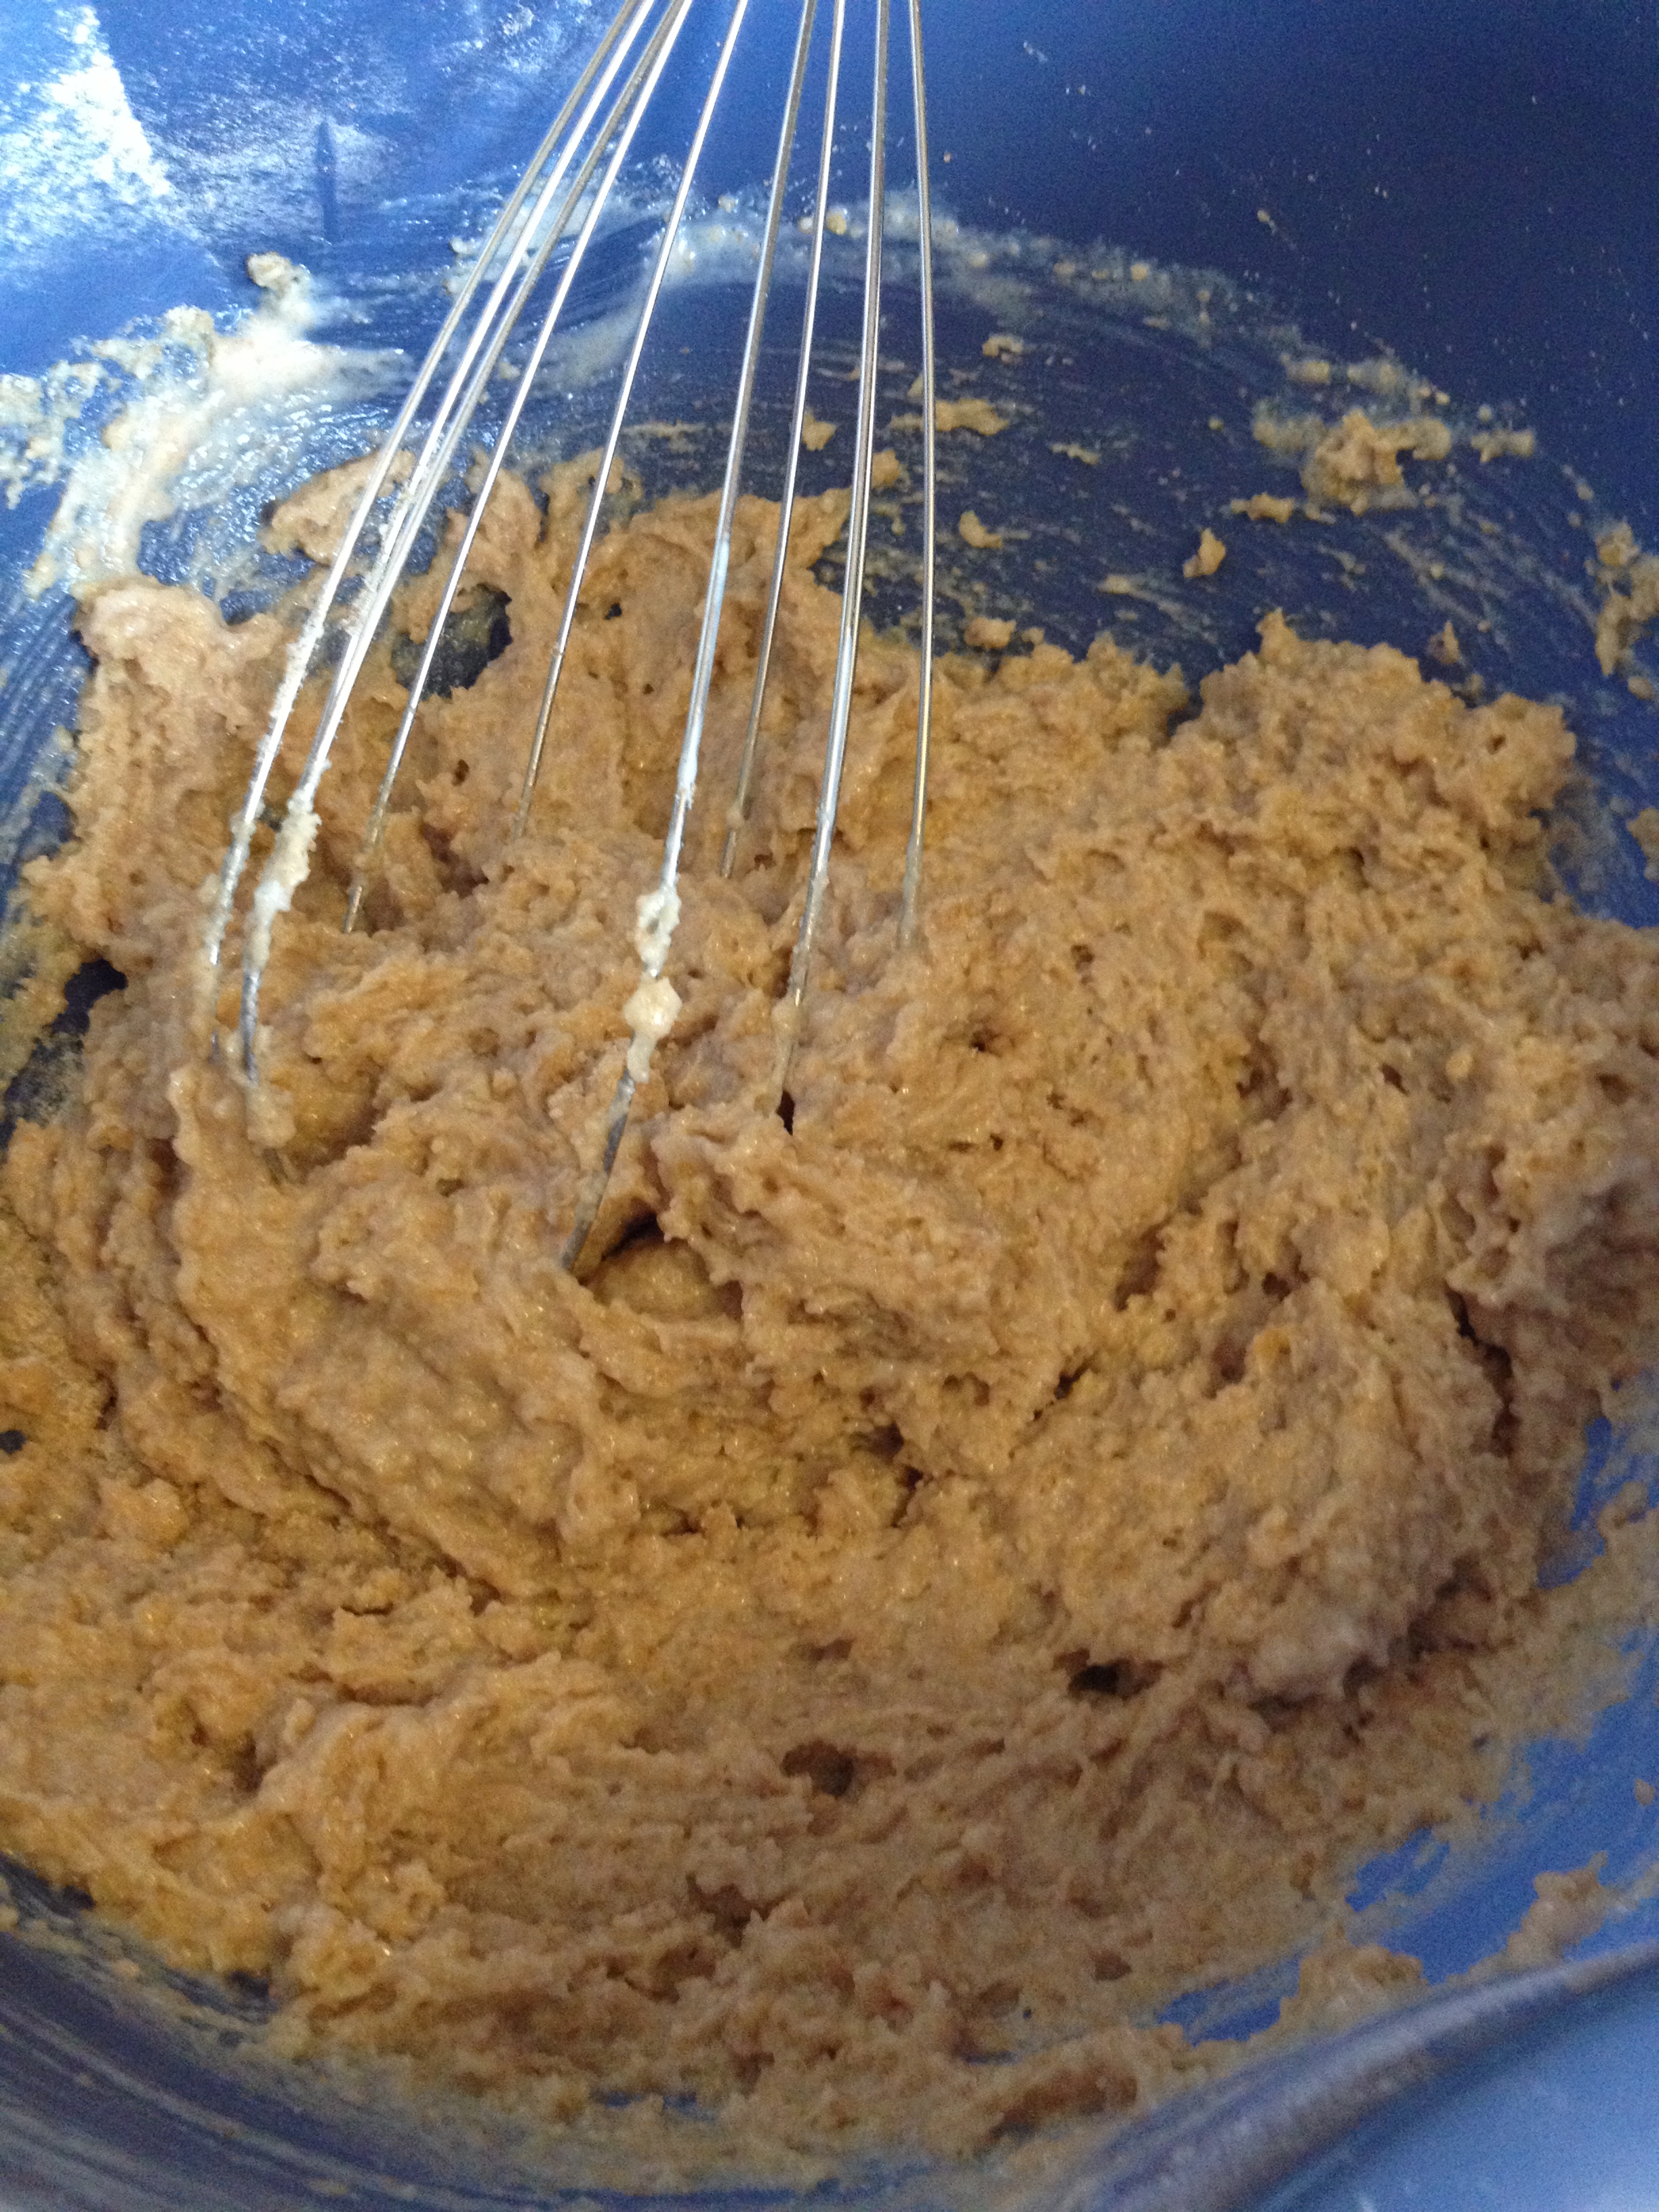
  • Pour in the buttermilk
  • Add the baking soda

IMG_3347

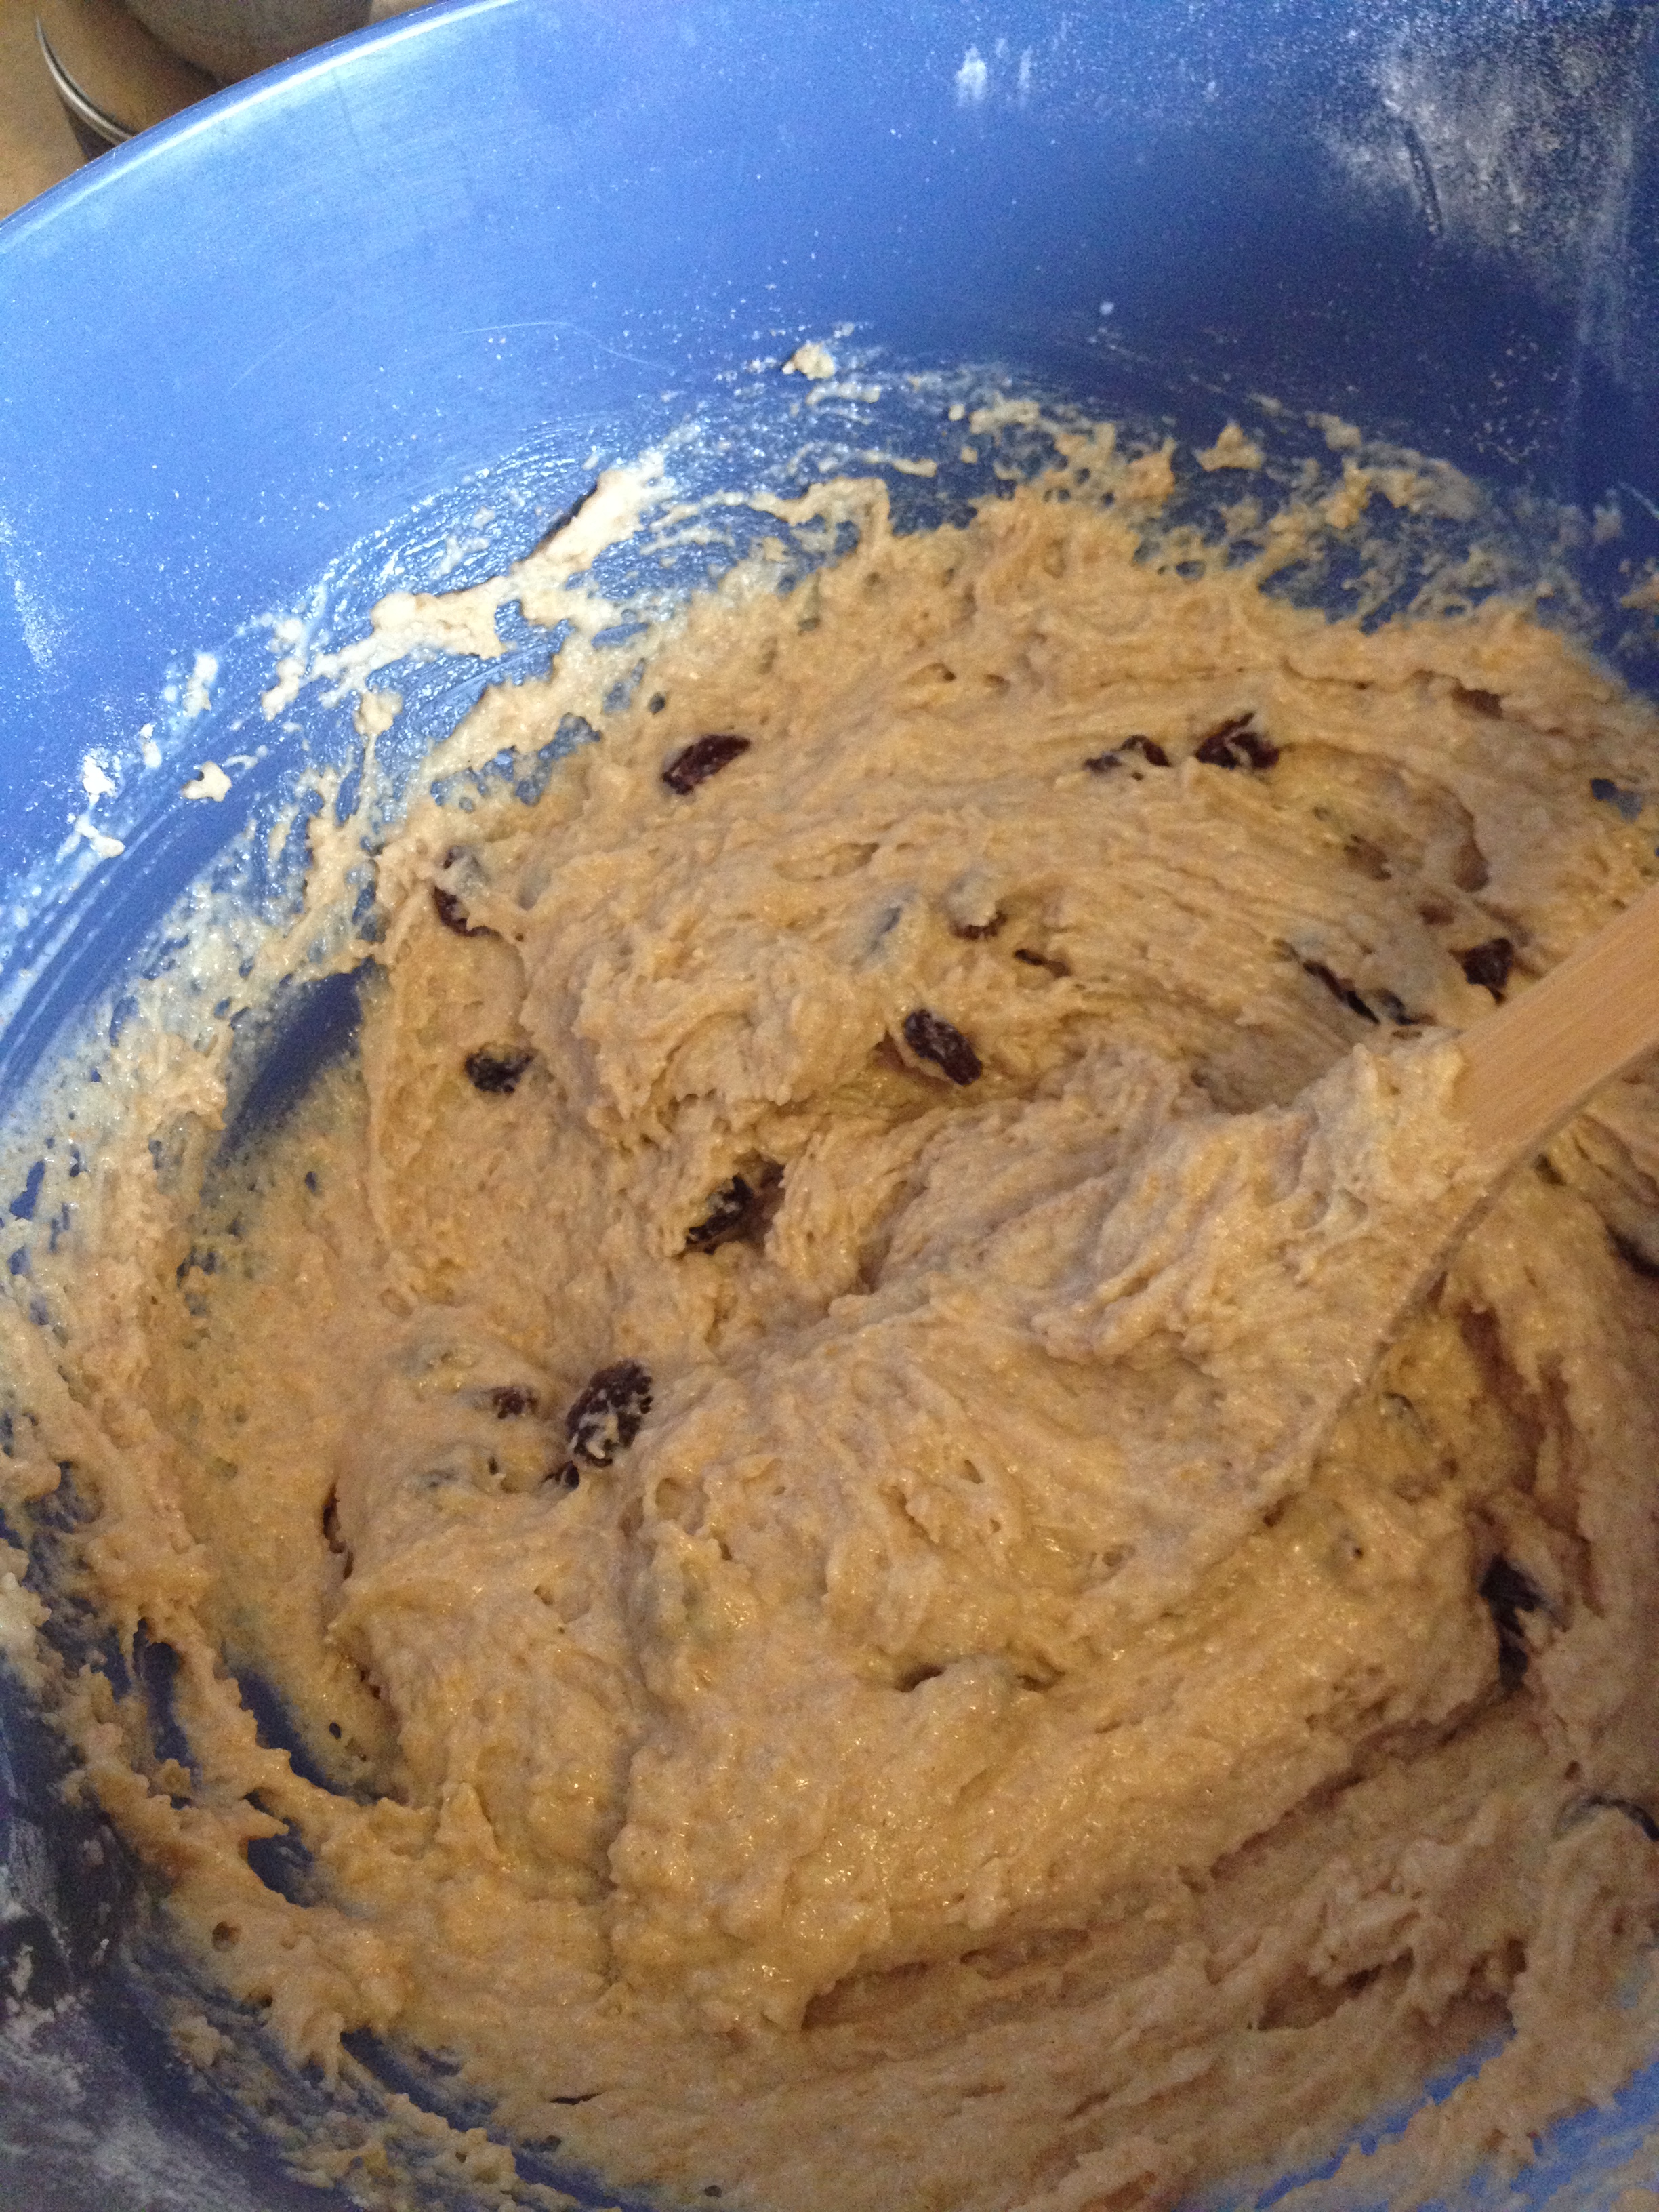
  • Now fold or throw in any of the additives that you want. For my case, I just used raisins. I didn’t exactly just to 1/4 cup, I just sprinkled them on as I folded them in so that there were plenty spread out

IMG_3349

  • Gently pour and spread into the bread pan, making sure it is even so it rises properly

IMG_3350

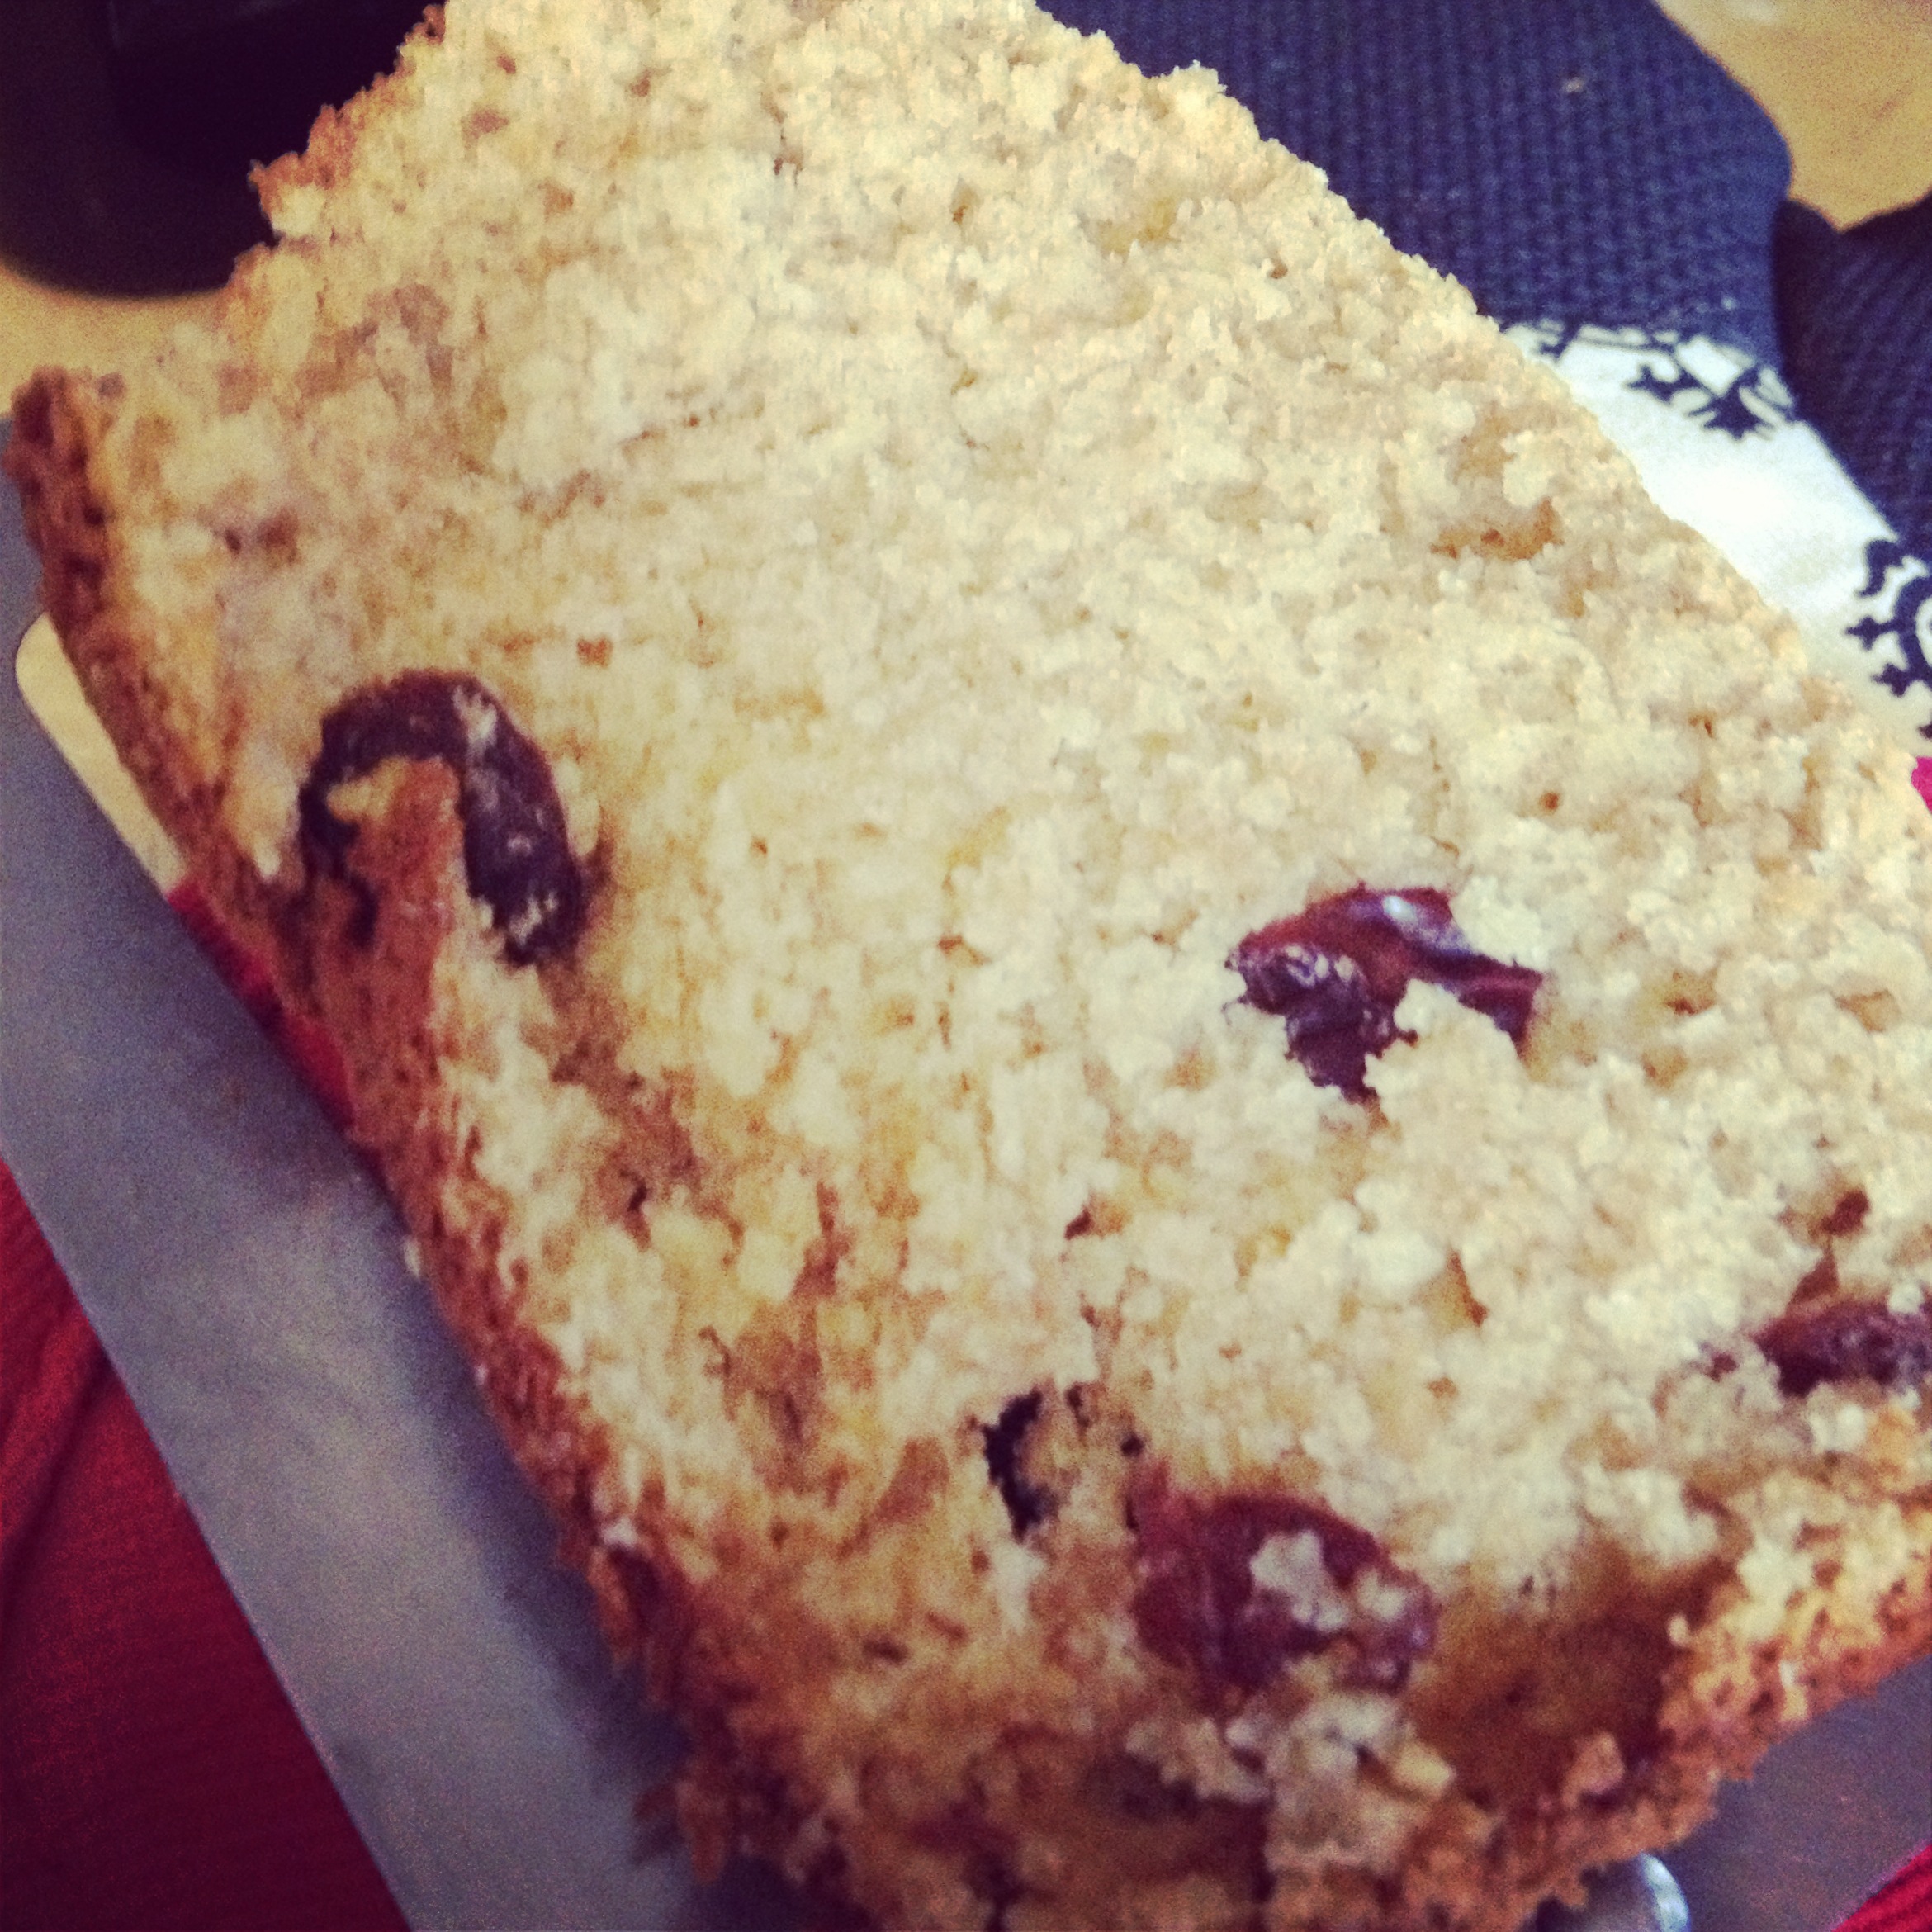
  • Pop it into the oven (remember 350 degrees) and wait a dreadful tantalizing 50-55 minutes for it to bake.

IMG_3353

And there you have it. A simple recipe, but an absolutely scrumptious one. I found myself wanting more after Chris and I finished the leftover loaf that Monday. This delicious soda bread does not require St. Patty’s Day for it to be made, make it any day for a delicious, semi-healthy treat! Give your thanks to the wonderful, beautiful Jodi!! Cheers!

Yummm

Yummm

spacer

Happy St Patrick’s Day!

Top o’ the mornin’ to ya!

Alana getting into cooking/cleaning mode

Alana getting into cooking/cleaning mode


Yesterday we had the privilege of celebrating one of our favorite Americanized and distorted holidays. This year we were lucky enough to have it fall on a Sunday, so we decided to hold a little celebration since we are so far from our homes. I’ll try to make this brief because I’m still pretty full.
Kittens hoping for some scraps

Kittens hoping for some scraps

We woke up early and headed to do a few chores. Target for prescriptions, King Soopers for groceries, Marshall’s for another large pot, and Sprouts for produce. We already had corned beef from the day before. Five pounds of it… for three omnivores and four vegetarians. Whoops.
Our grocery trip

Our grocery trip

We cleaned the house and I threw the mixture of corned beef, cabbage, and potatoes (not telling you the secret recipe) around 11:00 a.m. We started eating at 3:30 p.m. Alana made a very good Irish soda bread with her friend’s mom’s authentic recipe AND a spinach-feta pie-like dish. We also had some good Irish cheddar cheese, jack, and cranberry goat cheese with matzoh. That’s right… straight from Jerusalem.
IMG_3335

Our tunes for the day…
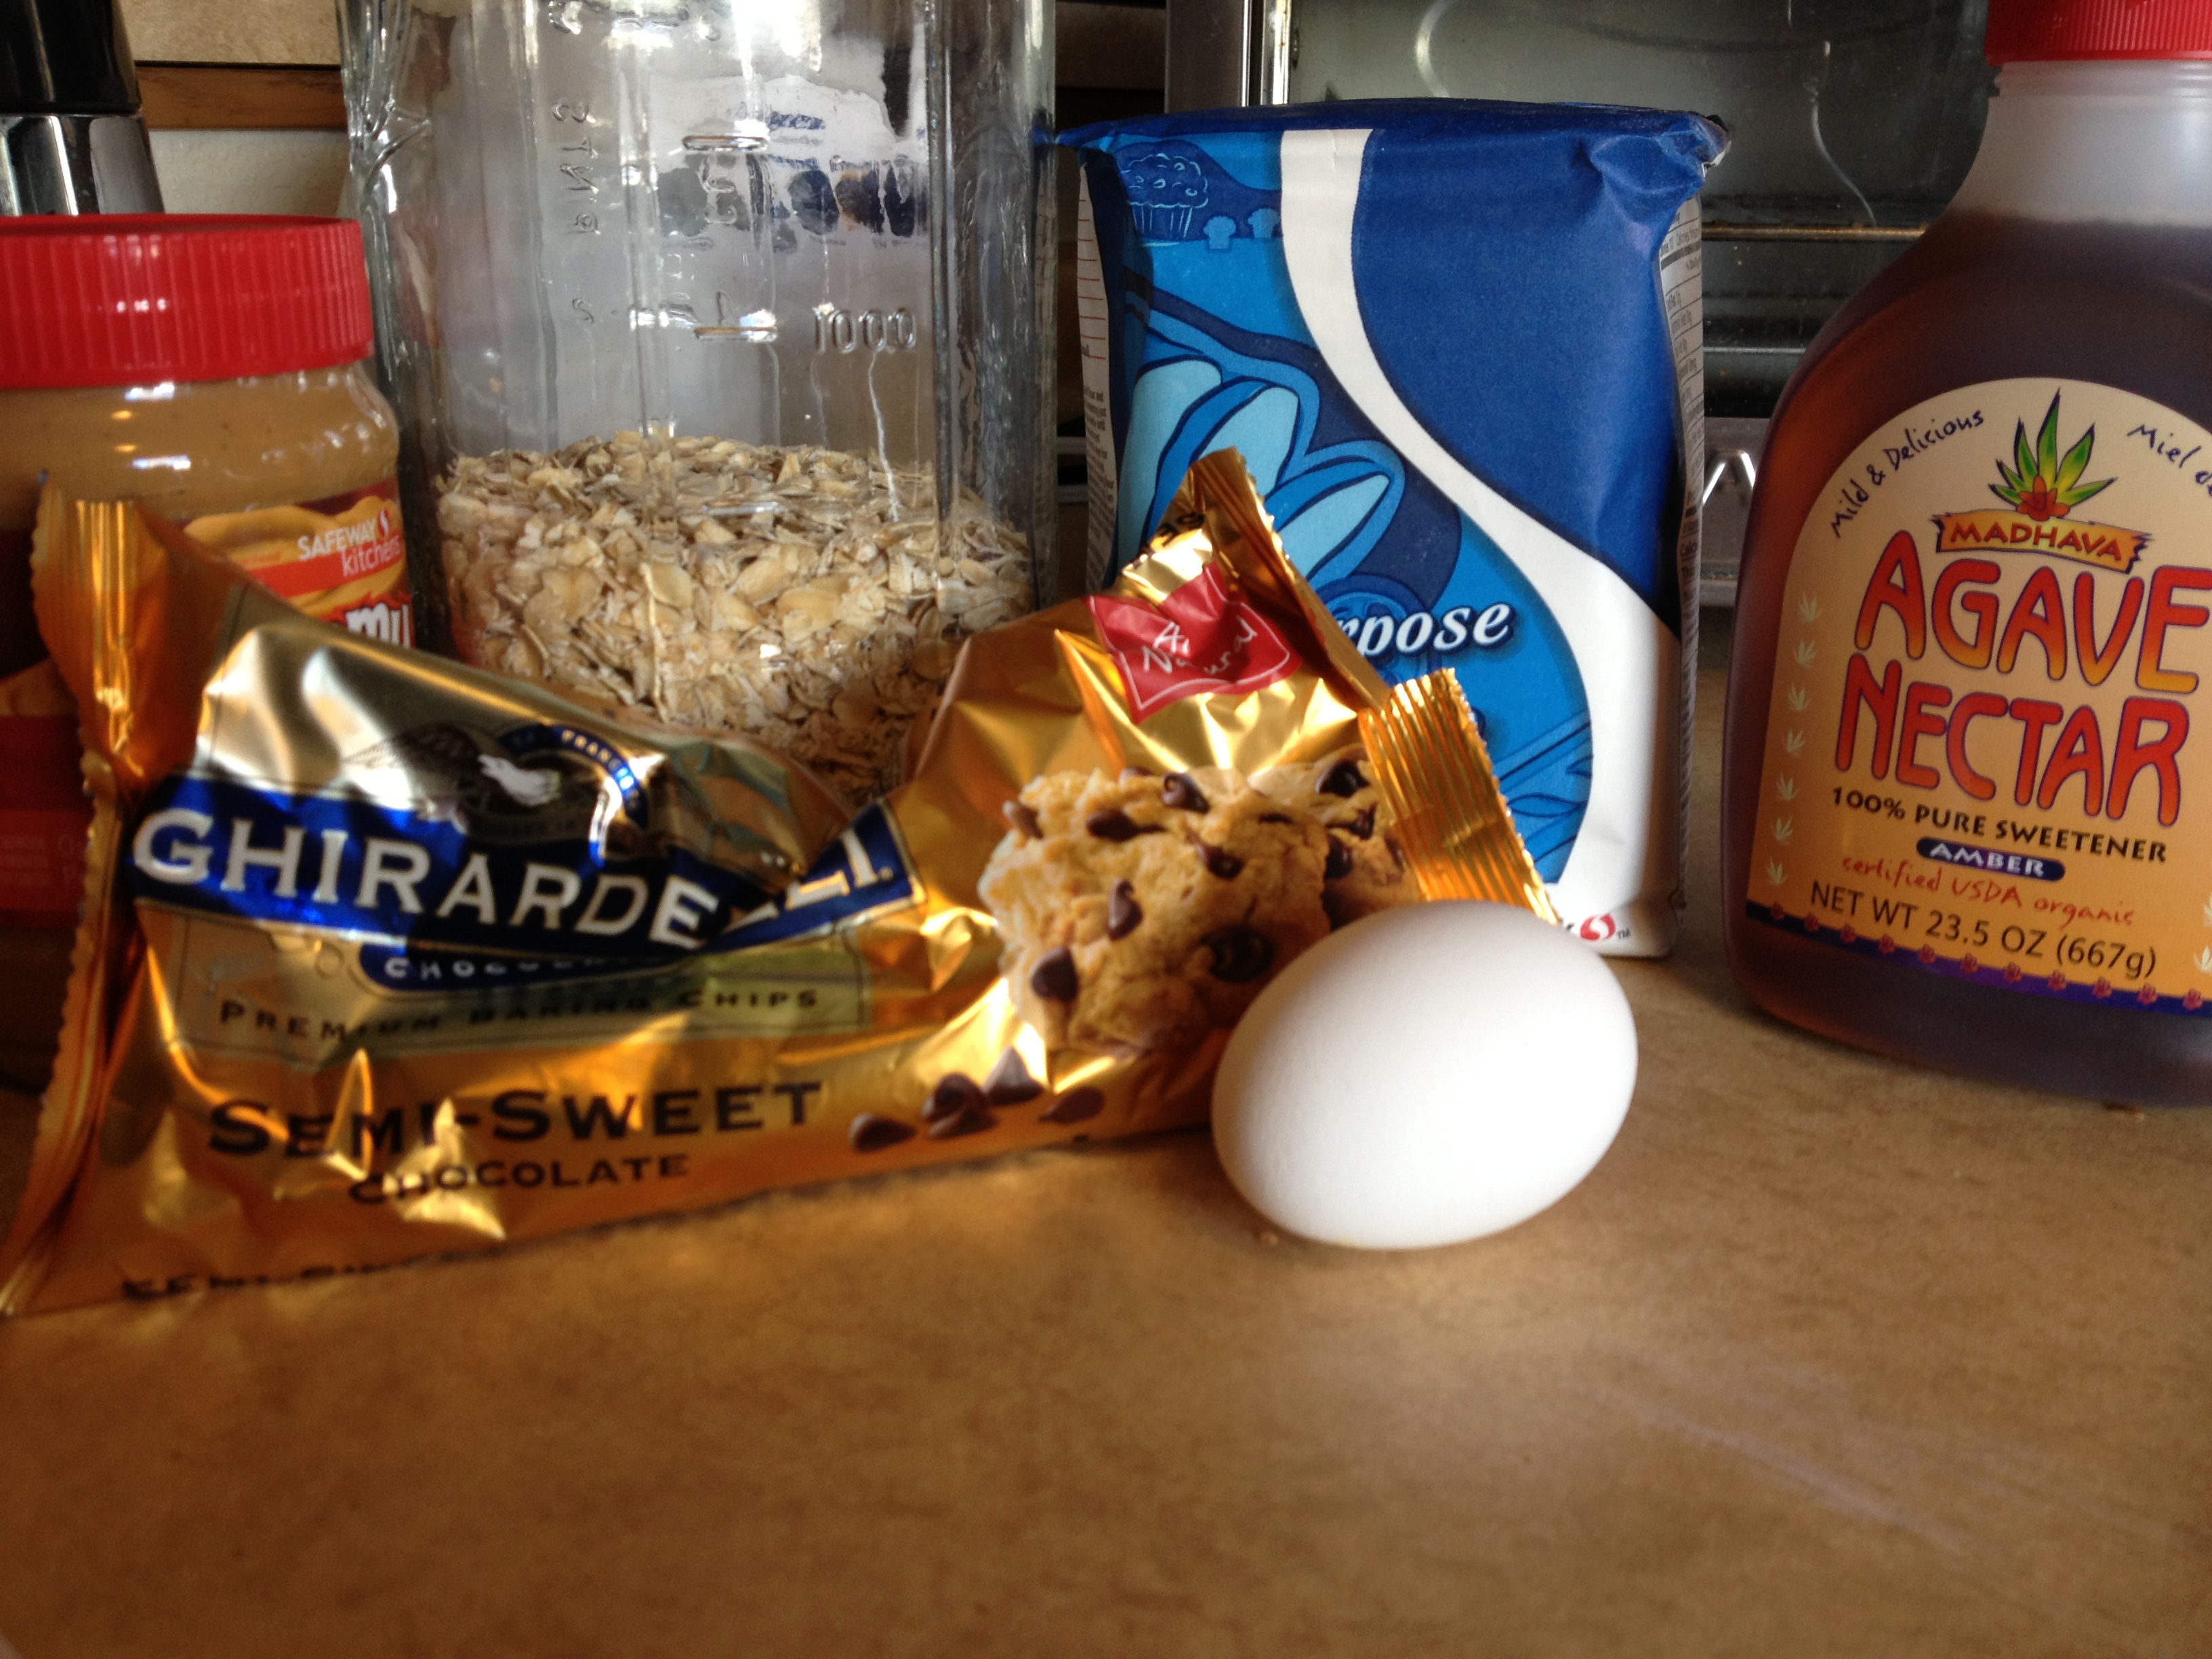
IMG_3336IMG_3341IMG_3351

IMG_3353

IMG_3355

For drink, we were provided with George Killian’s irish Red, a nice refreshing light tasting beer to compliment the dishes. (I know nothing about beer.) Afterwards, I made vanilla Bailey’s milkshakes for dessert. We Skyped with family, chatted and caught up with one another, and gave the kittens tons of attention. All in all it was a very fun time together. Thanks to everyone for coming and everyone that celebrated this holiday the right way!

IMG_3340

remnants of milkshake

remnants of milkshake

Kitchen hit by tornado

Kitchen hit by tornado

Even after a feast like this one, stay hungry and fit!
spacer

Post-Workout Protein Oatmeal

So I came back from my workout at an odd time, around 11 in the morning. Hmm, I want something to sustain me for a bit, and smoothies never do. Wait, didn’t my protein powder bin say to try it in cereal? Well, oatmeal is a cereal…hmmm. And here we are with a oatmeal recipe loaded with protein. It was actually really good, once you got used to the texture. Really delicious and healthy. Try it out!

Prep Time: 7 minutes?

Ingredients

  • 1 cup water
  • 1/2 cup oatmeal
  • 1 scoop flavor-less whey protein [I use Jarrow’s]
  • 4 strawberries
  • 6 dates
  • 1 tsp cinnamon
  • 1 tsp agave nectar 

Directions

  • Get cup of water to boiling
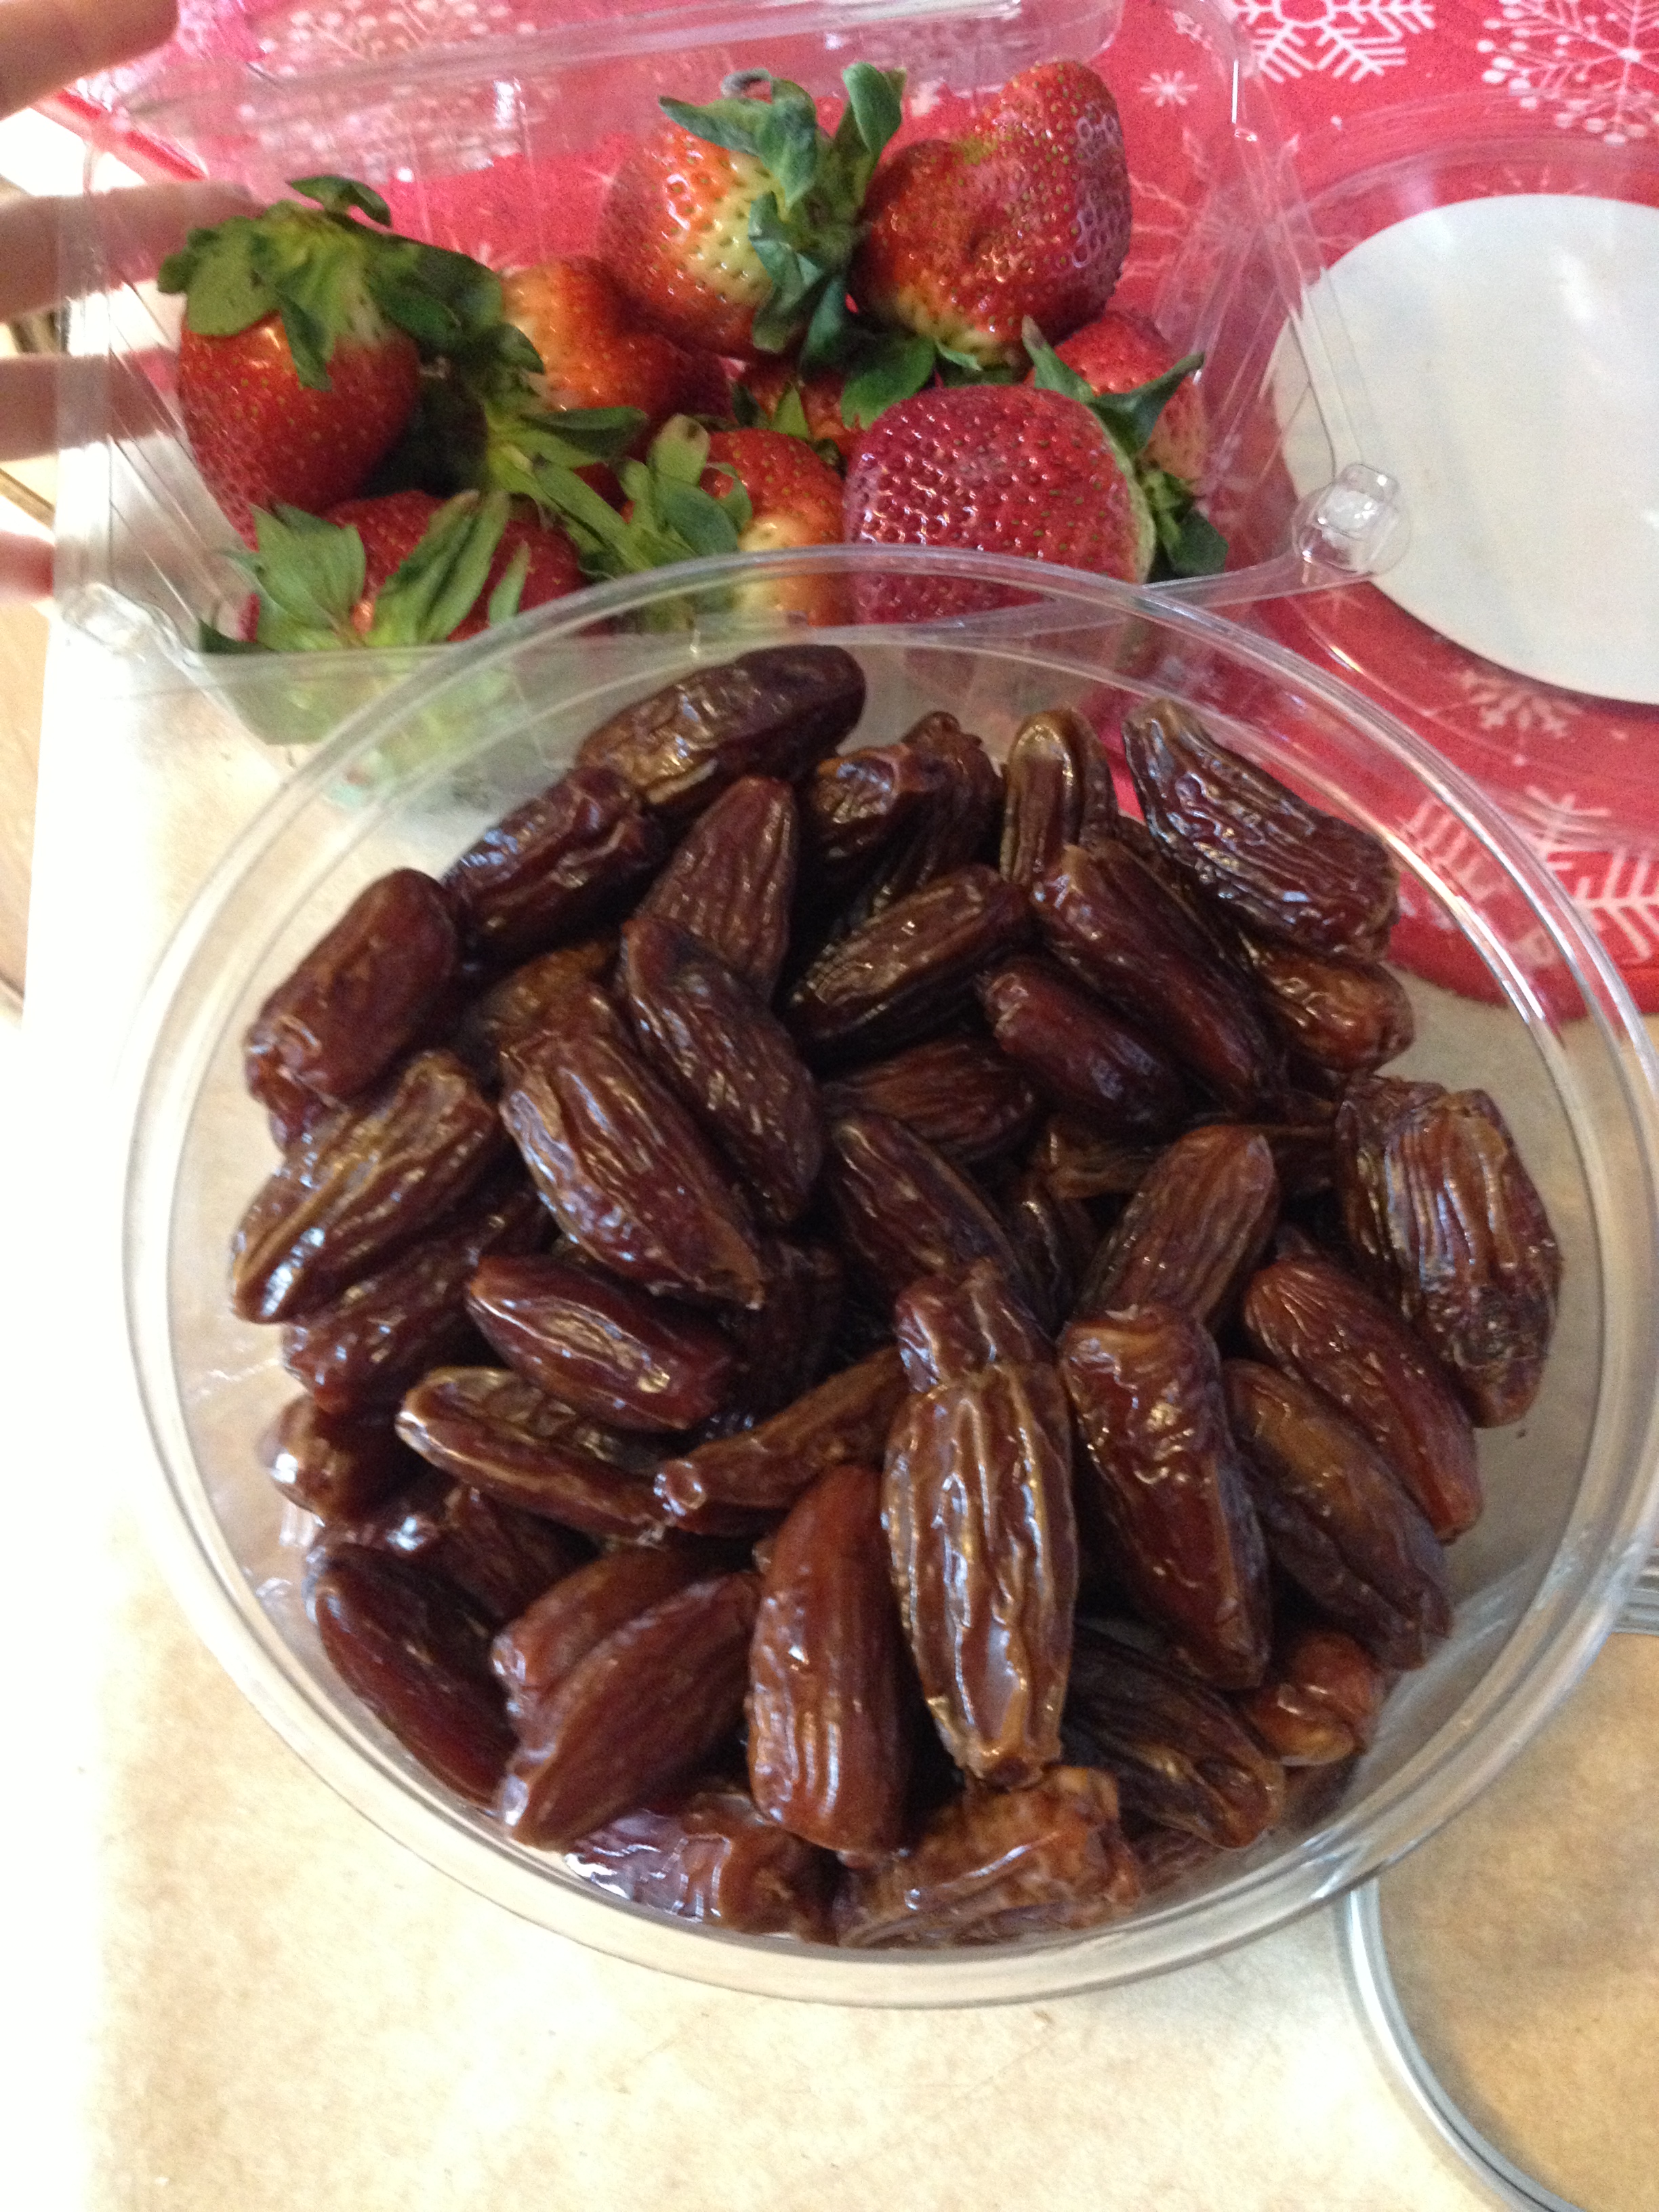
  • In advance, cut up dates and strawberries

fruit

  • Add in oatmeal and turn down to simmer
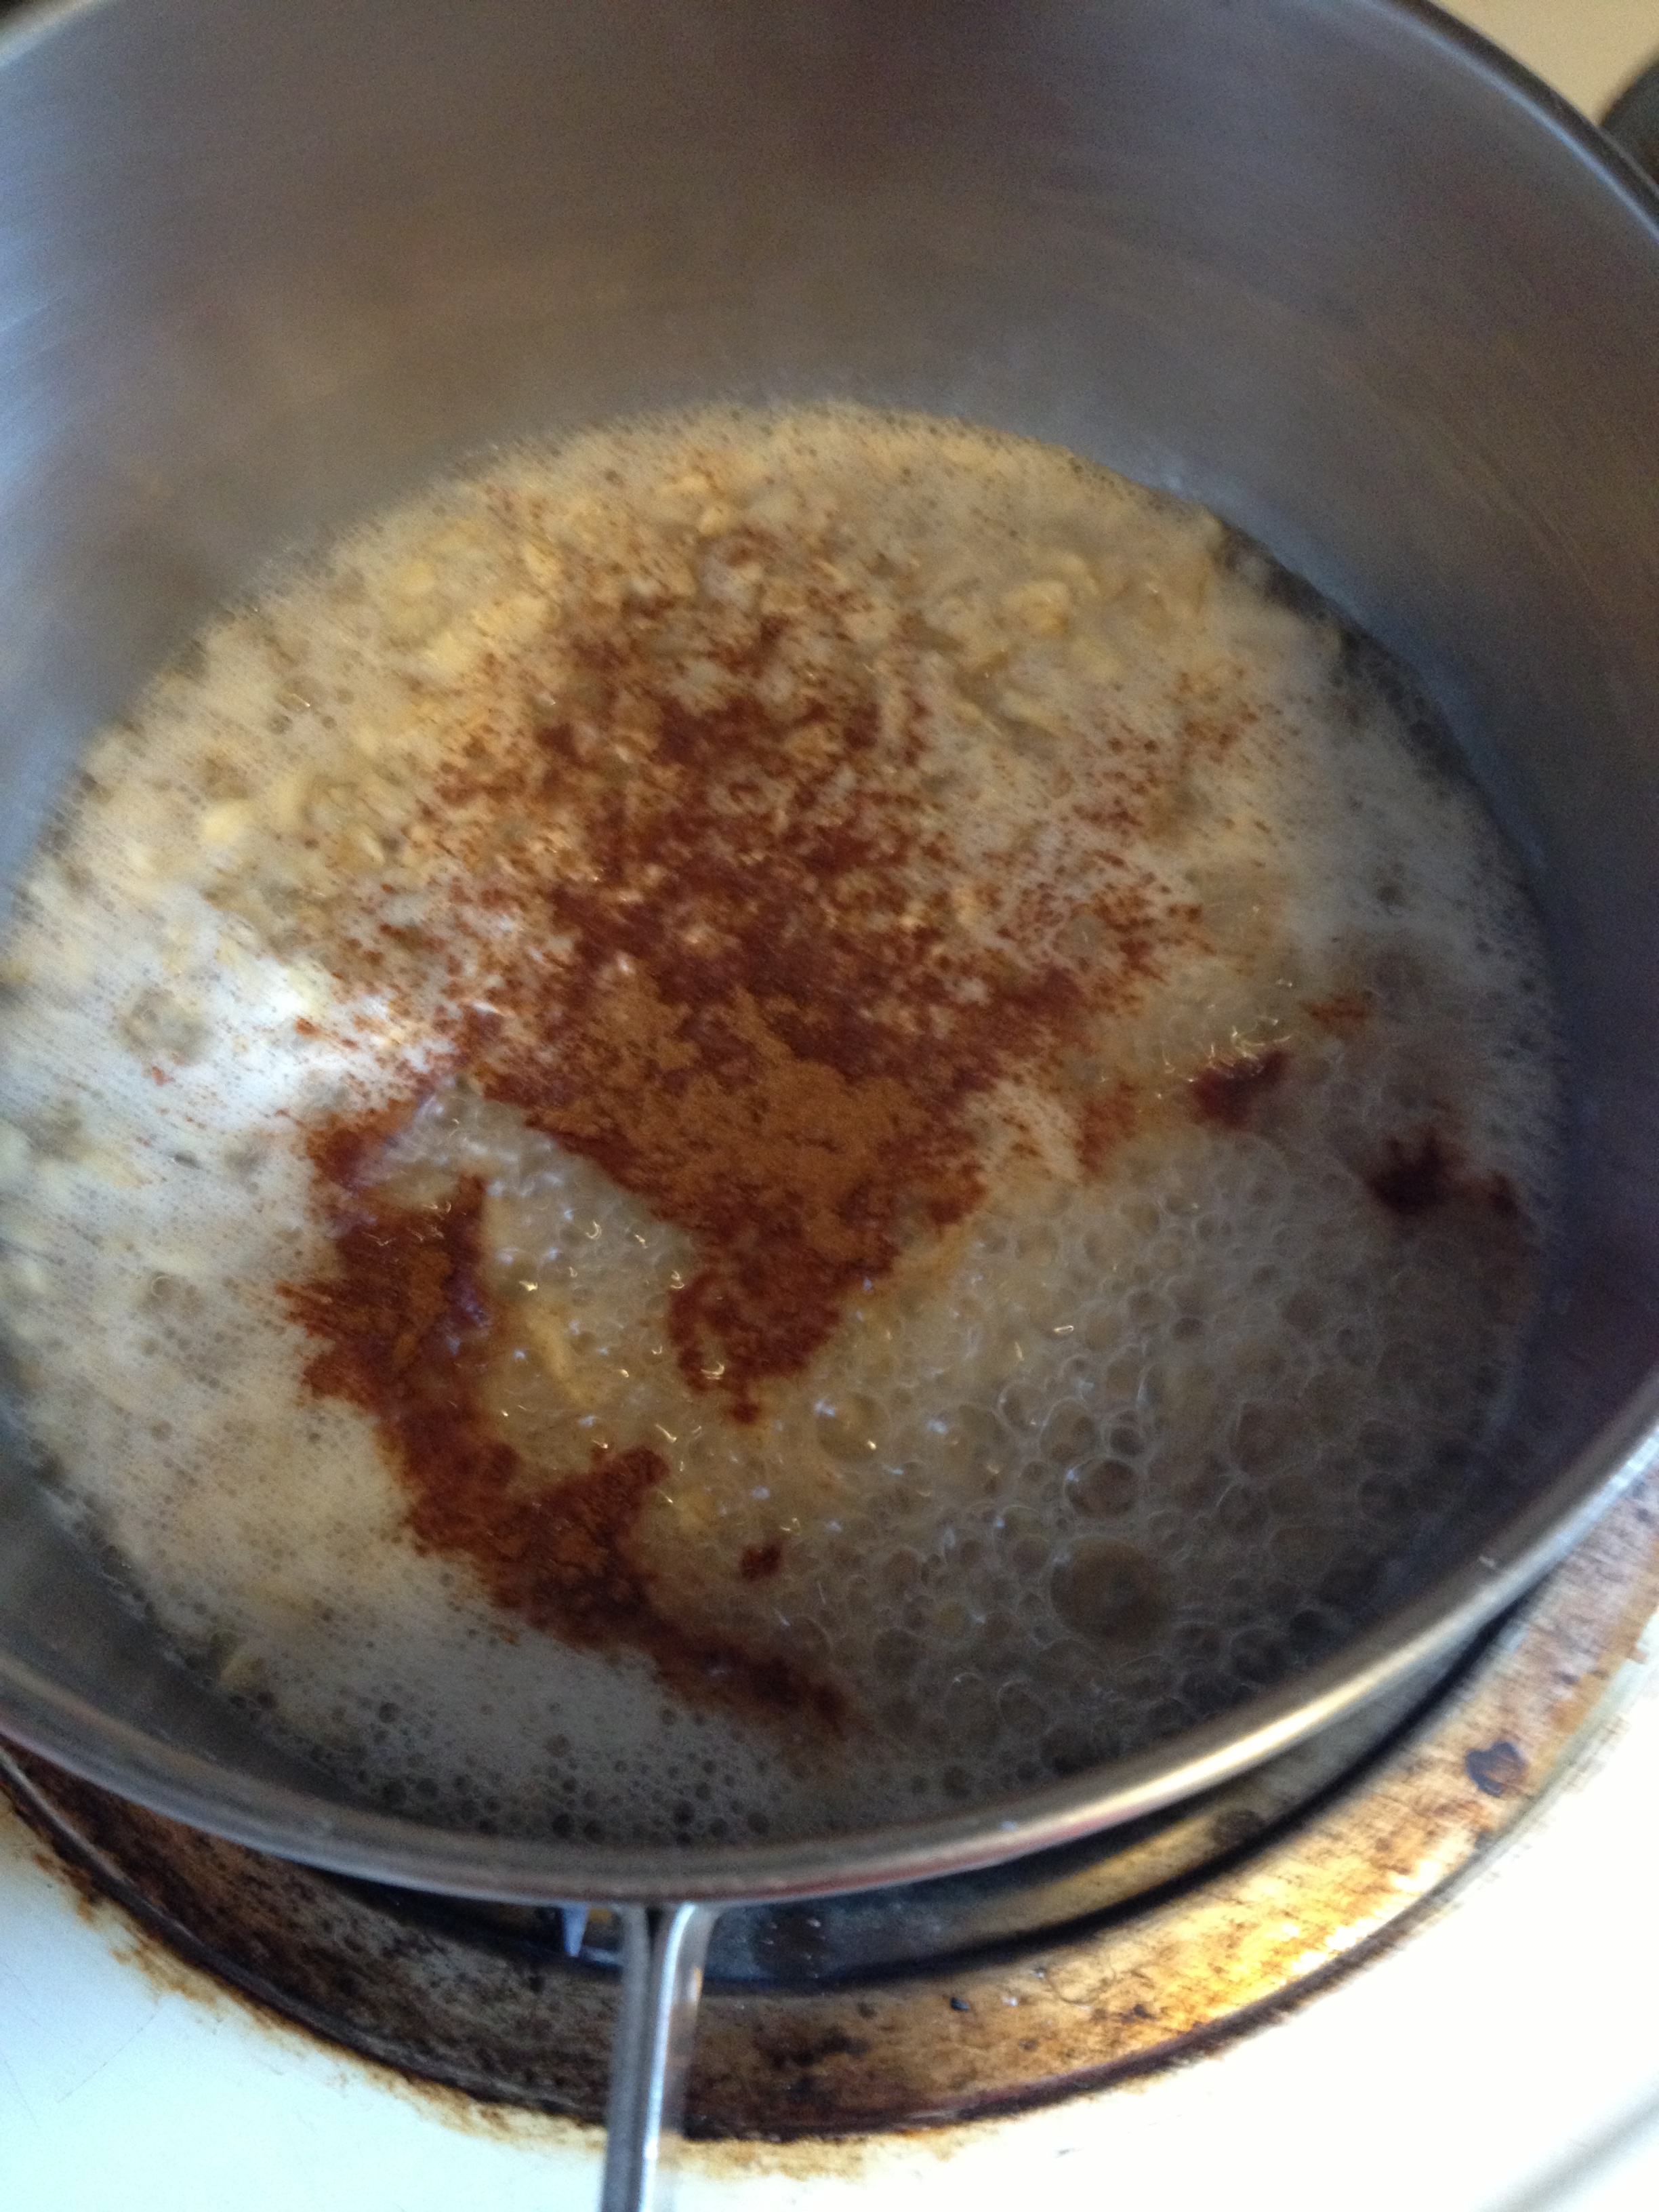
  • Once oatmeal is starting to cook, put in some cinnamon
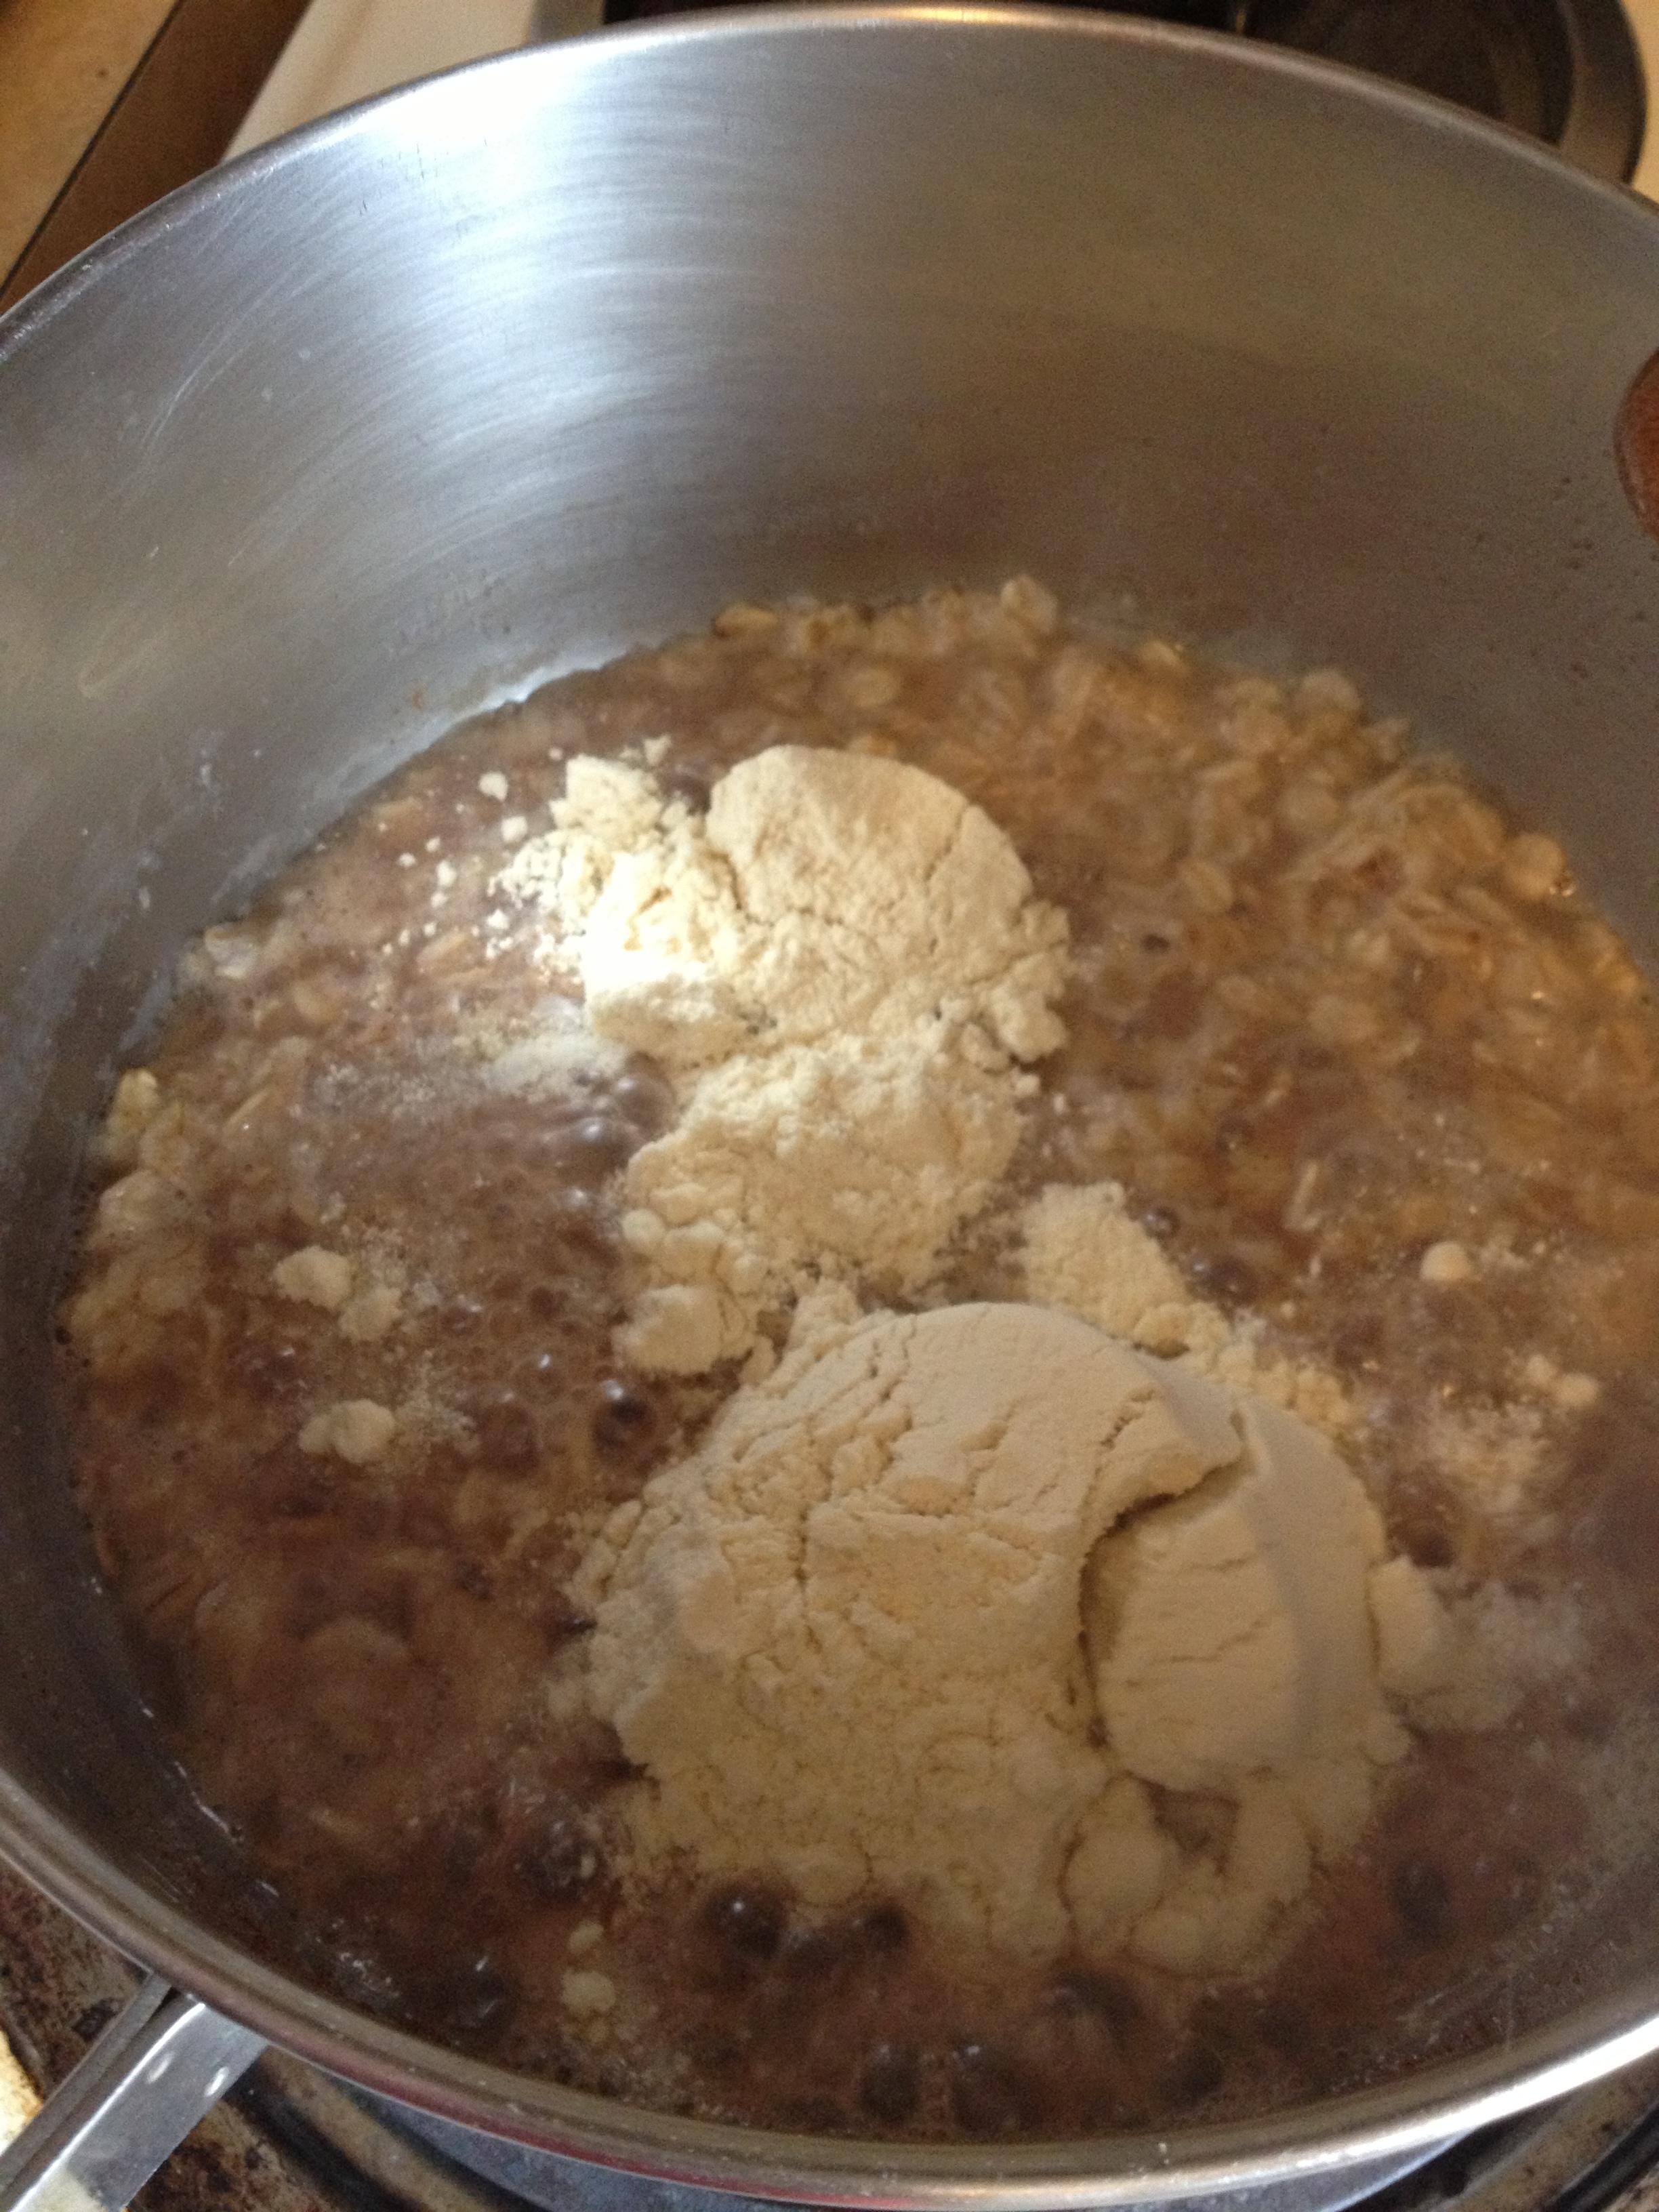
  • oatmeal w cinnamonAfter you stir in the oatmeal, pour in the whey protein powder and stir. By this point, you definitely want to keep an eye on it because it will stick much easier

whey oatmeal

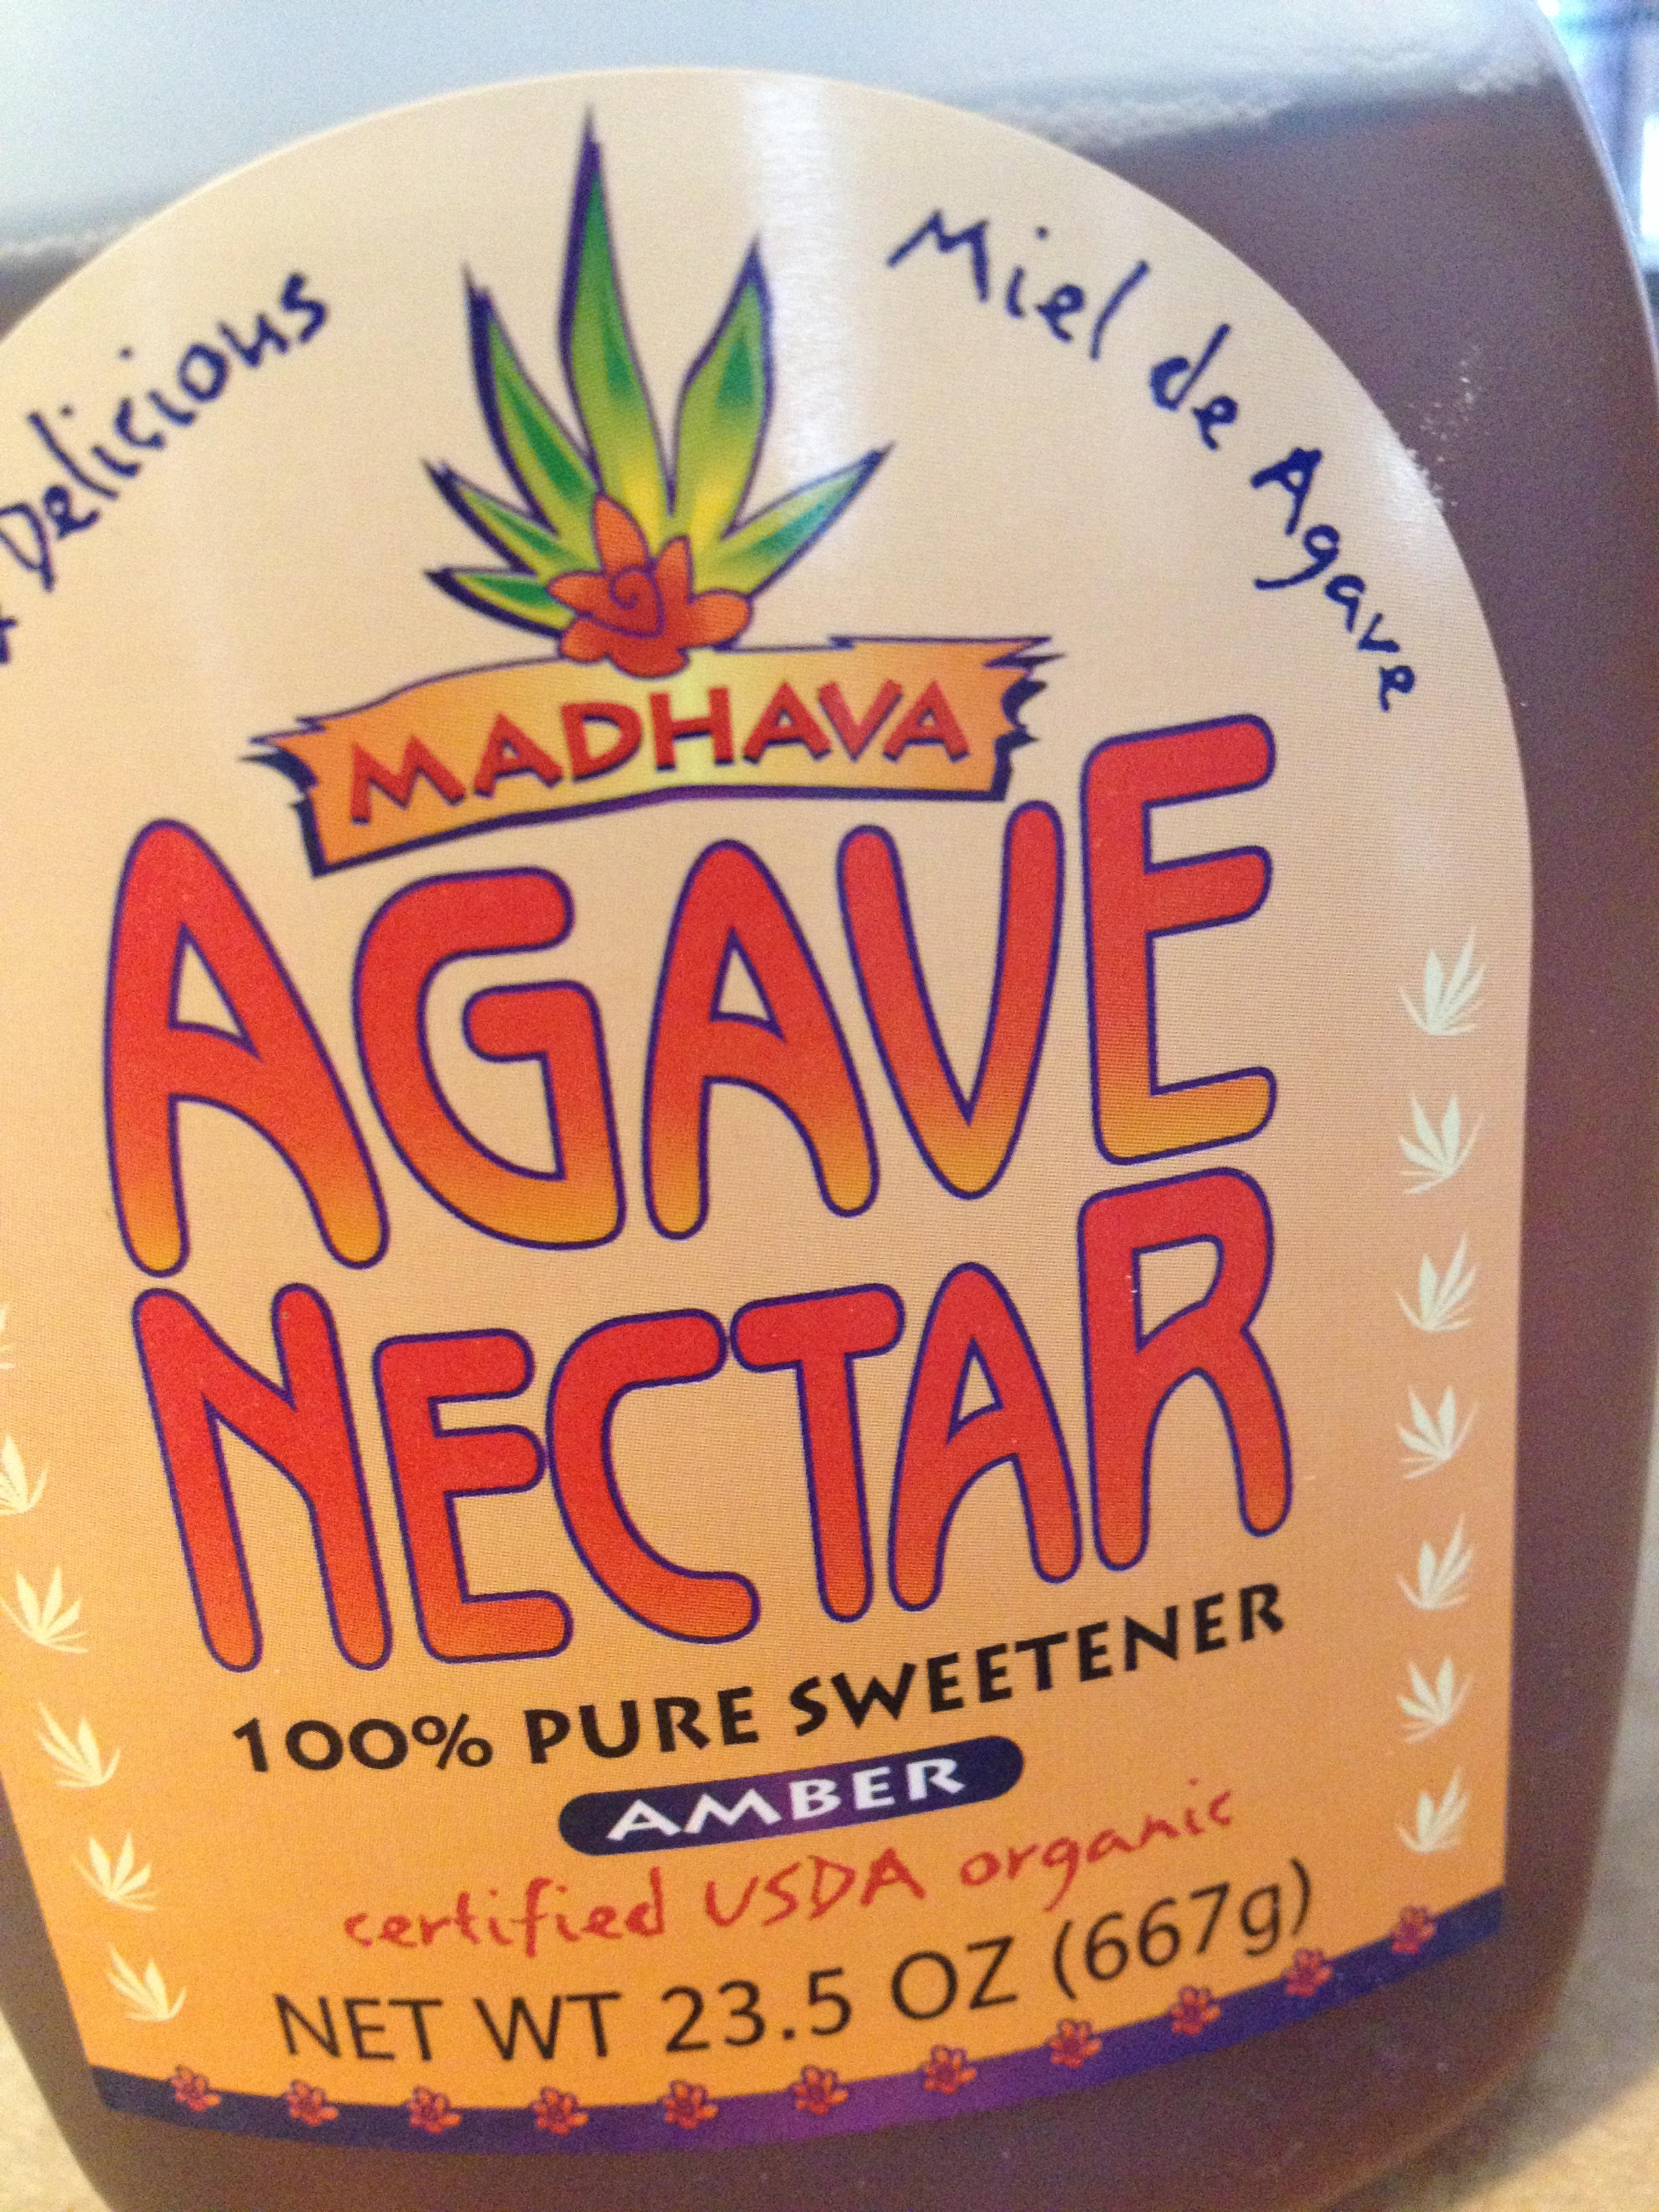
  • Once you stir in the protein powder, pour in some of the agave nectar in for a touch of sweetness

nectar

  • Throw in a few dates and strawberries in (but not all of them) to heat into the oatmeal 
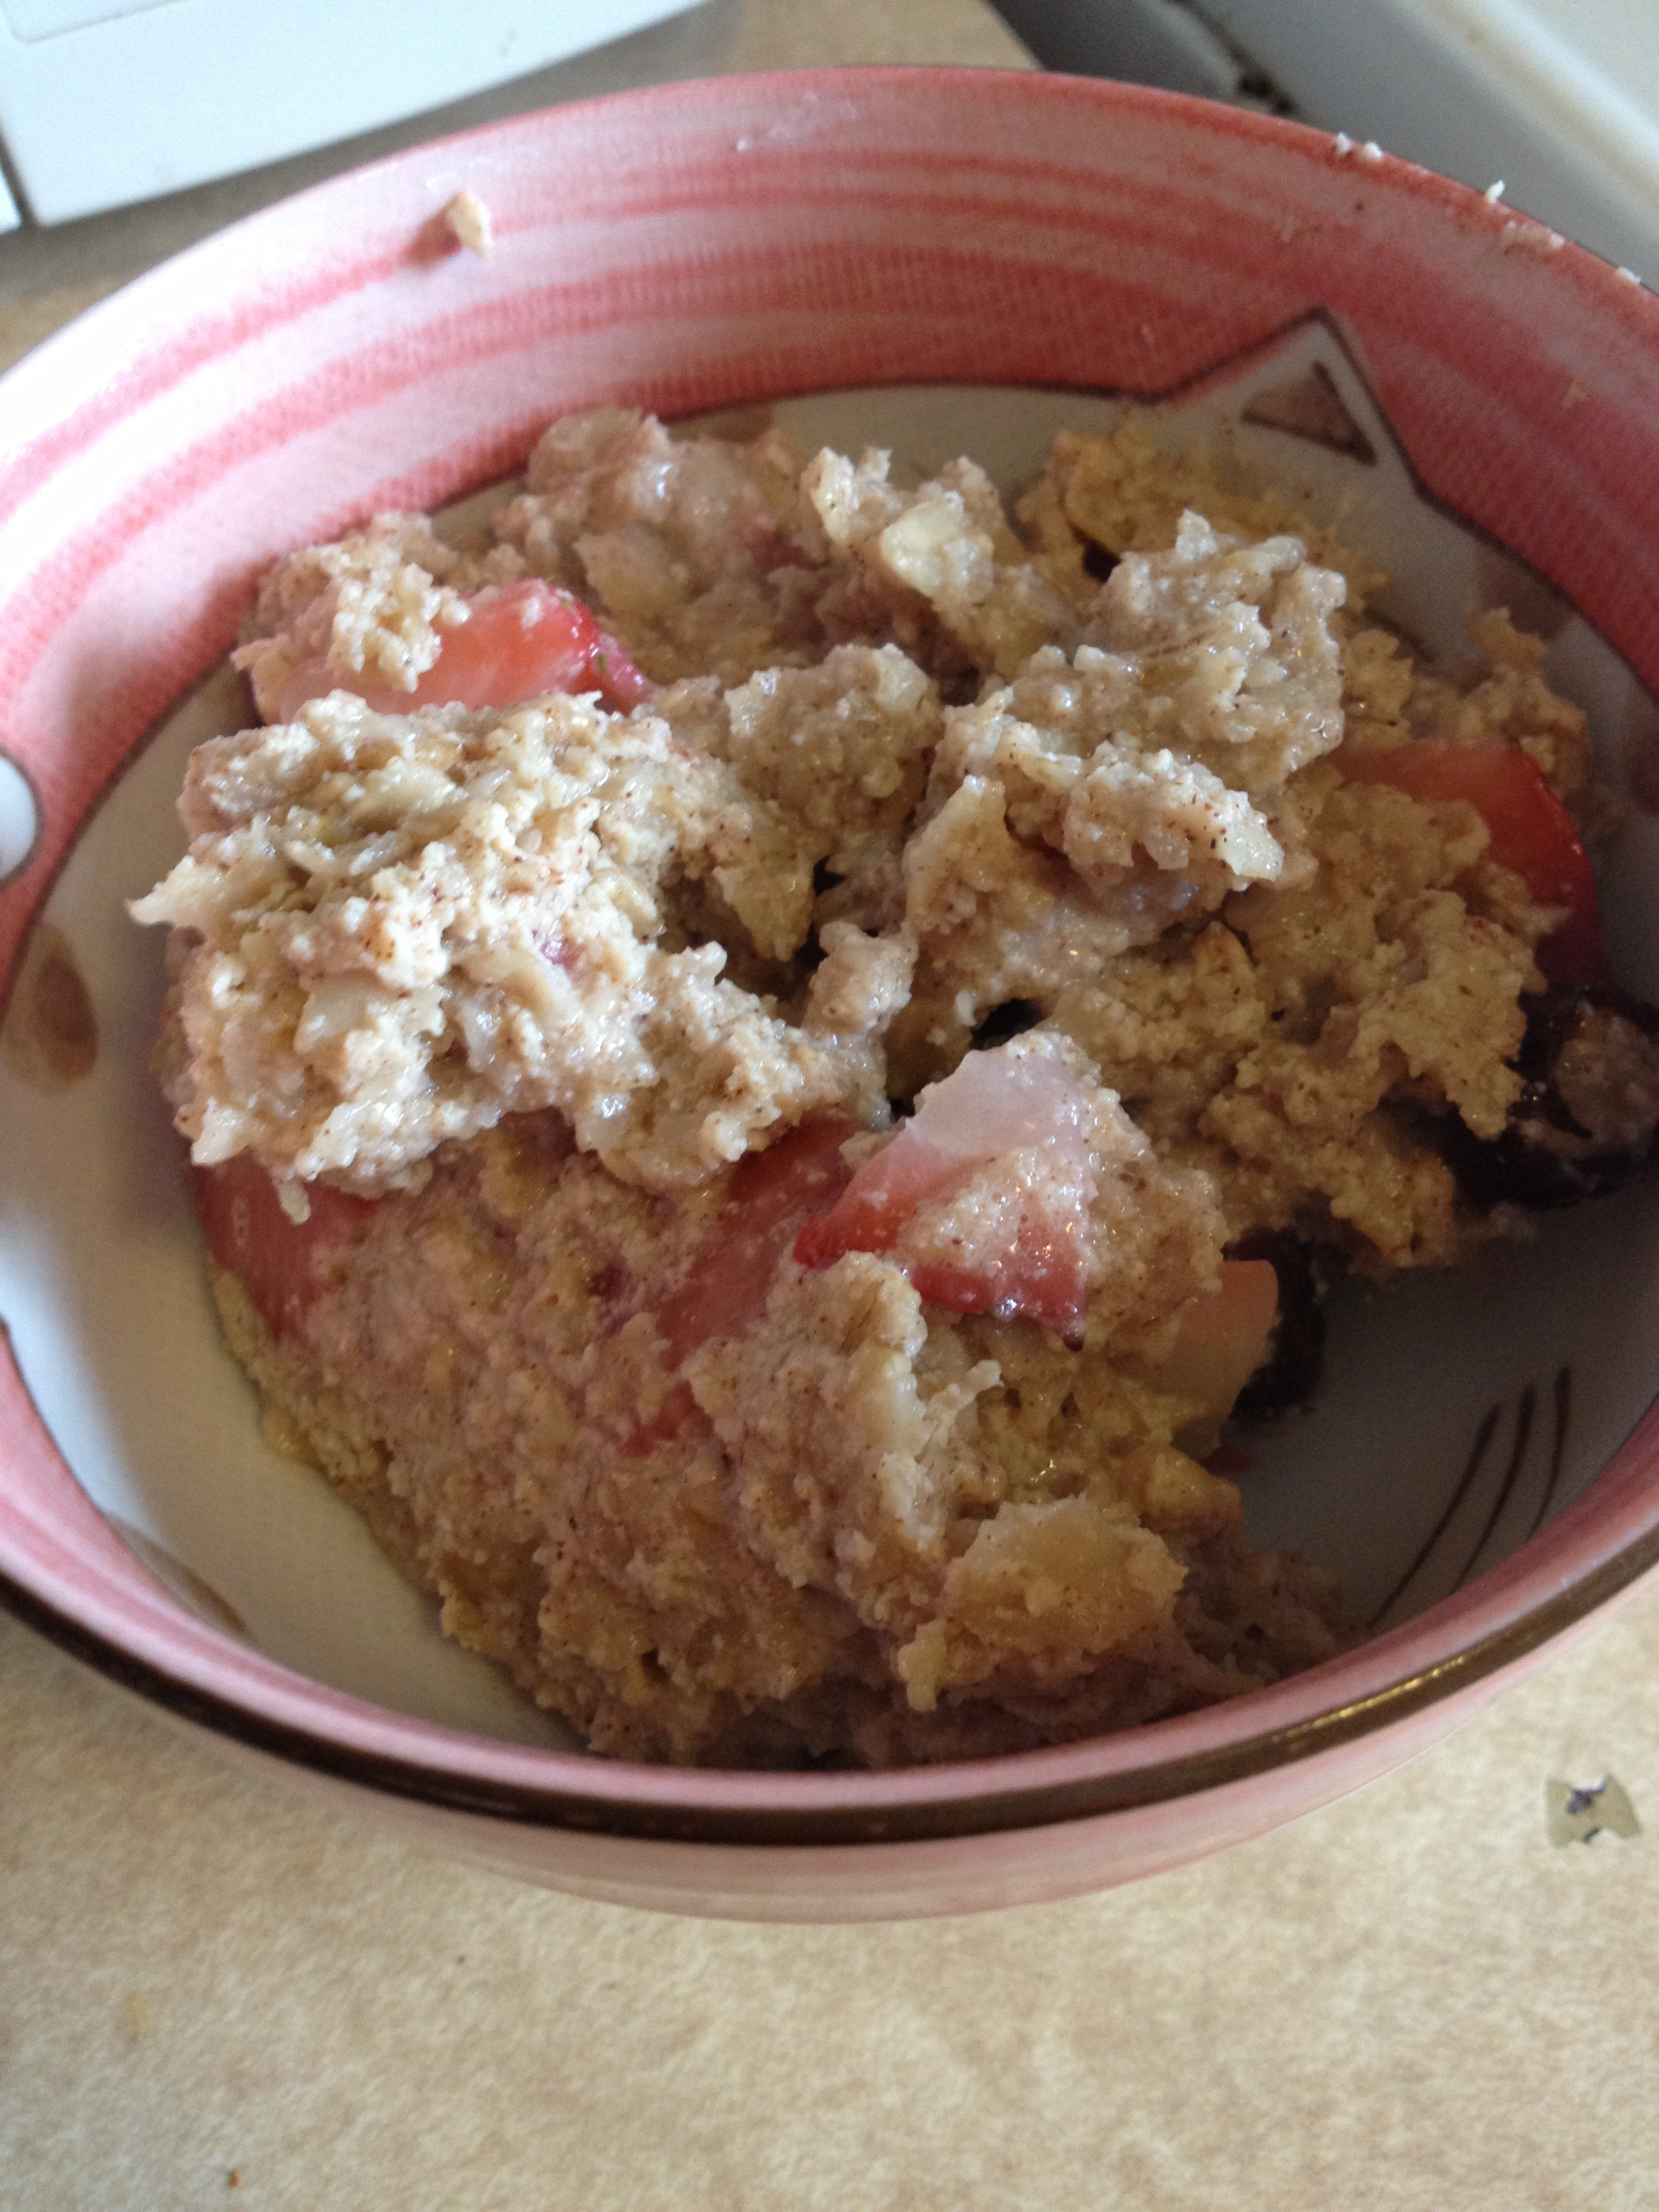
  • After a minute, take out and serve into bowl

ready to eat

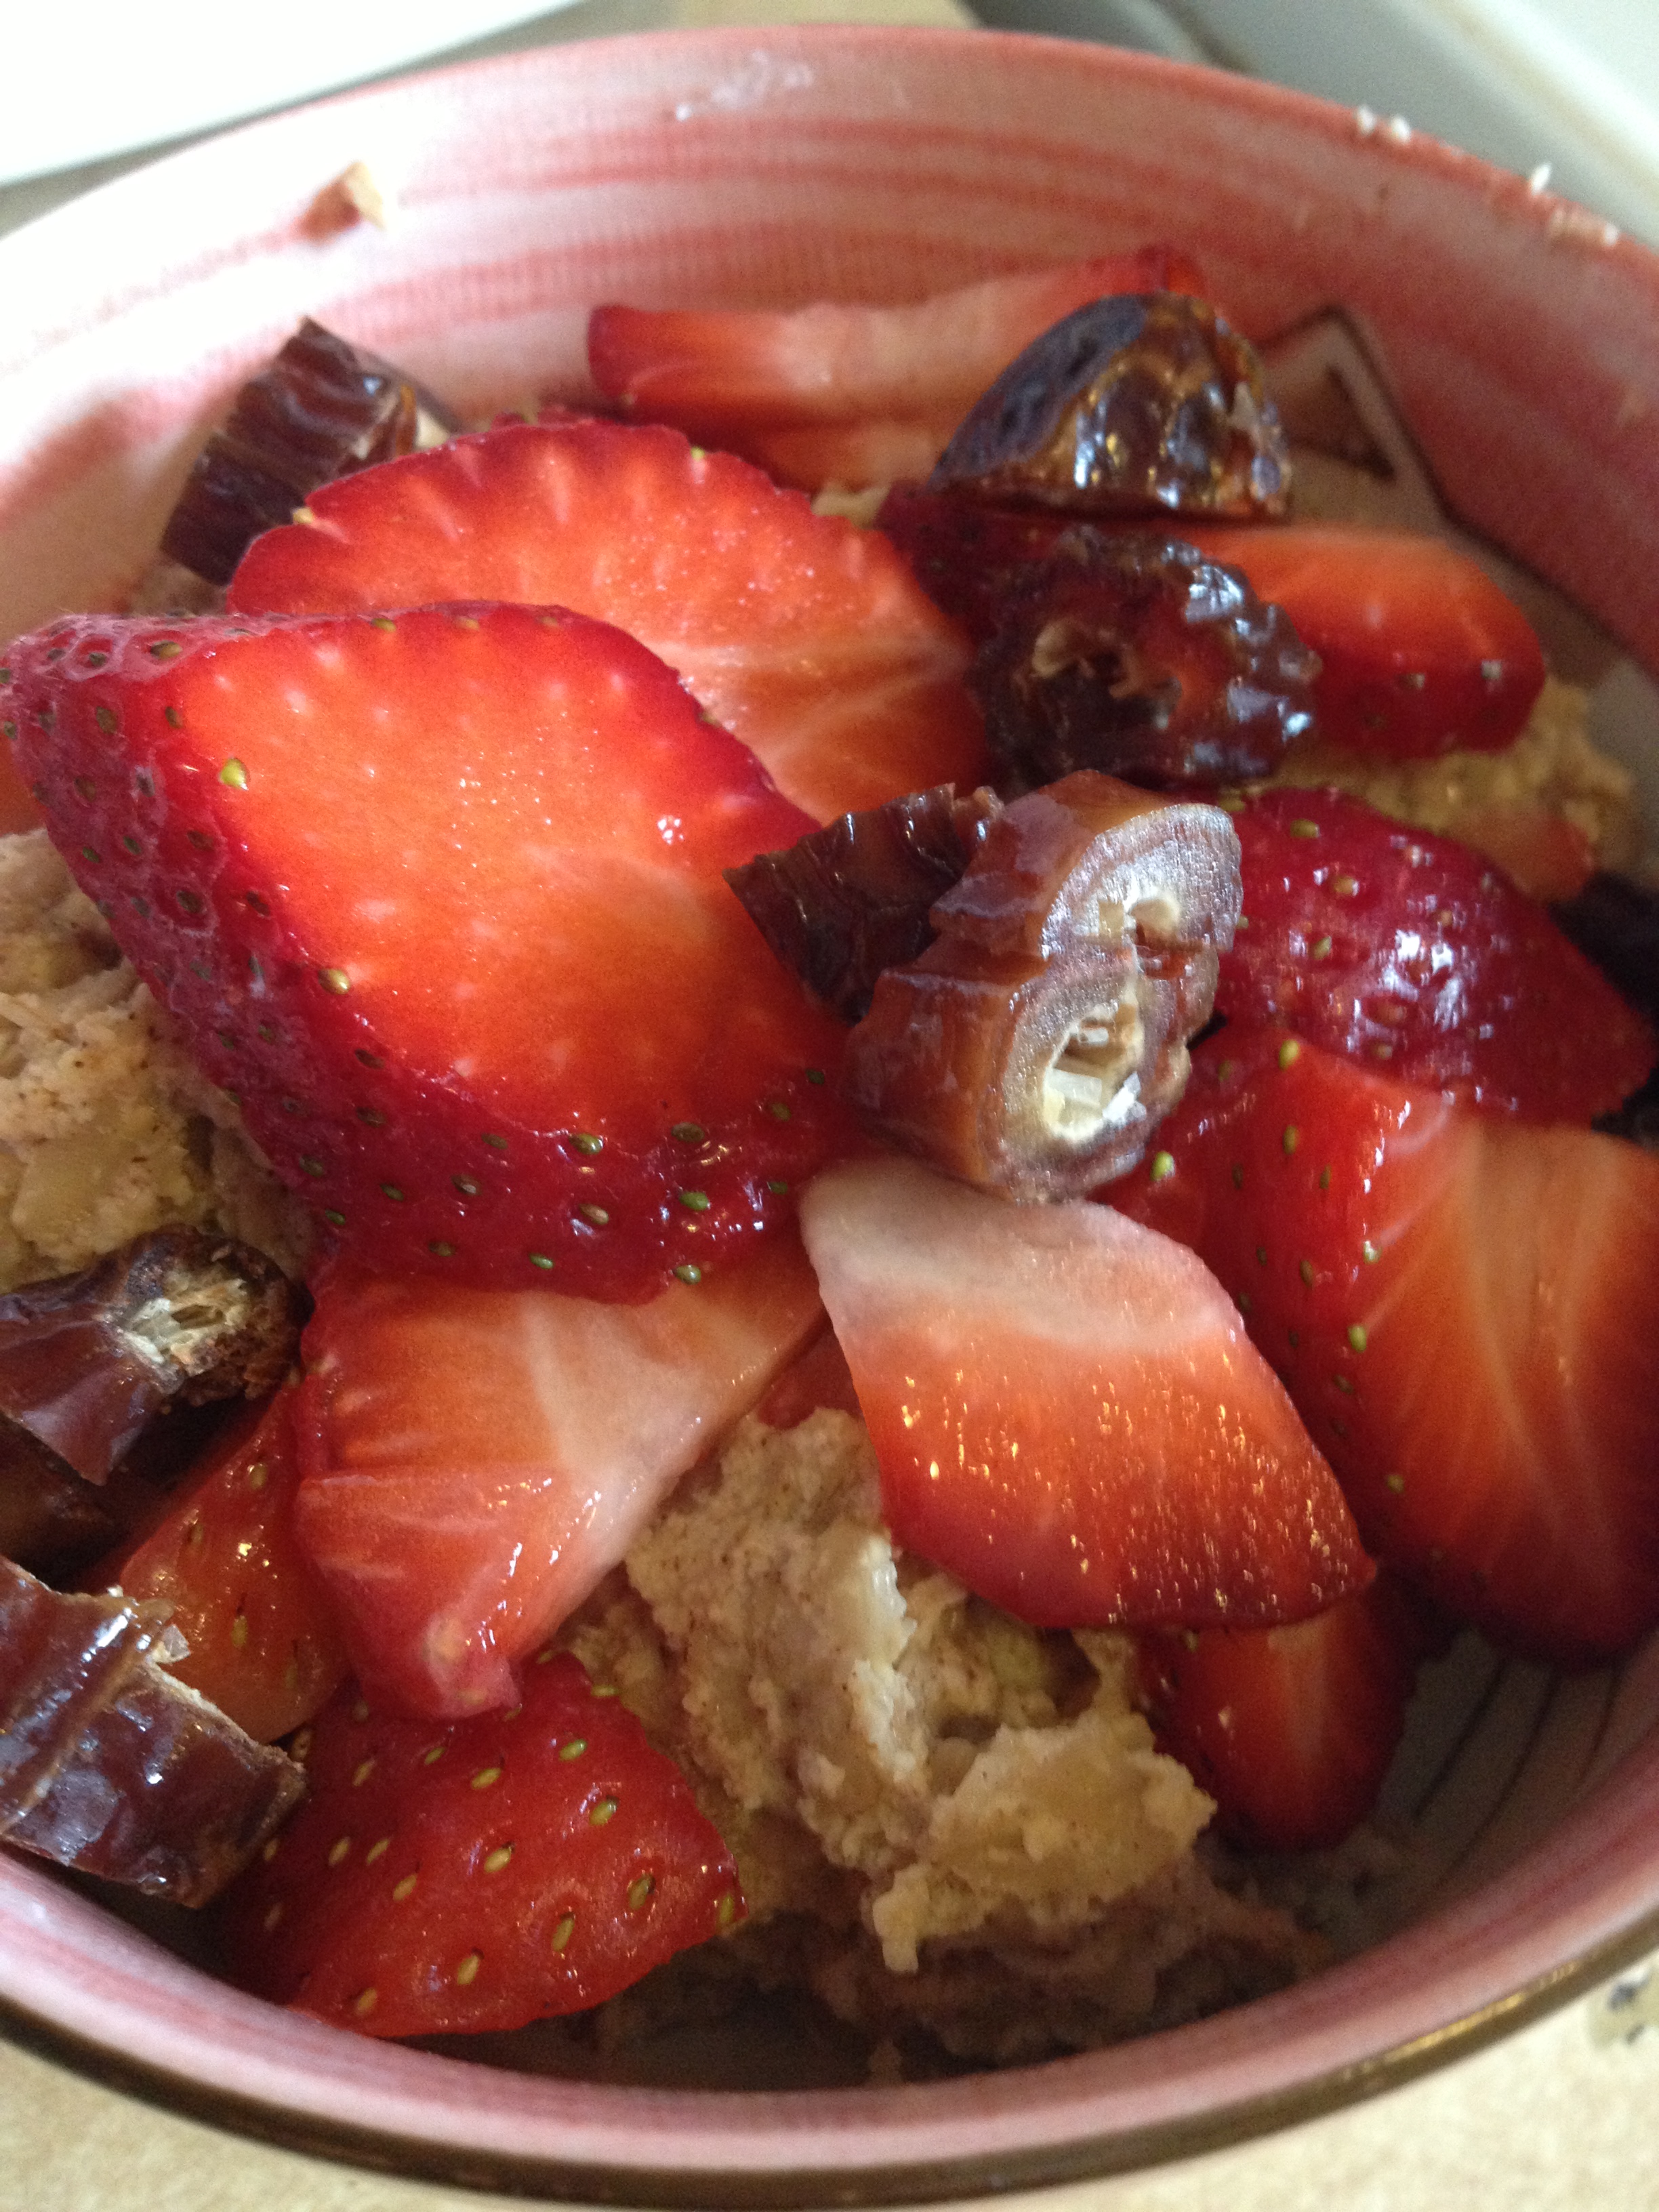
  • Put the rest of the fruit on top and you’re done!

beautiful oatmeal

I think this took me about 7 minutes total and it filled me up with excellent nutrients: fiber, protein, and carbs! If you want, you could even try putting in a flavored protein powder, up to you!

Cheers!

spacer

Grandma Powell’s Iowa Casserole

I prompted my Grandma, who lives in Iowa, for a recipe called “Iowa Surprise.” However, she returned with a delicious, simple, very Iowan casserole recipe. I was definitely game to try it! I had most ingredients and the others I needed to buy only cost me $5. What a deal for a full casserole that is plenty to fill both of us! I made a few alterations, some by mistake and some on purpose. Big Note: I made half of this vegetarian for me, and half with meat.  Check it out and enjoy.

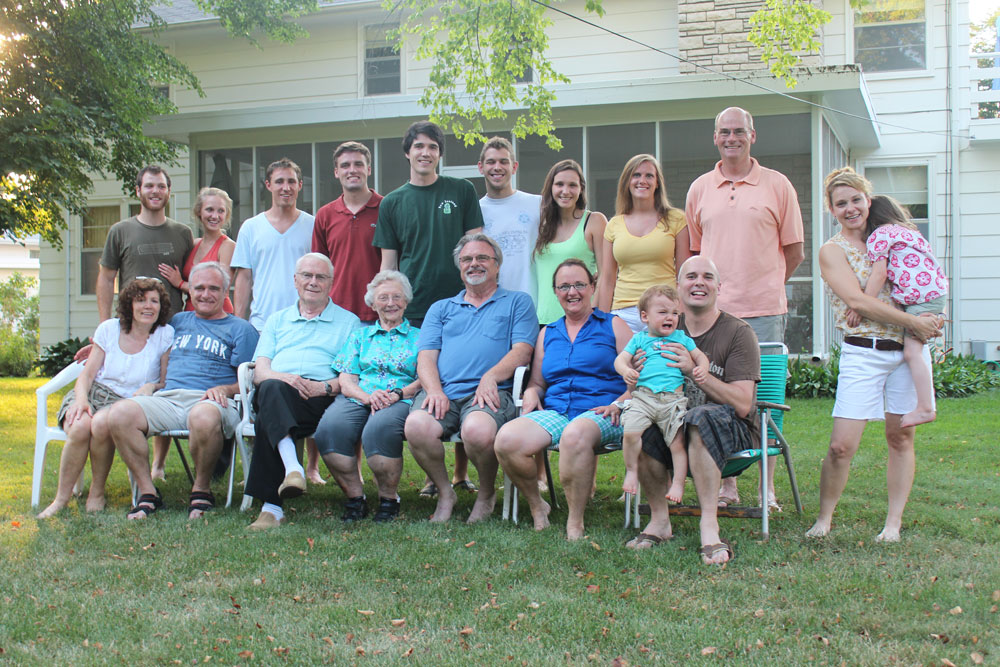
The Powell Family at our last reunion...you can find Grandma Powell sitting front and center

The Powell Family at our last reunion…you can find Grandma Powell sitting front and center

  • Prep Time: 15-20 minutes
  • Cook Time: 50-75 minutes

Ingredients

  • 1#bulk pork sausage
  • 1 cup cheese [only for vegetarian edition]
  • 1 (16oz.) can cream-style corn
  • 3 eggs
  • 1 cup panko [I used panko instead of said recipe’s bread crumbs because all the others had high fructose corn syrup in it]
  • 1 cup 1% milk
  • 1/2 white onion
  • 1/2 tsp salt
  • dash of pepper
  • 1/4 cup ketchup
  • red pepper

Directions

  • Pre-heat oven to 350 degrees
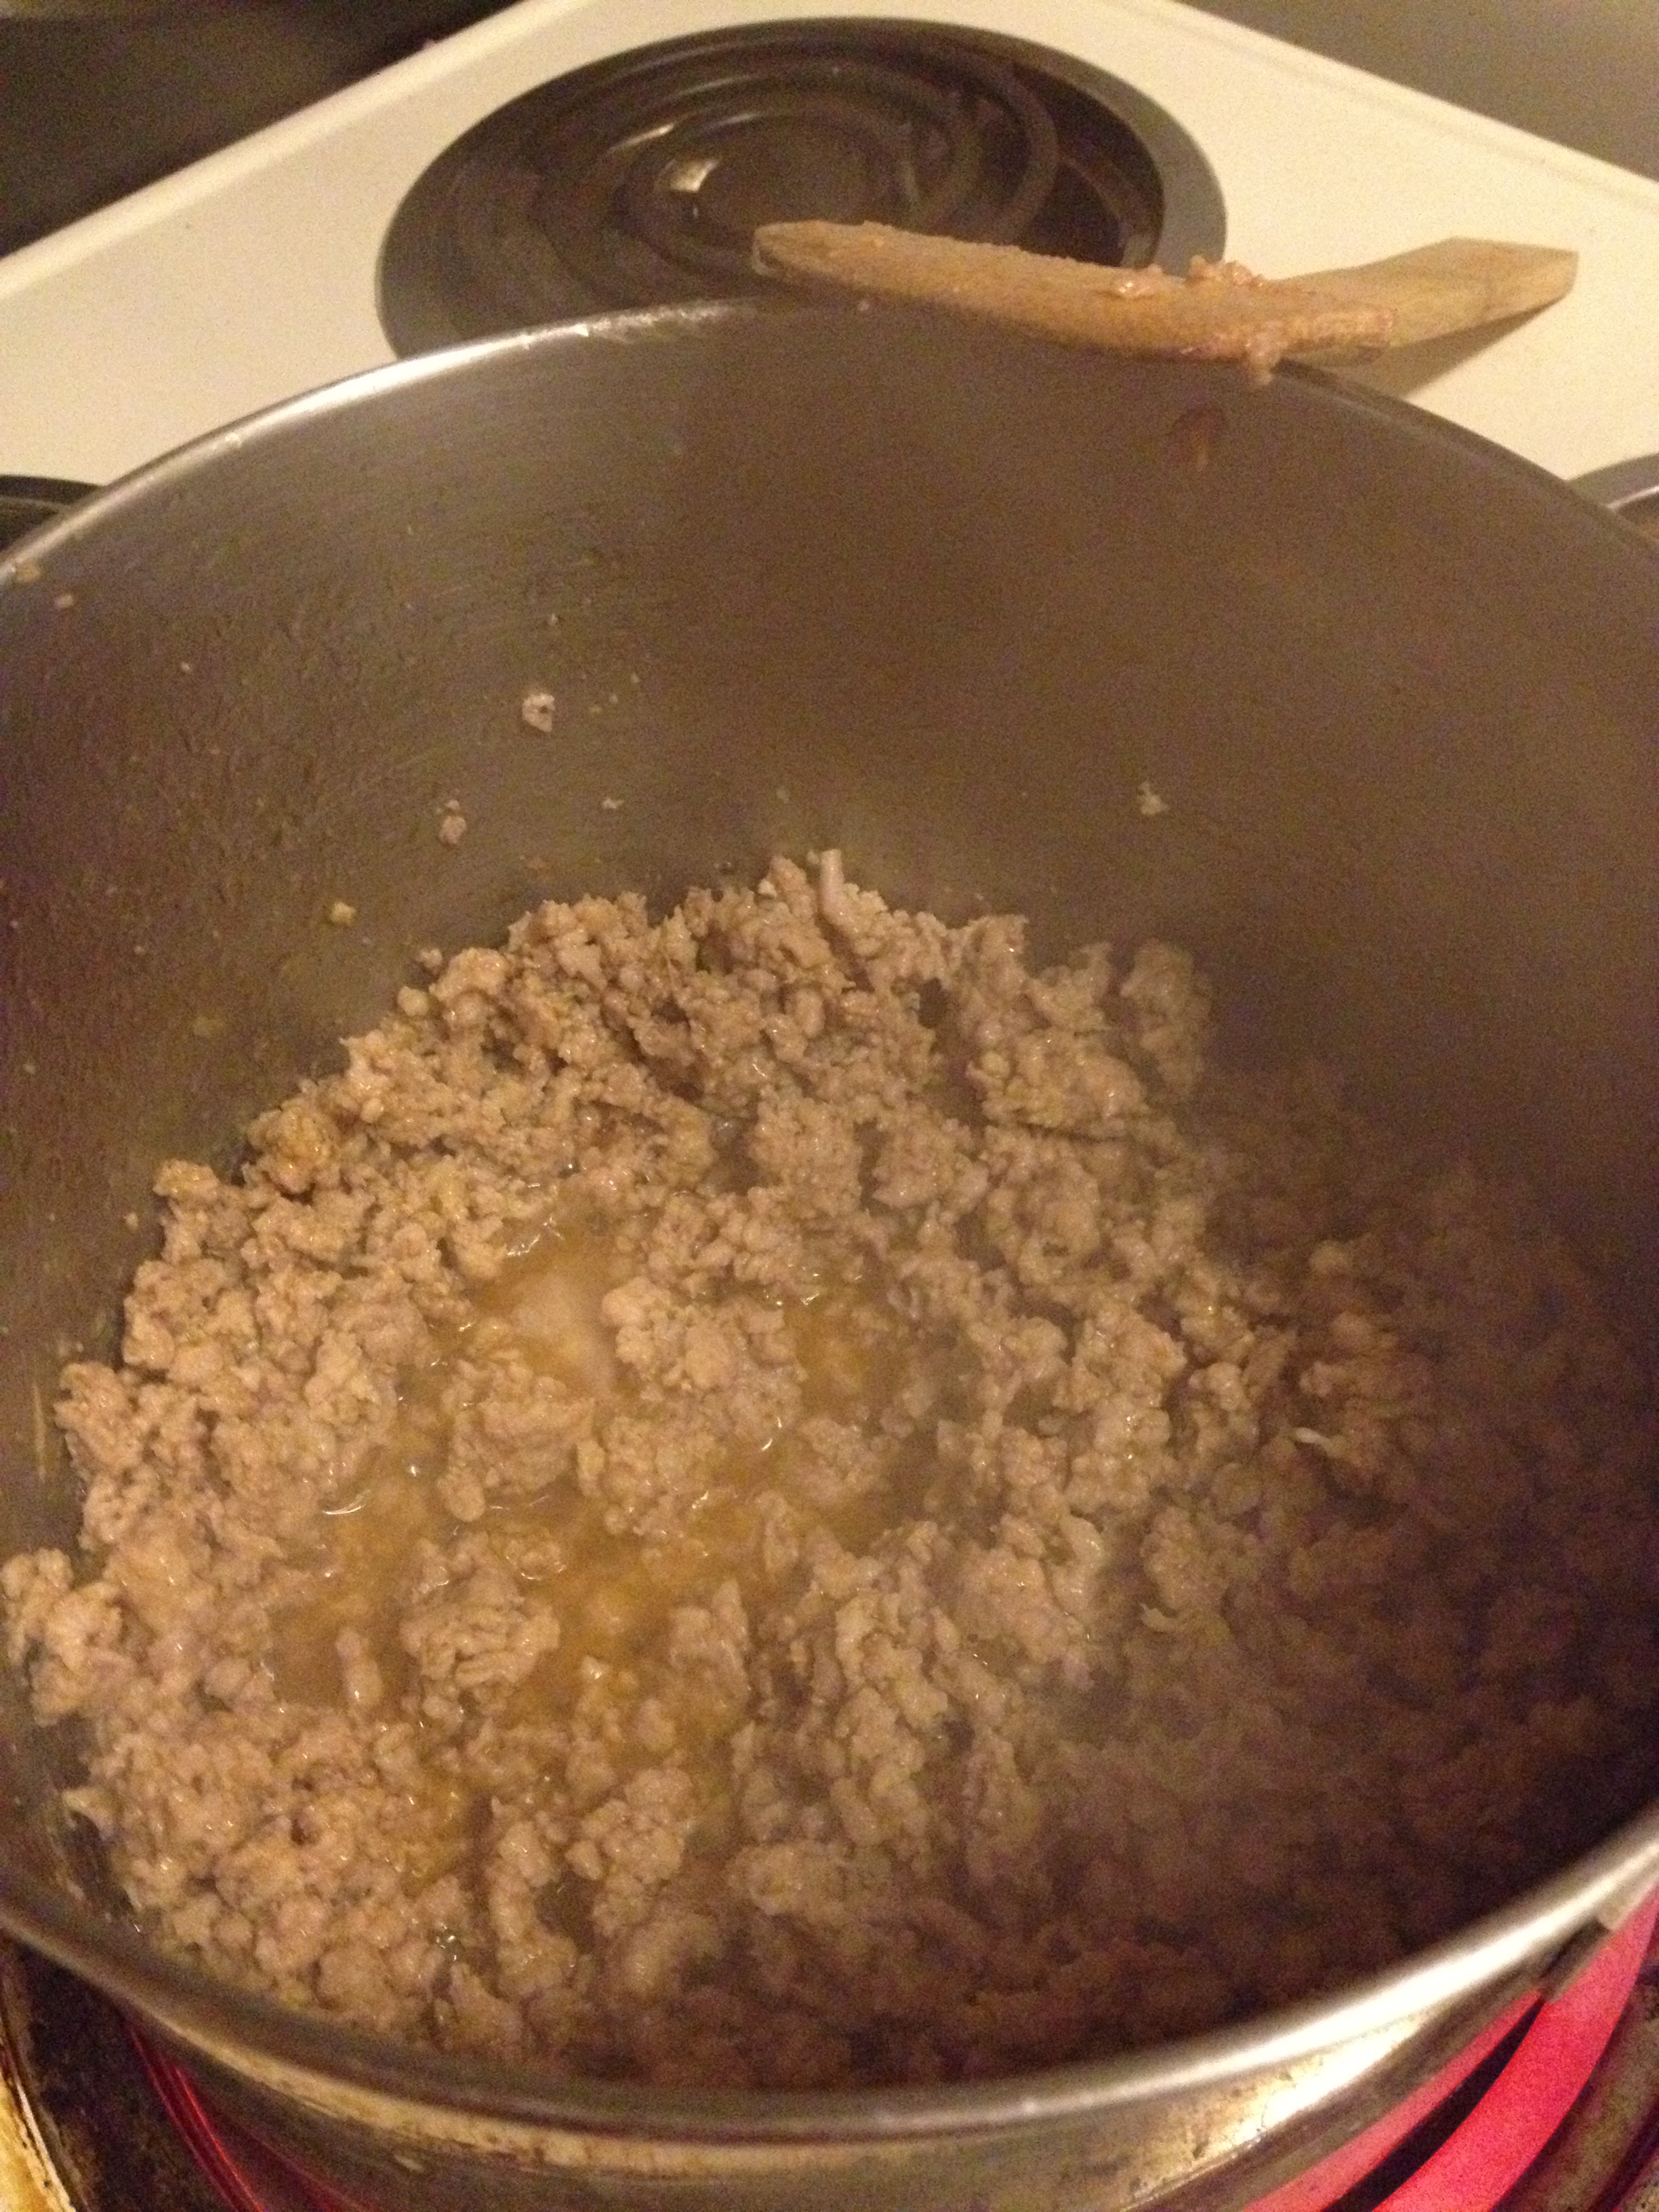
  • Okay so I think I got this part wrong, but what I did is get raw pork sausage and just browned it, when I think I was supposed to get already-cooked pork sausage. Either cook the pork sausage, or start putting the cooked sausage in large mixing bowl. [Note: If you’re doing the vegetarian step, ignore the meat and put 1 cup shredded cheese in, instead]

ground beef

  • Chop 1/2 white onion into finely diced pieces and throw them in with the meat.
  • Combine the salt + pepper, canned corn, panko bread crumbs, milk and eggs into the large bowl
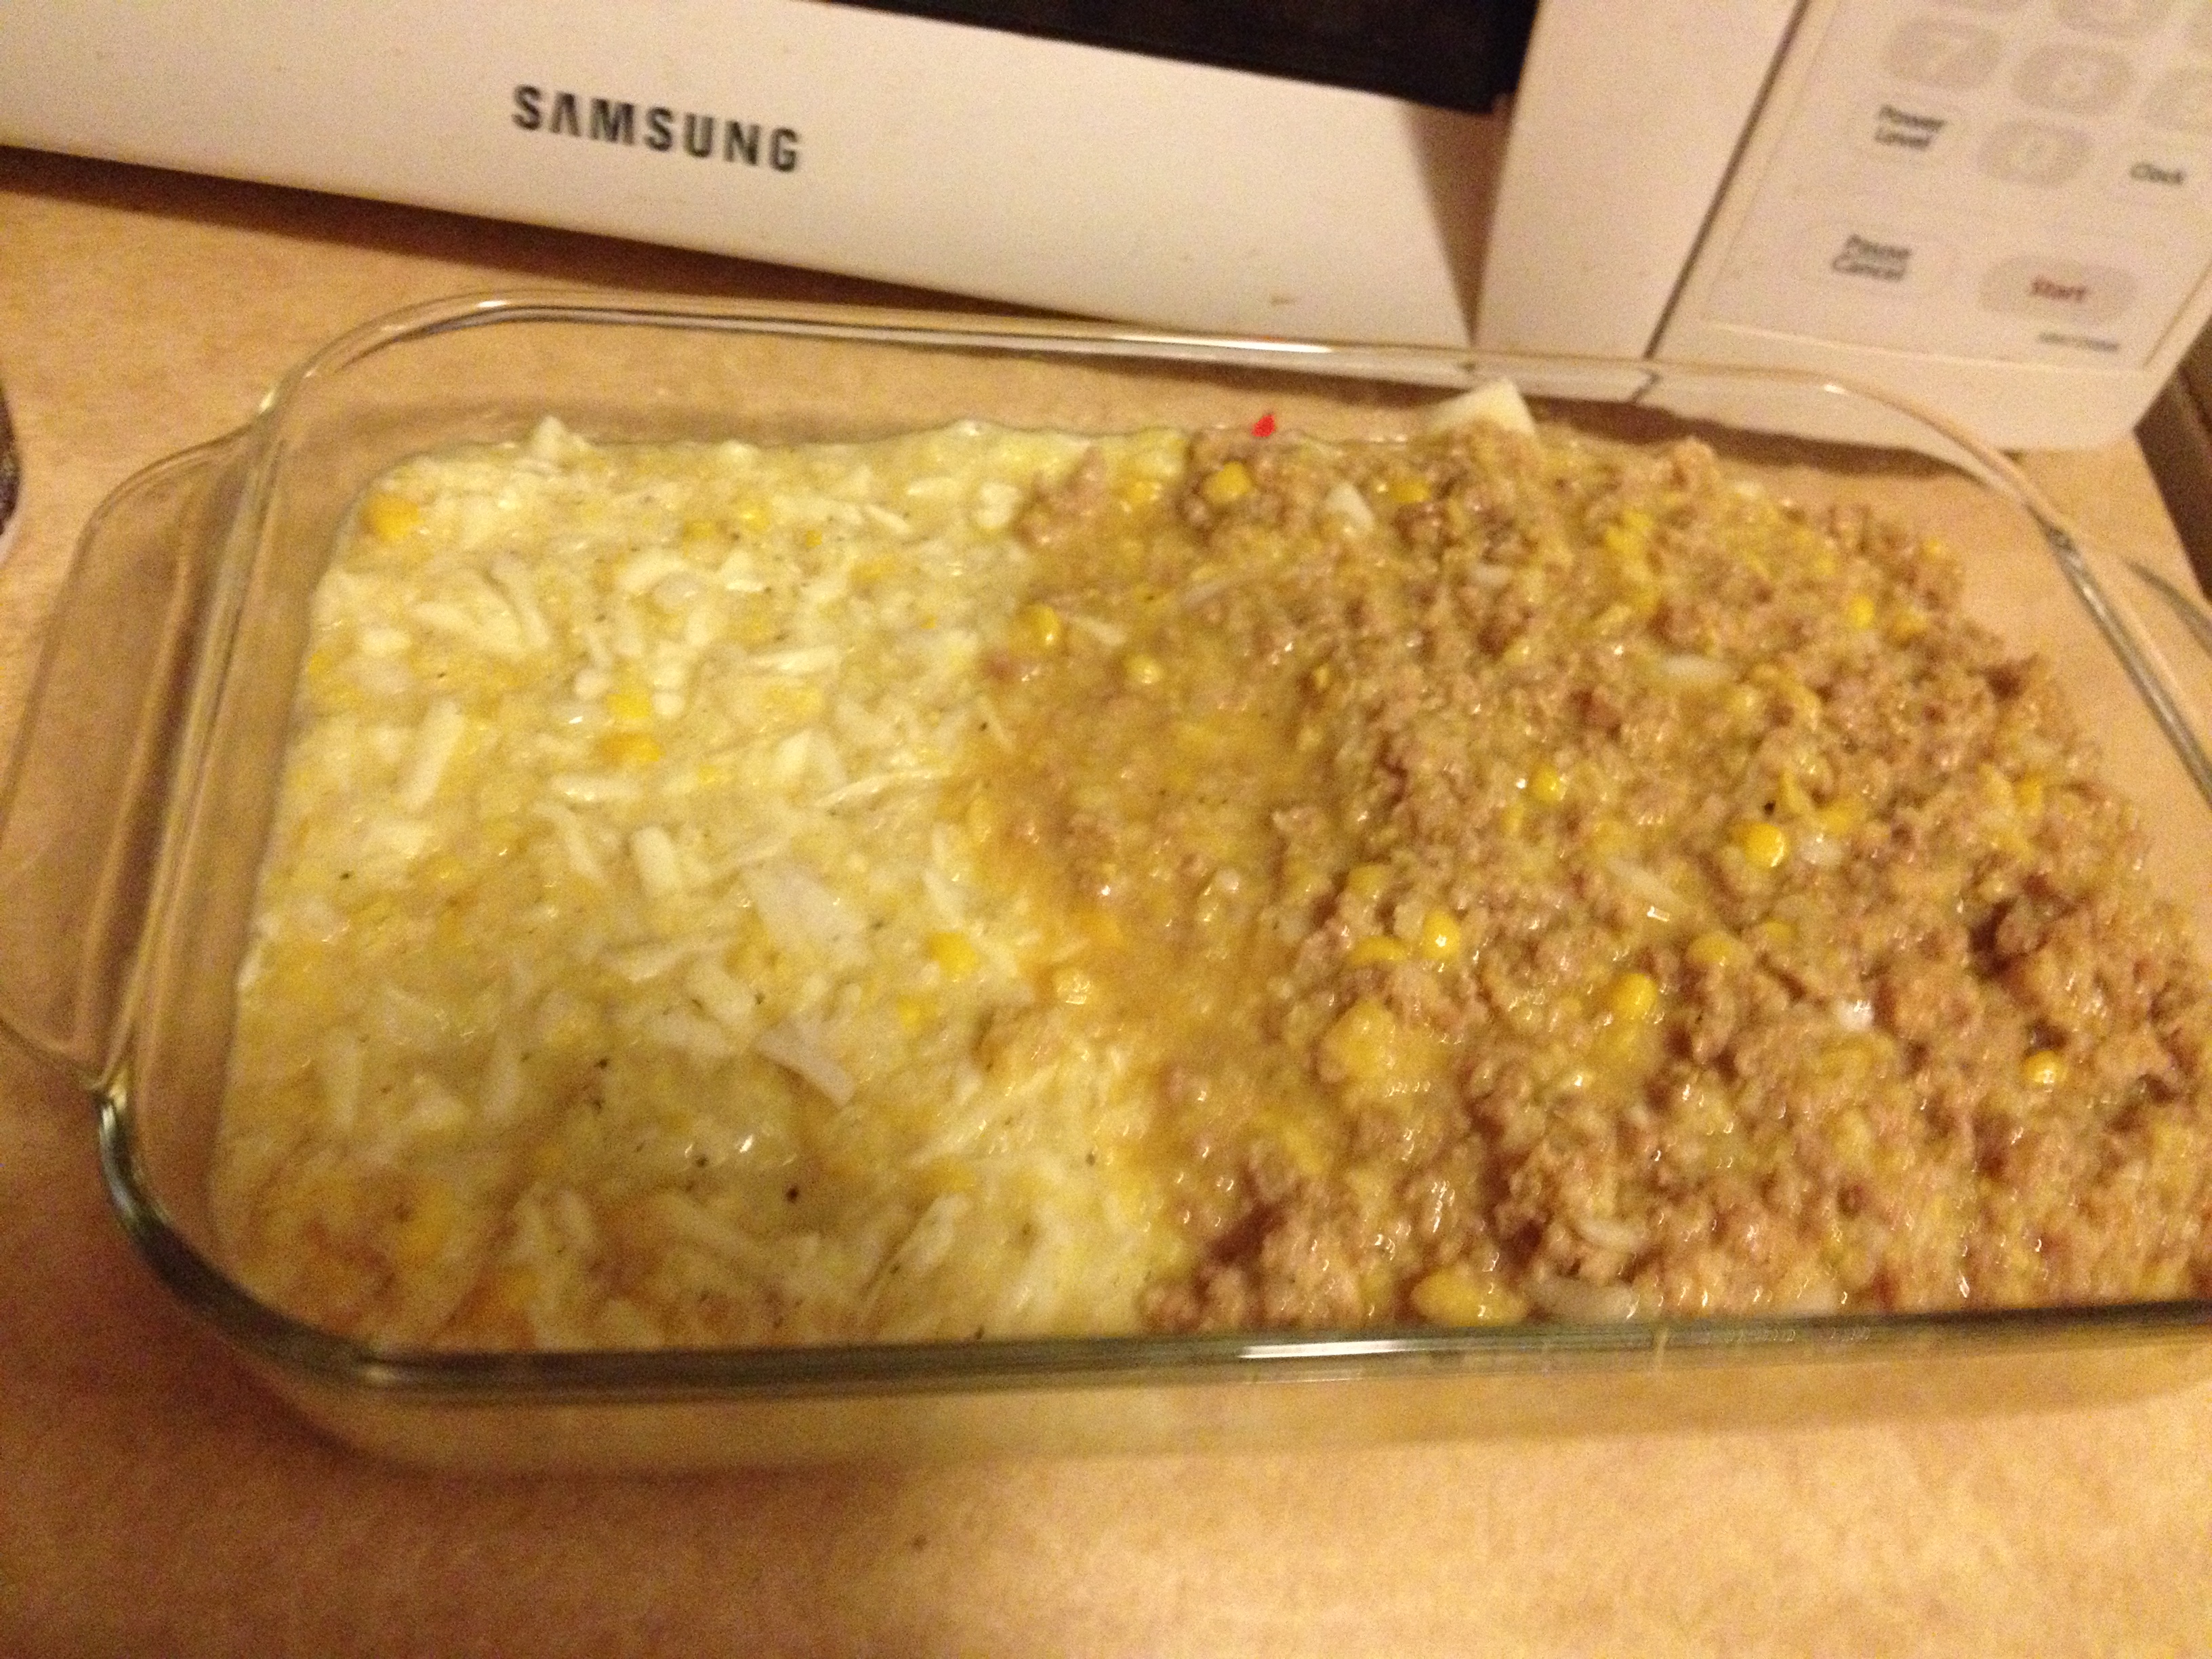
  • Put mixture into casserole dish
half veggie/half meat. Doesn't look too appetizing at this point

half veggie/half meat. Doesn’t look too appetizing at this point

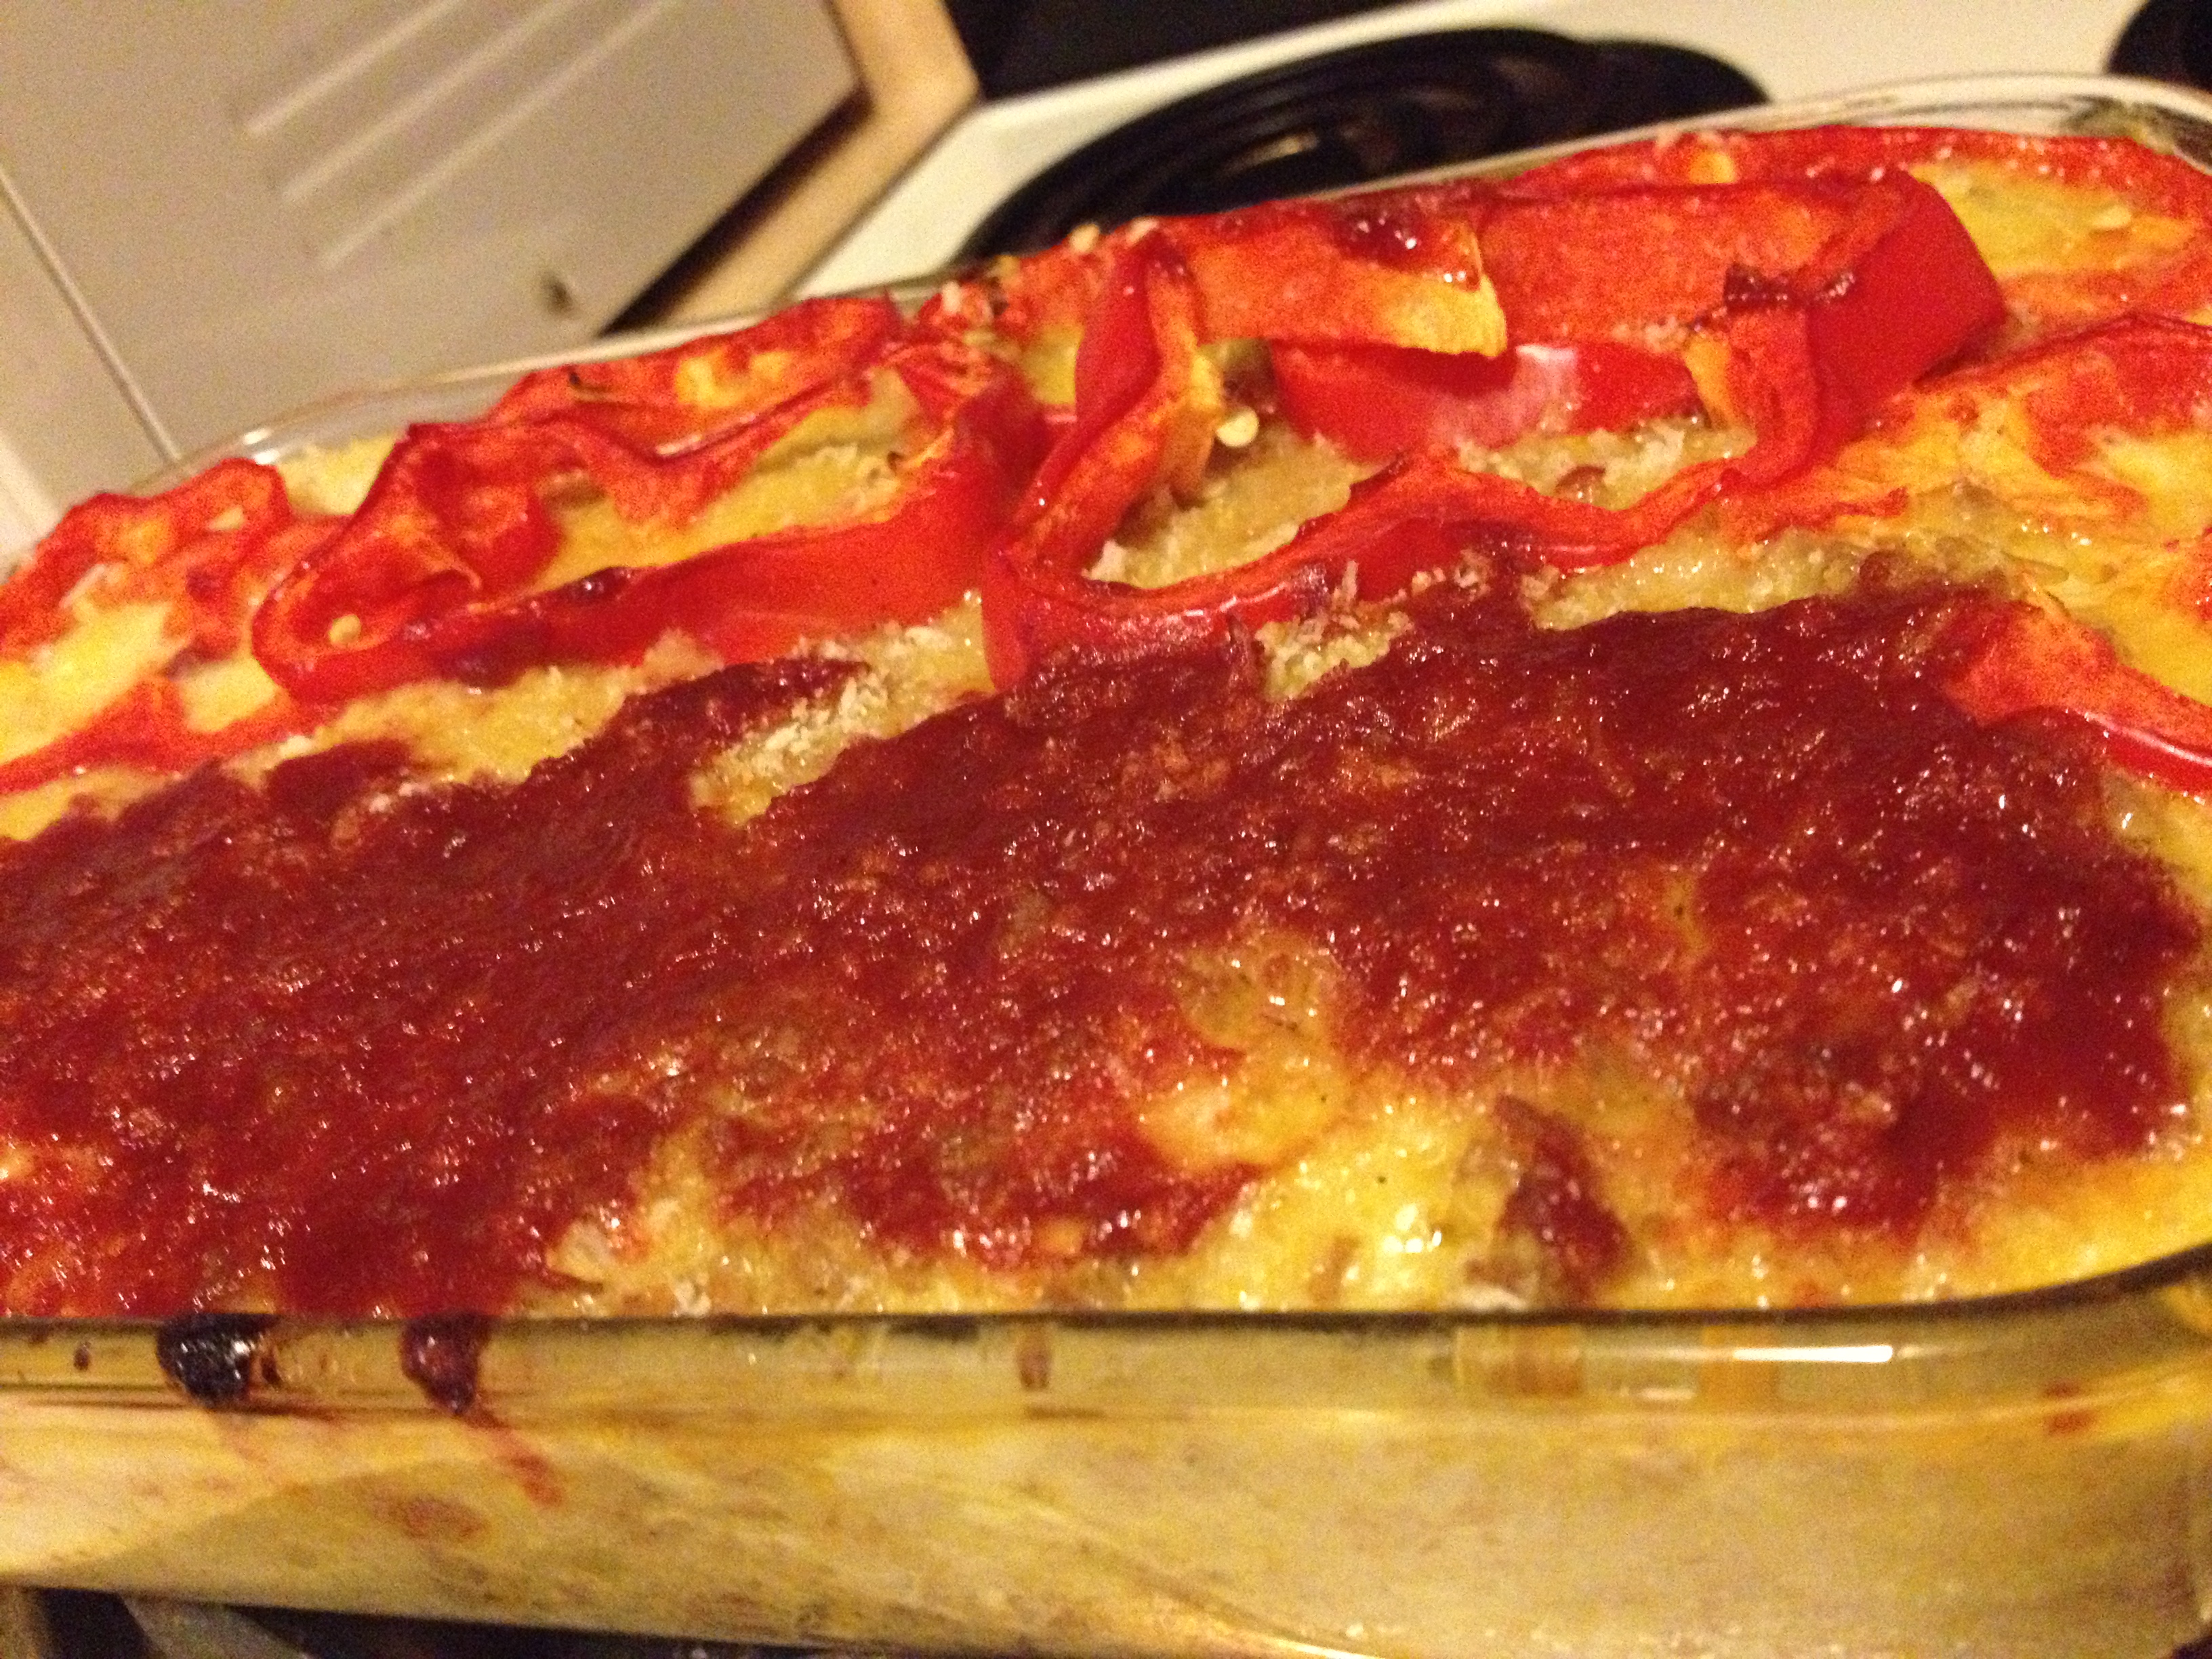
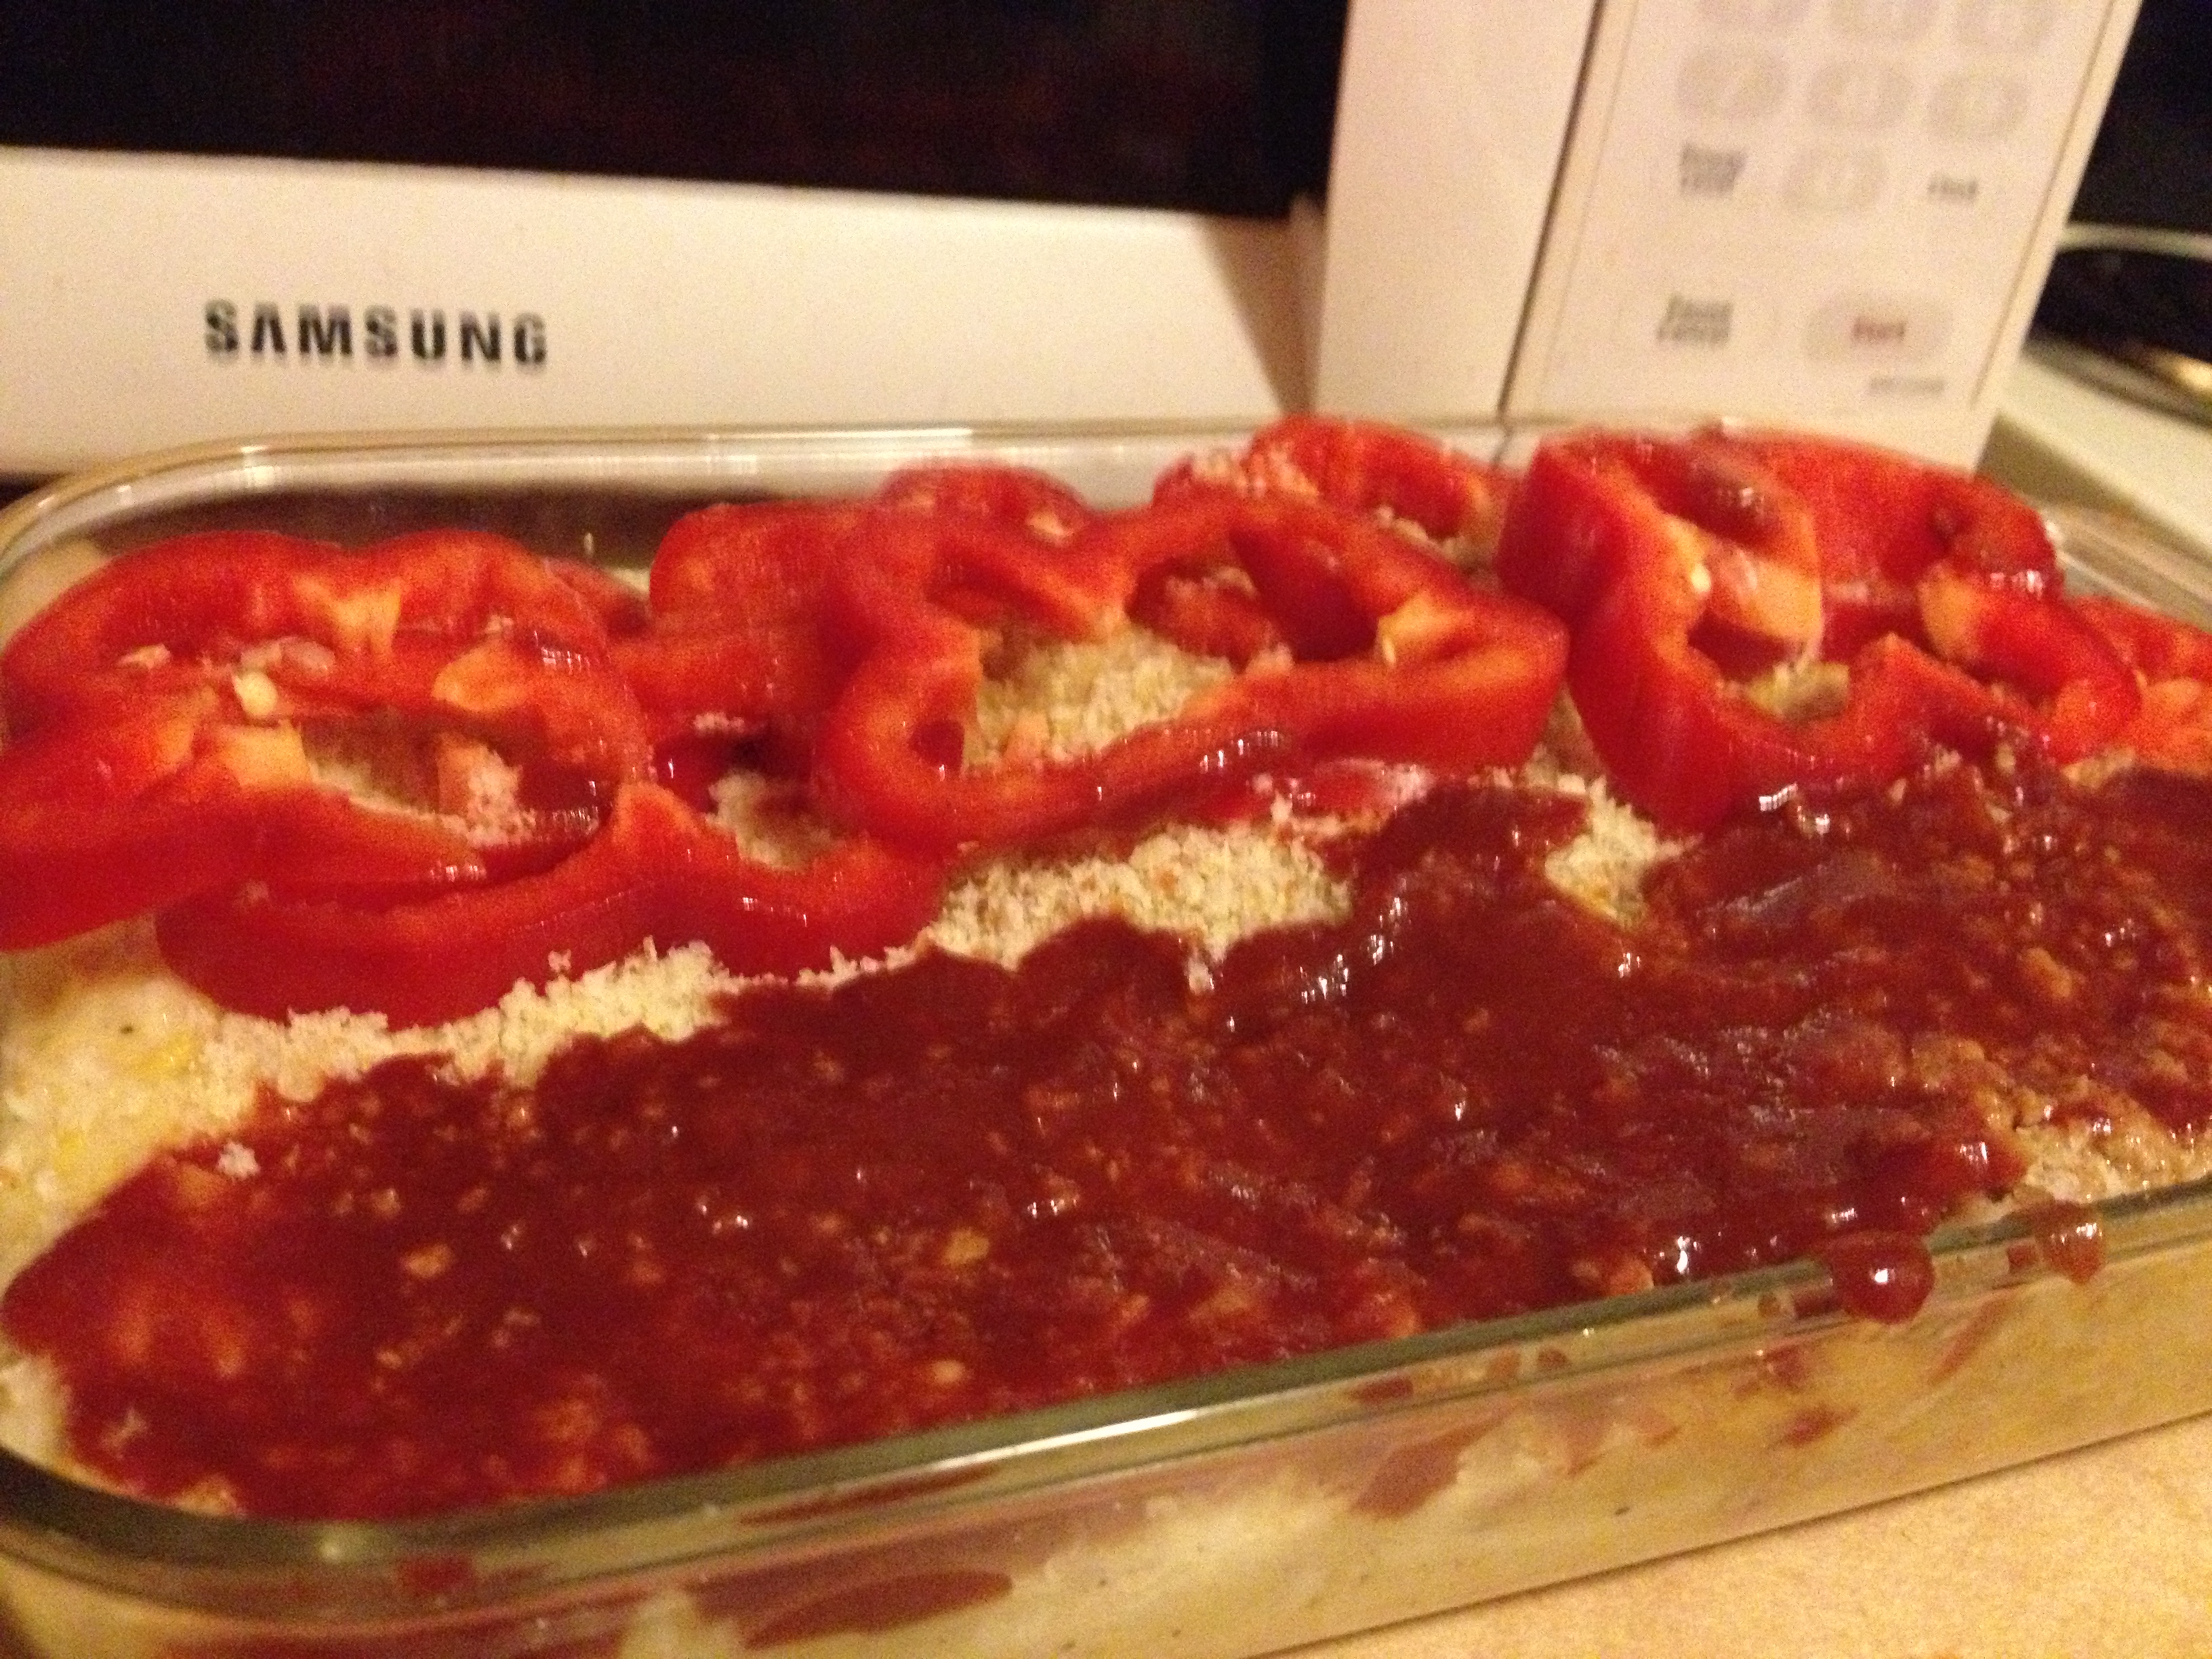
  • Cut the red pepper into rings and place upon half the casserole. At the same time, smear the ketchup across the other half

casserole rdy

  • Put into oven! Mine took about 65 minutes, just keep an eye on it after 50 minutes and test it for sturdiness
Hot n ready

Hot n ready

It was very filling and very enjoyable, and we have leftovers for tomorrow too! Thank you, Grandma!! Hopefully next she will send me her pie recipes…probably wishful thinking.

BONUS KITTY PIC

Sniper shot of Sajah asleep

Sniper shot of Sajah asleep

spacer

Peanut Butter Oat Bars

This is such an easy delicious recipe. Mary Kate sent this recipe to me–I altered it a little bit and boy is it goooooood. And it’s such an easy recipe, I whipped it up extremely fast. And there’s no added sugar that you have to pour in, making them healthy little things full of protein. Look below for the recipe and directions. This is one you won’t want to pass up and you only need about 25 minutes to do it.

  • Prep Time: 7 minutes
  • Bake Time: 18 minutes

ingredients

Ingredients

  • 1.5 cups of oats
  • 1/2 cup of all-purpose flour
  • 1/3 cup of agave nectar
  • 1 egg
  • 1/2 cup smooth peanut butter
  • small handful of chocolate chips 

Directions

  • Grease a baking sheet and pre-heat oven to 350 degrees
  • Mix the flour and oats together

dry

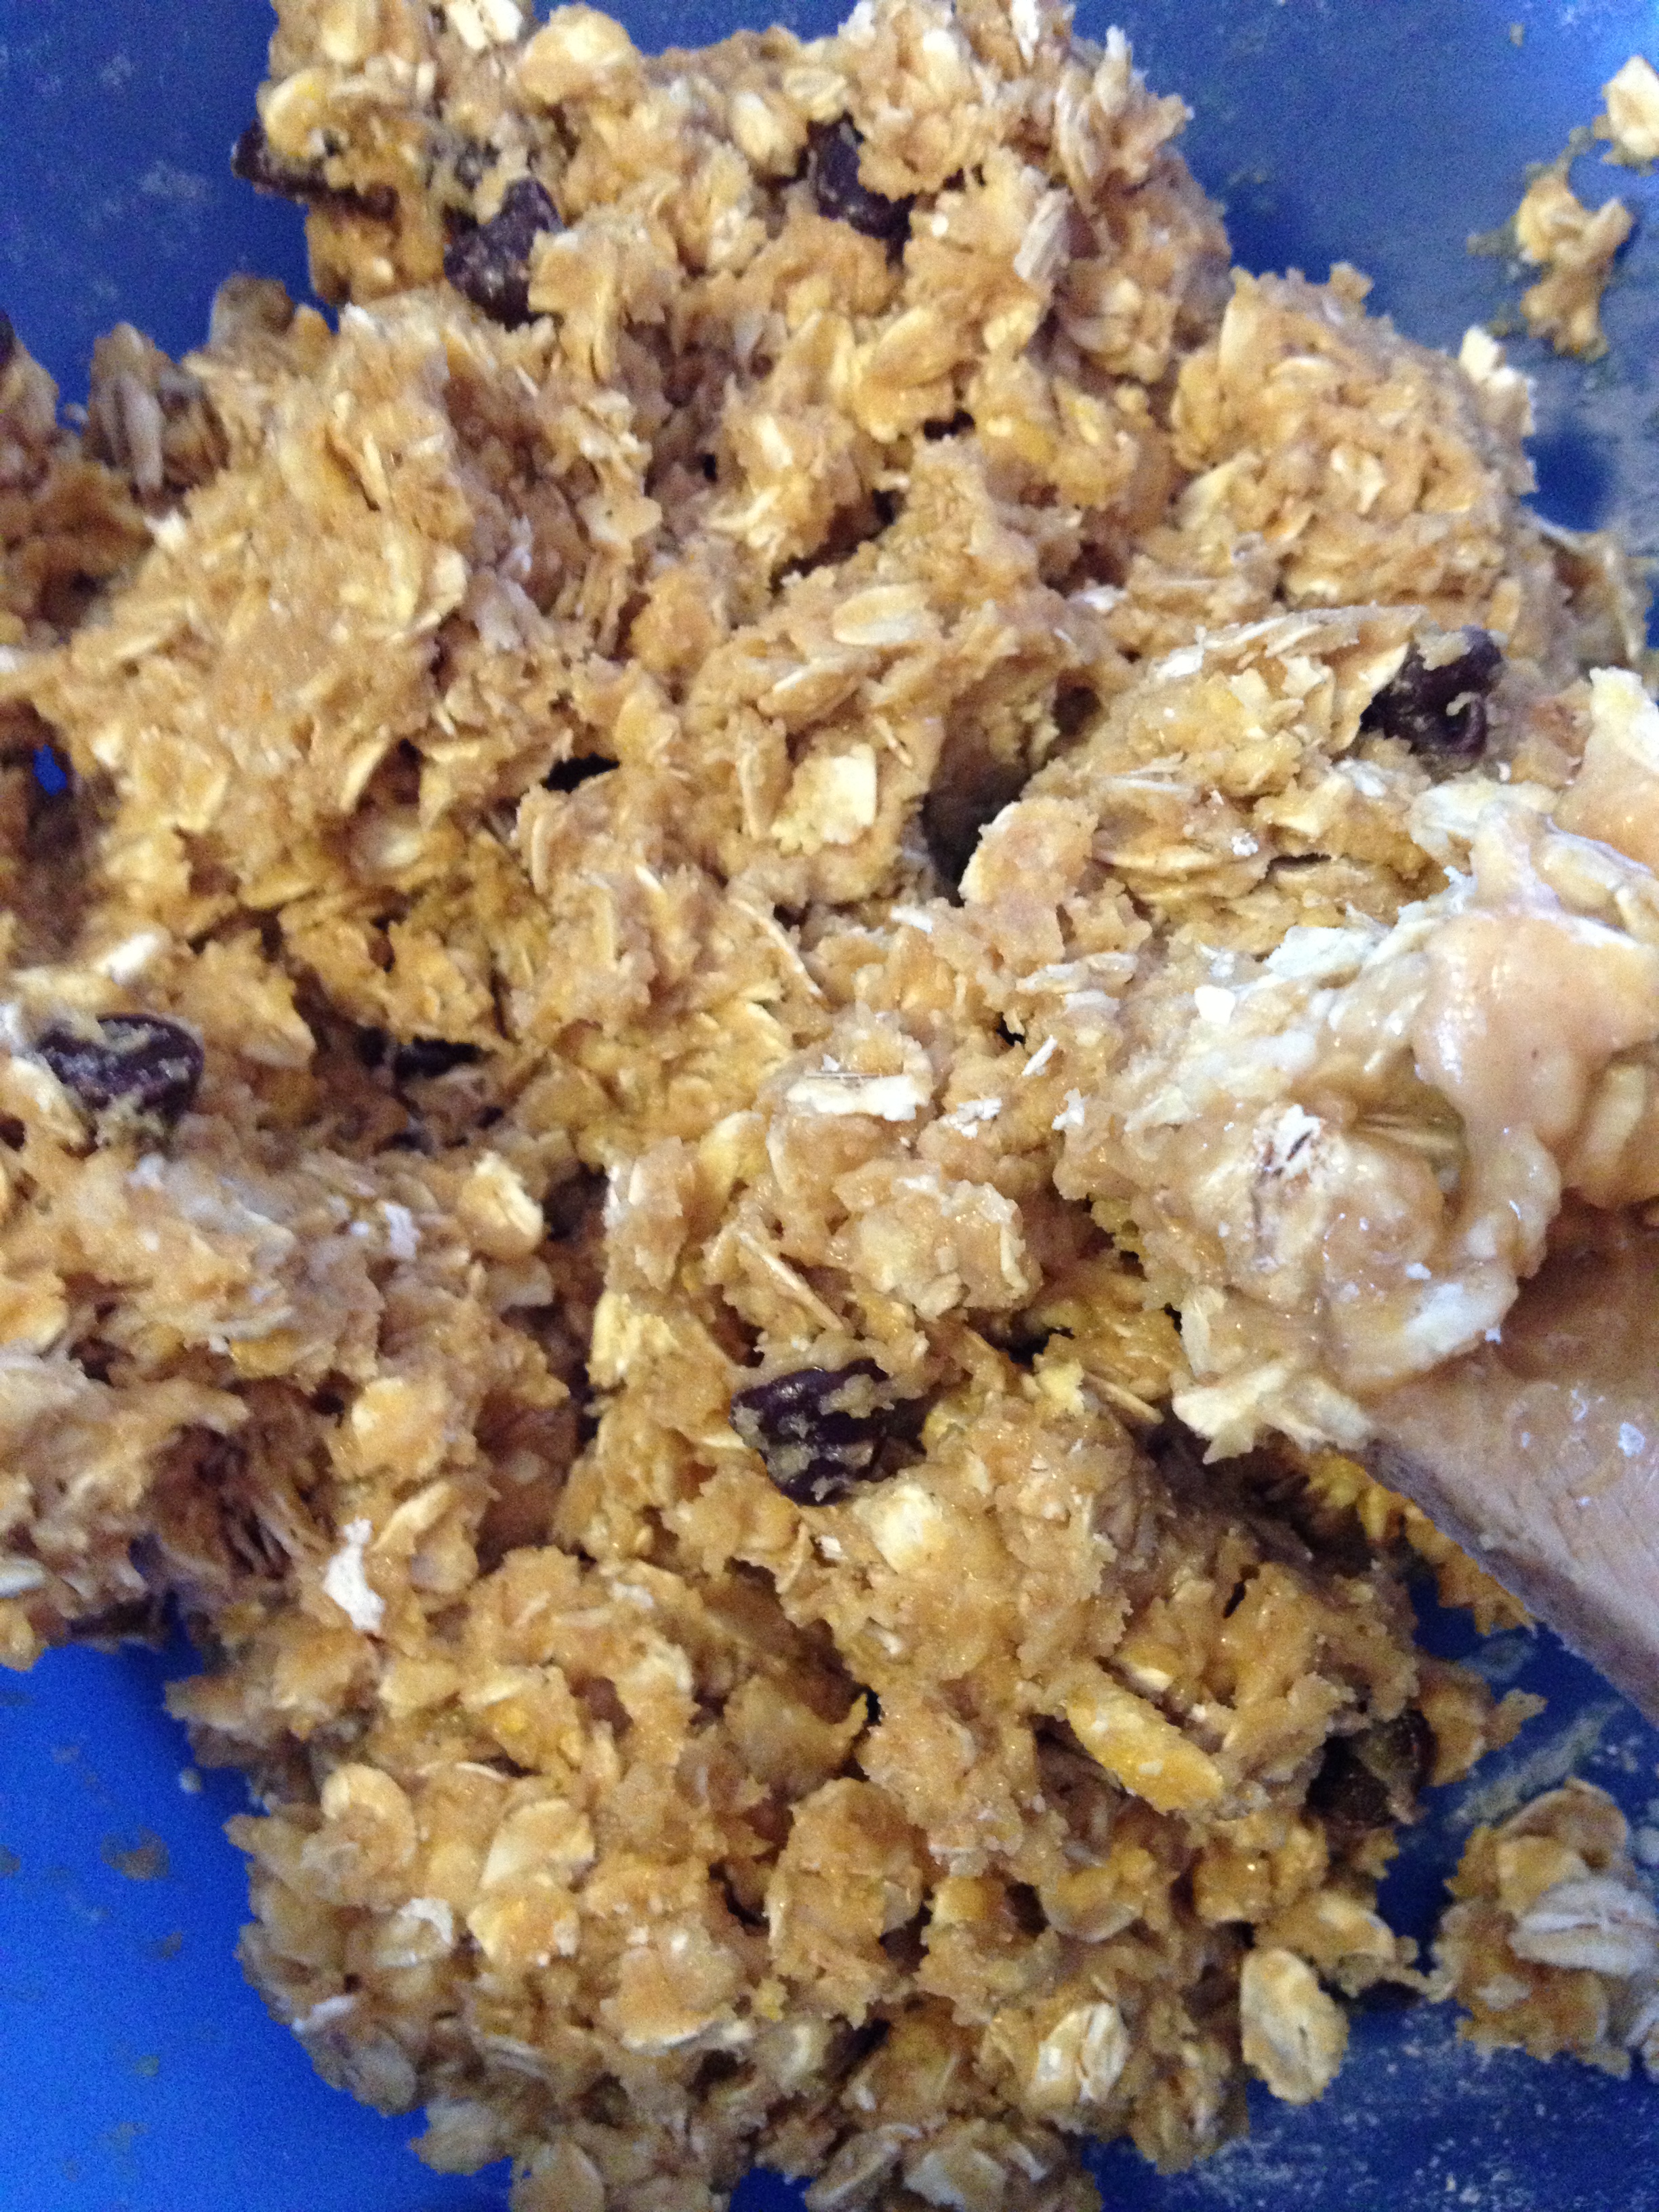
  • Go ahead and put the wet ingredients in (the egg, peanut butter, and agave nectar) and mix
  • Fold in some chocolate chips

mixing

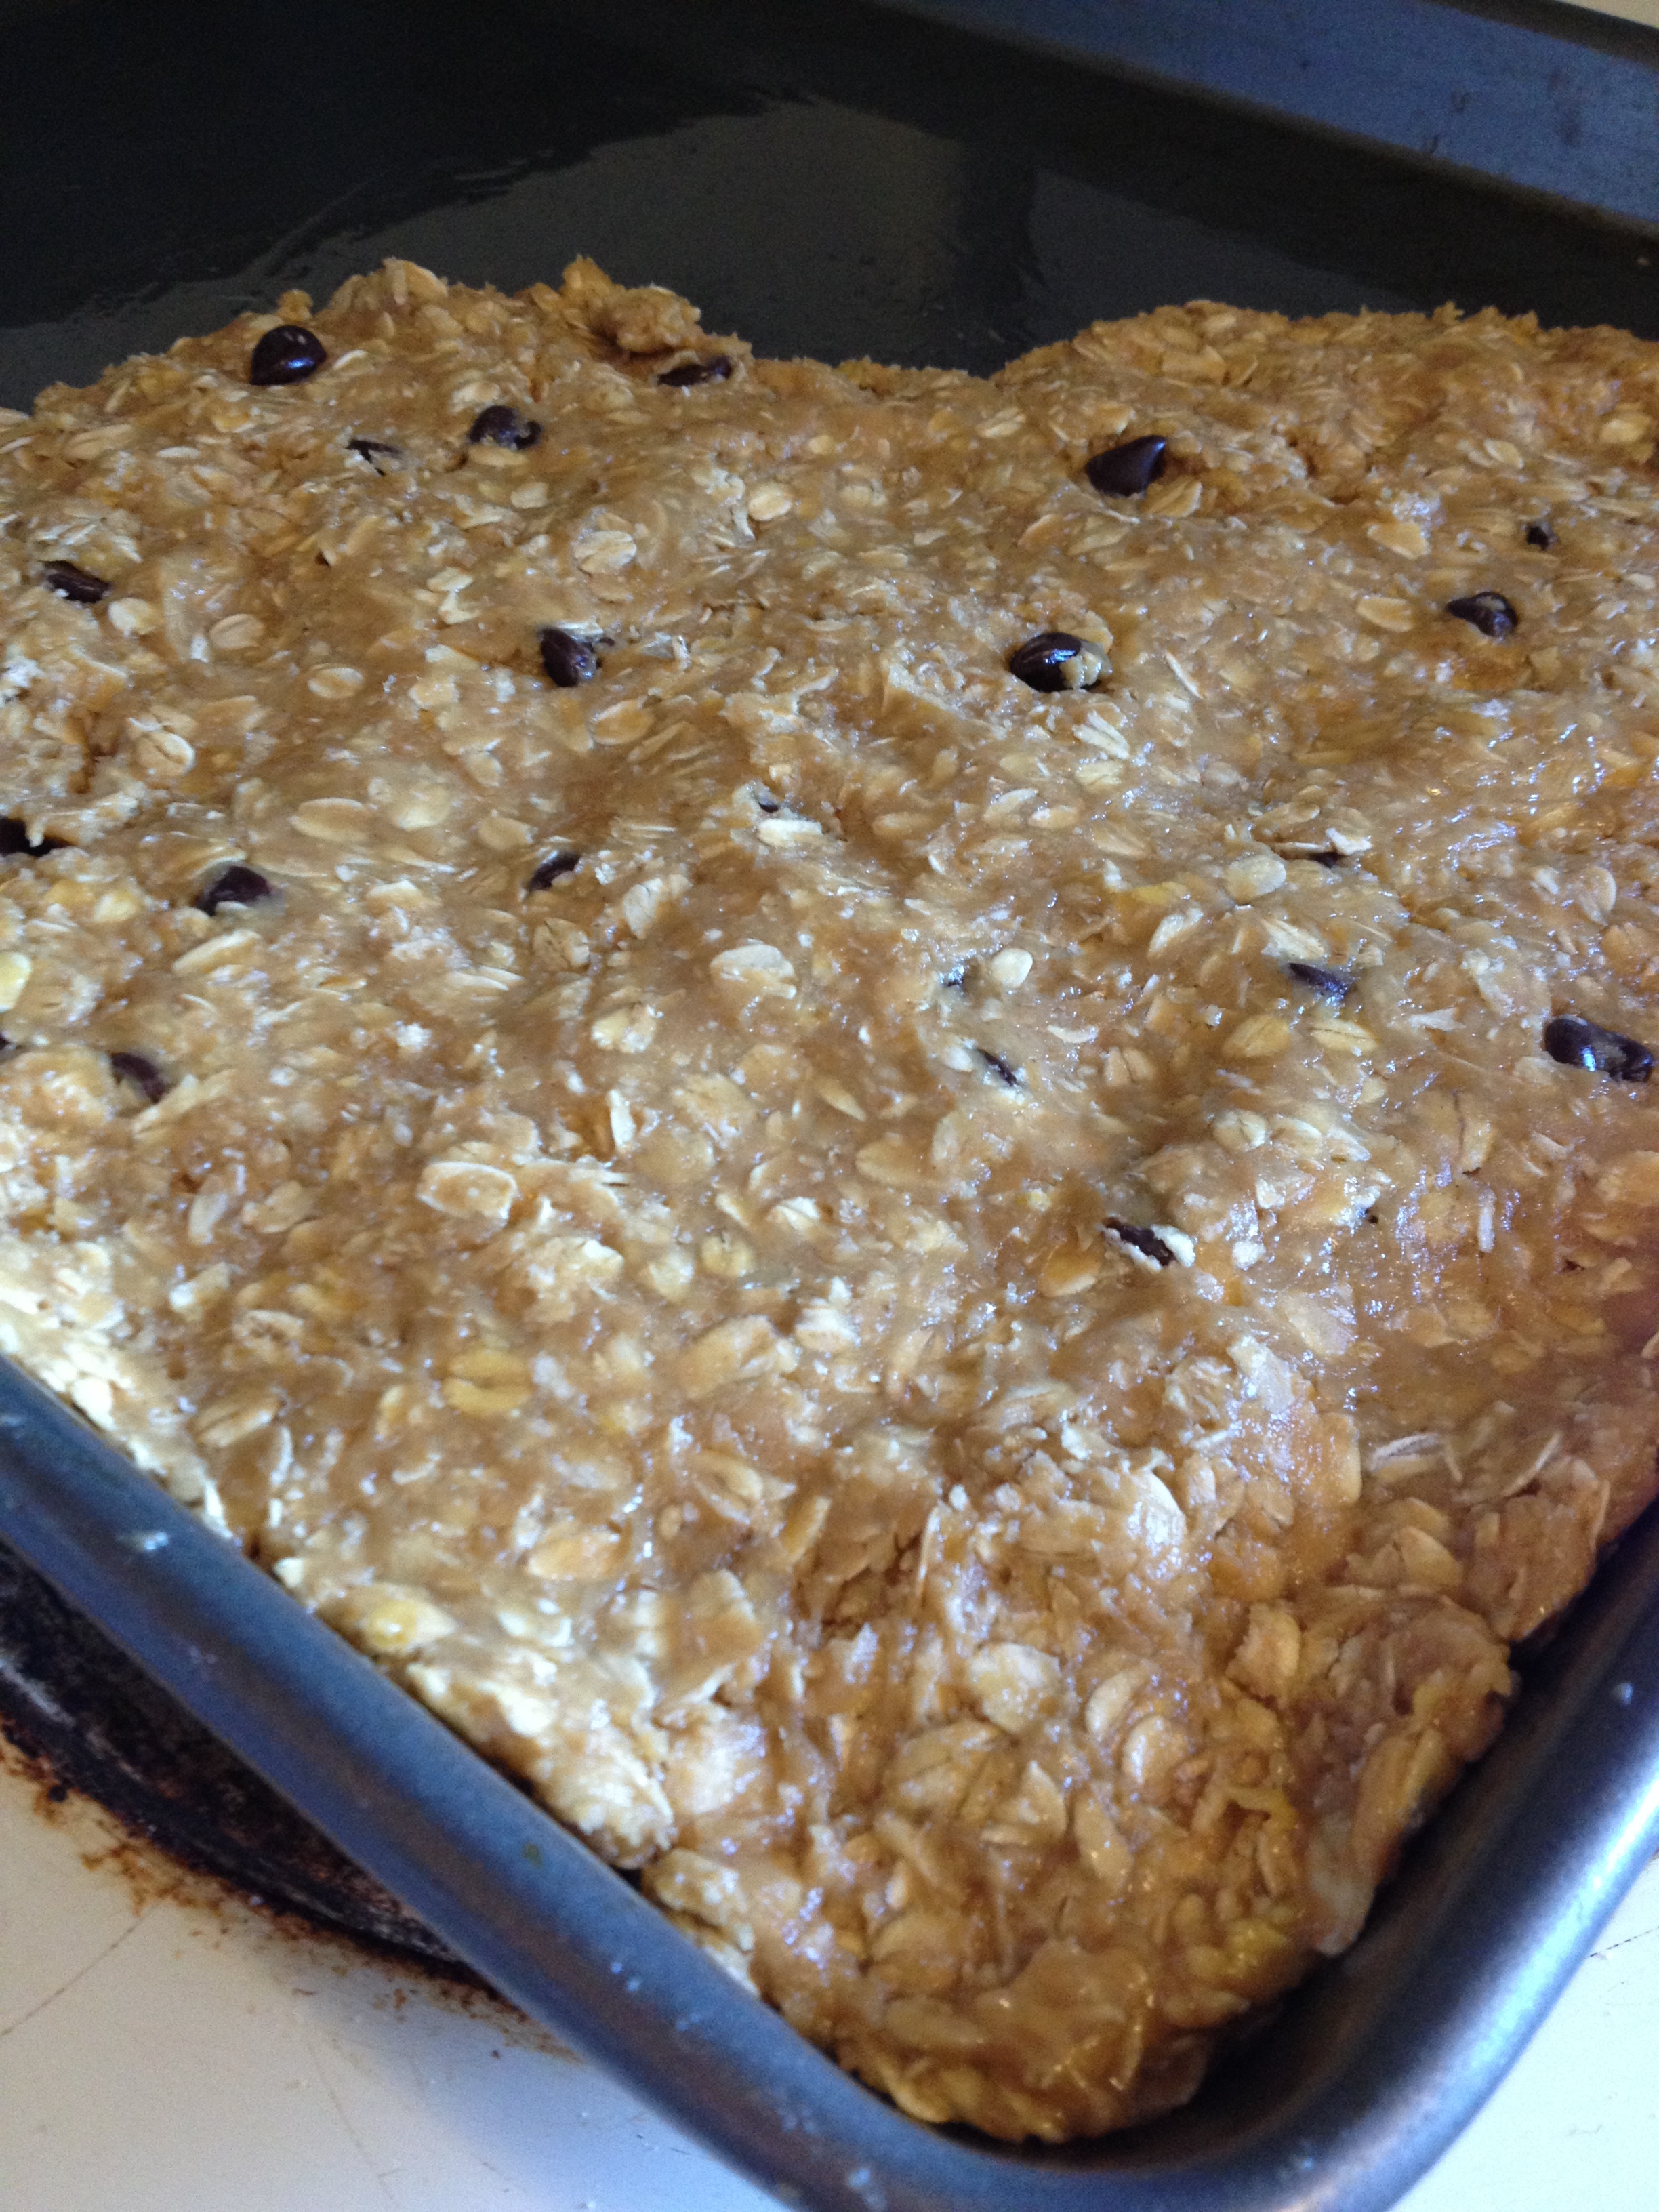
  • Spread out on the baking sheet
Ready to bake

Ready to bake

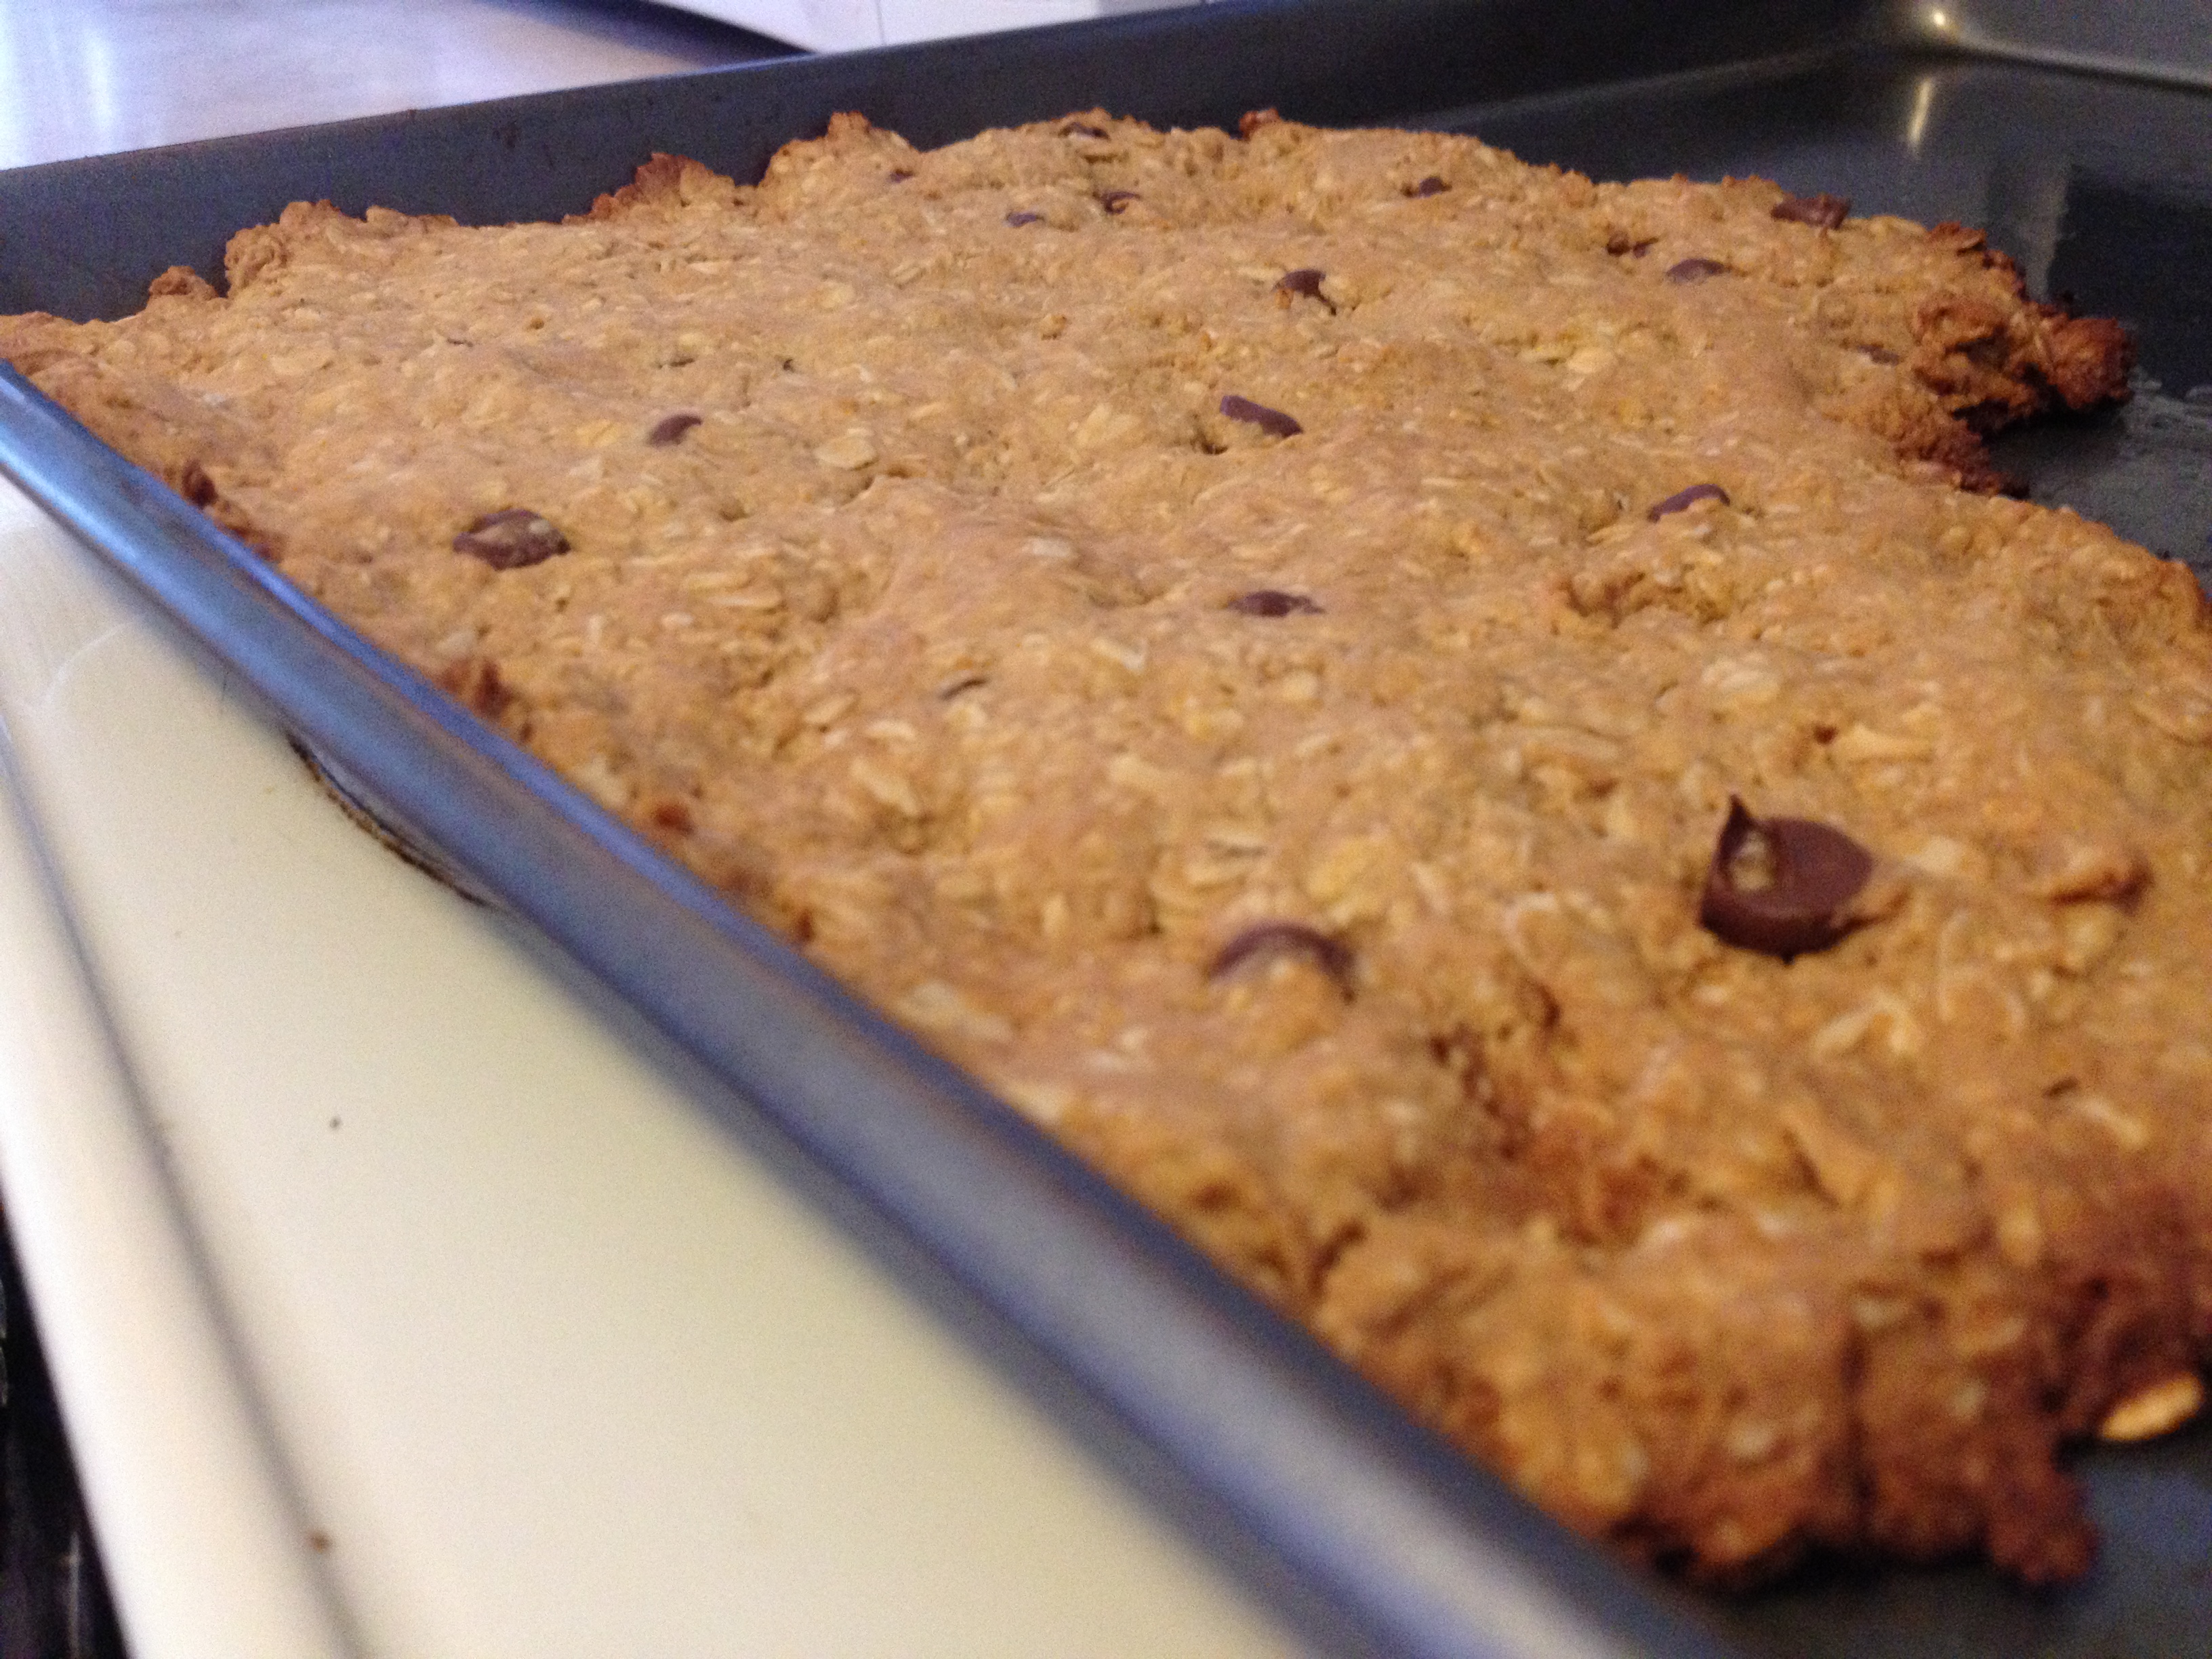
  • Bake in the oven for 15-18 minutes (mine took 18). You want it to bake until it starts to brown slightly

all done

  • Wait until completely cool to cut and serve.

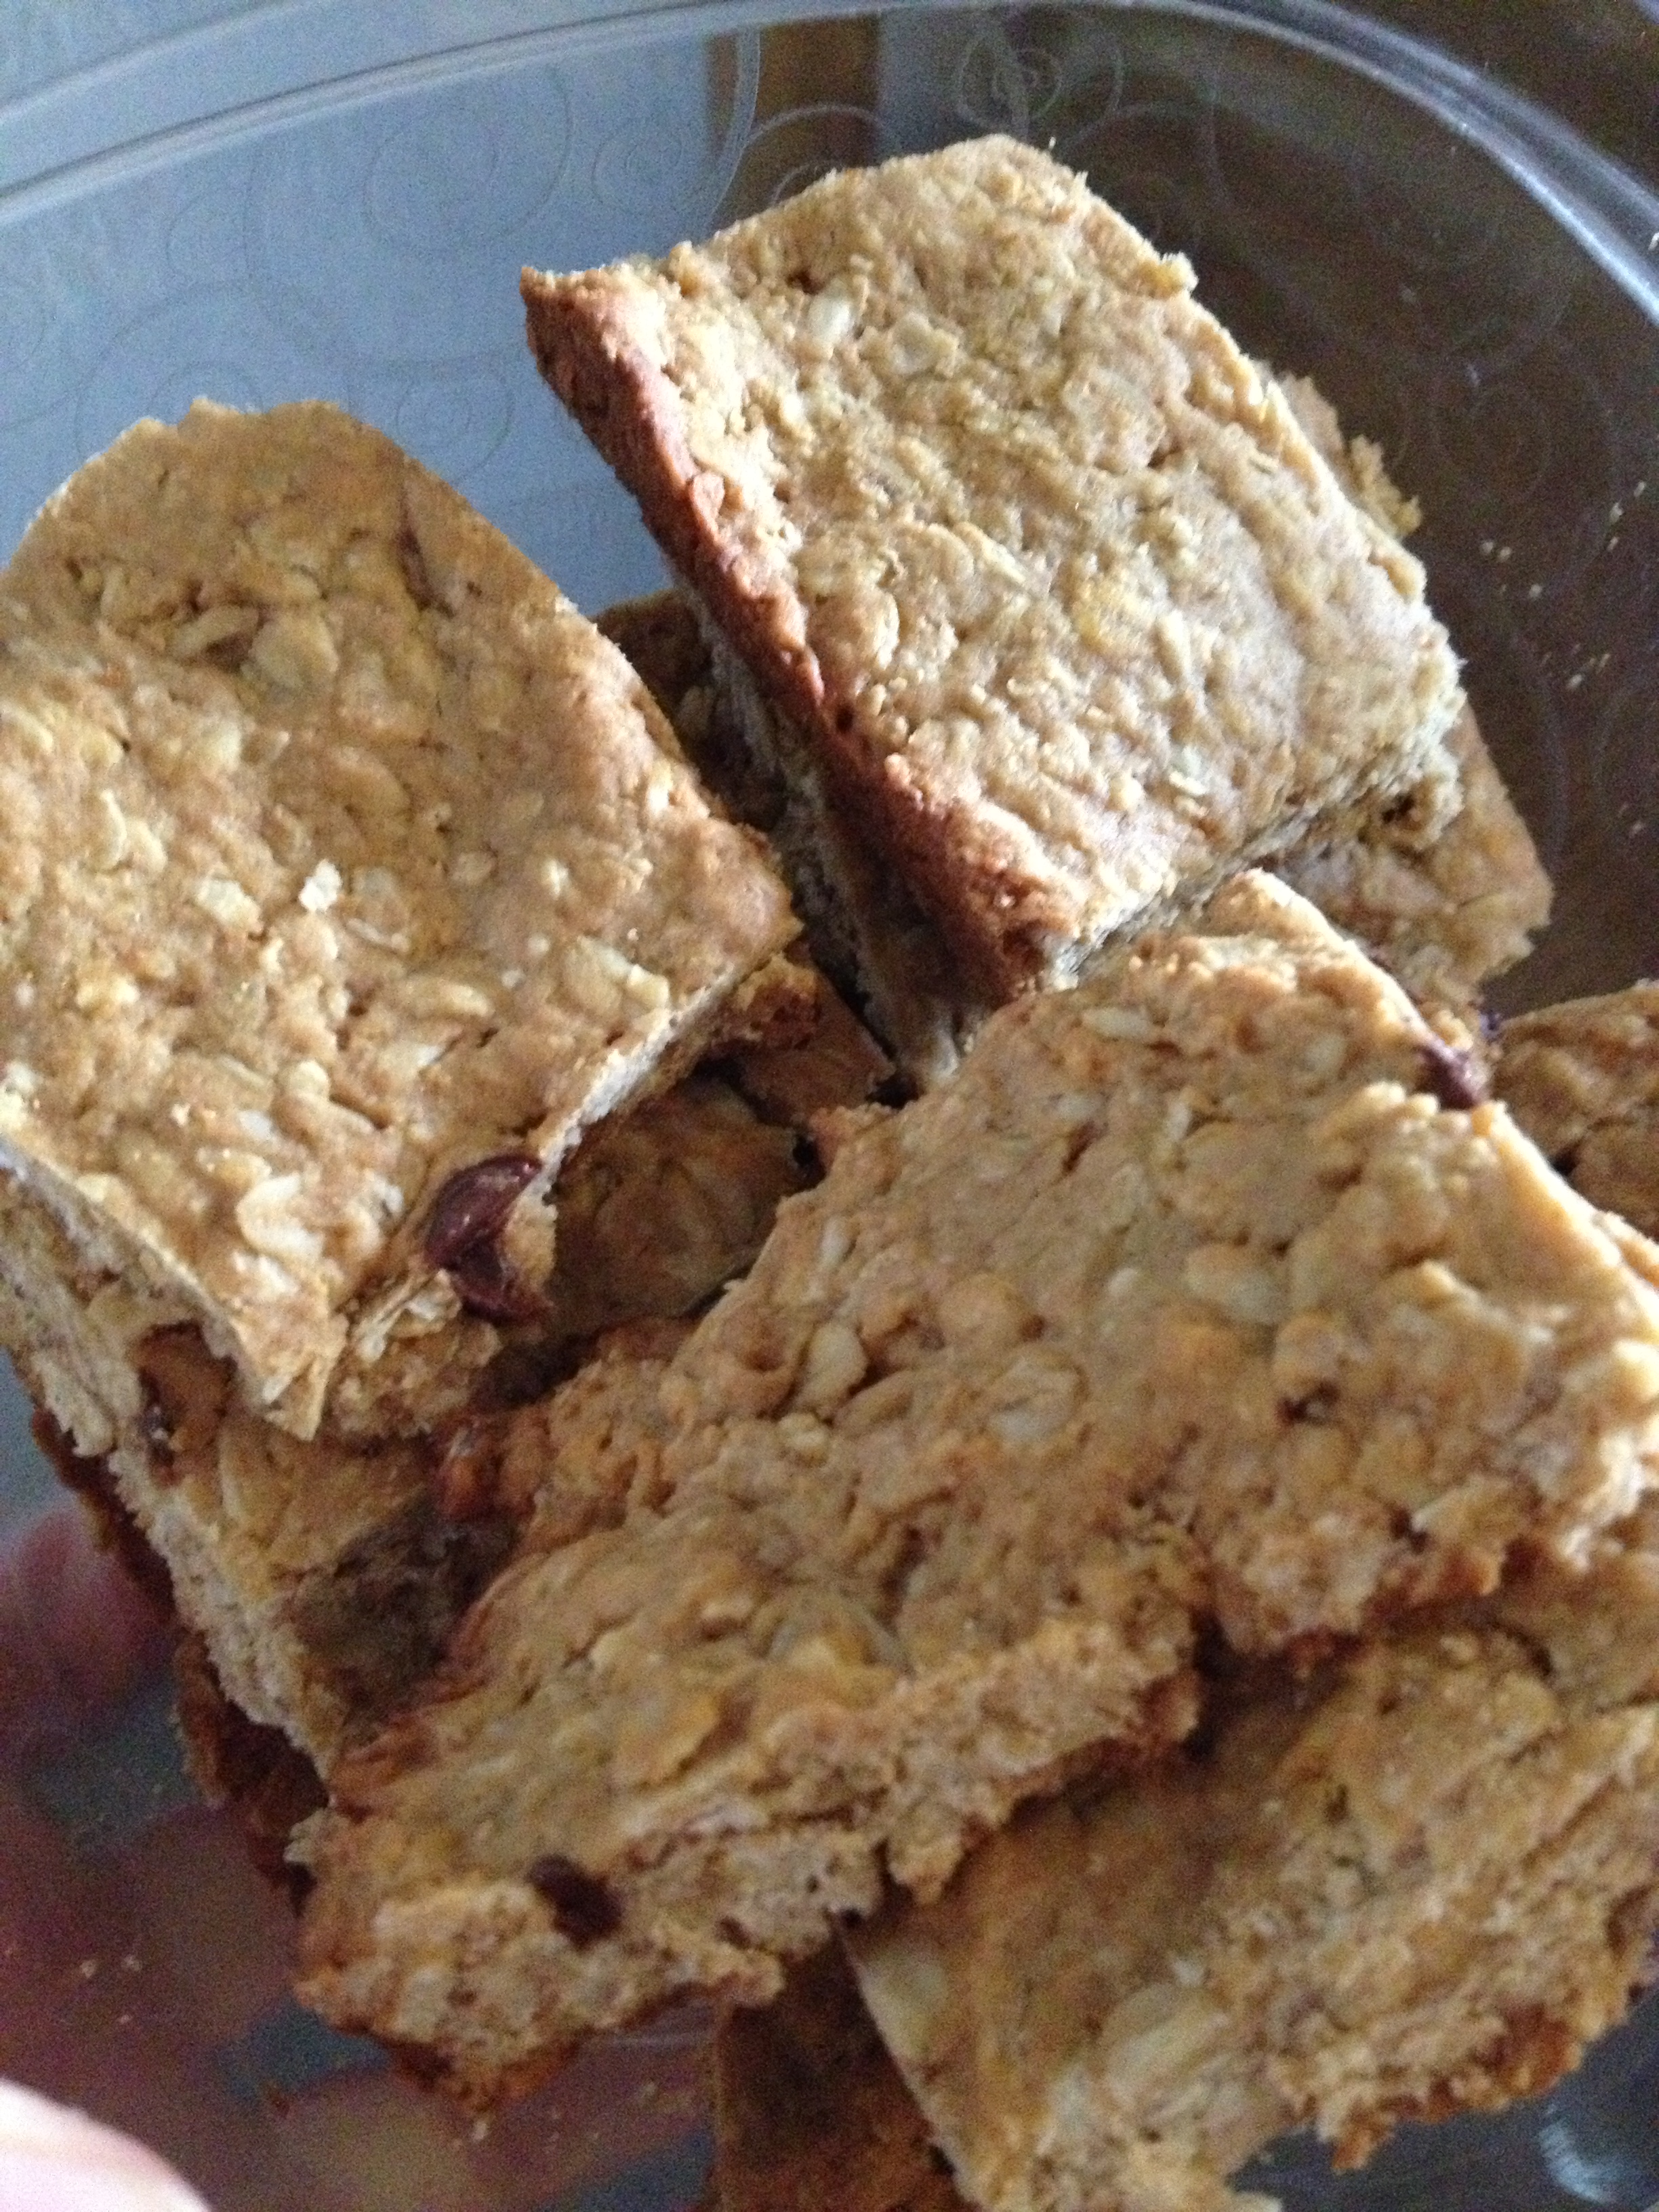
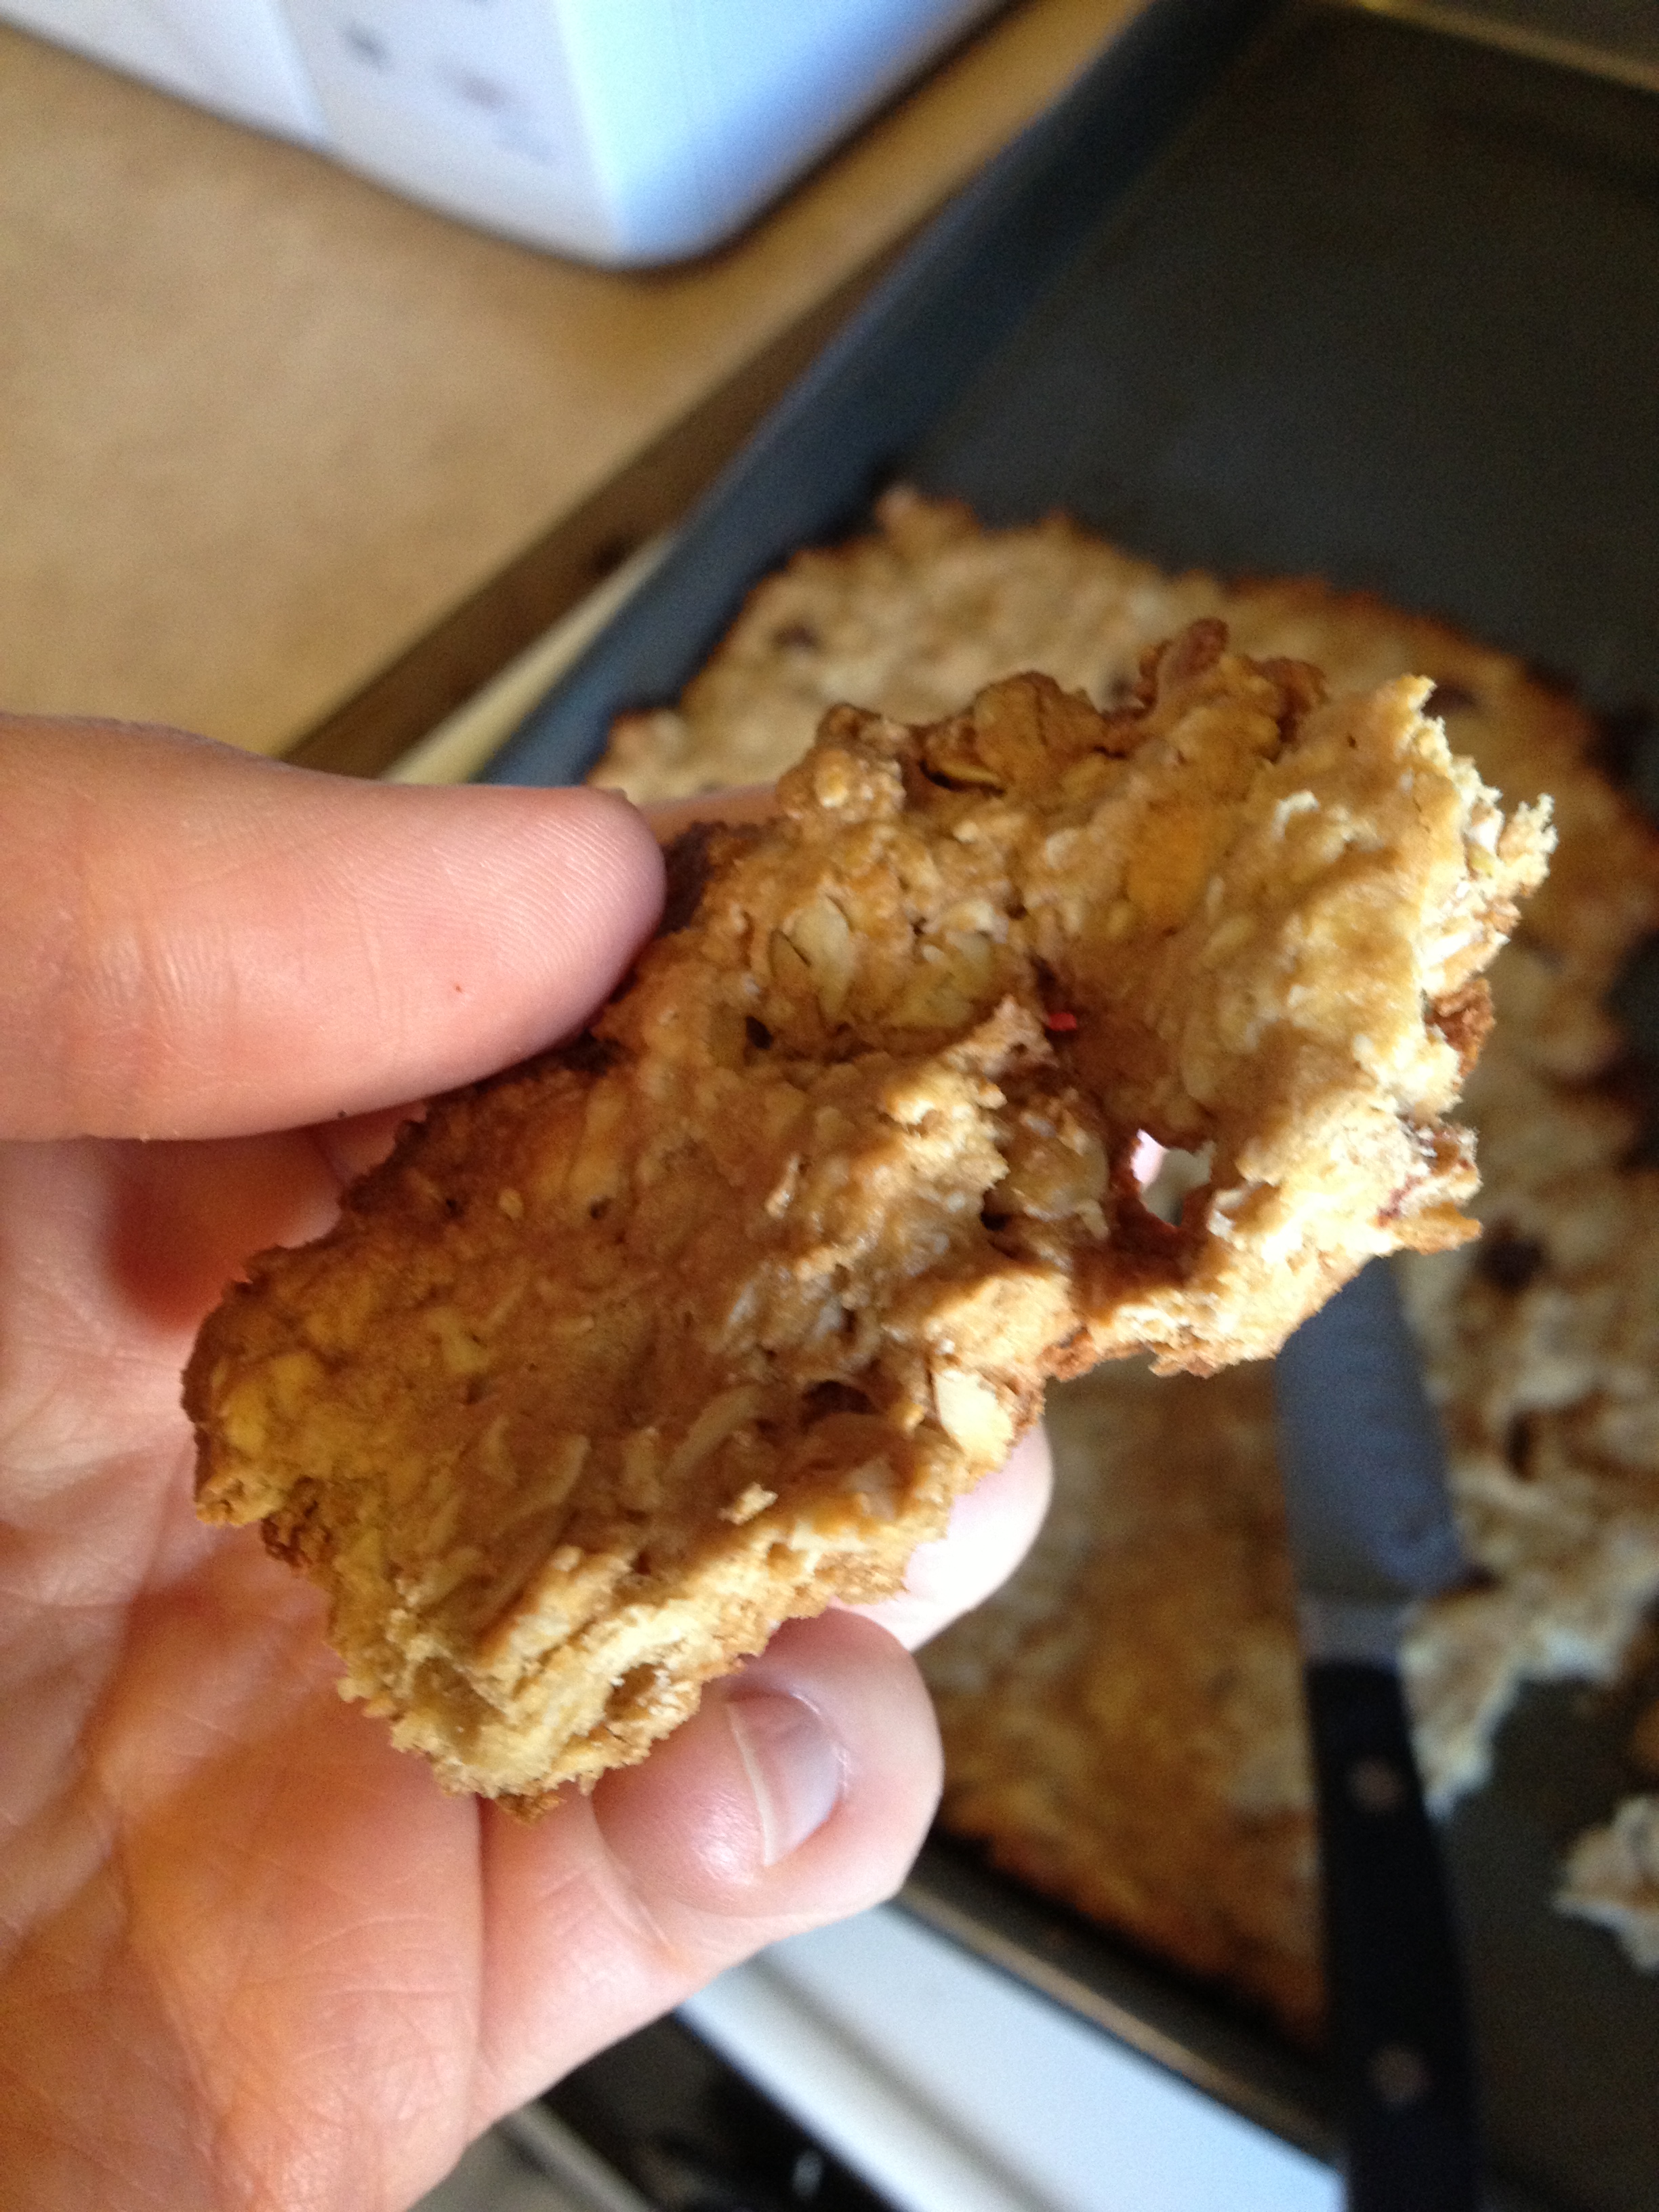
bars

peanut bars

Enjoy! And as always…stay hungry and fit!

spacer

Getting Creative With Tofu

If you’re a vegetarian or you just like it, tofu is a big part of the diet. Usually, we just cube it and put it into the dish with whatever else we are making. But recently, a friend (from Bali) shared a new way of doing tofu. Well, the cooking method is typical for some, but the flavoring is different. Using nutritional yeast. Now, I had no idea what this was before the couple brought the dish over to us. And it is delicious. It literally had me thinking I was eating fried chicken, that’s what it tastes like. So, I was in heaven. And then, I realized I needed to know how to make this for myself. Luckily, our friend left us a little tub of this magic nutritional yeast, so I was good to go. I will be showing you how to make this tofu dish, but also sharing what we had with it (though you can have it alone too).

Ingredients

  • 1 box tofu
  • knife
  • nutritional yeast flakes
  • oil
  • peppers [optional]
  • udon [optional]
  • teriyaki [optional]

Directions

  • Drain the tofu juice out of the box and place the tofu on cutting board. Cut long-ways first, into thin 1/2 inch pieces
  • Cut short-ways, making little squares
  • Have a pan hot with a very light amount of olive oil and carefully place tofu on the pan, letting each have enough room to cook. I put the temperature on a little less than high (medium-high)
  • Takes about 5-10 minutes to cook, I use a fork to turn them over. Keep an eye on them so they don’t burn on the outside, but get cooked on the inside. Turn them over one by one when the first side is done.
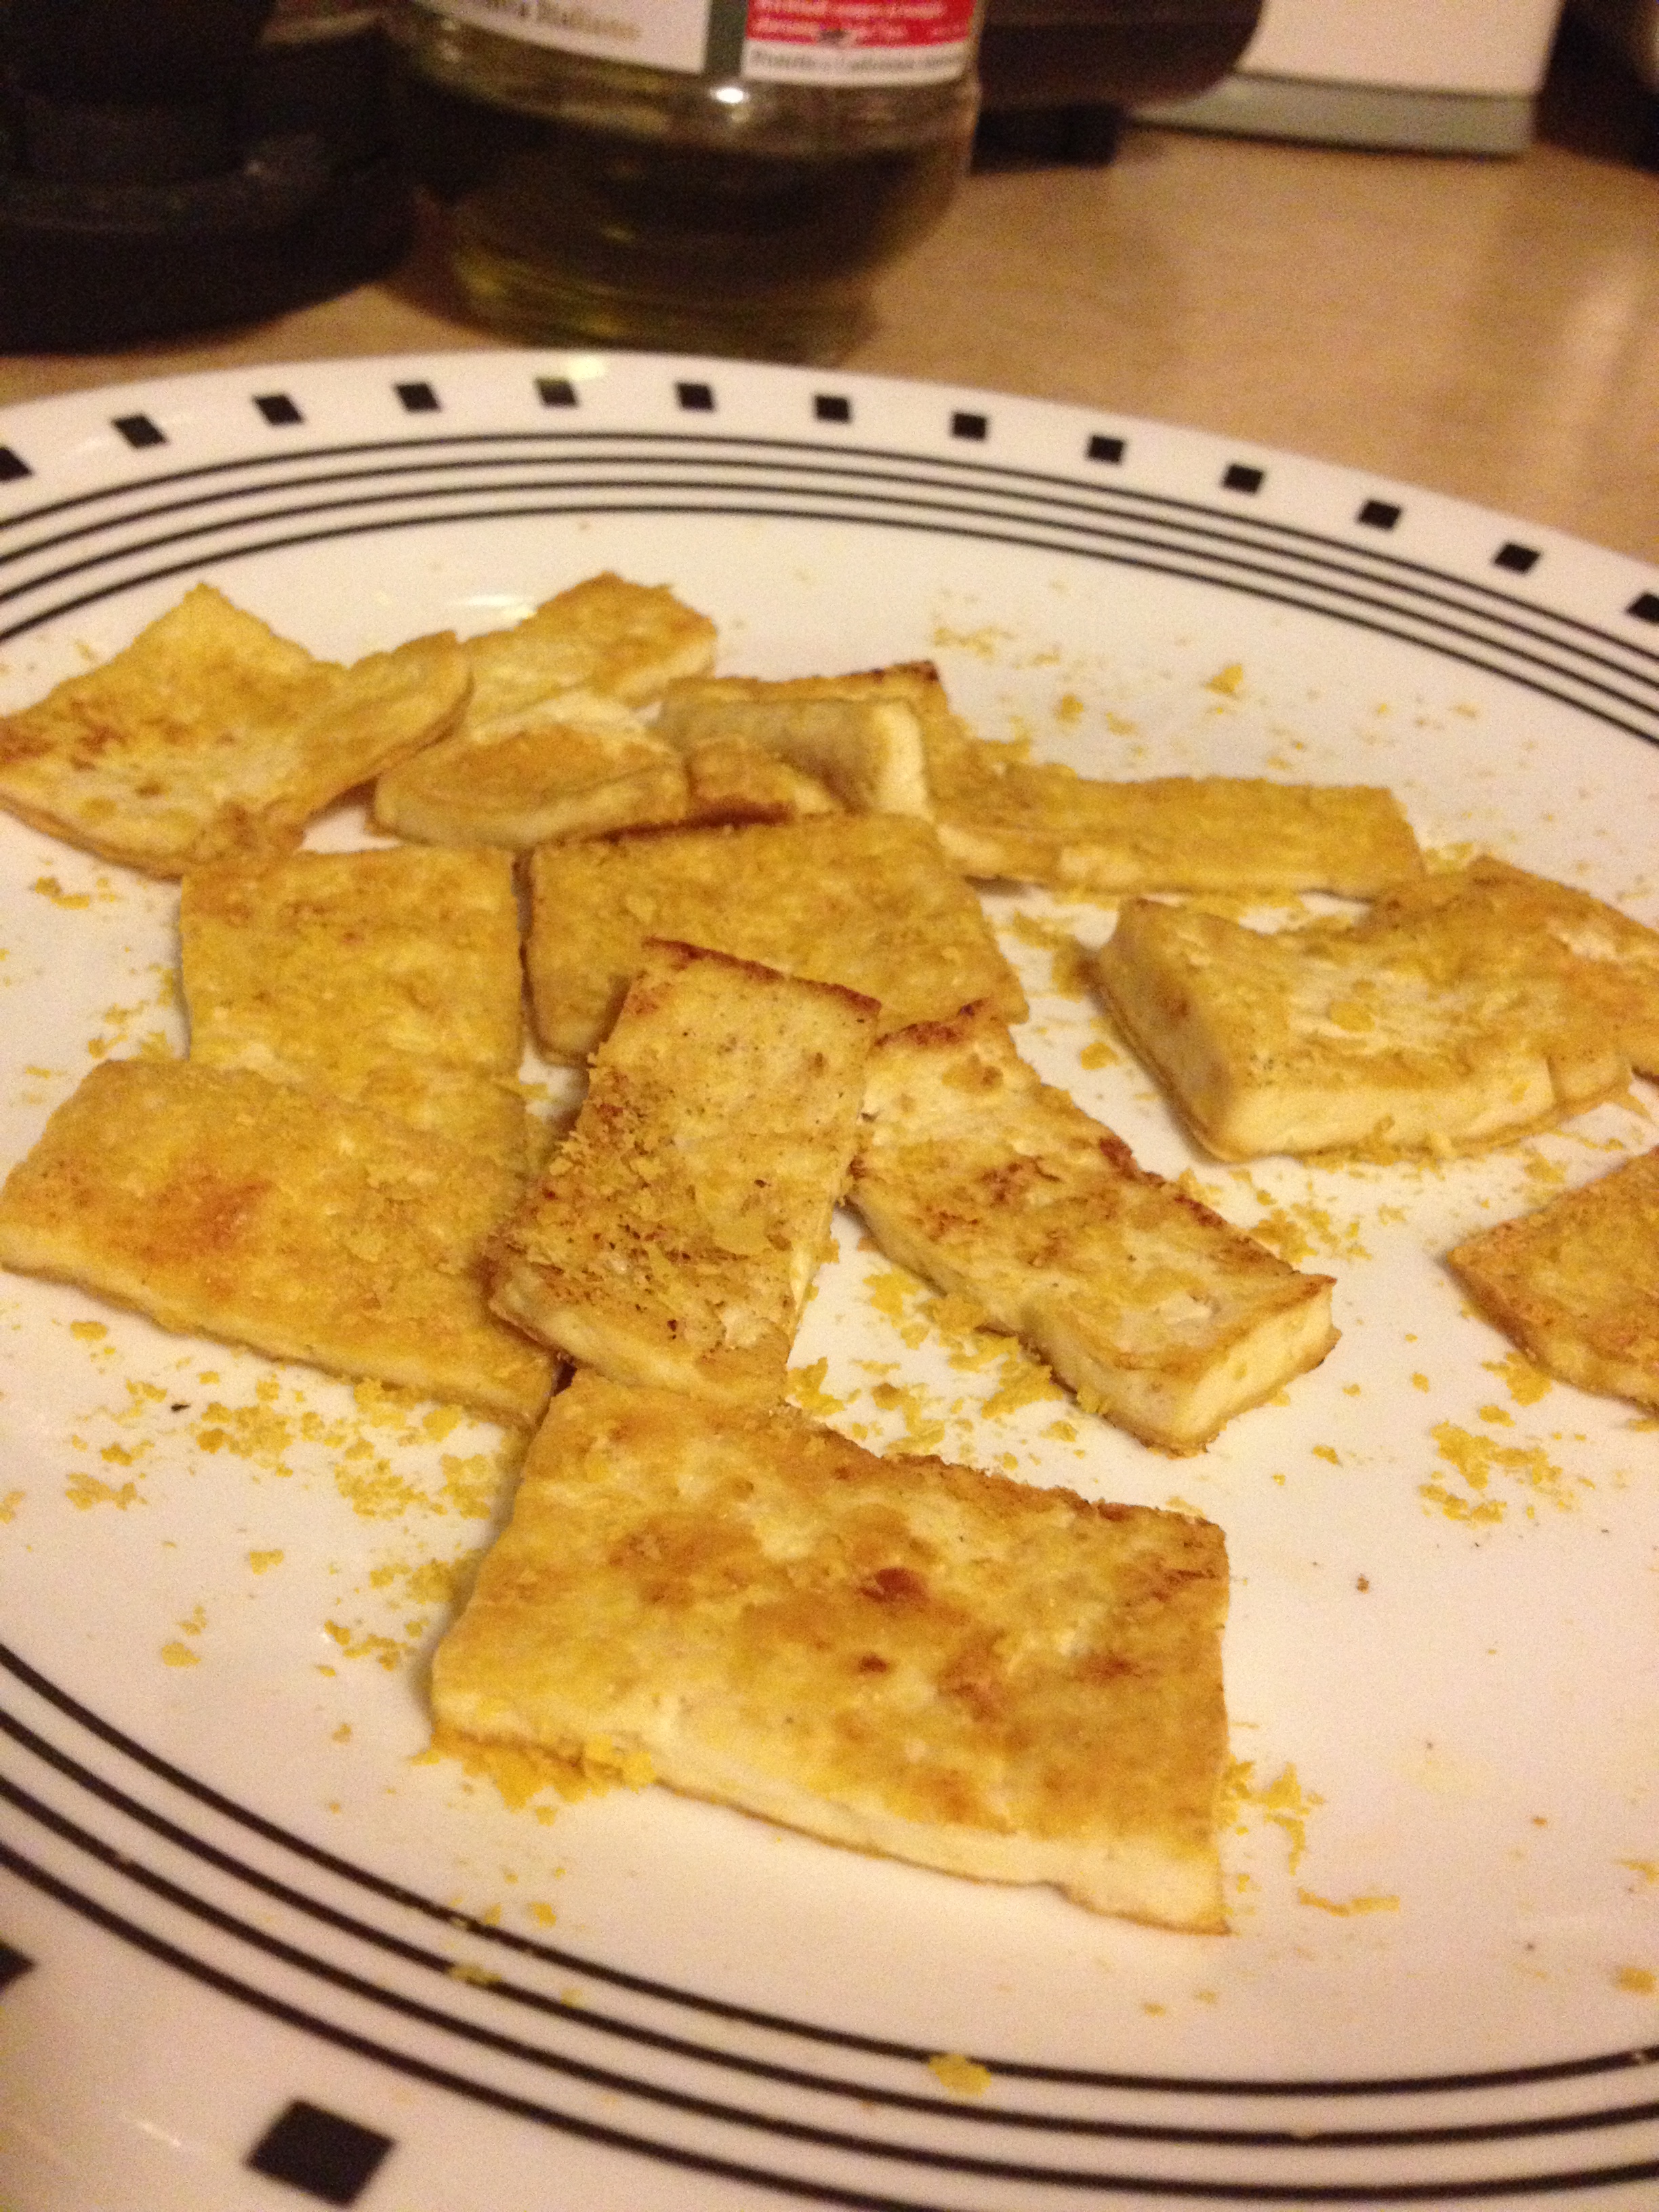
  • After both sides are ready, pop them onto a plate. Sprinkle the nutritional yeast flakes on top of each piece
Tastes like fried chicken!

Tastes like fried chicken!

  • And if you want to continue with our dish…slice up your peppers (or whatever vegetable) into thin long slices.
  • Put some more olive oil in the pan and this time garlic too
  • Throw the peppers in there
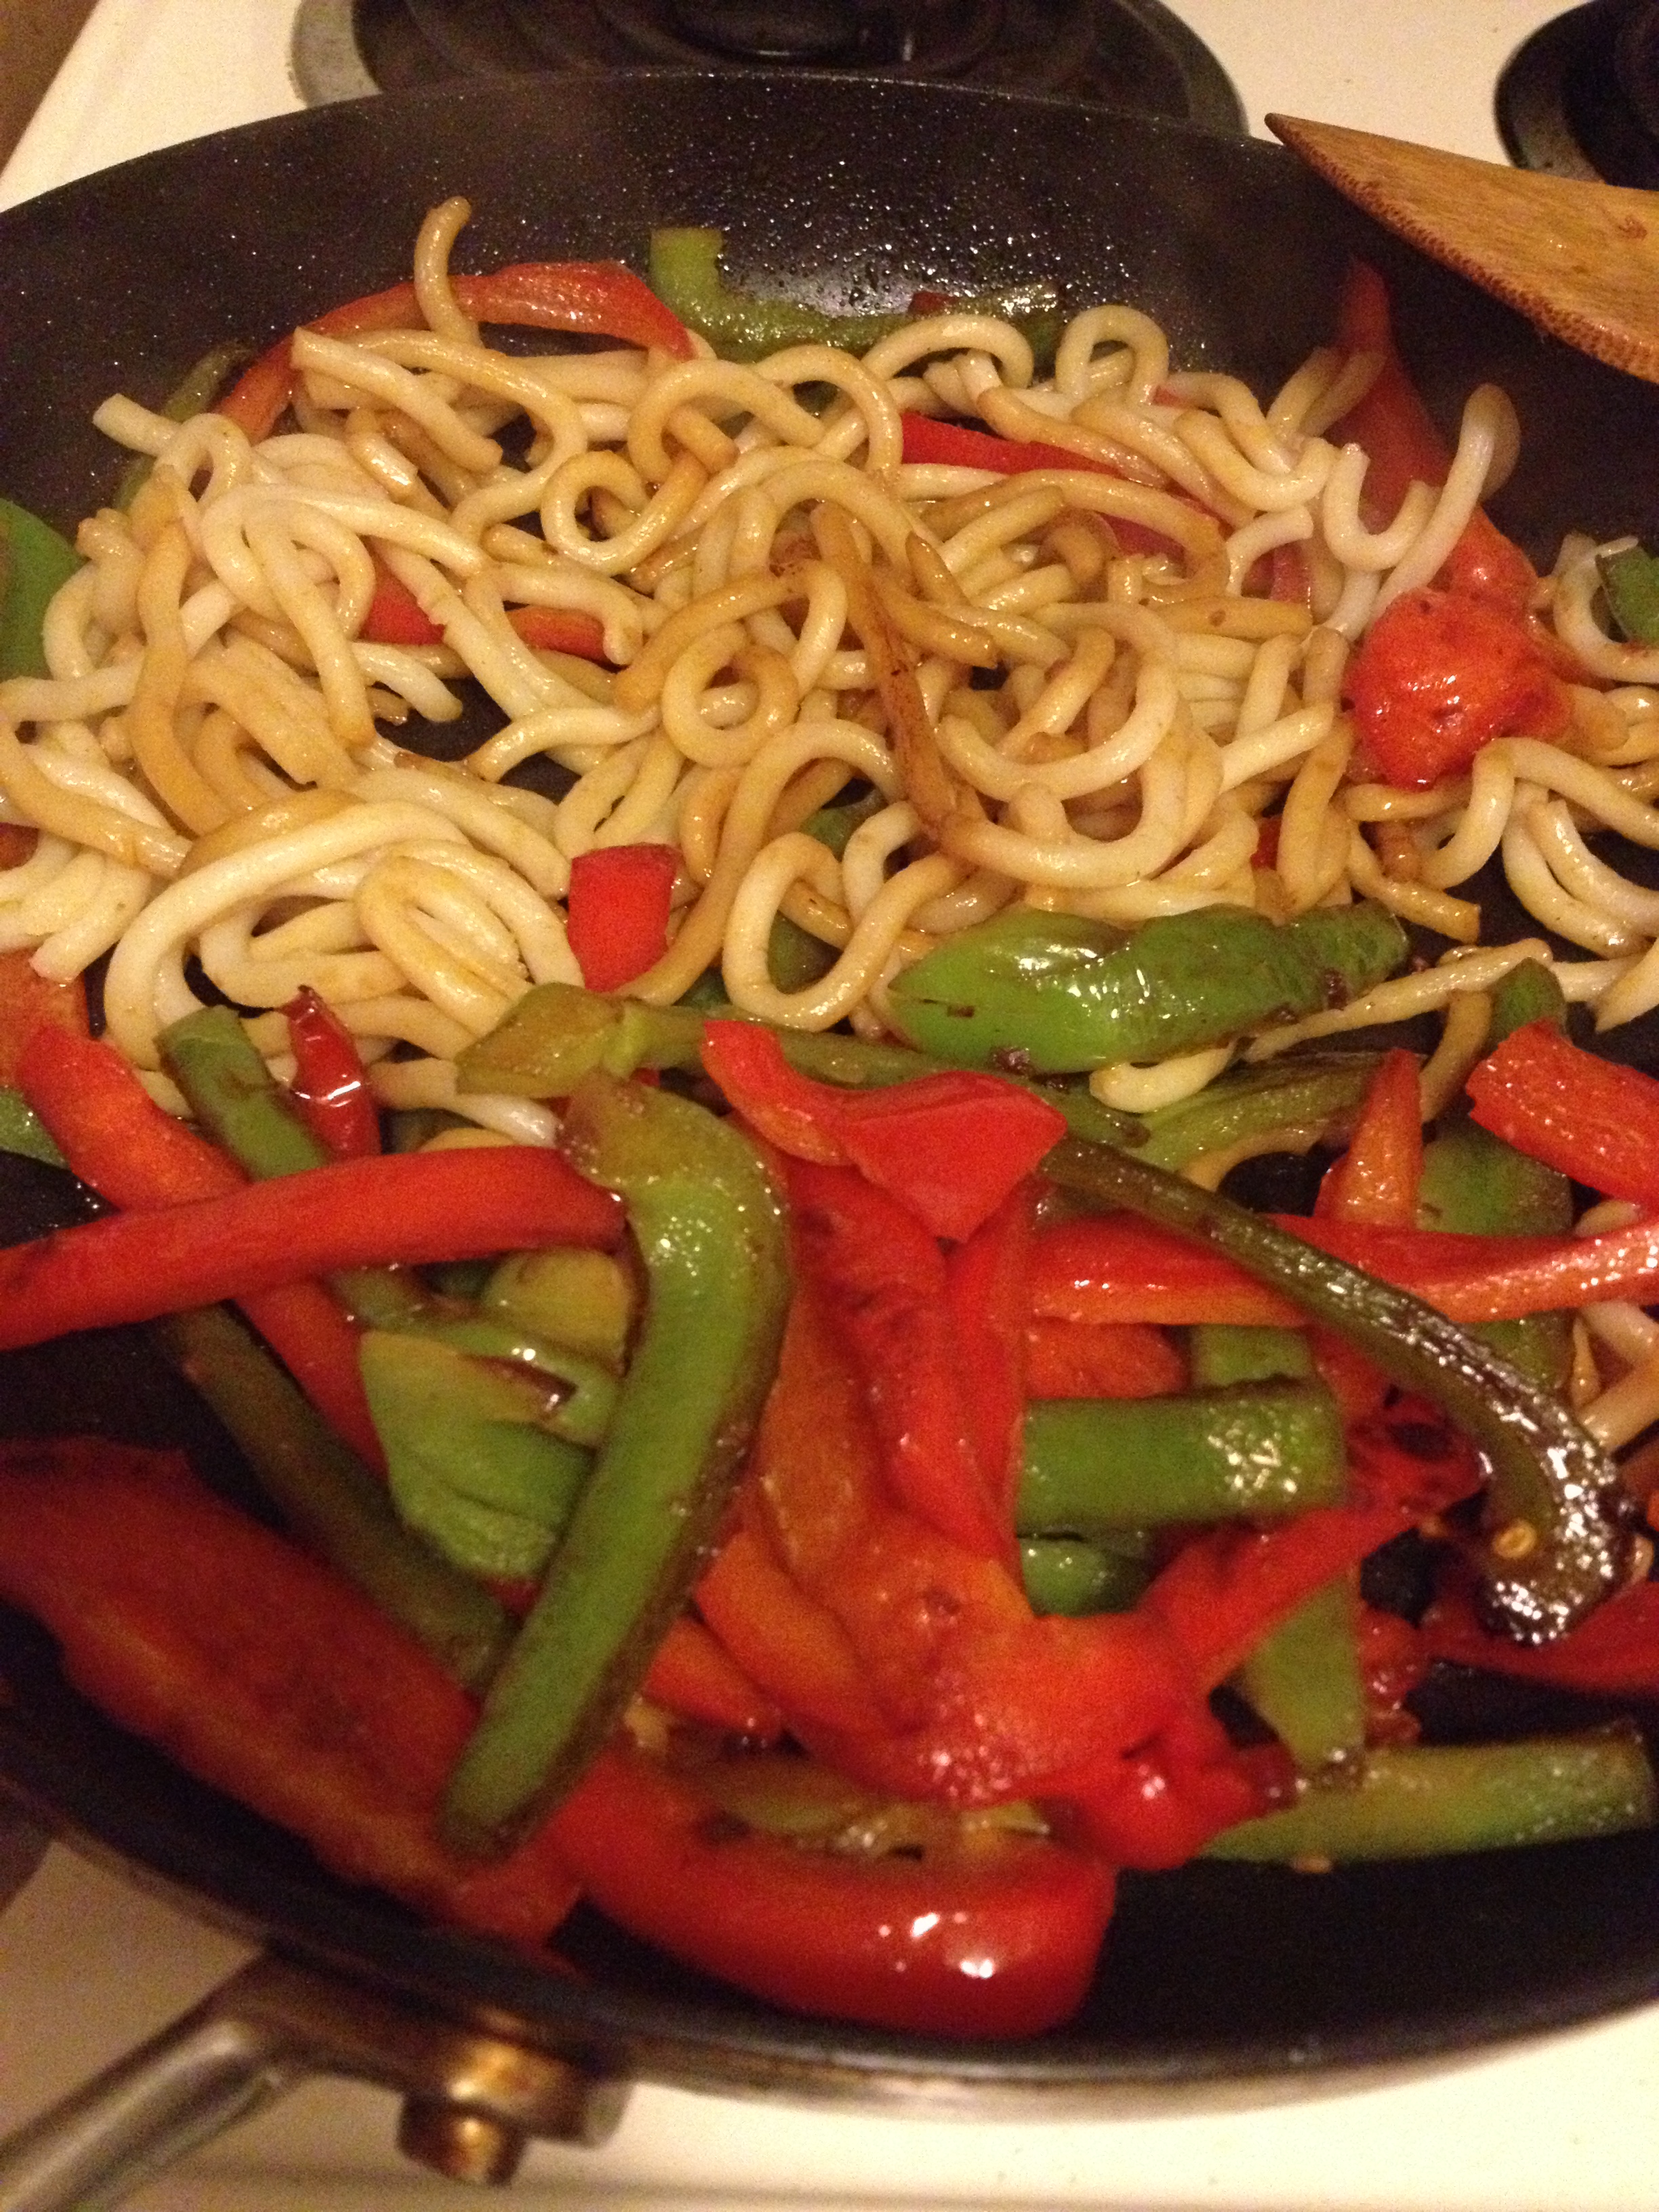
  • After the peppers have been in there for a few minutes, throw in your udon to heat up. At the time you put the udon in, put a good amount of teriyaki in as well, flavoring the udon and peppers, as well as giving some moisture to it all.
Yum...

Yum…
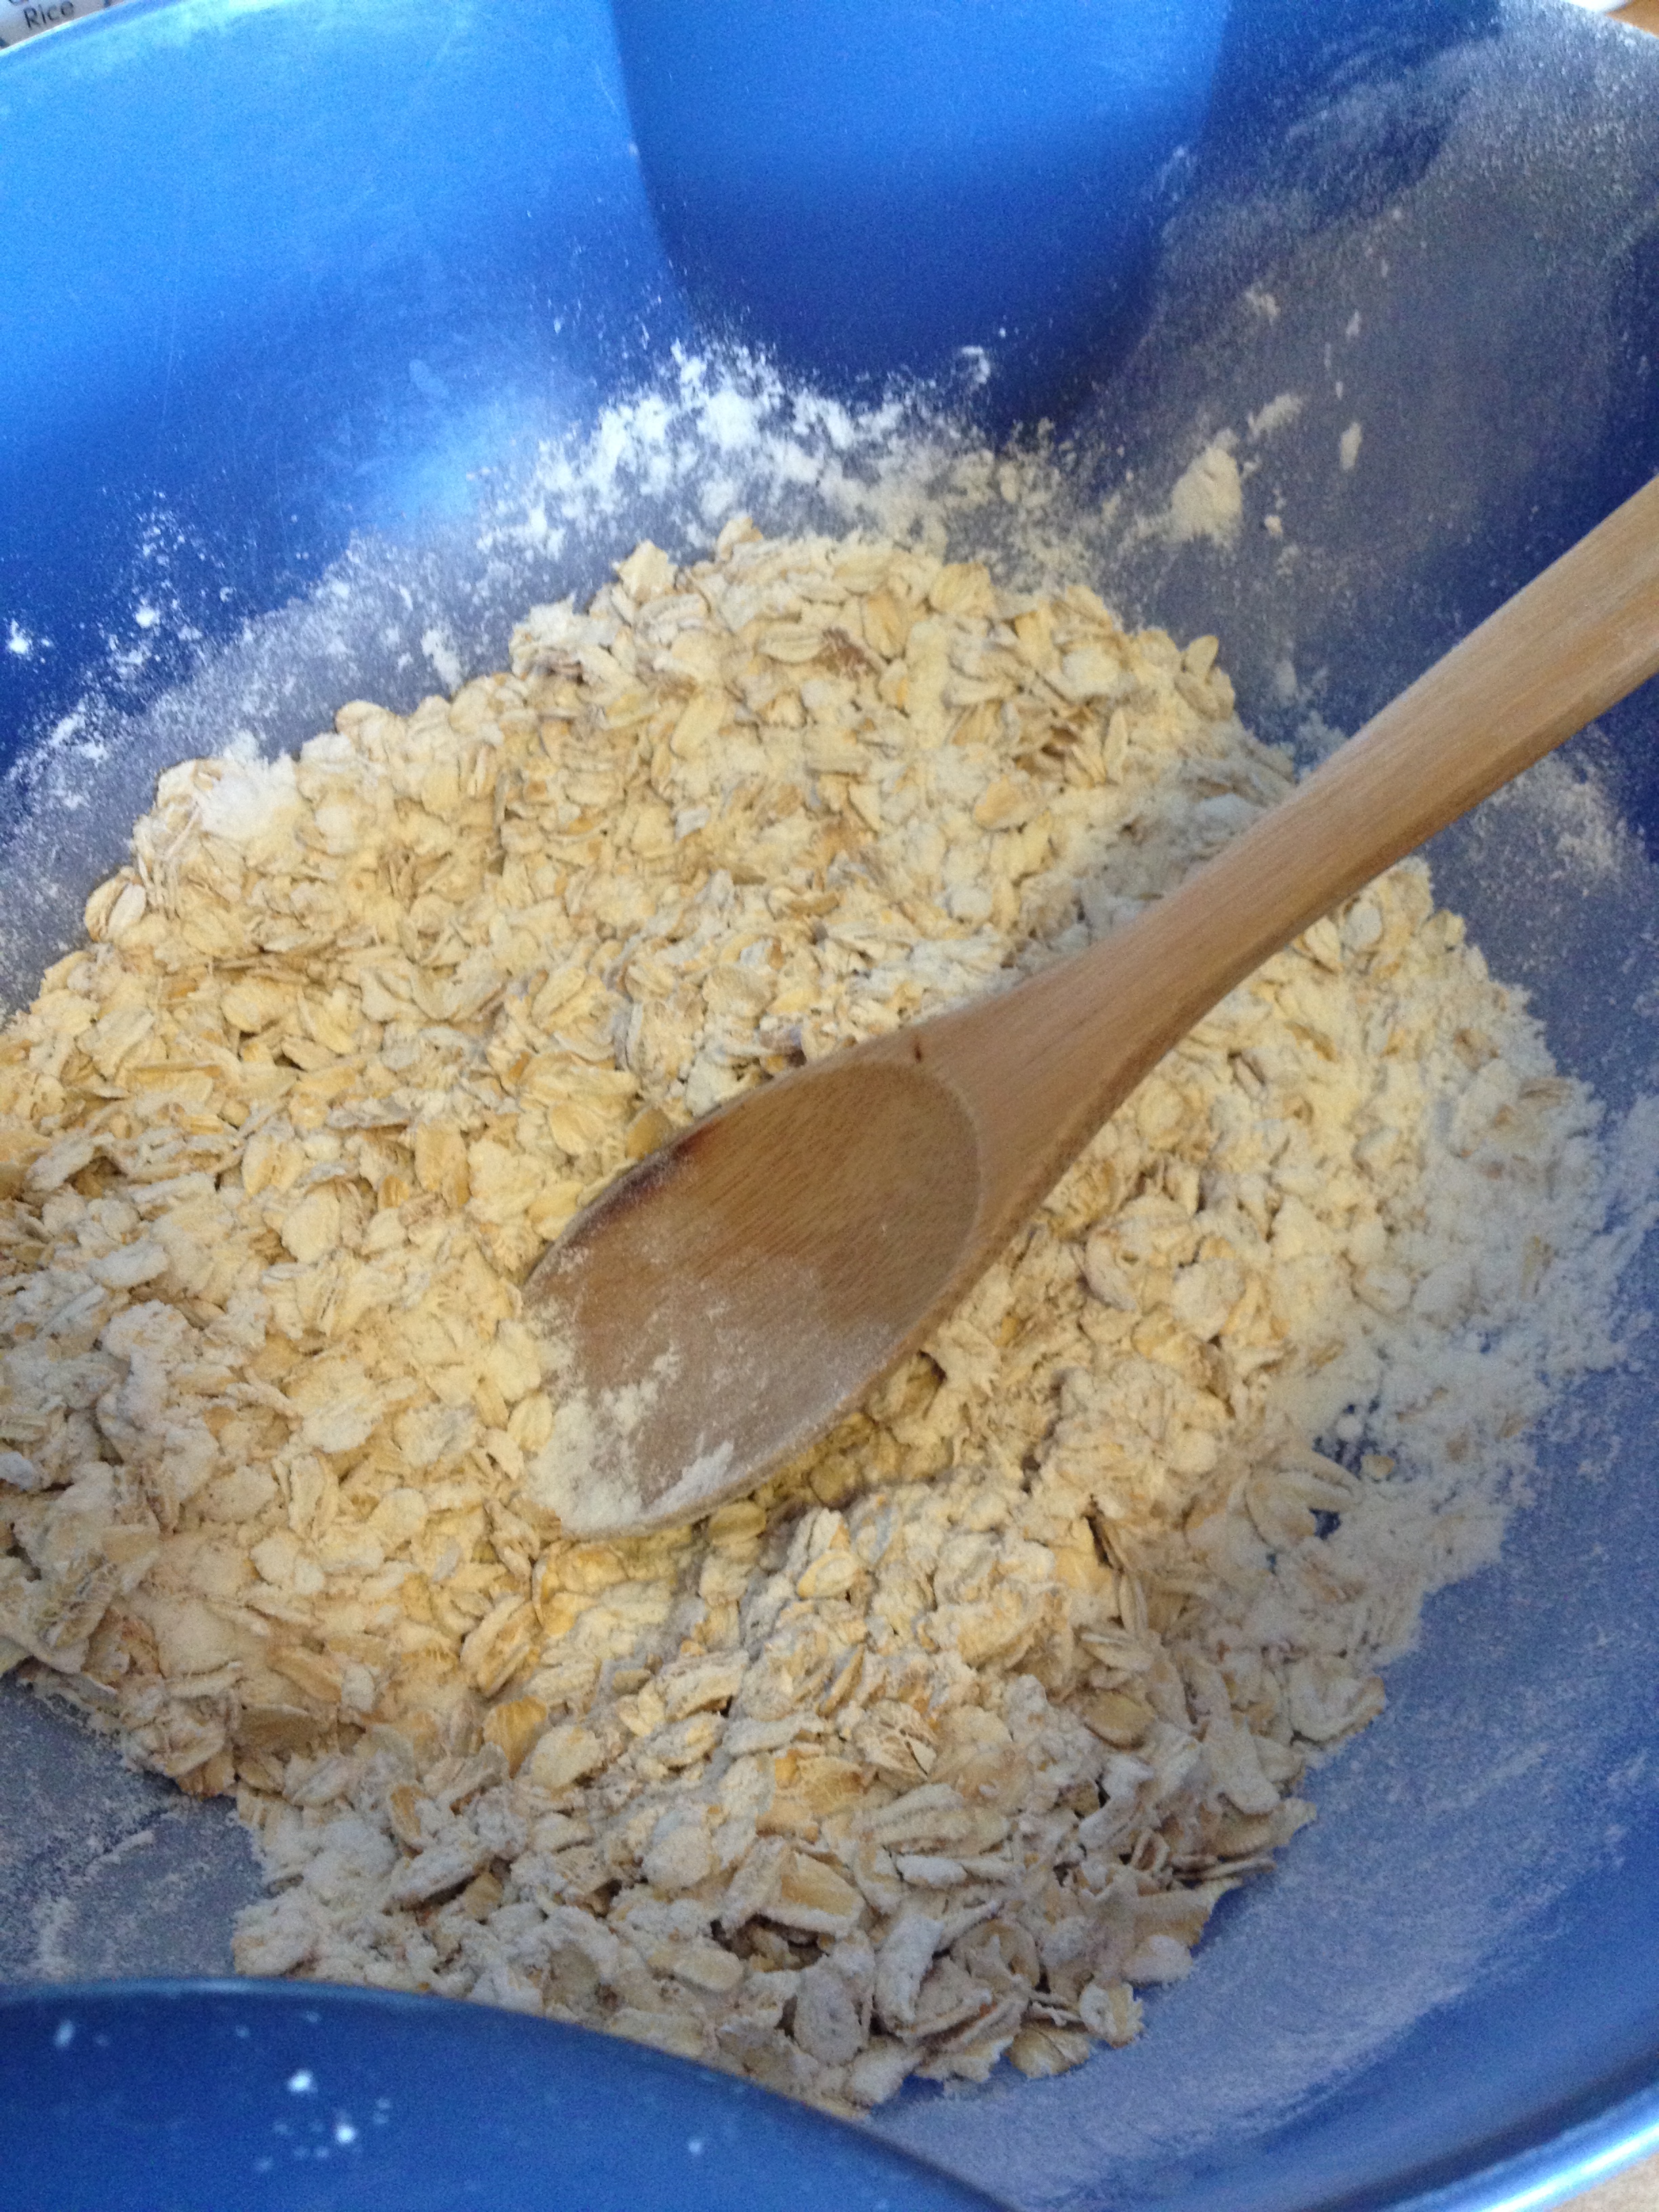
  • Once the udon noodles are heated and have absorbed the teriyaki and the peppers have cooked enough, plate them atop the already-cooked tofu!
Finished product

Finished product

And voila! There you have it–an easy, nutritious, delicious meal full of protein and fiber. Feel free to add or subtract any vegetable or addition to the stir fry, but seriously go for this tofu. It is absolutely delicious.

Cheers! And as always…stay hungry and fit!

Nymeria is 98% back to normal!!

Nymeria is 98% back to normal!!

BONUS KITTY PIC

spacer

Decadent Chocolate Peanut Clusters

If you’re not an idiot like me, this recipe is so easy. Just wait and watch. The taste to ease ratio is OUT OF THIS WORLD! I originally saw the recipe on the delicious Hip Foodie Mom blog, and she got it from another blog, here. As always, I didn’t follow exactly to the recipe, and it turned out beautifully. This is such an easy recipe, great way to impress/feed the loved ones at home, work, and elsewhere. Listen up!

Ingredients

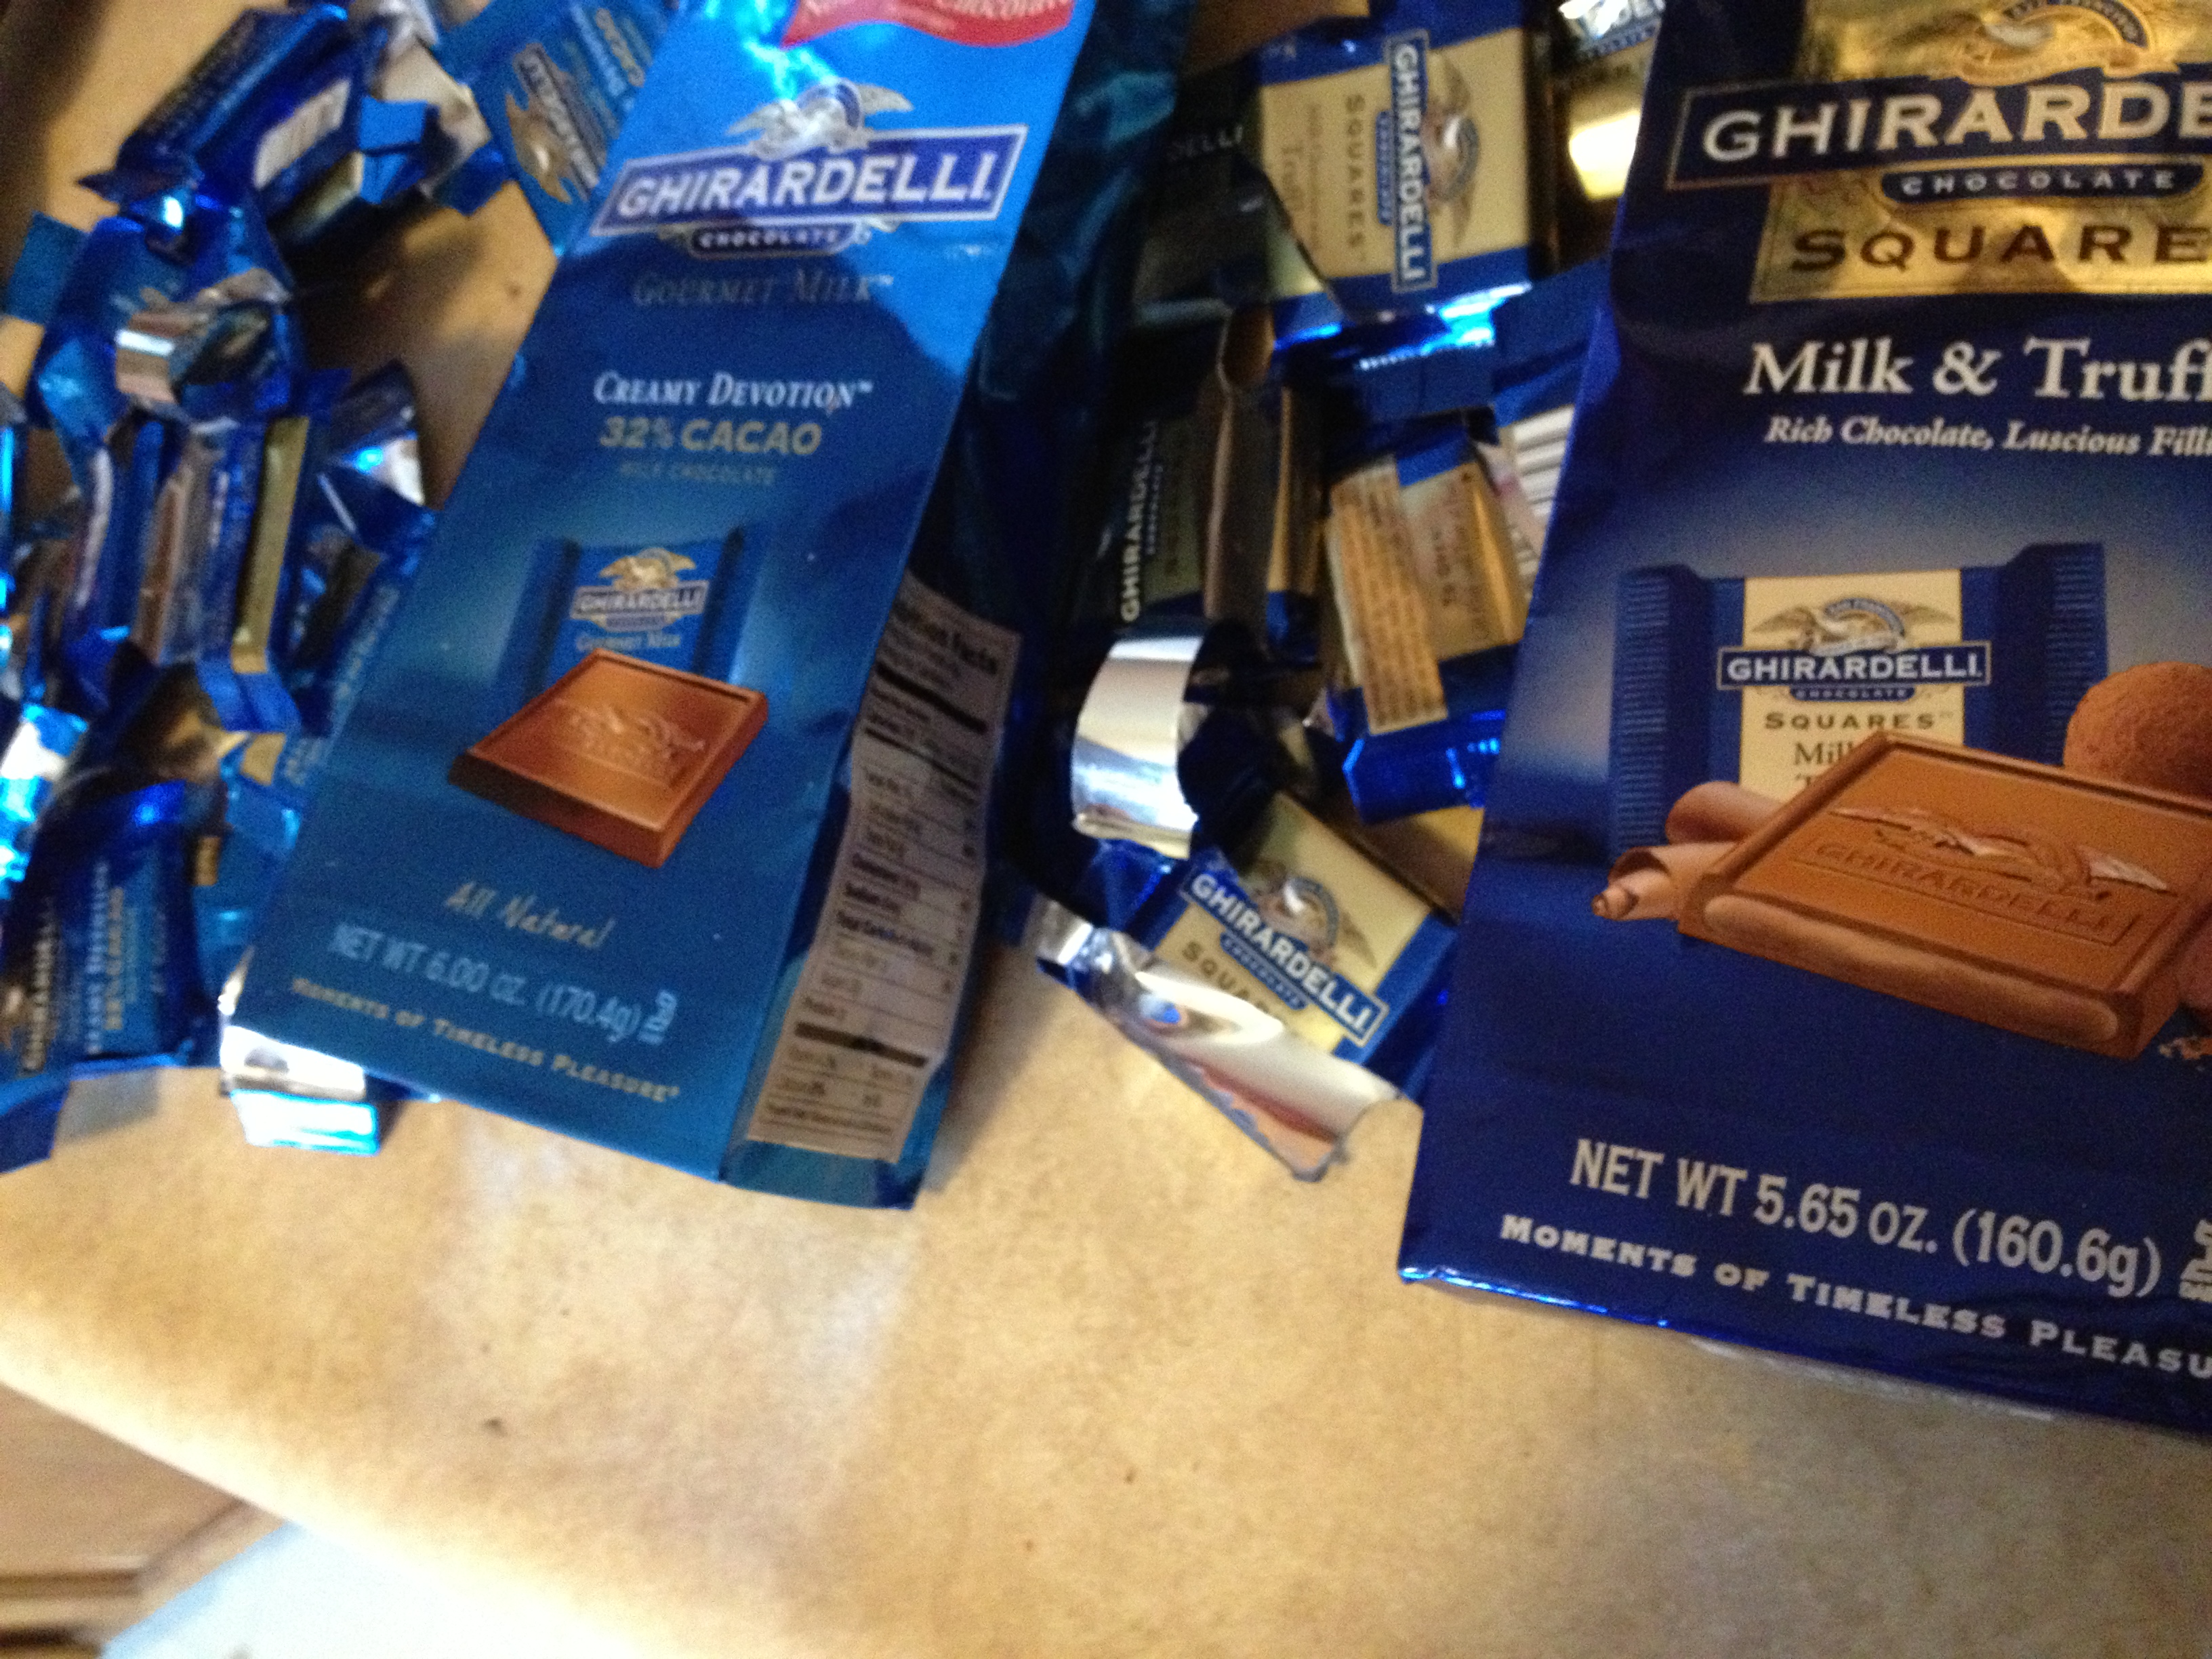
  • a bunch of chocolate [I used about 12 oz], the better quality chocolate, the better quality finished product (I used two different kinds of Ghirardelli Chocolate, milk and truffle)

Nom

  • peanuts
  • microwave/hot water
It started snowing pretty heavily as I was making these

It started snowing pretty heavily as I was making these

Directions

1. Depends on the chocolate, but unwrap them and put them in a medium sized bowl.

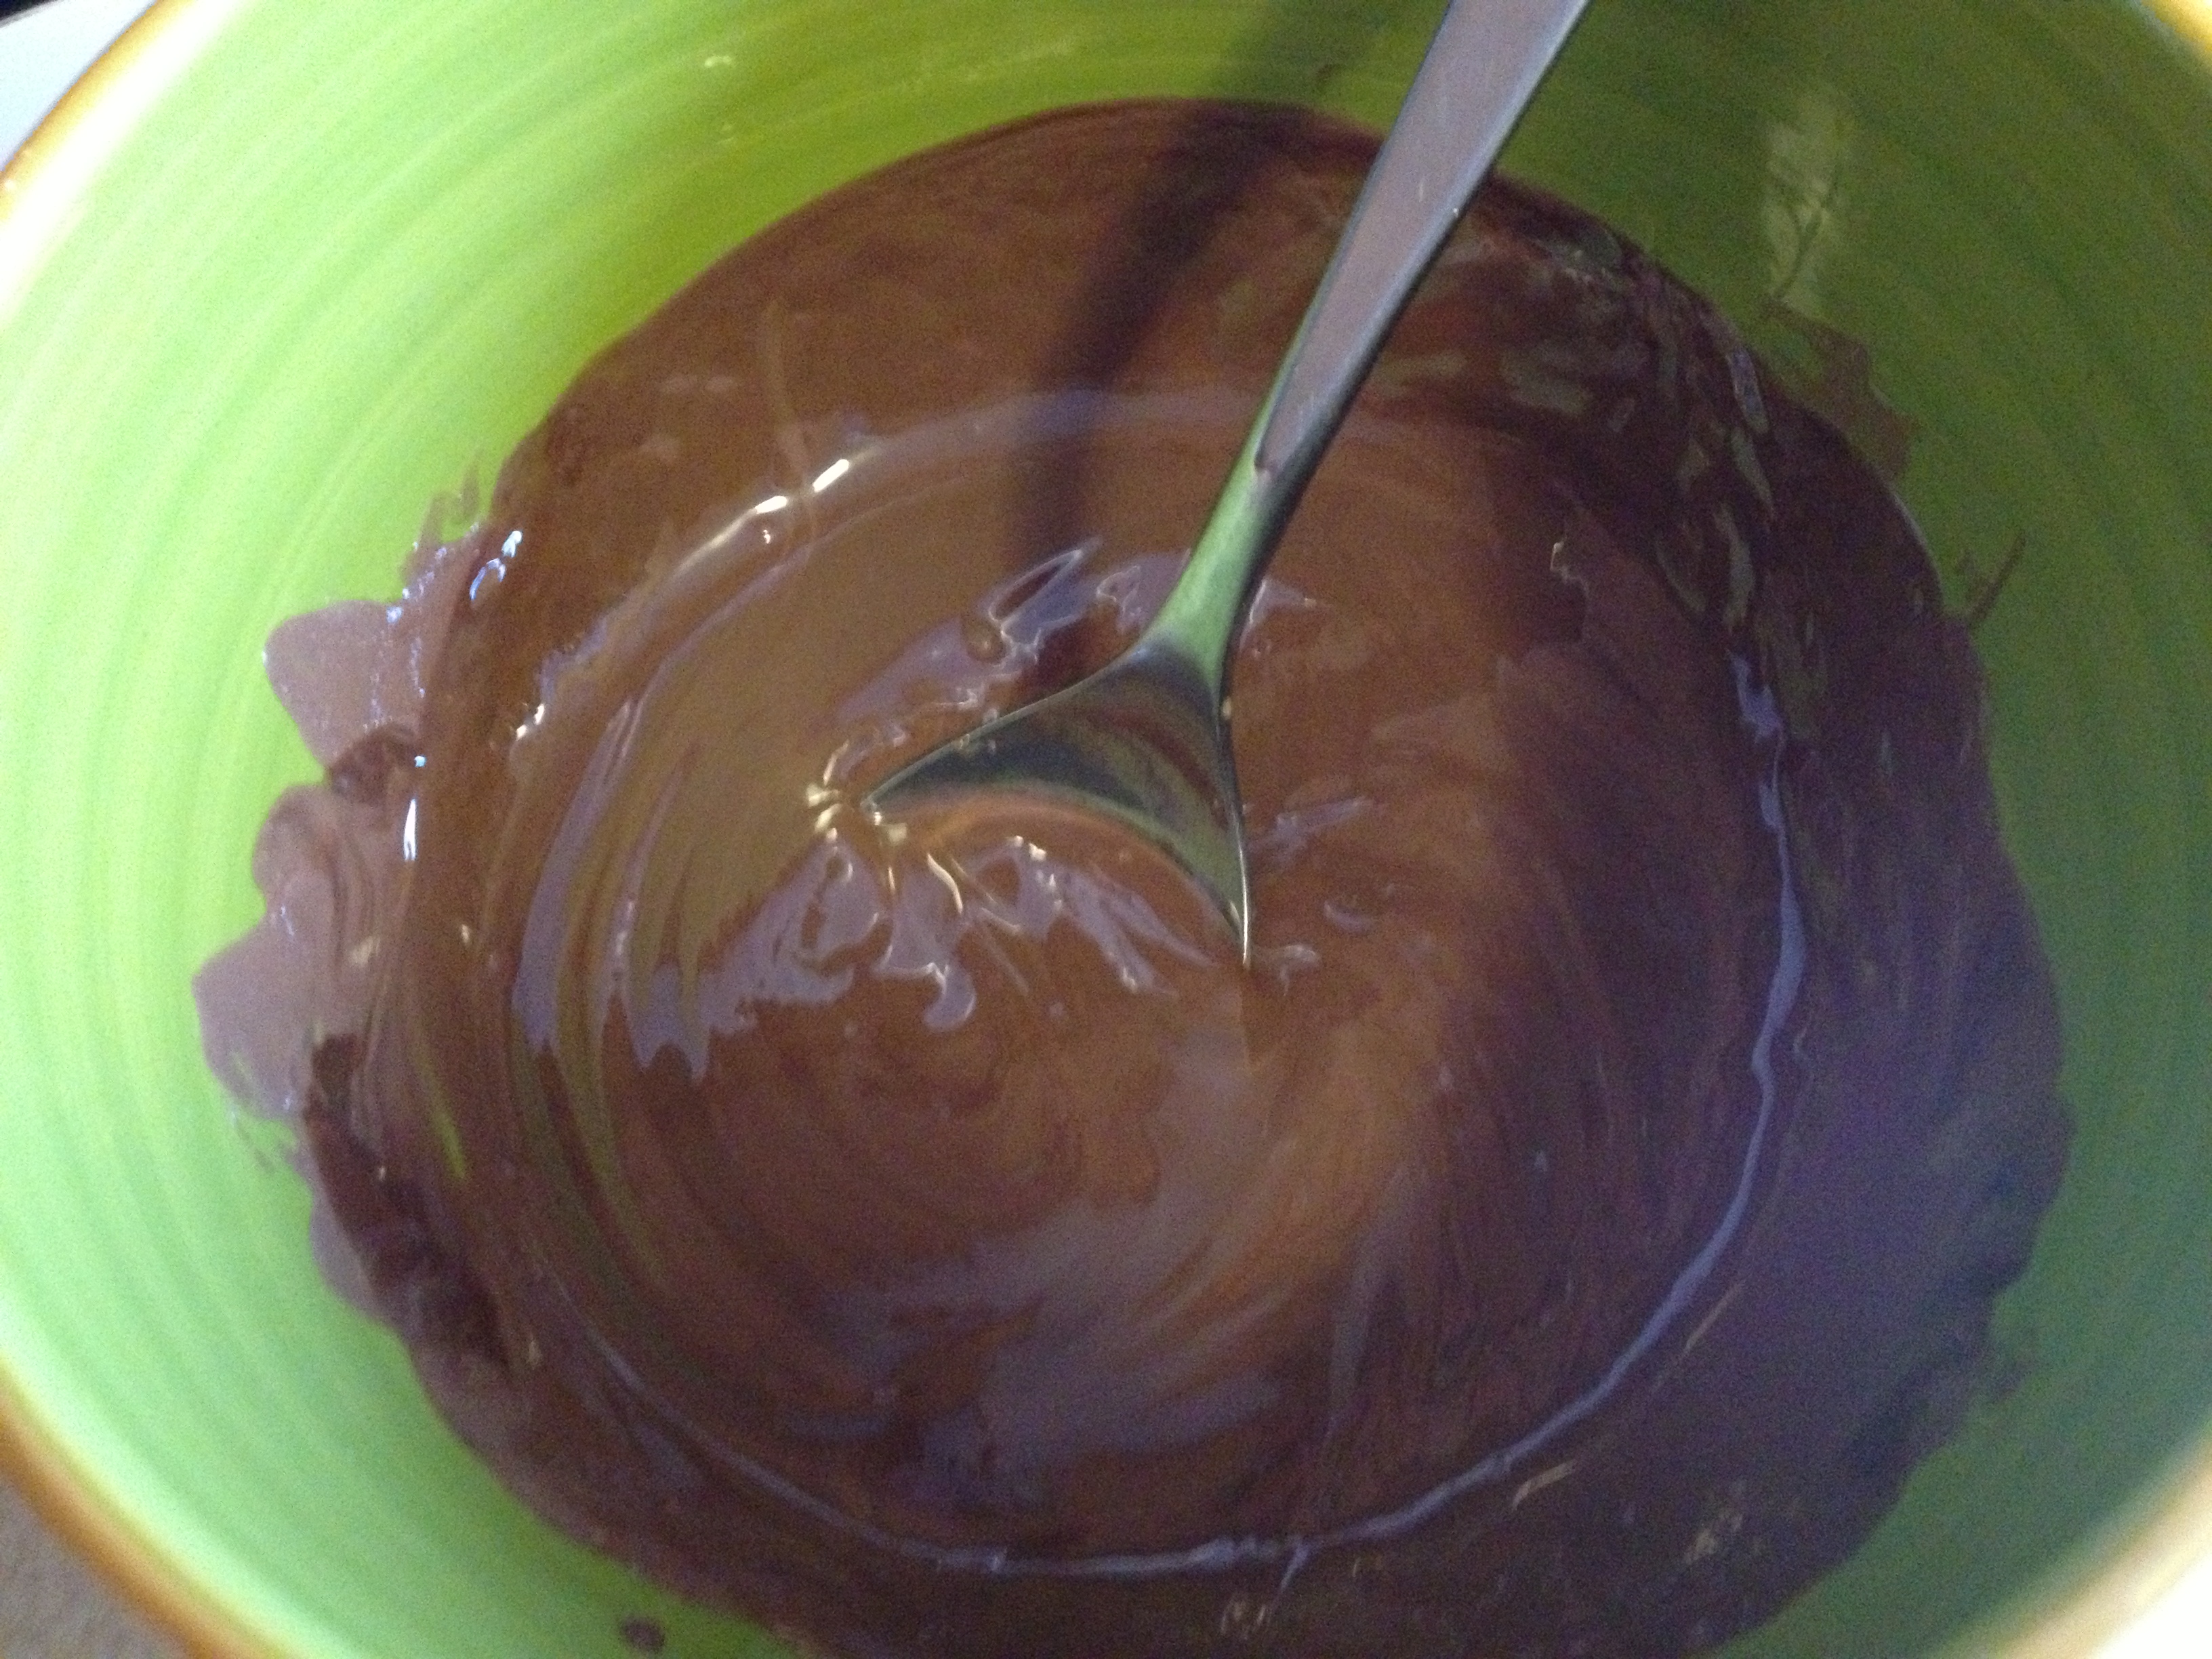
2. Put in microwave and take out every 30 seconds to stir. Depends on your microwave and chocolate for the length of time that it takes to actually melt down. Mine took six times, so 3 minutes total. Try not to eat too much of it at this point (whoops)

photo (77)

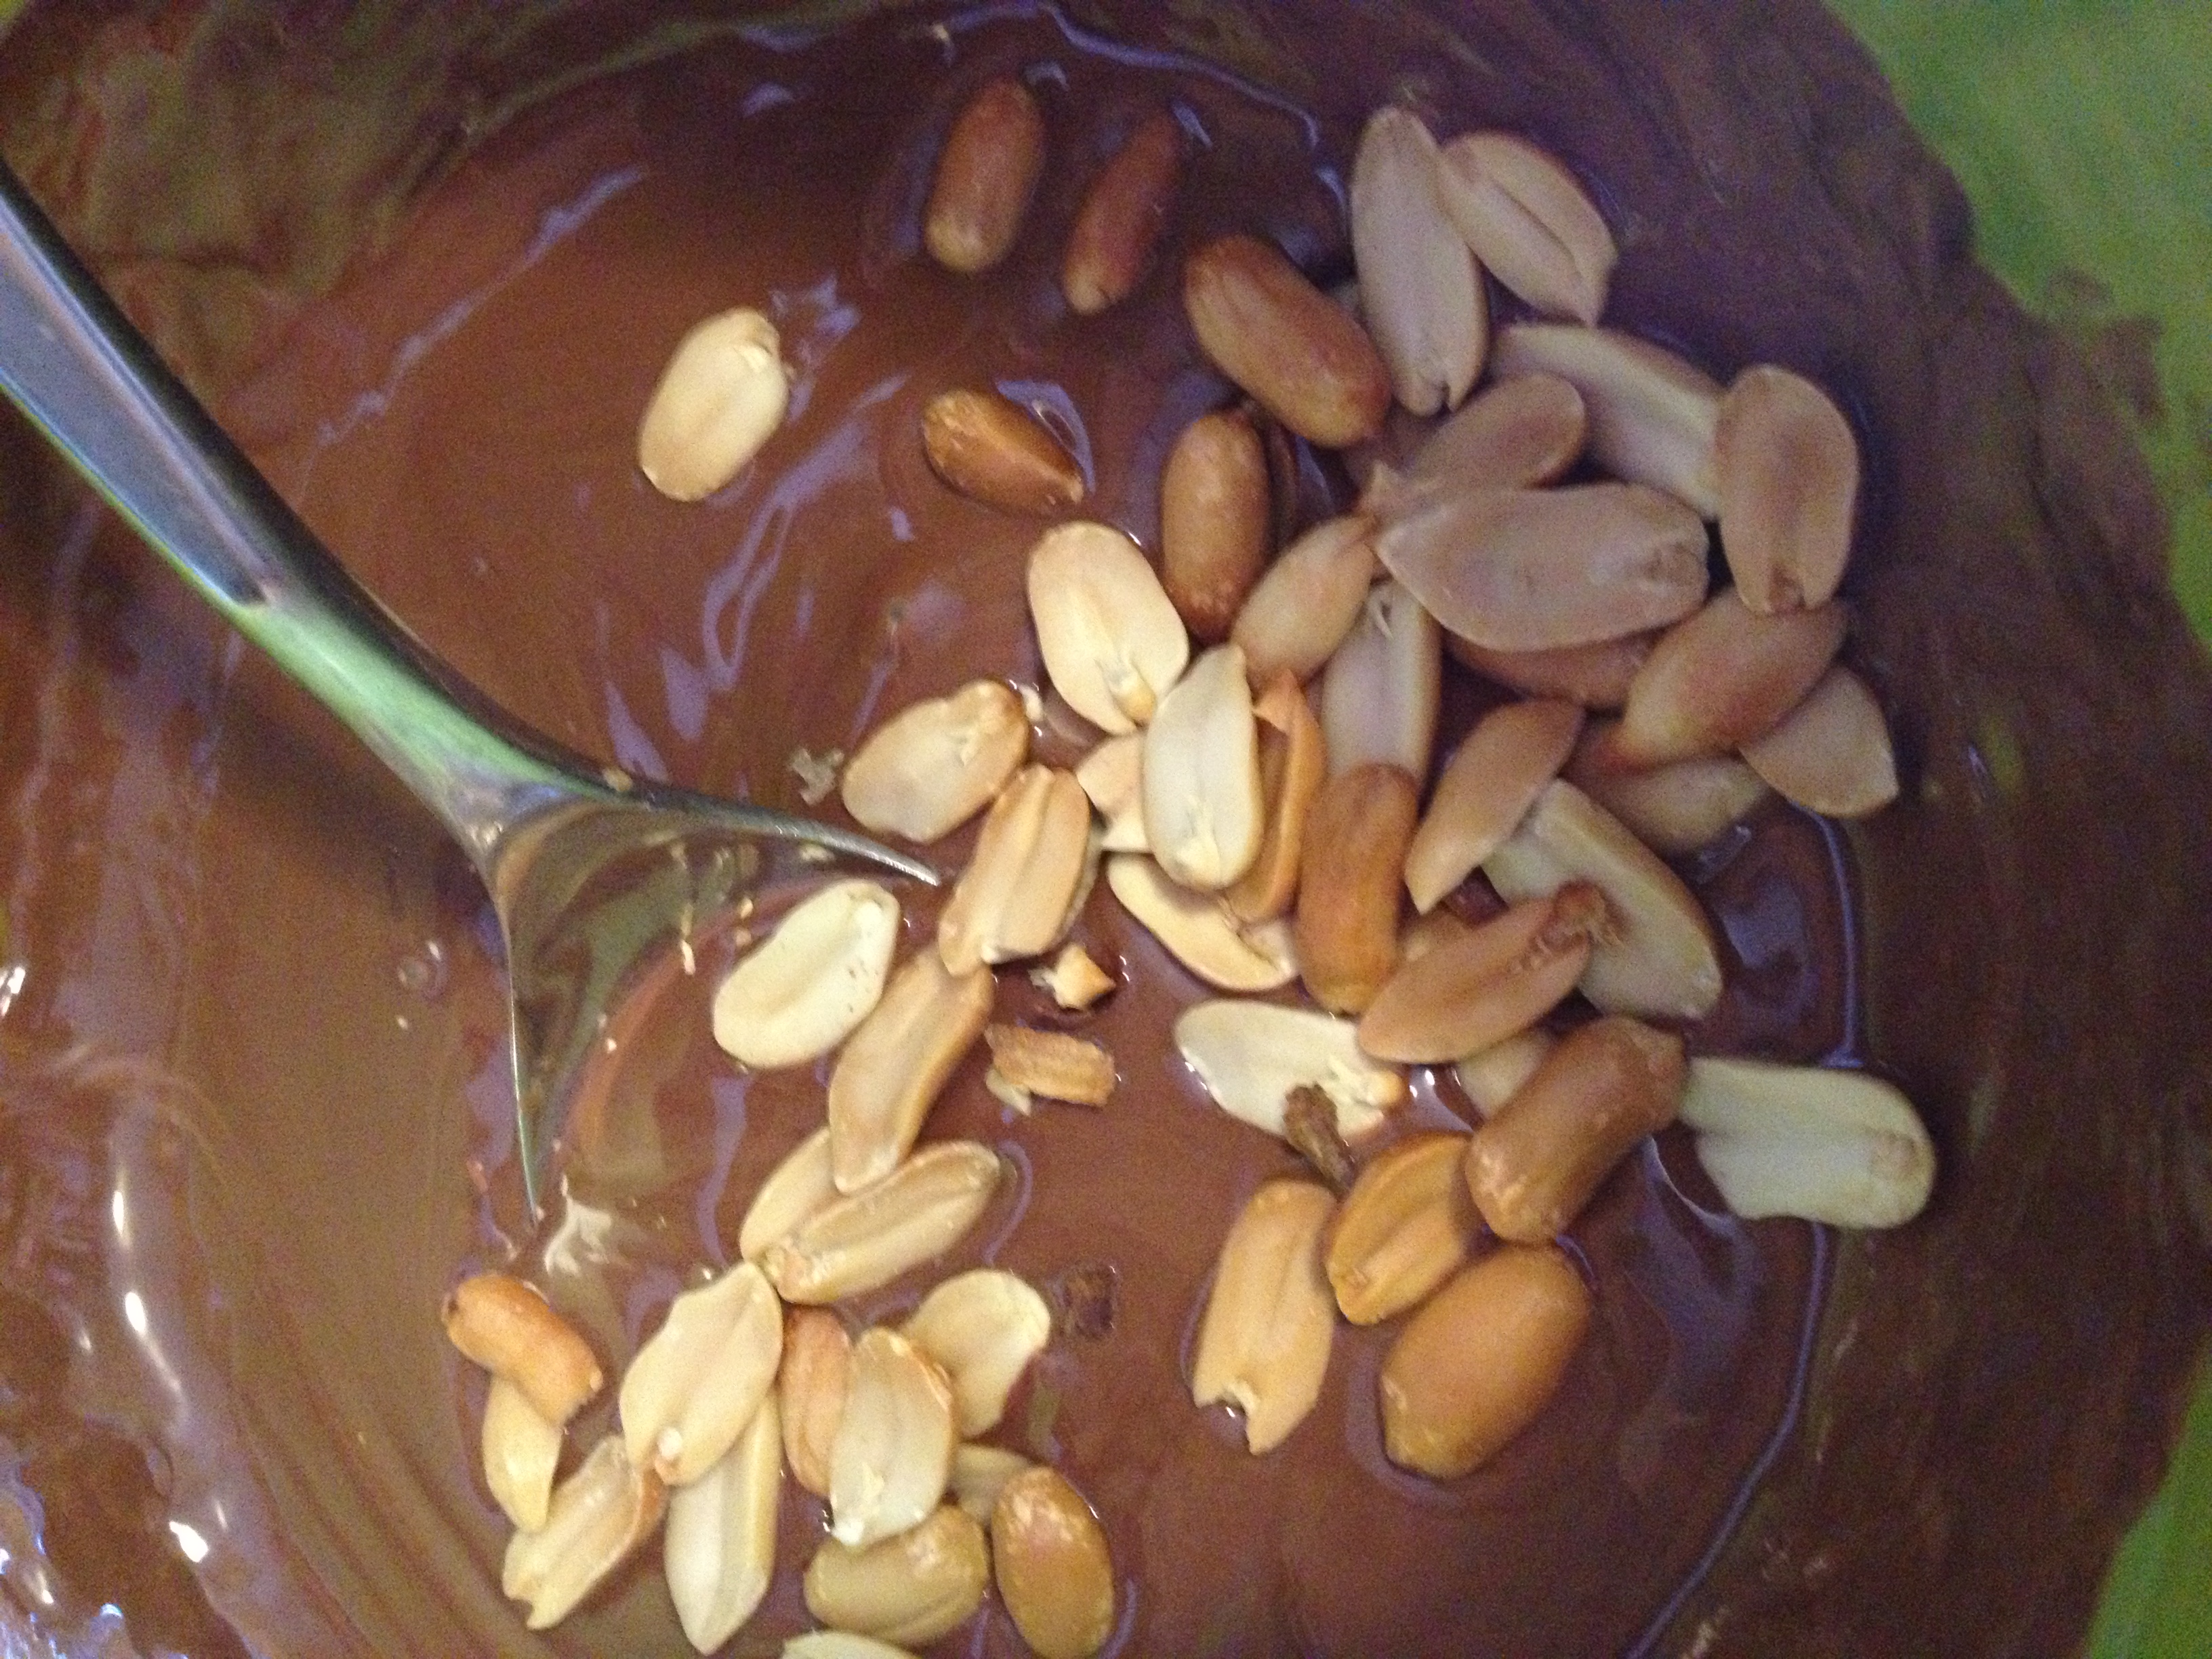
3. Now this is where you don’t want to be an idiot like me. I actually DE-SHELLED about fifty peanuts, making this process take twenty minutes longer. Do the right thing and just get a bag of already de-shelled peanuts. Slowly stir them in, make sure they’re really mixed!

photo (79)

photo (80)

4. Get a baking sheet with wax paper across, and drop spoonfuls a few inches from each other.

5. Put in fridge for at least 1 hour. I left mine in all day and they turned out beautifully.

Our fridge!

Our fridge!

6. Take out and serve! When I put them away, I put them back in the fridge so they wouldn’t melt.

photo (82)Now you see how easy this recipe truly is, as long as you don’t personally de-shell all the peanuts . Let us know if you have any comments or questions. As always, stay hungry and fit. Cheers!

SLEEPY KITTENS

SLEEPY KITTENS

BONUS KITTY PIC 

spacer

Healthy Whole-Wheat Honey Banana Muffins

If you couldn’t tell by the title, this recipe is very healthy. There is no sugar and no refined flour. AND THEY TASTE GOOD. I wouldn’t lie. This is my first time baking muffins from scratch, so I’m very pleased. I found the recipe here, altered it slightly and cut in half because I only have a 12-count muffin pan. And this was all the while watching Fawlty Towers!

IMG_2959

  • Prep Time: 15 minutes
  • Cooking Time: 17 minutes
  • Yields: 12 beautiful muffins 

Ingredients

  • 1 3/4 cups whole wheat flour
  • 1 tsp baking soda
  • 1/2 teaspoon salt
  • 1/3 cup olive oil
  • 1/2 cup honey
  • 2 eggs
  • 2 bananas mashed
  • 1/4 cup hot water

Directions

  • Pre-heat oven to 325 degrees and grease the muffin pan 
  • Put the whole wheat flour, baking soda, and salt into a small bowl and mix. 

dry ingredients

  • Put the dry ingredients to the side and get a bigger bowl where everything will end up. Put in the olive oil and honey and whisk well.

oil + honey

  • Once that is well mixed, drop in those two eggs and mix mix mix!

Eggggssss

  • Once those are beaten, then add the mashed (MASH THEM) bananas into the mix.
  • Now the dry ingredients are ready to make friends with the wet ingredients. Slowly stir in the dry ingredients, alternating with pouring in a little of the hot water you measured out before. Mix well!
Mix all ready to go

Mix all ready to go

  • The mix is delicious by the way–had way too much of it before it hit the oven. Go a head and pour the mix into your muffin pan. Fill it as high up as you want–it all depends on how big muffins you’d like.

IMG_2966

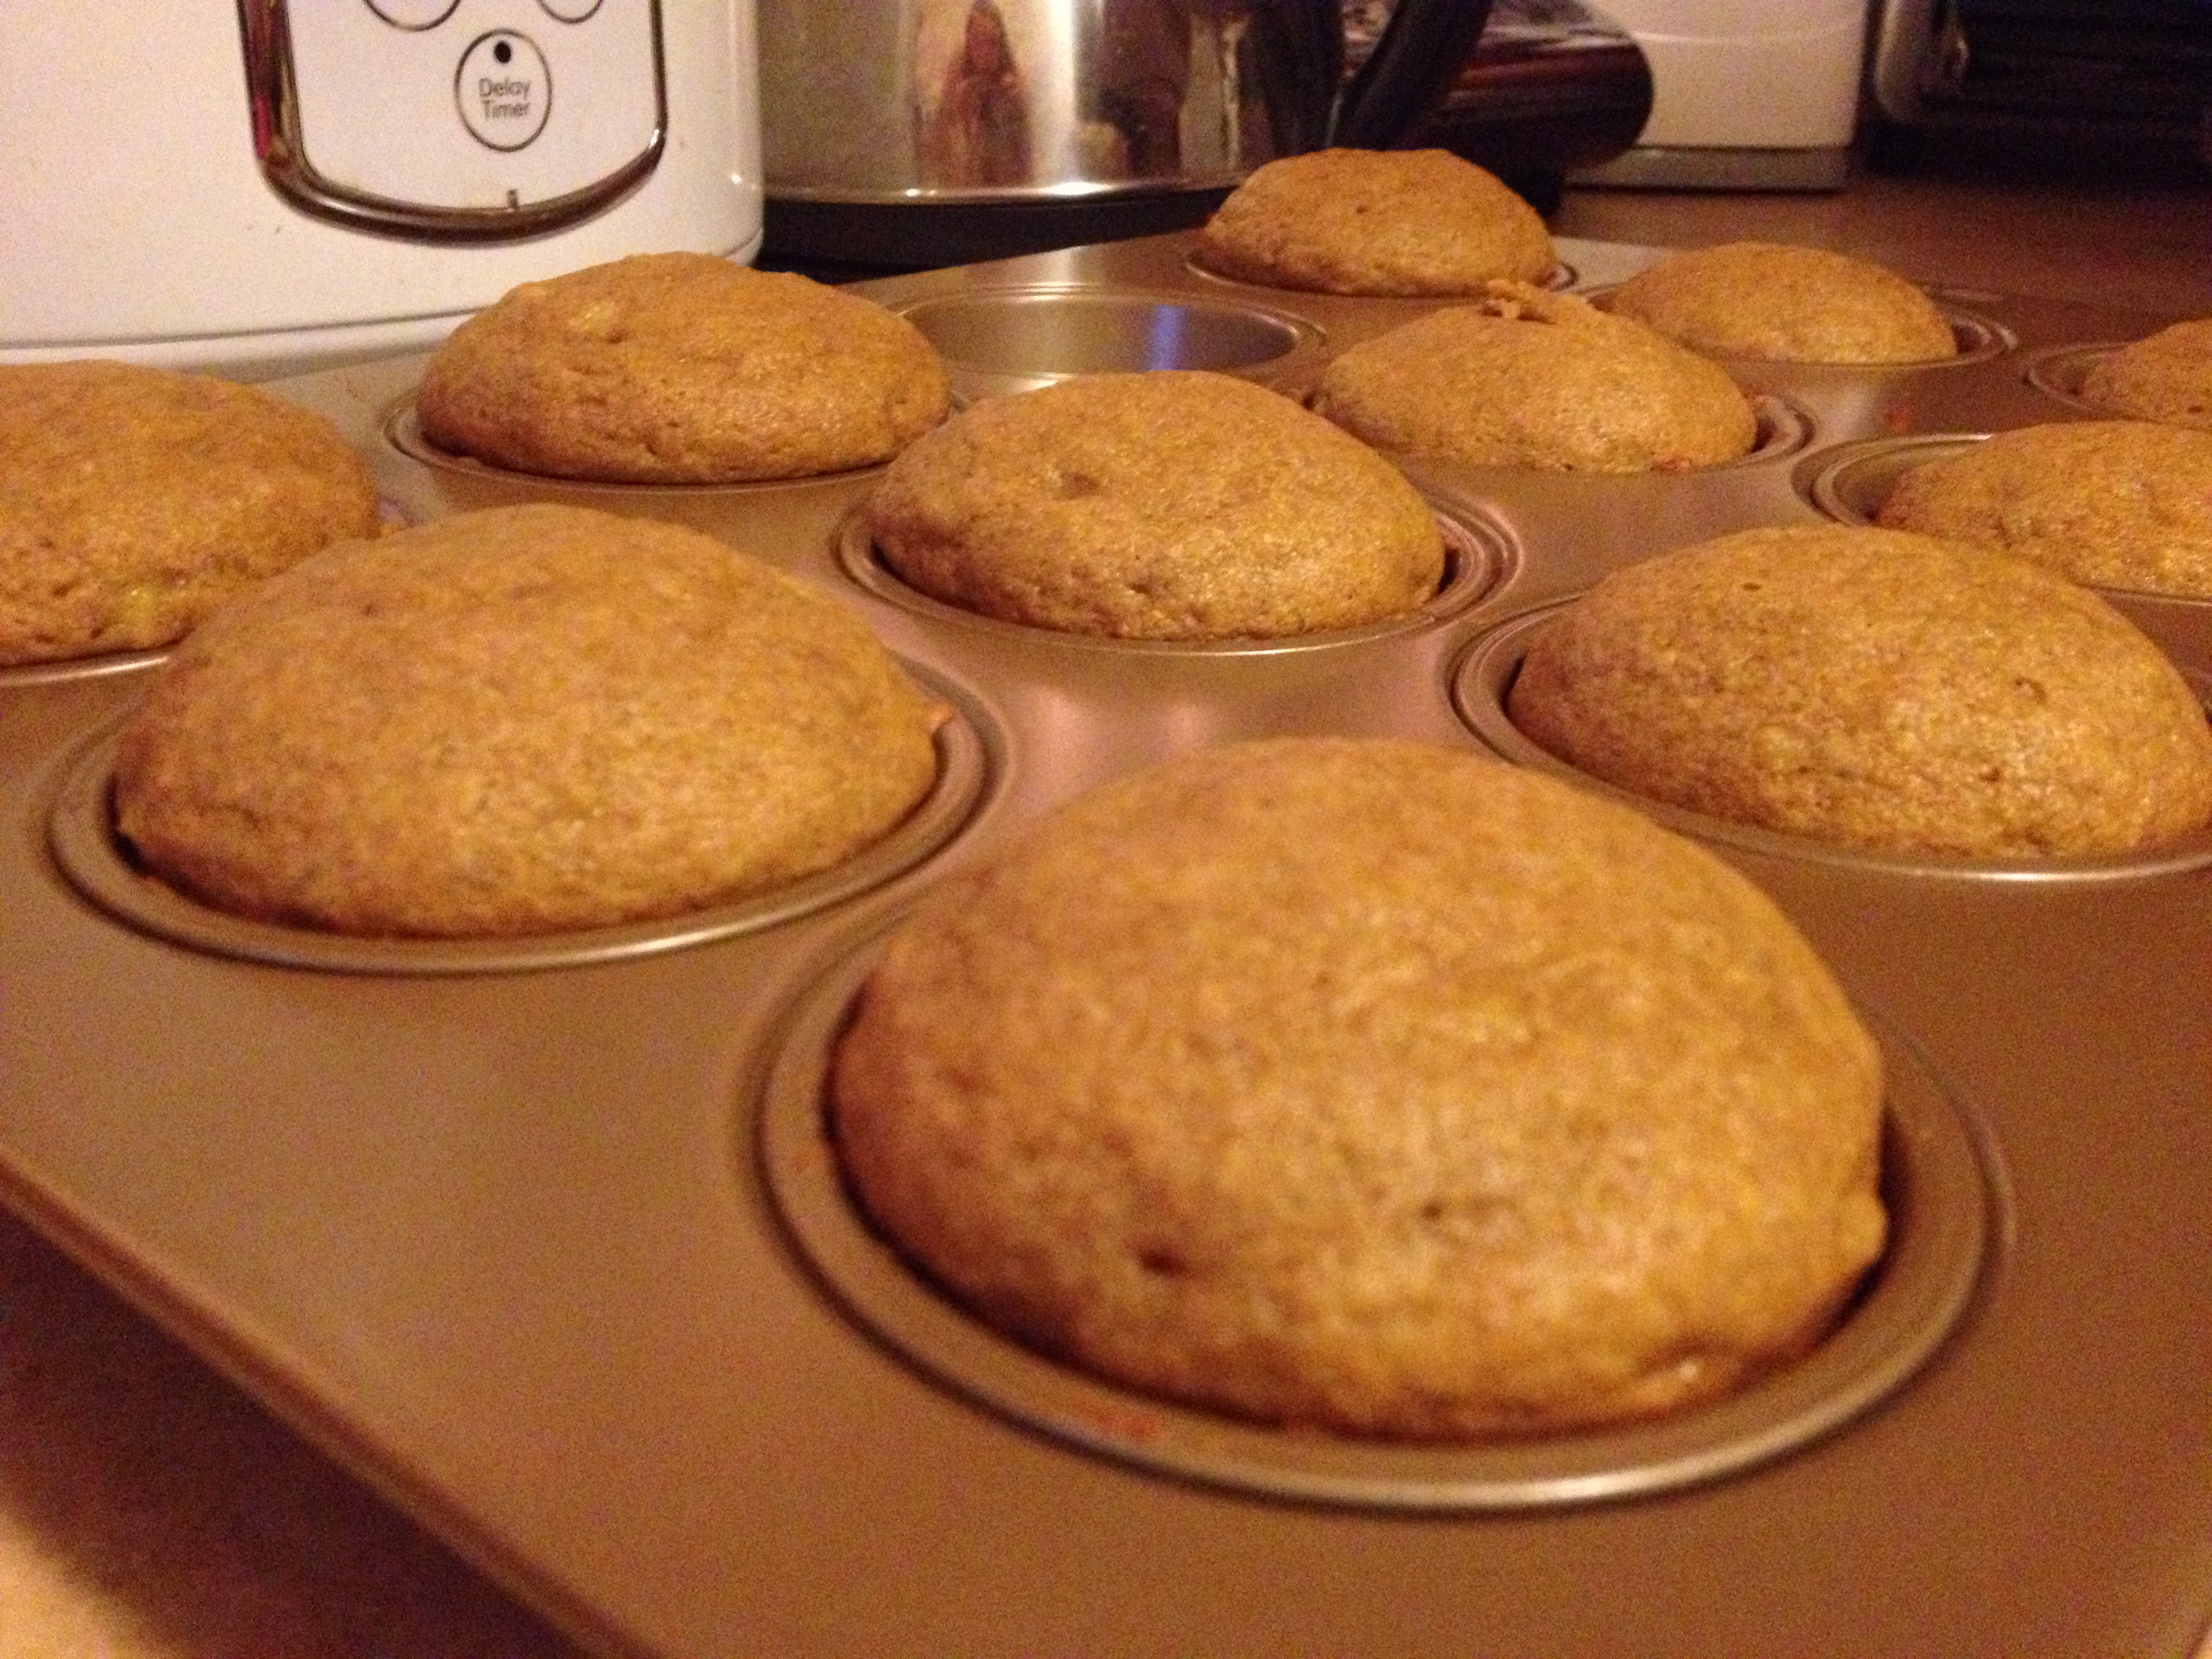
  • Put in the oven for 15-20 minutes. Mine cooked in about 17 minutes. Try going for 15 minutes and test them.

IMG_2969And here they are. The texture turned out wonderfully, the taste not overpowering, and the structural integrity strong. Very excited about these.

Chris' hand

Chris’ hand (you can see dinner in the background)

My hand

My hand

Cheers! Enjoy the recipe and the food! Delicious 

spacer

Hungry’s Secret Recipes: Humming Chicken Star Deluxe

My father taught me much about sandwiches while growing up. While Mom was always making creative and sophisticated dishes, Dad was the master of the art of sandwich. And it was not something to be messed with in the house. If you didn’t toast your bread, you were a punk. Cheese and salami on bread? Not a real sandwich. He invented the super deluxe sandwich, with all the fixings. Lettuce, pickles, cole slaw… anything in the fridge was fair game to be put on the sandwich.

Being from the New York area and having the earl of sandwich in the house, I inherited a love for the sandwich. My standards are high, even though I’ll eat just about anything. The philosophy hasn’t changed, put stuff on it, and toast it, or you’re just an ingrate.
Without a ton of time before work and having to go in the water for four hours, and five without food, I knew I had to throw together a nice sandwich that wouldn’t hurt my stomach at all. Since I’m getting back into working out, I also wanted a good amount of protein, calories, and carbs since it’s still early in the day and I need my fuel. The catch is that I woke  up with some cold symptoms including a sore throat and congestion, so I wanted to avoid cheese and thickening agents.
Here are the ingredients:
  •  1 Morningstar Original Griller
  •  1 large can of Chunk light tuna
  •  hummus, plain
  •  mustard, Gulden’s
  •  butter, land o lakes 
  •  whole wheat bread, 3 pieces
  •  1 avocado, large
 Ingredients
(I forgot pickles, really just a lack of time)
And the pictures show the rest.
The start
Get the avocado on there

Get the avocado on there

Next comes the tuna

Next comes the tuna

DON'T FORGET TO TOAST IT

DON’T FORGET TO TOAST IT

Essentially, create a monster stacking sandwich that has toasted bread. First toast the bread. Then construct as the pictures show. Then cover in butter and toast on the stove top. Take that Dad. Feel free to add lettuce and pickles.
Ready to be eaten

Ready to be eaten

Nutritional Facts: Way over 50 grams of protein. That’s all you need to know.
Be hungry!
spacer