Archives

The Easiest Black Bean Soup You’ll Ever Make

If you’ve been following our blog, you’ll know it’s been pretty rainy here in Colorado (see my thunderstorm run). I wanted an easy, hearty dish to fill our stomachs with warmth and comfort on another rainy night. I got the recipe from here, and added my own goodies to it. The simplicity of this “soup” is ridiculous. Seriously. And it’s vegan too, if that’s how you want it.

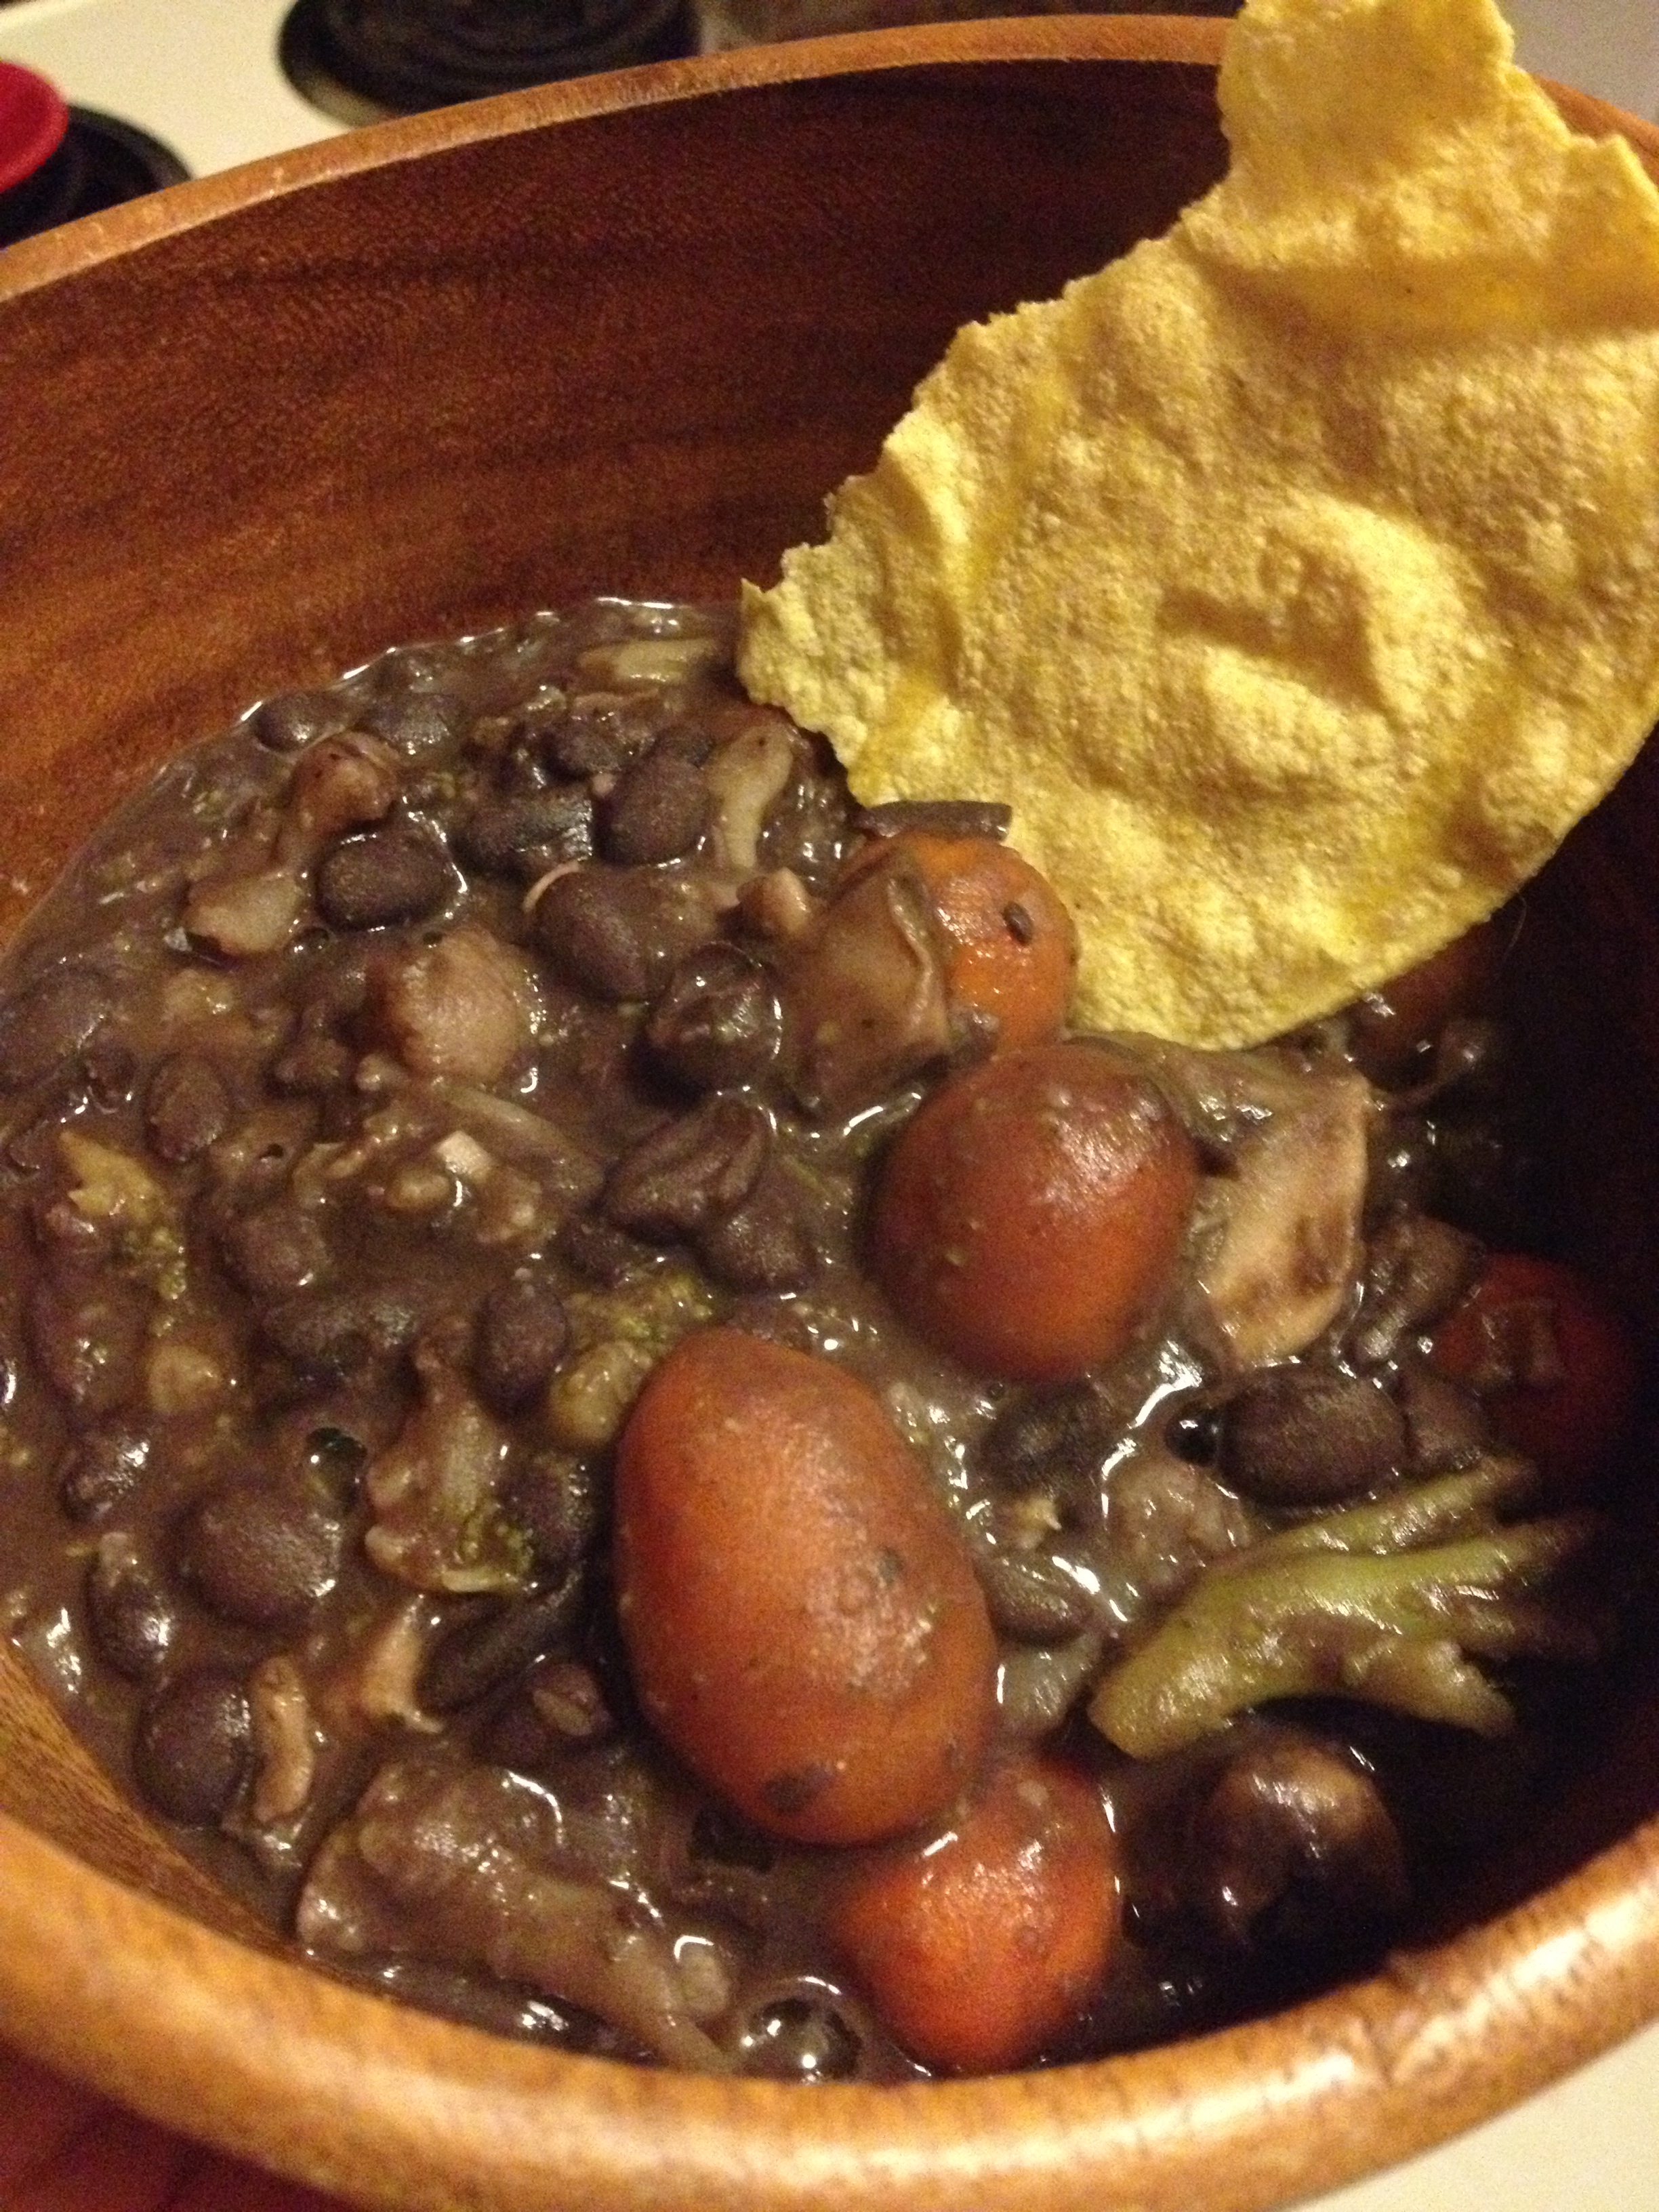
Ready to be eaten!

Ready to be eaten!

  • Prep Time: 1 min
  • Cooking Time: 10 min
  • Serves: 3-4 normal people

Ingredients

  • 2 cans black beans 
  • 1 bag frozen veggies
  • your own blend of spices
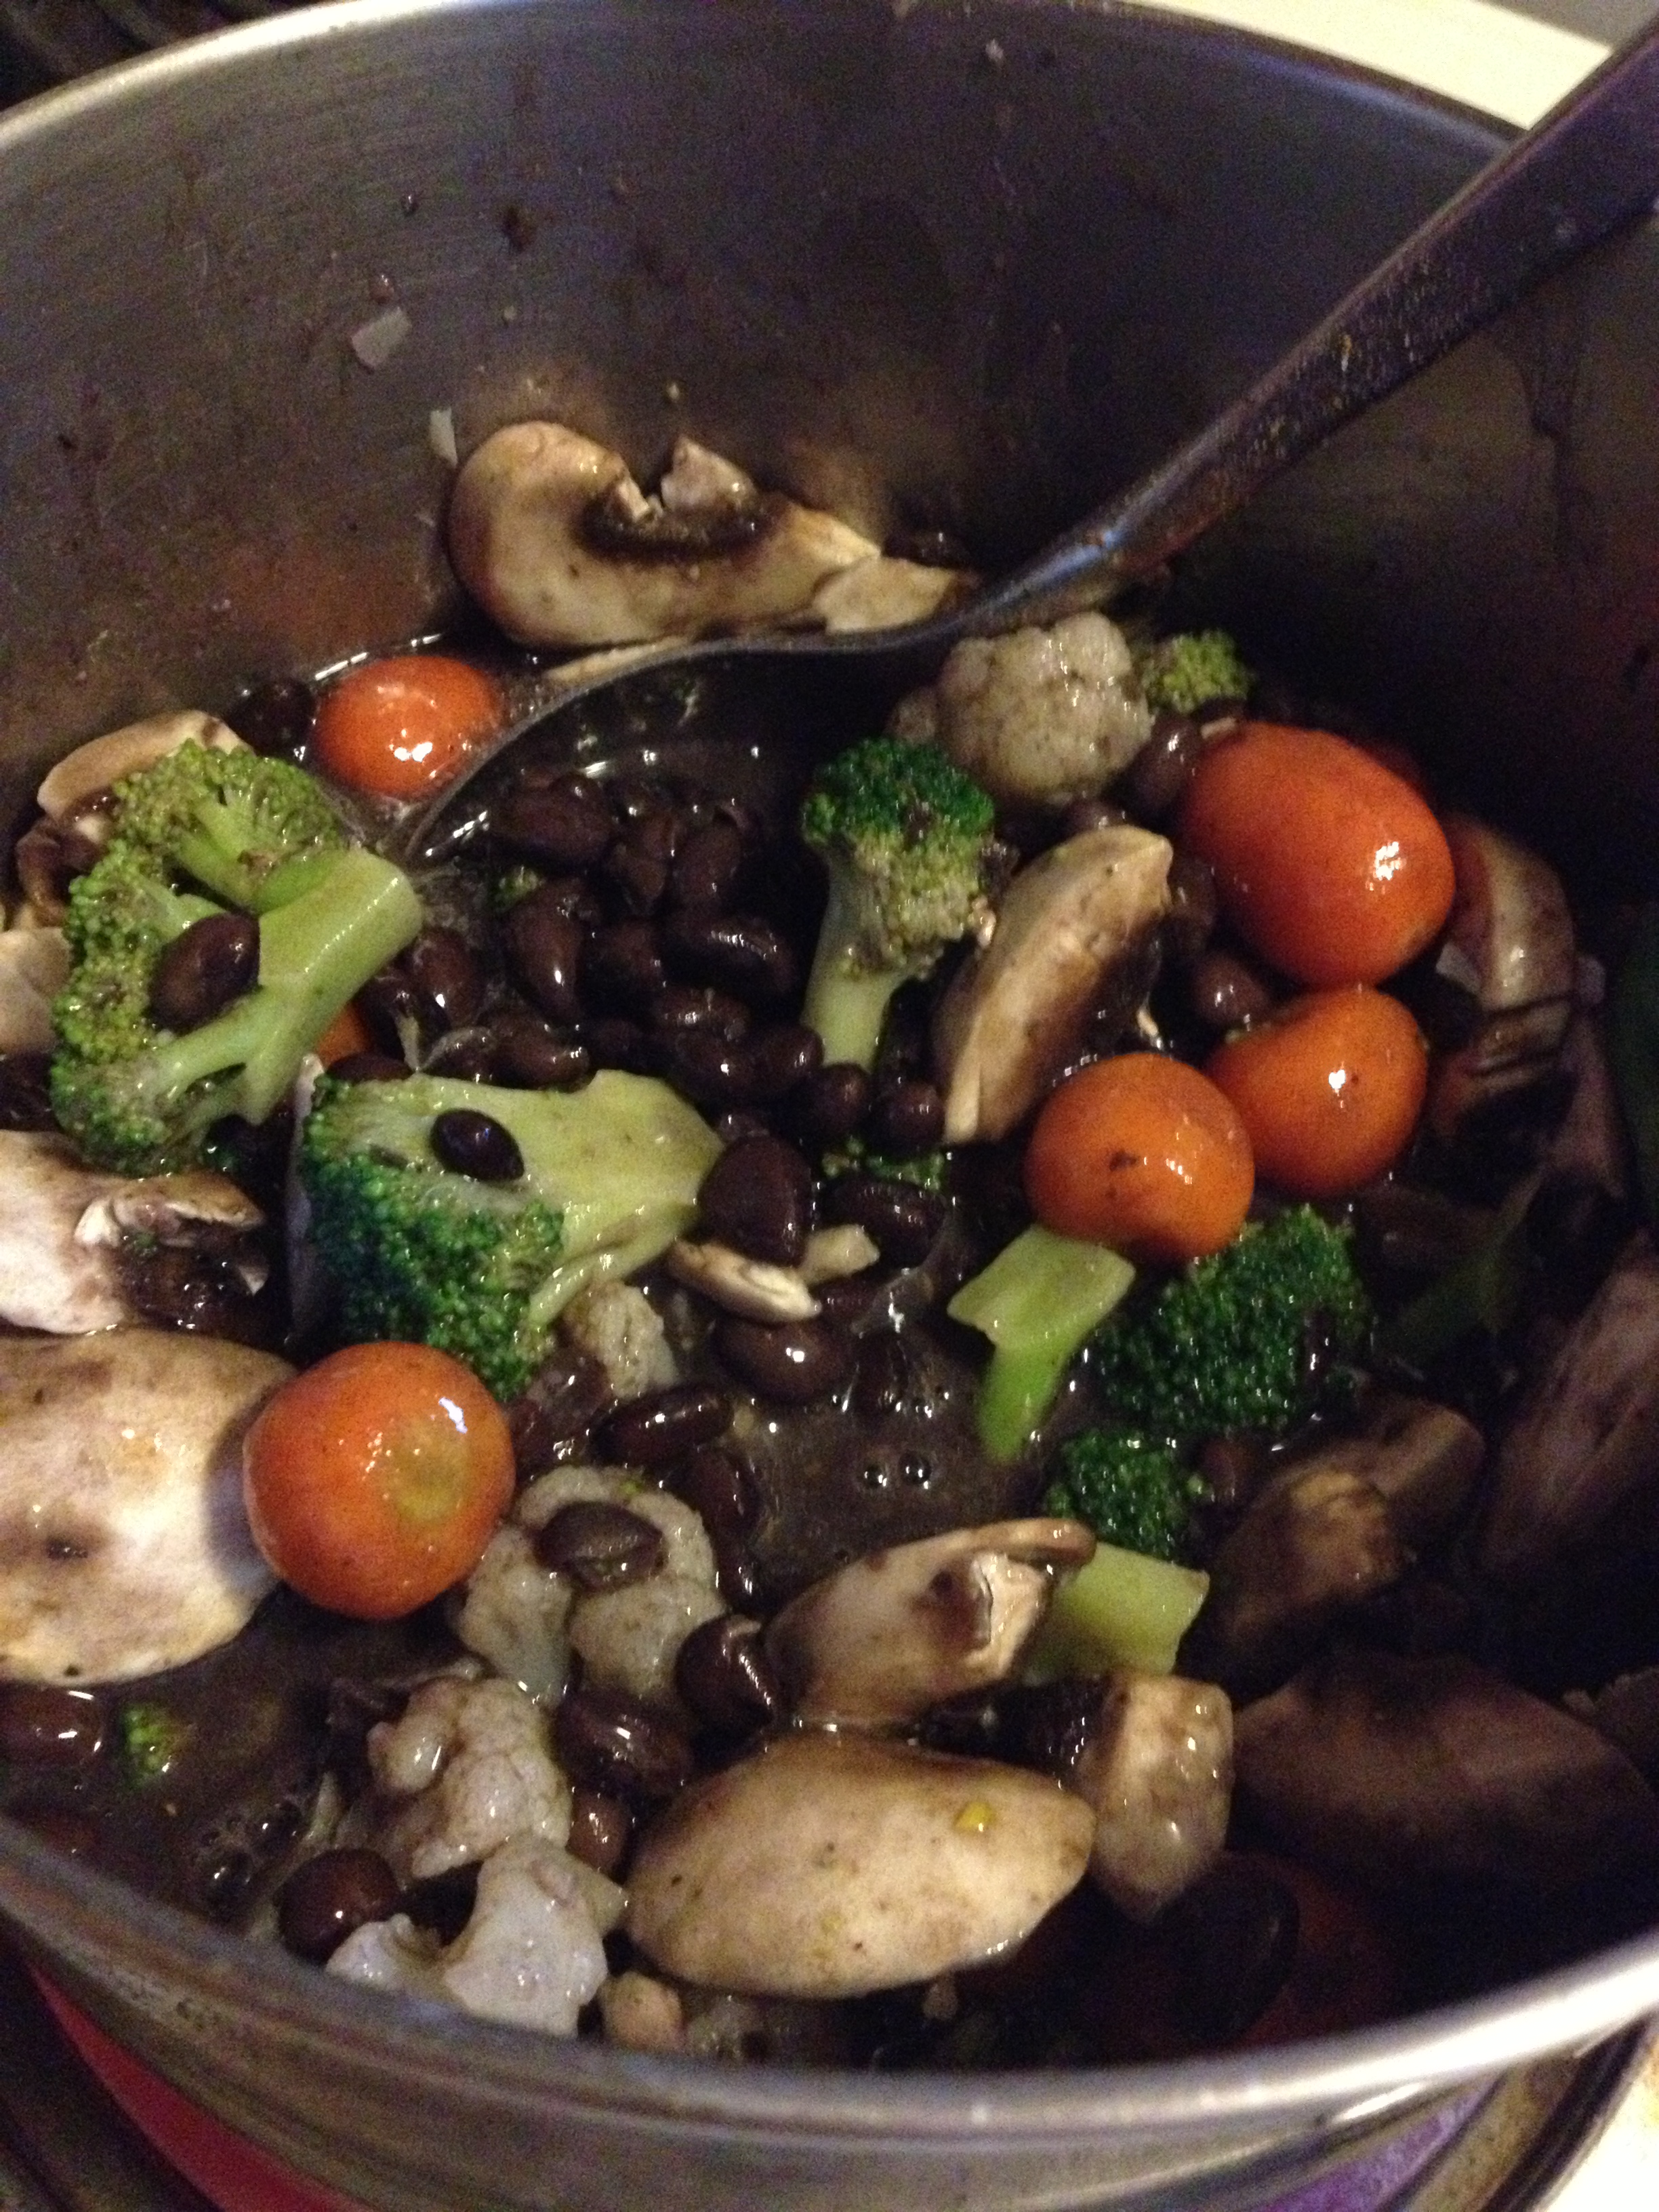
  • [optional] mushrooms

Directions

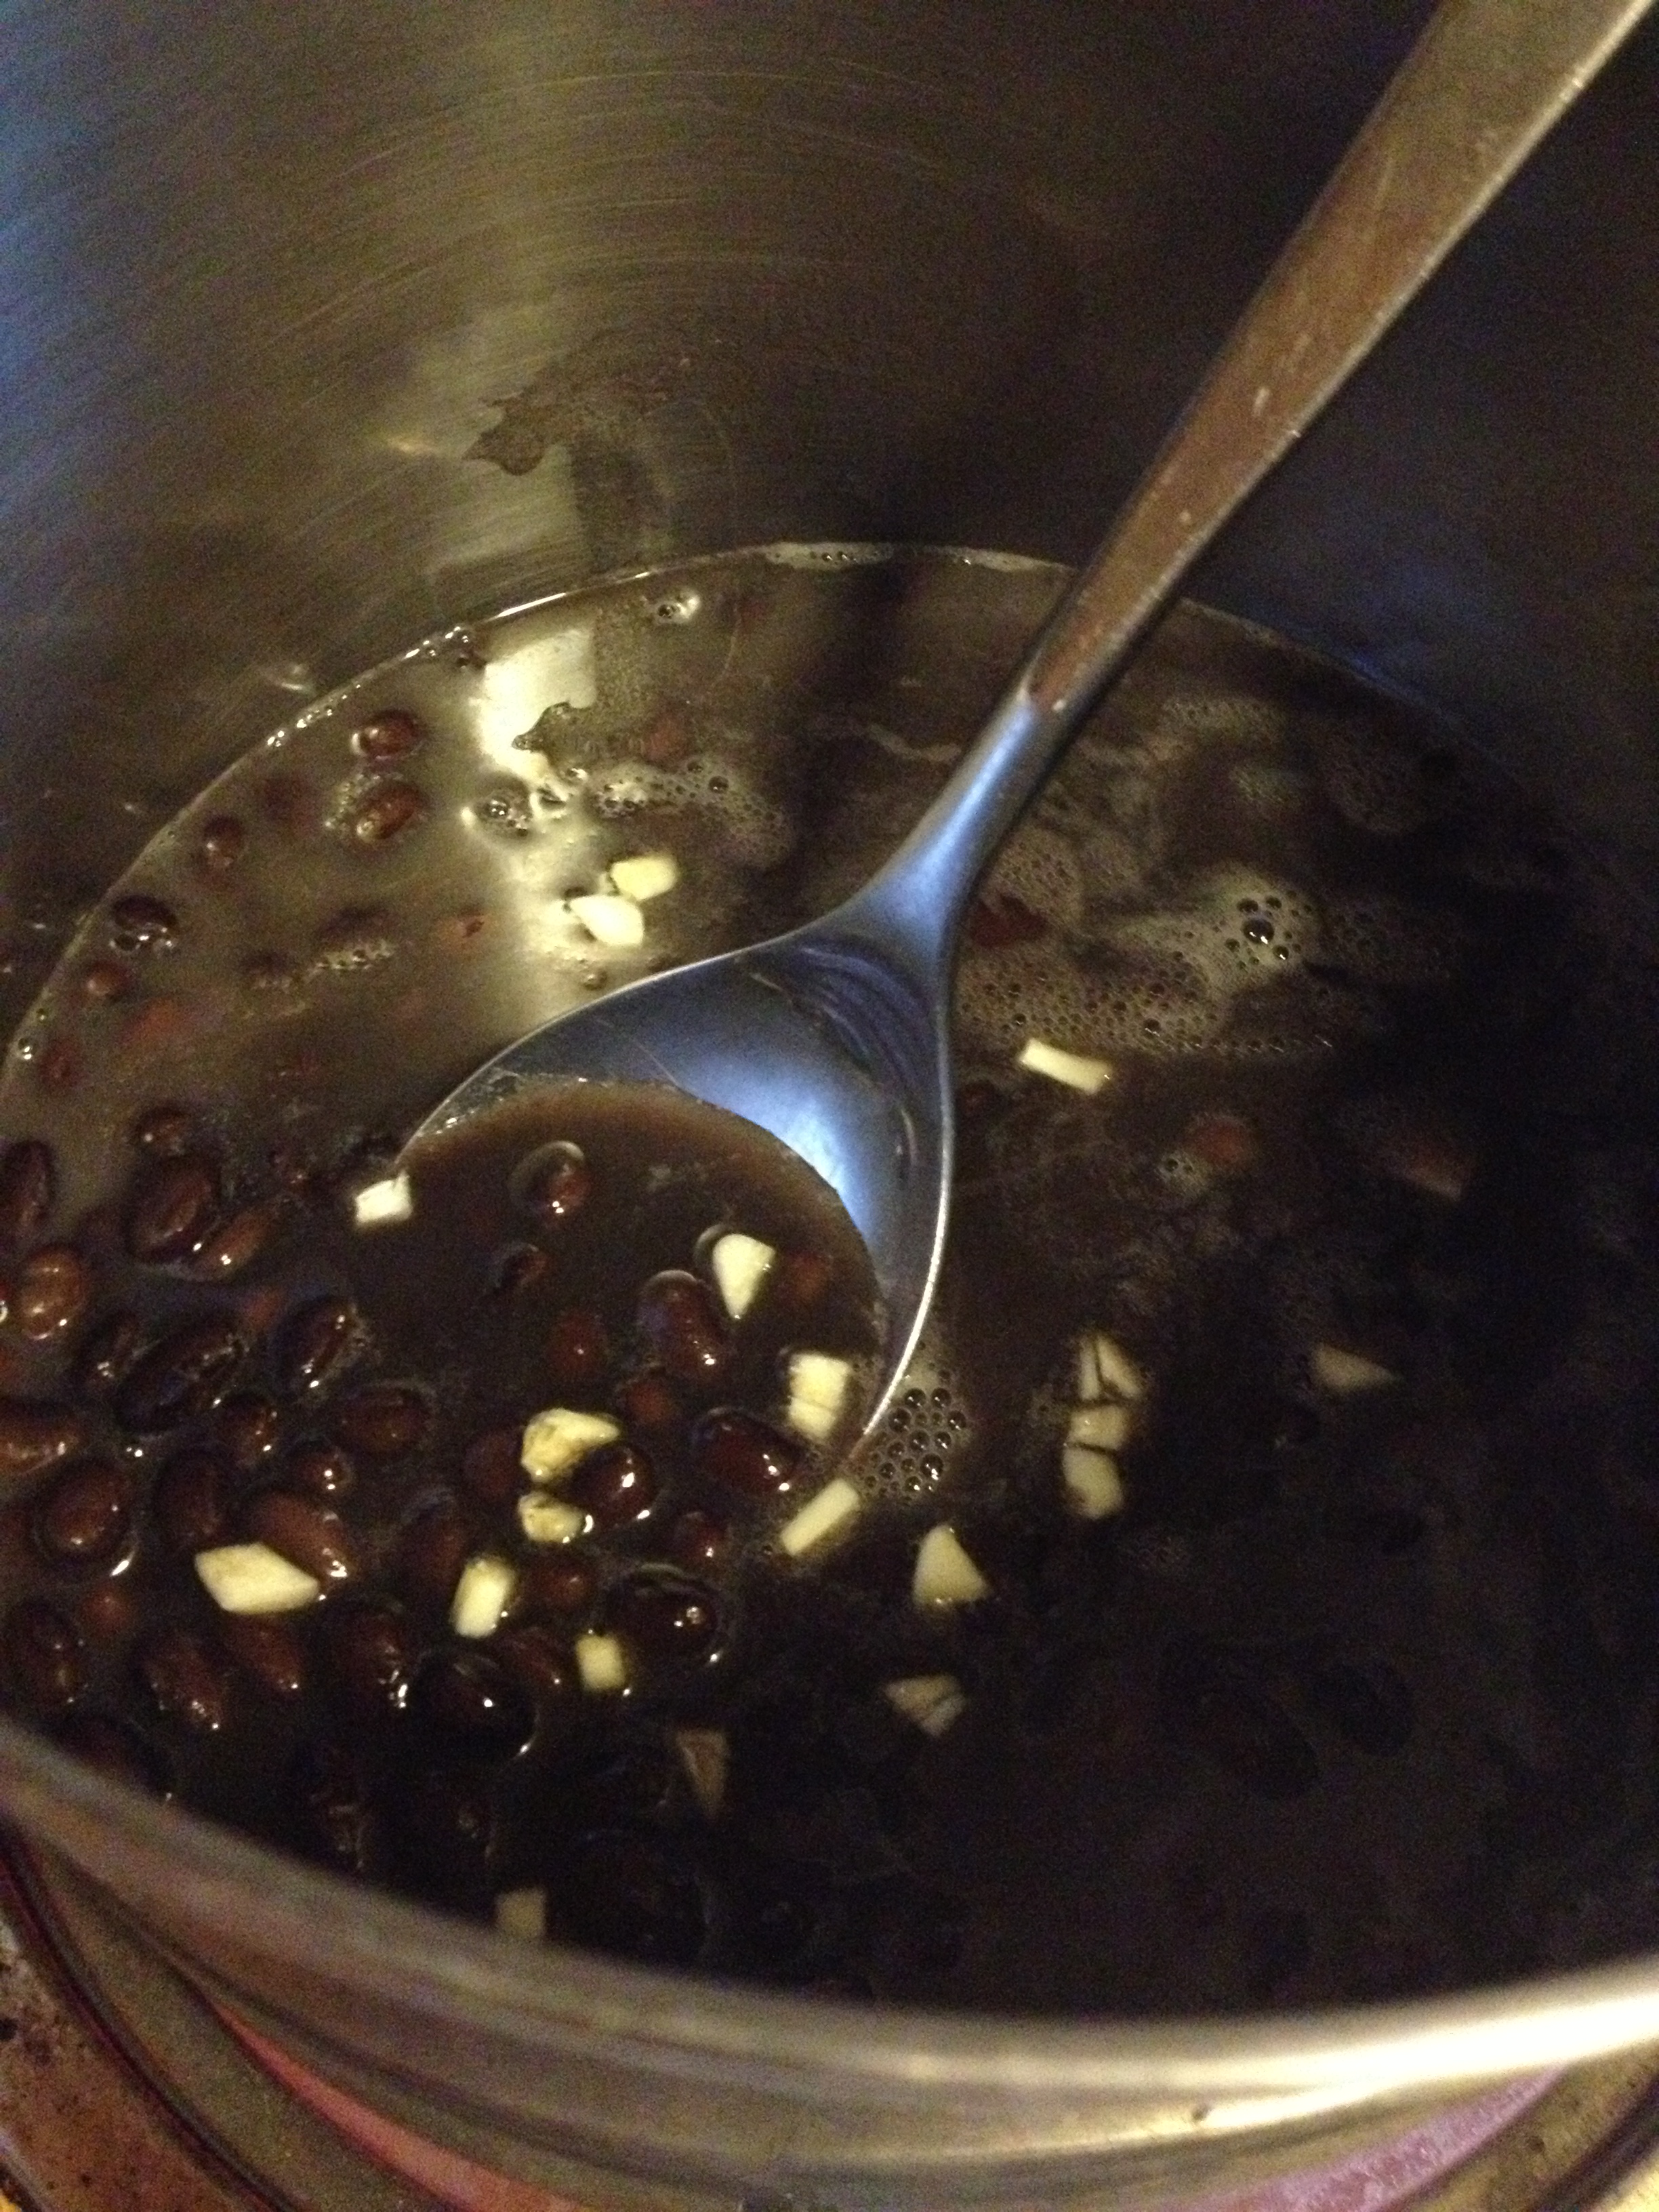
  • Put 2 cans black beans into the pot and start simmering in a pot
  • This is optional, but I put about 3 cloves of garlic into the pot as well

photo 1 (9)

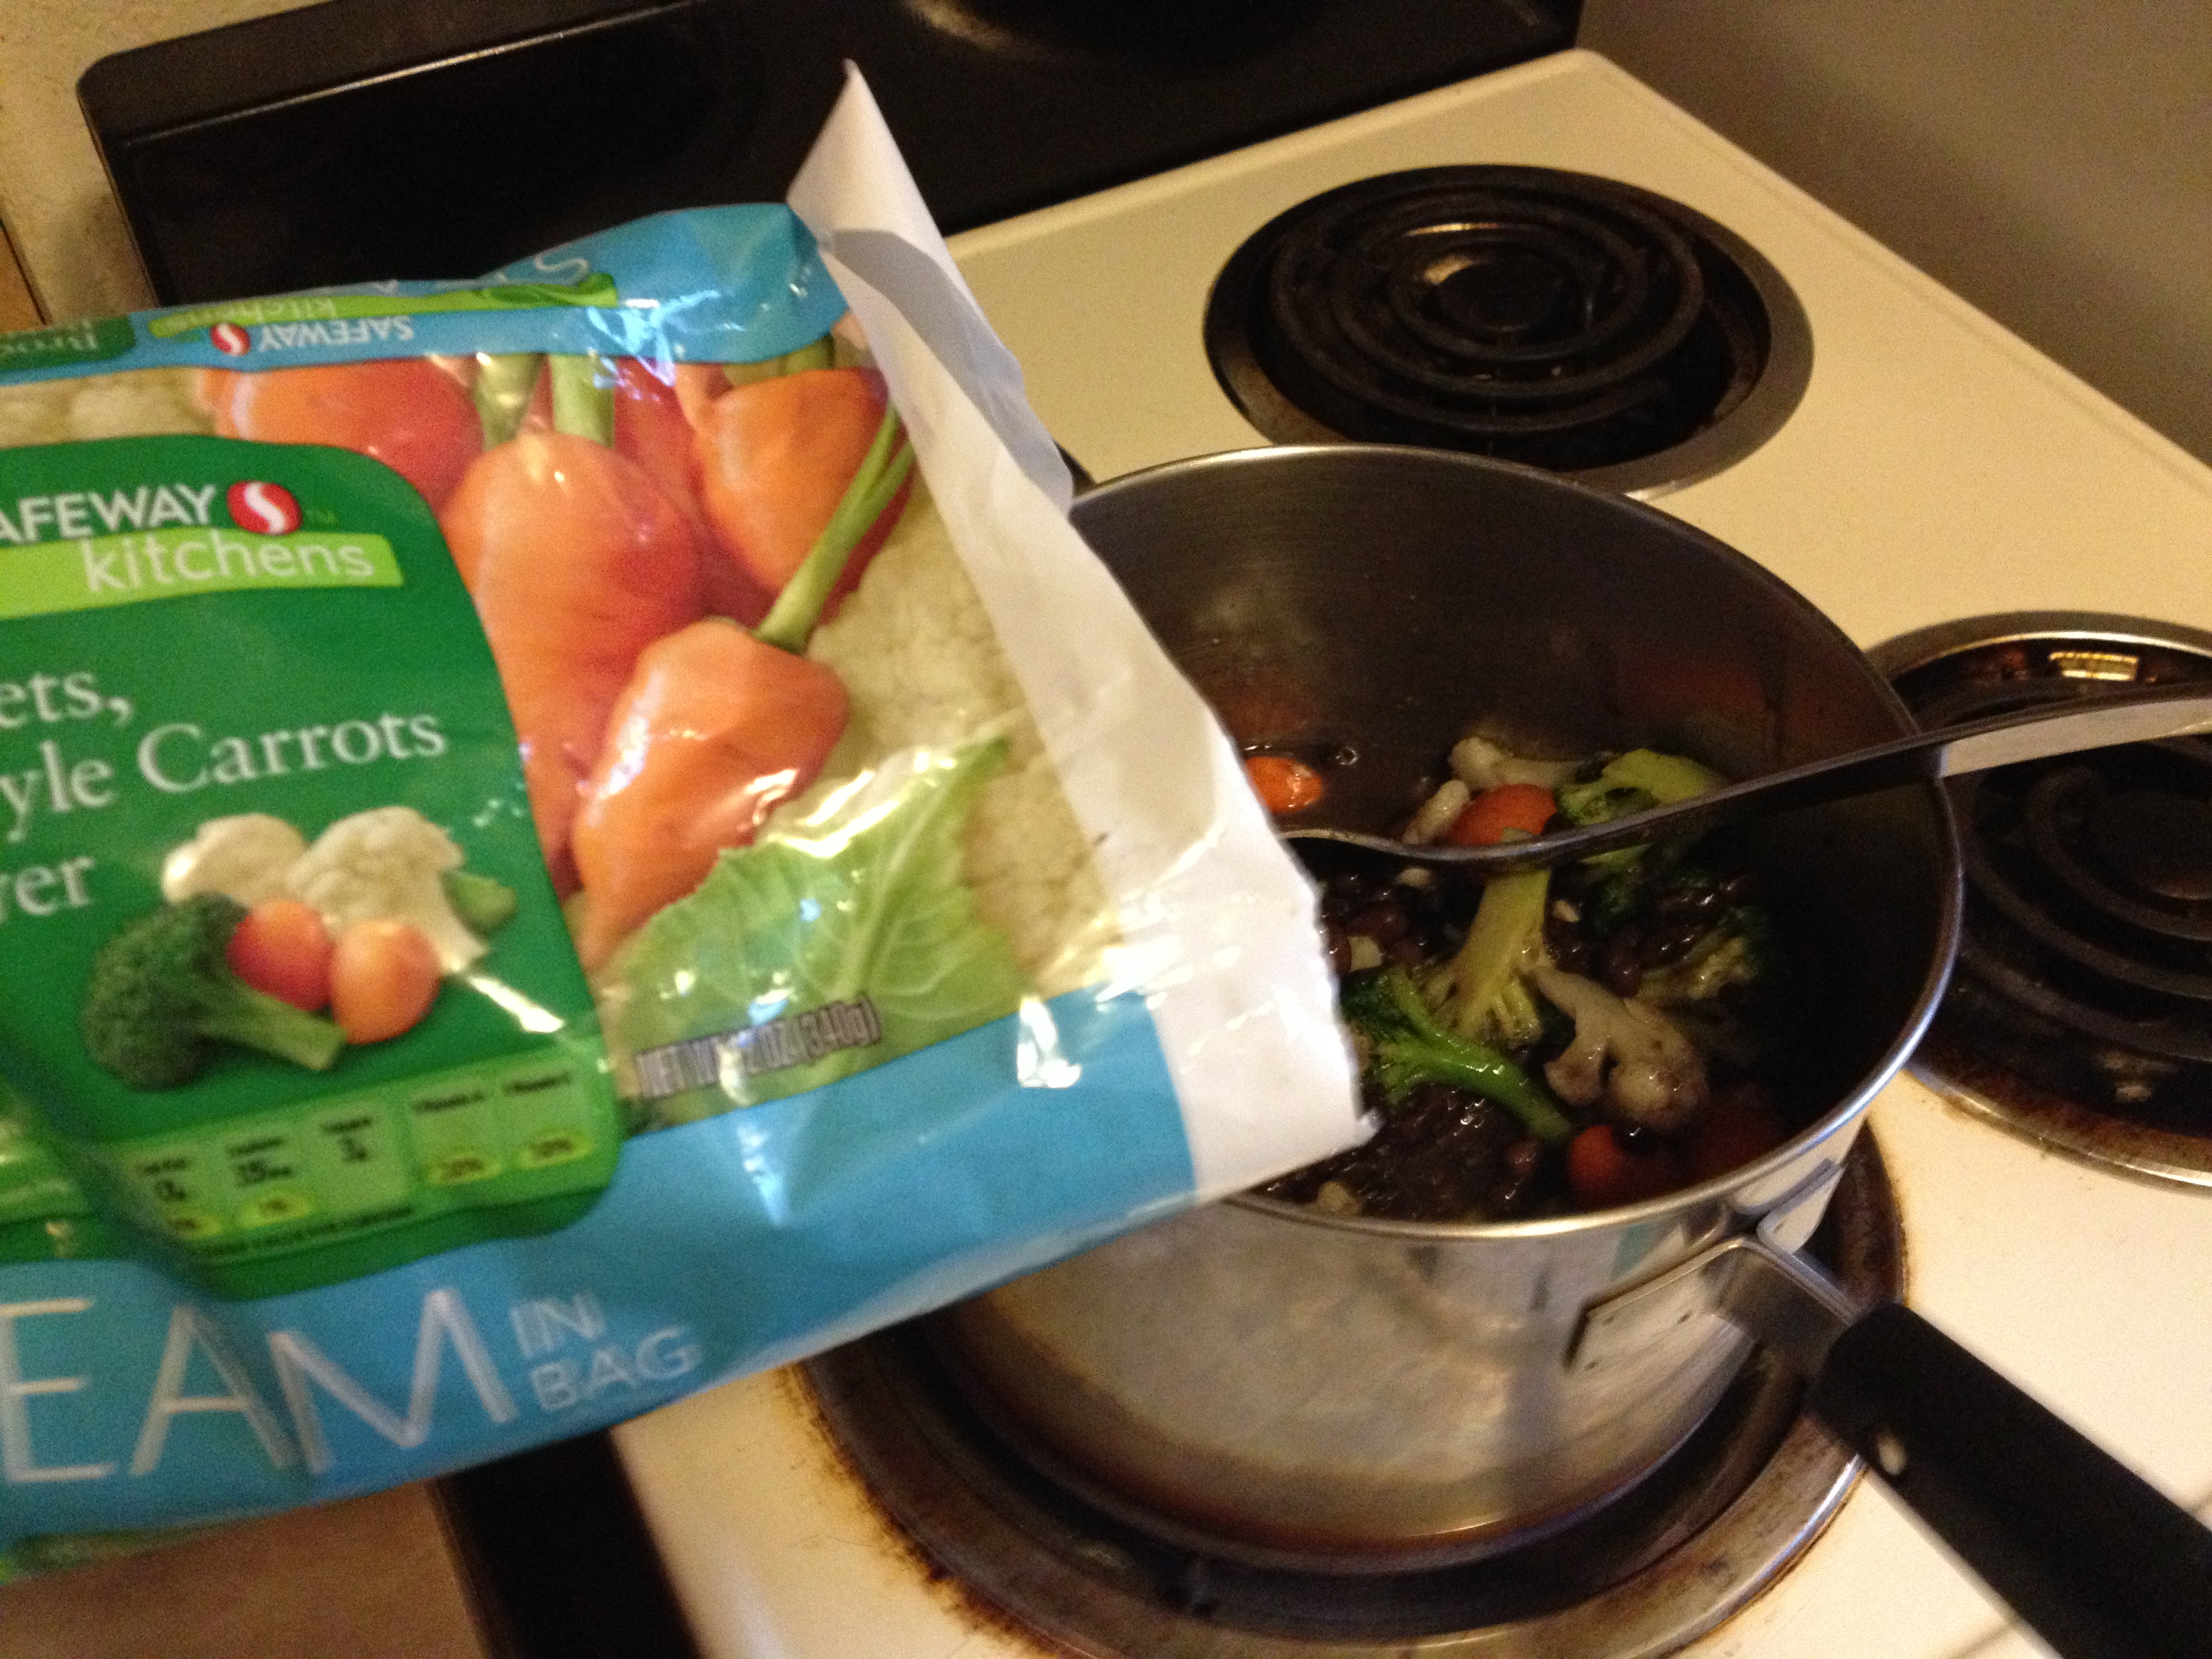
  • Add your frozen veggies and any other herbs, spices, or veggies you would like (or meat)

photo 2 (5)

photo 3 (4)

  • Let it simmer for at least 10 minutes (until everything is warm) and stir occasionally. If you are cooking ahead of time, it doesn’t hurt to simmer as long as you want to for deeper flavor
  • Serve with a side (I did cornbread)

photo 5

Ready to be eaten!

Ready to be eaten!

I prepared all of this before a workout. After the core workout (sample core workout here), I came home, popped the cornbread batter in the oven, and heated the soup up again on the stove. It was definitely the perfect meal for a rainy night and I get to enjoy it again for a rainy lunch. It has ample amounts of protein for my healing muscles and great fiber for the whole body.

Cheers! Stay hungry and fit!

spacer

Power Protein Breakfast: Waffles, Greek Yogurt, and Fruit

Besides Weetabix, this has become one of my go-to breakfasts when I have enough time in the morning. It’s packed with protein and fiber, sending you ready to kick butt on the day ahead. Now, typically, store-bought waffles aren’t the best for you. But that all changed when one day I was craving waffles while we were grocery shopping, and I scoured the frozen section for some decent waffles. Tip: always pass up the Eggo’s. Another tip: NEVER PASS UP THE VAN’S. 

photo 1

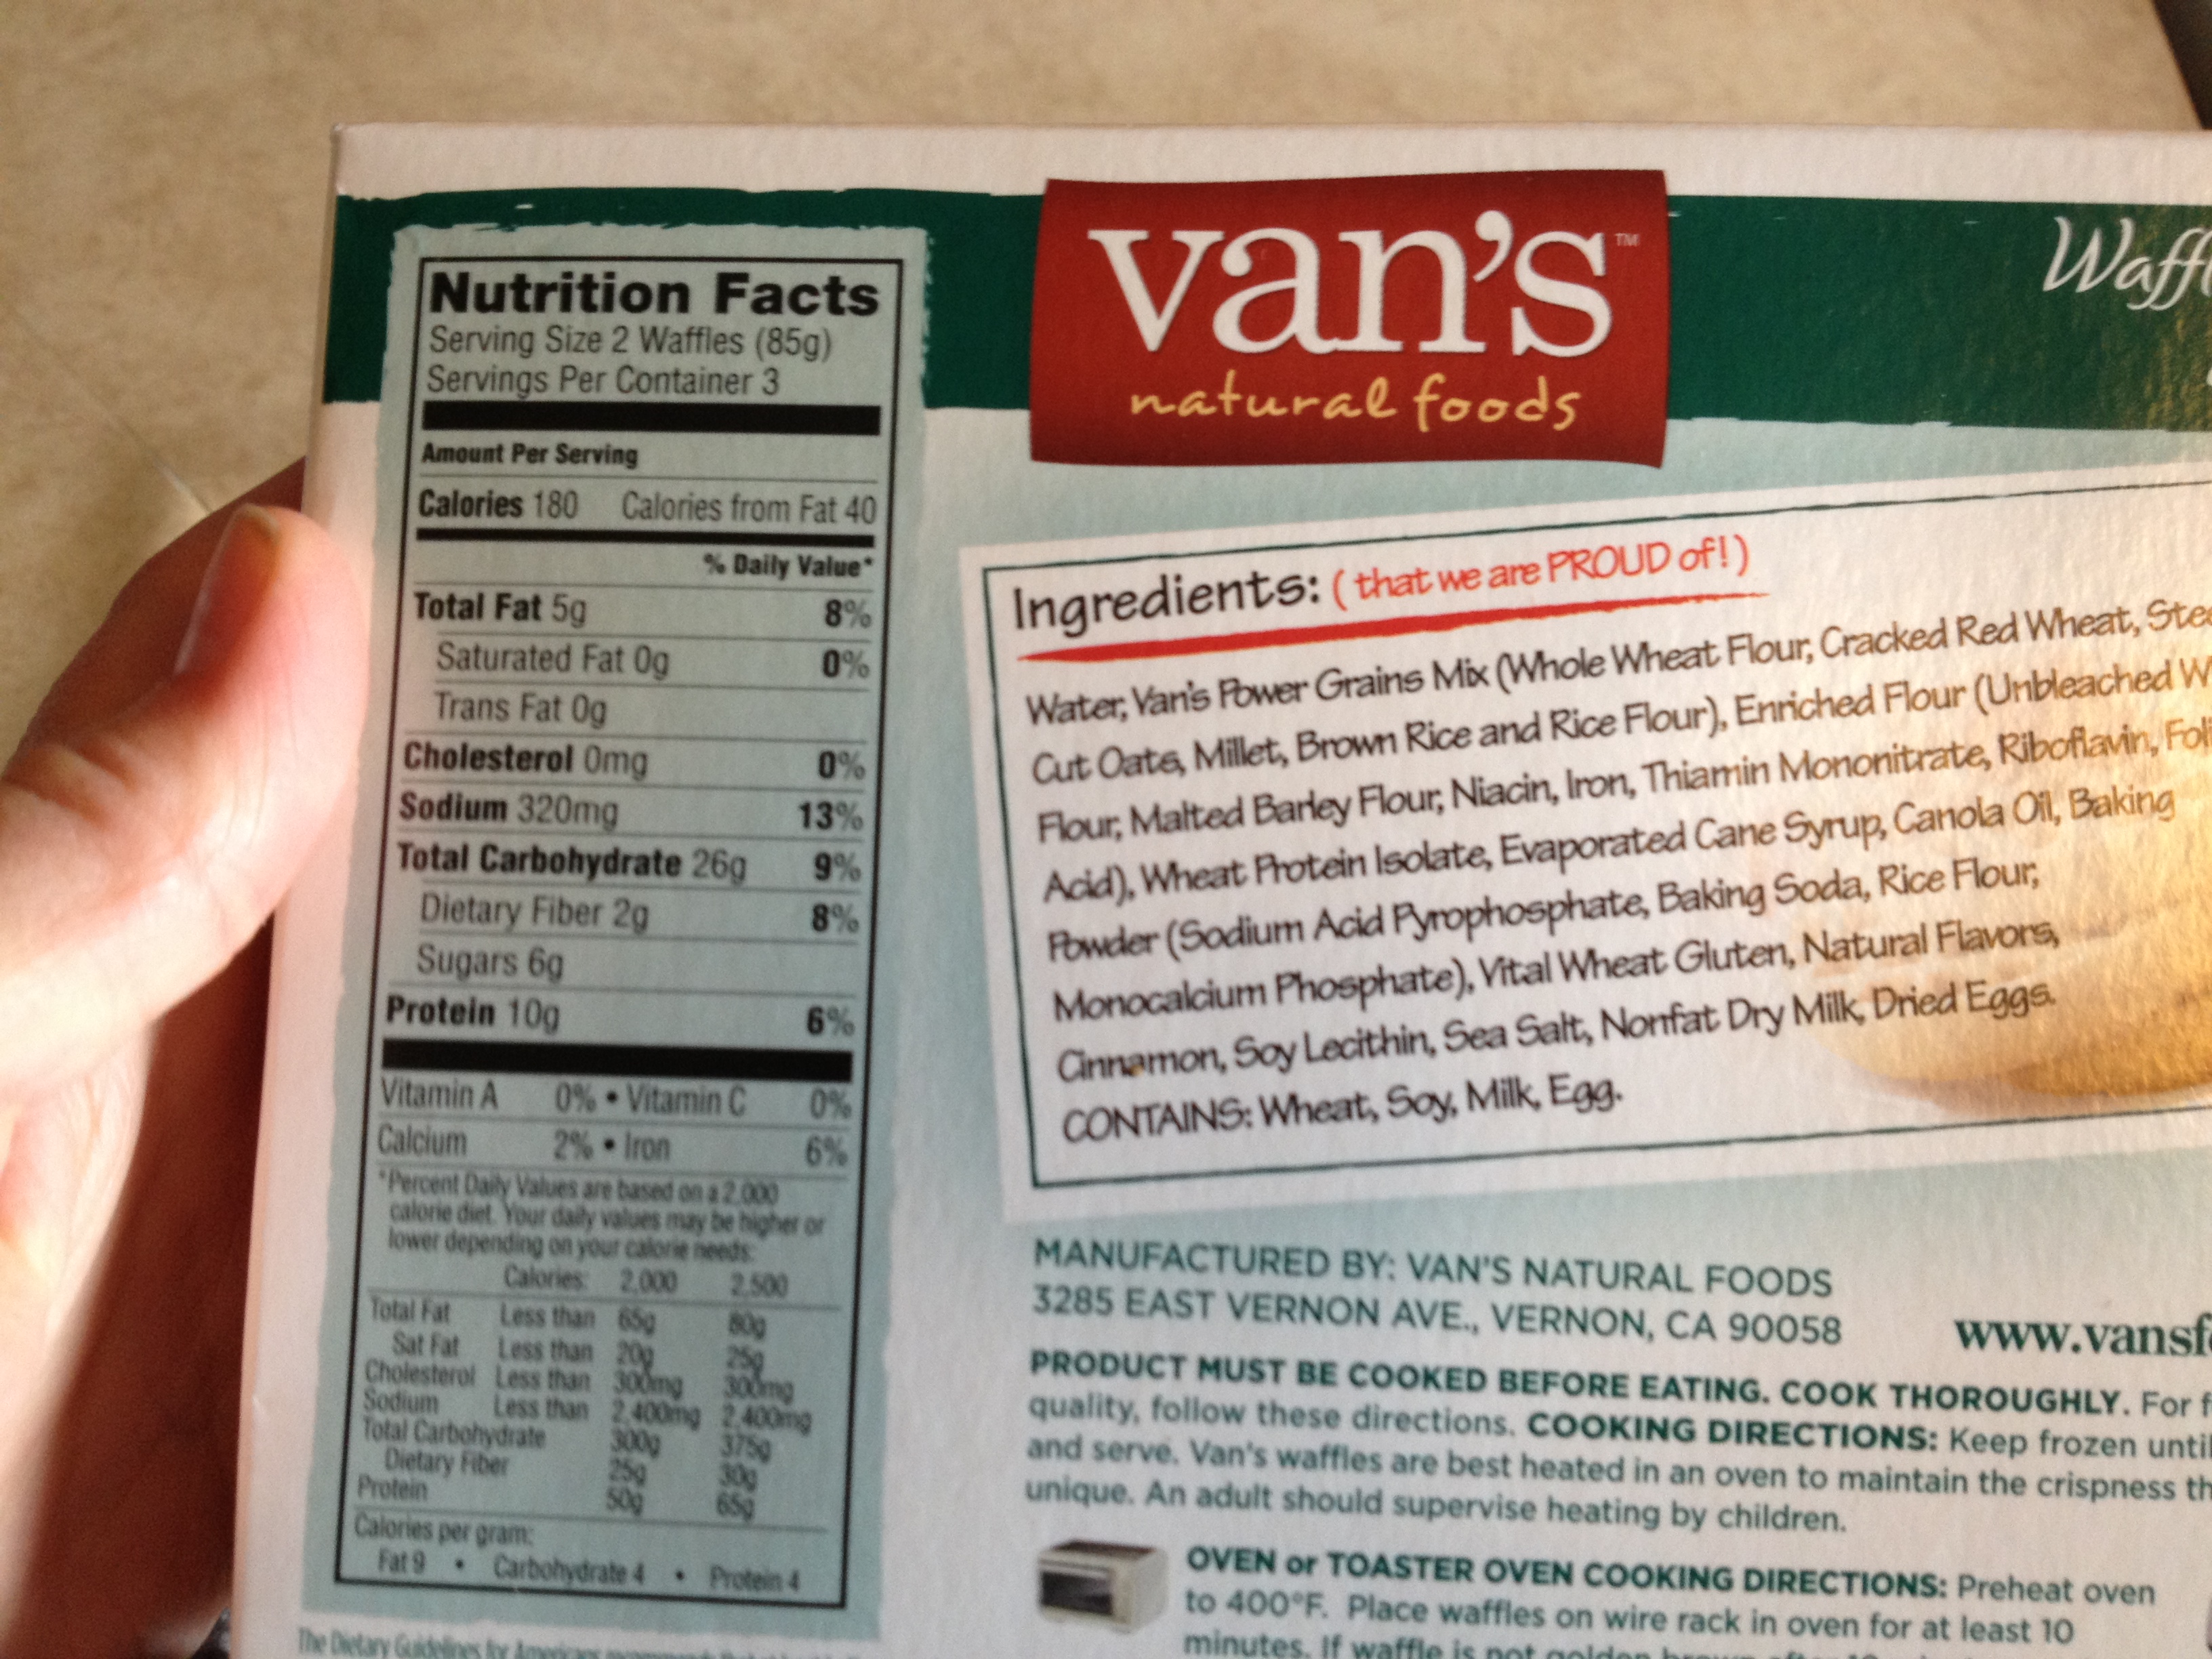
Yep. The name of this natural brand of waffles is Van’s. And no, I did not receive any money from them for this post (though, I wouldn’t mind a tip if they stopped by). Good nutritional value at 180 calories per 2 waffles, 10g protein, 2g fiber, 6g sugar and no saturated fat. Can you say, “YES PLEASE.” But there’s more to this power protein breakfast. What’s a breakfast without greek yogurt? Alright, enough chit-chat–look down for this 5-10 minute breakfast recipe.

photo 1 (2)

Ingredients

  • 2 Van’s protein waffles
  • 2 dollops of 0% Fage Greek yogurt (or any kind you have)
  • 1/2 tsp butter (optional)
  • 100% pure maple syrup OR agave nectar
  • 2 strawberries (but any fruit will do)

[I’m literally salivating as I write this–it’s that good]

Directions

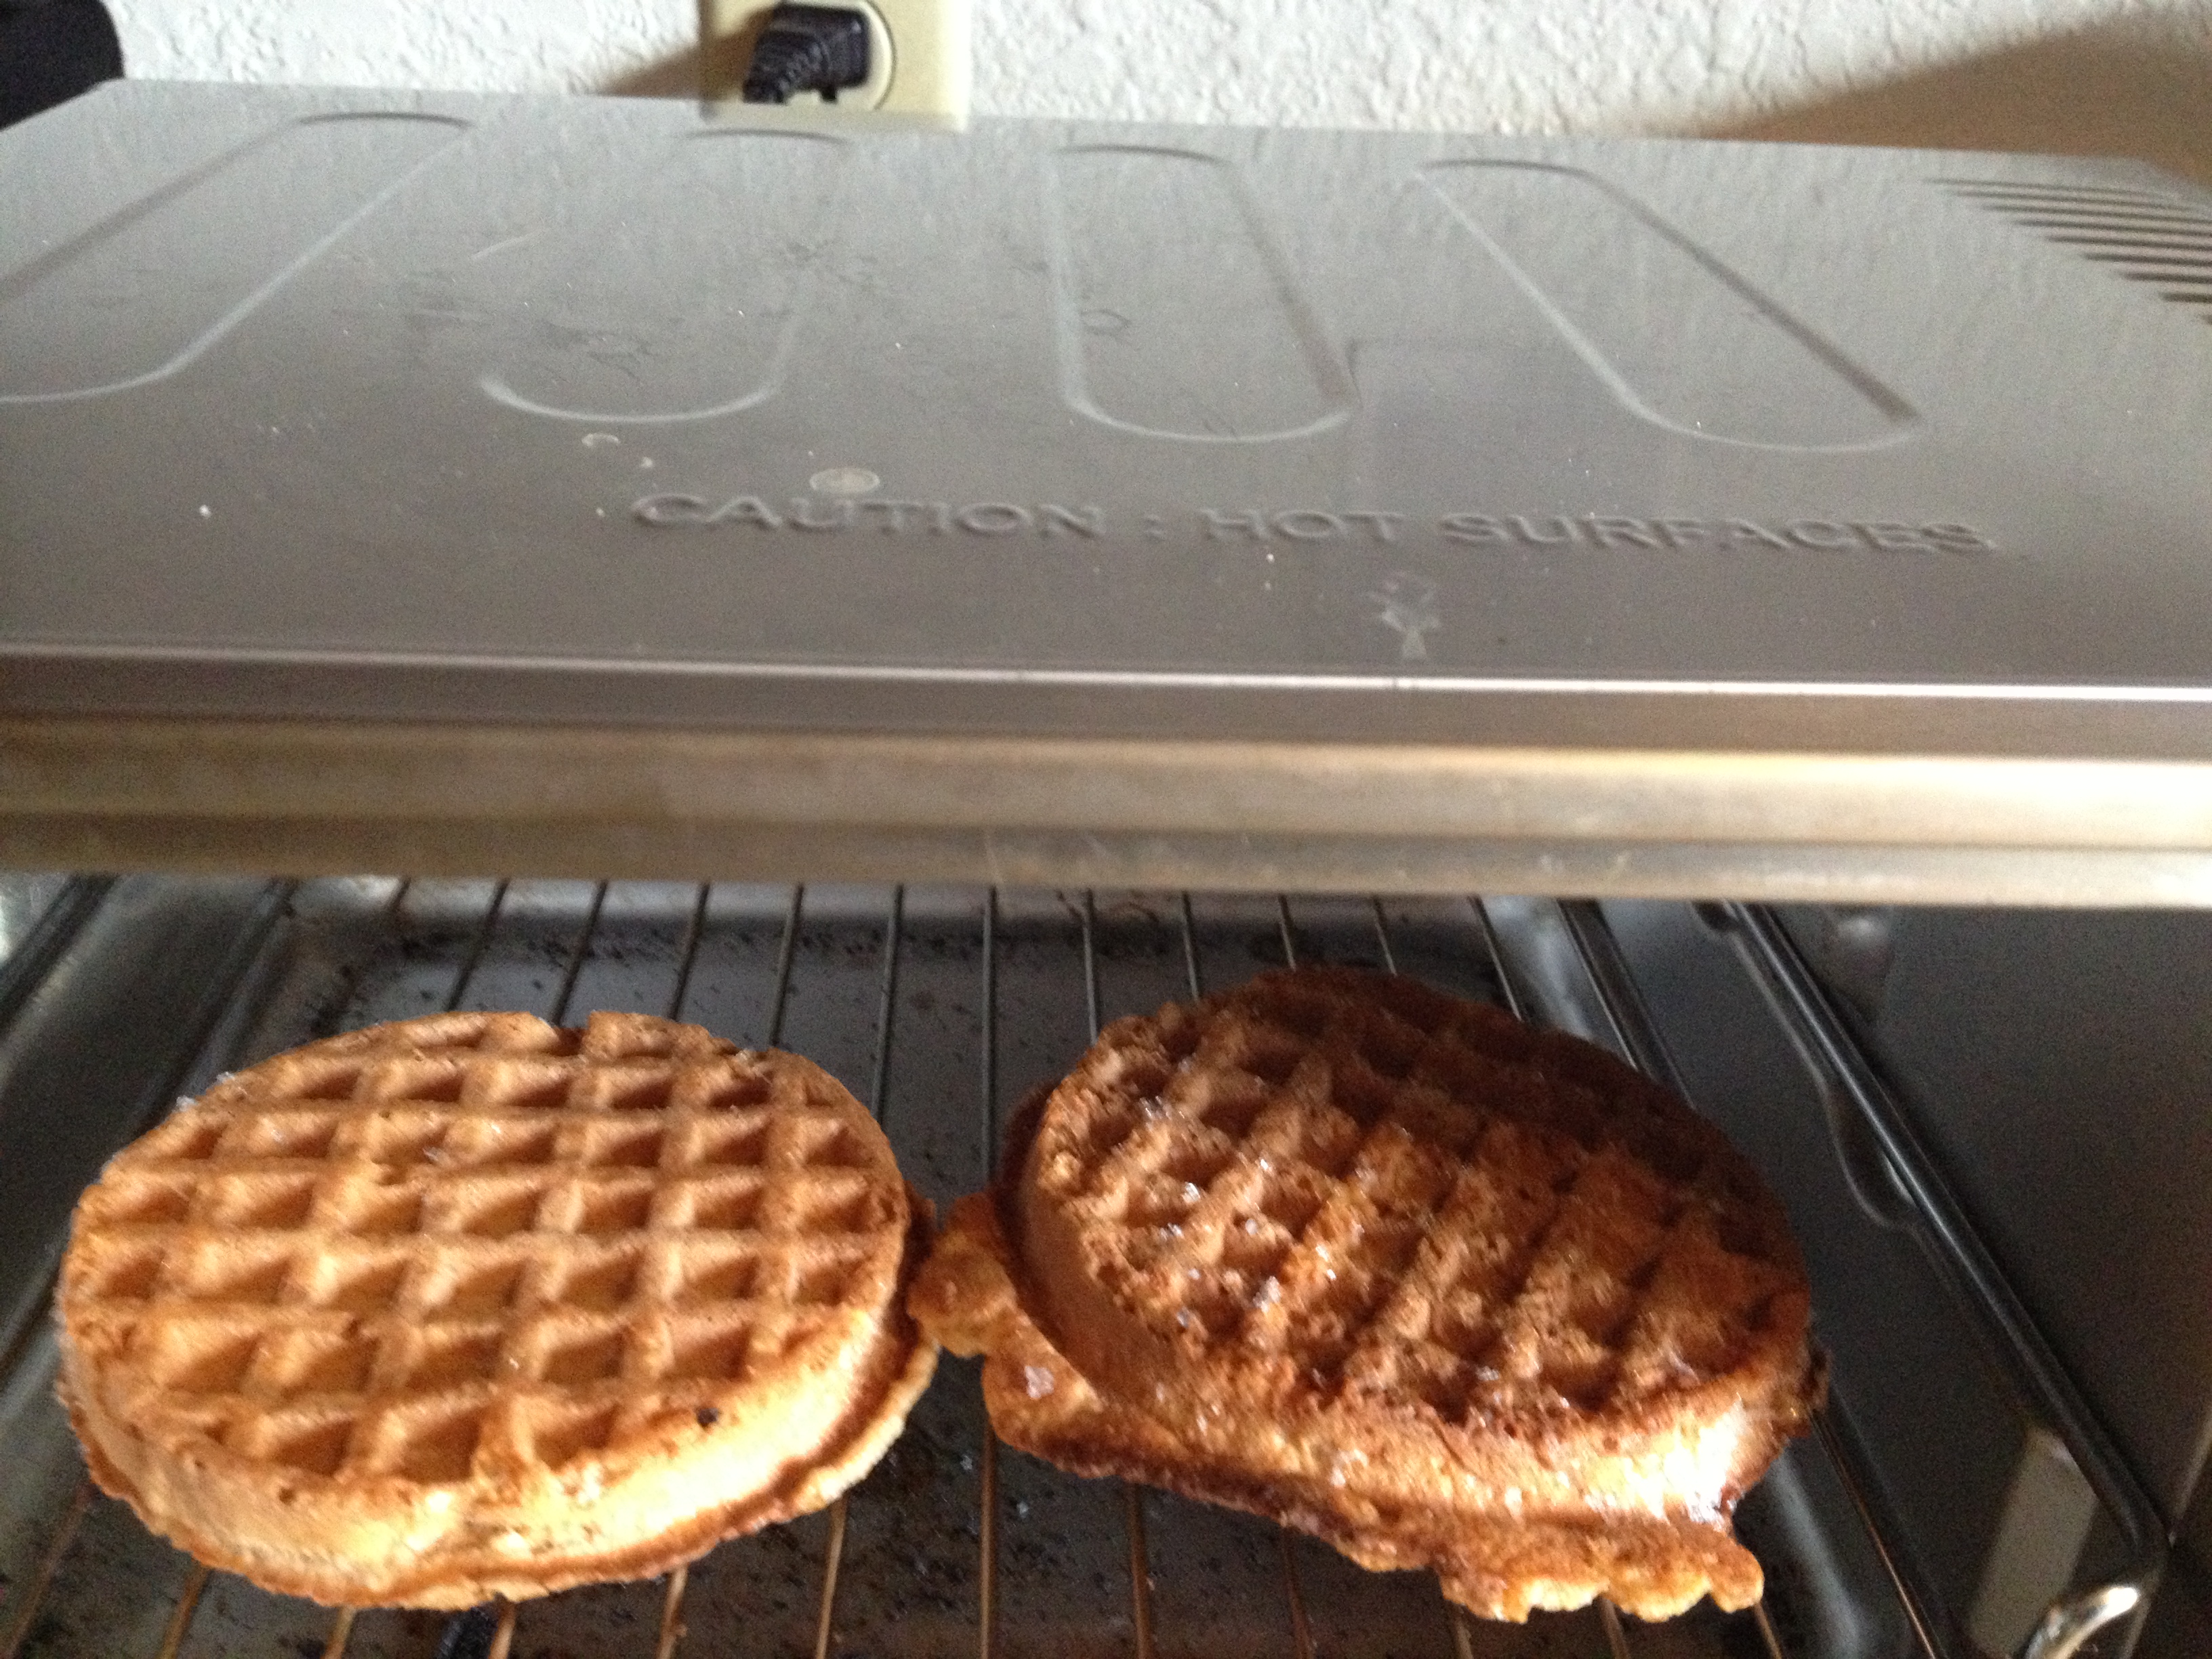
  • Put waffles into toaster/toaster oven for 5-10 minutes (or until golden brown on both sides)

photo 2

  • If you want to, spread a minuscule amount of butter atop the two waffles and plate them.
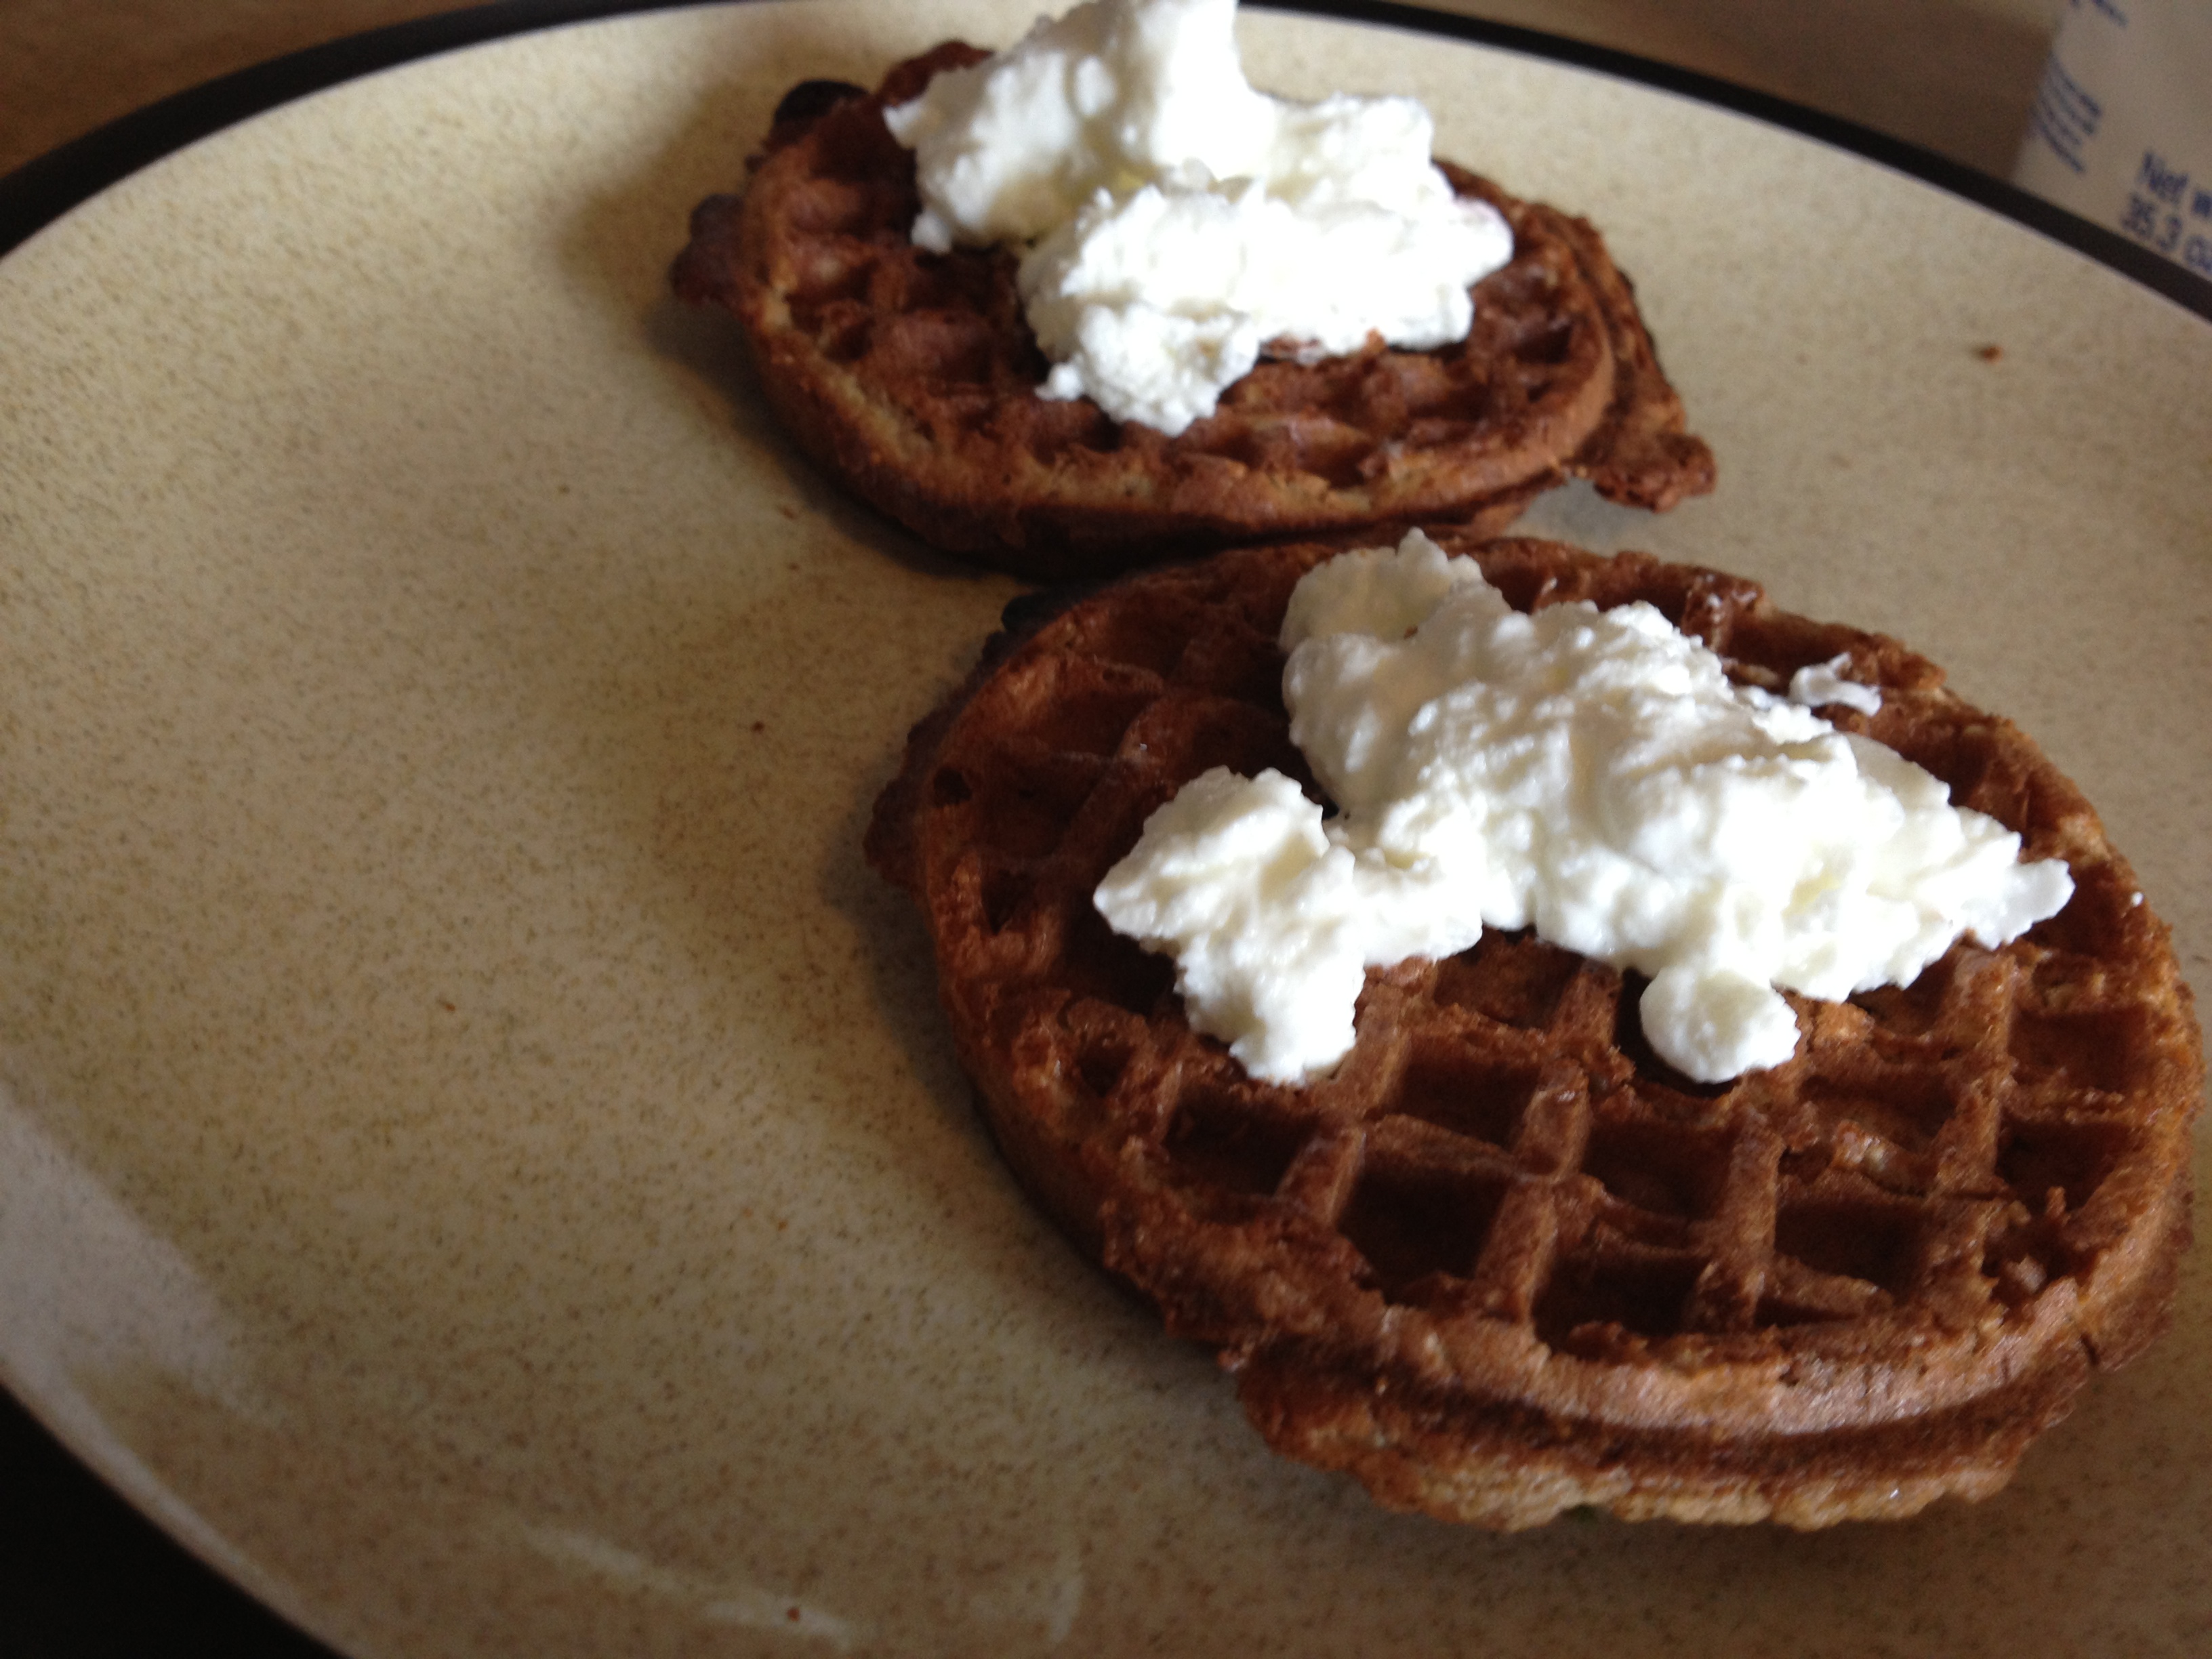
  • Put a spoonful of greek yogurt on each waffle

photo 3

  • Pour your syrup or agave on top (however much you’d like)
  • Cut up your fruit and put on top

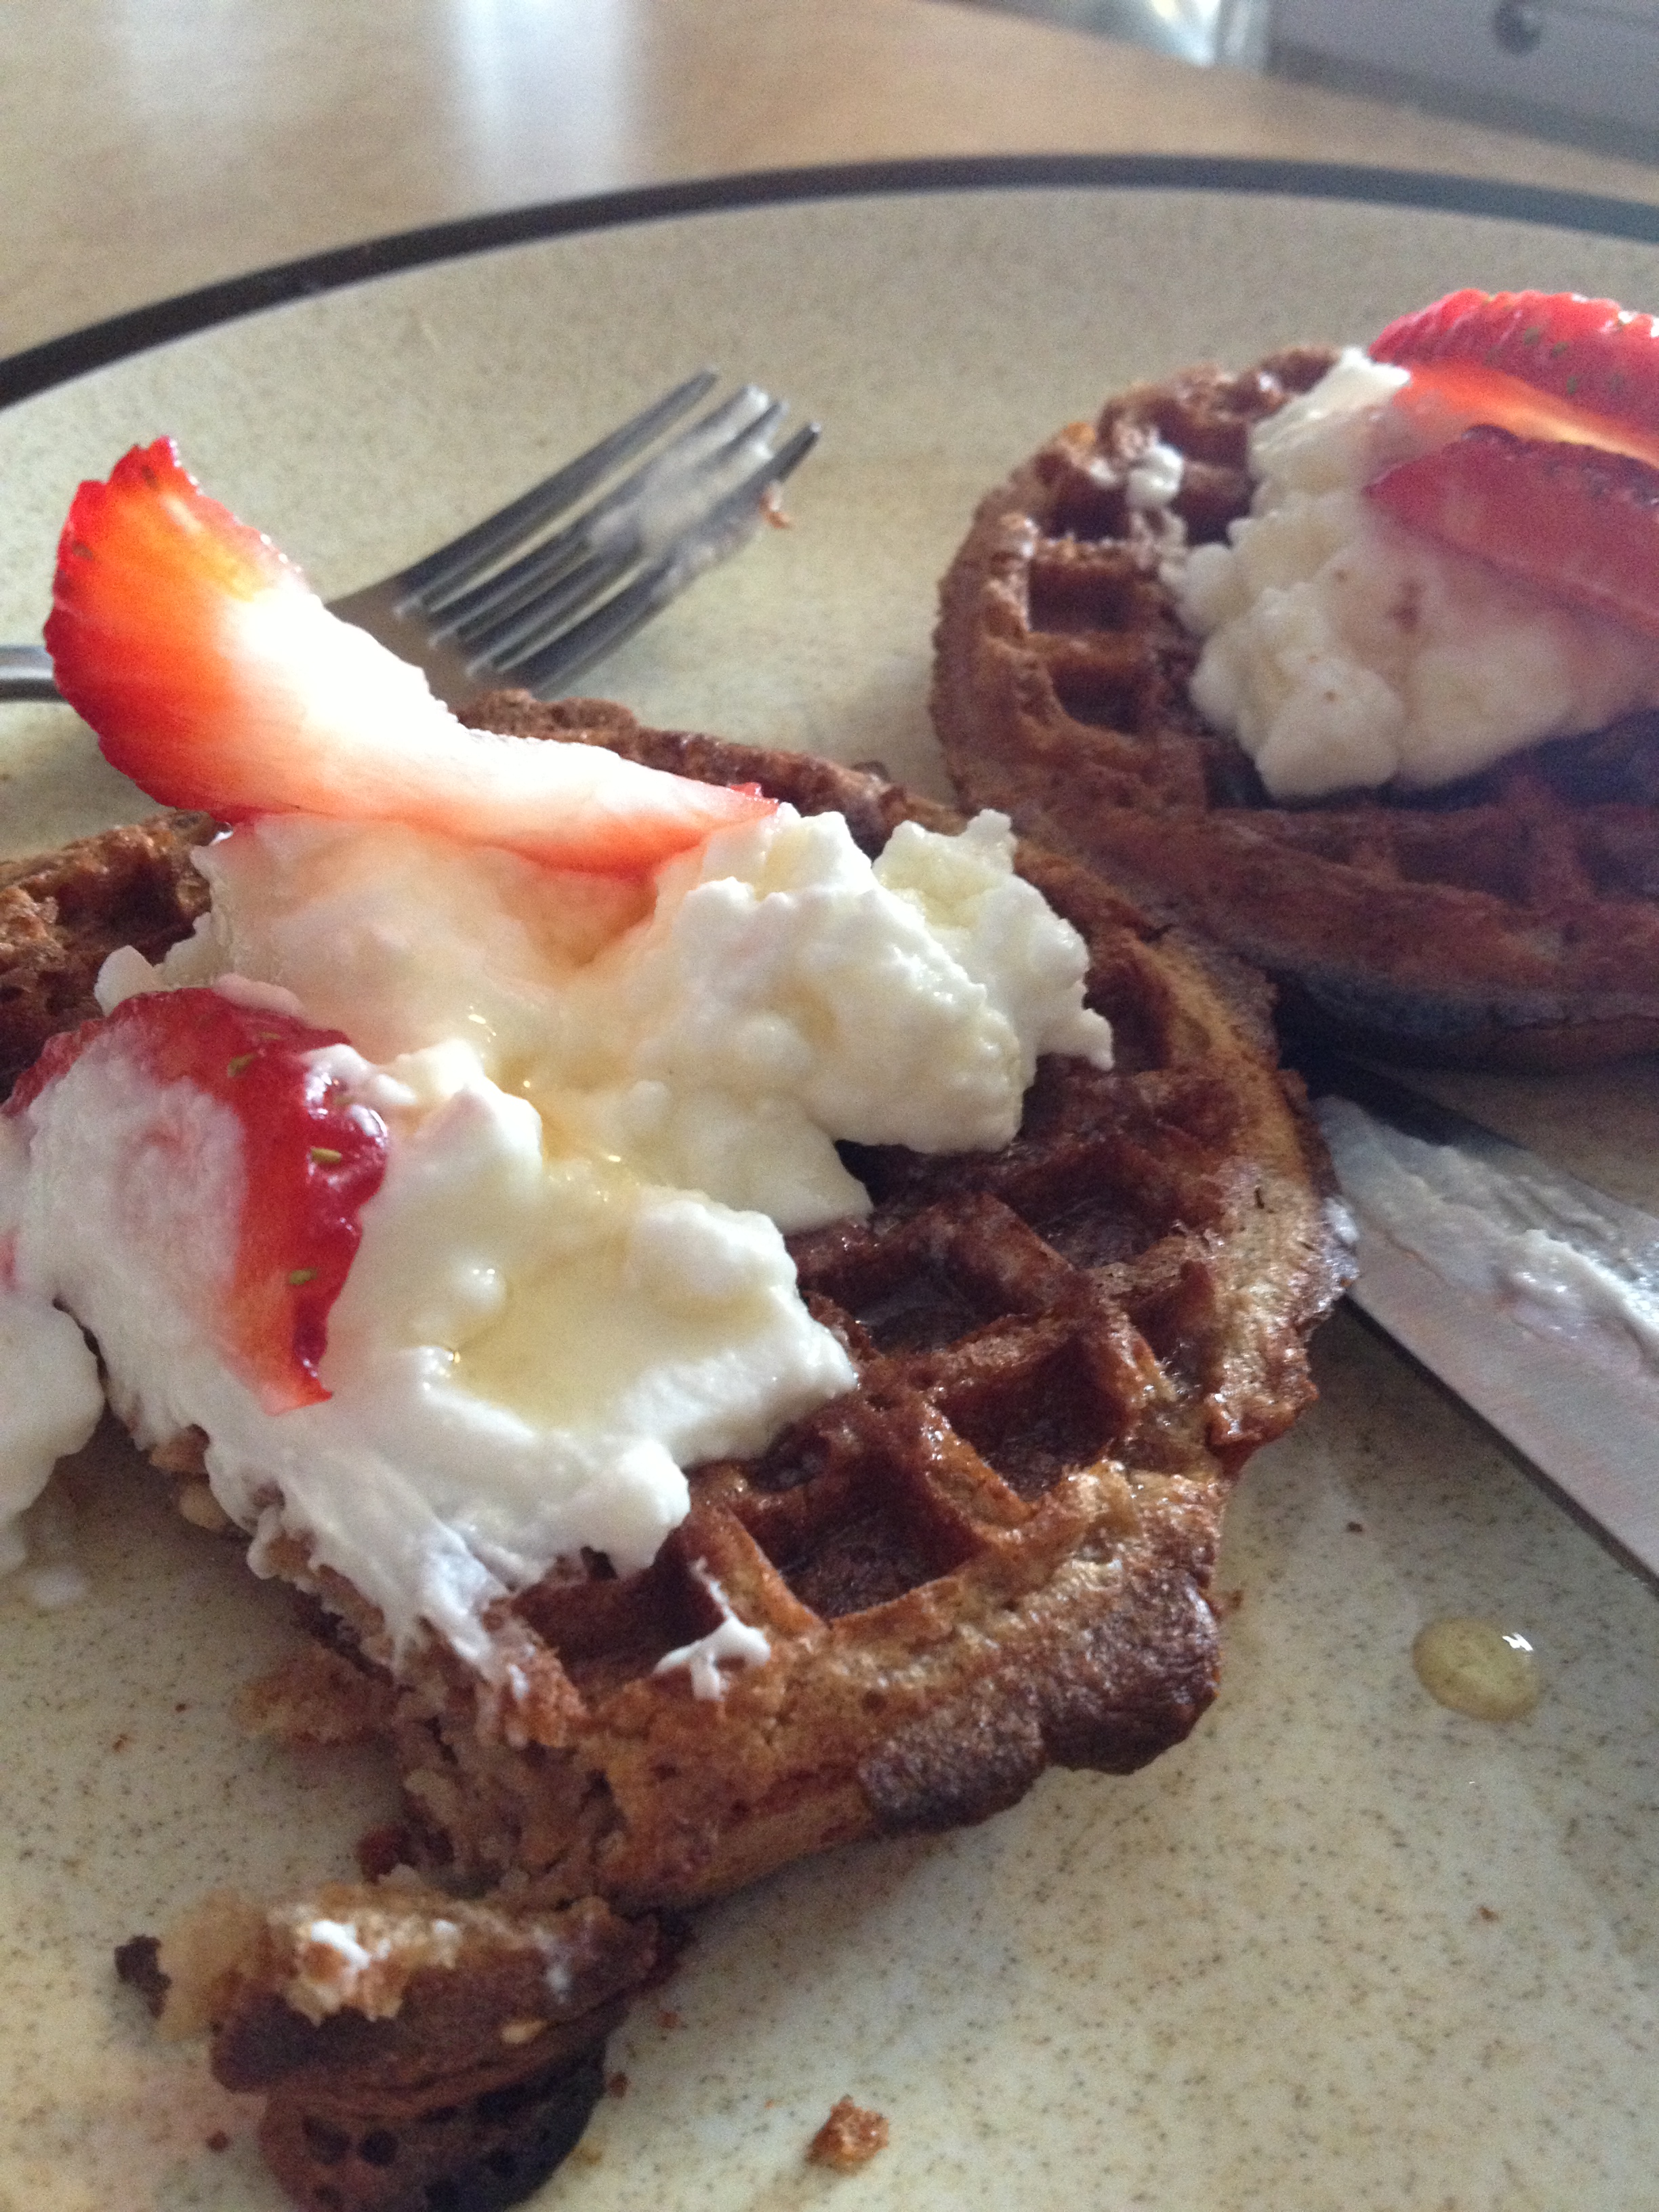
photo 4

And DIG IN. I literally look forward to this the night before I know I have time in the morning to make it. It’s a perfect-sized breakfast with enough protein to start the day off deliciously and will keep you satisfied more than that bowl of Raisin Bran. Next time you go waffle shopping, try Van’s. It is so worth it. This is a mouth-watering breakfast that doesn’t leave you feeling guilty or heavy afterwards. I have a very active job (I’m a personal trainer after all…) and this is the perfect thing to start the day right. This is a meal that will encourage you to be…hungry and fit! ENJOY! 

I mean, come on, LOOK AT THAT

I mean, come on, LOOK AT THAT

BONUS KITTY PIC

Nymeria being lazy and tired...and cute

Nymeria being lazy and tired…and cute

spacer

Healthier Fish and Chips

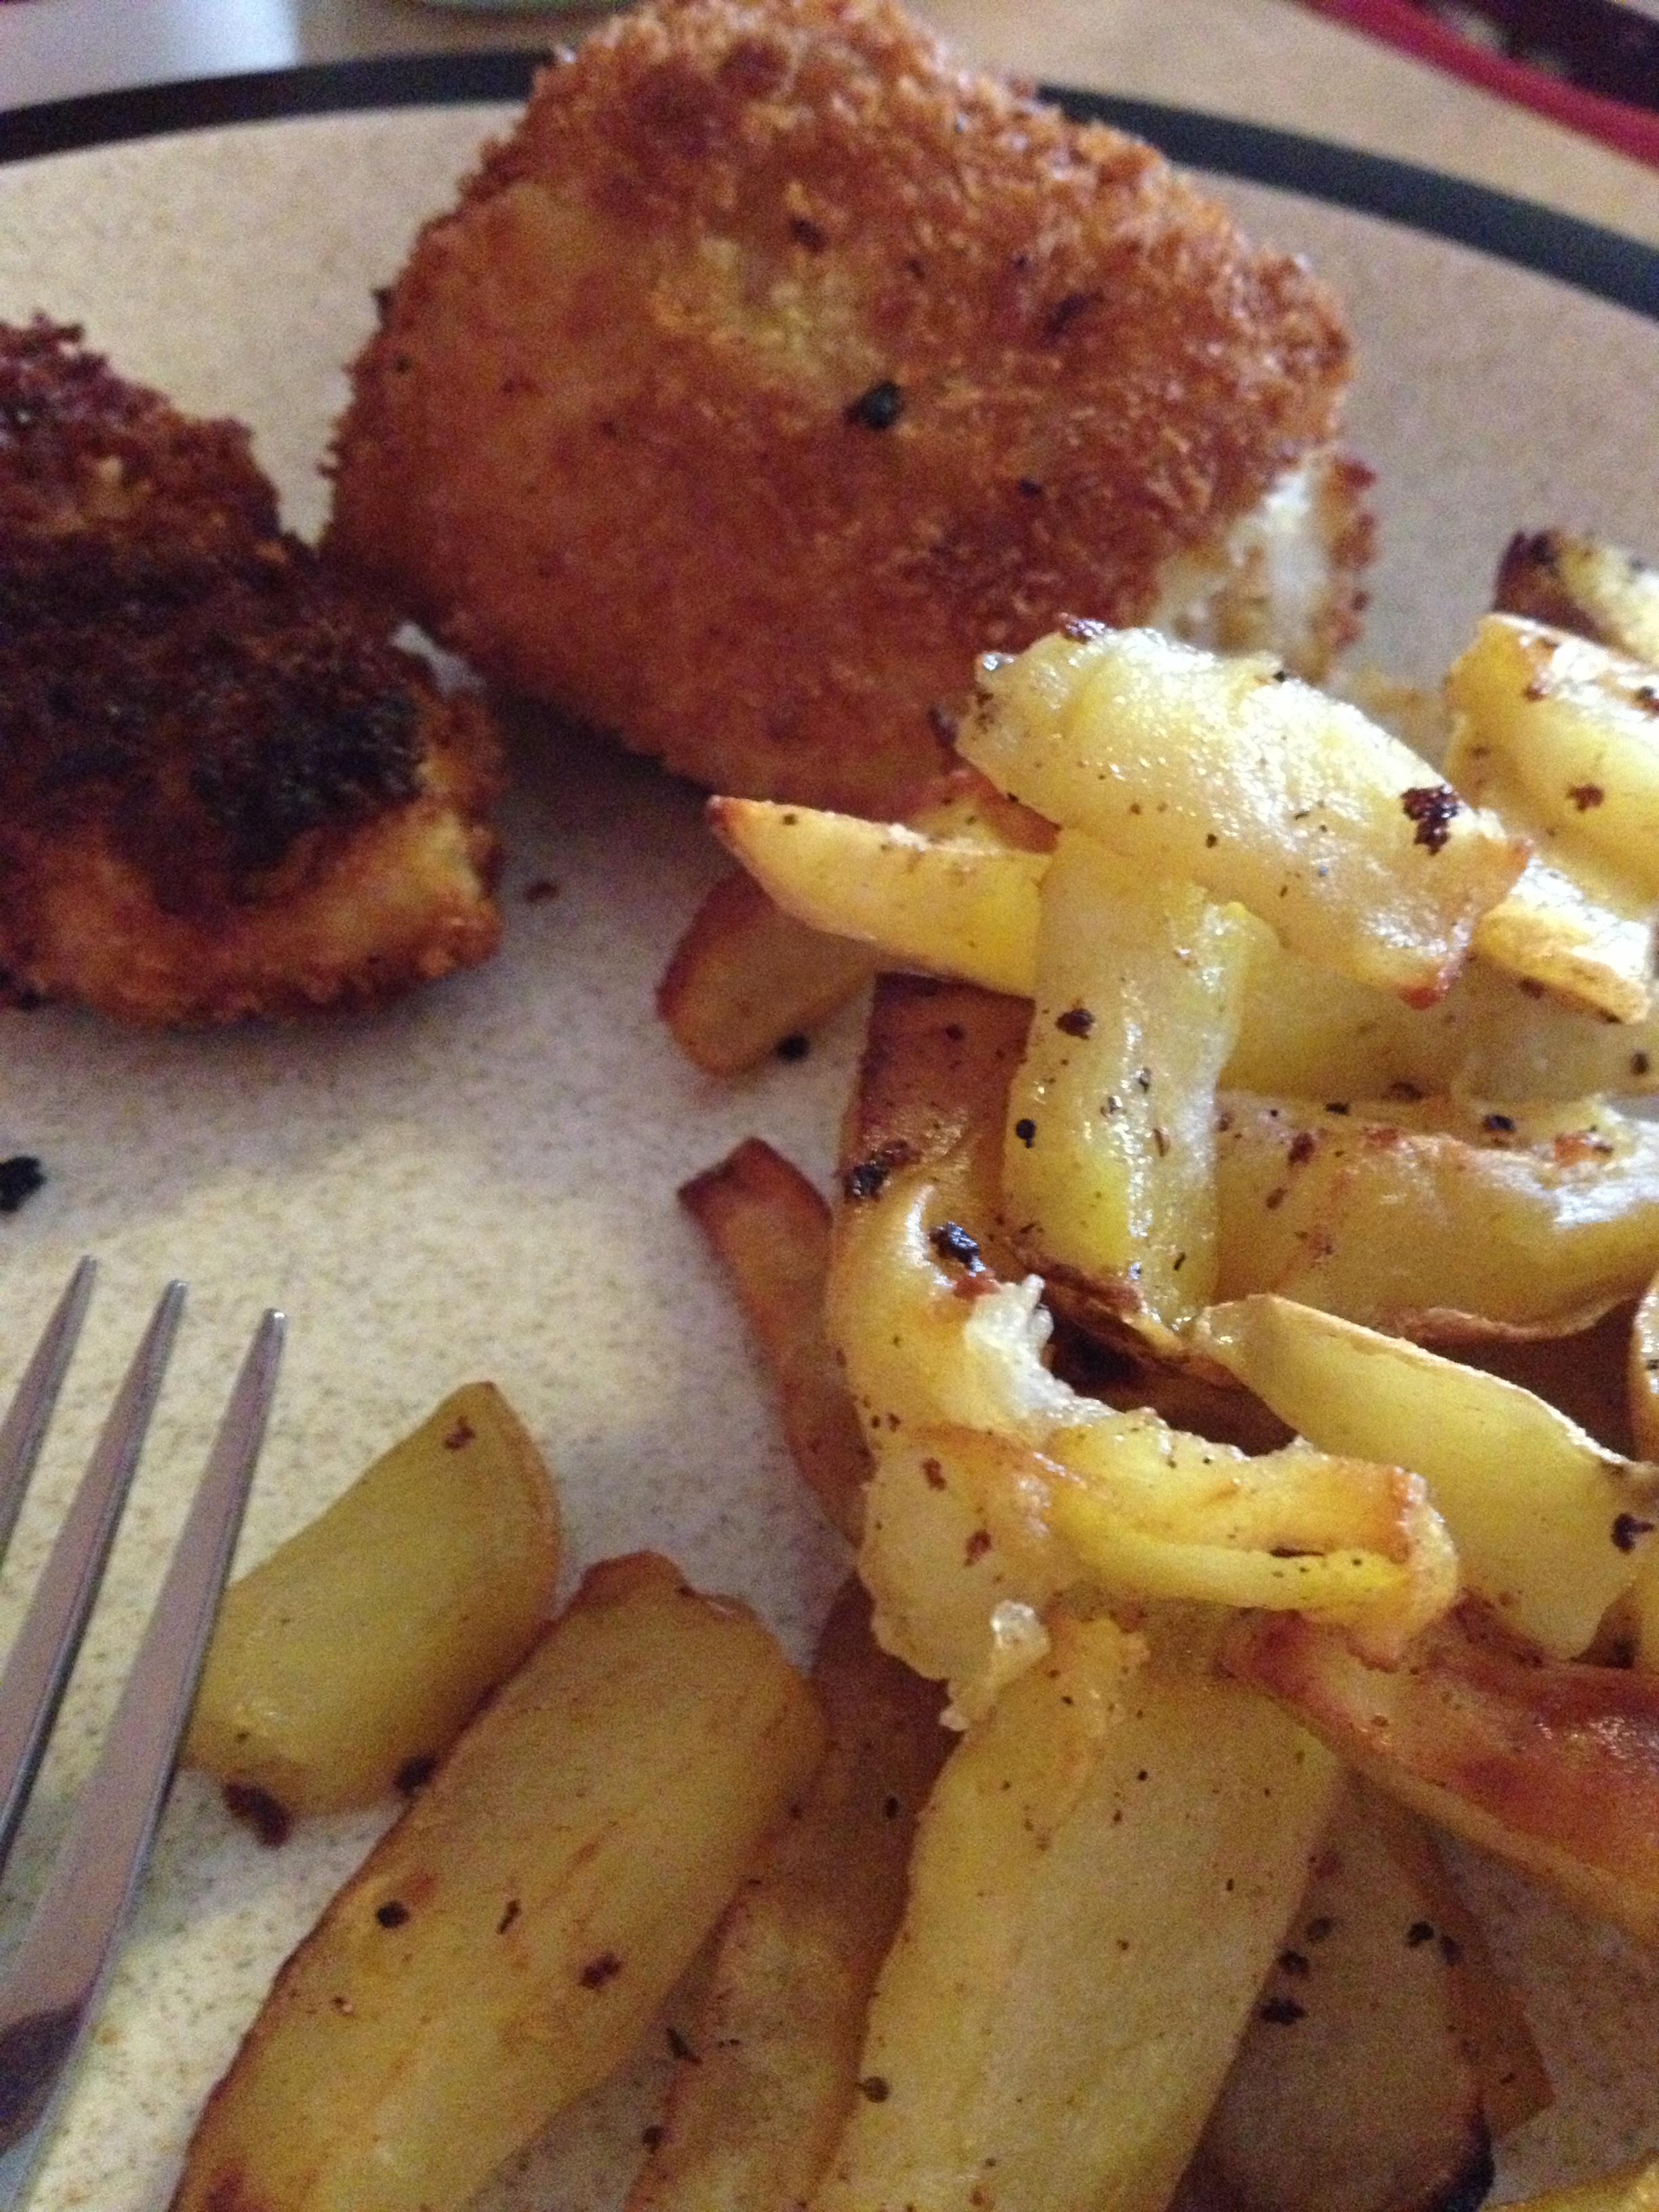
I say healthier because fried fish and chips are to some degree “unhealthy” due to the oil. However, I did not use as much oil as calls for in most recipes and I did not beer-batter the fish or the fries either. So you don’t have to feel too bad eating this, it’s good fresh fish, with a light crust, and sweet potato fries instead of regular potatoes.

DELICIOUS

DELICIOUS

You may be surprised to hear that growing up (in Southern California, no less), I didn’t like seafood. With the exception of fried calamari, but what kid doesn’t like that. The only real fish I would eat were fish & chips from Jack n the Box. It was mum and I’s go-to quick meal if it were just the two of us. And not only was that the only fish I would eat, but the only way I would eat them is literally to put them in a pool of malted vinegar. I am not exaggerating, my family can testify–a pool. Completely saturated. And I would eat it. Jeez, looking back, I wonder how much malted vinegar we went through because of me.

Anyways, now that I’m a weirdatarian (only eat hunted or wild caught meat/fish), I eat lots of fish now because it’s much  more common to get wild caught fish than hunted game in a restaurant or the grocery. So here I am, cooking up some wild cod and sweet potato fries for dinner. I got the recipe from this lovely blog and altered it to fit me. Instead of tartar sauce, we used ketchup and salsa (yes, we’re strange).

  • Prep Time: 15-25 minutes
  • Cook Time: 10 minutes
  • Serves: 2 people

Ingredients

  •  1/2 pound wild cod
  • 1 huge white sweet potato
  • 1 cup flour
  • 2 eggs
  • 1 cup panko bread crumbs
  • 1 tsp old bay
  • salt & pepper 
  • olive oil

Directions

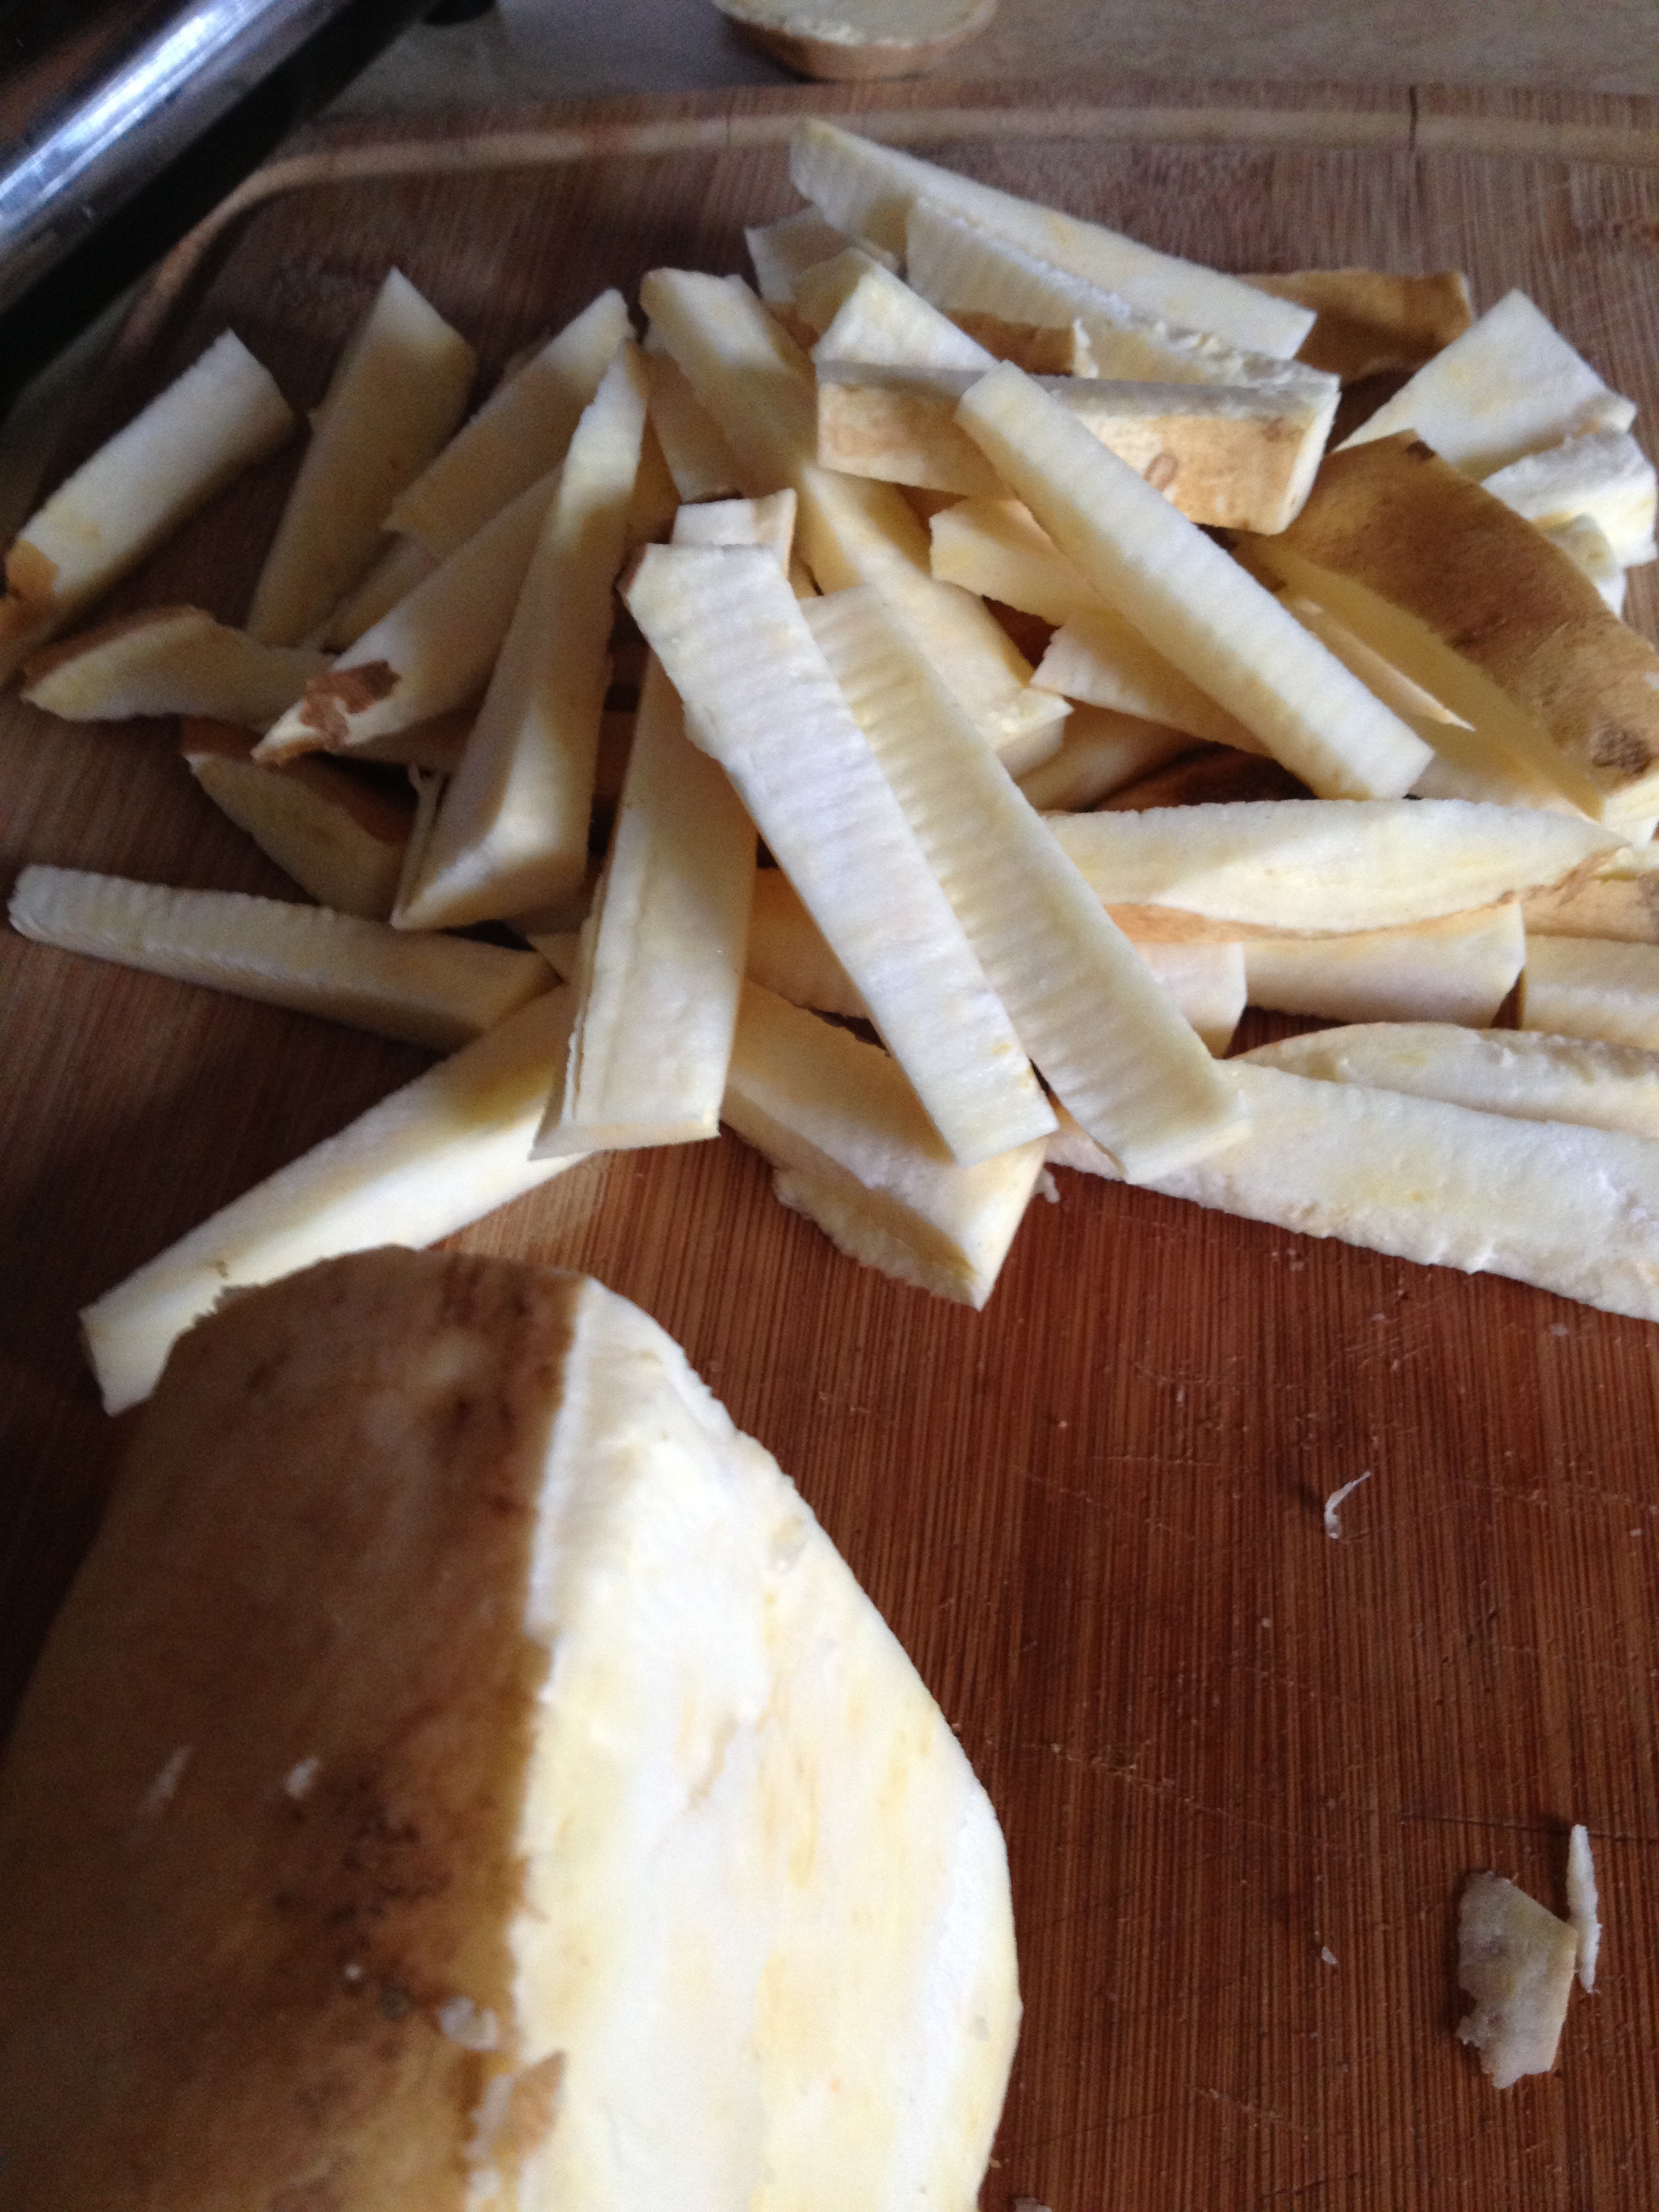
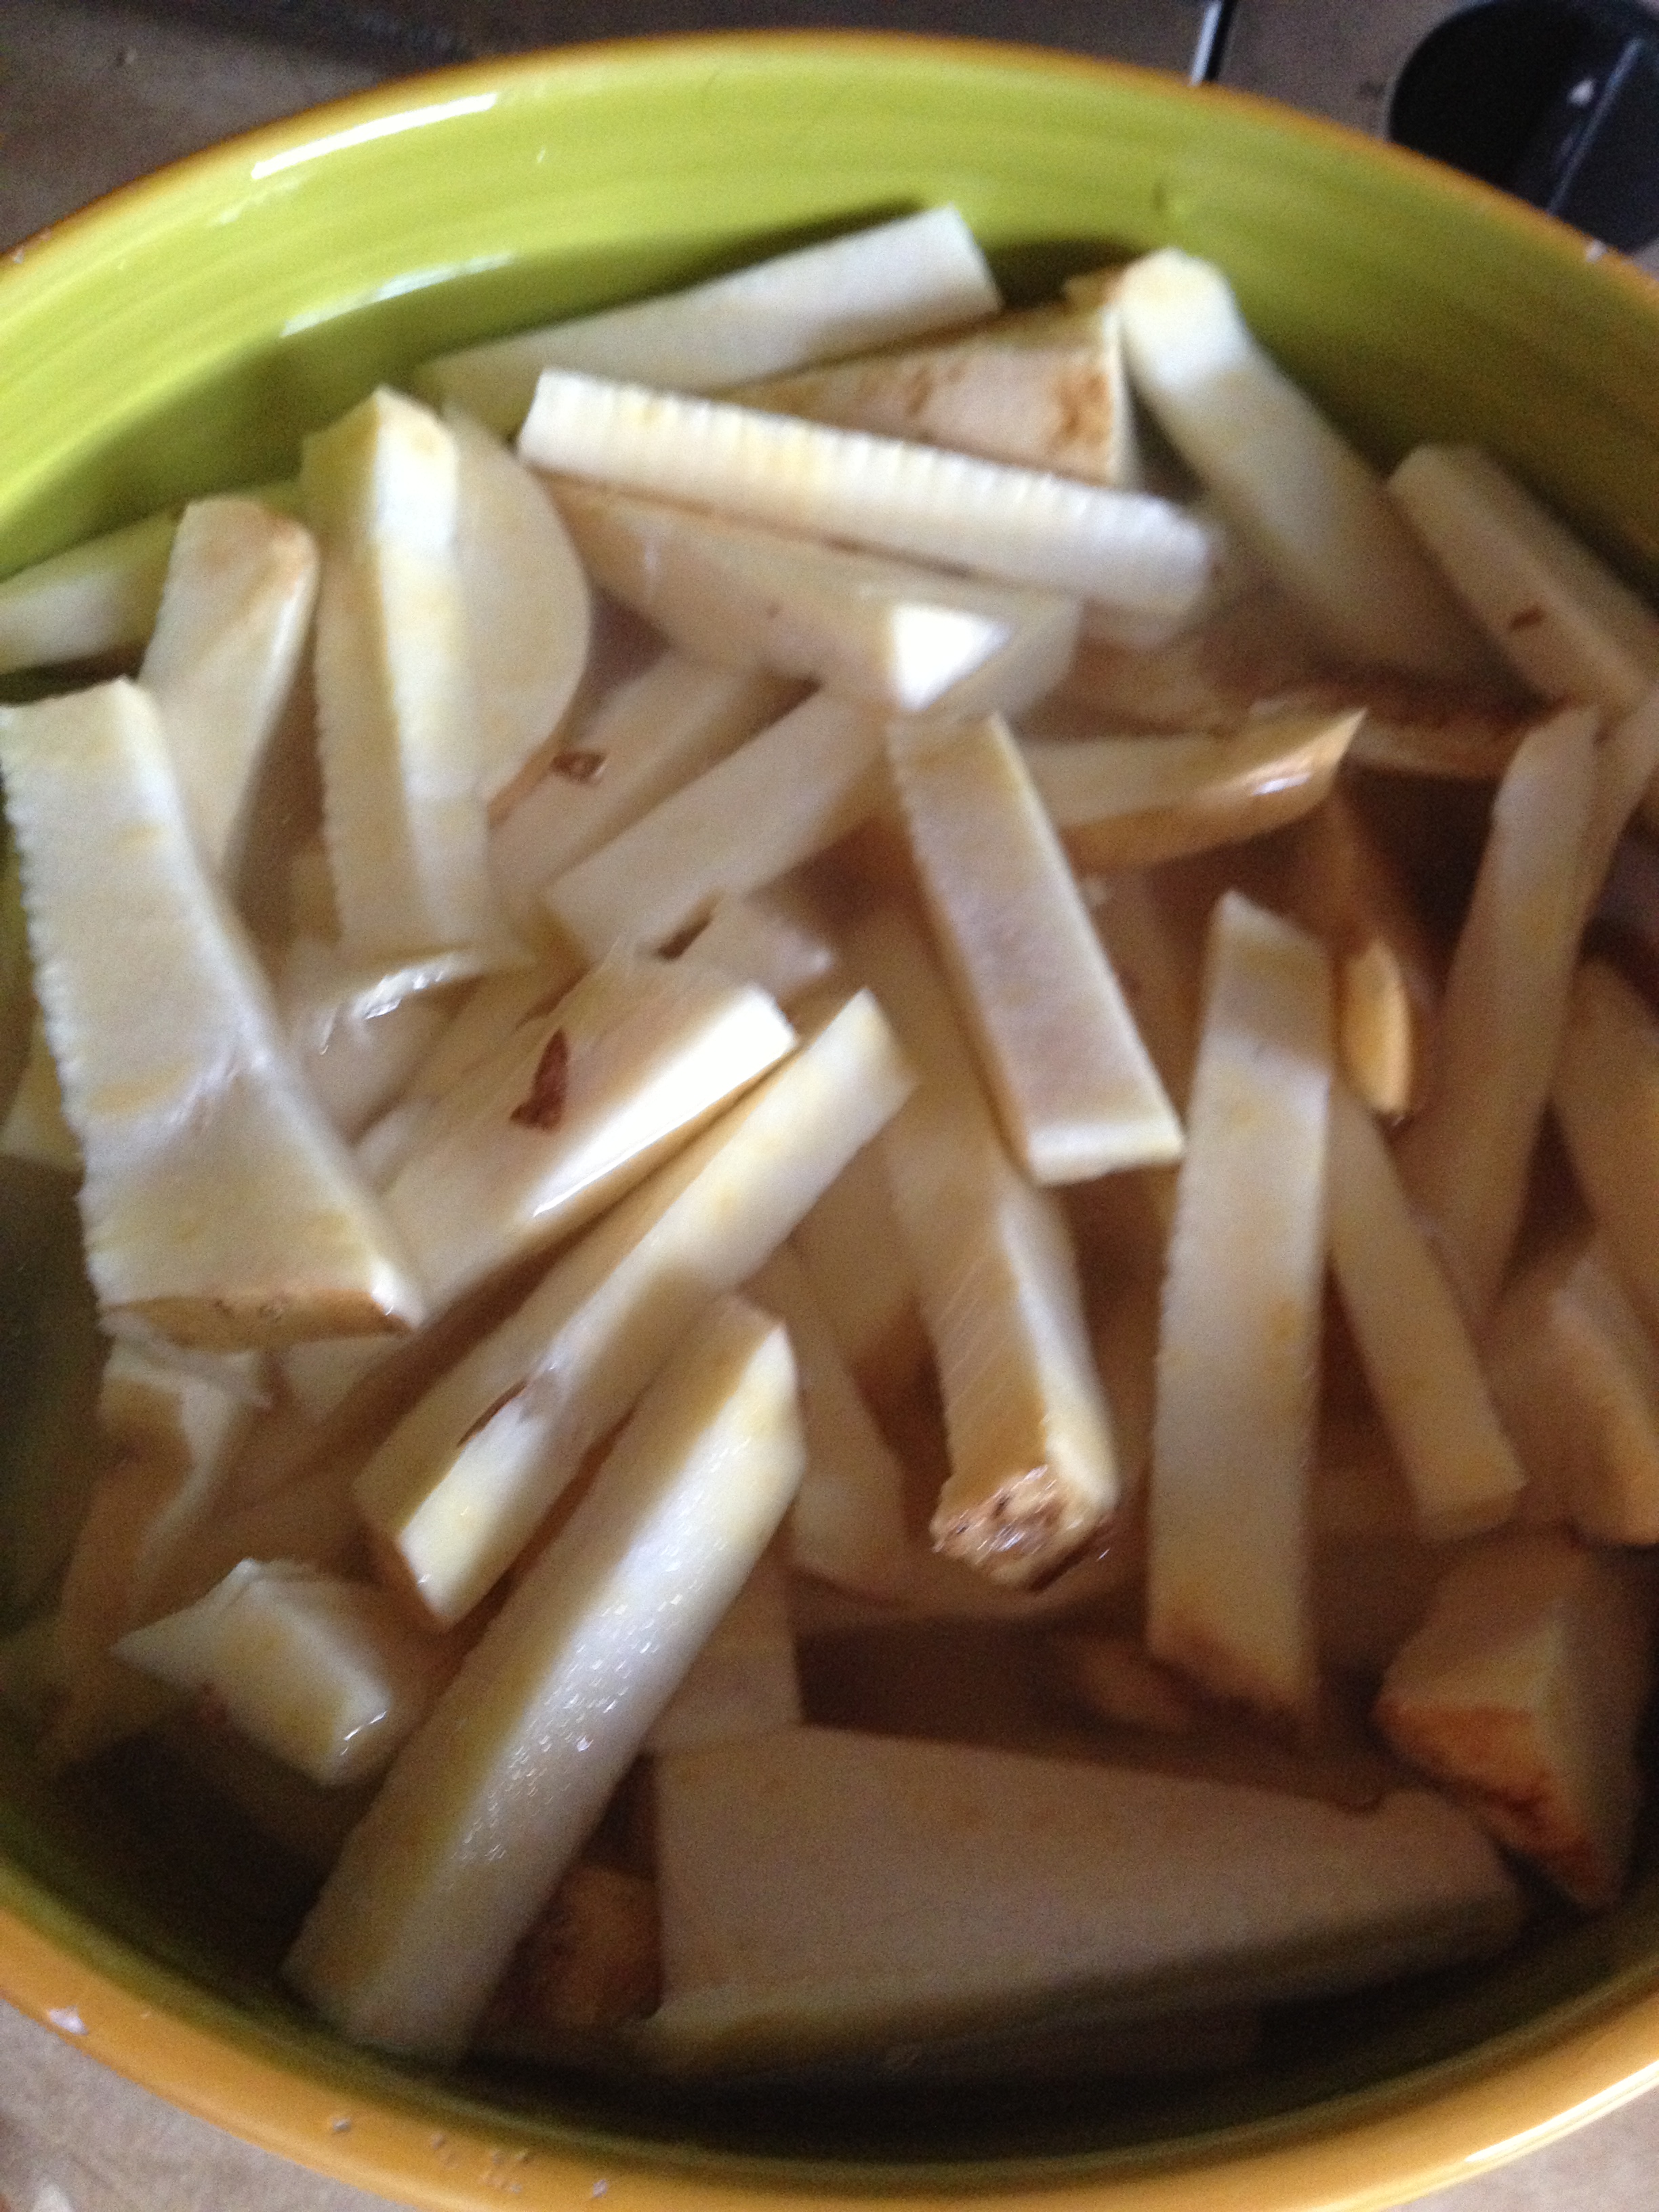
  • Cut sweet potato into 1/4 inch thick long pieces

photo 2 (6)

  • Put sweet potato slices into a bowl of cold water and leave them there while you work on the fish

photo 3 (5)

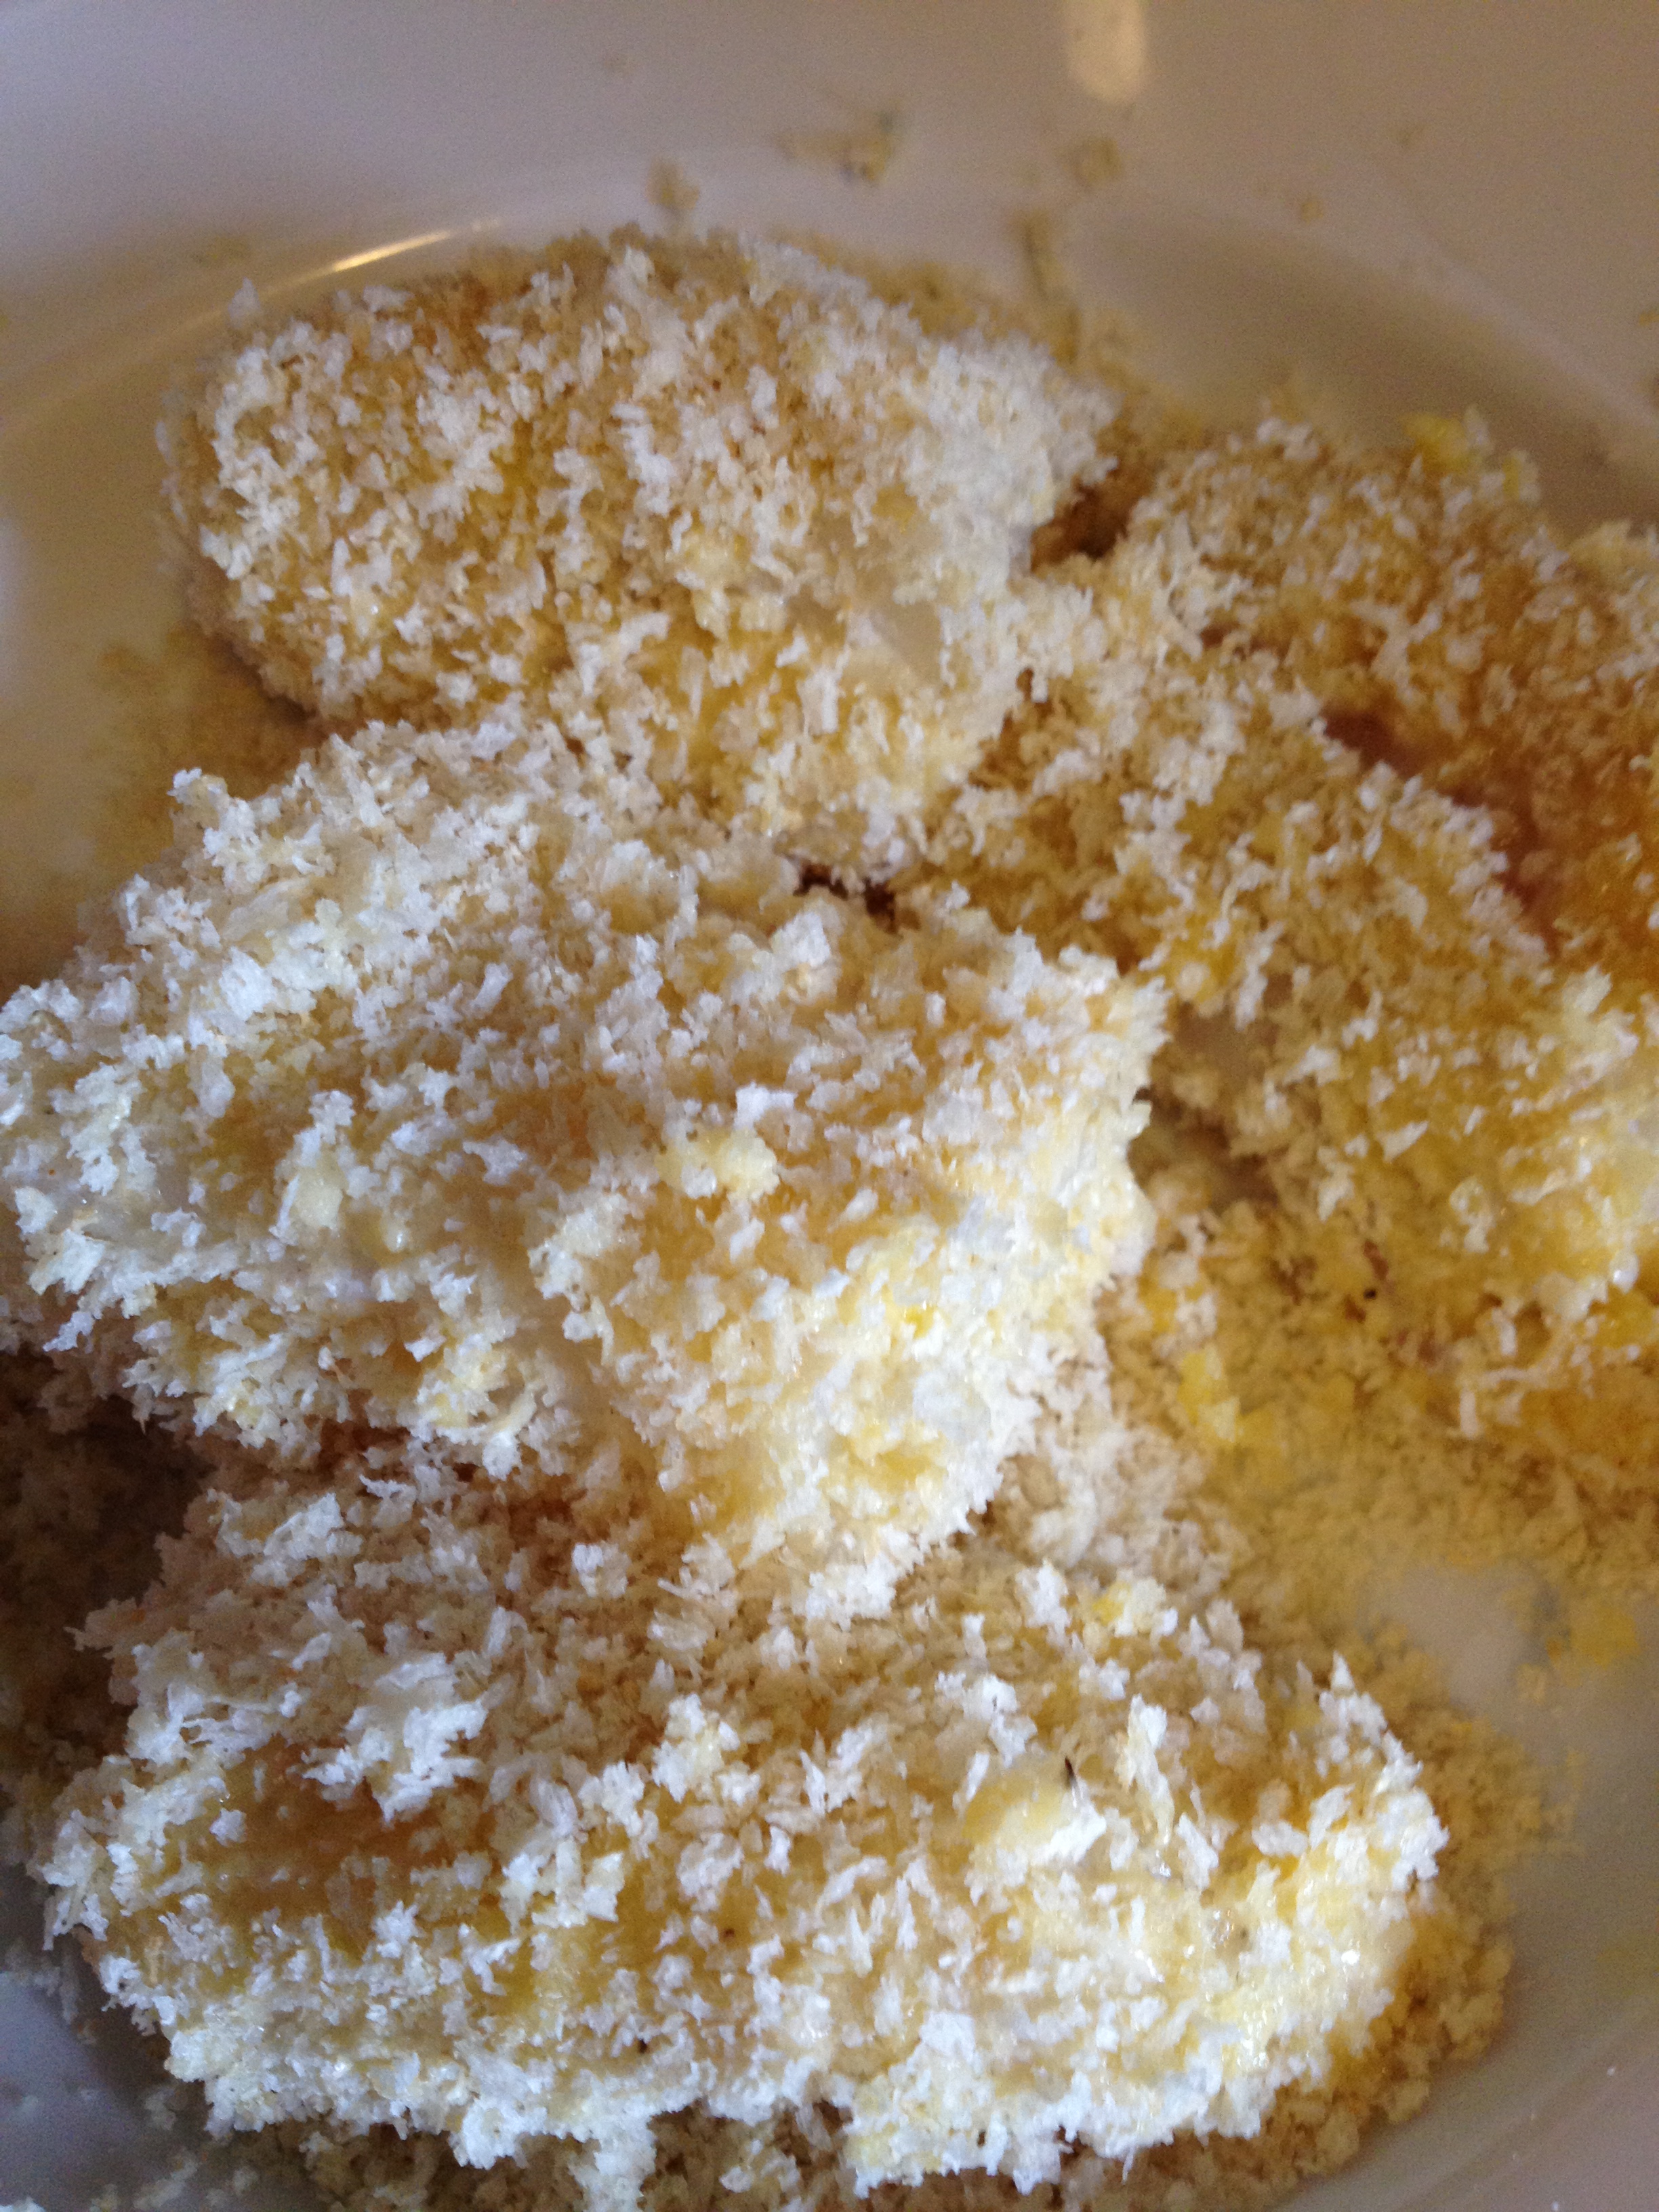
  • Get three plate-bowls (or pie dishes) ready. Put the flour in one, the eggs in one, and the panko in the last. Beat the eggs with a fork.

photo 4 (4)

  • Slice your fish into a few inch cuts
  • Cover all sides of fish with flour. Shake any excess flour off and move to the egg. Make sure you get it soaked on each side. Finally, completely cover and bread the fish with the panko
Ready to be cooked

Ready to be cooked

  • Lay out the fries and dry them from the water. Season with salt, pepper, and old bay.
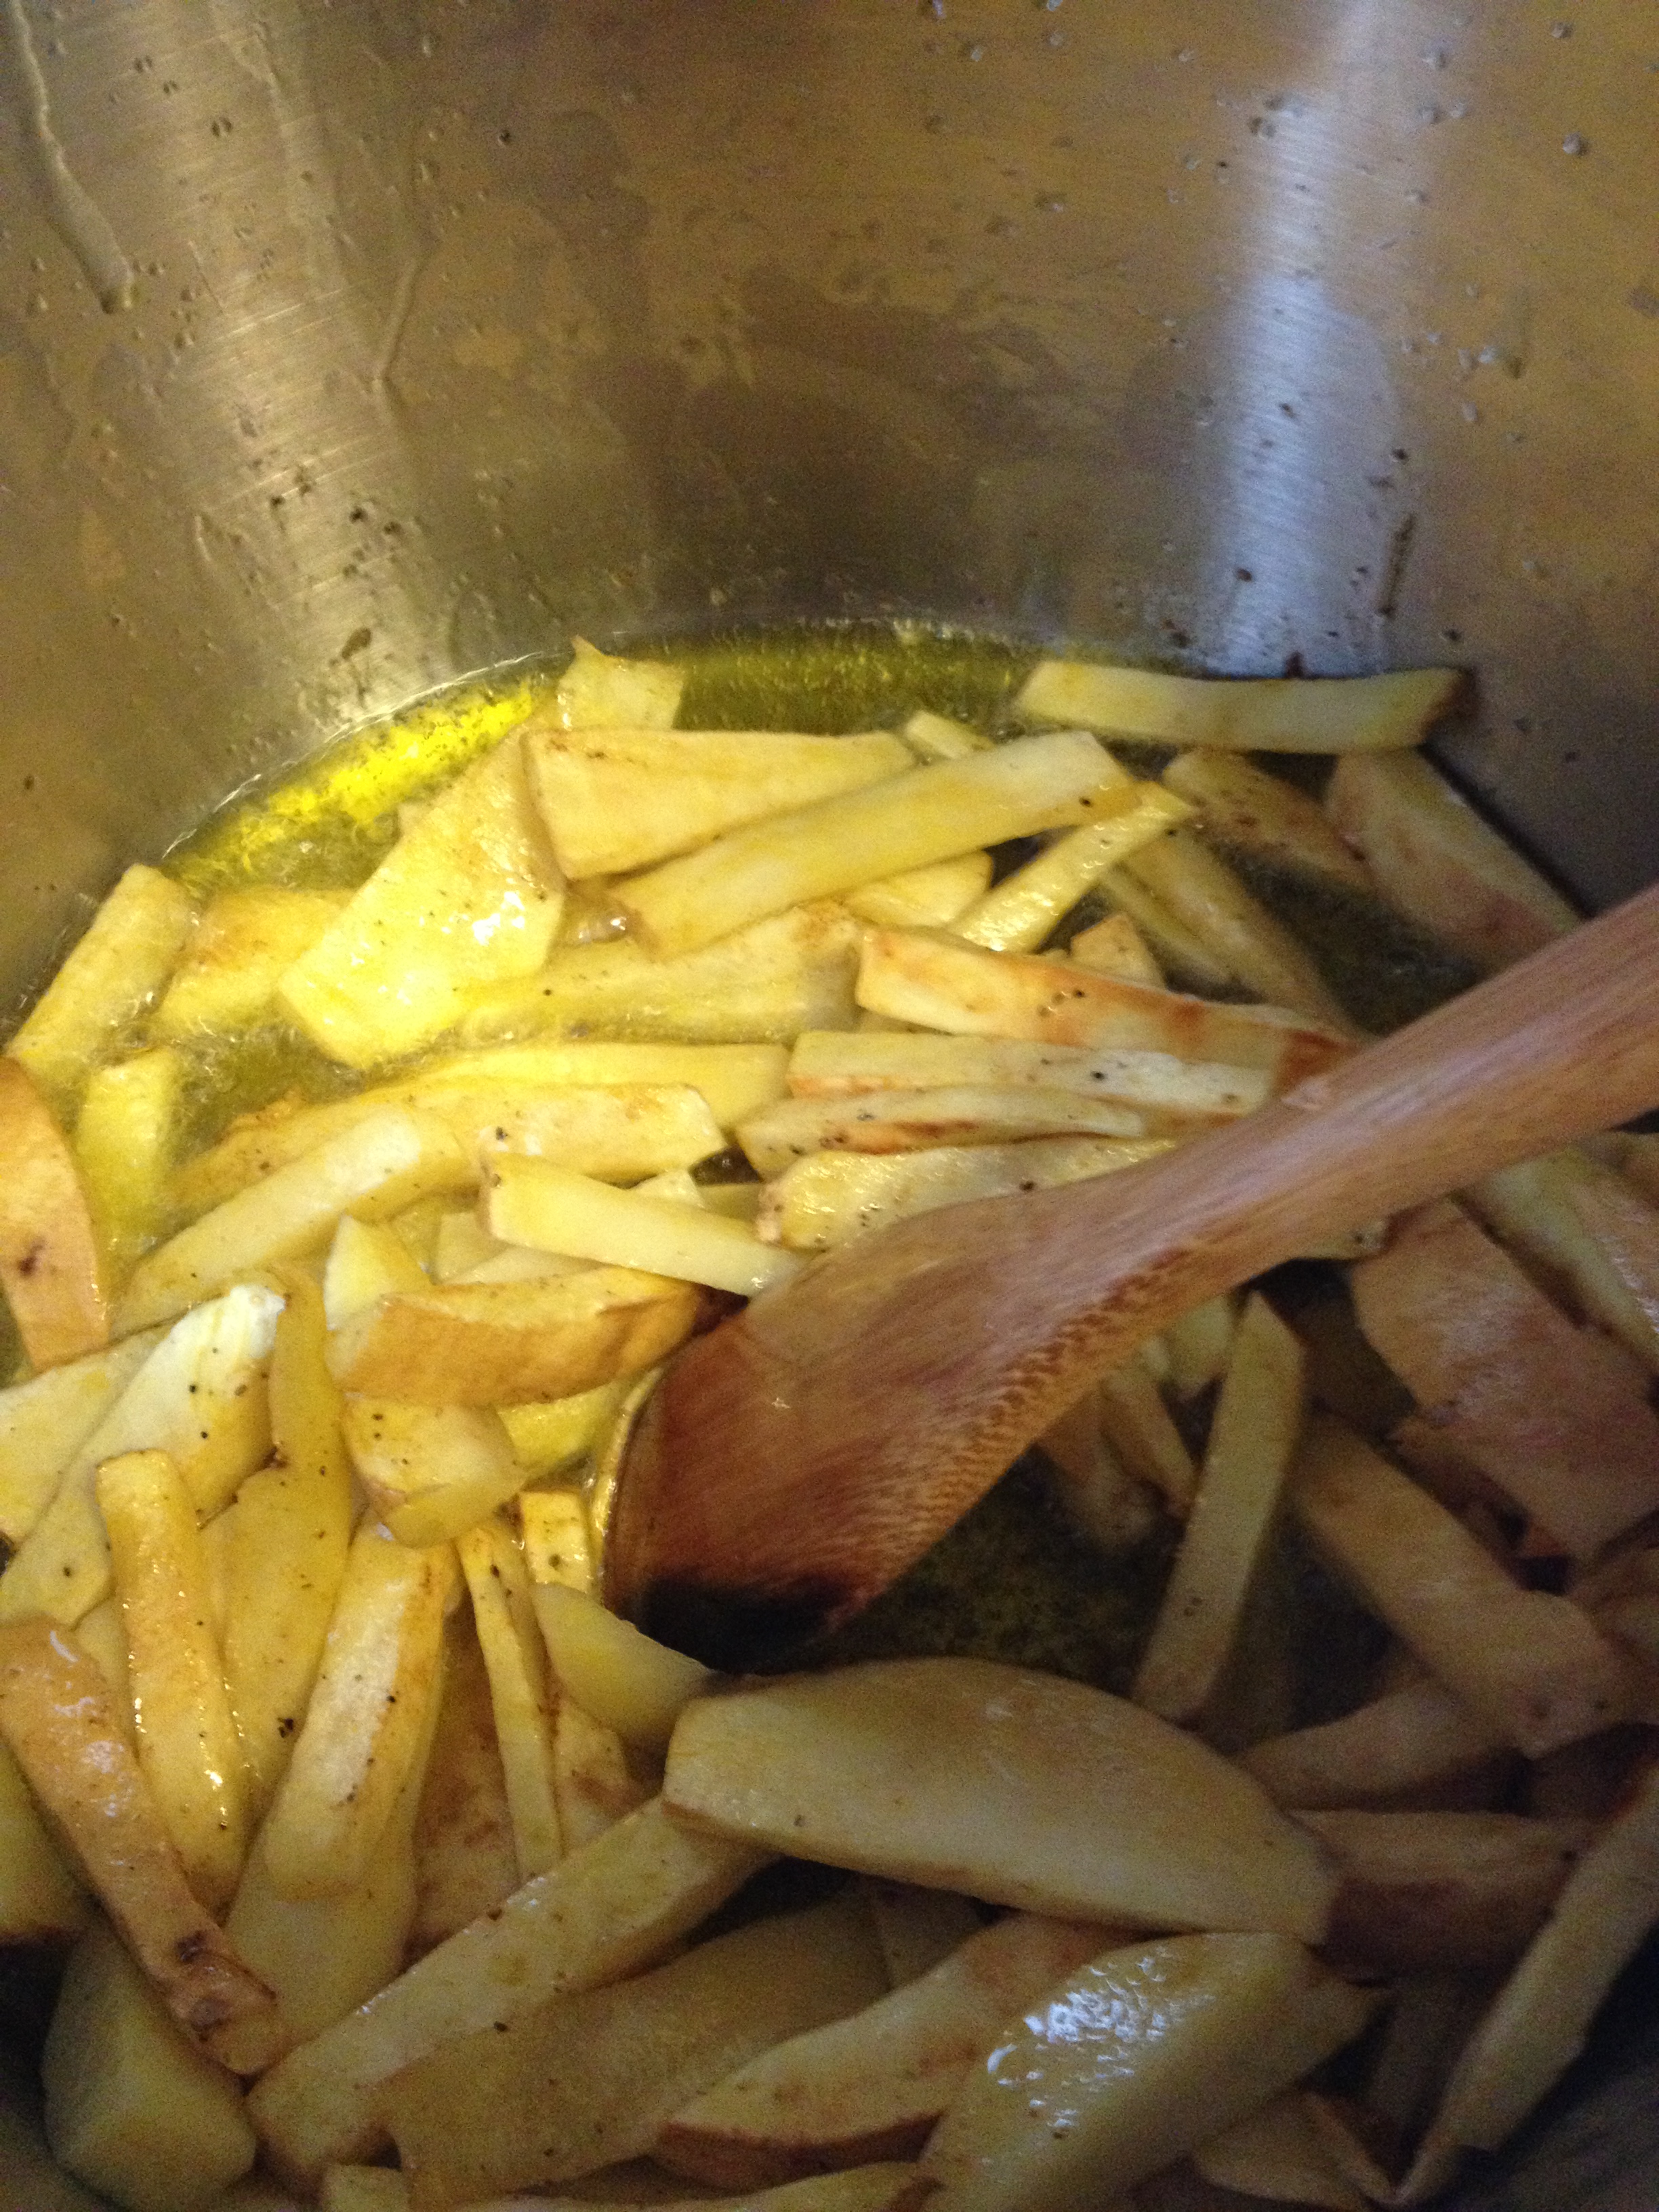
  • Heat up oil in a deep straight-edged pot. Make sure there is 1-2 inches of oil in the pot.
  • Get the oil so it’s hot and sizzling. Drop the fries in the oil and let it fry. Cook for about 4-8 minutes, until golden brown.
  • photo 1 (9)Lay out the fries. Pick up your fish and place it in the hot oil. This only takes 4 minutes. You want to turn the fish as each side gets browned.

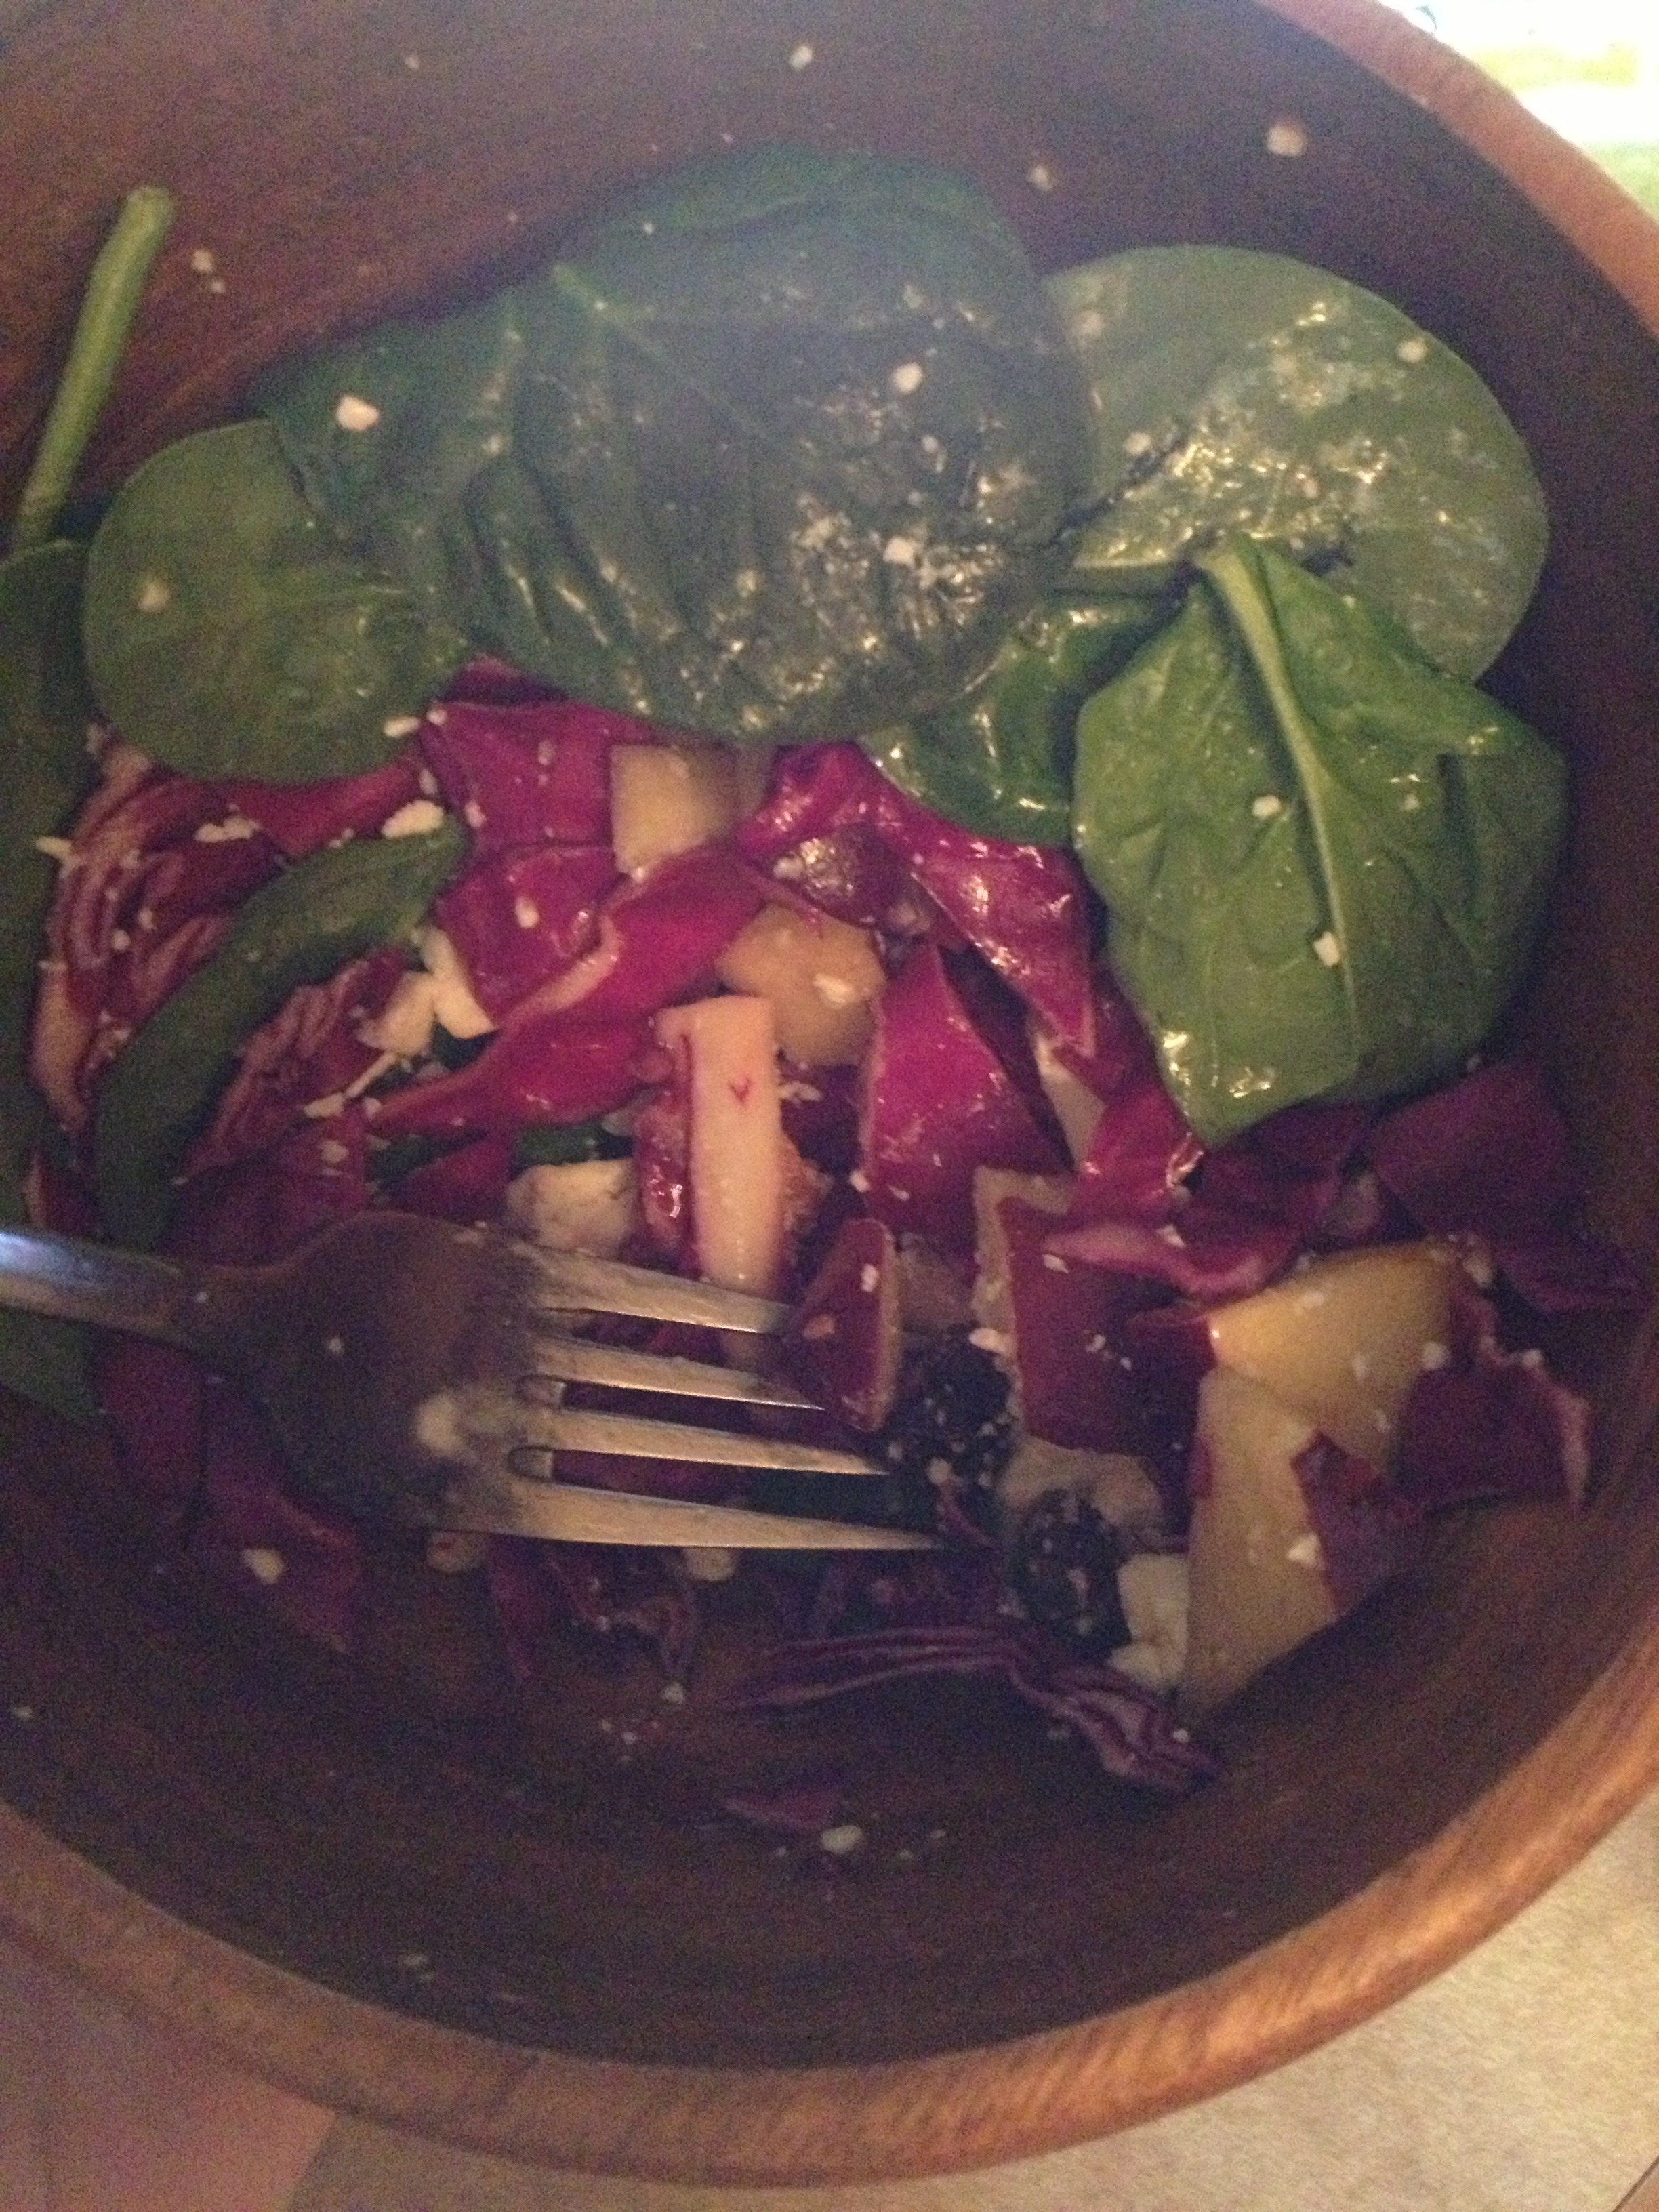
And that’s it! We had a beautiful salad (that Chris made) with spinach, red cabbage, carrots, feta, and more to go with the fish and chips. The longest part about this process is cutting the sweet potato and even that doesn’t take long. So grab some fresh-caught fish and fry it up! Enjoy!

DELICIOUS

DELICIOUS

Salad

Salad


BONUS KITTY PIC

Sajah ninja-attack

Sajah ninja-attack

spacer

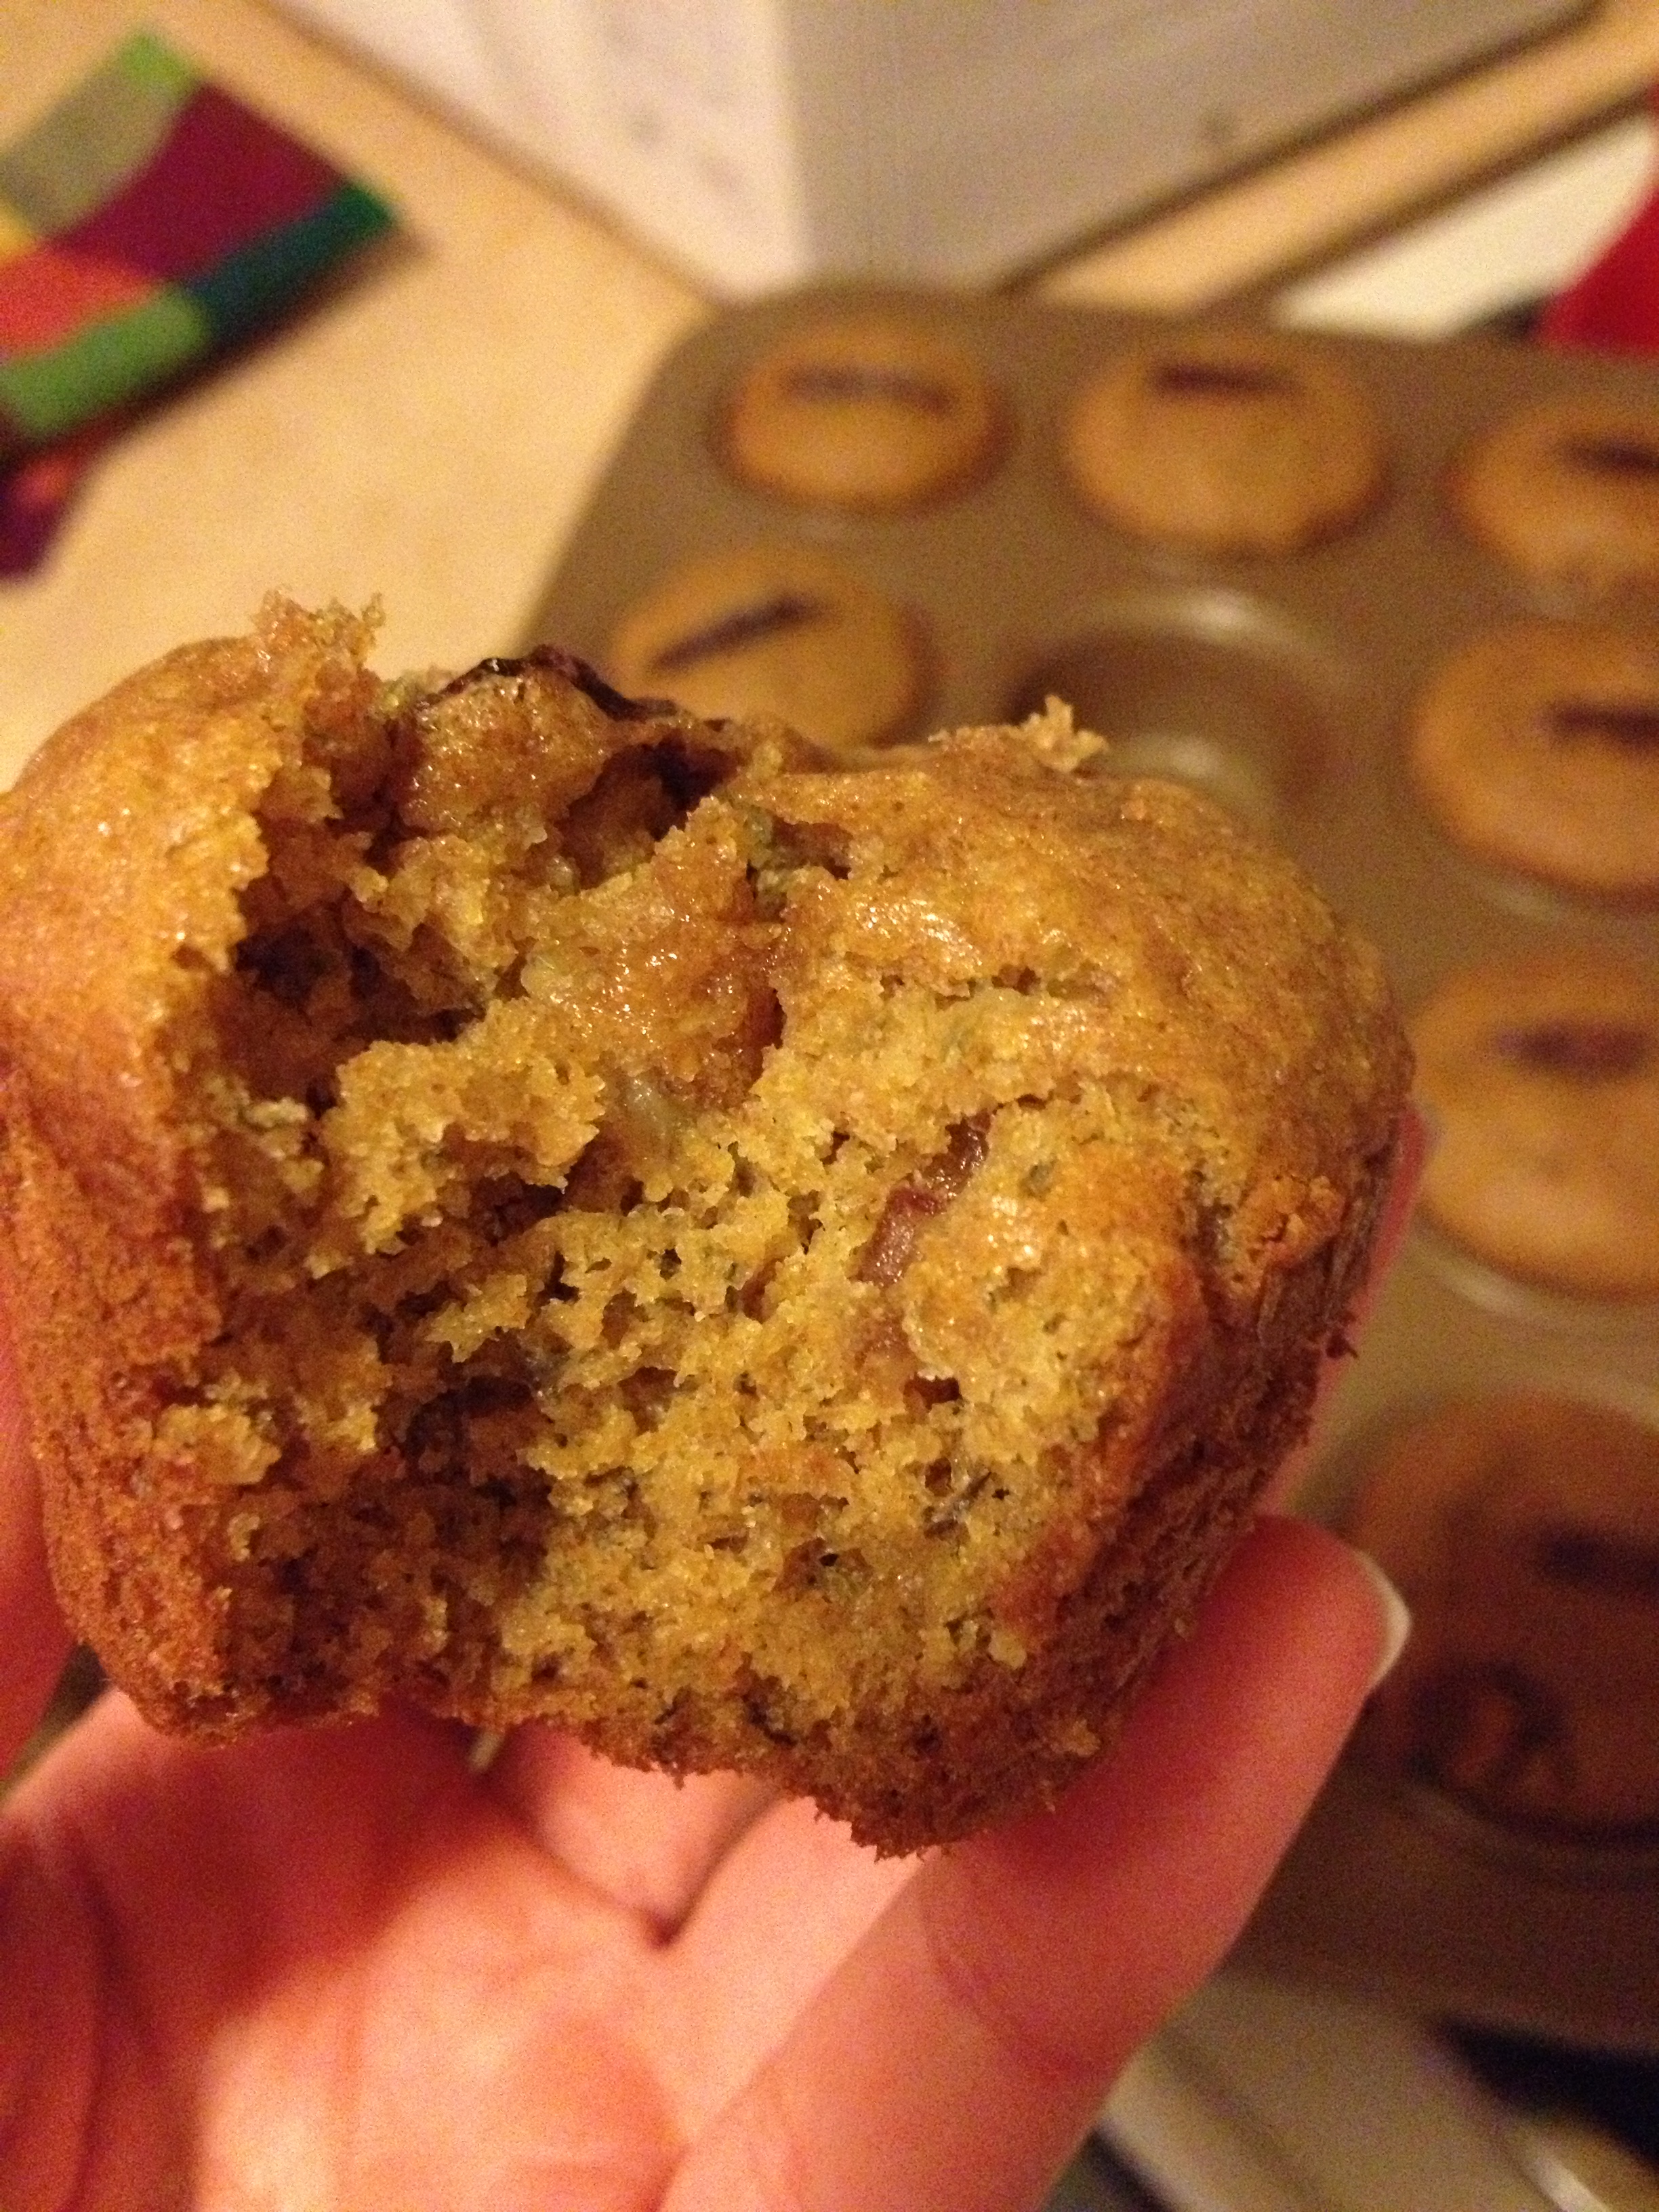
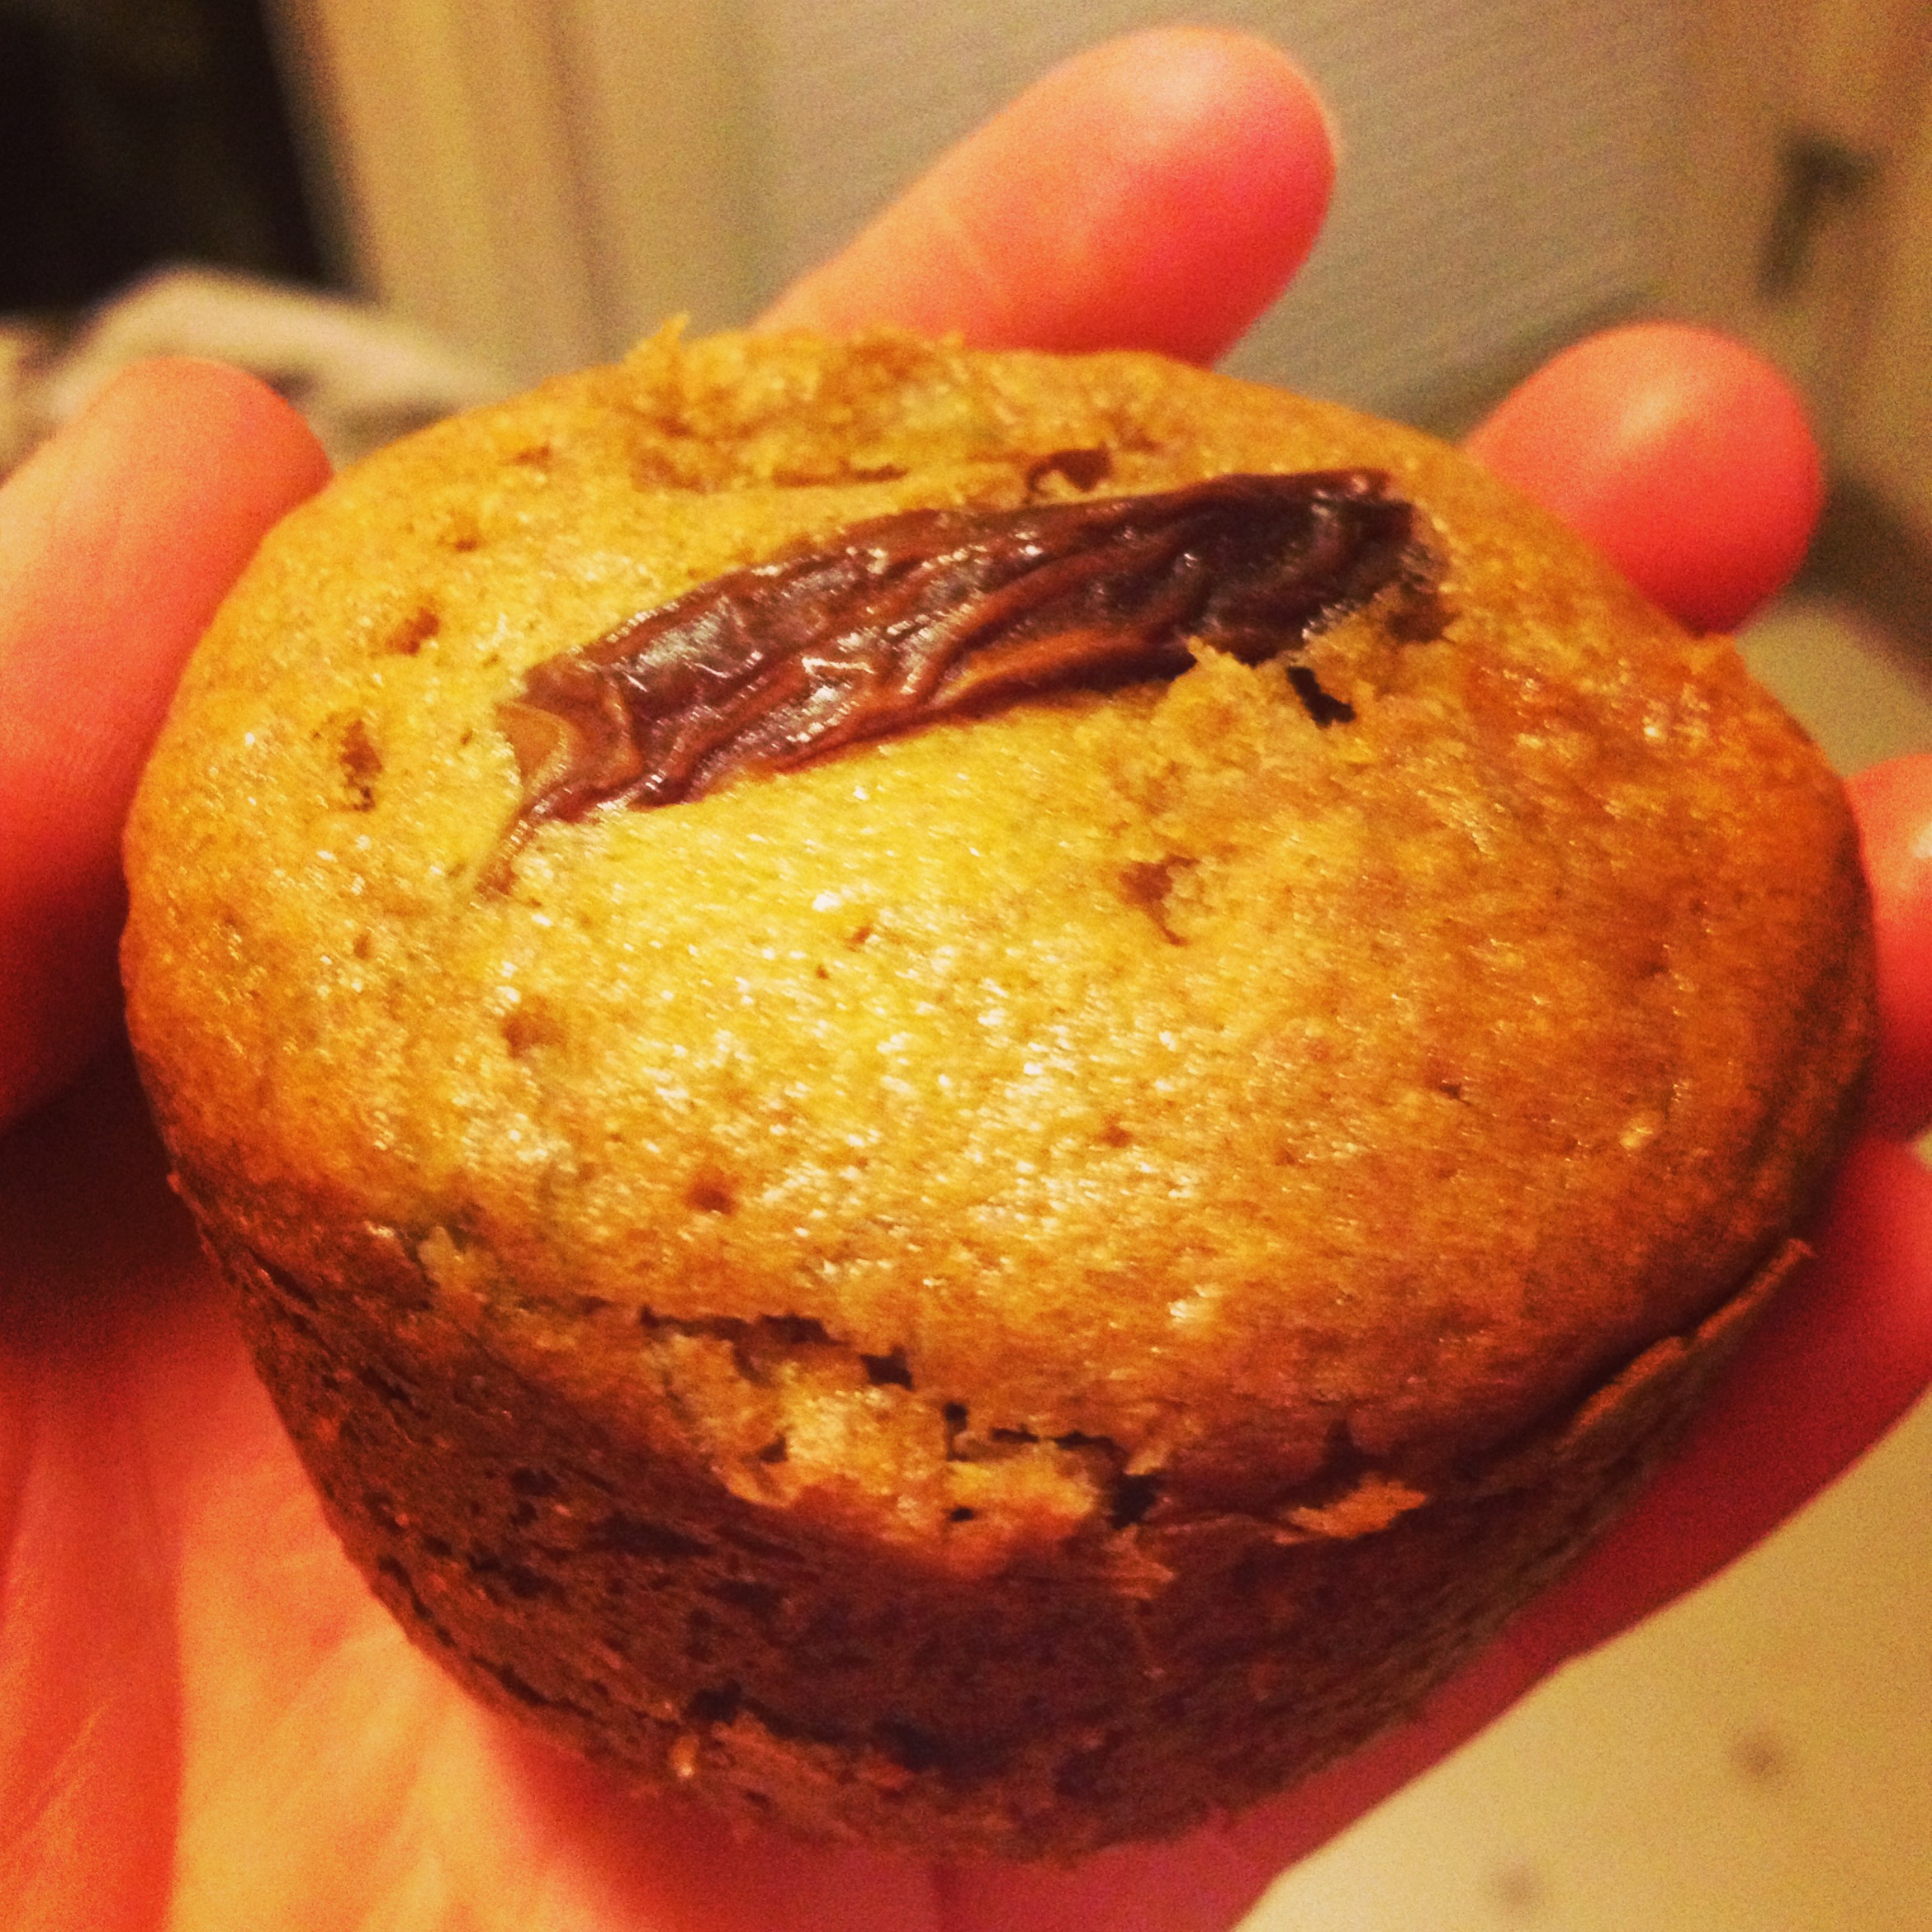
Scrumptious Whole-Wheat Banana Date Muffins

We had dates and bananas that needed to be used. Okay maybe the dates didn’t need to be used since they last forever, but I’ve been wanting to try this. Like my other muffin recipe (which this one is actually based on), it’s super simple and quick to do. I threw this together late last night after a leg workout. It’s very healthy, estimated at about 167 calories with 3 grams of protein and fiber! Not too shabby.

photo 3 (3)

  • Prep Time: 7 minutes
  • Bake Time: 15-20 minutes

Ingredients

  • 1 3/4 cups whole wheat flour
  • 10 dates
  • 1 tsp baking soda
  • 1/2 teaspoon salt
  • 1/3 cup olive oil
  • 3/8 cup honey [a little more than 1/3]
  • 2 eggs
  • 2 bananas mashed
  • 1/4 cup hot water

Directions

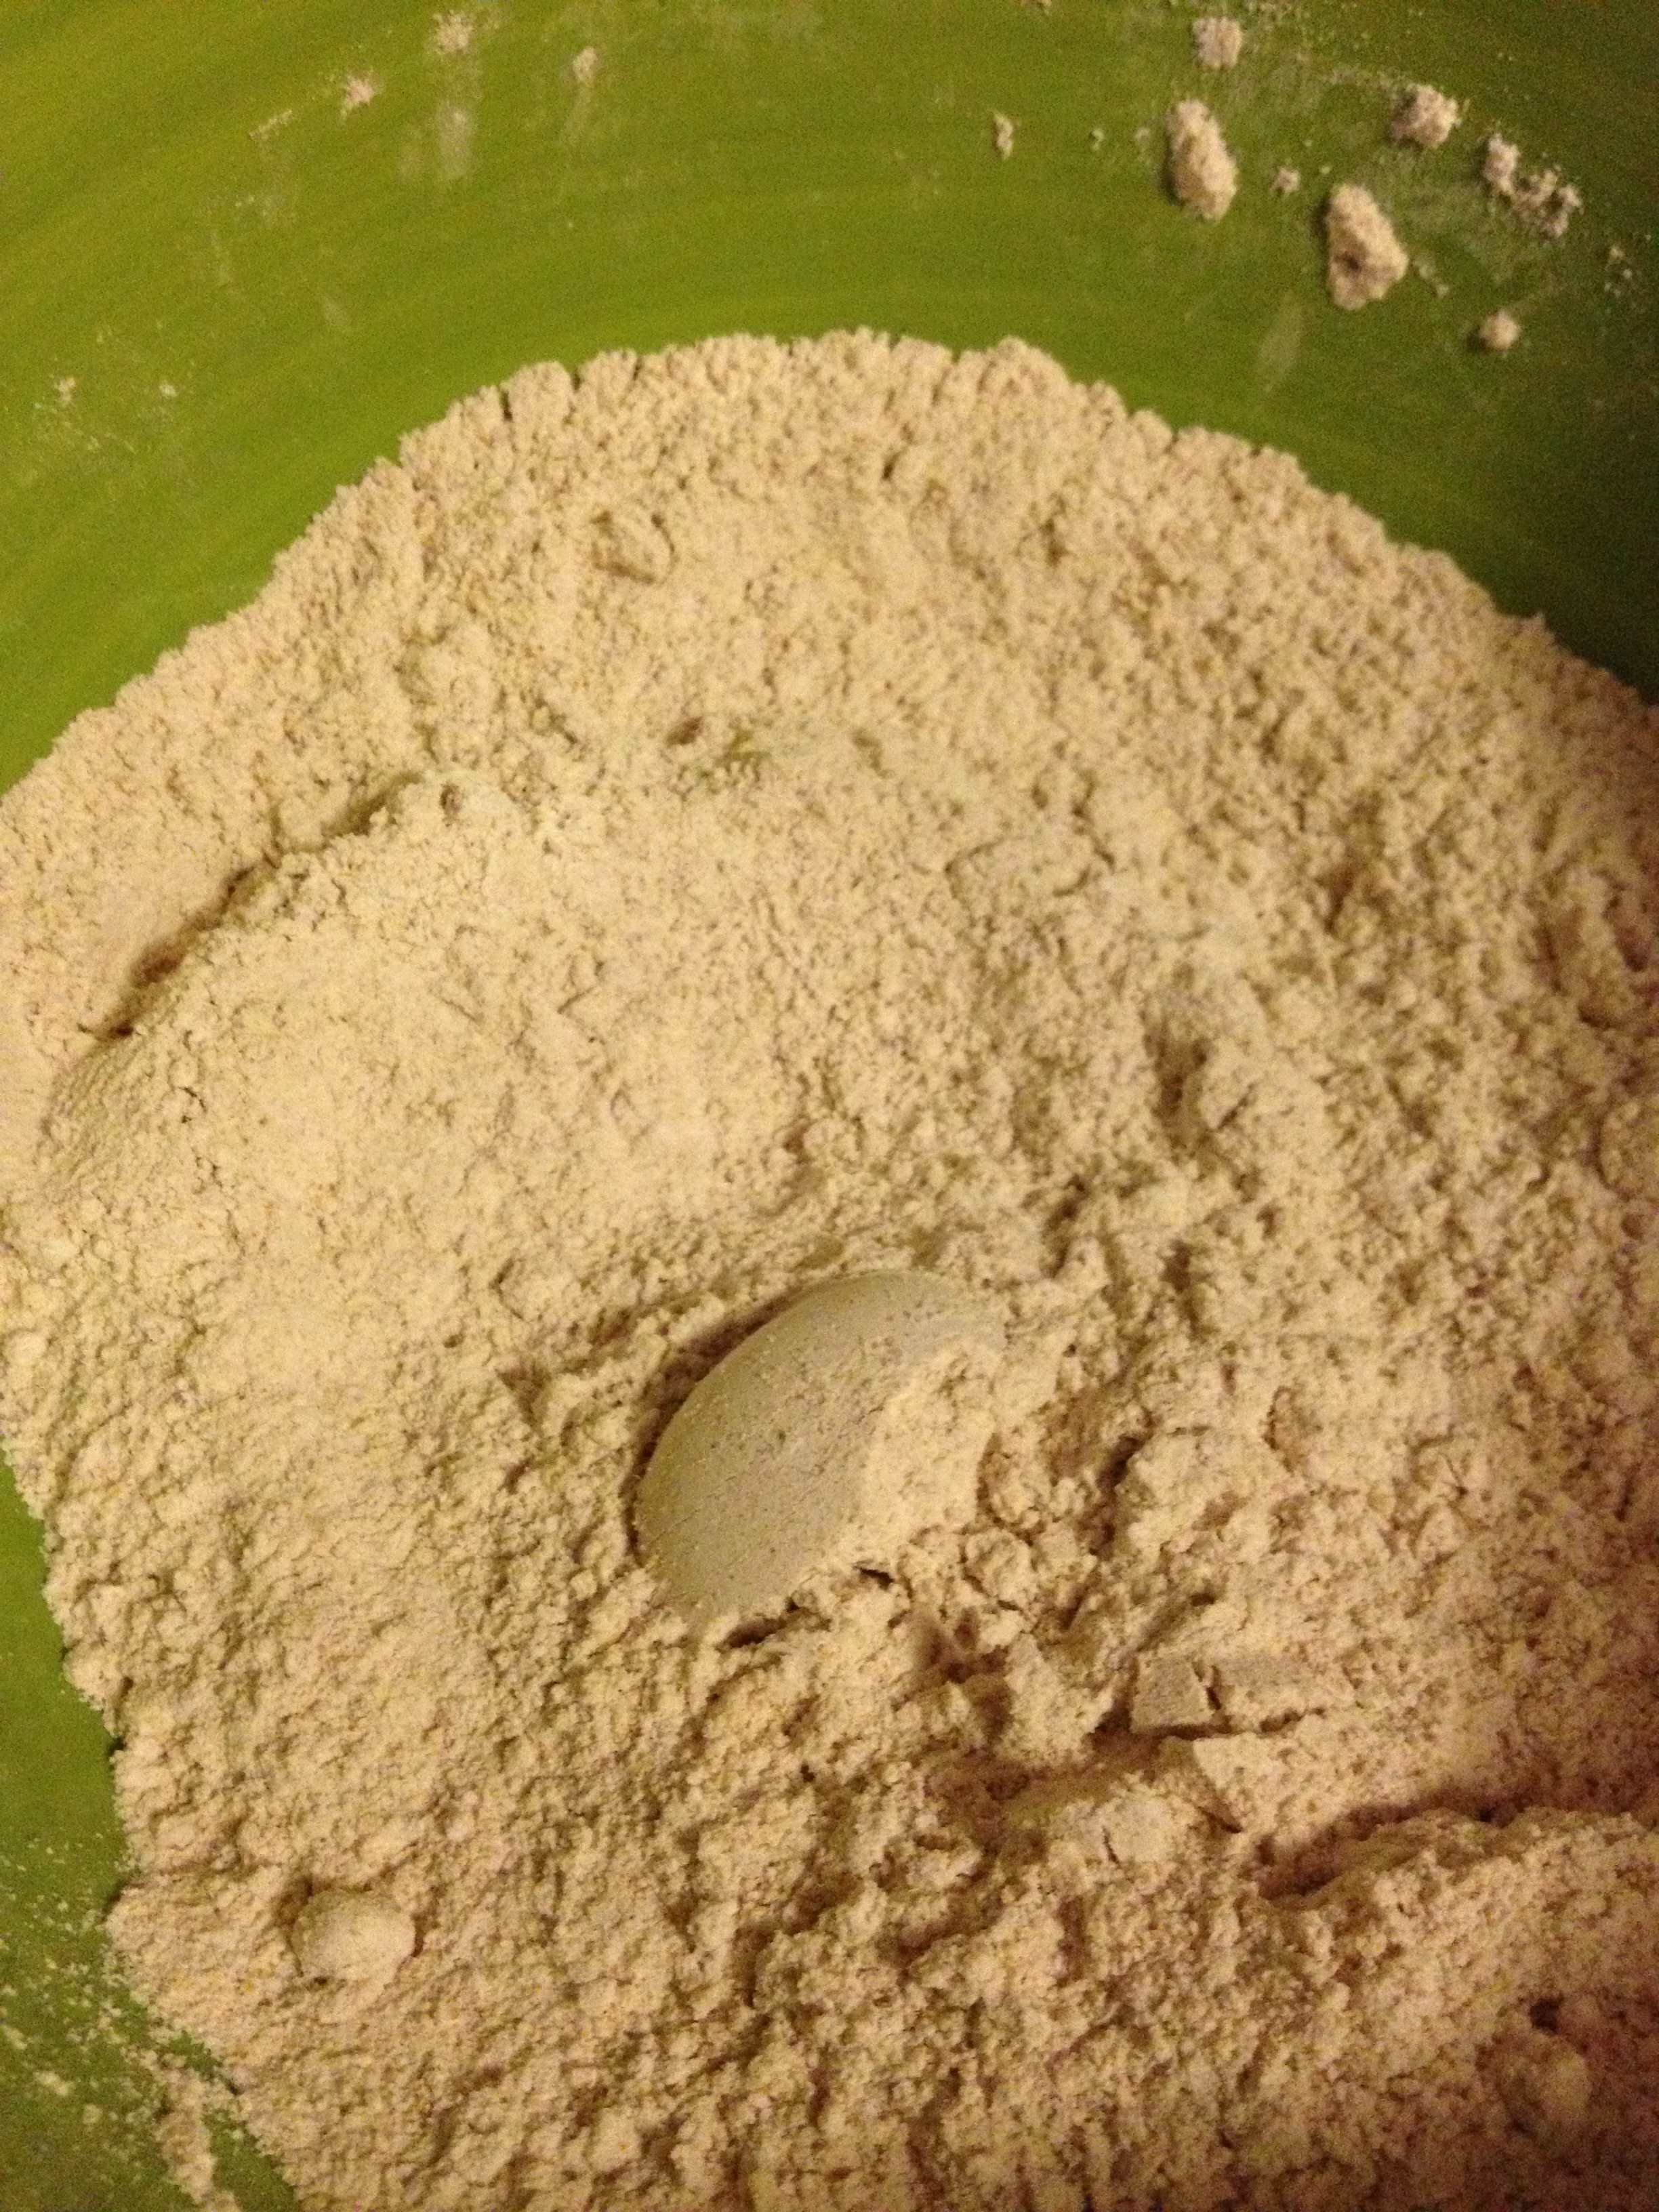
  • In a small bowl, mix together dry ingredients: whole-wheat flour, salt, and baking soda

photo 3 (2)

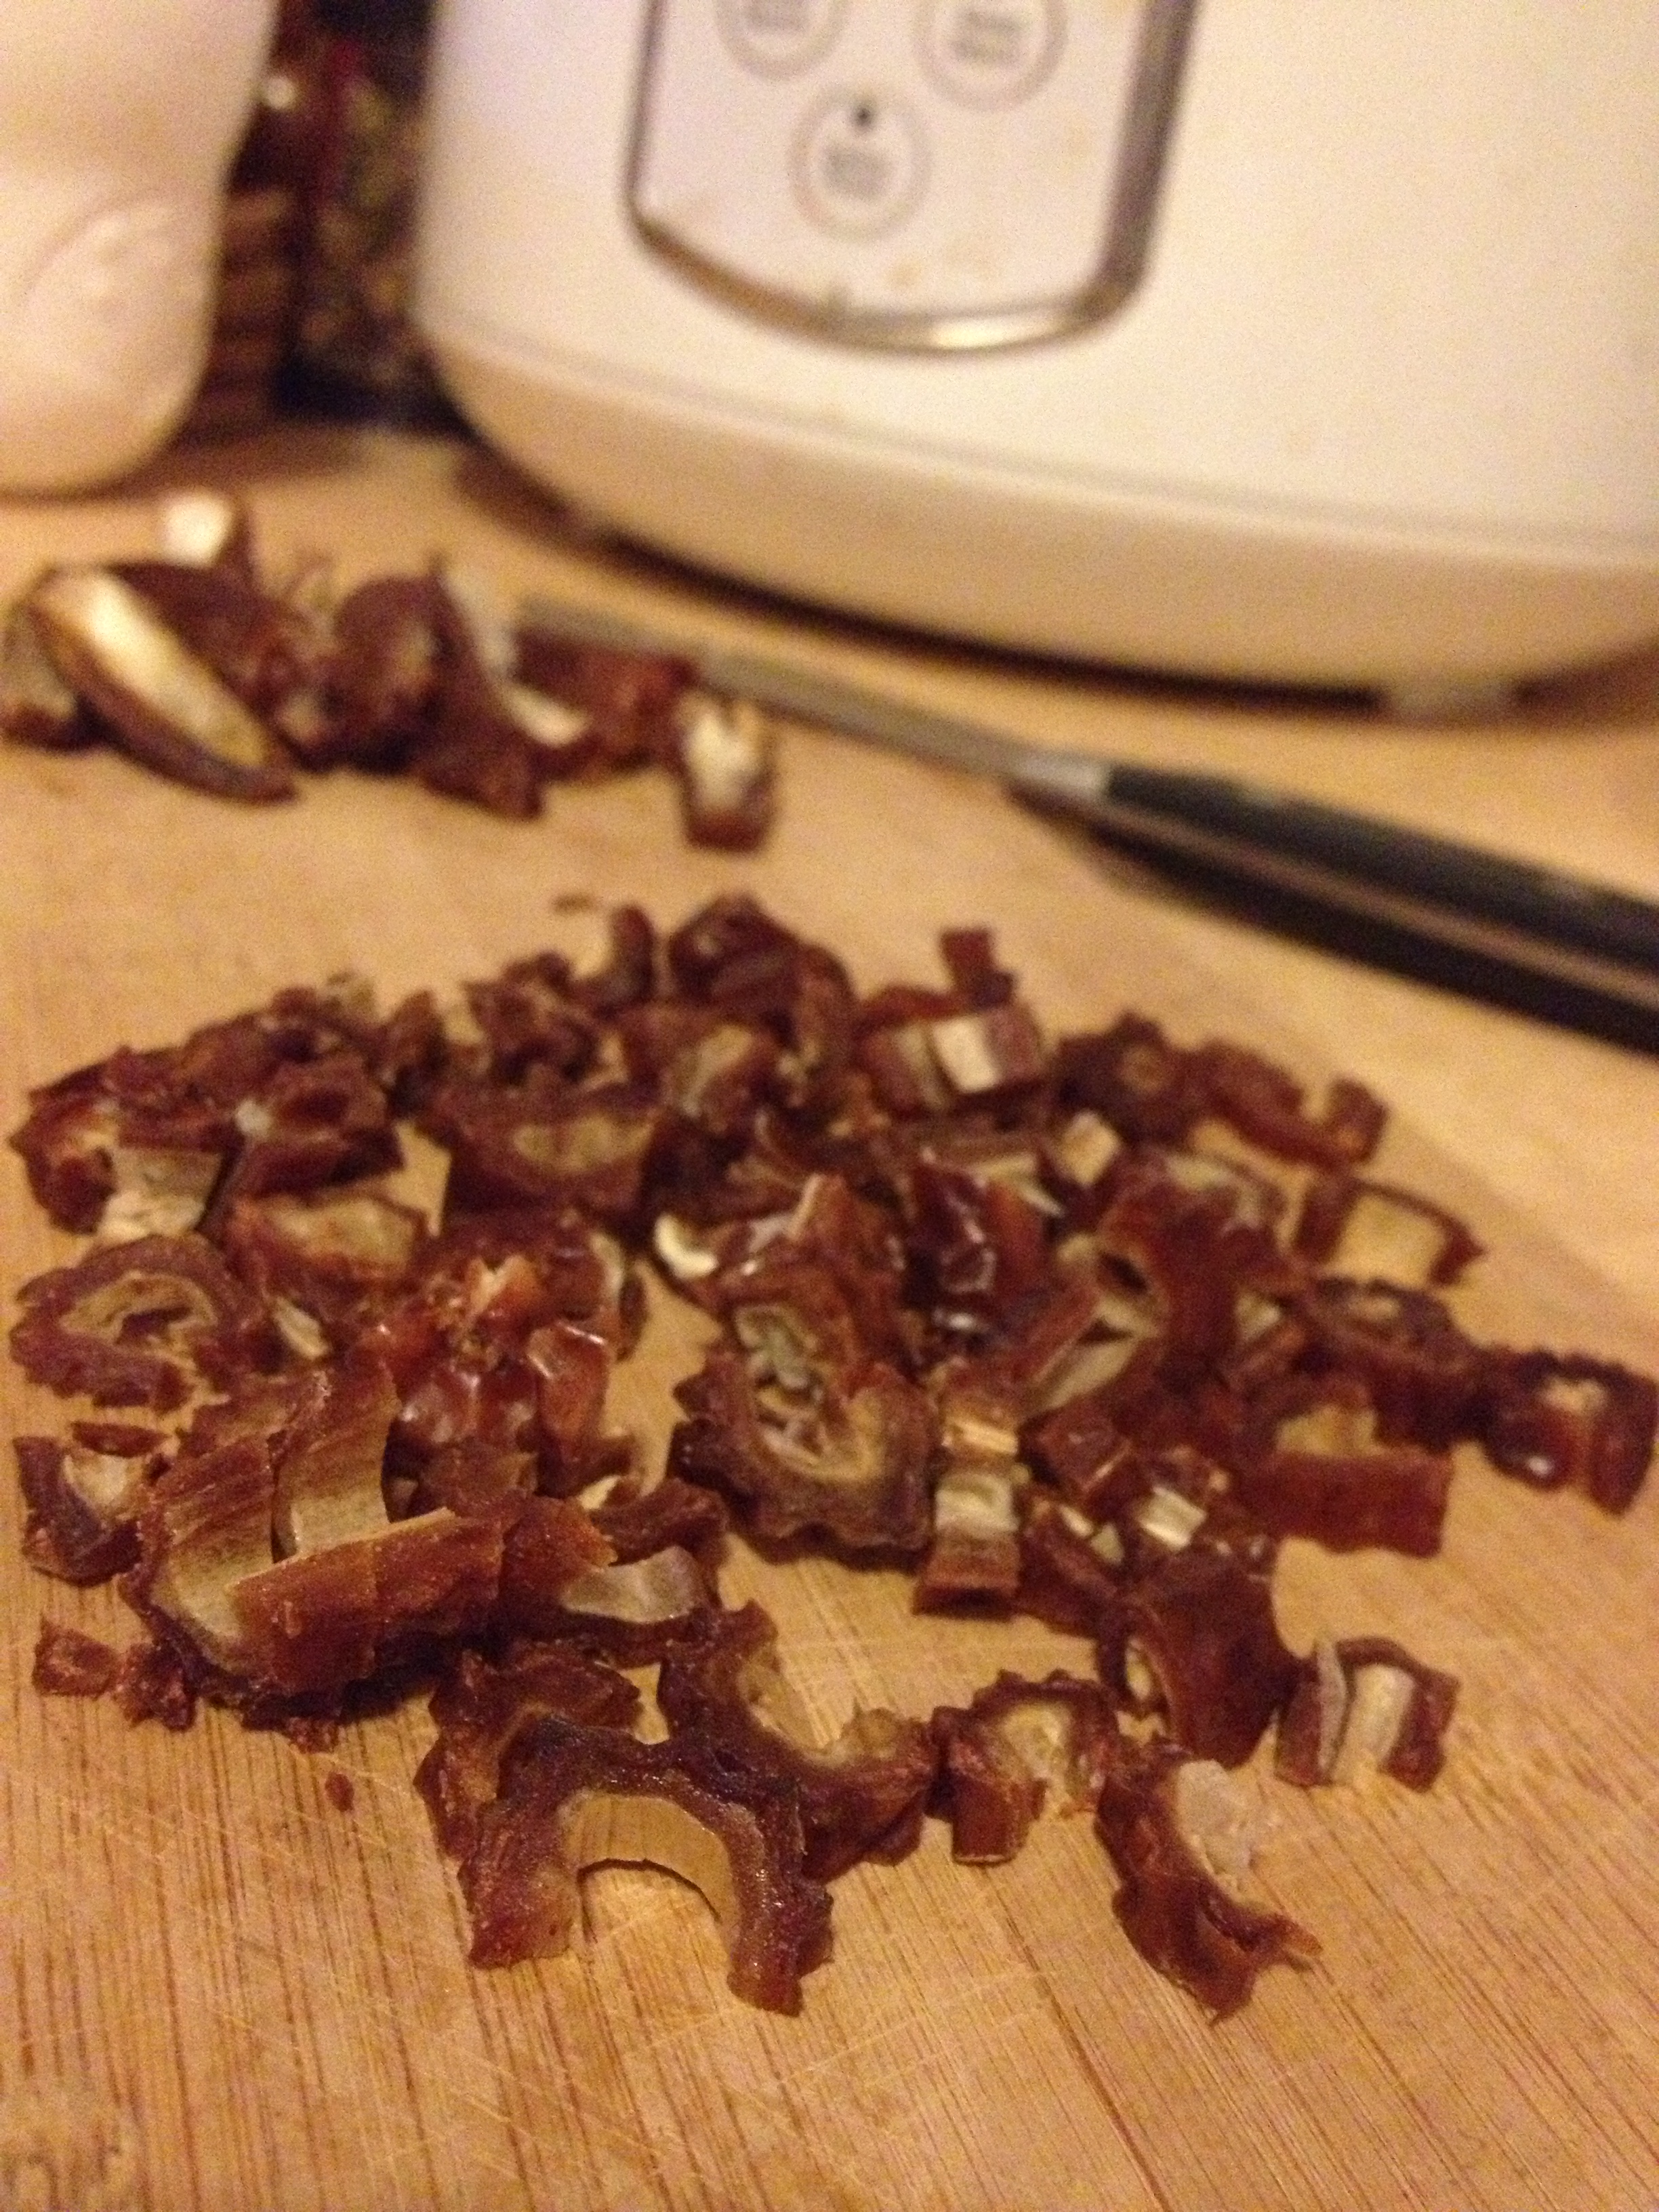
  • Chop up your dates, 5 into little pieces, 5 into long quarters

photo 2 (3)

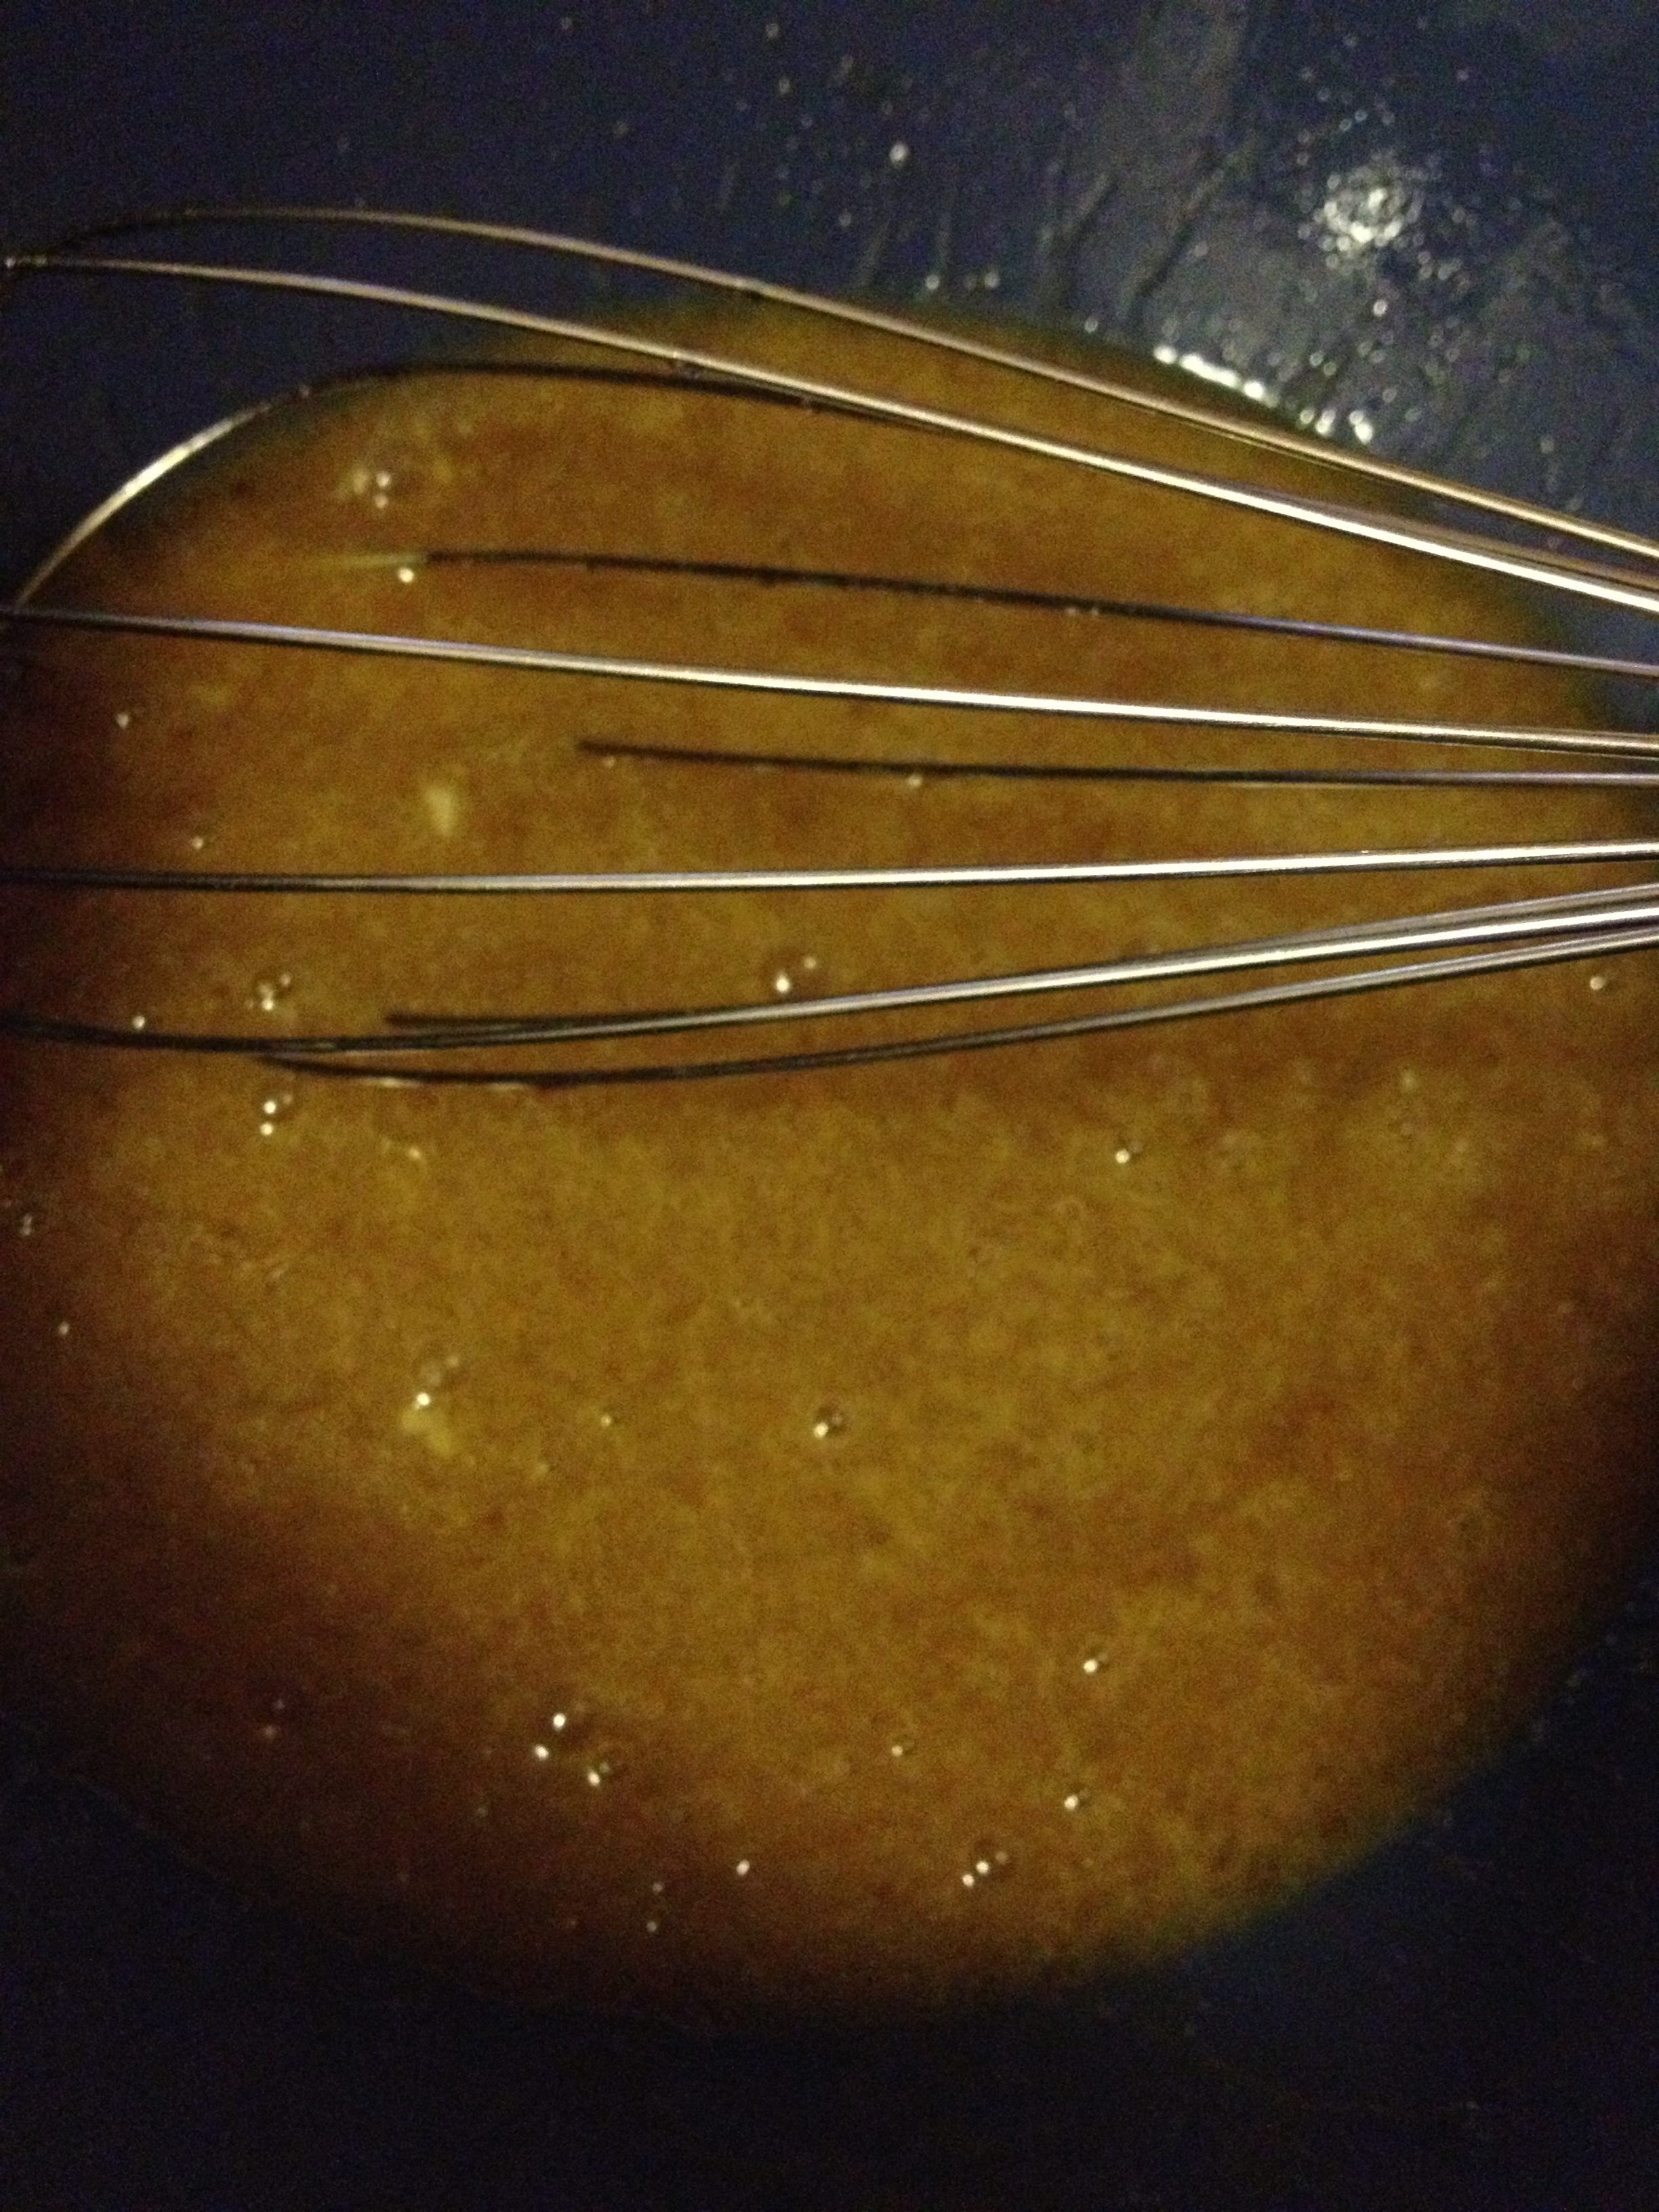
  • Put dry ingredients to the side and get a bigger mixing bowl. Put the olive oil and honey into big bowl and whisk!

photo 4 (2)

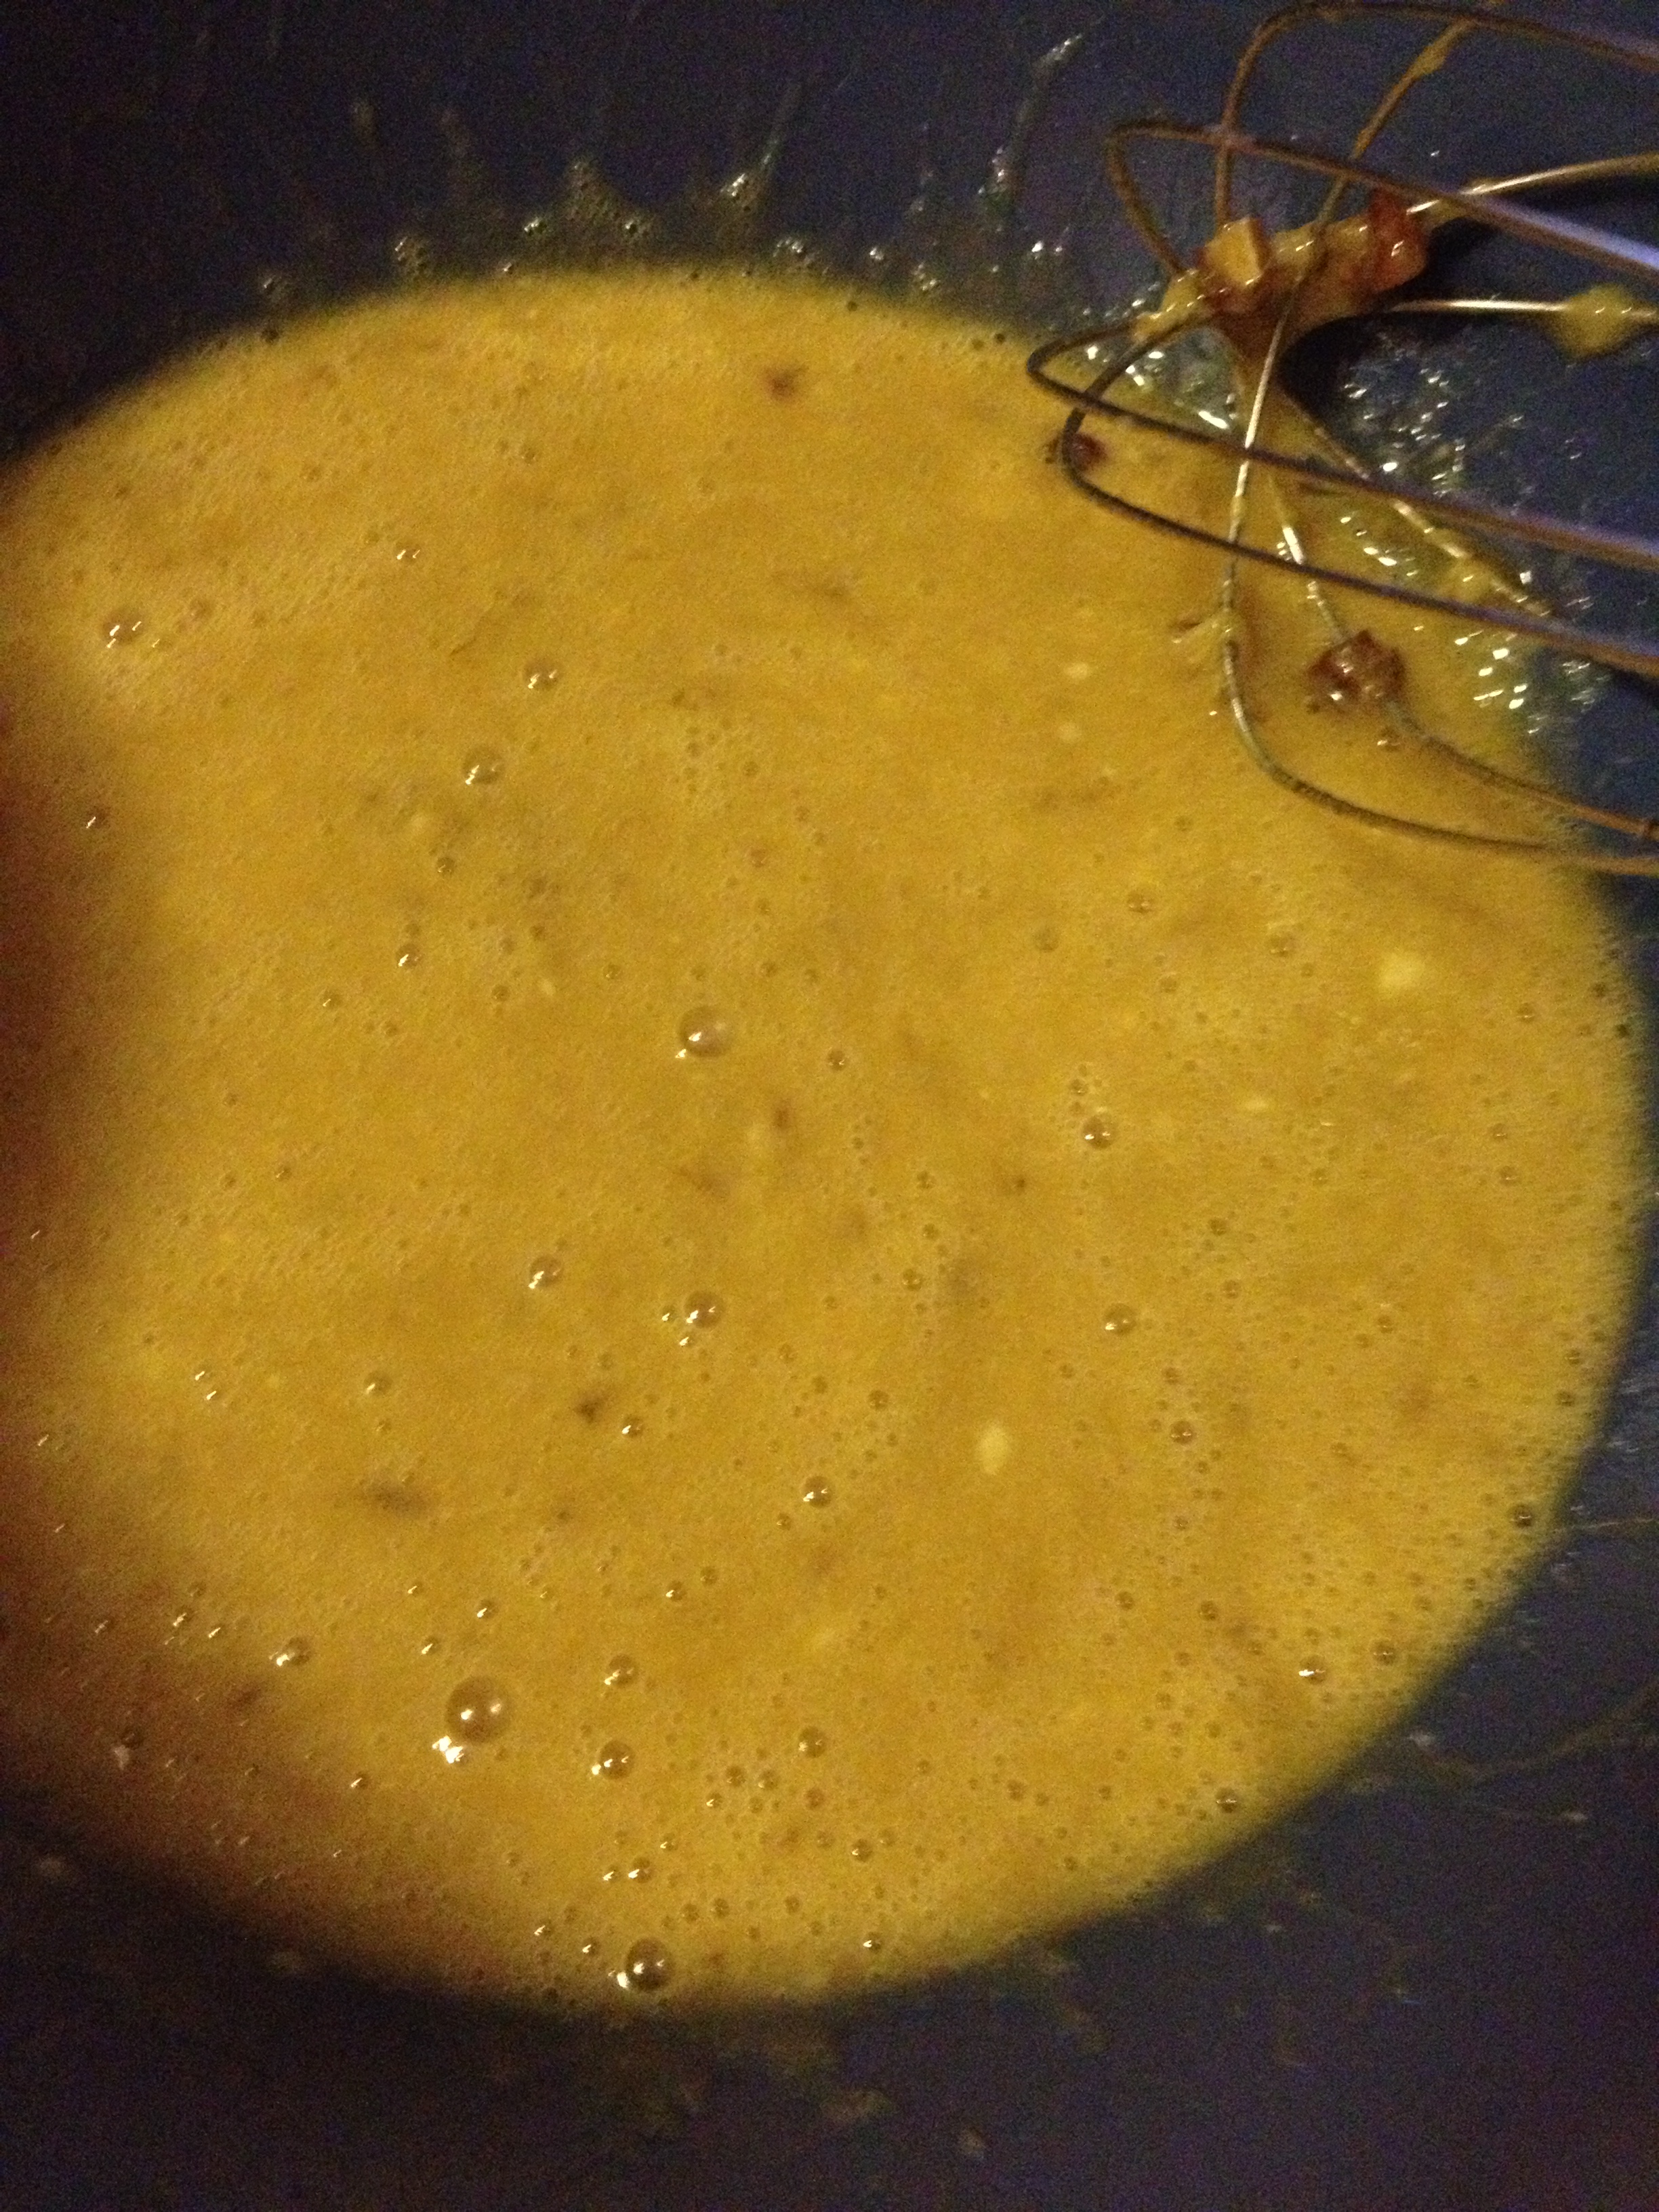
  • Crack both eggs and drop them in. Whisk away!
  • Now, mash your bananas so they are nice and smooth. Scrape the bananas into the wet mixture
  • Add the finely chopped dates (don’t put in the long date quarters)

photo 1 (7)

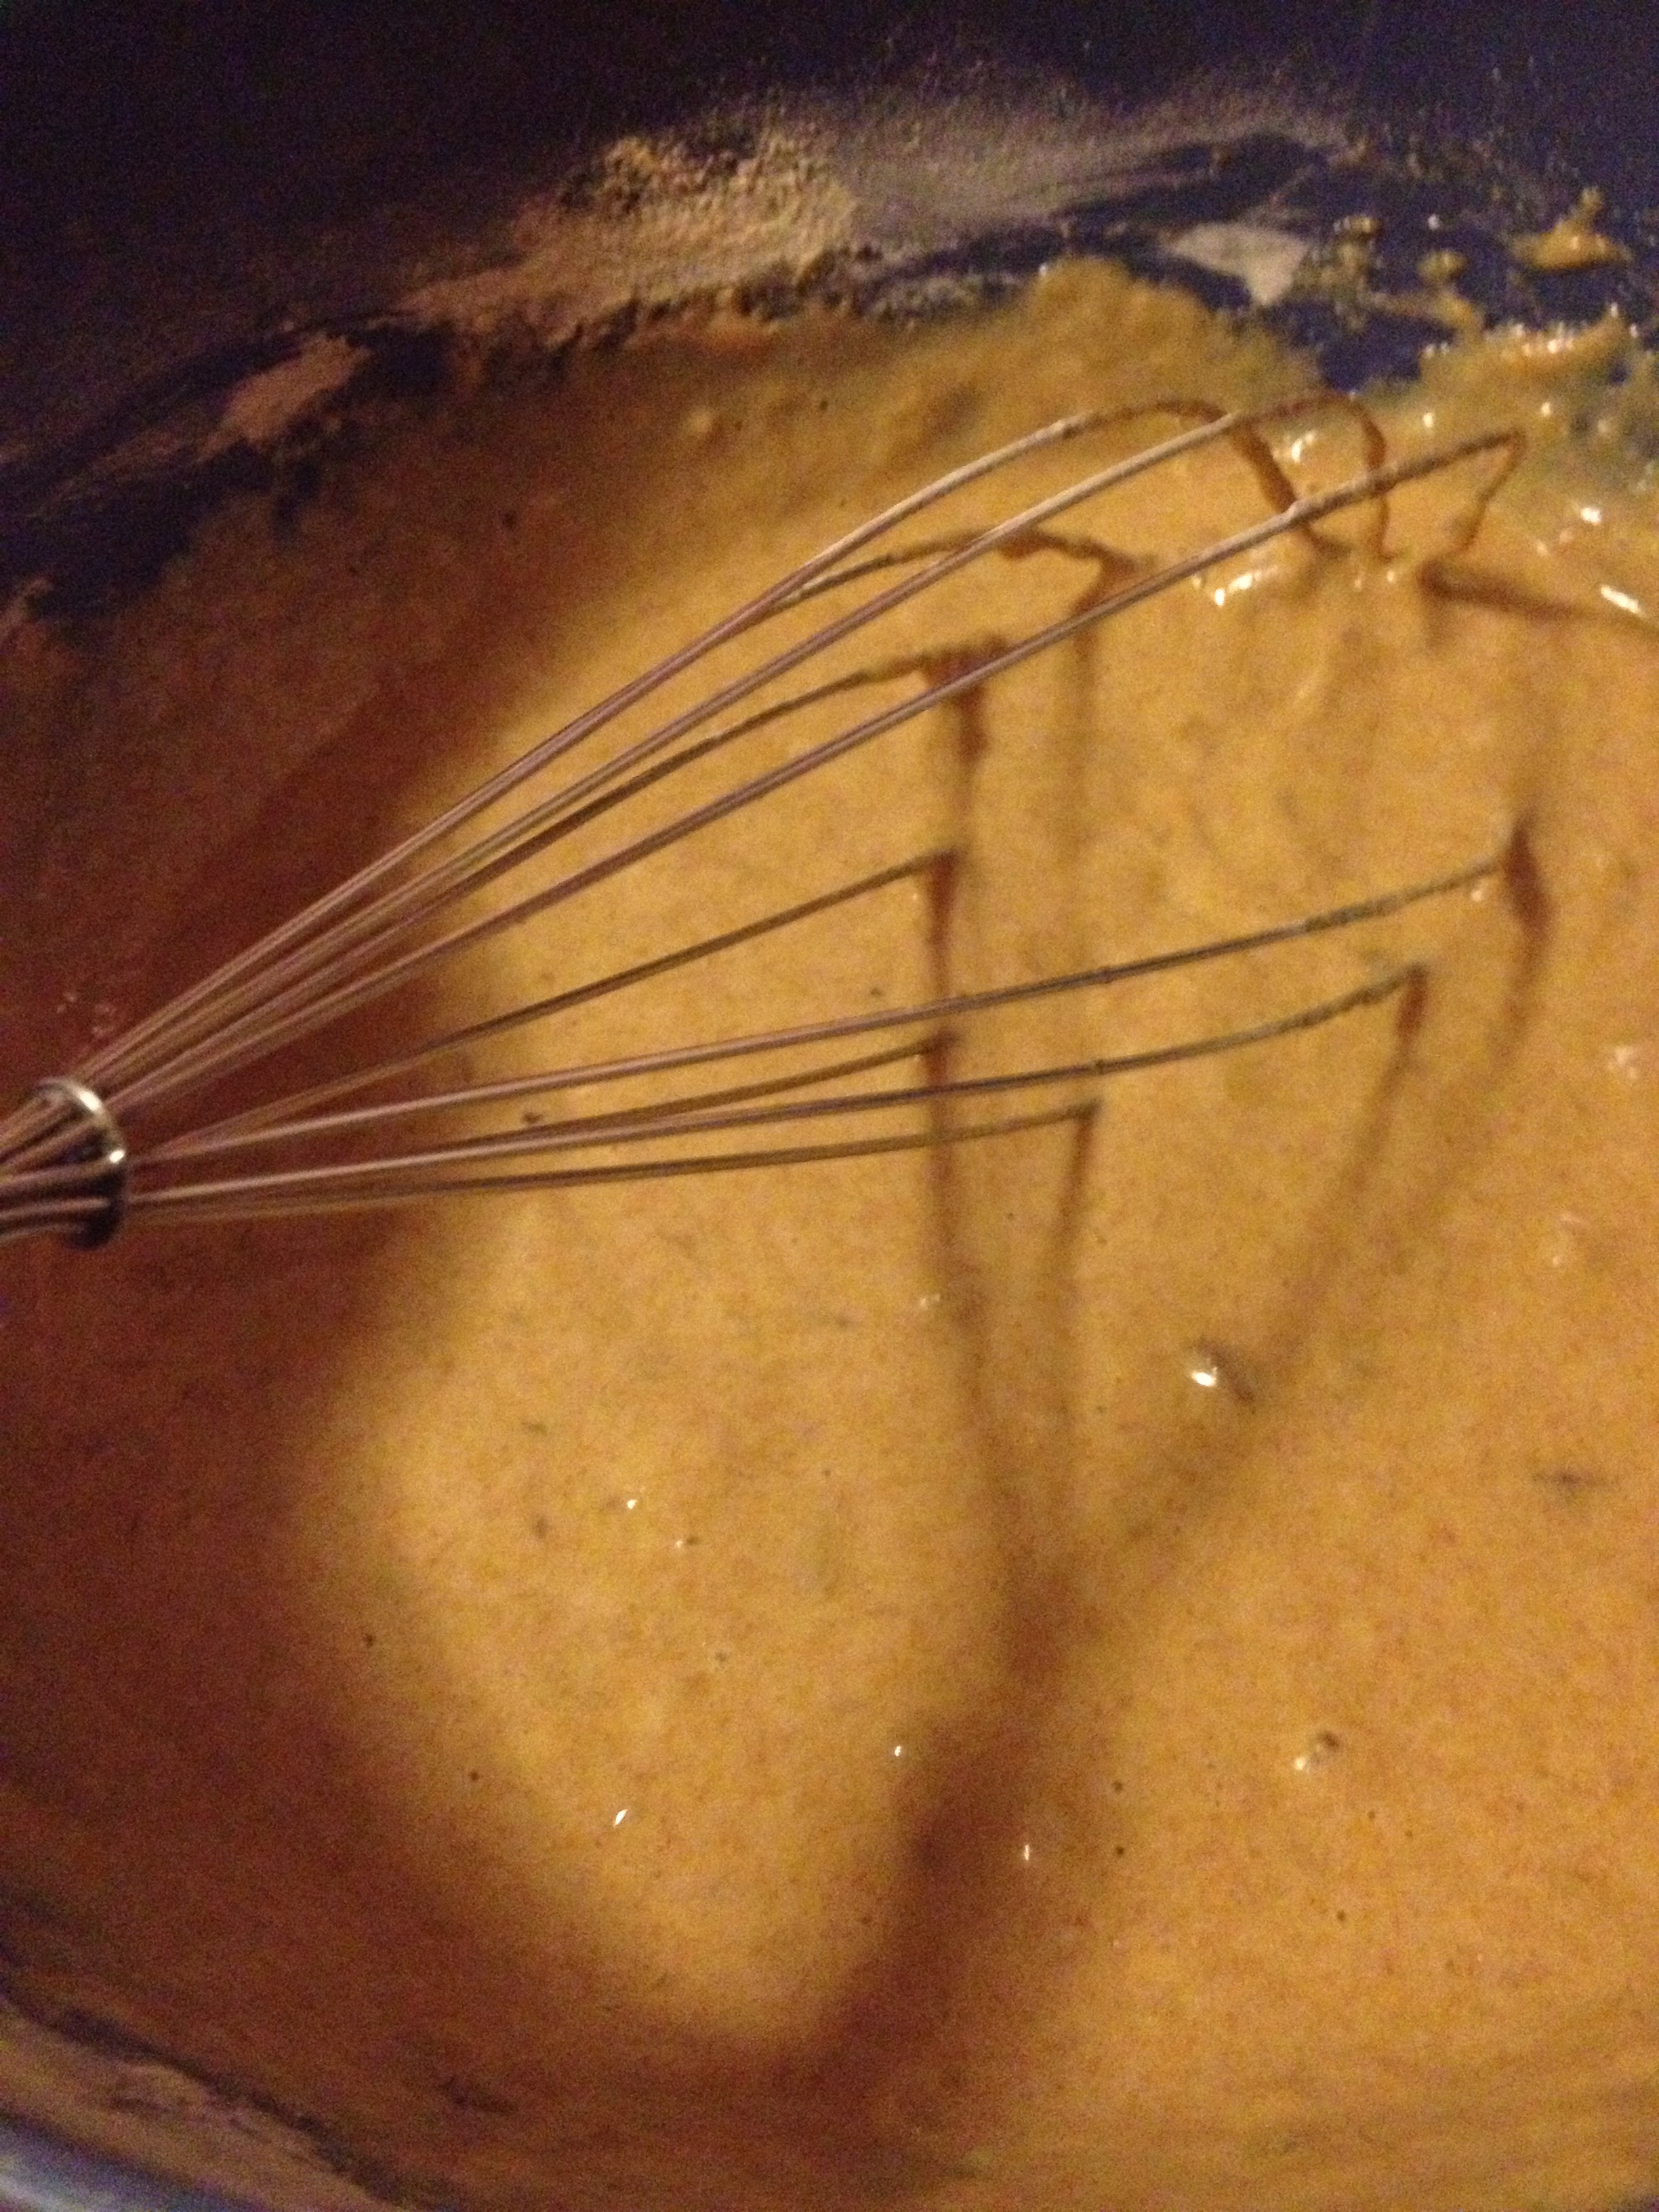
  • Slowly stir in the dry ingredients into the wet ingredients, alternating with pouring in hot water

photo 2 (5)

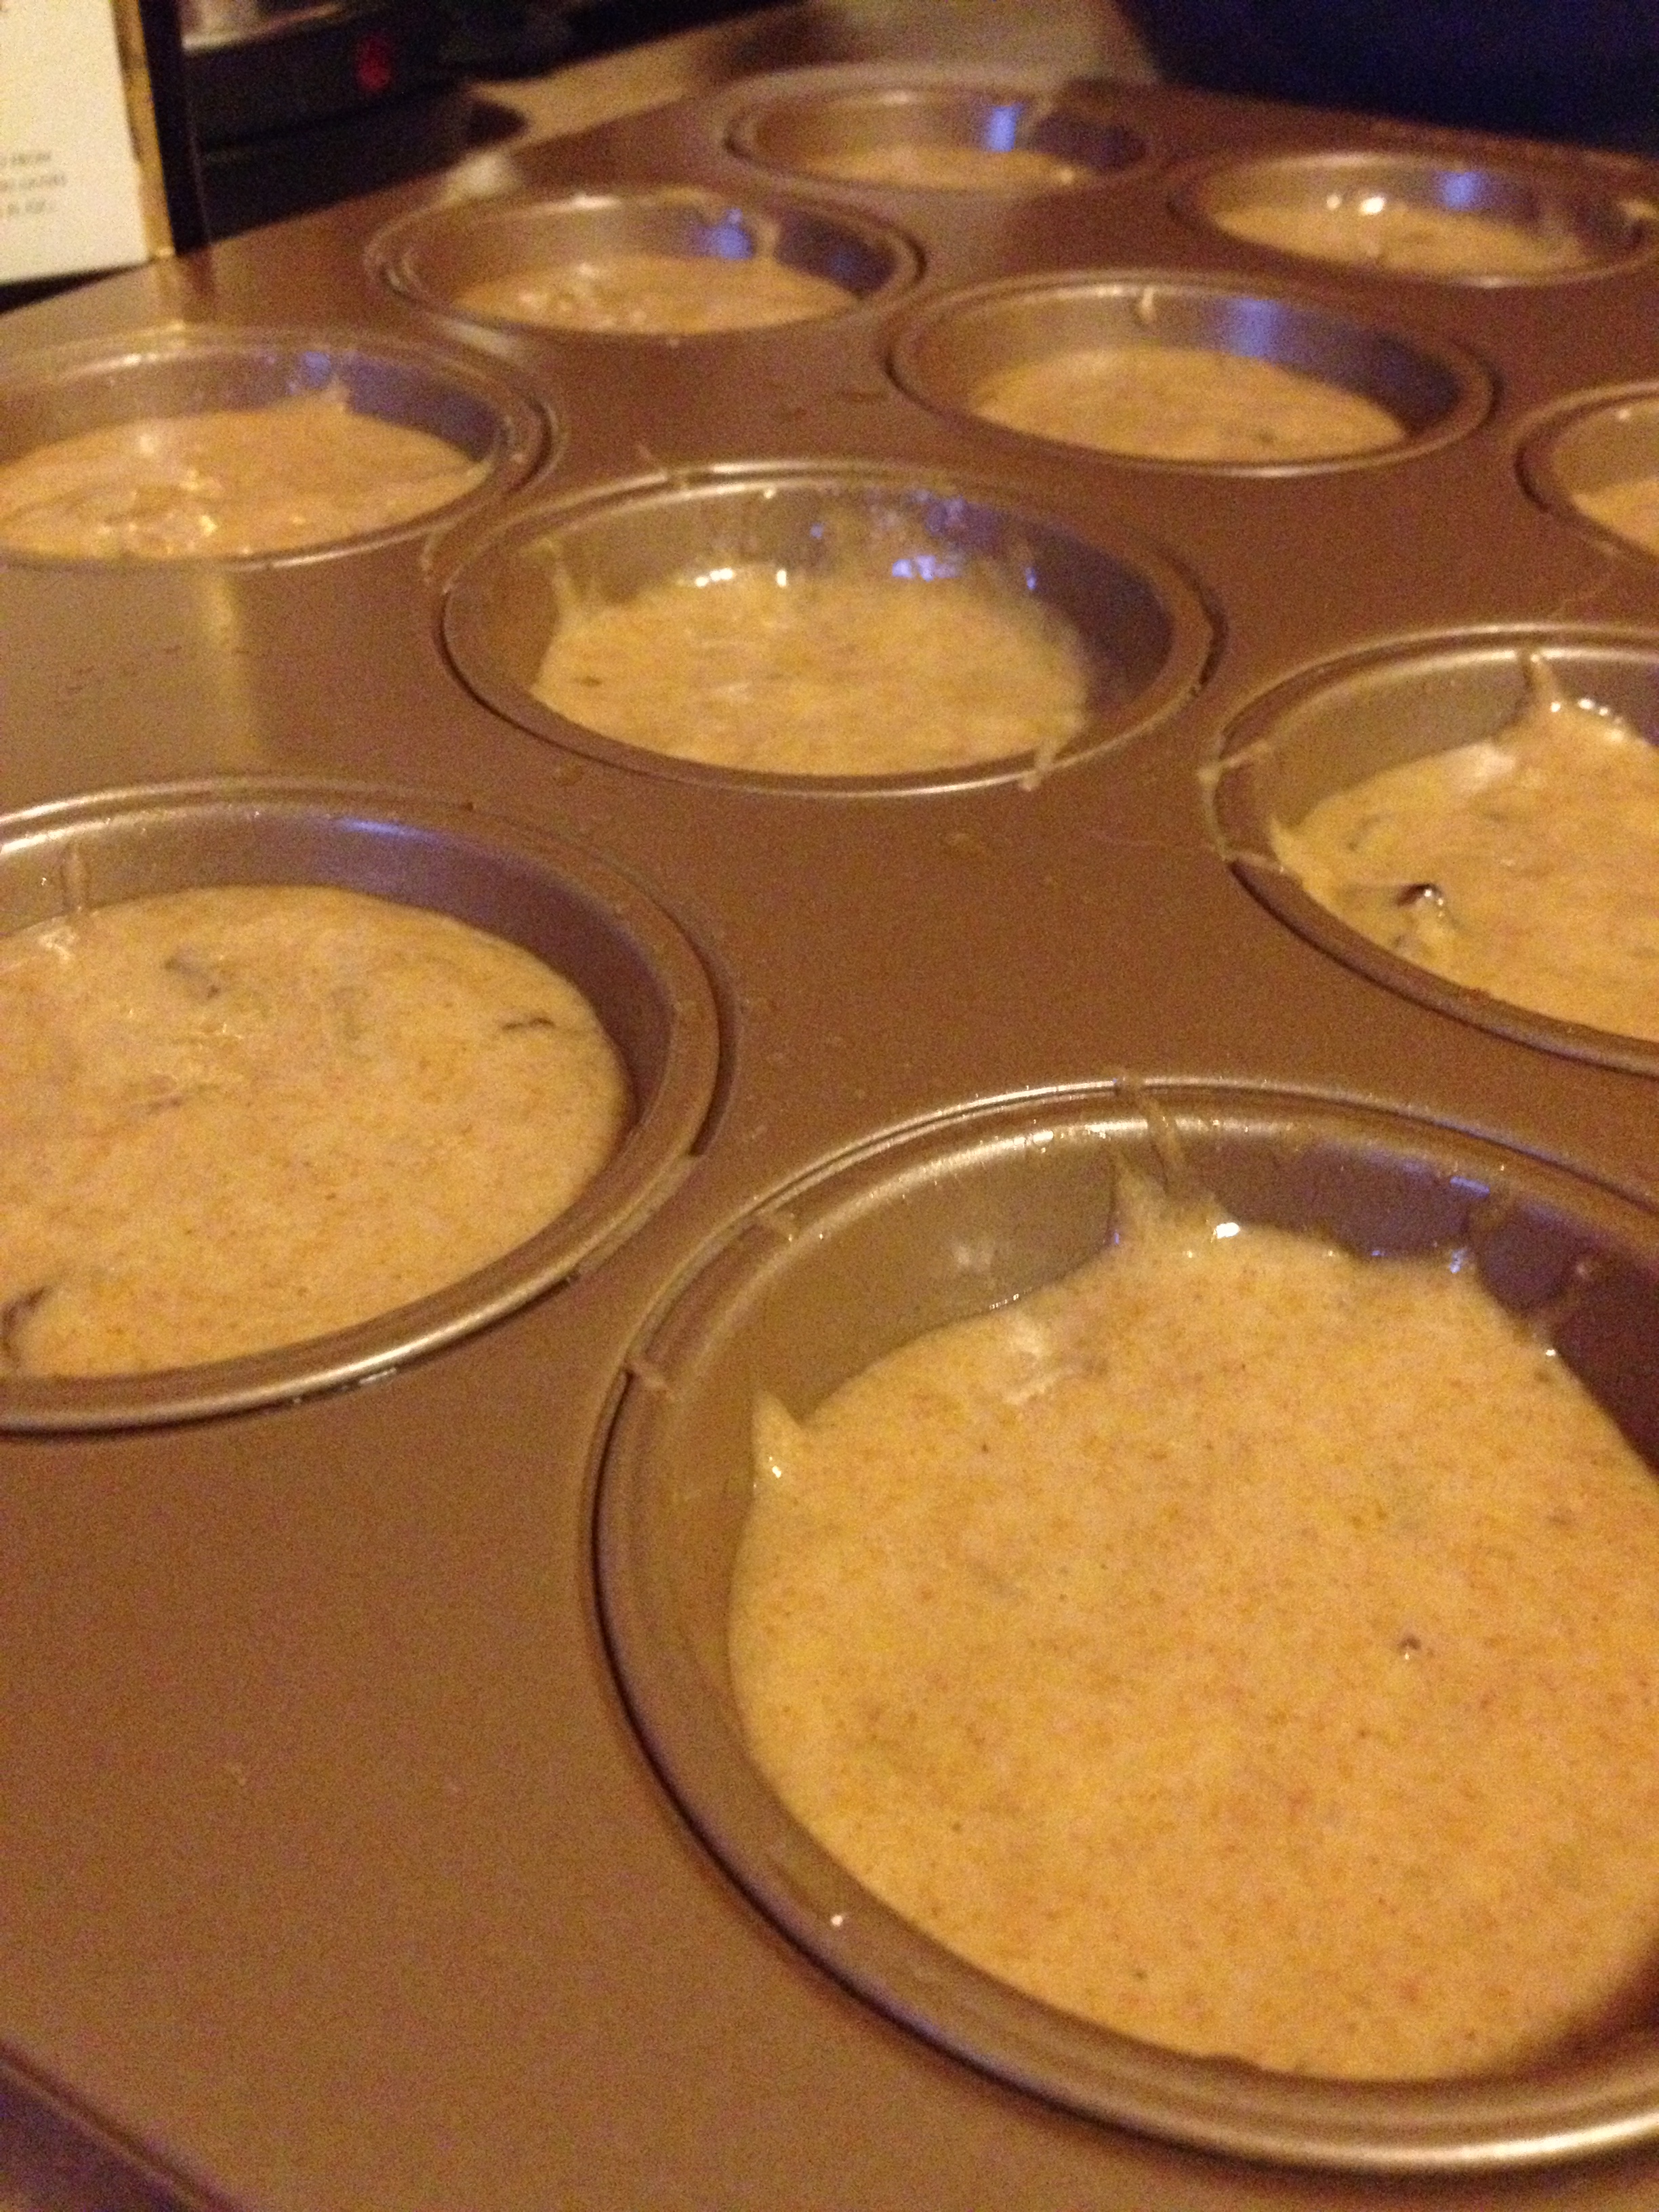
  • Grease your muffin tin and pour them in. Make sure they don’t overflow, but you want them high enough so they puff over the top when baked.

photo 3 (4)

  • Top each muffin with the quarter slivers of dates we cut ahead of time as a garnish!

photo 4 (3)

  • Bake for 15-20 minutes. Mine took about 17 minutes

photo 1 (6)

And enjoy! Oh they are SO good warm right out of the oven. And of course, before I brought them into work, I had to taste test them. And…I approve! Another fail-proof recipe to enjoy and not feel the slightest guilt eating them.

photo 3 (3)

photo 2 (4)

BONUS KITTY PIC 

photo 1 (5)

Nymeria cuddling Chris

spacer

Bibimbap: Korea’s Perfect Meal

Let me start off by saying I’m pretty proud of myself for creating this dish tonight after a day’s worth of work and a workout. It took a good bit of work and time, but it was so worth it. Most of you are probably wondering…what in the heck is bibimbap? Well thanks to my Korean-obsessed partner, I am now blessed to the amazingness that is Korean food (and yes amazingness is a word). Bibimbap is basically mixed rice with vegetables, but is so much more. It really proves why and how Koreans are so healthy and why the obesity rate is so low there. I can’t wait to move to South Korea one day where this will be a regular meal.
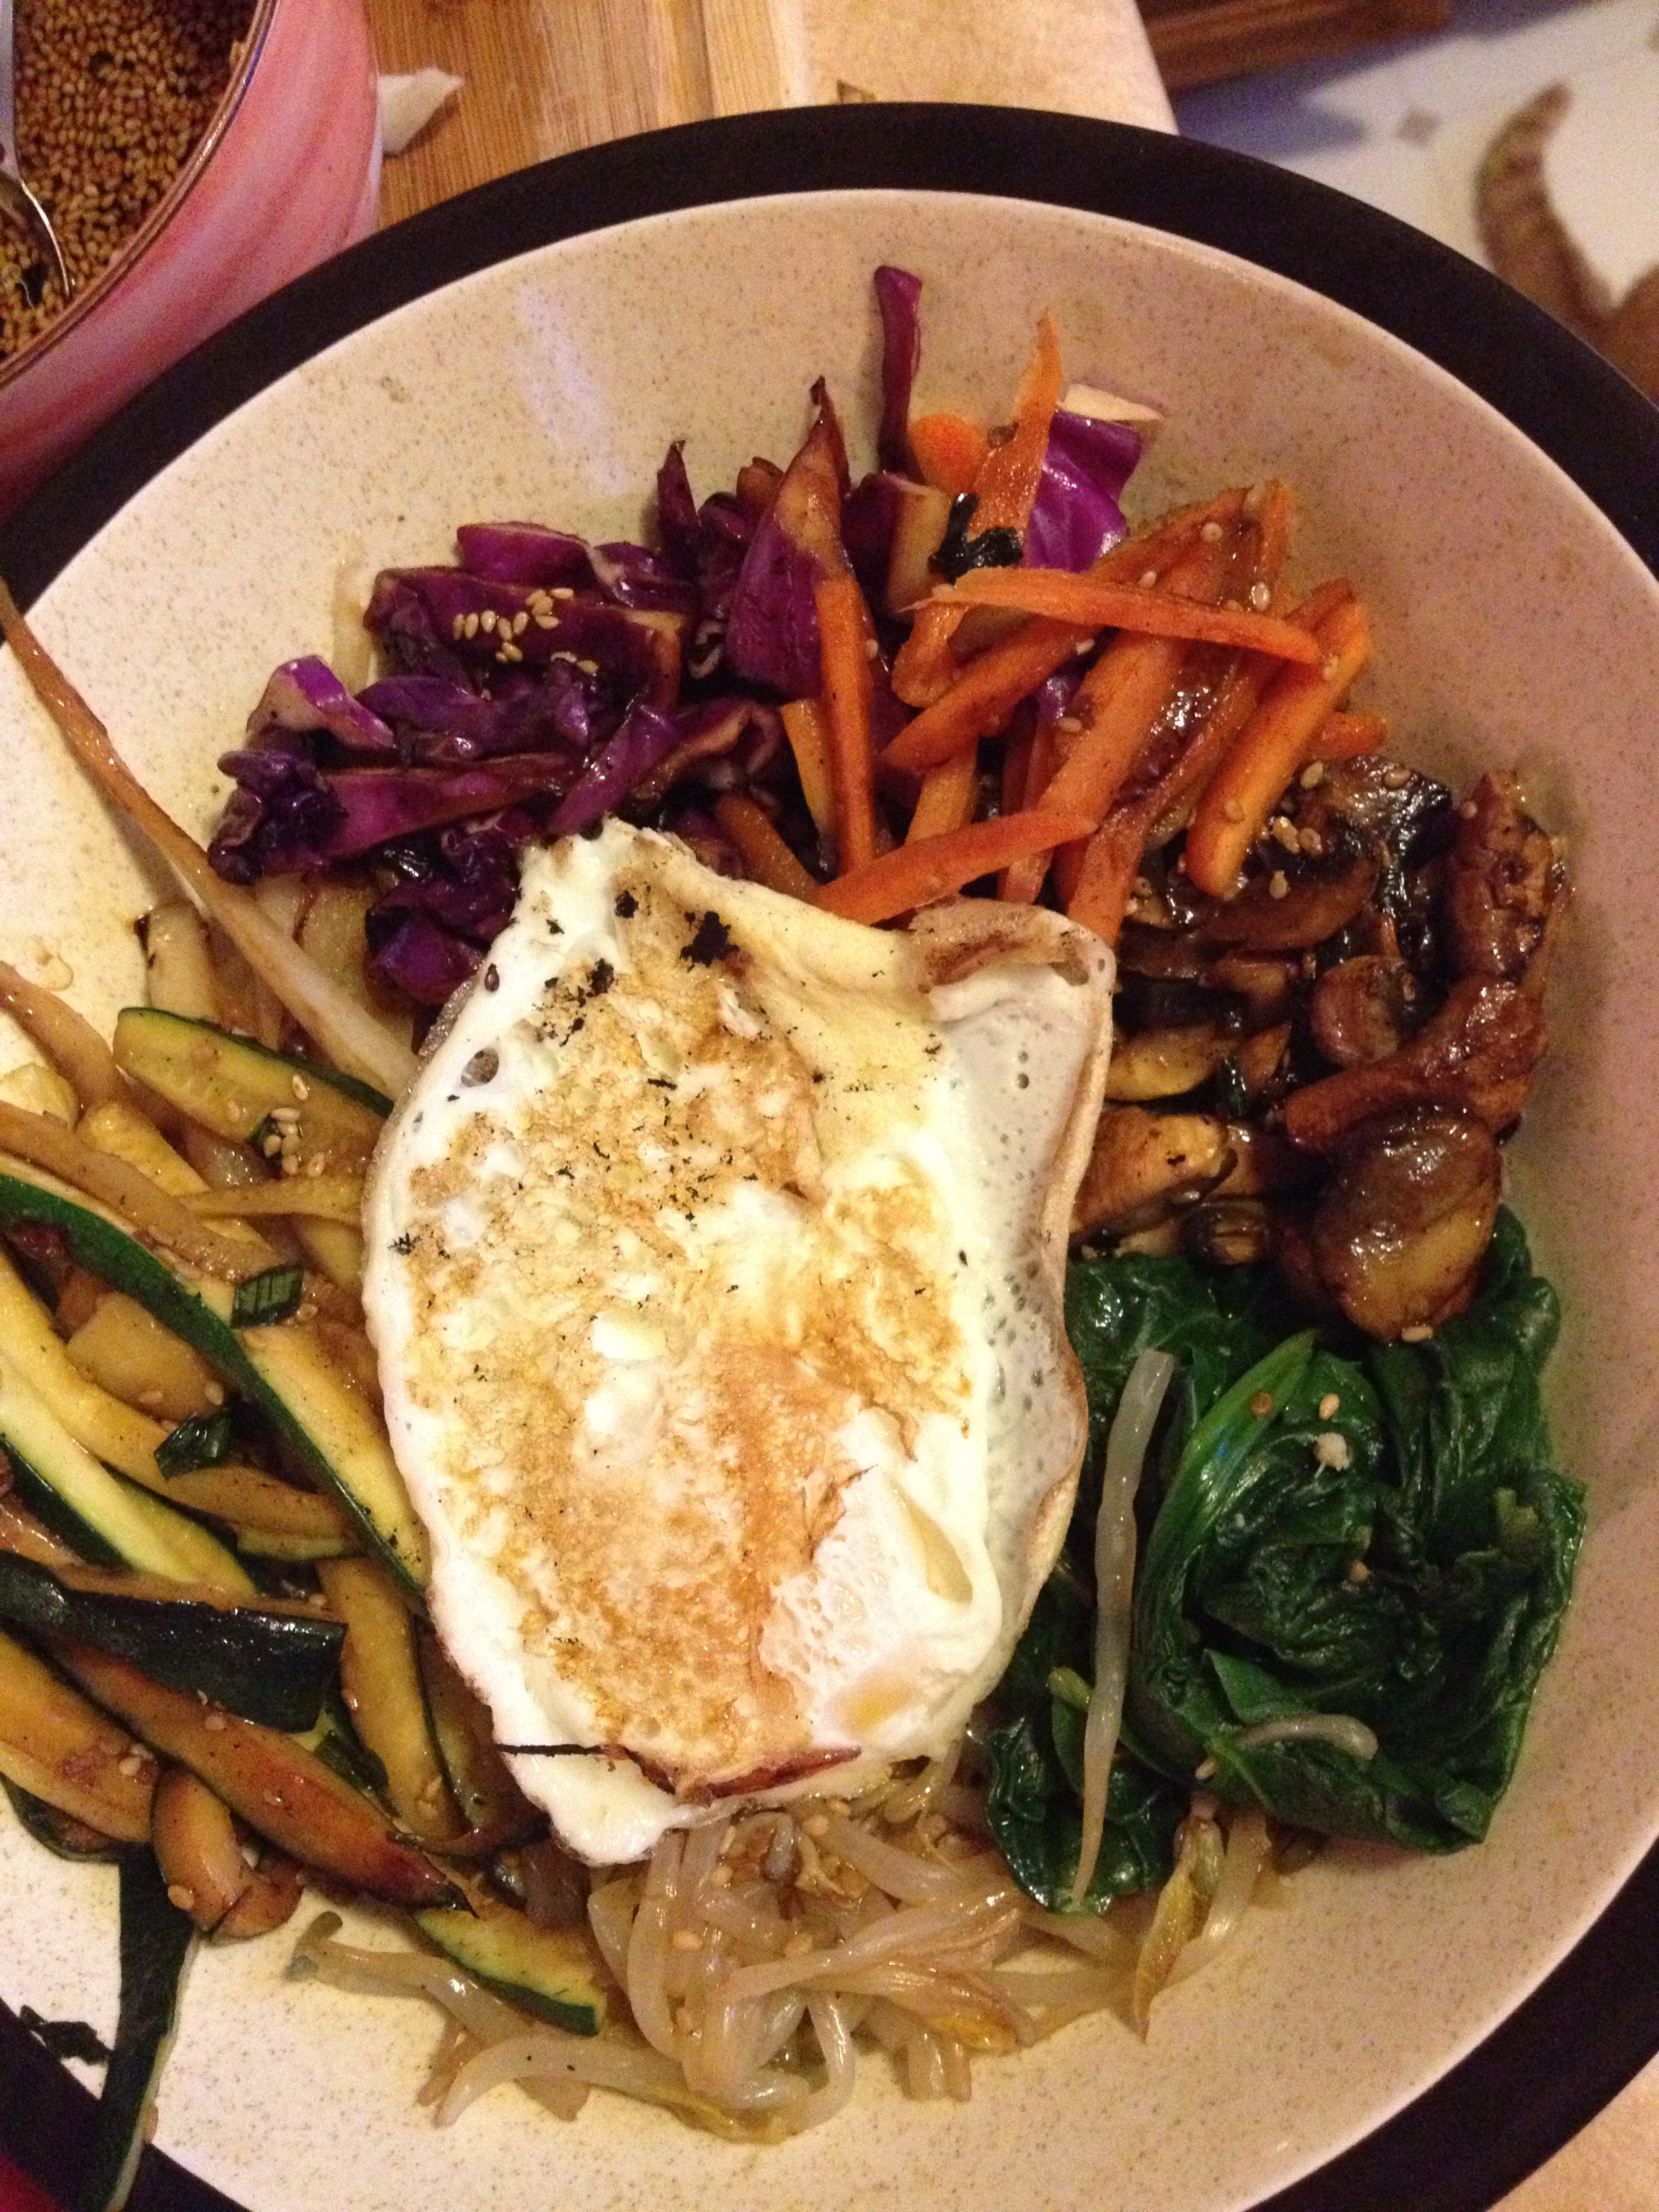
photo 3 (1)

You can really make it your own, using a variety of vegetables and proteins. I used this recipe and this one as well, deciding from each what I wanted to do. Chris had a so-so day so I wanted to surprise him with a Korean dinner that he would really enjoy. Now that I know how to do it from heart, I believe I will be doing this on the regular (I know that makes Chris happy).

  • Prep Time (for n00bs like me): 20-40 minutes
  • Cook Time: 20 minutes
  • Serves: 2.5 normal people (Chris isn’t normal)

It may seem like a lot of ingredients, but it really is a simple dish once you get the hang of it. Let’s first start off with a special sauce that is for non-spice people (Chris unfortunately can’t have spice). It’s easy and delicious.

Ingredients

  • 4 green onions
  • 1/4 cup soy sauce
  • 1 tbsp sesame seeds
  • 2 tsp brown sugar
  • 1 tsp sesame teriyaki 
  • 1 clove minced garlic 

Directions

  • Chop up the green onions and put into small bowl
  • Pour in the soy sauce
  • Mix in the rest of the ingredients. Stir well
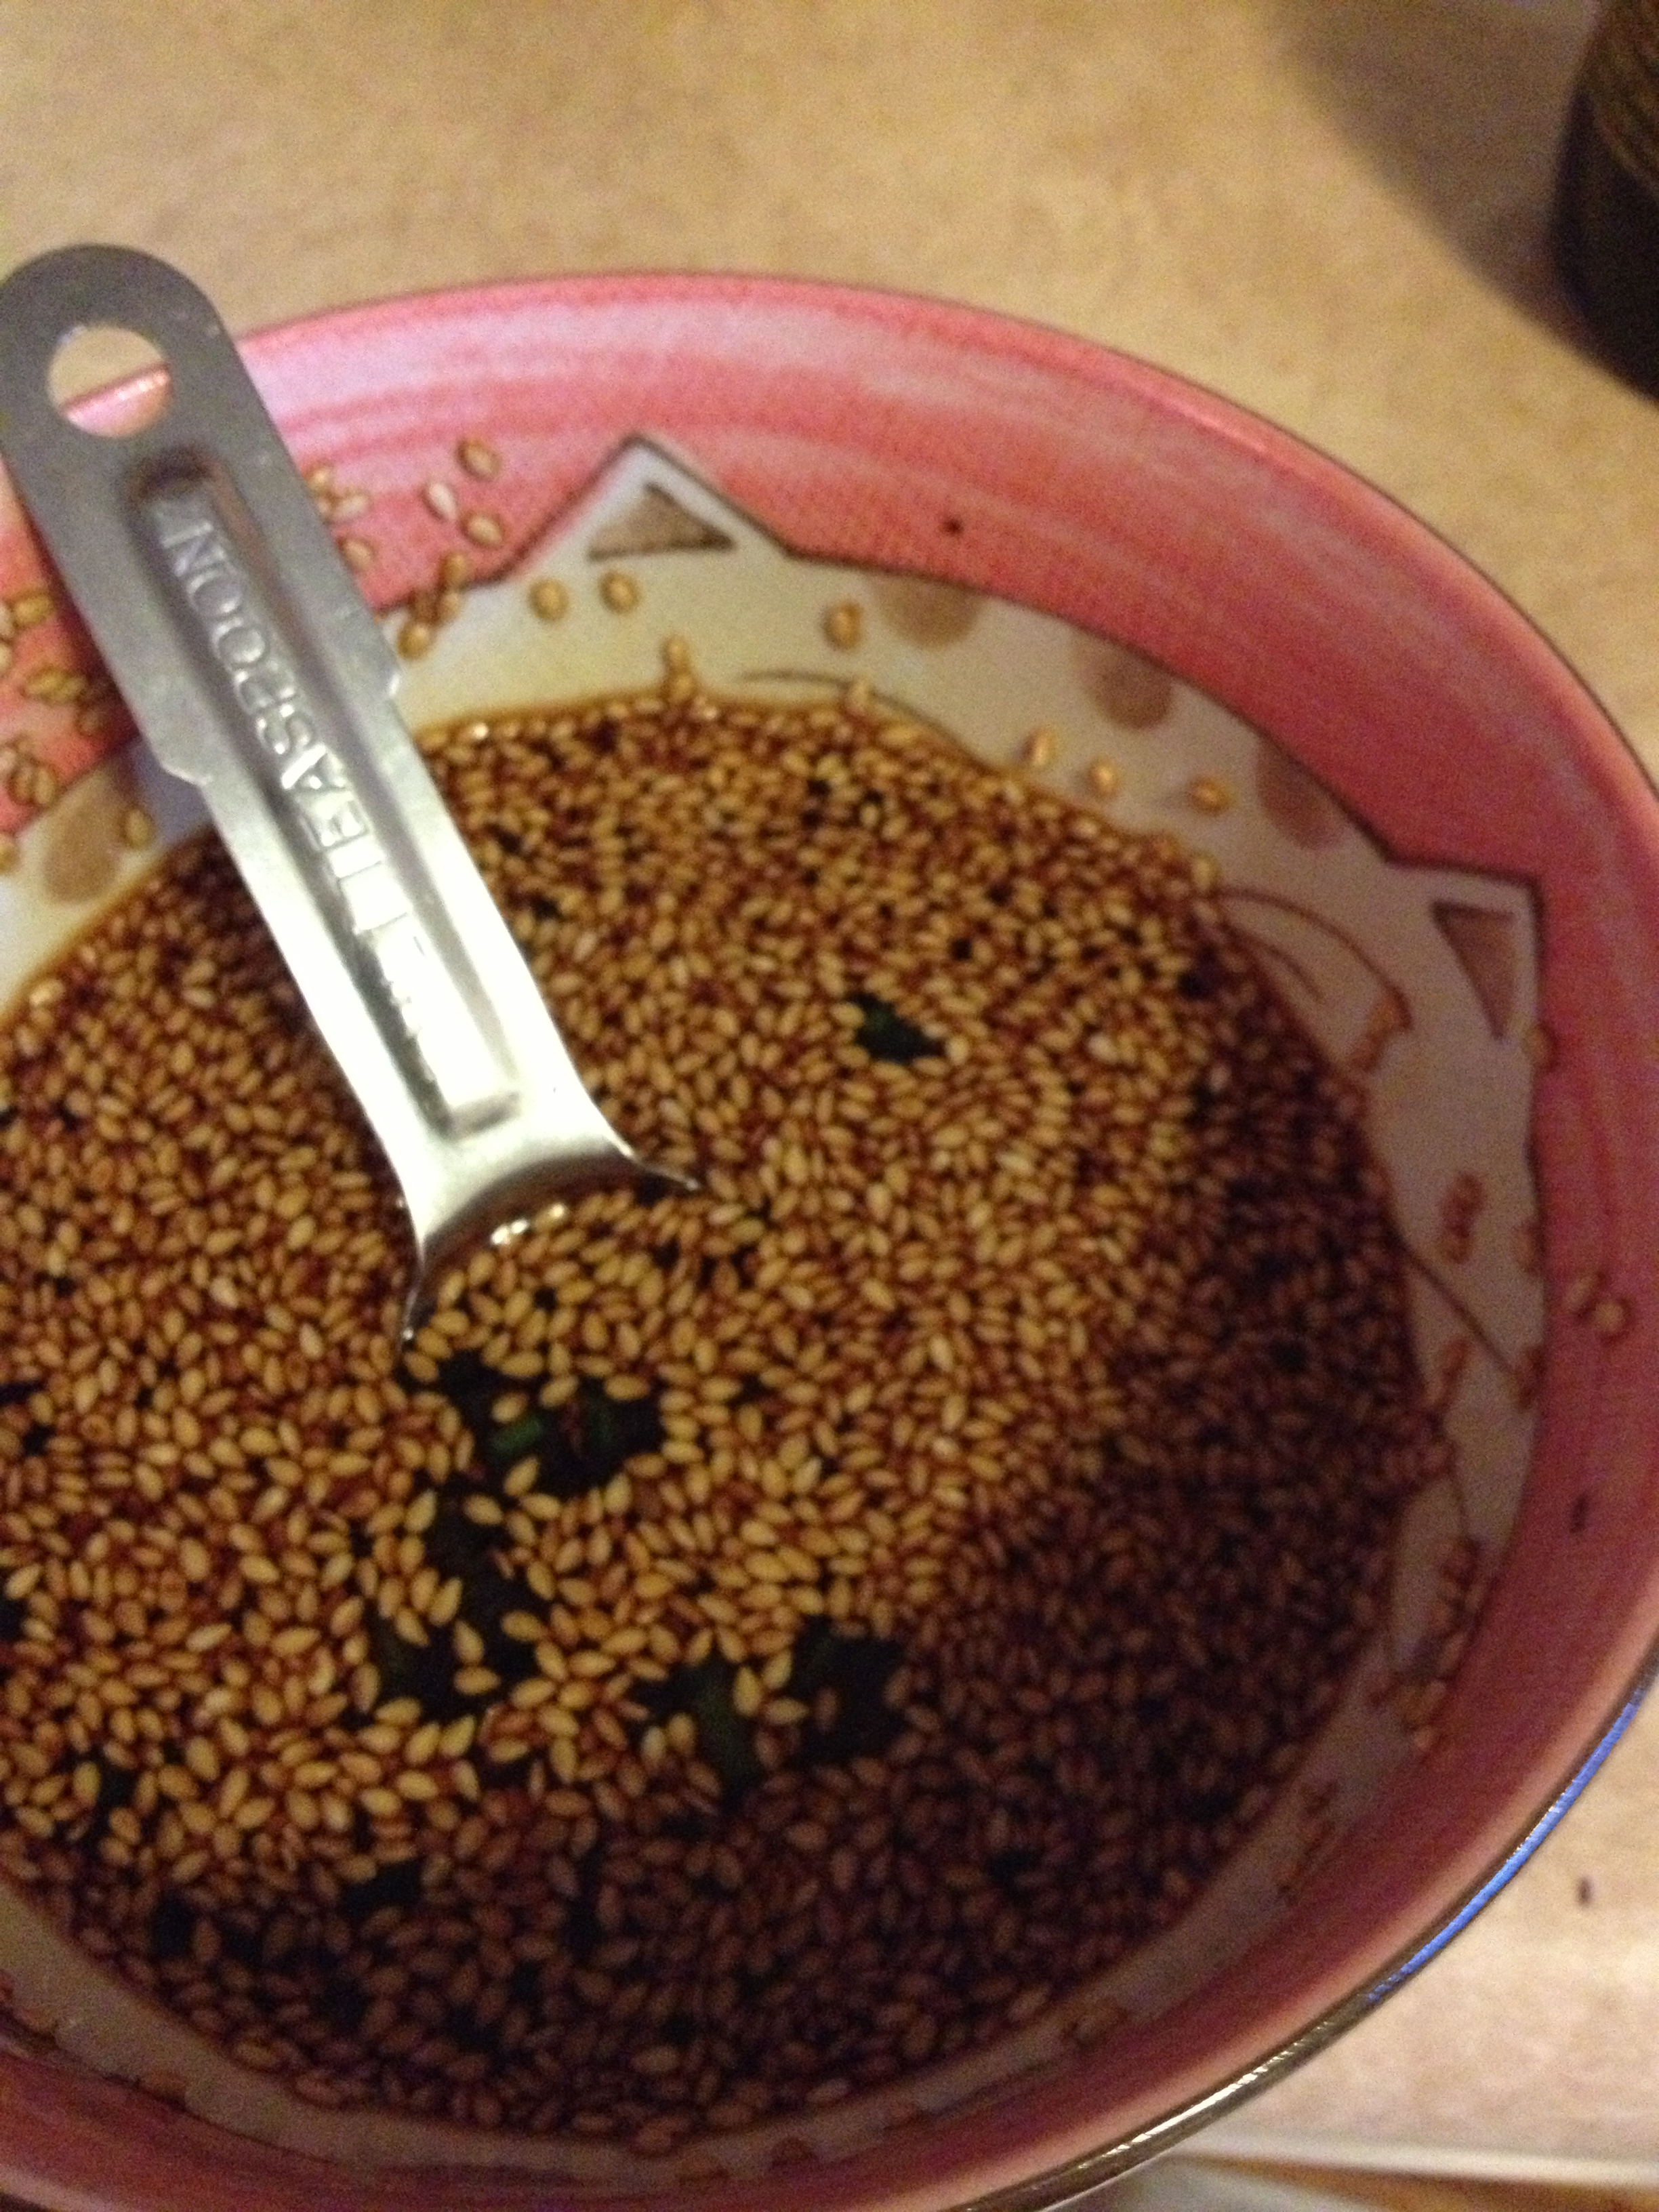
photo 4

Now onto the good stuff– the bibimbap!

Ingredients

  • red cabbage
  • 2 small zucchini
  • bag of bean sprouts
  • spinach
  • 1 cup (uncooked) rice
  • 5 mushrooms (any kind)
  • 4 baby carrots (you can use regular)
  • 2 eggs
  • 1 Korean radish
  • sesame seeds
  • soy sauce
  • sesame sauce
  • garlic
  • salt and pepper

Directions

  • First off, I didn’t include cooking time of the rice. I did a running and core workout, so before I started that, I put the rice on ahead of time. DO THIS
  • Rinse your bean sprouts and cook them in hot water for 20 minutes. Drain them and season them with your special sauce and some salt
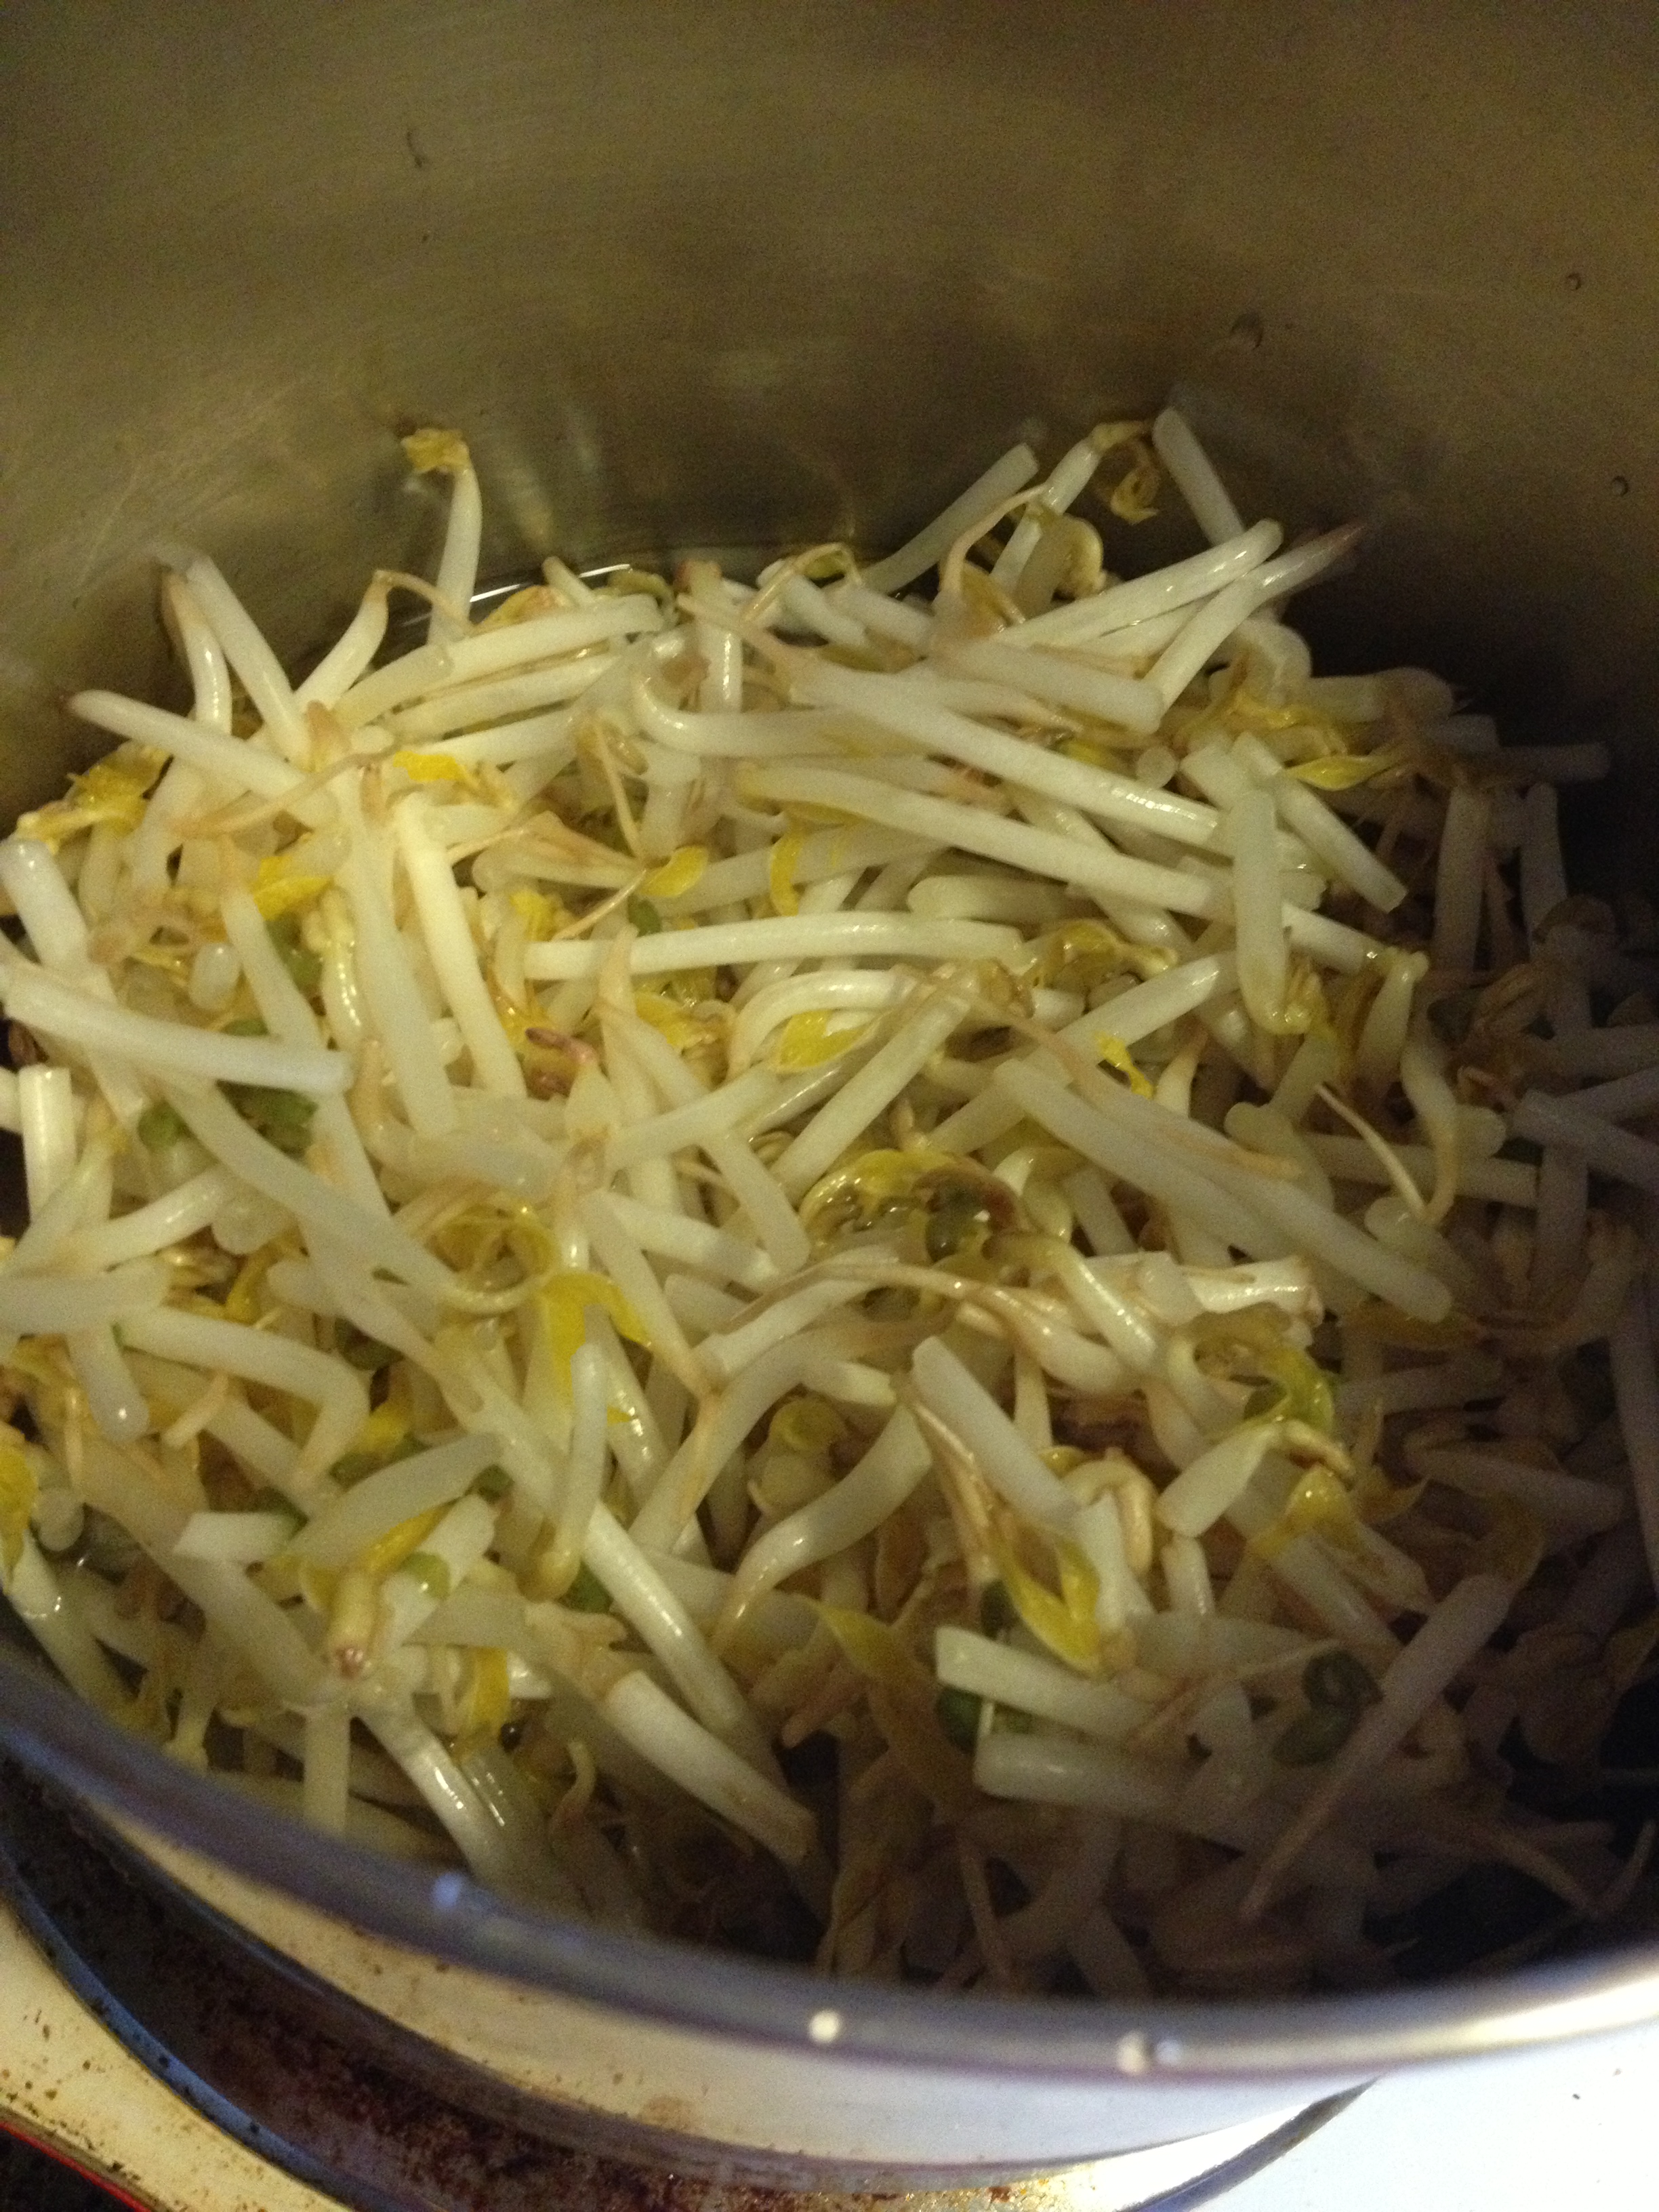
photo 1

  • Bring a pot of water to a boil (doesn’t need to be much water). Grab your spinach (whether it be a bunch or separate leaves) and put into boiling water for 1 minute. Take out and drain, run cold water over it, wring it out, then season with salt and sauce.
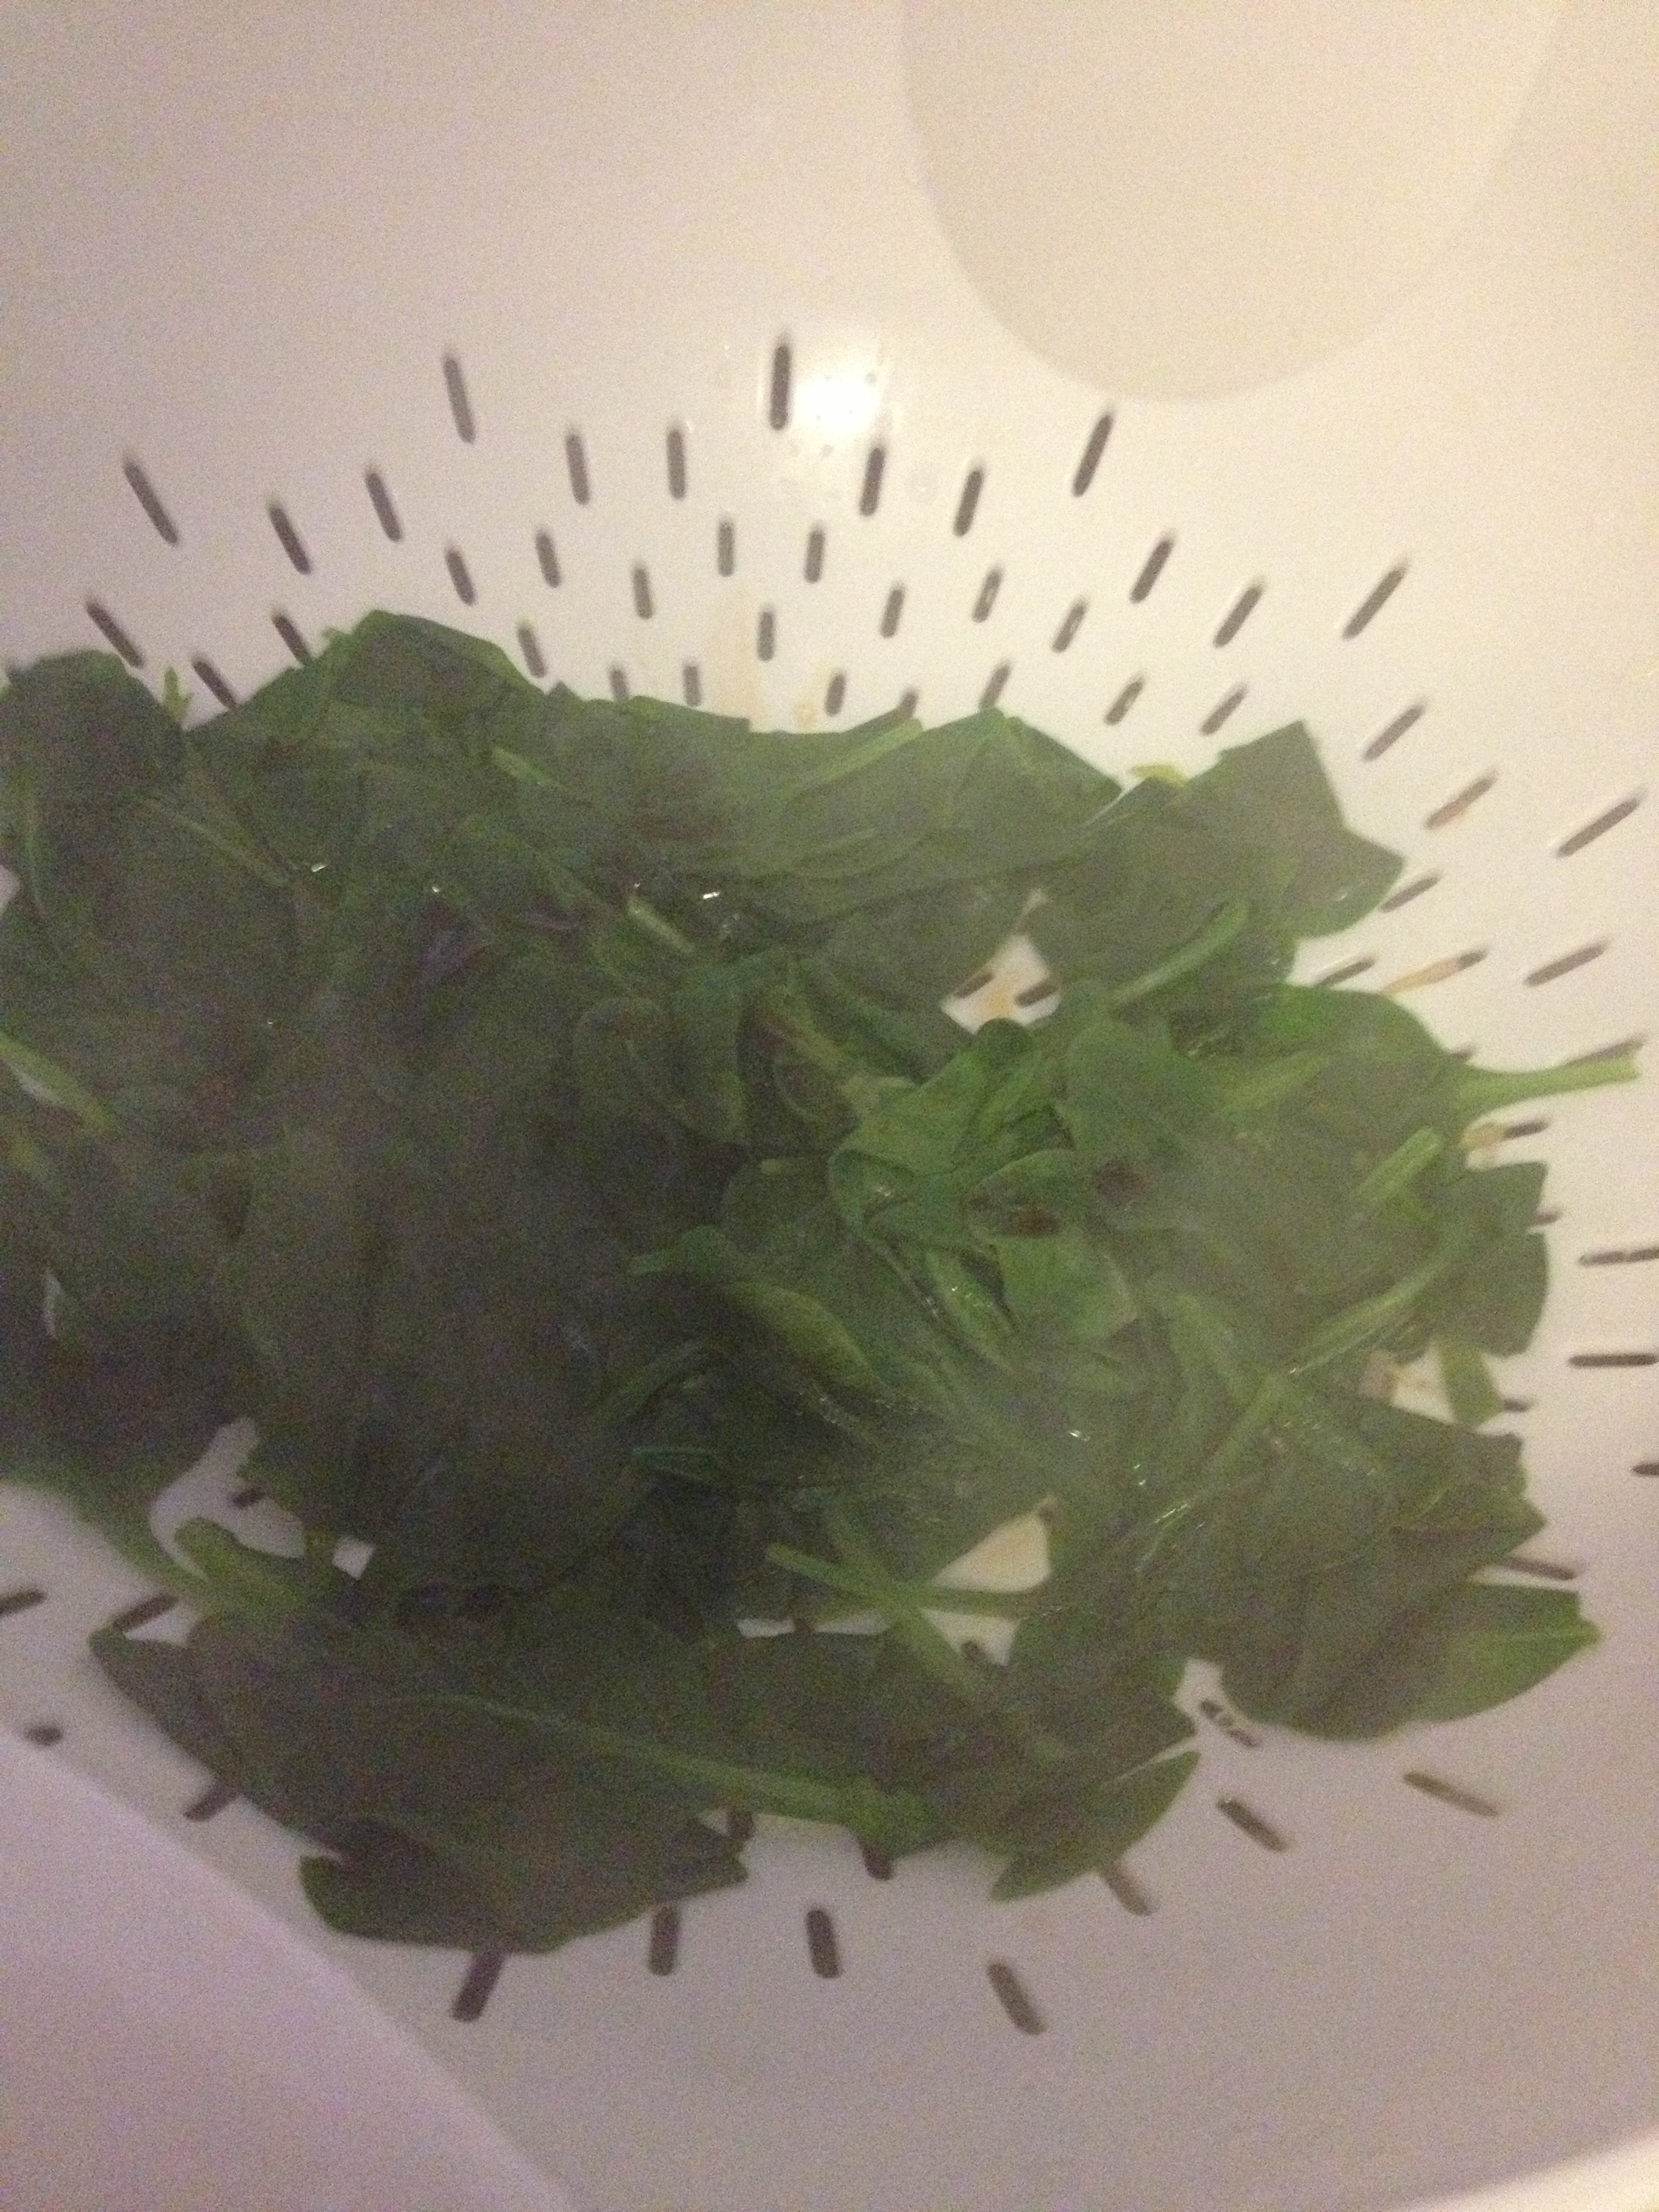
photo 2

  • Cut all your veggies into thin slices and sprinkle salt over  
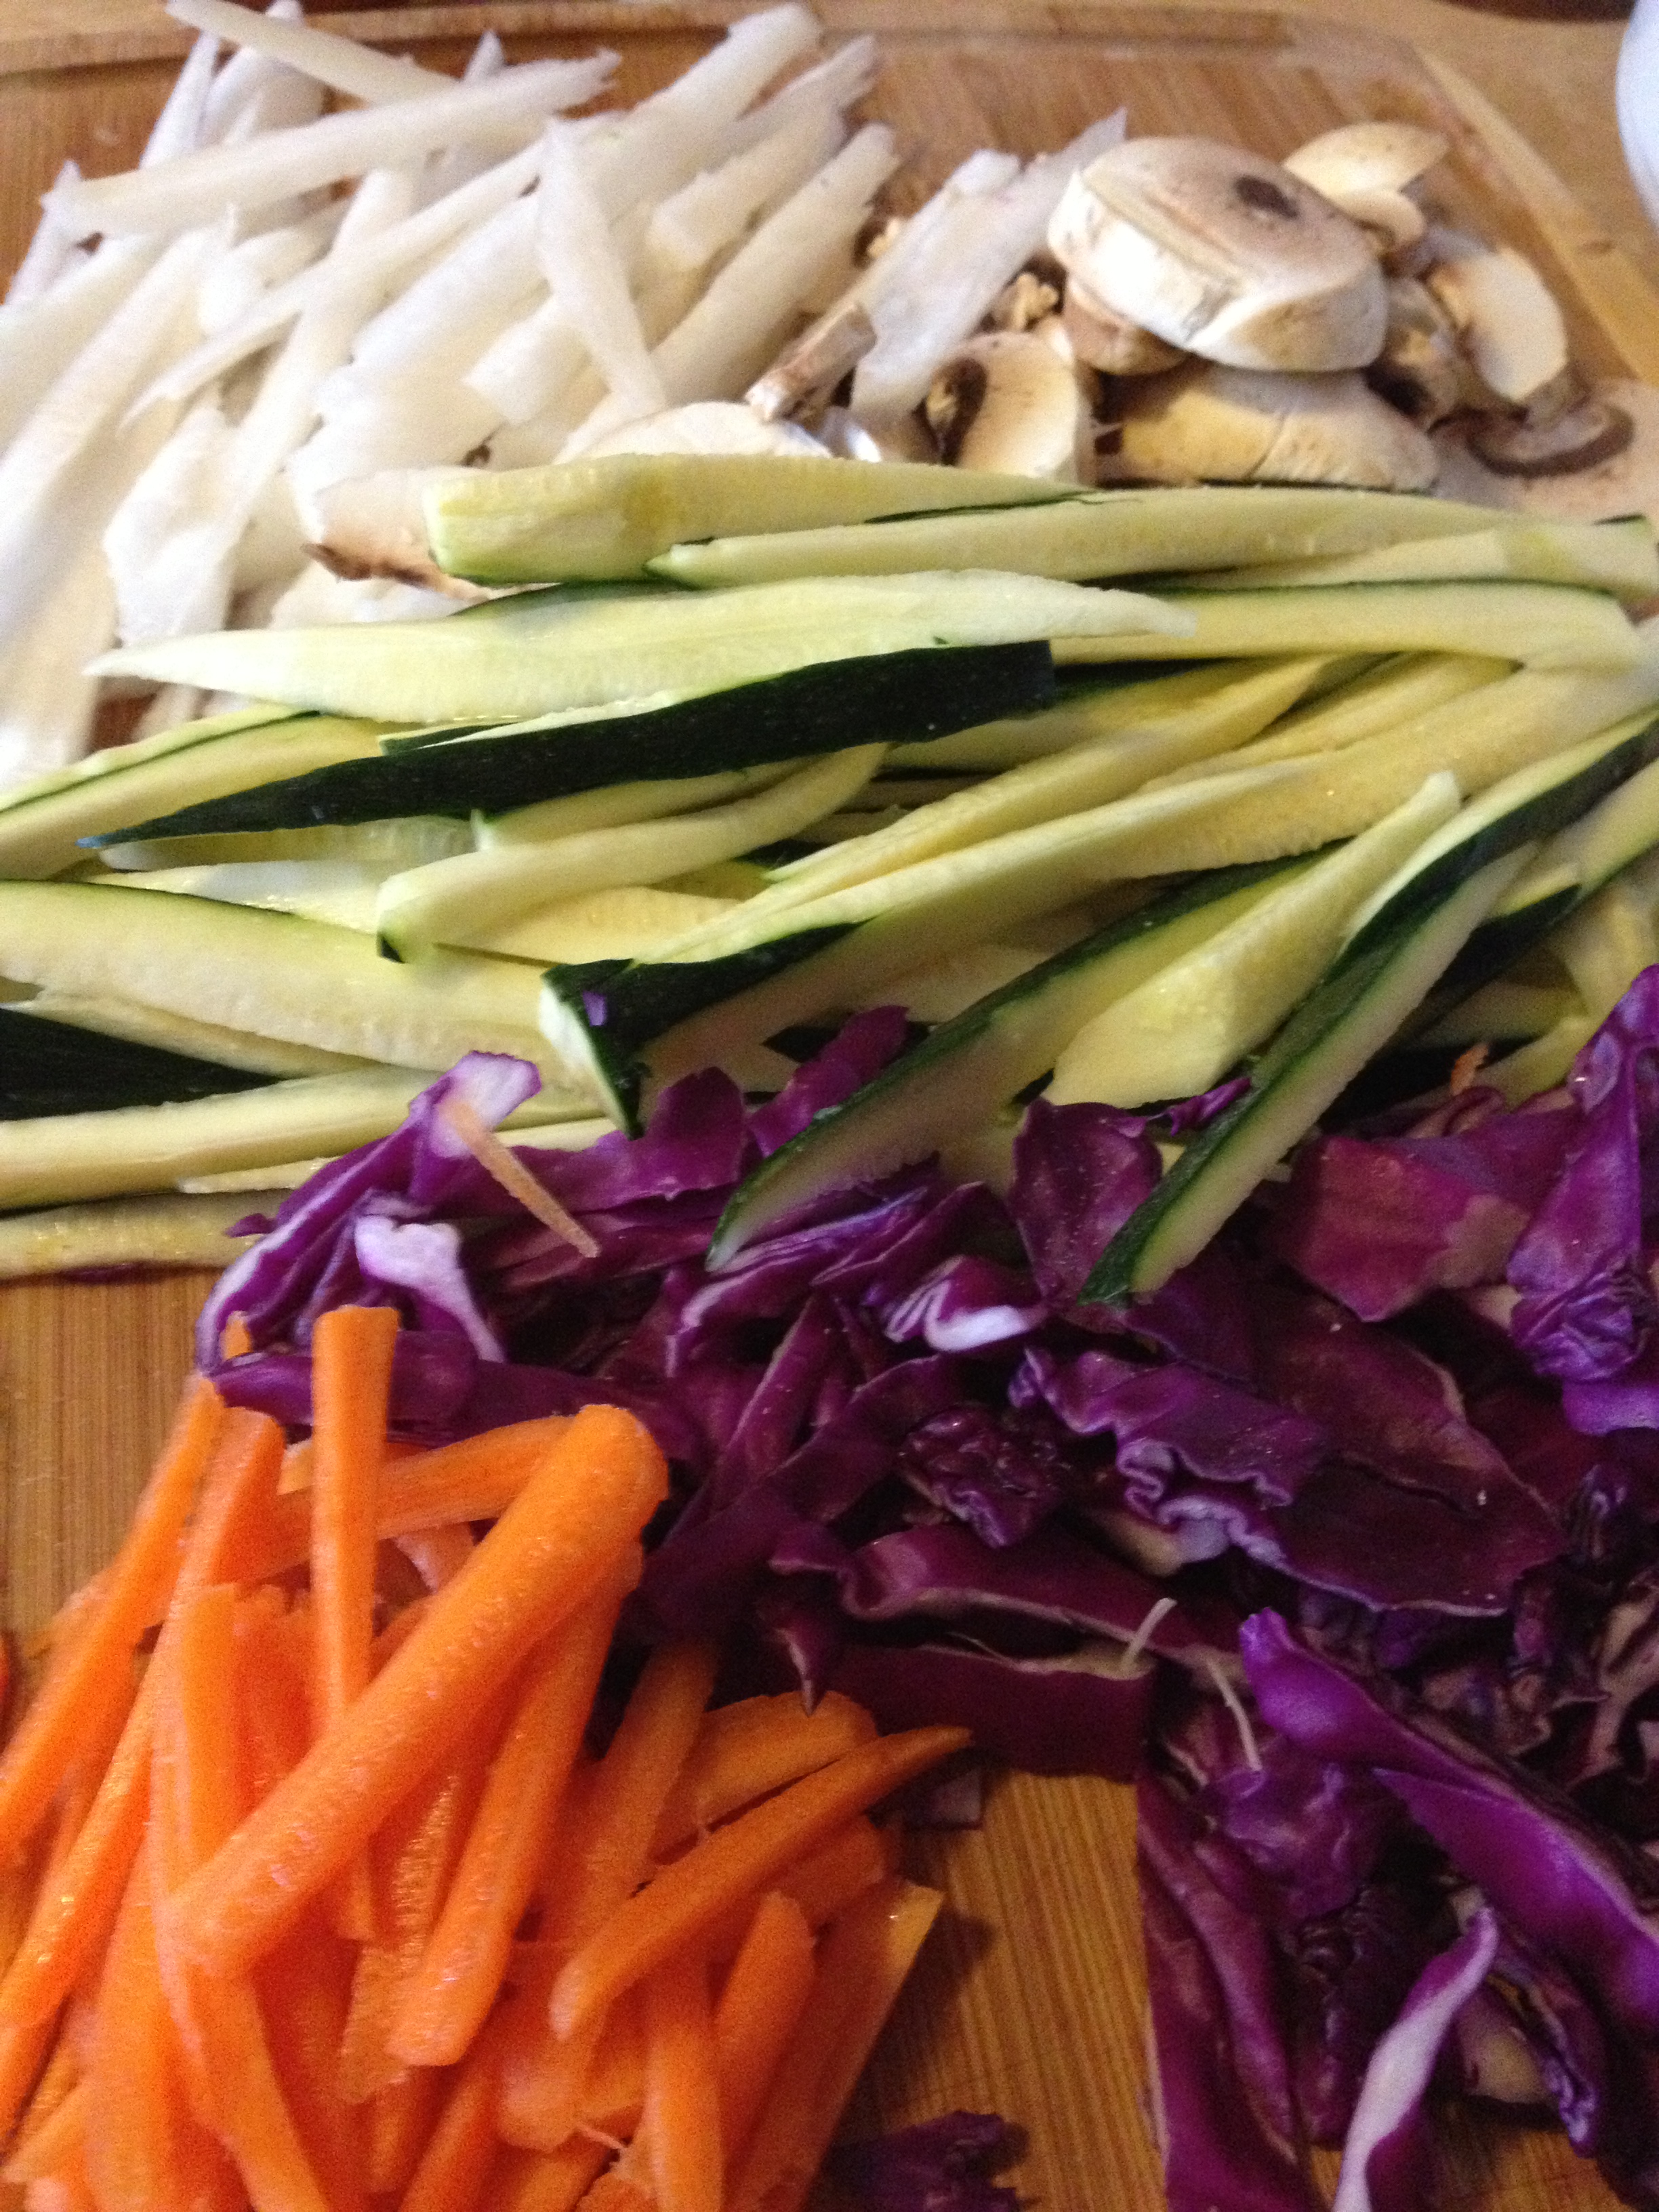
photo 3

  • Separately, saute each veggie one by one [except for carrots] in pan over medium-high heat. You can use oil and garlic, or use the special sauce we created earlier to season and wet them. You only need to cook them for a few minutes to heat them up and infuse them with flavor.
  • You can either put them back on the cutting board OR have the rice ready in a wide bowl. Place the veggies in a circular fashion on the rice, leaving the middle open
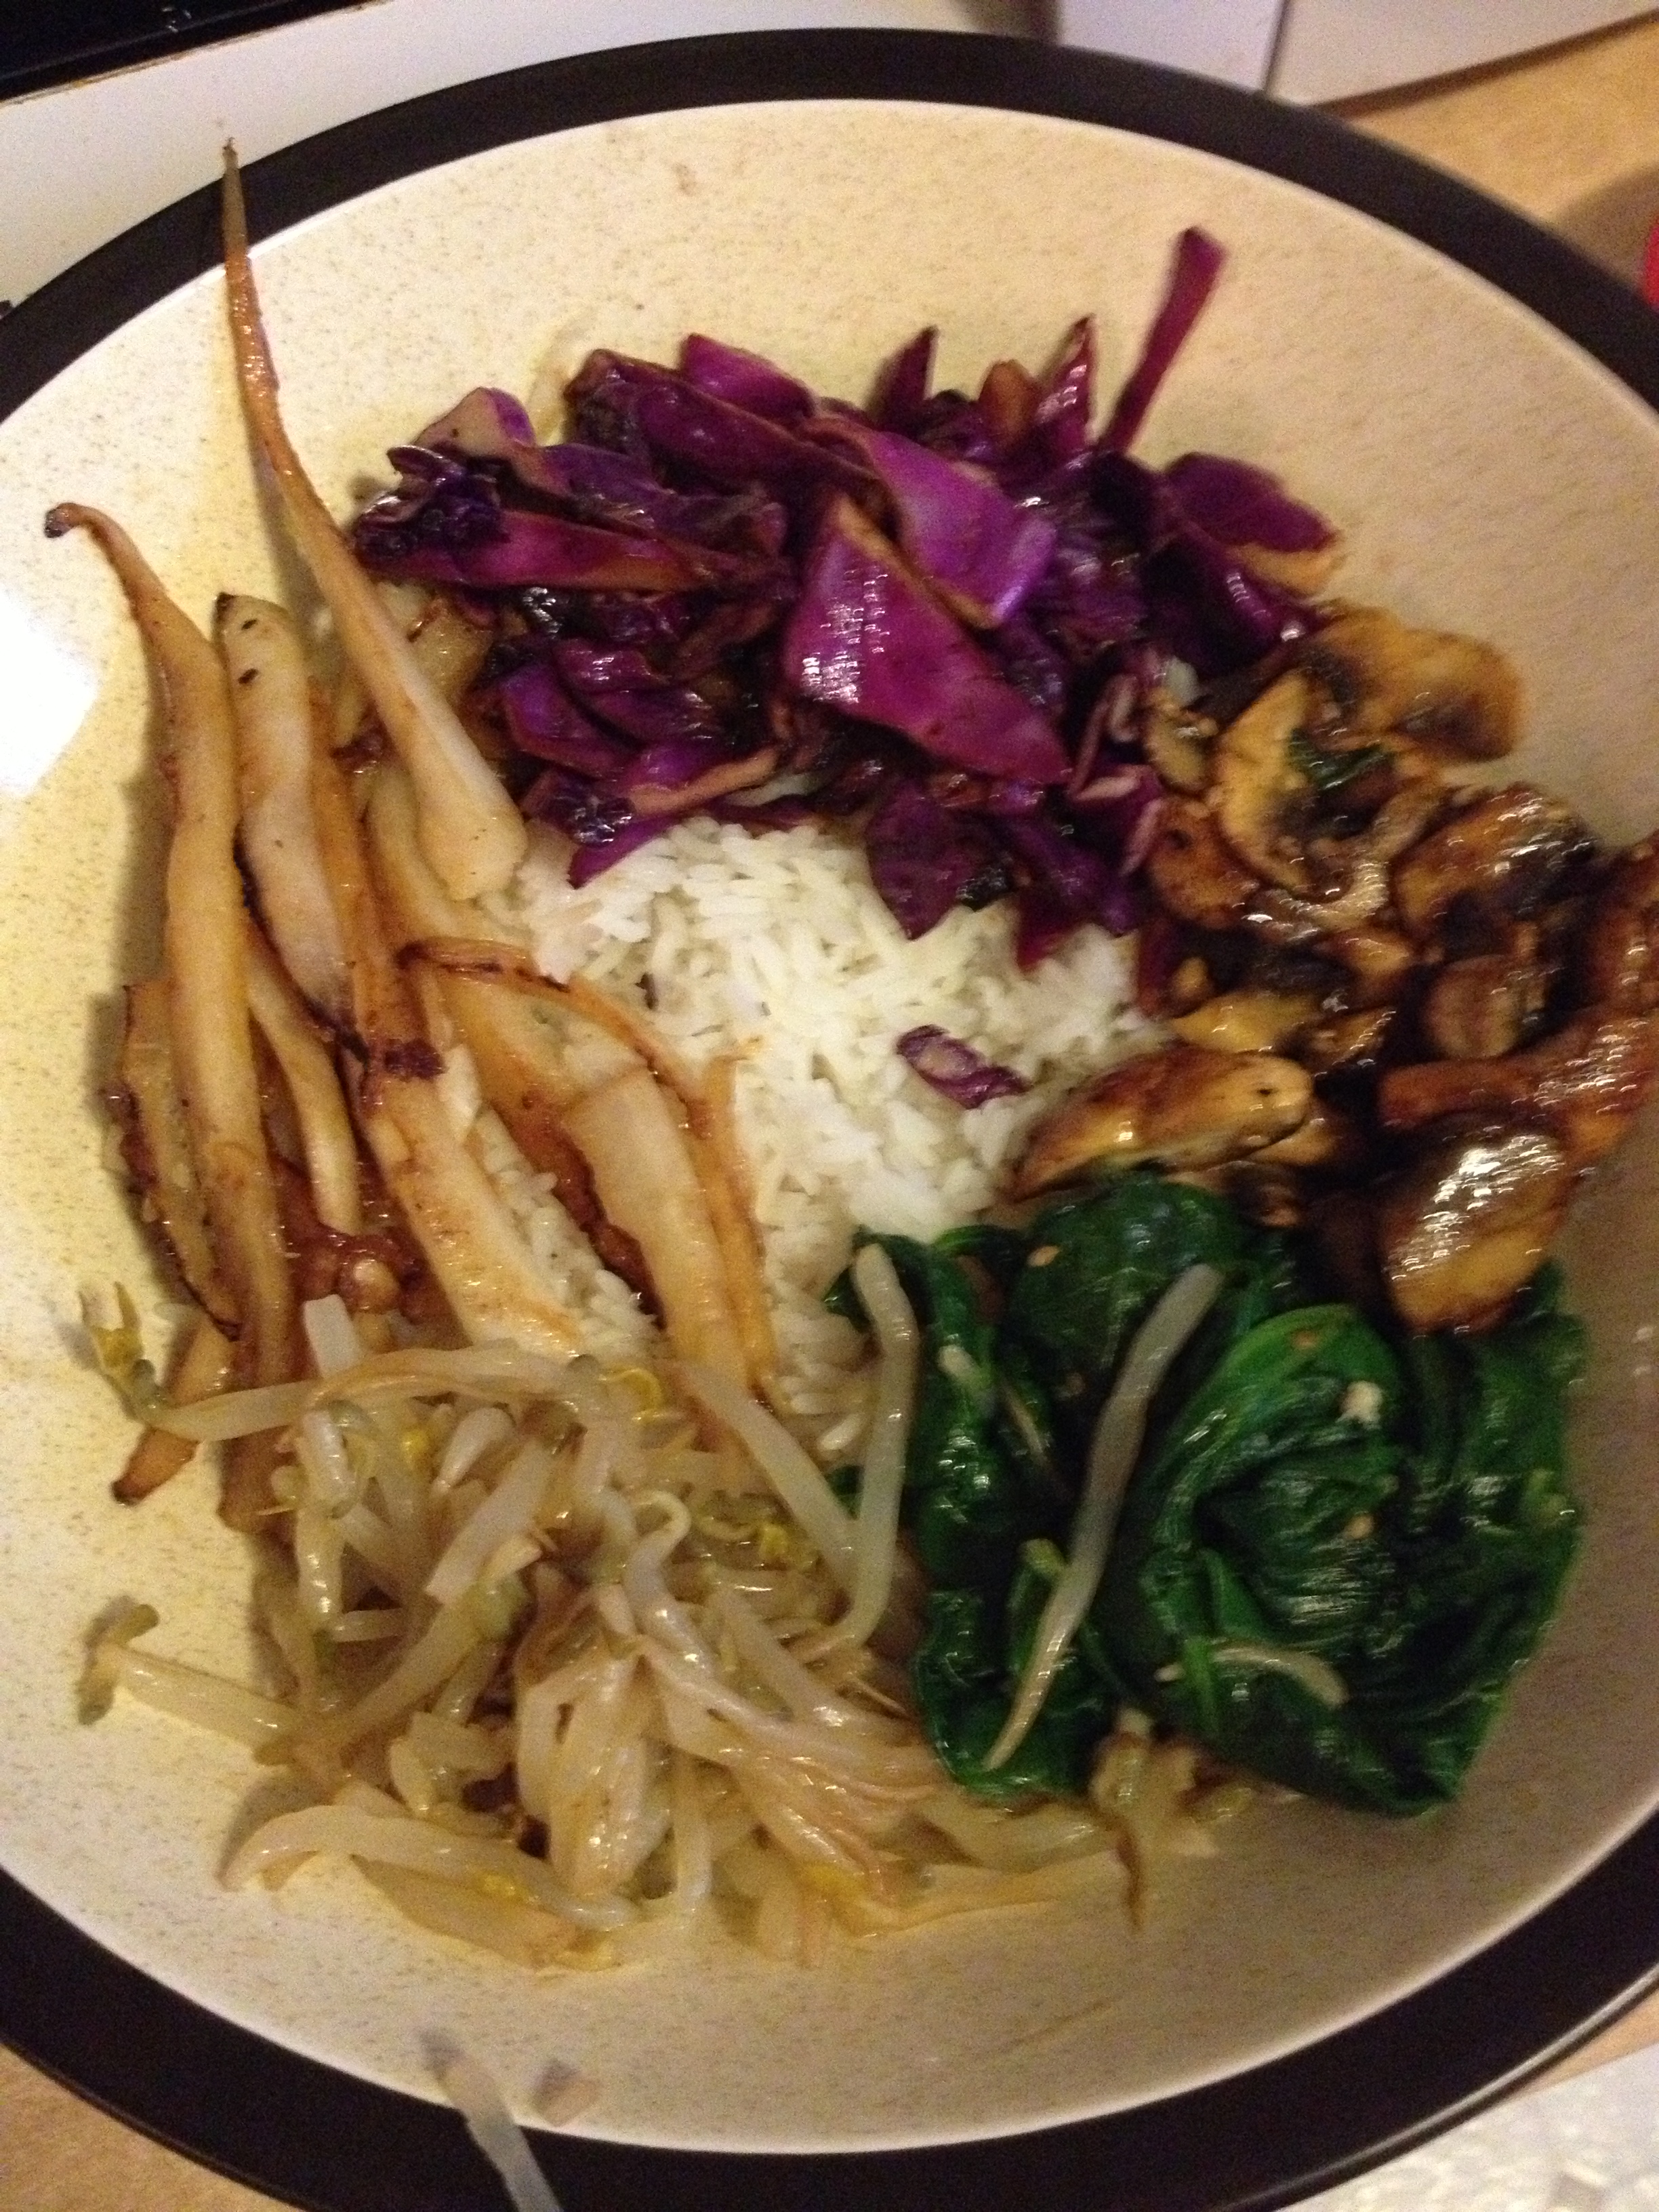
Waiting for a few more ingredients..

Waiting for a few more ingredients..

  • For the carrots, just throw them in the hot pan for 30 seconds, so that they’re still crisp
  • For the last ingredient, throw your egg (or eggs if you’re making for two or more people) in the pan on medium heat. You want to cook it sunny side up (over easy). Put the egg in the middle
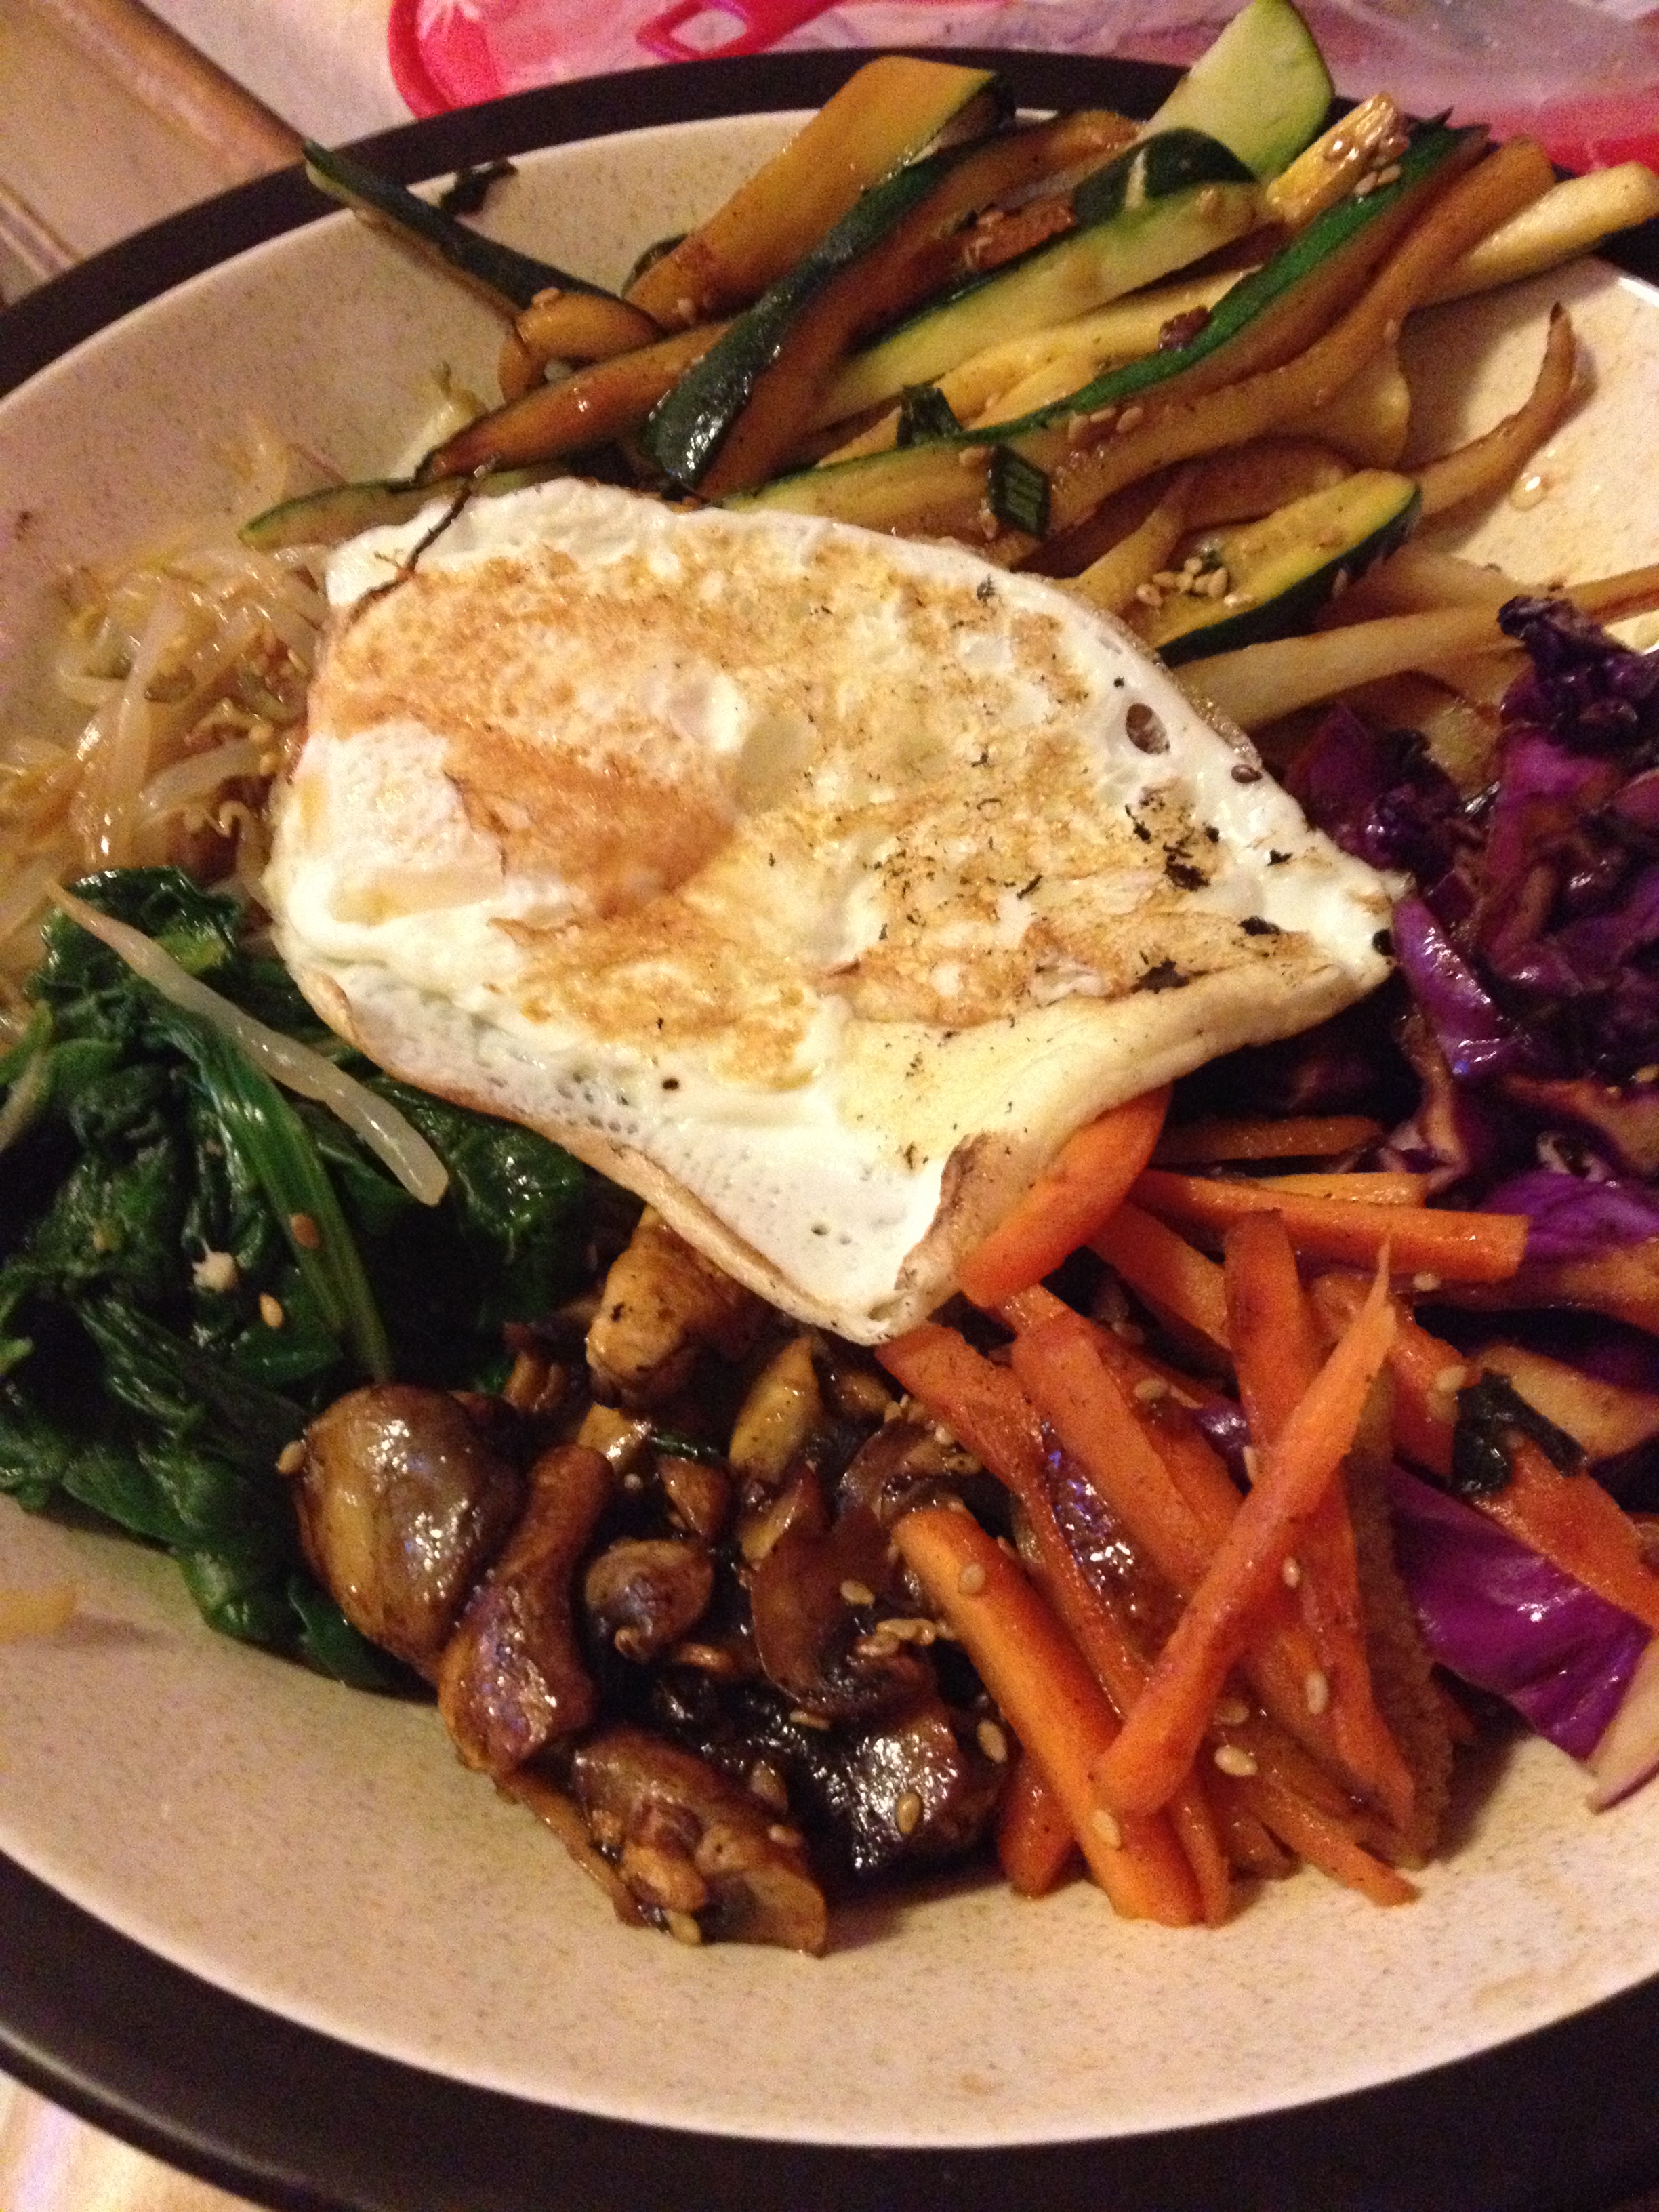
Ready to be eaten

Ready to be eaten

Pour the special sauce over the top for extra flavor. And that’s it! Not so hard, is it? It looks like a long list of ingredients, but once you get the hang of it, it can be done quickly (as I found out the next night–yes, I made this two nights in a row…red cabbage goes forever!). You can cycle a ton of different ingredients into this. Whatever you have or whatever is fresh at the market. Last night, I used green pepper, beets, and tofu as well as some from the night before.

A traditional way to do this is to serve it in a hot stone bowl, so that the rice gets crispy on the bottom. I did this style for Chris, but it was less attractive as it was a little too big. But that same fresh delicious FILLING flavor.
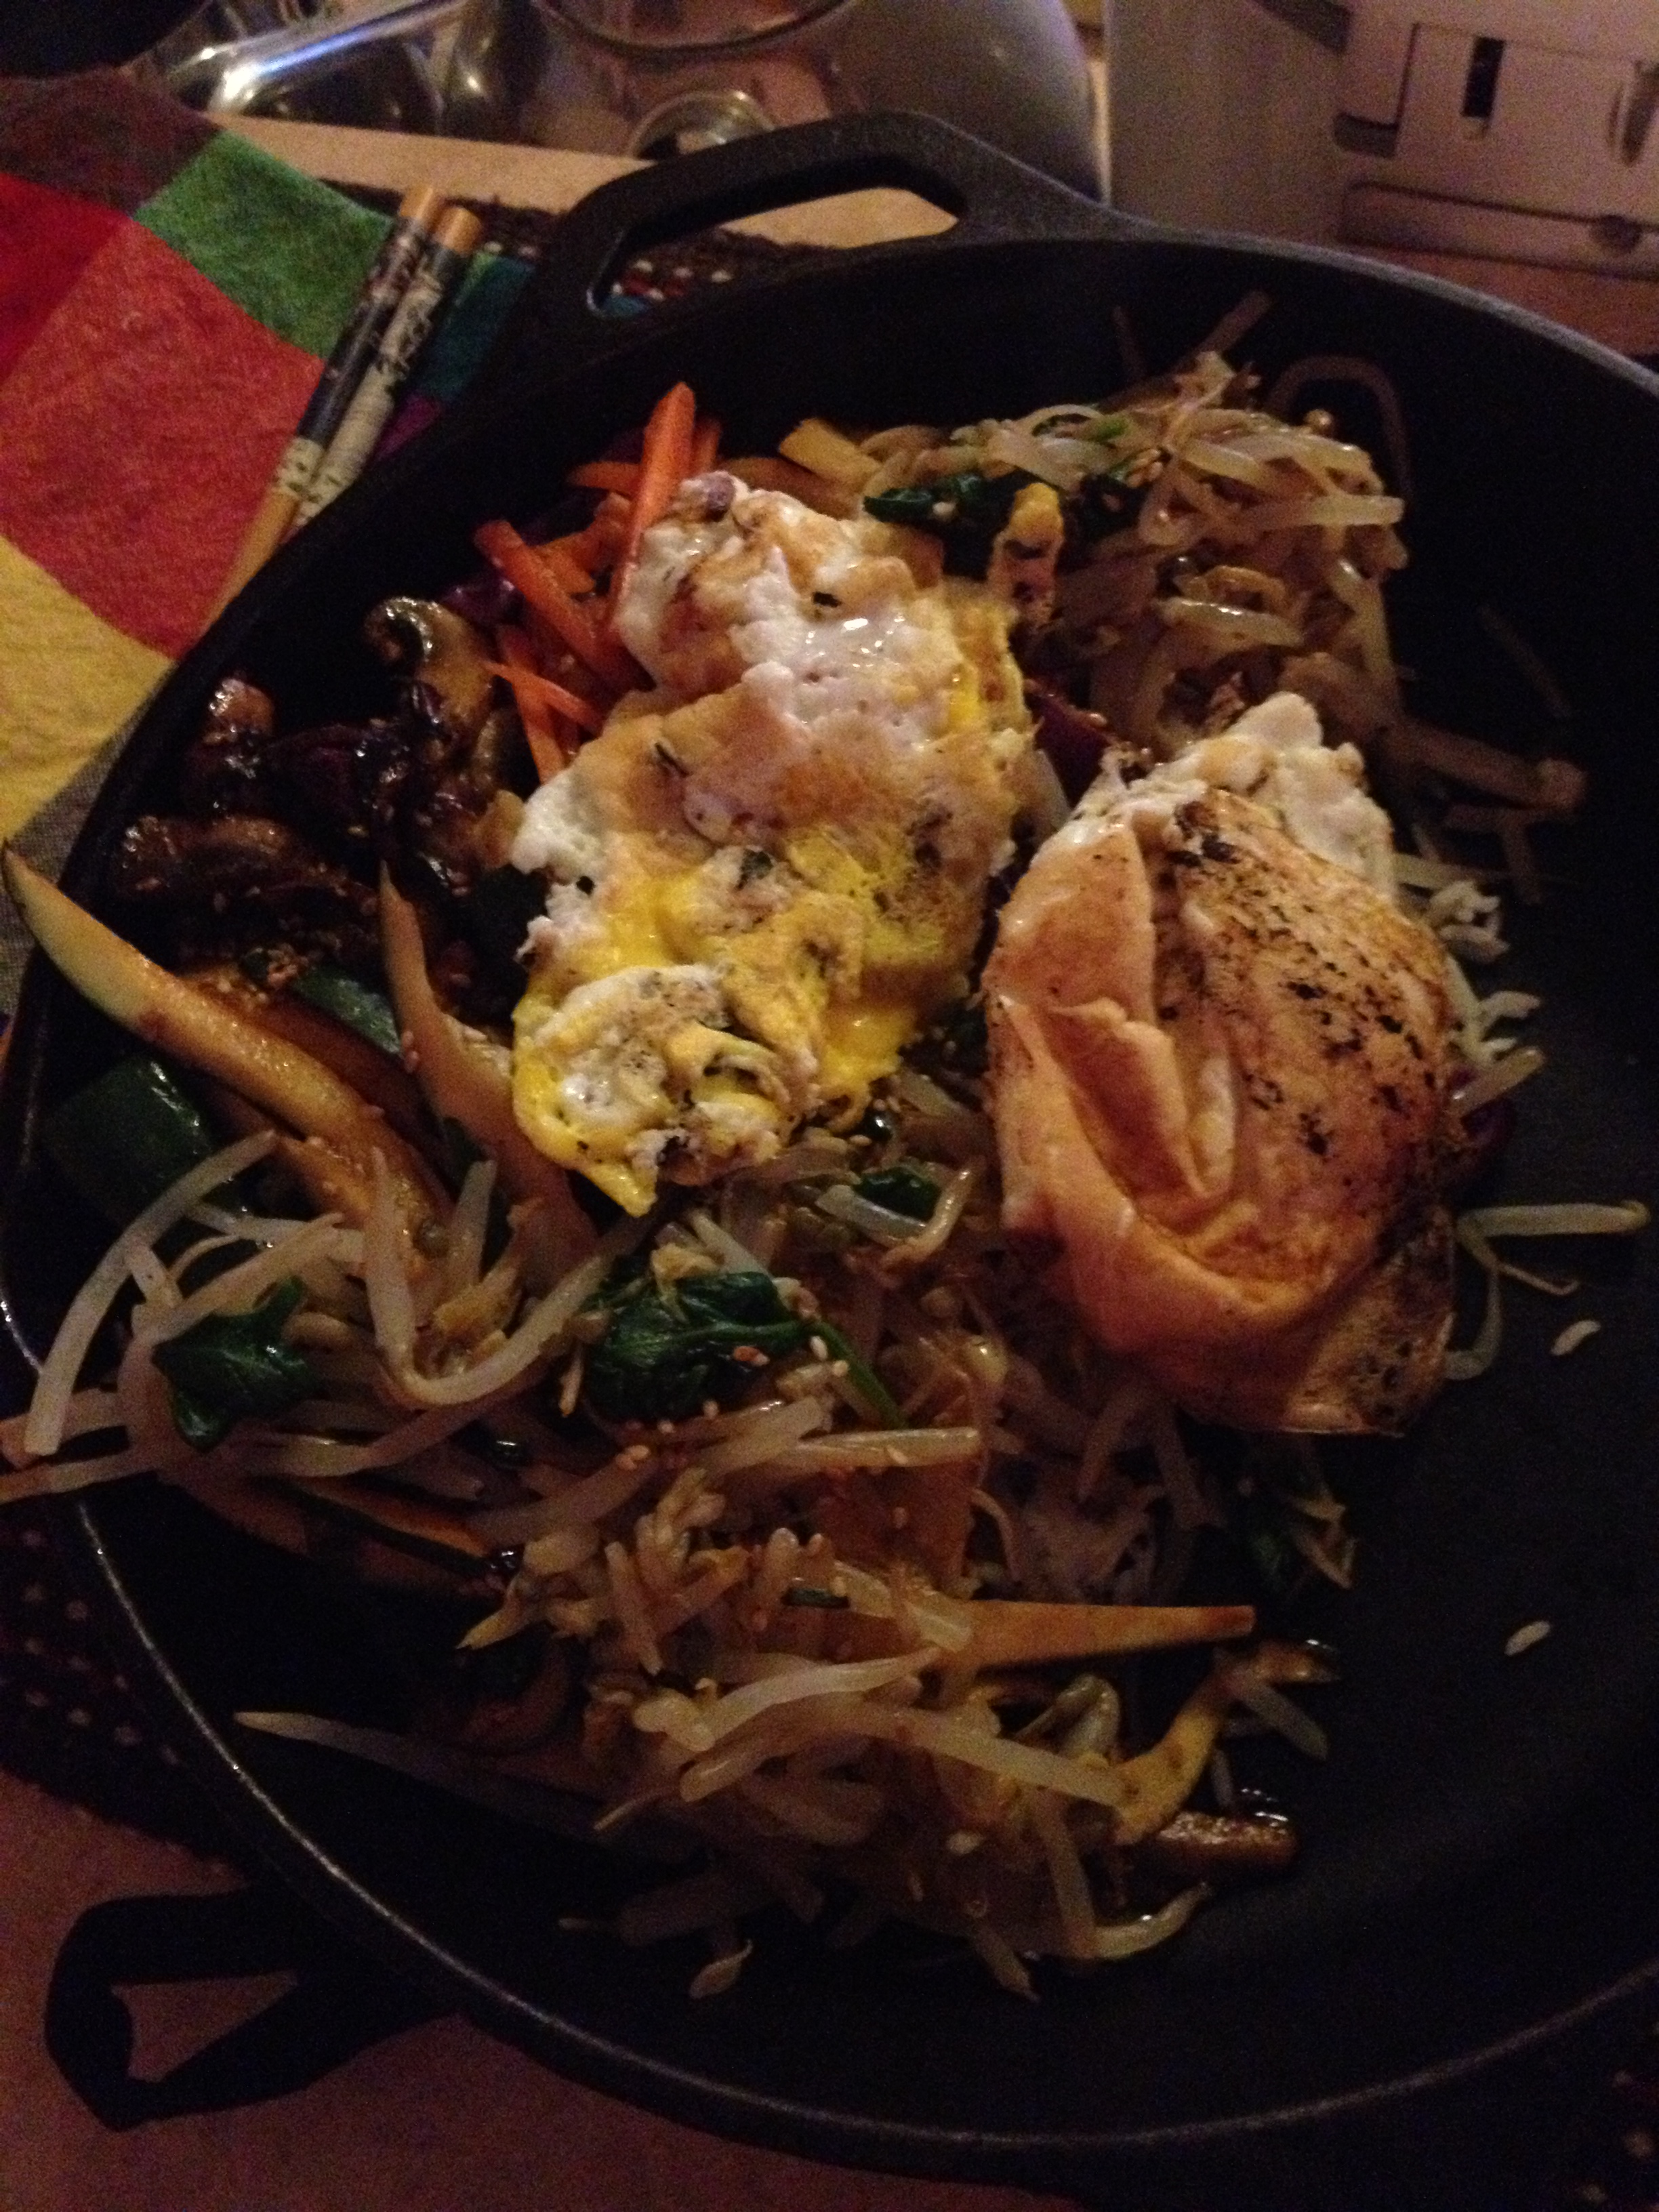
Chris' "plate"

Chris’ “plate”

It didn’t last long as we both dug in and watched Chopped All-Stars. I, of course, couldn’t finish it all so Chris ate his huge serving AND the rest of mine. Big surprise.
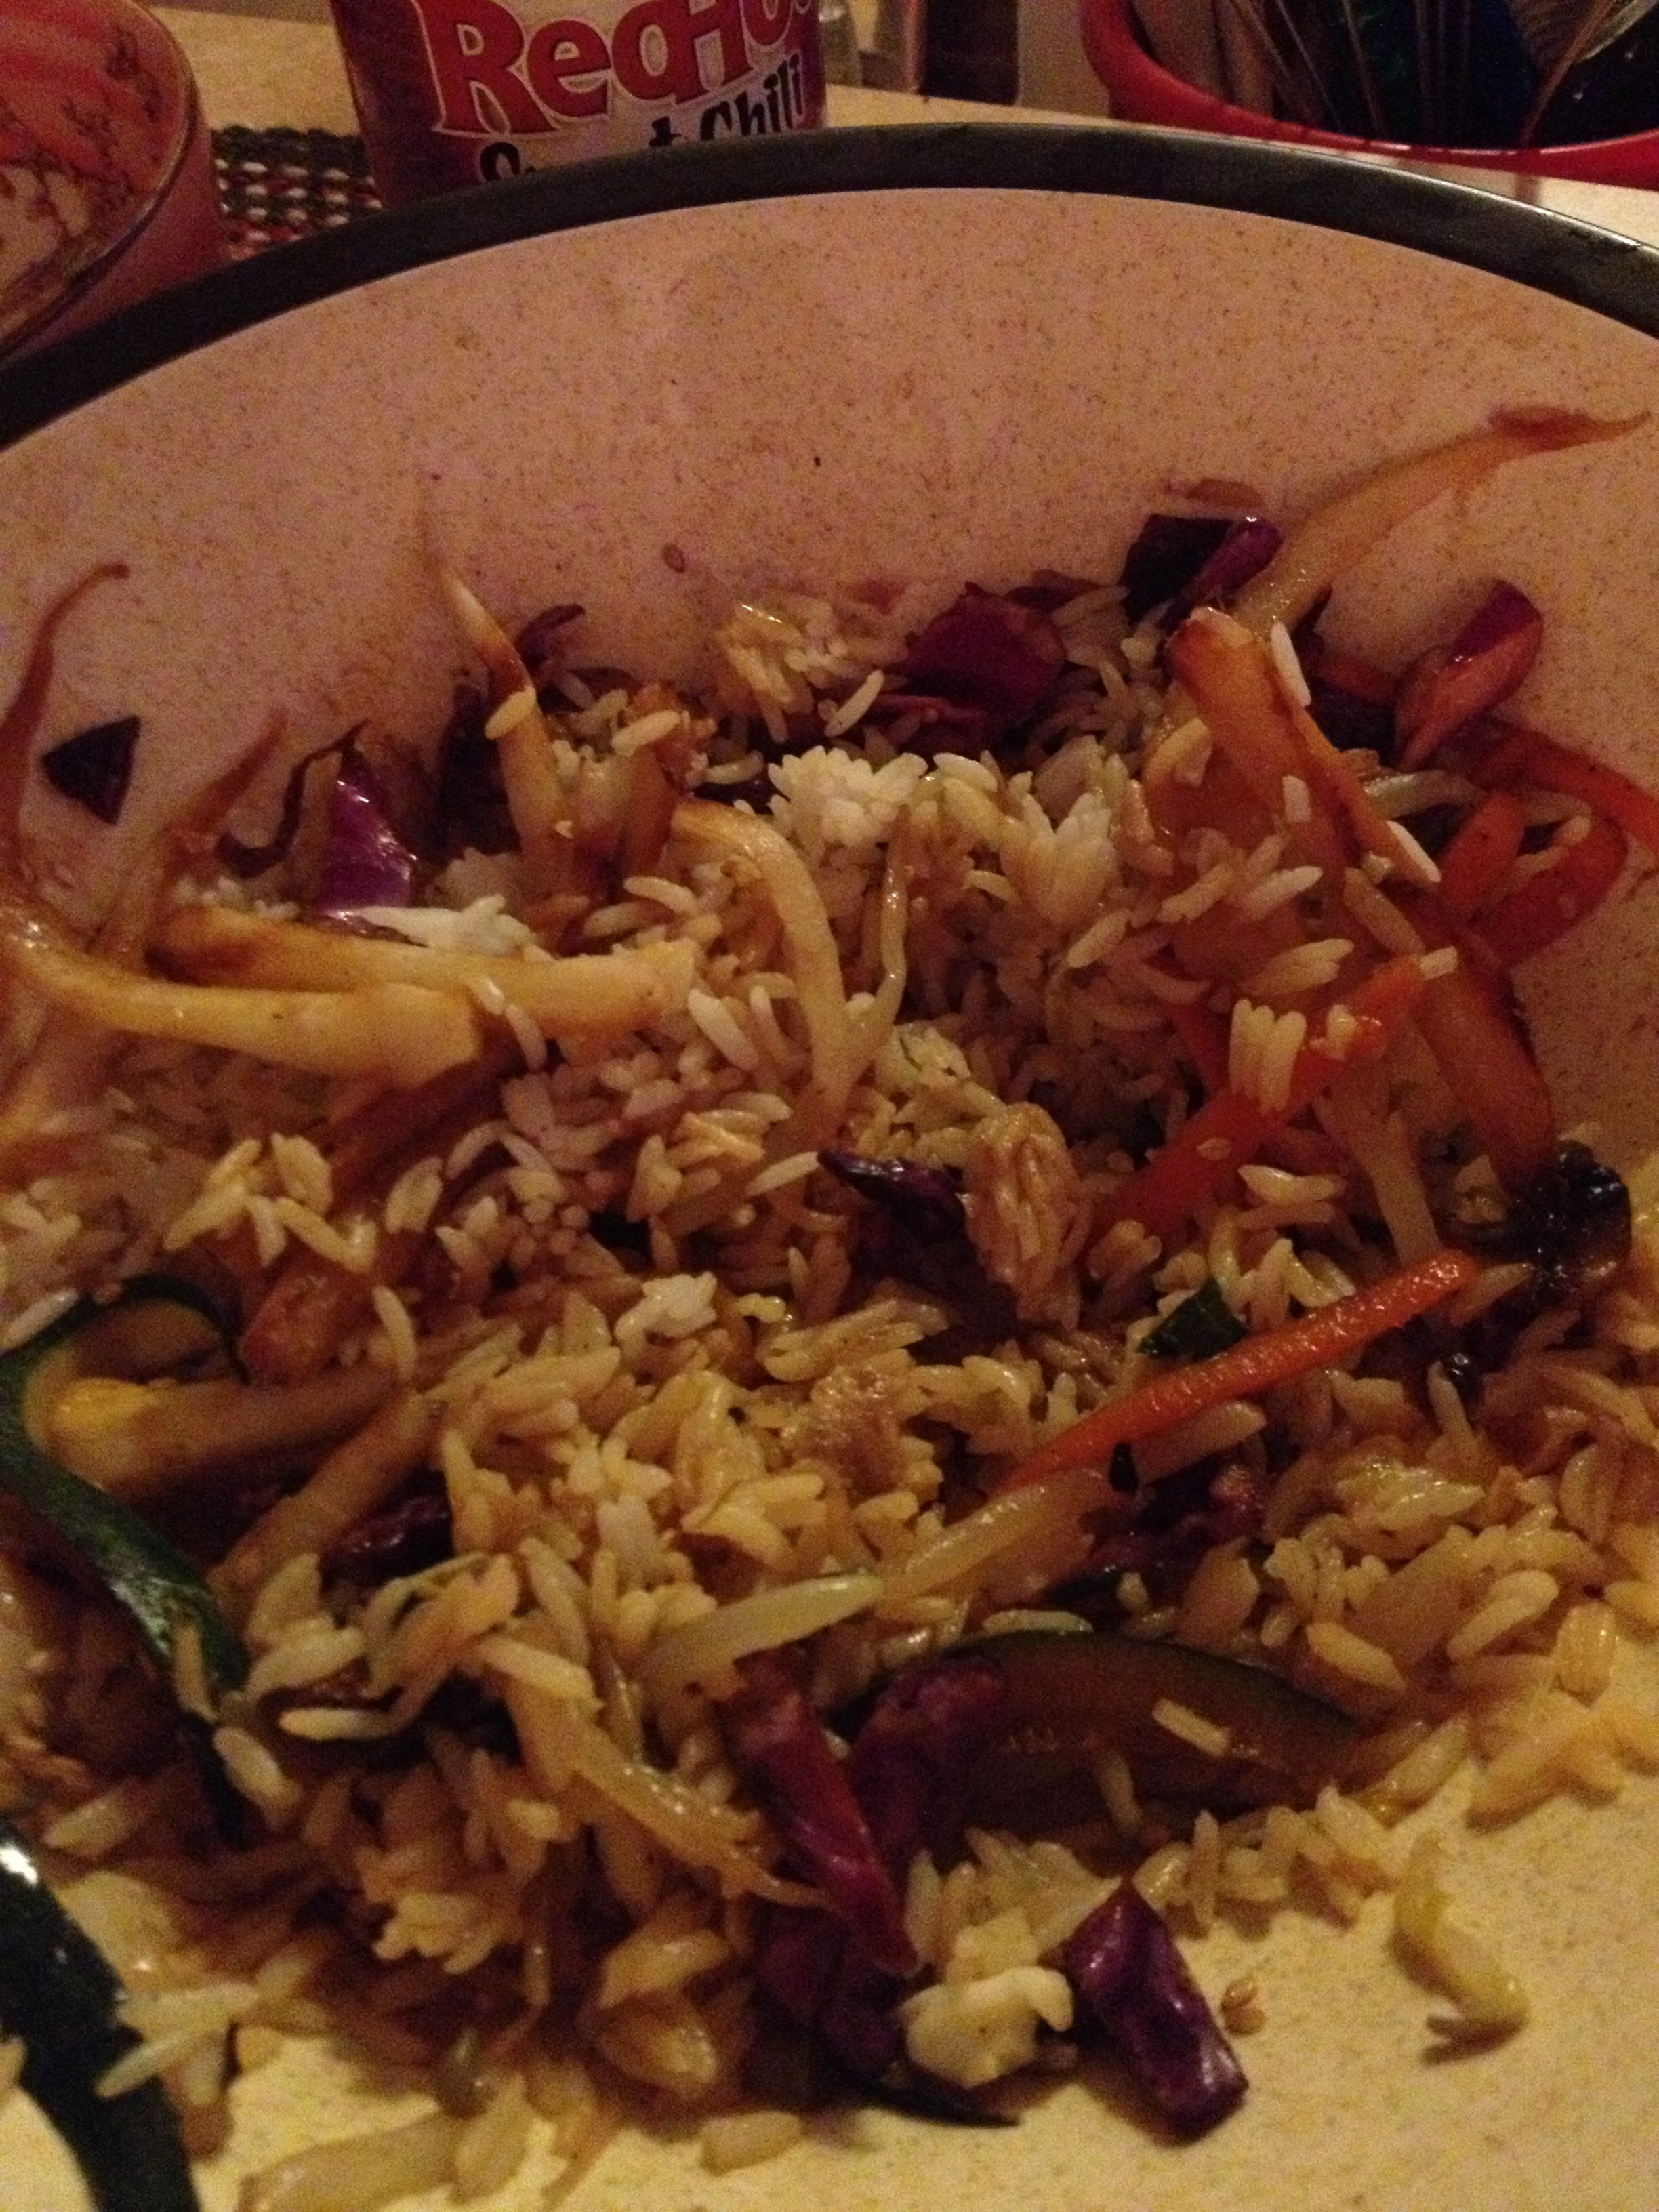
After we tore into it

After we tore into it

Enjoy! And use this recipe to…stay hungry and fit!
photo 3 (1)

spacer

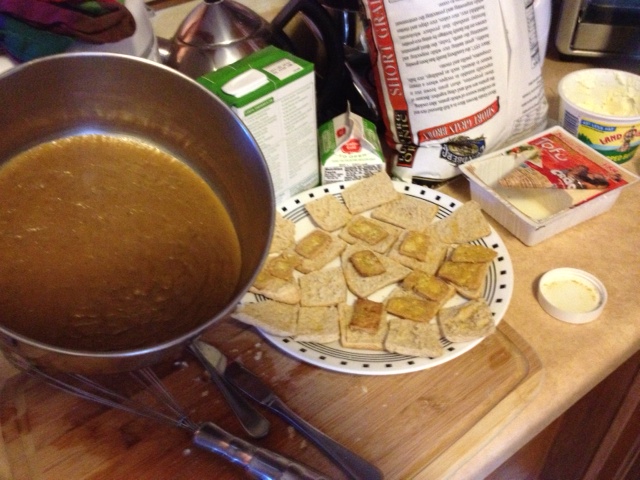
Biscuits, Tofu, and Vegetarian Gravy

So this is a twist on the traditional biscuits and gravy. First of all, the biscuits are pretty healthy. Second of all, the gravy is vegetarian. So those are two big upsets there. And if you’re a constant reader on this blog, you know that we do tofu and we do it well. This idea came from a friend of ours from Bali. She made it for us a few weeks ago, and I know how much Chris loves biscuits and gravy, so I gave it a try and it turned out wonderfully. I took the recipe from several different places and made my own. Let’s start with the gravy first.

Vegetarian Gravy

  • Prep Time: 15 minutes
  • Cook Time: 20-45 minutes 

Ingredients

  • 3 tbsp olive oil
  • 3 tbsp flour
  • 2.5 cups vegetable stock
  • 1 tbsp dried sage
  • 1 tbsp fresh thyme
  • 1 onion [I only used 3/4 one]
  • 1 clove garlic

Directions

  • Chop up the onion and garlic
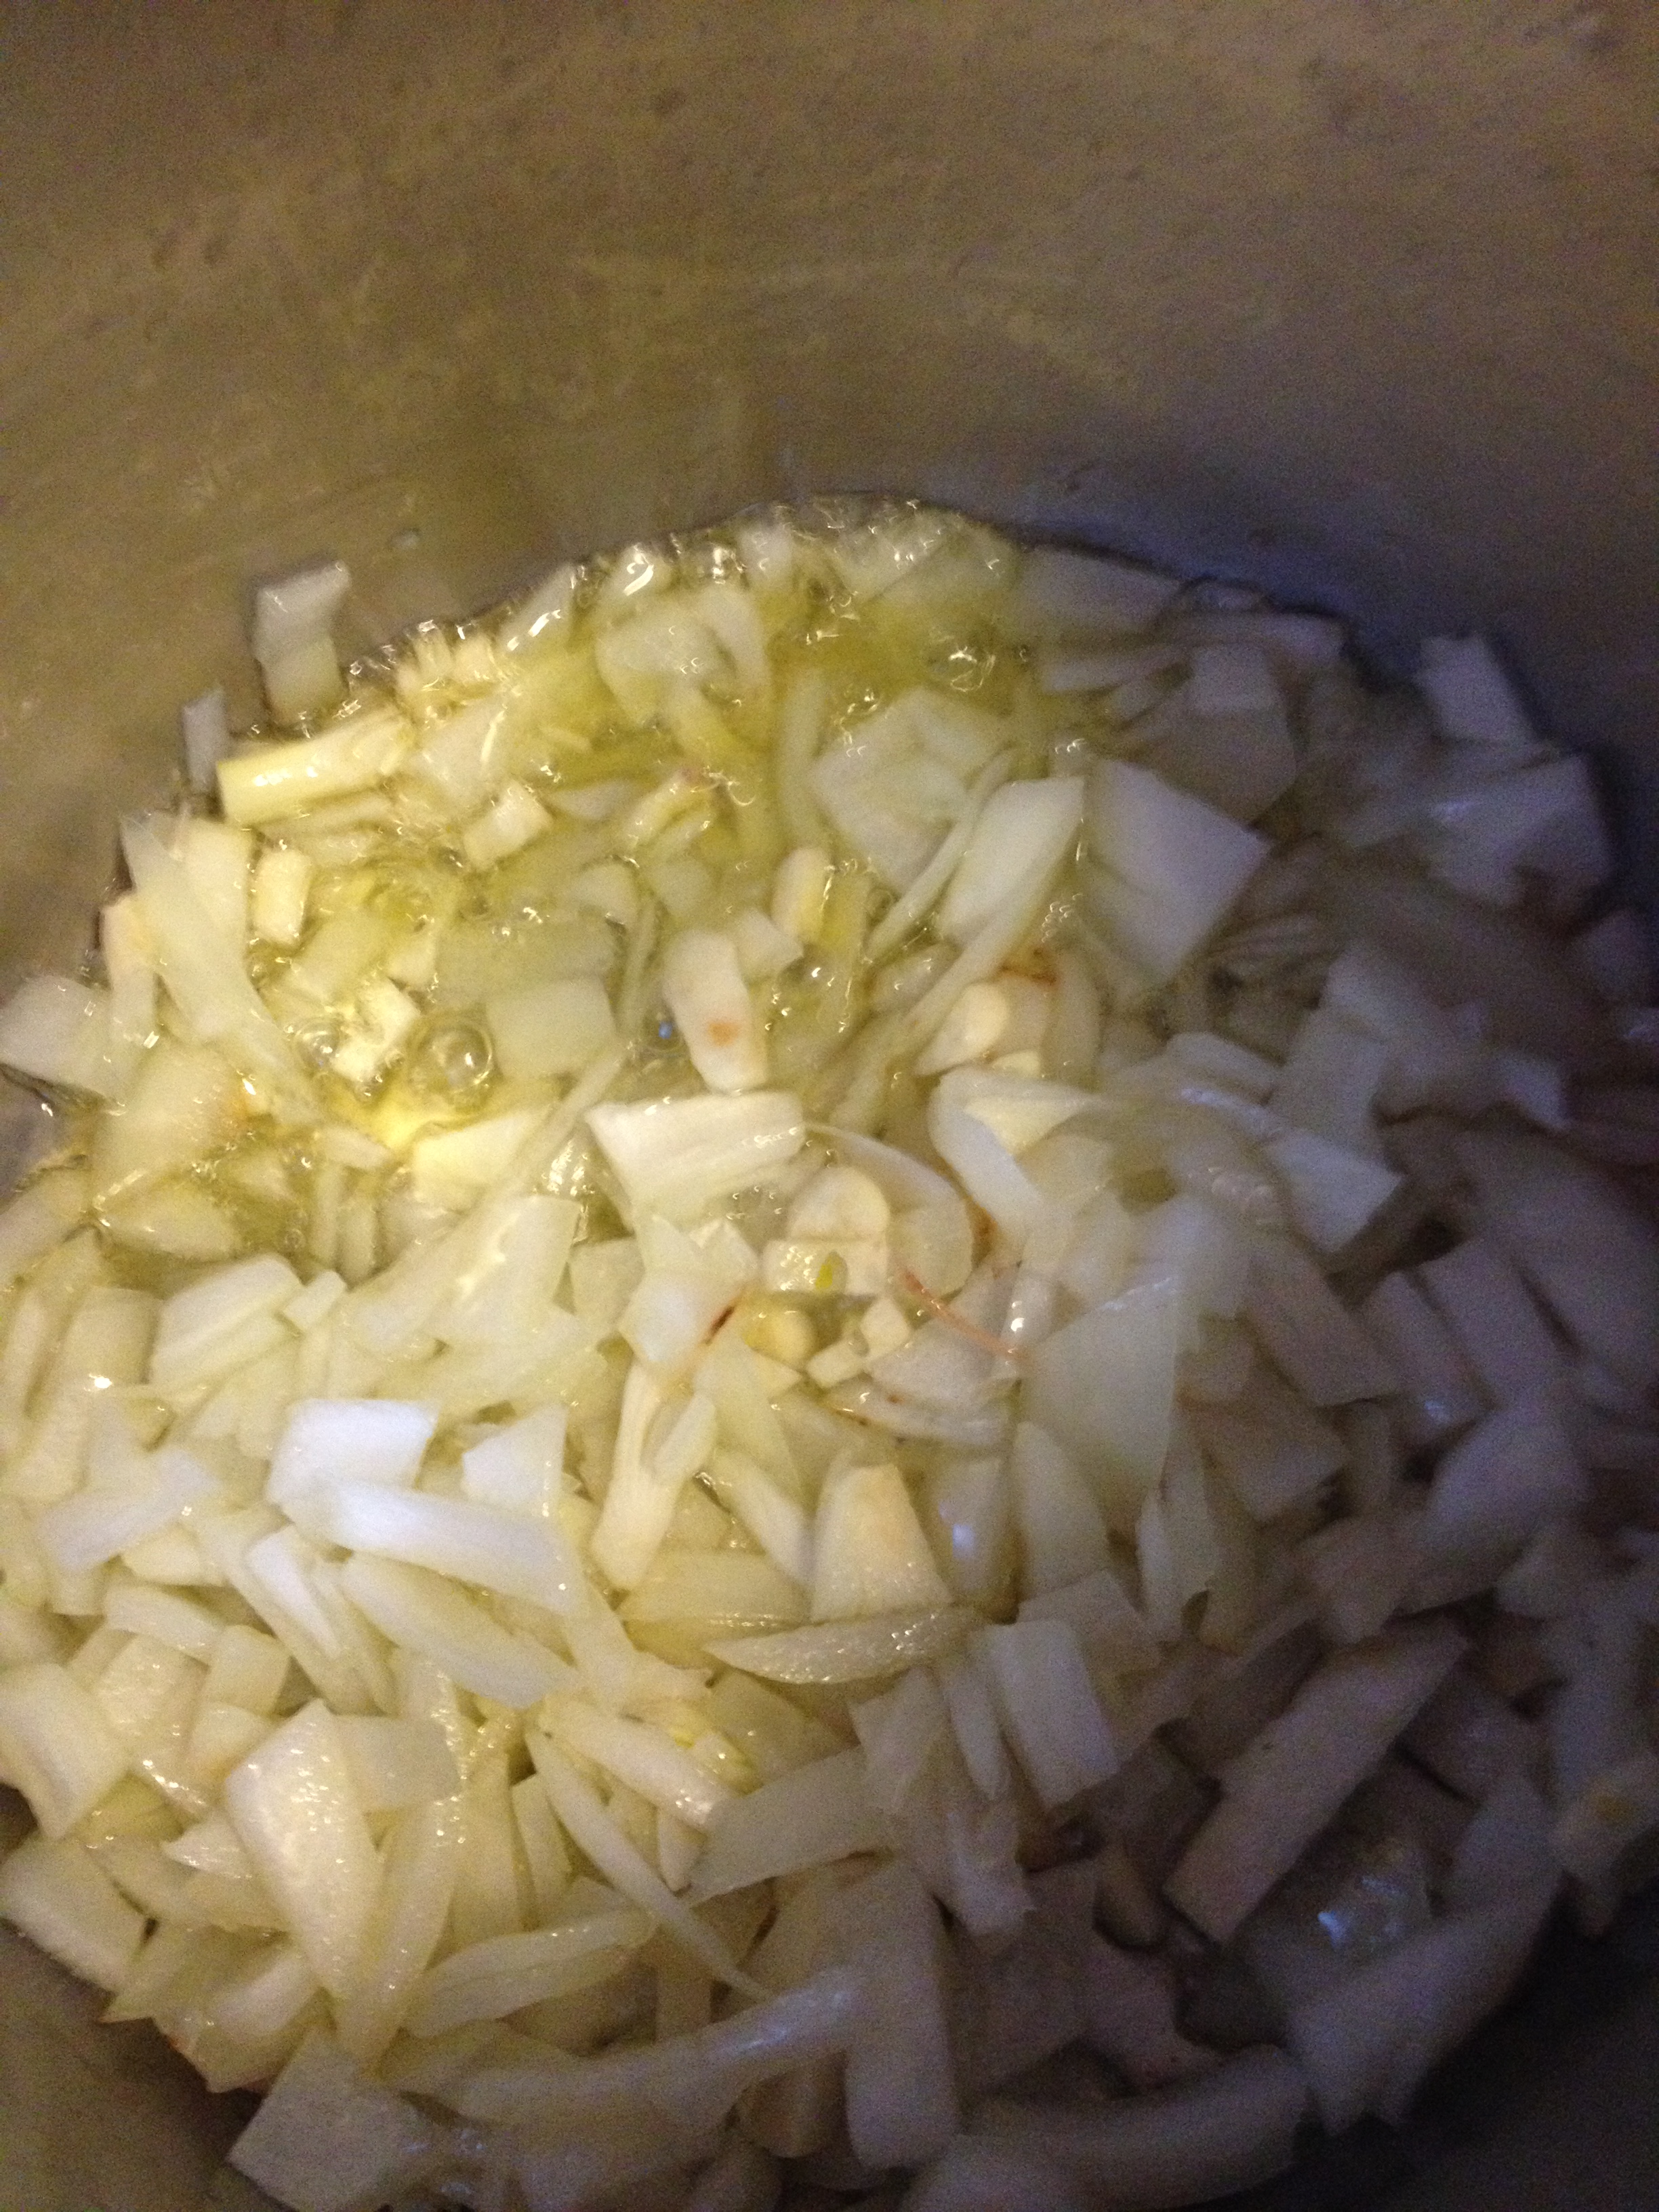
  • In a medium pot, heat the oil and then add the onion and garlic. Only cook until soft (not brown)

photo 1 (6)

  • Add the sage and thyme
  • Slowly add in the flour and cook until the mixture is a golden brown
photo 2 (6)
Now to brown…
  • Pour in the vegetable stock and continue to whisk and/or stir to prevent clumping. You want the mixture to simmer as long as it needs to until it thickens 

photo 3 (5)

  • Once thick, put the gravy through a strainer in order to discard the garlic and onions and let the rest go into a pot for serving.
  • photo 4 (6)Your gravy is ready to go! Just put on low heat until everything else is ready.

photo 1 (7)Now as you were letting the gravy thicken, you should start the biscuits. Let’s try these out, it’s a very easy recipe!

Biscuits

  • Prep Time: 5 minutes
  • Cook Time: 12 minutes

Ingredients

  • 2 cups flour
  • 2 tbsp honey
  • 2 tsp baking powder
  • 2/3 cup buttermilk
  • 3 1/3 tbsp olive oil 
  • 1/4 tsp baking soda
  • 1/4 tsp salt

Directions

  • Pre-heat oven to 450 degrees
  • Mix together the flour, baking powder, salt, and baking soda in a medium-sized bowl
  • In a smaller bowl, combine the buttermilk, olive oil and honey

photo 4 (5)

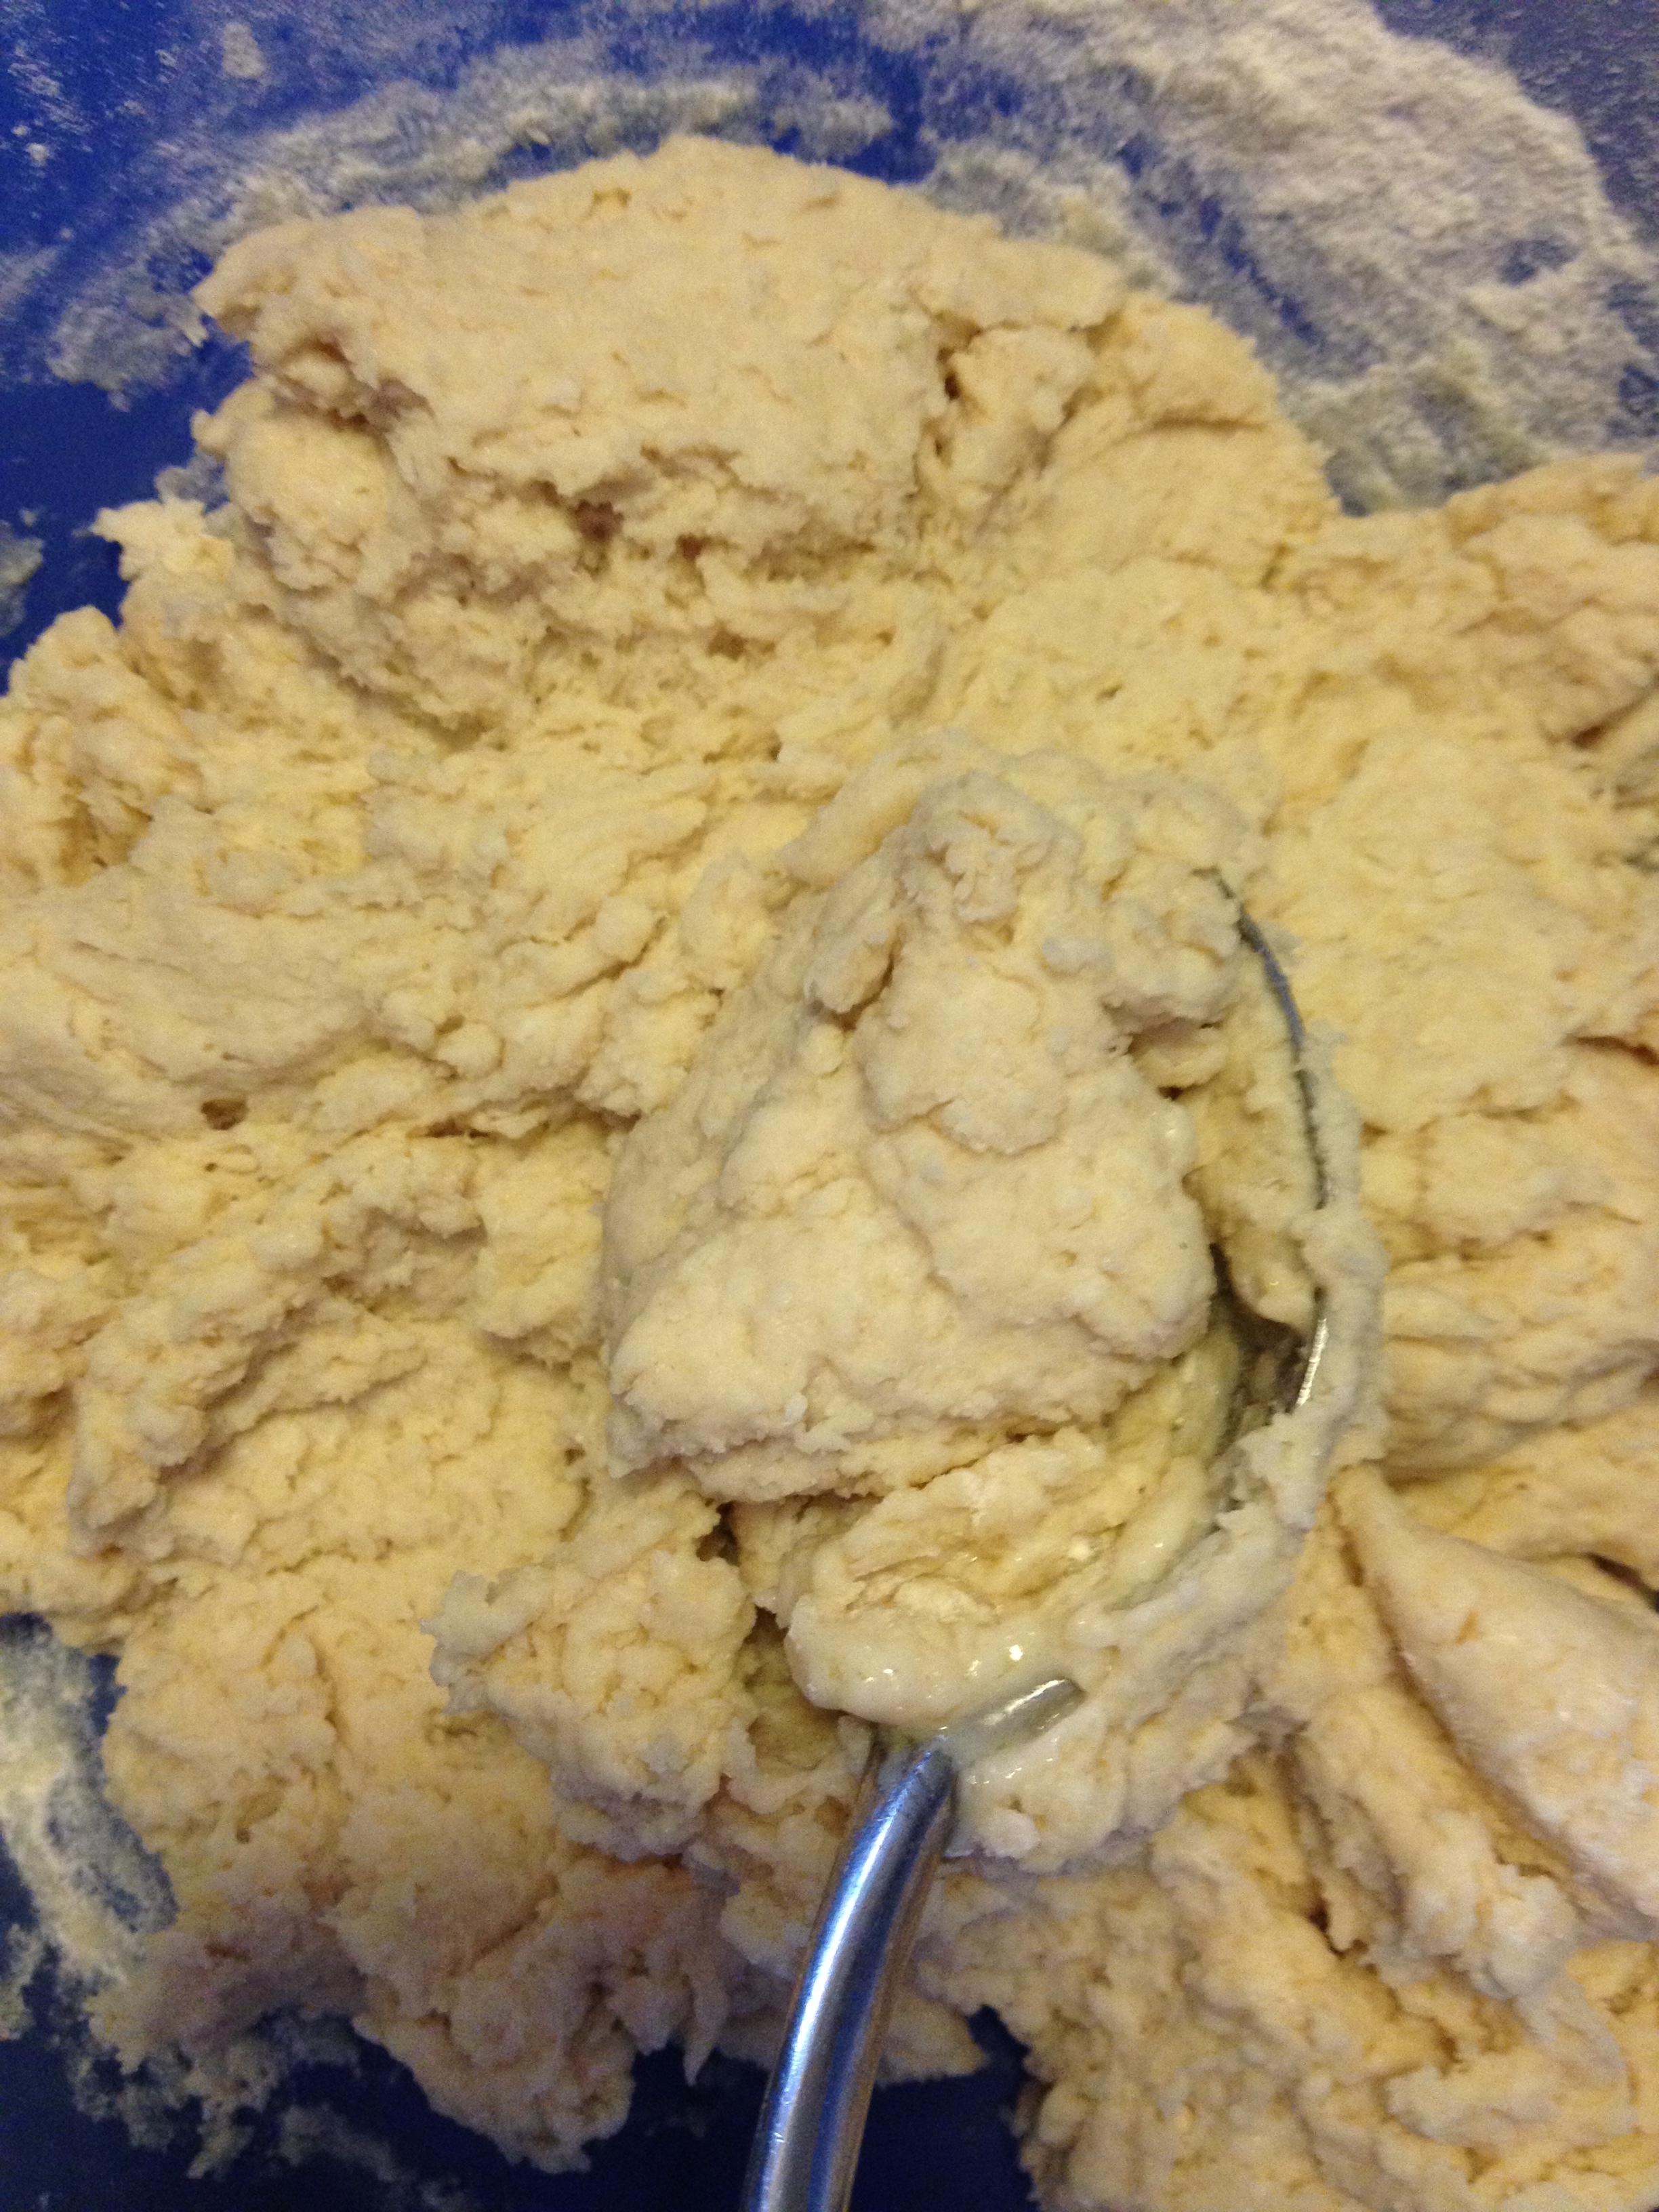
  • Pour wet mixture into dry mixture and stir until it is well-mixed and dough-y.
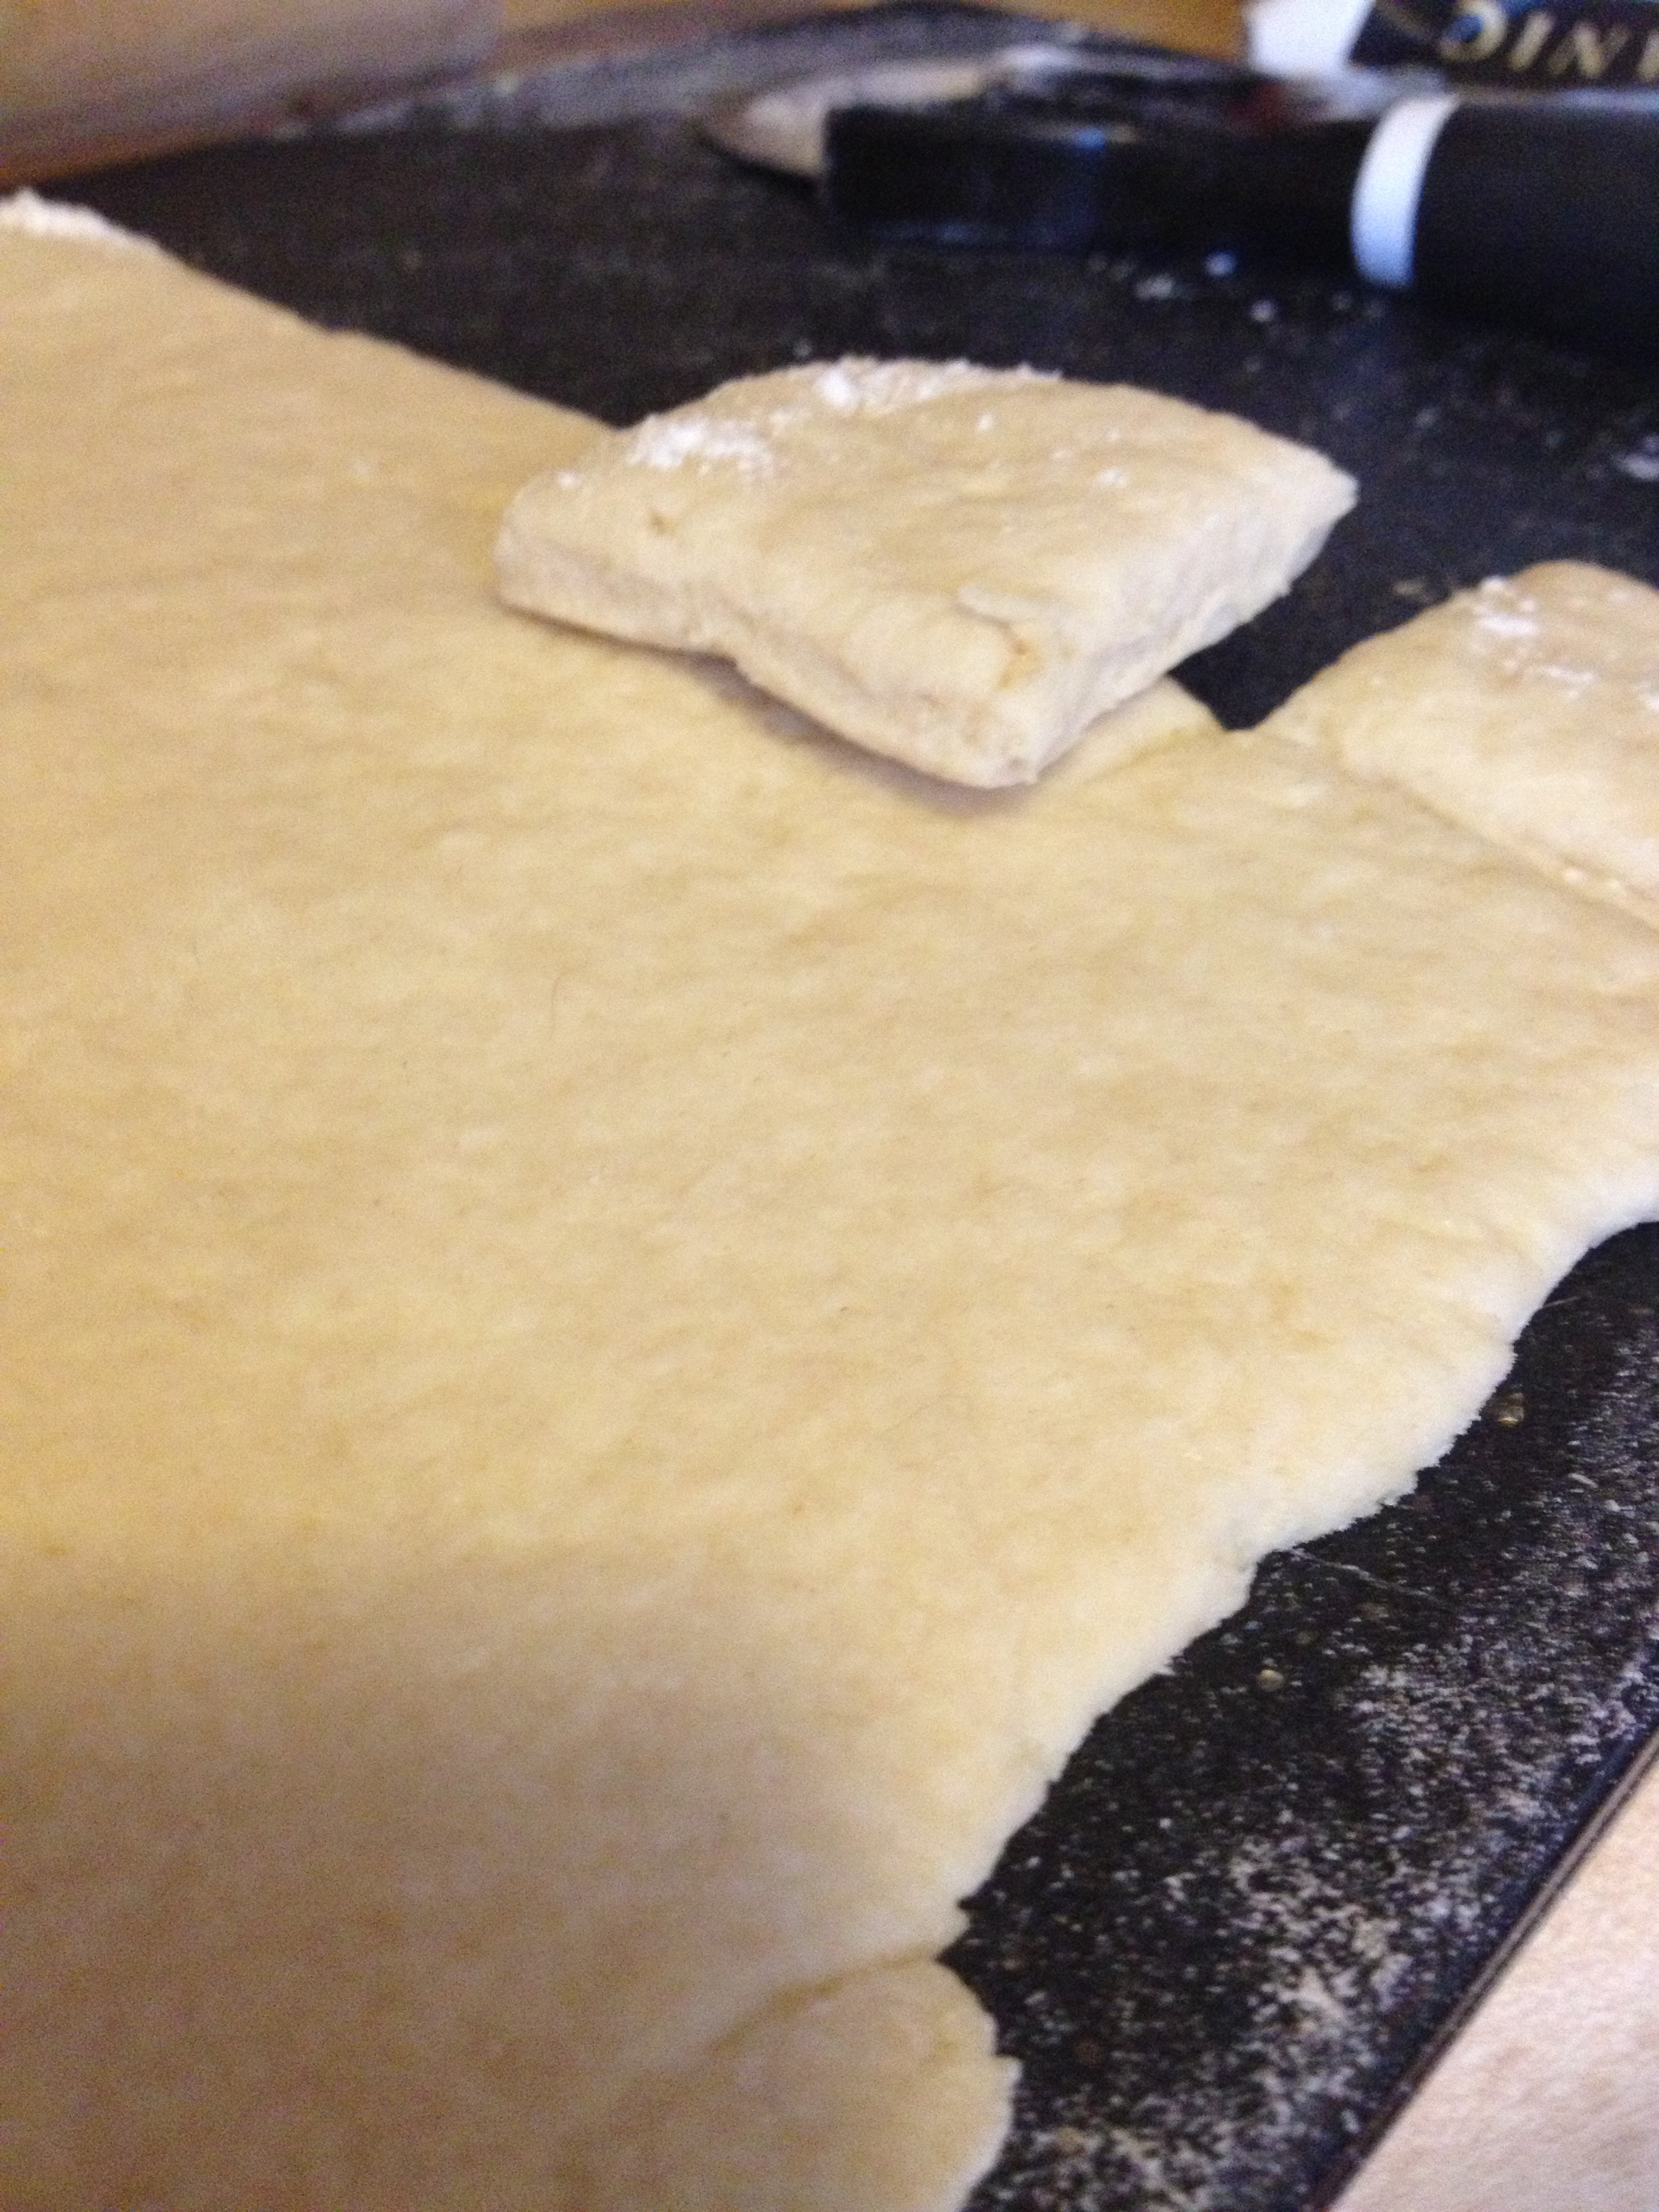
  • photo 1 (8)On a lightly-floured surface or cutting board, knead the dough for about 12 strokes and then roll to a thickness of 3/4 inch. Mine were all different because that’s how I…roll.

photo 2 (8)

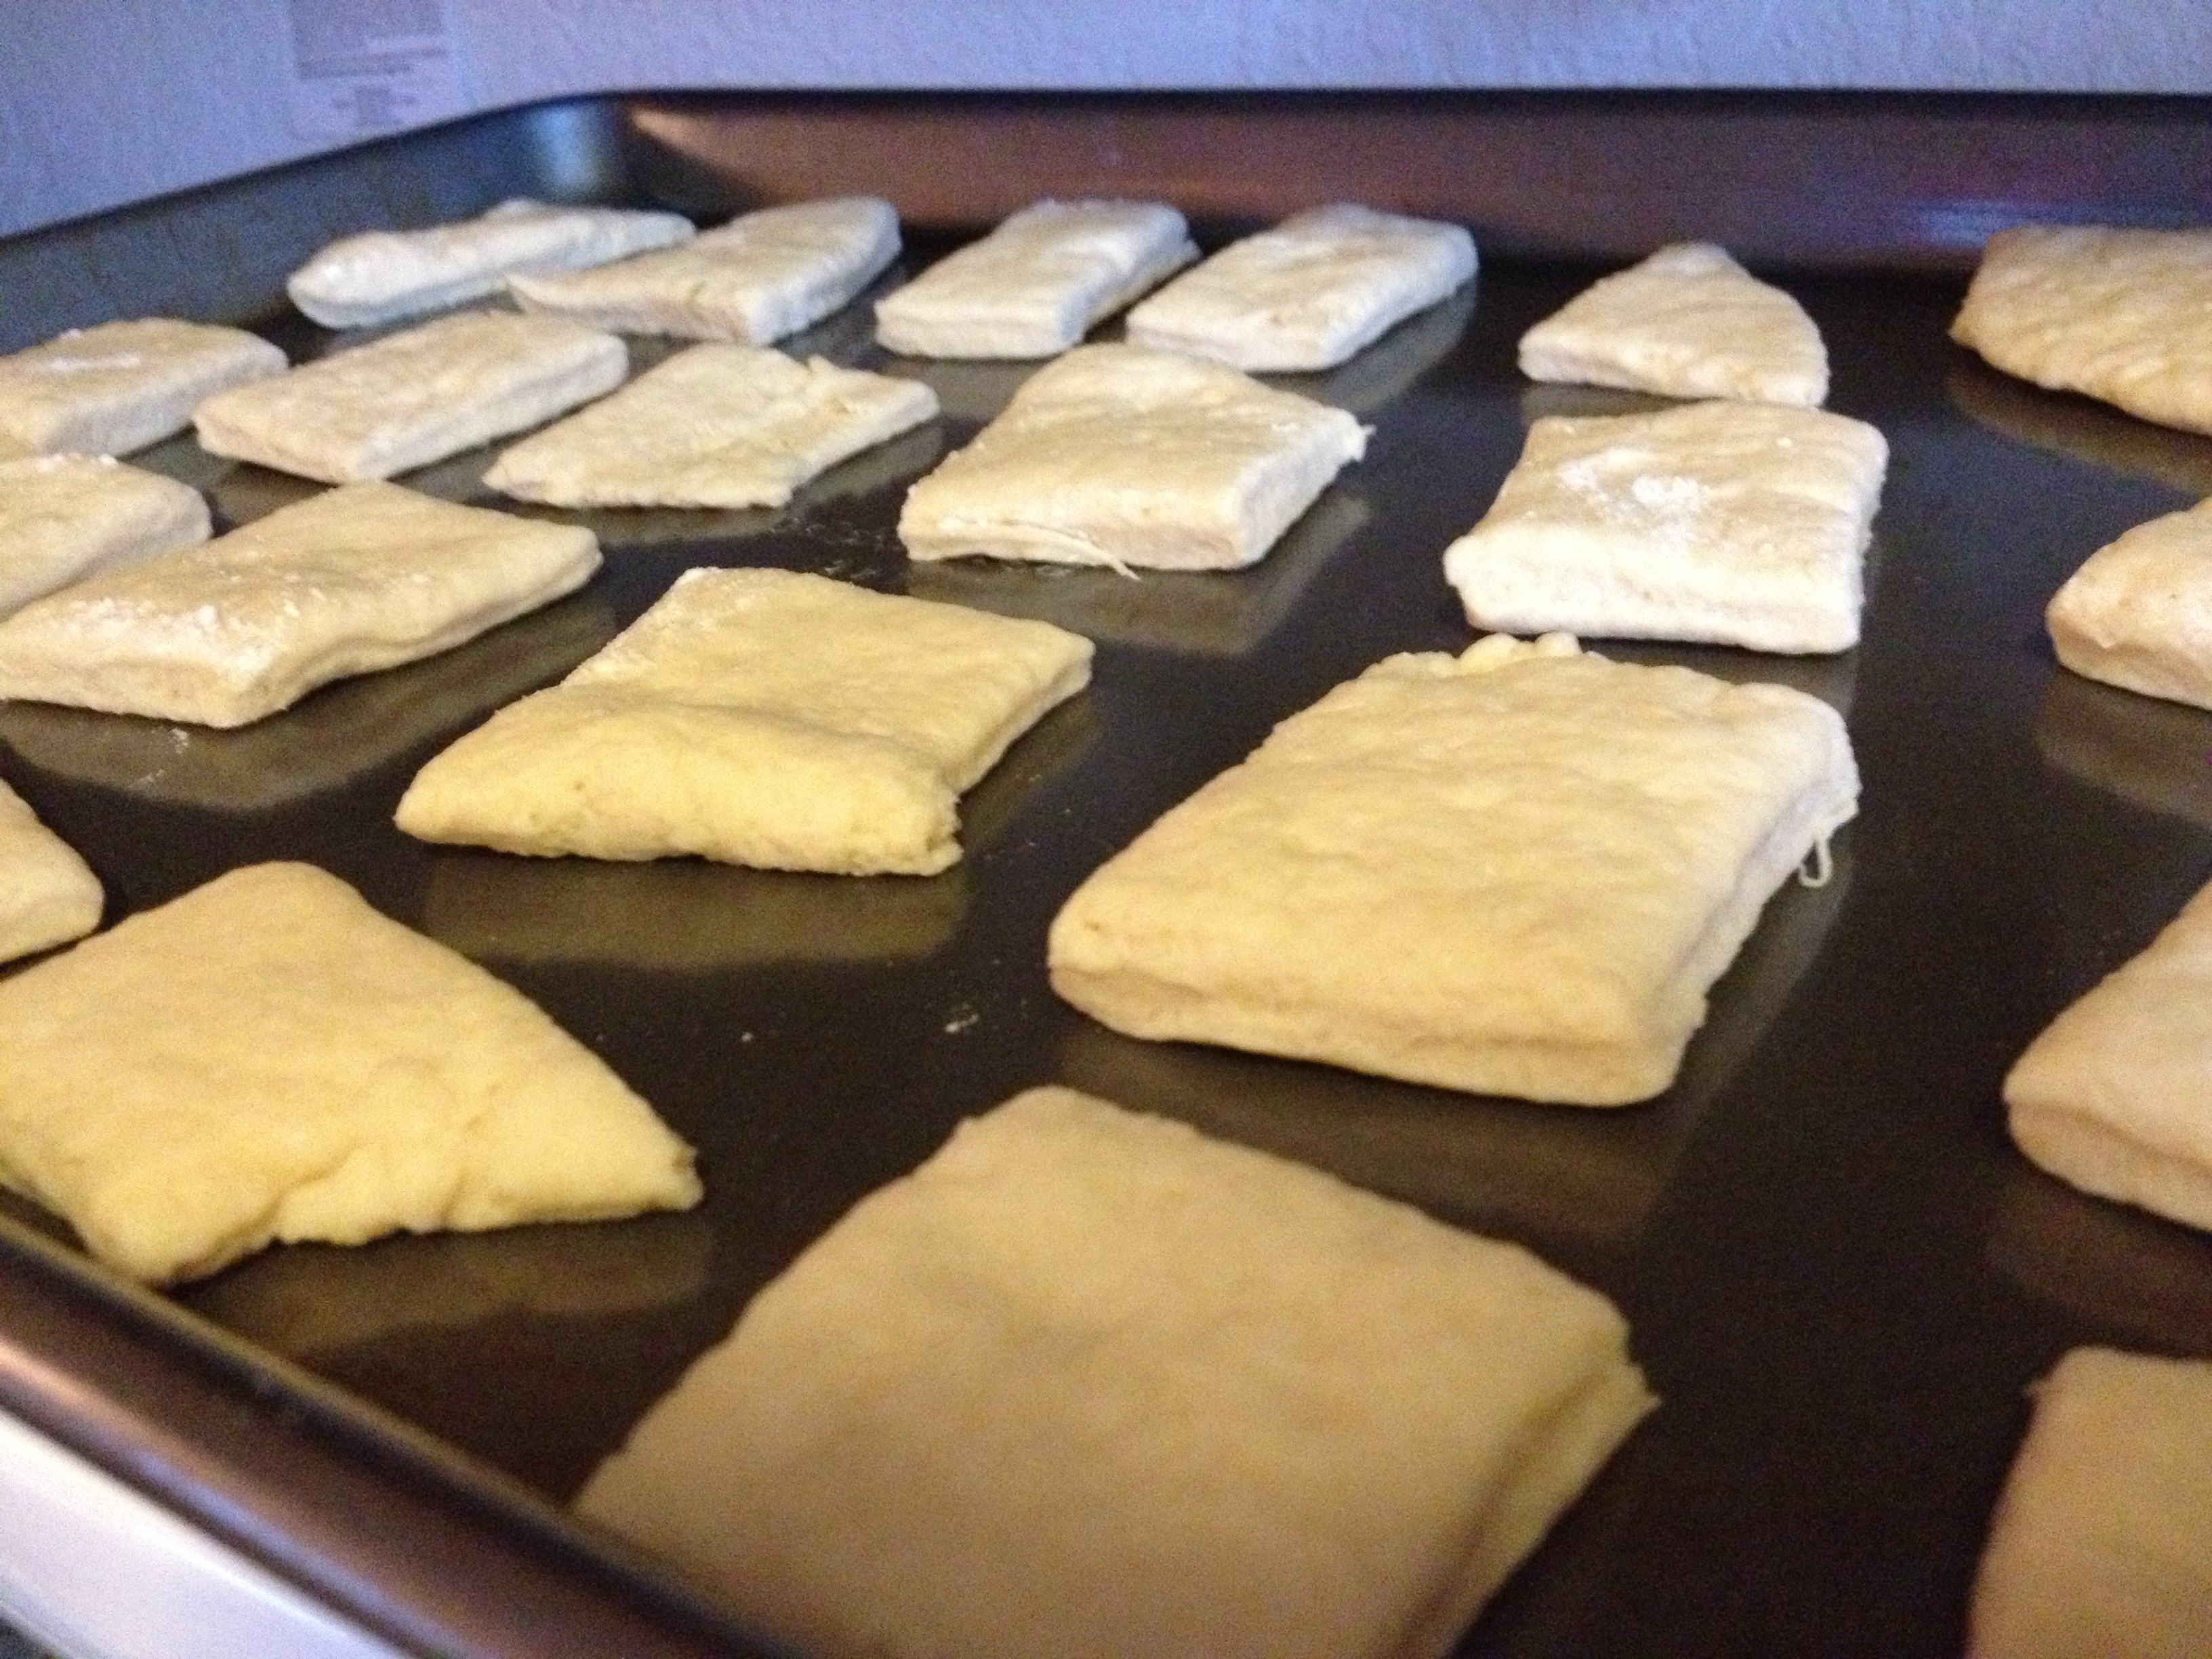
  • Cut into pieces and place on an non-greased baking sheet
  • photo 3 (7)Put into oven for 12 minutes or until golden brown [this is when you start working on the tofu…]
  • Make sure to serve warm!

While that’s baking, quick let’s do the tofu!

Tofu

  • Prep Time: 2 minutes
  • Cooking Time: 7 minutes

Ingredients

  • 1/2 box firm tofu
  • nutritional yeast flakes
  • olive oil

Directions

  • Drain the tofu juice out of the box and place the tofu on cutting board. Cut long-ways first, into thin 1/2 inch pieces
  • Cut short-ways, making little squares
  • Have a pan hot with a very light amount of olive oil and carefully place tofu on the pan, letting each have enough room to cook. I put the temperature on a little less than high (medium-high)
  • Takes about 5-10 minutes to cook, I use a fork to turn them over. Keep an eye on them so they don’t burn on the outside, but get cooked on the inside. Turn them over one by one when the first side is done.
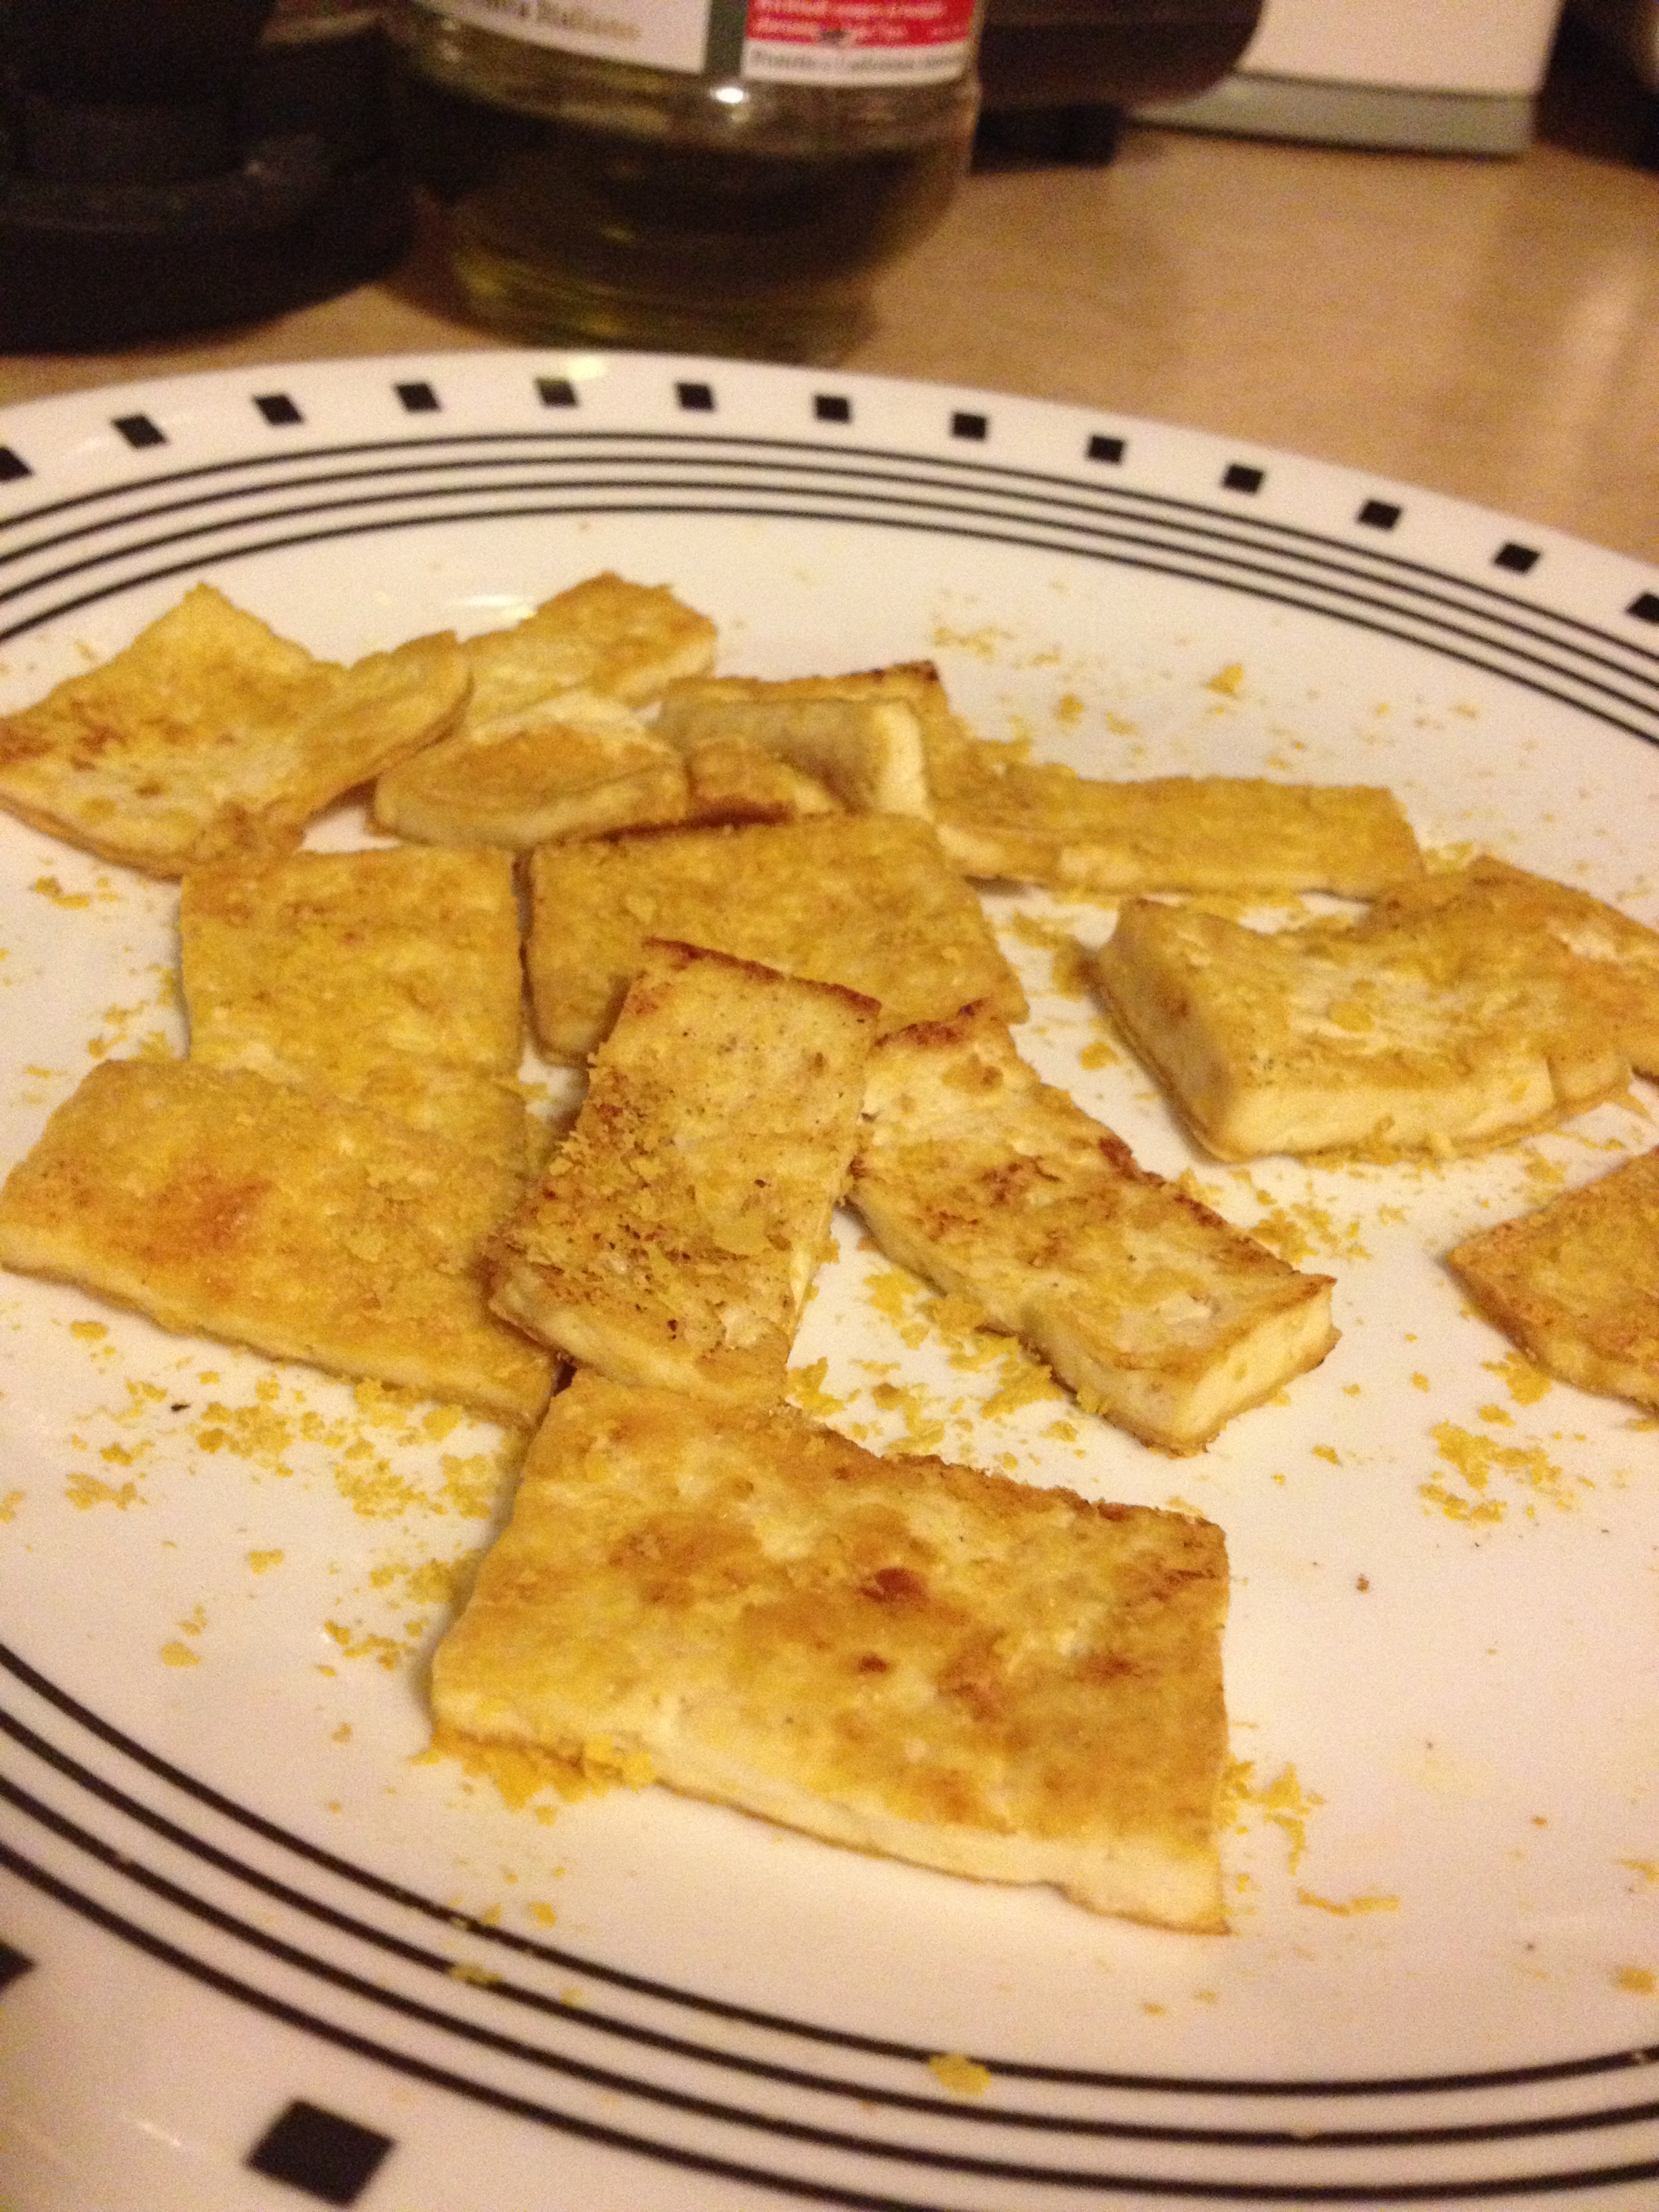
  • After both sides are ready, pop them onto a plate. Sprinkle the nutritional yeast flakes on top of each piece

Tastes like fried chicken!

Okay, so all of our dishes are ready to be put together! Let’s do this

Directions

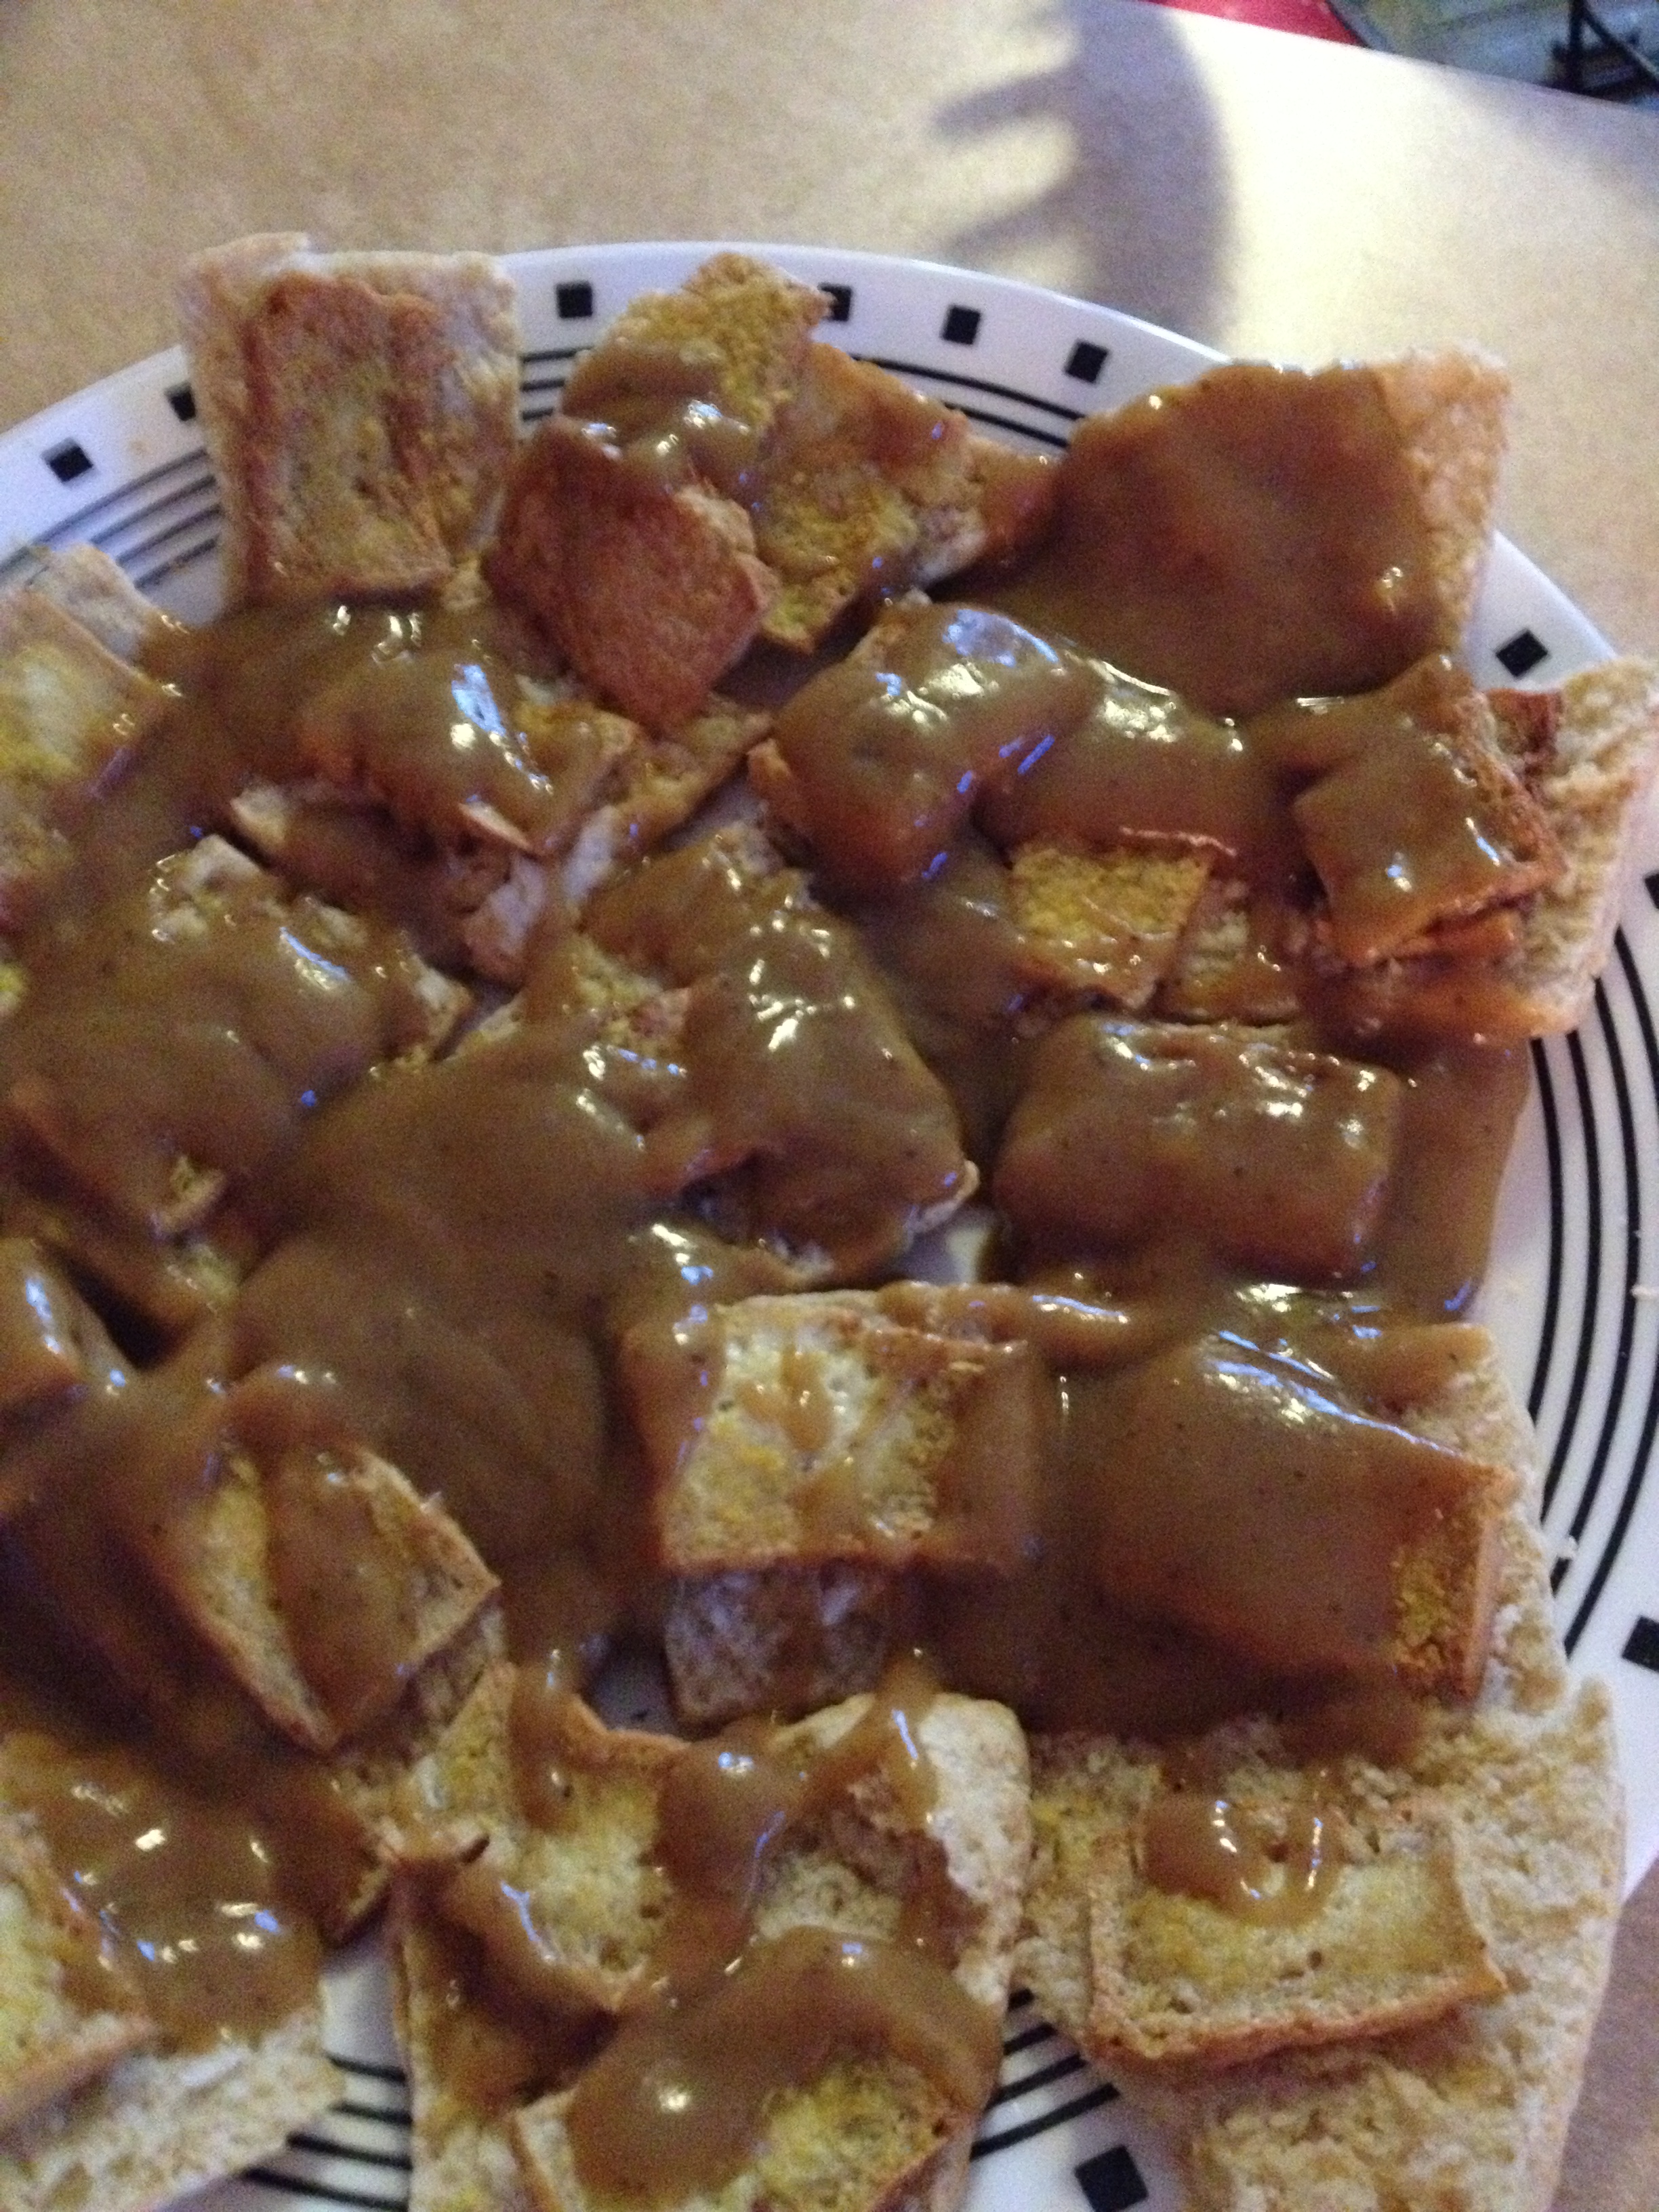
  • Open the biscuits and lay the tofu on top of one half
  • IMG_4827Once the biscuits are ready, go ahead and SMOTHER THEM with gravy!

photo 3 (6)

photo 2 (7)

It may look like a mess, but boy is it delicious! We ate all of it up (somehow), and I was incredibly full after but it was well-worth it. We ended up burning it off while trying to sled down a hill after 13 inches of snowfall last weekend. That was a blast.

You could try this with regular gravy or store-bought biscuits, but I always prefer to make my own. I actually bought a Pillsbury can of biscuits just in case I screwed up (I obviously have incredible faith in my biscuit-baking ability), but never used it. It looks like a lot of work but, boy, is it worth it!

Cheers! And as always…stay hungry and fit!
spacer

Ridiculously Easy and Healthy Oat Chocolate Chip Raisin Drops

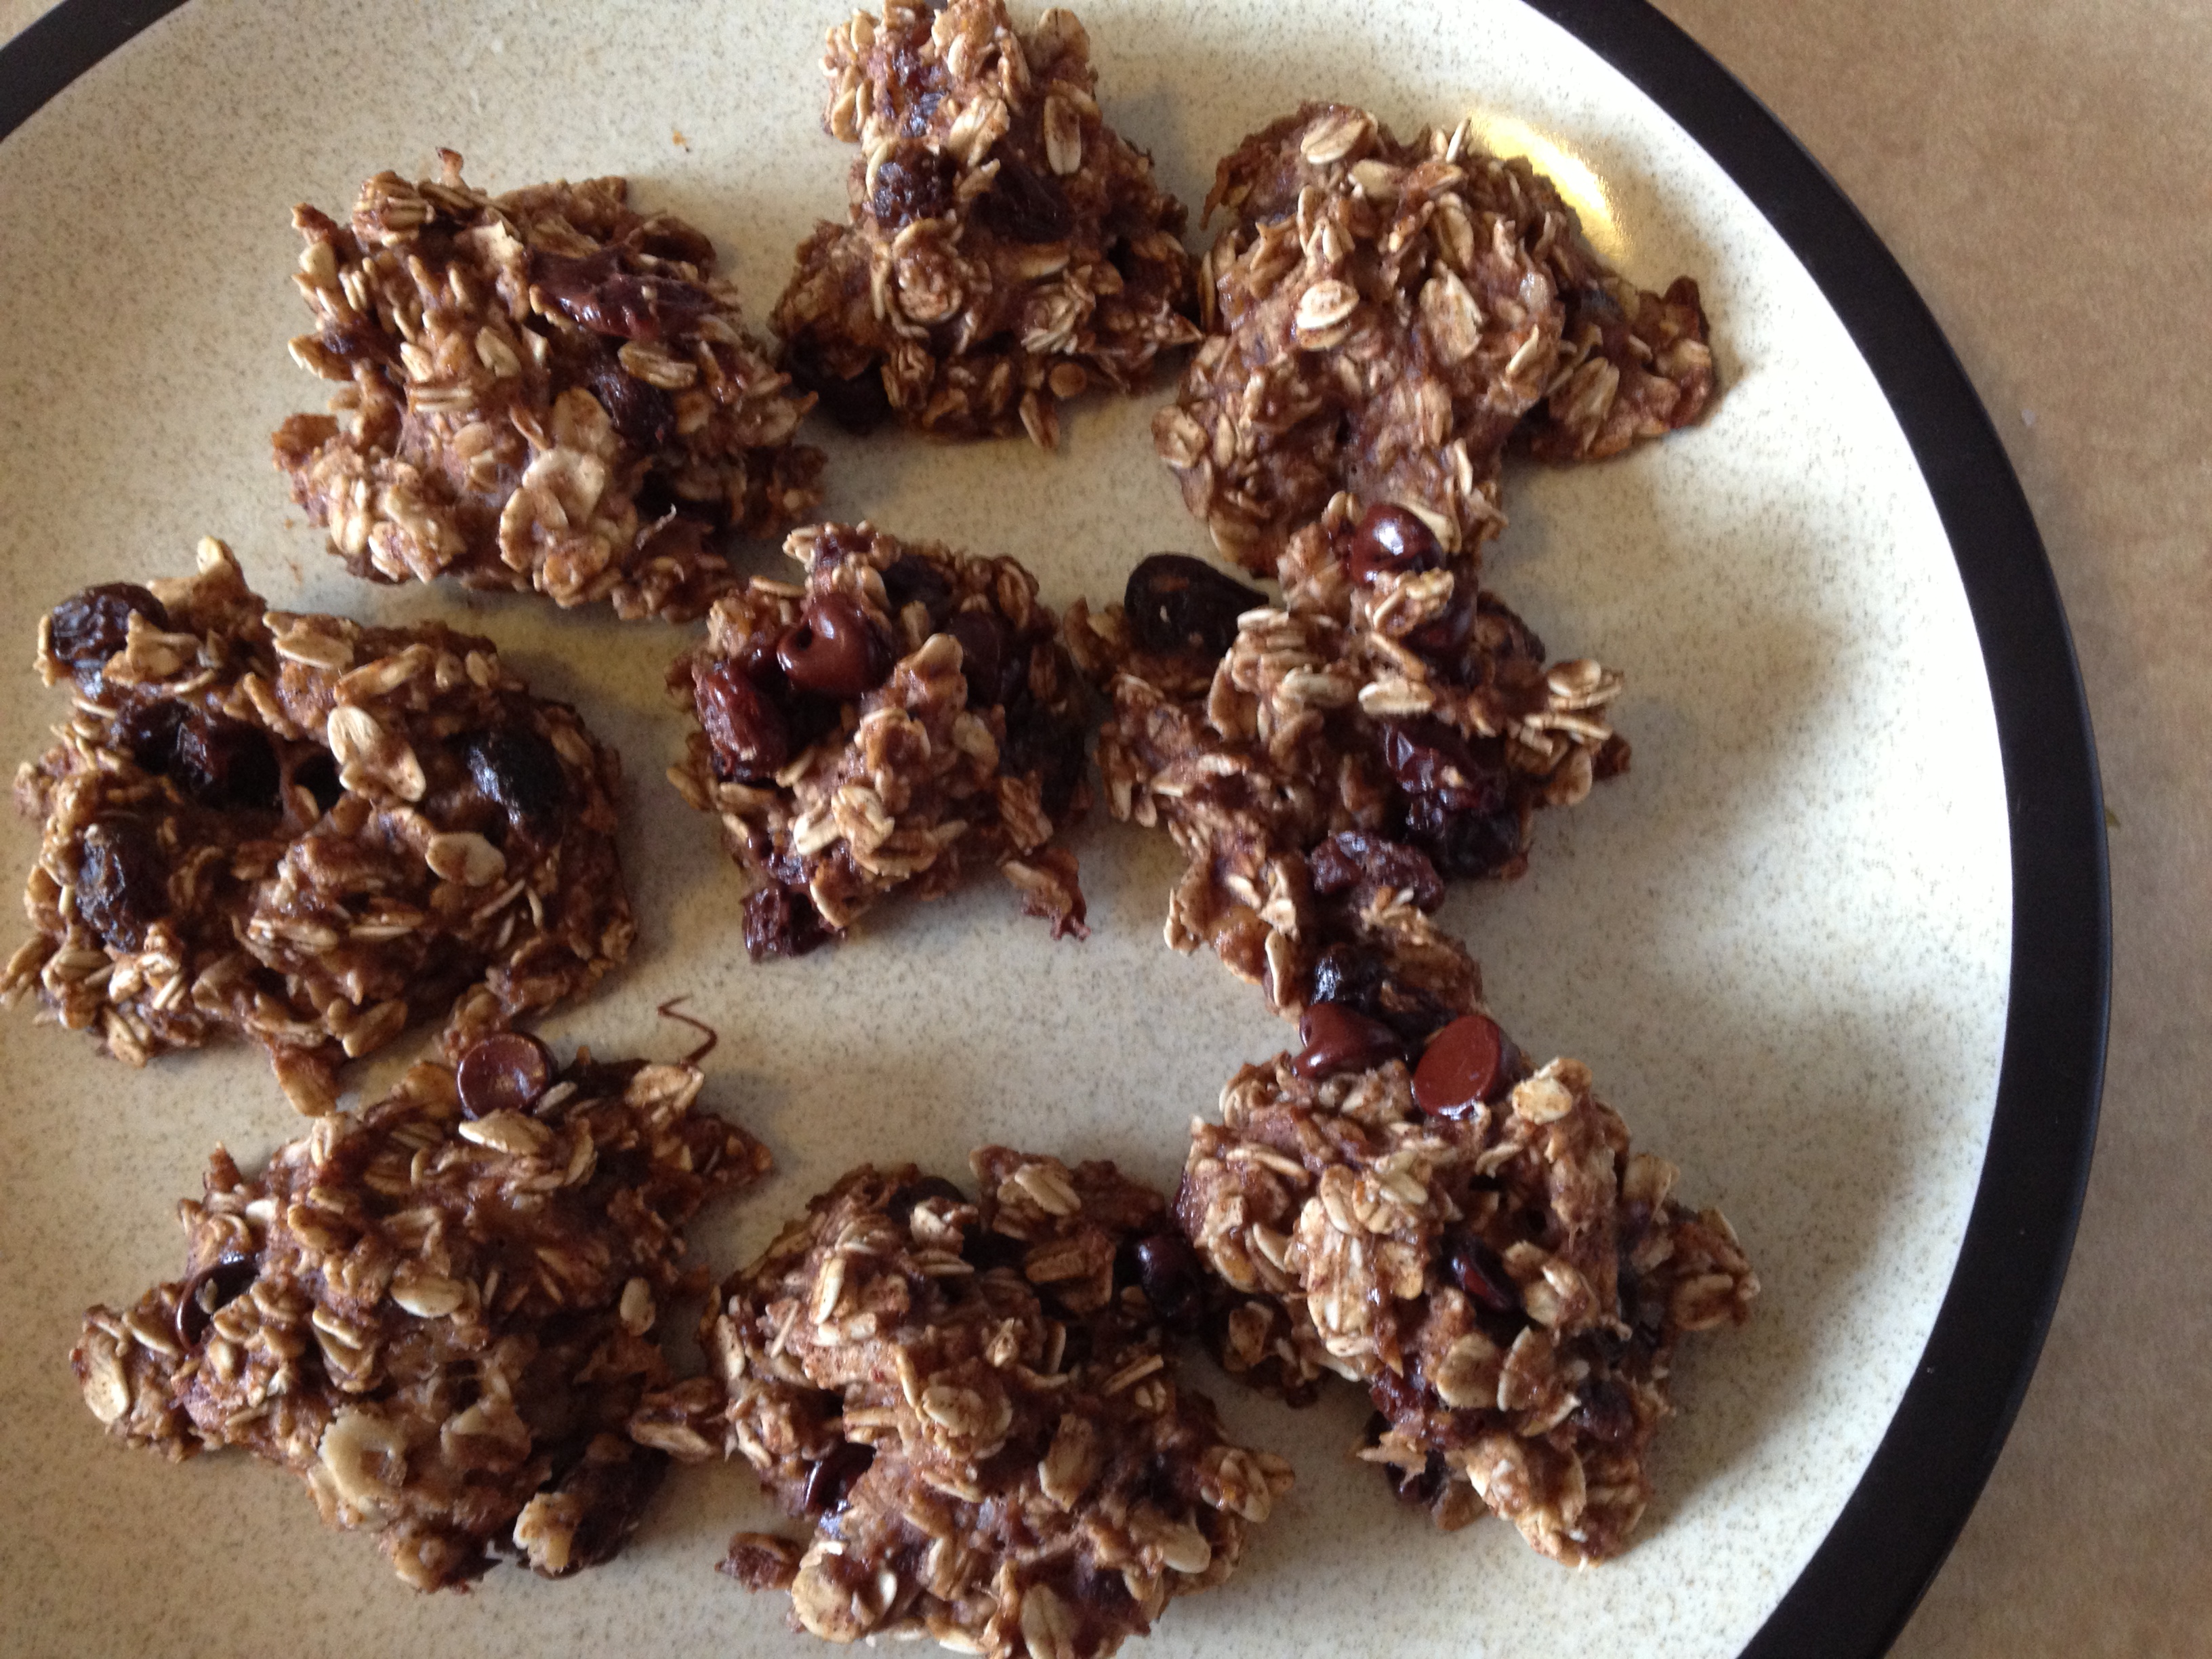
This one has no sugar or flour…OR EGGS. Wait, what? How is this possible? You got me, but it worked and here they are…delicious, warm, and gooey. I got it from this awesome blog, and added a little bit to it. I’m amazed at A) How healthy these are (just choc chips + raisins for sweetness), B) How easy it is (took me 5 minutes to assemble), and C) How good they are! You can play around with the recipe, add or subtract, have fun with it! And you don’t have to feel guilty eating them. A healthy, nutritious (delicious) snack awaiting your baking:

photo 1 (5)

  • Prep Time: 5 minutes
  • Baking Time: 12-16 minutes

Ingredients

  • 2 large bananas
  • 1 tsp cinnamon
  • 1 cup oats
  • handful of raisins
  • small handful chocolate chips [optional]

Directions

  • Pre-heat oven to 350 degrees F
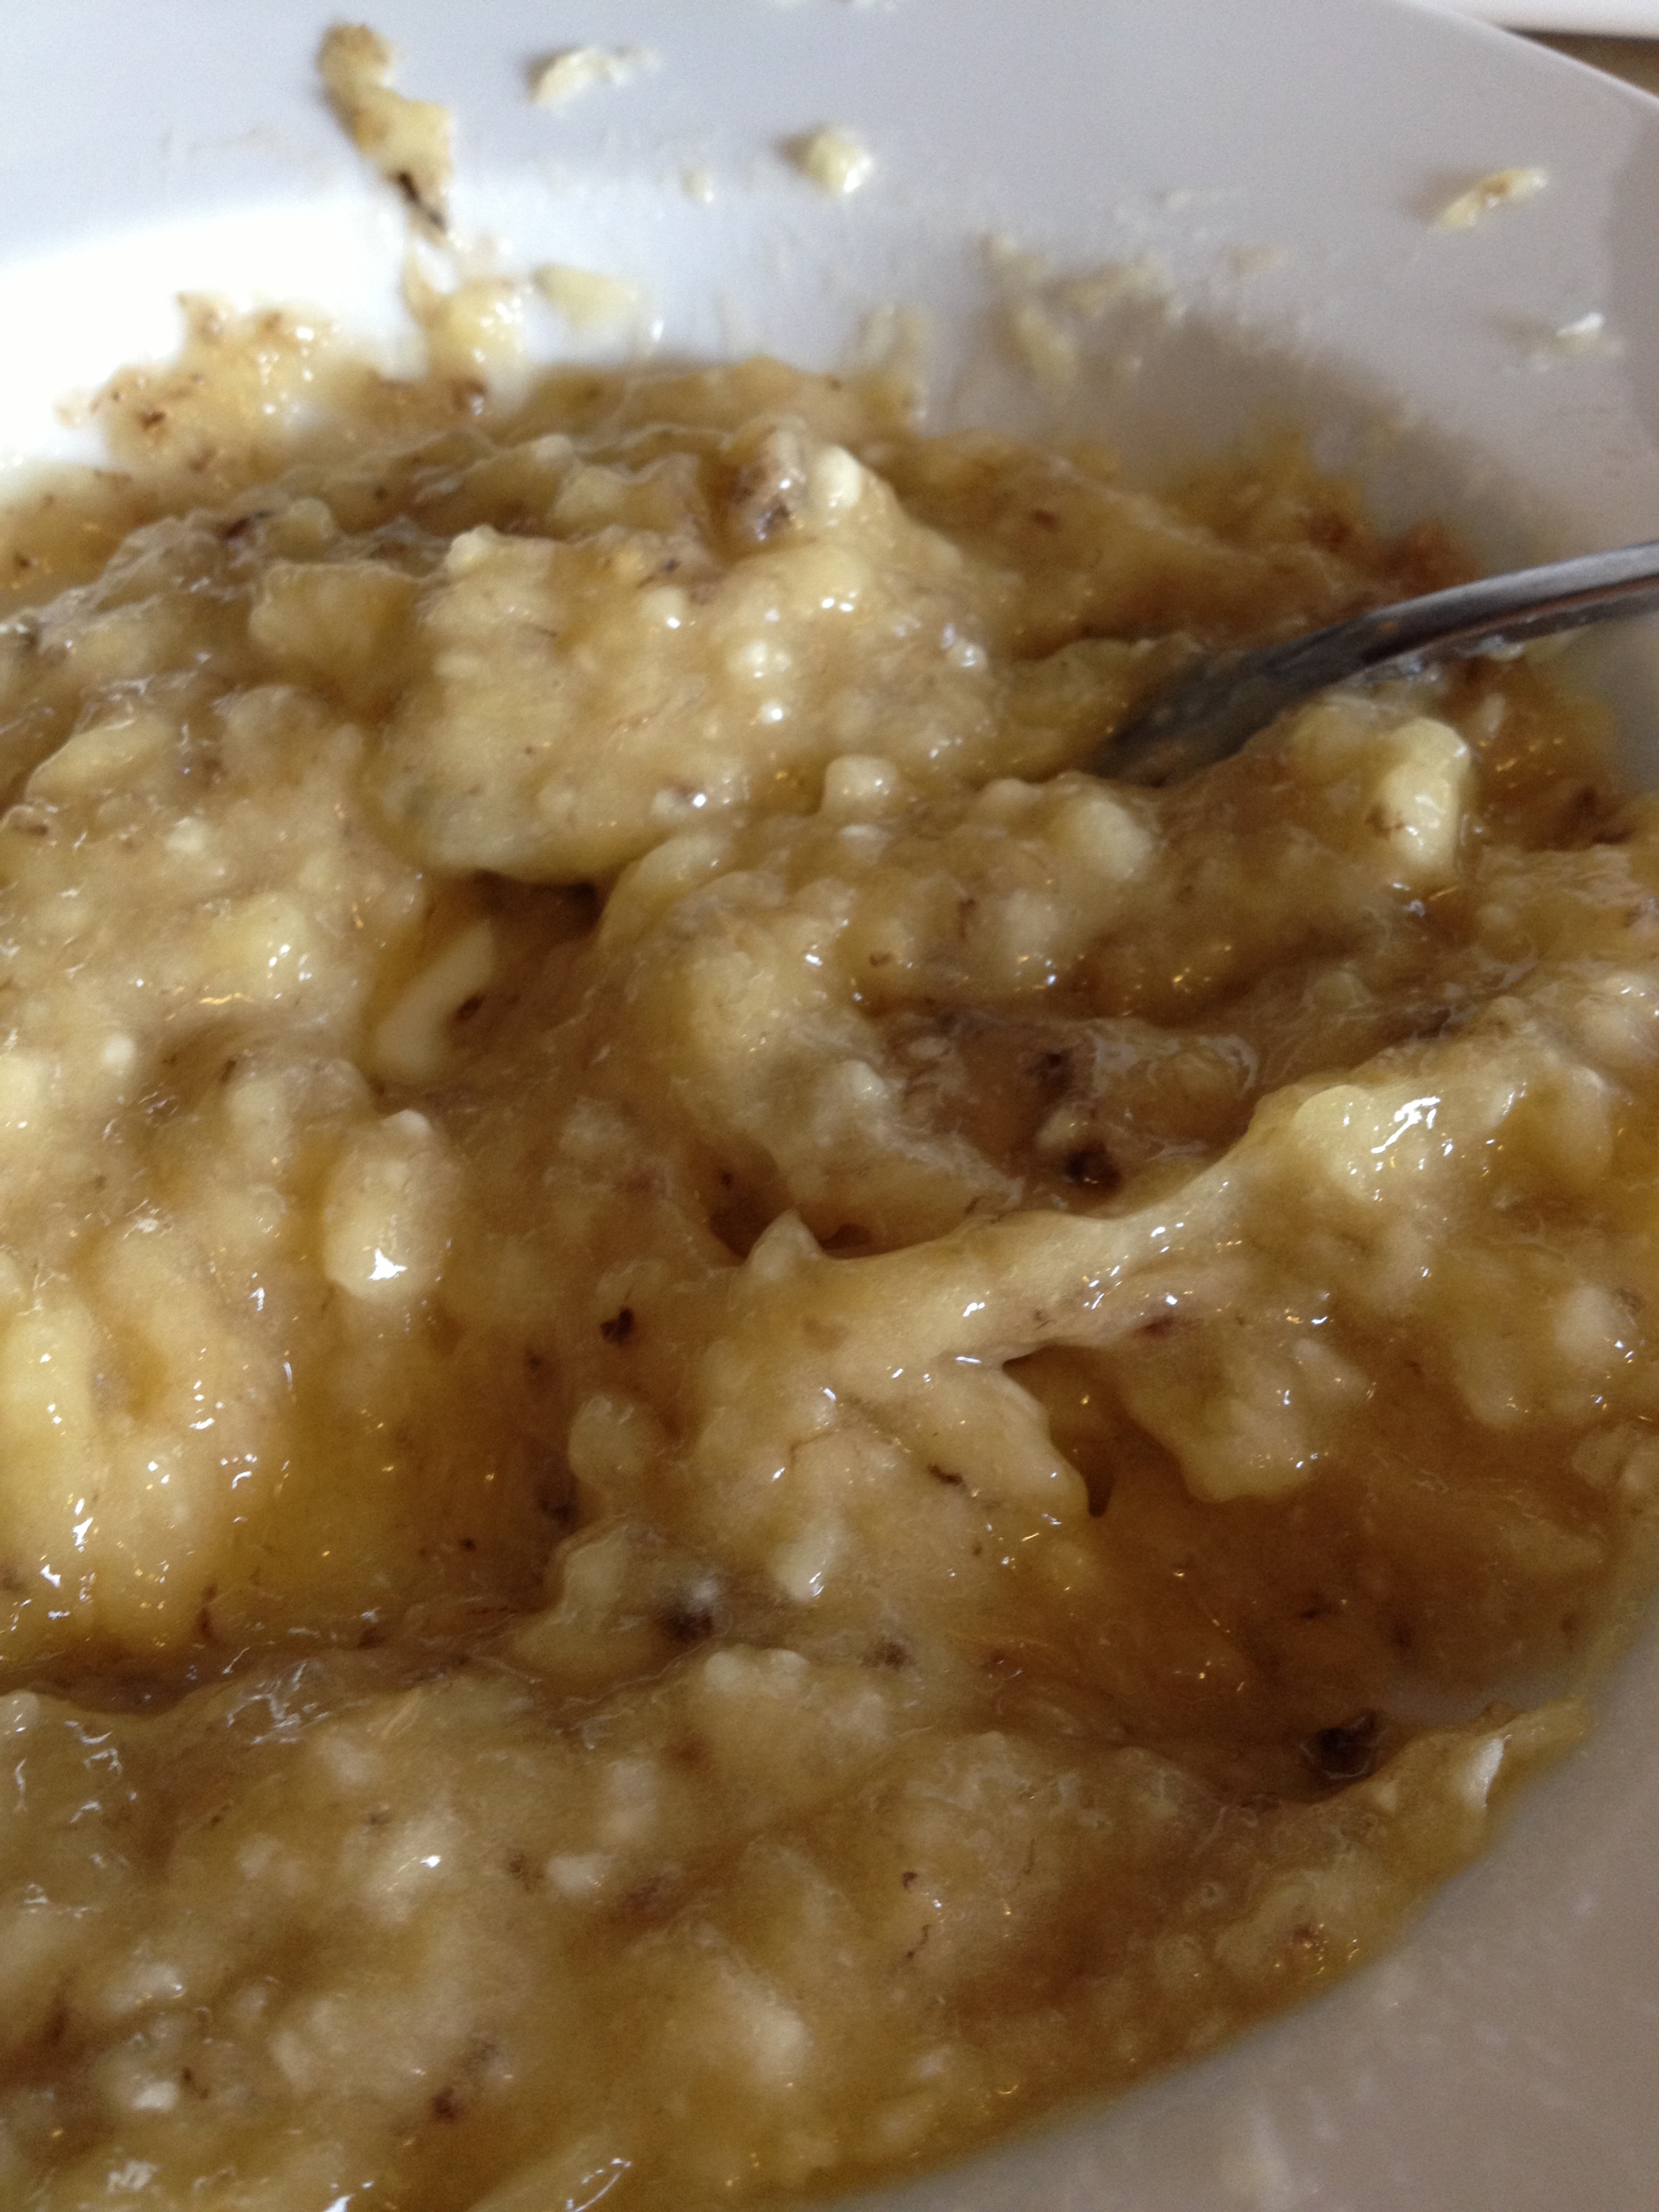
  • Mash up the bananas til they’re smooth and gooey

photo 2 (4)

  • Mix bananas with oats in a medium-sized bowl
  • Pour in the cinnamon and then fold in raisins and chocolate chips

photo 3 (4)

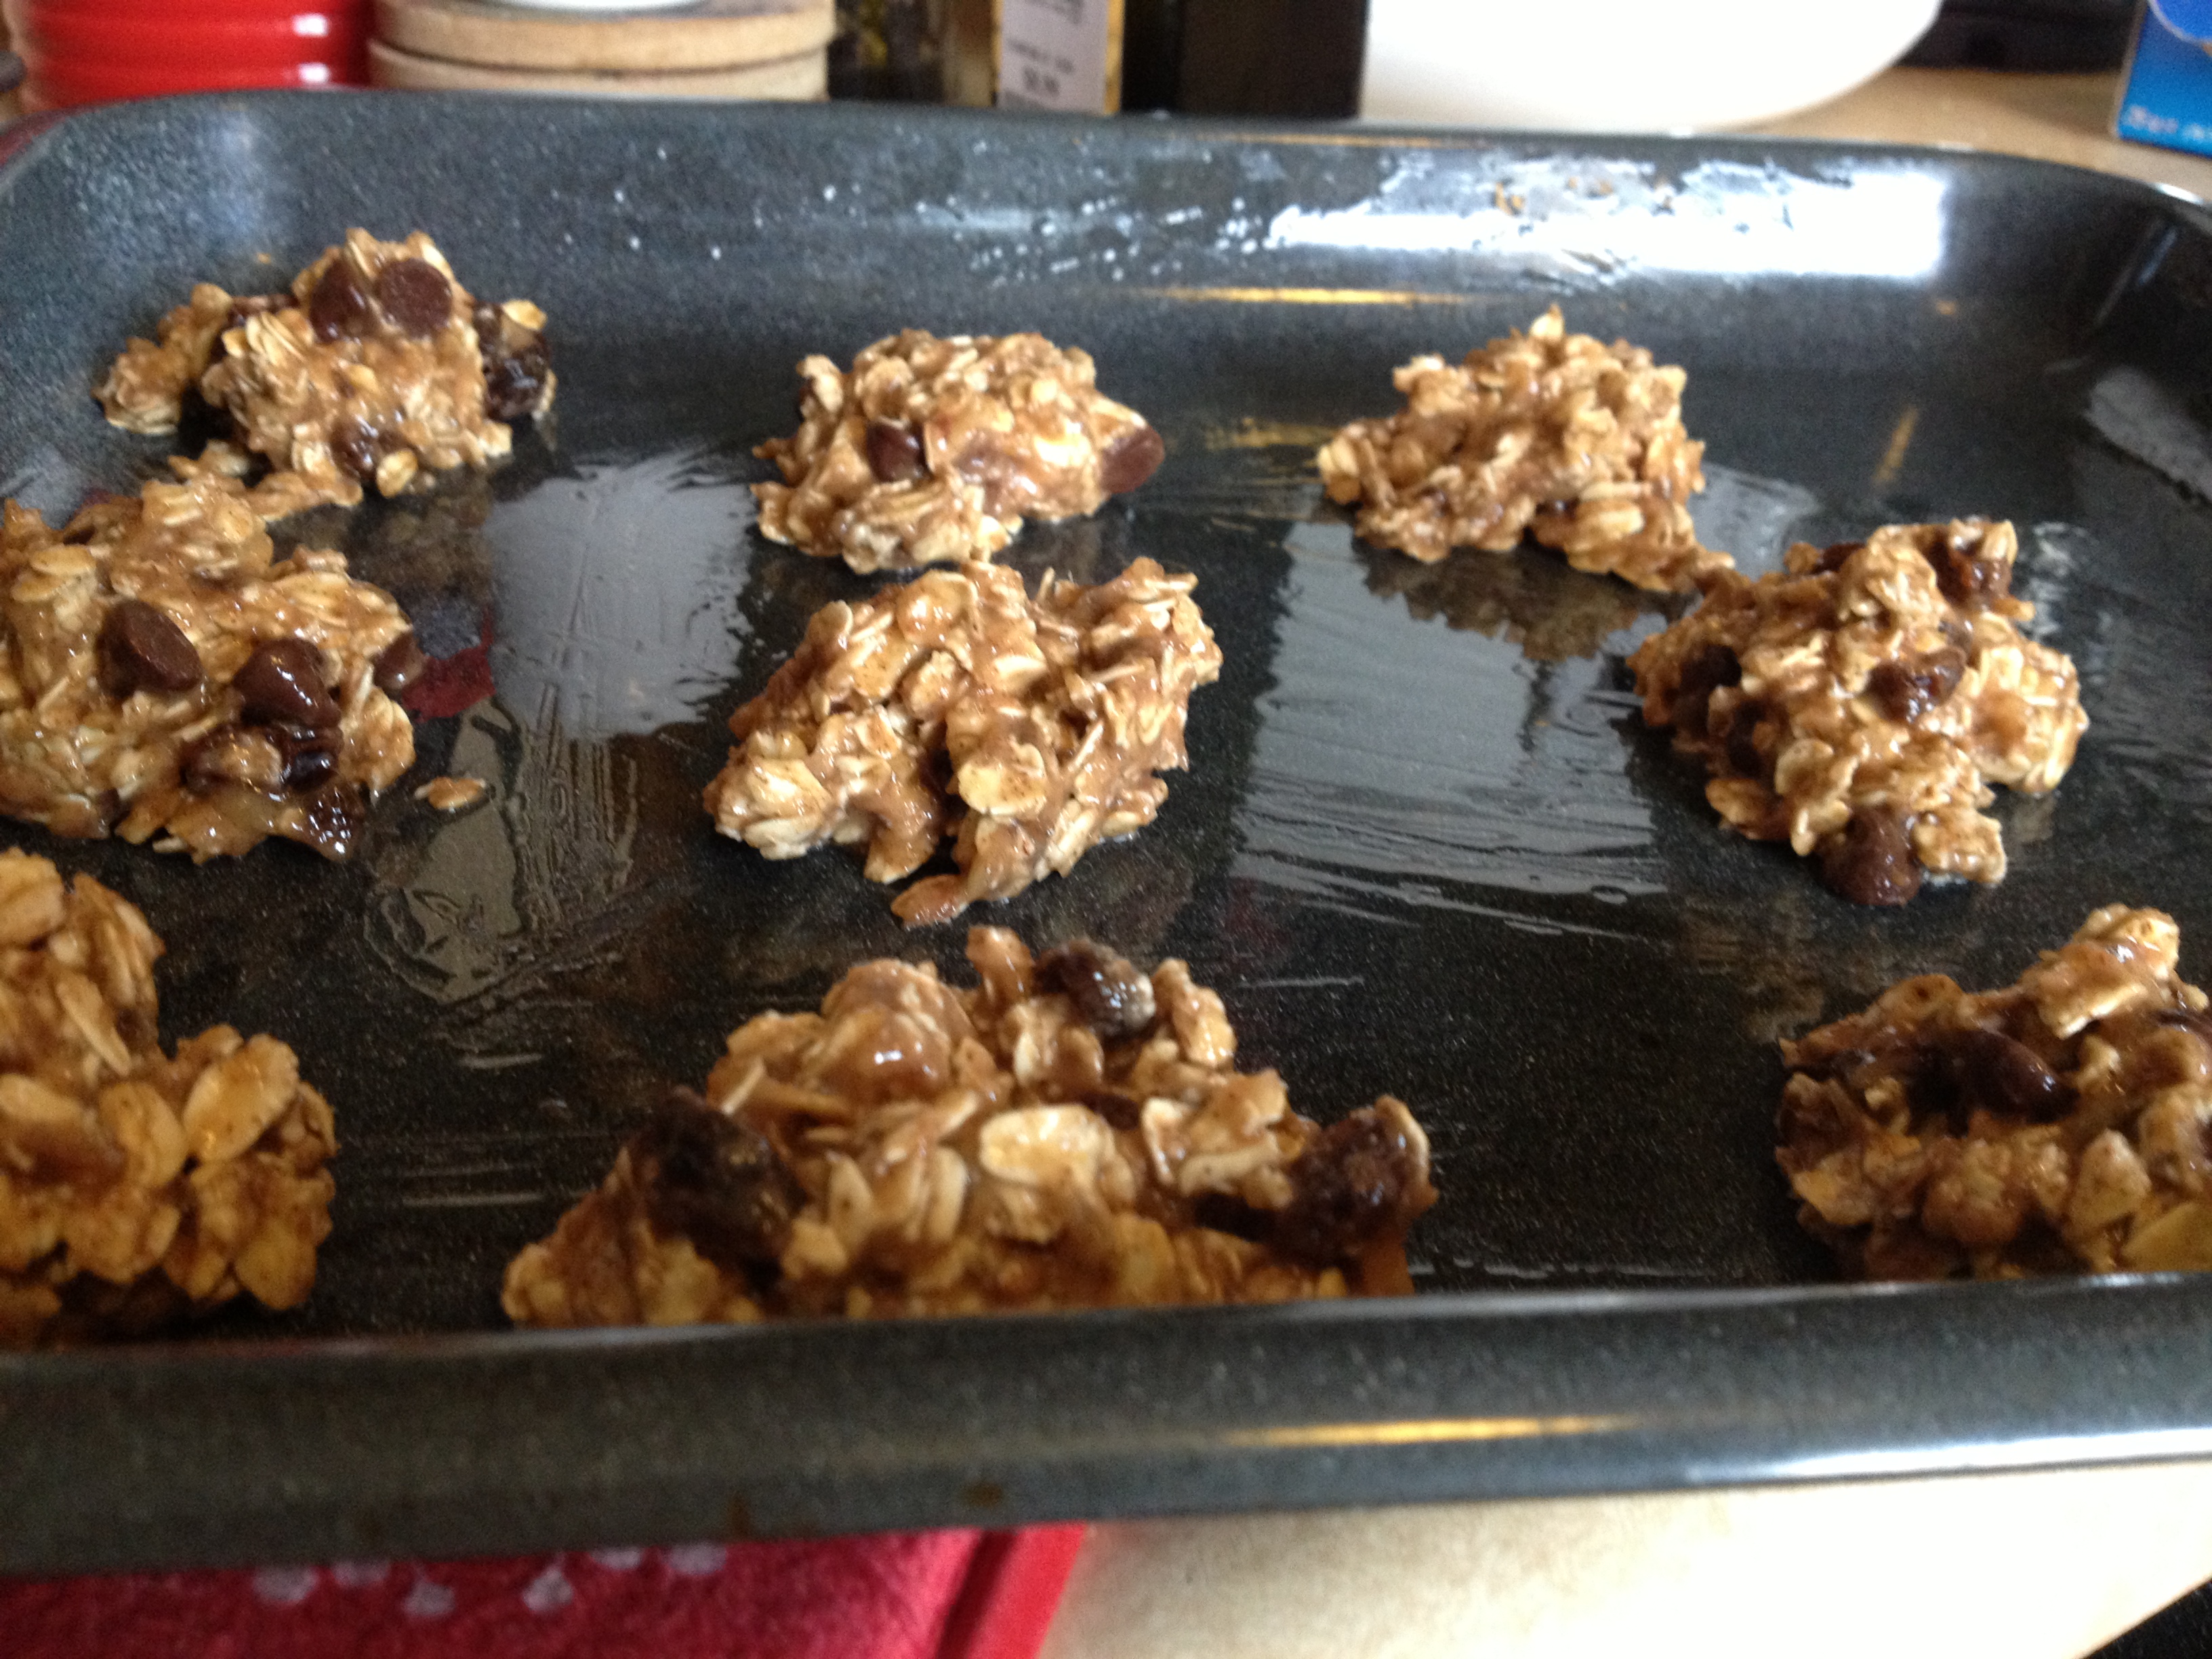
  • Place little rounds on a greased cookie sheet and place in oven for 12-16 minutes

photo 4 (4)

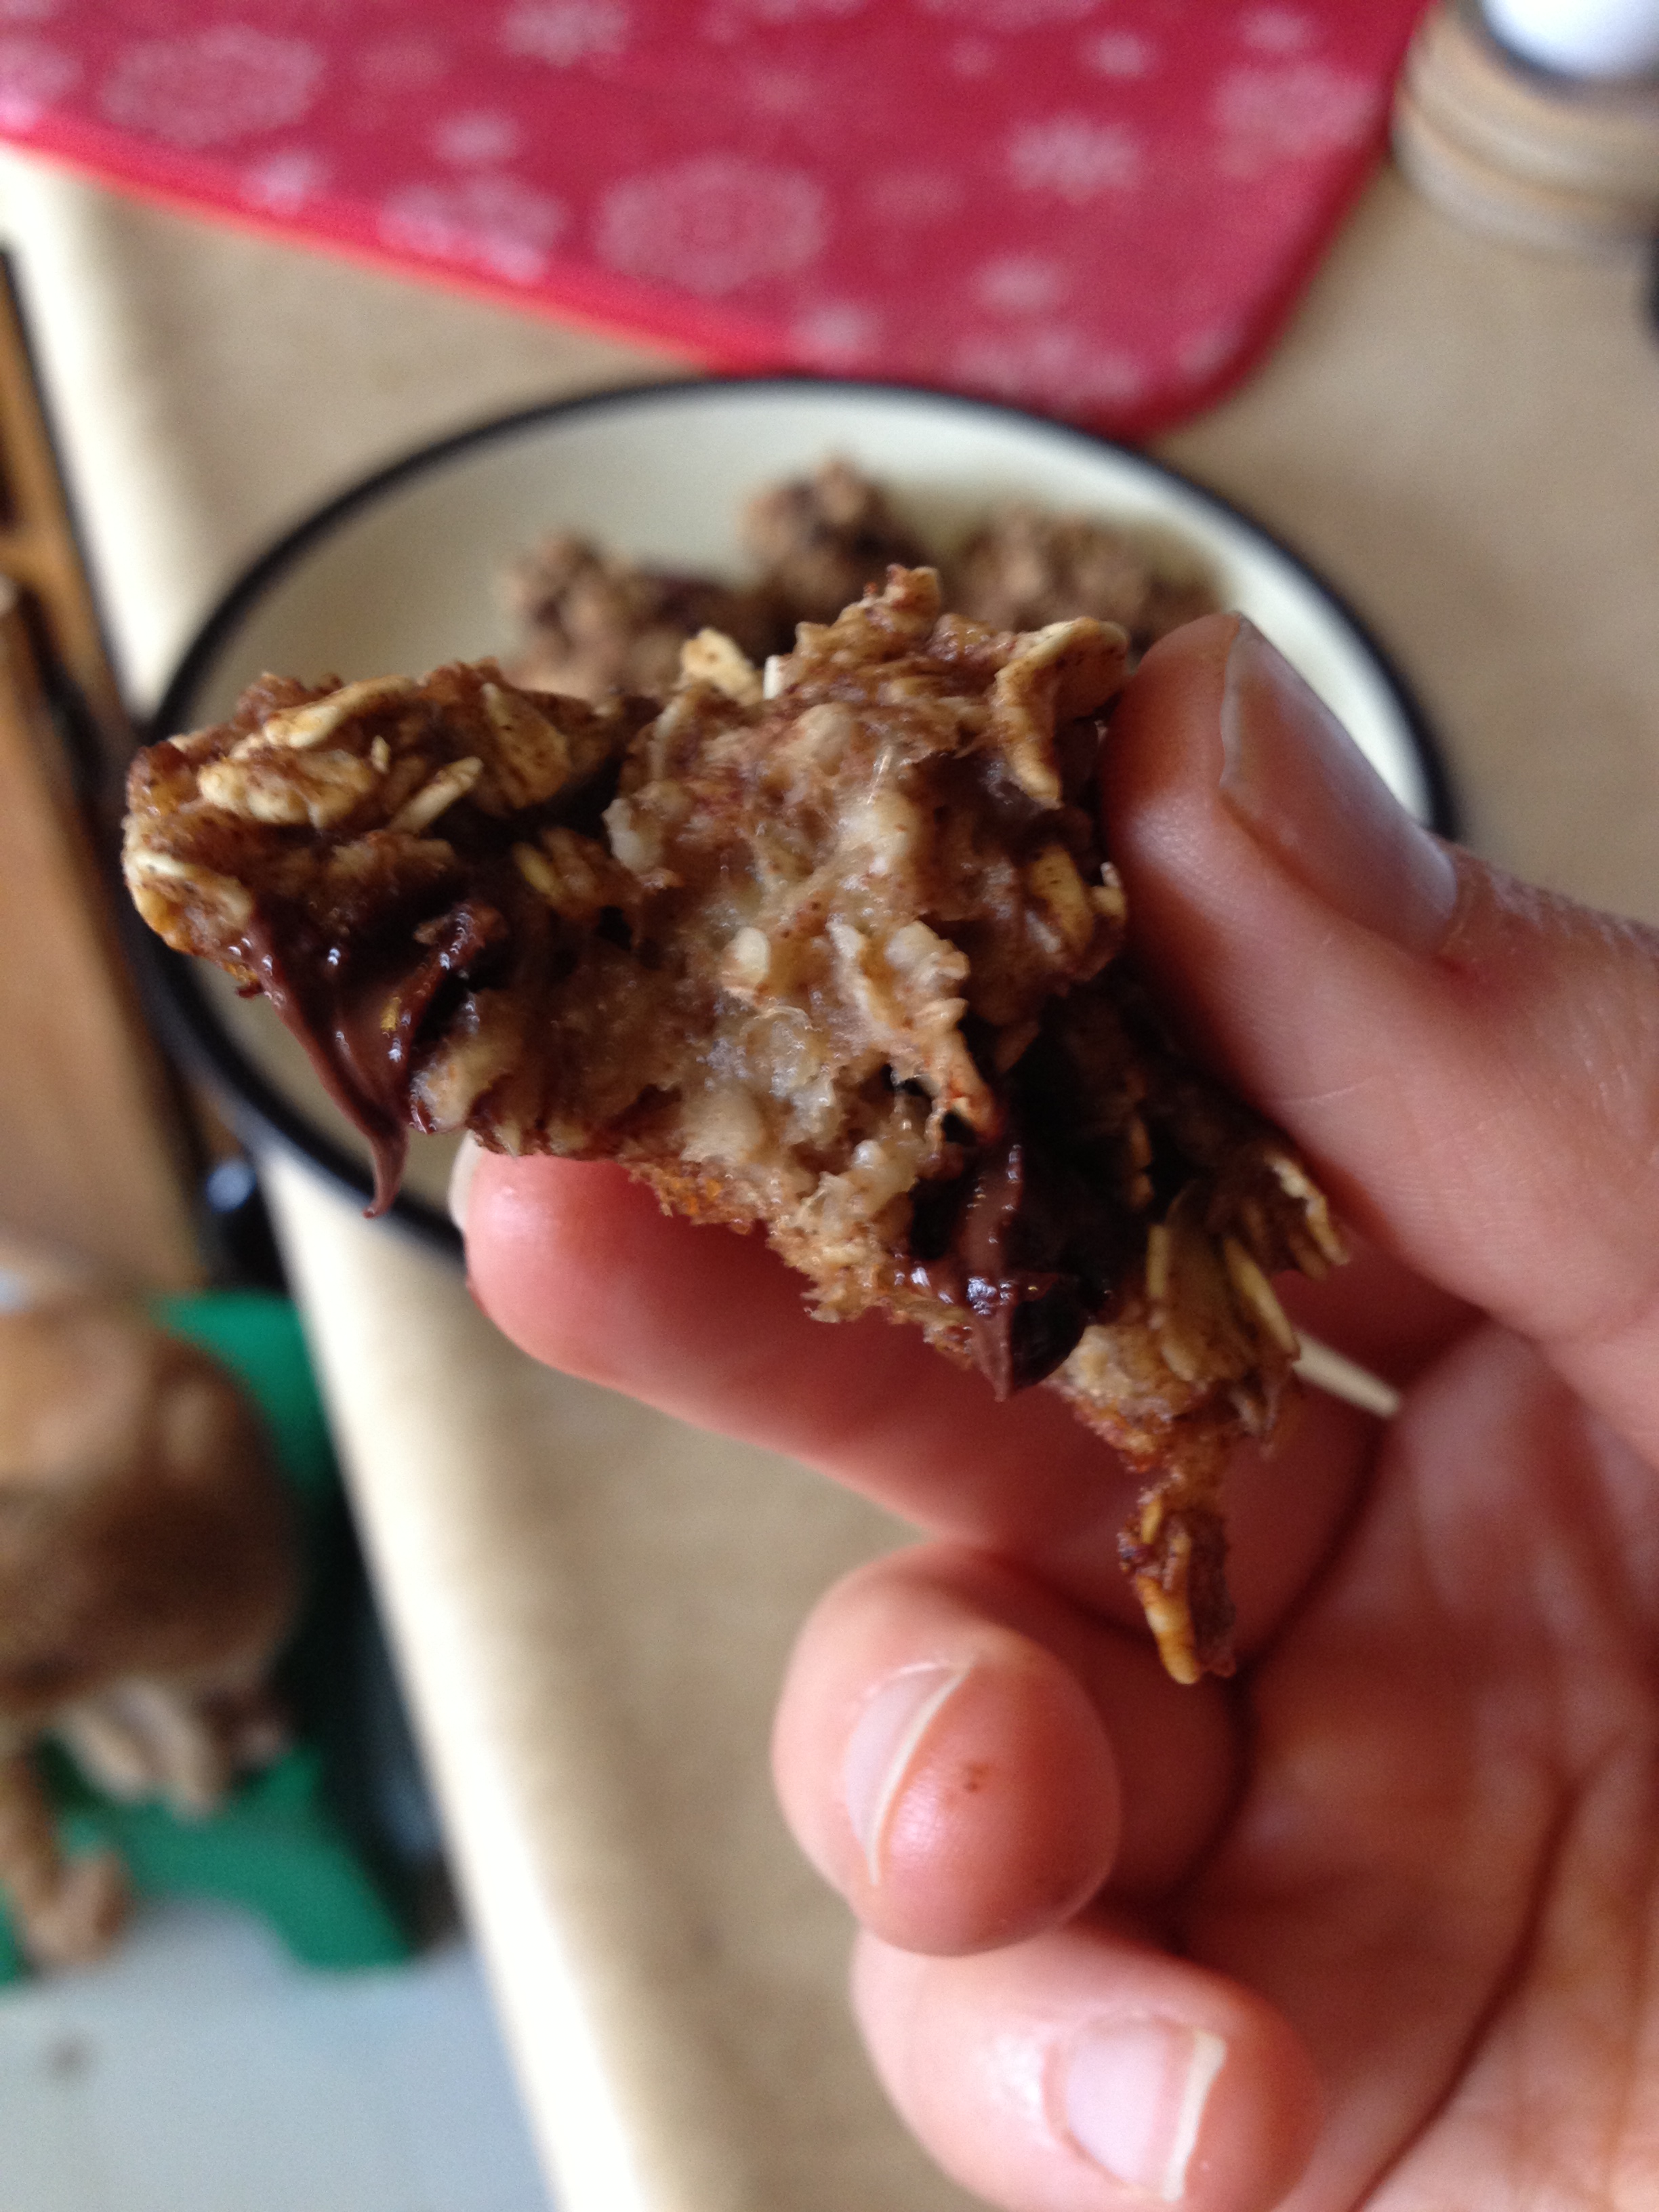
Deeeeelicious!

Deeeeelicious!

And that’s it. What’s an easier baked good than that? PLUS with it being so healthy! I’m very happy I found this recipe and I have a feeling I will be frequenting it. Cheers! And stay hungry and fit!

BONUS KITTY PIC

Sleepy Sajah

Sleepy Sajah

spacer

Pretty Darn Healthy Enchiladas

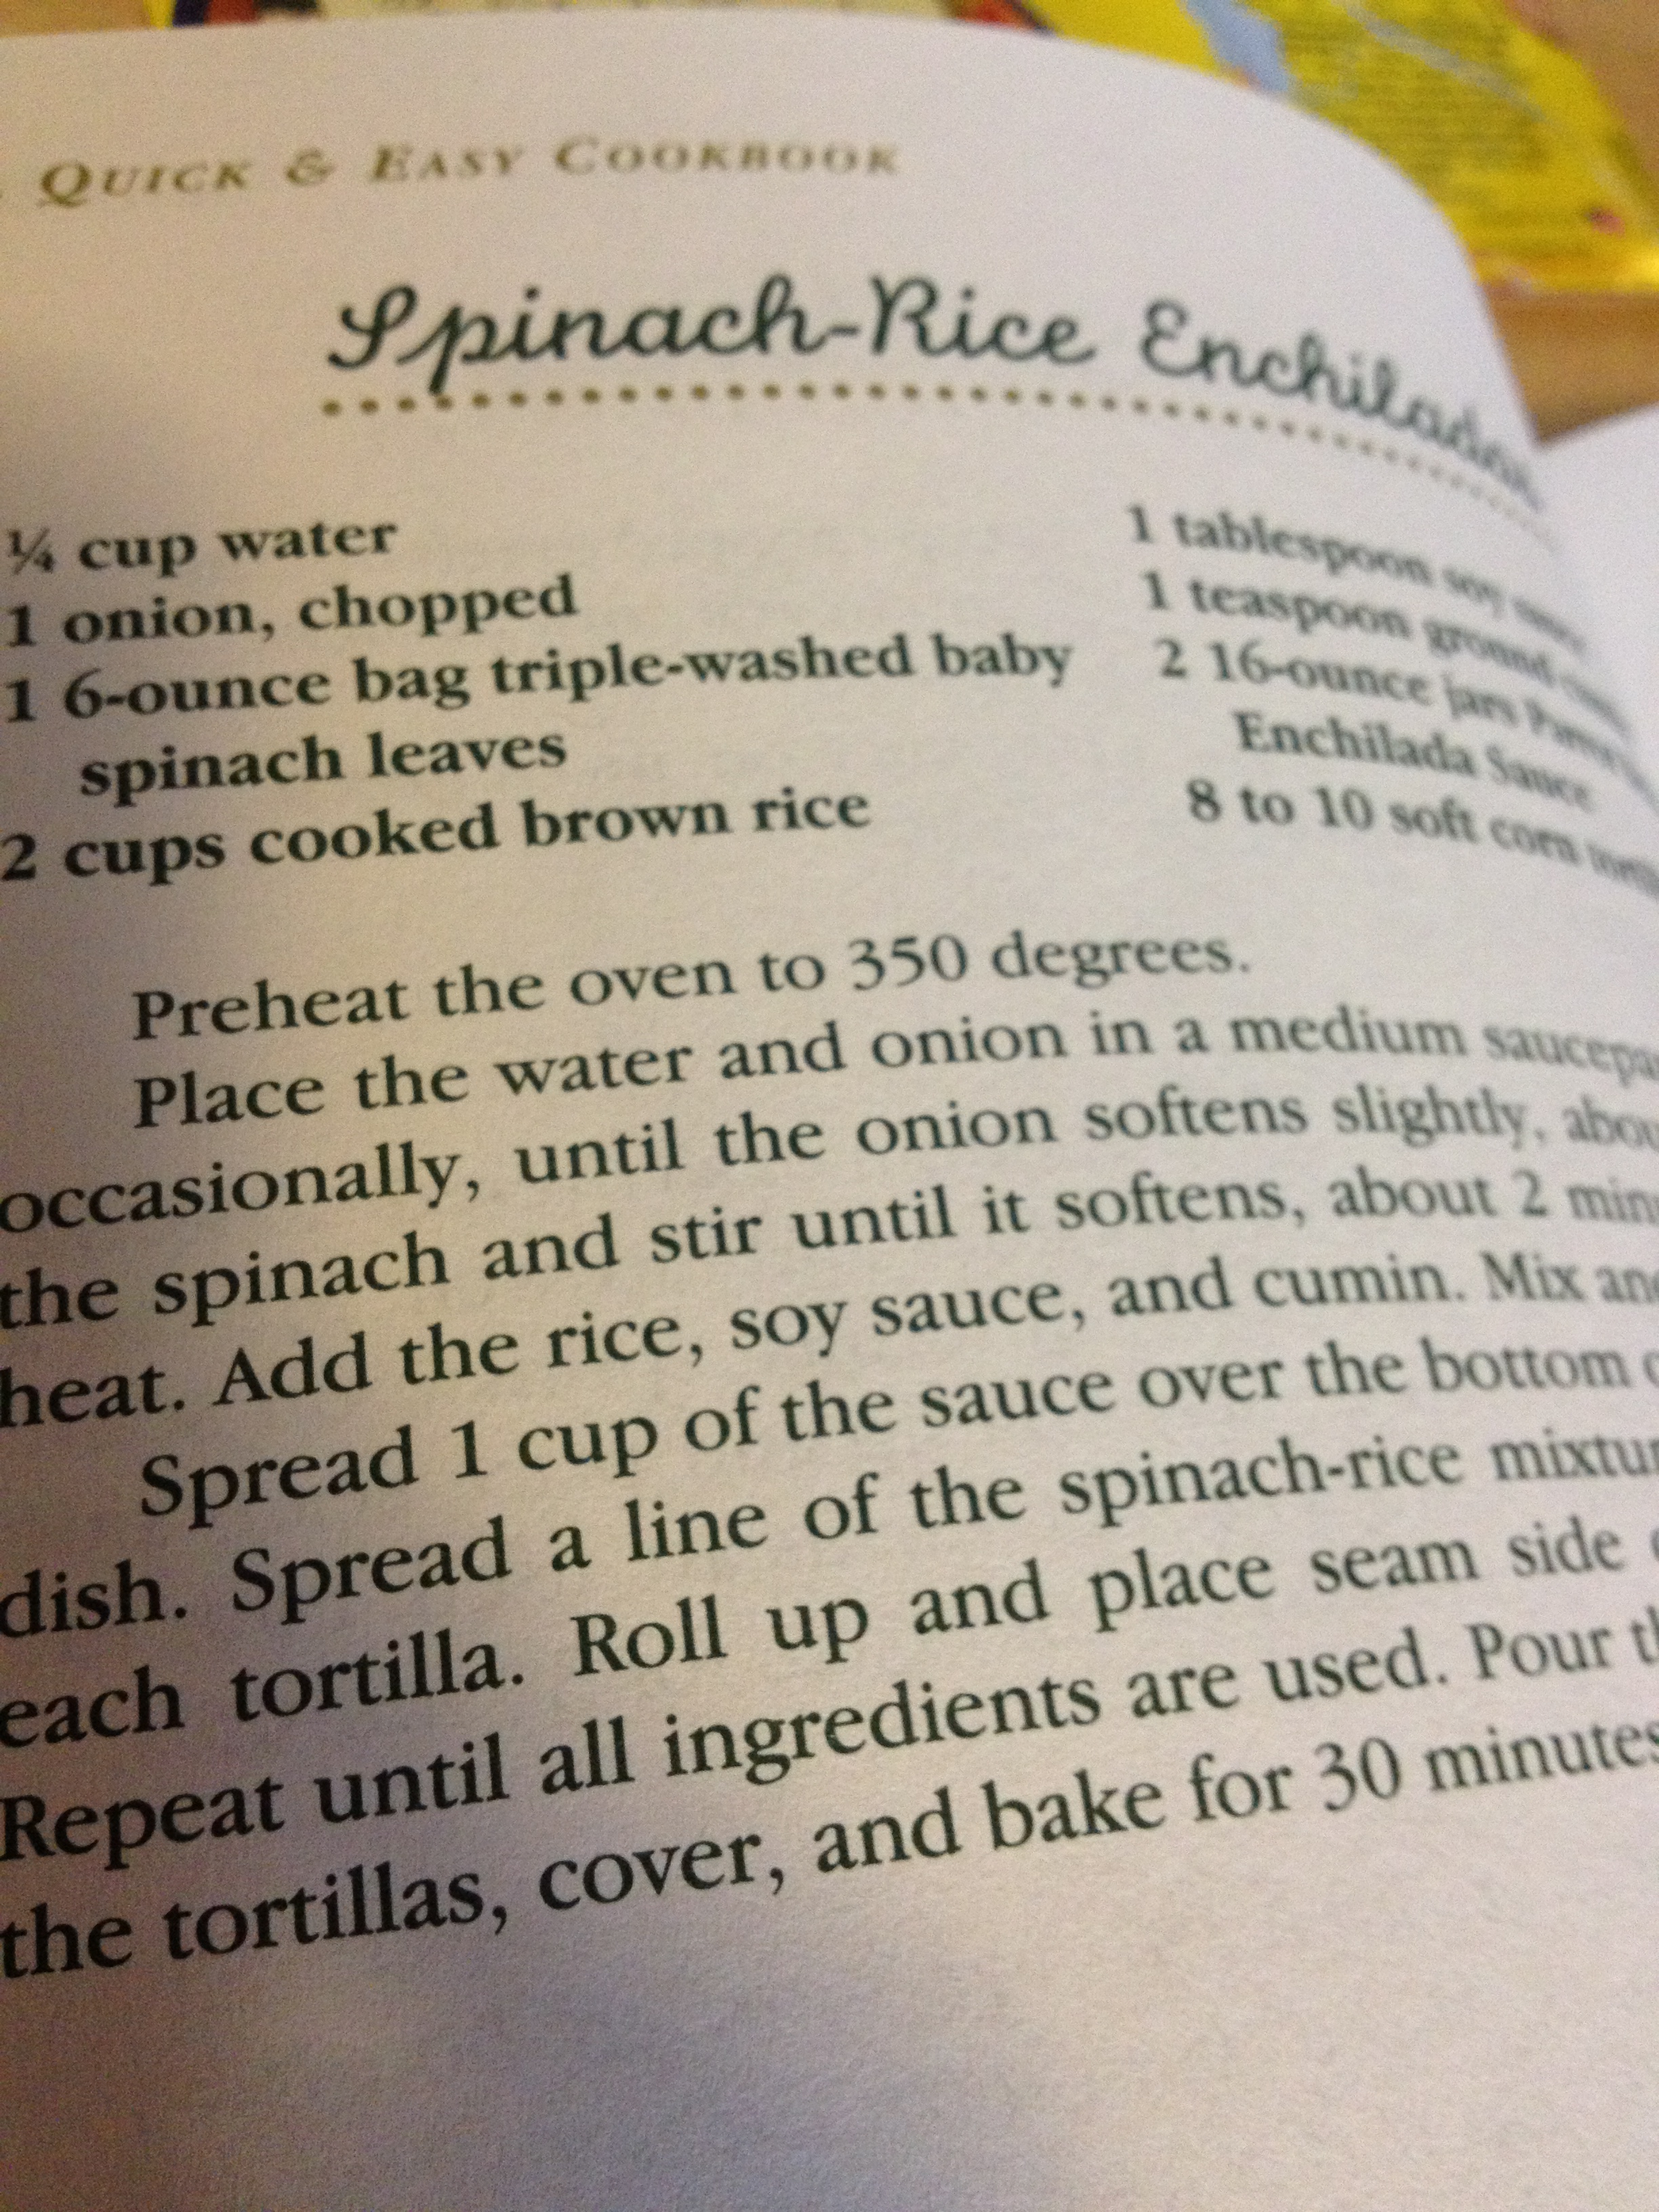
So I got this McDougall Quick and Easy Cookbook from one of my clients who so generously and sweetly gave it to me. We both have a passion for cooking (hers having a more professional side of actually owning a restaurant) and so one day she gave this book to me as a gift “just because.”

And she specifically pointed out a recipe, “Spanish Rice Enchiladas.” As usual, I diverted somewhat from the recipe because I think you should make each recipe your own. I ended up making another batch right after because Chris was still hungry for more. Check it out–it made for two meals for two!

I ADDED CHEESE

I ADDED CHEESE

  • Prep Time: 10 minutes
  • Cooking Time: 30 minutes
  • Serves: About 4-6 normal people (makes 10-12 enchiladas)

Ingredients

  • 1 cup rice (cooked, I use a rice cooker)
  • 1/2 yellow onion
  • 5 oz. spinach
  • beans of your choice (we had white)
  • 1/4 cup water
  • 1 tbsp soy sauce
  • 1 tsp cumin
  • 1 clove garlic
  • 1/4 block cheddar cheese (can be any kind but I lurve cheddar)
  • 10 to 12 corn or flour medium tortillas (we used both kinds)
  • 1 can enchilada sauce (16 oz)
  • salt & pepper
  • avocado (optional)

Directions

  • Pre-heat oven to 350 degrees
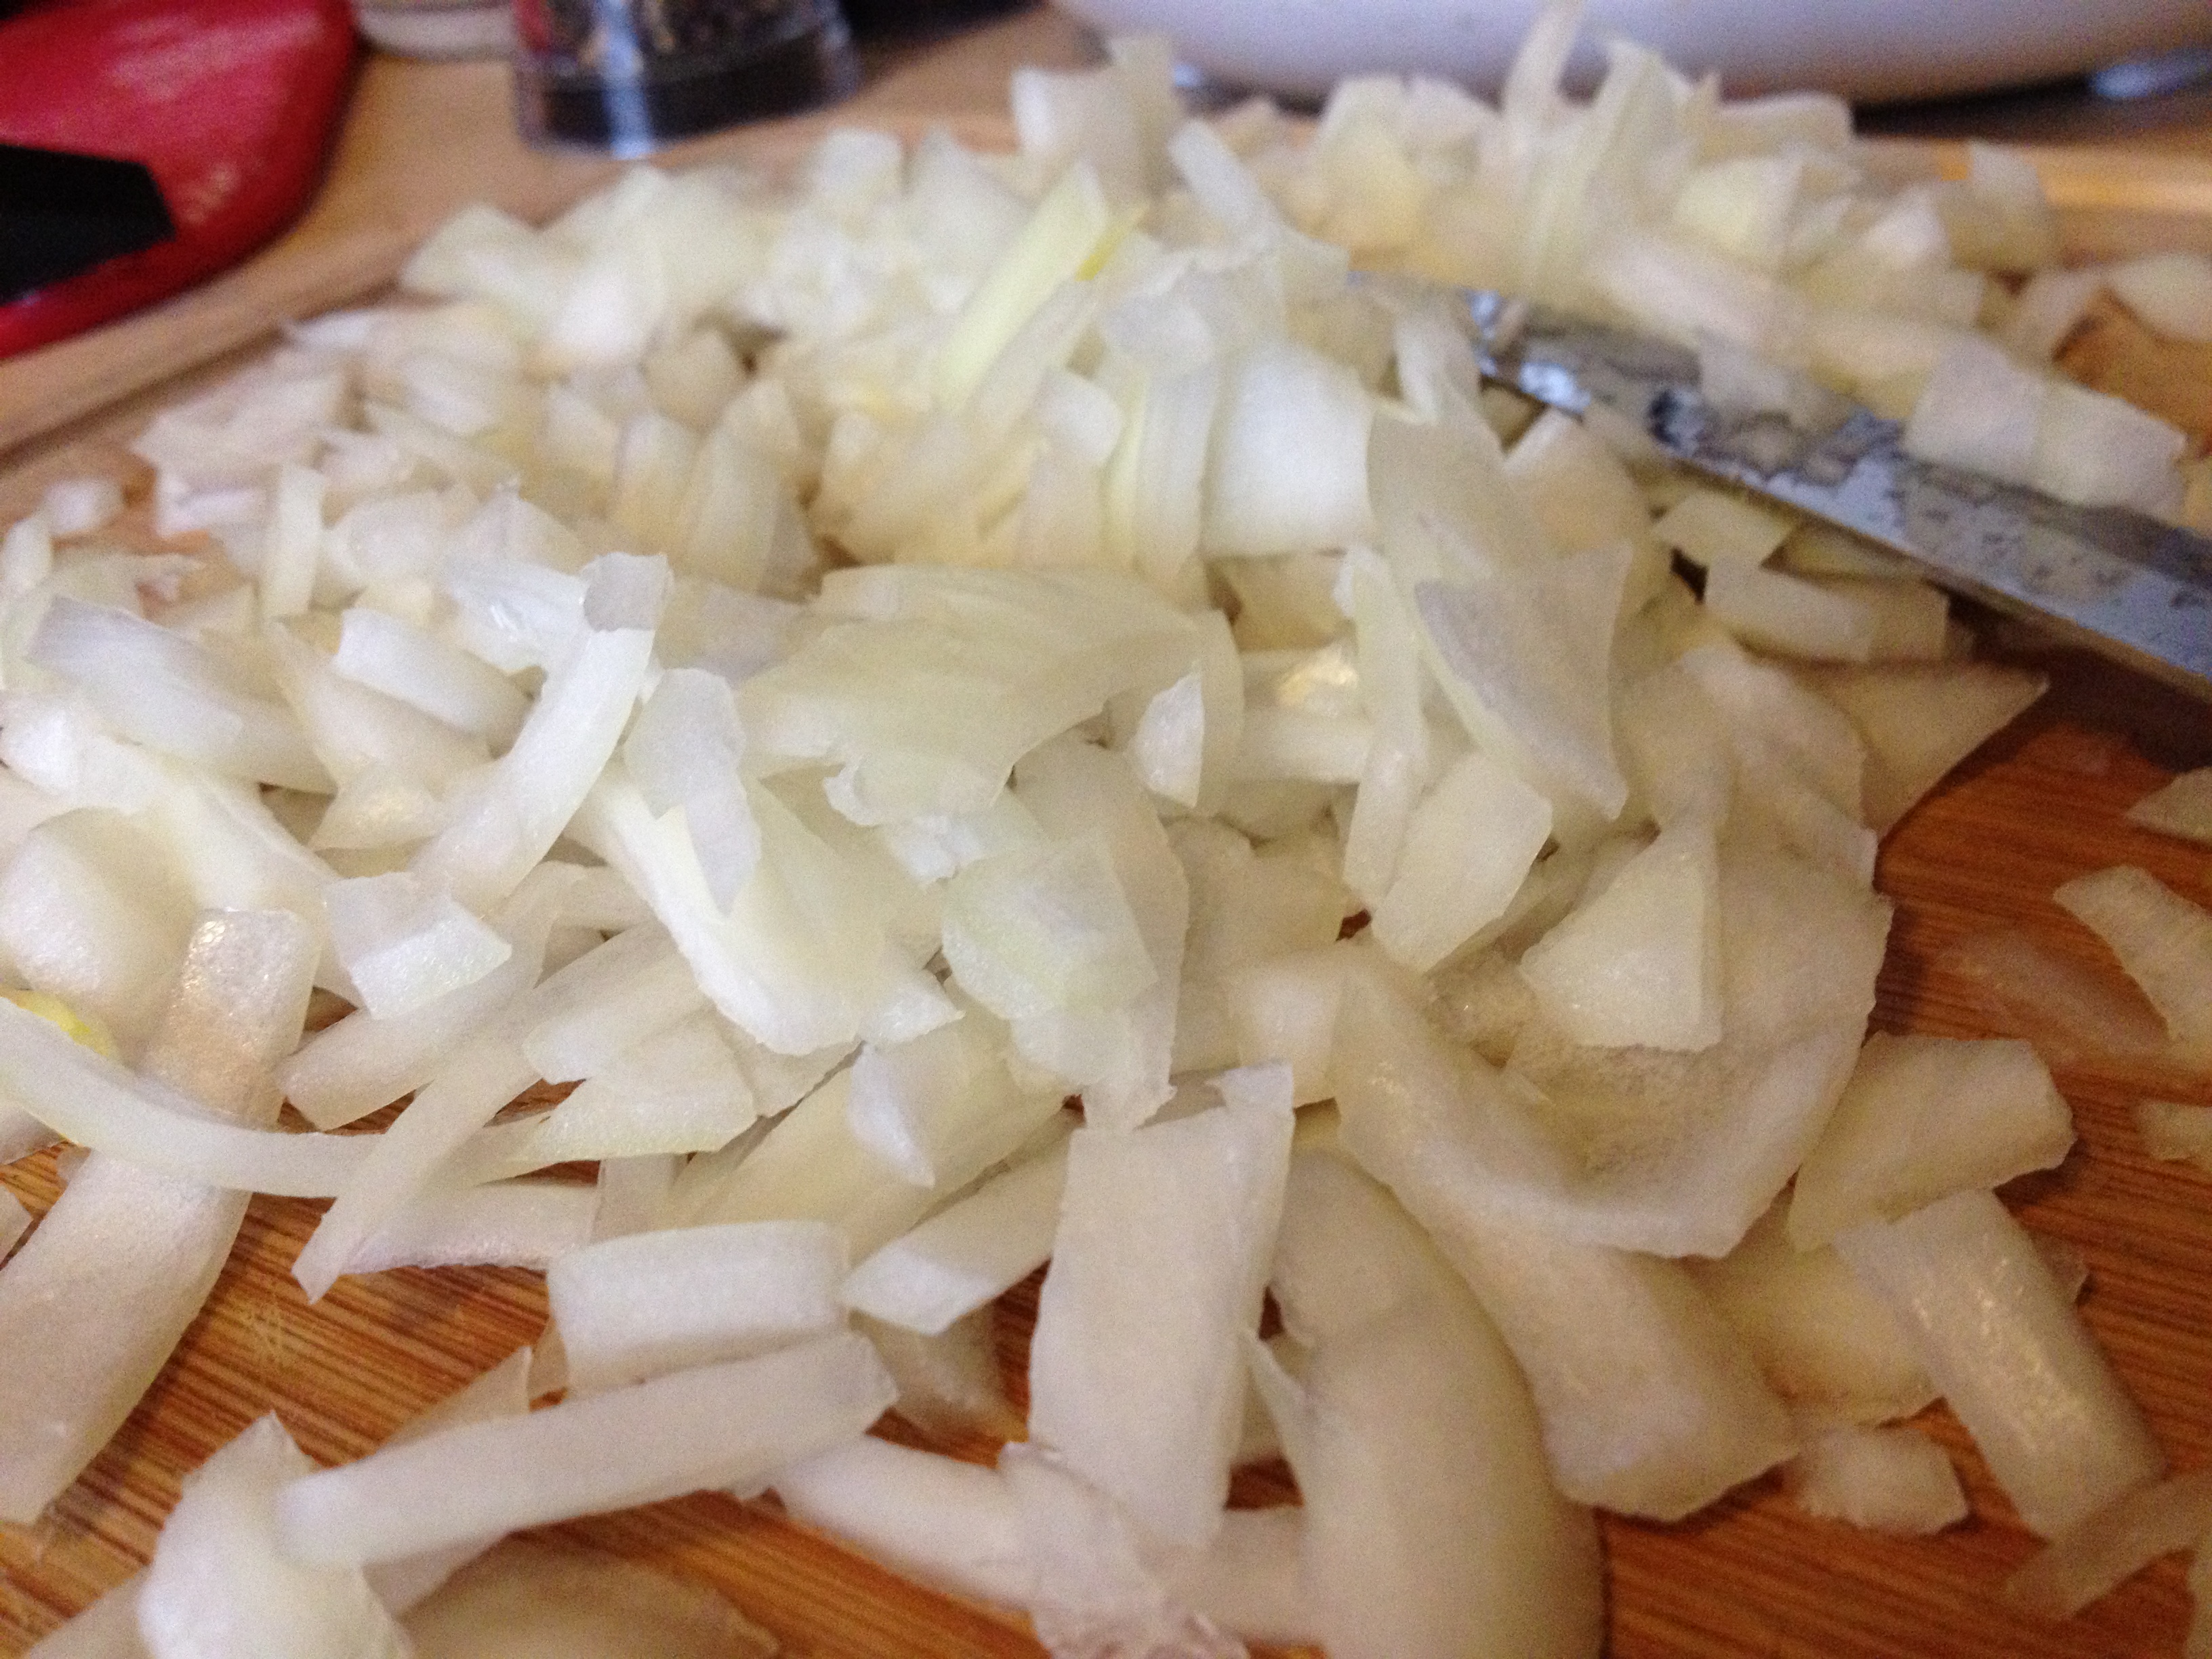
  • Chop up that onion. Doesn’t have to be fine pieces, but small enough to eat comfortably in the enchilada

photo 2

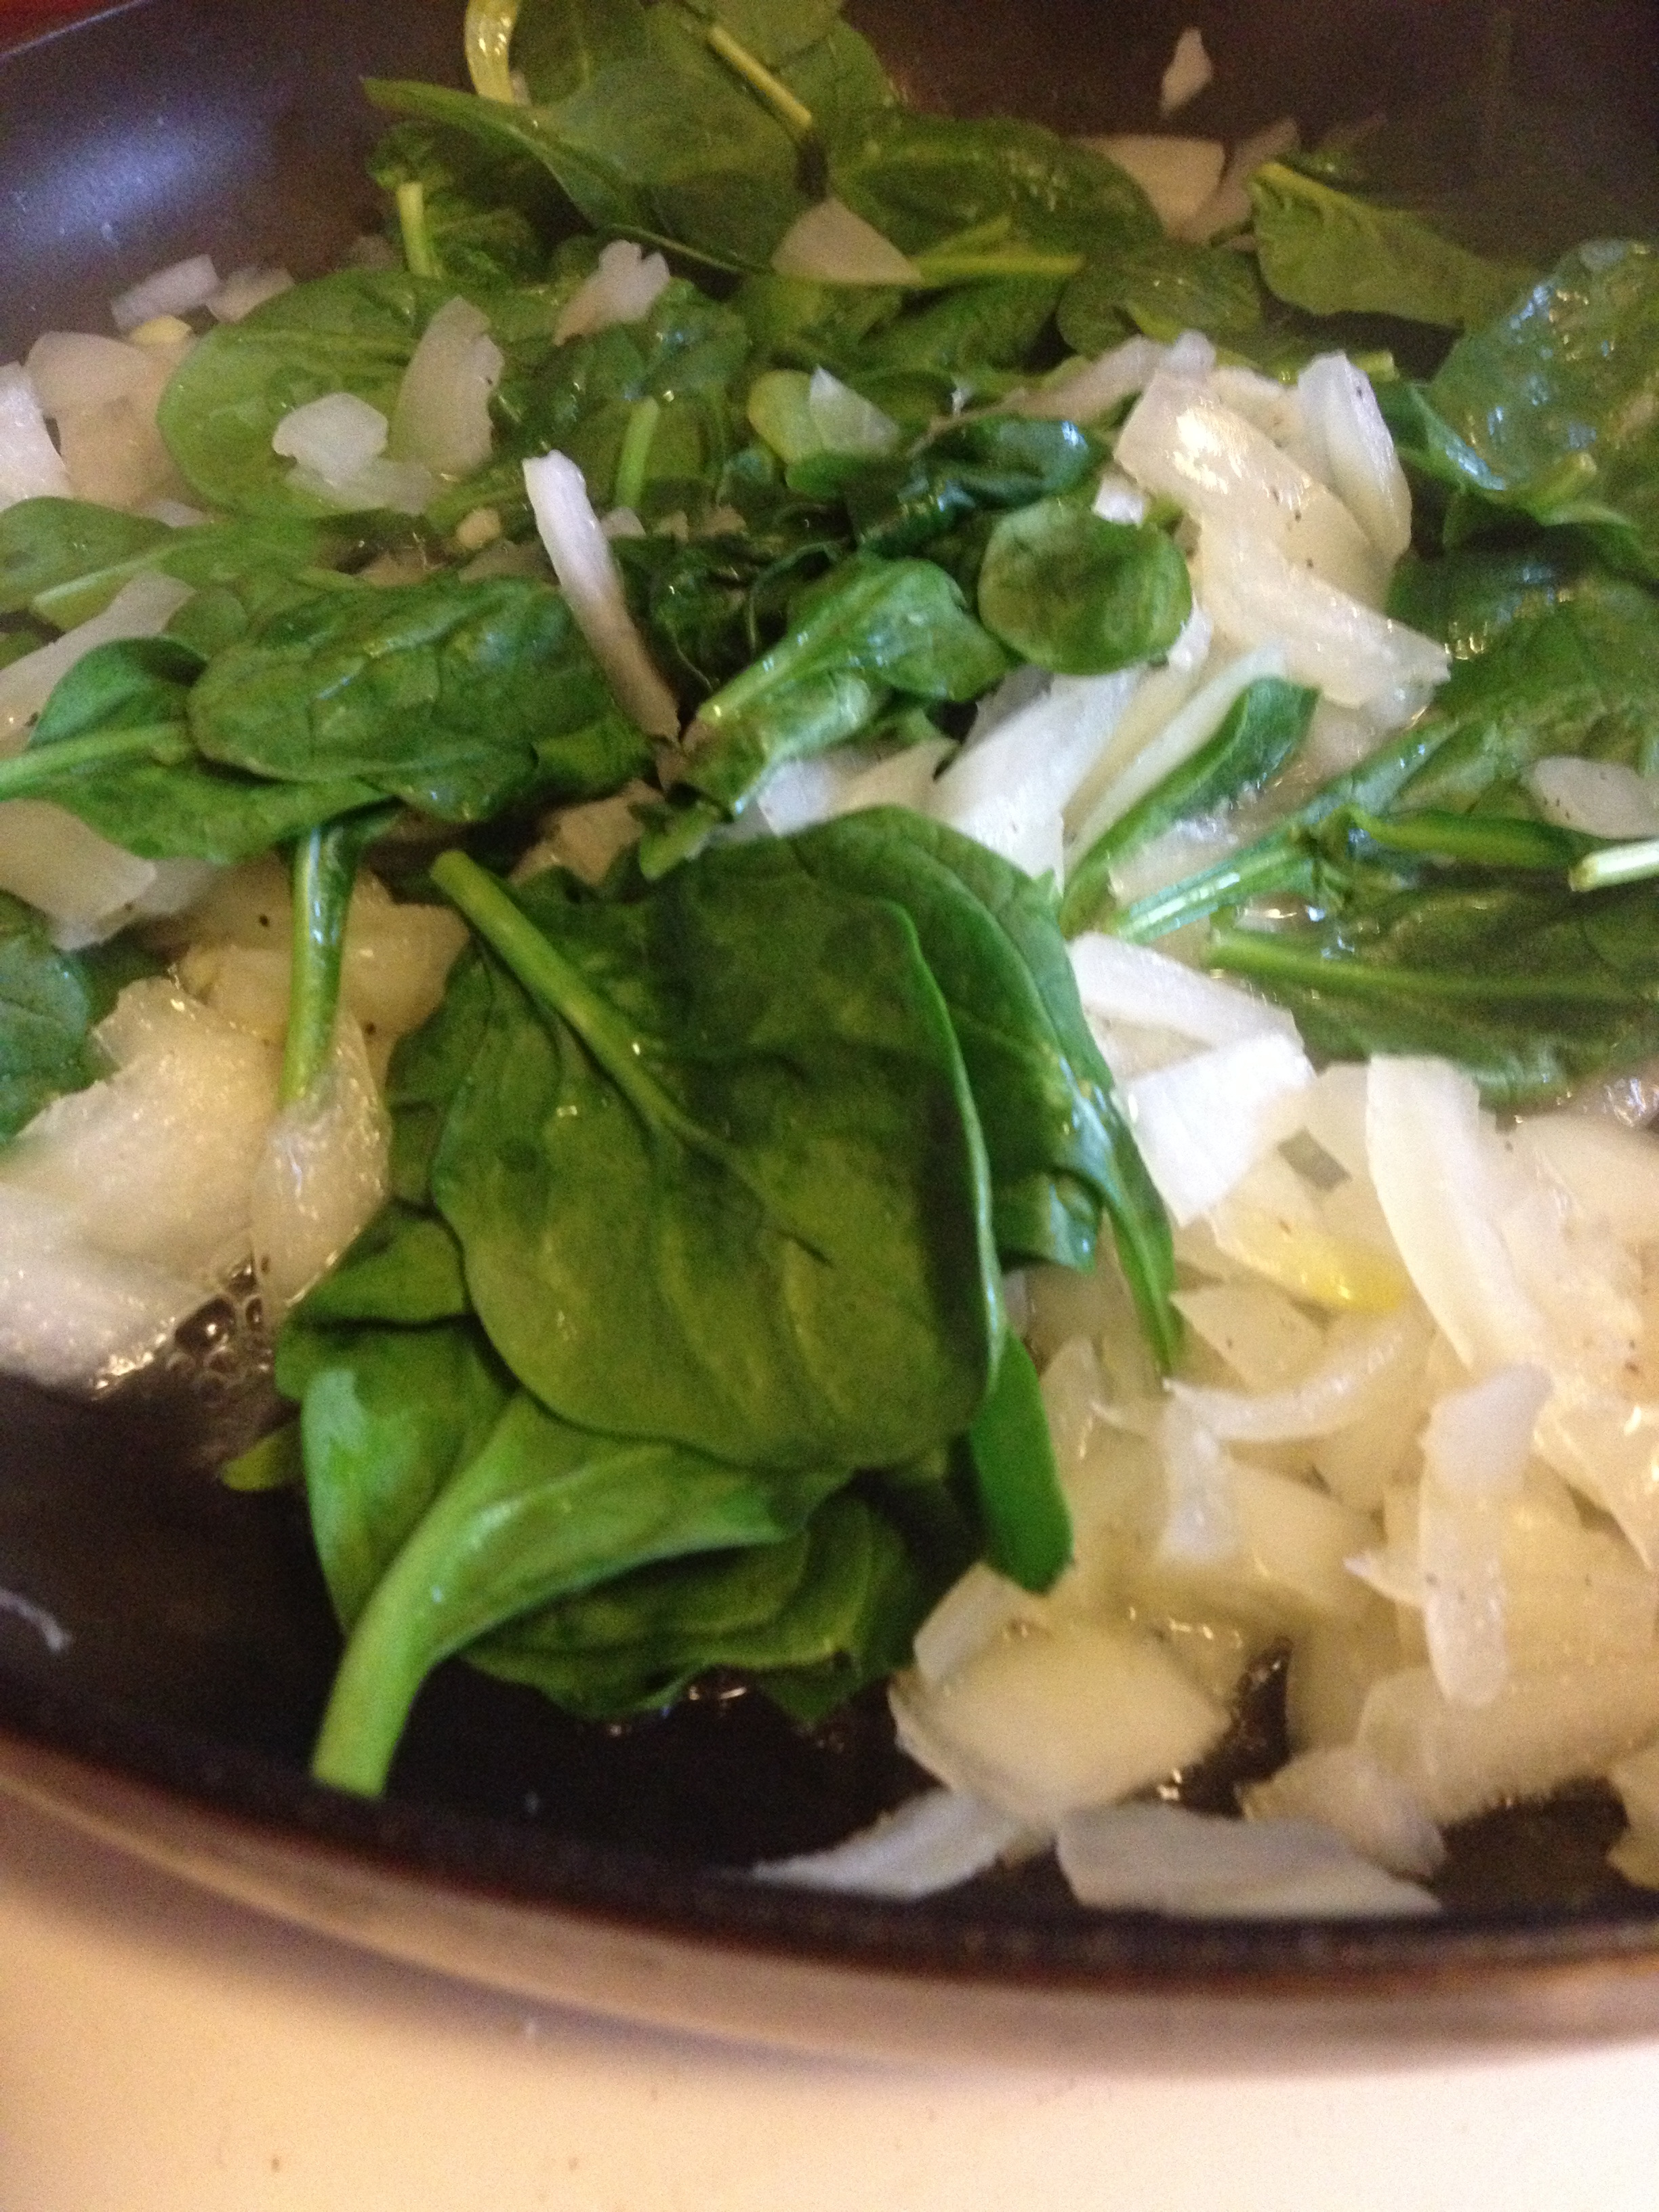
  • Put the water and the onion in a saucepan and stir. I put some garlic in there too. Heat the onions up until they’re soft
  • Once onions are soft, put the spinach in the saucepan. I added some salt and pepper here to season it up because I love flavor.
  • Grate a good amount of cheese, depending on how cheesey you want your enchiladas

photo 3

  • Once the spinach is softened, take the saucepan off the heat.
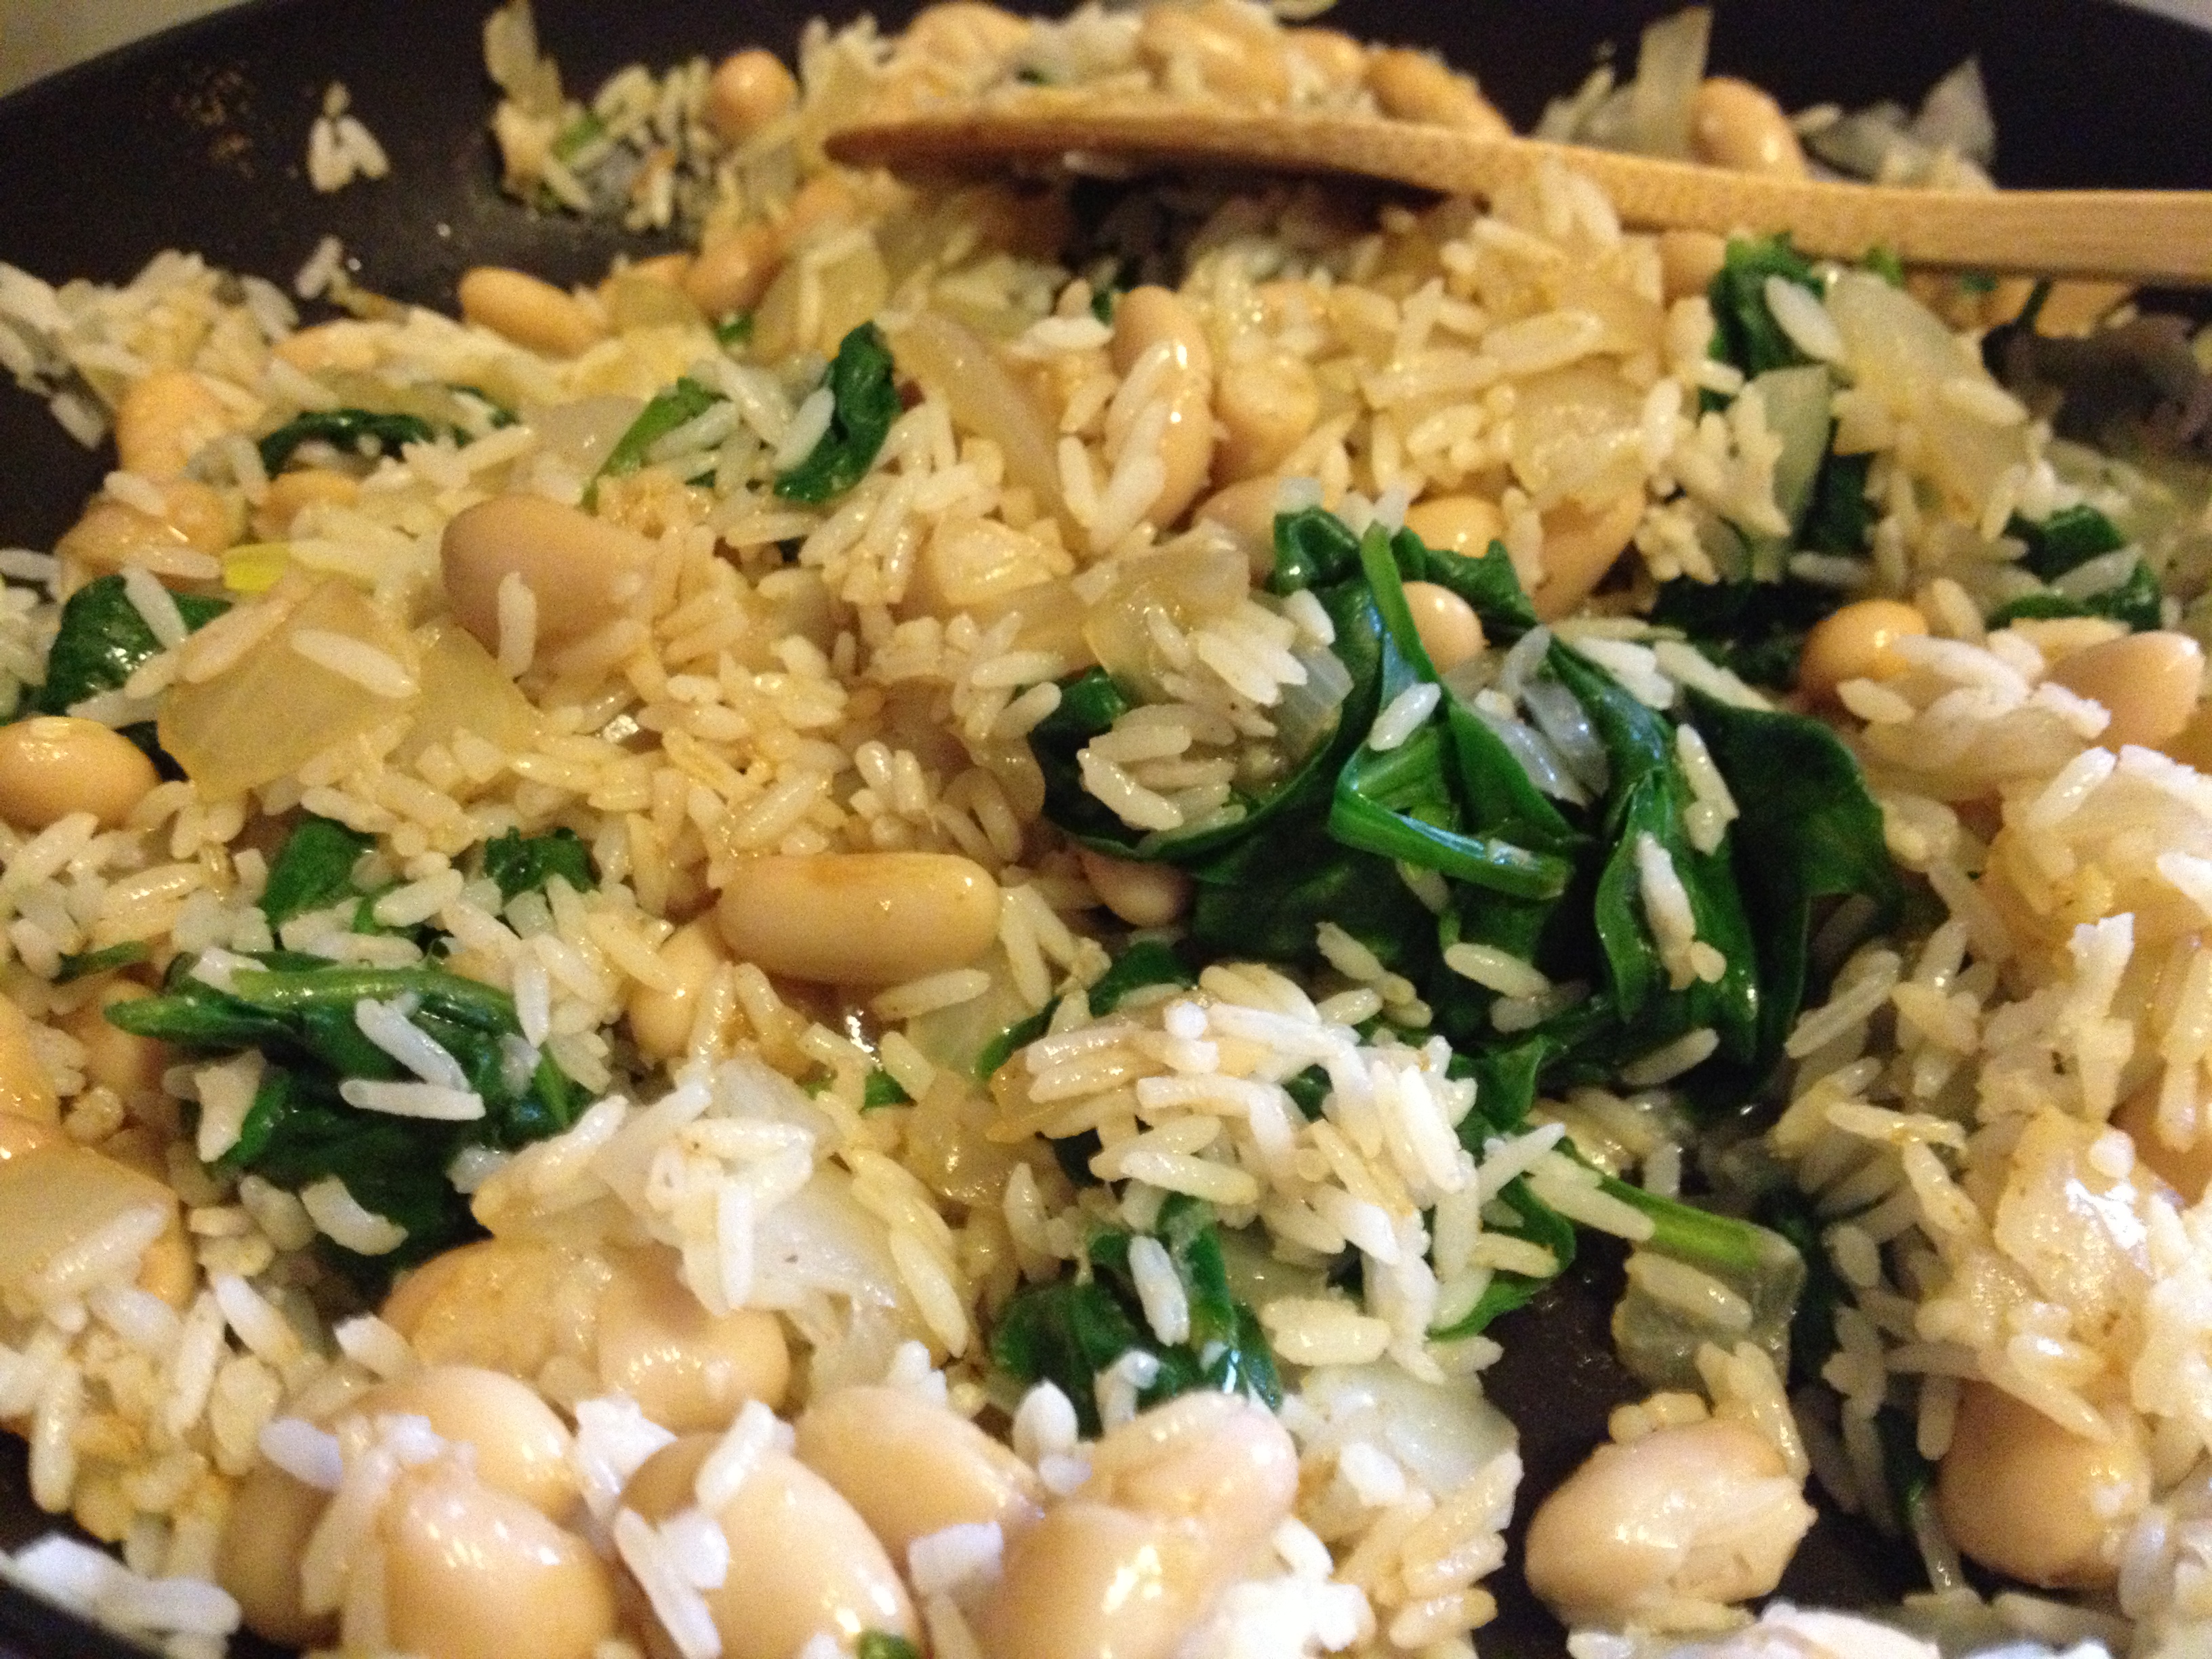
  • Stir in the rice, cumin, and soy sauce. Make sure it is all mixed around so it’s well-balanced

photo 4

  • Pour 1 cup of the enchilada sauce on the bottom of your casserole dish
  • Put the rice-onion mix and cheese down the center of your tortilla 

photo 2 (1)

  • Roll the tortilla and have the folded side placed down. Keep doing so until casserole is full like sardines in a can.

photo 3 (1)

  • Pour the rest of the enchilada sauce atop the enchiladas
  • Put in the oven for 30 minutes. This number worked perfectly for me. Just make sure the tortillas are cooked and the cheese is melted, which it most certainly should be
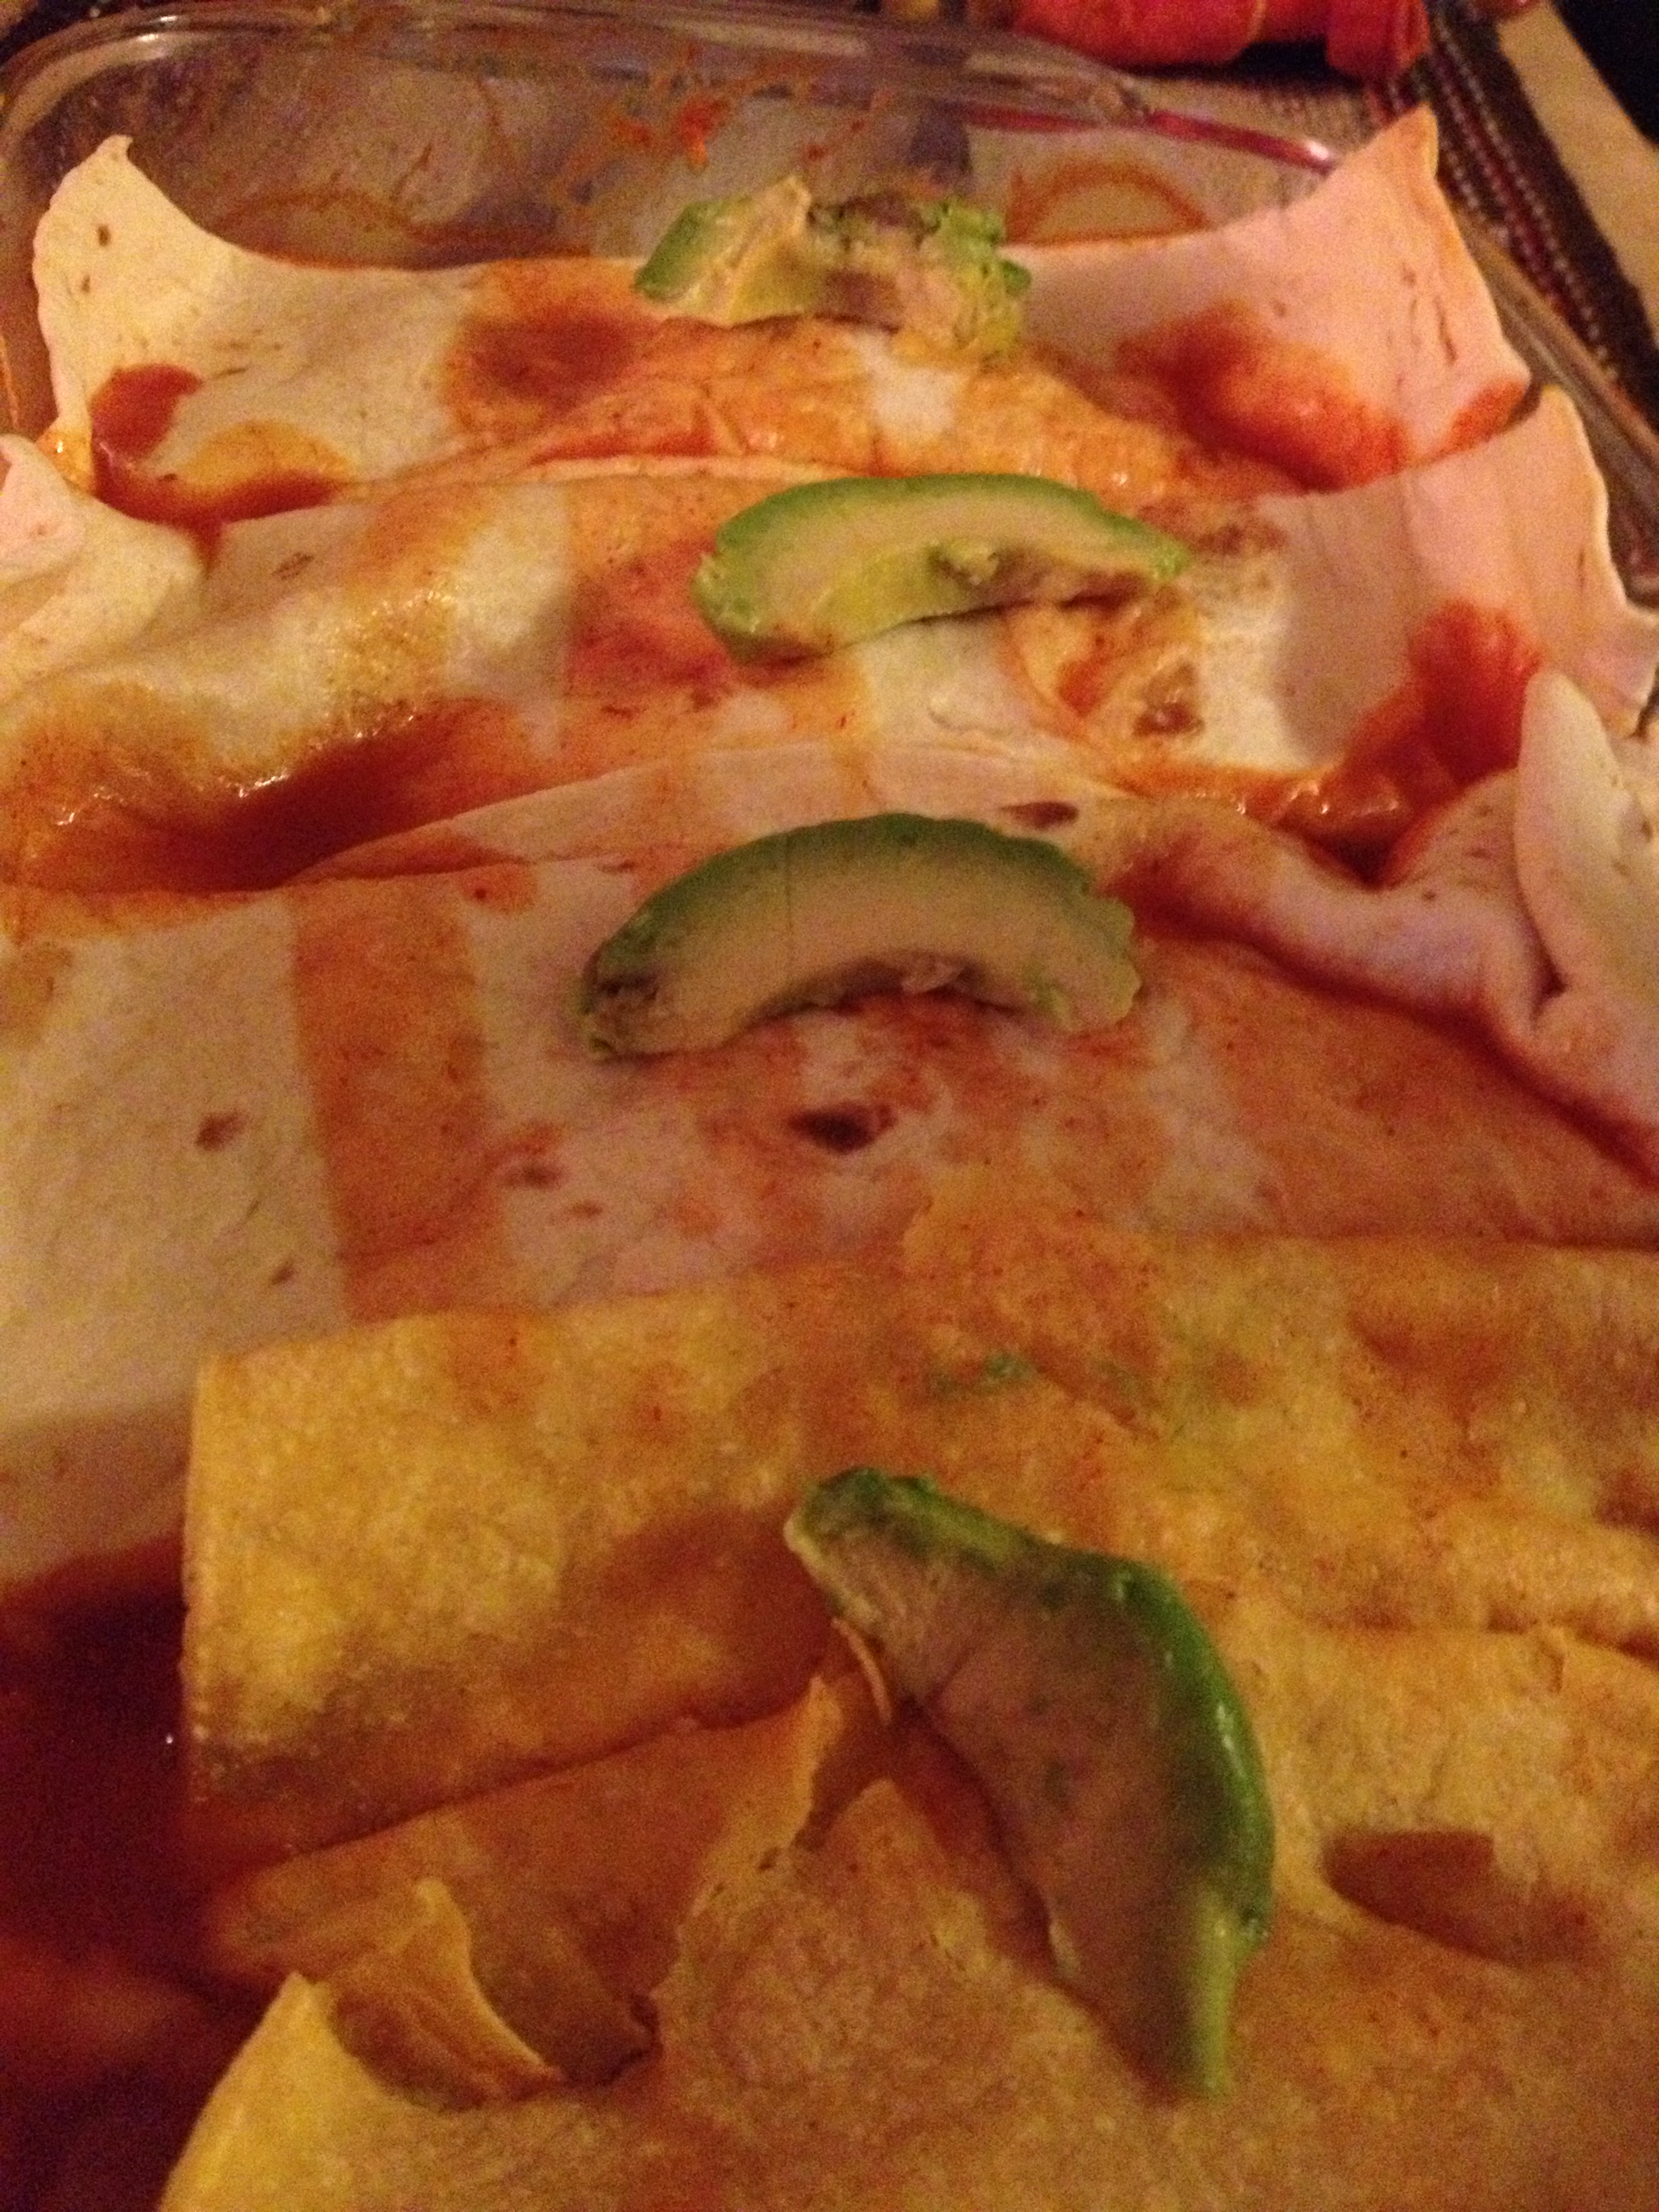
  • If you’d like, which I always do, chop up some avocado and put it on top

photo 5

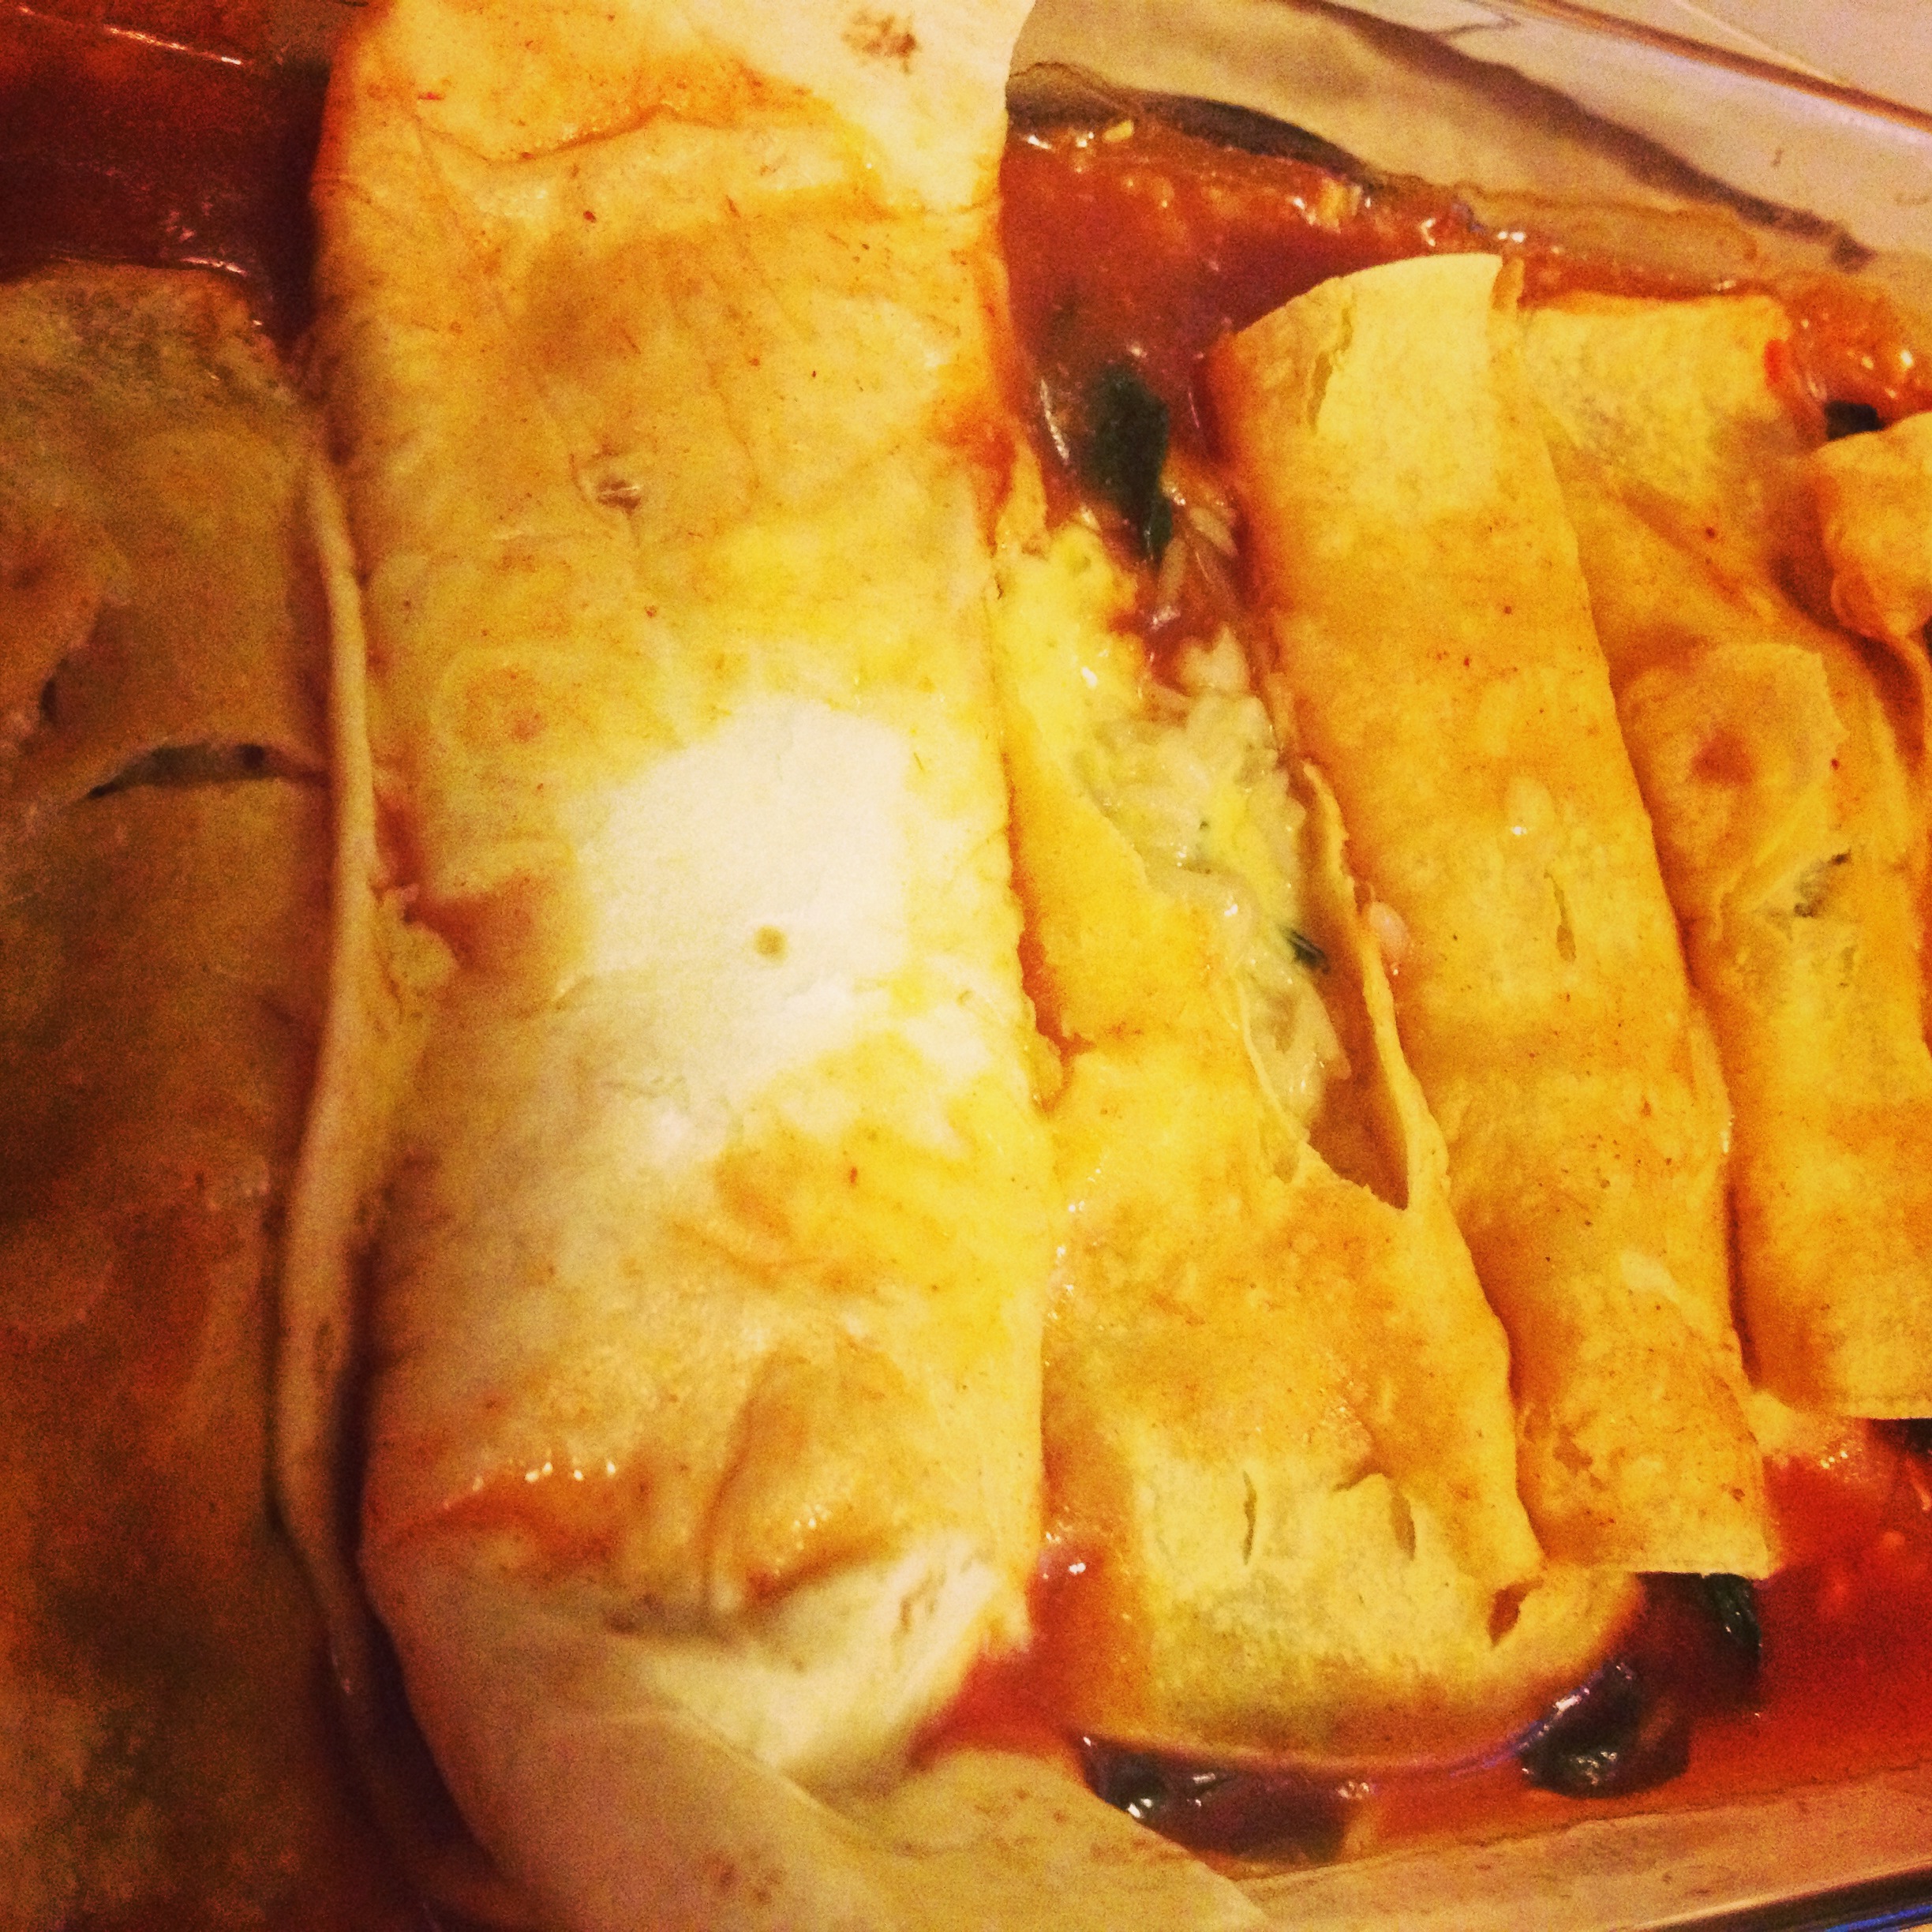
They are messy and delicious. The above picture is the second batch I made after Chris still wanted more. It’s that easy to do. We got to enjoy them while watching a great episode of Chopped All-Stars, where our girl Sunny Anderson won. Anyways, this is a quick, DELICIOUS (seriously) recipe full of fiber and protein to enjoy with others. And there will probably be leftovers too, just don’t eat them 30 minutes before a workout like I did the next day.

Drool attack

Drool attack

BONUS KITTY PIC

photo 1 (1)Sajah and I both cried while I cut up the onions. For some reason, Nymeria didn’t. I felt so bad, but didn’t think I should give him human eye drops.

Cheers!

spacer

Spinach Feta Pie Recipe [NO CRUST]

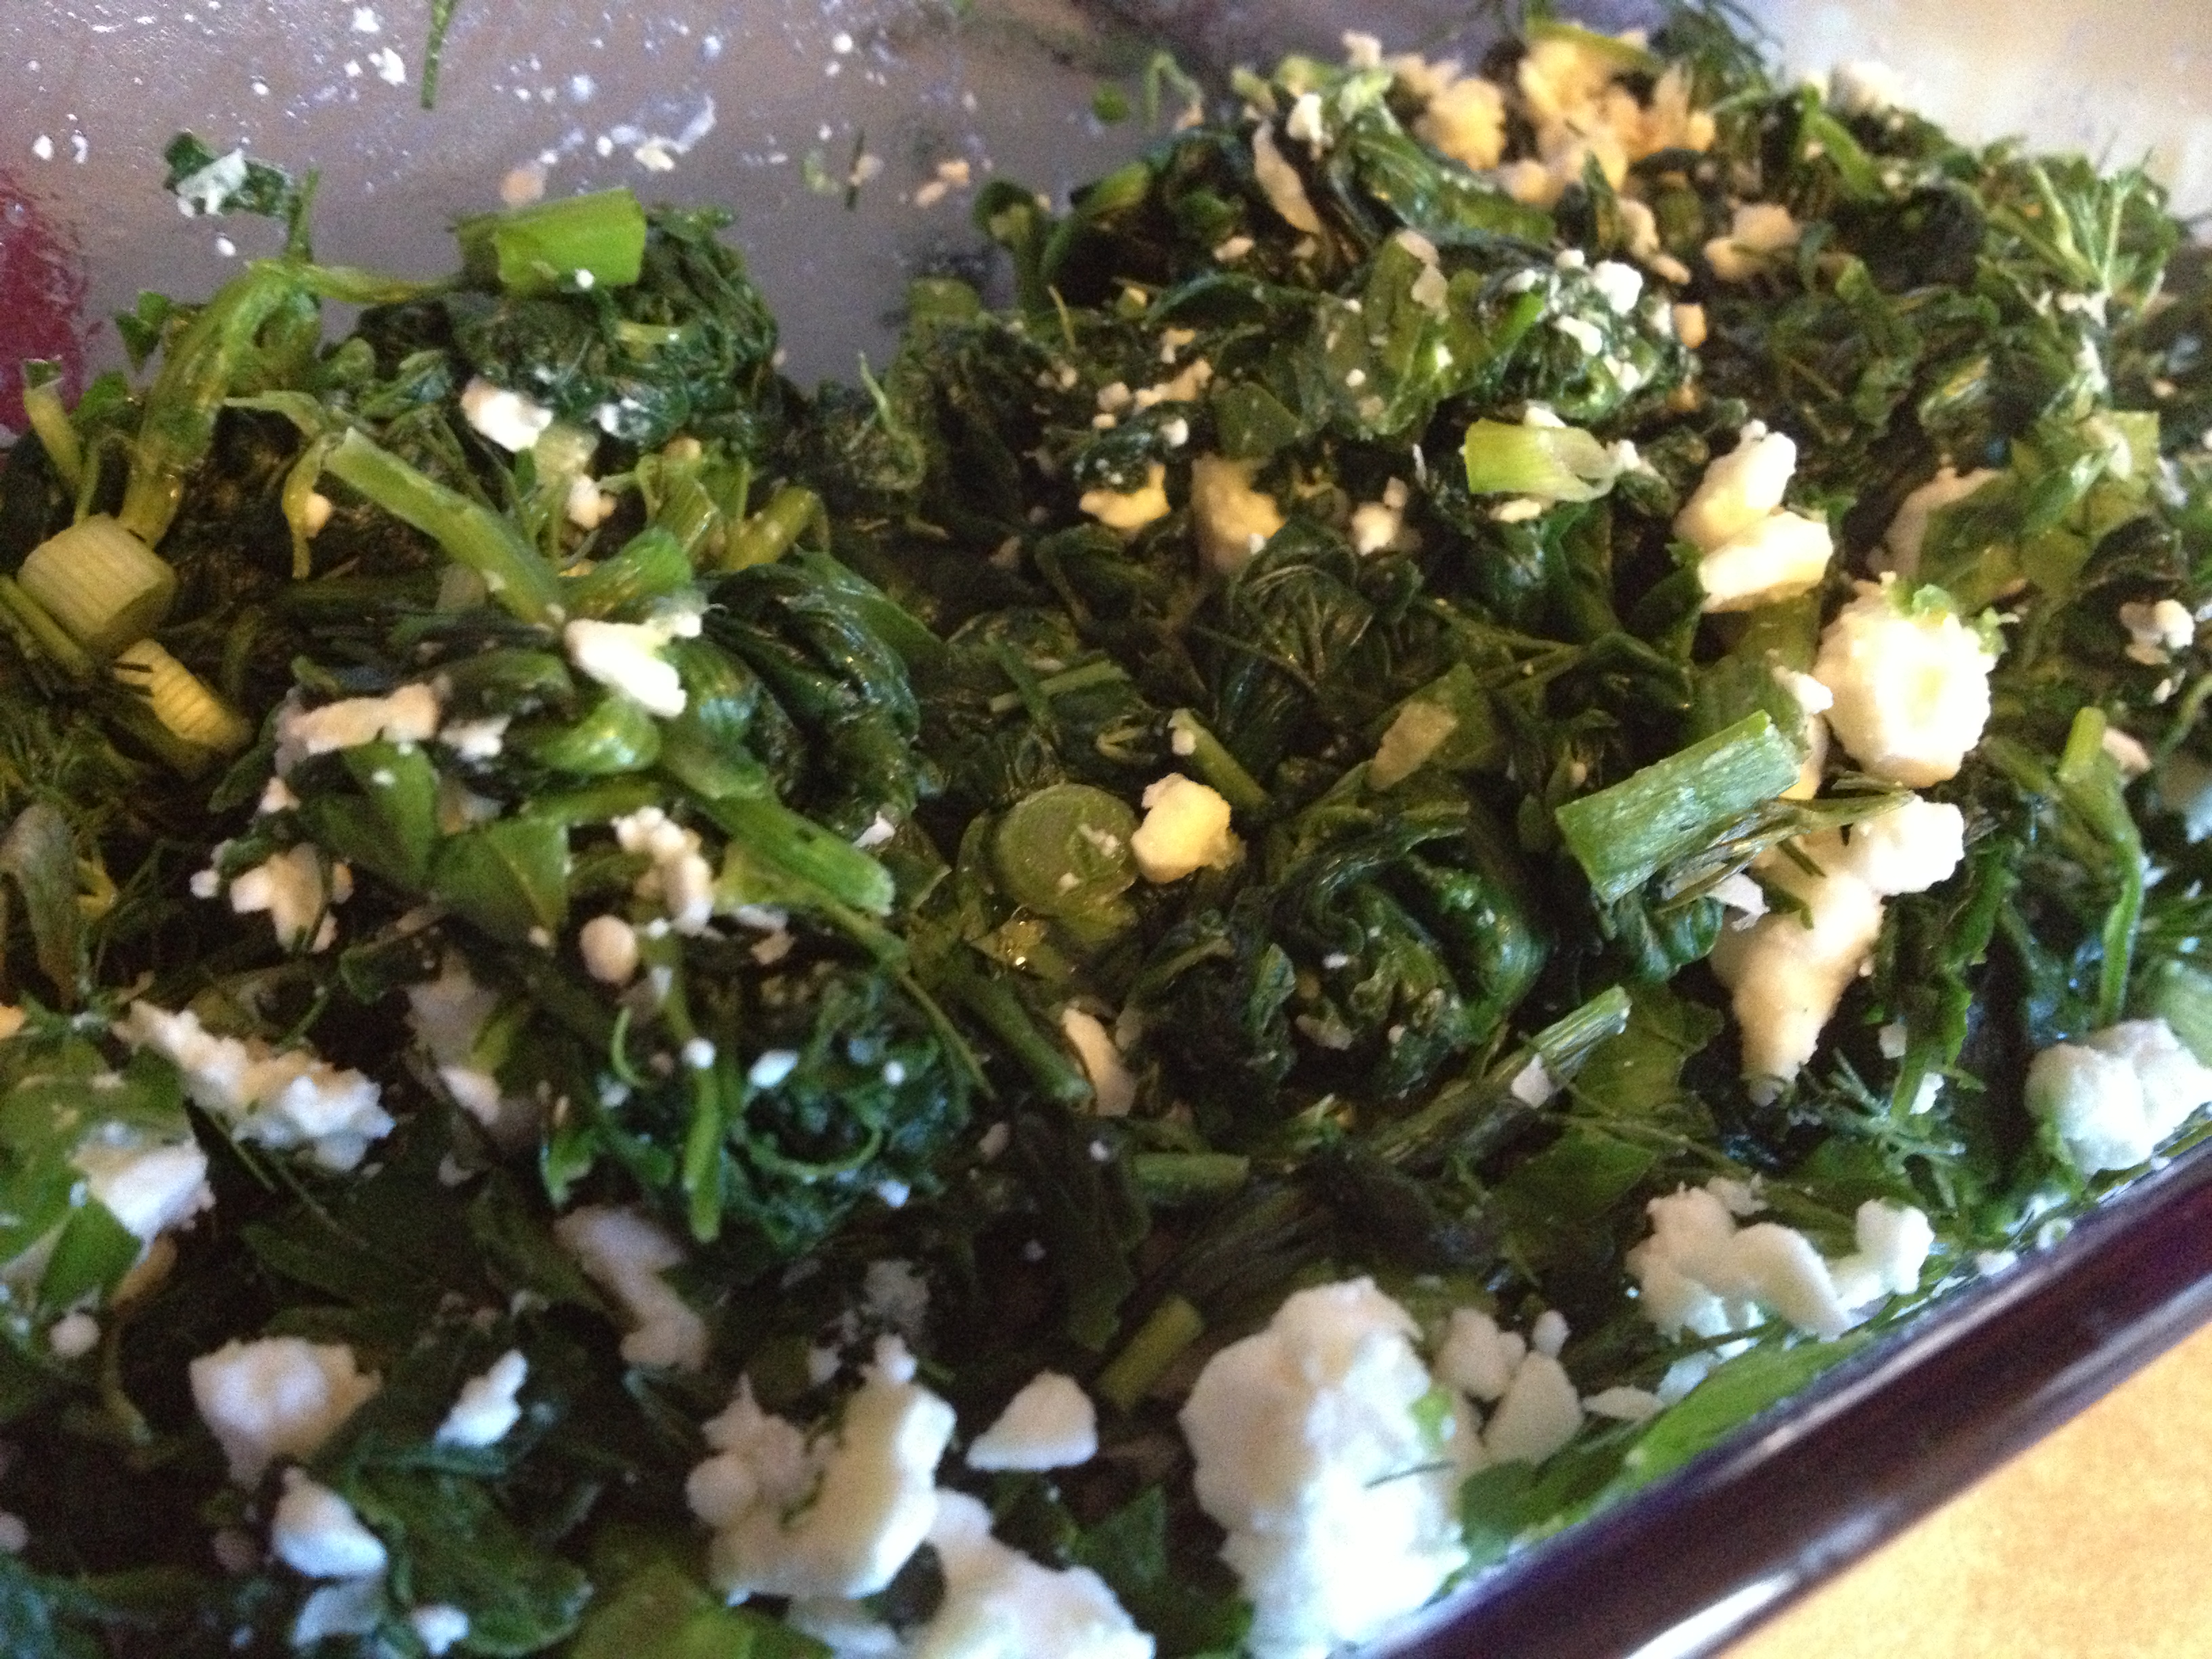
This is another one pointed out to me by Mary Kate and it took two tries to get it just right. The second try was delicious and I hope to make it again and again–it’s healthy, nutritious, filling, and yummy! Though the ingredient list may look long, it really does not take much time at all! The recipe comes from here . Check it out:

photo (9)

  • Prep Time: 15-20 minutes
  • Cooking Time: 20-25 minutes

Ingredients

  • 10 oz frozen spinach
  • 1/2 cup scallions
  • 2 tbsp dill
  • 2 tbsp parsley
  • 1/2 cup feta
  • 2 tbsp grated cheese (something akin to Romano, Parmesan, etc)
  • 1/2 cup whole-wheat flour
  • 1 tsp baking powder
  • 2/3 cup milk
  • 1/2 tsp salt
  • 2 eggs

Directions

  • Pre-heat oven to 400 degrees and oil up your cooking pan (I used a bread tin)
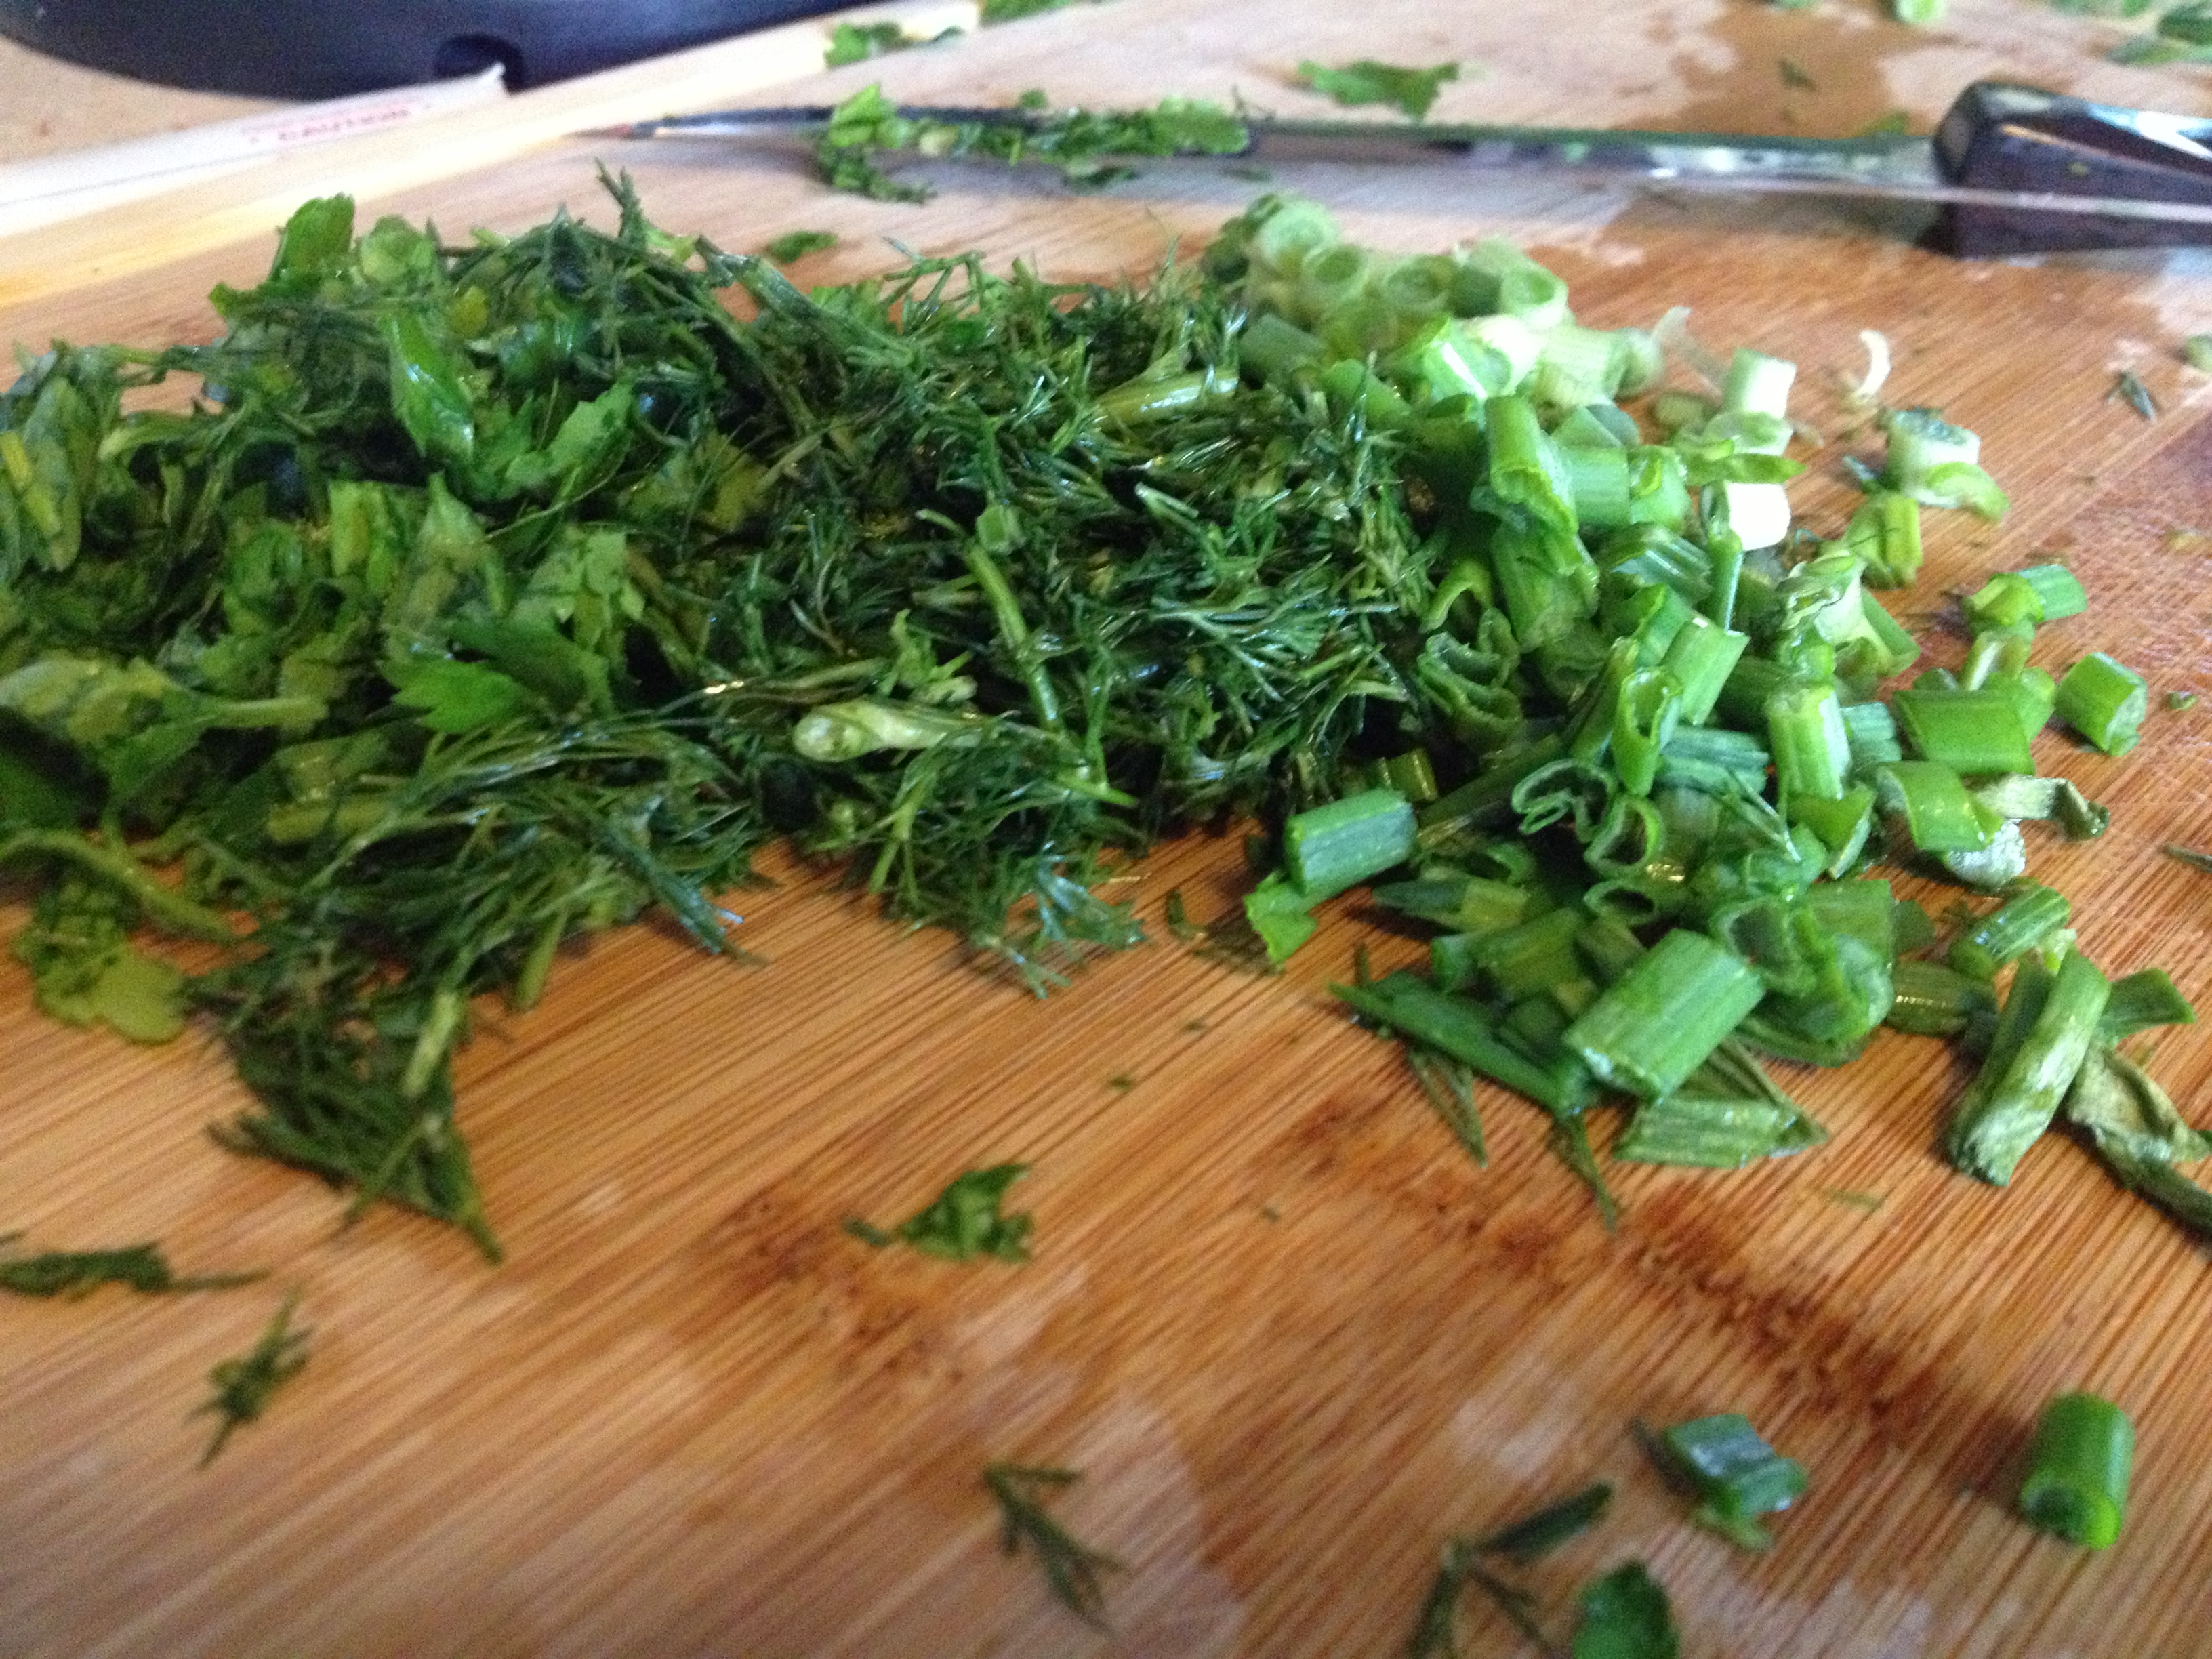
  • Thaw out the spinach. Cut up the dill, parsley, and scallions. 
Beautiful chopped herbs/veggies

Beautiful chopped herbs/veggies

  • Mix the feta, parsley, dill, spinach, scallions, and grated cheese into the pie/bread dish

photo (13)

  • Beat the two eggs
  • In a medium bowl, mix the flour, baking powder, eggs, milk, salt, and olive oil

photo (12)

  • Pour into the pie dish with the rest of the ingredients and mix it around. Feel free to put in some pepper or other spices in that you would like as well
Ready for the oven

Ready for the oven

  • Pop it into the pre-heated oven for 20-30 minutes. Mine took closer to 30 minutes. Just keep checking on it to see if, when you put a fork in the center, it comes out clean of batter.

photo (10)

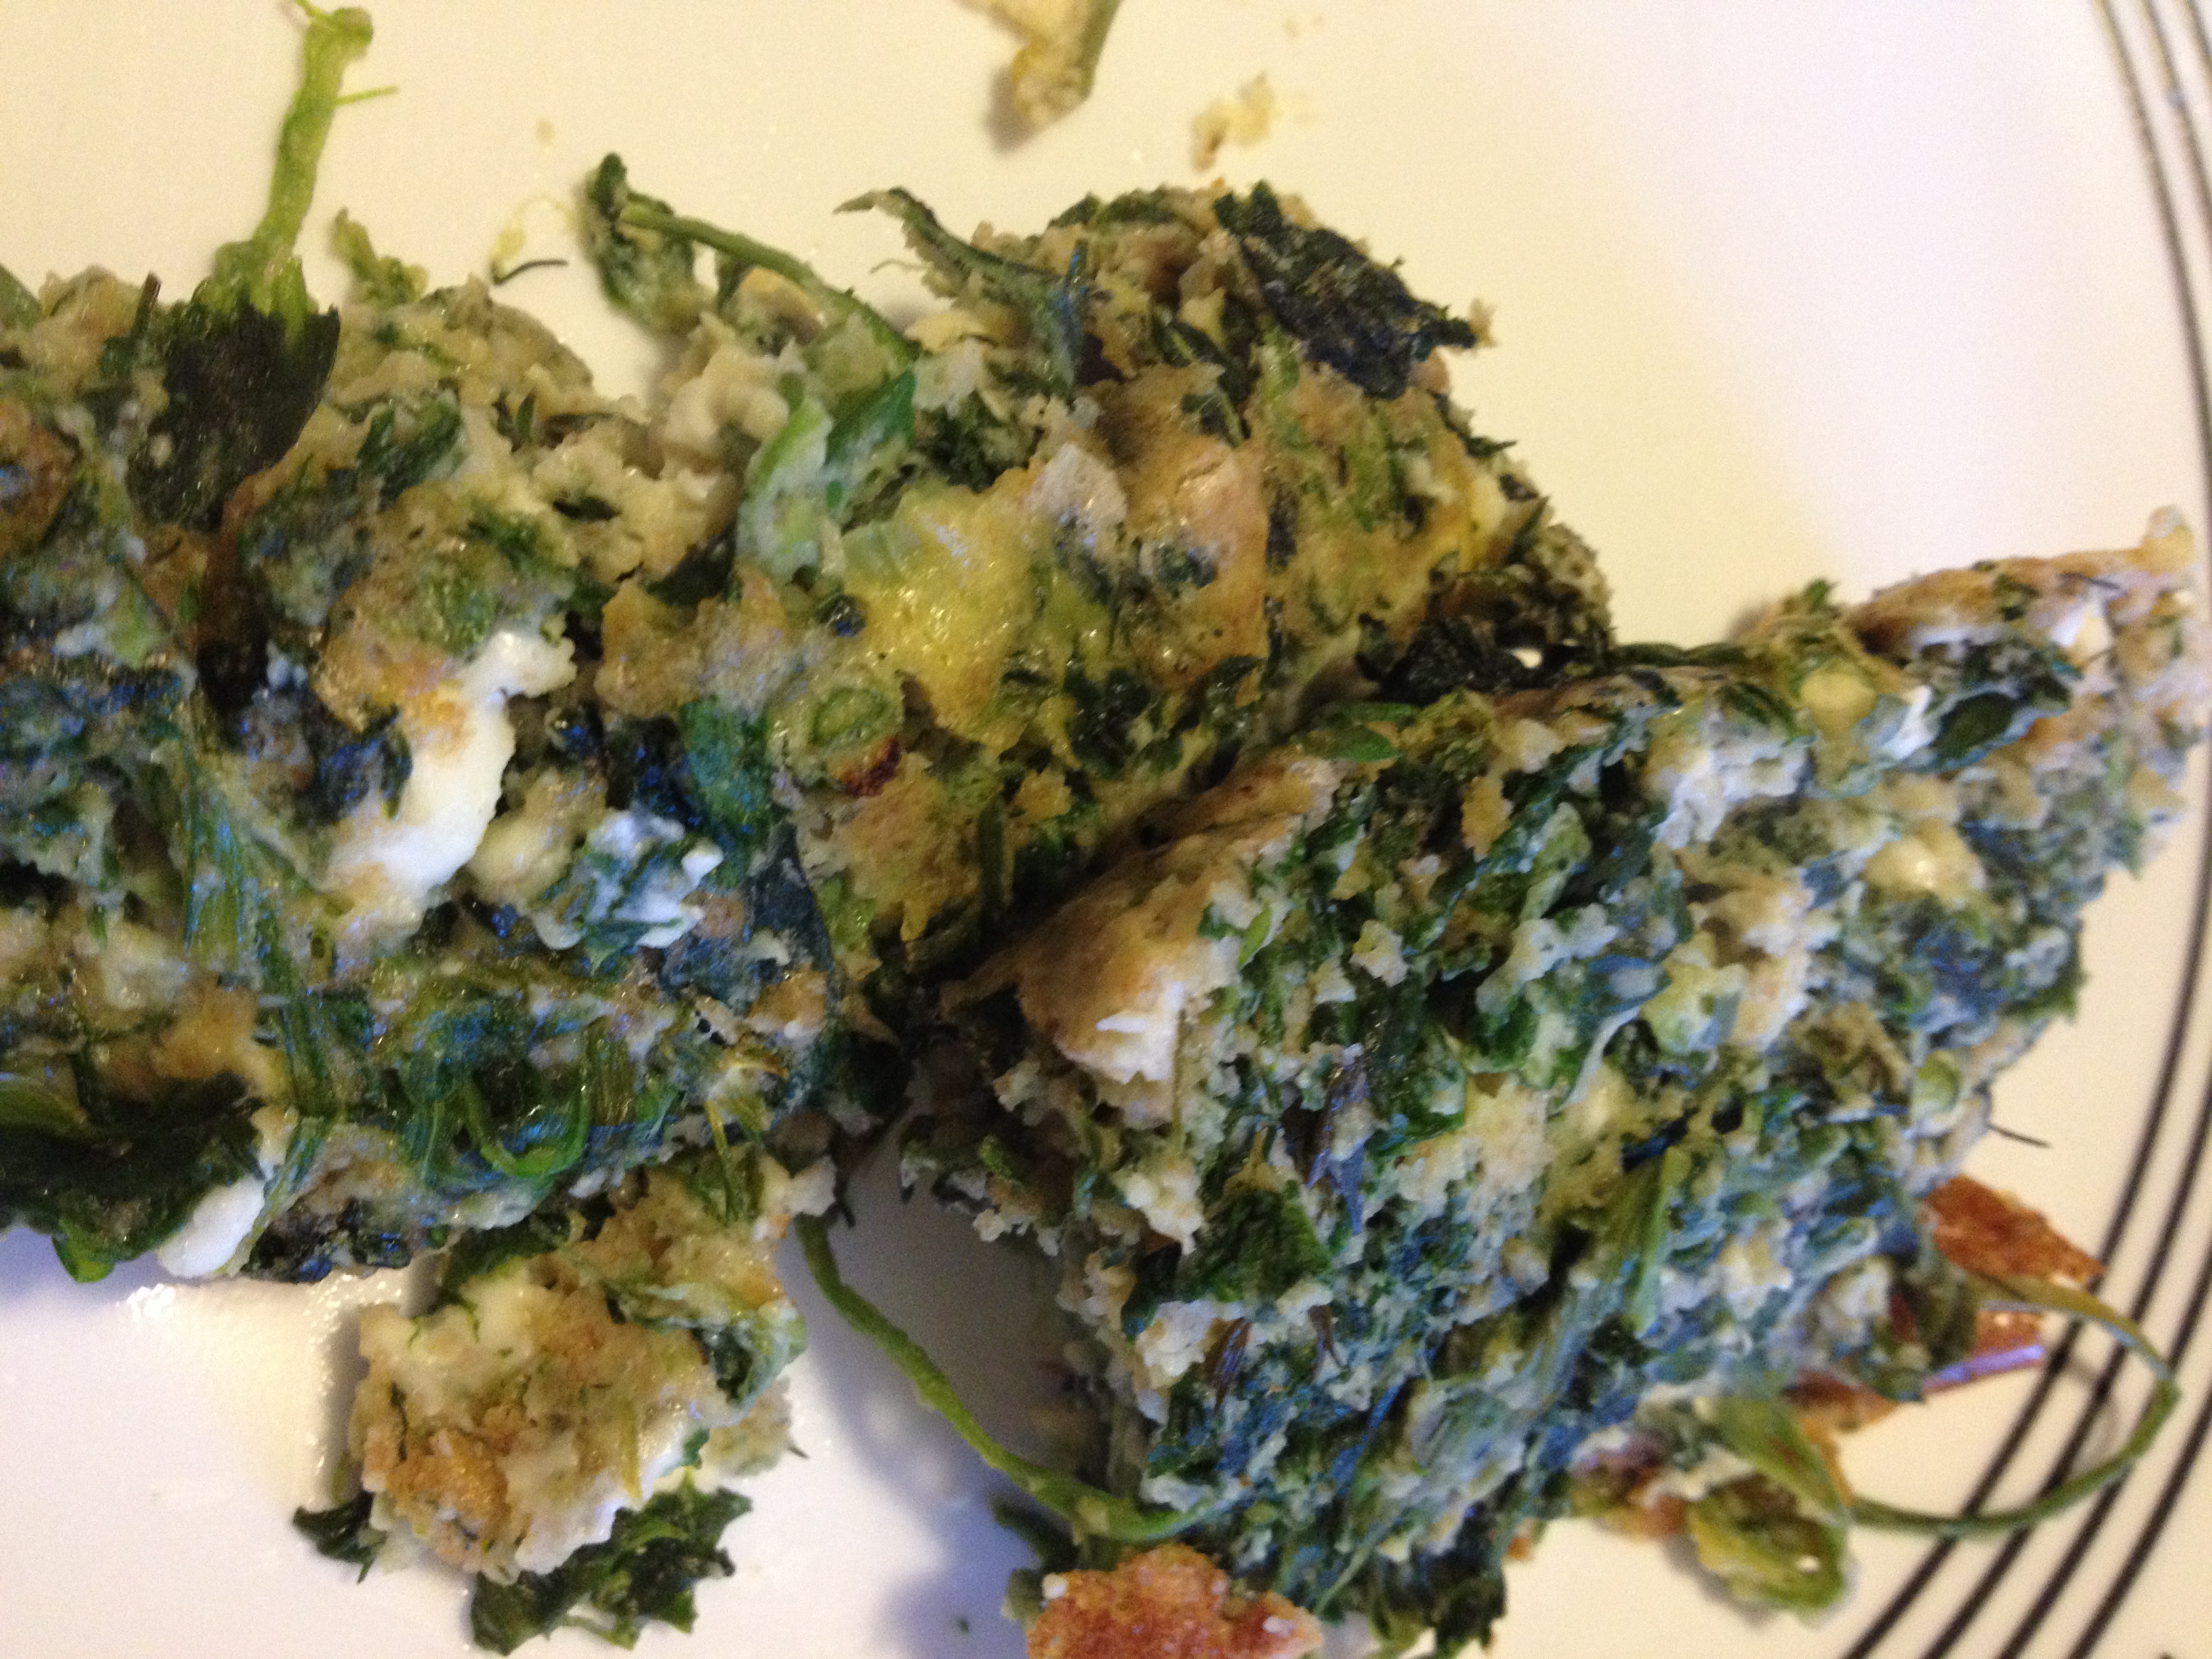
And that’s it! It takes no time at all to whip up and it’s a very rewarding meal to cook. Try it out–and you can even use fresh spinach too, depends on what’s best for you. Cheers and enjoy!

BONUS KITTY PIC

Ridiculously cute picture of Nymeria

Ridiculously cute picture of Nymeria

spacer

Hungry’s Monster Shake

So this is one of my “protein shake” recipes. I have a solid amount of go-to recipes for shakes and they change depending on what fitness goal I am trying to reach. I might add some more protein and calories if I am bulking. I might avoid checking carbs and fats if I am trying to gain weight. If I am cutting I will probably mix some isolated whey with water to minimize carb intake and calories. Right now, I am in a bulking phase, trying to put some quality muscle mass on and increase my strength. Thus, I have a relatively calorically rich, fatty, and protein abundant shake.

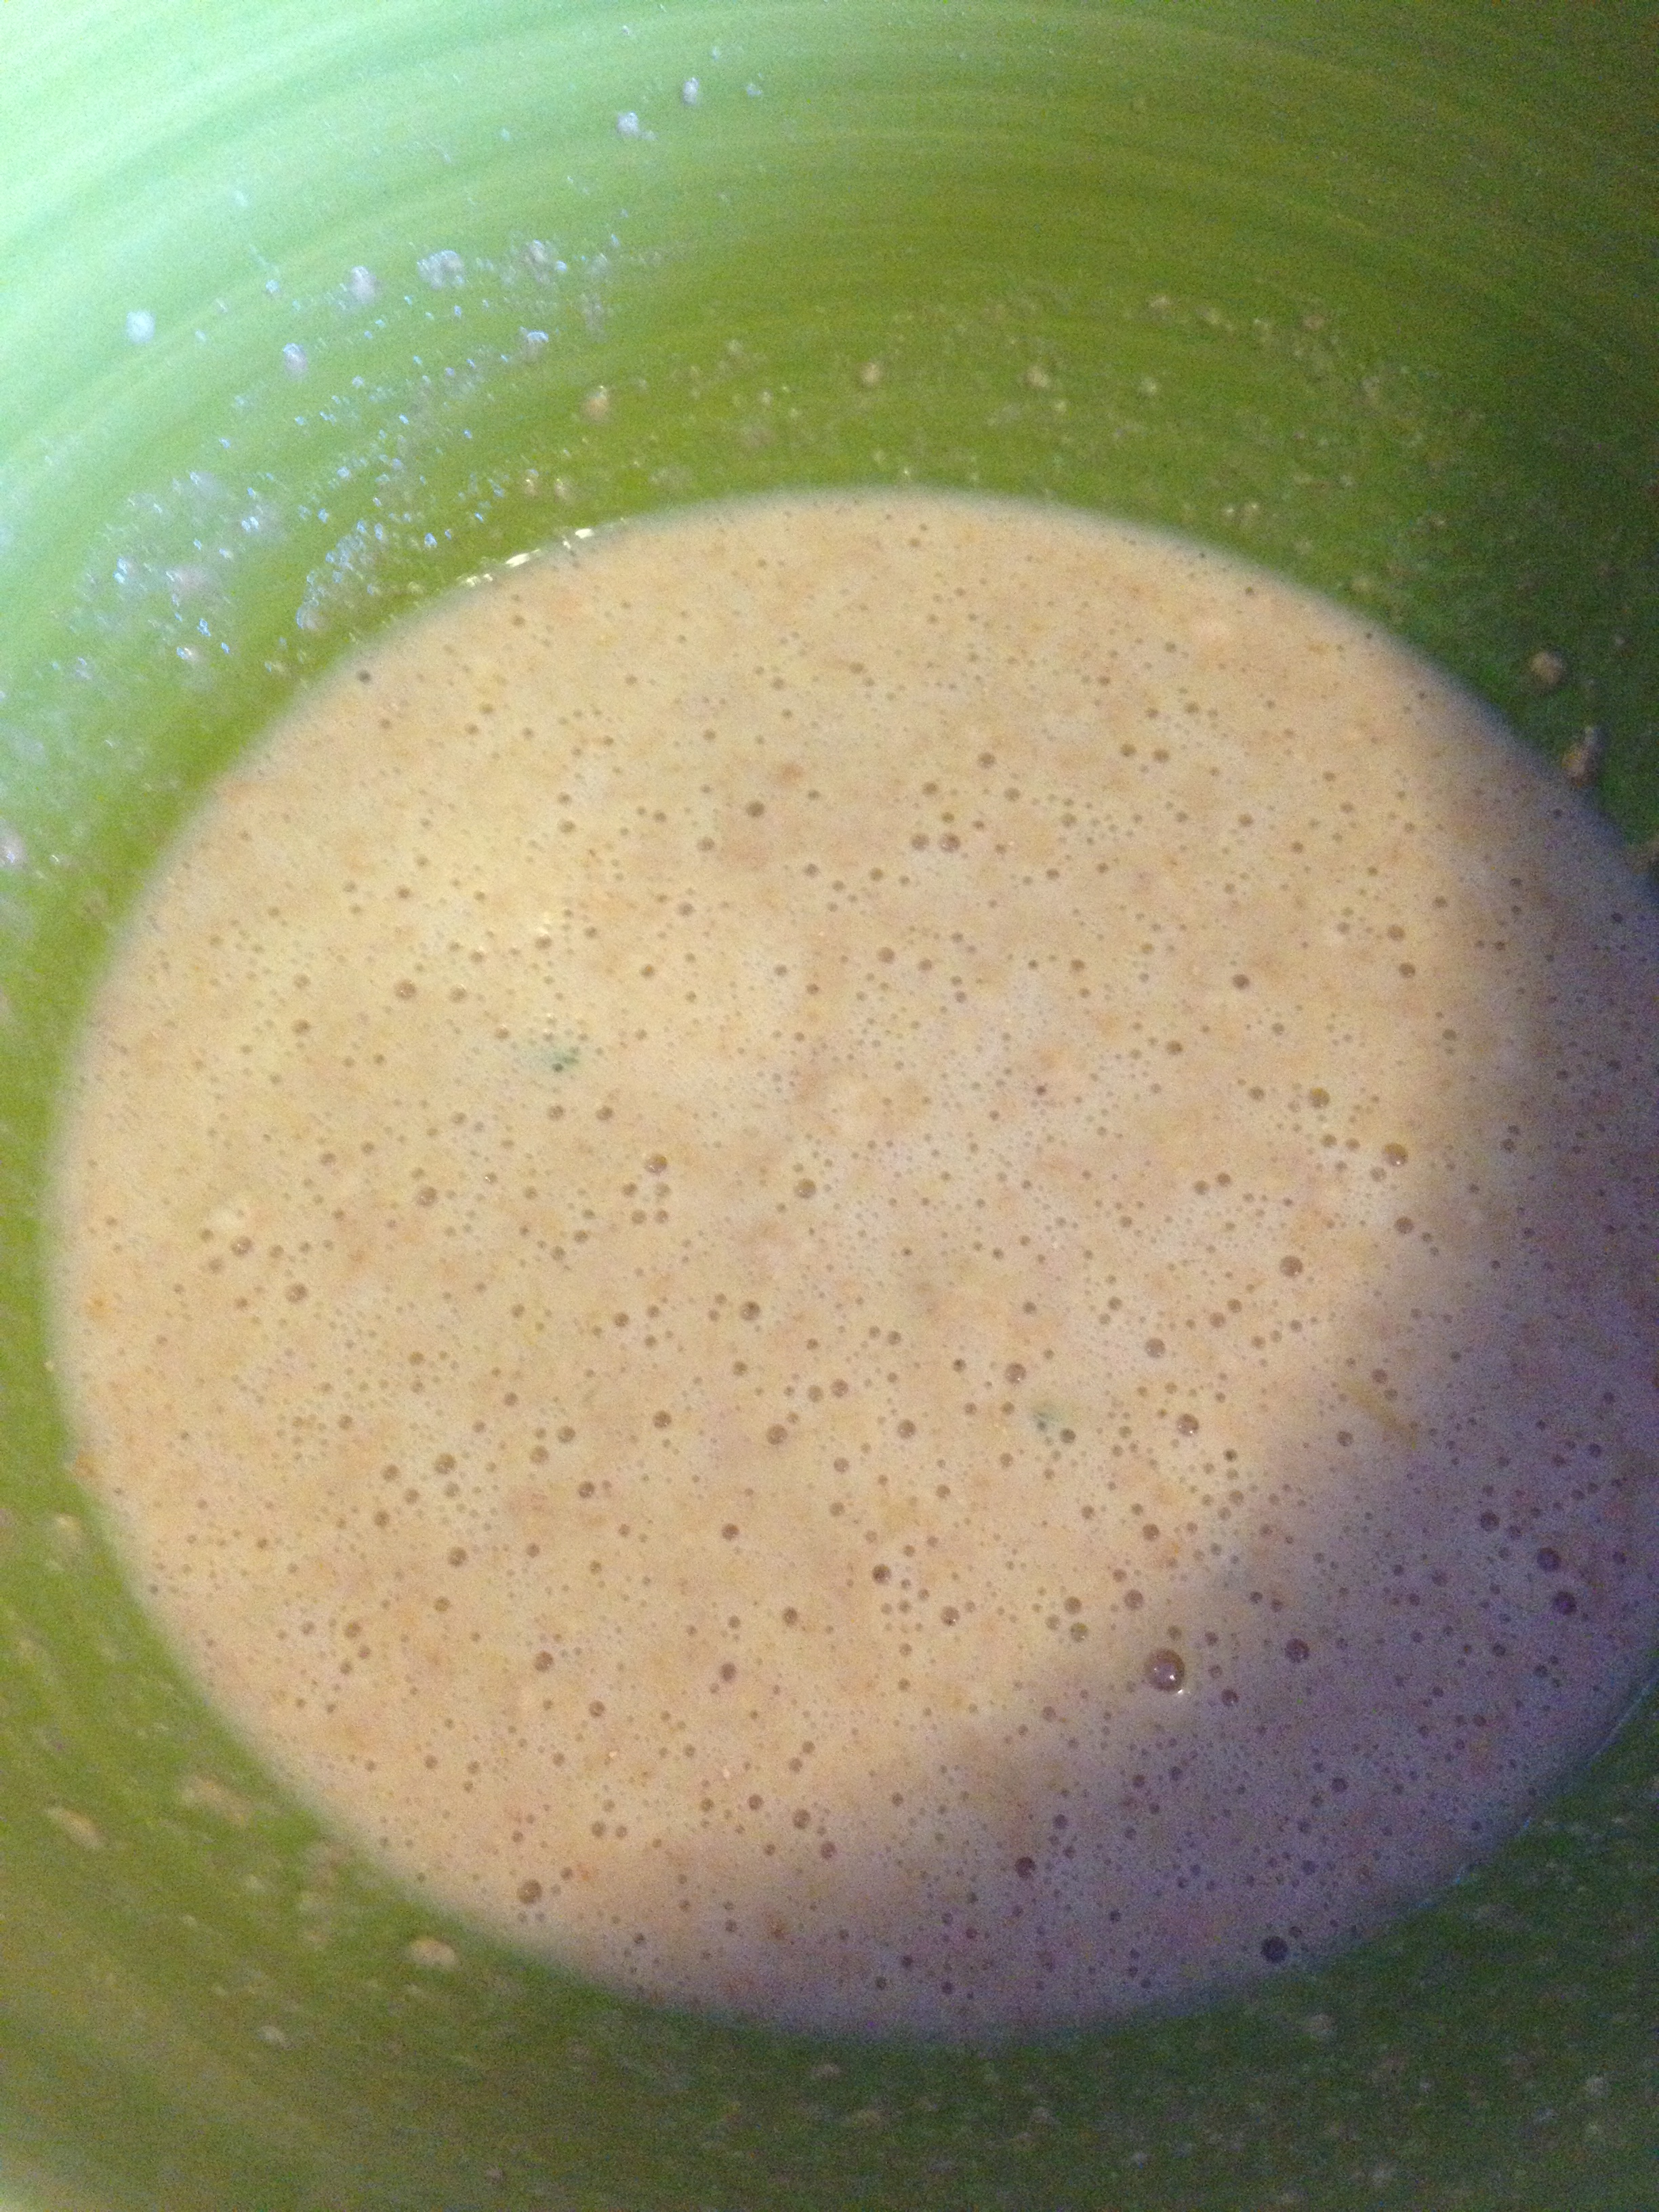
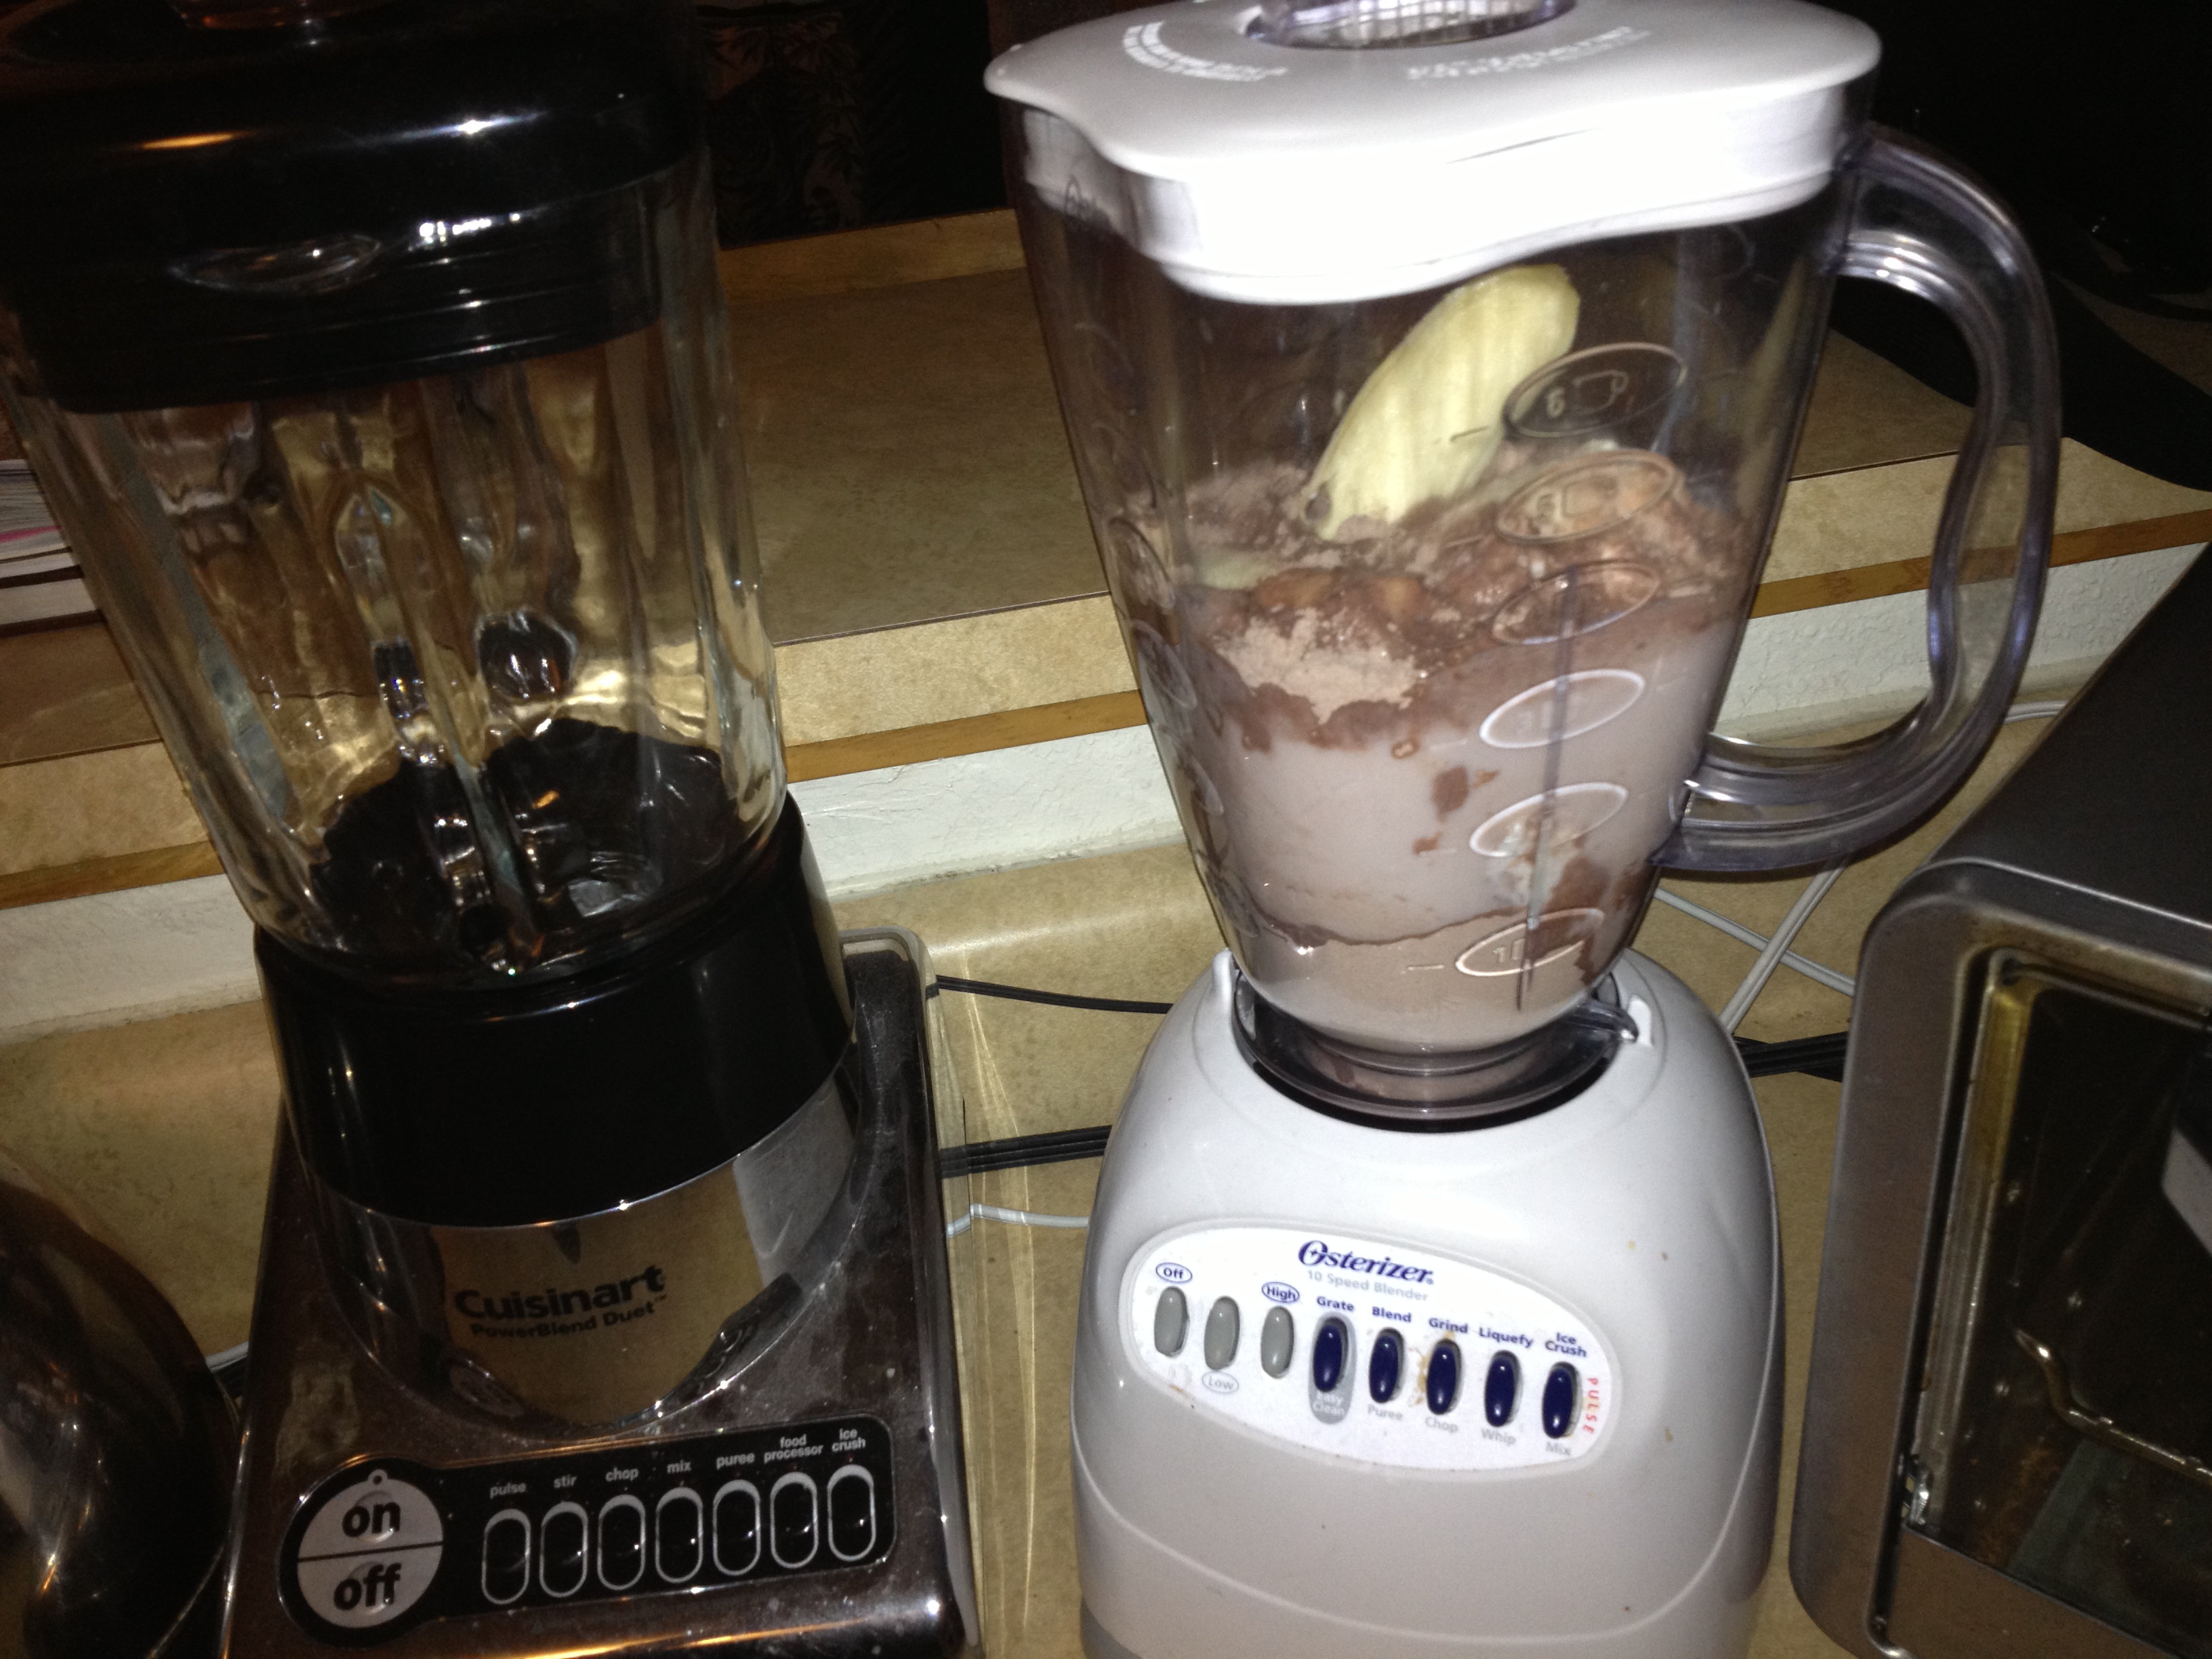
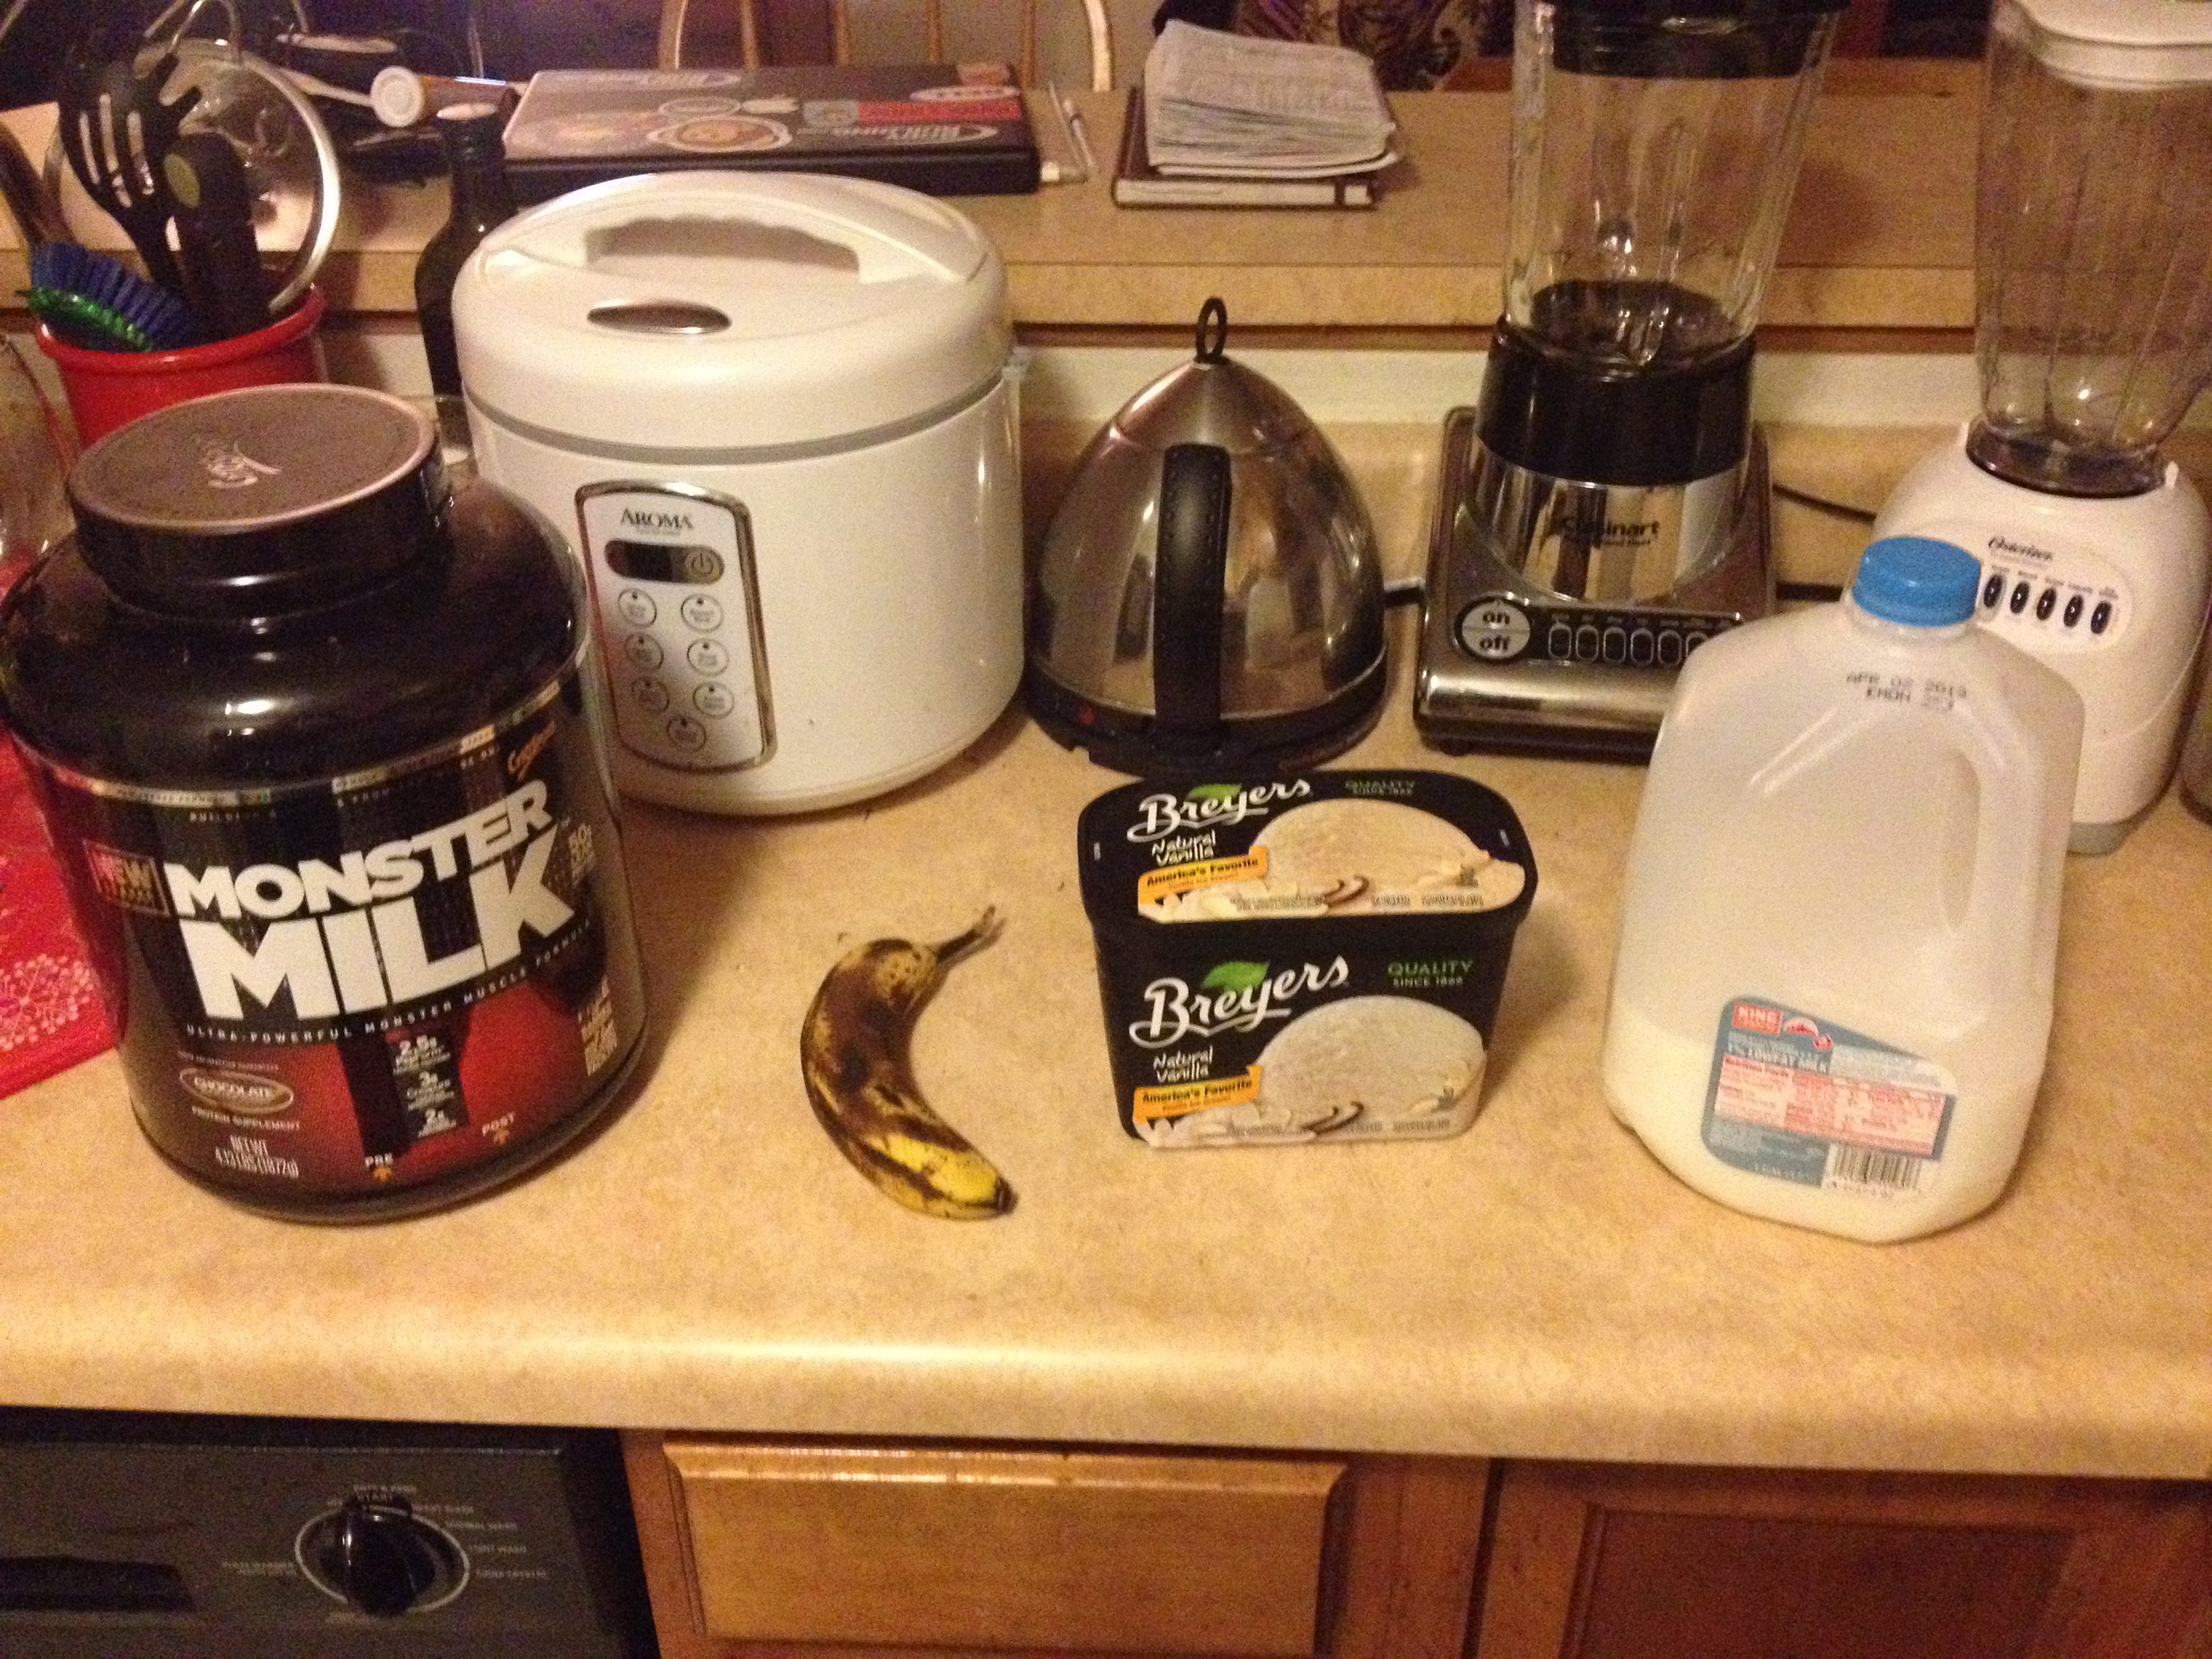
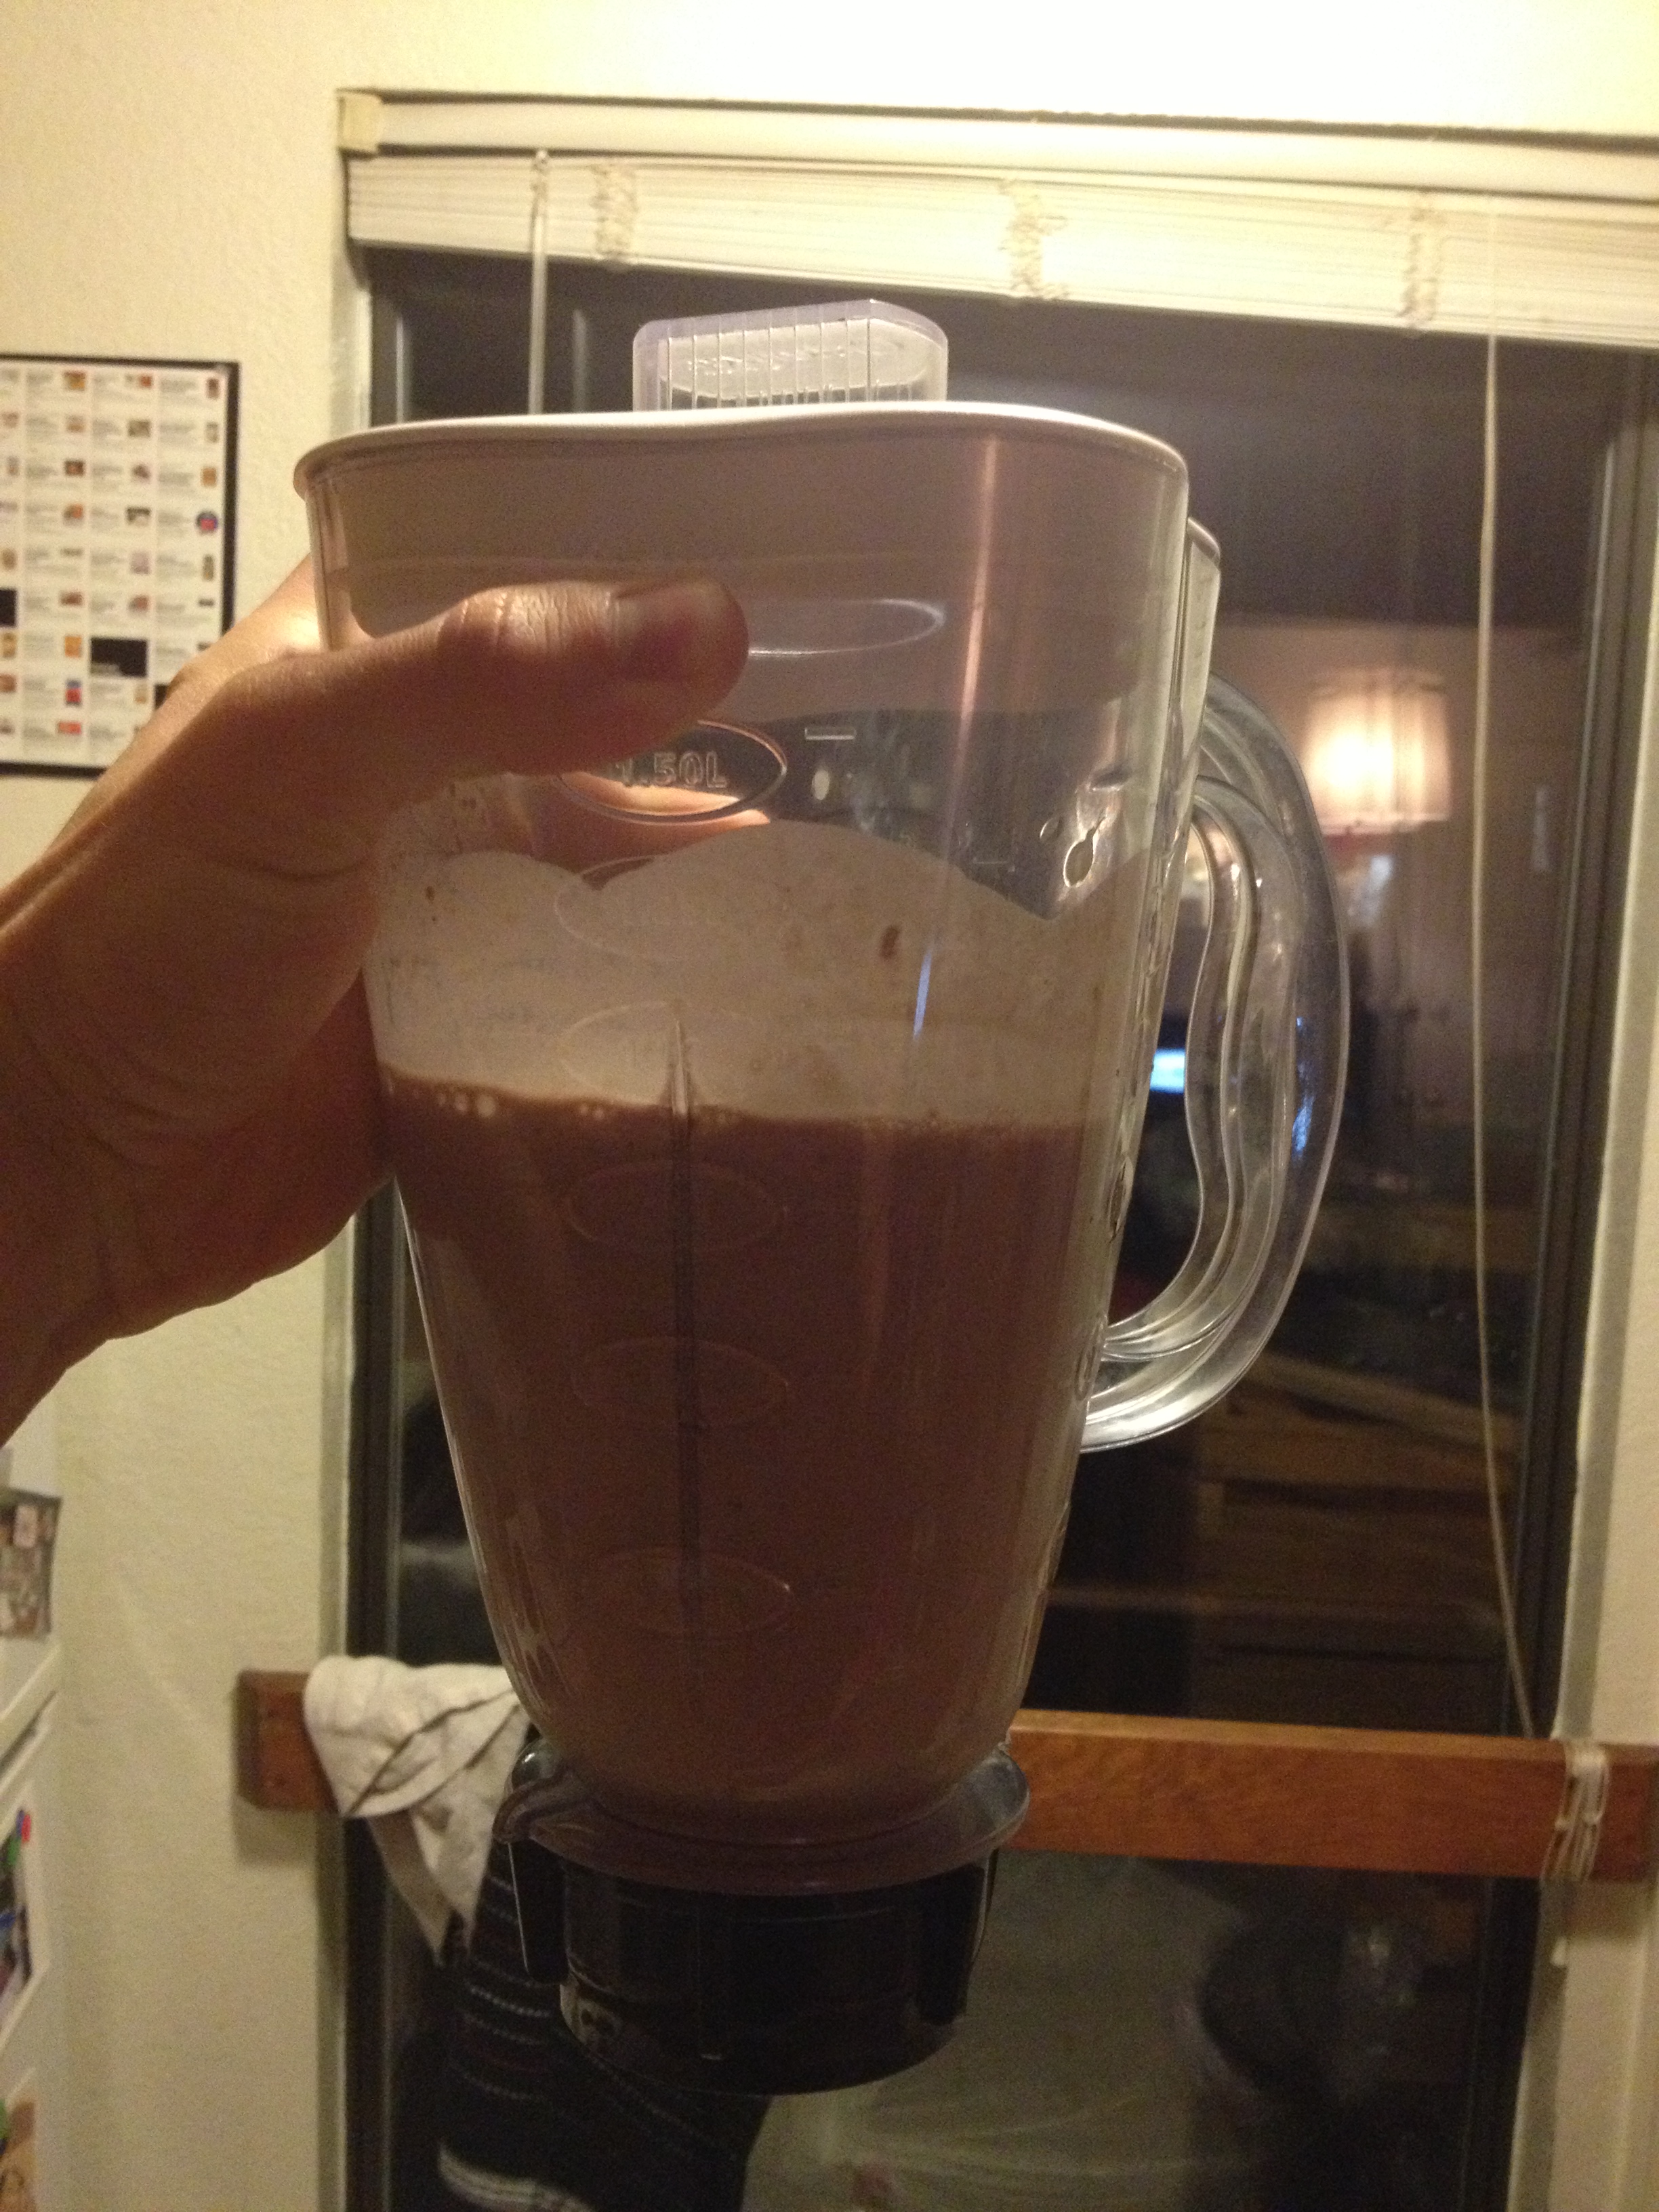
First, I place my two scoops of Cytosport Monster Milk in the bottom of the blender. You can use your protein supplement of choice. You can use a mass gainer if you’re really trying to bulk up. It’s up to you. Then I add two cups of milk; I’ve been using 1% lately because that’s what Fit likes to drink. Next comes one (or two) scoops of Breyer’s Natural Vanilla Ice Cream. Finally I throw a banana in there. Blend it until it’s the consistency of your choice and chug, or sip.

It’s not my best tasting recipe by any means but it’s refreshing enough and gets the job done. The reason why I drink protein shakes is that I need to often hit a certain protein intake that reflects my goals. If I’ve only consumed 160 grams of protein in a day and my goal is 225 grams, this shake can reach that deficit. You don’t need to have these shakes to get leaner or bigger and stronger, but they are a convenient and fast nutritional source. It takes me a lot longer to make some ground turkey or beef.

photo (4)

photo (5)

There is a lot of confusion as to when you need to consume protein after a workout. The truth is that you have a rather large window that it is still effective, and I mean a rather large window. Trust me, you’re not going to miss that window. I have my shakes typically after my workouts because I workout on a near empty stomach so I am starving by the end of my workouts and can consume a full dinner and a shake. Again, that’s all up to you.

The master product

The master product

If you have any questions relating to this post, please ask so you can stay hungry and fit!
spacer