Archives

20 Minute Core Blast

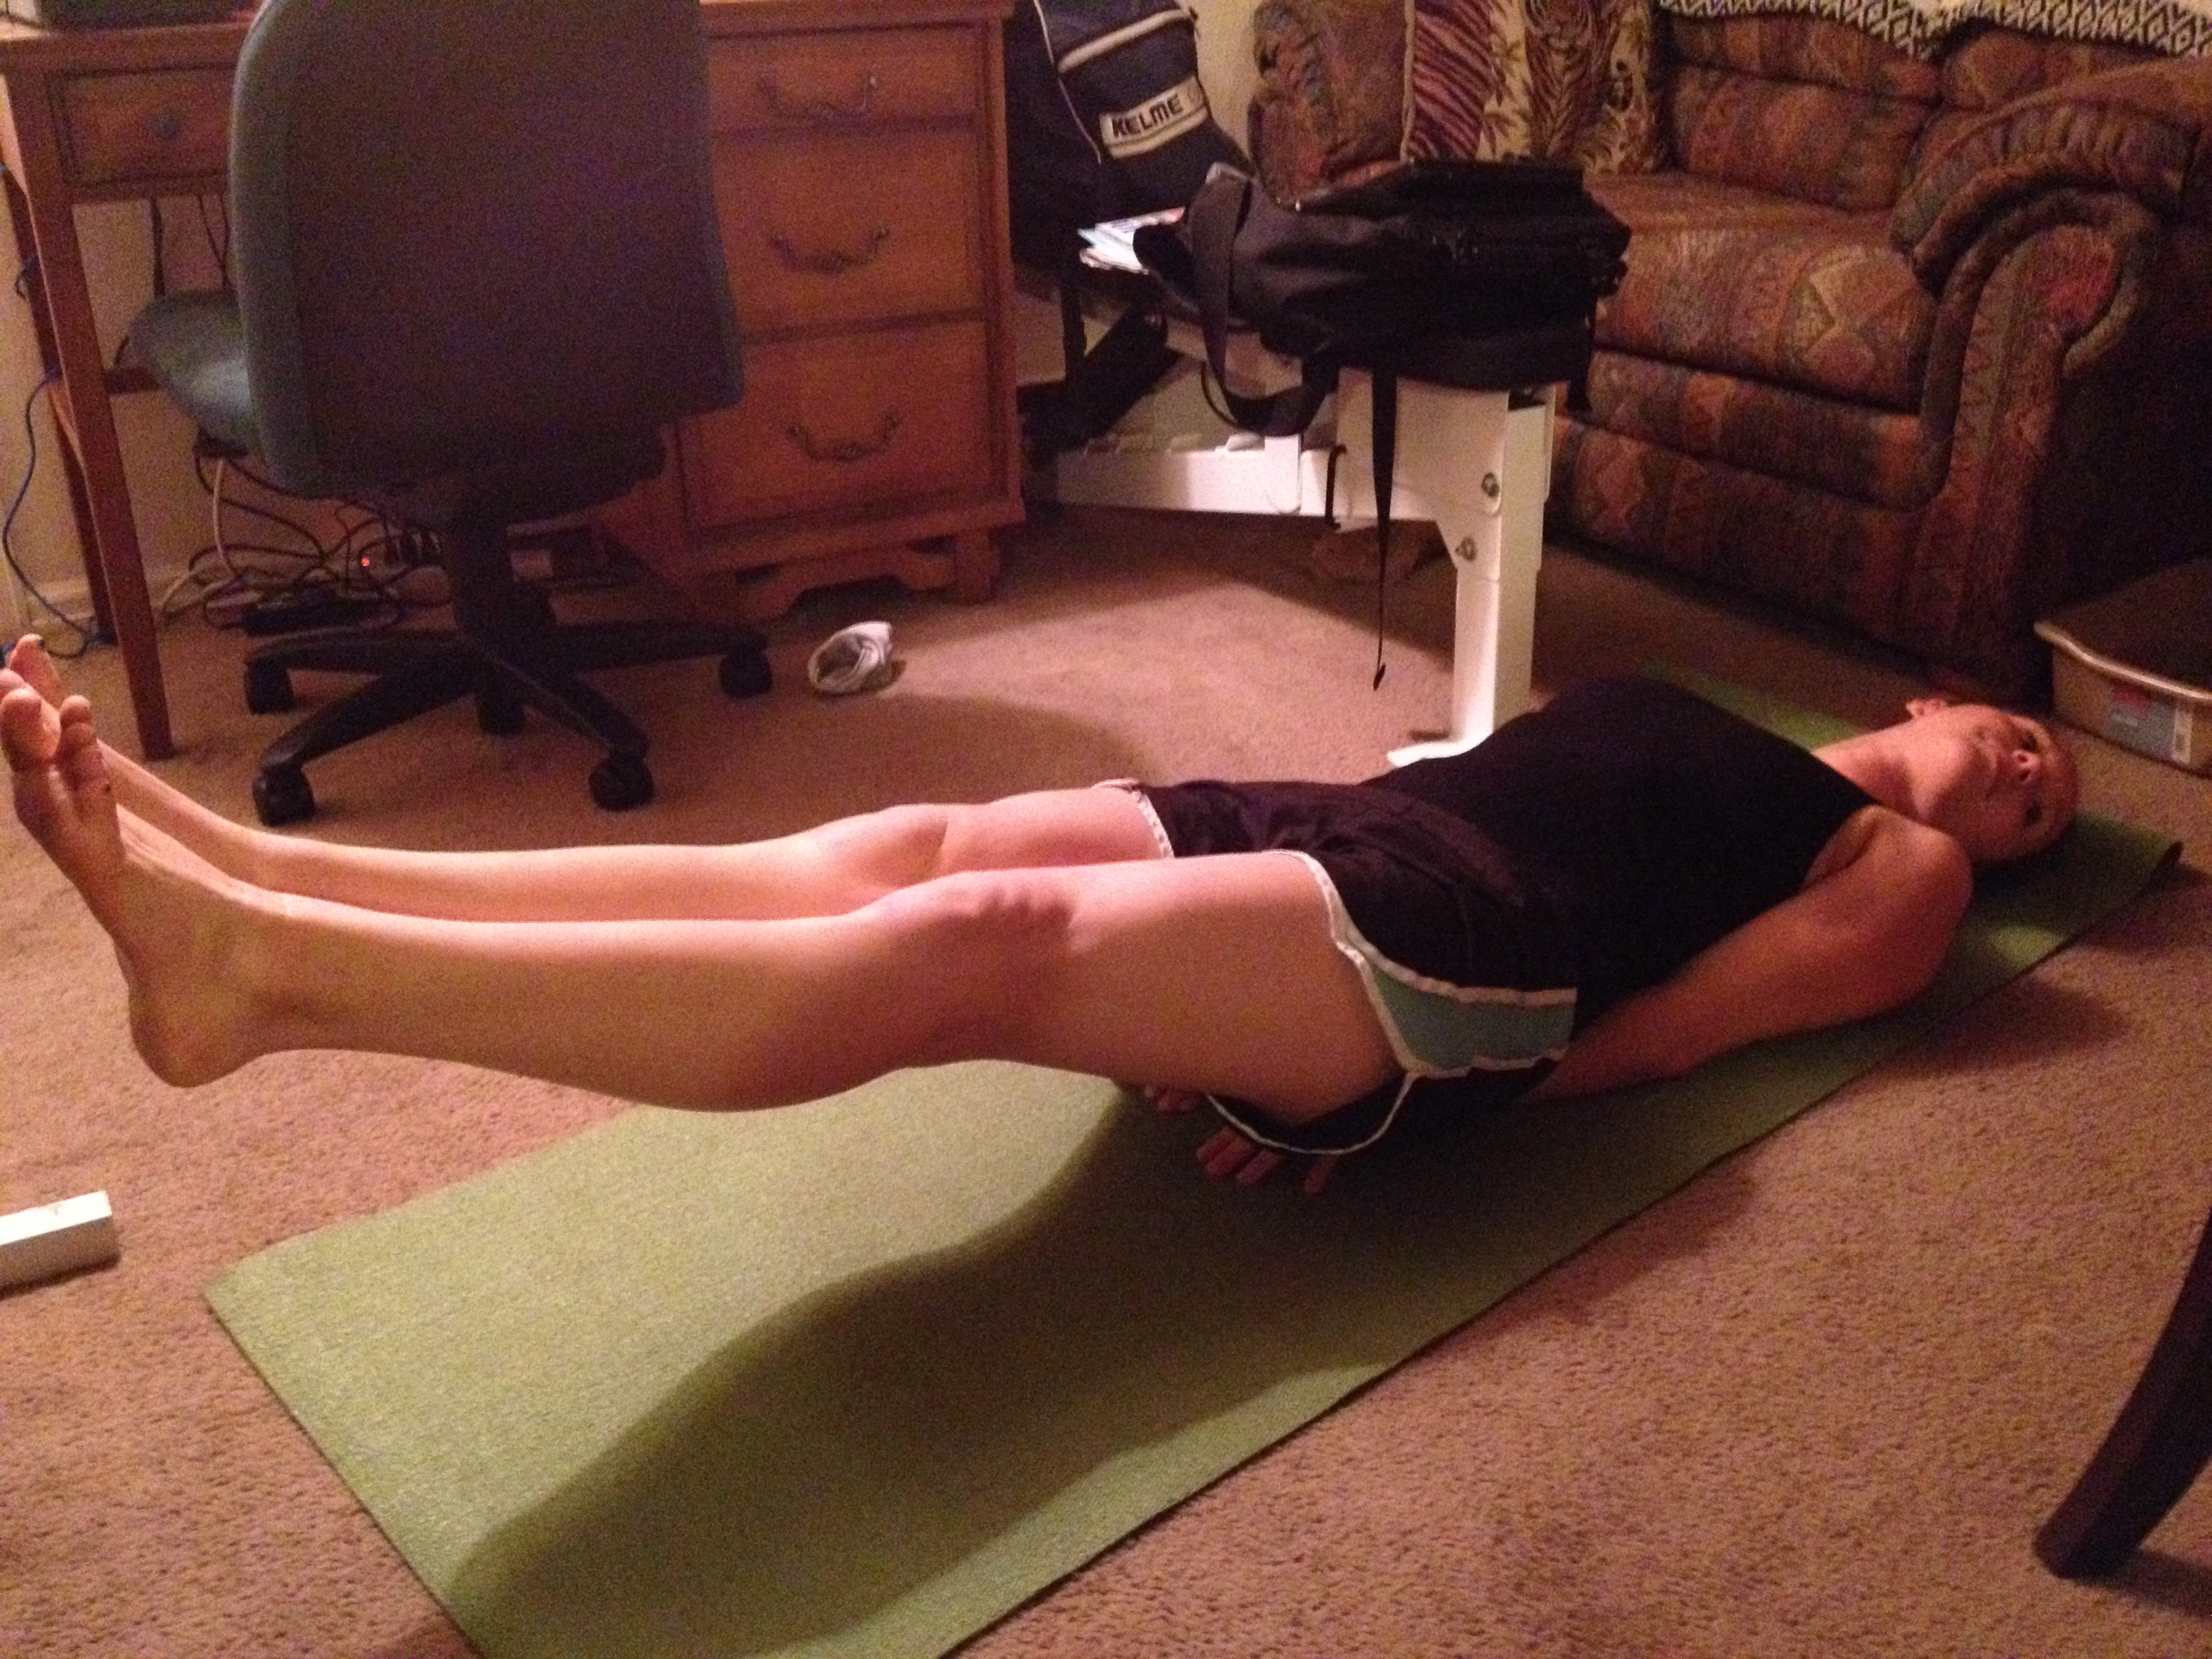
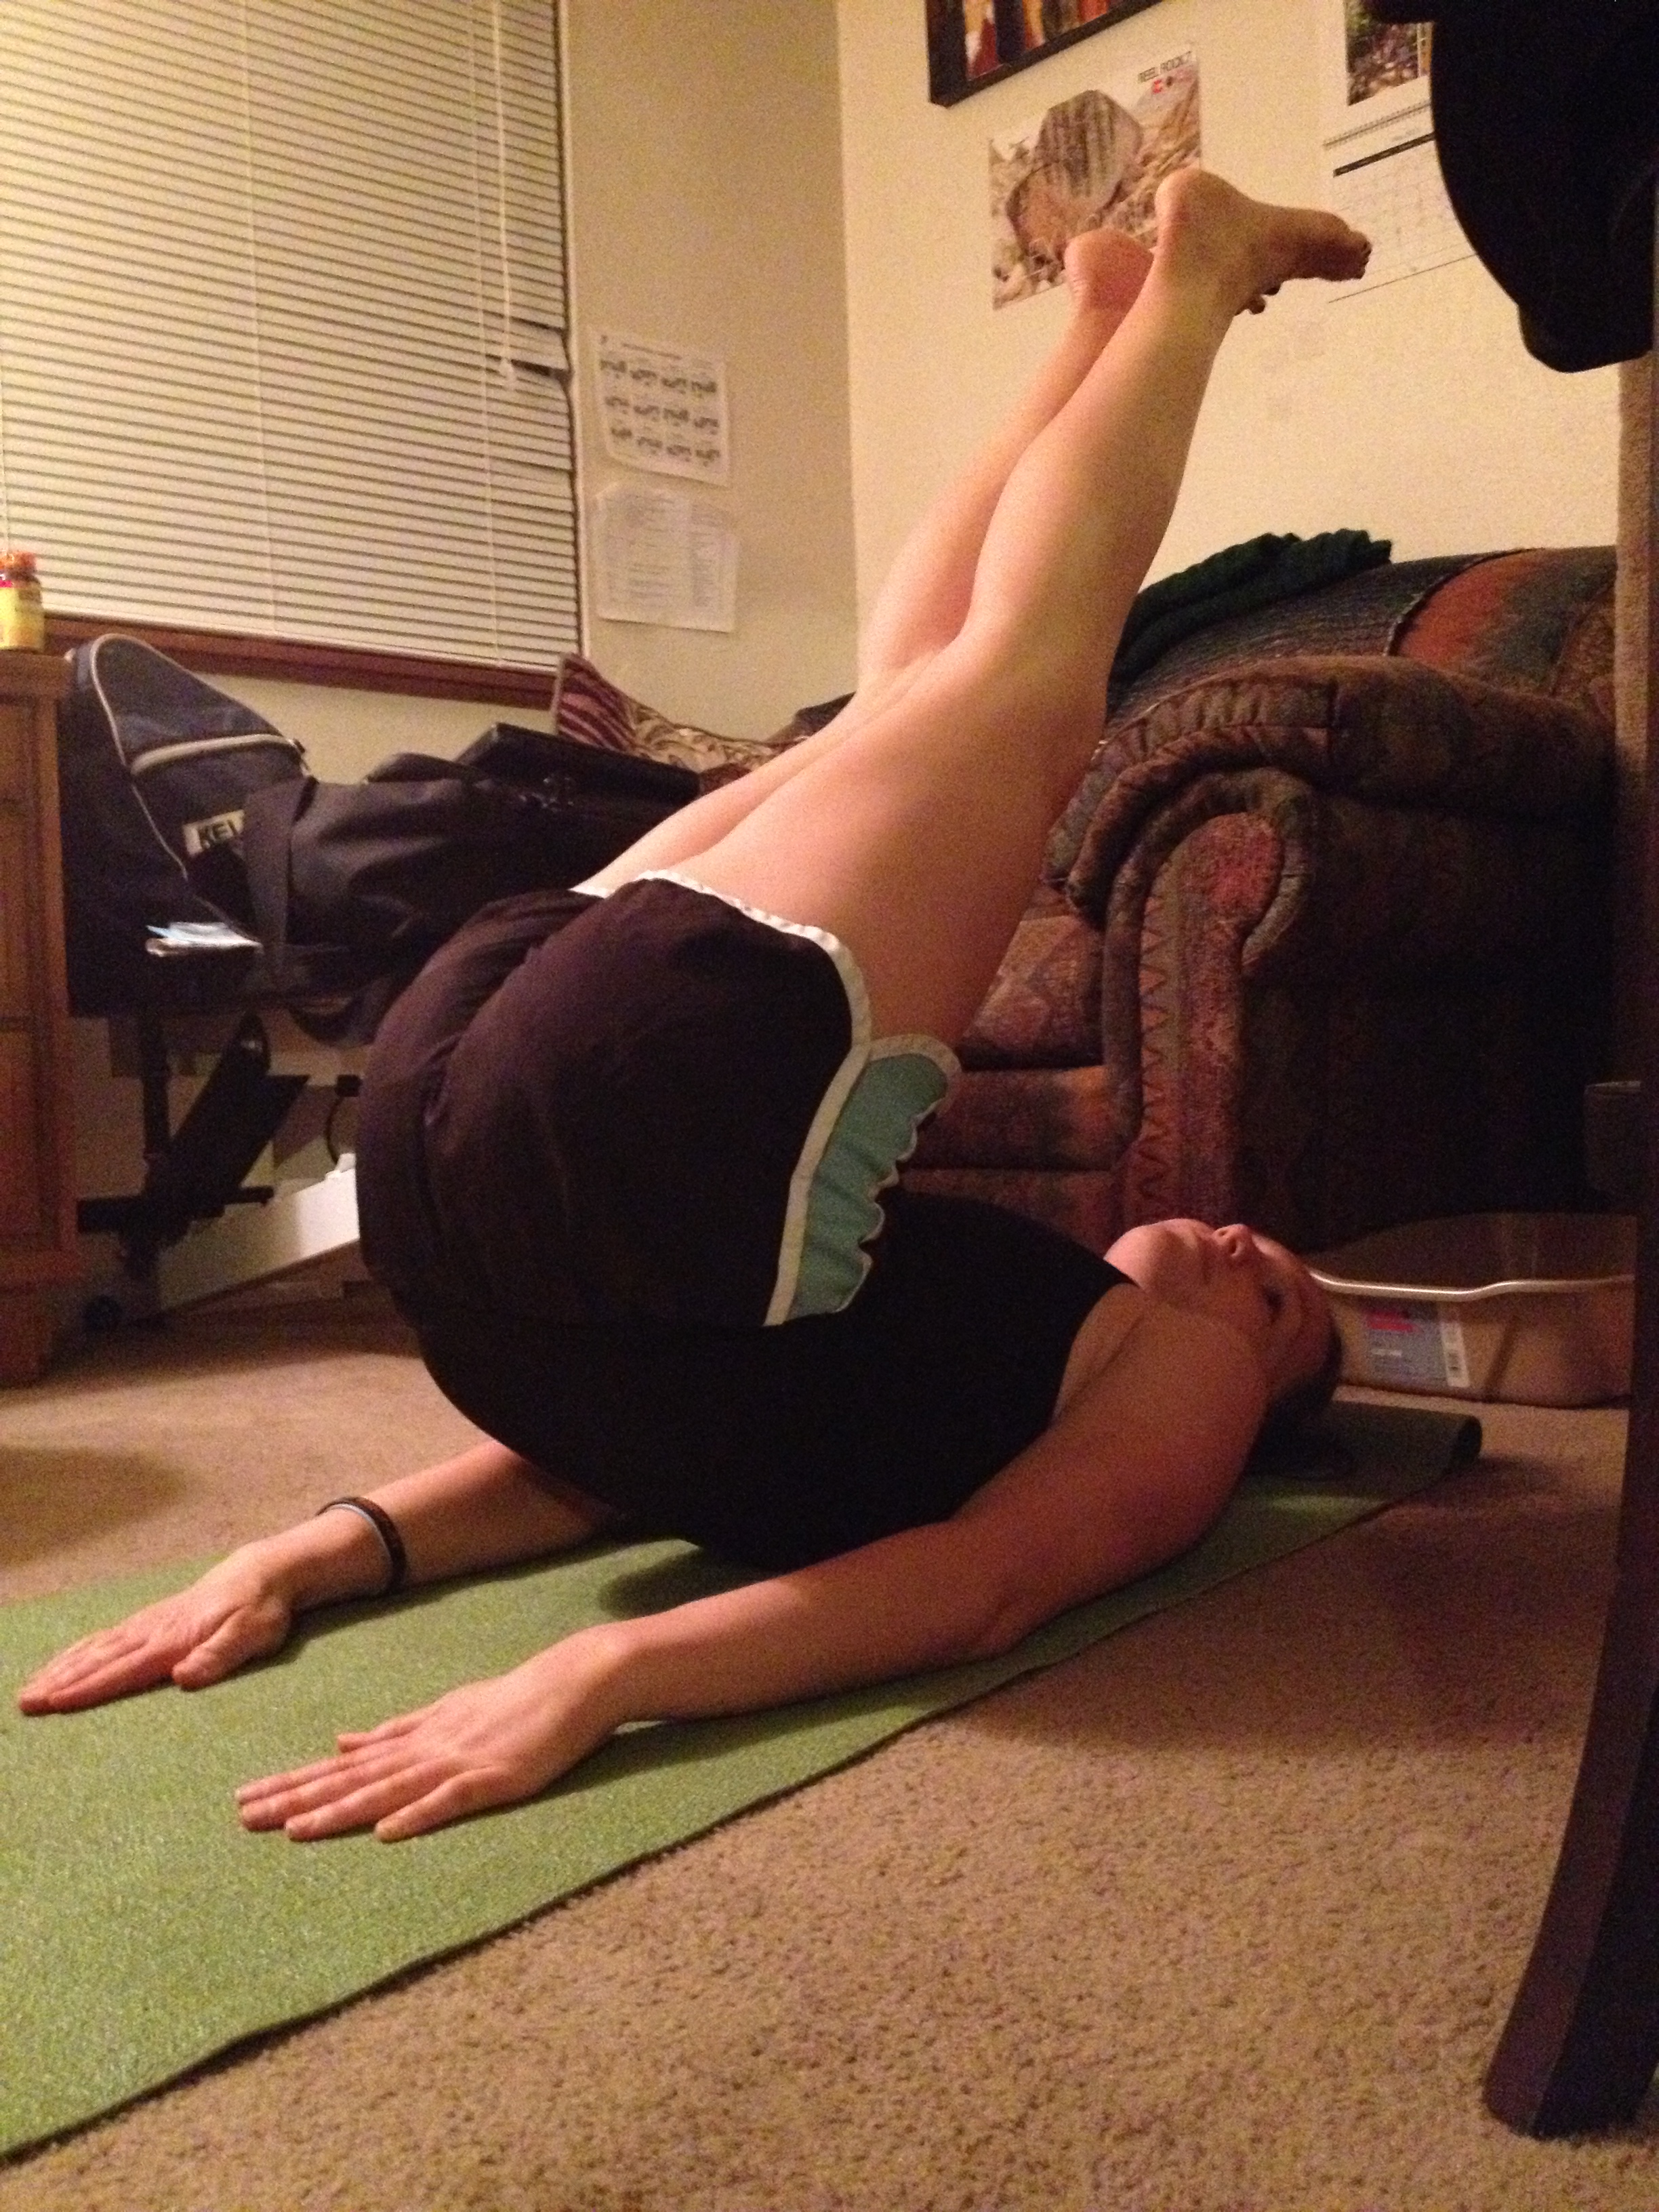
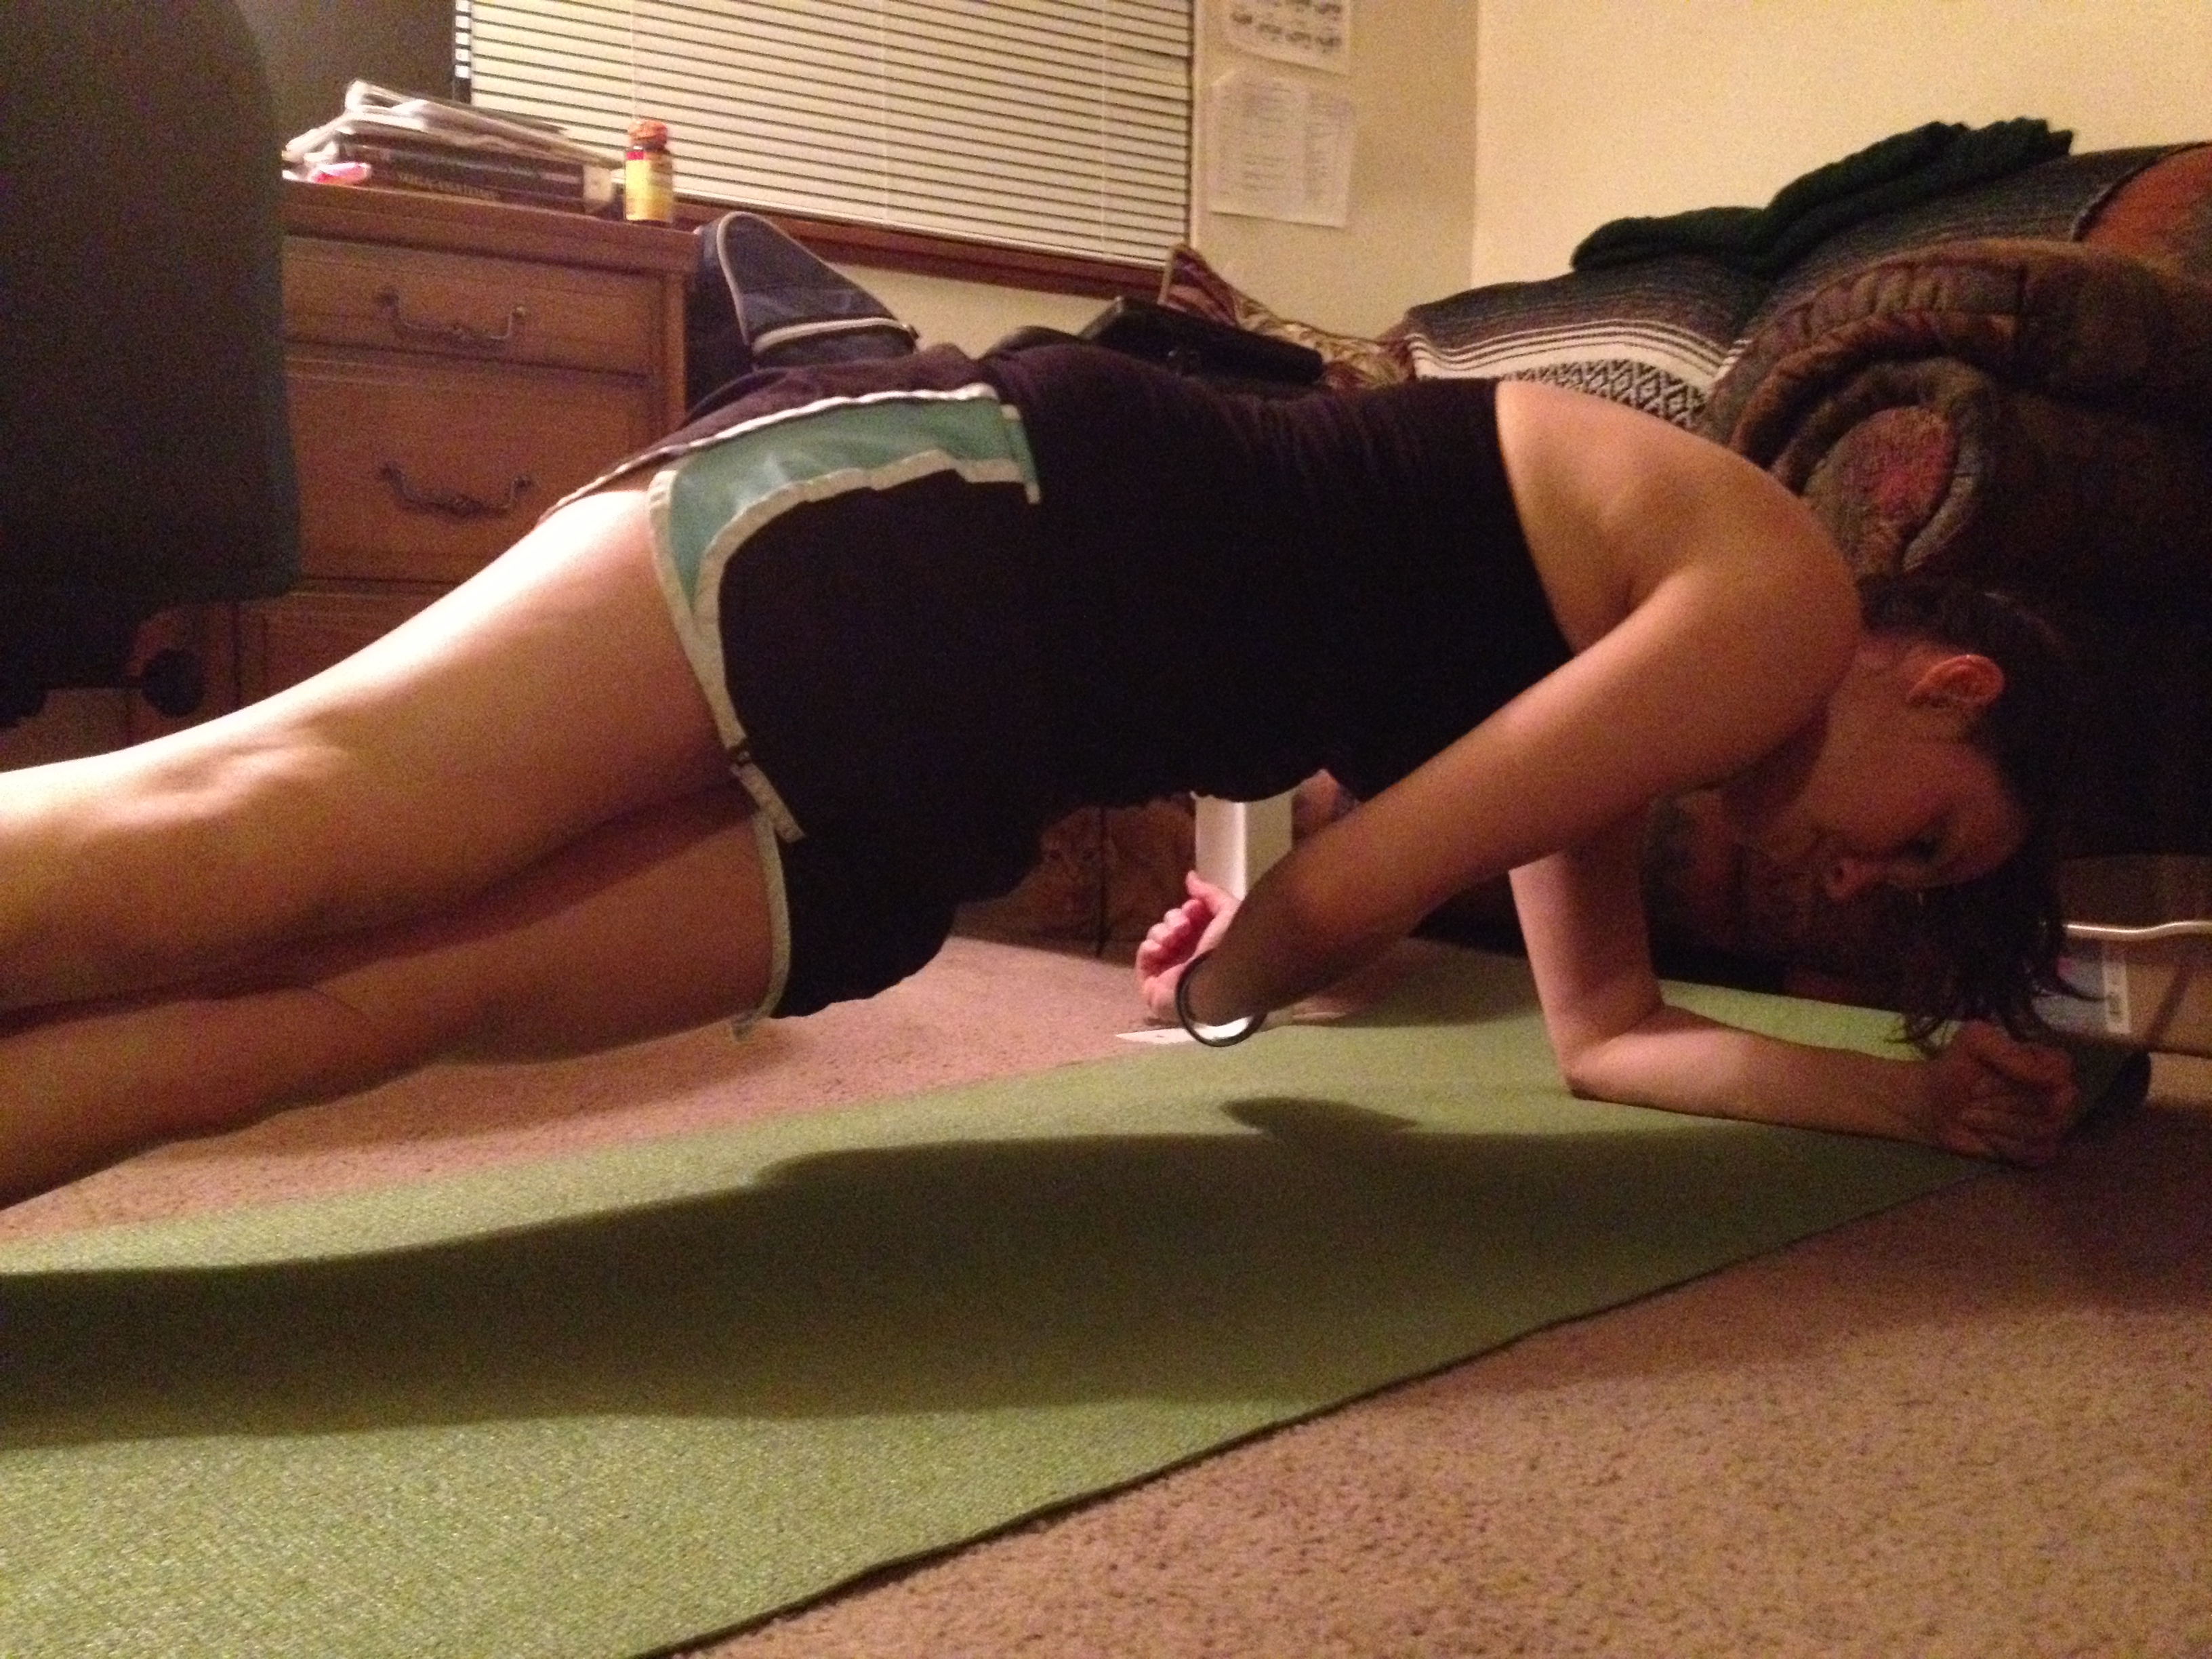
If you’re interested in shredding your abs and developing a strong core, this non-stop core ripper workout is the one for you. This requires no equipment (except a stopwatch or phone), all you need is a ground of some kind. It can really be done anywhere. This is to be done with no rest in between. That means it’s going to be really tough. If you need to break in betweeen, you can. 20 minutes is a long time to do things non-stop. That’s what’s so great about circuit-style: burn fat and calories while building your physique. Every exercise is to be performed for 30 seconds, unless otherwise noted. Let’s do it, here’s the list (with some amateur pictures, too):

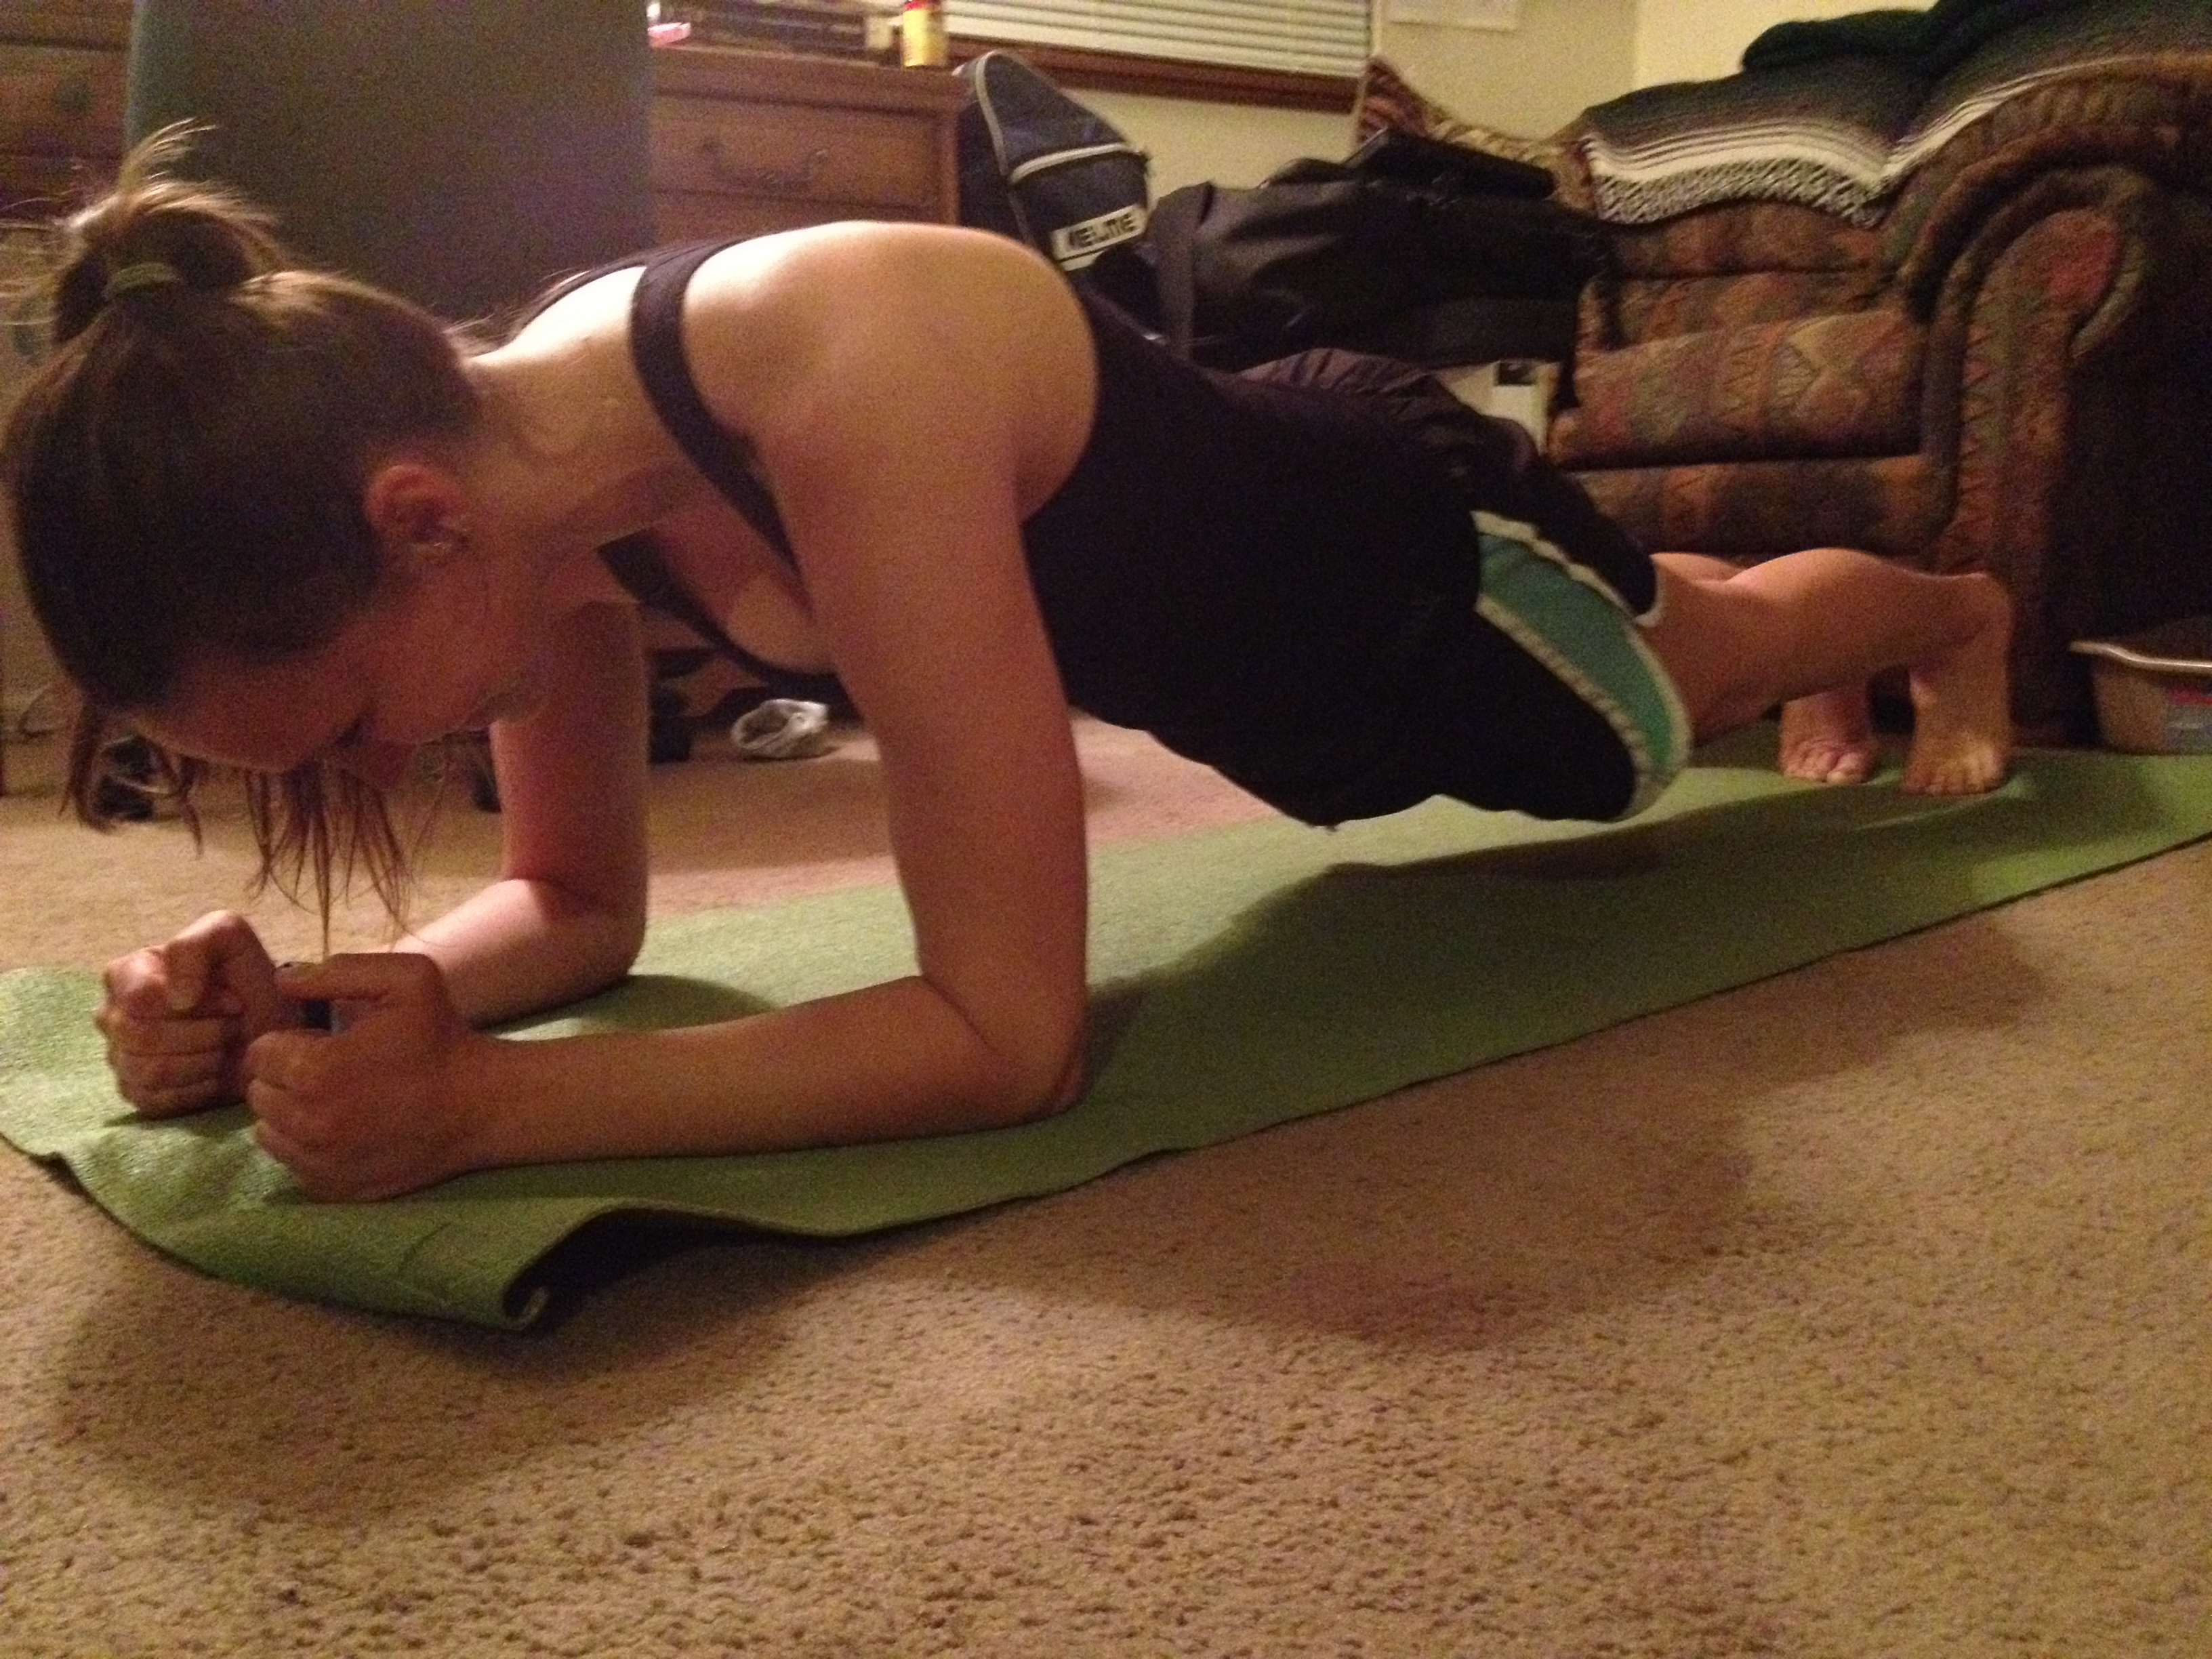
Planking--keep it tight!

Planking–keep it tight!

  • Crunches
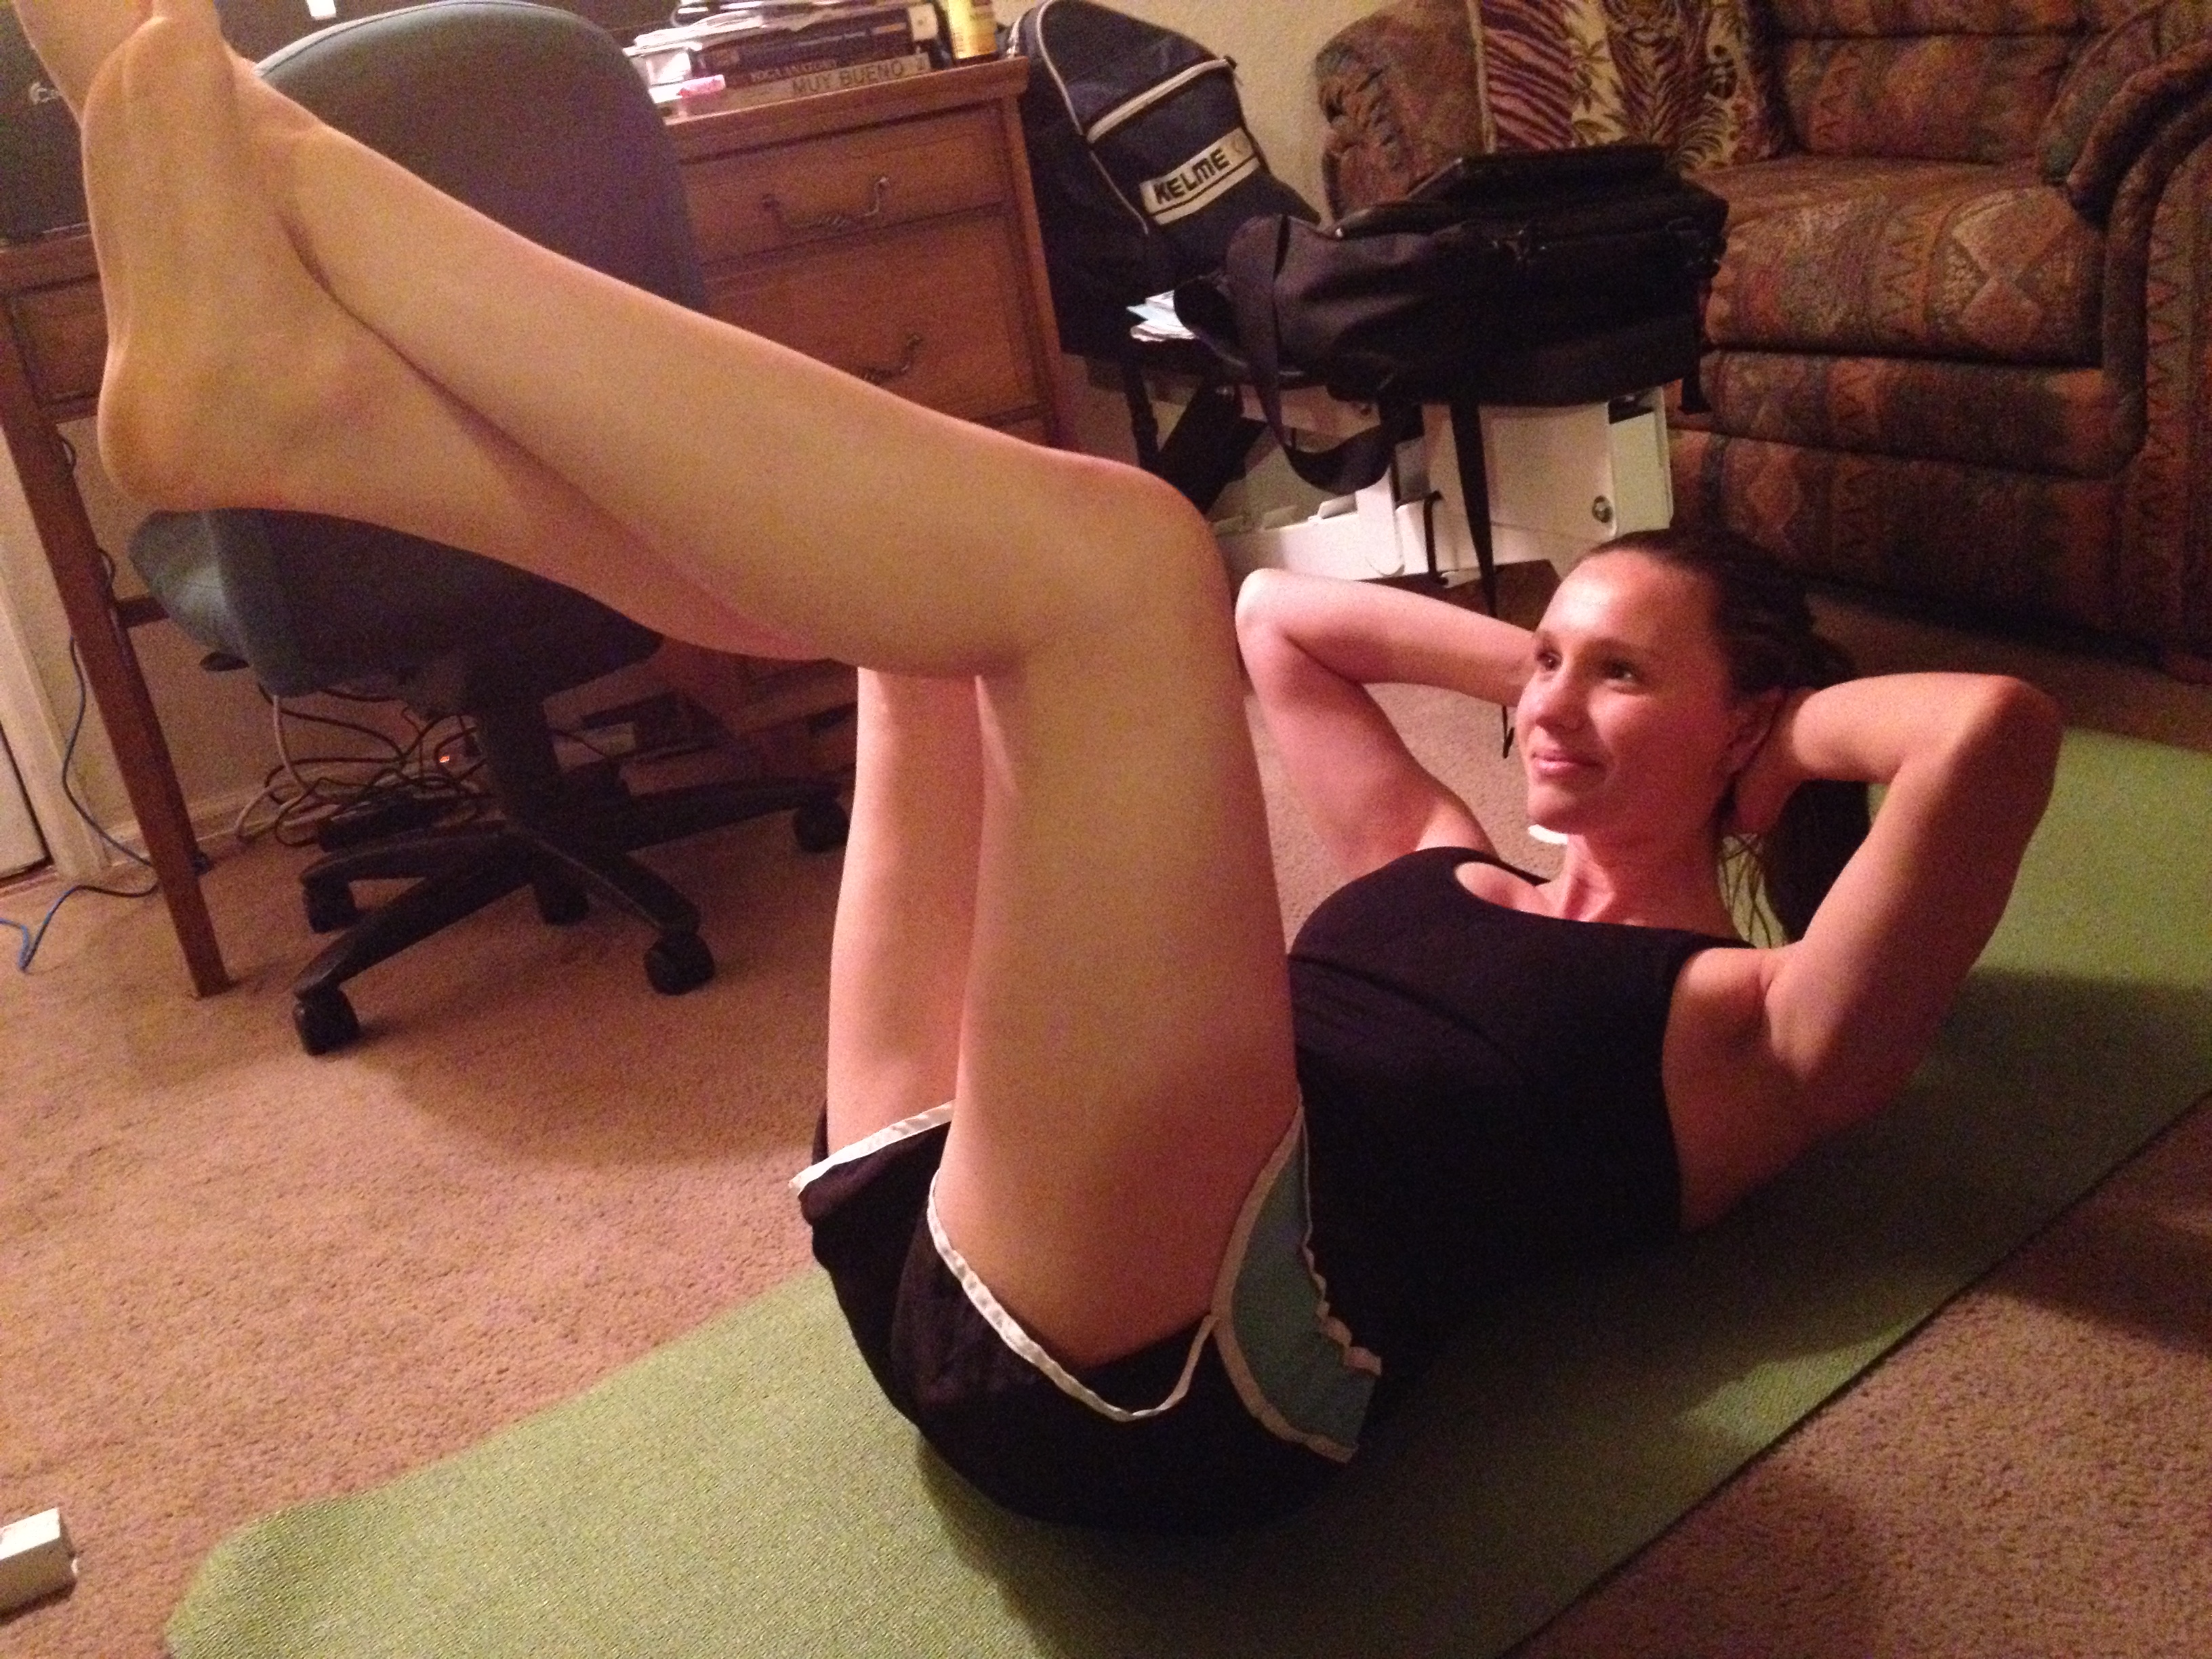
Mid-crunch

Mid-crunch

Reach!

Reach!

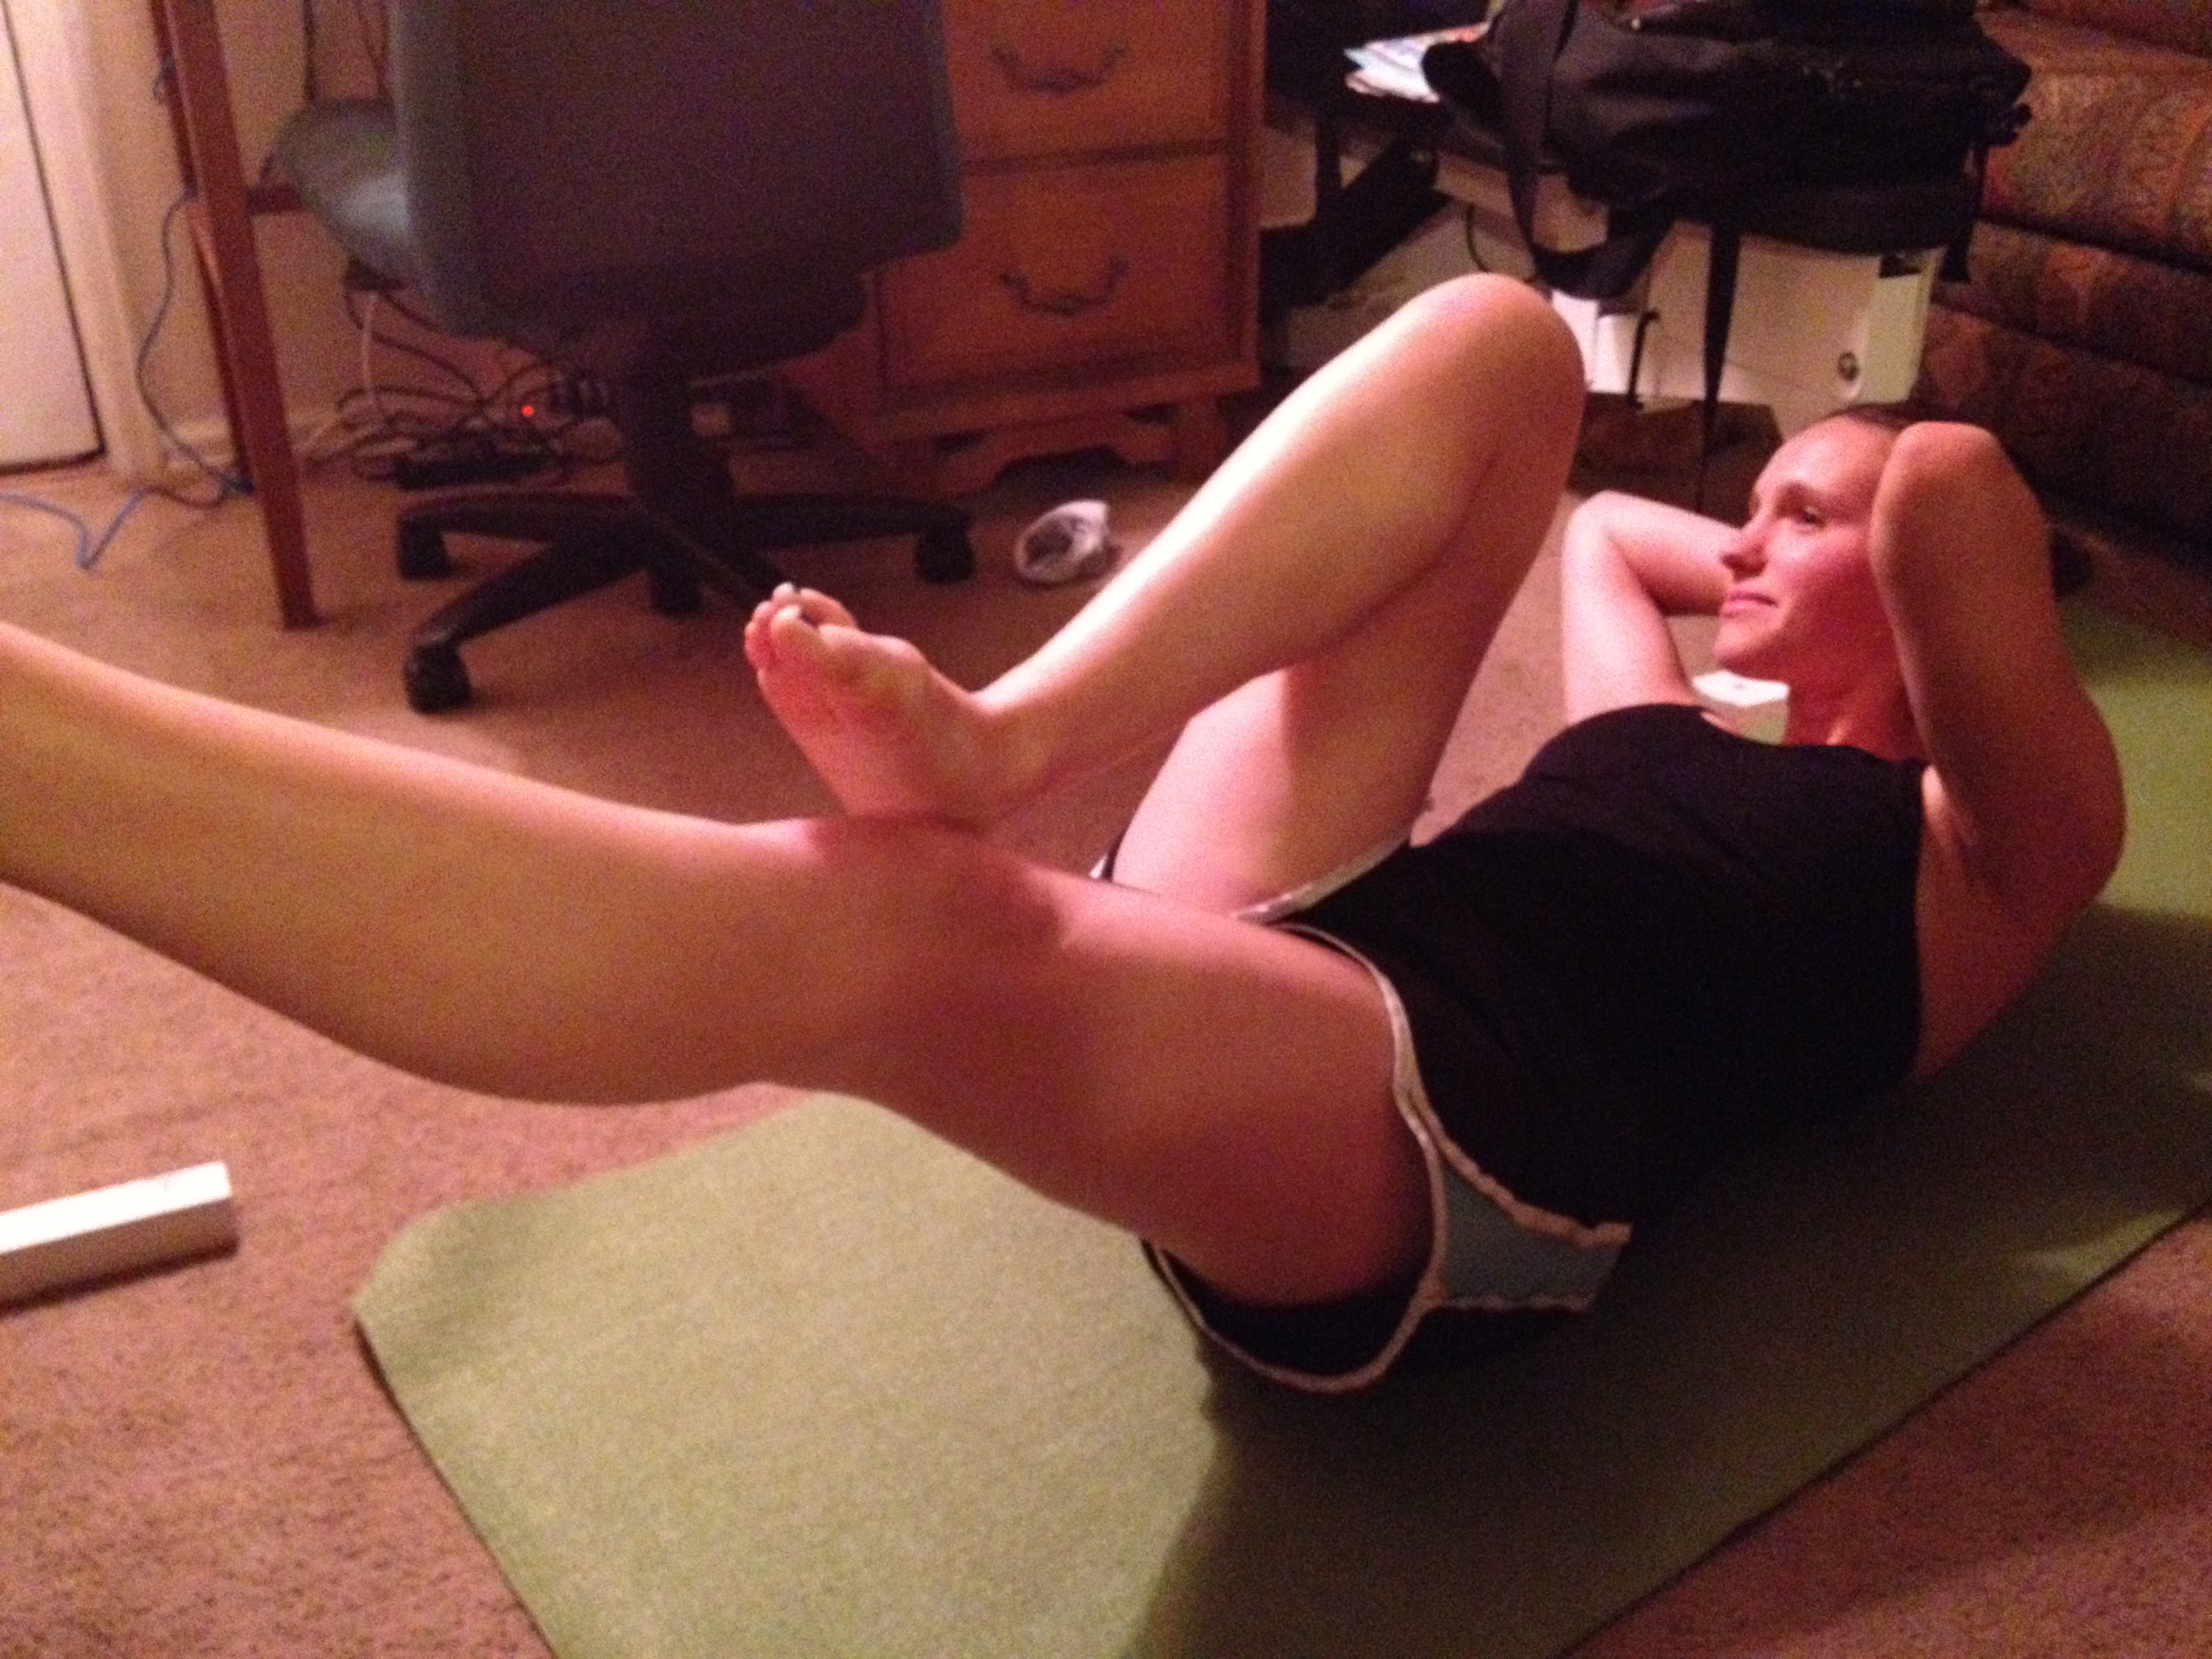
Mid-bicycle, keep it slow and extend

Mid-bicycle, keep it slow and extend

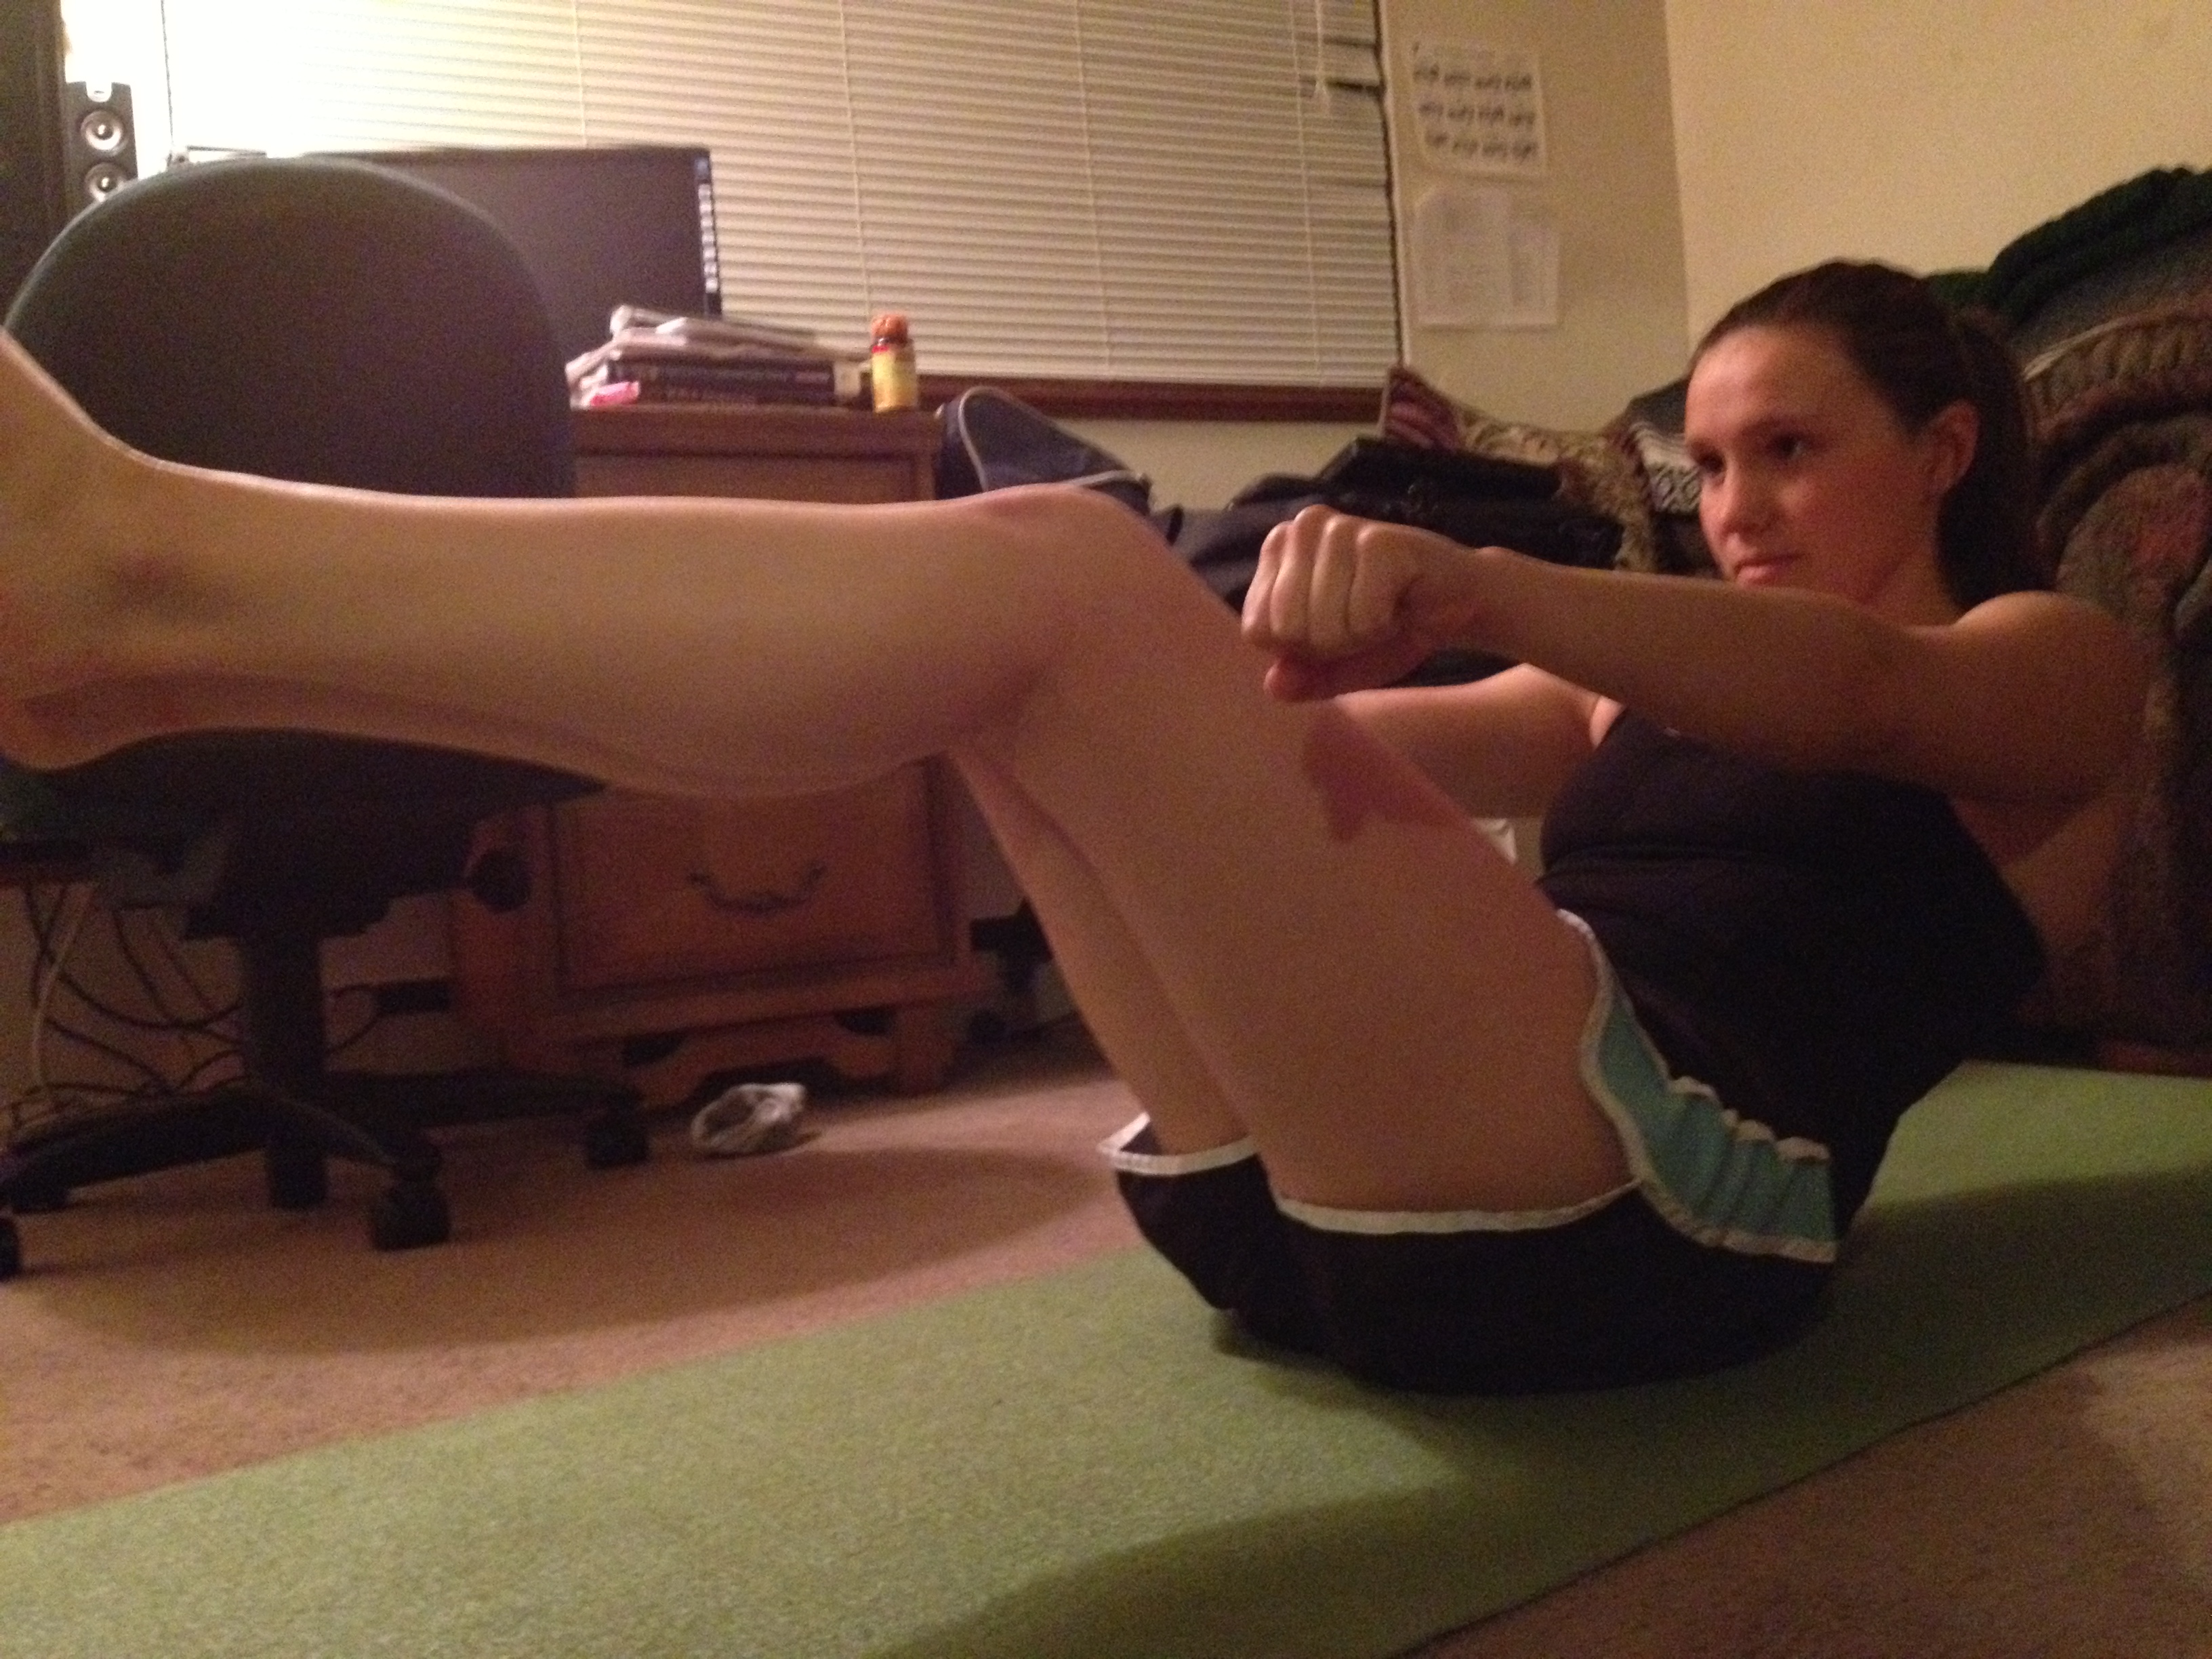
Mid-row, push legs out and in

Mid-row, push legs out and in

Just hold it!

Just hold it!

photo 2 (3)

Hips up and down

Turn in and then extend arm straight up

Turn in and then extend arm straight up

  • Side touches

It’s a long list.  And amateur pictures with a messy apartment in the background (oops). Repeat as many times as it takes to get to 20 minutes (if you have the time).  Do your best, try with no rest in between. Remember, each exercise is to be performed for 30 seconds unless otherwise noted. This is a great way to get that six-pack ready for summer! Use this quick workout to stay hungry and fit! 

spacer

Fresh Bell Pepper Stir Fry

We’ve done some other stir frys, like one with noodles. This time we chose to go with our Indian rice that we use. Stir fry should always be a go-to if you have fresh veggies in the house. This stir fry centers around bell peppers as I grabbed a bunch from the grocery for a great price. Easy to do, if you’re pressed for time at night, you could always chop them earlier on or the night before (I chopped them up before our push-muscle workout–sample here). This can be vegetarian or not, I added some chicken in for Chris, and I stayed with the veggies.

My plate

My plate

  • Prep Time: 15 minutes
  • Cooking Time: 10 minutes
  • Serves: 3 normal people [I always have to put in normal because Chris eats everything in the world]

Ingredients

  • 4 bell peppers
  • 1/4 red cabbage
  • 3 cloves garlic
  • 4 mushrooms
  • 1 package boneless skinless chicken
  • soy sauce
  • sesame teriyaki [optional: you can use whatever sauce you would like]
  • 1 cup rice
  • 1 tbsp rice vinegar
  • 1 tbsp sesame seeds

Directions

  • Put your rice in the rice cooker and get that ready to go
  • Once rice is done, toss some rice vinegar and sesame seeds in there and mix around, let it
  • Cut up all your veggies
So beautiful

So beautiful

  • Cut the chicken into thin strips on a different board if you are eating meat

photo 4

  • Put oil into a wok and throw some crushed or cut garlic in there. Then, add the vegetables to the wok. Pour soy sauce and any other sauces you would like to flavor the veggies
Still pretty

Still pretty

  • Once the vegetables are cooked and flavored to your desire, throw some oil and garlic in another smaller saucepan and heat it up. Then put the chicken strips into this pan and cook. This only takes 5 minutes max. Toss with soy sauce, teriyaki, and sesame seeds

photo 2 (1)

  • Once your chicken is done, assemble plates. Load the bottom with rice, top it with vegetables, and then some chicken (if you are eating chicken). It’s good to go!
My plate

My plate

Chris' plate

Chris’ plate

Again such an easy dish to make and such an easy dish to eat too! It’s delicious, nutritious, and filling. It also has beautiful colors if you use different peppers. Enjoy with whatever vegetable and seasoning you have. This is a great dish to stay hungry and fit! Cheers!

spacer

Fat-Roasting, Glute-Burning Leg Circuit

After a 2 mile run around McIntosh Lake (see the run here), I decided to get my leg workout in the fast, no-break circuit kind of way. For this, it’s best to find yourself in a park, a beach, a backyard–somewhere with some space. But of course, if you’re locked in an apartment in an Alaskan winter, you can always modify it for small space too. This is a great workout for those who have little time and want high intensity. Let’s do it!

Lock n Load Legs Circuit

1. Lunge 20 feet (or for 20 seconds). You’re going to lunge yourself to your first “station” in this circuit.

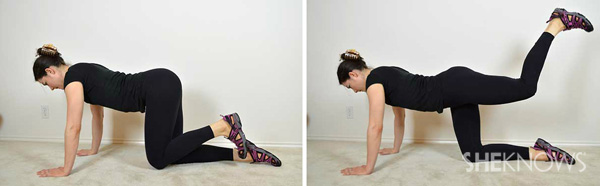
2. Scorpions until failure. These work the hamstrings. Go on all fours, lifting one bent knee up and down behind you. Do it until you can’t do another rep. Switch to other leg.

Quadruped hip extension

3. Lunge 20 more feet to the next station (or 20 seconds). Think about a triangle as a formation that we’re doing (the stations set up in that way).

4. Plie squat until failure. The link has the best full description. Start in horse stance, squat down, then lunge left and then right! These are killer on the glutes and quads. Do them until you drop.

5. Lunge 20 more feet to next station (or 20 seconds stationary). ‘Nuff said.

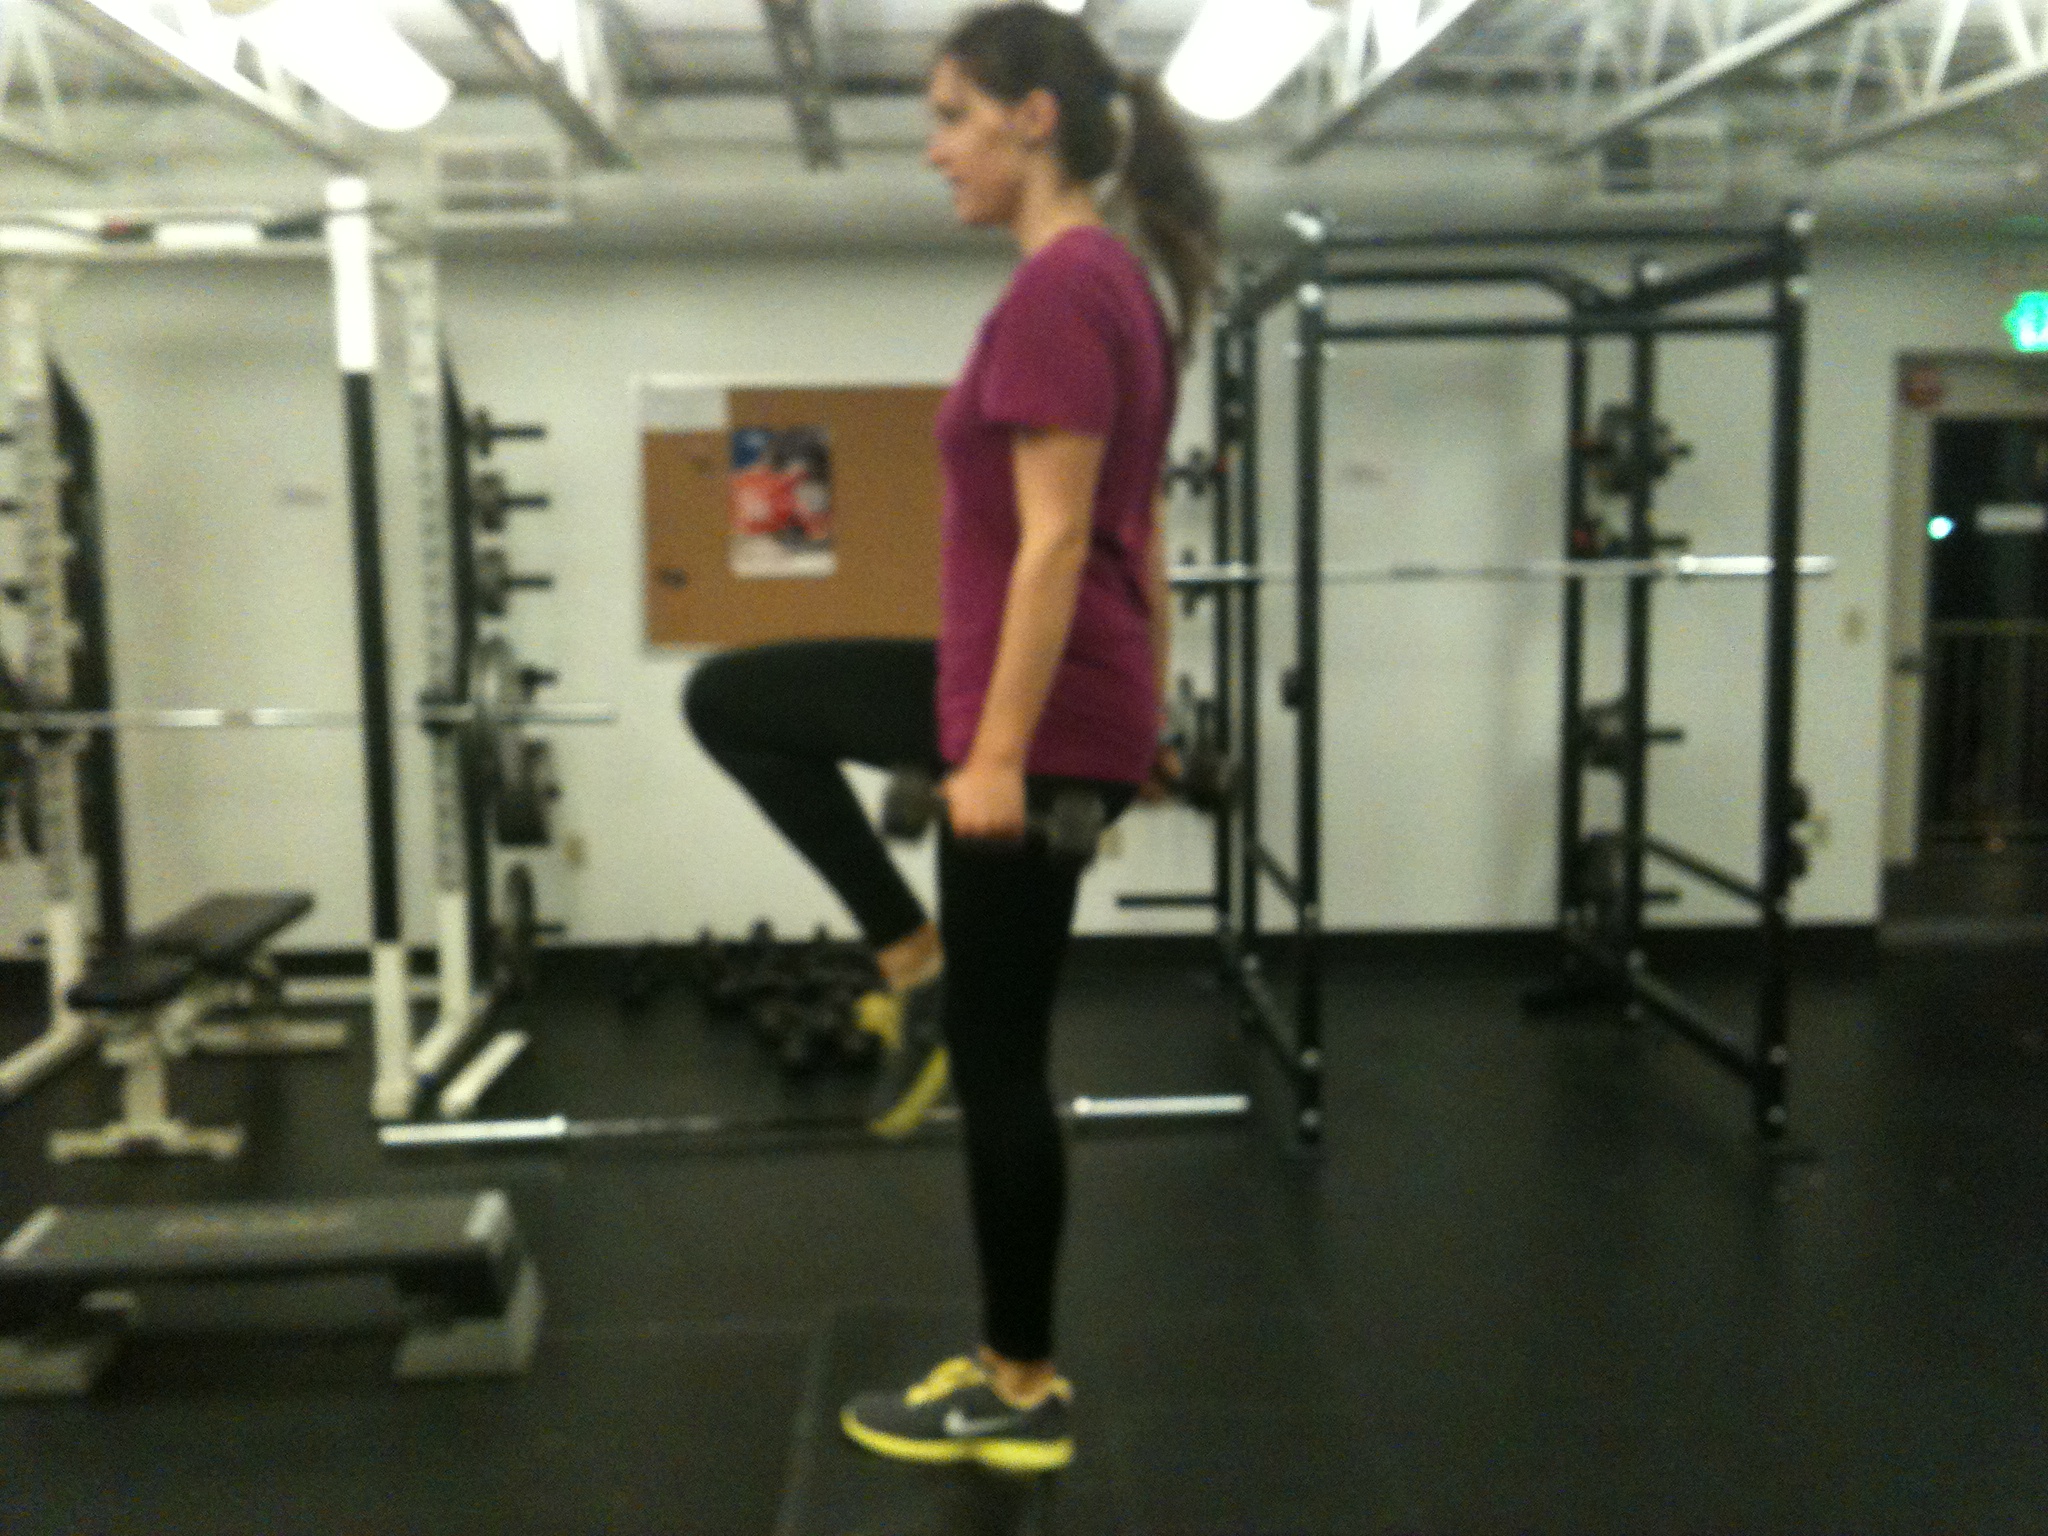
6. Step ups until failure. For this, I had a little grassy incline that I used. If you’re at home, you can use a chair, a couch, or a coffee table (just don’t tell your partner!). Or at the beach, build up a little sand incline. You get the idea. Step up and drive the knee up every time. Until you can’t step up another time!

A super blurry older picture of me performing a step up

7. Doggies until failure. For this, you’re on your hands and knees again. Kick your leg back and then a full rotation around back to starting position. This targets your glutes. The more you do, the more those muscles will tighten up. Do them until failure and then right away on the other side.

And repeat as much as you have time for. Again, this can all be done stationary in one place. Just try to keep it non-stop. You can rest and have water in between the whole sets, but to get that burning, cardio effect, just keep going! Have fun and stay hungry and fit!

spacer

The Easiest Black Bean Soup You’ll Ever Make

If you’ve been following our blog, you’ll know it’s been pretty rainy here in Colorado (see my thunderstorm run). I wanted an easy, hearty dish to fill our stomachs with warmth and comfort on another rainy night. I got the recipe from here, and added my own goodies to it. The simplicity of this “soup” is ridiculous. Seriously. And it’s vegan too, if that’s how you want it.

Ready to be eaten!

Ready to be eaten!

  • Prep Time: 1 min
  • Cooking Time: 10 min
  • Serves: 3-4 normal people

Ingredients

  • 2 cans black beans 
  • 1 bag frozen veggies
  • your own blend of spices
  • [optional] mushrooms

Directions

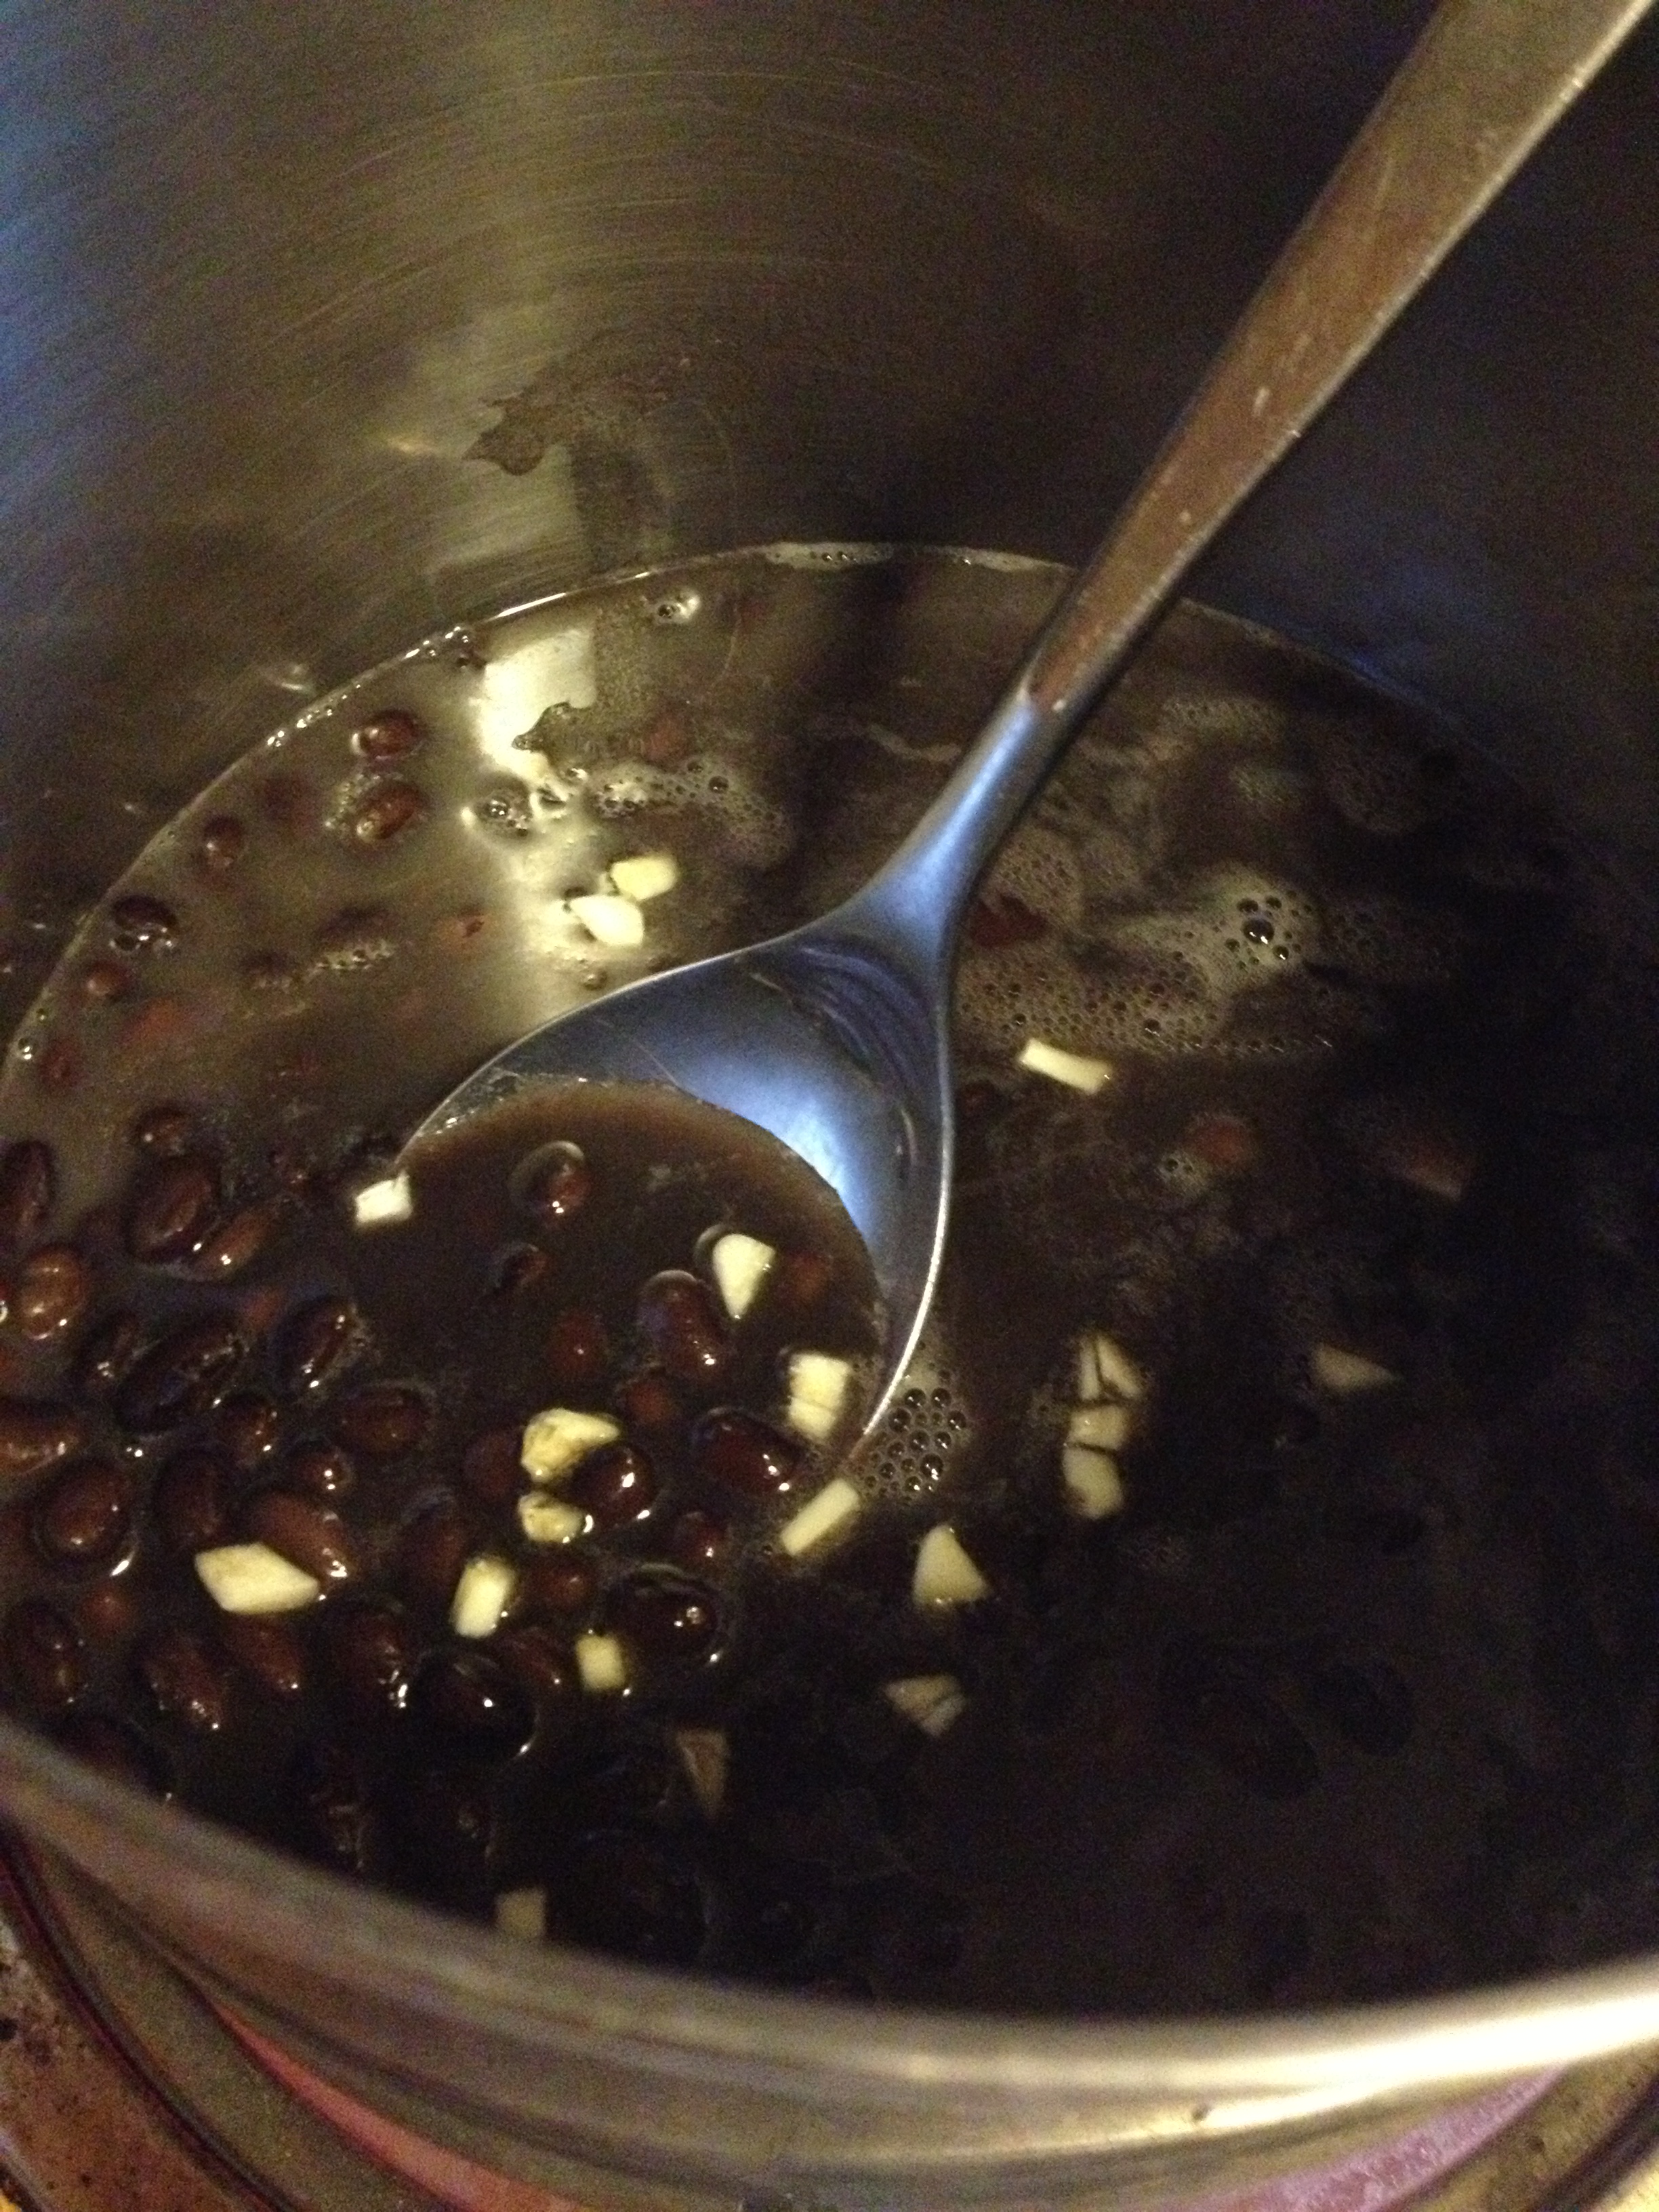
  • Put 2 cans black beans into the pot and start simmering in a pot
  • This is optional, but I put about 3 cloves of garlic into the pot as well

photo 1 (9)

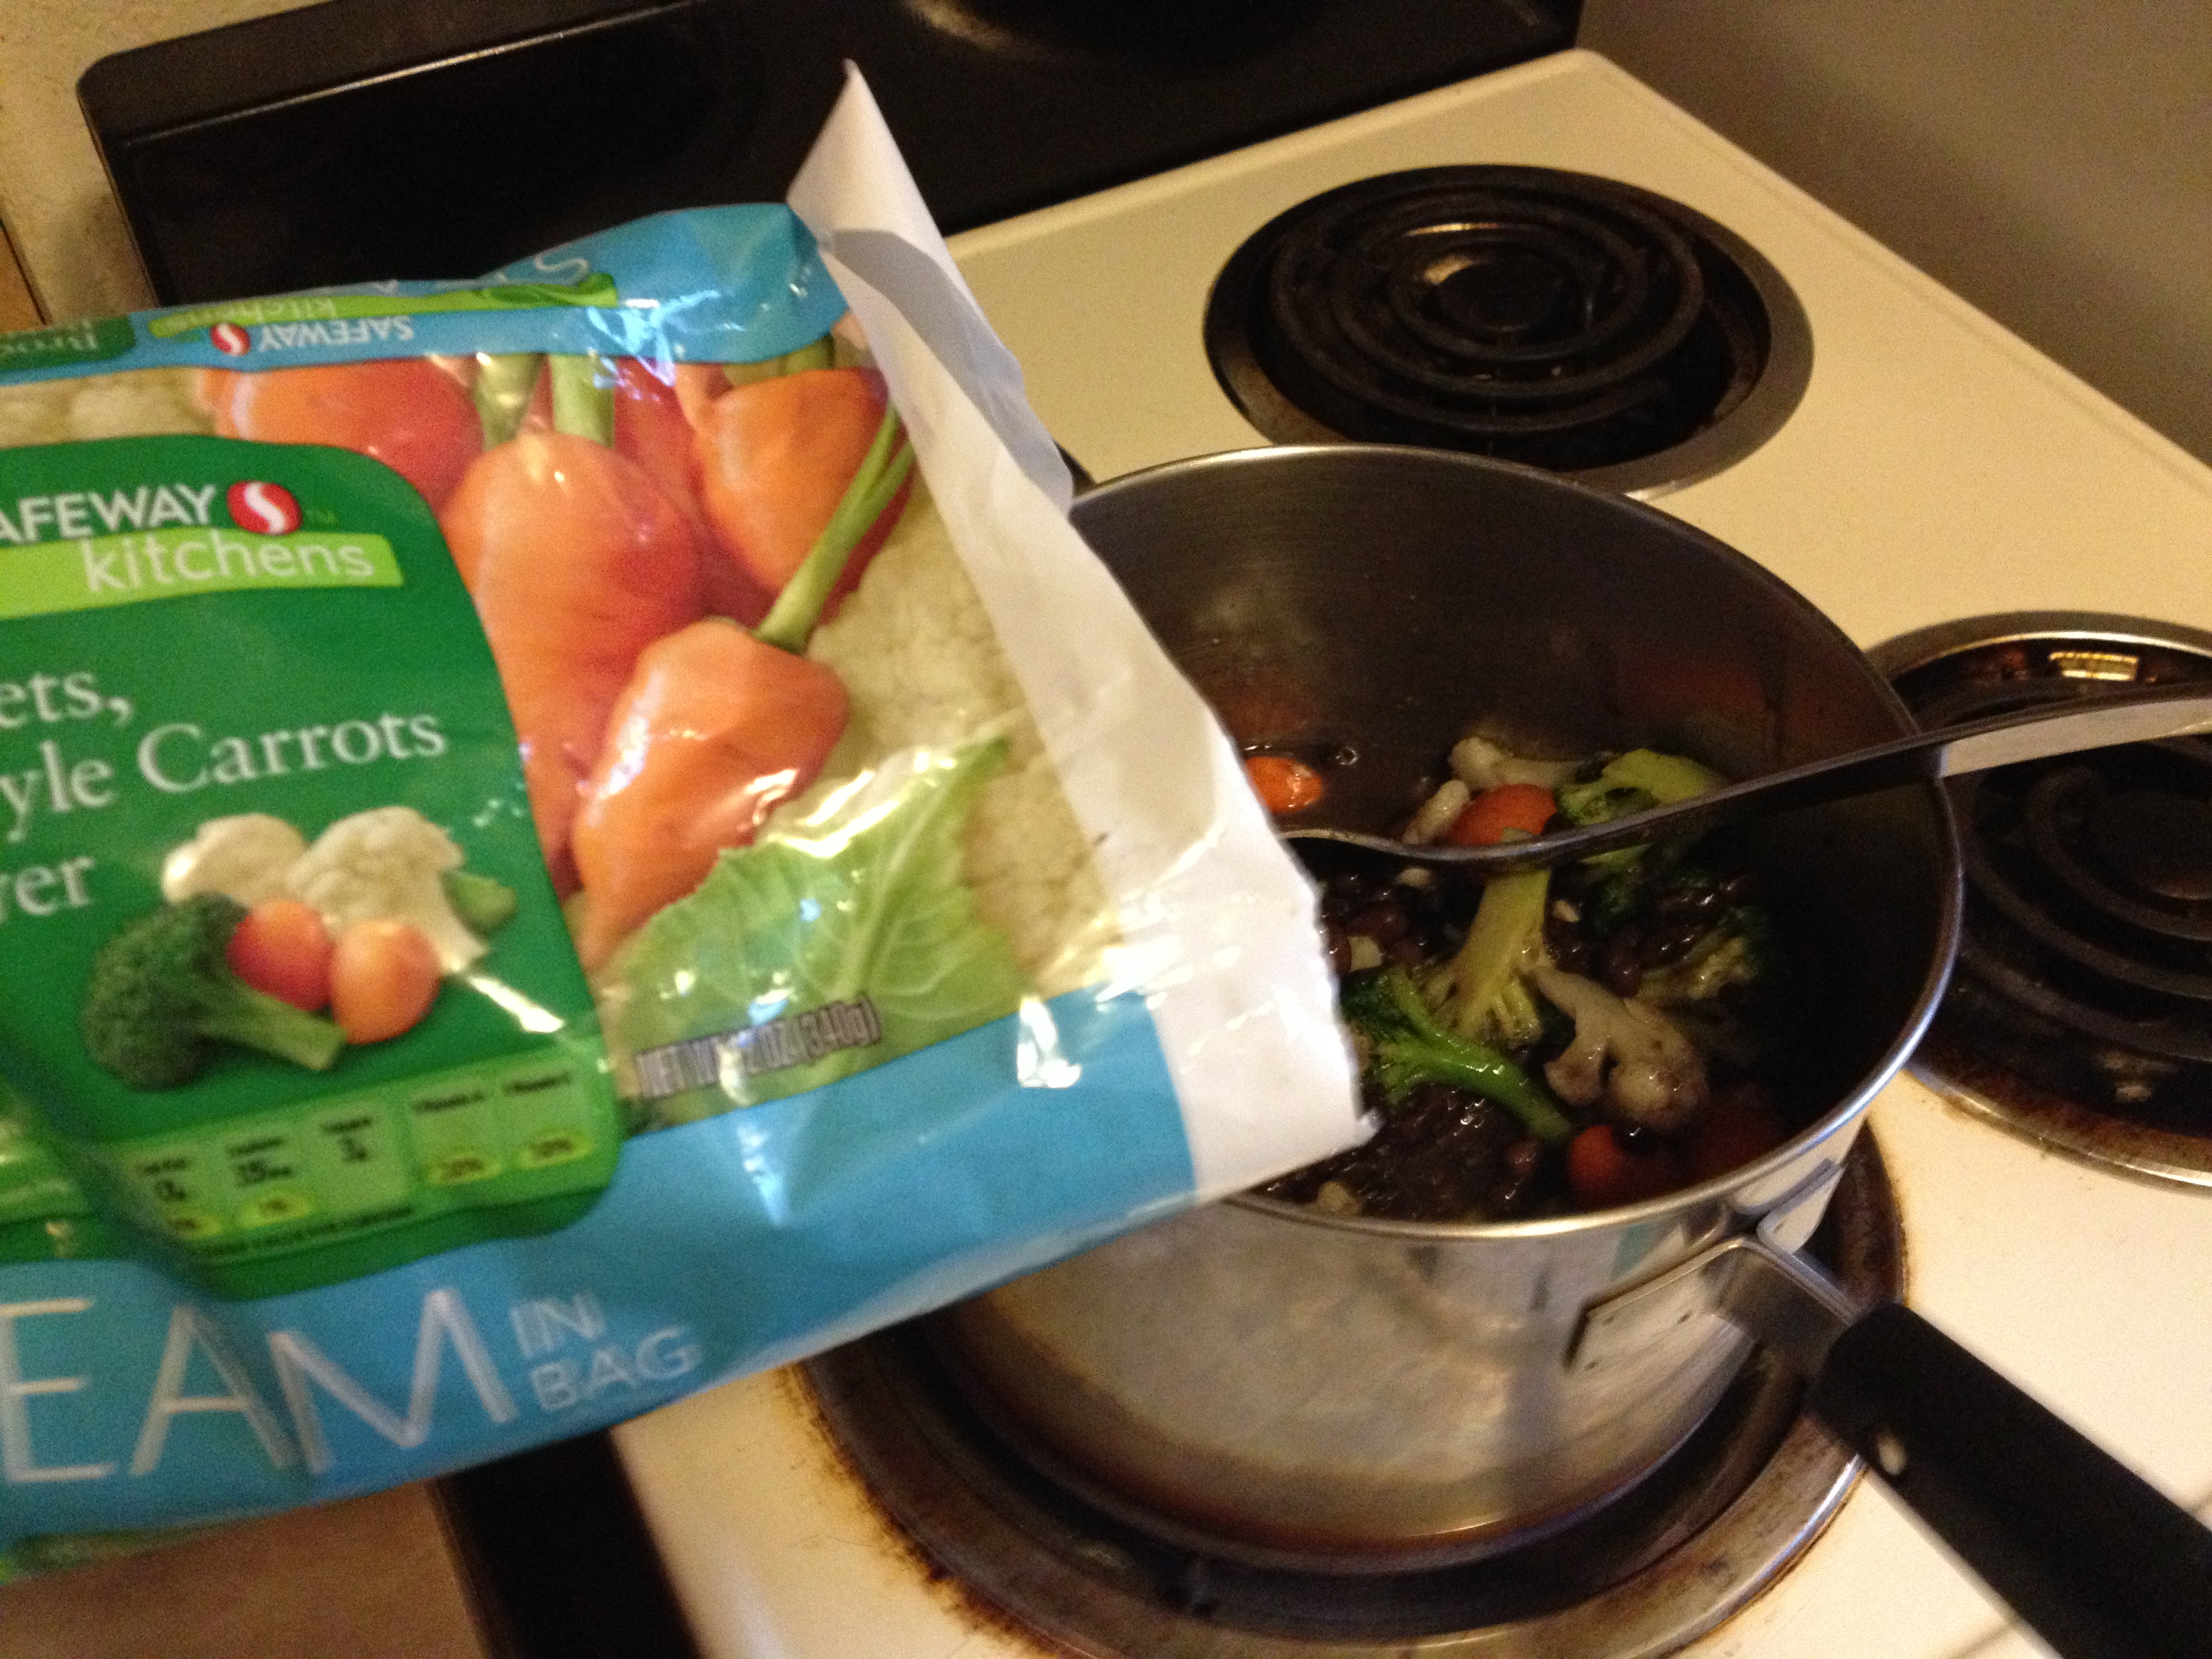
  • Add your frozen veggies and any other herbs, spices, or veggies you would like (or meat)

photo 2 (5)

photo 3 (4)

  • Let it simmer for at least 10 minutes (until everything is warm) and stir occasionally. If you are cooking ahead of time, it doesn’t hurt to simmer as long as you want to for deeper flavor
  • Serve with a side (I did cornbread)

photo 5

Ready to be eaten!

Ready to be eaten!

I prepared all of this before a workout. After the core workout (sample core workout here), I came home, popped the cornbread batter in the oven, and heated the soup up again on the stove. It was definitely the perfect meal for a rainy night and I get to enjoy it again for a rainy lunch. It has ample amounts of protein for my healing muscles and great fiber for the whole body.

Cheers! Stay hungry and fit!

spacer

Strong is the New Skinny

I hope you’ve been seeing this around. Within the recent decade, gyms, fitness centers, and health clubs have been booming. And along the last couple of years, females have been admired for getting buff. Especially this and last year, as I’ve noticed, there are tons of phrases coming out like “Strong is the new skinny” and I am 100% on board with that. For too long, women have been shuffled into a space where they are expected to look a certain way.

Hello, earth to people–everyone’s body behaves, evolves, and trains differently. That’s it. Check out this post to learn more about fitness definitions like “mesomorph” that describe different body types. Now, I’m not saying, go and eat 5 cheeseburgers because it’s okay to be fat. No, it’s not okay to be overweight for your body type–not because of how you look, but because of the health inside of you and the problems it can create. No, I’m saying, that it’s okay to have more than 15% body fat, that skinny is out, and strong is in.

Abby Wambach, the “gladiator” of the US Women’s National Soccer Team

Once you begin strength training and really building yourself with endurance, strength, and agility, you find power. Think of our Olympians–they’re sexy because they’re strong. And guess what–it is HEALTHIER to be strong. Often times, it can be unhealthy to be skinny. It’s a whole new level of empowerment. I ask you to stop shying away from your broad shoulders like I once did and embrace them. They give you great power for swimming, back workouts, and overall strength. They help you become a better athlete.

Me during a pull workout a few months ago

Me during a pull workout a few months ago

Some people call me skinny and I stop them. I don’t have a lot of body fat, but I do have a good amount of muscle. I am strong, not skinny. I almost take insult to being called skinny now when I would’ve loved that compliment five years. Times have changed and perspectives are almost coming around to where they should be. I am lucky enough to have someone like Chris who admires me for my strength, which all should do of their partners instead of desiring unrealistic and unhealthy figures. I apologize for the rant, but I’m sick of people starving themselves to get a certain look. Feed your body and put it through work. Love yourself, love your body, and love the power that strength can give you.

Treat your body with respect and kindness. STRONG IS THE NEW SKINNY 

spacer

Power Protein Breakfast: Waffles, Greek Yogurt, and Fruit

Besides Weetabix, this has become one of my go-to breakfasts when I have enough time in the morning. It’s packed with protein and fiber, sending you ready to kick butt on the day ahead. Now, typically, store-bought waffles aren’t the best for you. But that all changed when one day I was craving waffles while we were grocery shopping, and I scoured the frozen section for some decent waffles. Tip: always pass up the Eggo’s. Another tip: NEVER PASS UP THE VAN’S. 

photo 1

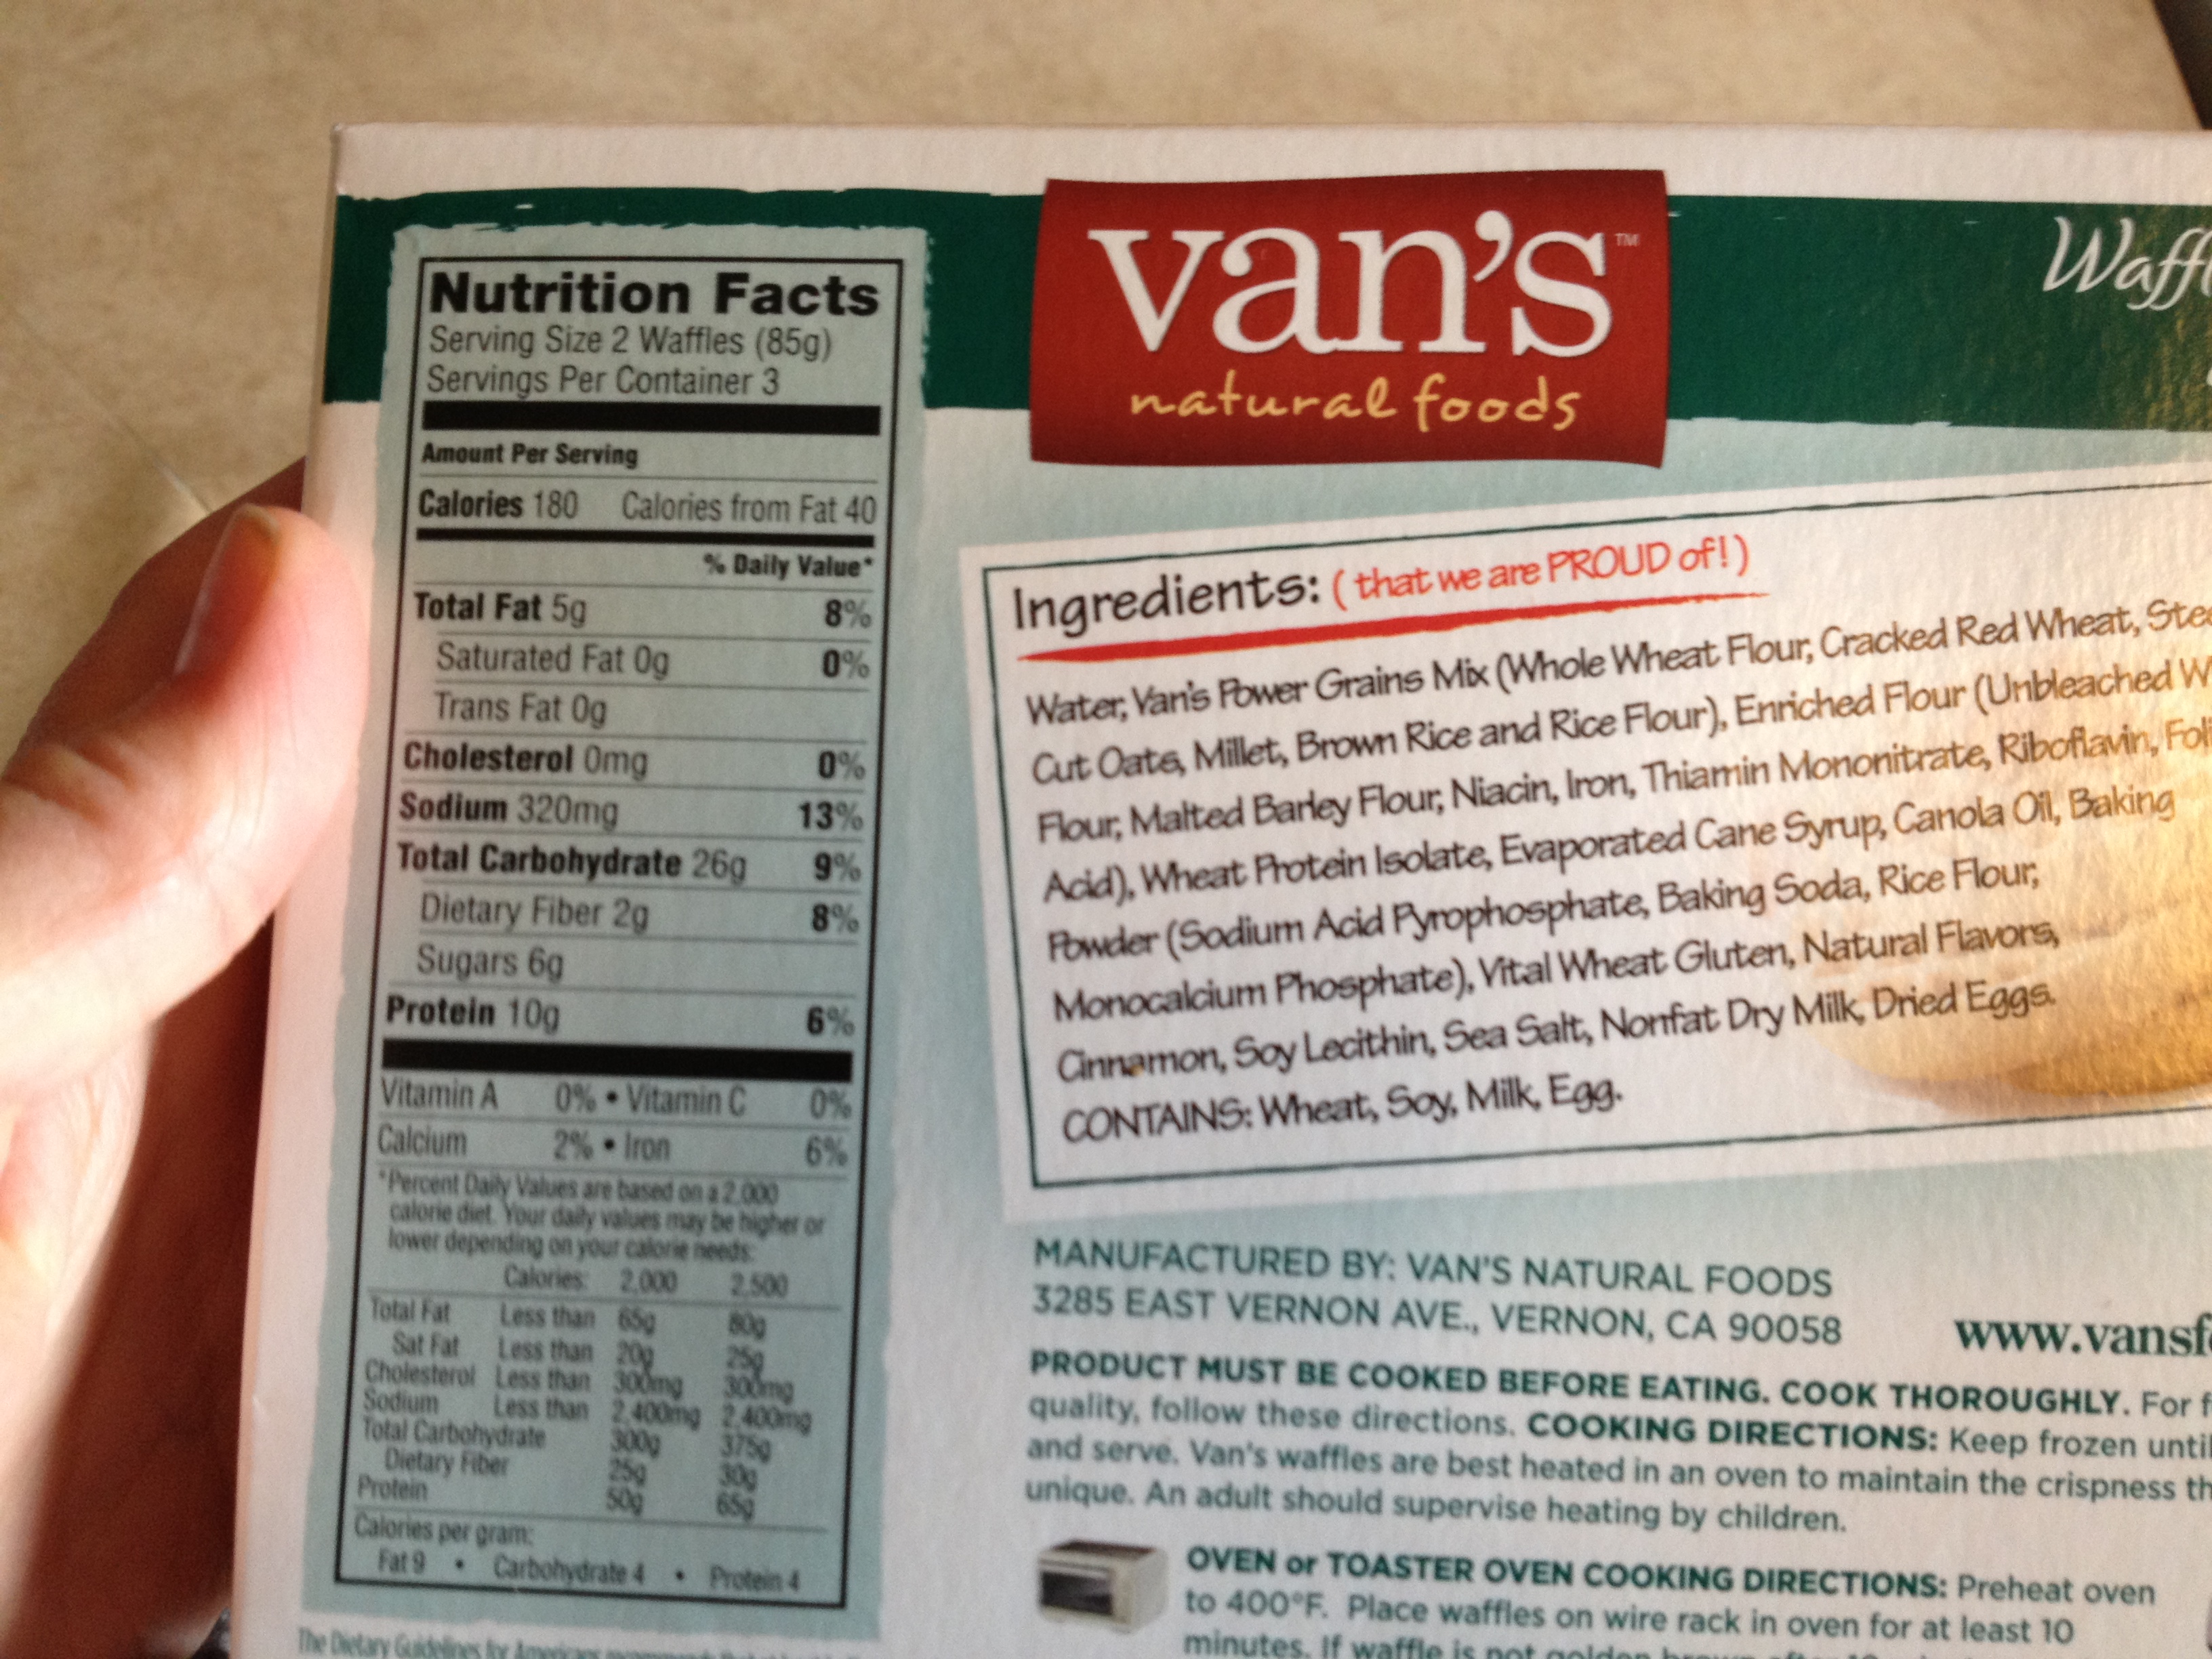
Yep. The name of this natural brand of waffles is Van’s. And no, I did not receive any money from them for this post (though, I wouldn’t mind a tip if they stopped by). Good nutritional value at 180 calories per 2 waffles, 10g protein, 2g fiber, 6g sugar and no saturated fat. Can you say, “YES PLEASE.” But there’s more to this power protein breakfast. What’s a breakfast without greek yogurt? Alright, enough chit-chat–look down for this 5-10 minute breakfast recipe.

photo 1 (2)

Ingredients

  • 2 Van’s protein waffles
  • 2 dollops of 0% Fage Greek yogurt (or any kind you have)
  • 1/2 tsp butter (optional)
  • 100% pure maple syrup OR agave nectar
  • 2 strawberries (but any fruit will do)

[I’m literally salivating as I write this–it’s that good]

Directions

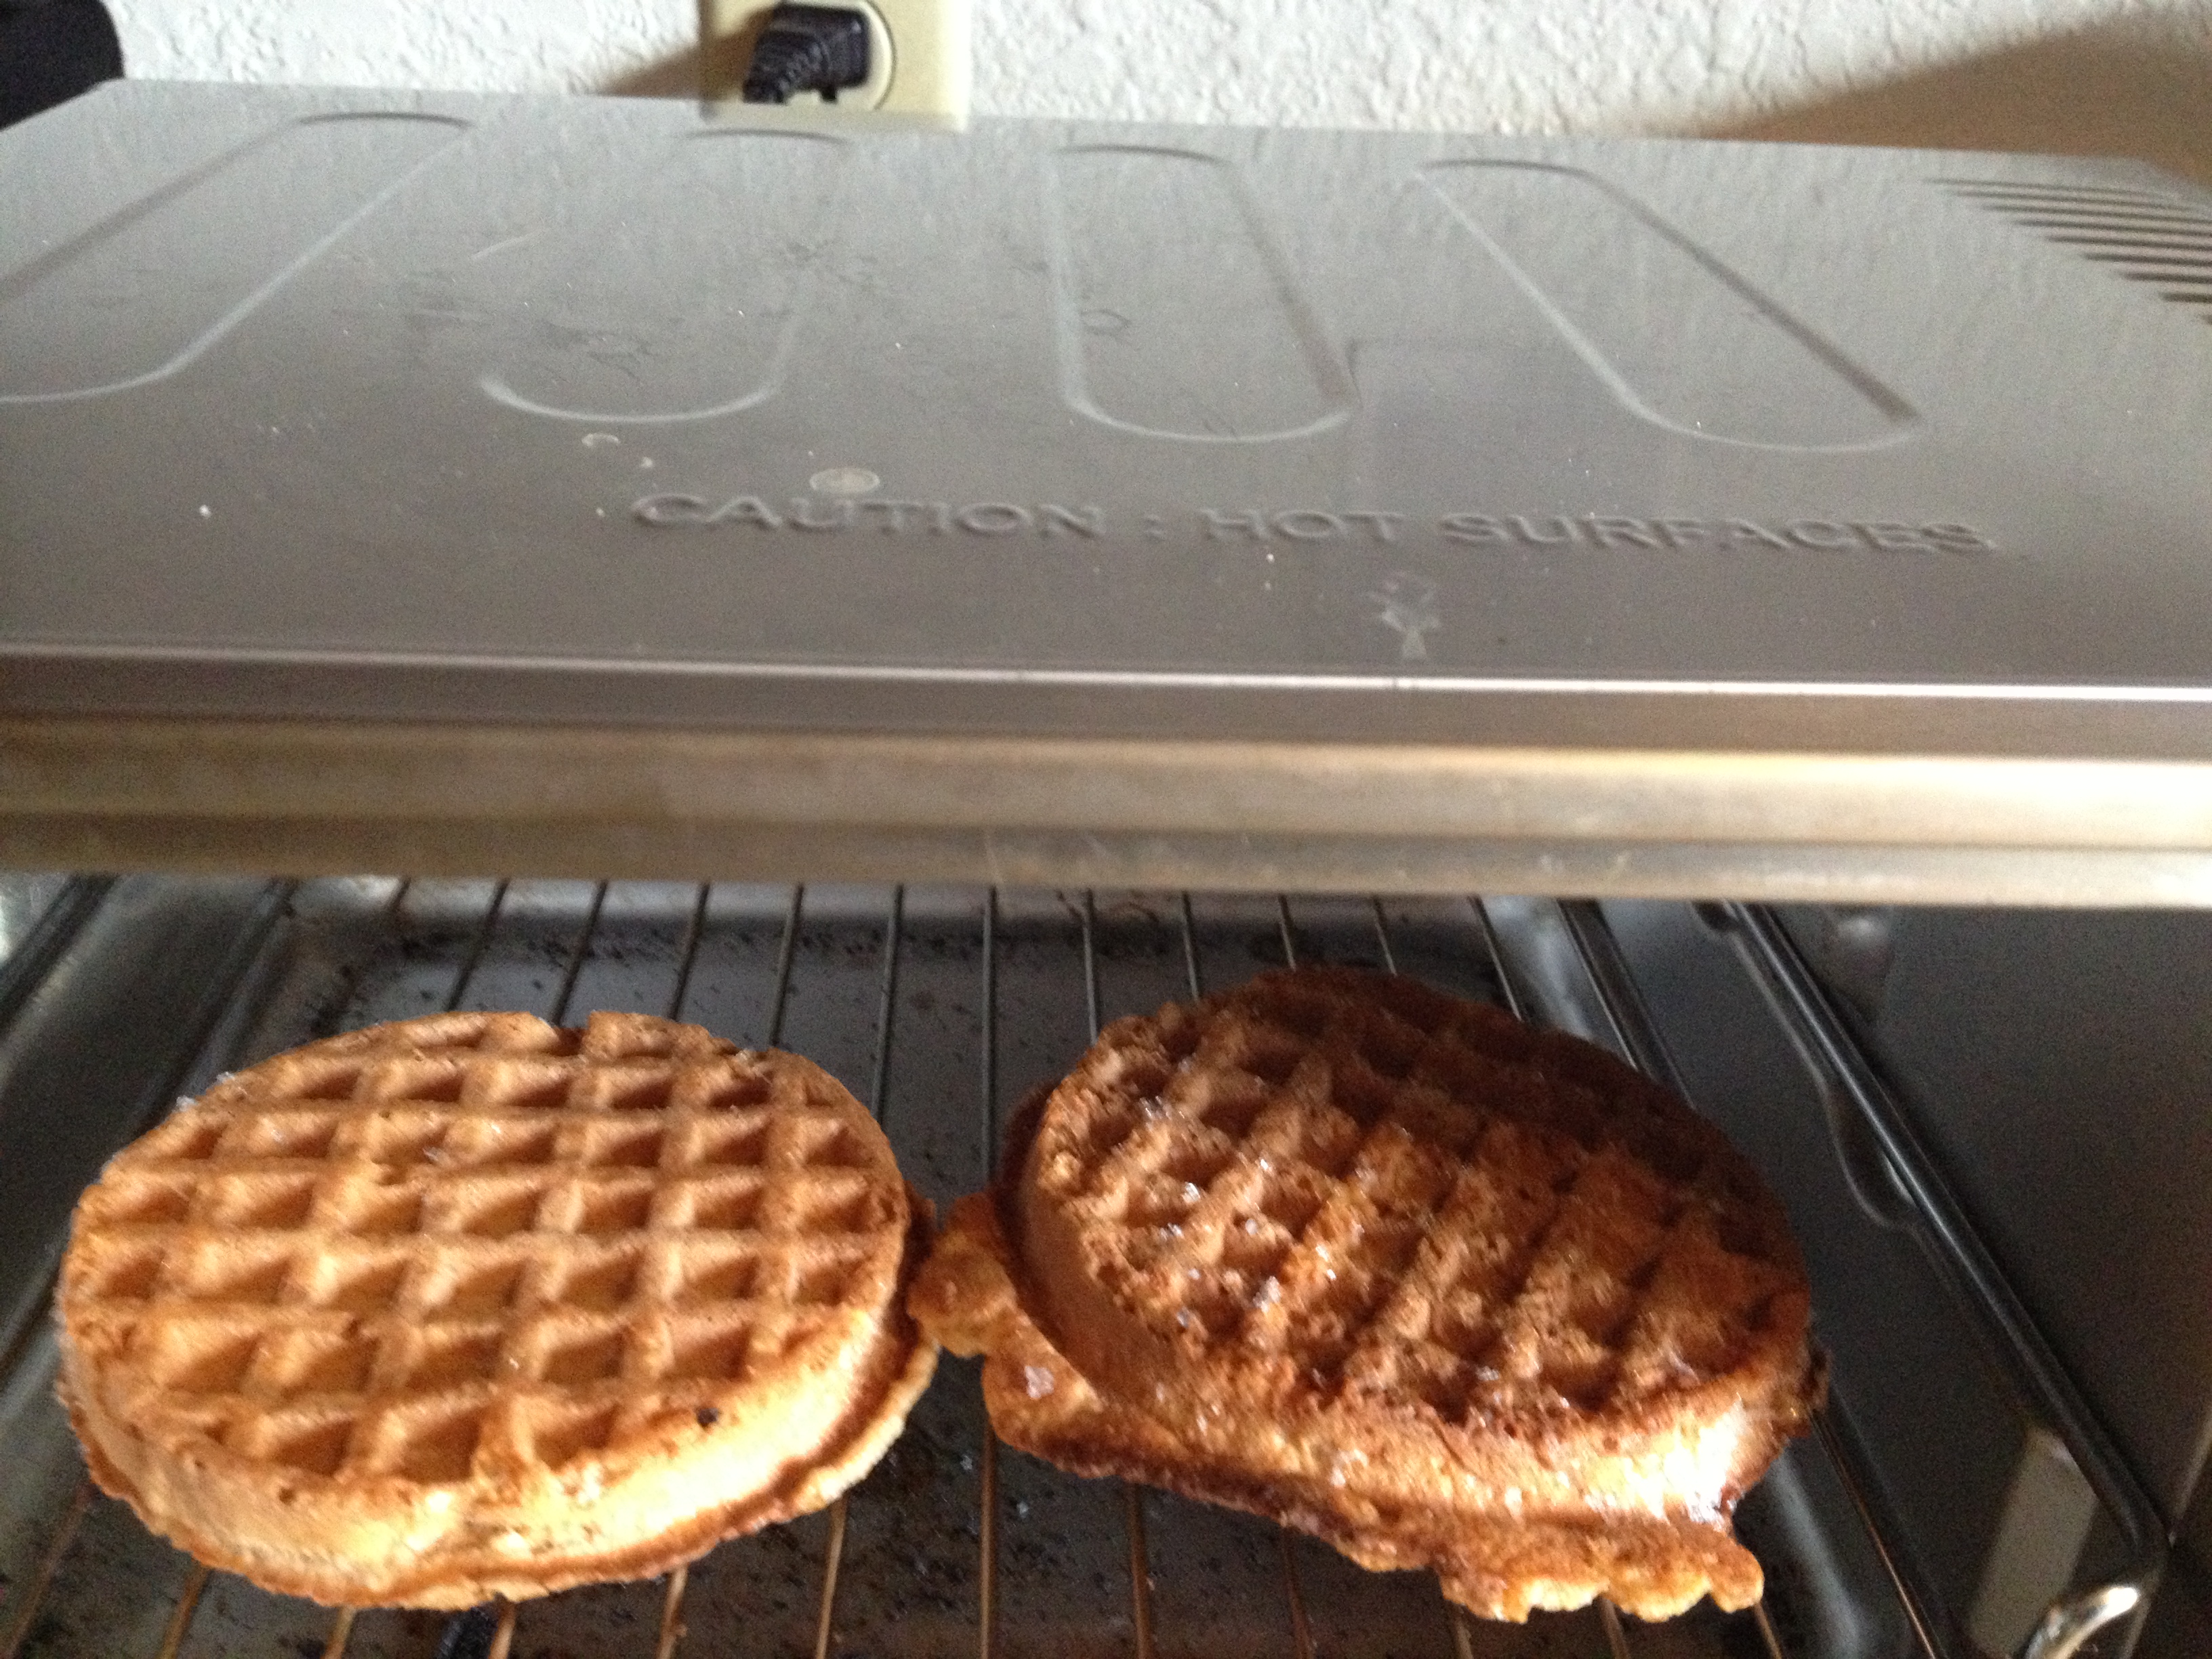
  • Put waffles into toaster/toaster oven for 5-10 minutes (or until golden brown on both sides)

photo 2

  • If you want to, spread a minuscule amount of butter atop the two waffles and plate them.
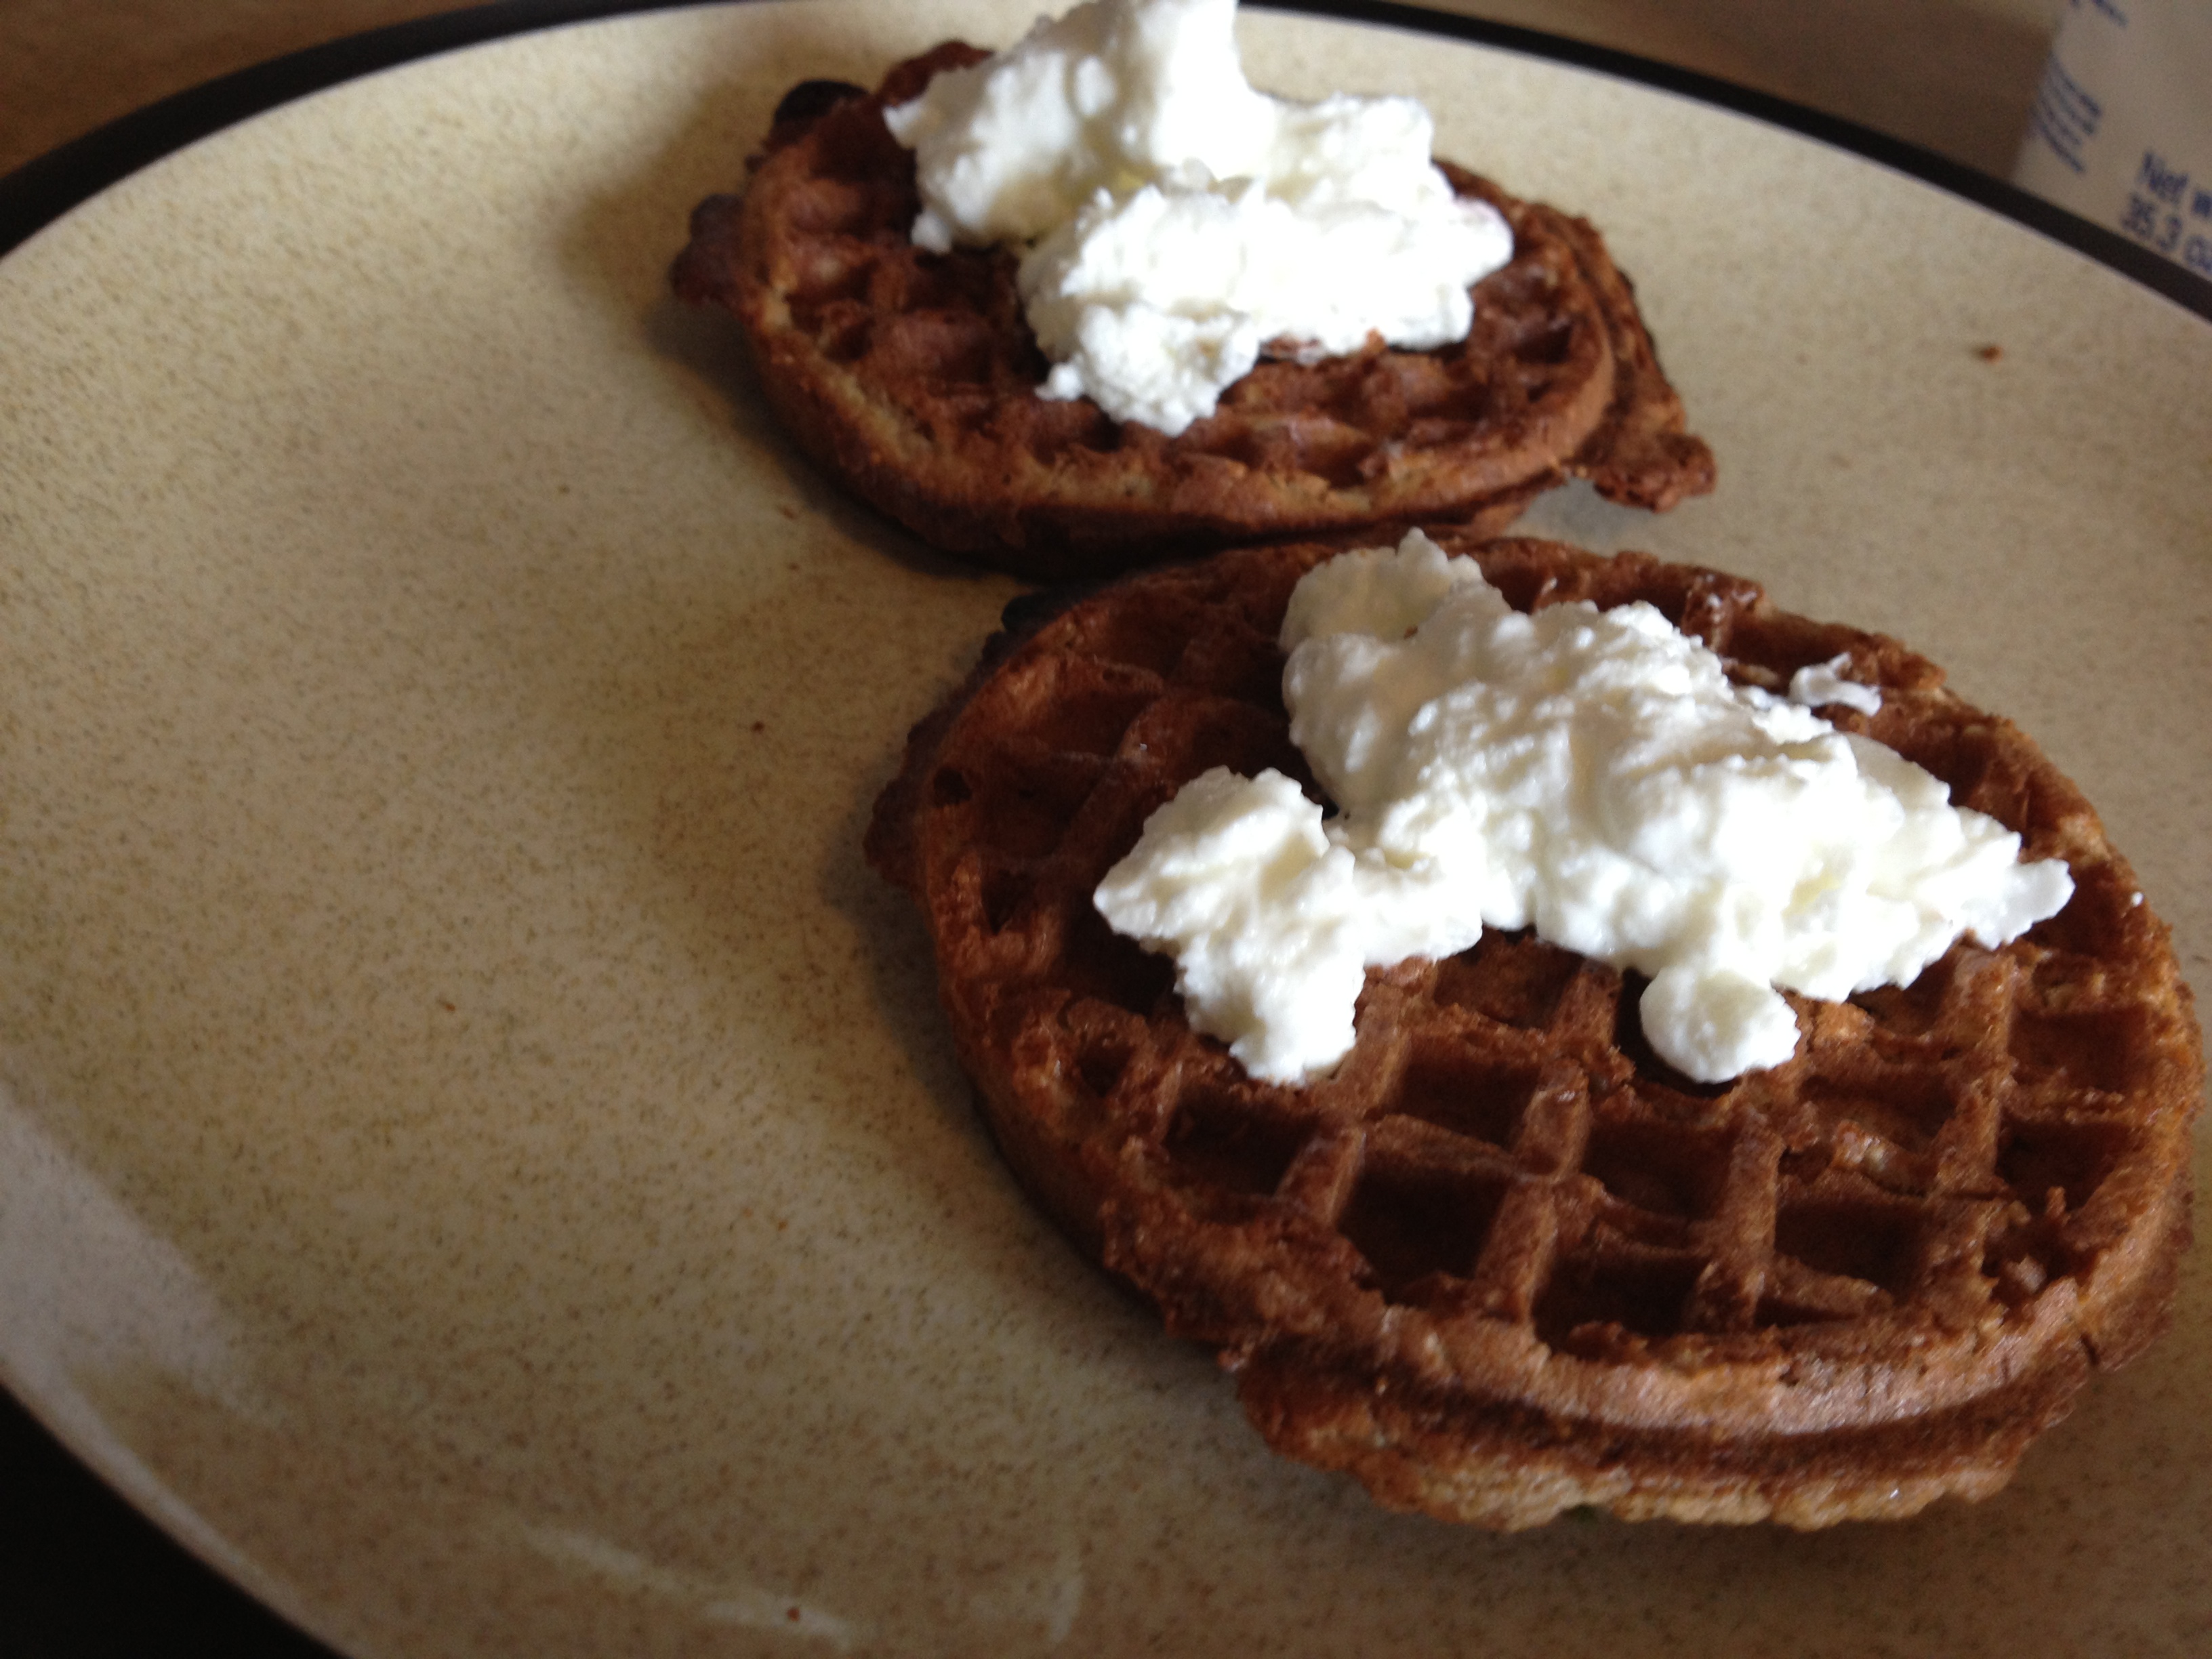
  • Put a spoonful of greek yogurt on each waffle

photo 3

  • Pour your syrup or agave on top (however much you’d like)
  • Cut up your fruit and put on top

photo 4

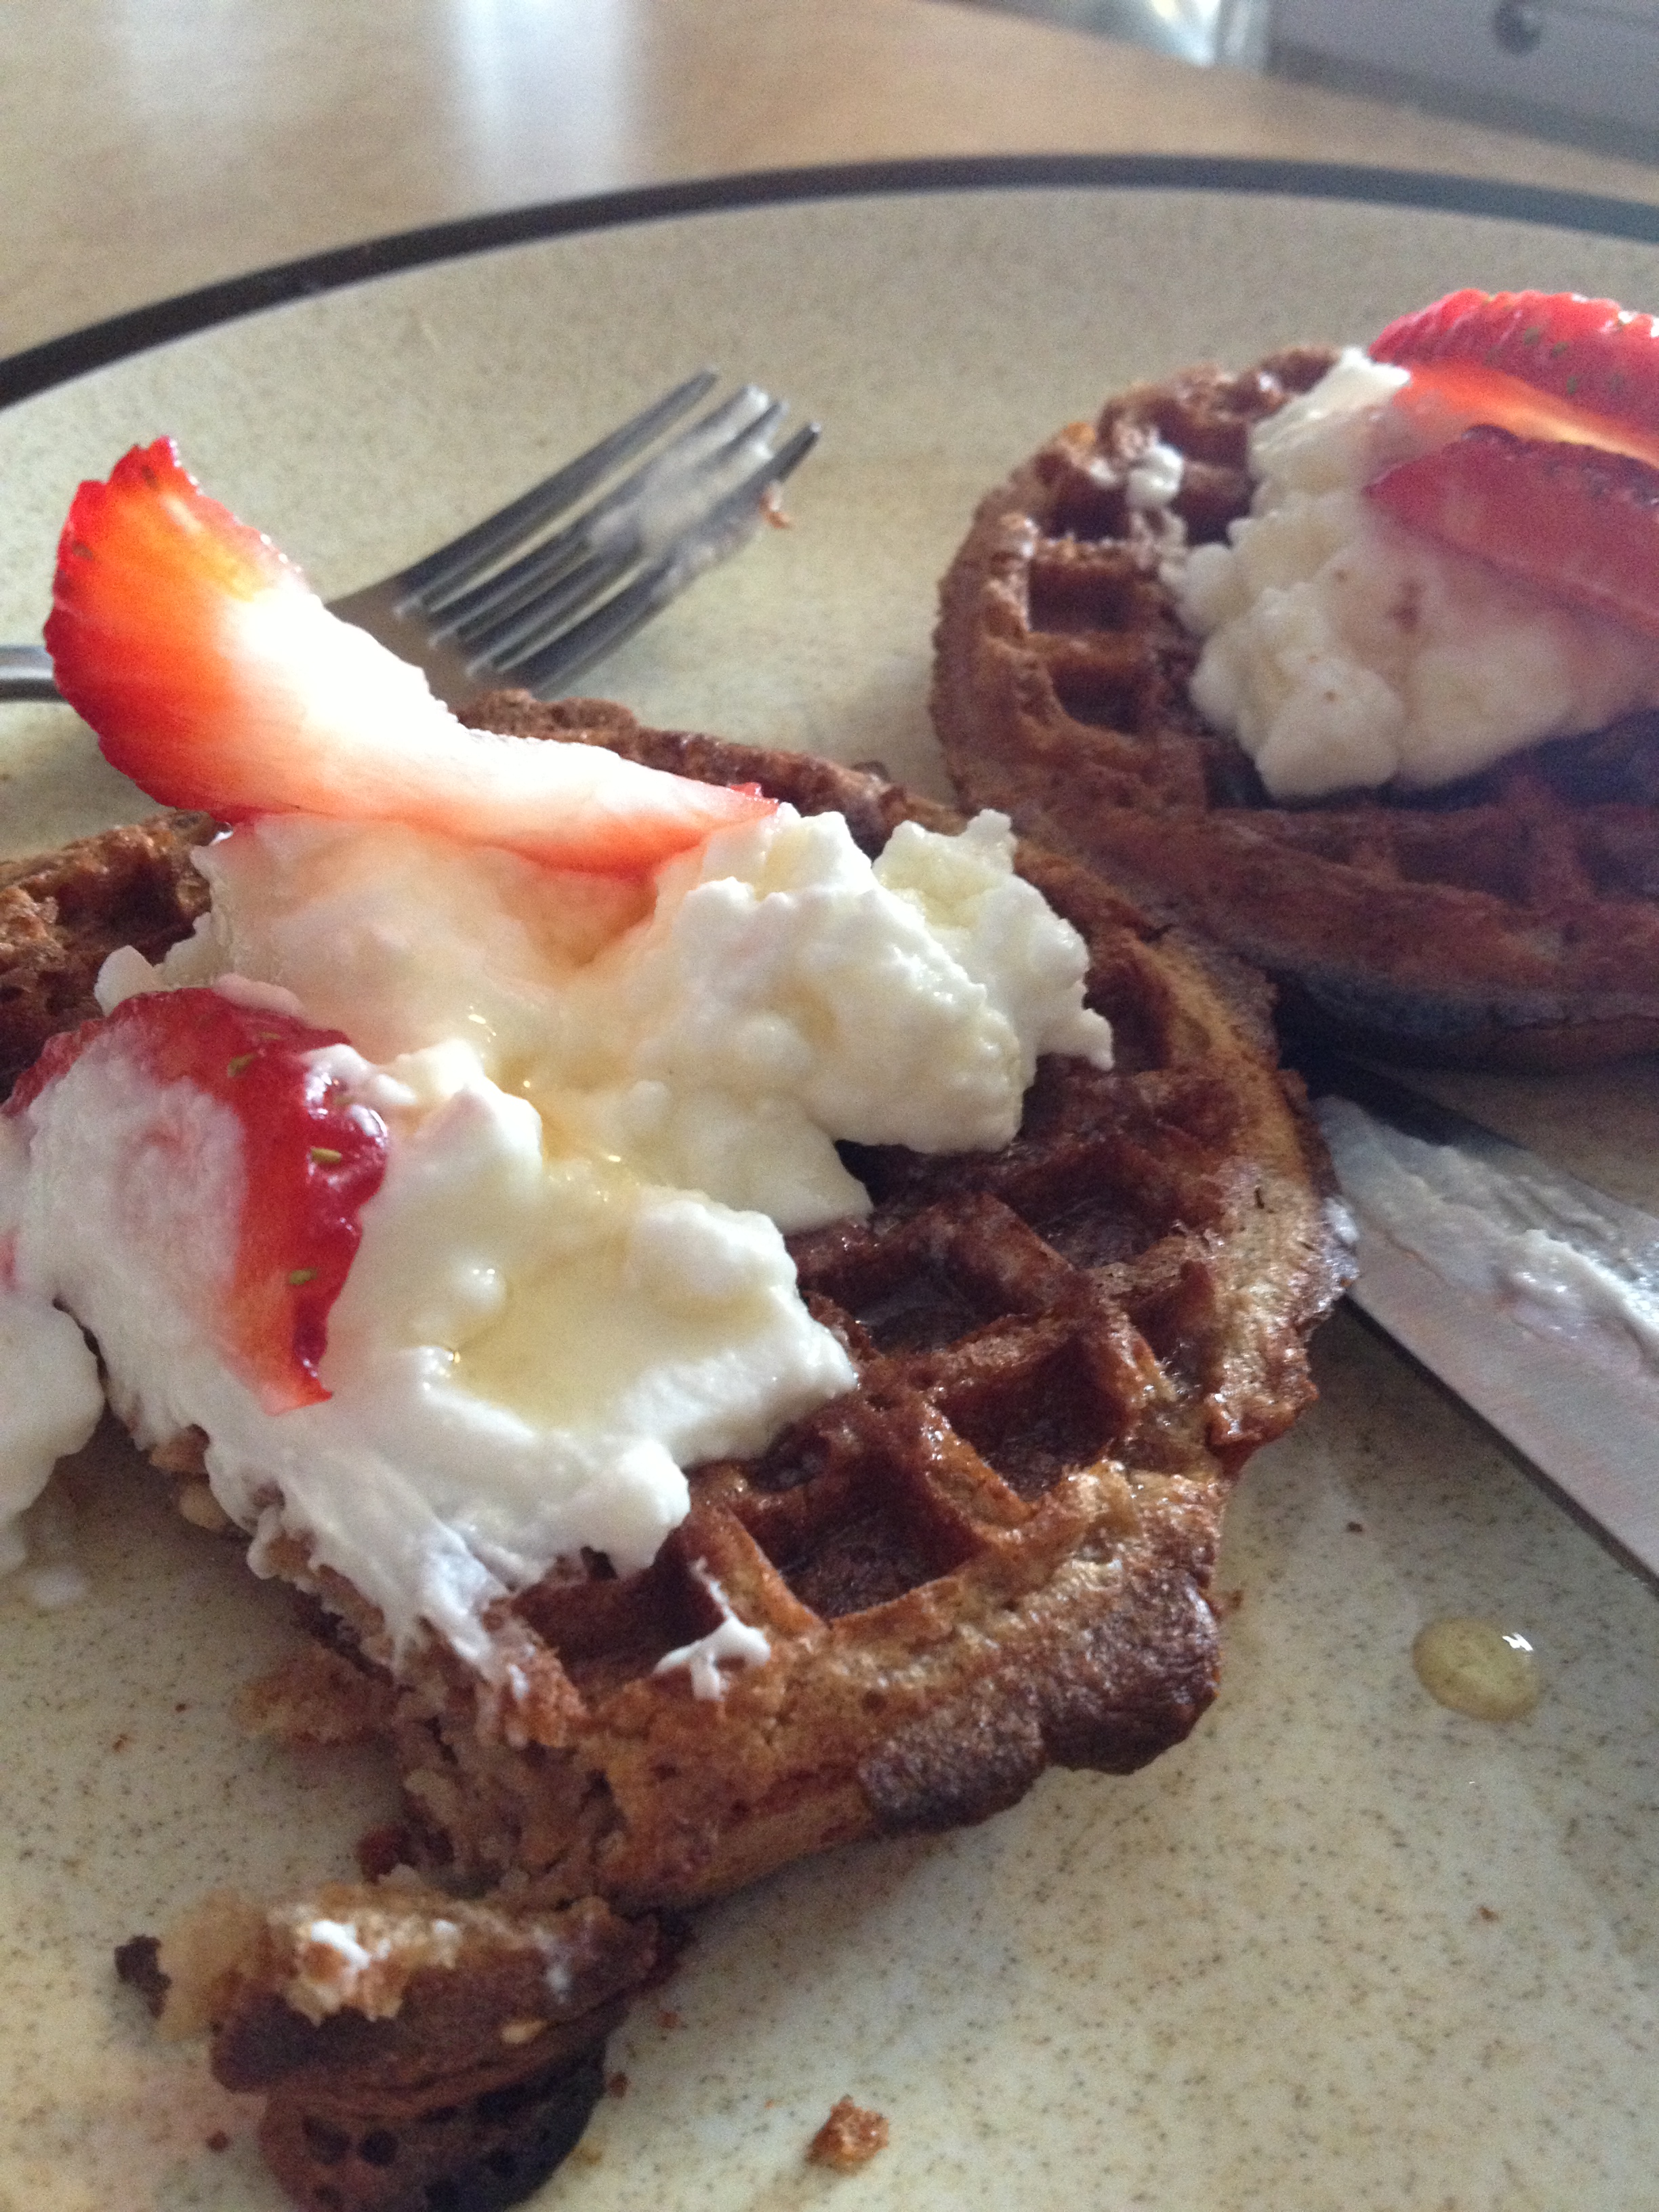
And DIG IN. I literally look forward to this the night before I know I have time in the morning to make it. It’s a perfect-sized breakfast with enough protein to start the day off deliciously and will keep you satisfied more than that bowl of Raisin Bran. Next time you go waffle shopping, try Van’s. It is so worth it. This is a mouth-watering breakfast that doesn’t leave you feeling guilty or heavy afterwards. I have a very active job (I’m a personal trainer after all…) and this is the perfect thing to start the day right. This is a meal that will encourage you to be…hungry and fit! ENJOY! 

I mean, come on, LOOK AT THAT

I mean, come on, LOOK AT THAT

BONUS KITTY PIC

Nymeria being lazy and tired...and cute

Nymeria being lazy and tired…and cute

spacer

Health and Fitness Reviews: King Spa (Fort Lee, NJ)

While I was in Korea, I spent a lot of time in a place known as a jjimjilbang. It’s essentially a spa, translates into heated bath room, but it’s unlike those I’ve found in the United States (Not that I go to many spas). Although King Spa is not as extravagant, in terms of activities to do, it is an excellent destination. Essentially I want to discuss these places so that you can look for one near you and experience something amazing.

It’s a treat for the body and mind. The ones in the United States, including King Spa, are ridiculously more expensive than those in all parts of Korea. I’ve stayed in ones in Seoul, Boryeong, Jukjeon, and Donghae. Maybe some others but I can’t really remember. I spent the most time in Jukjeon because it was so close to the school I attended so I frequented those jjimjilbang and they were obviously my favorite. But moving on to why they are so amazing.

King Spa

King Spa

At King Spa, you can park your car and enter the spa for a full day and night of peace and relaxation… and delicious food! Obviously the choice of food and television is Korean and there are mostly Korean Americans at King Spa, but you get other individuals that have discovered the magic within as well. They have lots of showers and different temperature baths. There is a nice warm one, a burning hot one, and a freezing cold one.

There are also equivalents for steam rooms. These are painfully hot. In my opinion, the main attractions are these dome like rooms that are typically made of mud that contain special scents and materials that help heal the body. These domes are also temperature controlled and they range from hundreds of degrees to freezing. Some rooms require wearing burlap sacks and some have snowmen in them. There are chairs for watching television and relaxing and rooms dedicated to complete sleep and relaxation. There are tons of delicious food to snack on and if you want to find out more about the food there… then make sure to read our review on Korea House in Boulder. Alana also gave her go at Korean food too.

I don’t want to go into too much depth because King Spa doesn’t have as much to offer as places in South Korea, but it is your responsibility to treat your body right. Find a spa like one of these and treat yourself to some rest, relaxation and recovery. It will make you healthier and stronger and such a happier person. Find a jjimjilbang if you want to stay hungry and fit!

Us at King Spa

This picture was AFTER all-you-can-eat sushi at around 11pm after no sleep from flying to NJ. But still happy

spacer

6 Exercises You Should Be Doing Over 60

And even if you’re not over 60–these exercises help everyone. I work a lot with the older population and it’s never too early to make sure you age gracefully. Even as we get older, more stiff, and less agile, it’s still–no, MORE–important to exercise and keep active. The more we move, the better we feel.

The body strongly dislikes being inactive and has a way of turning on the body. Whether that means weight gain, arthritis, stiffness, and/or loss of flexibility. Just to name a few. Another big loss as we get older is balance. Falls are one of the biggest problems for seniors, and it’s never too early to start practicing. Try at least 3 of these each day:

1. Calf raises. Stand up straight. If you’re unsure of your balance, make sure you stand near something to hold onto (a chair, wall, anything sturdy). Rise forward onto your toes, leaving your heels off the ground. Slowly come down. Do 12 repetitions for 3 sets. 

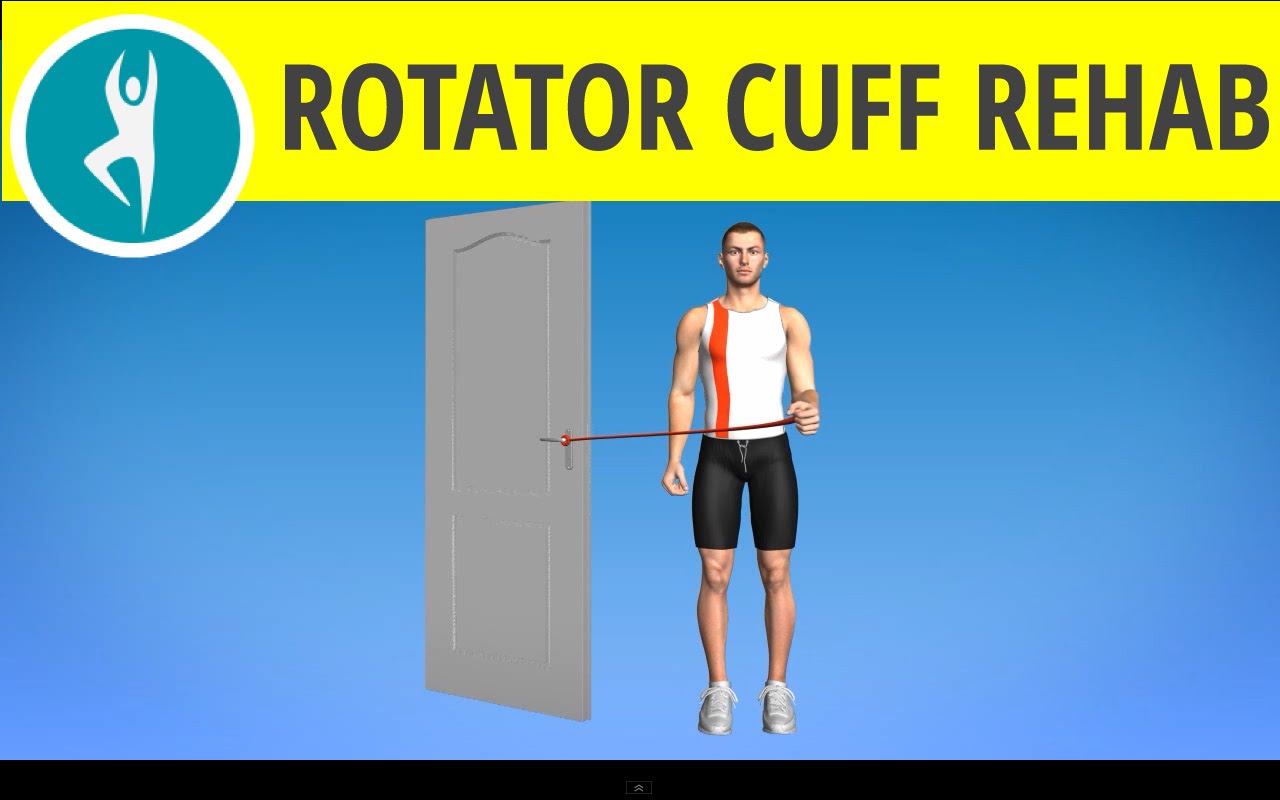
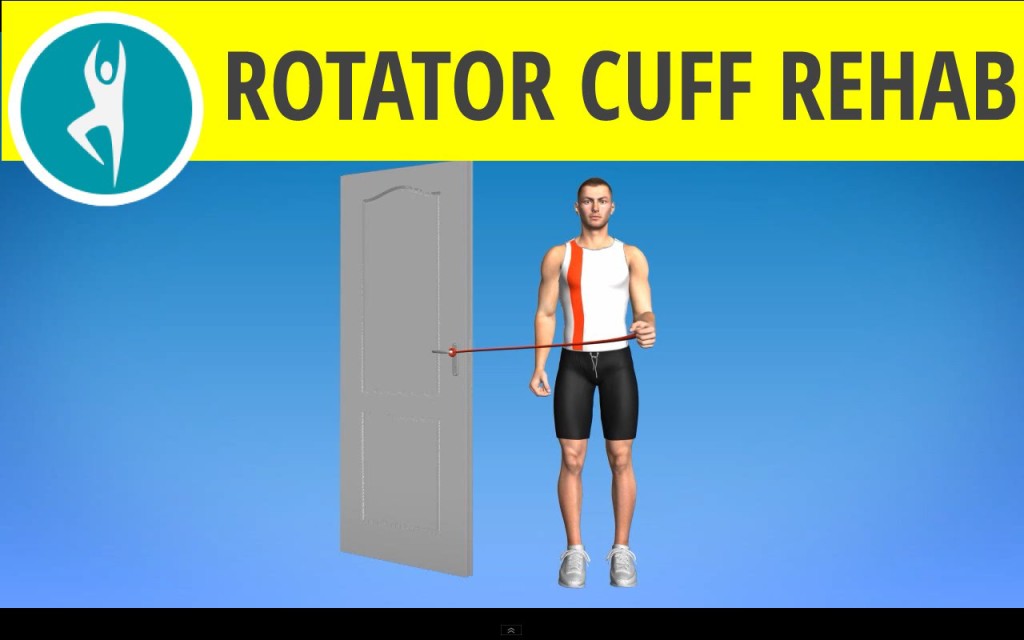
2. Rotator cuff stretch. This one requires a resistance band or tube. As we get older, we notice our shoulders deteriorating faster and getting injuries easier. Use this exercise to make sure you don’t hurt your rotator cuff. Tie the resistance band around a pole or bed post. Stand a few feet away and grab the other end. Rotate your elbow like a door hinge towards you and slowly back out. Control is the key here. Nice and slow, really use those muscles. Switch on other side. 12 repetitions for 3 sets.
rotatorcuffImage Source

3. Single-leg balance. It’s as simple as it sounds. Make sure you have something nearby to hold onto and lift up one leg, so that you’re standing just on one. Hold it for 20 seconds. Switch. Do 2 sets.

4. Laying twists. This is a great stretch for flexibility and stretching out your muscles–especially in your back. Start by laying down and spreading your arms into a T. Now drape your right leg over your left and look towards the right. You want to make sure your hips are twisting. If both shoulder blades are not on the ground, you’re moving your leg a little too far for your body. Hold for 10 seconds. Repeat on other side. Do 2 sets.

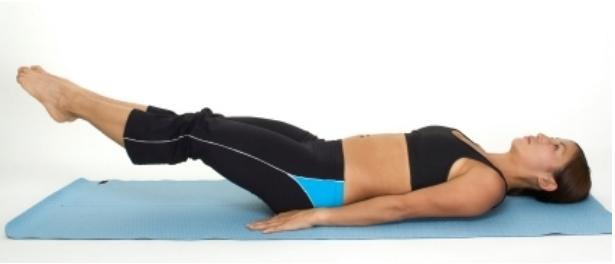
5. Opposite lifts. This is a core-strengthener. Lay down flat on a mat, arms by your side. Lift up the right arm and left leg at the same time. Now, you only want to lift the leg about 6 inches maximum from the ground. This is the point where your tummy really has to work to keep it up. Contract your abdominals. Lower both extremities, and perform on the other side. 12 repetitions for 3 sets. 

6. Cat/cow rotation. This is taken from yoga. Go onto all fours. When you inhale, lift your head up and invert your spine. When you exhale, move your head down and arch your back. Do about 10 rotations, 2 sets. 

Again, these are good for ANYONE. But especially if you’re over 60, put this into your routine. Either when you get up in the morning, during a commercial on TV, or before bed–make time for it. After all, it is your health. If you’re having trouble coming up with a routine and sticking to it, a personal trainer will probably be able to help. And we can always answer questions here.

Cheers! And as always…stay hungry and fit!
spacer

Scrumptious Whole-Wheat Banana Date Muffins

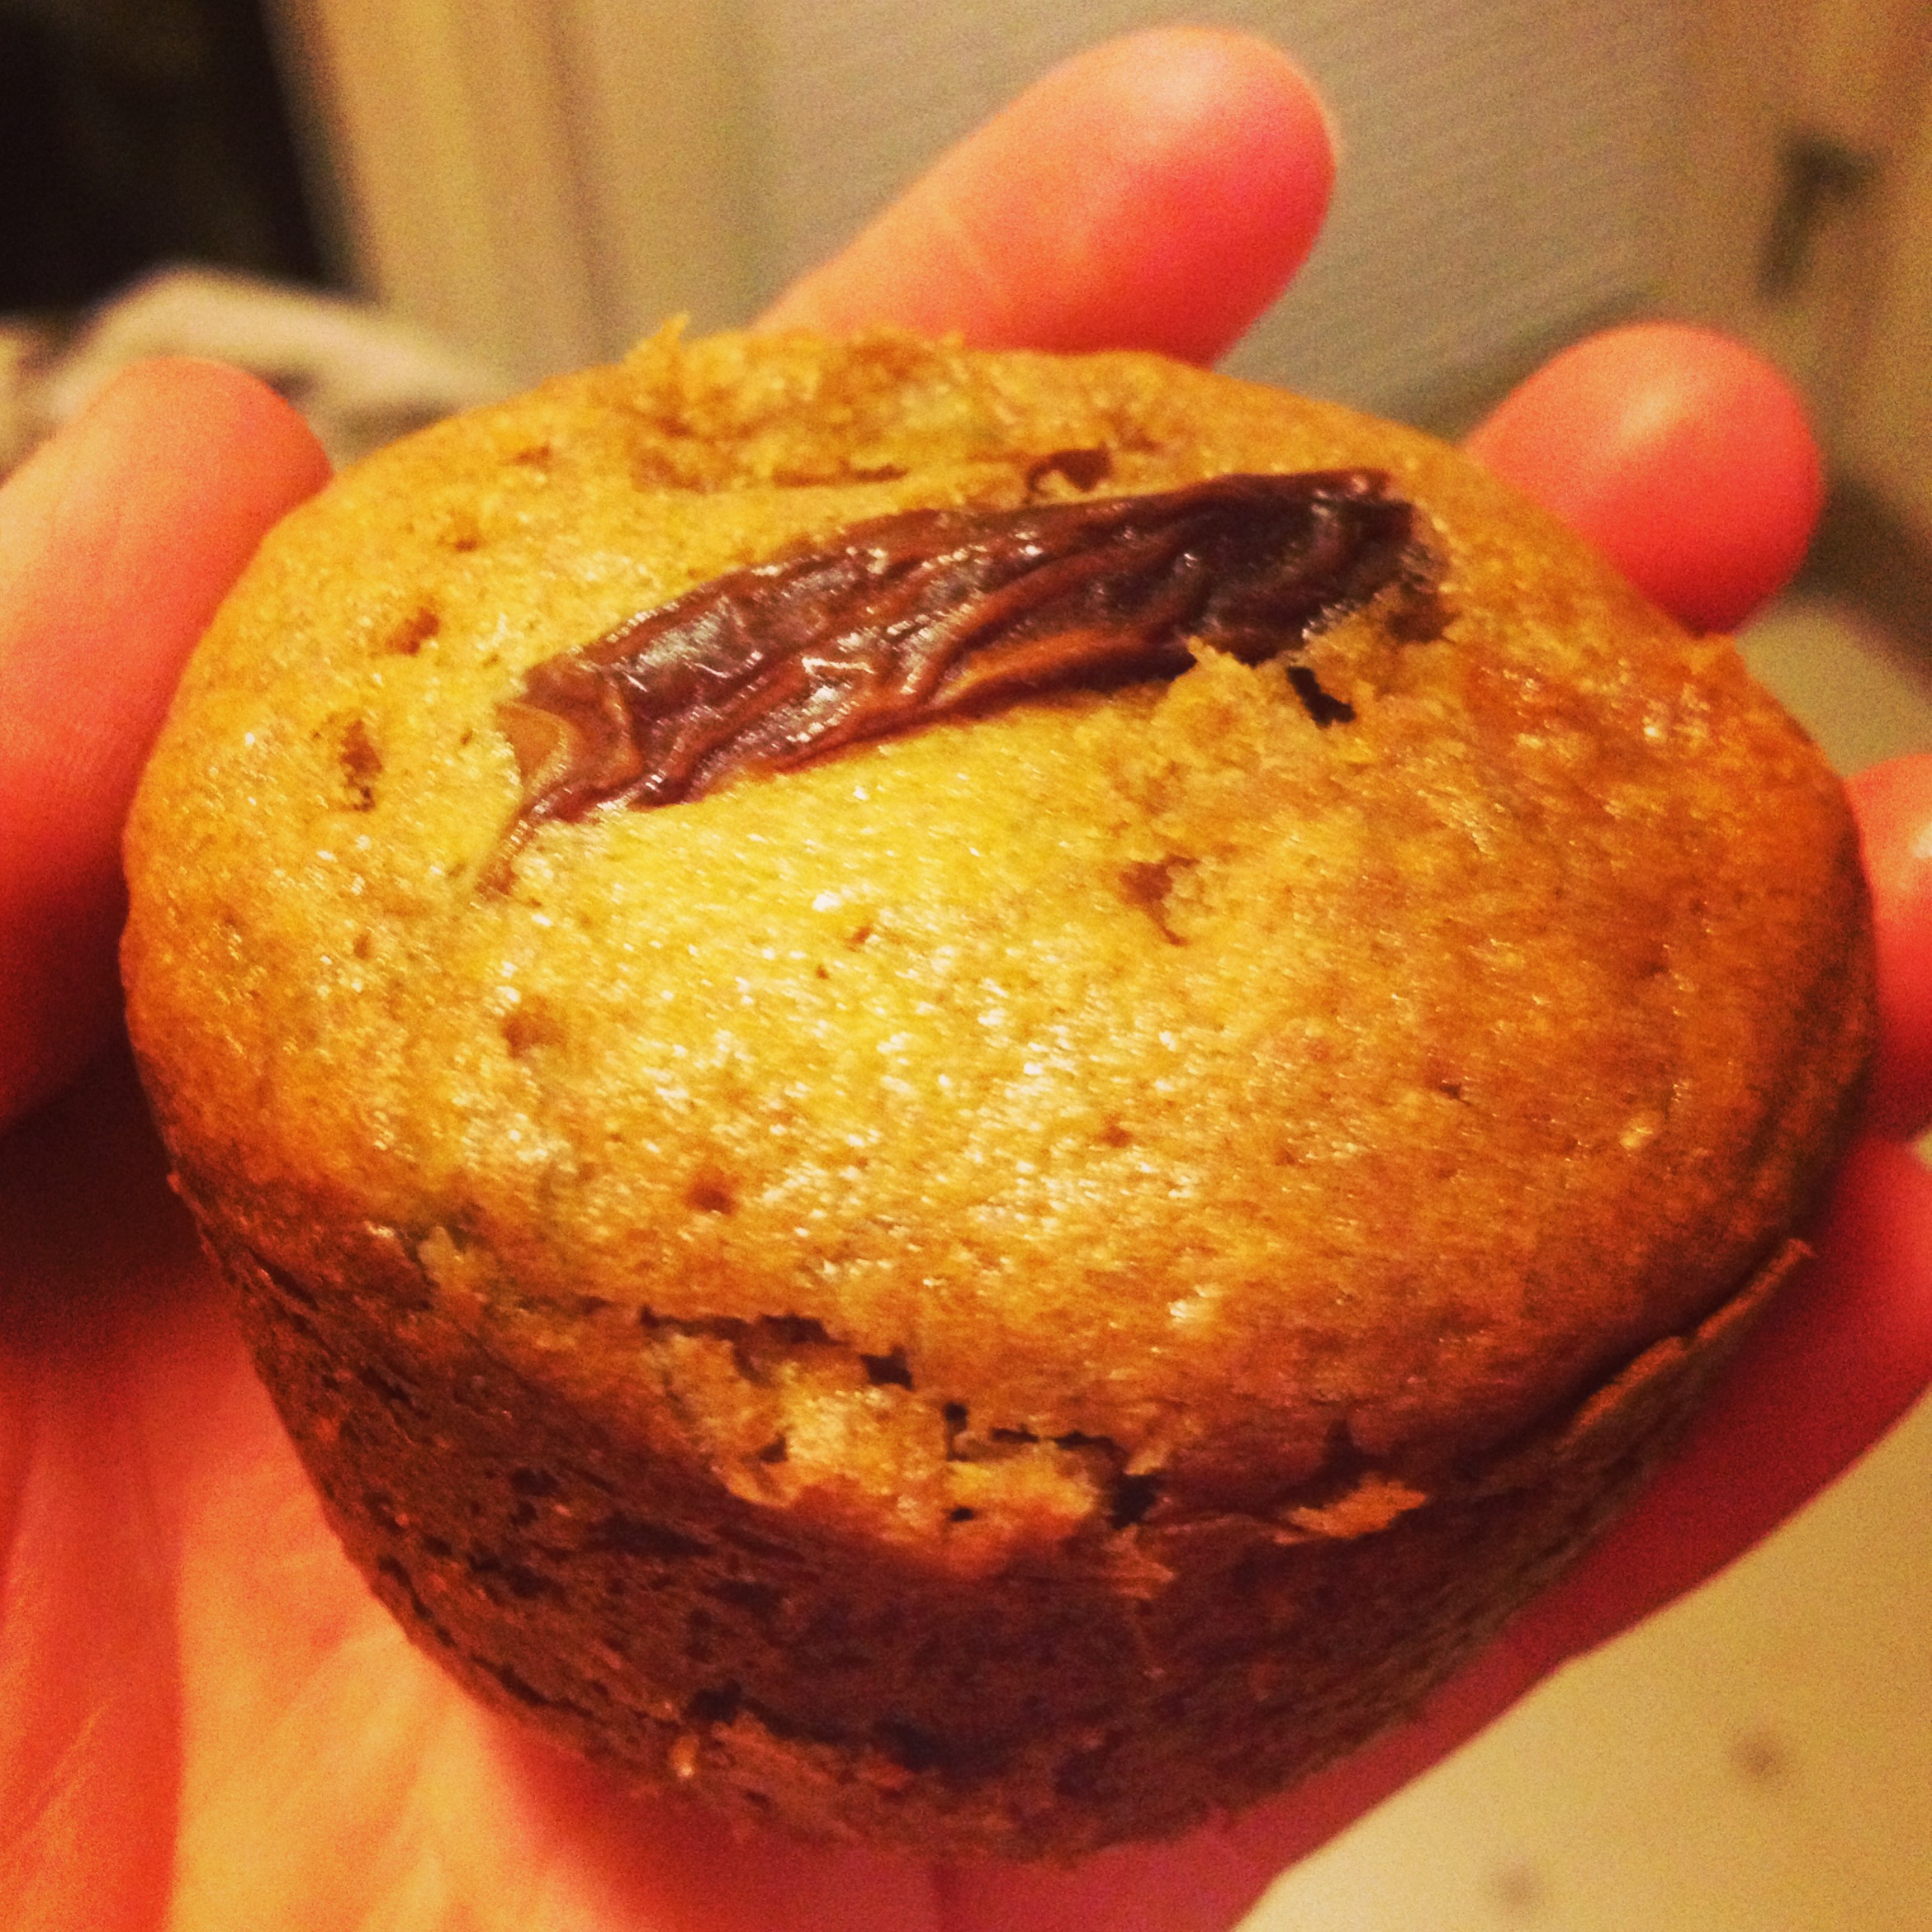
We had dates and bananas that needed to be used. Okay maybe the dates didn’t need to be used since they last forever, but I’ve been wanting to try this. Like my other muffin recipe (which this one is actually based on), it’s super simple and quick to do. I threw this together late last night after a leg workout. It’s very healthy, estimated at about 167 calories with 3 grams of protein and fiber! Not too shabby.

photo 3 (3)

  • Prep Time: 7 minutes
  • Bake Time: 15-20 minutes

Ingredients

  • 1 3/4 cups whole wheat flour
  • 10 dates
  • 1 tsp baking soda
  • 1/2 teaspoon salt
  • 1/3 cup olive oil
  • 3/8 cup honey [a little more than 1/3]
  • 2 eggs
  • 2 bananas mashed
  • 1/4 cup hot water

Directions

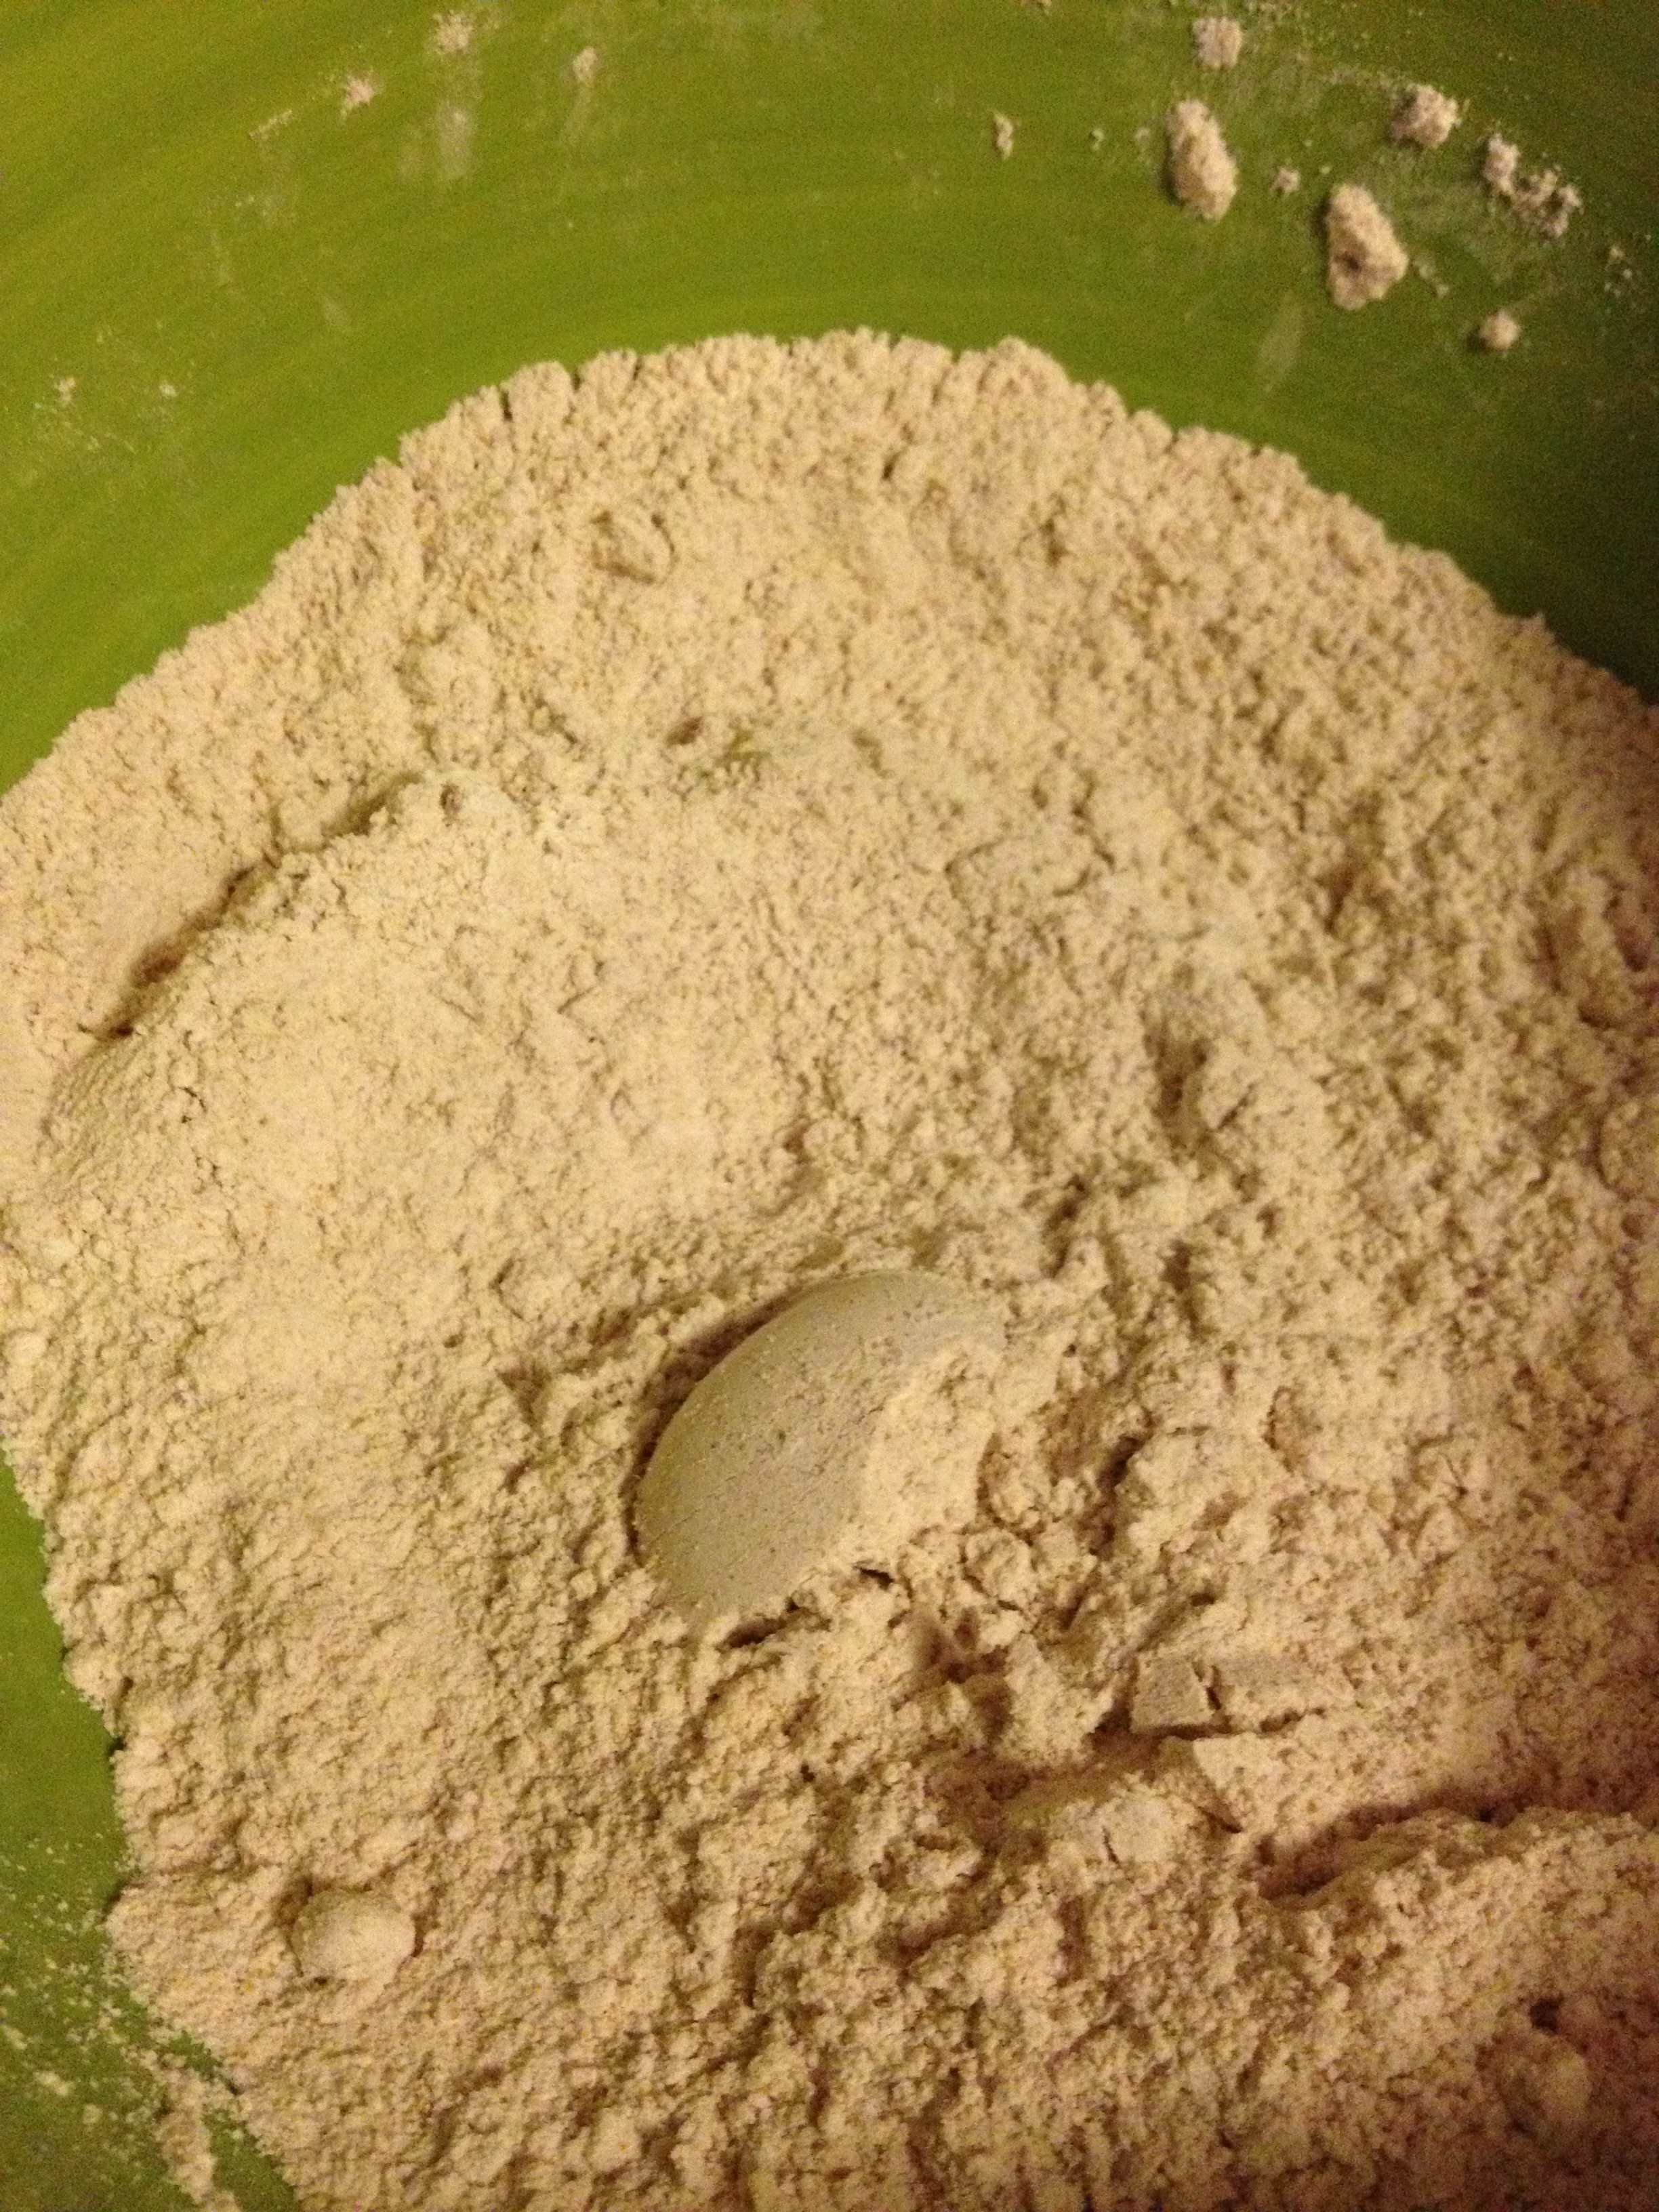
  • In a small bowl, mix together dry ingredients: whole-wheat flour, salt, and baking soda

photo 3 (2)

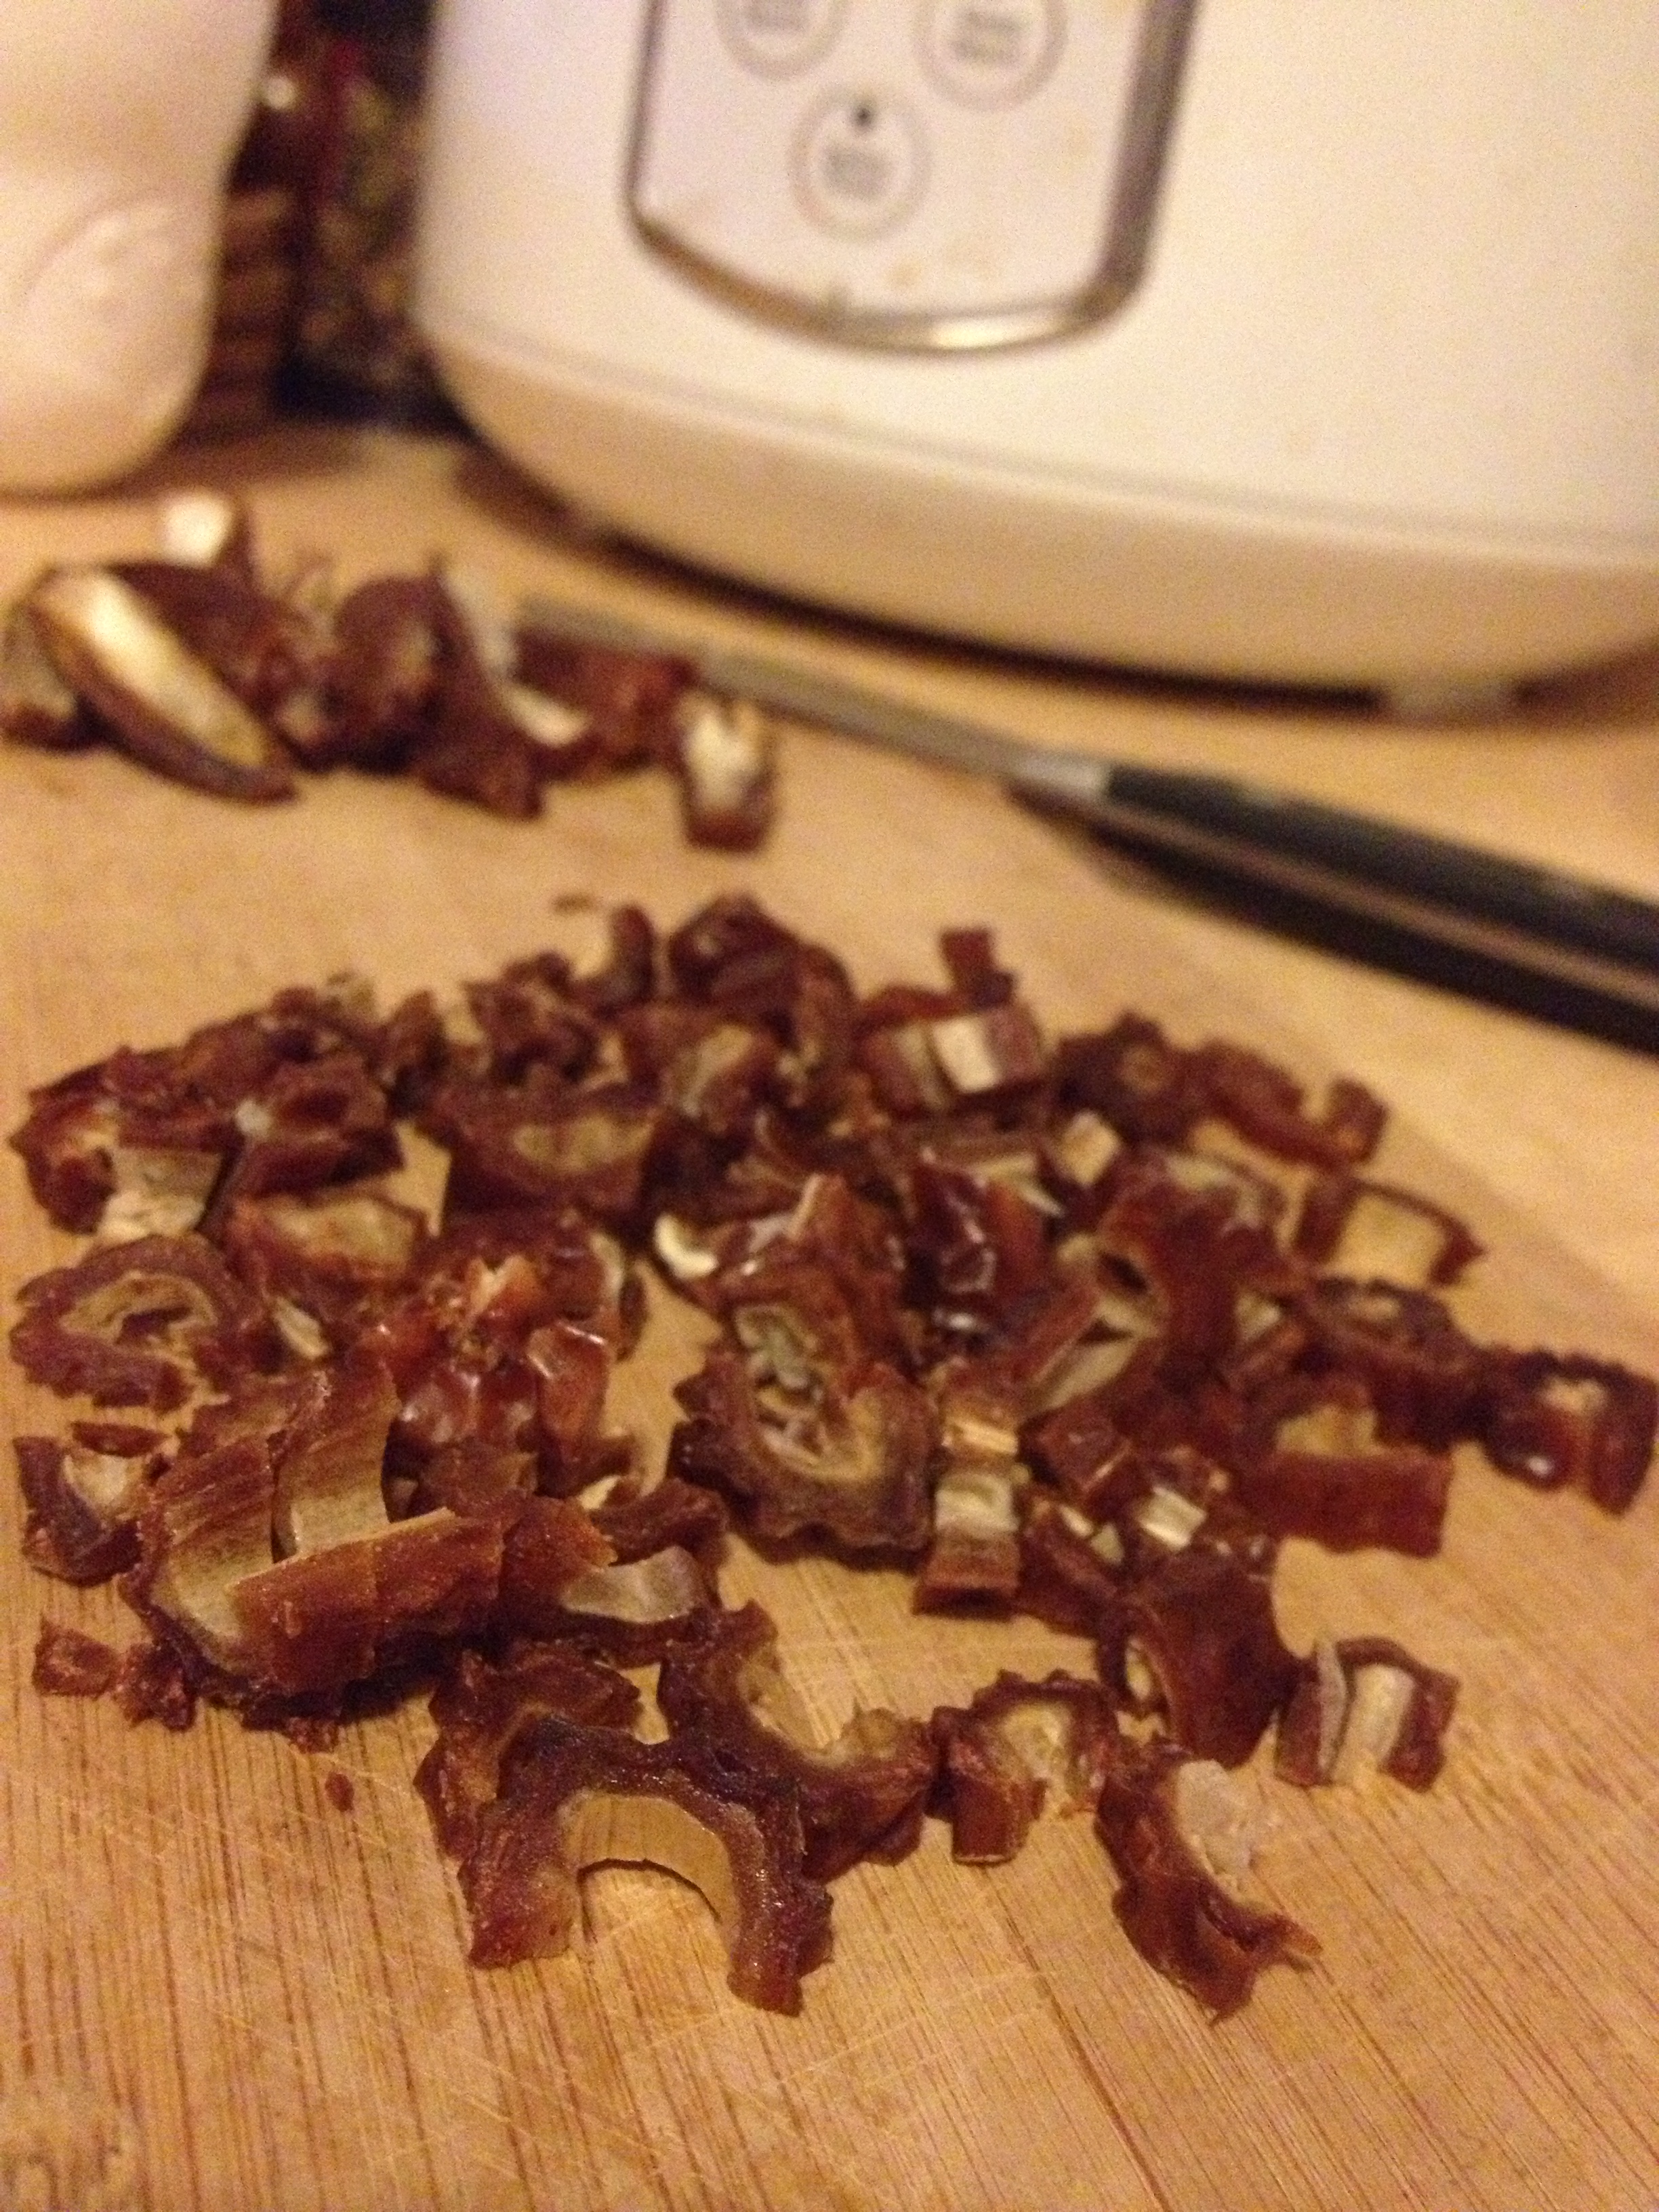
  • Chop up your dates, 5 into little pieces, 5 into long quarters

photo 2 (3)

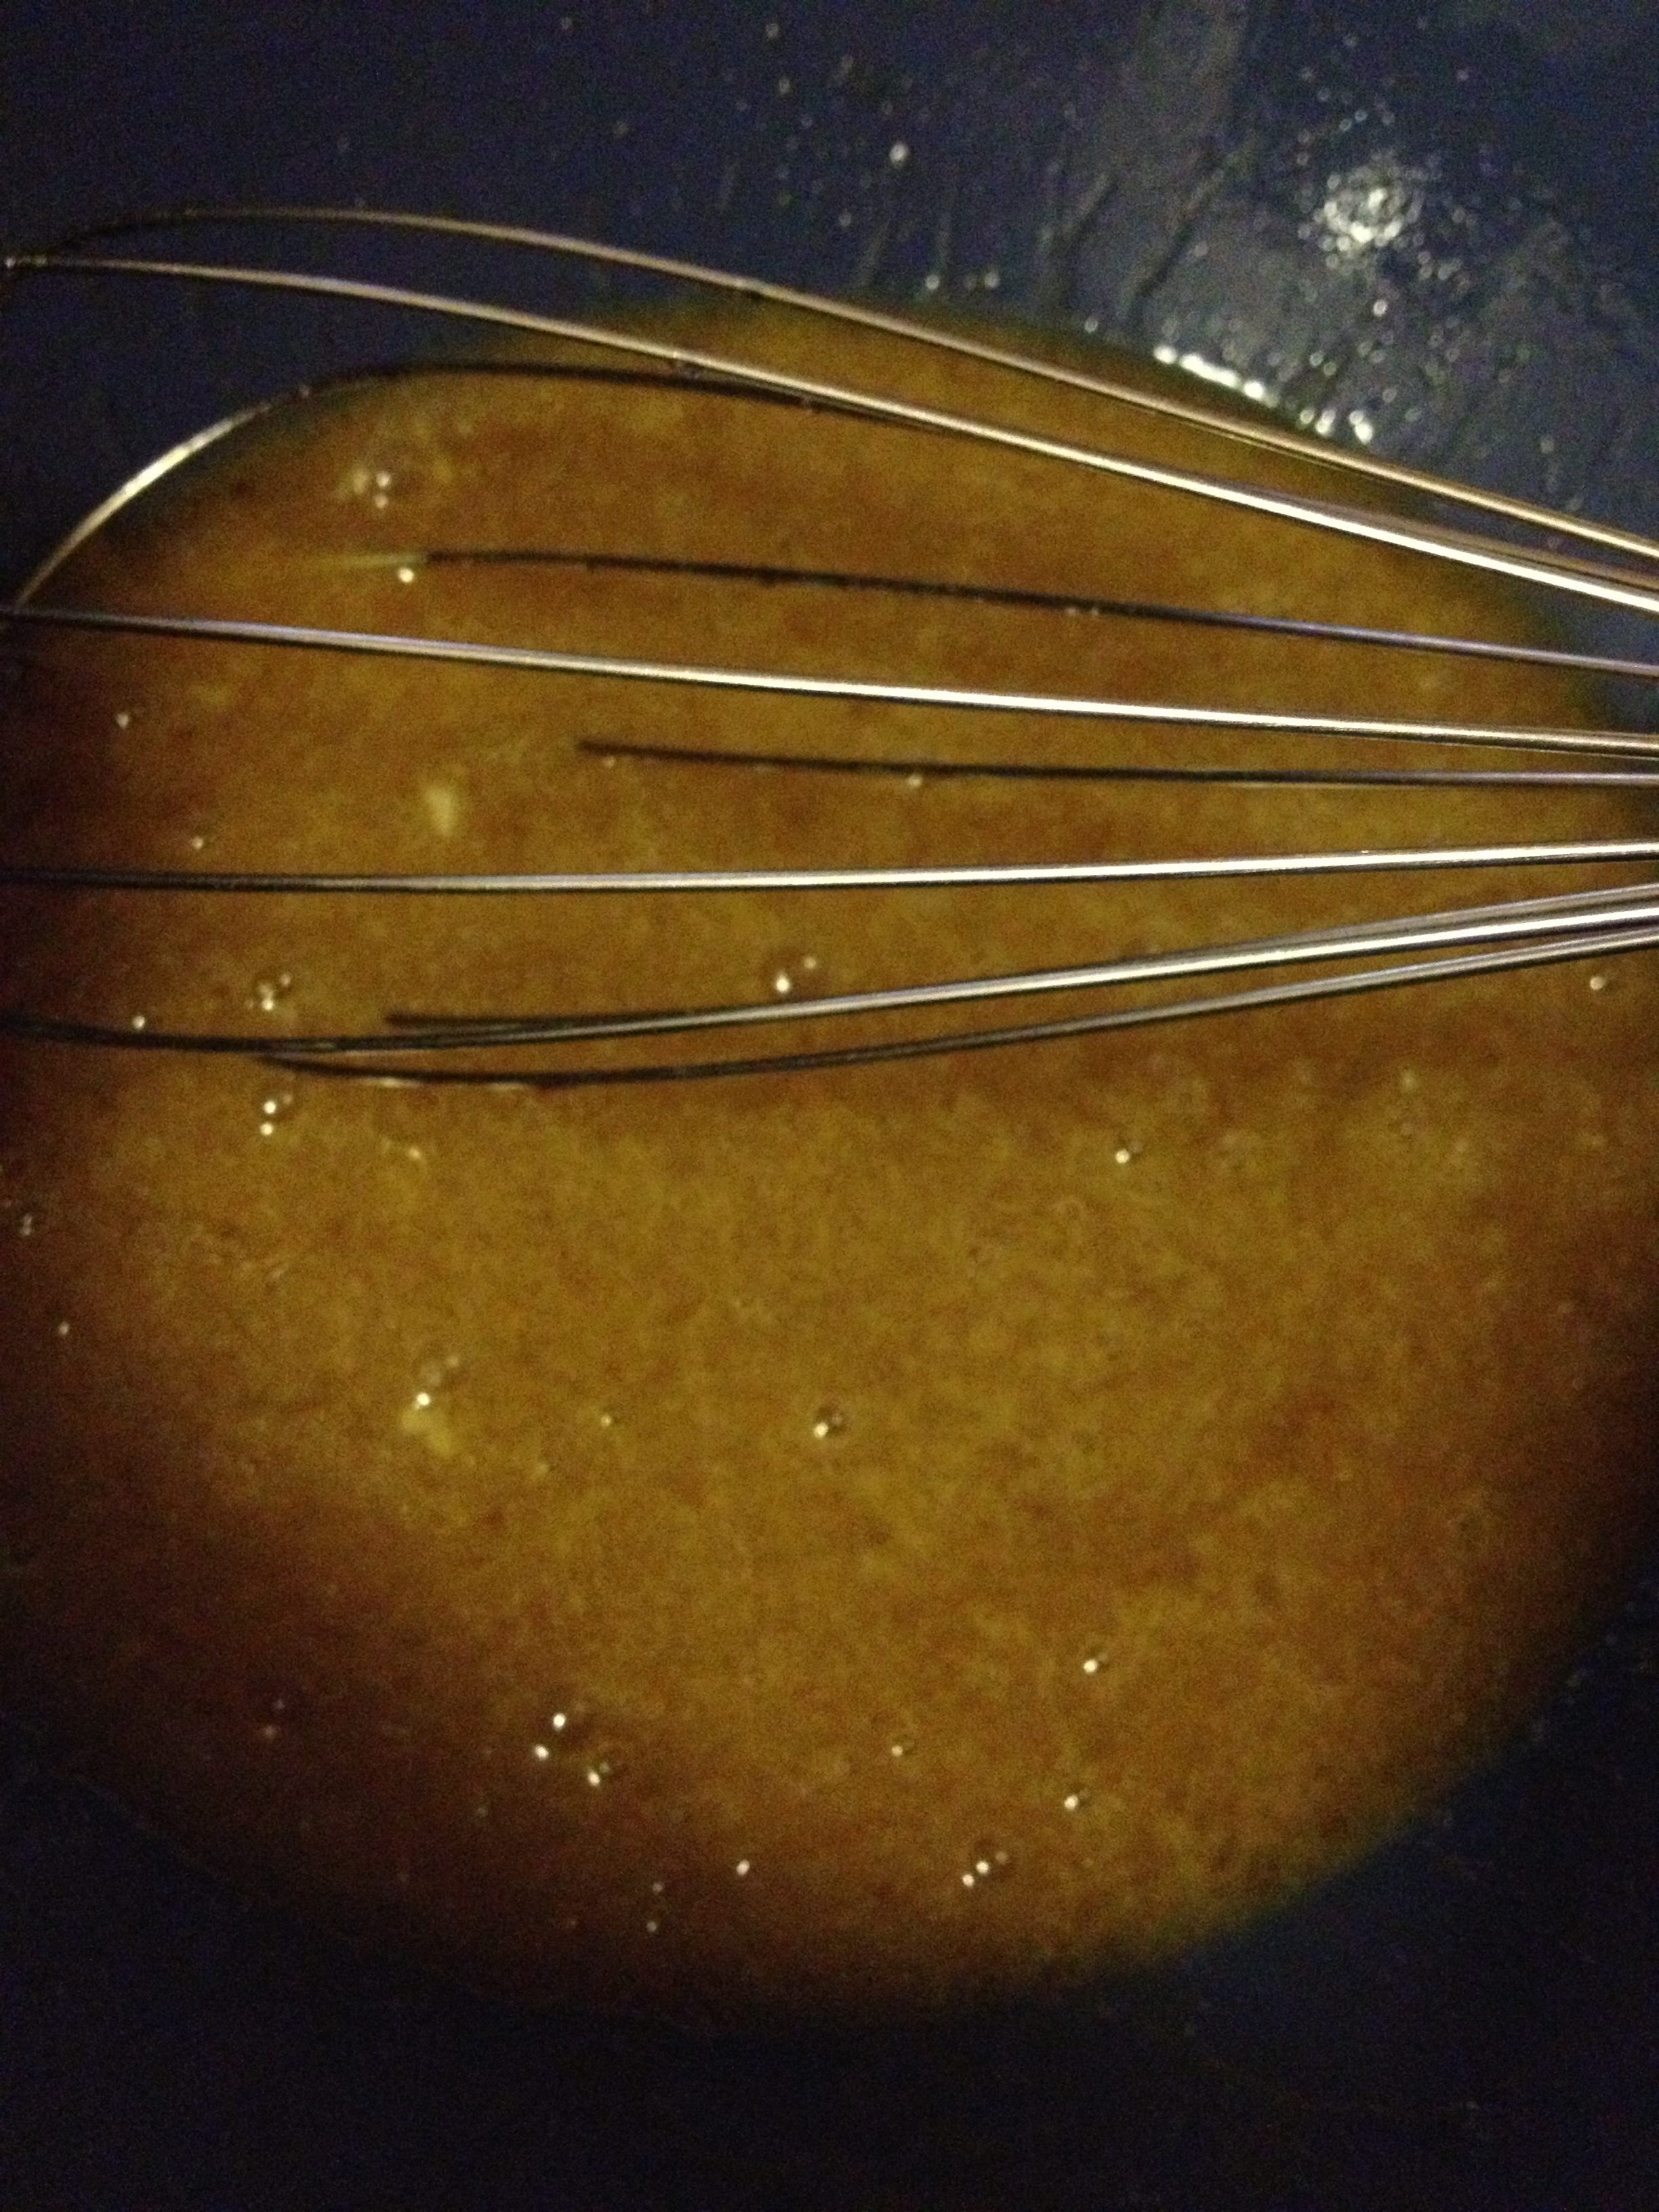
  • Put dry ingredients to the side and get a bigger mixing bowl. Put the olive oil and honey into big bowl and whisk!

photo 4 (2)

  • Crack both eggs and drop them in. Whisk away!
  • Now, mash your bananas so they are nice and smooth. Scrape the bananas into the wet mixture
  • Add the finely chopped dates (don’t put in the long date quarters)

photo 1 (7)

  • Slowly stir in the dry ingredients into the wet ingredients, alternating with pouring in hot water

photo 2 (5)

  • Grease your muffin tin and pour them in. Make sure they don’t overflow, but you want them high enough so they puff over the top when baked.

photo 3 (4)

  • Top each muffin with the quarter slivers of dates we cut ahead of time as a garnish!

photo 4 (3)

  • Bake for 15-20 minutes. Mine took about 17 minutes

photo 1 (6)

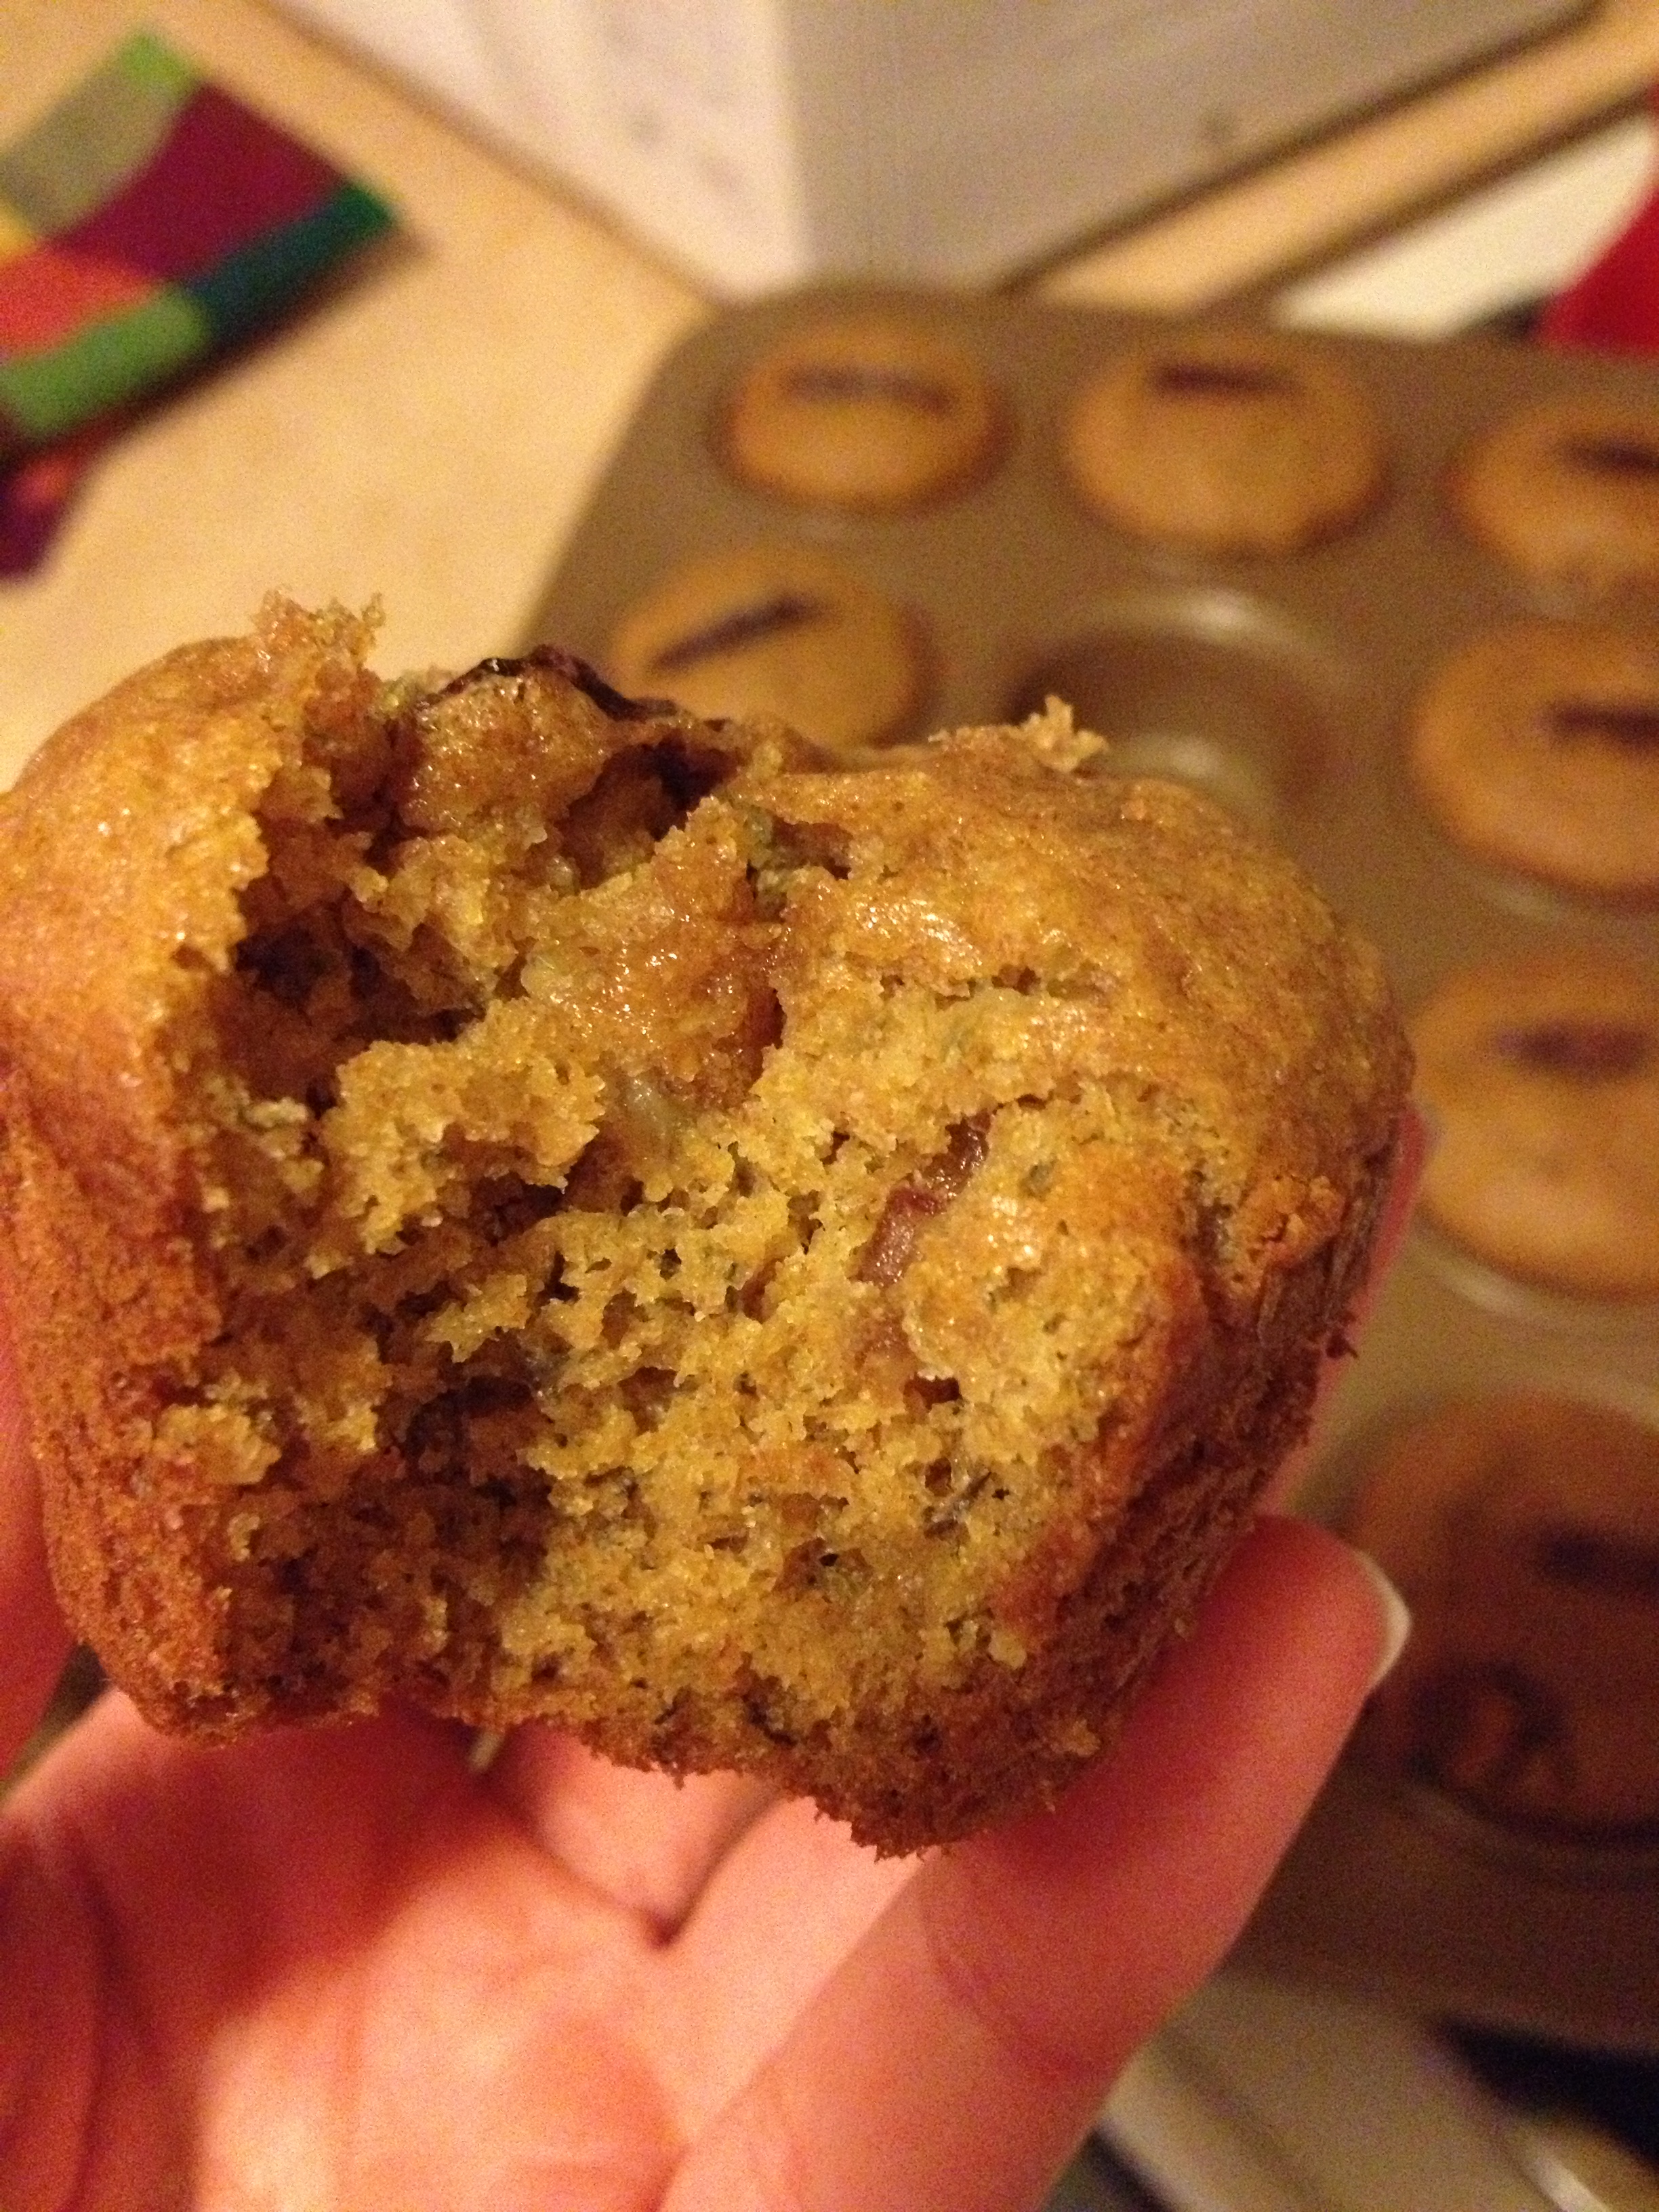
And enjoy! Oh they are SO good warm right out of the oven. And of course, before I brought them into work, I had to taste test them. And…I approve! Another fail-proof recipe to enjoy and not feel the slightest guilt eating them.

photo 3 (3)

photo 2 (4)

BONUS KITTY PIC 

photo 1 (5)

Nymeria cuddling Chris

spacer

Home Workout Thursday: Push Muscle Group

Sometimes we neither have the time nor drive to get ourselves to the gym. That’s when you do a home workout. No matter what, you can always get a workout in! This workout will focus on our push muscle group: shoulders, chest, and triceps. For best results, do 3 sets. But hey, one is better than nothing! So if that’s all you have time for, that’s fine. Cardio exercises are 1 minute each. Strength exercises are until failure. NO REST IN BETWEEN EXERCISES.

  • Equipment Needed:  Dumbbells, a floor (…)

Ready, set, go!

  • Jumping jacks – 1 minute
  • Chest press – Until failure

  • Triceps extension – Until failure

  • Mountain climbers – 1 minute

  • Arnold press – Until failure

  • Side triceps extension – Until failure

  • Boxing (with weight) – 1 minute
  • Pec flies – Until failure

Again–NO REST IN BETWEEN EXERCISES. You can, however, rest after each set. Let’s shoot for 3 sets. Use the heaviest dumbbells you can manage, really get your muscles tired and worked out. Let us know if you have any questions in the comment section below! You can always get a workout in, even if you don’t have a gym! And remember…stay hungry and fit! 
spacer