Archives

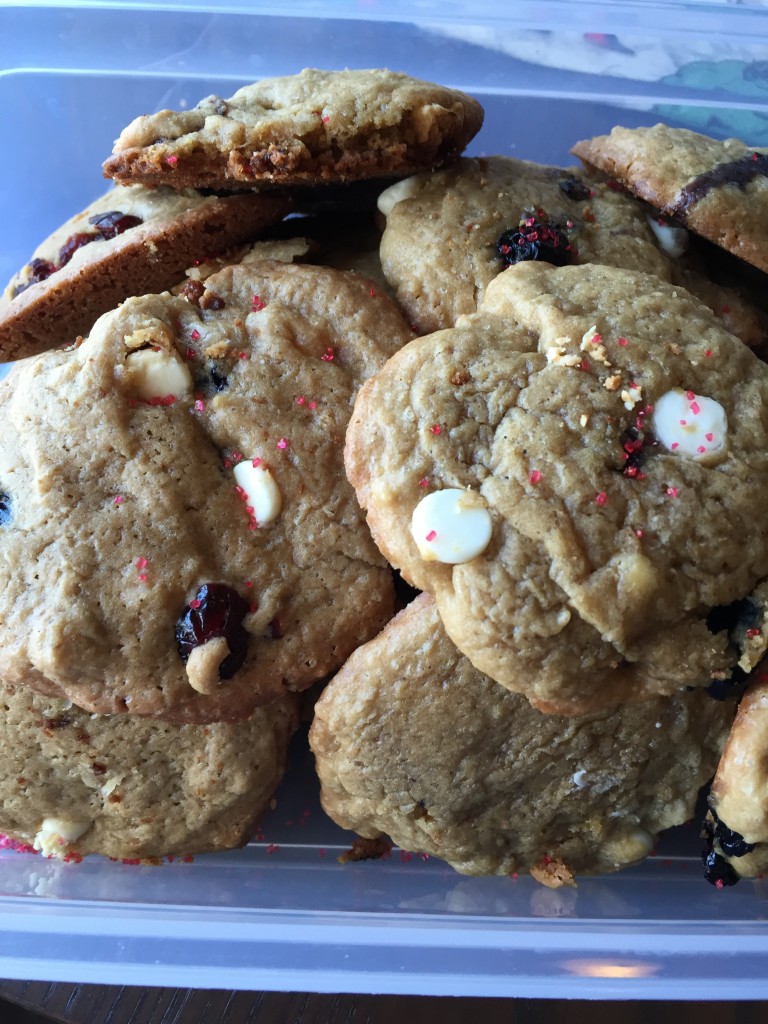
Red, White, and Blue Cookies

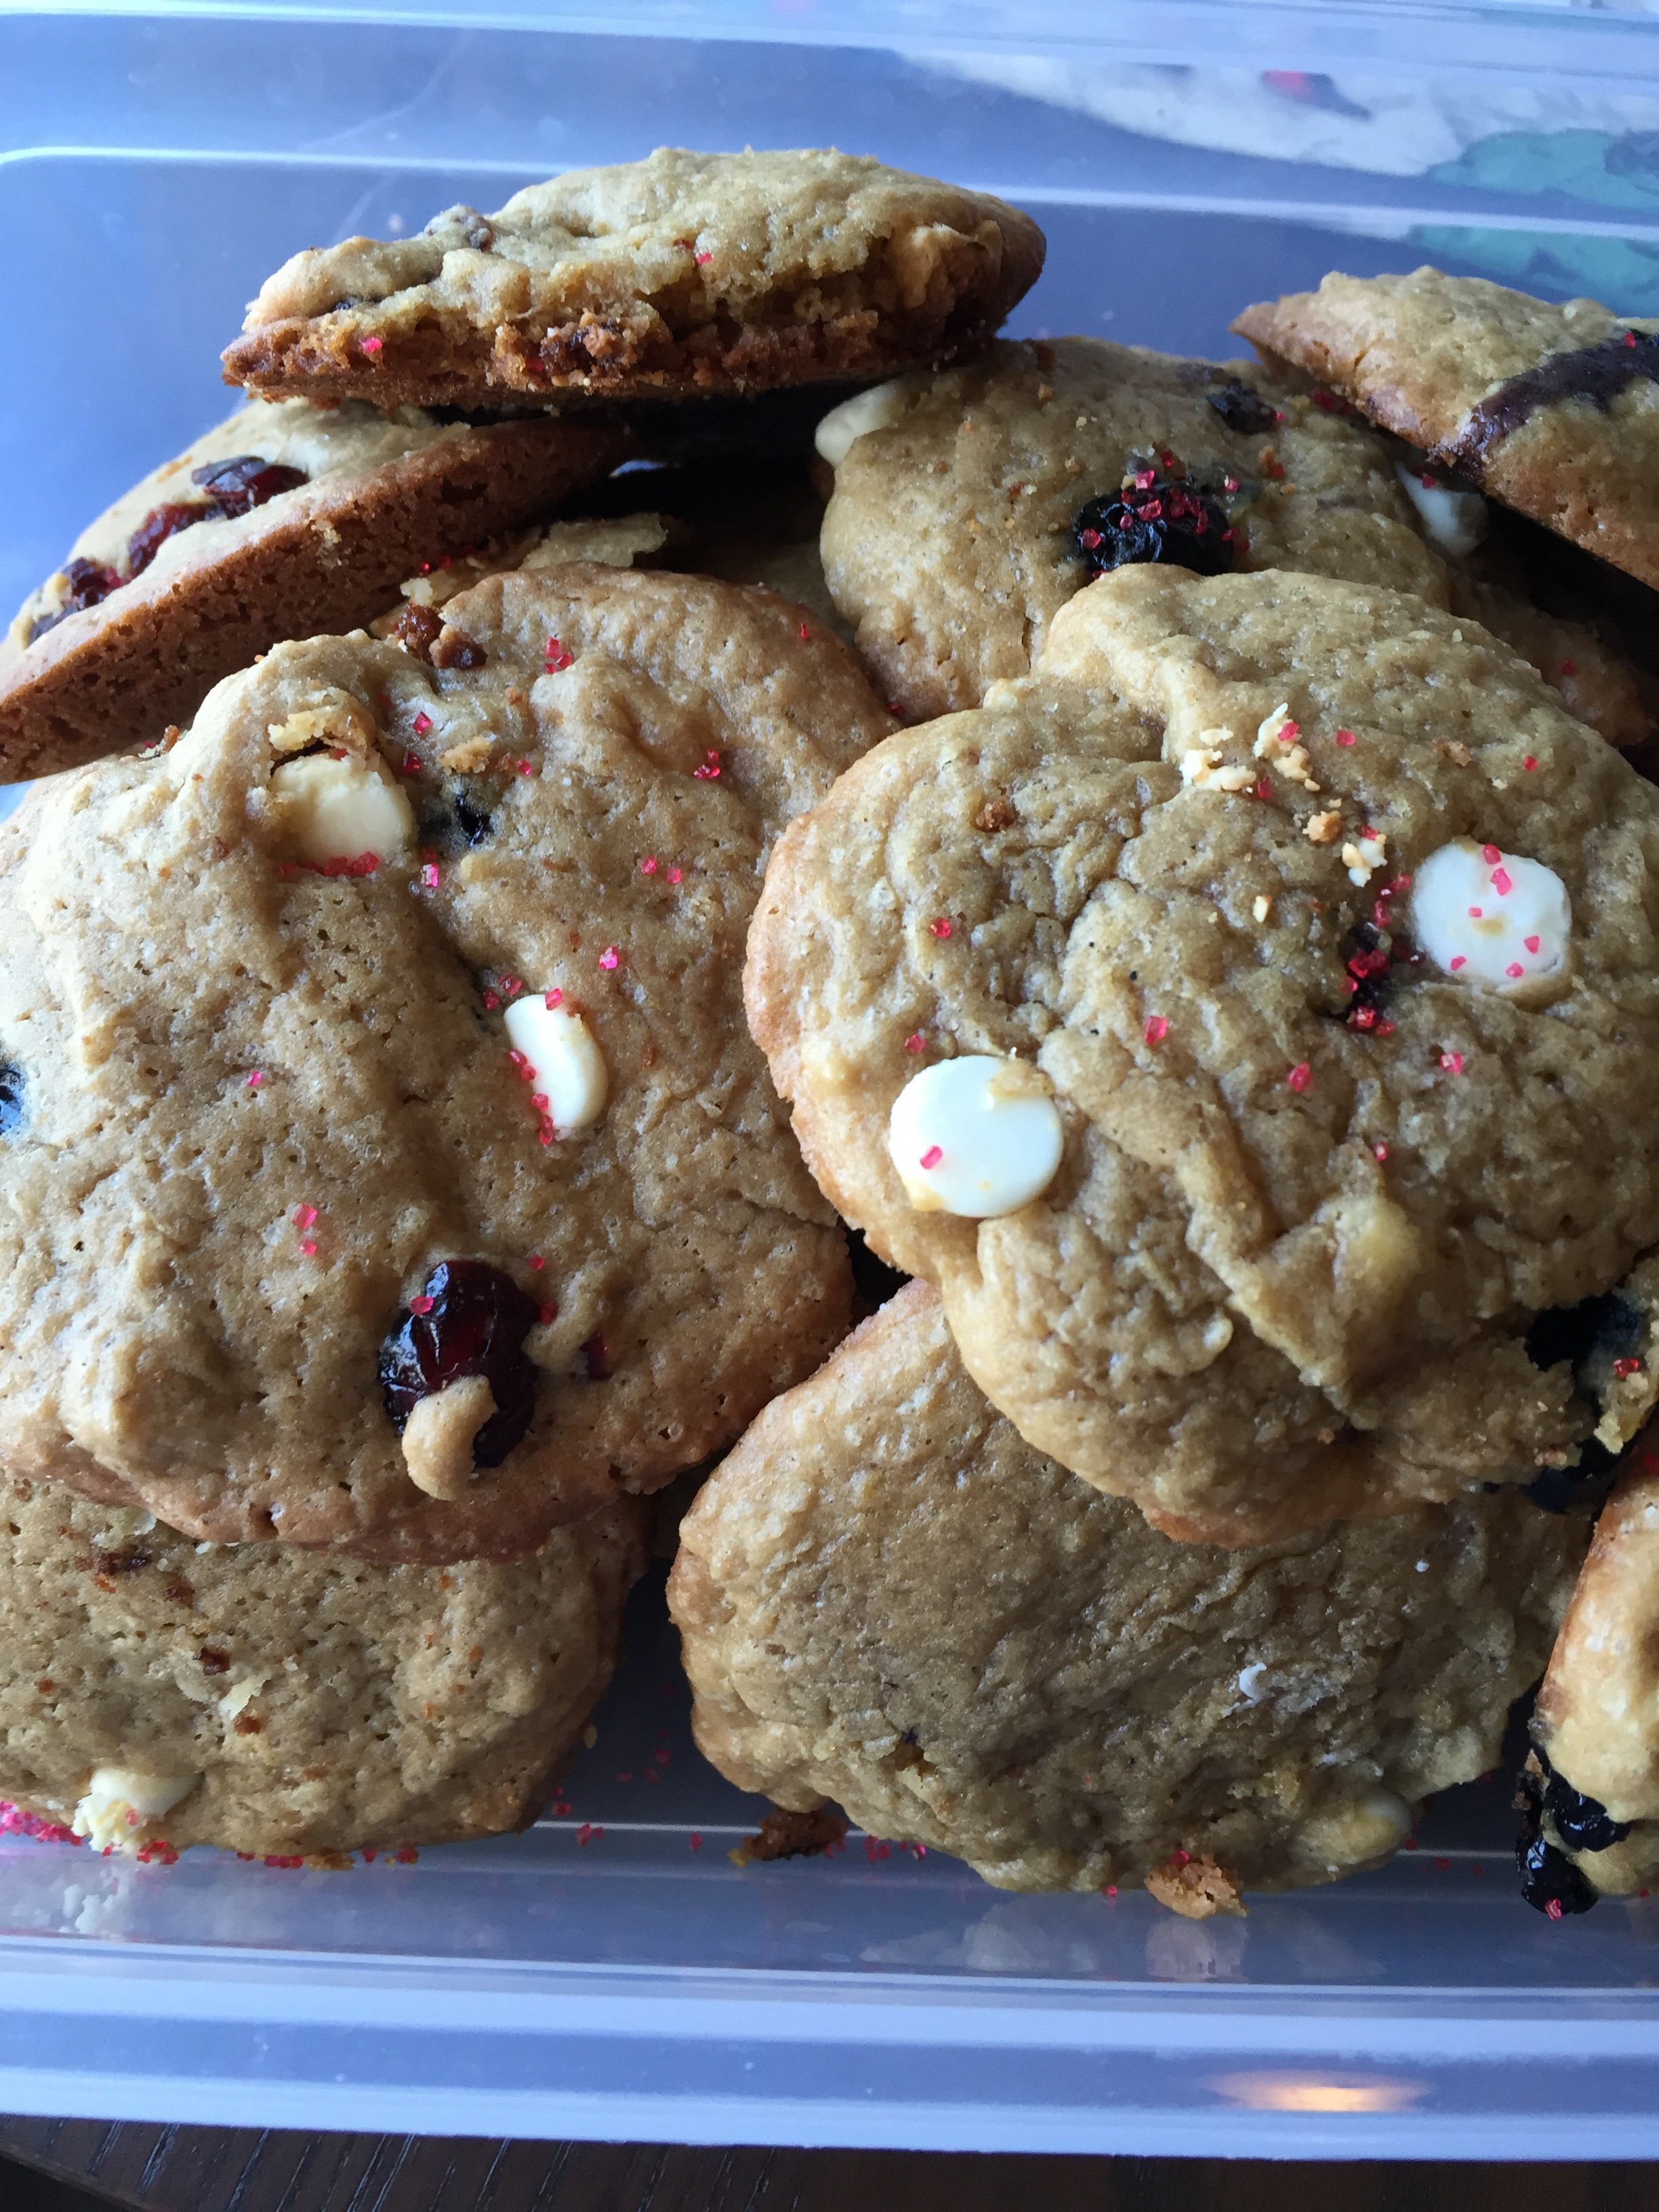
Happy 4th of July! While you’re thinking of what to bring to that friend’s BBQ, consider wowing the crowd with a sweet treat–with festive colors, of course! This patriotic batch of cookies are easy to whip up and let me tell you, the batter is delicious. I tried to cut some of the fat and sugar down in this recipe so you don’t have to feel too guilty about them alongside your beers and hot dogs. I got this original recipe from Dani California Cooks and tweaked them into cookies. I love being creative with other people’s recipe to really make it my own. Enjoy!

IMG_1493

spacer

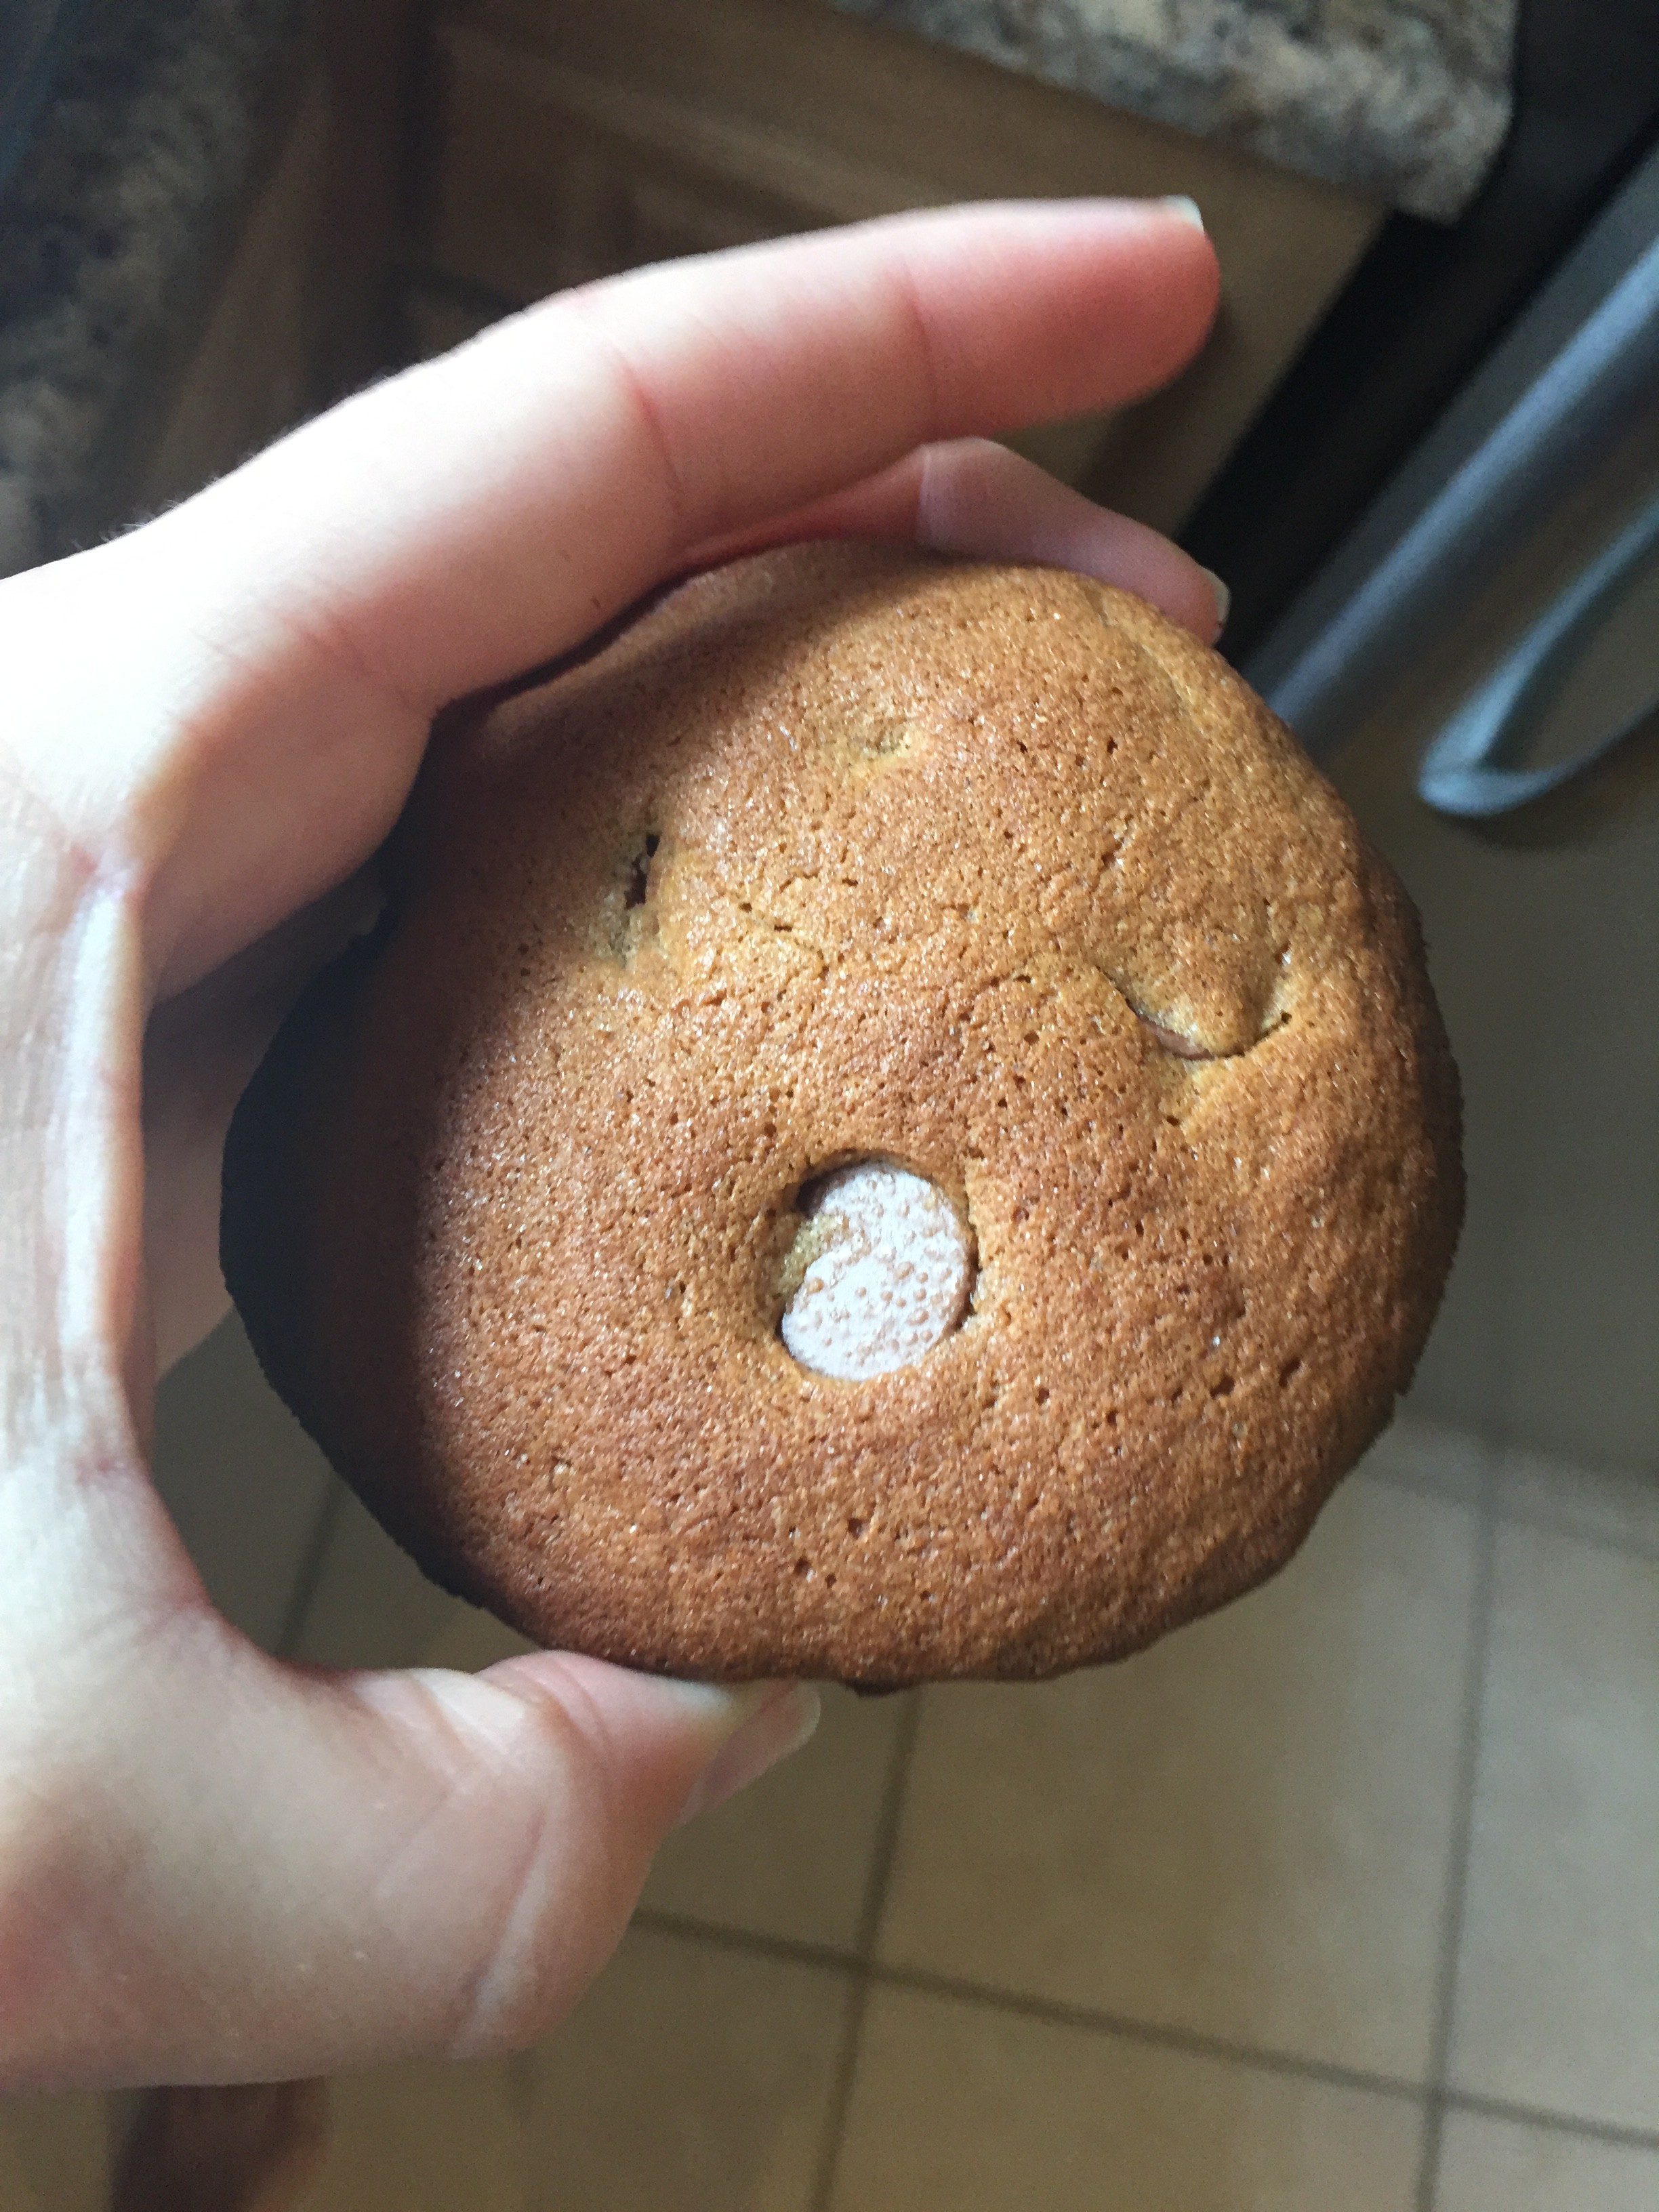
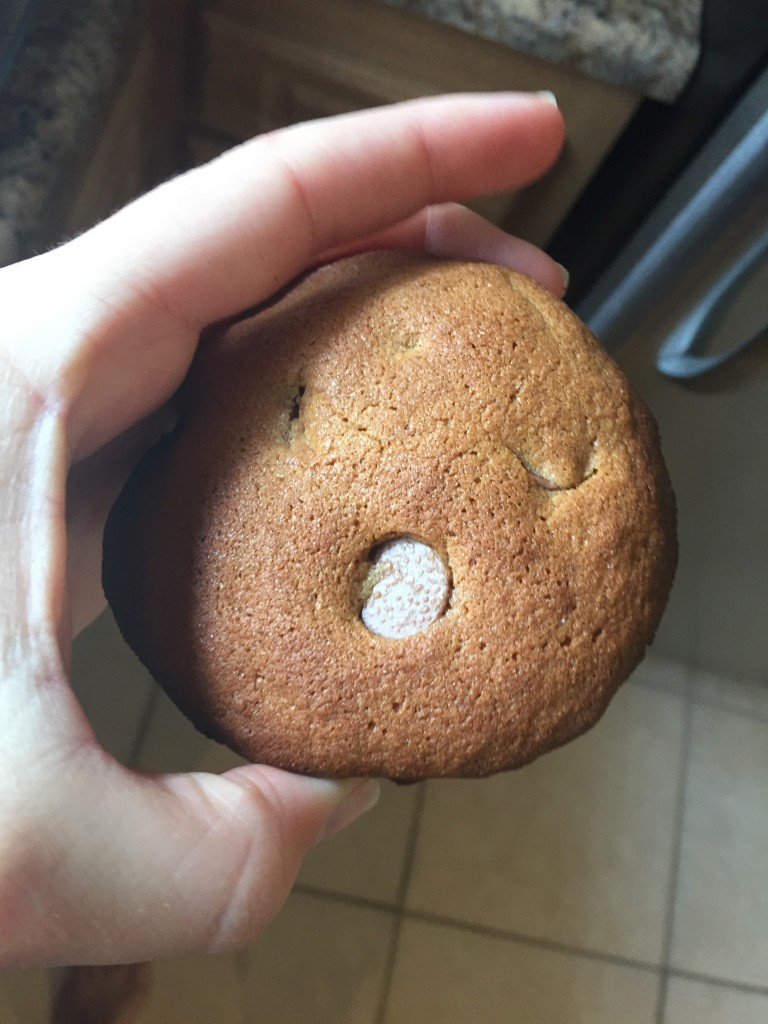
Chocolate Chip Protein Cookies

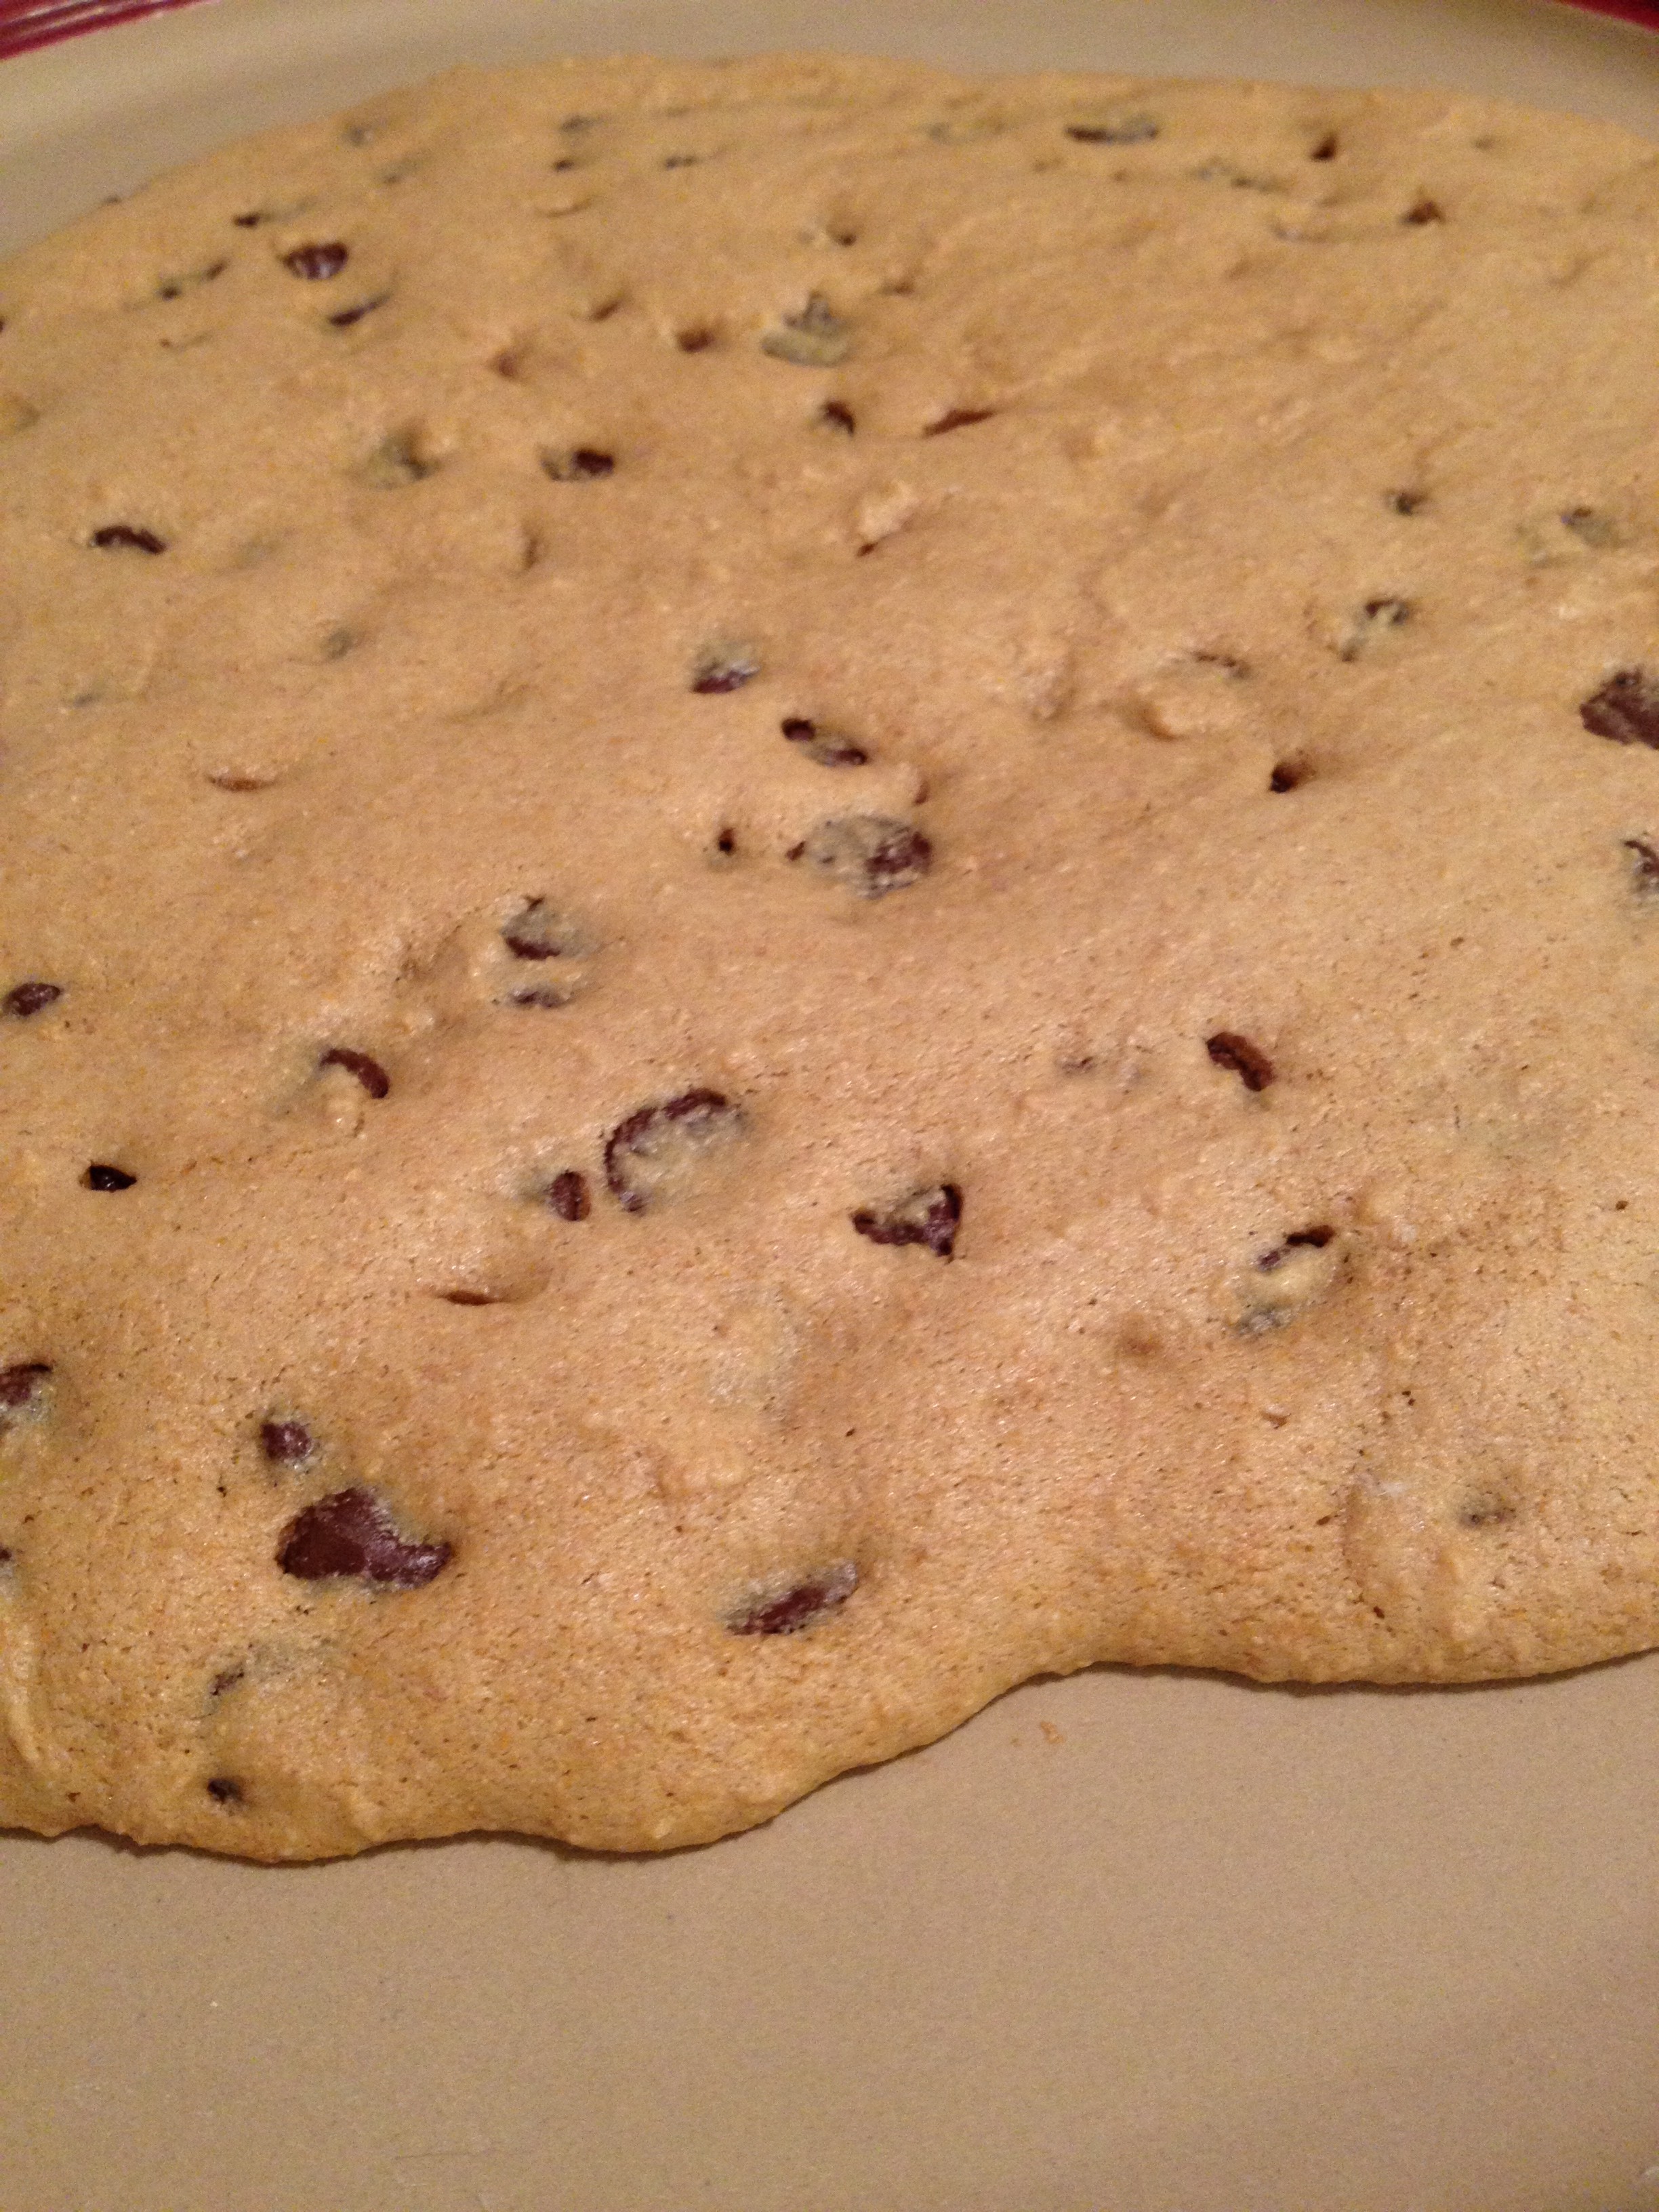
I have tried recipe after recipe to find the perfect protein cookies. They often come out too dry, too cakey, or downright rubbery. We can’t have any of that! I have finally found a recipe that comes out well! Hoorah! These aren’t the healthiest, but they have significantly more protein than other cookies and less sugar and fat than other cookies. We’ll say it’s healthierThese puppies have 7g of protein a piece–pretty awesome for a cookie! It’ll be a crowd pleaser and they won’t even know that it’s healthier than normal. Careful of how long you keep in the oven, I left mine in a minute too long (as you may be able to see). 

IMG_4910

spacer

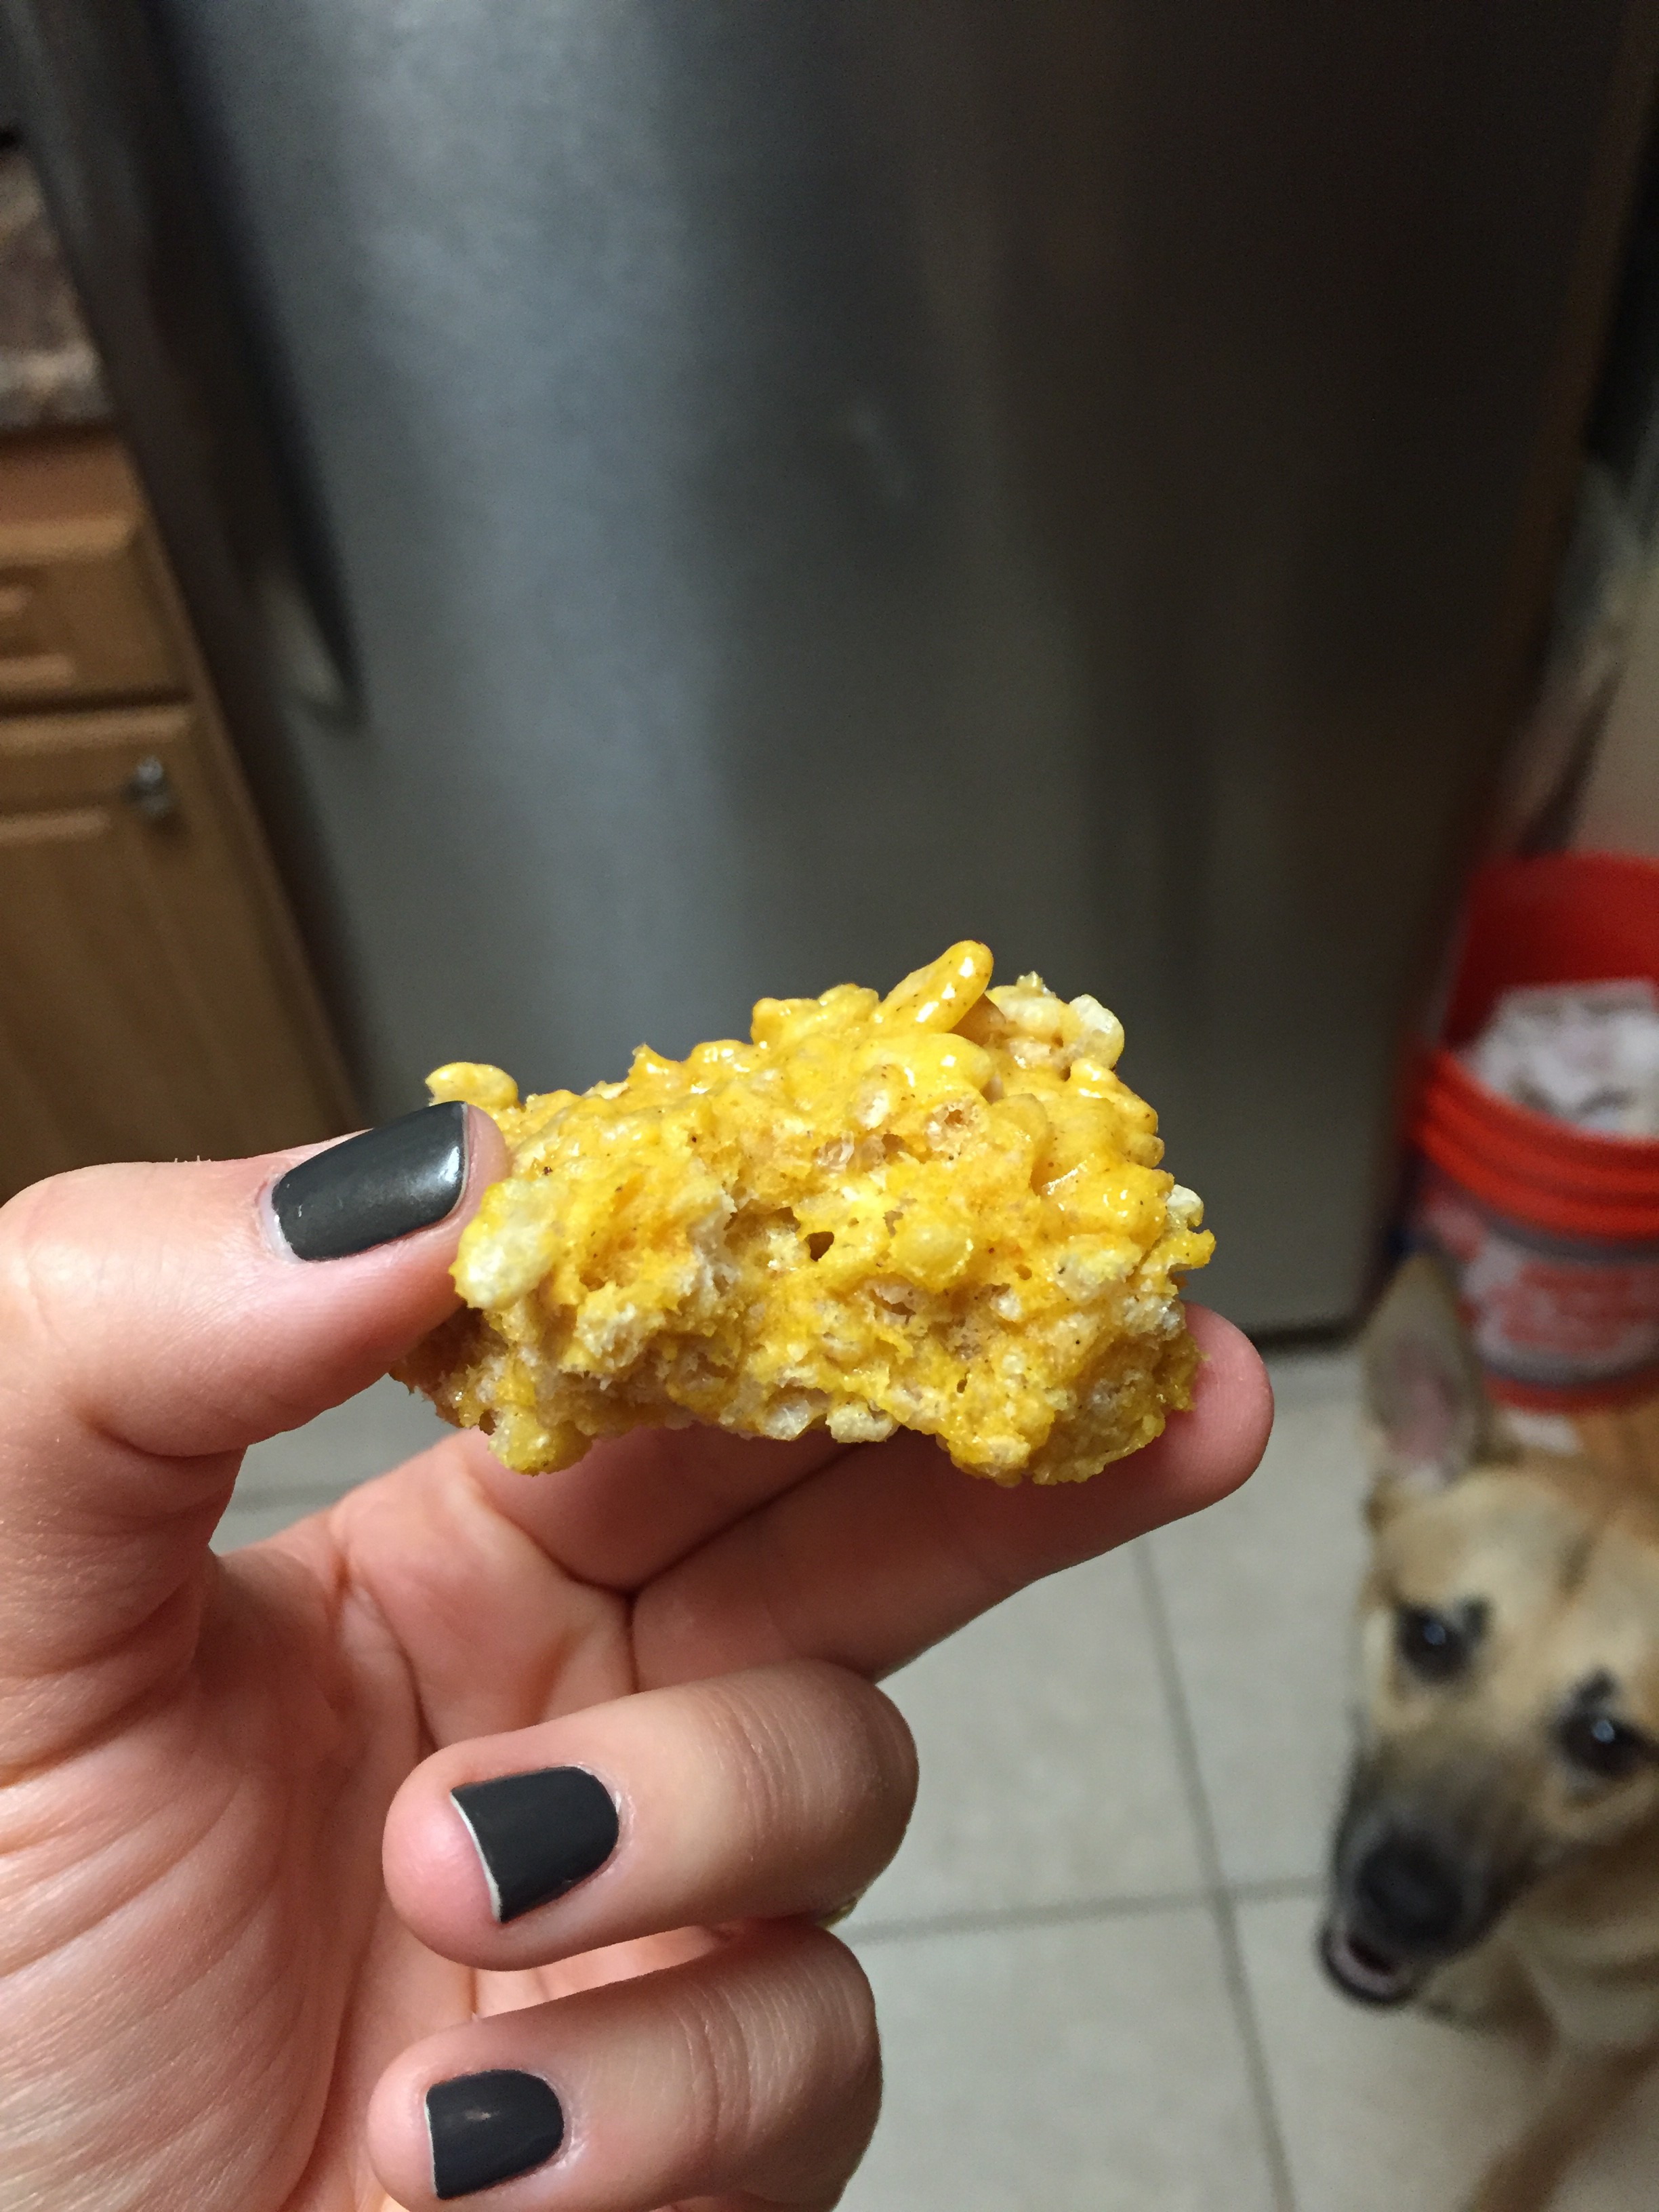
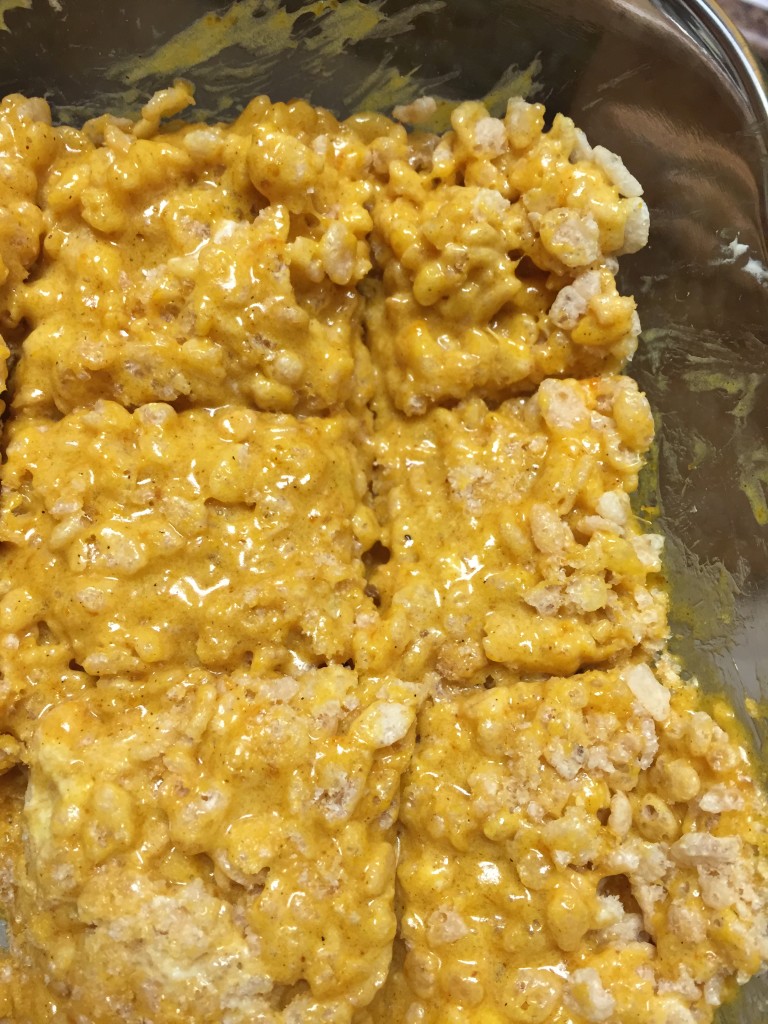
Pumpkin Rice Krispie Treats

Tis the season to eat pumpkin, fa la la la la la la la la! Great song, don’t you think? For real, though, pumpkin is the star of Fall and I dare anyone to challenge that. It’s in everything you see during these few months: lattes, desserts, candles, candies, and so on and so forth. And guess what? I don’t hate it! There isn’t anything wrong with some pumpkin. I’m all for things that make each season feel like it stands out, and pumpkin really helps that with Autumn. As a side note, my New Zealand family is always shocked that Americans don’t eat pumpkin year round as they do. It’s a great vegetable! Kiwis will often have 5-6 vegetables in their dinner and pumpkin is a big part of that. Anyways, we’re using pumpkin less as a vegetable today, and more as a Fall-like way to spice up your dessert! This recipe is inspired by the Kitchn. Tuck in!

IMG_3111

spacer

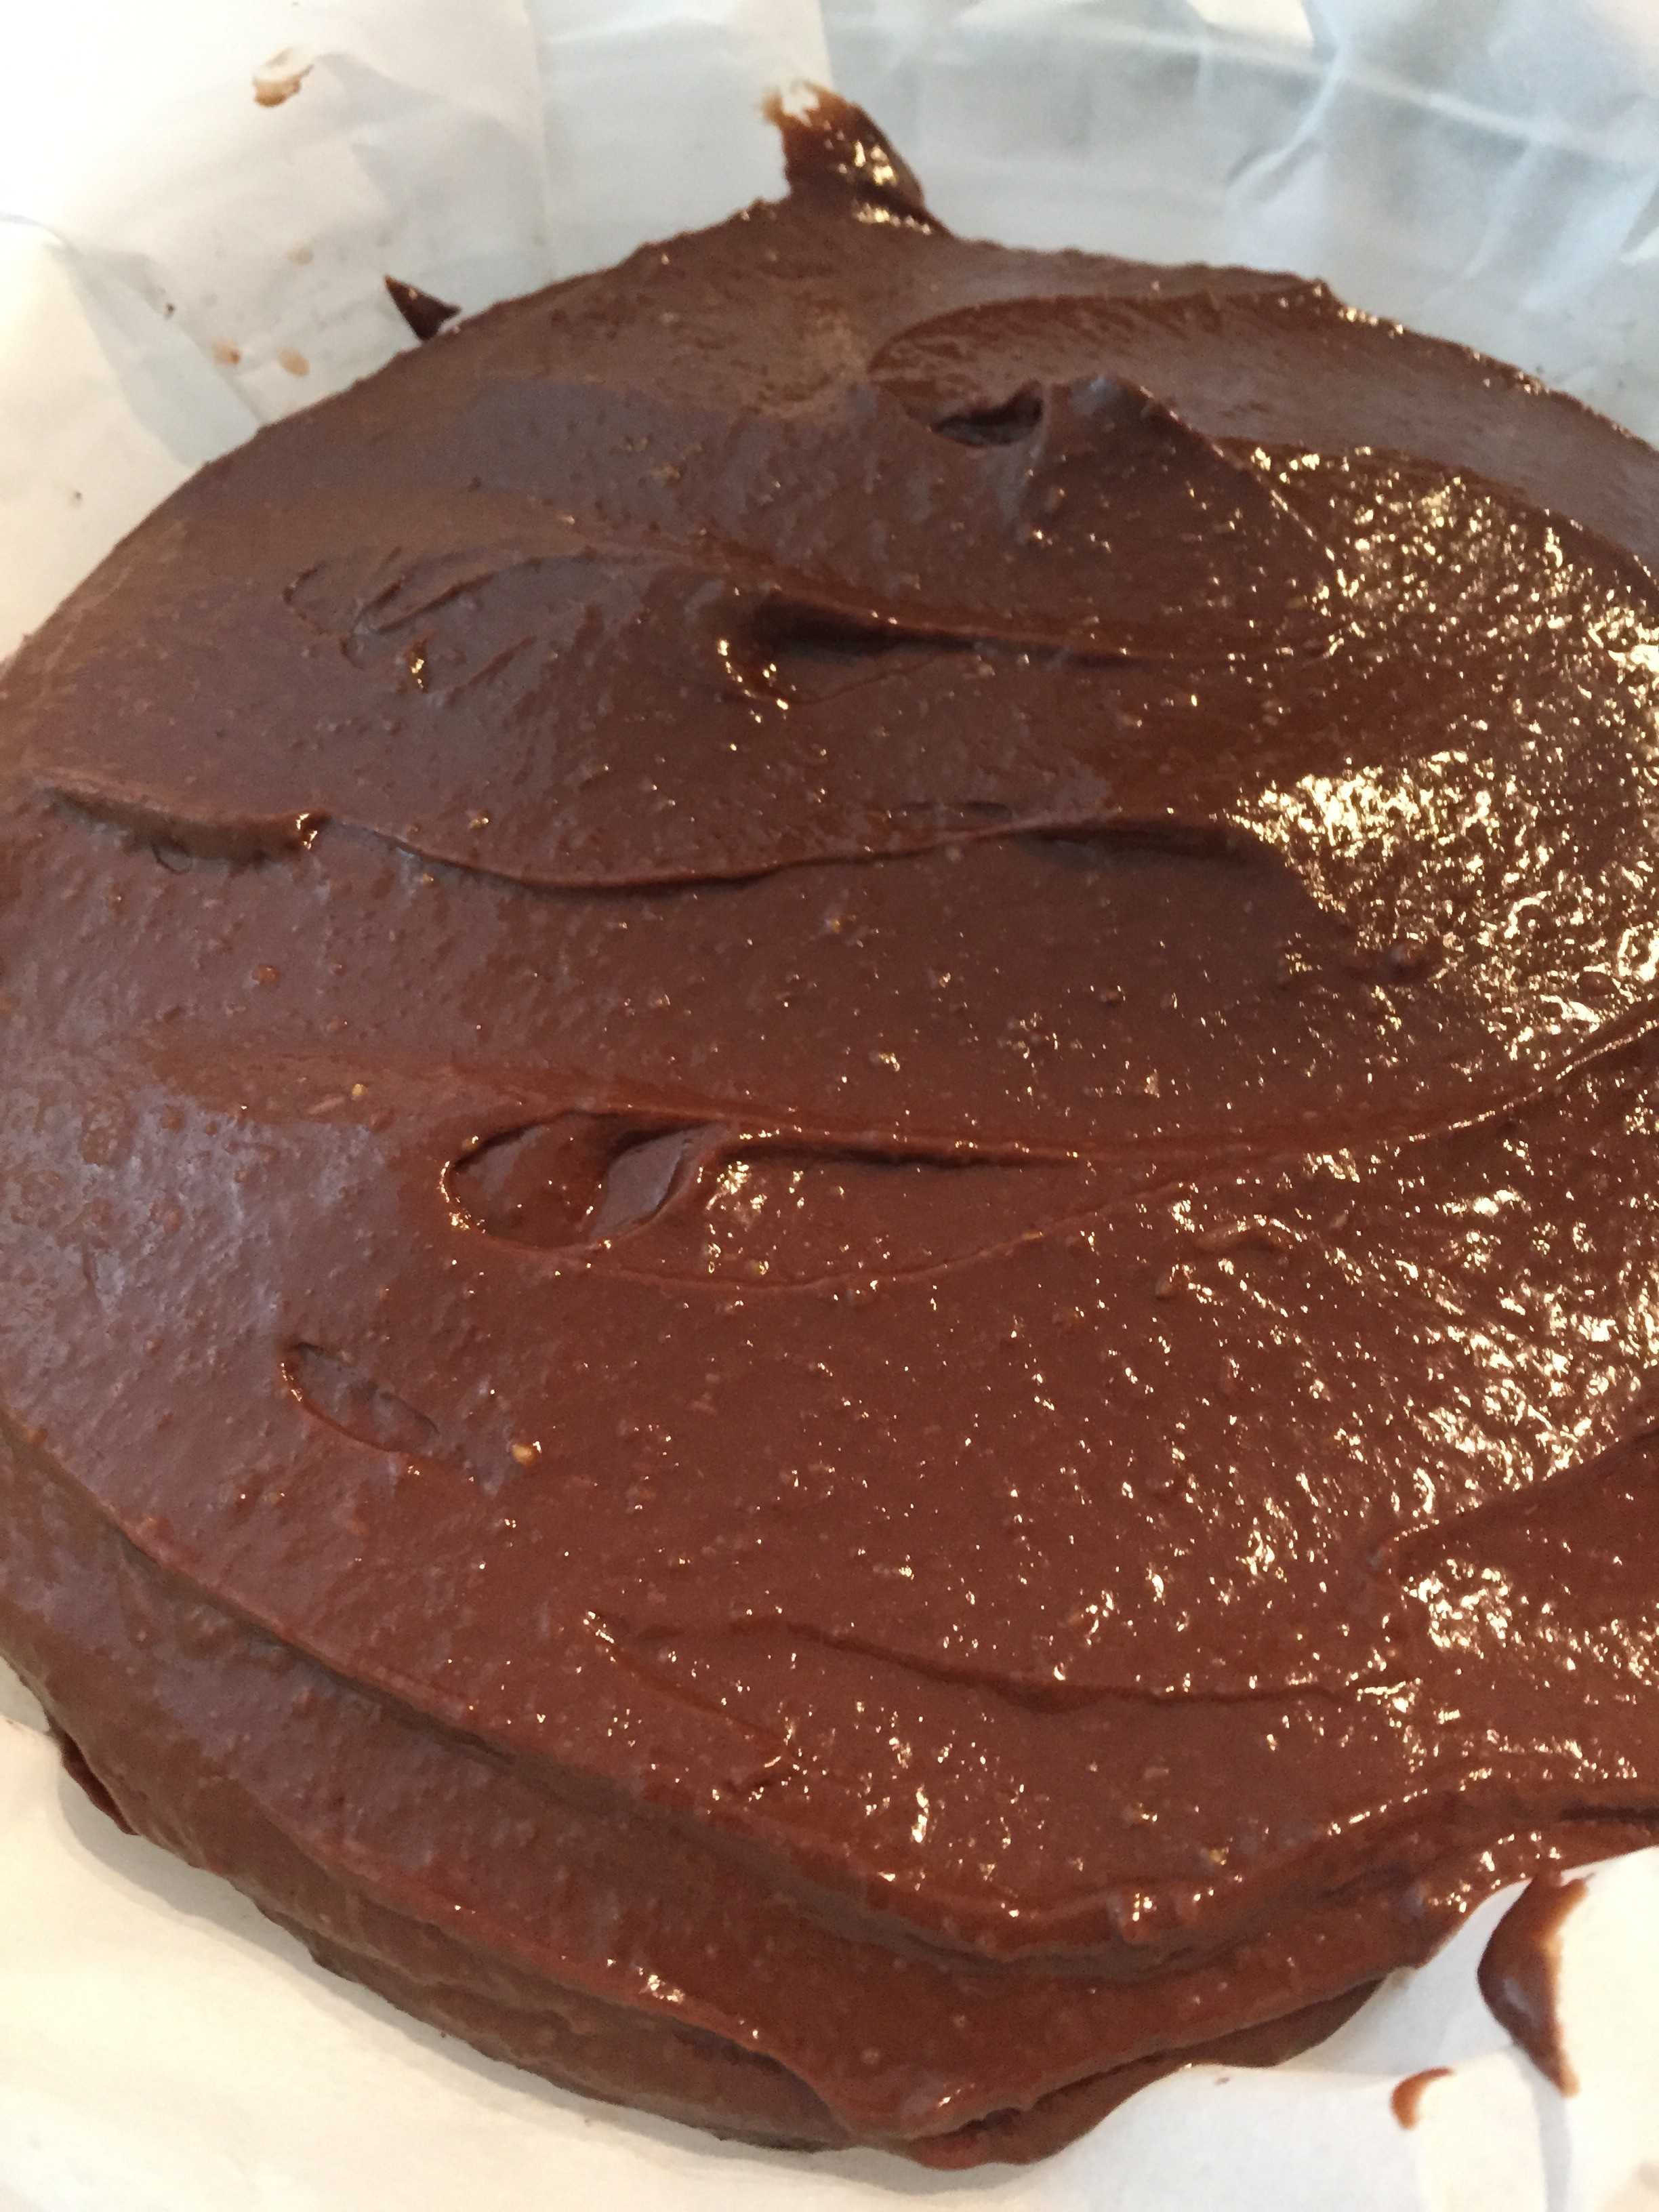
No-Bake Chocolate Mousse Cake (Vegan)

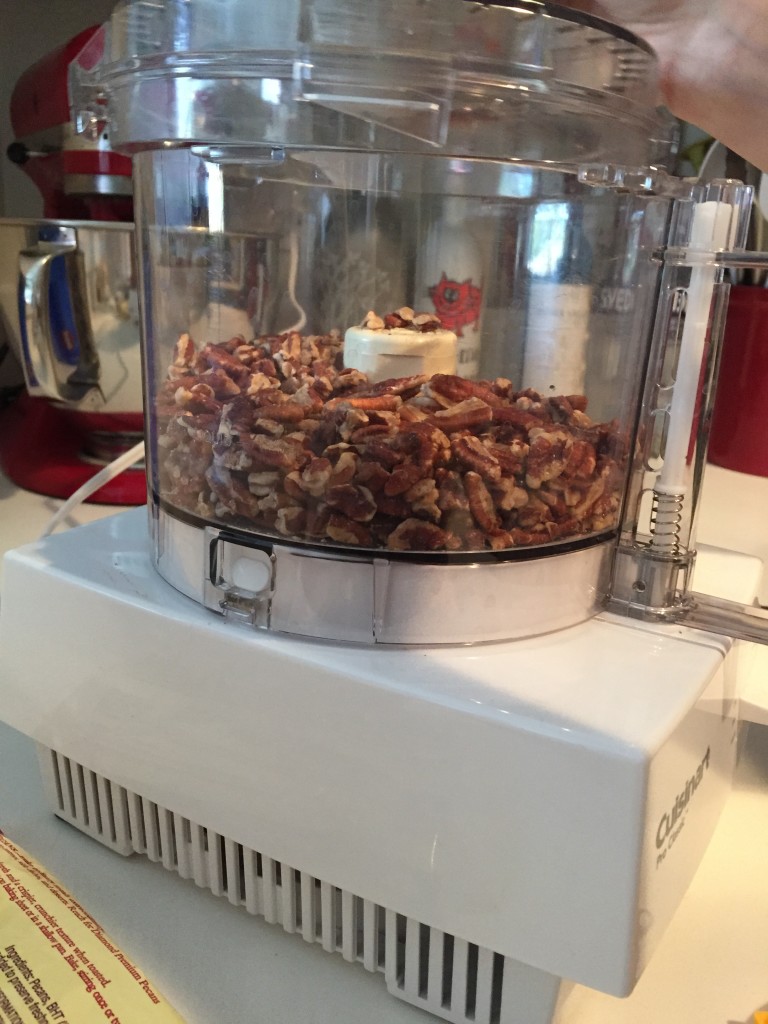
This weekend, I was lucky enough to have a playdate with my two friends who are married. Besides stuffing me like a little piggy with delicious food, we also got to make it from scratch! This was alongside a marathon of Once Upon a Time season 4 that just got uploaded to Netflix! Can you say a good Saturday? Heck yeah. One of my friends is a vegan (mostly) and she had been talking about this vegan cake forever. I was finally getting my chance to make, and more importantly taste it! The one, the only no-bake chocolate mousse cake! She goes off of this recipe

This recipe may seem intimidating, but I can honestly tell you that it was over before I knew it. A food processor certainly helps, though! Close your eyes. Imagine a velvety, smooth mousse atop a nutty-chocolate crust. And then after, imagine no guilt, but instead feeling the healthy fats helping your body thrive! Yep, ladies and gentlemen–a HEALTHY chocolate cake. And doesn’t it feel rather warm out? I’d say so. Guess what: this recipe is a NO-BAKE recipe! Thank goodness! The oven always gets our apartment cooking. So take some time today, make this cake for a special someone, and don’t tell them how healthy it us until after they eat it! And then thank my friend for sharing this recipe with me. 

IMG_2127

spacer

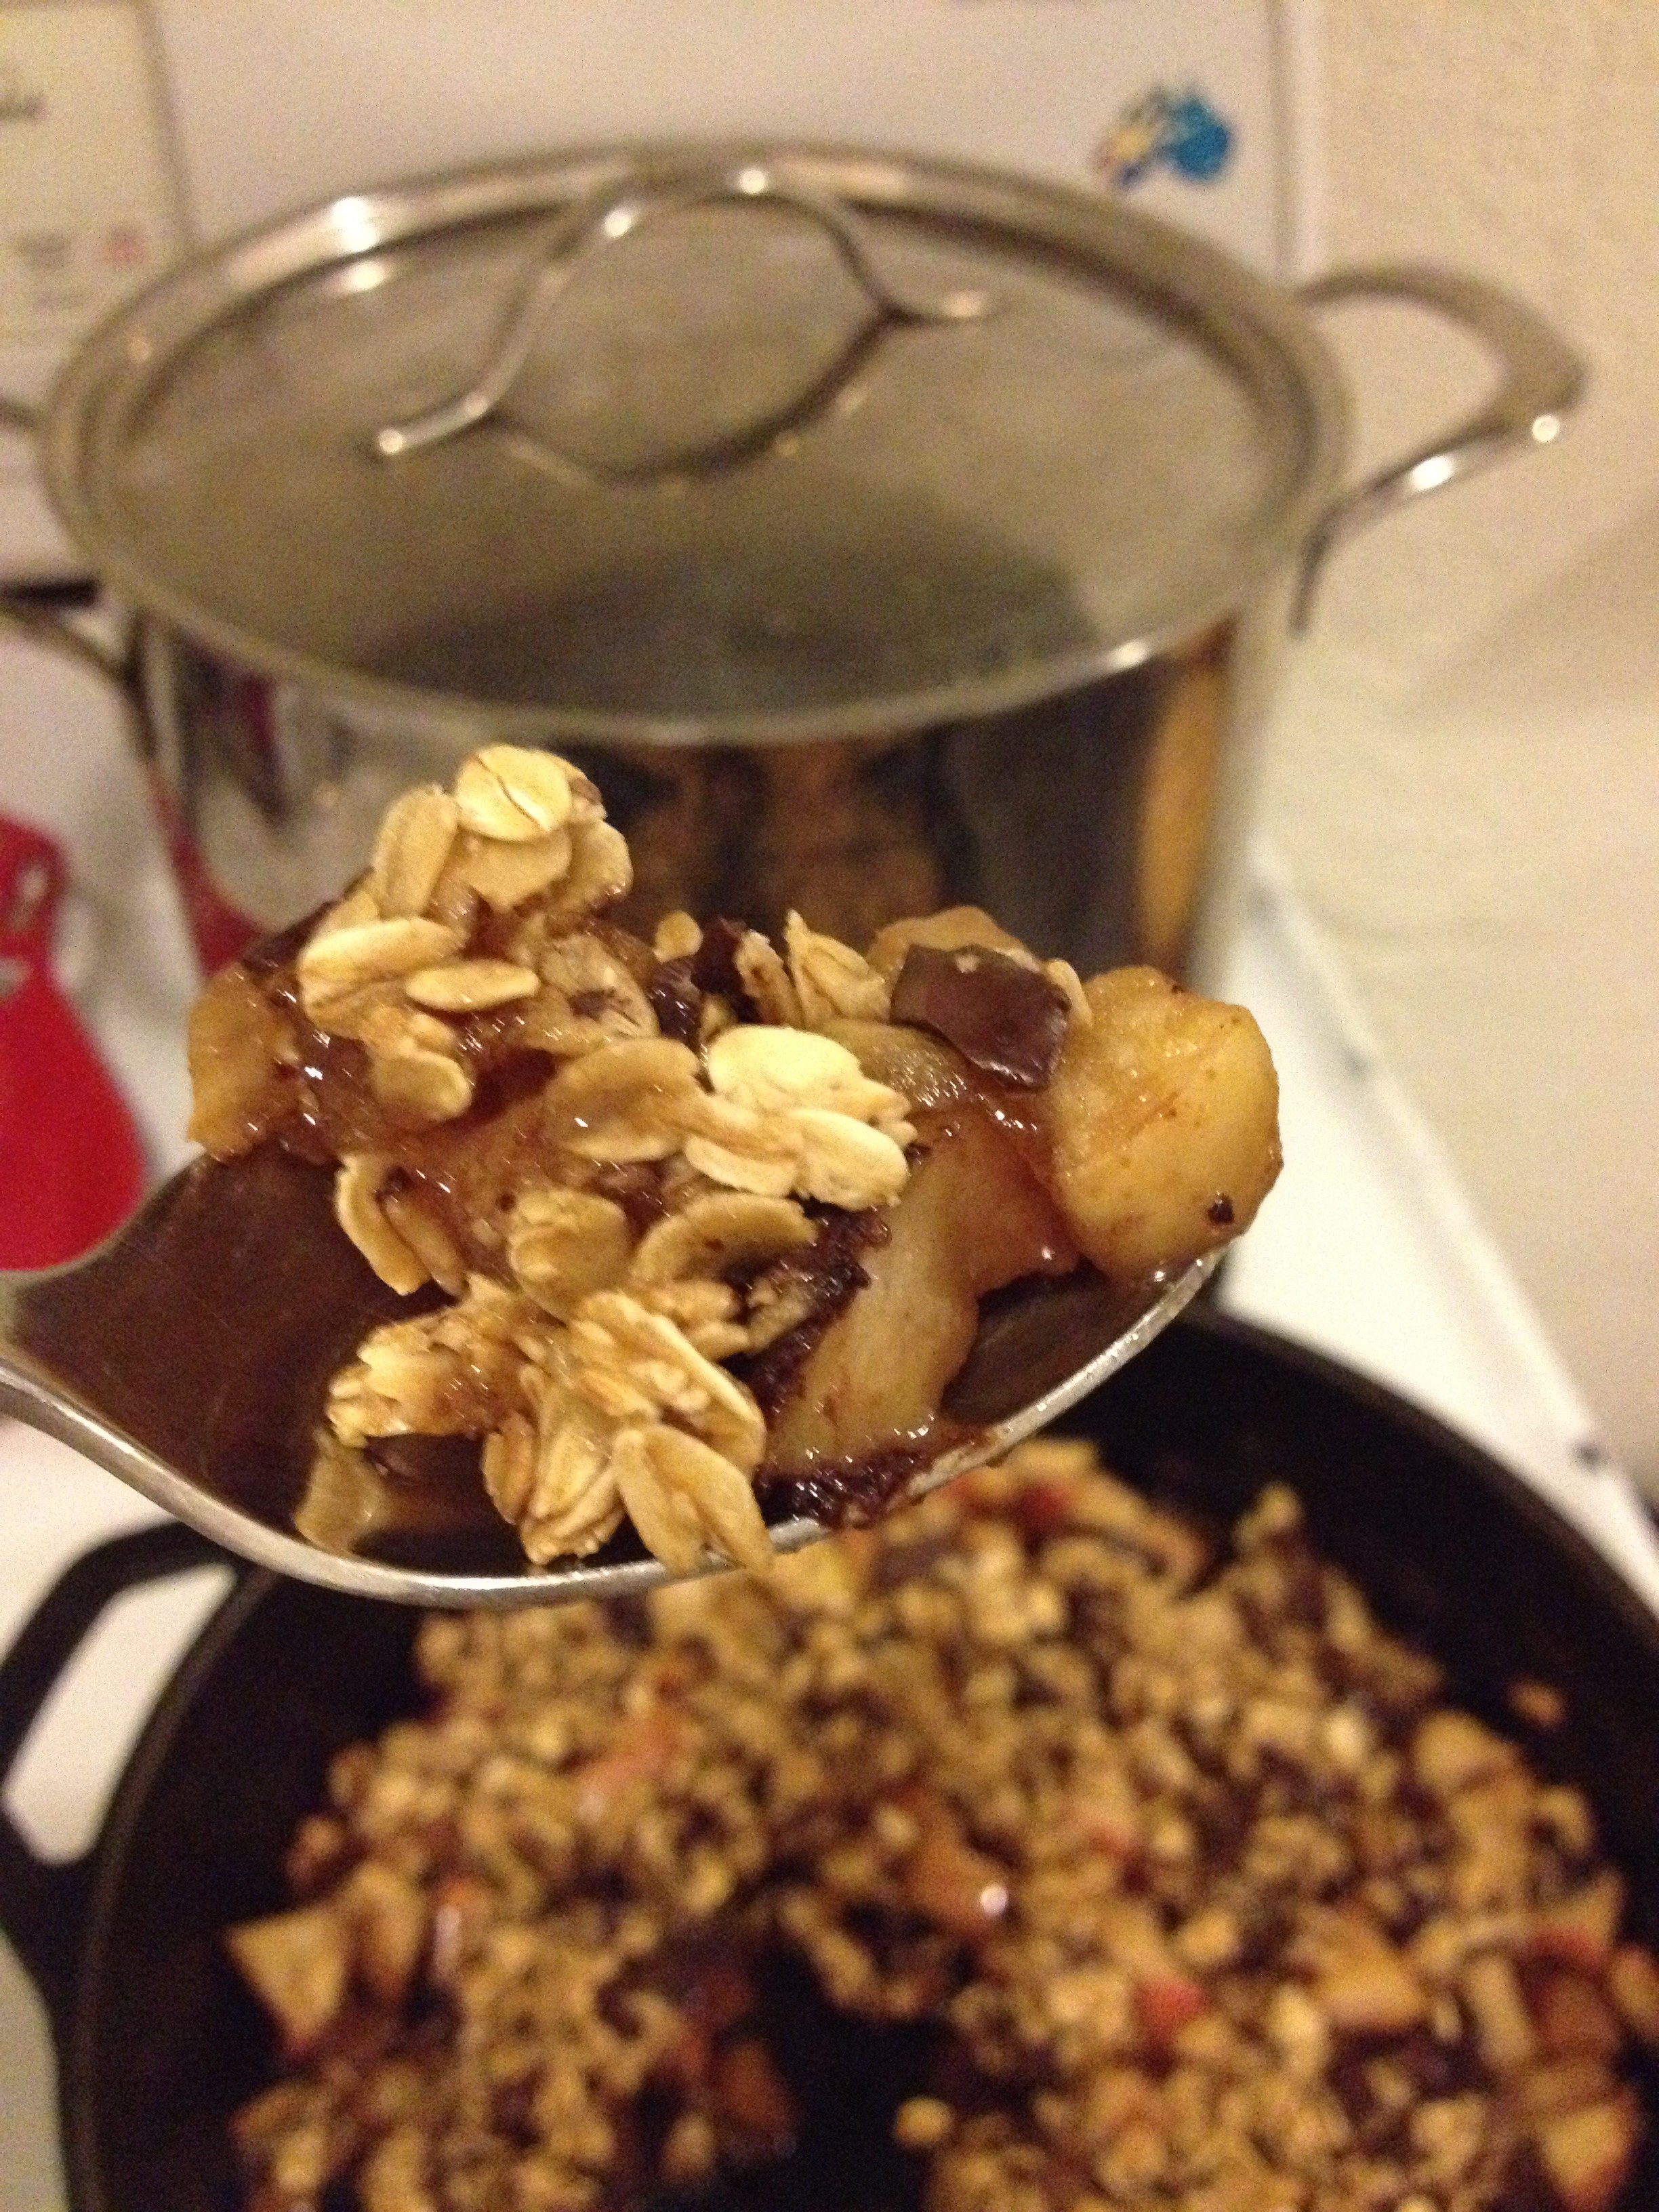
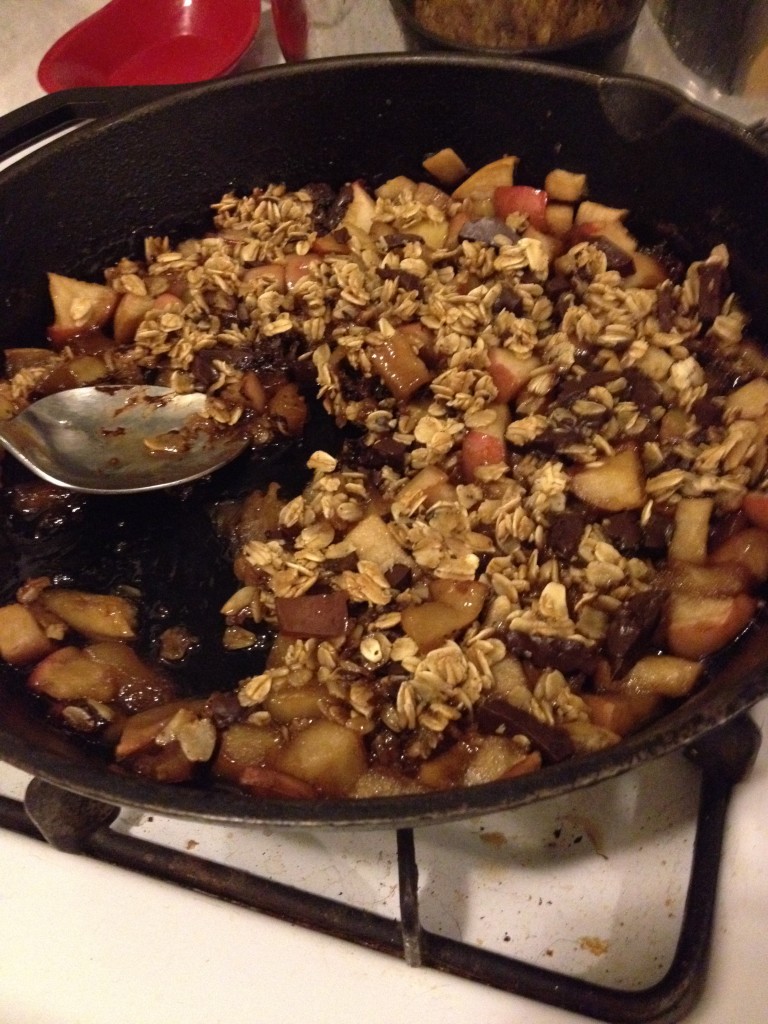
Chocolate Oat Apple Crumble

I have an unfortunate sweet tooth. I try to curb it, but sometimes I don’t. Sometimes, however, I think in advance and then make something that’s sweet, but still on the healthy side. That’s when Smitten Kitchen inspired me! Jasmine is a very close family friend who turned me on to “crumbles” very early in my life–particularly apple crumble. This recipe calls for very few ingredients so I decided to give it a go. It was really easy and made the house smell wonderful! I made a Chocolate Oat Apple Crumble and my sweet tooth was absolutely overjoyed without killing my health.

Finished product, but not before I dove in

Finished product, but not before I dove in

spacer

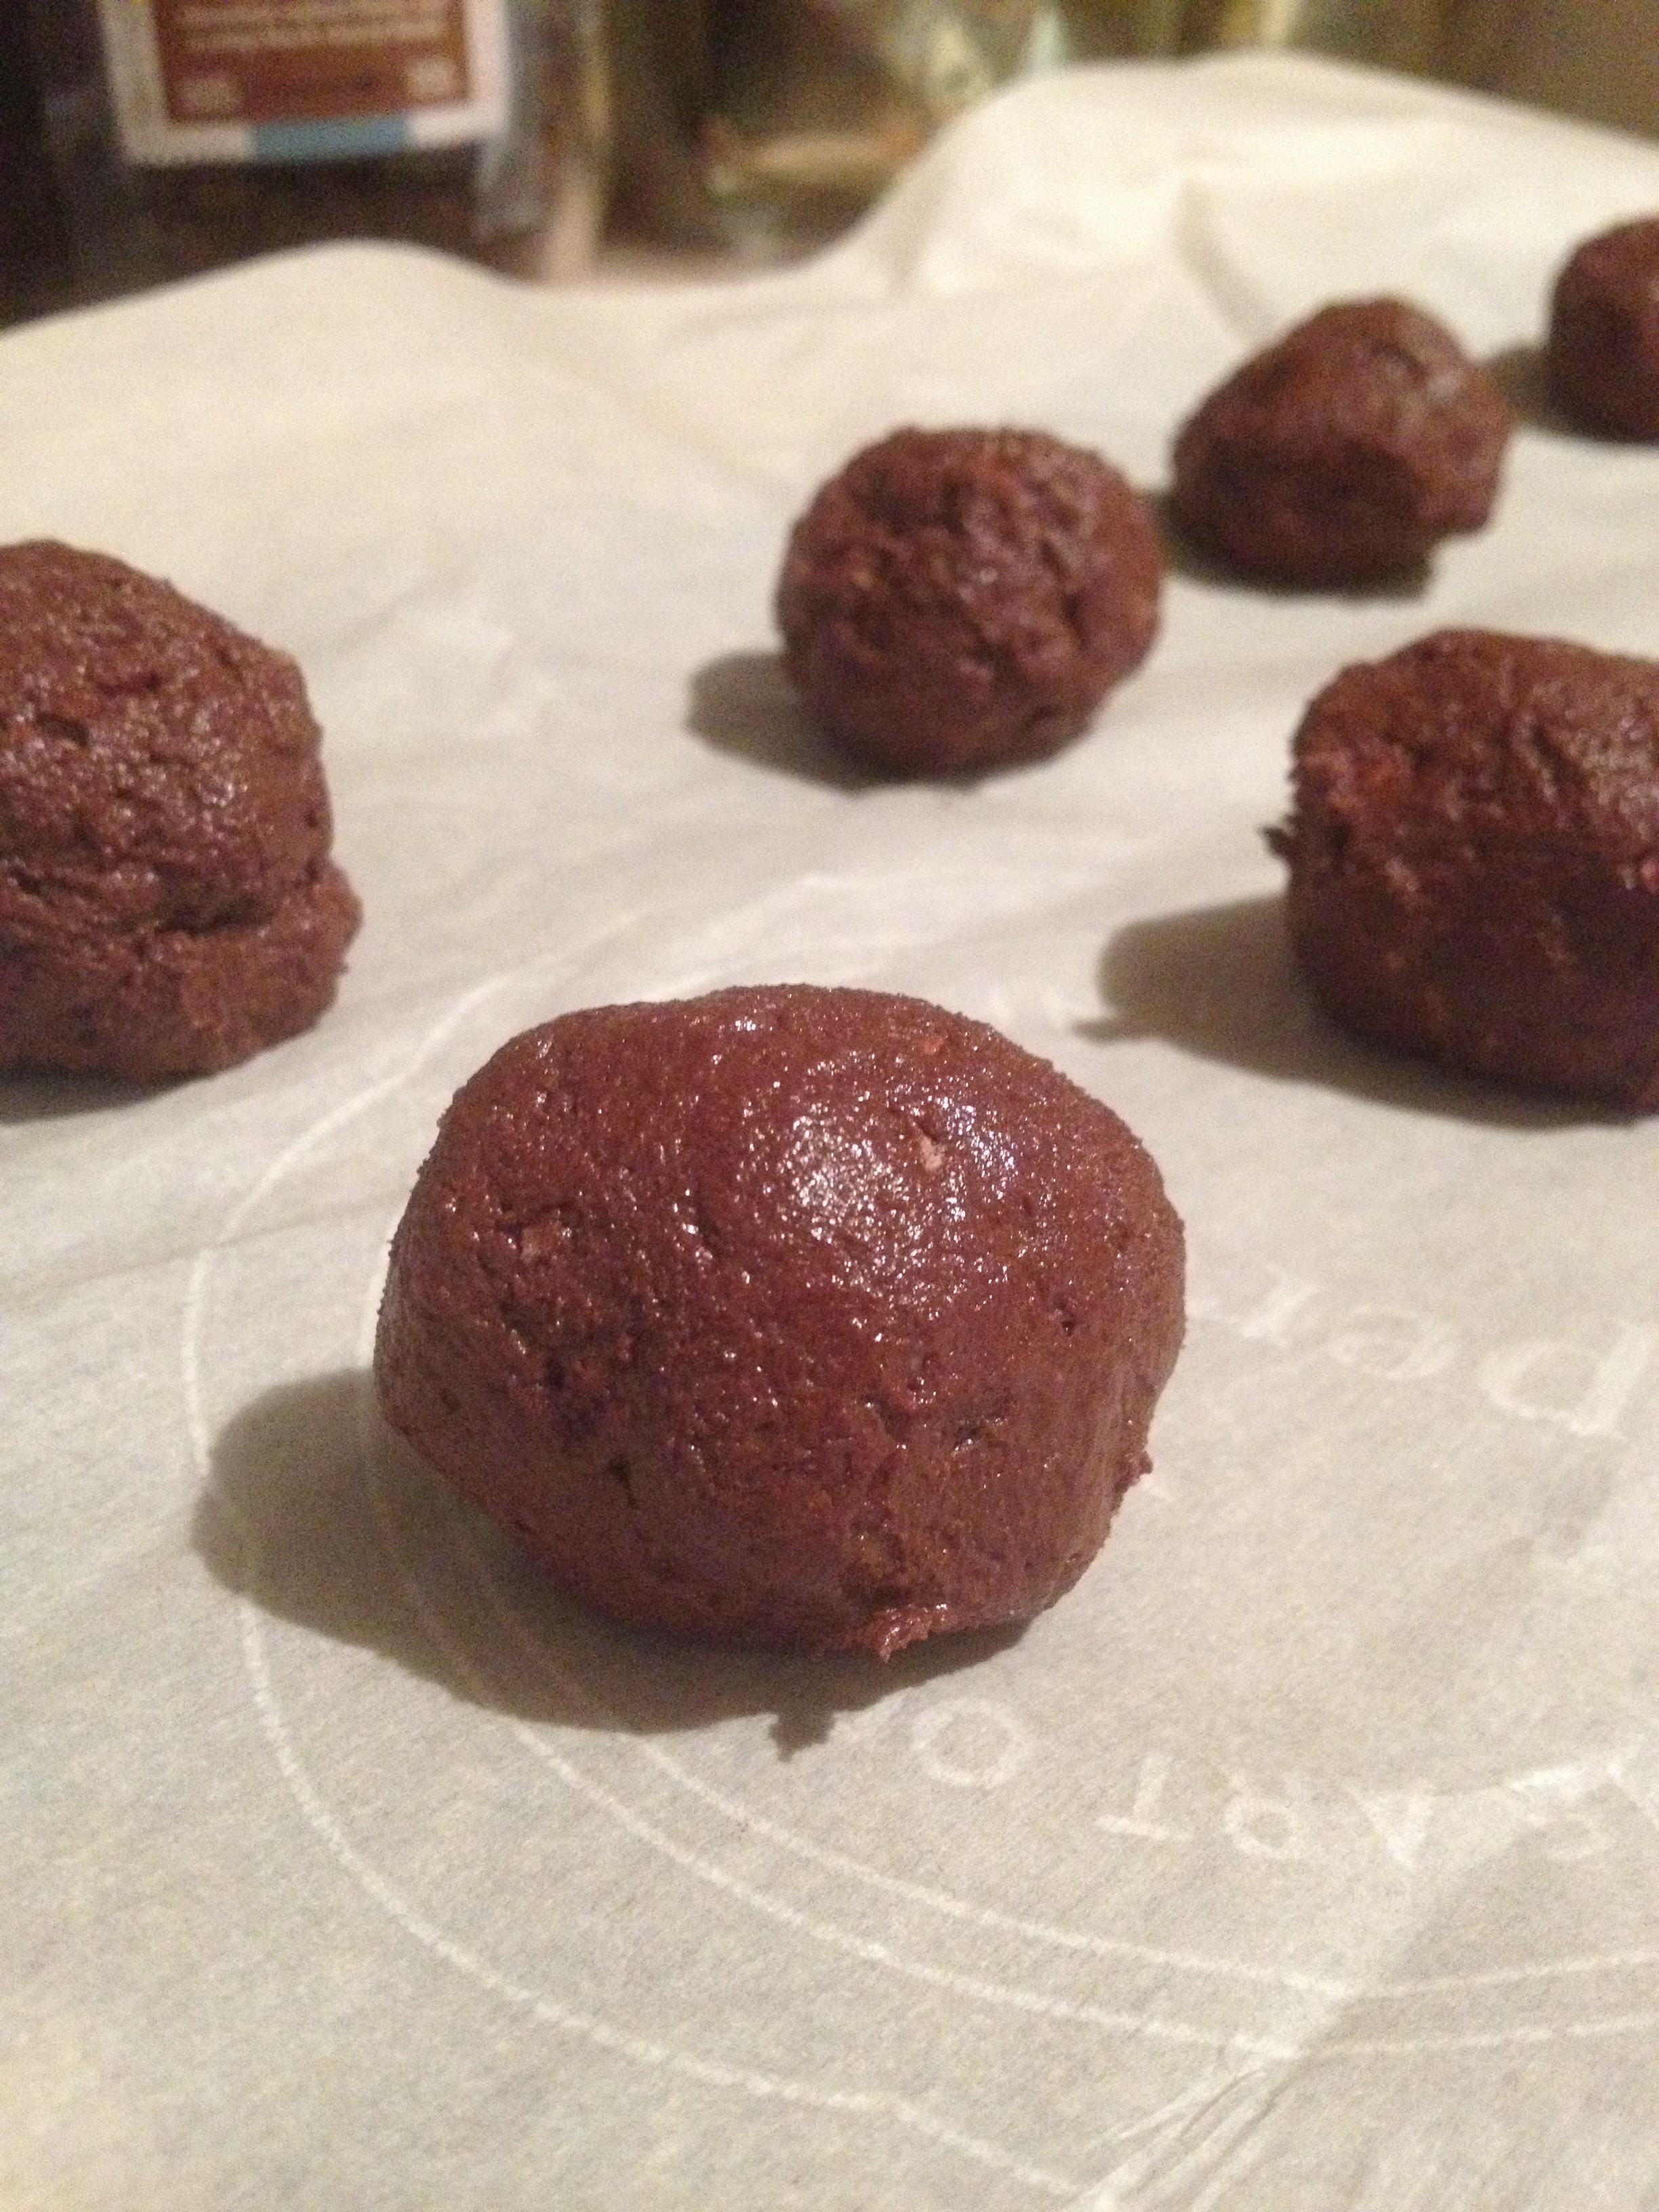
Healthy Chocolate Protein Truffles

Summer is slipping away, bikinis are being put back in the drawers, and the trench coats are coming out. This may put us in a “in-the-grind” type of mindset where we push ourselves to work hard, stay relaxed, and put our health on the back-burner. Stop right there! Just because we aren’t donning our swimwear, does not mean that we can let health and fitness slip away! We still want to feed ourselves in a nutritious manner and keep our movement flowing.

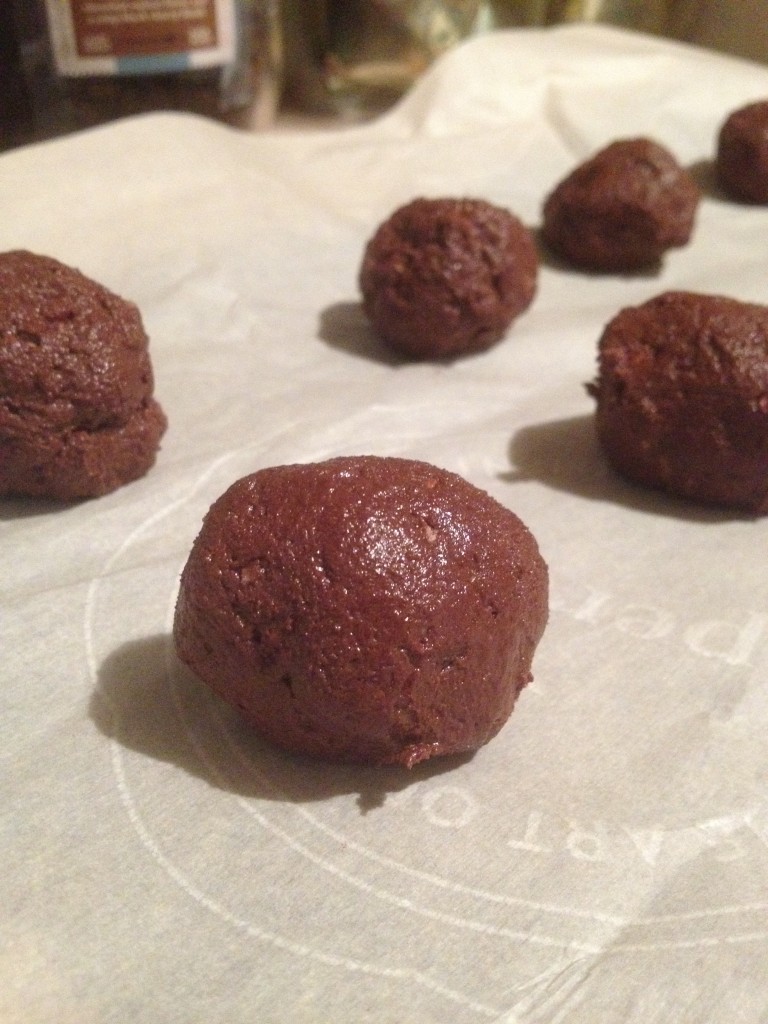
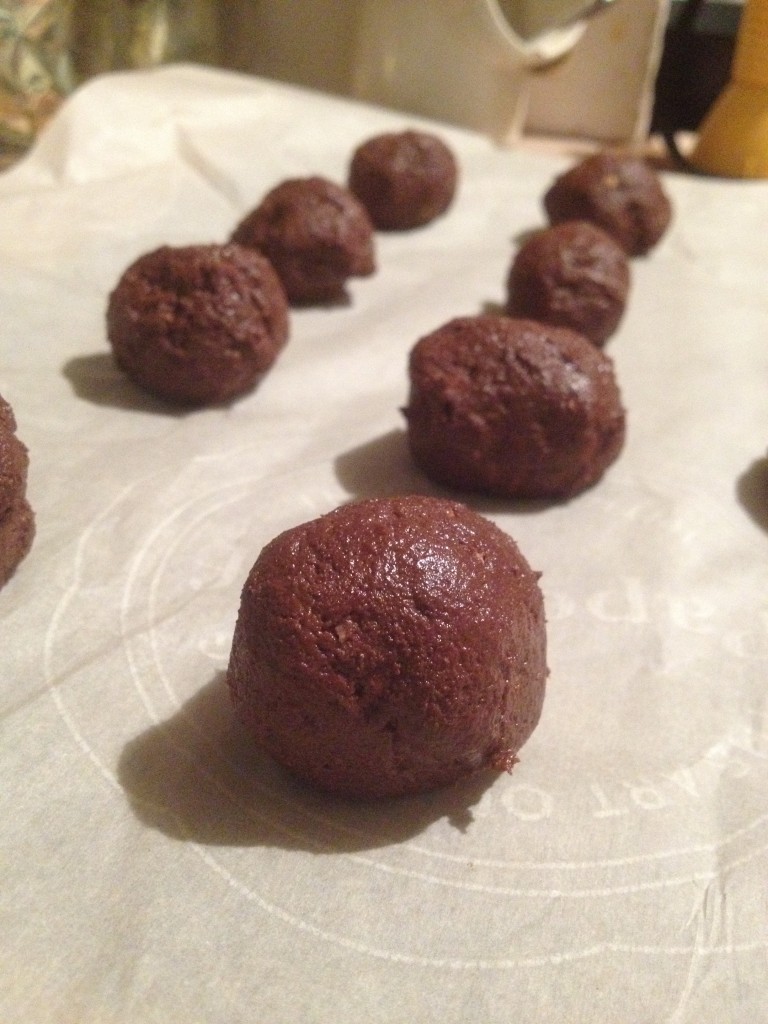
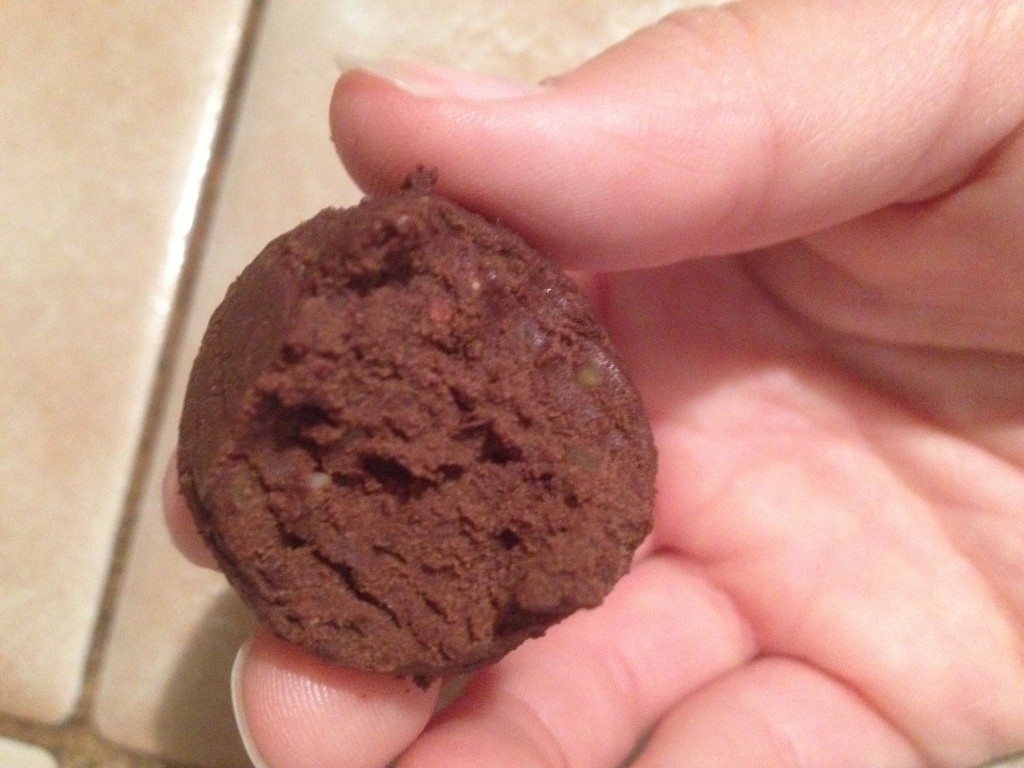
These healthy chocolate protein truffles will bring you to that fitness mindset. They are incredibly easy to prepare and also easy to pop in your mouth! The whole thing took me about 7 minutes to make, and by the time it’s morning–they’re ready! This recipe inspired me. They are chock full of protein and only sweetened by honey. I also use Silk Vanilla Soymilk to give it some yummy vanilla flavor while keeping the calories down.
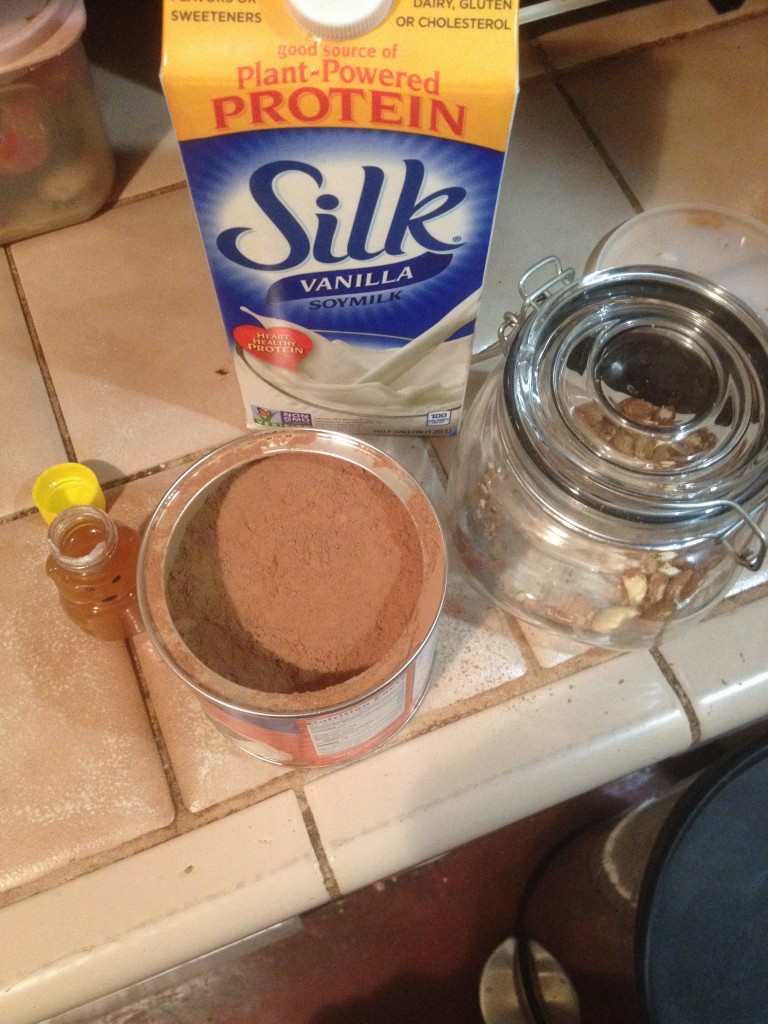
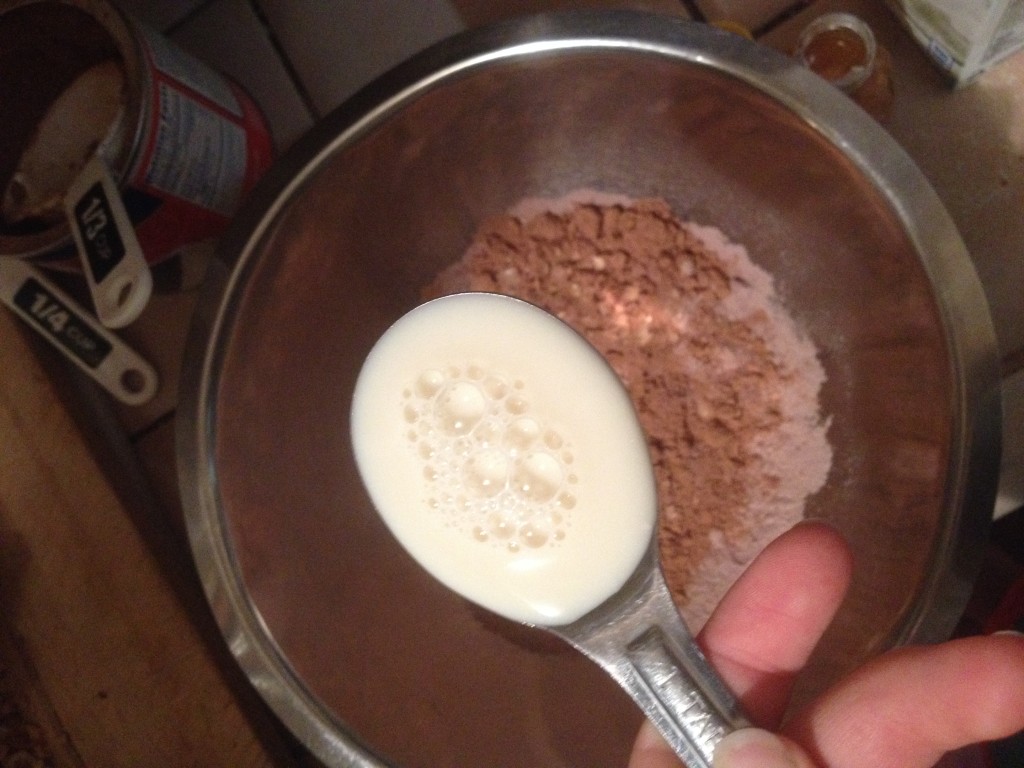
photo 1 (80) photo 2 (66) photo 3 (62) photo 4 (49)photo (91)


Healthy Chocolate Protein Truffles
Yields 12
A healthy approach to a classic dessert
Write a review
Print
Prep Time
7 min
Prep Time
7 min
Ingredients
  1. 3/4 cup chocolate protein powder
  2. 1/3 heaping cup cocoa powder
  3. 2 1/2 tbsp butter
  4. 1 tbsp honey
  5. 5 tbsp Silk Vanilla Soymilk
  6. 2 tbsp ground almond
Instructions
  1. Mix all ingredients together (doesn't matter in what order)
  2. Form into small balls and place on a baking sheet with parchment paper atop
  3. Put in the fridge for a few hours or overnight
hungry and fit https://hungryandfit.com/
See? Easy peasy truffle time. I just have to limit myself to a couple per hour. Silk has helped me achieve a healthier recipe. If you want more Silk in your life (and the chance to win an entire year’s worth of Silk products), sign up for the Silk newsletter. There are coupons at least once a month, plus lots of cool giveaways. Silk Facebook page has also inspired me to make recipes such as this one. The versatility of their products has always amazed me which is why I continue to use their products. Be playful with this recipe–you can use any kind of protein powder, any flavor, and any type of Silk milk! Have fun and make it your own. Use this recipe to stay hungry and fit!

This conversation is sponsored by Silk. The opinions and text are all ours.
 

spacer

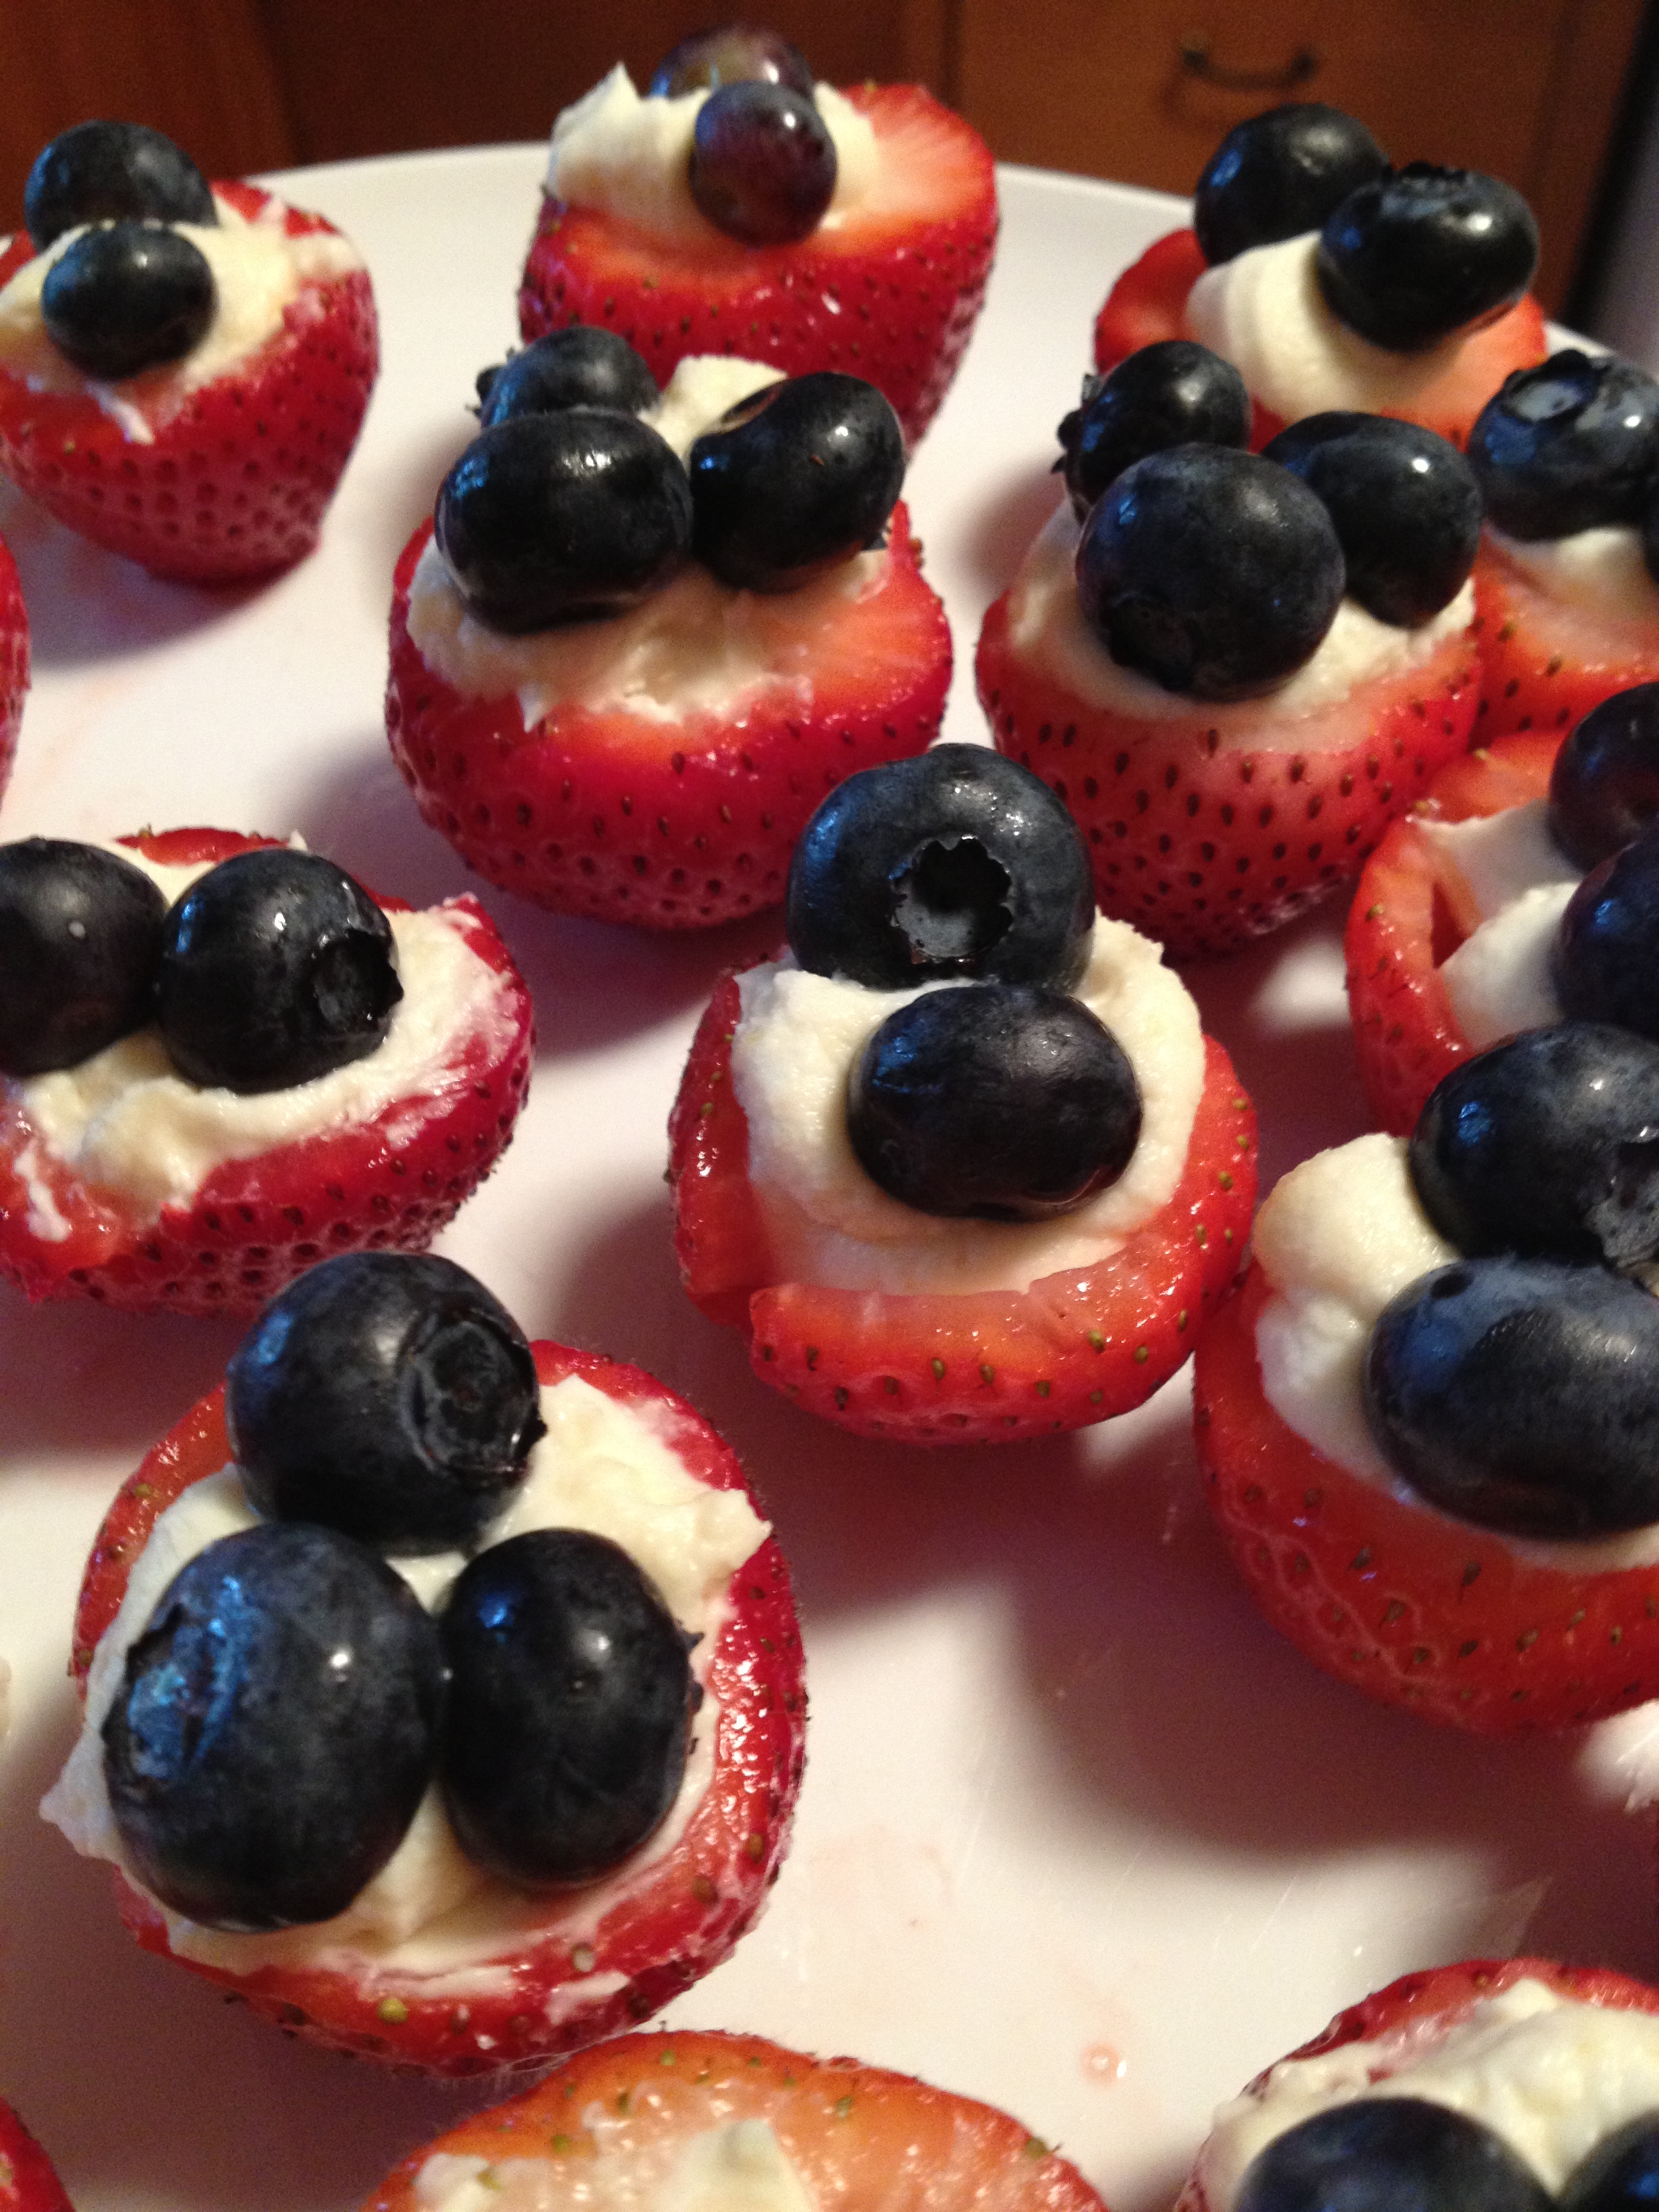
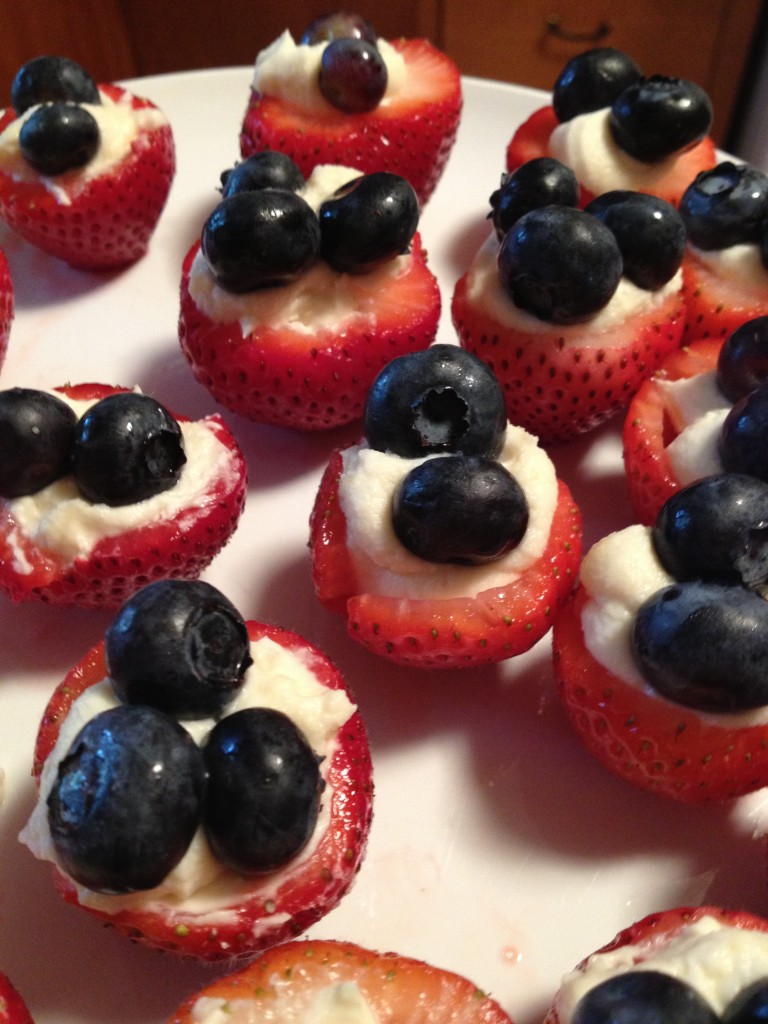
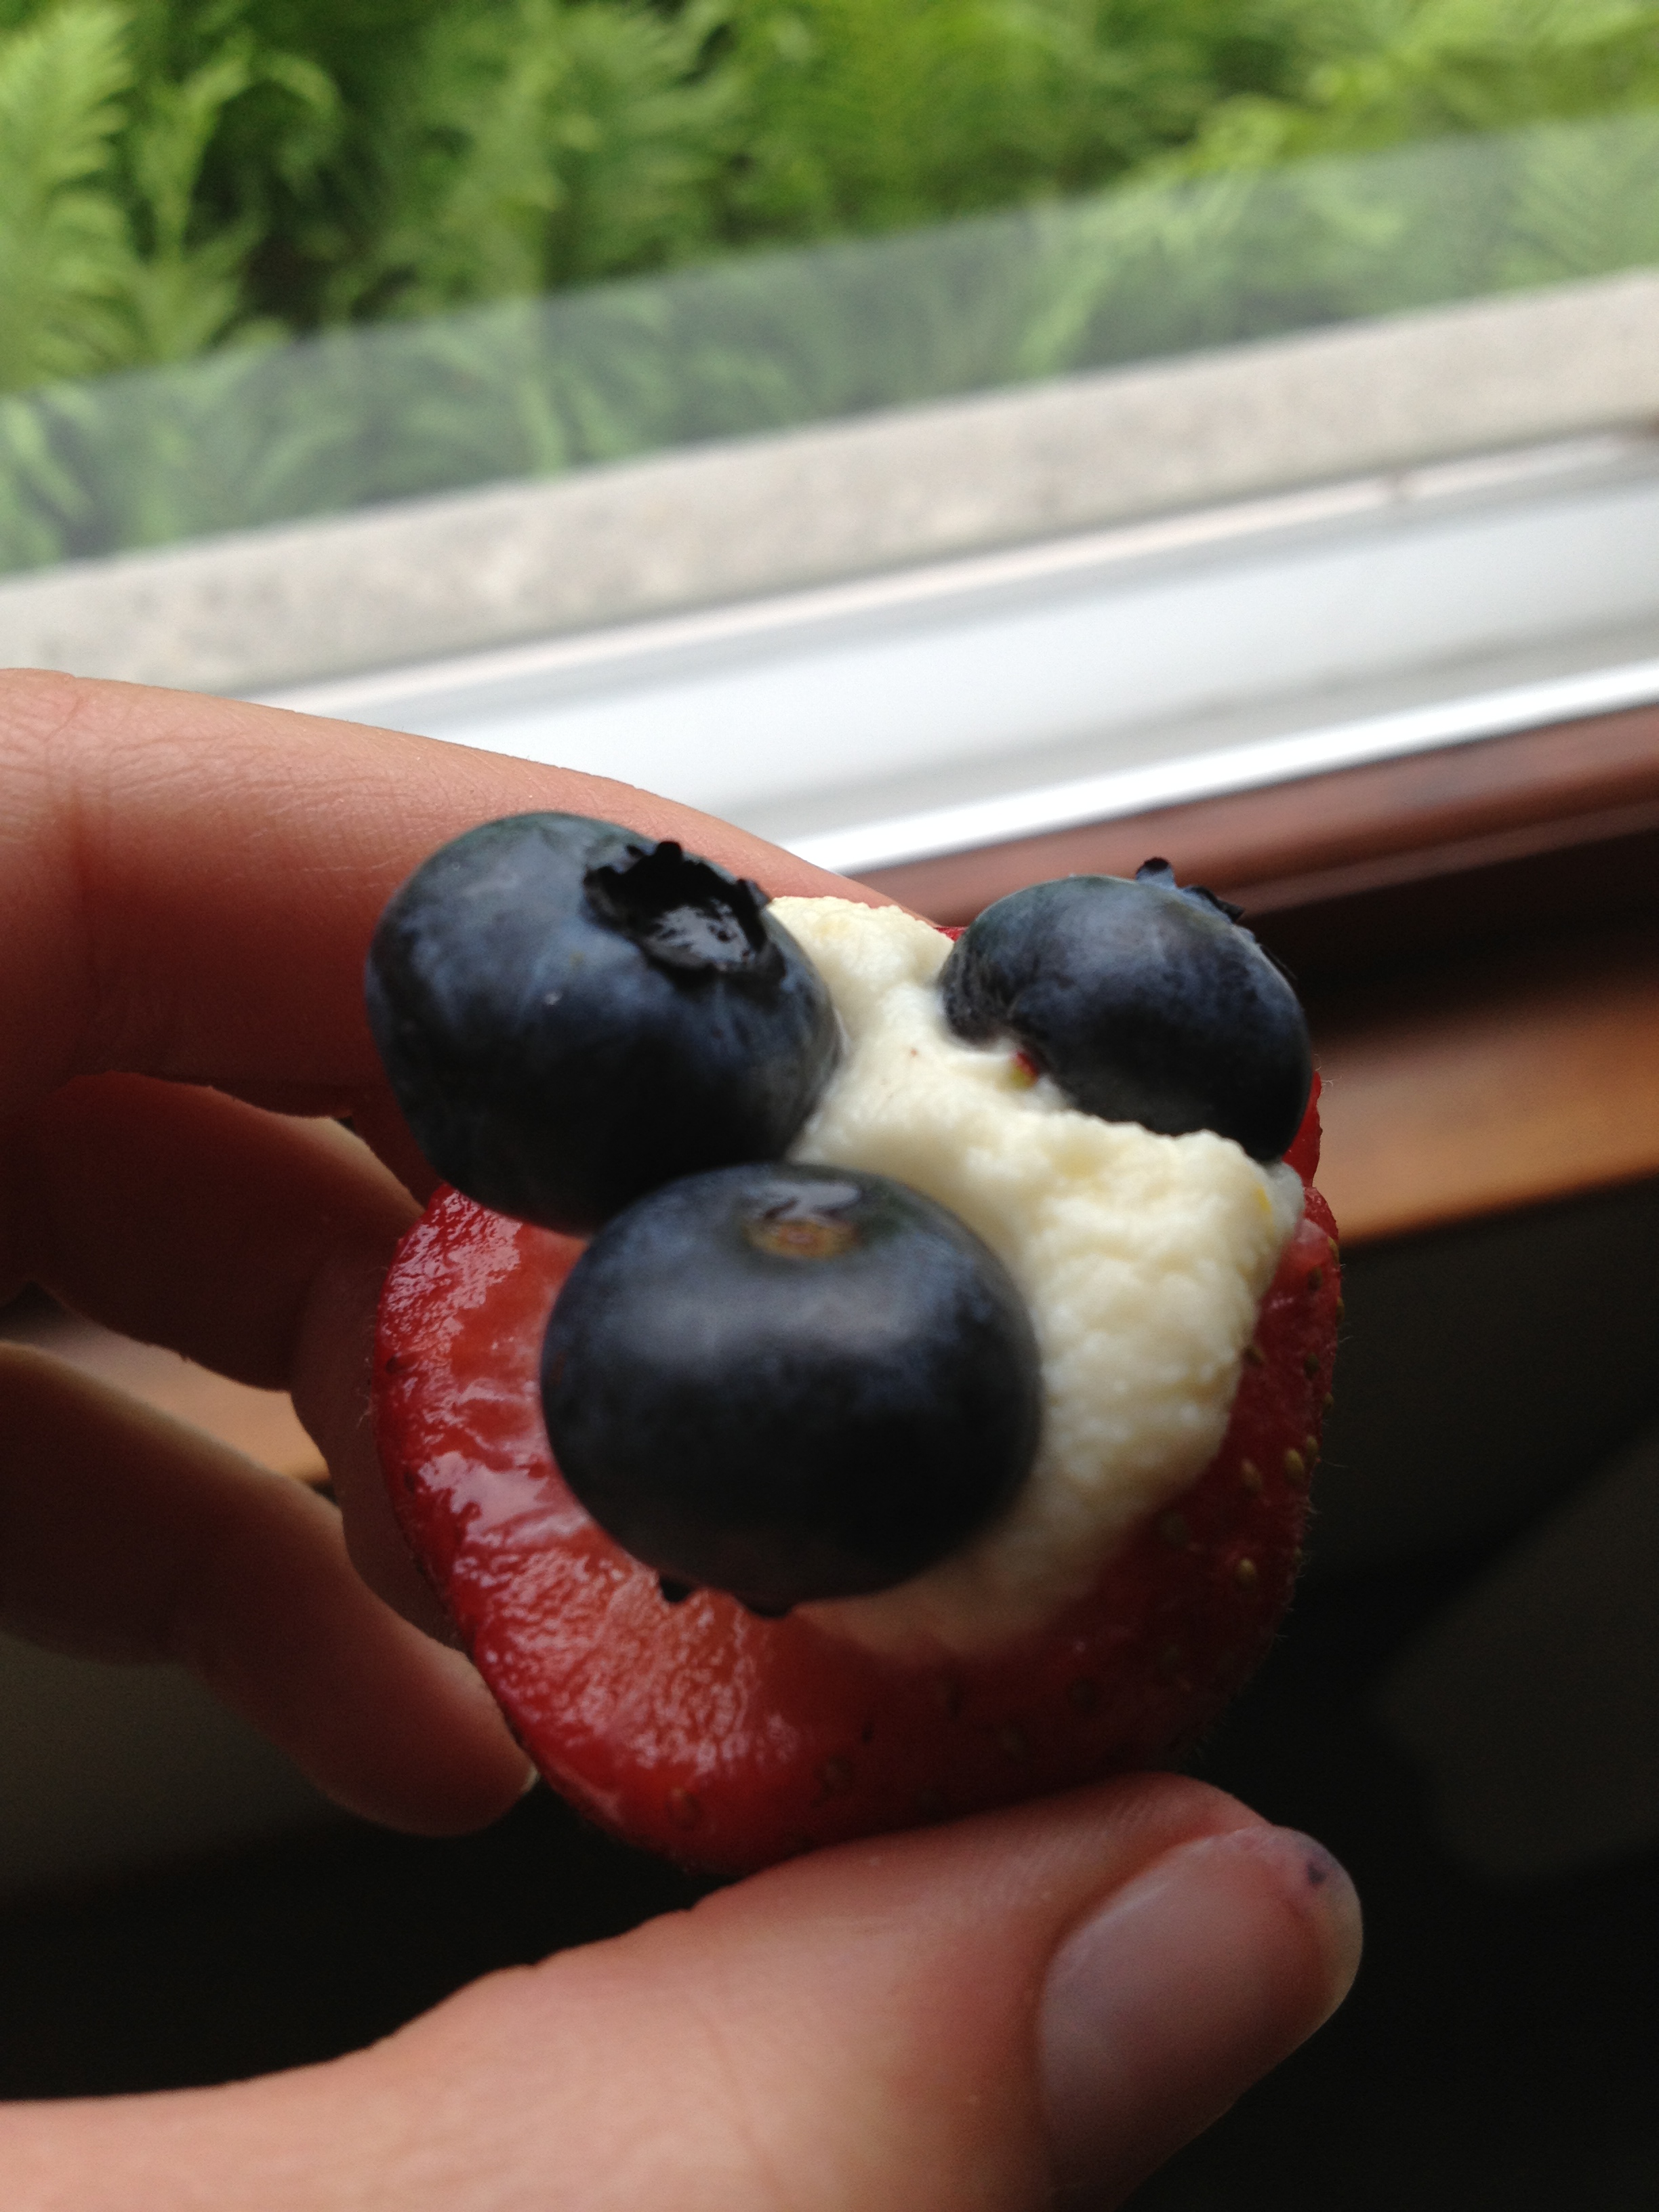
Stuffed Strawberries (4th of July Recipe)

This is a re-post of a recipe made last year, but it was so good, I had to bring it up again! It’s a perfect 4th of July recipe and it’s healthy and delicious. Sure, pie and such are popular on Independence Day, but you can’t beat this. You get your sweet fix without the heaviness of the usual foods. This special dish involves fruitdairy, and happiness and doesn’t take longer than 15-20 minutes to make! I got it from here and added a bit of lemon into it and took out some sugar.

Beautiful sight

Beautiful sight

photo 2 (5)

photo 3 (5)

Hard not to eat it all

Hard not to eat it all

photo 5 (3)

Yum yum yum

Yum yum yum

photo 2 (6)

Stuffed Strawberries
A healthy treat for the 4th of July
Write a review
Print
Prep Time
15 min
Prep Time
15 min
Ingredients
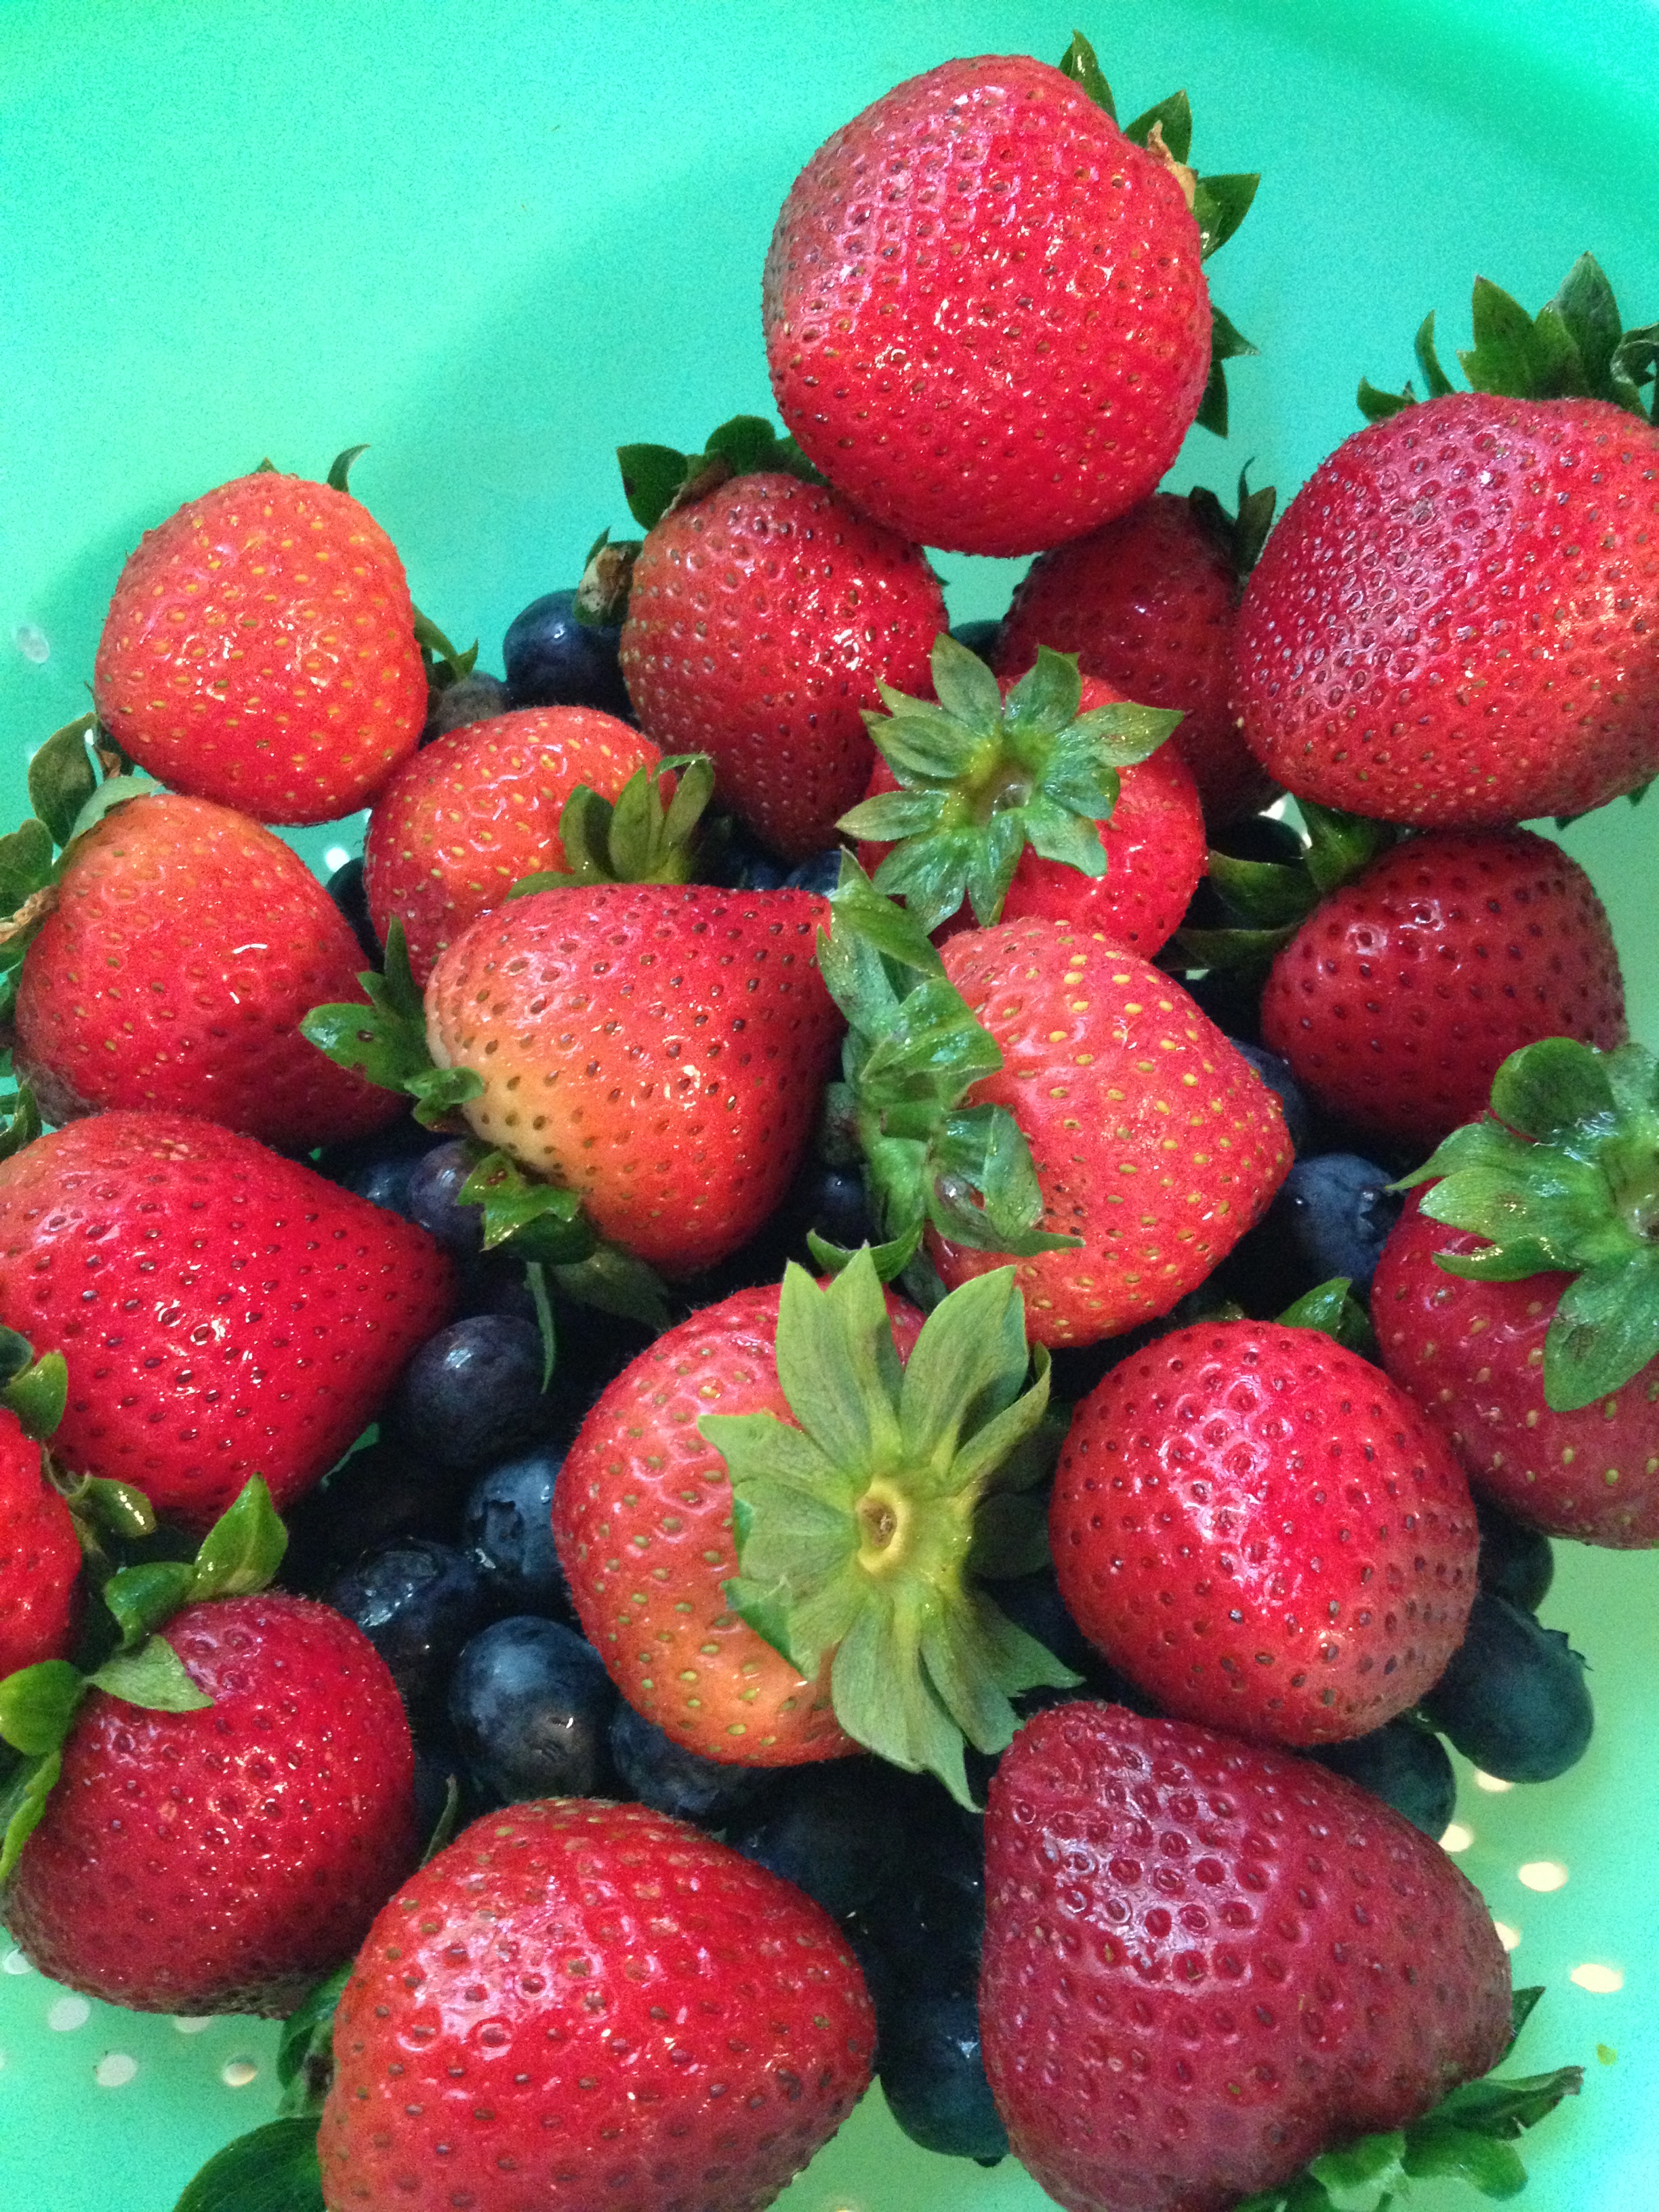
  1. a tin of strawberries (I just usually get the regular pound at the grocery)
  2. a tin of blueberries (same thing)
  3. 5 oz marscapone
  4. juice of a lemon
  5. lemon zest
  6. 2 tbsp powdered sugar
  7. 1 tsp vanilla extract
Instructions
  1. Wash the fruit and pat dry all of it
  2. Take the strawberries and cut the green ends off and also a little portion of the tip so they can stand upright on a platter
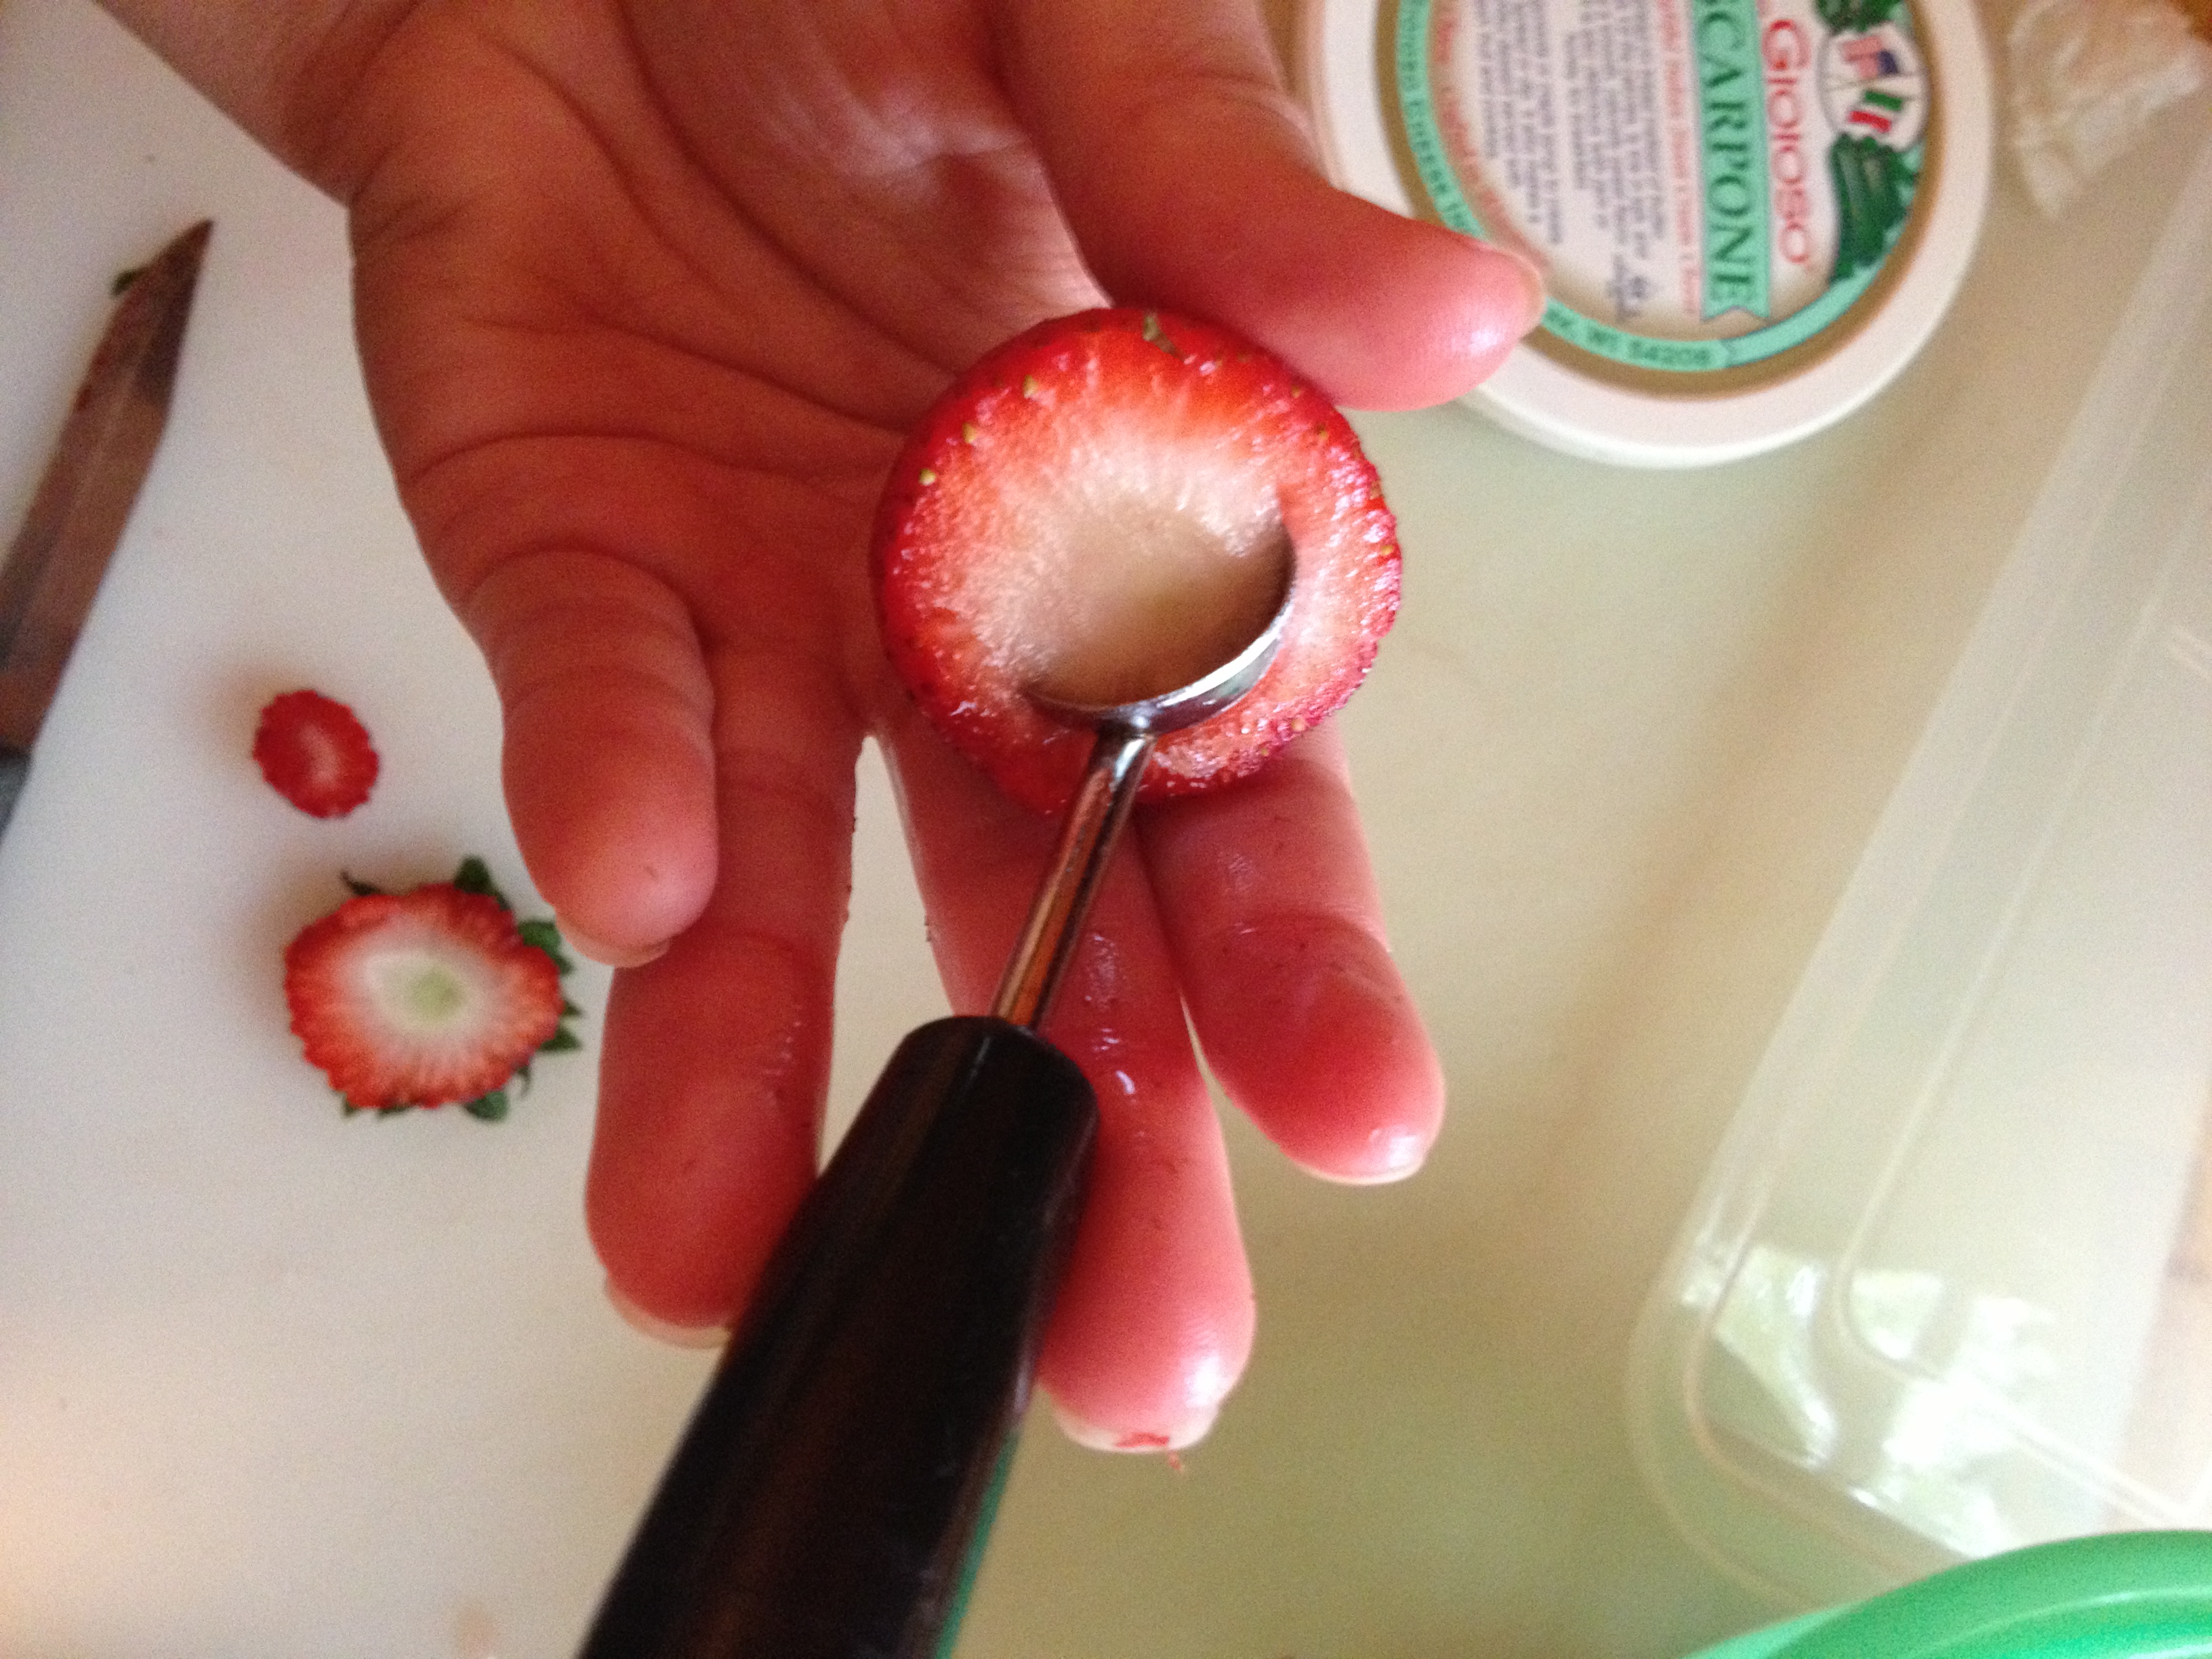
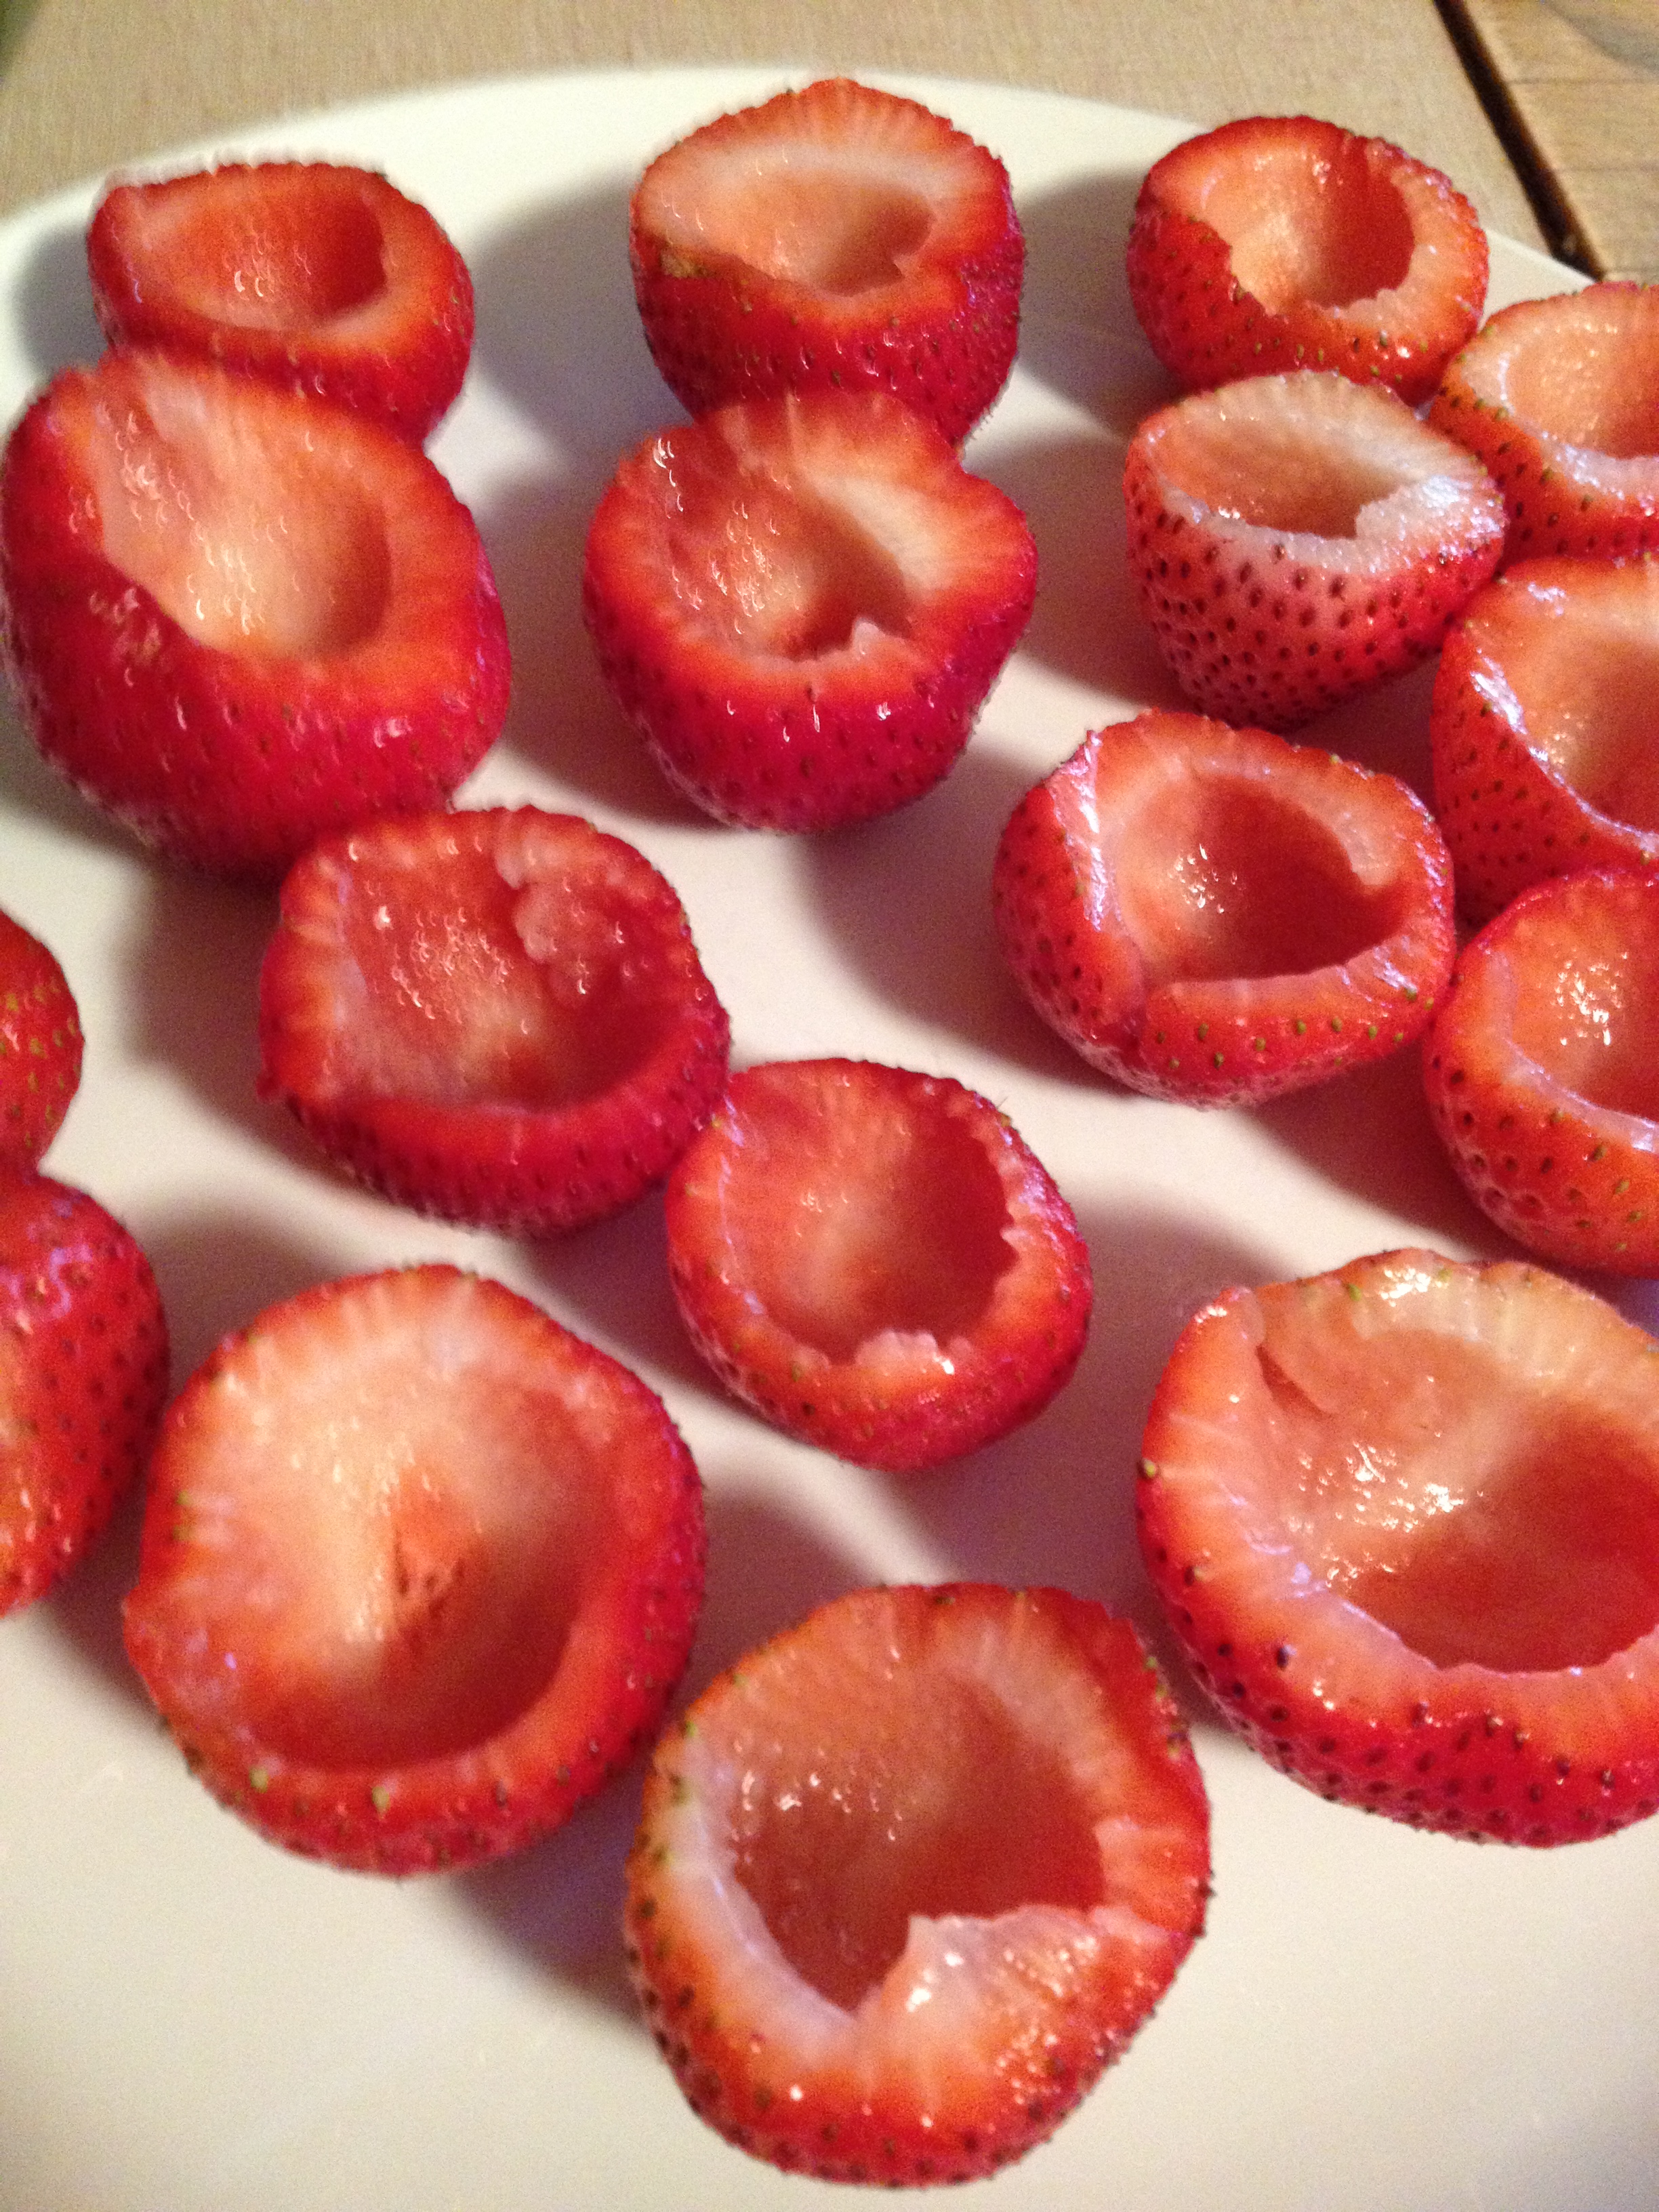
  3. Take a melon baller and ball out of the bottom, creating a crevasse.
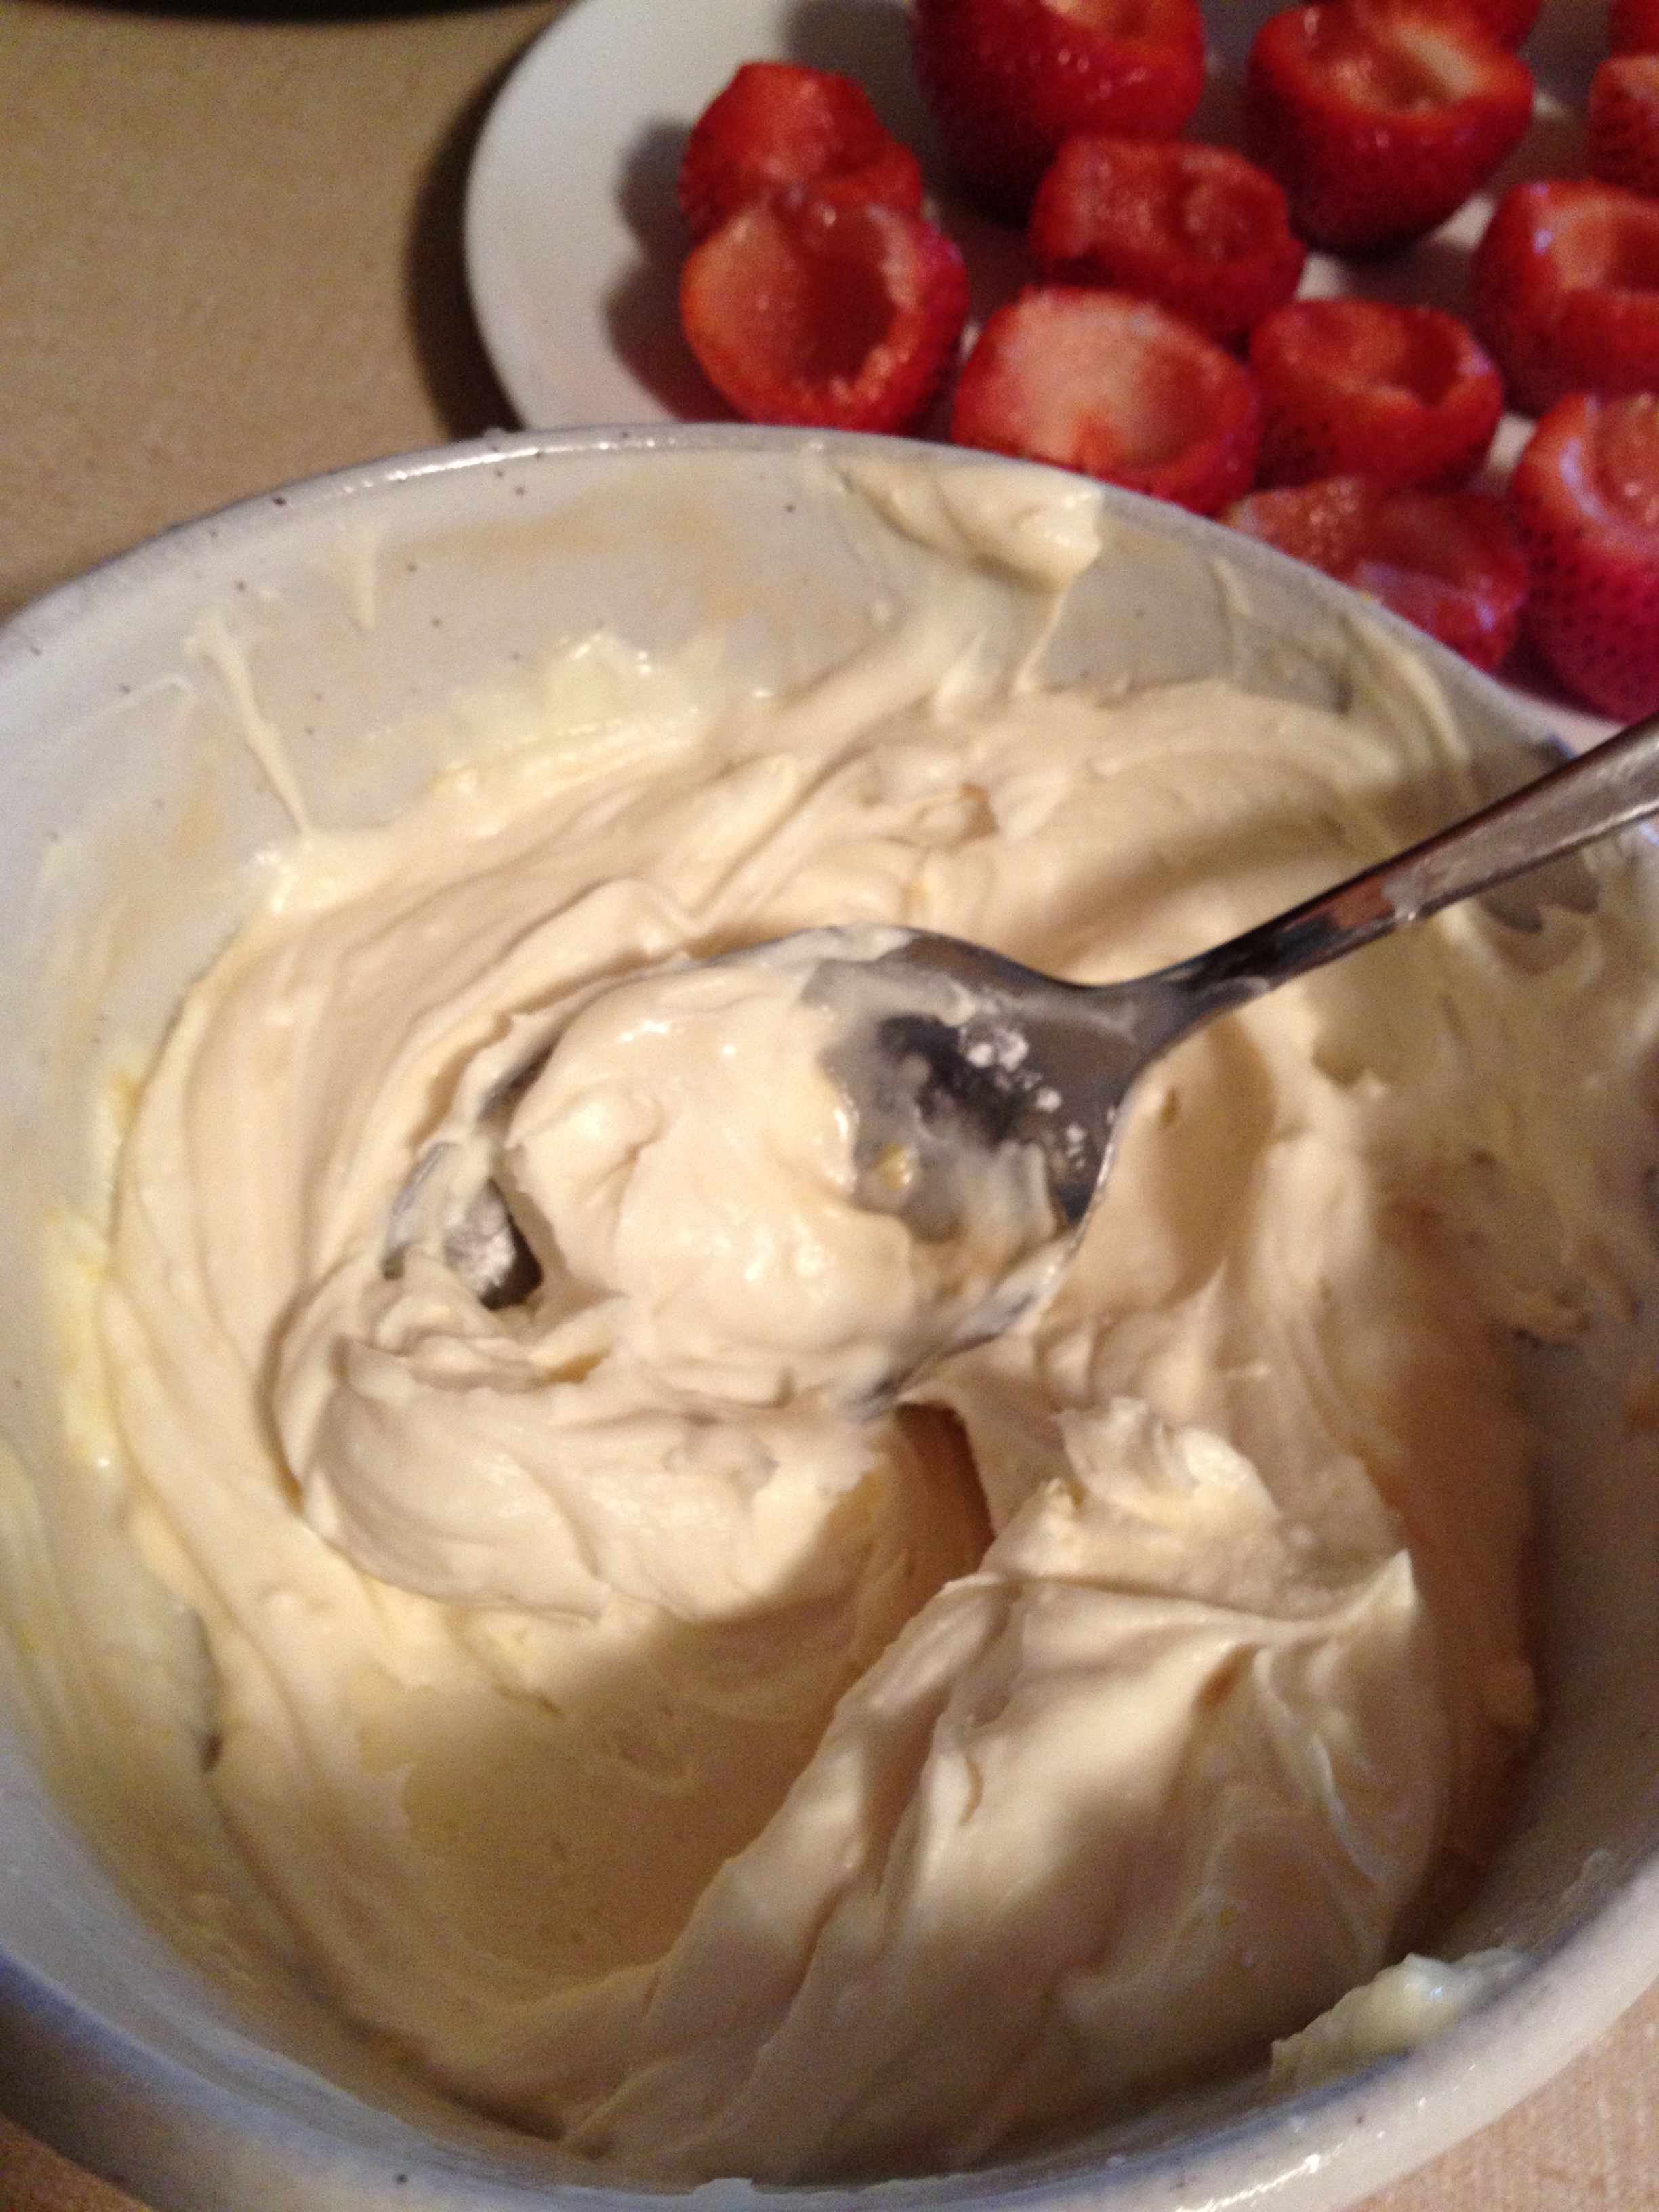
  4. Once your strawberries are all "pitted" and plated, let's turn to the filling. Put 5 ounces of marscapone cheese and put it in a small-medium bowl
  5. I would next do the lemon juice. Cut the lemon in half and squeeeeeze all that juice out.
  6. Next, grind the lemon on a grater and get a good amount of zest (people say 1 tsp, but I eyeball it)
  7. Then, throw the powdered sugar and vanilla in and stir! Mix it all up really well
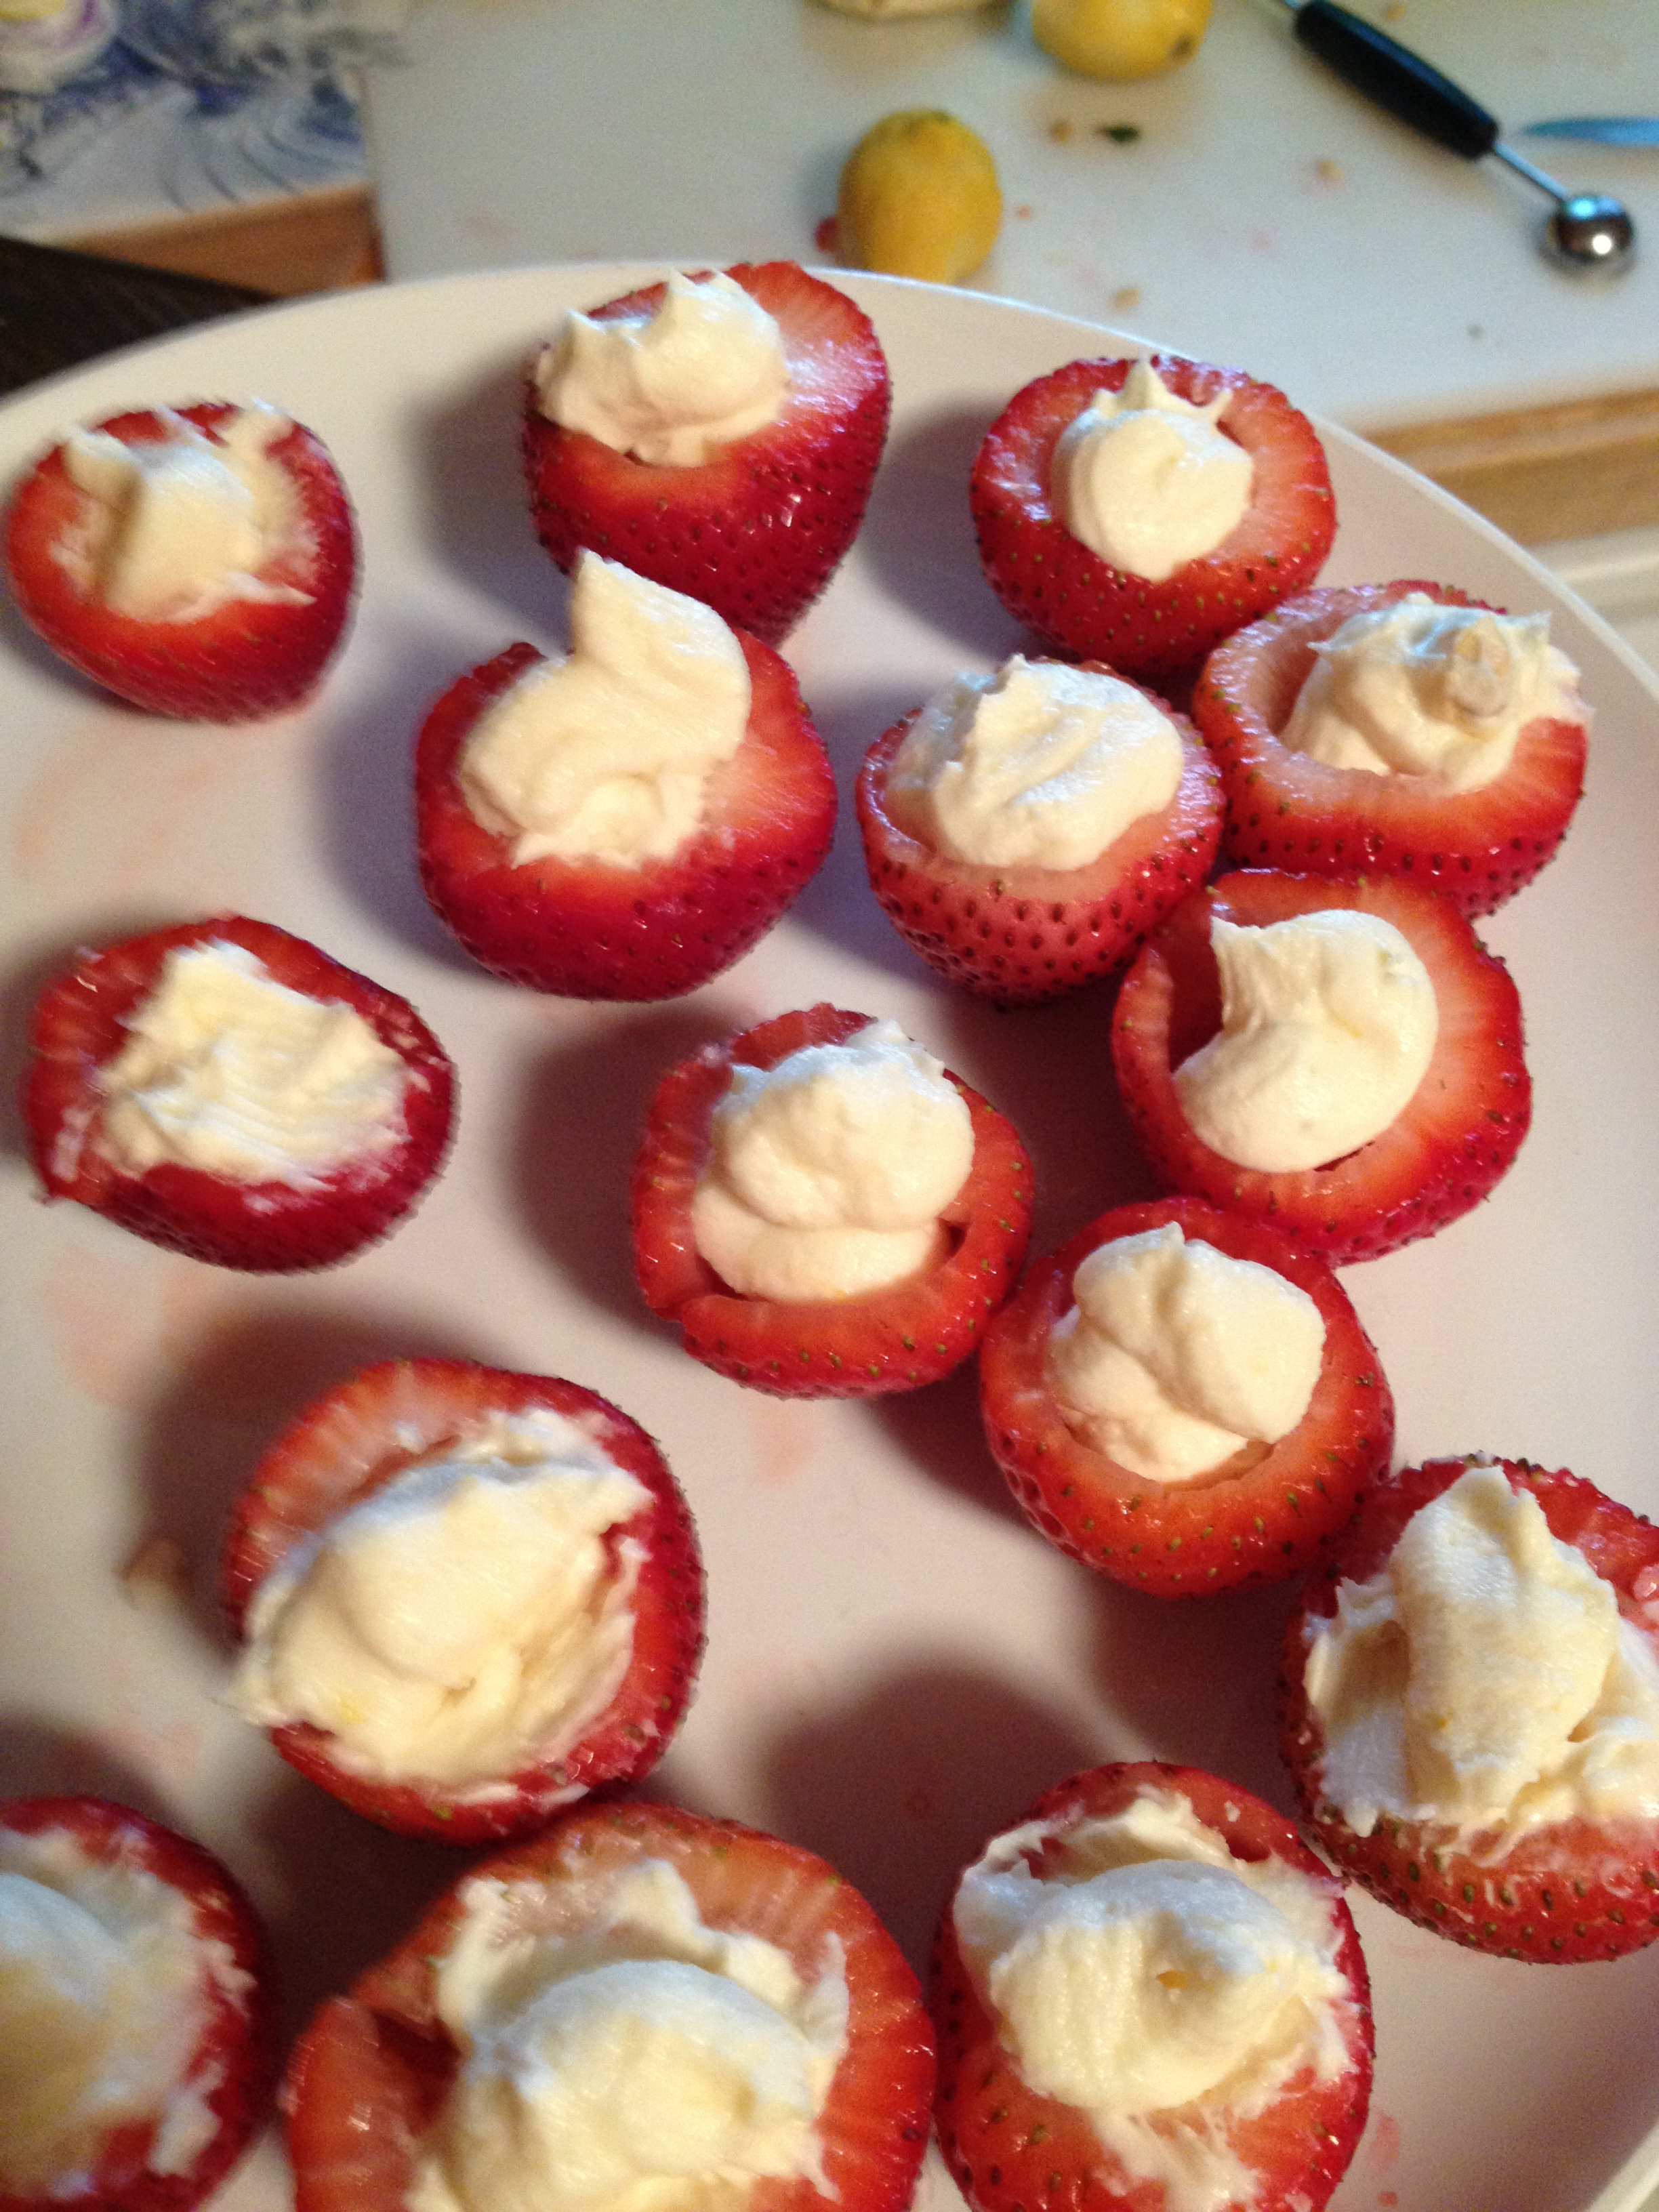
  8. Now comes the most difficult part: take the marscapone mixture and put it into a re-sealable bag and snip a corner off. Use this contraption to fill the pits in the strawberries up with the mixture
  9. Once all the strawberries are filled to perfection, place the blueberries on top of the cream in the strawberries. And that's it!
Adapted from Gina Marie's Kitchen
hungry and fit https://hungryandfit.com/
This is an easy, healthy treat you can substitute for pie or something else you’d like to stay away from on those holiday food feasts.  How could you do wrong with this one? It’s easy to do, pretty to the eye, and delicious enough to impress. I’m sure whoever you are celebrating with this year will enjoy this special, healthy treat. Make this recipe if you’re looking to stay hungry and fit! 

photo 3 (7)

spacer

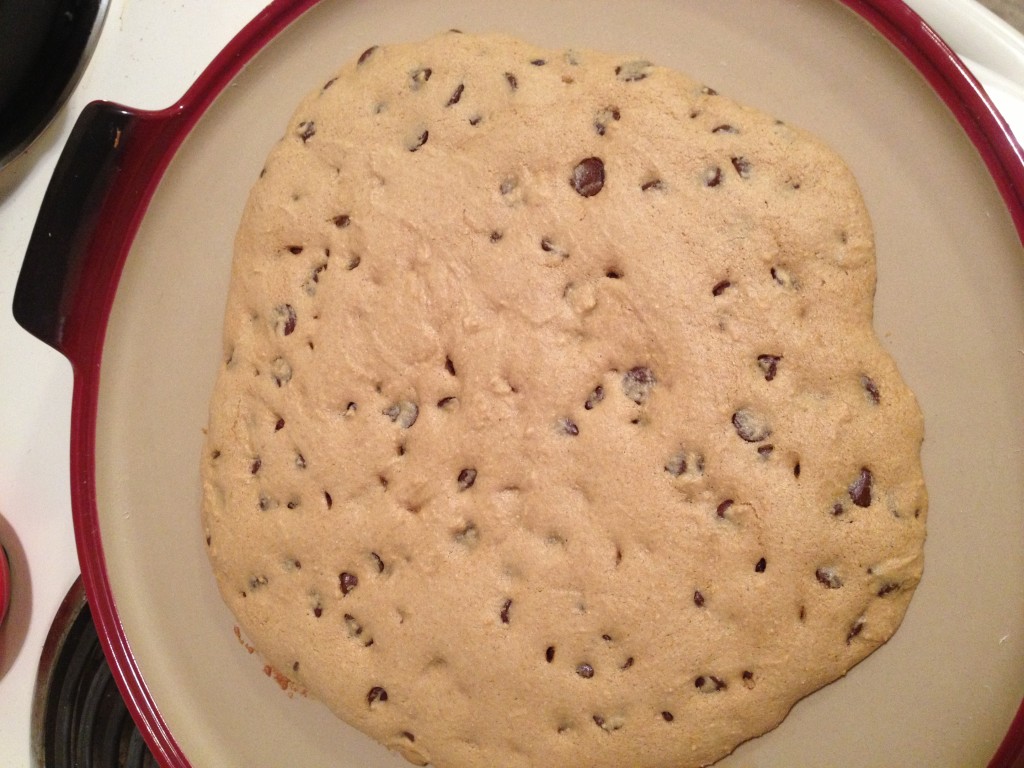
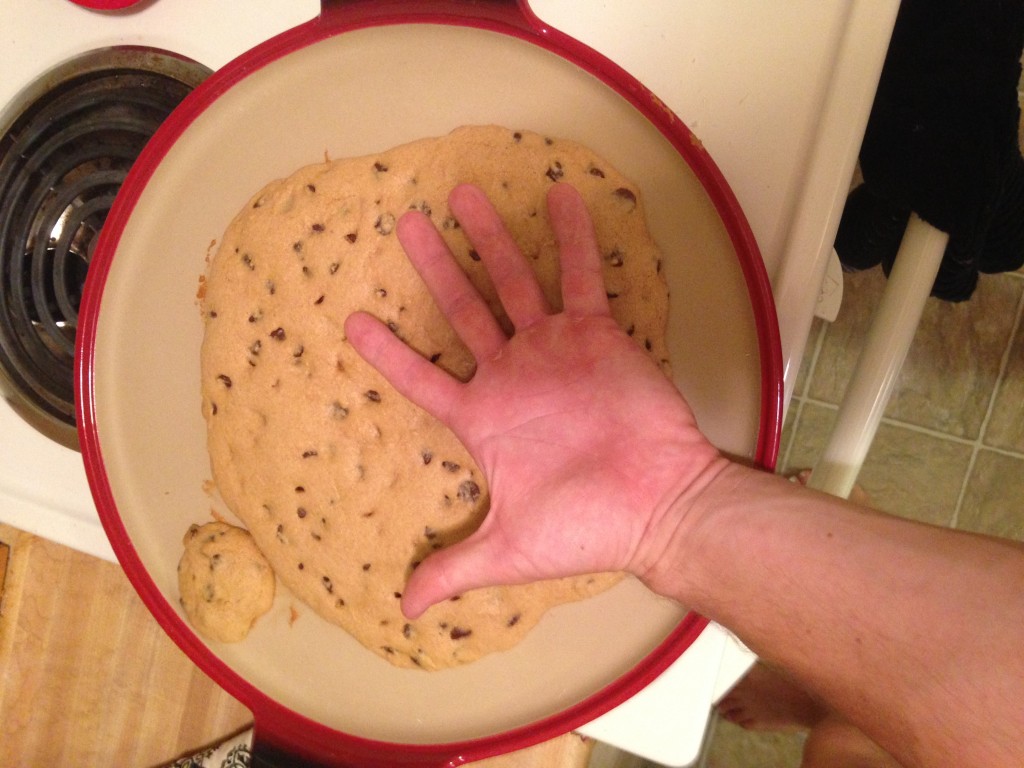
Whole-Wheat Chocolate Chip Cookie Cake

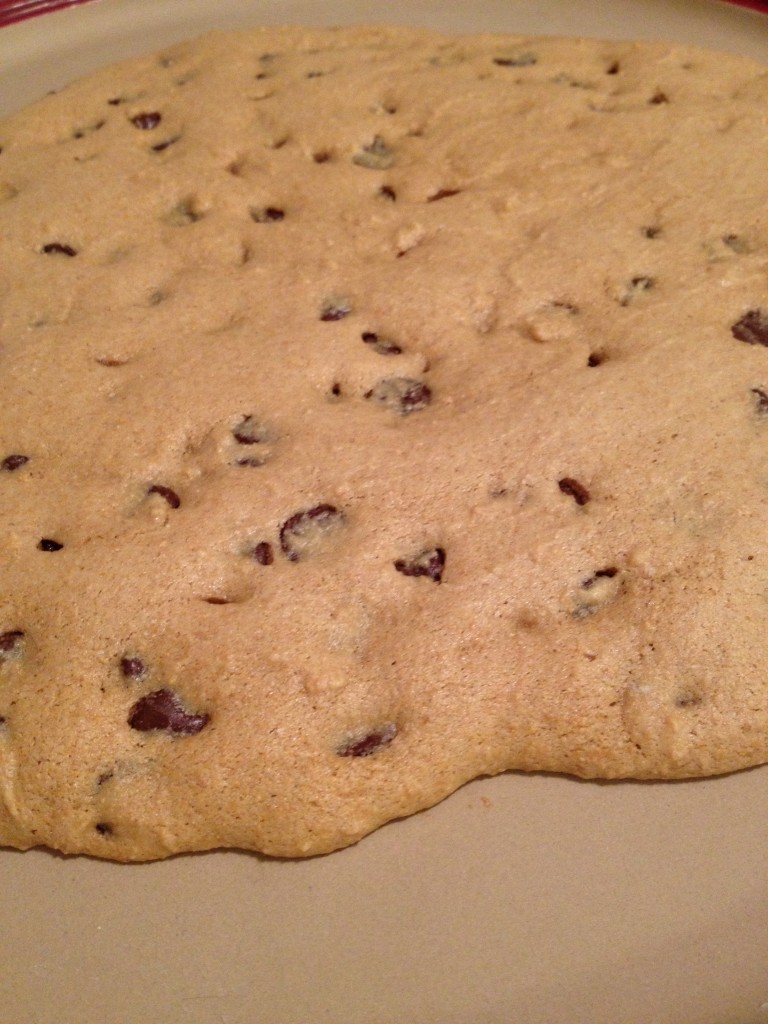
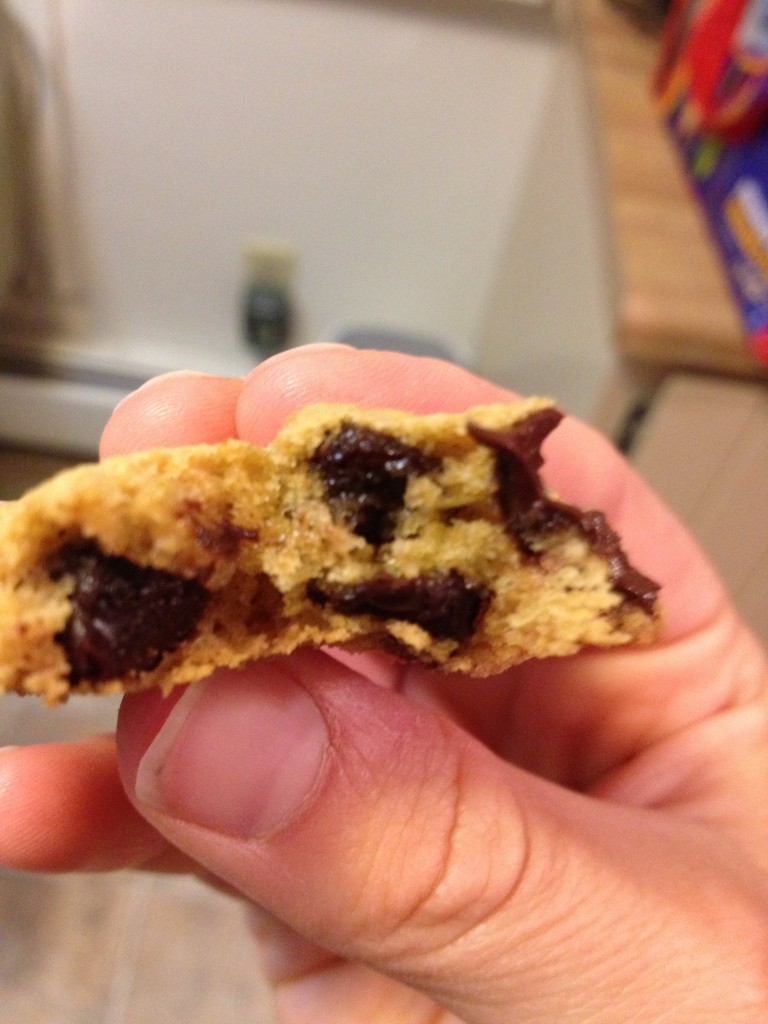
Whew, that’s a title that takes a breath out of you! And it should, really, because it is darn delicious! I love it when I have a reason to bake (even though I don’t always need one). This time it was for a co-worker’s birthday. I had just recovered from the flu, so I didn’t want to leave the house for materials. So after using the thinking cap for a moment or two, I came up with the perfect idea–chocolate chip cookie cake. Perfect for celebration as a cake, but great because I always have ingredients to make cookies. To throw a healthy spin on it, I used whole-wheat flour and not much sugar at all. One of the best parts about this recipe is that it is super simple and easy!

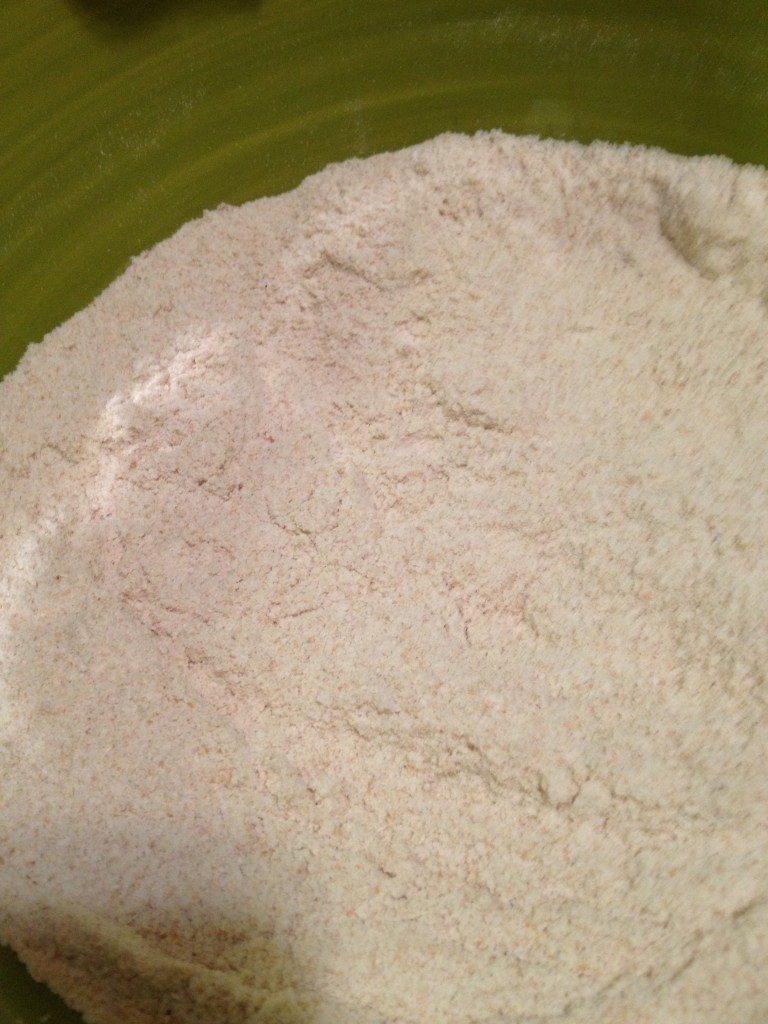
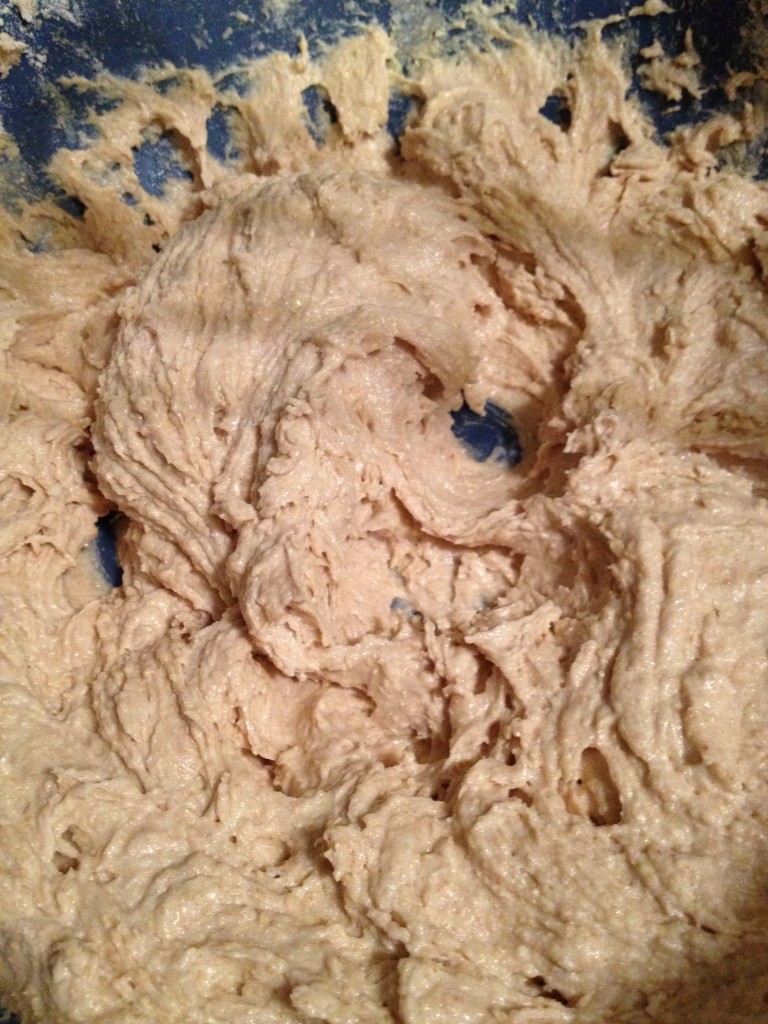
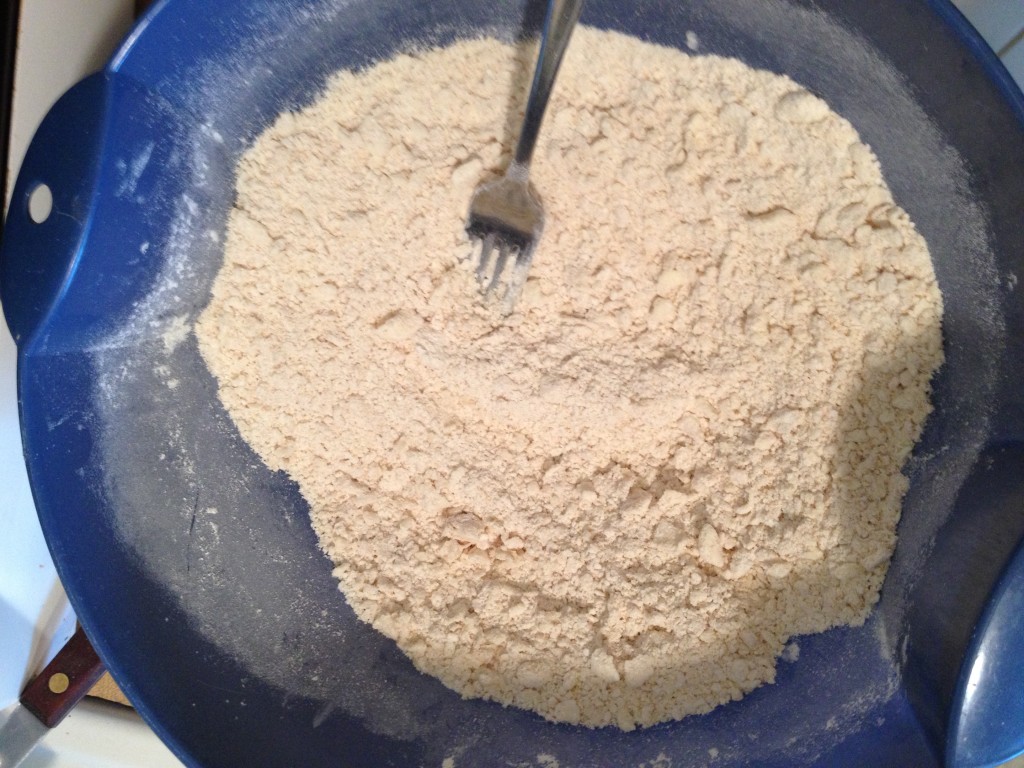
Start with the dry...

Start with the dry…

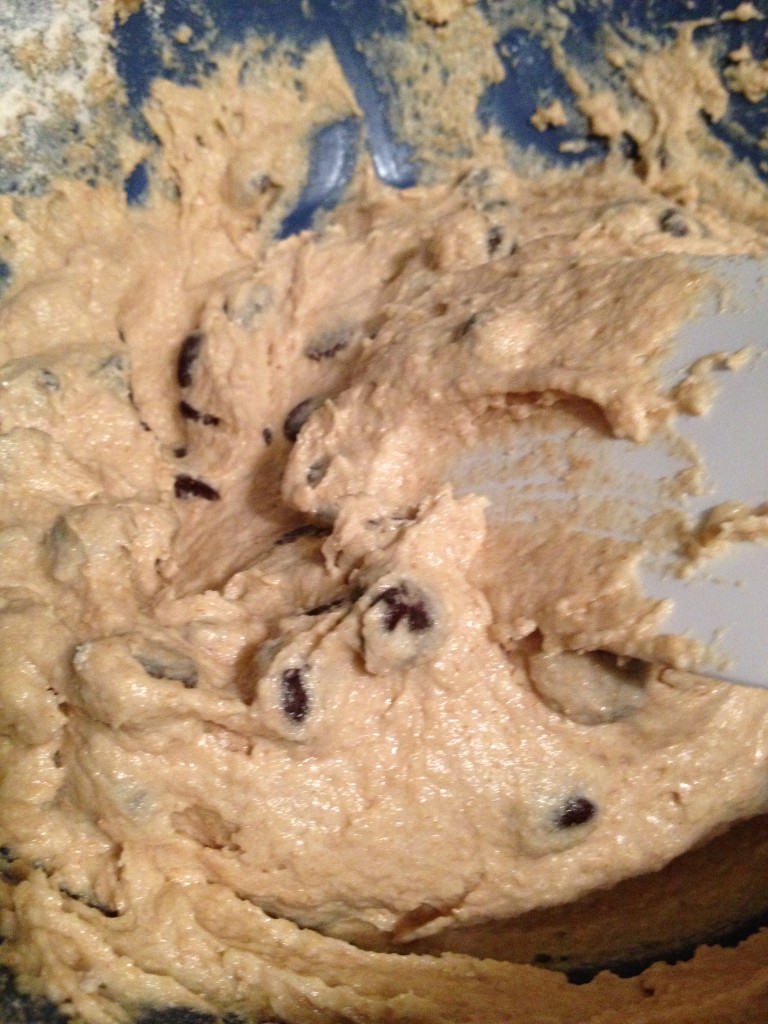
Fold it all together

Fold it all together

photo 4 (60) photo 2 (91) photo 3 (77) photo 4 (61) photo (61) photo 5 (35)

Nom nom nom

Nom nom nom

Whole-Wheat Chocolate Chip Cookie Cake
A healthier version of the cookie cake
Write a review
Print
Prep Time
10 min
Cook Time
10 min
Prep Time
10 min
Cook Time
10 min
Ingredients
  1. 1 1/4 cups whole-wheat flour
  2. 1/2 tsp baking soda
  3. 1/4 tsp salt
  4. 1/4 cup granulated sugar
  5. 1/4 cup brown sugar
  6. 1 egg
  7. 1/2 cup butter
  8. 1 tsp vanilla extract
  9. 1/2 cup milk
  10. 1 cup chocolate chips
Instructions
  1. Pre-heat oven to 350 degrees F
  2. Mix together flour, baking soda, and salt in a small bowl
  3. Get a big bowl out and either a beater or your best whisking-arm
  4. Beat the butter and sugar together until creamed
  5. Continue to mix the egg, milk, and vanilla extract in
  6. Now, beat in the dry ingredients--flour, baking soda, and salt
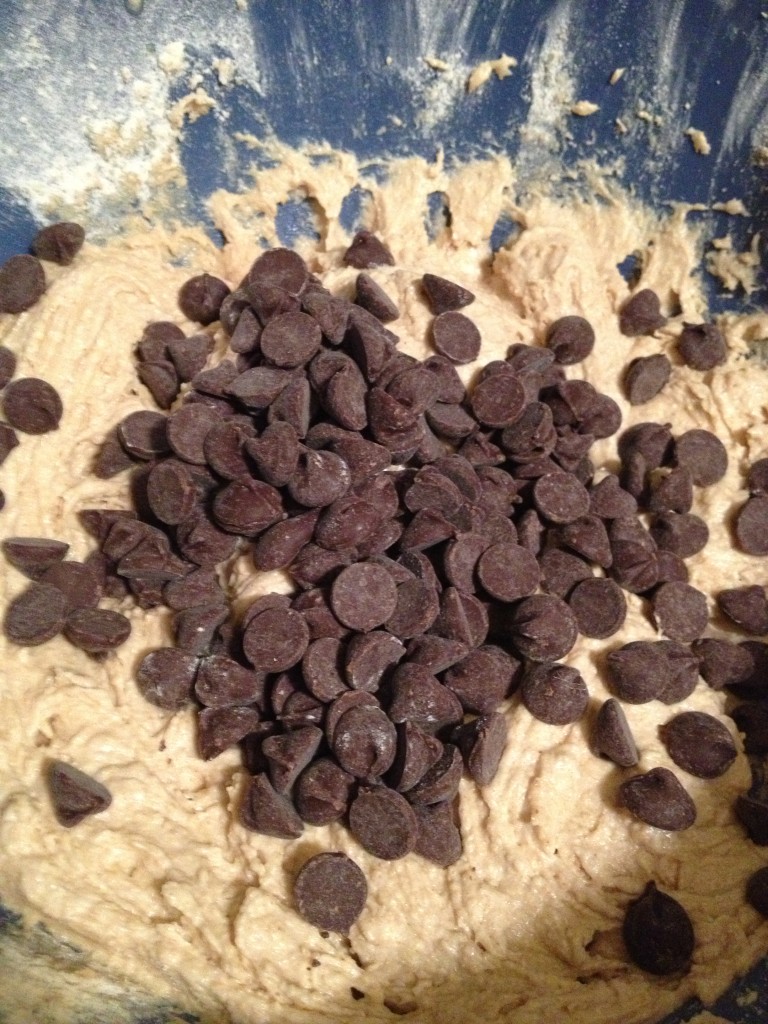
  7. Finally, fold in the chocolate chips. Not with a beater but with a whisk or a spoon
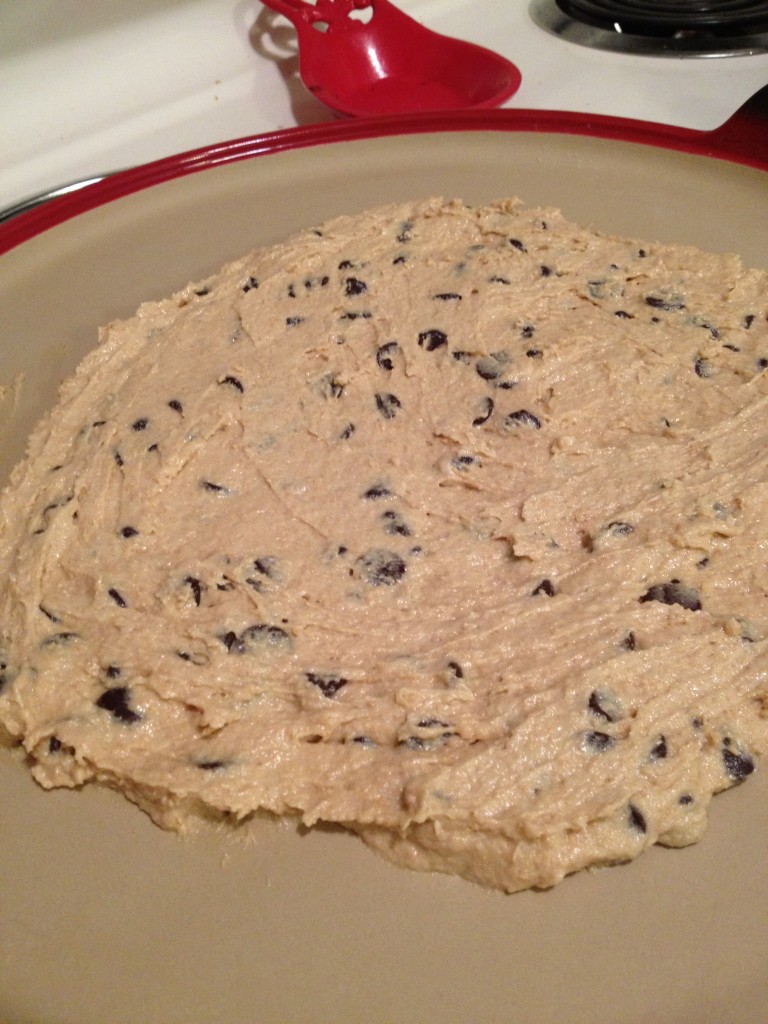
  8. Spread the dough out on a 12-13" baking sheet. Make it nice and even
  9. Put in for 8-12 minutes
  10. Take it out, let it cool, decorate (optional) and then serve!
Adapted from 100 Days of Real Food
hungry and fit https://hungryandfit.com/
Next time you’re thinking of baking a cake, why not go the simple route! It’s easy and everyone will be complimenting your baking prowess. It’ll be between you and I that it wasn’t too tough to produce. 😉 Have fun with it, put decorations on it! You can also add nuts or raisins, whatever be your fancy. Let me know how the recipe turns out for you! And as always…stay hungry and fit!

BONUS PUPPY PIC

My baking partner, best of the best

My baking partner, best of the best

spacer

Glazed Cinnamon Scones

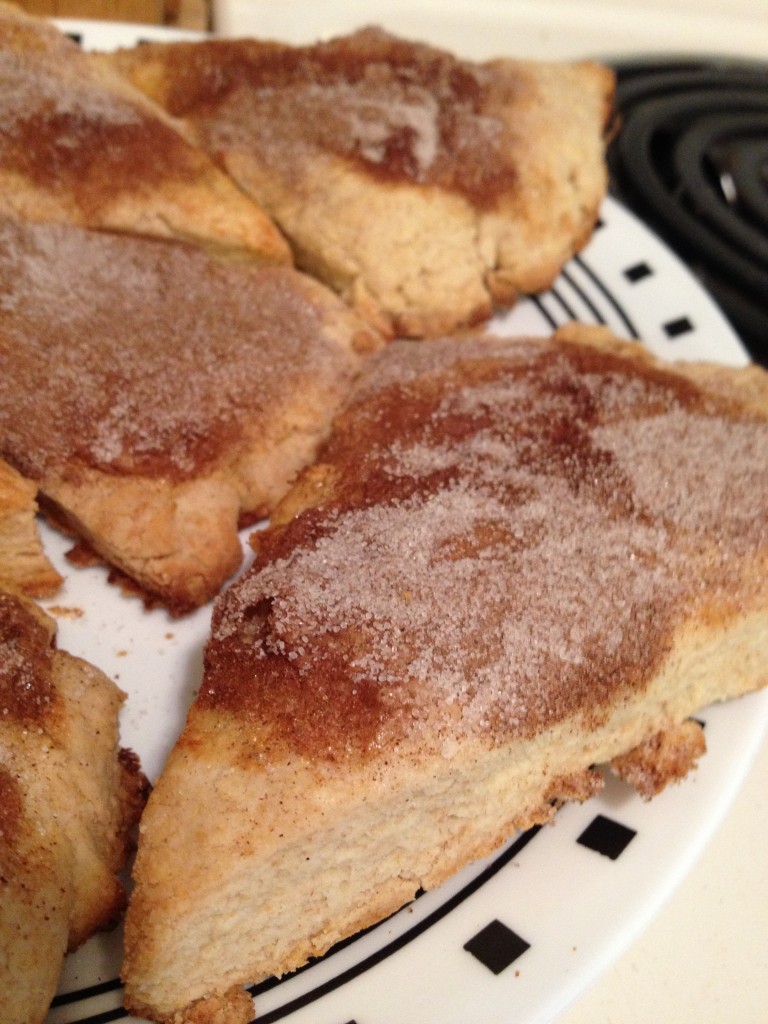
You know what day it is–Wednesday! The day I bring some form of treat to my co-workers. It was a toss-up today between glazed cinnamon scones and another healthy version of brownies. This won out this week! It looked slightly intimidating, but it was fine once I got rolling. Similar process in making the scones as in my mum’s. I substituted a few things like put less sugar and added in whole-wheat flour to make it a little more healthy. These are delicious. They simply crumble into your mouth as you bite into it. The cinnamon settles nicely with the texture–it’s a keeper. Let’s try it out! 
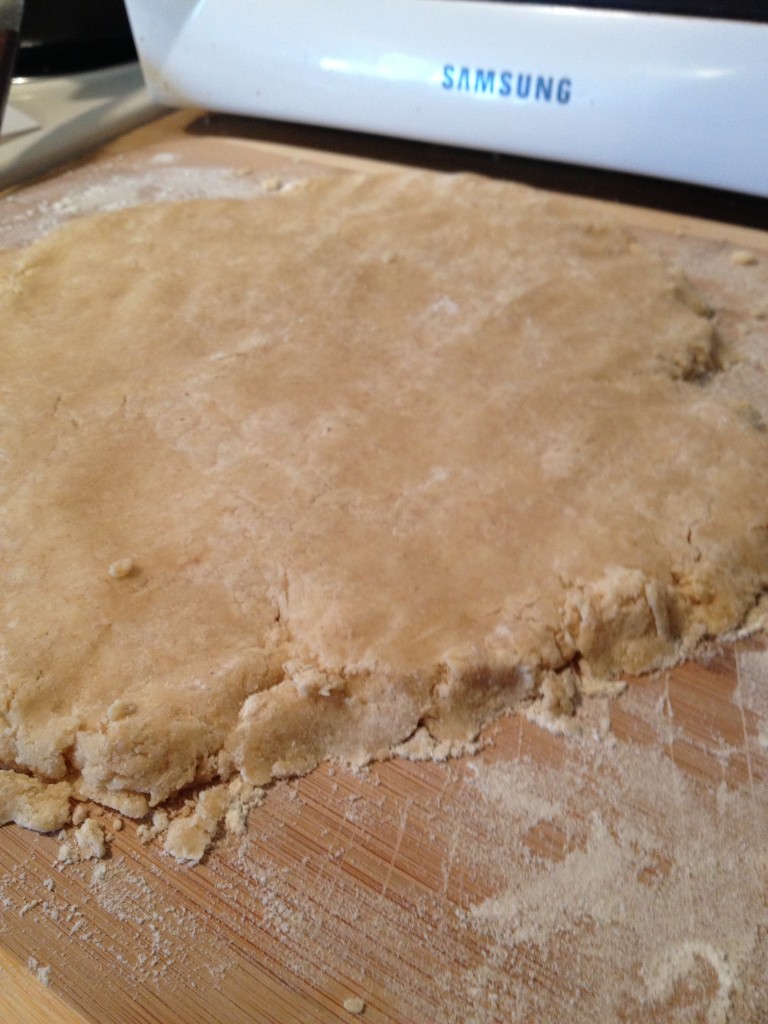
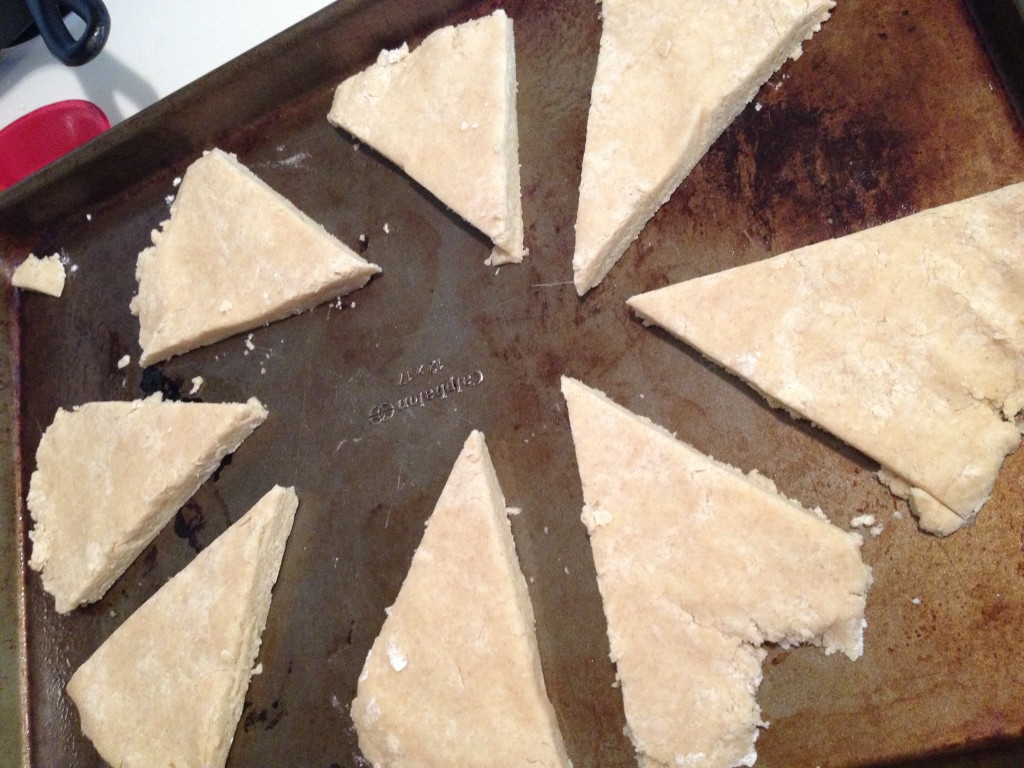
Crumble it up!

Crumble it up!

Knead it out!

Knead it out!

Pie?

Pie?

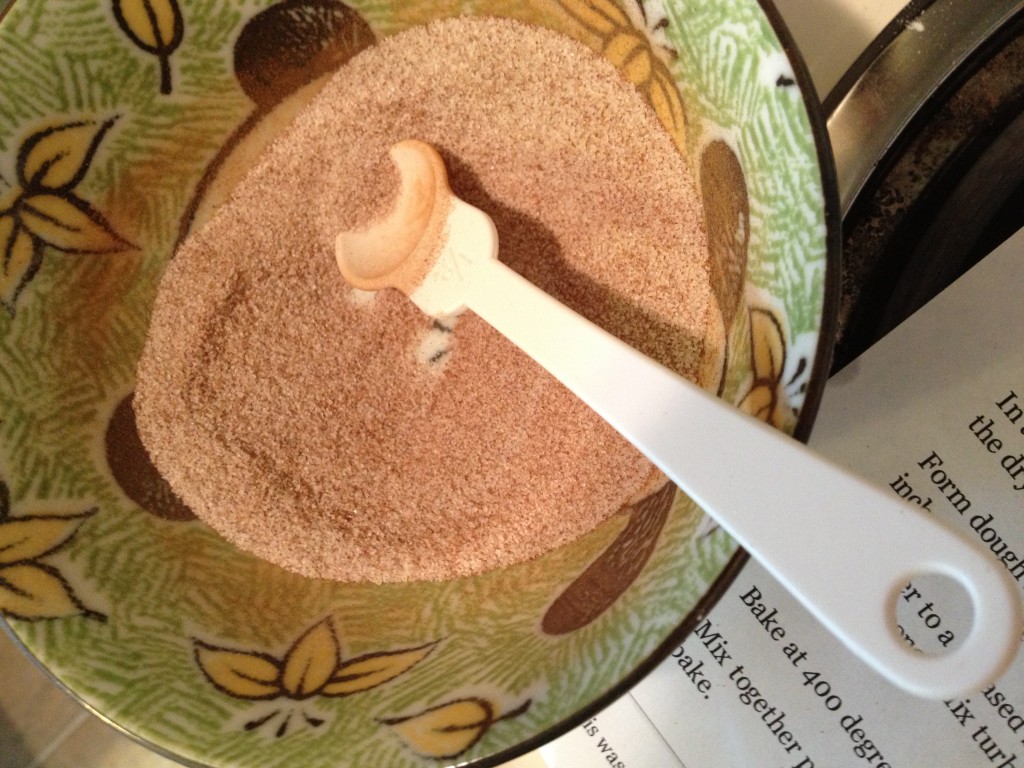
Love this mixture...

Love this mixture…

photo 5 (12) photo 2 (50) photo 4 (32) photo 3 (38)

Glazed Cinnamon Scones
Serves 8
A fiber-rich delicious glazed cinnamon scone
Write a review
Print
Prep Time
17 min
Cook Time
11 min
Prep Time
17 min
Cook Time
11 min
Scone Ingredients
  1. 2 cups flour (1 whole-wheat, 1 regular)
  2. 2 tsp baking powder
  3. 1/2 tsp baking soda
  4. 1/2 tsp salt
  5. 1/3 cup milk
  6. 1/2 tsp lemon juice
  7. 1 egg
  8. 1/2 cup butter
  9. 3 tbsp granulated sugar
Dust Ingredients
  1. 1 tbsp sugar
  2. 1/2 heaping tsp cinnamon
Glaze Ingredients
  1. 3/4 cup powdered sugar
  2. 3 tsp milk
  3. 1/2 tsp maple syrup
Instructions
  1. Let's first start with the scones. Pre-heat oven to 400 degrees F and grease up a baking sheet.
  2. Get out a big bowl and put your flour, baking powder, baking soda, and salt in there. Cut the butter into the dry mixture until it gets crumb-y.
  3. Separate the egg and put the egg YOLK in a separate bowl along with the sugar, milk, and lemon juice. Mix that up.
  4. Add this to the dry ingredients and mix it until it combines (don't overdo it)
  5. Flour up a surface (I use a cutting board) and put the dough you've made into a ball on the surface
  6. Knead it into around 1/2 inch thickness and then cut into eight pieces
  7. Place the eight pieces on the baking sheet
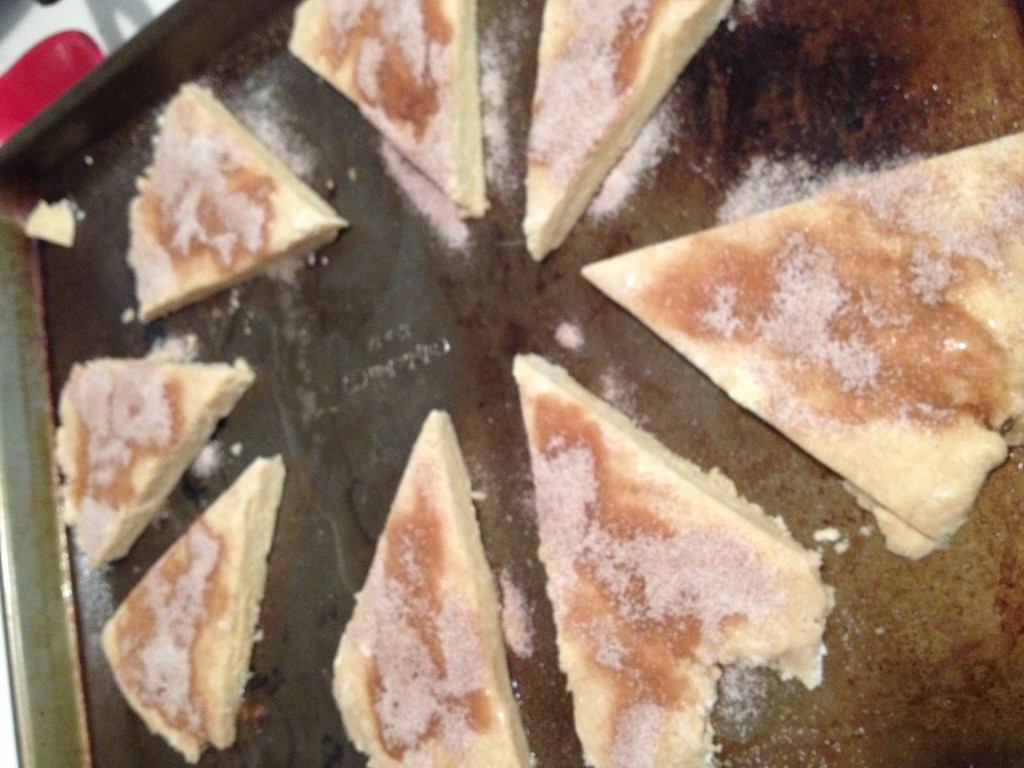
  8. Take out the egg white and whisk it until frothy. Brush it onto the scone pieces
  9. Mix the sugar and cinnamon together and sprinkle over the egg-whited scones
  10. Put in oven for 10-11 minutes
  11. While it bakes, let's make the glaze. Mix the powdered sugar, milk and maple syrup until it forms up properly into a glaze
  12. When the scones are done, let them cool a bit and then drizzle the glaze over
Adapted from Money Saving Mom
hungry and fit https://hungryandfit.com/
 Once you get rolling, you won’t stop! There may be one or two less scones going to work tomorrow because they perhaps made a way into my stomach. Oops? I hope you enjoy this recipe and use it to spread happiness all around! Keep baking to stay hungry and fit!

BONUS KITTY PIC

Sleepies

Sleepies

spacer

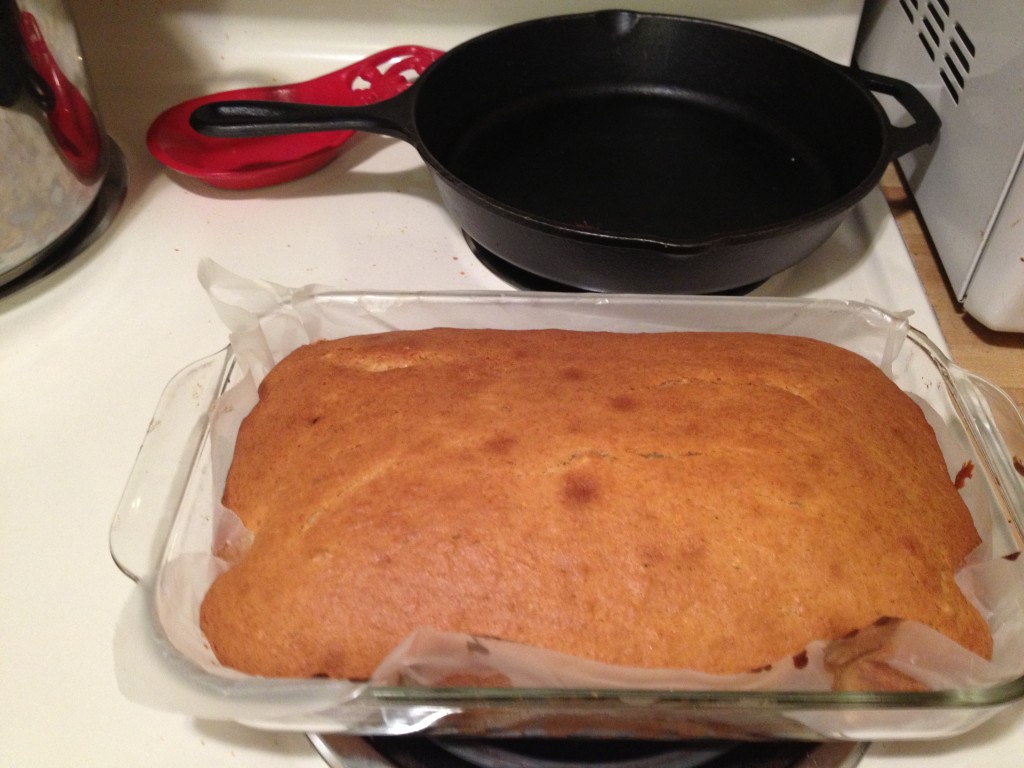
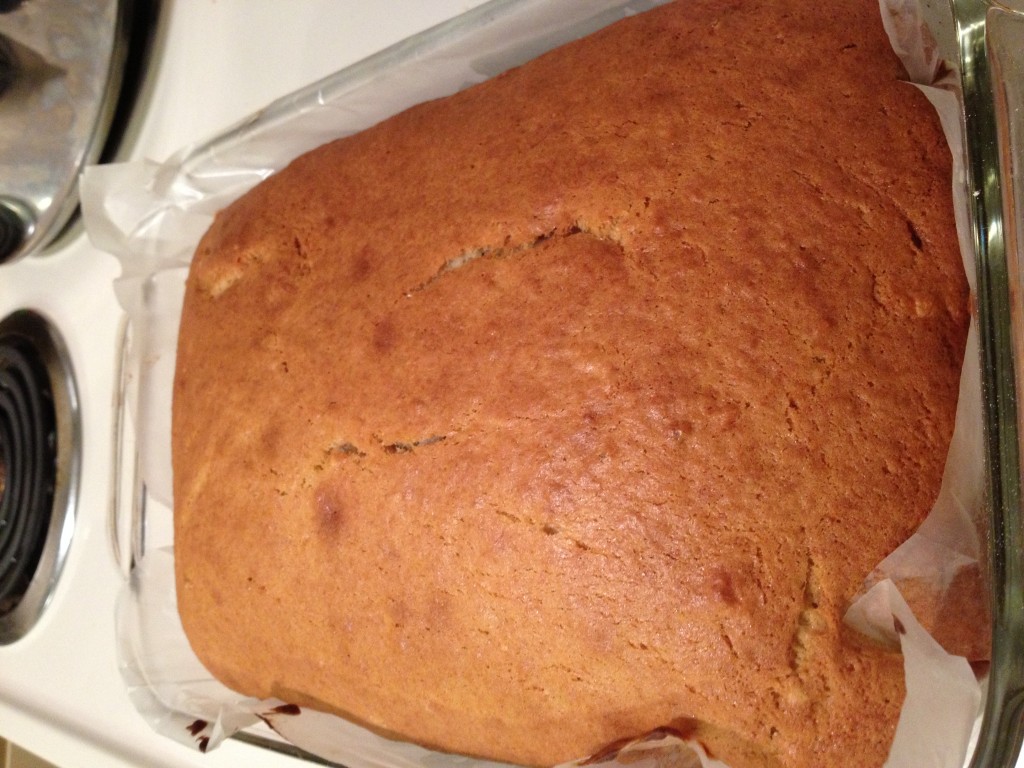
Mum’s Famous Banana Cake

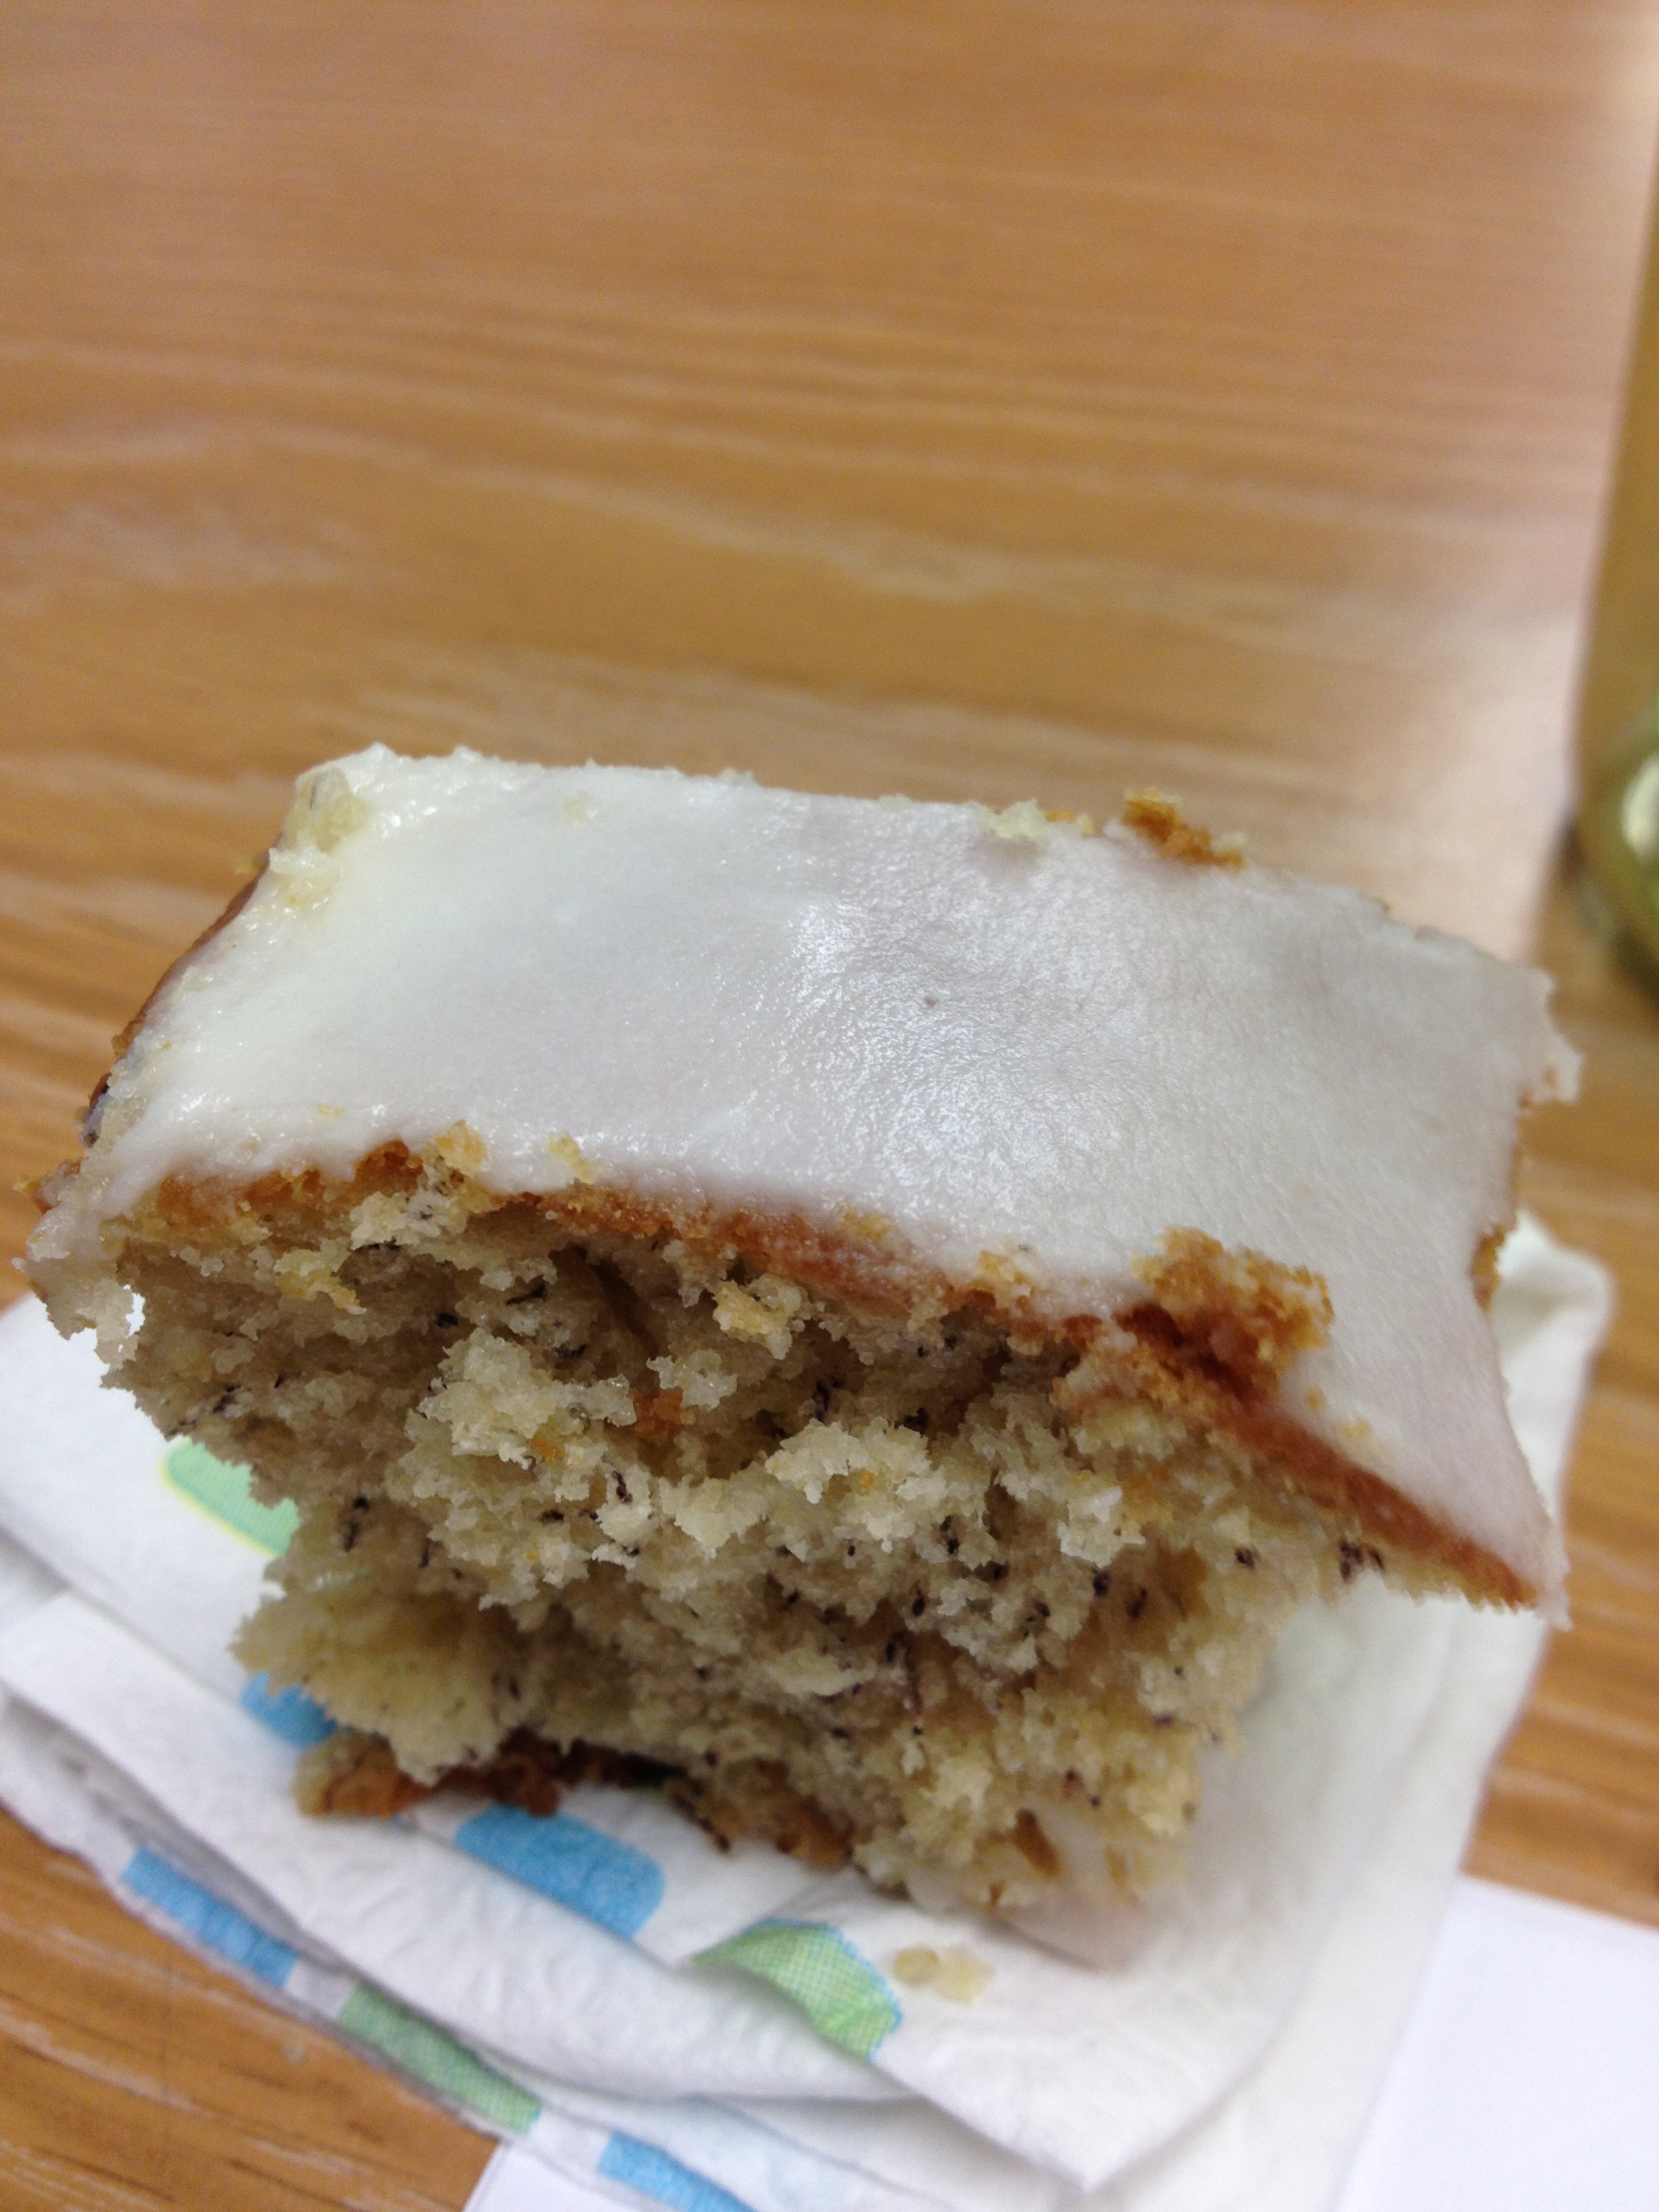
Okay, so maybe it’s only famous among my friends and family because it’s the only cake they ever got at my birthday parties. It’s the only cake I would eat growing up, and I haven’t branched out much still (but I will take down a cheesecake or carrot cake nowadays). I don’t know, I’m just not a huge fan of cakes. But my mum’s banana cake, ooooh YES! It’s incredibly easy to make and you will want to eat piece after piece (I personally can literally eat endless amounts of this). It came from the same place that she took her scone recipe.

Banana Cake

  • Prep Time: 15 minutes
  • Baking Time: 34-40 minutes

Ingredients

  • 2 eggs
  • 1 stick butter
  • 6 oz sugar (.85 cup sugar)
  • 8 oz regular flour (1.8 cups)
  • 1 tsp baking powder
  • 2-3 bananas
  • 1 tsp baking soda
  • 2 tbsp milk

Directions

  • Get out a box/rectangular/circle pan and line it with wax paper. Tip a little flour in and spread it around. Pre-heat oven to 350 degrees F
  • Mix the baking powder and flour in a smaller bowl
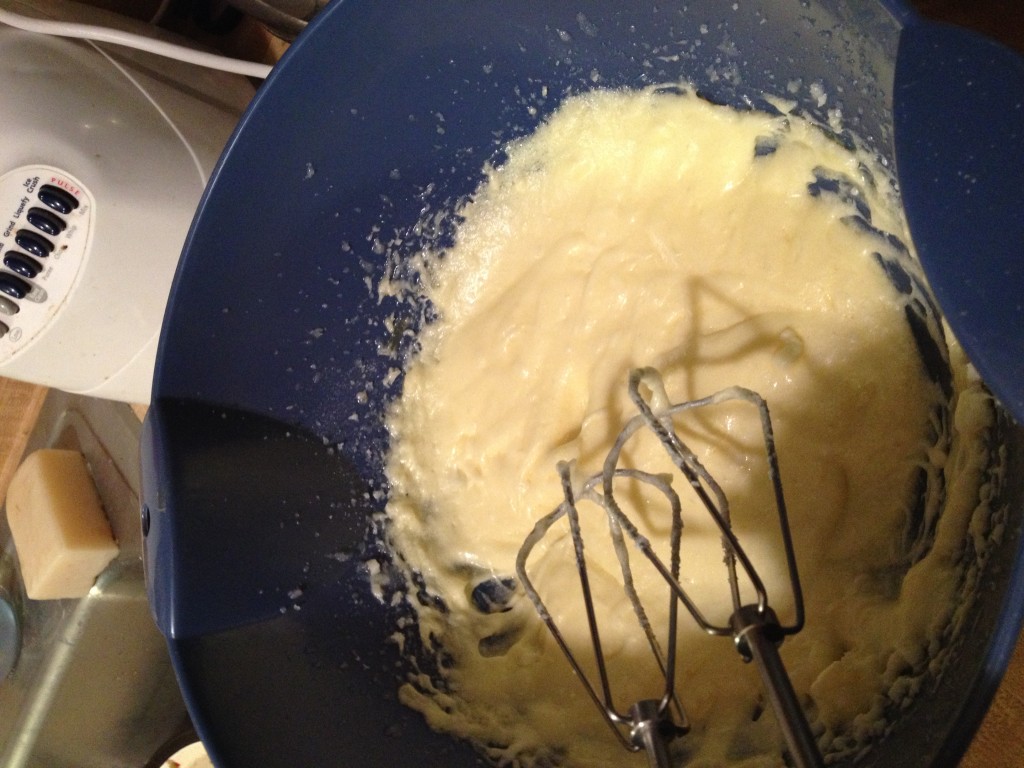
  • Cream the butter and sugar together in your main big bowl
  • Add in an egg, mix it, and then add the other egg in.

photo 1 (35)

  • Now mash your bananas into smithereens and slowly mix them in too
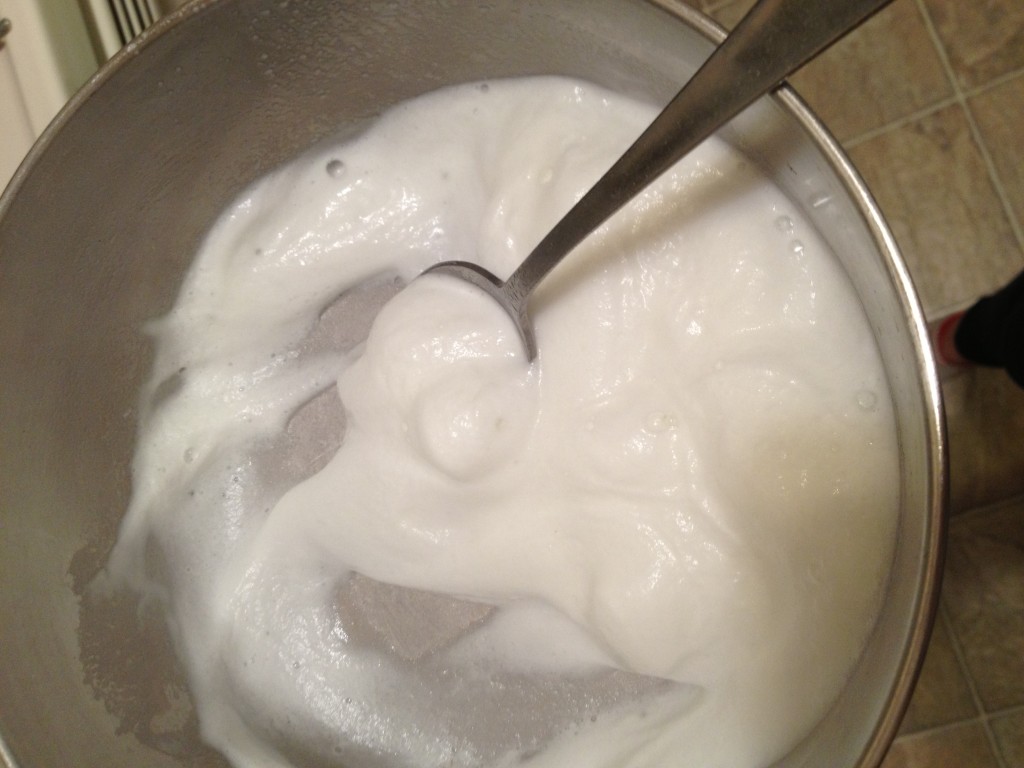
  • Now in a pot on the stove, put the milk in and get to a boil. Now you have to be quick at this. Quickly, stir in the baking soda. It will come up into a fluff that smells amazing. Mix that immediately into the rest of the wet ingredients.
Always fascinated me growing up...still does

Always fascinated me growing up…still does

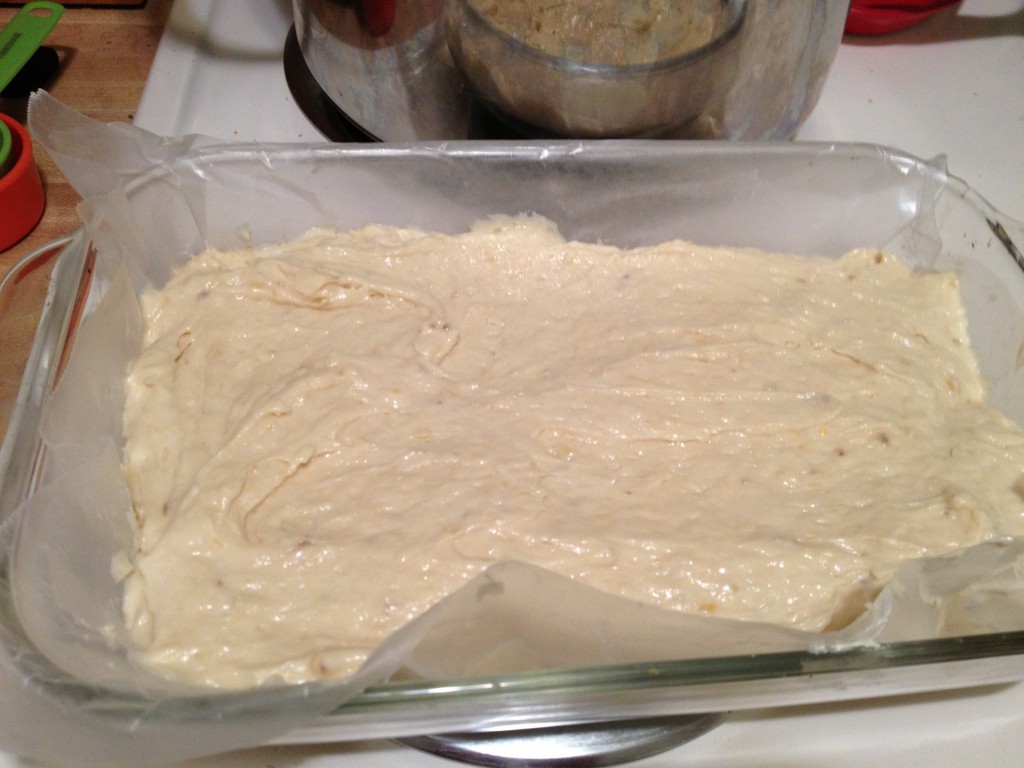
  • Finally, mix in the flour mixture. Do it nice and slowly, so that it mixes evenly. Now that you have your batter, slowly pour evenly into your wax-papered-pan
Wish I had used 3 bananas in this batch

Wish I had used 3 bananas in this batch

  • Put in the oven for 34 minutes. Weird number. The normal number is 40 minutes, but my mum advised me to check it at 34 and it was ready and done! Take it out and let it sit for a few minutes before putting it on a rack or another cool pan
Now just needs the icing!

Now just needs the icing!

photo 4 (22)

Lemon Icing

  • Prep Time: 3-5 minutes

Ingredients

  • 1 1/4 cup powdered sugar
  • juice of 2 mini lemons (or 1/4 cup)
  • zest of lemon
  • 2 tbsp butter

Directions

  • Pretty basic, just melt the butter in a bowl and then mix everything else in (the zest, lemon juice, and suuugarrrr)
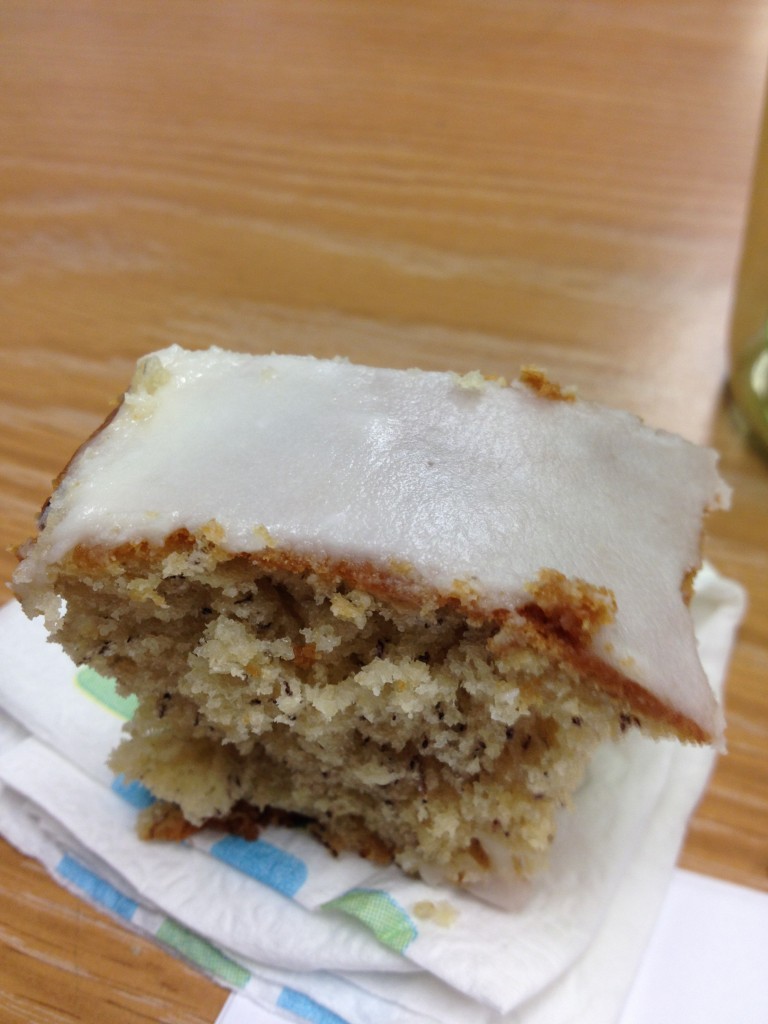
  • Slowly start to ice the cake, using a spoon and then draping it over. It can be runny which is why it is best to do it slow so it starts to solidify
Looks like a little piece but I had at least 4...

Looks like a little piece but I had at least 4…

And then you shove as many pieces as you can in your mouth! Just kidding…but seriously. This cake is so delicious and, for me, reminds me of home. What better combination?  It was a hit at work, a little something everybody can enjoy. The subtle banana flavor with the lemon is a great combo. You gotta try this recipe! And as always…stay hungry and fit!

BONUS PUPPY PIC

photo 4 (23)

spacer