Archives

No-Bake Pumpkin Protein Balls

We haven’t made recipes in way too long here at Hungry & Fit. We pledge to post more recipes and more fitness advice! Getting back to our roots. Lately, we’ve committed ourselves to stick to a budget. We used to spend WAY too much money on food (think above $500 each) per month so we made a goal of eating in most of the time. We’ve made true of that commitment so far, eating in for almost every meal! We’ve gotten to cook more and fatten up our wallets. We also feel better since we know what we’re putting down our throats. Yay for budgets and eating well! 

I’ve been wanting to get back into the kitchen for a while. I saw Carrots ‘n’ Cake’s recipe and decided to do my own spin on it. It’s no-bake pumpkin protein balls–an incredibly simple recipe with very few ingredients. This recipe also has that canvas for being creative. Try putting different wet and dry ingredients in! I went with pumpkin since…’tis the season after all! 

dsc_0013

spacer

Big Slice for a Healthy Change [GIVEAWAY]

And no, we aren’t talking about a big slice of pizza. Have you ever been on the go, either running to or from a workout, work, an event, or ANYTHING and just wanted a healthy snack? Chances are you don’t have anything on you, and the closest thing around as a snack is either unhealthy or overpriced. I find myself in this predicament far too often. It gets especially worse with me because I get hangry (and it ain’t pretty). Sometimes, I just need a simple, healthy small snack to keep me going while I go from A to B. I am very grateful to finally have found something that fits this need.

IMG_3603

spacer

Healthy Halloween Snack

PUMPKIN SEEDS. Yup. I know that you’re probably chock full of unhealthy Halloween treats like candy, pumpkin-flavored sugar bombs, and things that are weighing you down. So in between your sugar comas, try making this healthy Halloween snack: toasted pumpkin seeds. Plus, it’s incredibly easy. Takes almost no effort and the time is just in the baking of the seeds. Pumpkin seeds have a good amount of protein per ounce!

IMG_3011

spacer

Chocolate Coconut Oat Bites

To say the least, life is freaking hectic. You have responsibilities ranging from a full-time job to kids to pets to your health to education! You get out of breath just going through your list of responsibilities! Or at least I do. Life is stressful and there’s no way around it except to roll with it. How do you roll with it? By making life easier for yourself along the way!

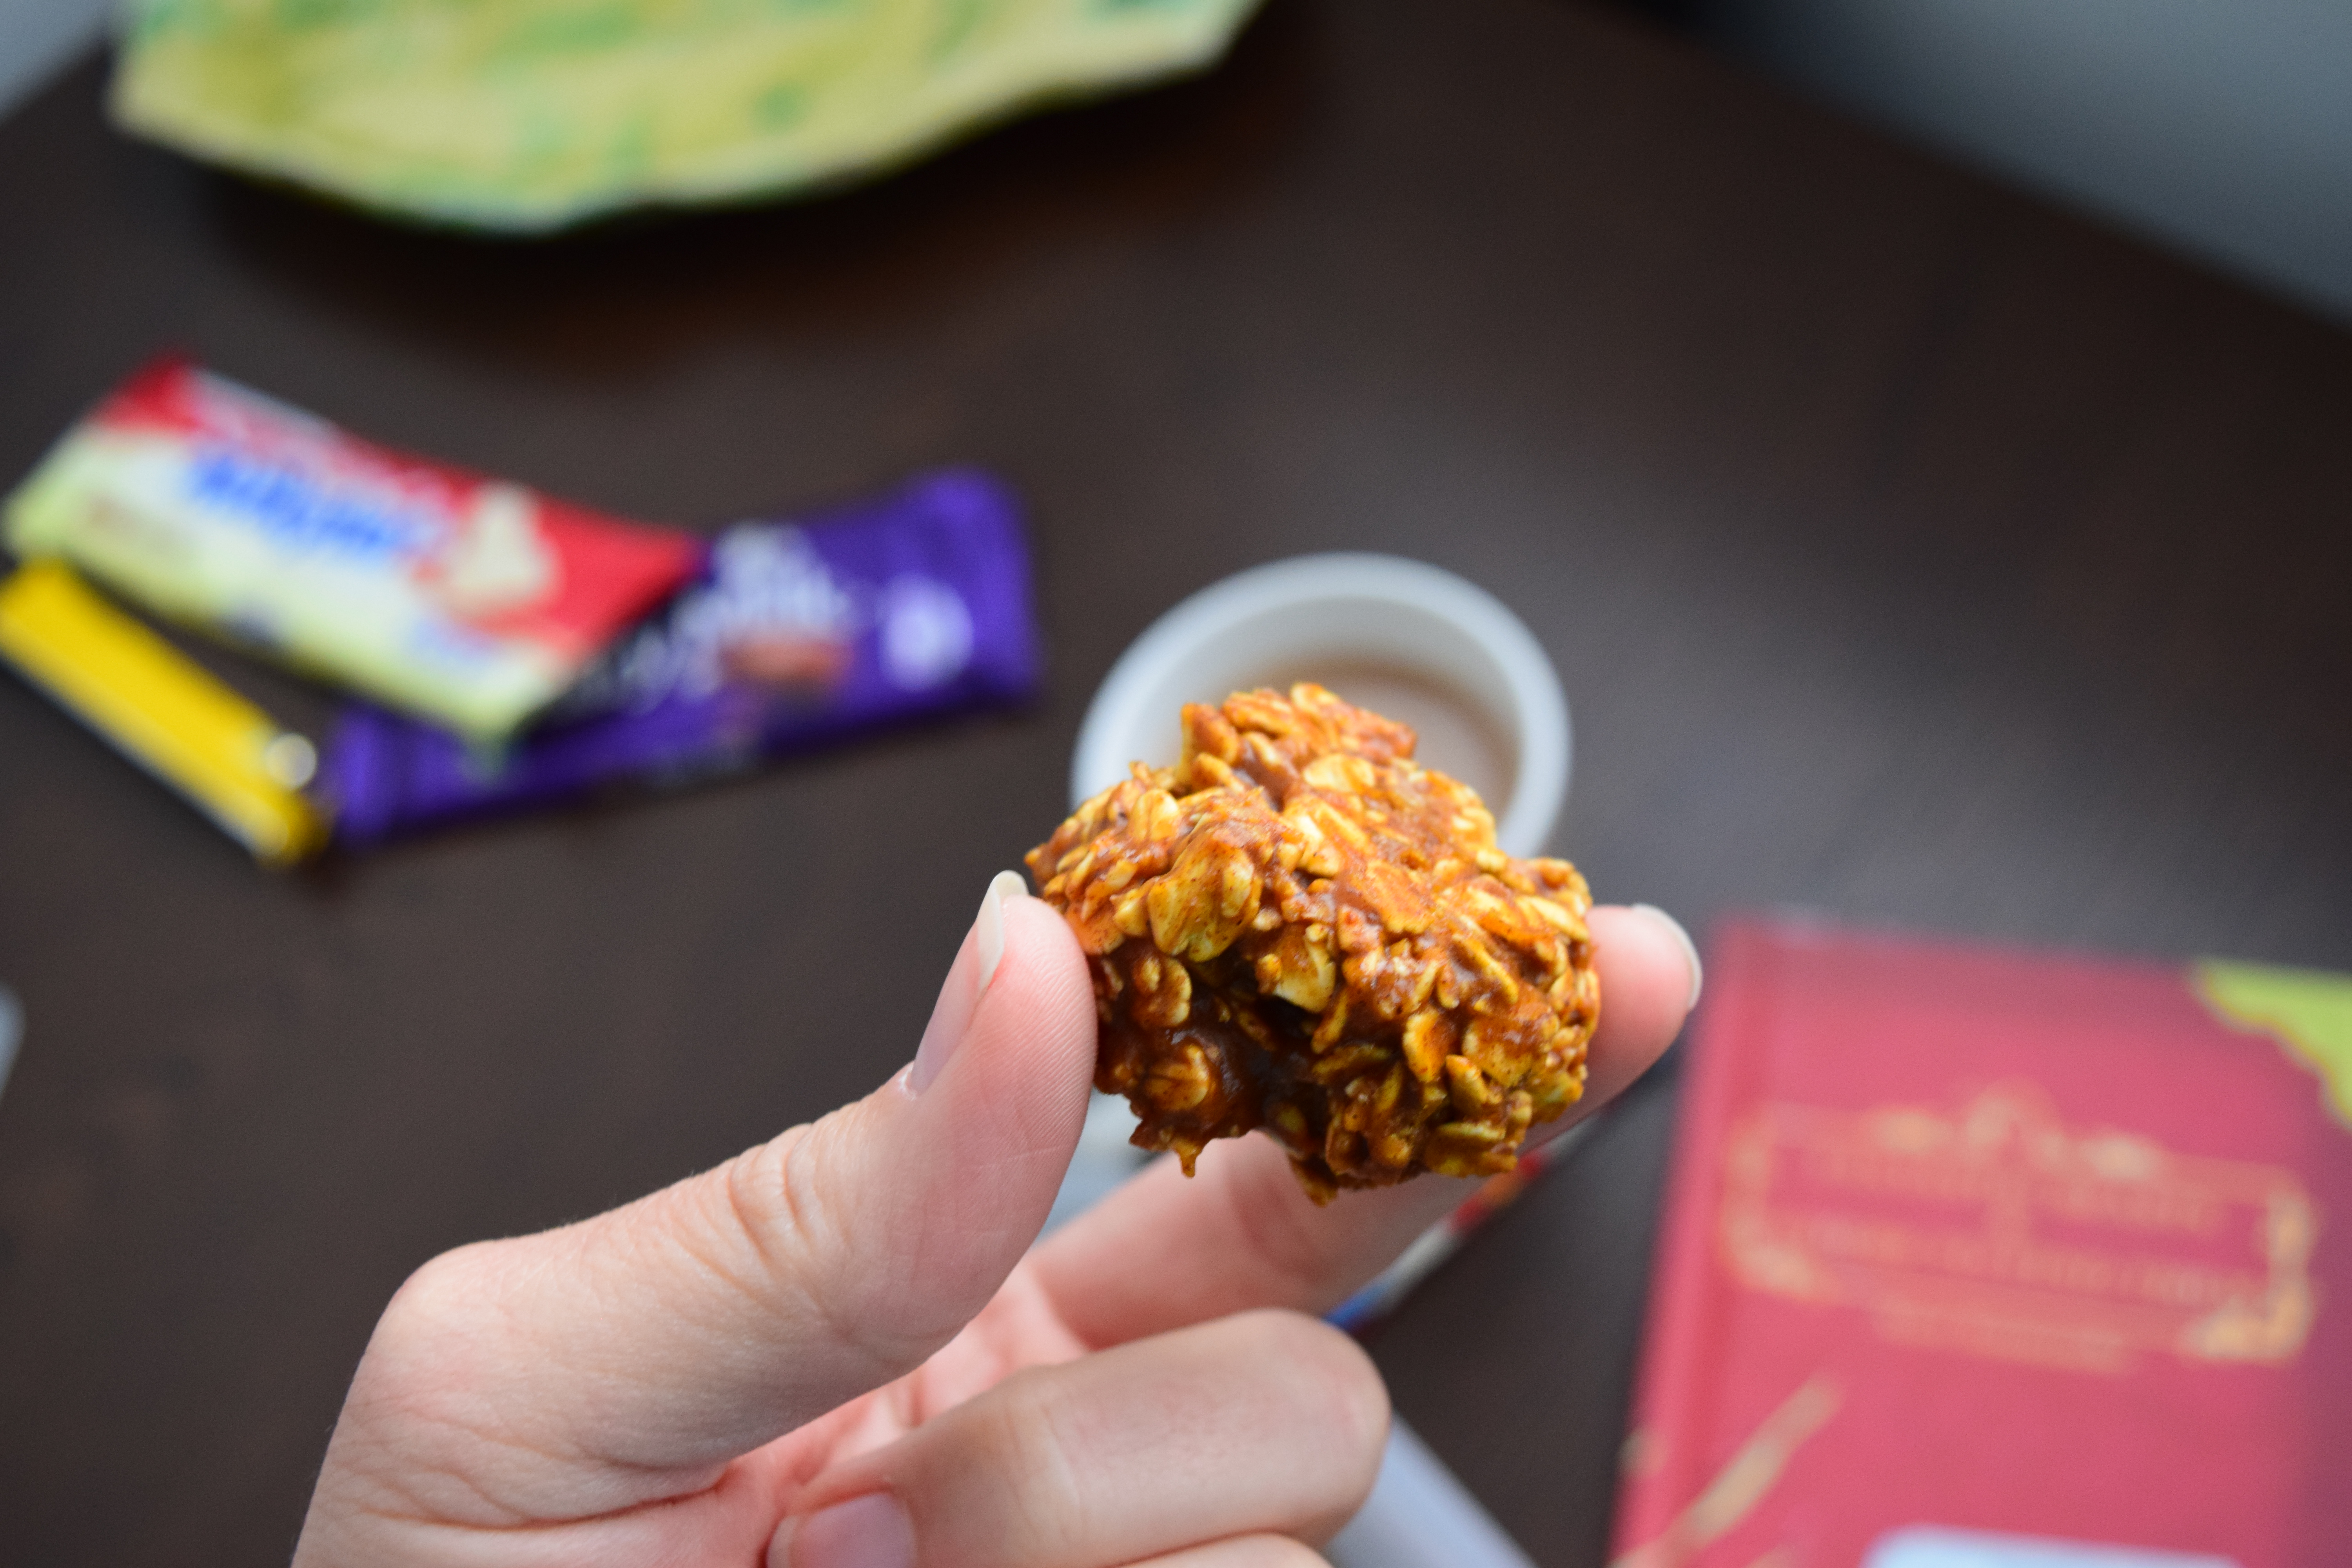
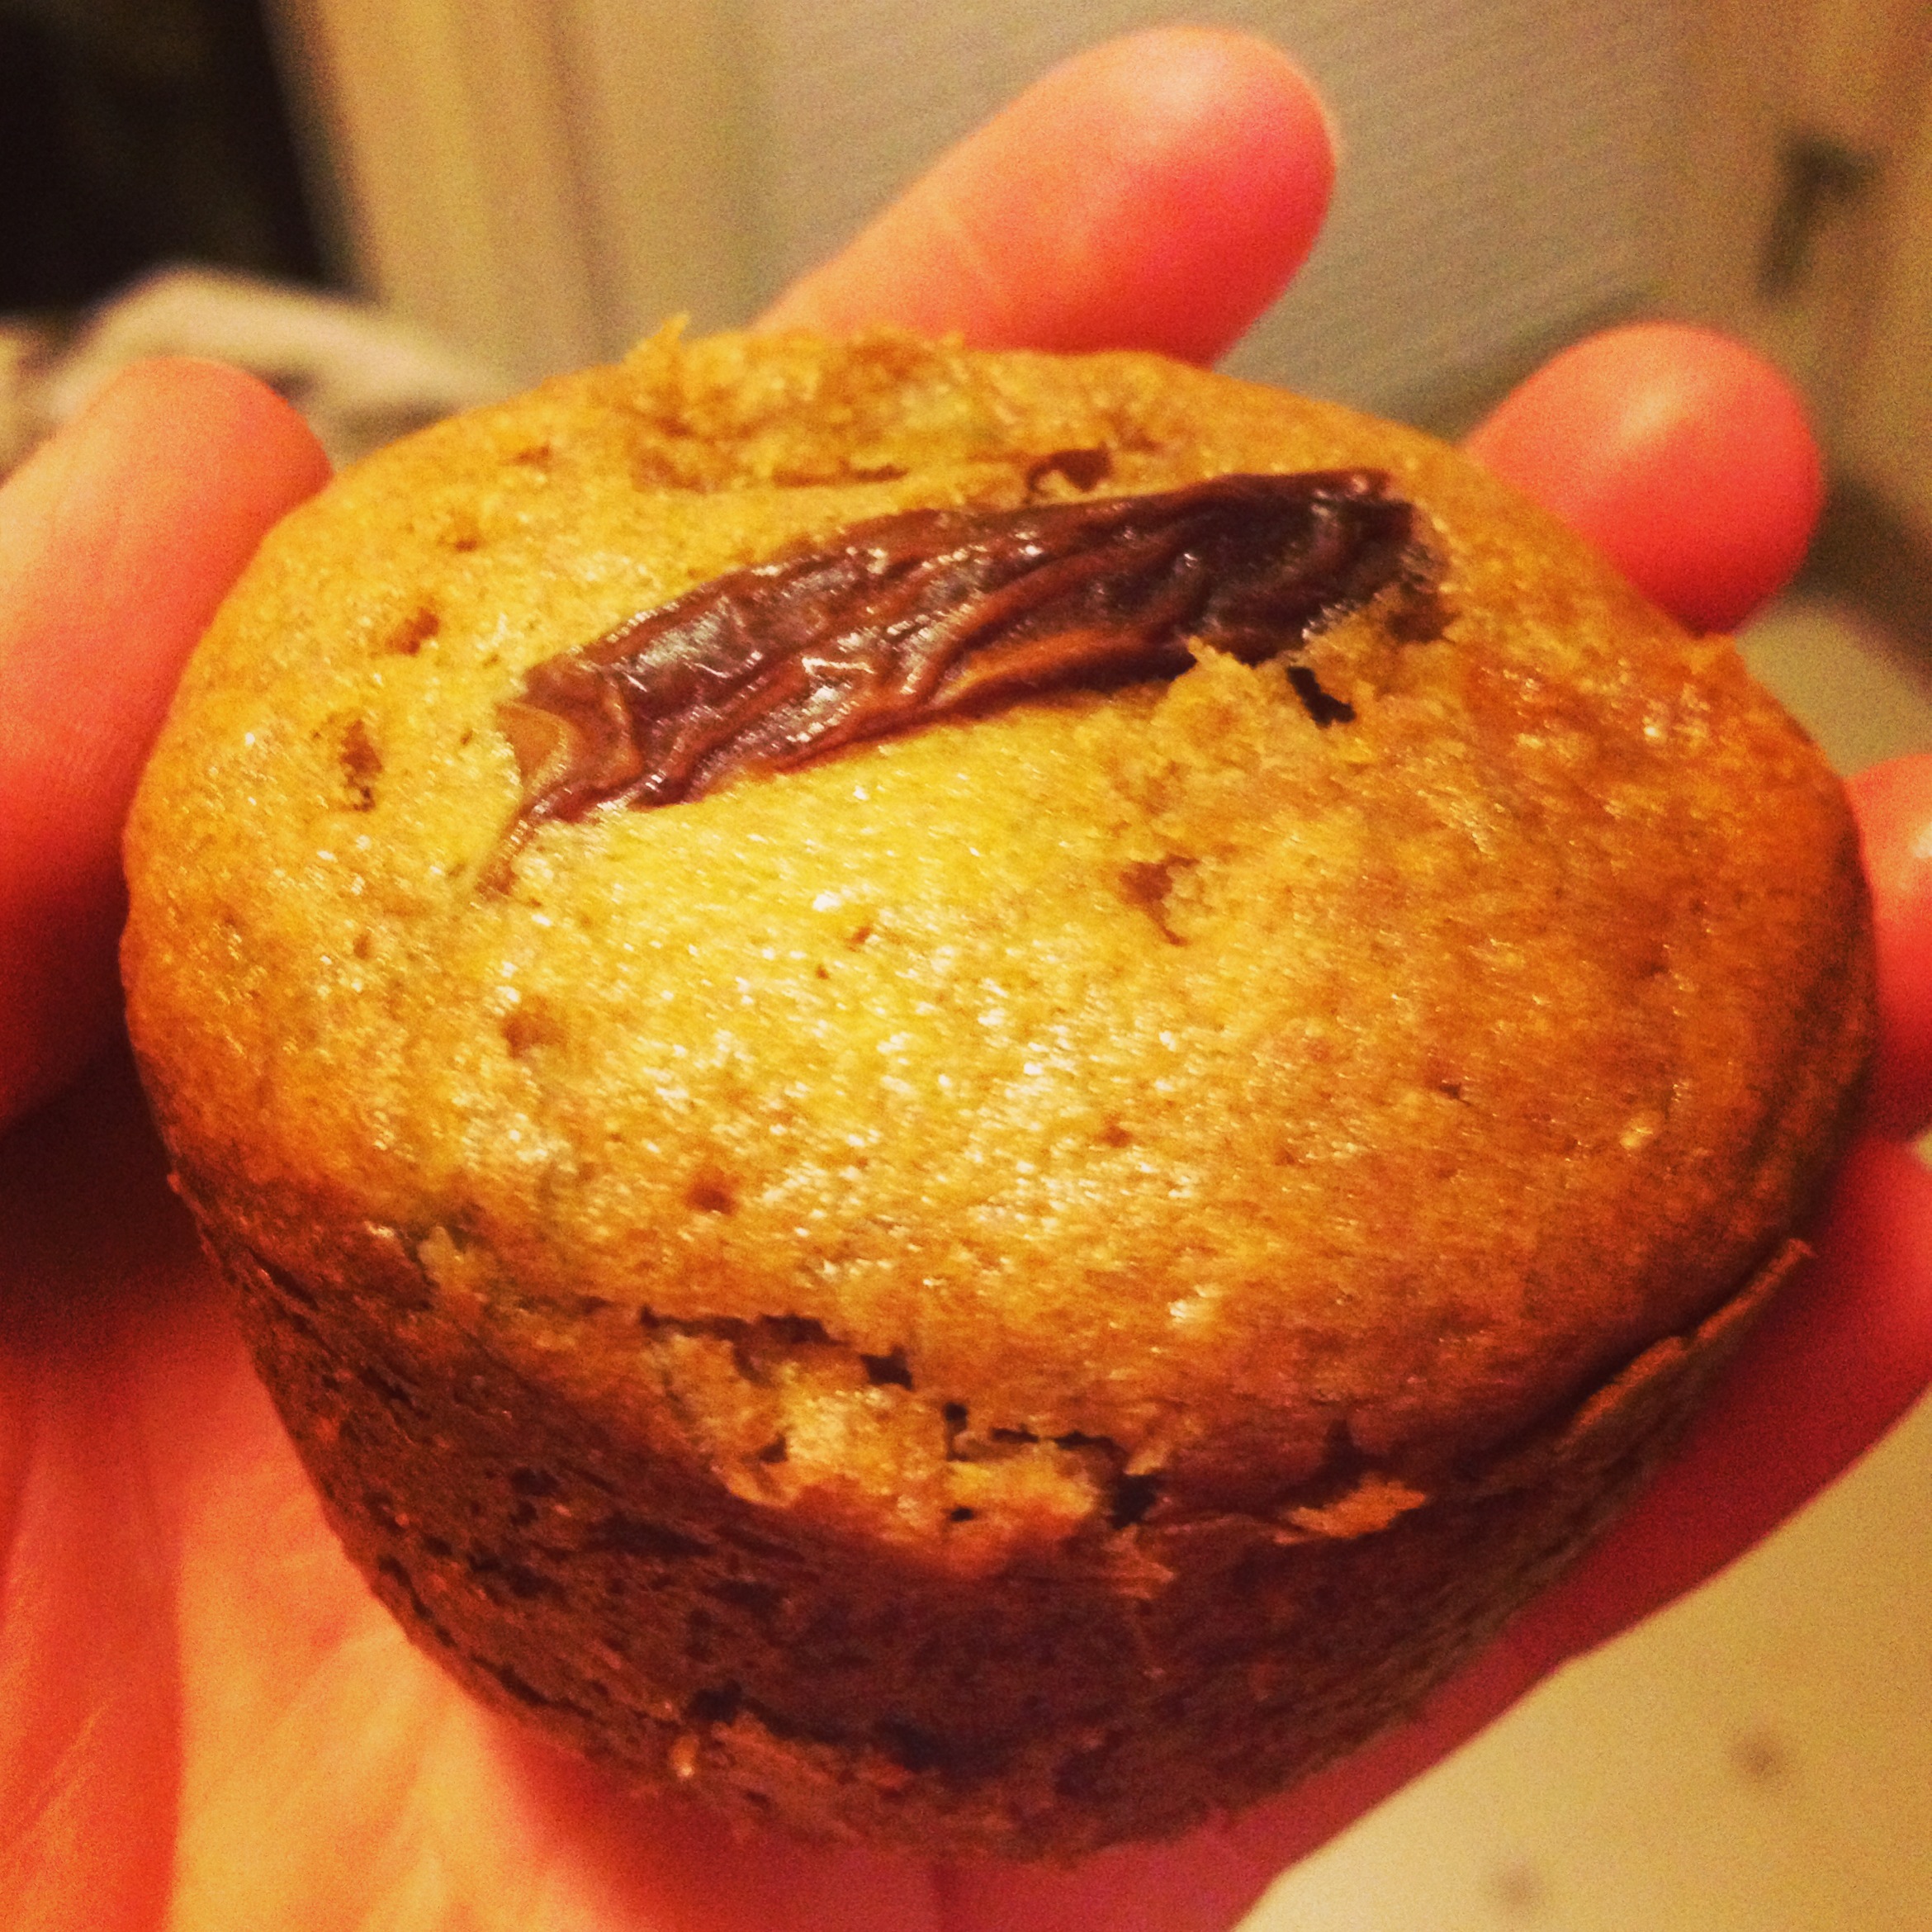
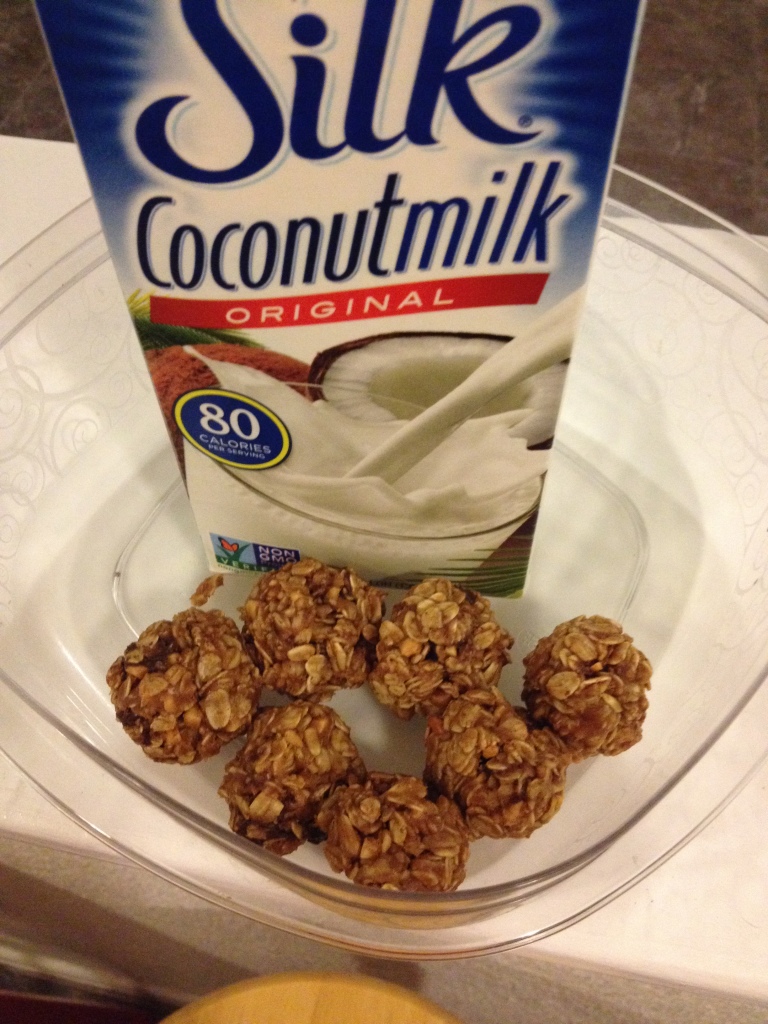
A big part of our life is food (surprise surprise). We don’t want to skip meals or snacks, but at the same time, we don’t always have a lot of time to prepare those meals. So, I create recipes like this one, in order to keep us fueled on the go. It’s important to us that we eat healthy on the go, but it should taste good too! So…along comes Coconut Chocolate Oat Bites. What a wonderfully delicious name. With the help of Silk Coconutmilk, we were able to create one of the simplest healthy recipes for those on the go. Can you tell I’m excited about it? Let’s get to the recipe.

photo 1 (11) photo 2 (10) photo 3 (8) photo 4 (6) photo 5 (6) photo photo (1)

Chocolate Coconut Oat Bites
A healthy snack on the go with amazing flavors
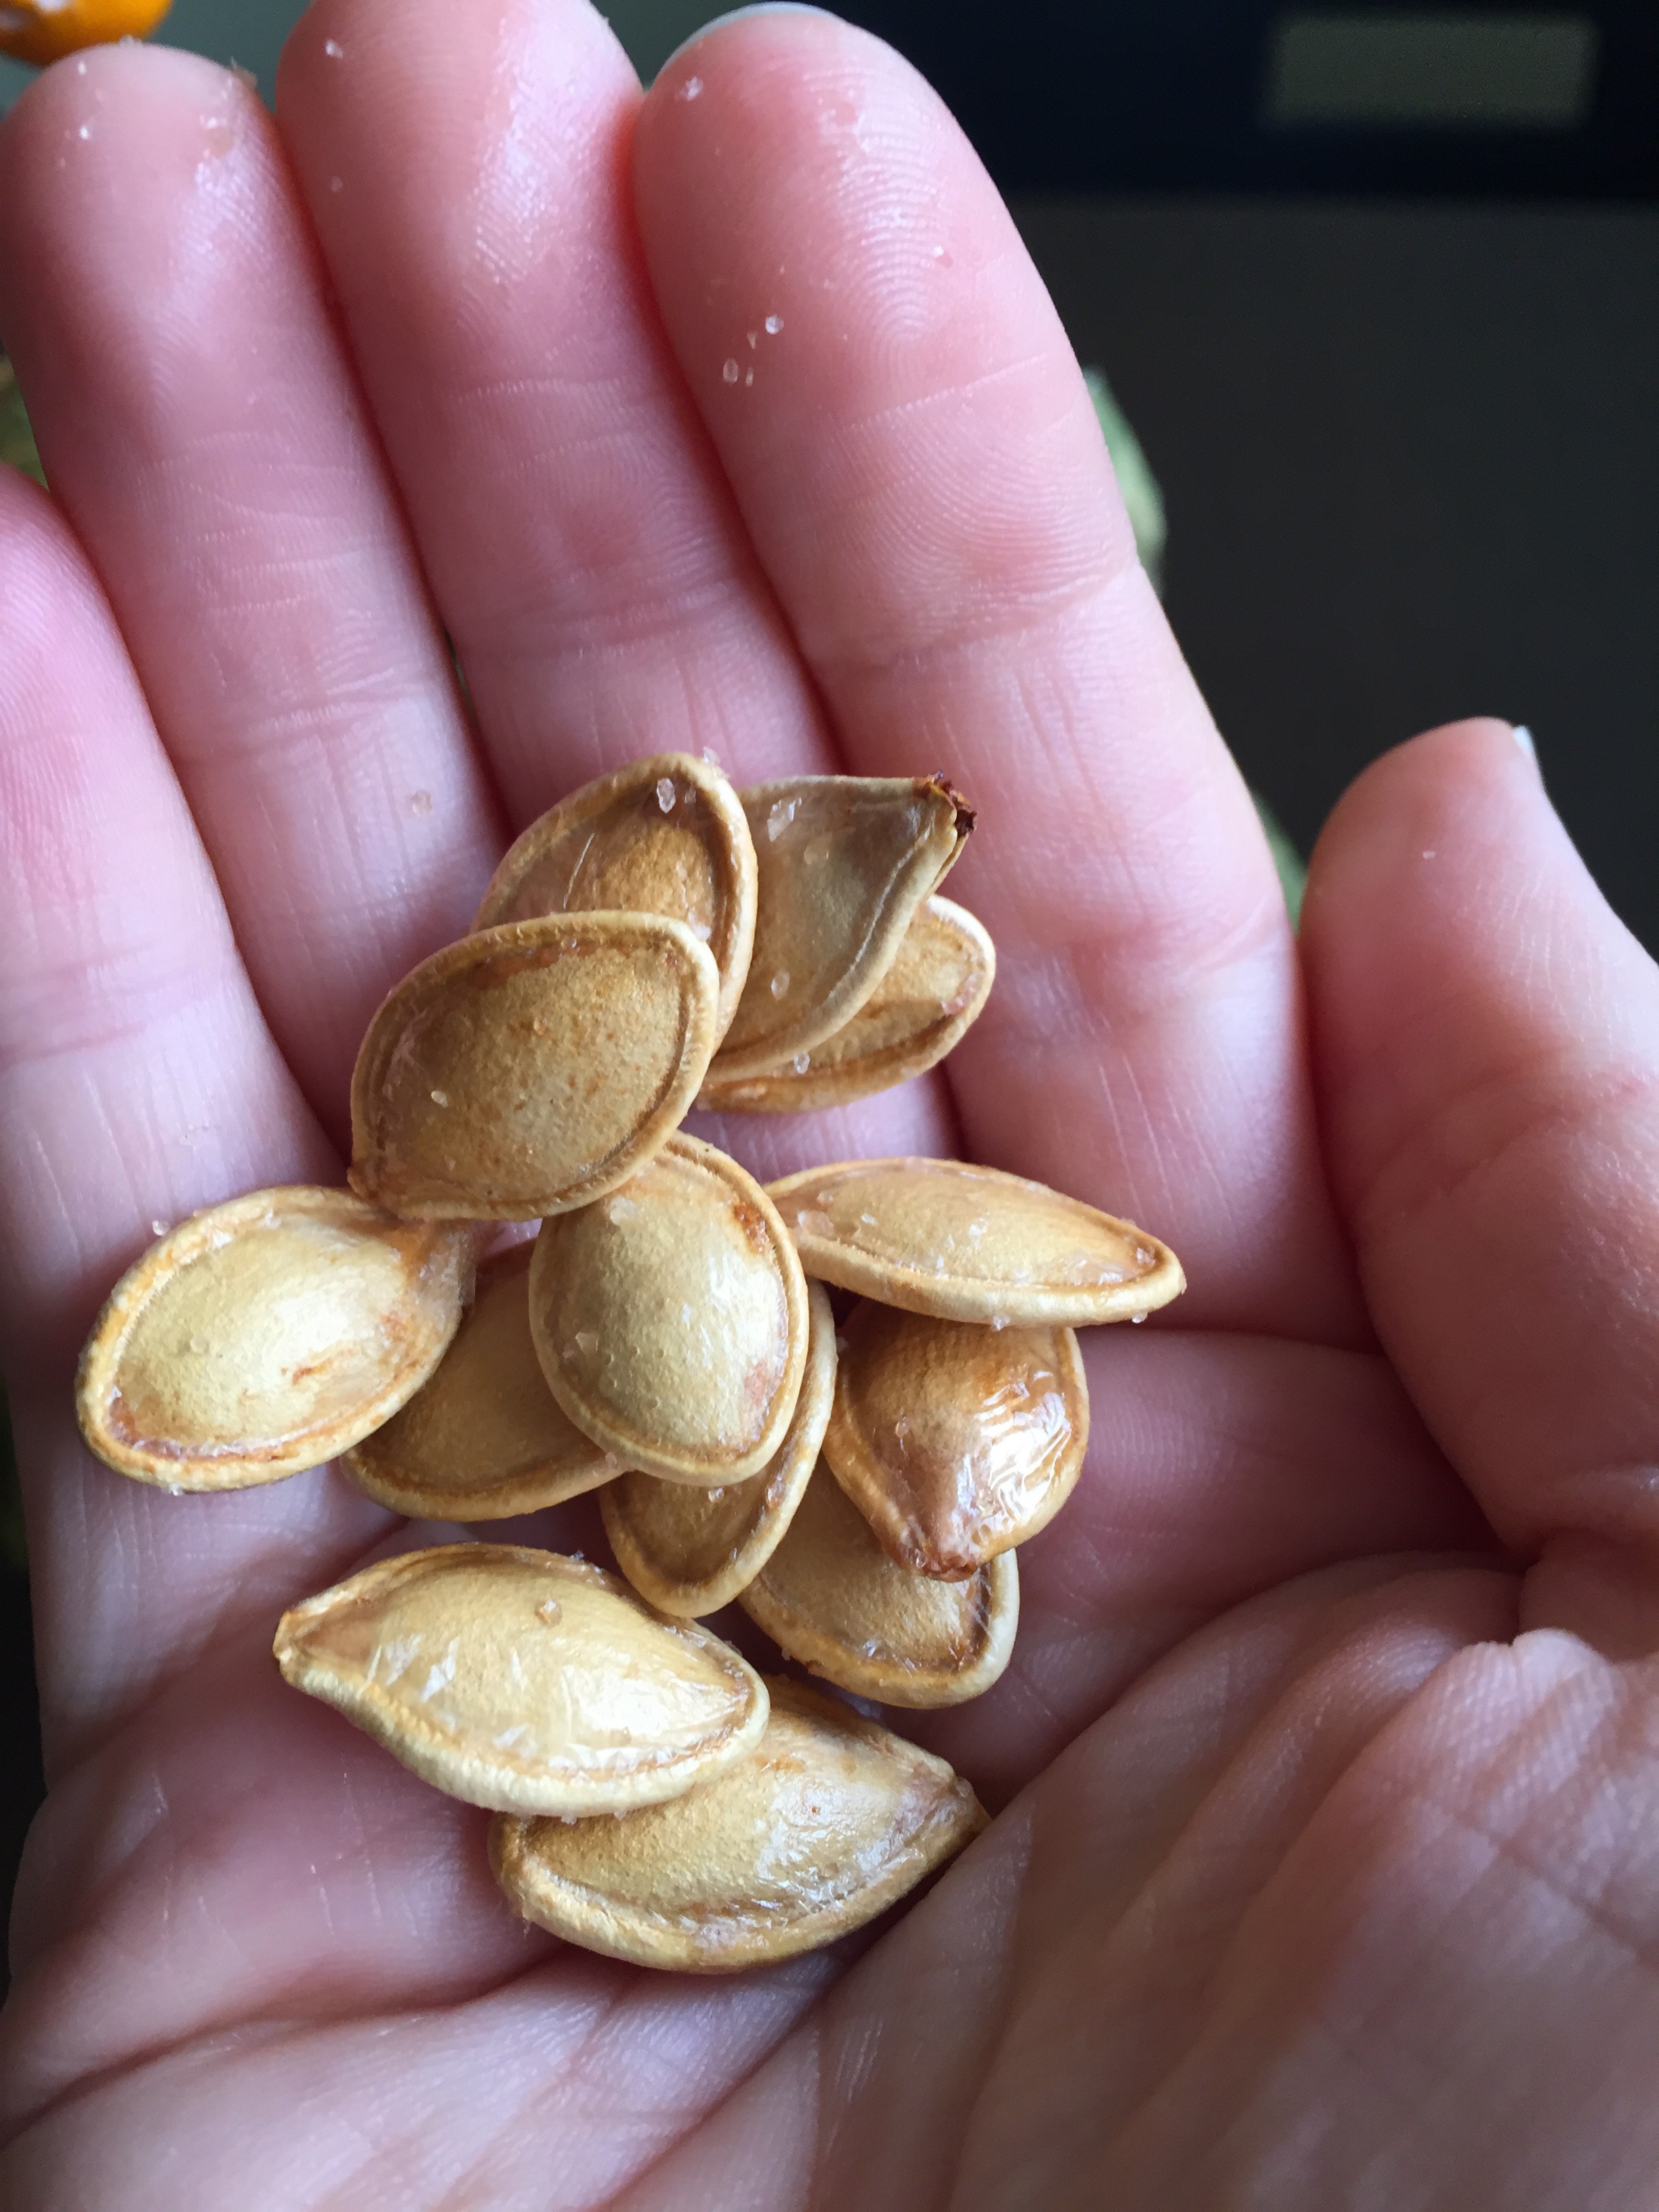
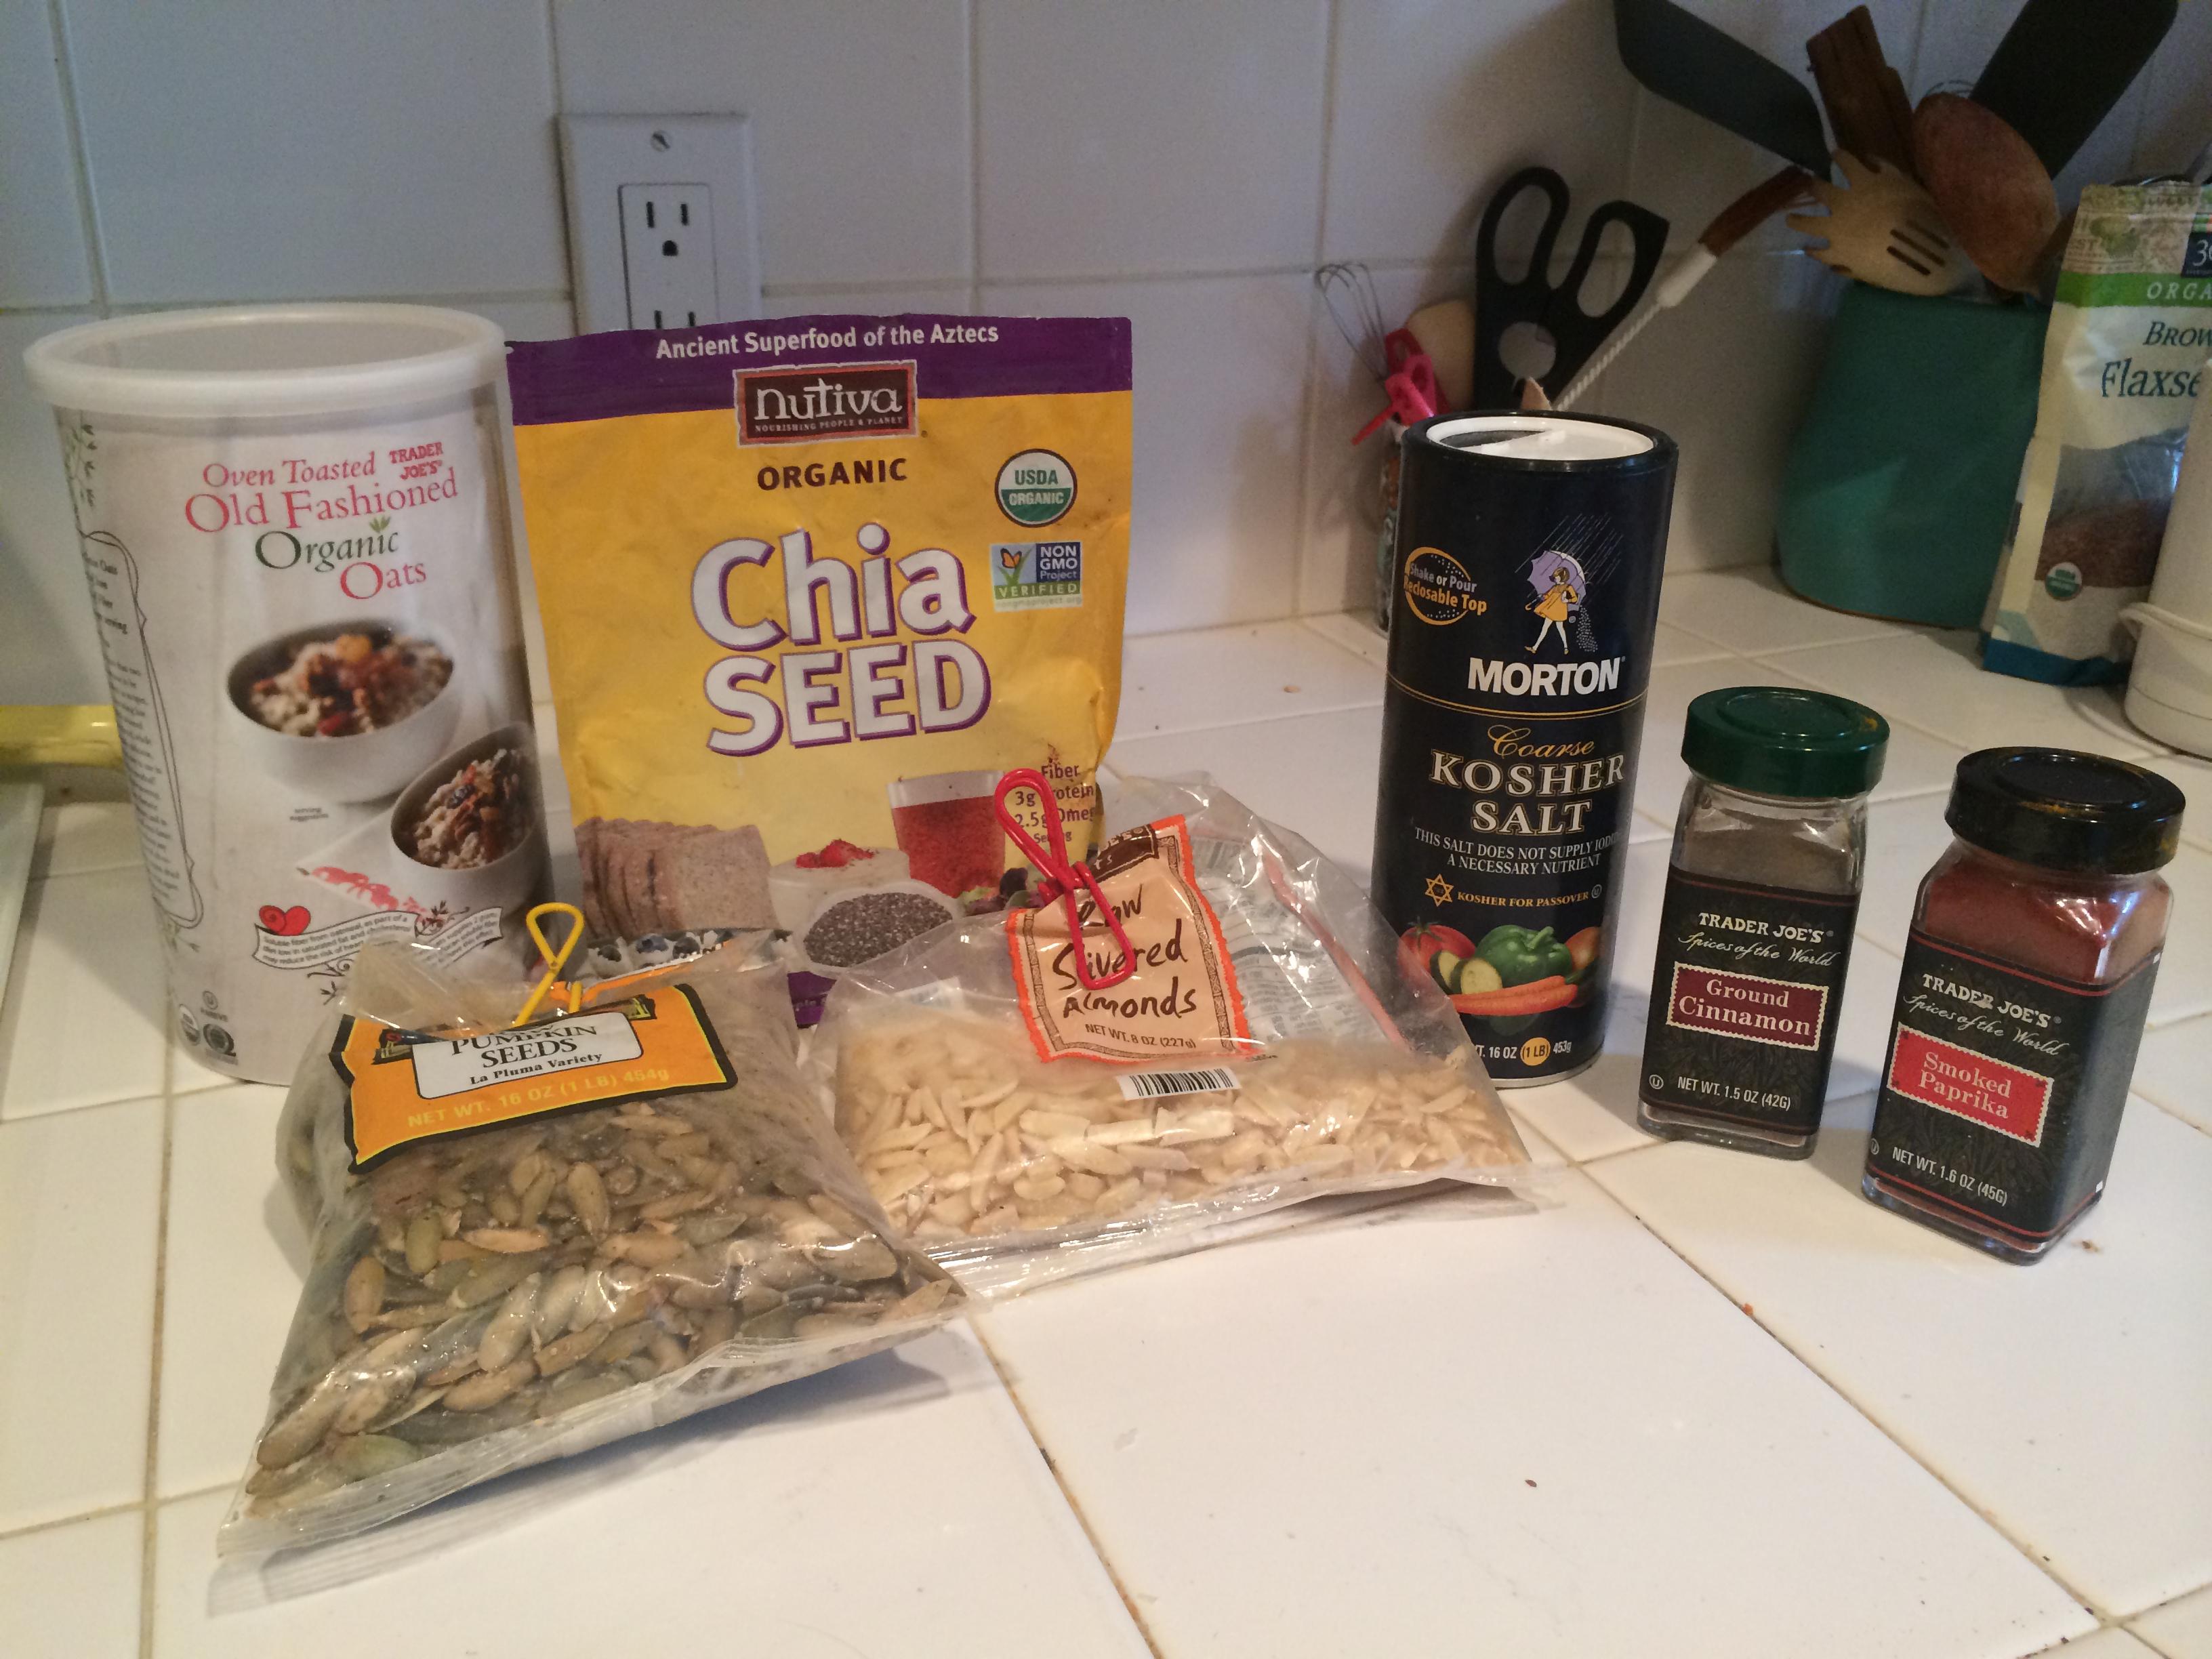
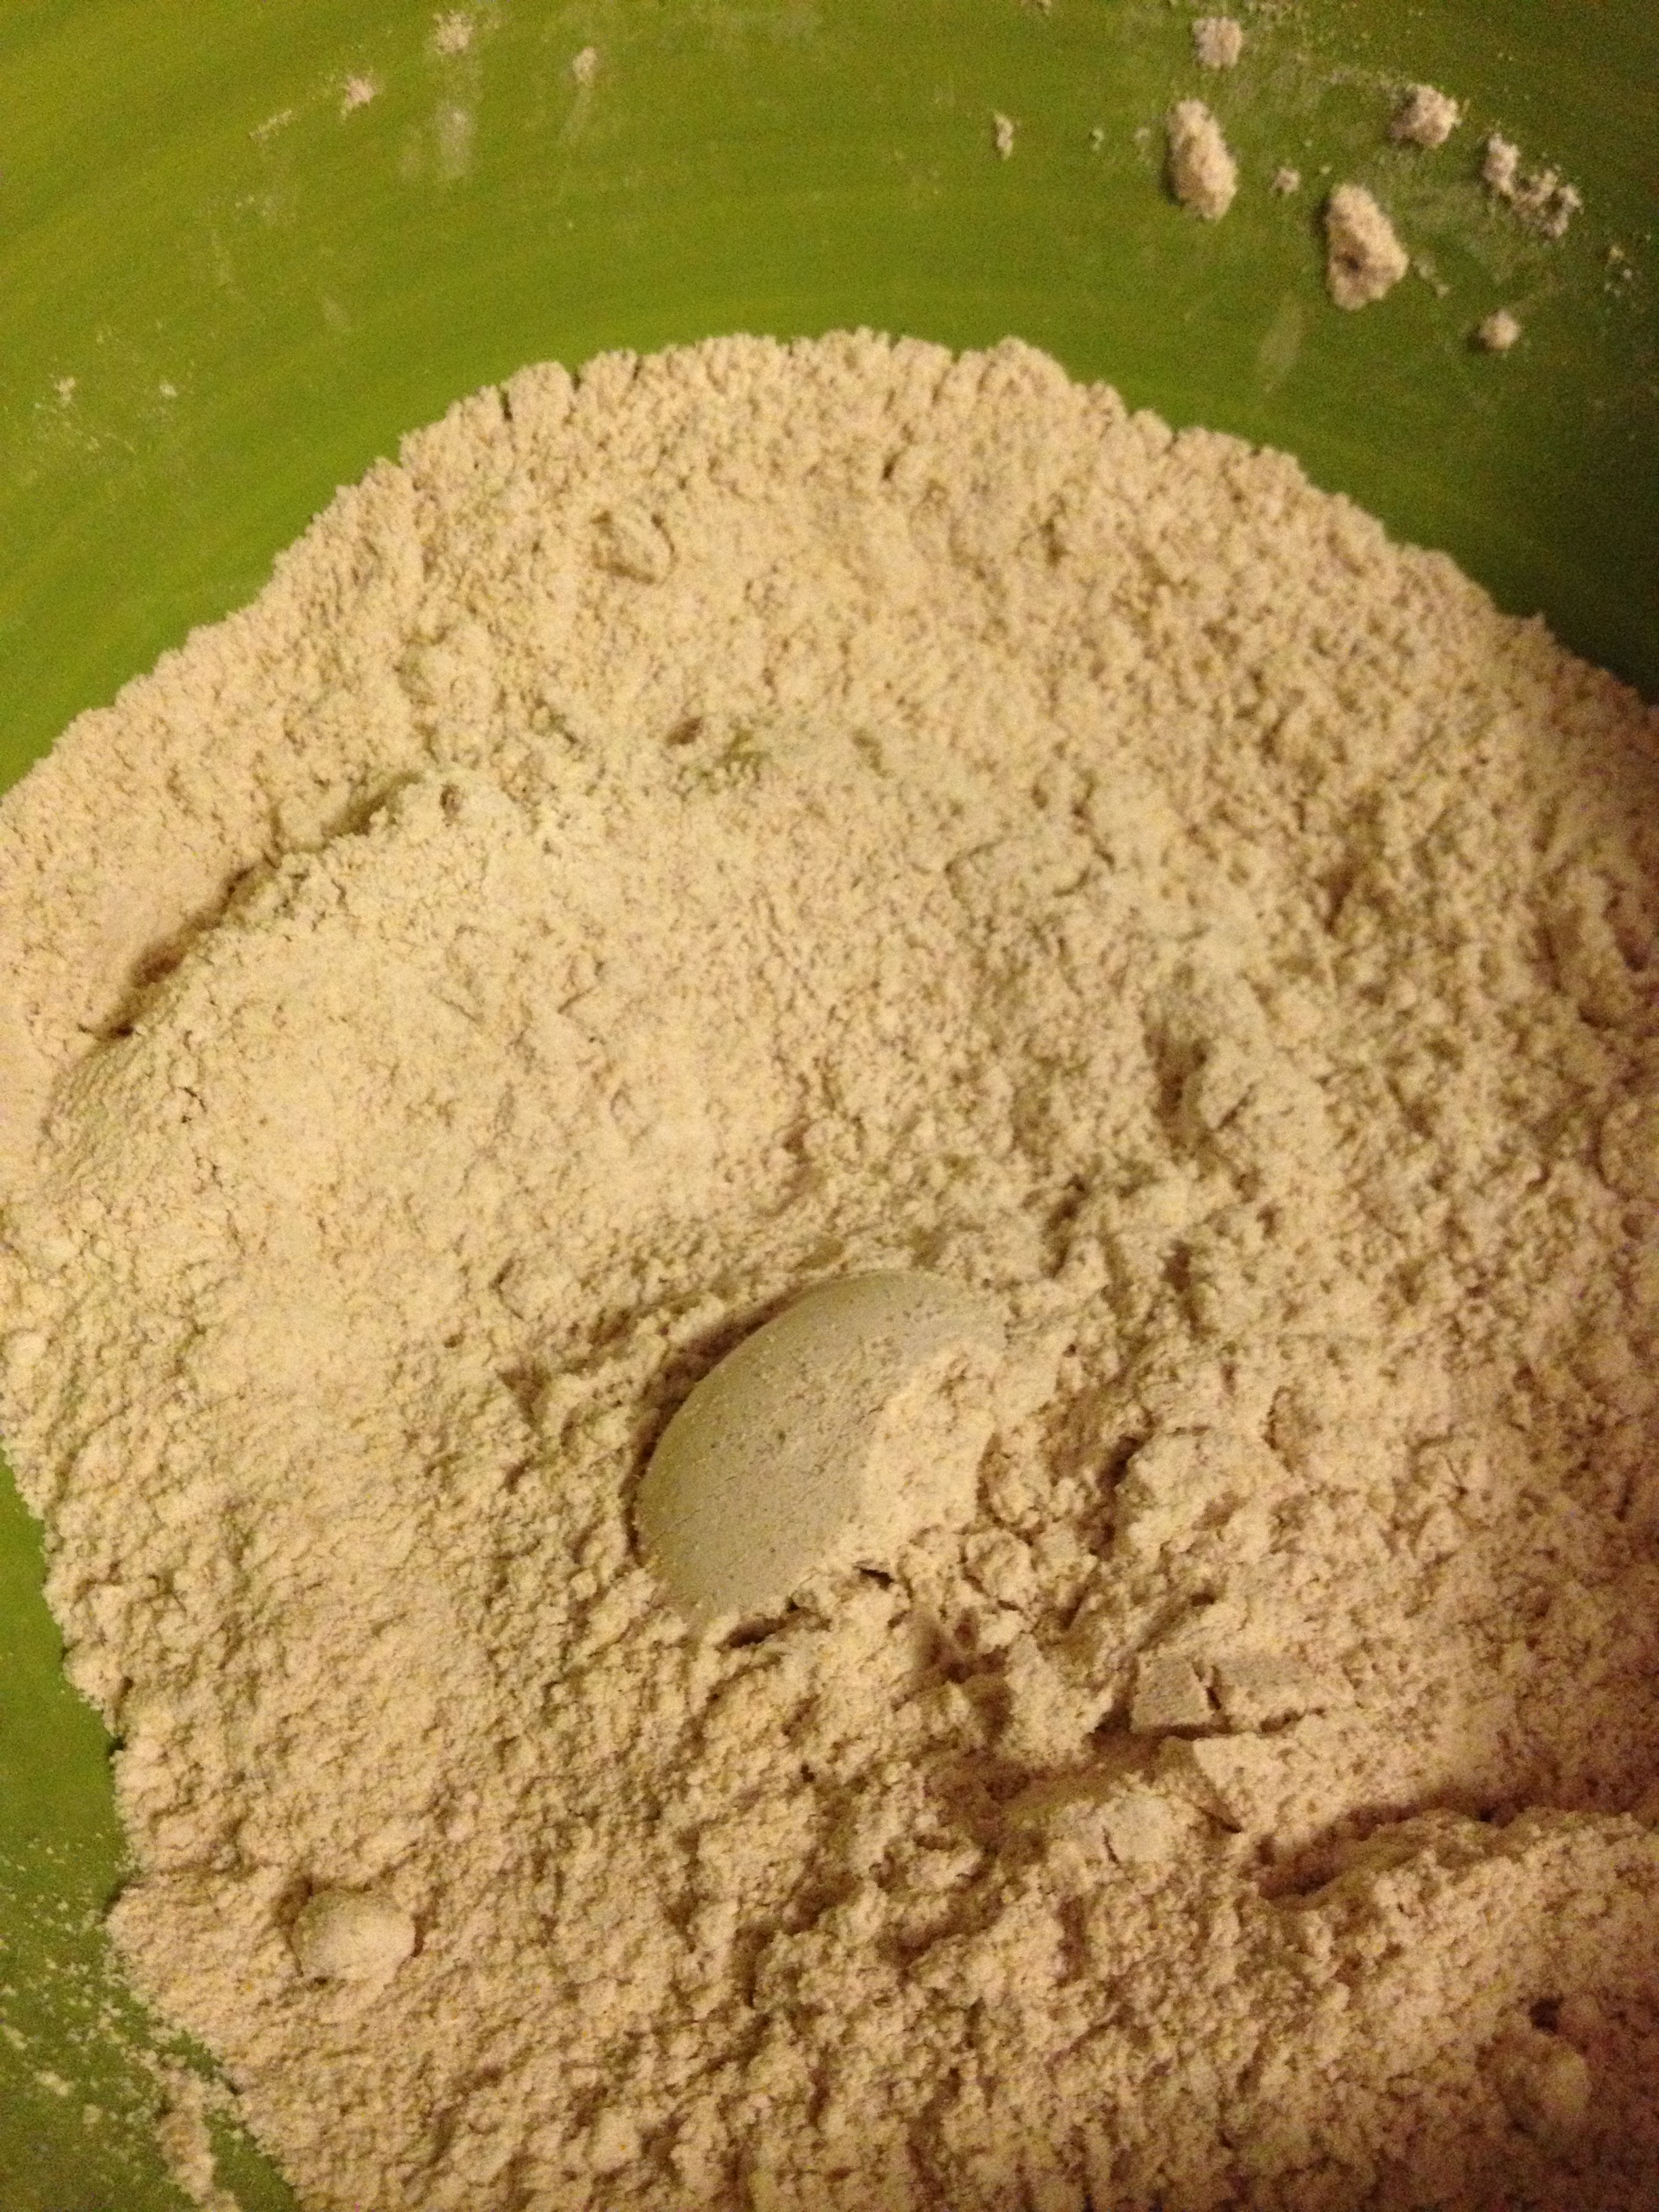
Write a review
Print
Prep Time
7 min
Prep Time
7 min
Ingredients
  1. 1 cup oats
  2. 1/4 tsp cinnamon
  3. 2.5 tbsp peanut butter
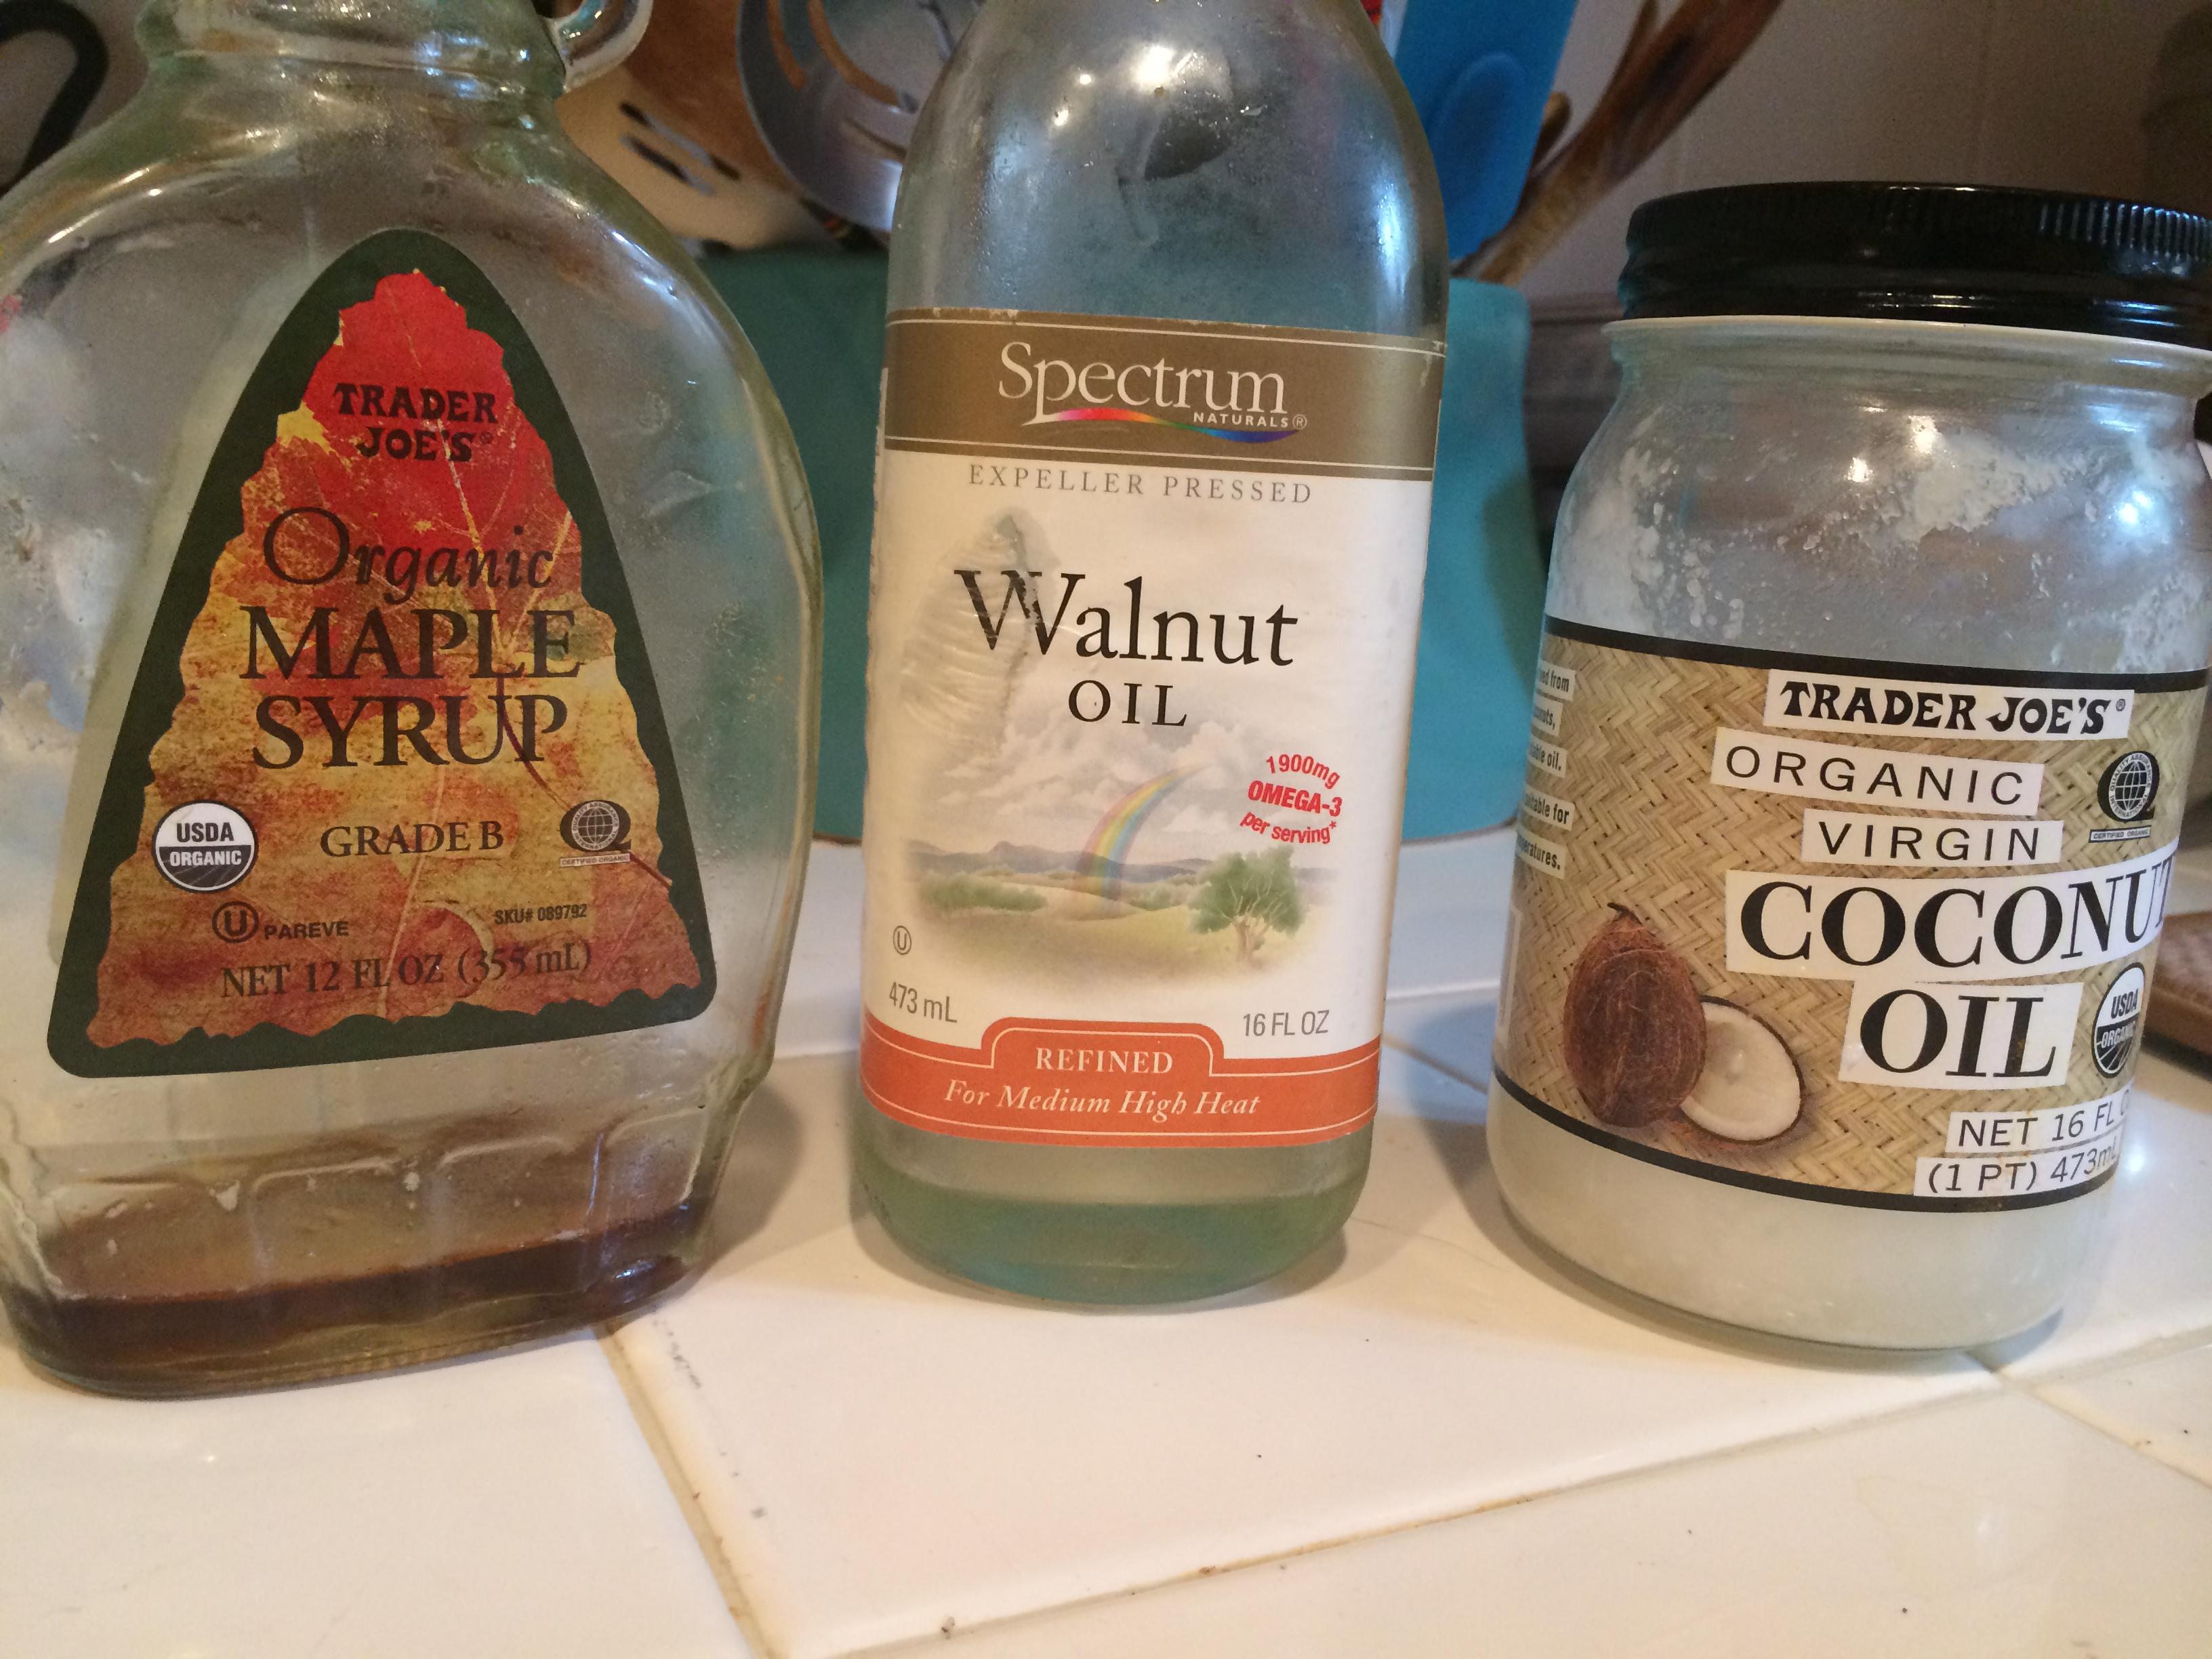
  4. 3 tbsp maple syrup
  5. 3 squares dark chocolate
  6. 2 tbsp Silk Coconutmilk
Instructions
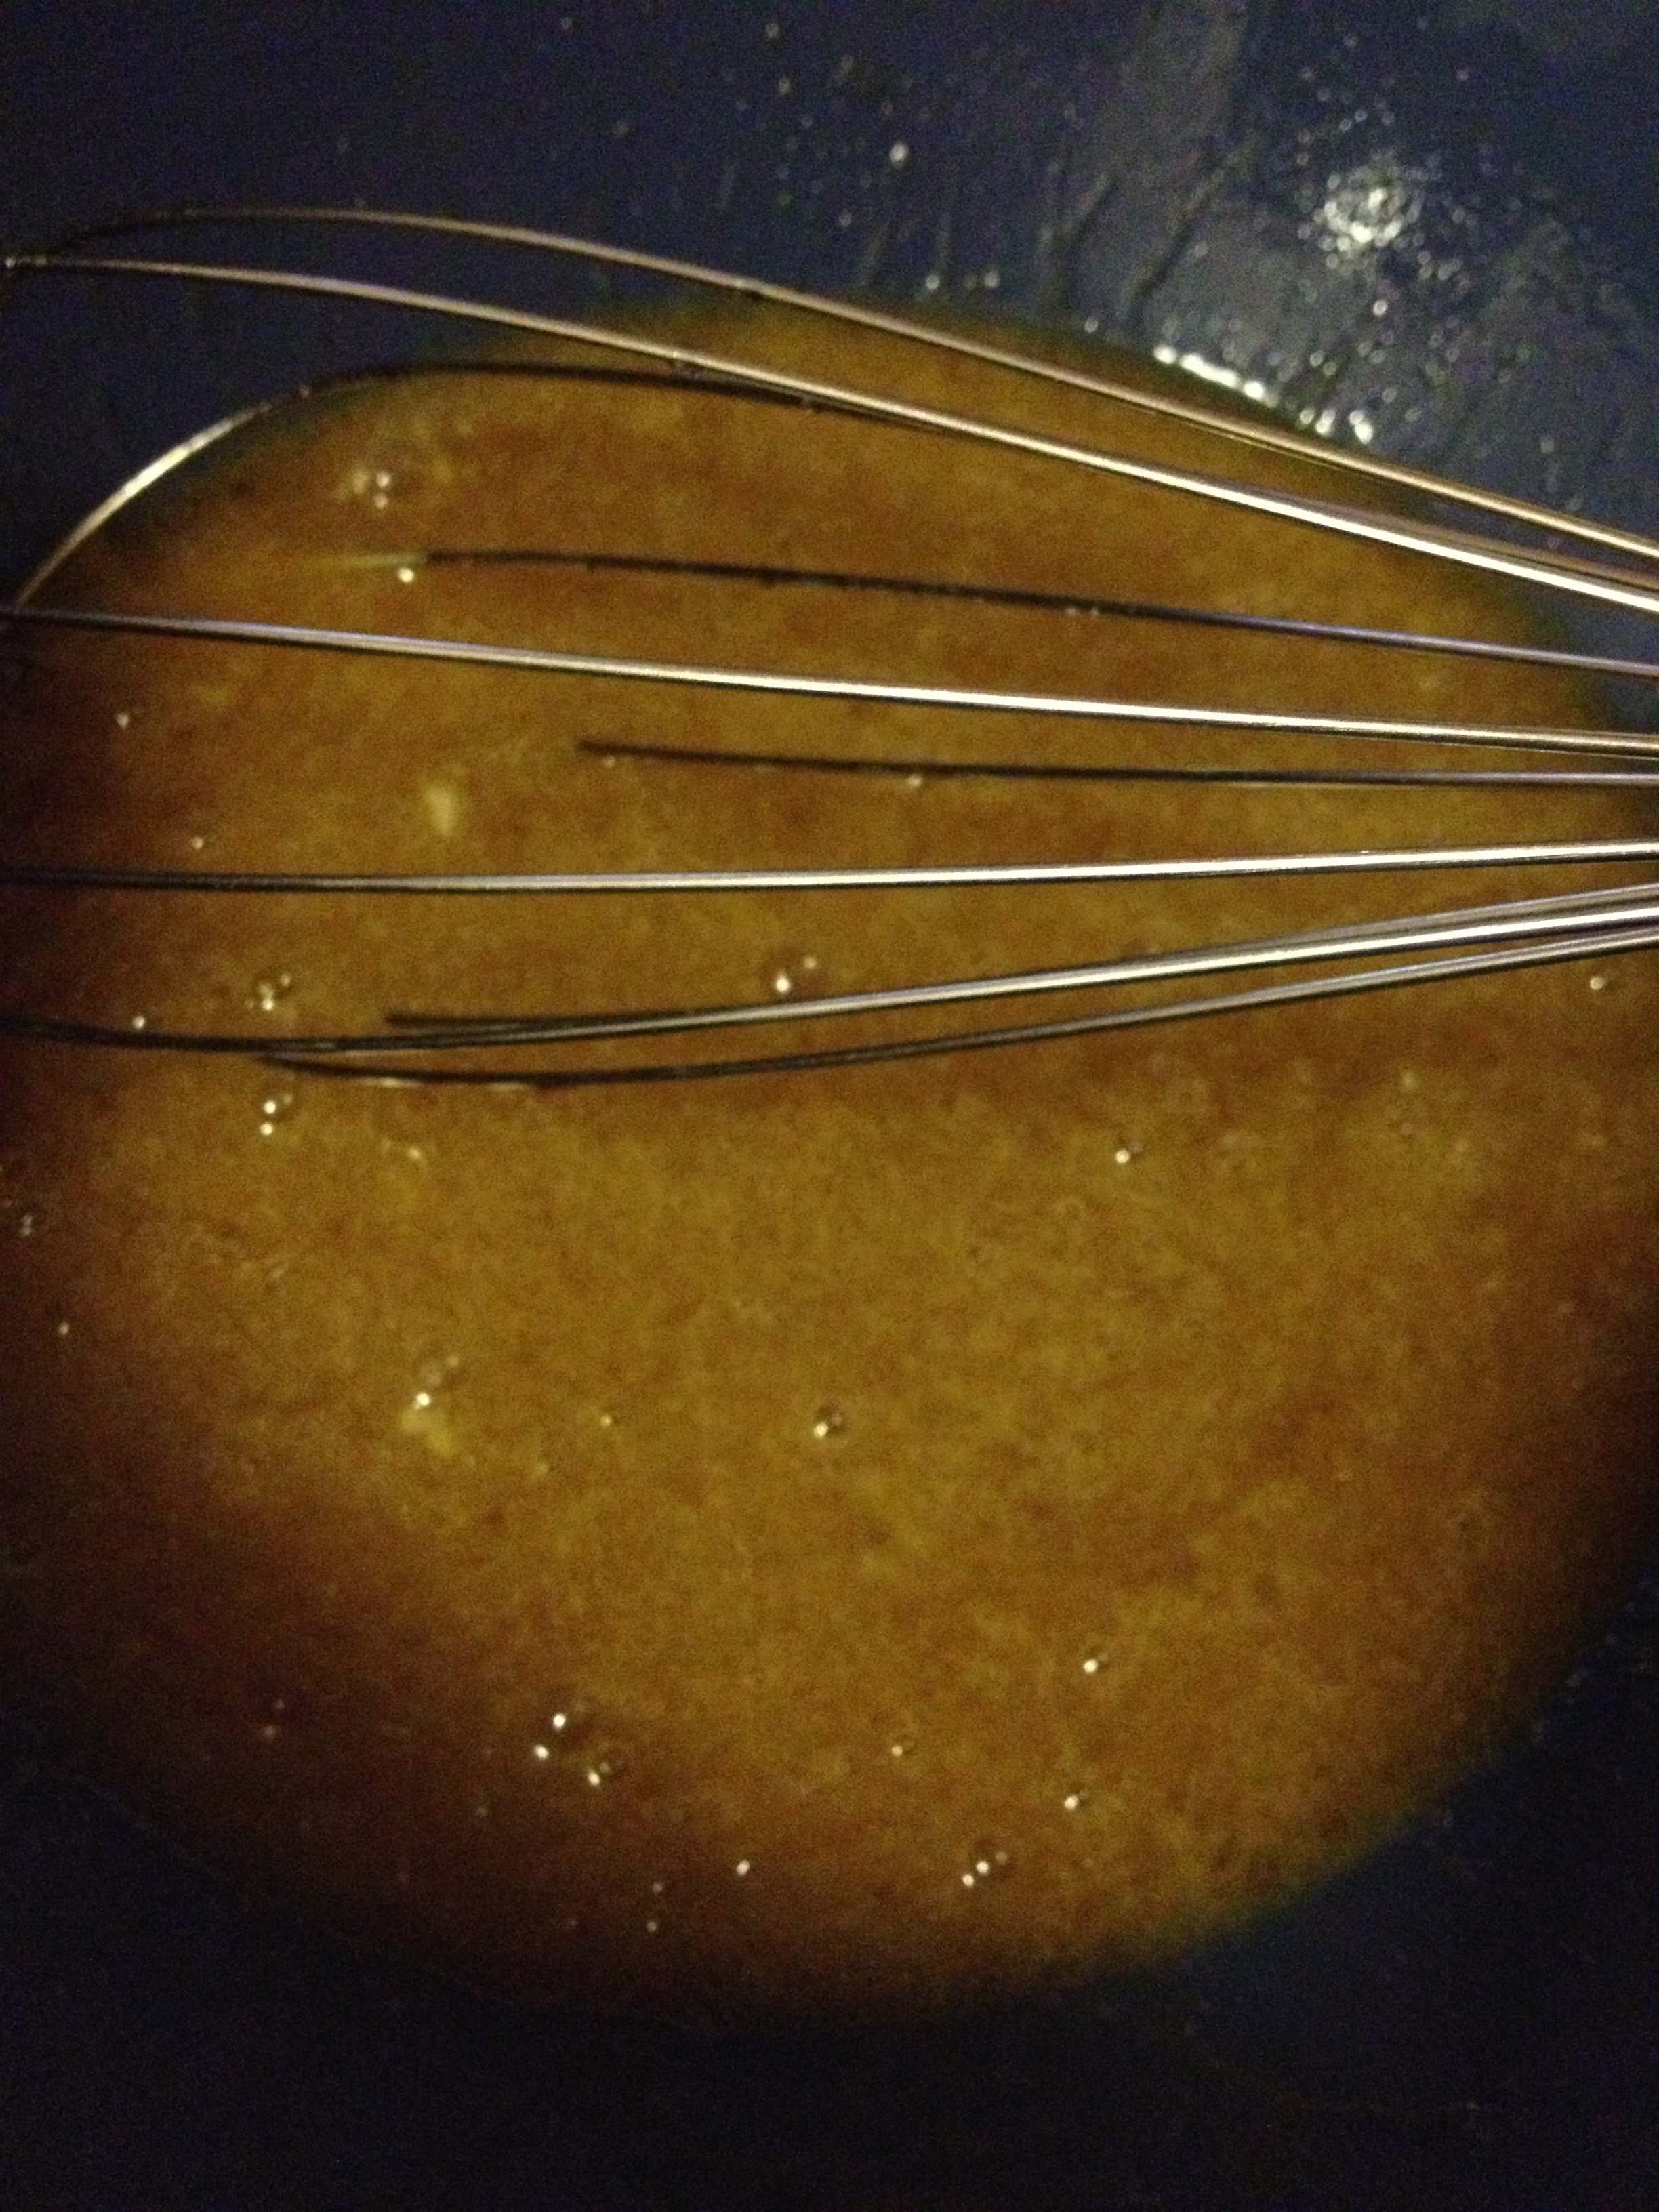
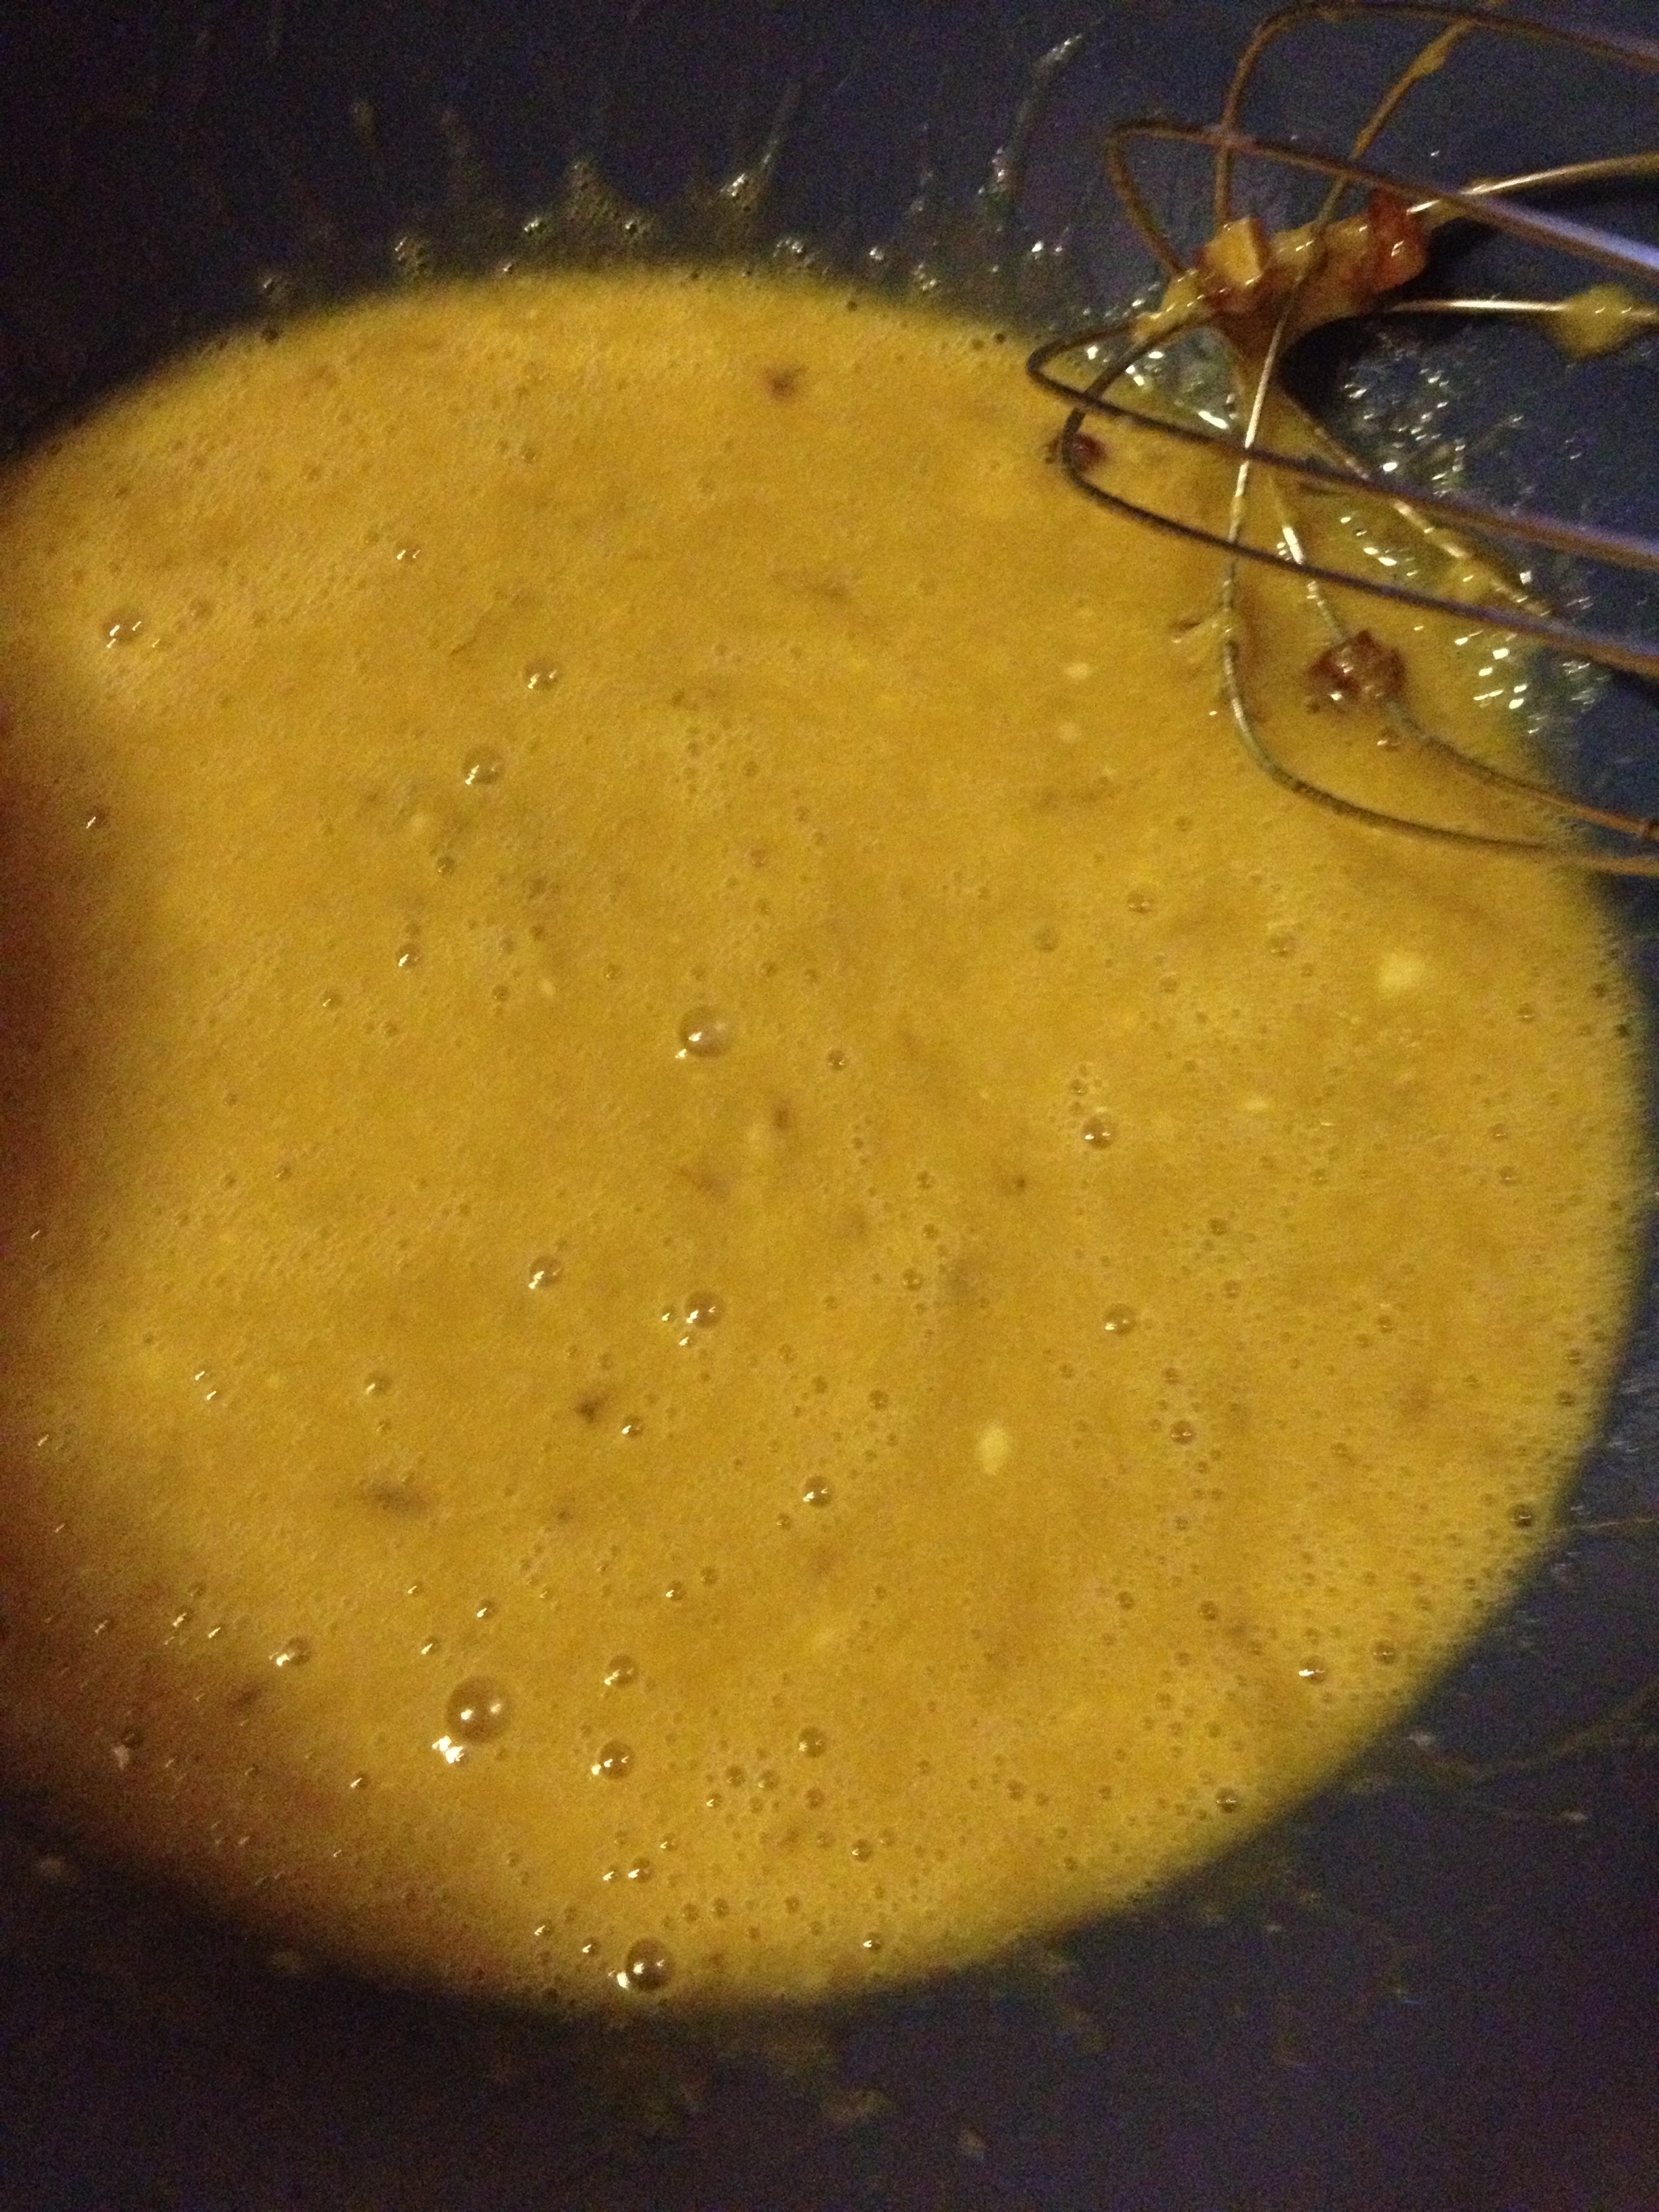
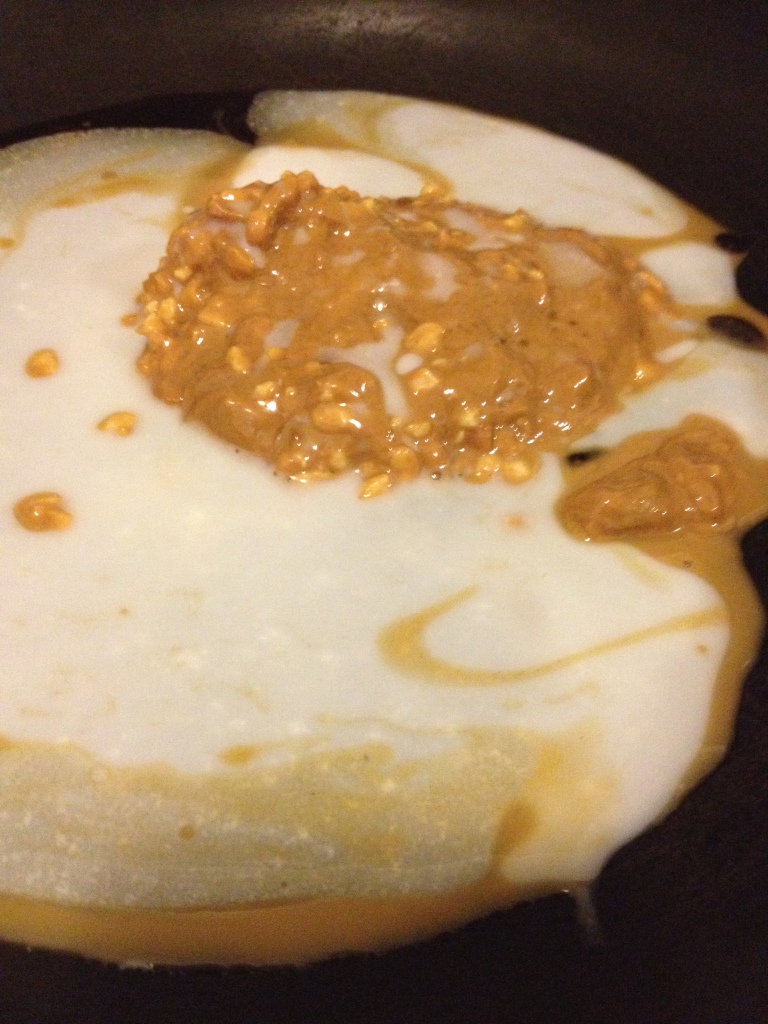
  1. Heat the peanut butter, maple syrup, and Silk Coconutmilk together over low heat in a pan.
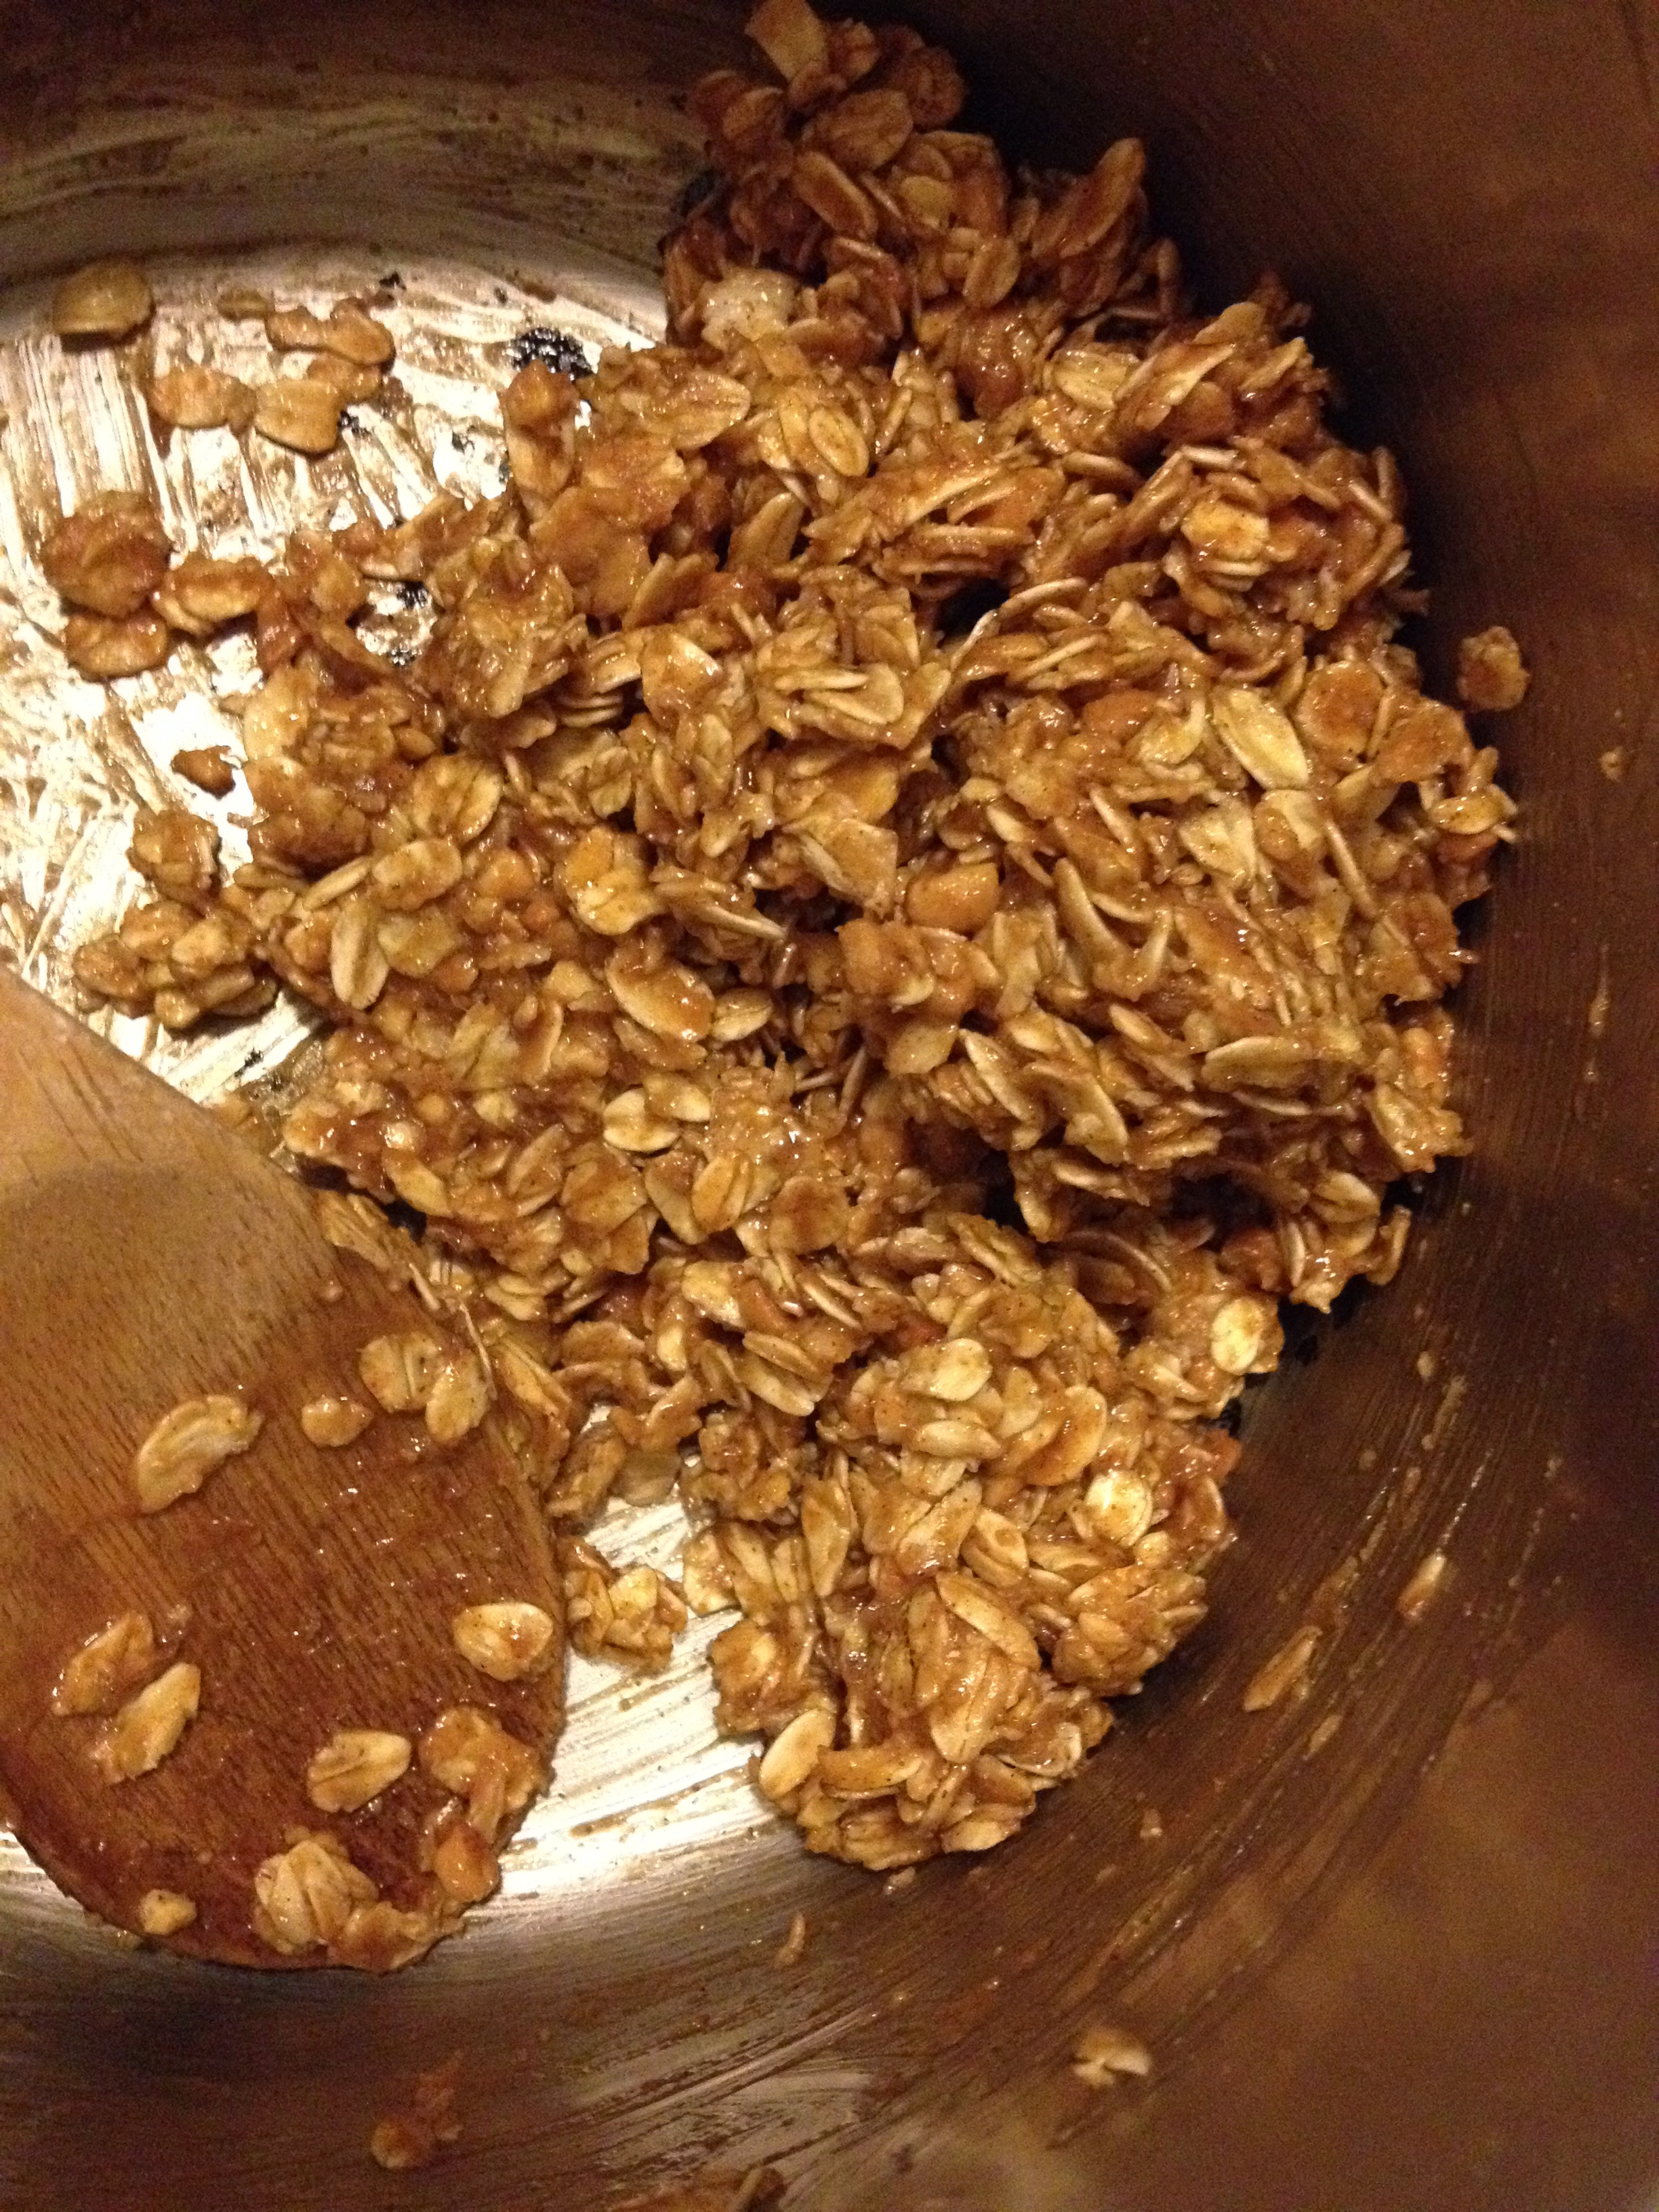
  2. Have oats and cinnamon mixed together in a bowl
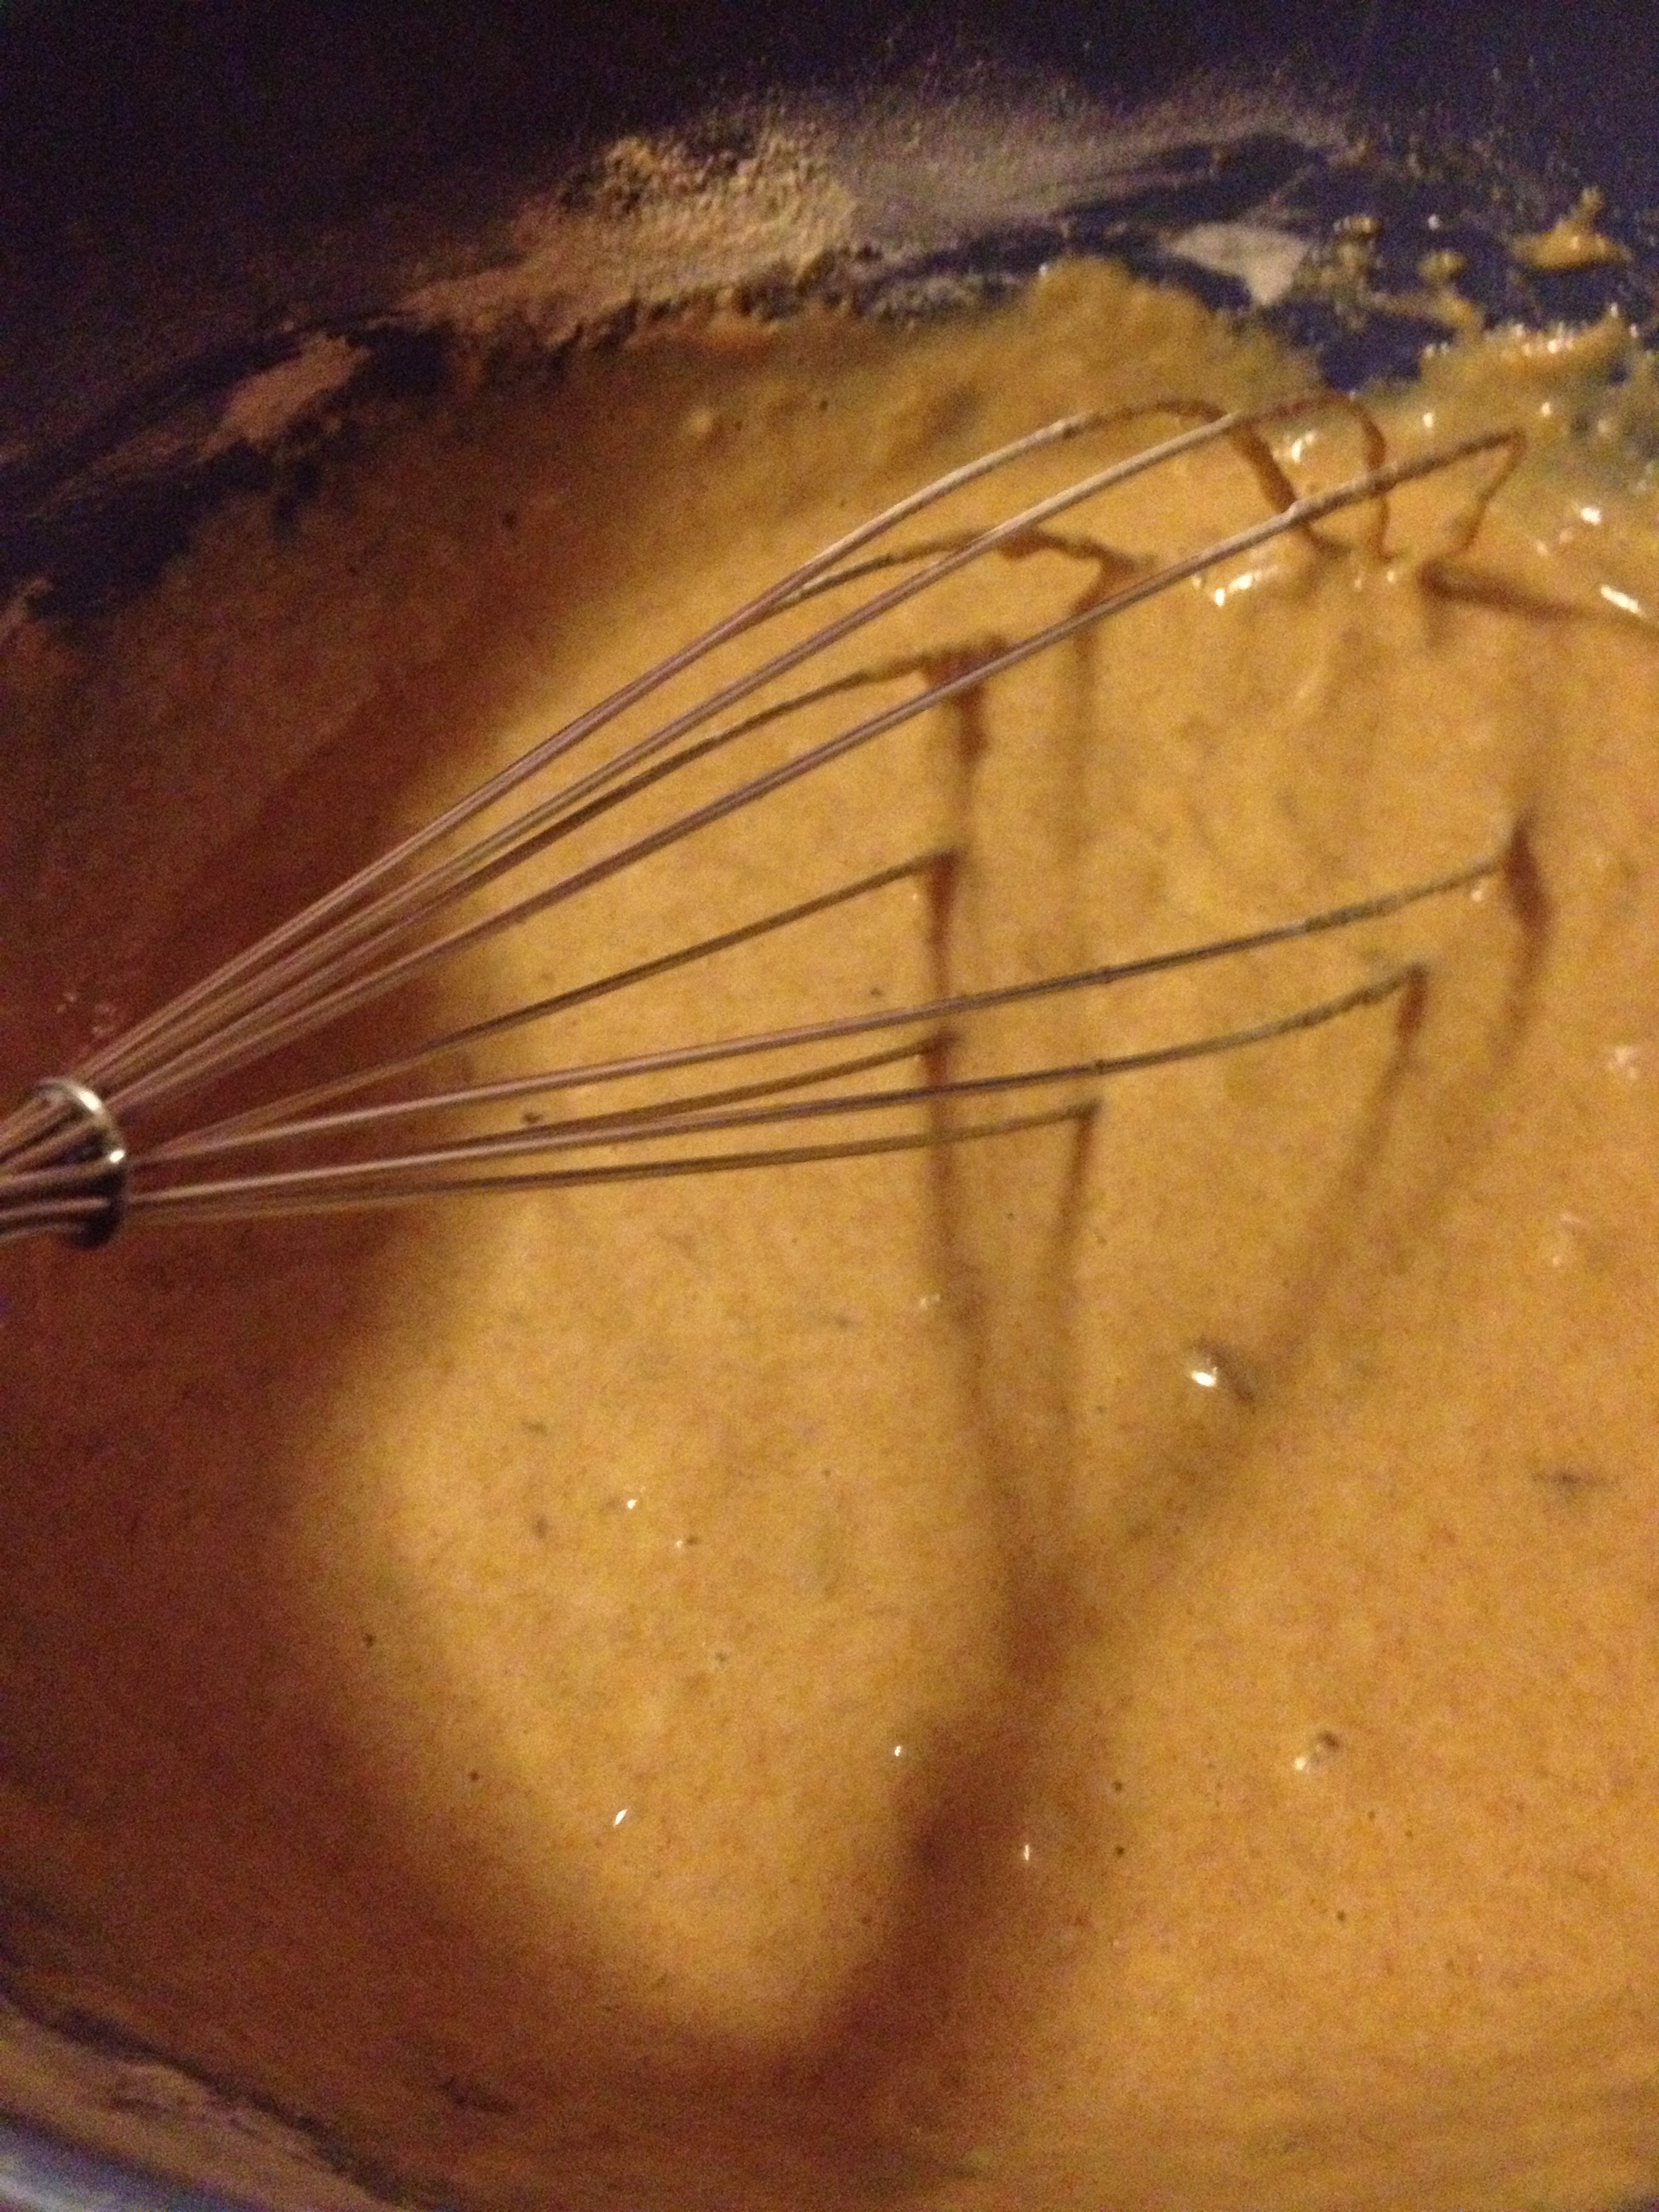
  3. Once warm, pour the peanut butter mixture into the oats and cinnamon and really stir.
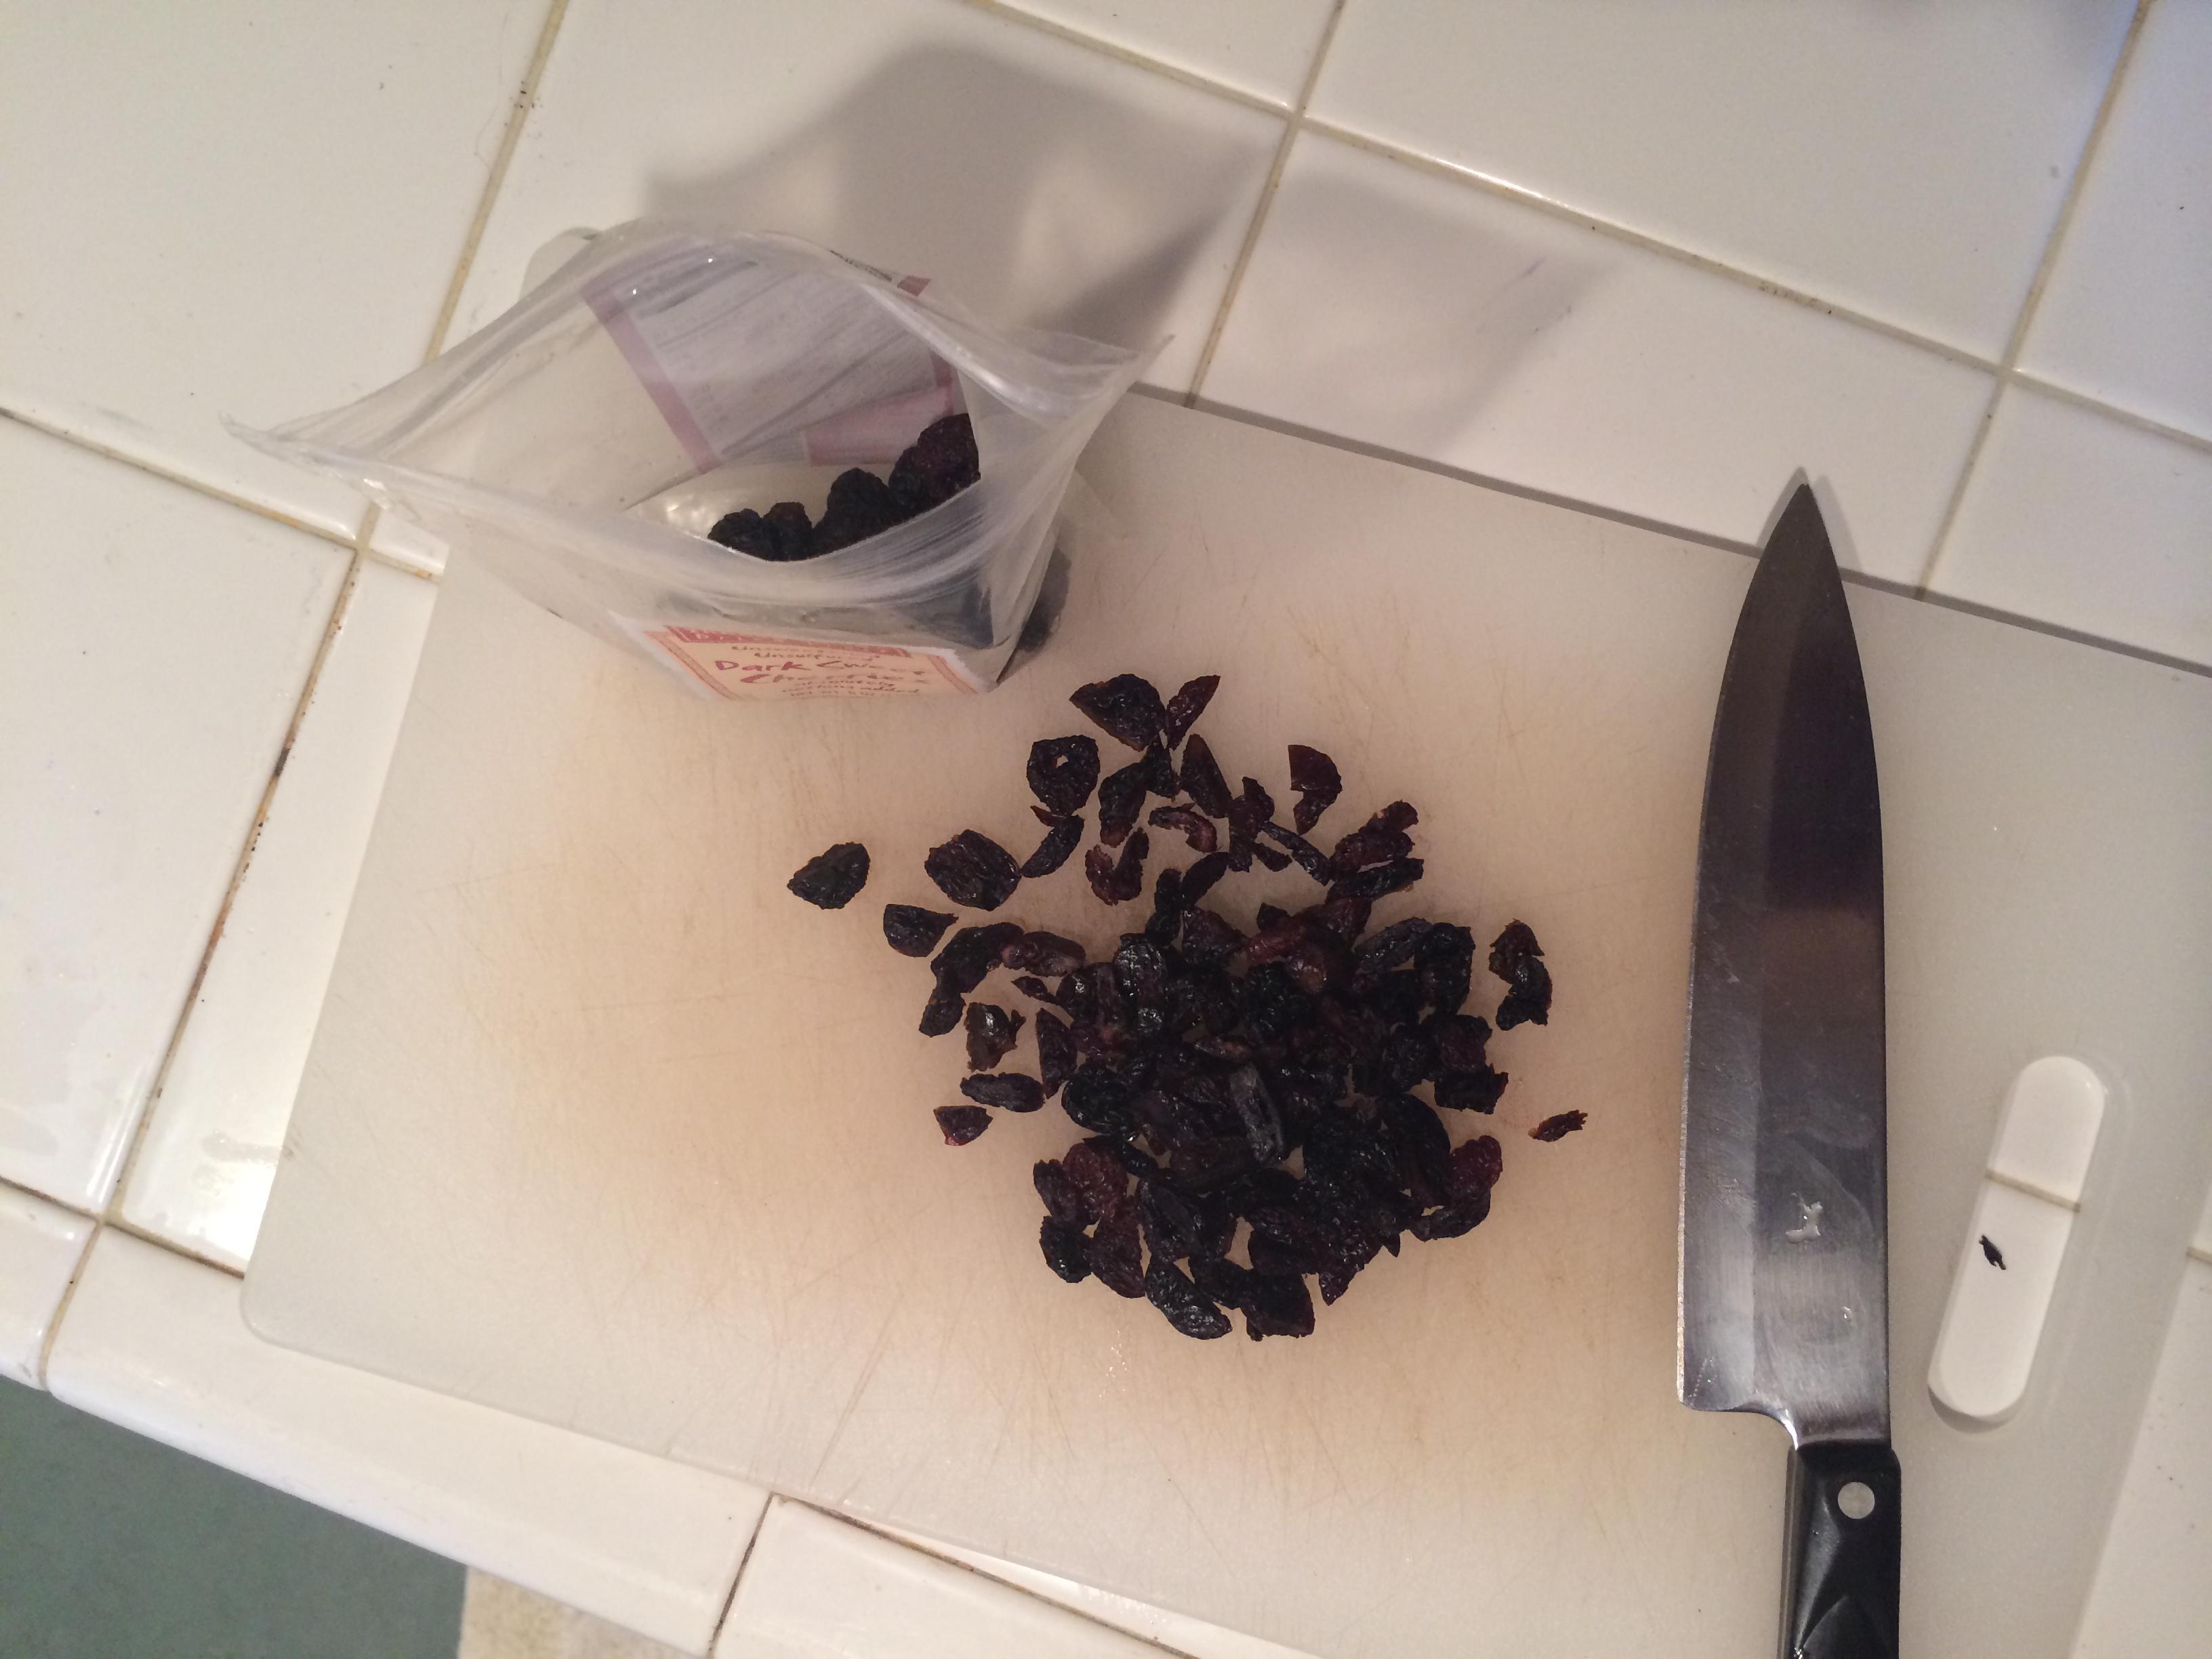
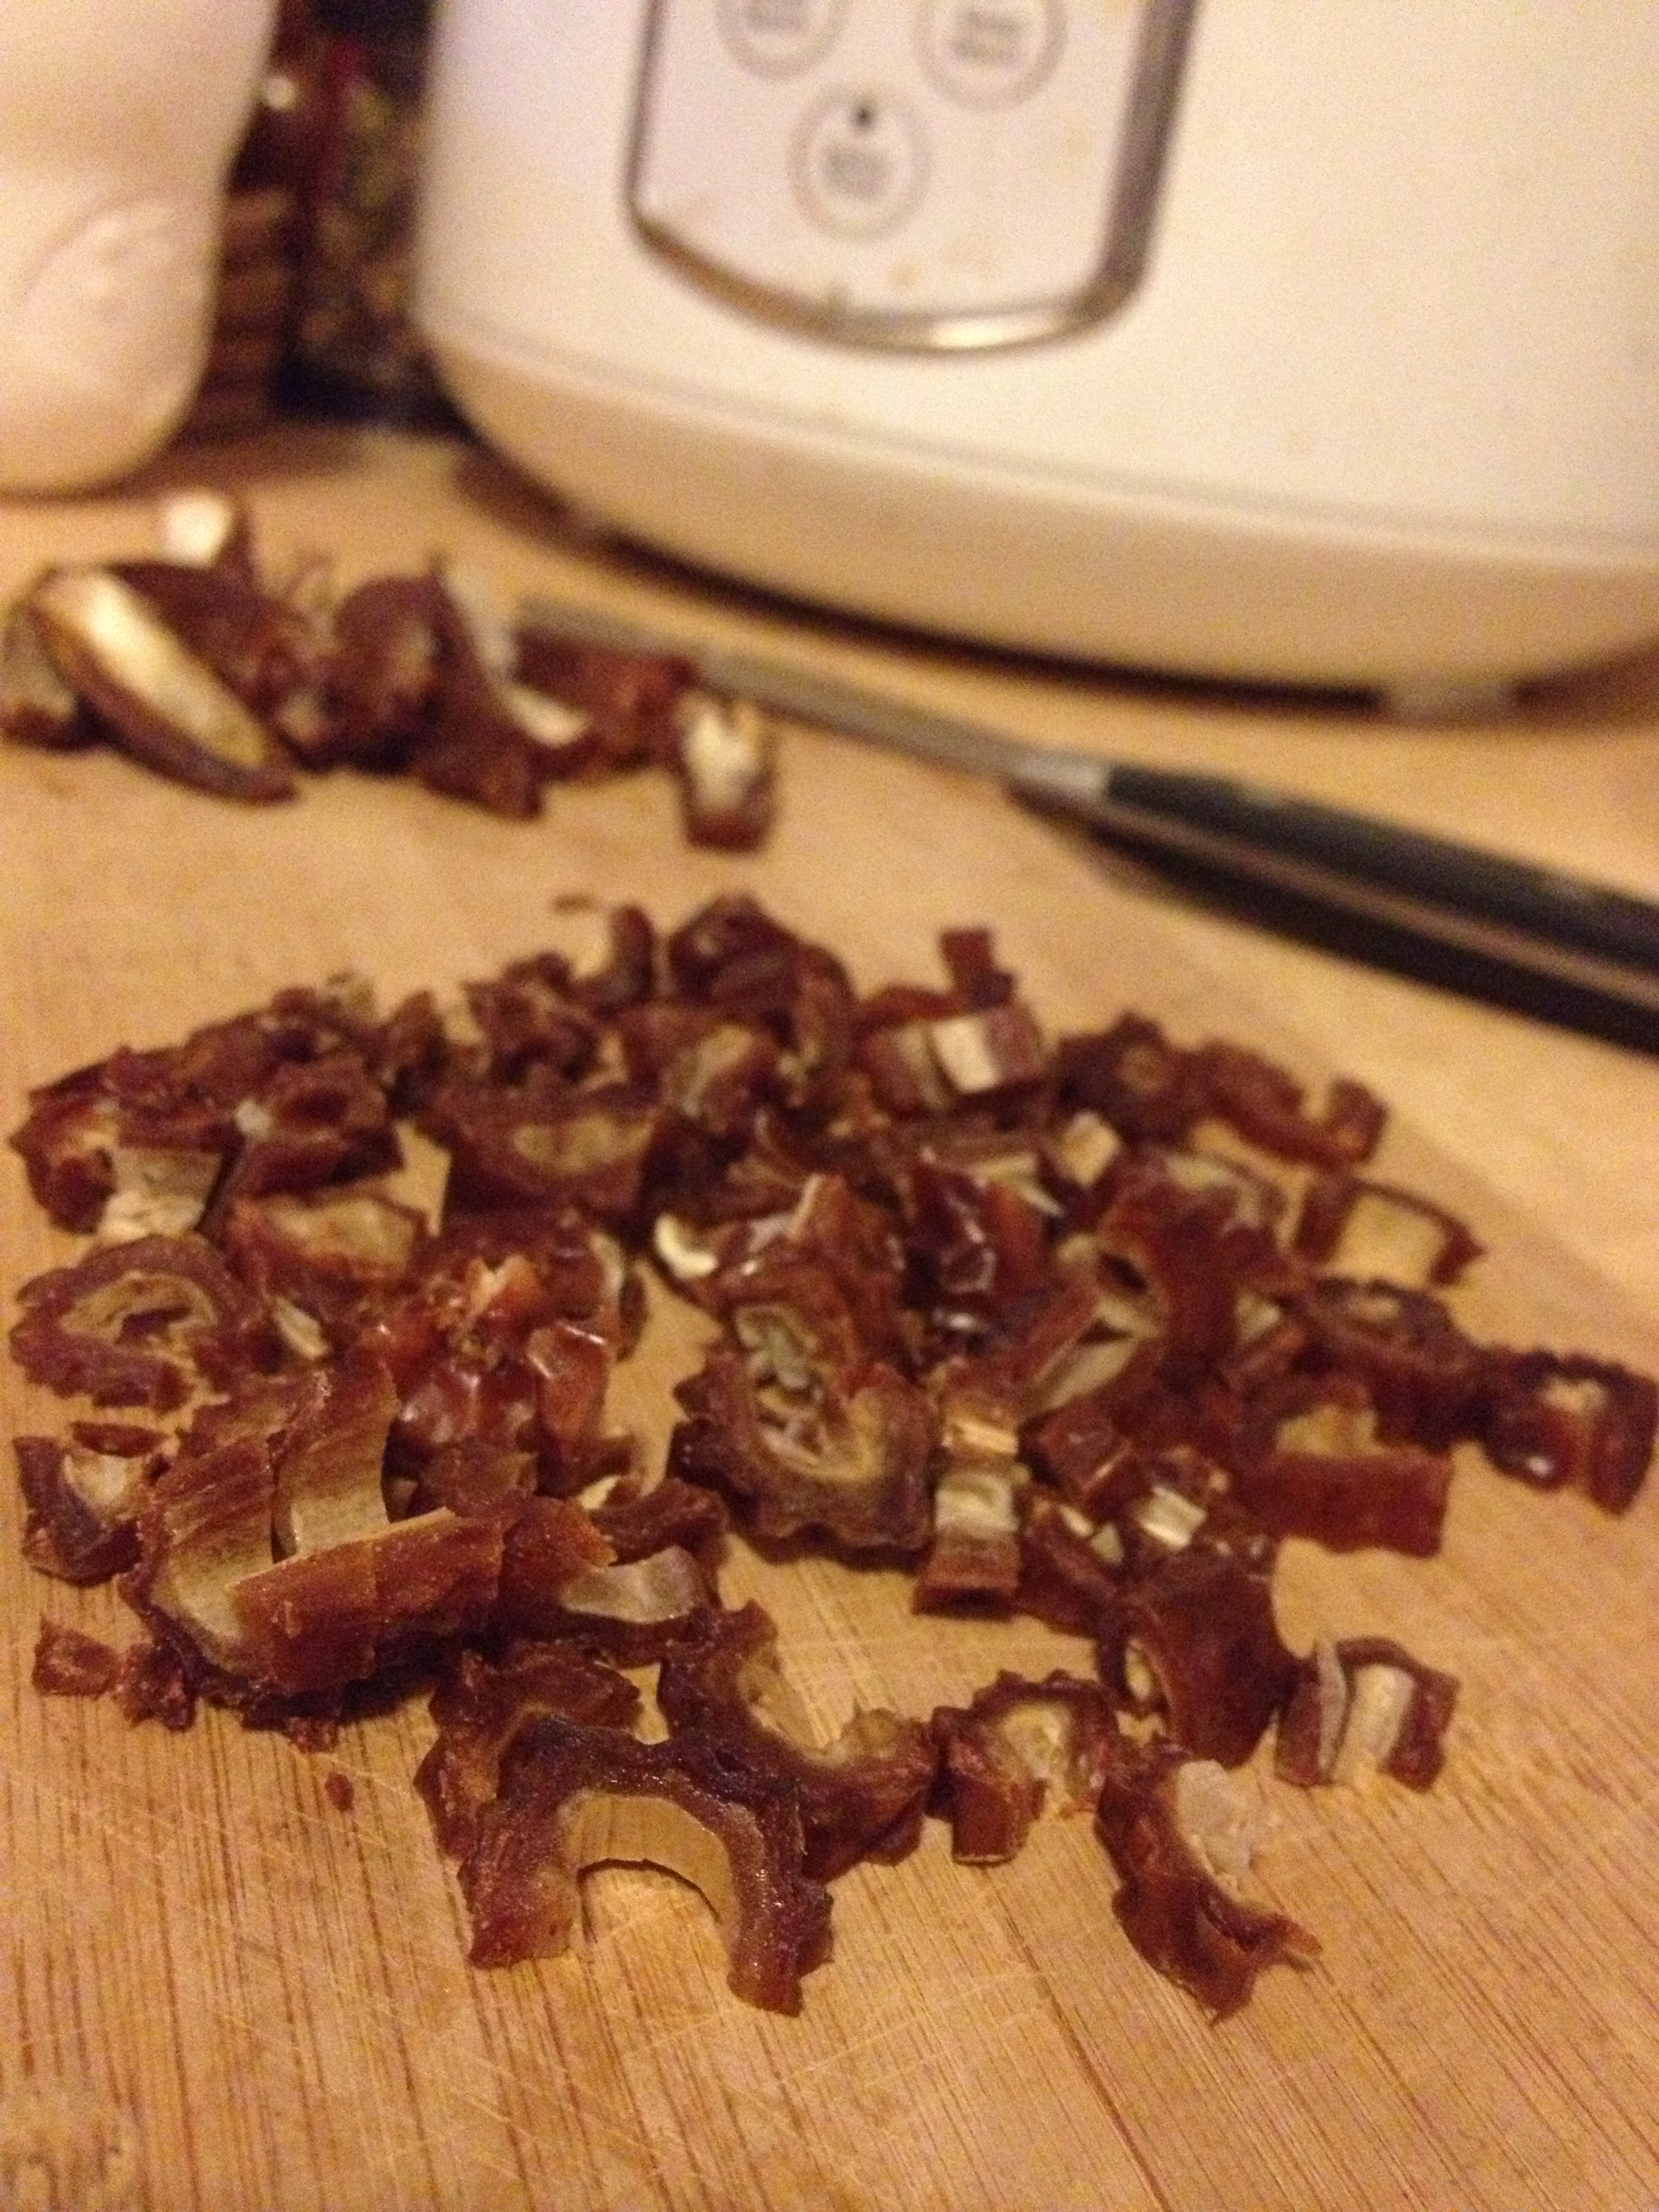
  4. Break the squares of chocolate into small pieces
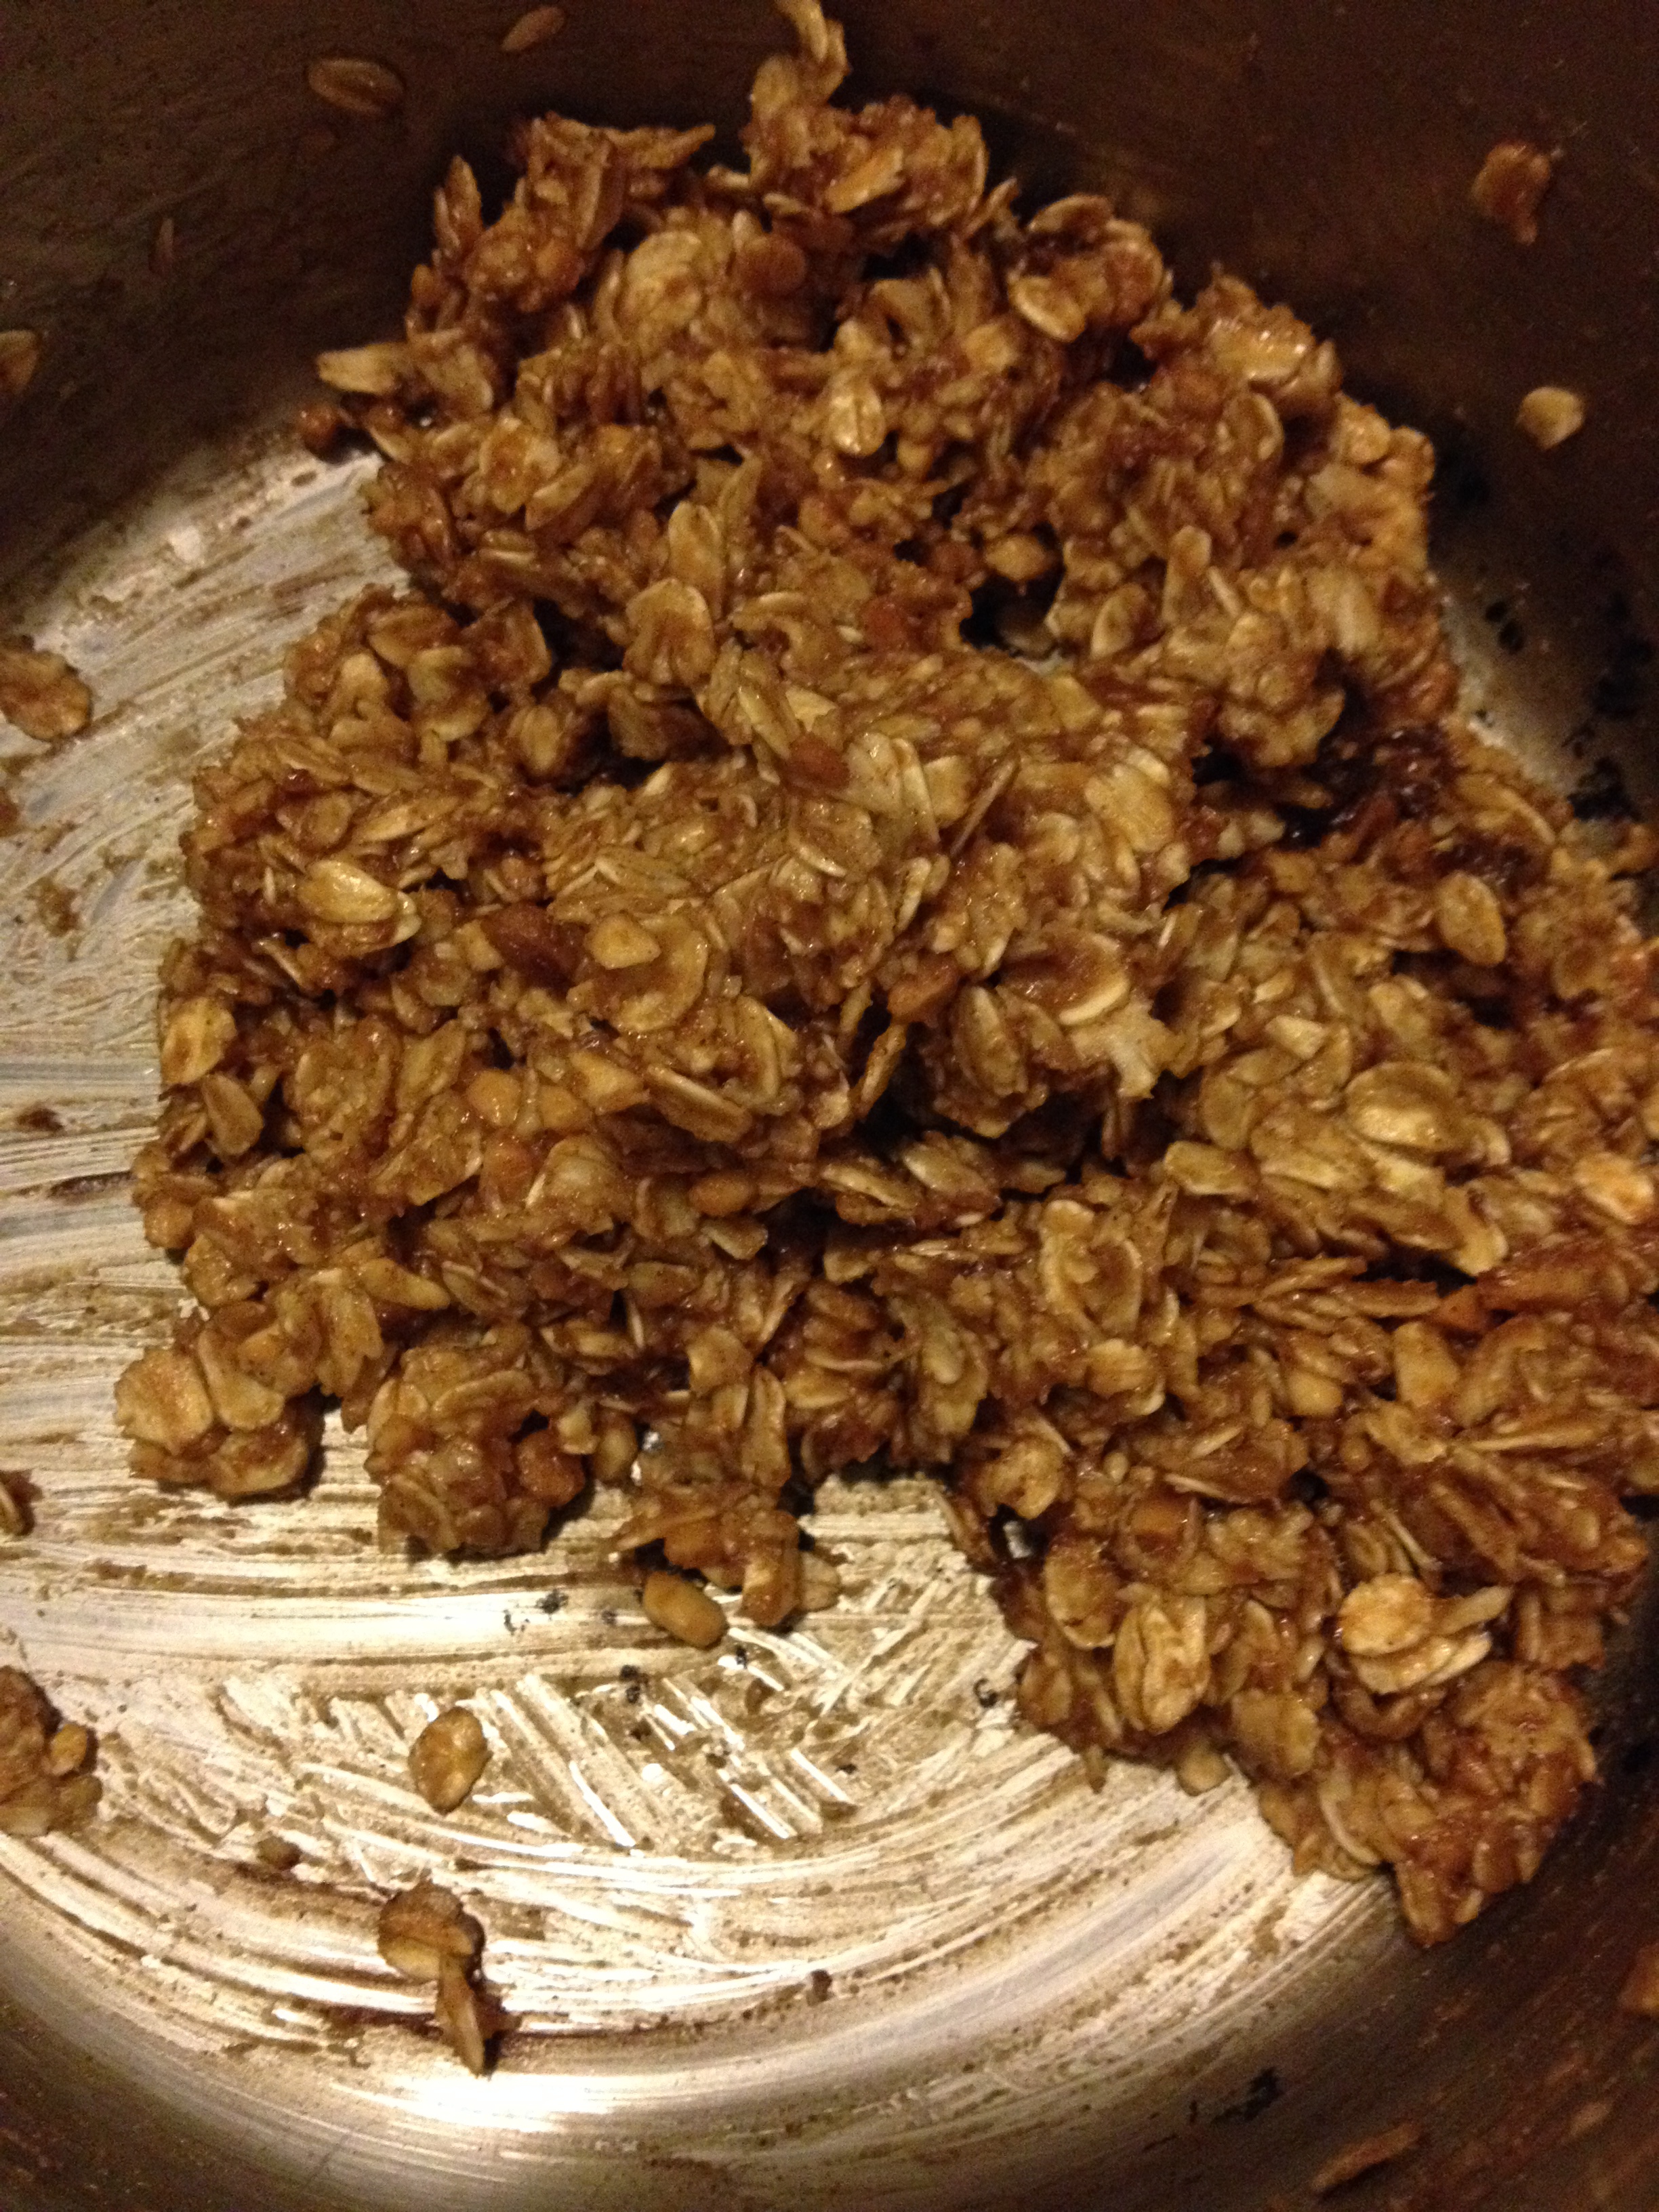
  5. Once it is mixed well, fold in the pieces of chocolate
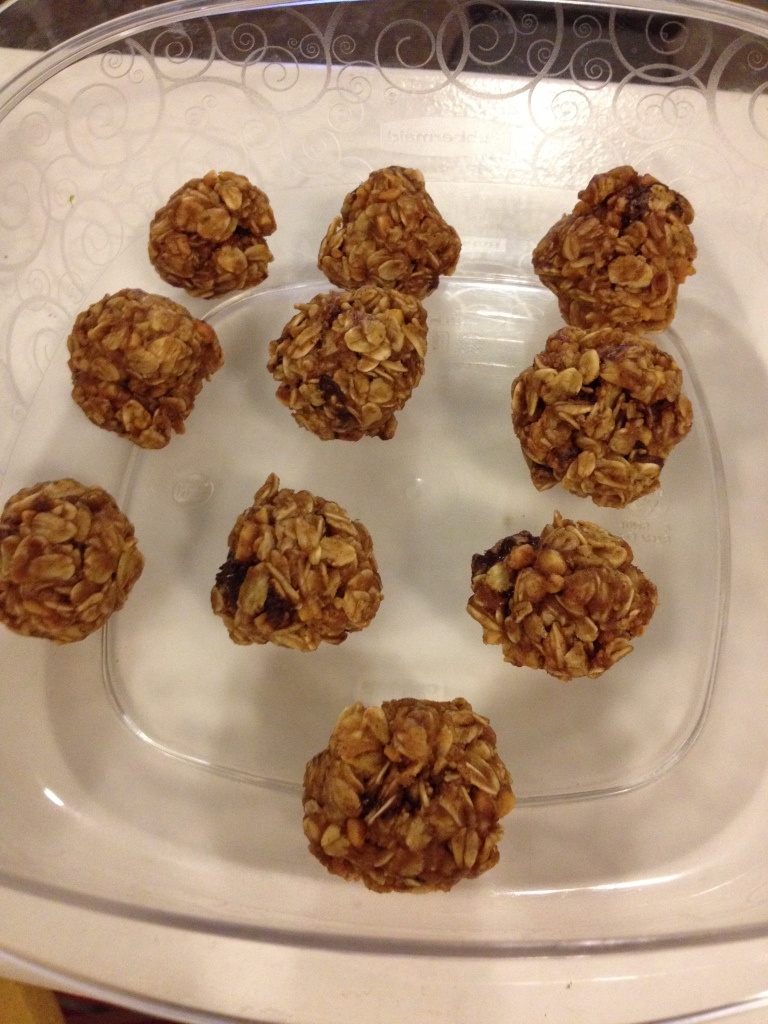
  6. Cover and put in the fridge for 20 minutes
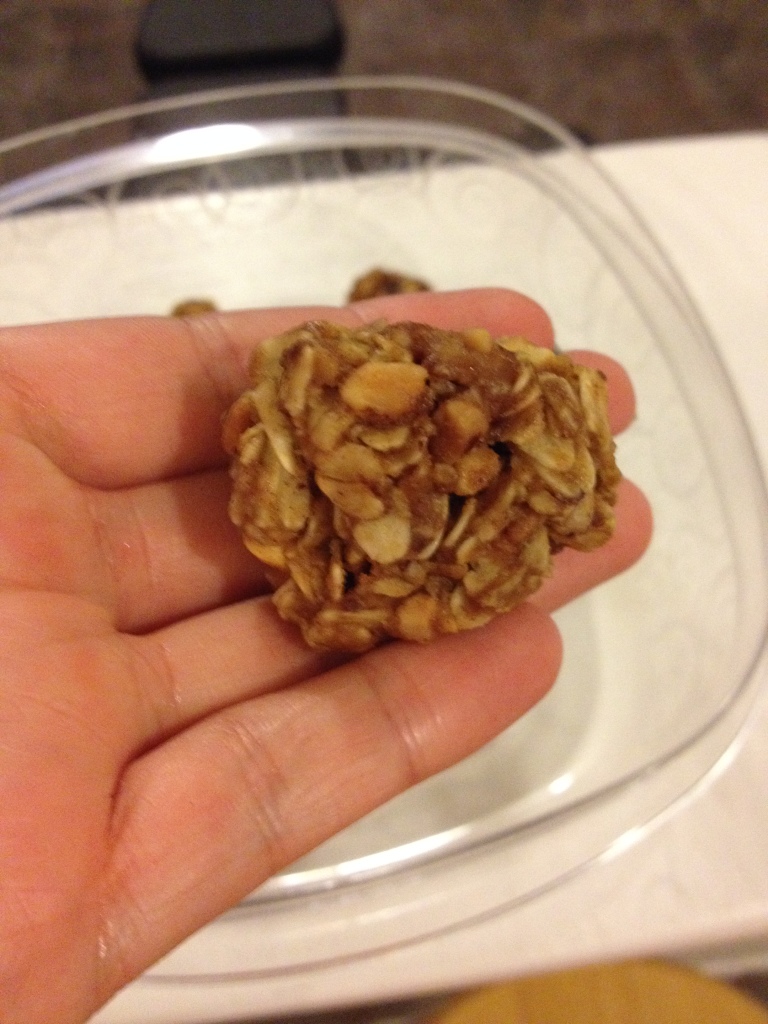
  7. Take out and roll into small balls and store in fridge
hungry and fit https://hungryandfit.com/
I’m going to keep these in a zip-loc in the fridge at home AND at work, because you never know when you need a snack. It’s important to have a 
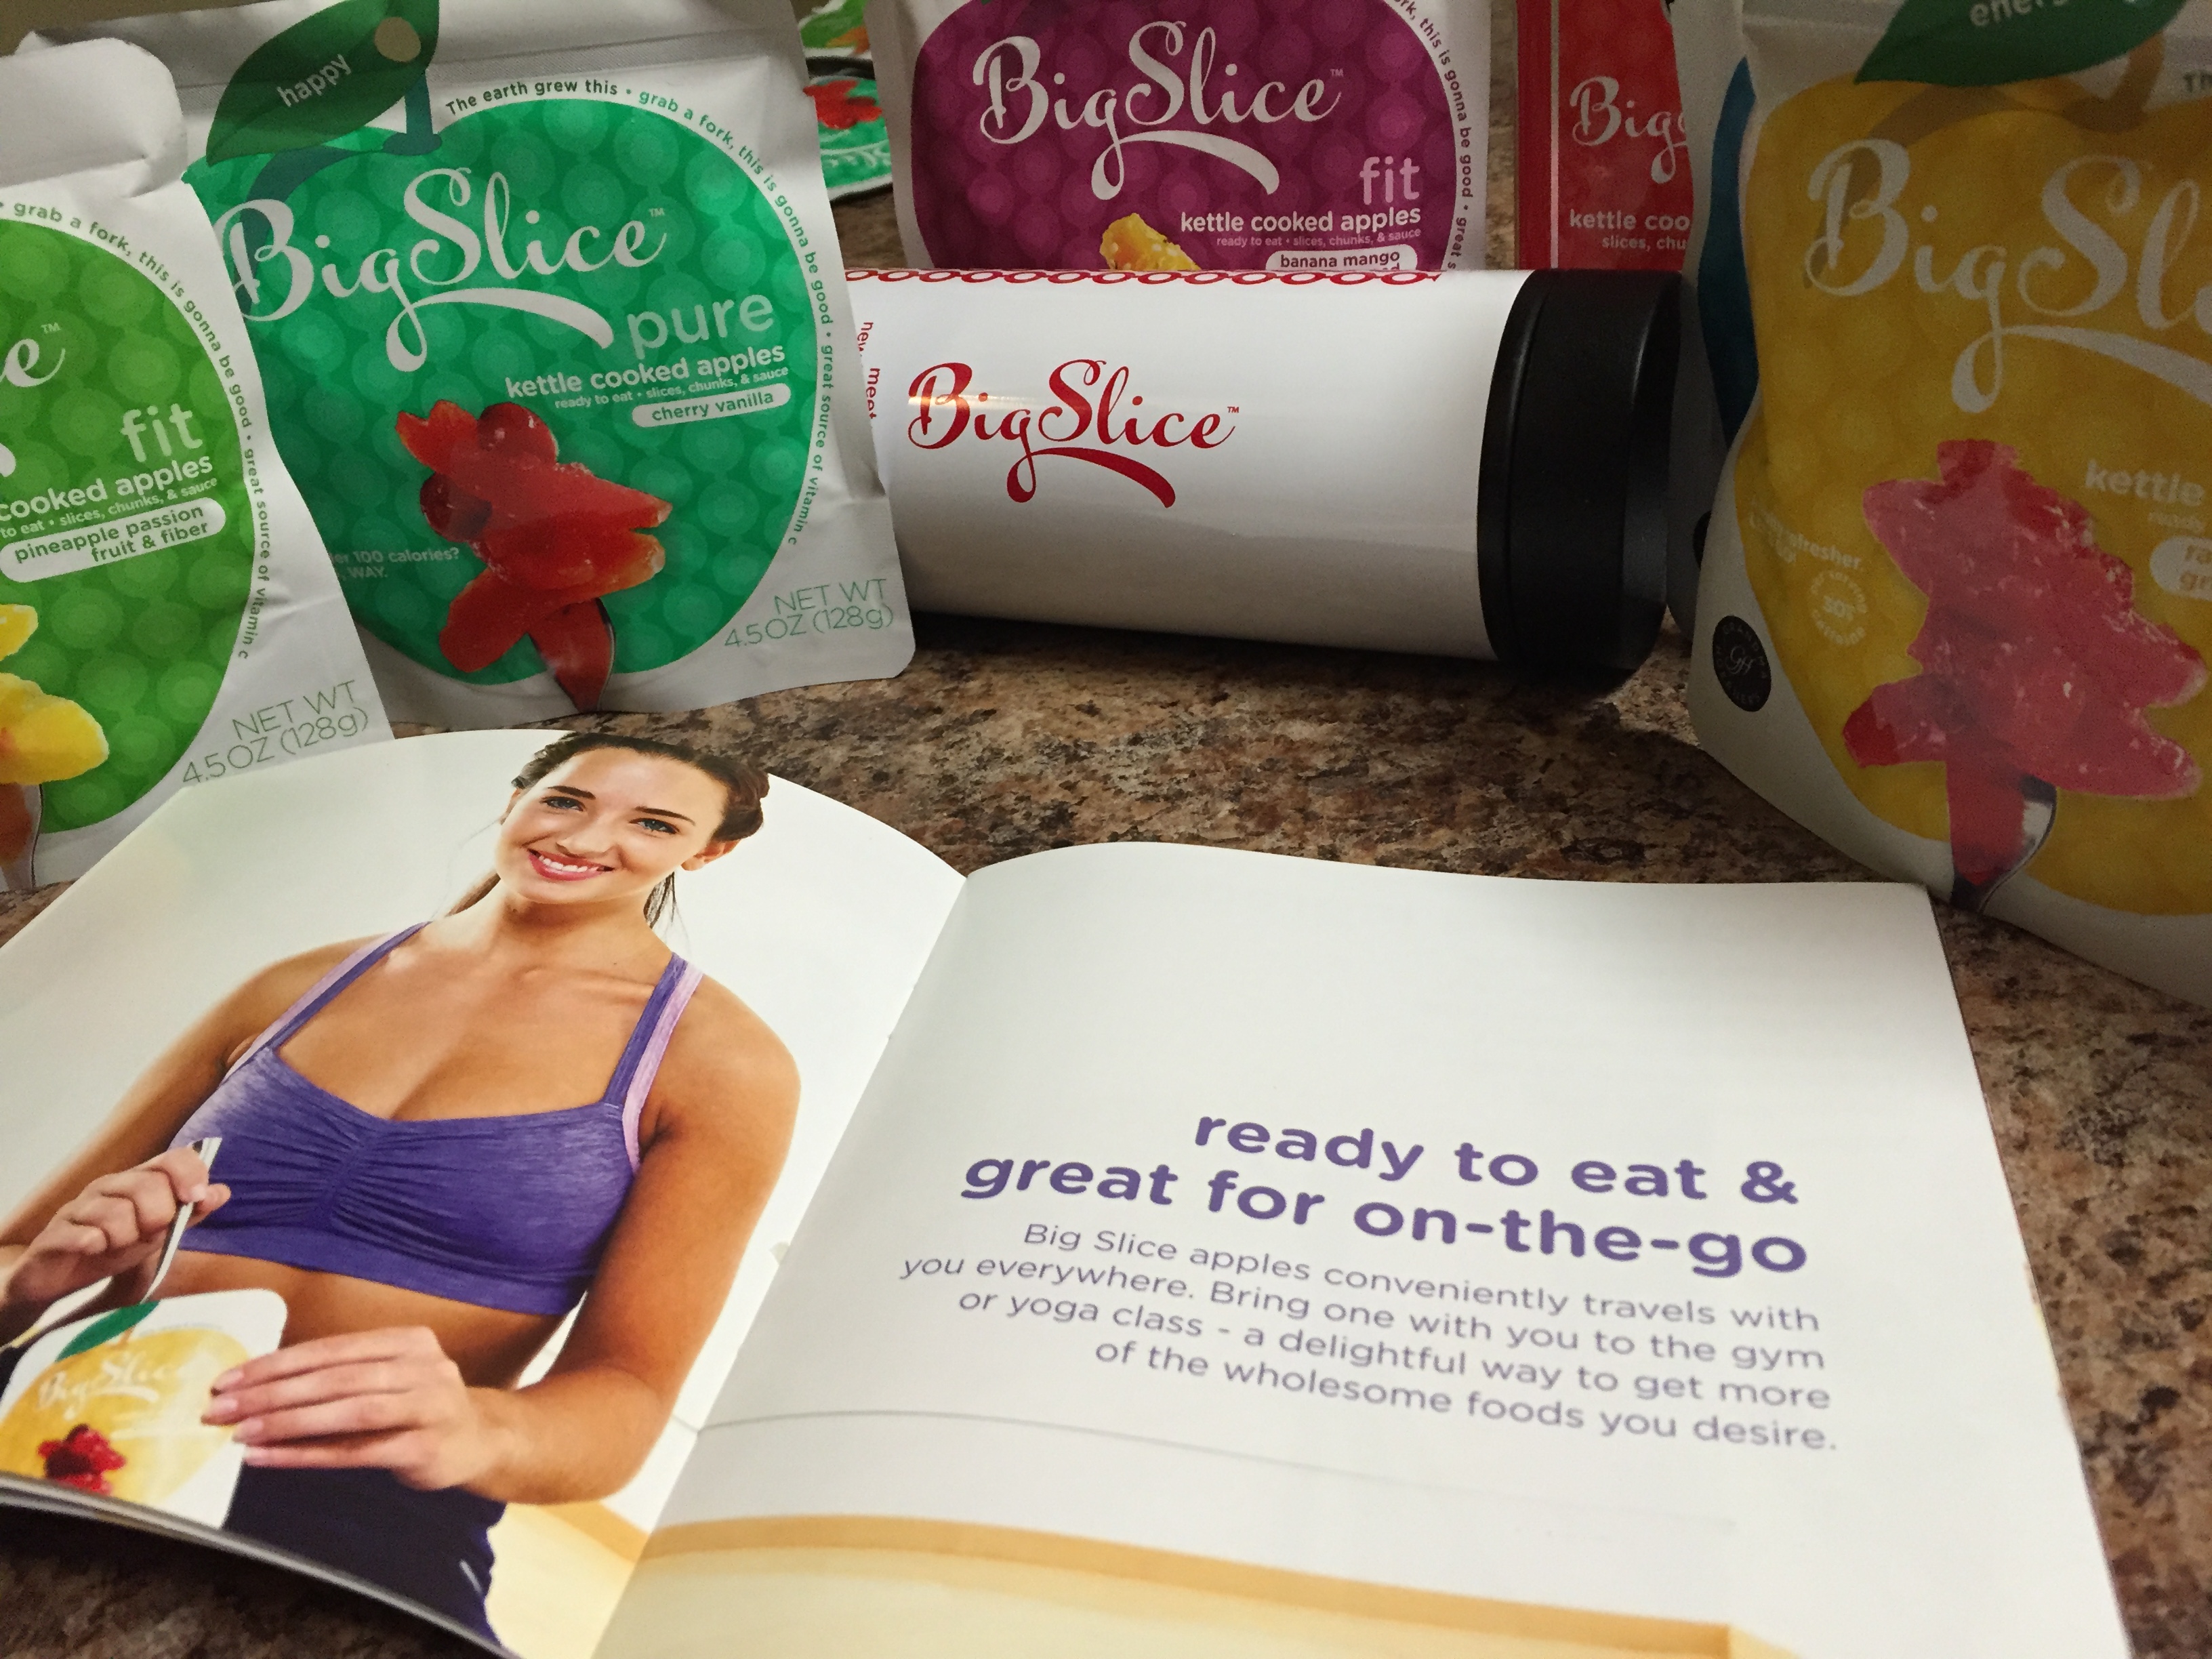
healthy snack accessible, because if not, you’re just going to binge on Red Vines and Sun Chips and then feel bad about it later. The Silk Facebook page inspired this recipe as they have a lot of great recipes and healthy living idea–go check it out and like it! Also, sign up for Silk’s online newsletter to get chances to win a year’s worth of Silk supplies to keep those tummies full with healthy sustenance! They also have other great giveaways like gift cards. Keep these beautiful bites nearby and you’ll never go hungry again! As always, stay hungry and fit!

This conversation is sponsored by Silk. The opinions and text are all ours.


spacer

Coffee Almond Crunch Granola

*Please welcome back, Jamie, who brought you that delicious hummus recipe a few weeks ago (she even provided us with a bonus kitty pic–YES!!*

\\ Jamie’s passion for food and cooking began as a young girl, while watching her mother in the kitchen.  Her curiosity has pushed her to learn how to make a lot of her own products from scratch instead of buying it at the market like hummus, granola, yogurt, pickles, and much more. Jamie is currently studying to become an Occupational Therapist and would love to incorporate cooking into her practice one day. //

jamie bio

I love making granola because it’s fun and easy to experiment with spices, oils, and flavors and not to mention–delicious. For this batch, I used ground cinnamon, coffee, paprika, and salt to play with sweet and savory, but you can get creative and use whatever spices you love! I also like using whole flax seed that I grind up not only because it is chock full of fiber and antioxidants, but because it also acts as a binder so you get chunks of granola.

Ingredients:

  • 3 cups rolled oats
  • 1 tbsp chia seeds
  • 1 tsp ground cinnamon
  • 1 tsp salt
  • 1 tsp paprika
  • 2 tbsp whole flax seeds
  • 2 tbsp coffee
  • ¼ cup coconut oil/walnut oil, or whatever you have on hand
  • 1/3 cup maple syrup or honey
  • ½ cup dried cherries or any dried fruit you like
  • ½ cup almonds
  • ¼ cup Pepitas

Directions:

  1. Add rolled oats, chia seeds, cinnamon, salt, and paprika to a medium bowl.

ingredients coffee

  1. Grind the whole flax seeds and coffee in a coffee grinder and add to oats and spices.

  flax coffee

  1. Add coconut oil and walnut oil or whatever oil you prefer, maple syrup/honey, almonds, and pepitas.
The good stuff

The good stuff

  1. Mix well and spread evenly on baking sheet, pressing down on the granola mixture.
  1. Bake at 300 degrees for 15 minutes, stir, and continue baking for another 15 minutes or until golden brown.
  1. Add chopped cherries or any other dried fruit. Let cool and enjoy!

 chopped

BONUS KITTY PIC

^.^

spacer

Easy Hummus Recipe

 Please enjoy our guest blogger, Jamie, and her wonderful hummus recipe. 

Jamie’s passion for food and cooking began as a young girl, while watching her Italian mother in the kitchen.  During her time studying at UC Santa Cruz, she came to love the process of cooking and experimenting in her own kitchen.  Her curiosity has pushed her to learn how to make a lot of her own products from scratch instead of buying it at the market like hummus, granola, yogurt, pickles, and much more. As the Alternative Food Chef at a Yosemite summer camp, Jamie cooked for campers and staff with dietary restrictions.  This challenged her to use unconventional ingredients to create hearty and healthy comfort food.  Jamie is currently studying to become an Occupational Therapist and would love to incorporate cooking into her practice one day.

jamie bio

Chickpeas are a type of legume also known as garbanzo beans. In Arabic, the word for chickpea is hummus, which we know as a creamy, garlic-y spread made from chickpeas and tahini (sesame seed paste). You can find all different types of hummus at your local grocery store, but often times store-bought hummus is chock full of unnecessary additives and preservatives that you can’t pronounce. Luckily, it is incredibly easy to make!

Since I ran out of tahini, I decided to spice up my hummus by adding roasted red bell pepper and garlic, but if you have tahini, I would recommend using it. Also, I used chickpeas that I cooked from scratch, which takes longer since you have to let them soak overnight, so feel free to make the hummus using canned chickpeas instead.

Roasted Red Bell Pepper Hummus

Ingredients:

  • ¾ C chickpeas (dry) or 1 can cooked chickpeas
  • 3-5 Cardamom Pods (optional)
  • ½ Red Bell Pepper
  • 4 cloves of garlic
  • ½ lemon
  • 2-3 T Olive oil
  • S and P to taste
  • 2 t Paprika or Chipotle Powder
  • ¼ C Tahini

Directions:

  1. Sort through Chickpeas and pick out any off-color or shriveled ones. Soak Chickpeas in water overnight. If using canned beans skip to step 3chick pea
  1. Drain and rinse chickpeas. Place in large pot and cover with a couple of inches of water. Add a pinch of salt and cardamom pods or any other fresh herb you like (adds a nice aroma and subtle flavor to chickpeas). Bring to a boil then reduce to simmer for 60-90 min or until tender. chick pea cooking
  1. While the chickpeas are cooking, place bell pepper and two cloves of garlic (skin on) in aluminum foil and drizzle with olive oil, salt, and pepper. Place the foil pouch in toaster oven or oven at 350 degrees F for about 45 minbell pep
  1. Once chickpeas are tender and the bell pepper and garlic are roasted, place in food processor or blender, adding a few tablespoons of the water that the chickpeas were cooked in. Make sure to take the skin off the garlic.
  2. Roughly chop the other two cloves of garlic and add it to food processor along with the juice of half a lemon (or a little more to taste), olive oil, salt, pepper, and paprika or chipotle powder.
  1. Blend until smooth, top with drizzle of olive oil and a sprinkle of paprika, and enjoy!
Yum!

Yum!

Hummus is loaded with protein and fiber and will help you to stay hungry and fit!

spacer

The Perfect July 4th Treat: Stuffed Strawberries

Now that I think about it, it doesn’t need to be July 4th…it can be any nation’s pride day who has red white and blue. And you aren’t limited just to July 4th either because it’s a healthy and delicious treat! I may have served these on July 5th, but that’s only because we already had rhubarb pies made by my grandma. This special dish involves fruit, dairy, and happiness and doesn’t take longer than 15-20 minutes to make! I got it from here and added a bit of lemon into it and took out some sugar.

photo 2 (6)

Prep Time: 15-20 minutes

Cooking Time: …non-existent

Ingredients

  • a tin of strawberries (I just usually get the regular pound at the grocery)
  • a tin of blueberries (same thing)
  • 5 oz marscapone
  • juice of a lemon
  • lemon zest
  • 2 tbsp powdered sugar
  • 1 tsp vanilla

Directions

  • Wash the fruit and pat dry all of it
Beautiful sight

Beautiful sight

  • Take the strawberries and cut the green ends off and also a little portion of the tip so they can stand upright on a platter
  • Take a melon baller and ball out of the bottom, creating a crevasse.

photo 2 (5)

photo 3 (5)

  • Once your strawberries are all “pitted” and plated, let’s turn to the filling. Put 5 ounces of marscapone cheese and put it in a small-medium bowl
  • I would next do the lemon juice. Cut the lemon in half and squeeeeeze all that juice out.
  • Next, grind the lemon on a grater and get a good amount of zest (people say 1 tsp, but I eyeball it)
  • Then, throw the powdered sugar and vanilla in and stir! Mix it all up really well
Hard not to eat it all

Hard not to eat it all

  • Now comes the most difficult part: take the marscapone mixture and put it into a re-sealable bag and snip a corner off. Use this contraption to fill the pits in the strawberries up with the mixture

photo 5 (3)

  • Once all the strawberries are filled to perfection, place the blueberries on top of the cream in the strawberries. And that’s it!
Yum yum yum

Yum yum yum

This is an easy, healthy treat you can substitute for pie or something else you’d like to stay away from on those holiday food feasts. Fresh fruit and sweet cheese. How could it go wrong? It’s easy to do, pretty to the eye, and delicious enough to impress. Make this recipe if you’re looking to stay hungry and fit! 

photo 3 (7)

You might also like…

spacer

Fit’s Favorite Spot: Yogurtland (Los Angeles, CA)

For the past few years or so, frozen yogurt has started to trend and is now a craze. I am certainly not separate from this craze–I love it too! It’s refreshing, delicious, and cheap! If you go to the right place, of course… And that leads me to YogurtlandIt is alwaysmust-stop when I visit home in California (as there are none nearby in Boulder, CO). They call themselves “the land of endless yogurt possibilities,” and it is so true.

photo 2 (3)

You can find yogurt places everywhere, we even have a favorite here in Boulder. But for me, Yogurtland tops them all. Why? Many reasons. First, let’s start with the incredible flavor selection: there’s always something for everyone, whether you feel like chocolate, tart, fruit, or any of the crazy flavors they come up with. When we were there, they were doing some “travel the world” mission to get different flavors from all over the world. They always have the best. And ENDLESS toppings too.

Second, they put real ingredients in their yogurt. If you get pistachio yogurt, there’s pistachio in there. They do it with real milk and use seasonal fruit. It always leaves you feeling refreshed and happy, unlike other places that will make you feel bloated and a little off. Third, they make sure to stock your yogurt up with all the probiotics you need, leaving you with a healthy gut and a happy belly with their deliciousness. And another big one, the price. You go to a lot of these yogurt places (one near our college comes to mind) and they are crazy expensive. Sometimes it’s just not worth it. But not at Yogurtland! 35 cents per ounce. Guaranteed for a delicious, healthy (depending on toppings), cheap treat.

My latest cup

My latest cup

This is a raving review of this place. I have loved this franchise since I first had it and no other yogurt place could ever stand beside it. I used to be a Pinkberry person, but never again. My favorite combo is tart with some other fruit flavors (acai if they have it) and I put toppings like mochi, lots of fruit, and sometimes yogurt chips (redundant, I know) on as well. I’ve turned on lots of family and friends to this place and it’s always worth the trip to Little Little Tokyo (not in Downtown LA, but in Westwood). If you have one in your state, make the trip there and go to froyo heaven.

A California sunset

A California sunset

You may also like…

spacer

Scrumptious Whole-Wheat Banana Date Muffins

We had dates and bananas that needed to be used. Okay maybe the dates didn’t need to be used since they last forever, but I’ve been wanting to try this. Like my other muffin recipe (which this one is actually based on), it’s super simple and quick to do. I threw this together late last night after a leg workout. It’s very healthy, estimated at about 167 calories with 3 grams of protein and fiber! Not too shabby.

photo 3 (3)

  • Prep Time: 7 minutes
  • Bake Time: 15-20 minutes

Ingredients

  • 1 3/4 cups whole wheat flour
  • 10 dates
  • 1 tsp baking soda
  • 1/2 teaspoon salt
  • 1/3 cup olive oil
  • 3/8 cup honey [a little more than 1/3]
  • 2 eggs
  • 2 bananas mashed
  • 1/4 cup hot water

Directions

  • In a small bowl, mix together dry ingredients: whole-wheat flour, salt, and baking soda

photo 3 (2)

  • Chop up your dates, 5 into little pieces, 5 into long quarters

photo 2 (3)

  • Put dry ingredients to the side and get a bigger mixing bowl. Put the olive oil and honey into big bowl and whisk!

photo 4 (2)

  • Crack both eggs and drop them in. Whisk away!
  • Now, mash your bananas so they are nice and smooth. Scrape the bananas into the wet mixture
  • Add the finely chopped dates (don’t put in the long date quarters)

photo 1 (7)

  • Slowly stir in the dry ingredients into the wet ingredients, alternating with pouring in hot water

photo 2 (5)

  • Grease your muffin tin and pour them in. Make sure they don’t overflow, but you want them high enough so they puff over the top when baked.

photo 3 (4)

  • Top each muffin with the quarter slivers of dates we cut ahead of time as a garnish!

photo 4 (3)

  • Bake for 15-20 minutes. Mine took about 17 minutes

photo 1 (6)

And enjoy! Oh they are SO good warm right out of the oven. And of course, before I brought them into work, I had to taste test them. And…I approve! Another fail-proof recipe to enjoy and not feel the slightest guilt eating them.

photo 3 (3)

photo 2 (4)

BONUS KITTY PIC 

photo 1 (5)

Nymeria cuddling Chris

spacer