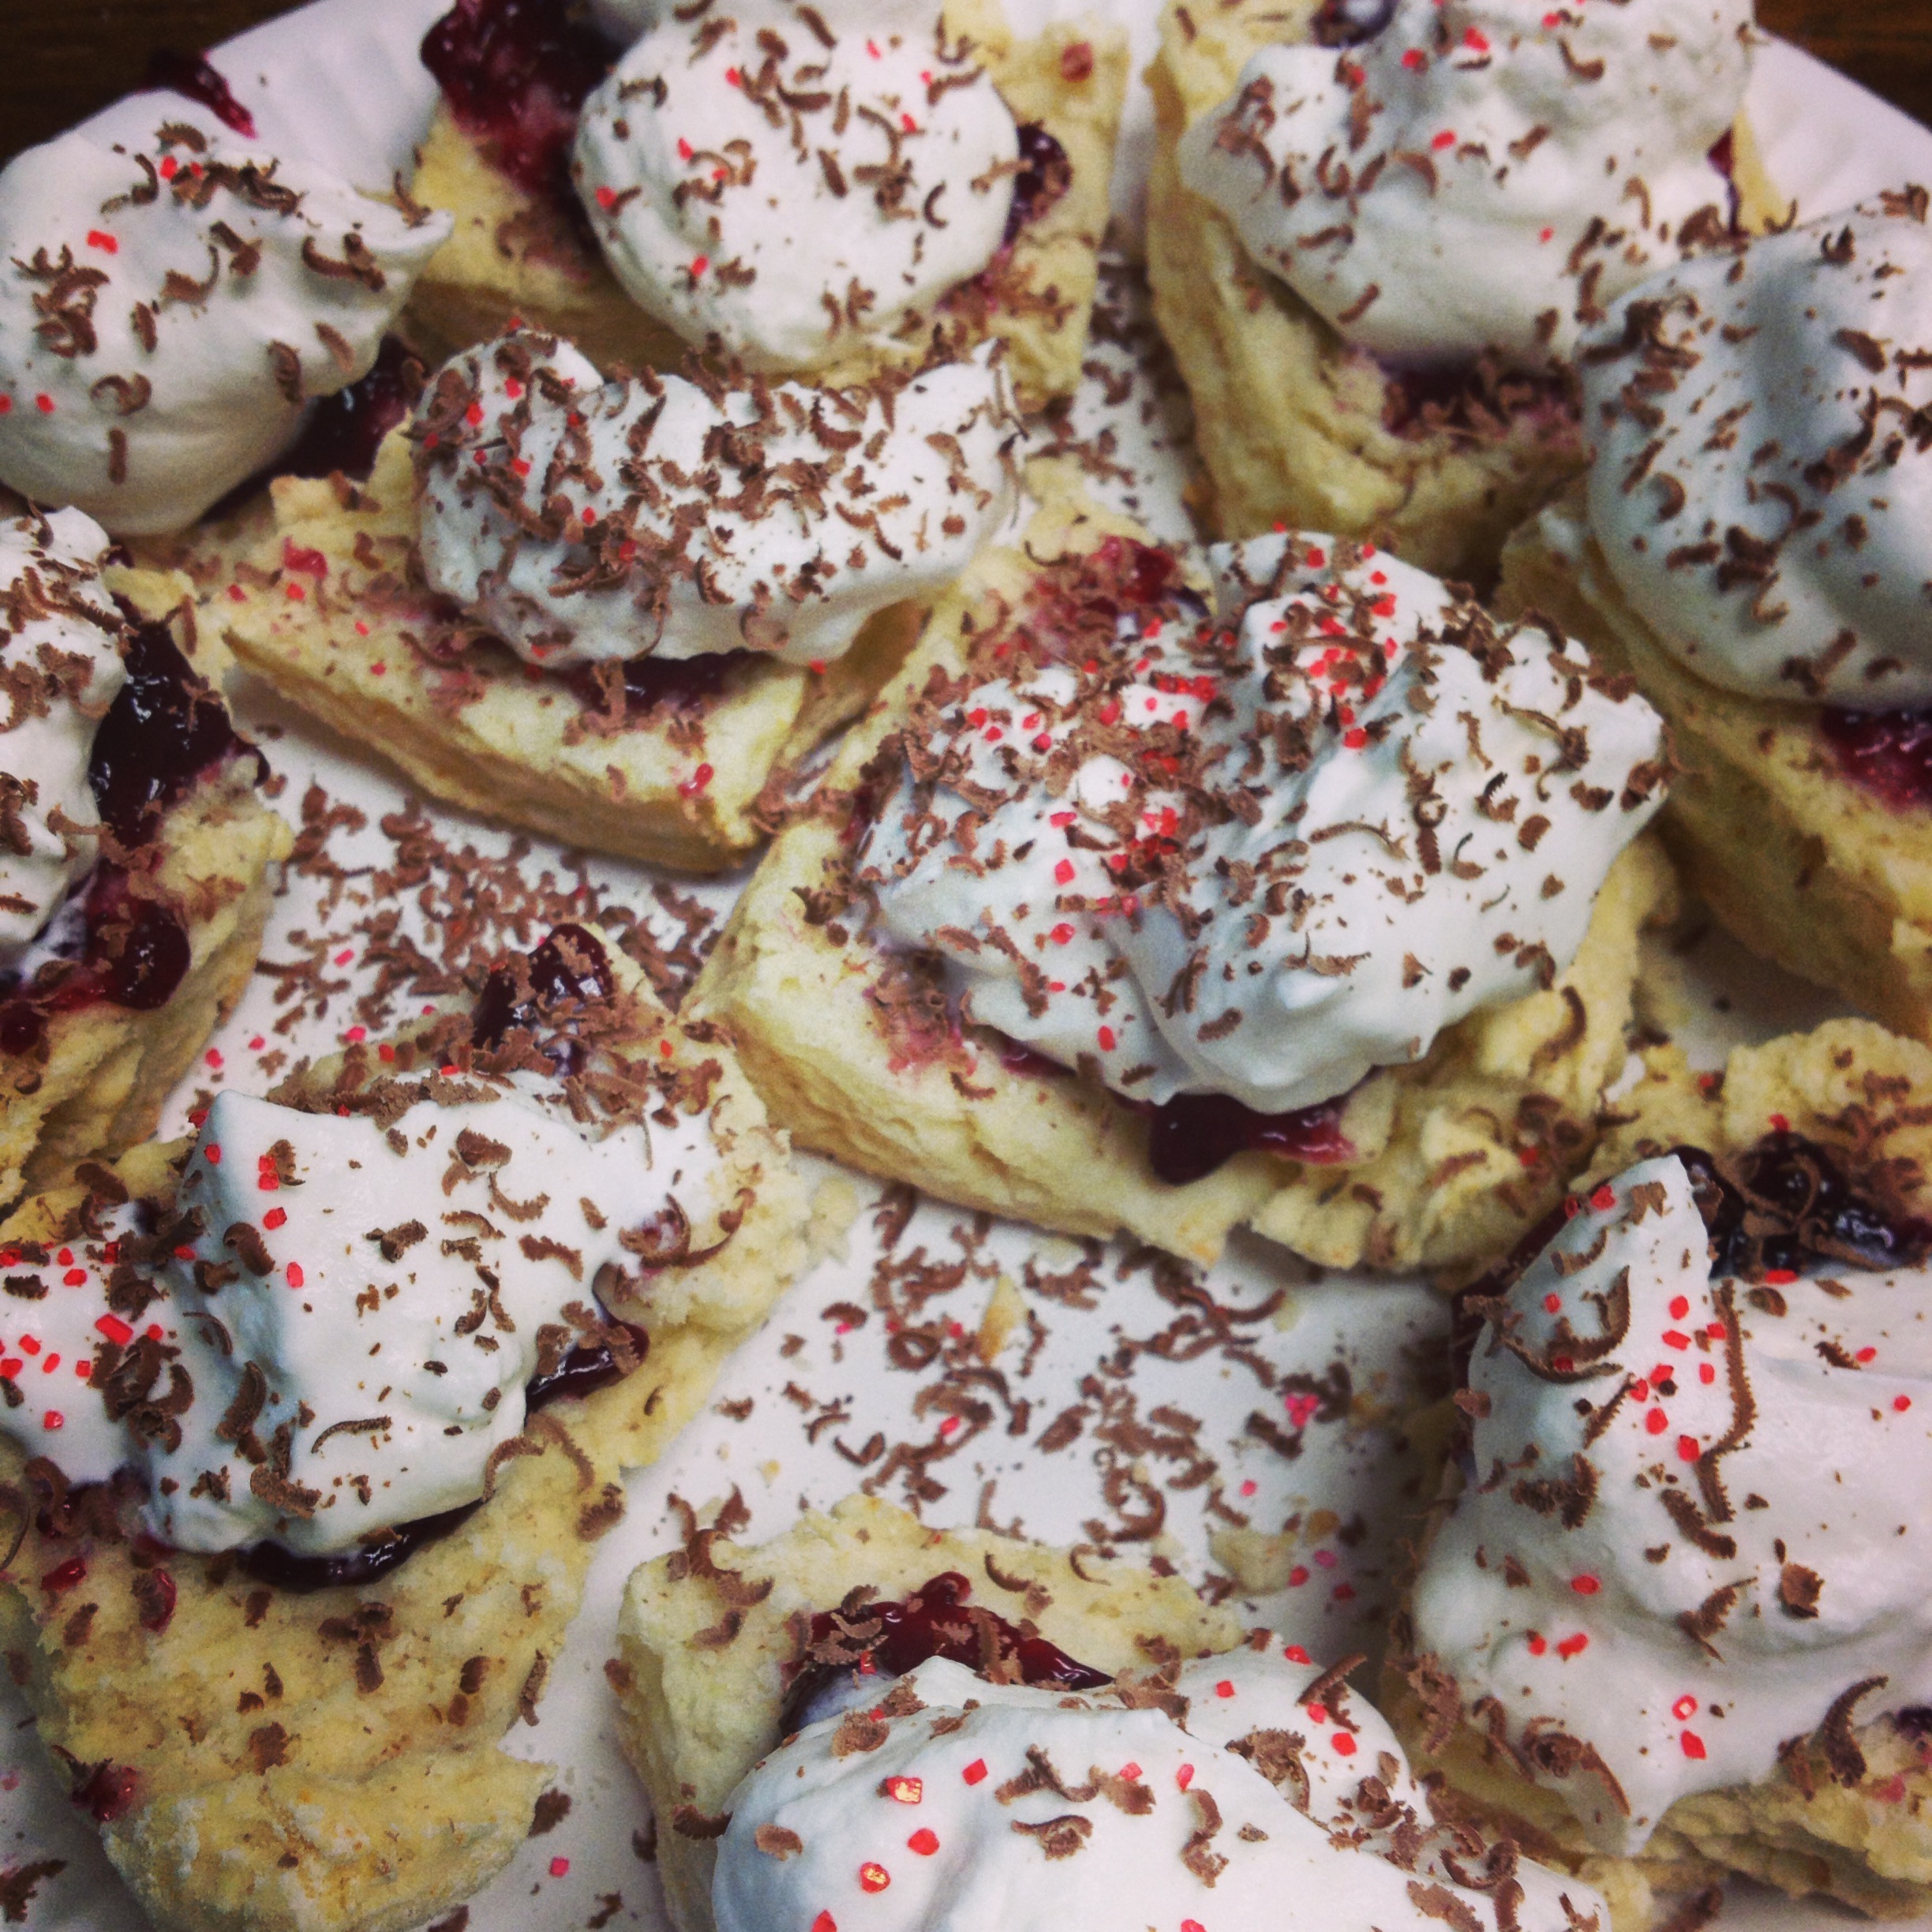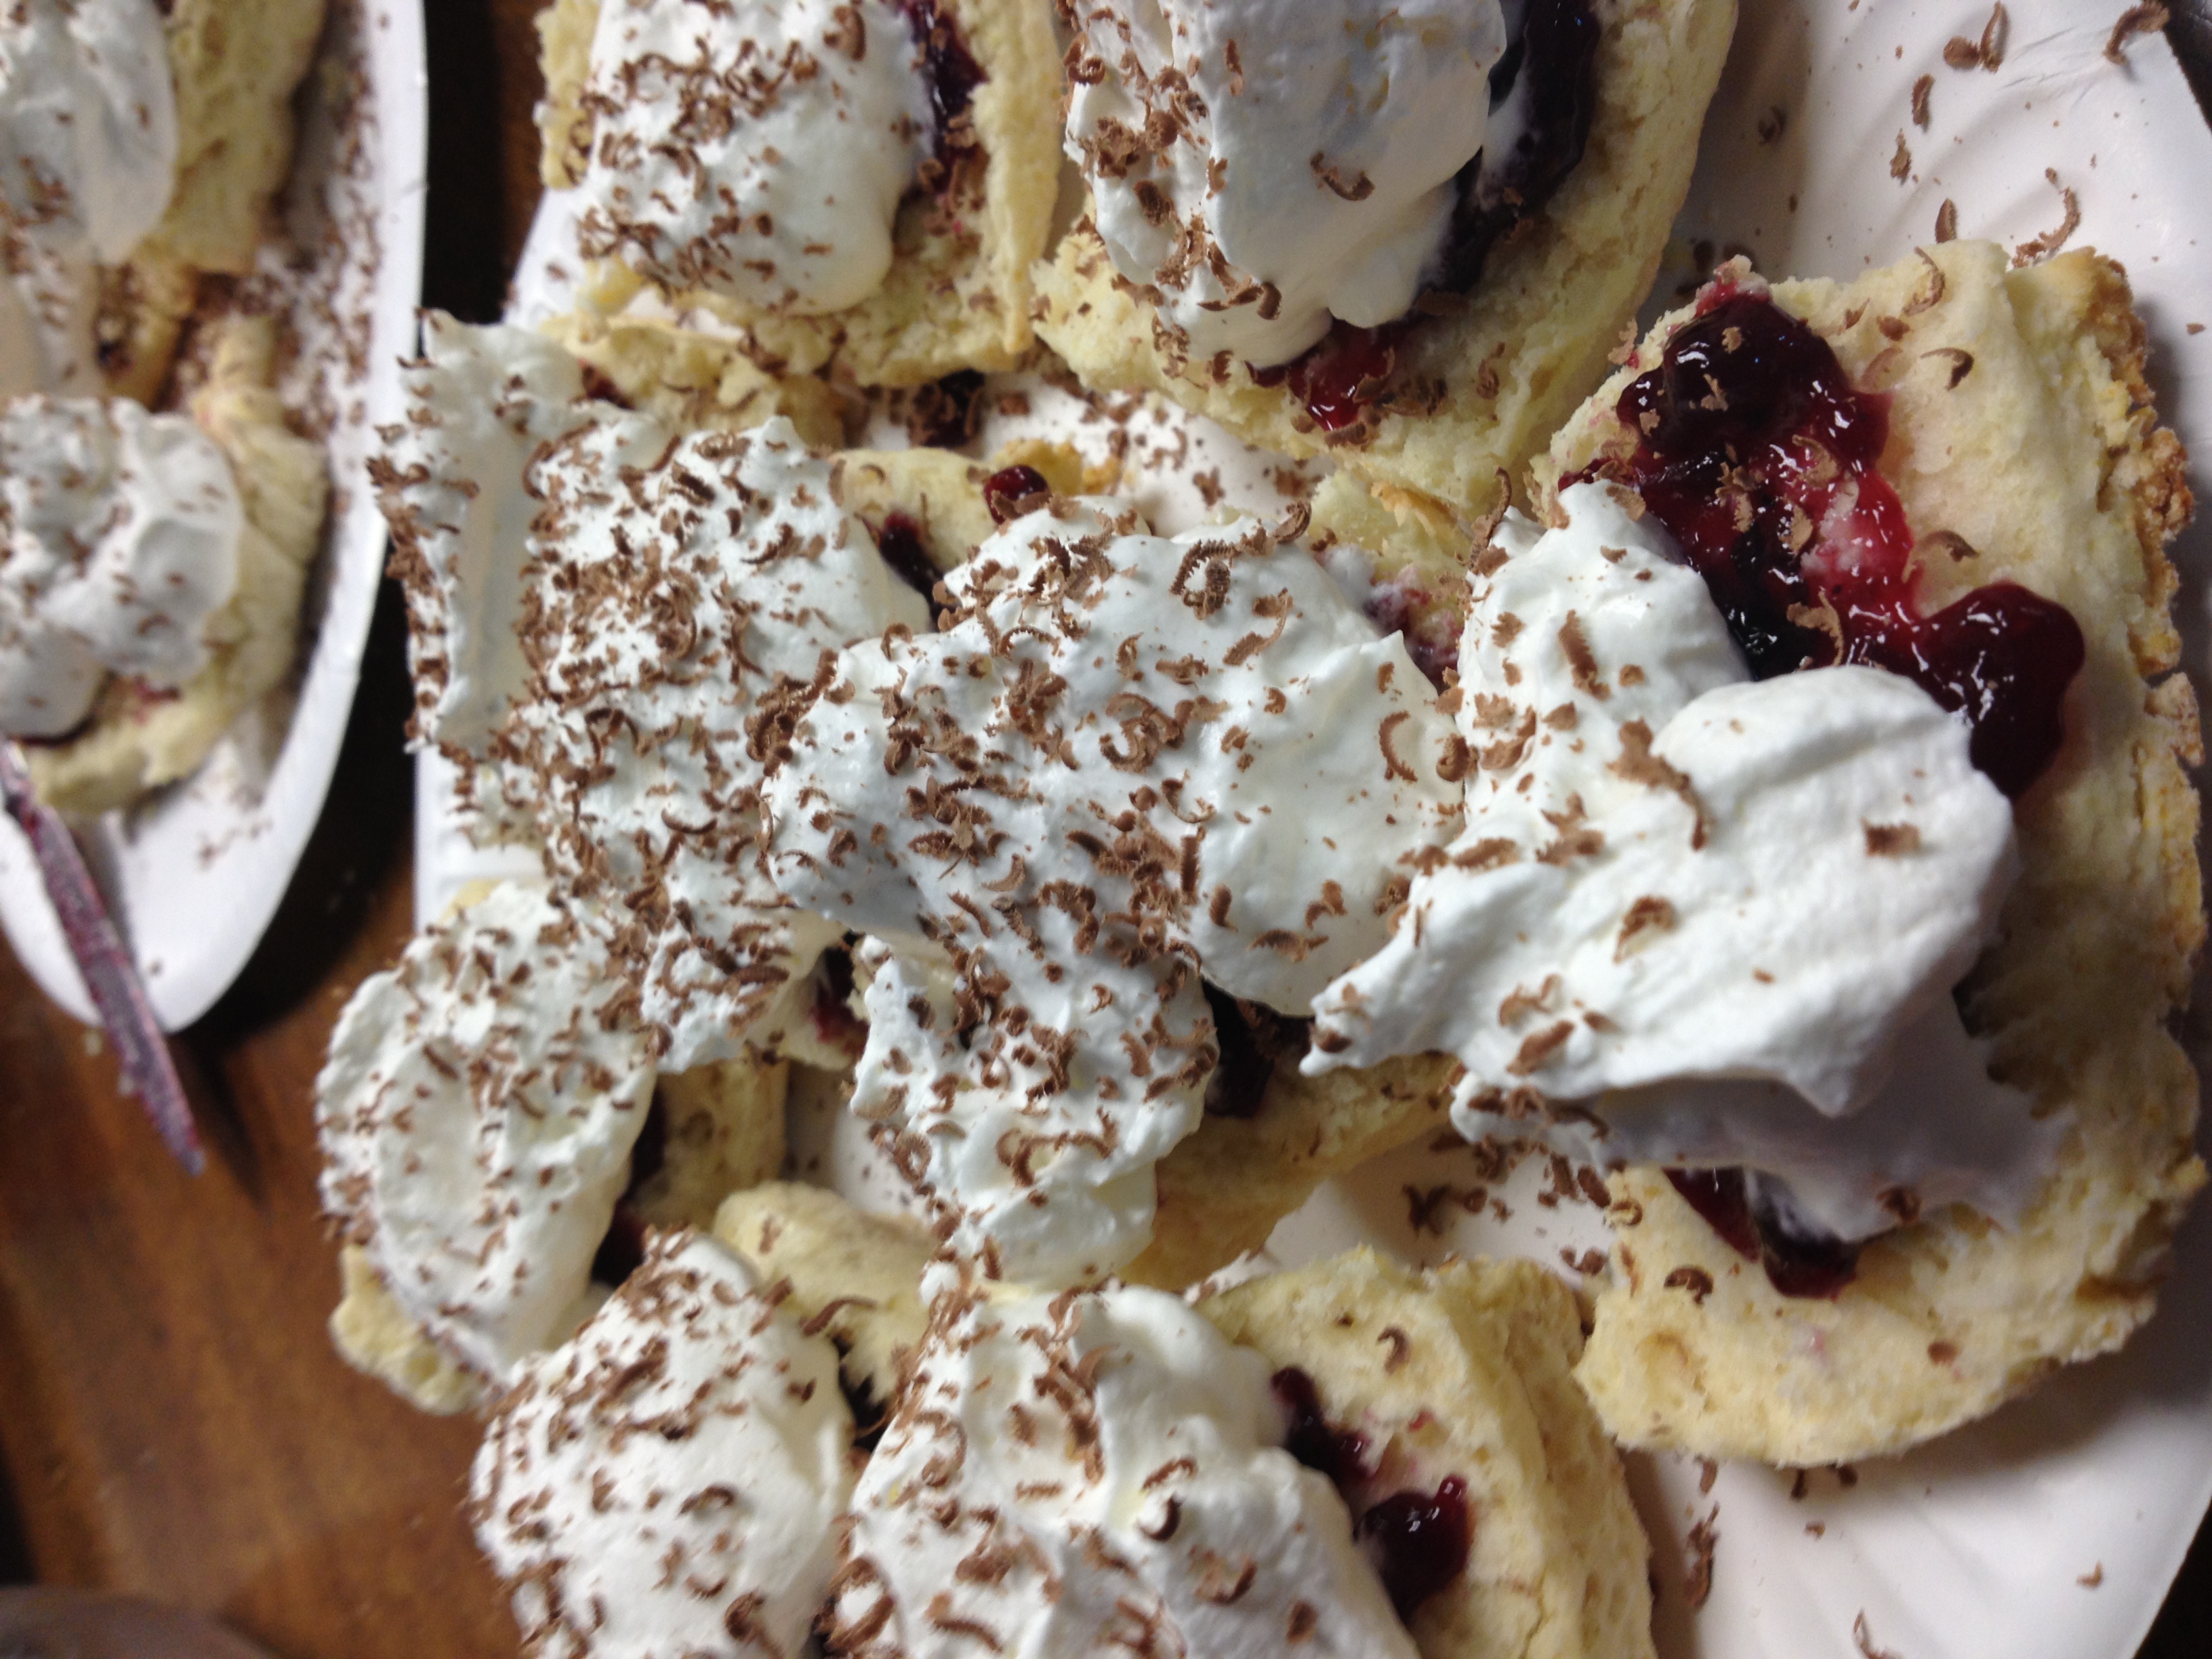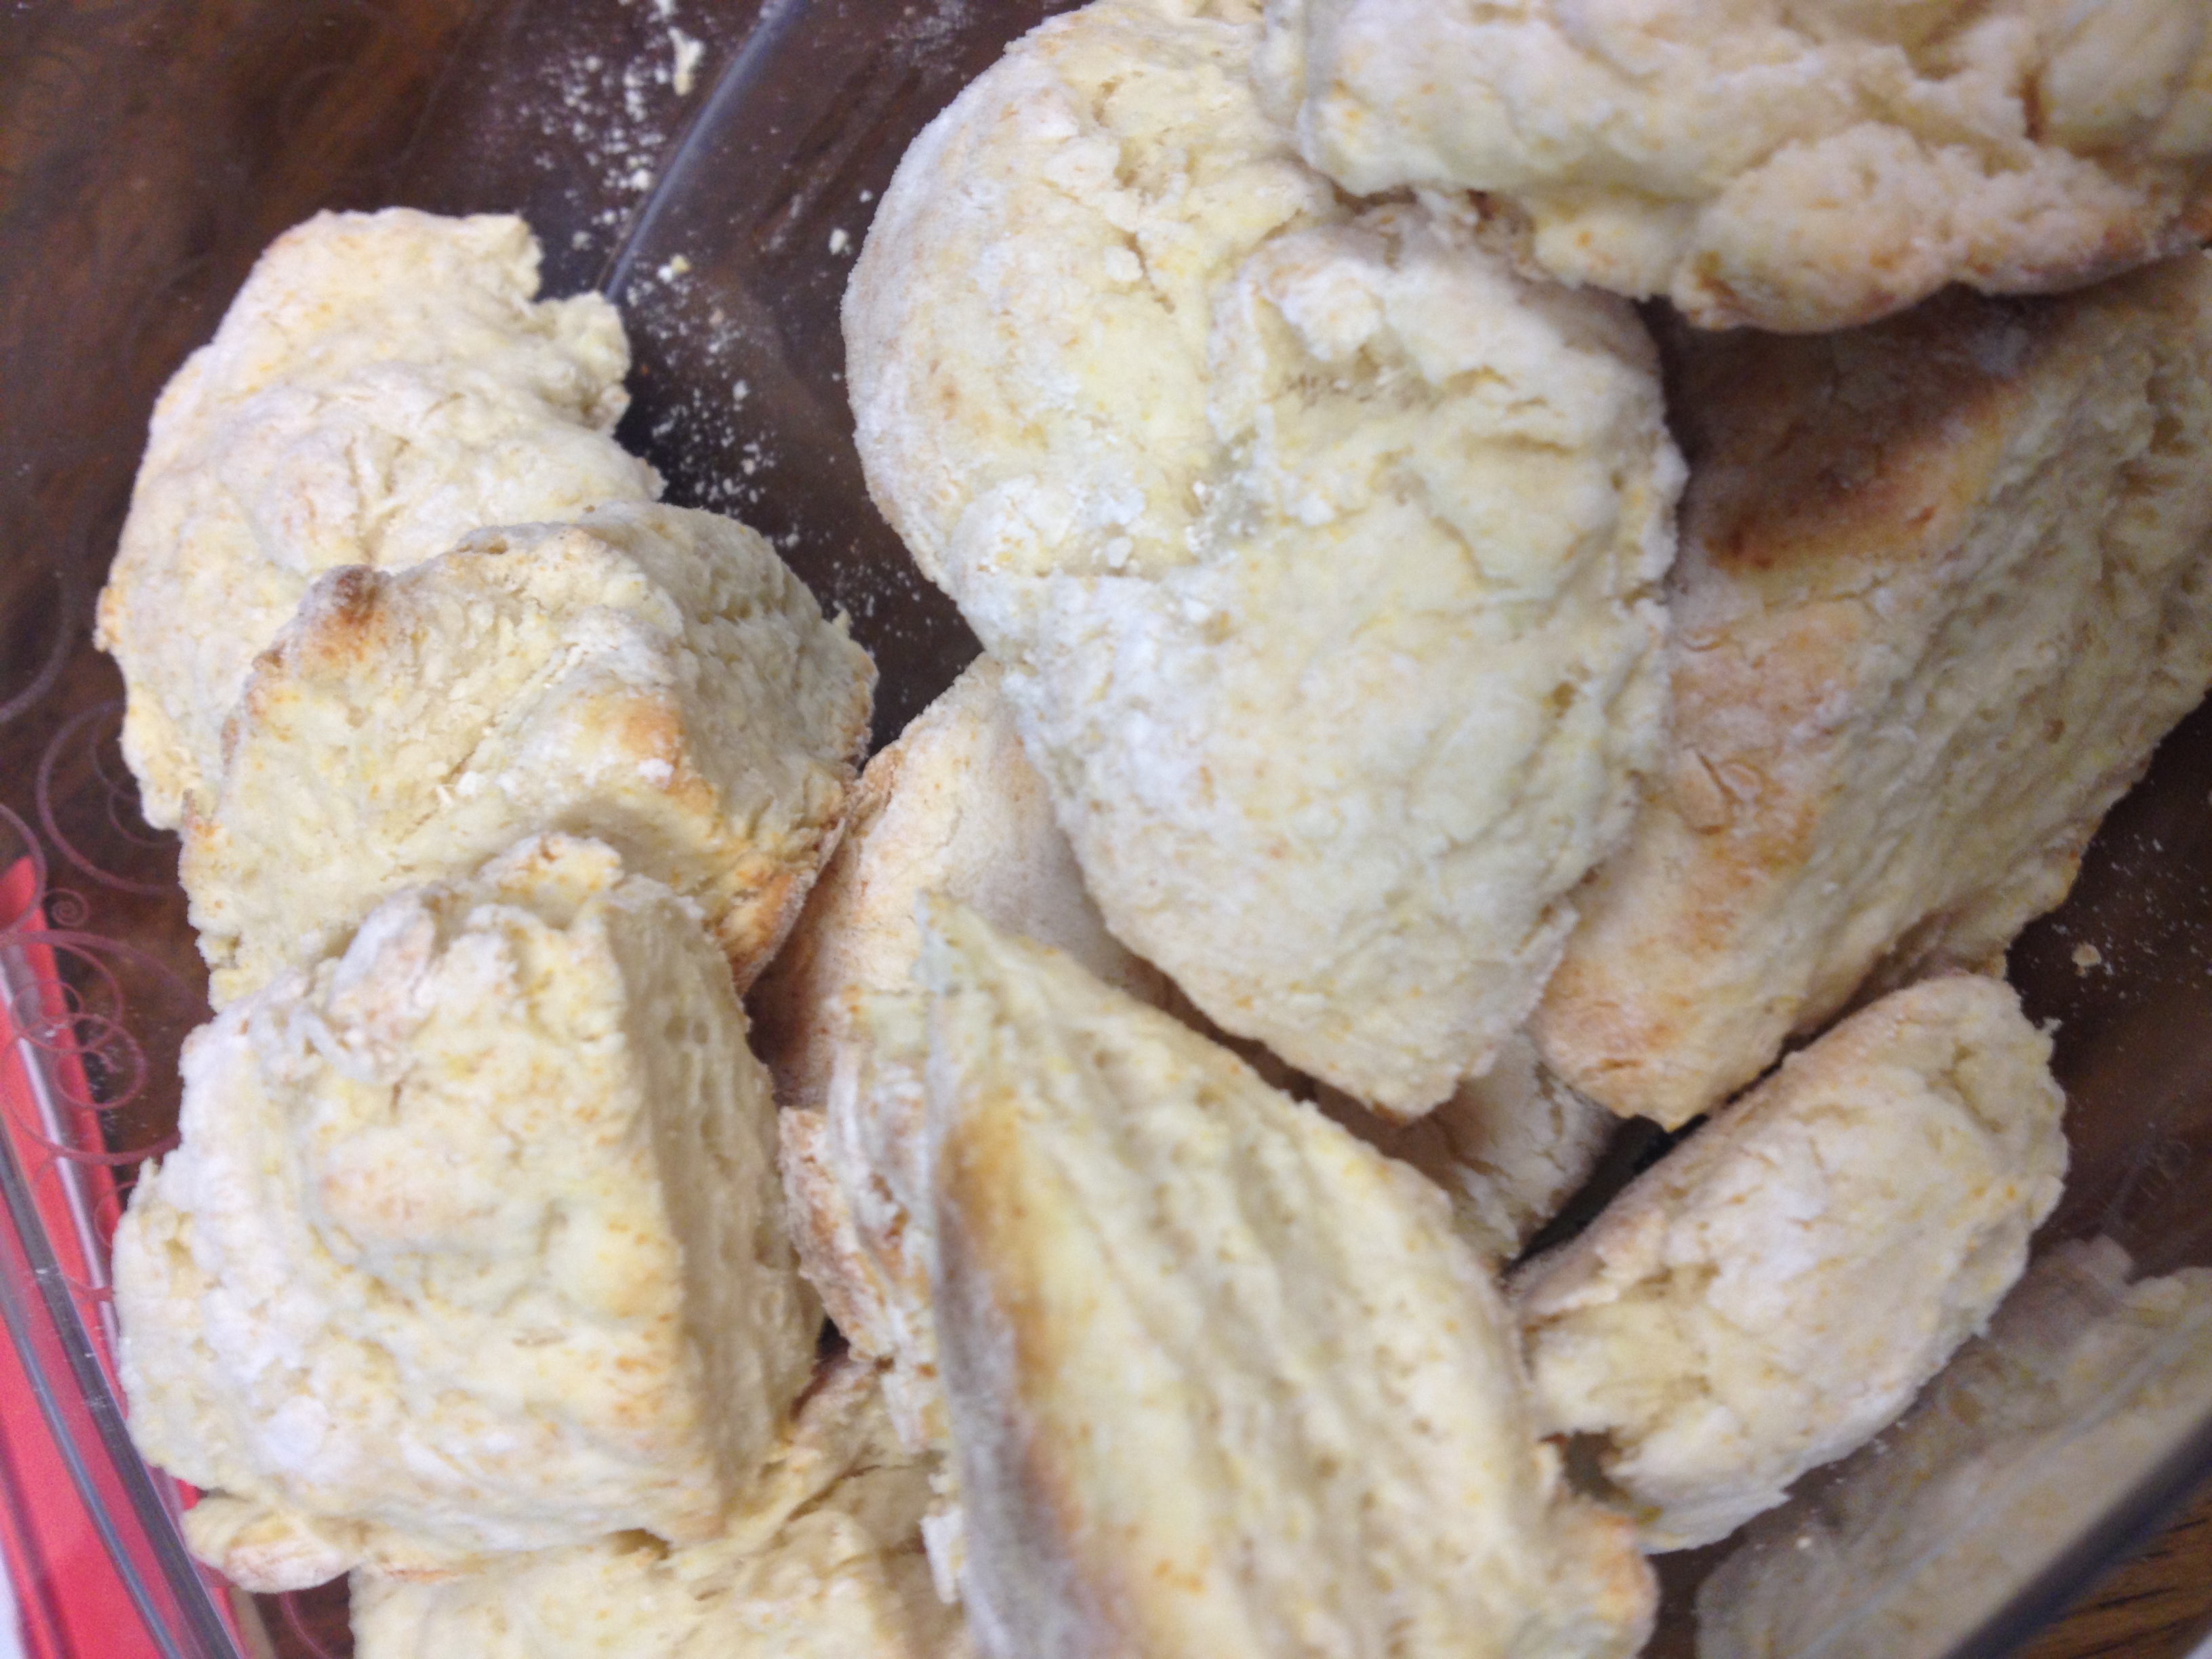
You know what day it is–Wednesday! The day I bring some form of treat to my co-workers. It was a toss-up today between glazed cinnamon scones and another healthy version of brownies. This won out this week! It looked slightly intimidating, but it was fine once I got rolling. Similar process in making the scones as in my mum’s. I substituted a few things like put less sugar and added in whole-wheat flour to make it a little more healthy. These are delicious. They simply crumble into your mouth as you bite into it. The cinnamon settles nicely with the texture–it’s a keeper. Let’s try it out!
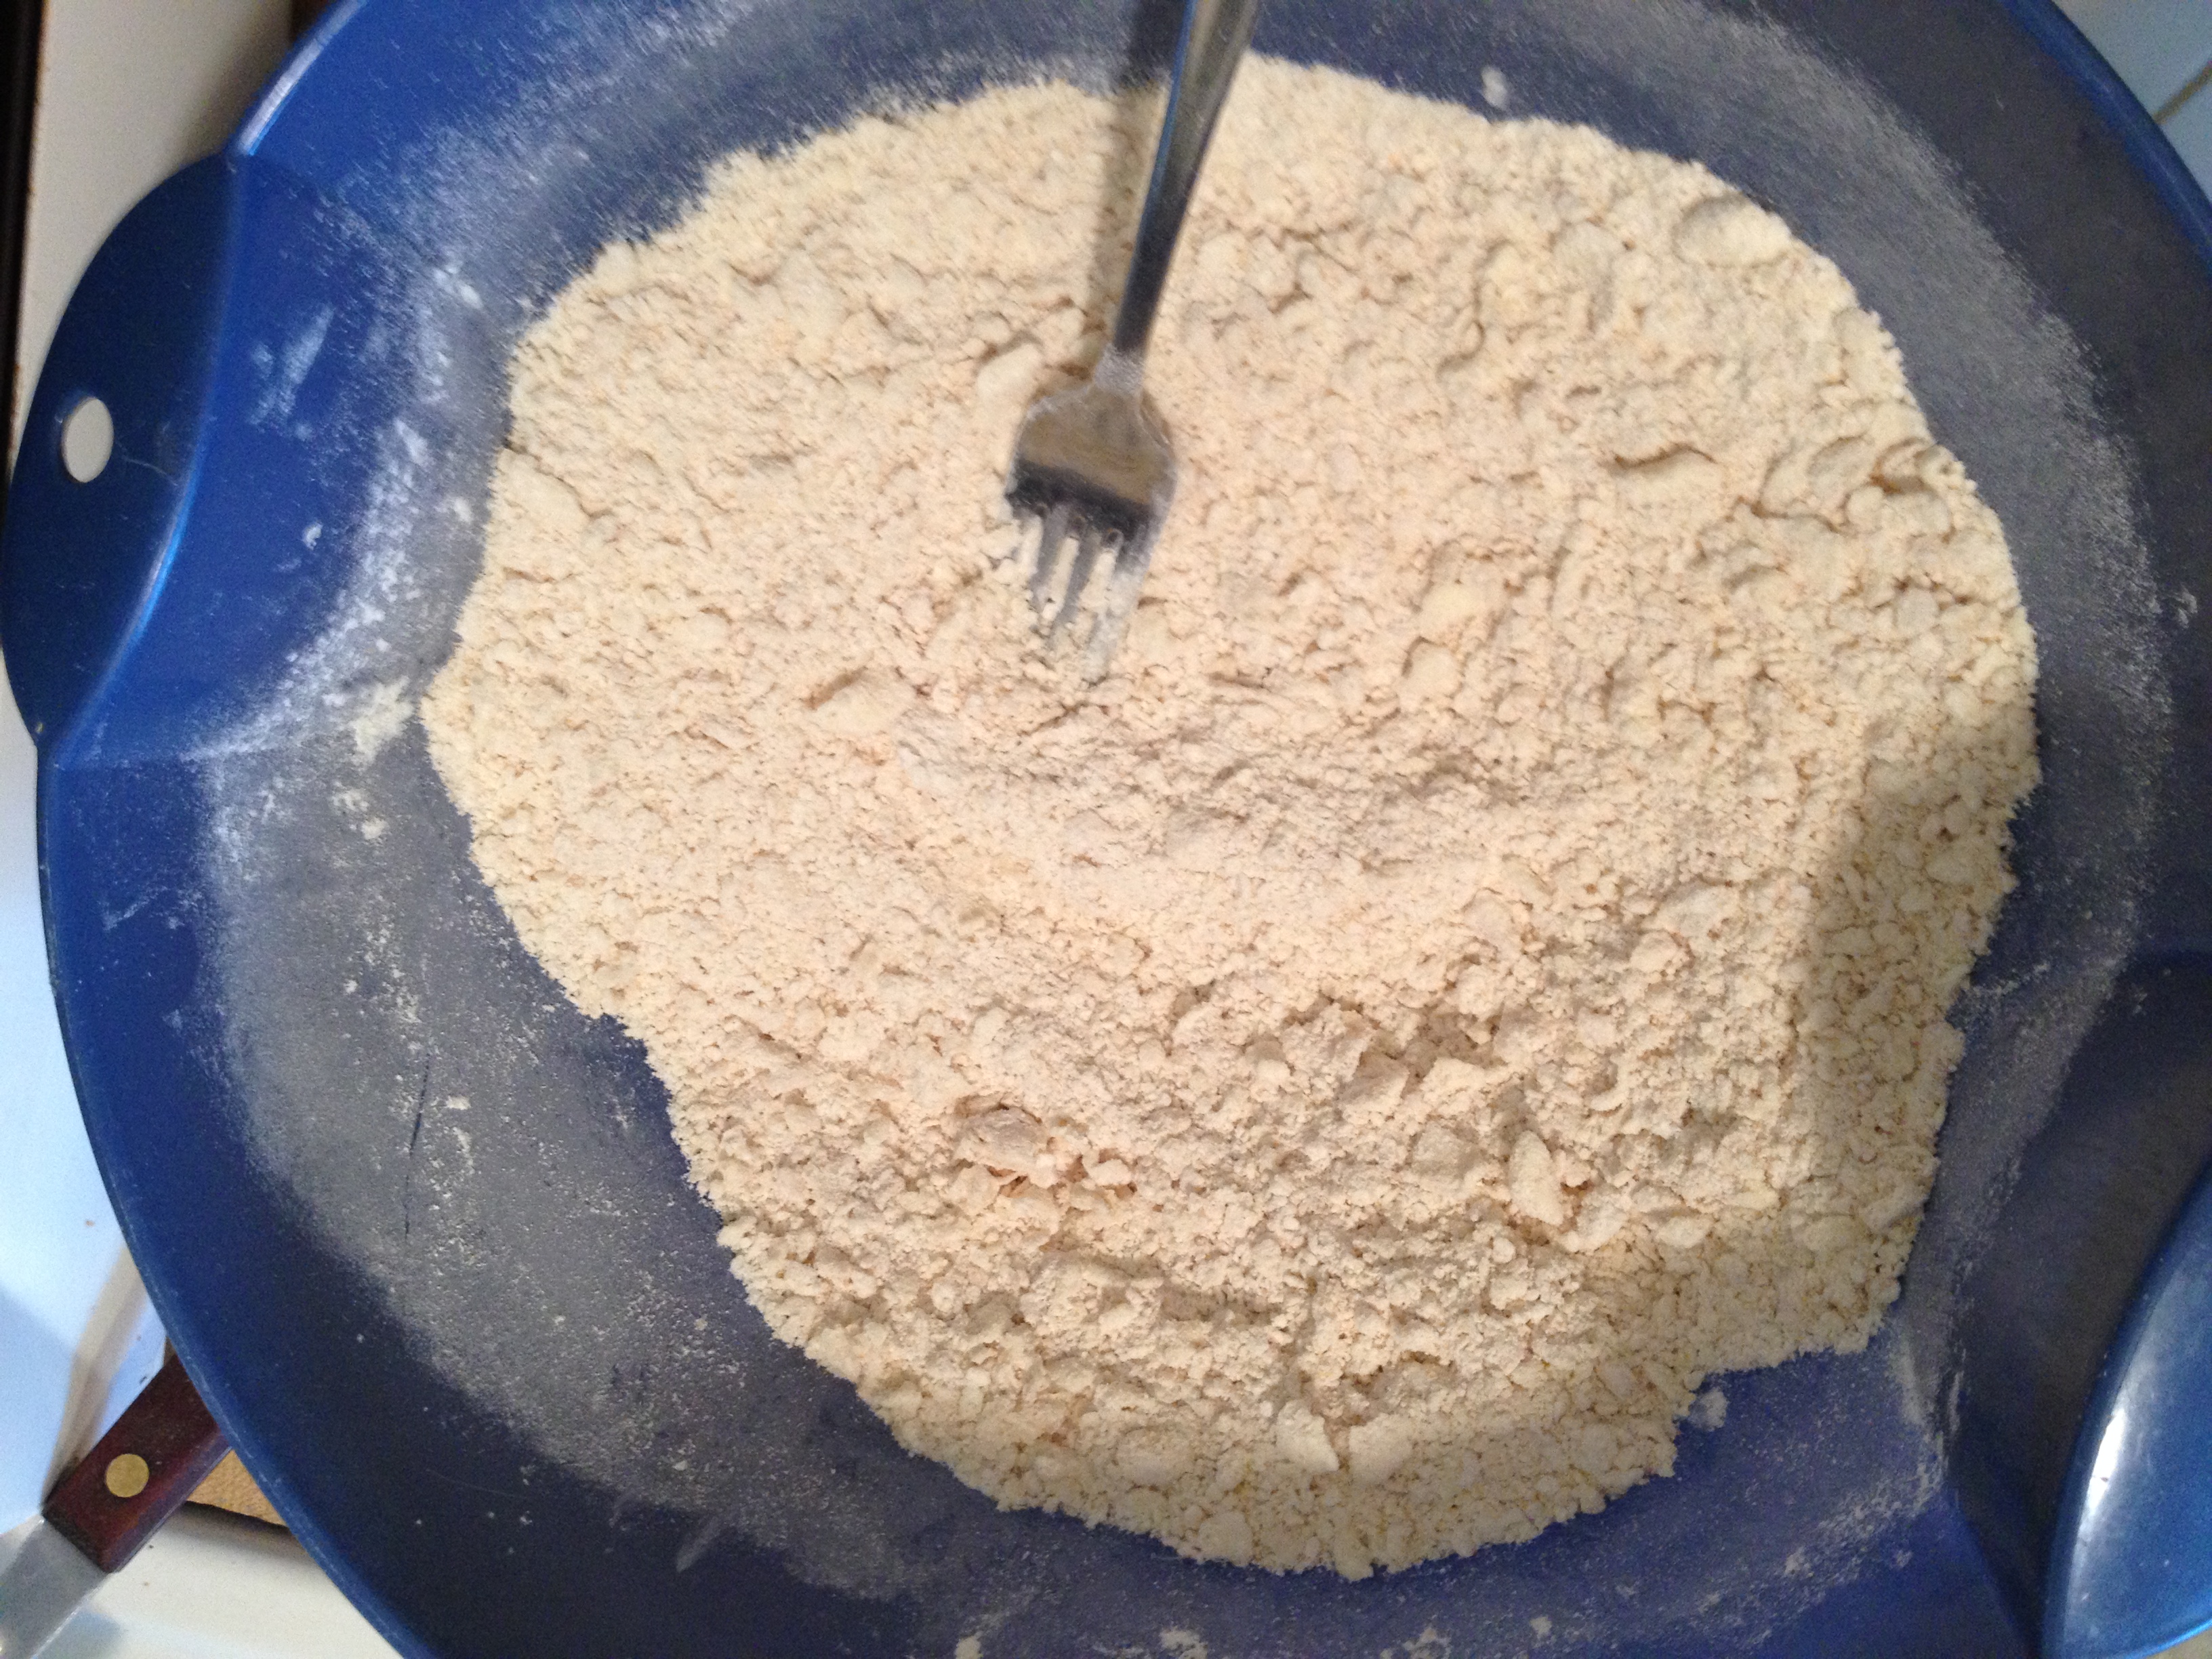
Crumble it up!
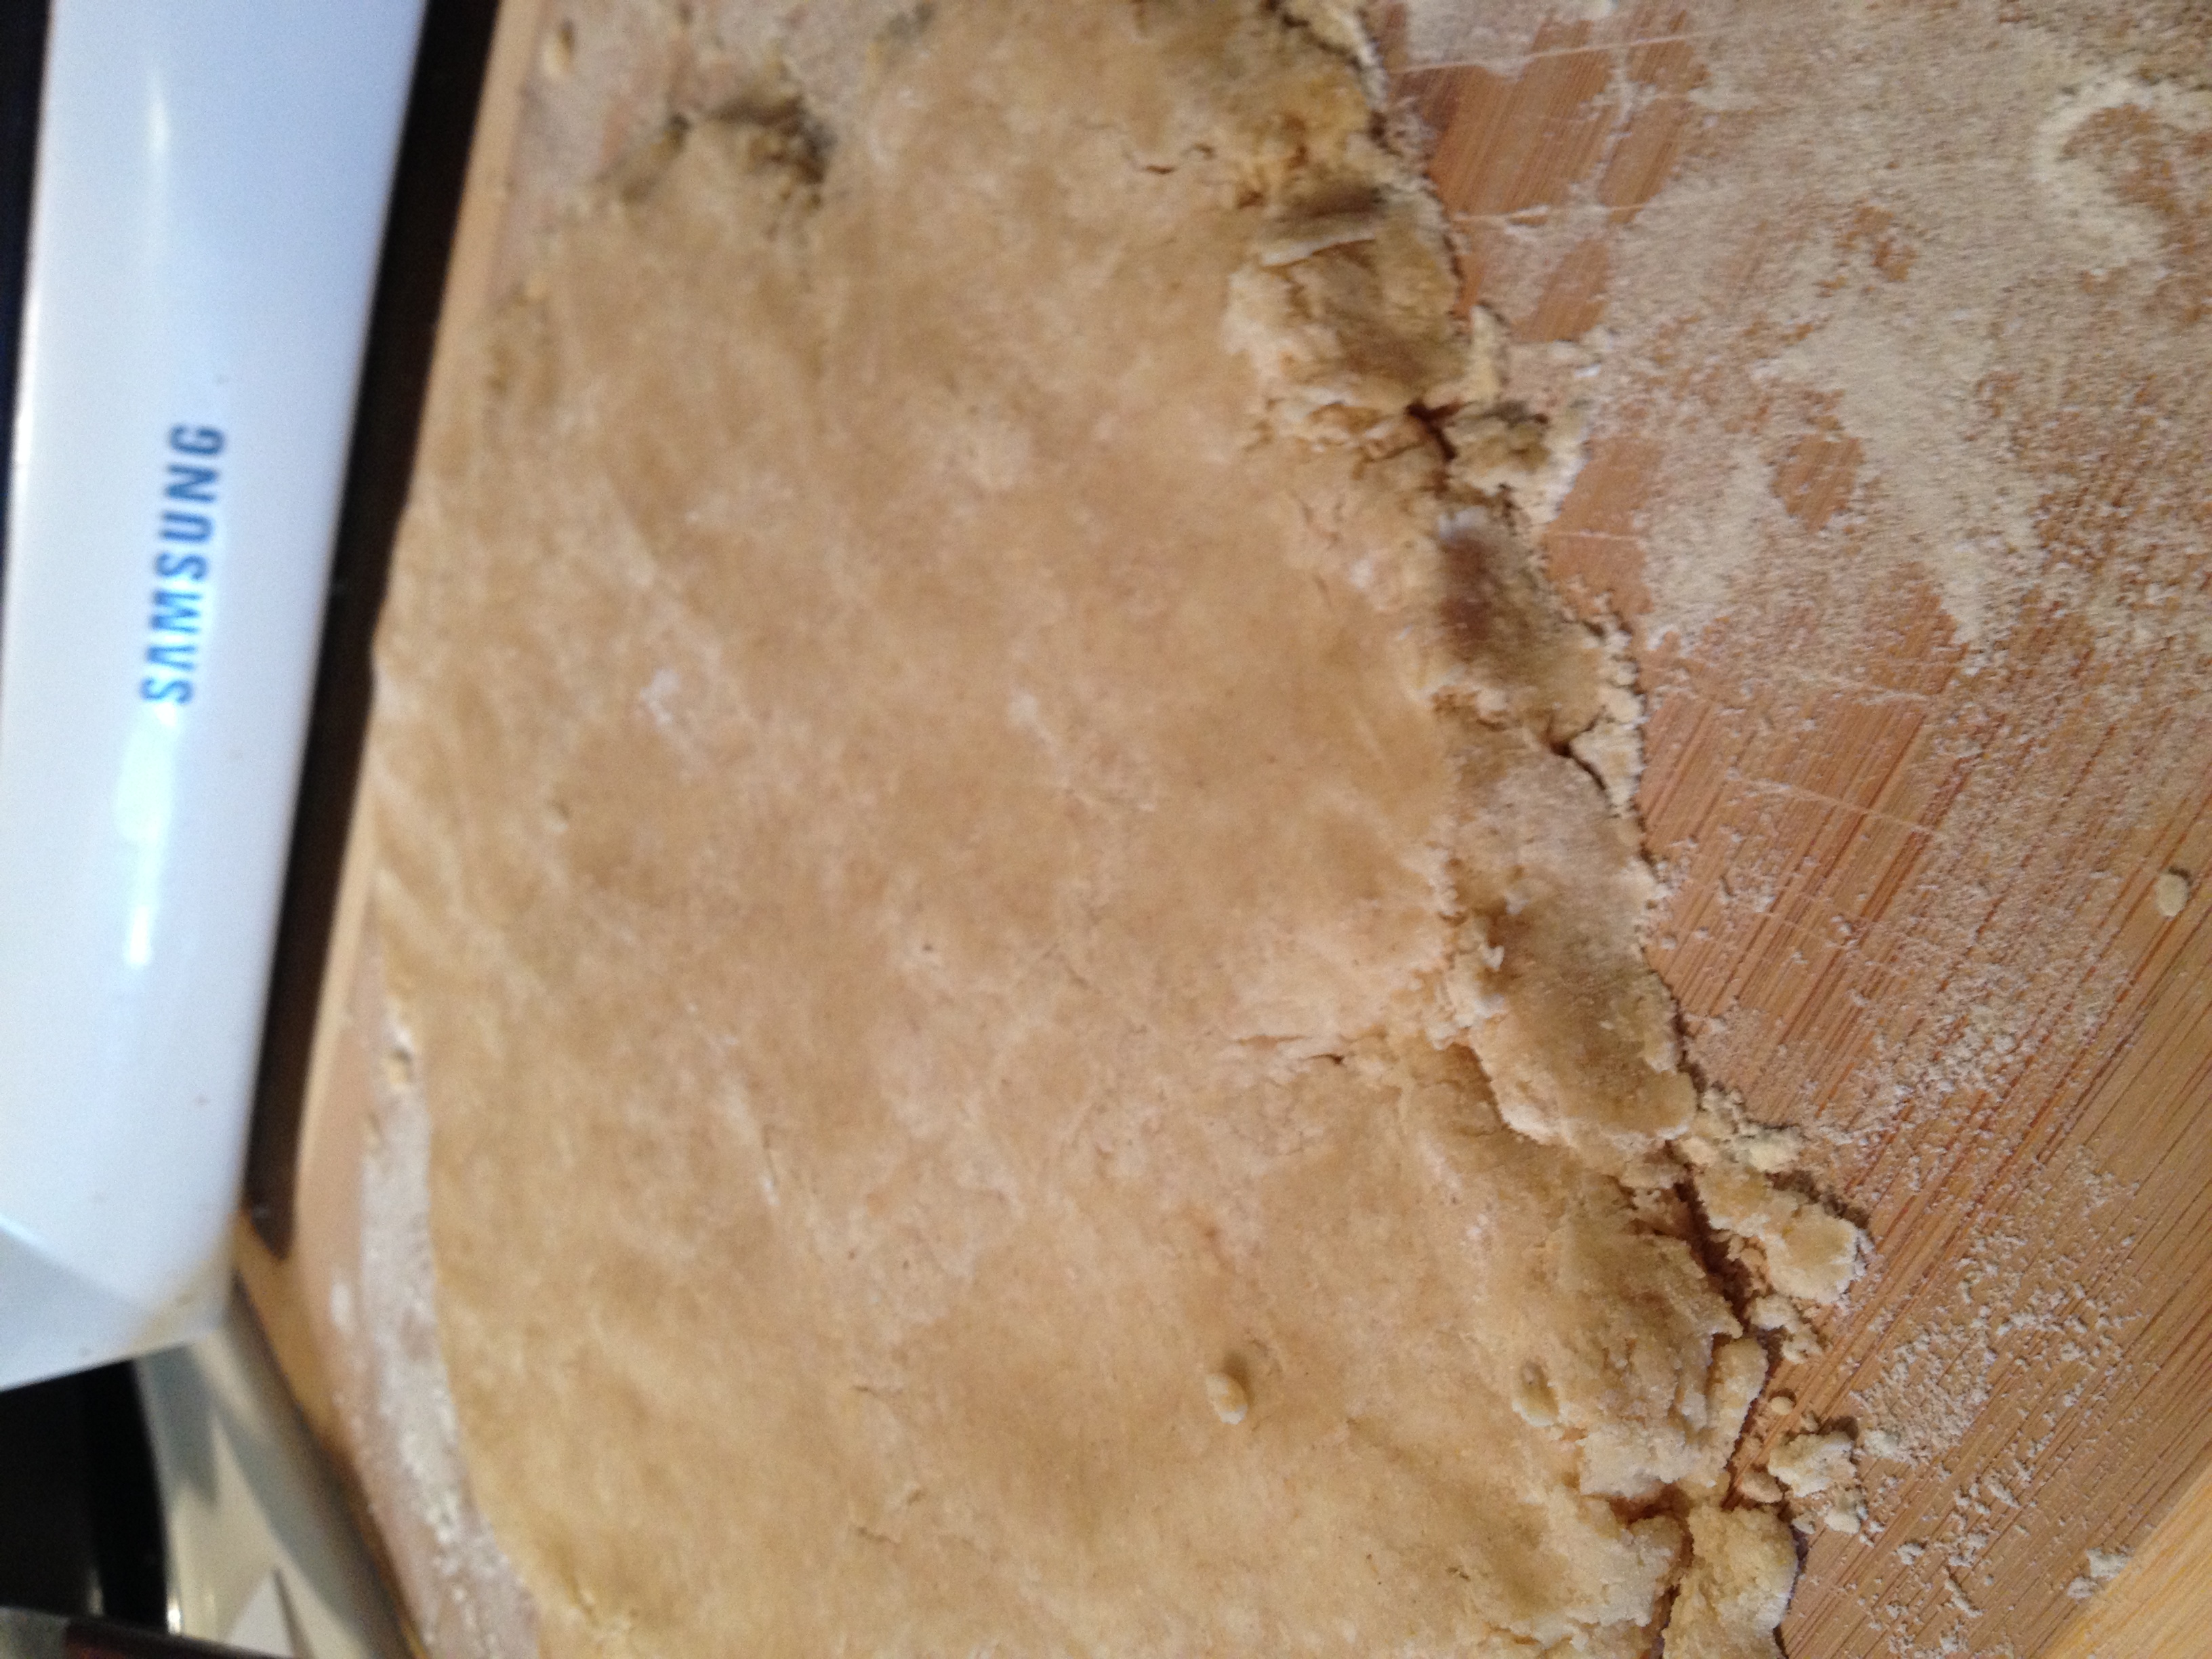
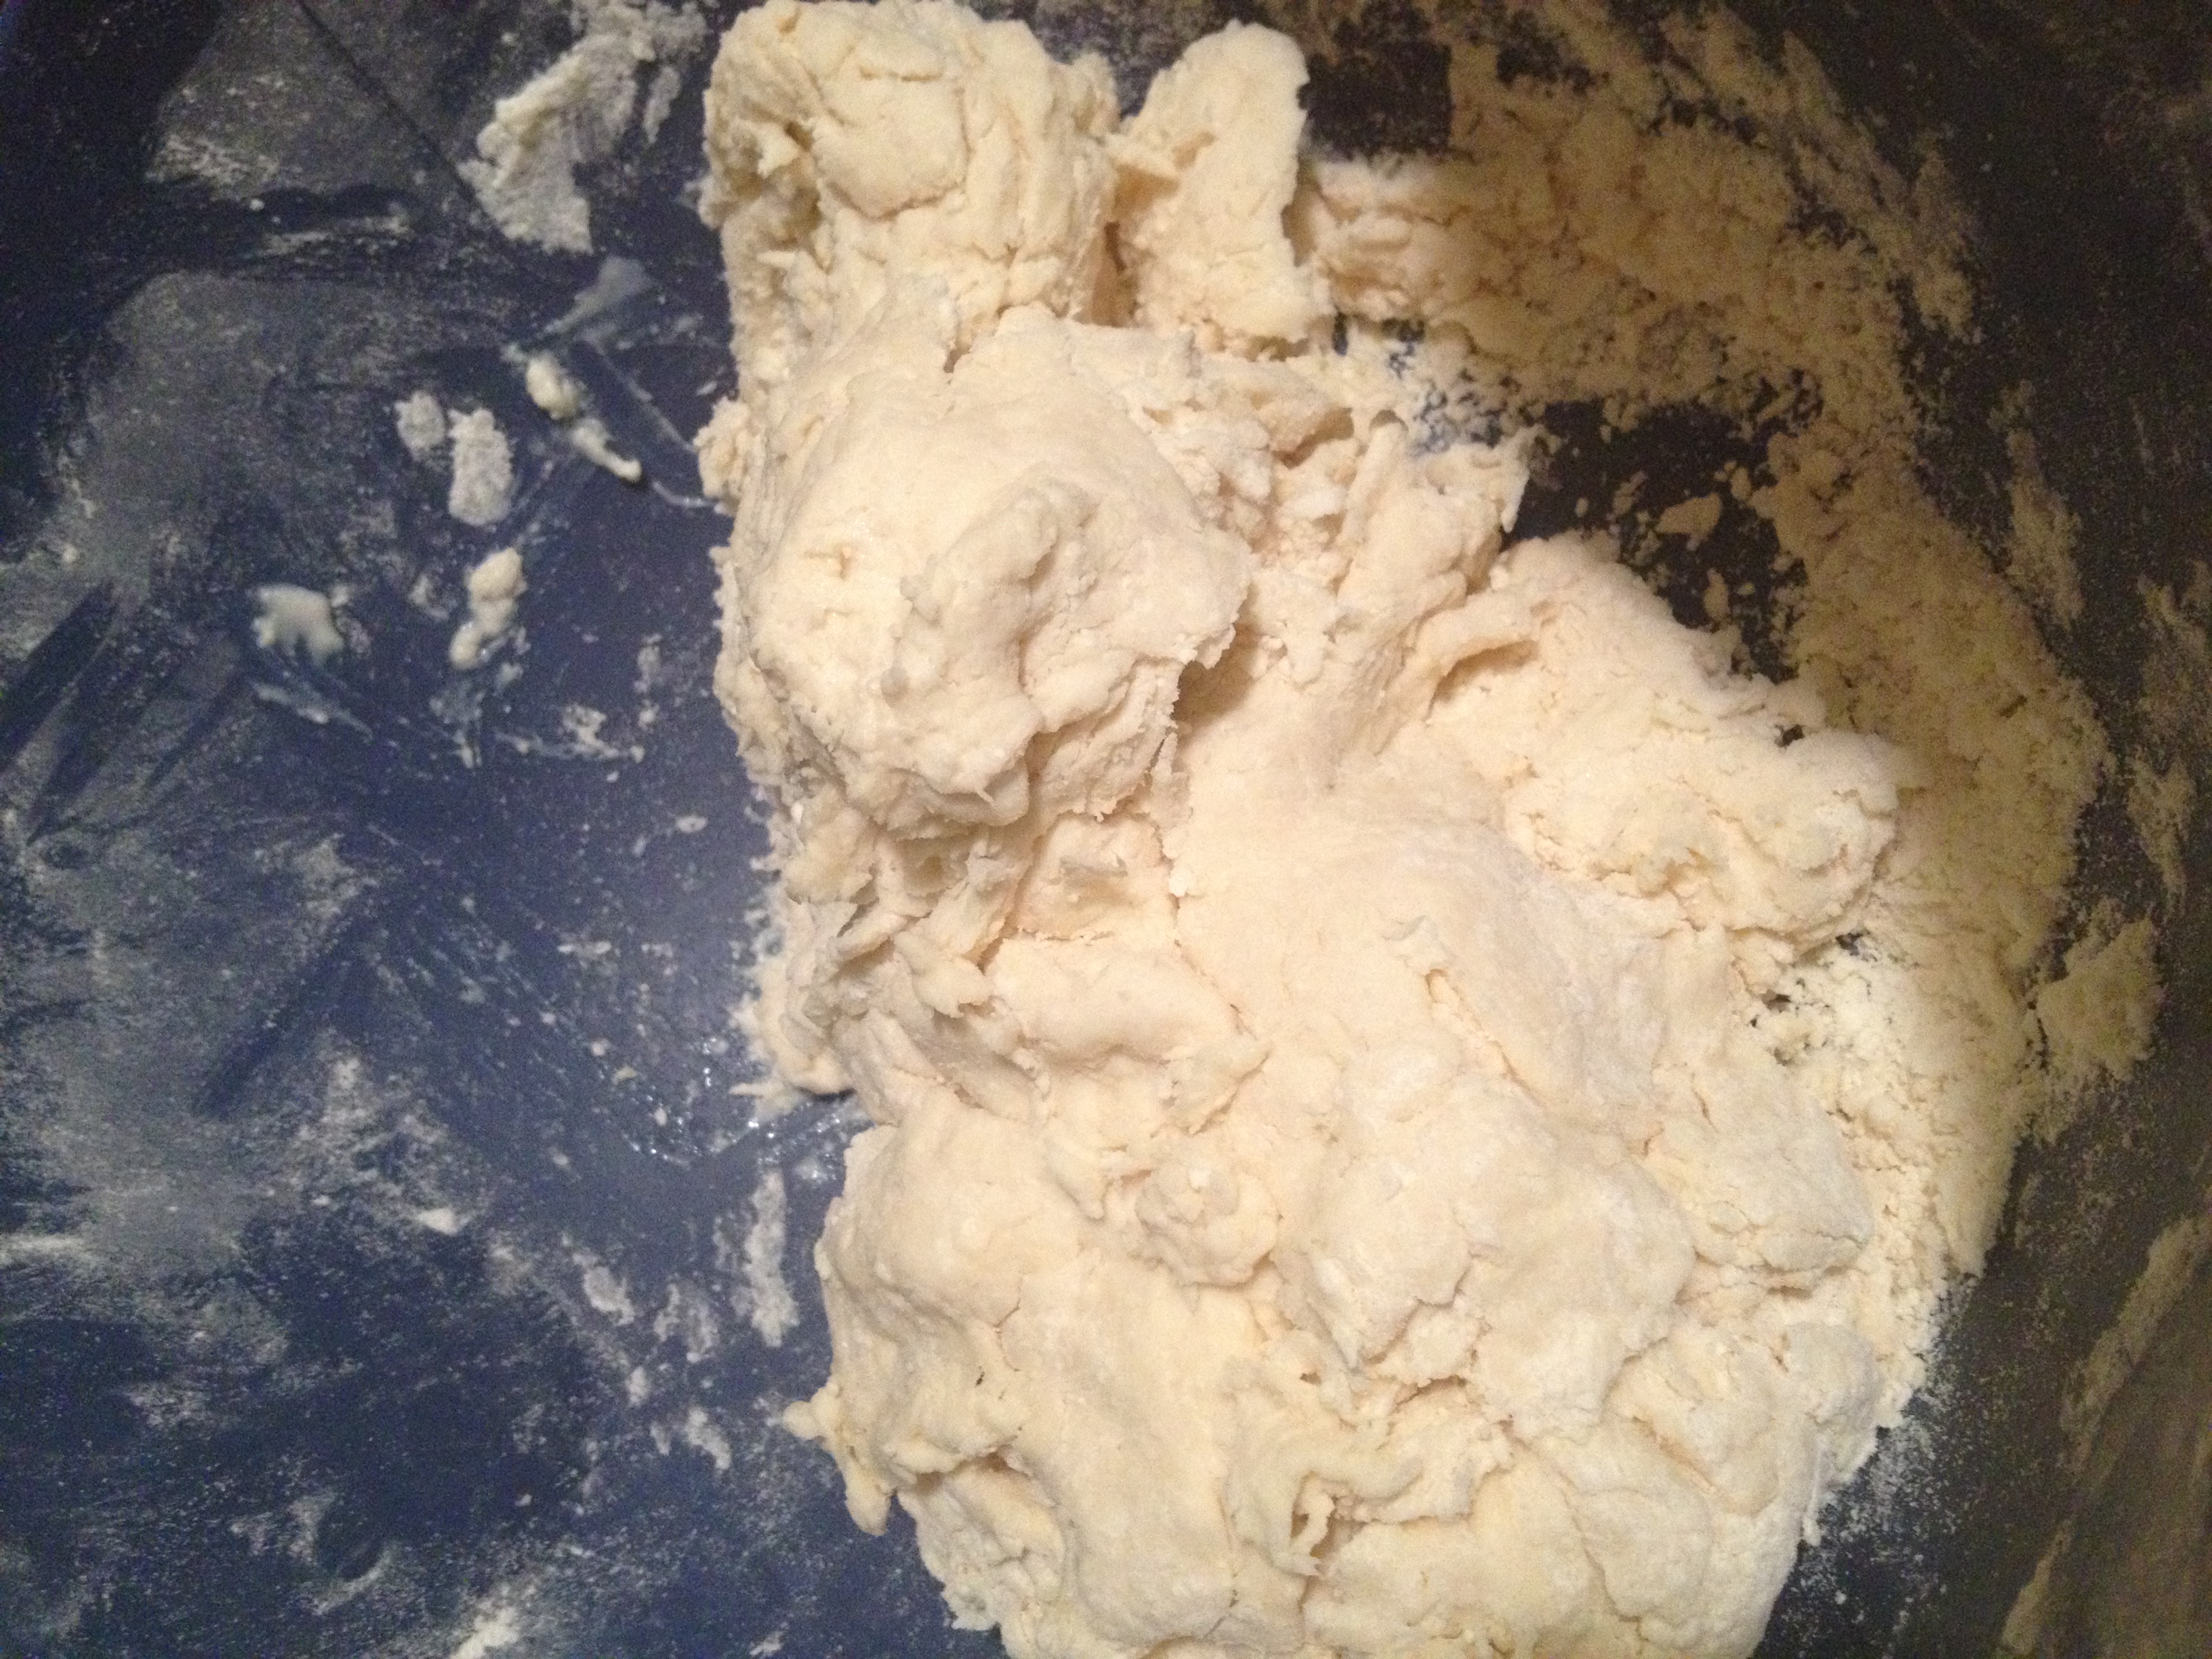
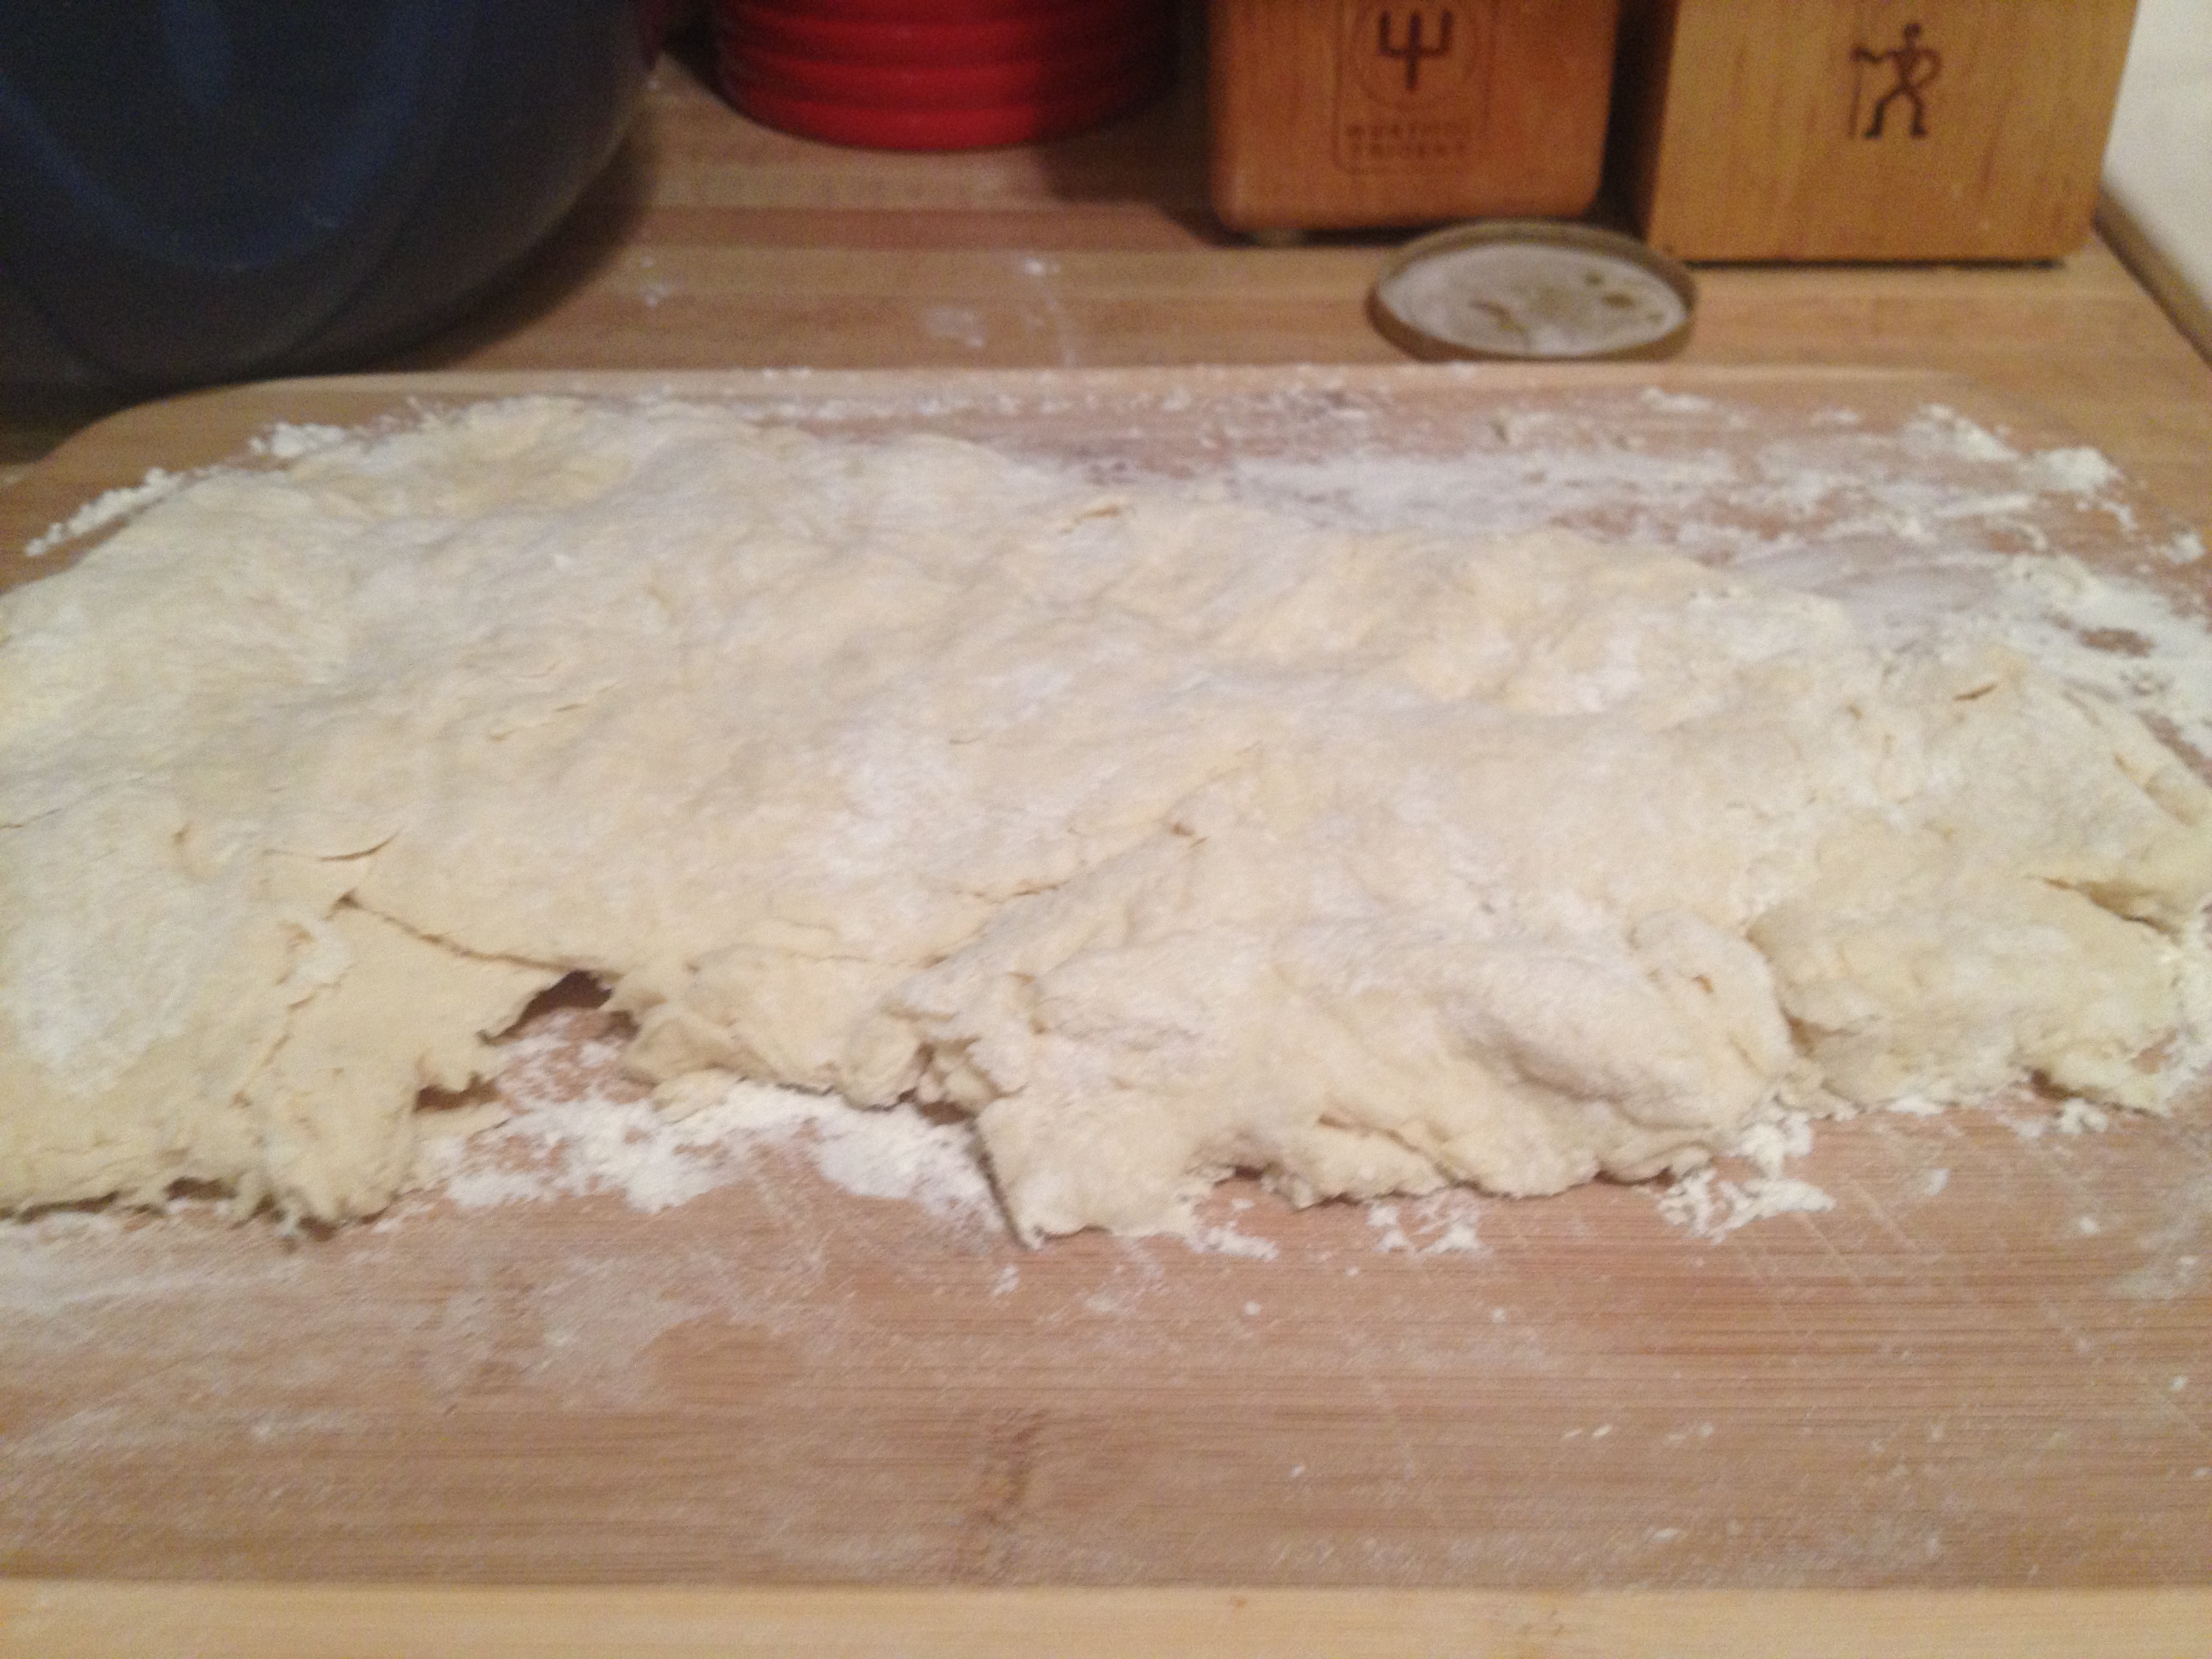
Knead it out!
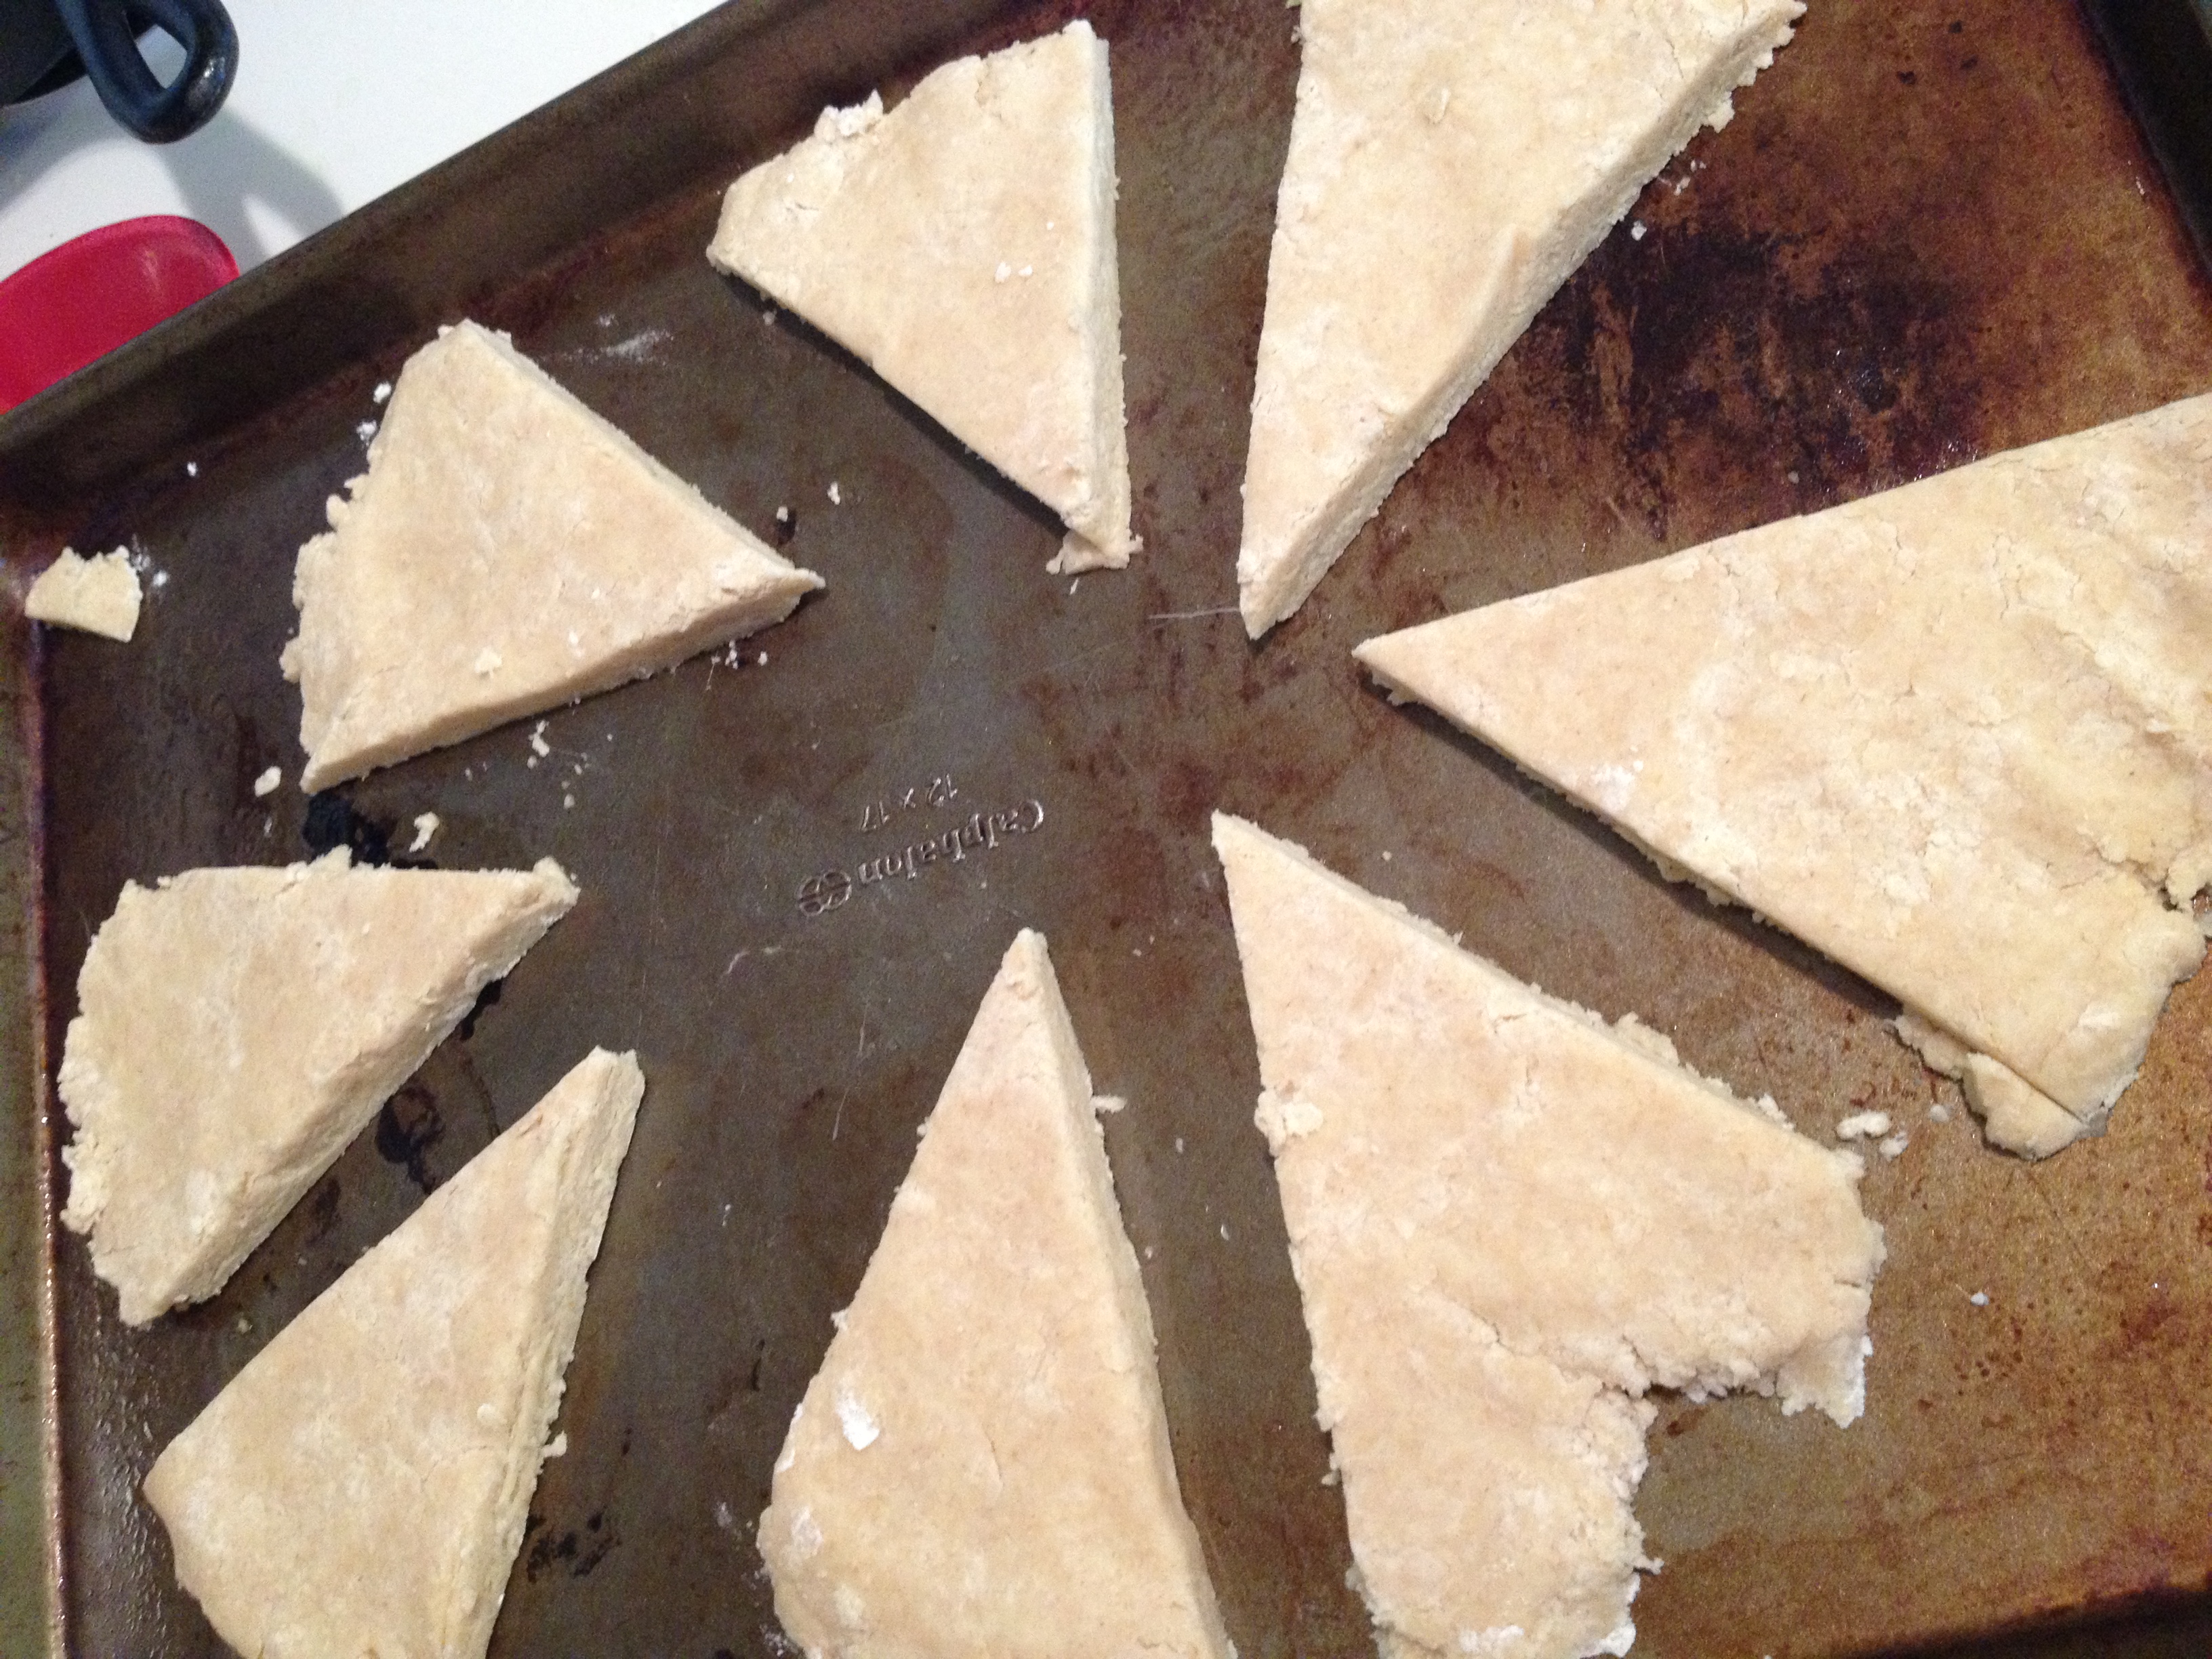
Pie?
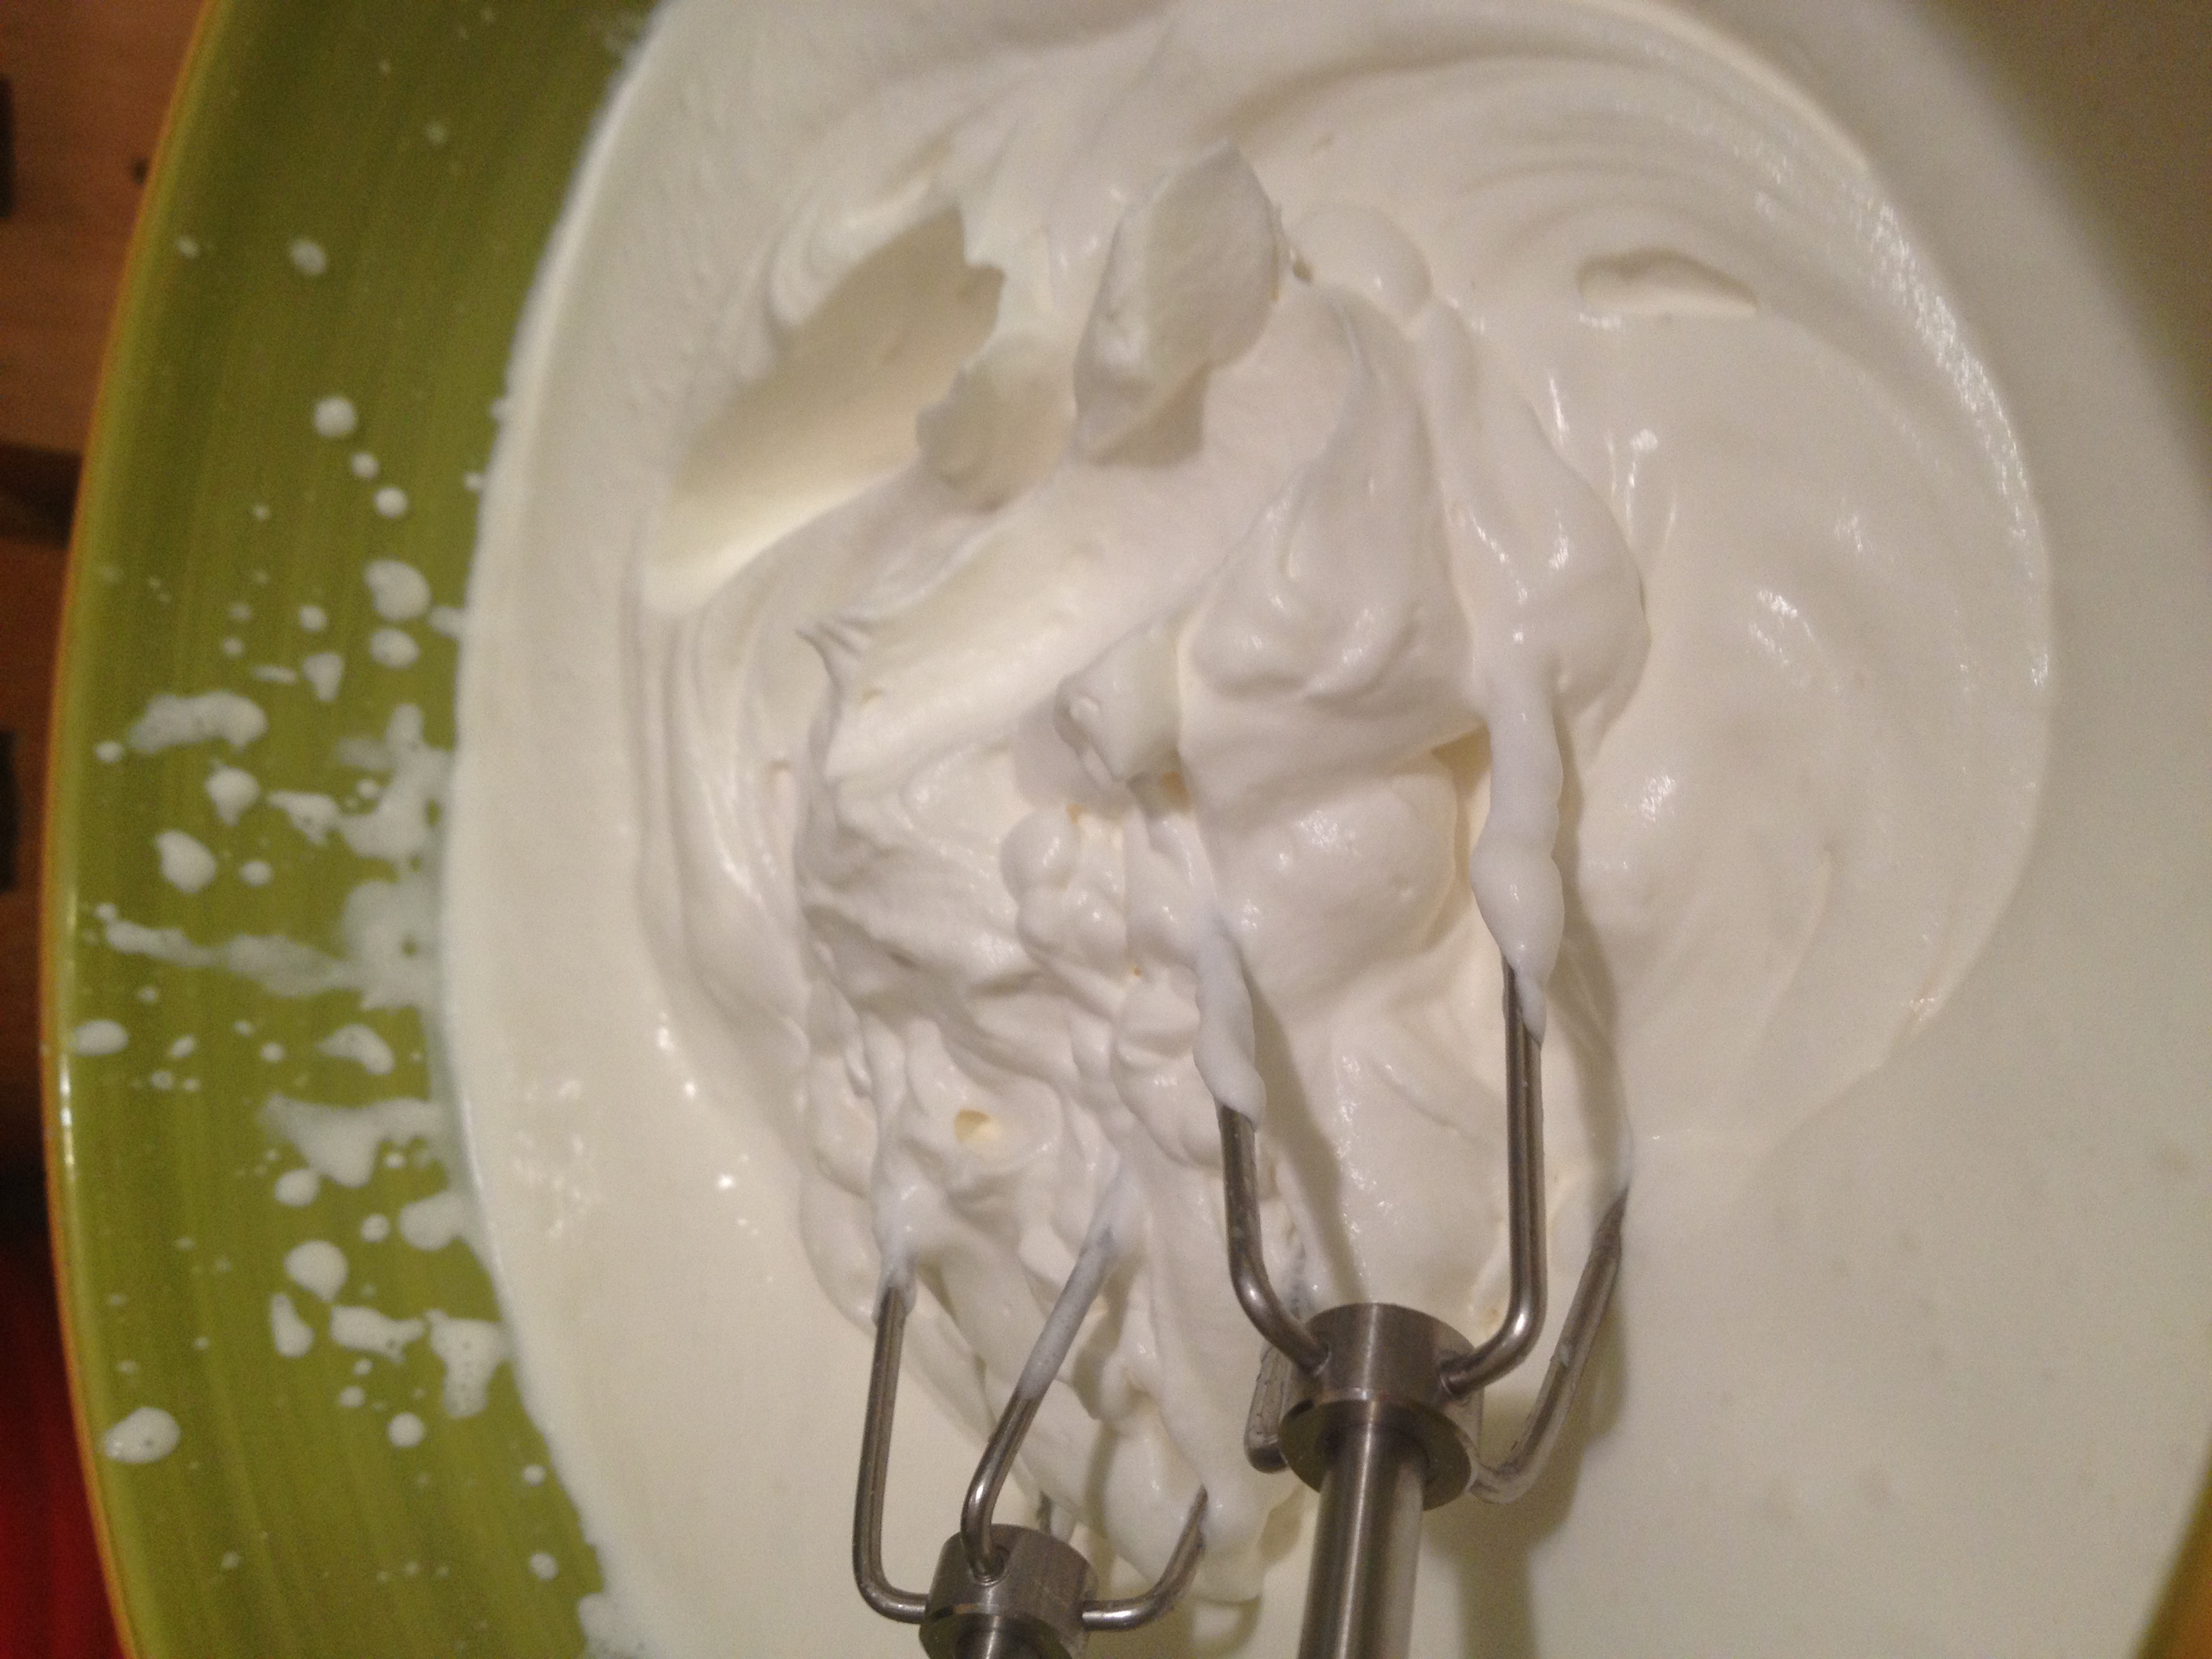
Love this mixture…

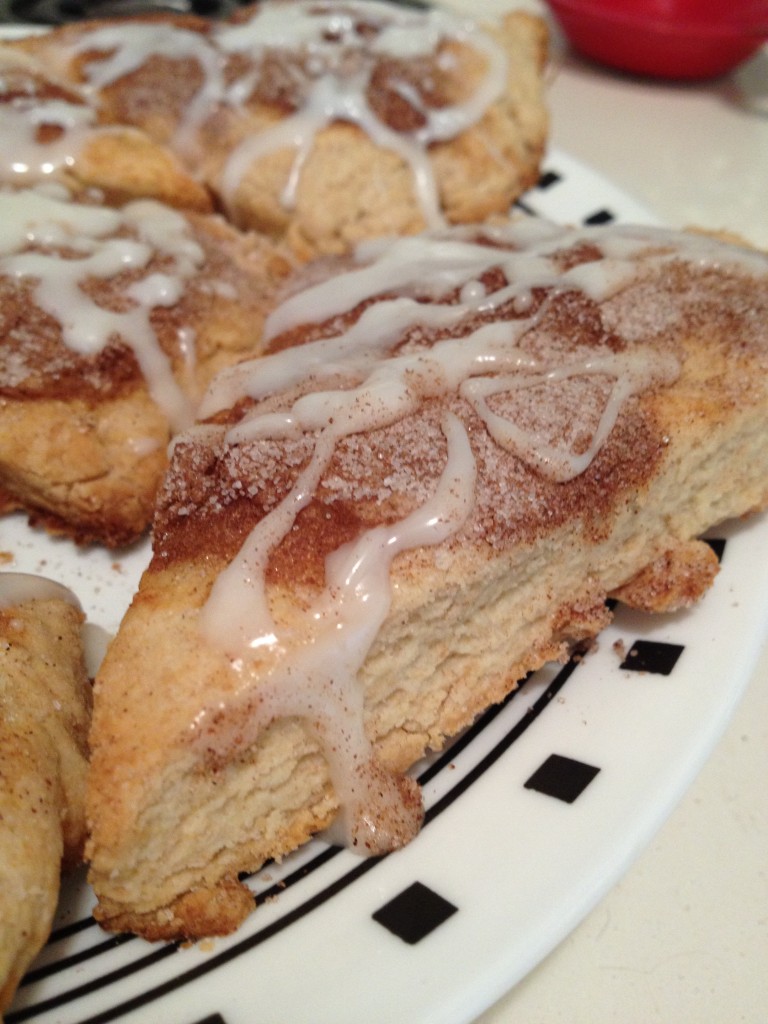
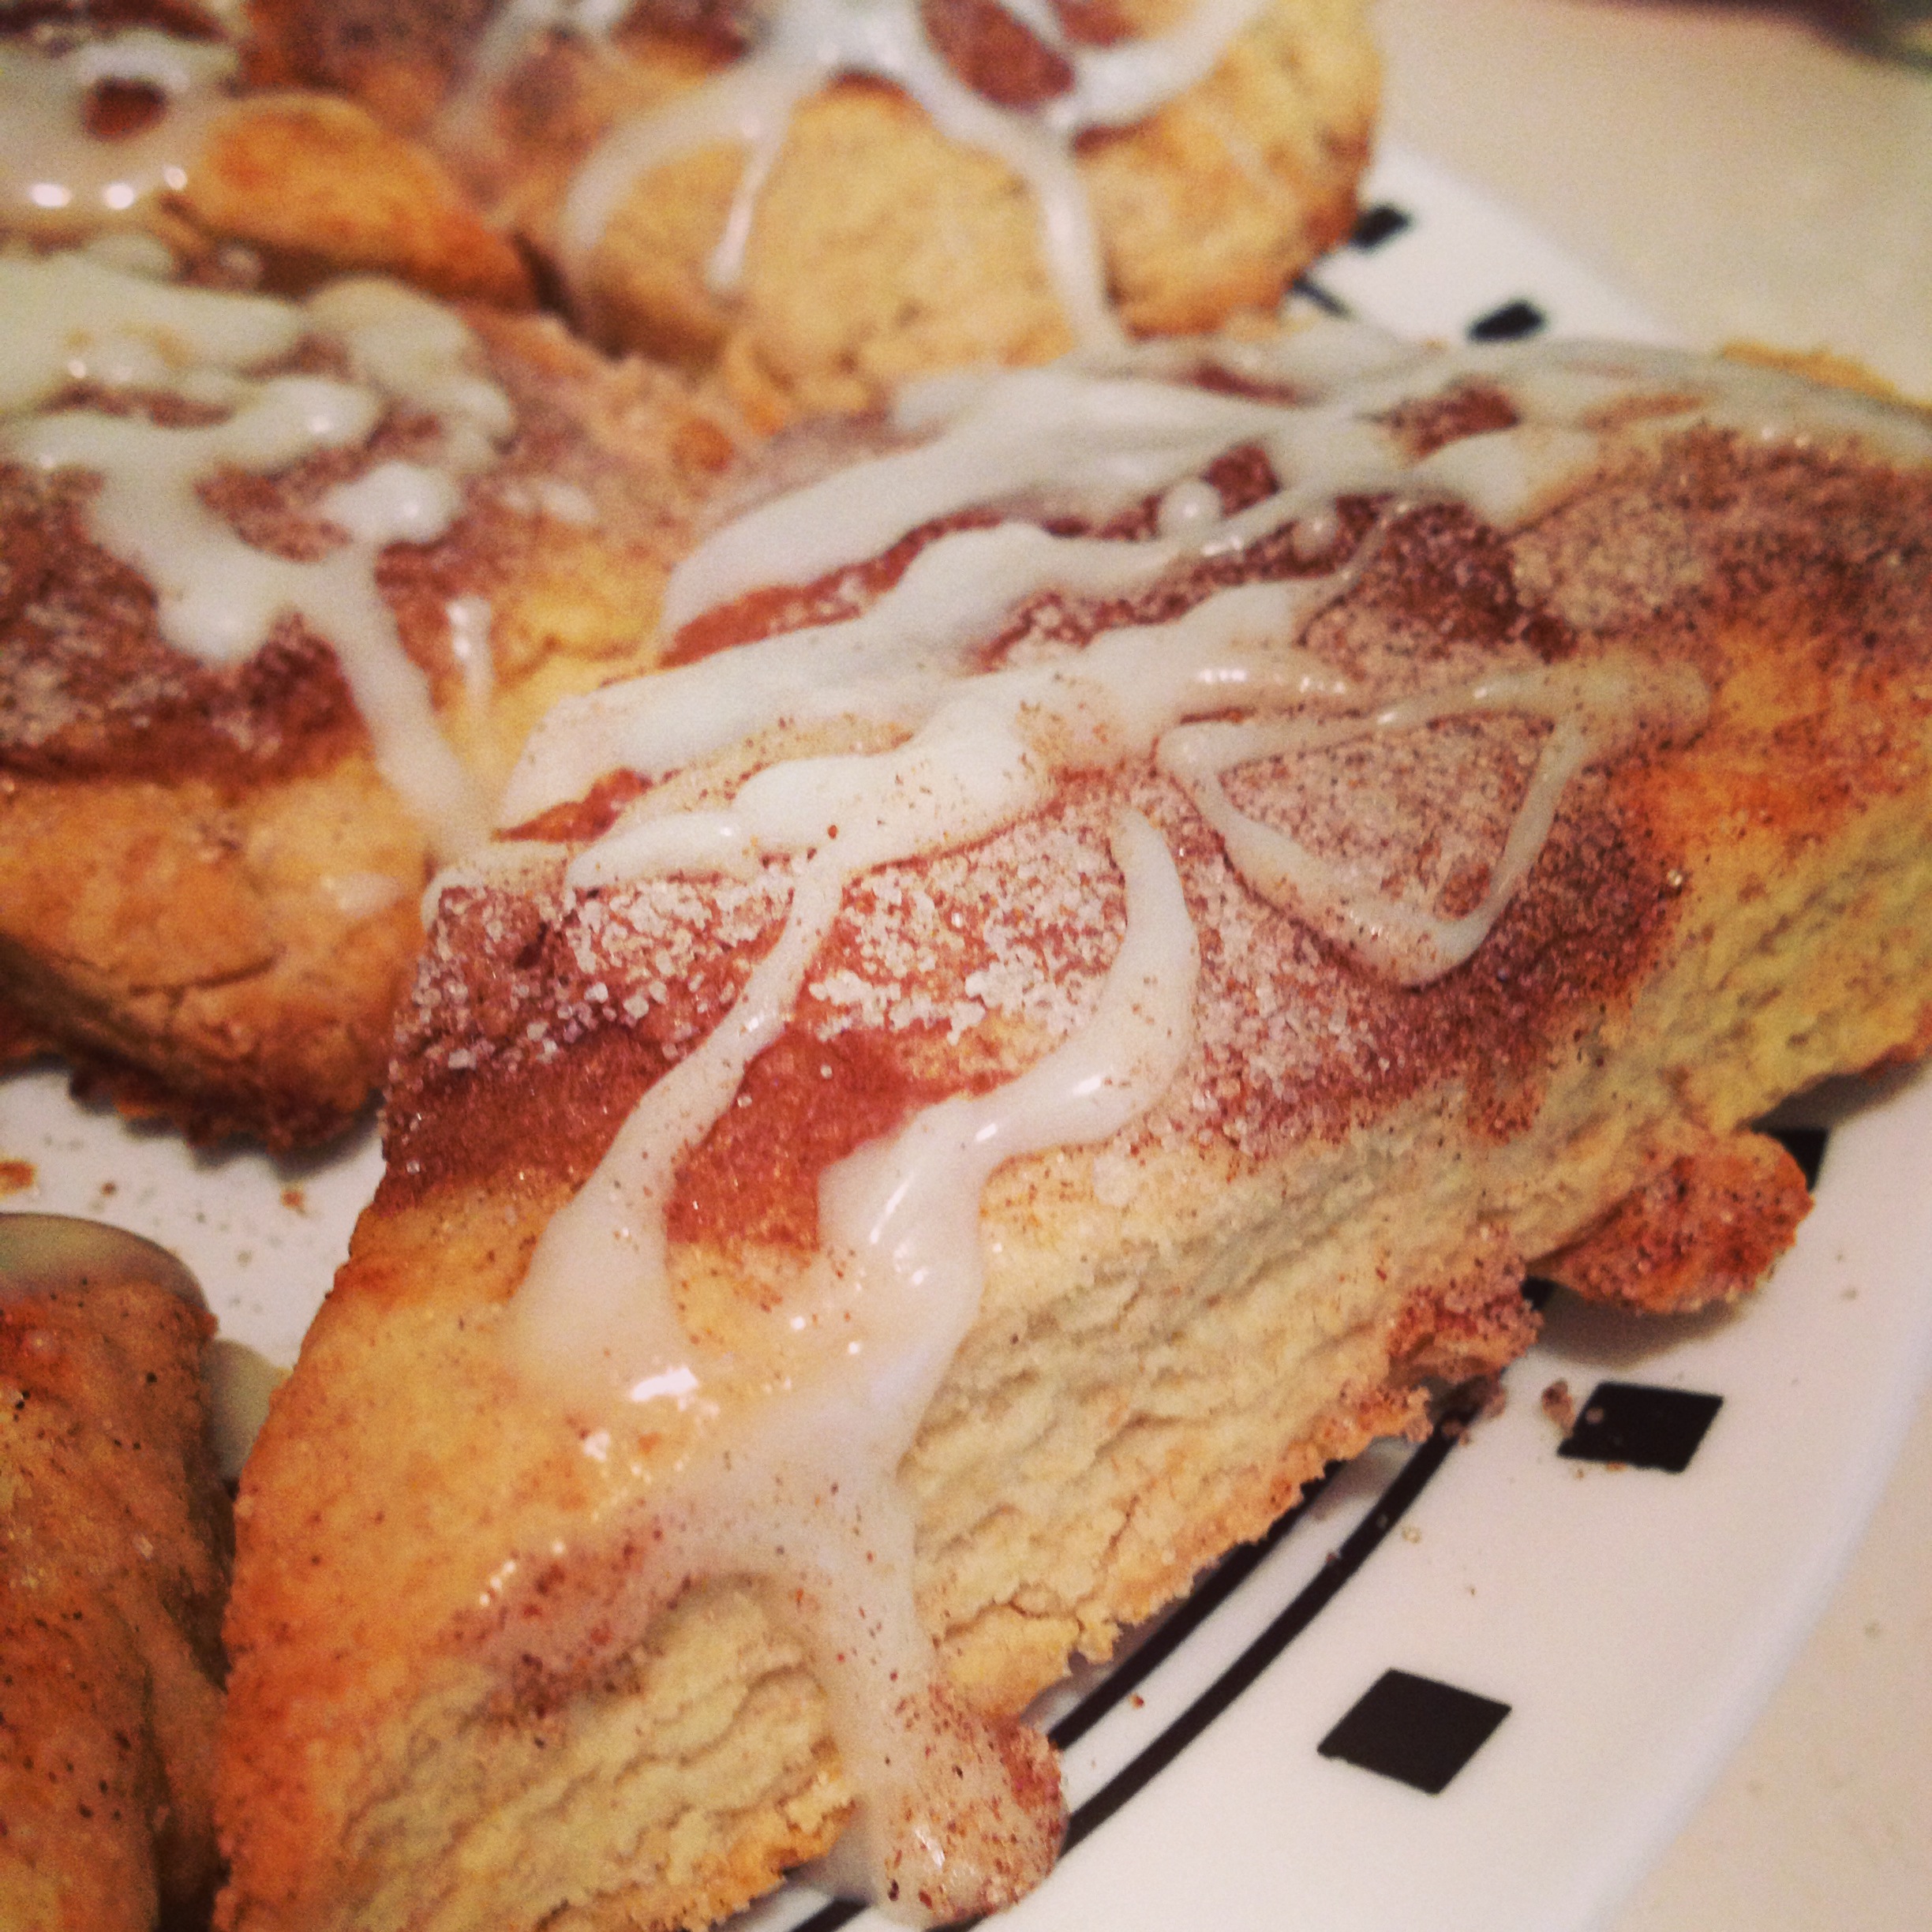
Glazed Cinnamon Scones
2014-04-15 22:51:42
Serves 8
A fiber-rich delicious glazed cinnamon scone
Prep Time
17 min
Cook Time
11 min
Scone Ingredients
- 2 cups flour (1 whole-wheat, 1 regular)
- 2 tsp baking powder
- 1/2 tsp baking soda
- 1/2 tsp salt
- 1/3 cup milk
- 1/2 tsp lemon juice
- 1 egg
- 1/2 cup butter
- 3 tbsp granulated sugar
Dust Ingredients
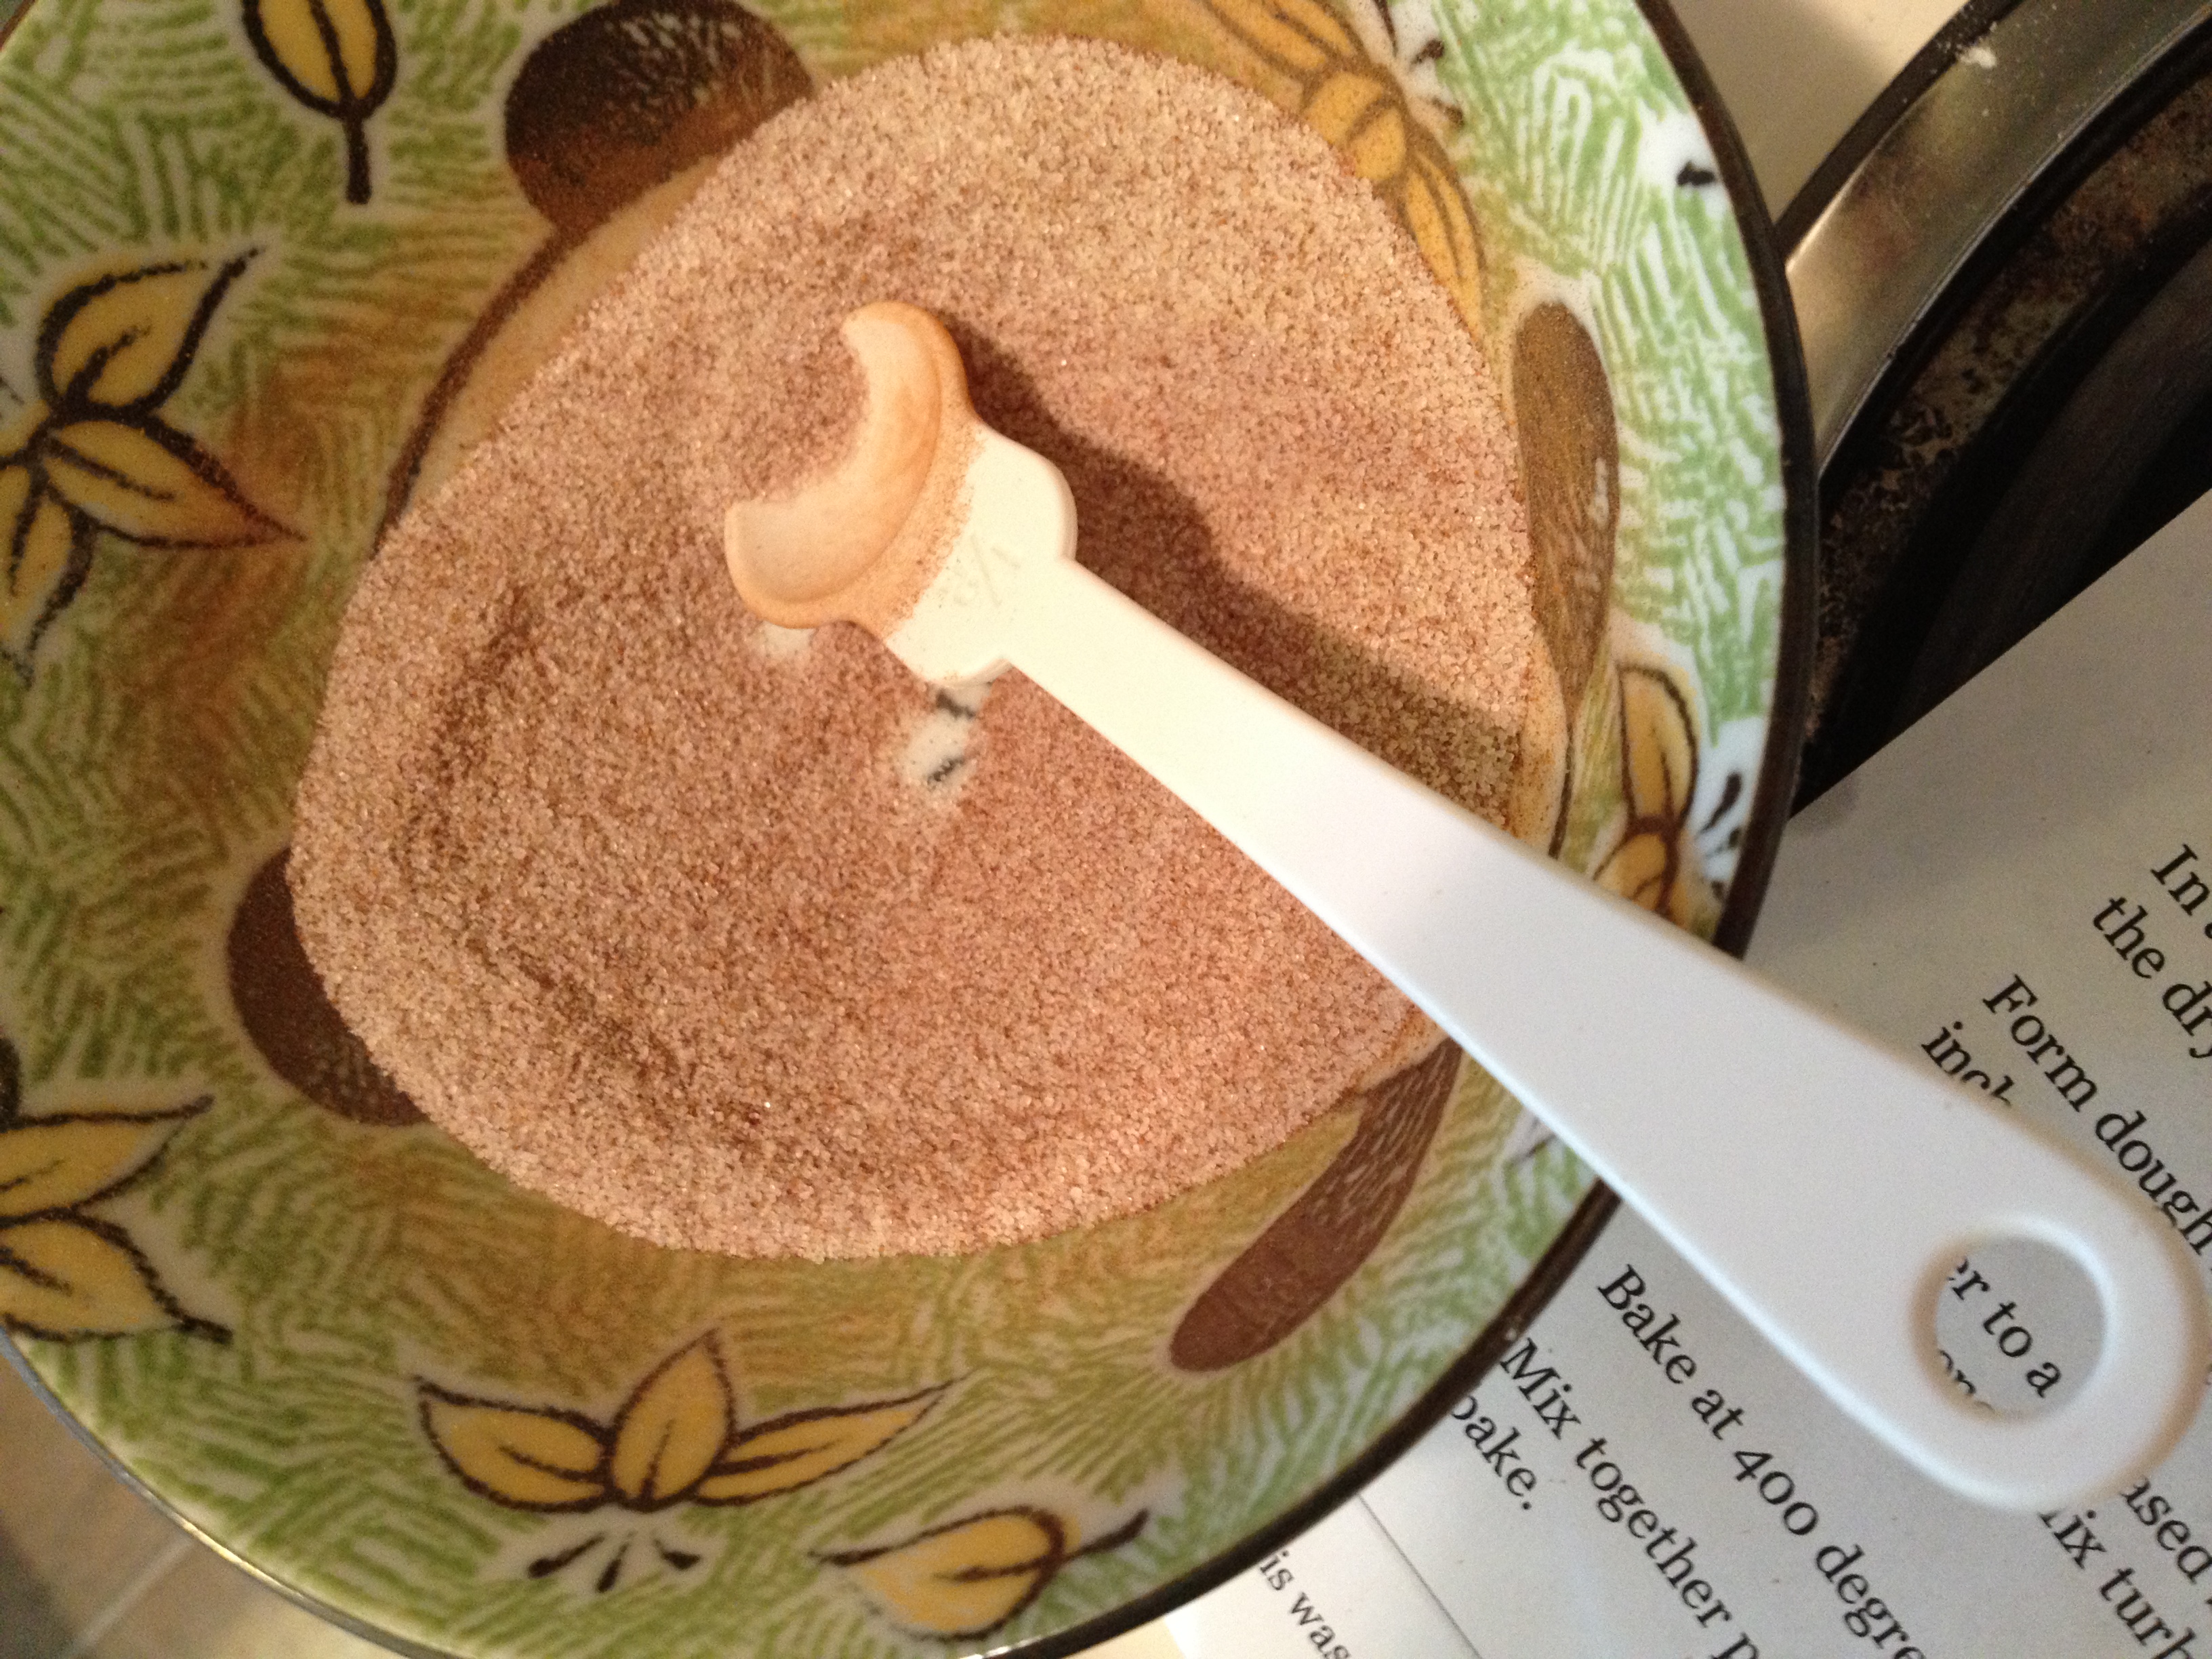
- 1 tbsp sugar
- 1/2 heaping tsp cinnamon
Glaze Ingredients
- 3/4 cup powdered sugar
- 3 tsp milk
- 1/2 tsp maple syrup
Instructions
- Let's first start with the scones. Pre-heat oven to 400 degrees F and grease up a baking sheet.
- Get out a big bowl and put your flour, baking powder, baking soda, and salt in there. Cut the butter into the dry mixture until it gets crumb-y.
- Separate the egg and put the egg YOLK in a separate bowl along with the sugar, milk, and lemon juice. Mix that up.
- Add this to the dry ingredients and mix it until it combines (don't overdo it)
- Flour up a surface (I use a cutting board) and put the dough you've made into a ball on the surface
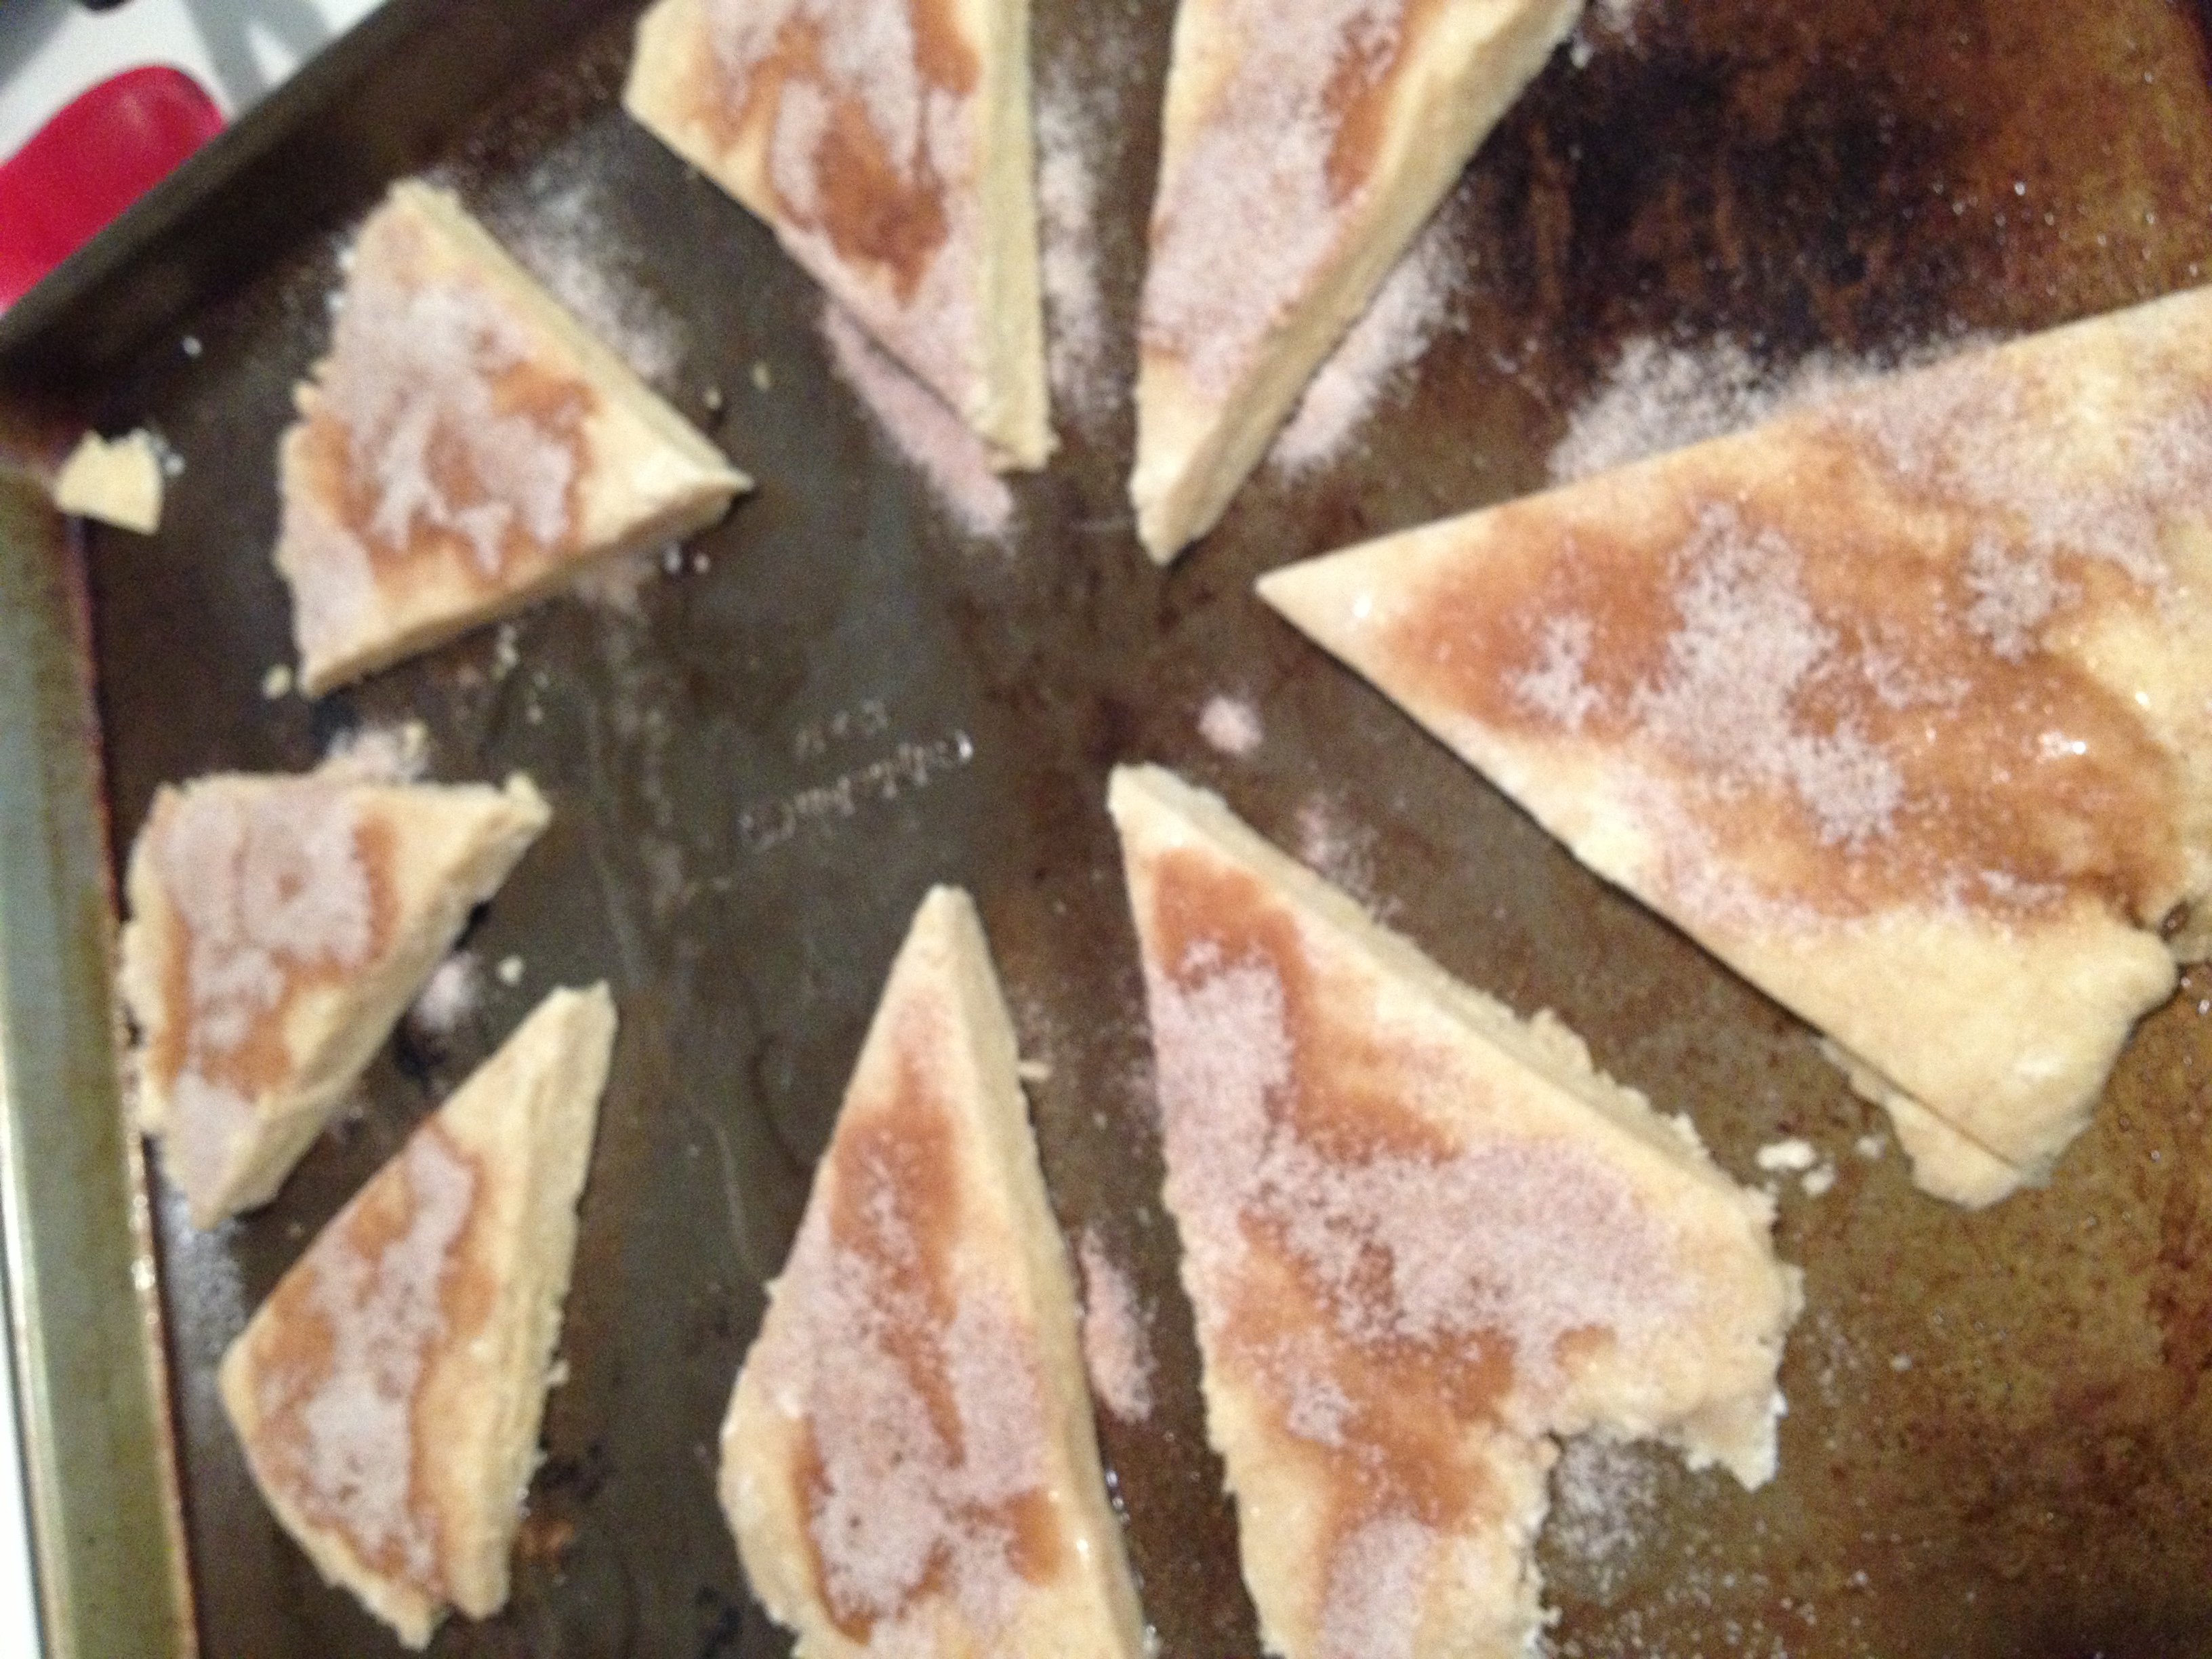
- Knead it into around 1/2 inch thickness and then cut into eight pieces
- Place the eight pieces on the baking sheet
- Take out the egg white and whisk it until frothy. Brush it onto the scone pieces
- Mix the sugar and cinnamon together and sprinkle over the egg-whited scones
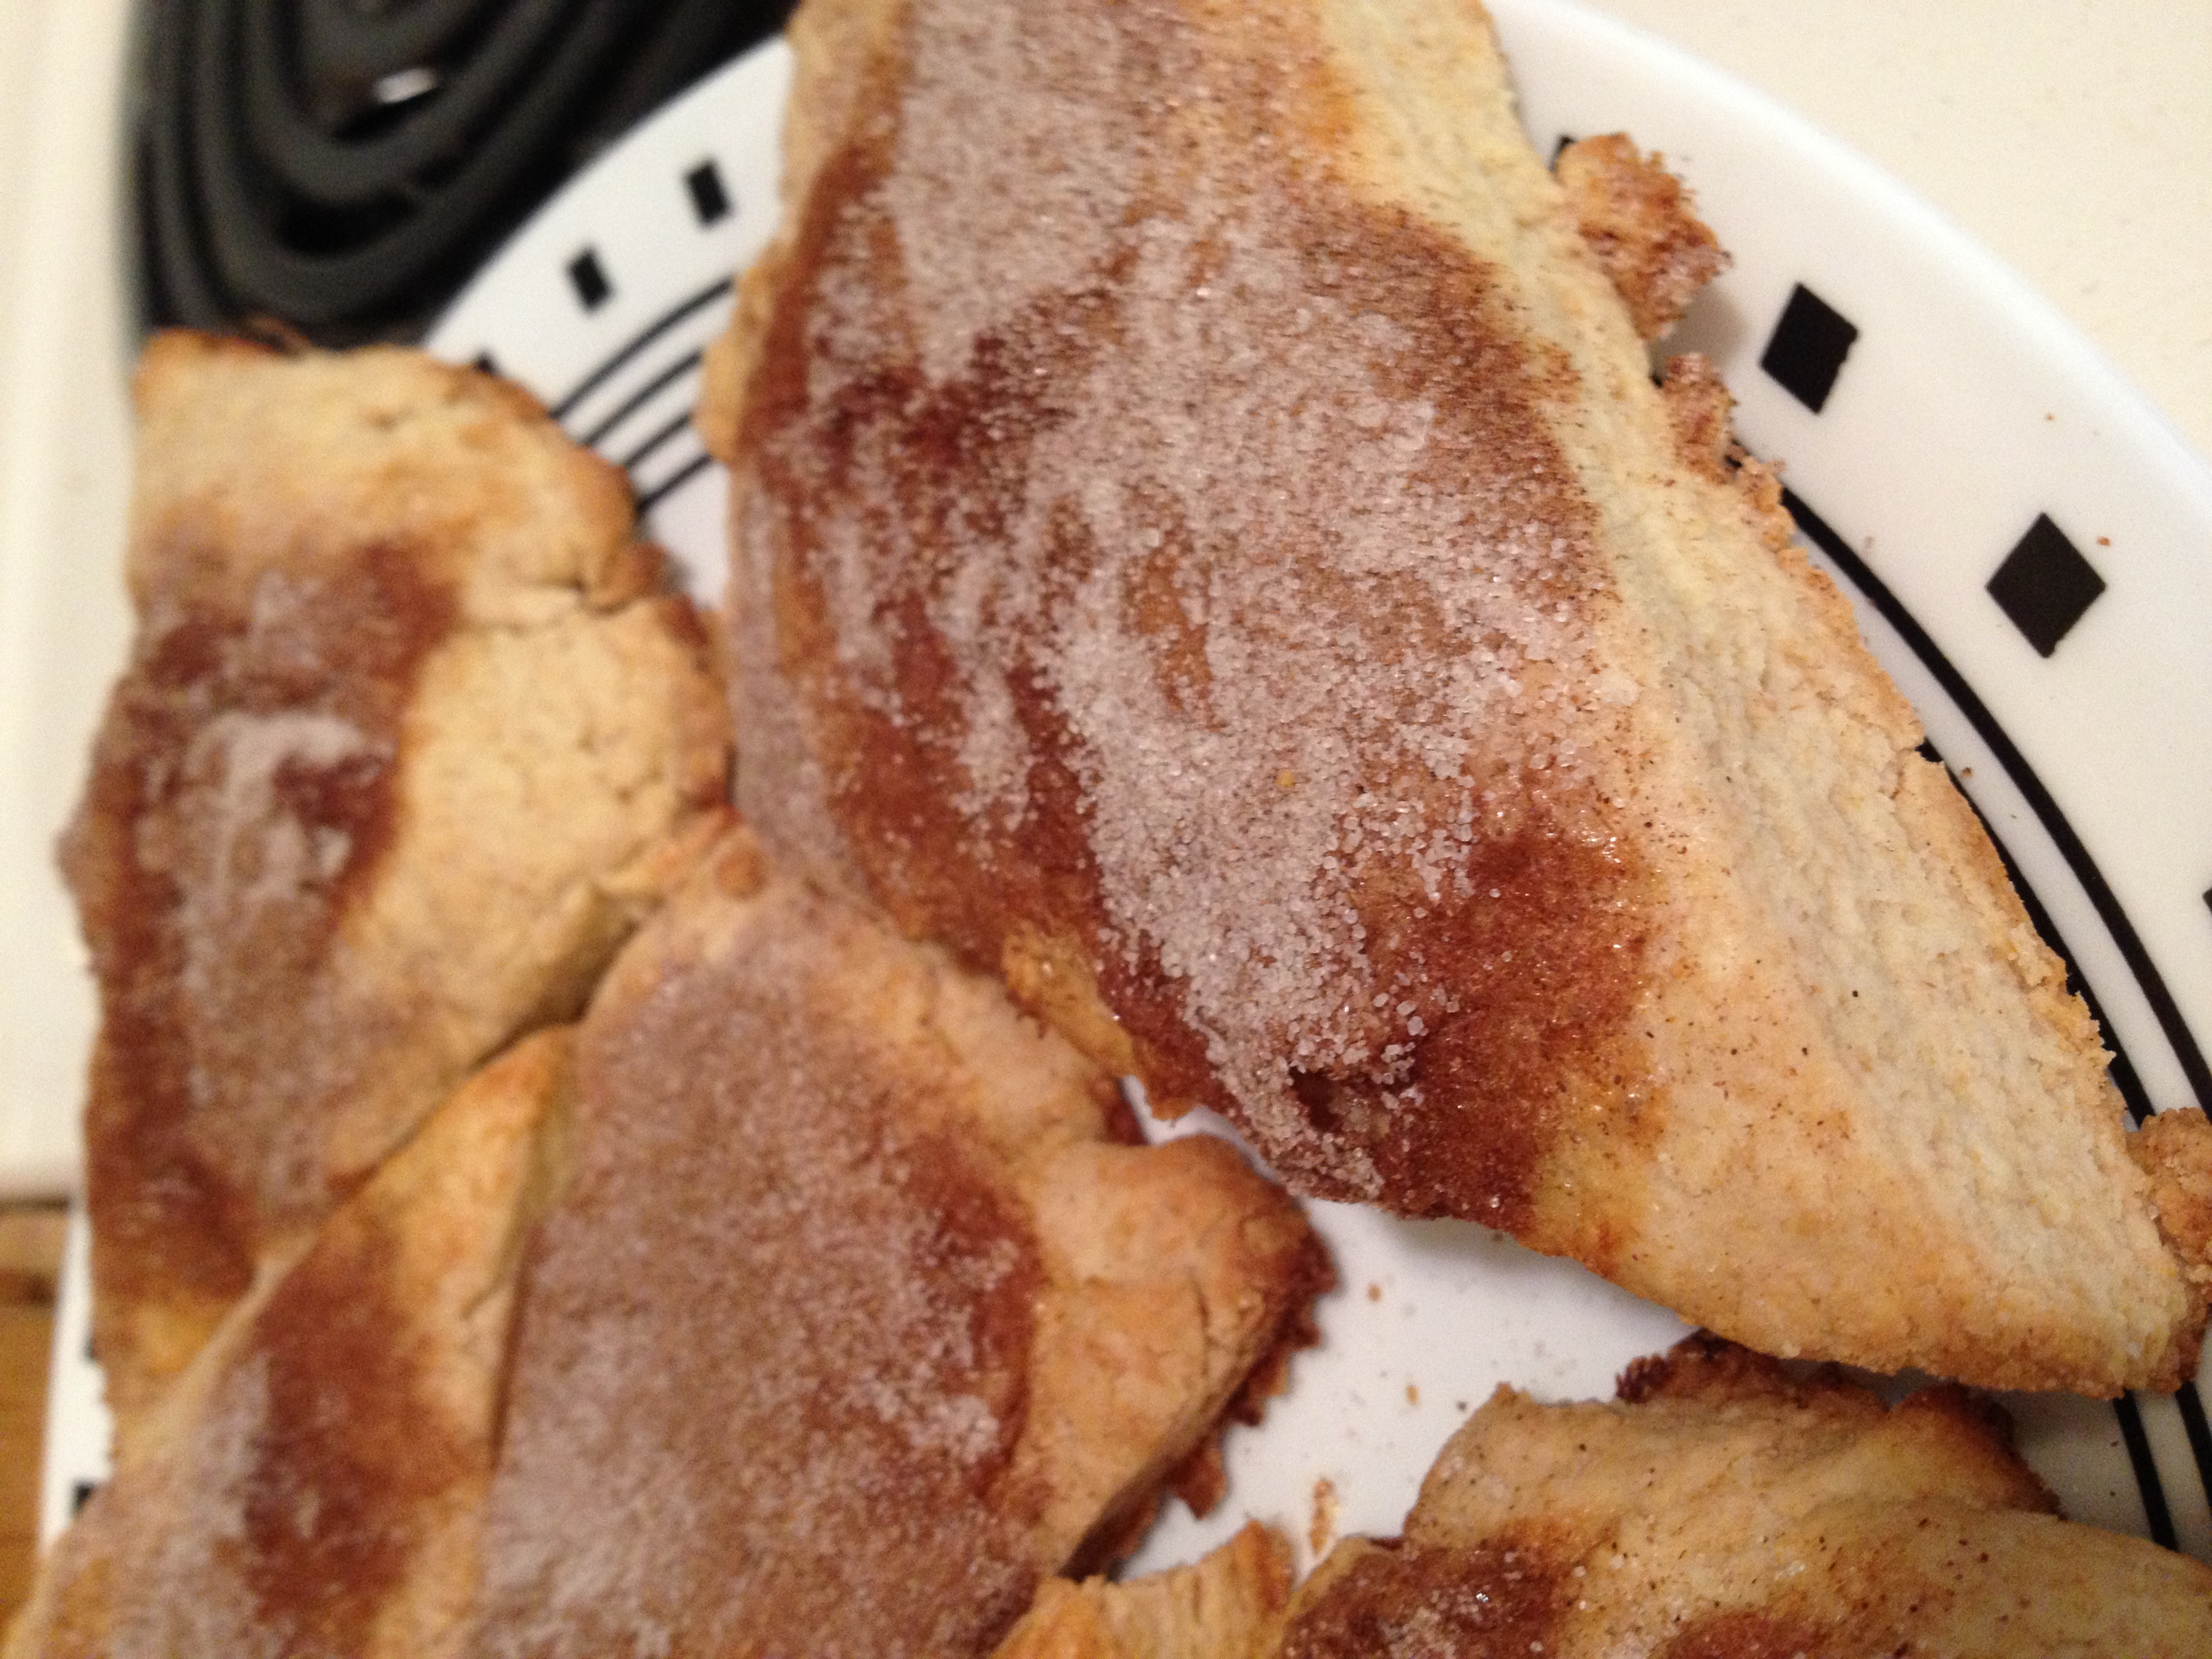
- Put in oven for 10-11 minutes
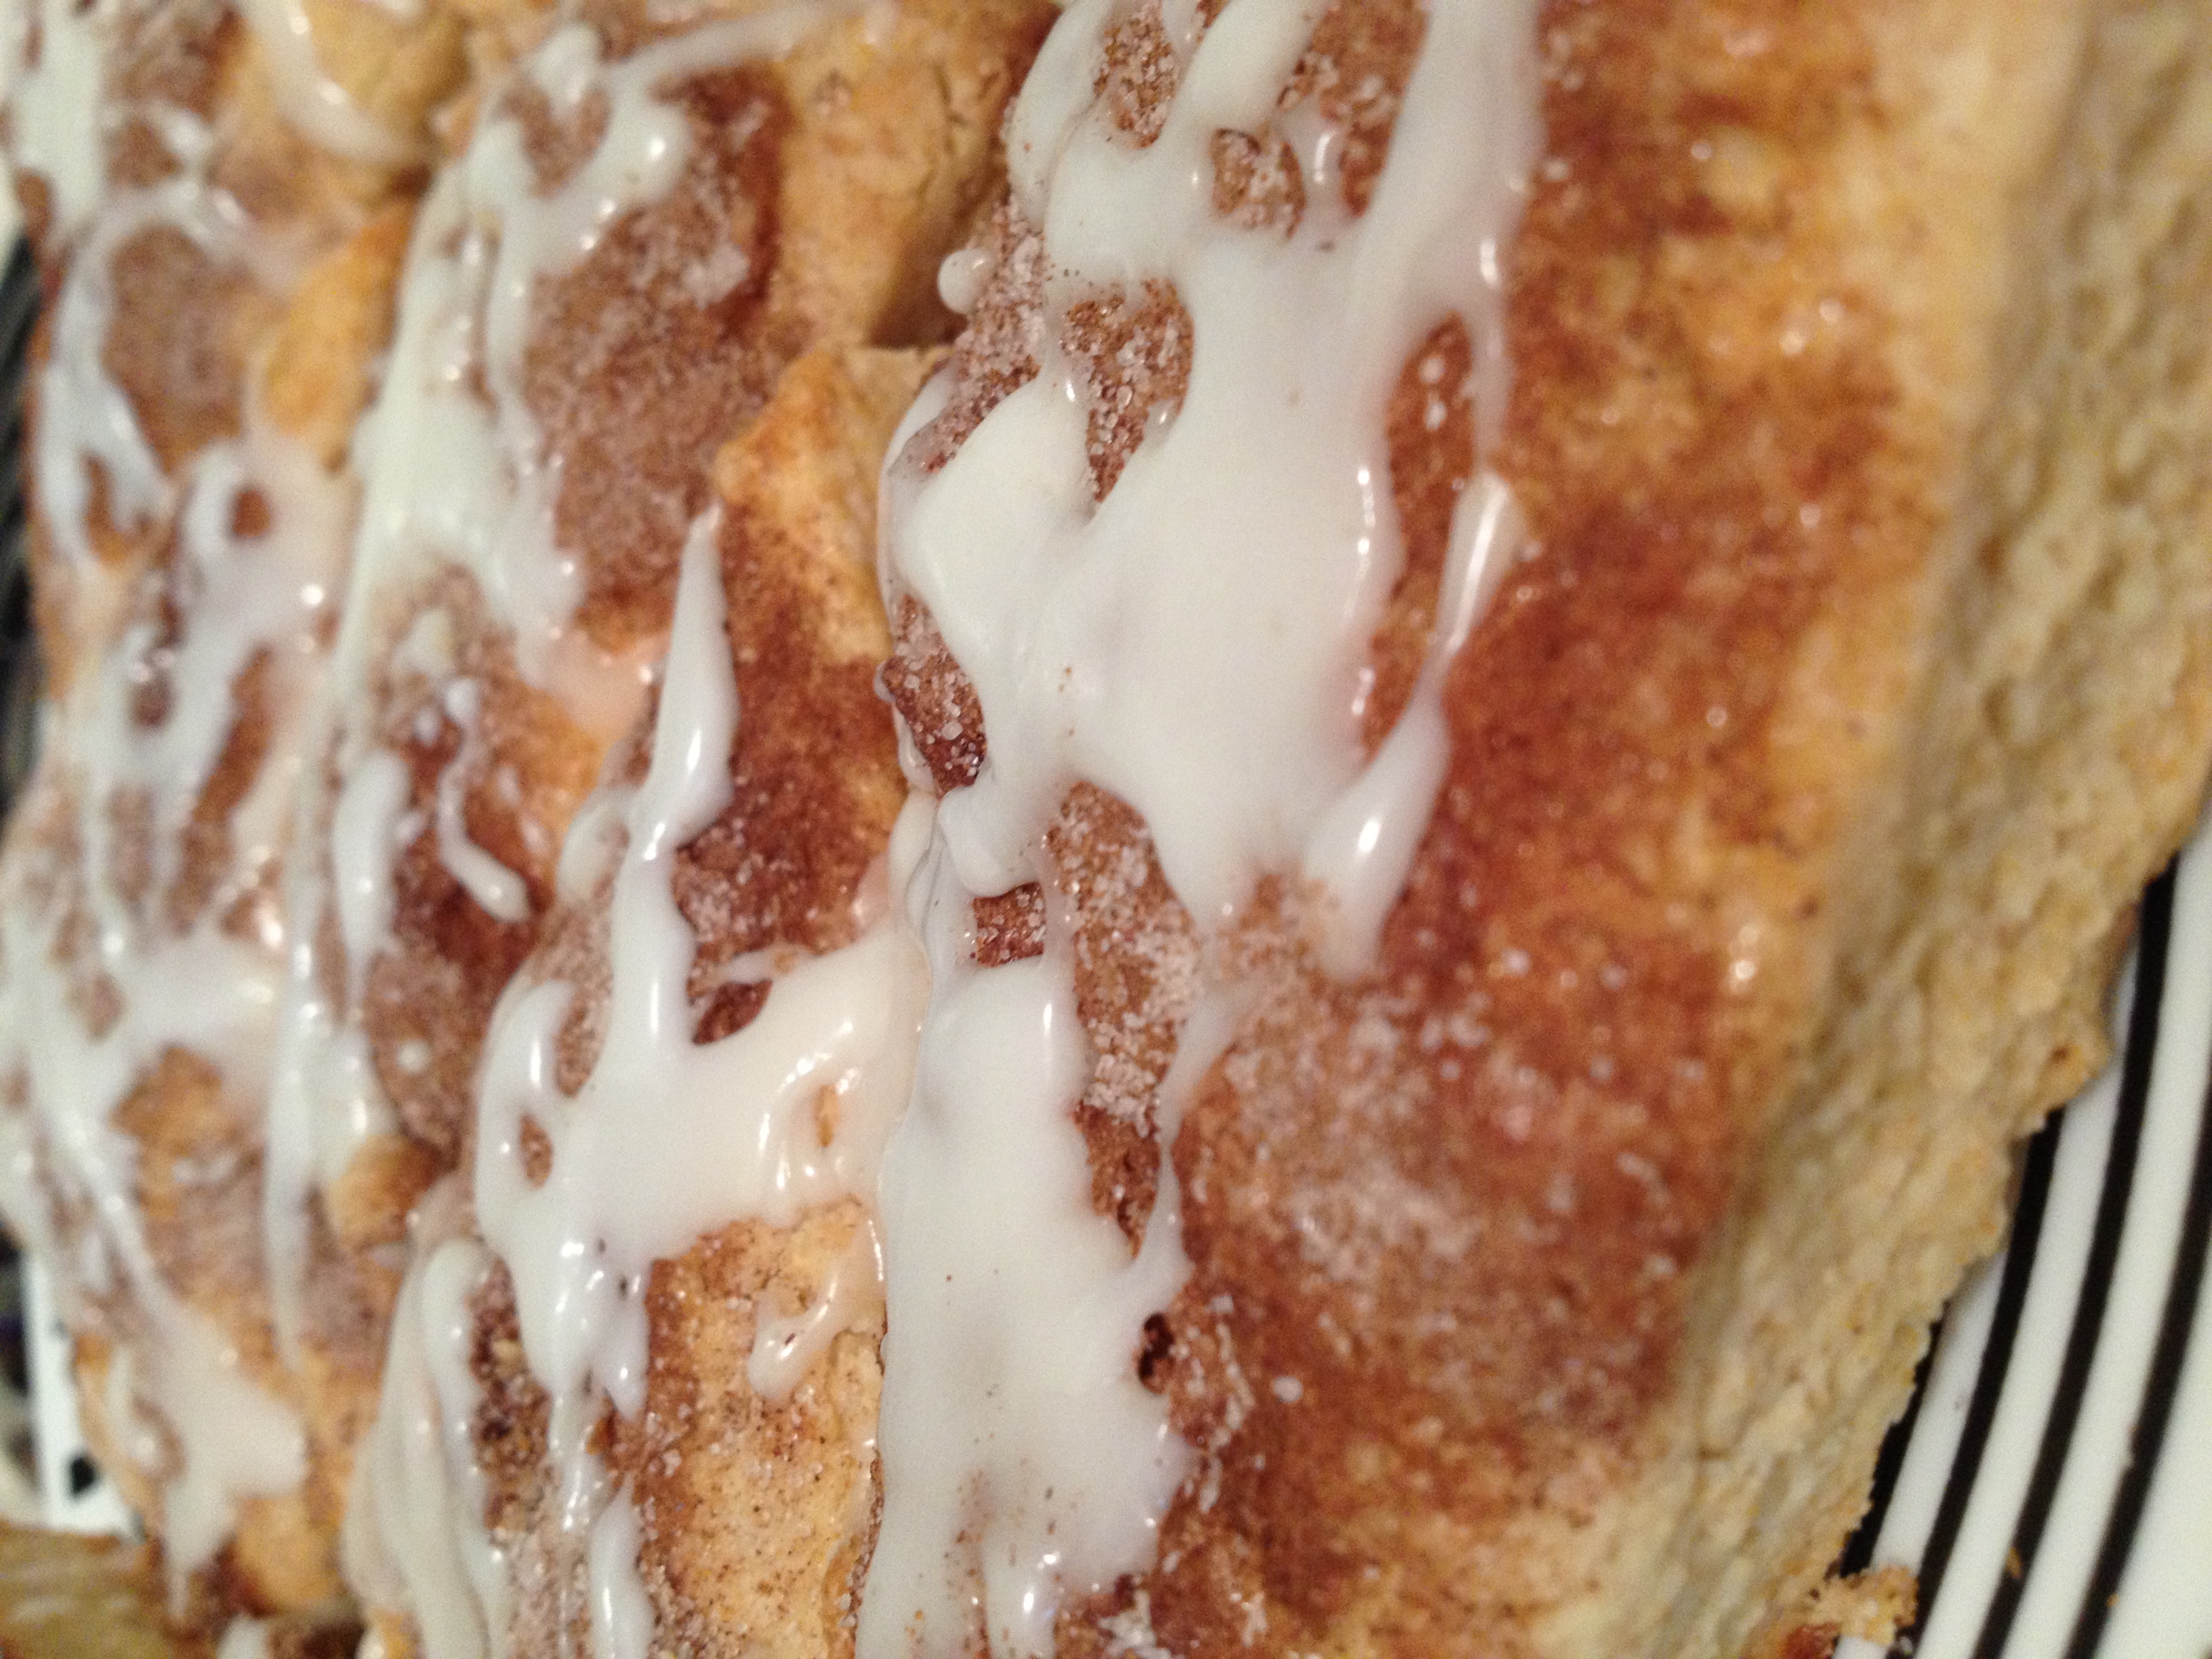
- While it bakes, let's make the glaze. Mix the powdered sugar, milk and maple syrup until it forms up properly into a glaze
- When the scones are done, let them cool a bit and then drizzle the glaze over
Adapted from Money Saving Mom
Adapted from Money Saving Mom
hungry and fit https://hungryandfit.com/
BONUS KITTY PIC

Sleepies