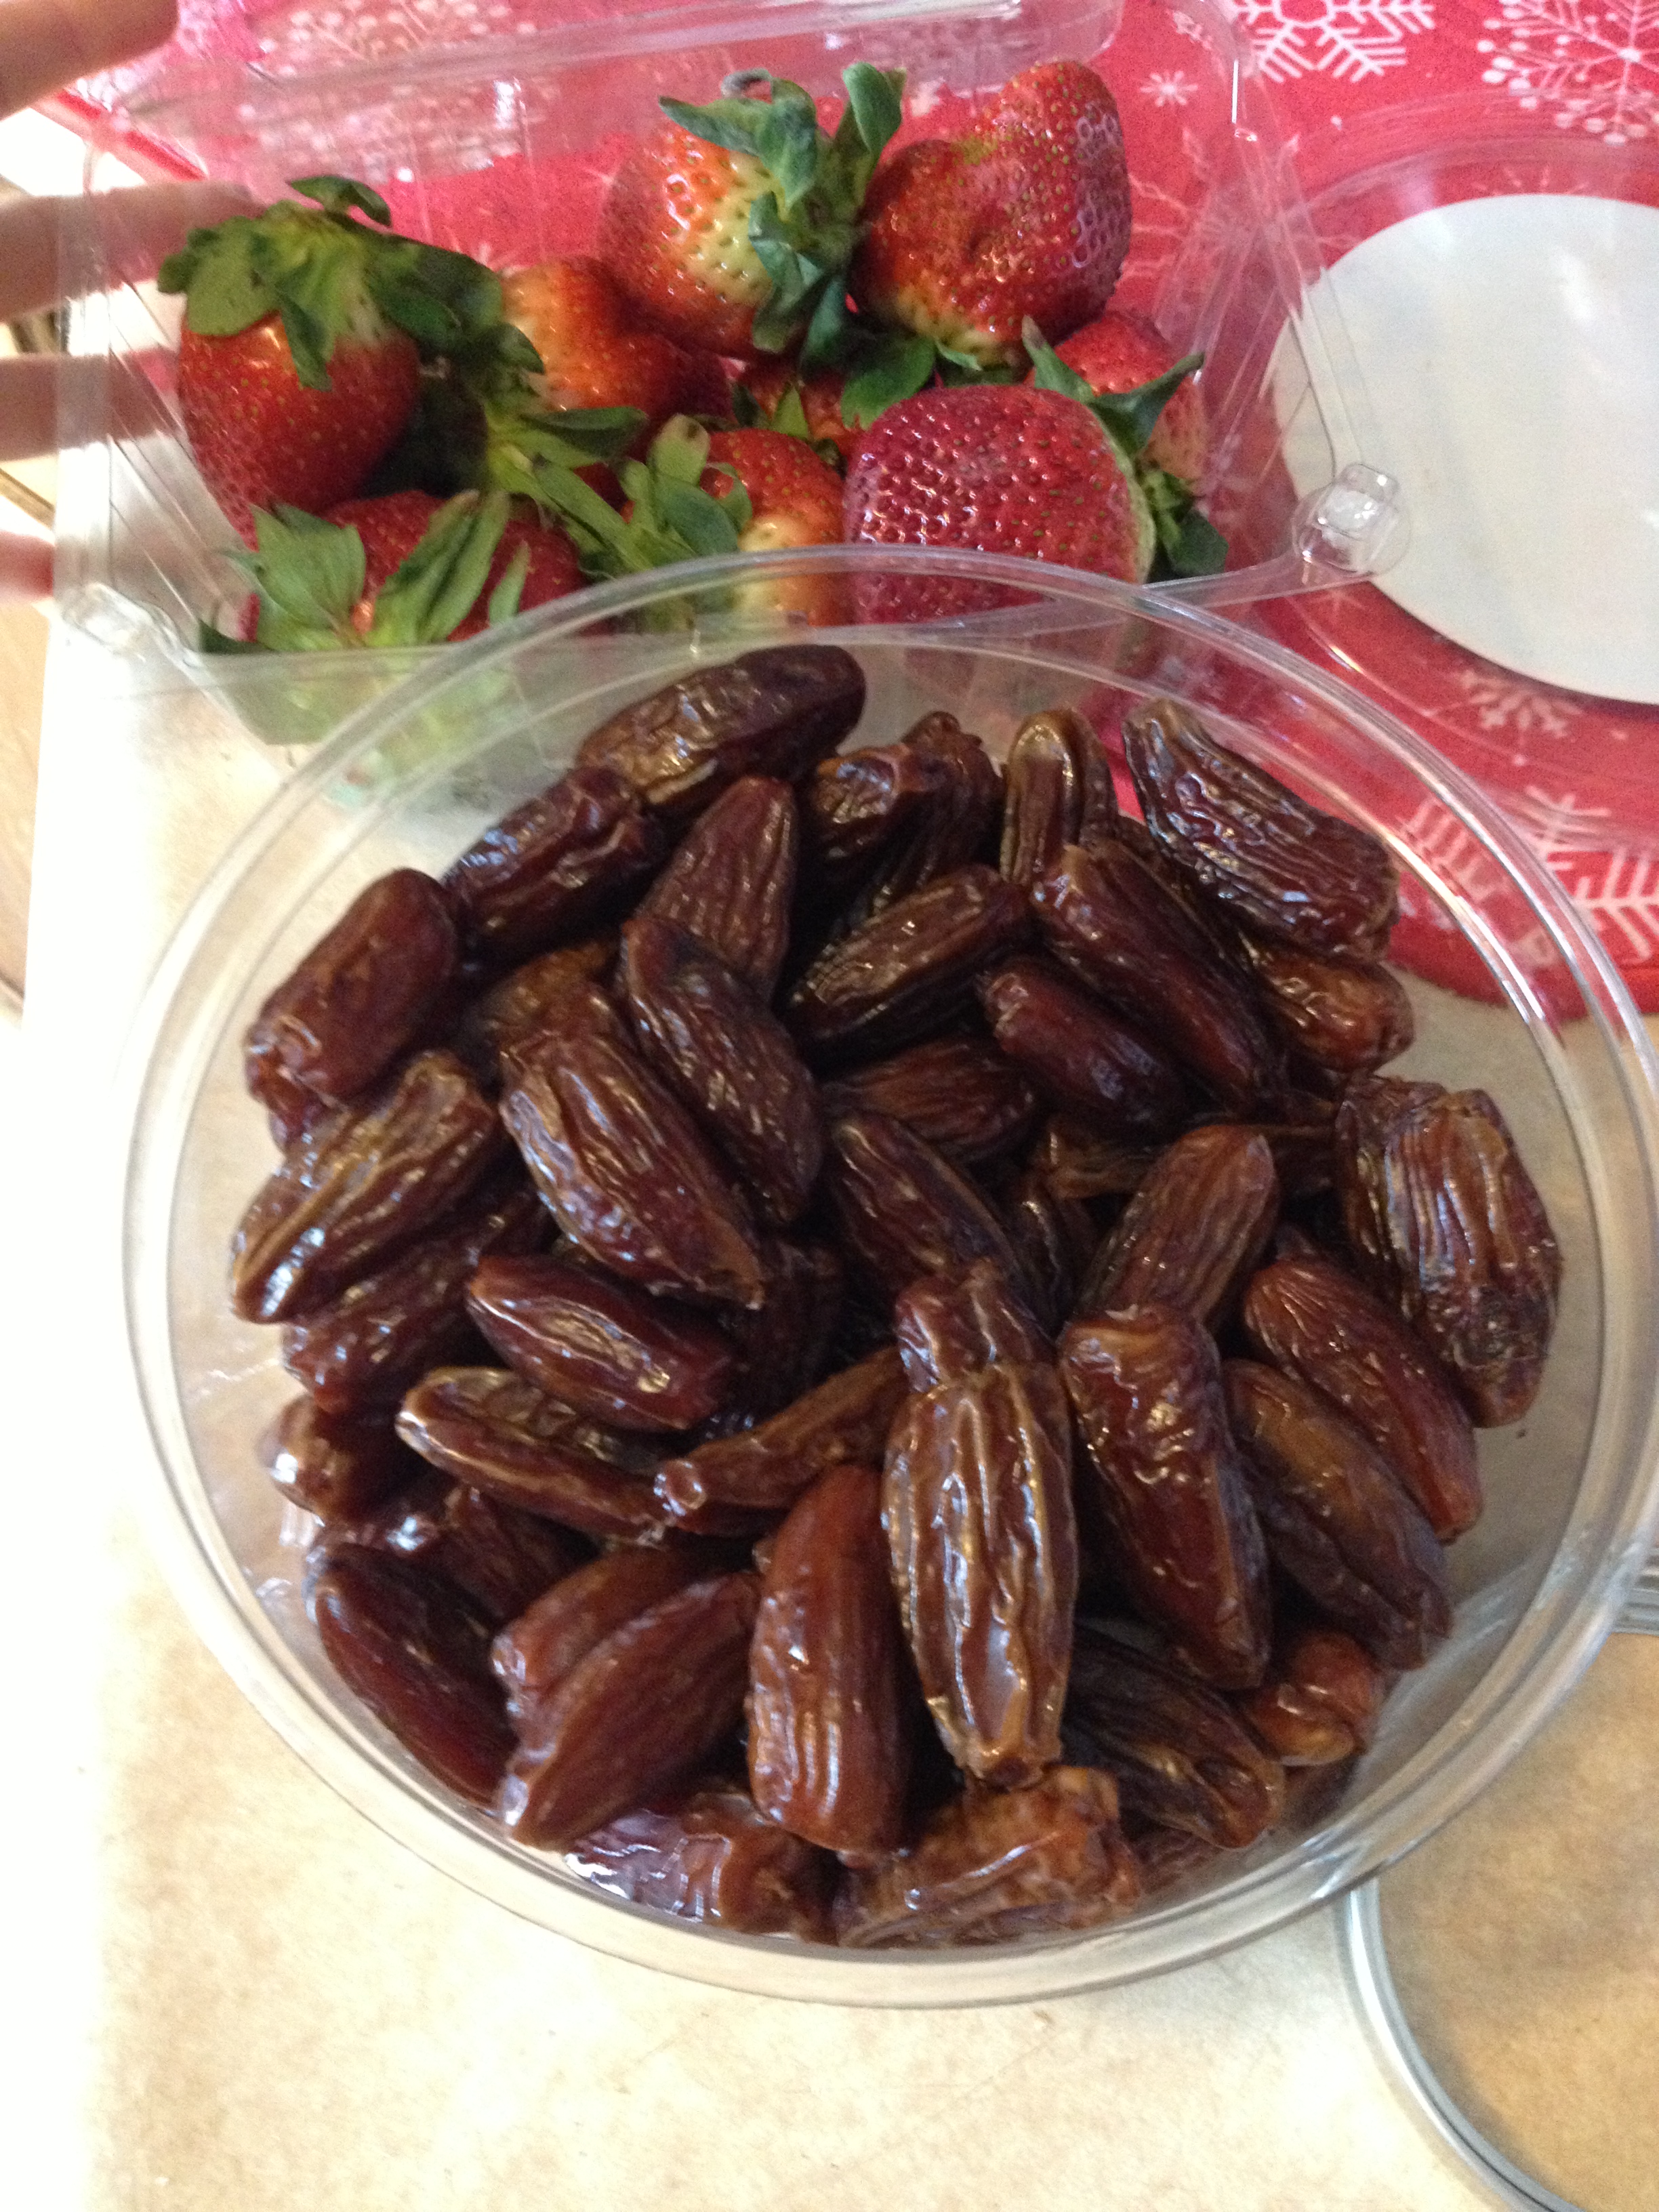

We had dates and bananas that needed to be used. Okay maybe the dates didn’t need to be used since they last forever, but I’ve been wanting to try this. Like my other muffin recipe (which this one is actually based on), it’s super simple and quick to do. I threw this together late last night after a leg workout. It’s very healthy, estimated at about 167 calories with 3 grams of protein and fiber! Not too shabby.
- Prep Time: 7 minutes
- Bake Time: 15-20 minutes
Ingredients
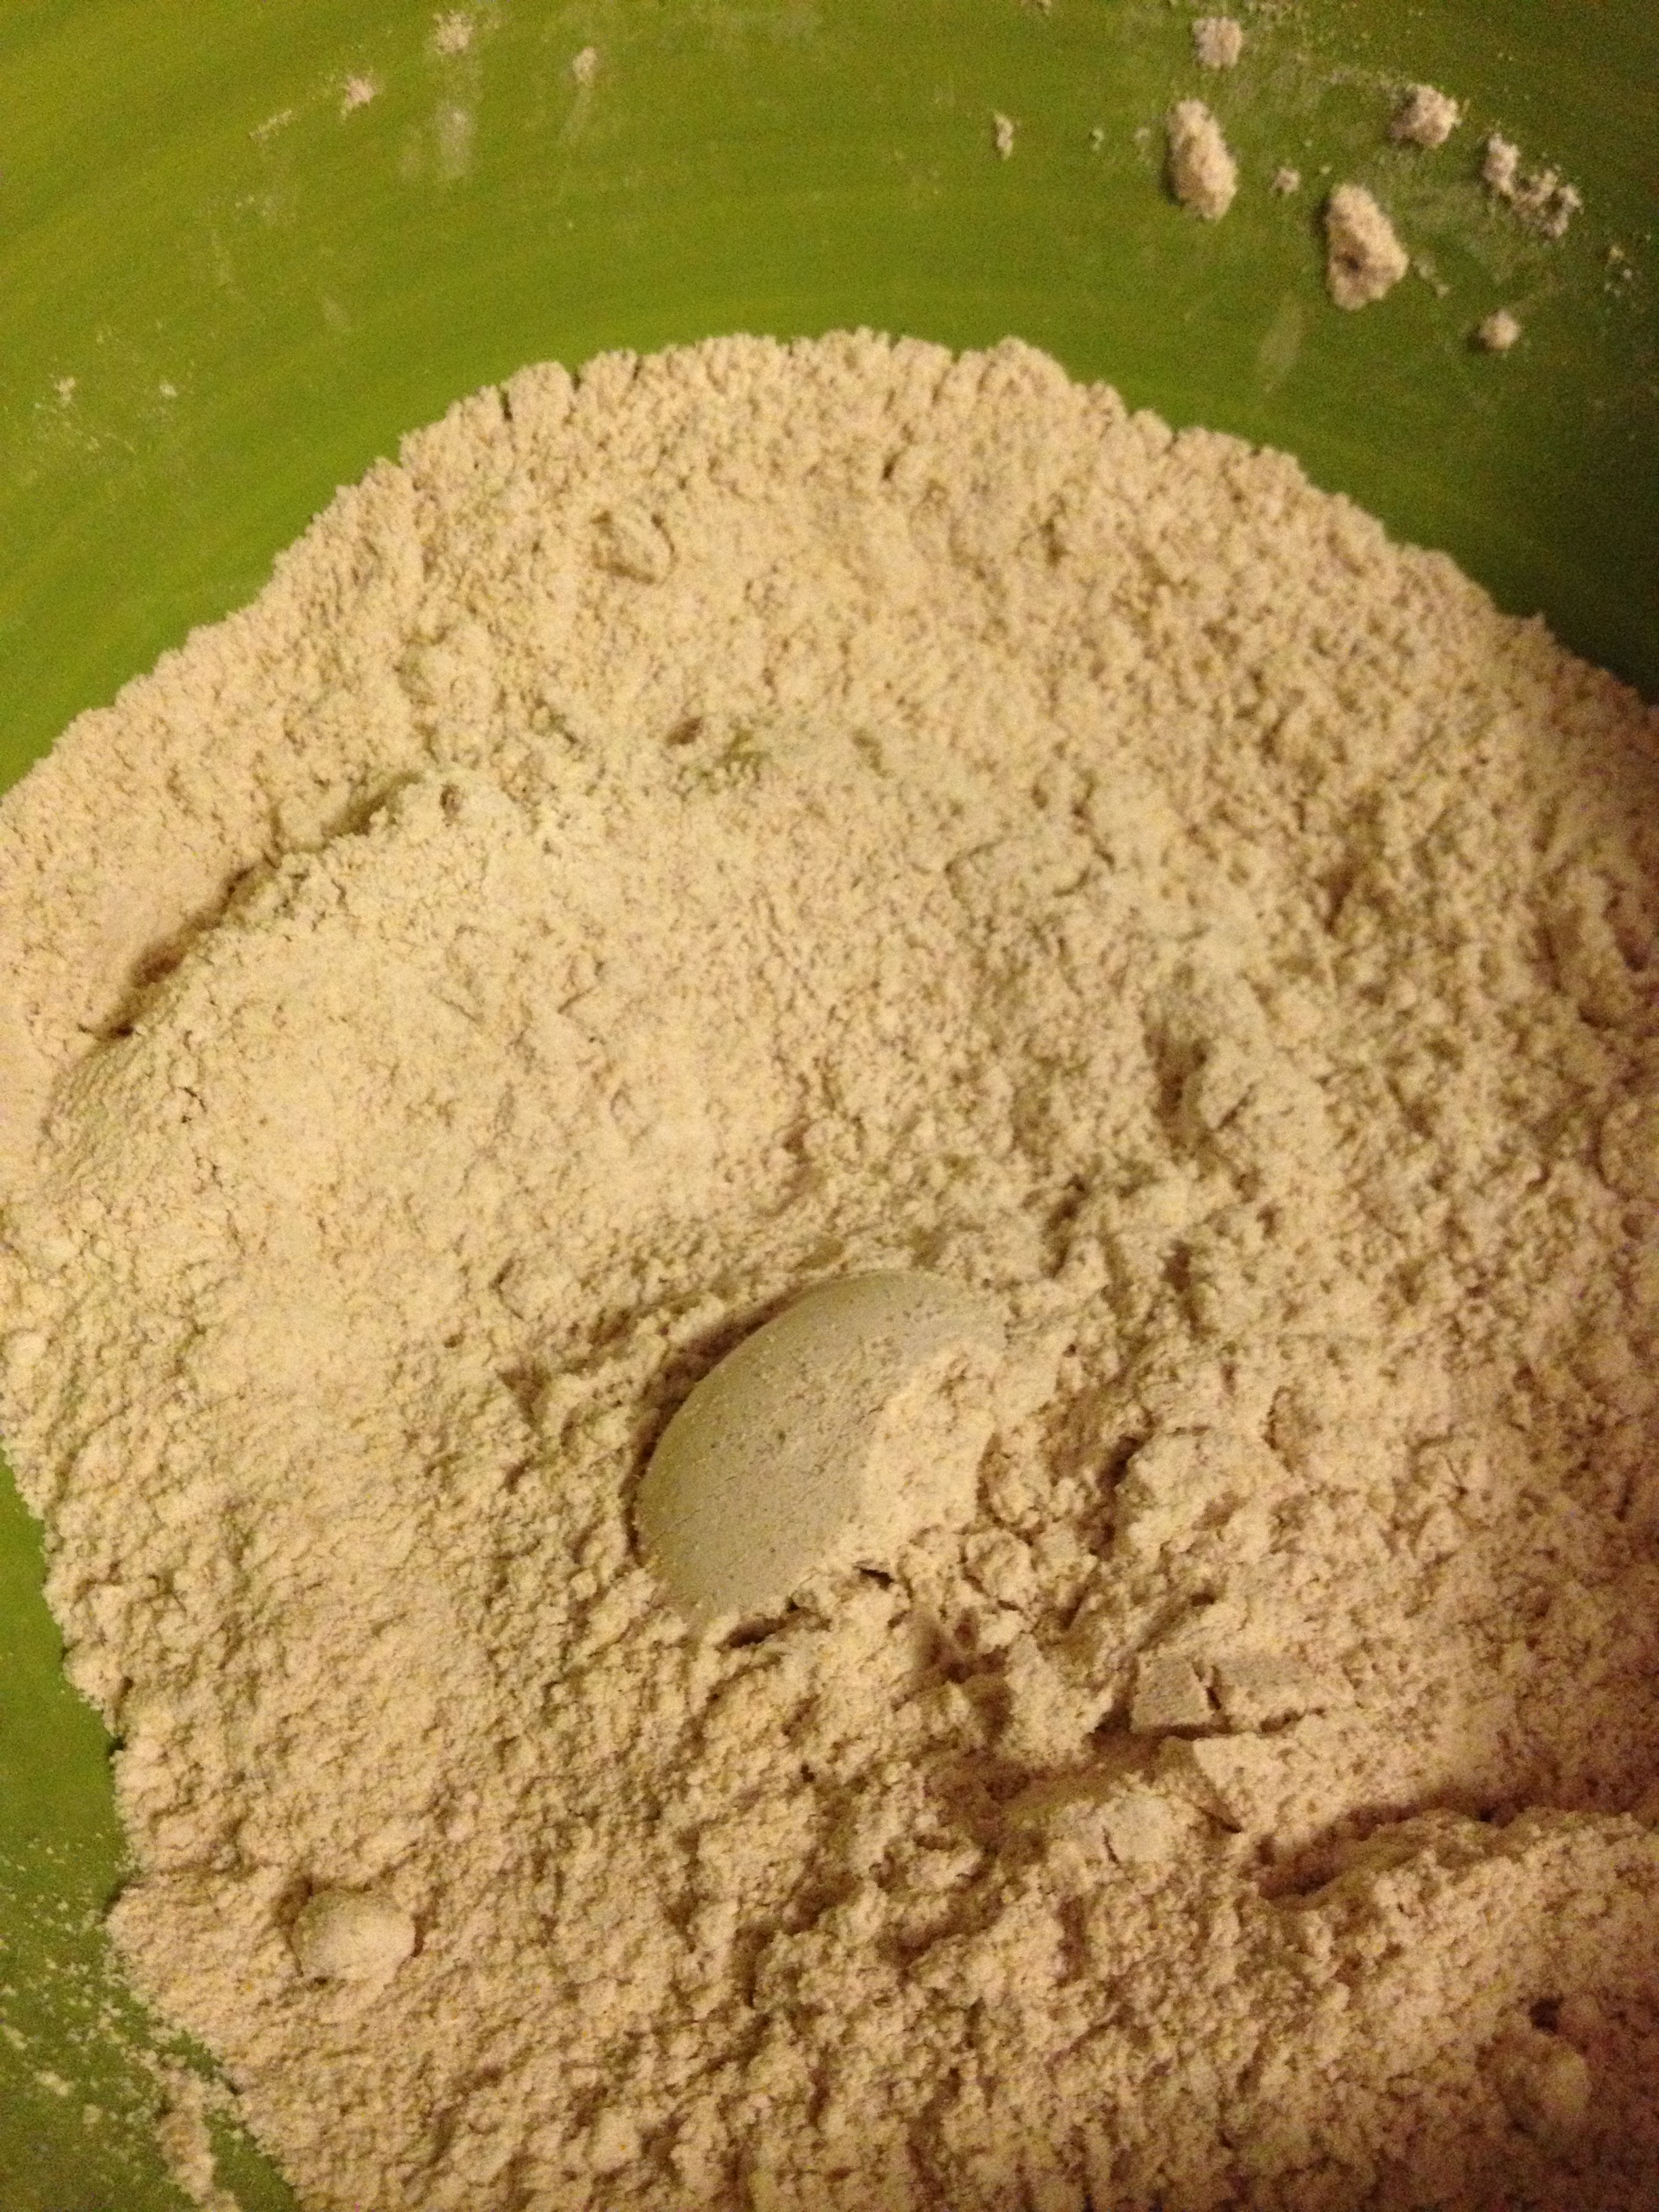
- 1 3/4 cups whole wheat flour
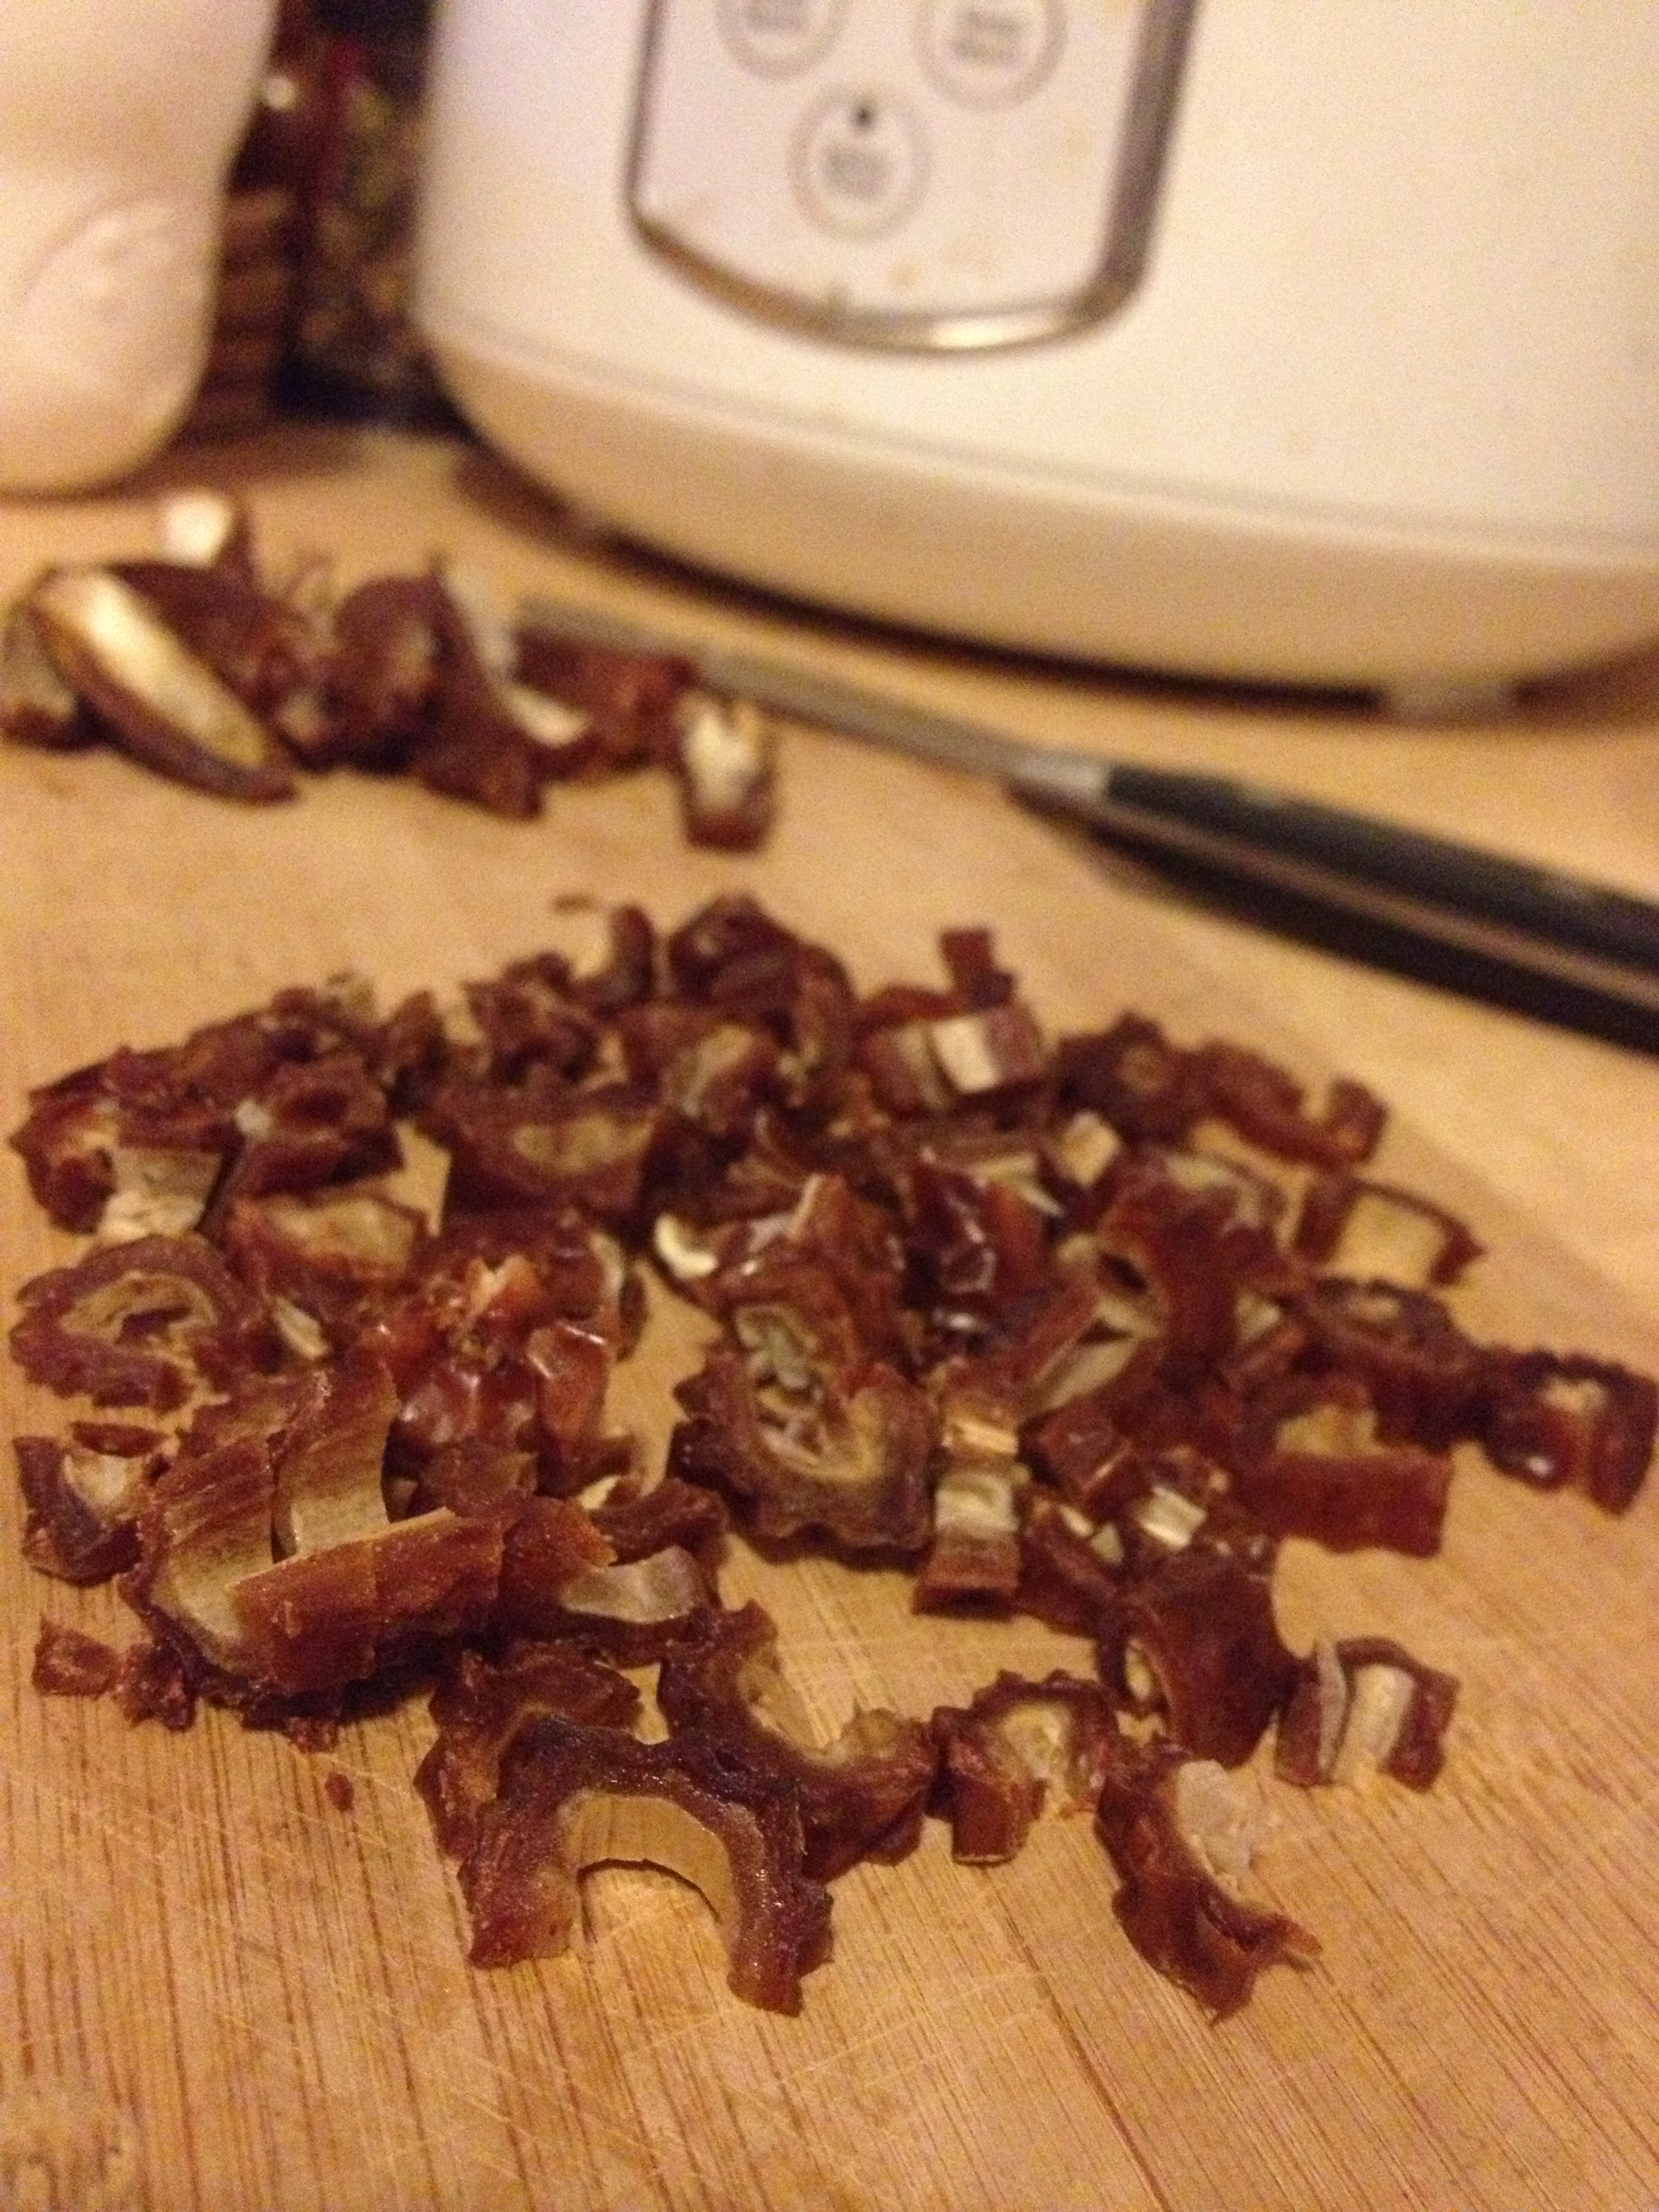
- 10 dates
- 1 tsp baking soda
- 1/2 teaspoon salt
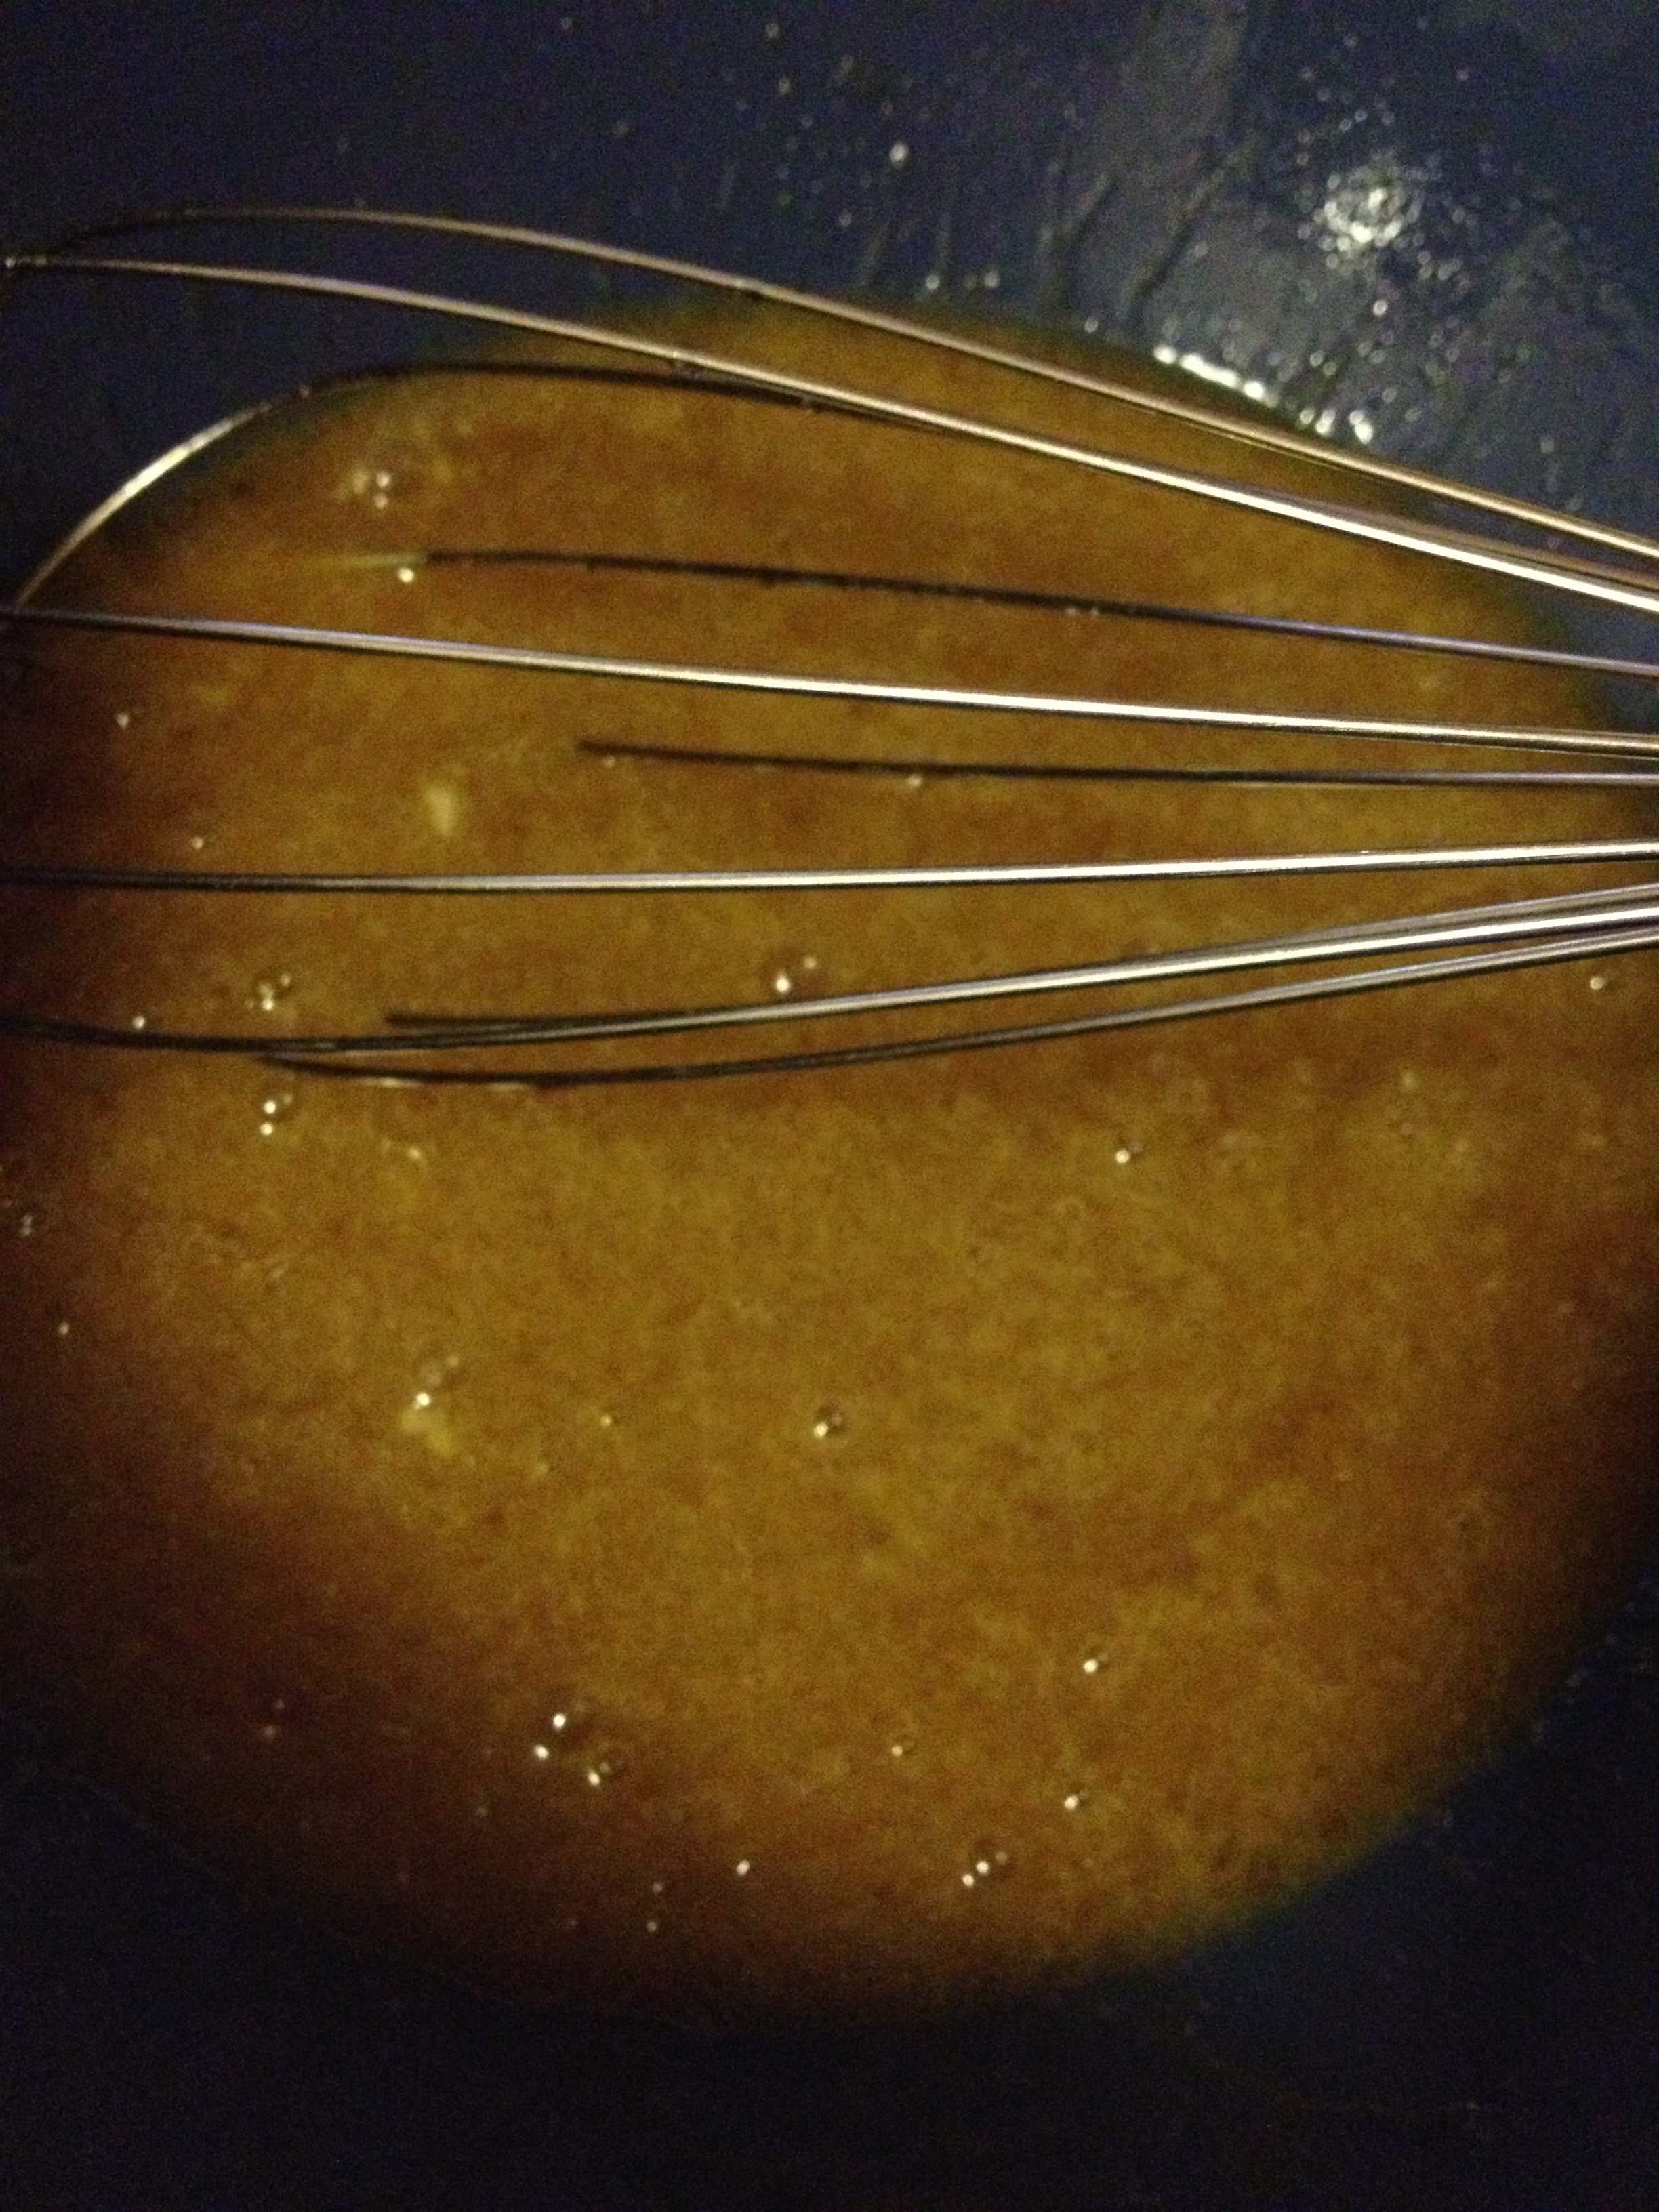
- 1/3 cup olive oil
- 3/8 cup honey [a little more than 1/3]
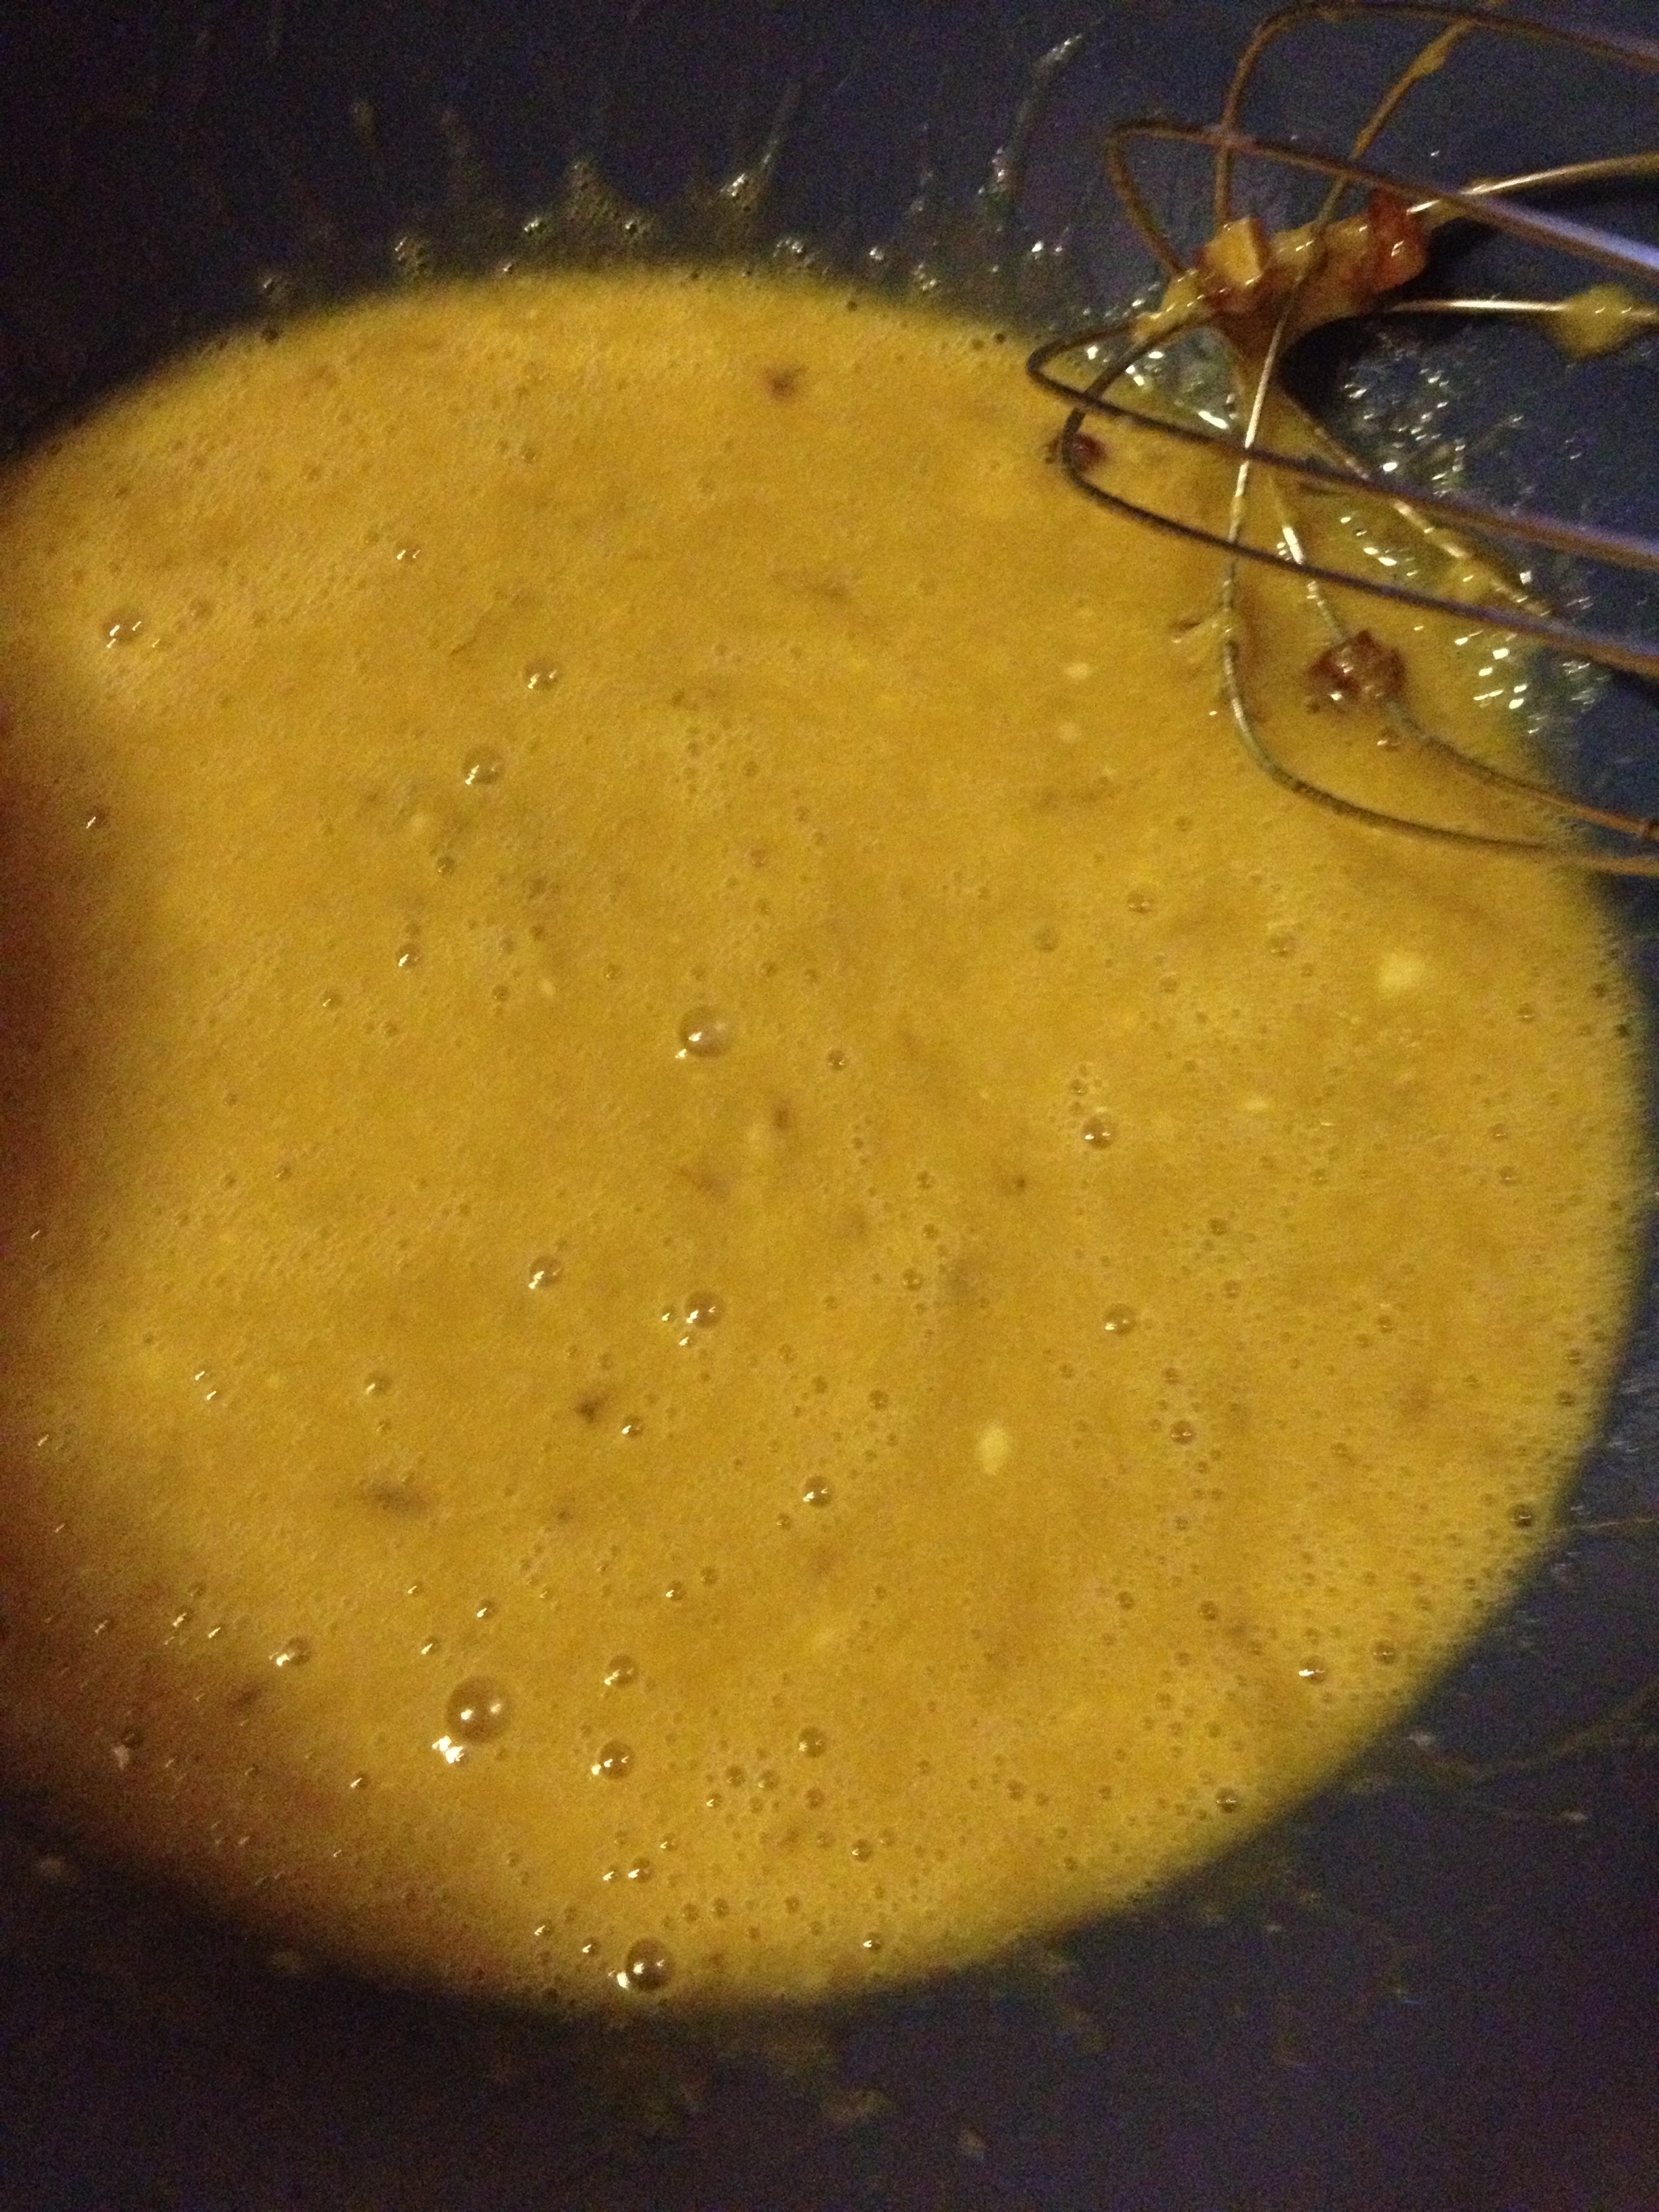
- 2 eggs
- 2 bananas mashed
- 1/4 cup hot water
Directions
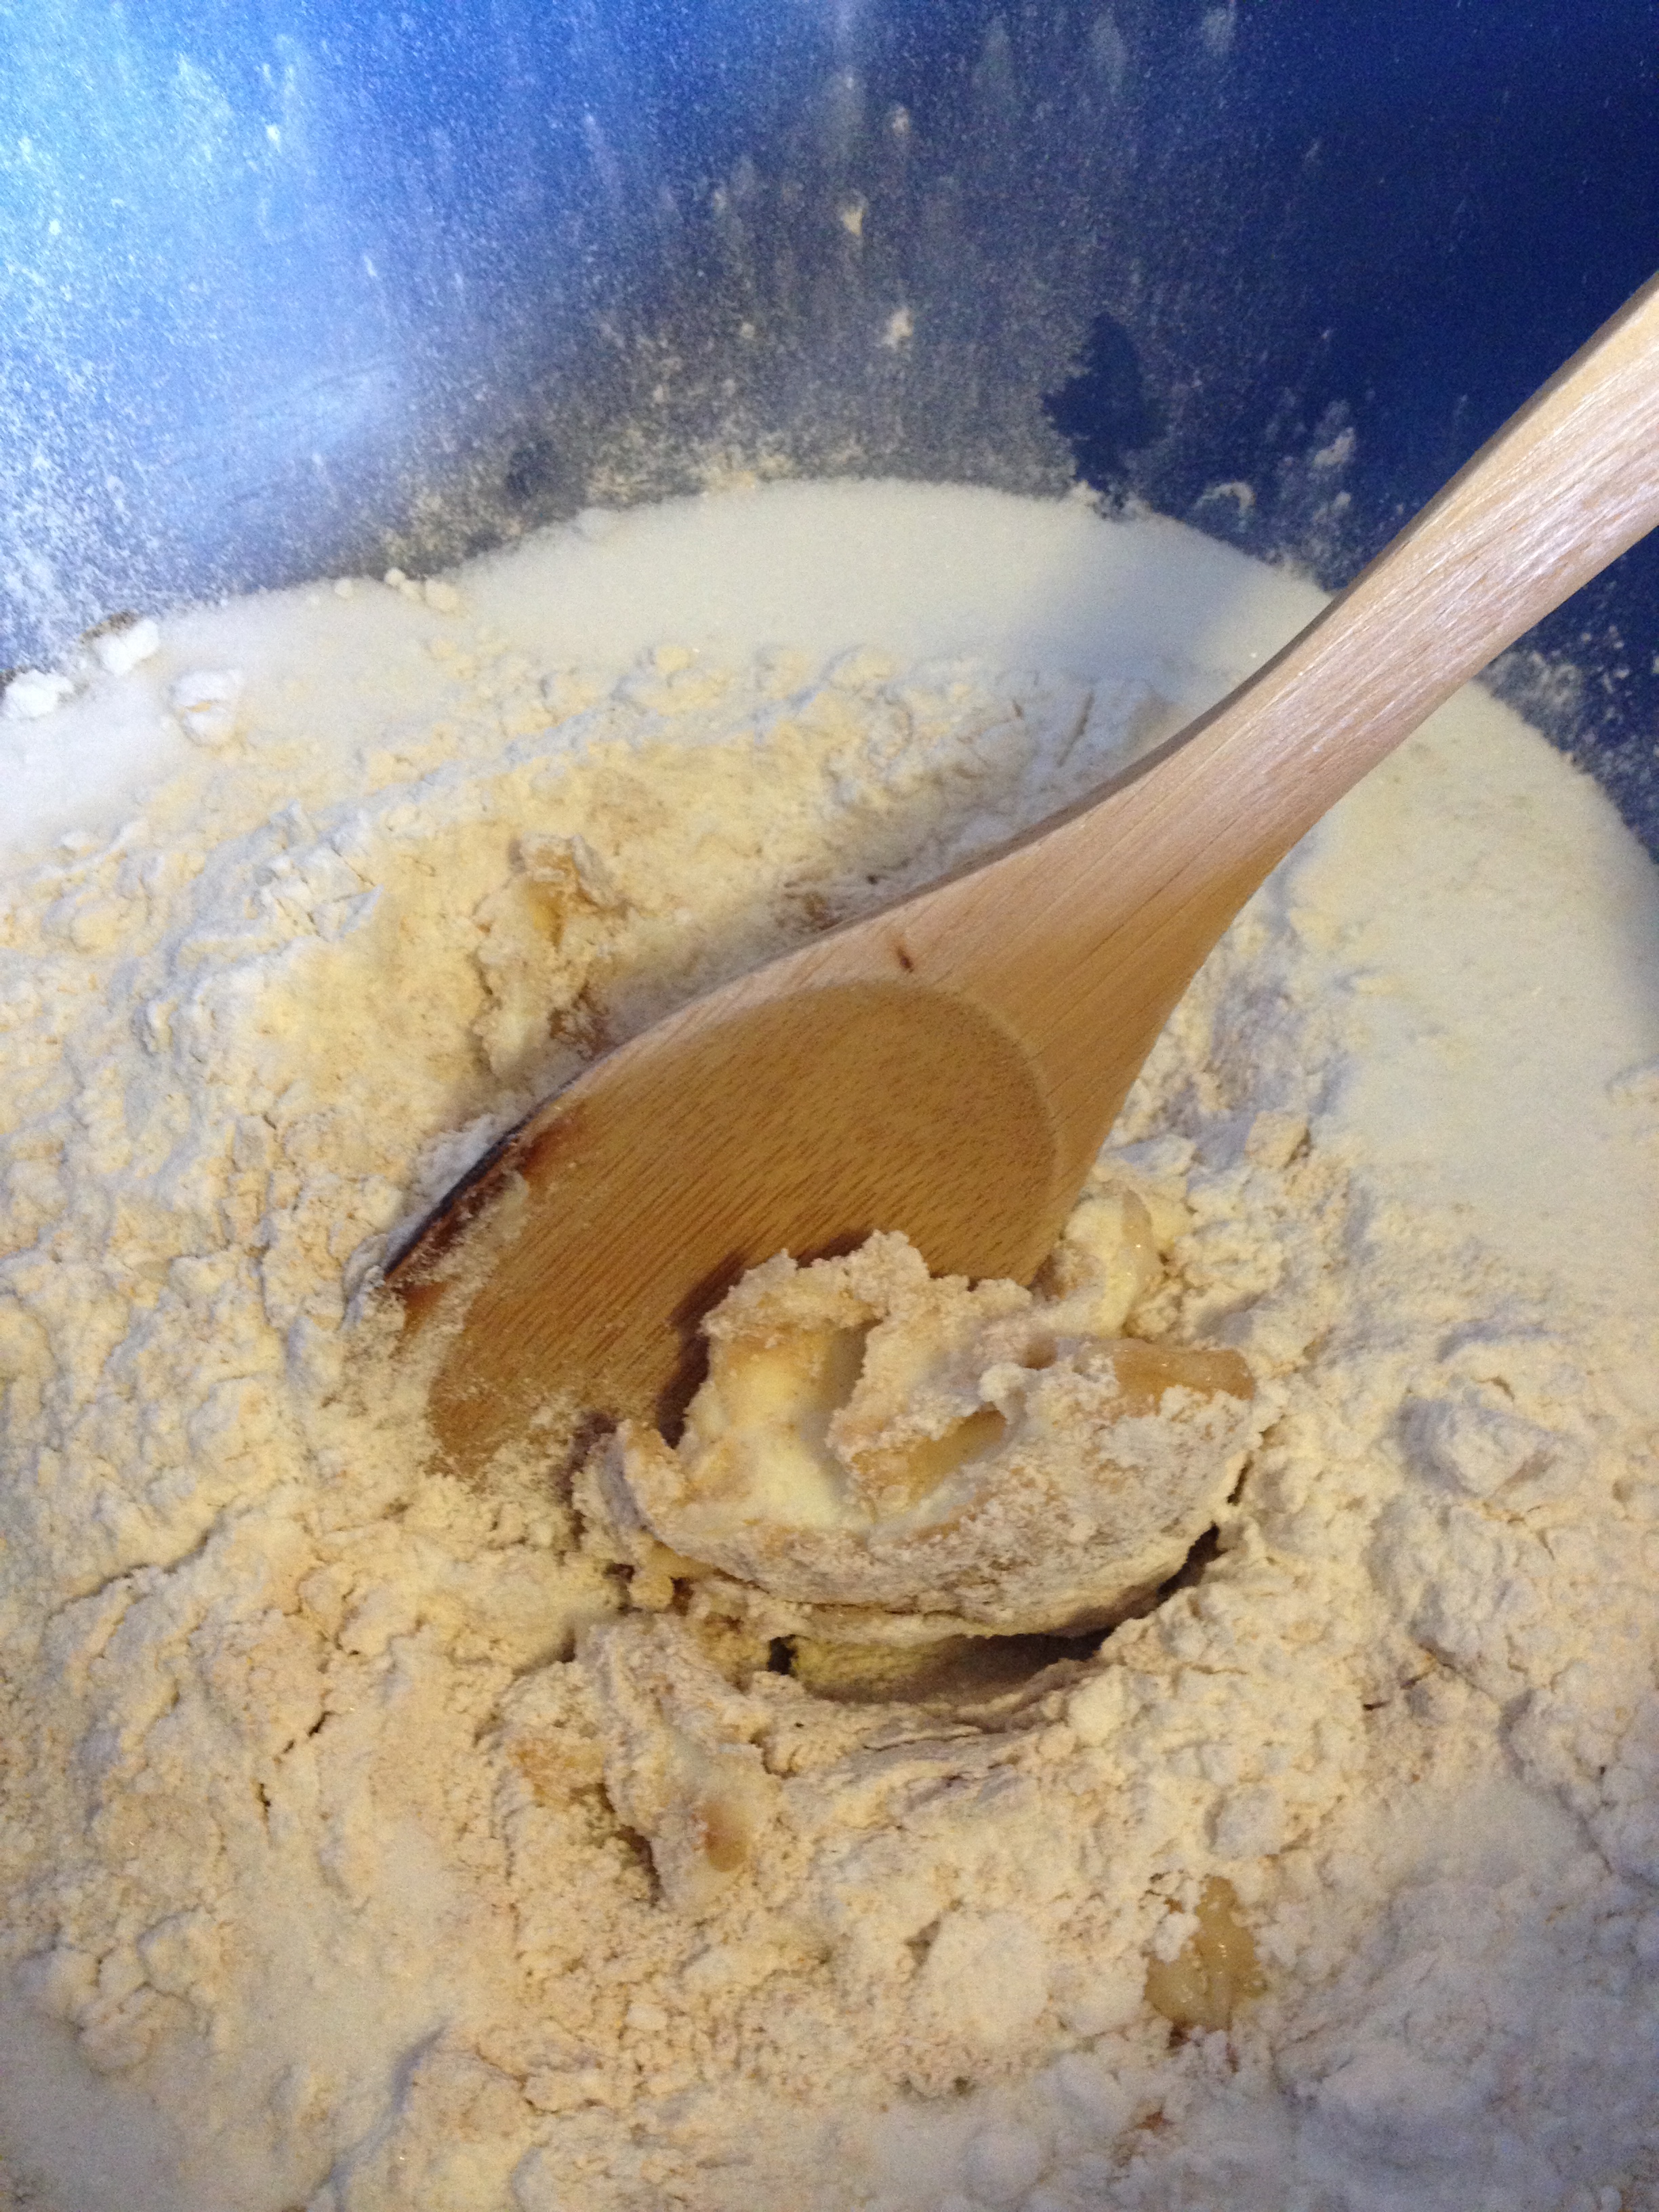
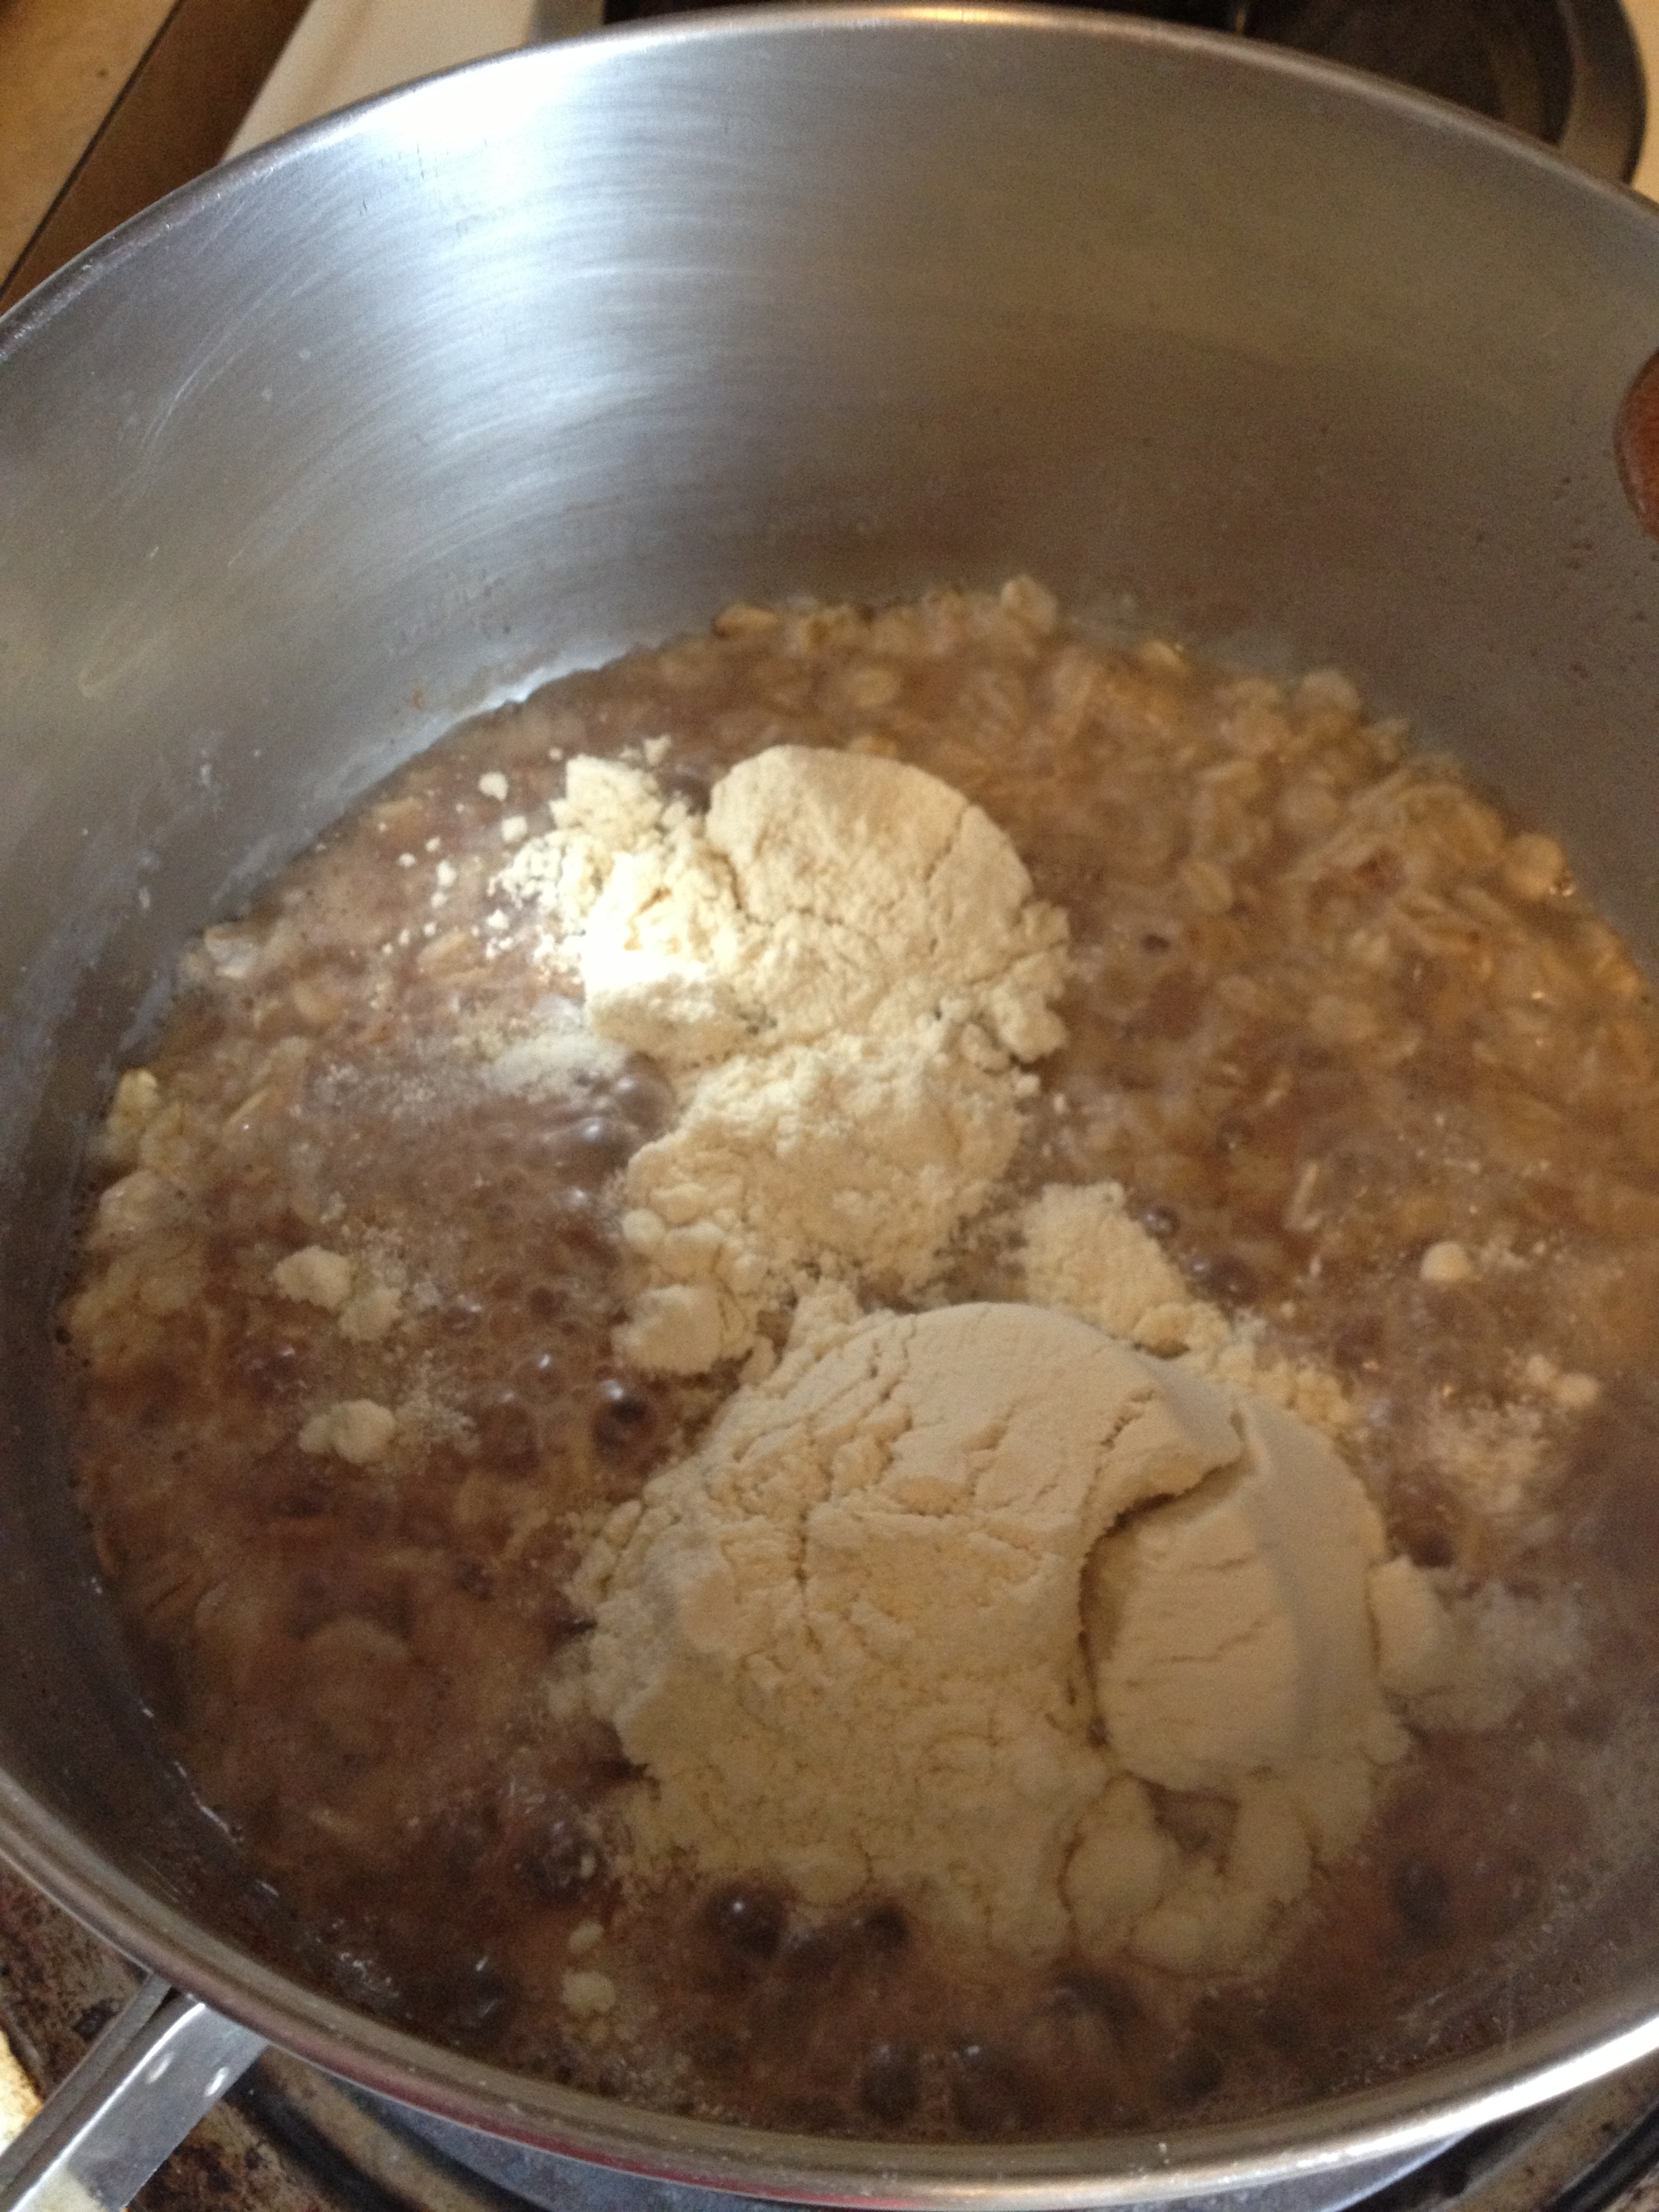
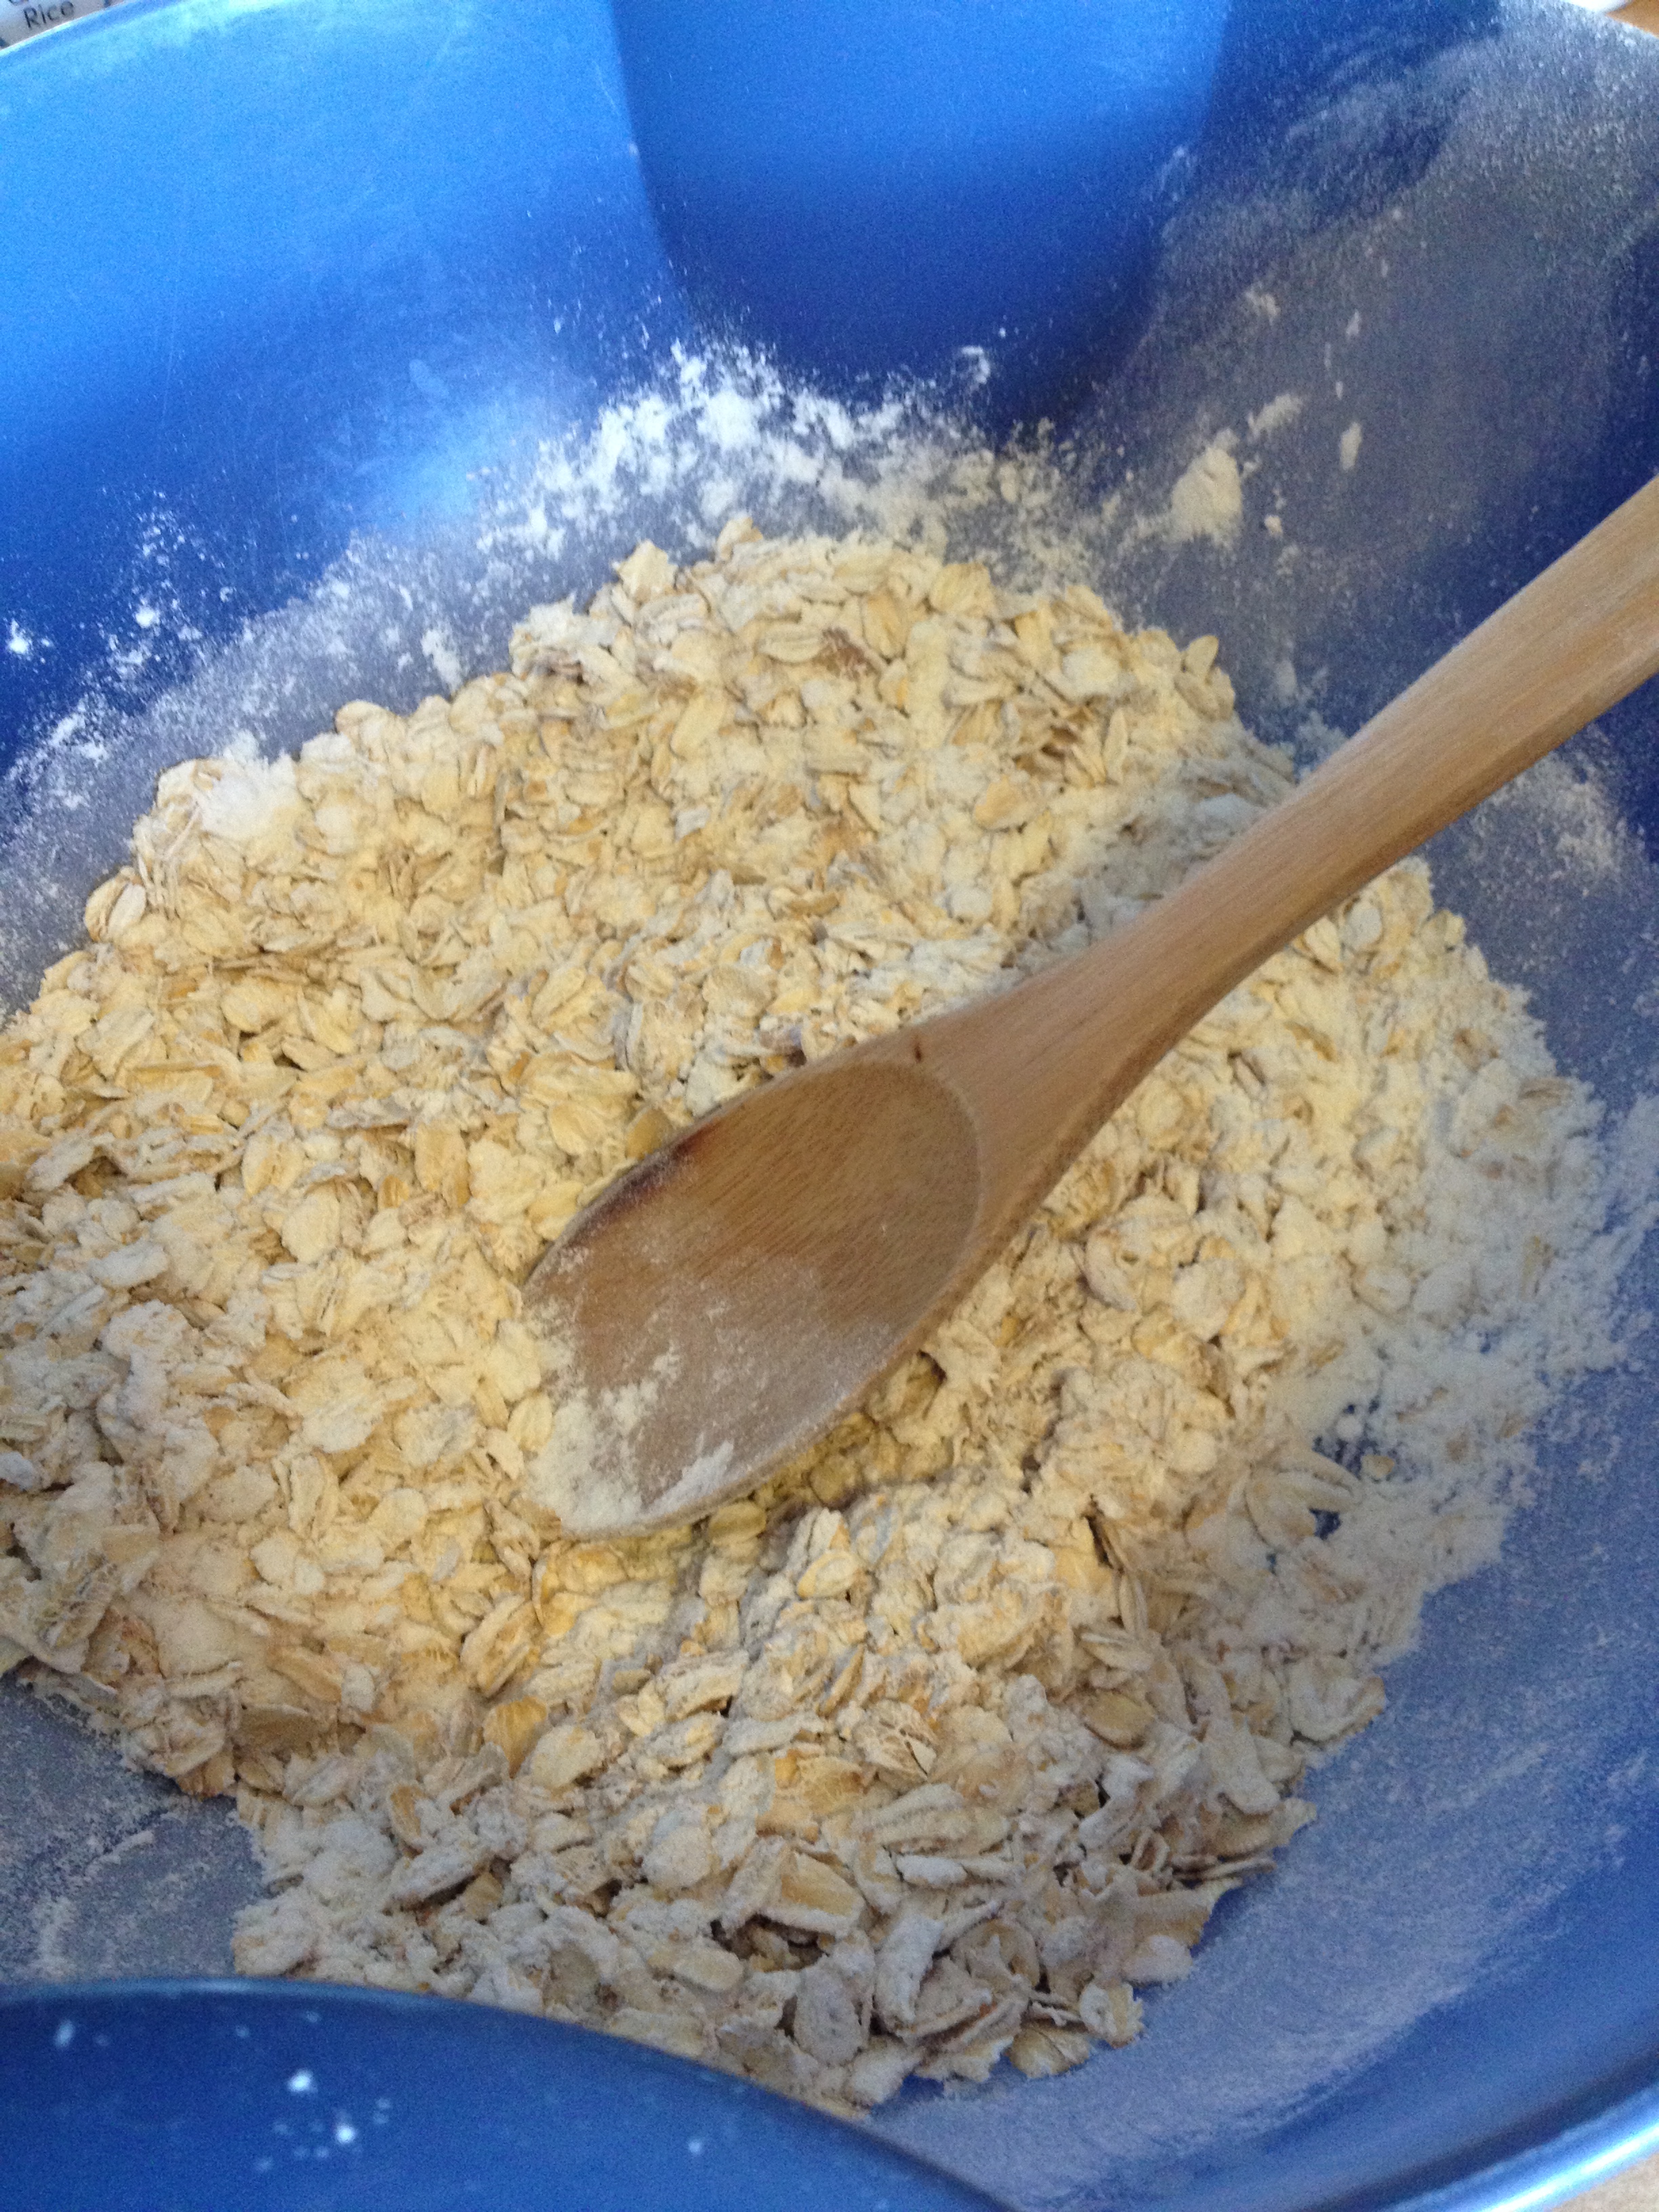
- In a small bowl, mix together dry ingredients: whole-wheat flour, salt, and baking soda
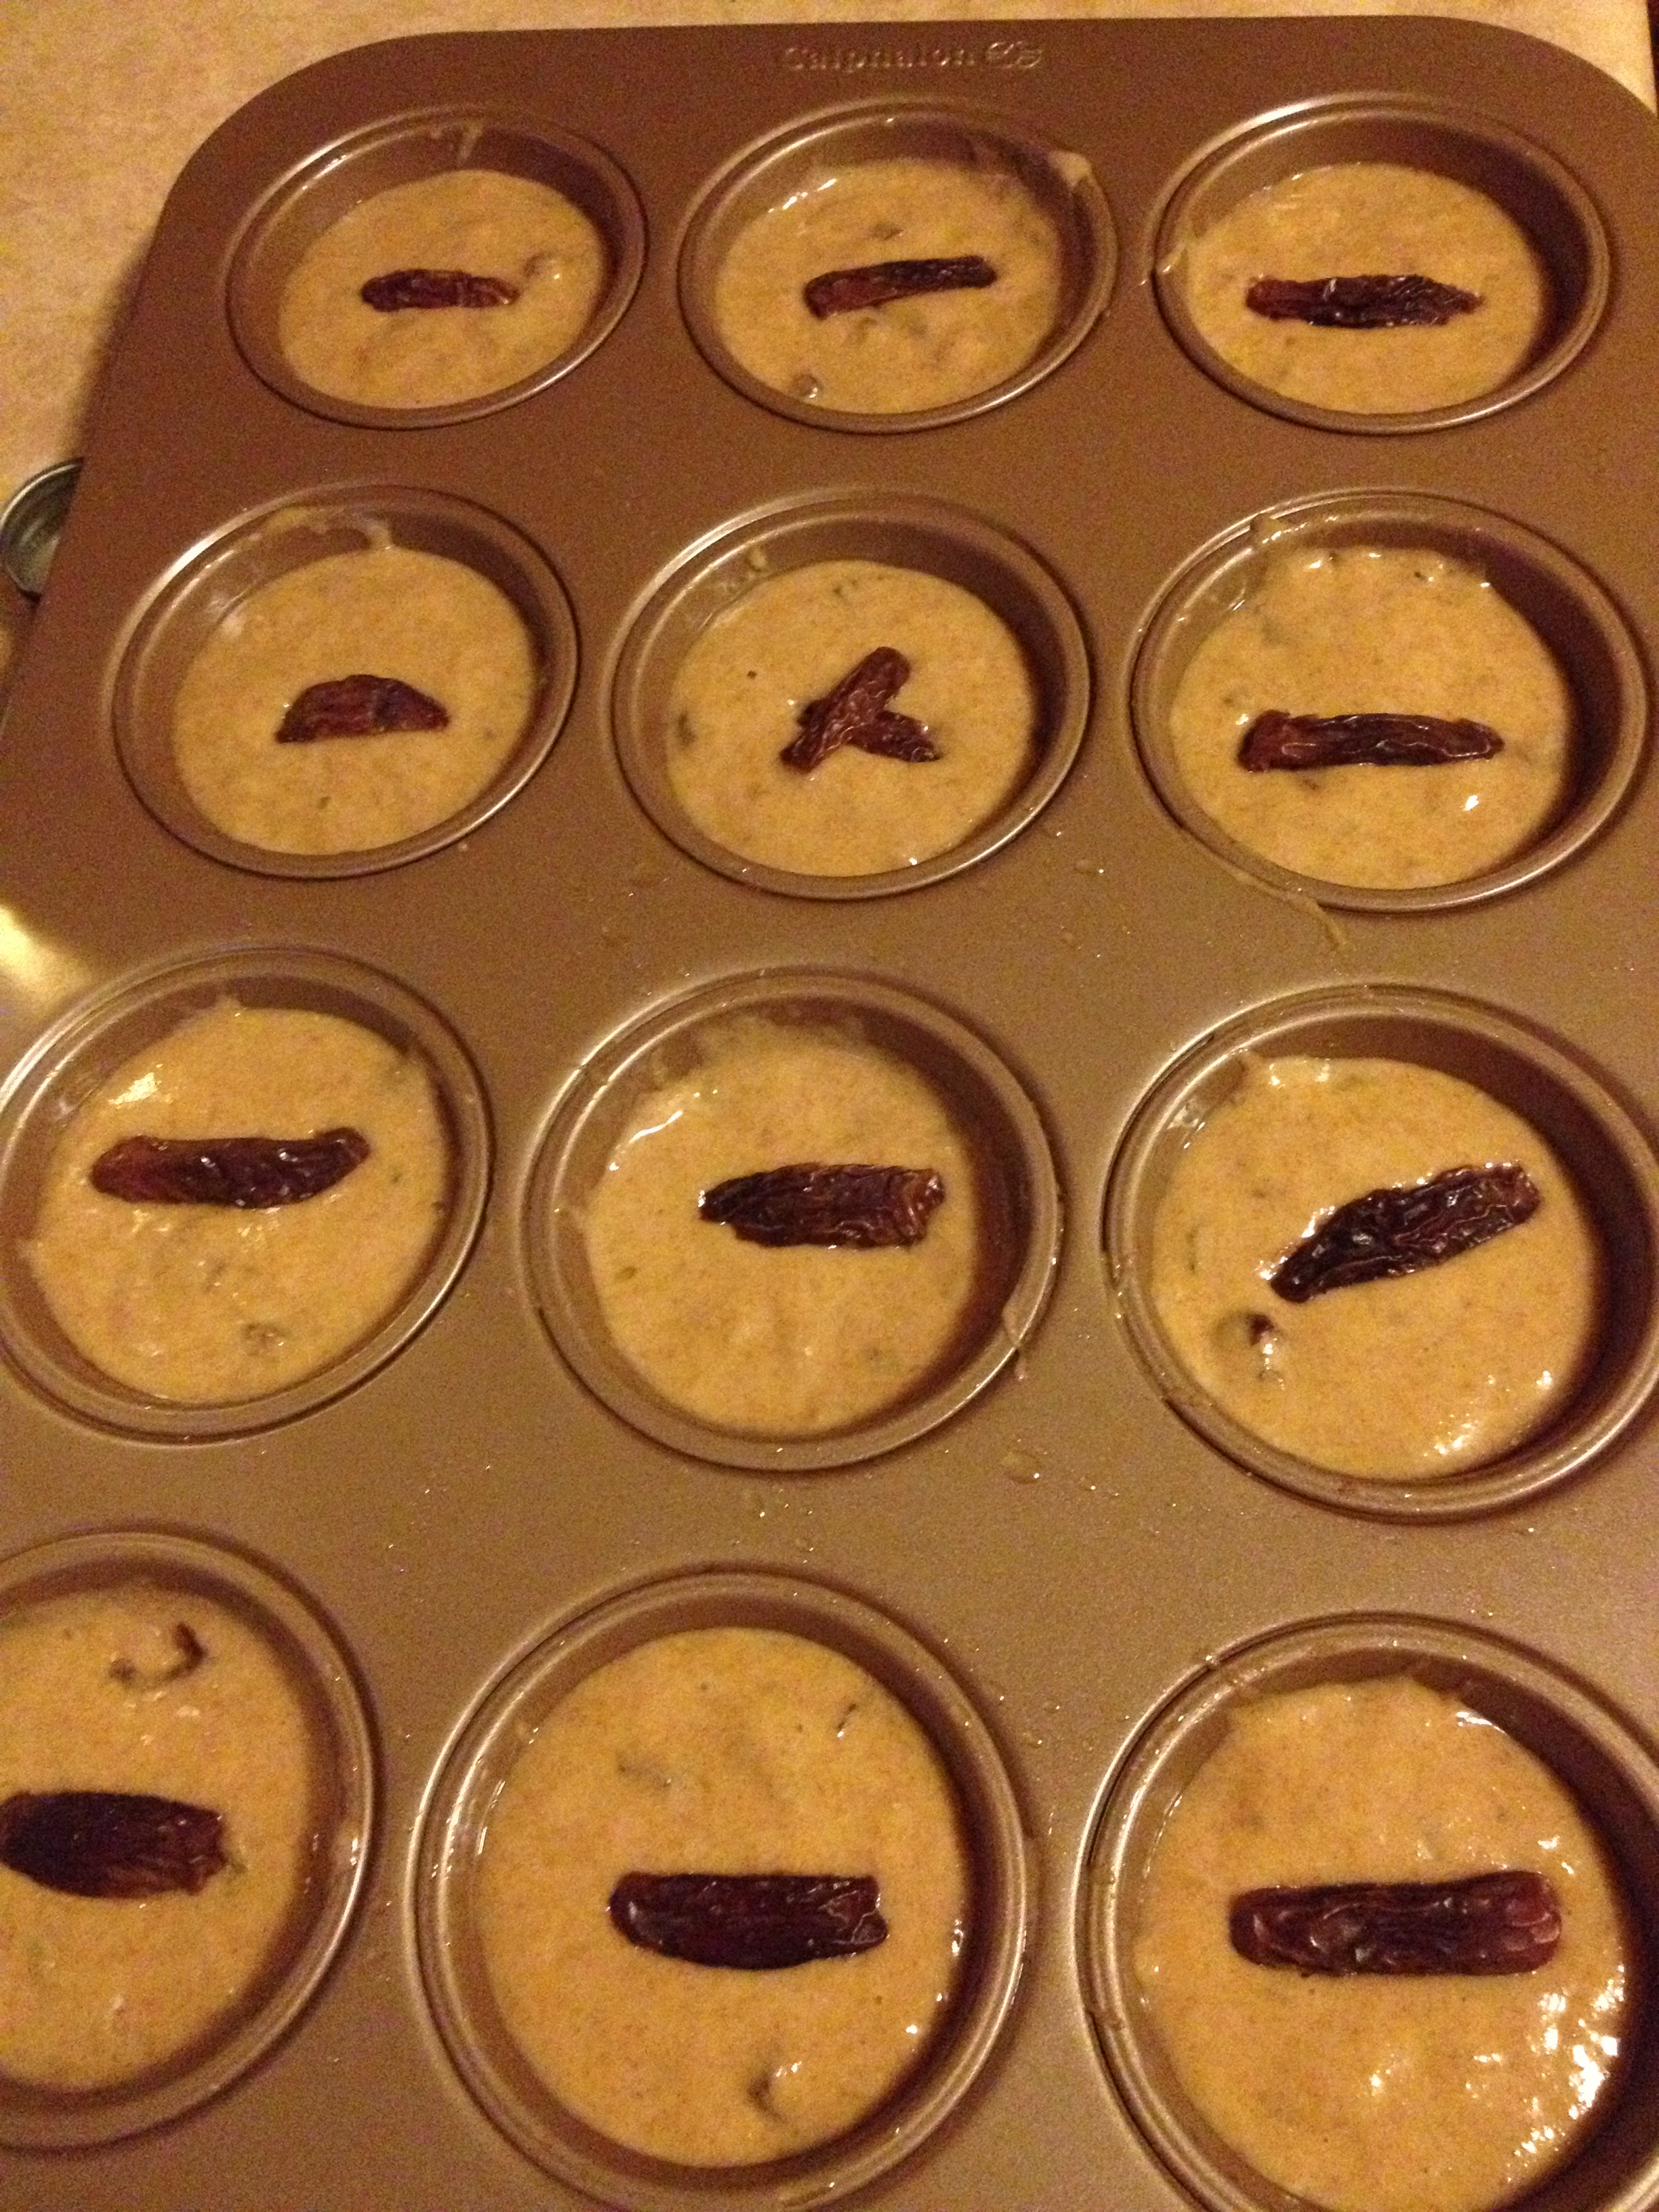
- Chop up your dates, 5 into little pieces, 5 into long quarters
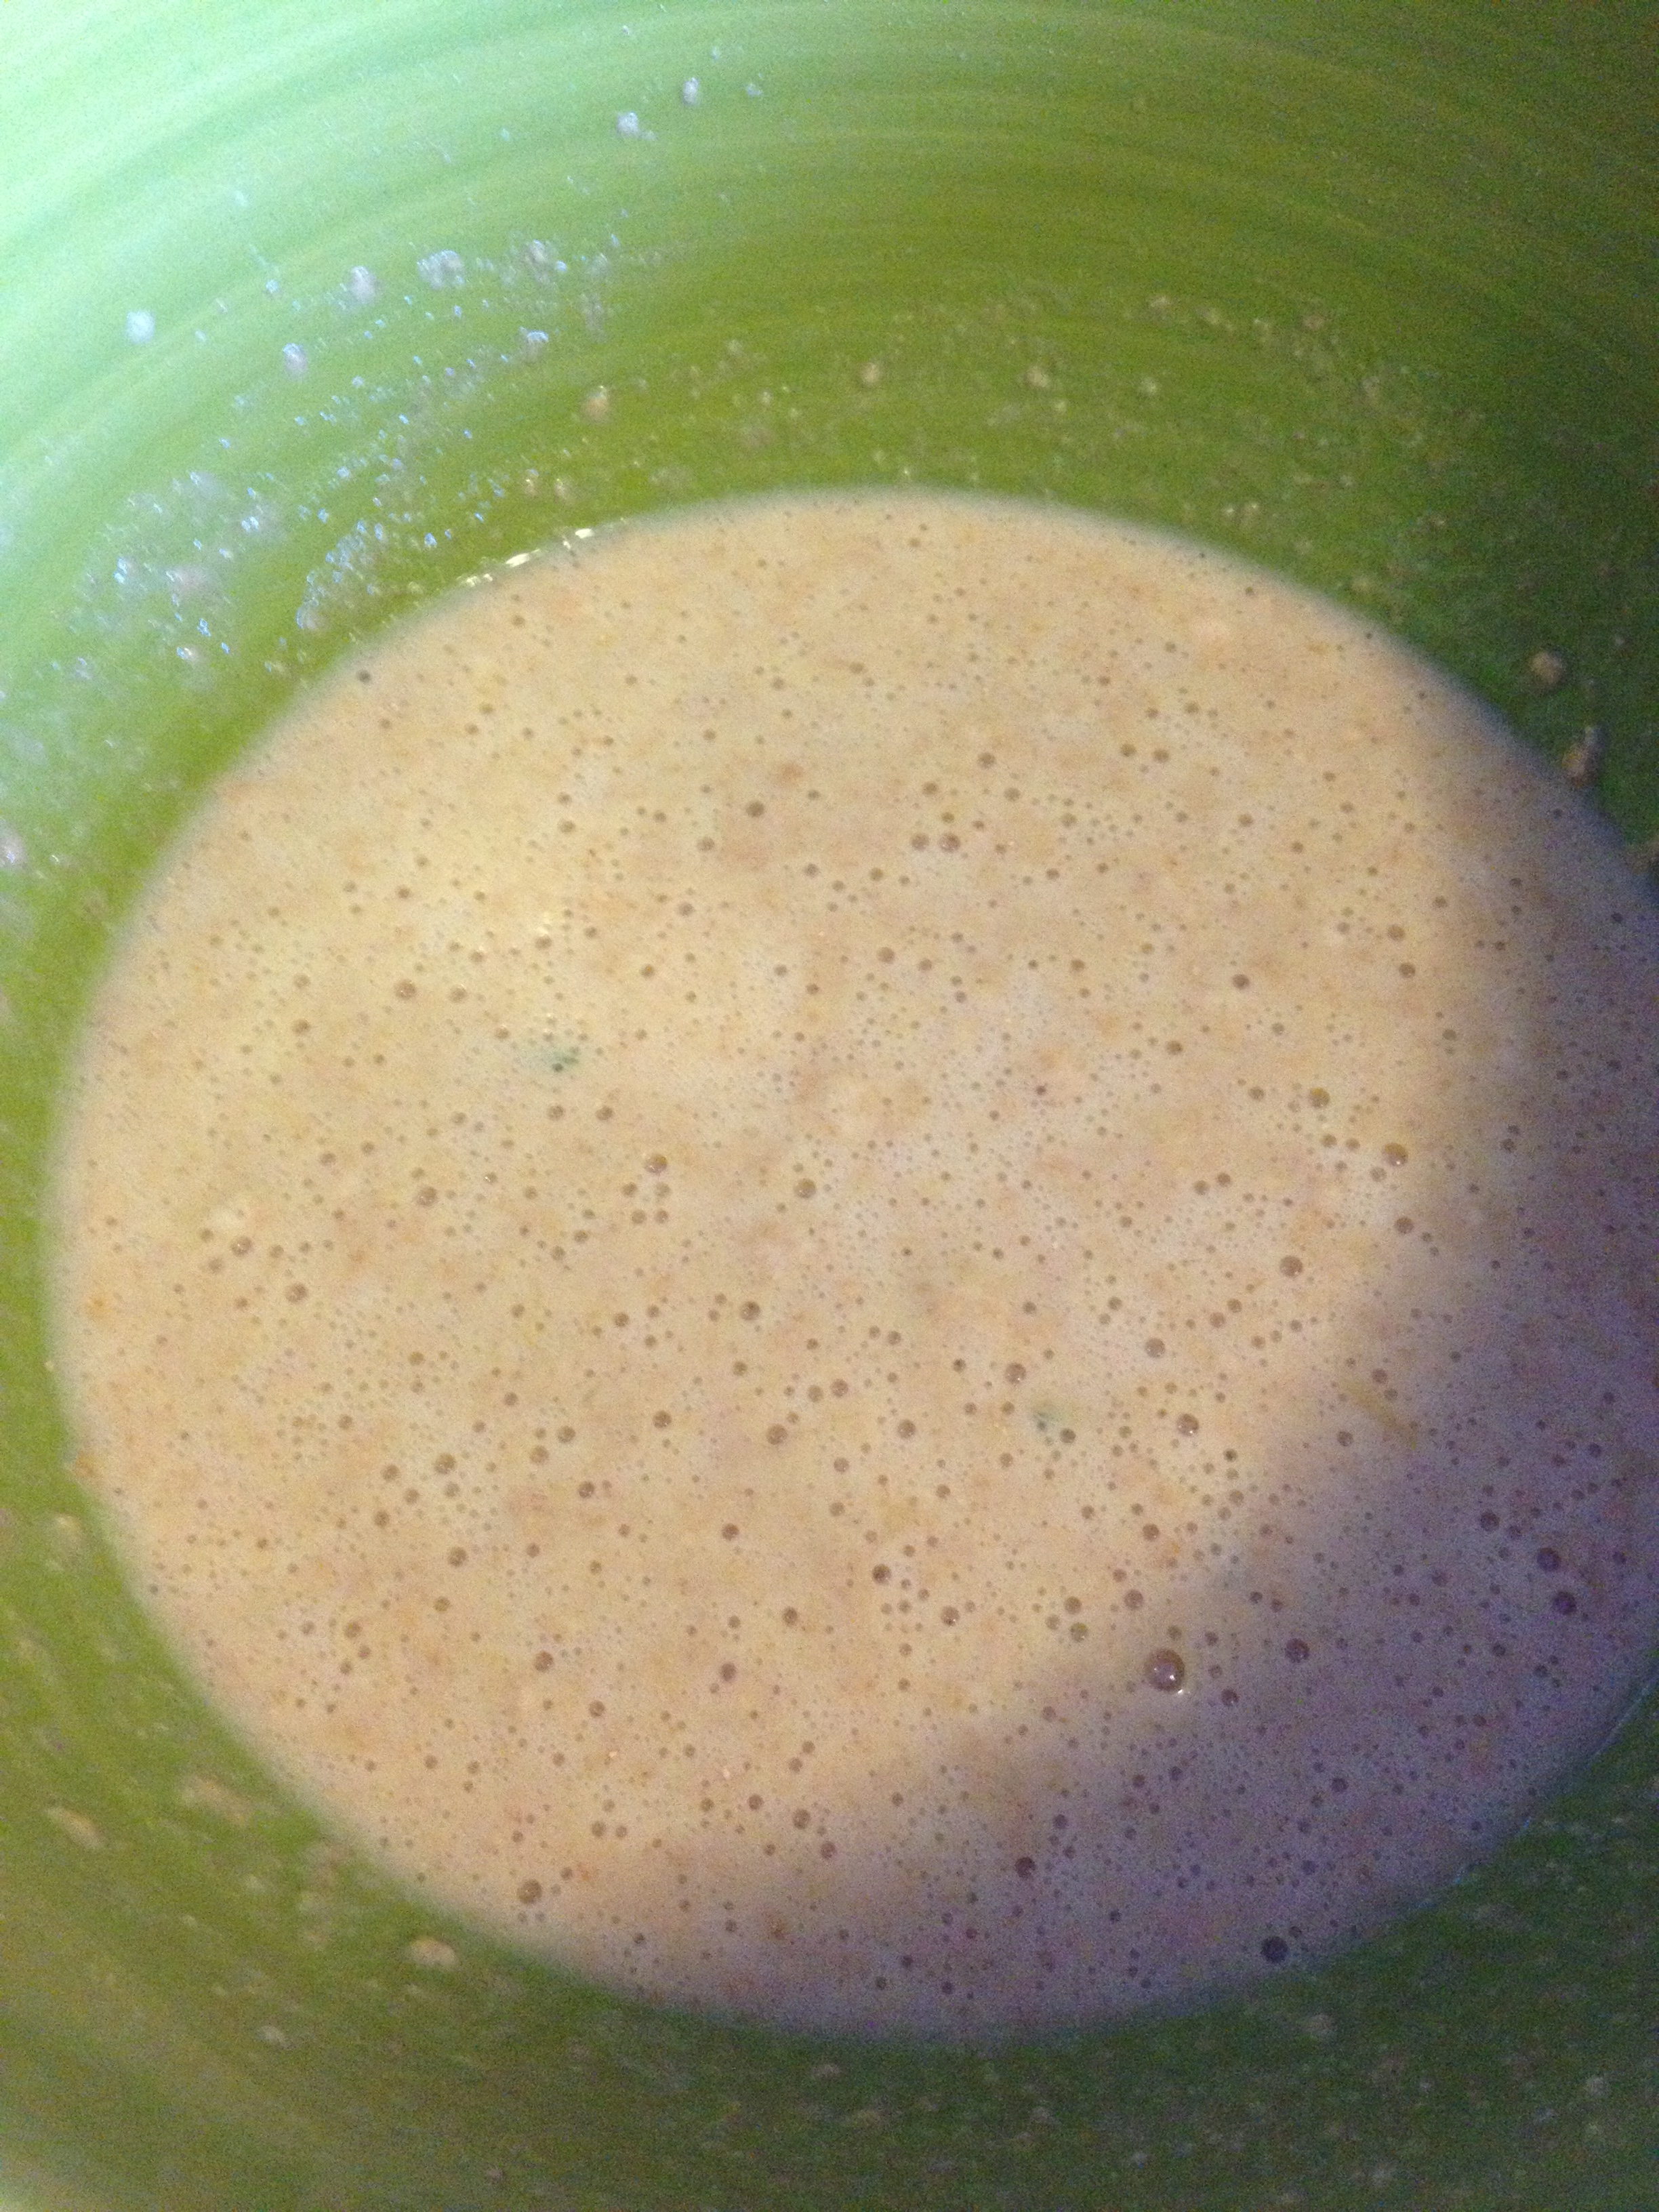
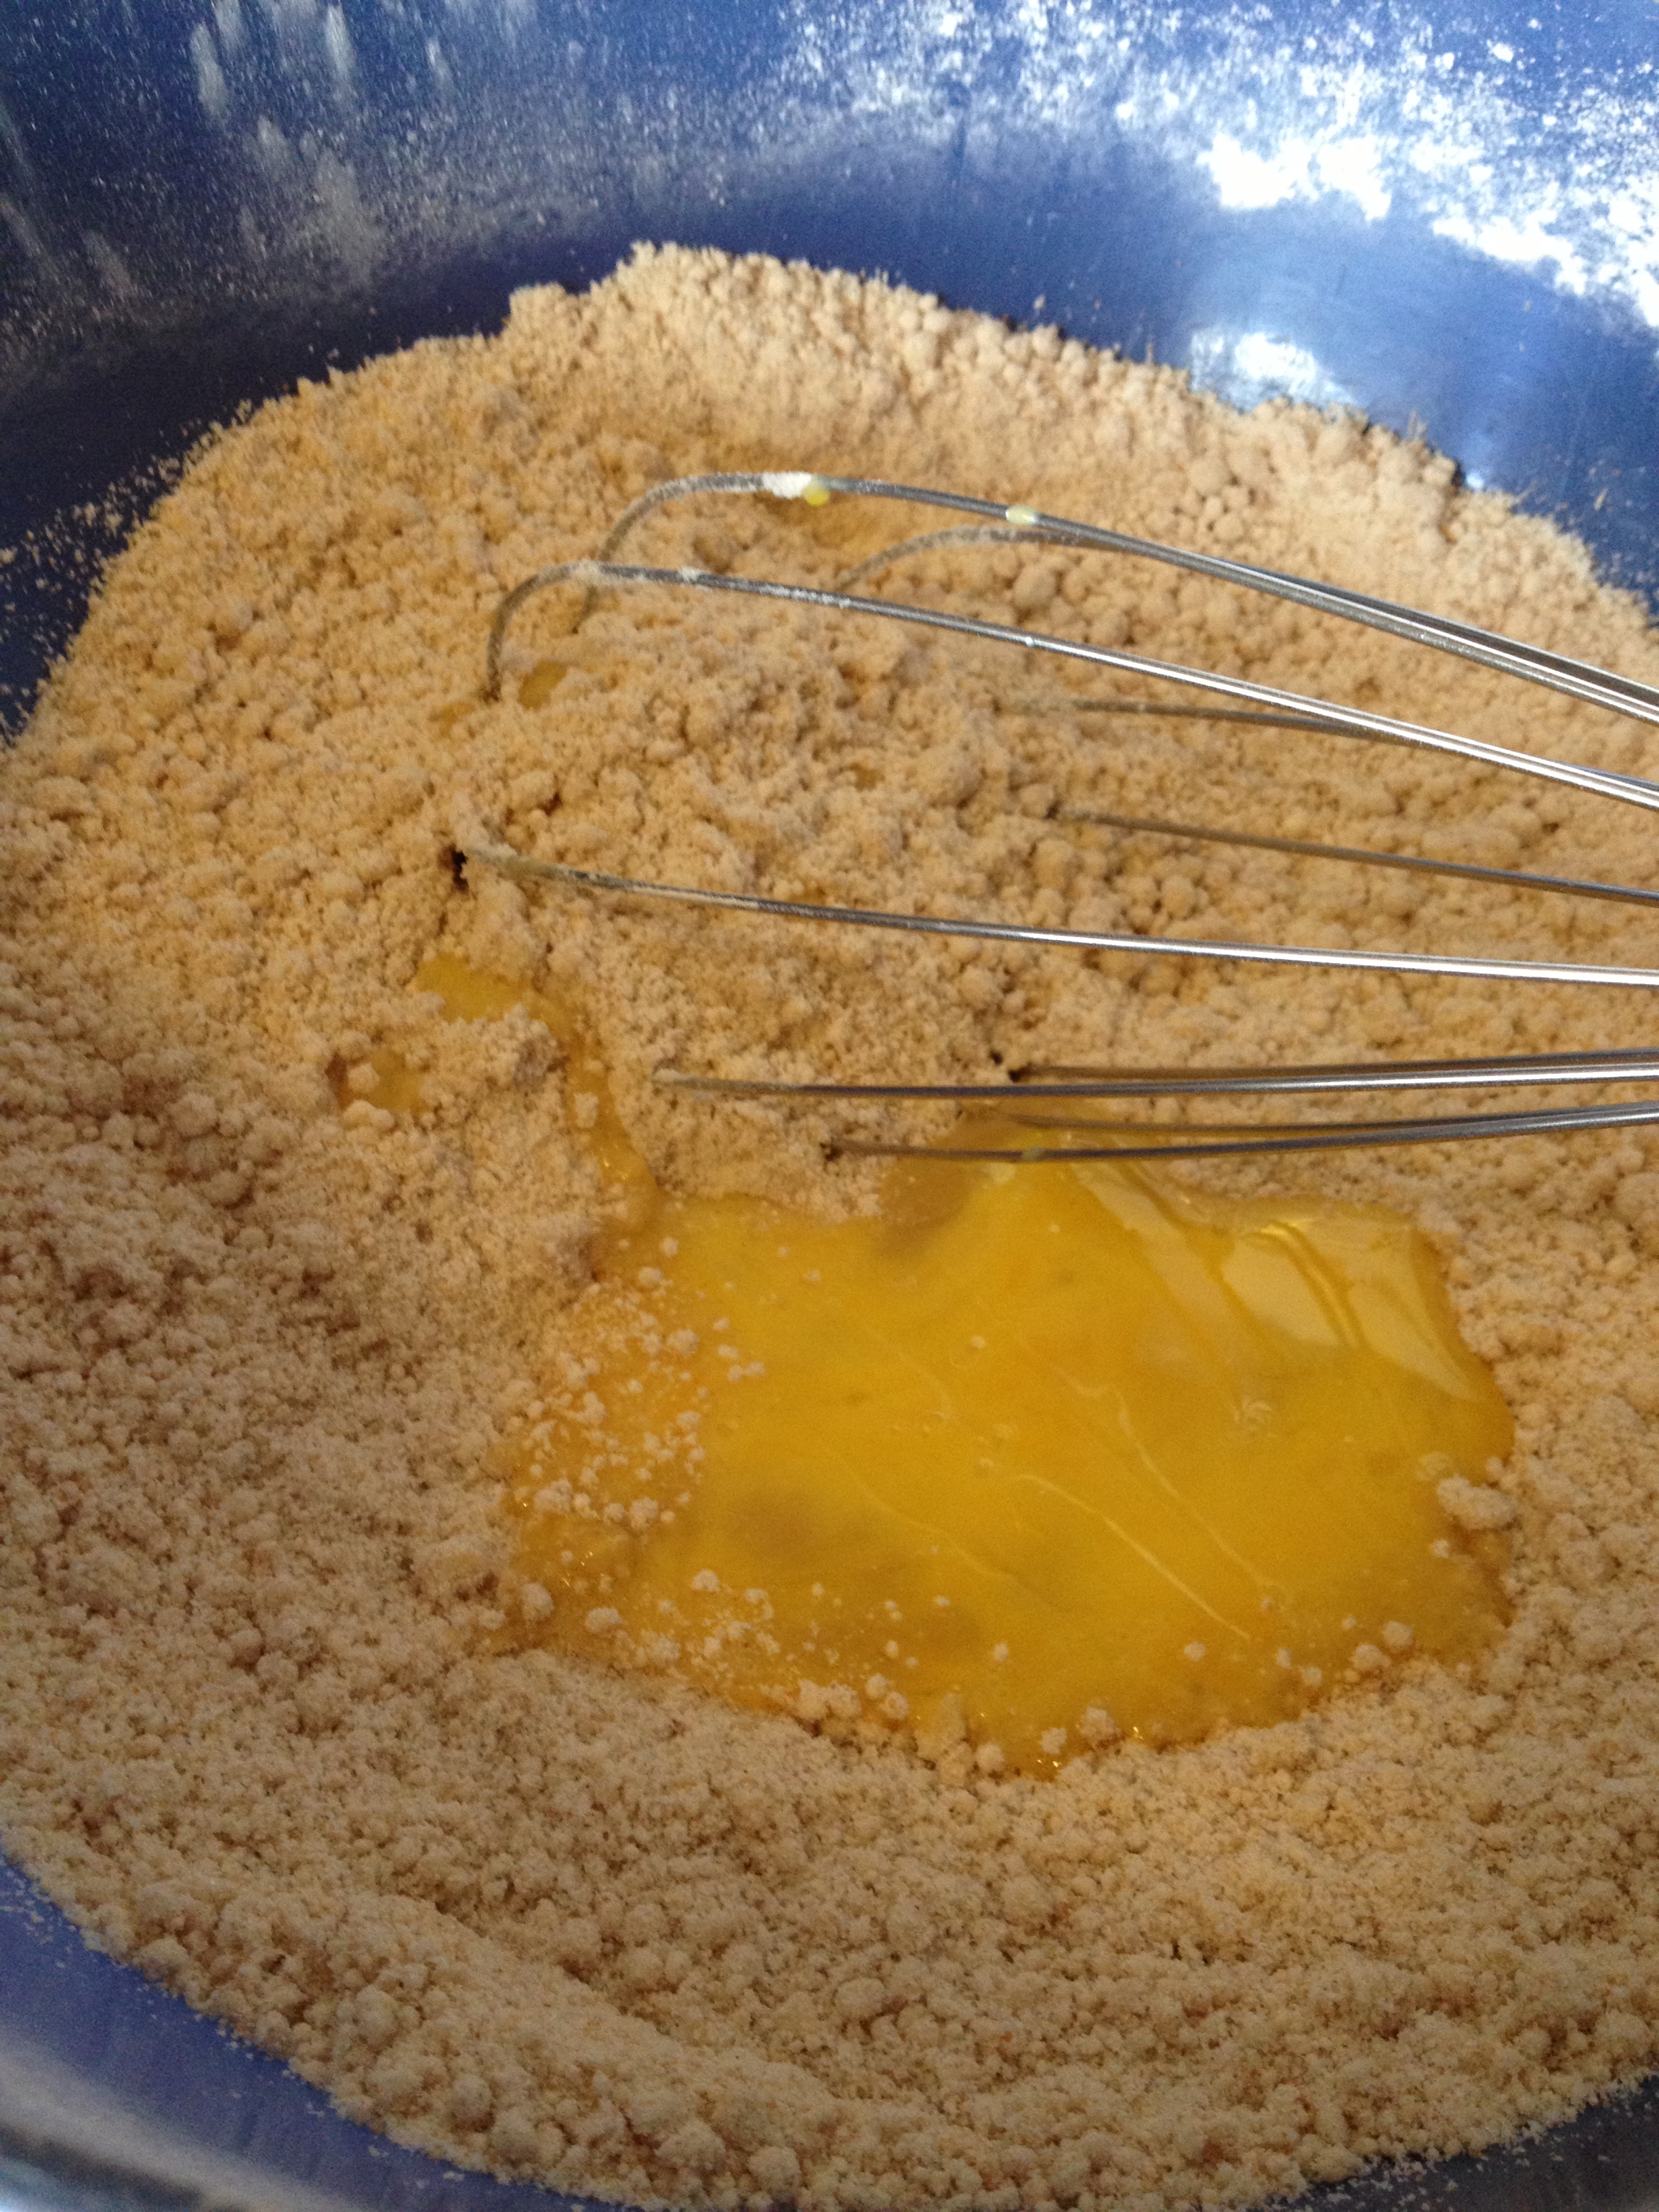
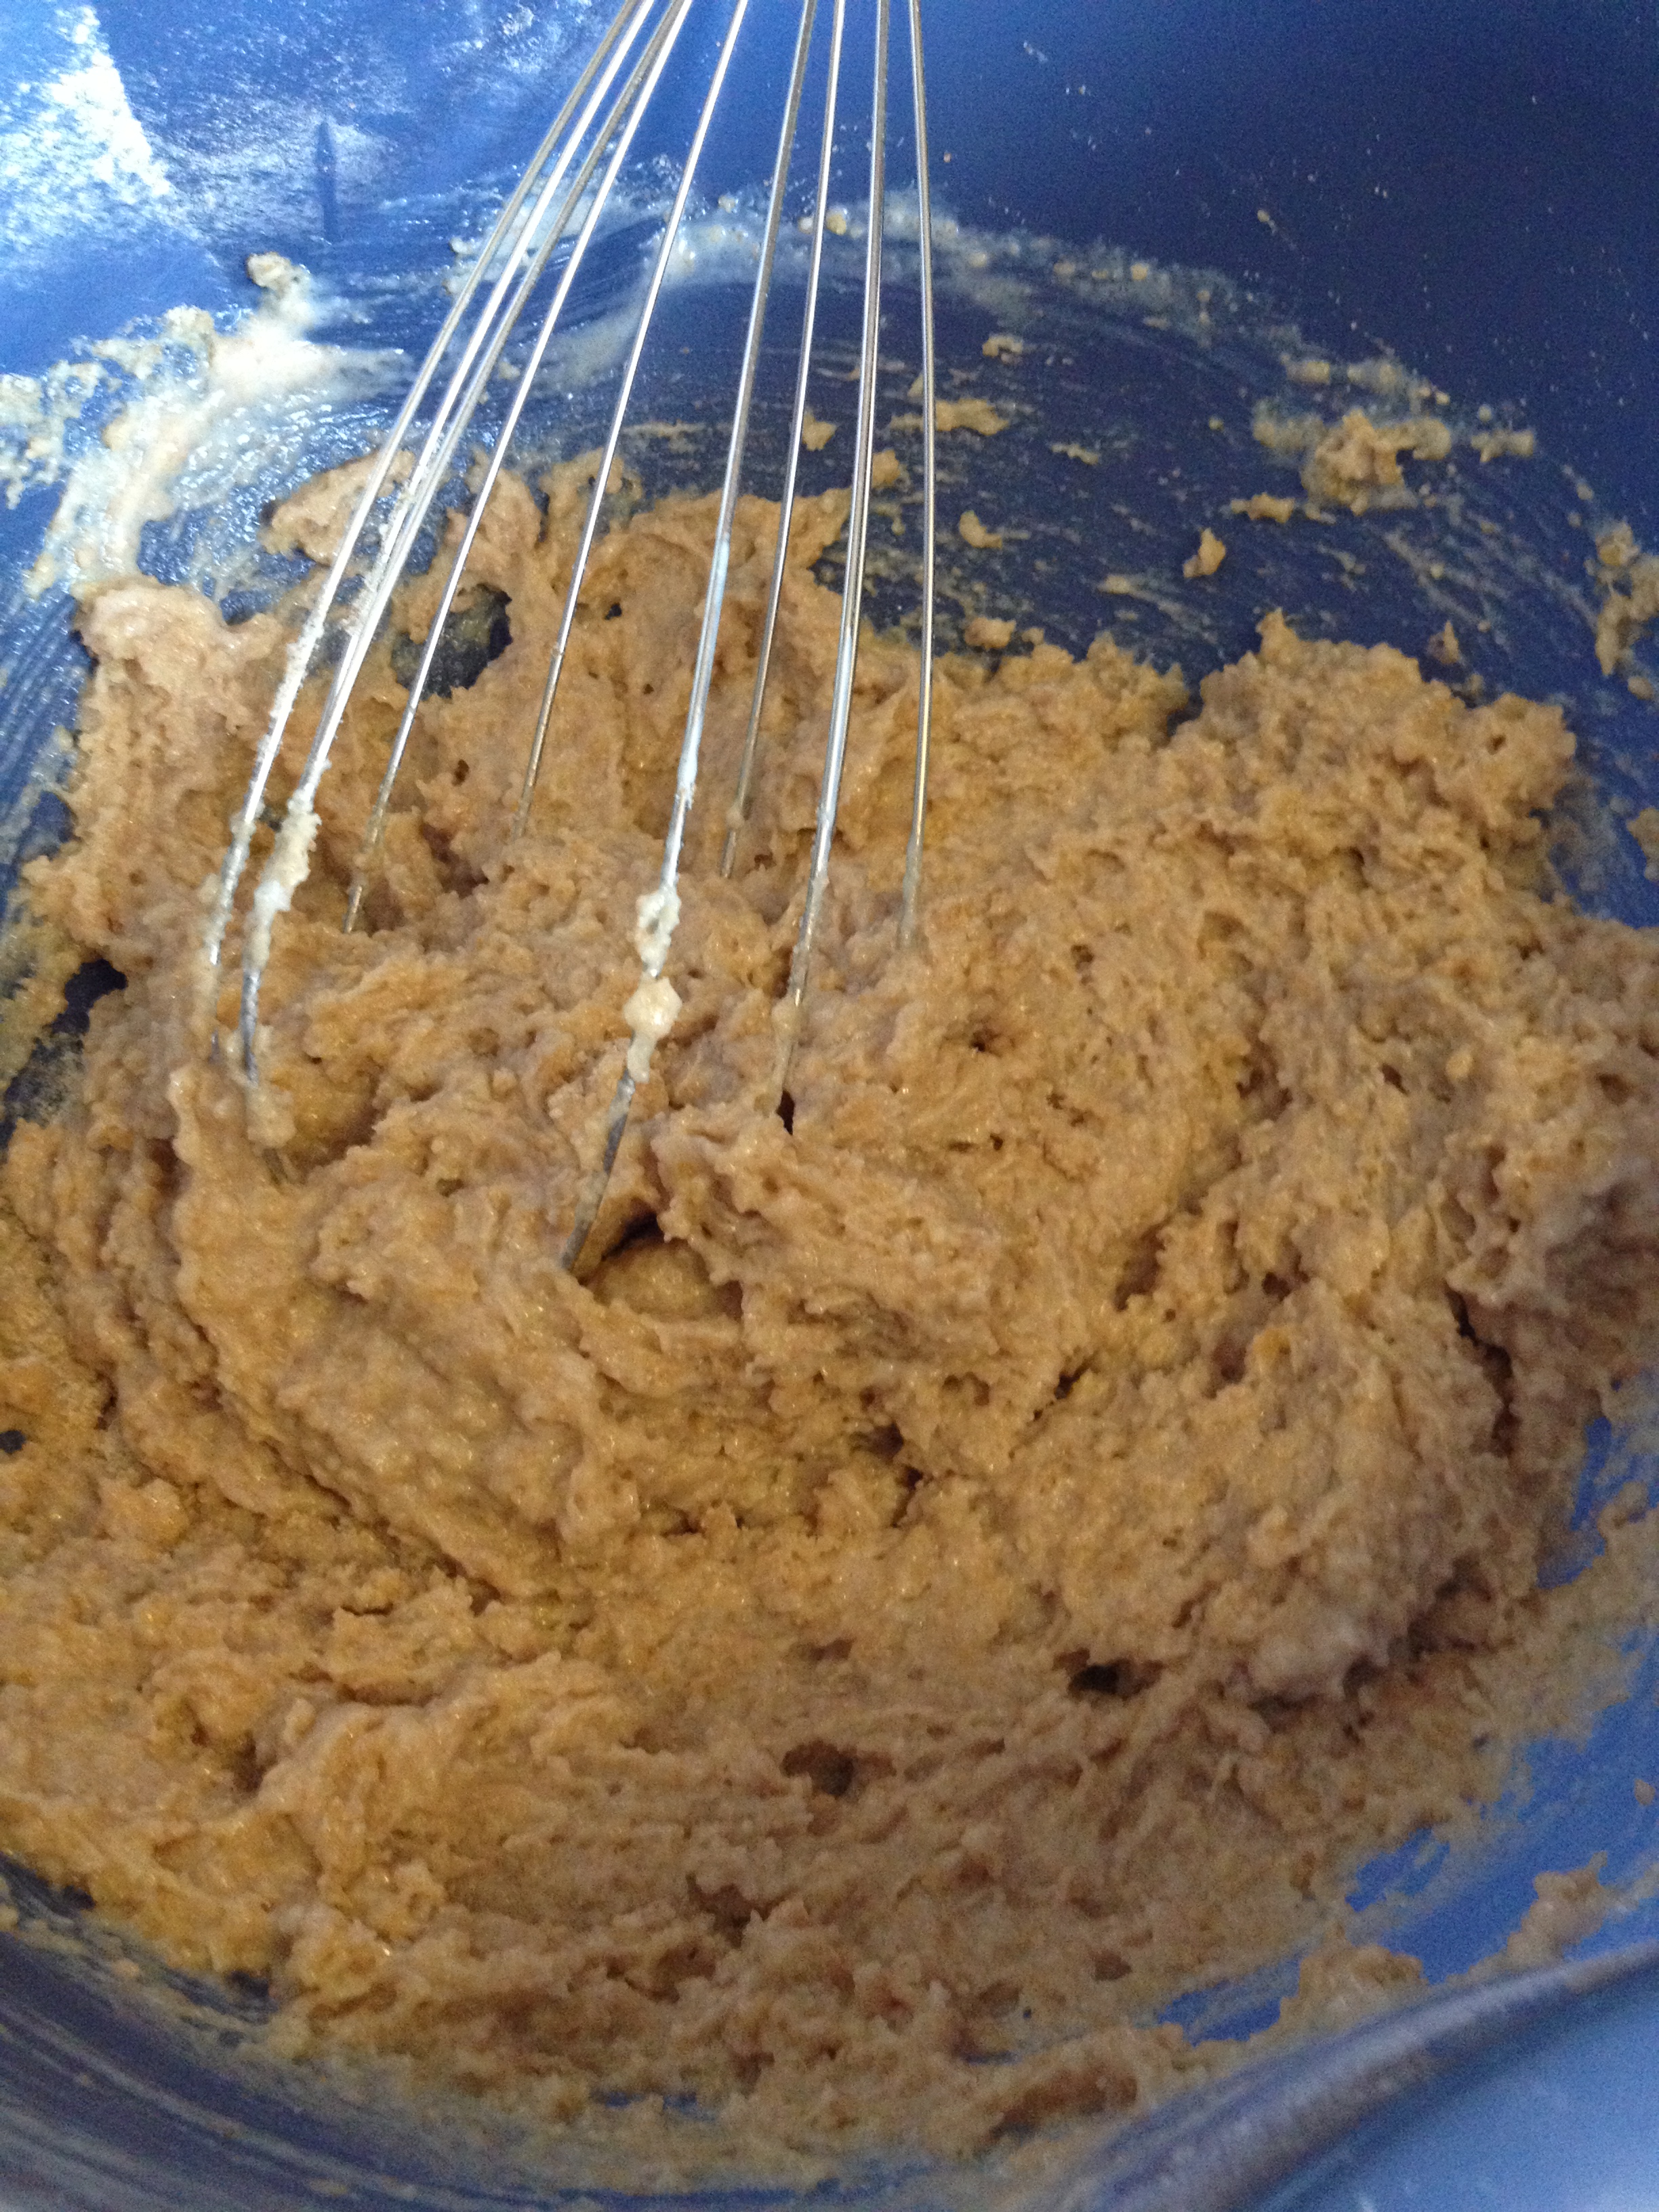
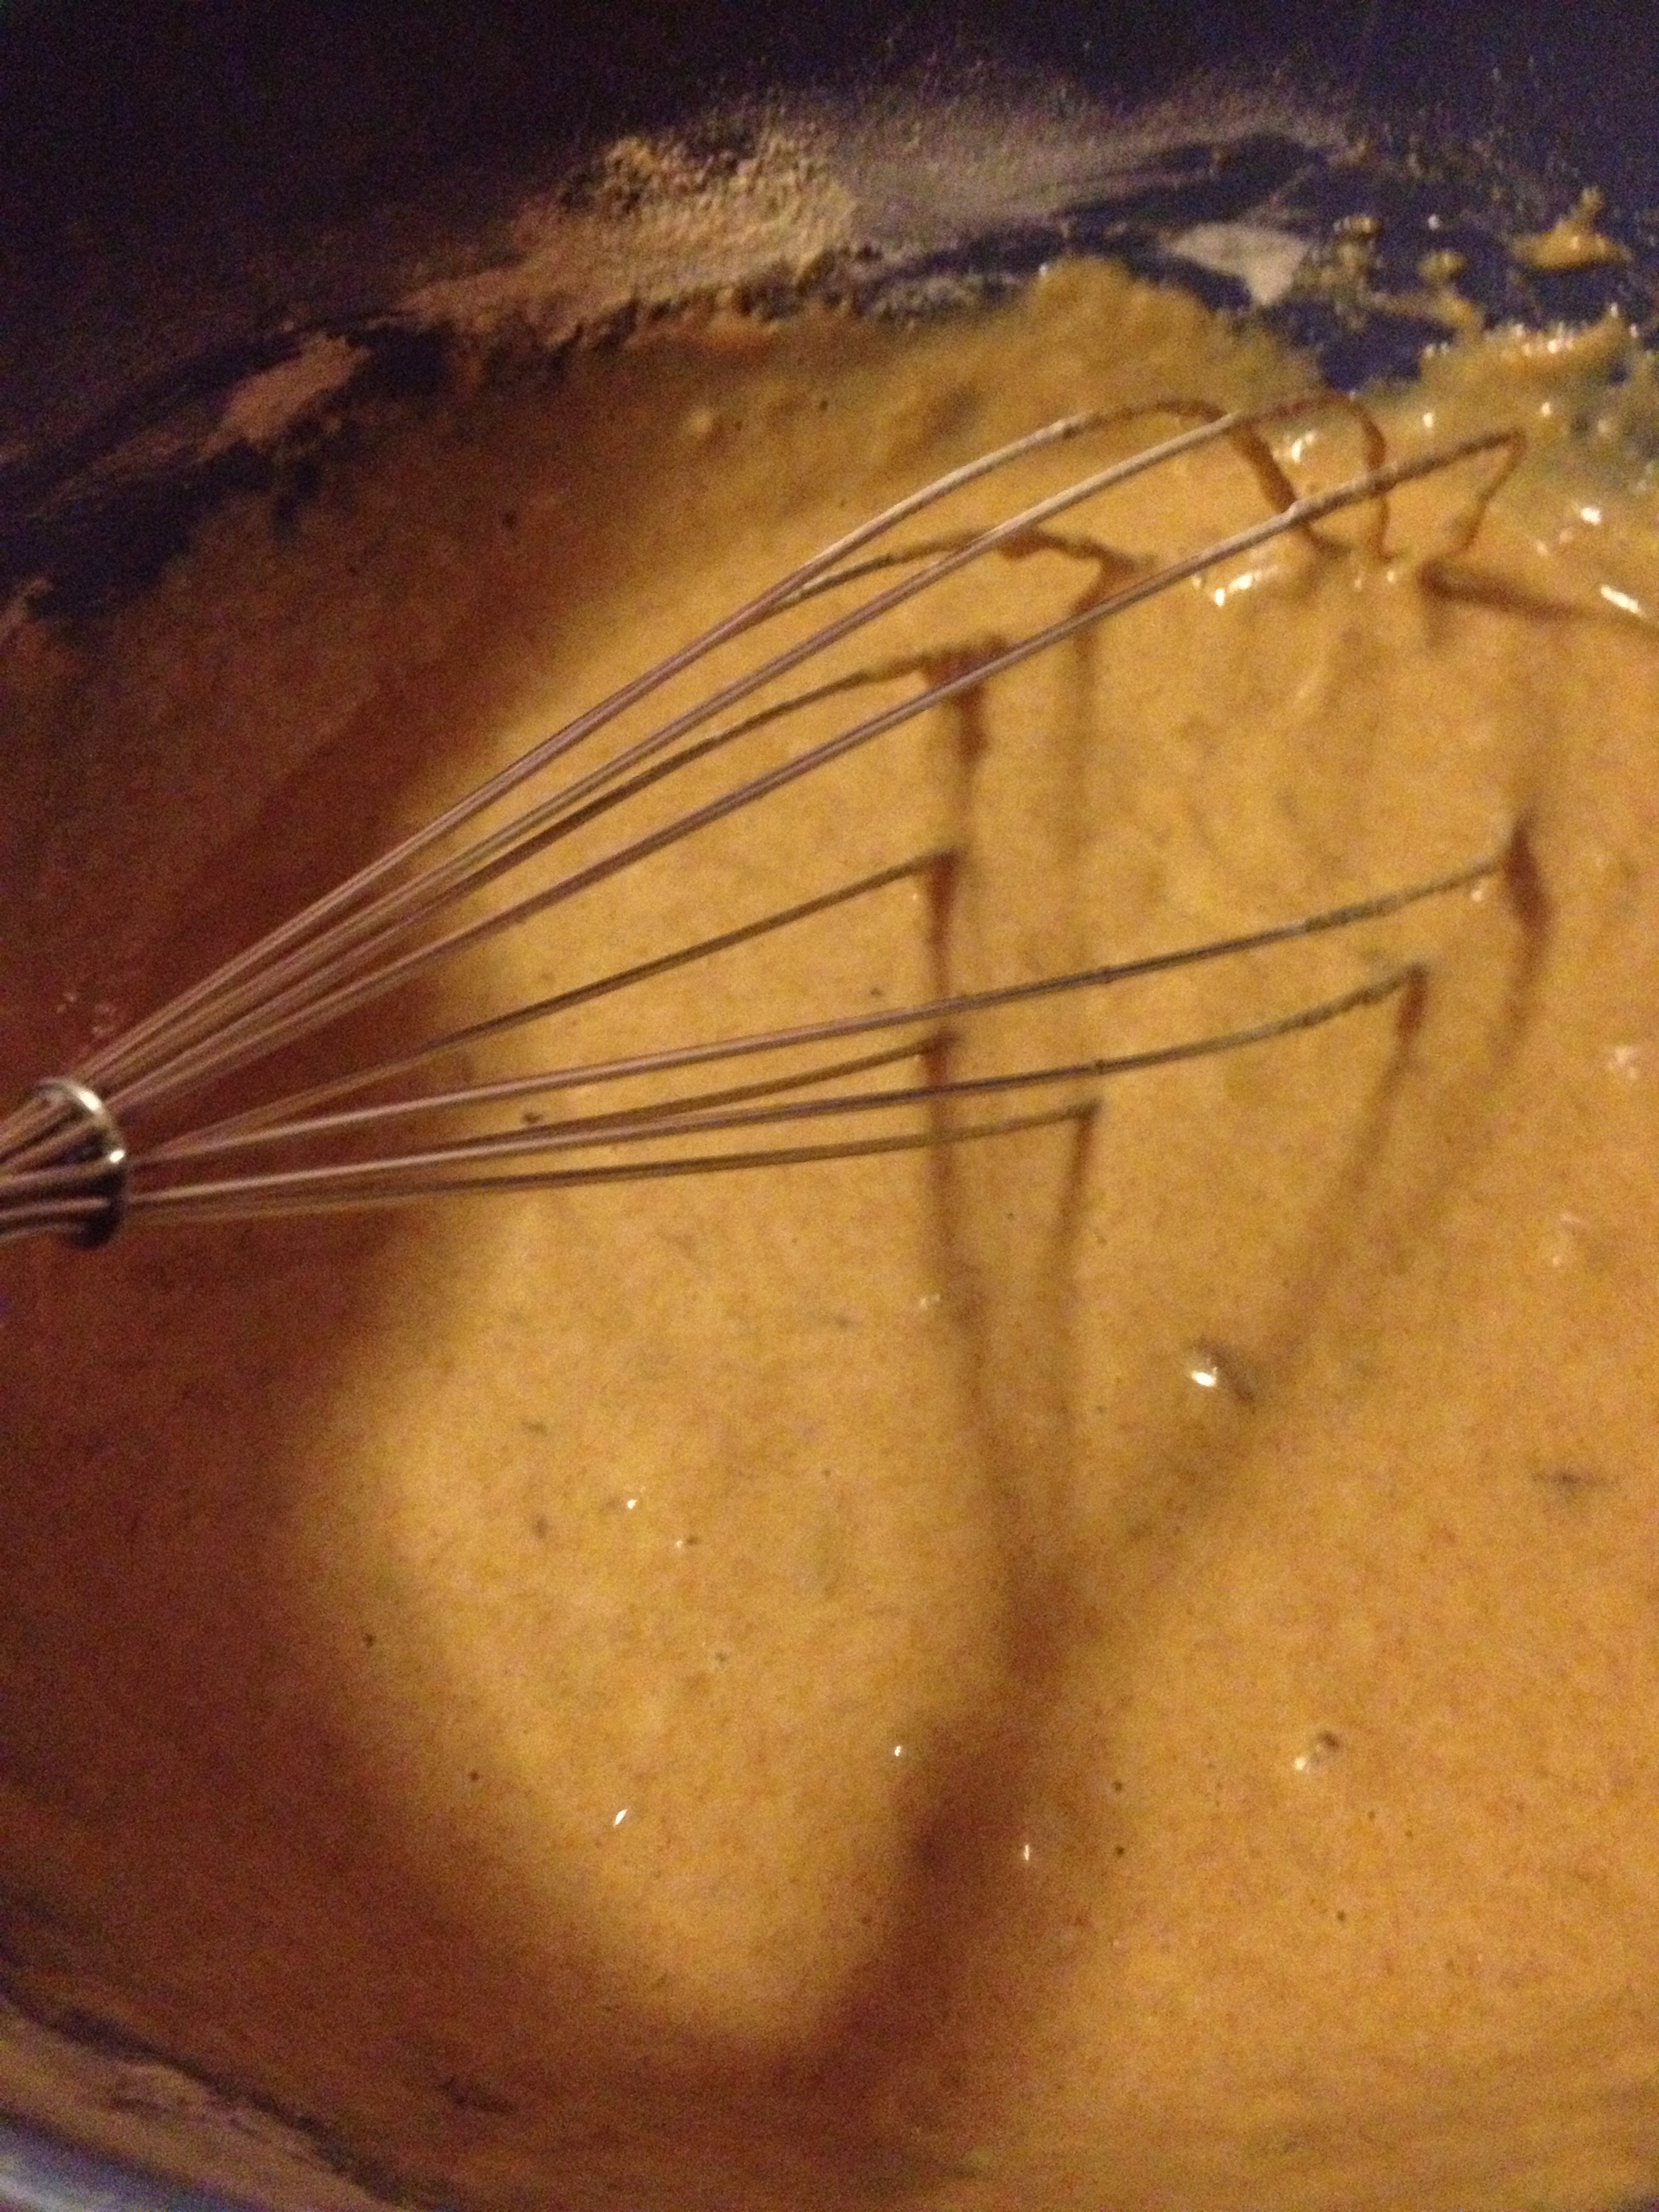
- Put dry ingredients to the side and get a bigger mixing bowl. Put the olive oil and honey into big bowl and whisk!
- Crack both eggs and drop them in. Whisk away!
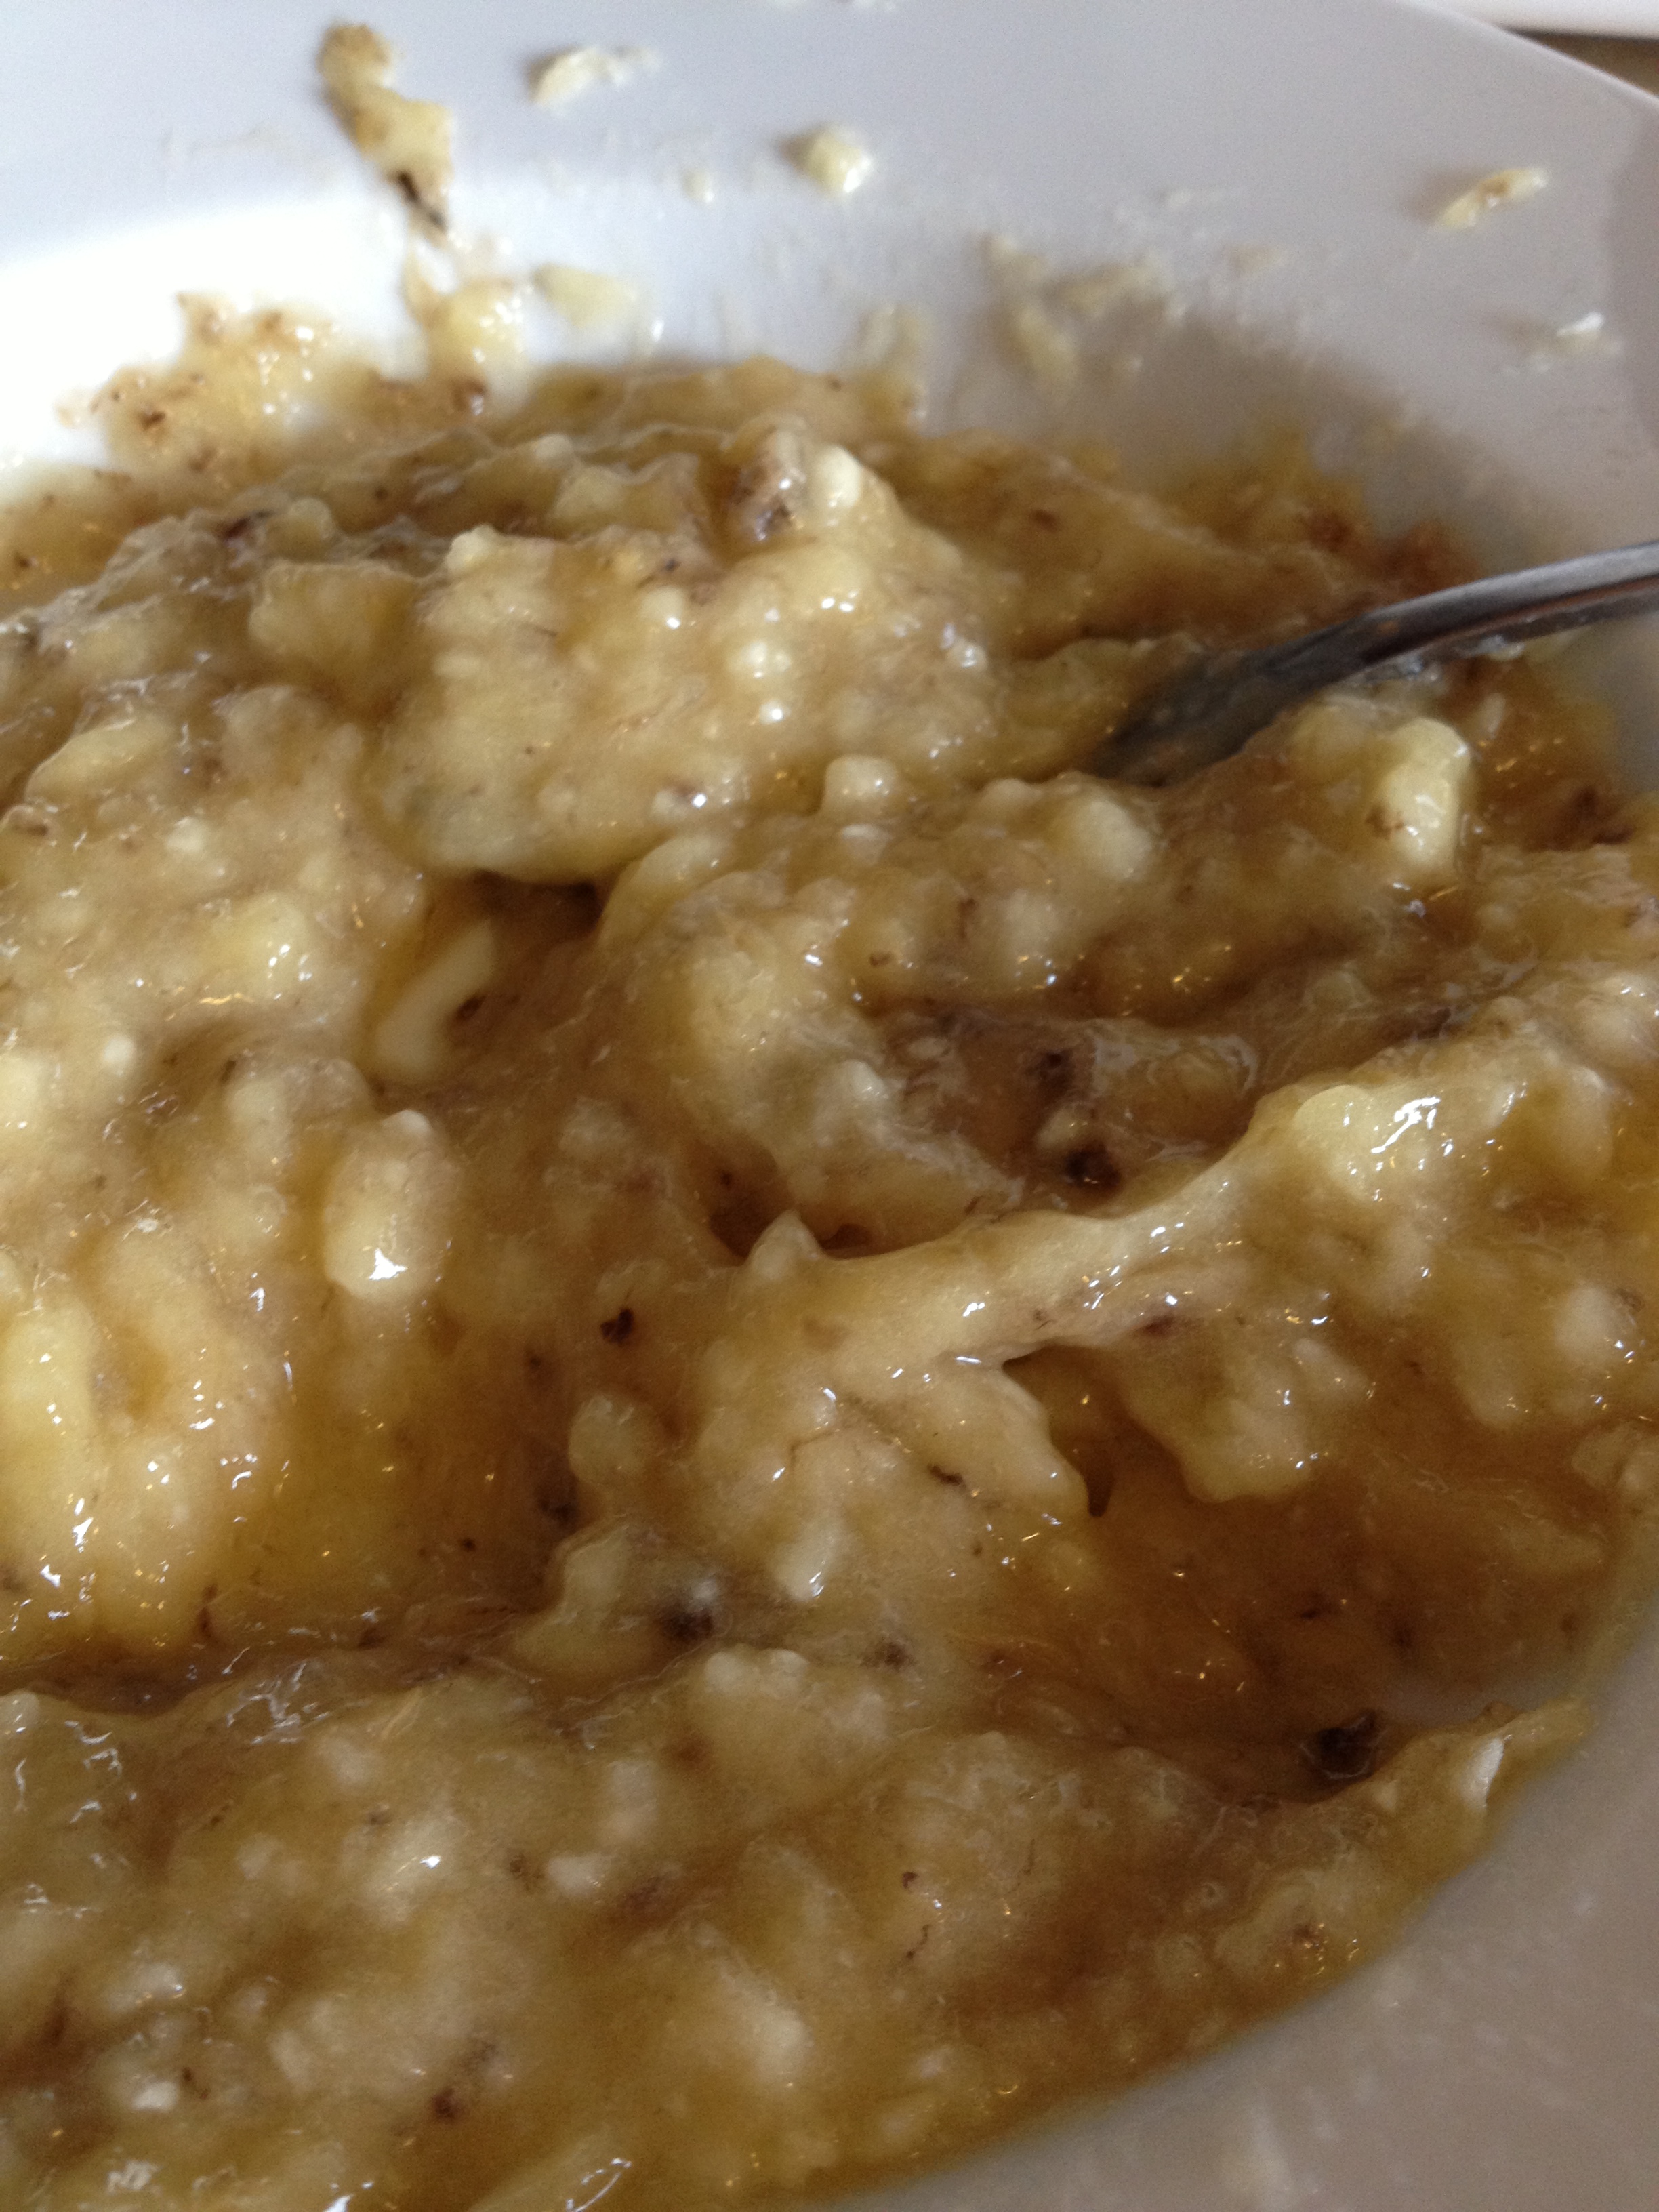
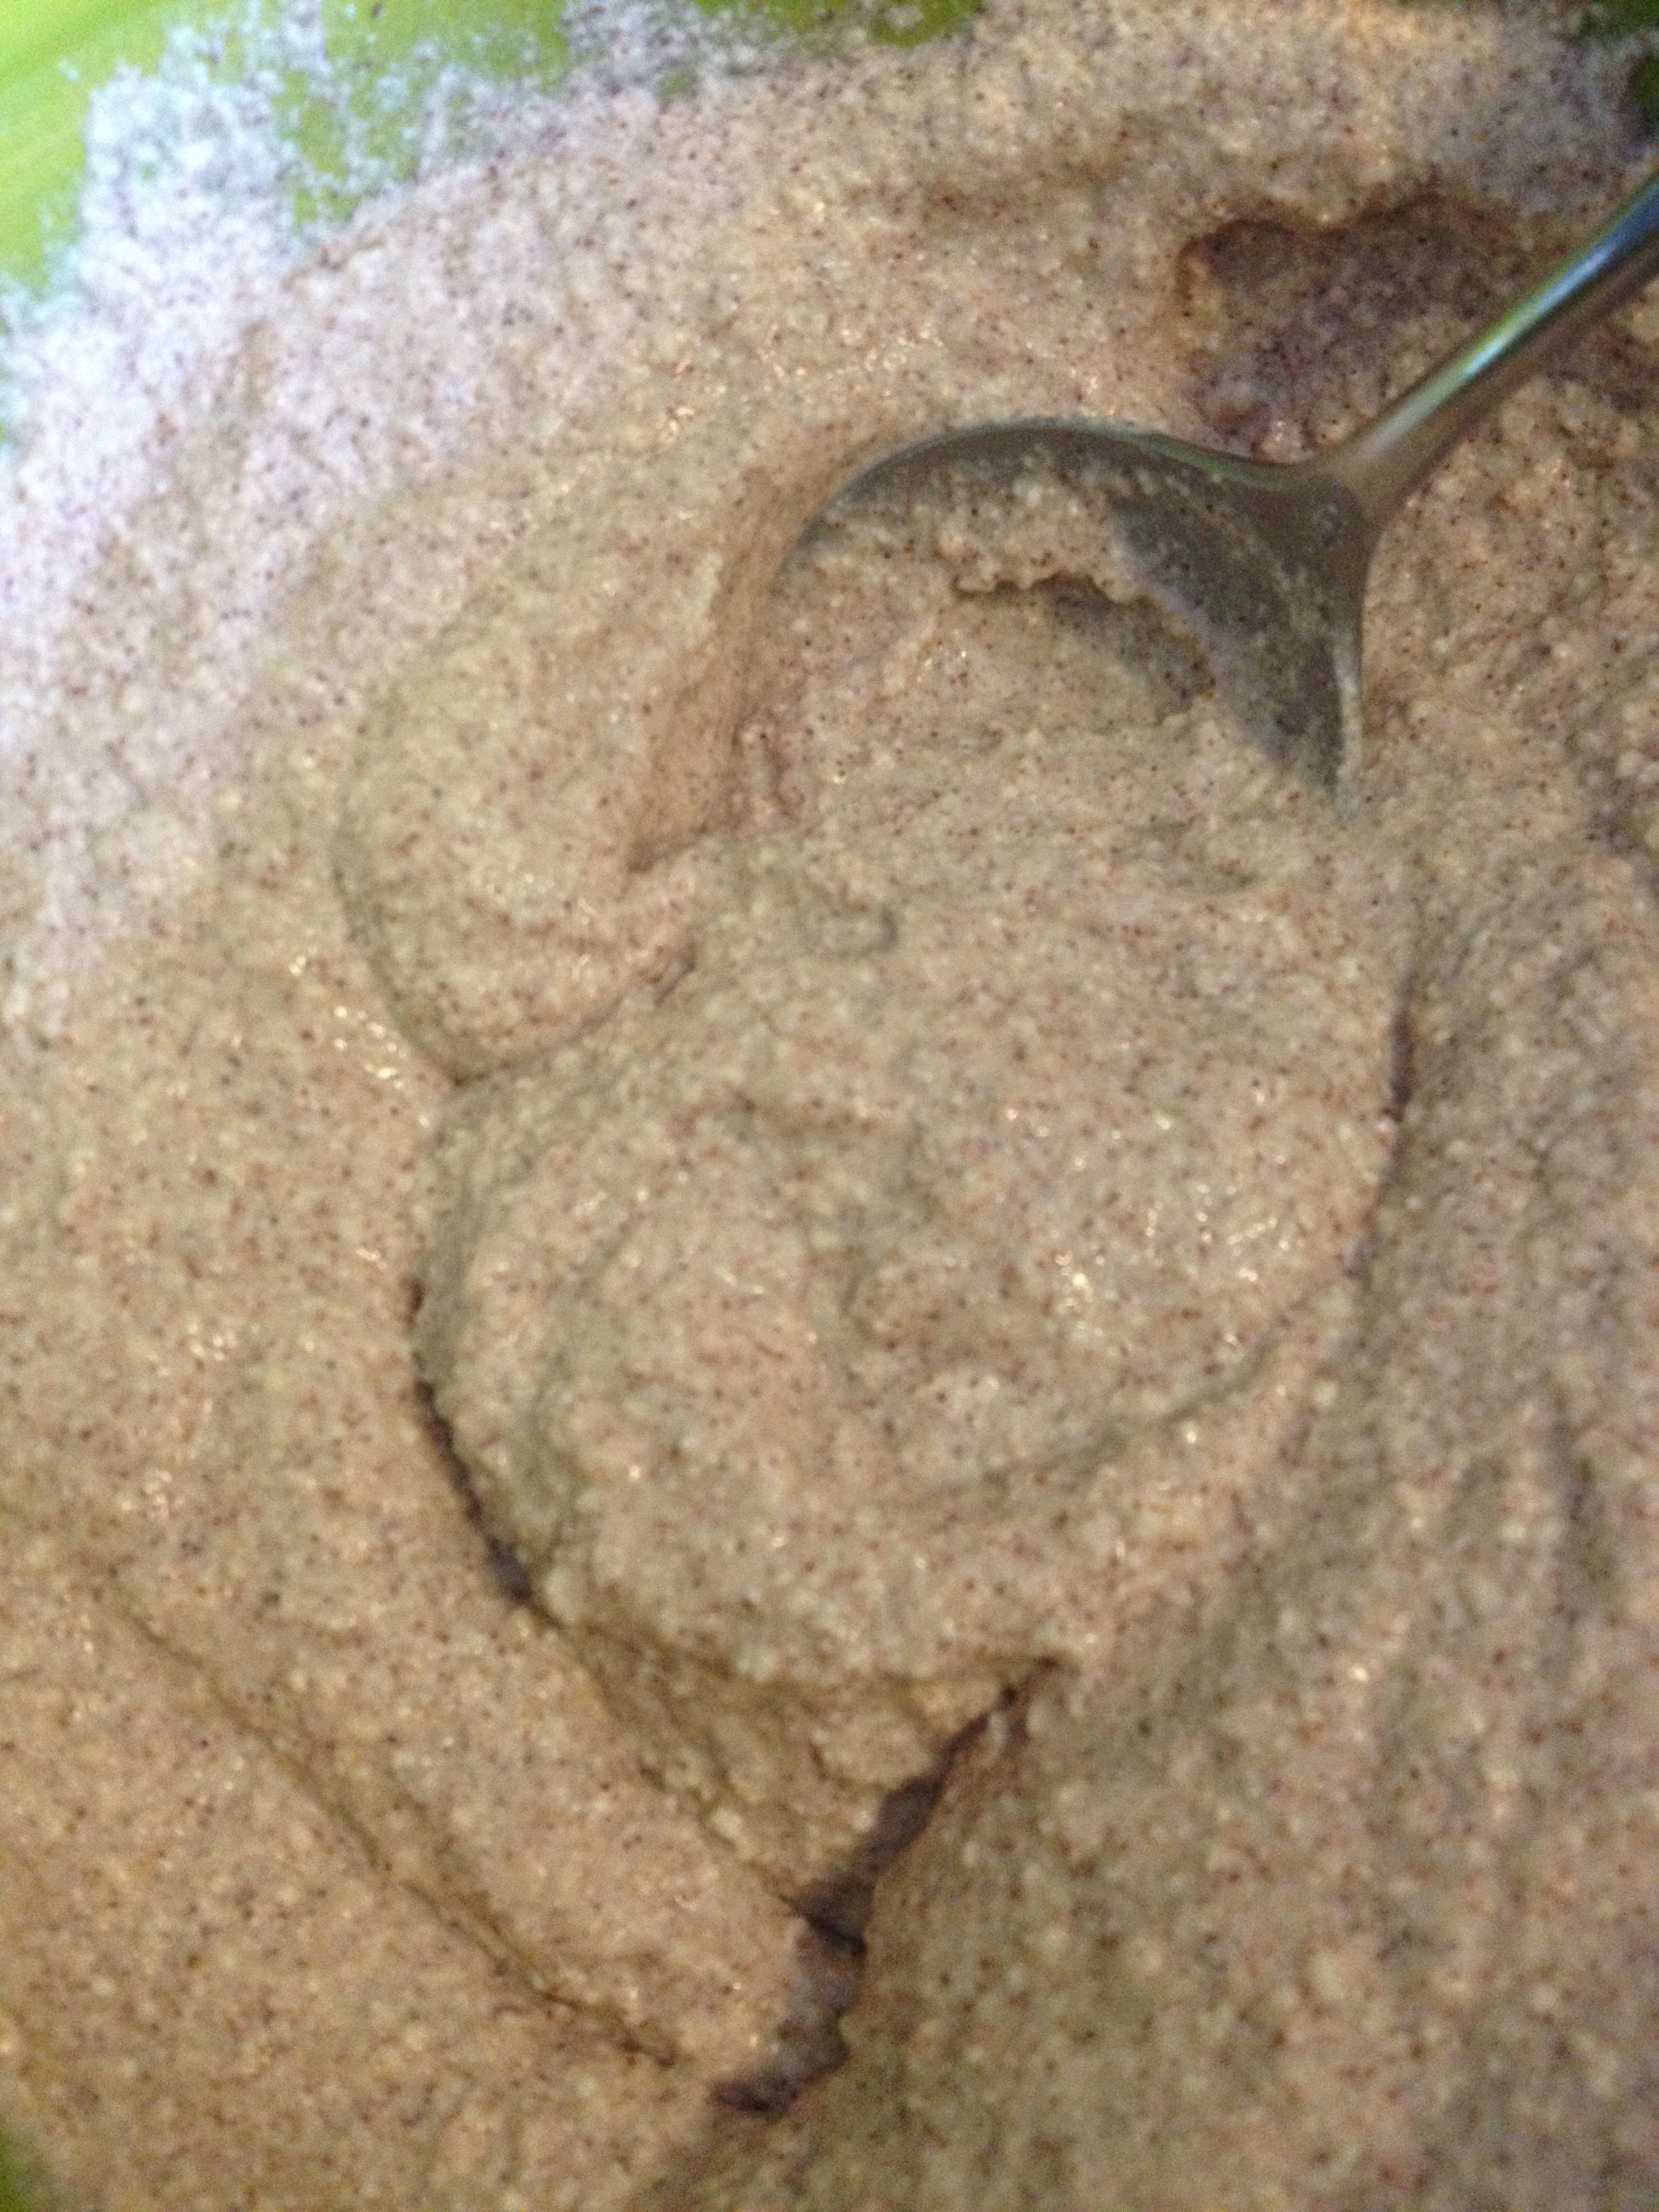
- Now, mash your bananas so they are nice and smooth. Scrape the bananas into the wet mixture
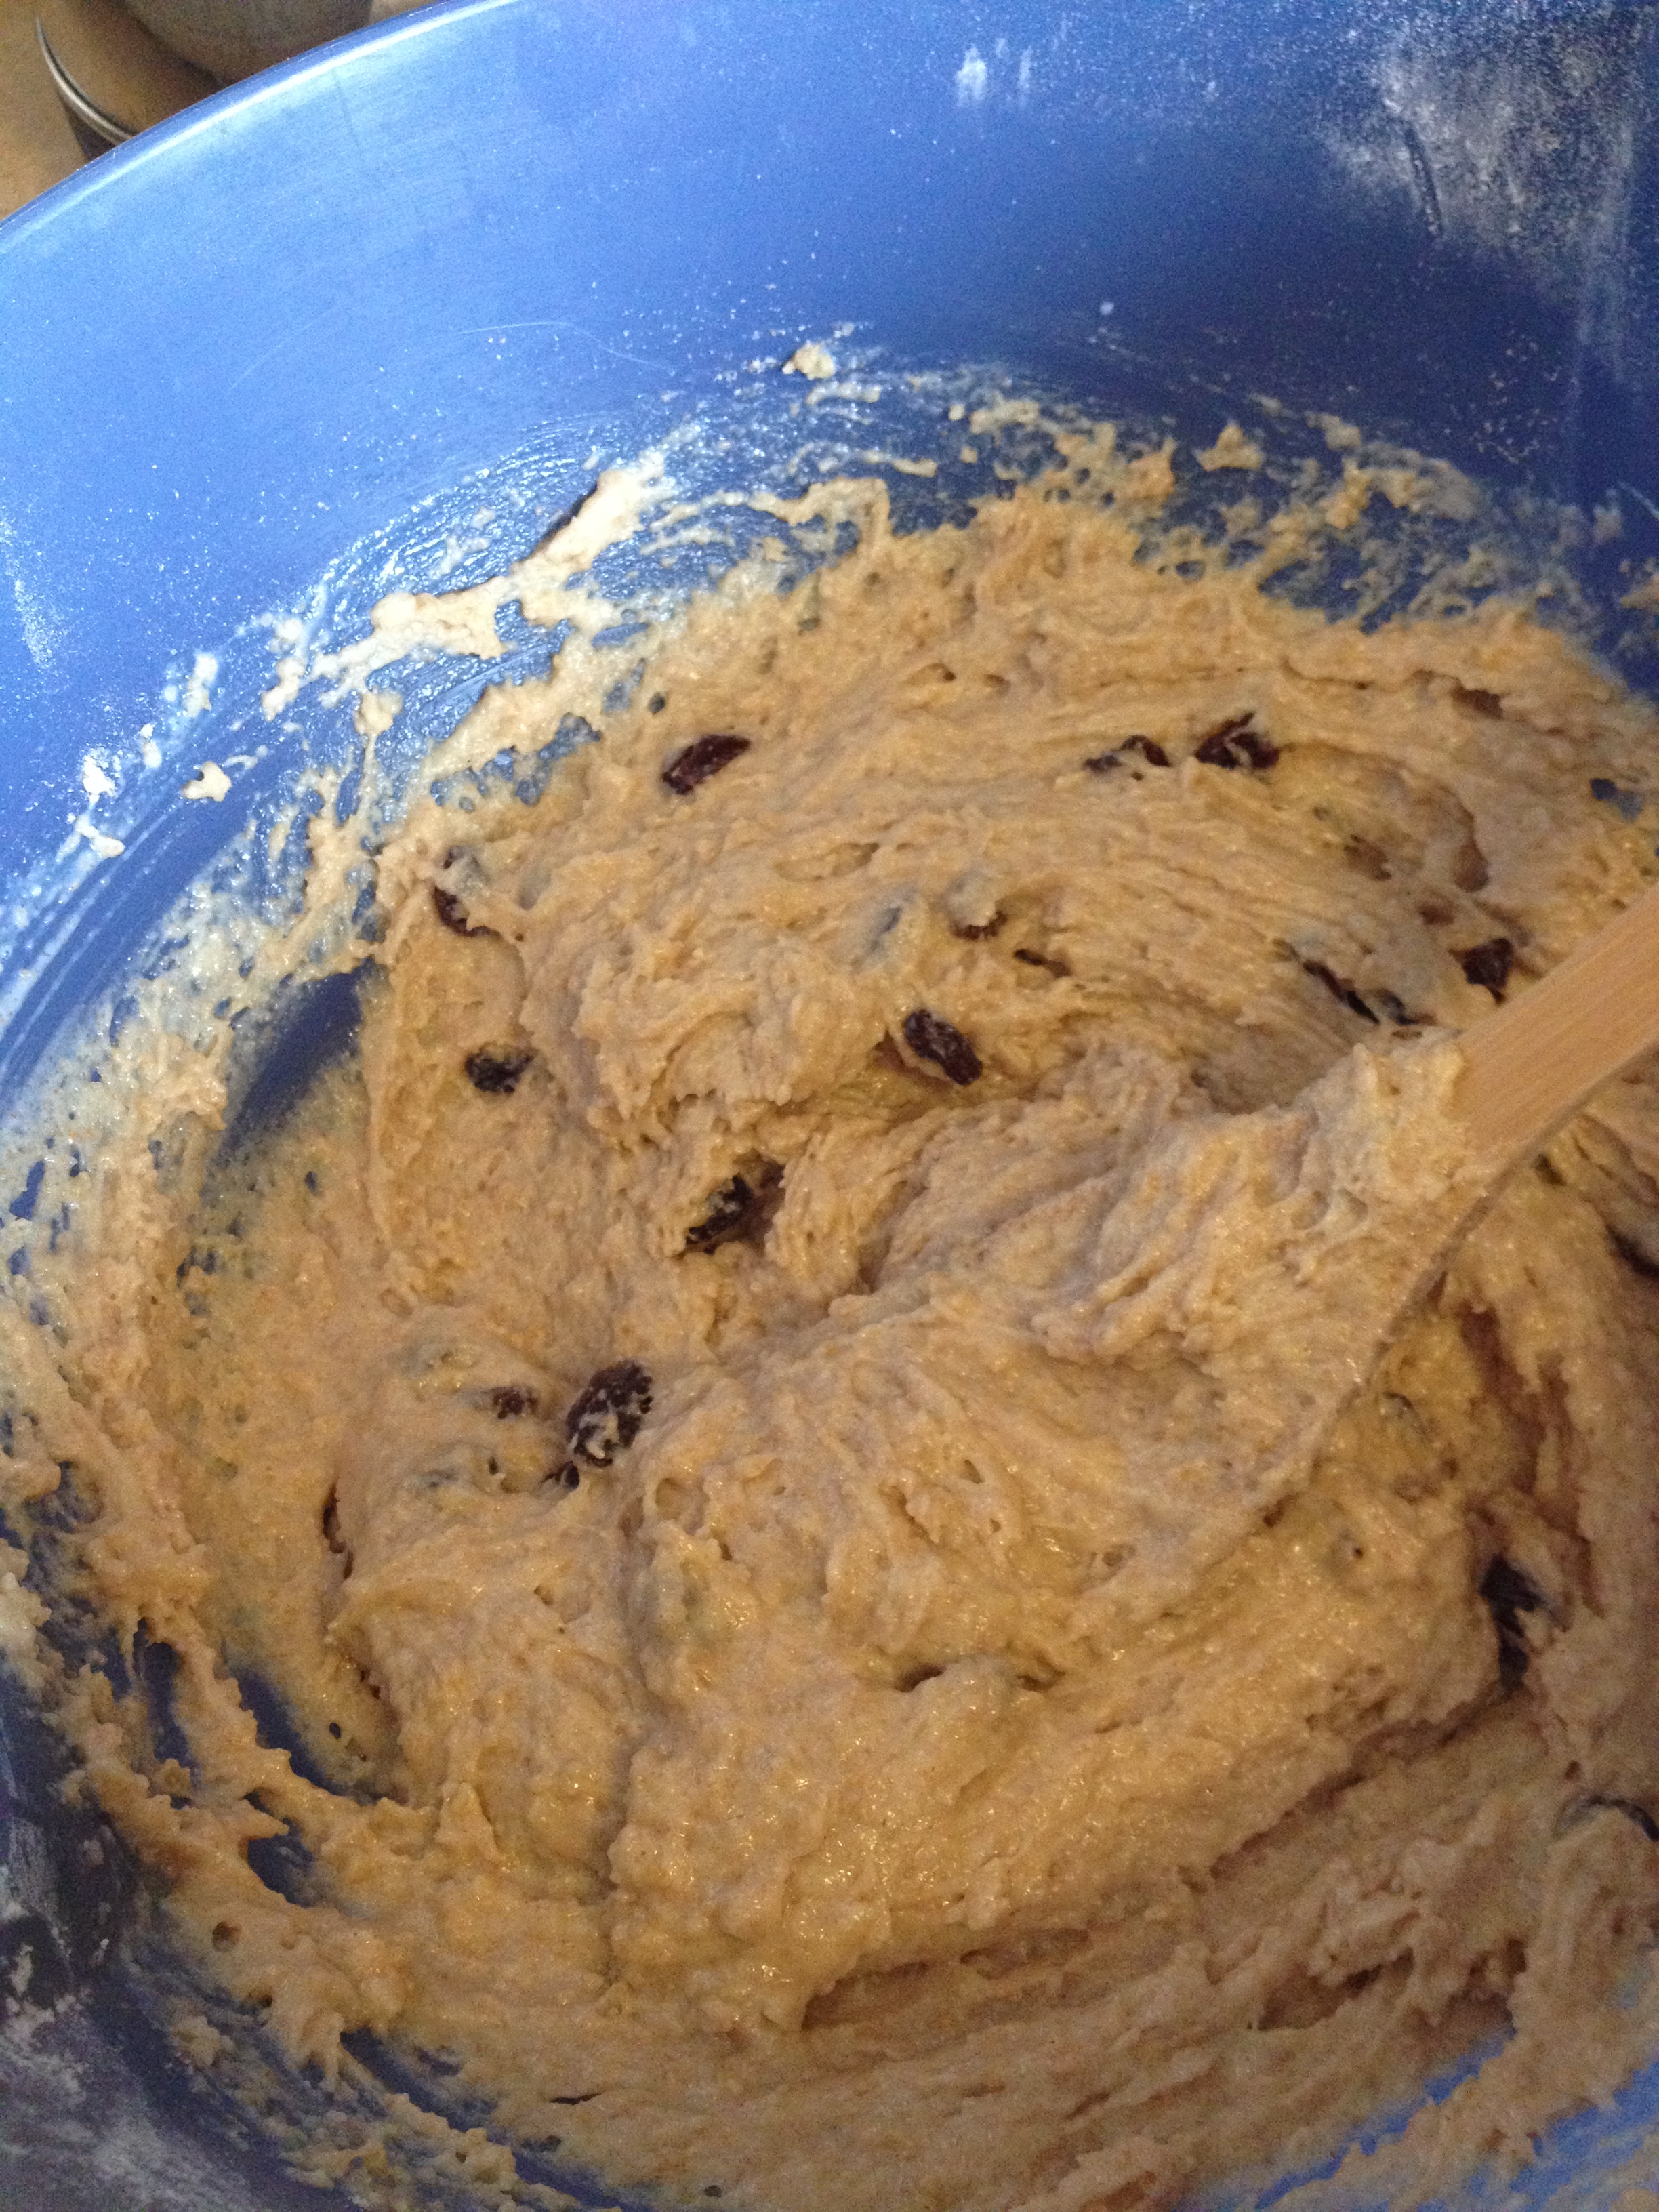
- Add the finely chopped dates (don’t put in the long date quarters)
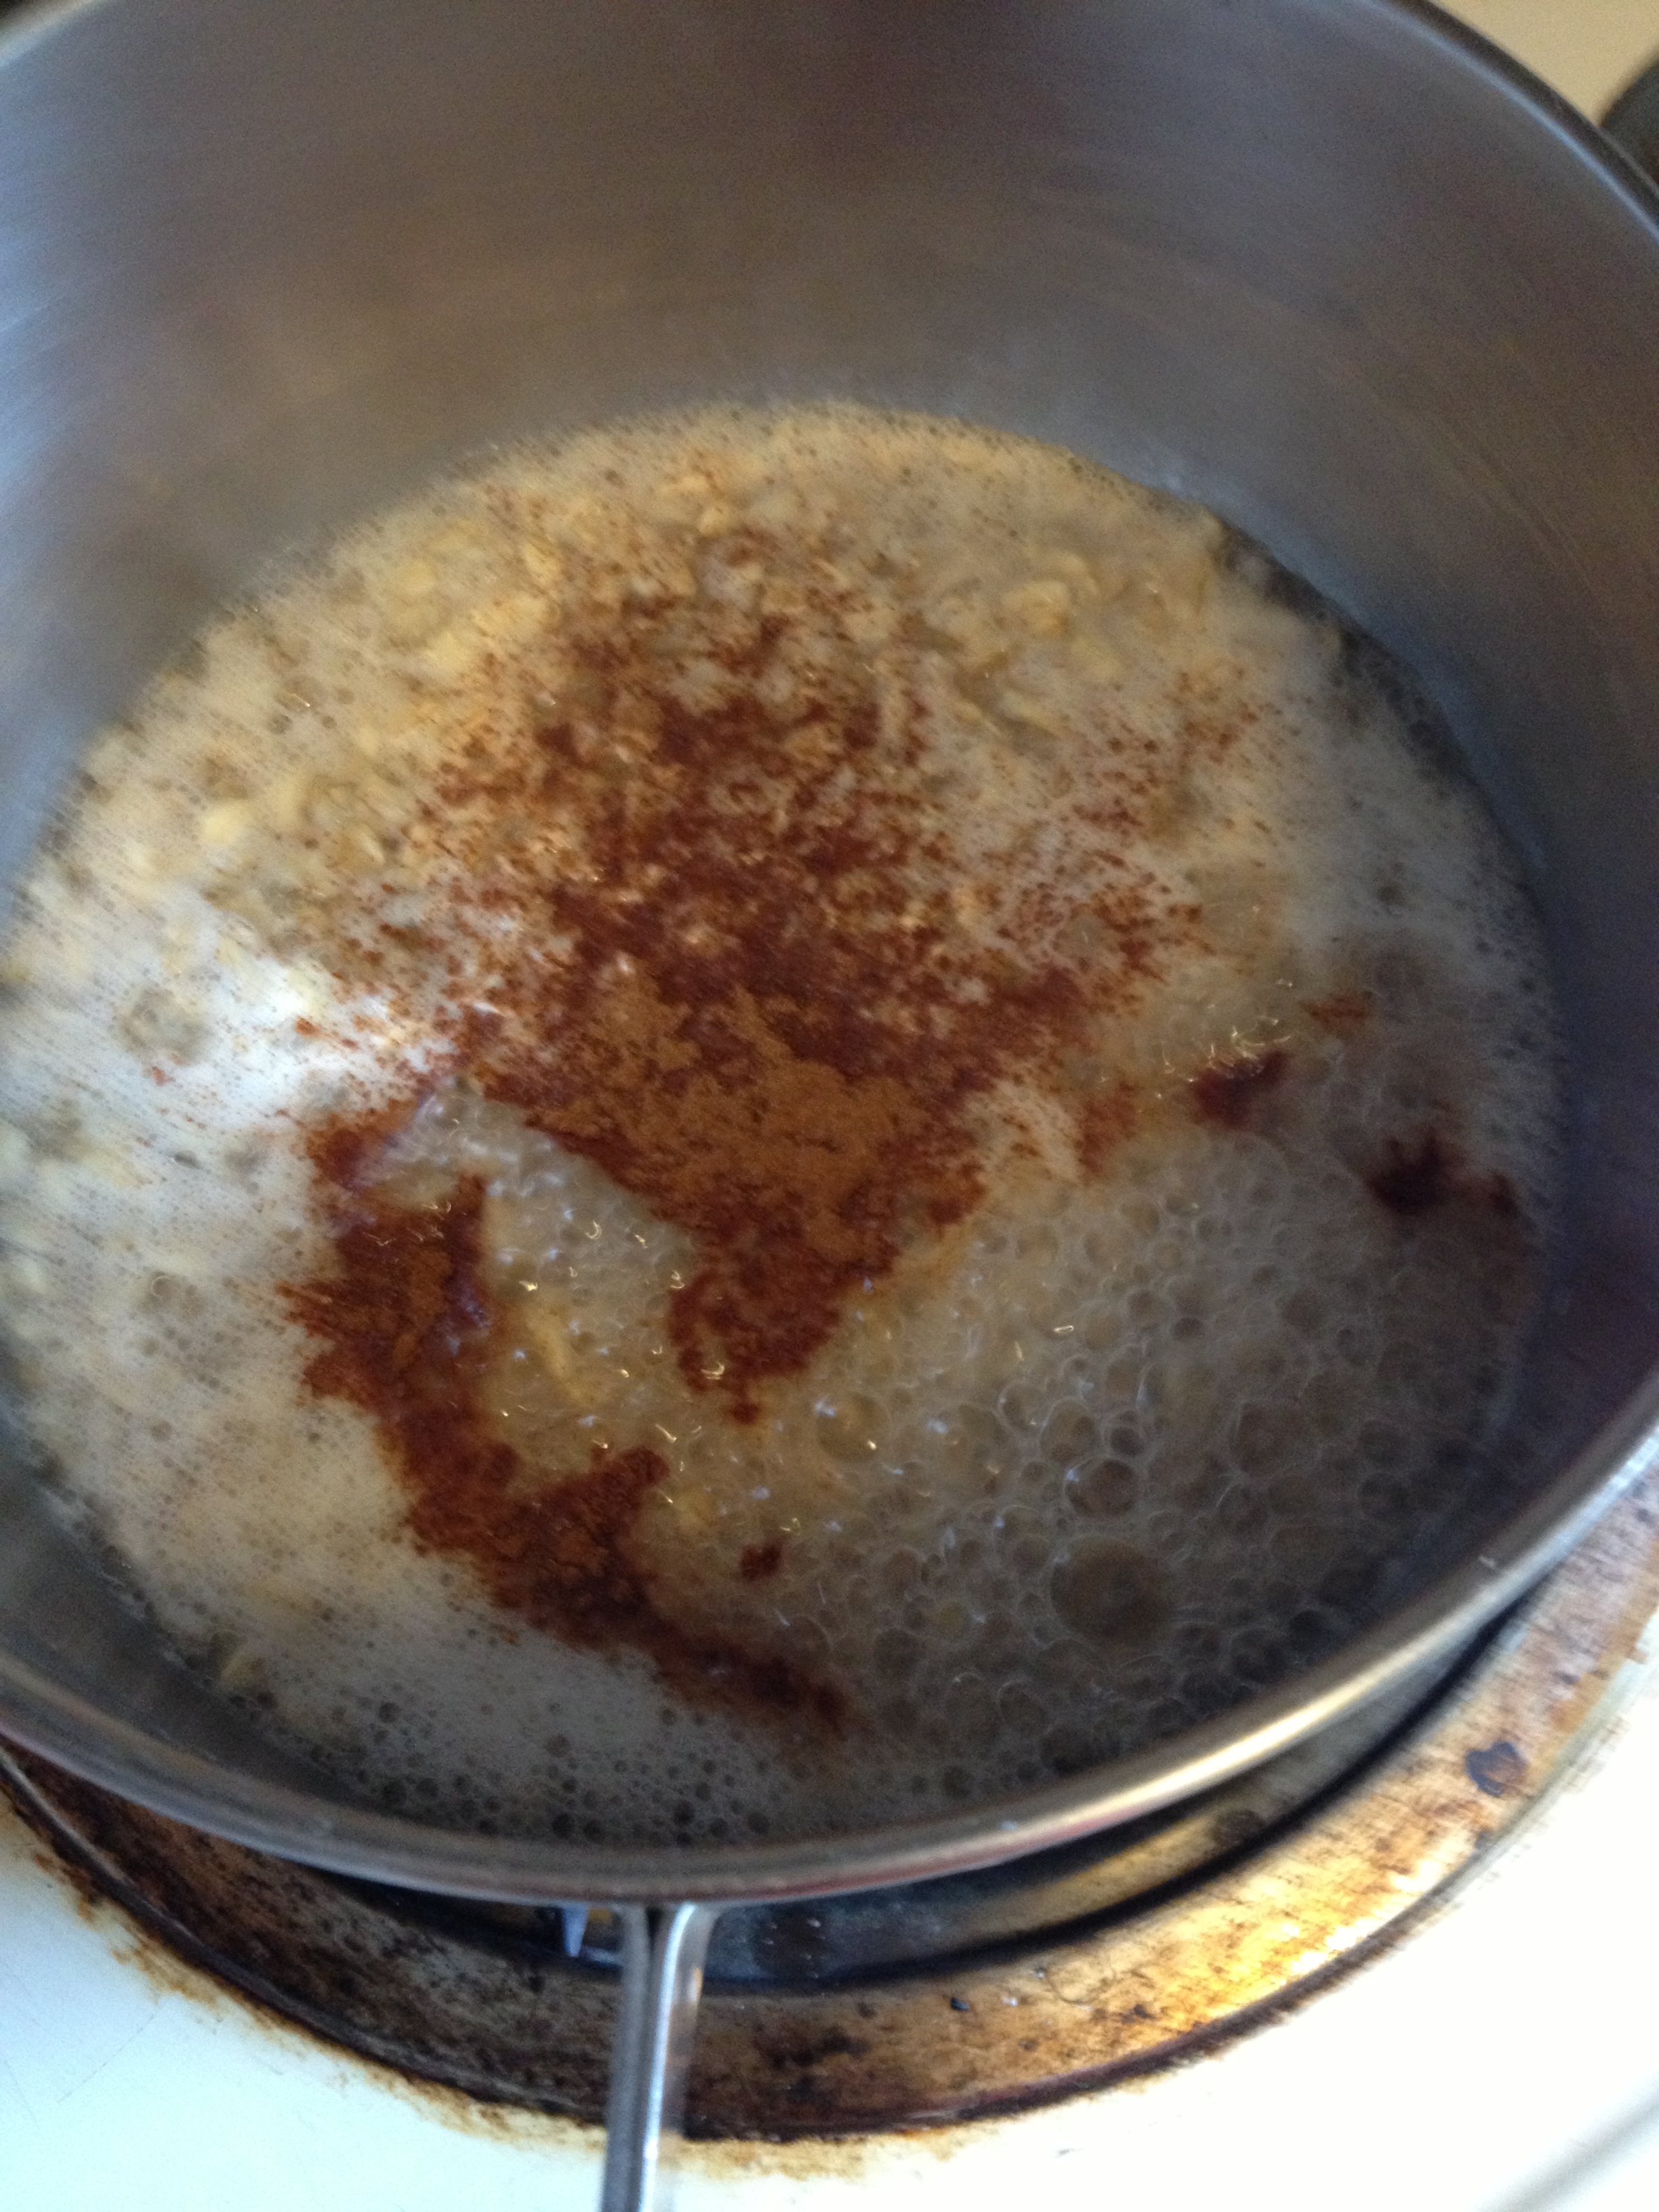
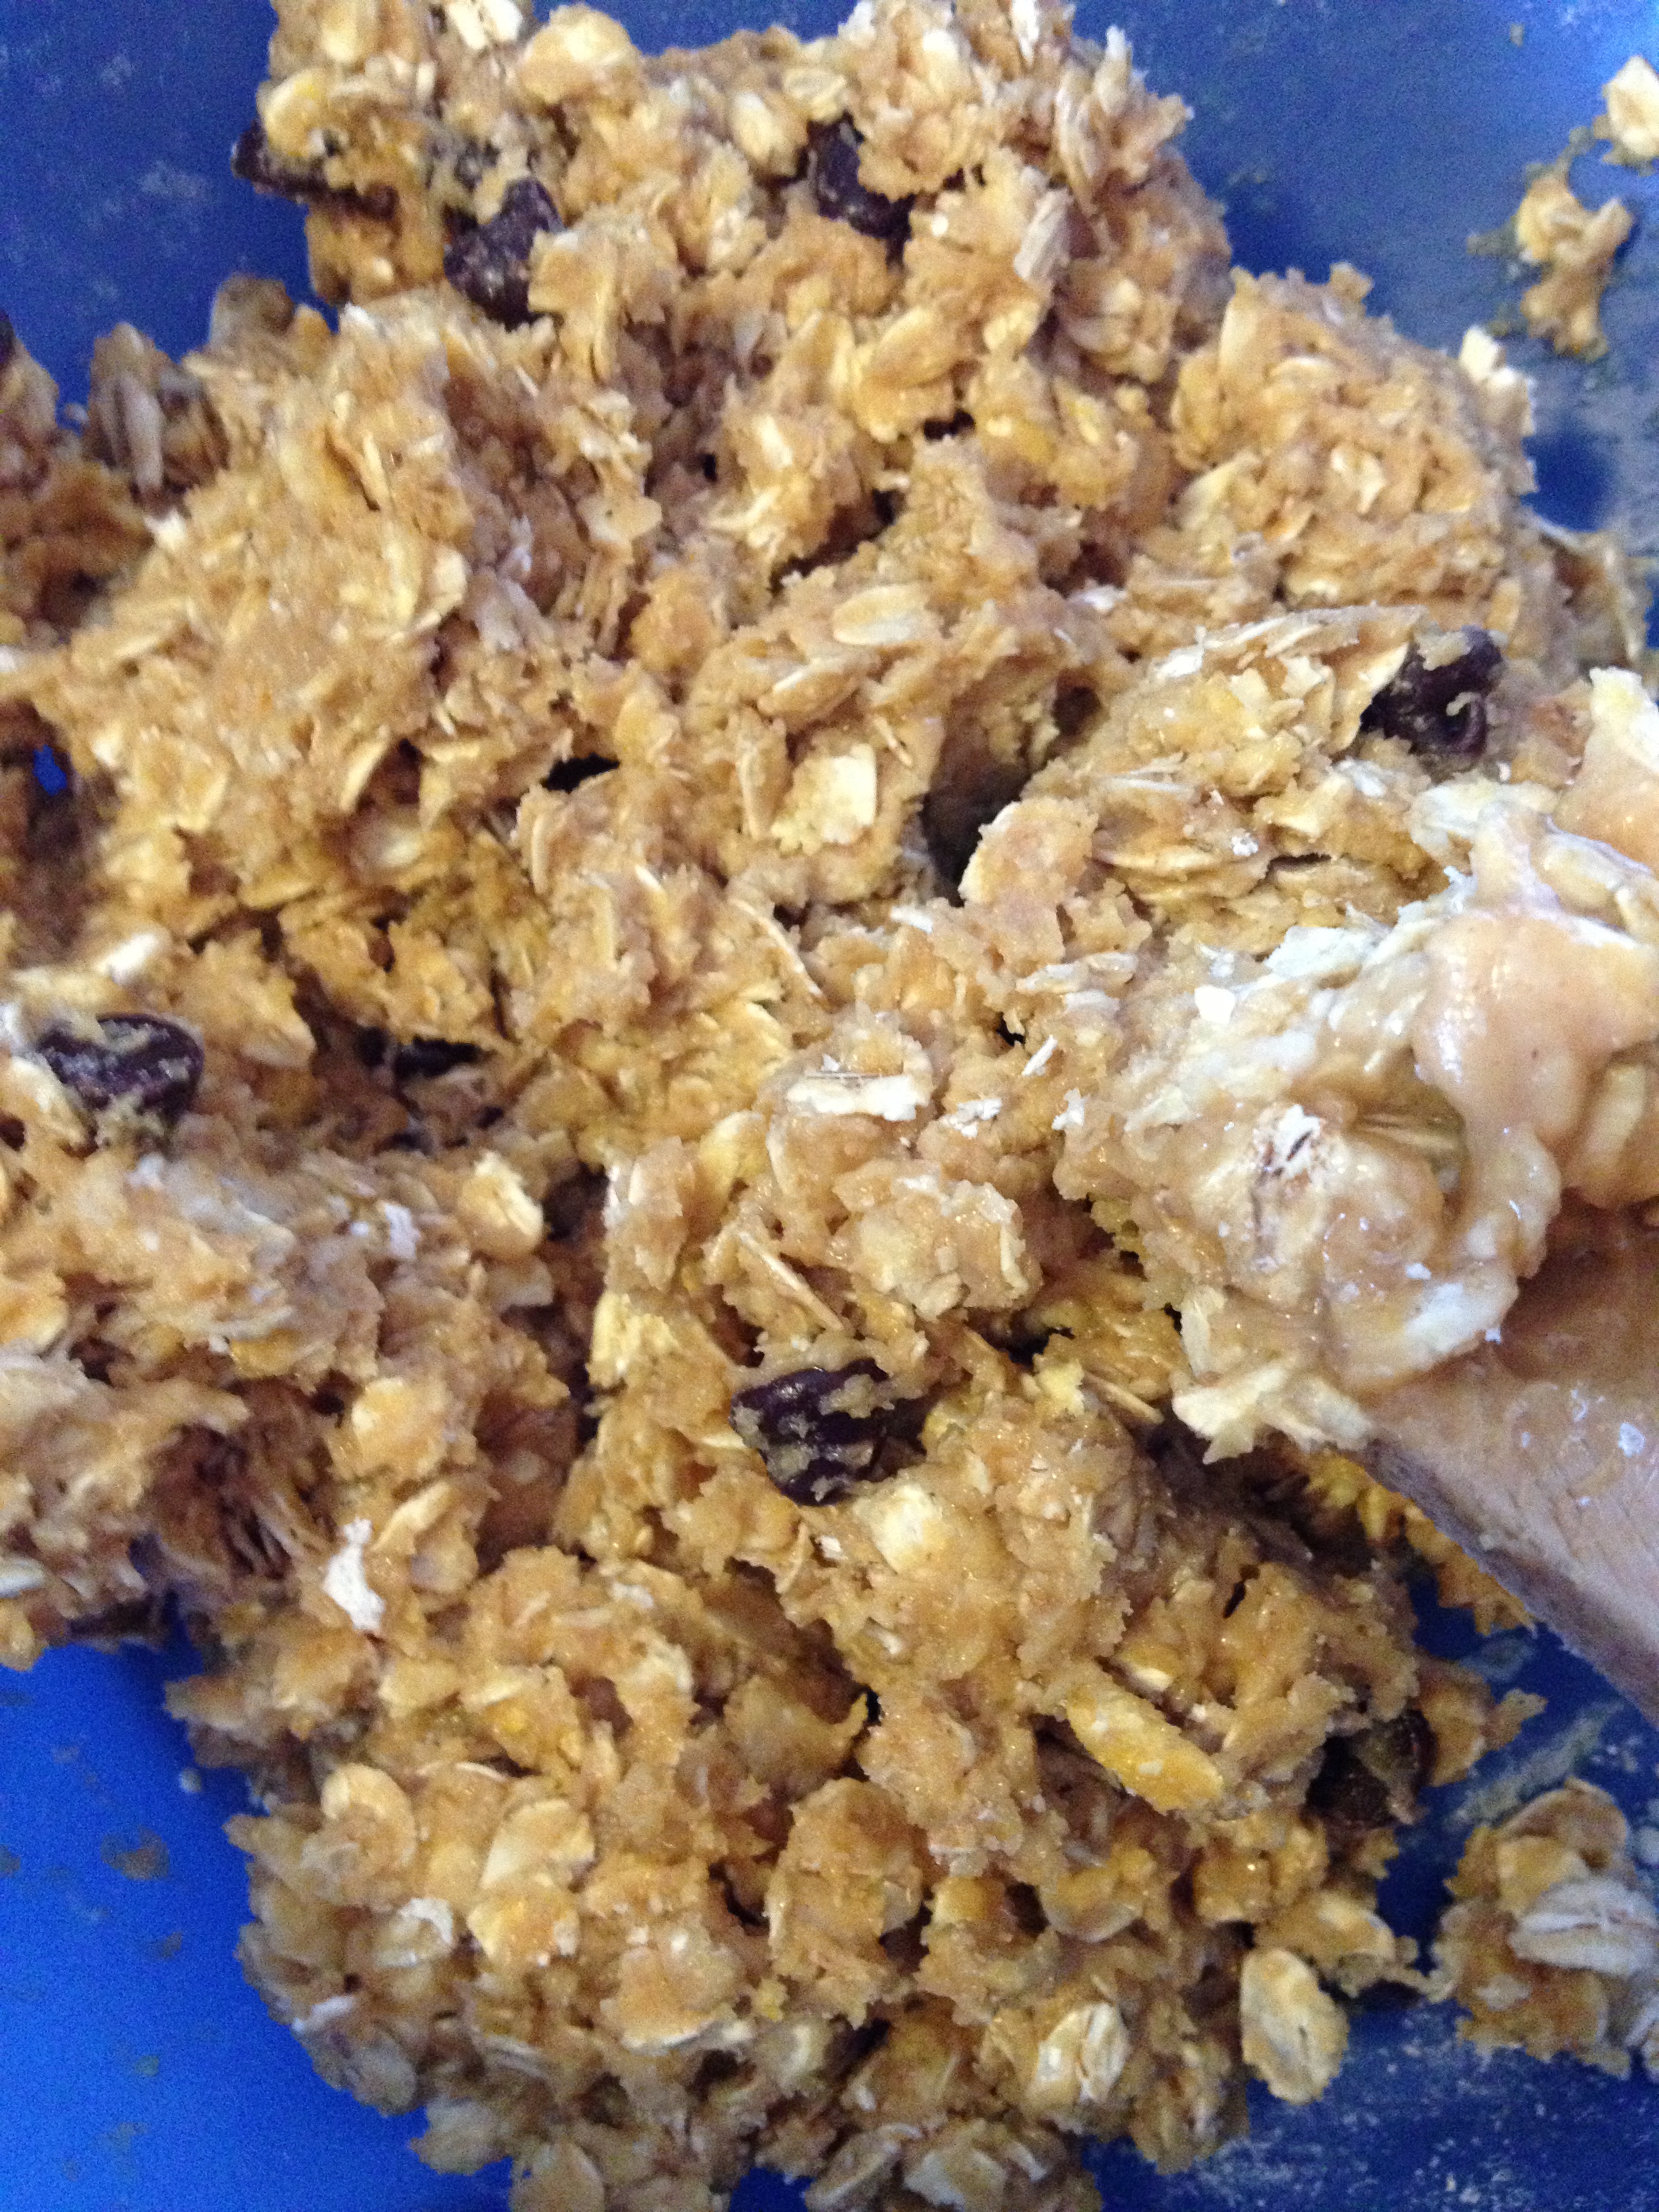
- Slowly stir in the dry ingredients into the wet ingredients, alternating with pouring in hot water
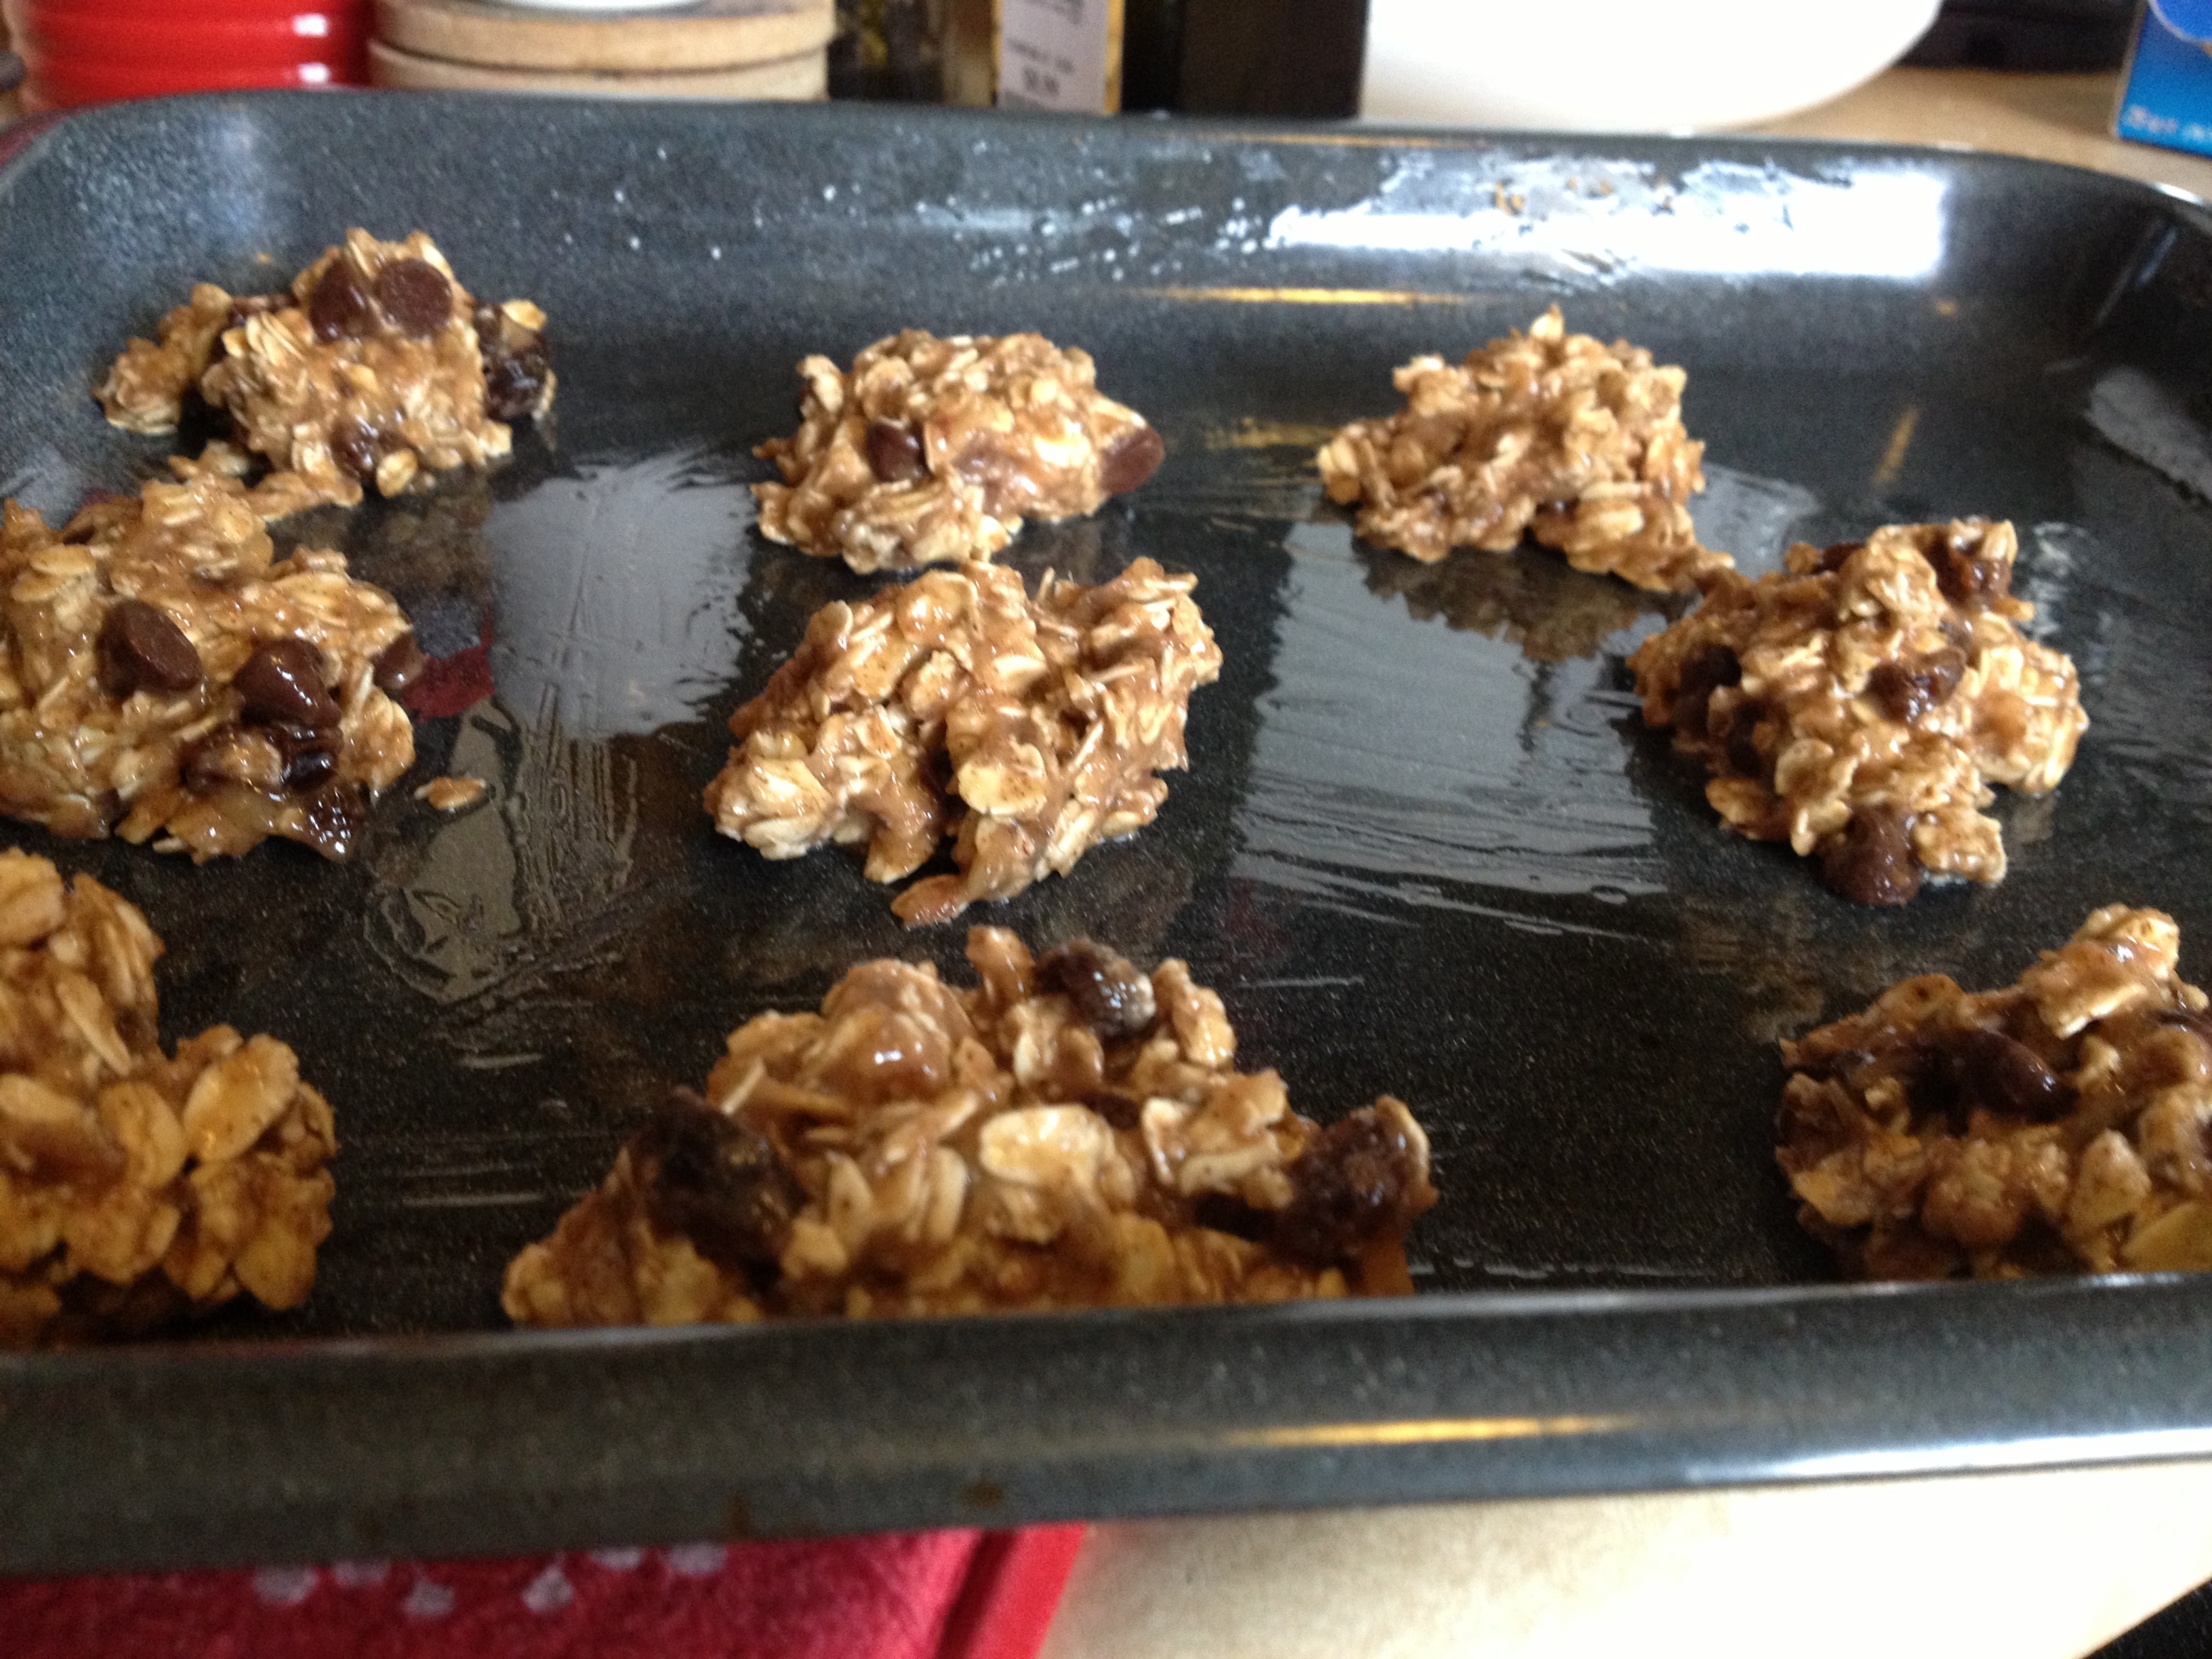
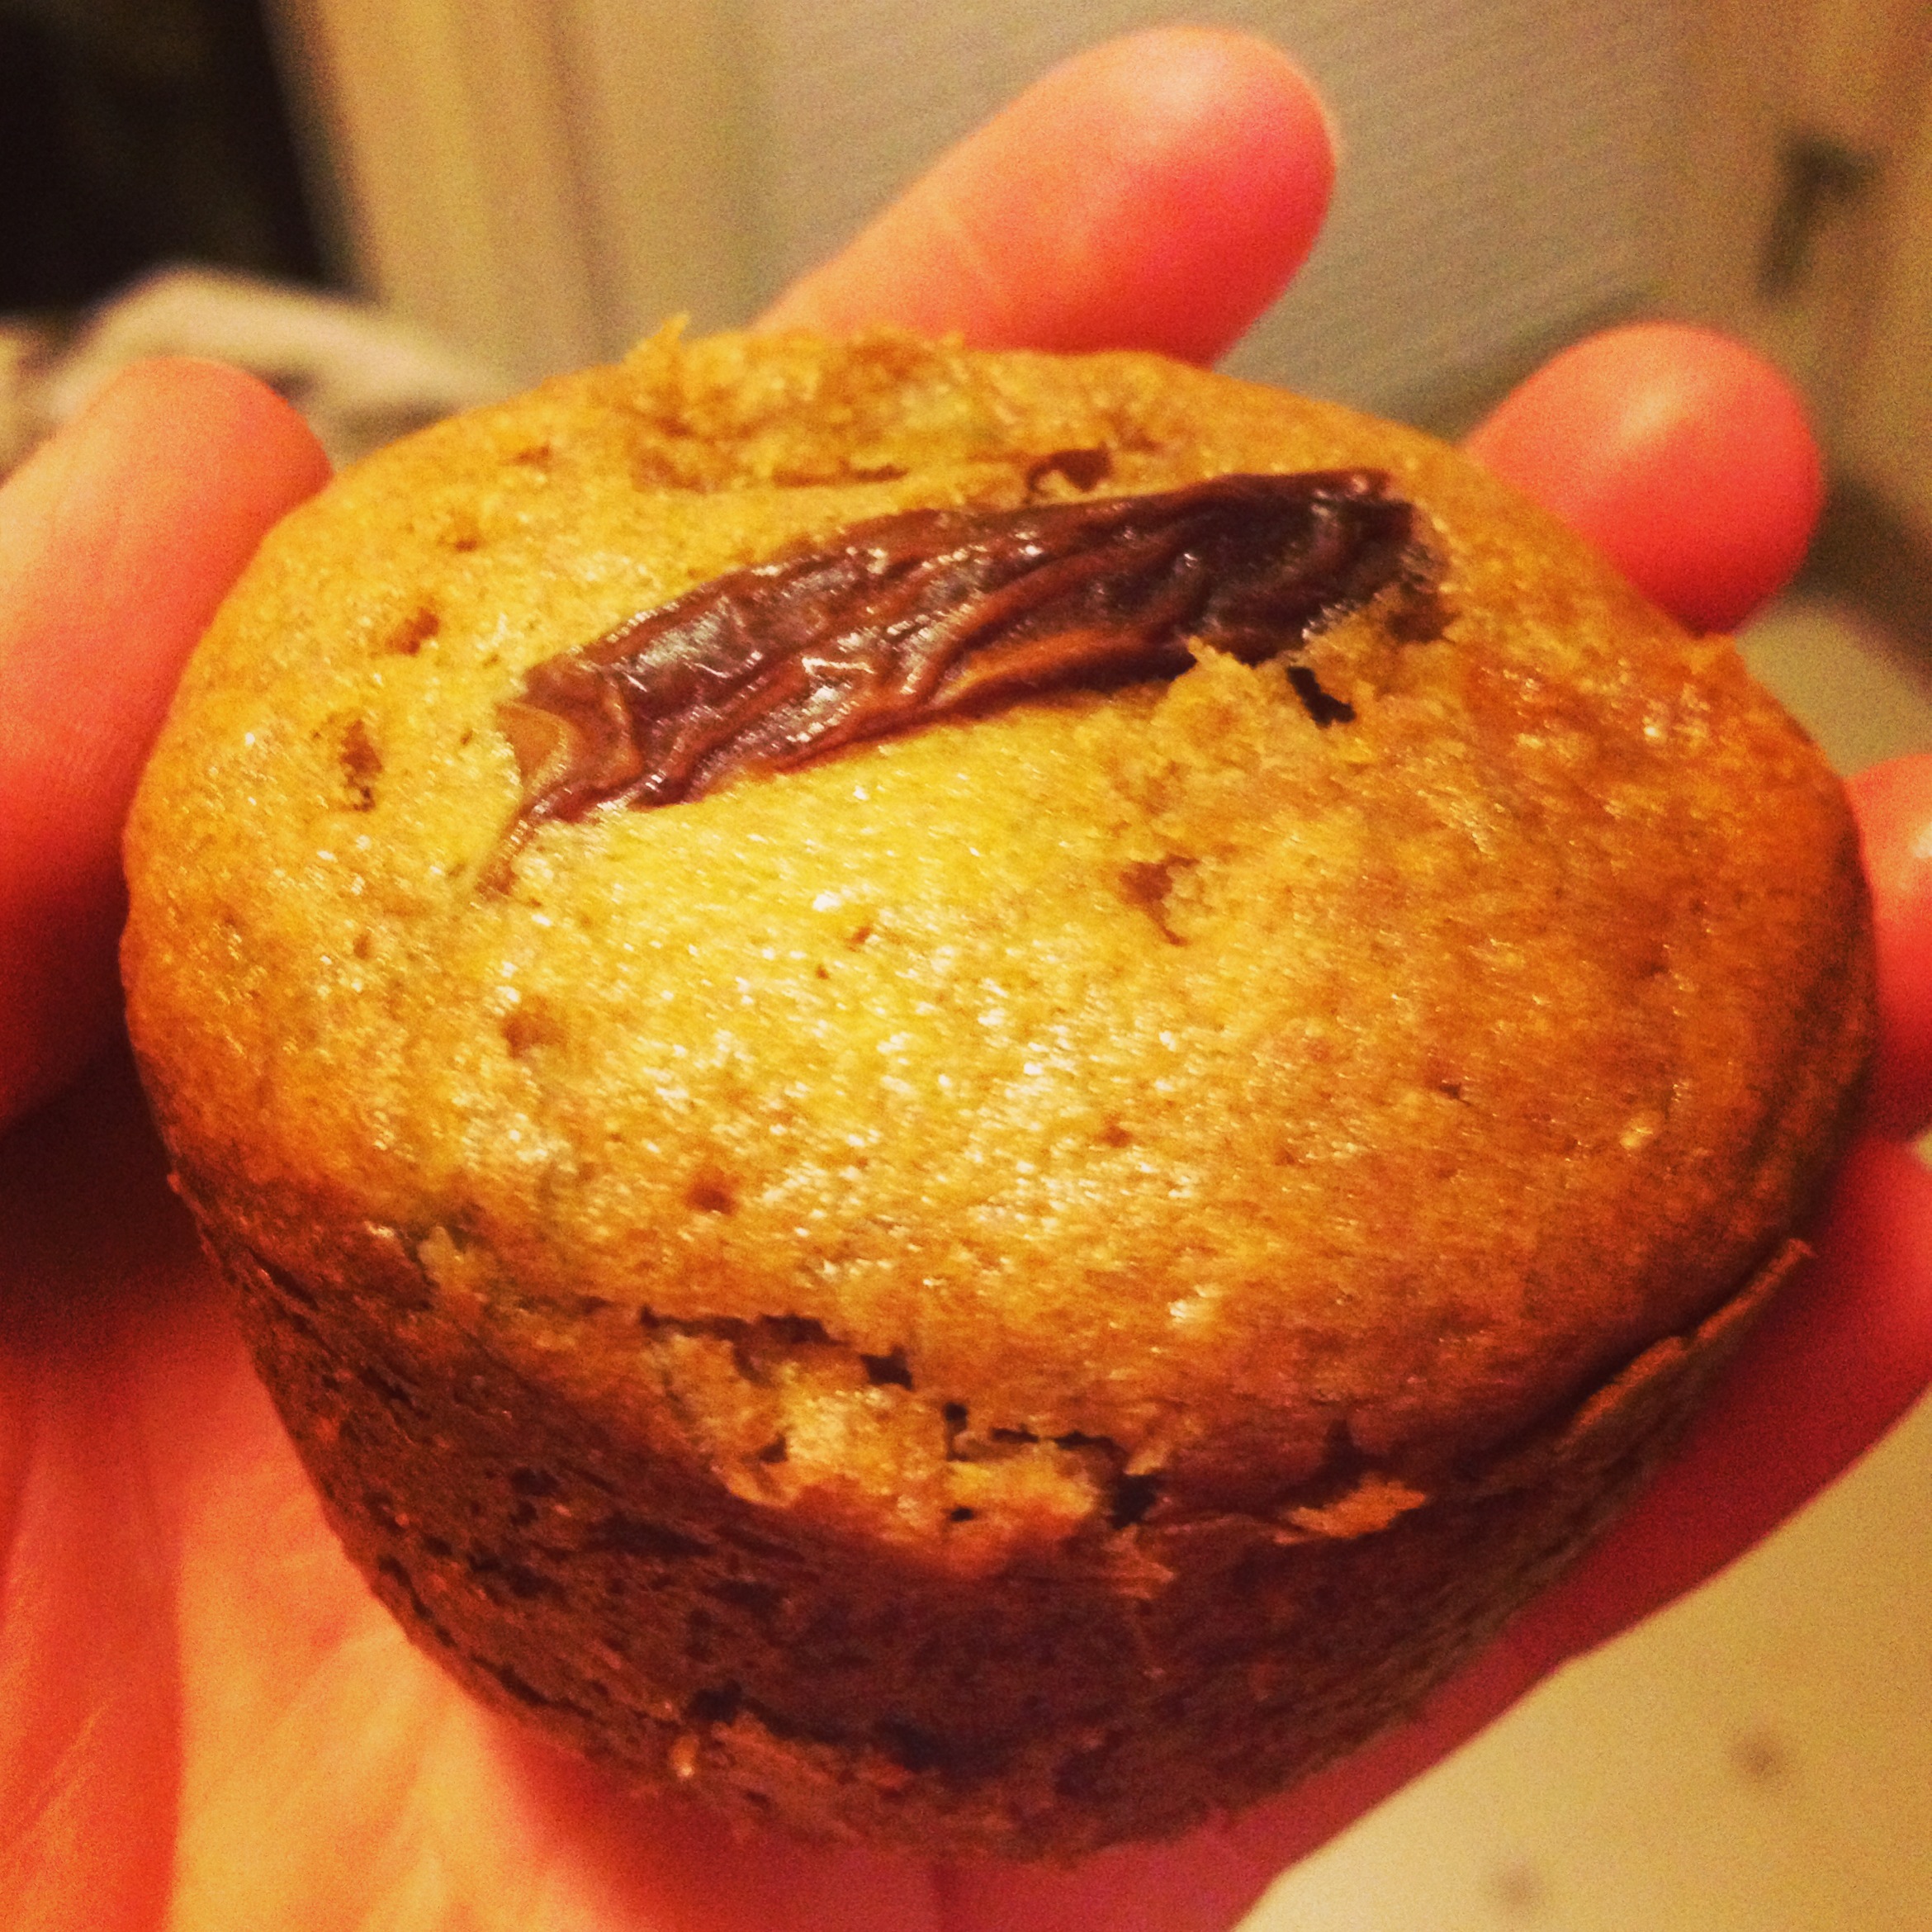
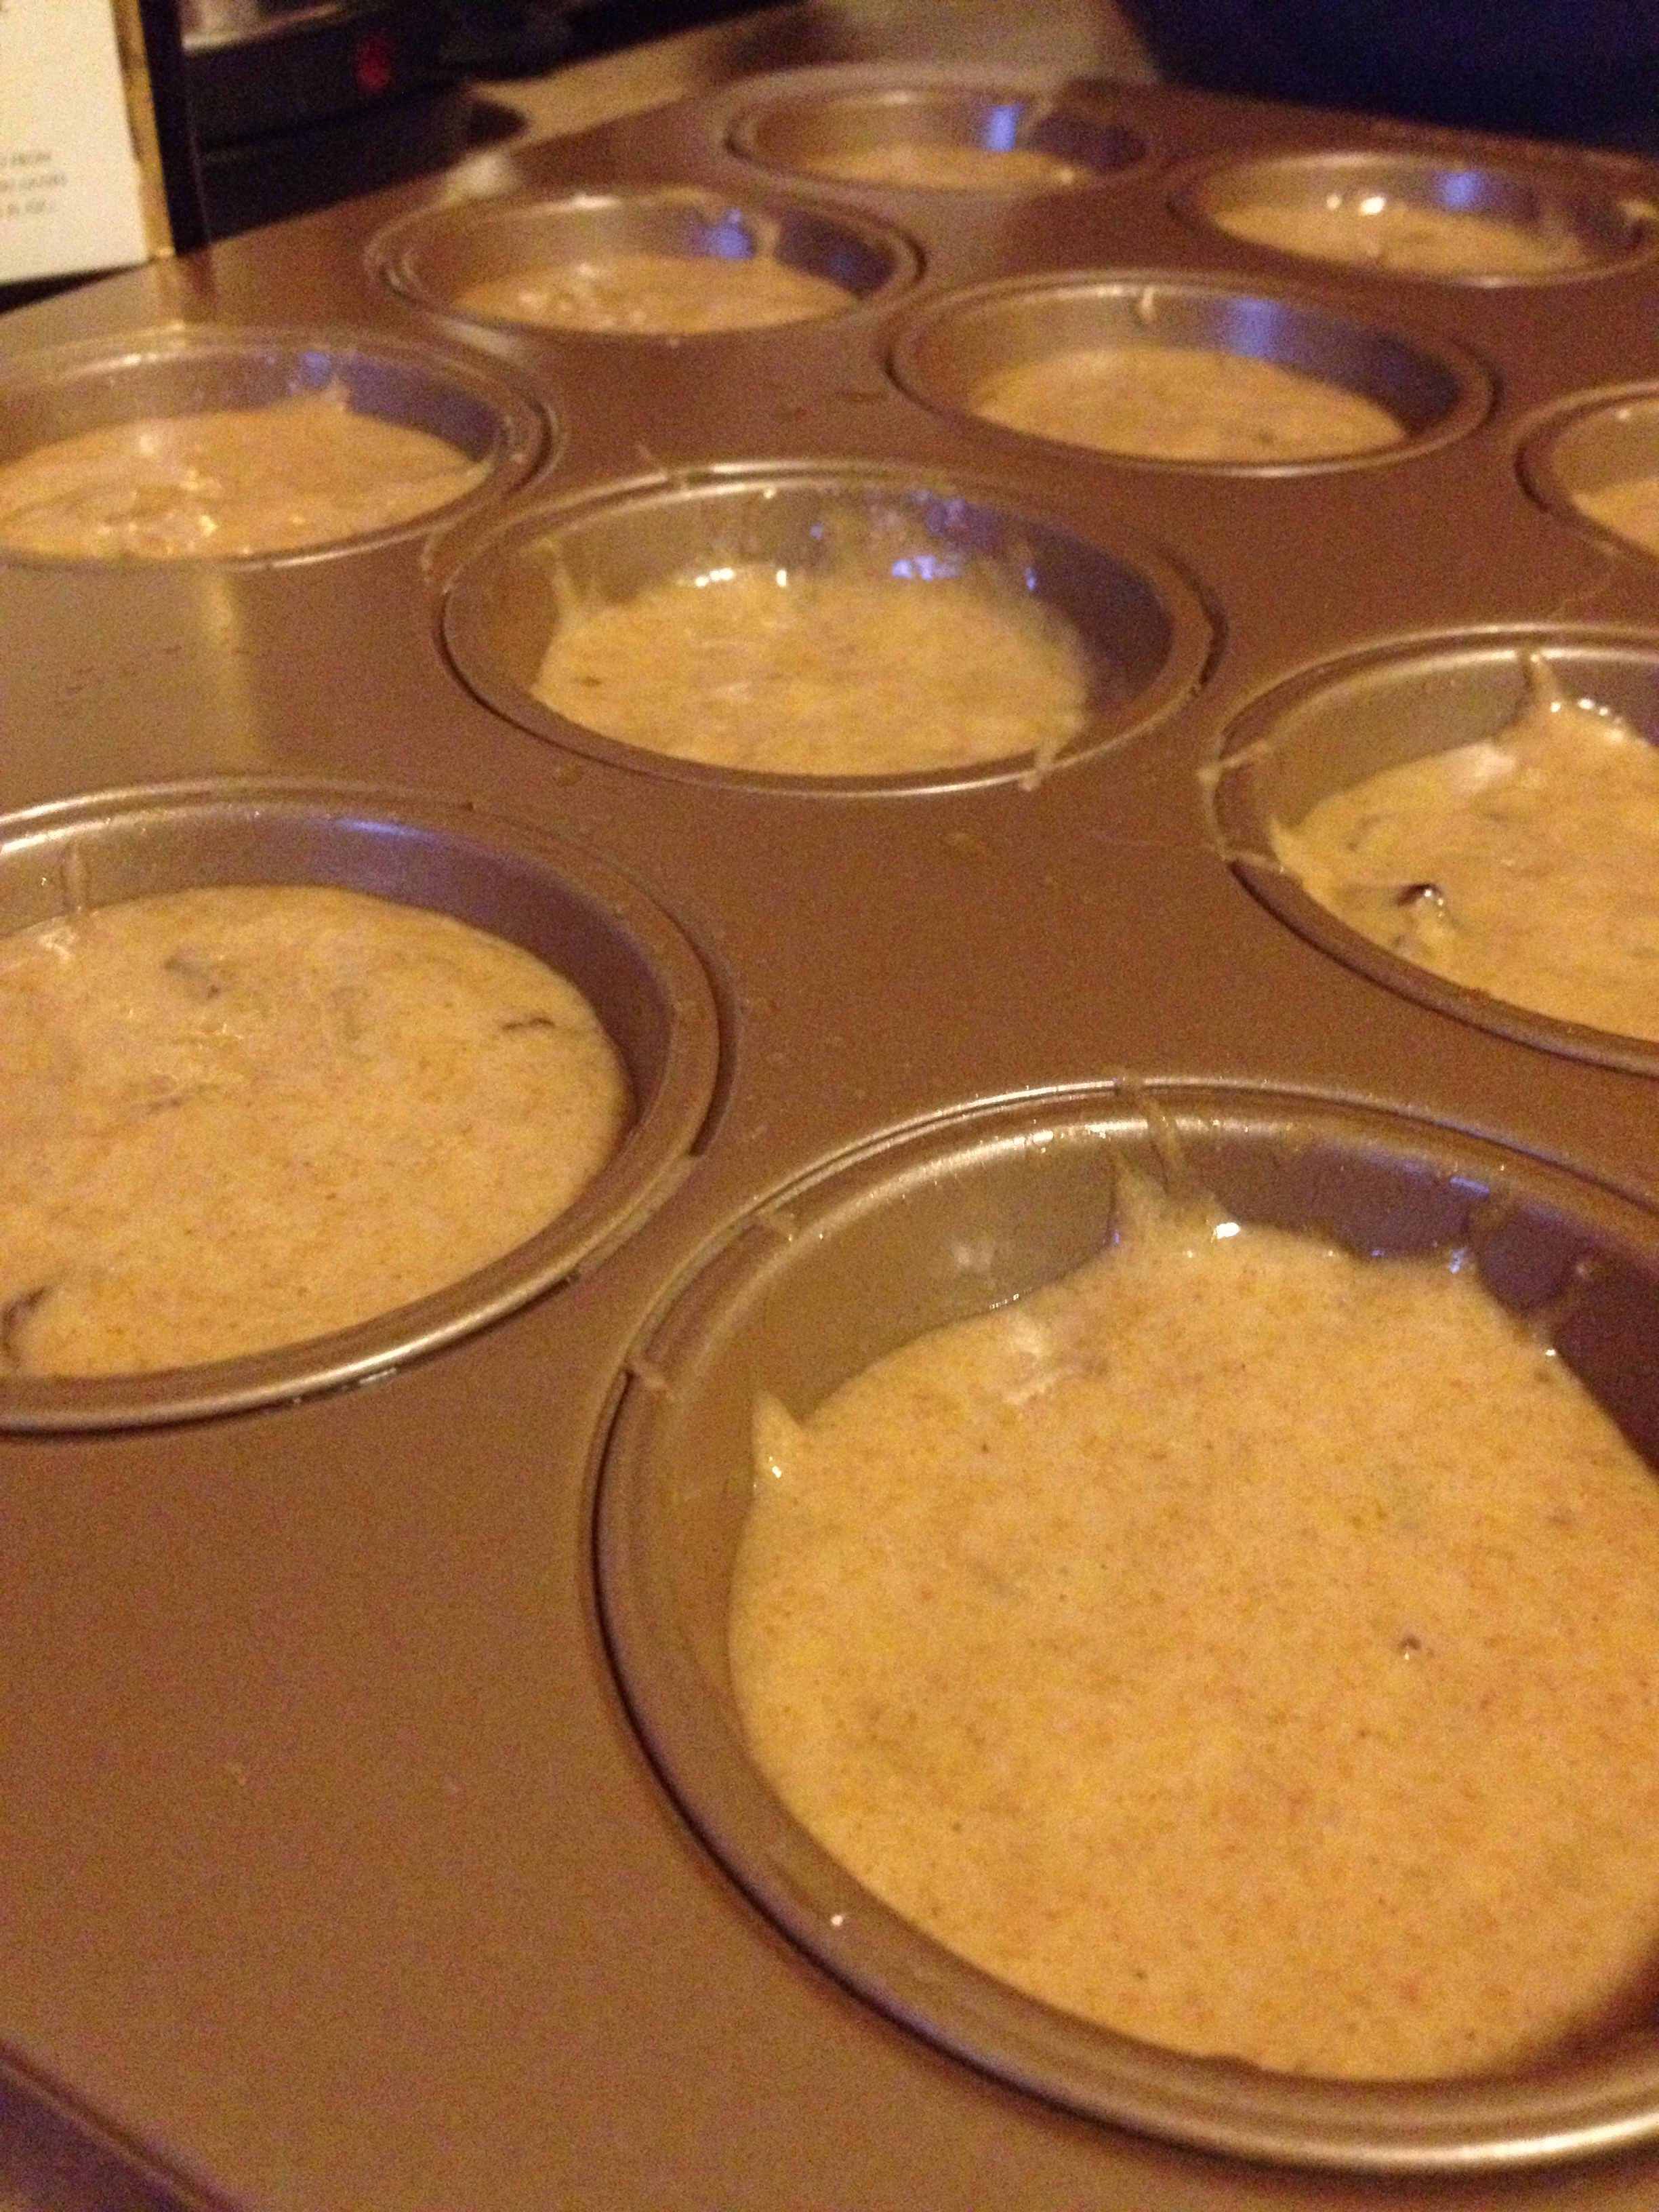
- Grease your muffin tin and pour them in. Make sure they don’t overflow, but you want them high enough so they puff over the top when baked.
- Top each muffin with the quarter slivers of dates we cut ahead of time as a garnish!
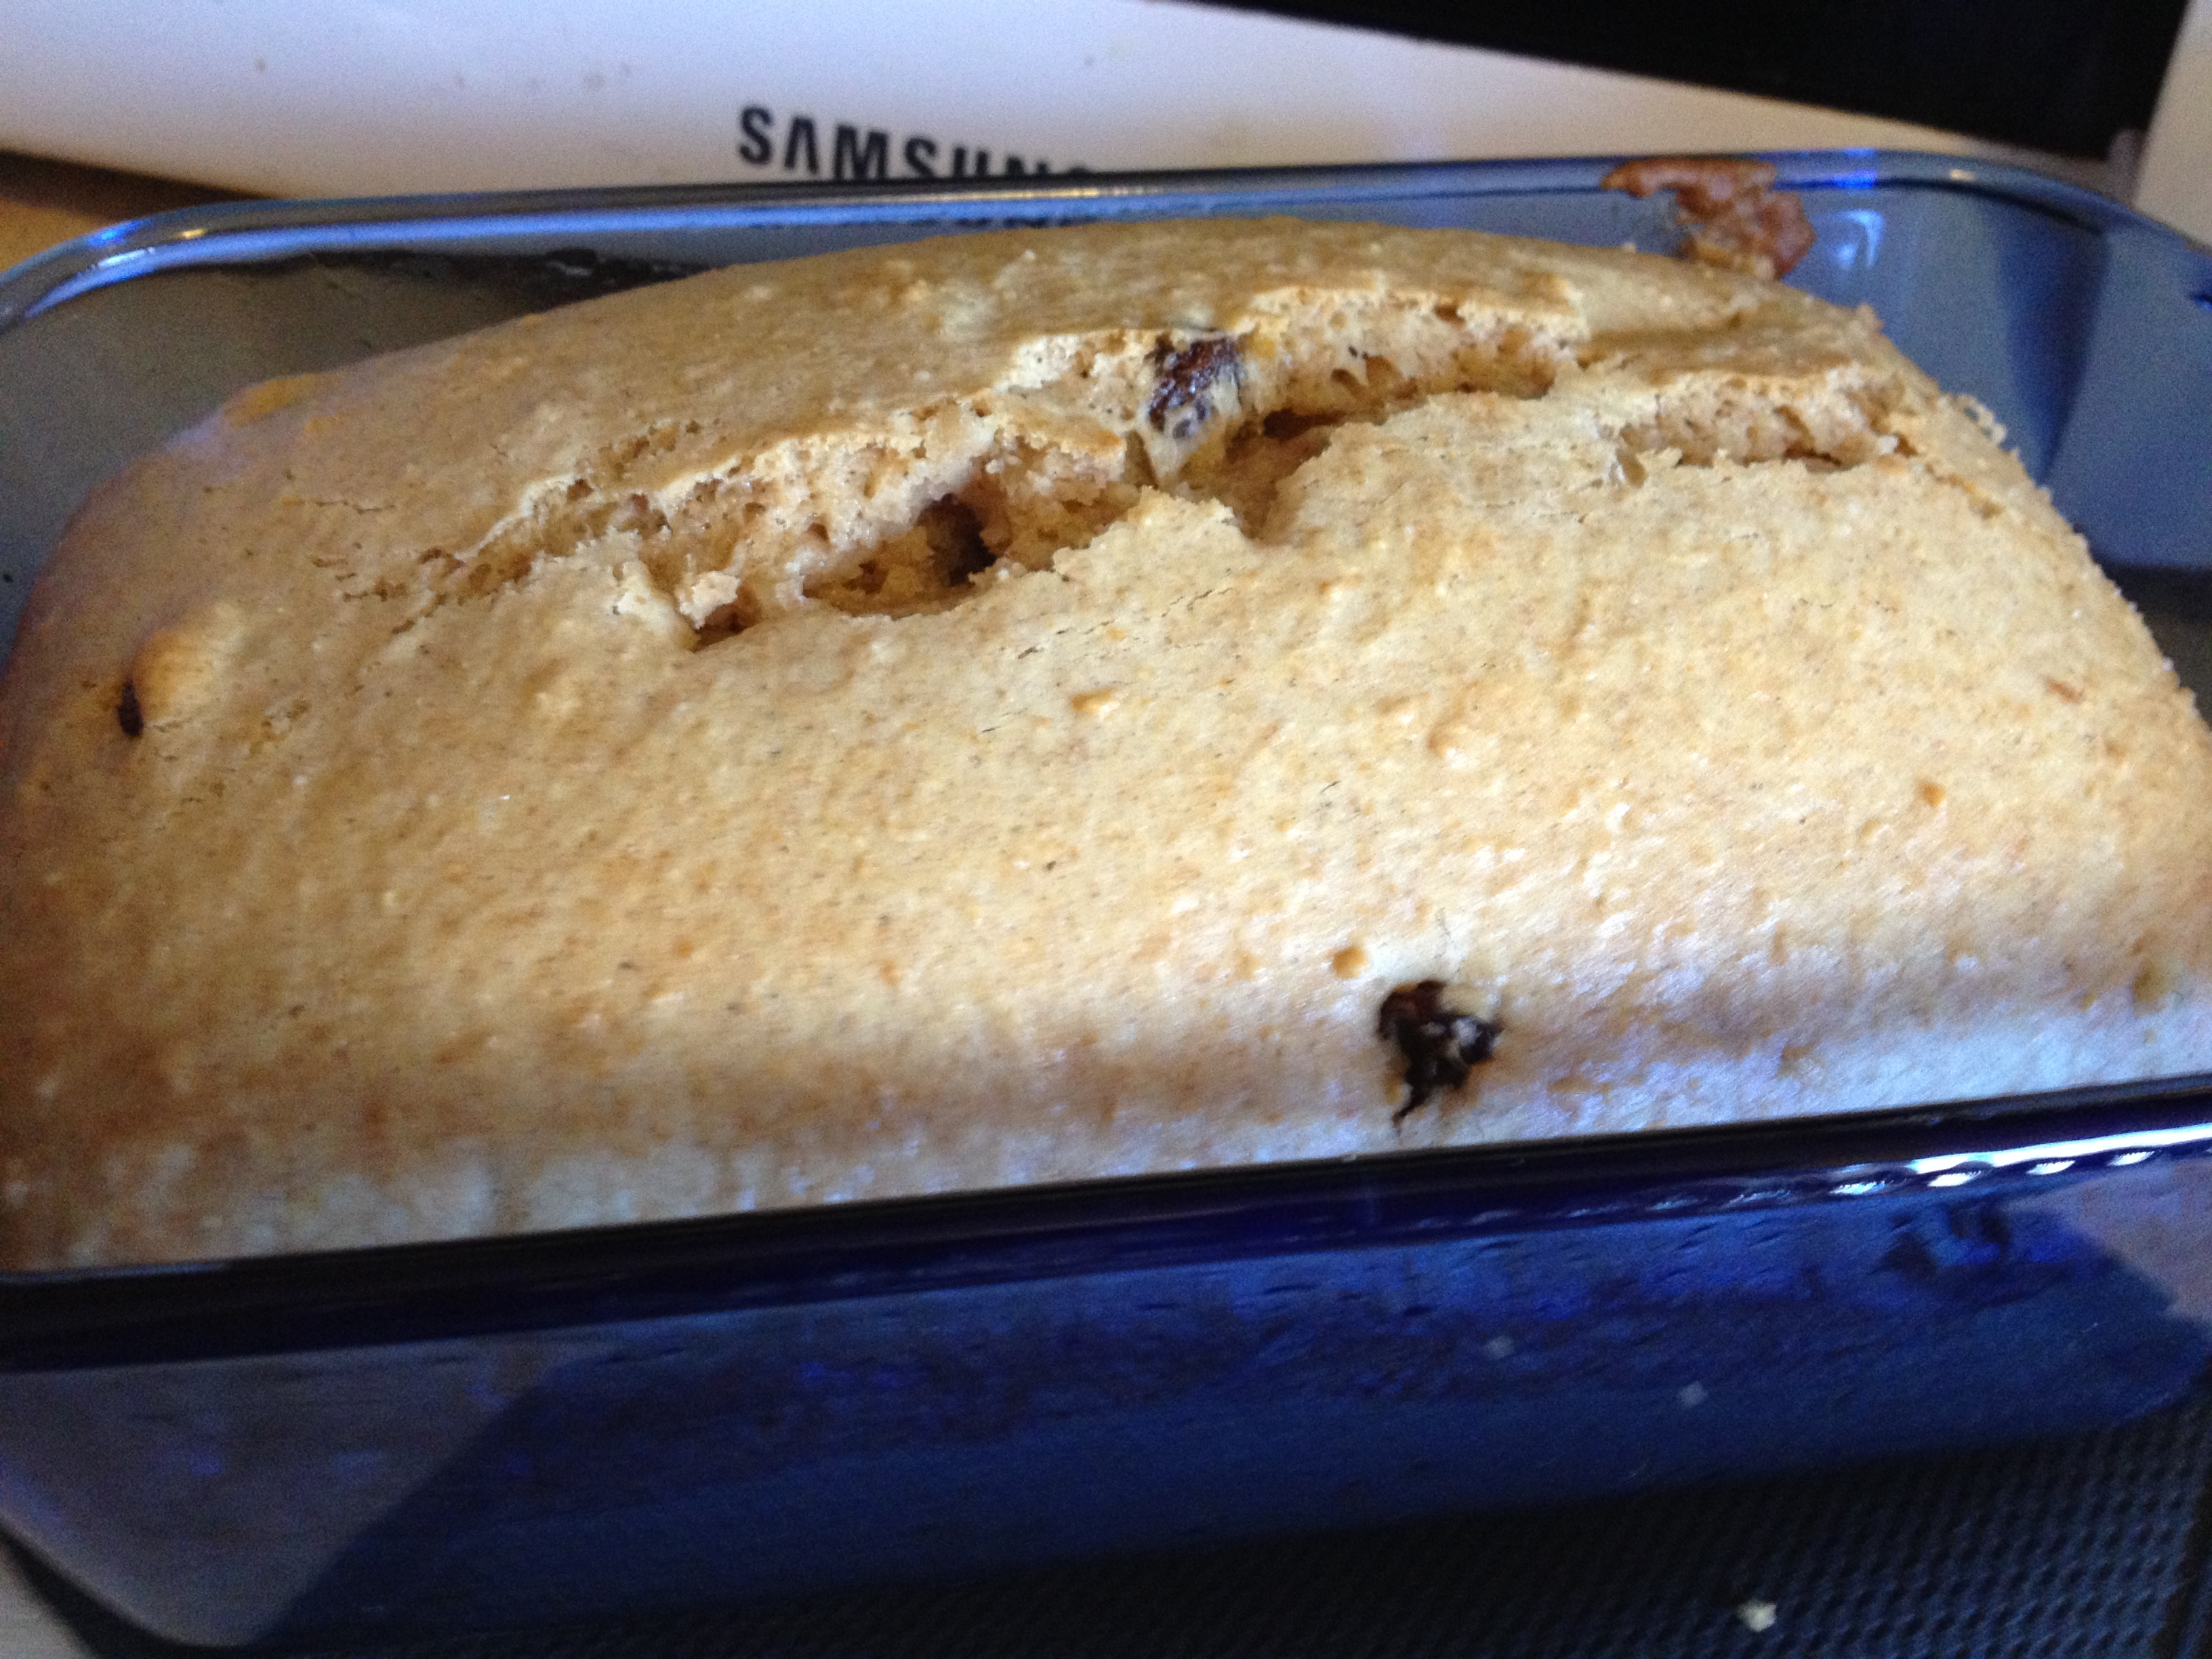
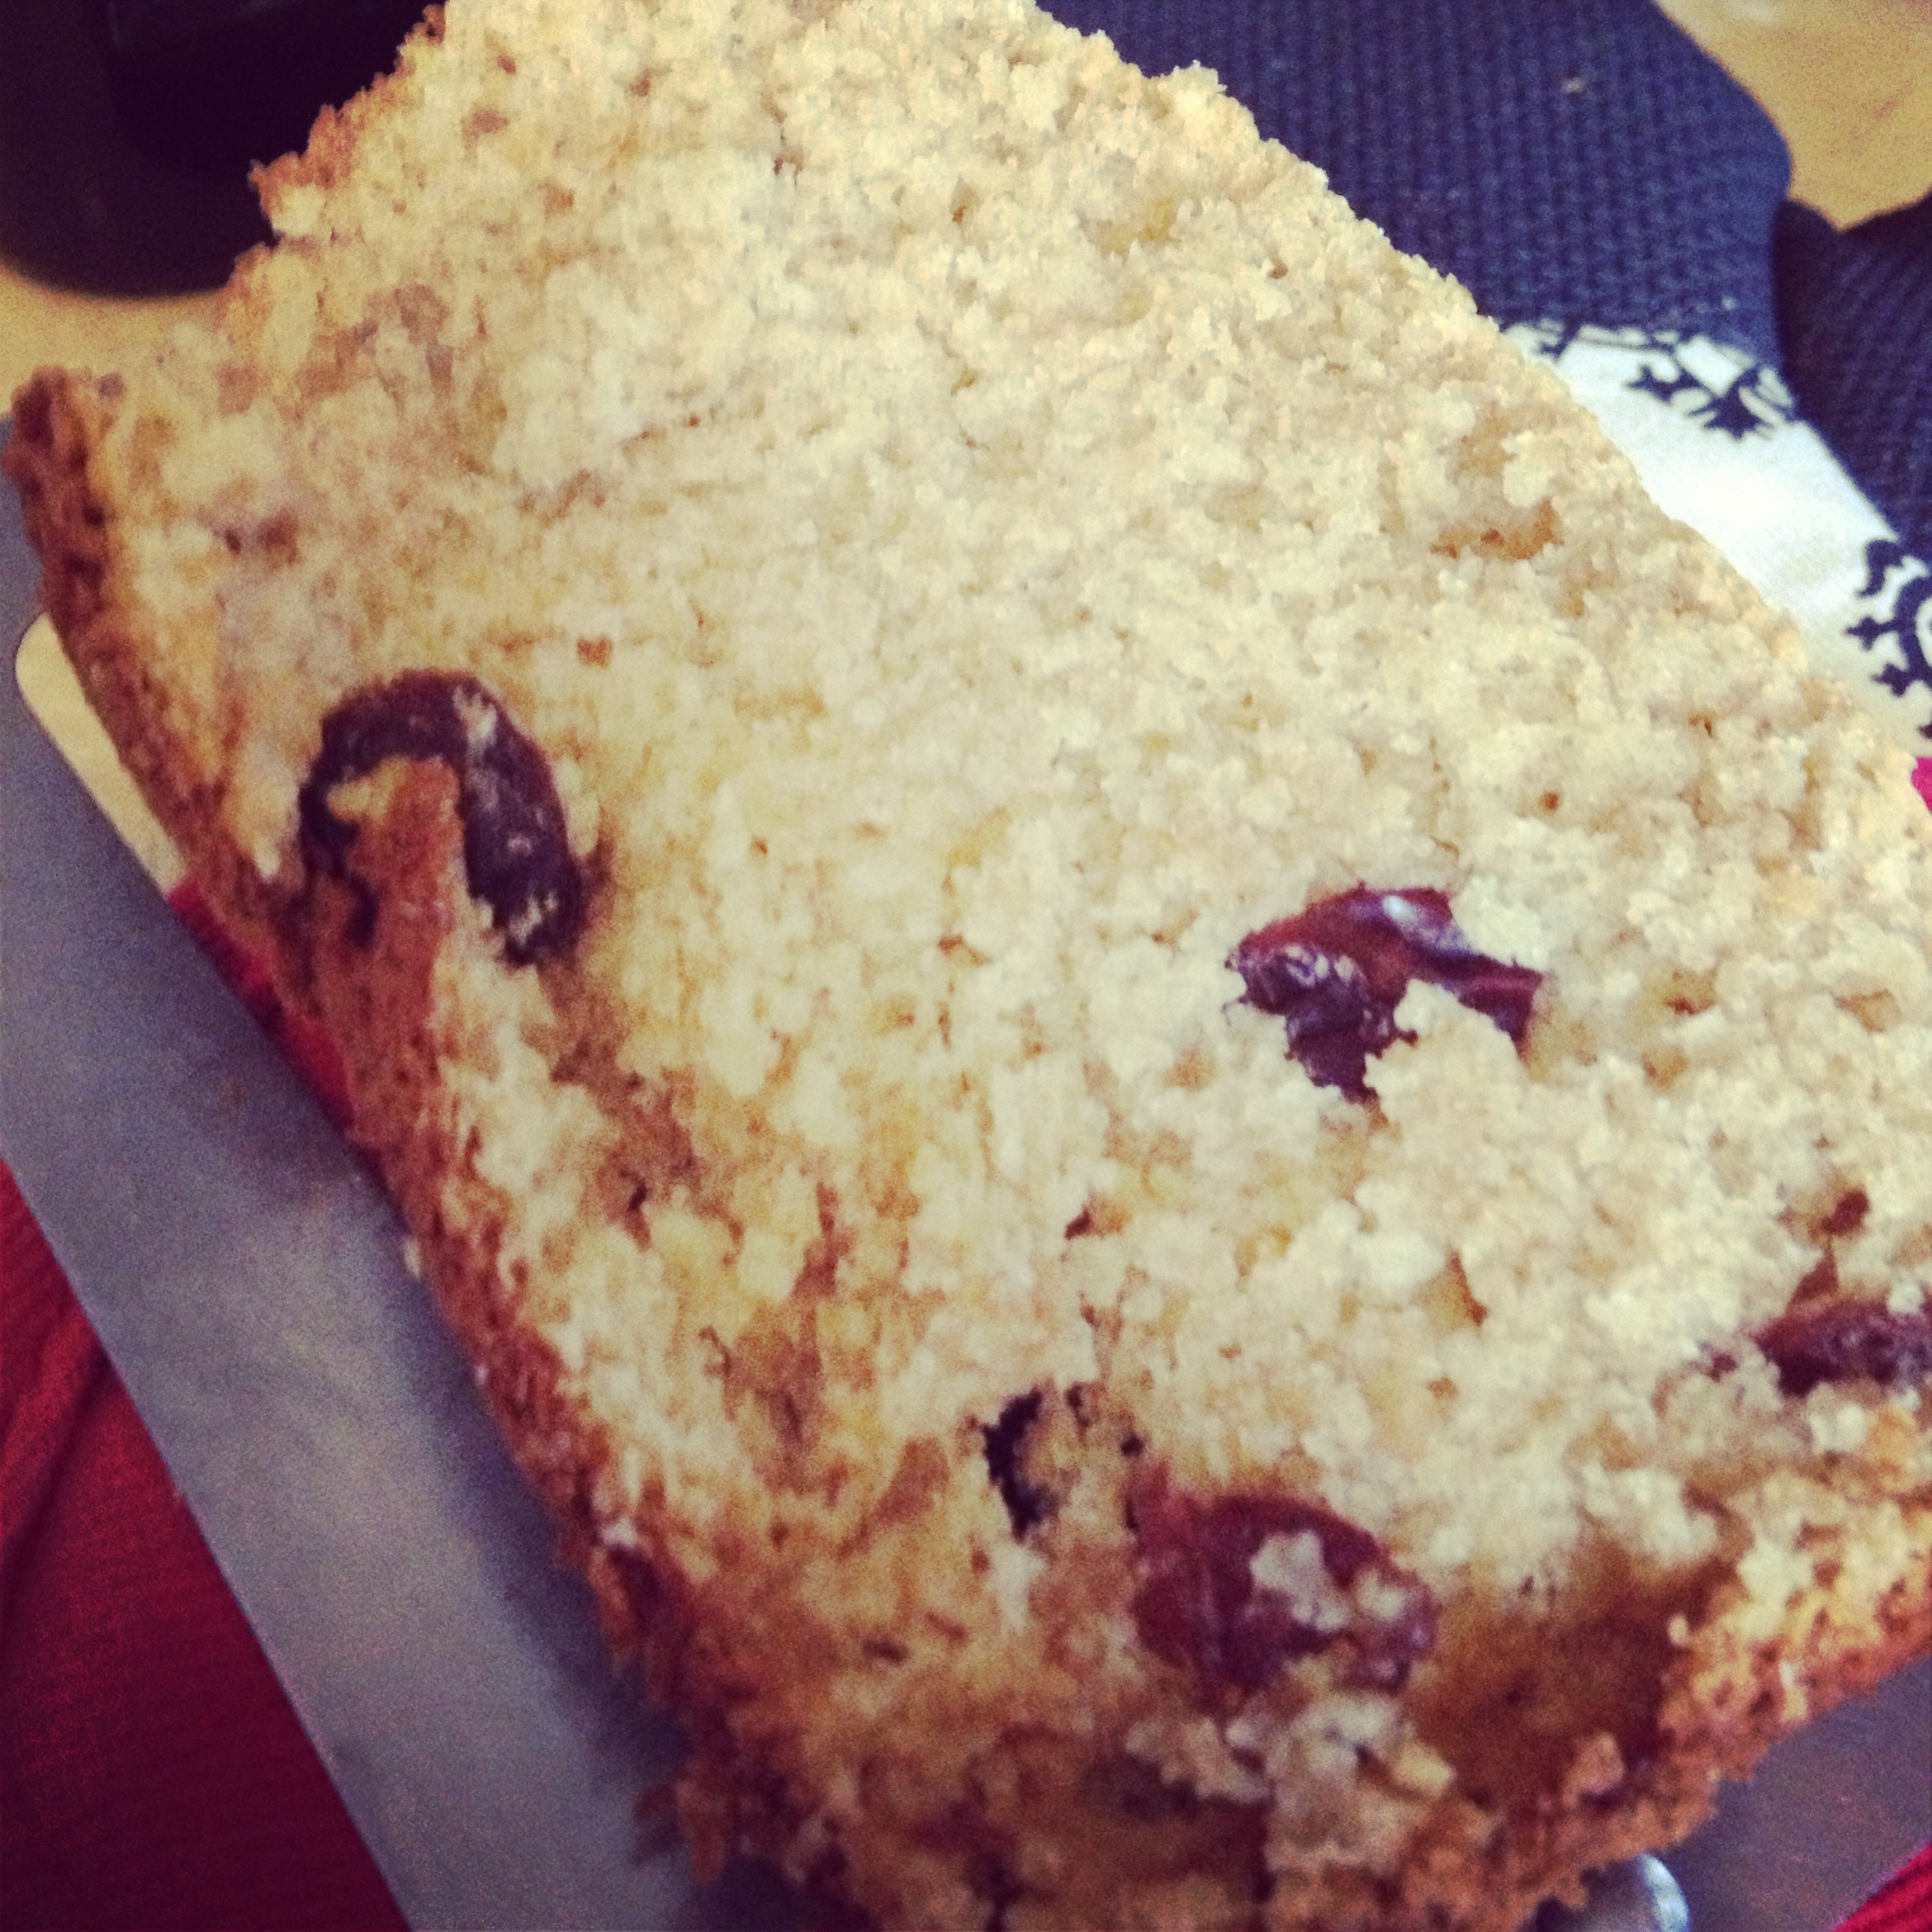
- Bake for 15-20 minutes. Mine took about 17 minutes

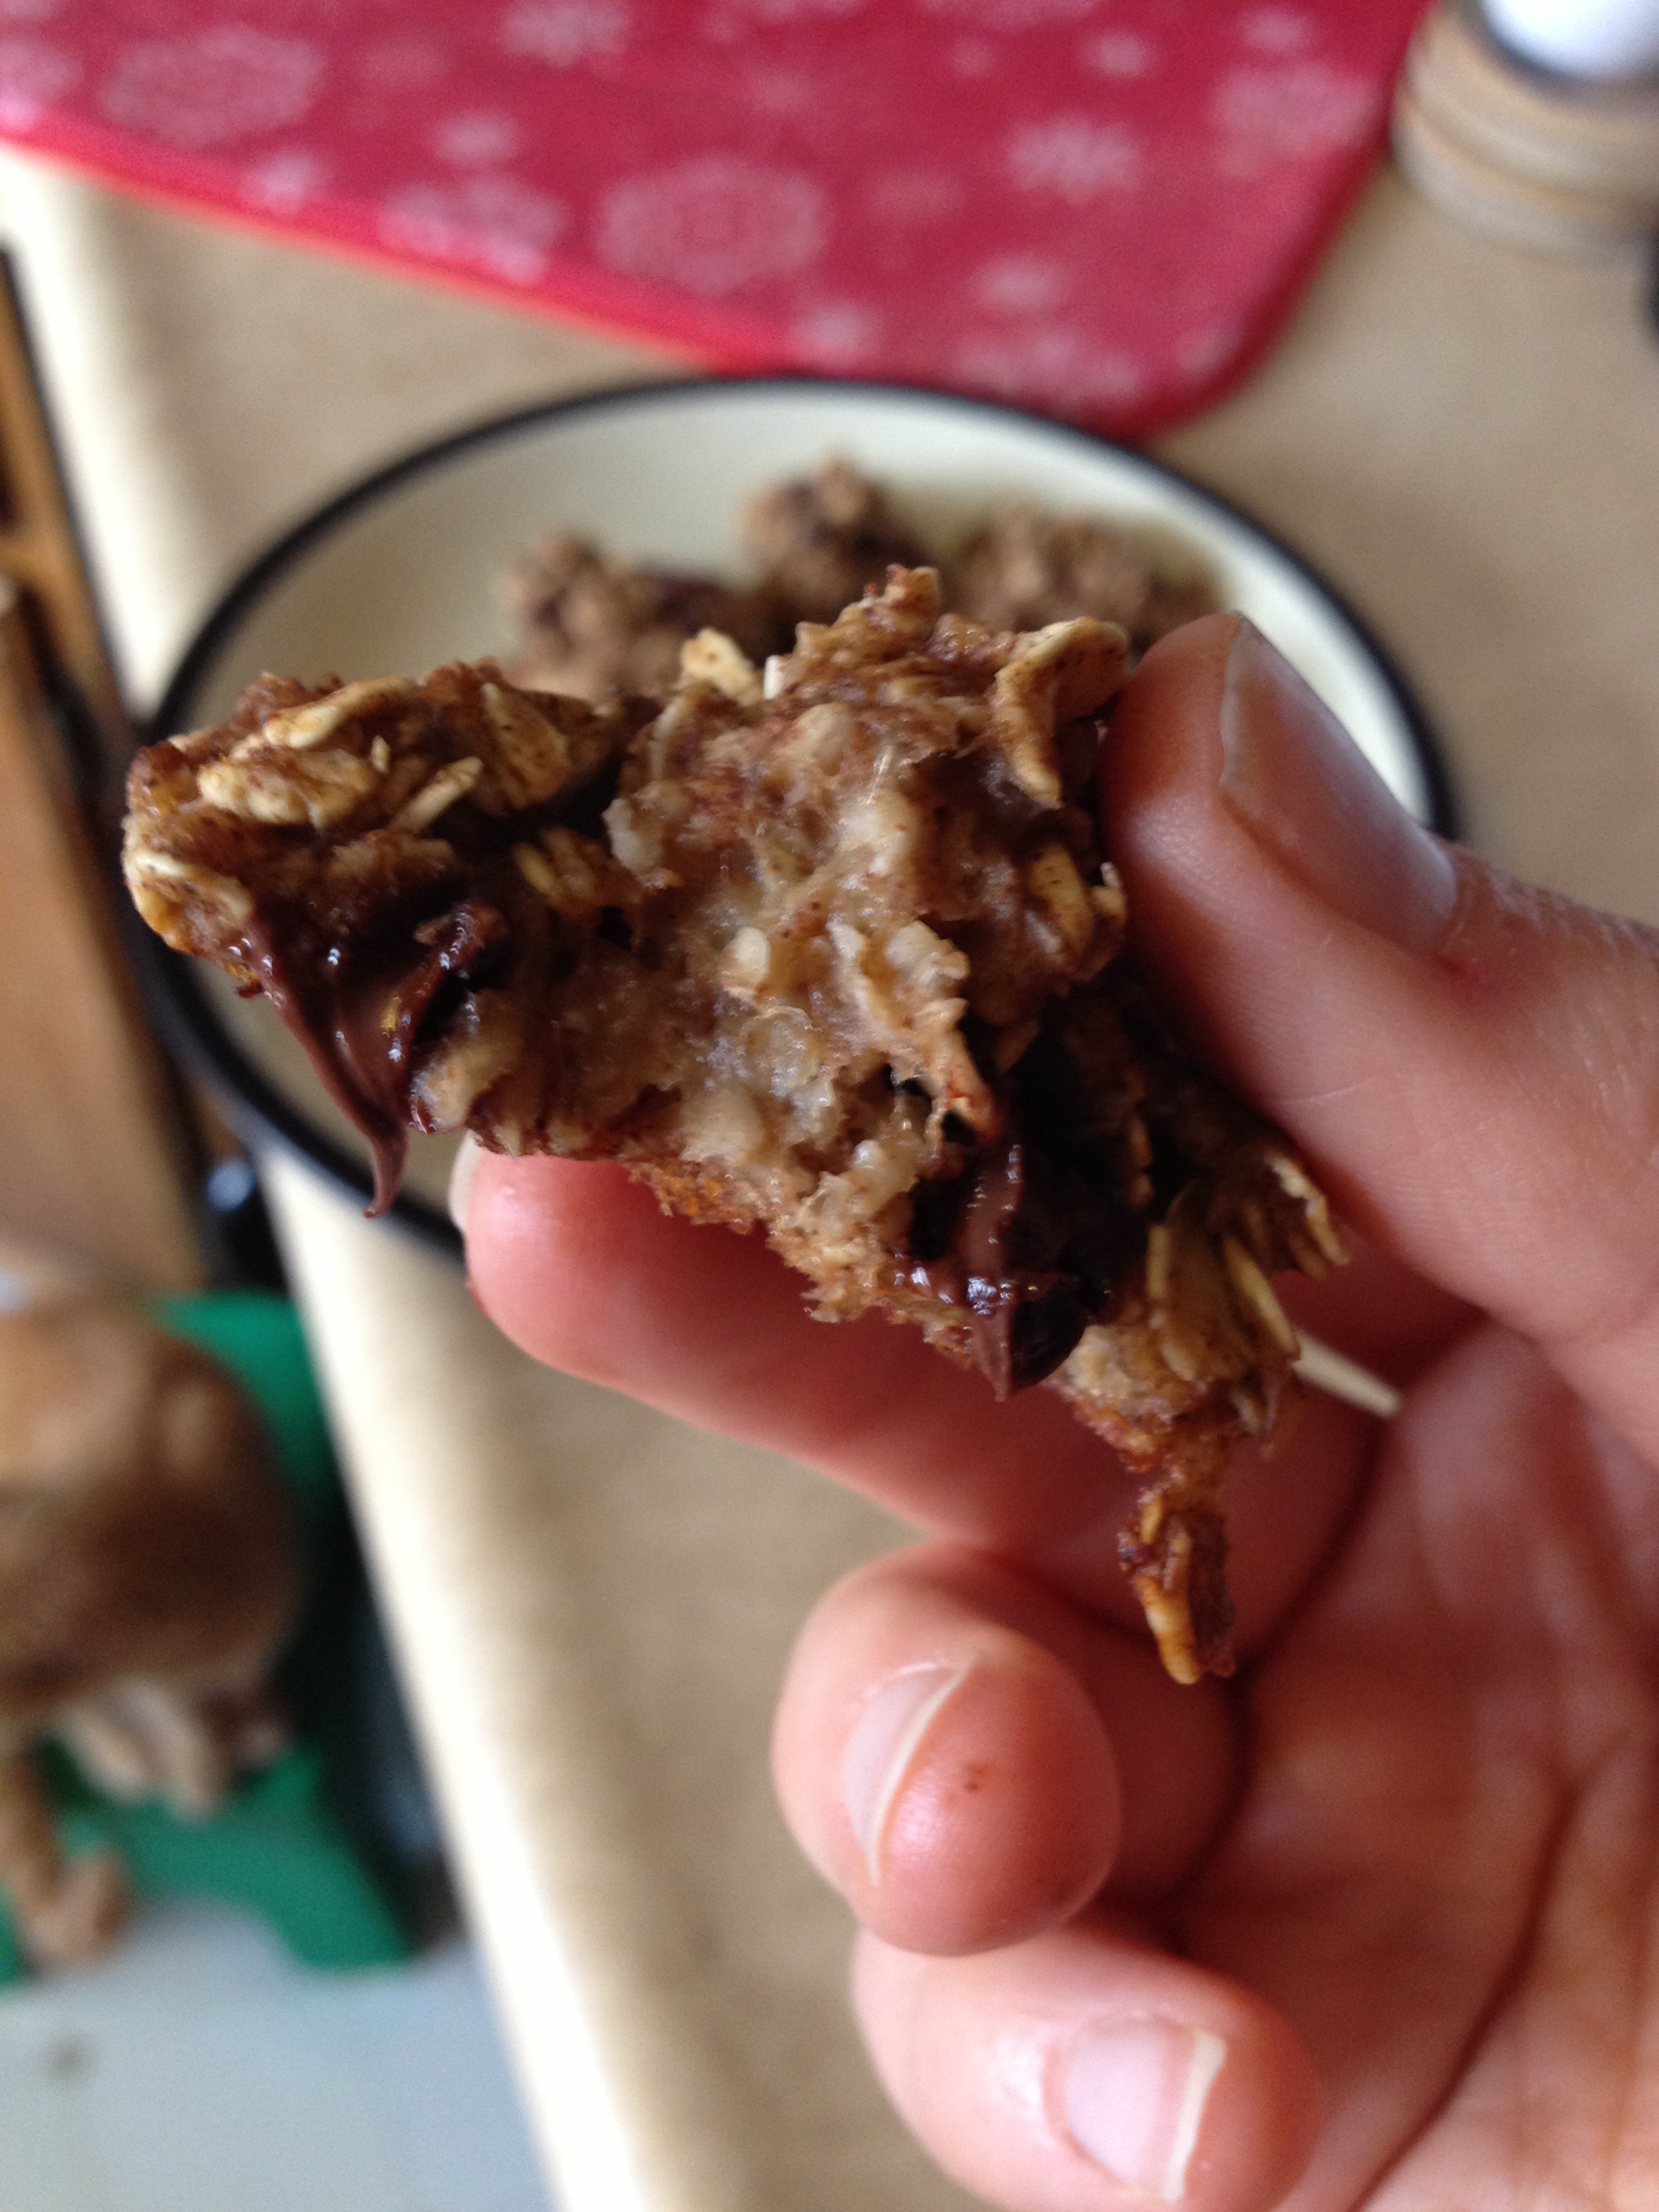
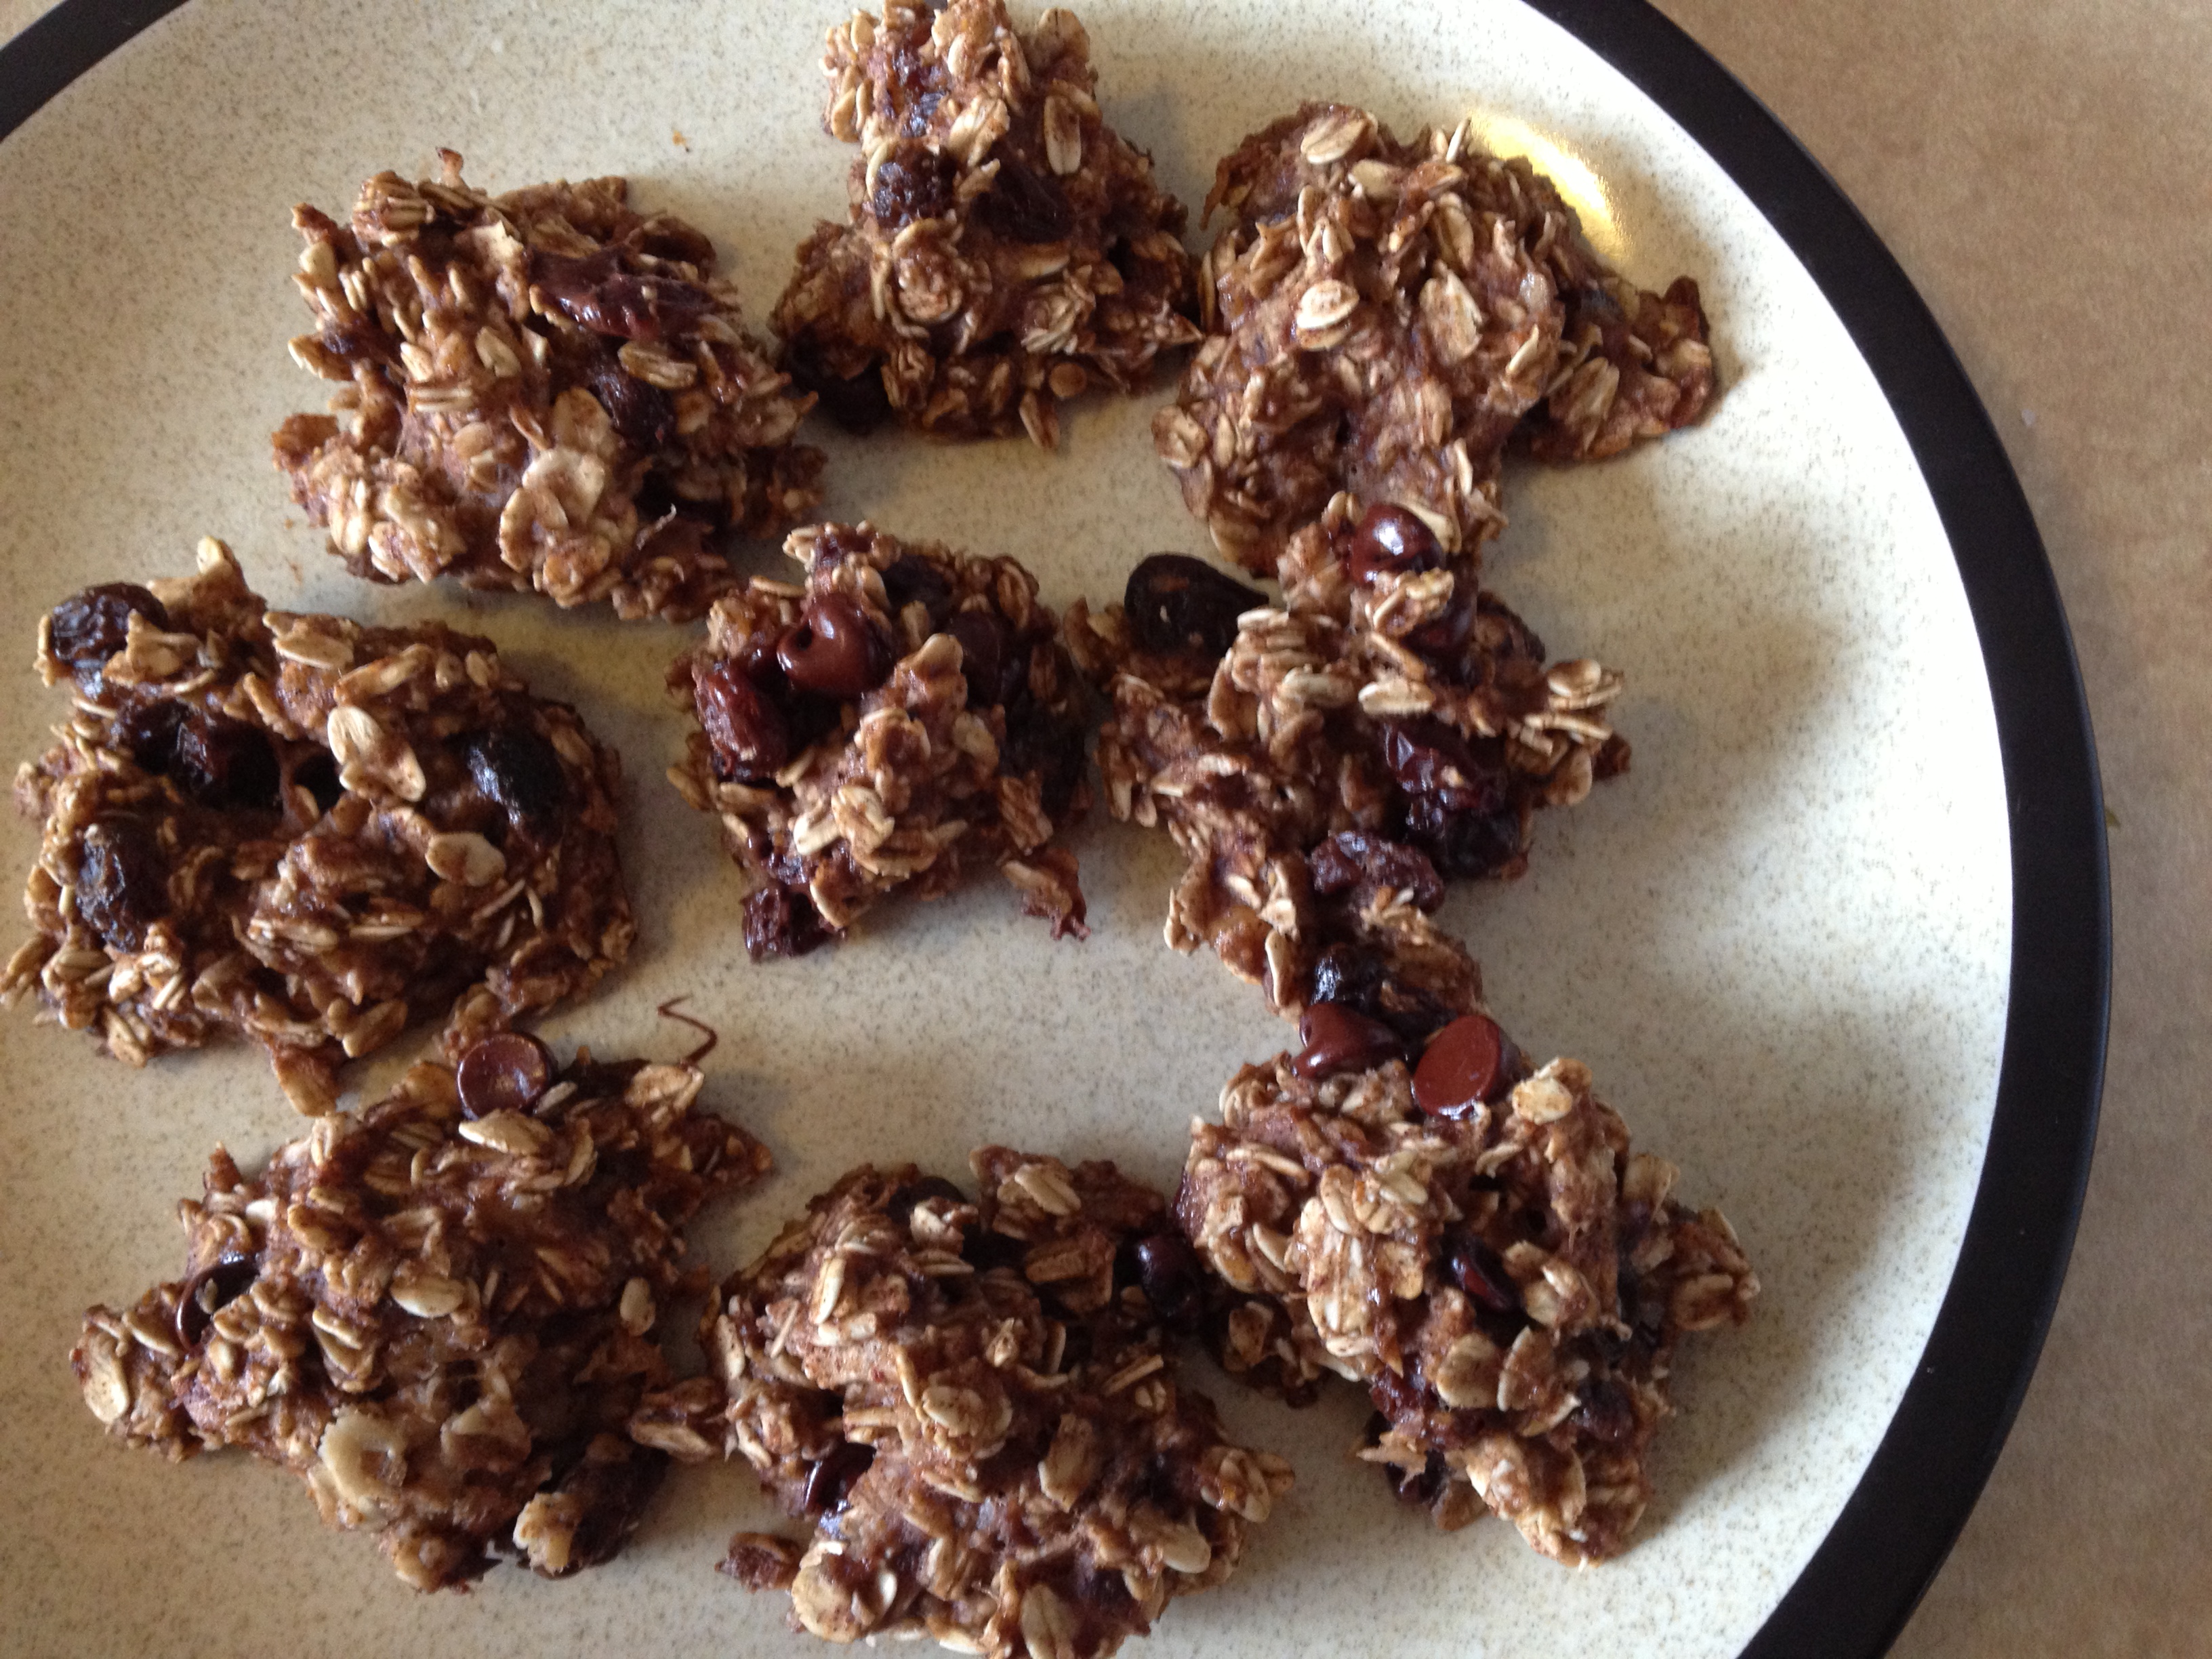
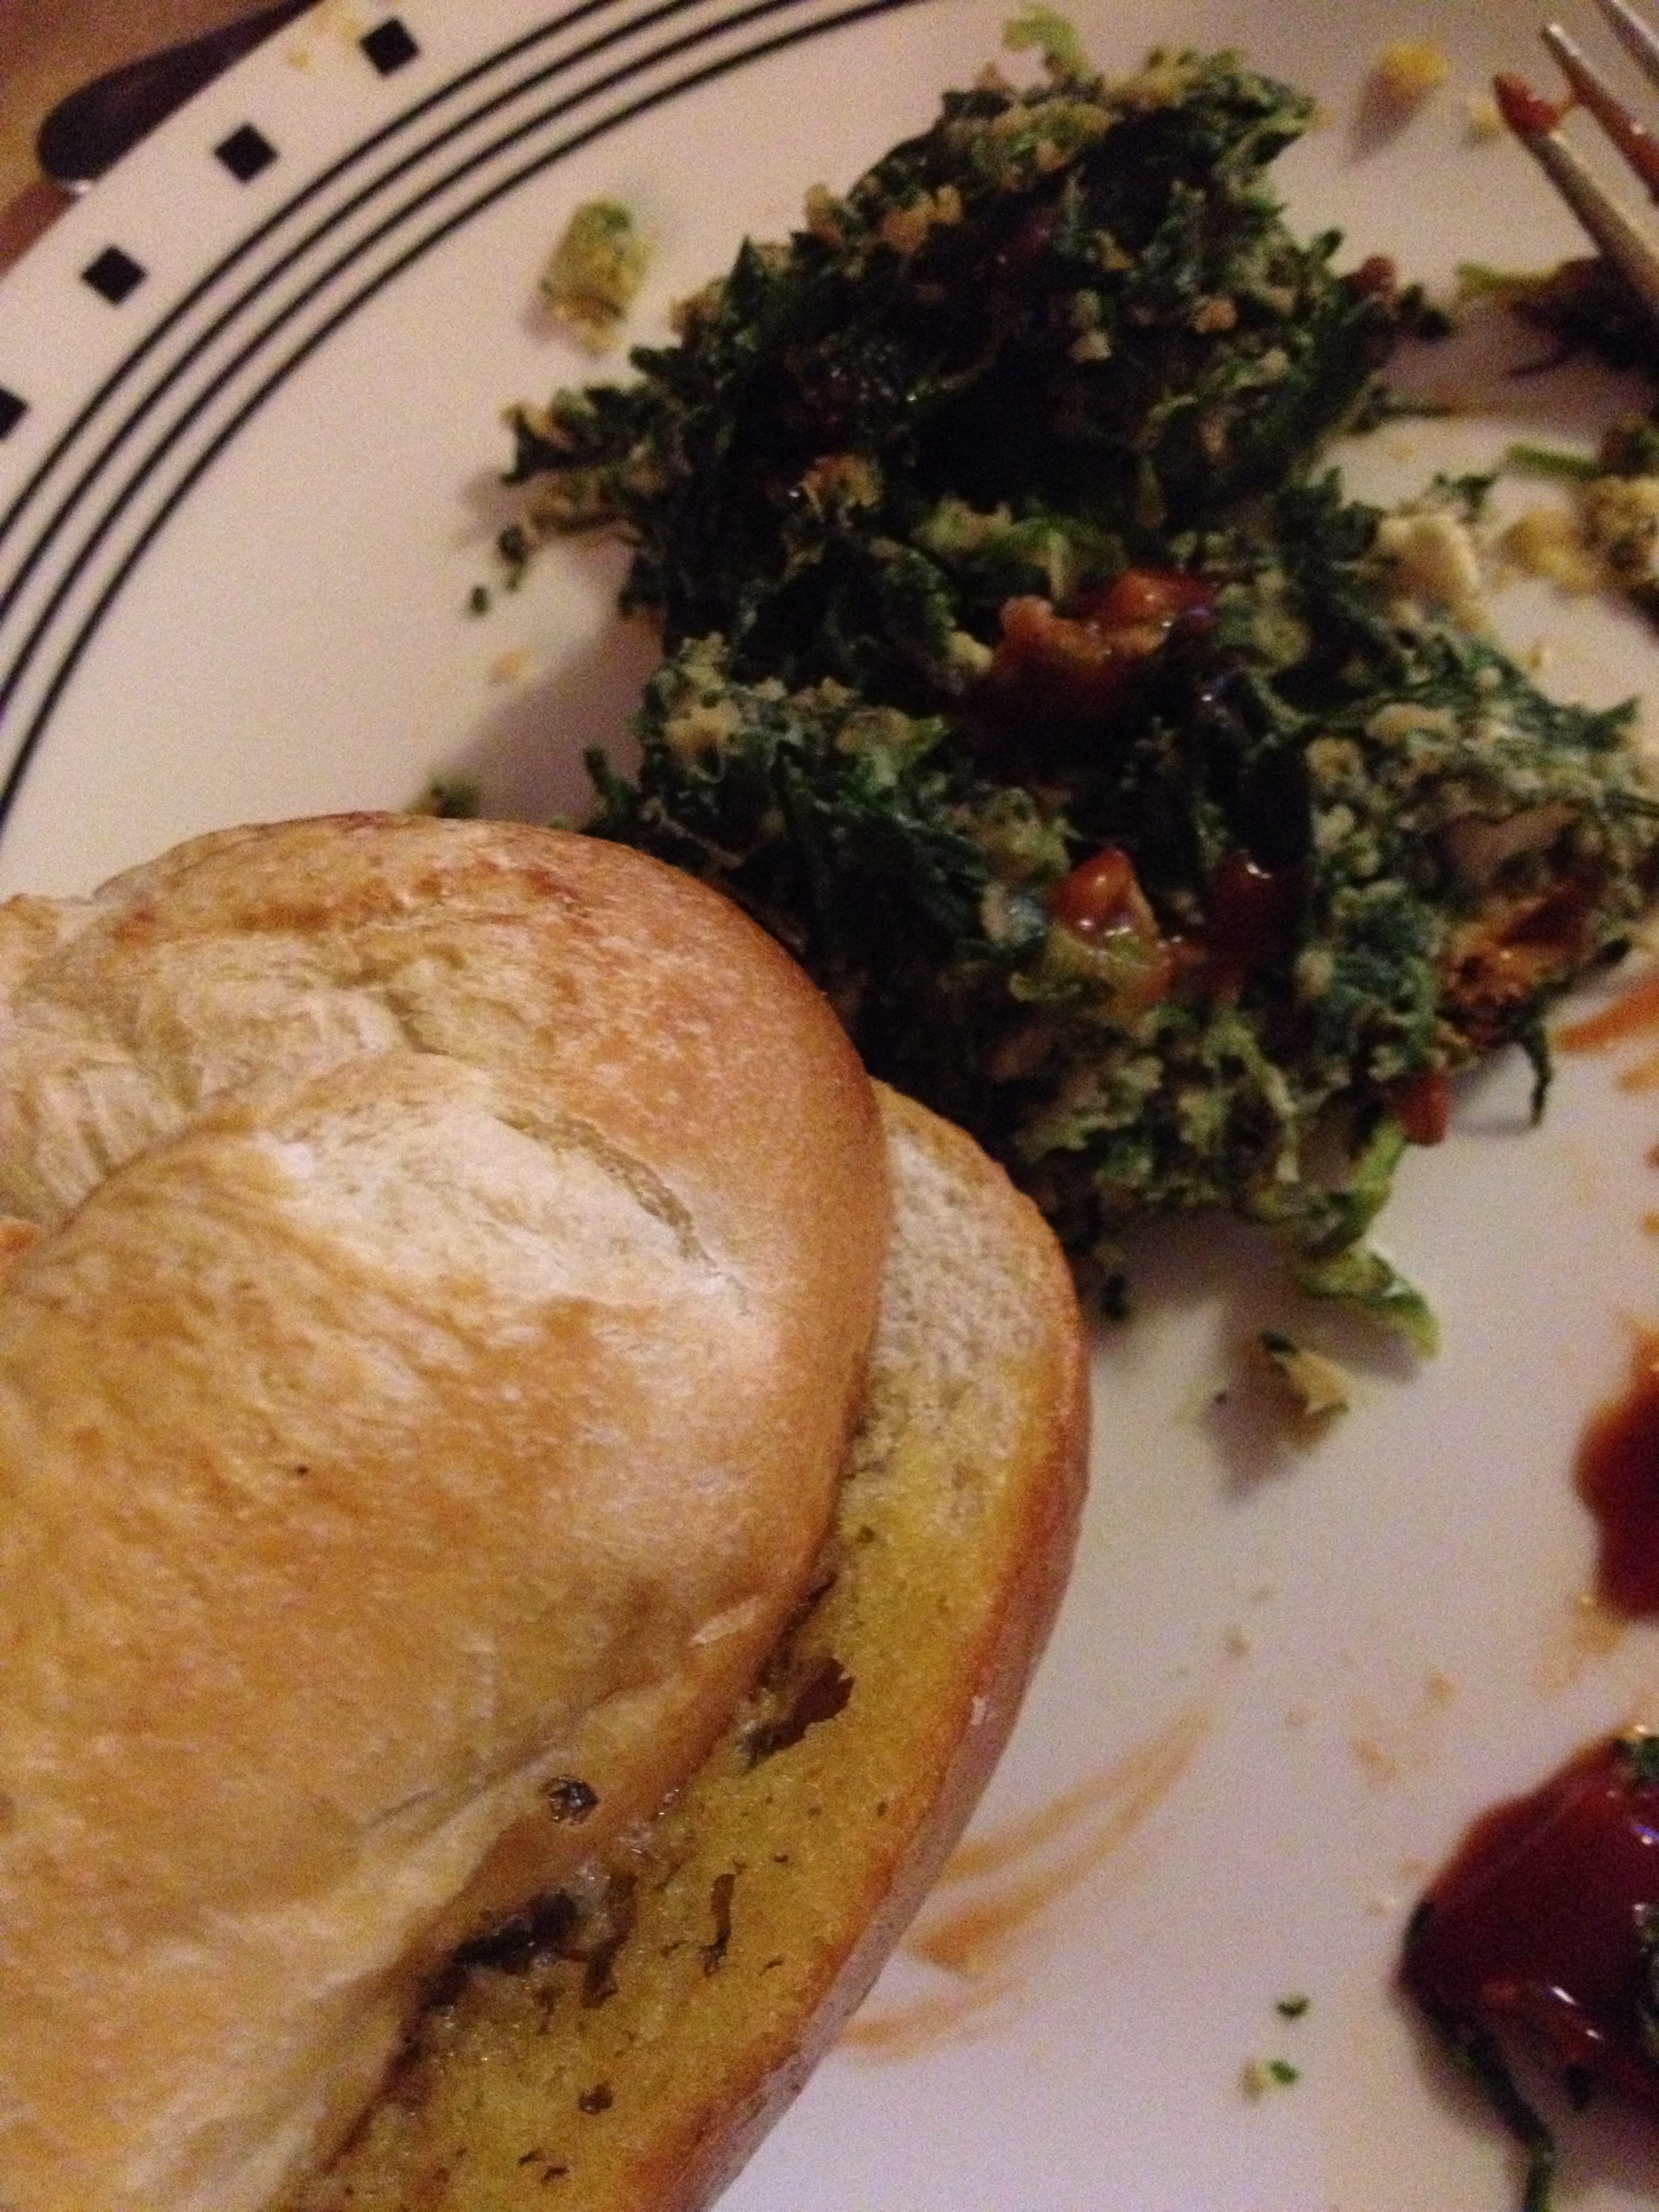
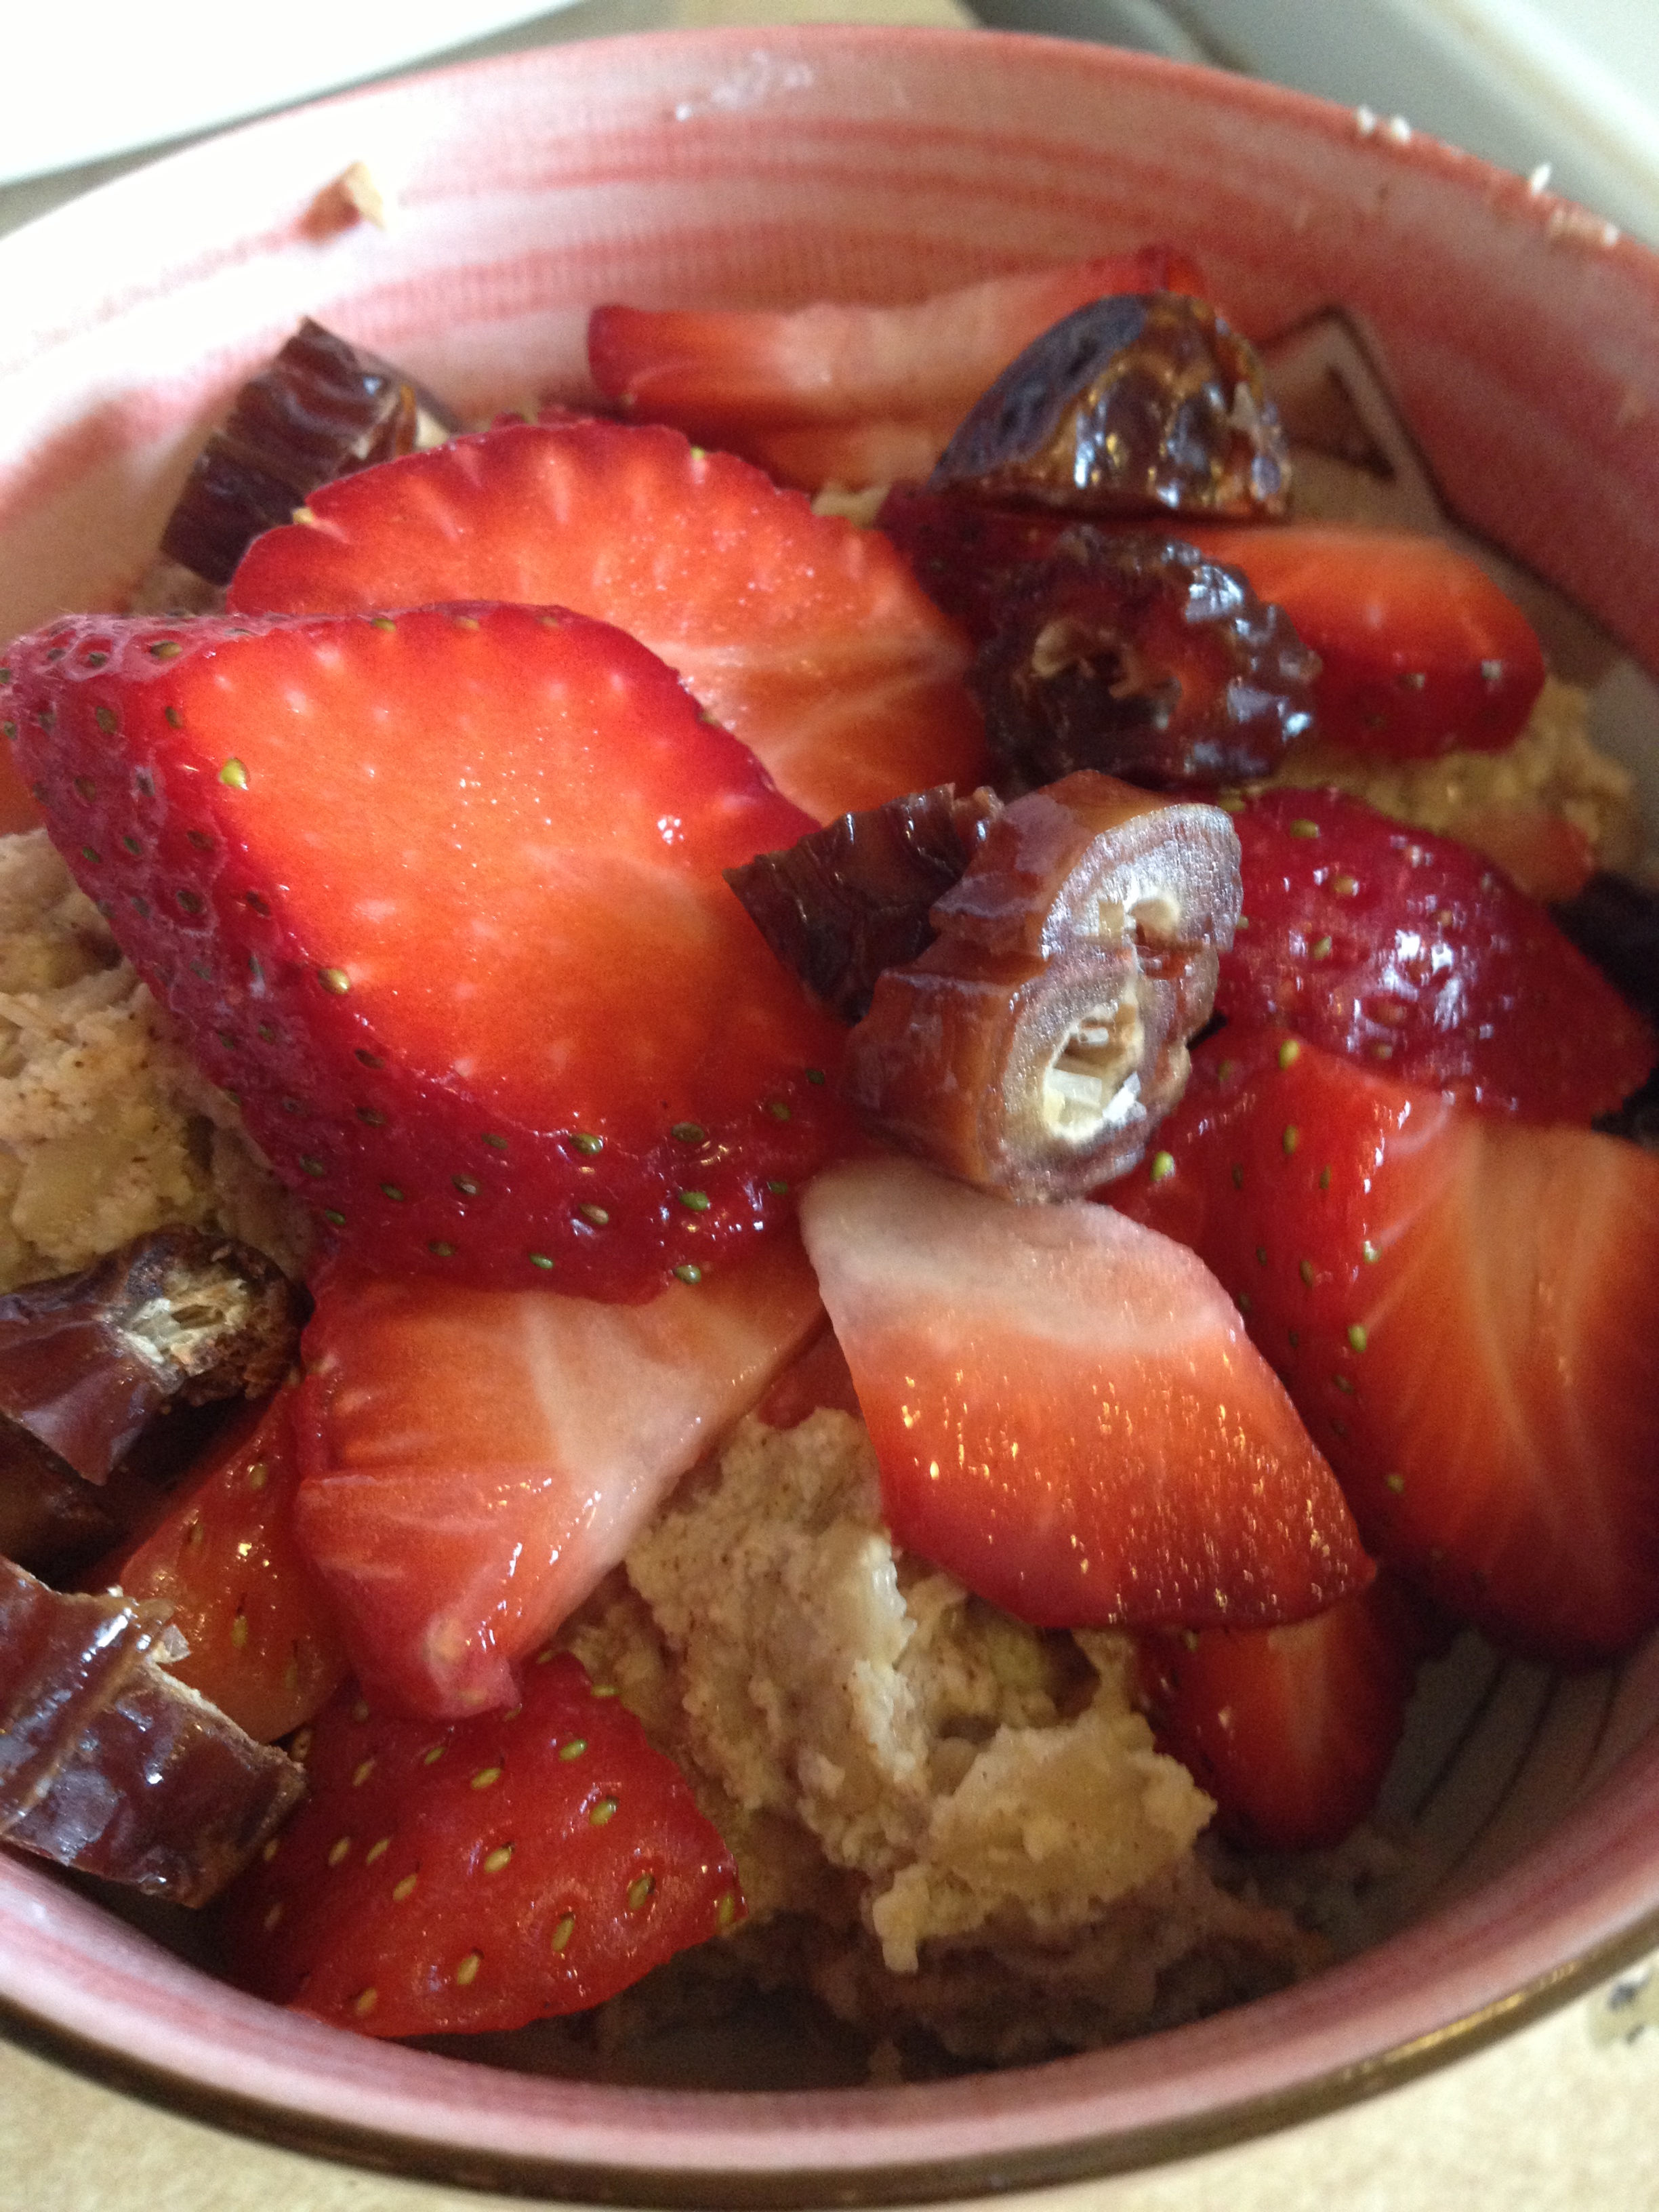
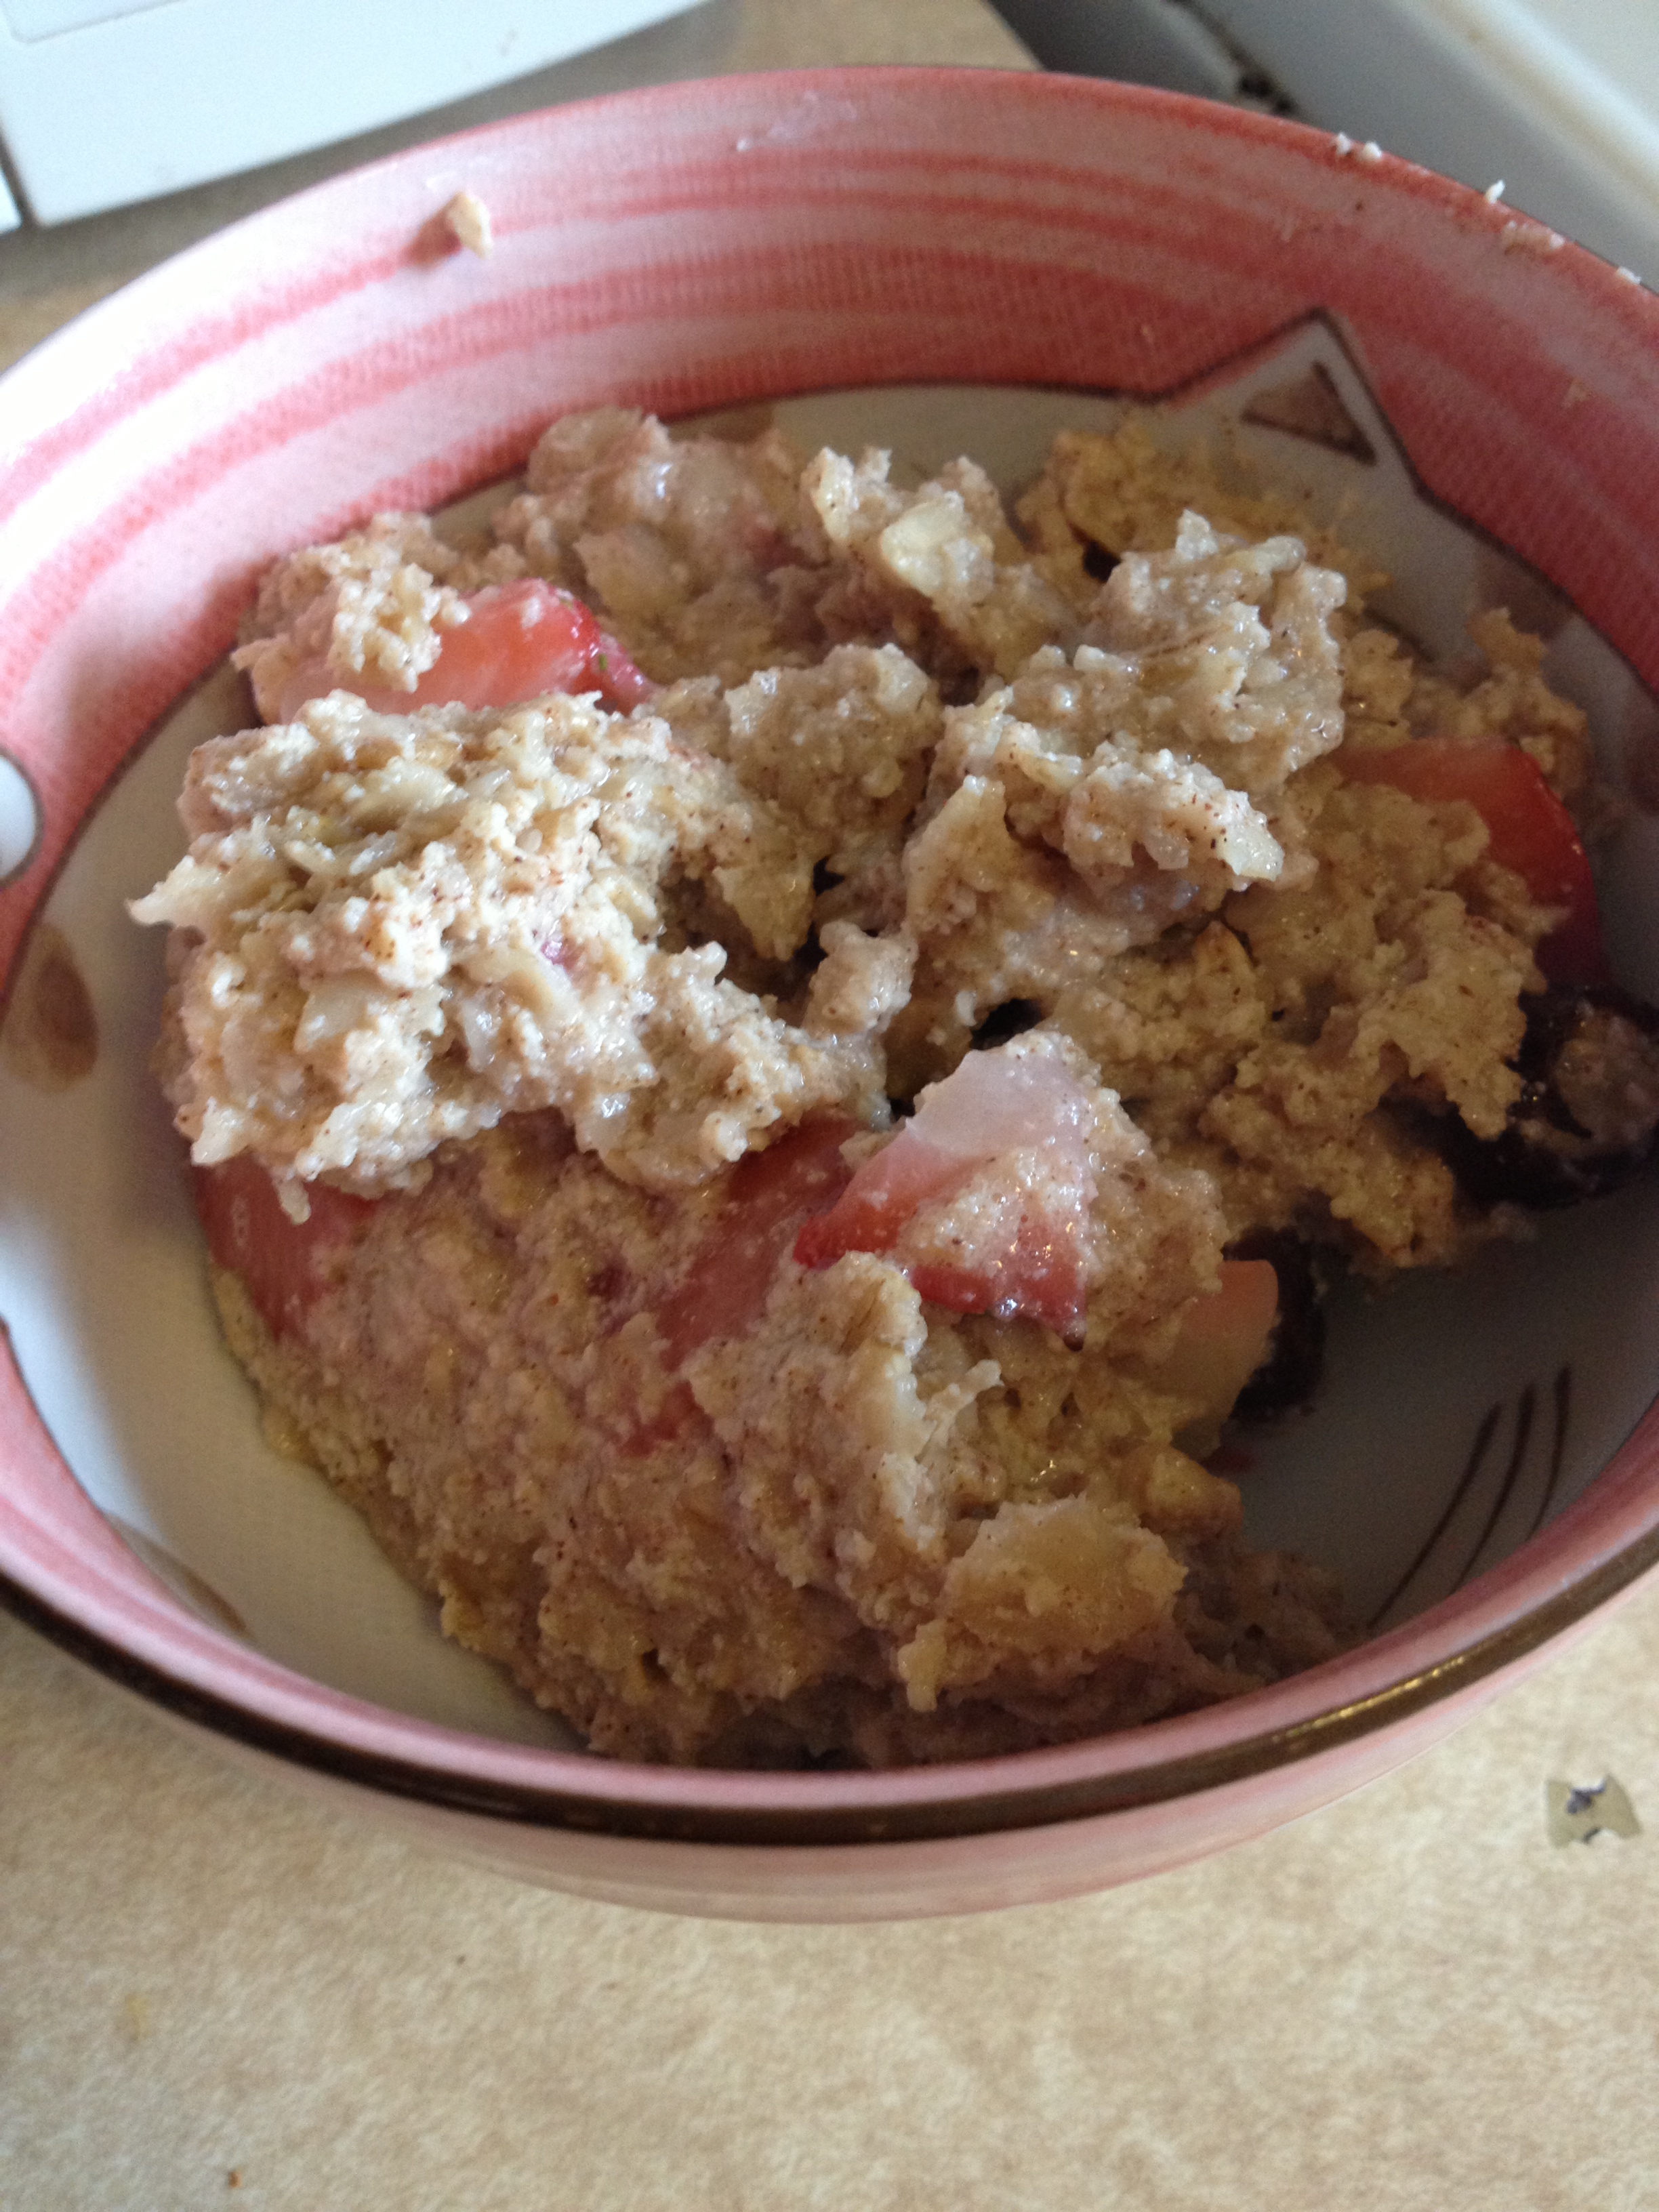
And enjoy! Oh they are SO good warm right out of the oven. And of course, before I brought them into work, I had to taste test them. And…I approve! Another fail-proof recipe to enjoy and not feel the slightest guilt eating them.

BONUS KITTY PIC

Nymeria cuddling Chris