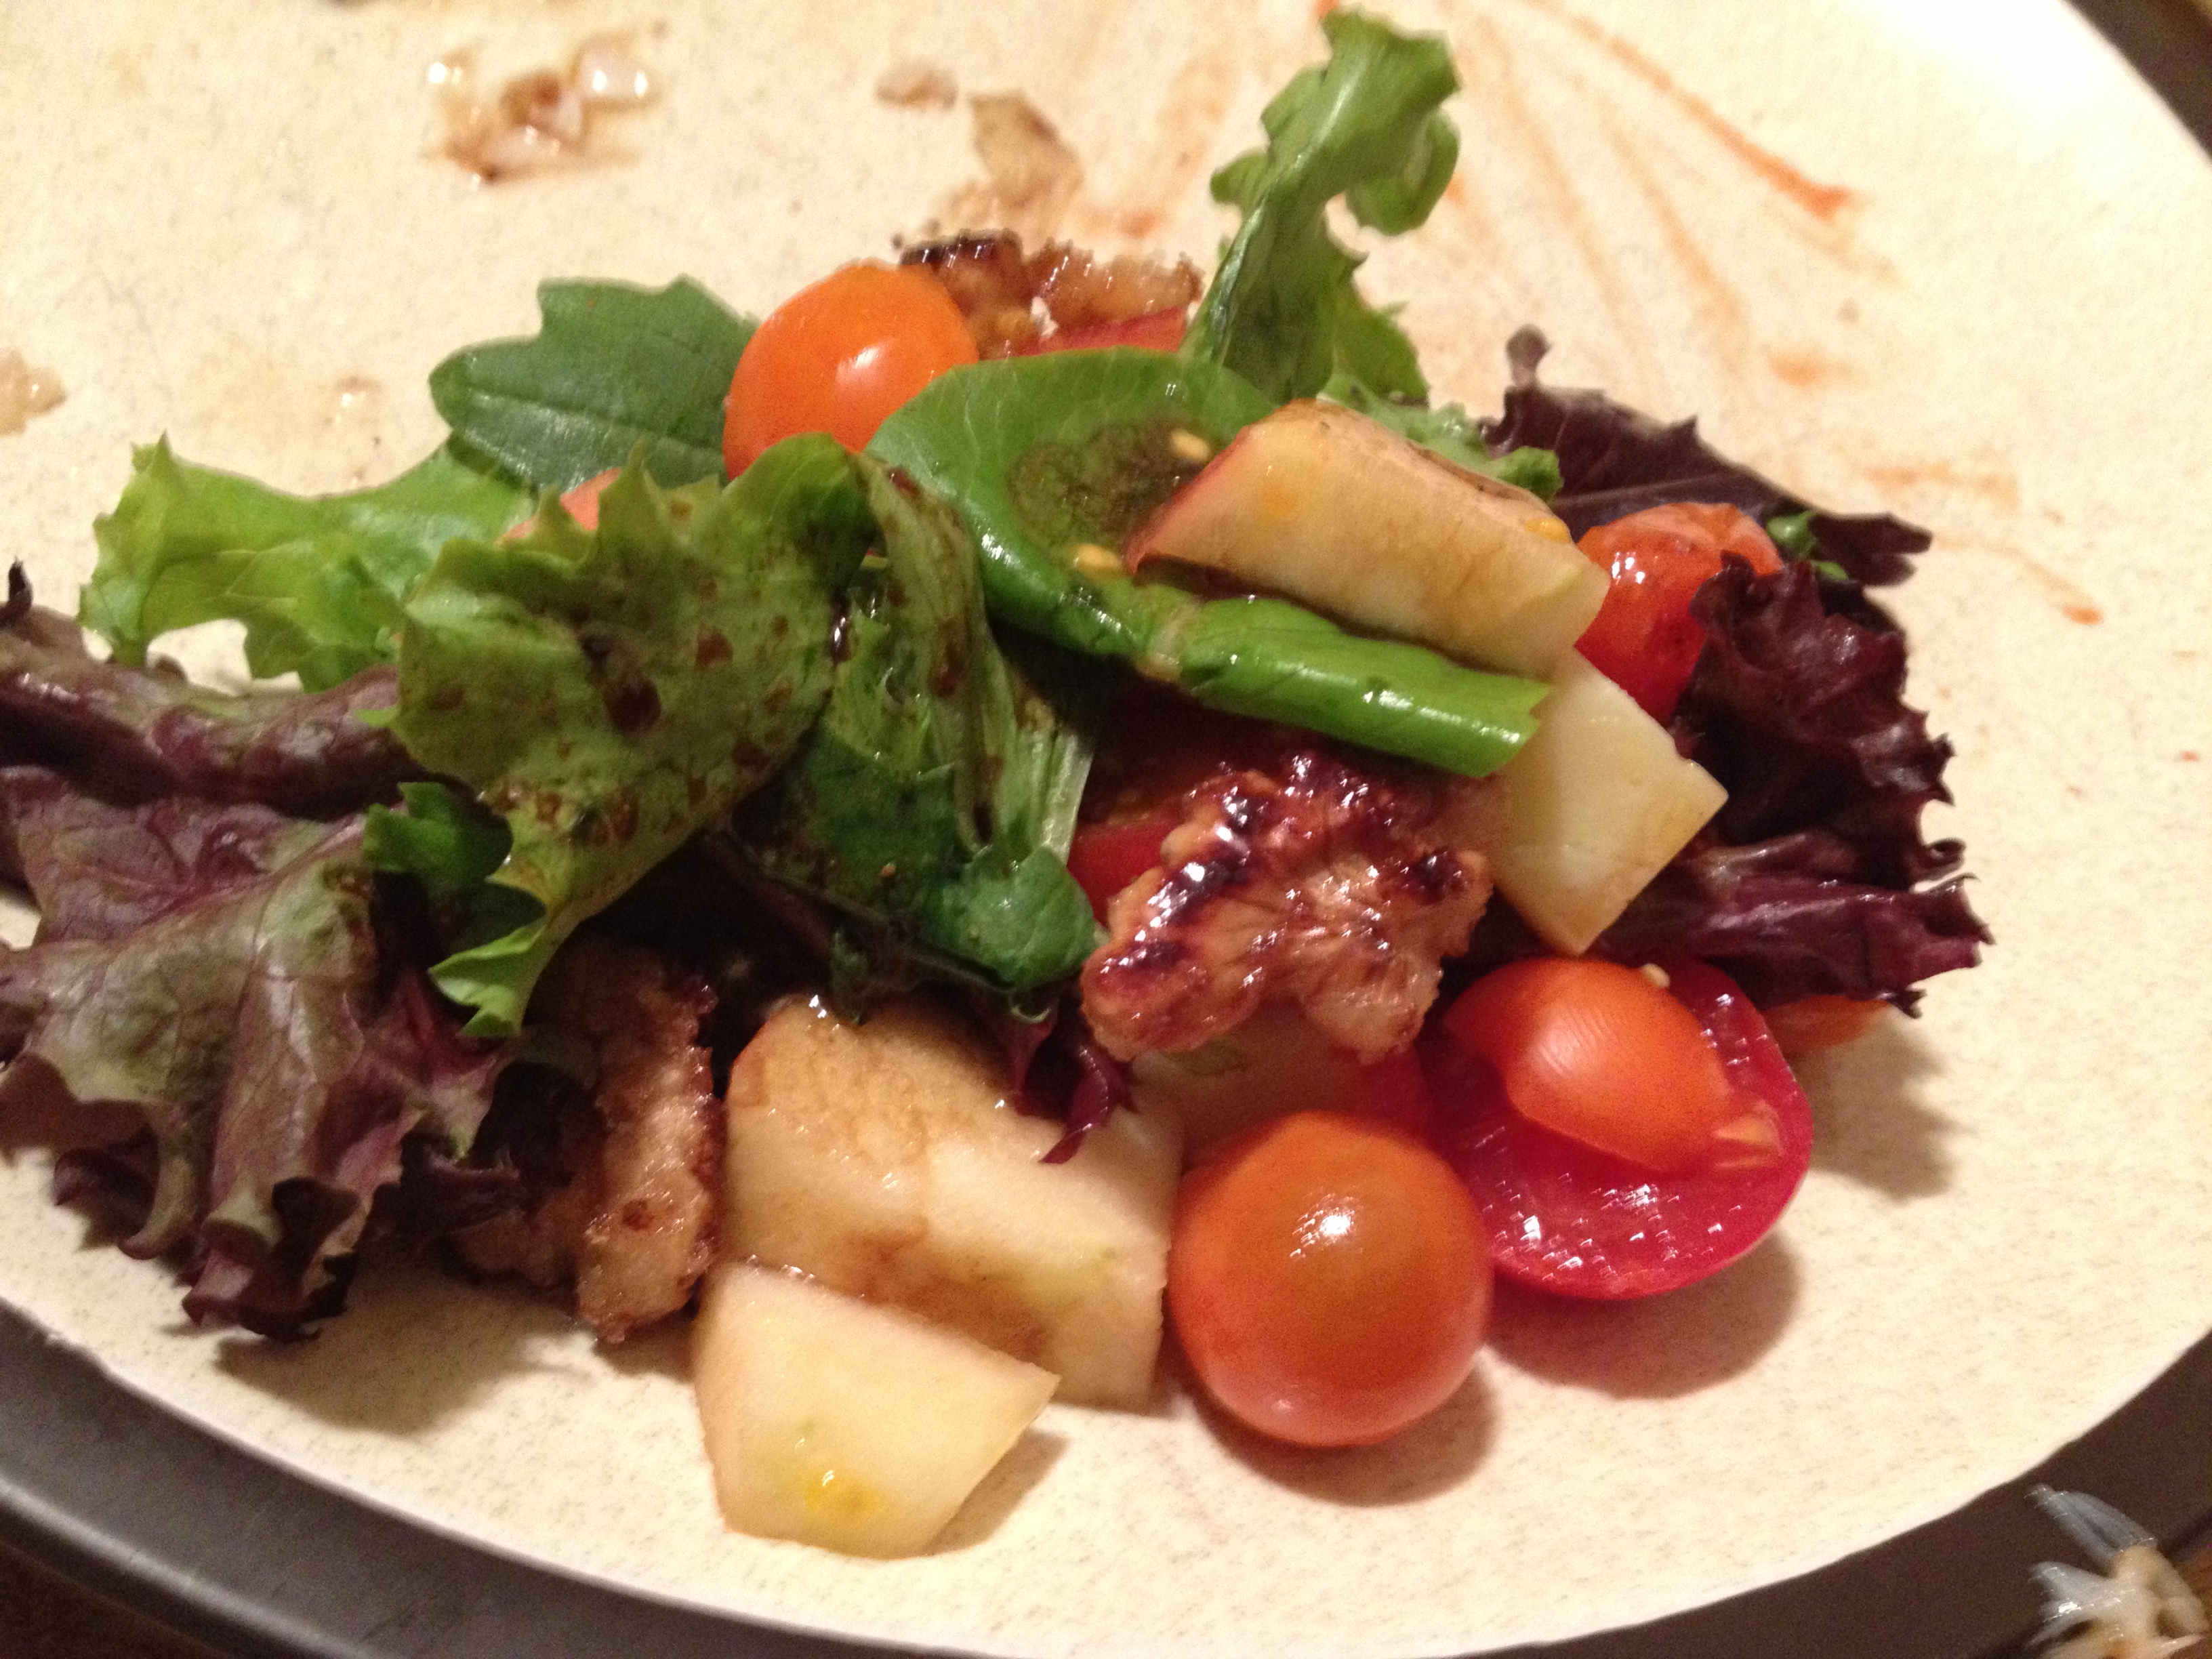
Archives


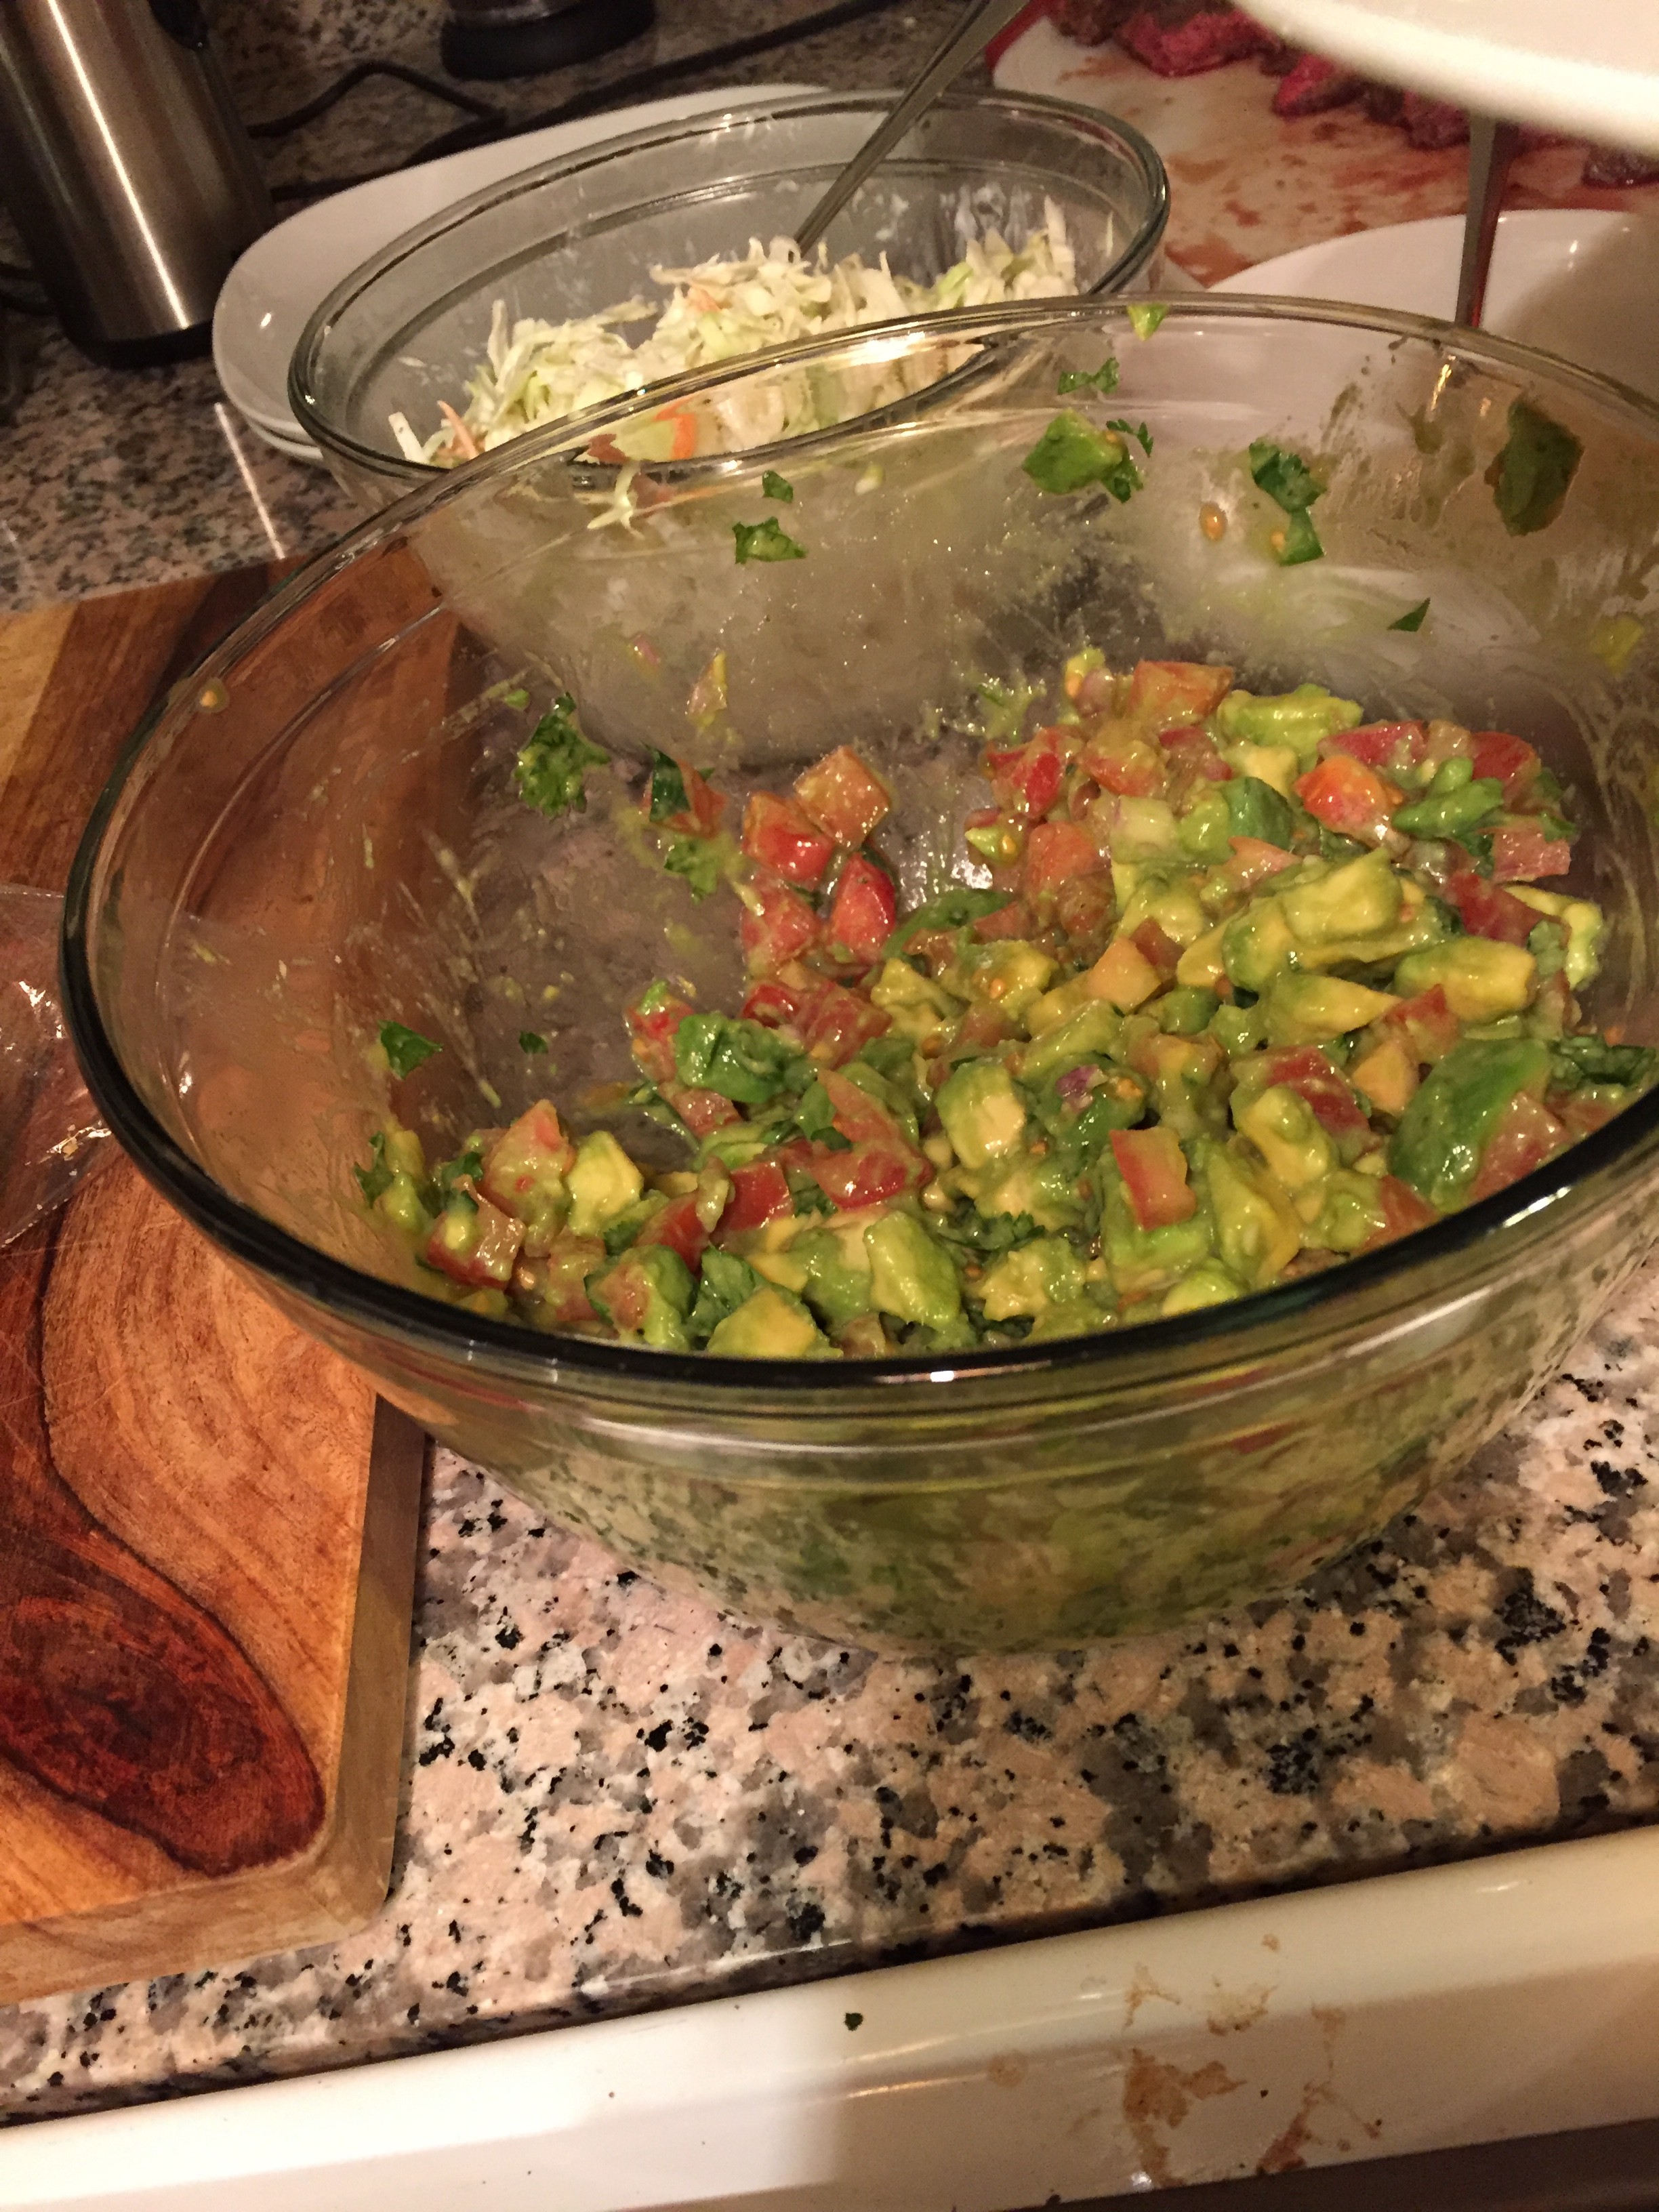
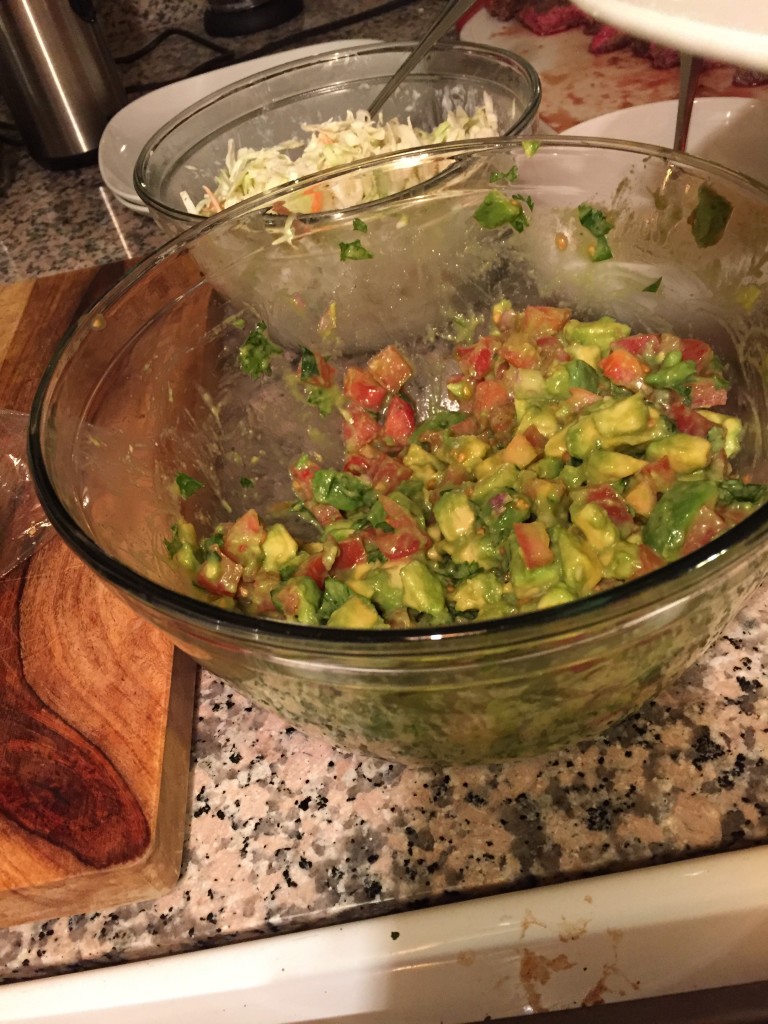
Fresh Avocado Tomato Salad
With Spring here and it feeling like Summer in California, the desire for fresh food comes forth. Raw, fresh food but certainly not lacking flavor. So it was, a Saturday night, hanging with my brother and his girlfriend, Sophie. Sophie is an excellent cook and has a lot of experience doing so. She was going to make us tacos–perfectly cooked steak for everyone and wild-caught fish for me. I was all in. Growing up in California, tacos become your soul food. Along with tacos, come the necessity of the avocado in one’s life. Rich with delicious healthy fat and the creaminess to save any dish, I was ready to be her sous chef and make the side dish–fresh Avocado & Tomato salad.

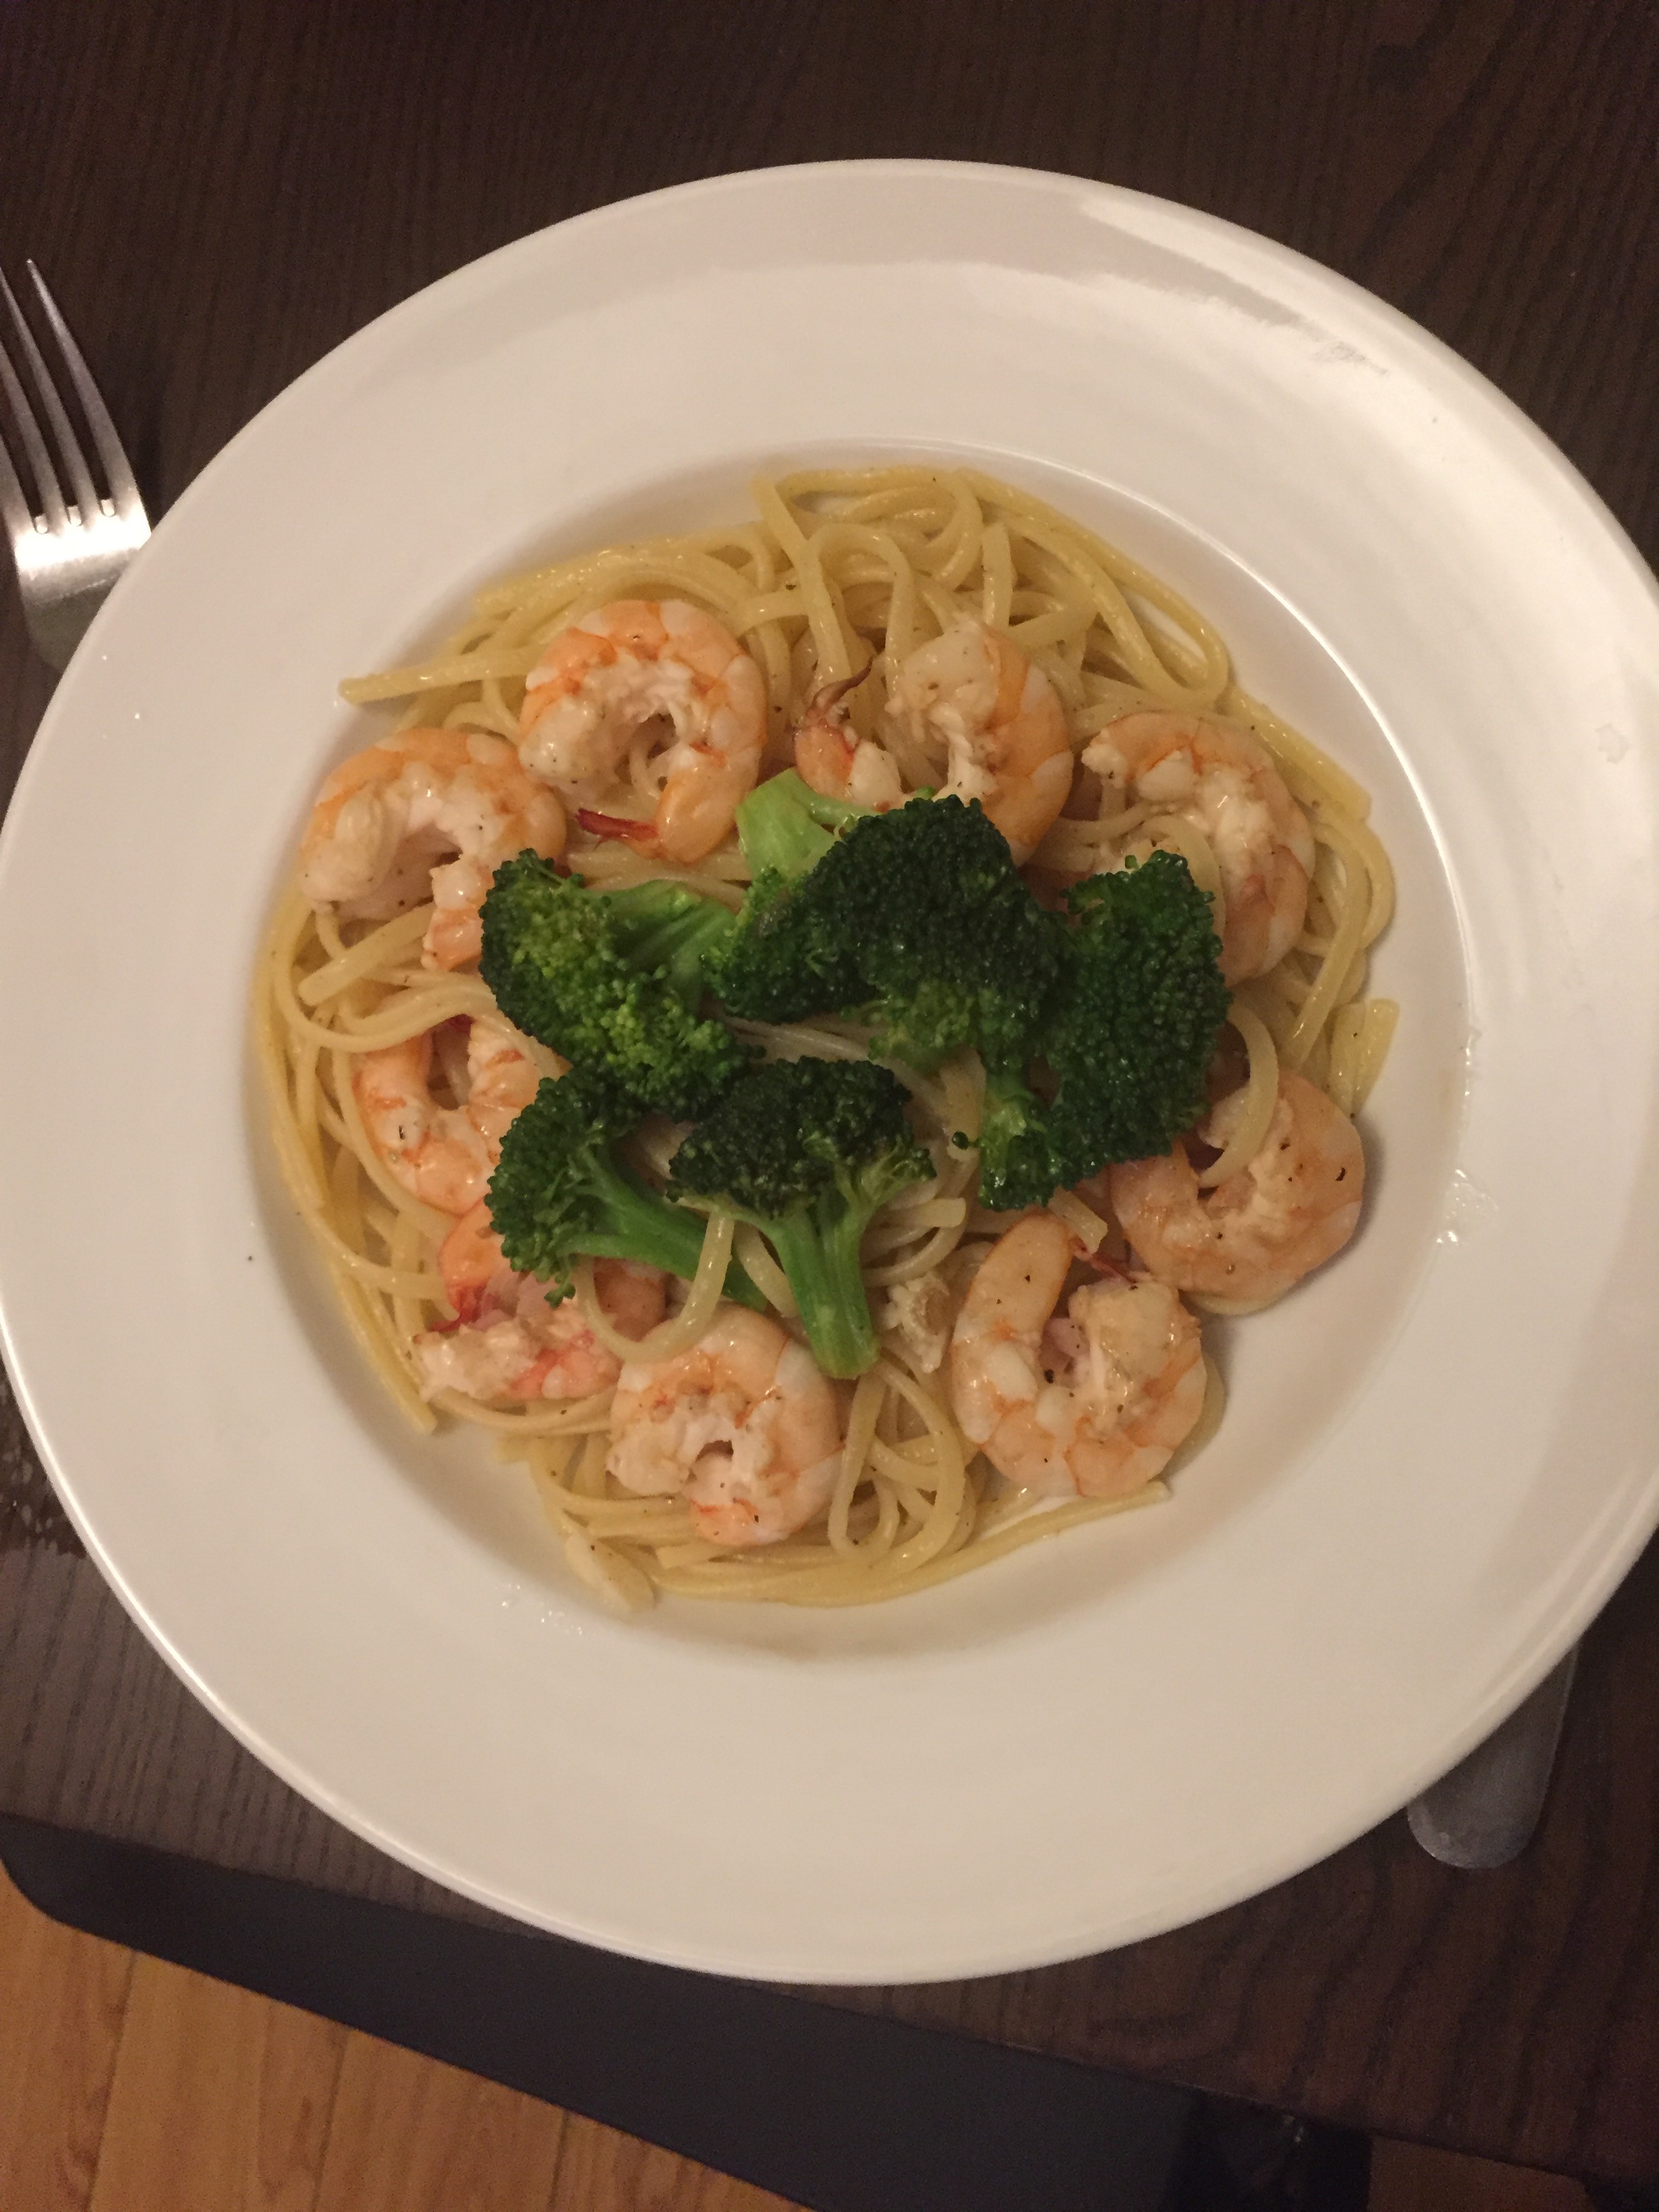
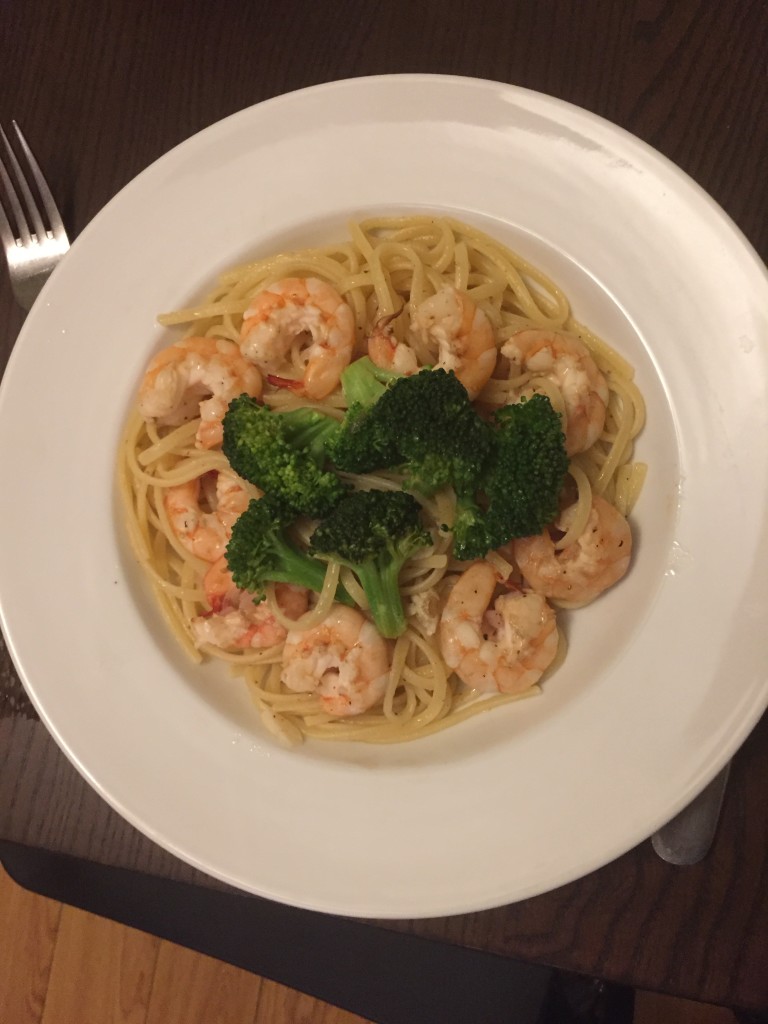
Easy Healthy Shrimp Pasta
Since both Hungry and I are eating healthy, we’ve been doing a lot of home cooking. I’m lucky enough to have a partner who cooks food beautifully. He will even come home from a long day at work and cook for me, and it makes us both happy! Cooking at home is usually healthier (depends what restaurants you frequent), so we’ve been stocking up the fridge and pulling out the pans. These meals are especially special when we use wild caught seafood (a protein I will eat since it’s wild-caught). We have a great Bristol Farms in walking distance of us so we often go there and pick out some decent wild seafood. This time, it was shrimp. Mmm, mmm good! This recipe is simple and light–you will absolutely not feel heavy afterward. It packs a punch of flavor and will have you looking for more.

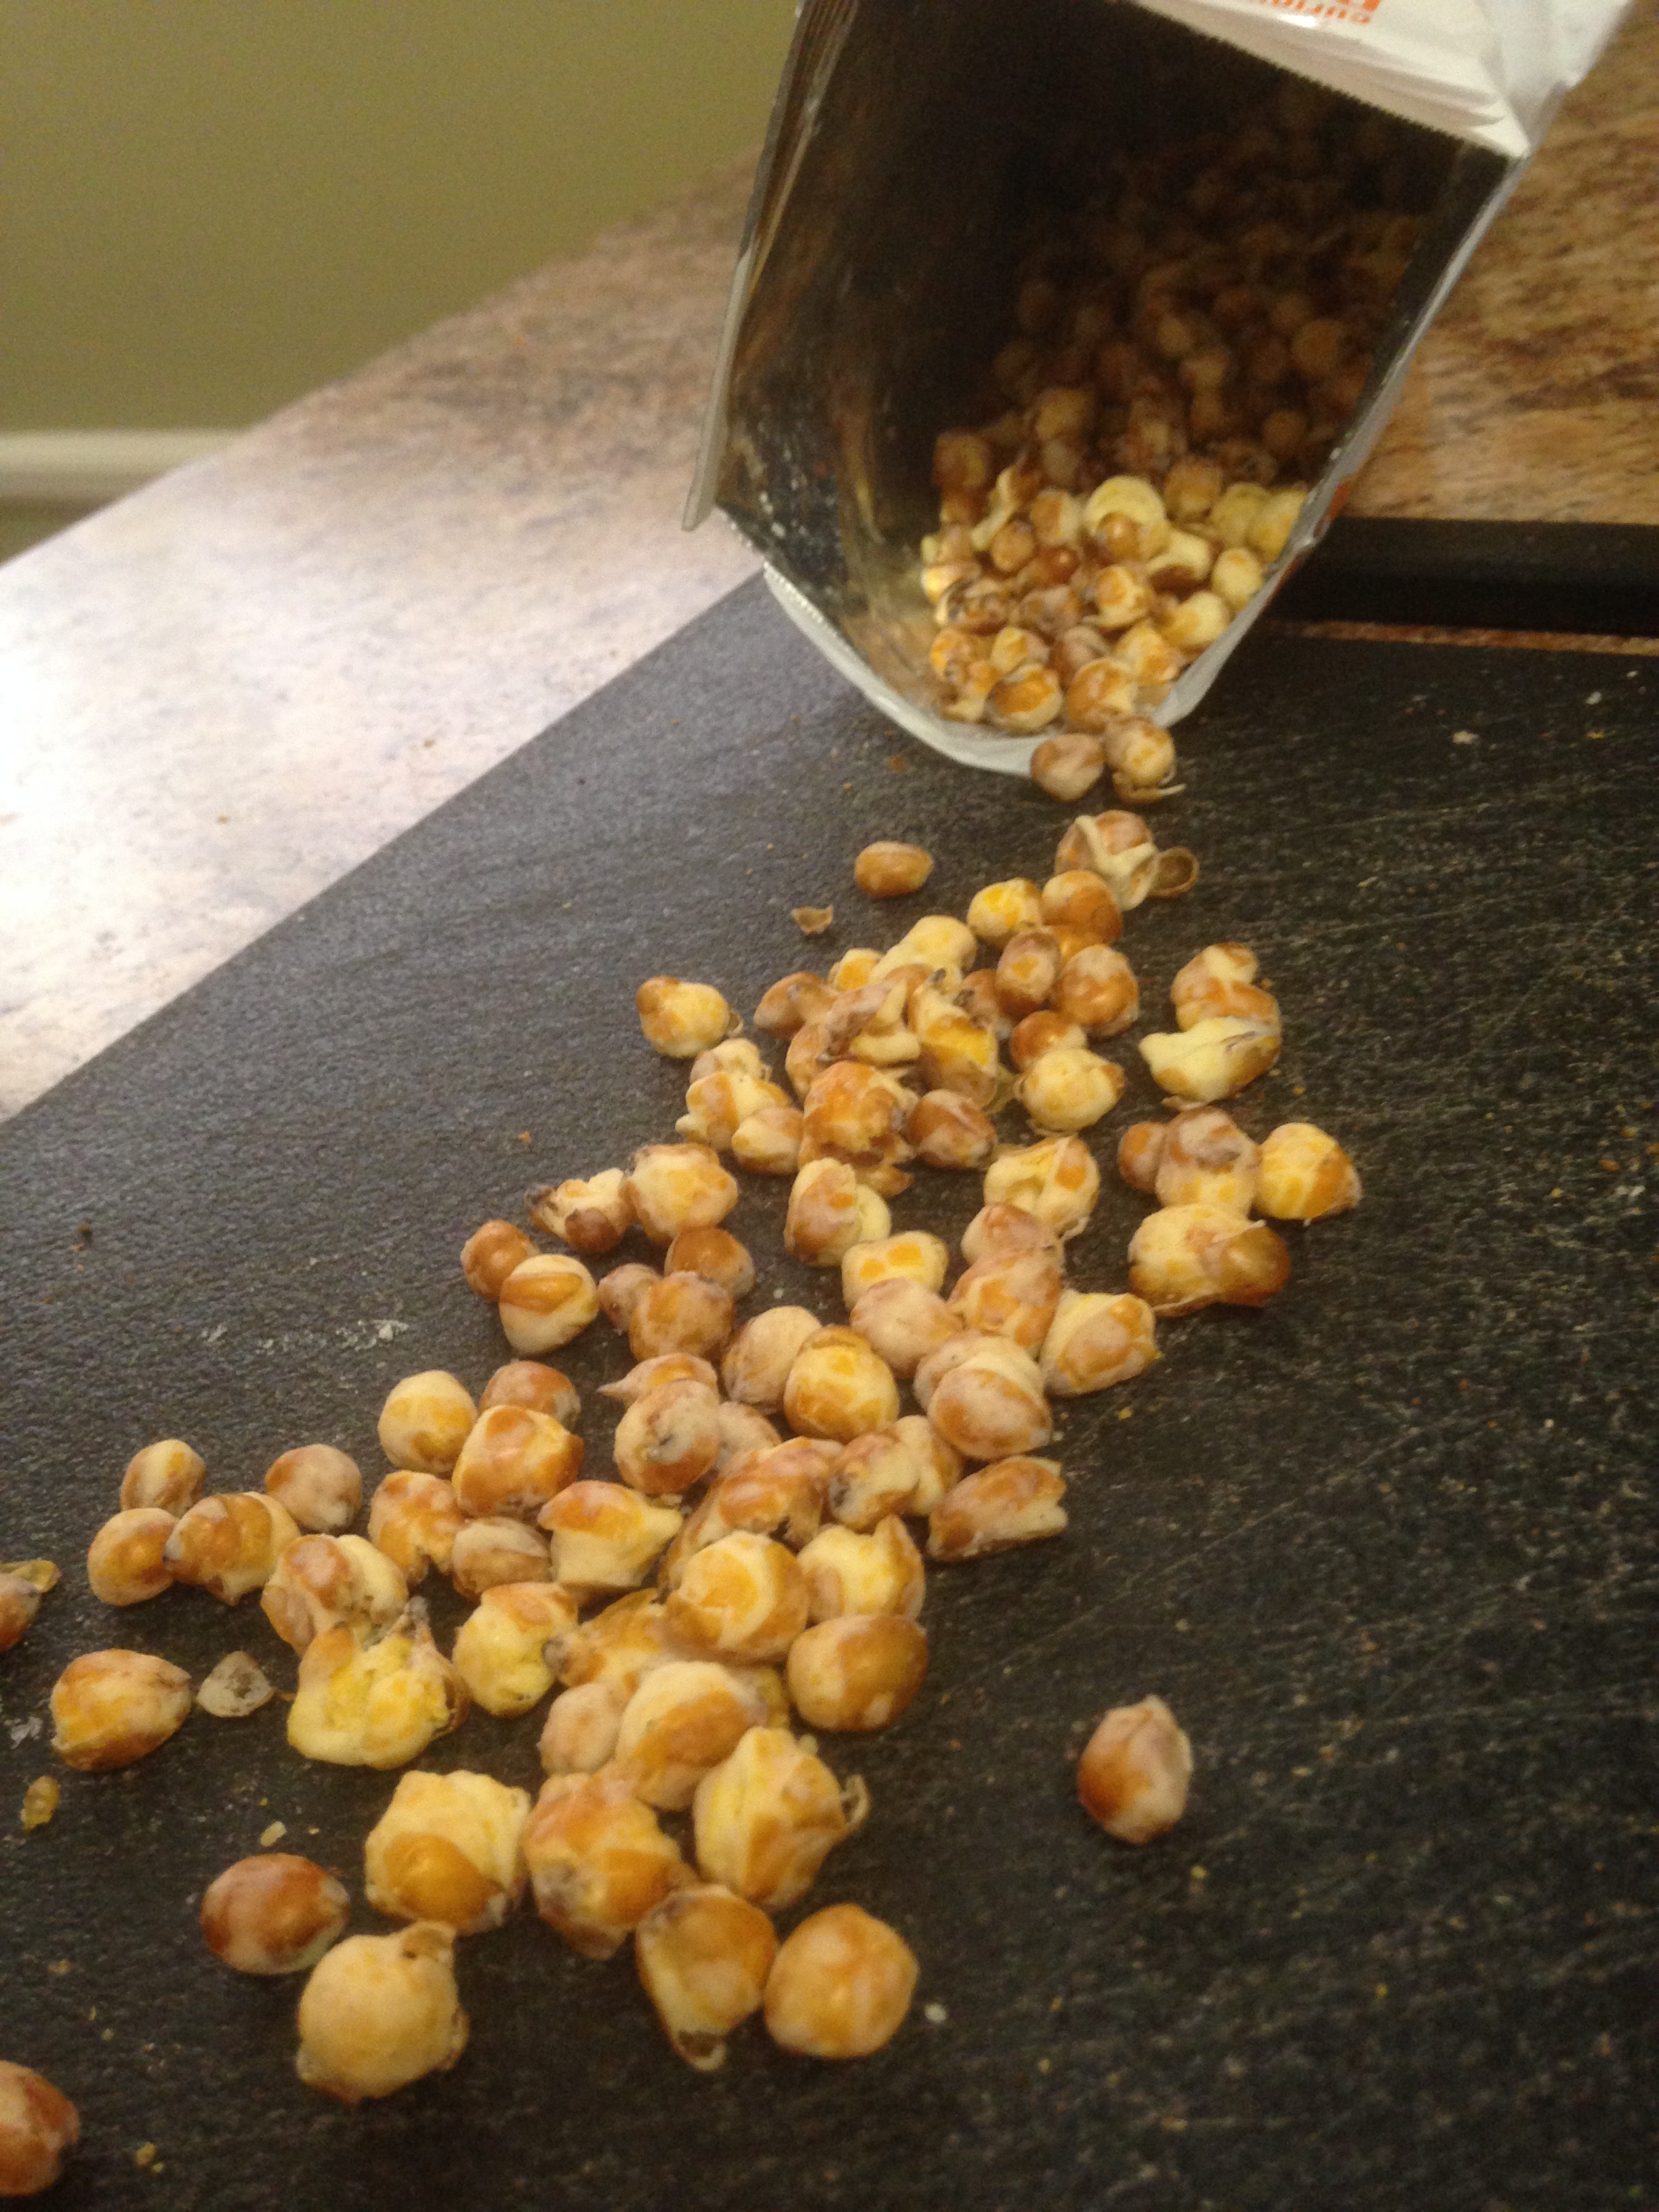
Mac n Cheese Will Never Be the Same
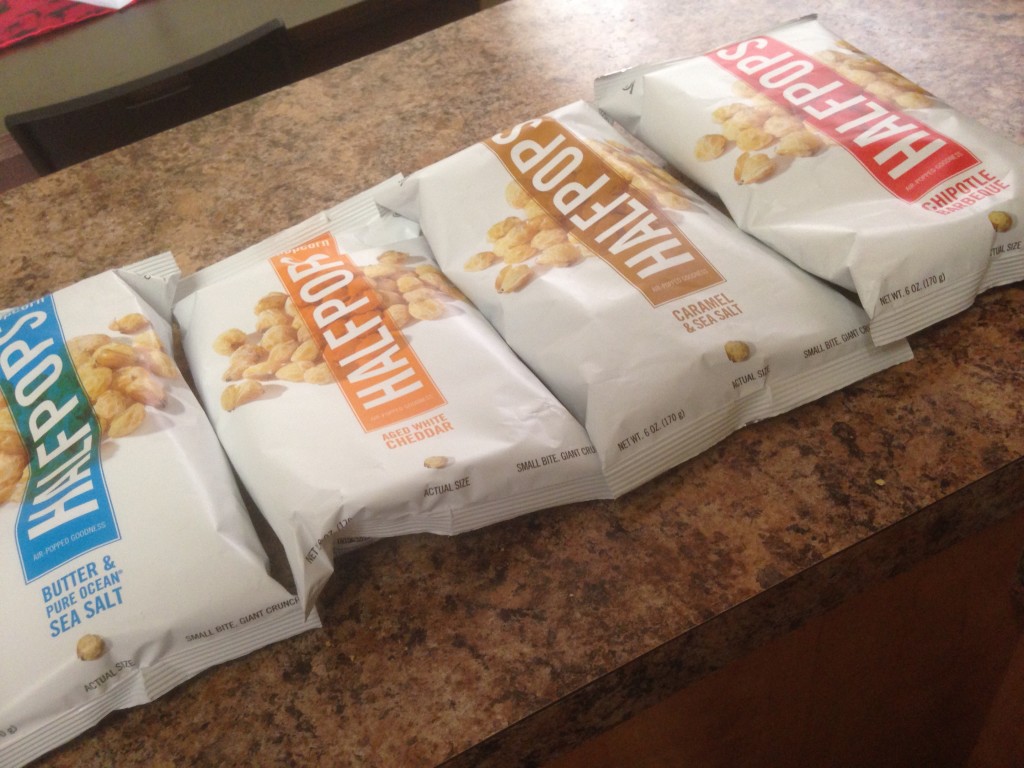
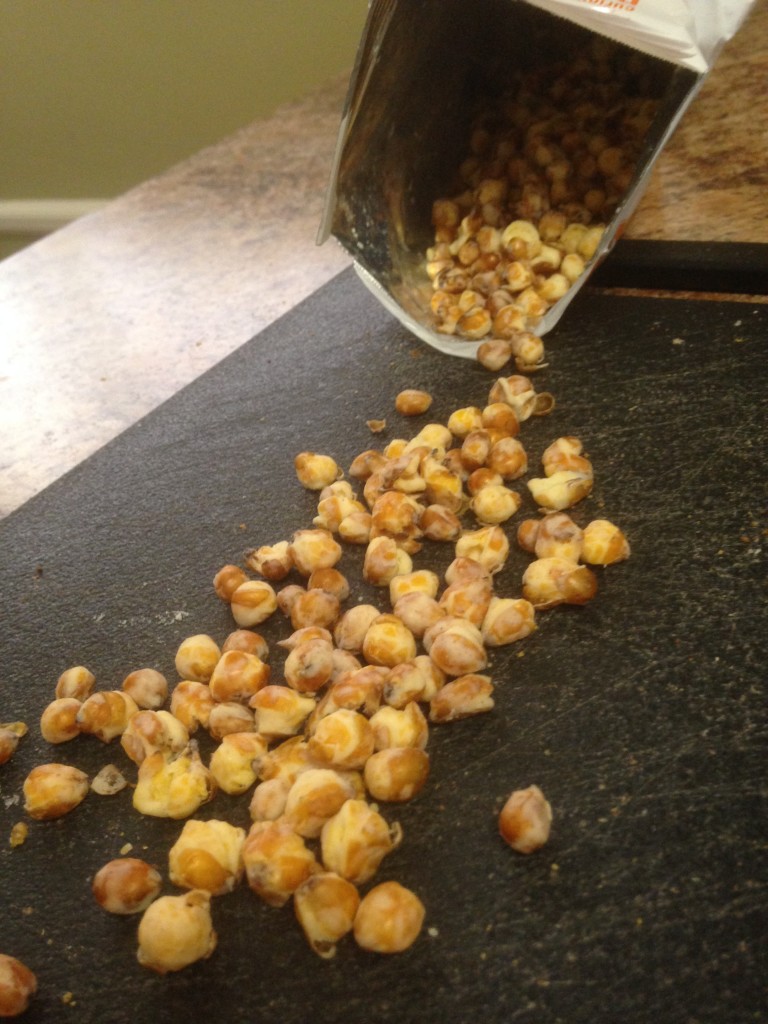
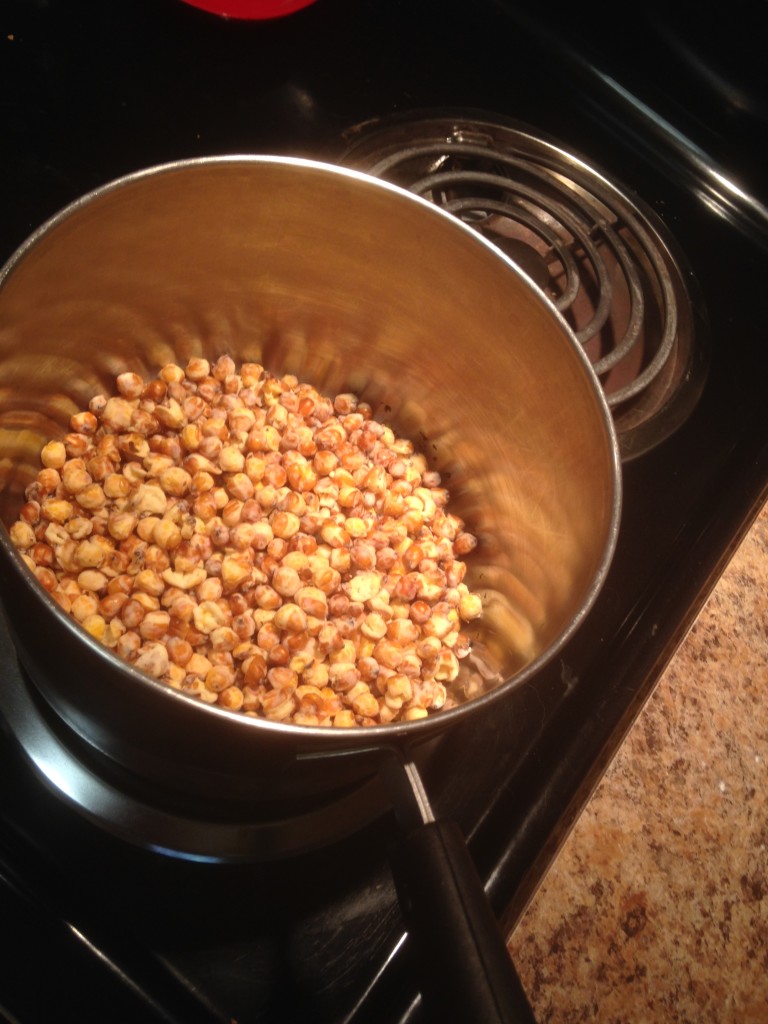
It’s like an episode of Chopped. Why would you transform a perfectly delicious and prepared food into an ingredient of another dish? More importantly, how would you do it? Obviously, because you can and it makes the other dish THAT much more enjoyable. Halfpops are a delicious snack that are far more provocative to eat than popcorn with that additional textural crunch. What’s even better is that these little bites (which remind me of a Peruvian choclo corn) have more flavor than your standard popcorn, but don’t achieve that by sacrificing your health or your waistline.
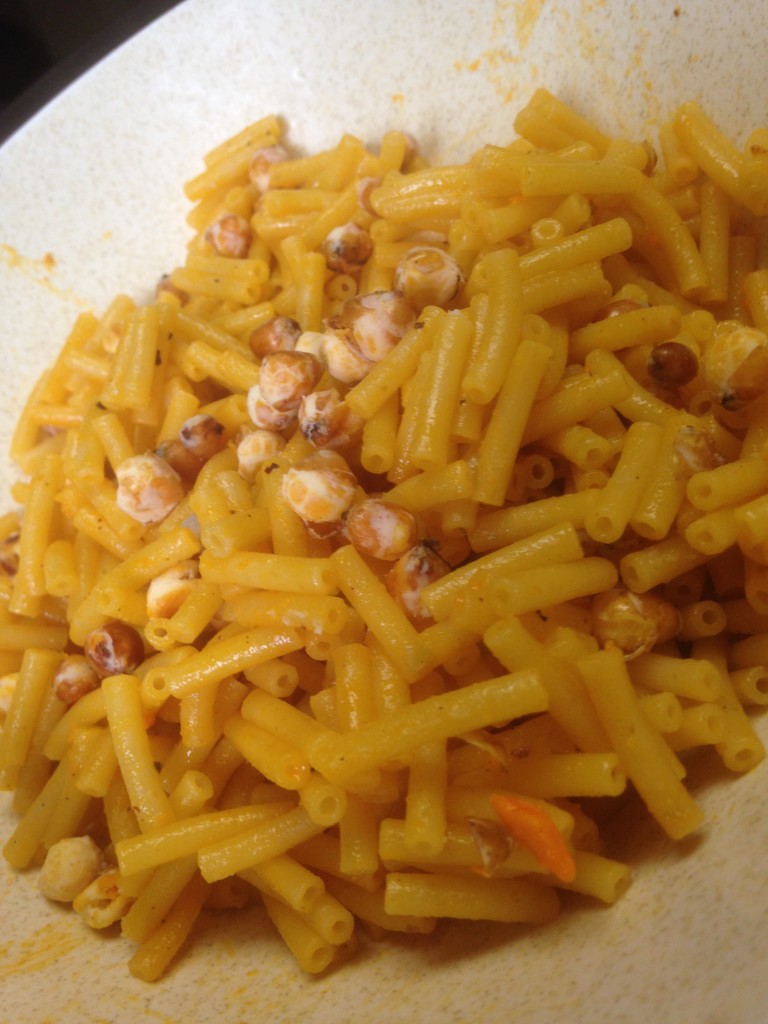
So now, we look at macaroni and cheese, arguably the greatest food ever. While most enjoy it out of the box with a flavor packet (and there is nothing wrong with that), it is becoming elevated more often and served in fine restaurants for the same price as a steak. A prime example would be a lobster mac. We all know that the key component has always been a rich and creamy cheese sauce, but more attention is slowly being given to the baked breadcrumb or panko crust.
Well, let’s just blow this whole textural concept out of the water and take it to another level. Enter the already mentioned Halfpops. While making your famous mac n’ cheese recipe, toast some half pops on low heat and make sure they don’t burn. You can use the aged cheddar, chipotle, or sea salt. I’d recommend saving the caramel ones for dessert. As soon as you’ve finished your mac, serve with a bowl of toasted Halfpops and allow each diner to choose how much crunch they want. I’ve gotten to the point where I want at least two bits of crunchy delight in each mouthful, but I’ll leave that part up to you because making decisions on how to eat your mac n’ cheese might make the different in you staying hungry and fit!

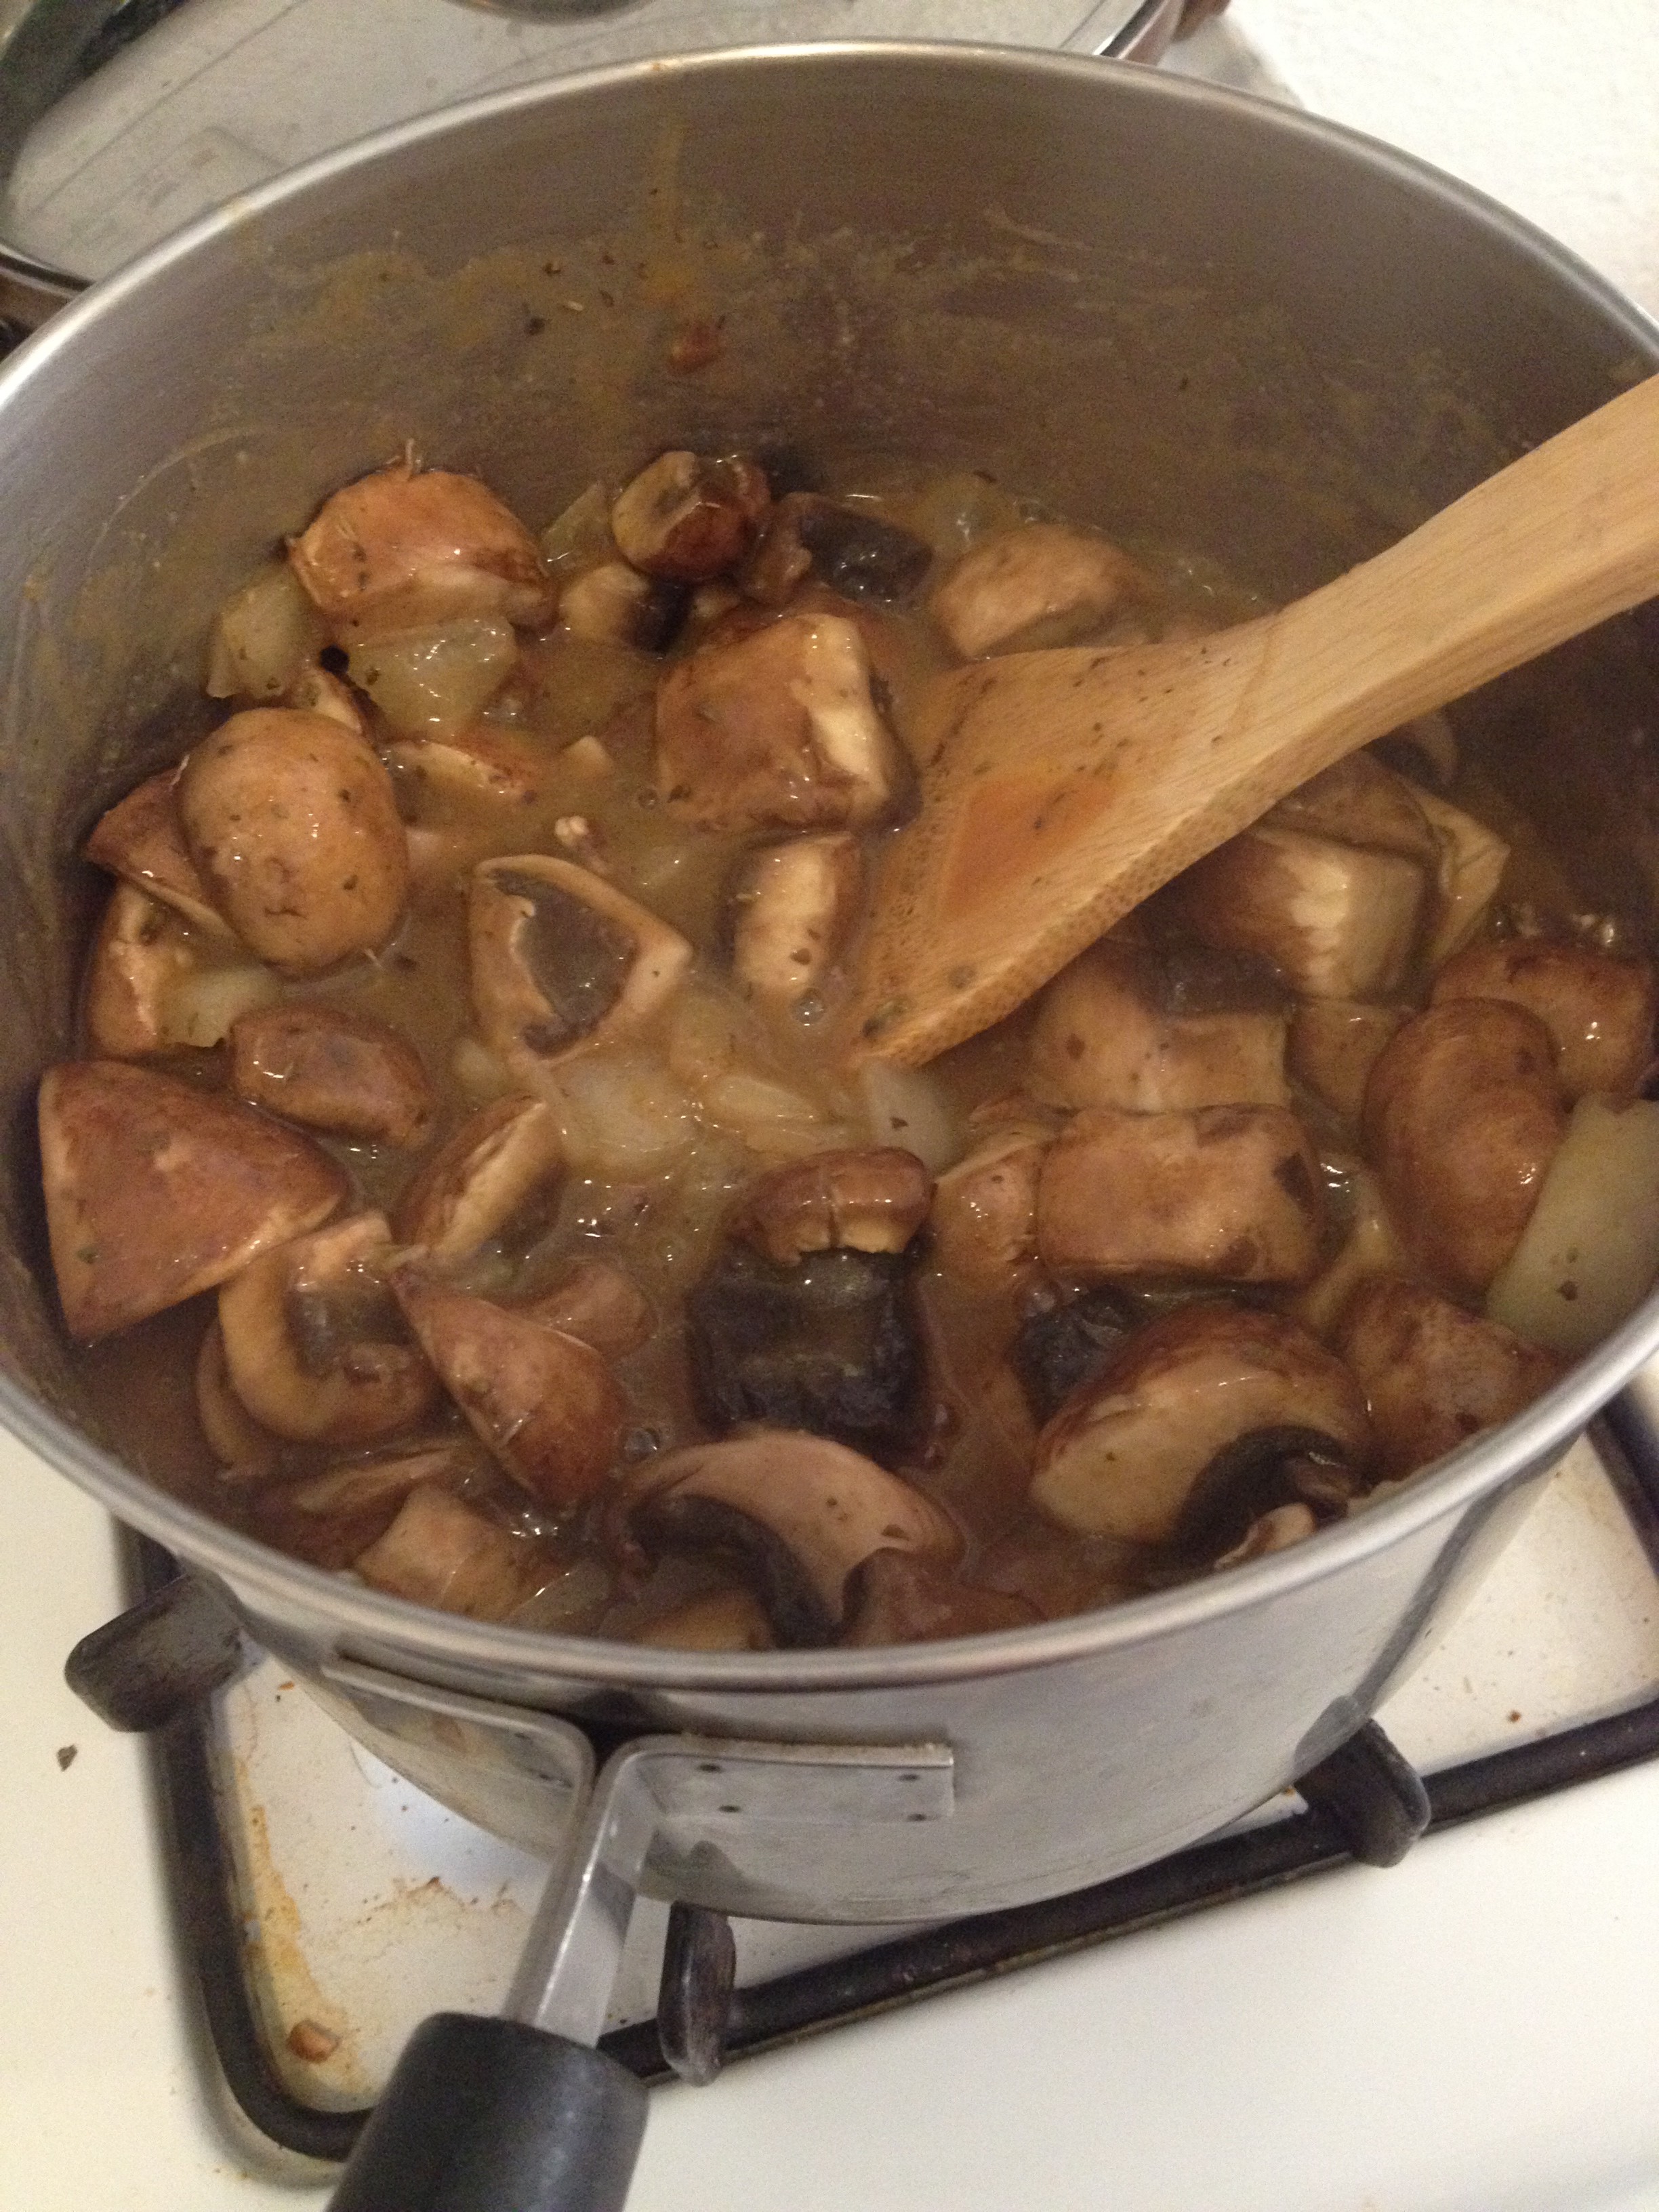
Vegan Mushroom “Stroganoff”
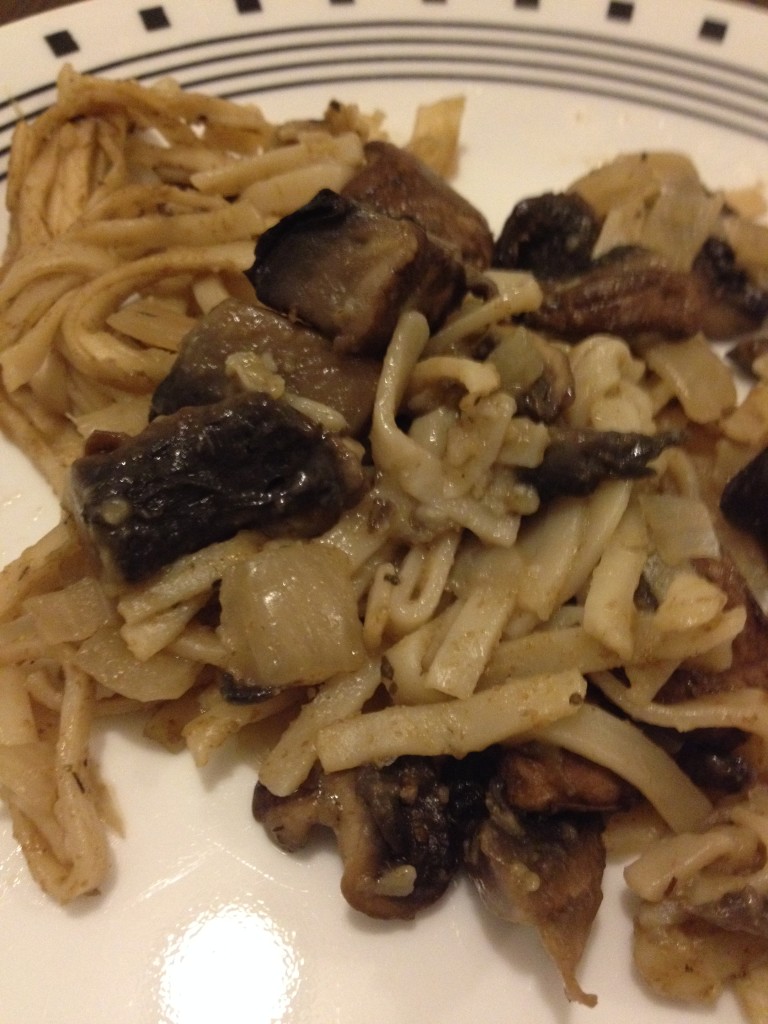
Recently, some friends and I have been having “movie nights” (actually during the day) where we eat and watch a movie. This past time, we all brought food to share. I planned on making a vegan dish that our friend who doesn’t eat cheese or soy could eat. Now, I didn’t actually make it in time for this get-together, but I eventually did successfully complete it! And boy was it worth the wait! I made a vegan mushroom stroganoff. This dish is full of flavor, with the mushrooms giving that depth and heartiness. Since we live in Koreatown, there aren’t a lot of typical noodles, so we used udon noodles! It actually turned out well. Chris has been eating it every day for work, as this recipe makes a great deal of food. Let’s get to it.

- 8 oz package of any type of noodle
- 1 onion
- 1 tbsp olive oil
- 3 tbsp whole wheat flour (not all used at once)
- 2 cups vegetable broth
- 1 tbsp soy sauce
- 1 tbsp lemon juice
- 1 tsp tomato sauce
- 1.5 lbs mushrooms
- 1/2 tsp dried sage
- 1/2 tsp salt
- 1/2 tsp thyme
- 1 tbsp rice vinegar
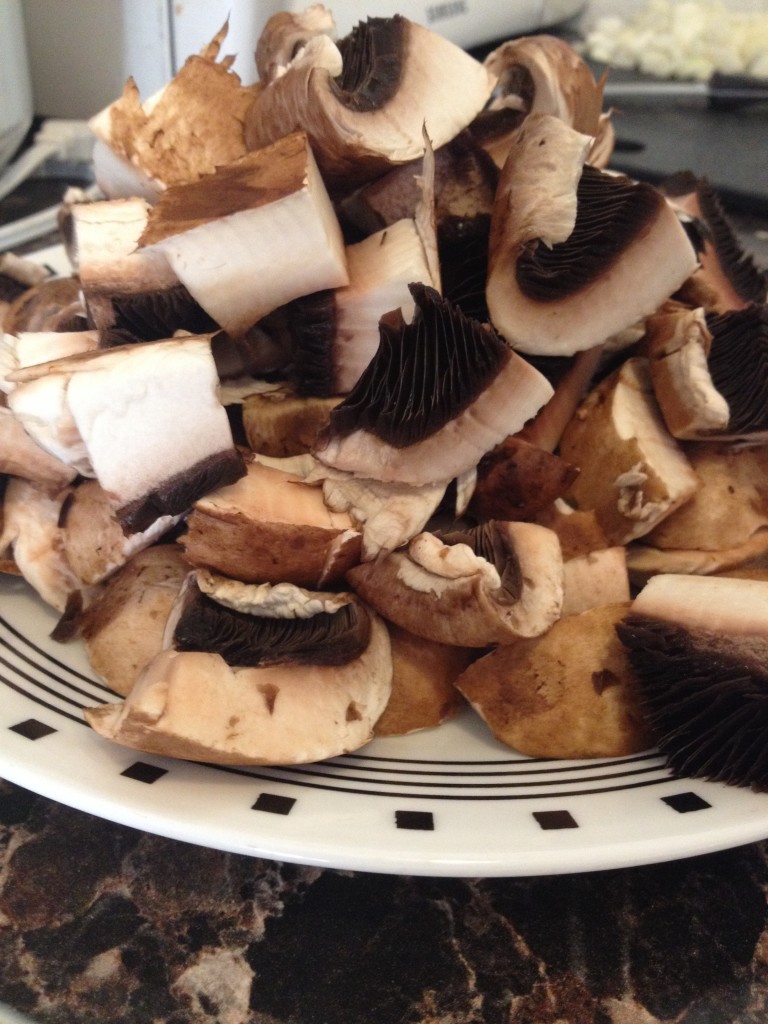
- Chop the mushrooms into 2 inch pieces and slice up the onions
- Cook the noodles as per directions on the package (undercook them slightly)
- Drain and set aside
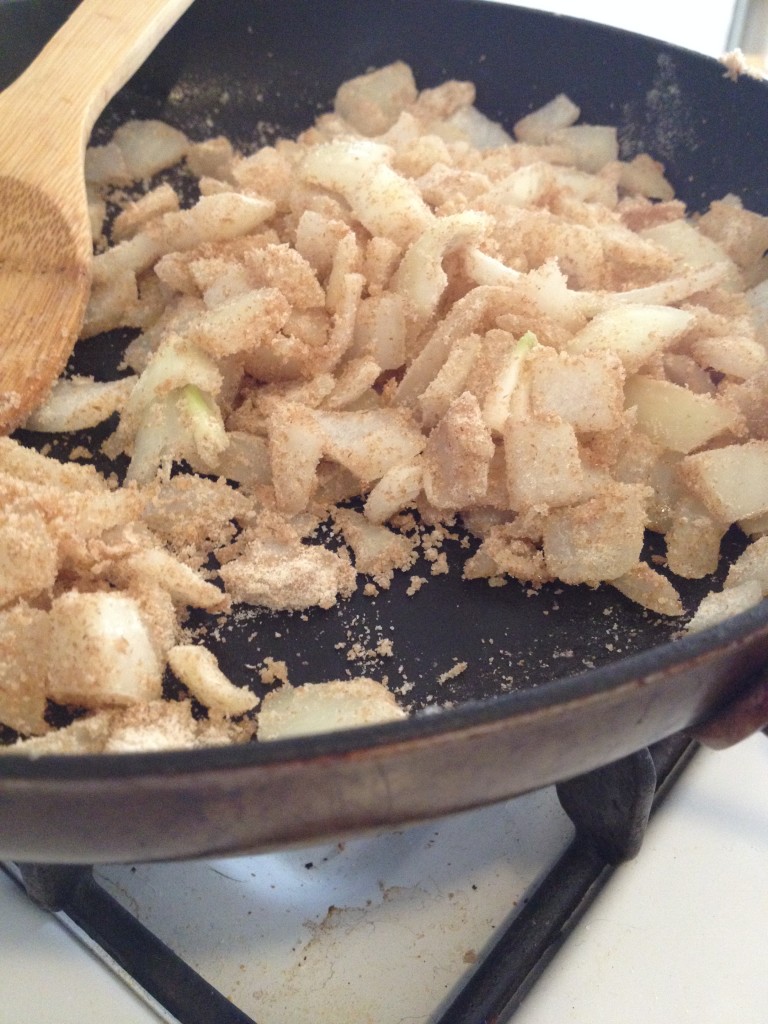
- In a large saucepan, saute the olive oil and onions
- Add two tbsp of whole wheat flour and stir constantly for 30 seconds
- Slowly add the broth, soy sauce, lemon juice, and tomato sauce until mixture starts to become thick and bubbly
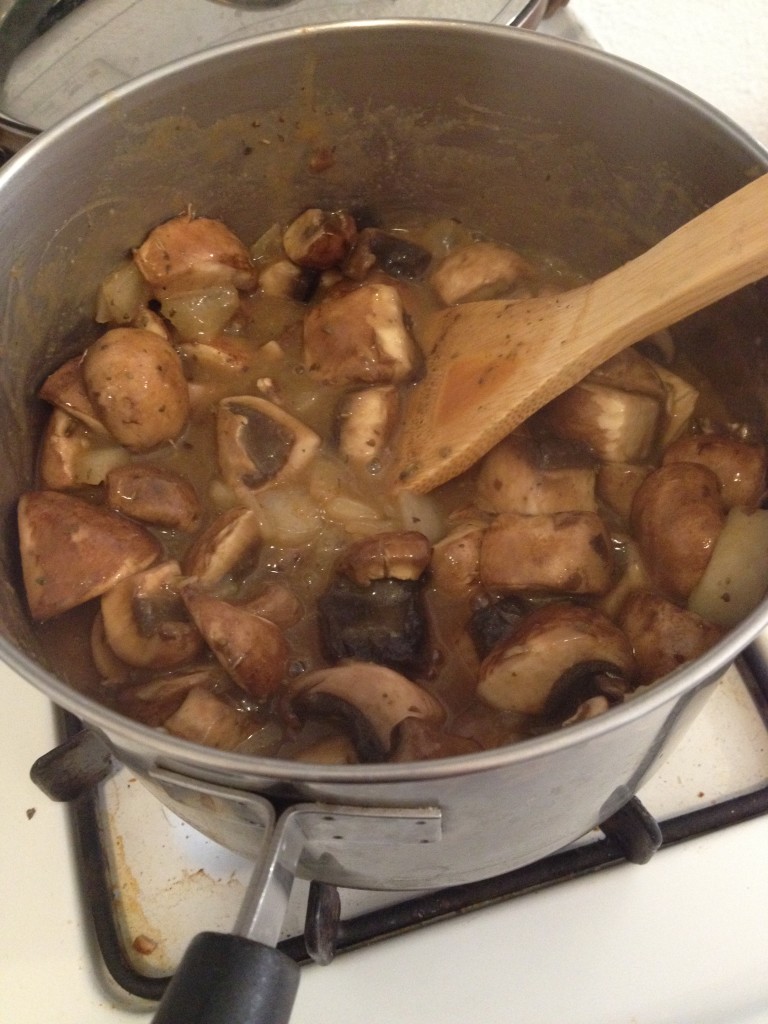
- Add mushroom, sage, salt and thyme and stir
- Cook for about 5-7 minutes until mushrooms have shrunk and absorbed juice
- Add vinegar and continue to let simmer for 5 minutes
- Now, add the noodles alongside another tbsp of flour
- Serve hot!
BONUS KITTY PIC

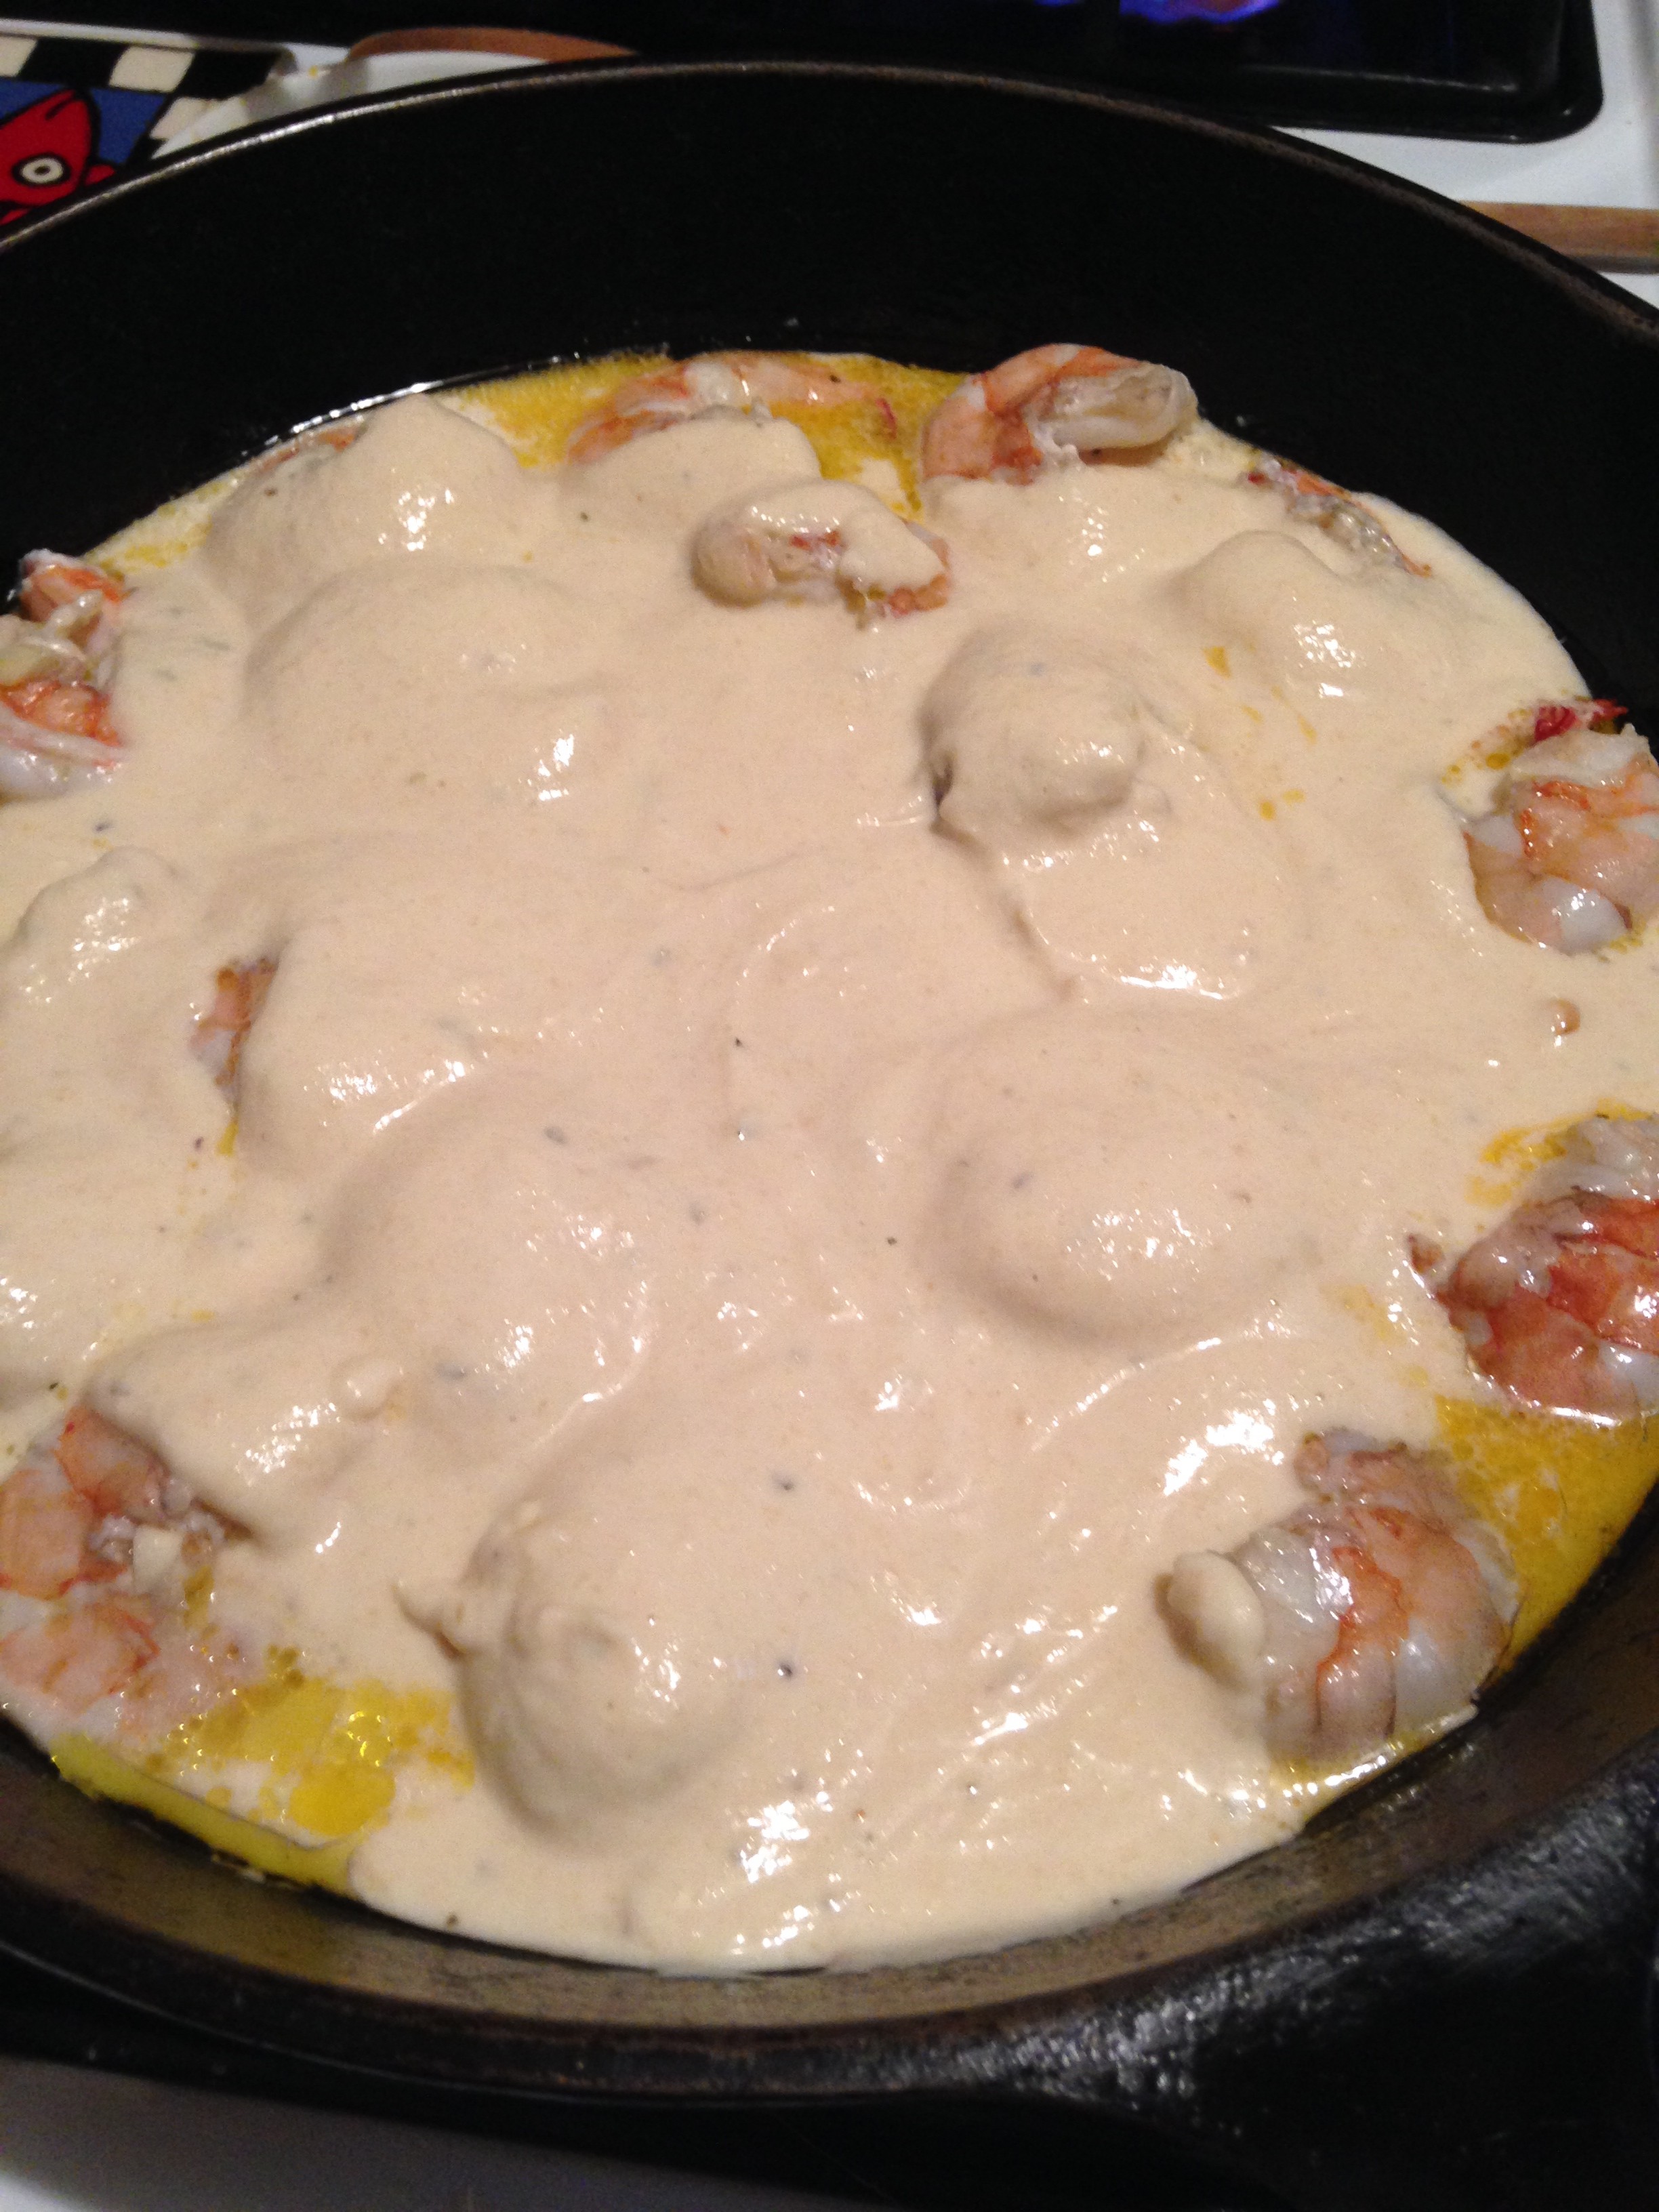
How Do I Make an Alfredo Sauce?
With high quality ingredients, patience, and love! Plus, all of the instruction I will give you below.
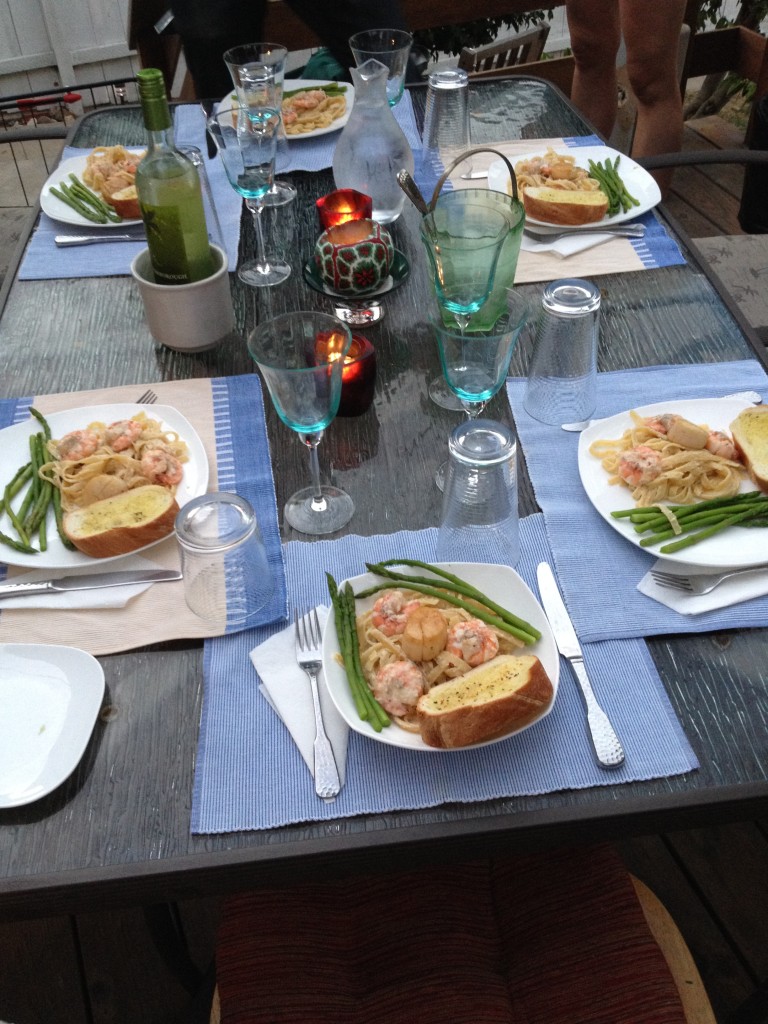
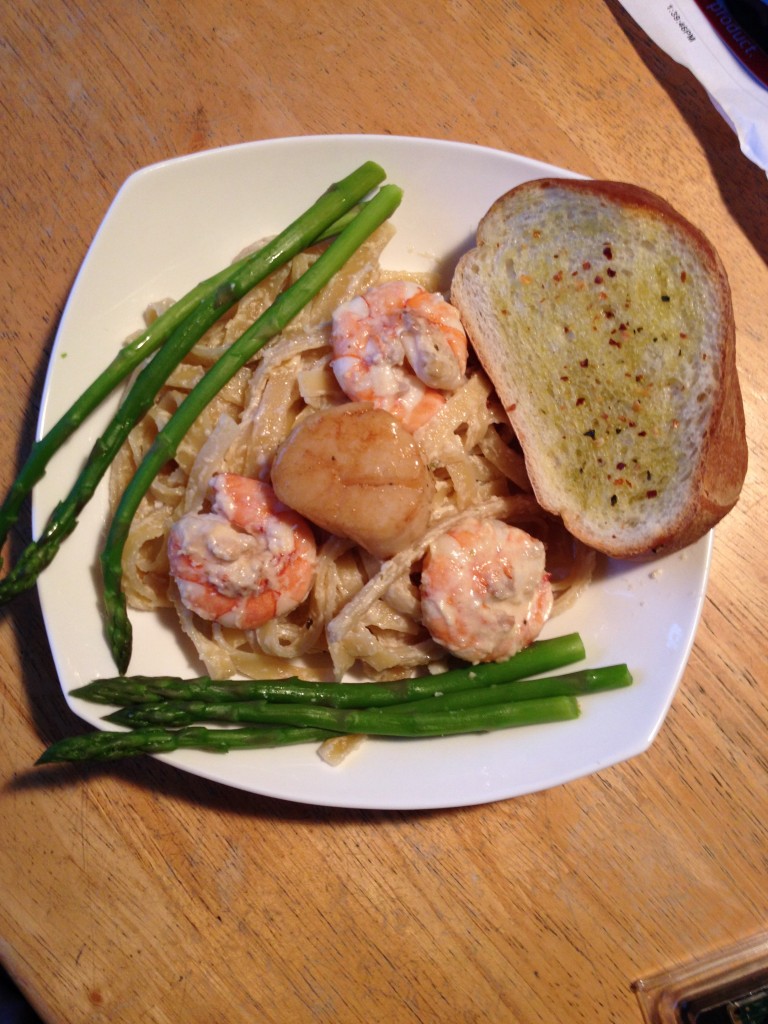
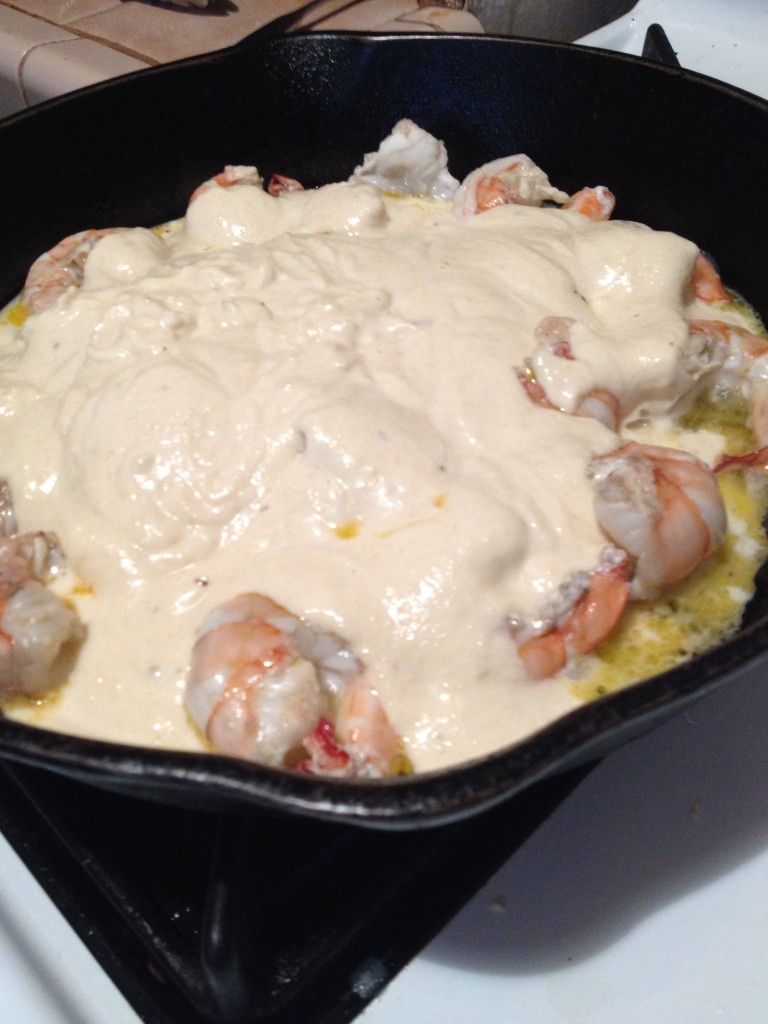
Last week, I made my signature Shrimp Fettucine Alfredo (with a scallop on top, asparagus, and french bread) for Fit’s birthday dinner. Of course, cooking for six in a kitchen you haven’t really used is always challenging but we cannot make excuses, only delicious food. (It’s also fun when one doesn’t eat meat, one has to control their intake of carbs, and one has acid reflux!) Alas, here is a very basic but very delicious way to make Alfredo sauce.

- 1 tablespoon - Dry Italian Seasoning
- 1 teaspoon - Dry Oregano
- 1 teaspoon - Dry Herbes de Provence (do not tell my ancestors!)
- 1/2 Pint - Heavy Whipping Cream
- 1 Pint - Milk (I use whole, some use skim! How rich do you like it?)
- 2 Tablespoons - BUTTER
- 1 Anchovy - Diced
- 1 1/4 cup of shredded Parmesan cheese
- 1/3 cup of shredded Asiago cheese
- 1/3 cup of shredded Romano cheese
- Salt (in grinder)
- Pepper (in grinder)
- Medium saucepan
- Whisk (no ball or spring whisks please... stick to a balloon or french whisk... I use french for better movement)
- Spoon (for tasting)
- LOVE, PASSION, DESIRE
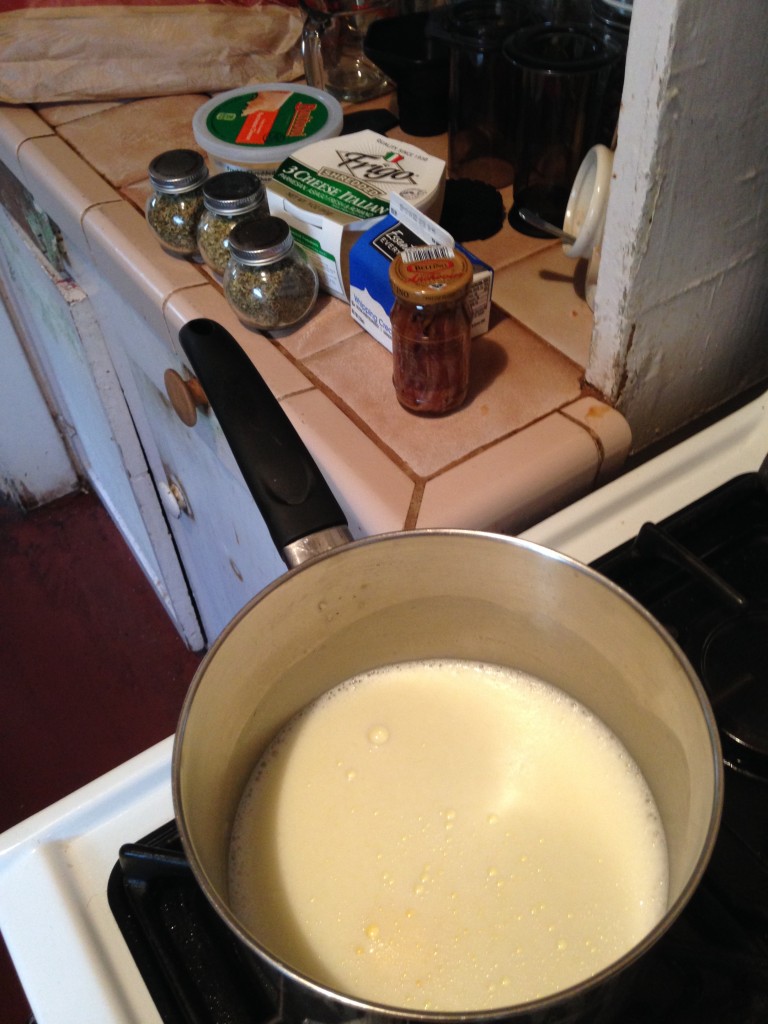
- Pour all of the milk into your medium saucepan, on medium heat.
- Begin whisking at a moderate pace, adding the heavy whipping cream.
- Continue whisking with the dominant hand, add the butter.
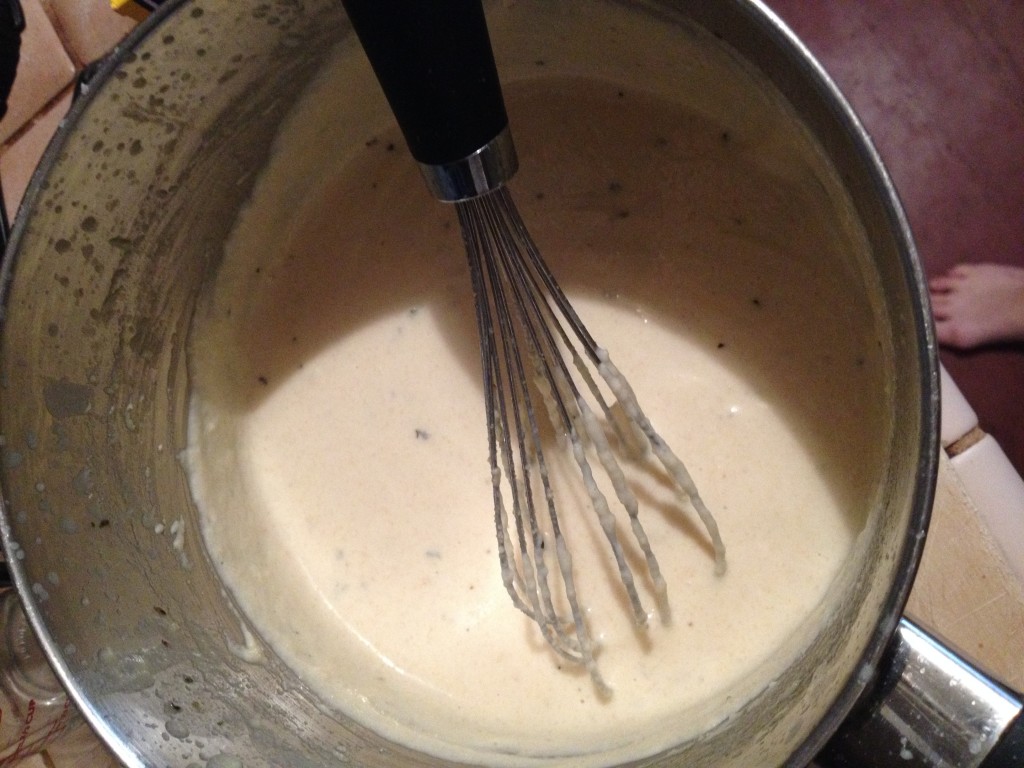
- Whisk to break down and incorporate the butter completely.
- Slowly add 1/4 cup of shredded cheese (any) while whisking.
- Continue adding cheese, slowly, whenever the former cheese added has completely been incorporated, without any lumps.
- Add the diced anchovy, while whisking gently.
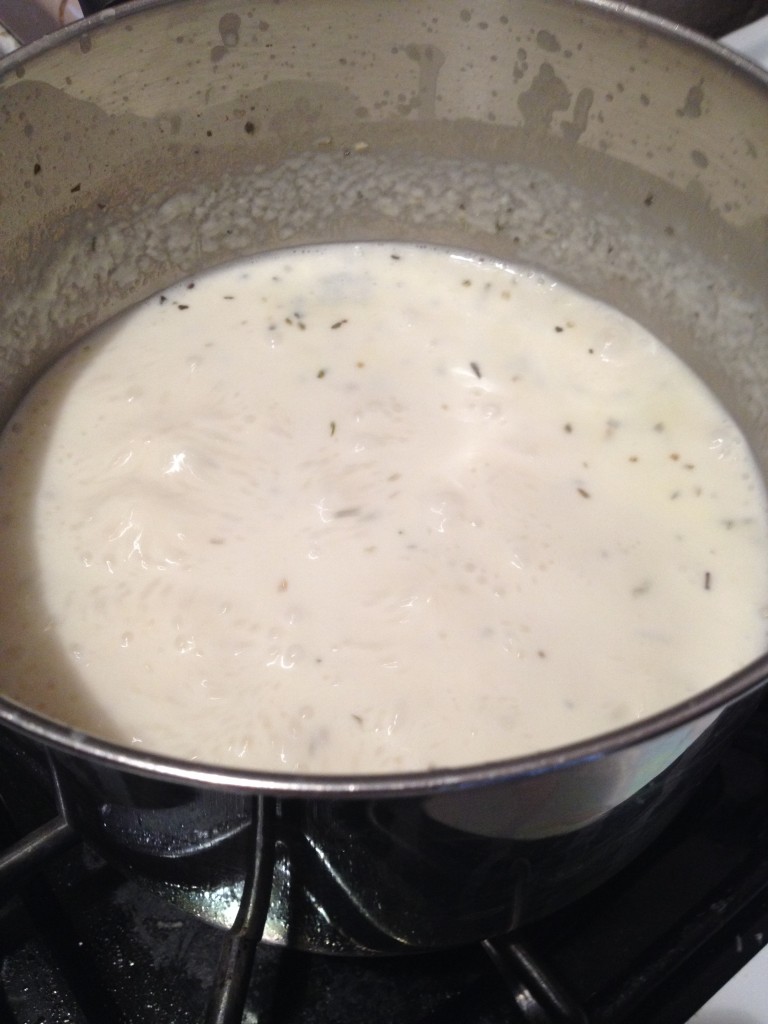
- Add the dried herbs, while continuing to whisk gently.
- Let the mixture sit at medium heat and take a moment to taste.
- Add salt and pepper at your disposal.
- When the flavor is beautiful, continue whisking at medium heat, until it has thickened to your desired texture.
- I recommend using HIGH QUALITY ingredients! If you cannot afford them, that is fine BUT if you are trying to make a special meal for a special someone (or are just trying to impress anyone) it is well worth the splurge! The difference is obvious!
- Do not allow the cheese to stick to the bottom of the sauce pan, you must whisk with constant vigilance!
- Feel free to continue prep and cook other ingredients while continuing to whisk the mixture. Keep it on medium to low heat after this initial preparation, mixing every minute to make sure it does not stick to the sides or bottom, solidify in any way, or lose the texture you have earned. I usually make the fettucine and shrimp (this time scallops, asparagus, bread as well) at the same time.
It may have many calories (don’t ask how much) but it actually is quite simple with some patience and high quality ingredients, and it will surely help you stay happy, hungry and fit!
BONUS PUPPY PIC

Best Thai in Boulder: Aloy Thai
Instead of getting Chinese take-outs growing up, we always got Thai. And I am oh-so-happy for that! It’s rare that I’m not in a mood for Thai food. I just love all the deep flavors right along with that spark of zest at the end. And because we grew up having it as take-outs, it reminds me of home in a weird way. We’ve tried a lot of the Thai places in Boulder and finally we took a friend’s advice to go to Aloy Thai, and I’m so glad we did! The combination of a great price and awesome taste knocks it out of the park.

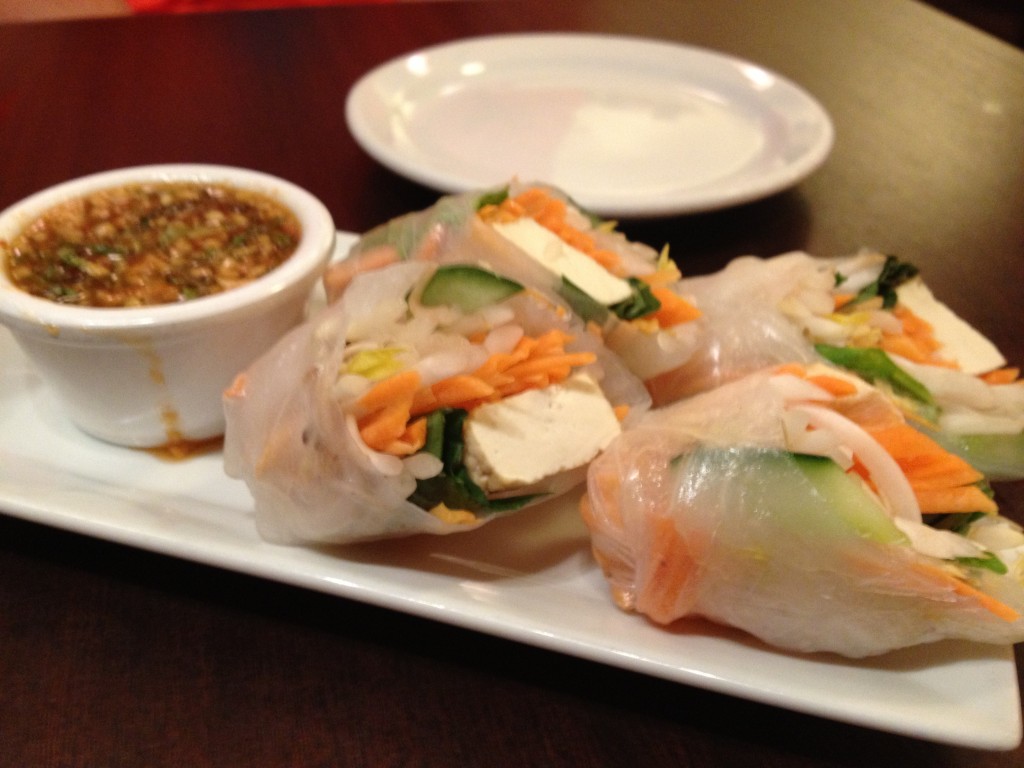
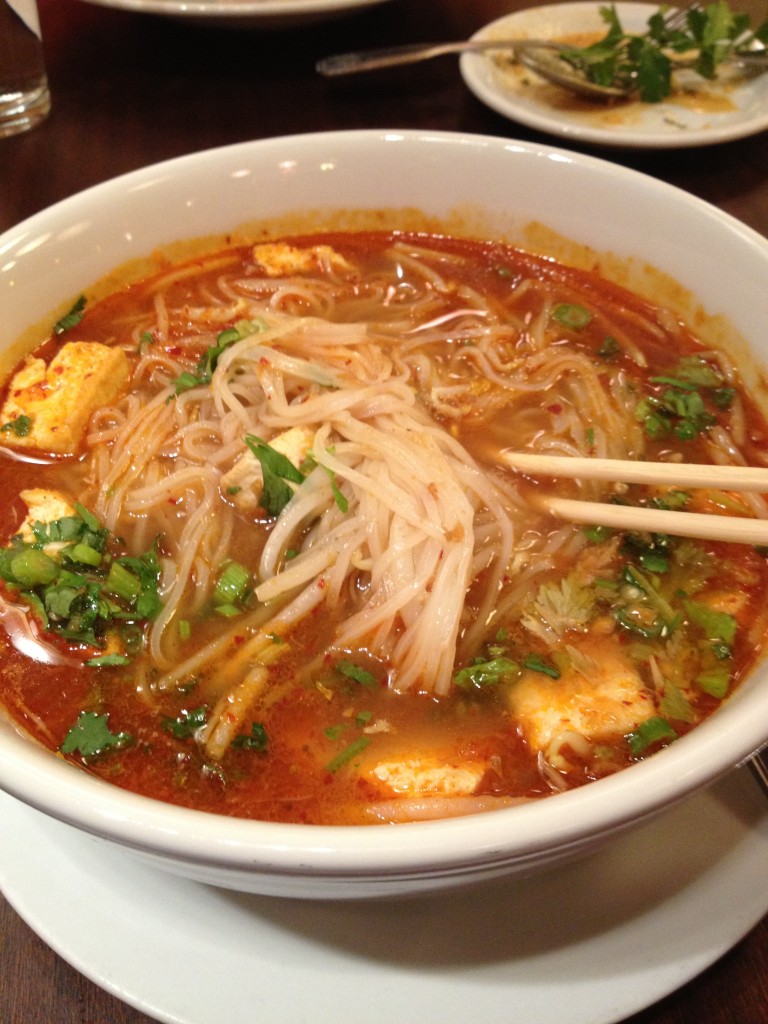
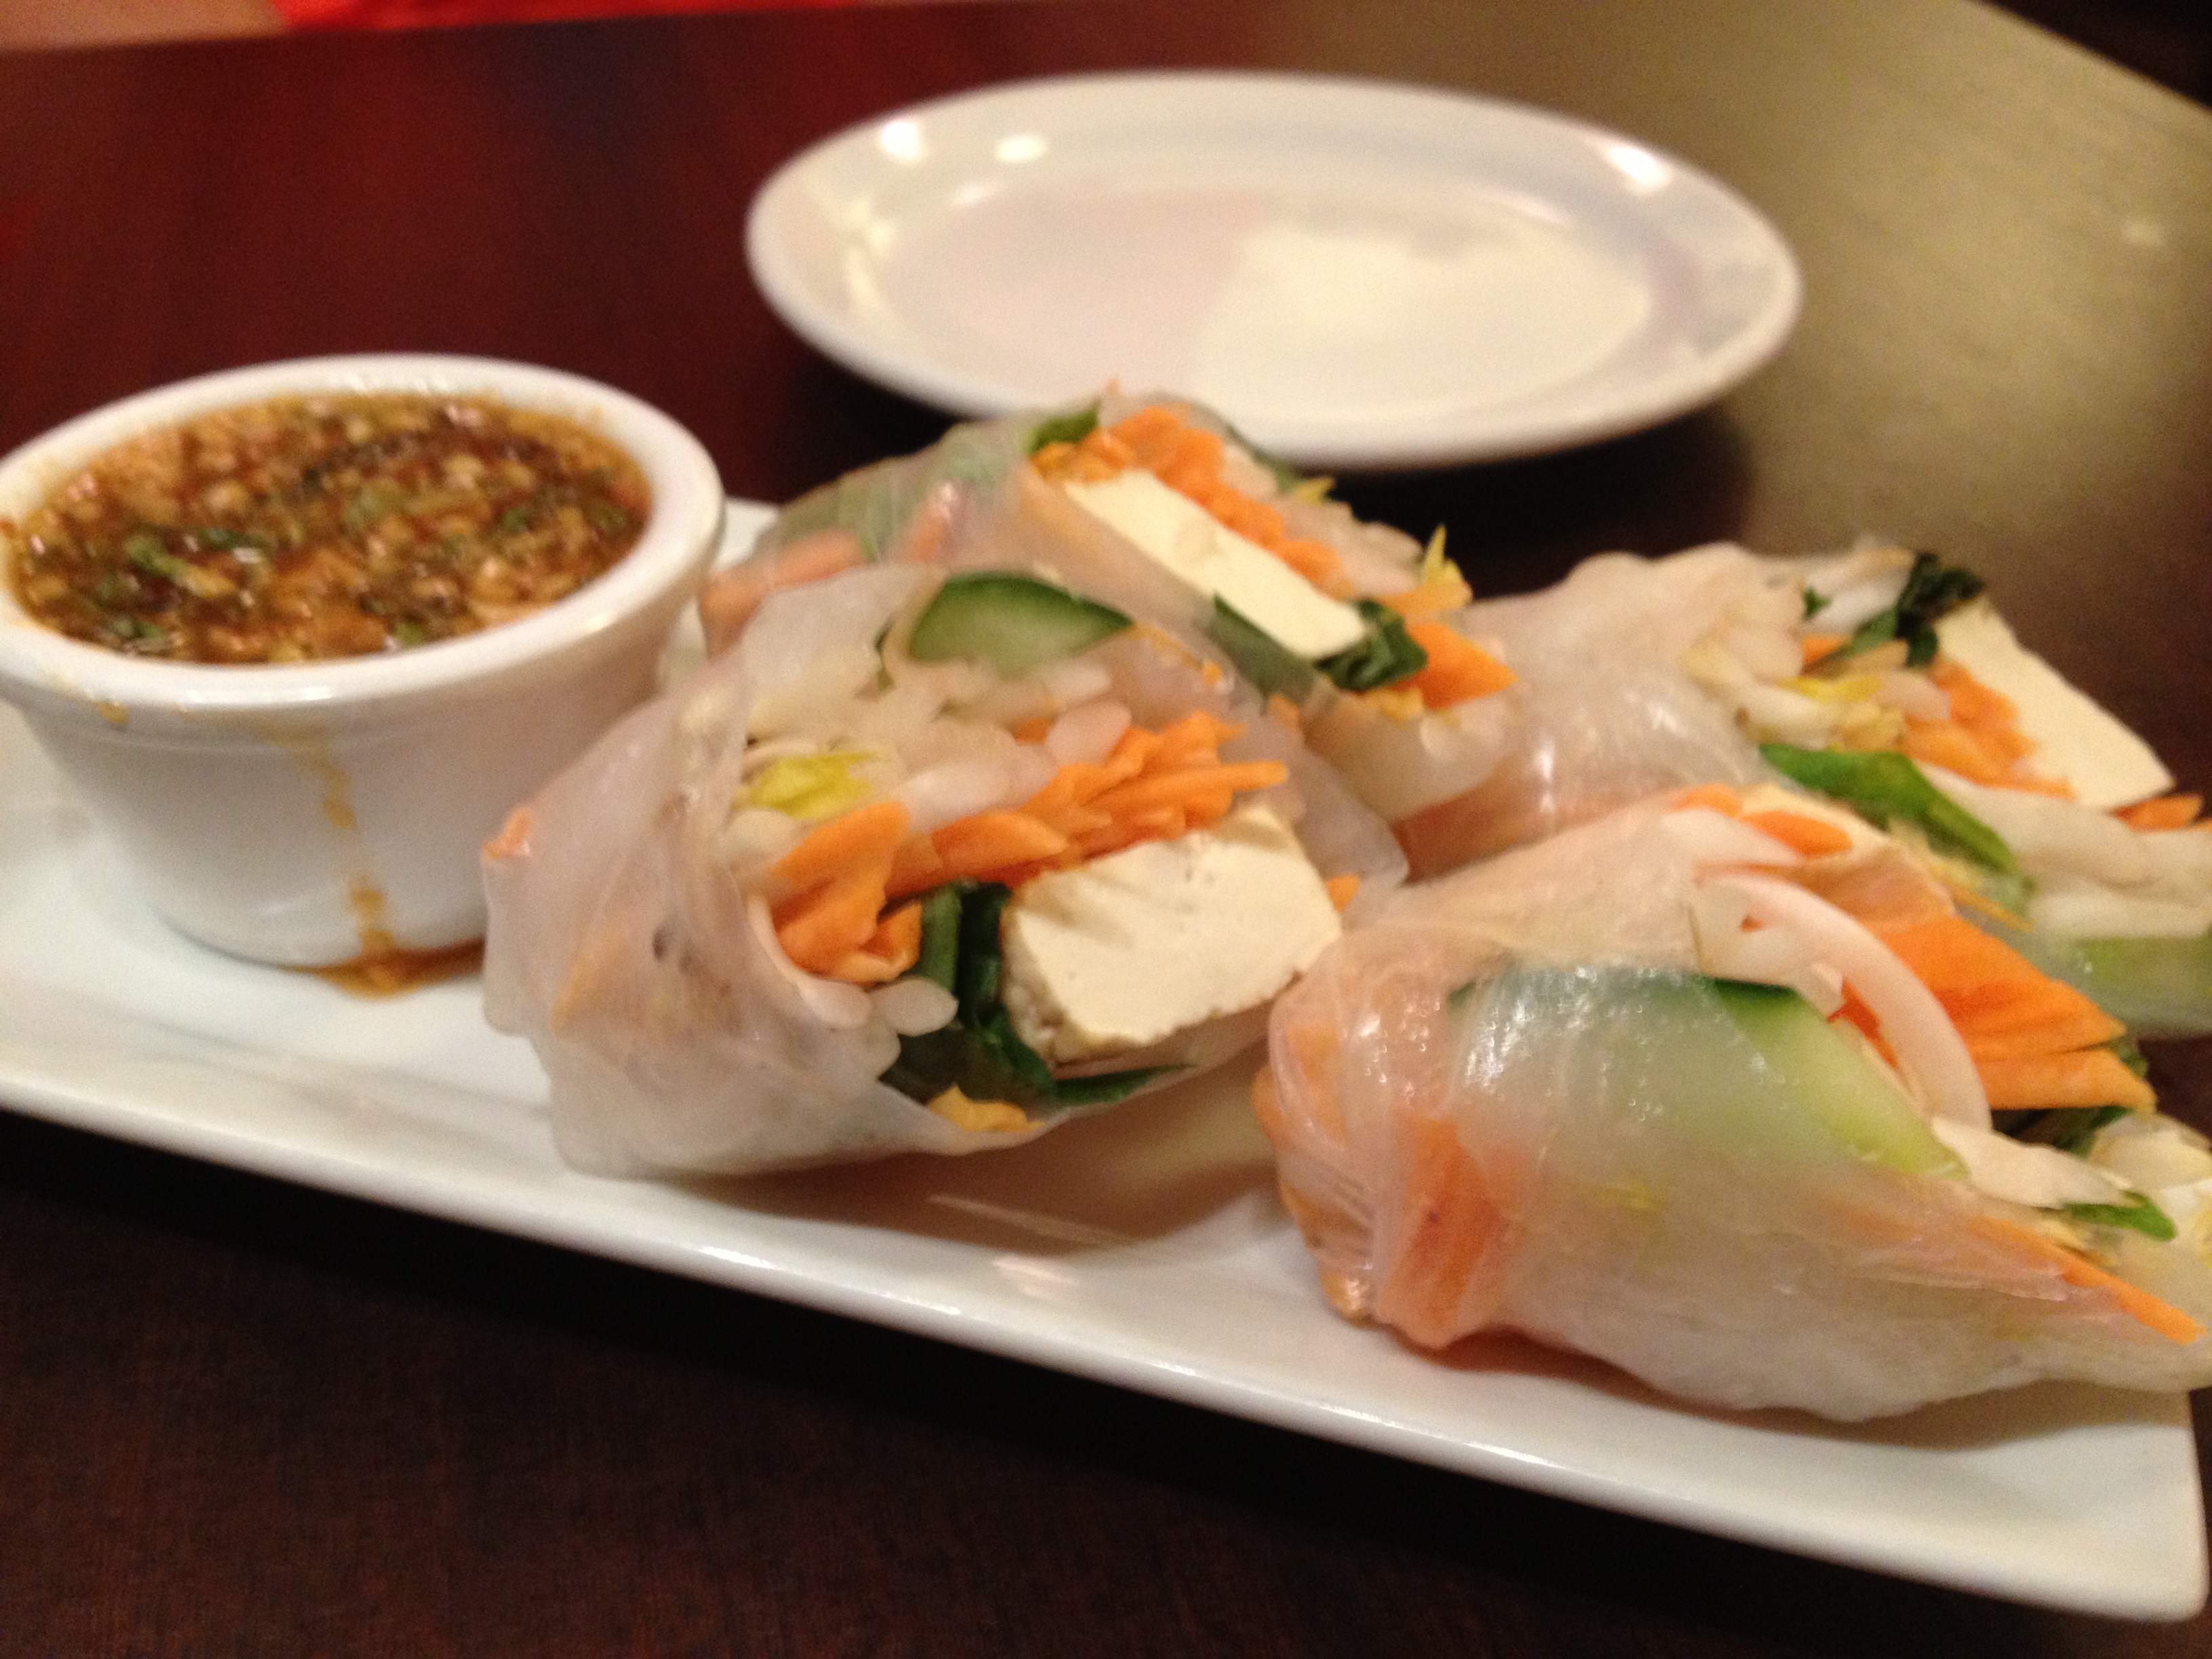
Let’s start with the dishes. The first time we came here was after a gym session (surprise, surprise), and I wasn’t feeling so hot. Everyone at work was sick around me, and I wanted to burn anything out! When we would get sniffly or sick as a kid, instead of chicken noodle soup, my dad would go get us Tom Yum Soup, a spicy Thai soup. It is so delicious and has that kick that will make your nose run. So you know I went there and ordered a huge bowl of Tom Yum Noodle Soup with Tofu. Serving was so big I had a full lunch of it tomorrow. Chris got the pineapple fried rice with chicken and he devoured it with a big smile on his face. And he got it a second time when we came back! I got the Pad Thai the second time. It wasn’t spectacular, but it was still good. We also have gotten the vegetable fresh spring rolls numerous times and love them–so fresh and we nearly drink the peanut sauce that goes with it.
The atmosphere is also excellent, with Thai designs and a yellow-orange lighting. They have plenty of staff and the service is always great. The music is nice and it is never too loud. The price definitely seals the deal. The huge tom yum noodle soup was only $9–NINE DOLLARS. Chris’ pineapple fried rice came to only $11. It was such an amazing dinner for such a good price, we are constantly going back.
If you’re in Boulder and craving some Thai, stop at Aloy Thai. It has delicious dishes that won’t break the bank. Avoid the Pad Thai, but dig into anything you can get your hands on! Hungry and Fit gives Aloy Thai a big thumbs up. And as always…stay hungry and fit!
BONUS KITTY PIC

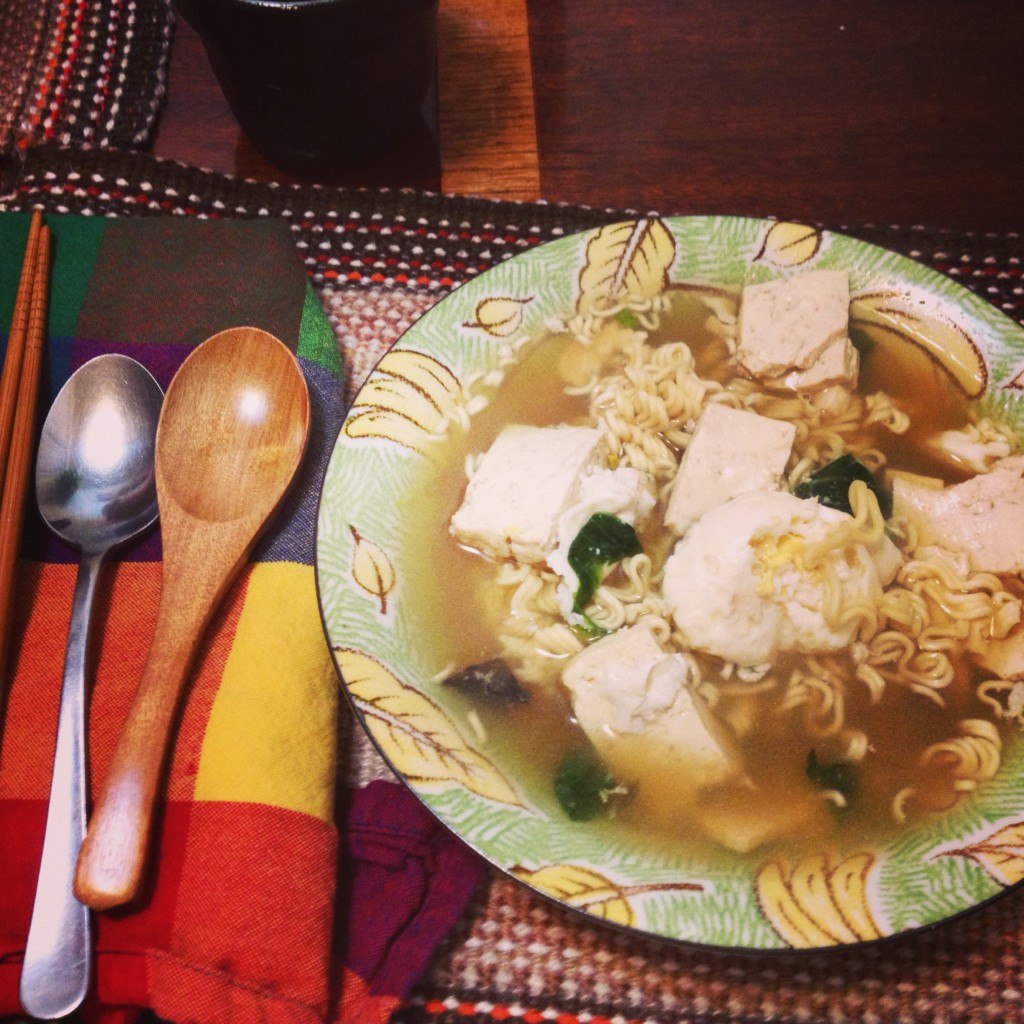
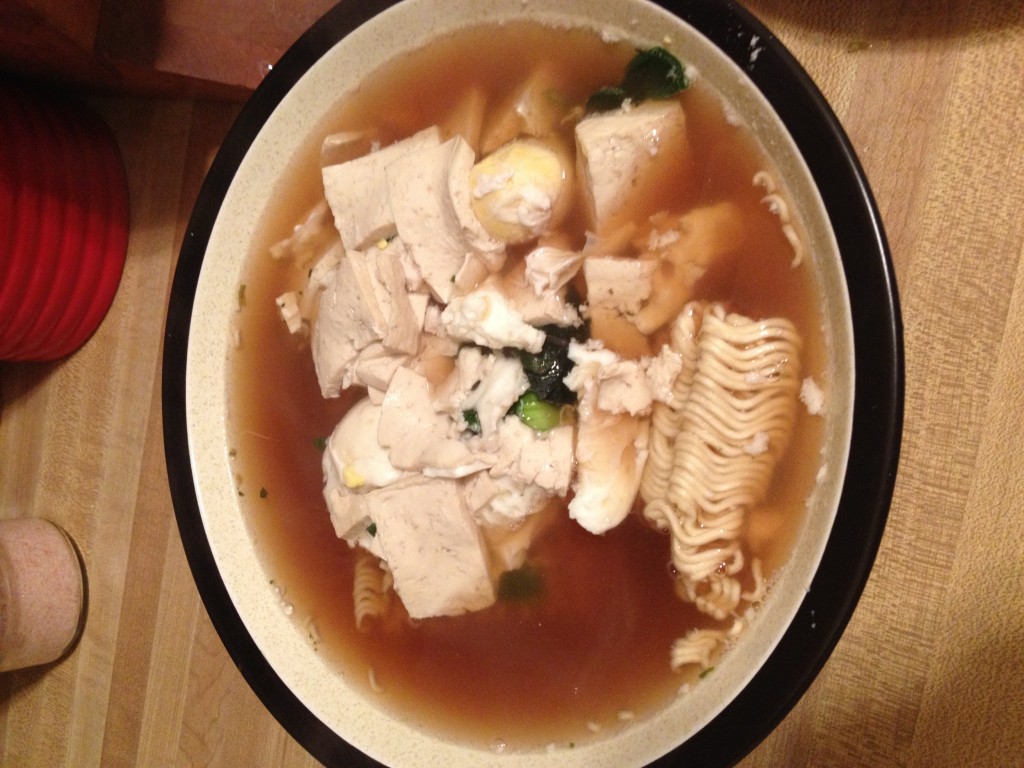
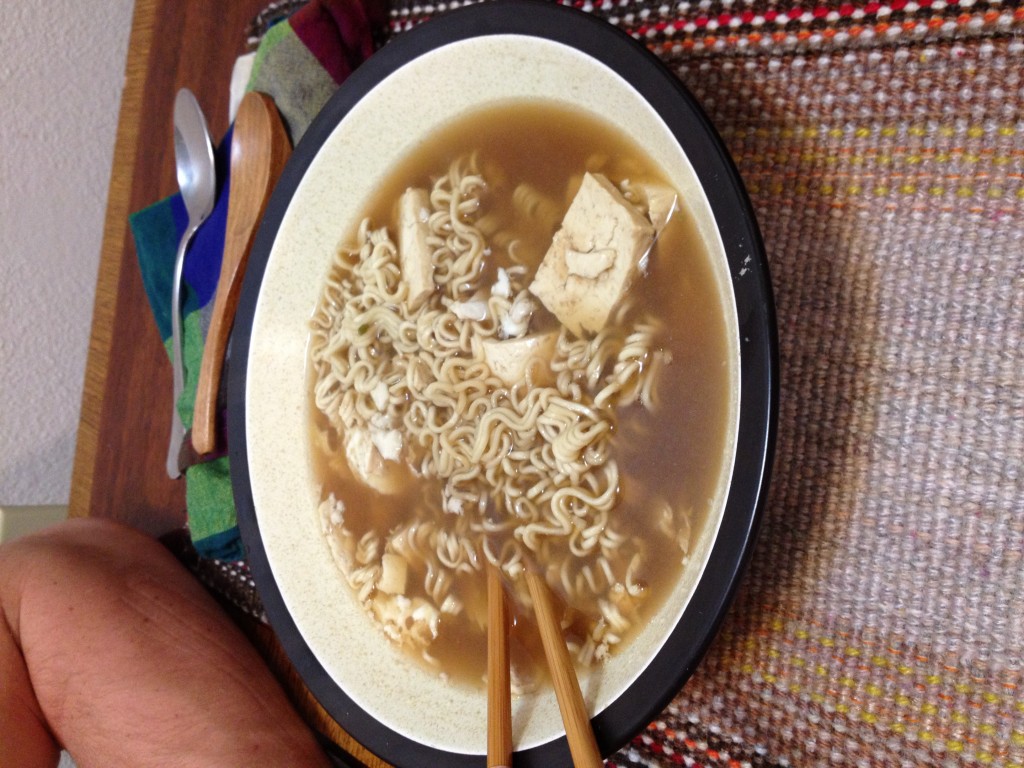
Jazz Up Your Ramen
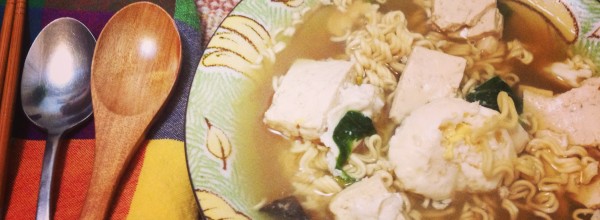
Chris has a serious ramen obsession, and I mean with all kinds. Since we don’t have a usual ramen place here in Boulder, we usually go with the packaged stuff. Now I rarely ever eat that packaged stuff, because it’s not the best for you. However, I did get him off the Top Ramen crap and now he eats the stuff that actually gets imported from Japan (a little more expensive, but worth it). Most people who have ramen have just that–just the noodles with hot water. I, however, dare you to jazz it up a little! Make it healthier! There are many ways to do this, but this is how we did it.
- Prep Time: 5 minutes
- Cooking Time: 20-25 minutes
- Serving Size: 2
Ingredients
- 2 packets of Sapporo Ichiban ramen
- 2 tbsp soy sauce
- 1-2 cups spinach
- 1/3 block firm tofu
- 2-3 eggs
Directions
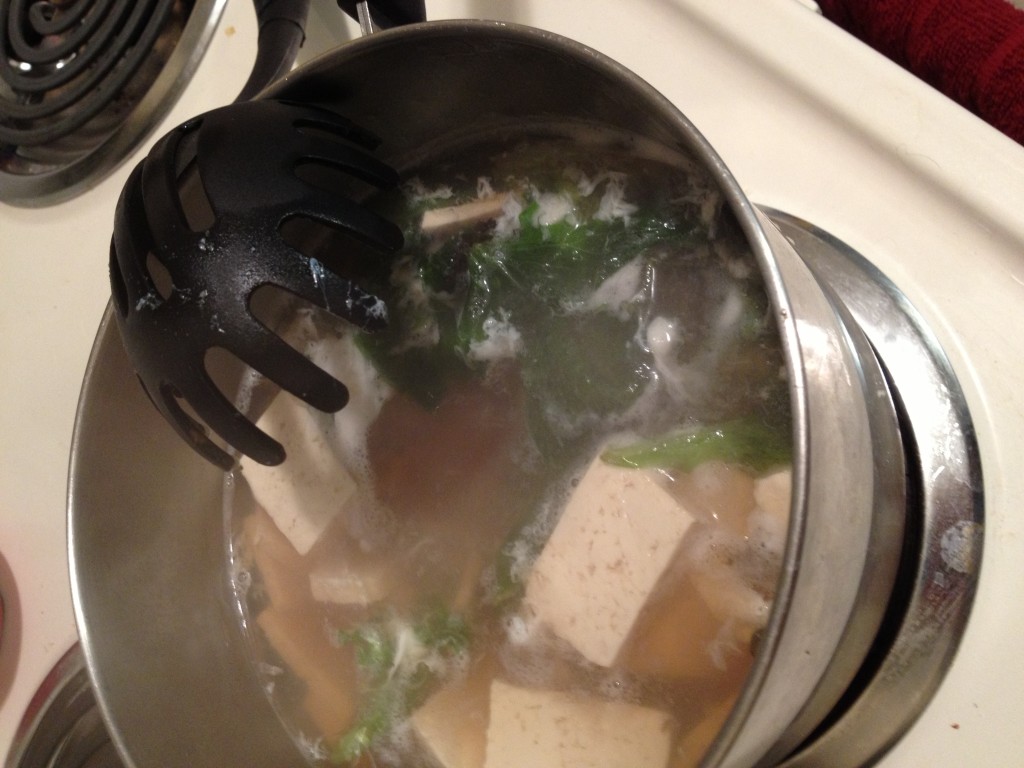
- First, fill up a pot with water, about 4 inches of water. Start on high heat, aiming for a boil. Put the soy sauce in the water
- Cut up the tofu into squares or thin strips
- Wait for it to start boiling, and then put in the tofu
- Turn down the heat slightly and let the tofu boil for about 20 or so minutes (I went and took a shower during this time)
- Now it’s time to add the spinach or whatever kind of greens you want. Stir them around so they get submerged
- When you’re two minutes out, go ahead and crack the eggs into the boiling pot
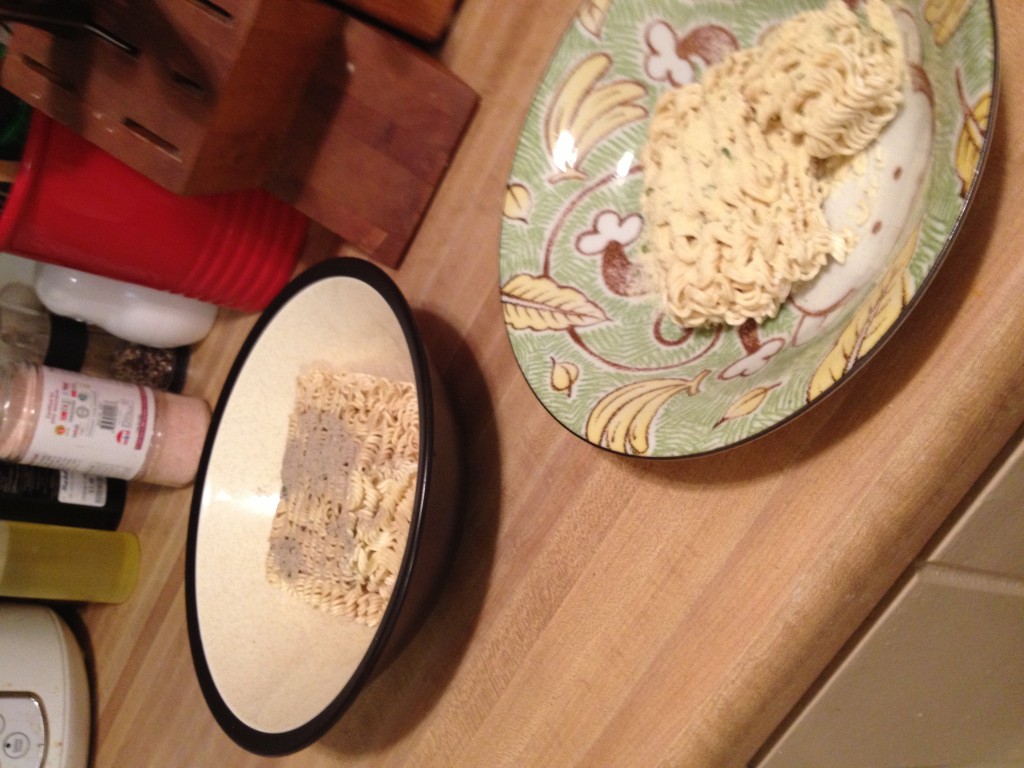
- Get out the ramen packets. You can use the flavoring if you want. Put into large bowls so that you have room for all the other fun stuff
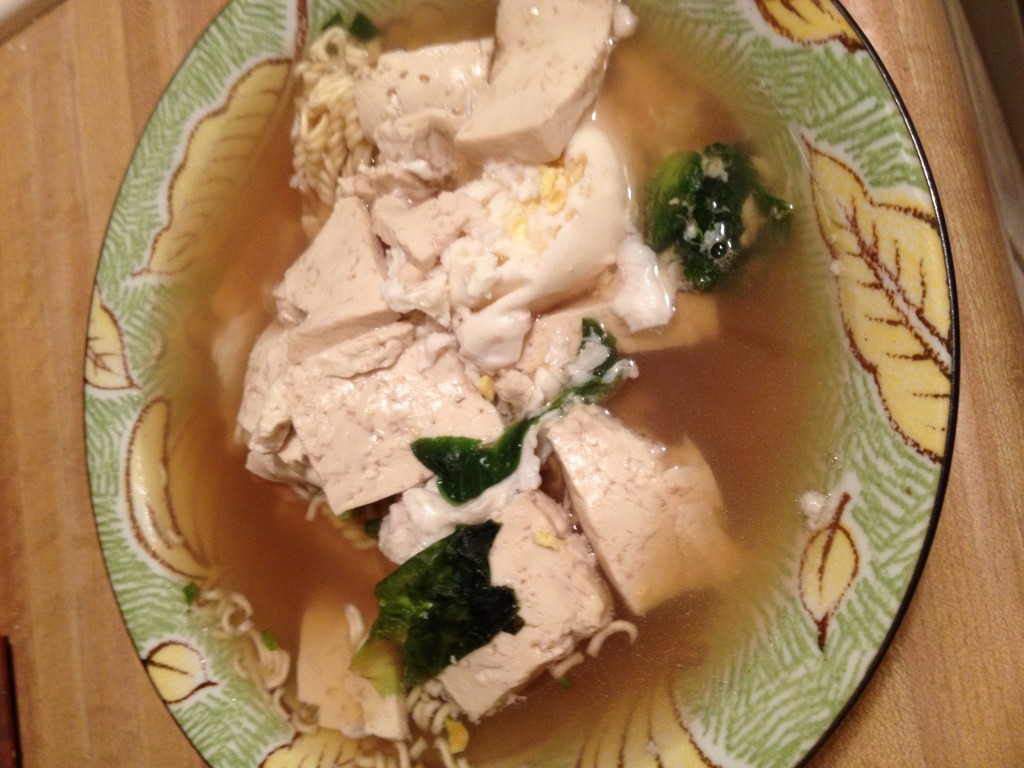
- Now slowly start to pour the contents of the pot into the bowls, you want to try to get the liquid out first and pour as evenly as you can. Then the other stuff will come plopping out too. And that’s basically it! Make sure to let the ramen sit a little bit so the noodles can expand
This is a quick meal with carbs, proteins, and fats in it to make it well-rounded. Yes, it’s still ramen from a package, but it certainly didn’t taste or feel that way after jazzing it up. Again, this is just one way of doing it. Next time I might add ground turkey for Chris’, more greens, and play with it! Add nutrients to food to stay hungry and fit!
BONUS KITTY PIC

The cats FINALLY realized Dovah exists last night. They were so curious and interested they didn’t want to sleep


Powell’s Vegetarian Chili
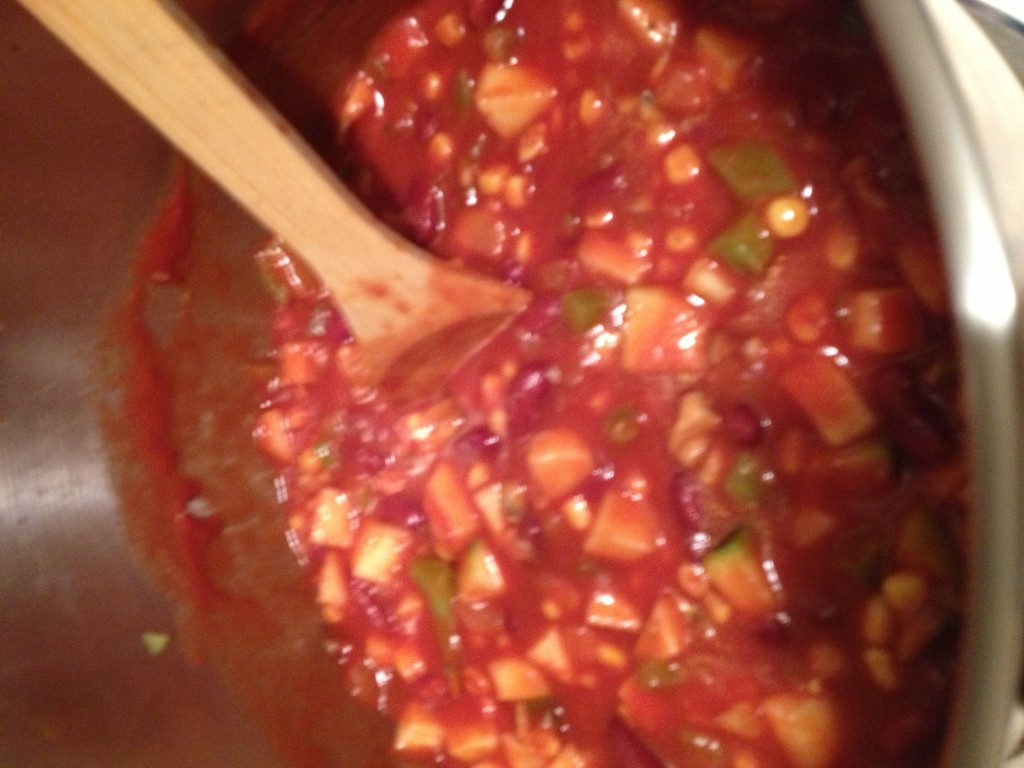
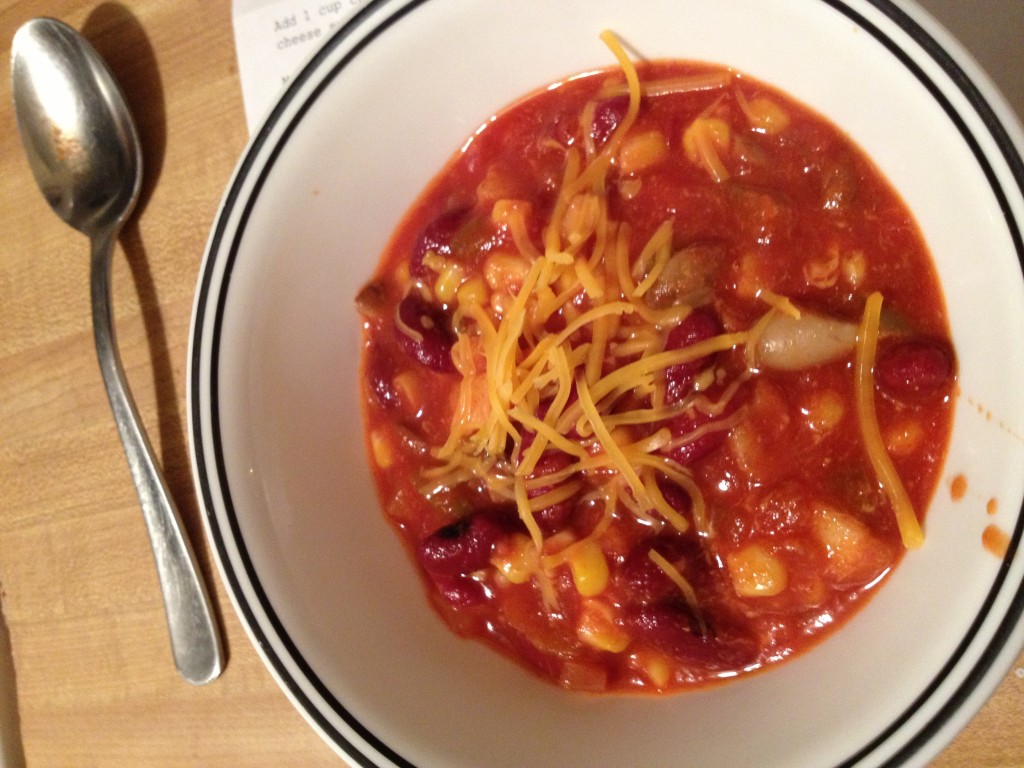
It has been cold in Boulder. I know Chris likes it, but I’m not a huge fan of 30 or 40 degree weather. However, there are remedies to this! Such as hot chocolate…tea…oh and, VEGETARIAN CHILI! We would eat this a lot at home when I lived with my parents and it was always so tasty and gave that perfect sense of warmth and comfort. And I never realized how easy it was to make until I started cooking for my own. This chili lasted us a few nights and for a few lunches, keeping us warm against the turning seasons. This recipe comes from my family. It’s easy, healthy, and vegetarian-friendly.
- Prep Time: 15-20 min
- Cook Time: 25 minutes
Ingredients
- 2 garlic cloves
- 1 large green or red pepper
- 1 package of mushrooms
- 1/2 onion
- 2 tbsp oil
- 1 28 oz. can crushed tomatoes
- 1 15 oz. can tomato sauce
- 1 tbsp paprika or chili powder
- 1 tsp cumin
- 2 15 oz. can red kidney beans
- 1.5 cups zucchini
- 1 10 oz. package frozen corn
- shredded cheddar cheese
Directions
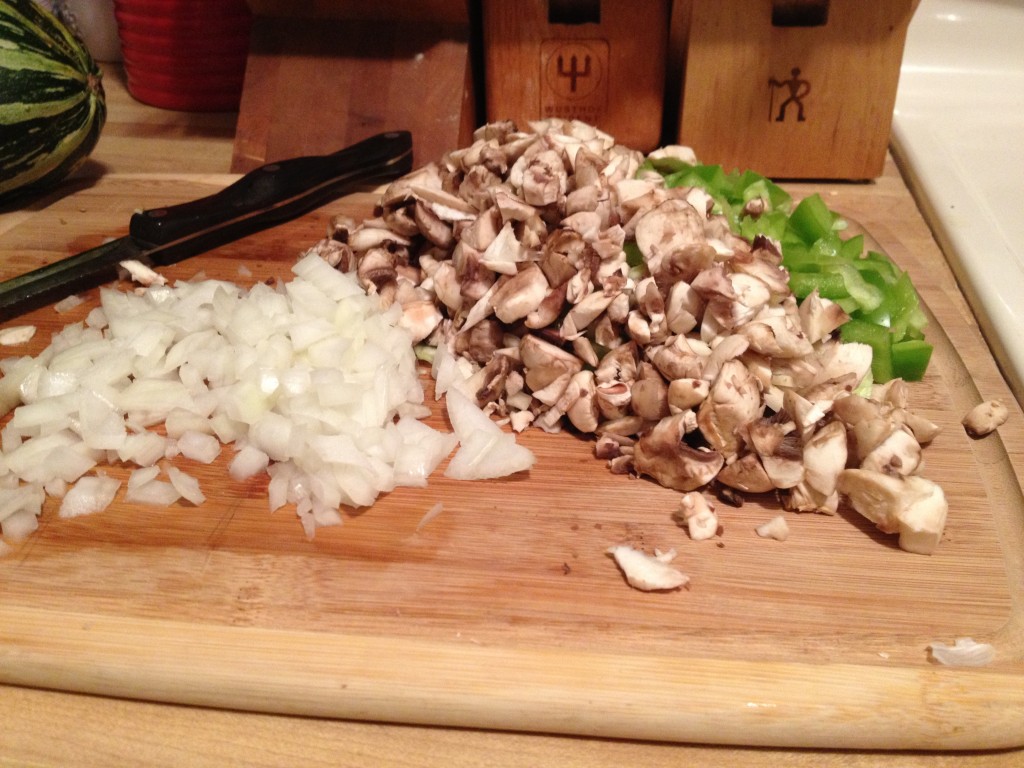
- Okay long list of ingredients, but it is super simple. First let’s chop up all the mushrooms, garlic, pepper, onion, and zucchini
- Stir the garlic, peppers, mushrooms, and onions in a deep pot with oil until veggies are tender
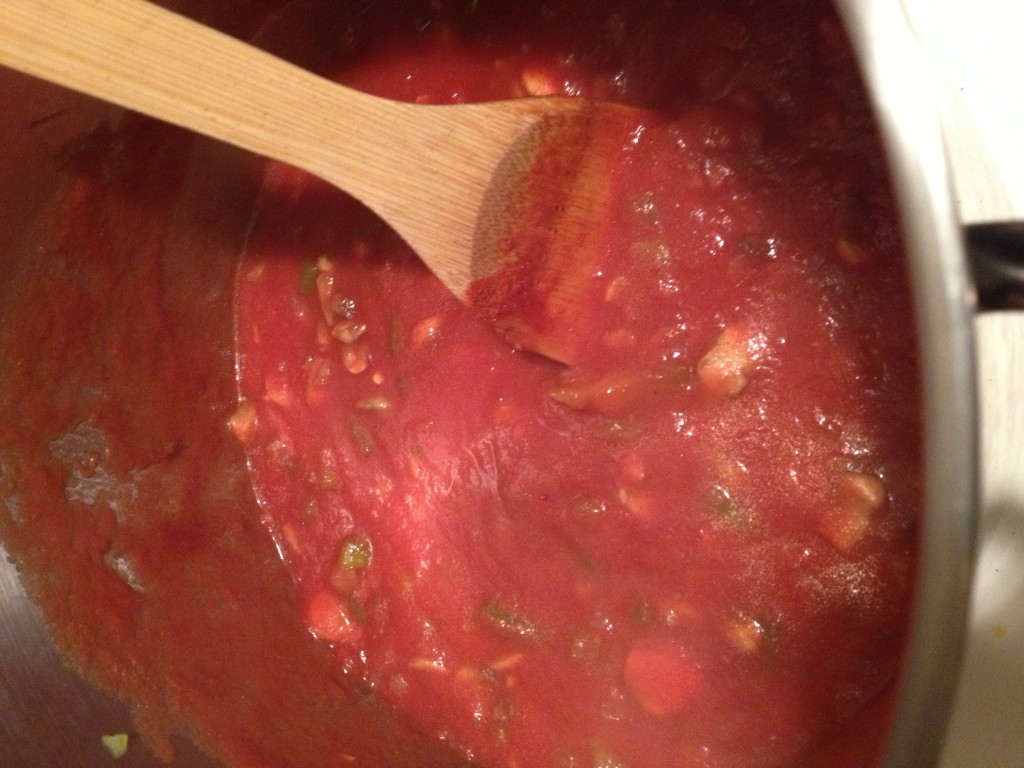
- Add tomatoes, tomato sauce, paprika, and cumin. Stir it and heat to a boil.
- Reduce the heat to low. Then add the beans, corn, and zucchini. Simmer those until the veggies are tender
- Add however much cheese you want into the chili and stir until it melts. Serve hot with sprinkled cheese on top!
We usually have it alongside some cornbread. It always fills me up with a sense of home and happiness. I know I will be making it more as the days get colder. The second day we had it, Chris added some ground turkey into it and it was also delicious! This recipe is incredibly easy, delicious, and healthy. Use this recipe to stay hungry and fit!
BONUS KITTY PIC

The Most Basic Balsamic Vinaigrette
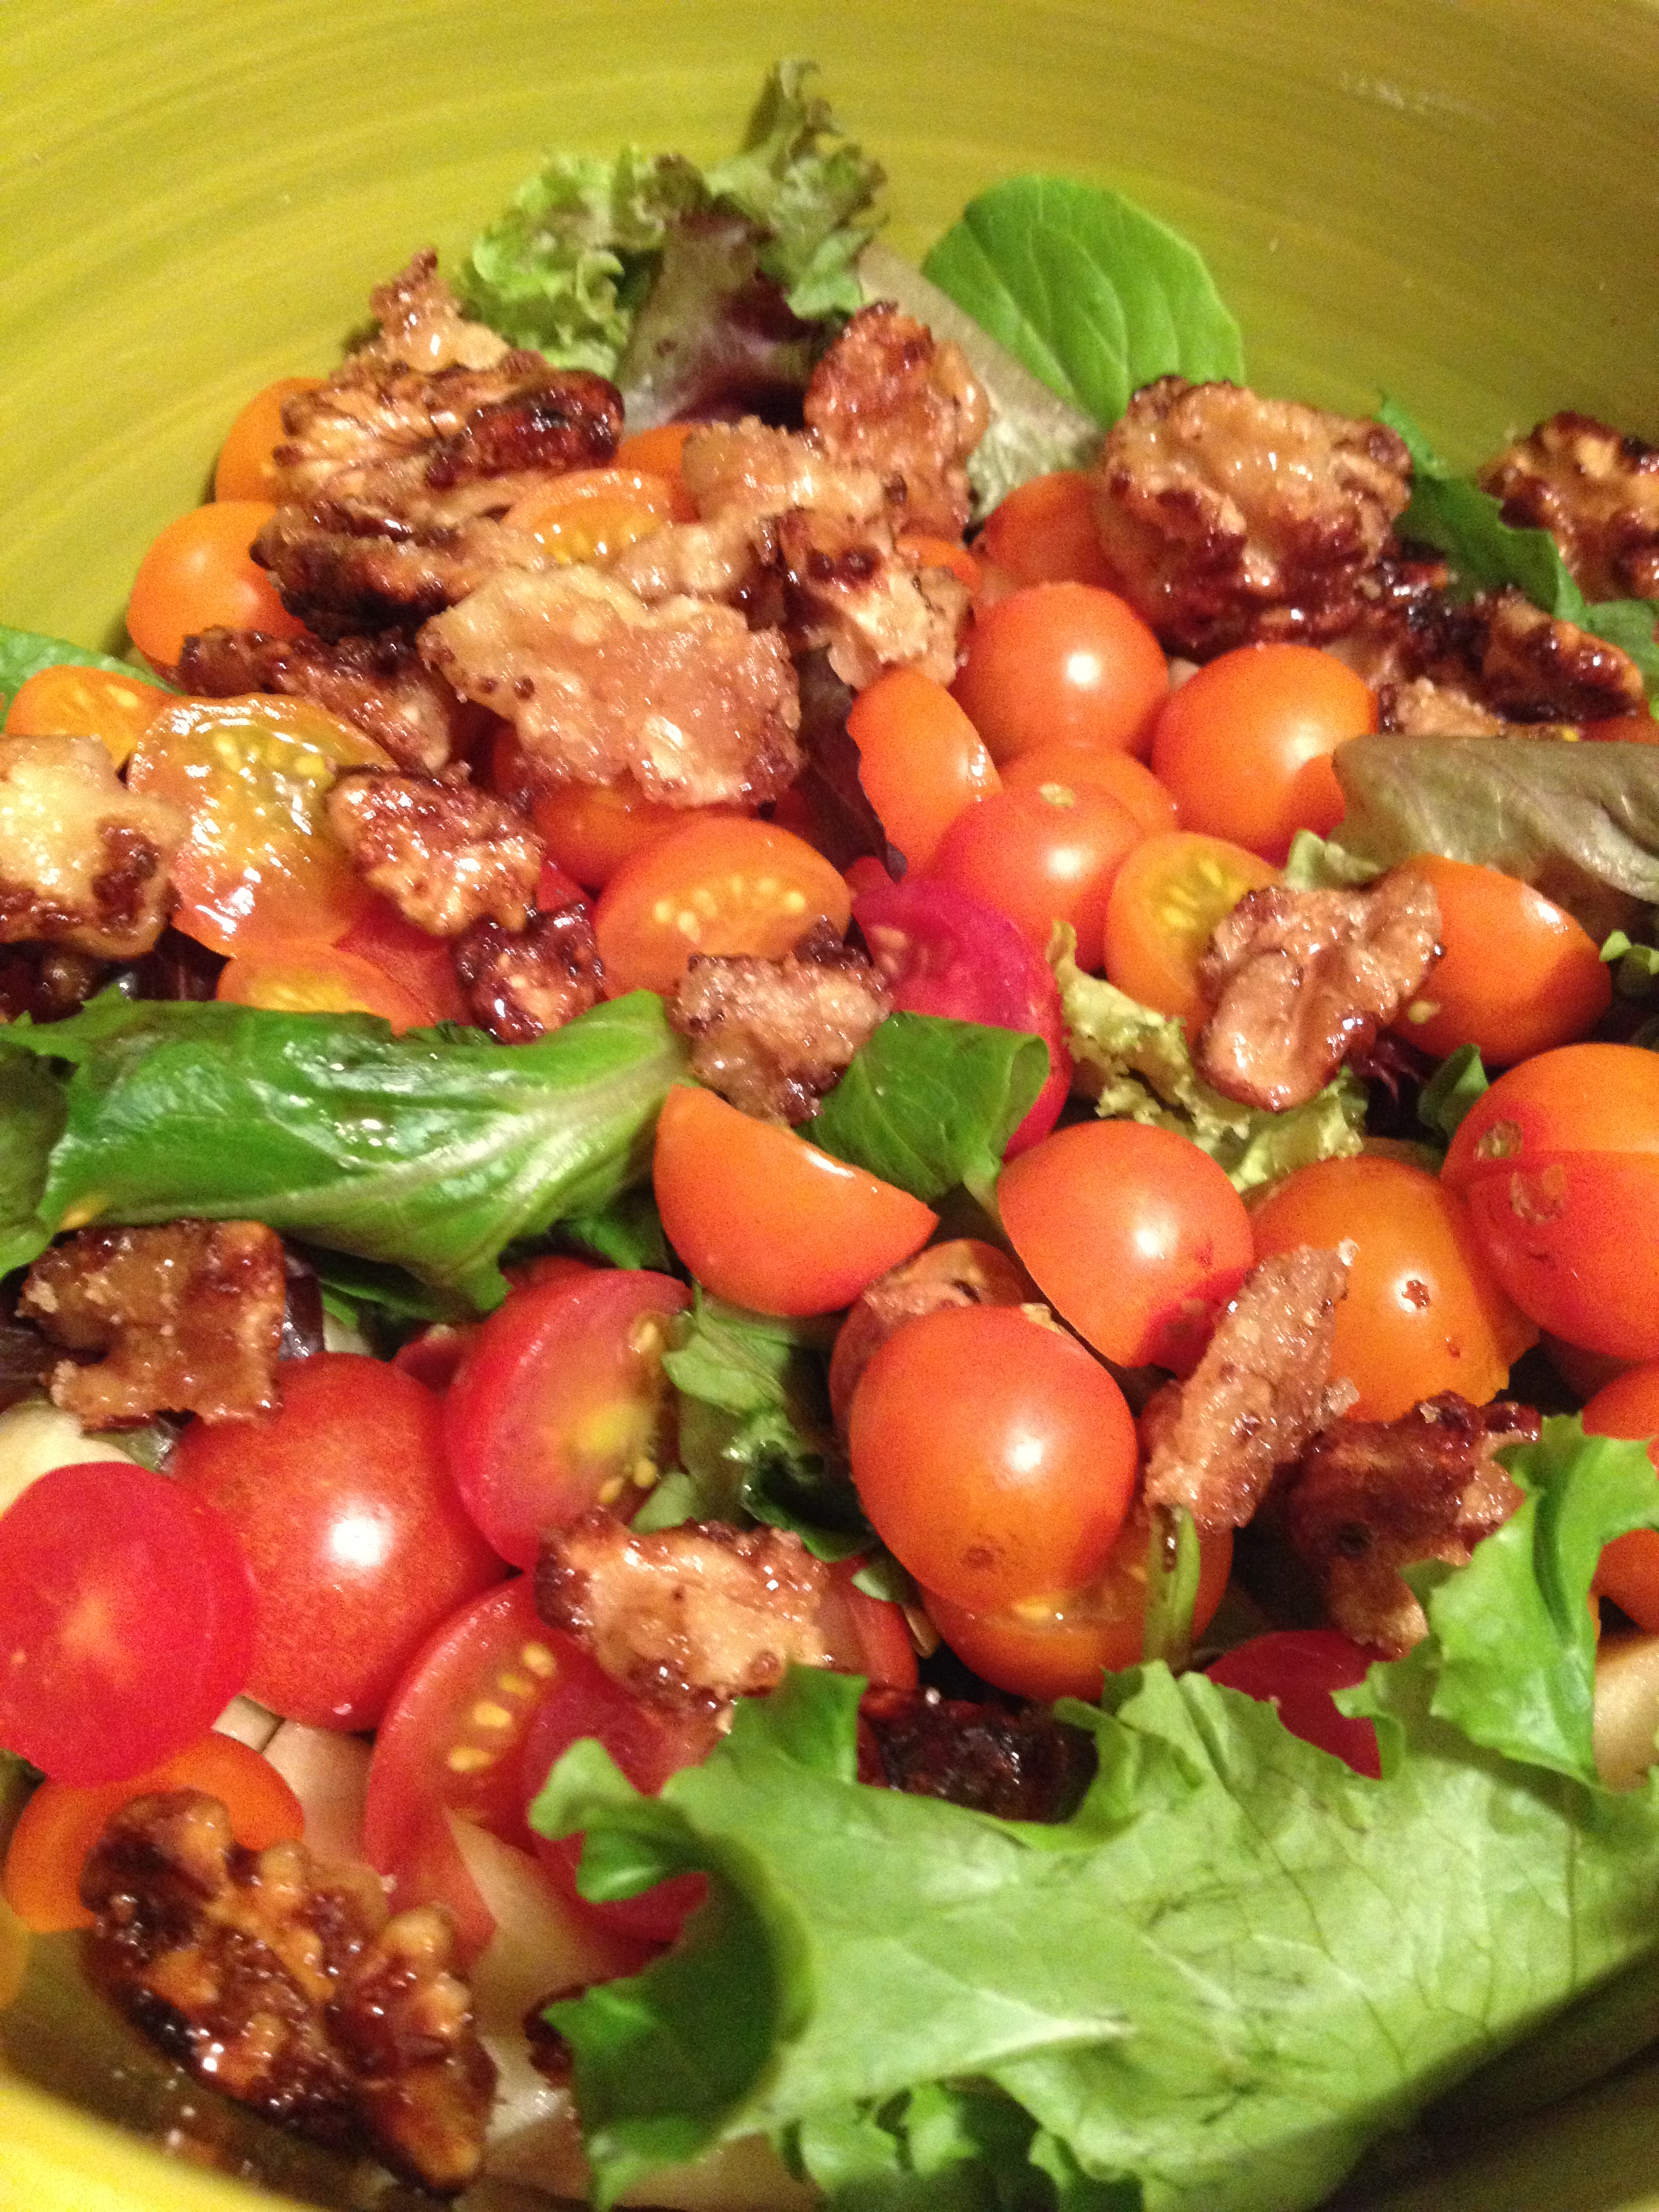
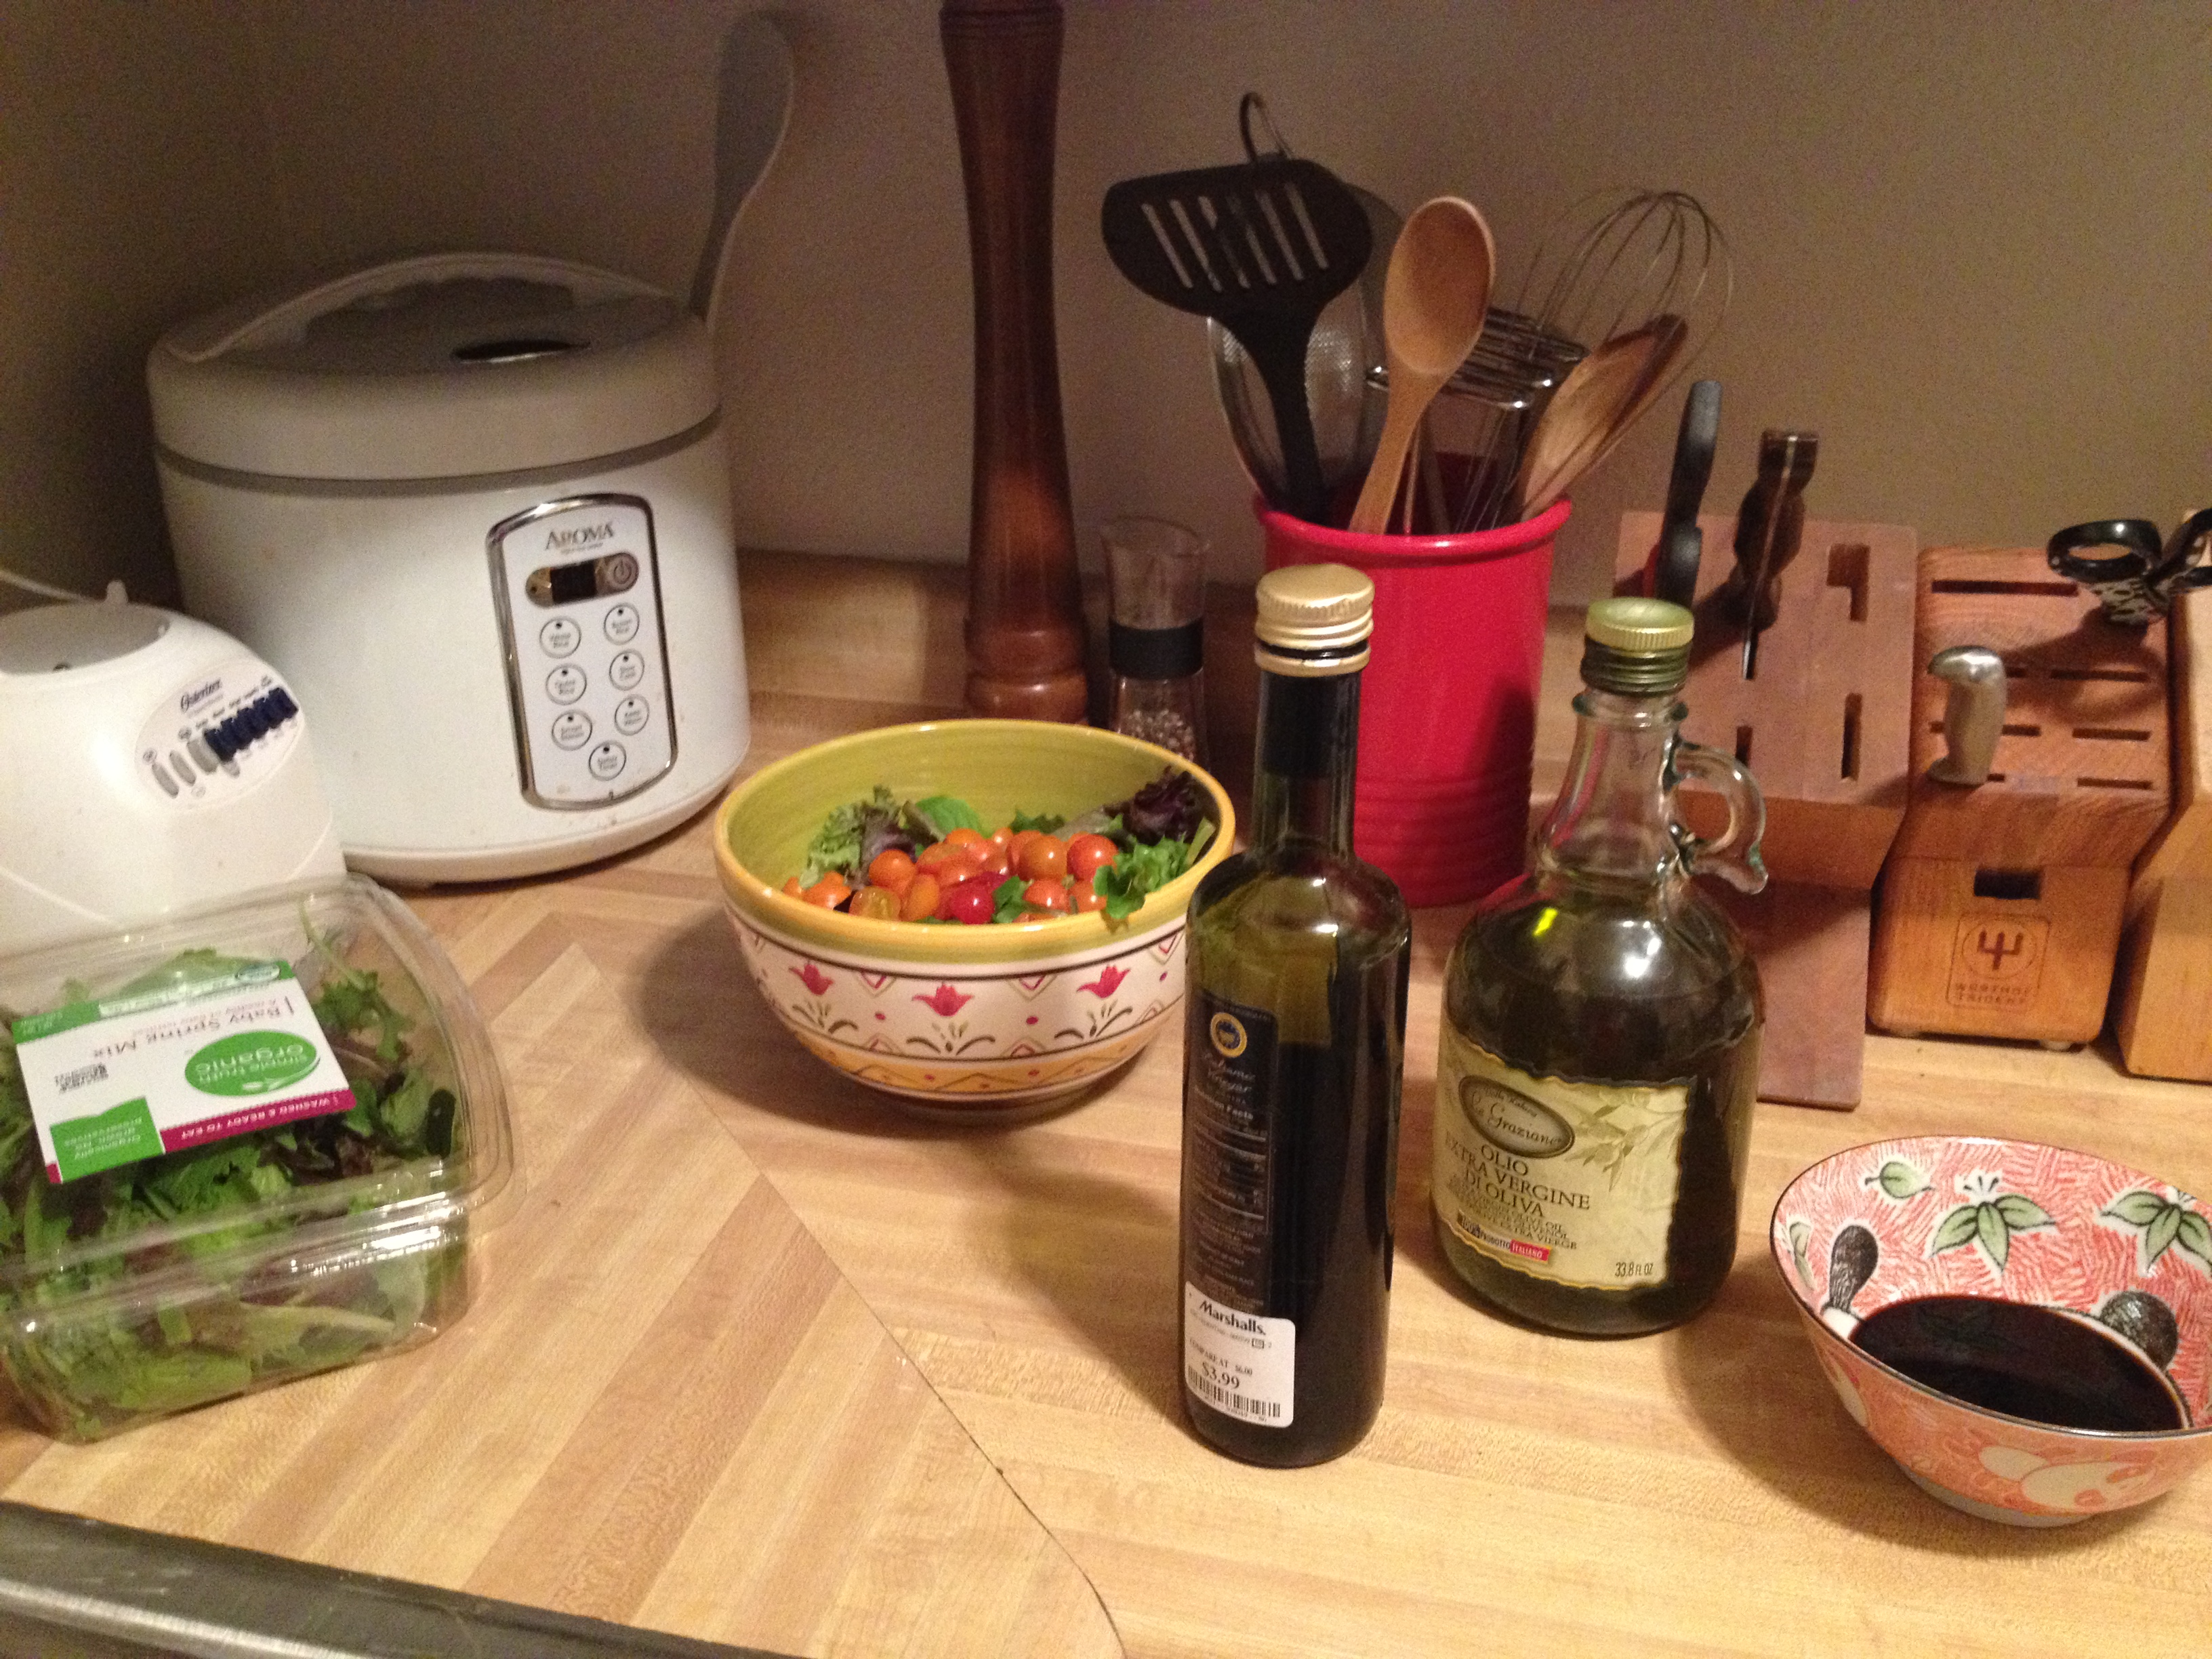
So we ran out of salad dressing. I had collected a bunch of sungold tomatoes from our farm (the Longmont YMCA where I work) so I wanted to put a nice salad together with the fresh goodies. All my life growing up, my mum made a delicious dressing. It wasn’t balsamic, I think it was more red wine. But her work inspired me. Why go buy salad dressing when I could just easily make one right here in my kitchen for half the cost? I looked up a recipe from here to steer myself in the right direction and then let the ingredients flow! This recipe is incredibly easy, quick, and tasty.
Ingredients
- 1/4 cup balsamic vinegar
- 1 clove garlic, minced
- 1 tsp brown sugar
- 1/2 tsp salt
- a bunch of twists of black pepper
- 2/3 cup olive oil
Directions
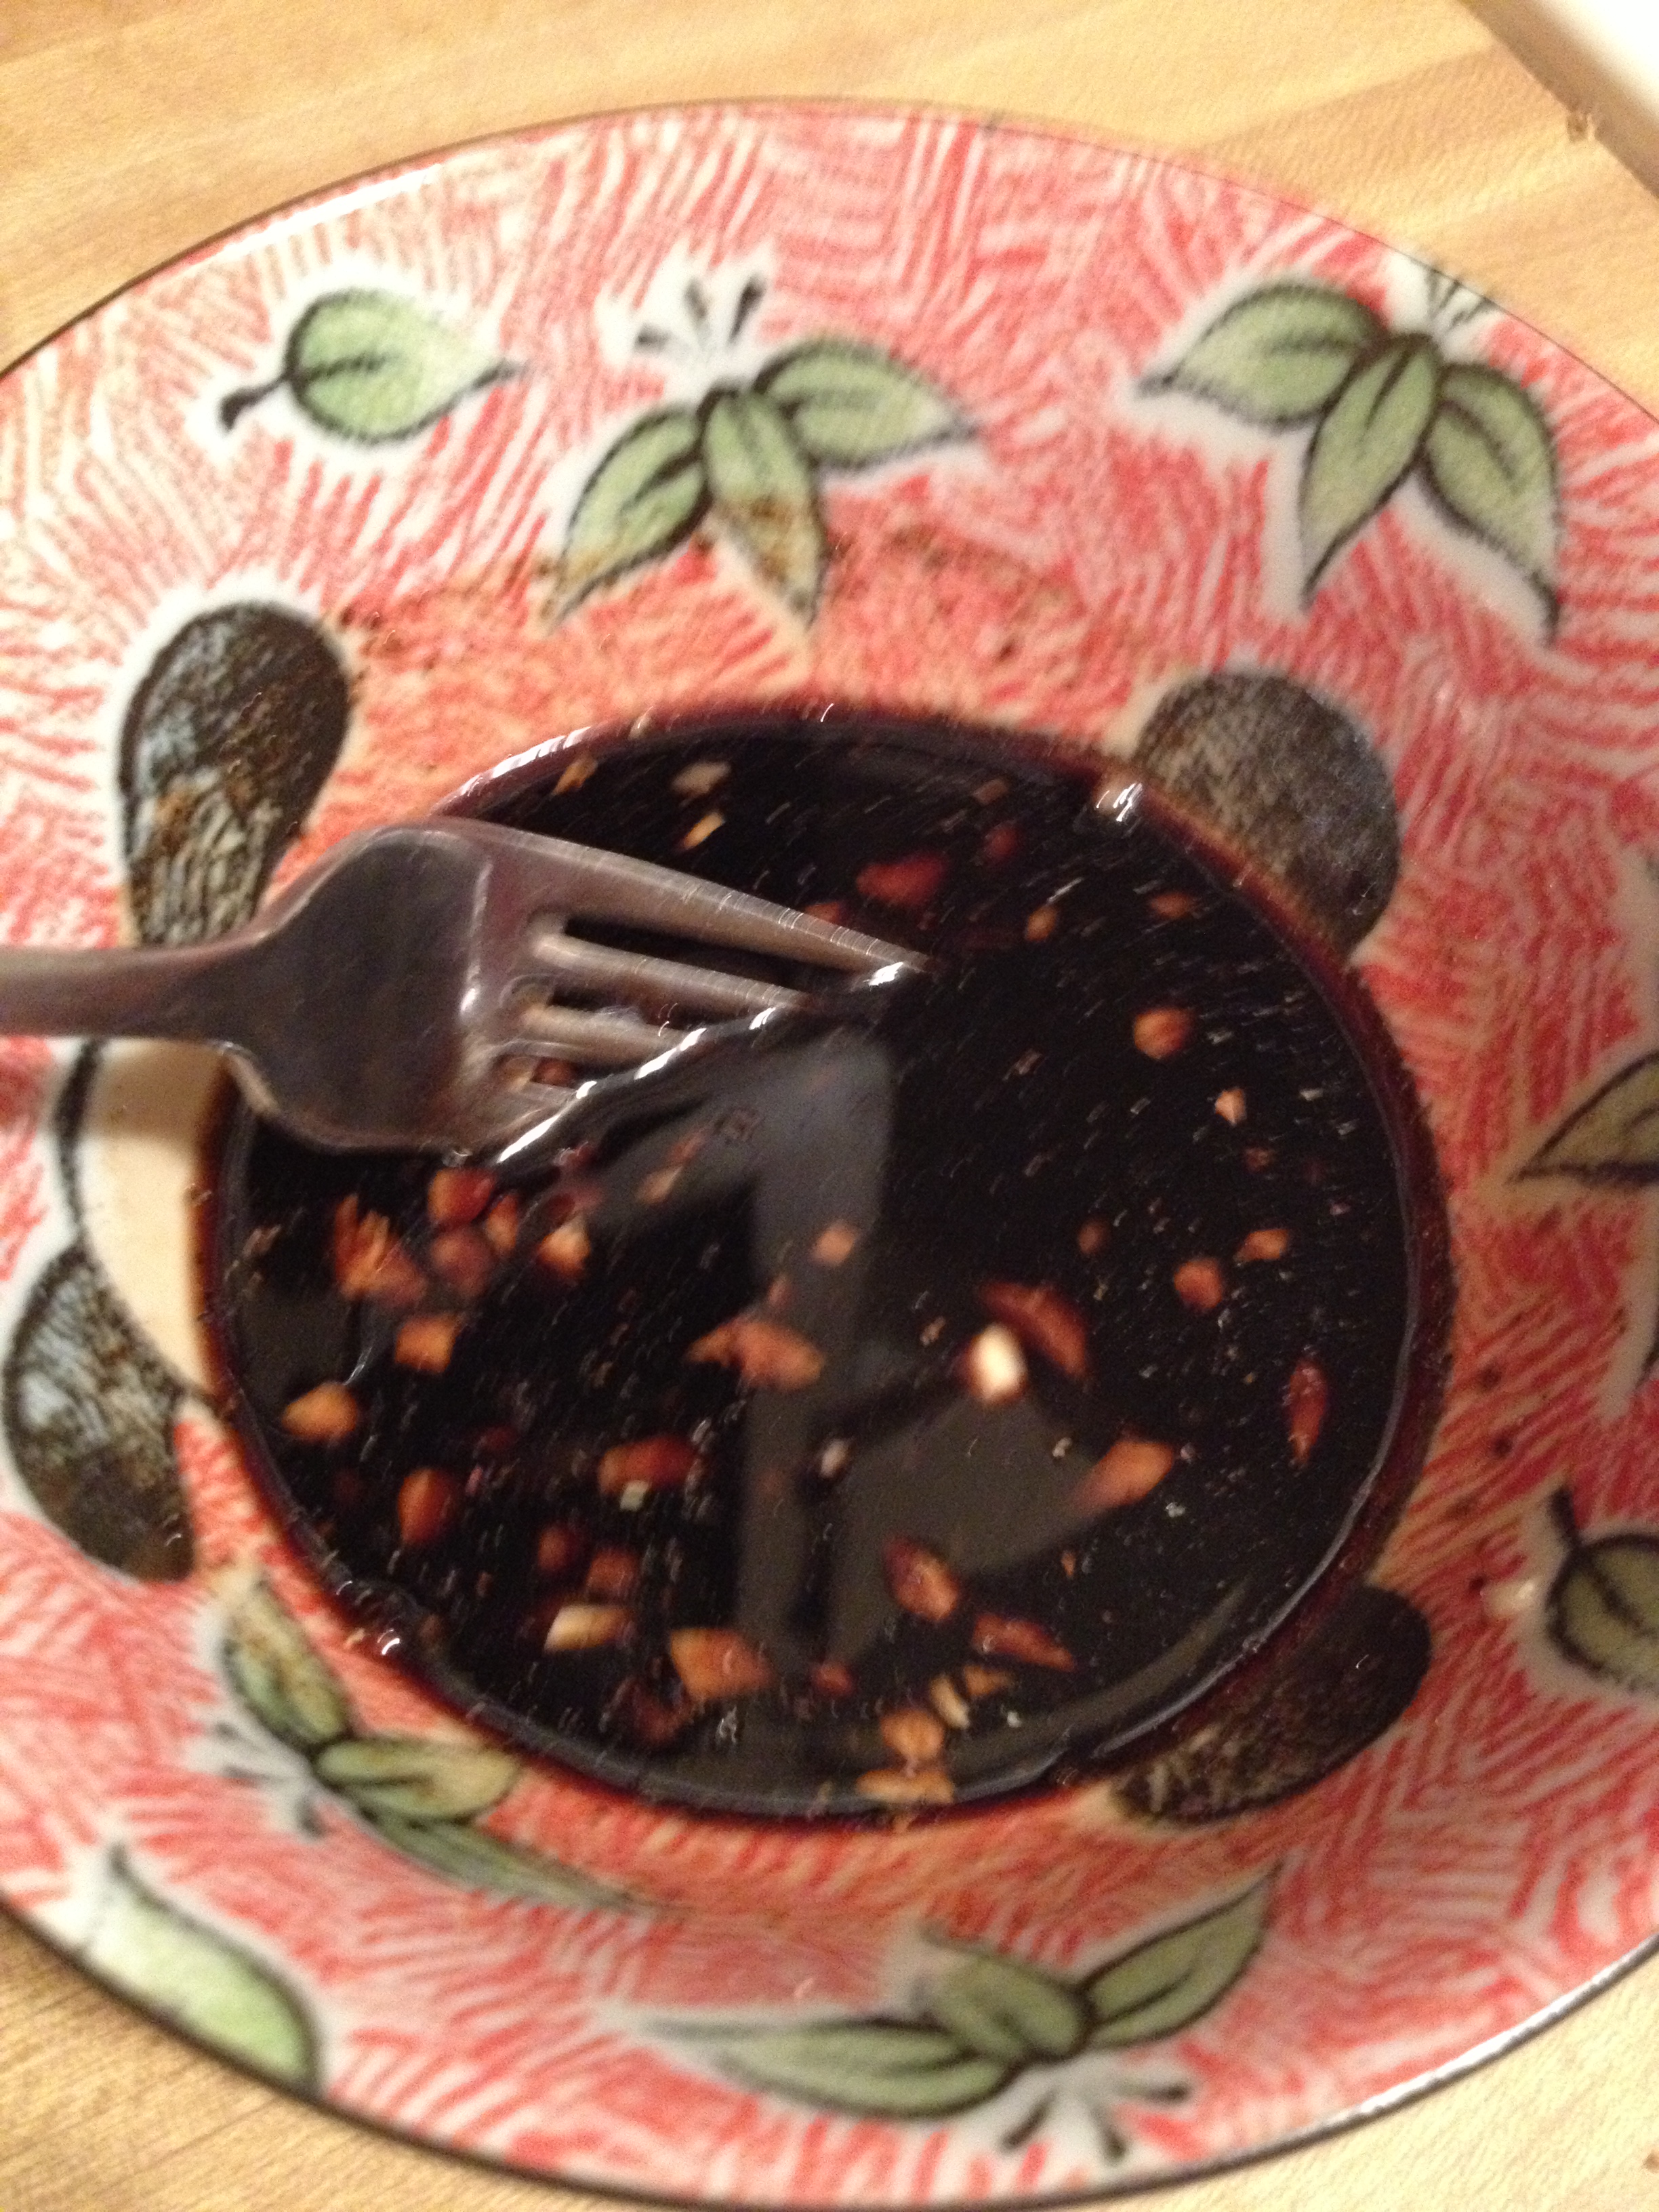
- Beat everything together except the oil. I used a fork to do this
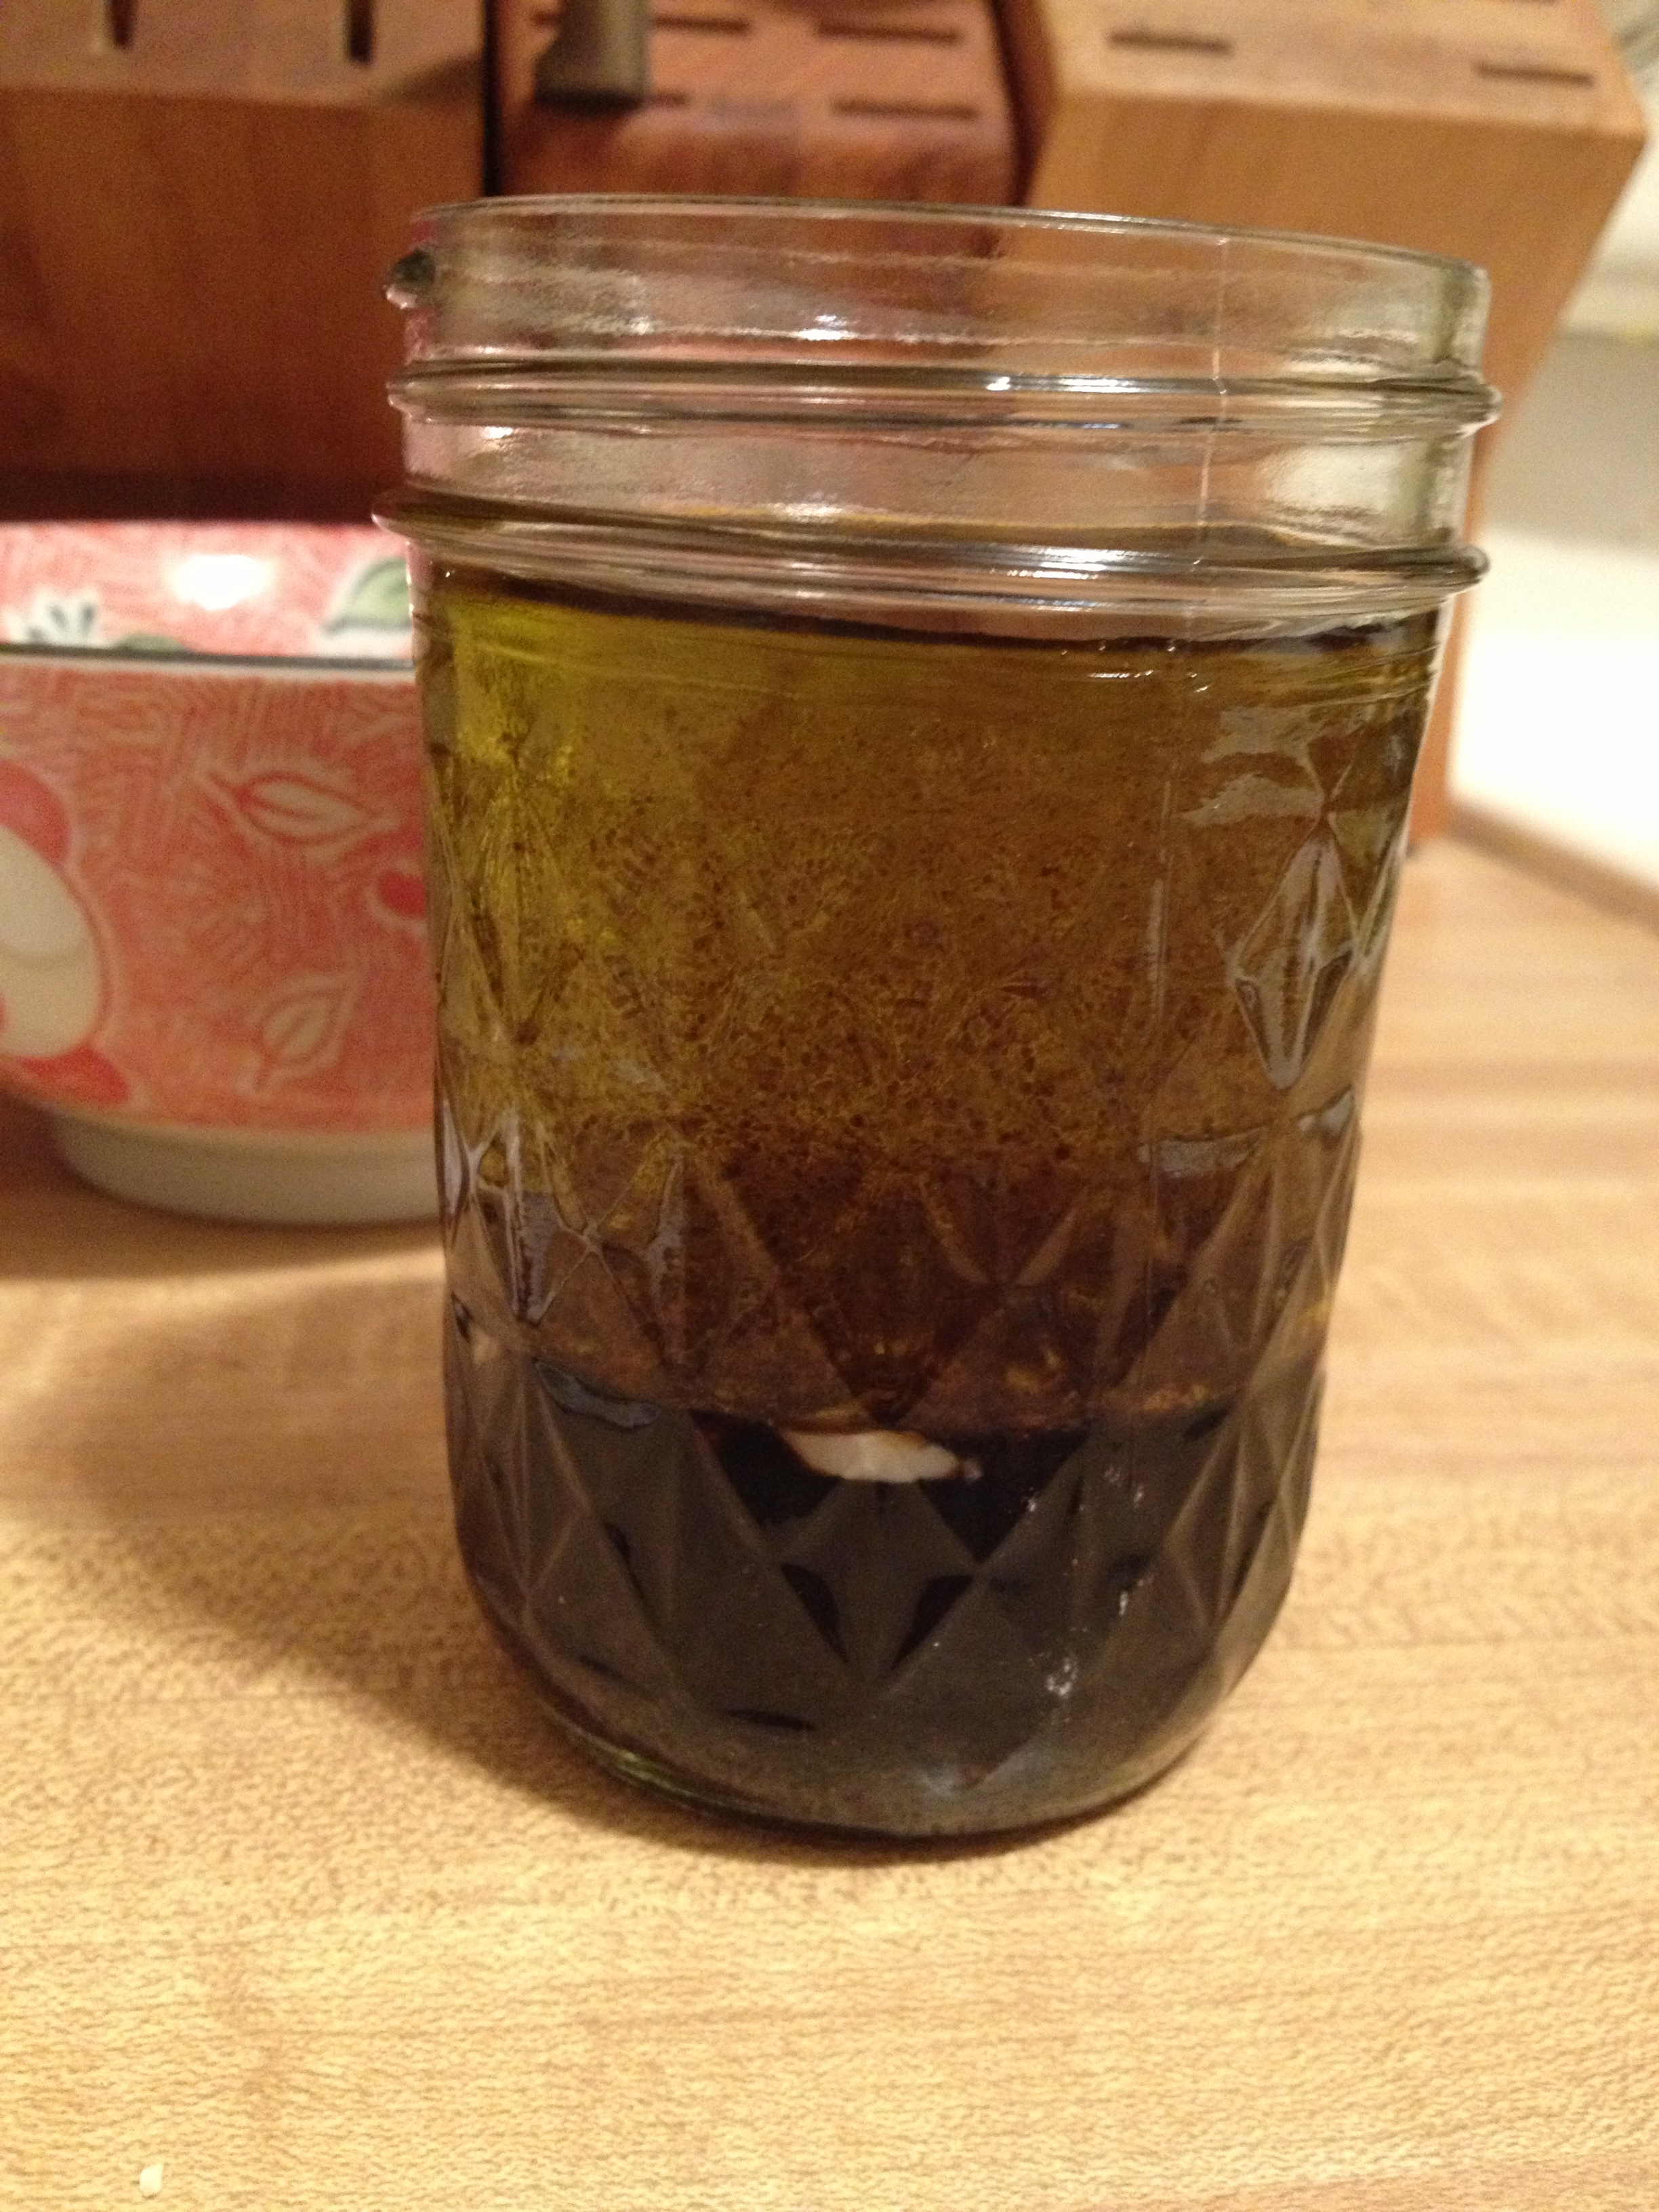
- Then, slowly pour the oil in, mixing furiously the whole time
- Don’t forget to shake it up before serving!!
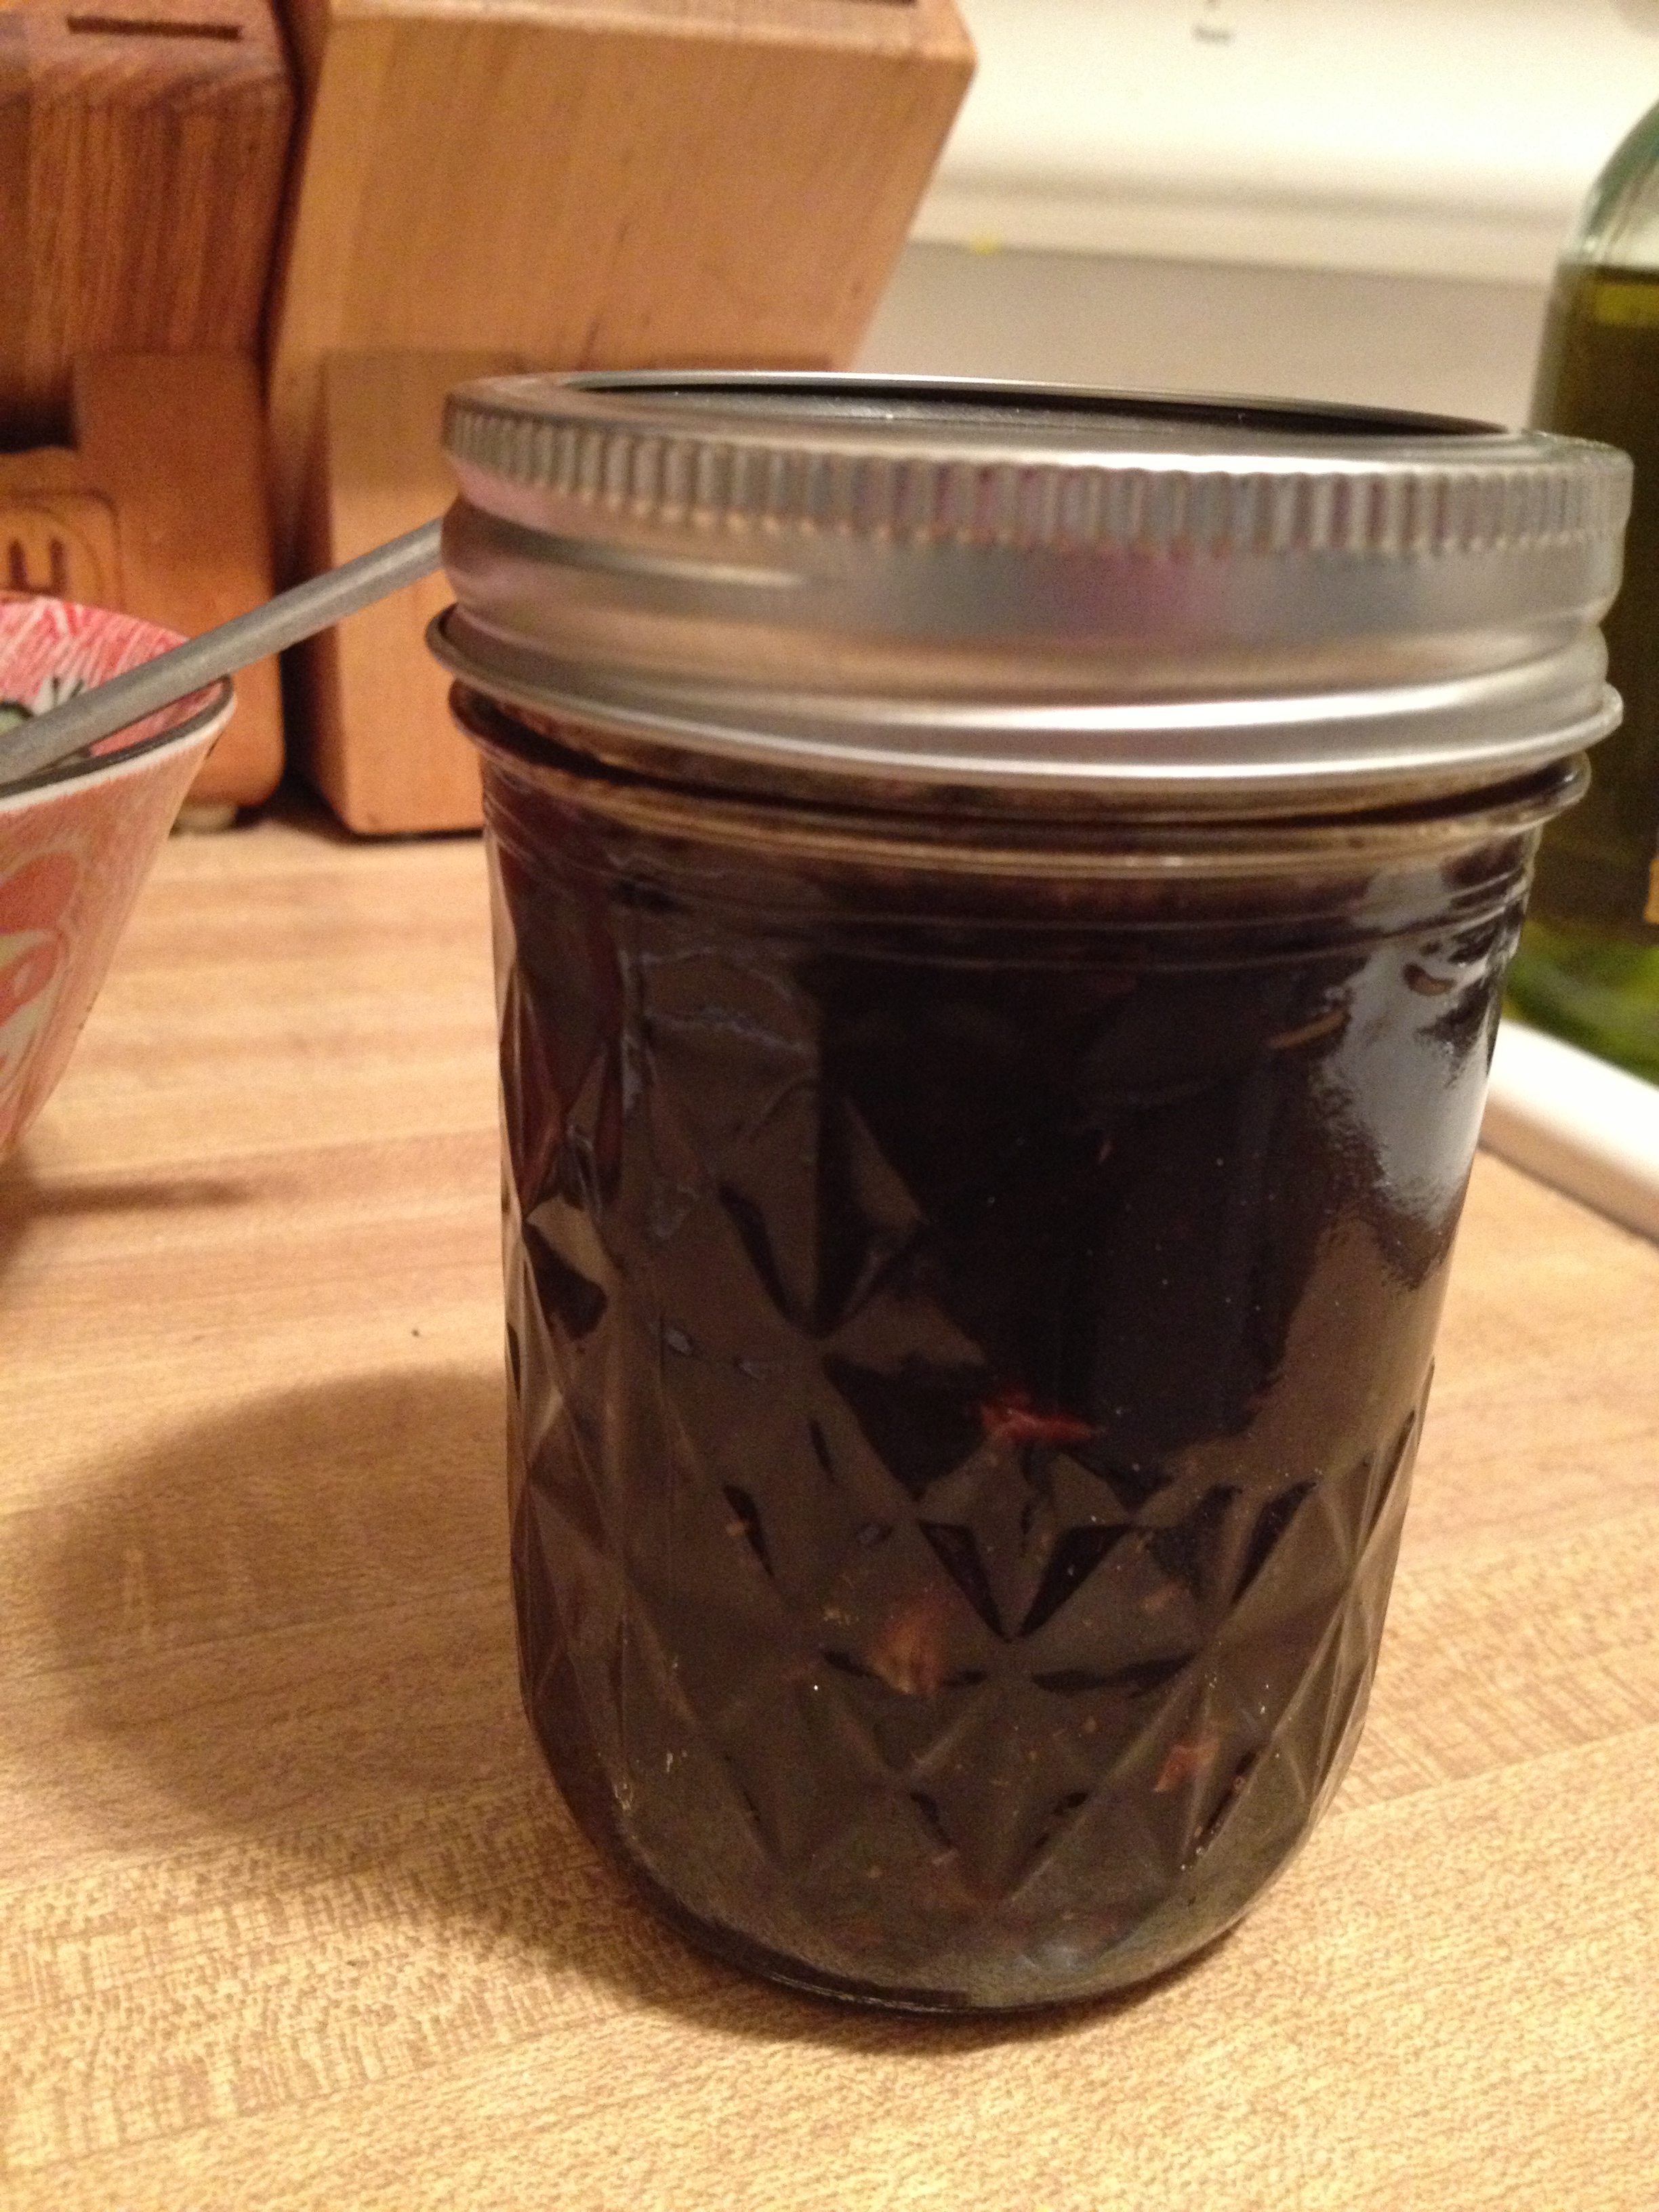
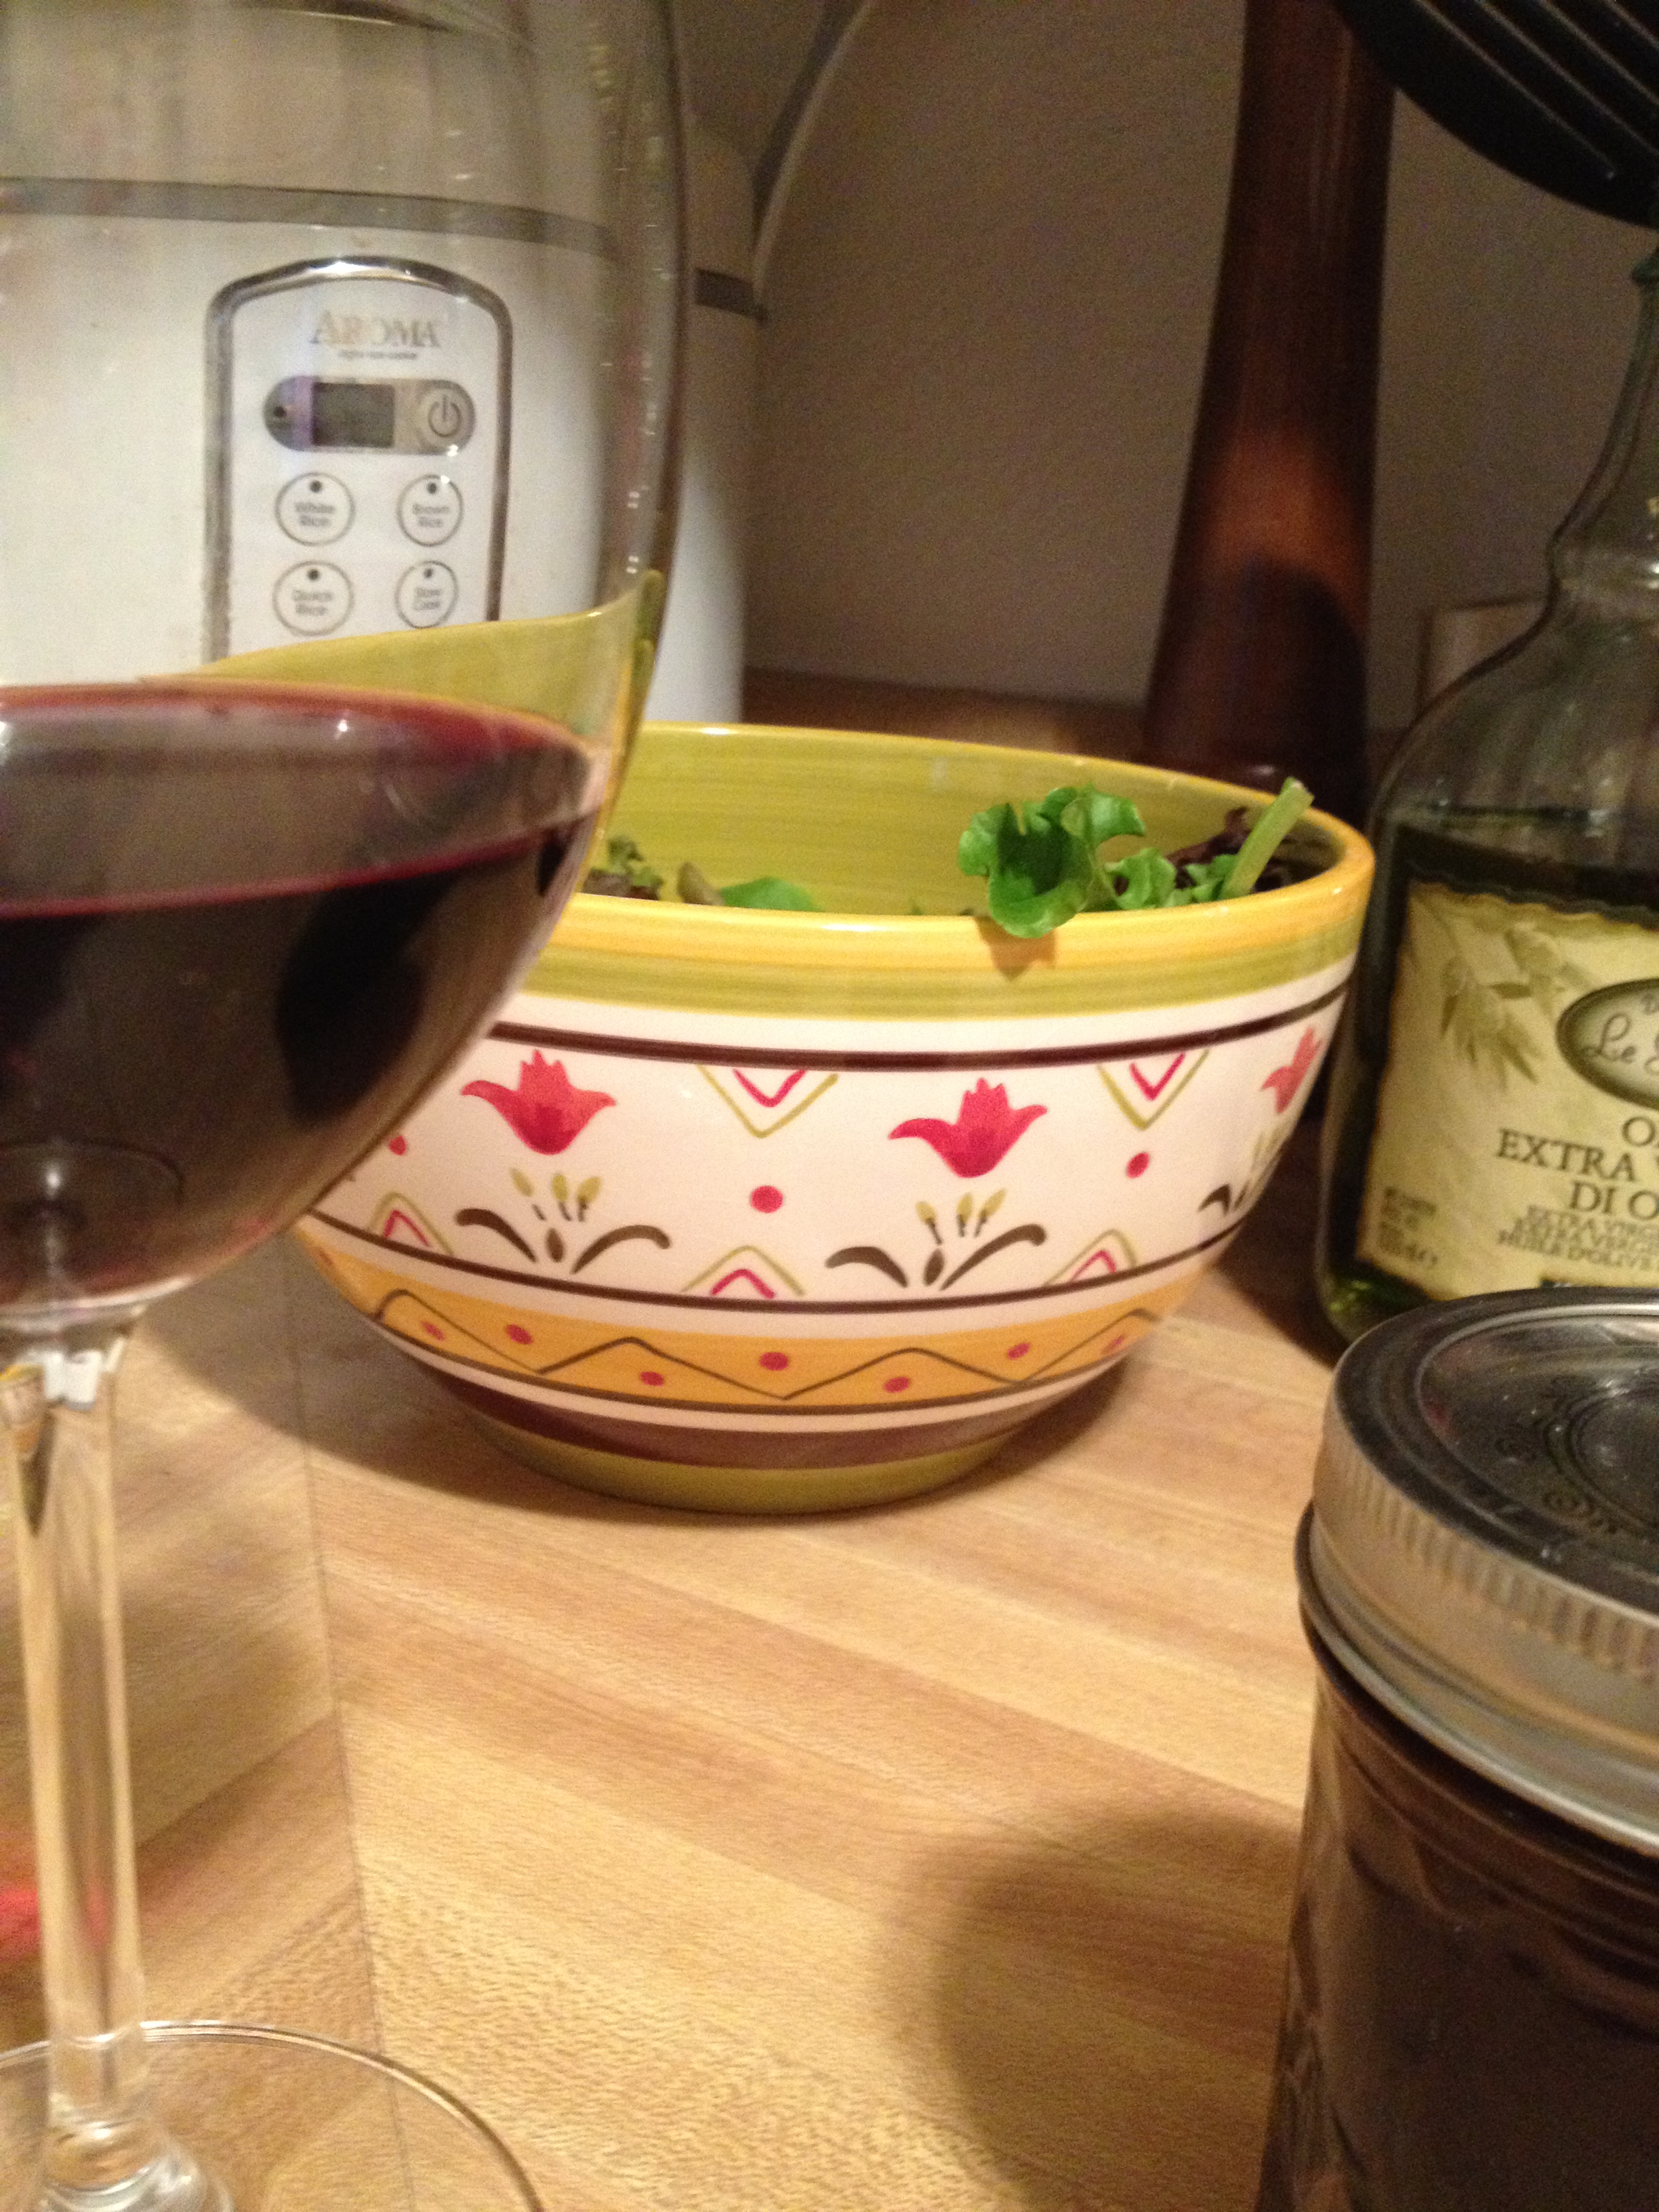
And, ummm, that’s it. Really tough, huh? I thoroughly enjoyed myself as I made this dressing along with the salad, listening to some La Vie En Rose (Louis Armstrong version) alongside a glass of red wine. It turned out delicious. Simple flavors bringing the salad to life, with that extra kick of vinegar and garlic to give that lingering taste. YUM. I say don’t refrigerate because the oil may get hard. I keep it in the pantry where it gets used very often. Must make a new batch soon. Use this recipe to stay hungry and fit!
You might also like…
BONUS KITTY PIC


