Archives

Seriously Guilt-Free Oatmeal Raisin Cookies

Seriously. We all want to get our yummy cookie fix but without all the grams of fat and sugar that weigh us down, especially around the Super Bowl where we are already going to be stuffing our face! I felt super experiment-y in the kitchen today between playing bouts of video games. This recipe is based off one of my previous ones, but it’s more healthified (yes, that’s a word) and still tasty!

photo 5 (4)

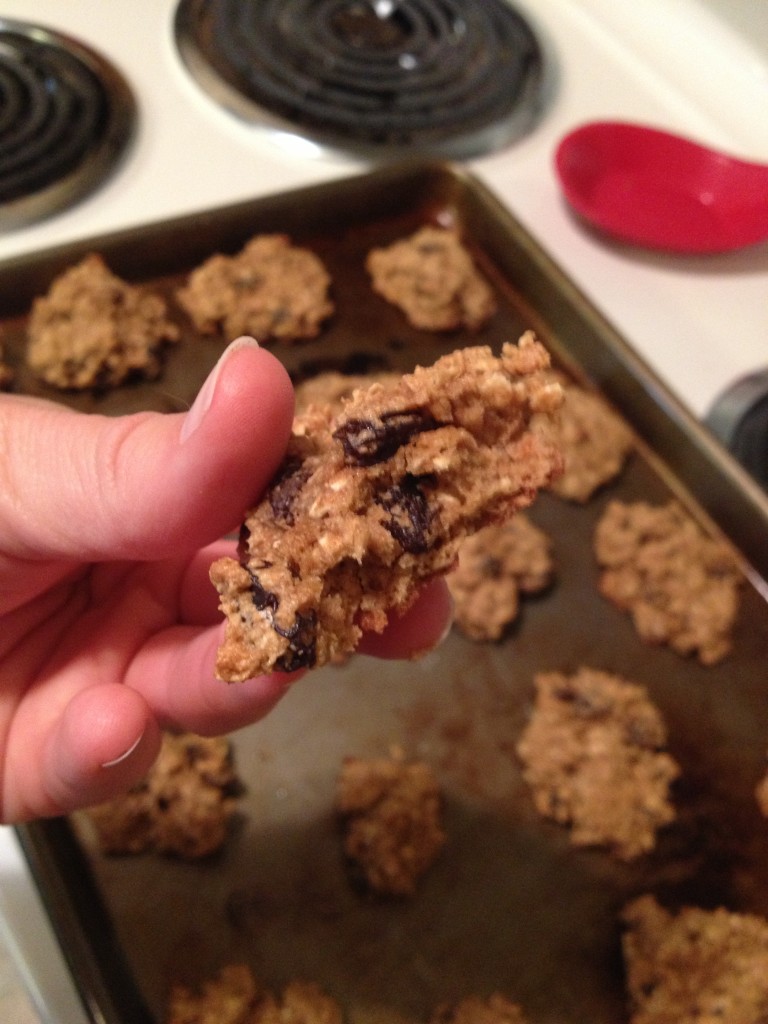
It’s as good as it looks

  • Prep Time: 5-7 minutes
  • Baking Time: 10-12 minutes
  • Makesbetween 12-18 cookies, I didn’t count 

Ingredients

  • one half of avocado
  • 1/4 cup applesauce
  • 1/4 cup brown sugar
  • 1/4 cup honey
  • 1 egg
  • 1/2 tsp cinnamon
  • 1/2 tsp salt
  • 1/2 tsp baking soda
  • 1 cup whole wheat flour
  • 1 1/4 cup oats
  • 1/2 cup raisins

Directions

1. Pre-heat the oven to 350 degrees F. Grease up a baking sheet

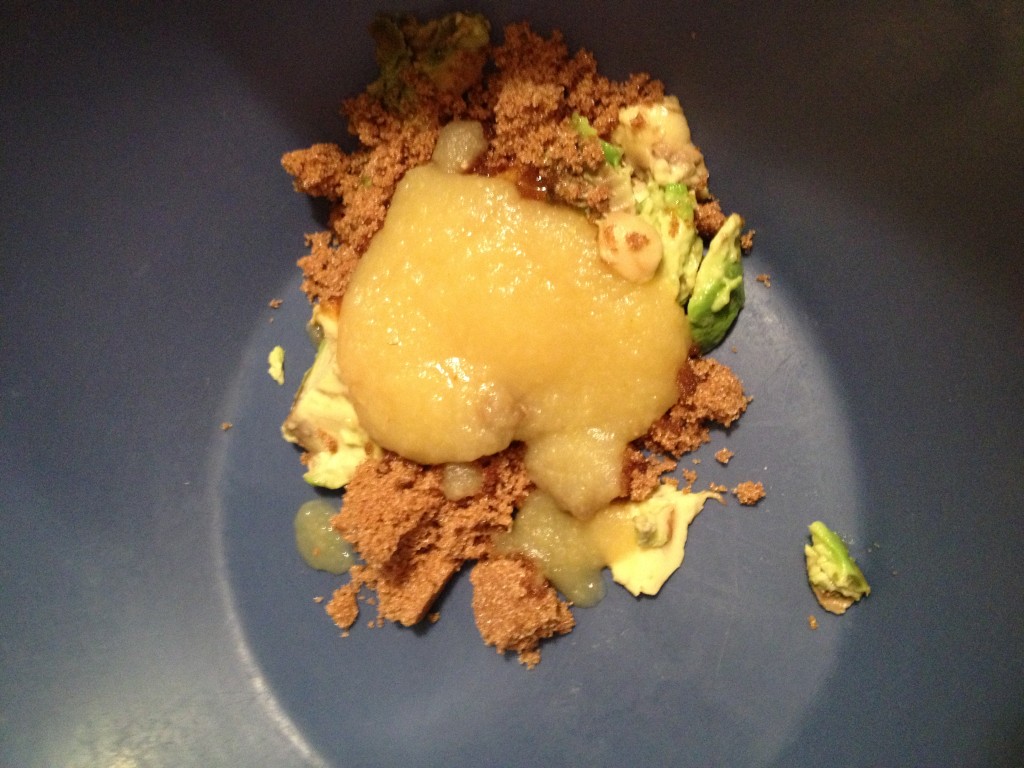
2. Mix together the avocado, applesauce, sugar and egg 

I know it doesn't look appetizing... but it turns out great

I know it doesn’t look appetizing… but it turns out great

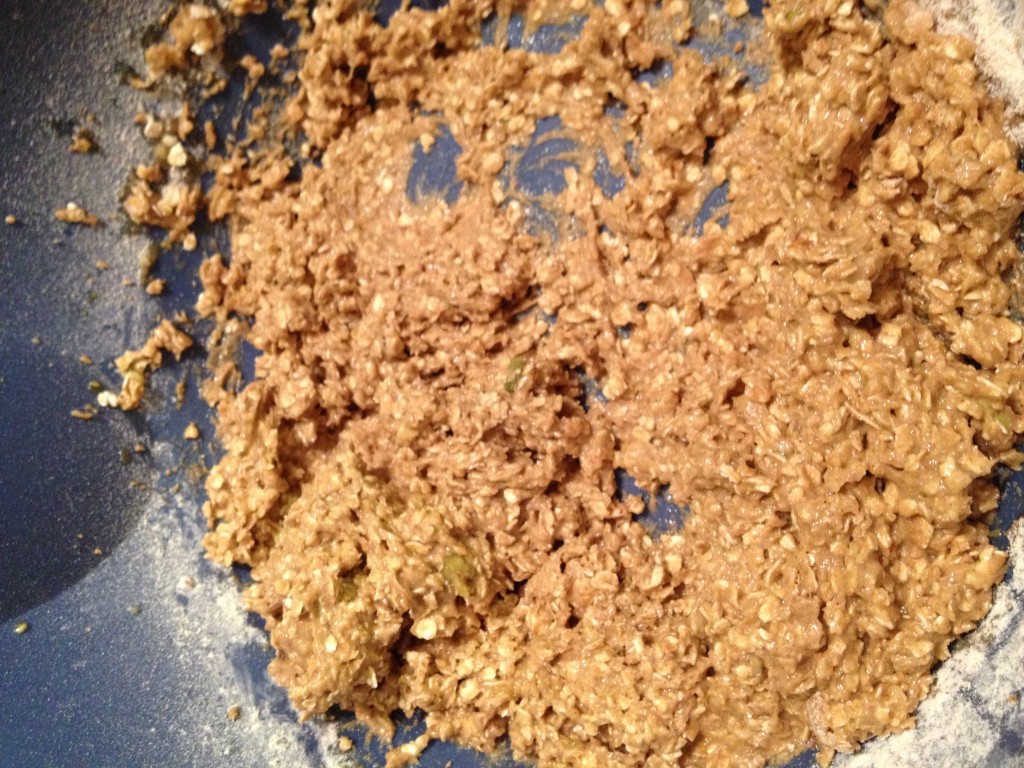
3. Literally just mix the rest of the ingredients of the above list

Before I added the raisins...can't say that I didn't eat some of the dough

Before I added the raisins…can’t say that I didn’t eat some of the dough

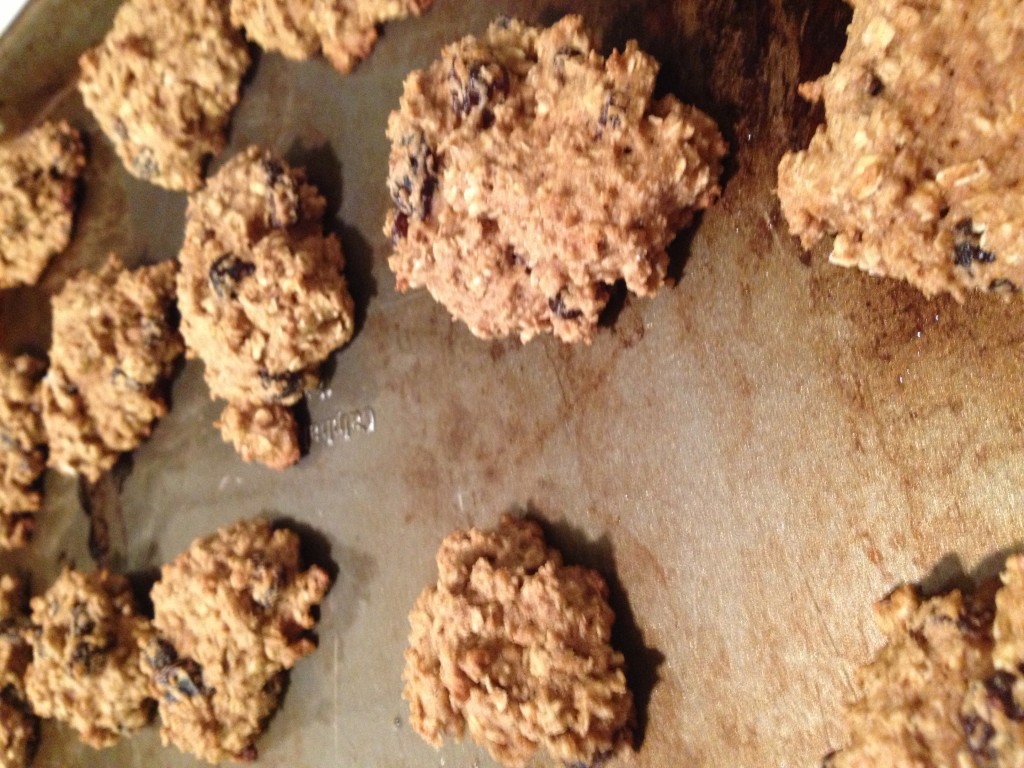
4. Scoop them out with a spoon and place them apart. Bake for 10-12 minutes

photo 4 (15)

No sense feeling bad about eating these..

And that’s it. Yeah–four steps. Four steps of guilt-free cookie munching. Yes, please! Perfect for last minute party ideas, whip them up in under twenty minutes and wow your friends with how yummy they taste and how guilt-free they are! Try this recipe out to stay hungry and fit!

  • Question of the Day: What’s your favorite kind of cookie?

BONUS KITTY PIC

^.^

^.^

spacer

How to Make Beignets in Under 10 Minutes

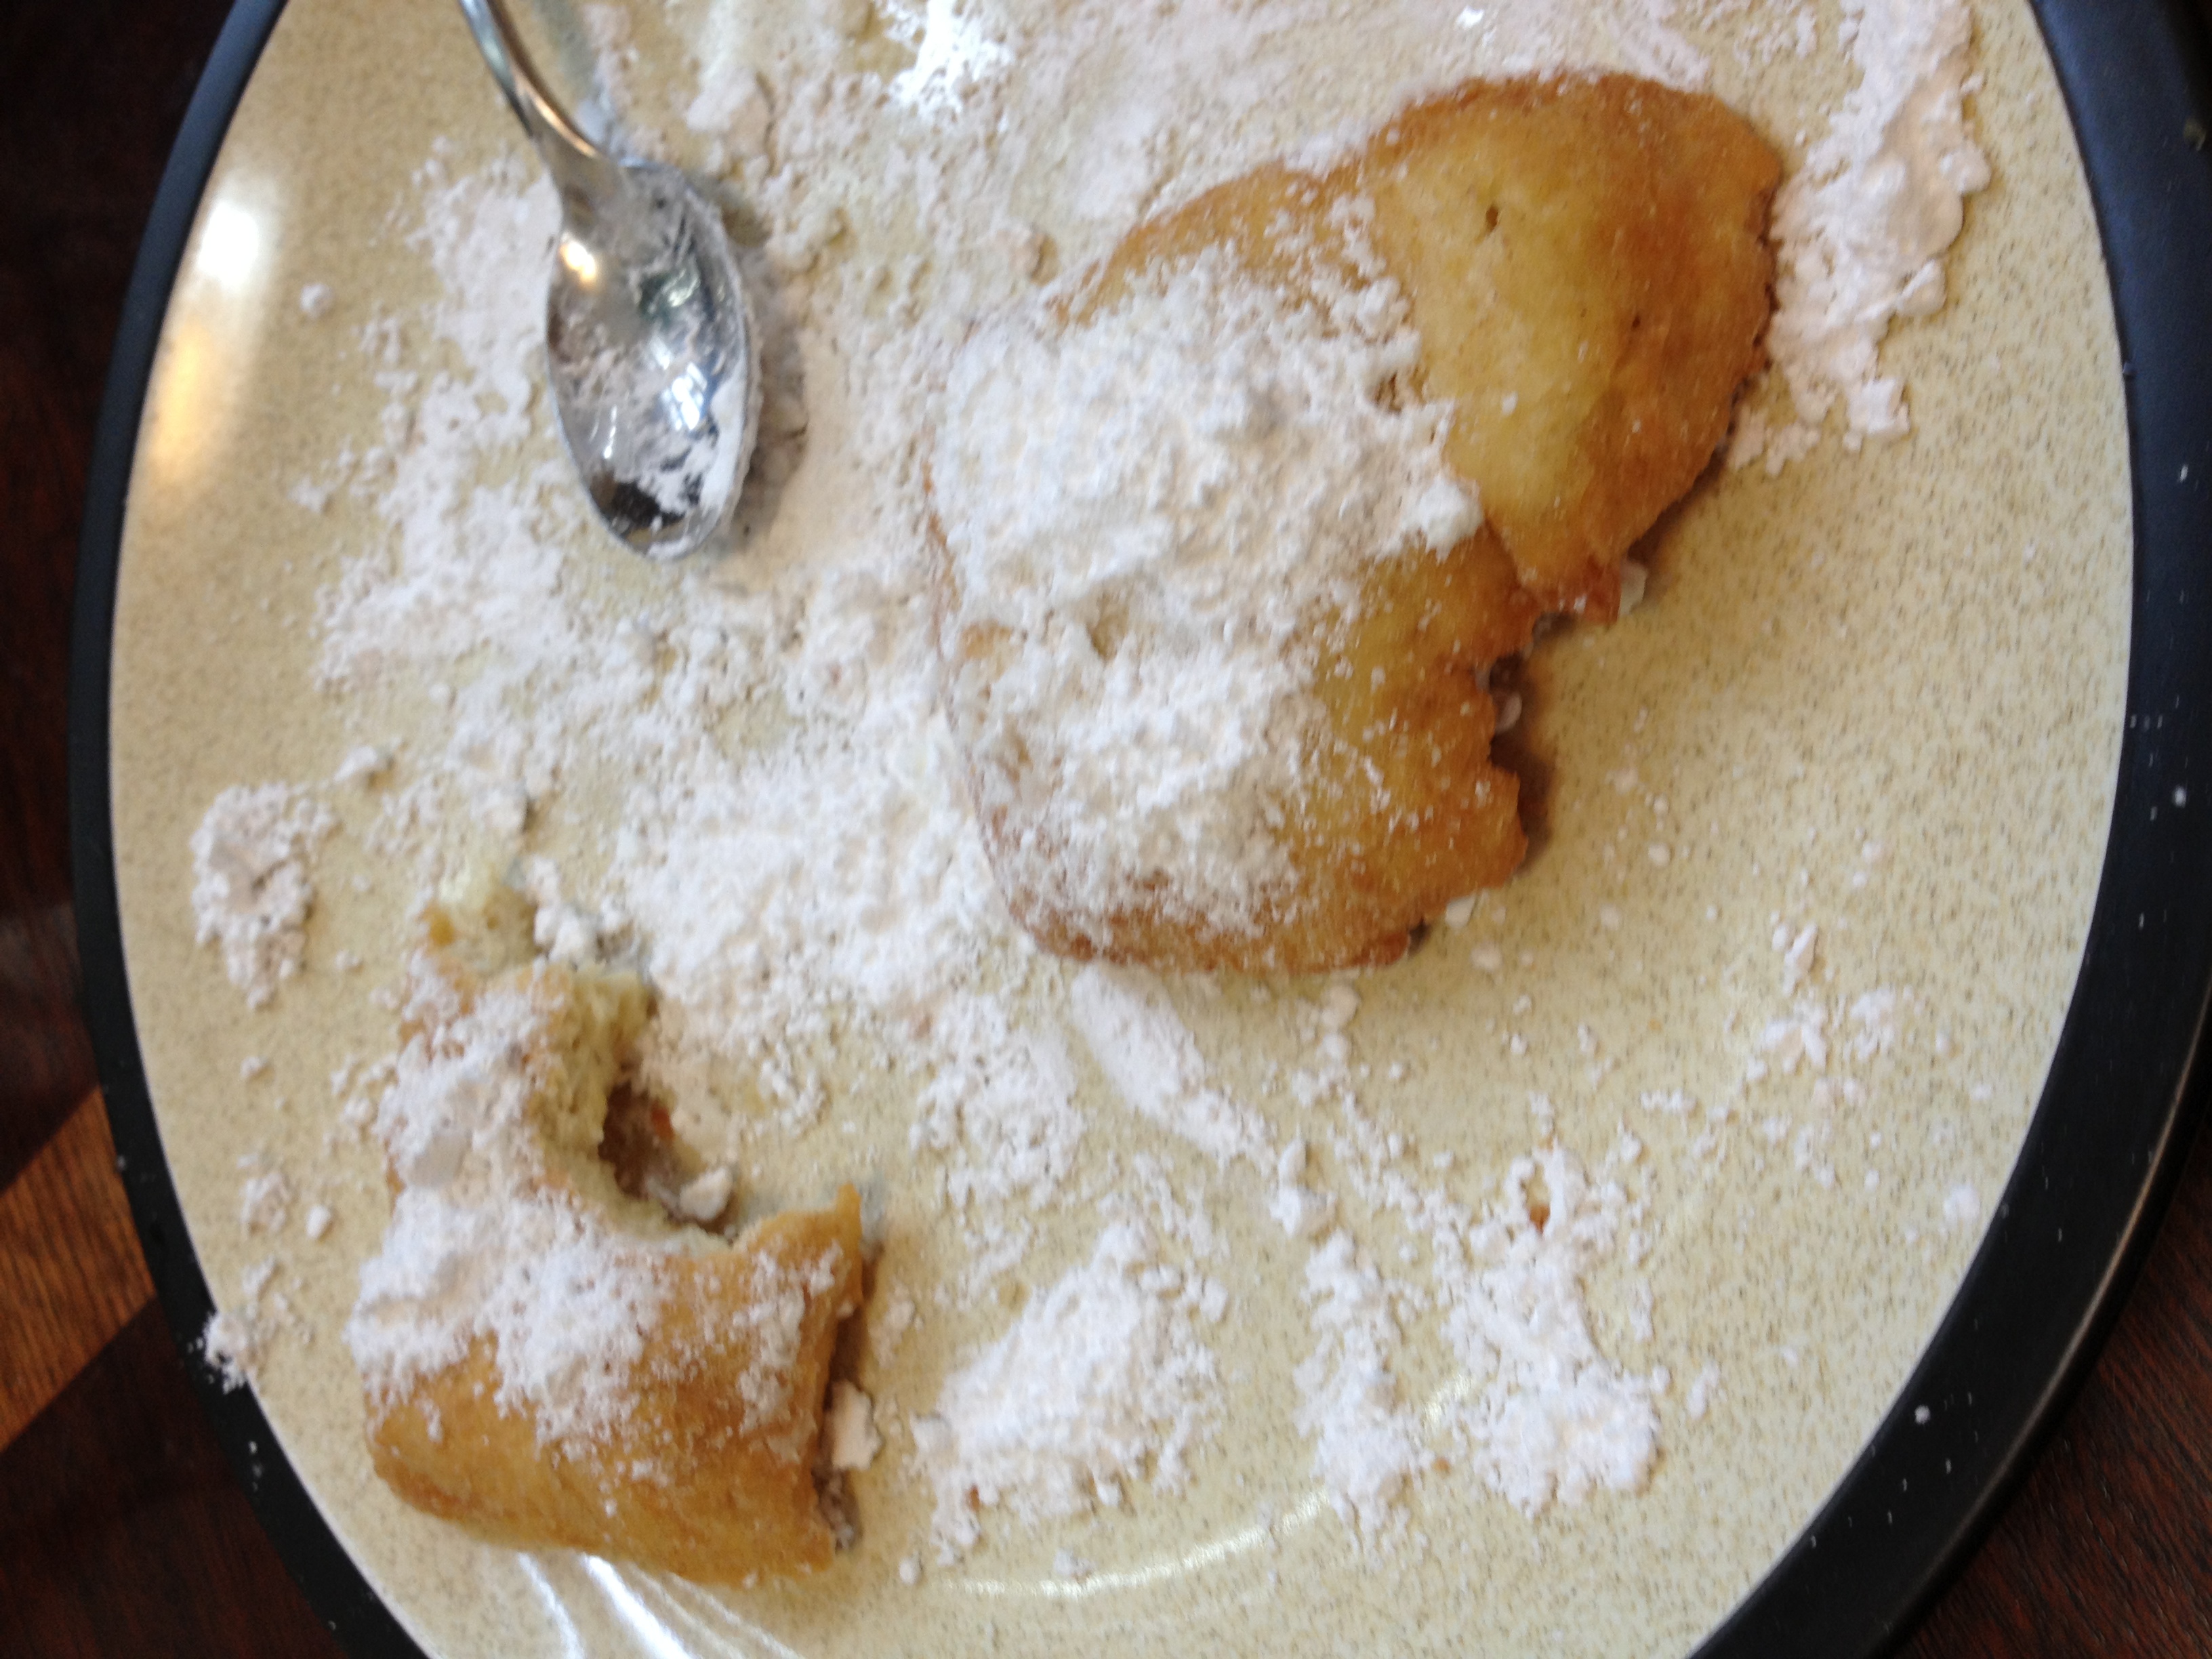
Back in college, I did two service trips to New Orleans. That is where I discovered this magical things called beignets (French for “donuts”). There’s nothing like them really, and I always get overexcited when I get to eat them. Although there’s nothing like getting them fresh and hot from Cafe du Monde (original place in New Orleans), it’s still a treat to be able to have them from home. This isn’t going to be a complicated recipe. No, instead, I used the actual box mix that Cafe du Monde sells. Chris got me 3 boxes of them for Valentine’s Day last year. This product gets a full thumbs up. 

Feast yer eyes

Feast yer eyes

  • Prep Time: 7 minutes
  • Cooking Time: >1 minute

Ingredients

  • 2 cups Cafe du Monde beignet box mix
  • 7/8 cup water
  • flour for unsticking purposes
  • oil
  • powdered sugar

Directions

  • Stir together the 2 cups of the mix and the water until it is all bound together
  • Heat up a deep pot or skillet with an inch of oil in it. Turn up the heat!
  • Flour a cutting board and your rolling pin and roll out the mixture until it’s around 1/4 inch
  • Then go ahead and cut it into a little bigger than 2 square inch pieces. It was all a rough estimate for me.
  • As soon as your oil is hot (I don’t have a thermometer so I dropped water in to see if it would sizzle), drop those bad boys in. They shouldn’t need longer than 2 minutes
  • Take them out and dry them
  • Pour copious amounts of powdered sugar on them and then STUFF YOUR FACE!!

photo 3 (15)

At least, that’s what I did. I couldn’t even finish them and Chris wouldn’t help me because he wasn’t hungry that early. I had tried making these before and failed horribly. It’s taken me awhile to try again and I’m glad I did because they came out pretty darn good. Not as good as Cafe du Monde, but that was never a goal. Go ahead and treat yourself with a box of this magic. We found it at World Market near us, but look it up! And as always…stay hungry and fit!

BONUS KITTY PIC

Nymeria taking a selfie

Nymeria taking a selfie

spacer

Healthy Broccoli and Onion Quiche Recipe

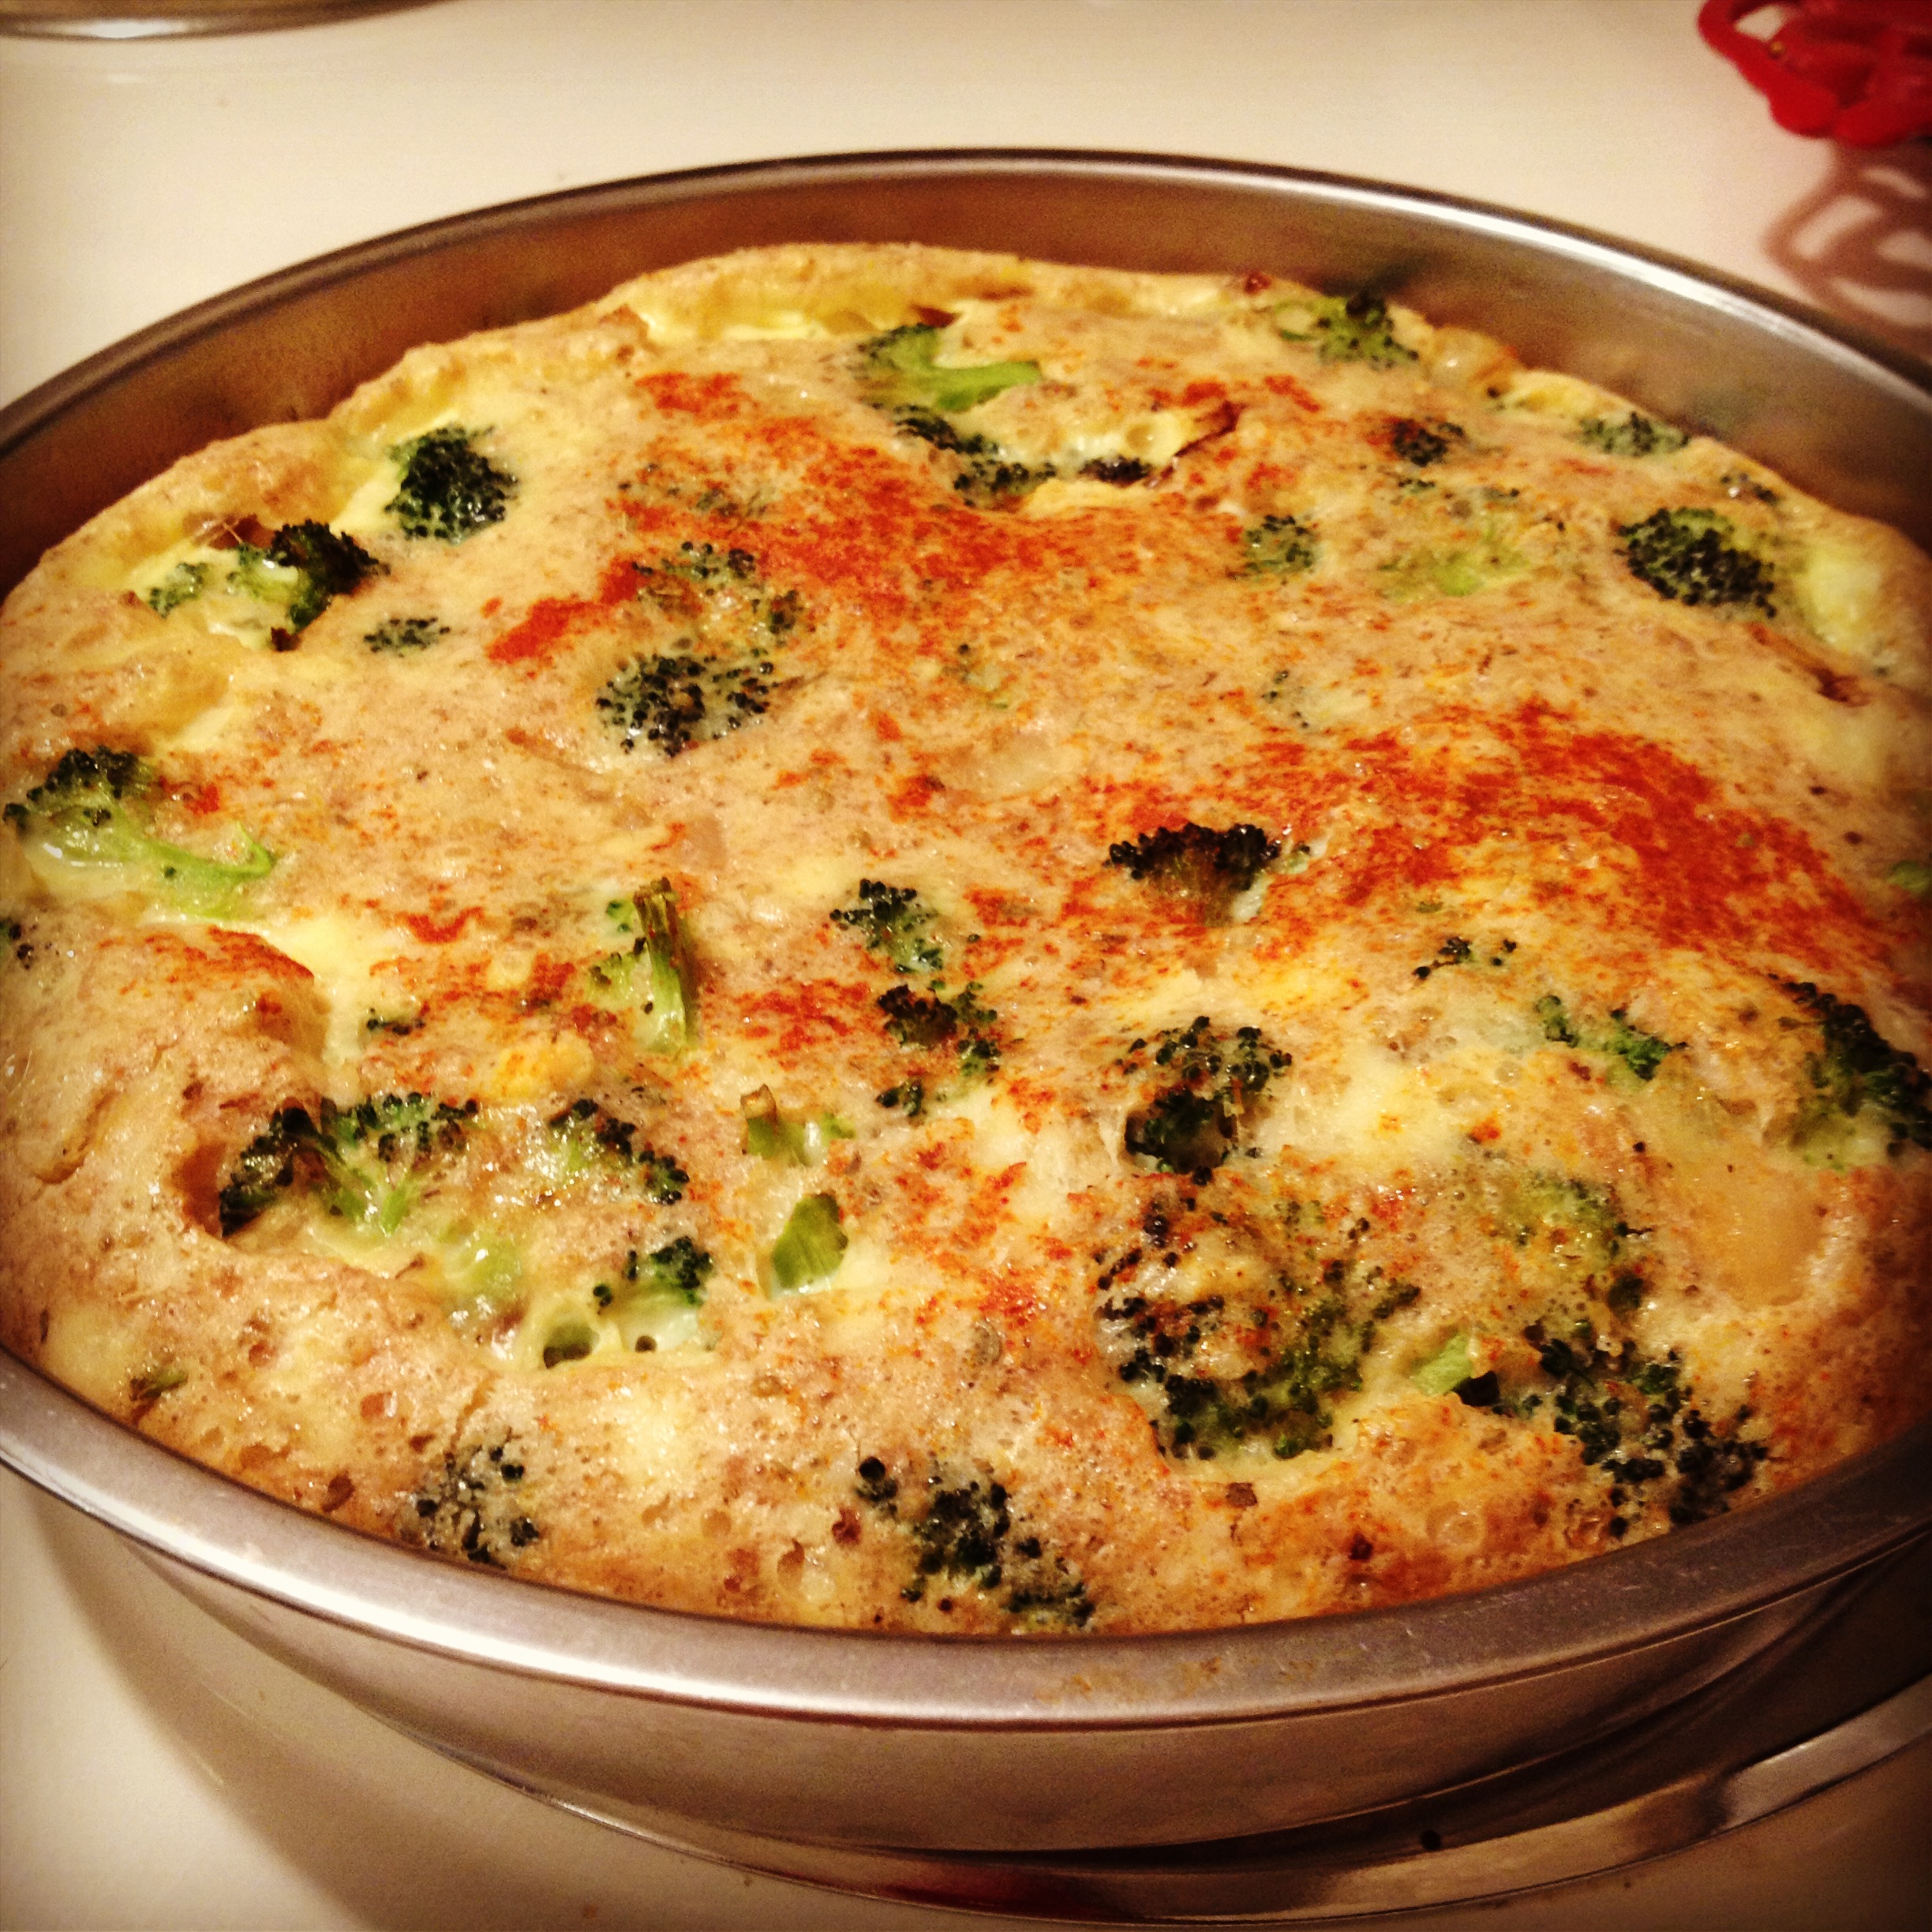
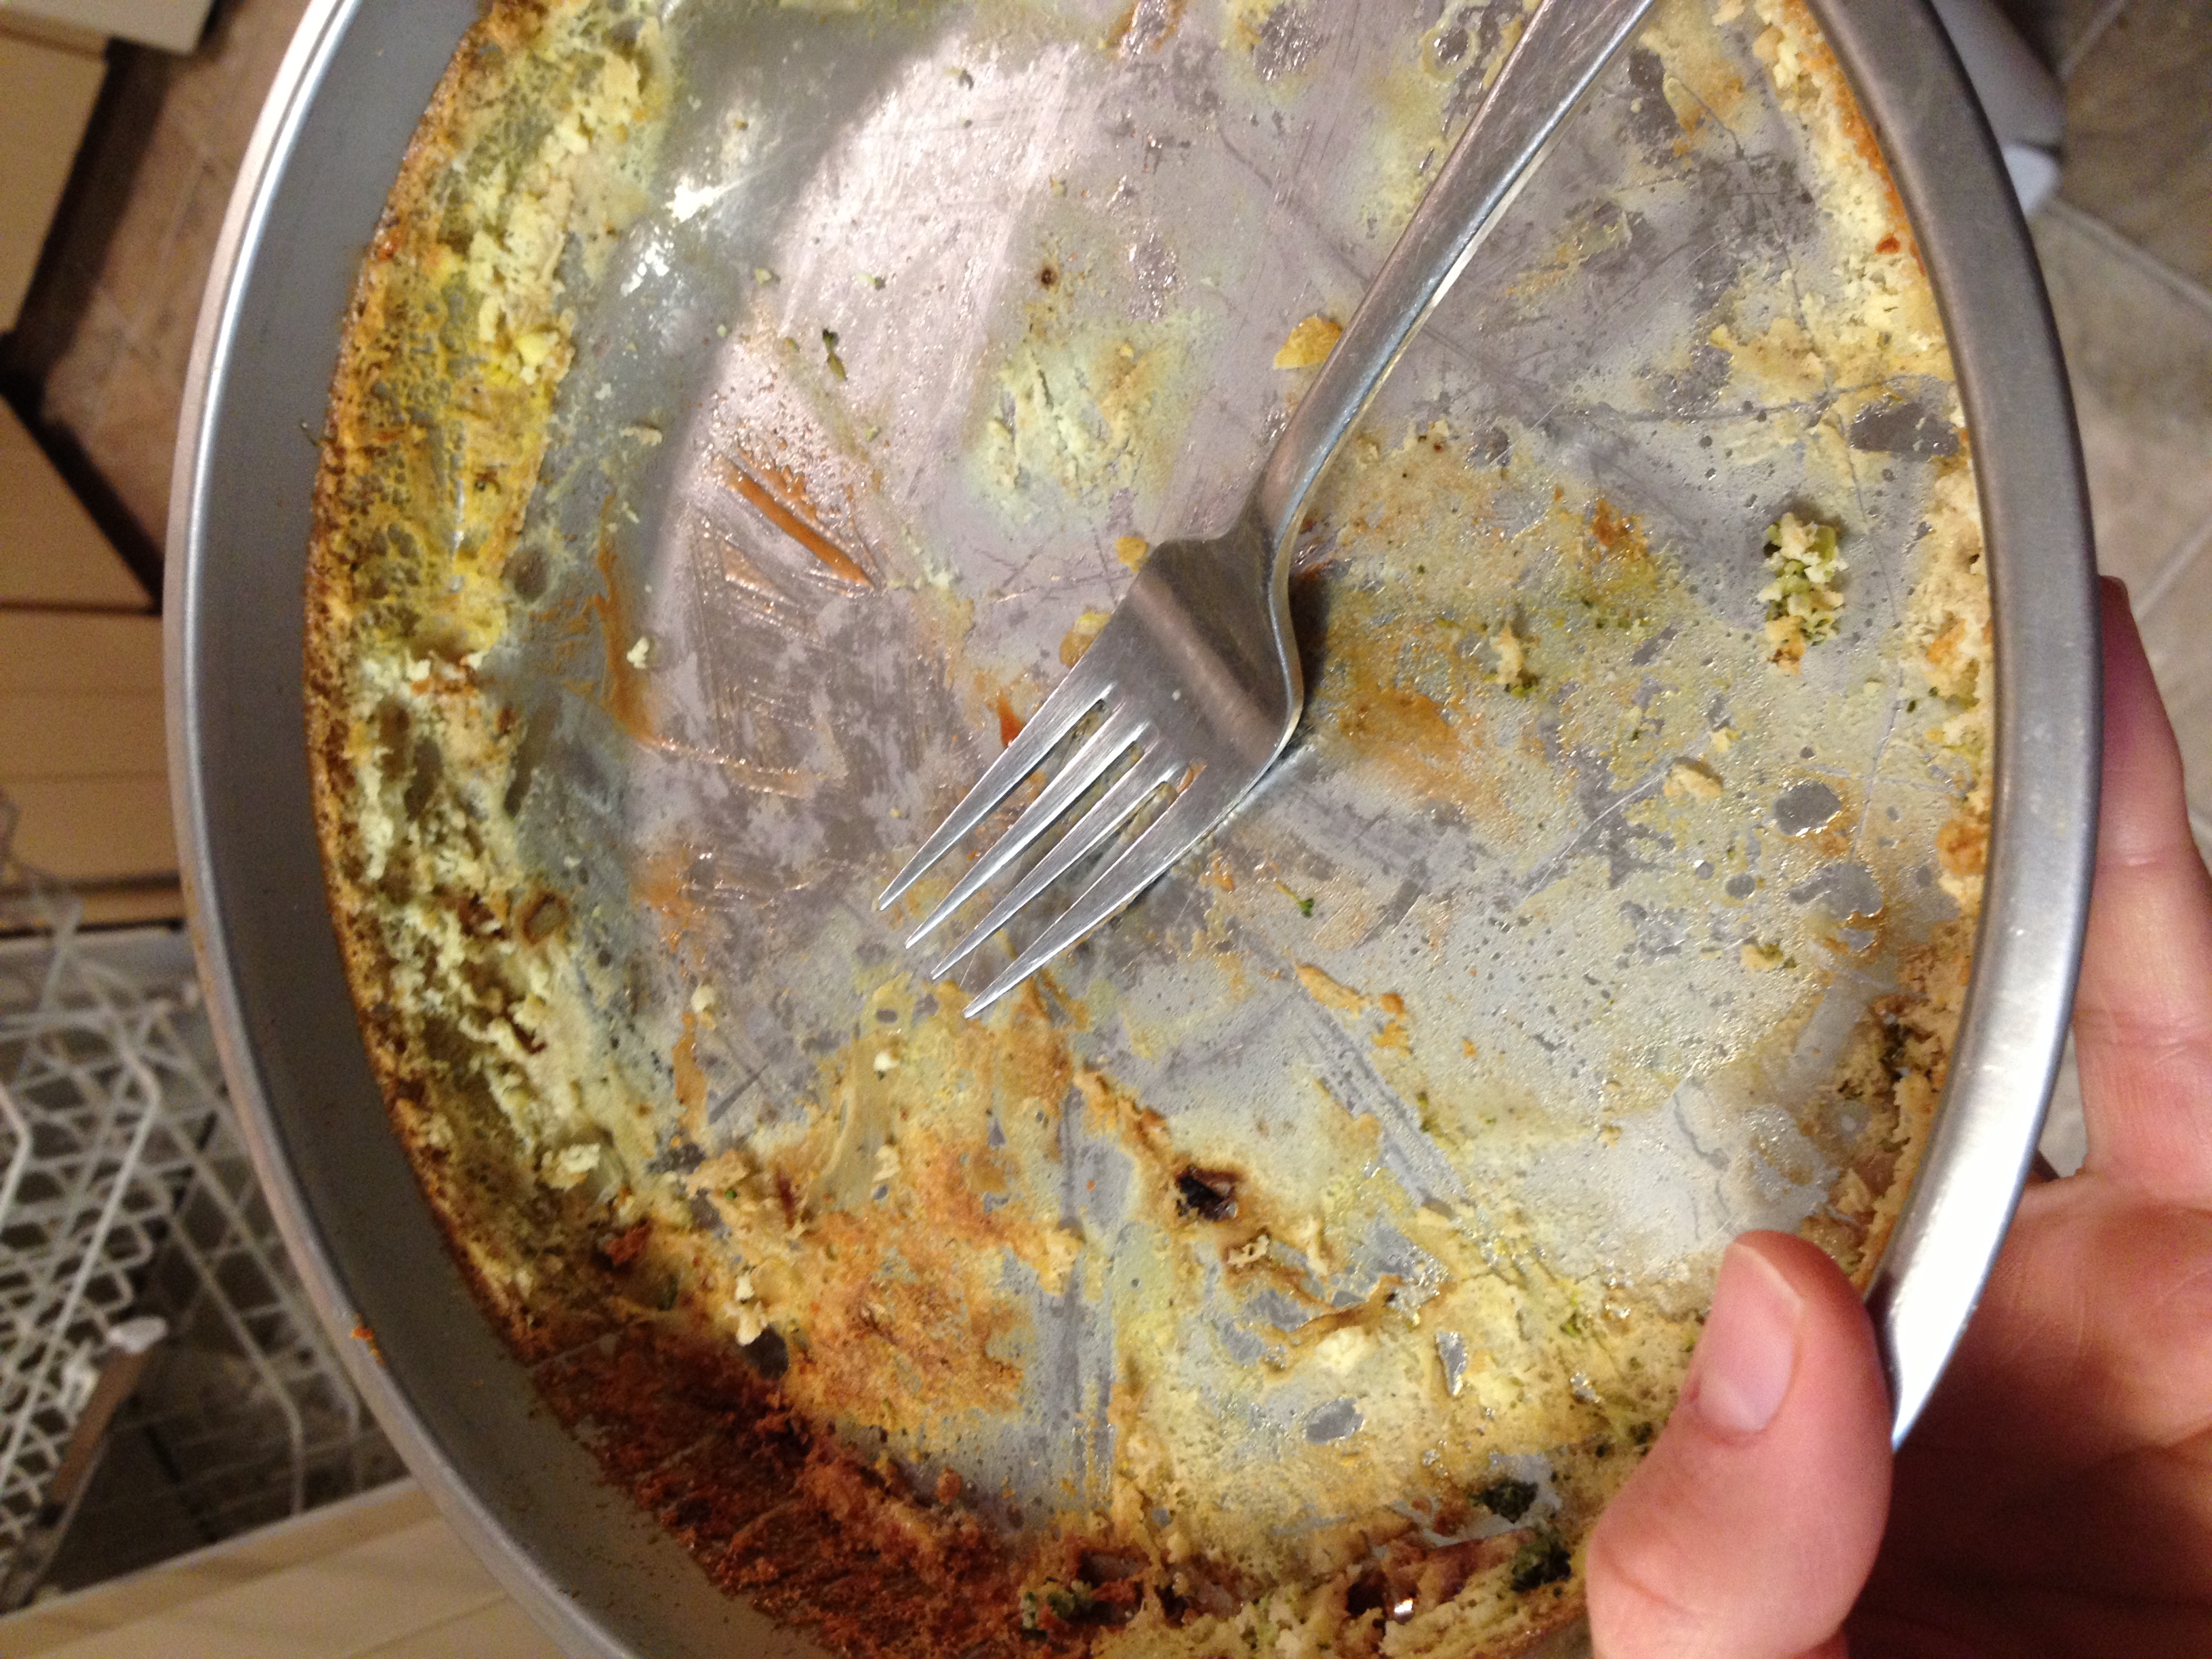
As you know, we’re travelling to California and New Zealand in less than a week. This means we need to get rid of perishables ASAP! What is a good way to use lots of eggs in a yummy way? Oh yeah, quiche. Now, I’ve never made a quiche of my own, but I’ve always always been a fan. My parents both make wonderful quiches in such different ways and I was excited to try it. And I am amazed how easy it is to make it! Quiches are going to happen a lot more often in this household! I was planning to have it for breakfast or lunch tomorrow, but unfortunately…none of it survived (thanks, Chris). This recipe was adapted from Whole Foods. 

...

  • Prep Time: 10 minutes
  • Cooking Time: 35 minutes

Macronutrients

  • Serves: 8 (well, I cut it into 8 pieces…obviously just served us 2, serve yourself more if this isn’t enough and you don’t have to feel guilty about it!)
  • Calories: 98
  • Fat: 4.4g
  • Carbs: 7.4g
  • Protein: 6.8g

Ingredients

  • 4 eggs
  • 1 small broccoli (roughly 1.5 cups)
  • 1 white onion 
  • 1 cup milk 
  • 1/3 cup grated Parmesan cheese
  • 1/2 tsp salt
  • 1/2 tsp dried oregano
  • black pepper to taste
  • paprika to taste
  • 1/4 cup whole-wheat flour

Directions

  • First, grease up a square or circle baking dish and pre-heat oven to 350 degrees F.
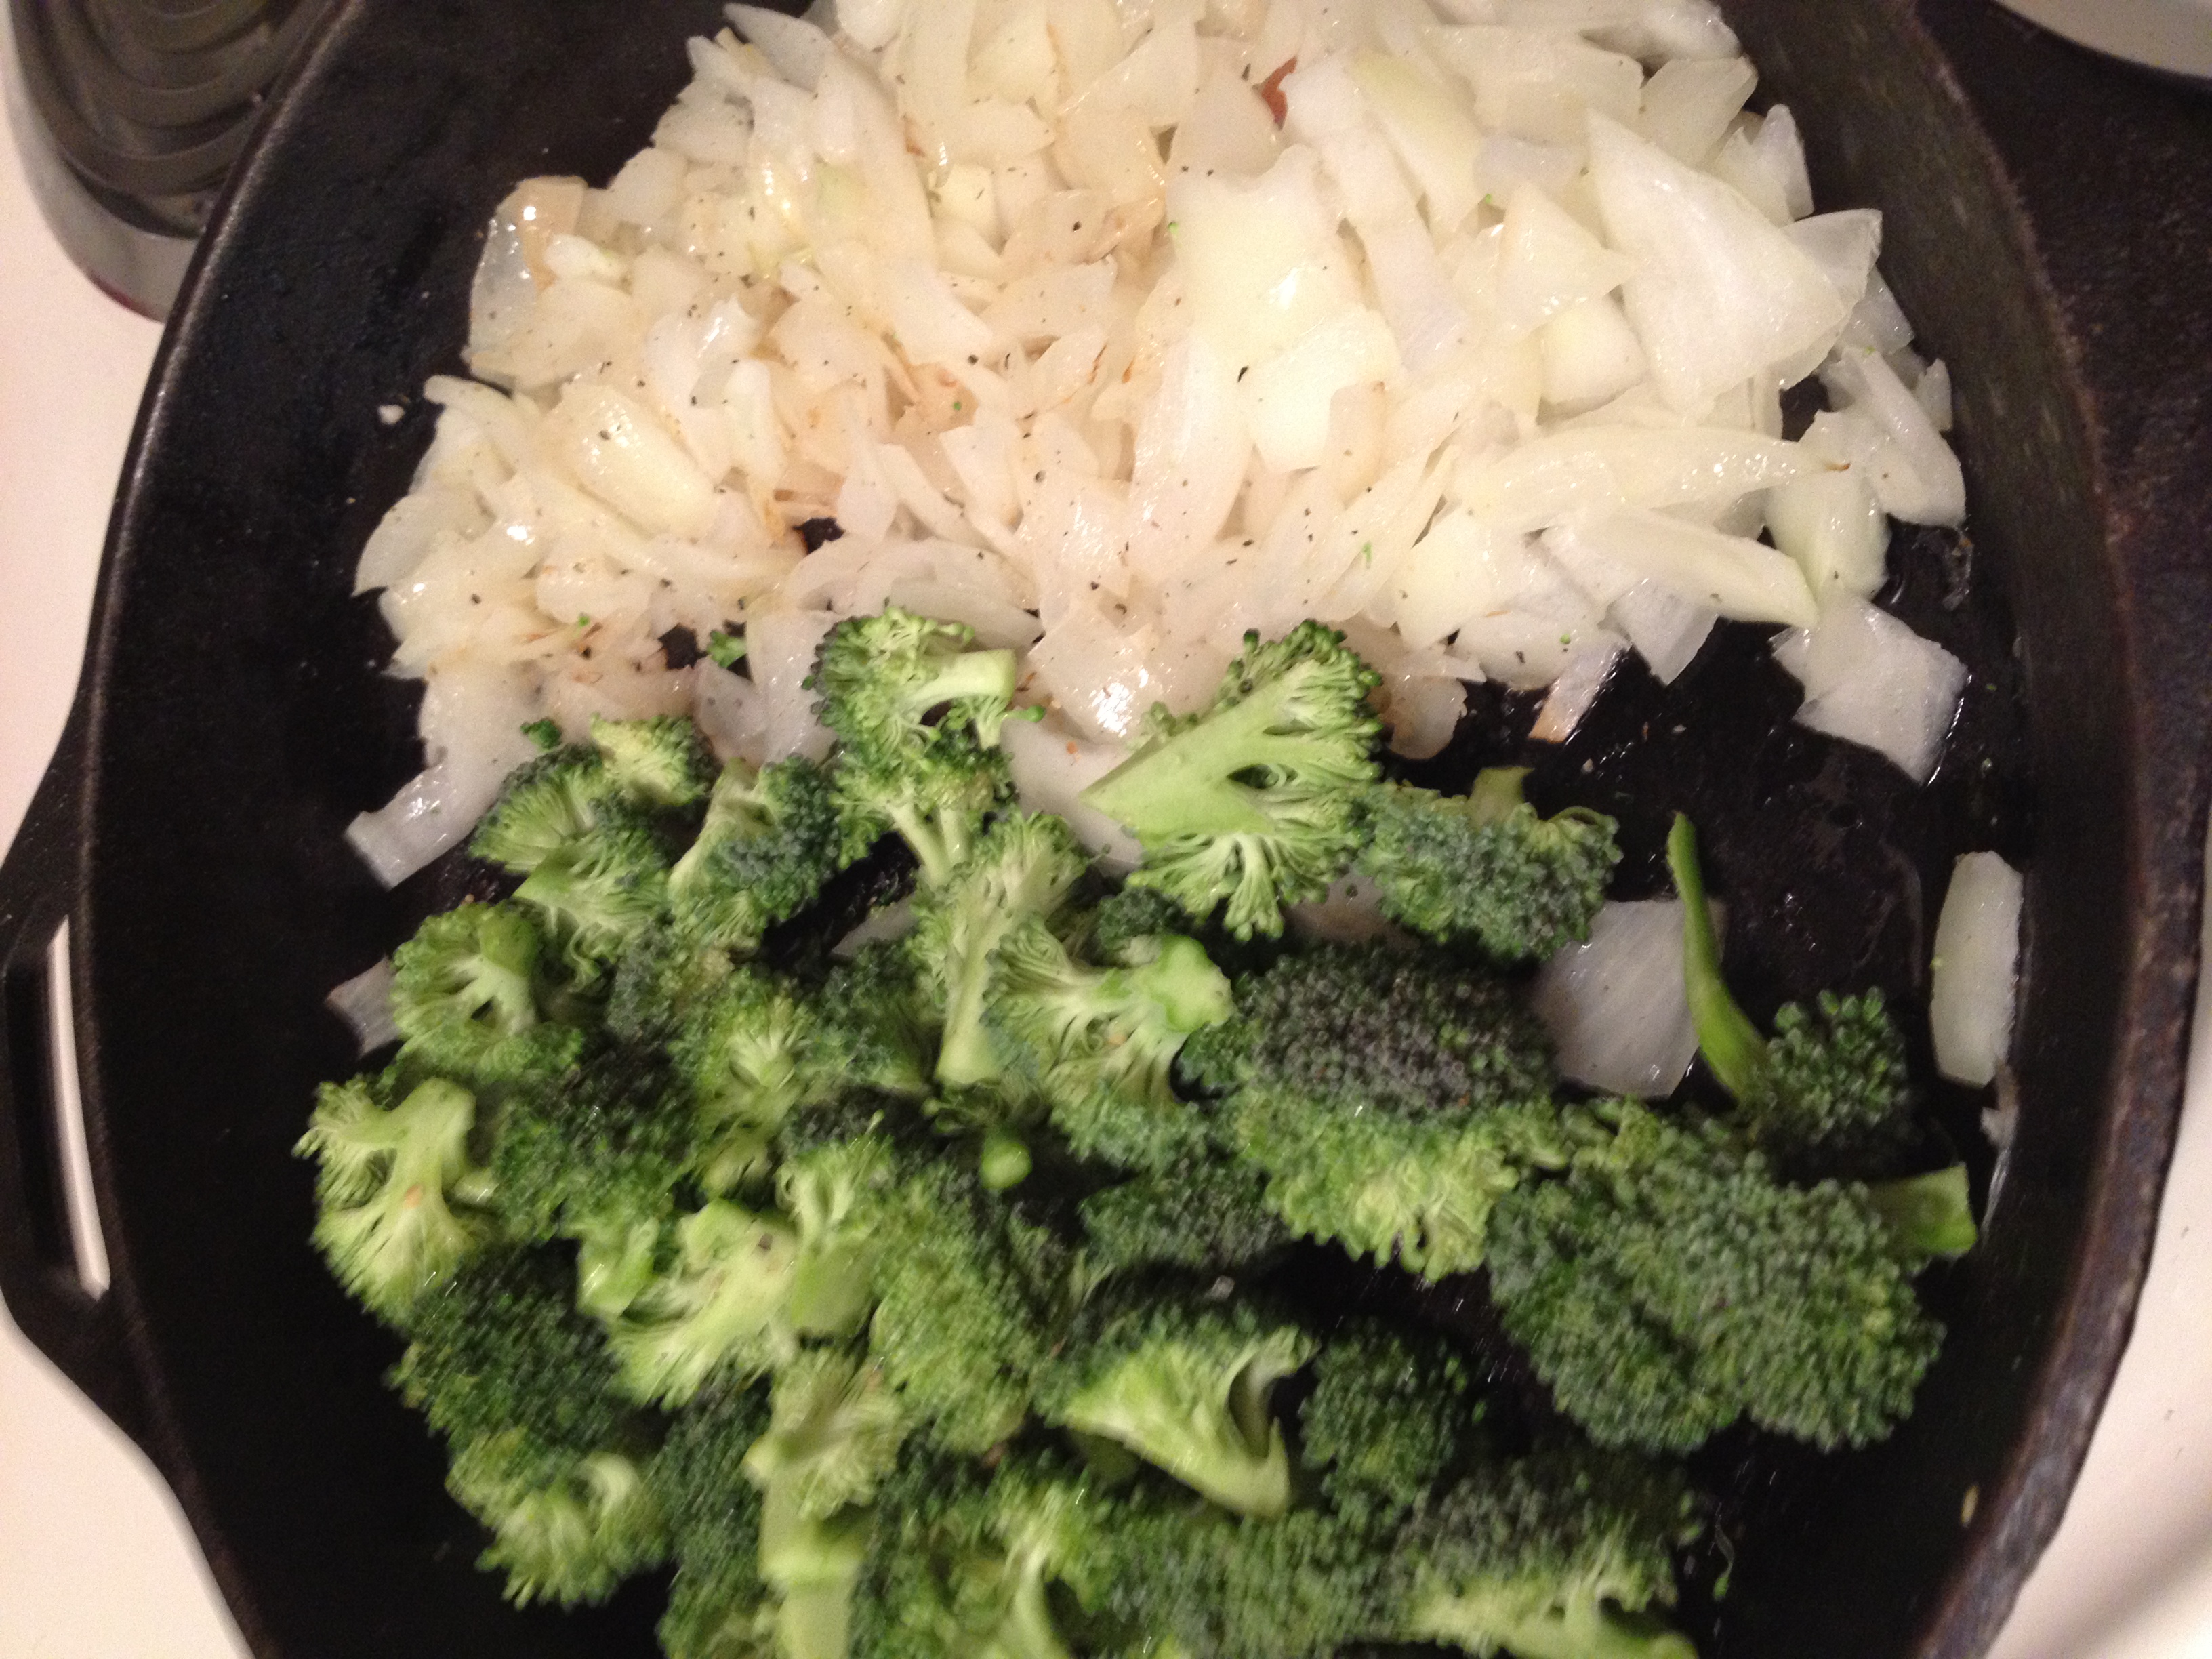
  • Dice up the onion (don’t forget your goggles so you don’t cry!) and chop up the broccoli into small little pieces

photo 2 (11)

  • Heat up a pan with oil and cook the onions until tender. Then throw the broccoli in for 5 minutes or so.

photo 3 (8)

  • Put the cooked veggies into your baking dish

photo 4 (7)

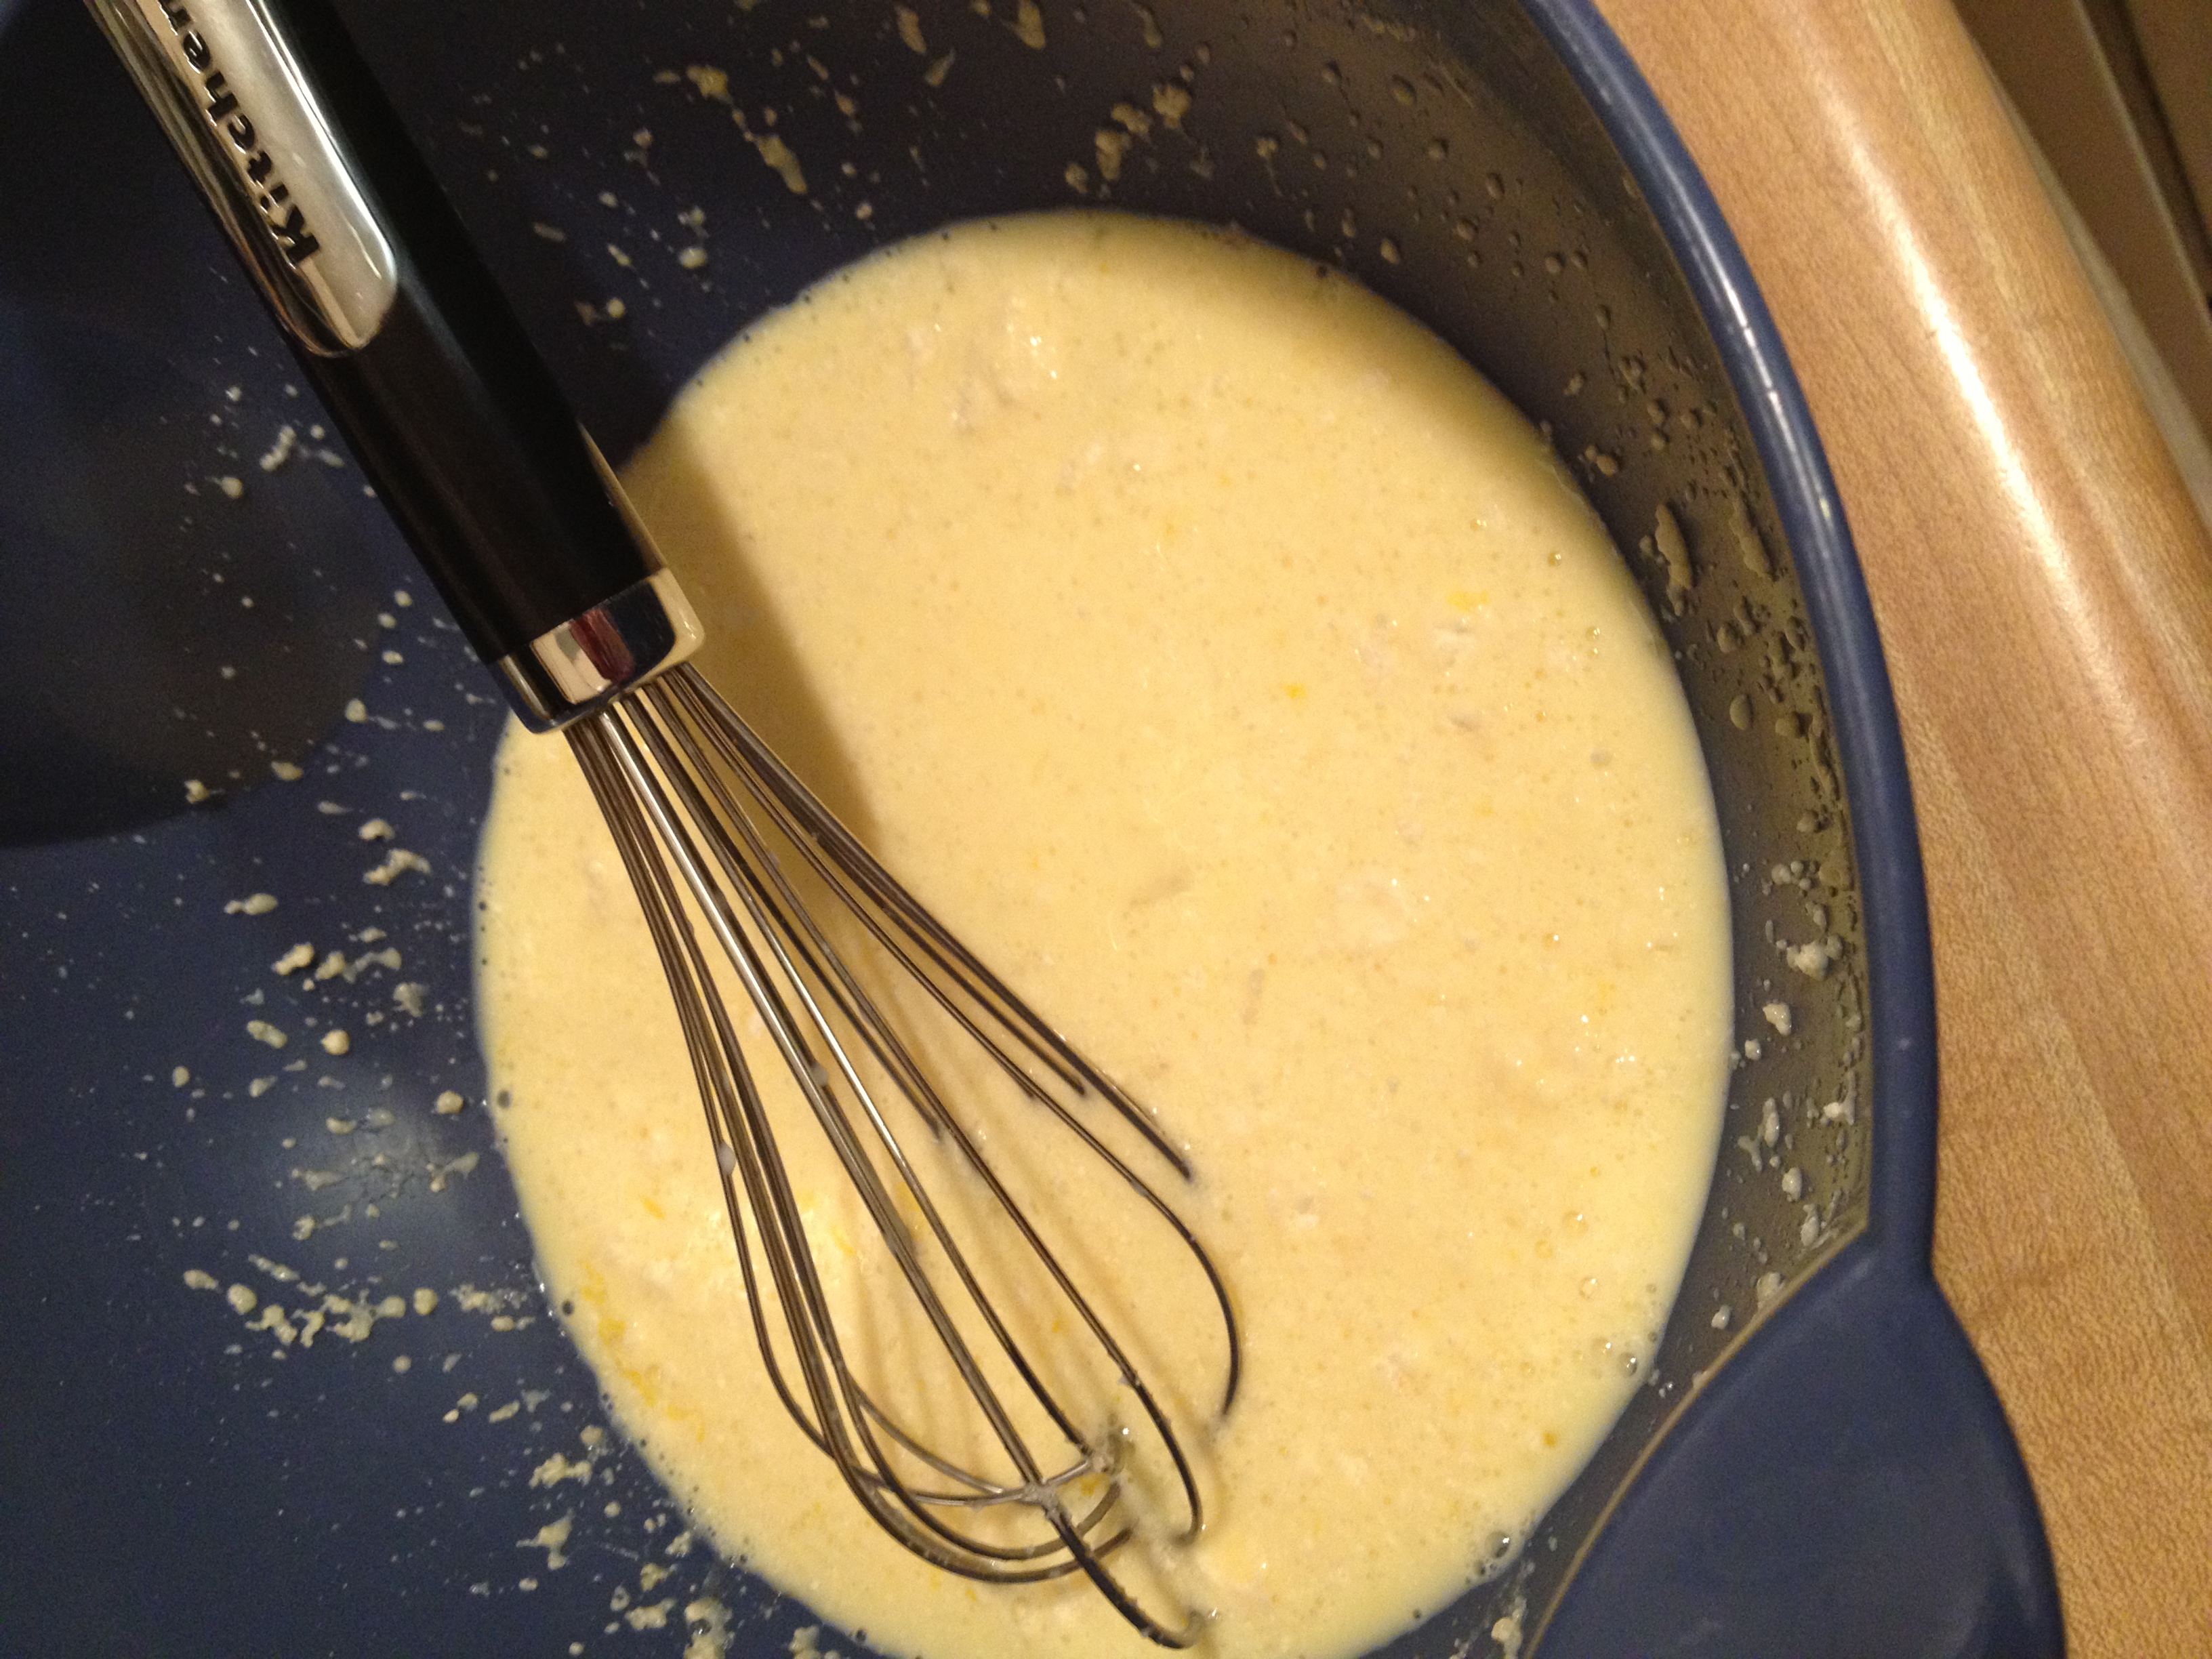
  • Alrighty, let’s move onto our egg mixture. Grab a large bowl and put the eggs, milk, Parmesan, salt, oregano, and pepper. Whisk whisk whisk! Then slowly mix in the flour. 

photo 5 (2)

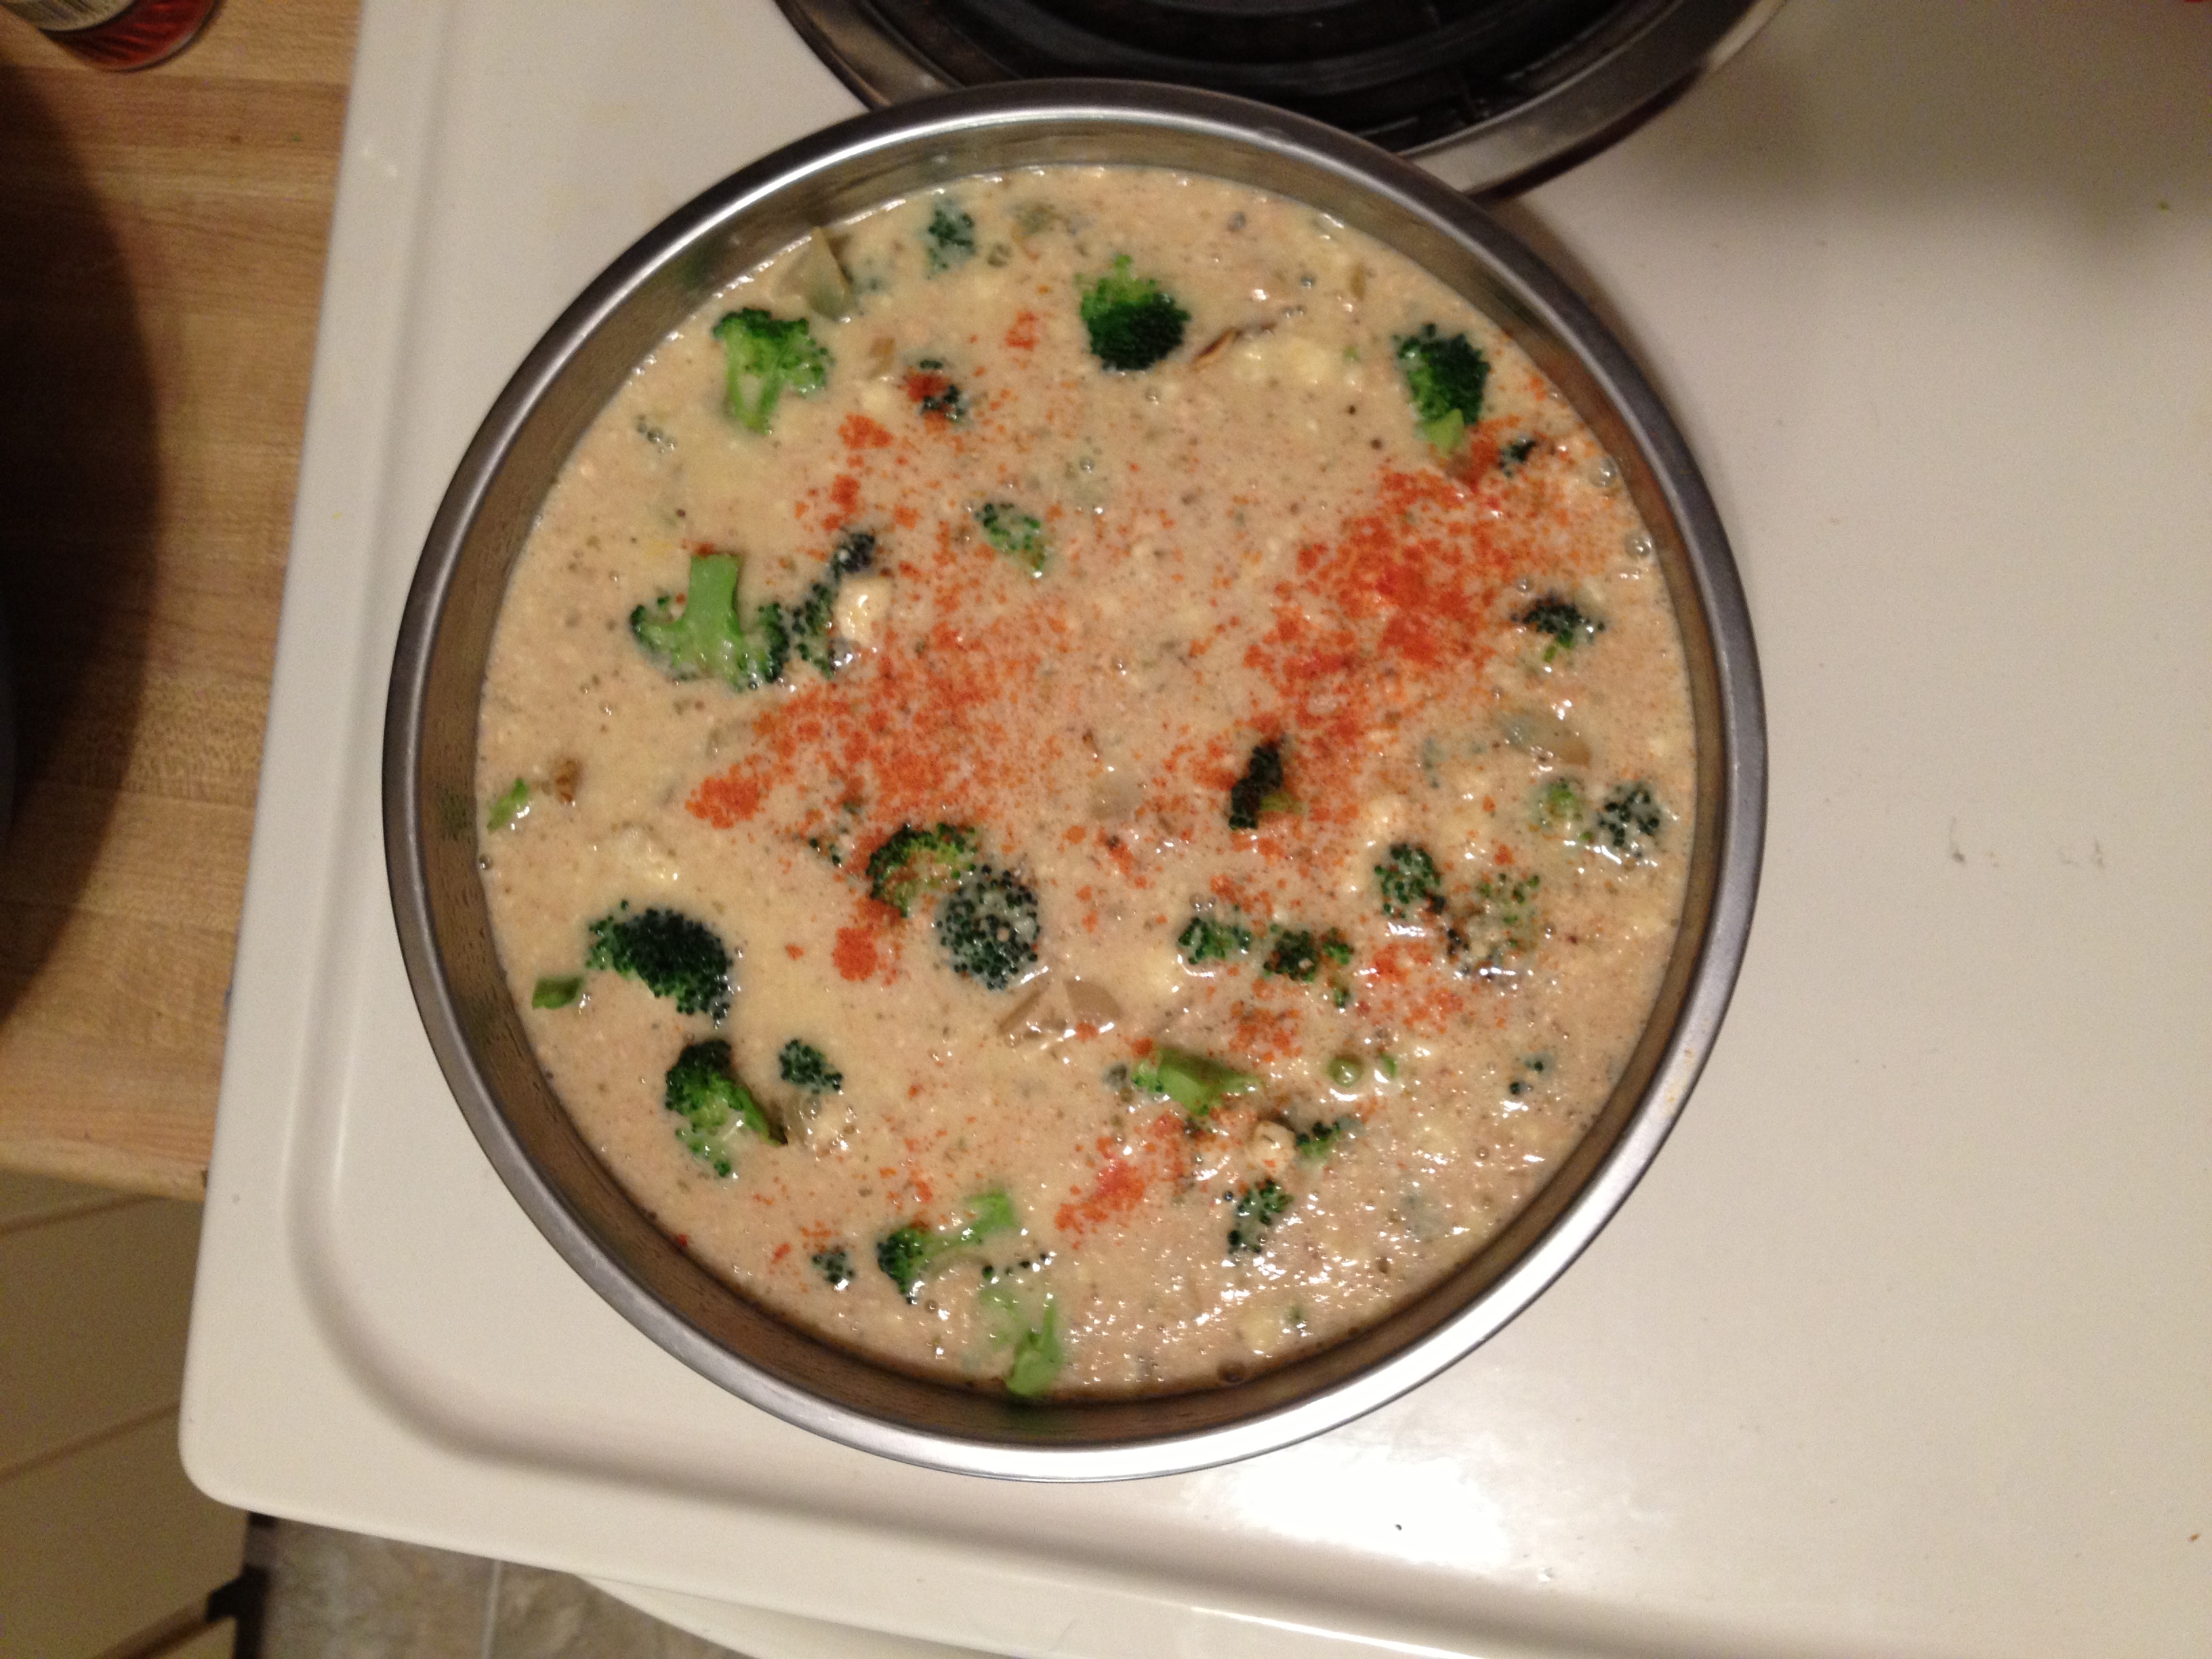
  • Now pour the egg mixture into the baking dish evenly.

photo 1 (11)

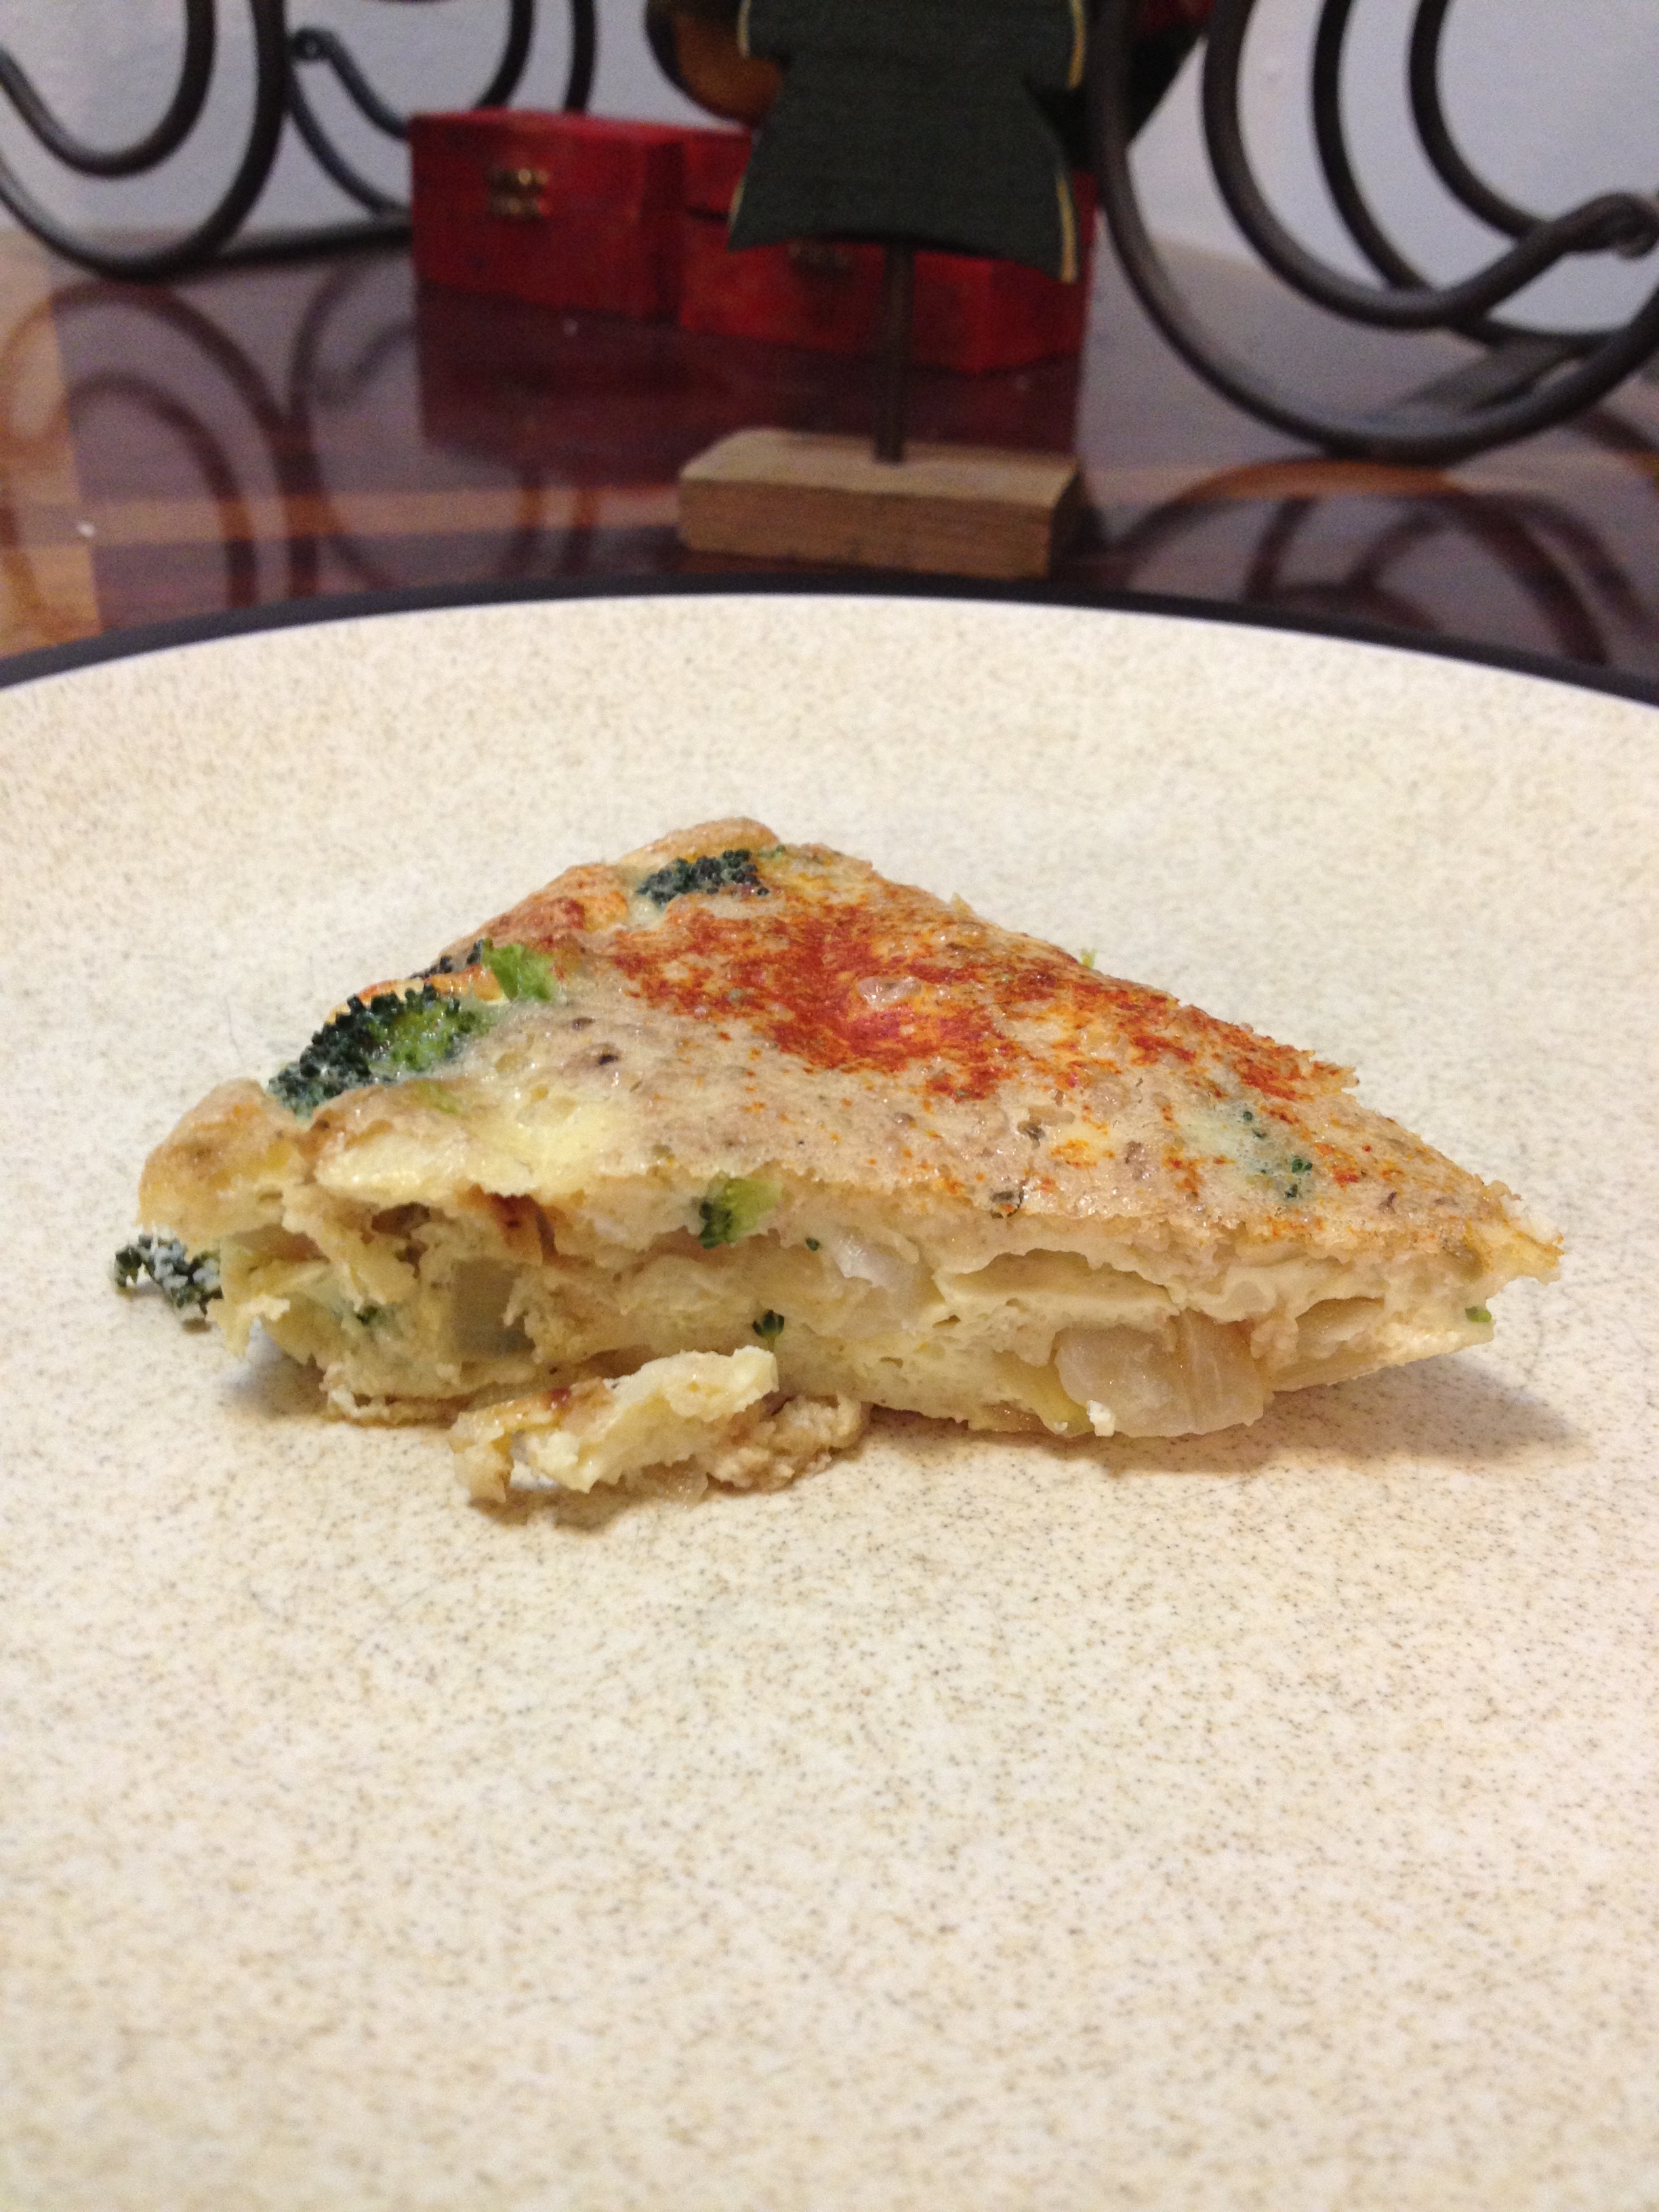
  • And that’s it. Now we just put it in the oven for 35 minutes. After it’s ready, let it cool before you dig in!

photo 4 (8)

This recipe was so easy and so delicious. Like I said, we ended up finishing the whole tin in one meal. We are hungry and fit after all. This dish is great with some ketchup, too. I am so excited to play with this recipe and throw different veggies, spices, and meats (for Chris) into it and see what happens. To top it all off, this recipe is ridiculously healthy which helps me stay true to my goals. Just look at those macros above! Use this recipe to stay hungry and fit!

Way too small of a piece

Way too small of a piece

Love the broccoli bites

Love the broccoli bites

  • Question of the Day: What’s your favorite quiche ingredients?

BONUS KITTY PIC

photo 1 (10)

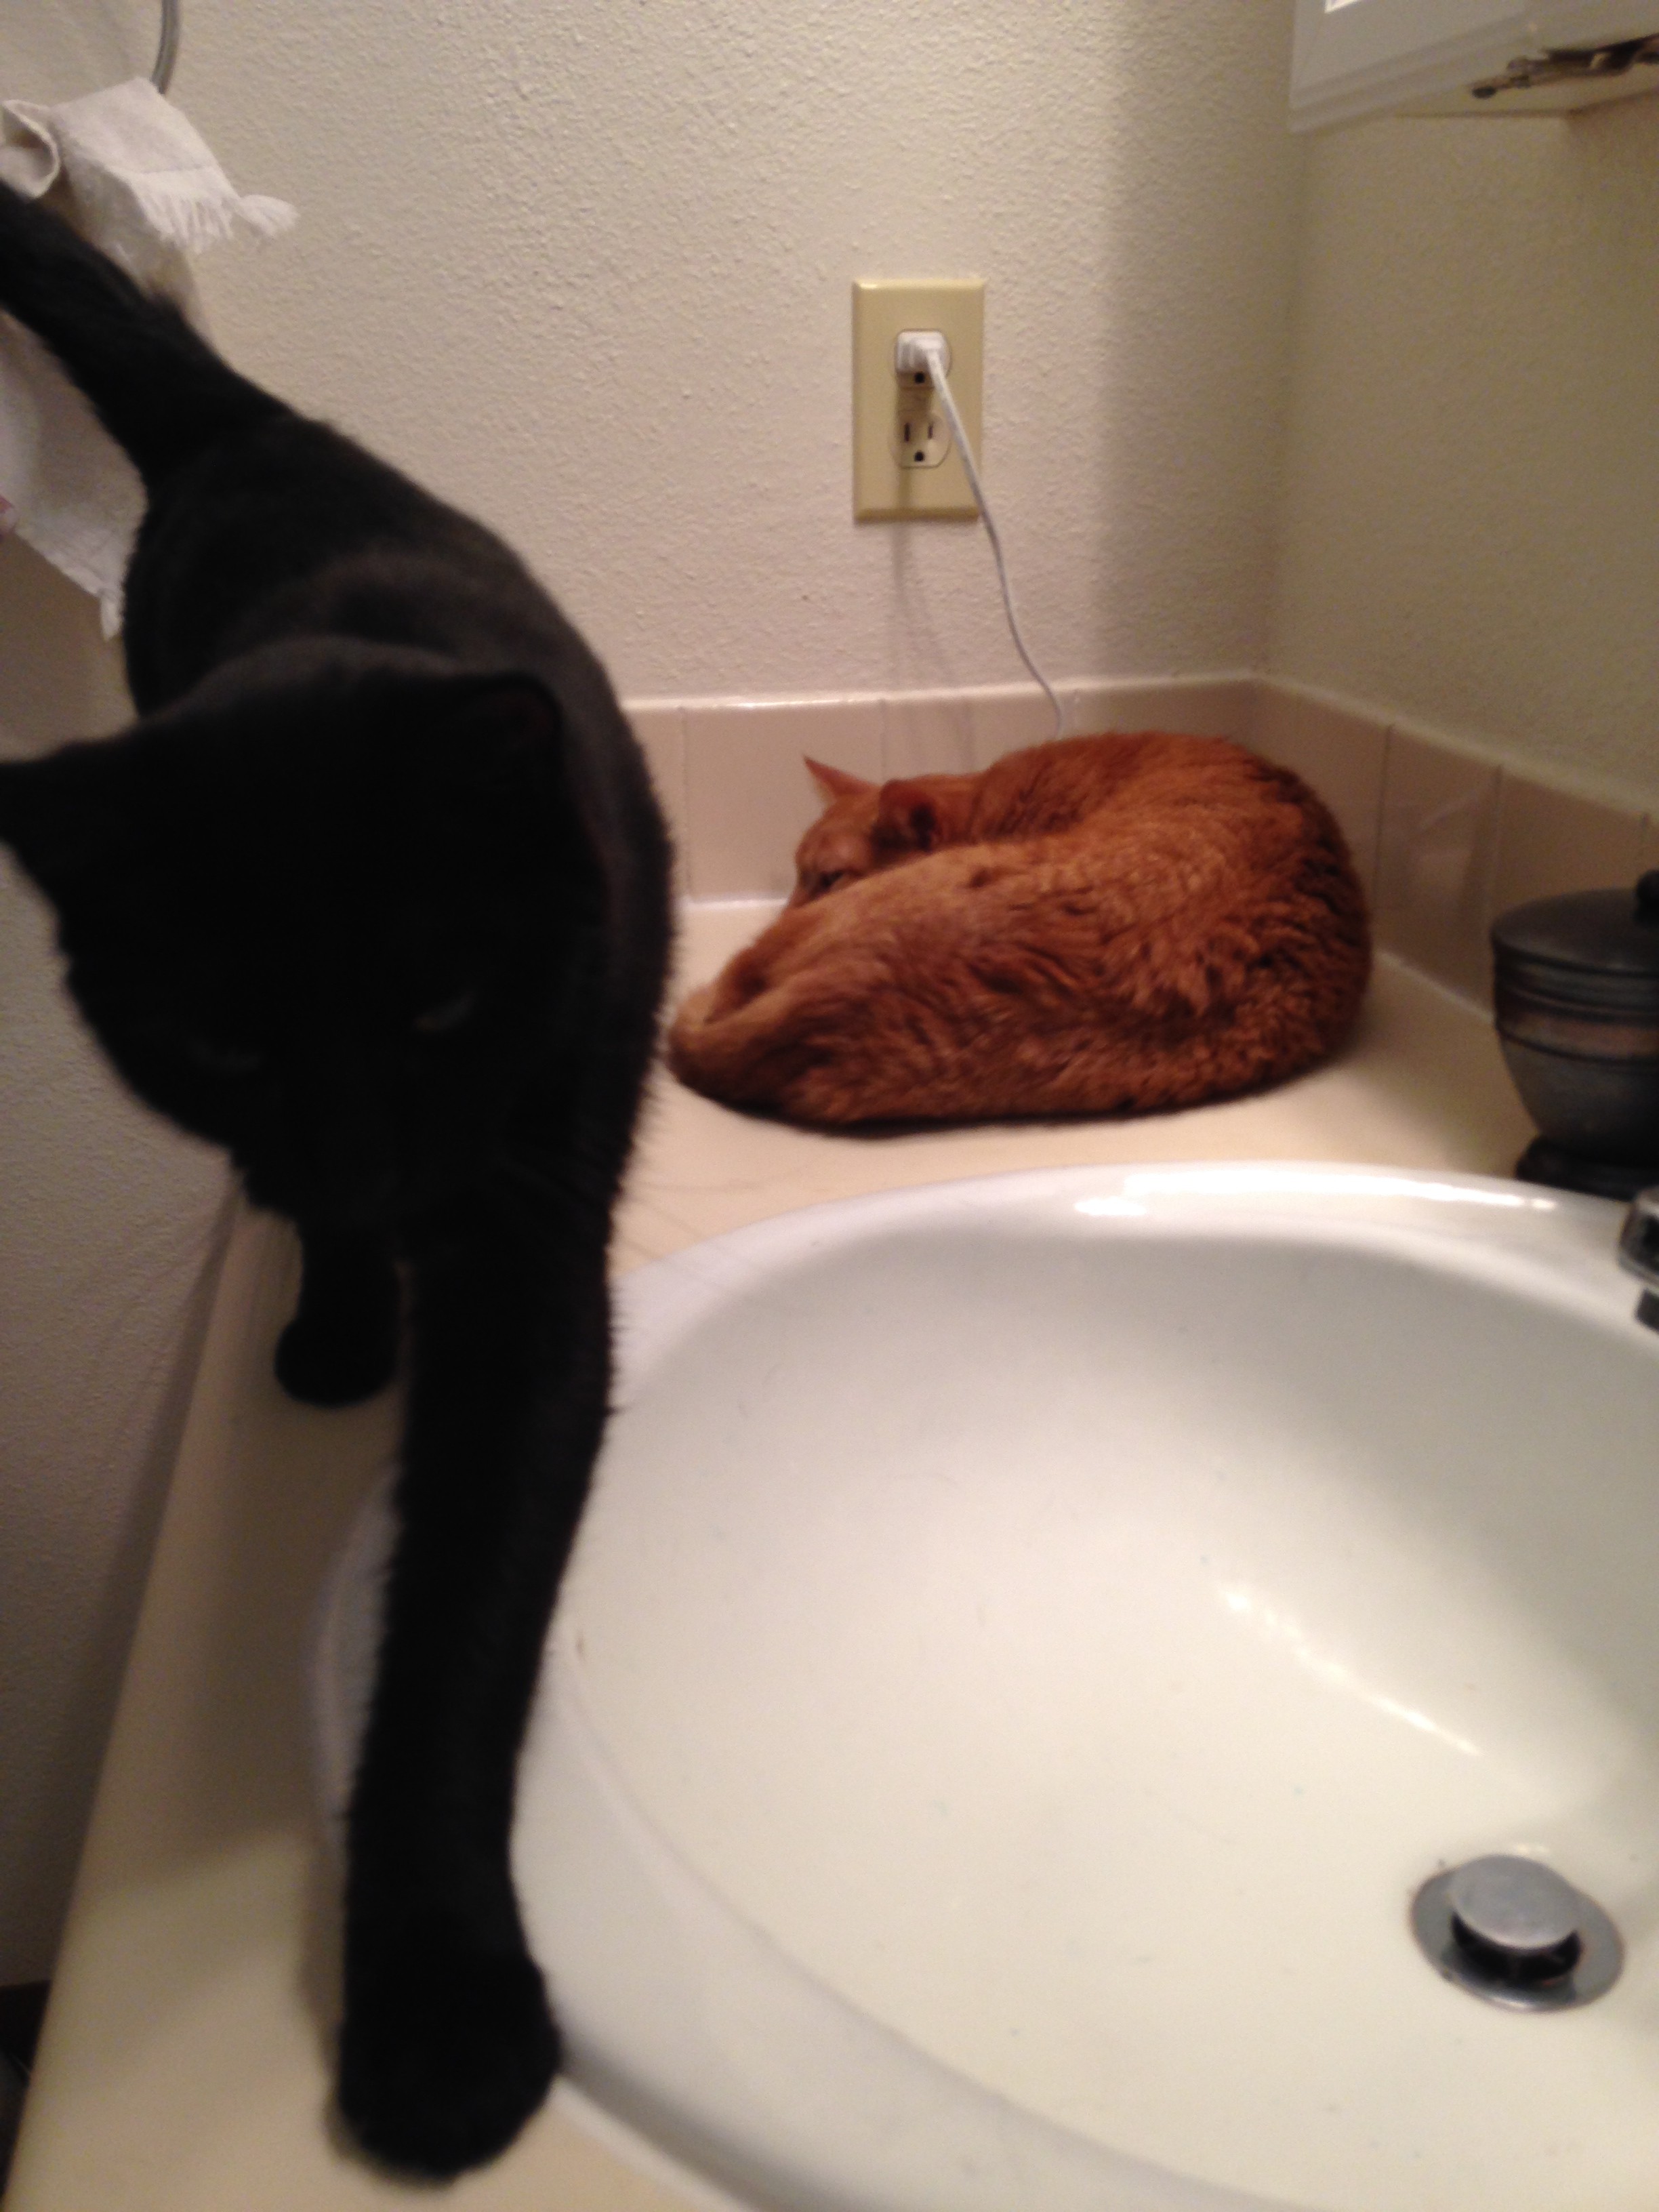
Kitties in da bathroom

spacer

Sugar Cookie Chex Party Mix Recipe

This weekend, Chris and I attended our first blogging event. Chex had researched the blogs in the Colorado area and we popped up on their list! We drove down to the Park Meadows Mall in Lone Tree (which is BEAUTIFUL) and attended the event for about an hour. The bloggers were all female and a slightly older demographic. Everybody was super friendly and it was great to meet other bloggers, especially some of who I follow daily like Dinners, Dishes and Desserts. We spent half the time trying out the easy peasy Chex holiday recipes and then the other half bundling up the goodies in little gift boxes and bags. All the recipes we learned were easy and delicious–perfect for procrastinators like me for gift-giving. And then Chex sent all of us home with goodie bags that we very much appreciated. Thank you, Chex! It was hard picking one recipe out of the many we tried, but I’m going with the Sugar Cookie Chex mix. Now onto the yummy stuff…

Their setup

Their setup

Ingredients

  • 6 cups Rice Chex cereal
  • 1/4 cup butter
  • 1/4 cup sugar
  • 2 tbsp corn syrup
  • 2 tsp vanilla
  • 1/4 cup powdered sugar
  • 1/4 cup milk chocolate chips
  • SPRINKLES!!
Ingredients all ready for us! Very nice

Ingredients all ready for us! Very nice

Directions

  • Put the cereal in a large bowl that can be microwaved
  • Line a baking sheet with some wax paper or foil for when you are finished
  • Get your butter melted, whether through the oven, microwave or other means
  • Mix the regular sugar and corn syrup into the butter, then microwave to loosen everything up
  • Stir in the vanilla. 
  • Pour the mixture over the warmed up cereal and stir it so it is mixed properly. Also add in the white chocolate chips at this time
  • Microwave for 2 minutes
  • Sprinkle with the powdered sugar and really spread the sugar around
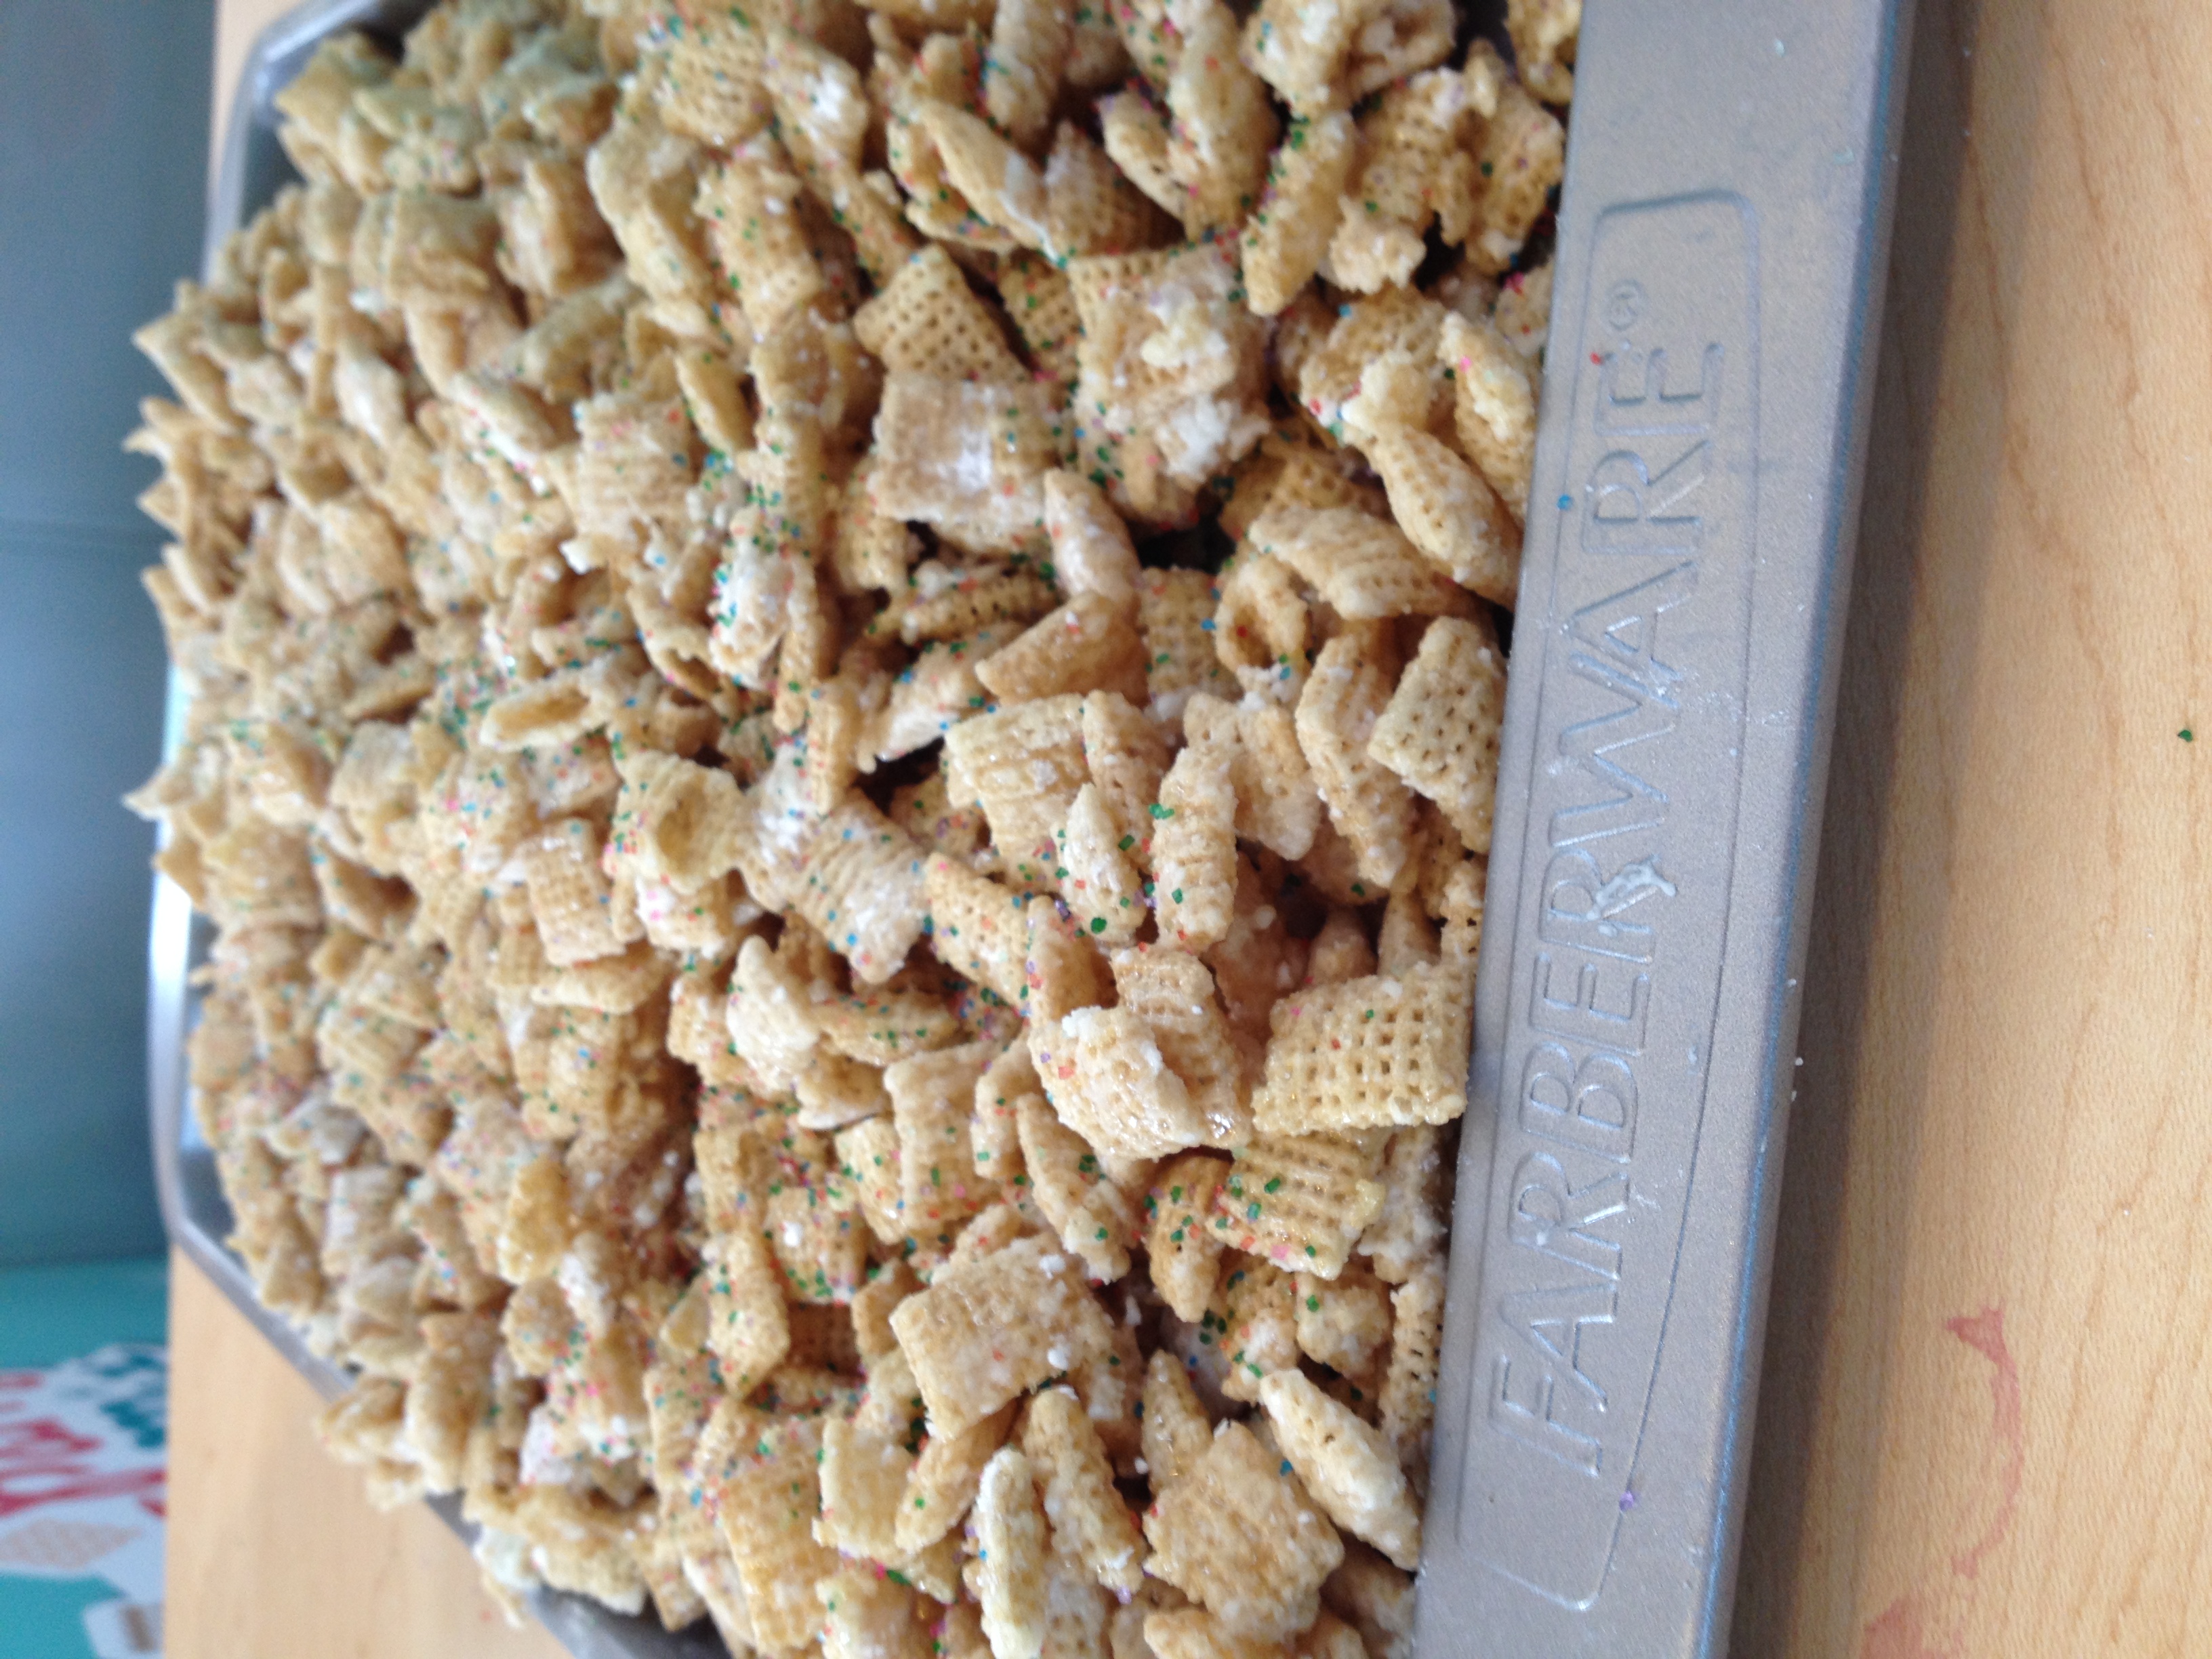
  • Now let’s lay the delicious cereal mixture onto that lined baking sheet. Sprinkle those sprinkles on top and have fun with it!
Amazingly delicious and simple

Amazingly delicious and simple

And that’s it. You can absolutely make this in under 15 minutes, no problem. If you prefer the oven, go for that! Next time when I do it on my own, I will probably substitute the corn syrup for some sugar and water. This dish is really delicious and it’s perfect for the holidays and school parties. Take advantage of it! And as always…stay hungry and fit!

  • Question of the Day: What is your favorite holiday treat?

BONUS KITTY PIC

photo (18)

Nymeria and I watching kitty videos

spacer

Healthy Banana Nut Muffins

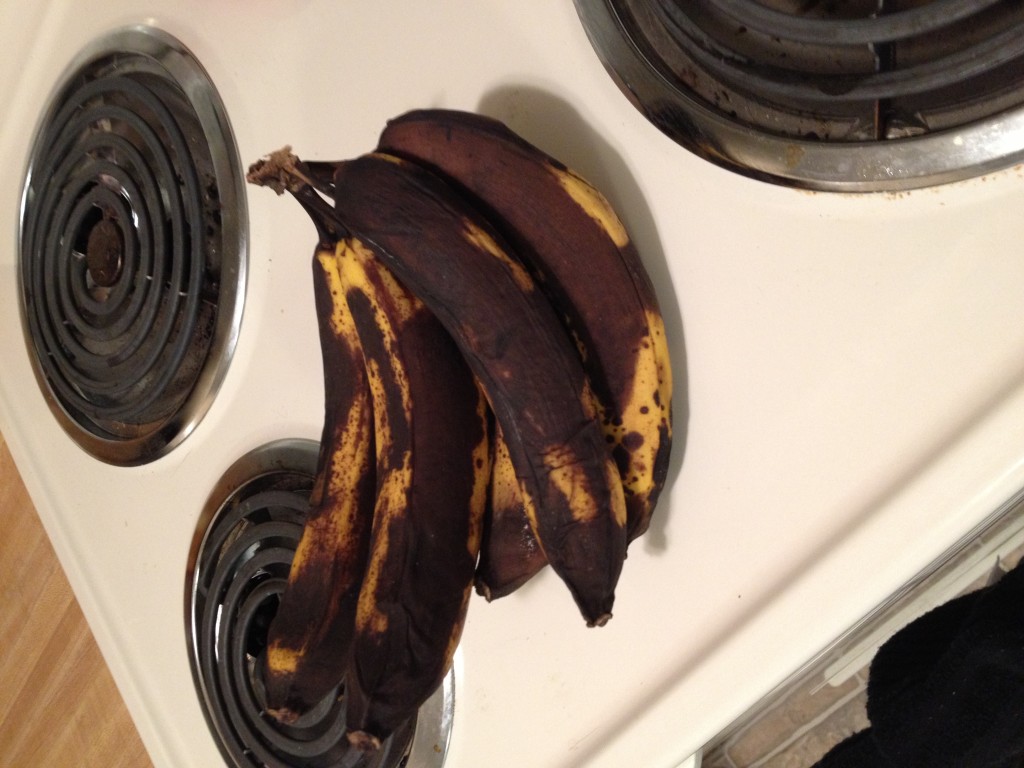
These muffins are one of the best guilt-free, low-calorie, satisfying snacks for your everyday needs. Also, our bananas were nearly black. And that’s when you know it’s time for one of the many banana recipes. And being right after Thanksgiving, this was an easy choice. I added pecans for a little extra protein and healthy fat. Also, they were leftover from our sweet potato casserole. You gotta use what you got! This recipe is ridiculously easy, in fact I made two batches. And it’s uber healthy with plenty of fiber since it uses whole-wheat flour. Only takes about 15 minutes to cook and less to prepare.

Look how black these are

Look how black these are

photo 2 (16)


  • Prep Time10-15 minutes
  • Baking Time: 15-18 minutes

Ingredients

  • 1 3/4 cups whole-wheat flour
  • 1 tsp baking soda
  • 1/2 tsp salt
  • 2-3 bananas
  • 2 eggs
  • 1/3 cup honey
  • 1/3 cup olive oil
  • 1/2 cup chopped pecans
  • 1/4 cup hot water

Directions

  • Pre-heat the oven to 350 degrees F and grease your muffin tin
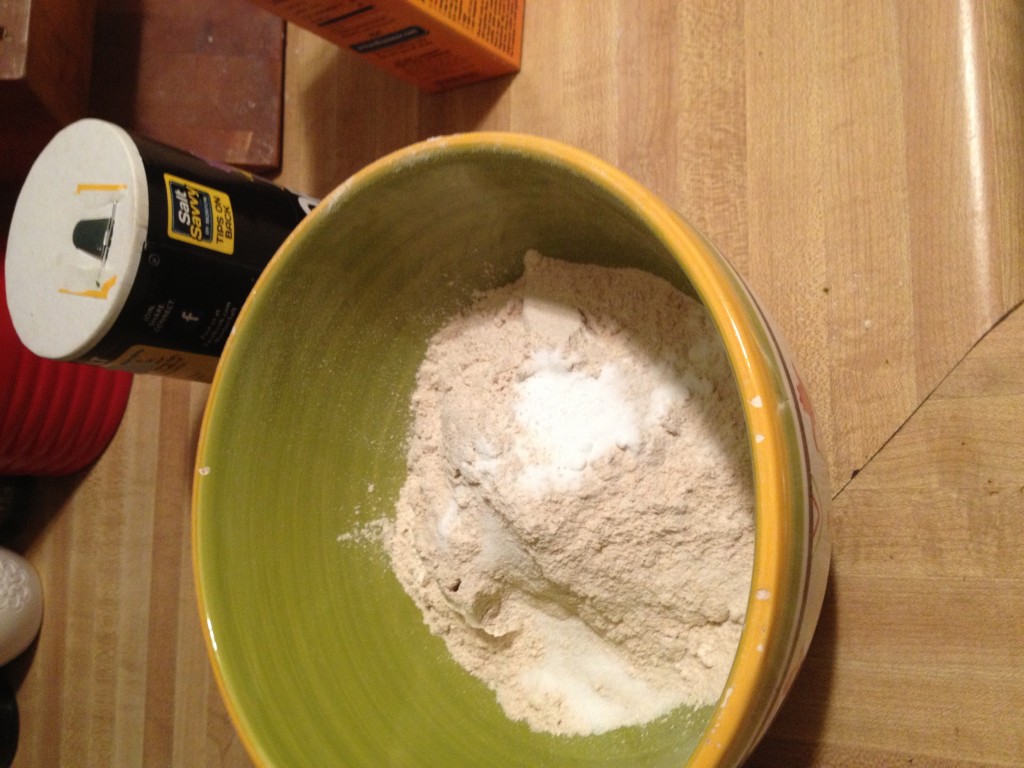
  • Mix together the dry ingredients (flour, salt, & baking soda) in a small bowl

photo 2 (18)

  • In another bowl, pour the honey and oil in and whisk it up until it’s totally mixed together
  • Now crack those eggs and mix it up with the honey and oil

photo 4 (14)

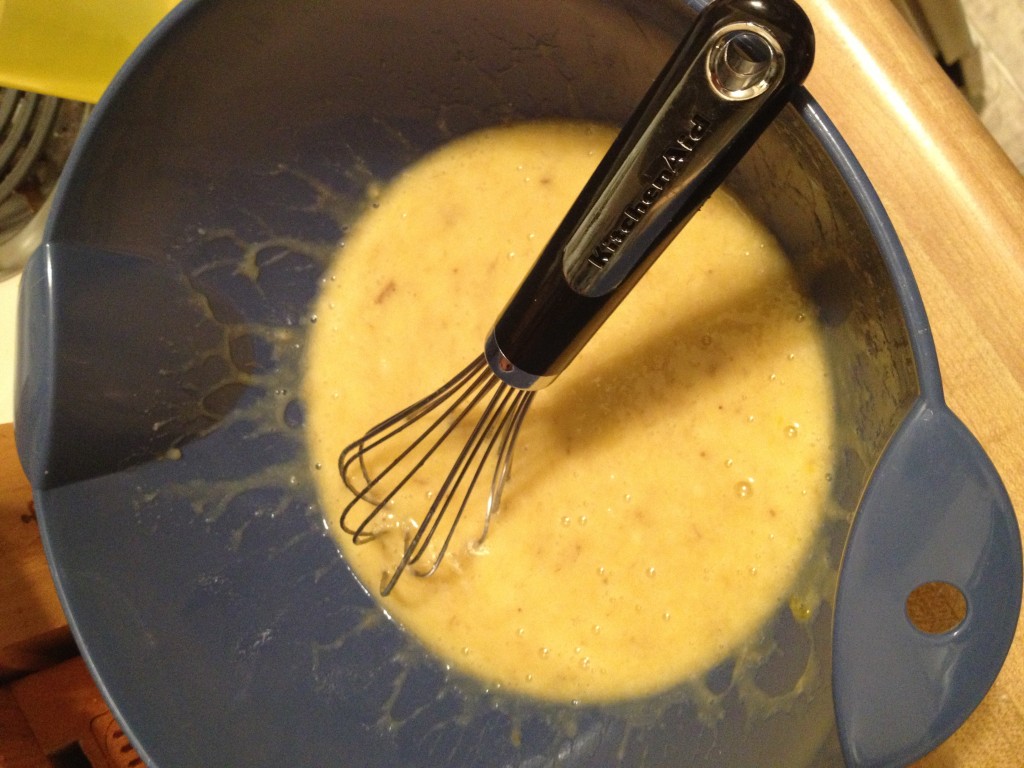
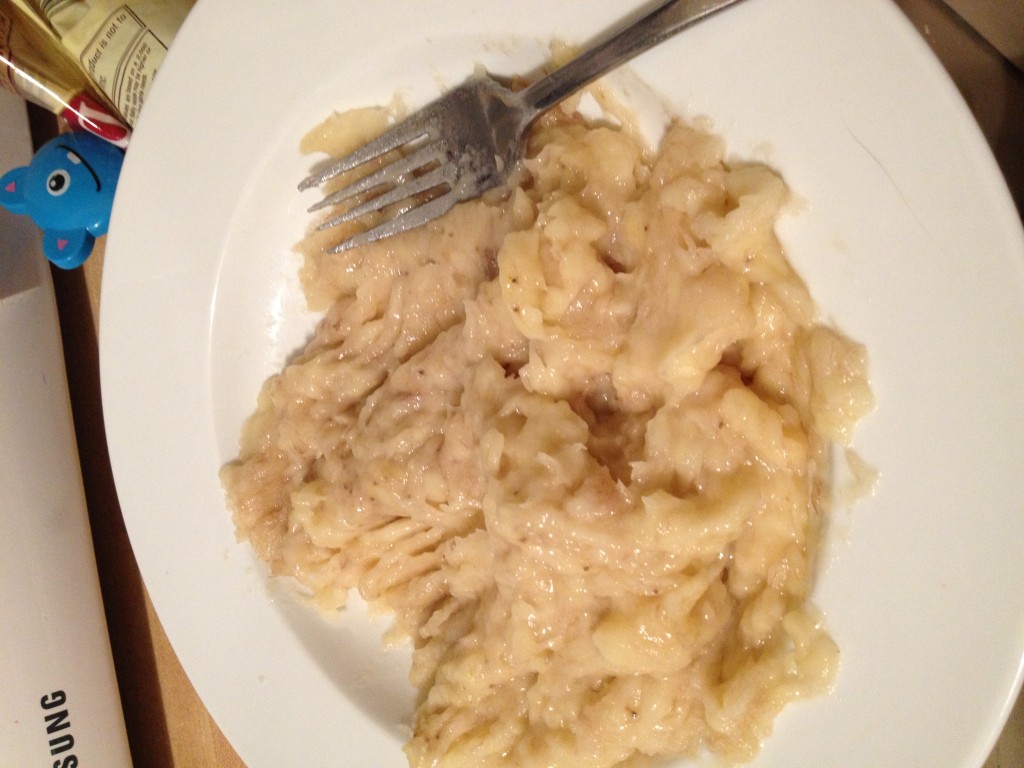
  • Next, we want to mash those black bananas into a nice gooey mess. I like a few chunks of banana because that’s always fun to bite into when it’s cooked. Spoon in the bananas and stir into the wet mixture.
mashmashmash

mashmashmash

  • Okay! Now it’s time to marry the dry and wet ingredients. Slowly stir in the dry mixture into the wet, alternating with the hot water. Do this until both the flour mixture and hot water are gone.
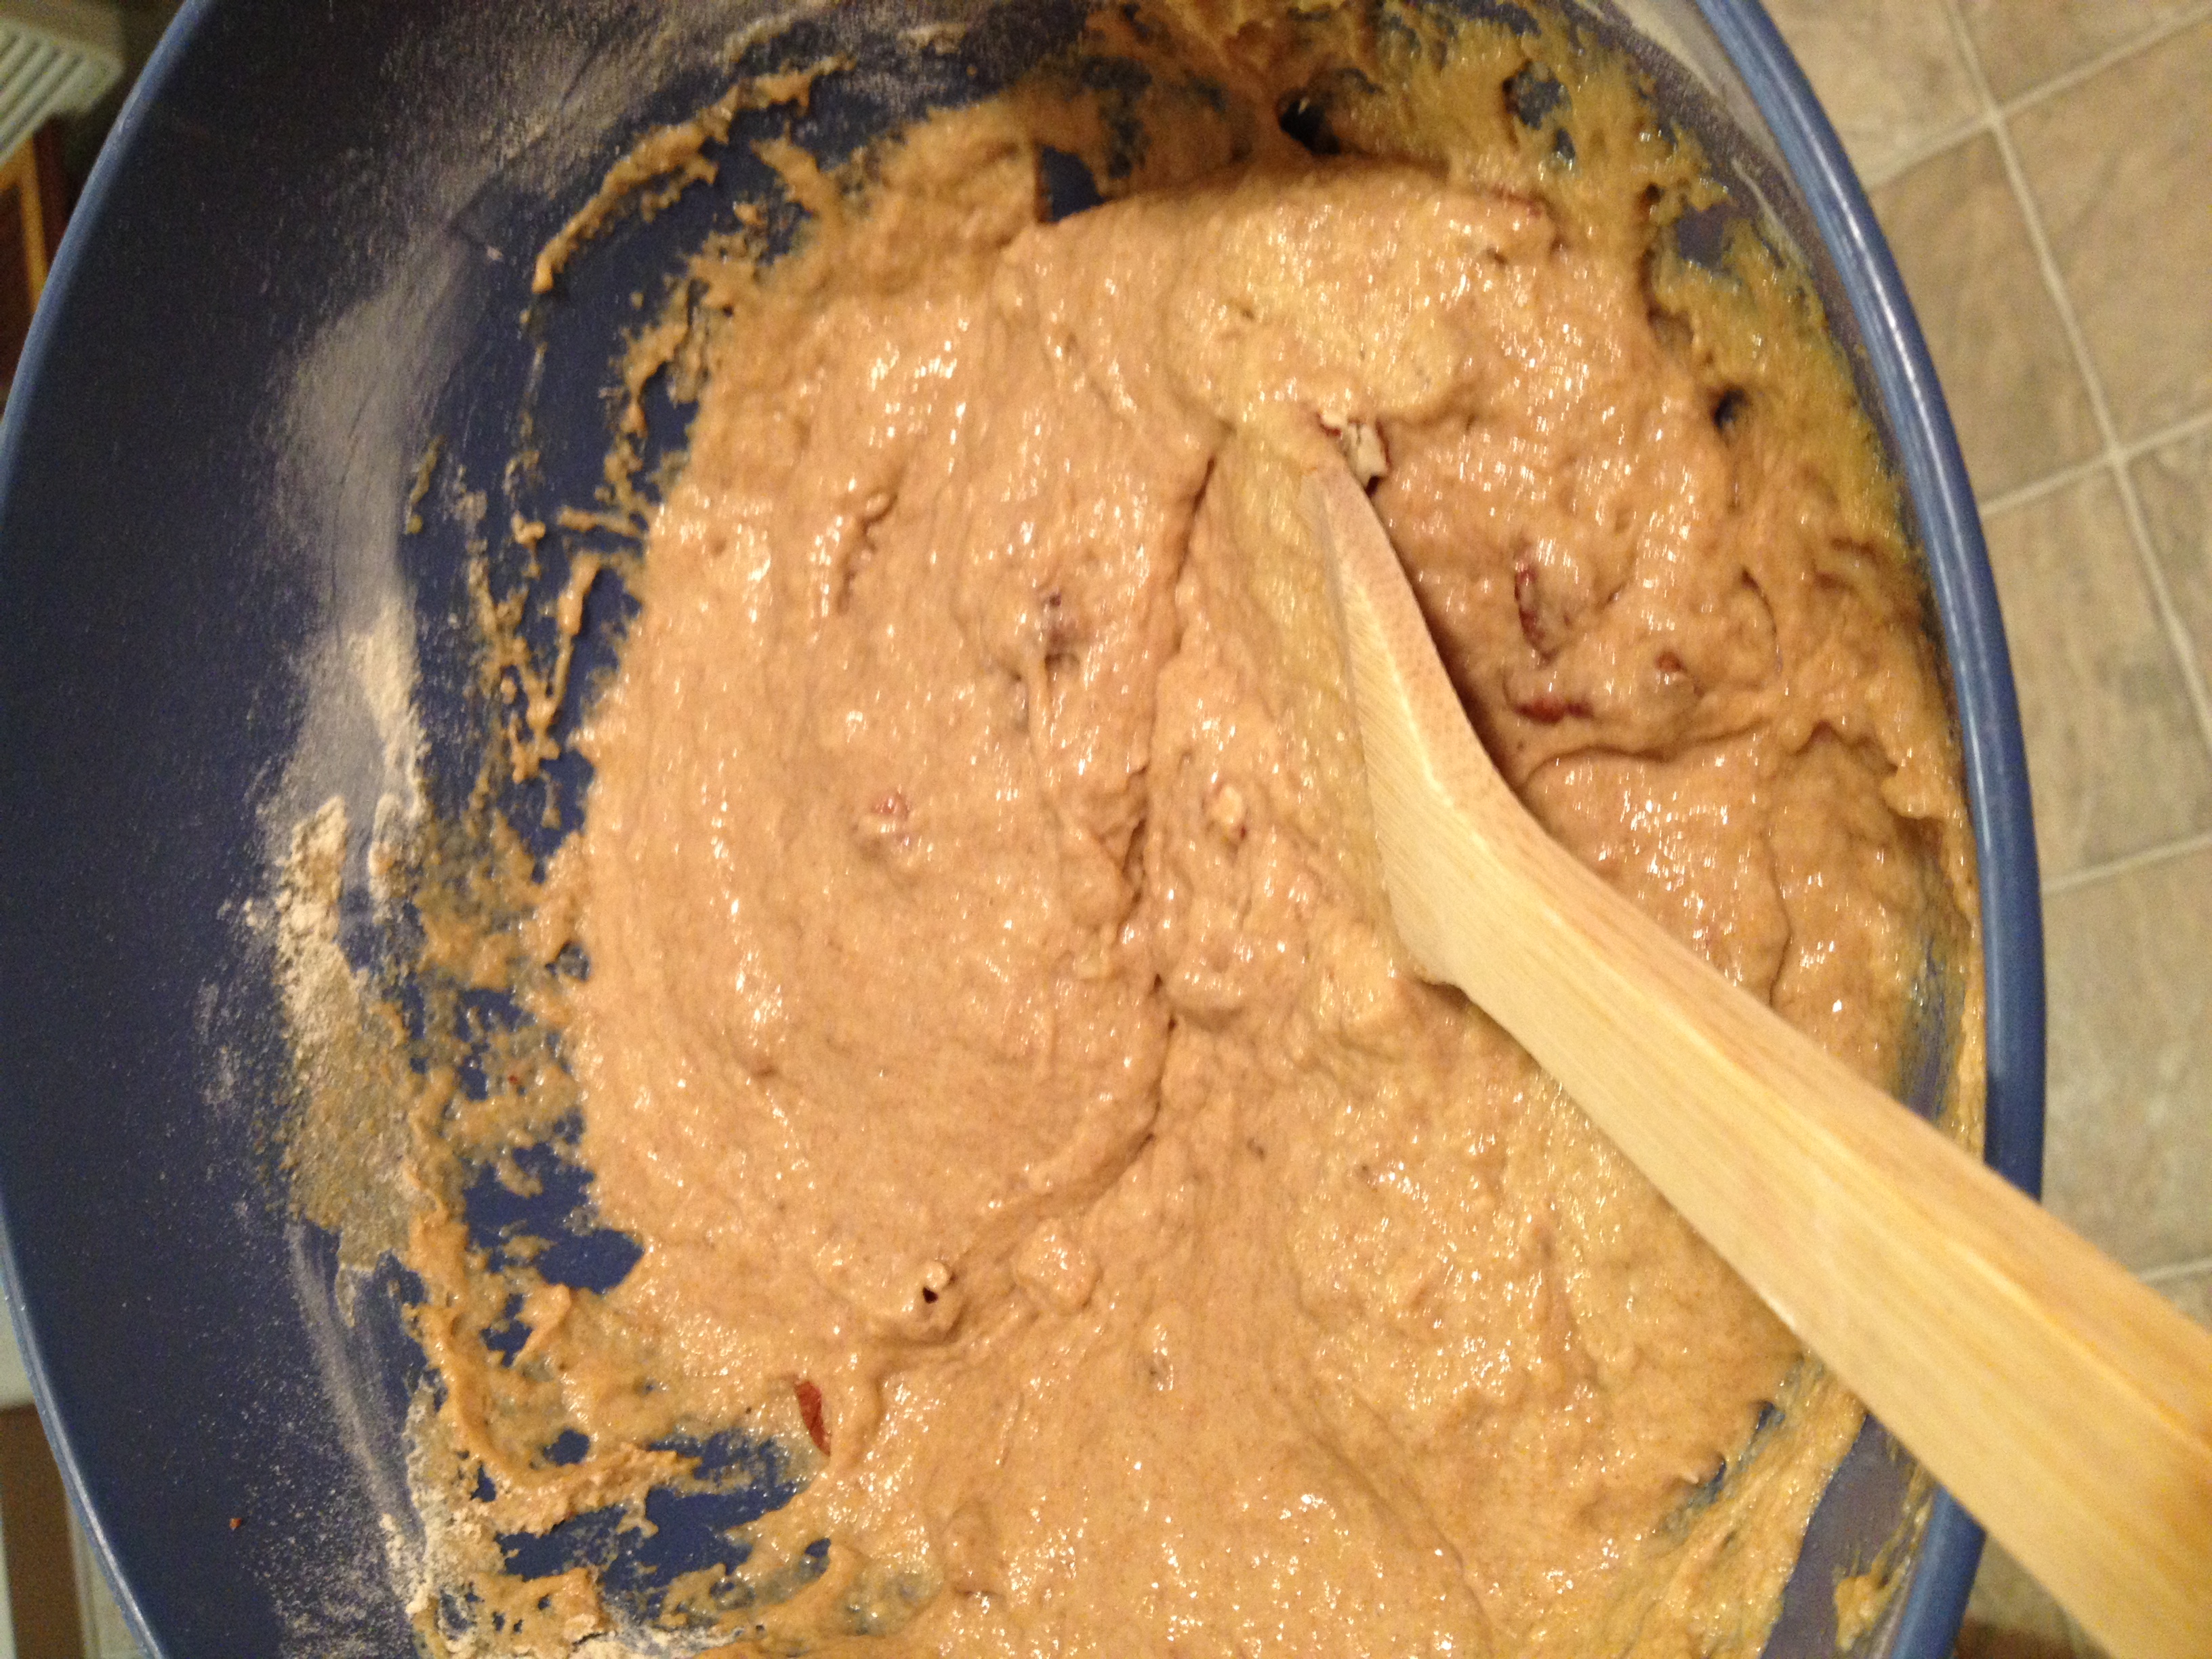
delicious batter

delicious batter

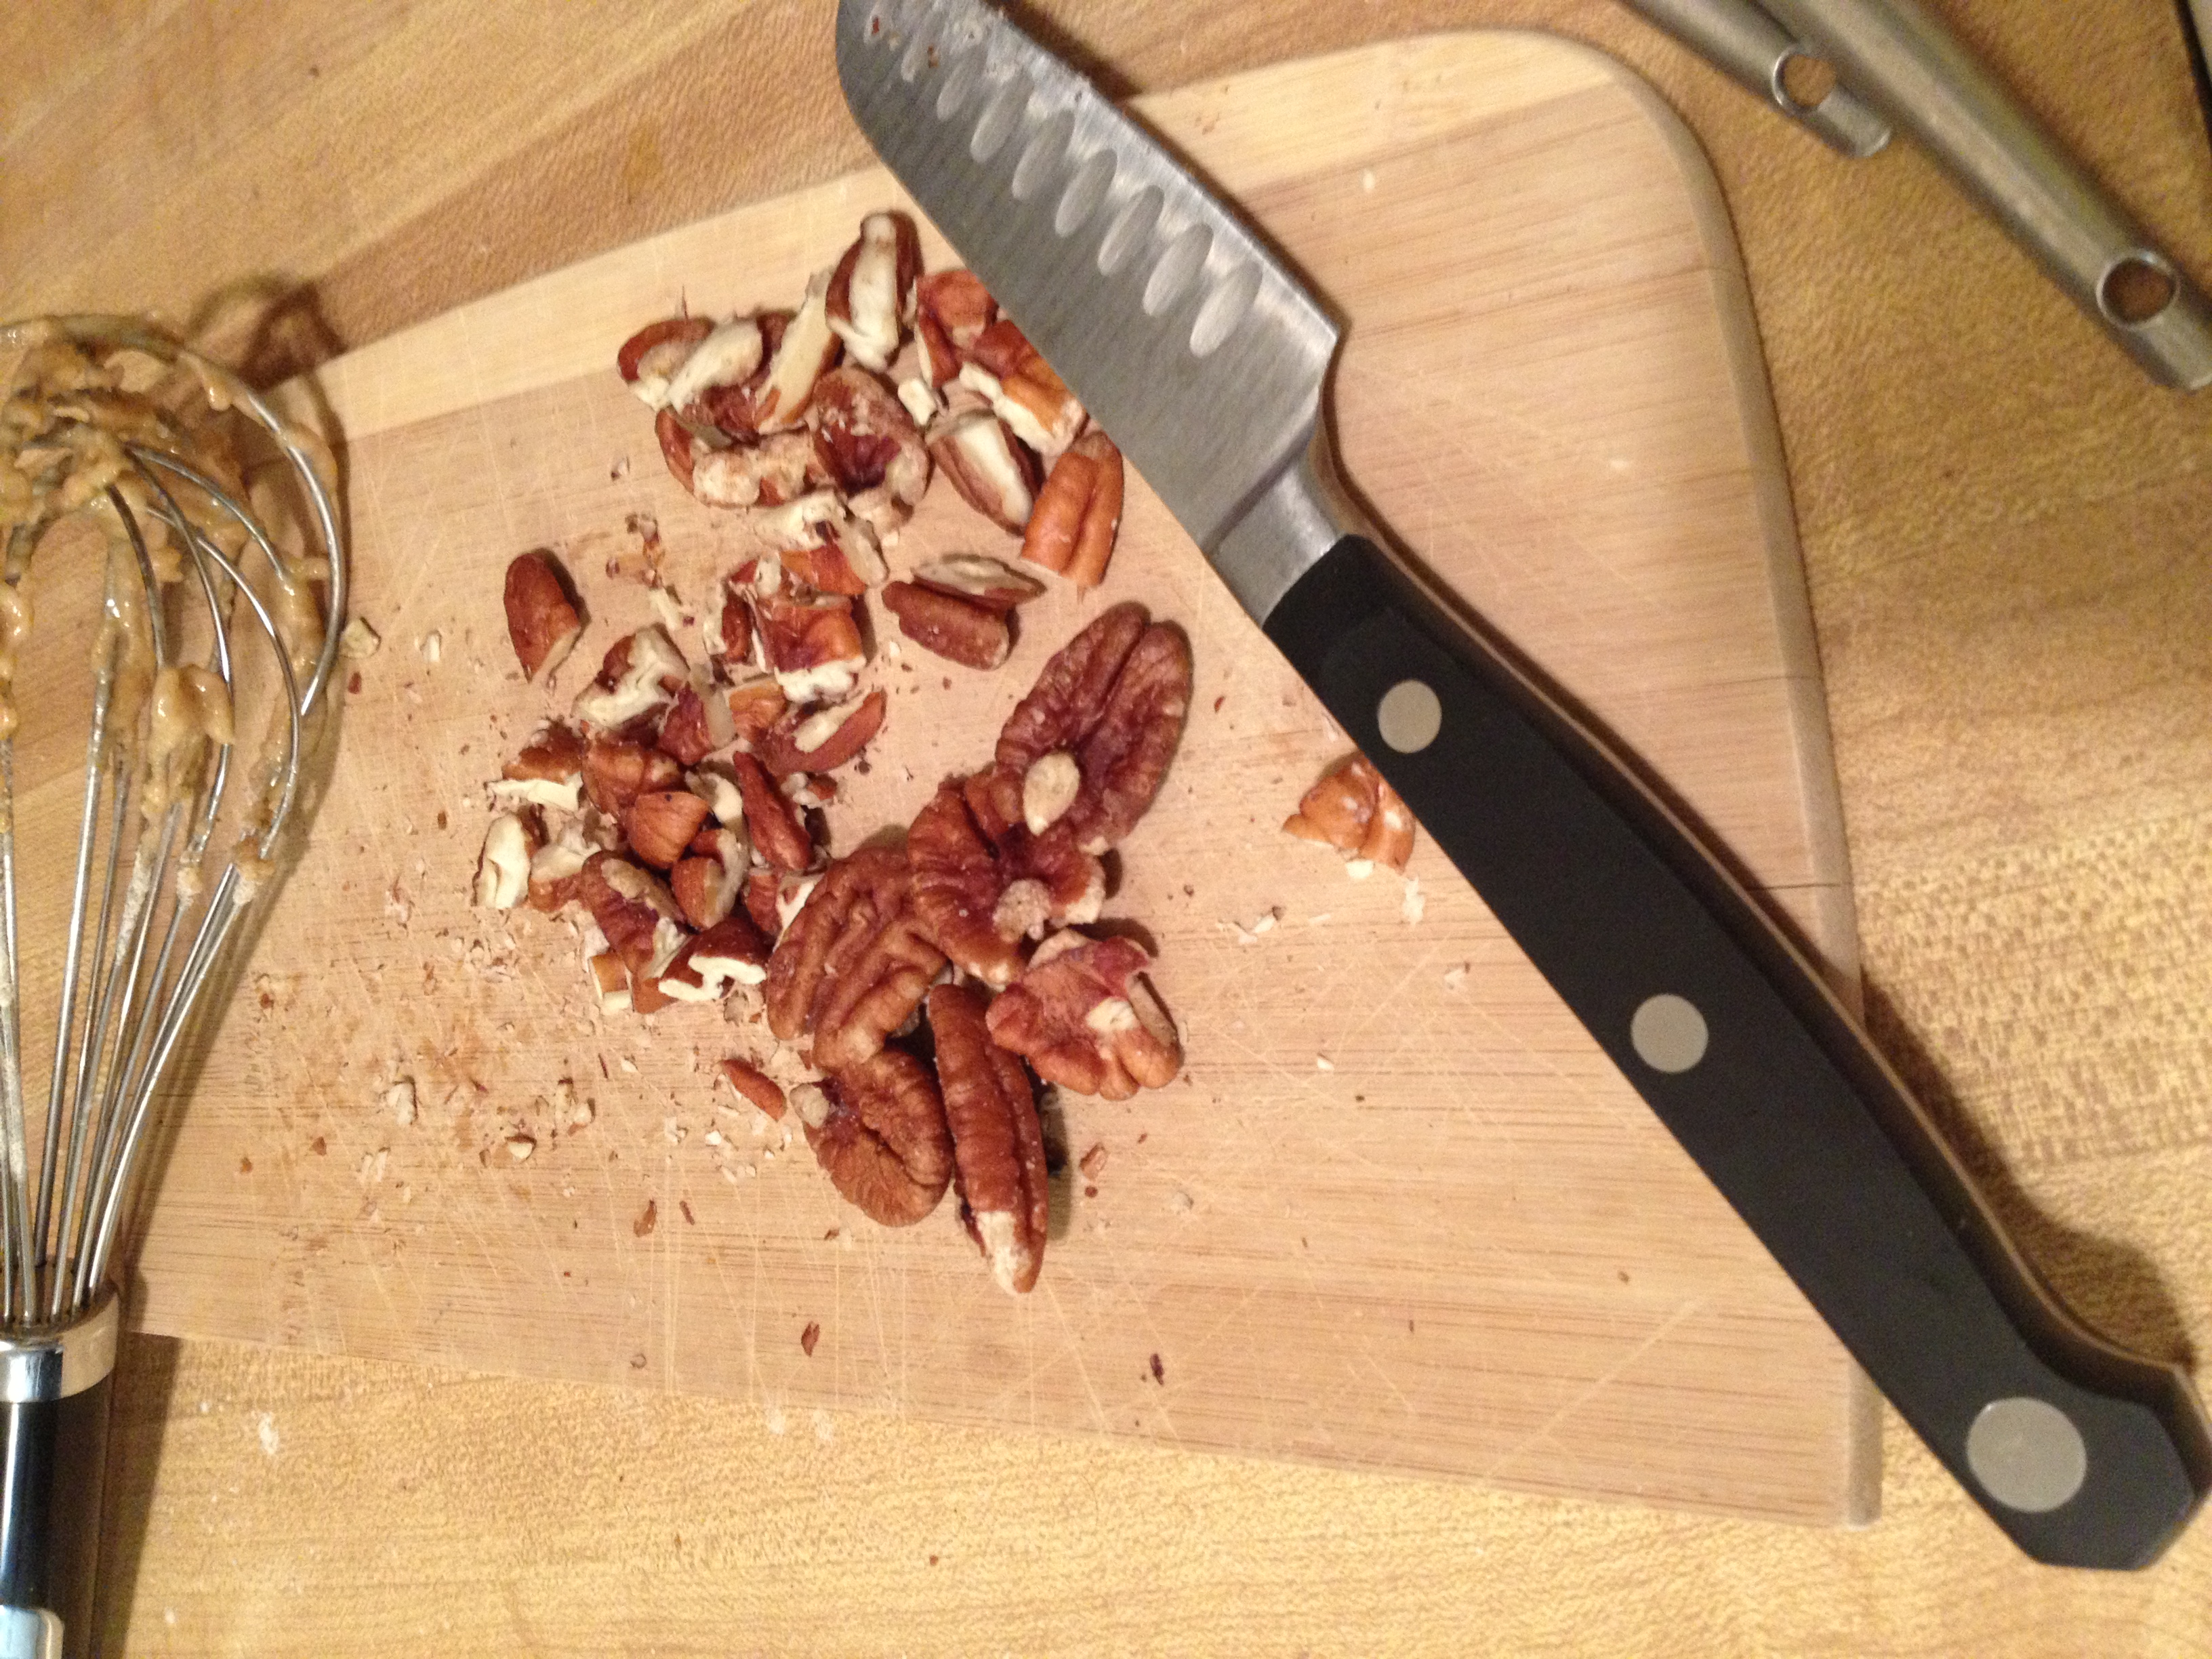
  • Now it’s time to chop up those pecans into quarters and stir them into our beautiful mix.
Chop chop!

Chop chop!

  • Almost there! Now we want to spoon the mixture into each spot in your muffin tin, and try to make them all equal if you can.

 photo 3 (11)

  • Put into the oven for around 15-18 minutes. Stick a fork or toothpick in the middle to see if they’re done. If there’s tons of batter on the toothpick, leave it for a few minutes.
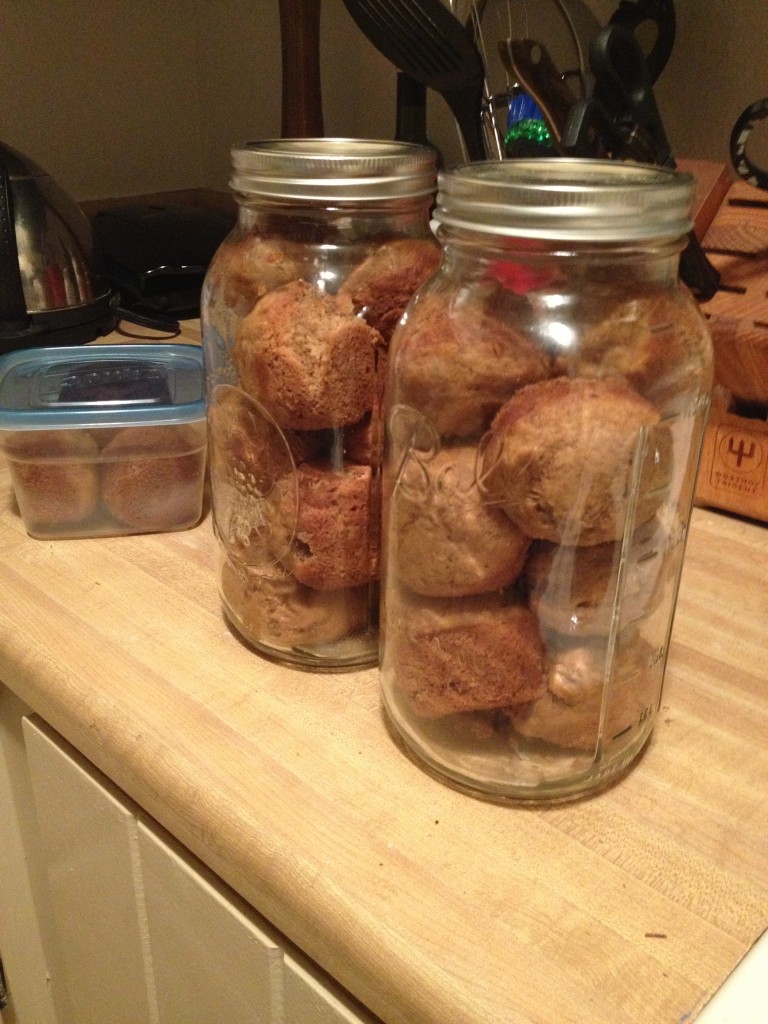
  • Let cool for a few minutes and then slowly scrape them out!
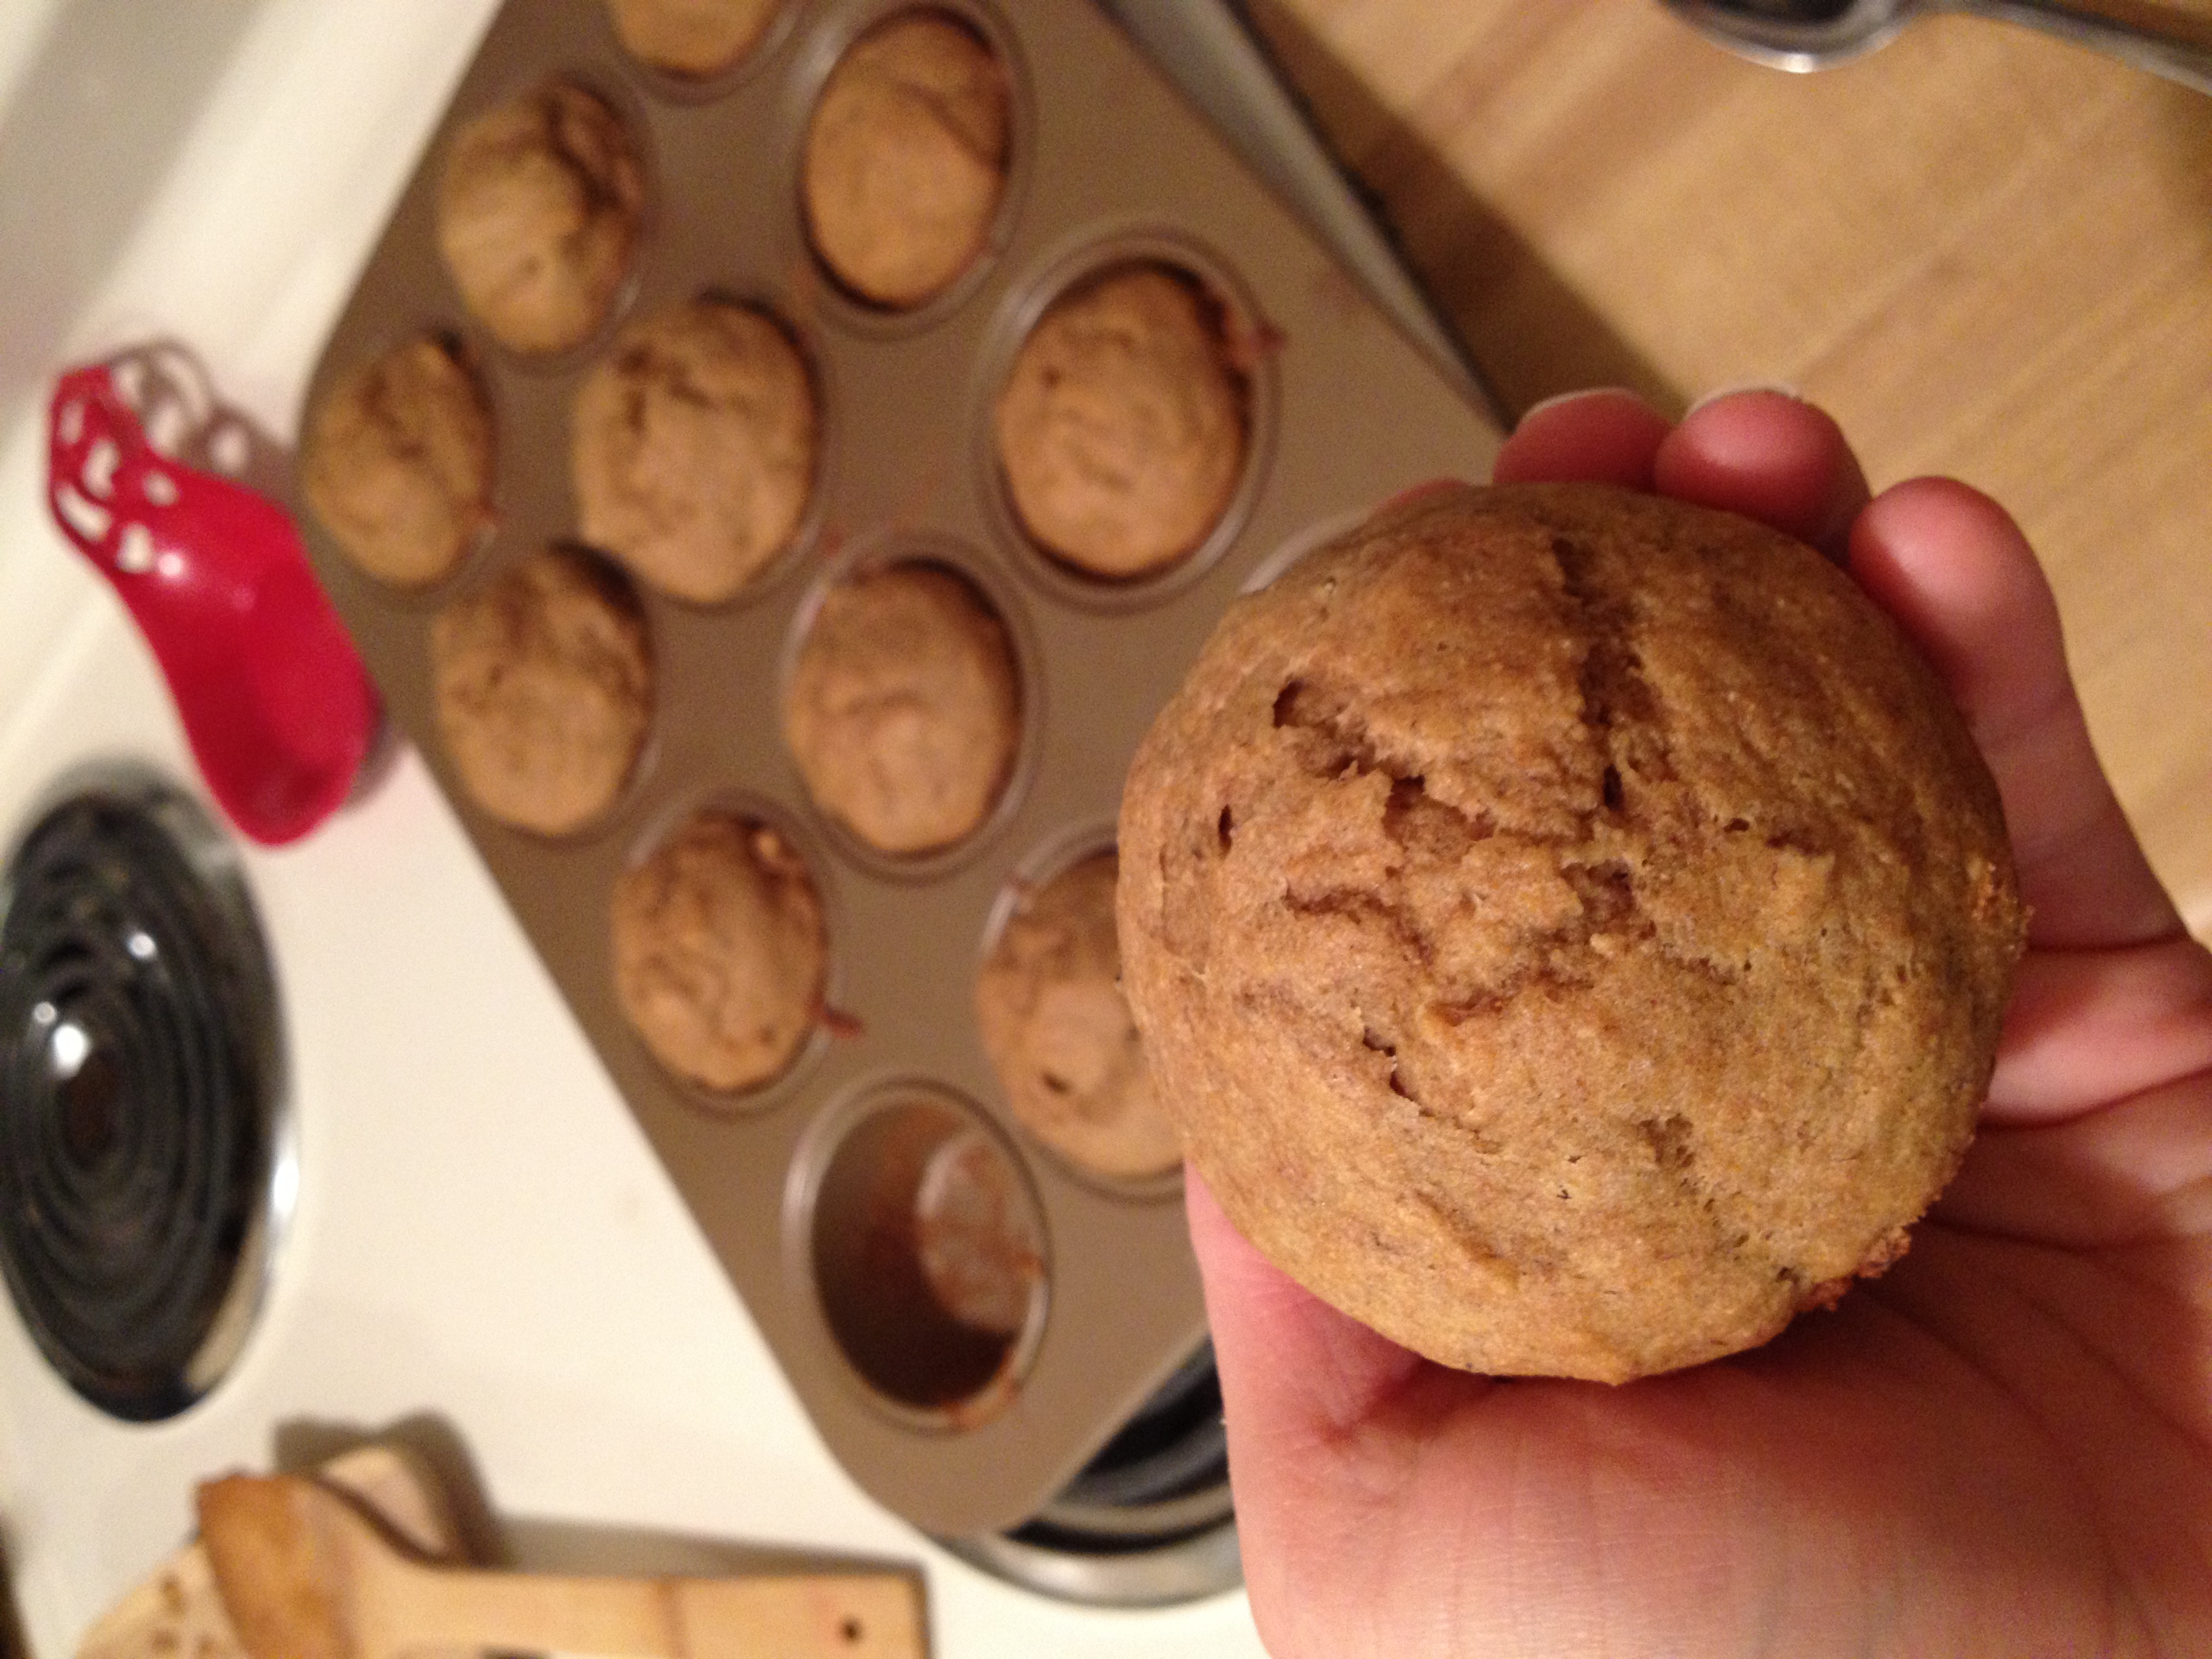
Oh, the glory!

Oh, the glory!

This recipe came out beautifully. The muffins were moist, not too sweet, and full of whole-wheat goodness. They are perfect for Chris when he has to eat breakfast on the run and perfect for me to shove in my face between clients. Don’t miss out on this easy, healthy recipe! Bake these delicious muffins to stay hungry and fit!

photo 1 (20)

  • Question of the Day: What are your favorite quick baking snacks? 

BONUS KITTY PIC

Nymeria and Piper, the dog, got along great!

Nymeria and Piper, the dog, got along great!

spacer

How to Get Over Thanksgiving Guilt

Apologies for the delayed posting! My brother and his girlfriend, Sophie, were in town for Thanksgiving and we wanted to spend every minute with them! But fear no more, we are back! Back with information to get you off the hook! It may already be December, but I know a lot of us are still wallowing in shame and guilt about our over-indulgences on Thanksgiving. This has no purpose and will help you get no further with your goals. Take these steps to shake off your self-hatred and prepare for beast mode for the holidays:

Chris' plate

Chris’ plate

1. It was one day. Or a couple of days. Think back. Has this ever happened before? Say…a year ago? And are you okay now? Yes, you are. It was one day, or a few, and we will get over it. You can still get into shape, you can still shed the pounds you want to. Again, not worth beating yourself up over.

2. Forgive and forget. This is key and it ties in with the last point. You can accept that it was “one day,” but you need to get past that as well. Forgive yourself. Actually take a moment and think about why you’re angry with yourself. Then, with that in your mind, forgive yourself for what you think you have done wrong.
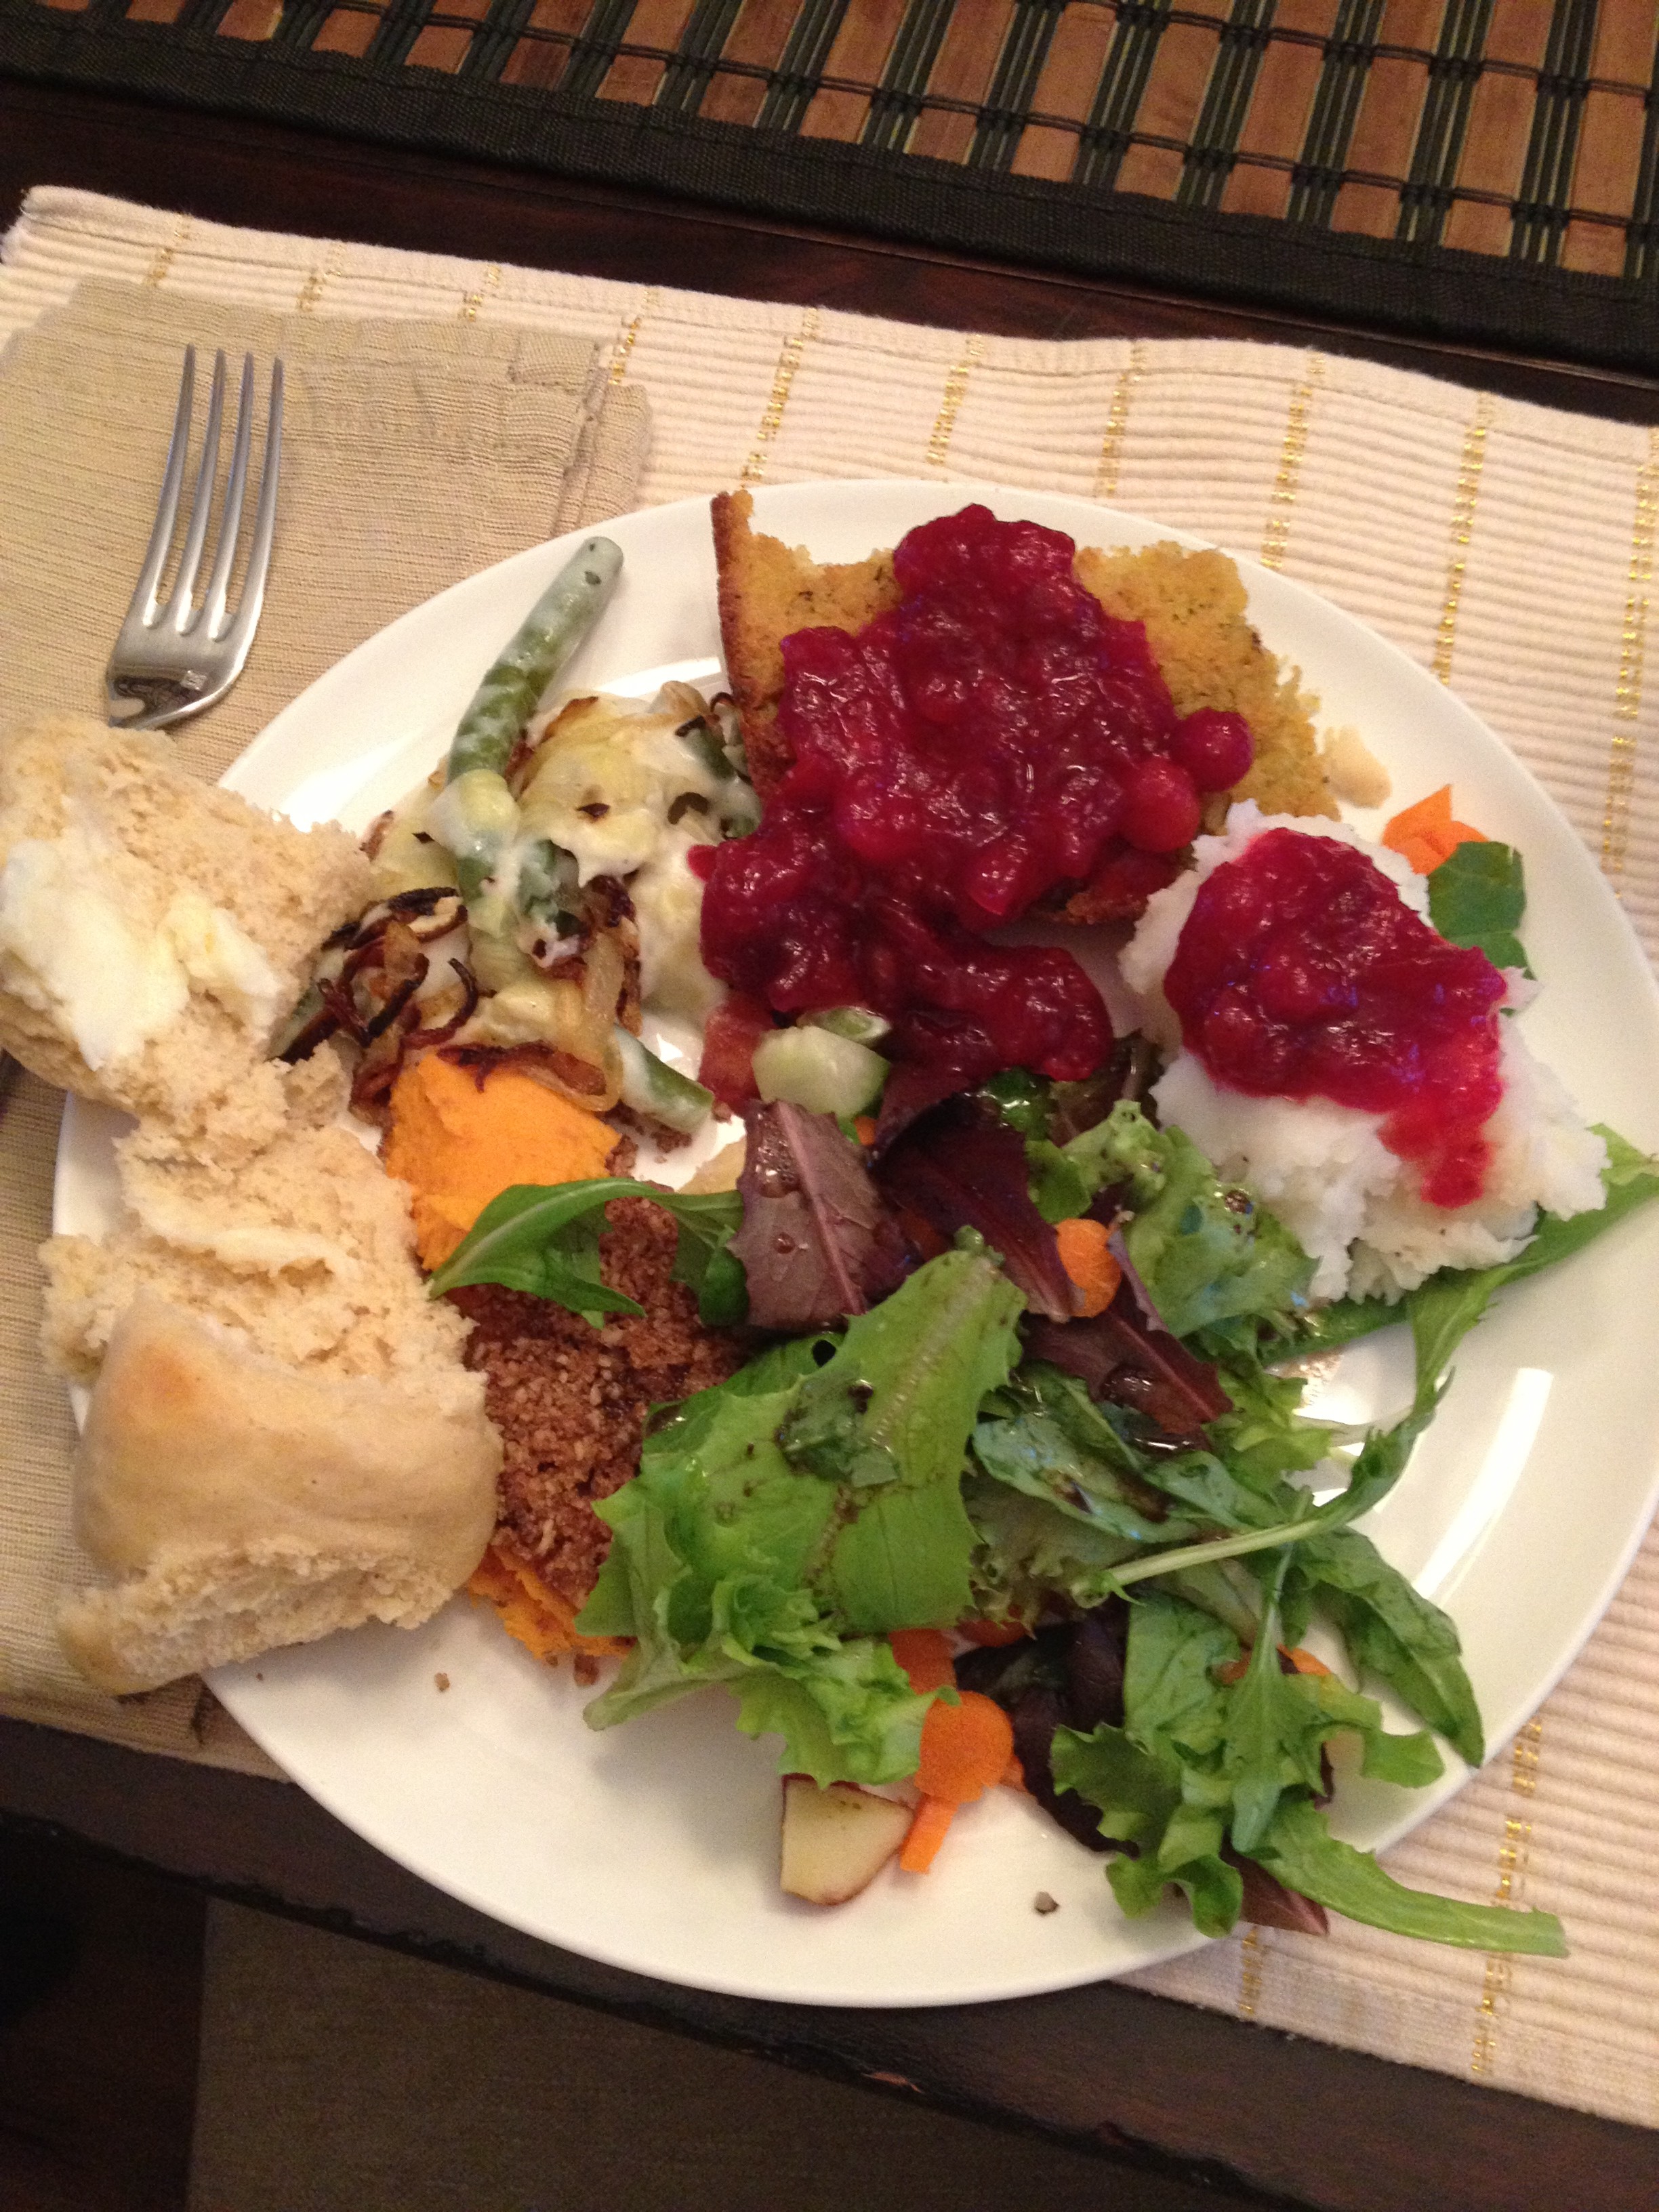
My plate

My plate

3. Think about the good parts. What did you enjoy about this Thanksgiving? Positive energy is going to make a better you–always. Did you have a particularly special time with loved ones? Maybe fun cooking with the family? Or maybe you did an awesome run the day before or after. Focus on those good parts of the holiday. Soak em up, feel that good energy.

Family run !

Family run !

4. Think about the future. How are you going to change what you do next Thanksgiving so that you don’t leave yourself knee-deep in guilt and regret? A few ideas…changing your plate size, doing some exercise before or after, cooking healthier foods, or taking a walk with the family. Easy ways to make it a happier Thanksgiving before, during, and afterwards.

Food prep

Food prep

5. Eating isn’t necessarily a bad thing. Don’t feel bad because you ate a lot just in one day. A lot of people undereat, which can be much more dangerous. Take pleasure in the energy and health you are getting from the food. Even better, think about what the food is. It’s homemade food that is bringing your family and friends together. Cherish that. Again, that doesn’t mean go crazy, but you shouldn’t see the food as evil.
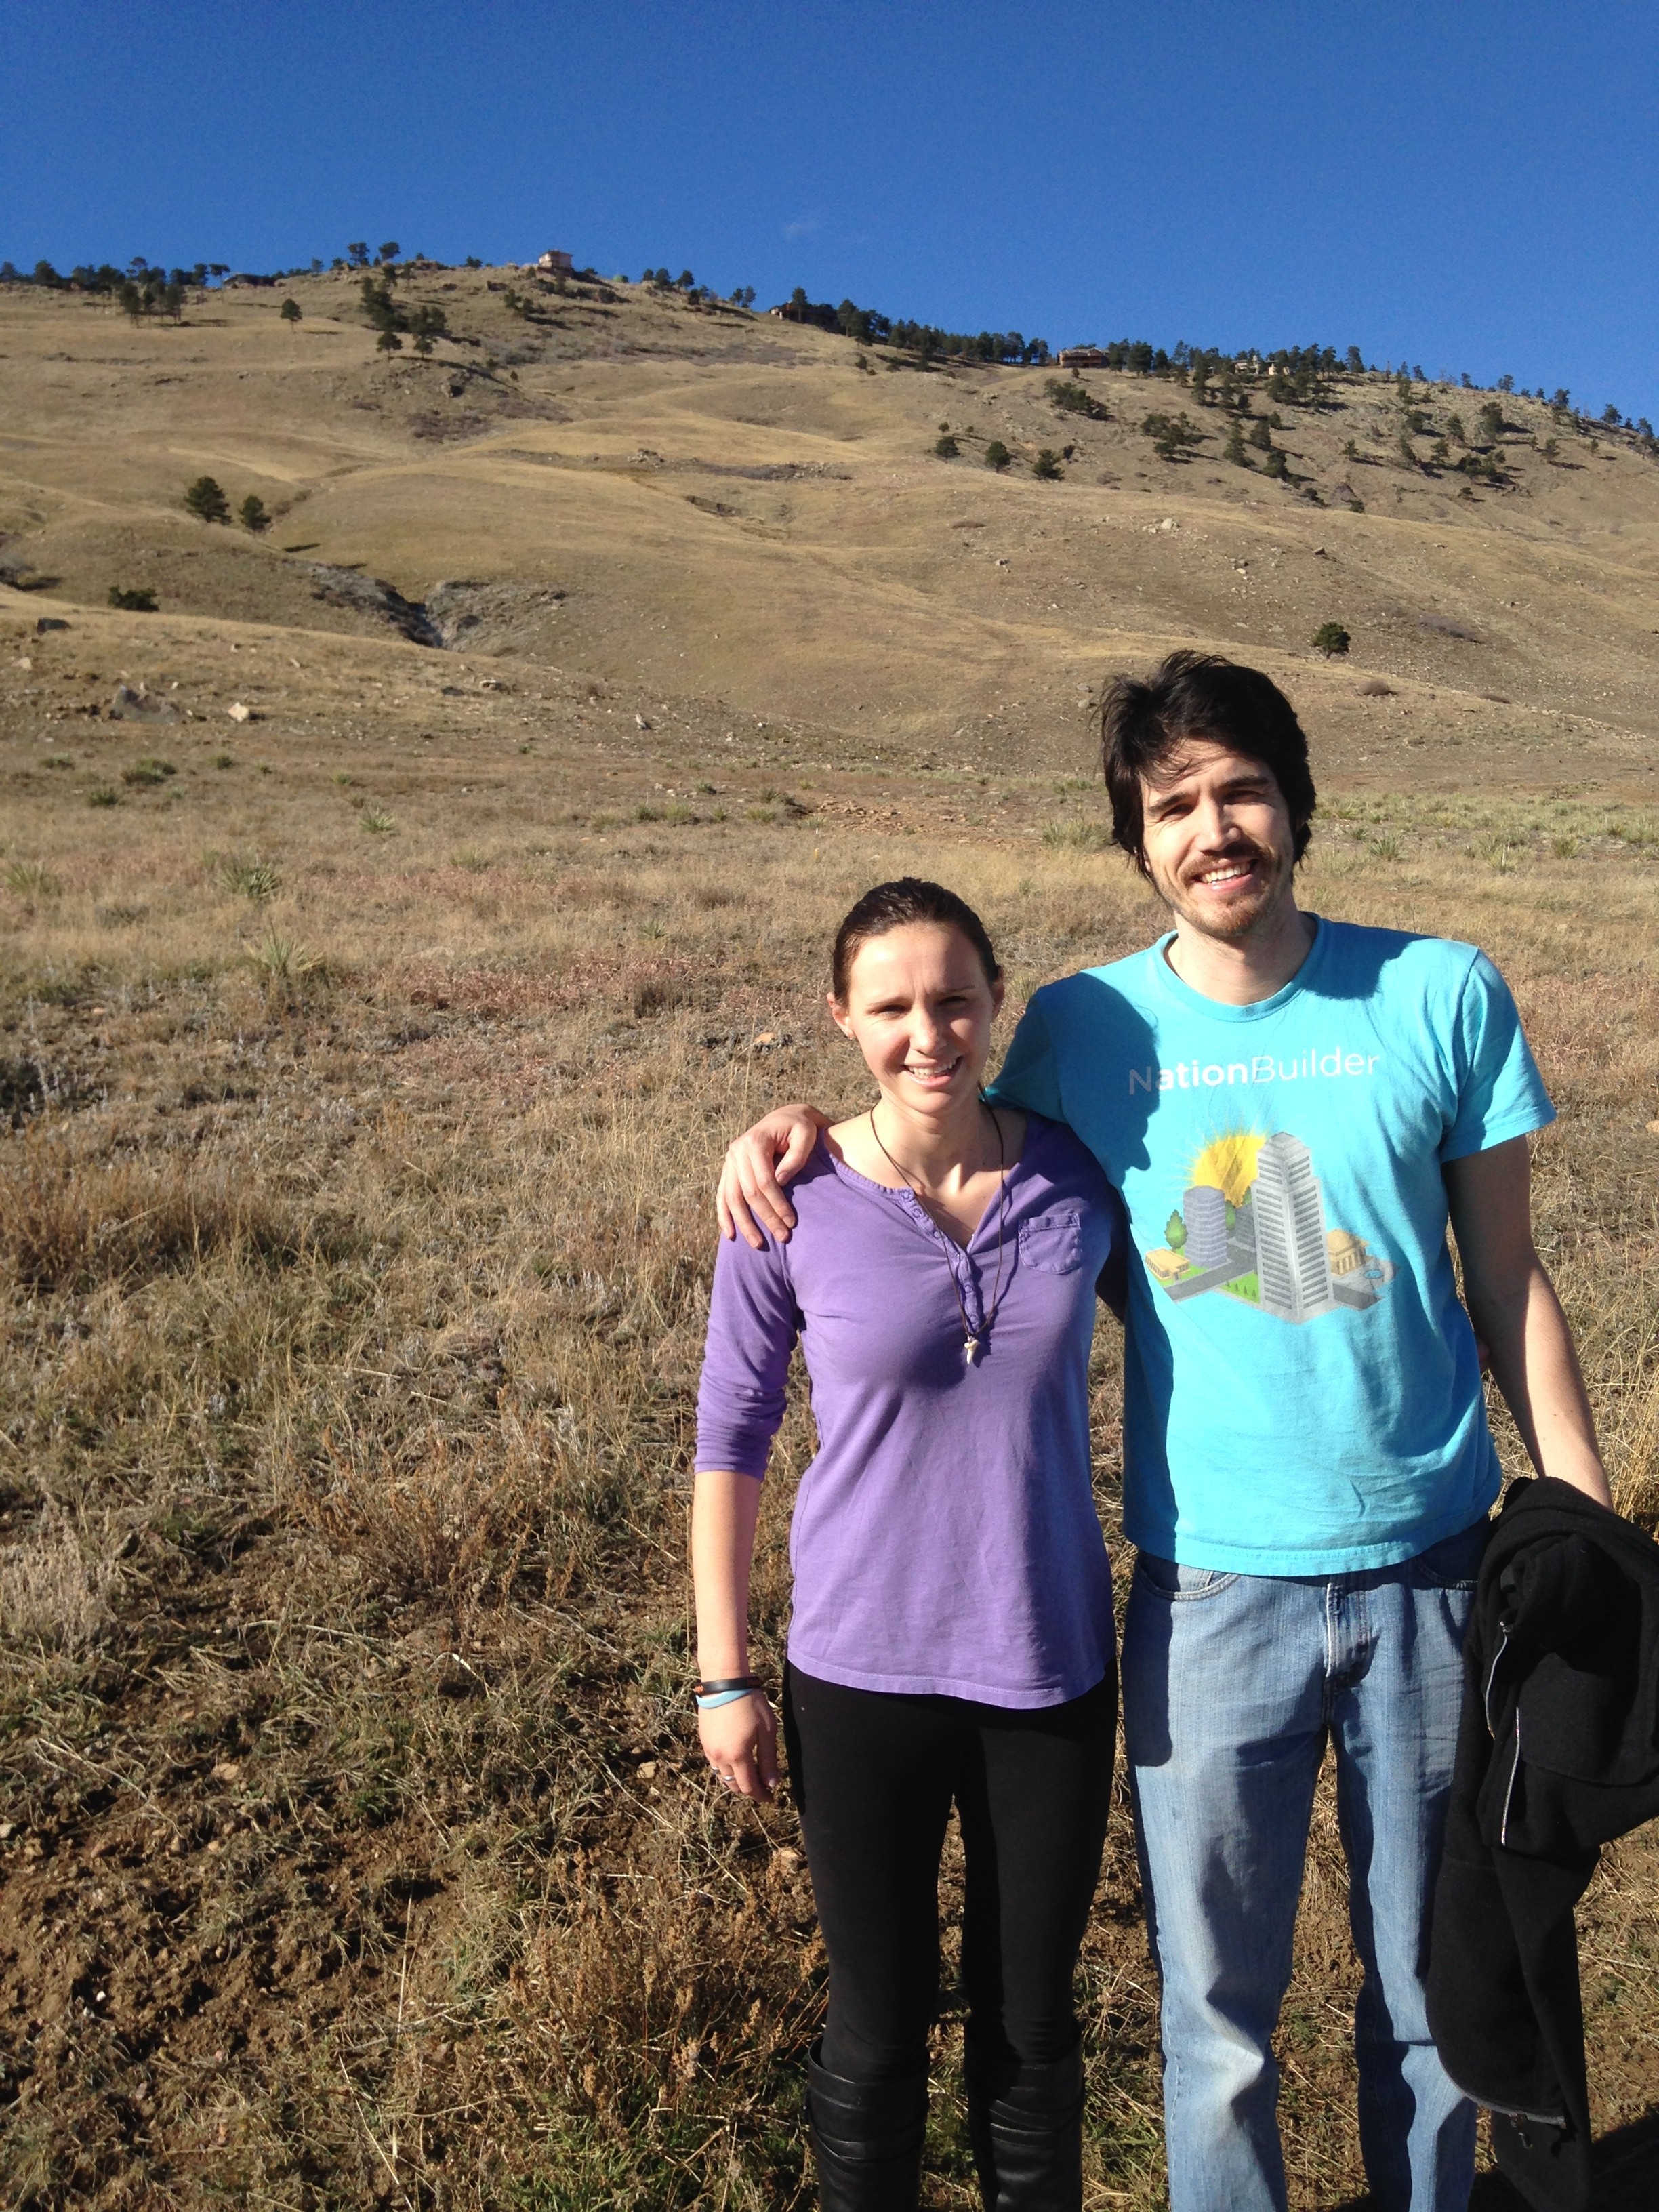
My brother and I on a hike...SQUINTY

My brother and I on a hike…SQUINTY

Those are just a few steps to relieve some of that regret and guilt that tend to accompany Thanksgiving. I hope you had a wonderful holiday with lots of loved ones, yummy food, and happiness. Use this guide to stay hungry and fit! Tell us how you get over Thanksgiving guilt!

BONUS KITTY PIC
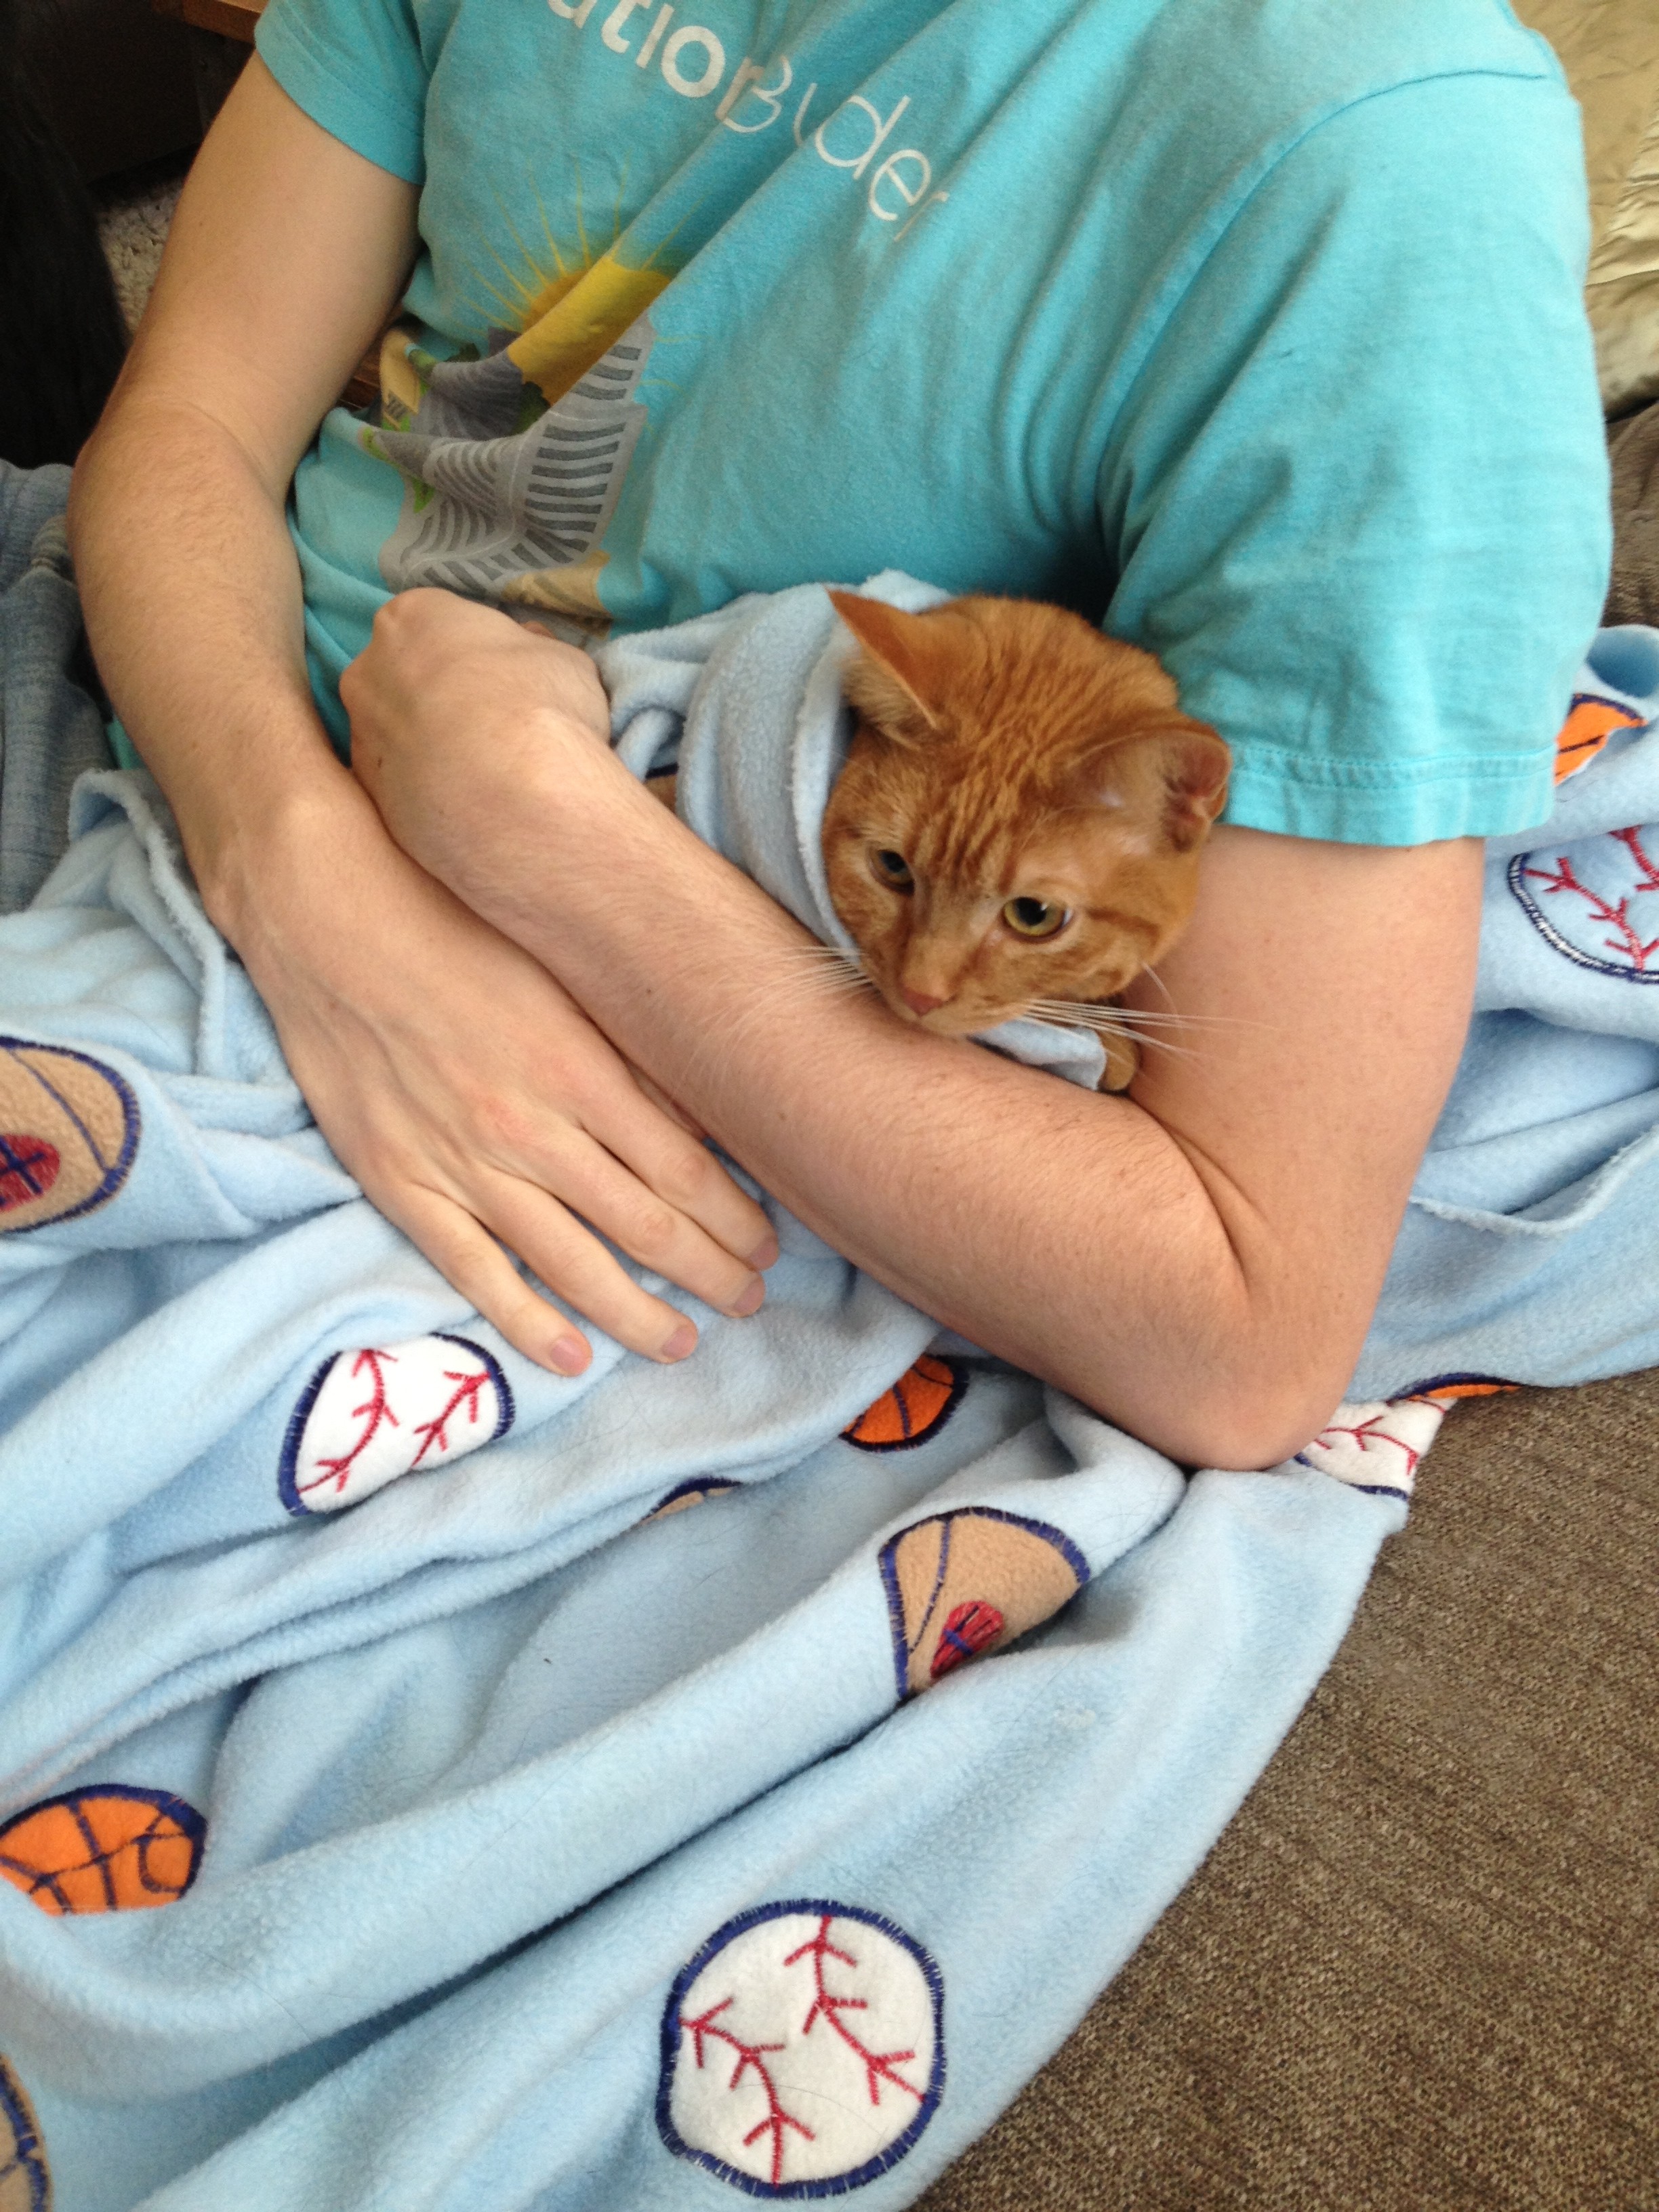
My brother and Sajah having some bonding time

My brother and Sajah having some bonding time
spacer

Easy Dessert: Pear Tart with Crumble Atop

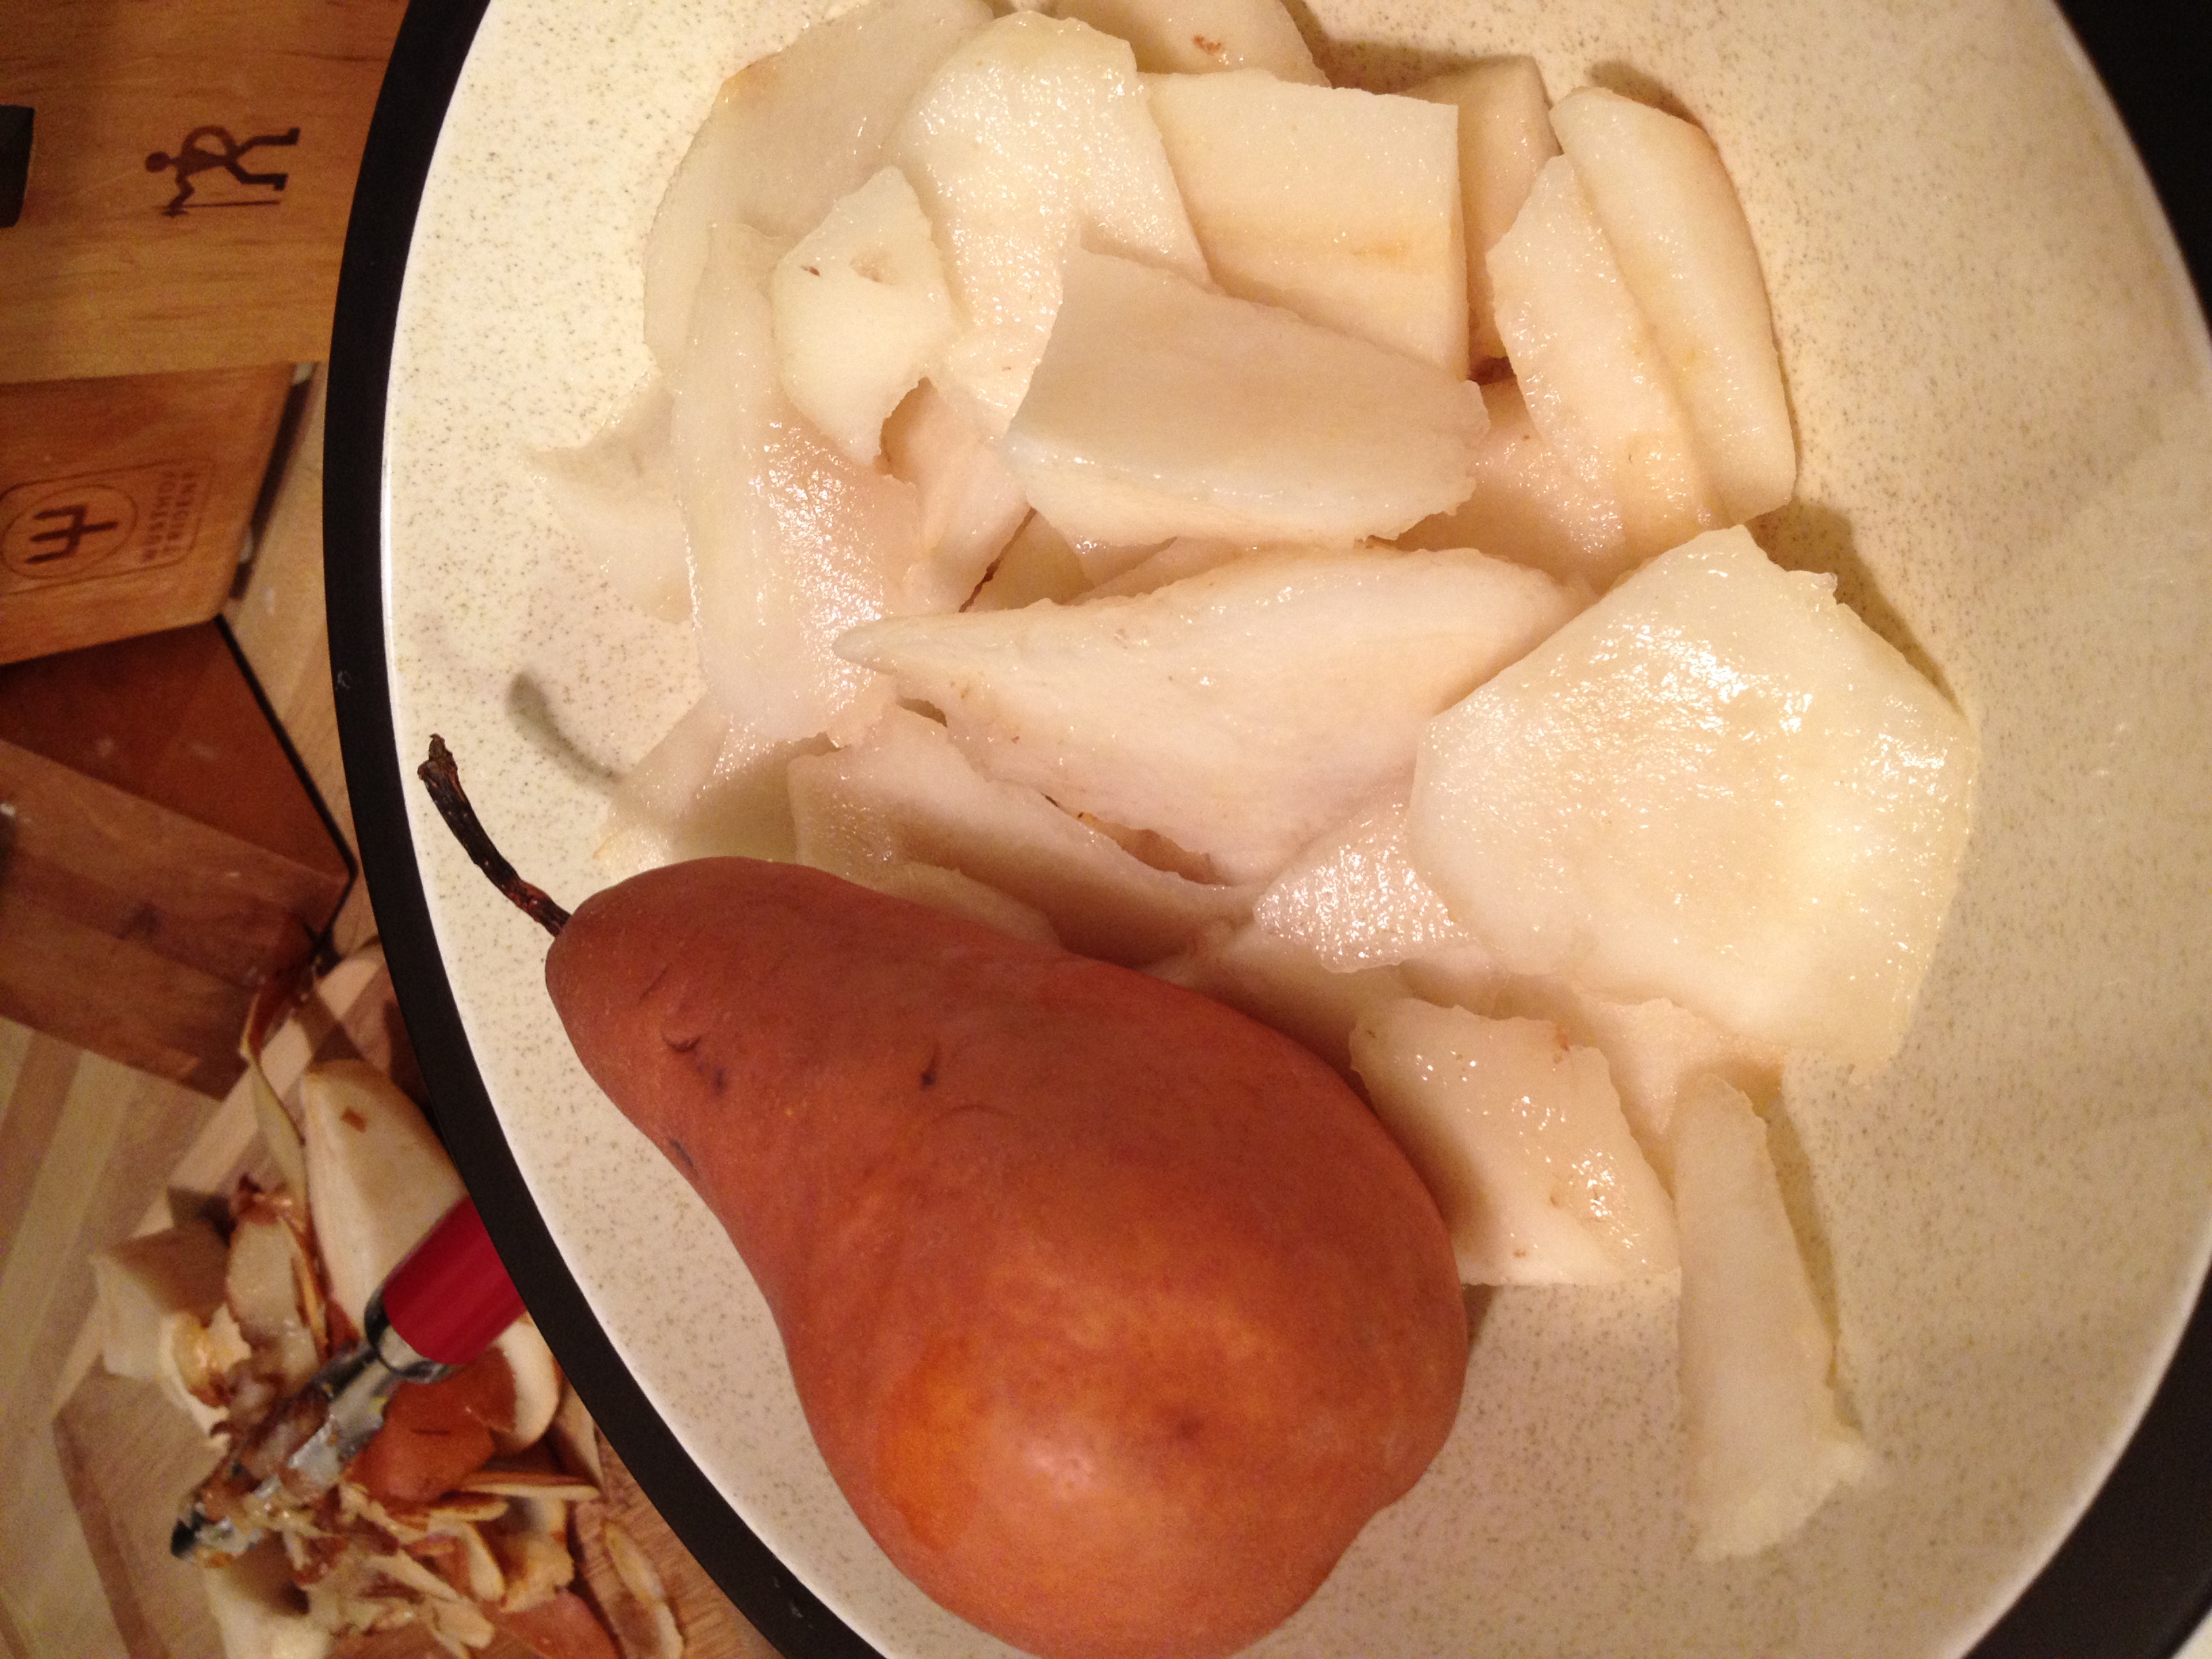
What do you do with pears that are getting soft? Bake them! At least that was my excuse for my next baking adventure: a pear tart…crumble…thing. It was a tart/pie in the way of having a crust and baking the fruit, but I also prepared a crumble for on top. It made to be a delectable combination and I will continue to use it in the future. The recipe is based on this, but I altered a good number of things.

photo 4

  • Prep Time: 20 minutes
  • Baking Time: 45 minutes 

Ingredients

  •  1 pie crust (homemade or store-bought, whatever you’d like)
  • 3-4 pears
  • 2/3 cup turbinado sugar (used in separate times)
  • 1/2 cup flour
  • 1/2 stick butter
  • 1 tspb lemon juice

Directions

  • Pre-heat oven to 350 degrees F
  • Peel your pears and slice them up
Chop, chop!

Chop, chop!

  • Mix the sliced pears with 1/3 cup sugar in a bowl
  • Put the sliced pears with sugars into your pie crust
  • In a separate bowl, mix together the flour and the rest of the sugar together. Then chop up your butter and “cut it” into the flour. You can use a pastry blender, but if you don’t have one like me, then you can just use a fork. You want to press the butter into the flour and sugar until it has a breadcrumb-like consistency
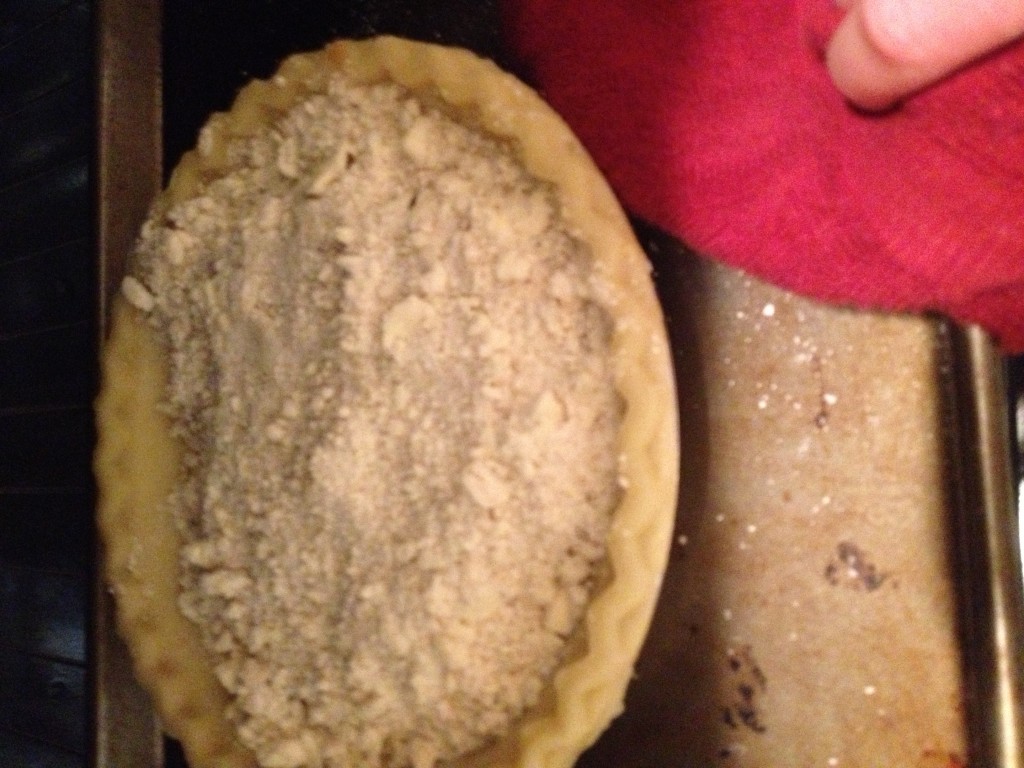
  • Pile it on top of the tart and put it in the oven for 45 minutes!
Putting in da oven

Putting in da oven

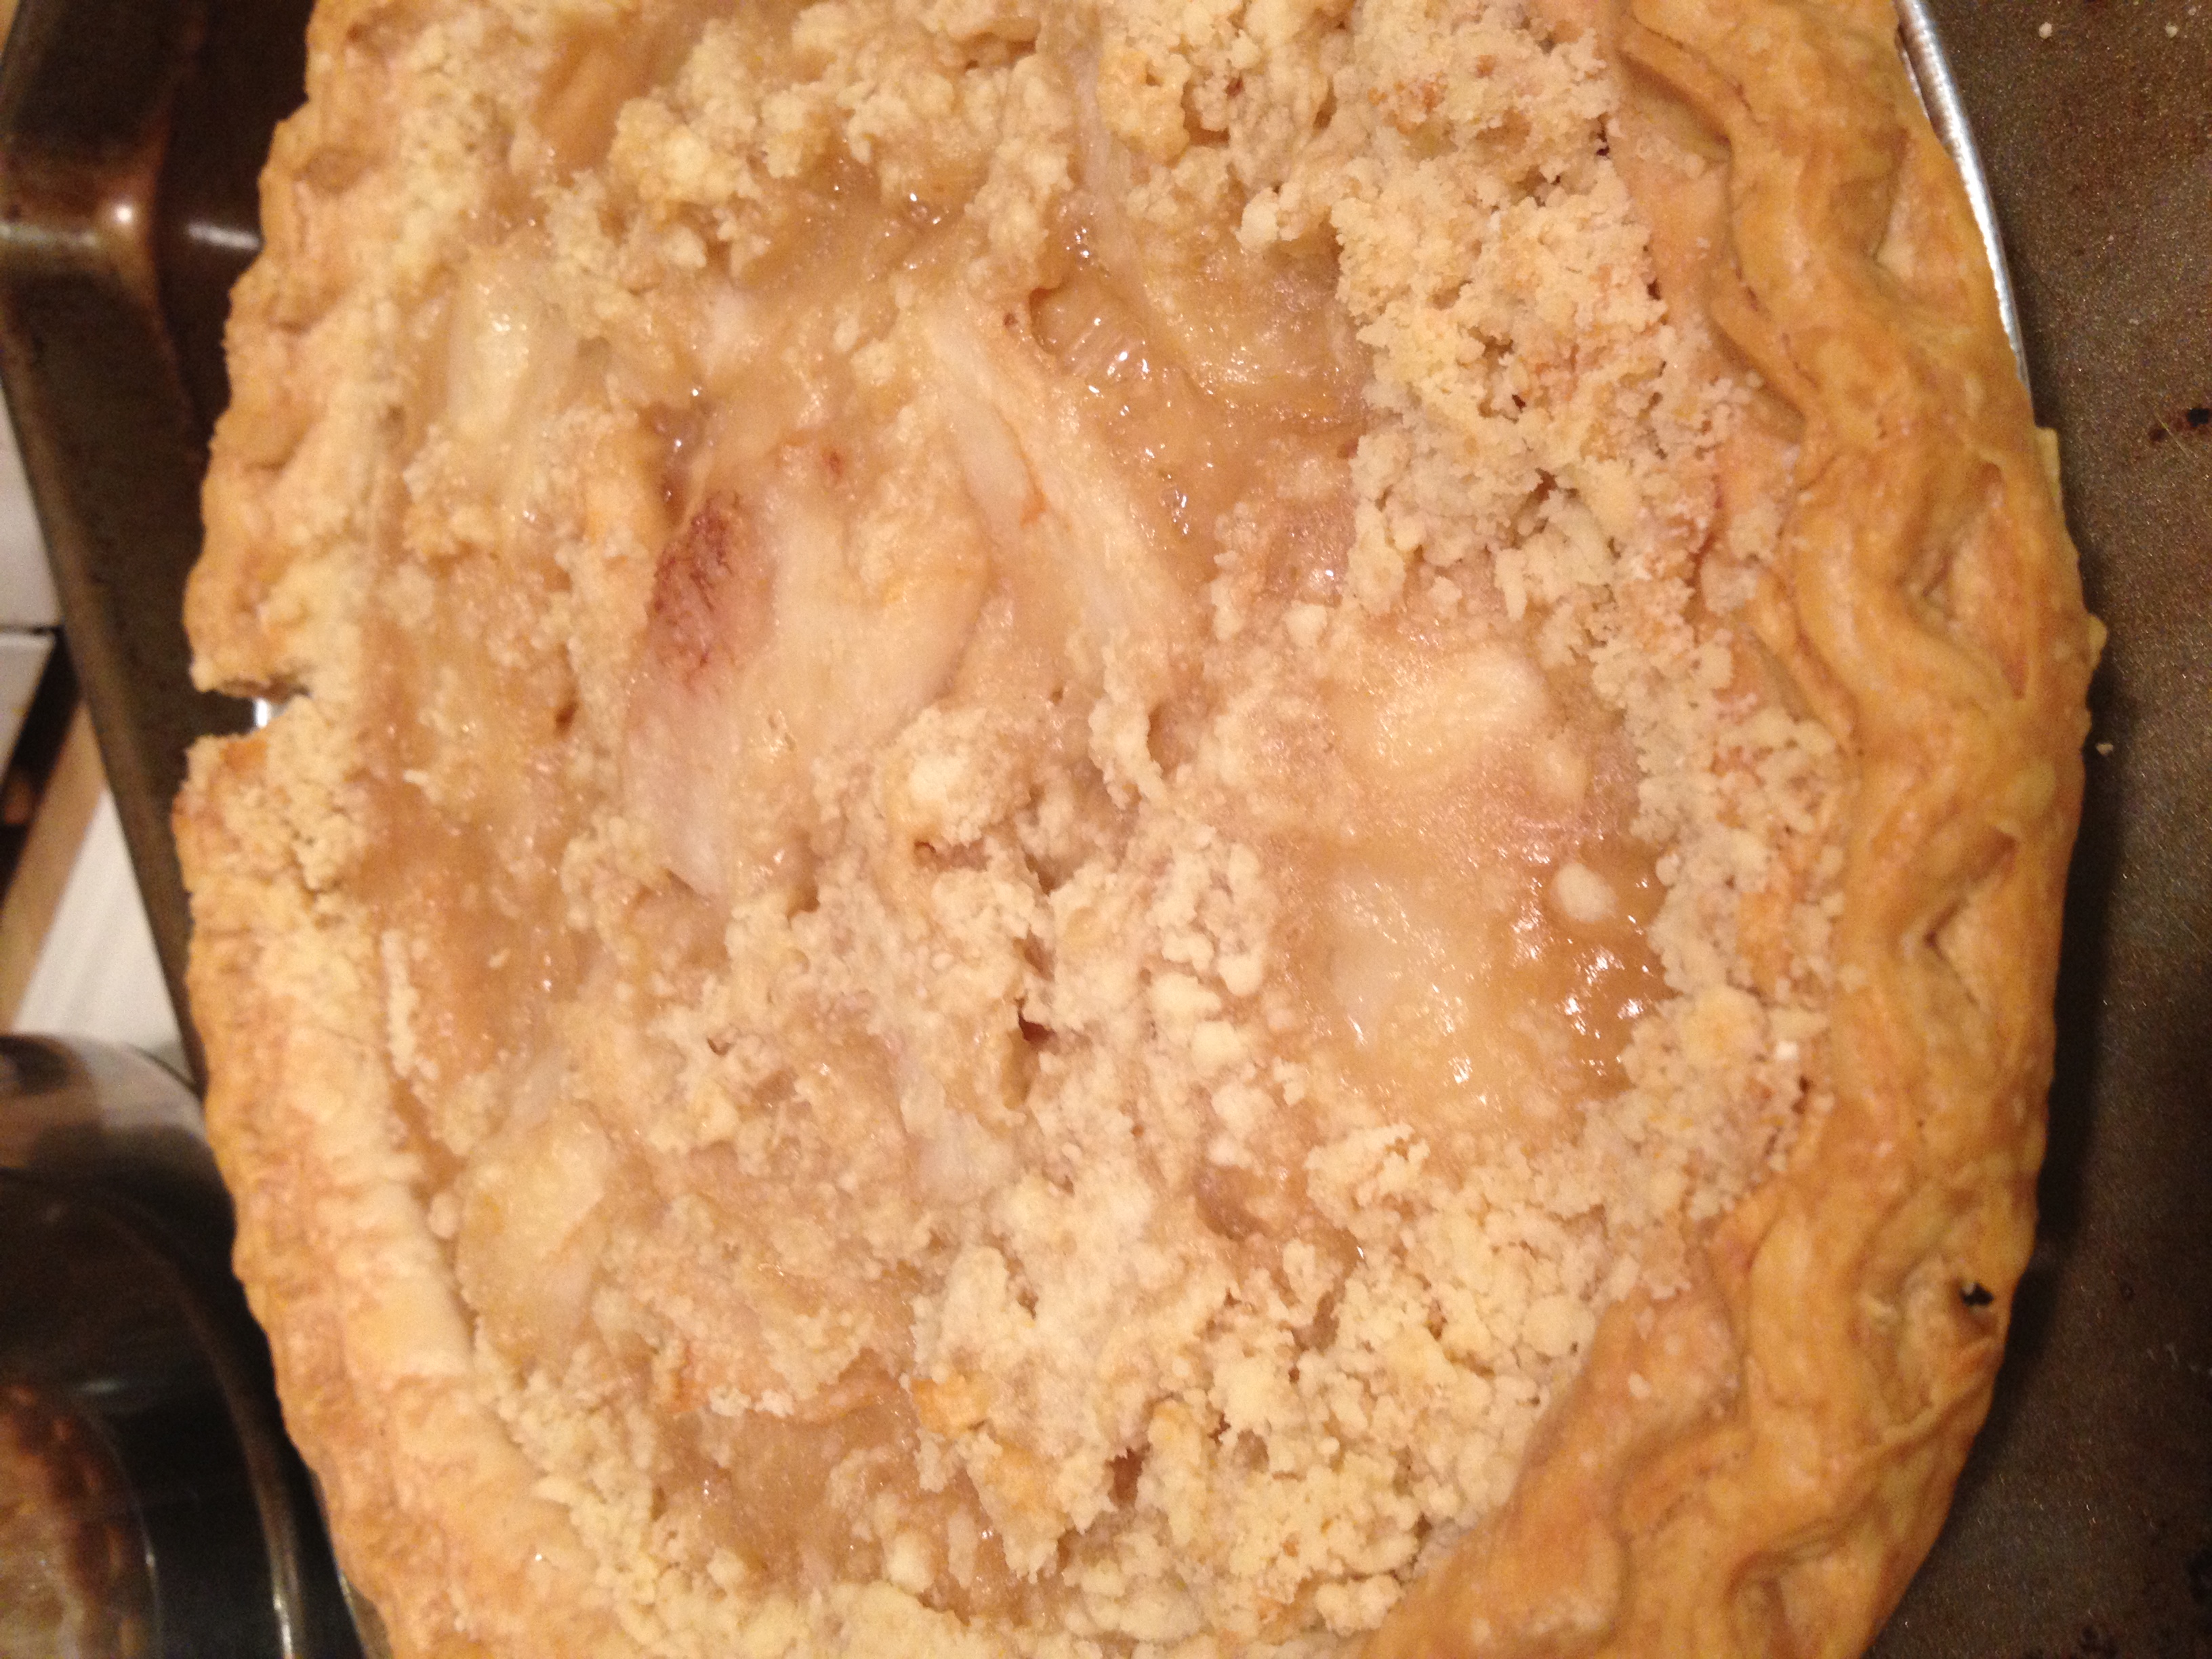
I was a little nervous about mixing a tart recipe and a crumble, but it actually turned out really well! And luckily, I didn’t have to use too much sugar. The pears give enough sweetness that you don’t need to dump cups and cups of sugar onto it. Try this recipe out, you won’t regret it! It’s pretty darn easy. And as always…stay hungry and fit!

Voila

Voila

Nomnomnom

Nomnomnom

<a href=”http://www.bloglovin.com/blog/6029731/?claim=fxjwdaadcbk”>Follow my blog with Bloglovin</a>

BONUS KITTY PIC 

Little baby

Little baby

spacer

Mama’s Rhubarb Pie

Let me start by saying I have the best mum in the whole world. Let me say next that she makes the best rhubarb pie in the whole world. And let me say NEXT that she surprised me by sending me a package Halloween day with fresh-cut rhubarb from her garden two states away along with goodies like a movie and candy. She sent it that morning and it came that afternoon. I couldn’t believe it. Totally surprised me. She’s always sending me pictures and telling me she’s baking a rhubarb pie or crumble and I’m always unhappily drooling in Colorado (she lives in California). SO, I have rhubarb (a lot of people curiously don’t even know what this tart food is) and it really doesn’t require many more ingredients. It’s an easy recipe, but I called my mum a few times to make sure I was doing it right.

My mum and I trying not to laugh

My mum and I trying not to laugh

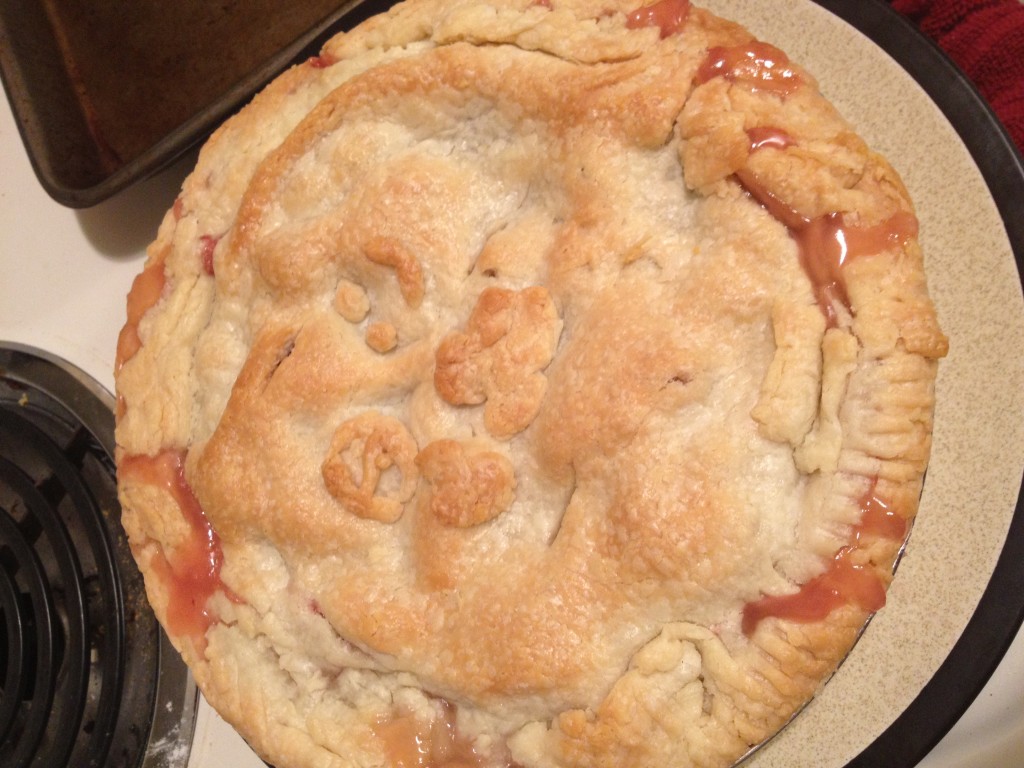
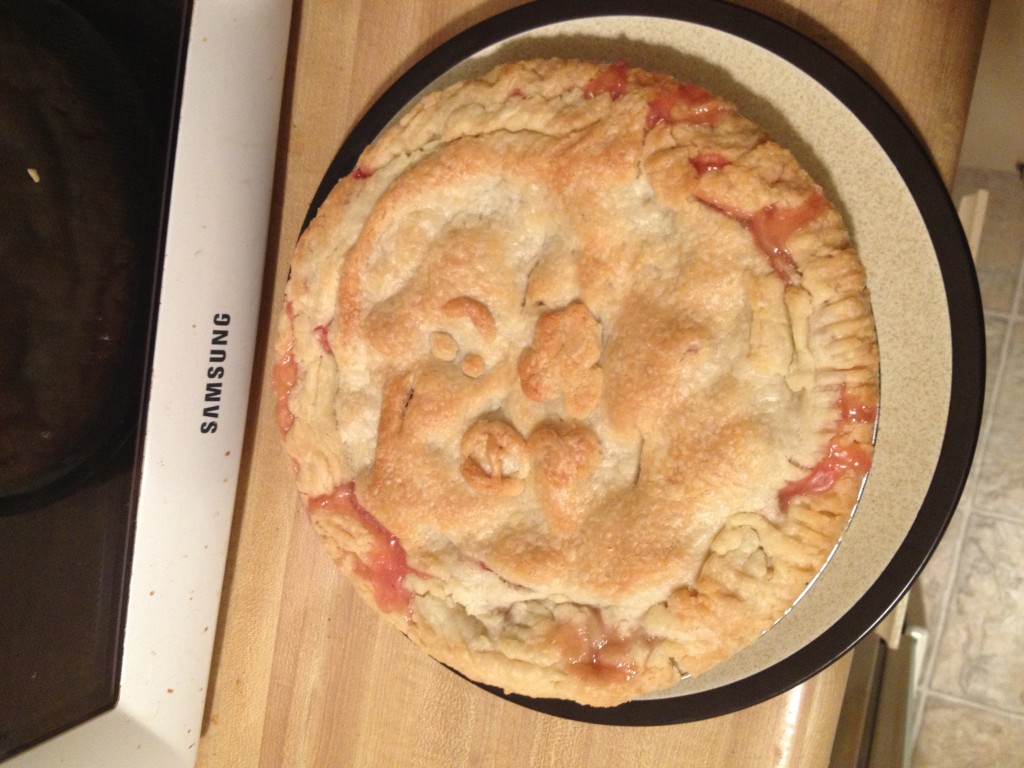
Finished product. Yes I did make shapes on it

Finished product. Yes I did make shapes on it

  • Prep Time: 15 minutes
  • Baking Time: 55 minutes

Ingredients

  • 4 cups rhubarb (roughly)
  • 1 cup sugar
  • 3 tbsp all-purpose flour
  • 2 piece pie crust

Directions

  • Thaw out the pie crusts (if you’re doing frozen) by leaving out for at least 15 minutes
  • Pre-heat oven to 450 degrees F
  • Chop up the rhubarb into 3/4 inch pieces (roughly) and toss them in a large bowl
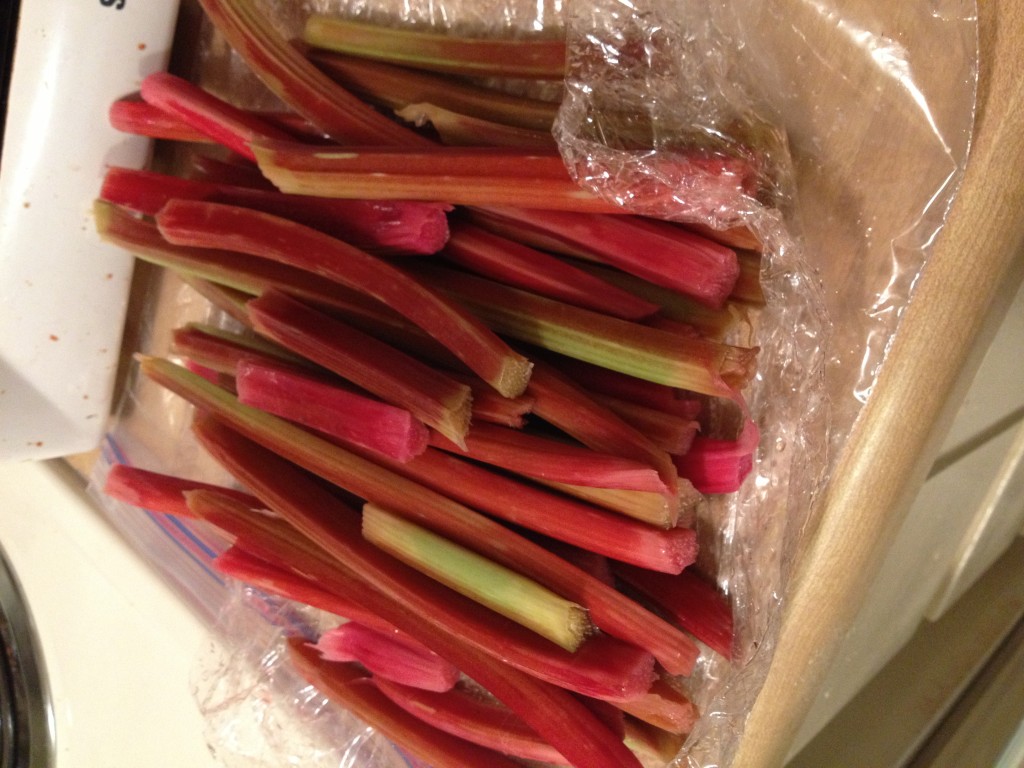
Rhubarb from California! Straight from the garden

Rhubarb from California! Straight from the garden

  • In a small bowl, mix the sugar and flour together
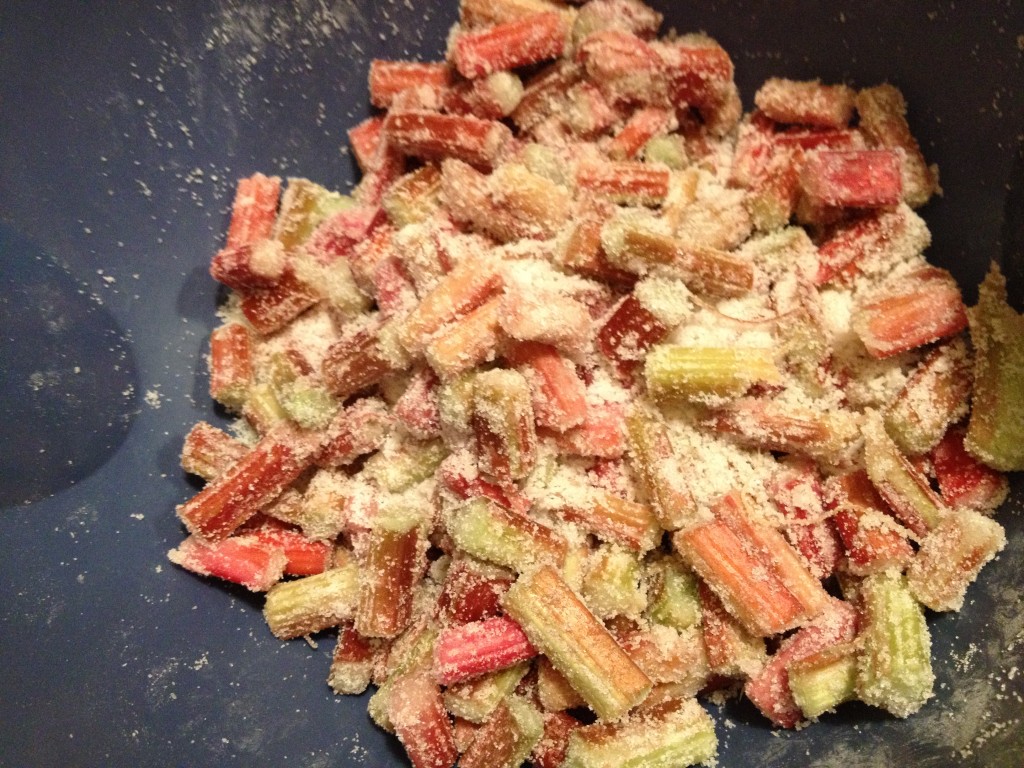
  • Now, toss the sugar/flour mixture with the chopped up rhubarb in the big bowl. Mix it around so that the sugar is evenly distributed among the rhubarb
This is the part where I always snack

This is the part where I always snack

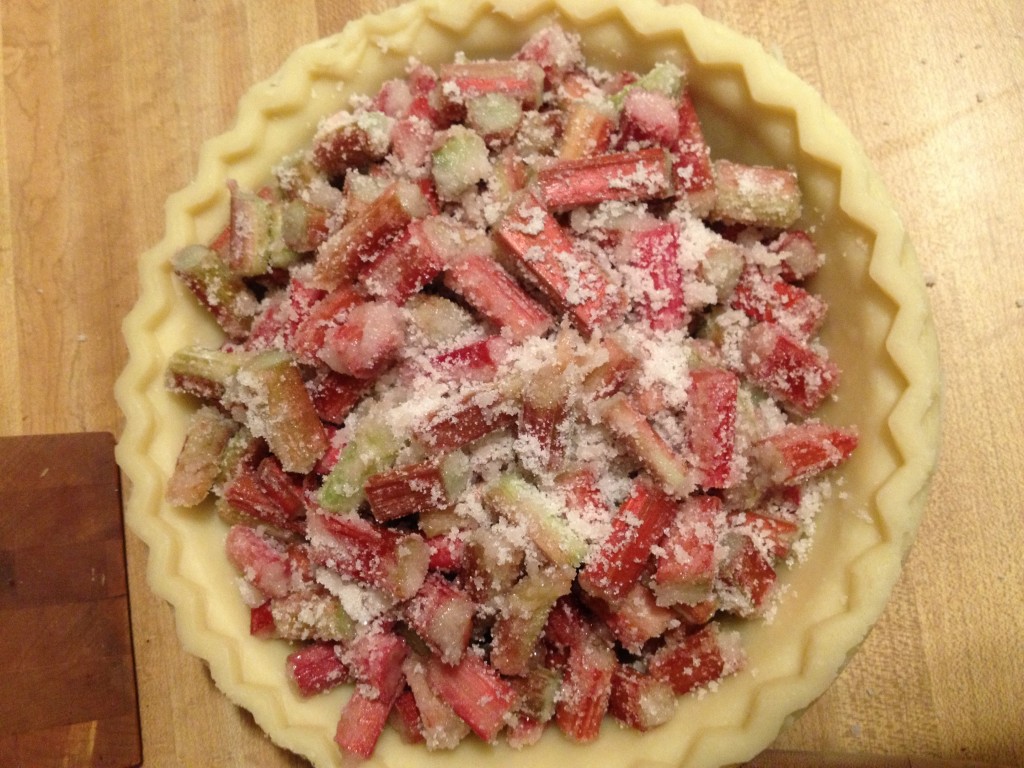
  • Put that sugar-coated rhubarb in the first pie tin
Drooling...

Drooling…

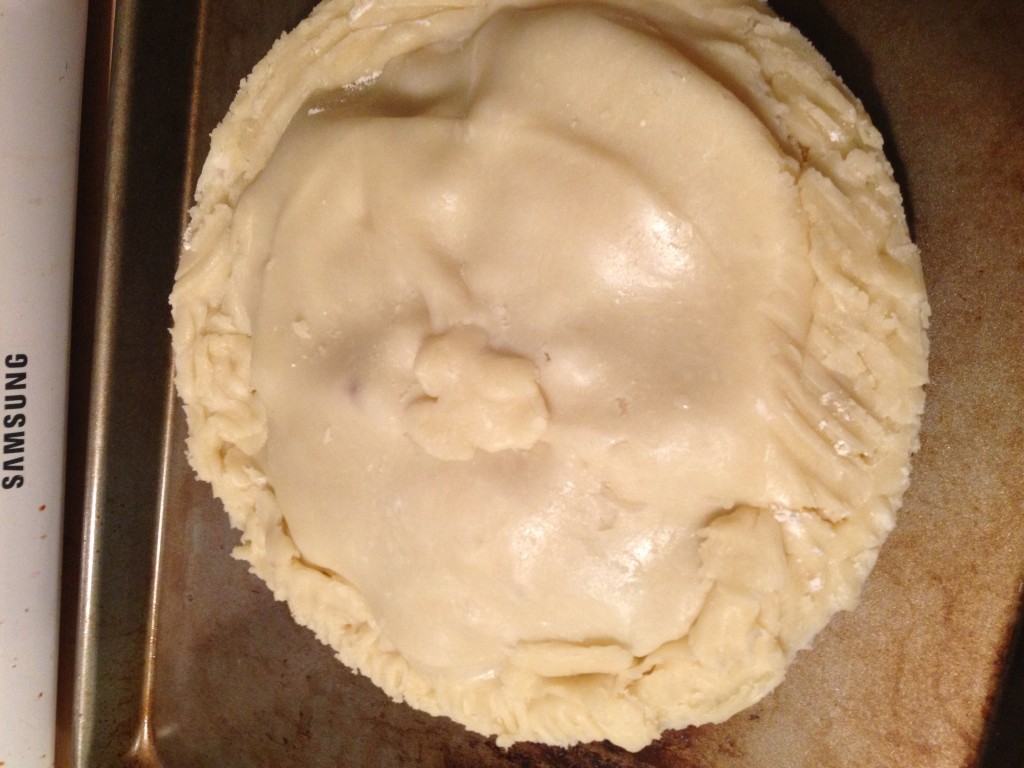
  • Now, this is probably the trickiest part: getting the other crust to come down evenly on the bottom crust. So the rhubarb should be a little heaping in the bottom pie tin. Thus, you want to flip that second pie crust so that its bottom is on top.
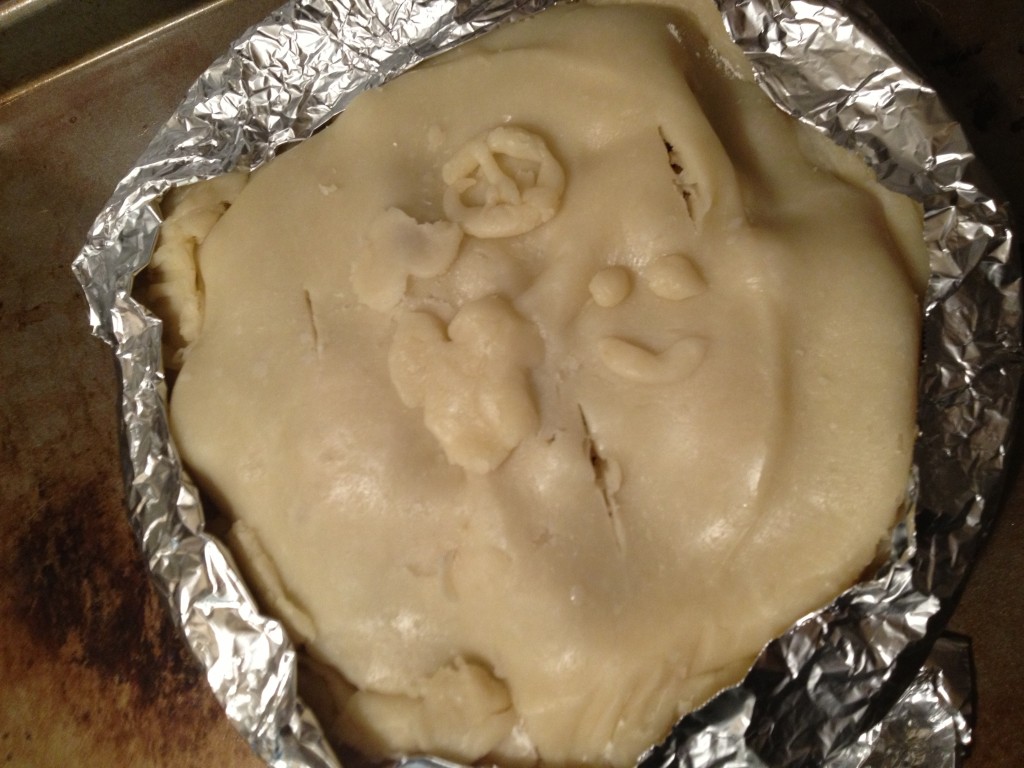
  • Press upon the bottom crust and rhubarb. Use a fork to press and bind the two crust together all away around the edges. You will get some extra dough so get a sharp knife and slice around the edge to get the rest. Use the extra dough to make shapes or faces!
Looks weird, but I promise it turns out well!

Looks weird, but I promise it turns out well!

  • Make three small slits in the pie to let it breathe
  • Now this next step is to ensure that the pie crust doesn’t burn: get some tin foil, fold it in half and just cover the edge of the crust. It may take a few pieces of foil. Nobody likes a burnt crust!

photo 5 (7)

  • Put it on the bottom rack of the oven. Bake it for 15 minutes at 450 degrees F. Then turn it down to 350 degrees F for 40 to 50 minutes. It should be golden brown on top and you should be able to go through those slits cleanly
Just waiting for me to dig in

Just waiting for me to dig in

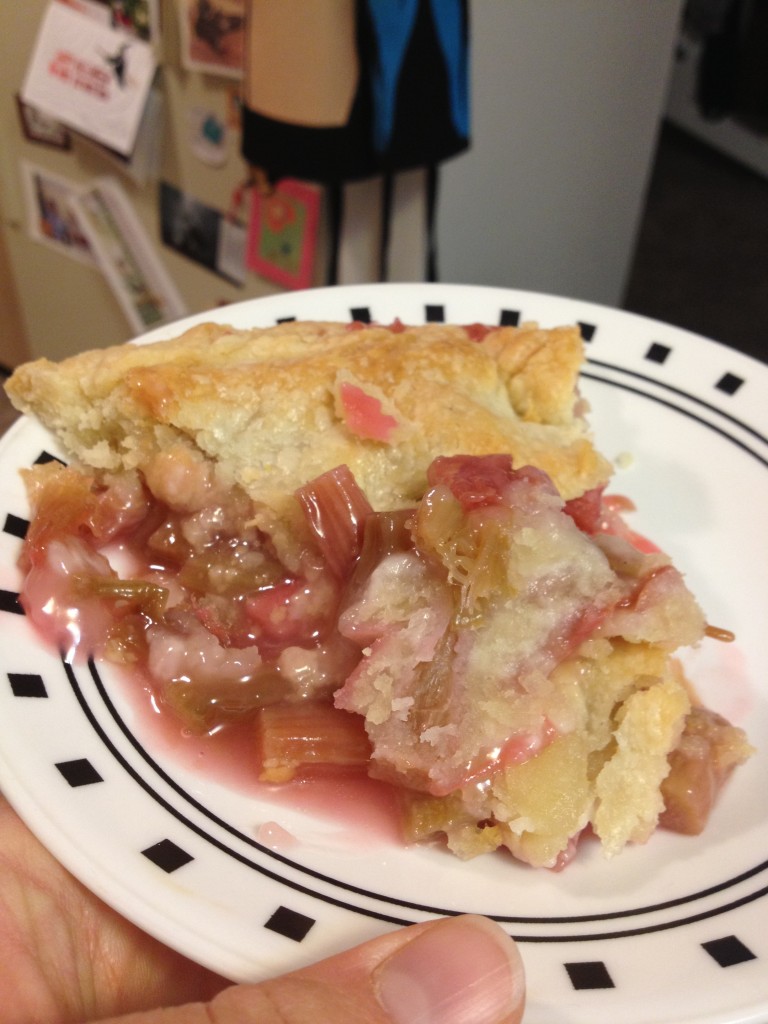
And that is it! This pie isn’t as fun to make without my mum because I have nobody to tell me not to eat the sugar-laden rhubarb and smack my hand. But it still turned out pretty well. Actually, it turned out to be delicious. The rhubarb was still tart but balanced off with the sugar, and the crust didn’t get burned at all! Maybe it’s in the blood. I’m glad I didn’t botch this one! Thanks, mum! And as always…stay hungry and fit!

Nommmmmmmmmmmm

Nommmmmmmmmmmm

BONUS KITTY PIC

Cuddles, obviously.

Cuddles, obviously.

spacer

Easy Cheesy Whole-Wheat Vegetarian Lasagna

The weather is getting colder (I actually saw little baby snowflakes today!) and the body wants warm food. What better to have on a cold night than a steaming plate of lasagna. Great comfort food with plenty of nutrients. This one has less fat than the average lasagna because you aren’t using ricotta. AND it’s whole-wheat! Can’t beat that. I got the recipe from here and then adapted it. Alright, let’s get to it.

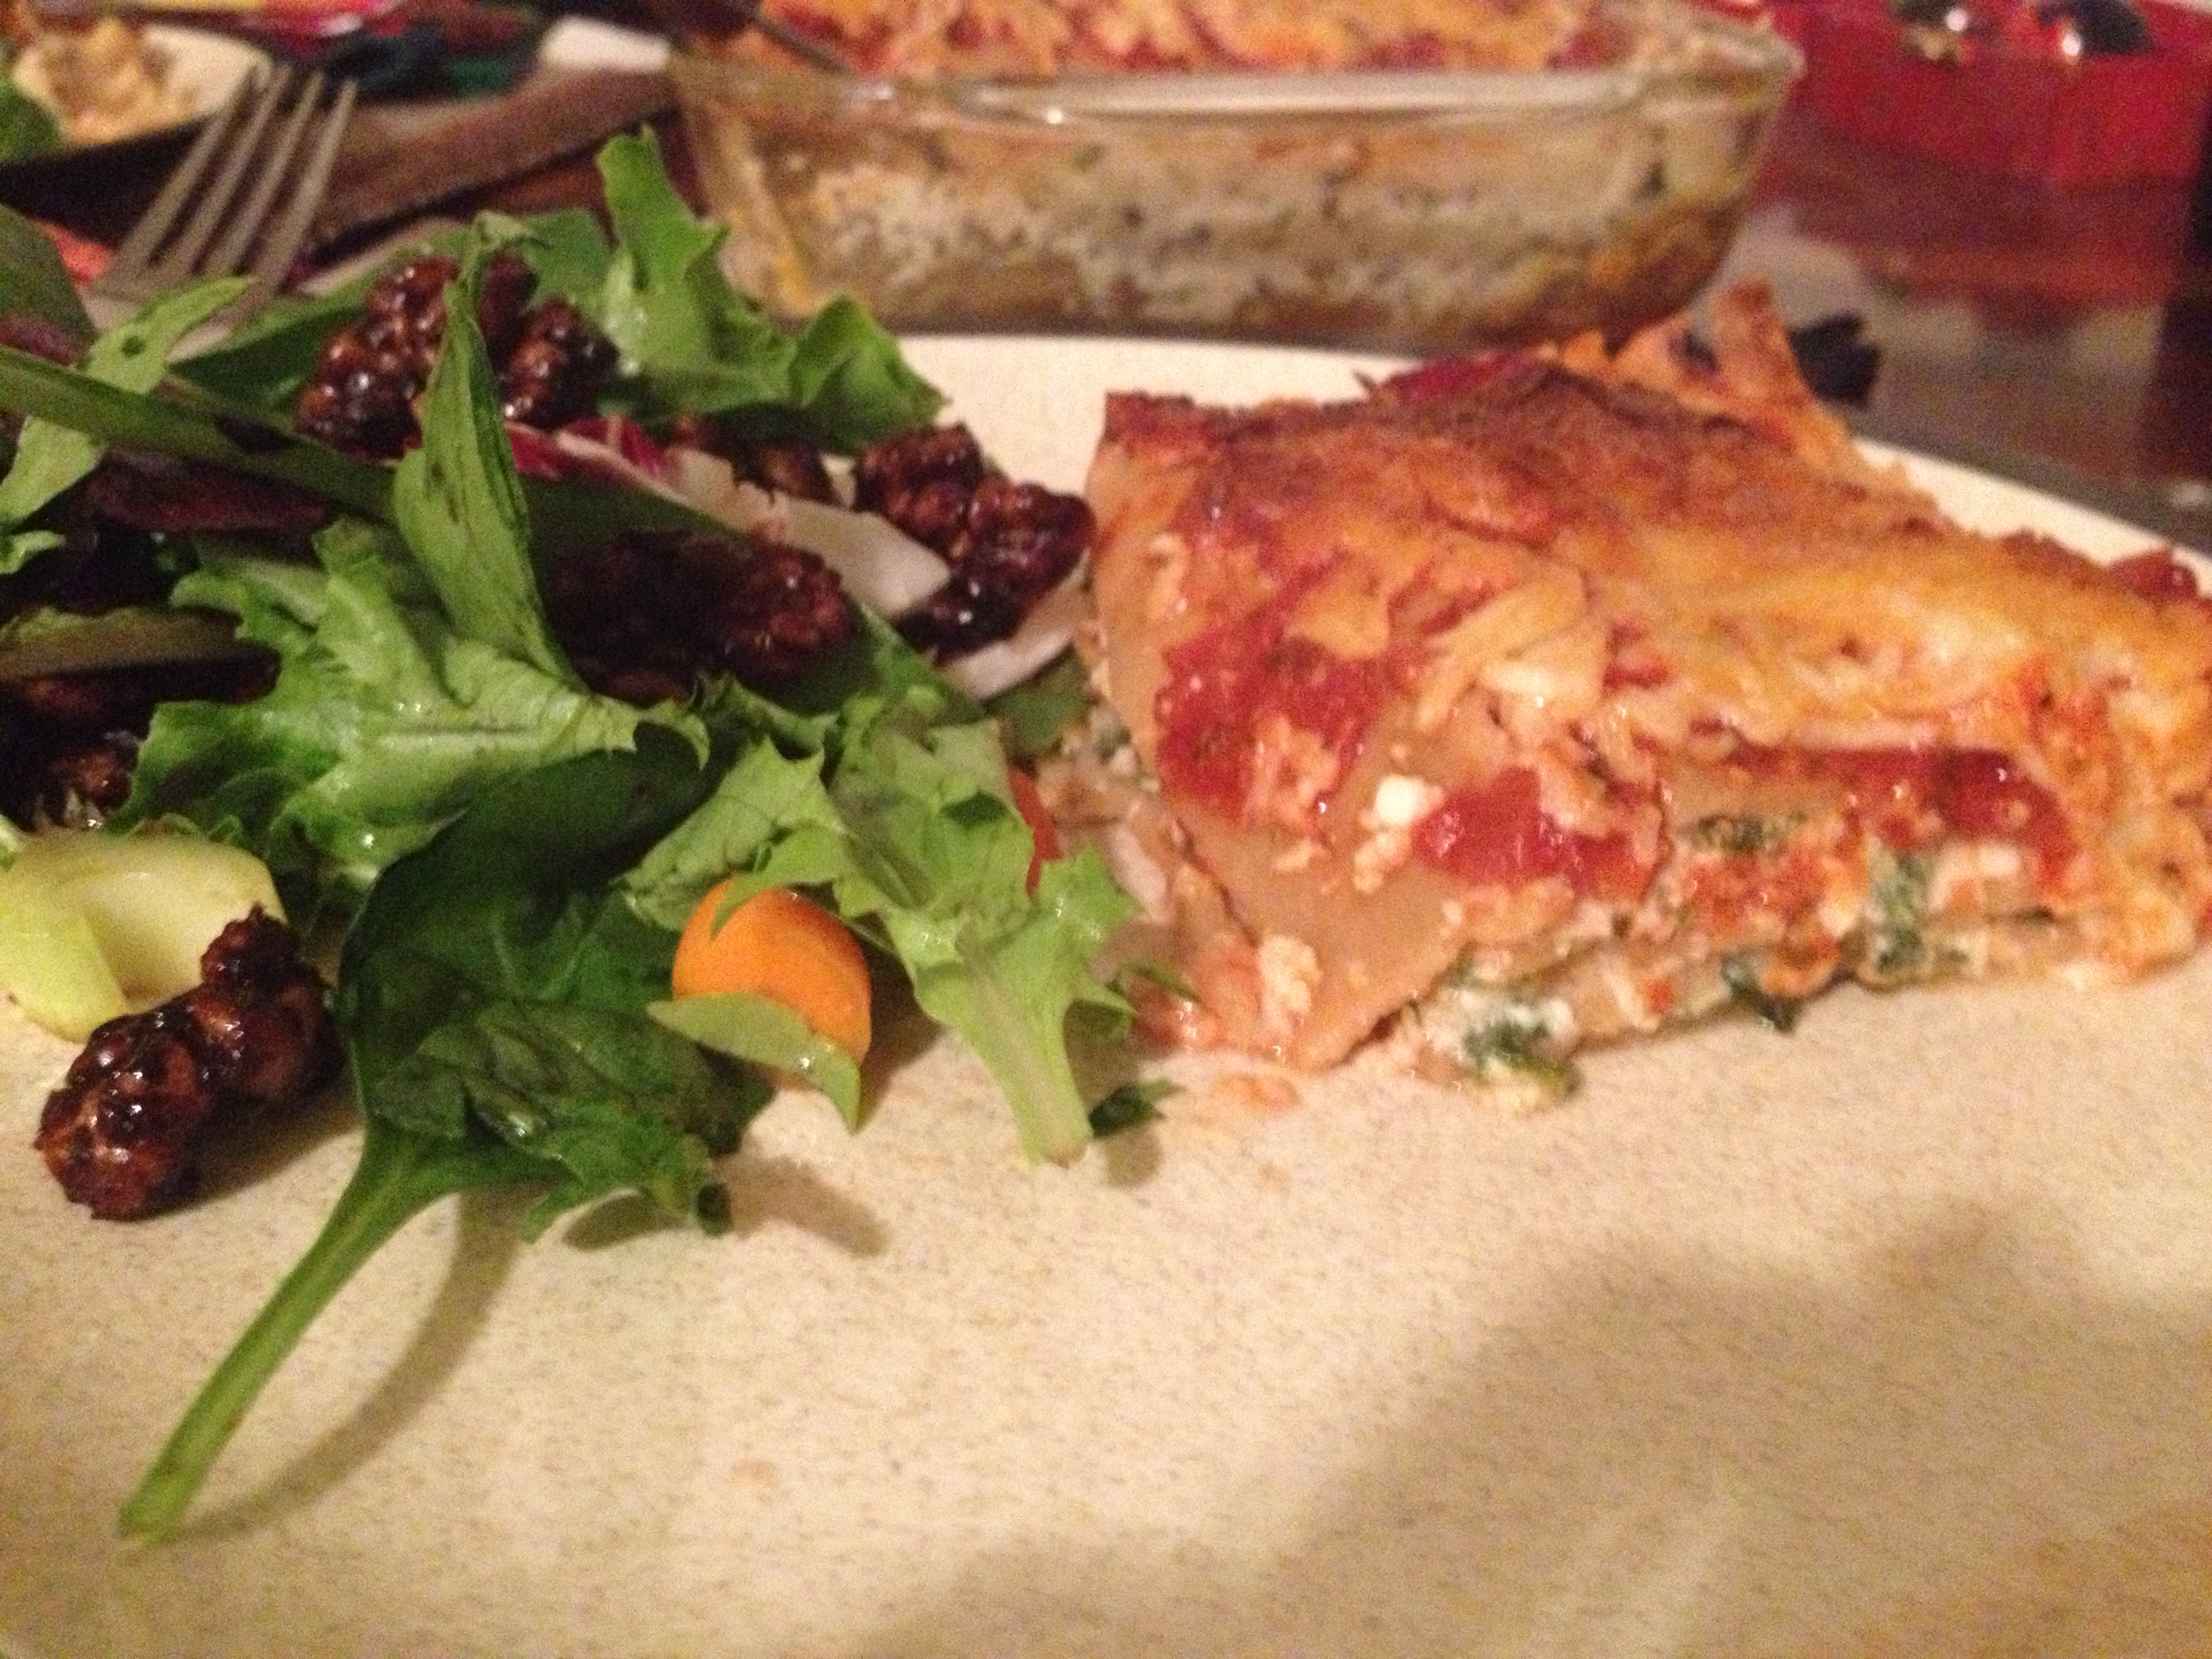
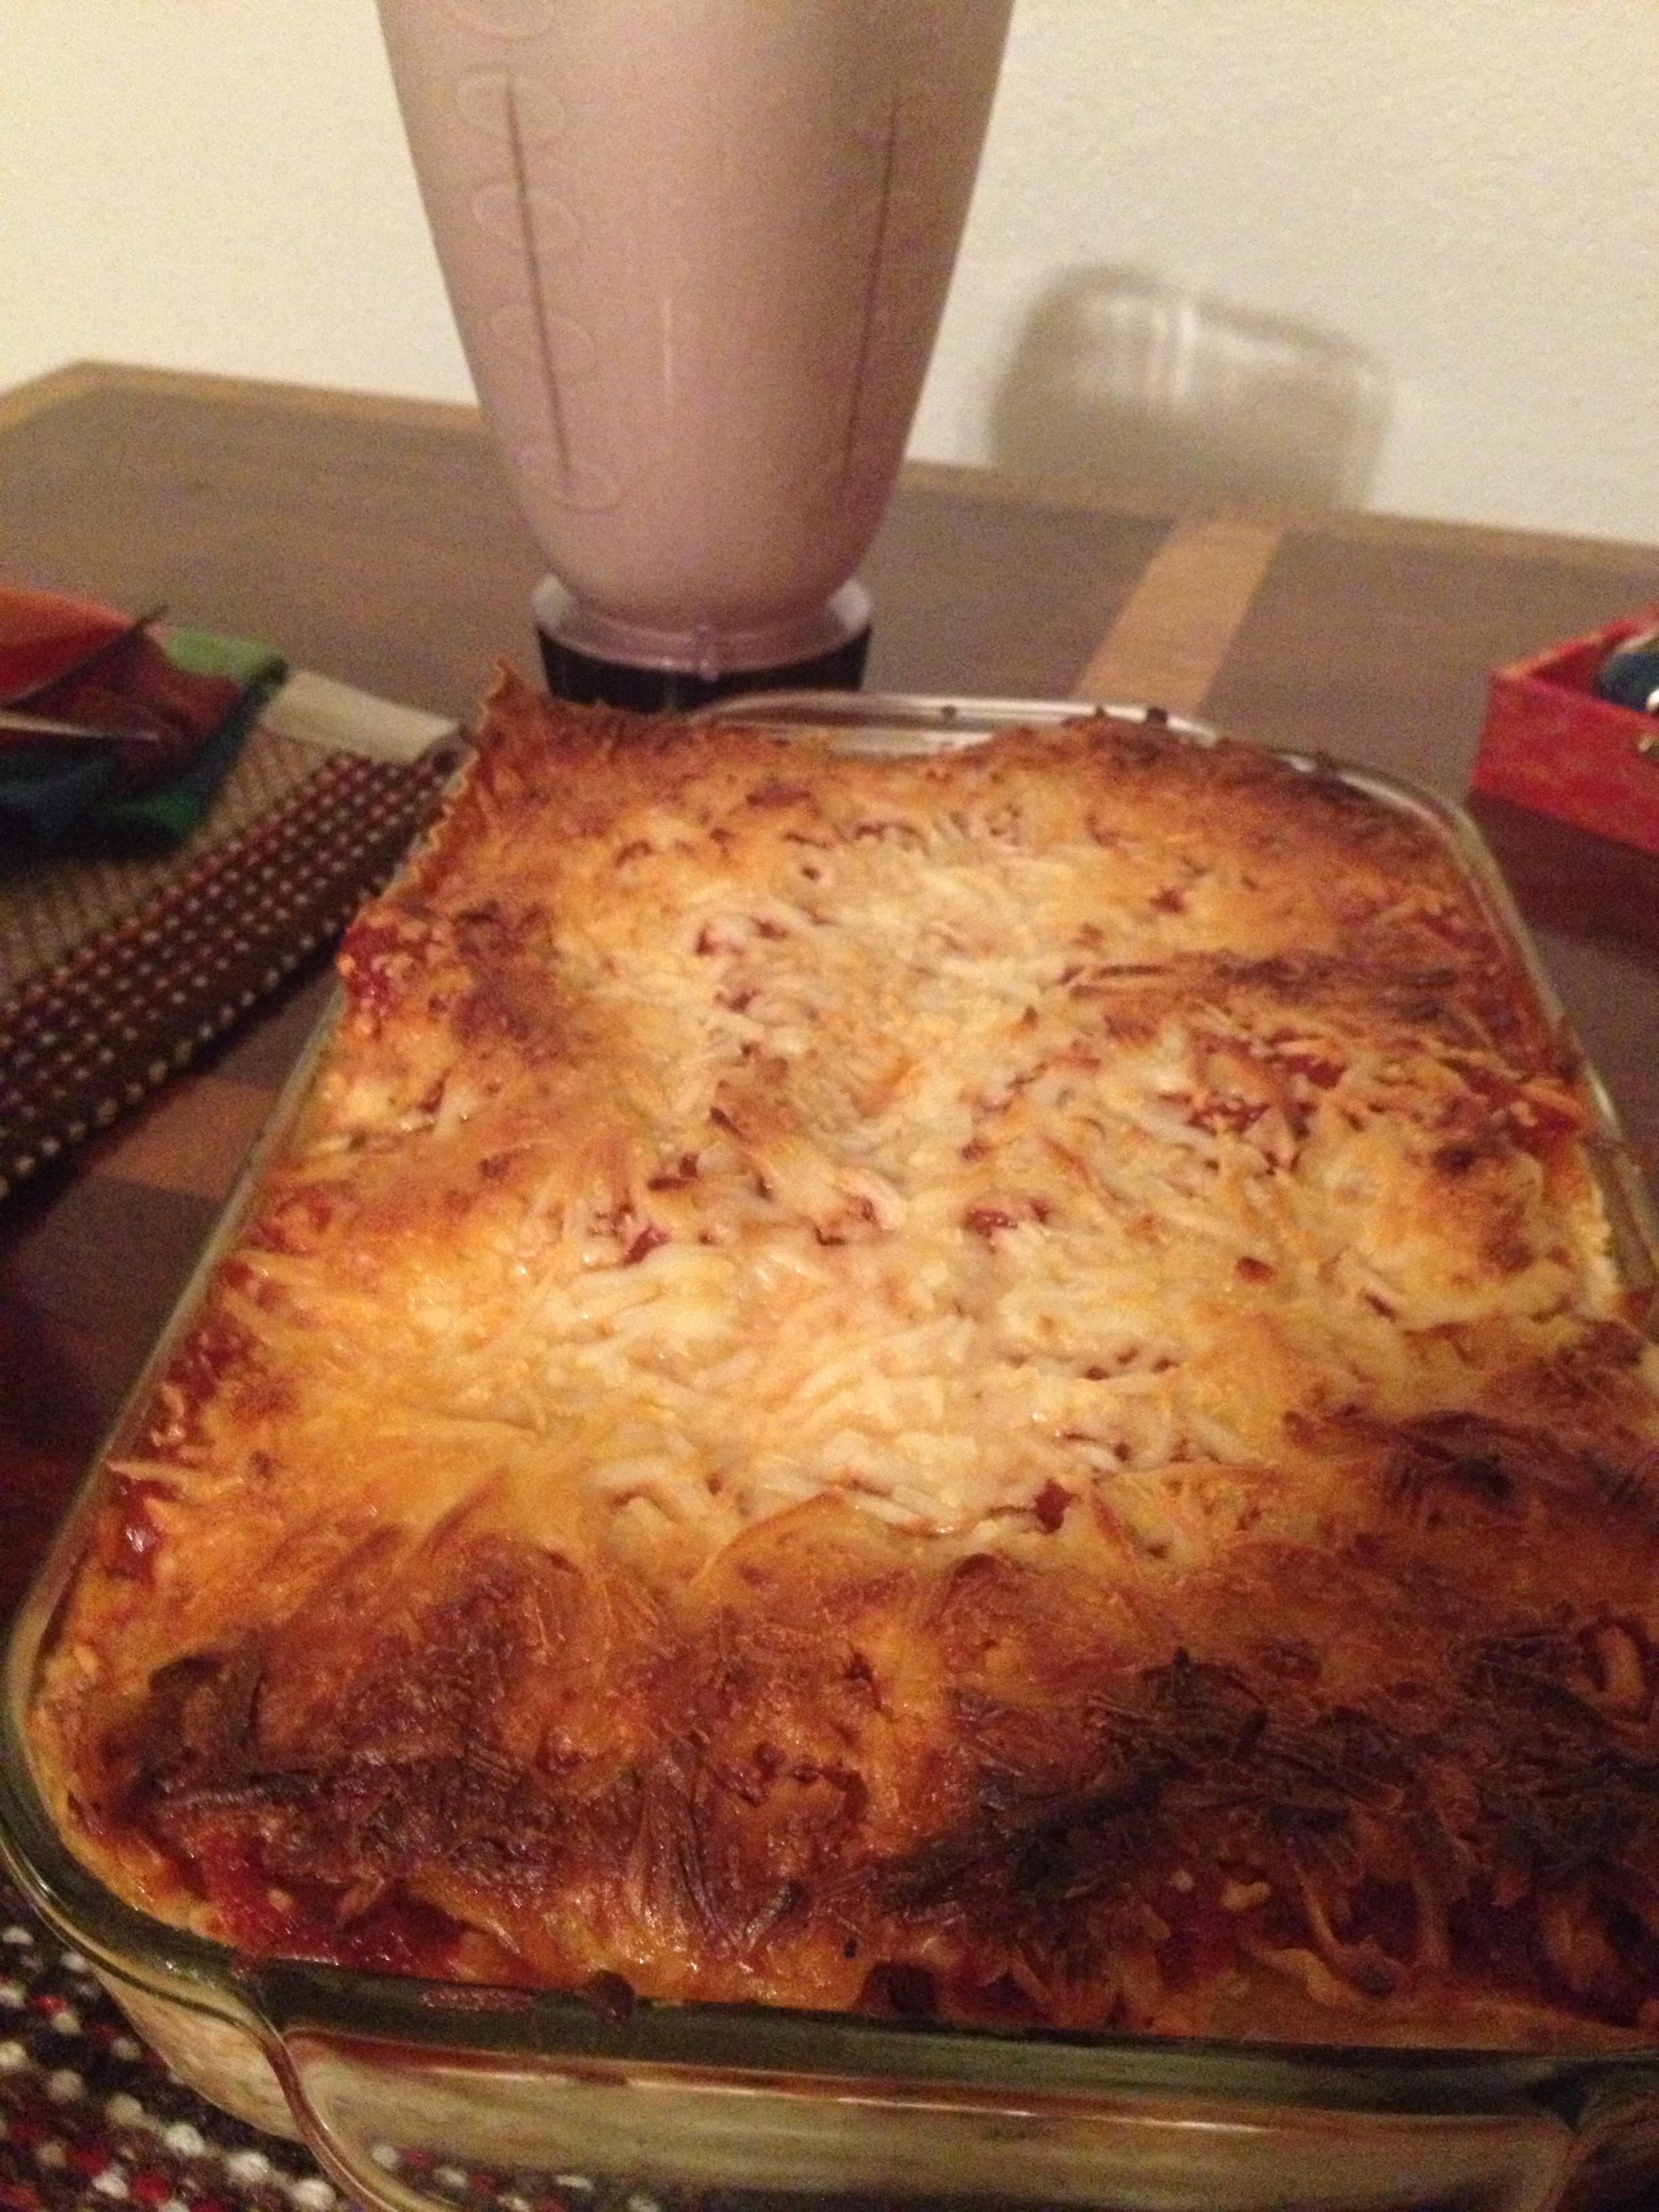
Proved to be a wonderful dinner

Proved to be a wonderful dinner

  • Prep Time: 15 minutes
  • Cook Time: 50-70 minutes 

Ingredients

  • 8 oz box whole-wheat lasagna 
  • 9 oz frozen spinach
  • 3 eggs
  • 1/2 cup powdered Parmesan 
  • 3 cups low-fat cottage cheese
  • a few fistfuls shredded mozzarella
  • 2 cups red sauce of your choosing

Directions

  • Cook your whole-wheat lasagna until it is just al dente
  • Preheat oven to 325 degrees F
  • Grease up a glass baking dish
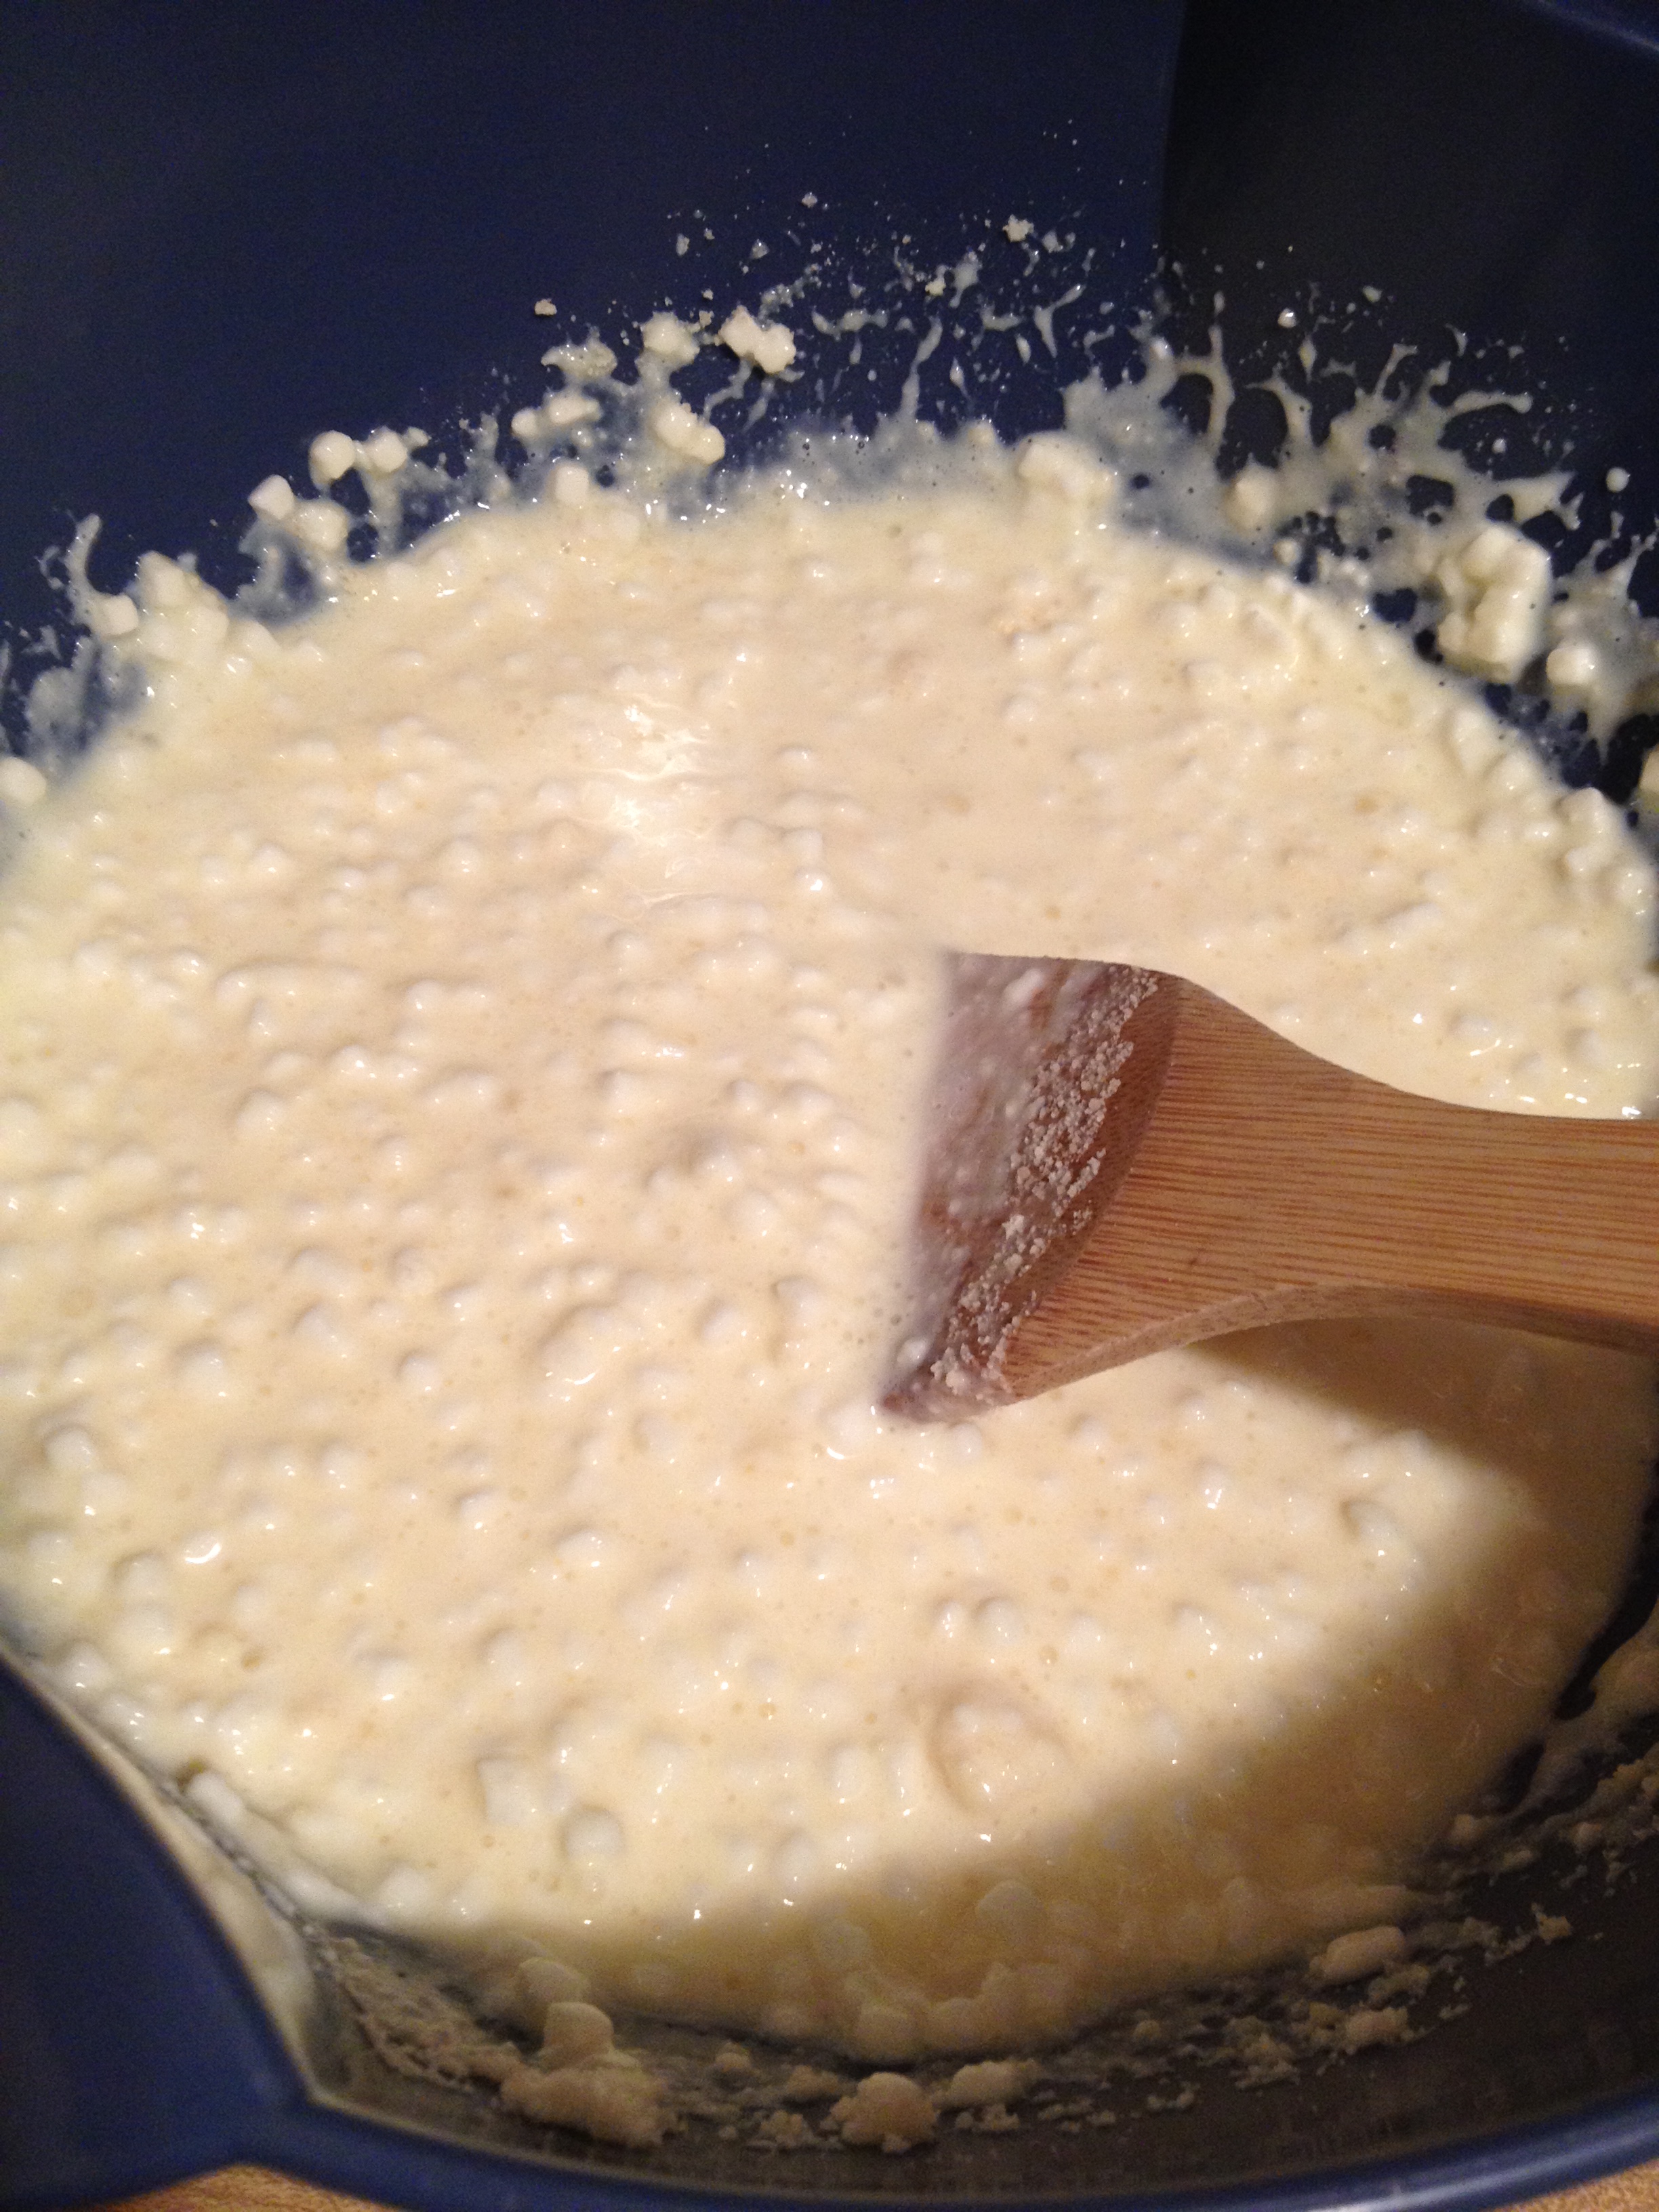
  • In a bowl, mix the eggs, cottage cheese, and Parmesan cheese
Cheeeeeesayyyyy

Cheeeeeesayyyyy

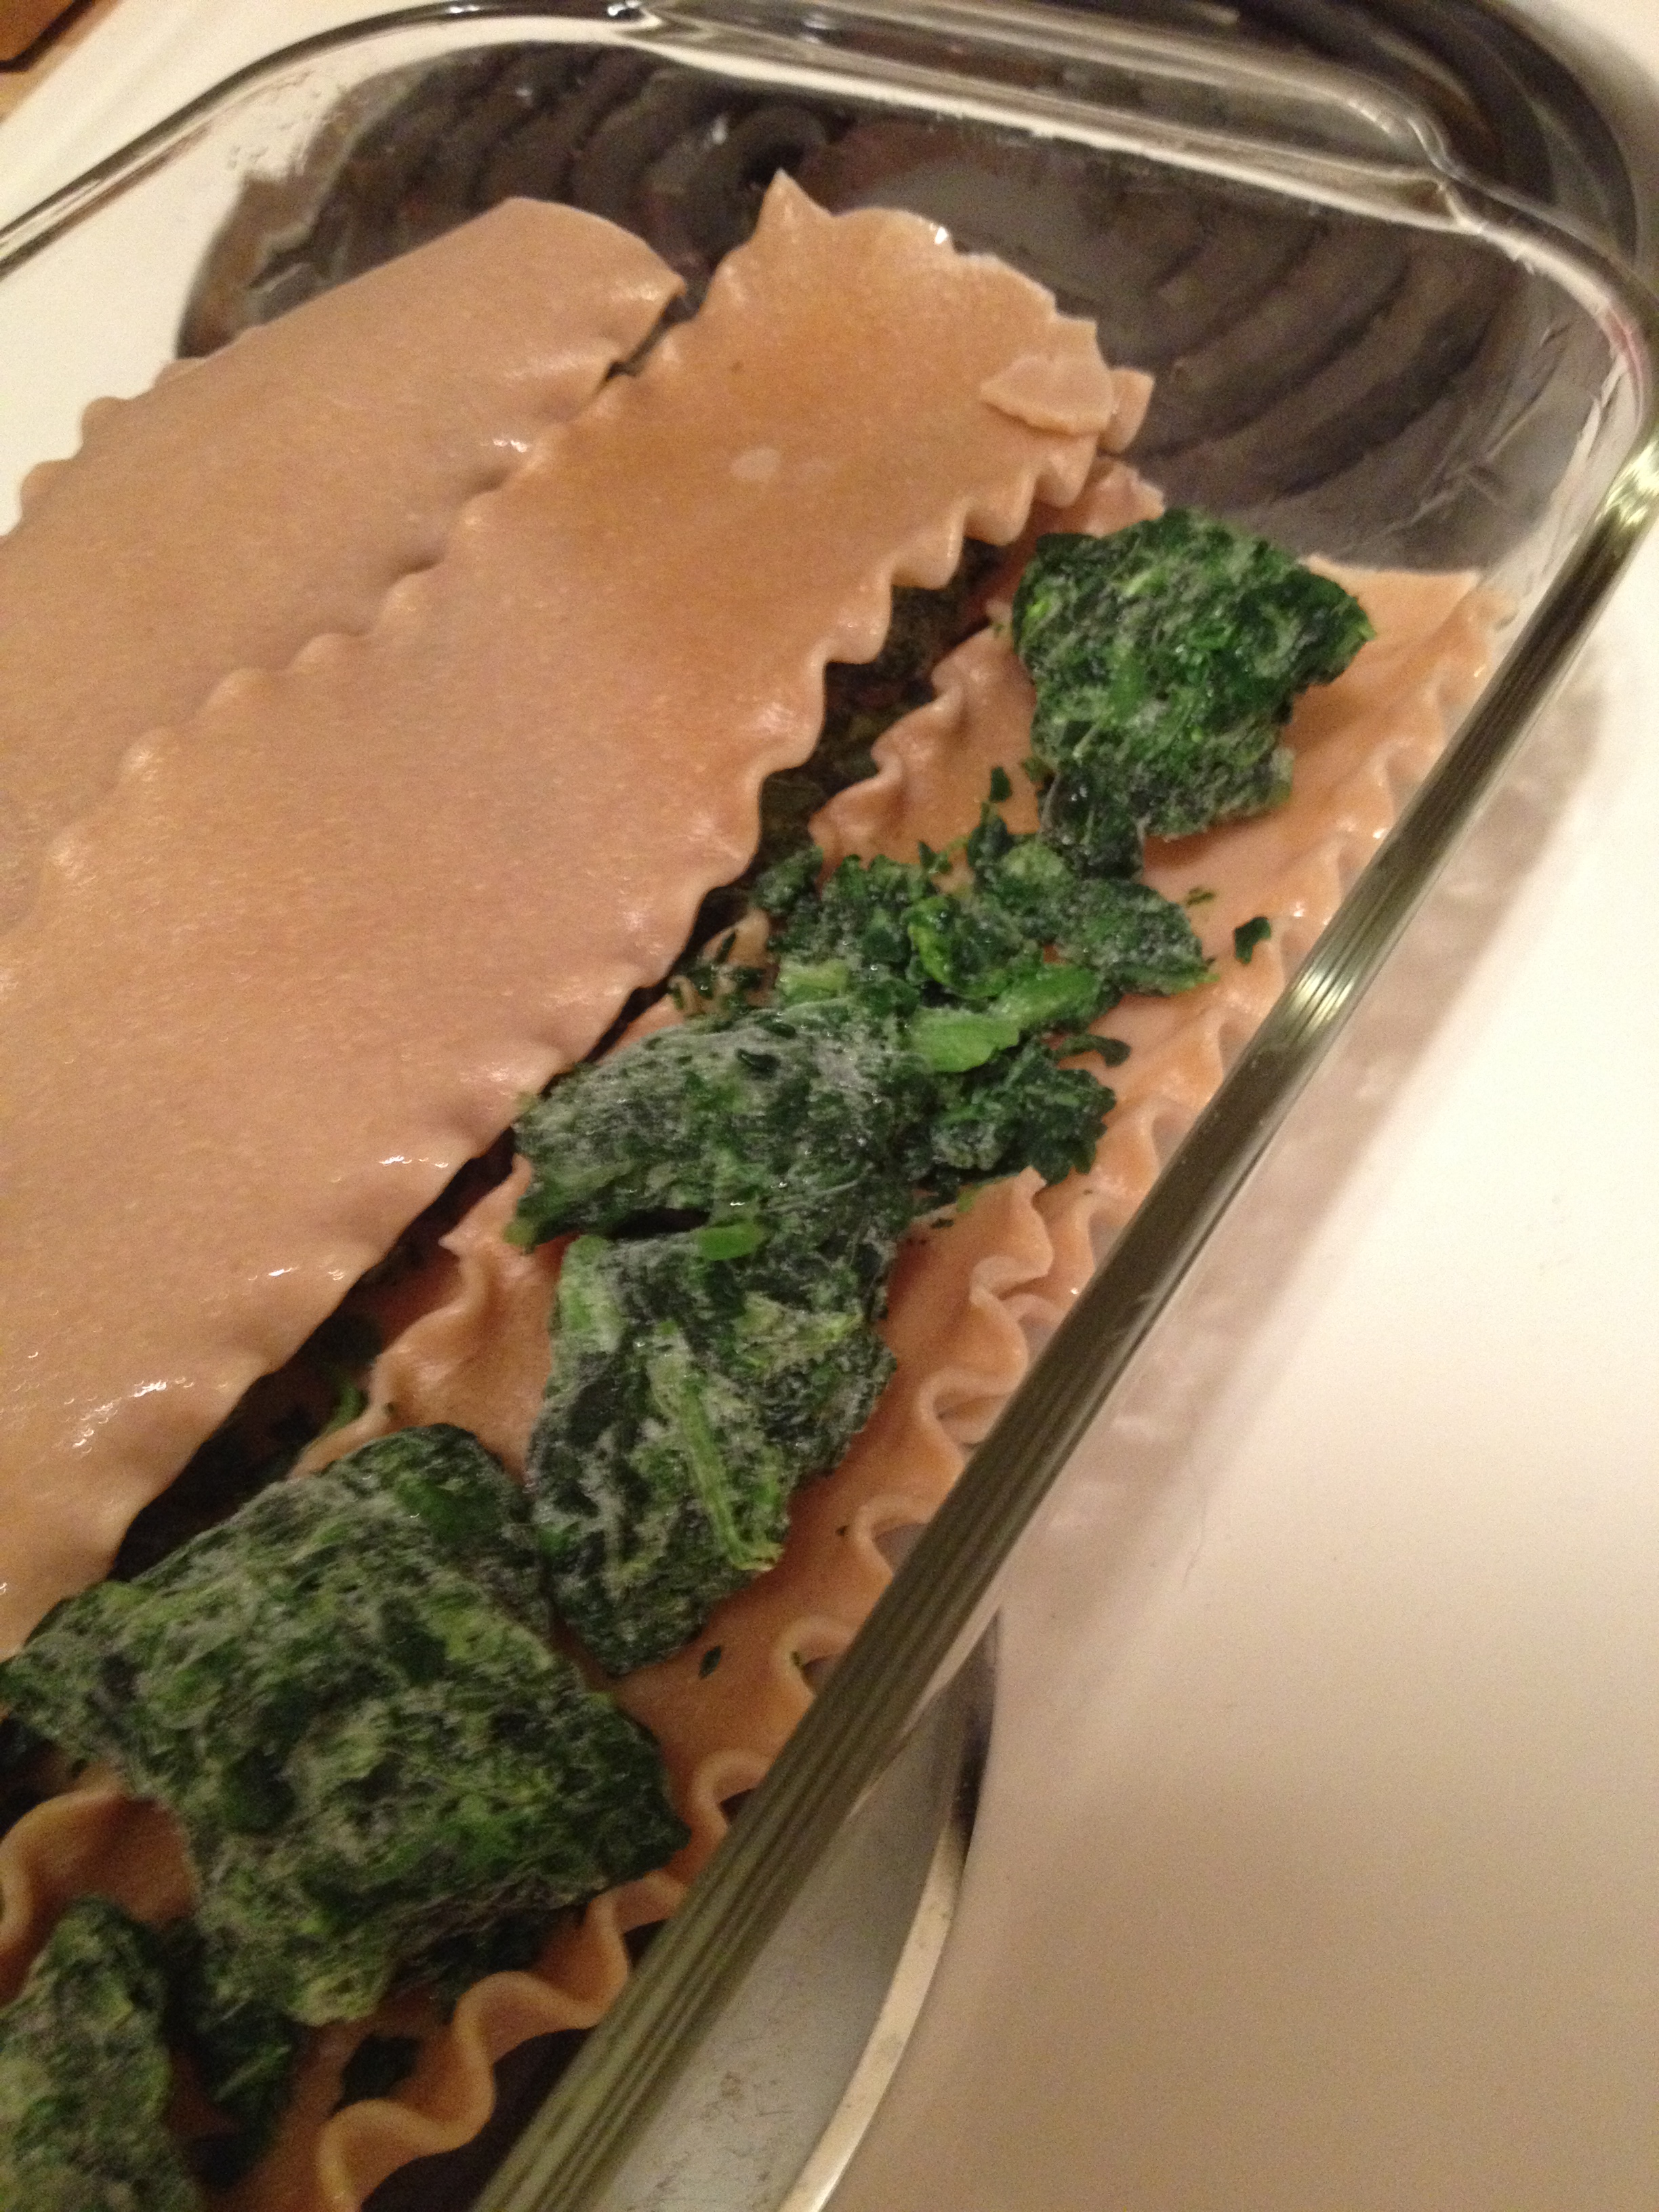
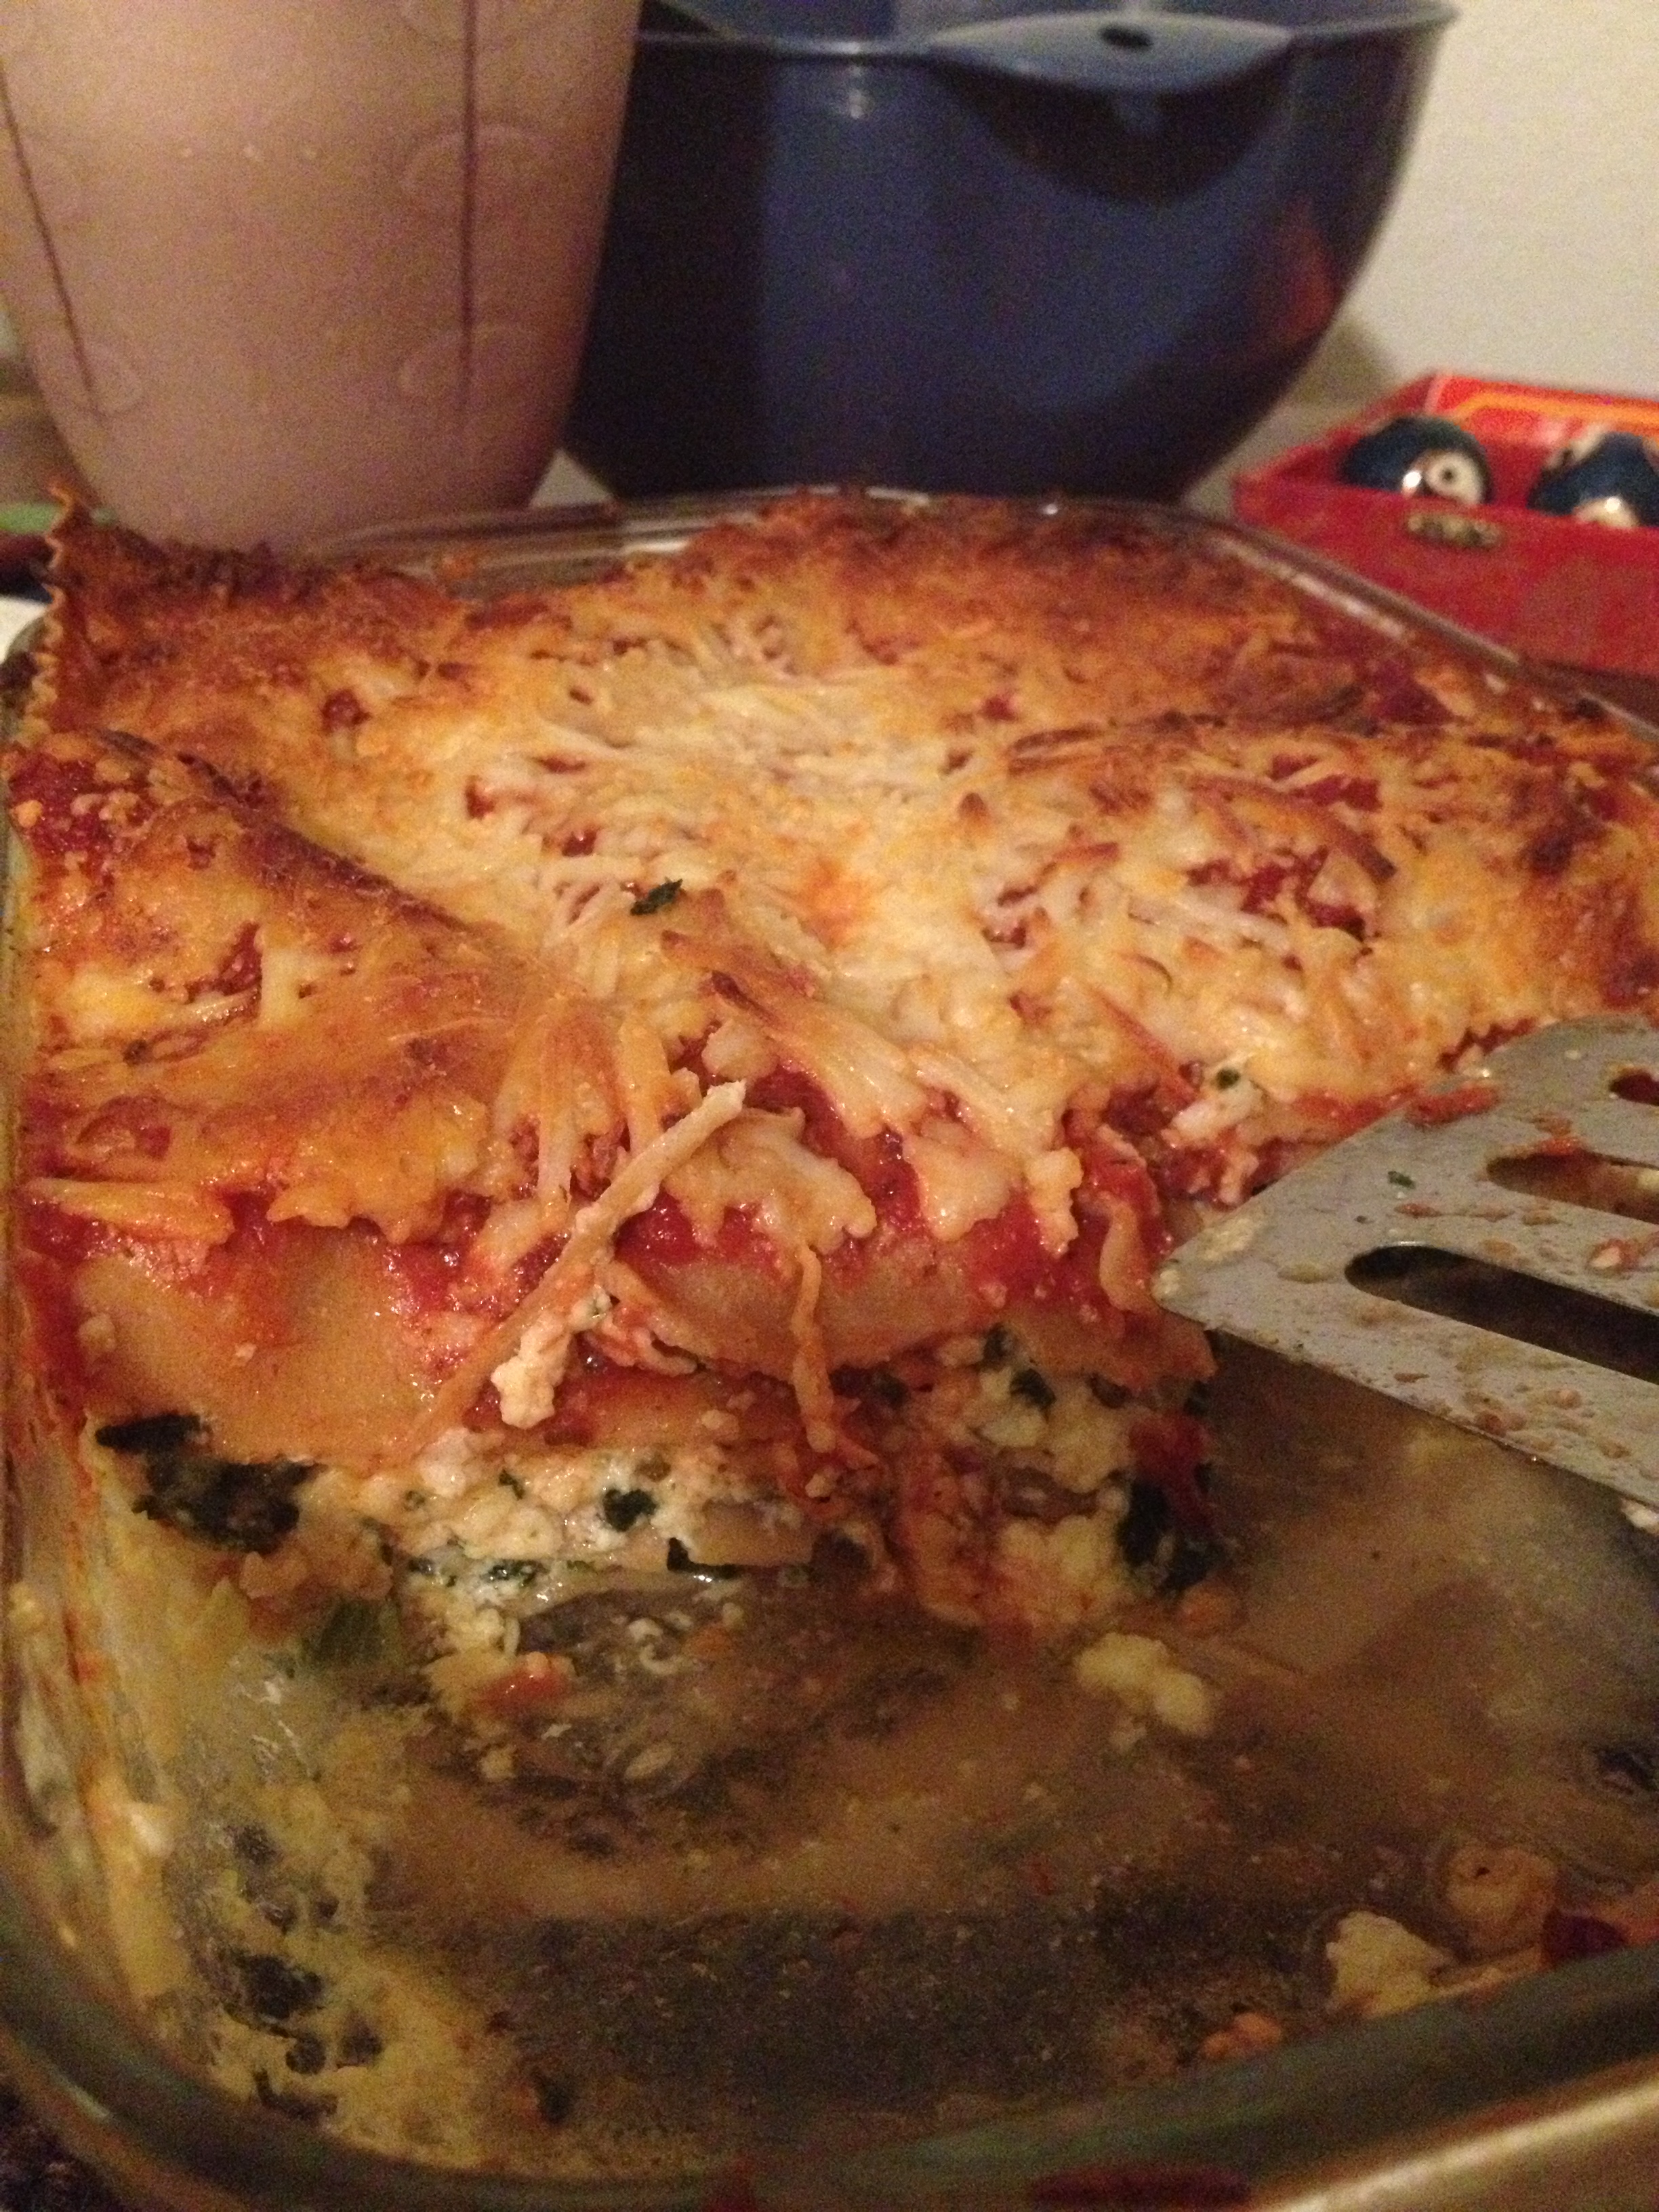
  • Alright, now it’s time to layer this puppy up! Start by laying down the foundation: the first few pieces of lasagna so it covers the bottom of the baking dish
  • Next comes the spinach. Lay about half the spinach that you have on top of the noodles, somewhat evenly.

photo 2 (25)

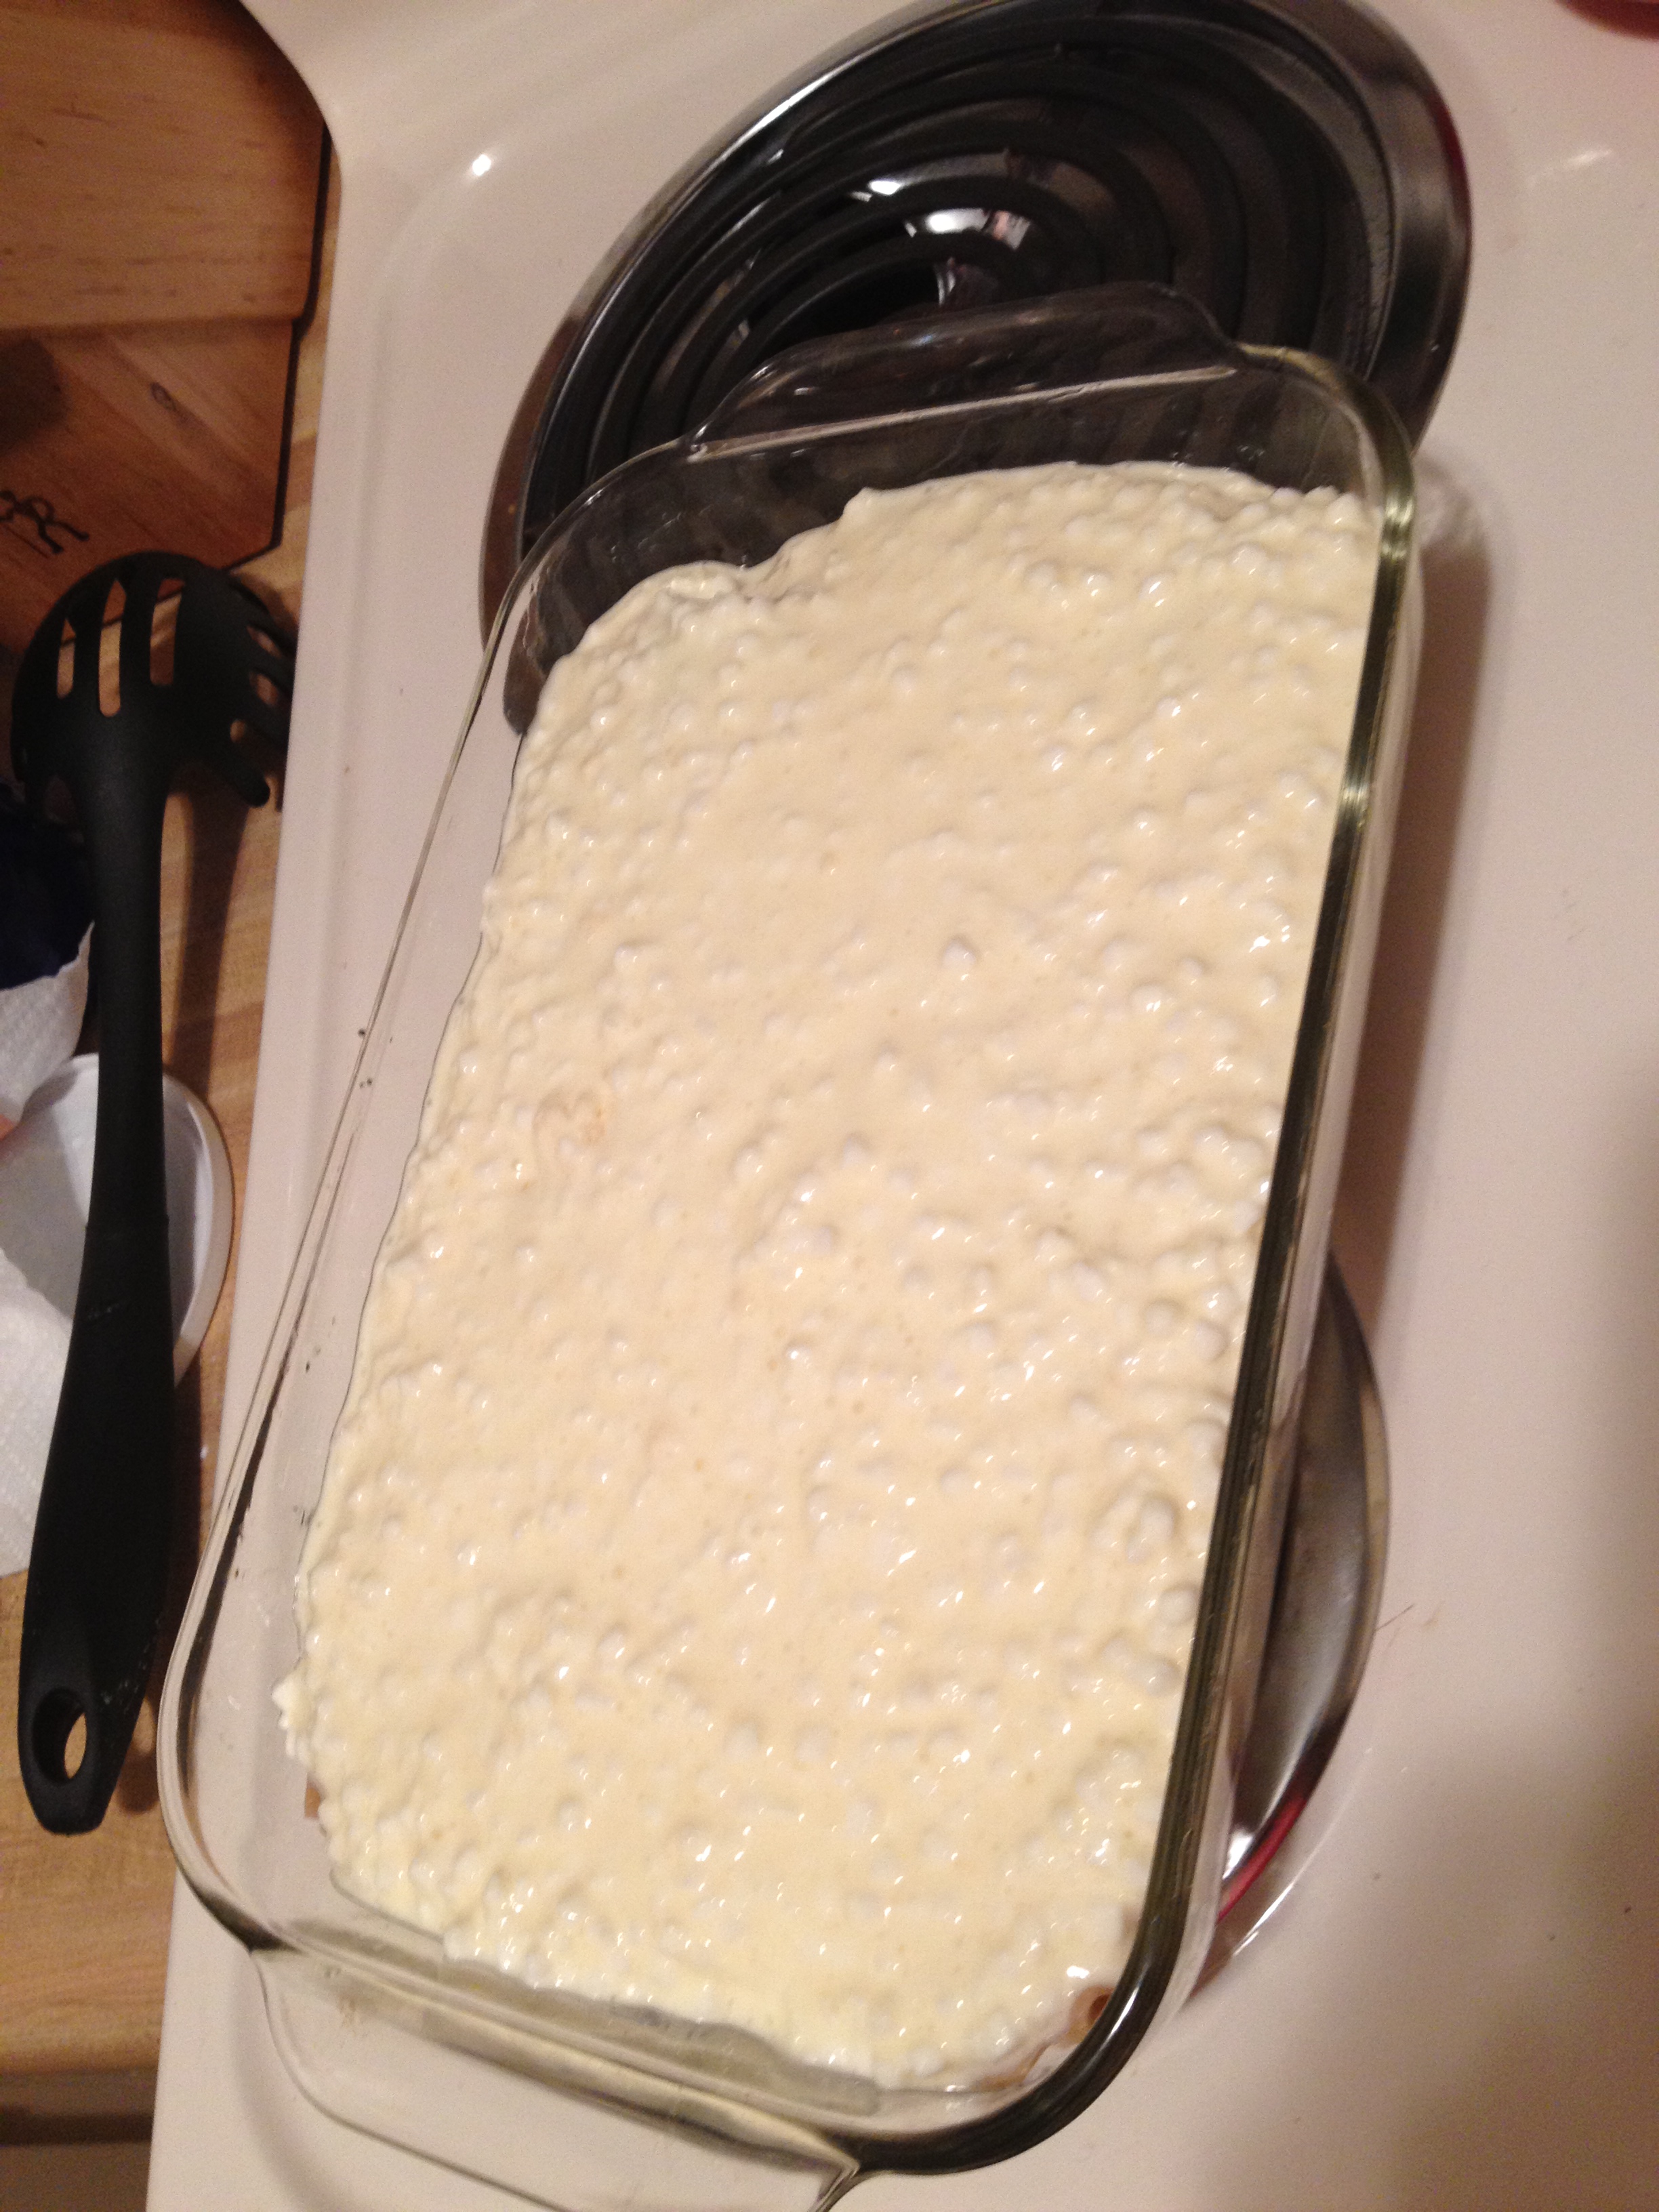
  • Place another layer of lasagna noodle. Then pour all of the cheese mixture on top of that

photo 3 (20)

  • Then put a little bit more spinach on top of the cheese mixture. And then another layer of lasagna noodle!
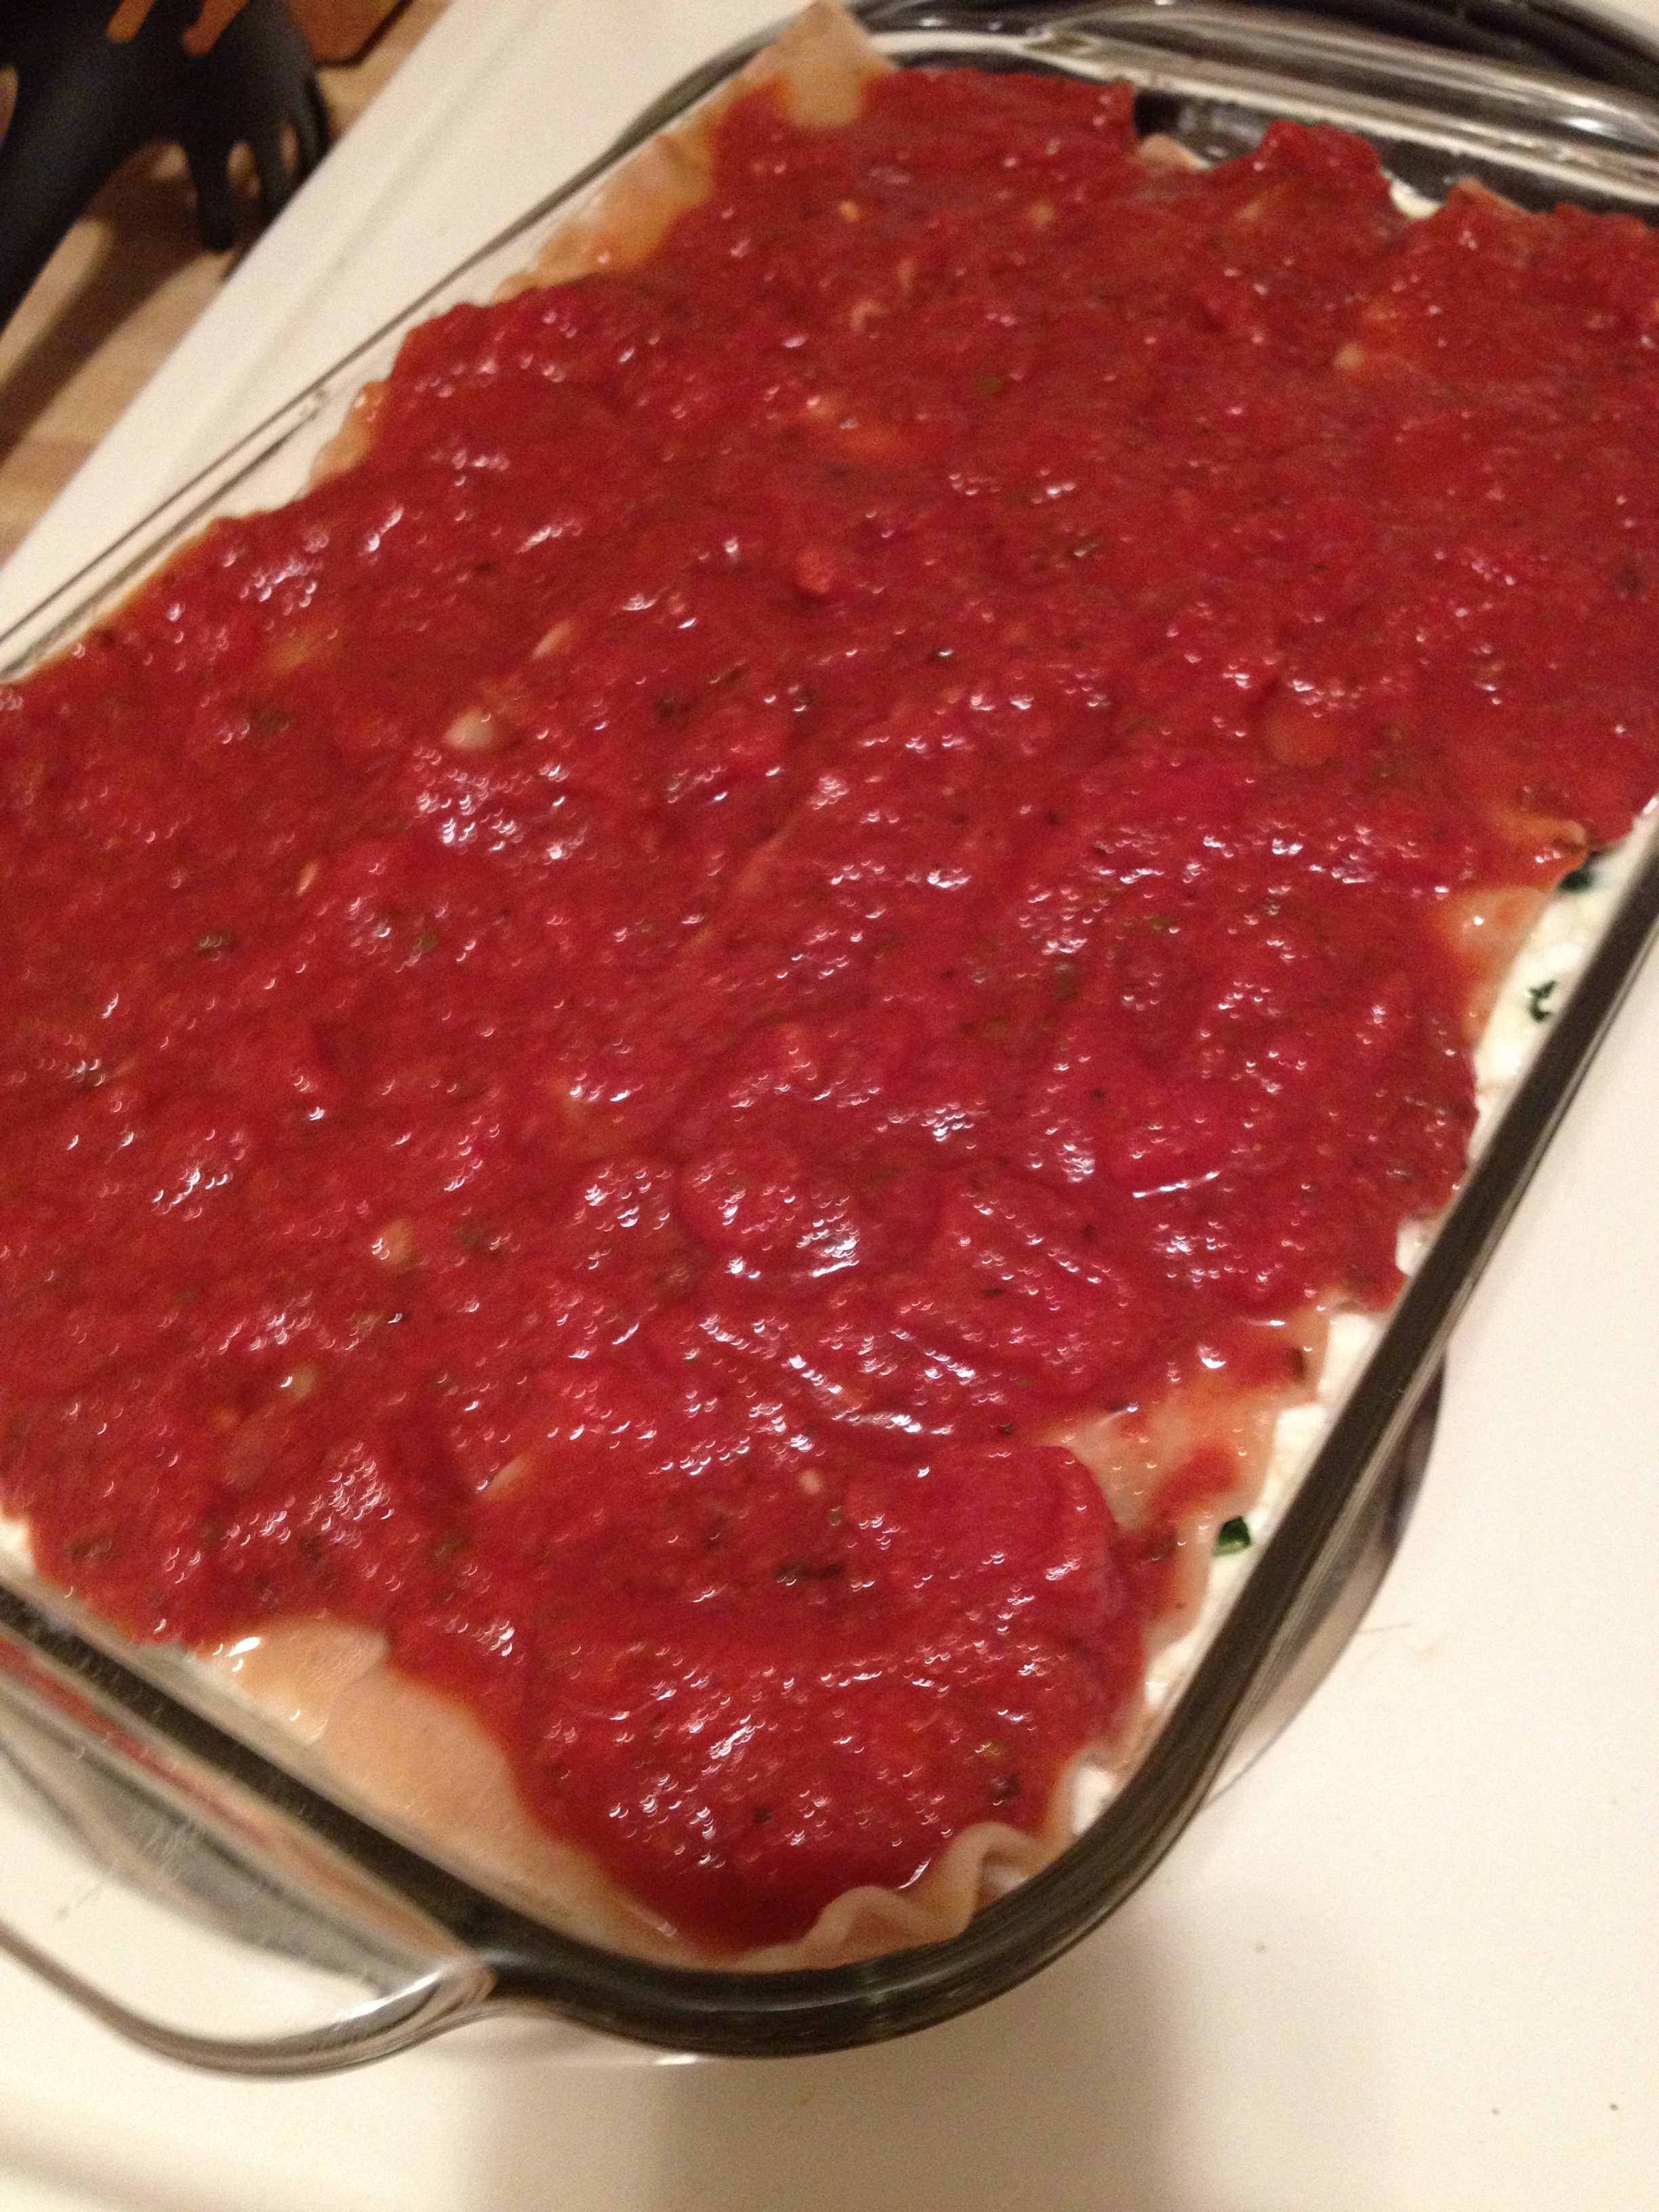
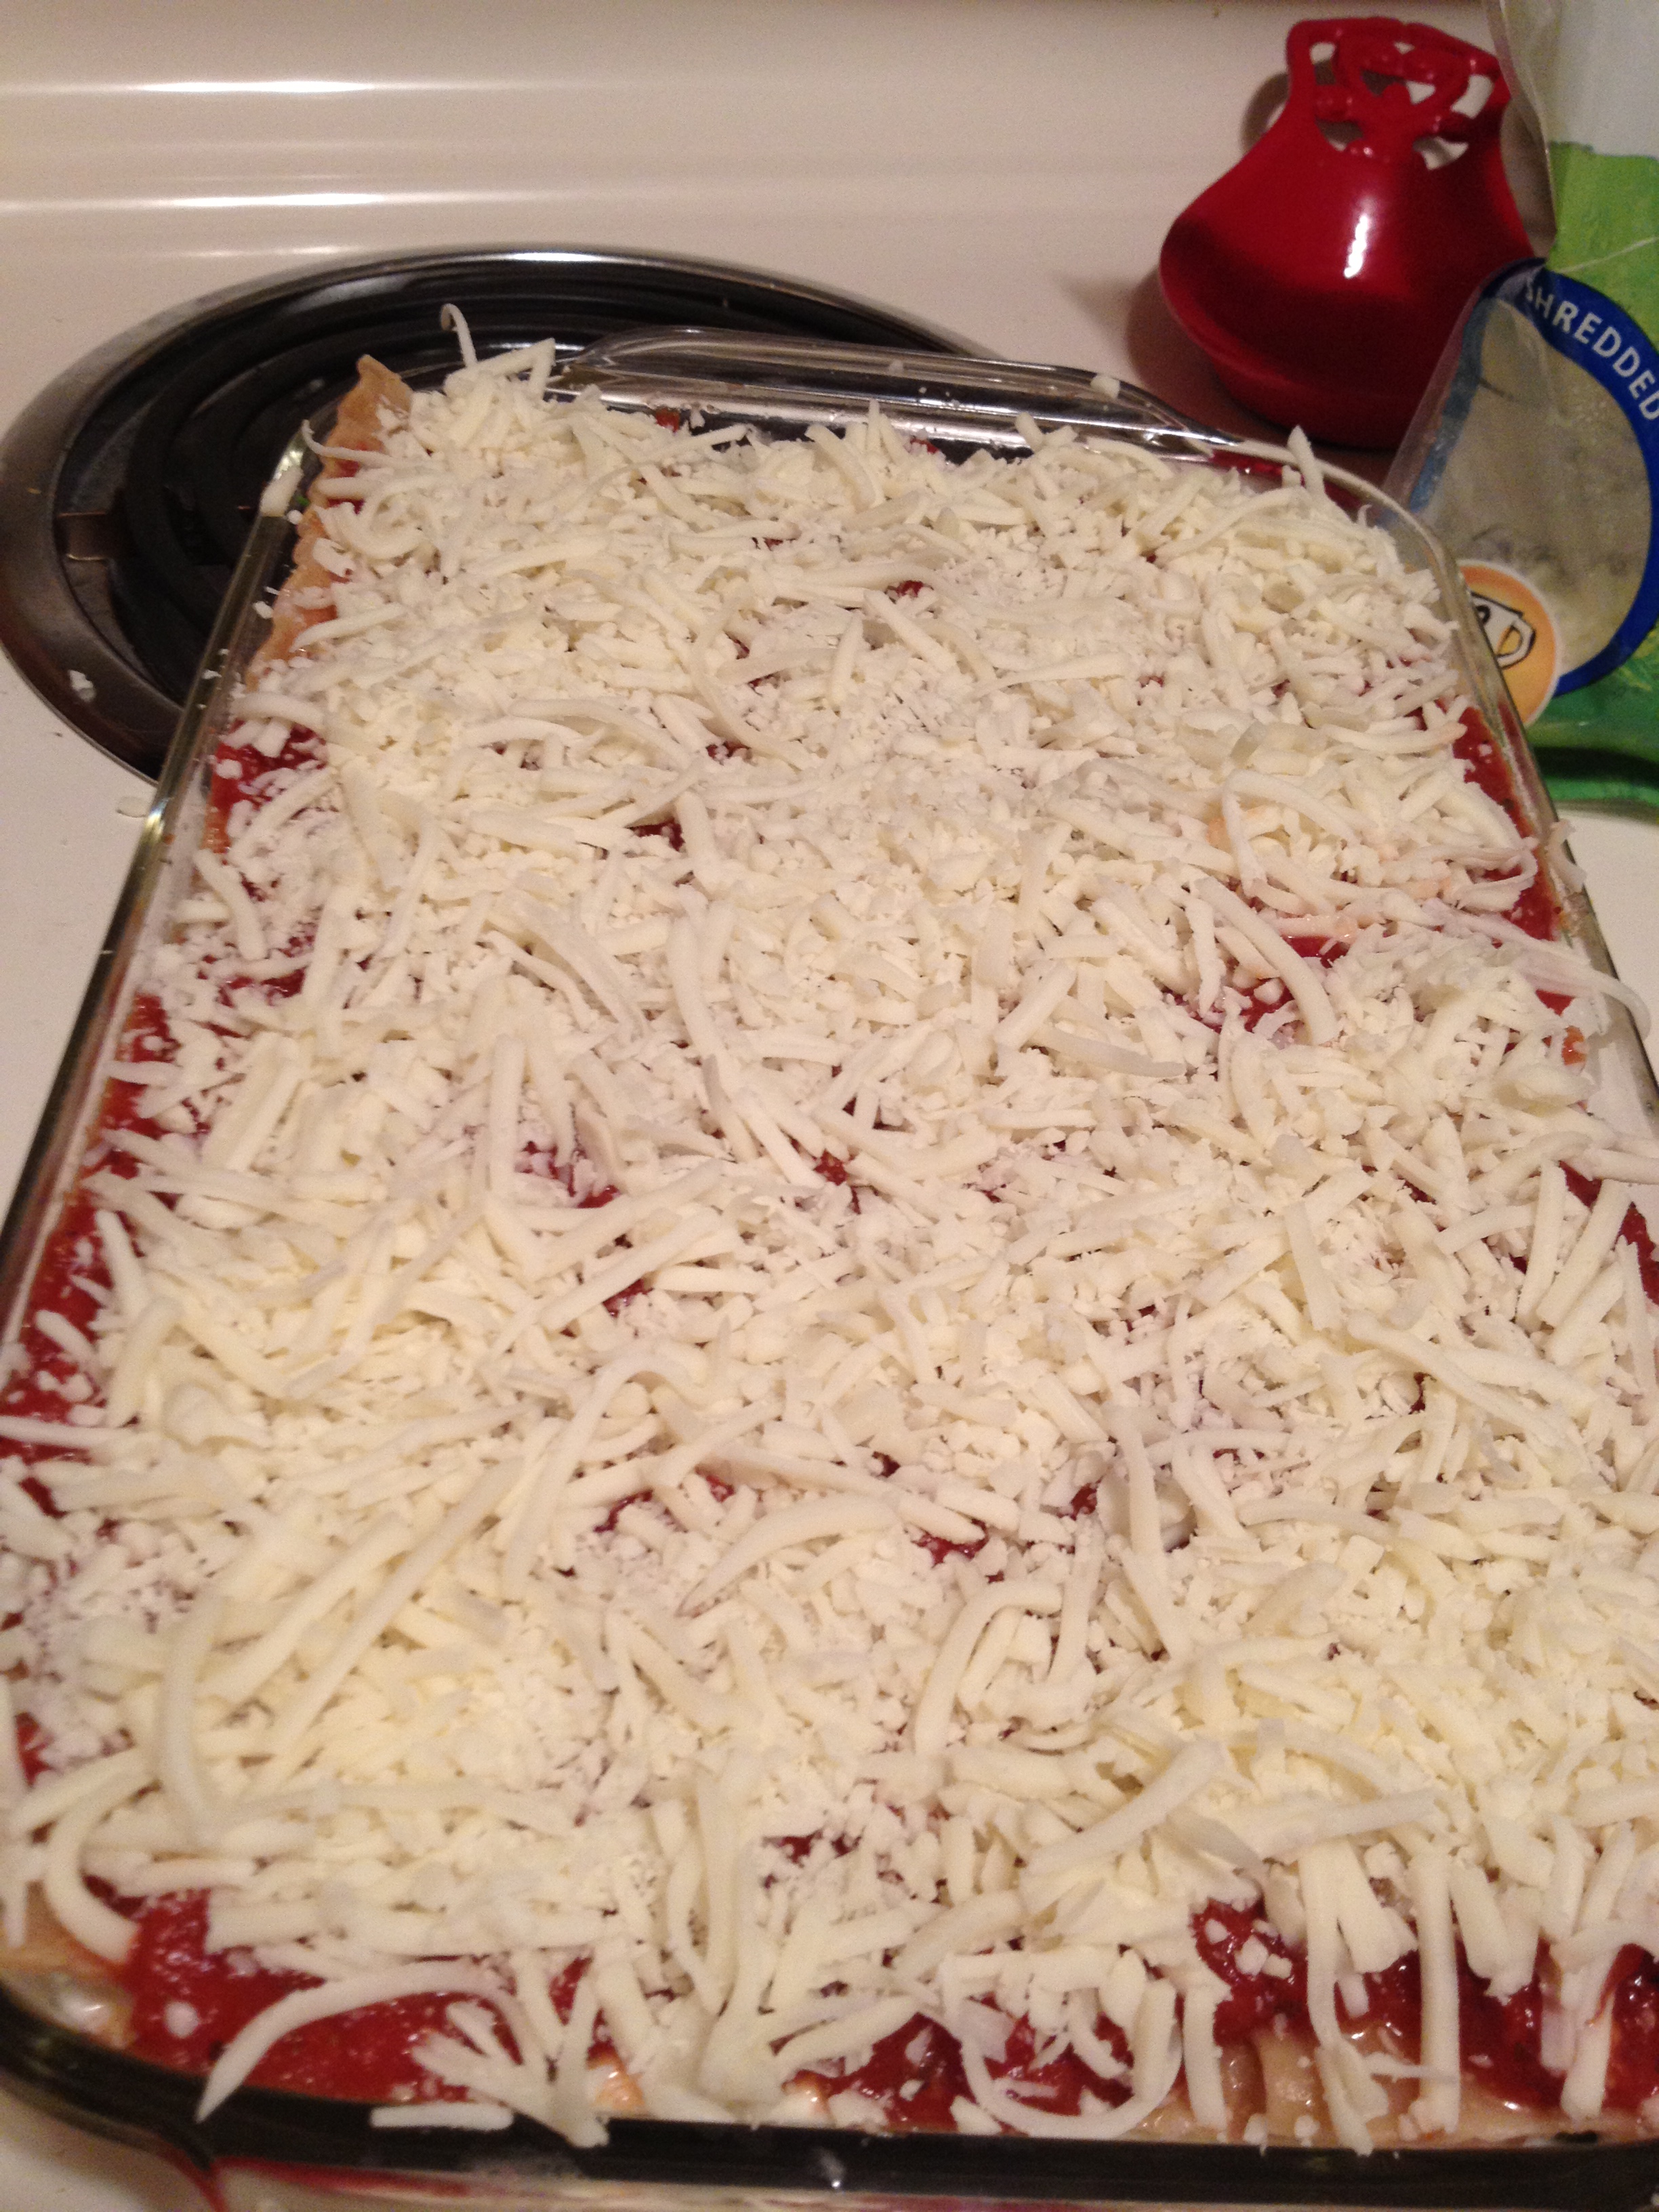
  • We’re almost there, guys! Now spread the top of the noodles with your tomato sauce and then sprinkle the mozzarella on top.

photo 4 (15)

photo 5 (6)

  • Now it’s ready to bake! Put it in the oven for between 50 to 70 minutes. Mine took around 60. A good way to tell if it’s done is when the cheese on top is slightly browned. Another way to tell if it’s cooked all the way through is to stick a knife through the bottom and count to ten. If the knife is hot, then you’re good to go!
Chris' protein shake behind it...

Chris’ protein shake behind it…

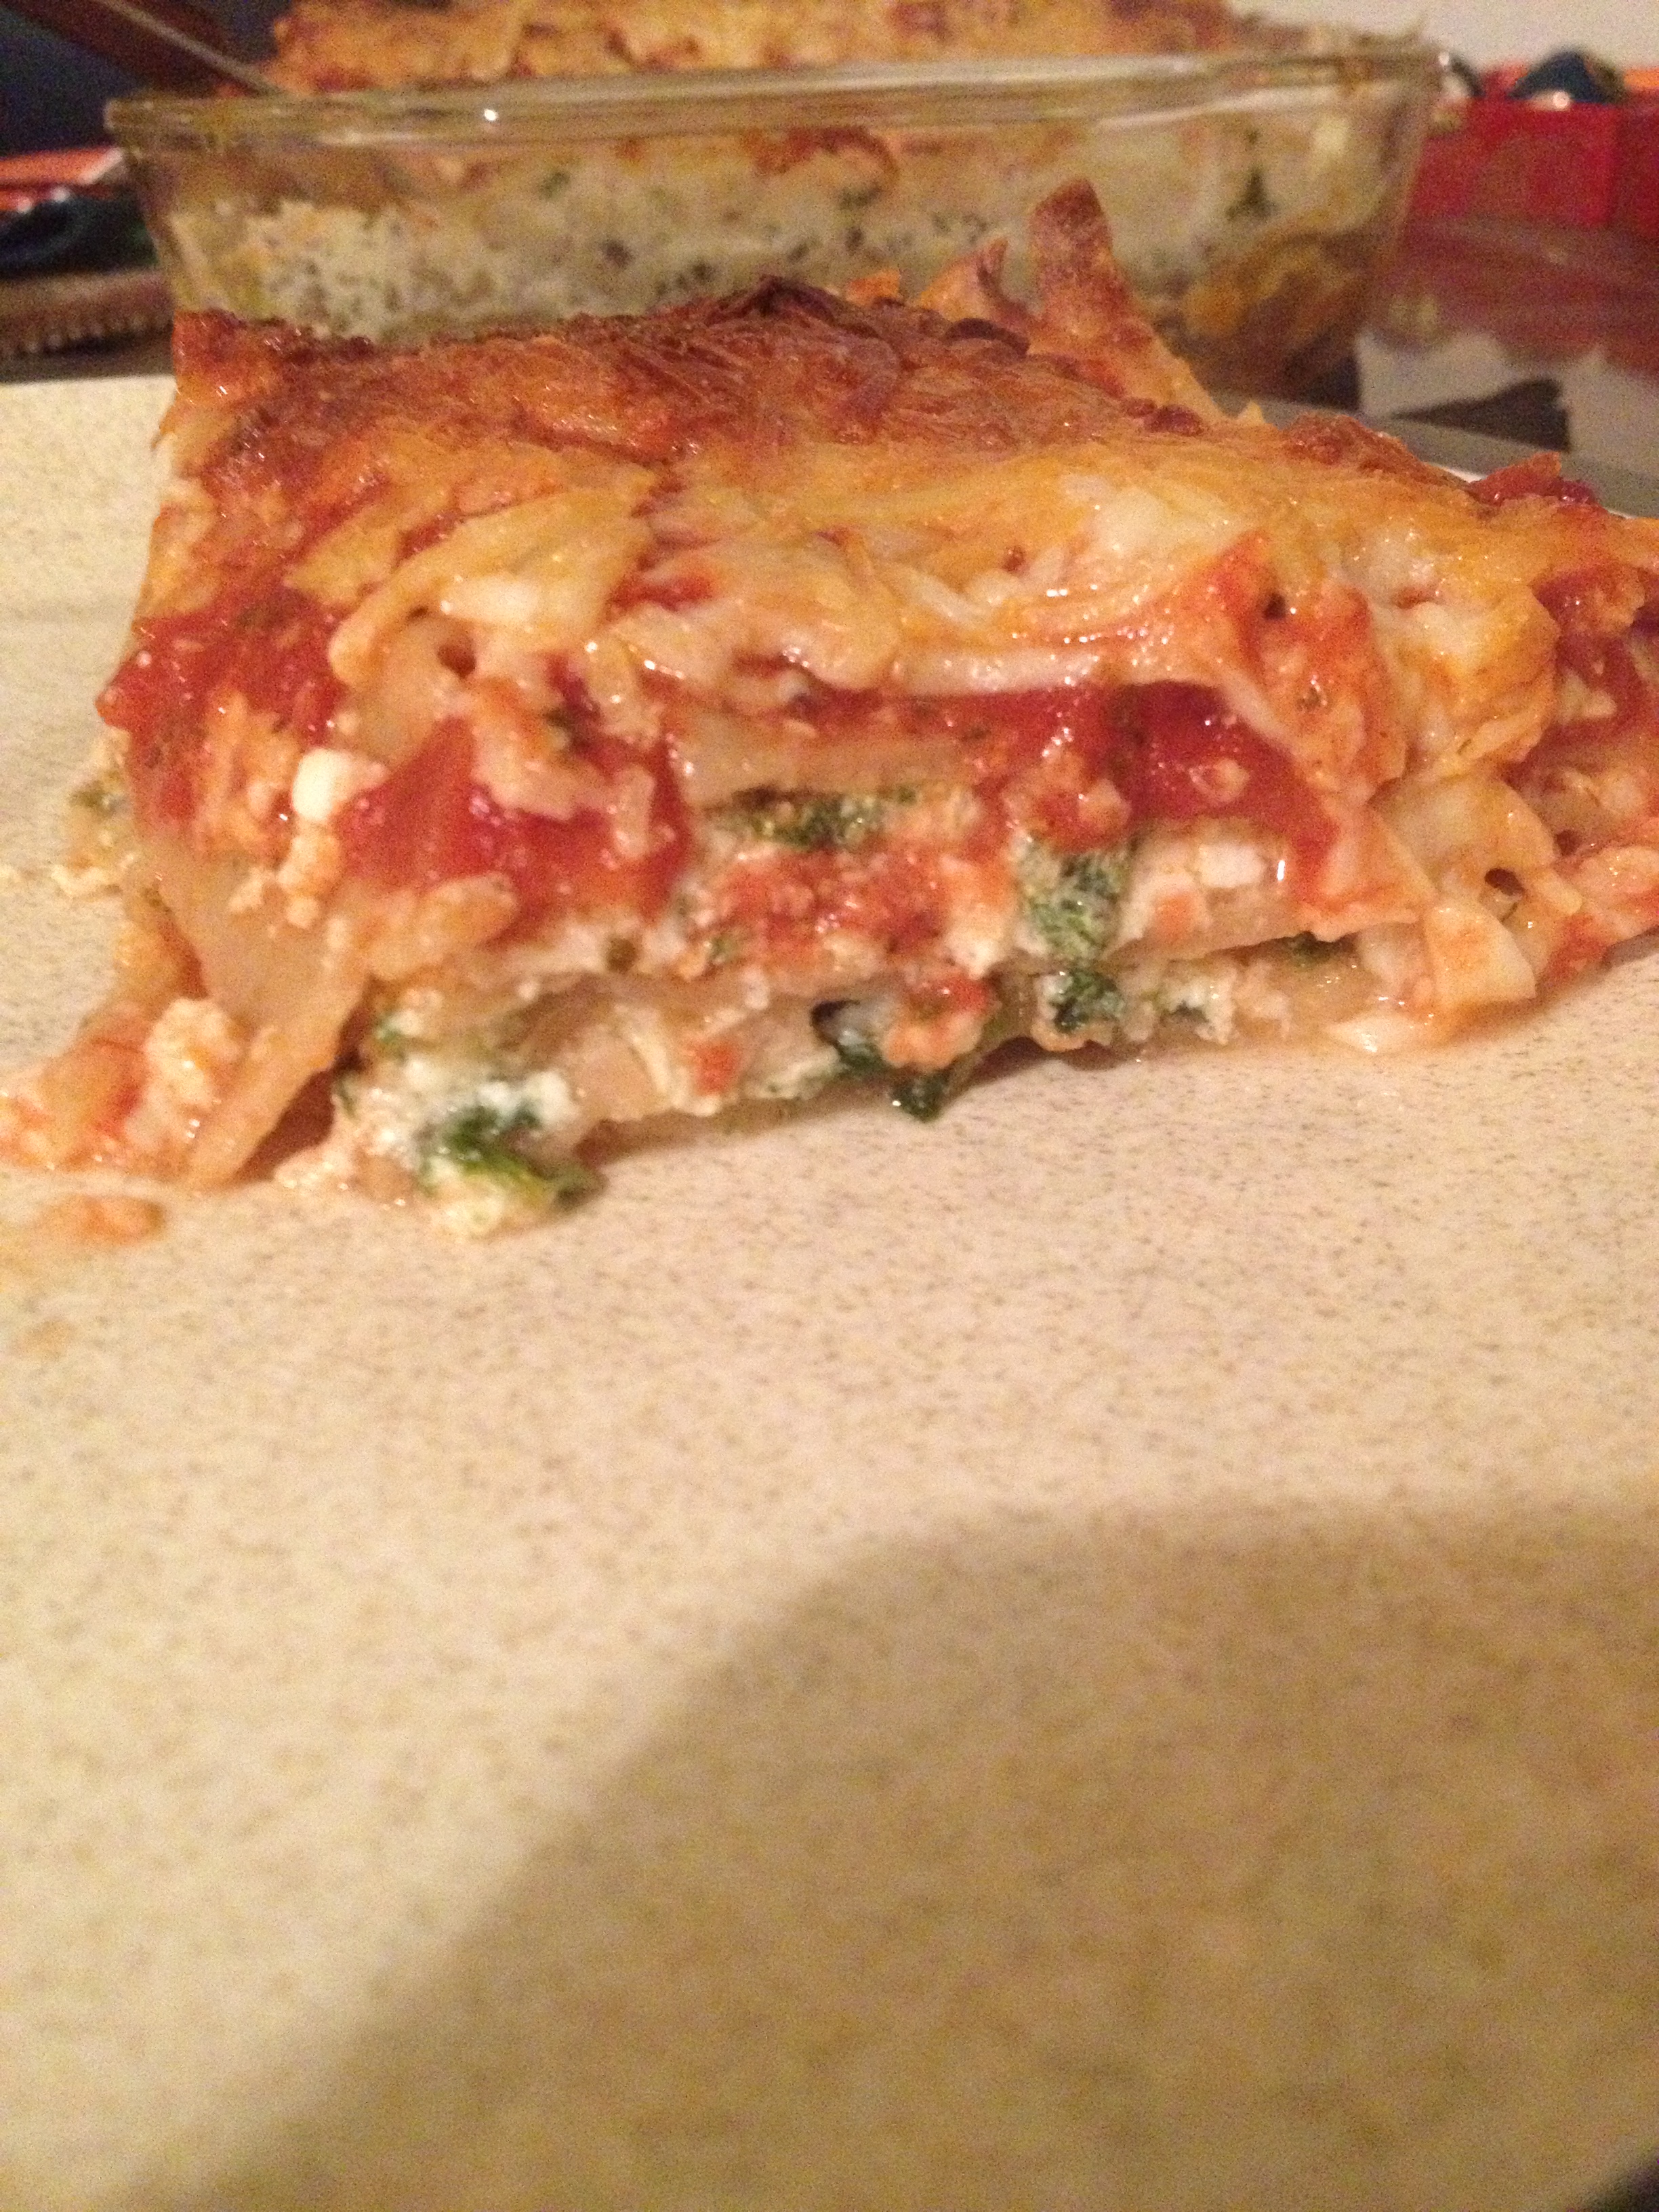
This was a wonderful dinner. Perfect with salad or some kind of greenery–and don’t forget the red wine! It doesn’t leave you feeling too heavy since it’s a bit less fat than the normal lasagna. And we had leftovers for like 2-3 days! I’m always happy because it means packing lunches are easy! Use this recipe to stay hungry and fit!
Bon appetite!

Bon appetite!

photo 2 (26)

You might also like:

BONUS KITTY PIC

photo 1 (14)

spacer

Chocolate Chip “Cookie Dough” Dip

I have been wanting to try this one for a while since my friend from college, Mary Katemade a batch and I got to try it. Oh, it is heavenly. I’m not sure if this is the recipe she used, but it’s what I based mine off of. Now this isn’t actually cookie dough, it kind of is more like cannoli cream. Chris isn’t all into sweets, so I knew I had to make this where I could bring it with others to share (bad news bears if I left it all for myself–helloooo tummy ache). So my cousin’s birthday get-together was last night and I decided to trial it then. I made it after we FINALLY caught up with our new obsession, Castle.

^_^

^_^

  • Prep Time: 15 minutes tops
  • Cooking Time: …none

Ingredients

  • almost 1/2 cup whipped butter
  • 1/3 cup brown sugar
  • 1 tsp vanilla extract
  • 1 cup mini chocolate chips
  • 7/8 cup powdered sugar 
  • 8 oz cream cheese 

Directions

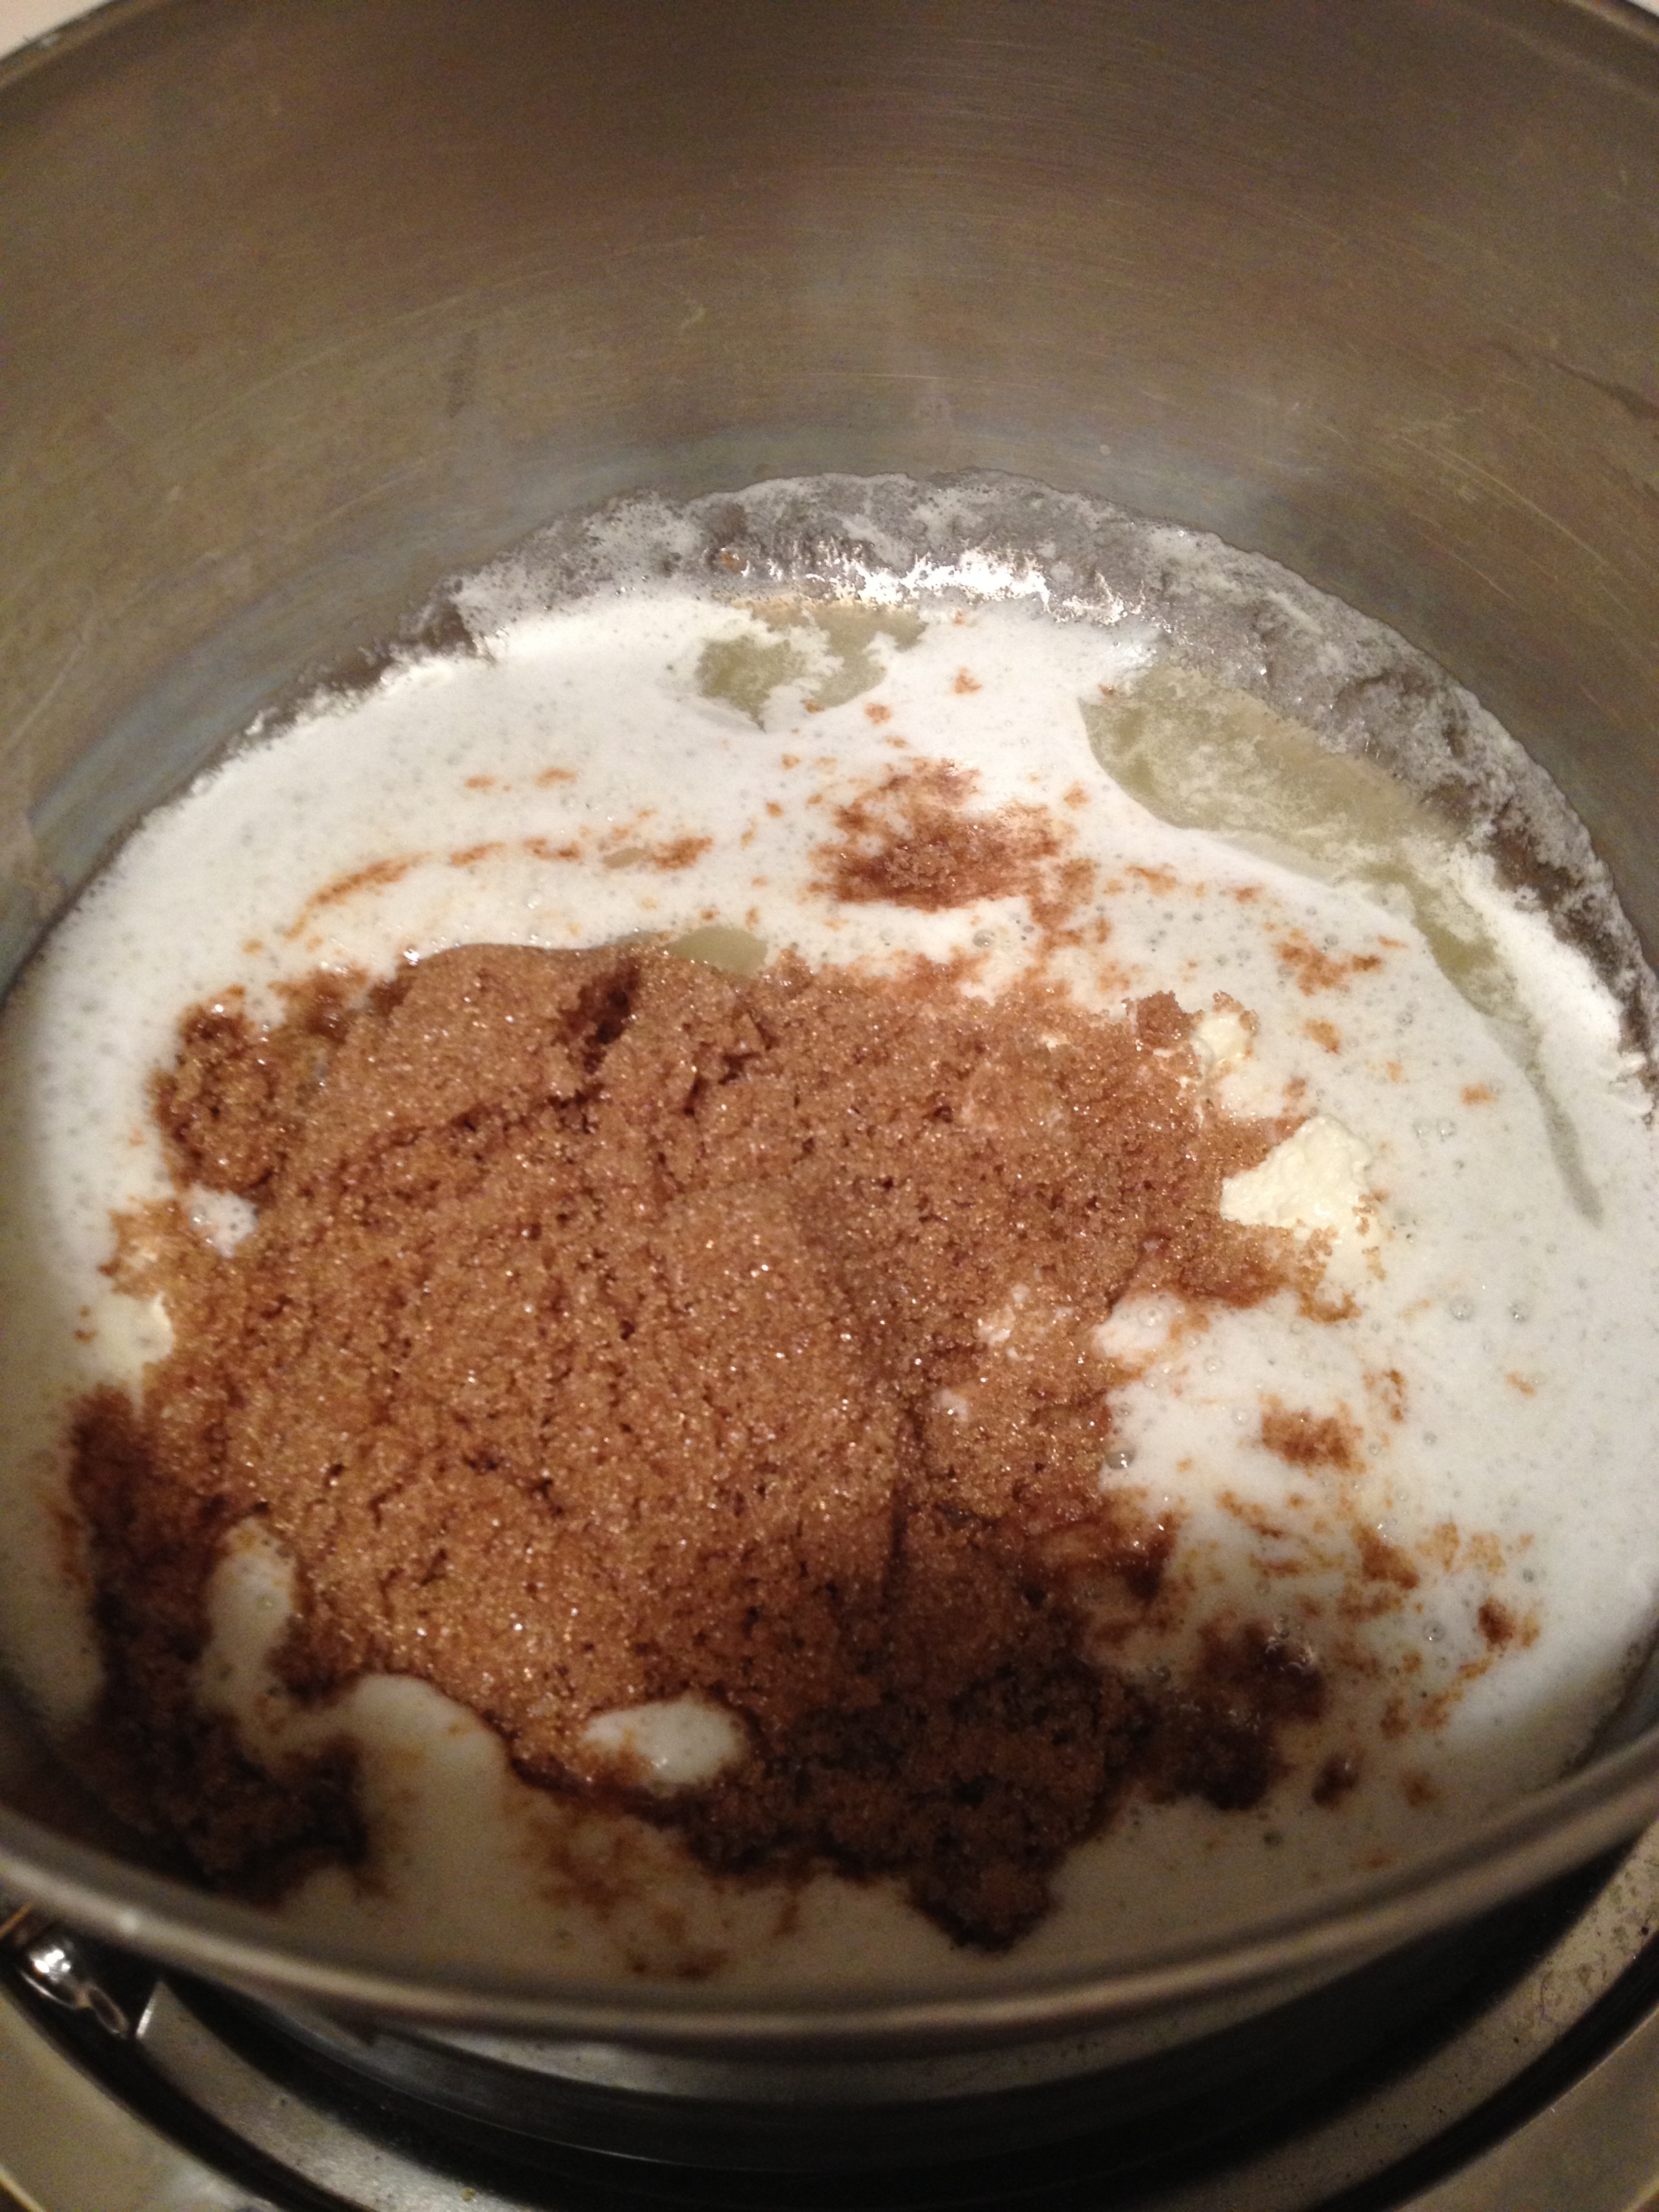
  • Alright. Real simple. Let’s start by heating up a pot and throwing the butter in and then the brown sugar. Whisk it up until it bubbles, then put in the vanilla extract. Take off heat.

photo 2 (5)

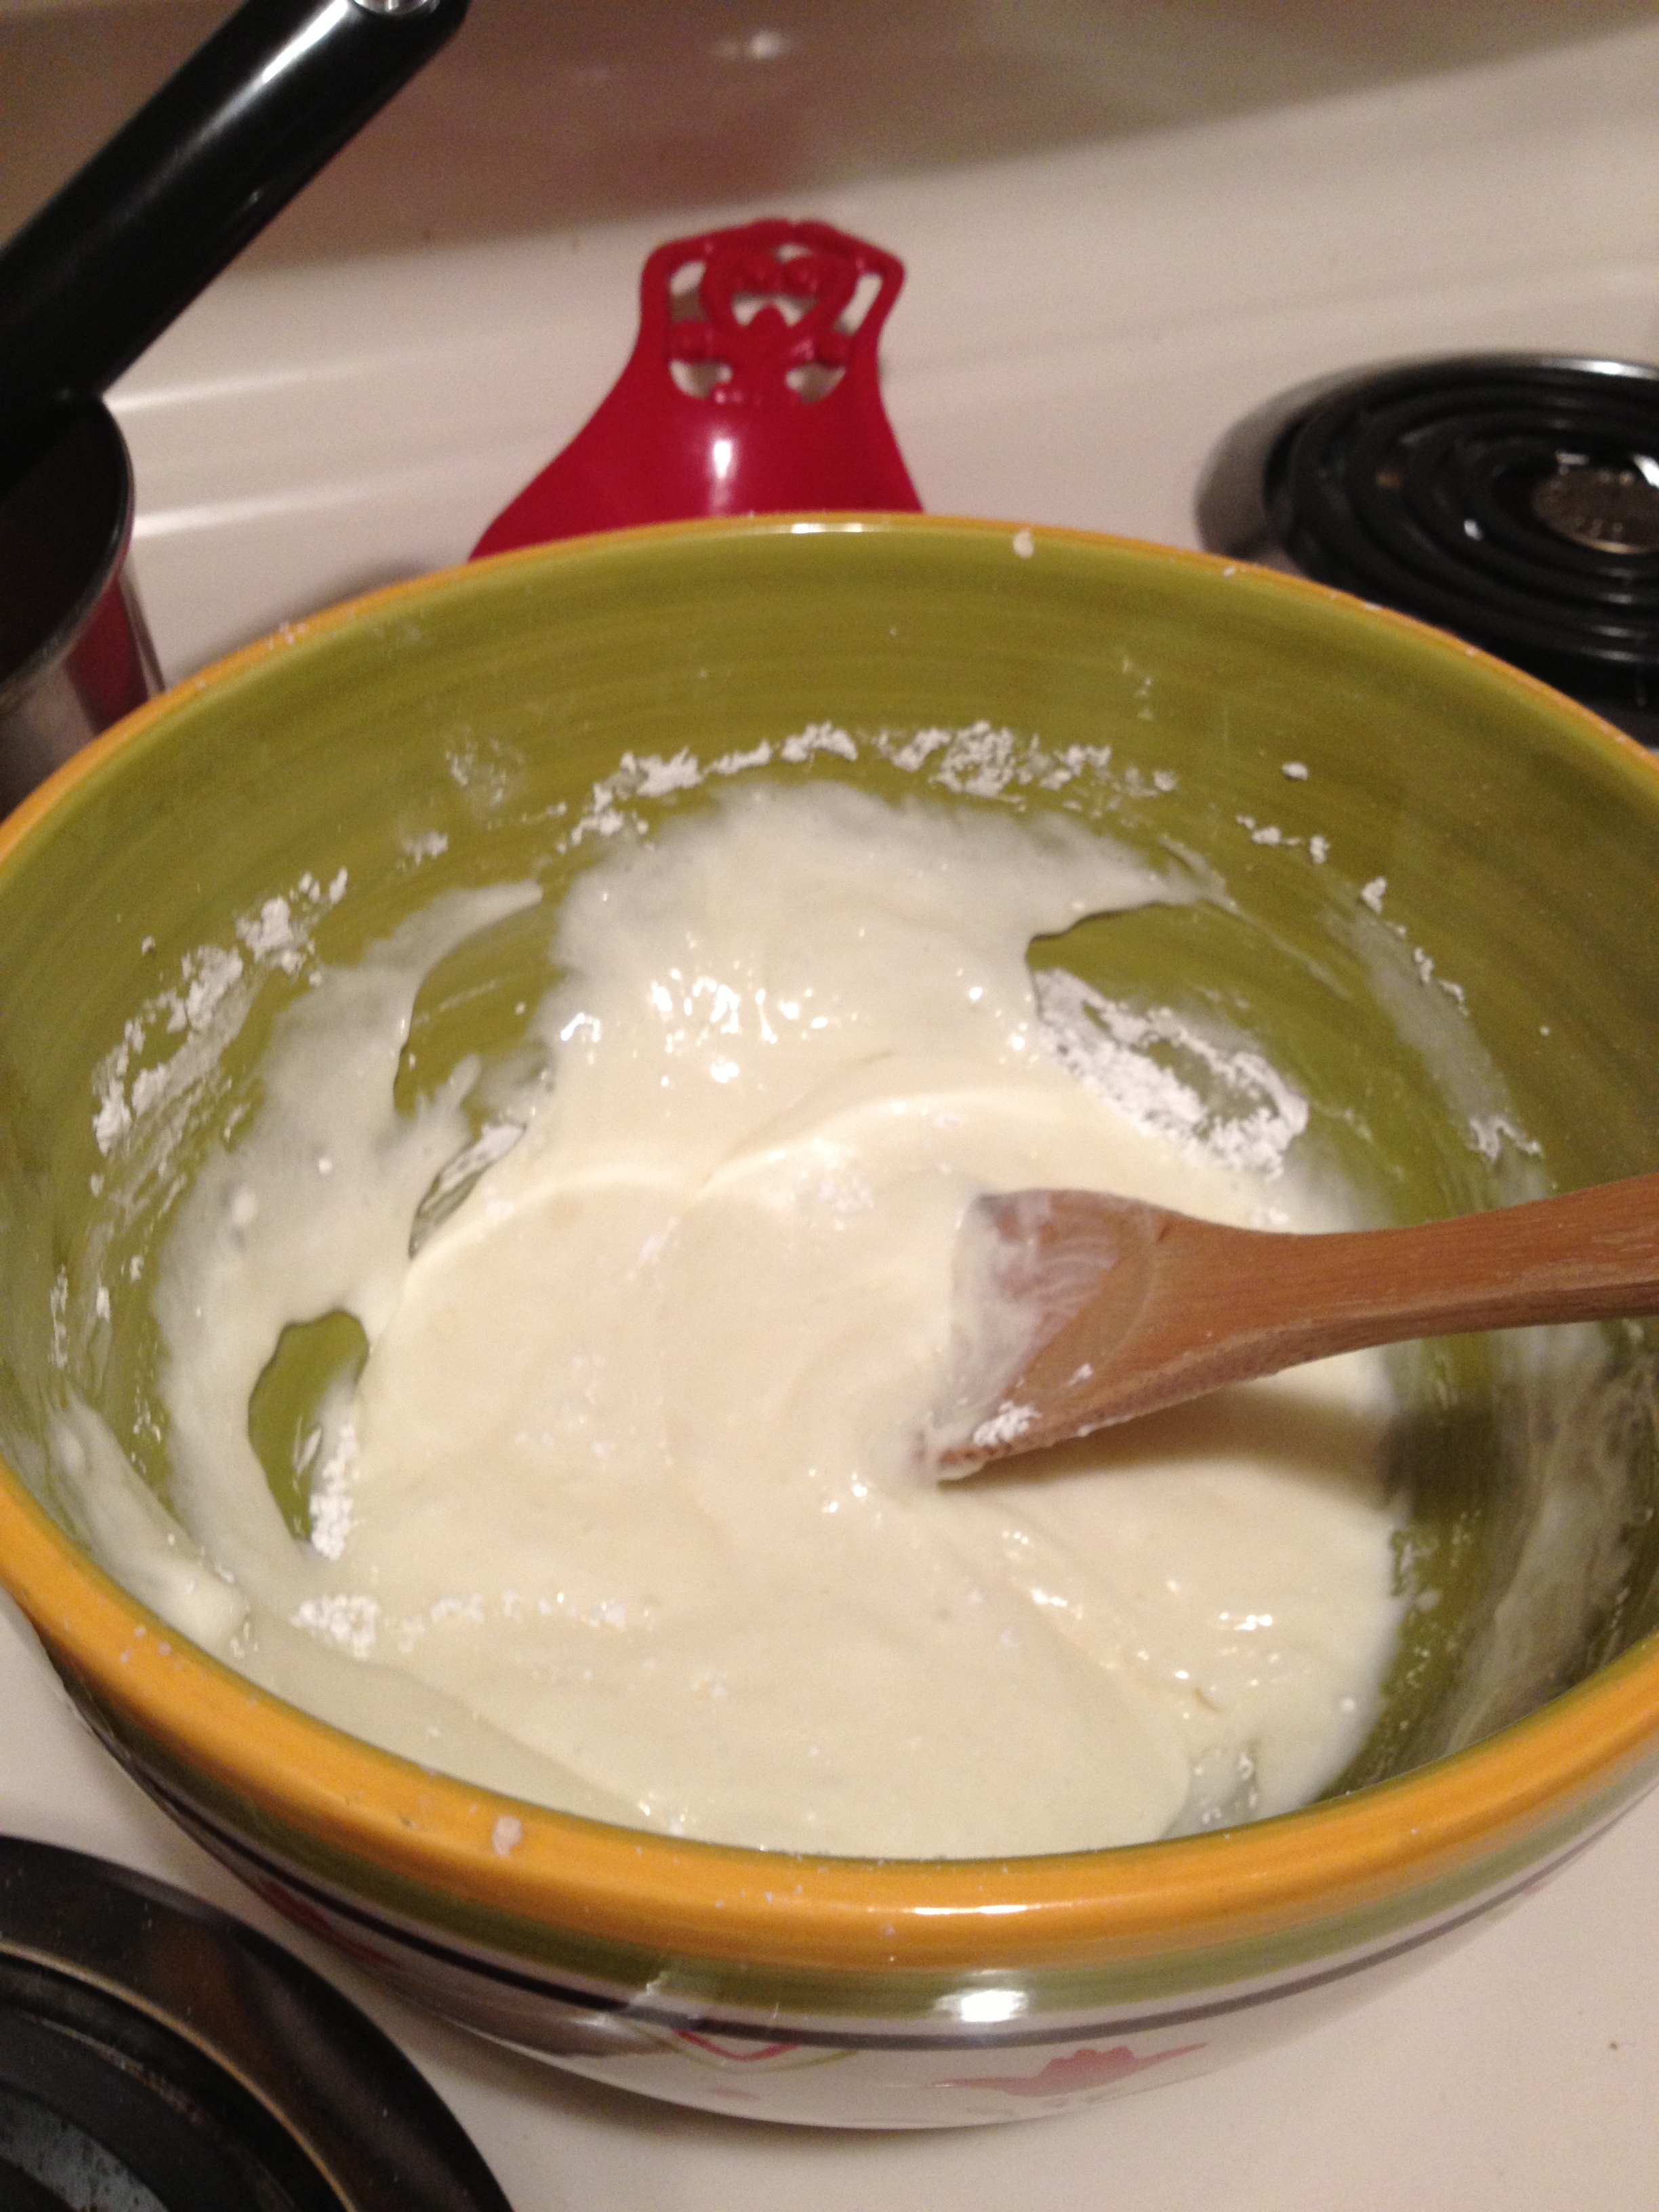
  • Now in a medium-sized bowl, cream together the cream cheese and powdered sugar.

photo 3 (5)

  • Then add in the butter mixture. Then fold in the chocolate chips.
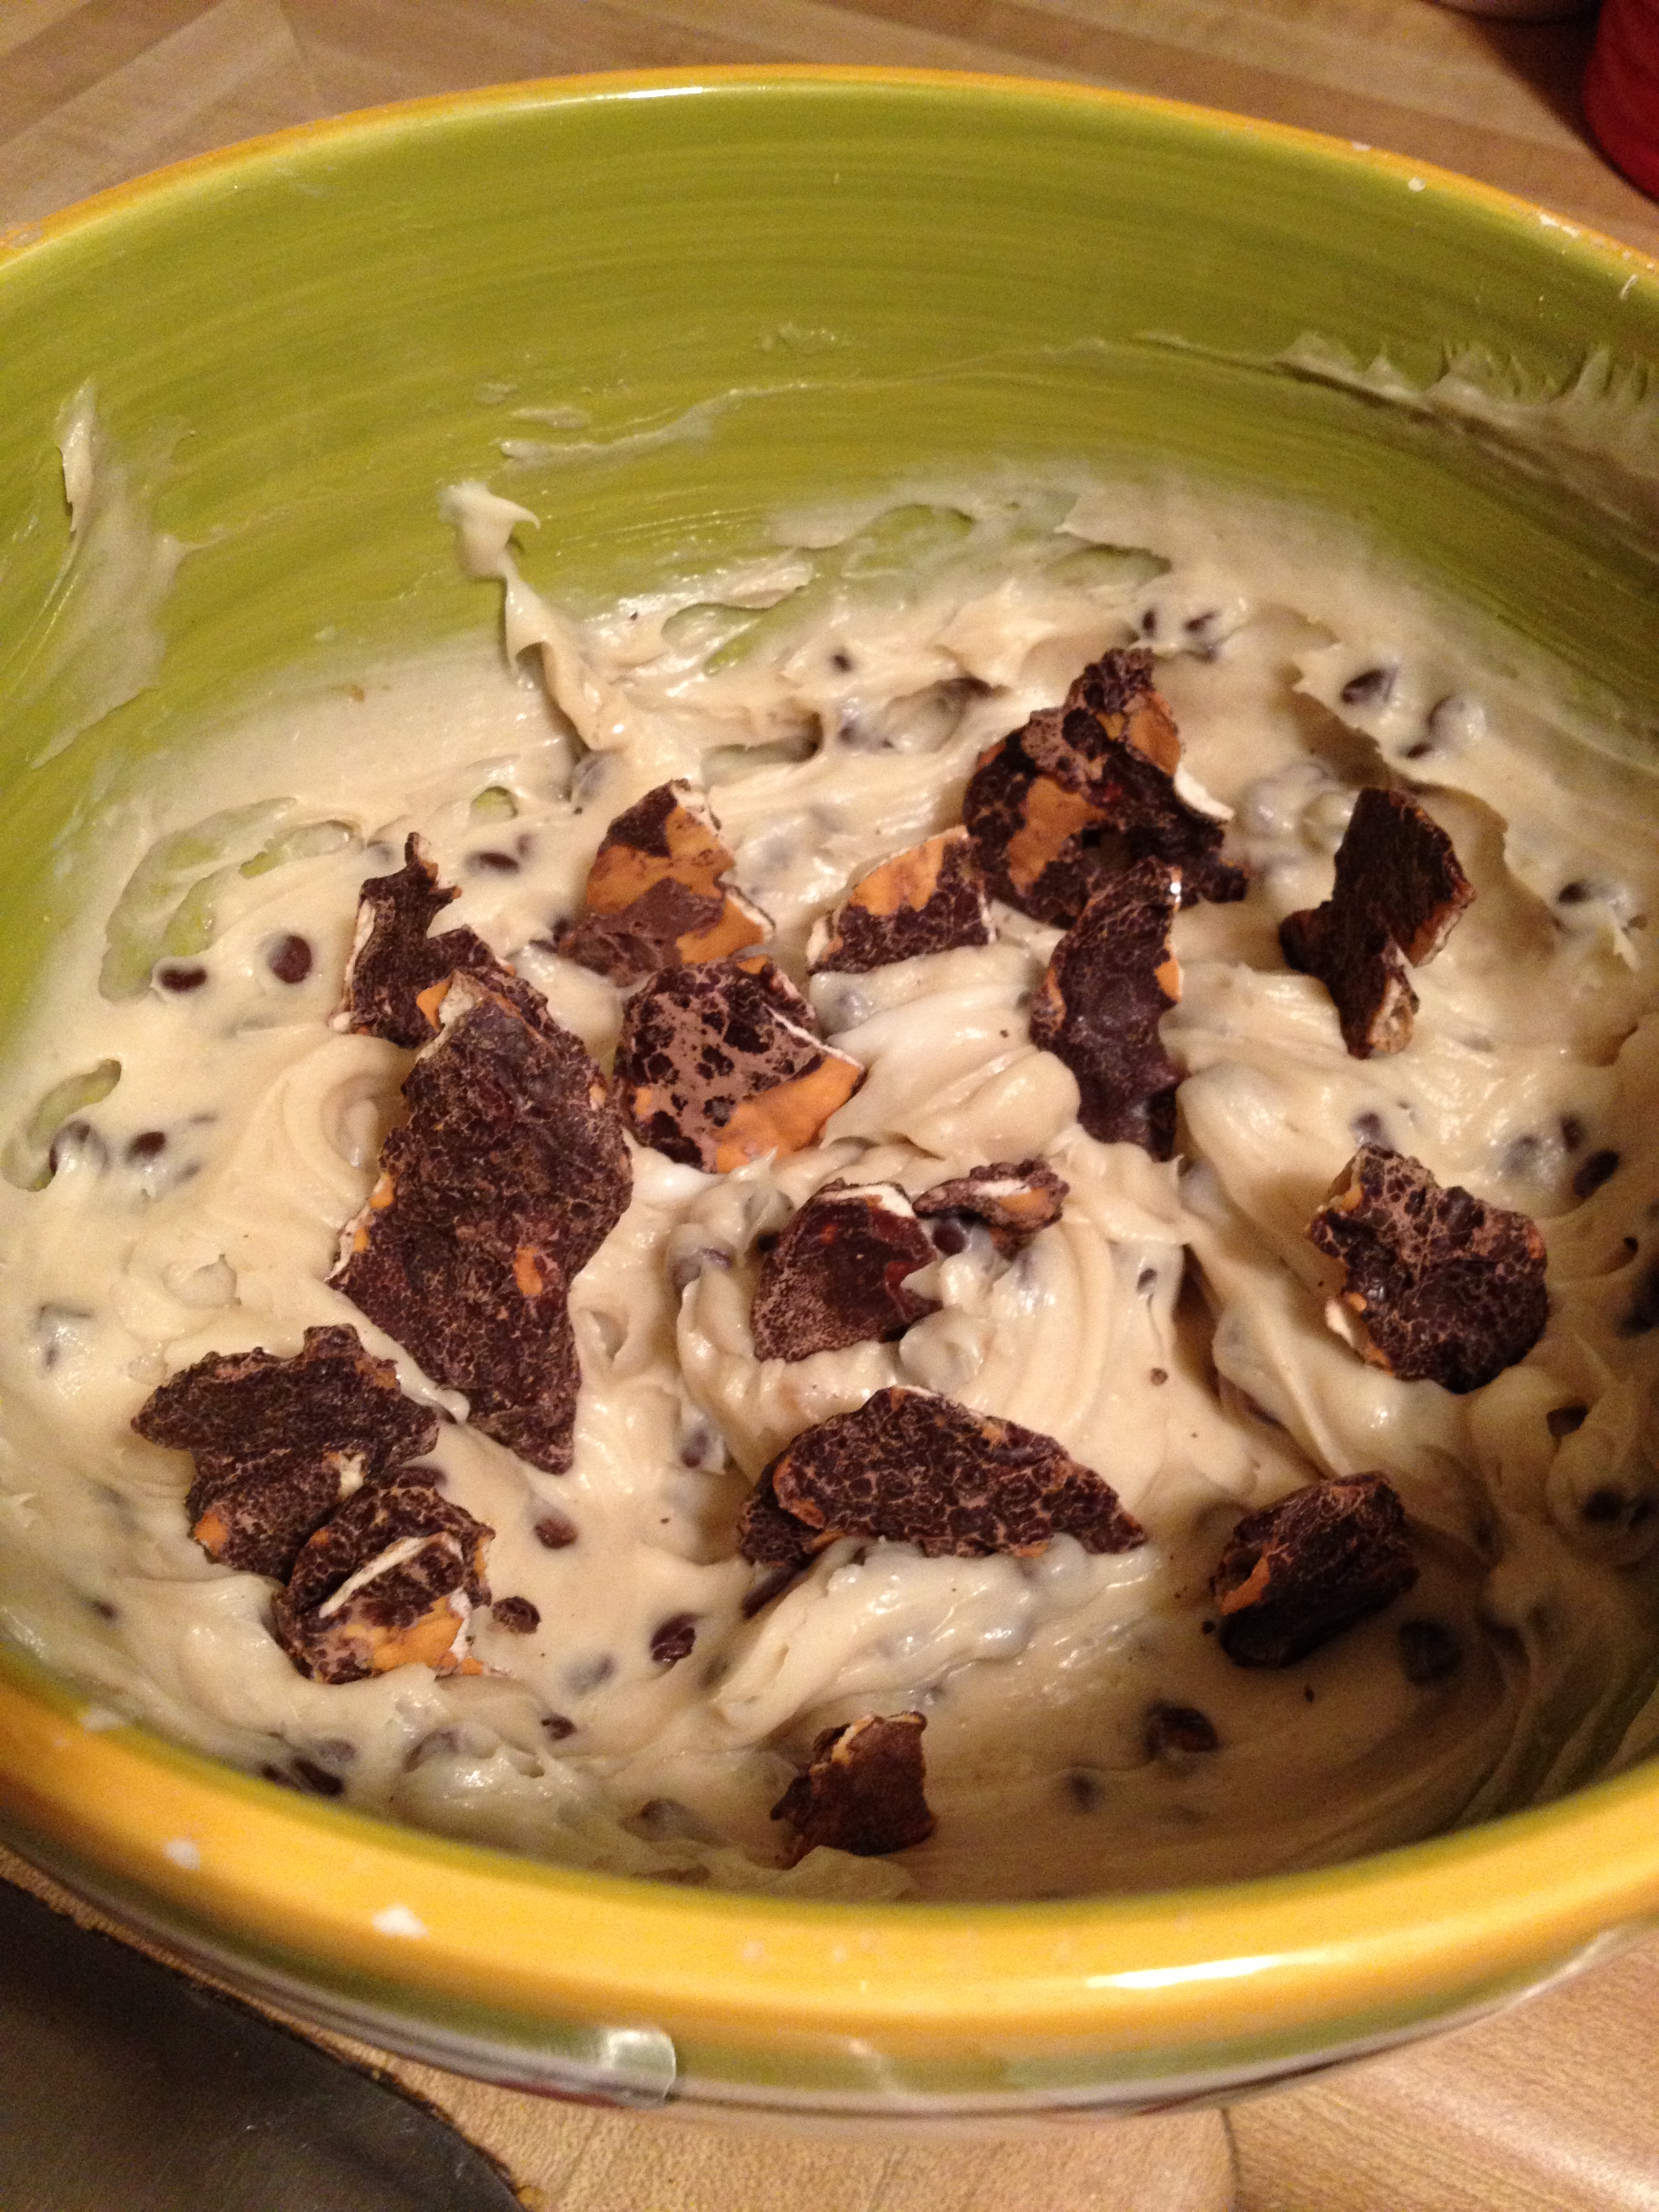
Finished product with some chocolate-covered pretzel thins

Finished product with some chocolate-covered pretzel thins

Yeah. It’s really simple. I would suggest serving it with something like pretzels. I tried using graham crackers but it was too sweet. I think the sweet and salty provides a nice balance. It is a sweet treat to enjoy with friends and family. Refrigerate if not using right away. And as always…stay hungry and fit!

You might also like…

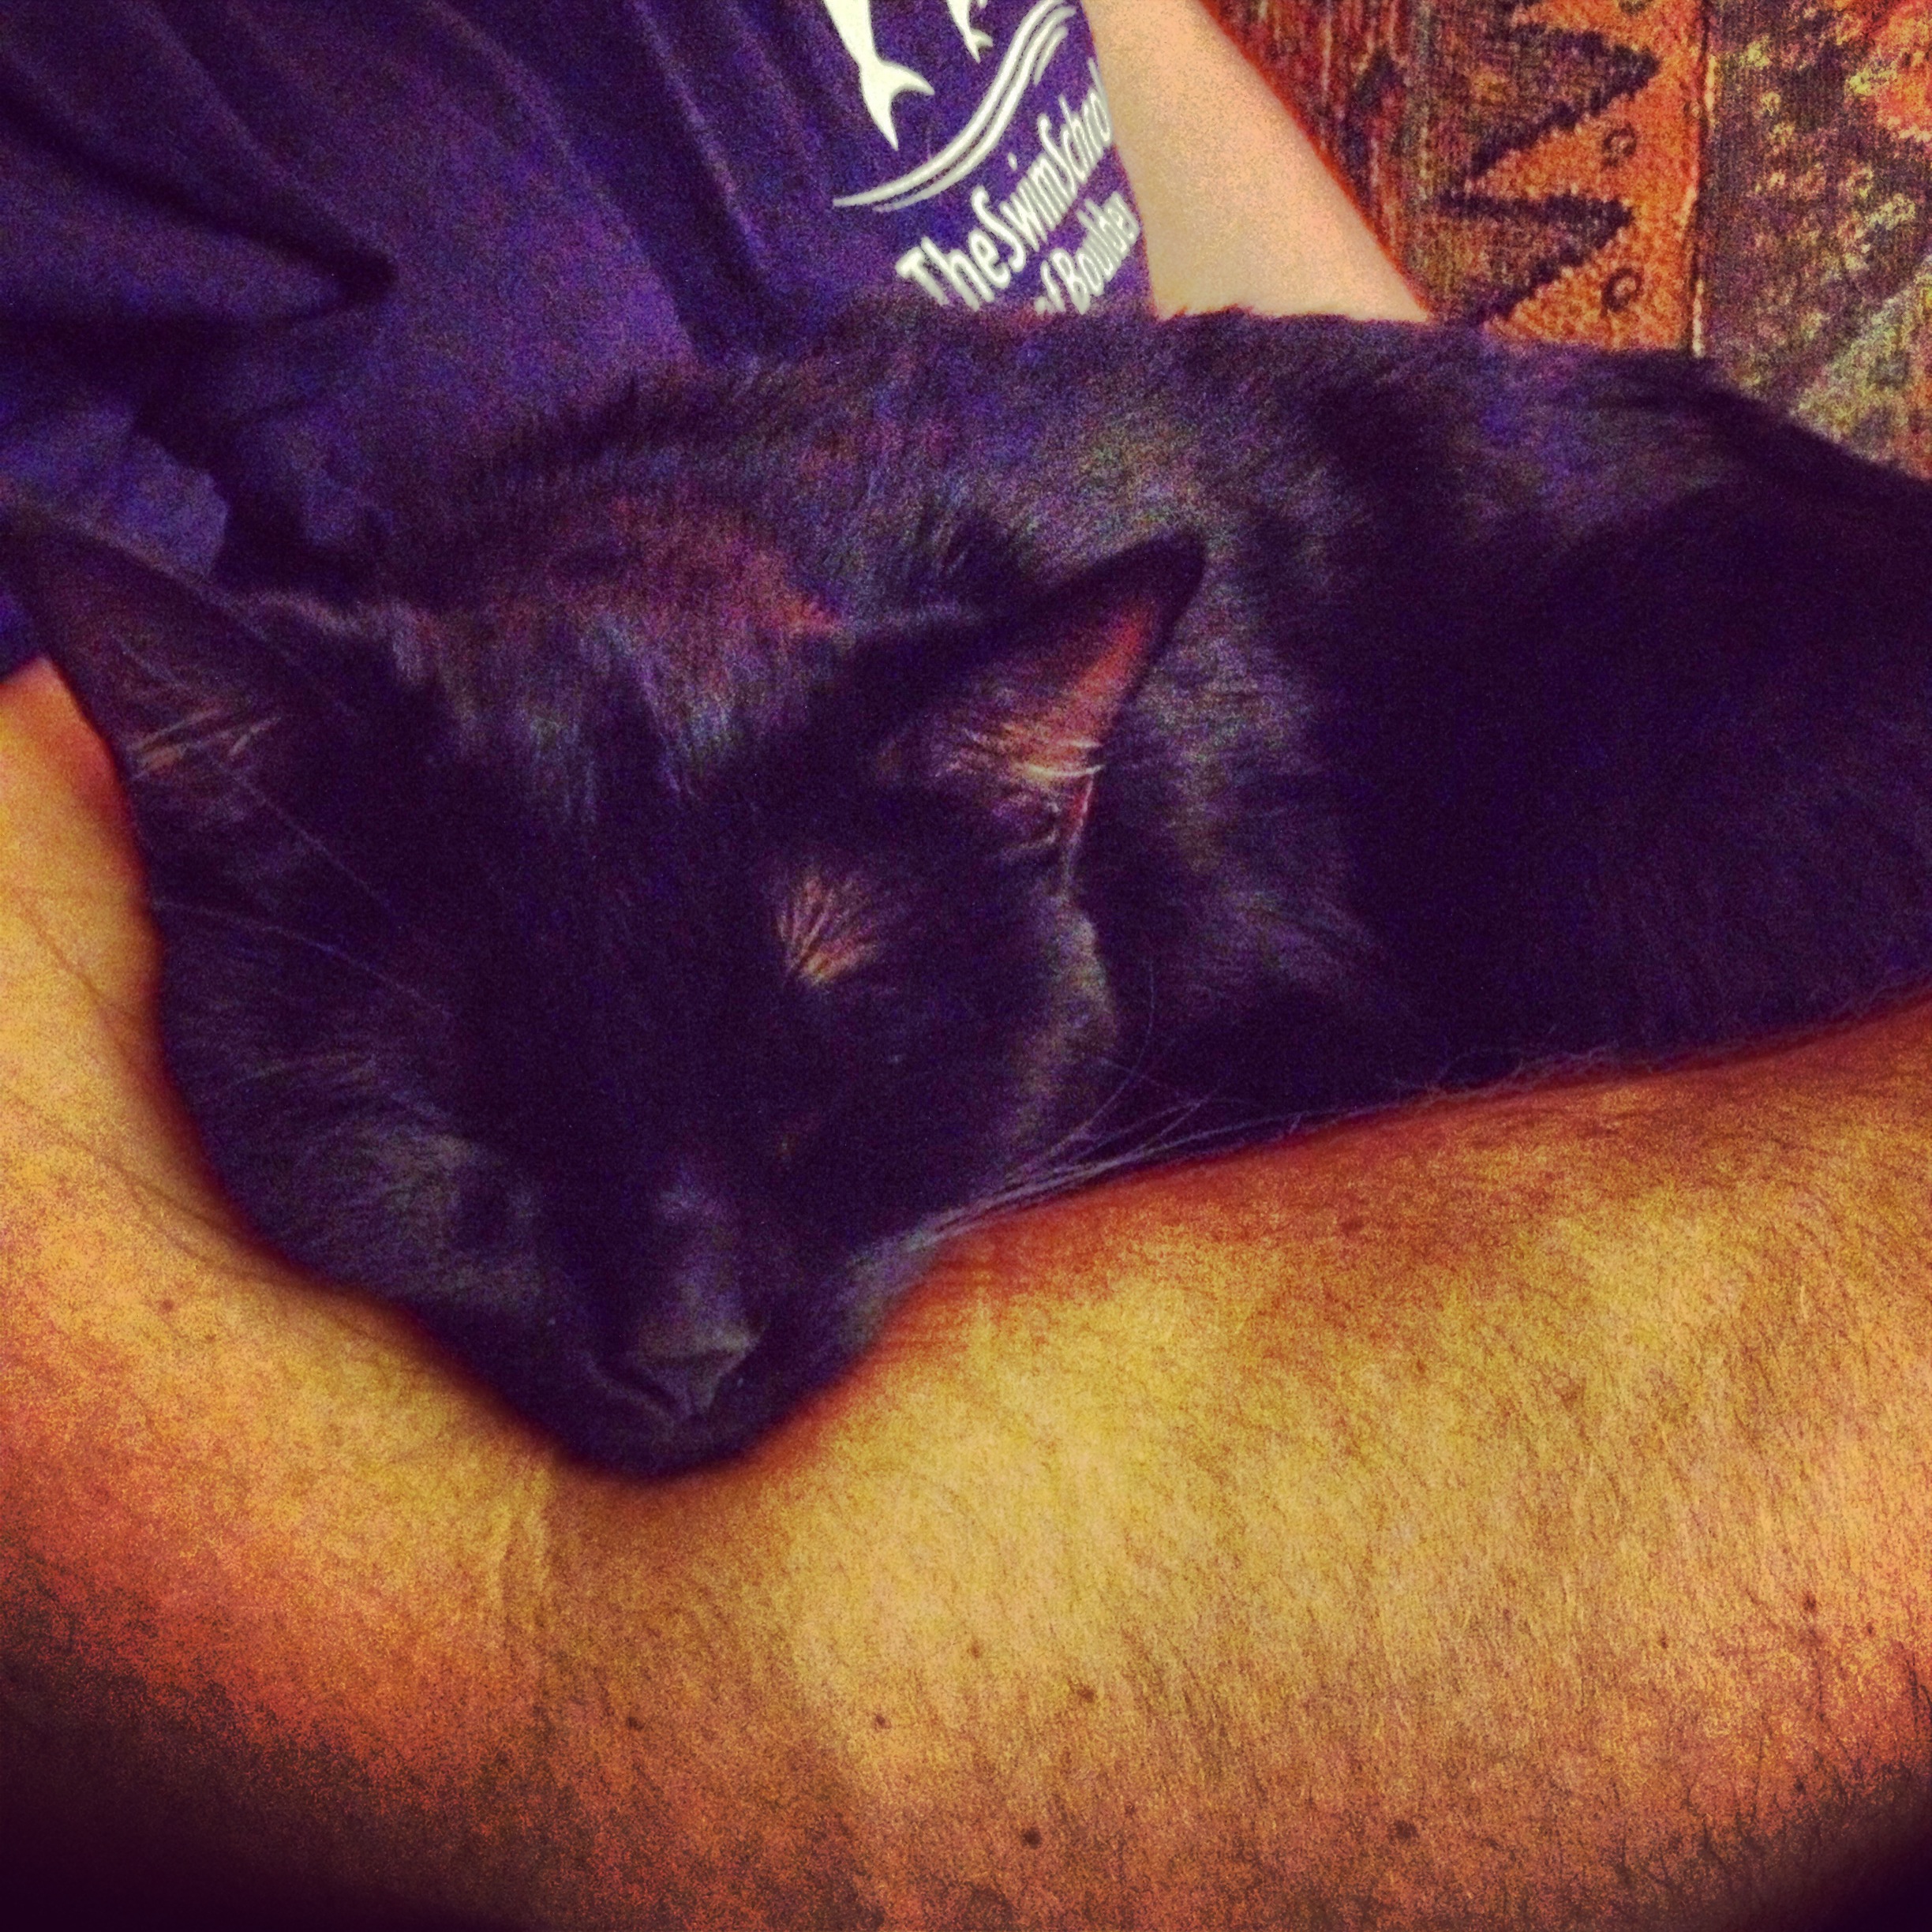
BONUS KITTY PIC

Nymeria loves Castle marathons because she gets great cuddle spots

Nymeria loves Castle marathons because she gets great cuddle spots

spacer