Daylight savings time has us falling back and the sun is setting earlier. Days are getting darker, nights are getting colder and we’re moving through Fall quickly, on our way to Winter. The change of seasons and weather provides us the opportunity to cook different dishes in order to keep our bodies warm and even capitalize on different foods that are in season. One food that you can make all year round is chili, but there’s something special about having a warm bowl on a cold night.
We’ve presented loads of different recipes on the blog, in different forms. Sometimes we use recipe cards; sometimes we don’t. Sometimes we use lots and lots of work; sometimes we don’t. One thing we always want to do is include lots of delicious pictures, but this time around, we’re going to use these pictures as the recipe.
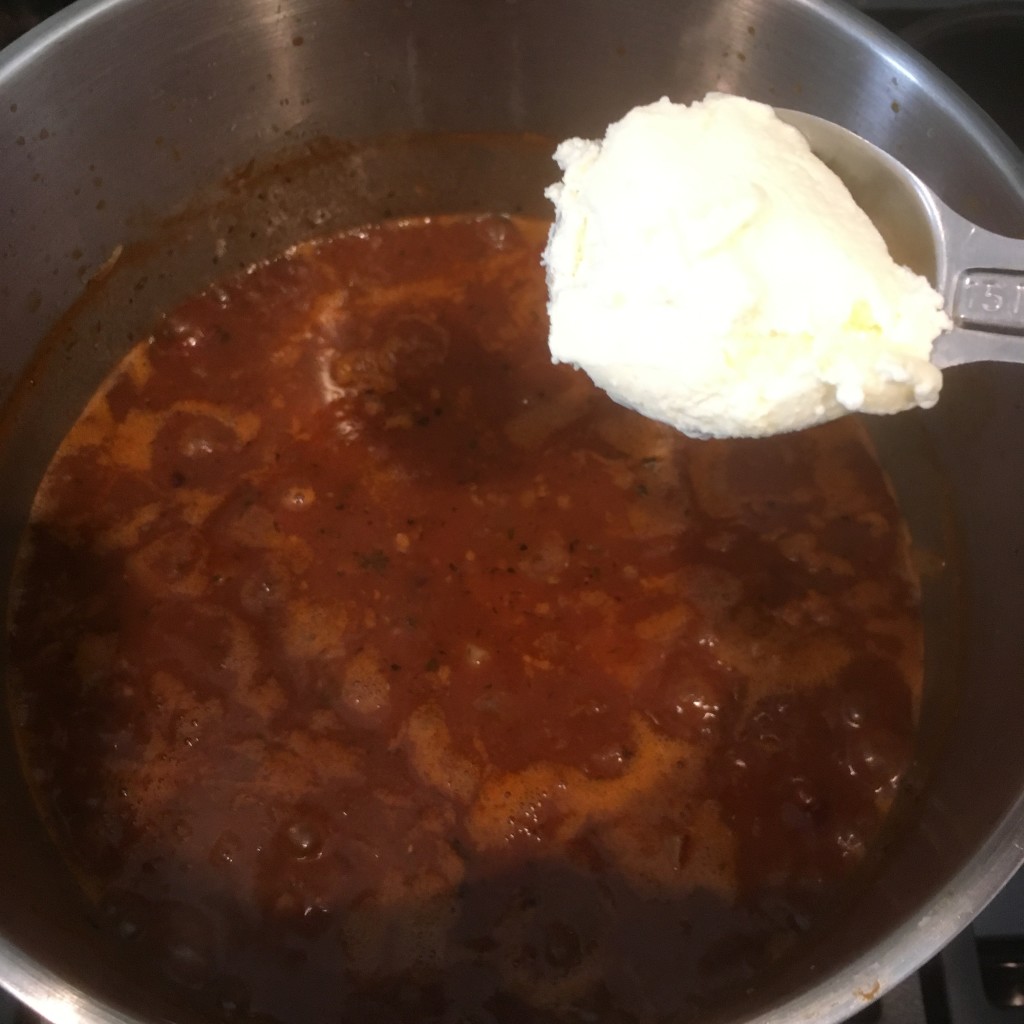
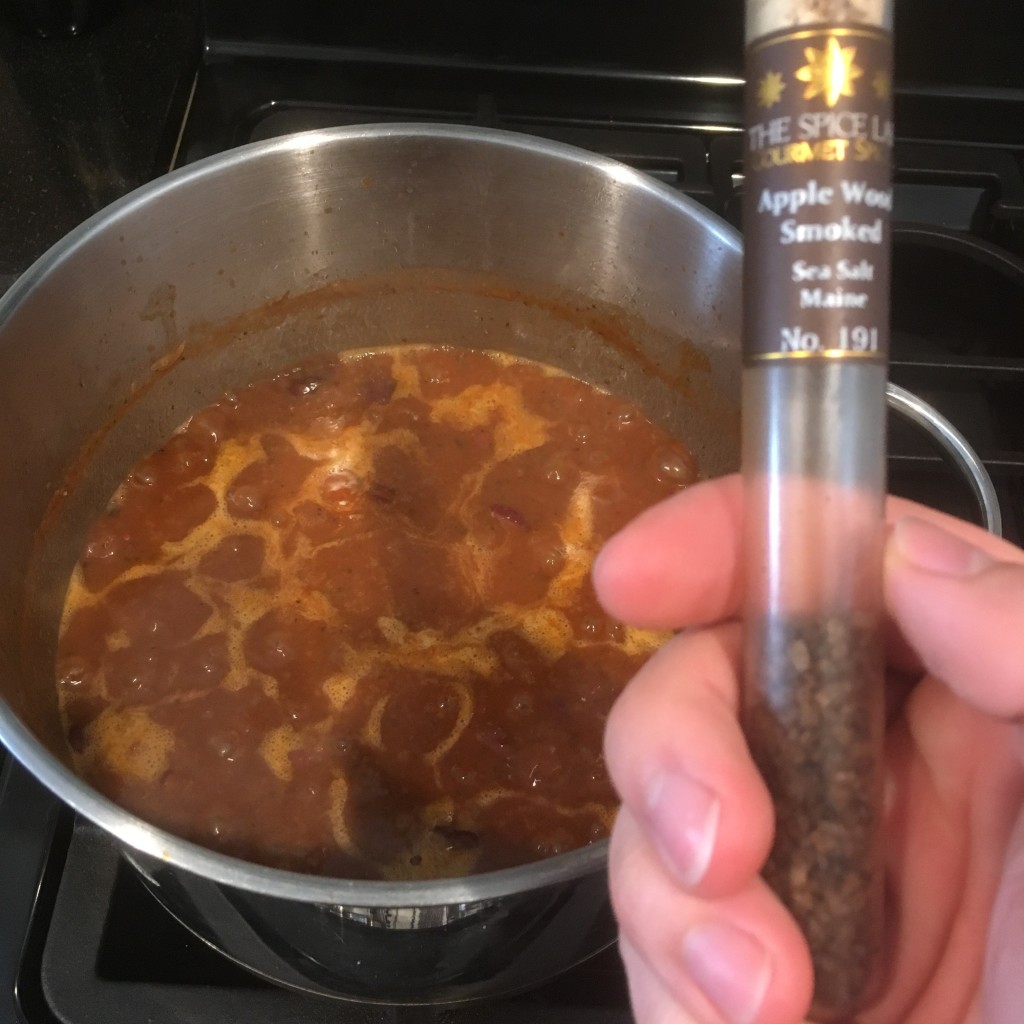
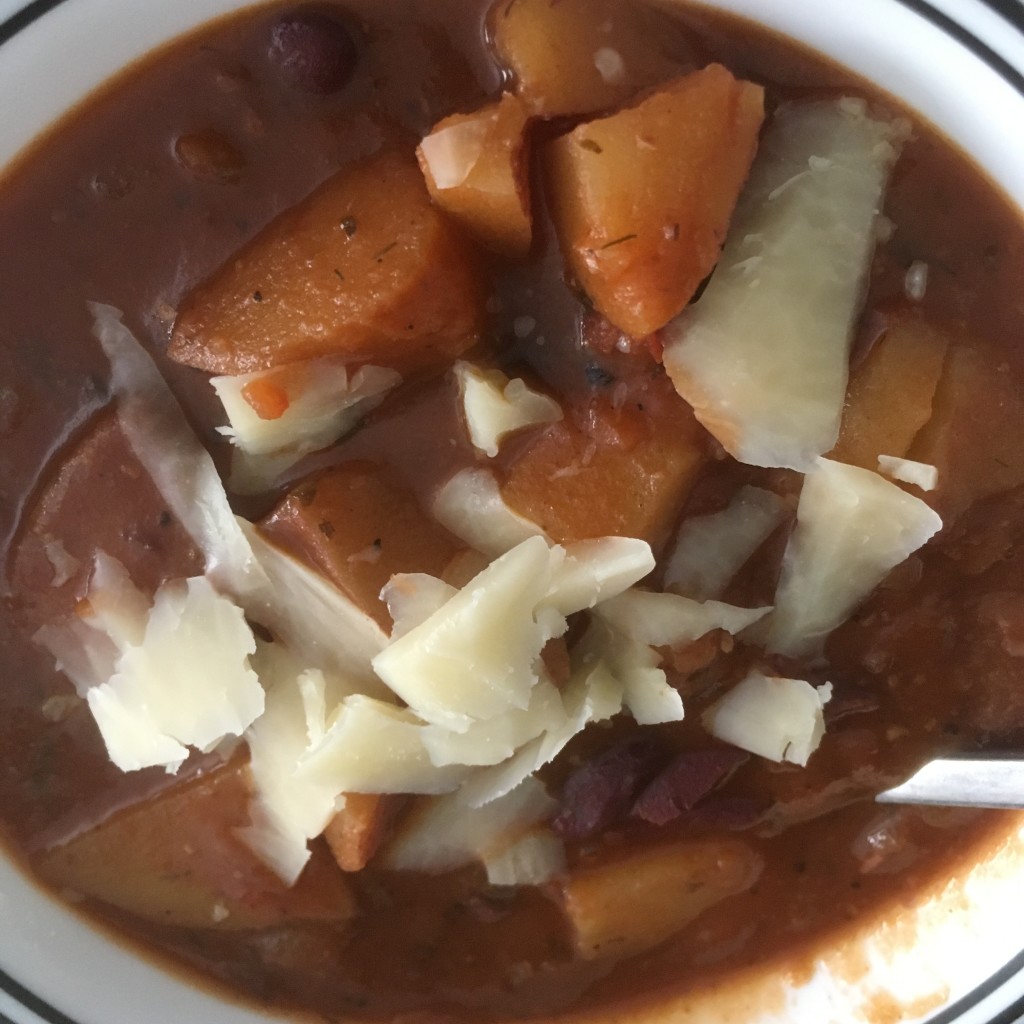
During (nearly) every stage of the cooking process, we’re going to show you a picture and only provide a brief description as to what is going on. Since we’re not baking, precise measurements aren’t as important, and since we’re making chili, there aren’t any complex techniques. Plus, the most important thing to remember is that this is YOUR chili, and you should adjust the seasoning to make your mouth and tummy happy. (If you want to throw some serious heat in there, go for it!)
Ingredients you’ll need:
- Onion
- Garlic
- Red wine
- Vegetable stock
- Potatoes, cut into chunks
- Fresh or canned tomatoes
- Seasoning like oregano, paprika, and salt & pepper
- Beans
- Fat, such as butter
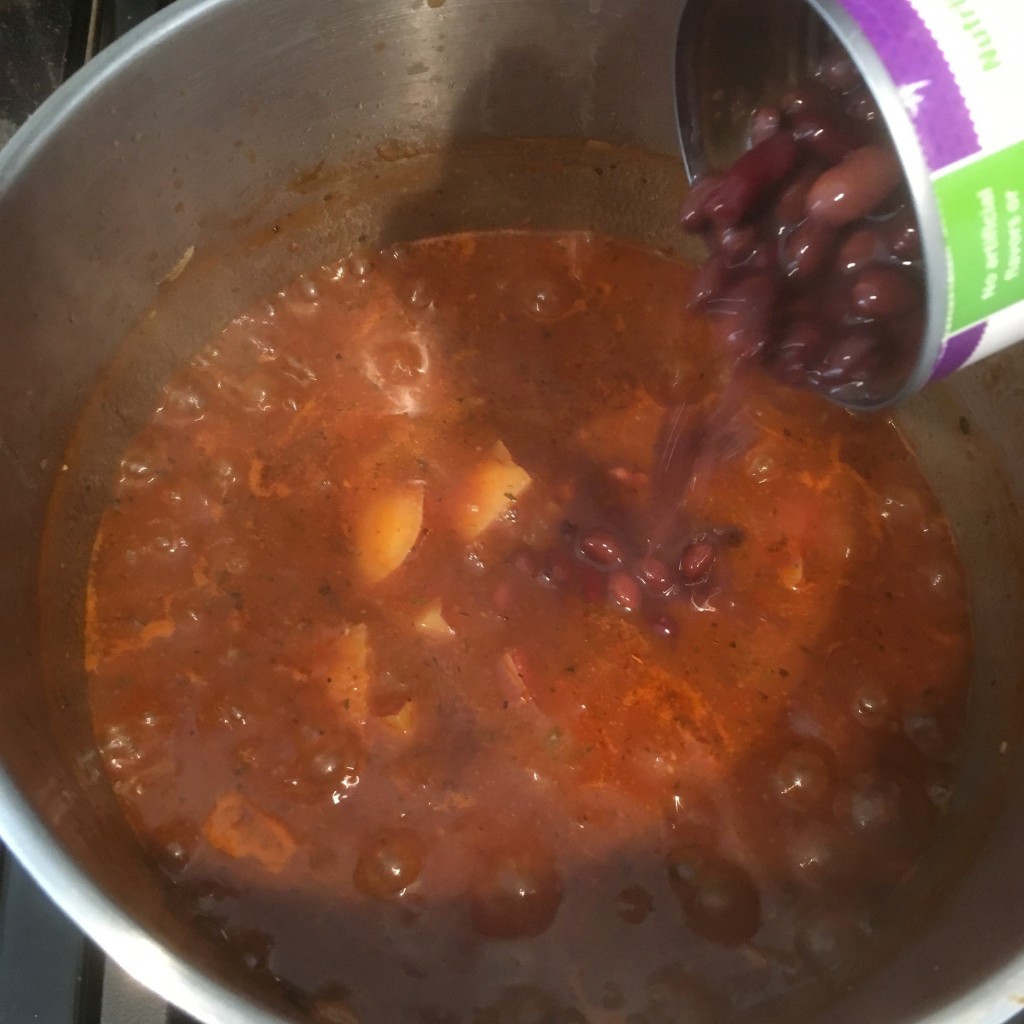
Step 7: Add your favorite beans for protein and heartiness.
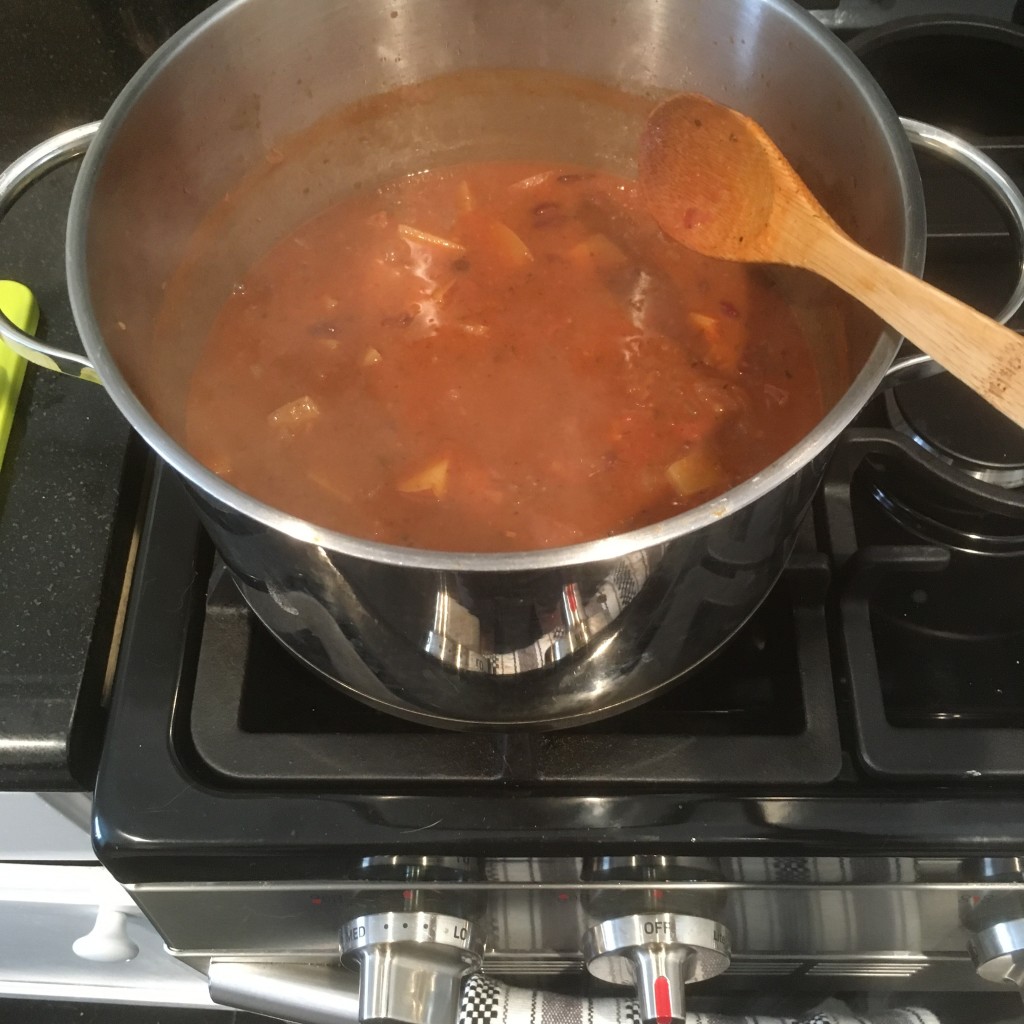
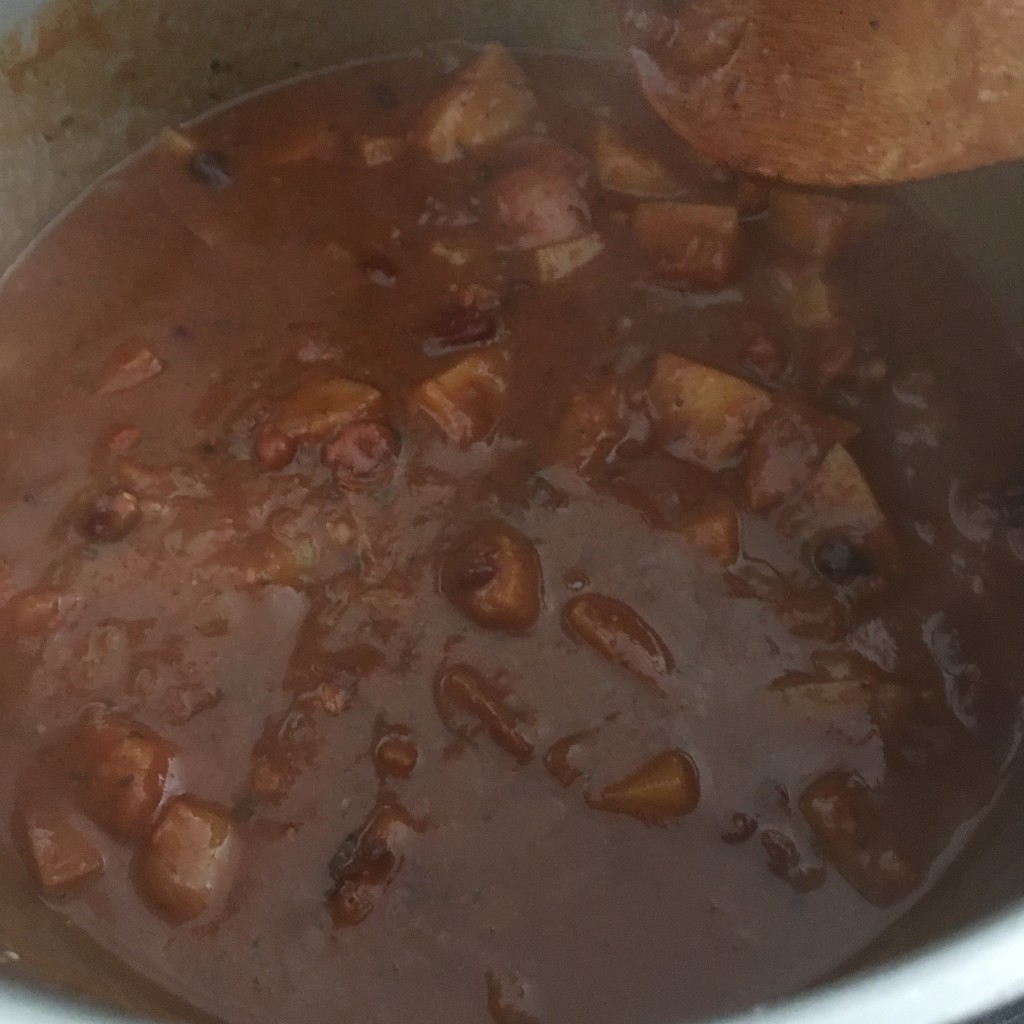
Step 10: Stir and allow to reduce at a low simmer, as long as possible!
Let us know how you like your chili. Thicker or thinner? Spicy or mild? What are your favorite proteins to use? Do you have any secrets? As always, stay hungry and fit!

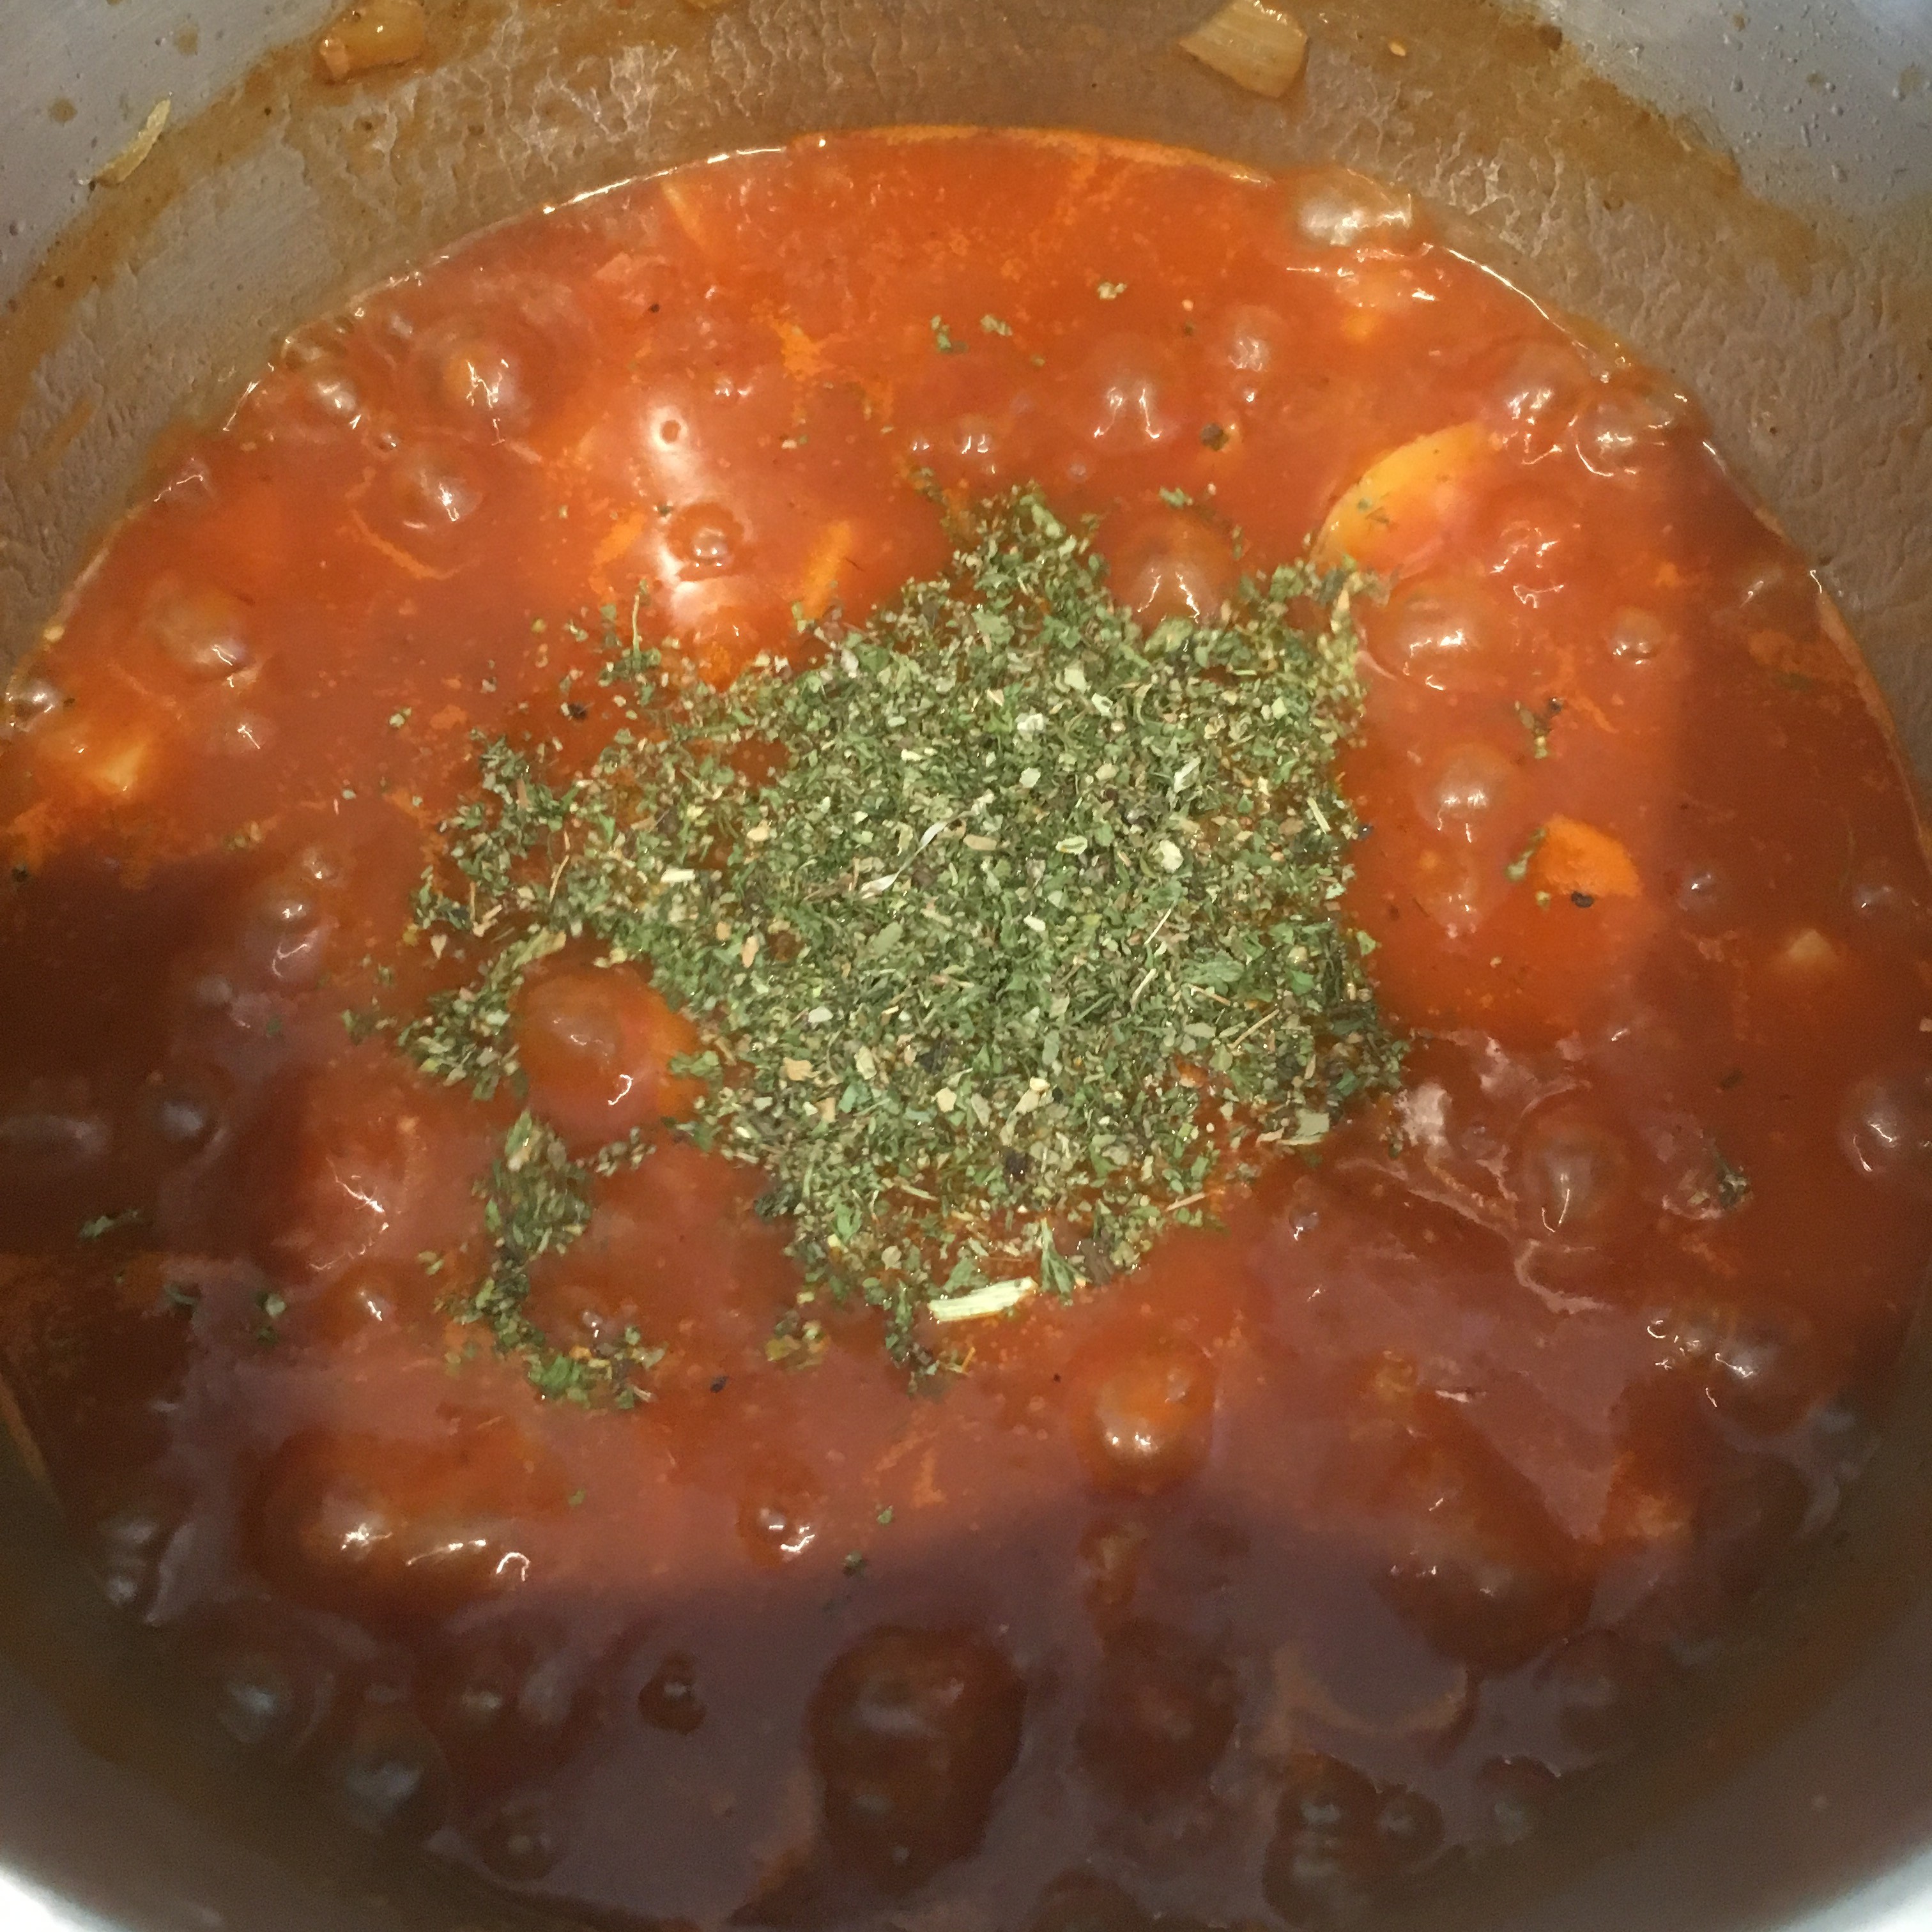
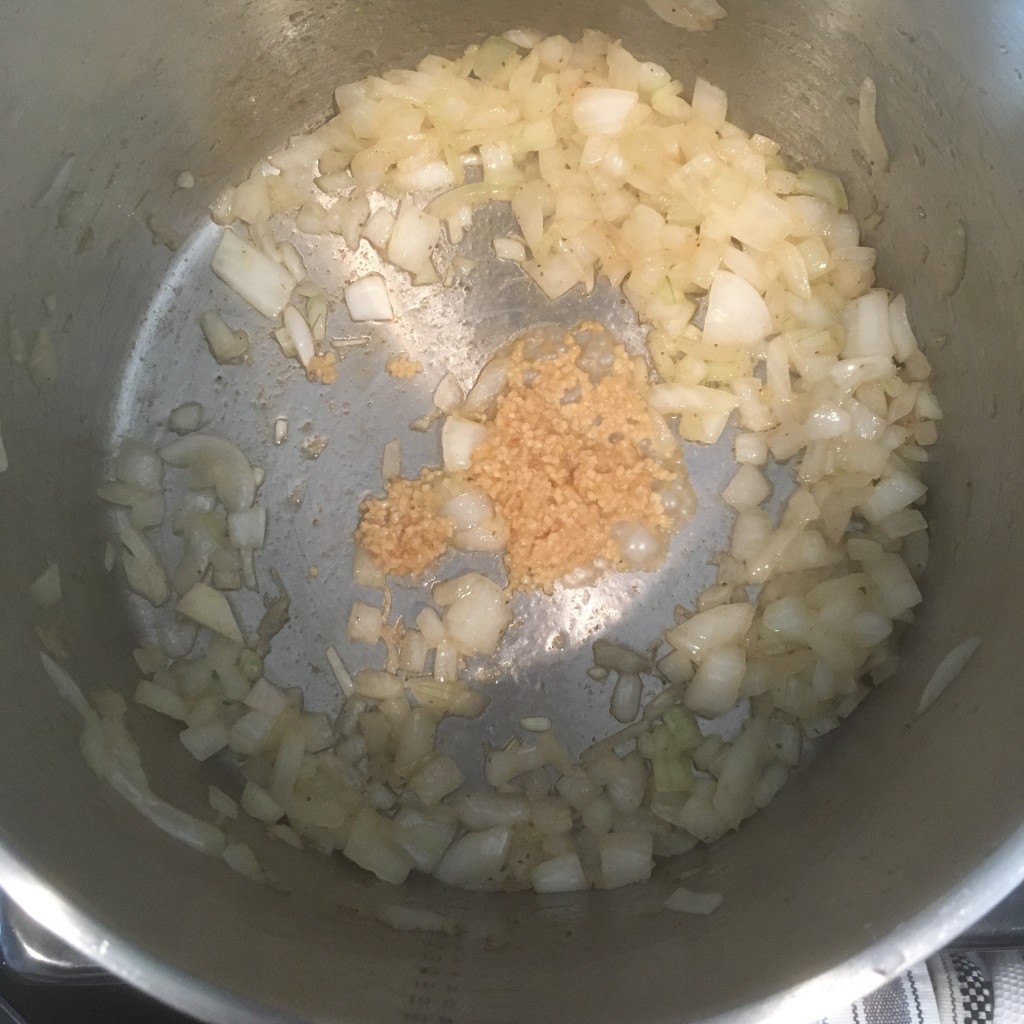
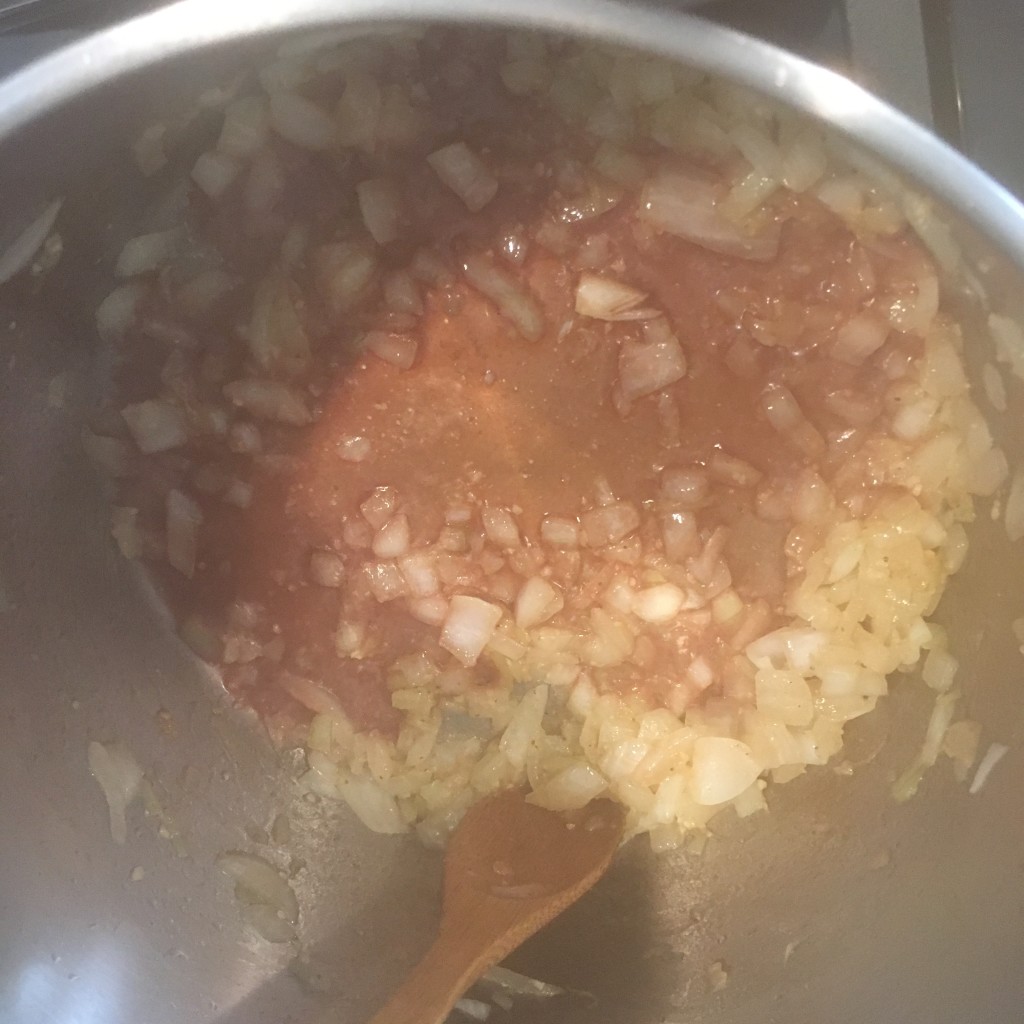
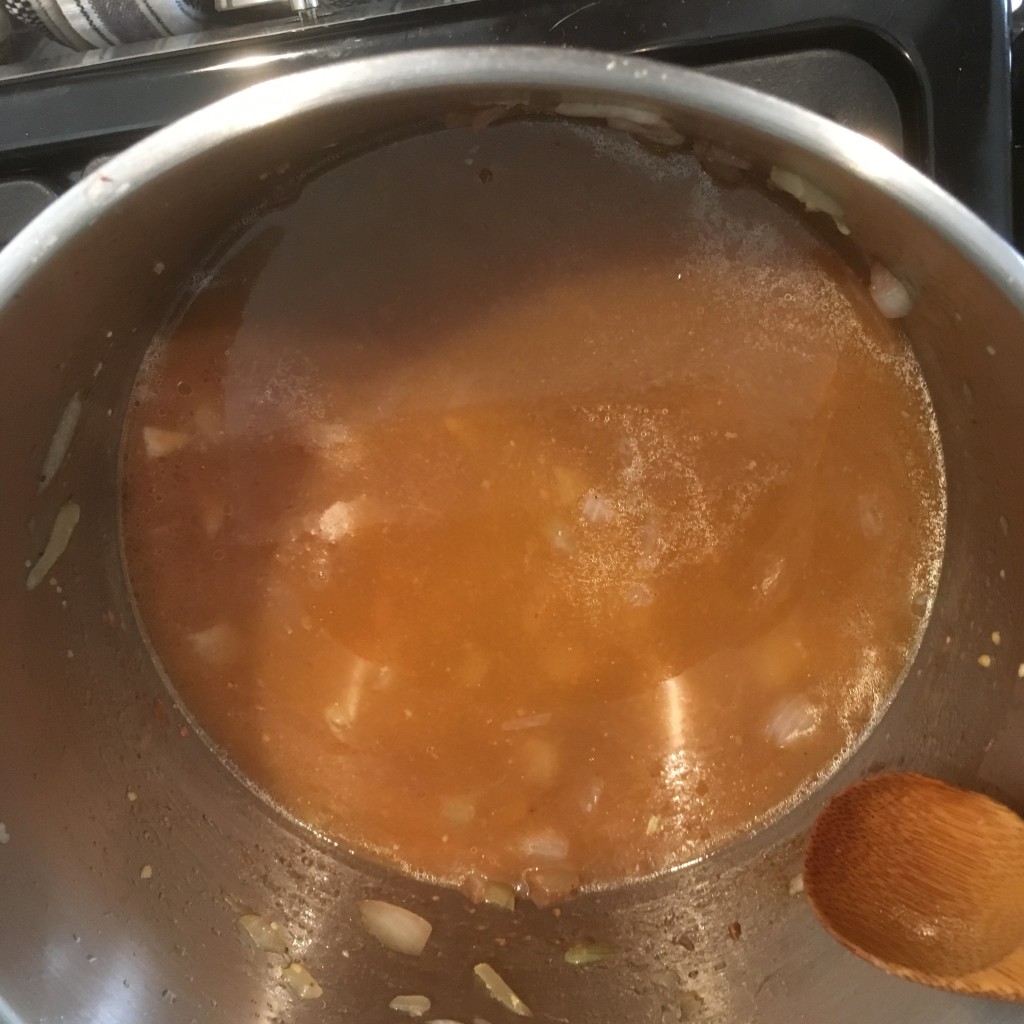
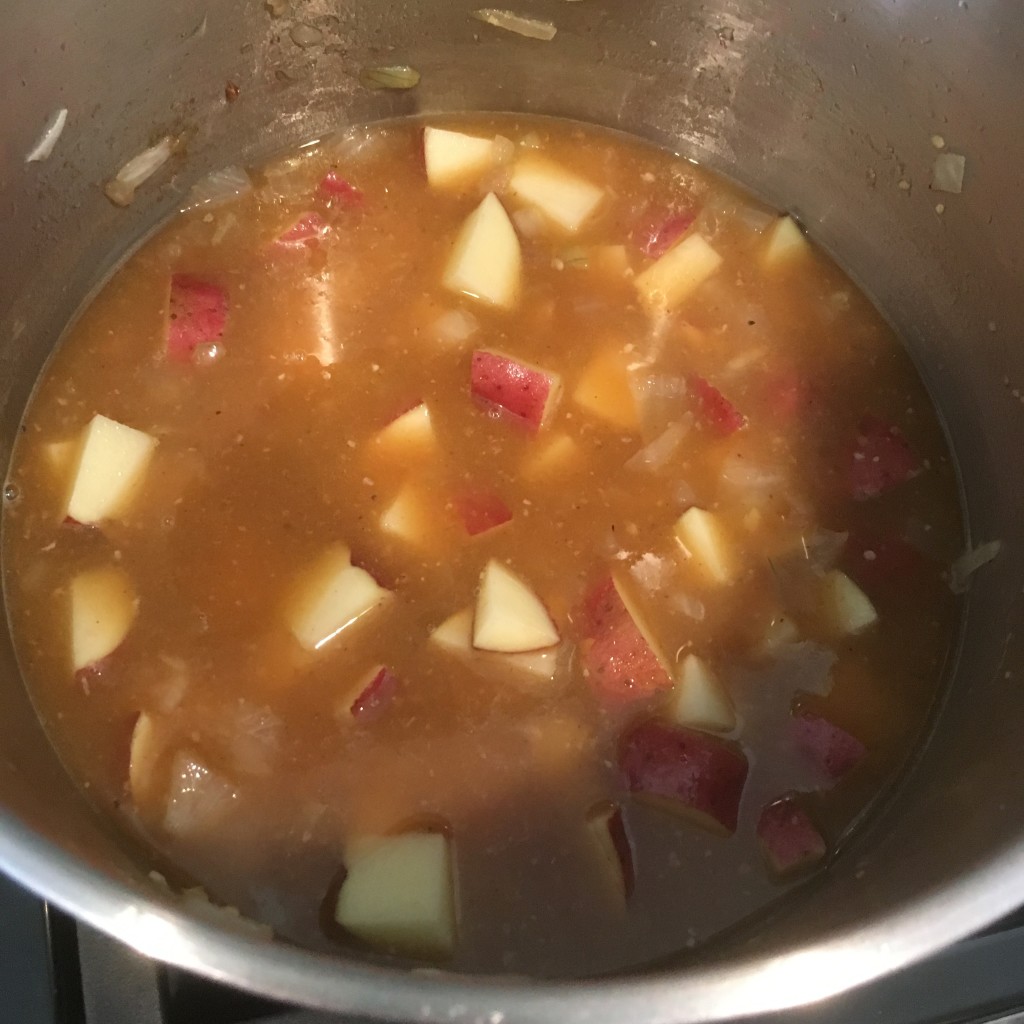
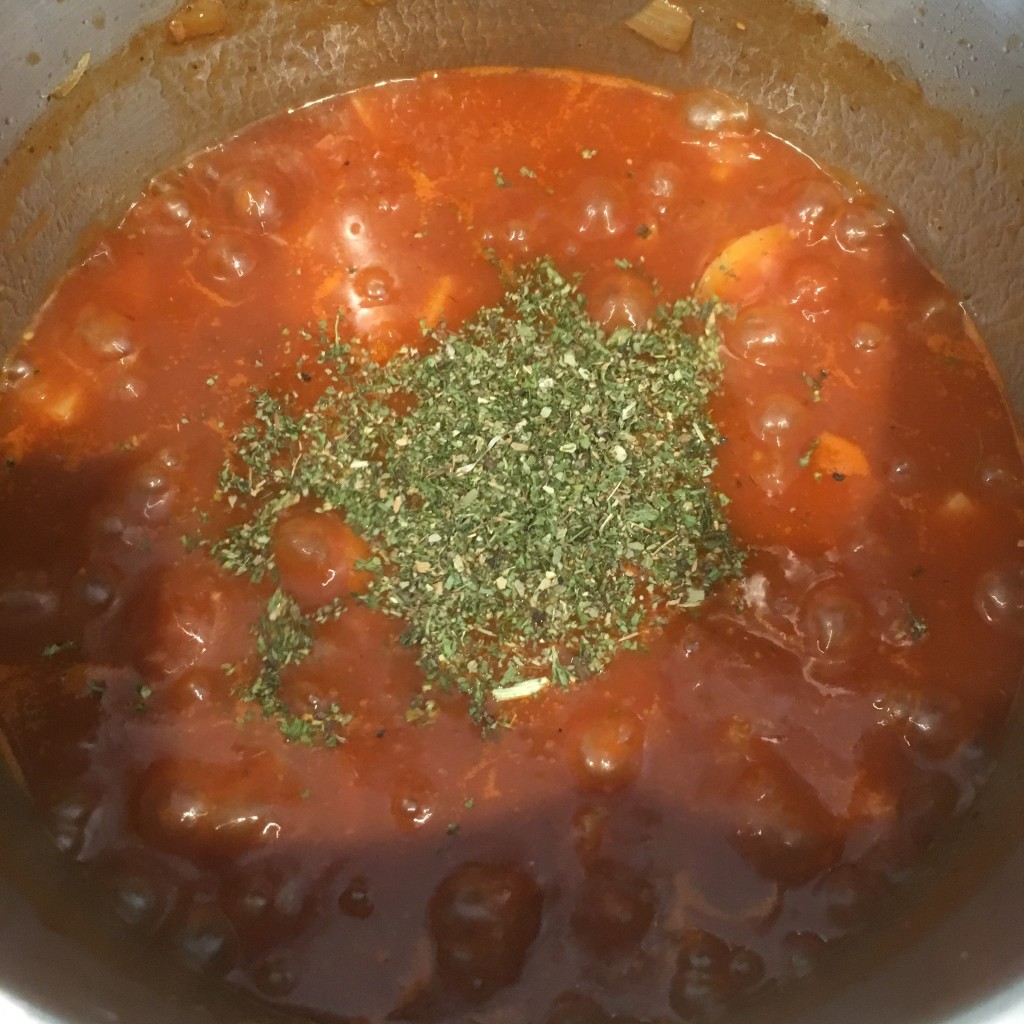
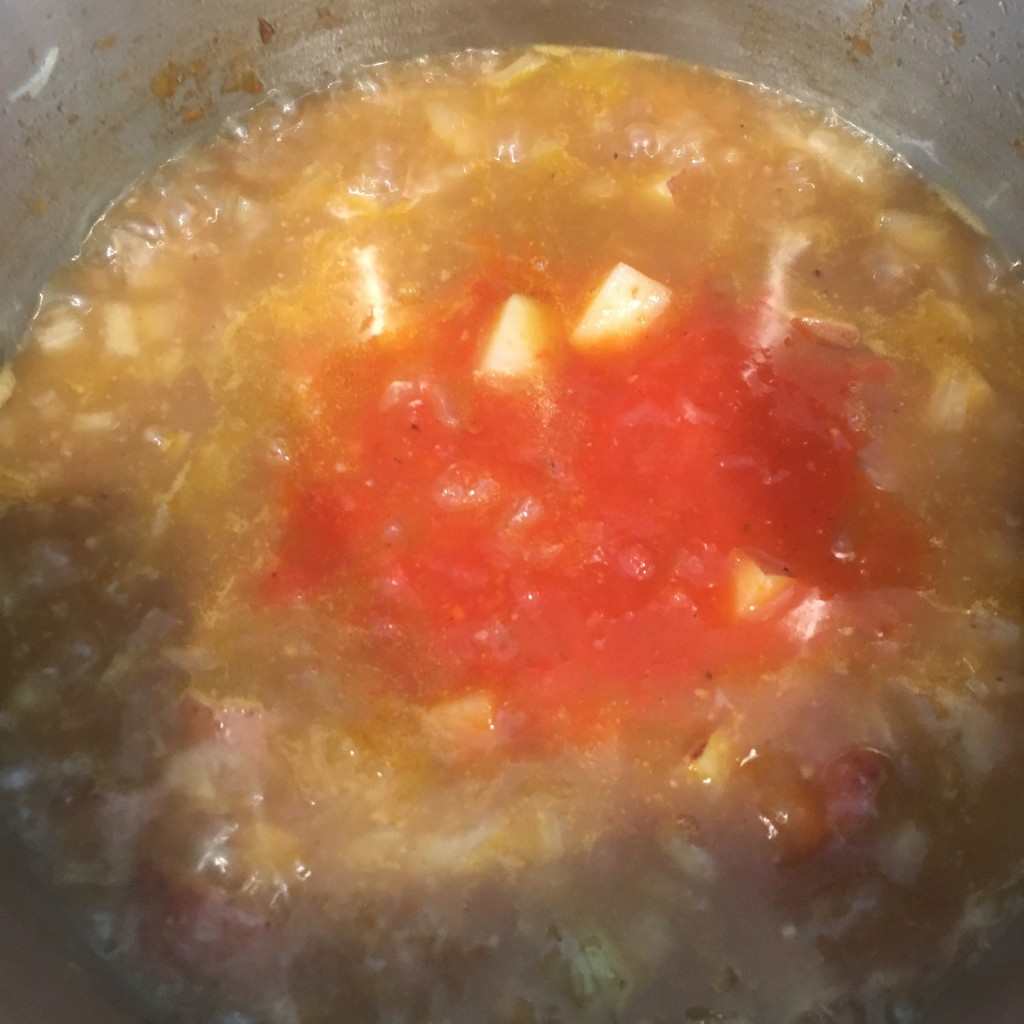 Step 5: Add tomatoes, either fresh (crushed) or canned (San Marzano)


Chili for me means made with good beef, spices, and lots of cumin and paprika 🙂