Archives

spacer

Don’t Lift Those Heavy Weights!

Last night while getting back into squatting regularly, someone else was making some serious mistakes in their form and training program. I was concerned for their health and said something to their friend, hoping he could convince him to clean up his act for his own good. Then, the friend asked me about his own issue relating to some pain in his shoulders when he is doing what his demonstration seemed like dual bent over posterior deltoid flyes with 35 lb dumbbells.

photo 1 (17)

 This all leads to my point, to stop lifting heavy weights… if you’re not ready for it. I know you want to get big and strong fast, but this process is a progression that needs to be taken slowly. The muscles in your chest are large and can handle a significant amount of weight, but with poor form (or even with proper form) your shoulder, elbow, and wrist joints might not be conditioned to do the same. It will take correct technique and a significant amount of training to make sure your stabilizing muscles that protect your joints are prepared for a larger load.

 Here are five tips to protect yourself and maximize your effort!

 1. Warmup! It’s important to perform warm up exercises to loosen muscles fibers that are shorter, tighter, and colder from inactivity. Some internal and externals rotations can really help maximize your bench results without fatiguing your shoulders for the lift.

2. Set a rep range and stick to it. If you’re going for five reps of 135 lbs on the bench press, you’re doing that for a reason. Make sure you can perform all of those repetitions almost perfectly before considering doing five reps of any more weight in the same exercise.

3. Use assistance when necessary. I’m not telling you to let your spotter row the weight from your chest, but protect your joints when performing heavier weights or higher repetition ranges. Personally, I’m not a huge fan of using belts, straps, and wraps often (because I want to strengthen my core and stabilizer muscles), but it’s important to protect your body!

4. Rest! Someone at my facility benches and curls weights every single day of the week. When you isolate a body part and damage muscle fibers to the point that they need to be repaired, you actually have to let them repair before you hit that muscle group hard again! Don’t waste your progress by being reckless.

5. Do it properly! When you walk in the gym, leave your ego at the door. No one is going to be impressed by your 1/3 squats with two plates on each side. Well, no one who knows what they’re talking about. Ask for advice, learn proper form, use a coach, and make sure you are getting the most out of the exercises without risking getting injured.

photo 3 (13)

 So there you have it. Be smart. Condition your joints and strengthen your stabilizer muscles. Everyone complains about elbow pain after doing chest and triceps with flared elbows and heavy skull crushers. Everyone complains about their lower back hurting when they deadlift and squat. Avoid being sidelined and train smarter! And as always, stay hungry and fit!

spacer

Time to Bring Back Etiquette School

“Sit up straight!” my mum used to (still does) say when she would find me slouched over. Look around you (if you’re around people…if not, look at yourself) and see how many people are slouching. Either their neck is hooked down, their shoulders are scrunched up, or there’s a severe bend in their upper back. It’s scary. And I believe it’s more and more prevalent in today’s world with today’s technology and especially today’s generation (though it’s starting to spread to everyone). I always ask my clients if they think they have good posture when I start out with them. Most of them think they do, until they start training with me when they realize they slouch without knowing it. 

Super slumpy!

Super slumpy!

Do you ever see any slouching in Downton Abbey characters? I didn’t think so. Can you imagine Lady Grantham hunched over her plate of delicate decadence? Yeah right. That’s where my etiquette school title is coming from. I am in no way urging women going to do the “feminine arts” like stitching, cooking, etc., but instead for all of us to try to sit up straight and find some pride in our posture. You know that those in etiquette school would’ve had fingers shoved in their backs until they sat up straight. You don’t see many pictures of older times with people slouching. 

So what are the causes of this?

1. Increased sitting. Definitely. Many people have office jobs where they are sitting for at least 6 hours. Think of what that does to your poor lower back! No wonder it doesn’t want to support you anymore. It’s worn out from you slumped over your desk and computer all day.

2. Technology. Tied in with the former, what if you didn’t have a computer to slouch over? Ironic, perhaps, because you are reading this on some form of technology, but anyways. Technology is our 24/7 life nowadays. That sense of panic when your phone is far away? Yeah, that’s real and that’s scary. Computers cause us to hunch over in our chairs in order to see better, type better, and feel more comfortable (but only short-term). Smart phones cause us to always look down. Can you imagine what that’s going to do to our necks in 20 years? Yikes. 

3. Lack of–well–etiquette. In the olden days, it was considered rude, un-ladylike or gentleman-like to slouch over in such a way. It was considered good manners to stand up or sit up straight, look people in the eye, and take pride in their posture. Times have changed, obviously. For the better and for the worse. People no longer pay mind to their posture. There’s always this pelvic and neck tilt forwards. Our poor bodies! 

4. Lack of core strength. This is a big one and it ties in with #1. Not all of us have good core activation or strength. This causes our lower back to be weak and not able to support us when we sit for long periods of time. Our core is our foundation, if this is weak, the rest crumbles. There’s not much more to be said. Without a strong core, your posture will fail. 

If you look close, I'm not standing up straight or bringing my shoulders back!

I’m not standing up straight or bringing my shoulders back!

Alright alright, so we get why it’s gotten so bad, but how can we fix it?! Here are a few solutions:

1. Get a stability ball. If you have a desk job, do yourself a favor and get one of these. Not only is it incredibly fun, but you have to activate your core to stay upright! If your boss won’t let you have one, ask them if they’ll pay for your medical bills for your injured back. 😉

2. Put that phone down. Seriously, come on, just leave it alone. Not only will it have physical benefits, but it will have mental and social benefits too! Do you know how rude it is to text while someone’s talking to you? Do you know how crowded your brain feels because it’s always going down to check the latest ping? Enough. Let it go for a bit. And if you really can’t, then at least bring it up to eye level so your neck isn’t hanging down and your shoulders aren’t slumped. 

3. Start strength training. This may sound strange, but my posture has gotten much better since building a strong, muscular body. When you strength train, you always need to keep your shoulders back which inevitably corrects your posture. Your body works at its best when it’s upright and alert, and that’s what strength training does. If nothing else, remember to pull your shoulders back and you will find your neck coming back as well. 

4. Don’t copy the media. Models nowadays have this slumped, pelvic forward tilt look. This is bringing your body out of alignment by pressing your lower back forward and ruining the integrity of your core. It may be the new sexy cool look, but your back certainly doesn’t think so. 

Hungry & Fit standing tall and proud!

Hungry & Fit standing tall and proud!

So stand up straight! Pull those shoulders out. Be strong. It’s sexy! Don’t be a frumpy slumpy. You’ll develop bad posture that may lead to osteoporosis and bad curvature in your spine. You may not need to go to etiquette school if you follow these tips! Sit up straight to stay hungry and fit! 

spacer

Workout Smart: Speed vs. Contraction and Form

Working as a trainer in a gym, I see all kinds of people working out. Some are experts, some are beginners, and some are just plain doing it wrong. I never like to judge: people workout and train for all kinds of purposes and goals, which means they workout differently. However, there are still ways you can workout the wrong way, despite training differently for various goals. It’s not just annoying to see this, it worries me. Working out the improper way doesn’t just make you look silly, but you could seriously hurt yourself too.

This is where the topic of today comes in: speed versus contraction and proper form. Some guys and girls, usually teenage boys (but sometimes 60+ men which is the most worrisome), will try to do reps of exercises–whether it be curls, rows, pull-downs, you name it–as fast as they can. I’m not sure if it’s because they can’t properly handle the weight so they try to get it done as fast as possible or they are trying to show off their abilities. They are wrong in both reasonings. They might even think that doing it as fast as possible is the right way to do it–WRONG. 

Proper form

Proper form

Don’t get me wrong, I will give an exception where fast training is okay. Plyometrics. Athletes. Competition trainees. These are the few exceptions. Athletes need to use plyometrics (training muscles to exert maximum force in the smallest amount of time possible with the most power possible) to get better at their sport. They improve their speed and power this way. You will see athletes doing plyometric jumps or lifts as well as other agility drills. This is okay! People who are training for certain competitions also need to do power-lifting, in which you will see a lot of jerks and snaps for getting their weight up. This is also okay!

I’m talking about the people who aren’t training for competitions, but just working out to achieve certain goals. The average gym-goer. Form is my #1 priority with my clients and they know it! They learn so well that they are able to point out others’ bad form in the gym while we are training. And because I love good form so much, I hate bad form even more. Attention weight lifters: you do not look cooler, sexier, or fitter when you yank that bar down so fast you pull a muscle.

Us in the weight room

Us in the weight room

Weight-lifting is all about control. Control is power. It’s not even all about not injuring yourself (although working out in jerky, fast motions without proper muscle control is a quick road to injury), it’s about maximizing gains and muscle strength. We could get very detailed about how fast repetitions should be based on what you’re looking for (muscle endurance, hypertrophy, strength, power, etc.), but that’s for another post.

Let’s just go to the basics. You will “feel” the reps more when you slow down. You will feel your muscle working, breaking down, and getting stronger. If you don’t believe me, try it out for yourself. Try a set of bicycles (lay on your back, knees up, elbow to opposite knee, repeat). Do 30 seconds of it fast, and then try 30 seconds slow. I’ll bet your abs will feel it a lot more when you go slower. I always have my clients slow down, for example, doing rear delt flyes, even on machines like leg extension, you will get such a better workout if you just slow down. 

Just think about it. When you slow down, and thus get the full repetition, you are allowing your muscle to go all the way through the motions, feeling it at each range of motion. Also, another quick note: don’t skimp out on the “negative” motion of a muscle action (aka the release, the elongation, the extensionof a biceps curl, not the actual curl). Many are tempted to quickly let go of the muscle tension and let it “fall down” to the starting place rather than controlling it. Again, we control it, we gain strength, we show power. If we cut it short, then we don’t get to strengthen the muscle at the most important part: the elongation of the muscle where it feels it the most.

Gunz from lifting with CONTROL

Gunz from lifting with CONTROL (haha jokes)

Next time you hit the weights or the machines, remember about good form and slowing down. Don’t hunch, keep your shoulders back, and your heart strong. Use these tips to stay hungry and fit! Cheers!

You may also like…

BONUS KITTY PIC 

Sajah hiding

Sajah hiding

spacer

Some Help on Training Splits and Achieving Goals

This is going to be a fairly short post compared to what I can say on the topic but it was prompted by my own changing of my split. Obviously, there are many muscle groups in your body. Major muscle groups include pull muscles, push muscles, lower body, core, and so on. Some people like to split them up even further into back, biceps, triceps, chest, abs, quads, calves, and even more. Some people like to split them up even more but I won’t do that to you.

photo (16)

Depending on your fitness goals, you might be trying to focus on certain muscle groups more than others. If you’re trying to lose weight, you’re probably targeting all those groups equally in some intense interval training paired with lots of cardio to cut down. If you’re trying to gain mass and strength you might be methodically working out each group in detail in order to build clear-cut muscles so your arms don’t fit in your shirt. Either way, it is very intelligent to plan your approach to achieving your goals.

Every personal trainer initially assesses their client’s health conditions, background in fitness, personal goals, nutritional plan and diet and so forth. This information helps the trainer create the most fitting workouts and lifestyle for their client to achieve these goals. Even personal trainers and professional bodybuilders have trainers and nutritionists that help them achieve their goals so don’t think that you’re too good or smart for some help. It’s always helpful to have someone objective pushing you and leading the way, constantly motivating you to achieve your own goals. It’s hard for me to push myself to failure when I don’t have that motivation or person telling me try harder. Whatever your motivation might be, some extra push can help if the person with you knows what they are doing.

photo (17)

Splits have many depending factors, such as time. How often do you plan to do strength workouts? Every day? Every other? Maybe every 3 days. Depending on which one, you want to plan your workouts accordingly to give enough rest and recovery time. What happens when we don’t give ourselves proper recovery time? We overtrain and lose progress. So plan to give yourself proper rest in between each muscle group to avoid overtraining.

You typically wouldn’t want to go to the gym and work your chest out every day. This would not allow proper time to recover. Depending on your personal recovery rate, you may be ready to workout a certain group every other day, although that is rare. I typically allow somewhere around 4 days before repeating a workout that is targeting the same muscle group if they are intense workouts. If you plan on doing full body workouts multiple times a week and are not trying to gain massive amounts of strength, power, or size, less rest is necessary.

photo (19)

Some of the greatest bodybuilders of all time have claimed to workout only two to three times a week while some workout six days a week doing double sessions every day. No matter what you decide, to do make sure you are allowing proper recovery time. If you have any questions about how to fit “cardio”, strength training, performance training or whatever you do together to maximize results, please let us know in the comment section below. With these tips, we hope you can stay even more hungry and fit!

photo (18)

You may also like:

spacer

Fat-Roasting, Glute-Burning Leg Circuit

After a 2 mile run around McIntosh Lake (see the run here), I decided to get my leg workout in the fast, no-break circuit kind of way. For this, it’s best to find yourself in a park, a beach, a backyard–somewhere with some space. But of course, if you’re locked in an apartment in an Alaskan winter, you can always modify it for small space too. This is a great workout for those who have little time and want high intensity. Let’s do it!

Lock n Load Legs Circuit

1. Lunge 20 feet (or for 20 seconds). You’re going to lunge yourself to your first “station” in this circuit.

2. Scorpions until failure. These work the hamstrings. Go on all fours, lifting one bent knee up and down behind you. Do it until you can’t do another rep. Switch to other leg.

Quadruped hip extension

3. Lunge 20 more feet to the next station (or 20 seconds). Think about a triangle as a formation that we’re doing (the stations set up in that way).

4. Plie squat until failure. The link has the best full description. Start in horse stance, squat down, then lunge left and then right! These are killer on the glutes and quads. Do them until you drop.

5. Lunge 20 more feet to next station (or 20 seconds stationary). ‘Nuff said.

6. Step ups until failureFor this, I had a little grassy incline that I used. If you’re at home, you can use a chair, a couch, or a coffee table (just don’t tell your partner!). Or at the beach, build up a little sand incline. You get the idea. Step up and drive the knee up every time. Until you can’t step up another time!

A super blurry older picture of me performing a step up

7. Doggies until failure. For this, you’re on your hands and knees again. Kick your leg back and then a full rotation around back to starting position. This targets your glutes. The more you do, the more those muscles will tighten up. Do them until failure and then right away on the other side.

And repeat as much as you have time for. Again, this can all be done stationary in one place. Just try to keep it non-stop. You can rest and have water in between the whole sets, but to get that burning, cardio effect, just keep going! Have fun and stay hungry and fit!

spacer

6 Exercises You Should Be Doing Over 60

And even if you’re not over 60–these exercises help everyone. I work a lot with the older population and it’s never too early to make sure you age gracefully. Even as we get older, more stiff, and less agile, it’s still–no, MORE–important to exercise and keep active. The more we move, the better we feel.

The body strongly dislikes being inactive and has a way of turning on the body. Whether that means weight gain, arthritis, stiffness, and/or loss of flexibility. Just to name a few. Another big loss as we get older is balance. Falls are one of the biggest problems for seniors, and it’s never too early to start practicing. Try at least 3 of these each day:

1. Calf raises. Stand up straight. If you’re unsure of your balance, make sure you stand near something to hold onto (a chair, wall, anything sturdy). Rise forward onto your toes, leaving your heels off the ground. Slowly come down. Do 12 repetitions for 3 sets. 

2. Rotator cuff stretch. This one requires a resistance band or tube. As we get older, we notice our shoulders deteriorating faster and getting injuries easier. Use this exercise to make sure you don’t hurt your rotator cuff. Tie the resistance band around a pole or bed post. Stand a few feet away and grab the other end. Rotate your elbow like a door hinge towards you and slowly back out. Control is the key here. Nice and slow, really use those muscles. Switch on other side. 12 repetitions for 3 sets.

rotatorcuffImage Source

3. Single-leg balance. It’s as simple as it sounds. Make sure you have something nearby to hold onto and lift up one leg, so that you’re standing just on one. Hold it for 20 seconds. Switch. Do 2 sets.

4. Laying twists. This is a great stretch for flexibility and stretching out your muscles–especially in your back. Start by laying down and spreading your arms into a T. Now drape your right leg over your left and look towards the right. You want to make sure your hips are twisting. If both shoulder blades are not on the ground, you’re moving your leg a little too far for your body. Hold for 10 seconds. Repeat on other side. Do 2 sets.

5. Opposite lifts. This is a core-strengthener. Lay down flat on a mat, arms by your side. Lift up the right arm and left leg at the same time. Now, you only want to lift the leg about 6 inches maximum from the ground. This is the point where your tummy really has to work to keep it up. Contract your abdominals. Lower both extremities, and perform on the other side. 12 repetitions for 3 sets. 

6. Cat/cow rotation. This is taken from yoga. Go onto all fours. When you inhale, lift your head up and invert your spine. When you exhale, move your head down and arch your back. Do about 10 rotations, 2 sets. 

Again, these are good for ANYONE. But especially if you’re over 60, put this into your routine. Either when you get up in the morning, during a commercial on TV, or before bed–make time for it. After all, it is your health. If you’re having trouble coming up with a routine and sticking to it, a personal trainer will probably be able to help. And we can always answer questions here.

Cheers! And as always…stay hungry and fit!

spacer

4 Ways to Breathe Properly and Reap the Benefits

Breathe in. And out. Breathing, oxygen is the foundation of our entire existence as air-breathing animals. Yet, we rarely pay attention to it throughout the day. I’m here to bring the importance of breathing back into your life! Breathing properly has an incredible amount of benefits, including:

  • A larger lung capacity
  • Lower blood pressure 
  • The ability to relax emotions and stress
  • The ability to relax muscle tension, cramps, and pain
  • The ability to push your exercise and strength farther 
  • Improves posture
  • Elevates mood and keeps you calm and refreshed
  • Fights off fatigue
Breathe

Breathe (Photo credit: PhotoLab XL)

Now those are just some benefits of breathing deeply and properly, the list goes on and on. Breathing is also a large part of meditation, where you can learn more about here. Okay, Alana, these are great benefits!

So, how do we breathe properly?

There are several different techniques for different situations, but in most circumstances, it is important to breathe deeply. Breathe deep in through the nose and out through the mouth. Depending on the situation, it is good to have your exhale be audible (such as when you are meditating or working out).

1. Breathing 101. Like I said, in through the nose, out through the mouth. When you inhale, make sure that your belly expands. Once your belly expands, fill your chest. It is good to inhale and hold at the top for as long as you comfortably can, then exhale through the mouth. This is the proper technique of breathing to get those benefits we talked about above. It helps to massage those inner muscles as well.

English: Animation of a diaphragm exhaling and...

English: Animation of a diaphragm exhaling and inhaling (Photo credit: Wikipedia)

2. Breathing for meditation. Again, if you want a more in-depth introduction or guide to meditation, go here. Otherwise, let’s go through a short version. We are going to do the same breathing (in through nose, out through mouth), but this time we are going to count. This helps focus the mind and concentrate only on breathing, which is a great practice for meditation. So, inhale for 4 counts, hold the breath at the top for 4 counts, and exhale for 4 counts. Do this for a few minutes. After a few minutes and you’ve gotten into a rhythm, expand your breath farther by using the count of 5. 

La méditation (Danse Odissi, musée Guimet)

La méditation (Danse Odissi, musée Guimet) (Photo credit: dalbera)

3. Breathing for working out. Believe it or not, breathing for exercise purposes is similar to the above techniques. But with working out, we want to exhale more forcefully. Often, when we exercise, we tend to gulp up short little breaths, and even hold our breath during a tough exercise. These are NO-NOs! If you want to get stronger, faster, and more capable, here’s how to do it: breathe in when you’re in the less stressful part of the exercise, and then exhale forcefully (so that others can hear it) out. This dramatic exhale focuses you and pushes you to complete the exercise. Make sure your inhales are deep–your muscles need oxygen, and if you deprive them of it, they will not work properly or as effectively!

photo (75)

Chris breathing through leg press

4. Breathing for stress relief. I know we allll need this one, so pay attention. We are going to do the same breathing techniques as above, but slightly changed to fit our needs. Let’s practice this breathing technique three times: inhale very deeply, fill up that chest and expand the tummy. Hold it…now exhale out forcefully making an “ahhh” sound. As you exhale out loudly, I want you to slump your shoulders with the force of it. So you’re bringing your inhale up, your posture nice and straight, then letting it all loose with a loud, stress-releasing exhale.

[Exhalation] Tomoe Shinohara as Sayuri

[Exhalation] Tomoe Shinohara as Sayuri (Photo credit: edmundyeo)

Keep in mind all the benefits this deep breathing can give you, and try to practice proper breathing at least ten minutes a day. If you are strength training, definitely put this to use if you want a better workout! If you keep practicing, you will notice your posture will become more upright, you will feel more relaxed, and in charge of your life!

Feel free to comment with any questions you might have. Cheers!

spacer

How to Make New Years Resolutions that Actually Work

We all know the typical story…we make a nice neat pile of resolutions and then a month later, it’s as if we never made them. It’s okay, it happens to many of us. The key isn’t about persistence (though that is certainly helpful), it’s about creating the right goals. Please don’t say, “I want to lose 60 pounds in a month!” Not going to happen without drugs, crash diets, or other very bad things.

Let’s make SMART resolutions: Specific, Measurable, Attainable, Relevant, and Timely! Yes, this is coming from a personal trainer, how could you tell. So let’s say you want to lose 15 pounds. But specifically, how are you going to do it? Specific terms would be…workout every week, add more servings of vegetables and fruit a day, drinking more cups of water a day, and hiring a personal trainer. That is how you will specifically lose that weight. And why do you want to lose that weight? Let’s say to increase daily energy, increase confidence, and decrease hypertension.

Moving onto measurable goals…this is where we provide a number to all those ways we are going to achieve those goals. Let’s add the frequency of workouts…4 times a week, both cardio and strength training. And we will add 3 more servings of fruits and vegetables each day. And finally, we will drink 3 more cups of water a day. Remember, don’t start crazy big, we want to start in baby steps so we can actually achieve them.

Personal trainer showing a client how to exerc...

Exercise!

Next is attainable…this we have already set forth. Look up, does that seem attainable? Losing 15 pounds? Sure does, because we’ve laid out a plan before us. Then we move onto the relevant step: here we want to ensure that our minor goals and rules make sense with our bigger resolution of losing weight. For example, to stop drinking soda when you already don’t drink soda is not very useful. Instead, think about those weaknesses. Let’s make another limit, only one oreo per week instead of one per day. You still get your fix but it is significantly diminished.

And now, timely! You want to lose 15 pounds in 3 months. That is 5 pounds per month, an extremely attainable goal. So let’s put it all together.

By March 1st, you will lose 15 pounds, by losing 5 pounds a month in order to increase daily energy, confidence, and decrease hypertension. You are going to do this by strength and cardio training 4 times a week, increasing your fruit and vegetable serving intake by 3 a day, adding 3 cups of water a day, and hiring a personal trainer. You are also going to limit yourself to one oreo per week. 

So there’s just an example of one resolution. Make a whole list of them! Make sure you know how you are going to achieve them and that there are baby steps for you to follow. You can add more limitations of course, like fast food only twice a month. You can also add more ways you will achieve the goal such as walk the dog twice a day for x amount of miles. And keep track of everything! Weigh yourself, measure your fat percentage, however you would like to.

Happy new year

Happy New Years!

Please feel free to share your own resolutions and how you are going to achieve them! Happy News Years!!

spacer

Back to Back… and Biceps… Yet Again

It’s another cover of one of our workouts, which have been getting a little bit better… I hope. It’s been very challenging balancing working 7 days a week and still finding time, with gyms not being open 24 hours, to work out and work out well. Furthermore, it’s been most challenging to not neglect any body parts. Ideally for me, aside from cardio workouts and recreational workouts, I like to focus muscular isolation workouts on legs, core, chest, triceps, biceps, back, forearms, and neck. Combinations can be made freely, but again, ideally once a week with proper rest is a good start… twice a week when we’re in killer shape. Never more than that, especially with strength training.  We’ve been struggling with hitting every body part on a good reliable consistent rotation but back and biceps are rarely missed because of their size, and for now, their role in climbing. So here is my coverage of a decent pull muscle workout.

We hit the gym around 9:30, a little late, we like to get there around 9, and I put some Tiger Balm and Tiger Balm Muscle Rub on my upper body pull muscles and joints. Prior to coming, on an empty stomach, I took 1.M.R. A pre-workout supplement, one scoop a day before my muscle workouts, for nothing else. At 9:37 the fun began, on a day where I was feeling pretty good, a little sore throughout the body, especially in the lower back, and my cold I have now hadn’t hit me yet.

(by the way, as a foreword, before you ask about rest or reps, it’s minimal rest and every set is to failure, seriously)

9:37: Super set 1: (4 super sets)

a. Alternating pullups and chinups

b. Seated d-bell lat flyes (it’s the proper spelling, seriously, but I don’t care how people spell it, Alana did standing)

9:47: 2 (4 super sets)

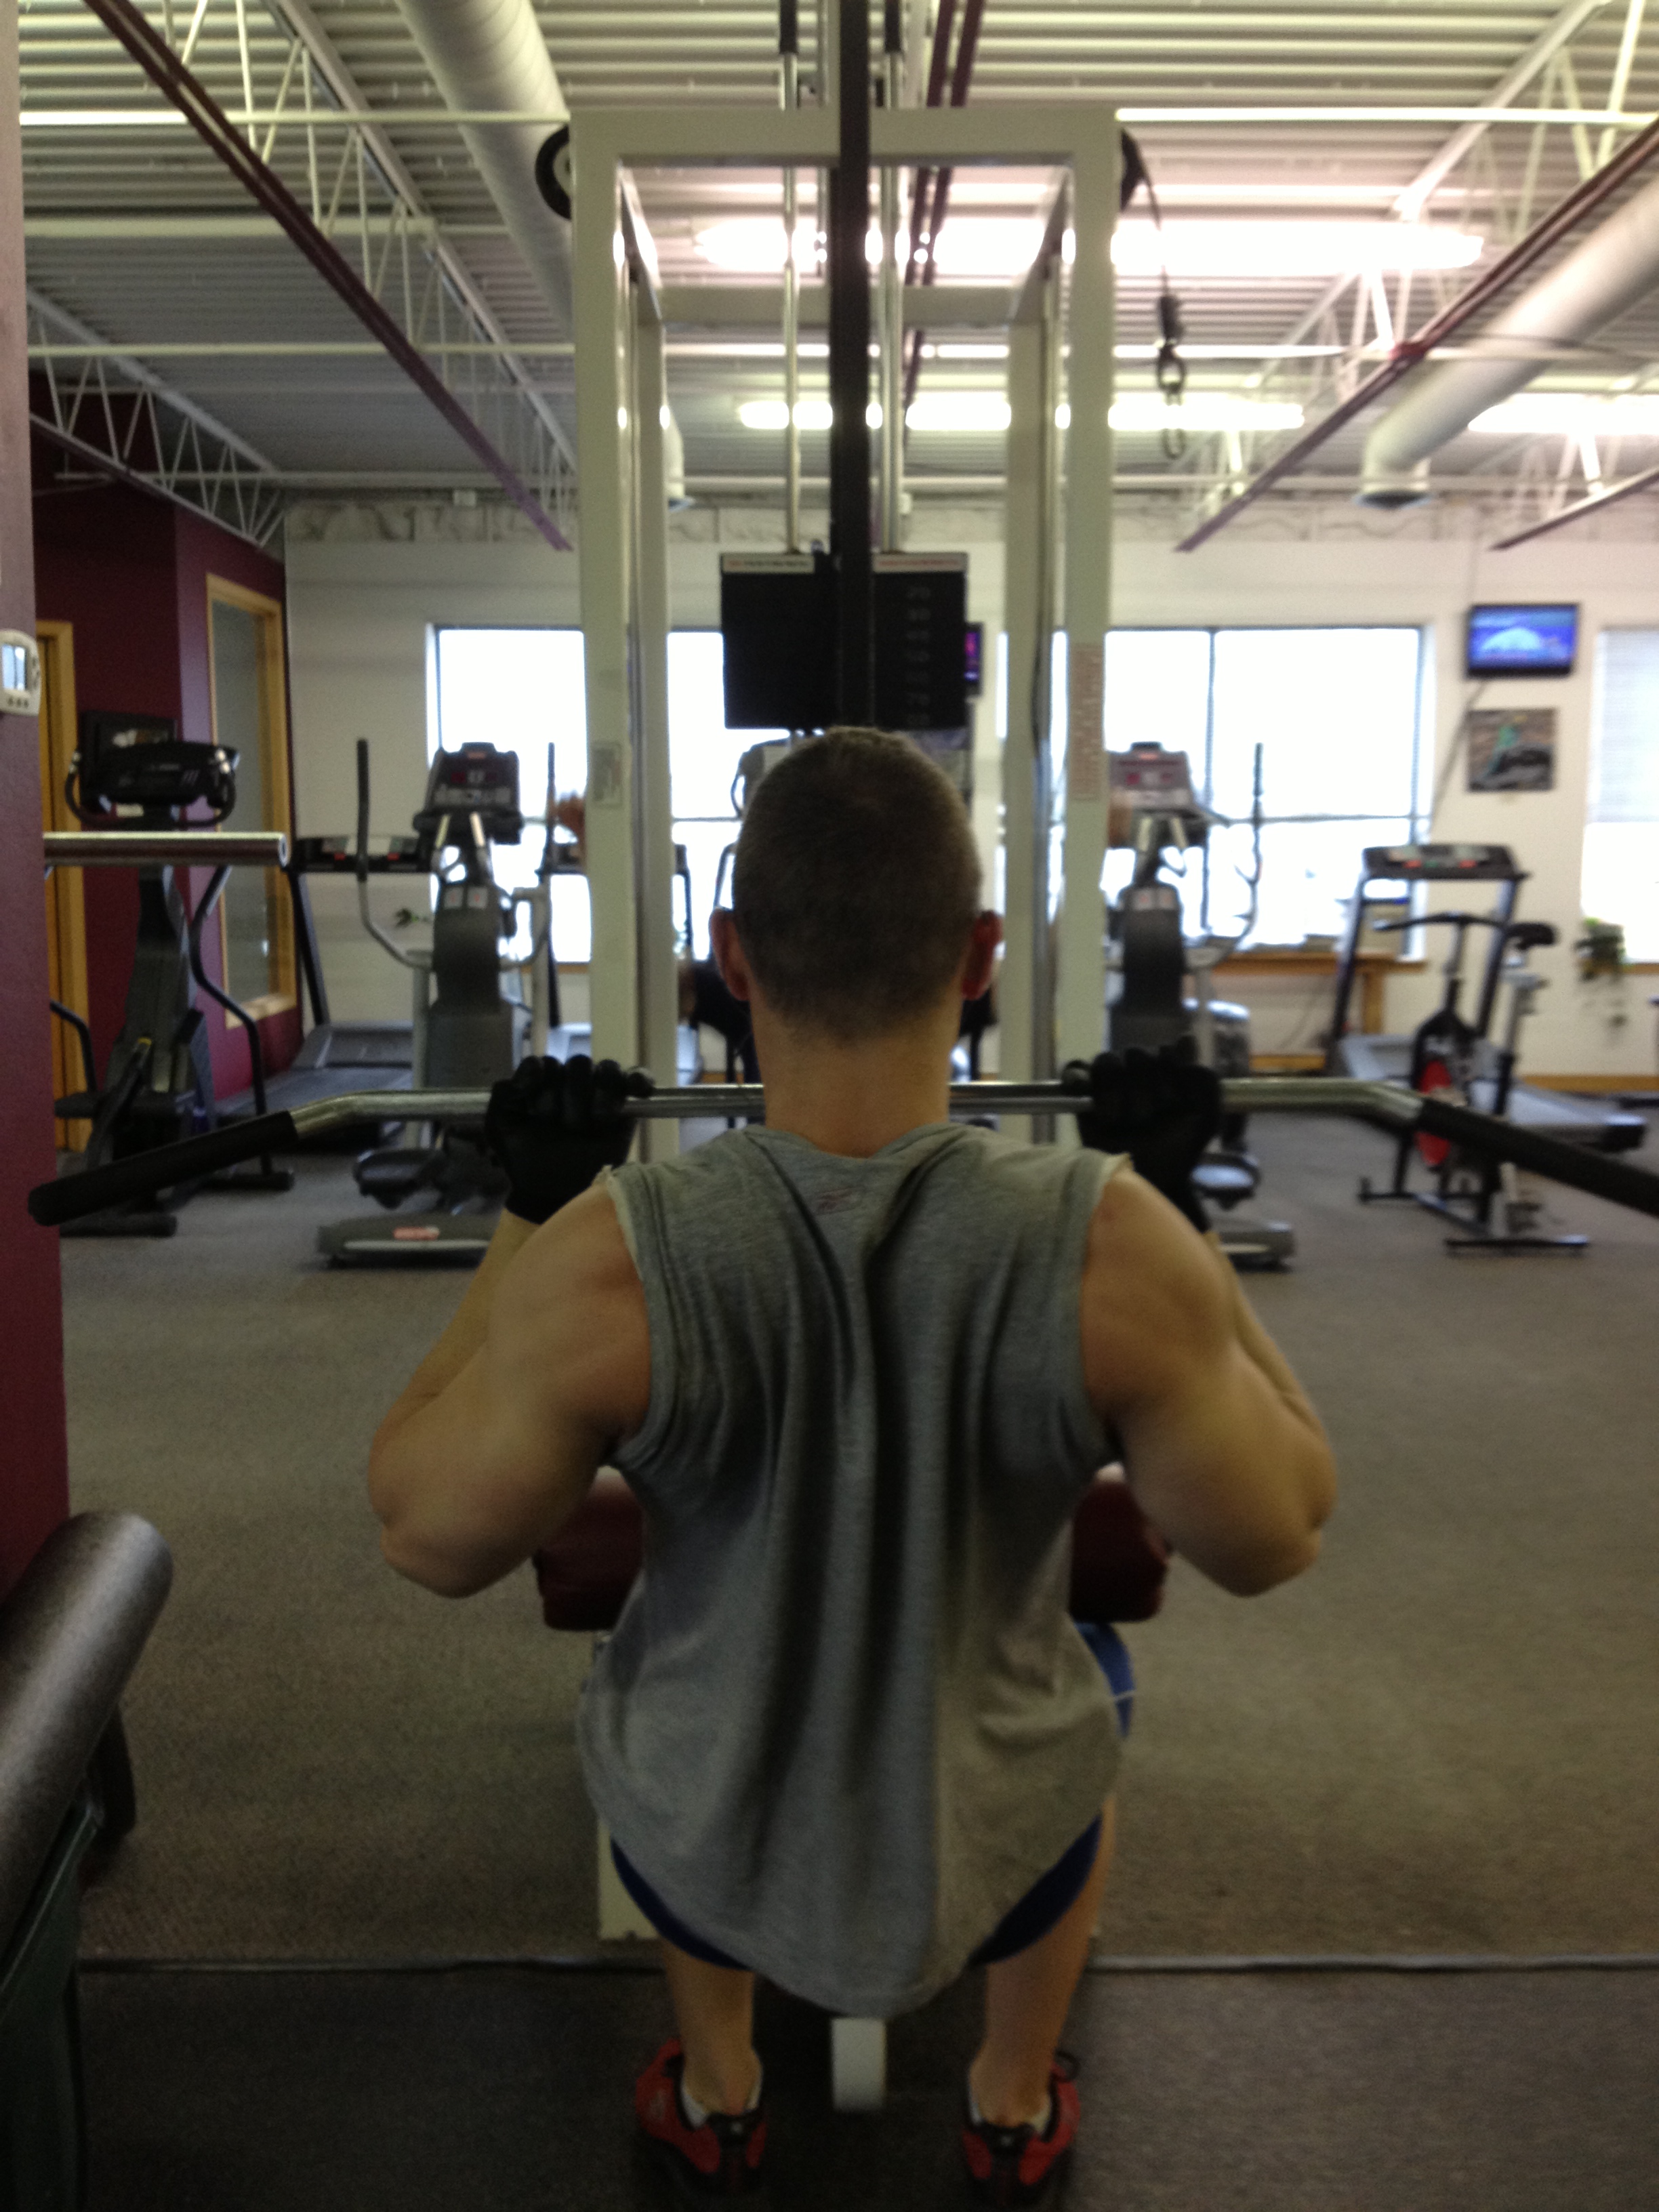
a. lat pull downs (narrowing grip every set)

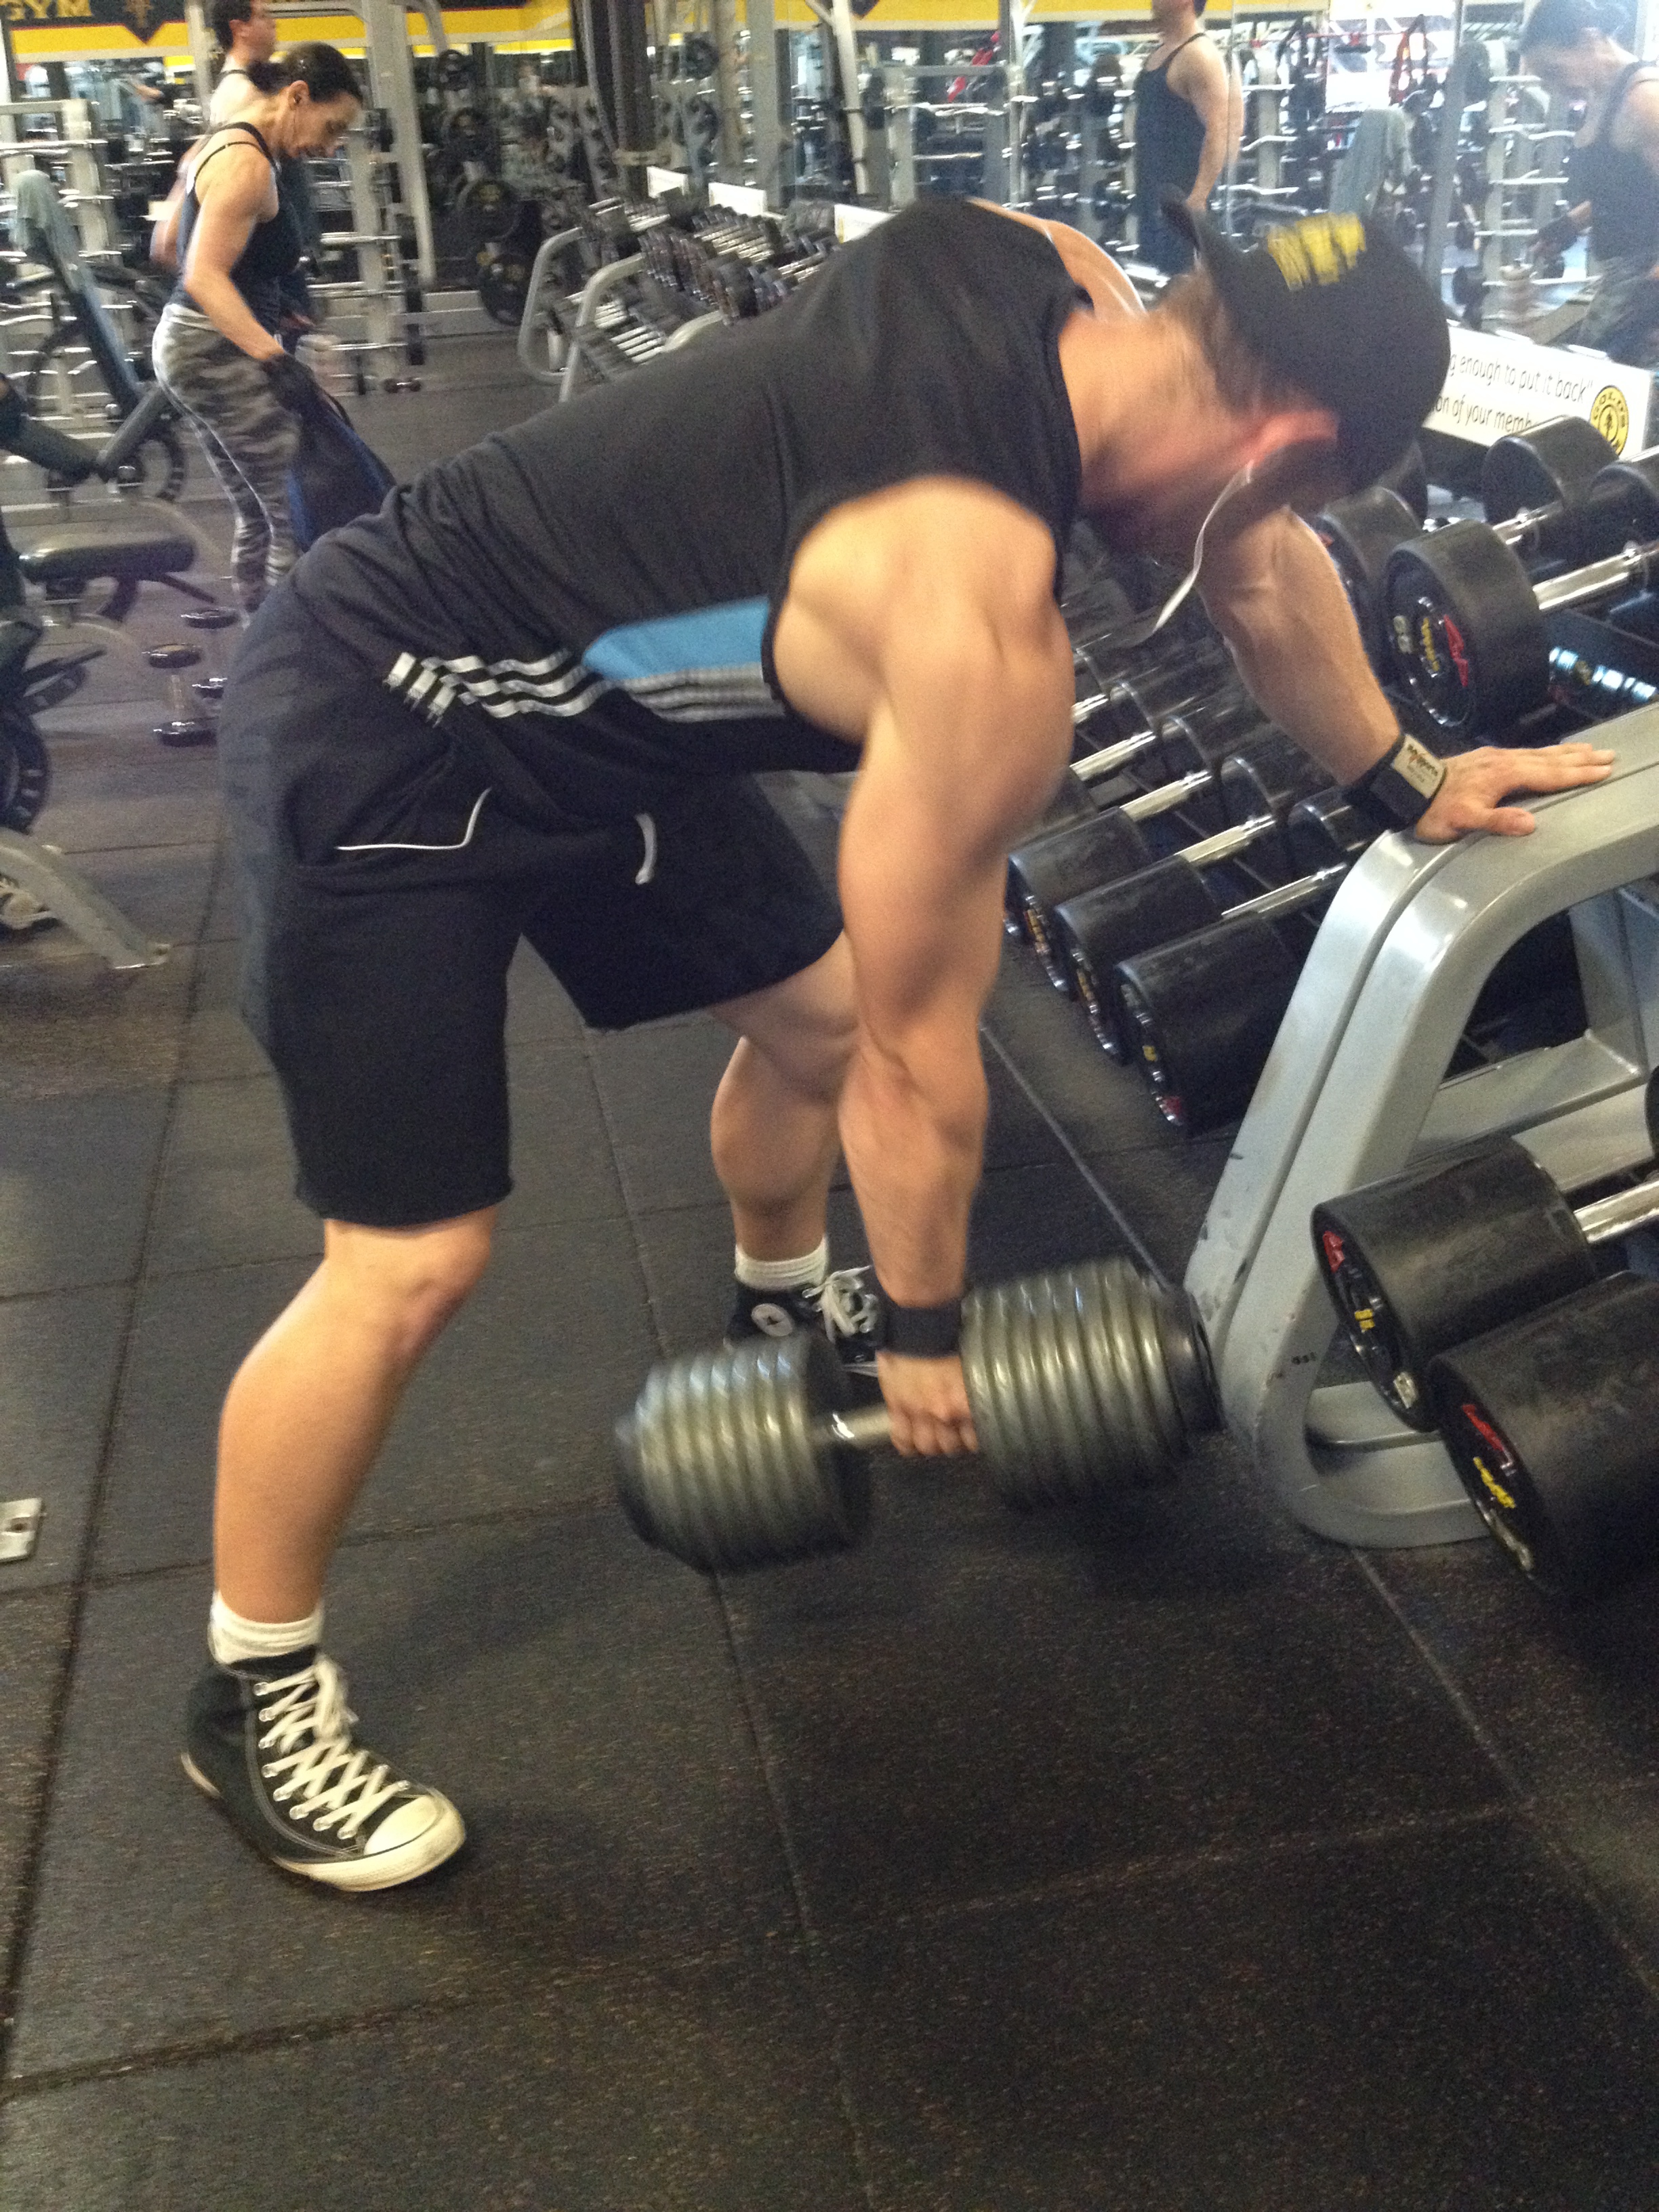
b. seated hammer curls

(during this set, while we were swapping equipment because two pieces for two people is more than fair, some gym jerk decided to try to take our incline bench, so I told him to beat it and he did. I was polite)

10:01: 3 (4 super sets)

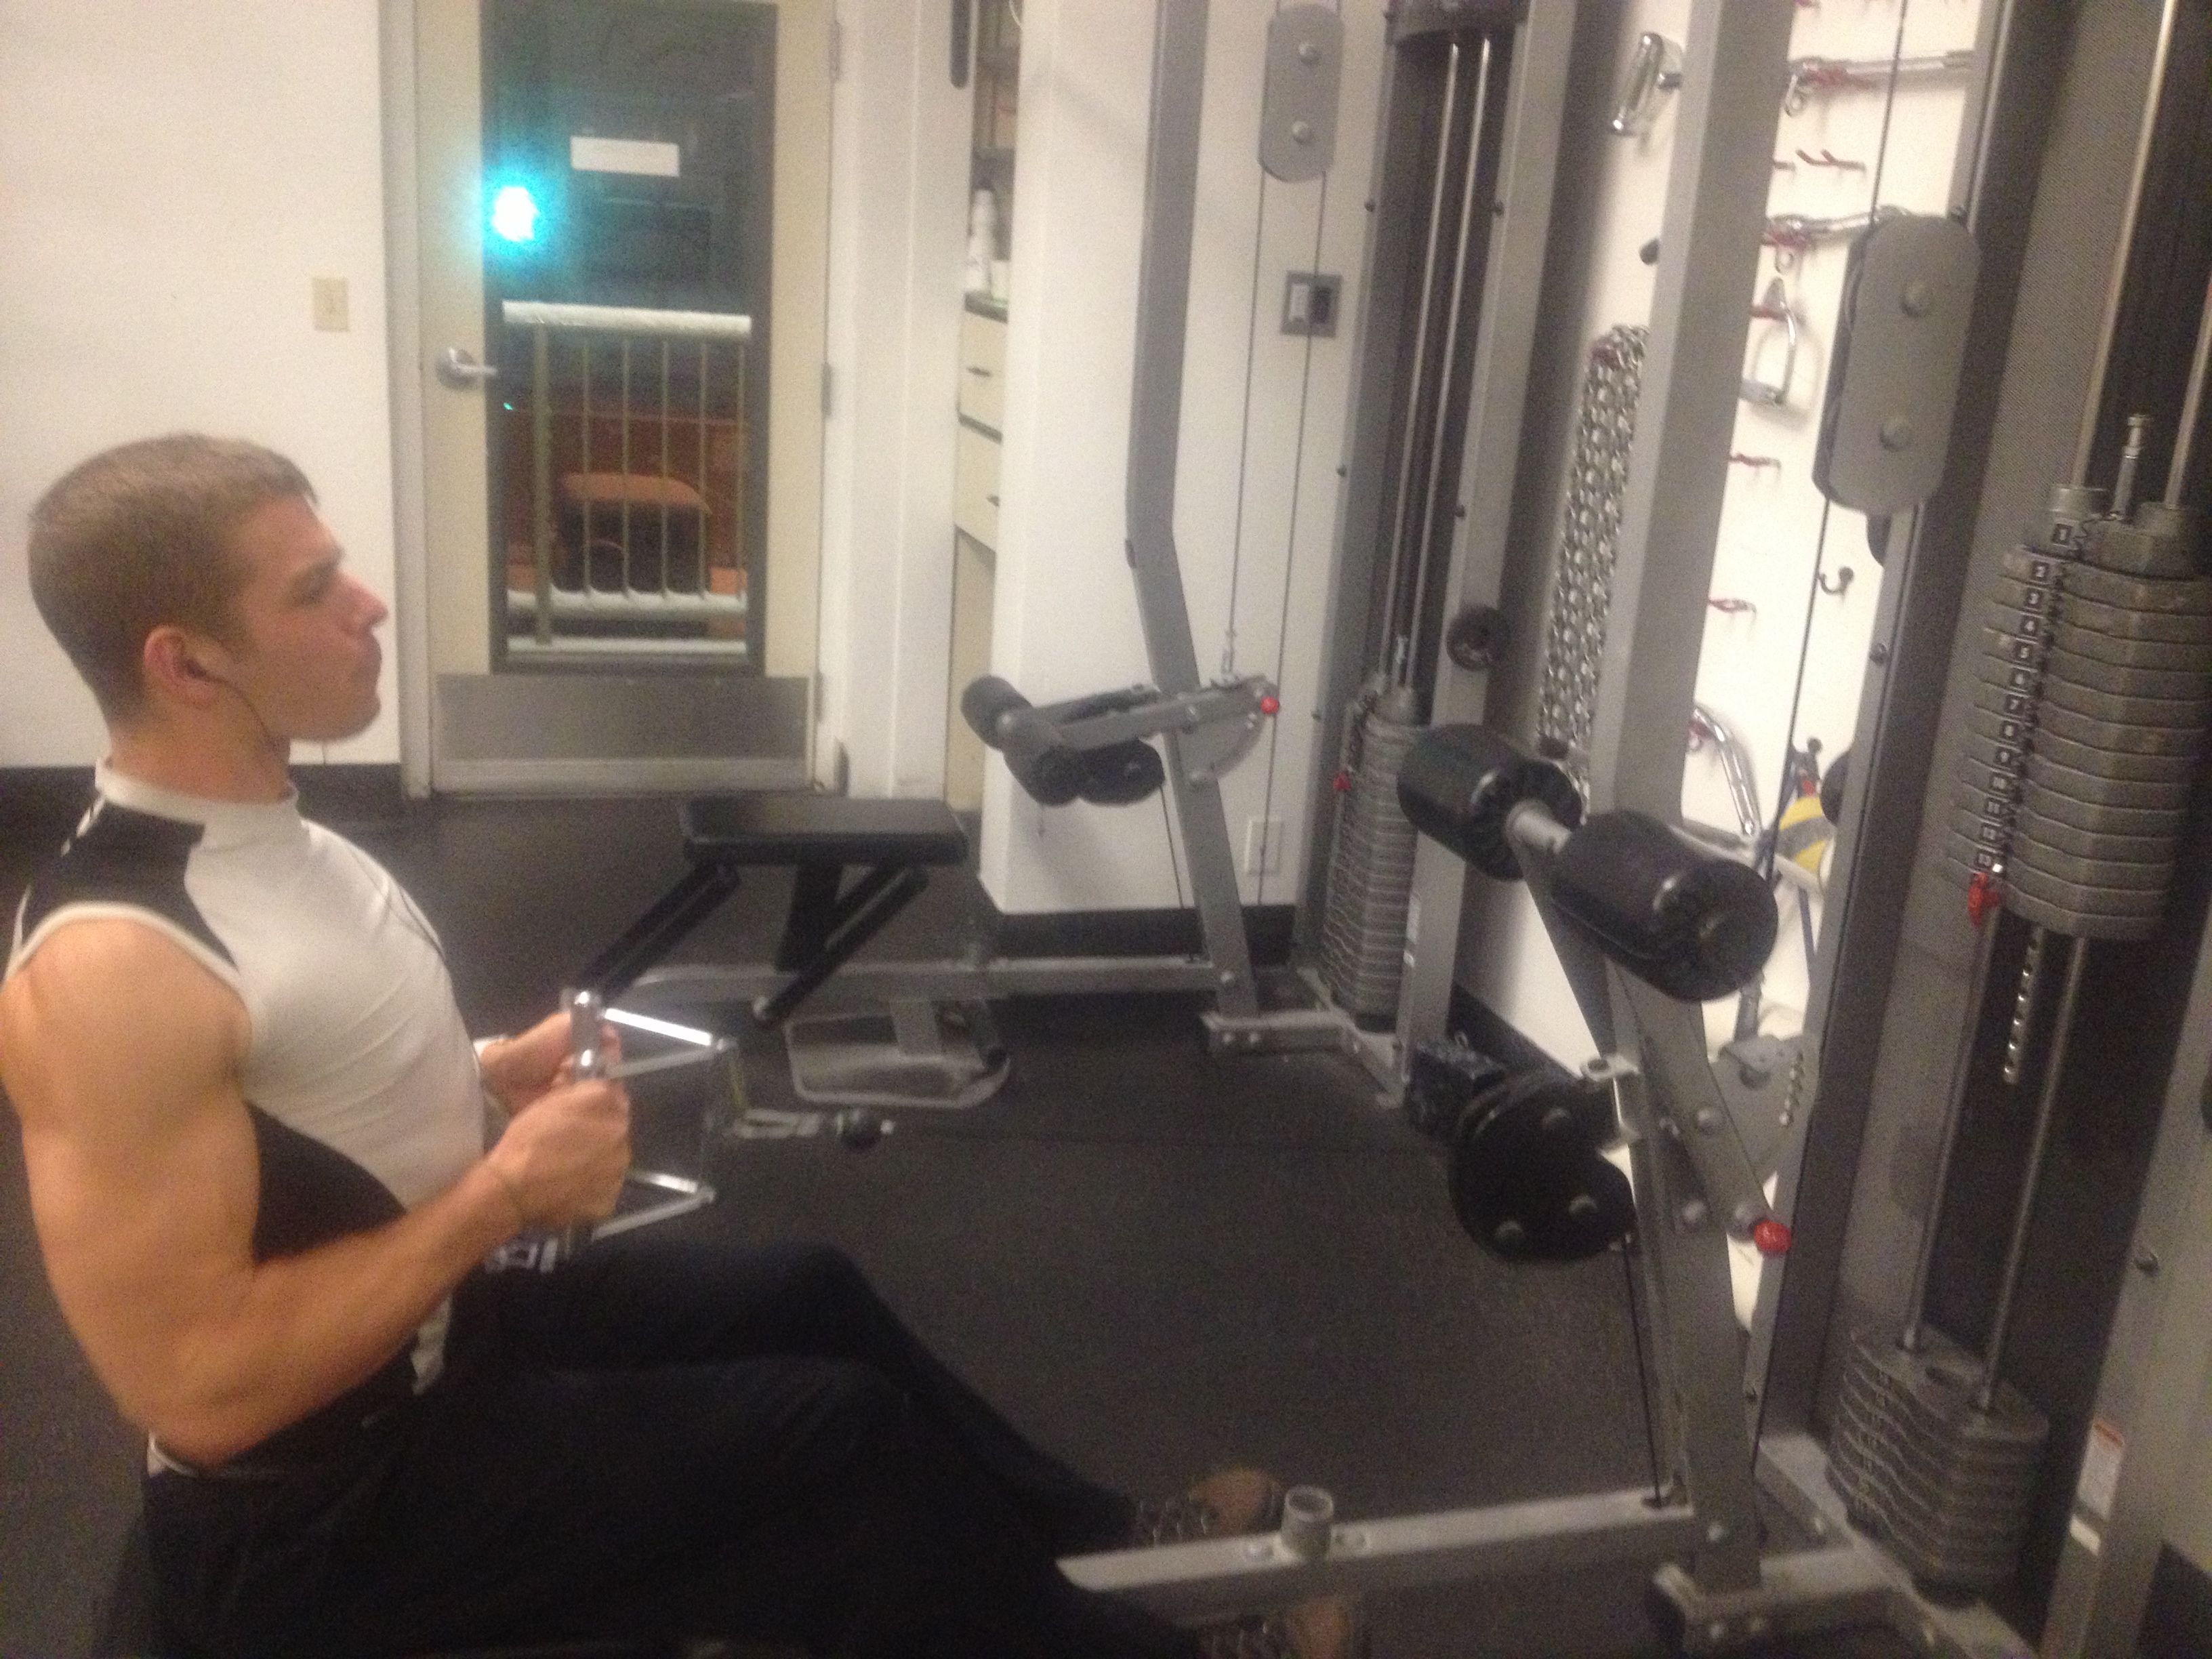
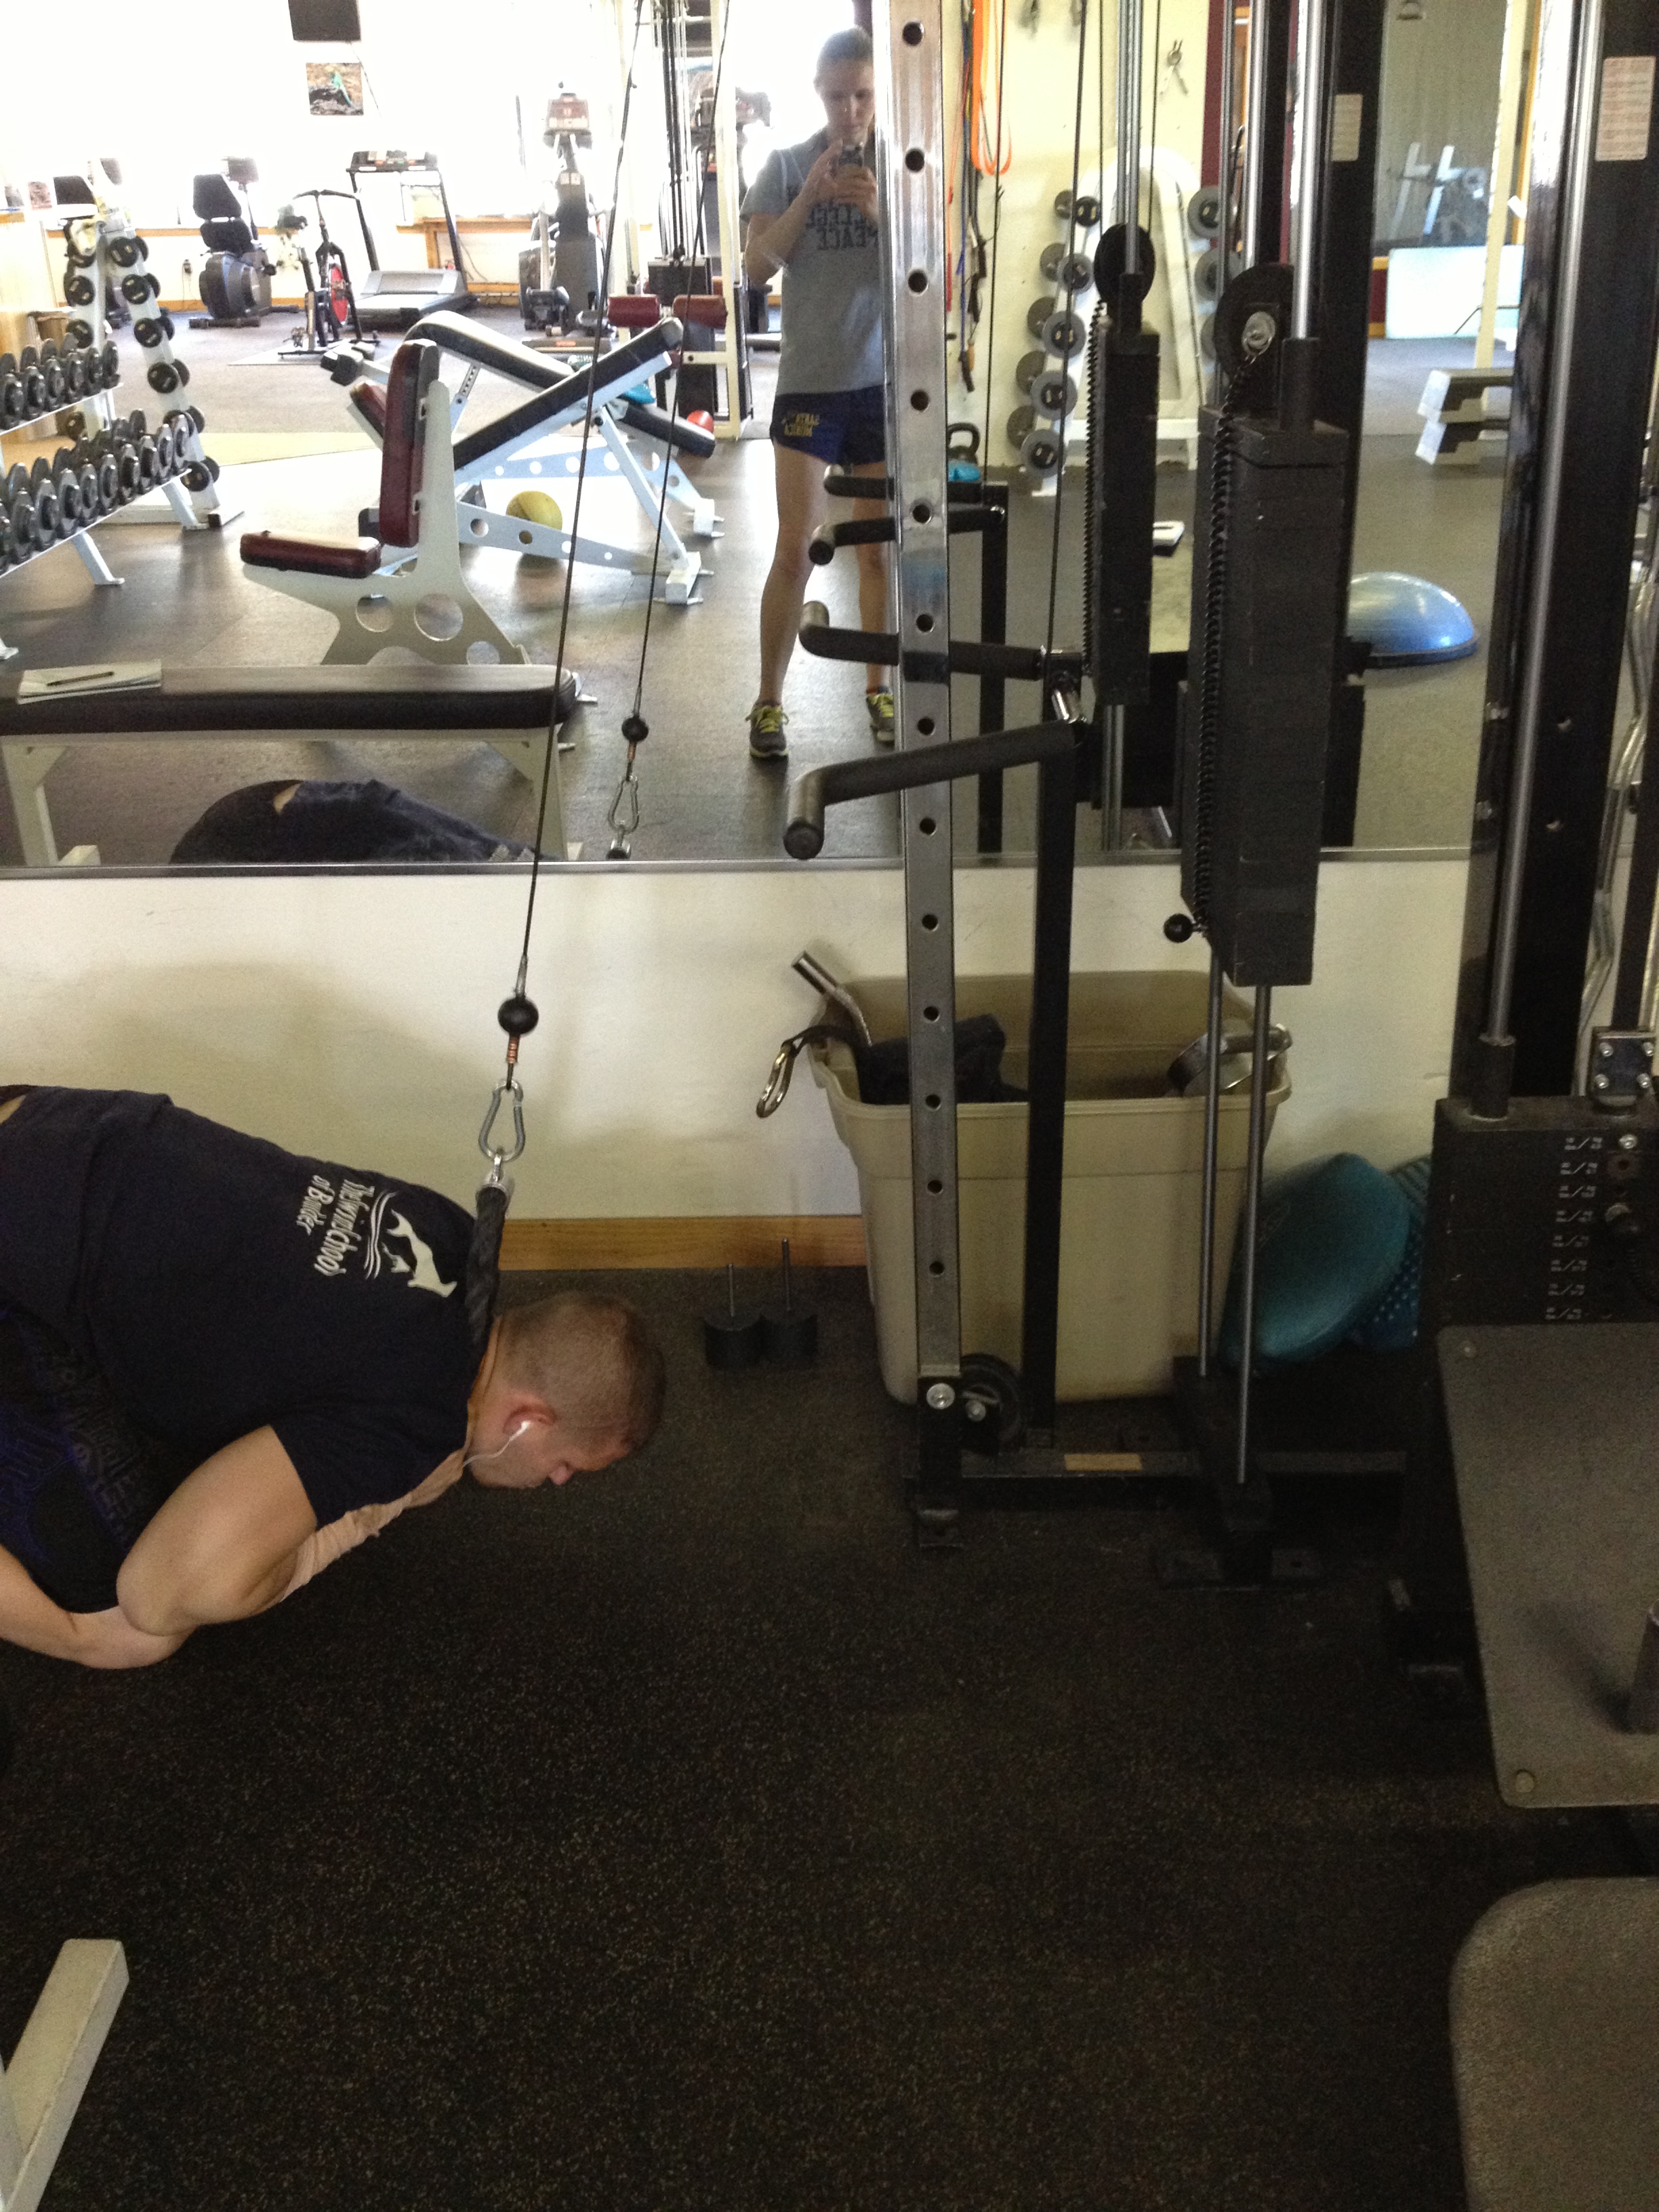
a. low seated cable rows

b. incline pinky offset curls (have your pinky be touching the head of the d-bell, so the thumb is around the middle)

10:17: 4 (3 super sets)

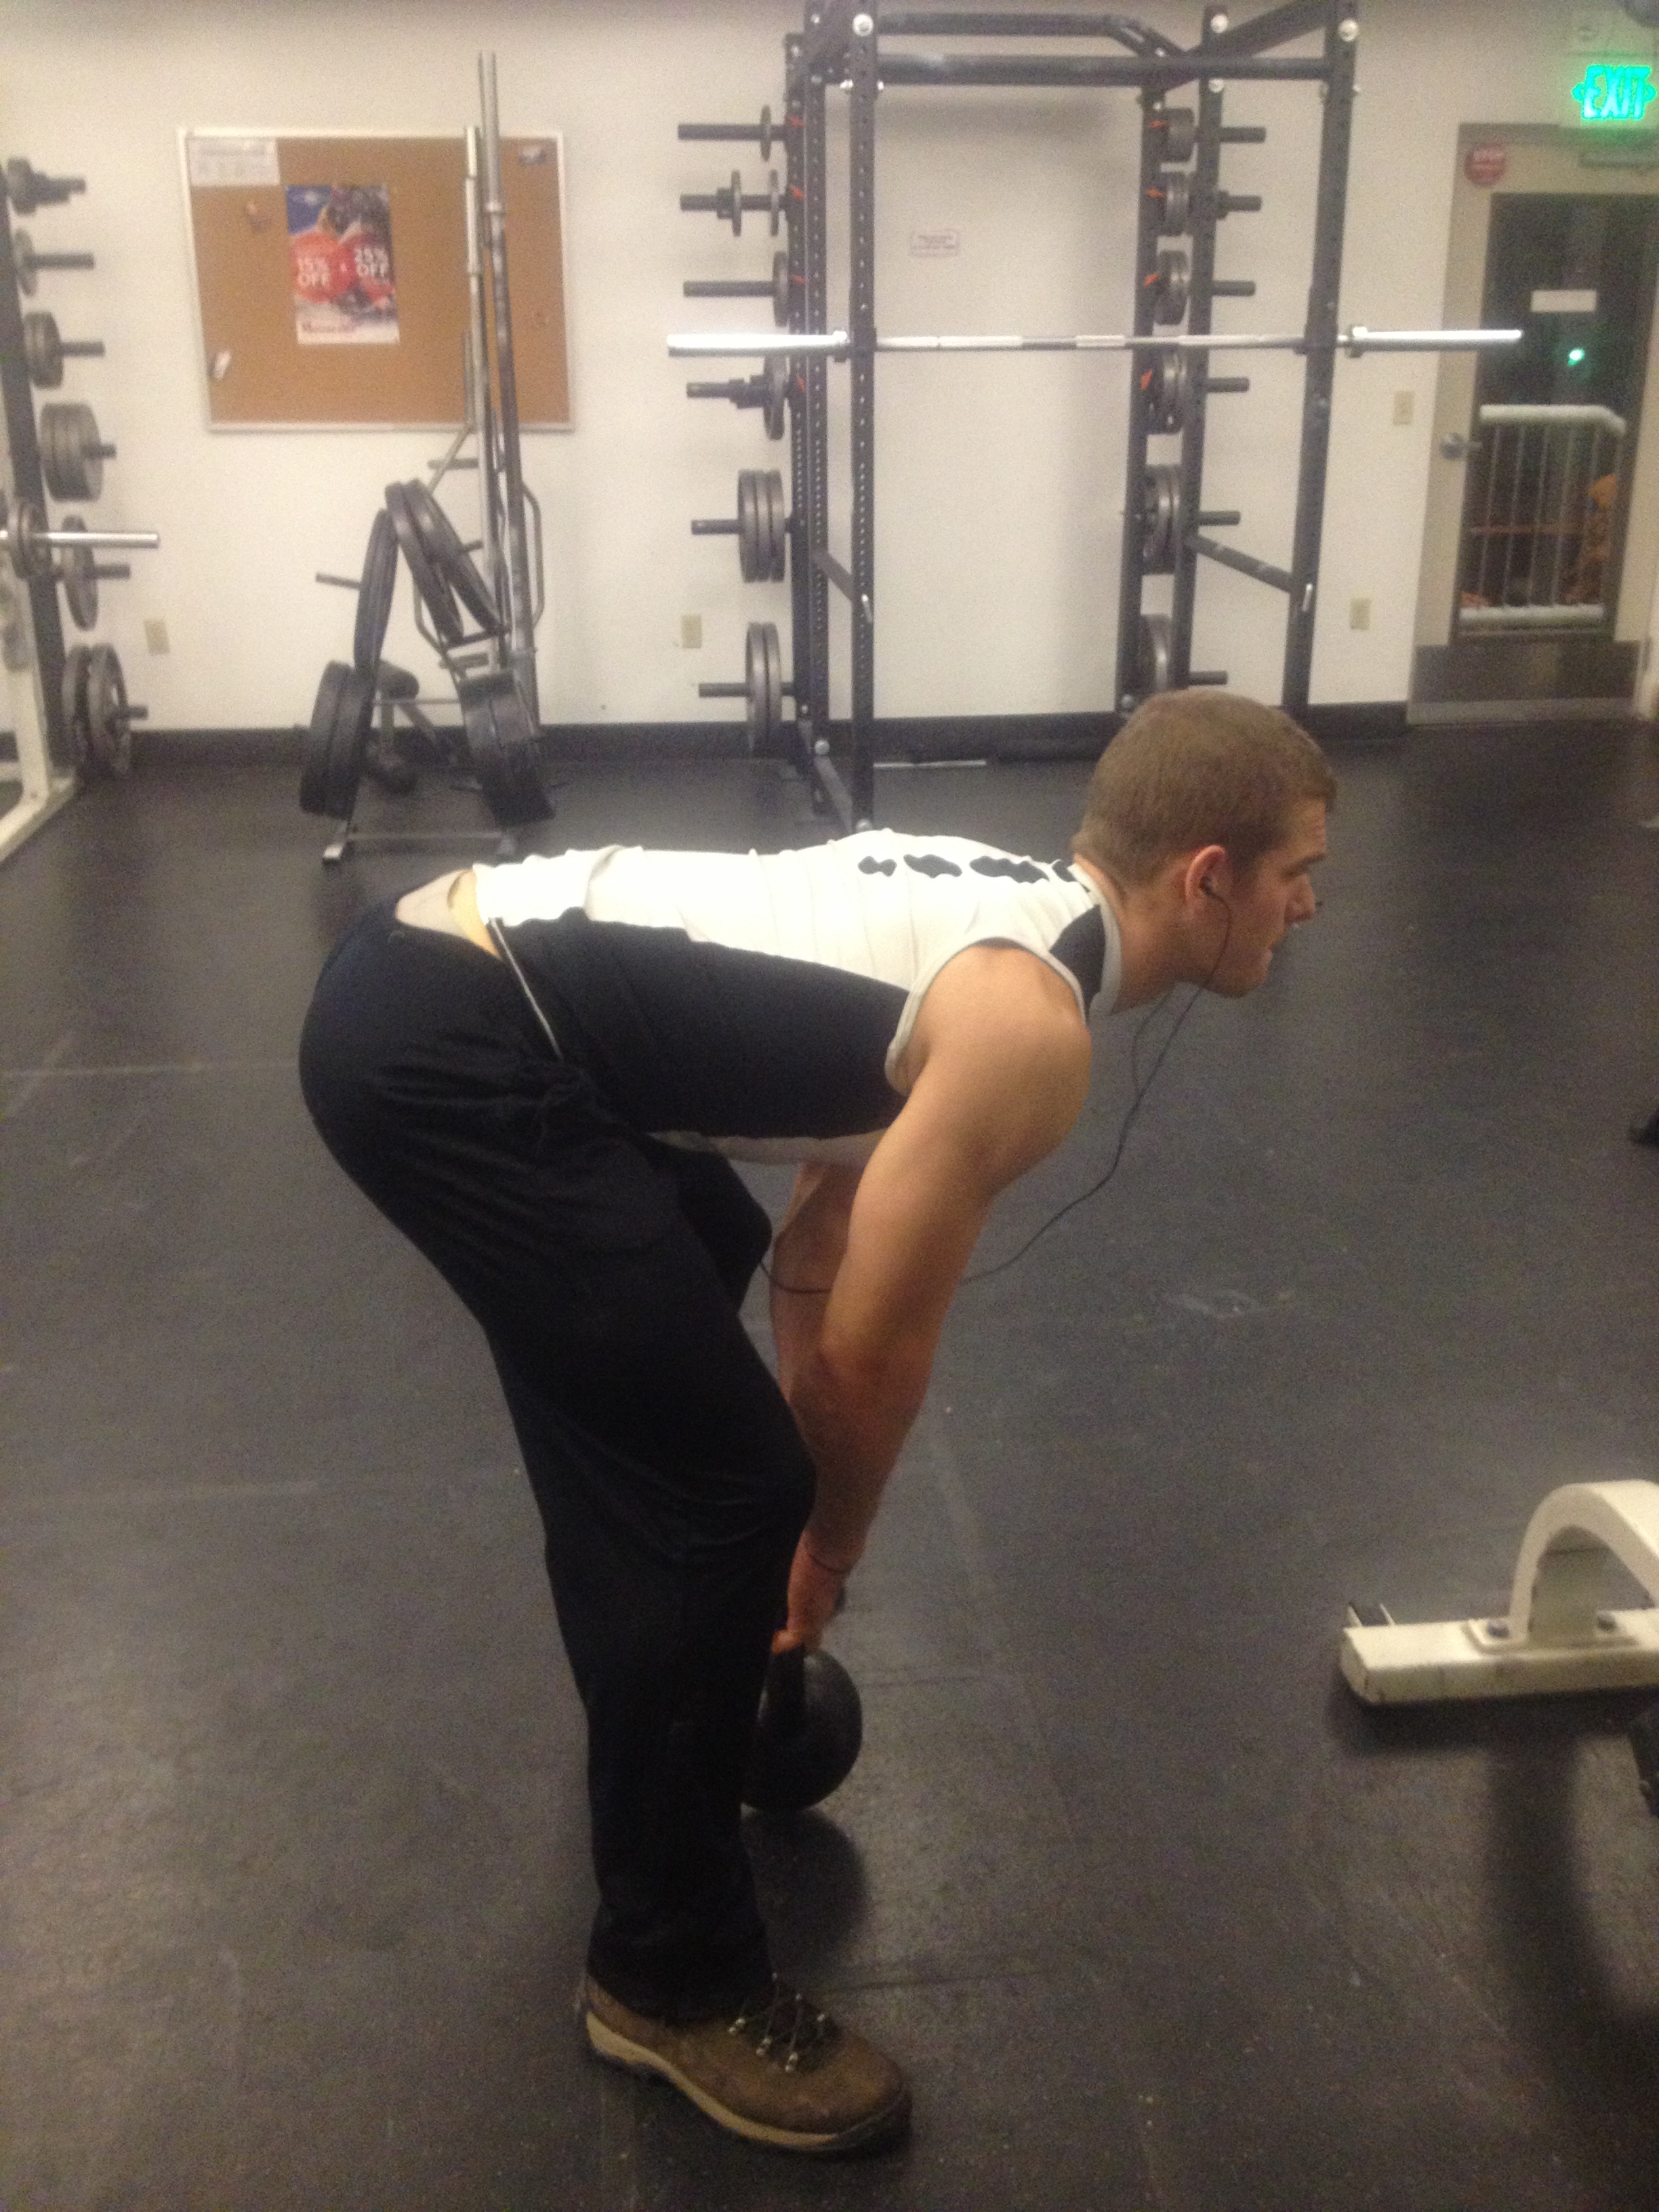
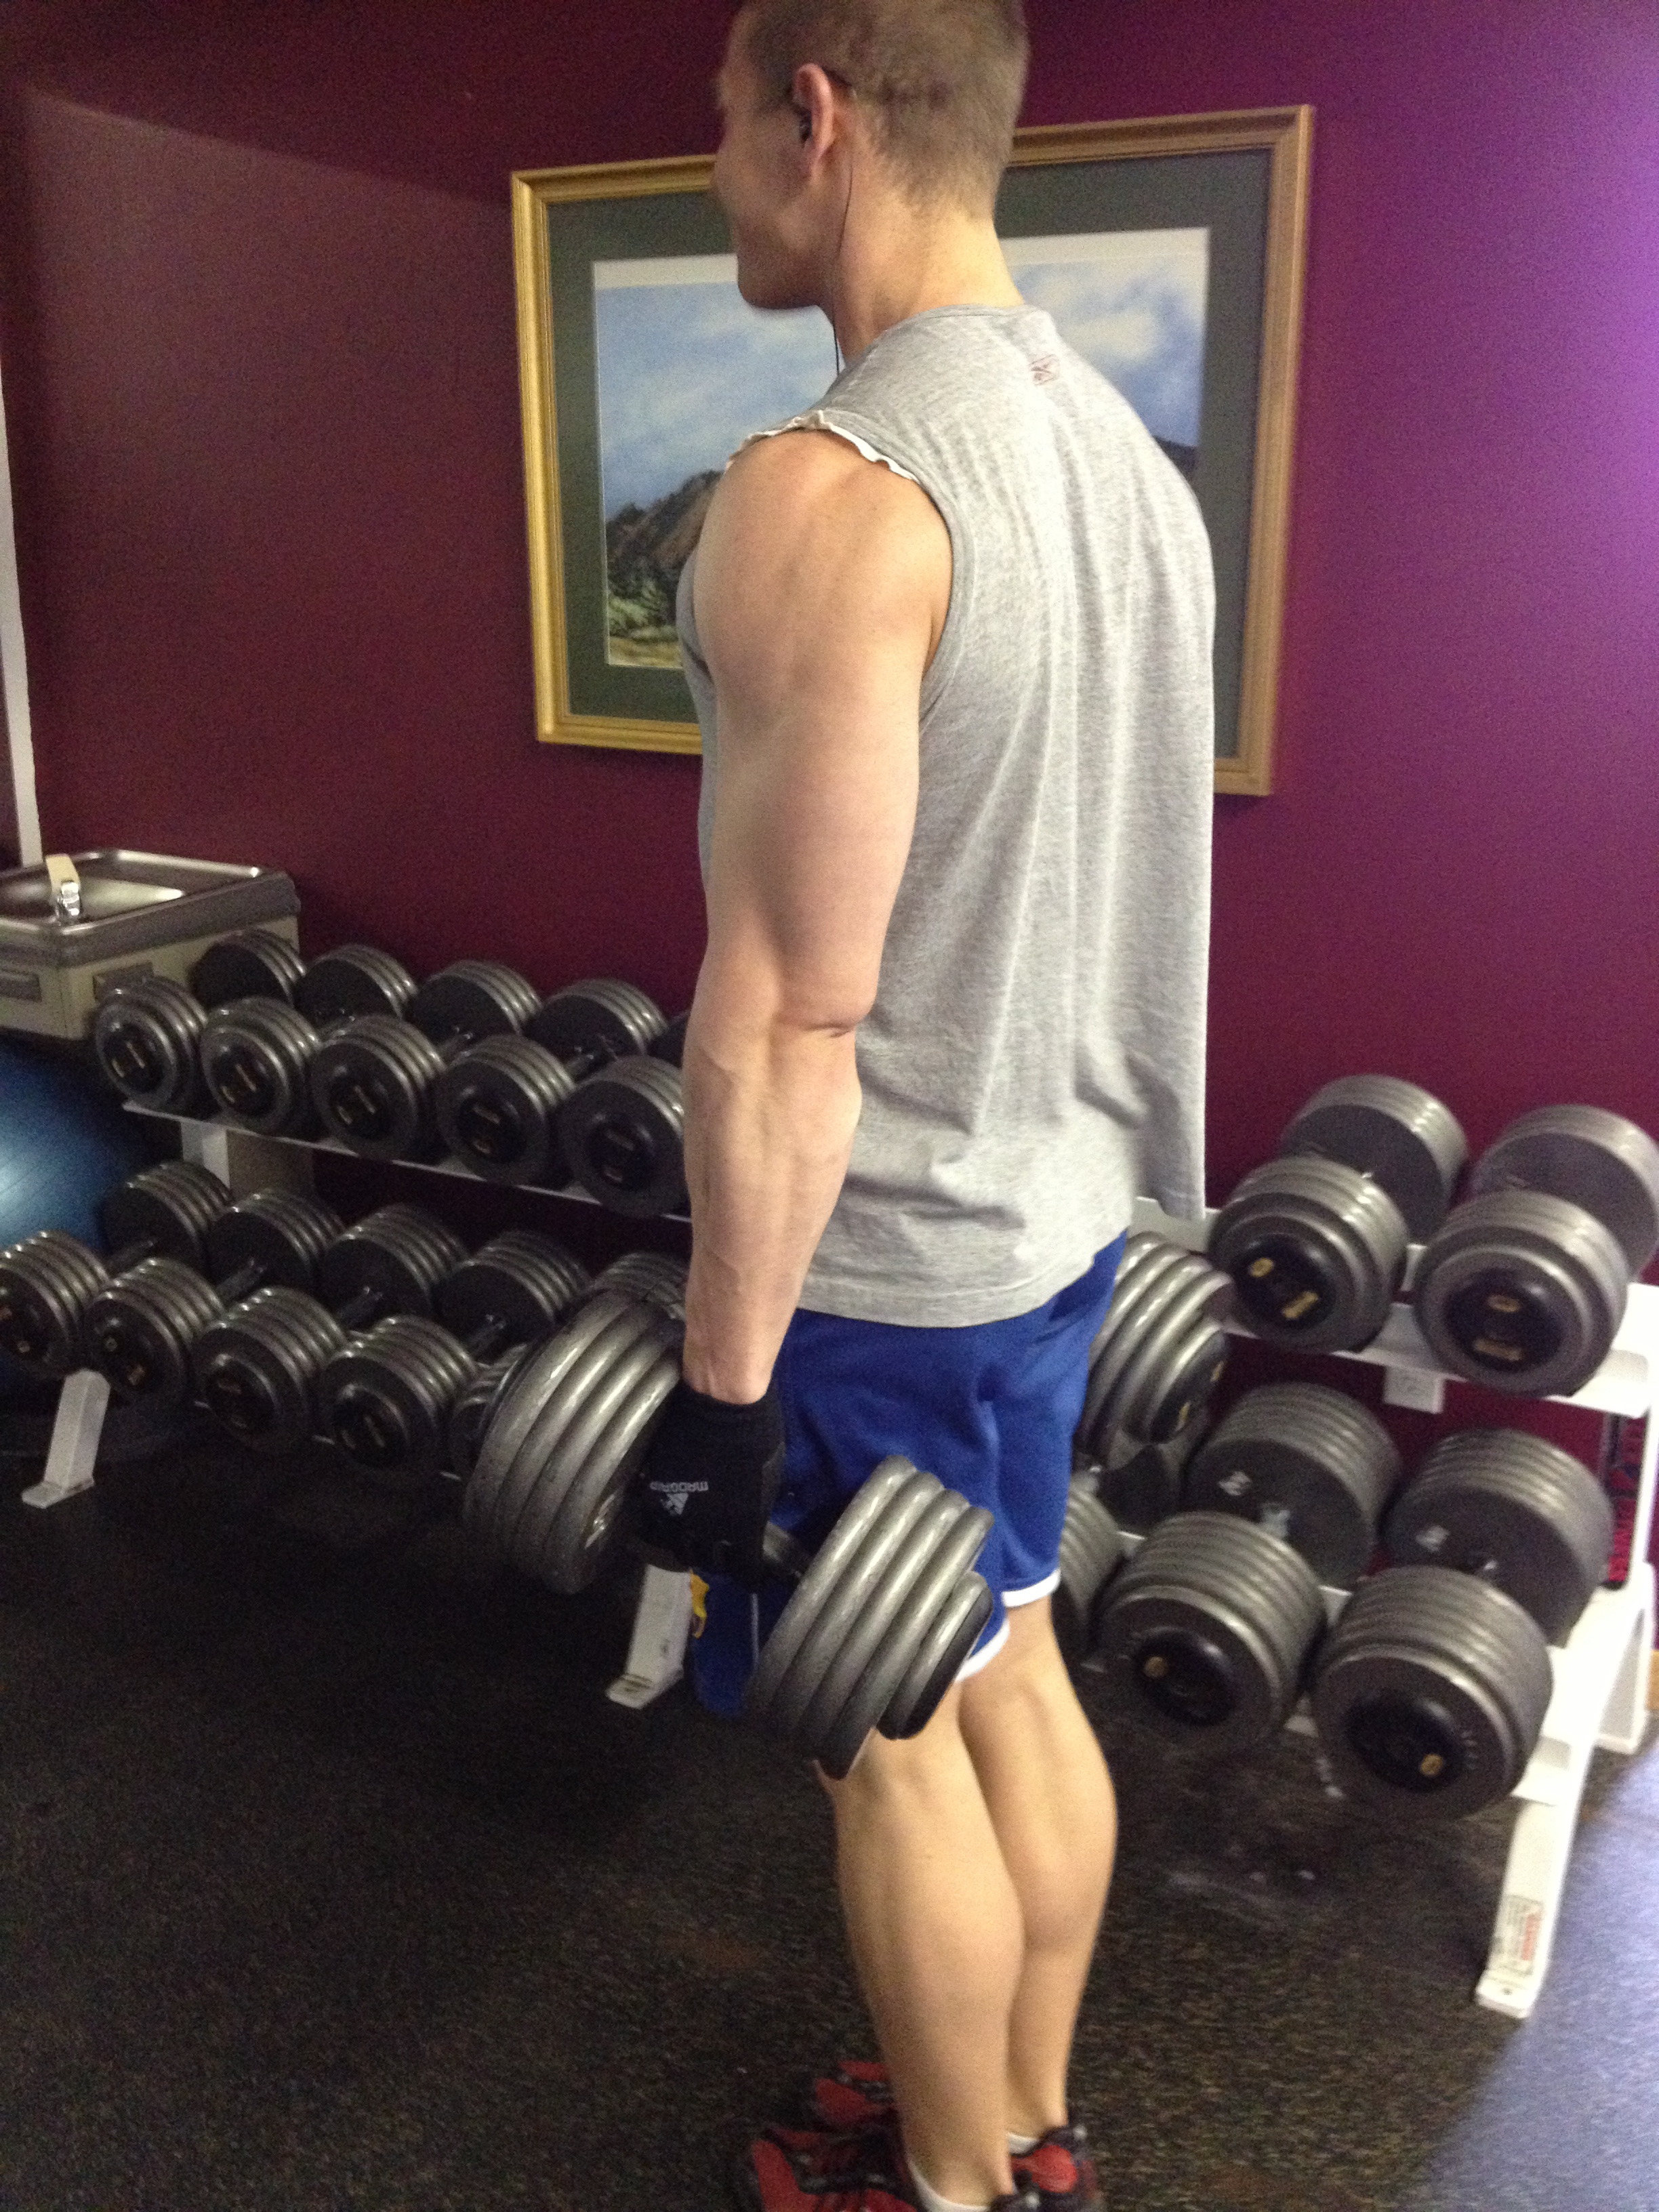
a. kettle bell sumo romanian deadifts

b. back extensions

And then around 10:30, we bouldered for about 20 minutes until my forearms felt like they were about to split. Typically, we get kicked out of the gym, but that day we left a couple minutes early. If you ever get that sensation, just stop.

So now, the reason why I wrote this post was to dedicate a section to bodyweight or near bodyweight lower back exercises. While sometimes I work out lower back with back or legs, it really could be classified as core. Depending what your weekly split is, you can cater your lower back workouts to match those days. For instance,

If you are trying to do lower back with legs, deadlifts and squats are great exercises to focus on good form and strengthening your lower back. Whether it is a romanian dead lift, straight leg, front squat, olympic squat, etc you should focus on good form! If you squat 600 lbs for 1 rep and your back isn’t straight, I don’t count it. You can, but you’re lying to yourself.

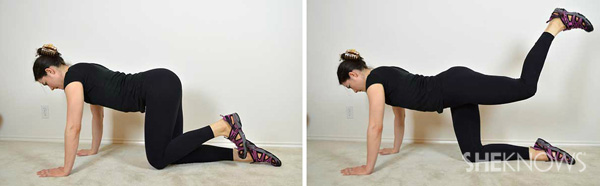
You can also use the back extension apparatus that is actually a glute/upper hamstring piece of equipment. Hit a few birds with one stone. If you’re doing shoulders or back, kettlebell swings are a great workout for lower back. But if you’re trying to work body weight, lower back is a great group to focus on with your core.

Back extensions on the apparatus are I think the most convenient one here. It is bodyweight and weight can be added, but it requires a piece of equipment, and if you don’t have it just do…

Supermans – laying stomach down, extend your limbs outwards and slowly or quickly contract upwards, then slowly or SLOWLY stretch back downwards to the floor. Thirty reps is a great goal for body weight exercises, especially for your core.

Any deadlift can be done bodyweight. Single leg are the most challenging and if done improperly can hurt your lower back a lot more. I recommend a straight leg romanian deadlift where your only pivot point is at the lower back. Rep it out again with the same execution as the superman.

Never, in any circumstance, bend your lower back or arch it towards your stomach. Try to keep it tight, keep it straight and if anything, but try not to, arch it away from your stomach.

Do a plank, and a side plank on each side. Planks are arguably if done correctly the best core exercises and this includes your lower back. Do not overlook these. Do them for as long as you can maintain proper form, and when form deteriorates, rotate onto your side… or rest! Then repeat.

If you have a stability ball, you can do reverse extensions where you bring the ball into your chest with your feet on it. Keep that spine straight and try to rep it out. I usually shoot for 20.

Don’t forget about bridges. These will be used in some yoga classes. It’s kind of a reverse plank, with your back to the ground.

And on that note, consider yoga poses! Cat pose, cow pose, cobra, scorpion, chattarangaaaaa (or however you spell it). These are difficult glorified stretches that can really work. Just make sure you don’t only do these. I have a thing against just doing “static stretches” but I understand yogis that these aren’t JUST static stretches so stay back.

Any questions?

spacer