I say healthier because fried fish and chips are to some degree “unhealthy” due to the oil. However, I did not use as much oil as calls for in most recipes and I did not beer-batter the fish or the fries either. So you don’t have to feel too bad eating this, it’s good fresh fish, with a light crust, and sweet potato fries instead of regular potatoes.

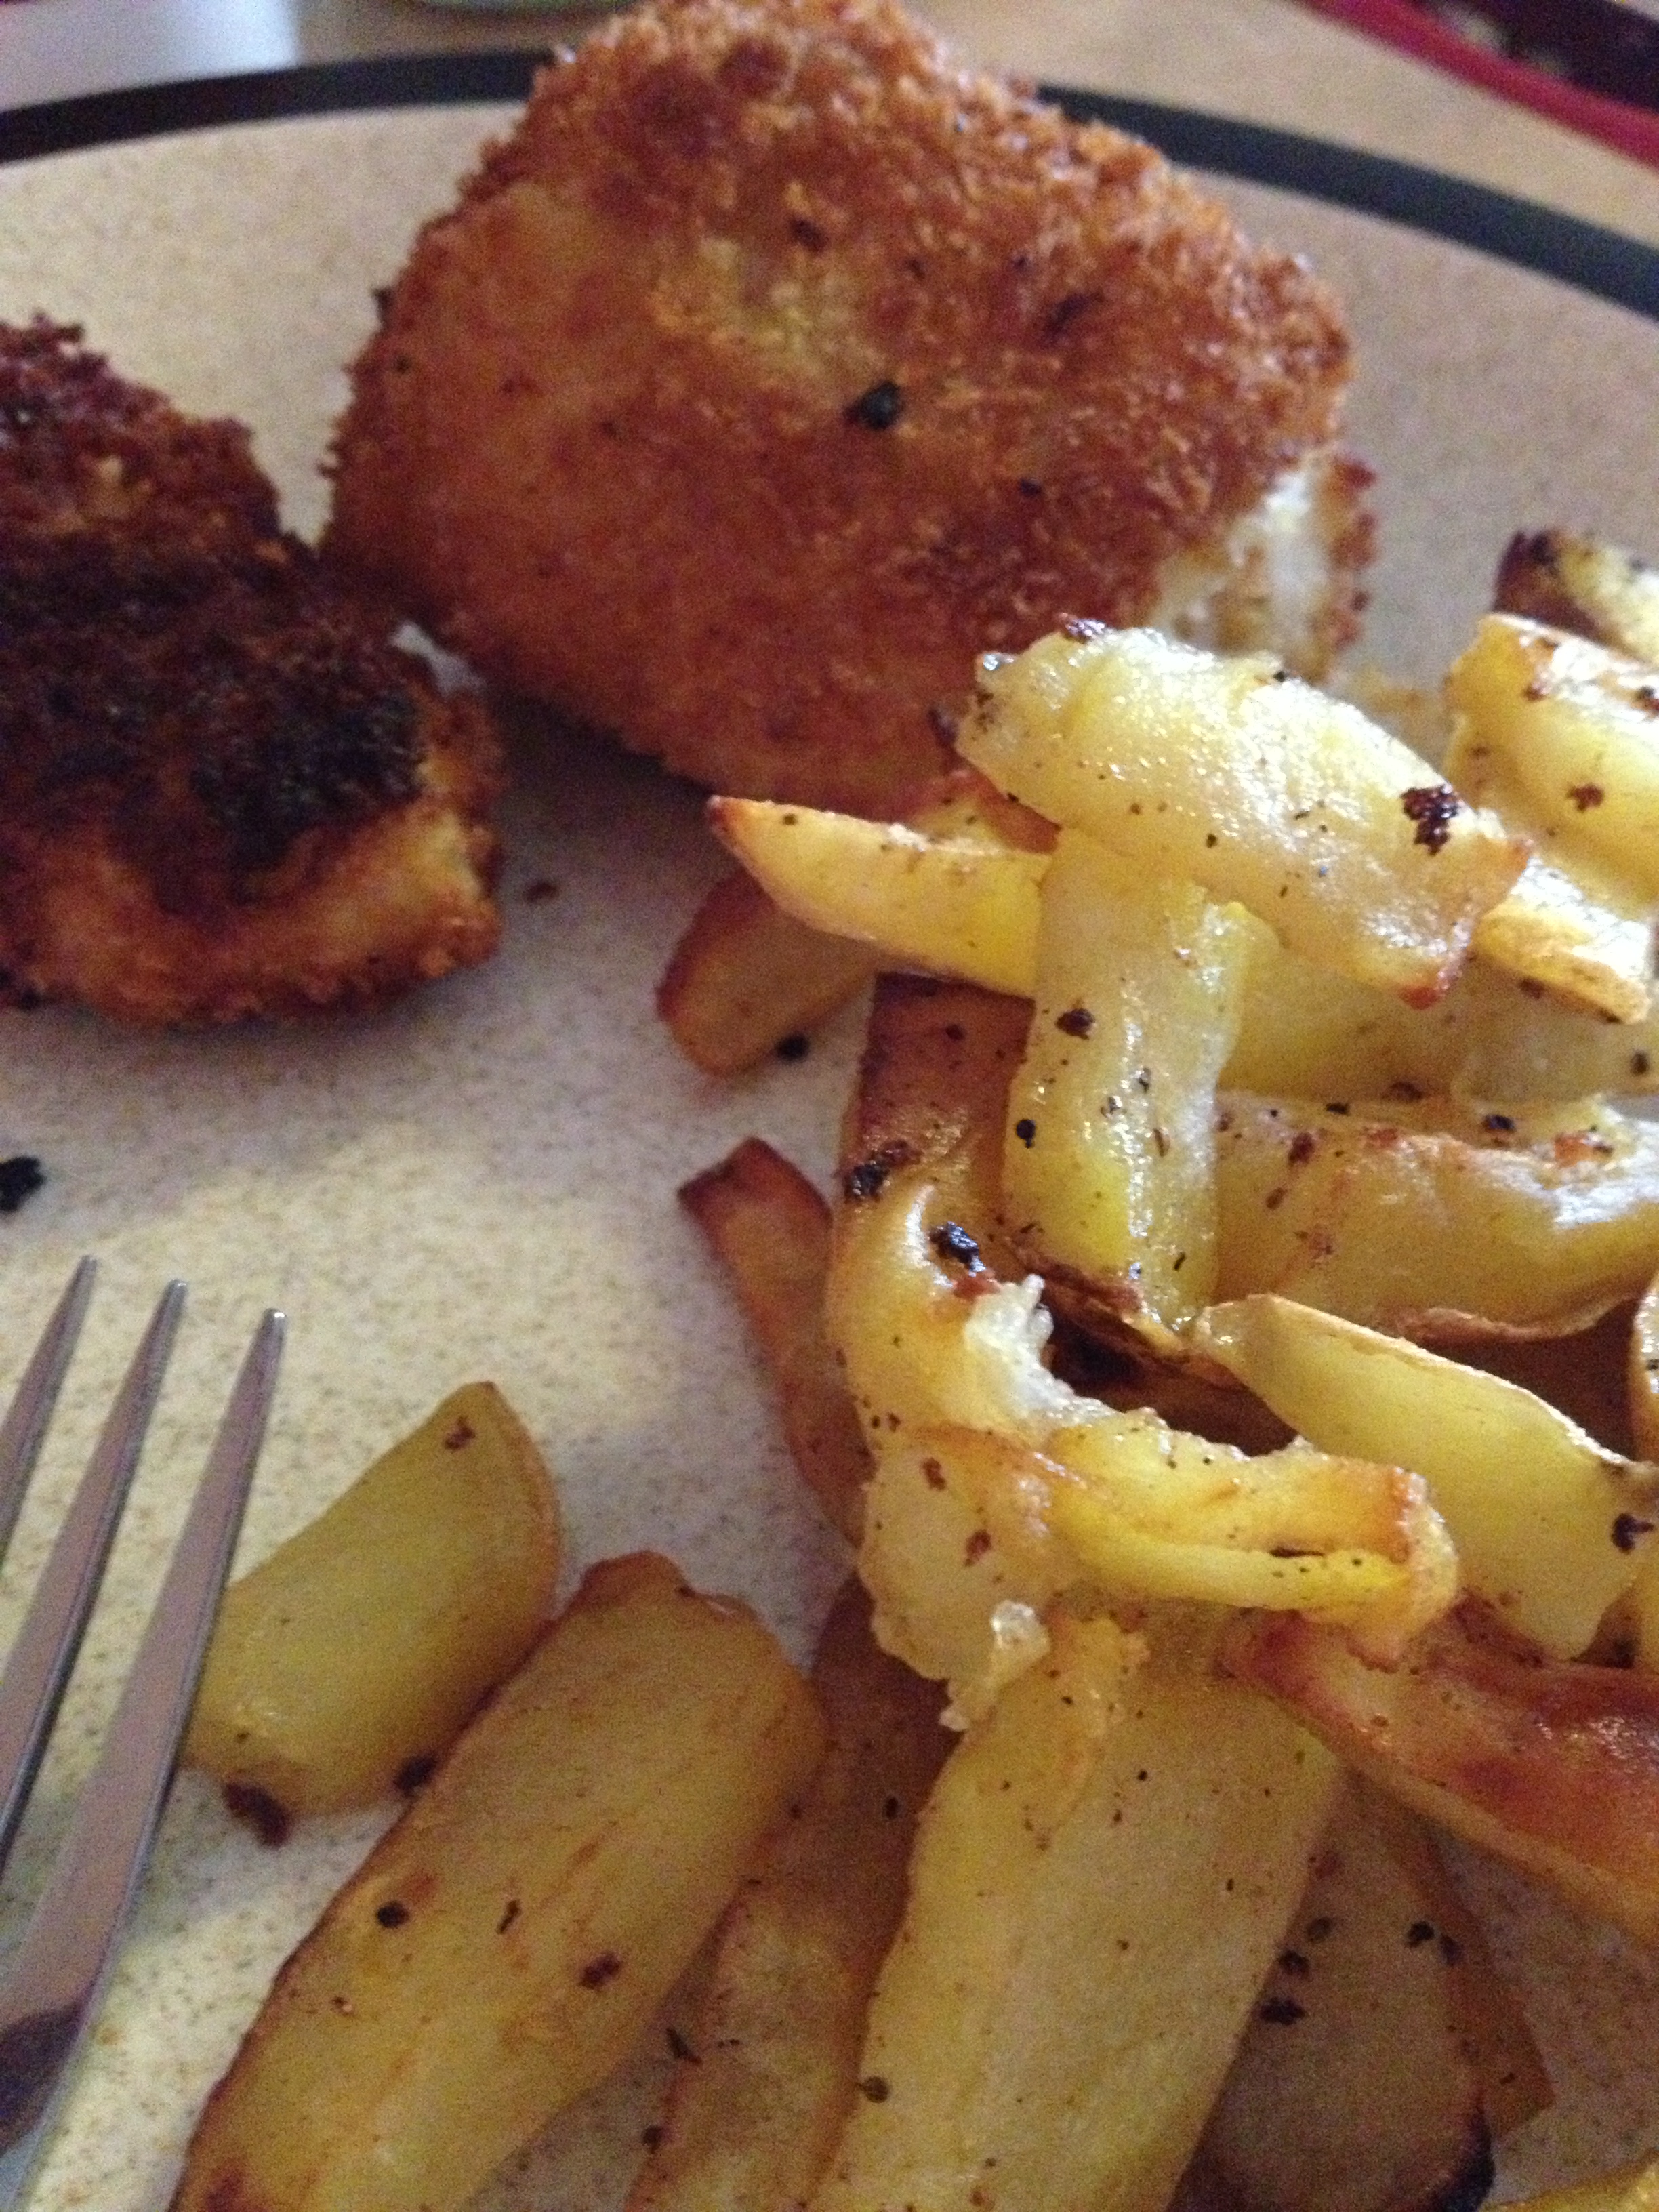
DELICIOUS
You may be surprised to hear that growing up (in Southern California, no less), I didn’t like seafood. With the exception of fried calamari, but what kid doesn’t like that. The only real fish I would eat were fish & chips from Jack n the Box. It was mum and I’s go-to quick meal if it were just the two of us. And not only was that the only fish I would eat, but the only way I would eat them is literally to put them in a pool of malted vinegar. I am not exaggerating, my family can testify–a pool. Completely saturated. And I would eat it. Jeez, looking back, I wonder how much malted vinegar we went through because of me.
Anyways, now that I’m a weirdatarian (only eat hunted or wild caught meat/fish), I eat lots of fish now because it’s much more common to get wild caught fish than hunted game in a restaurant or the grocery. So here I am, cooking up some wild cod and sweet potato fries for dinner. I got the recipe from this lovely blog and altered it to fit me. Instead of tartar sauce, we used ketchup and salsa (yes, we’re strange).
- Prep Time: 15-25 minutes
- Cook Time: 10 minutes
- Serves: 2 people
Ingredients
- 1/2 pound wild cod
- 1 huge white sweet potato
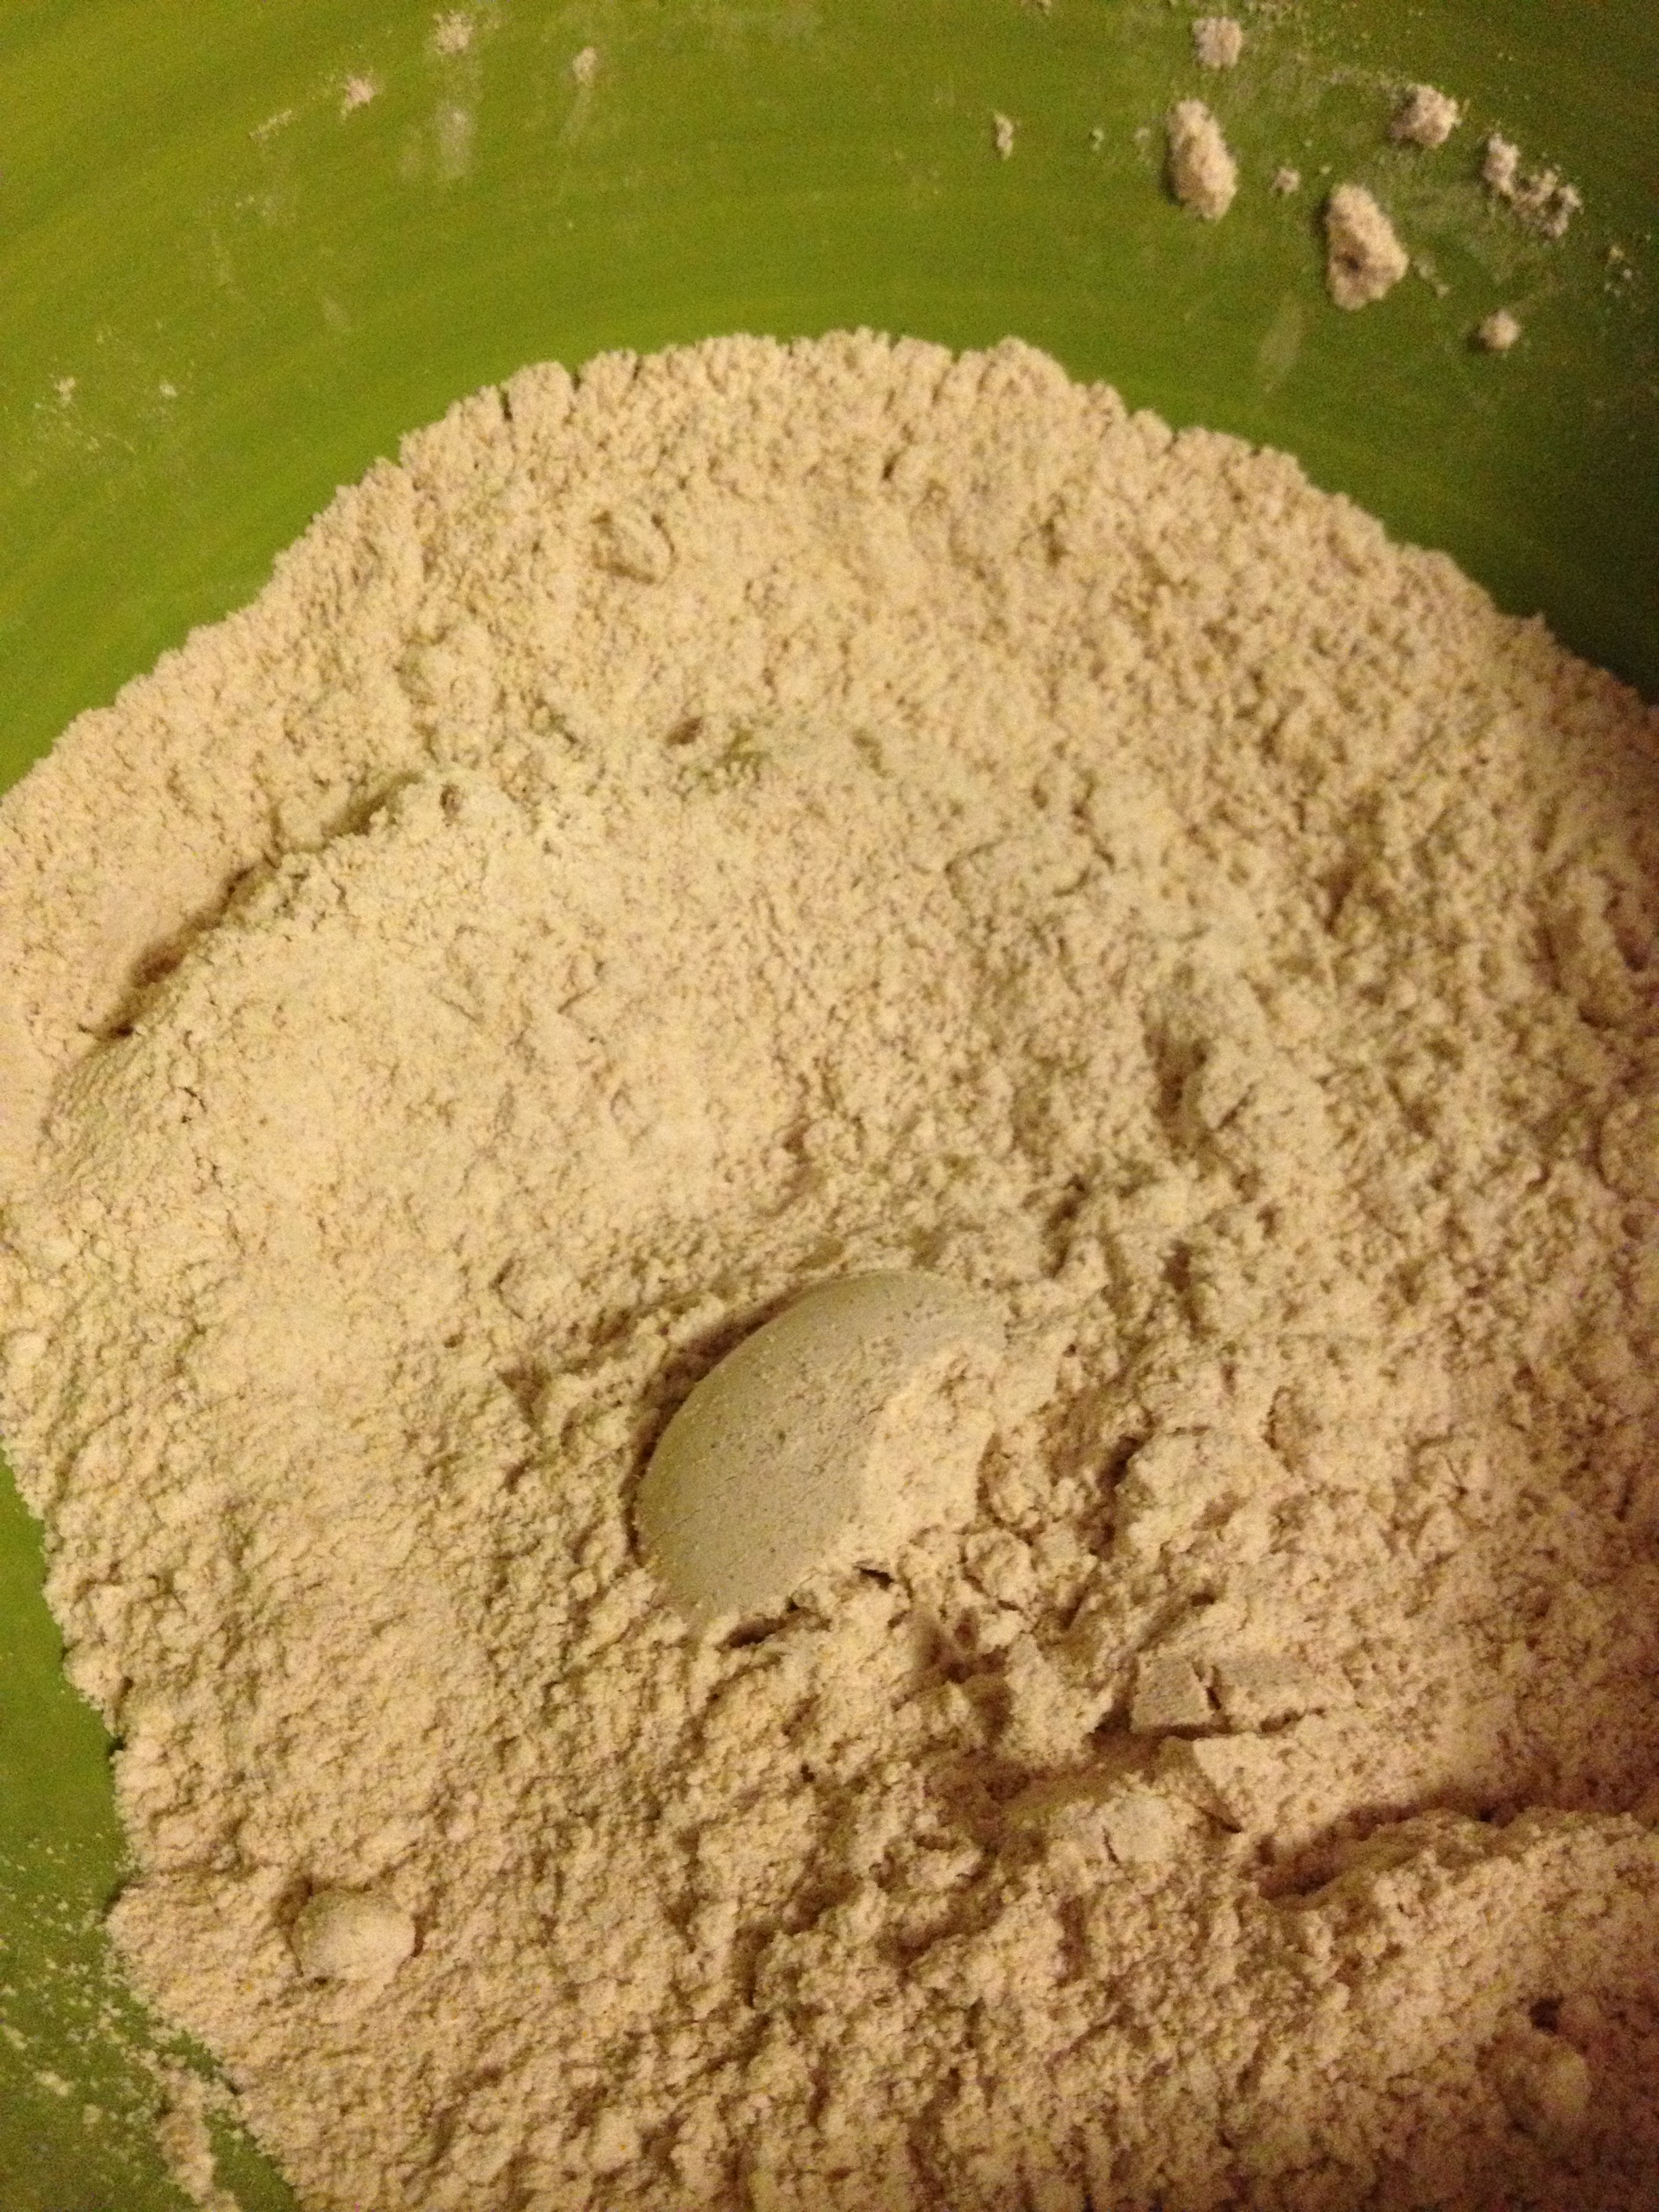
- 1 cup flour
- 2 eggs
- 1 cup panko bread crumbs
- 1 tsp old bay
- salt & pepper
- olive oil
Directions
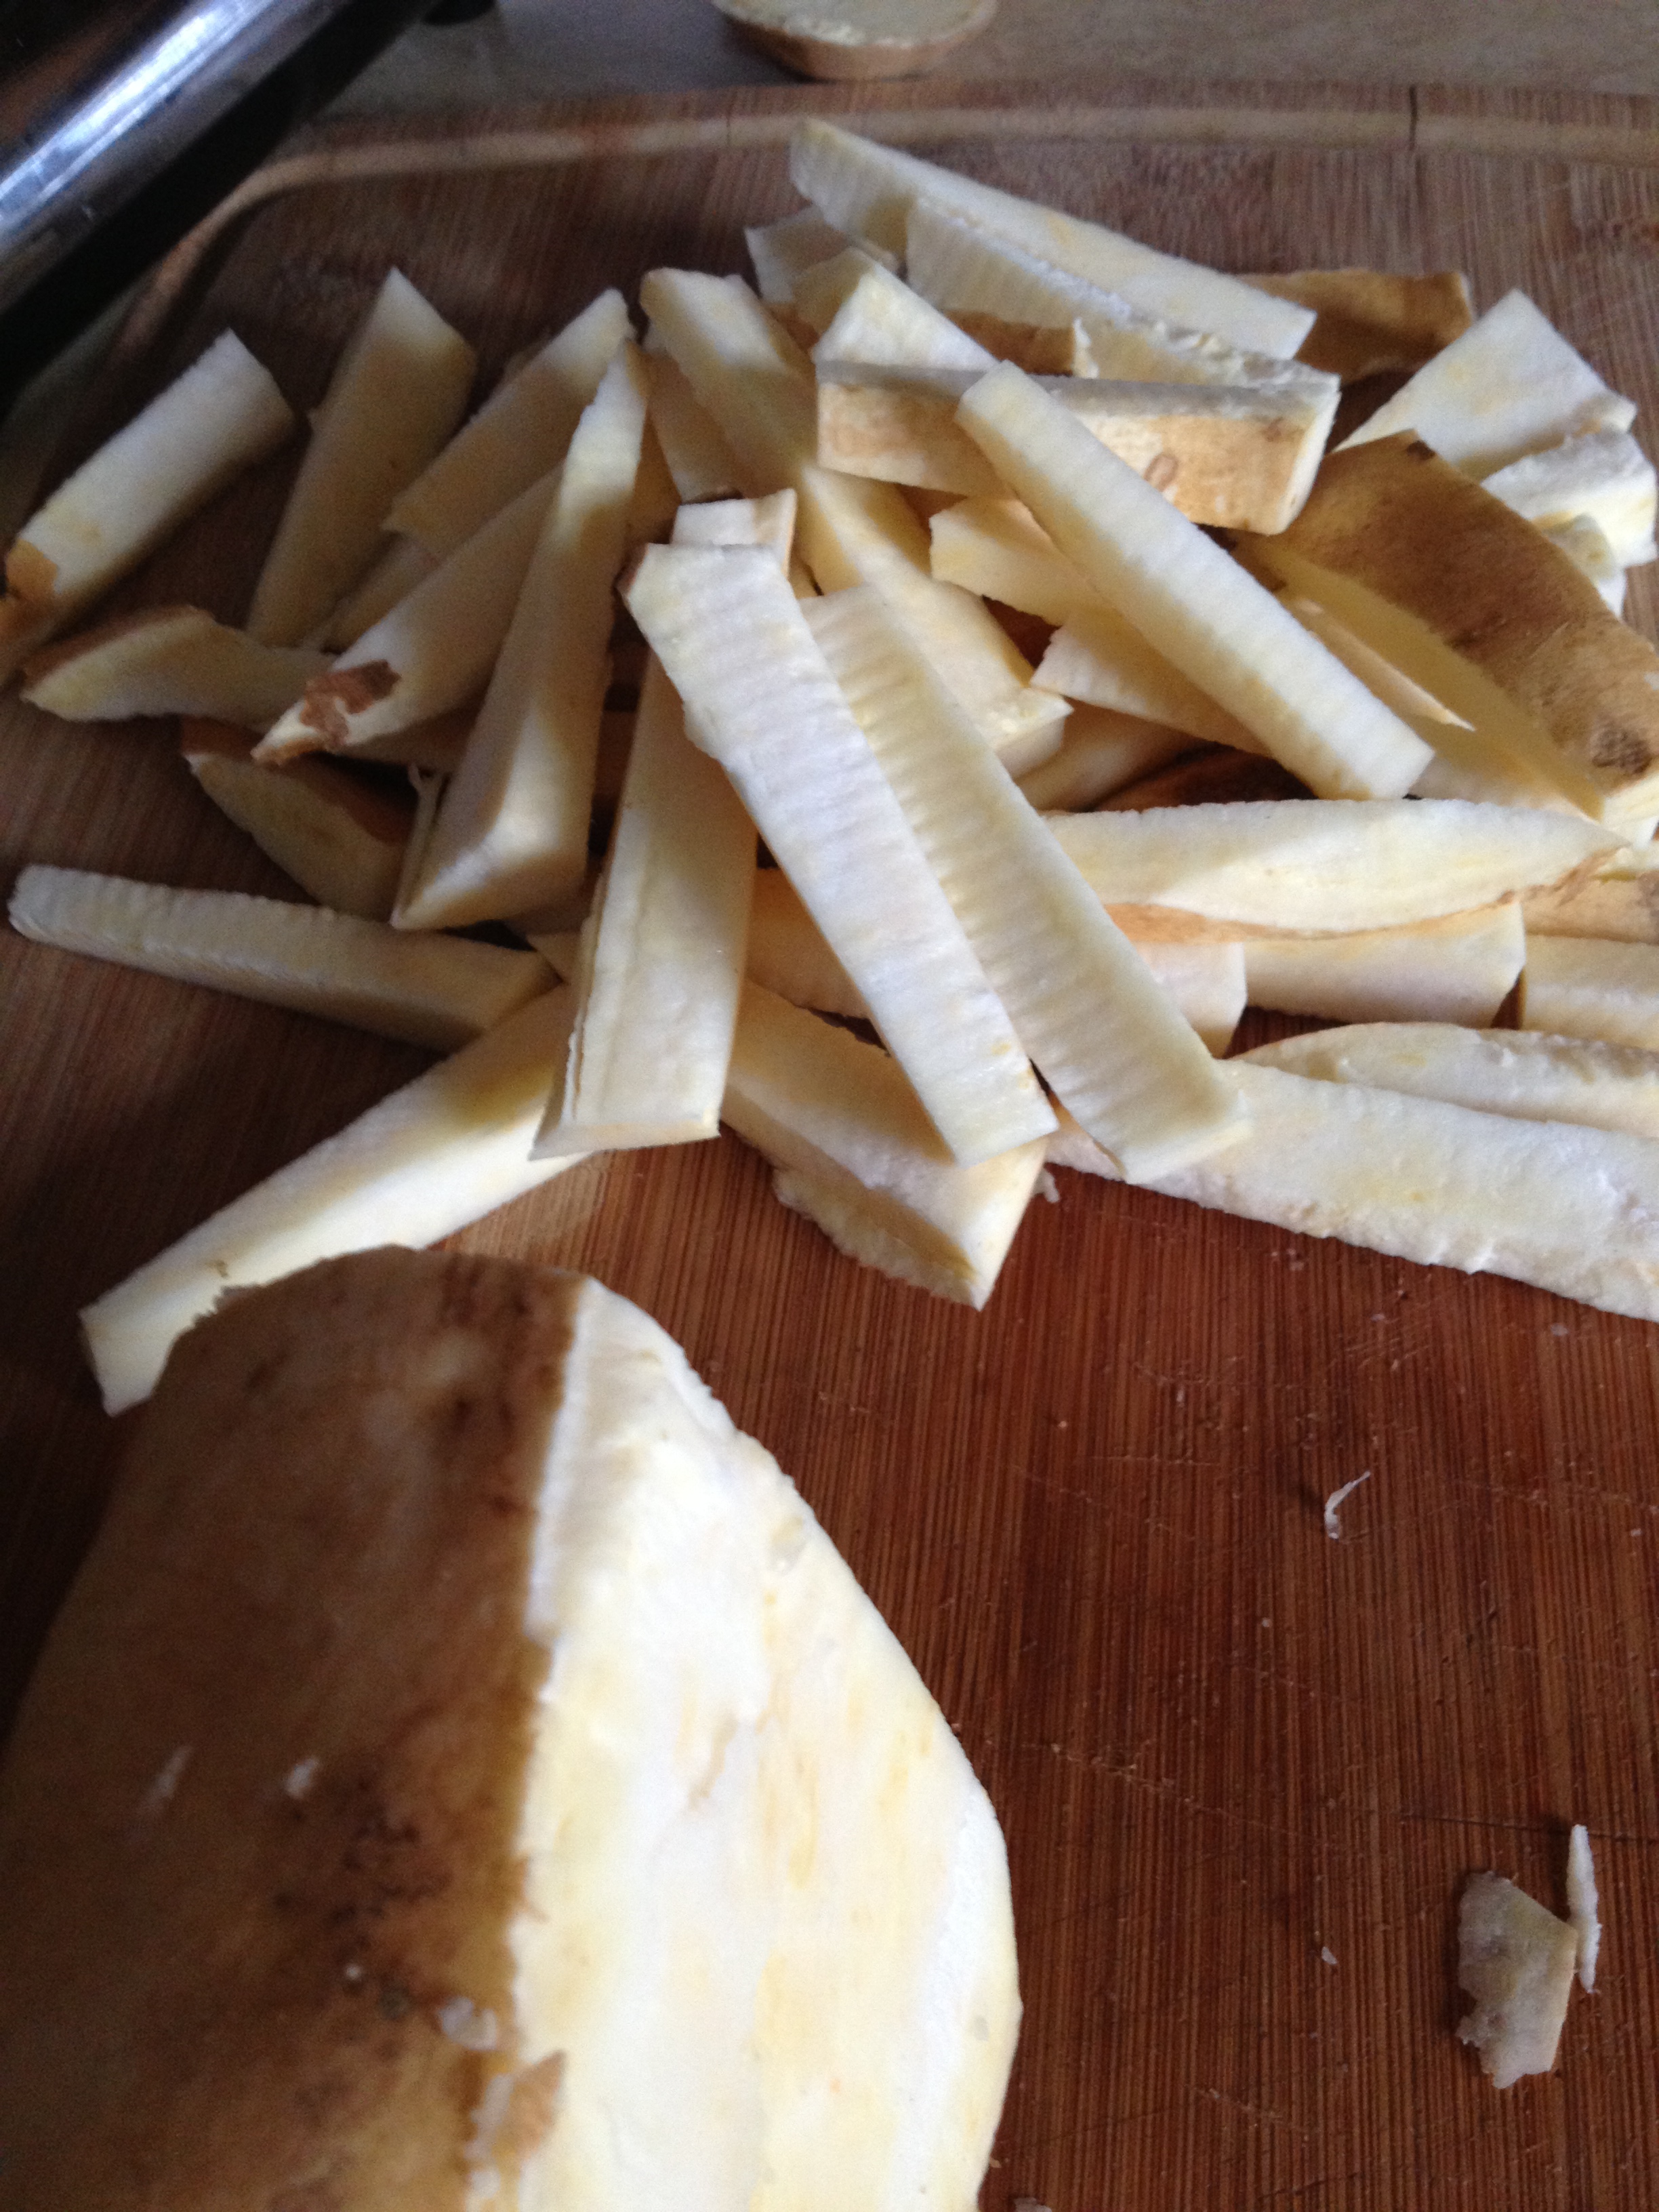
- Cut sweet potato into 1/4 inch thick long pieces
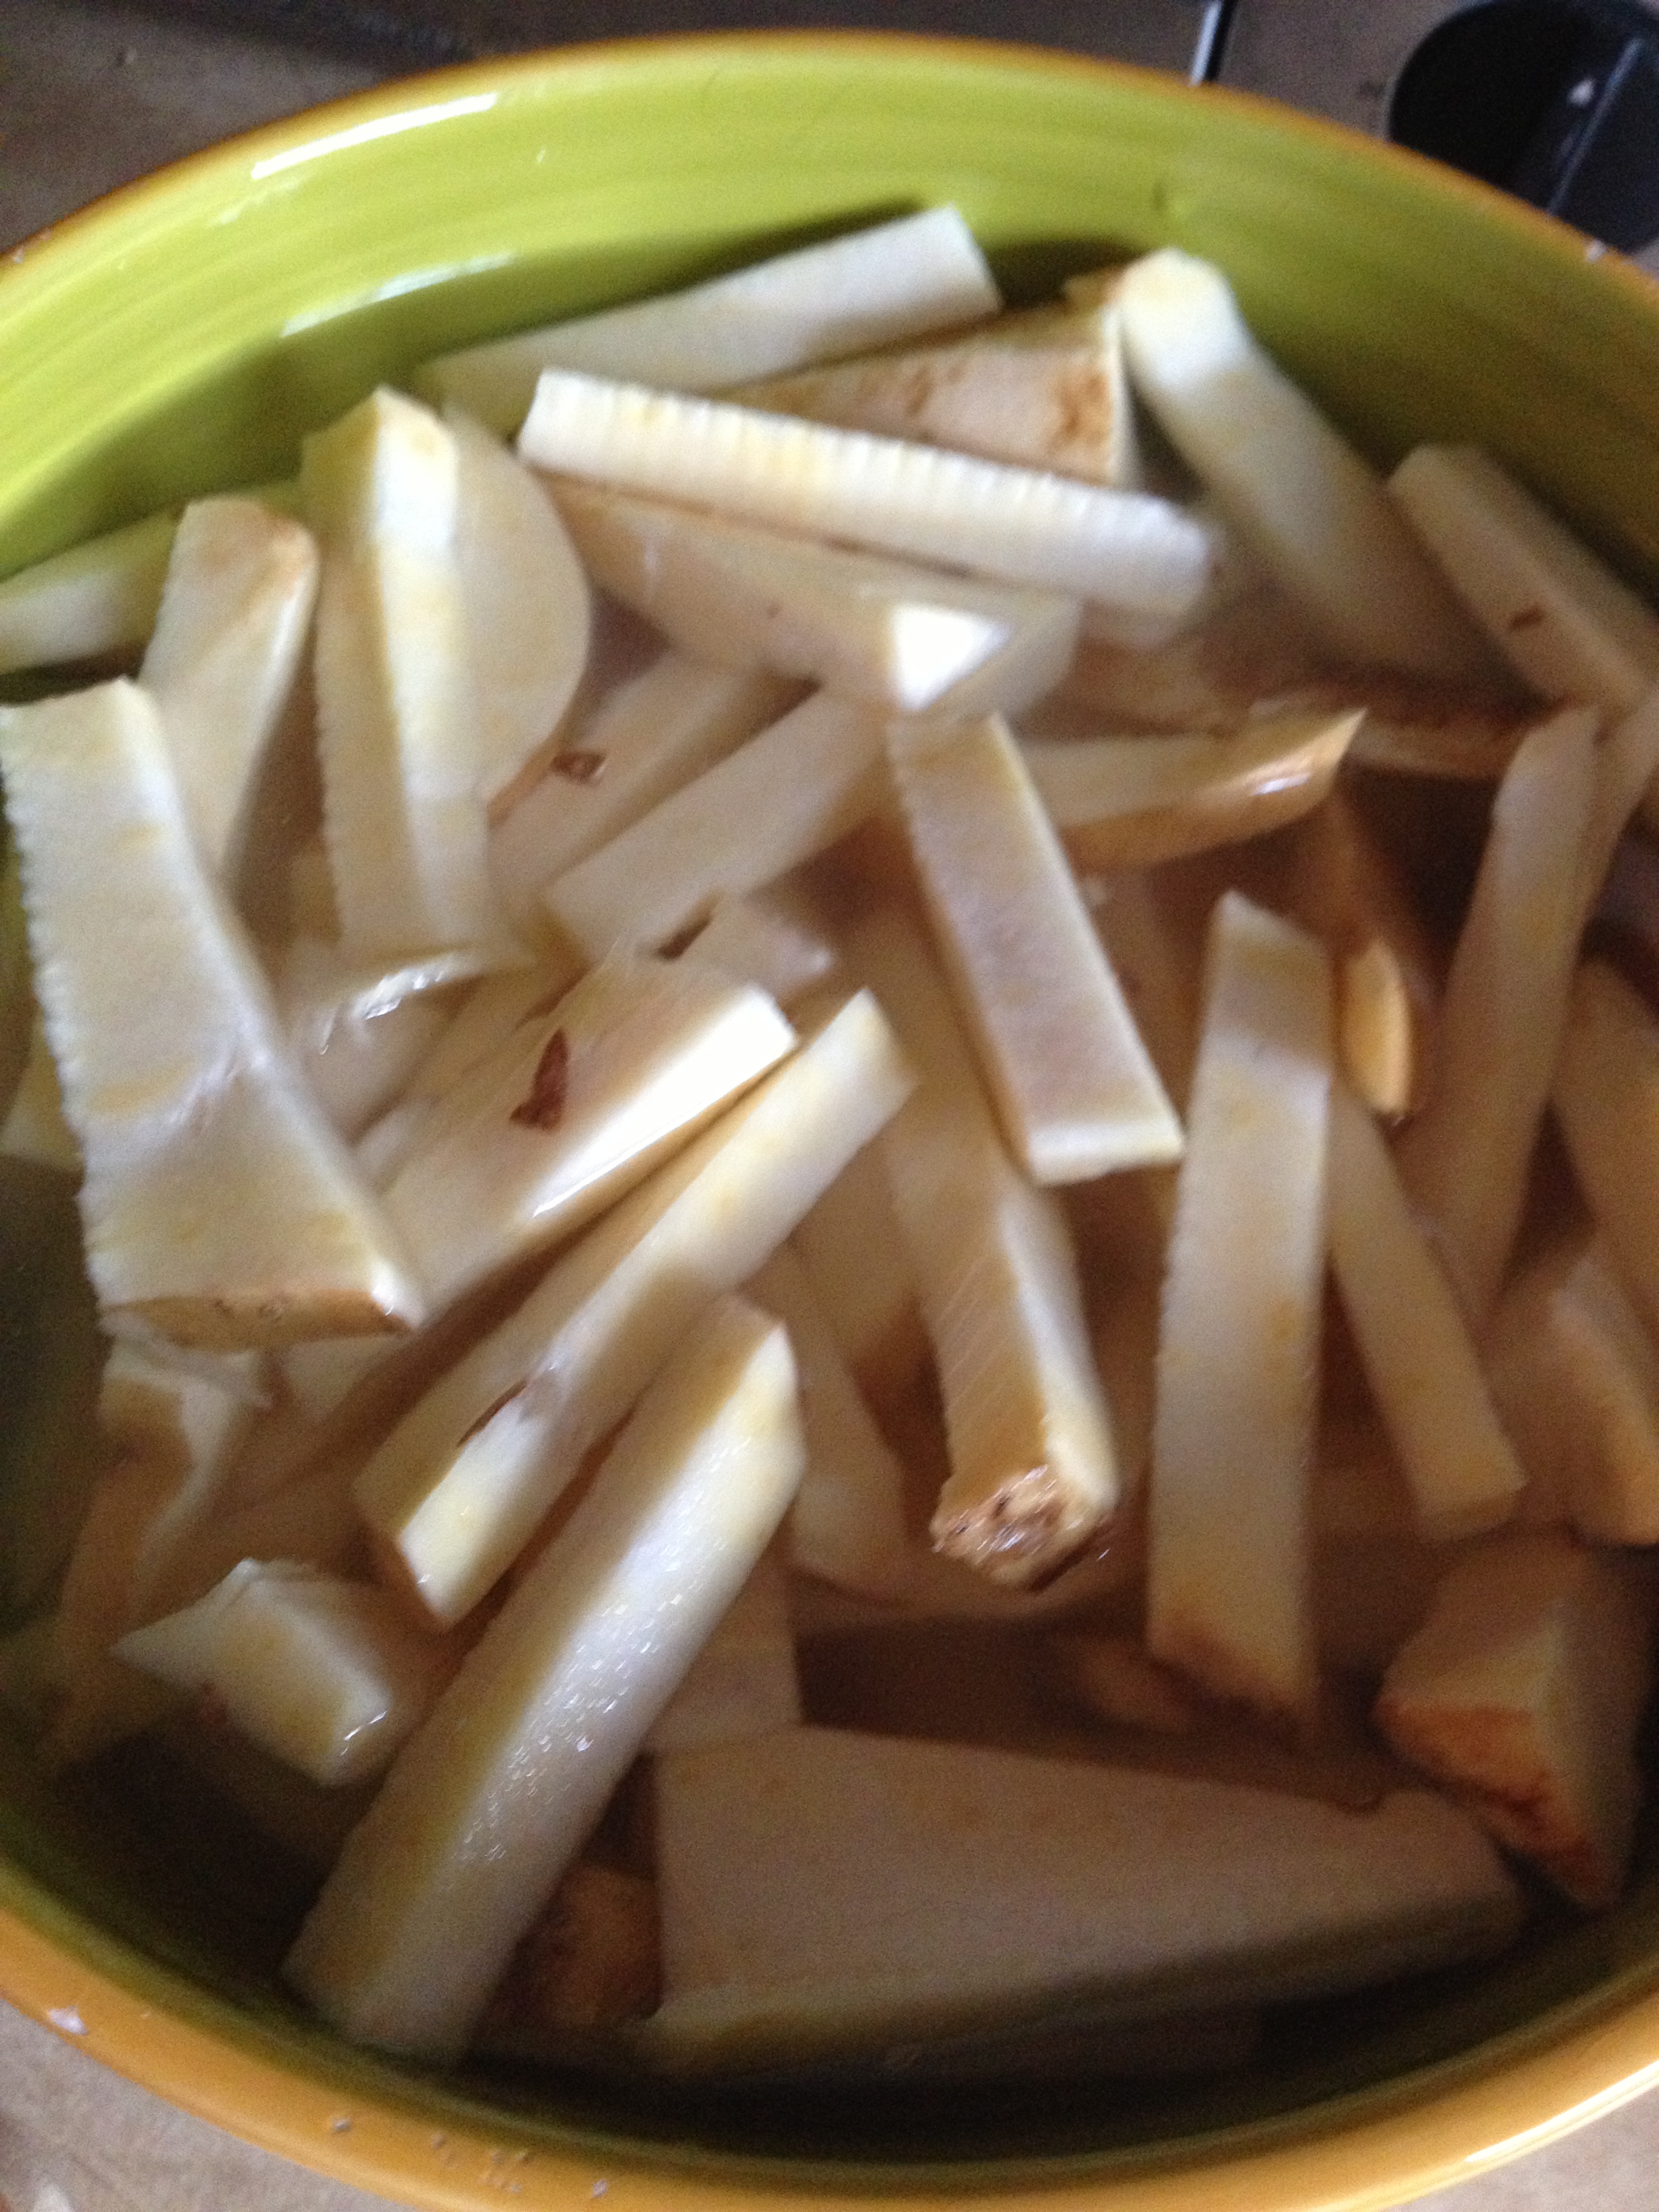
- Put sweet potato slices into a bowl of cold water and leave them there while you work on the fish
- Get three plate-bowls (or pie dishes) ready. Put the flour in one, the eggs in one, and the panko in the last. Beat the eggs with a fork.

- Slice your fish into a few inch cuts
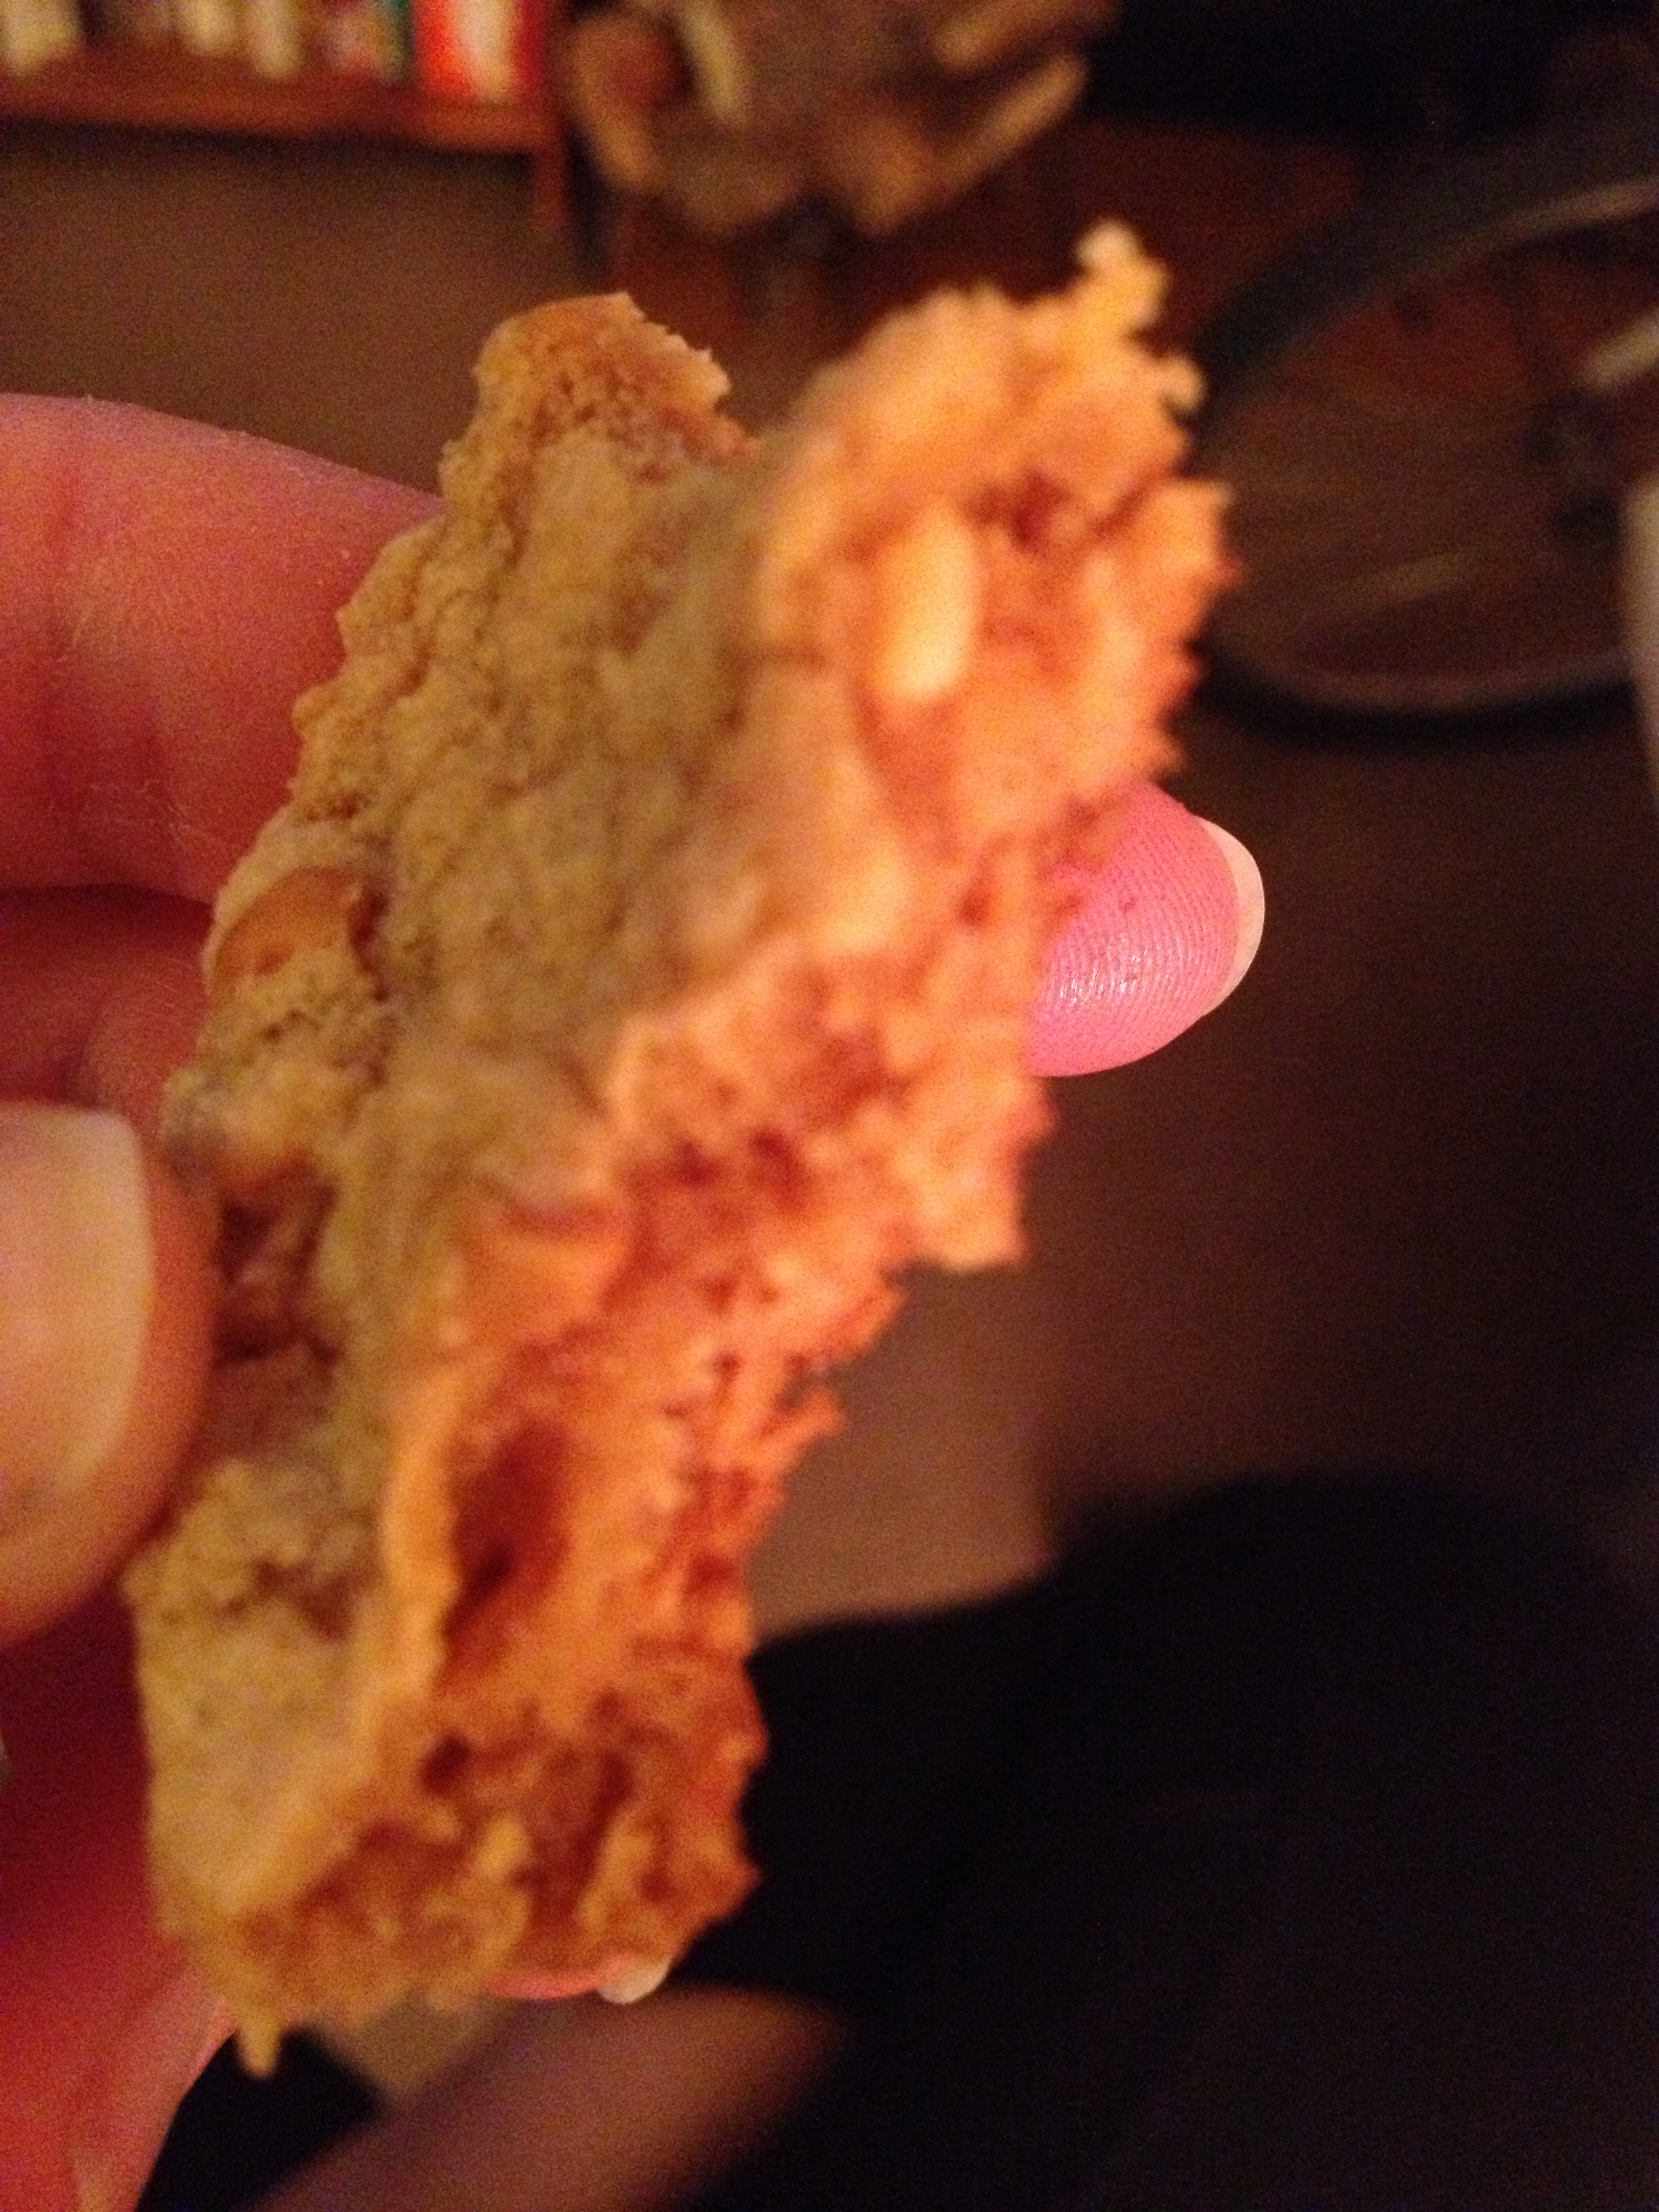
- Cover all sides of fish with flour. Shake any excess flour off and move to the egg. Make sure you get it soaked on each side. Finally, completely cover and bread the fish with the panko
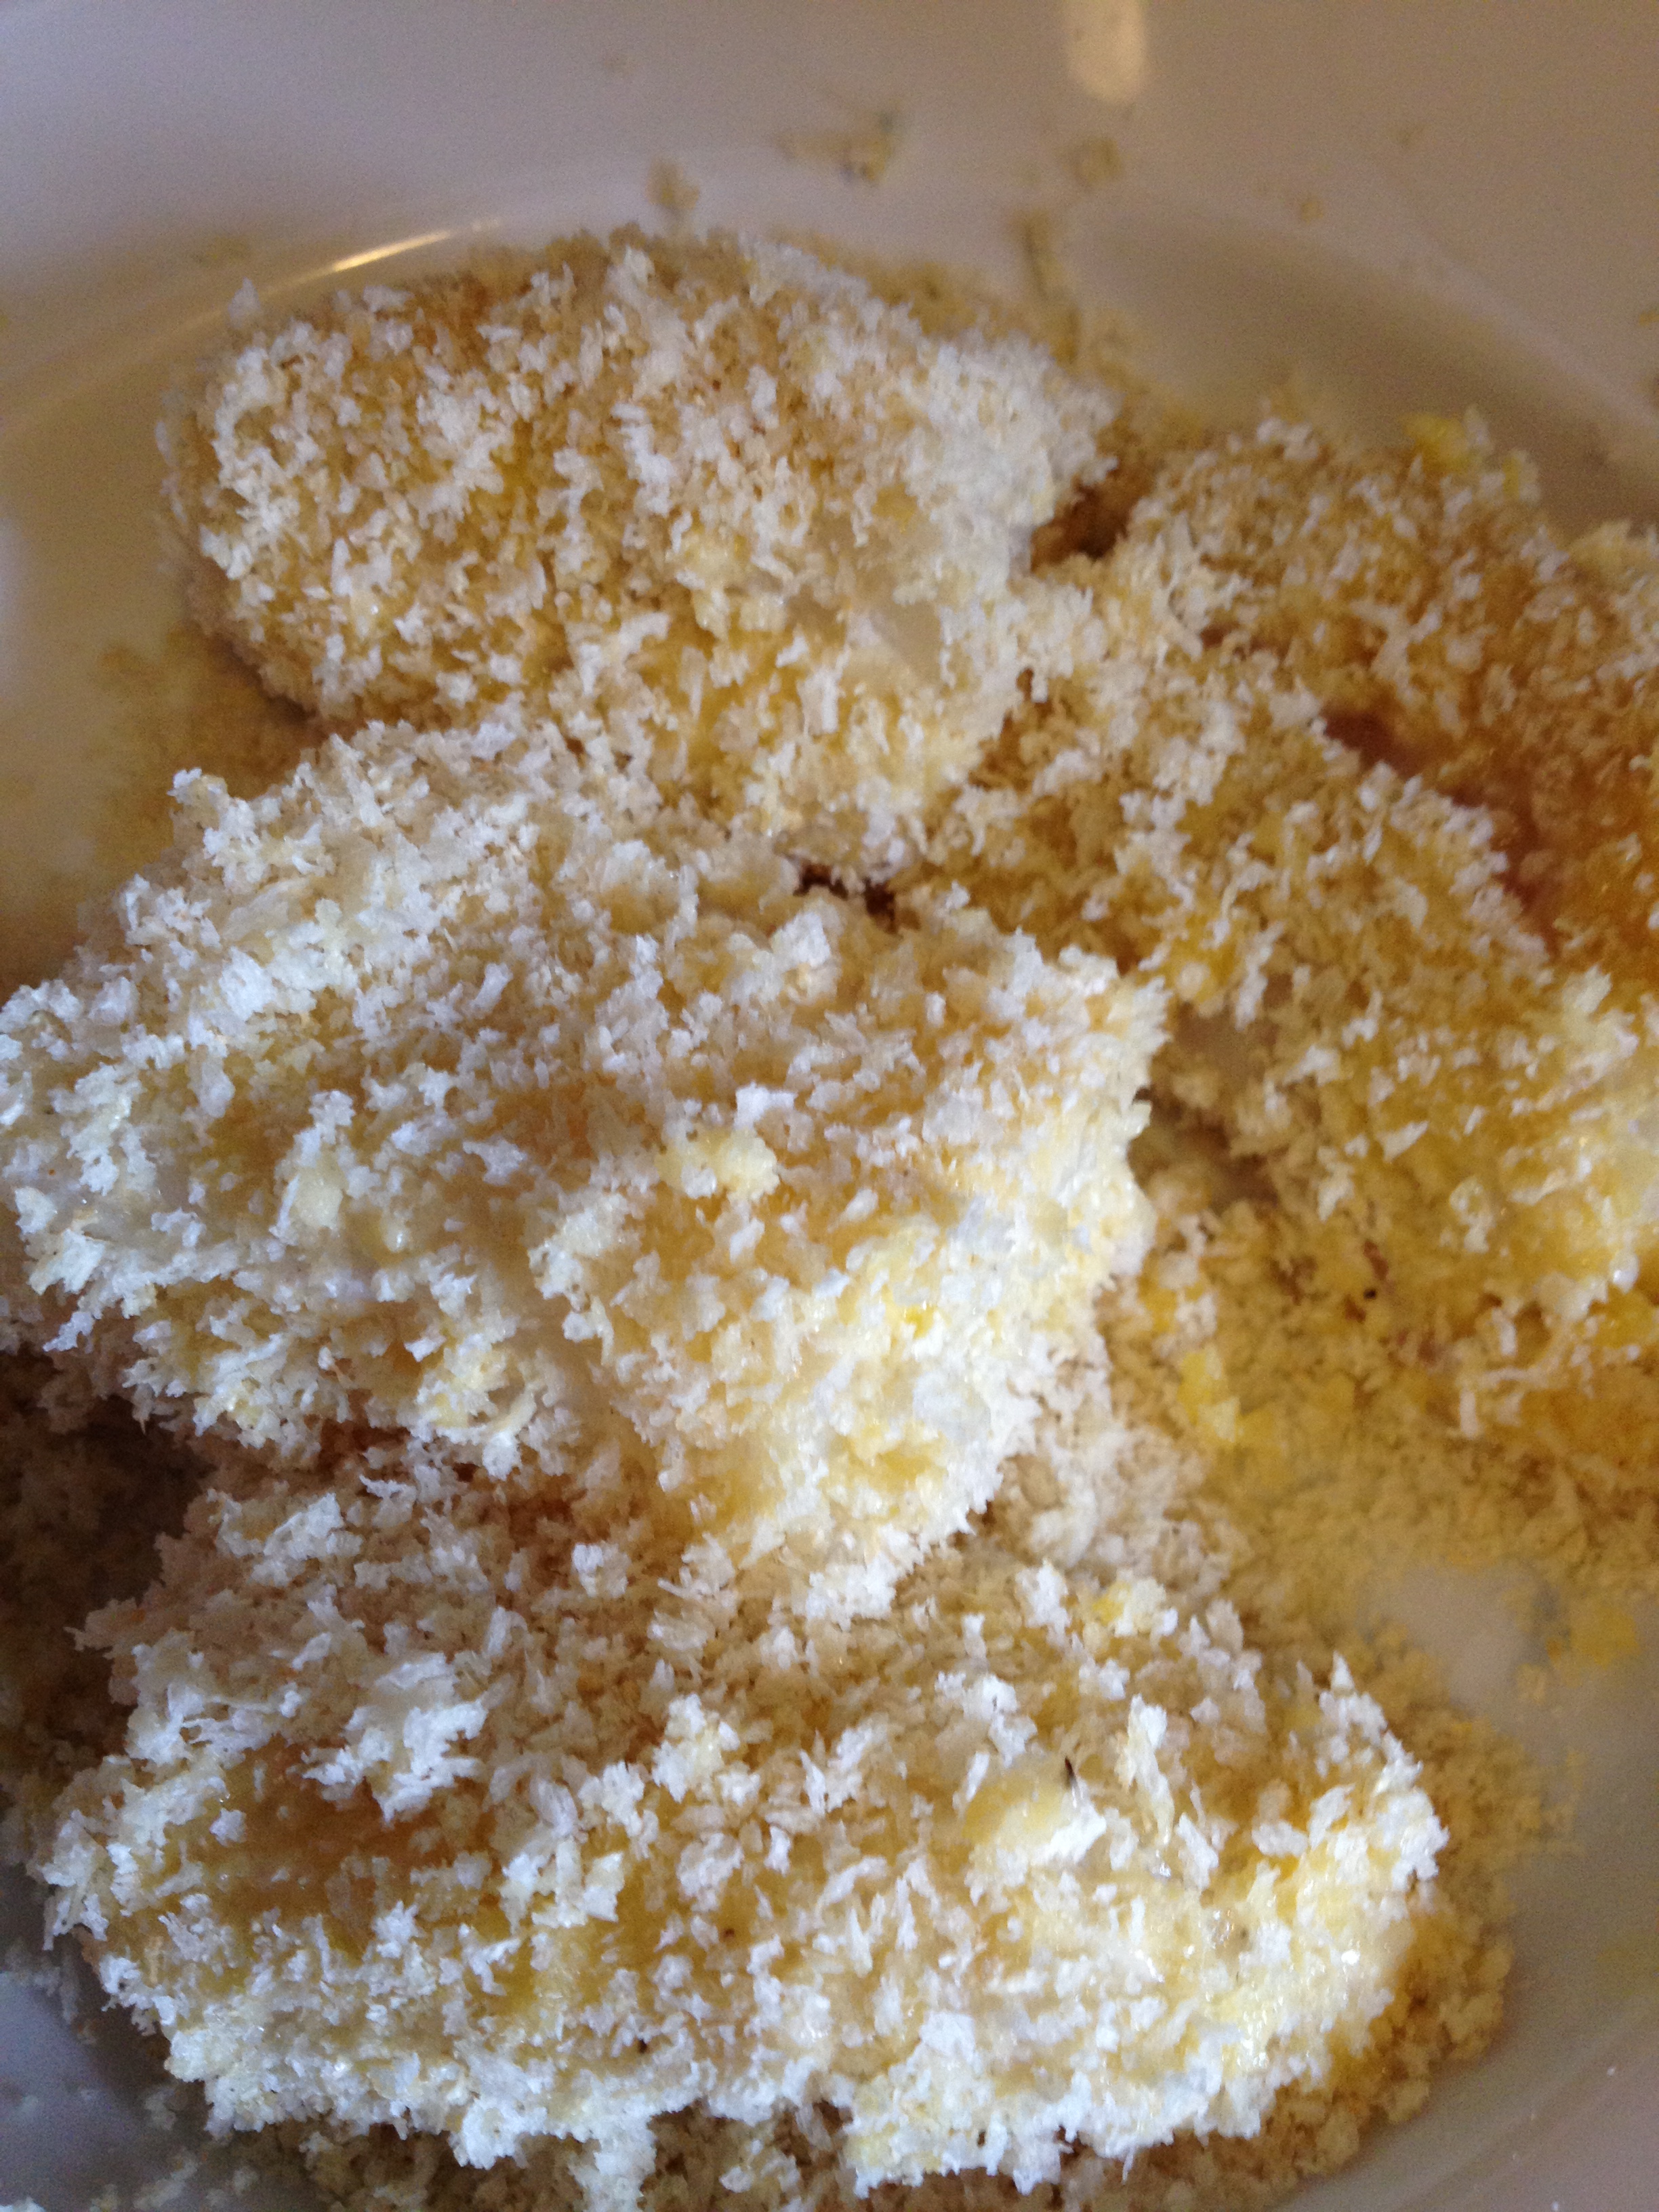
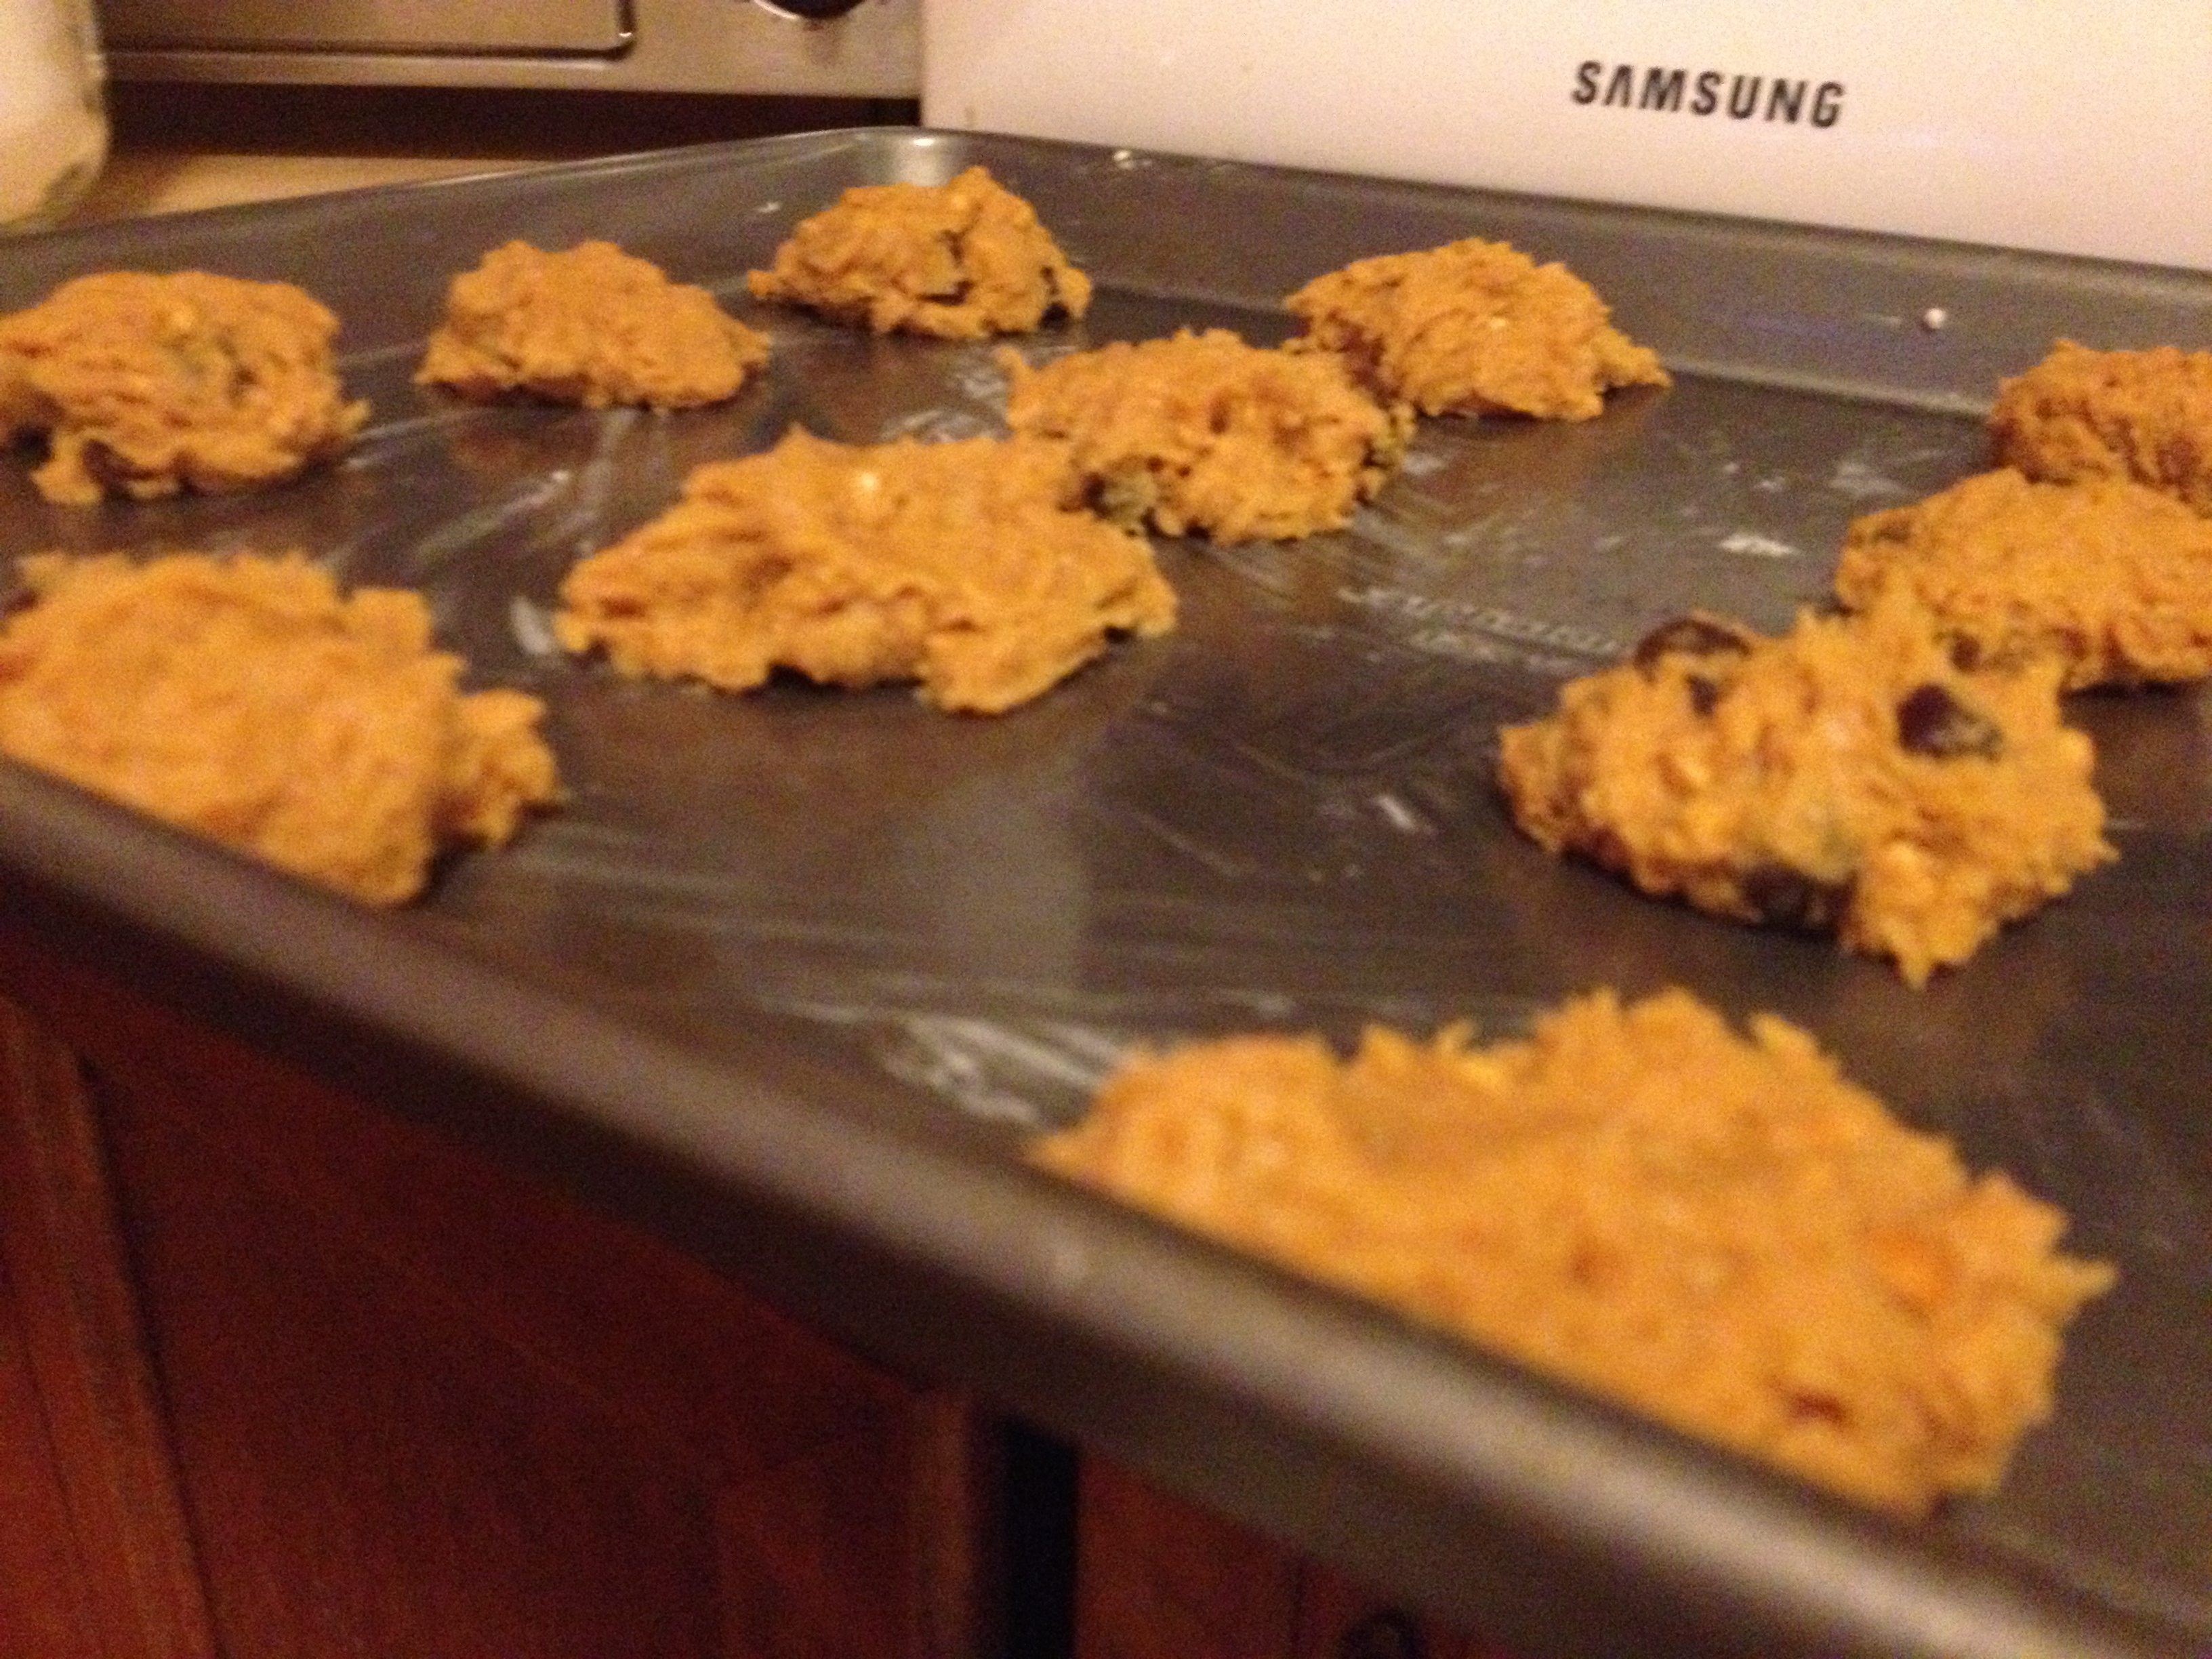
Ready to be cooked
- Lay out the fries and dry them from the water. Season with salt, pepper, and old bay.
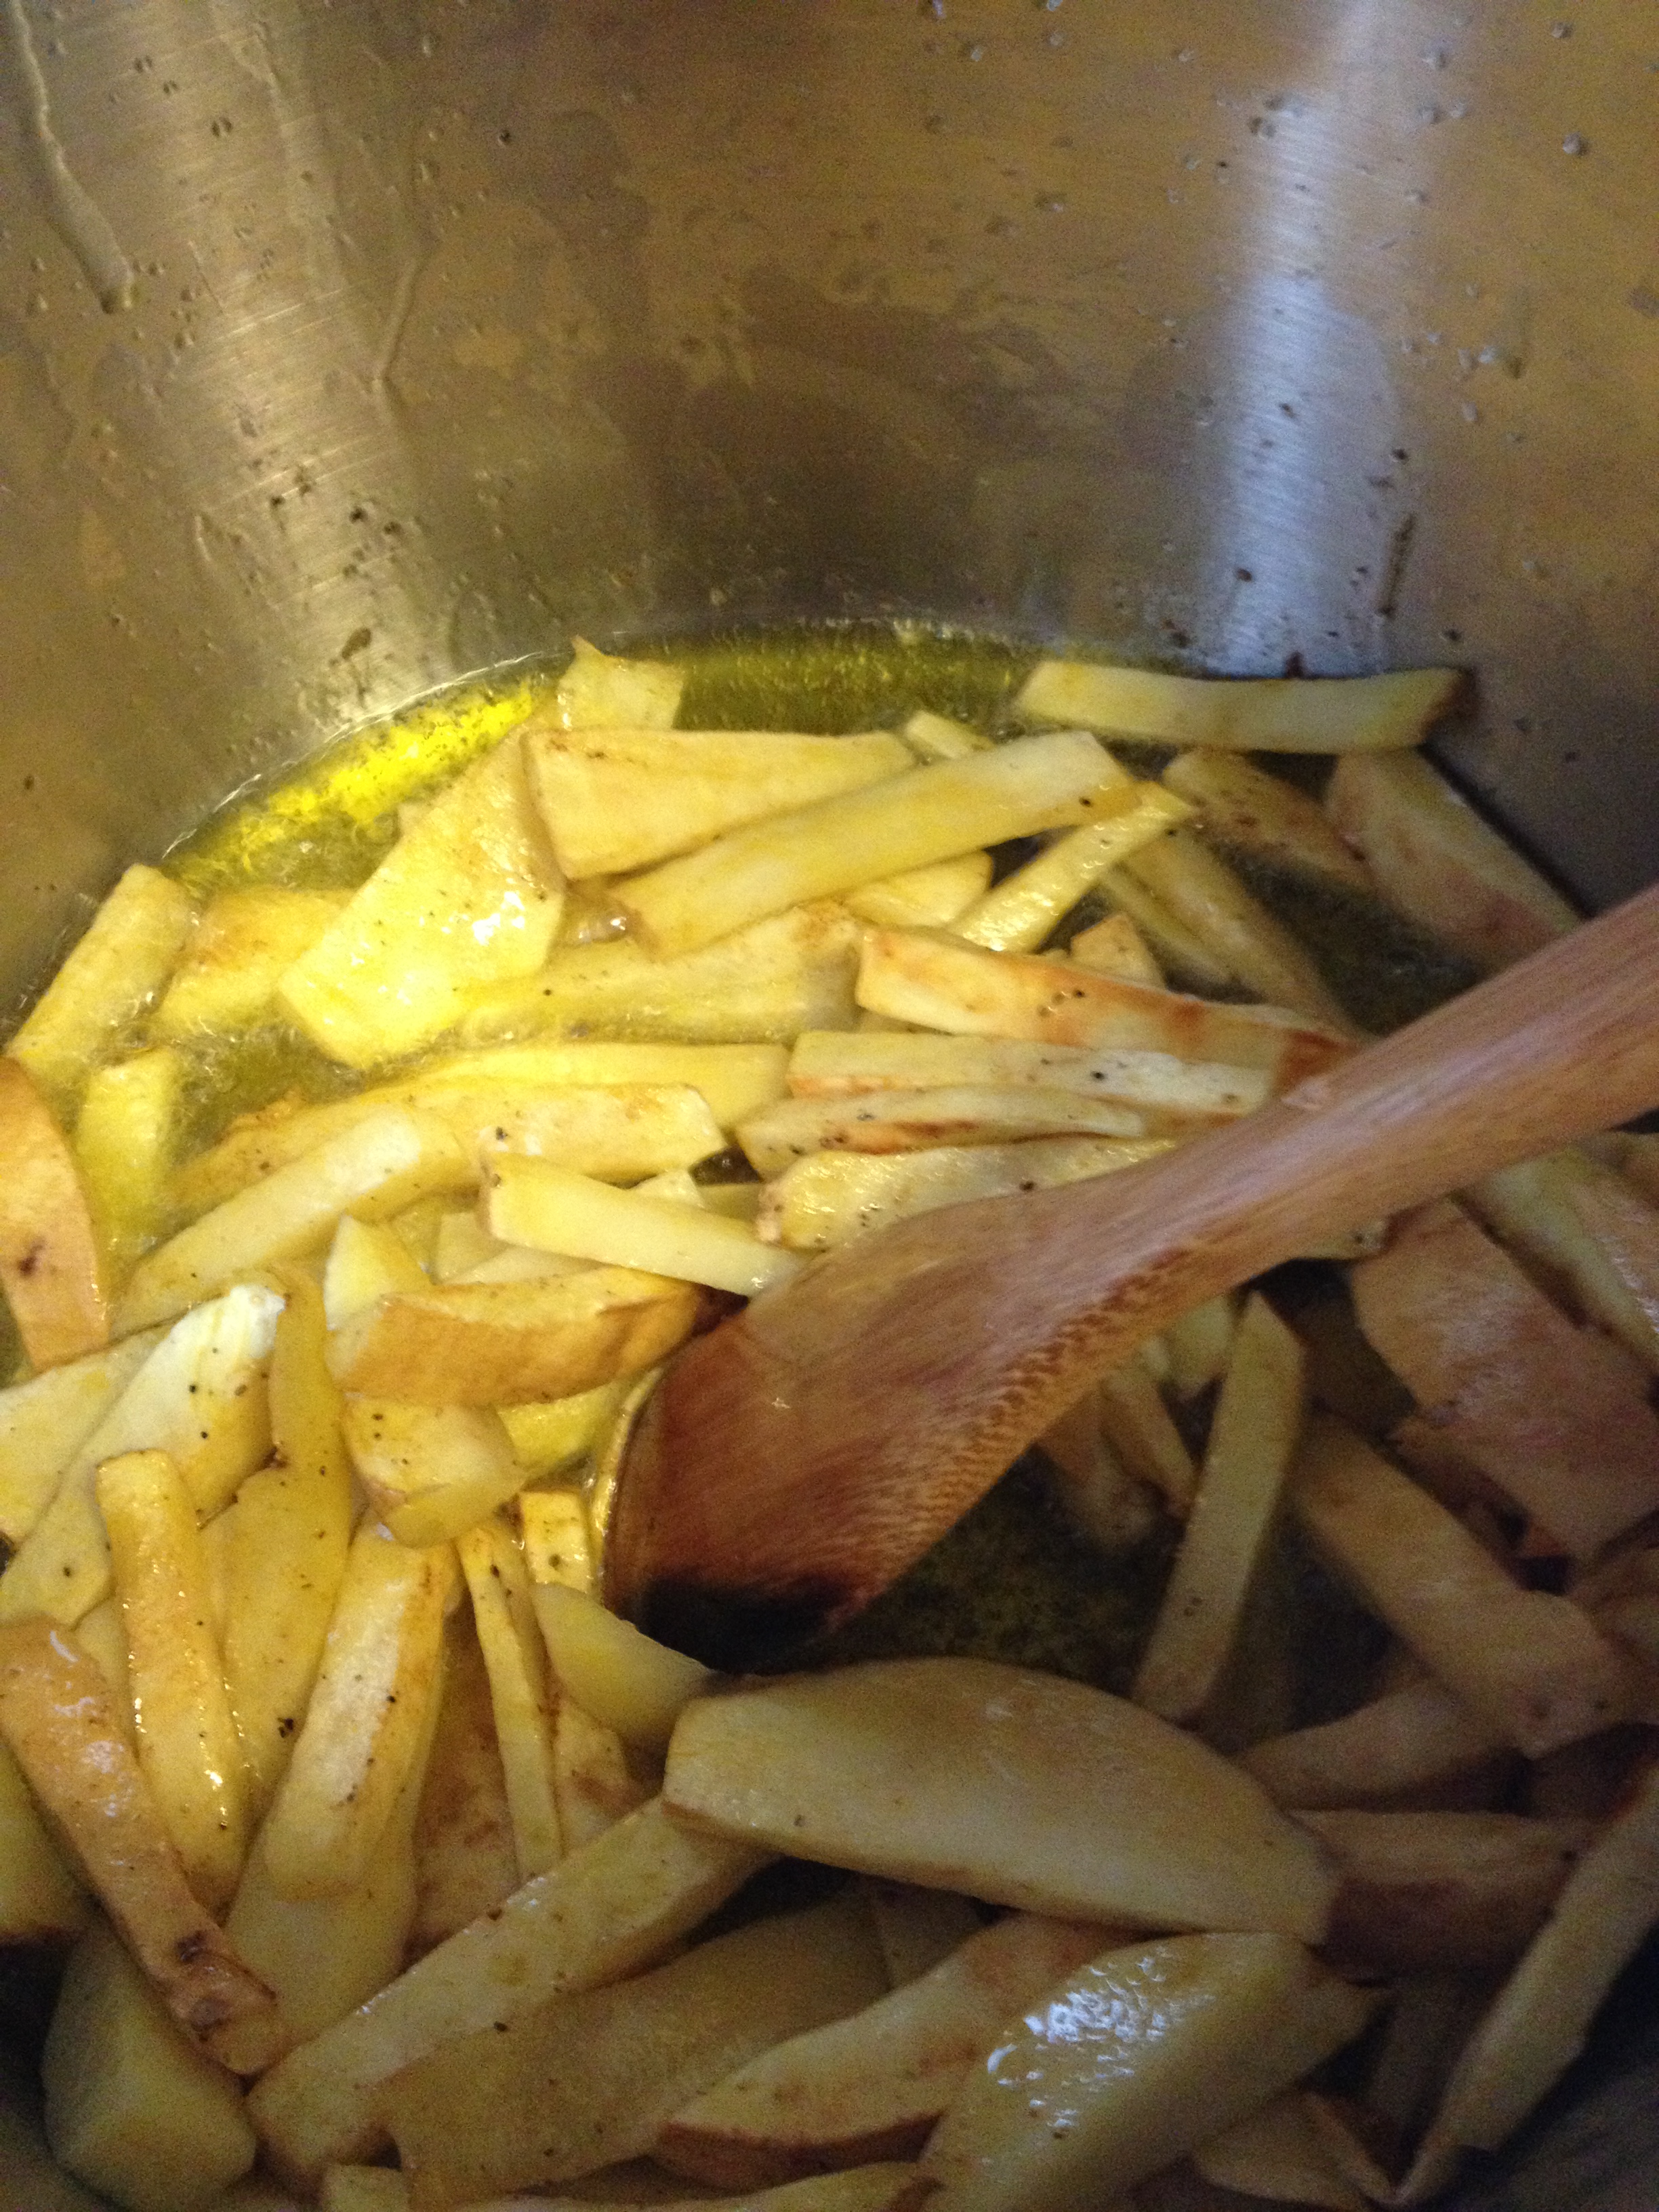
- Heat up oil in a deep straight-edged pot. Make sure there is 1-2 inches of oil in the pot.
- Get the oil so it’s hot and sizzling. Drop the fries in the oil and let it fry. Cook for about 4-8 minutes, until golden brown.
 Lay out the fries. Pick up your fish and place it in the hot oil. This only takes 4 minutes. You want to turn the fish as each side gets browned.
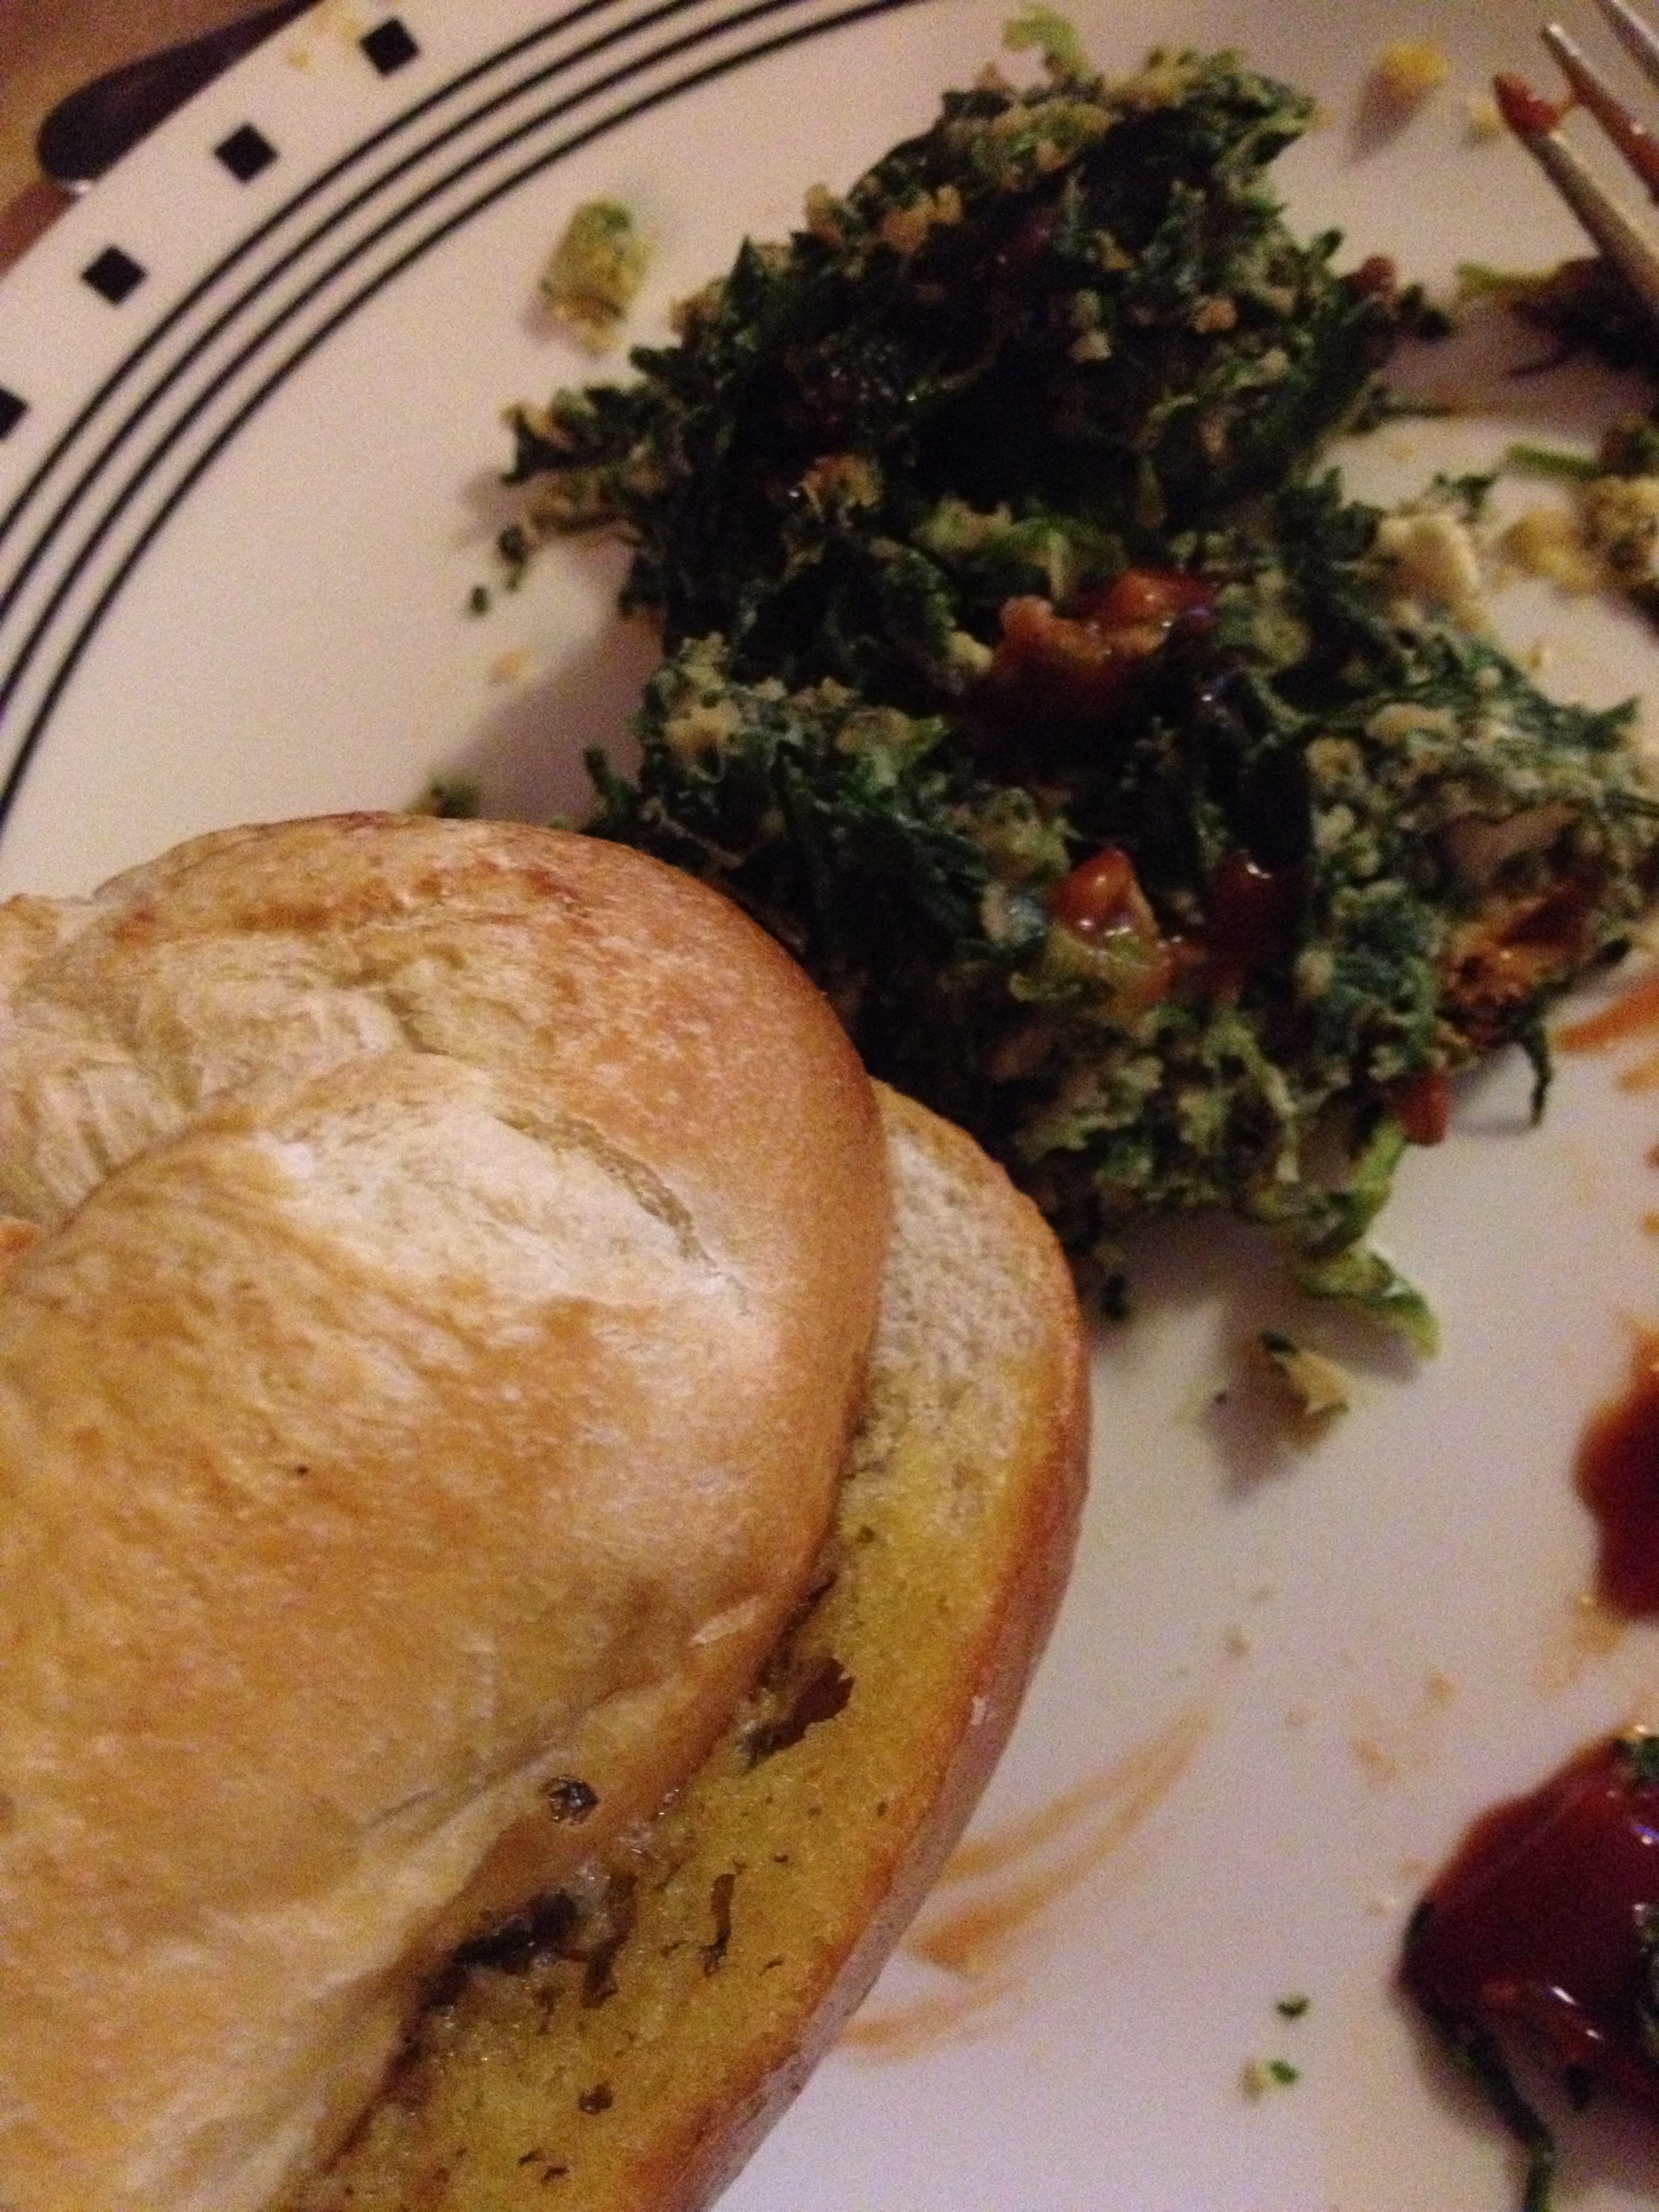
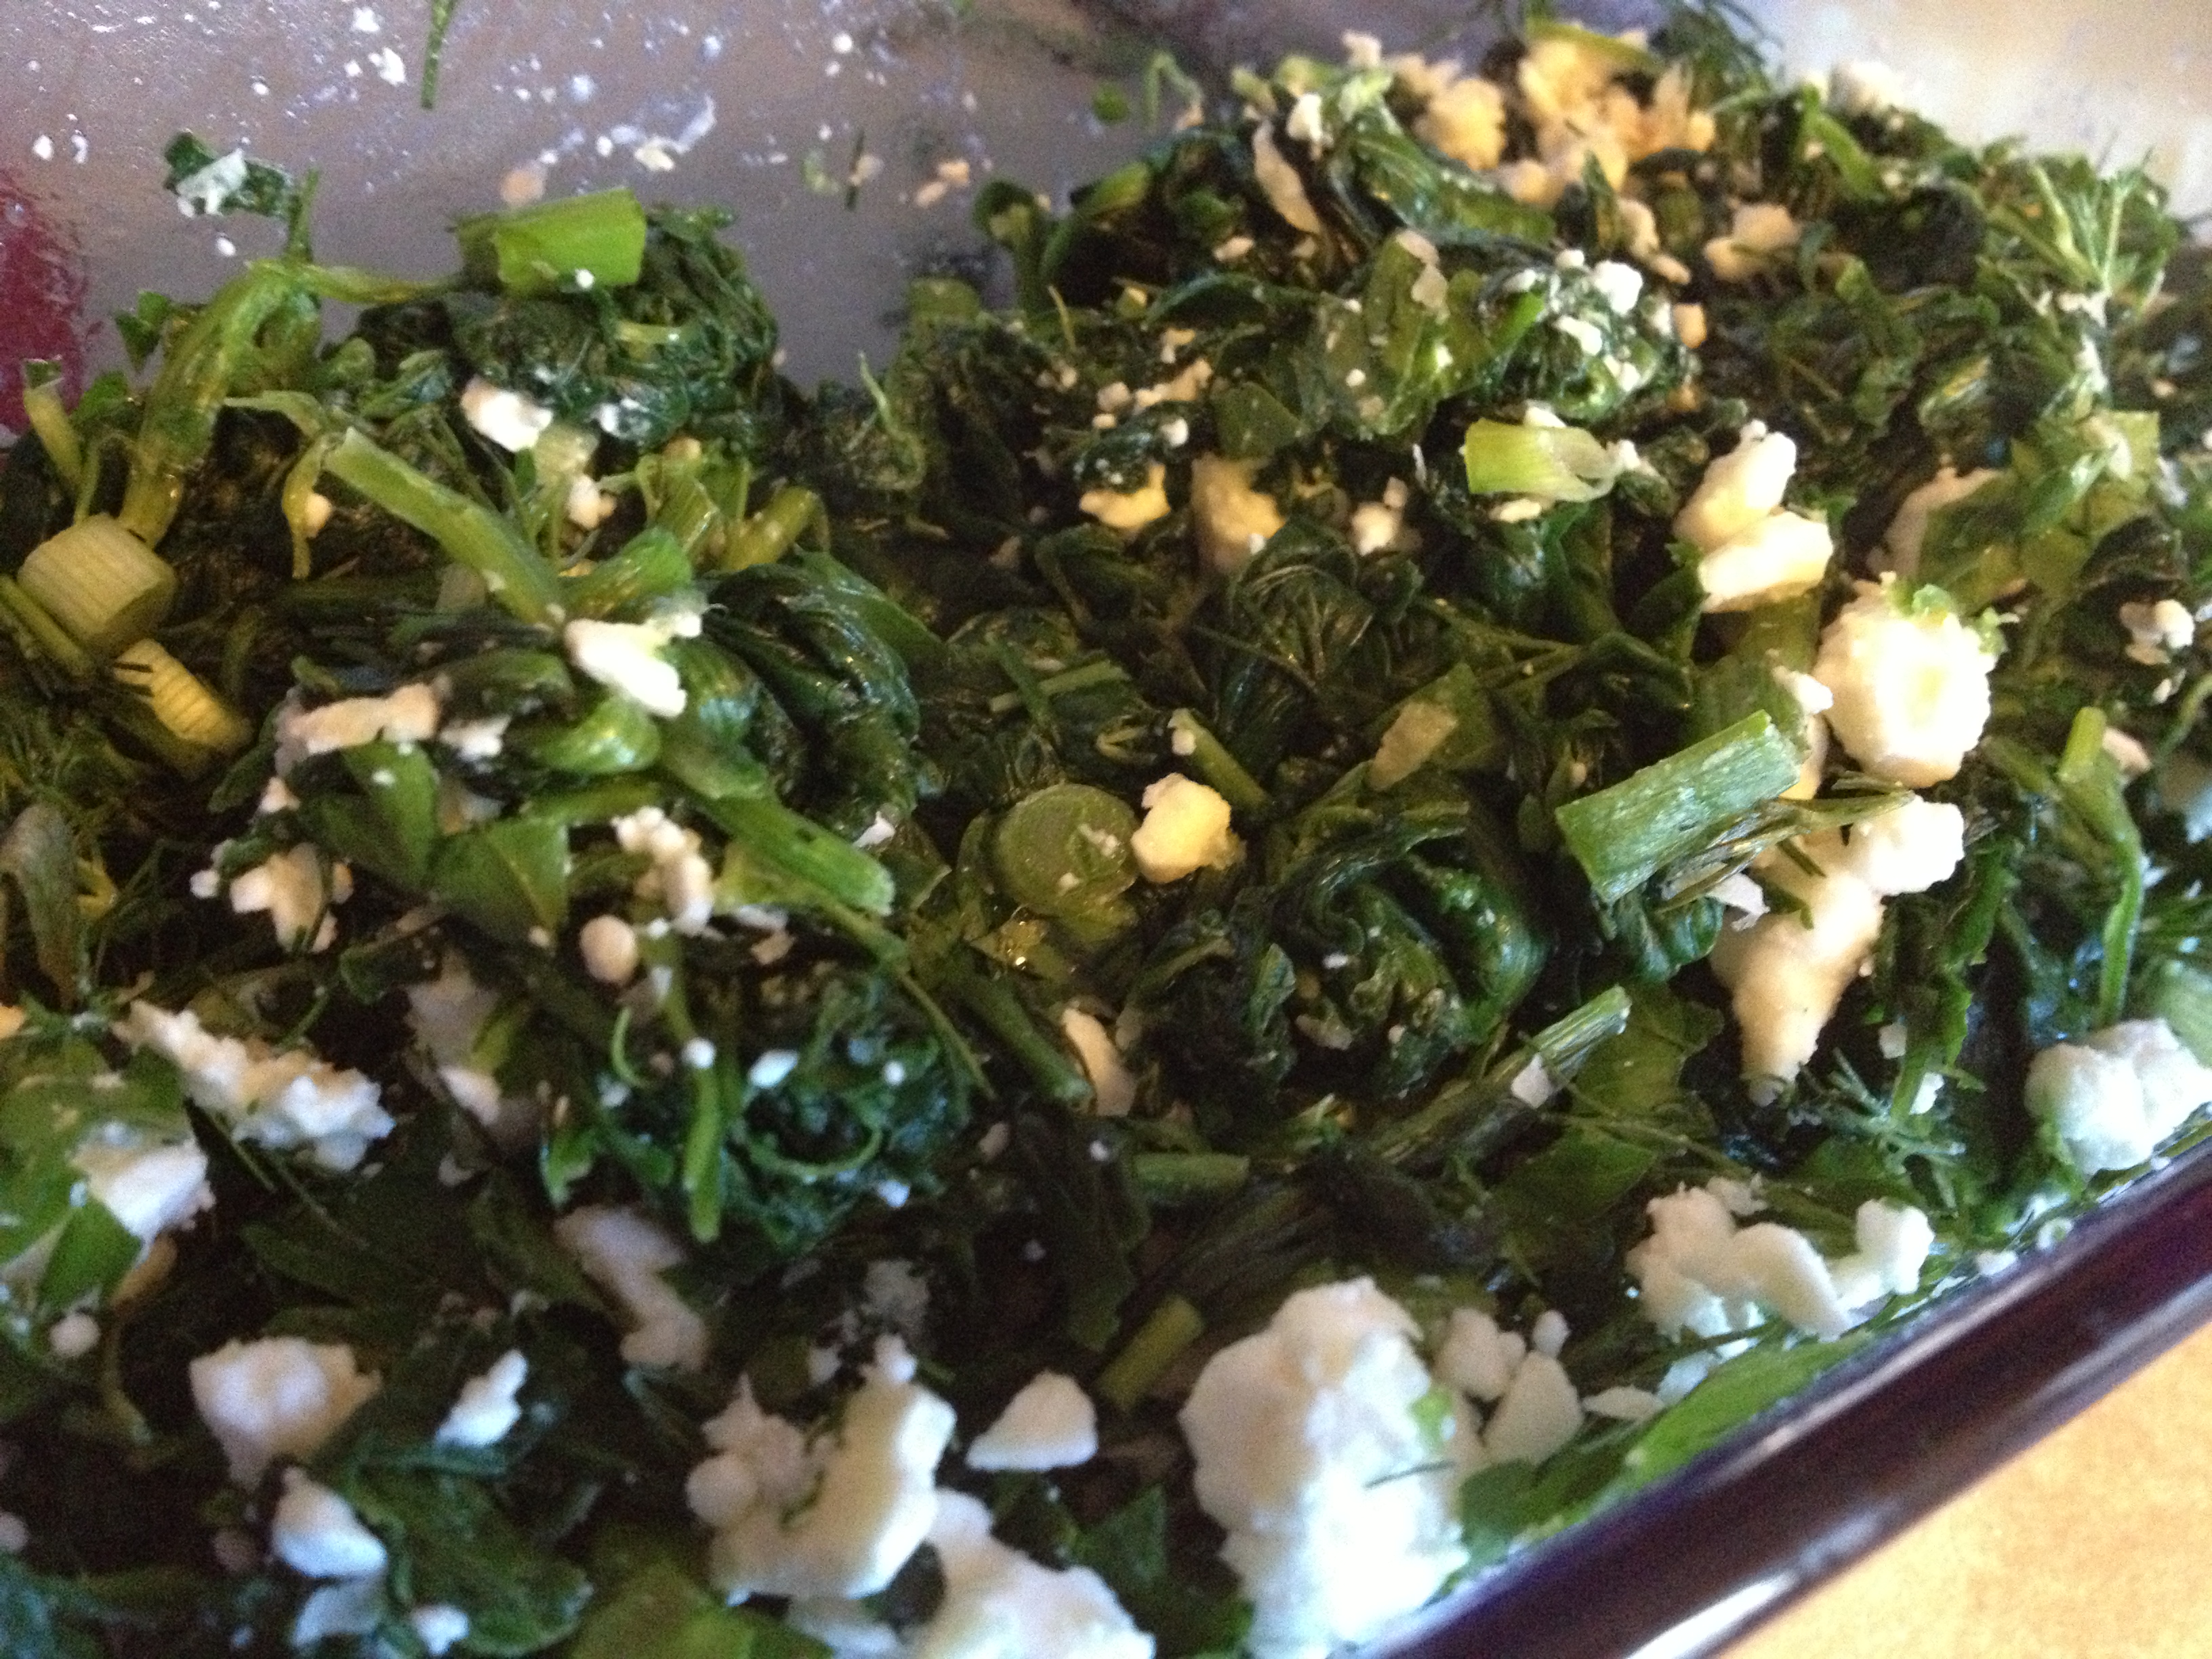
And that’s it! We had a beautiful salad (that Chris made) with spinach, red cabbage, carrots, feta, and more to go with the fish and chips. The longest part about this process is cutting the sweet potato and even that doesn’t take long. So grab some fresh-caught fish and fry it up! Enjoy!
DELICIOUS
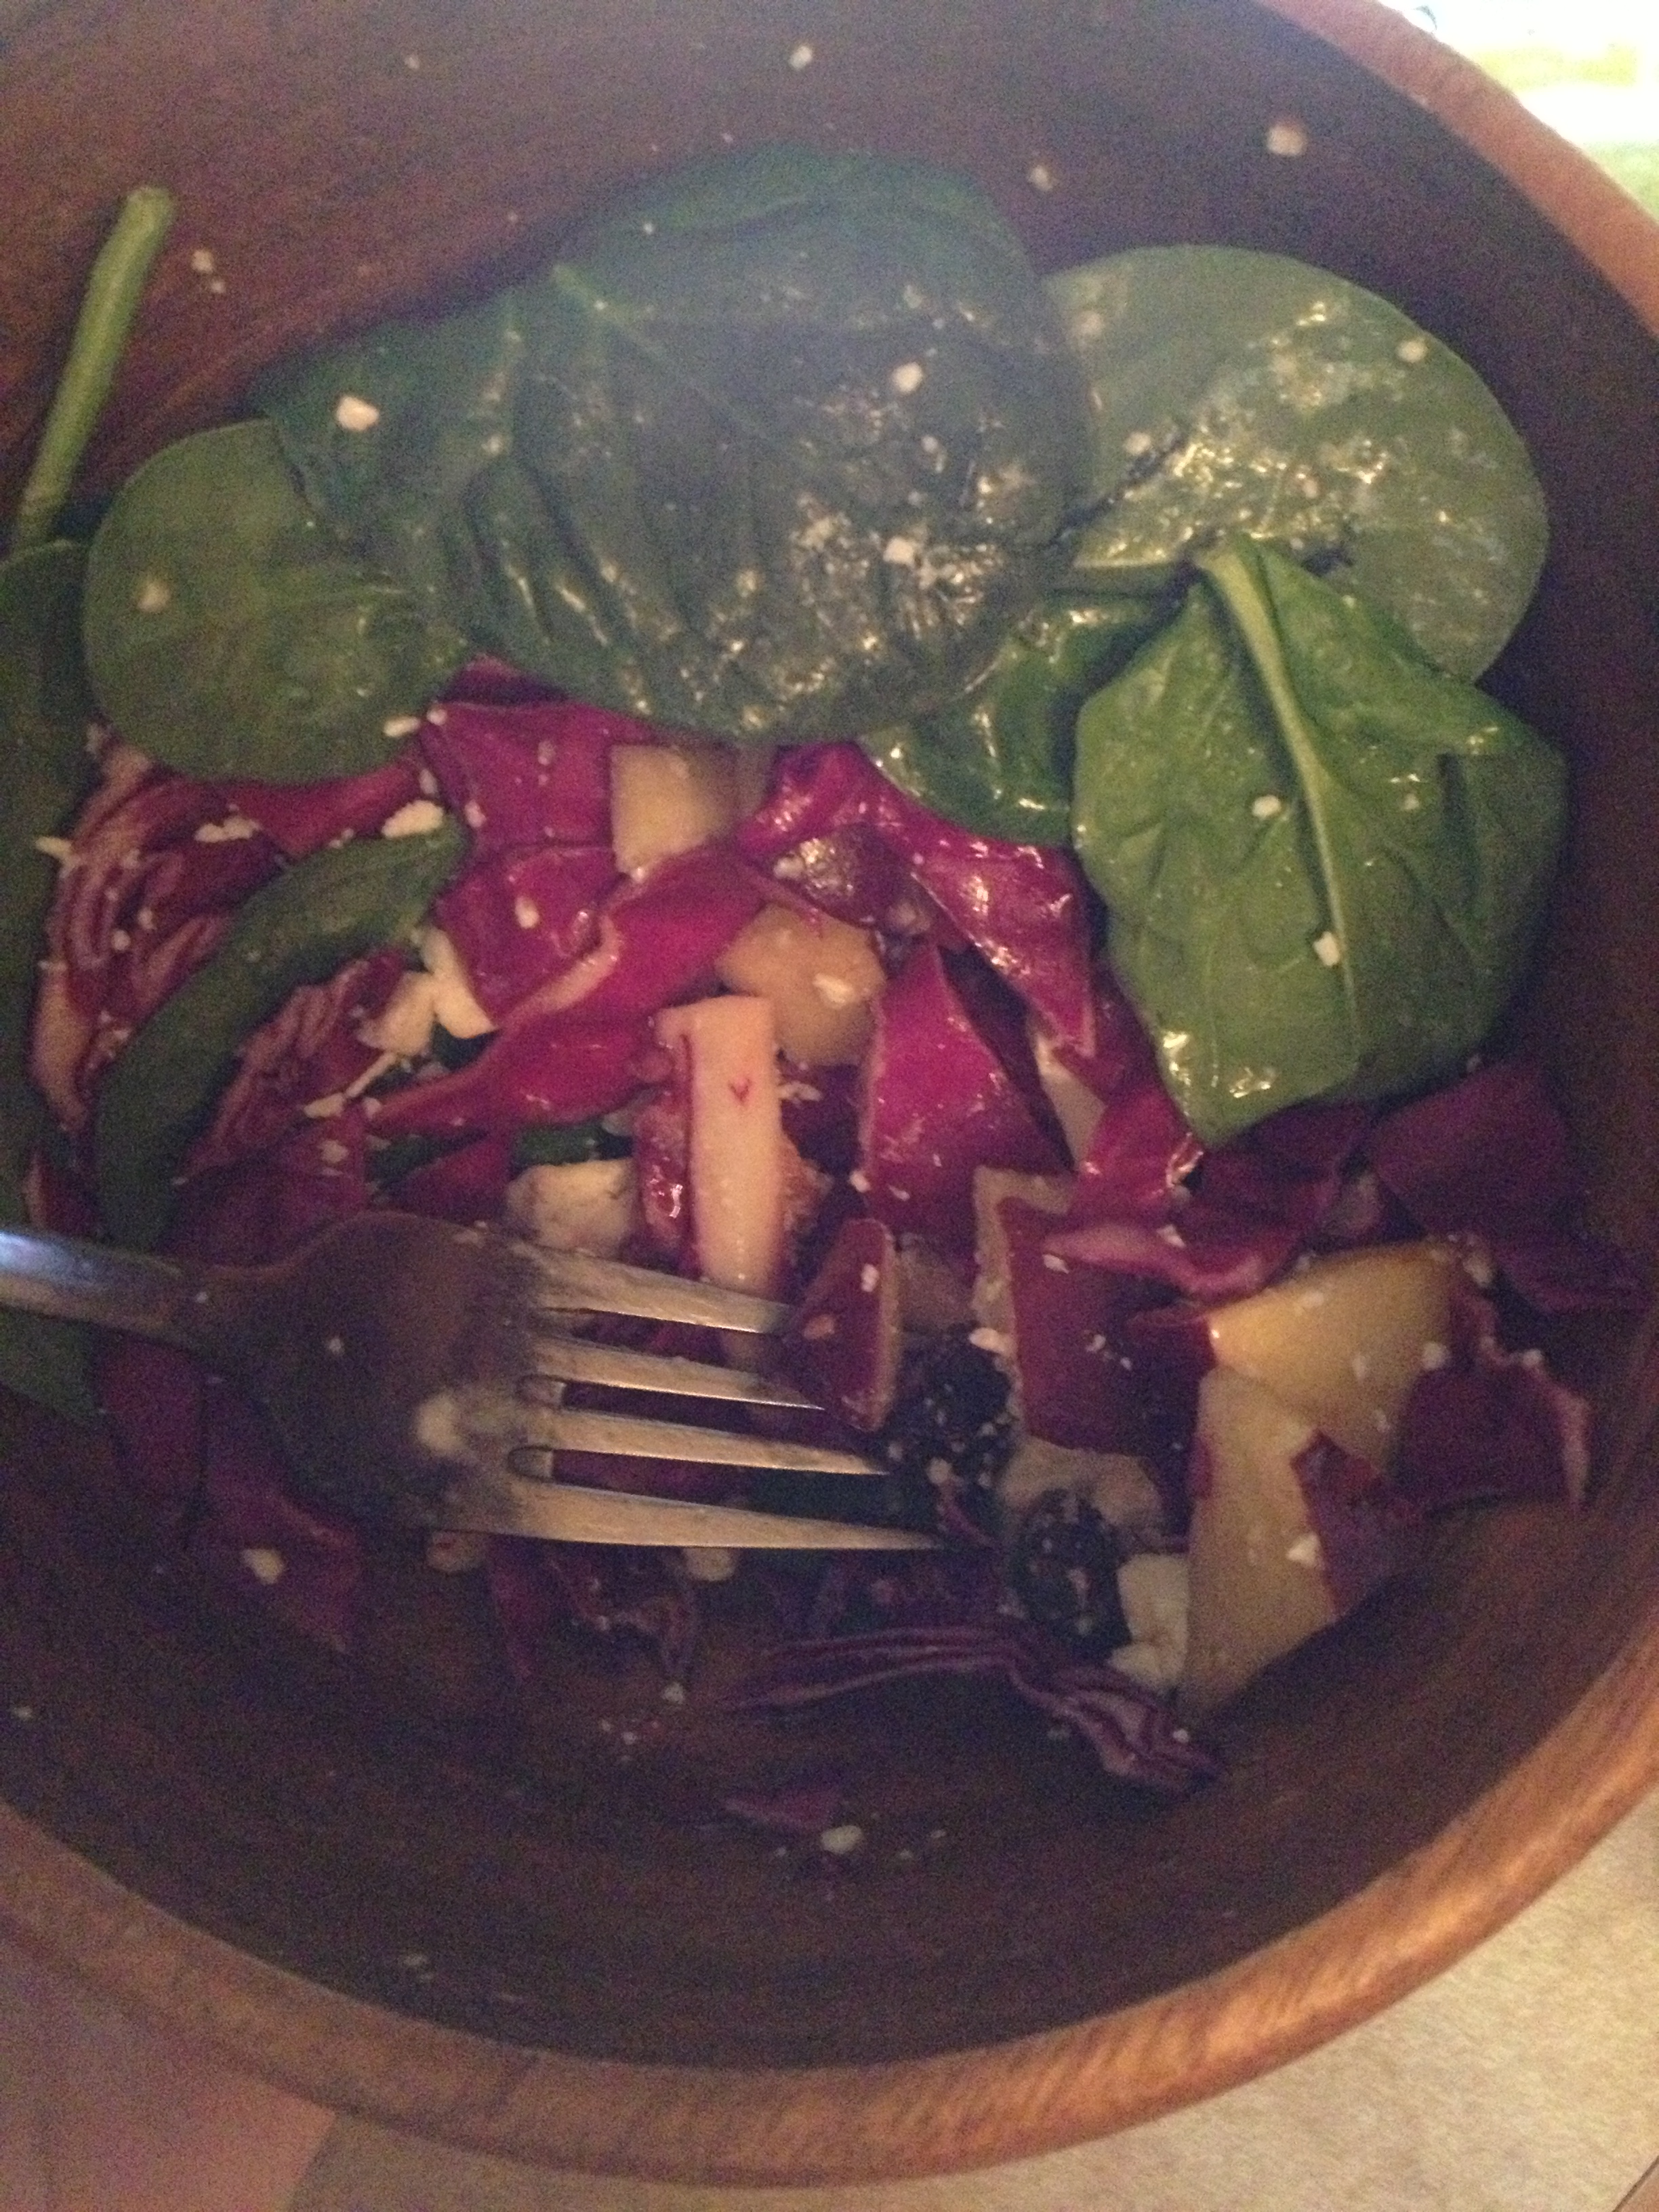
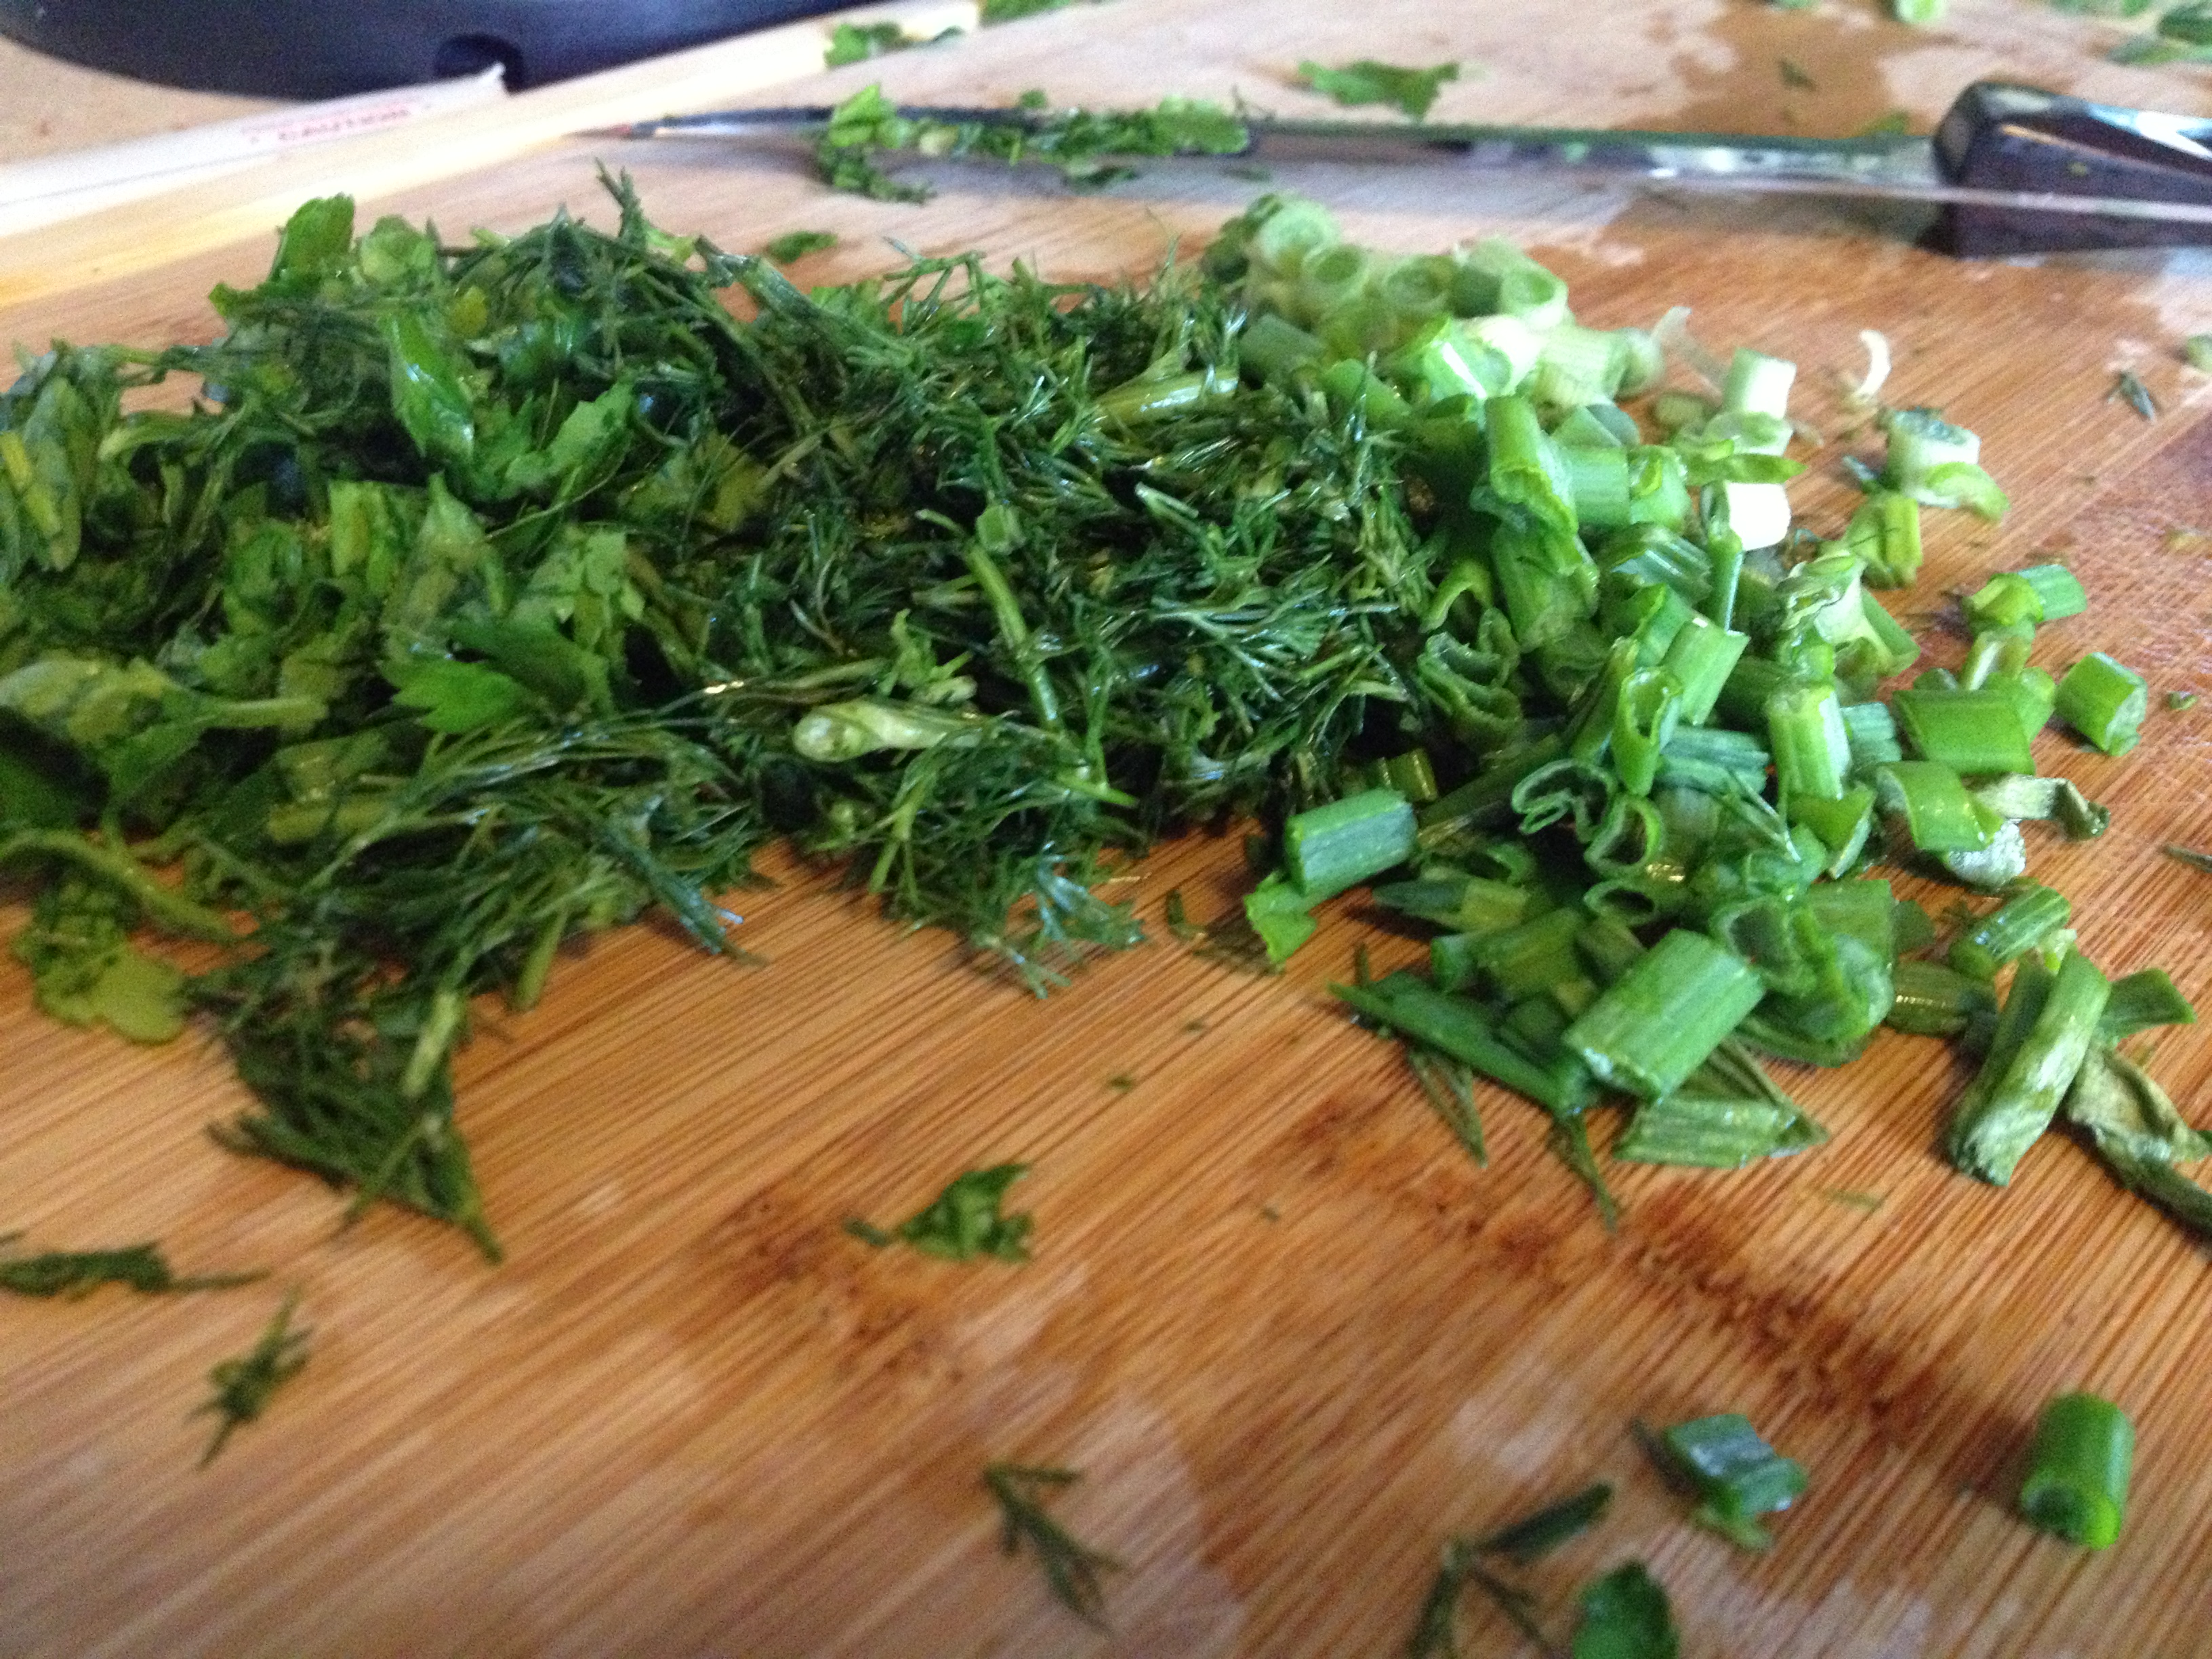
Salad
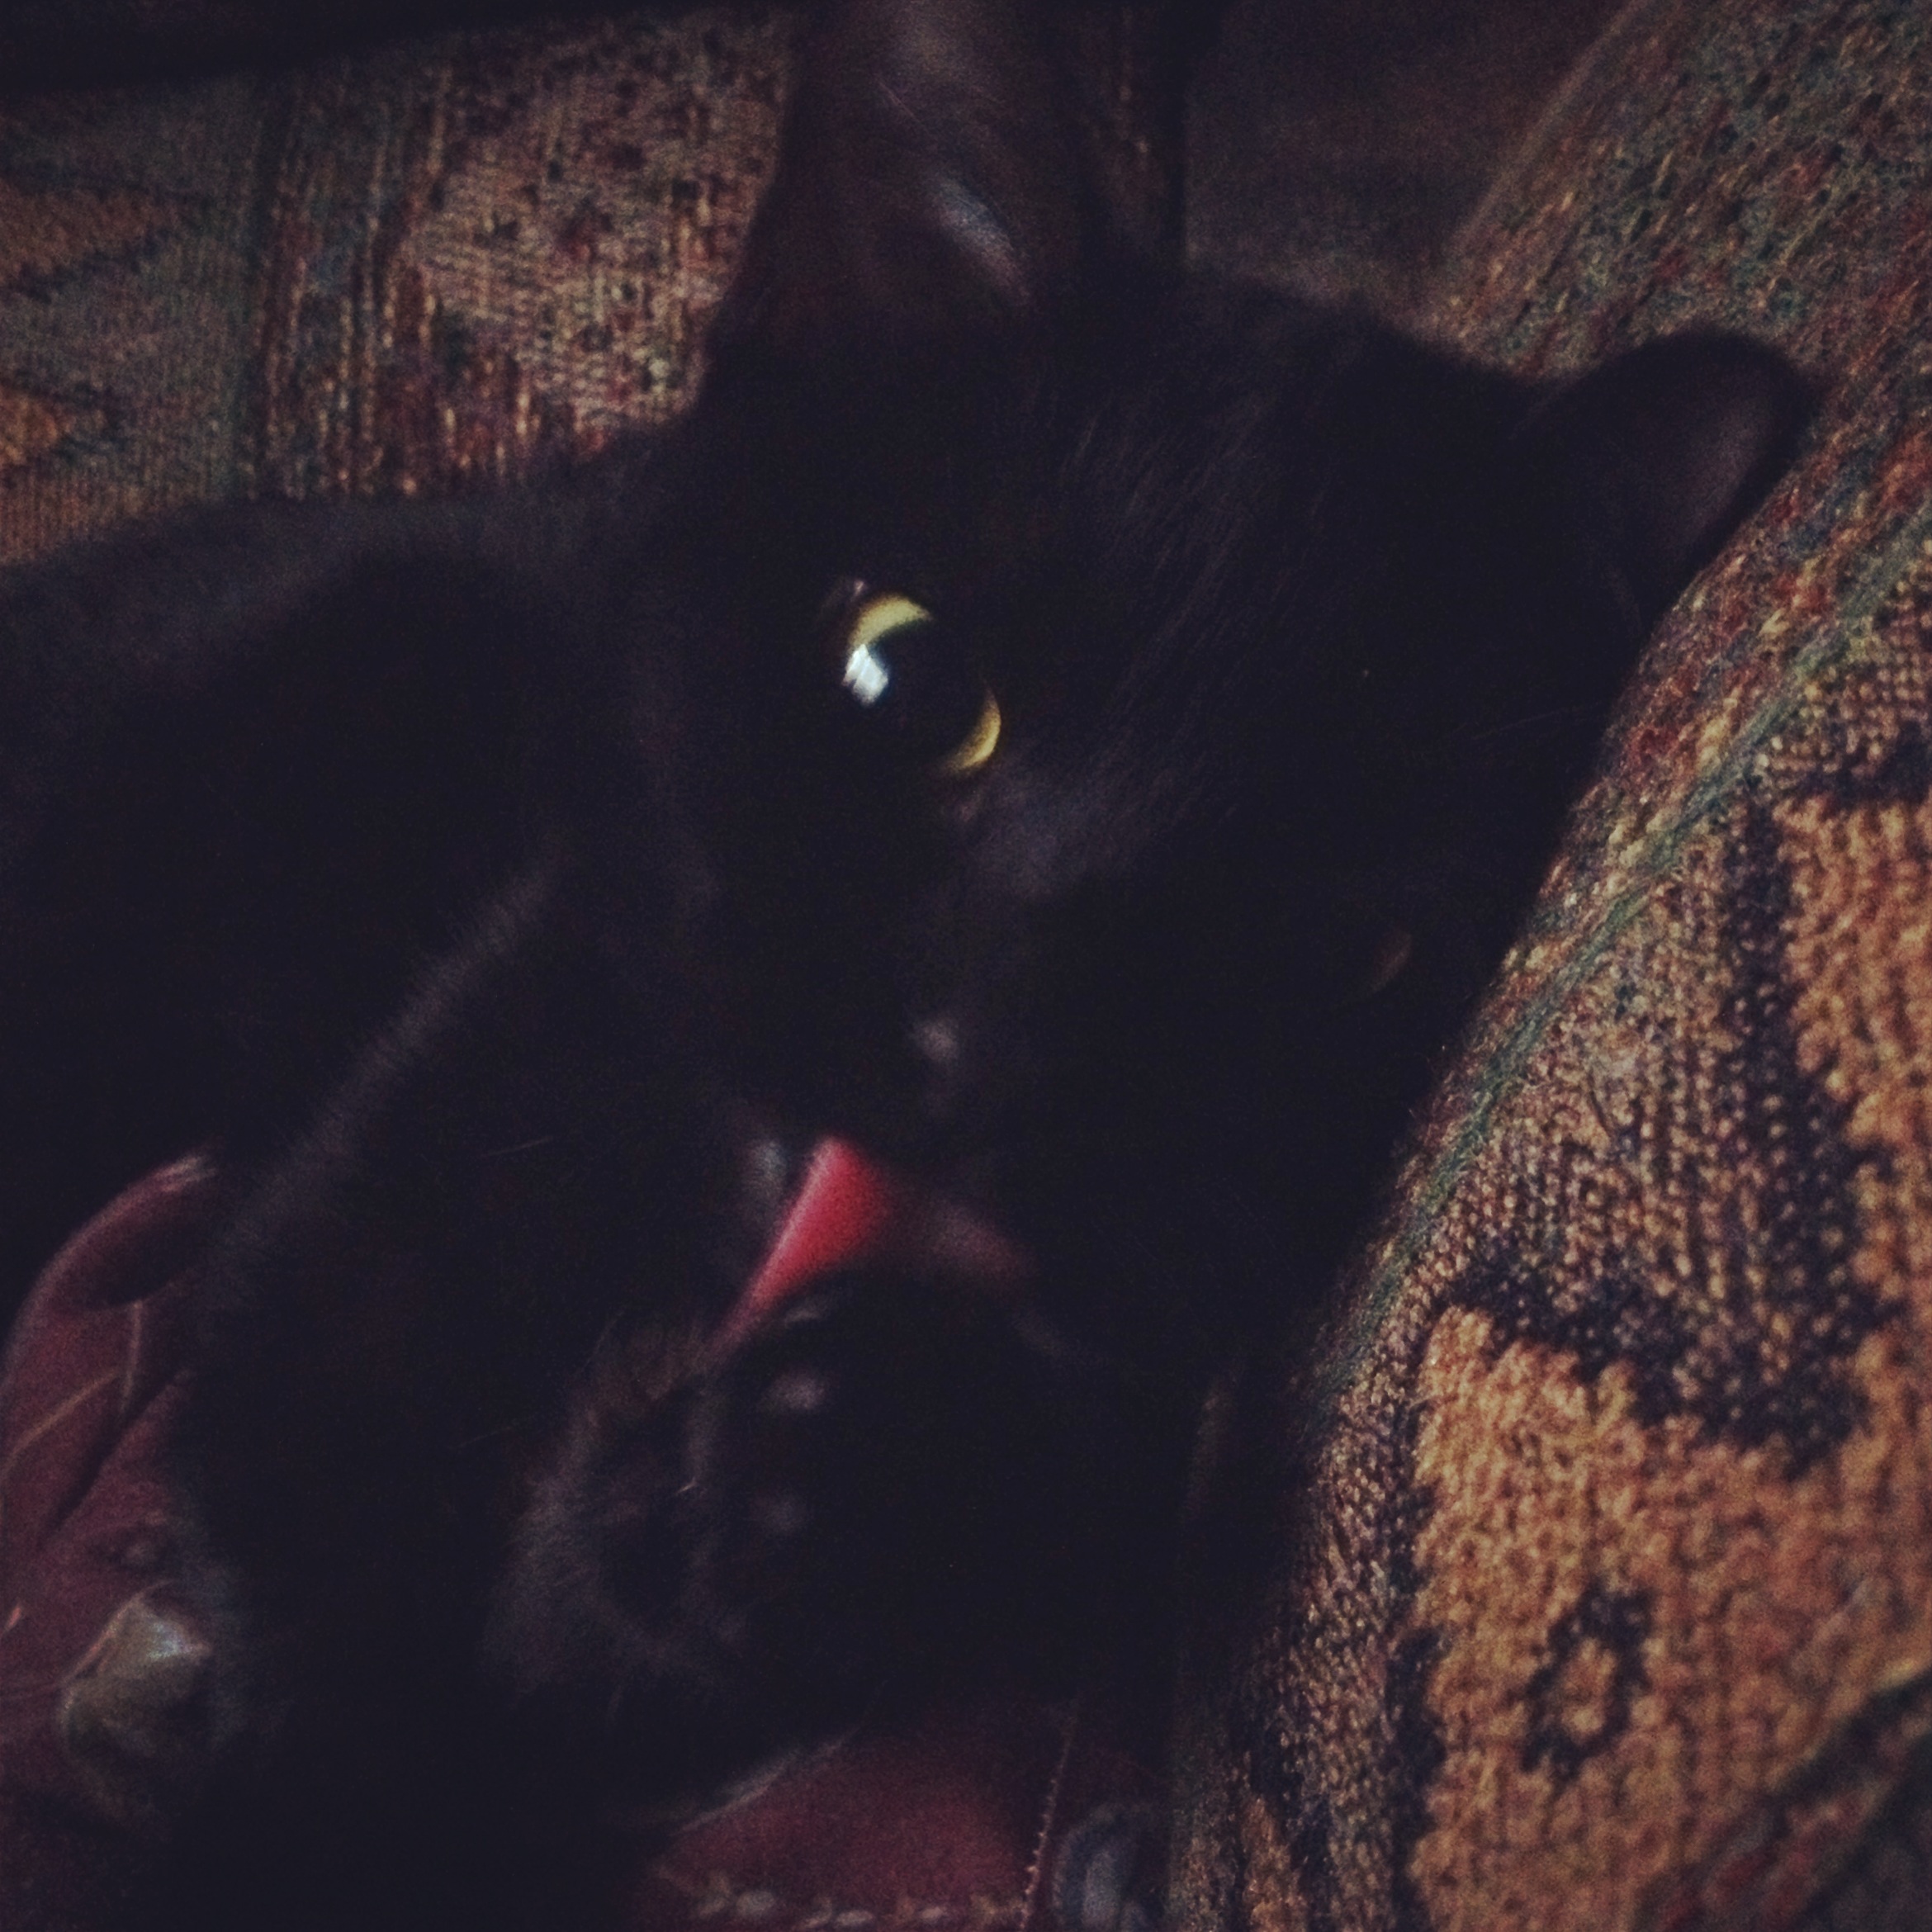
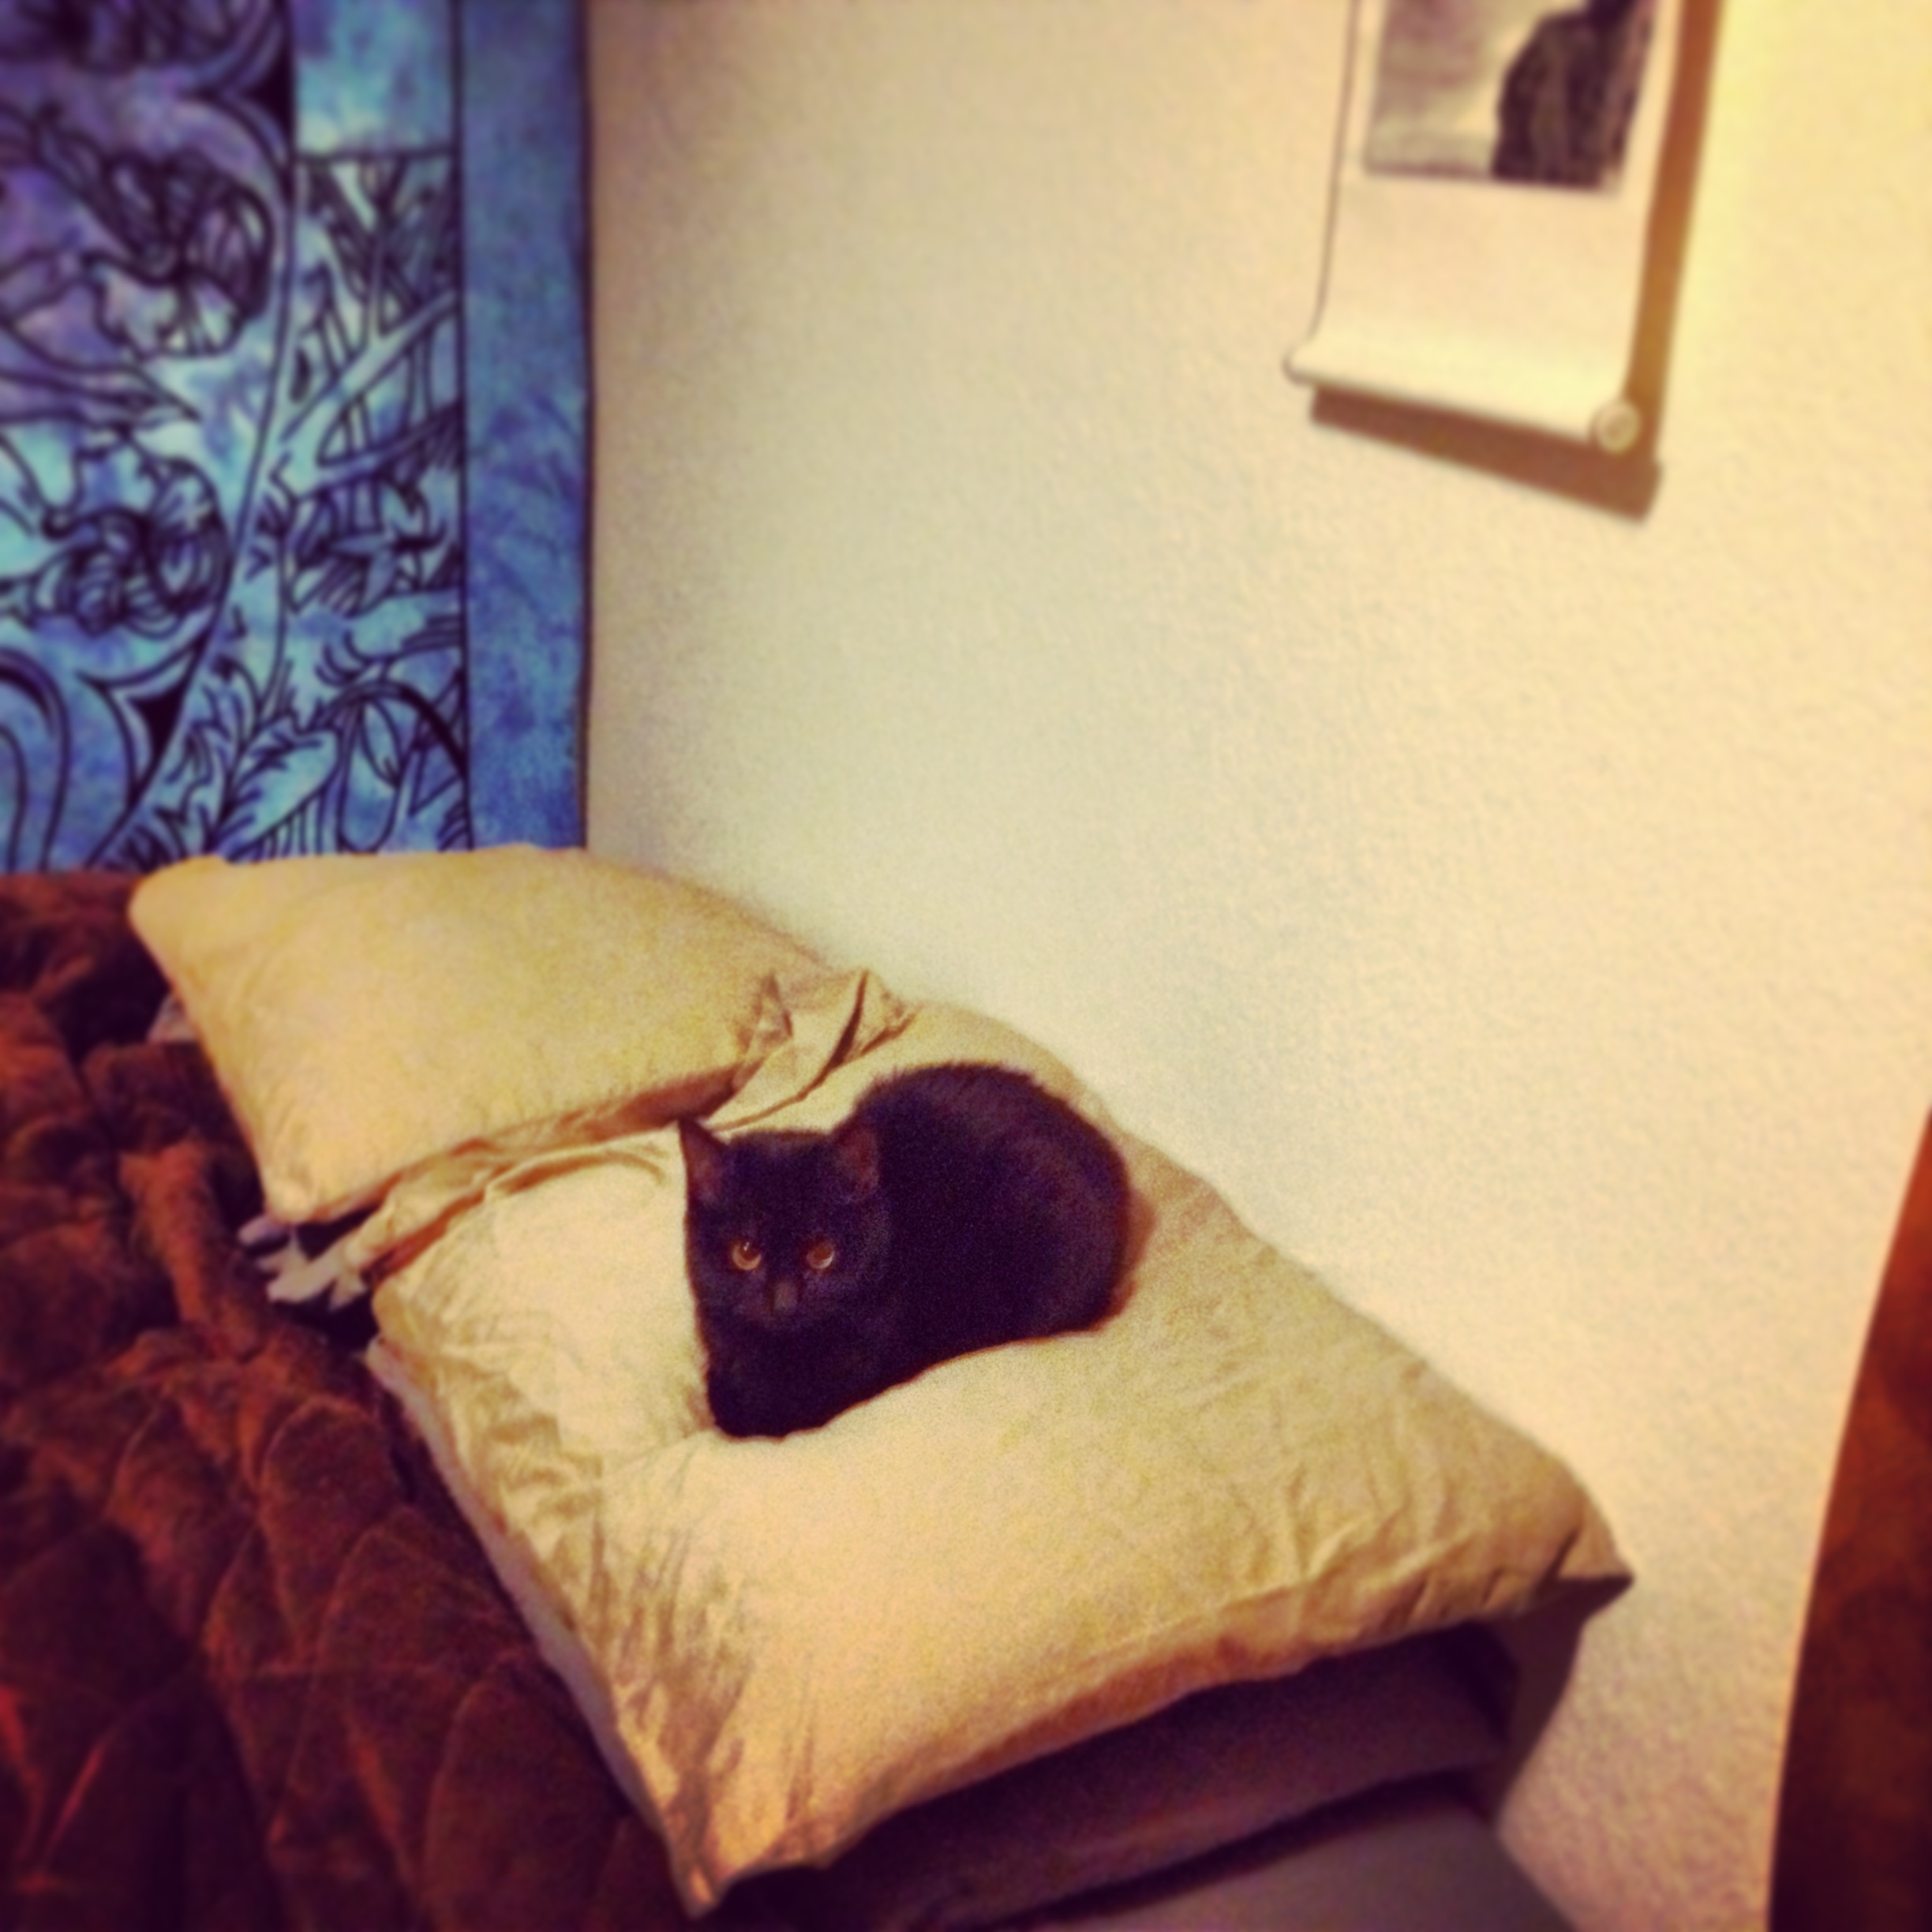
BONUS KITTY PIC
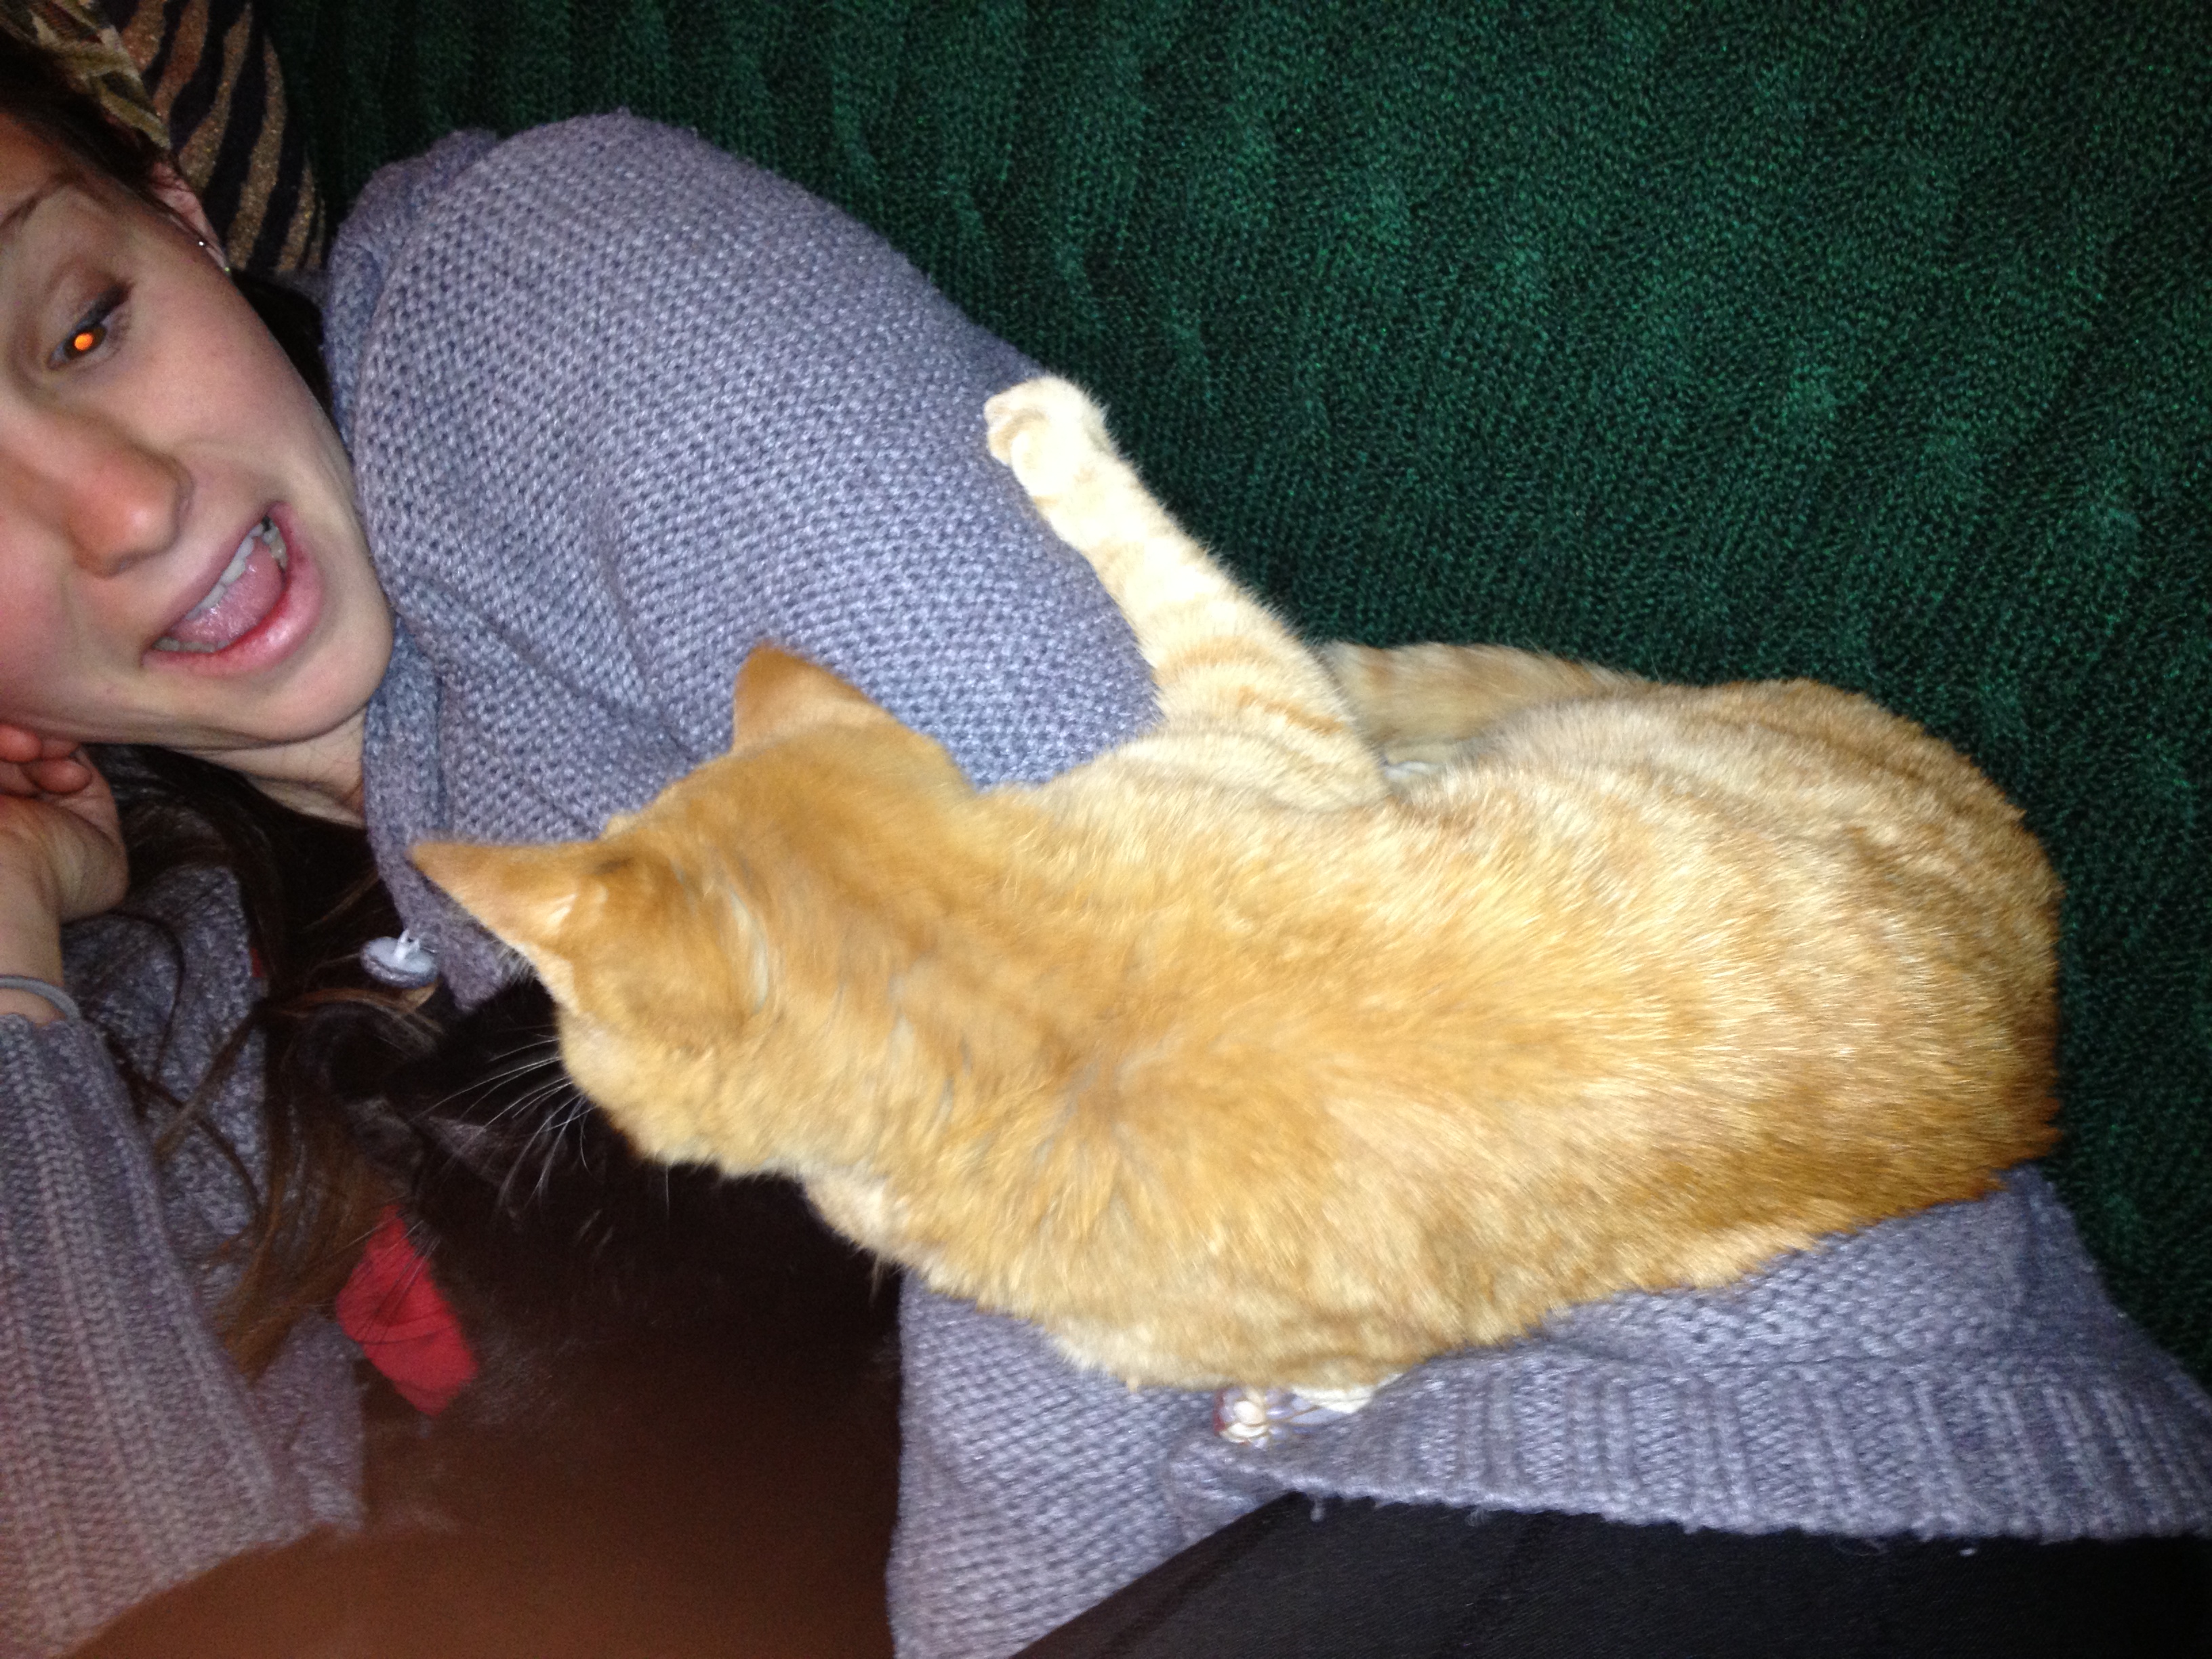
Sajah ninja-attack