It’s funny because we’ve already seen so many of these movies, but this was the year of the re-release in 3d, or at least it feels like it.
I’ll just throw a few words about each movie, some we did actual reviews for and others didn’t make it in time.
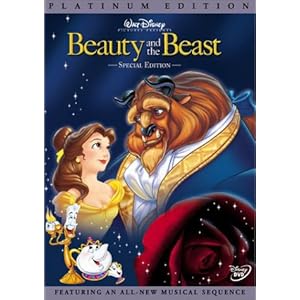
Beauty and the Beast 3d: Arguably my favorite animated movie, and feature film, of all time, it’s easily in the top ten if you ask me any day. We had seen The Lion King re-release last year and this was a no brainer. Alana had to stop me from singing along throughout the movie. It’s always in the discussion and usually the front runner for favorite Disney movie of all time.
The Grey: It was about Liam Neeson and wolves so we had to see it. Plus, I love snow and the cold. This movie was such a let down with an awful anti-climatic ending and a series of ridiculous deaths. The scenery was beautiful and the soundtrack was intriguing though.
Star Wars Episode 1: Phantom Menace 3d: Even Alana’s hatred of the new trilogy couldn’t keep us away from this one. It’s my favorite of the new trilogy because of Qui Gon, Darth Maul, and Duel of the Fates, thank you John Williams. The 3d felt non-existent but we enjoyed it being loud and large.
The Secret World of Arrietty: Continuing the streak of seeing anything related to Hayao Miyazaki whenever possible. It’s not one of his classics, but that still ranks it as an amazing movie. We loved it, the soundtrack was out of this world good.
Jiro Dreams of Sushi: Arguably my favorite movie of the year and the simplest one at that. I love sushi and Japan and Jiro Ono is the master of serving the finest. This was a masterpiece, perfectly put together with the most amazing images. We got sushi outside Lincoln Center right after it.
The Hunger Games: We did not enjoy this one even though one of us read the book prior and one didn’t. Obviously Alana read it. Mainstream trash in my opinion, although there were a few good special effects, costumes, and performances… Stanley Tucci.
Wrath of the Titans: It was nowhere near as good as the first one but Sam Worthington, Liam Neeson, and Ralph Fiennes did the best they could to convince. It was too over the top, Bill Nighy, but my love for Greek mythology left me with a smile at the end. There was just so much more they could have done, recast Gemma Arterton as Ao, so it was the worst thing a movie could be, disappointing.
Titanic 3d: Smiled throughout the whole film. The 3d wasn’t very good, but Celine Dion and this movie on the big screen made for a great time.

Classic story
Avengers: Being a big comic book nerd and having seen all of the movies leading up to this one, we were thrilled with this movie. Great casting Thor and Captain America, finally getting a good Hulk, Joss Whedon is a genius (See Firefly), I could go on for a long time. Alana bought it the day it came out on blu-ray and we watched it that night.
Men in Black 3: I love this series and Will Smith is great. This movie had such great witty humor in it, we were laughing, we were biting our nails, we were just loving it. It had a better story than the second one and potentially the first. It was a fun movie.
Snow White and the Huntsman: I actually was really looking forward to this one based on the trailer but I didn’t have huge expectations because I didn’t want to be disappointed and it hit home just right. It wasn’t amazing but it was good. I enjoyed it thoroughly although a second viewing is questionable.
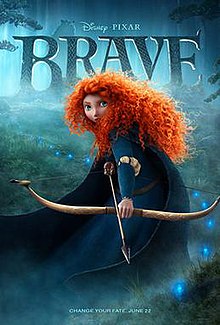
Brave: We enjoyed seeing this one in Chicago while going across the country and it was just a nice movie. I’m not a huge Pixar fan so it was definitely one of my top choices from them, but it was the ancient lore of the world they created in it that made me like it so much.
Beasts of the Southern Wild: We saw this one at the FOX lot in Los Angeles and it was amazing. The little girl who plays the lead gets my breakout actress of the year award, and arguably best female lead of the year. The cinematography was perfect. In a league with Jiro in terms of quality.
Ice Age Continental Drift: A fun family movie we all saw together for free again at the FOX lot. I didn’t see all the prequels but it was clever enough and fun enough to deliver well… enough.
The Dark Knight Rises: It was good, I enjoyed the ending no spoilers, but it doesn’t live up to the hype for me. I haven’t been too crazy about the series despite having a long history with Batman. People can call me crazy but I have my experience and I enjoyed Michael Keaton’s movies the most, although these have some great qualities.
Ruby Sparks: A really cute creative movie that made us smile a lot. We enjoyed it when we all saw it at FOX. Great showing from independent movies this year, really.
Resident Evil Retribution: This was the
MOST disappointing movie of the year for me. I see the Resident Evil movies for my birthday every year and they always are garbage, but this was the
worst by far. They tore the actual story line apart and threw away everything Capcom has done for the last near twenty years.
Hotel Transylvania: Cute, about what we expected from it. Good cast of voice actors, but nothing special got across from this one. No amazing messages, it was just blah.
Frankenweenie: Really didn’t enjoy this one as much as critics did, it was the same recycled material Tim Burton has been using for years. Batman was great, Edward Scissorhands was perfect, and Nightmare was a classic, but everything since then, including this, has just been pieces of each.
Pitch Perfect: We
loved this movie, I even bought the soundtrack the next day on iTunes and it’s still on my phone. It was predictable but the comedy and performances were good enough to keep us very entertained.
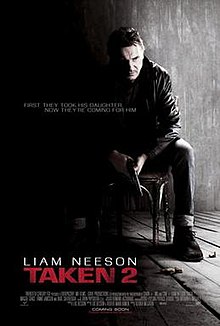
Taken 2: I loved Taken, but this was
awful. Huge disappointment. They really messed this one up. All you needed to do was make Liam Neeson be really cool for an hour and a half. Instead you decide to spend half the movie chatting in a car, mansion and hotel with no action at all. Trying to set up a huge ending? Failed.
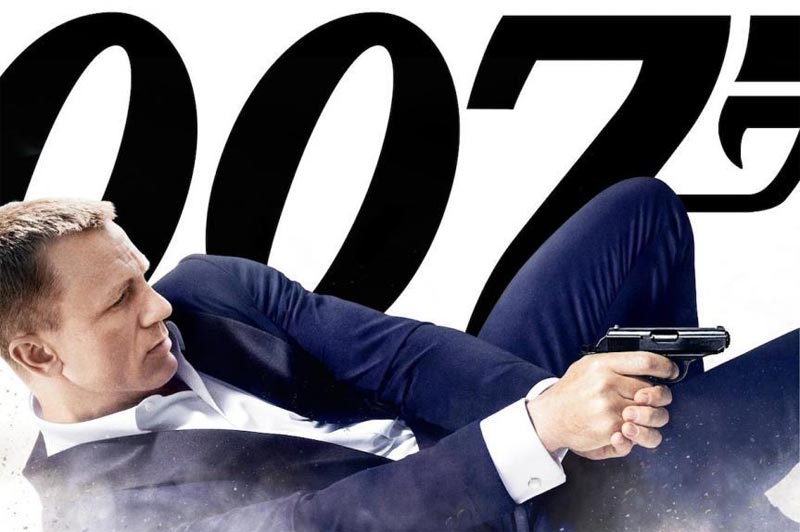
007 Skyfall: In the running for favorite movie of the year, which says a lot since this year was
stacked. Daniel Craig is phenomenal in living up to the man that Ian Fleming actually created in his books. Bond is a ladies man, but he also has a dark side and mysterious past and this movie really focused on that. The action was great, the villain was one of the best ever, it was Bond.
Wreck it Ralph: Not quite a Disney classic, but the nostalgic effect of the characters involved with the smart humor and fun story line made a very good movie. It was
very good. I would imagine best animated film of the year, edging Arrietty.
Lincoln: Daniel Day Lewis did a creepy job capturing Lincoln and the movie focused on a subject we feel so strongly about, but it was just very long. I’m sure a few scenes, including when he failed to garner a vote from one man, could have been left out with the same effect. Maybe some people like that scene, but it’s just me.
Rise of the Guardians: Really fun voice acting and the kids probably loved this one. We enjoyed it but it wasn’t anything special.
The Two Towers: We were sick.
Return of the King: We enjoyed every minute of it.
The Hobbit 3d: We loved the lore, the soundtrack, the acting, we loved everything. We thought Peter Jackson cut it off at the perfect spot. But we wish we didn’t see it in 3d Dolby Atmos because the frame rate was just too high and it was so loud it was 4d with an earthquake. We are going to see this one again in the regular showing and I think it will be multiple times better. Can’t wait for the next one.
Life of Pi 3d: Beautiful visuals and captivating performances. It was very enjoyable and something we expect from Ang Lee, who brought us Crouching Tiger Hidden Dragon.
So, not including all of the movies that we had already seen (Beauty and the Beast, Phantom Menace, Titanic, LOTR Trilogy) we have 25 new movies that we saw in theaters this year. I think it’s time for some awards! (These are Chris, not Alana… sorry she’s at work and has better taste)
Starting with the bad awards! Every movie here gets an award, maybe.
Worst Ending: The Grey
Worst Adaptation: The Hunger Games
Biggest Disappointment: Resident Evil Retribution
Worst Sequel: Taken 2
Longest Feeling Movie: Lincoln
Most Unoriginal: Frankenweenie
Most Blah: Hotel Transylvania
Most Potential Lost: Wrath of the Titans
Best Effort: Ice Age Continental Drift
Animated Honorable Mention: Rise of the Guardians
Feature Honorable Mention: Snow White and the Huntsman
Best Import: The Secret World of Arrietty
Best Animated Feature: Wreck it Ralph
Best Sequel: Men in Black 3
Best Family Movie: Brave
Most Satisfying Release: 007 Skyfall
Best Directing: The Avengers
Most Visually Stunning: Life of Pi
Best Breakout Movie: Beasts of the Southern Wild
Most Captivating Acting Performances: Ruby Sparks
Best in Humor: Pitch Perfect
Best Adventure: The Hobbit
My Personal Favorite of the Year: Jiro Dreams of Sushi
For me, that turns into a top 10 of the year (of 25), that more or less looks like this off the top of my head:
1. Jiro Dreams of Sushi
2. 007 Skyfall
3. The Avengers
4. The Hobbit
5. The Secret World of Arrietty
6. Pitch Perfect
7. Beasts of the Southern Wild
8. Wreck it Ralph
9. Ruby Sparks
10. Life of Pi
Honorable Mentions: Brave, Men in Black 3
And like I mentioned earlier, hopefully we get to see Les Miserables tomorrow night. It will probably crack the top 5 easily, top three maybe, number one potentially. I have a long history with Les Mis and it could really hit me in the right, or wrong, spot. I will be VERY critical based on reading the book in French and English, seeing the Broadway play in New York multiple times, seeing the past movie with Liam Neeson as Valjean, and creating my own arrangements of the broadway soundtrack.
We really wanted to see Cloud Atlas but never got around to it. We, aka I, also had interest in but either missed out or will probably miss out on Argo, Silent Hill, Man with the Iron Fists, and Cirque du Soleil. I’m probably going to try to get Alana to see Django also, but we’ll let you know in a future review post if we see it!