Archives

Fresh Caprese Salad

It’s hard for me to make a recipe for you to follow and I apologize for that… but I don’t! For me, recipes can be a little too formulated and strict because above all else, you need to make sure you taste your food and season it accordingly to make sure it has that perfect flavor when it is served. Preparing good food is about using the freshest and highest quality ingredients you can find, and also seasoning it properly! With that being said and taking that into consideration here is the best recipe I can provide you. 

What you need:

  • Spinach – only use the undamaged leaves
  • Tomatoes – preferably Roma tomatoes
  • Cheese – preferably a fresh, soft mozzarella
  • Olive Oil – Extra virgin, please
  • Balsamic Vinegar – I only use Balsamic Nectar
  • Salt – a coarser grind, I like Pink Himalayan
  • Pepper – Fresh ground black pepper from a mill

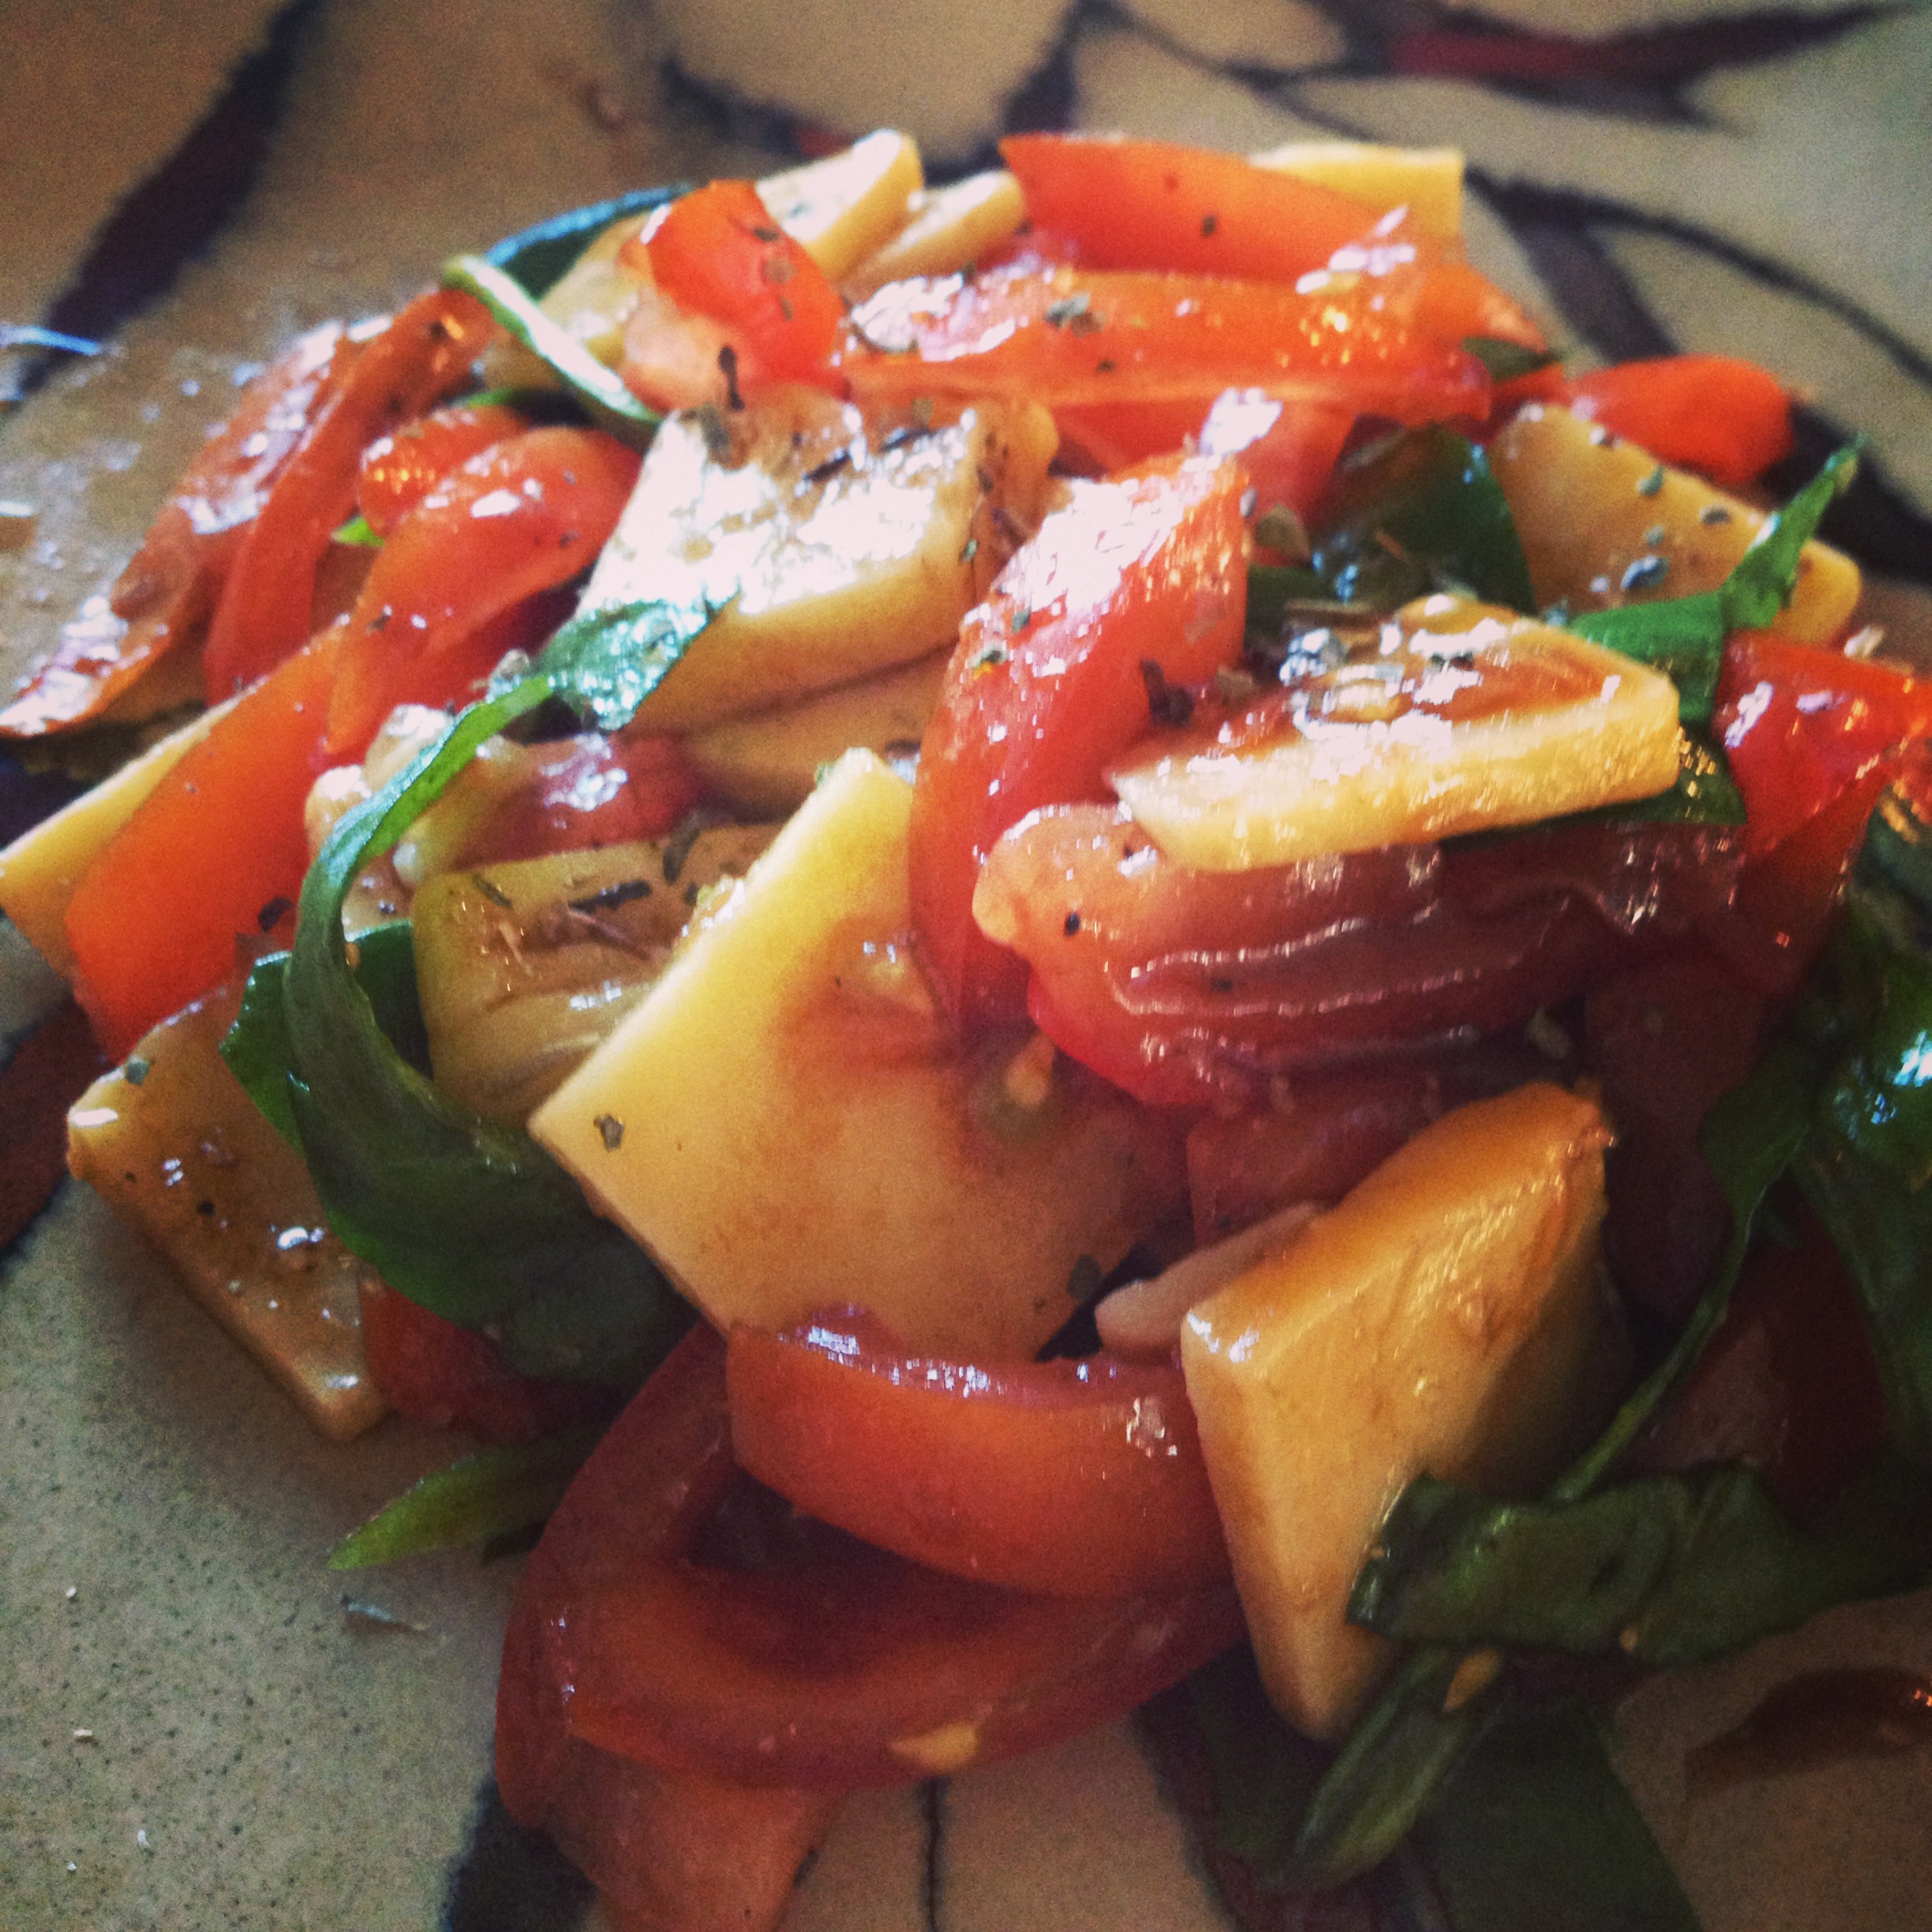
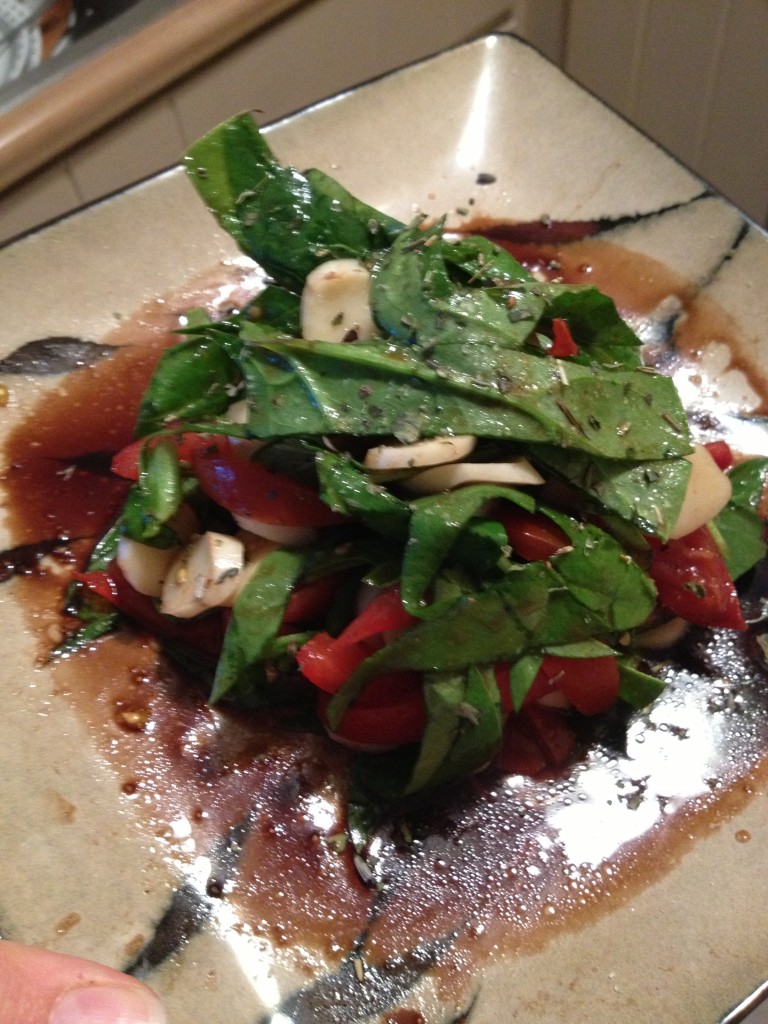
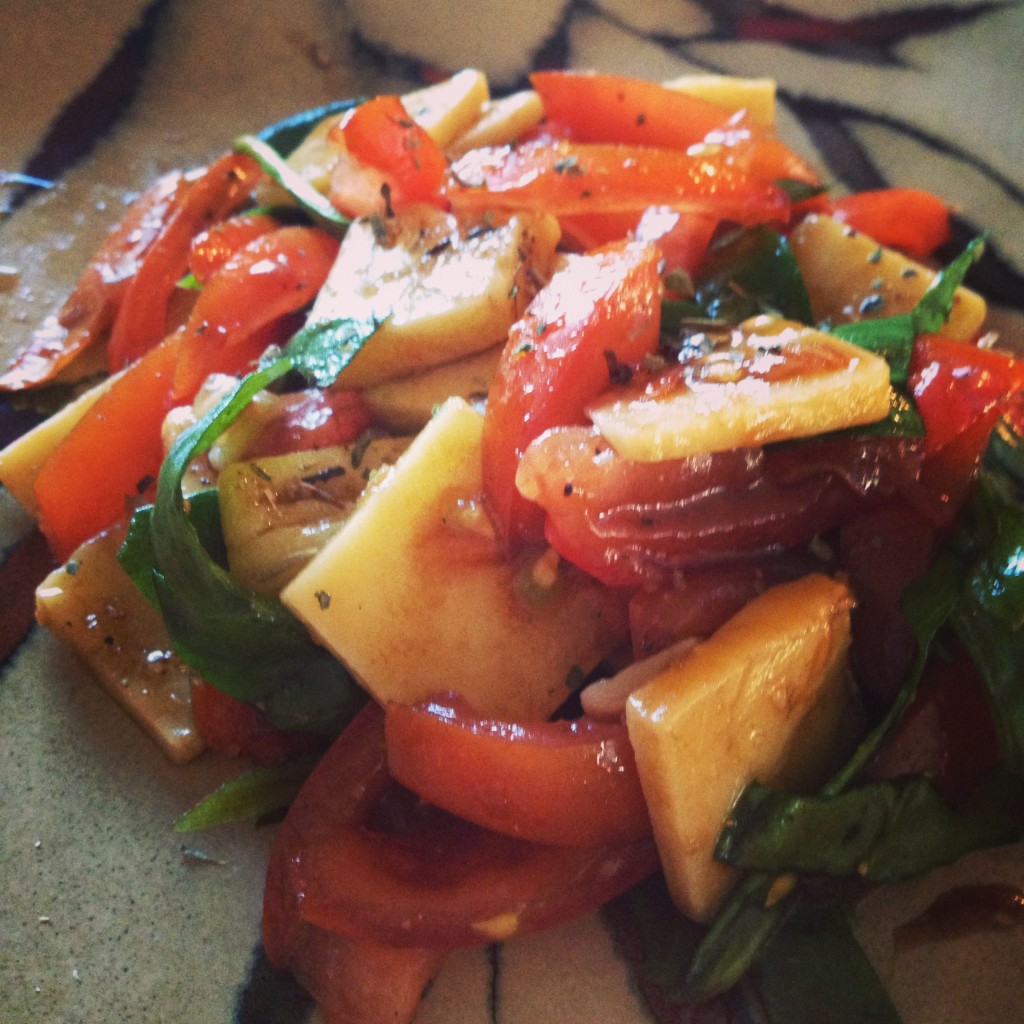
As for quantities, it depends on how much you are serving and what ratios you prefer. You can tell by my pictures what I prefer. Everything after the first three ingredients is to your taste, so those amounts are not designated. If you want to make it a good first course for yourself, two handfuls of spinach, a tomato, and a half a ball of mozzarella is my preference.

  • Prep Time: 10 minutes
  • Cook Time: Zero Minutes

Obviously, nothing is cooked.

photo 3 (84)

First, thoroughly sort and clean your spinach. Only use leaves that are not bruised or wilted. Clean them without damaging them. Remove excess water.

Next, wash your tomatoes and chop them into about twelfths, if they are romas. With larger tomatoes, consider cutting them into sixteenths. A thicker tomato provides more texture to this salad and butchering them less helps retain some of those delicious natural juices. Add them to the spinach. Apply some olive oil, salt, and pepper to the two ingredients and taste. You want to be able to taste all of the elements if you have seasoned properly. I usually coat the ingredients in olive oil, toss lightly. Six to eight cracks of pepper, and a teaspoon of salt, sprinkled from 18 inches above the mixing bowl. 

Next, slice your cheese carefully, especially if it is soft as to not create messy cuts, into quarter to half inch cubes. Relatively large, I know. Again, this is meant to be a salad with larger components so that every bite can include one of each of the three main ingredients. If they are cut or added in large enough pieces, a fork can easily pierce and hold all three components. 

You are nearly finished. Add the balsamic at this point and toss lightly. I usually add half the amount of olive oil that I used.

photo 1 (86)

Now comes the most important step, take a bite of your salad. All three components at once. How does it taste? What does it need? At this point I usually add a drop of the liquids, a crack or two of pepper, a healthy amount of salt. I think the salt helps bring out the other flavors in the dish and cuts the acidity of the tomatoes and the balsamic. The cheese is the only rich component along with the olive oil so the salt has a significant effect in this regard. 

Toss lightly again to ensure that every piece of the salad is dressed evenly and then drain the salad. Yes, drain it carefully. Remove the excess dressing. At this point, the salad has been treated so carefully that every component is dressed and the juice in the tomatoes will help keep the salad moist. If you dressed it properly, draining it will have no negative effect. You can save the dressing, obviously for other uses. 

The salad is ready and it is time to plate. You can take the rustic approach and use a pasta fork, much more delicate than tongs, to scoop a portion onto a side plate. I prefer serving on a plate rather than a salad bowl because of the composed nature of this salad. If you take this path, make sure that your ratios are correct and there is spinach, cheese, and tomatoes in the serving. Otherwise you can technically and methodically place the spinach first, topped with tomatoes, and finally cheese. That is up to you. A final crack of pepper, sprinkle of salt from above, and without adding final liquid components, serve with a fork. 

photo 2 (97)

French, obviously

You can also serve with a slice of good toasted bread and make a crostini. Leave that option to your guests, or yourself… whoever is eating. Note: You can actually finish with olive oil and balsamic, just make sure you do so and immediately serve to prevent the pooling of juices in the bottom of the plate. If the liquid components do pool, make sure you have a piece of bread or something to scoop it up with!

BONUS KITTY PIC

photo 4 (66)


spacer

Vega Bars Review

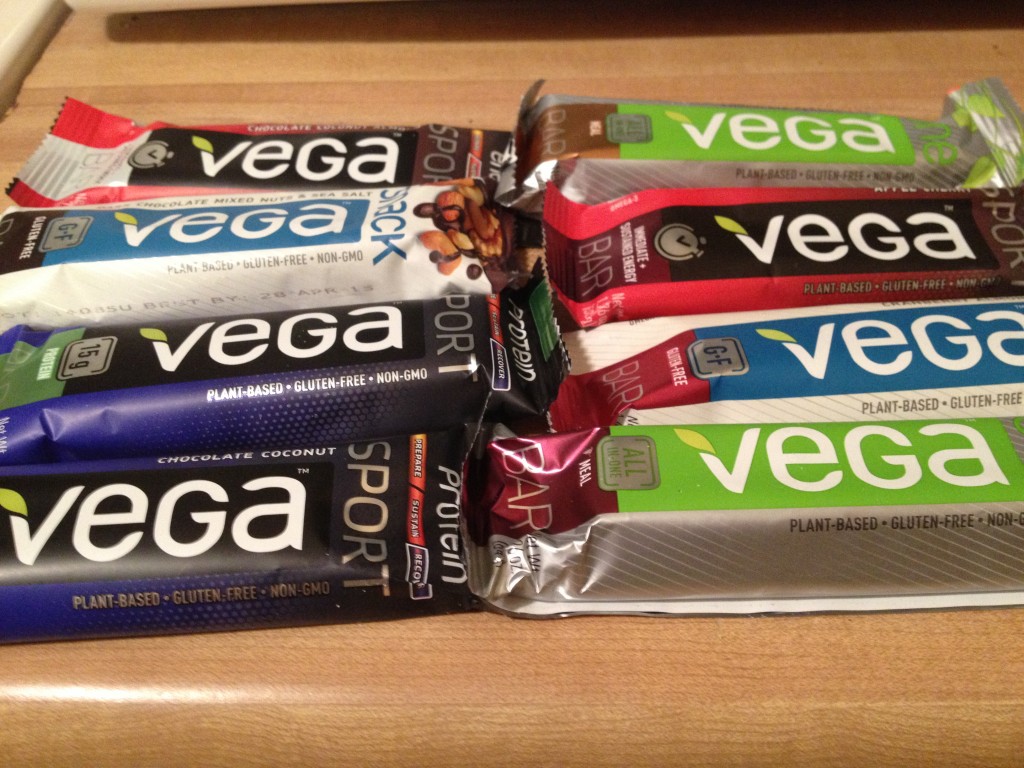
As a Sweat Pink Ambassador, I was chosen to sample and review new Vega Bars of all assortments. Lucky me! Before this, I had never tried Vega Bars. Sometimes, I’m wary about nutrition bars. Some have a plethora of unnatural ingredients, but not so for Vega Bars. Despite a few differences, I would definitely pick up a Vega Bar in the store. 

IT'S LIKE CHRISTMAS

IT’S LIKE CHRISTMAS

There are a few reasons Vega Bars rise above other energy/protein/nutrition bars:

1. They don’t leave your stomach feeling iffy. I’m an active girl. I’m a personal trainer by profession and I work myself hard after-hours as well. I frequently use bars to fuel my day. However, some bars under certain brands make me feel blah. My stomach gets bubbly and my desire for activity plummets. With Vega Bars, after I eat any kind of them, I feel good. There’s no bad after-effect, just natural energy. I appreciate that.

photo 4 (39)

2. They have simple, natural ingredients. Some other bars have ingredient lists longer than I care to read. Vega Bars‘ are short and simple. They are all organic, natural ingredients. It’s good to know what you’re putting in your body to fuel isn’t crap. Vega is in support of this notion.

3. They actually taste good! Taking the above point into consideration, it does happen where the taste buds aren’t exactly jumping for joy. Not with these bars. With the Vega Bars, you enjoy every chomp, almost feeling like you are indulging yourself. They are delicious and nutritious! Not a bad combo, there. 

photo 1 (48)

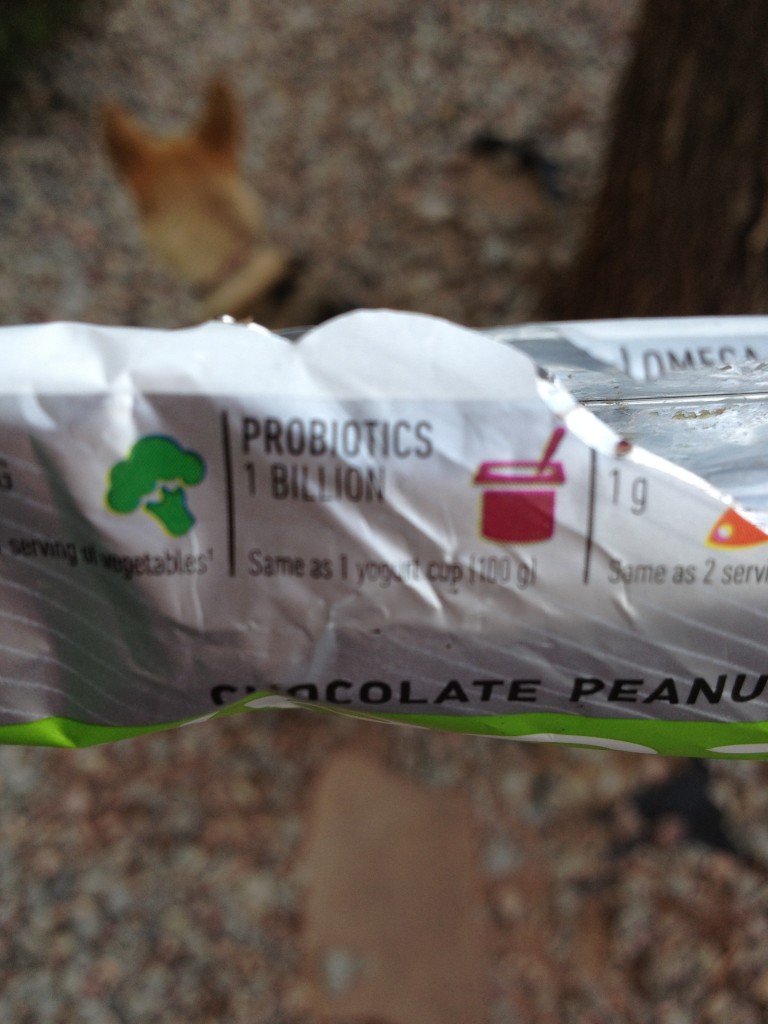
4. They have probiotics. I was especially excited about this once I read one of the bar’s packaging. I’m always trying to have enough probiotics in my system to have a healthy gut. I had never heard about a bar having a considerable amount of probiotics! Usually I would run into drinks or pills. I love this little aspect about it.

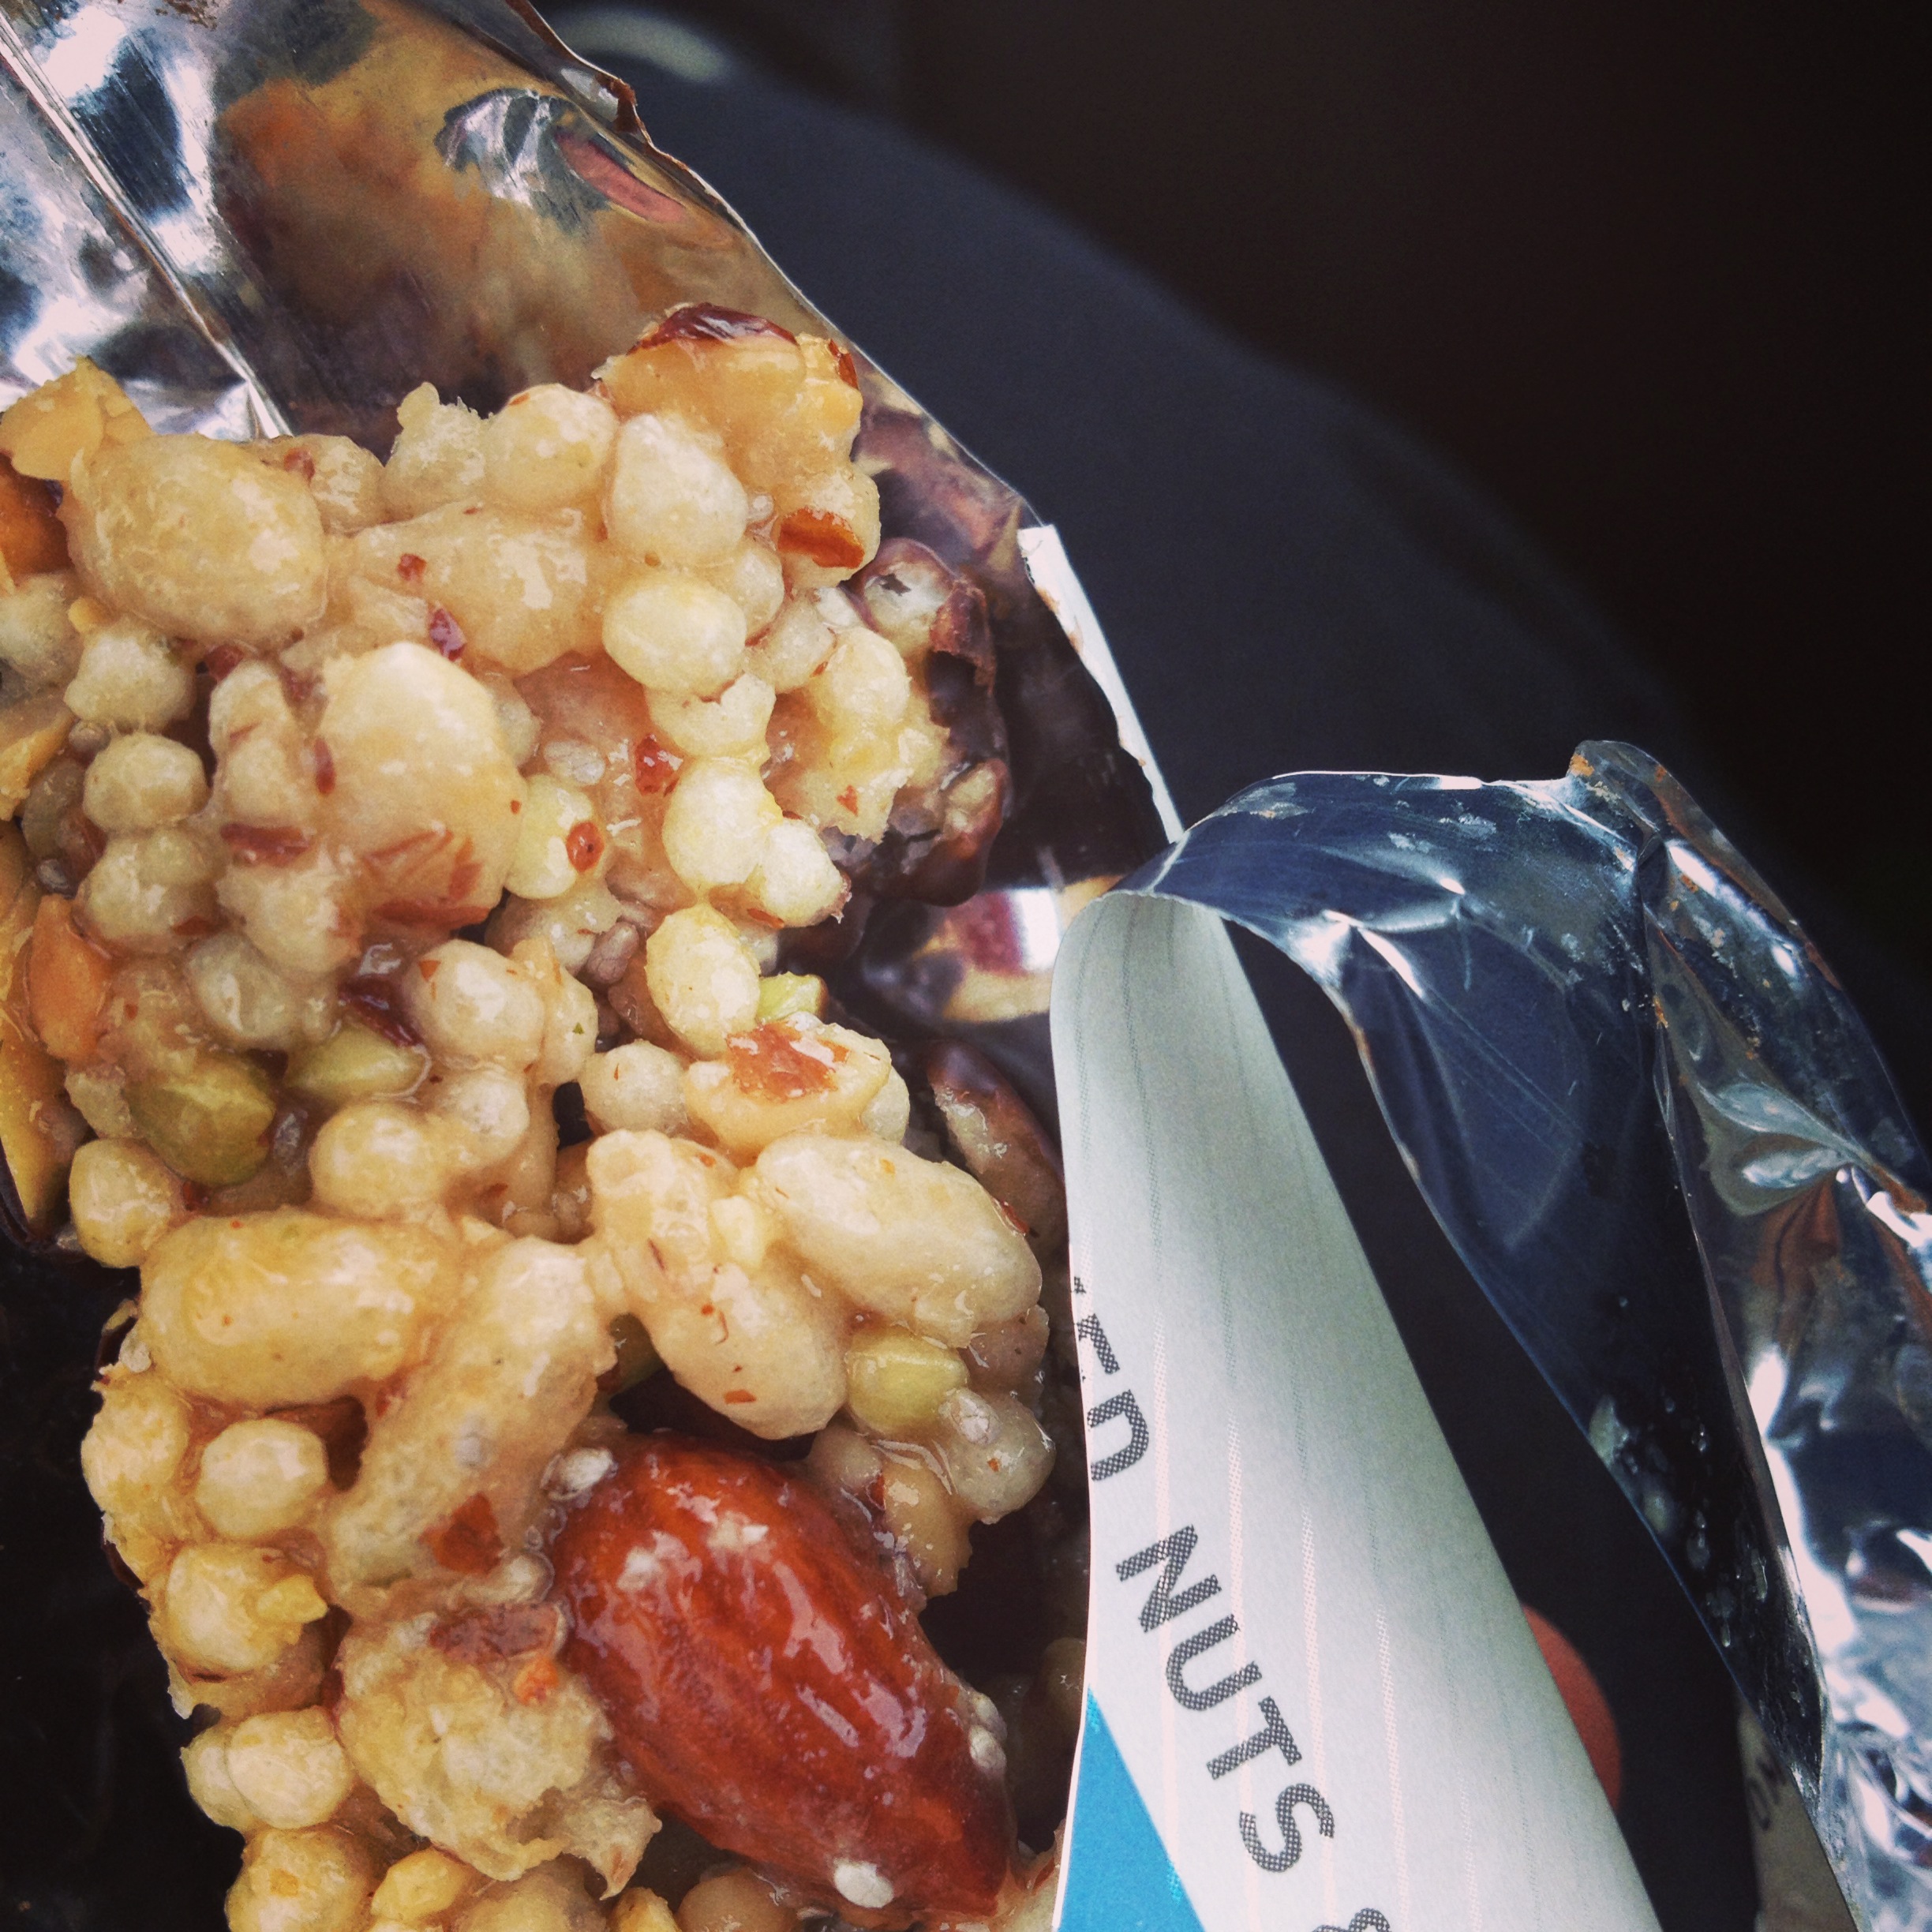
Bad photo as I obviously already tore into the bar

Bad photo as I obviously already tore into the bar

I’ll keep the bullet points short, but you can see that they’re an all-around solid company making delicious nutritious bars. My only qualms would be to add more protein, but it’s tough with natural ingredients like this. Getting 15g from a healthy bar is fine by me. Vega has several different types of bars, setting each one apart for different purposes. Let’s check them out: 

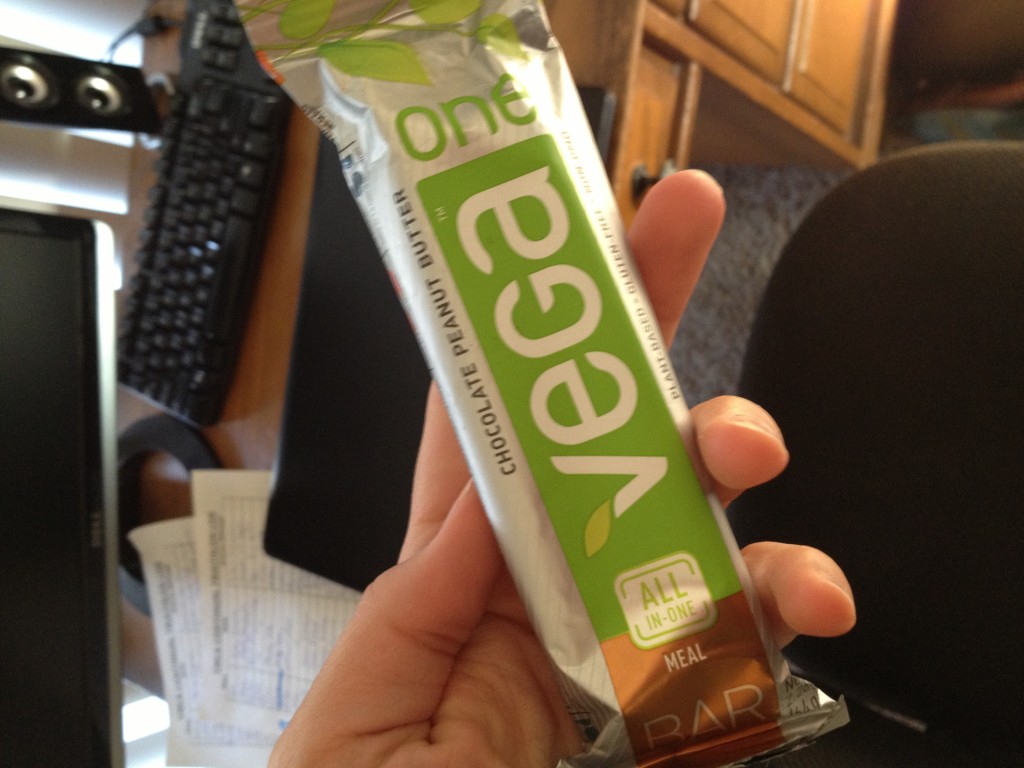
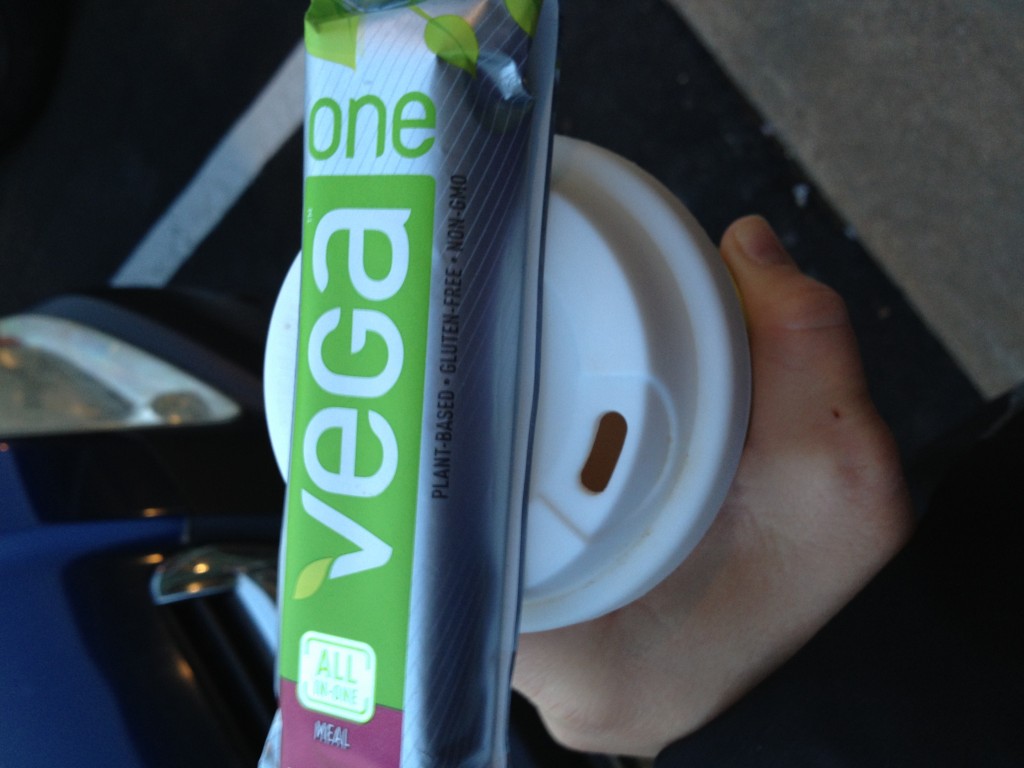
  • Vega One BarThis is their meal replacement bar. It’s useful for those time you’re scrambling out the door to work when you realize you haven’t eaten yet. Pop one of those in your mouth and you’re set. Calorically-sufficient, this bar will hold you over until morning tea time. It keeps your tummy AND taste buds happy!
Breakfast on the go

Breakfast on the go

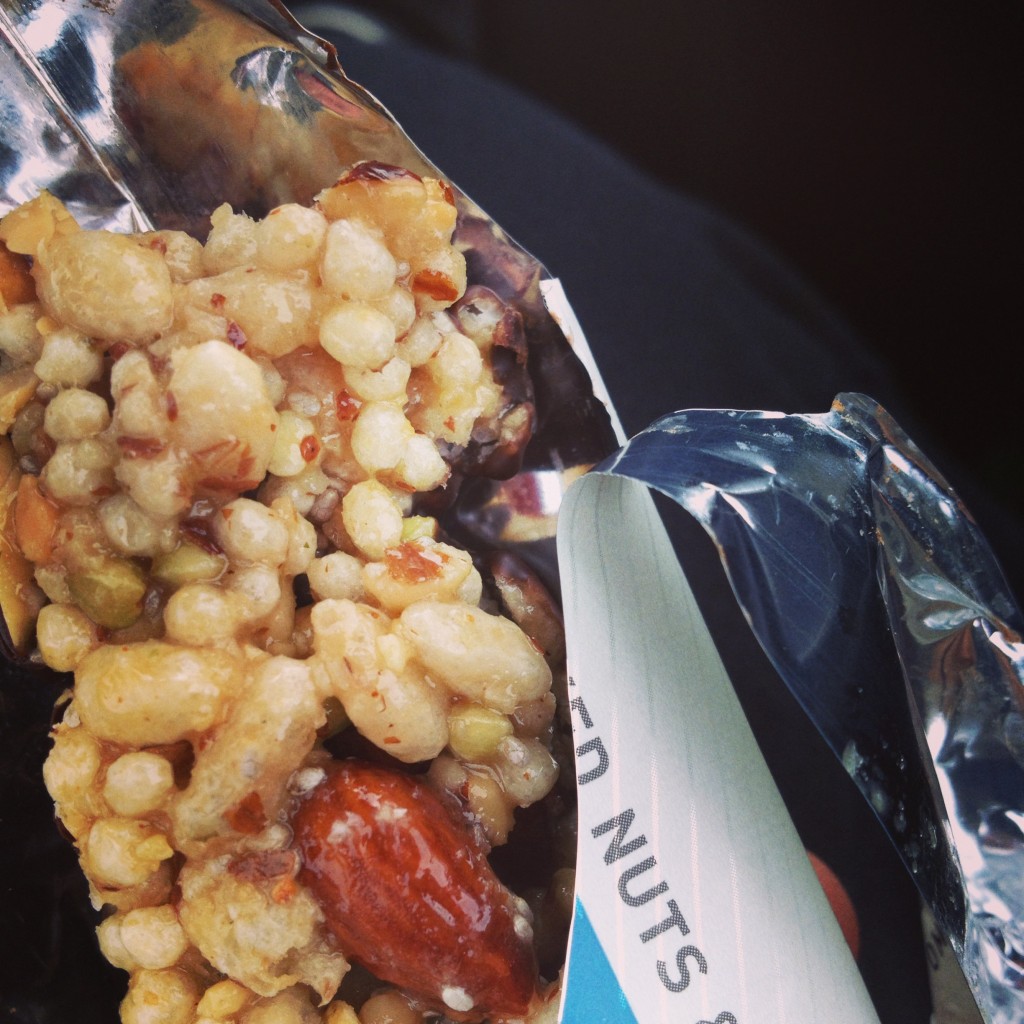
  • Vega Snack BarI could munch on these all day. I am always hungry mid-morning and afternoon, and those who know me, know that I’m not pleasant when I’m hangry. These have peaceful ingredients while not being too high on the caloric scale. It’s the right combination to keep you energized until your next meal.
up close and personal with a snack bar

up close and personal with a snack bar

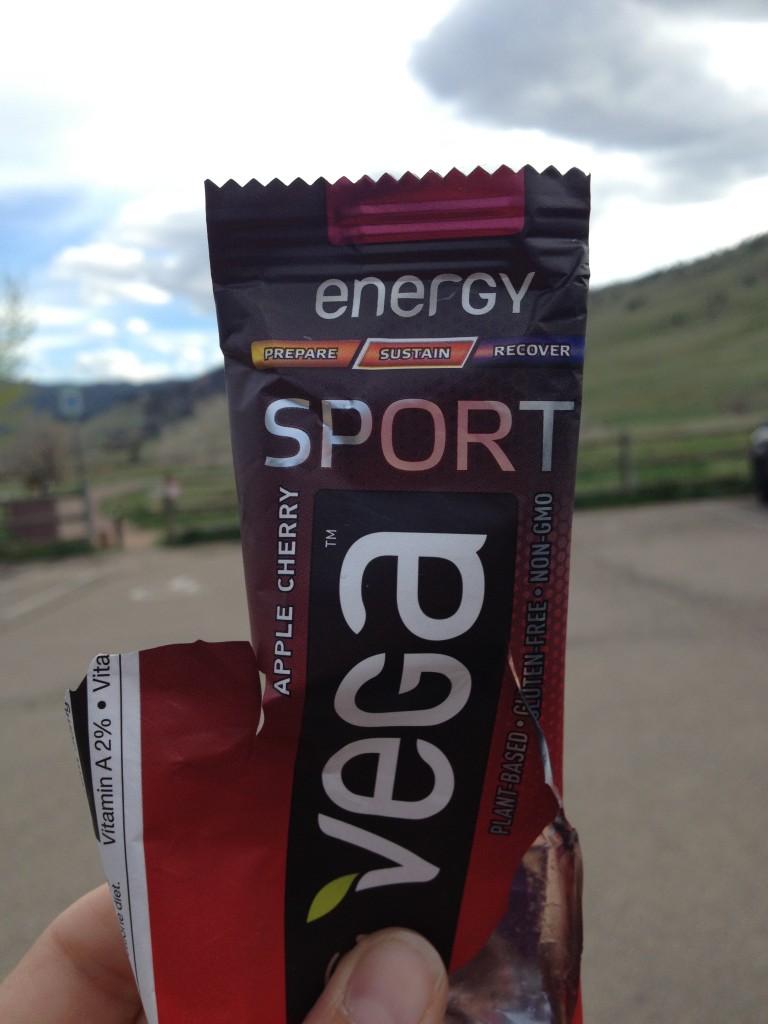
  • Vega Sport Energy BarNow I especially love these. I always struggle with eating the right thing right before or during a workout. I either eat too much and feel awful or eat too little and I feel distracted by hunger. Popping one of these delicious bad boys into my mouth kept me going during even the most grueling workouts (i.e.: hill sprints). And yet again–no negative feelings from the tummy!
As I went for a trail run

As I went for a trail run

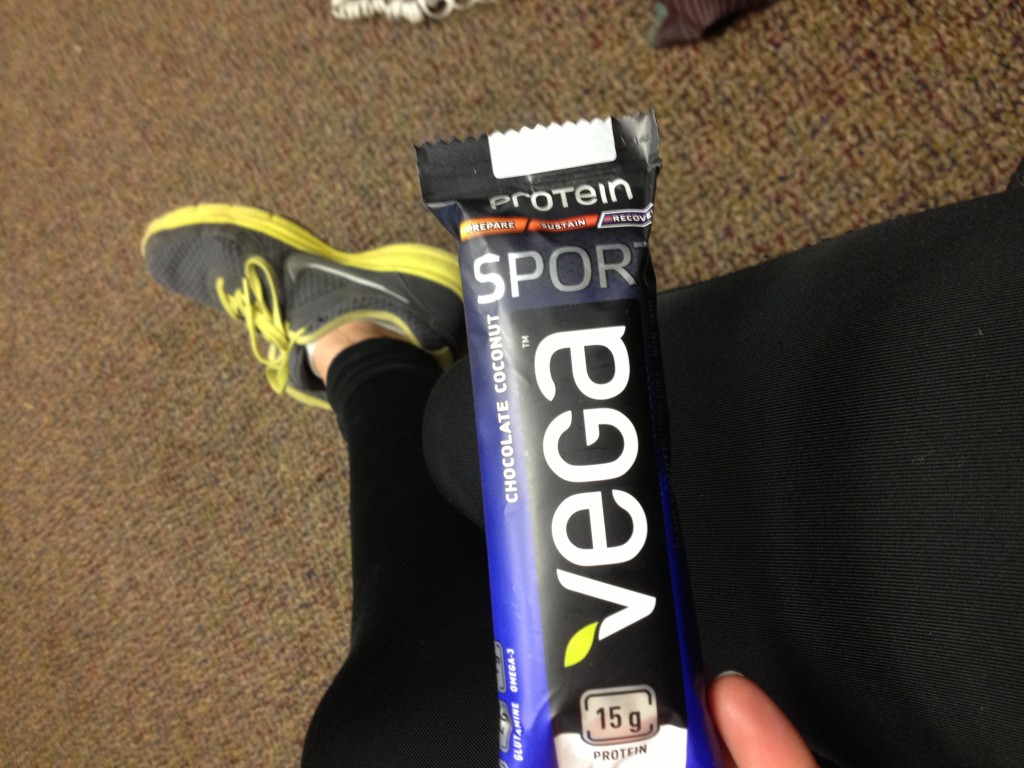
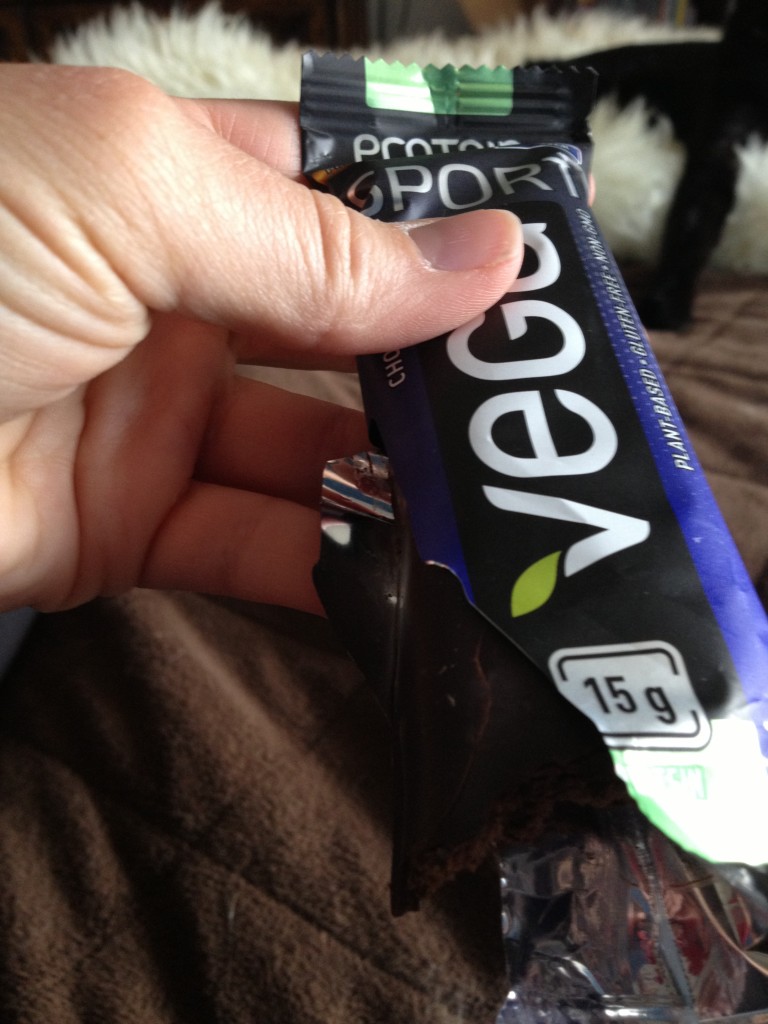
  • Vega Sport Protein BarWhen I feel like I felt yesterday after my longer run, I need to be replenished. That’s what this bar does. It replenishes you with natural carbohydrates and protein, to get your body back up and running again. No post-heartburn or stomach ache. Just pure recovery. I can dig it. 
Grateful for replenishment and recovery

Grateful for replenishment and recovery

Vega Bars get a thumbs up from Hungry and Fit. Natural ingredients with good macros paired with great taste is a win win for us. If you happen to see one at a store, just try it out. Certainly a product we can get behind. Eat Vega Bars to stay hungry and fit! 
Vega Bar Blogger photo Badge_Vega200_zps53a557dd.png

spacer

Glazed Cinnamon Scones

You know what day it is–Wednesday! The day I bring some form of treat to my co-workers. It was a toss-up today between glazed cinnamon scones and another healthy version of brownies. This won out this week! It looked slightly intimidating, but it was fine once I got rolling. Similar process in making the scones as in my mum’s. I substituted a few things like put less sugar and added in whole-wheat flour to make it a little more healthy. These are delicious. They simply crumble into your mouth as you bite into it. The cinnamon settles nicely with the texture–it’s a keeper. Let’s try it out! 

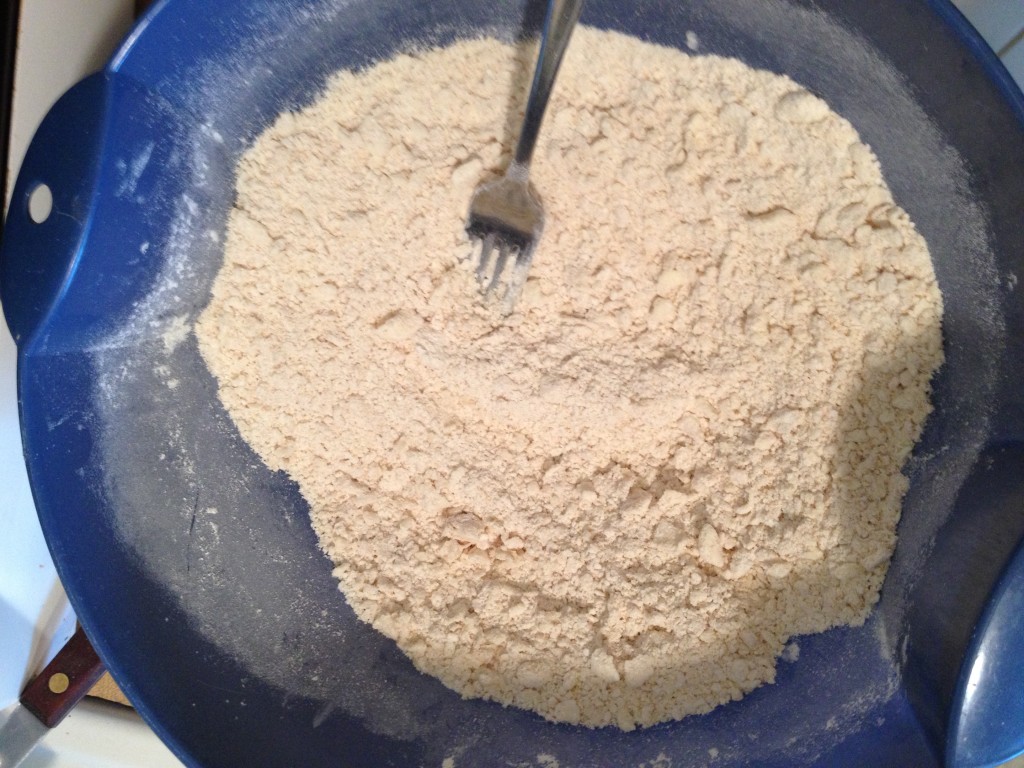
Crumble it up!

Crumble it up!

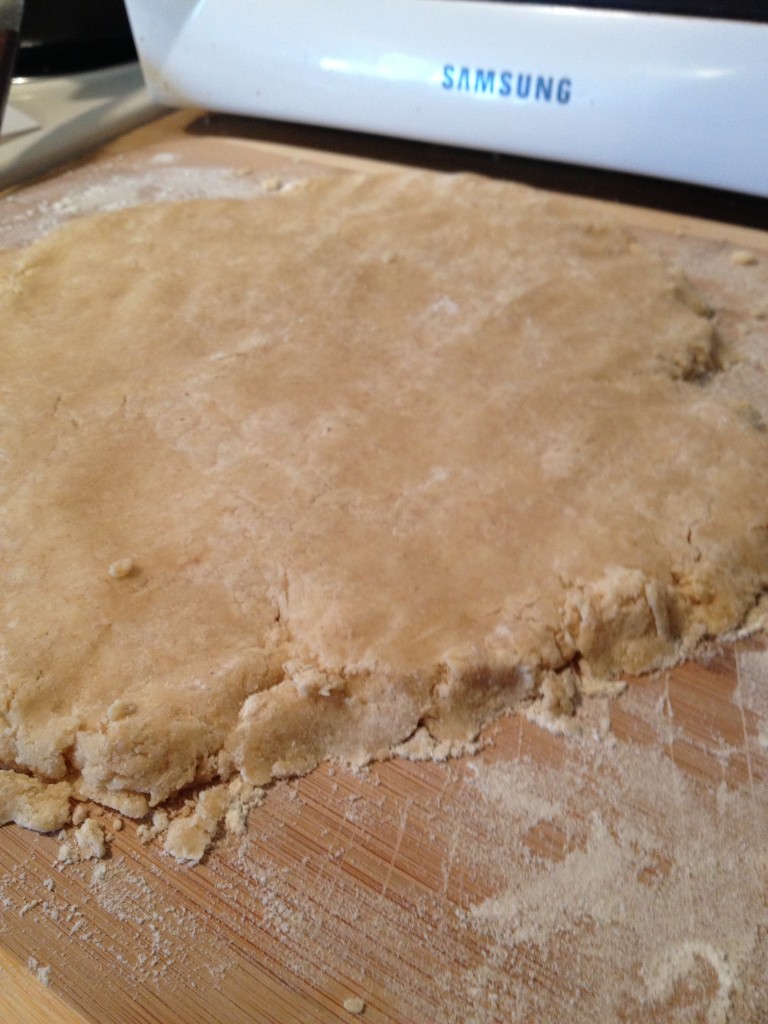
Knead it out!

Knead it out!

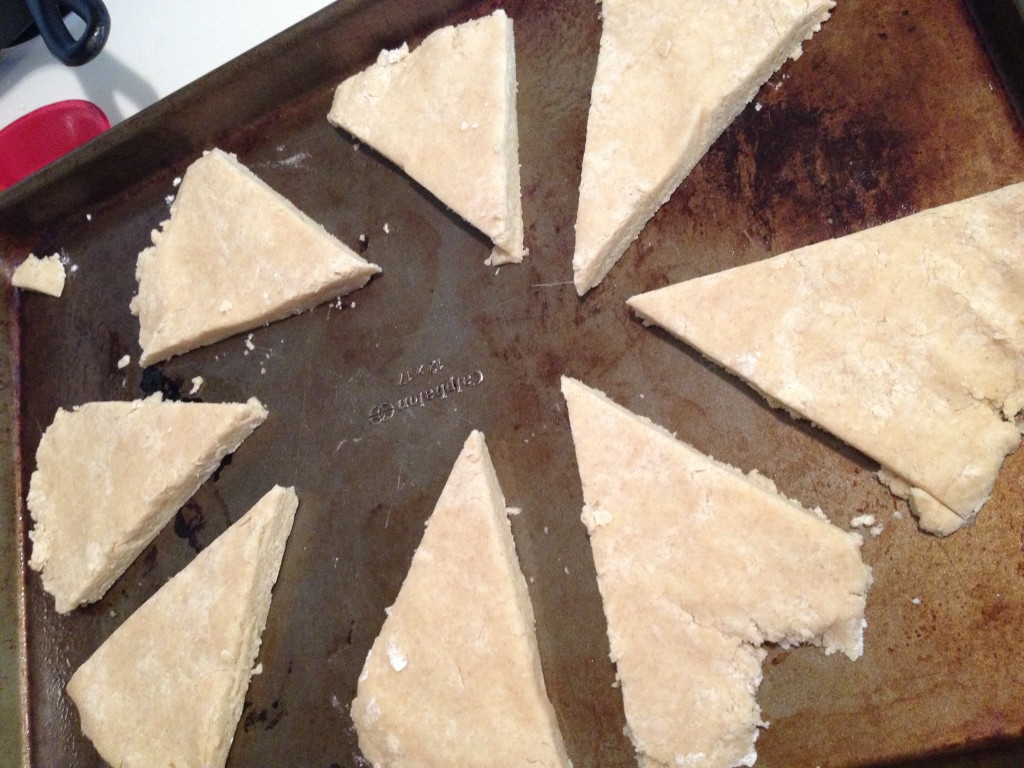
Pie?

Pie?

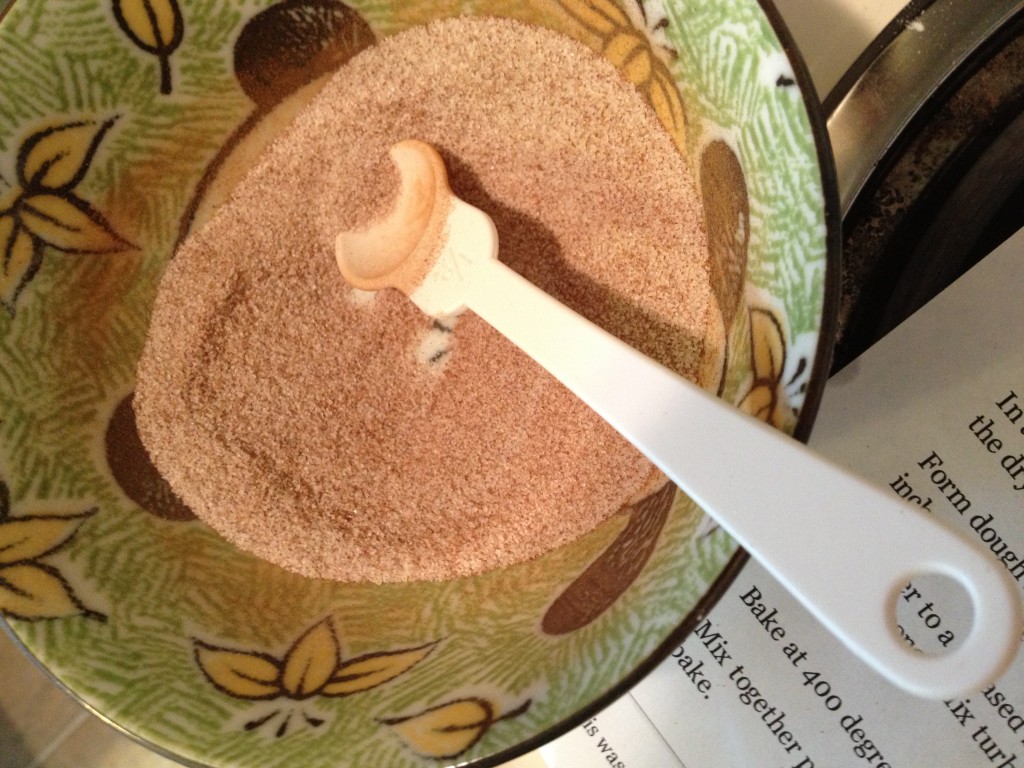
Love this mixture...

Love this mixture…

photo 5 (12) photo 2 (50) photo 4 (32) photo 3 (38)

Glazed Cinnamon Scones
Serves 8
A fiber-rich delicious glazed cinnamon scone
Write a review
Print
Prep Time
17 min
Cook Time
11 min
Prep Time
17 min
Cook Time
11 min
Scone Ingredients
  1. 2 cups flour (1 whole-wheat, 1 regular)
  2. 2 tsp baking powder
  3. 1/2 tsp baking soda
  4. 1/2 tsp salt
  5. 1/3 cup milk
  6. 1/2 tsp lemon juice
  7. 1 egg
  8. 1/2 cup butter
  9. 3 tbsp granulated sugar
Dust Ingredients
  1. 1 tbsp sugar
  2. 1/2 heaping tsp cinnamon
Glaze Ingredients
  1. 3/4 cup powdered sugar
  2. 3 tsp milk
  3. 1/2 tsp maple syrup
Instructions
  1. Let's first start with the scones. Pre-heat oven to 400 degrees F and grease up a baking sheet.
  2. Get out a big bowl and put your flour, baking powder, baking soda, and salt in there. Cut the butter into the dry mixture until it gets crumb-y.
  3. Separate the egg and put the egg YOLK in a separate bowl along with the sugar, milk, and lemon juice. Mix that up.
  4. Add this to the dry ingredients and mix it until it combines (don't overdo it)
  5. Flour up a surface (I use a cutting board) and put the dough you've made into a ball on the surface
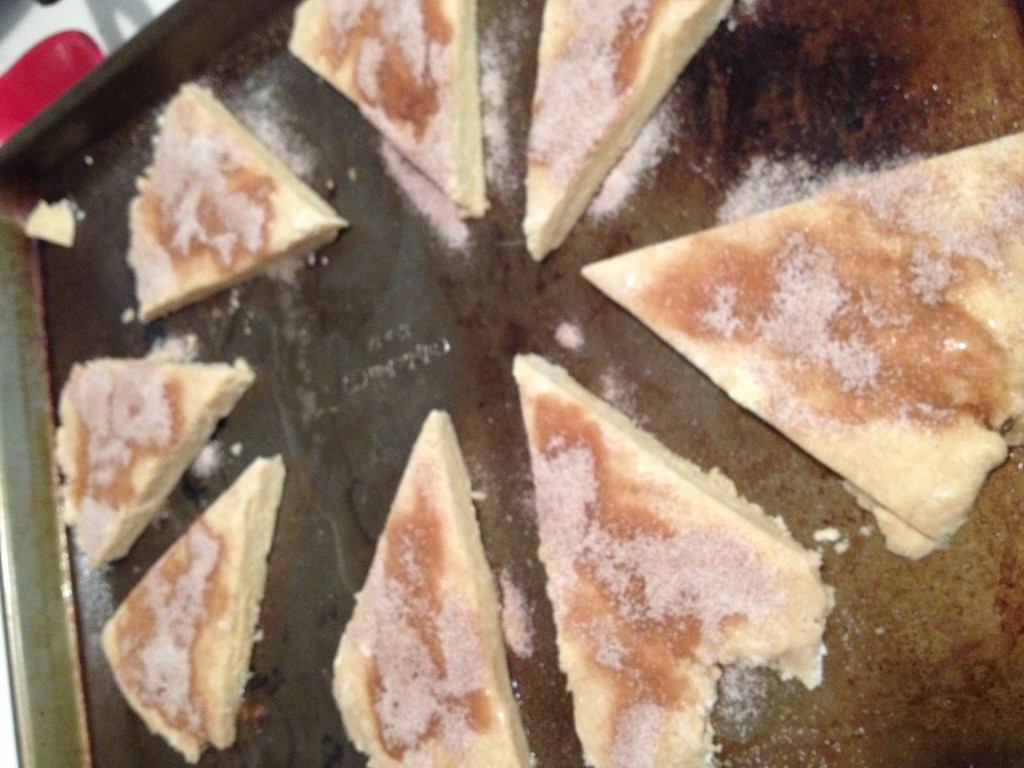
  6. Knead it into around 1/2 inch thickness and then cut into eight pieces
  7. Place the eight pieces on the baking sheet
  8. Take out the egg white and whisk it until frothy. Brush it onto the scone pieces
  9. Mix the sugar and cinnamon together and sprinkle over the egg-whited scones
  10. Put in oven for 10-11 minutes
  11. While it bakes, let's make the glaze. Mix the powdered sugar, milk and maple syrup until it forms up properly into a glaze
  12. When the scones are done, let them cool a bit and then drizzle the glaze over
Adapted from Money Saving Mom
hungry and fit https://hungryandfit.com/
 Once you get rolling, you won’t stop! There may be one or two less scones going to work tomorrow because they perhaps made a way into my stomach. Oops? I hope you enjoy this recipe and use it to spread happiness all around! Keep baking to stay hungry and fit!

BONUS KITTY PIC
Sleepies

Sleepies

spacer

Restaurant Review: Sushi Hana (Longmont, CO)

Being fanatics of Japanese food, Chris and I are always looking for new and yummy places. We have high standards for fish, we both come from coastal cities, so don’t blame us! One day at work, my boss took me out to Sushi Hana in Longmont (where I work…about 15 miles from Boulder) for a lunch meeting to get some work done. It’s this little place that would be extremely easy to miss if you weren’t looking for it. Luckily, I wasn’t driving.

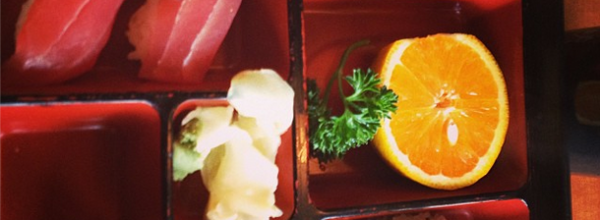
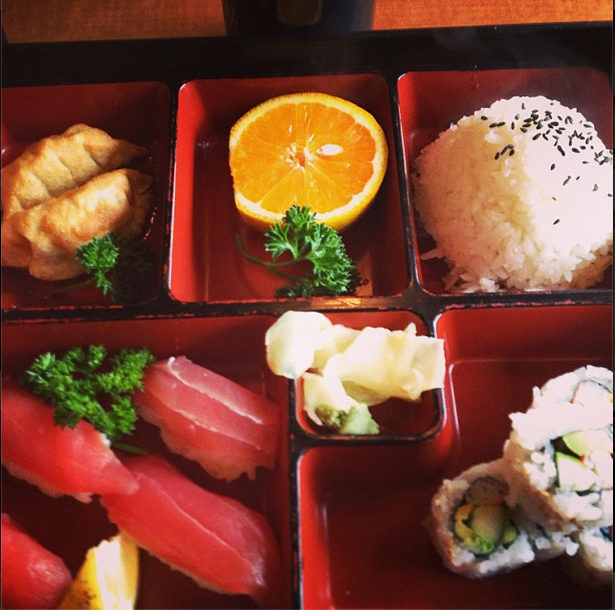
We get seated immediately, after all we were there just around 11am–an early lunch. We get a hot pot of green tea to share which was perfect for a sunless, cold day. After much mulling over the lunch menu, I decide for a “sushi box” which is basically a bento box, but with sushi instead of tempura or a teriyaki dish. Overall, the fish was good (I got tuna) and the meal as a whole was very enjoyable. I got a lot of food for just $11. There was a maki roll on top of that, pork dumplings (didn’t eat), big thing of delicious rice, salad, soup, and an orange. Like I’m saying, ridiculous amount of food. The atmosphere is delightful: quiet, cultural, and peaceful. We stayed there for a while after we finished our food, and the polite, friendly server continued to fill our green tea cups. I left very full.

My delicious lunch

My delicious lunch

Usually when we do reviews, it’s of places Chris and I have both gone to. So what did that mean? After work, one Friday, I take him to Sushi Hana. This is a good sign–means I like the place enough to go back! Similar to the last experience, we were seated right away. I took the initiative to get us some green tea. This time, I ordered the salmon teriyaki box and Chris ordered the una-don (eel over rice). The salmon was cooked very well, and again, I couldn’t finish all my food (good thing I had Hungry with me). I also got the tuna-avocado maki roll which was really delicious and I preferred it without the soy sauce, another good sign. Chris said the una-don was good, but a little small. Good thing he had to finish mine!

Aaand the salmon teriyaki

Aaand the salmon teriyaki

Overall, Sushi Hana is a good spot, at least for lunch. It isn’t our favorite (see Kho’s or Korea House), but is definitely on our good list. If you’re in Longmont, hit up this spot for a great lunch special! Eat Japanese food to stay hungry and fit!

BONUS KITTY PIC

What I wish my every day was

What I wish my every day was

spacer

Jazz Up Your Ramen

Chris has a serious ramen obsession, and I mean with all kinds. Since we don’t have a usual ramen place here in Boulder, we usually go with the packaged stuff. Now I rarely ever eat that packaged stuff, because it’s not the best for you. However, I did get him off the Top Ramen crap and now he eats the stuff that actually gets imported from Japan (a little more expensive, but worth it). Most people who have ramen have just that–just the noodles with hot water. I, however, dare you to jazz it up a little! Make it healthier! There are many ways to do this, but this is how we did it.

  • Prep Time: 5 minutes
  • Cooking Time: 20-25 minutes
  • Serving Size: 2
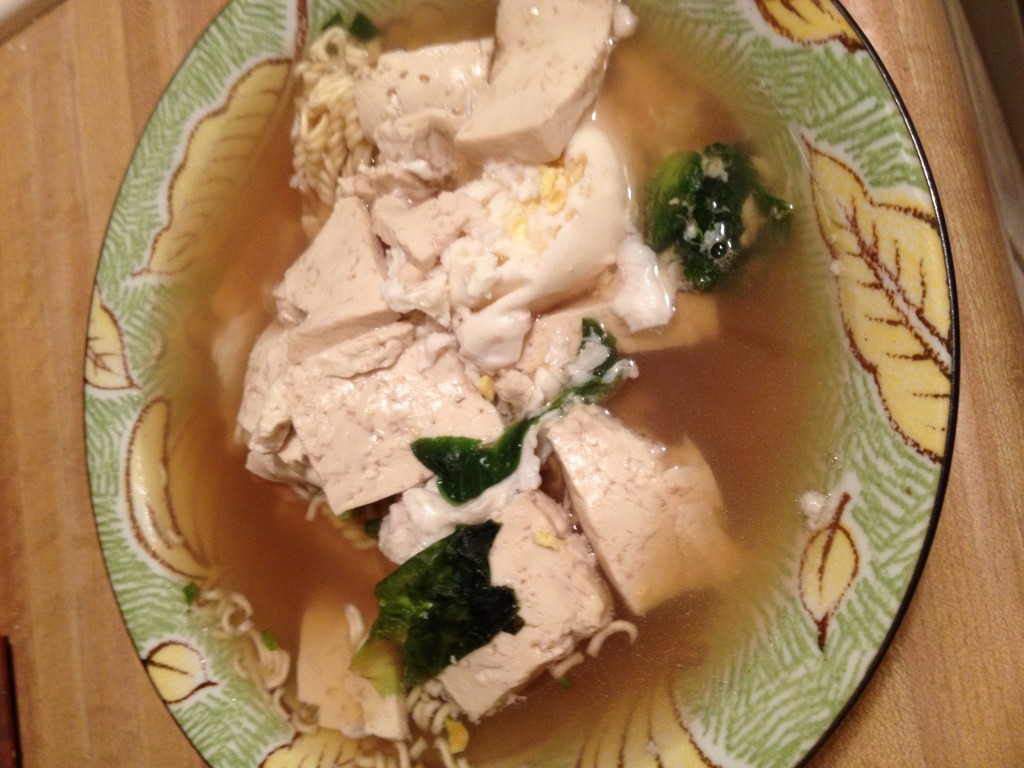
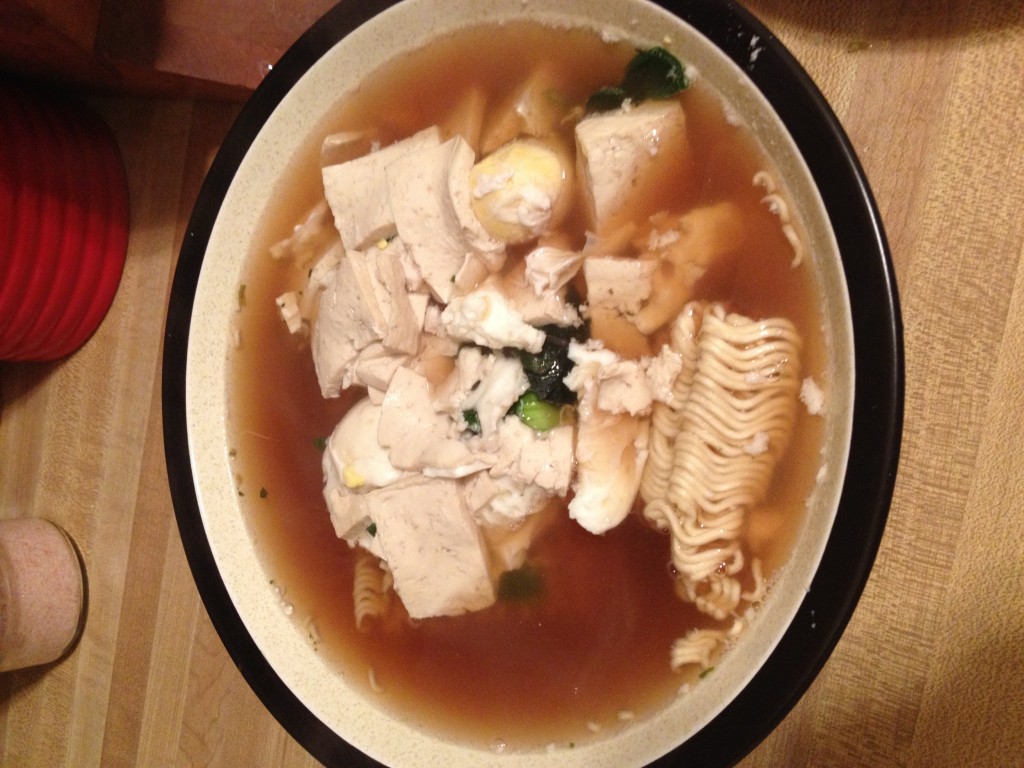
Finished product...oh so good

Finished product…oh so good

Ingredients

  • 2 packets of Sapporo Ichiban ramen 
  • 2 tbsp soy sauce
  • 1-2 cups spinach
  • 1/3 block firm tofu
  • 2-3 eggs

Directions

  • First, fill up a pot with water, about 4 inches of water. Start on high heat, aiming for a boil. Put the soy sauce in the water
  • Cut up the tofu into squares or thin strips
  • Wait for it to start boiling, and then put in the tofu
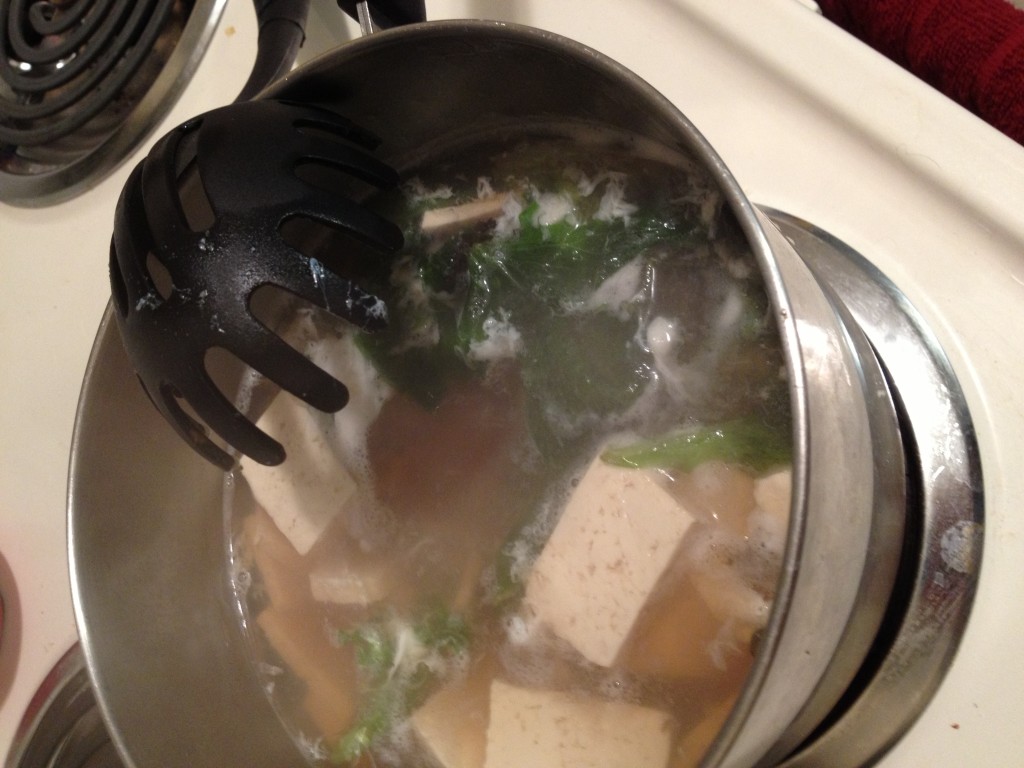
  • Turn down the heat slightly and let the tofu boil for about 20 or so minutes (I went and took a shower during this time)
  • Now it’s time to add the spinach or whatever kind of greens you want. Stir them around so they get submerged
Boiling boiling boiling

Boiling boiling boiling

  • When you’re two minutes out, go ahead and crack the eggs into the boiling pot
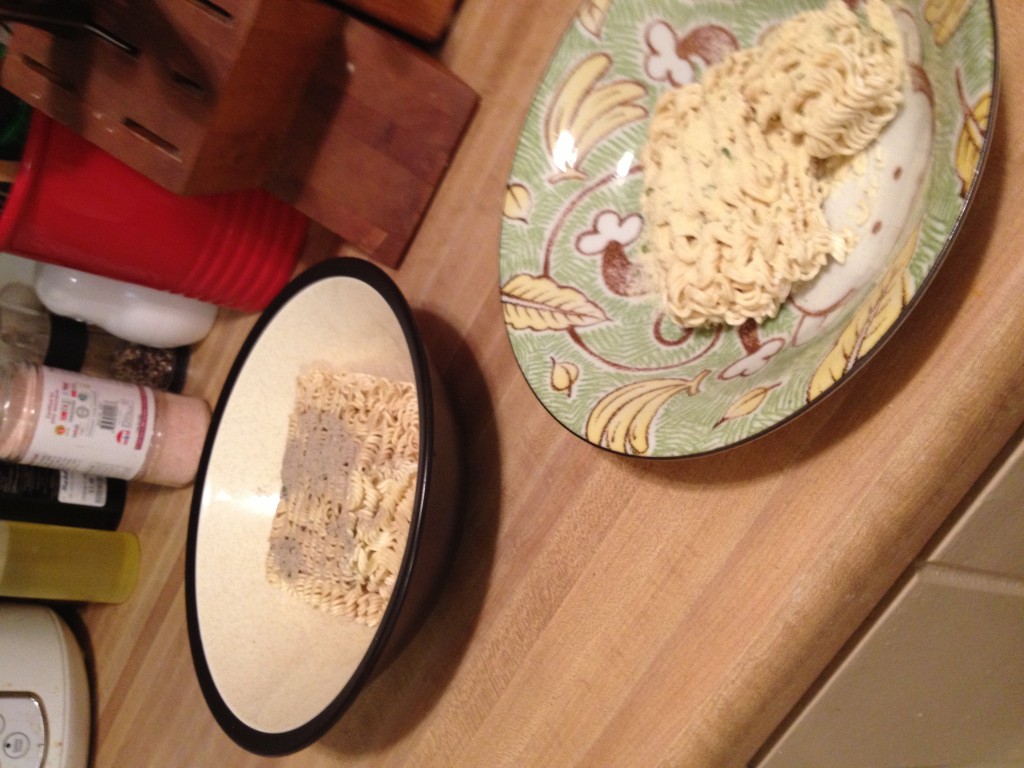
  • Get out the ramen packets. You can use the flavoring if you want. Put into large bowls so that you have room for all the other fun stuff

photo 2 (30)

  • Now slowly start to pour the contents of the pot into the bowls, you want to try to get the liquid out first and pour as evenly as you can. Then the other stuff will come plopping out too. And that’s basically it! Make sure to let the ramen sit a little bit so the noodles can expand
Not as appetizing as it tasted, but this is what it might look like when you first pour it

Not as appetizing as it tasted, but this is what it might look like when you first pour it

This is a quick meal with carbs, proteins, and fats in it to make it well-rounded. Yes, it’s still ramen from a package, but it certainly didn’t taste or feel that way after jazzing it up. Again, this is just one way of doing it. Next time I might add ground turkey for Chris’, more greens, and play with it! Add nutrients to food to stay hungry and fit!

photo 4 (22)

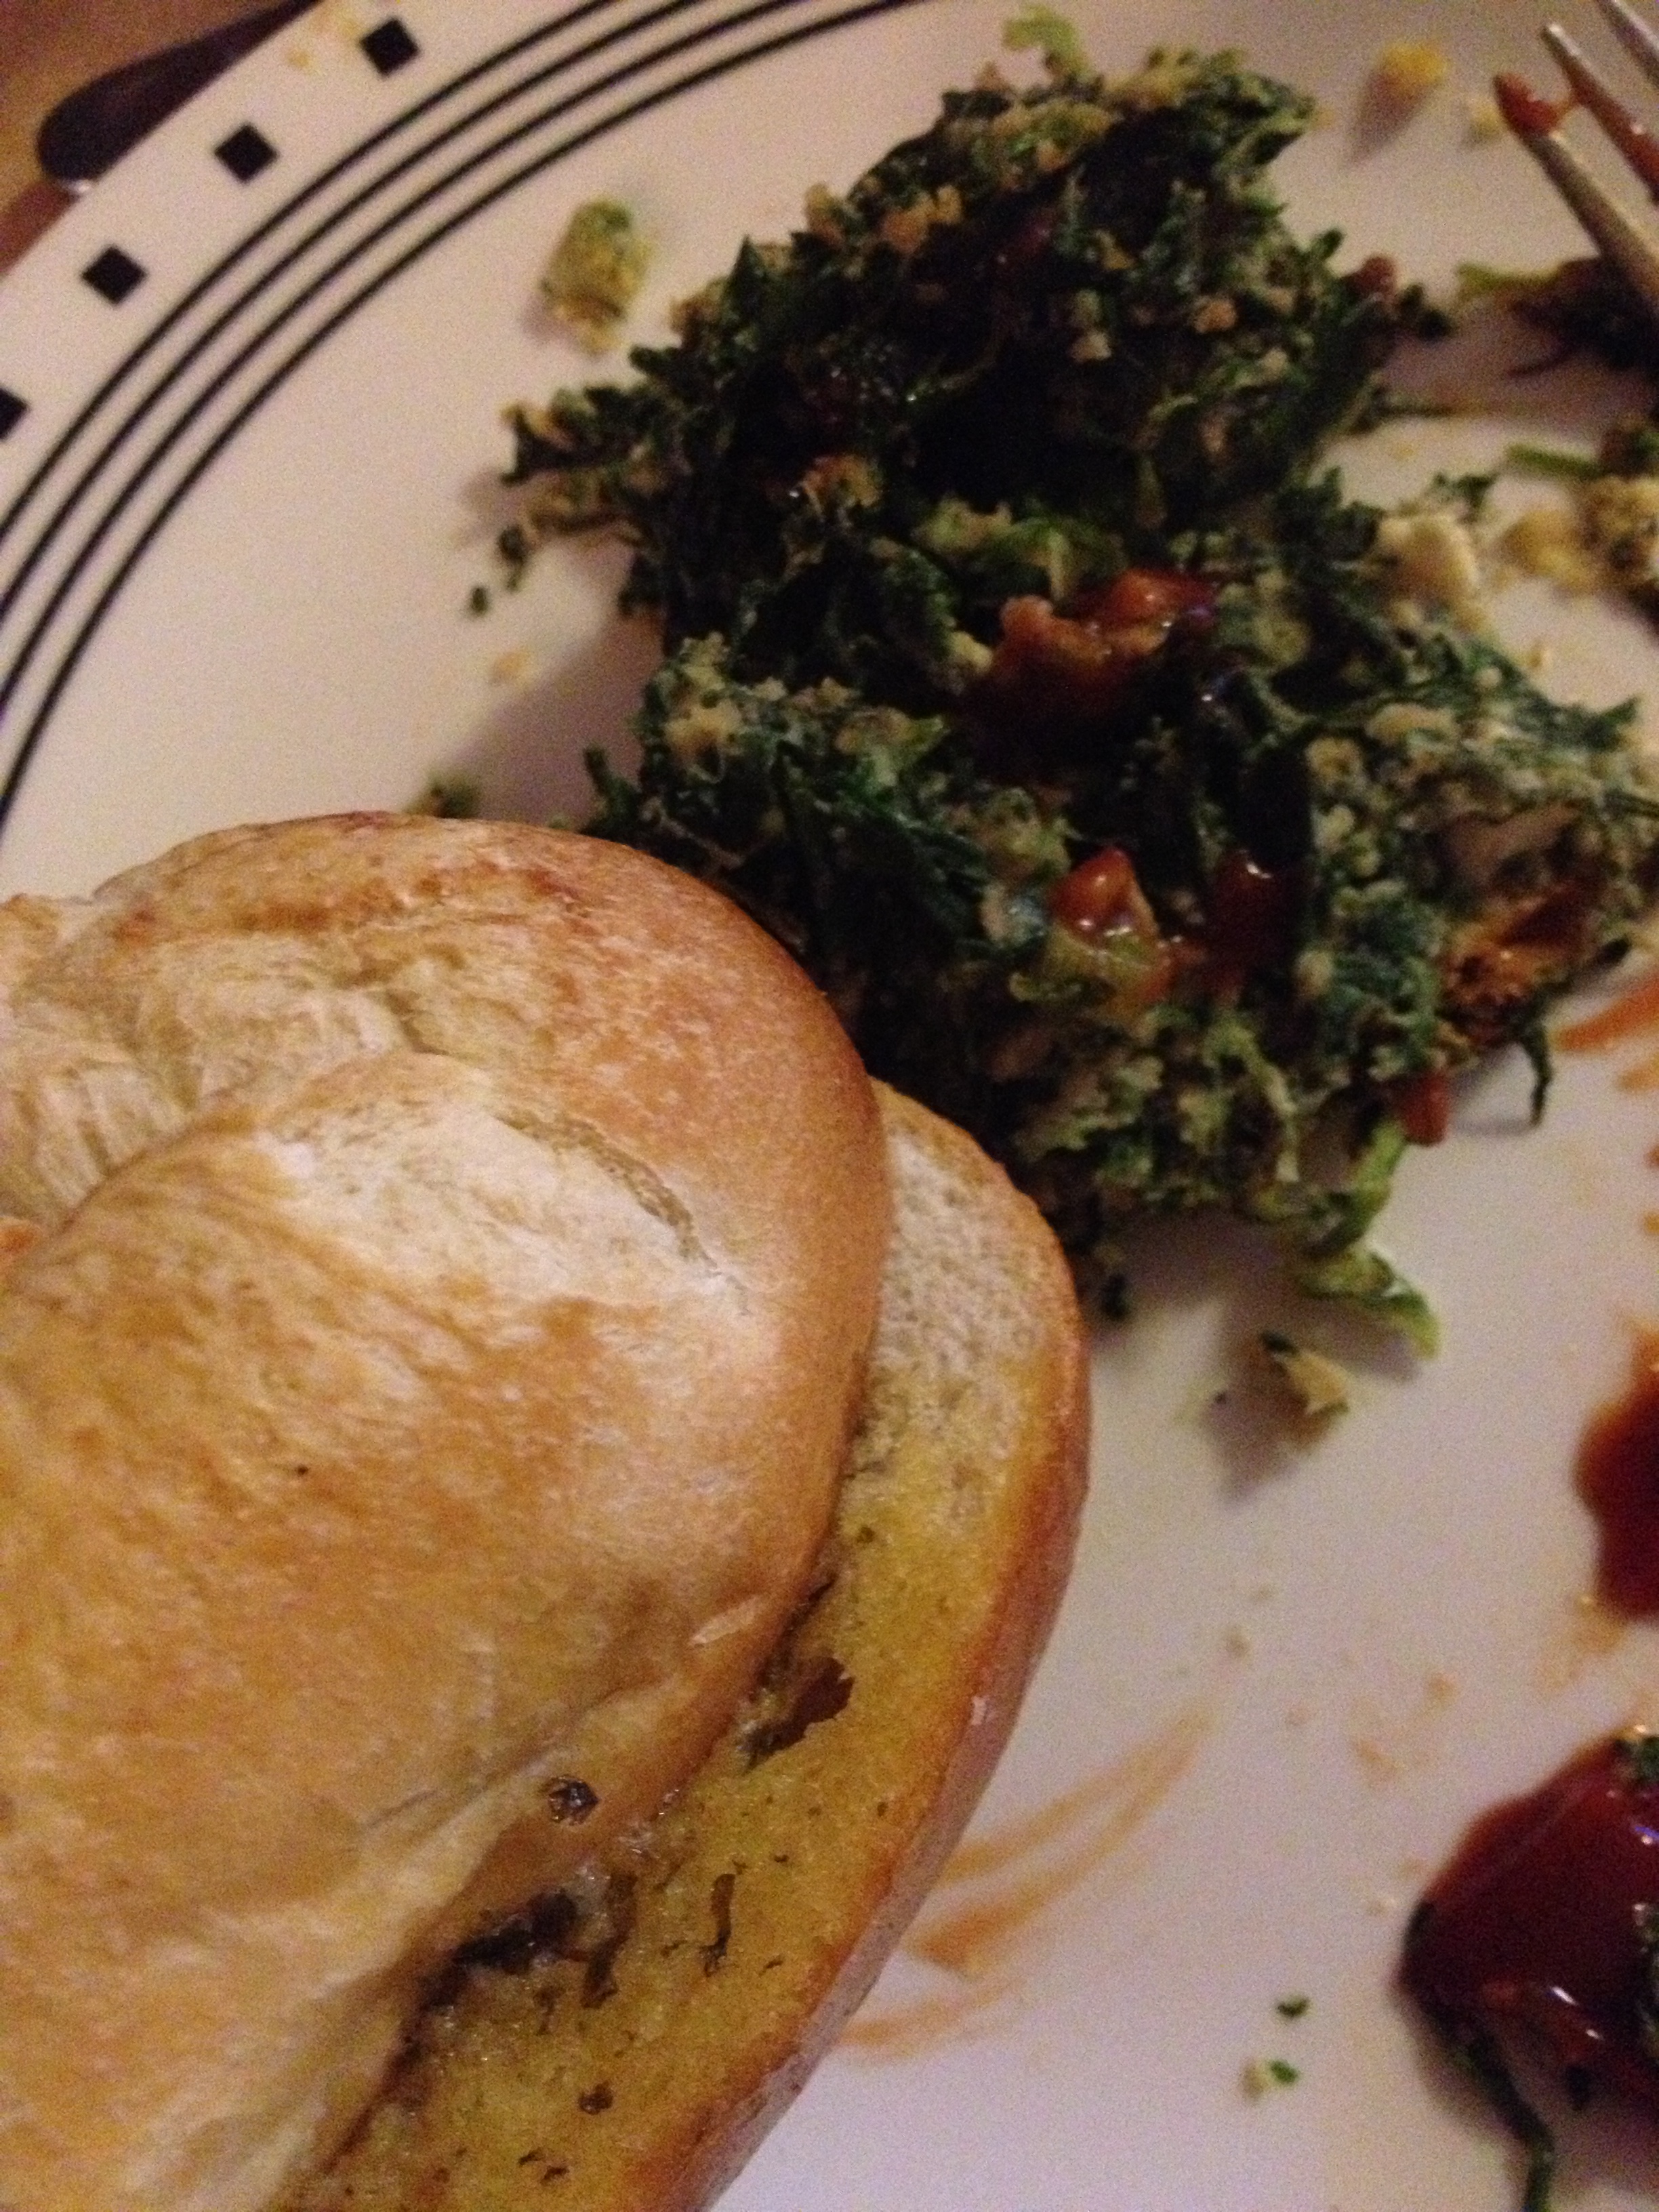
Chris ended up finishing mine too...no surprises here

Chris ended up finishing mine too…no surprises here

BONUS KITTY PIC 

The cats FINALLY realized Dovah exists last night. They were so curious and interested they didn't want to sleep

The cats FINALLY realized Dovah exists last night. They were so curious and interested they didn’t want to sleep

spacer

Spinach Feta Pie Recipe [NO CRUST]

This is another one pointed out to me by Mary Kate and it took two tries to get it just right. The second try was delicious and I hope to make it again and again–it’s healthy, nutritious, filling, and yummy! Though the ingredient list may look long, it really does not take much time at all! The recipe comes from here . Check it out:

photo (9)

  • Prep Time: 15-20 minutes
  • Cooking Time20-25 minutes

Ingredients

  • 10 oz frozen spinach
  • 1/2 cup scallions
  • 2 tbsp dill
  • 2 tbsp parsley
  • 1/2 cup feta
  • 2 tbsp grated cheese (something akin to Romano, Parmesan, etc)
  • 1/2 cup whole-wheat flour
  • 1 tsp baking powder
  • 2/3 cup milk
  • 1/2 tsp salt
  • 2 eggs

Directions

  • Pre-heat oven to 400 degrees and oil up your cooking pan (I used a bread tin)
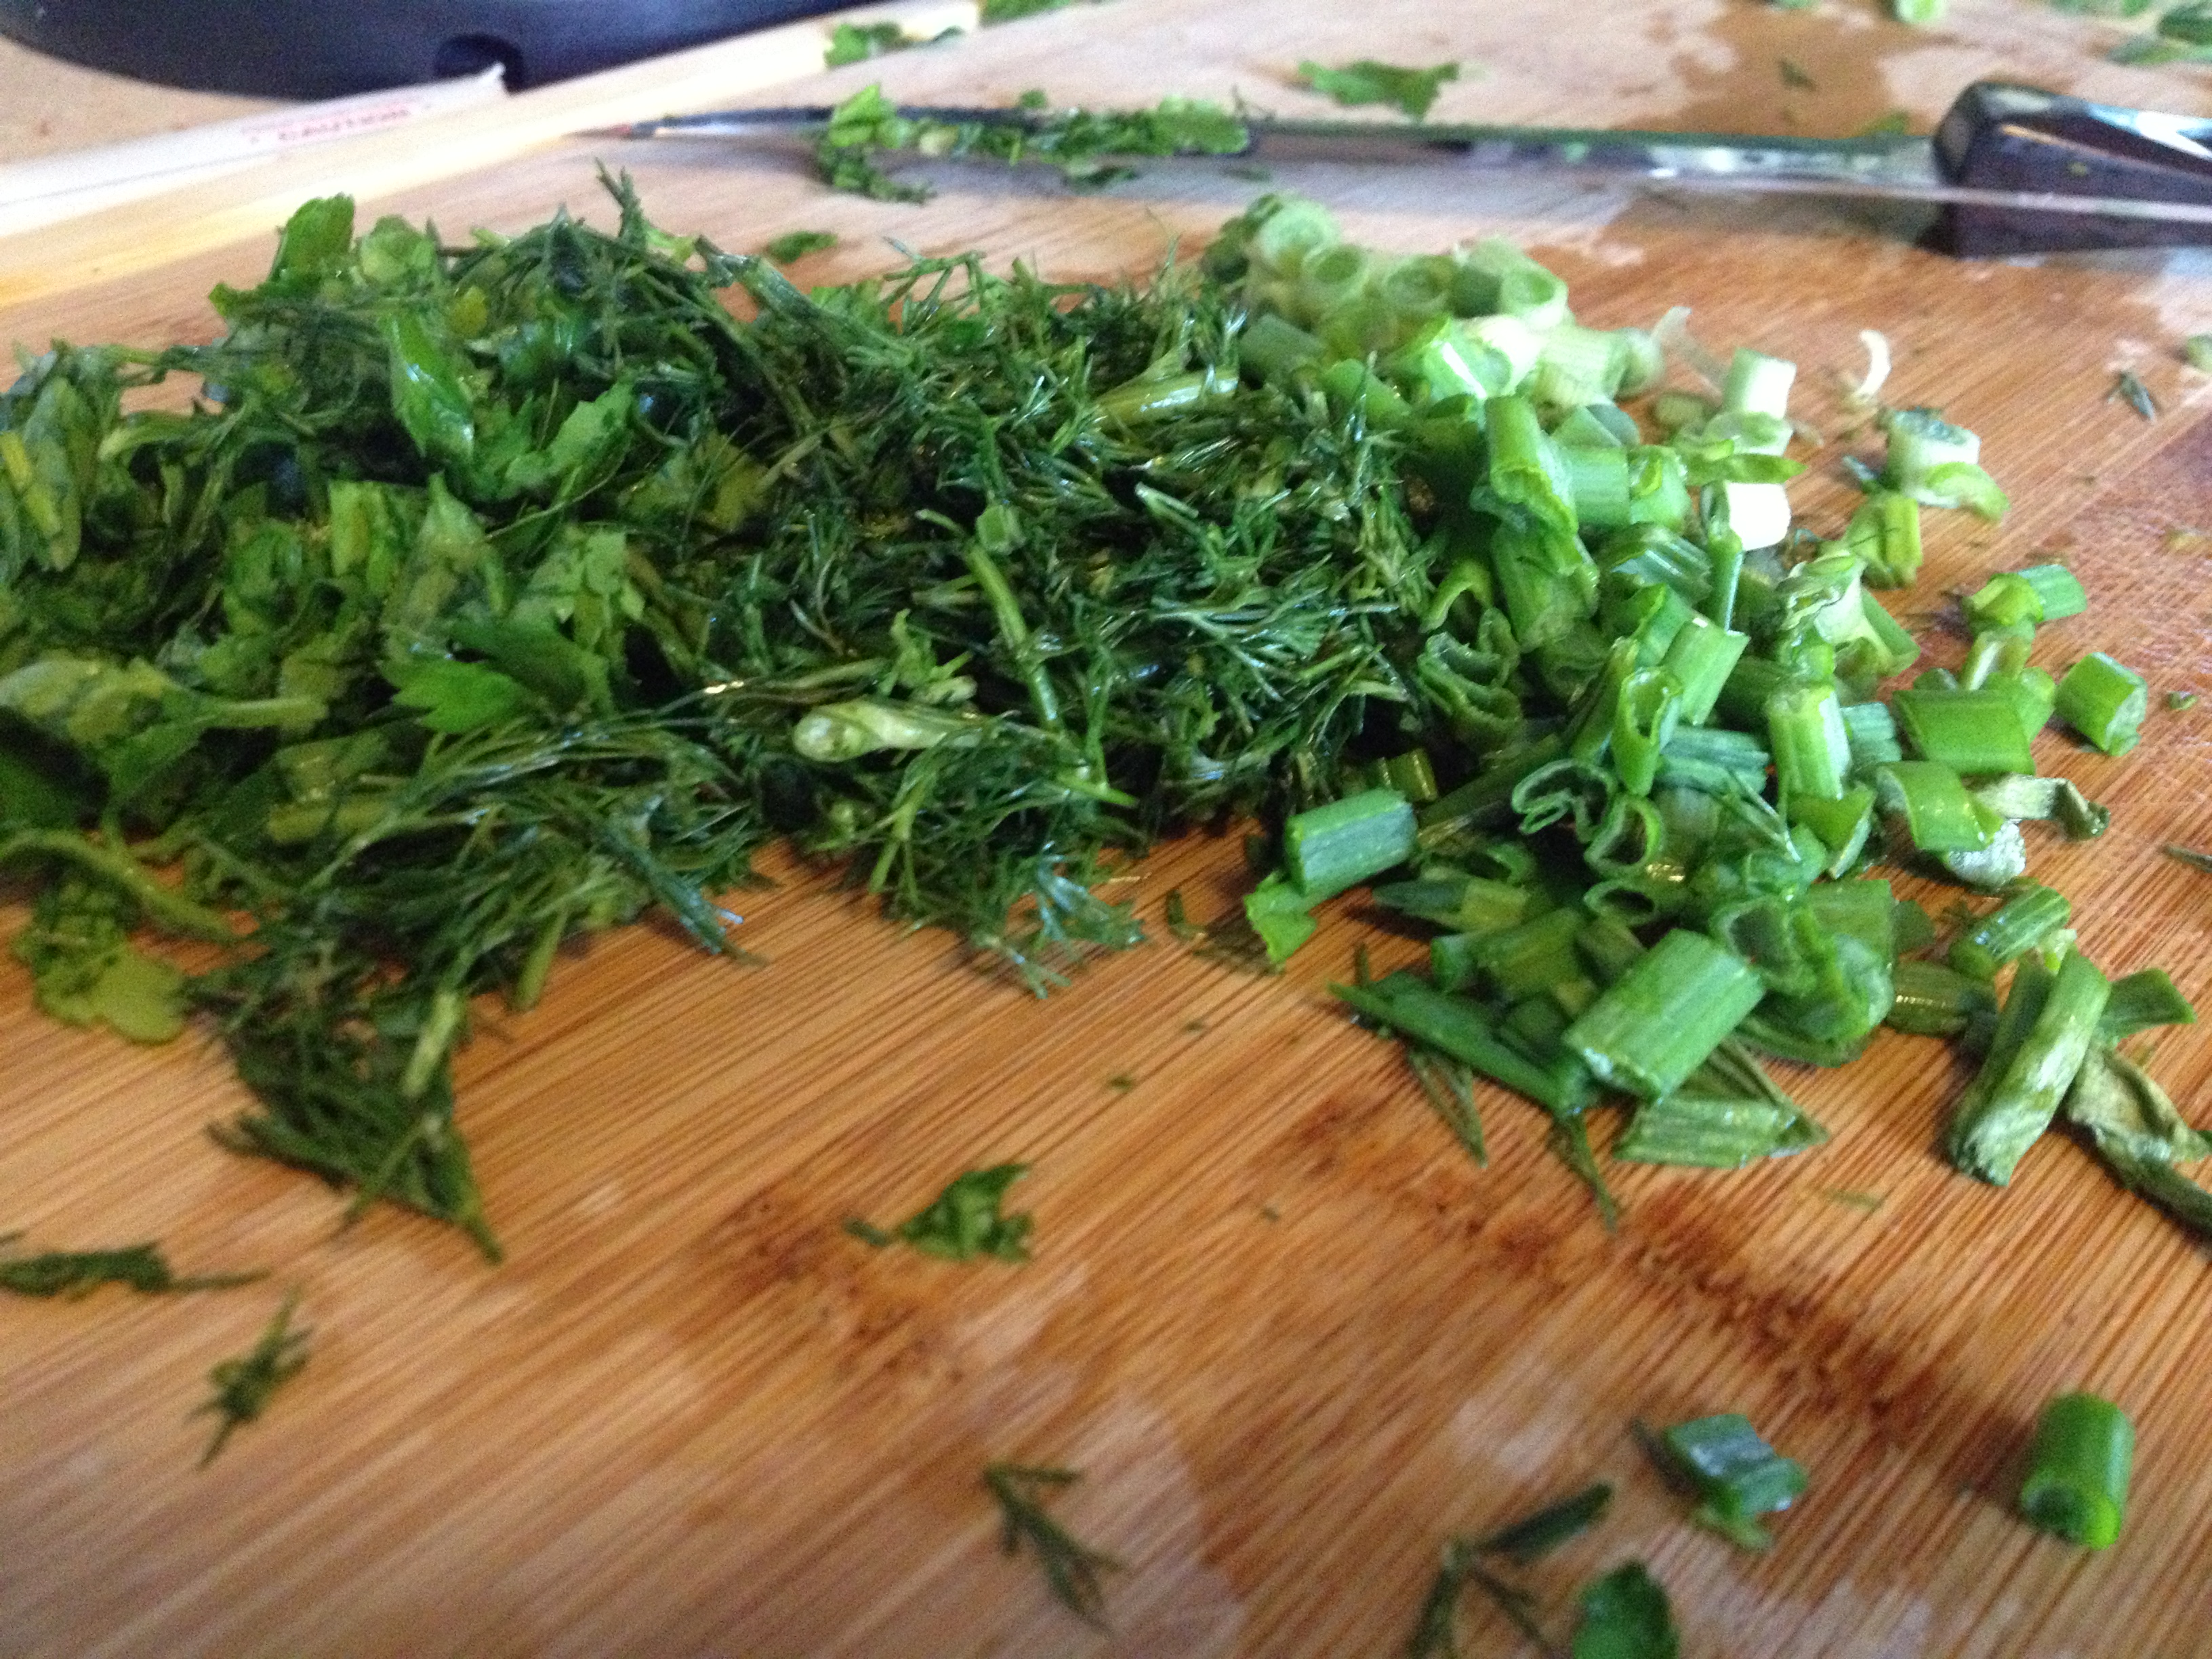
  • Thaw out the spinach. Cut up the dill, parsley, and scallions. 
Beautiful chopped herbs/veggies

Beautiful chopped herbs/veggies

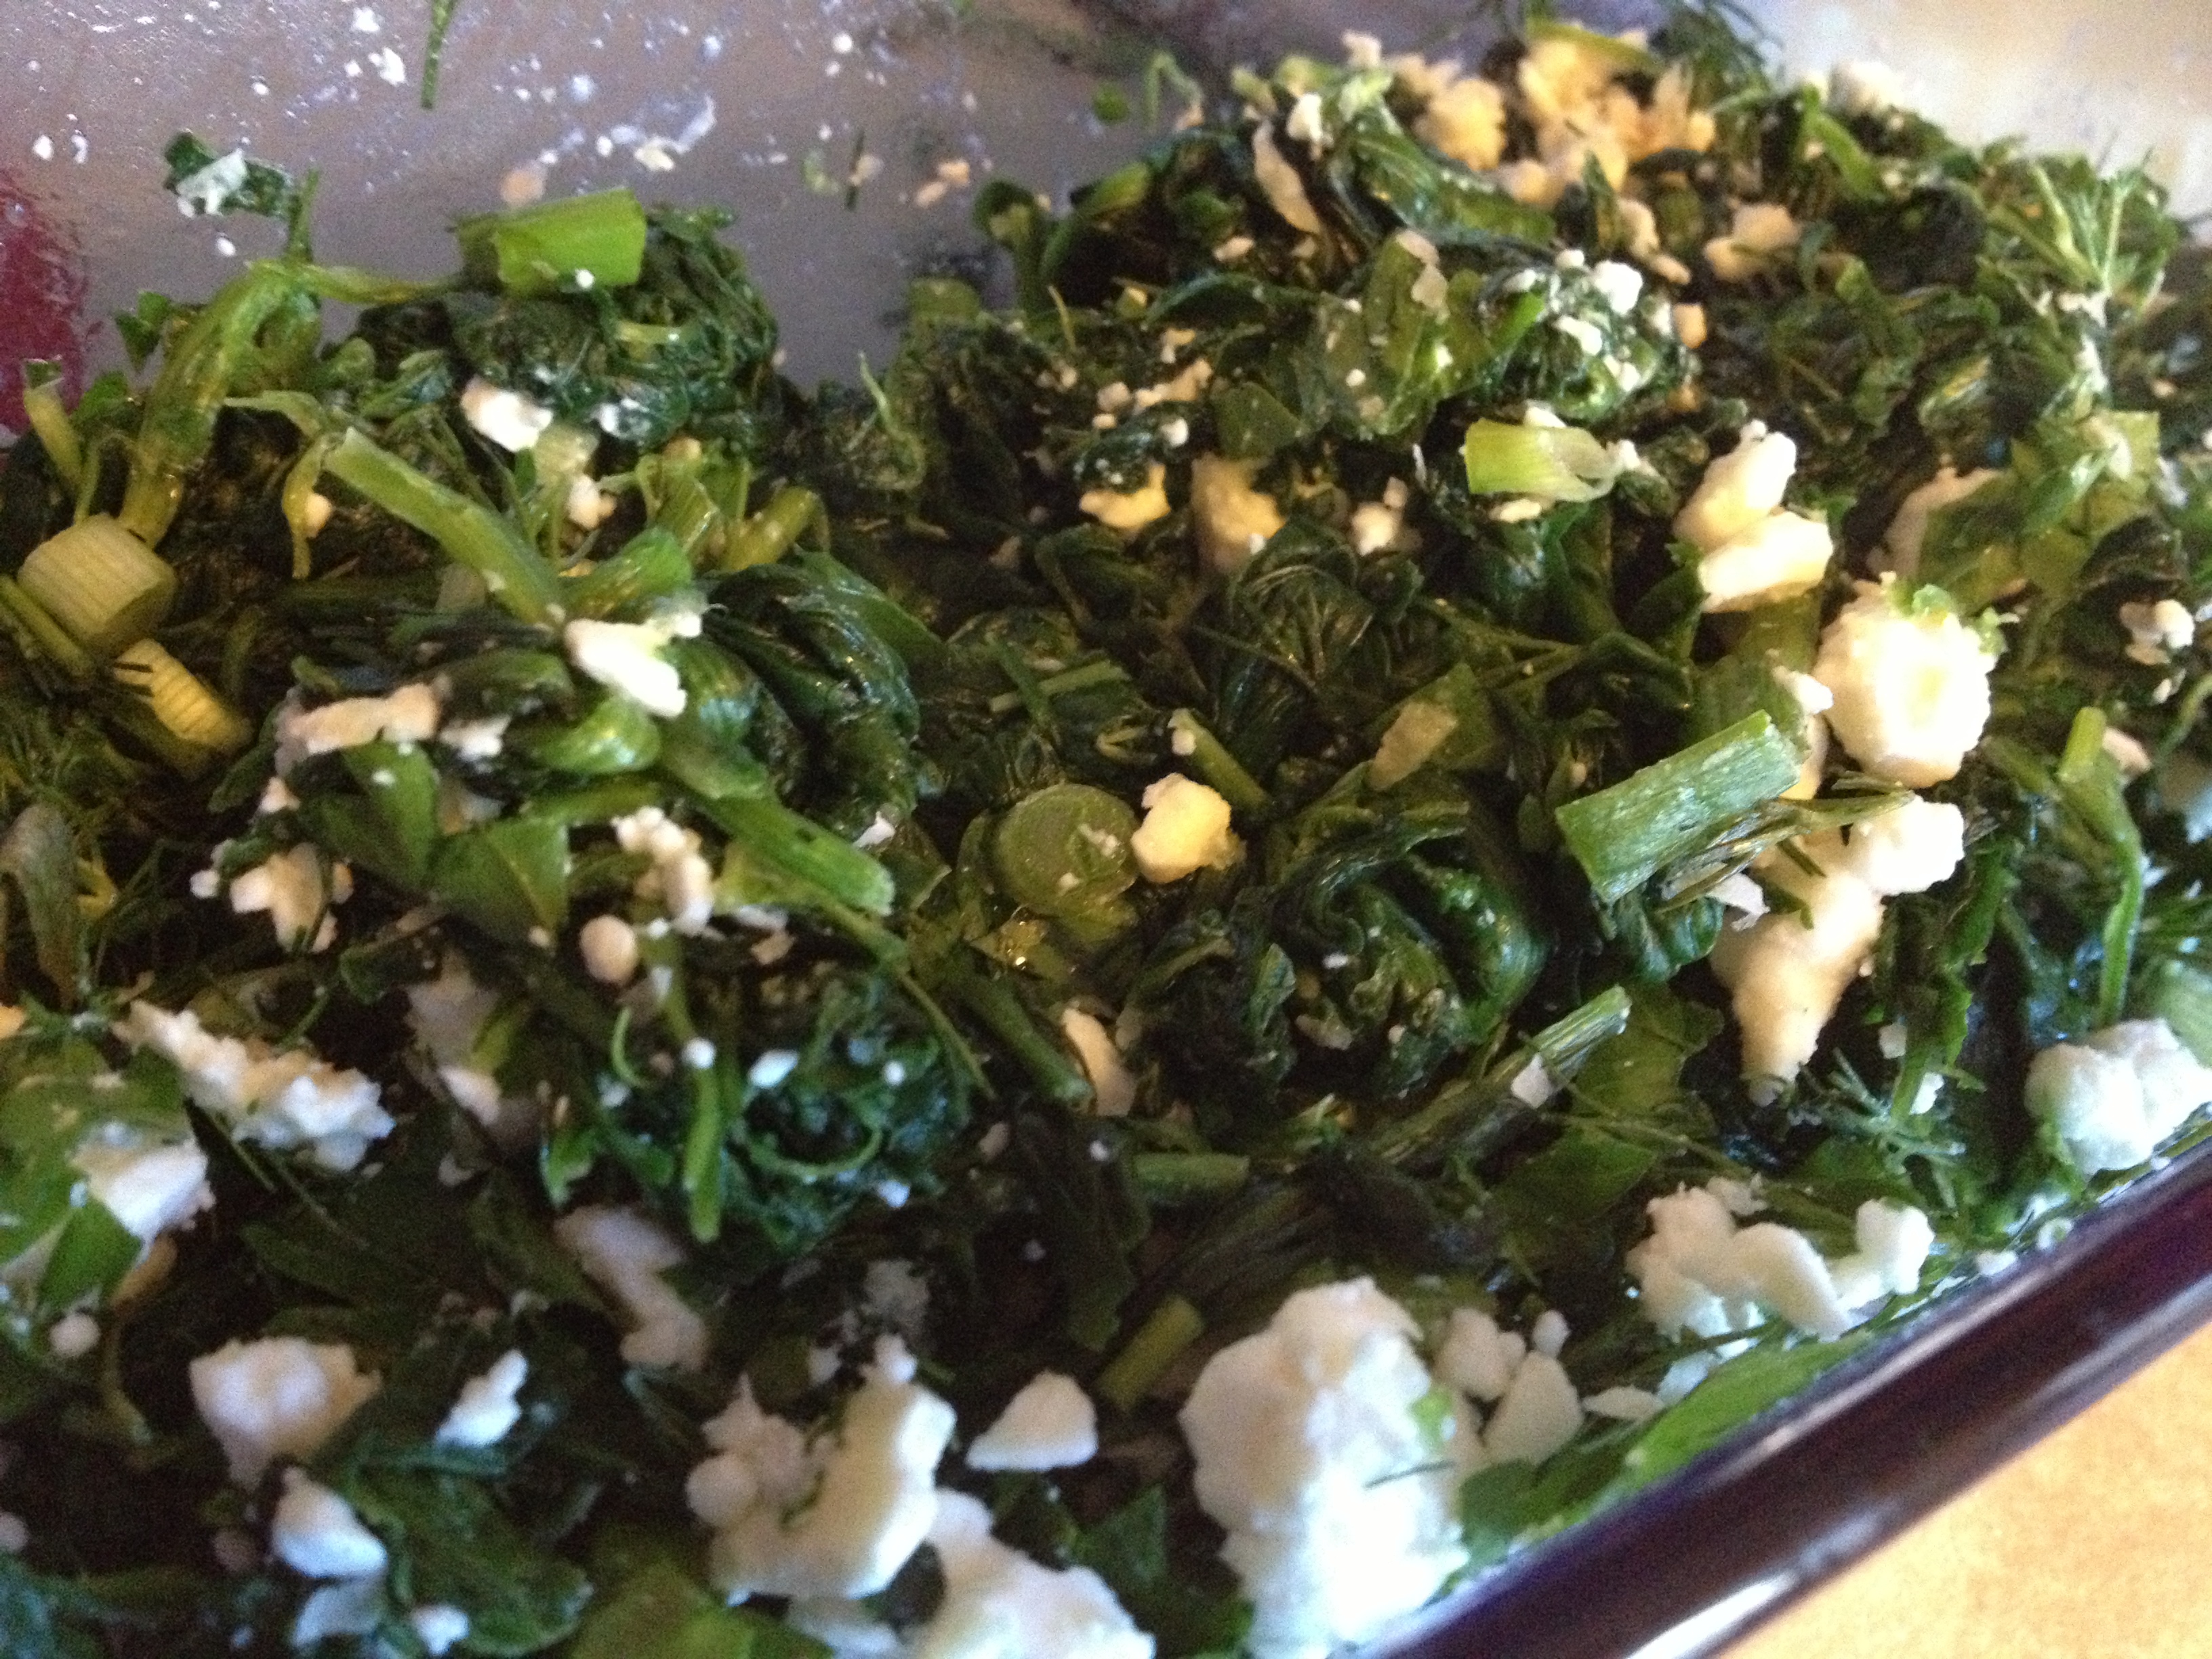
  • Mix the feta, parsley, dill, spinach, scallions, and grated cheese into the pie/bread dish

photo (13)

  • Beat the two eggs
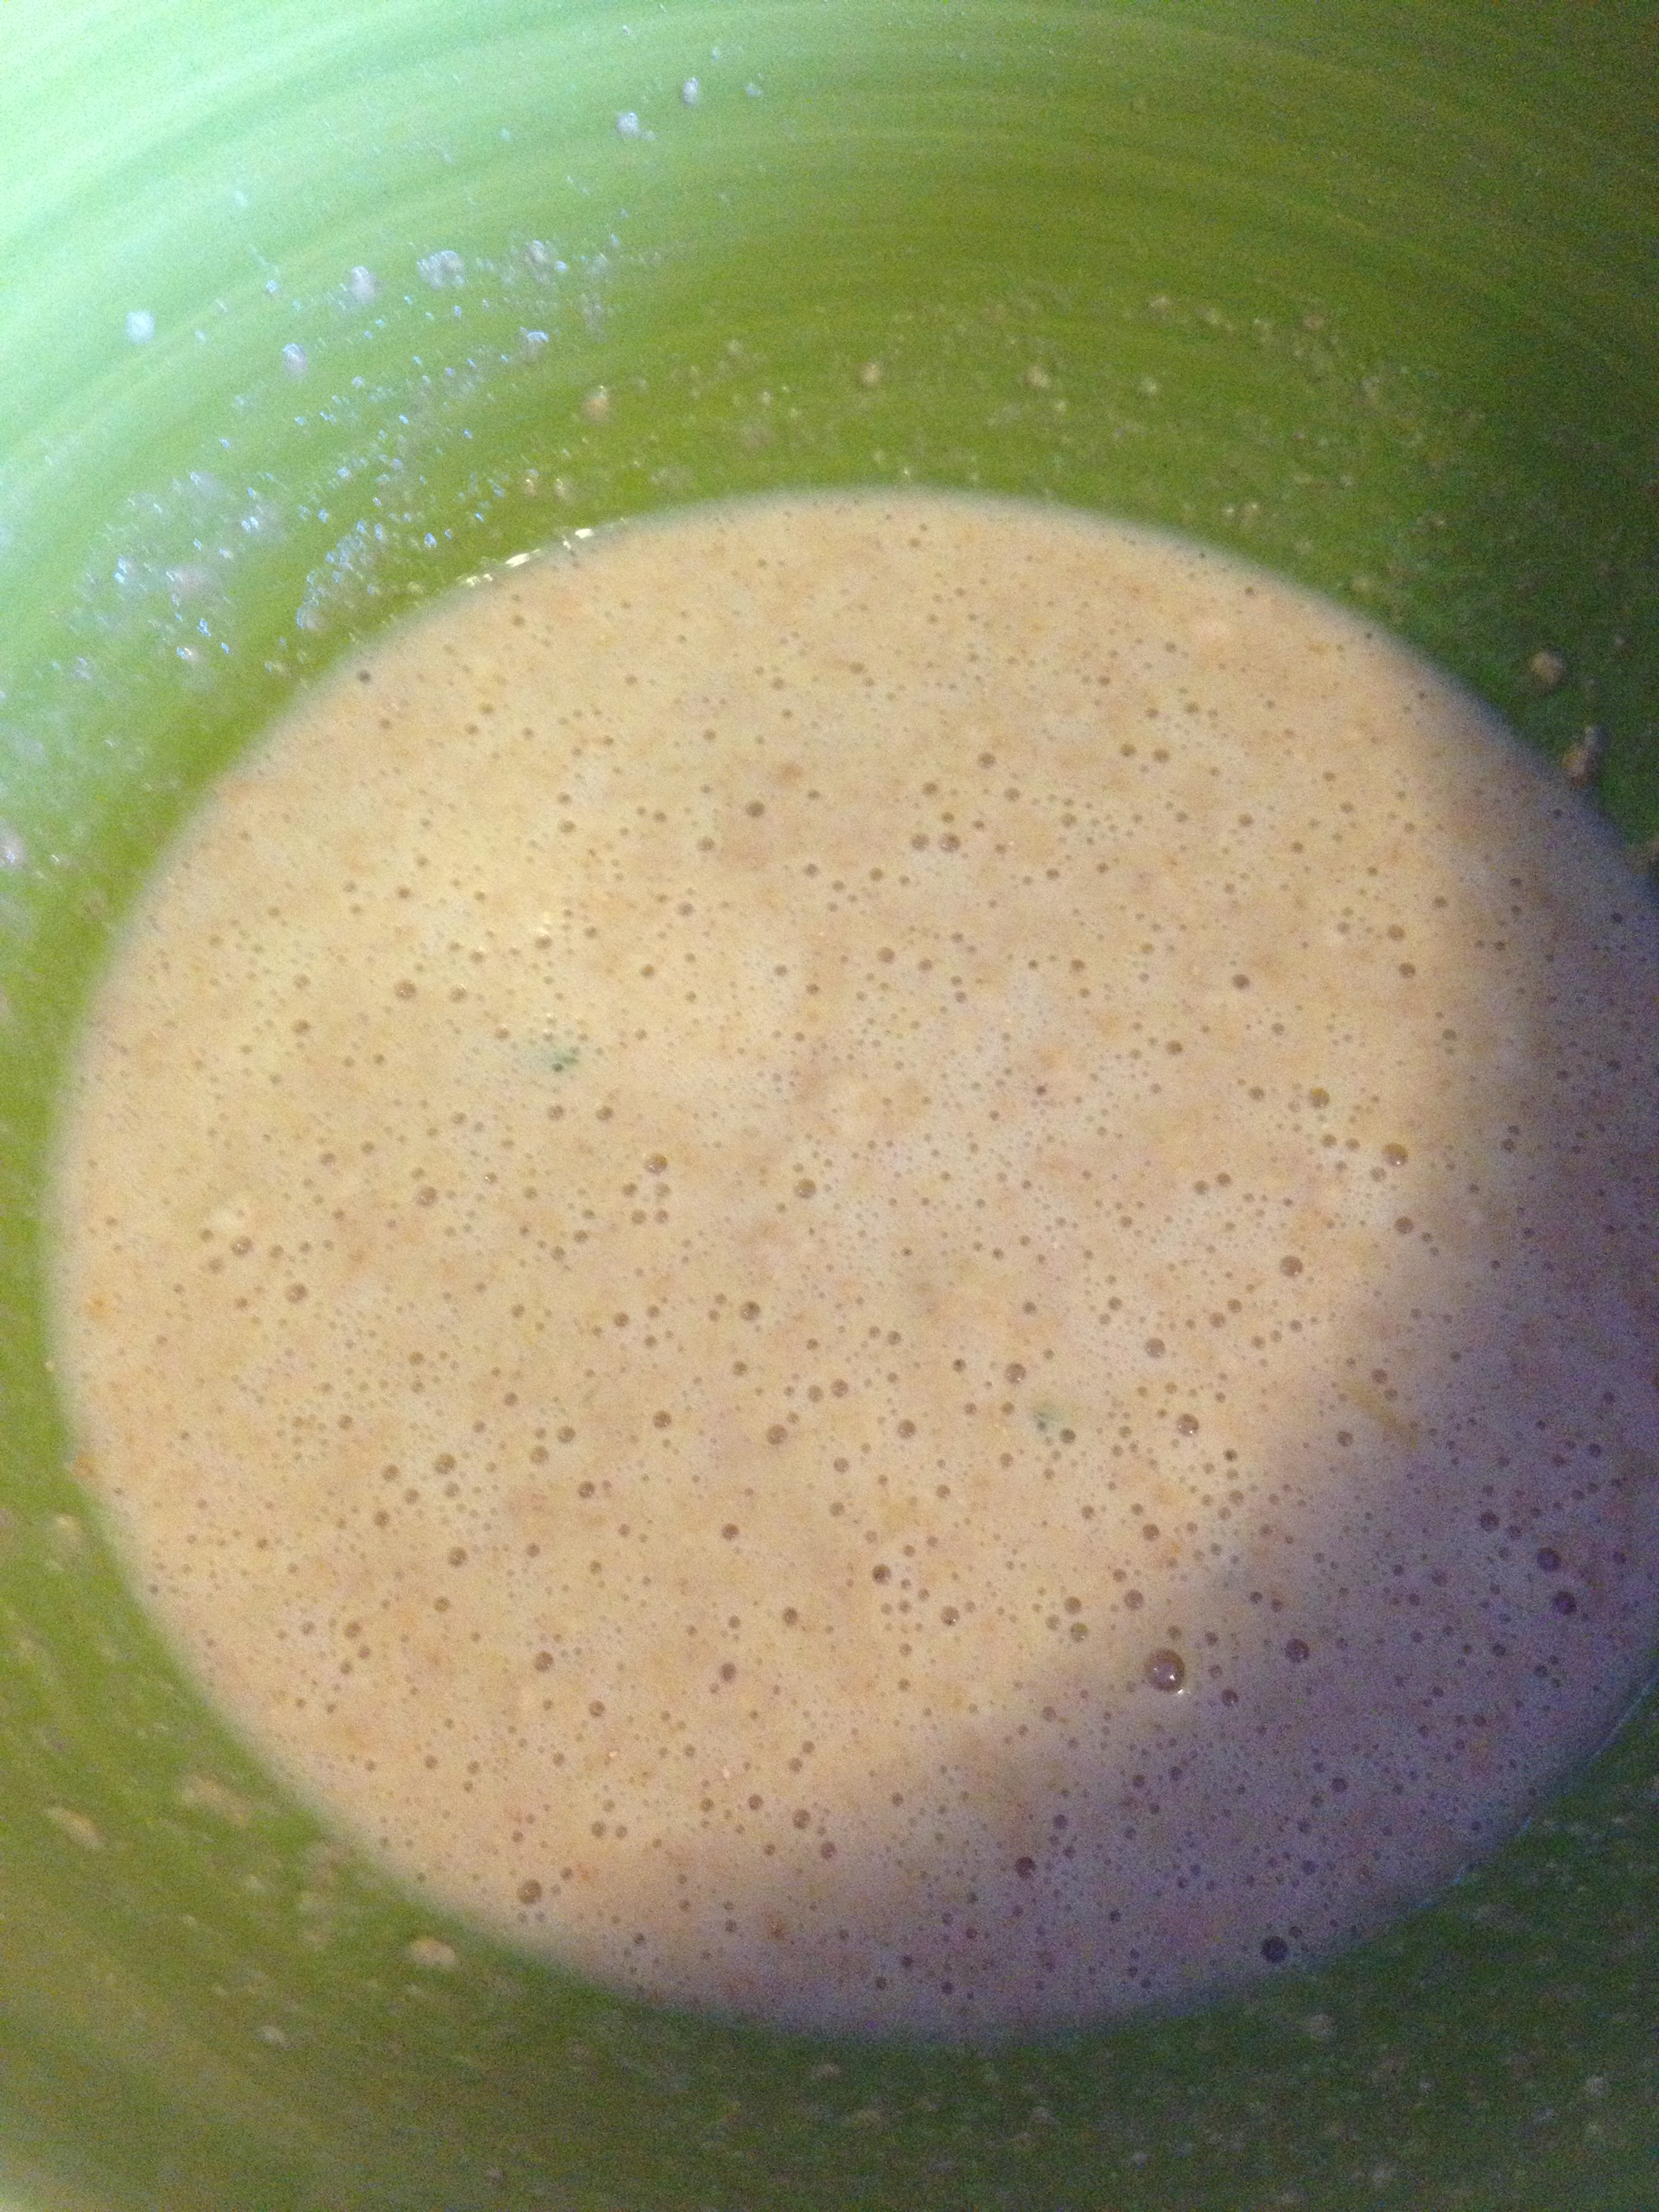
  • In a medium bowl, mix the flour, baking powder, eggs, milk, salt, and olive oil

photo (12)

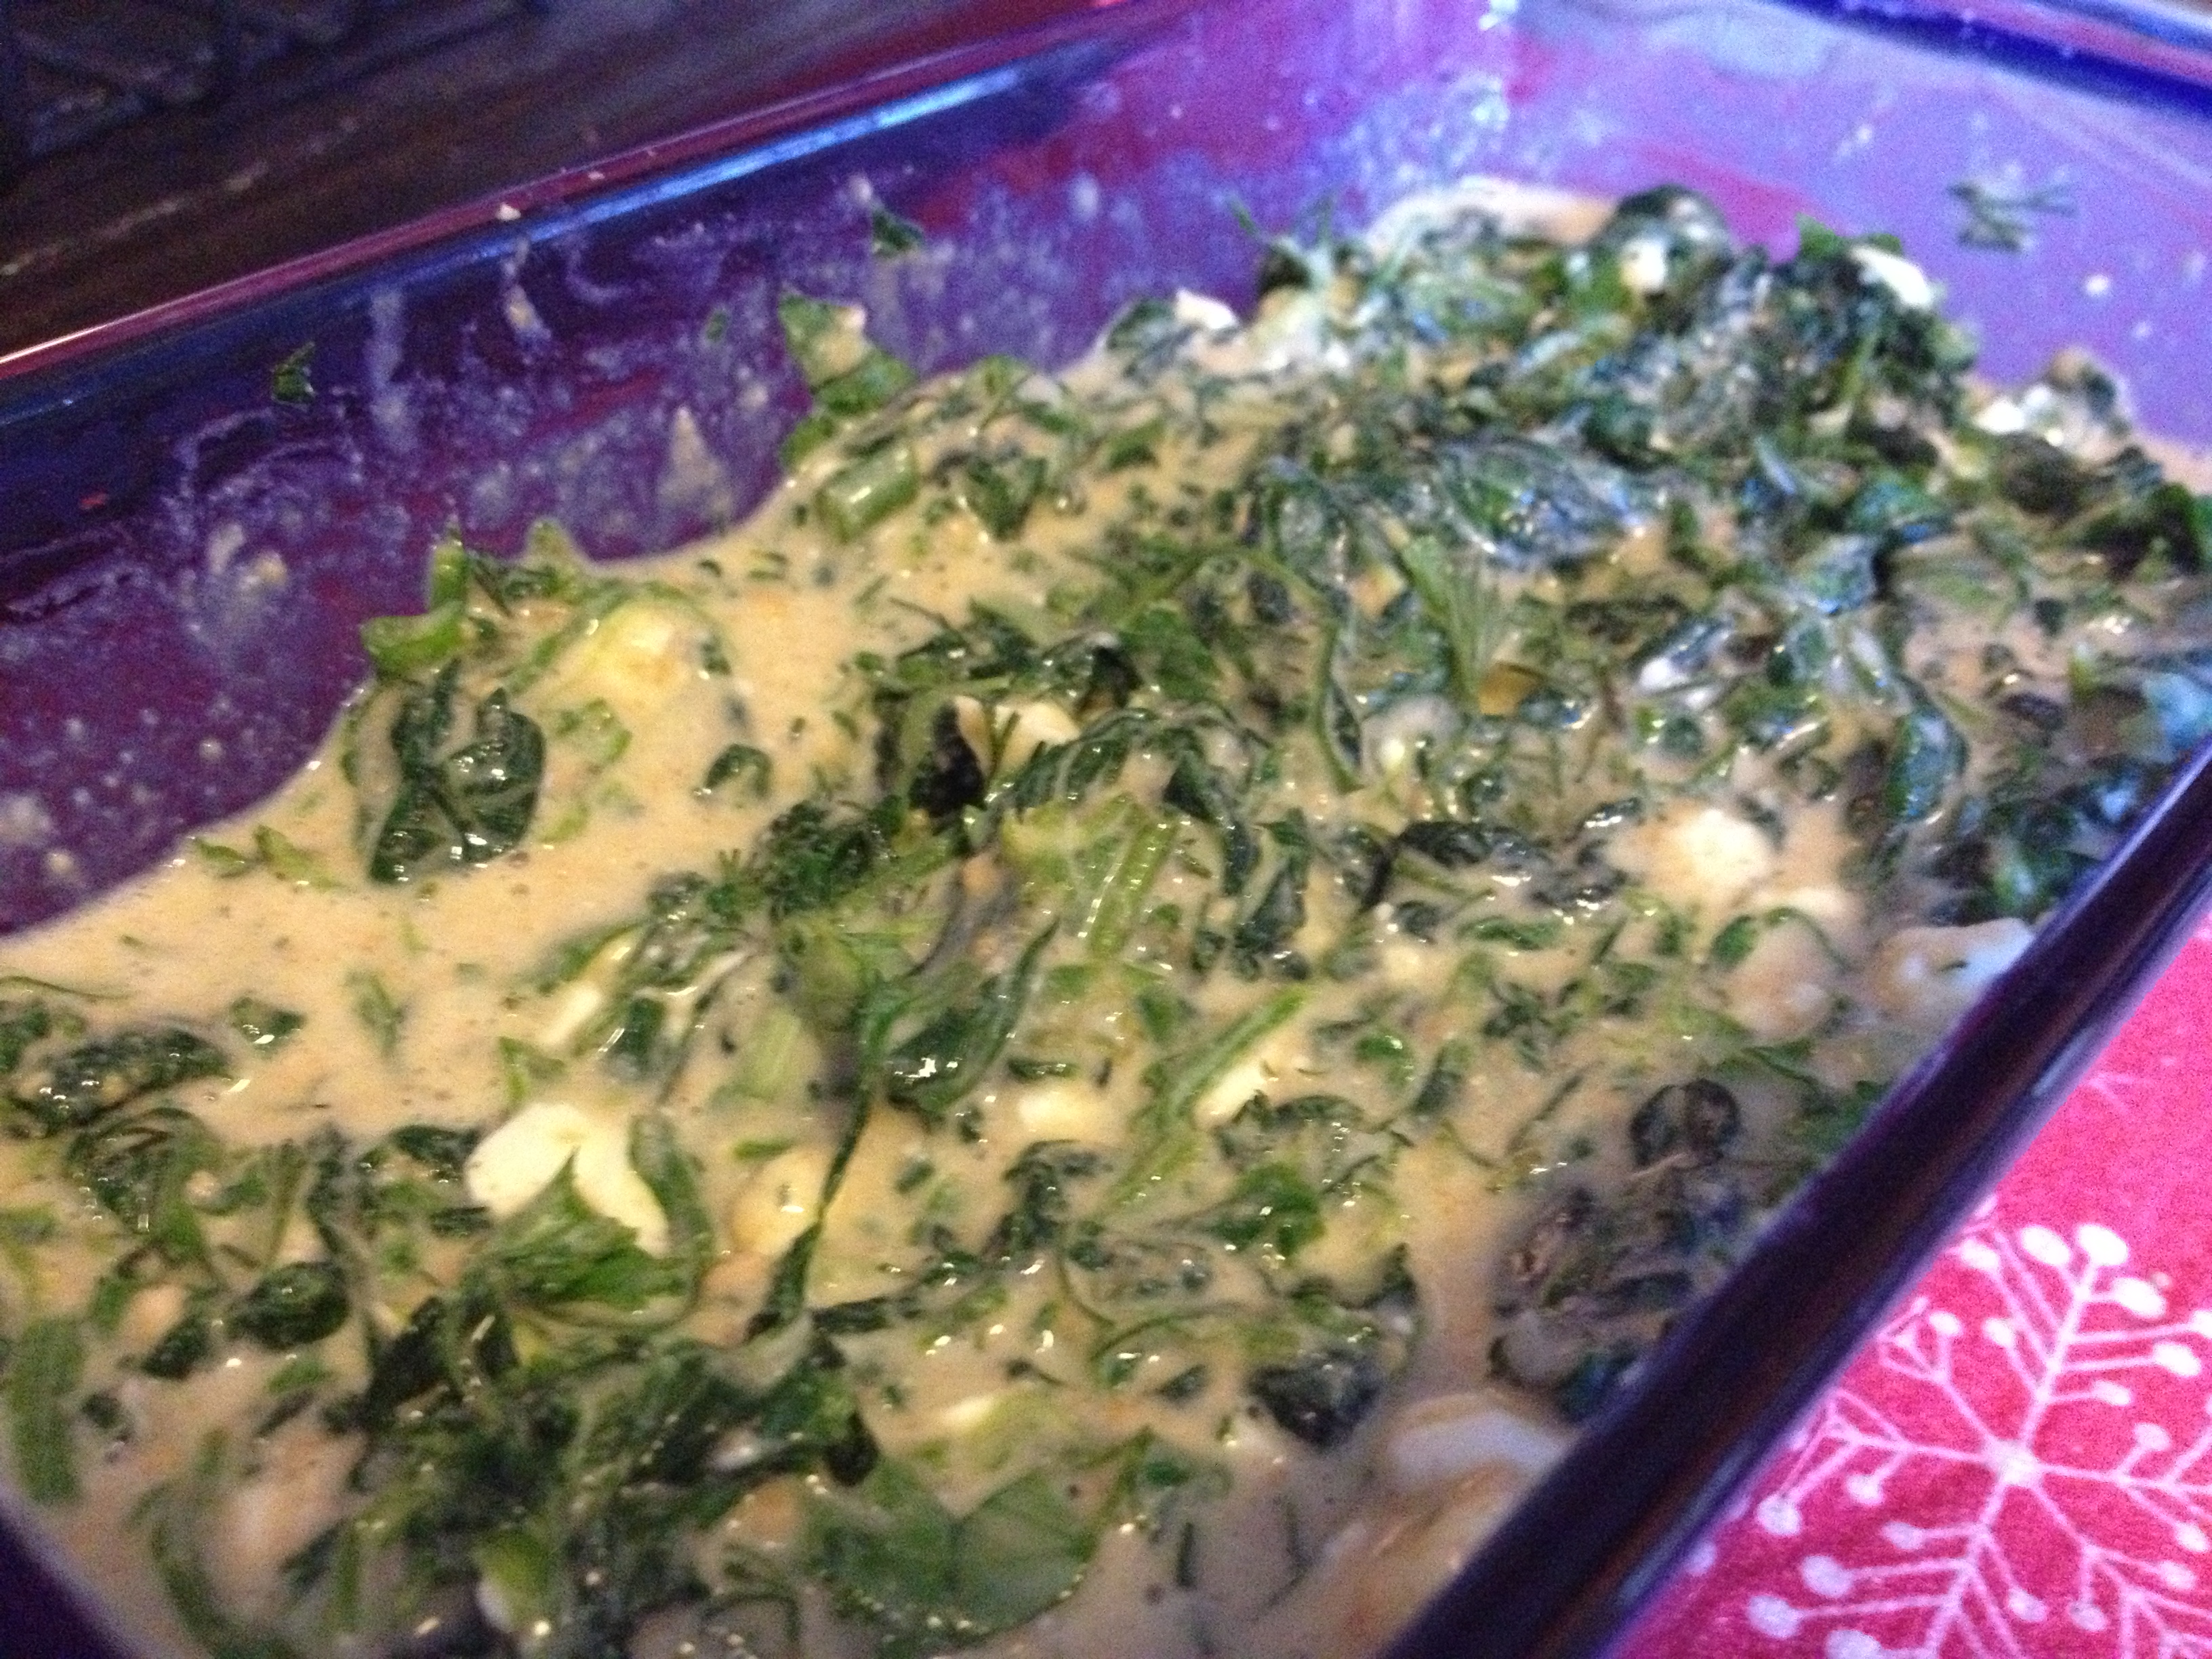
  • Pour into the pie dish with the rest of the ingredients and mix it around. Feel free to put in some pepper or other spices in that you would like as well
Ready for the oven

Ready for the oven

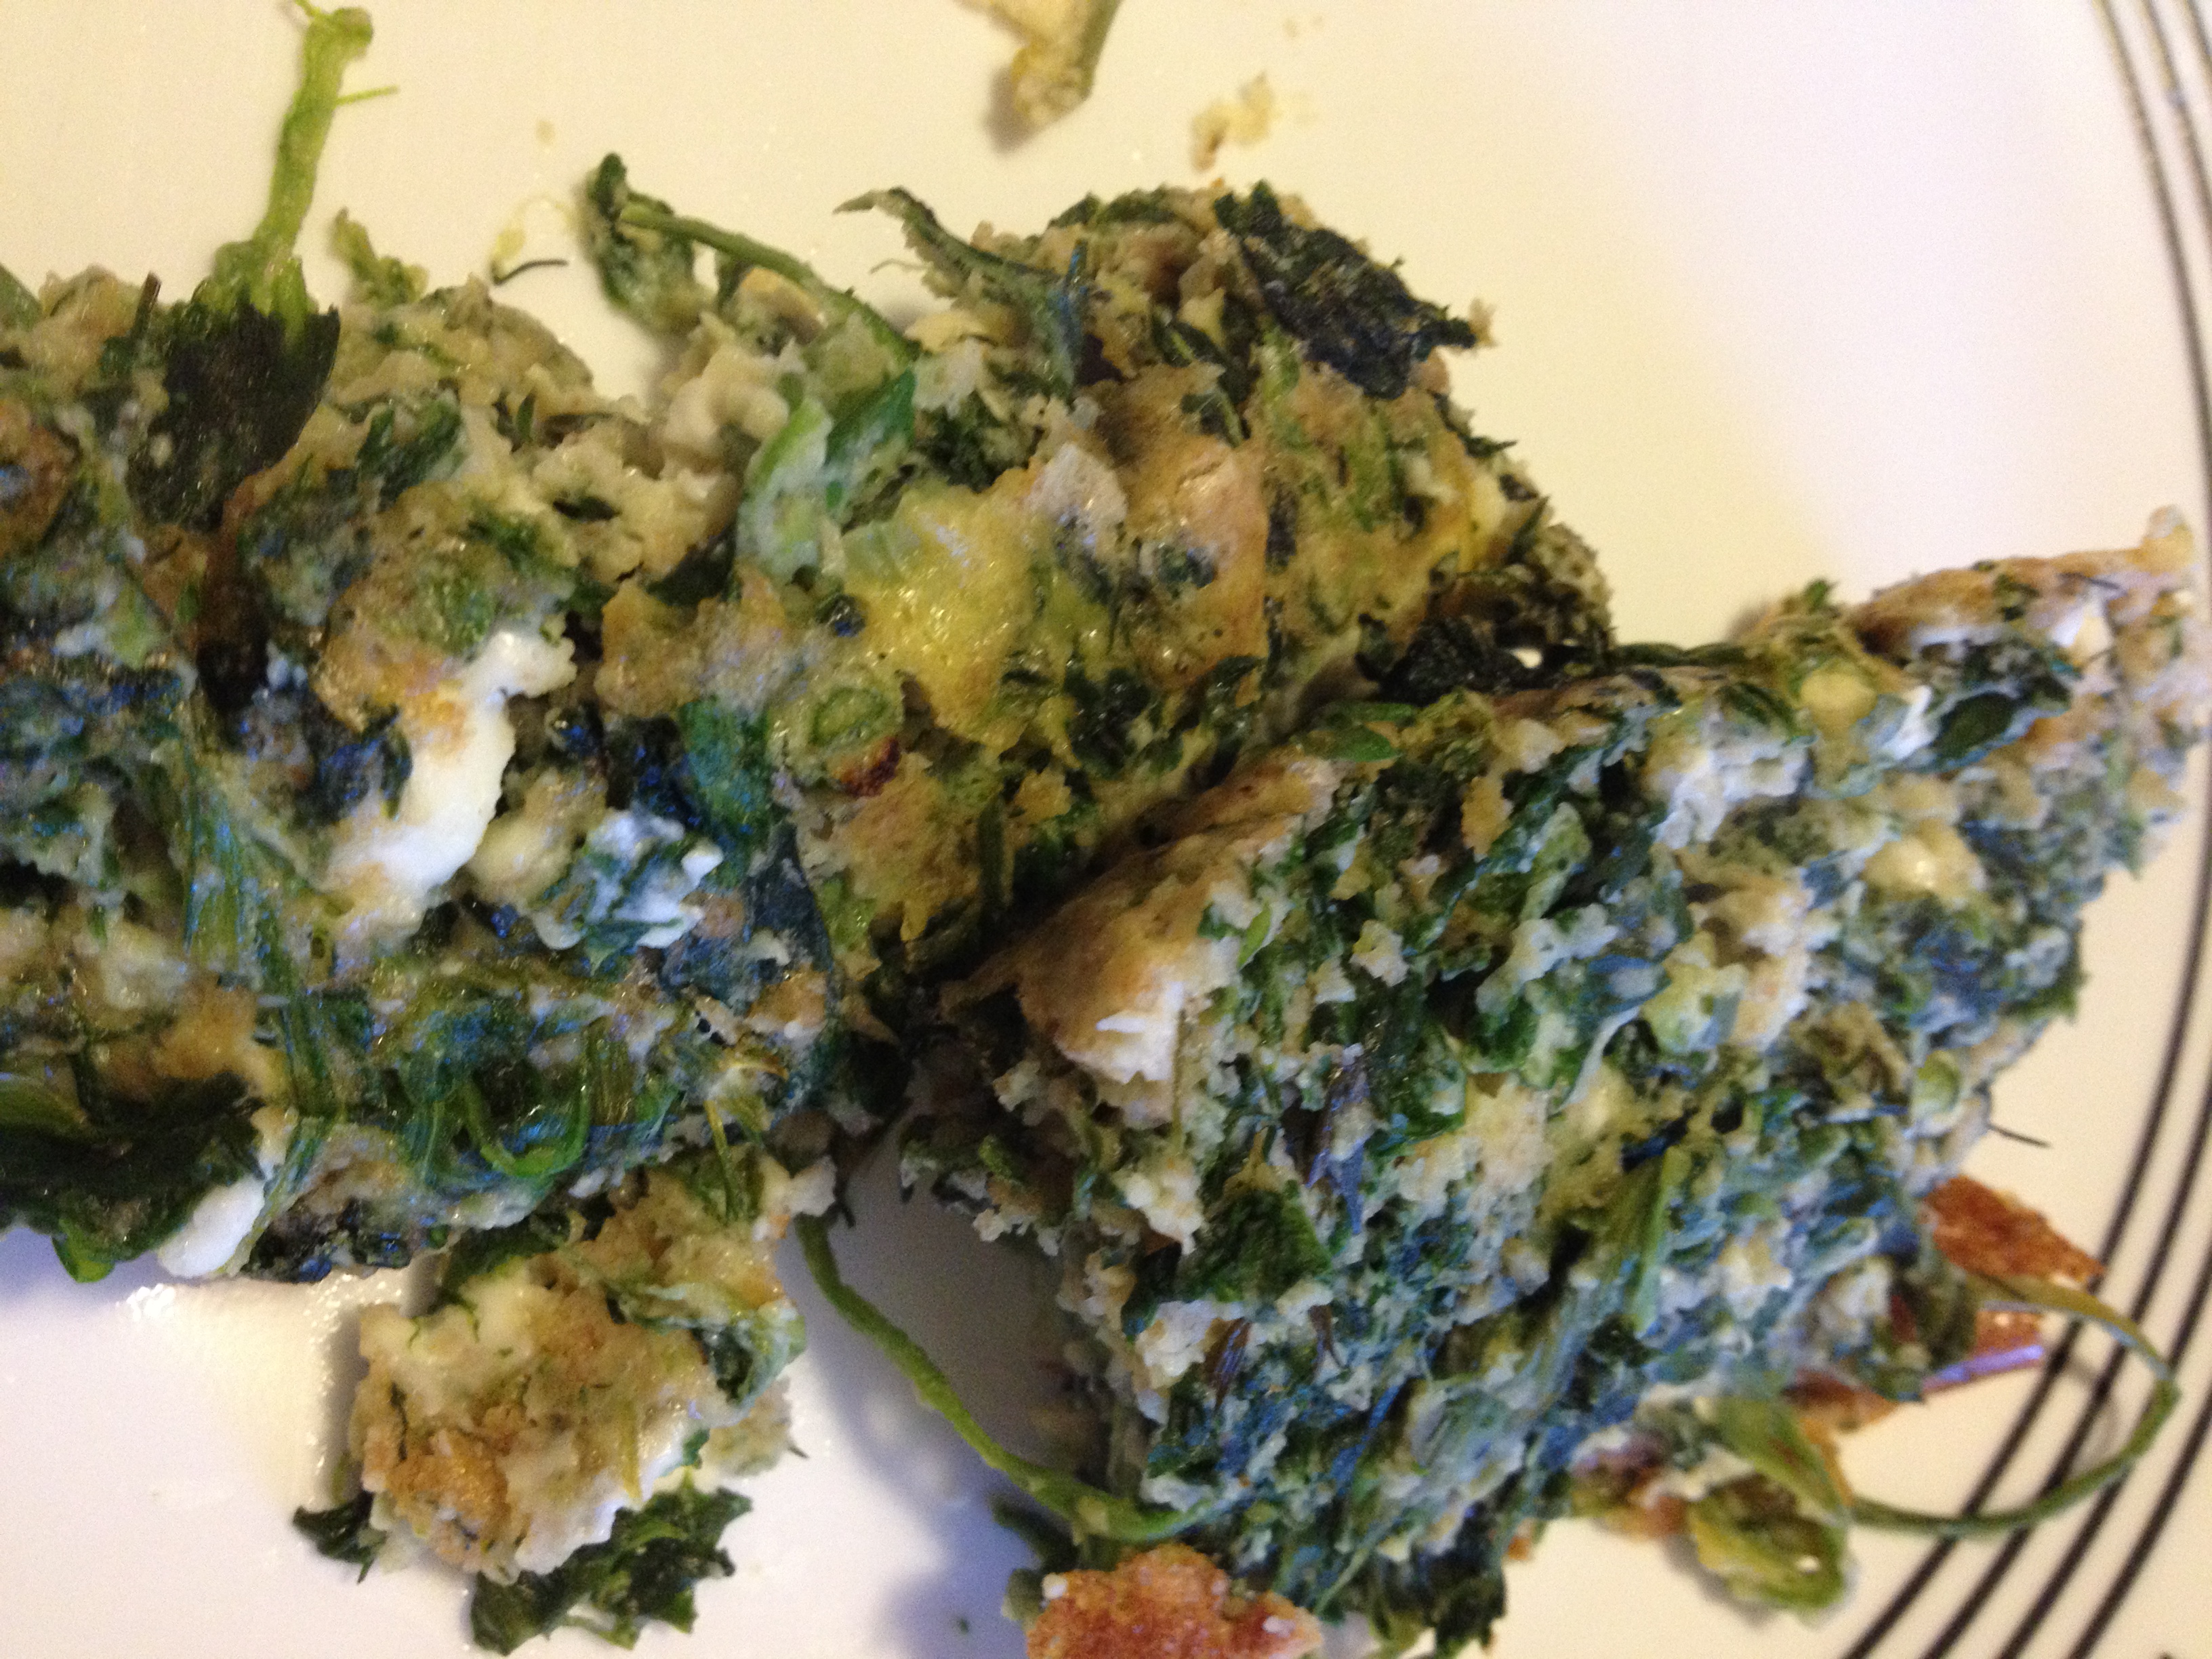
  • Pop it into the pre-heated oven for 20-30 minutes. Mine took closer to 30 minutes. Just keep checking on it to see if, when you put a fork in the center, it comes out clean of batter.

photo (10)

And that’s it! It takes no time at all to whip up and it’s a very rewarding meal to cook. Try it out–and you can even use fresh spinach too, depends on what’s best for you. Cheers and enjoy!

BONUS KITTY PIC

Ridiculously cute picture of Nymeria

Ridiculously cute picture of Nymeria

spacer