Archives

Bisque Me! Beautiful Butternut Squash Bisque

Now, I’m no Master Soup-Maker. In fact, this is my first time cooking a soup (or bisque, rather) from scratch. And it turned out really well! I got my basis for the recipe here, but I really changed this one up. Also, apologies for the lack of postings, busy lives! We’ll get back into it, we have a lot in store for you still. Alright, get ready!

Ingredients:

  • Olive oil
  • Butter
  • 1/2 onion
  • 3/4 cup of diced carrots
  • Butternut squash
  • Vegetable stock
  • Salt/pepper to taste
  • Cinnamon to taste
  • Brown sugar to taste
  • Ground ginger to taste
  • Garlic

Alright! Semi-long list but once you have everything cut up it’s easy. And the last few are to taste, throw your own ideas in there too. Ginger, brown sugar, and cinnamon just gave that nice soothing Fall flavor. So amazing on the cold nights we’ve been getting in Boulder.

Directions:

  • Cut up your butternut squash (I would roast it before hand, it was NOT fun to cut raw), carrots, and onions into cubes or small pieces.

  • Next, put some oil and butter into a big pot. I added some garlic in there too. Watch out, the smell is divine.

  • Once that’s nice and hot, pop in the onions.

  • Once the onions are nice and tender, put in the carrots and squash. And, though I’m not explicitly saying it, throughout this I’m putting in salt, pepper, garlic pepper, cinnamon, brown sugar, etc. Do it to taste. Make it your own.

  • Stir it around and then pour your vegetable stock in and bring to boil. You’re going to leave these in here, boiling, until all the vegetables are nice and tender.

  • Alright! So your veggies and nice and tender…I hope you have a blender or food processor! Because you want to throw all that mixture into that blender or food processor and blend it until smooth. Now we have a really bad blender, and although it took some time, even ours was able to blend all these. So you can do it!

  • Once that’s all blended, pour back into the heated pot. Here, you can add cream into it if you want (I didn’t). I stirred in a lot of cinnamon, ground ginger, and brown sugar in at this point to get it to that flavor I wanted to. Just stir and taste until you are satisfied.


And voila! You are done! Wasn’t too hard, was it? I really really suggest it as we move into winter…it is so nice and hearty. Very warm. There might be a holiday coming up where you can use this… Let me know if you have any questions!

(BONUS KITTY PIC)


spacer

Eating Healthy Really Isn’t Too Hard

America has an obesity rating of 34.4%.

I want to give you recipes and ideas that will make you realize, “Oh, eating healthy isn’t that hard!” and “wow, this tastes good!” I don’t want you to resort to fast food or processed junk (although In ‘n Out is always okay and so are Wendy’s Frosty’s).  And it’s really not expensive! I would be considered poor right now and we have great home cooked meals almost every night. Here’s a few rules to live by:

1. Buy the produce on sale at the supermarket–it’s probably the ones in season. Seeing a multitude of apples and squash on sale? For really nice prices? Buy them. It’s almost like they’re yelling at us to eat what’s in season and get in with the cycle of the earth.

2. Stick to fruits and veggies. These are almost always going to be the most nutrition to value ratio every time and once again, in-season ones will not be pricey.

3. Get grains you cook yourself. Don’t get the pre-packaged stuff like ramen (though we may or may not have that in the house due to Chris’ obsession)–get the most fiber-filled rice you can at Costco for $20. What a deal.

Anyhow, above wasn’t my primary point for this post. I have an easy little-work recipe good for dinner or whenever you’d like. As most of you know we’re a weird breed of vegetarian/pescatarian so the only meat it contains is mushrooms. Which of course isn’t an actual meat. Let me spit the recipe at ya:

Ingredients

  • 5 small white mushrooms
  • 1 red pepper
  • 4 potatoes 
  • Whatever seasoning you’d like

Short list, right? Let’s move on to directions.

Directions

  • First and foremost, get the potatoes washed and cut into quarters. Then plop them in a pot full of water and set on high. We want these bad boys to boil!
  • Next, you’ll have some time. It takes around 15-20 min for the taters to boil
  • So we’ll move onto the veggies. Cut the mushrooms and red pepper into small slices. Grind some pepper and salt over them and whatever other seasoning you’d like.
  • When the potatoes are close to being boiled (say after 10 minutes), let’s cook the veggies. I sauteed them in white wine, soy sauce, and garlic (YUM). I also put some rosemary and garlic pepper in too.
  • Keep an eye on it and stir. Make sure to taste, they won’t take too long to cook, but you want all that moisture to soak in. Especially into the mushrooms
  • Drain those potatoes and put them back in the pot. Put half a teaspoon of butter in, a little soy sauce, and some garlic pepper in and mix around.
  • Serve and enjoy!

 It was super juicy and flavorful–my favorite. Didn’t last long. And was a very cheap meal, didn’t even breach $7. Cheers!

spacer

Eating Kale: Fear the Bitterness No Longer

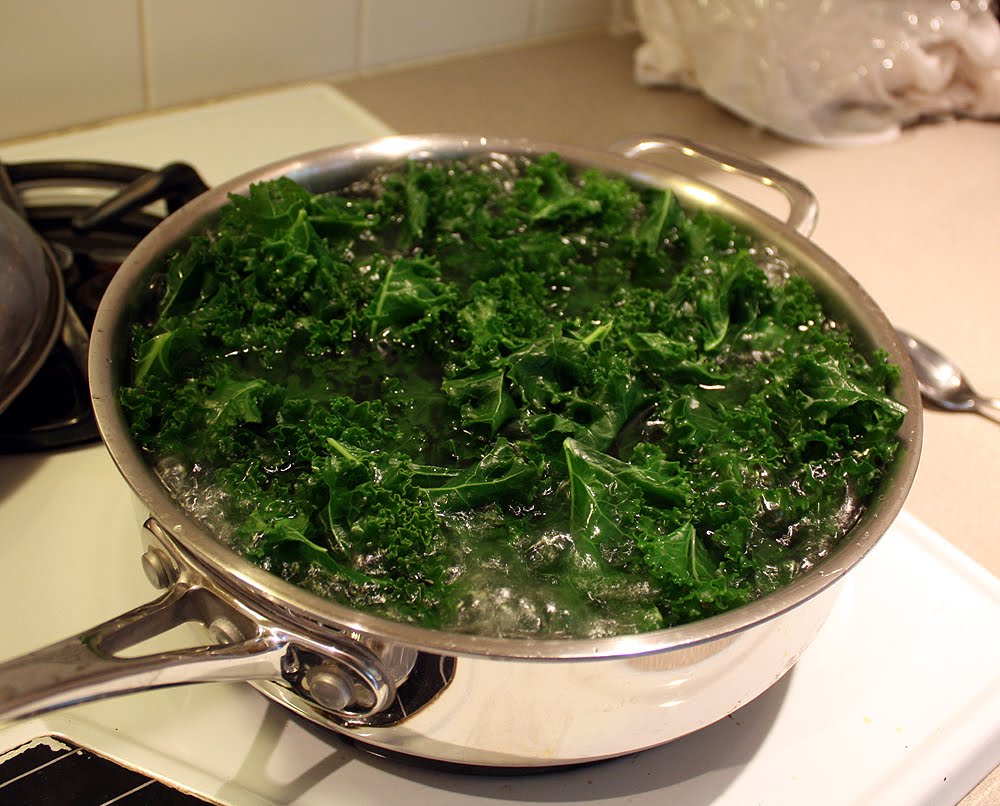
Most people turn up their noses when it comes to kale (unless it’s kale chips, which are great), including Chris and my dad. I don’t blame them, really, it is a pretty bitter vegetable if you don’t cook it right. It’s a very dark green green, and, if you have experience cooking (or…eating), you know that dark greens can often be a bit bitter. But, kale was on sale at the grocery, and I had never really cooked it before, so I picked up a HUGE bunch (it actually took 5 minutes and two of us to get it into the bag).

Kale

Kale, still planted

It sat in the fridge for a few days as I was unsure what to do with it, and I knew Chris was even more unsure and not looking forward to it. Then, one day for dinner, I got out the kale. I was on a mission. This was going to be cooked and it was going to LIKE IT! My planned dish was pasta with kale.

Spoiler: It turned out great.

spacer

Stuffed Mushrooms–Nom Style

So I completely stole this from a fellow blogger I’ve found through hunting food blogs. Her blog is thedomesticatedfeminist, I encourage you to check her stuff out–delicious recipes! The one I most currently stole, are Stuffed Mushrooms. And of course, with any recipe I find, I alter it slightly (not because I’m creative, but because I’m poor and don’t have all the ingredients). My philosophy is that you should cook with what ya got in your kitchen! And it helps with the wallet too.

Okay, so let’s get your ingredients ready! Oh, and I also made garlic bread.

Ingredients (stuffed mushrooms):

  • 4 mushrooms
  • 1 tomato
  • big handful spinach
  • 2 cloves garlic
  • lemon juice
  • dried basil
  • cheddar cheese
  • brie 

Ingredients (garlic bread):

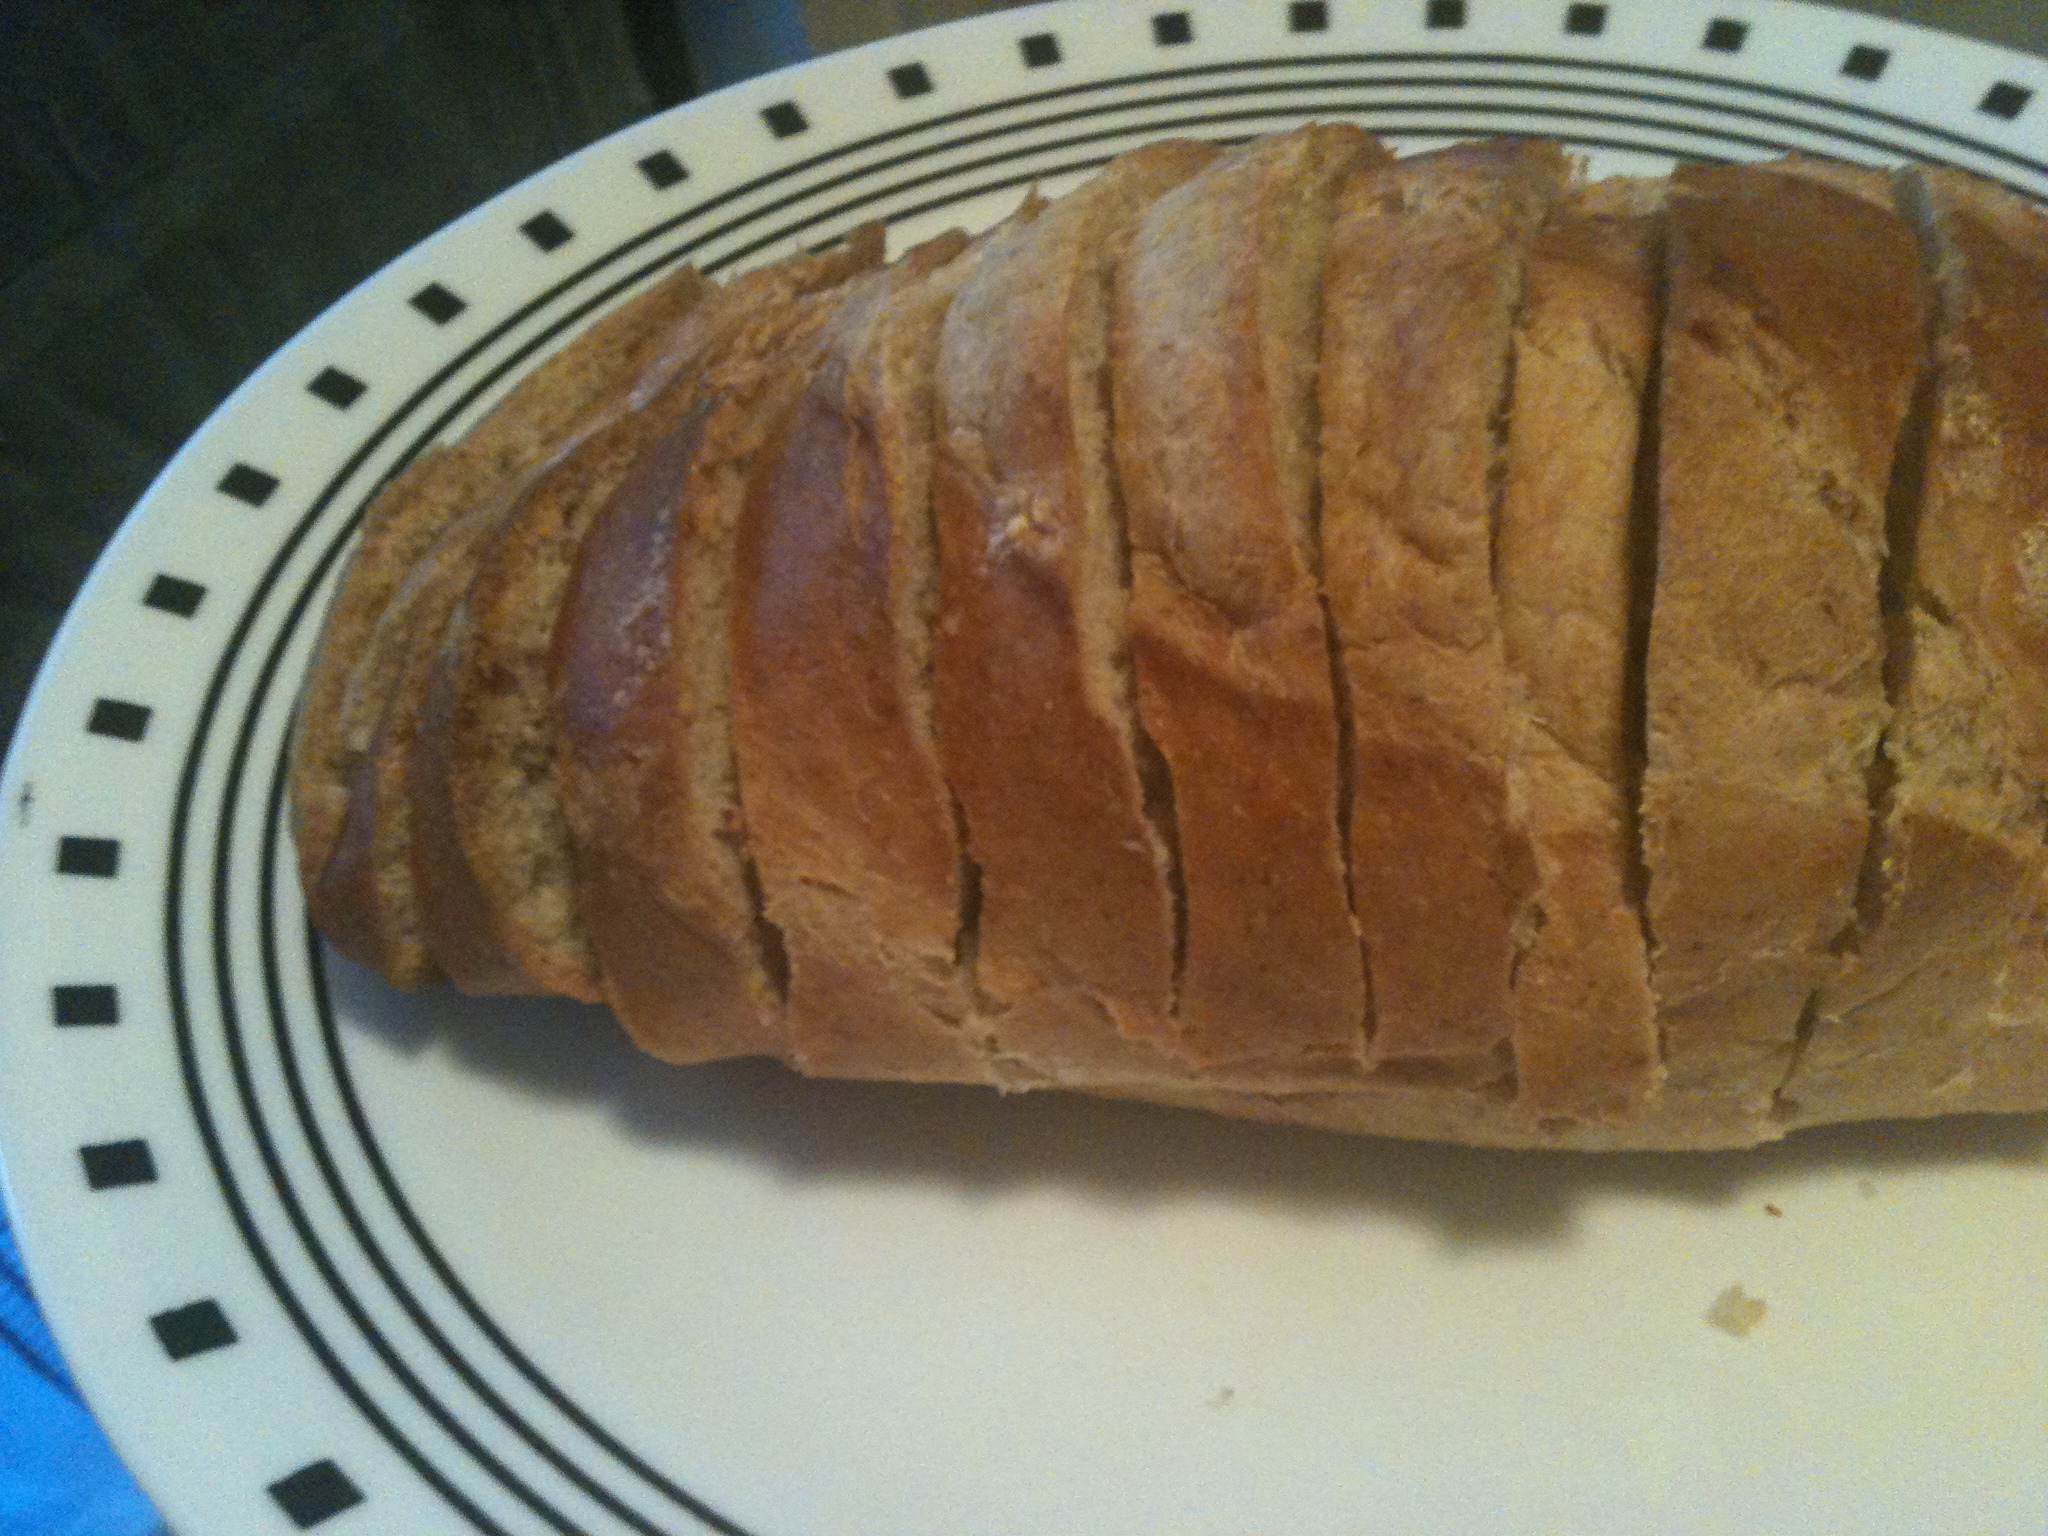
  • loaf of french bread
  • garlic
  • butter

Directions (garlic bread):

Okay! So first, let’s get started on the garlic bread because it needs sometime to bake.

1Pre-heat the oven to 375 degrees

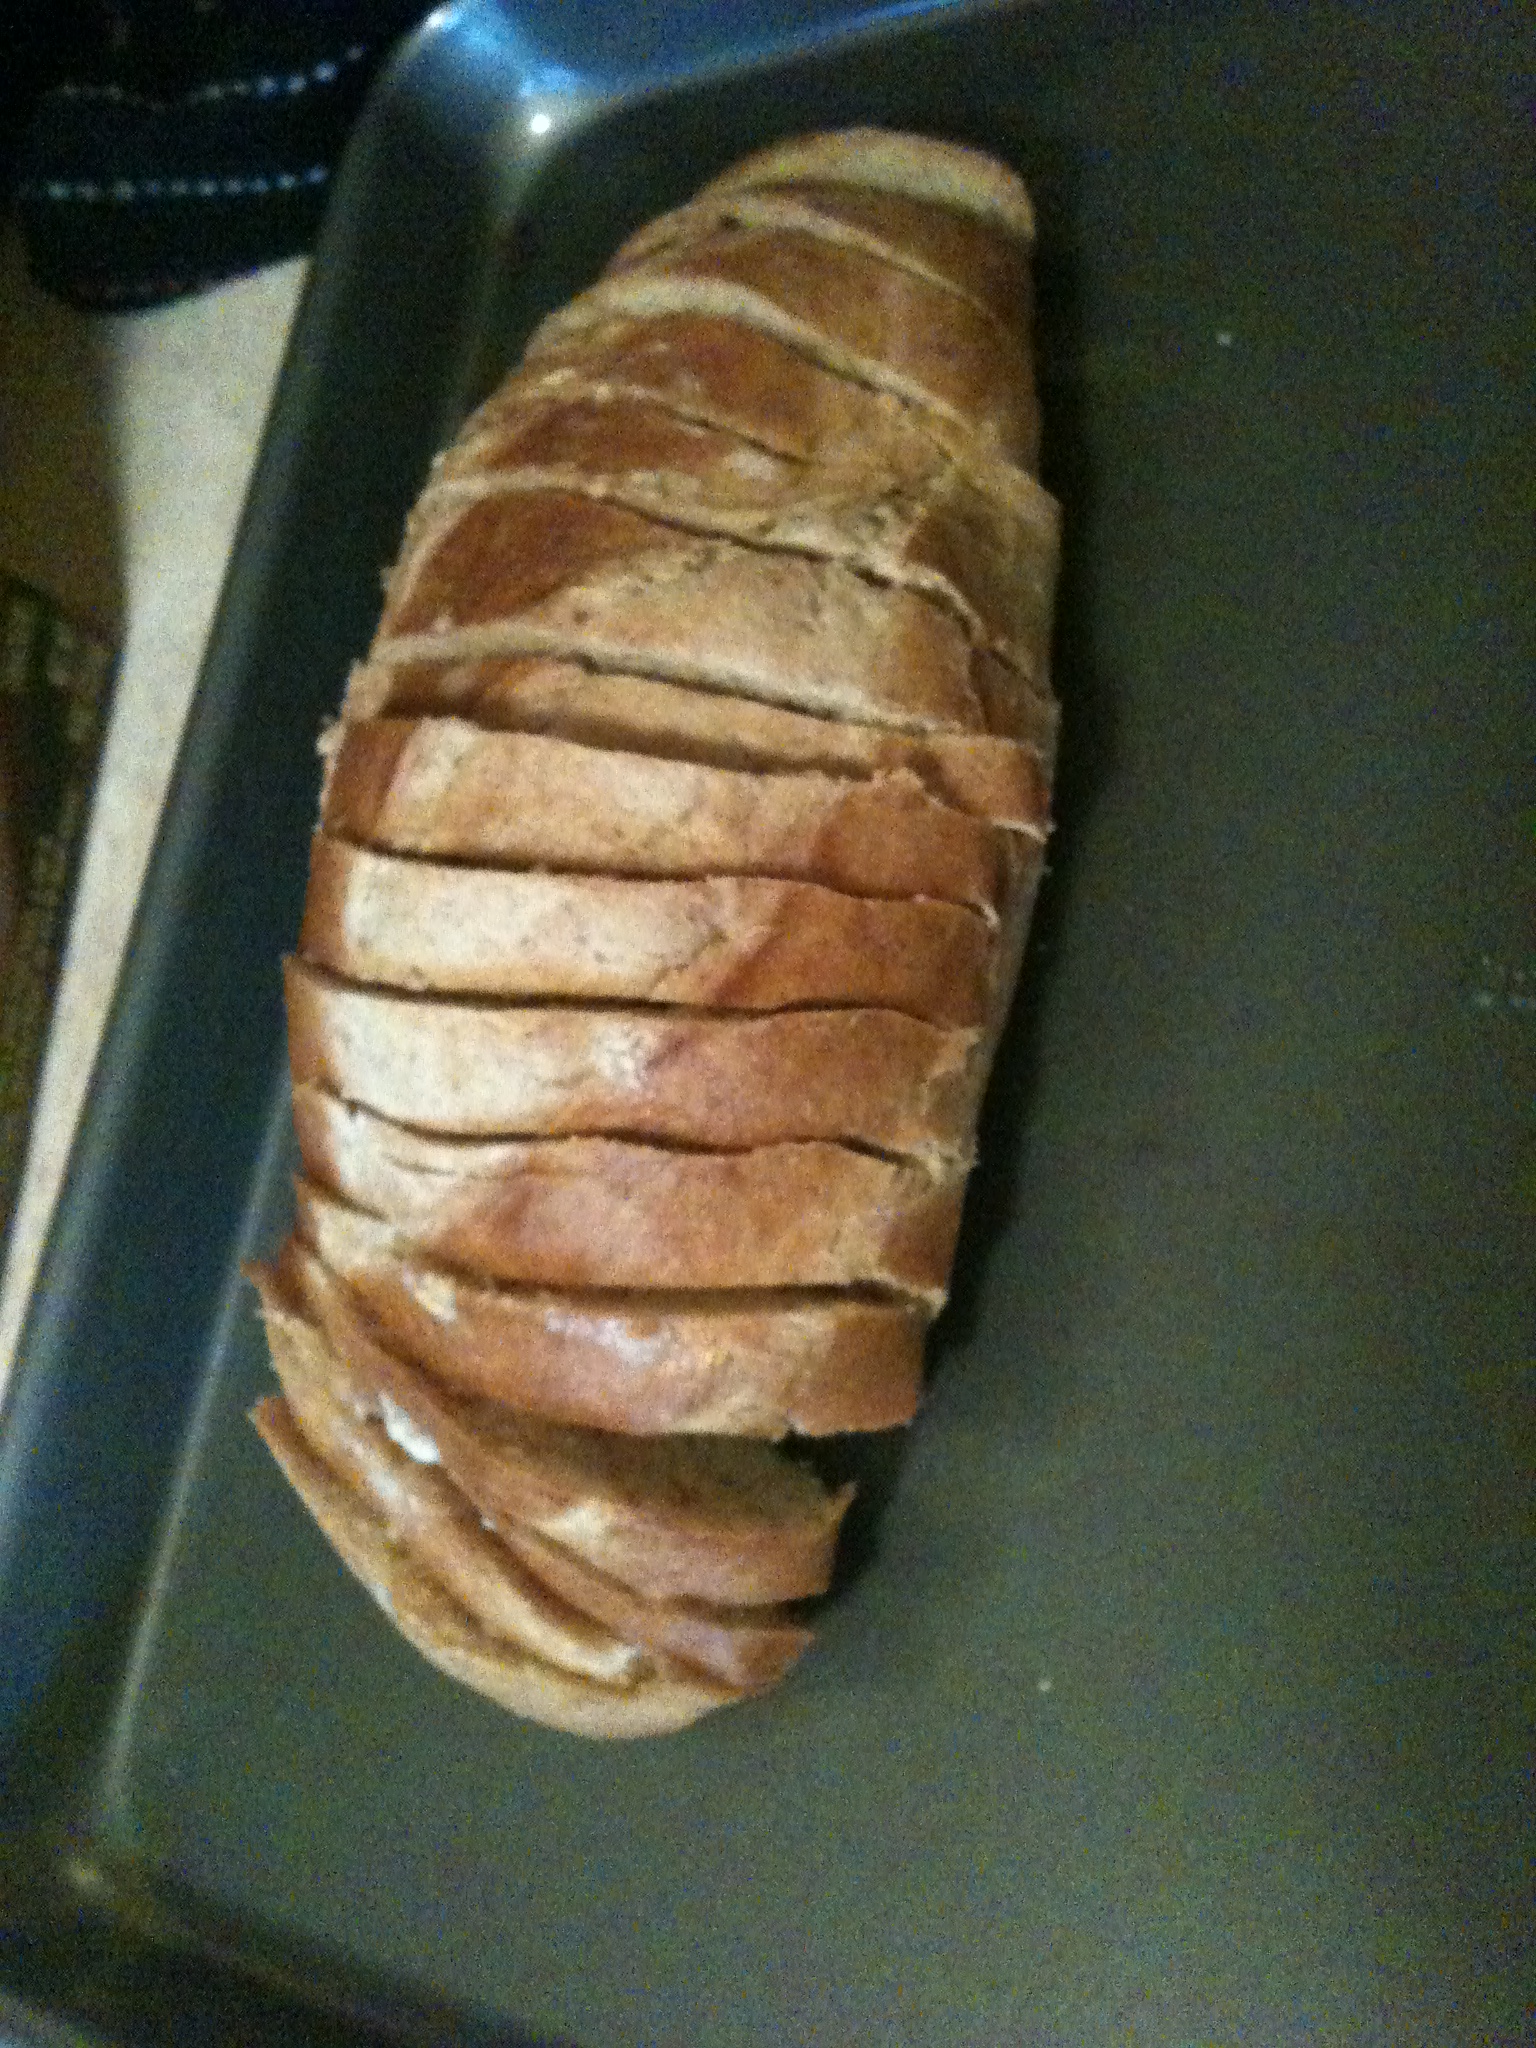
2. Cut the garlic bread with a good bread knife so that the knife goes almost all the way to the bottom, but you don’t wholly cut through it.

3. Stir up a mixture of butter and garlic (I used two cloves)

Buttery garlic-y goodness

4. Next, you want to use a butter knife and spread the garlic butter through each slice you’ve made (remember, you don’t want the slices to be separated from the loaf)

5. Pop it in the oven! I’d say for around 10-15 minutes (just keep checking it to make sure the bread doesn’t burn)

Directions (stuffed mushrooms)

Ahhh, now the good stuff!

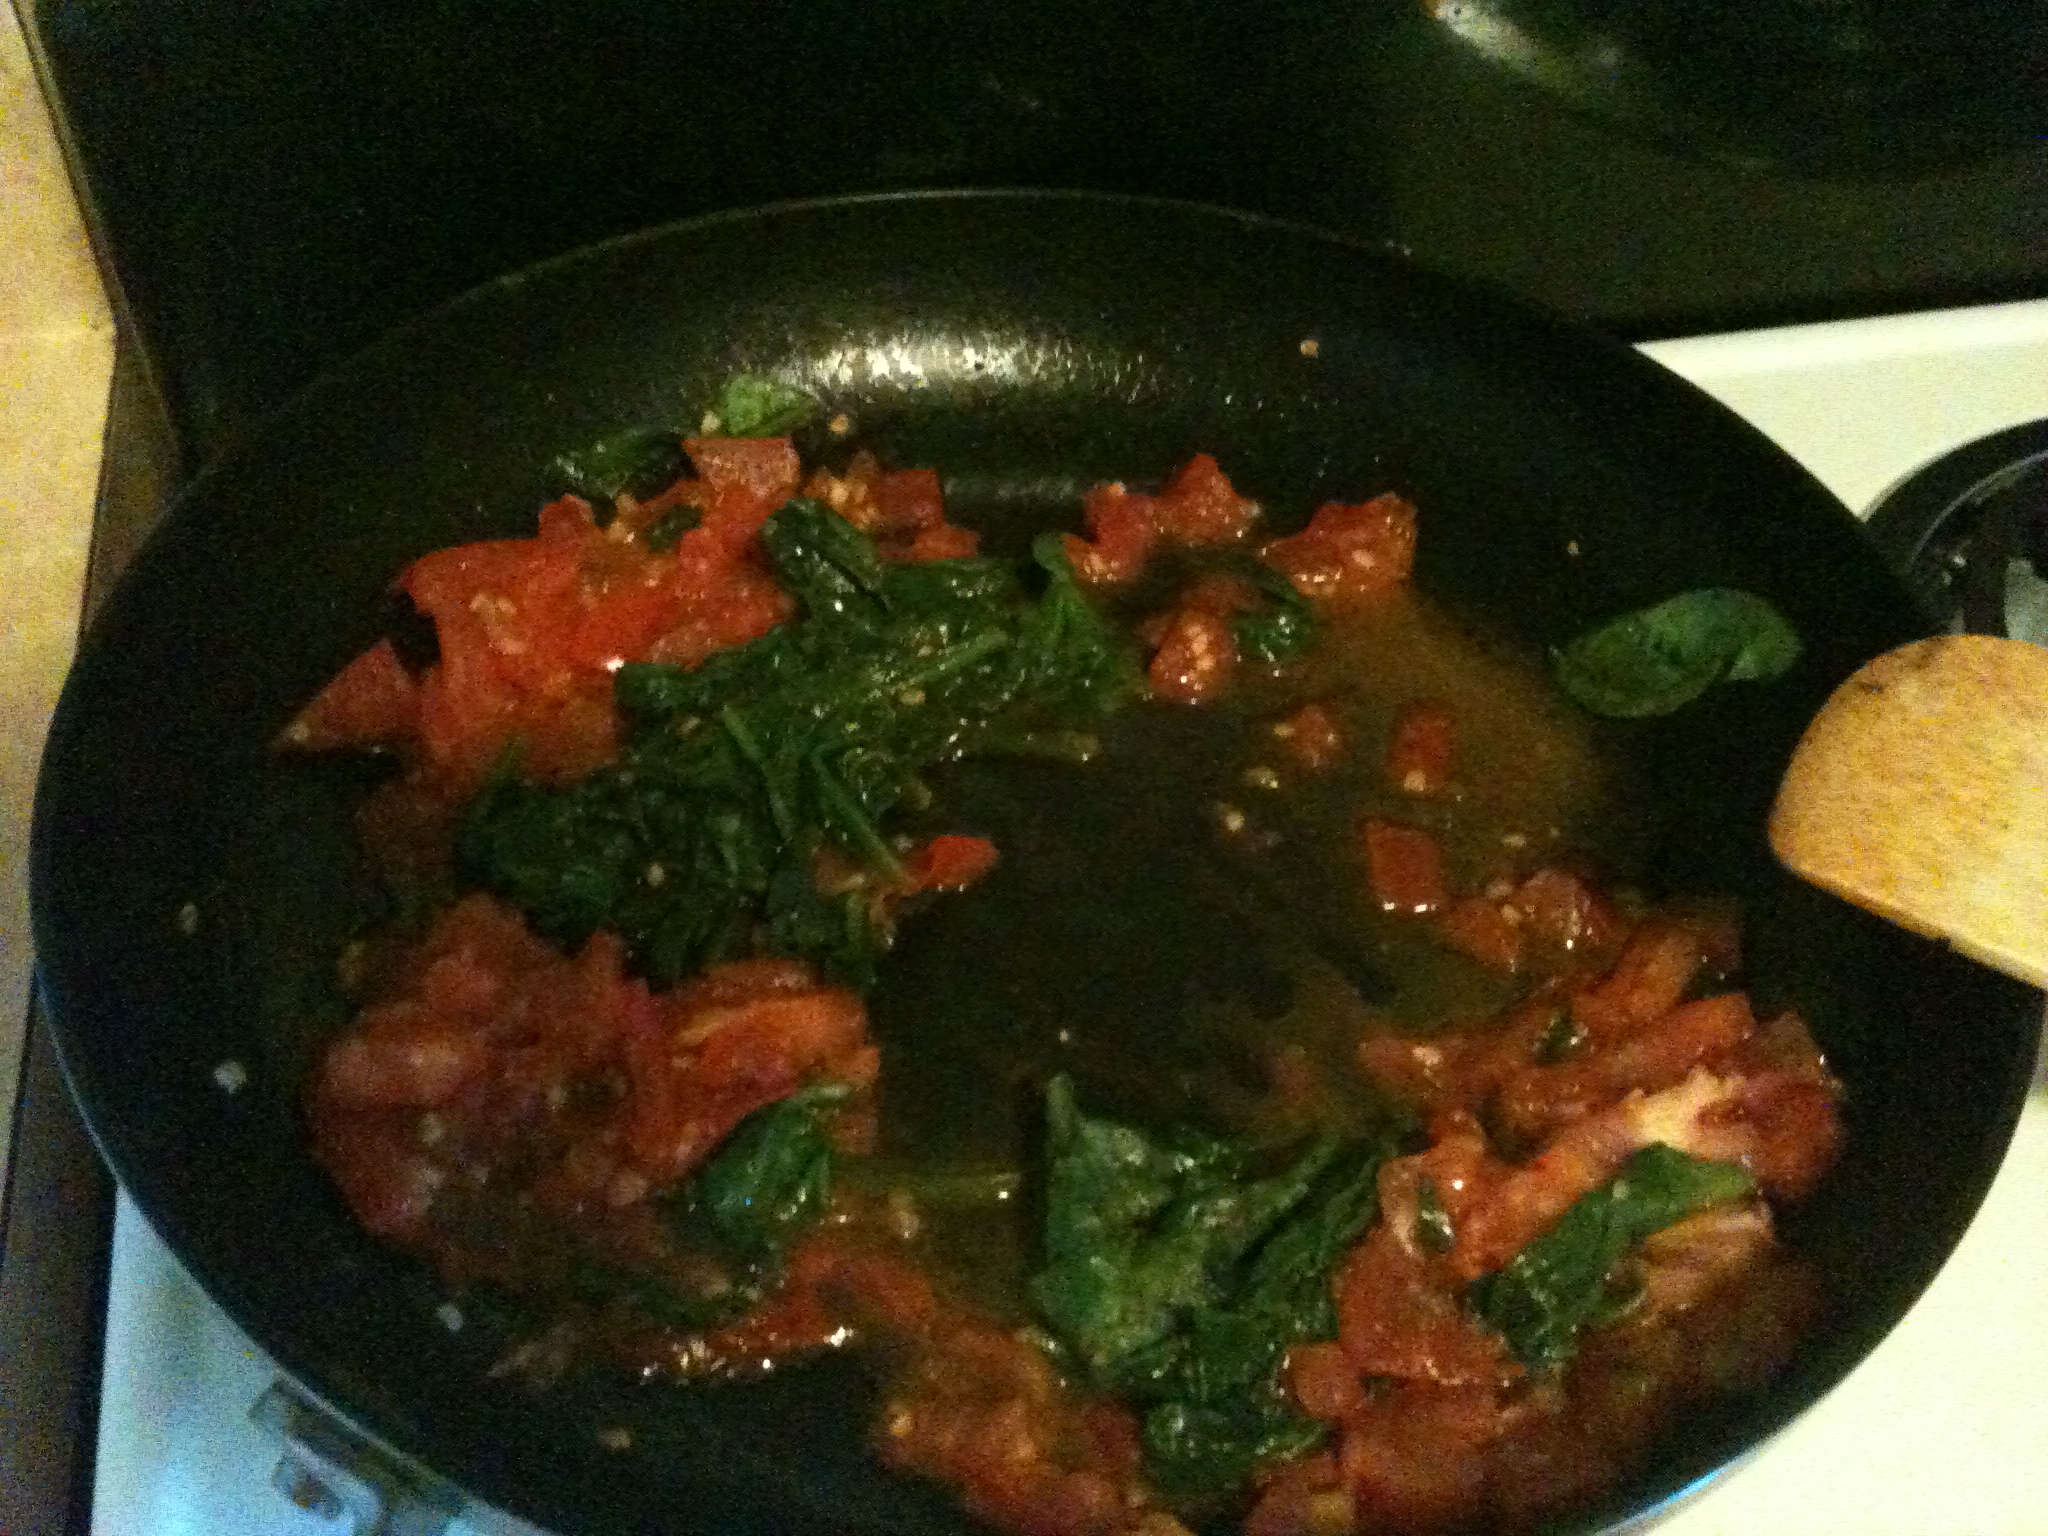
1. Before we stuff ANYTHING, we need to roast up the tomatoes and spinach: put olive oil and garlic into a pan and throw the tomatoes and spinach in

3. Don’t forget pepper&salt!

4. Let that rest while you fix up the mushrooms.

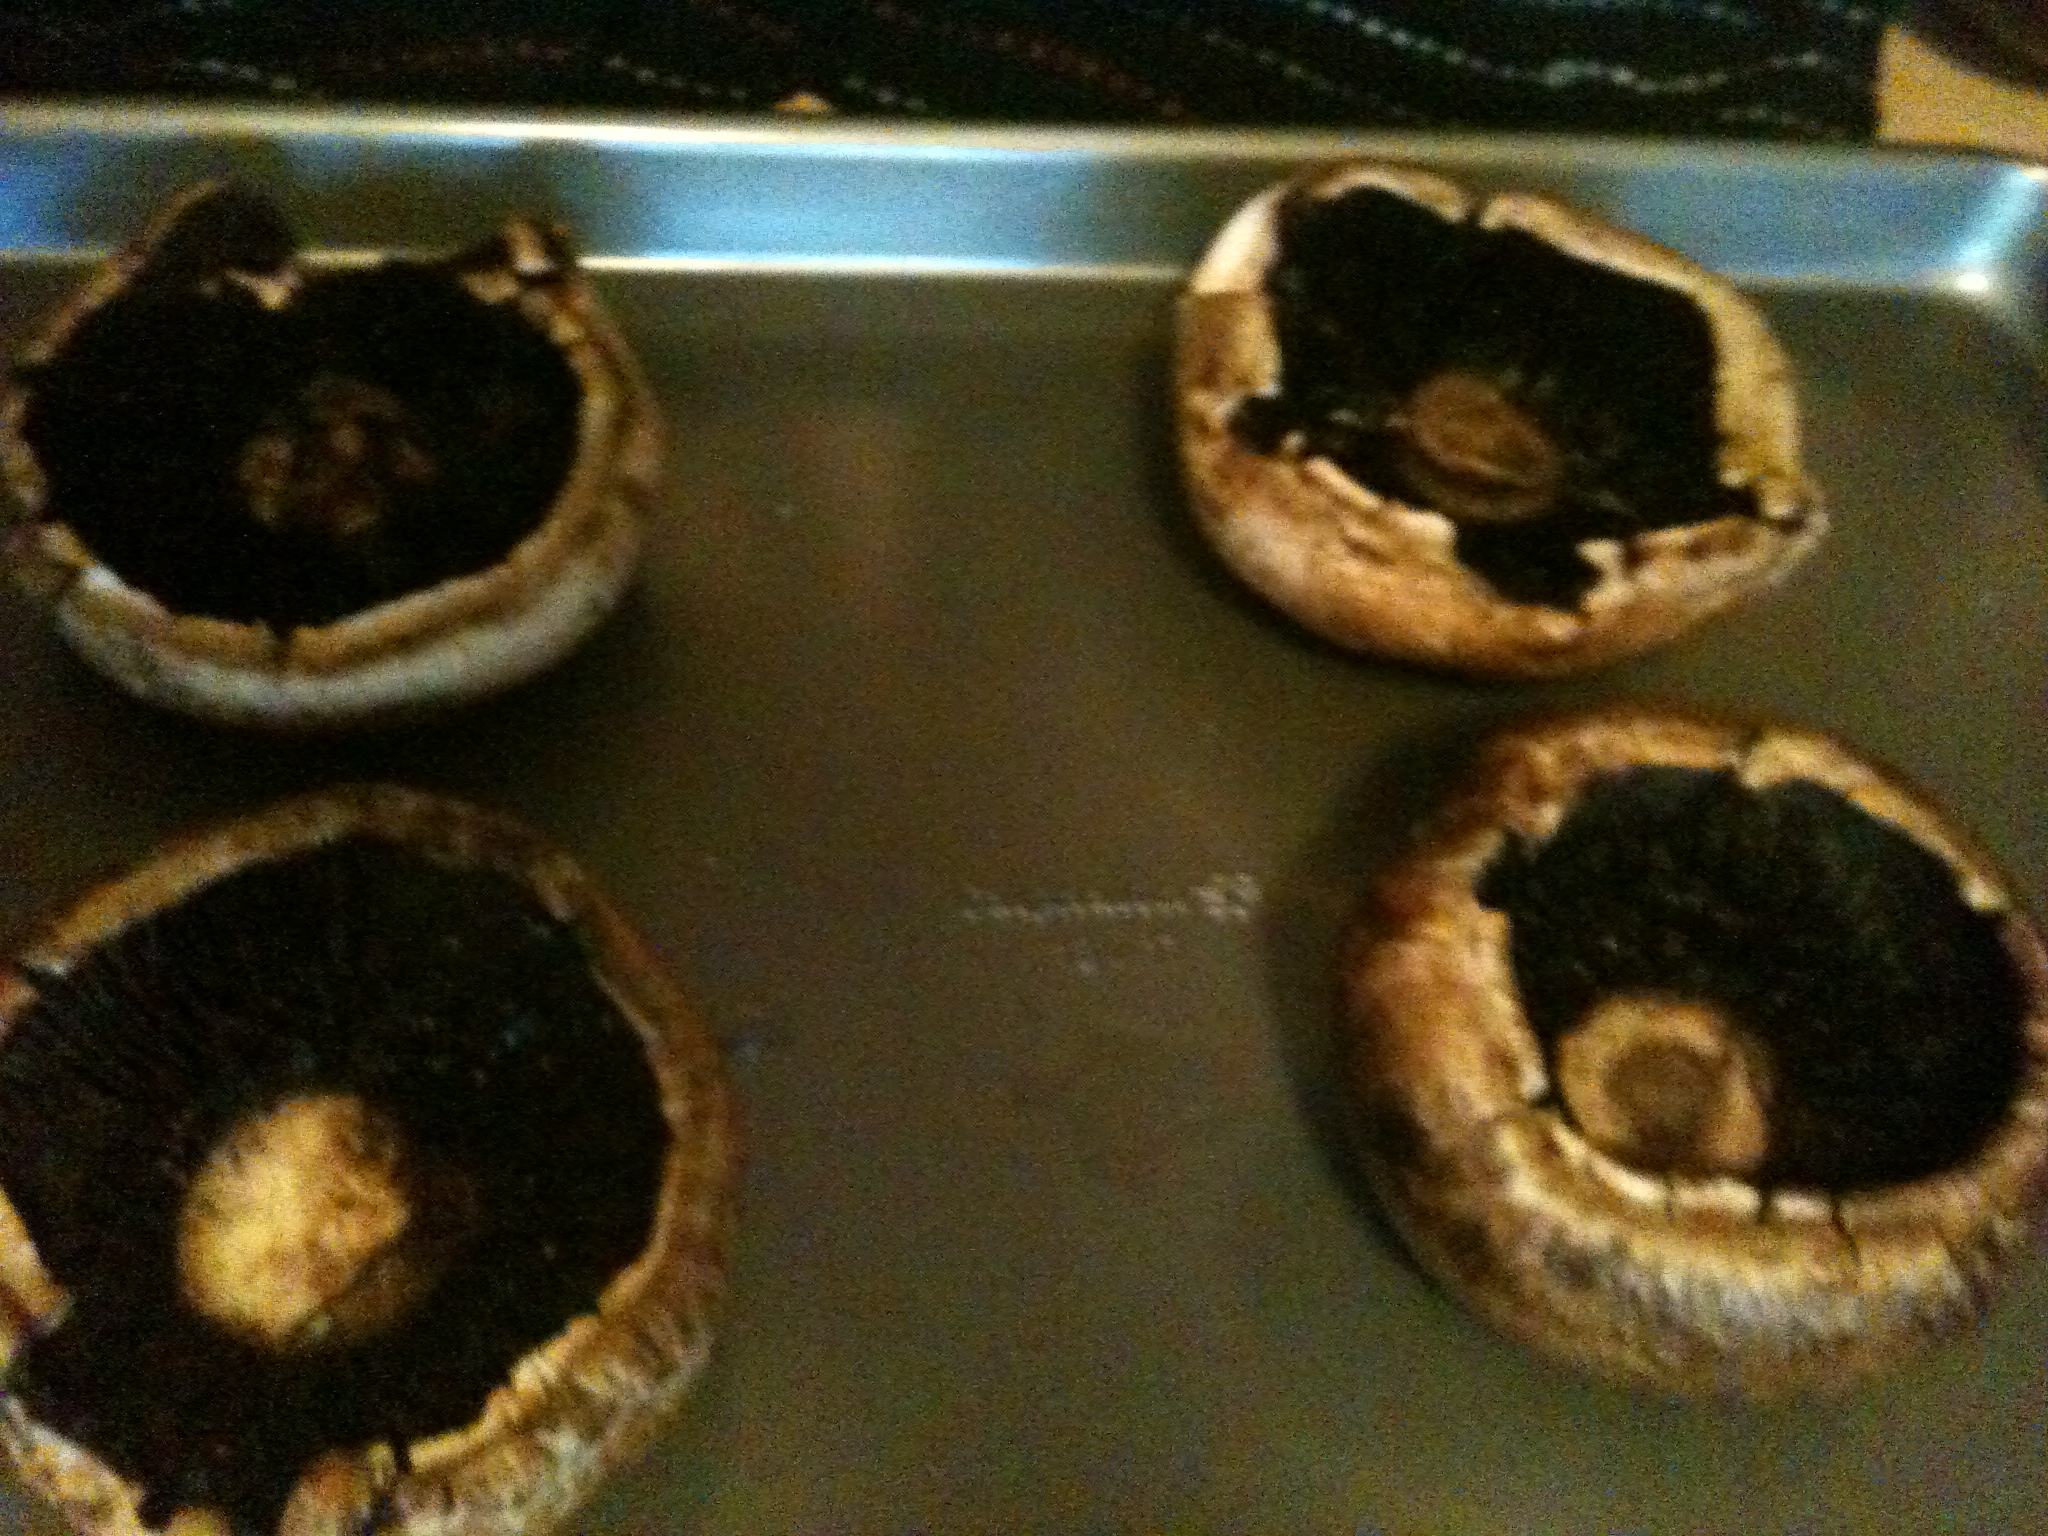
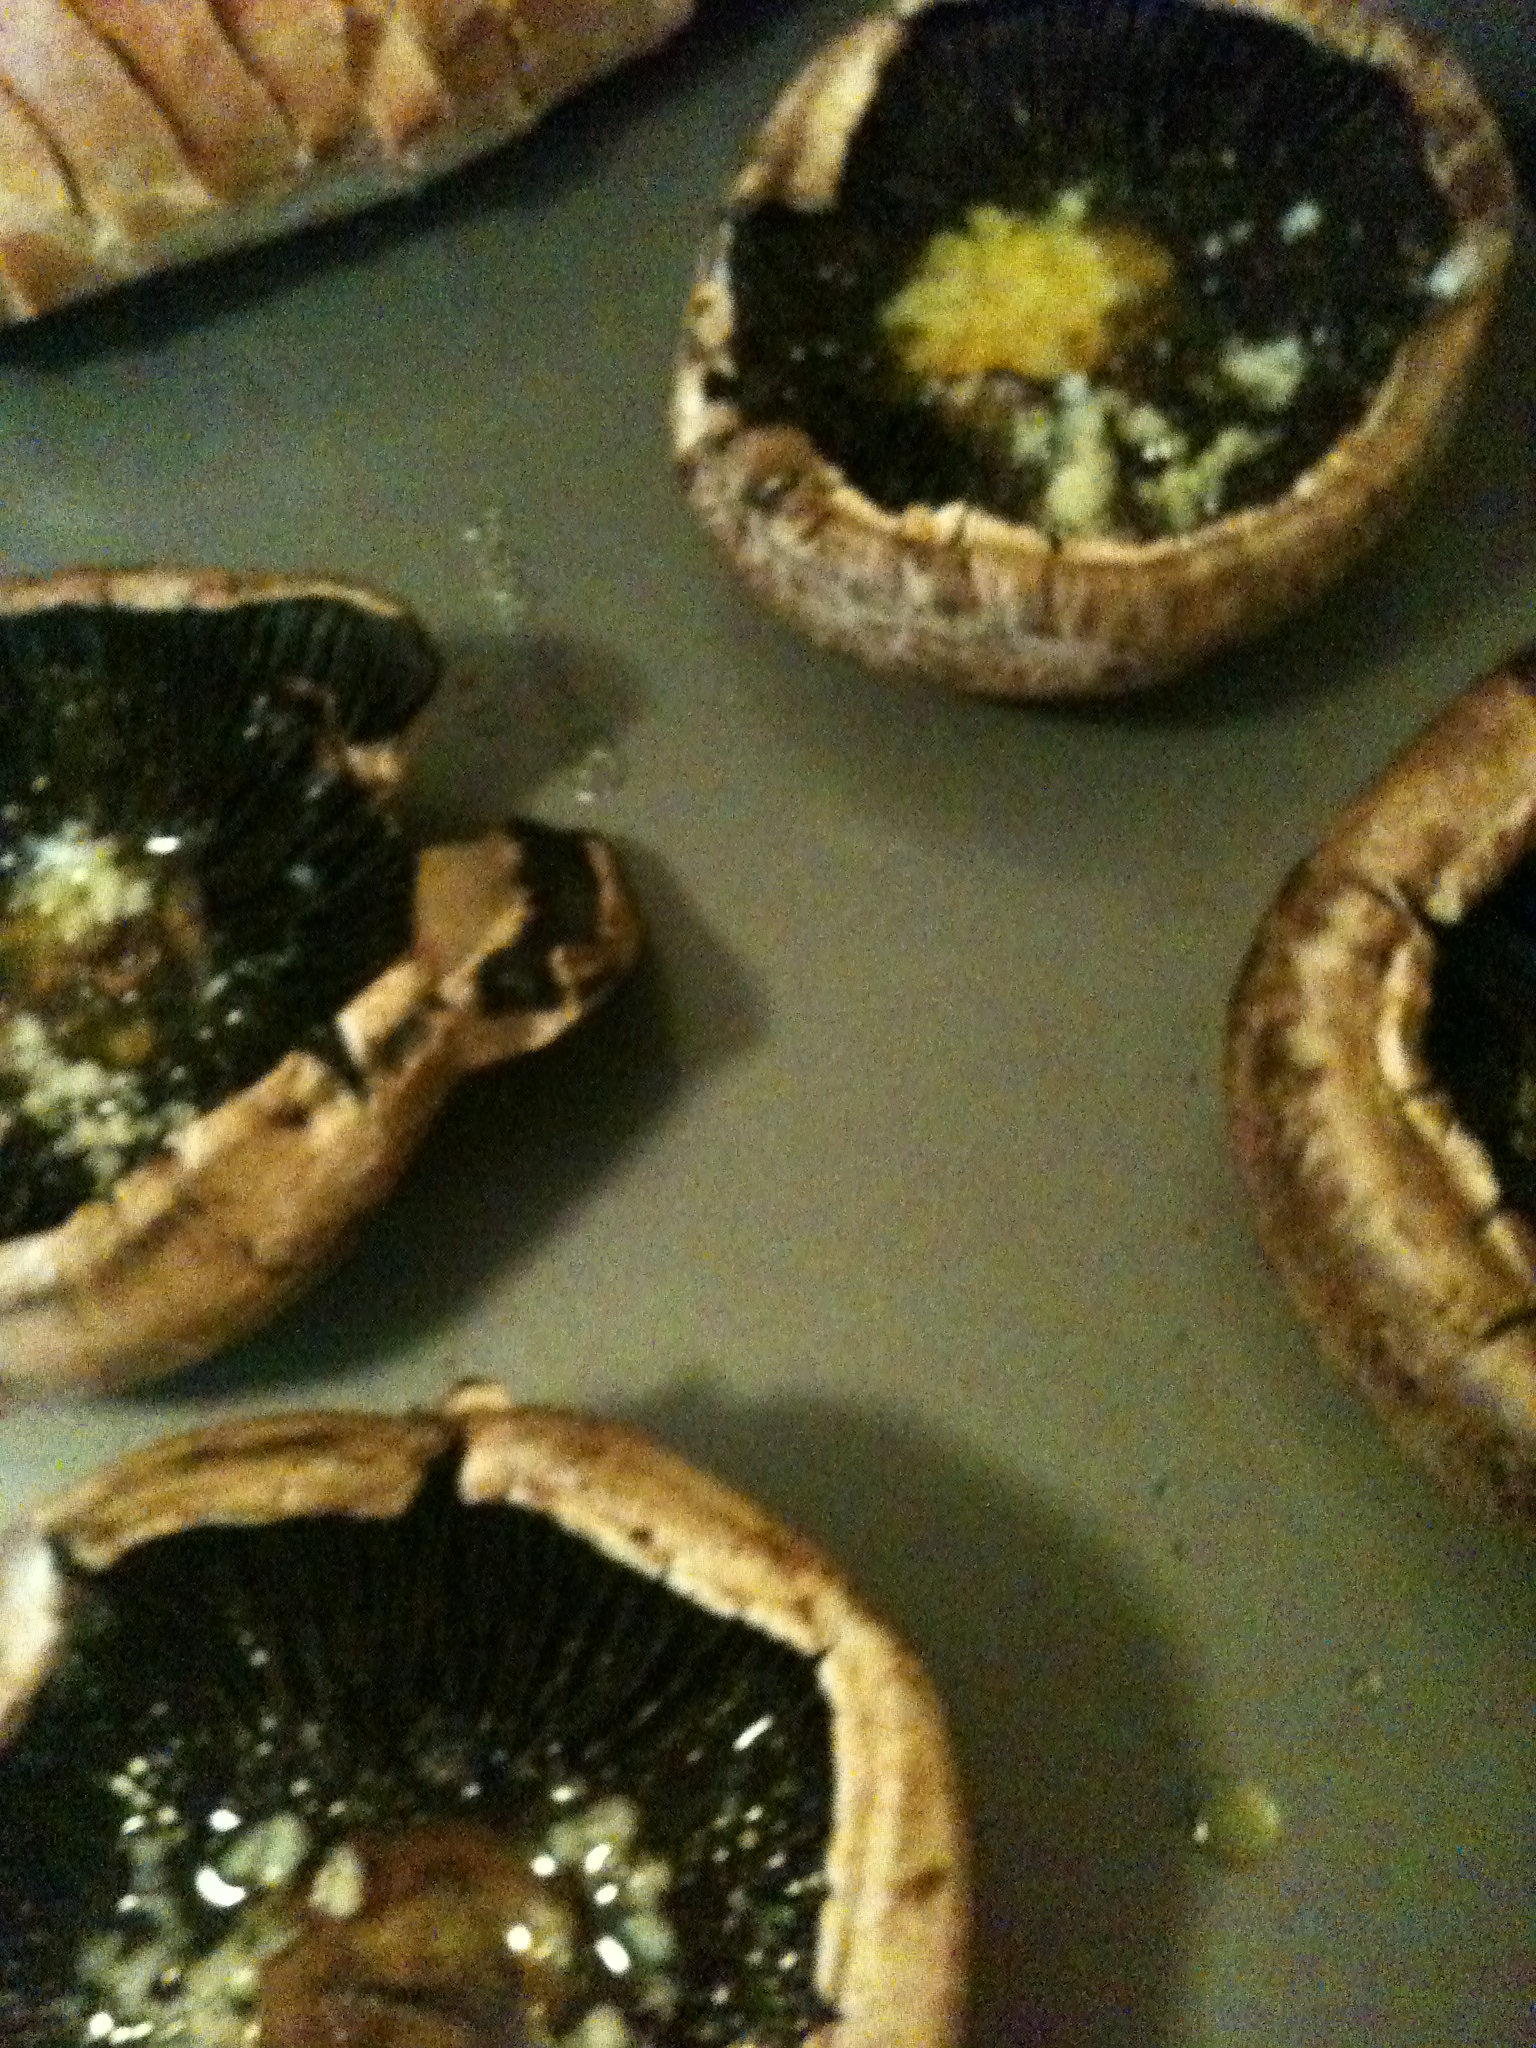
5. Time to clean the mushrooms. Simply hold under cold water and scrub with your hands, inside and out. Also, take out the stems of the mushrooms. Place on pan.

Mushrooms just dying to be stuffed

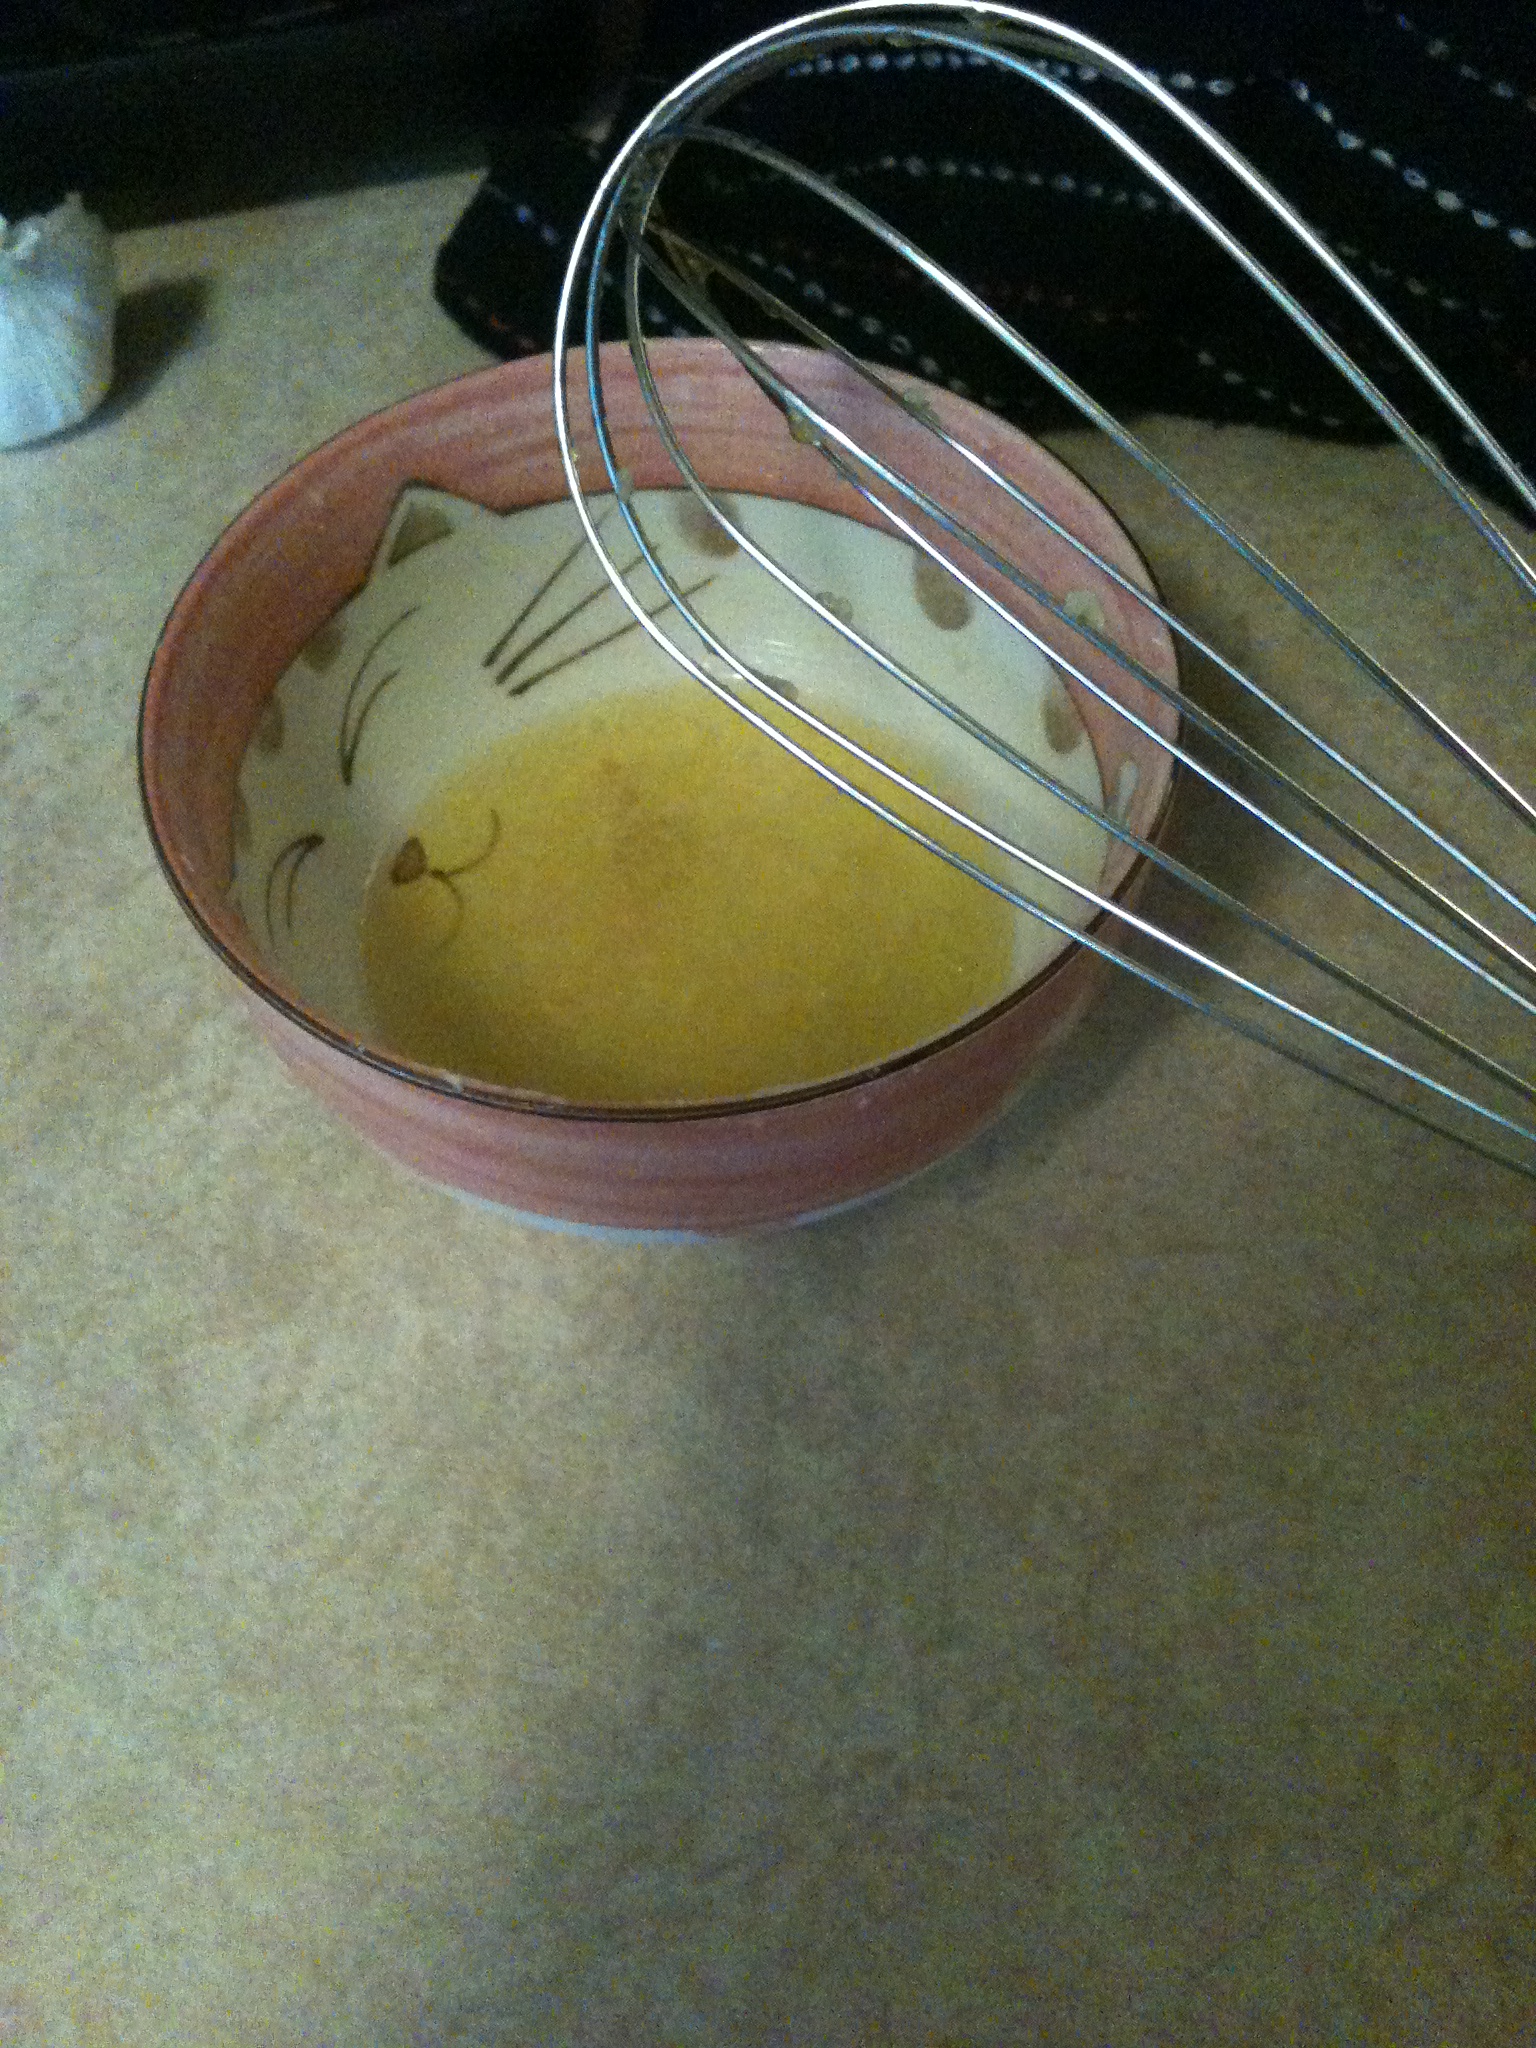
6. Now we want to make a magical mixture consisting of olive oil, garlic, and lemon juiceWhisk that up. We want enough to fill each mushroom.

7. Pour mixture into mushrooms

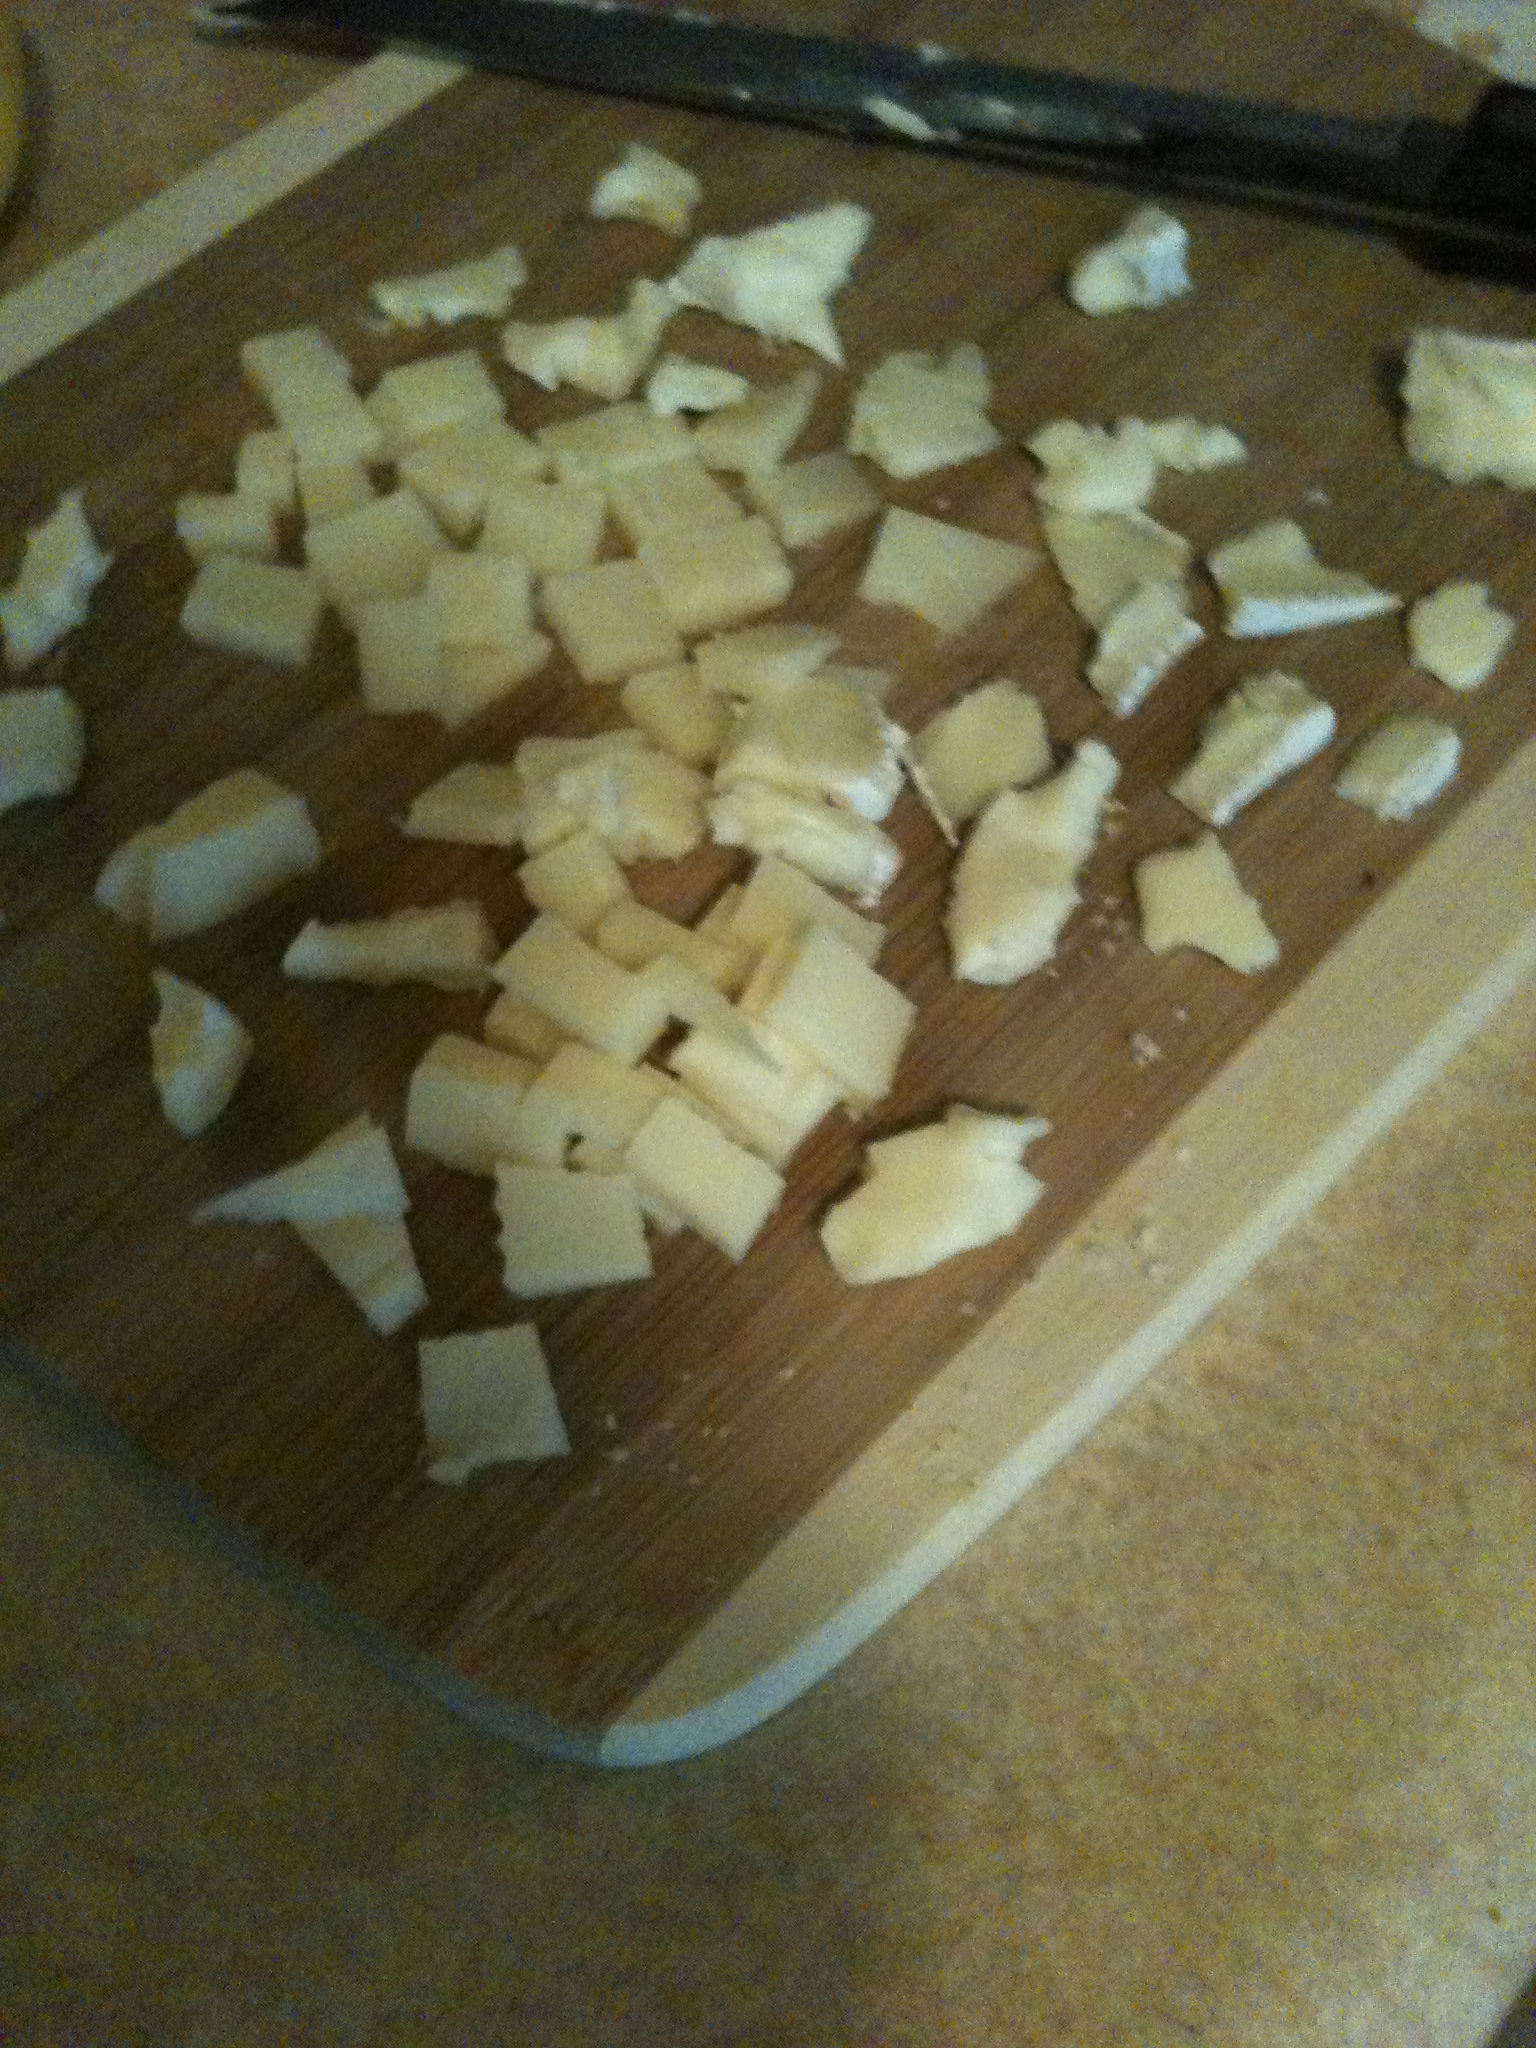
7. Now, whatever cheese you have in the house, chop it up! You don’t need many pieces. We had brie and cheddar cheese in our apartment, so that’s what I went with. You want to chop it up into small cubes (or something similar to that)

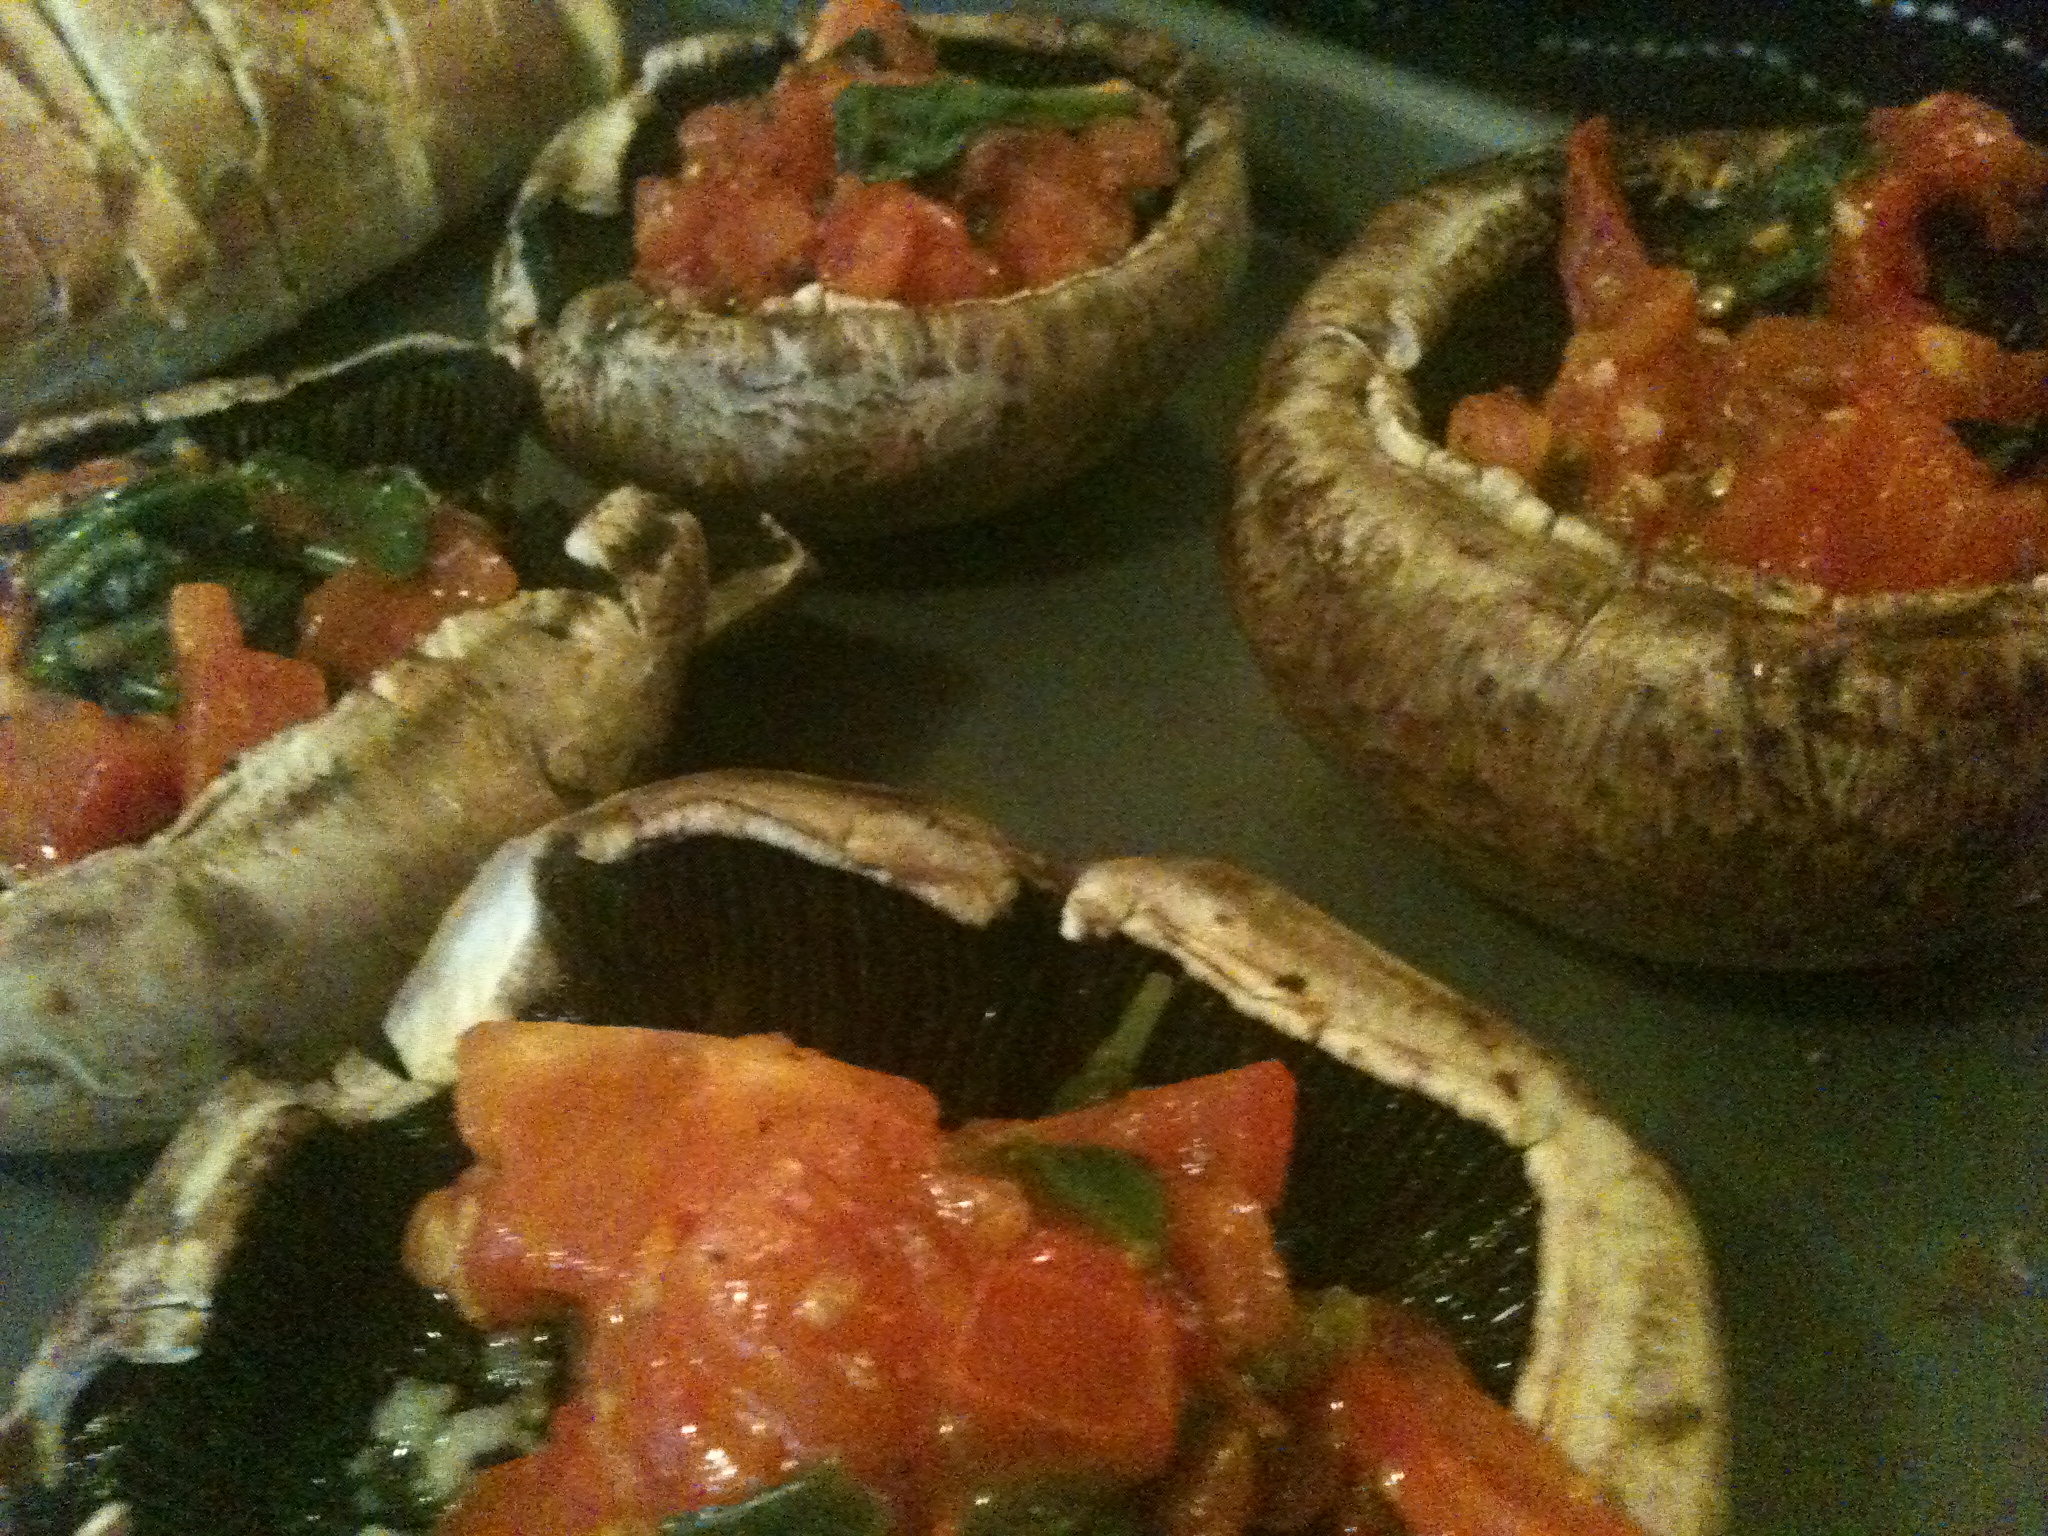
8. Now, put in the cooked tomatoes and spinach that you roasted beforehand. Try to make them even so you don’t upset your loved ones by being unfair.

Stuffed with goodness

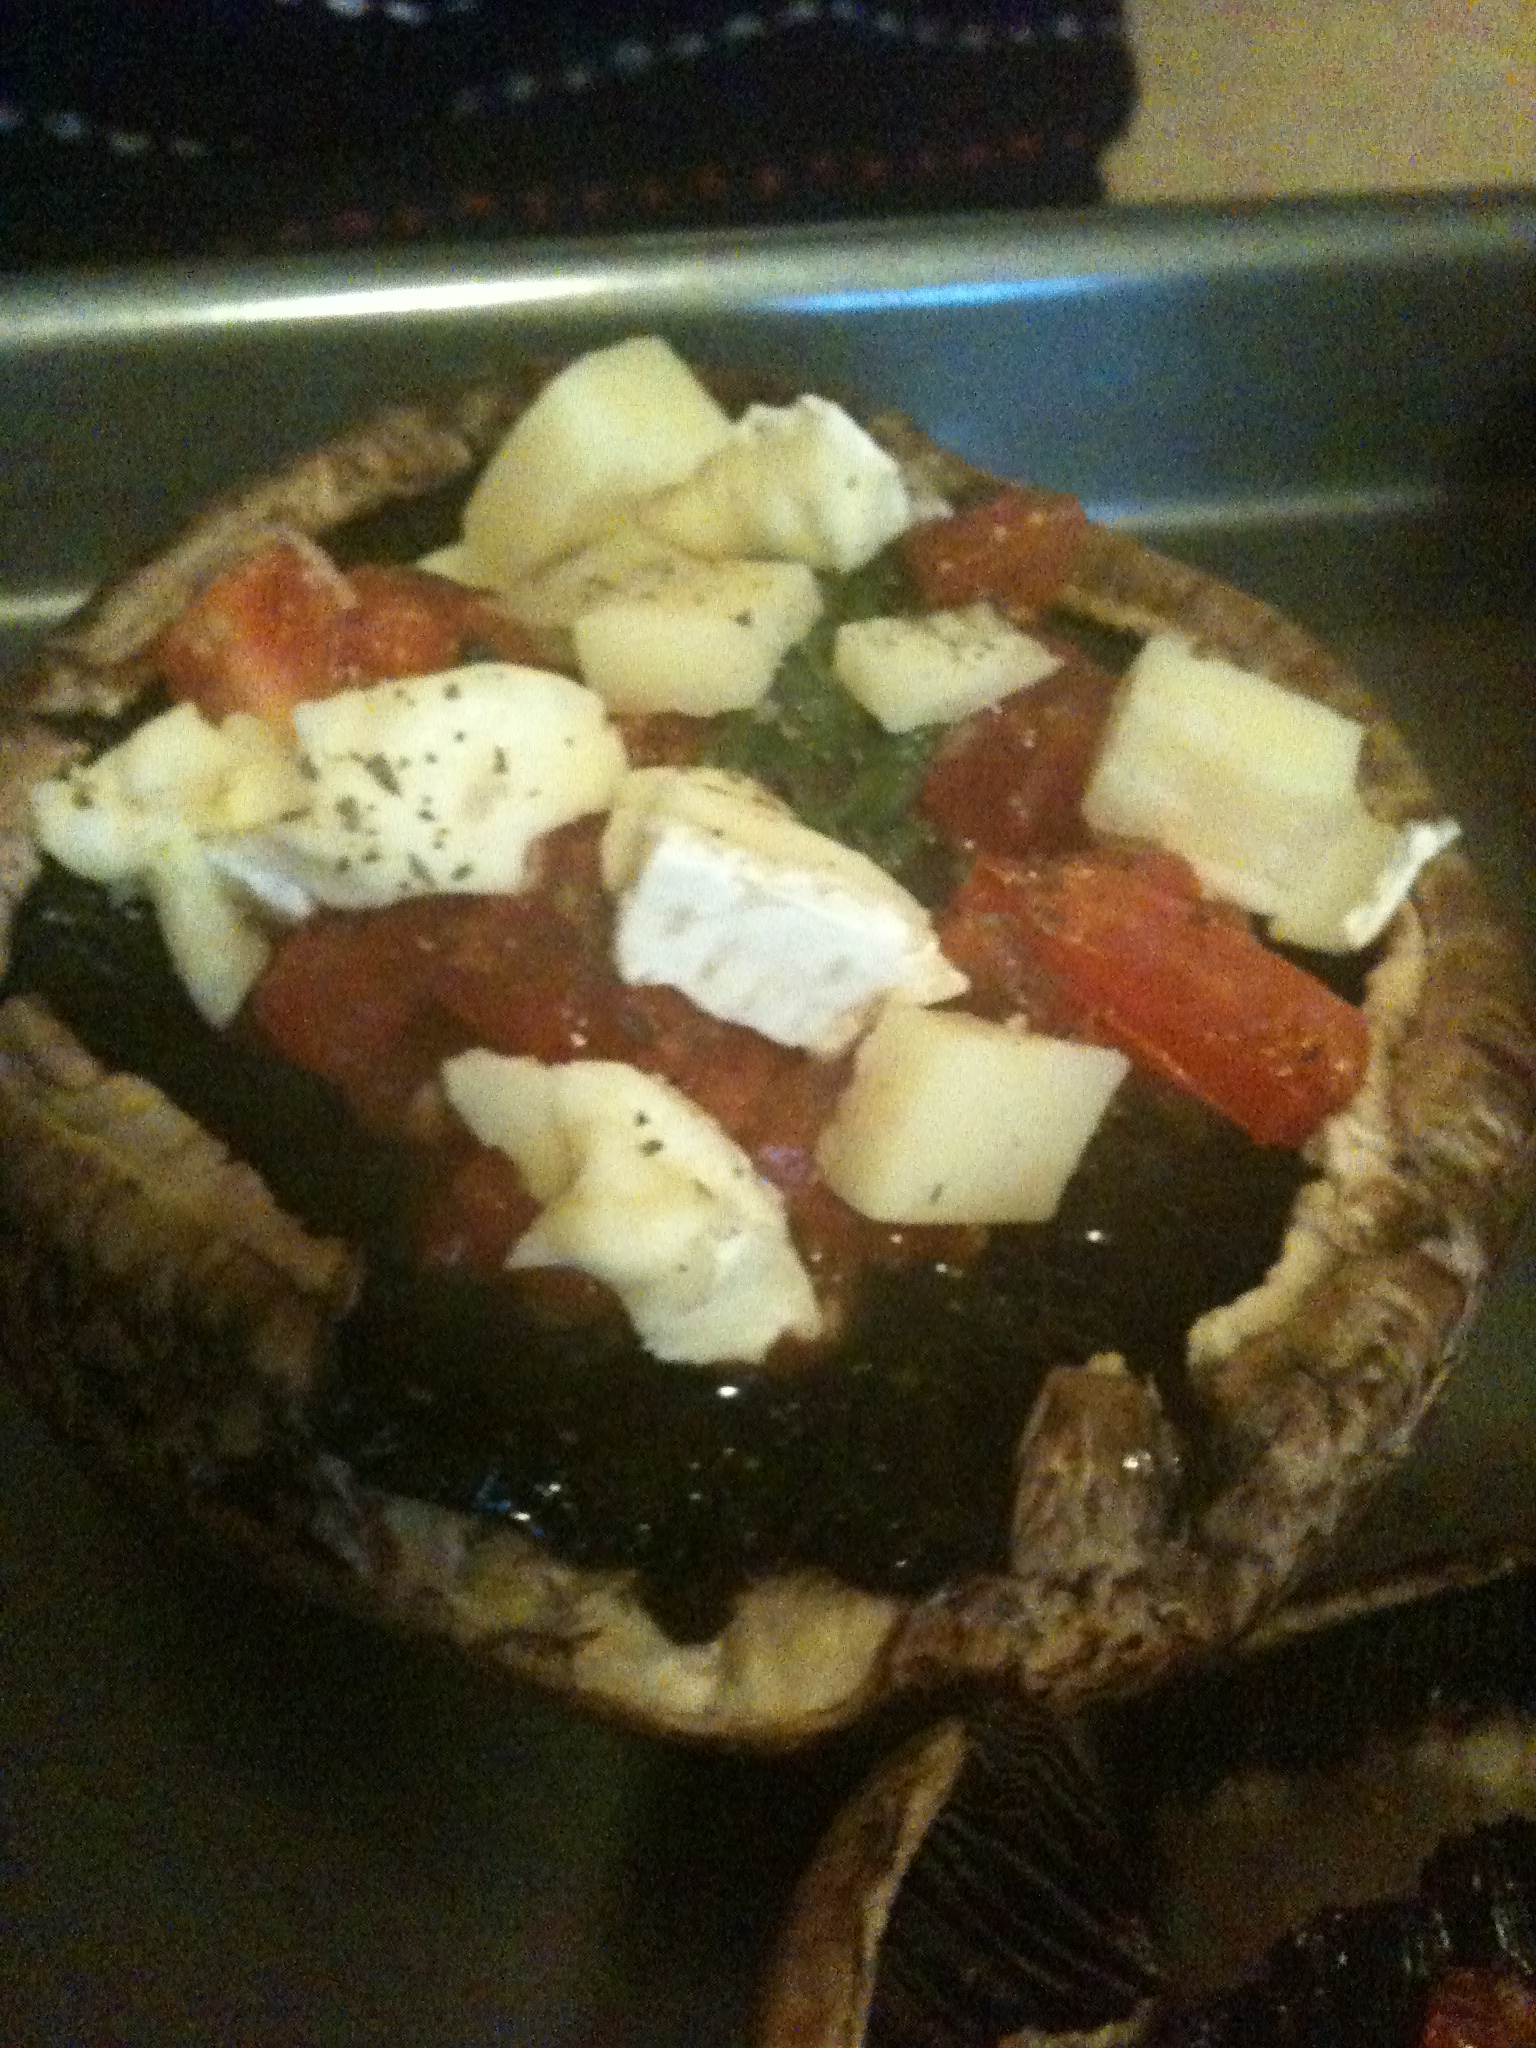
9. Place the pieces of cheese on top. Then sprinkle dried basil over it.

10. Aaaand, pop them in the oven. Remember it’s on 375 degrees. I left them in for around 12 minutes.

And Voila! Some wonderful cooked mushrooms.

Thanks again to thedomesticatedfeminist for her inspiration. I did it my own way, but she sure had a good idea. It is so juicy and wonderful, bursting with flavors like garlic and tomato. Hope you enjoy! Comment if you have any questions or comments!

spacer

Home-Made [EASY] Chips & Guac

Let’s be honest. Has anyone ever in the HISTORY OF THE WORLD ever said no to an offer of chips and guacamole? No, I don’t think so.

I had two avocados hiding in our cabinet. And a tomato in the fridge. Hmmm…what could I POSSIBLY do with these two ingredients? I think you know the answer. However, we didn’t have any tortilla chips (I know, a travesty), and they just go so well with guacamole. But…we did have some tortillas that were going to get old soon. Aha! It’s all coming together now!

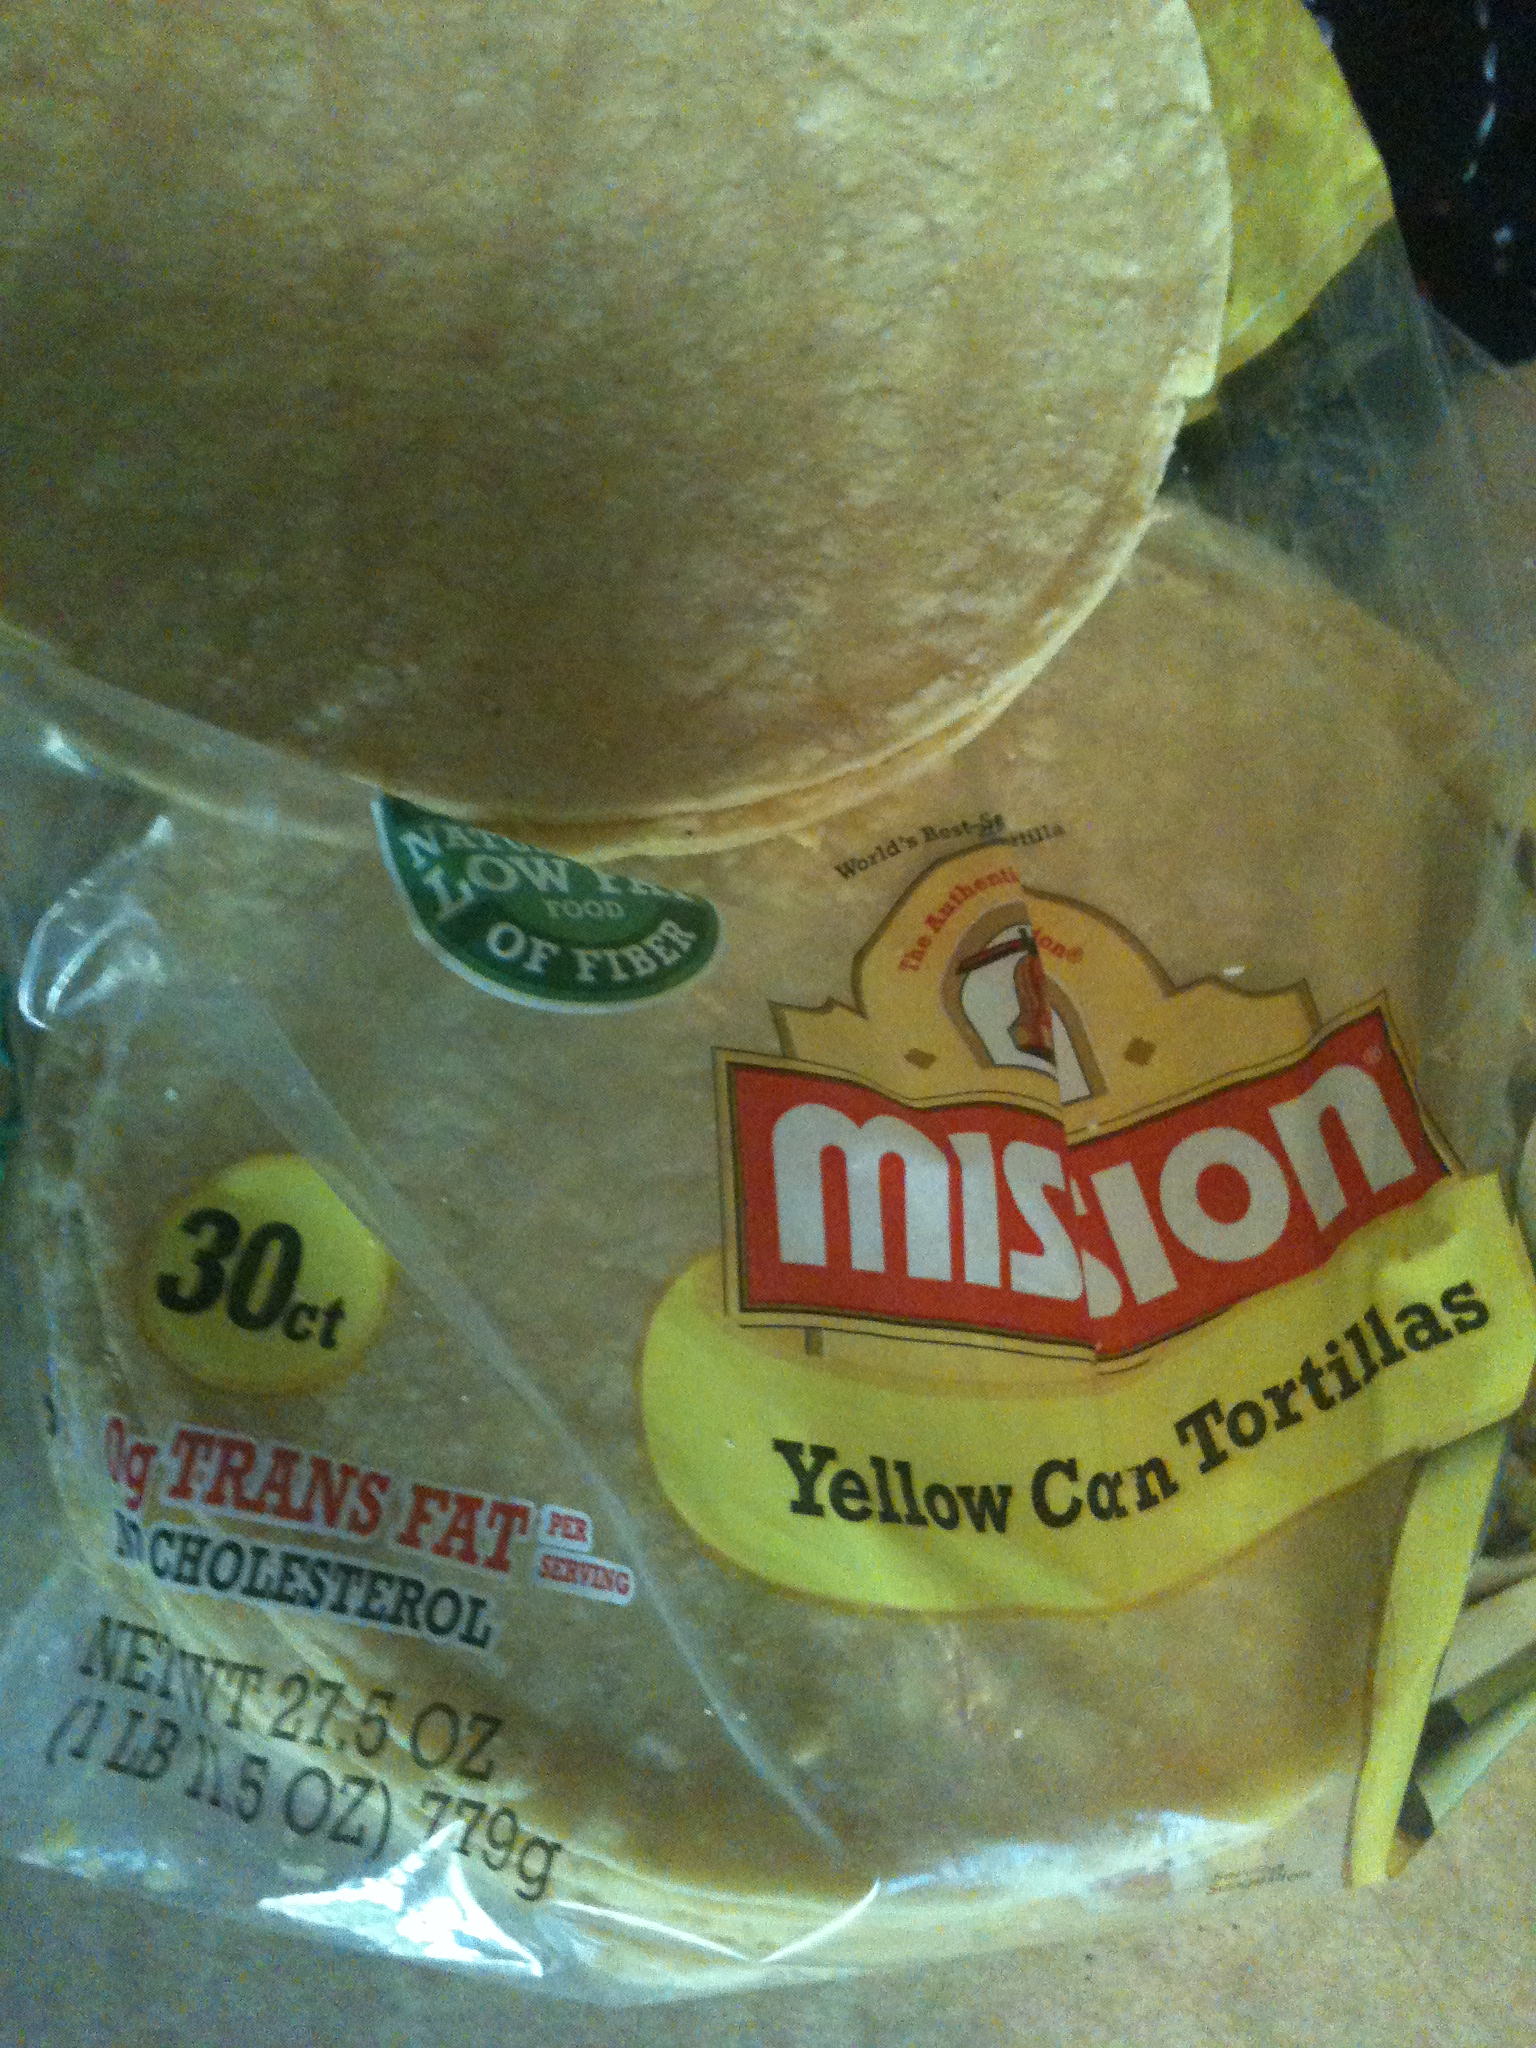
Okay so first, let’s get out these corn tortillas. I use Mission Corn Tortillas (see below). I’m not even going to post an “Ingredients” section for the chips because it’s literally tortillas, olive oil, and salt. Pre-heat the oven to 350 degrees.

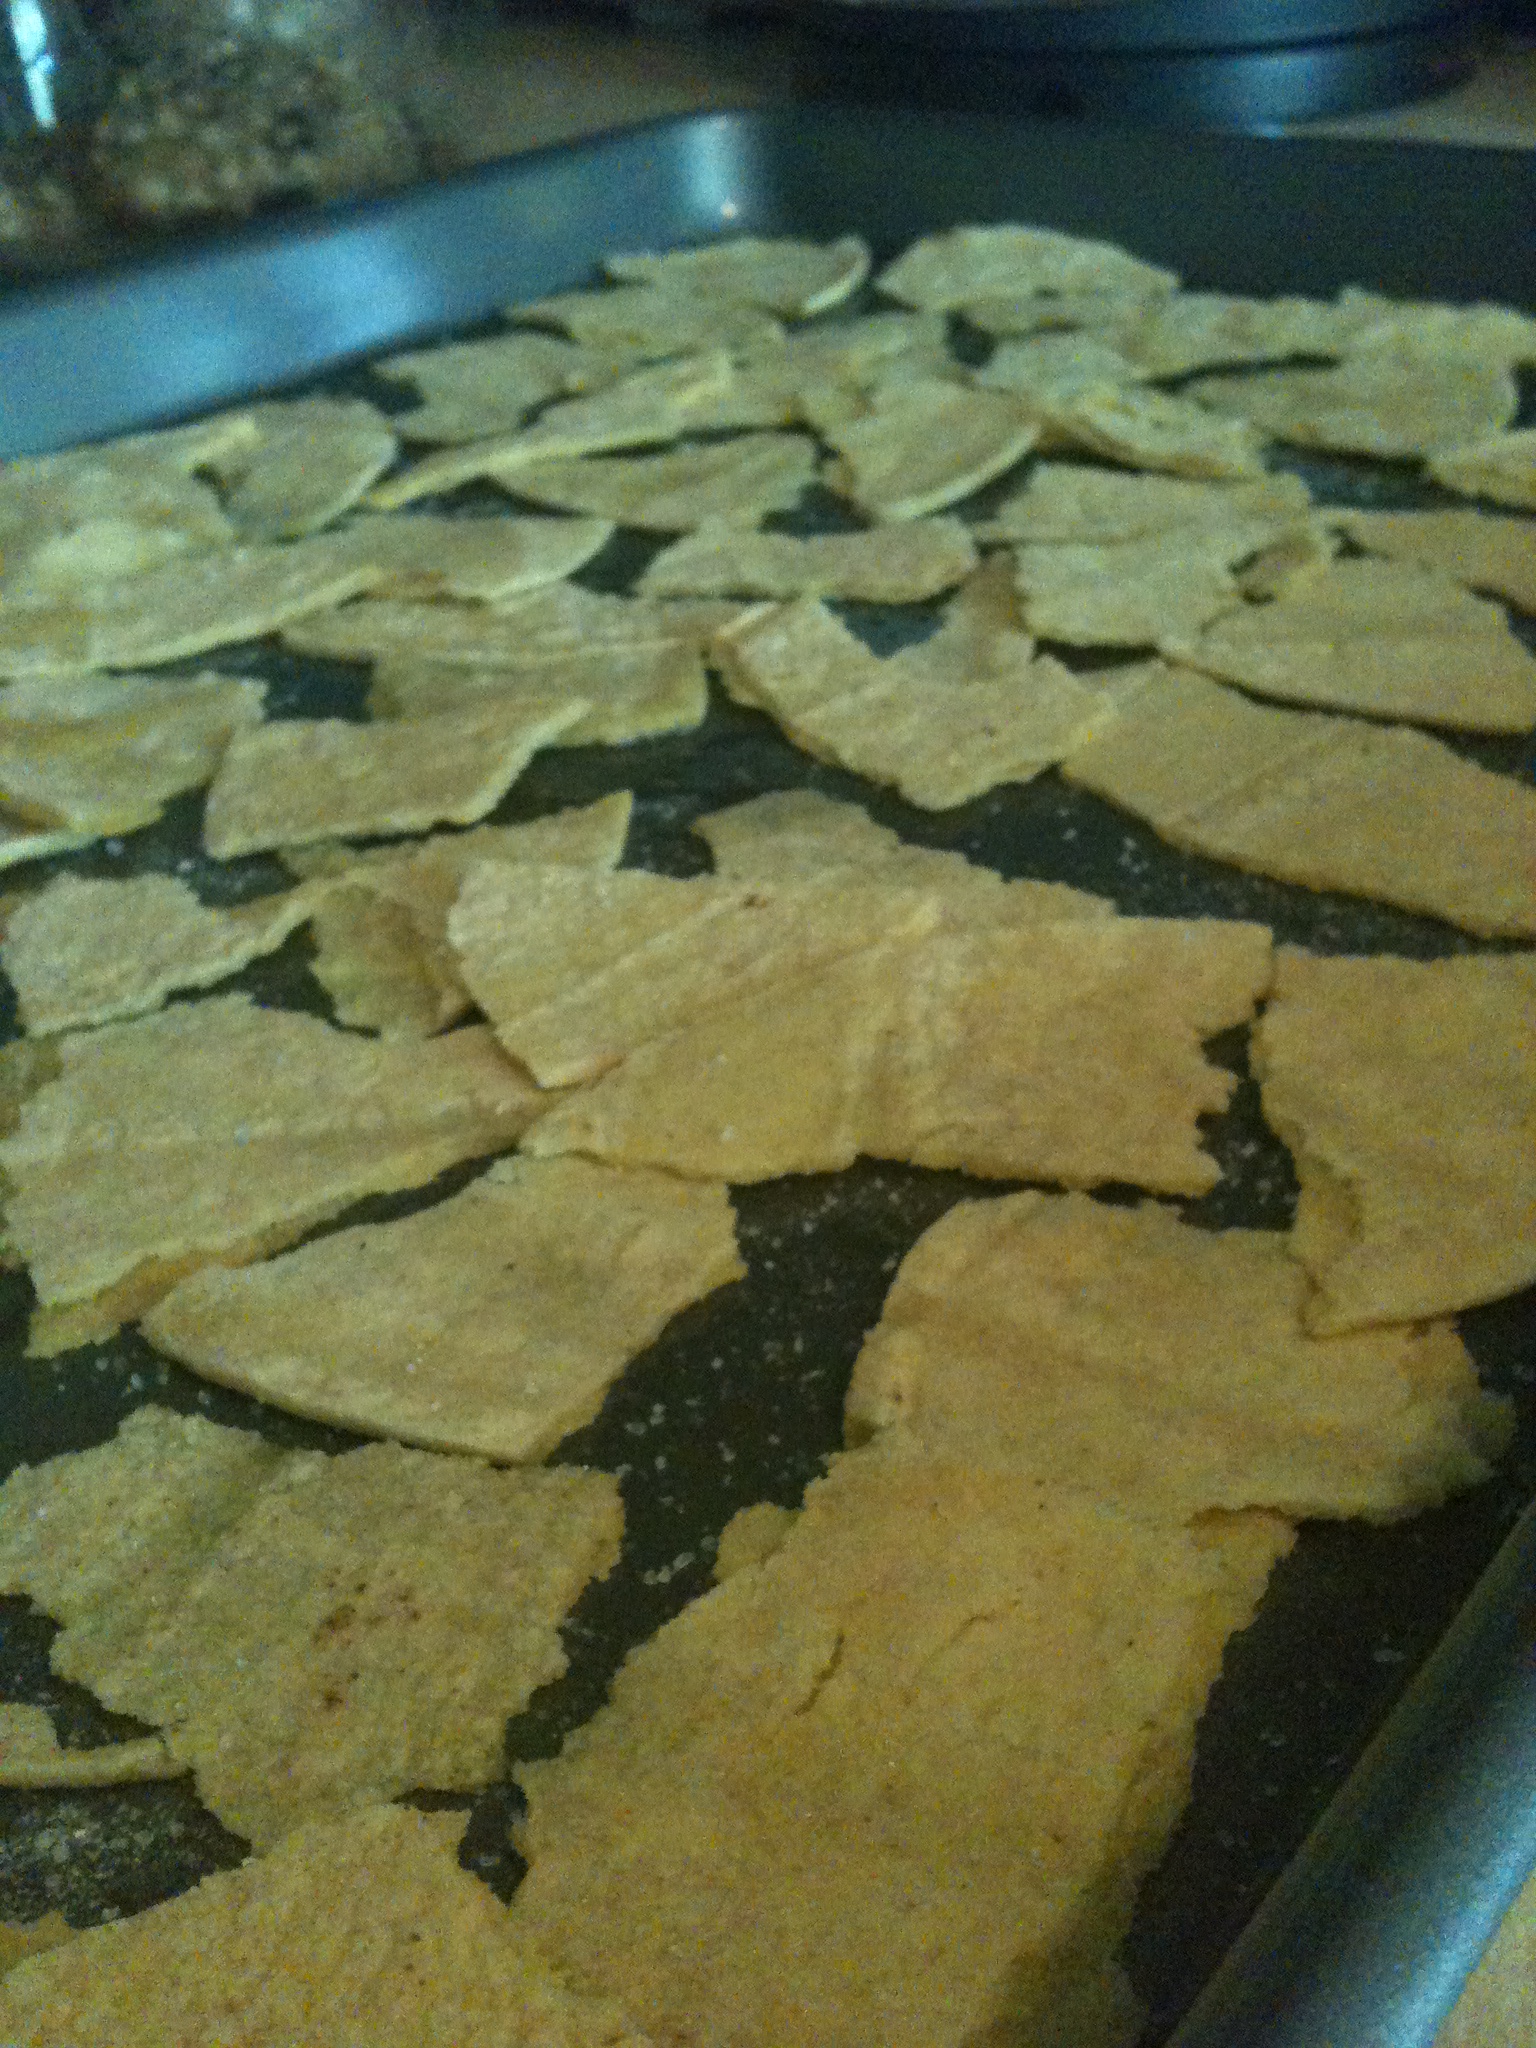
Now, go have fun and rip them into little pieces. I used only about five tortillas. Think of how many chips you can actually make if you used the WHOLE bag (30). Put olive oil on the baking sheet before you plop dem tortilla pieces on. Then sprinkle salt all over.

Now let them cook for however long you like. 10 minutes, they’ll be a little soft. I left them in for around 15 minutes to get a nice crunch. Okay, we’ll get back to these when they’re ready from the oven. Let’s get to the important matter…the guac. 

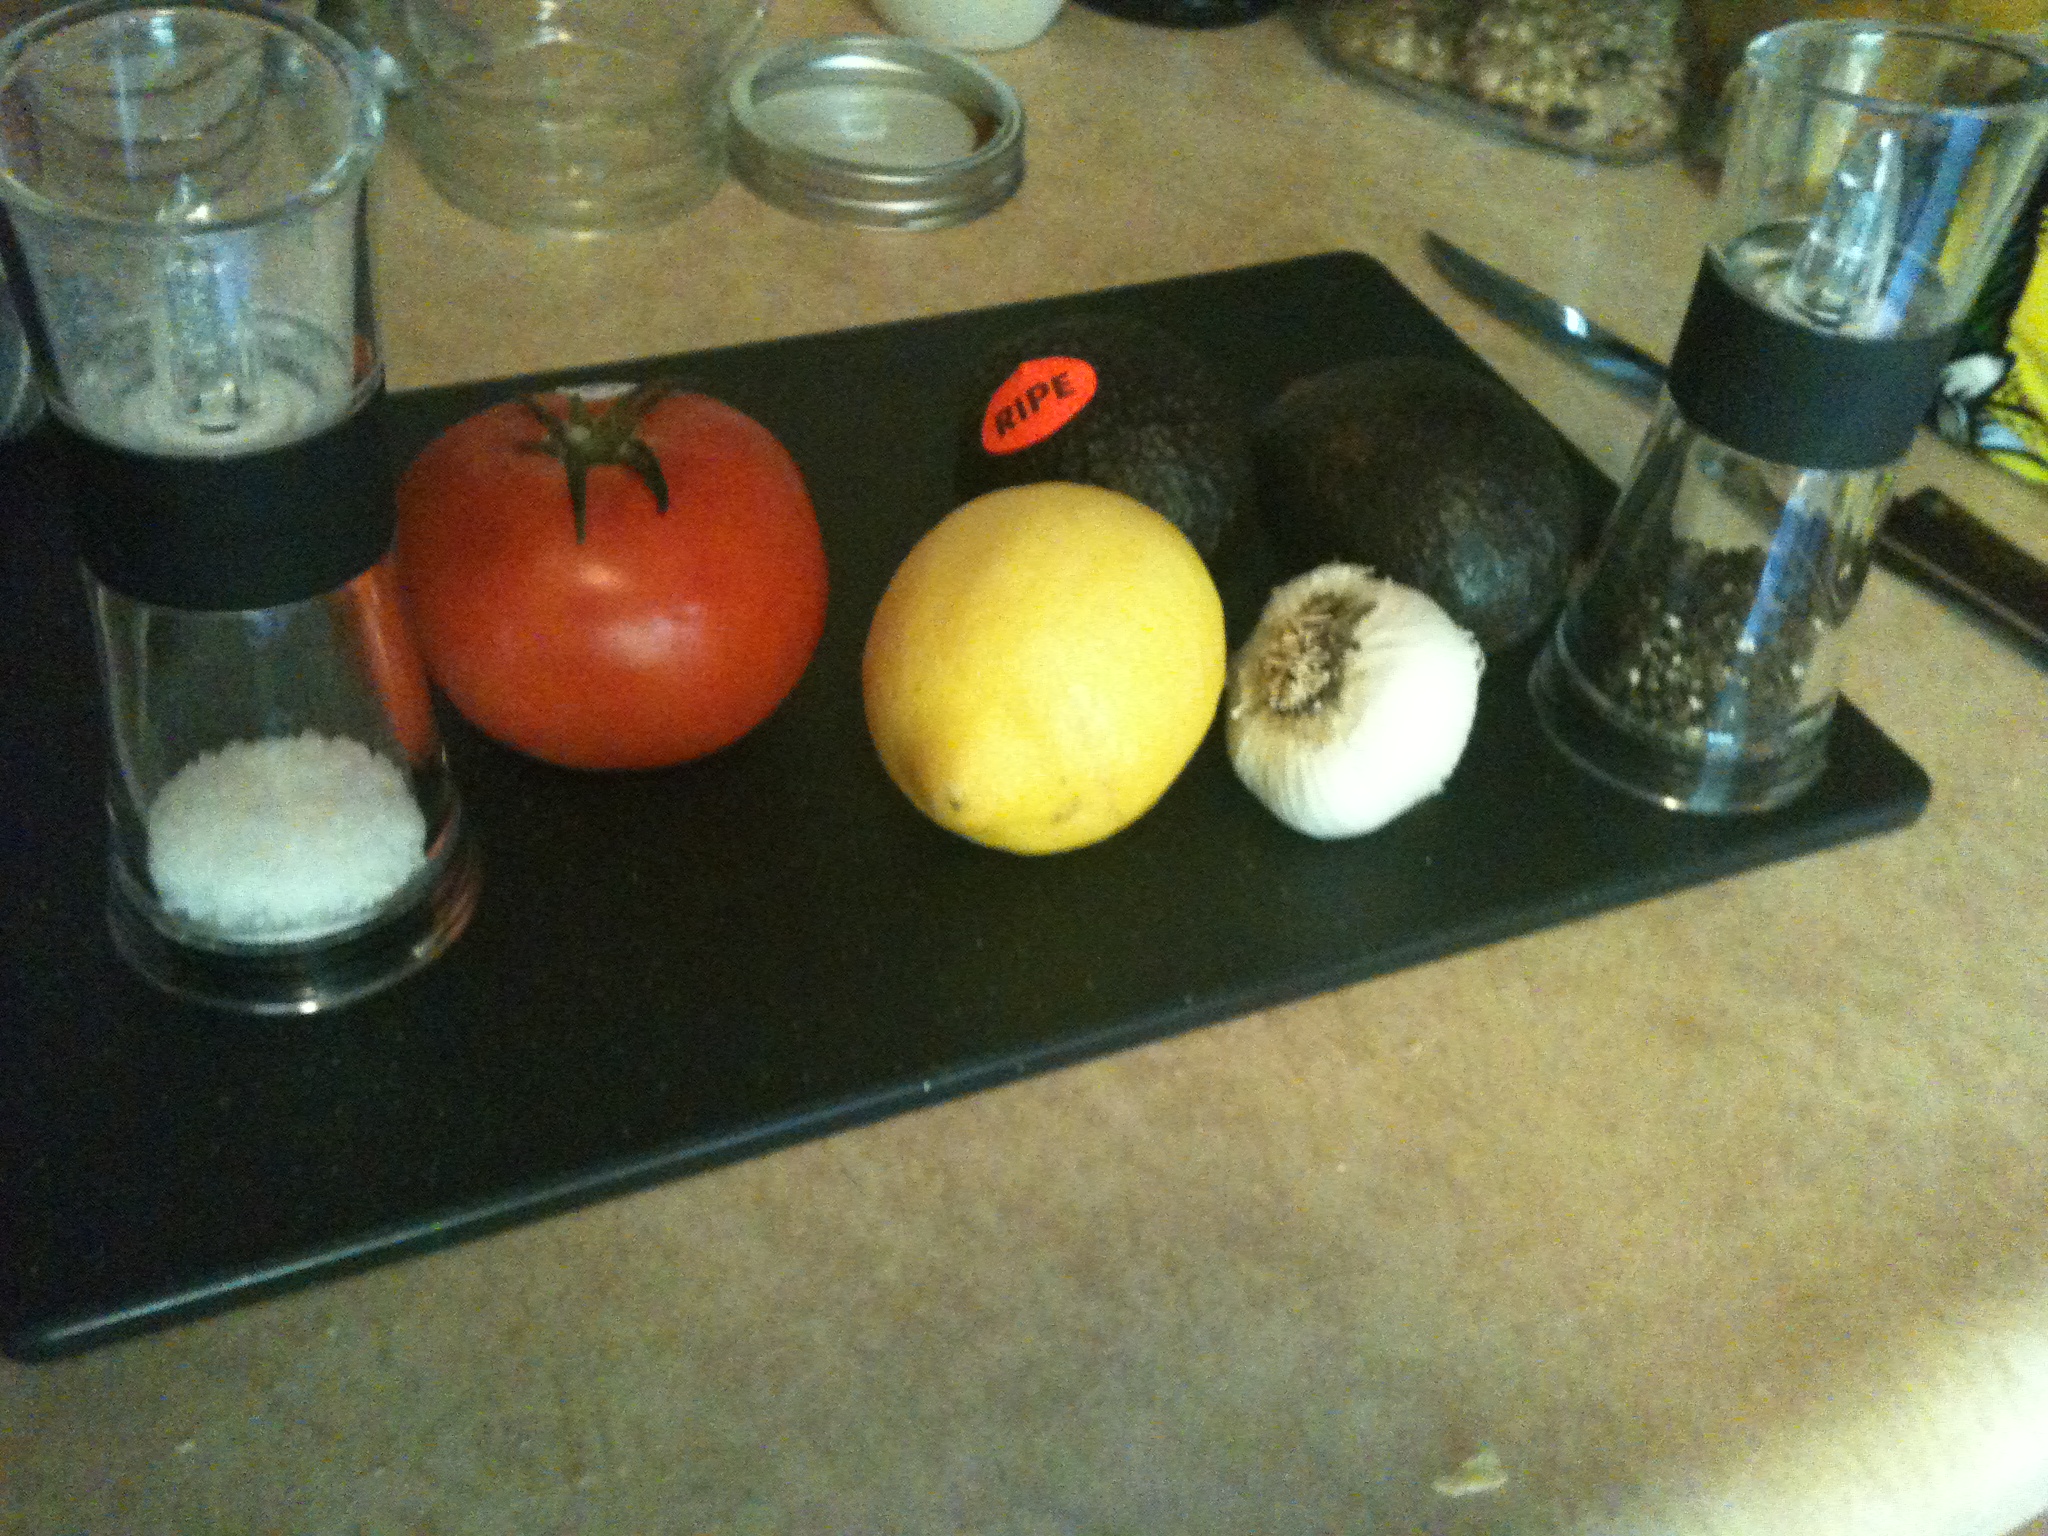
Get your ingredients ready!

Ingredients:

  • 2 ripe avocados
  • 1 tomato
  • 1 lemon
  • 2 garlic cloves
  • Plenty of salt n peppa

First, let’s tackle the avocados. Now I wish I took a picture of this, but the best technique I’ve found is to put the knife you’re using on the avocado, press down til you hit the core (the pit), and circle it all around the avocado until you’ve made it full-circle. Then grab each half of the avocado and pull! If they are the proper ripeness, they should pull a part easily, making it really easy to scoop the goods out.

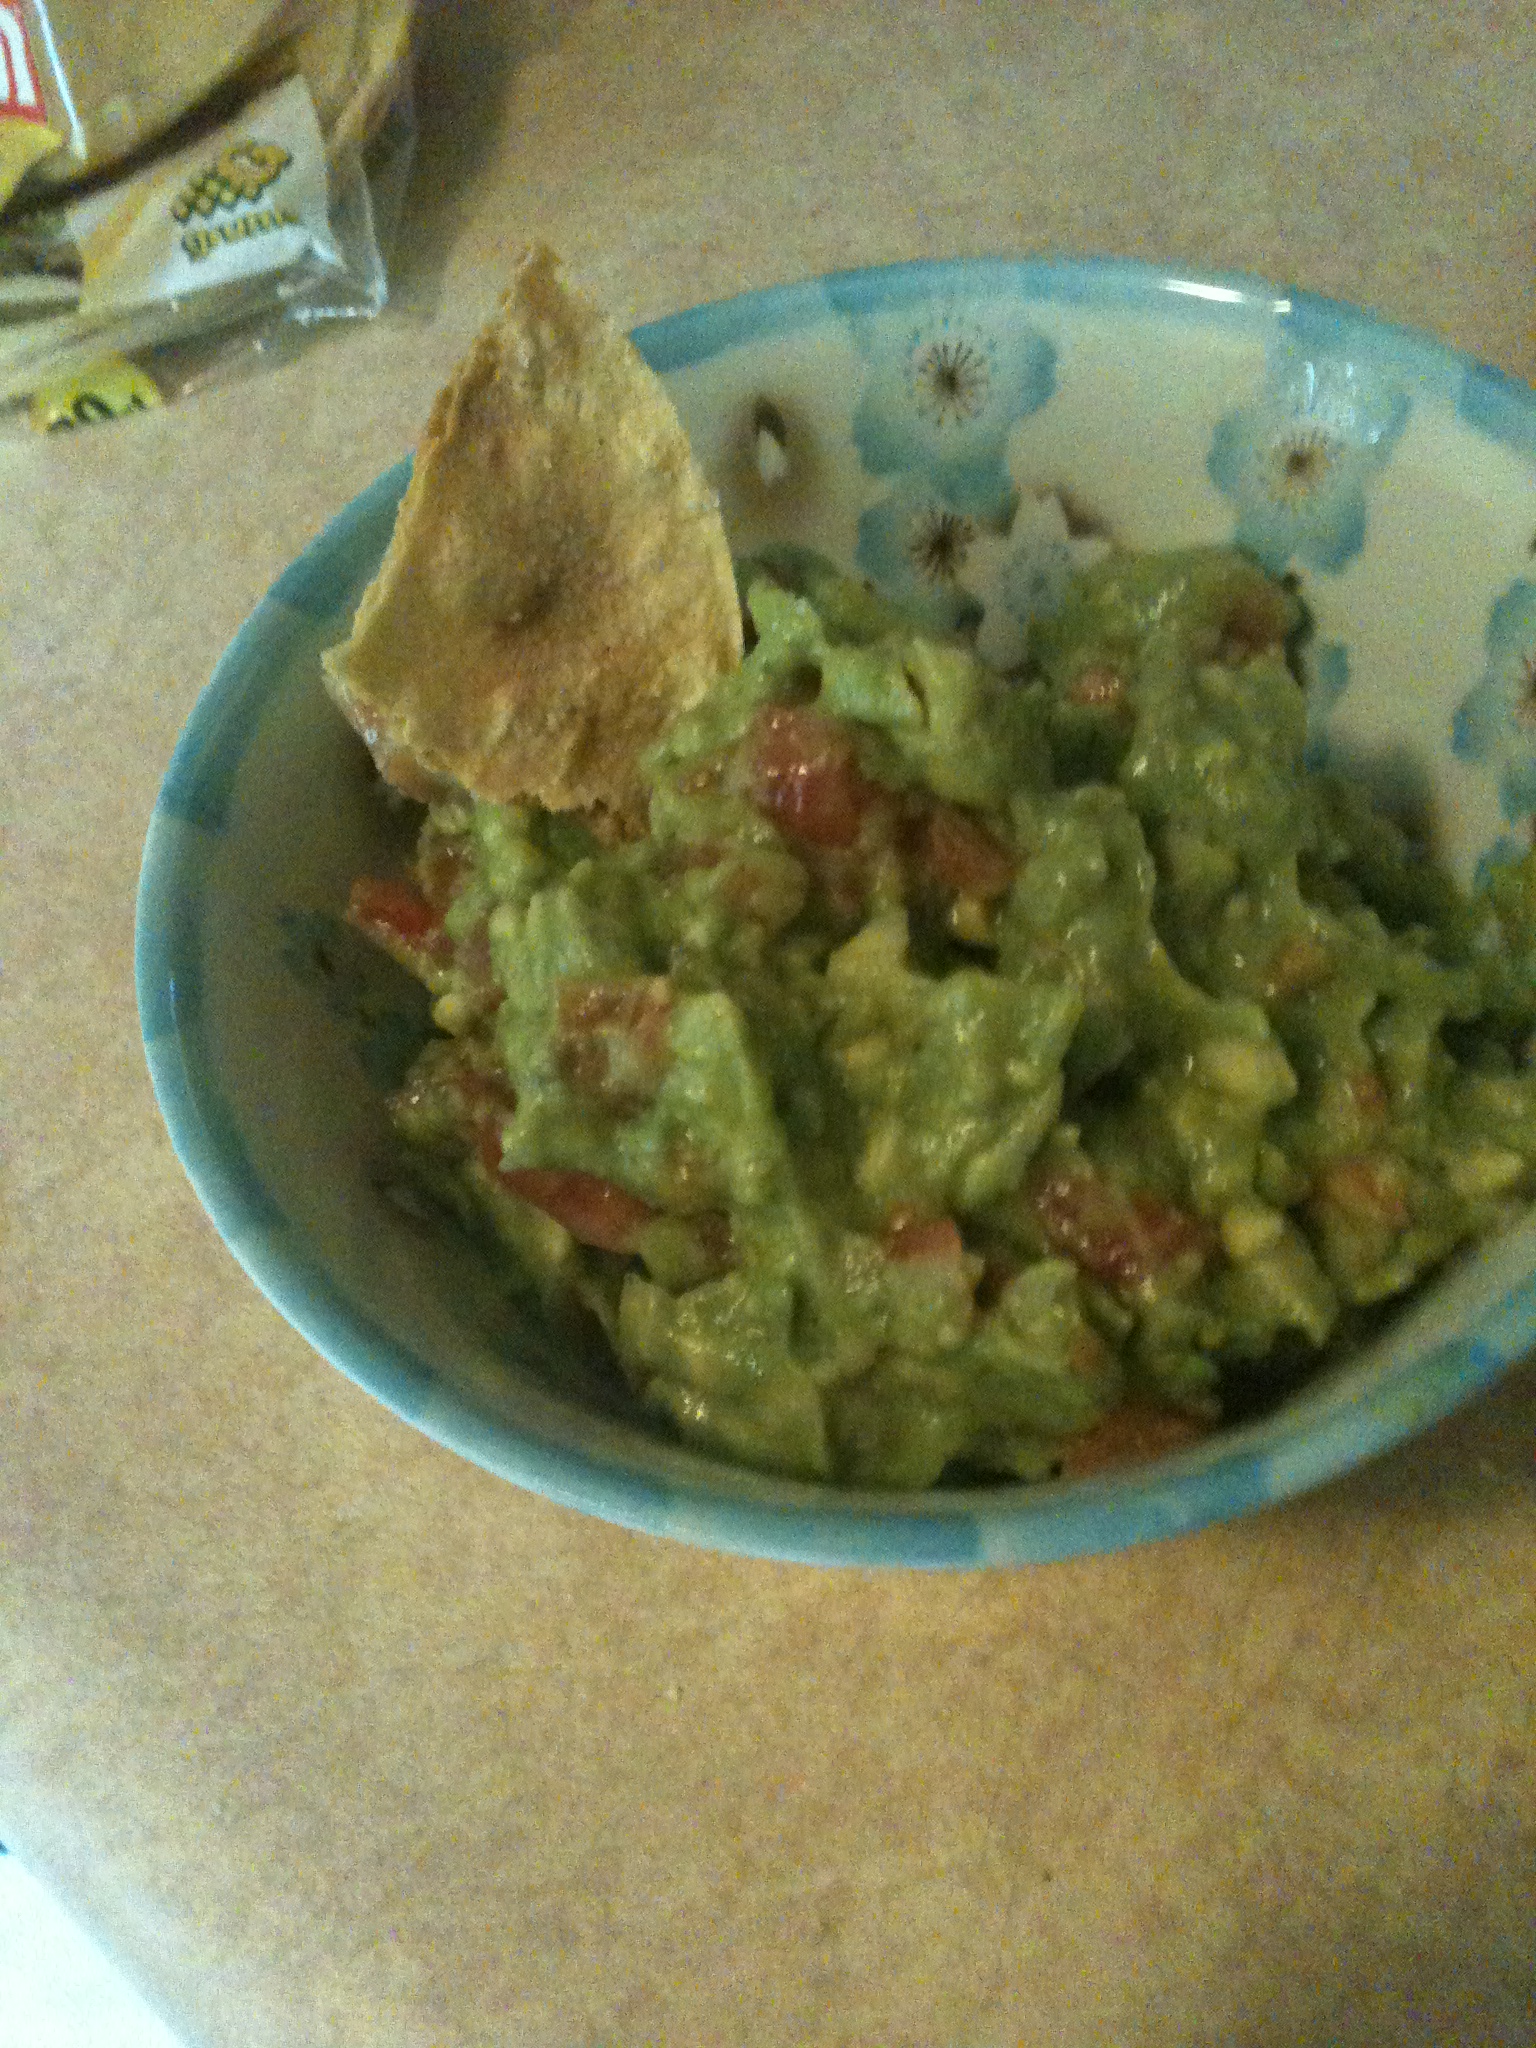
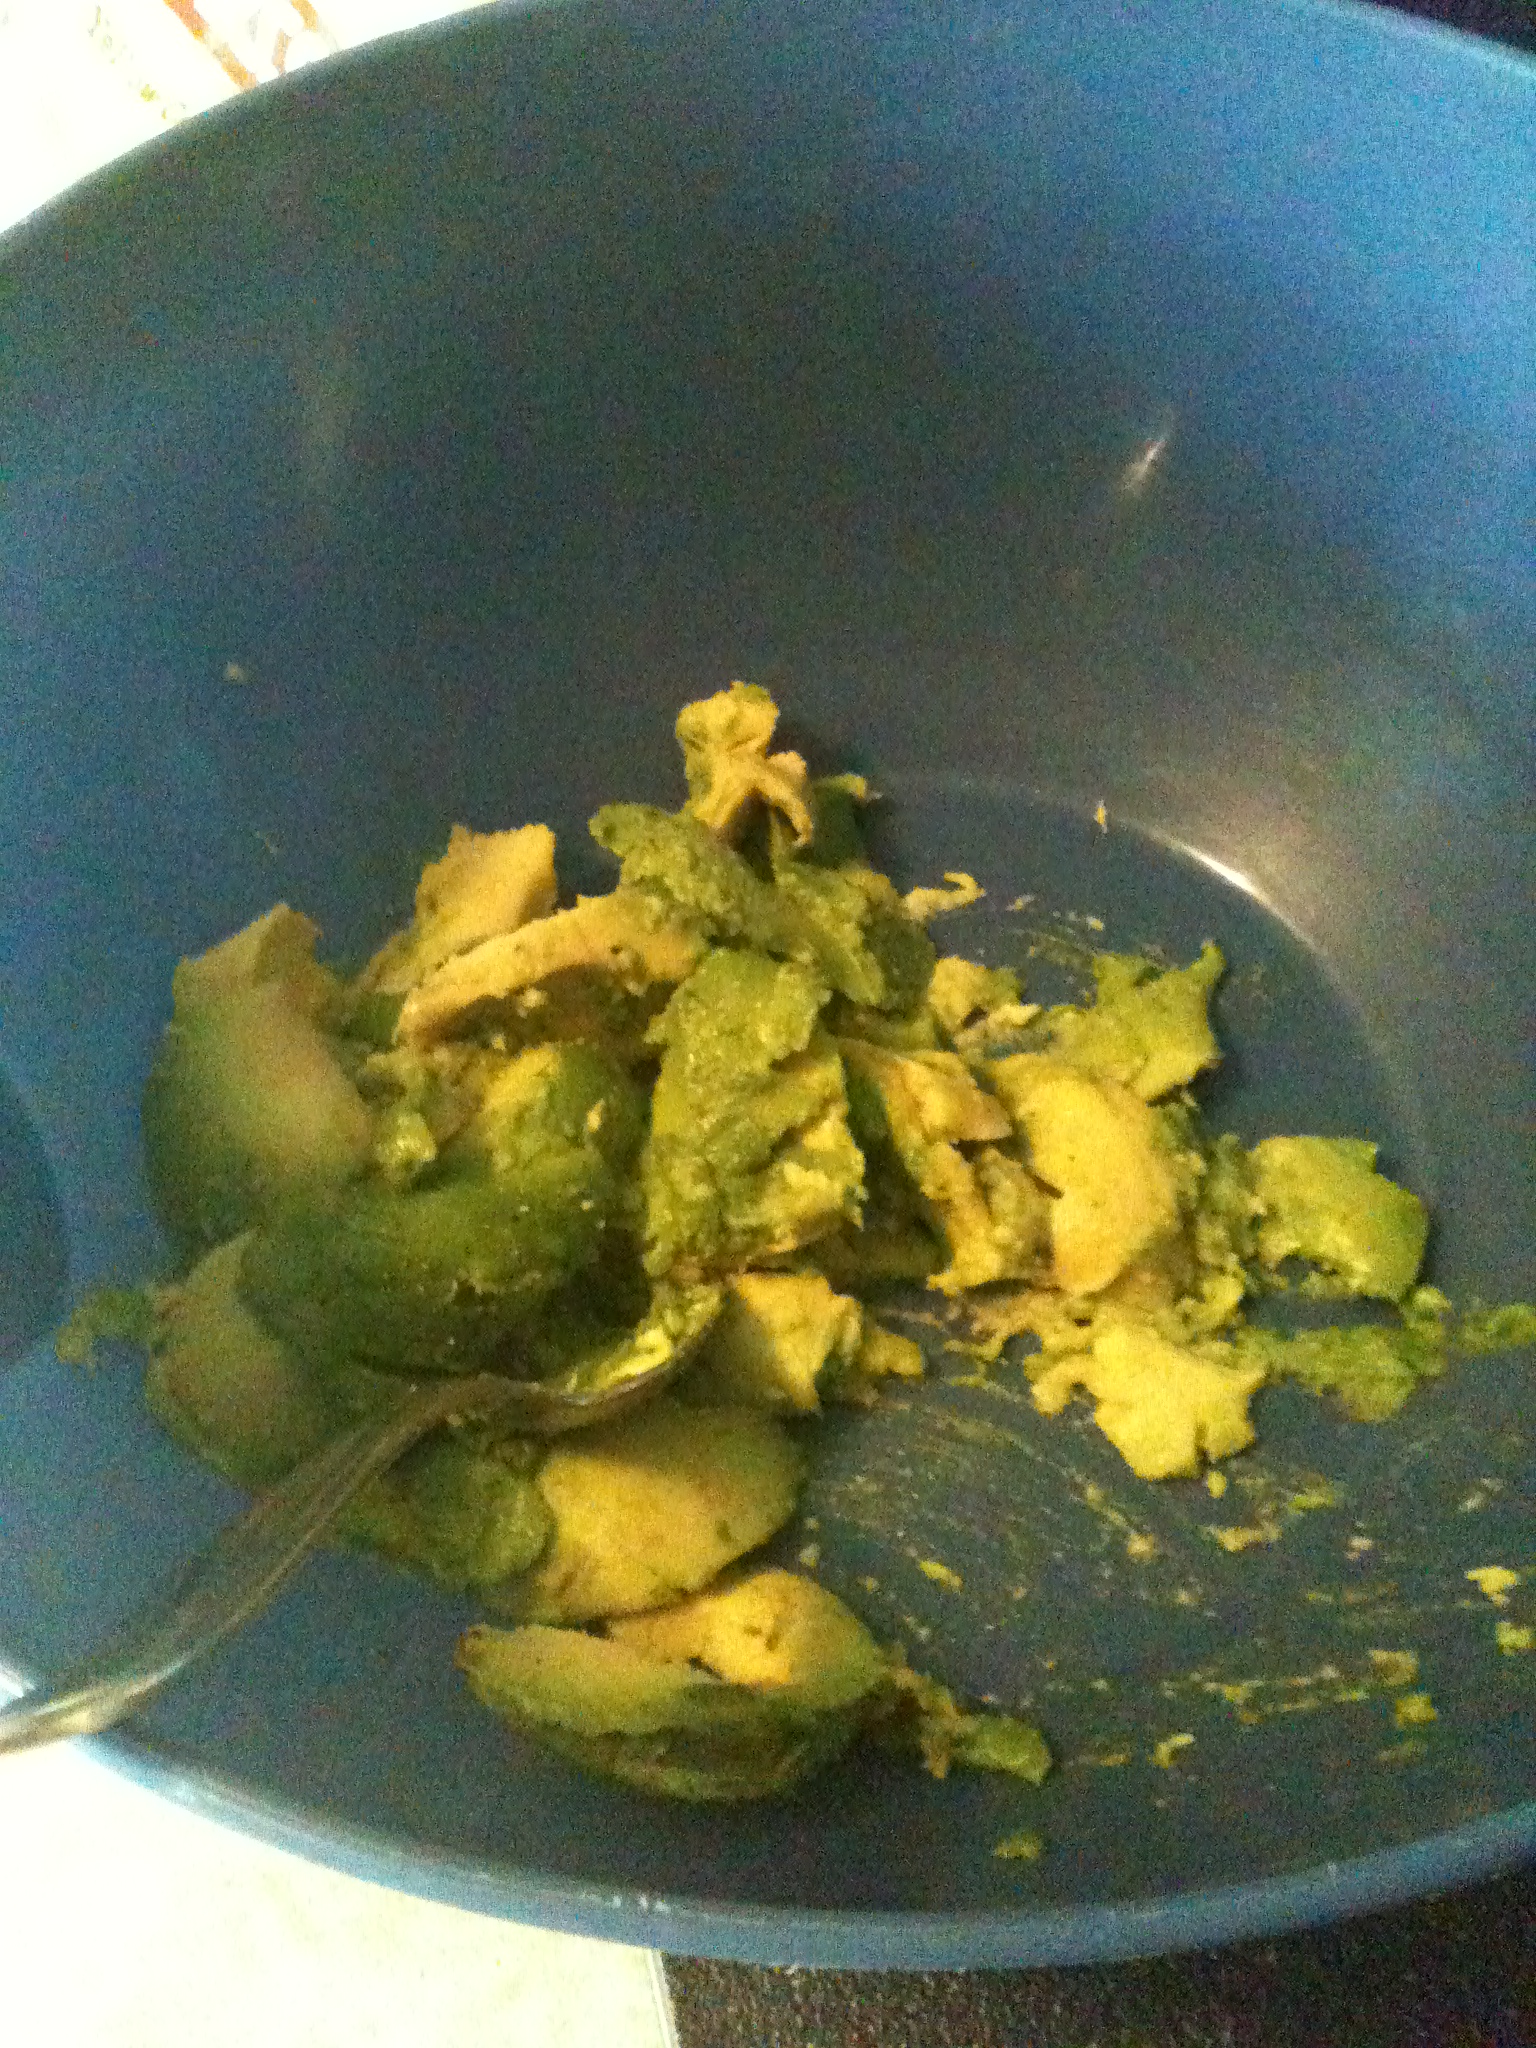
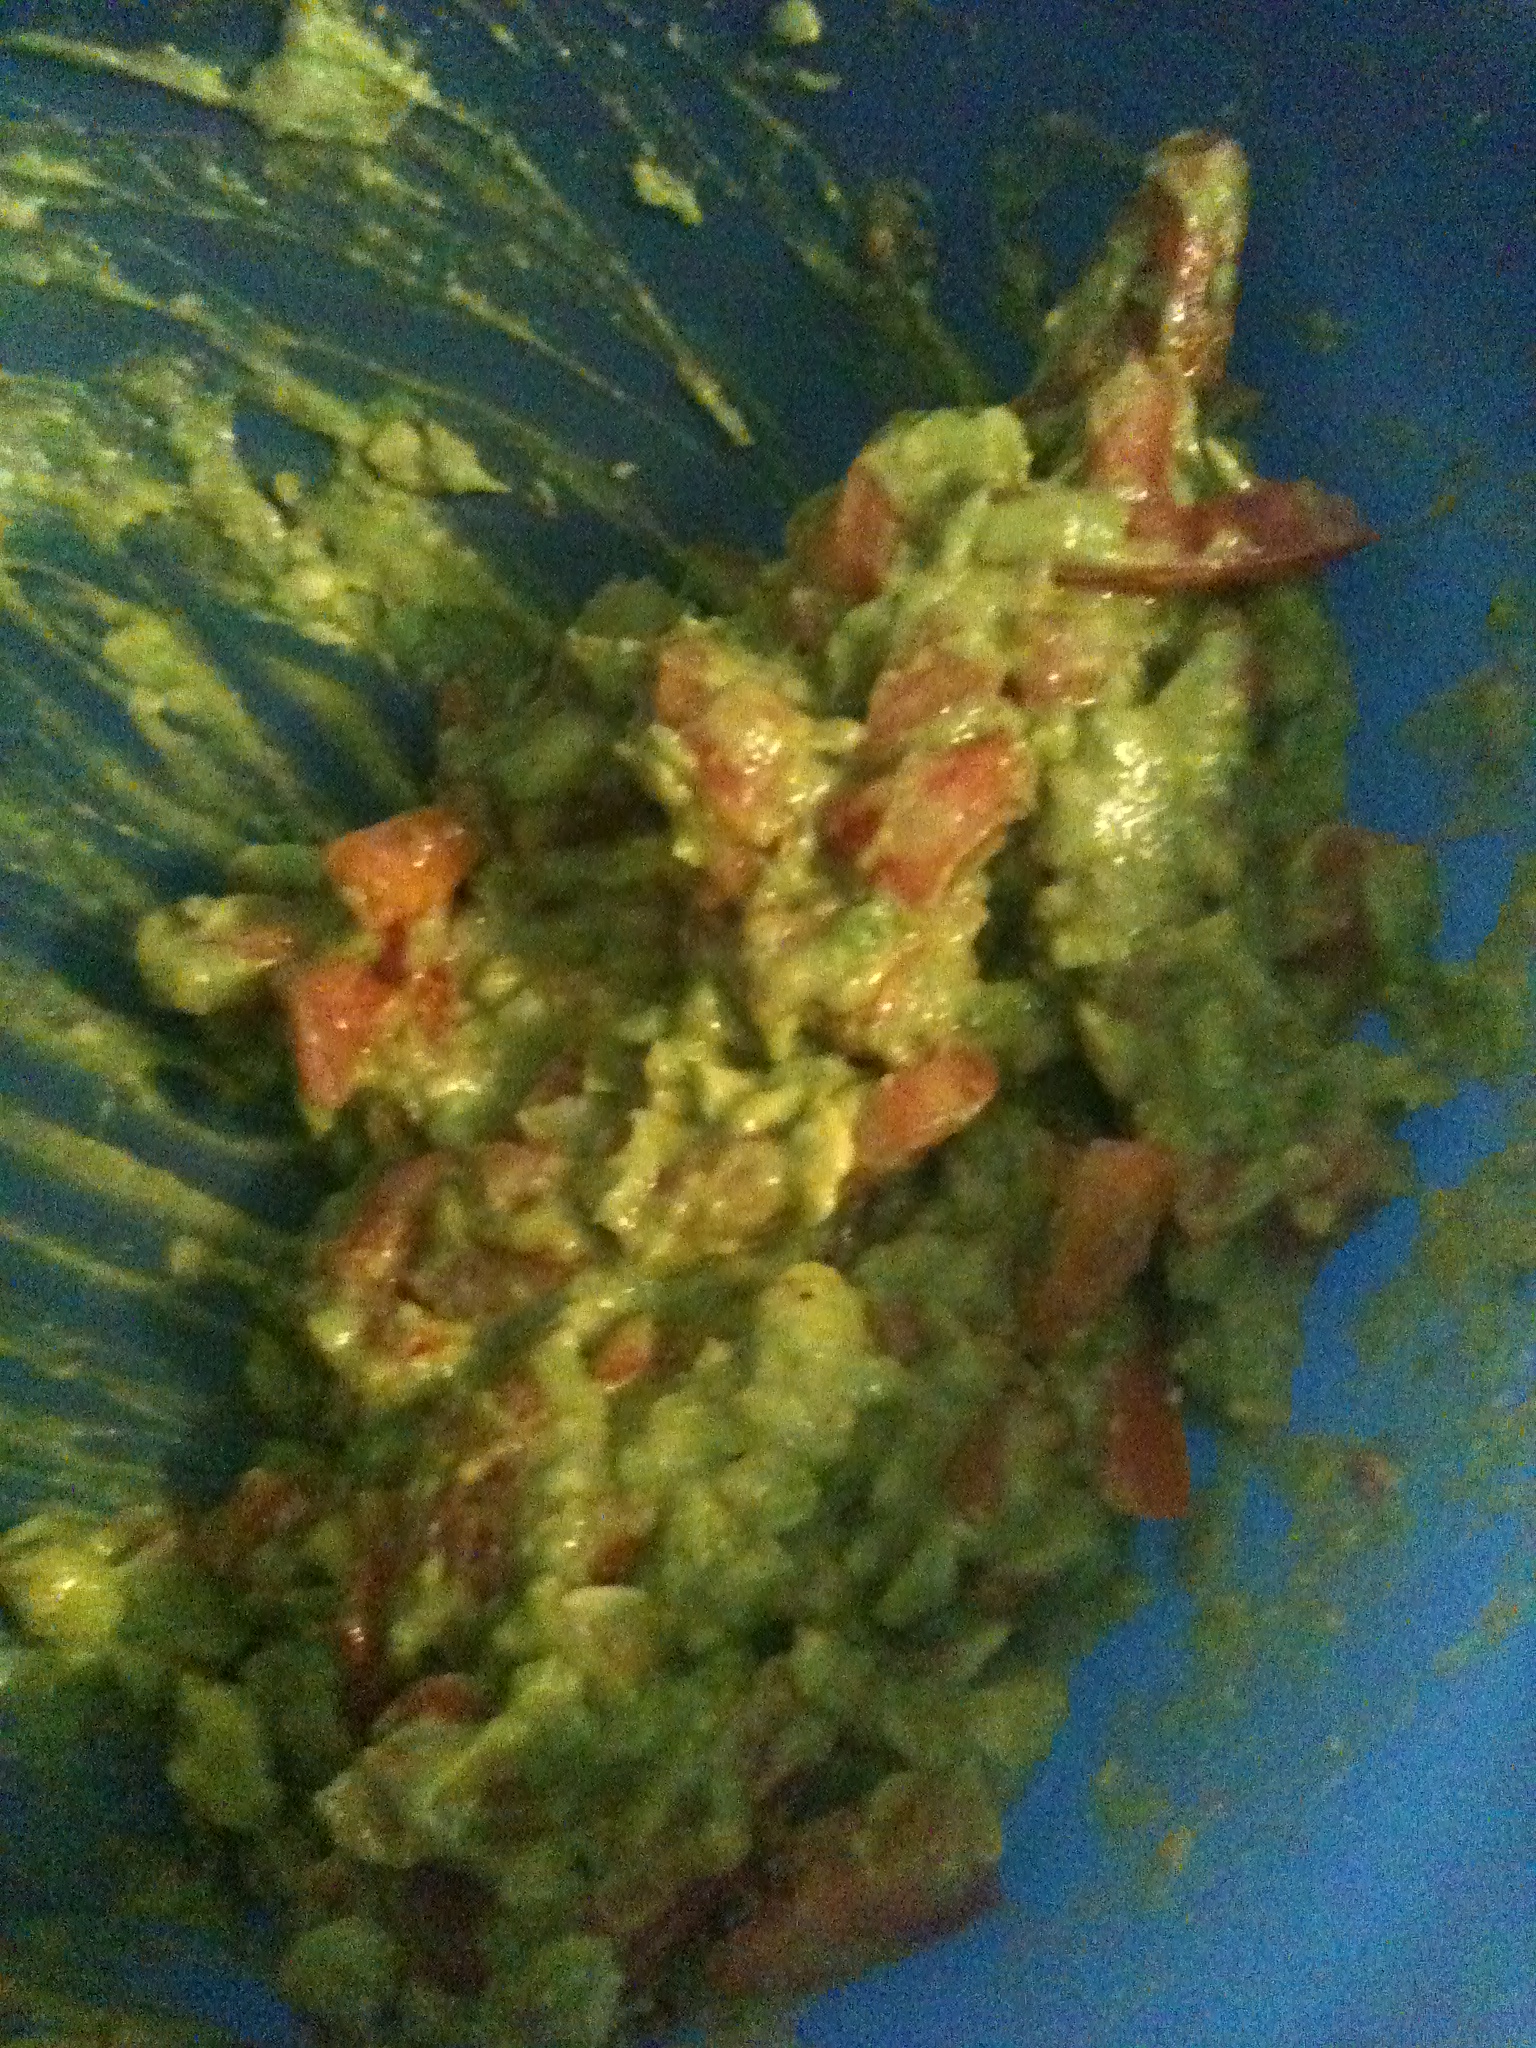
Now that you’ve scooped it all into a bowlmash it up!! And have some fun with it! Next, cut up the lovely in-season tomato (small pieces), the garlic, and constantly put pepper and (especially) salt. Once you feel everything is properly seasoned, cut open a lemon, and squeeze that baby out. The lemon (I know people normally use lime–use whatever you want) will give it that nice zesty taste, but also it will preserve it if you want to keep it in the fridge for a bit. Avocados have a tendency to brown fairly easily.

Now that the guac is all mixed up, GO BACK AND TASTE IT! Make sure it has enough salt, guacamole can be notorious for not being salty enough to fill that need. Did you hear something? DING! Chips are ready! (Just kidding, I still don’t have an oven timer). Pull them out of the oven and let them sit for a few minutes so you don’t burn your tongue (like I did after being over-eager and piggish).

They are goooood. So that’s pretty much it. We loved it so much, we made another batch of chips to finish off the guacamole. One of the best things about home cooking is that you know what’s in the food you’re cooking so you have no reason to feel guilty about it, which is an awesome feeling.

Maybe you have a party coming up (Labor Day is right around the corner) and want some awesome snacks that will impress the neighbors (or friends), but won’t cut a hole out of your wallet. Get this:

A bag of Mission Yellow Corn Tortillas (which contain 30) costs under $3. Avocados are still in season (hurry before fall ends!), so you can get them for $1 a piece. All you need are tomatoes, which can be found for roughly 59 cents each. Now you do the math. I had a whole pan-full of chips from FIVE tortillas. Imagine you did THIRTY? You’re going to have a ton of chips and if you get 4-5 avocados and 2-3 tomatoes, you’re going to have a TON of chips and guacamole, for a huge price of under $10. And trust me, your friends will love you. And invite me too, because I will do anything for a scoop of guac.

Enjoy!

spacer