Archives

A Beginner’s Guide to Meditation

I am no master of meditation. But it is a goal of mine to meditate every day for at least a few minutes. When I was doing it “religiously,” during college, I found such peace and clarity at the end of each session–even if it was just for a few minutes and I had struggled to focus. It was so worth my time and effort. I am slowly getting back into it now and I hope to expand my time each day meditating. Meditation can sound intimidating and weird. Why would I want to sit down and fight with my mind for 20 minutes? Good question. You hone your body through physical exercise, but ignore the mind. Meditation is exercise for the mind, making it strong and honed. It allows you to take control over your mind and emotions when usually they take control over you. It is worthwhile for everyone to try. Let’s start with baby steps.
"Gathering the Light" from the Taois...

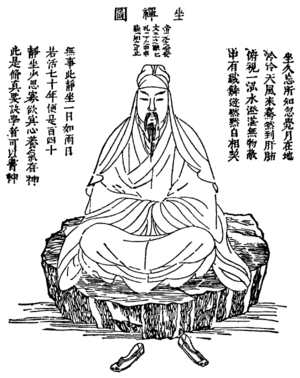
“Gathering the Light” from the Taoist book The Secret of the Golden Flower, translated by C. G. Jung and Richard Wilhelm (Photo credit: Wikipedia)

The best way to start a meditation practice is to devote and hold yourself to doing it just for 2-3 minutes per day. That’s not a whole lot of commitment time–you can definitely do that. I usually do it just before bed and it allows me to go to sleep in a peaceful state. You don’t have to do it at the same time every day, but make sure you get some time in.

So now we’ve got our homework time set of 2-3 minutes per day. It really is the best way to start. Okay, I’m sitting here, closing my eyes–now what! 

1. Understand the monkey mind. Our minds are not easy to control, they go this way and this, seemingly whenever they want to. We need to appreciate the mind for what it is–and not try to fight it by saying, “Empty my mind, fill it with nothing.” Because plainly speaking, that ain’t gonna happen. Especially when you’re just starting out. My Yoga teacher taught me that the mind is like a monkey–it’s jumping around, excited, trying to do and focus on a million things at once. That isn’t going to work for you. So, it’s simple–give it a task. Give it a task so that it focuses on one thing instead of seventeen. That will lead to clarity of the mind. What task should you give it? Read on.

This Statue of Shiva is Approximately 65 feet ...

This Statue of Shiva (Photo credit: Wikipedia)

2. Start with breathing. Bottom line. Once you’re comfortably seated or laying down (everyone is different)–it’s all about your breath. You may find that when you sit down and close your eyes, ready for meditation, your mind is screaming in a bunch of different directions and that everything that you know you need to do swarms your head. Calm that monkey mind down, and begin deliberate breathing. If you’re still struggling, ease your focus by counting with your breaths. I like to start with four counts inhale, four counts hold, then four counts exhale. That way, you’re concentrating on counting the breath, putting all your mind power into regulating it. As you breathe, put a hand on your chest and stomach, and feel how the breath pushes and pulls your body. Putting all your focus into your breath gives your mind a task. It is always that when we don’t try to “empty our minds” do we actually find clarity by devoting it to one thing. If you want, keep this counting breath practice your whole 2-3 minutes–it truly helps.

English: show the shallow breathing. Dansk: vi...

English: show the shallow breathing. Dansk: viser vejrtrækning i brystet. (Photo credit: Wikipedia)

3. Focus on an image. There are many other ways, beyond breathing, to focus the mind. I will list a few. One is focusing on an image. For example, I usually go with a flame or a grain of sand. I picture in my mind, while keeping my breathing steady, and picture every single thing about it–how it feels, if it’s warm or cold, what it looks like, how heavy it is, etc. It helps your mind when you imagine just that image and try to delve into it. Your mind can devote it one way, and it is a meditation to lead to meditative state. Another version of focusing on an image is staring at a real flame, either candle or fire–it can be captivating.

A flame

A flame (Photo credit: Wikipedia)

4. Focus on a word or mantra. This can be anything. A word that means most to you, a word or phrase you try to live by, something you want to see out of yourself–anything. It should focus on positive energy because it will determine your state of emotion and mind once you stop meditating. For me, I usually pick peace or be. I just project it in my mind, let it sound there, envelop all of your senses and focus. Another good way to concentrate.

5. Focus on a sound. Ever hear crickets from your room? Or maybe there’s a creek running out back. Maybe you have a buzzing air conditioner, heater, or humidifer. You could even put on ambient music to focus on as well. Find that sound, listen to it closely, let it be the only thing your mind focuses on. Try to detect where it is, and all the layers that make that sound. Make it so it is the only sound you hear.

6. Scan your body. Another great way of tuning in to your body and mind is doing an imaginative scan and feel of your body. Keeping your eyes closed and breathing deliberate, focus first on your feet. How do they feel? Are they sore? Are they hot or cold? Answer those questions and slowly move up the body, feeling out each part until you reach the top of your head. This may not seem like meditation, but it is–you are focusing your mind on something, excluding any other distractions and strengthening your mind power.

7. Return to your breath when frustrated. Sometimes, it’s just not working out. You’re focusing on the flame, but something in your mind is pulling it away from where you want it to be. Stop, re-center yourself. Count the breaths again and return to the start.

8. Congratulate yourself. Nice work! Meditation is not easy. We often underestimate the challenges for the mind. Once again, as you keep going, it will be easier. Soon that 2-3 minutes will turn into 5, and that 5 into 10 and so forth. Whenever I finish a meditation, I feel as if I could just float upwards on a cloud of warm peace and clarity. It sounds strange, but just 2-3 minutes can do that for you.

Meditation

Meditation (Photo credit: Moyan_Brenn_be_back_on_Jan_20th)

Remember that success in meditation is not “emptying the mind”–it is focusing it. Give it that task, whatever of the above you would like and you will venture into the meditative state. Good luck and let me know if you have any questions or comments!
How I feel after meditation

How I feel after meditation

spacer

Priorities: Putting Your Health First

Sometimes it feels as though we live in a sad world. A world where money and material wealth comes first. A world where personal relations get shoved aside. A world where should-be-top-priorities such as health gets ignored in the dust. Working as a personal trainer, this last one can bother me the most. Here’s why:

People whine and complain about prices of the gym, personal training, or exercise equipment. They complain that the money could be elsewhere spent and that the time working out could be used doing something else more important. I’m certainly not saying that you need a gym or personal training to be healthy (although it does help), but instead towards the overall sentiment about the importance of getting into shape and maintaining your fitness.

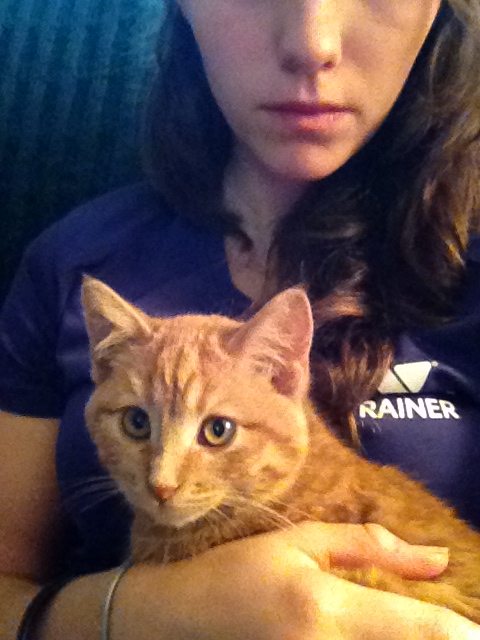
My trainer shirt ... and Sajah

My trainer shirt … and Sajah

So let’s say you suggest you could be doing something else with your time rather than exercising. Alrighty, let’s look at the building blocks of life. Health…hmmm…if you take away health, it is seeming to my eyes that everything falls apart with it. Take away health, and what do you have? Seriously. Sit on that question. Don’t just brush it off, I want you to think about it. Think about all the other bills or activities you pay for and balance it with the necessity of life: being healthy. If you aren’t healthy, you aren’t going to live the quality life you could.

And then we meddle over to the topic of money. It’s often the biggest excuse I hear. Not enough money for a gym membership? Hmmm, okay, let’s examine that. I want you to take a look at all your entertainment bills–television, cable, internet, etc. I am confounded to think that television (which is equal or more to gym membership cost per month) could weasel its way to be more important than the building block of life–HEALTH. Re-examine what you spend your money on. It could be that you know (deep down), the only way you will get into a continual exercise routine is if you subscribe to a gym. Step up, cancel unneeded entertainment services, put your health first, and sign up.

Health

Health (Photo credit: Tax Credits)

Now, say you’re borderline obese or diabetic, and have a strong dislike for working out. In fact, the only way you workout is if you are held accountable by someone else. Or, say you’re a person open to working out and exercising, but unsure about how to start. In both situations, a personal trainer would be dandy. I have one client who will not exercise unless she knows she’s coming to see me. She knows I’m waiting for her and despite how tough the workouts may be, she shows up each day. And she has gone from borderline obese down to overweight.

Often you find, “Personal training? There’s no way I could afford that.” Don’t be so quick to write it off. Many gyms have discount deals and some even have scholarship forms you can fill out to get a discount. They want you to sign up, so give them the chance to make it easier for you. Let’s take a look at the other side of the situation. Why do you think you can’t afford that? Perhaps because you spend your money on other things. I find so often, it is–ironically–that people go out to eat too much, causing them to be more unhealthy, racking up the restaurant bills and stopping them from hiring a personal trainer to change their life. Because that is what normally happens.

Personal Training Overlooking Melbourne Catego...

Personal Training Overlooking Melbourne (Photo credit: Wikipedia)

This may sound like a lecture, but it is a plea. A plea for you and/or your loved ones to realize the importance of health and make it a priority over other things like entertainment or dining. So look at your account book and balance the budget to fit getting healthy and active in this year.

spacer

Gift from the East: Tiger Balm

History Lesson: For thousands of years, tiger bones were used medicinally in China. In the late 1800s, a dying Chinese man asked his sons to complete his life’s work. The Aw brothers completed the herbal mixture known today as Tiger Balm in Burma. Manufactured and imported from Singapore, Tiger Balm now contains menthol and camphor as active ingredients, as well as four other oils and some other ingredients to add volume. It’s named after the man who helped develop the marketing strategies that made Tiger Balm so popular throughout Asia, and it’s made its way to the United States.

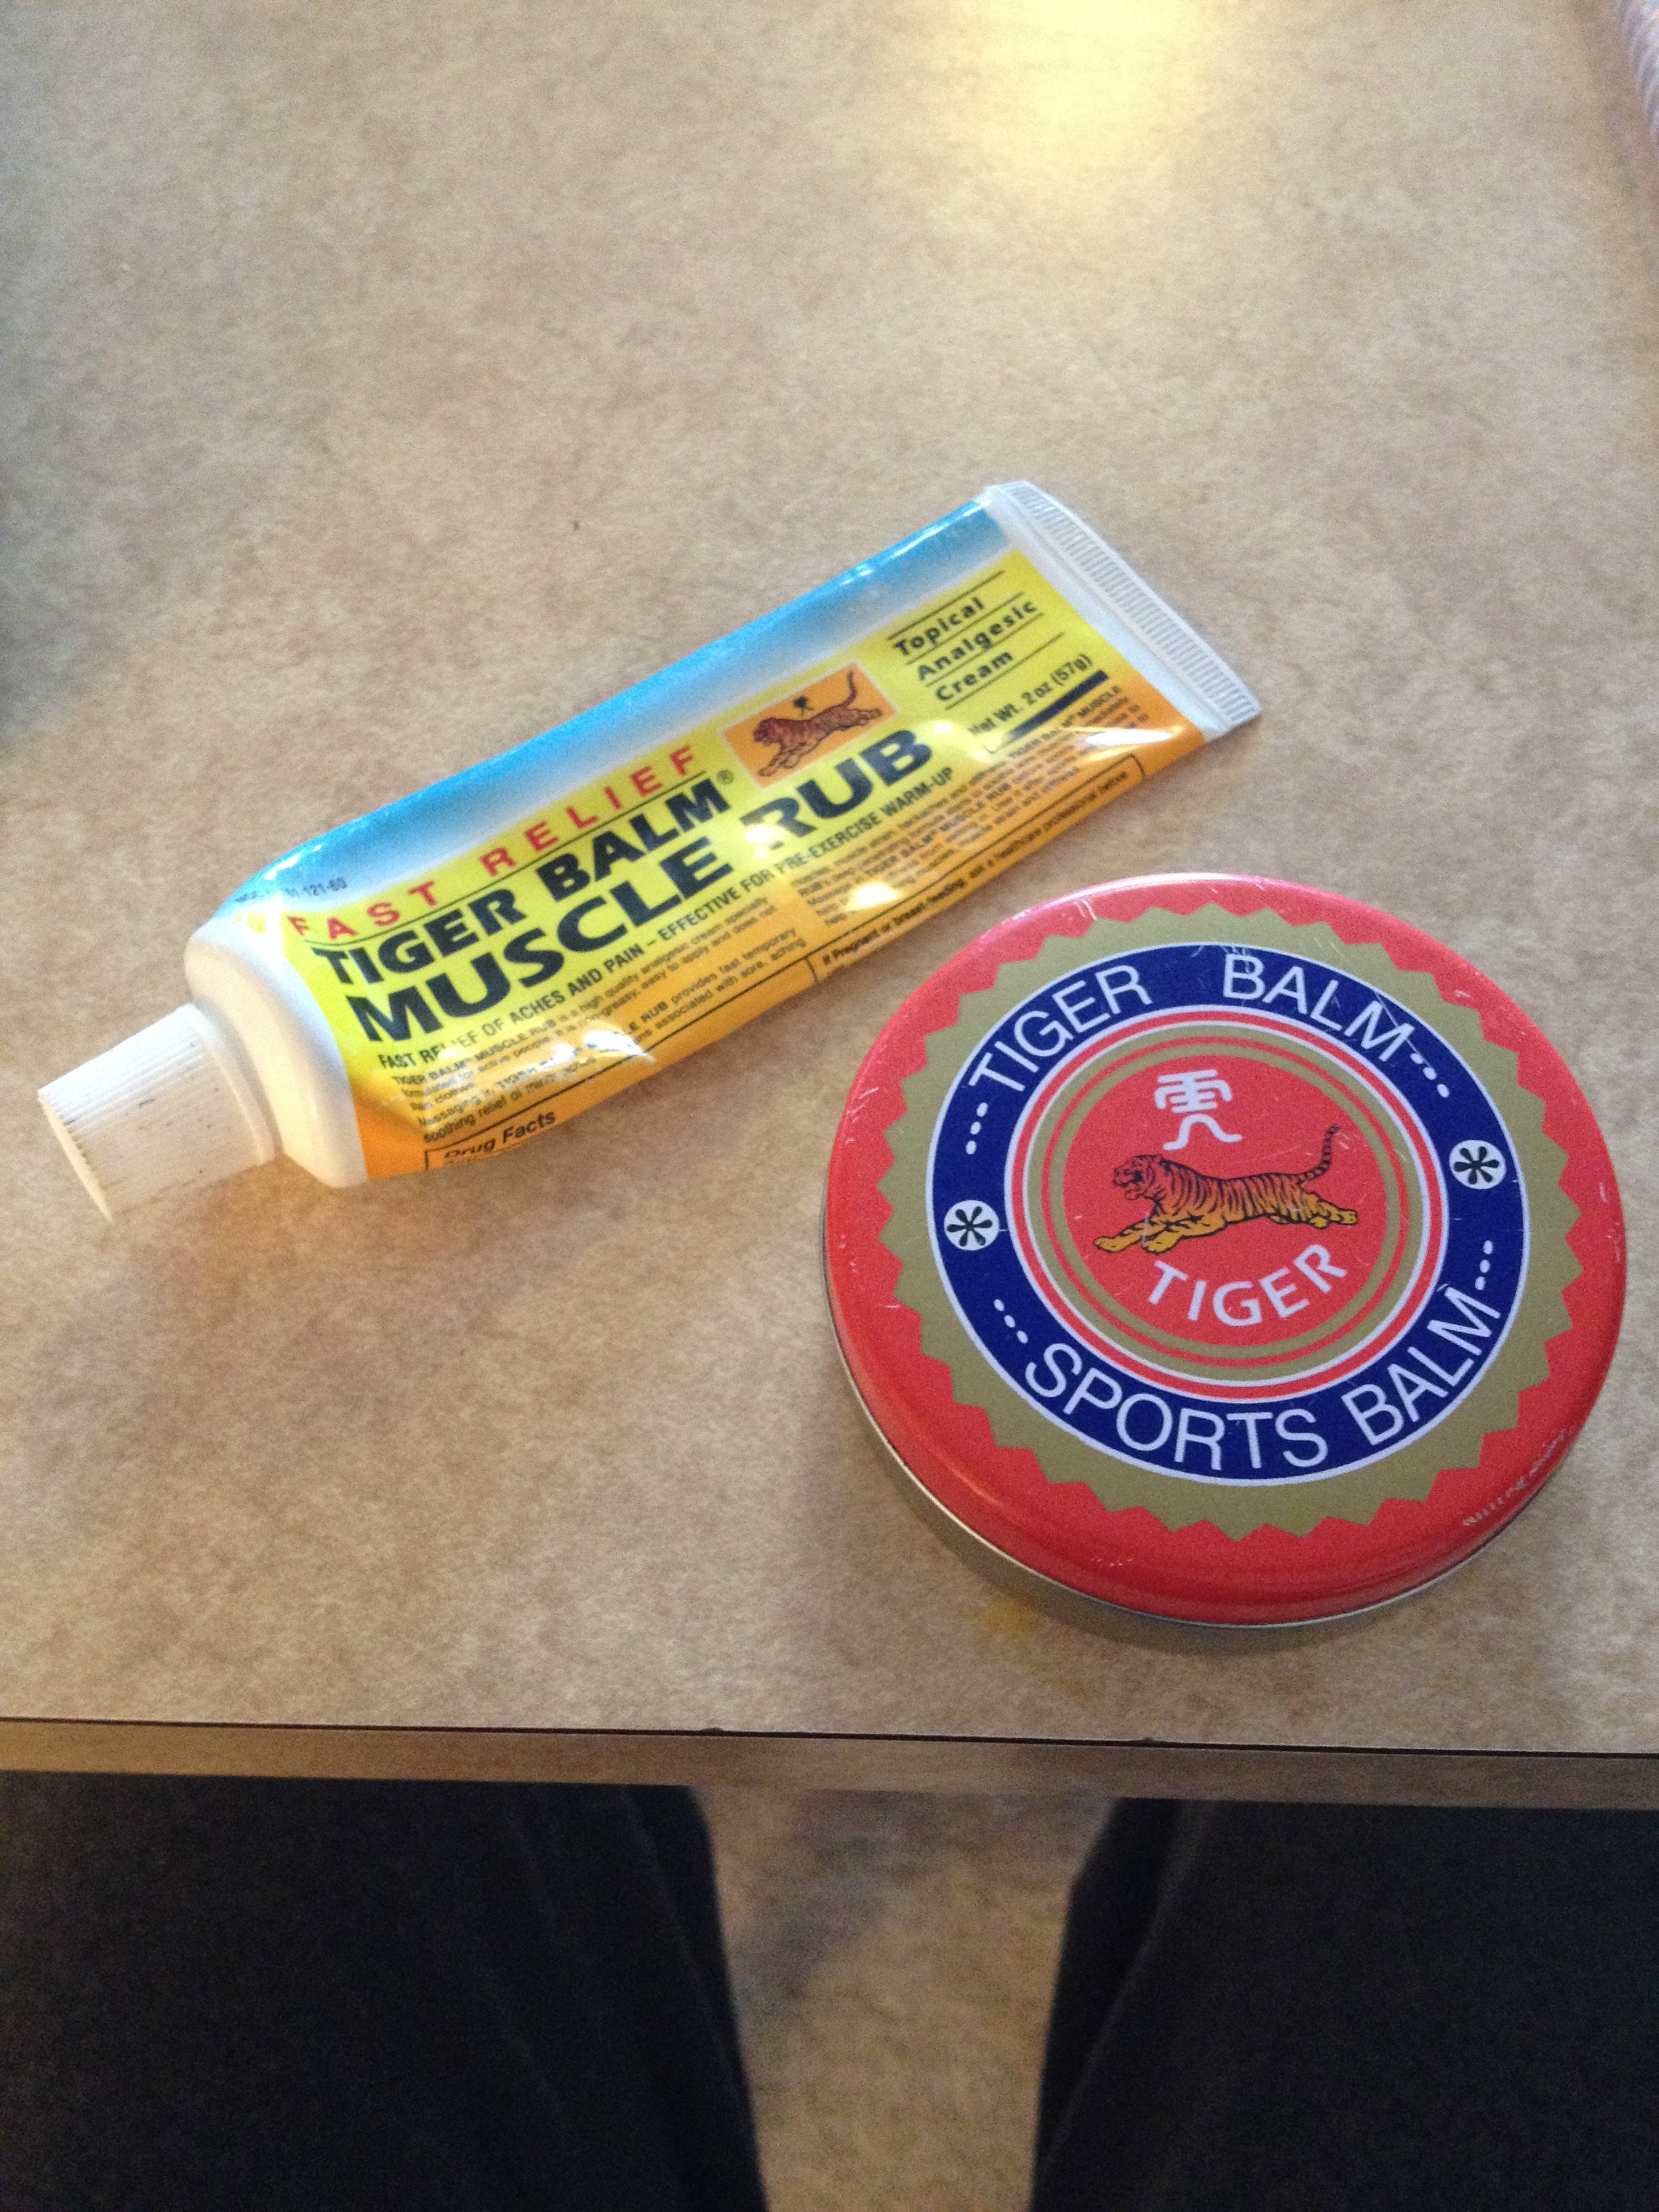
 Tiger Balm
Why do I know so much about Tiger Balm? Because I use it for everything, nearly everyday. I buy it in bulk online and there are many different products for different purposes. The three that are in the house right now are: Large Pain Relieving Patch, Fast Relief Muscle Rub, and Ultra Sports Balm.

If you have congestion, put some under your nostrils. For a cough, apply it to your chest and throat. Headache, put some on your neck and temples. Stomach aches and digestive problems, apply to your abdomen. Even put it on really bad mosquito or fly bites to relieve the itching sensation.

However, the reason I made this post because this is hungry and fit, is related to muscles and working out. Aside from the other specialty products like shoulder and neck rub, red, white, arthritis, etc. the three listed above are the ones I prefer from experience.

Tiger Balm Muscle Rub: Before workouts, I apply a small amount to my muscles that are going to be pushed very hard. I massage it in vigorously and allow the cool burn to set in before starting my workout. I use it before strength training, hard runs, really anything very intense. I also use it before swims even though you’re not supposed to mix these products with water, i.e. showers and swimming without some time in between. If I have any muscle pains while standing (see glossary), then I’ll apply a bit if it’s a knot or something acute.

Tiger Balm Sports Balm: This is my drug of choice, since I don’t drink alcohol (more than one serving), smoke cigarettes, or do any actual drugs. This is what I apply to various body parts when they are not feeling well, see the list above. I also apply it to my joints in a generous amount before a workout. I will also treat joint pains with this while standing. For a leg workout, I will apply this to my knees and ankles. I would recommend everyone keeps it away from their pelvic/groin/hip area. This product burns much more and is VERY pungent.

Tiger Balm Pain Patch: I use this for when I am in extreme pain, typically in my lower back, or any part of my back really. Sometimes I will throw one on my stomach if I’m in extreme pain. They stick relatively well, but don’t last for extremely long, so don’t try to walk around with one. Although, if you’re using one of these you shouldn’t be walking around.

So, I recommend trying something different and going on Amazon and buying some Sports Balm at the very least. I honestly believe everyone should have a tin of this. If you’ve been lifting heavy for the first time and you’re form isn’t great you’ll start to develop early tendonitis like symptoms. Throw some of this on your elbows before hitting the bench press again and keep those elbows tucked in, and you’ll feel much better.
spacer

Fitness Glossary: Part 1

So, we have tons of ideas for new posts. We could probably write enough in one day to last for a few weeks based off our ideas. With us getting in better shape (Alana slower than I unfortunately due to her injured ribs) there are going to be (hopefully) more posts about working out! Our workouts, workouts you should do, etc. Before we get into that we have to make sure we’re somewhat on the same page, so I want to throw a short and surely not complete glossary of terms that would be found in posts about our workouts.

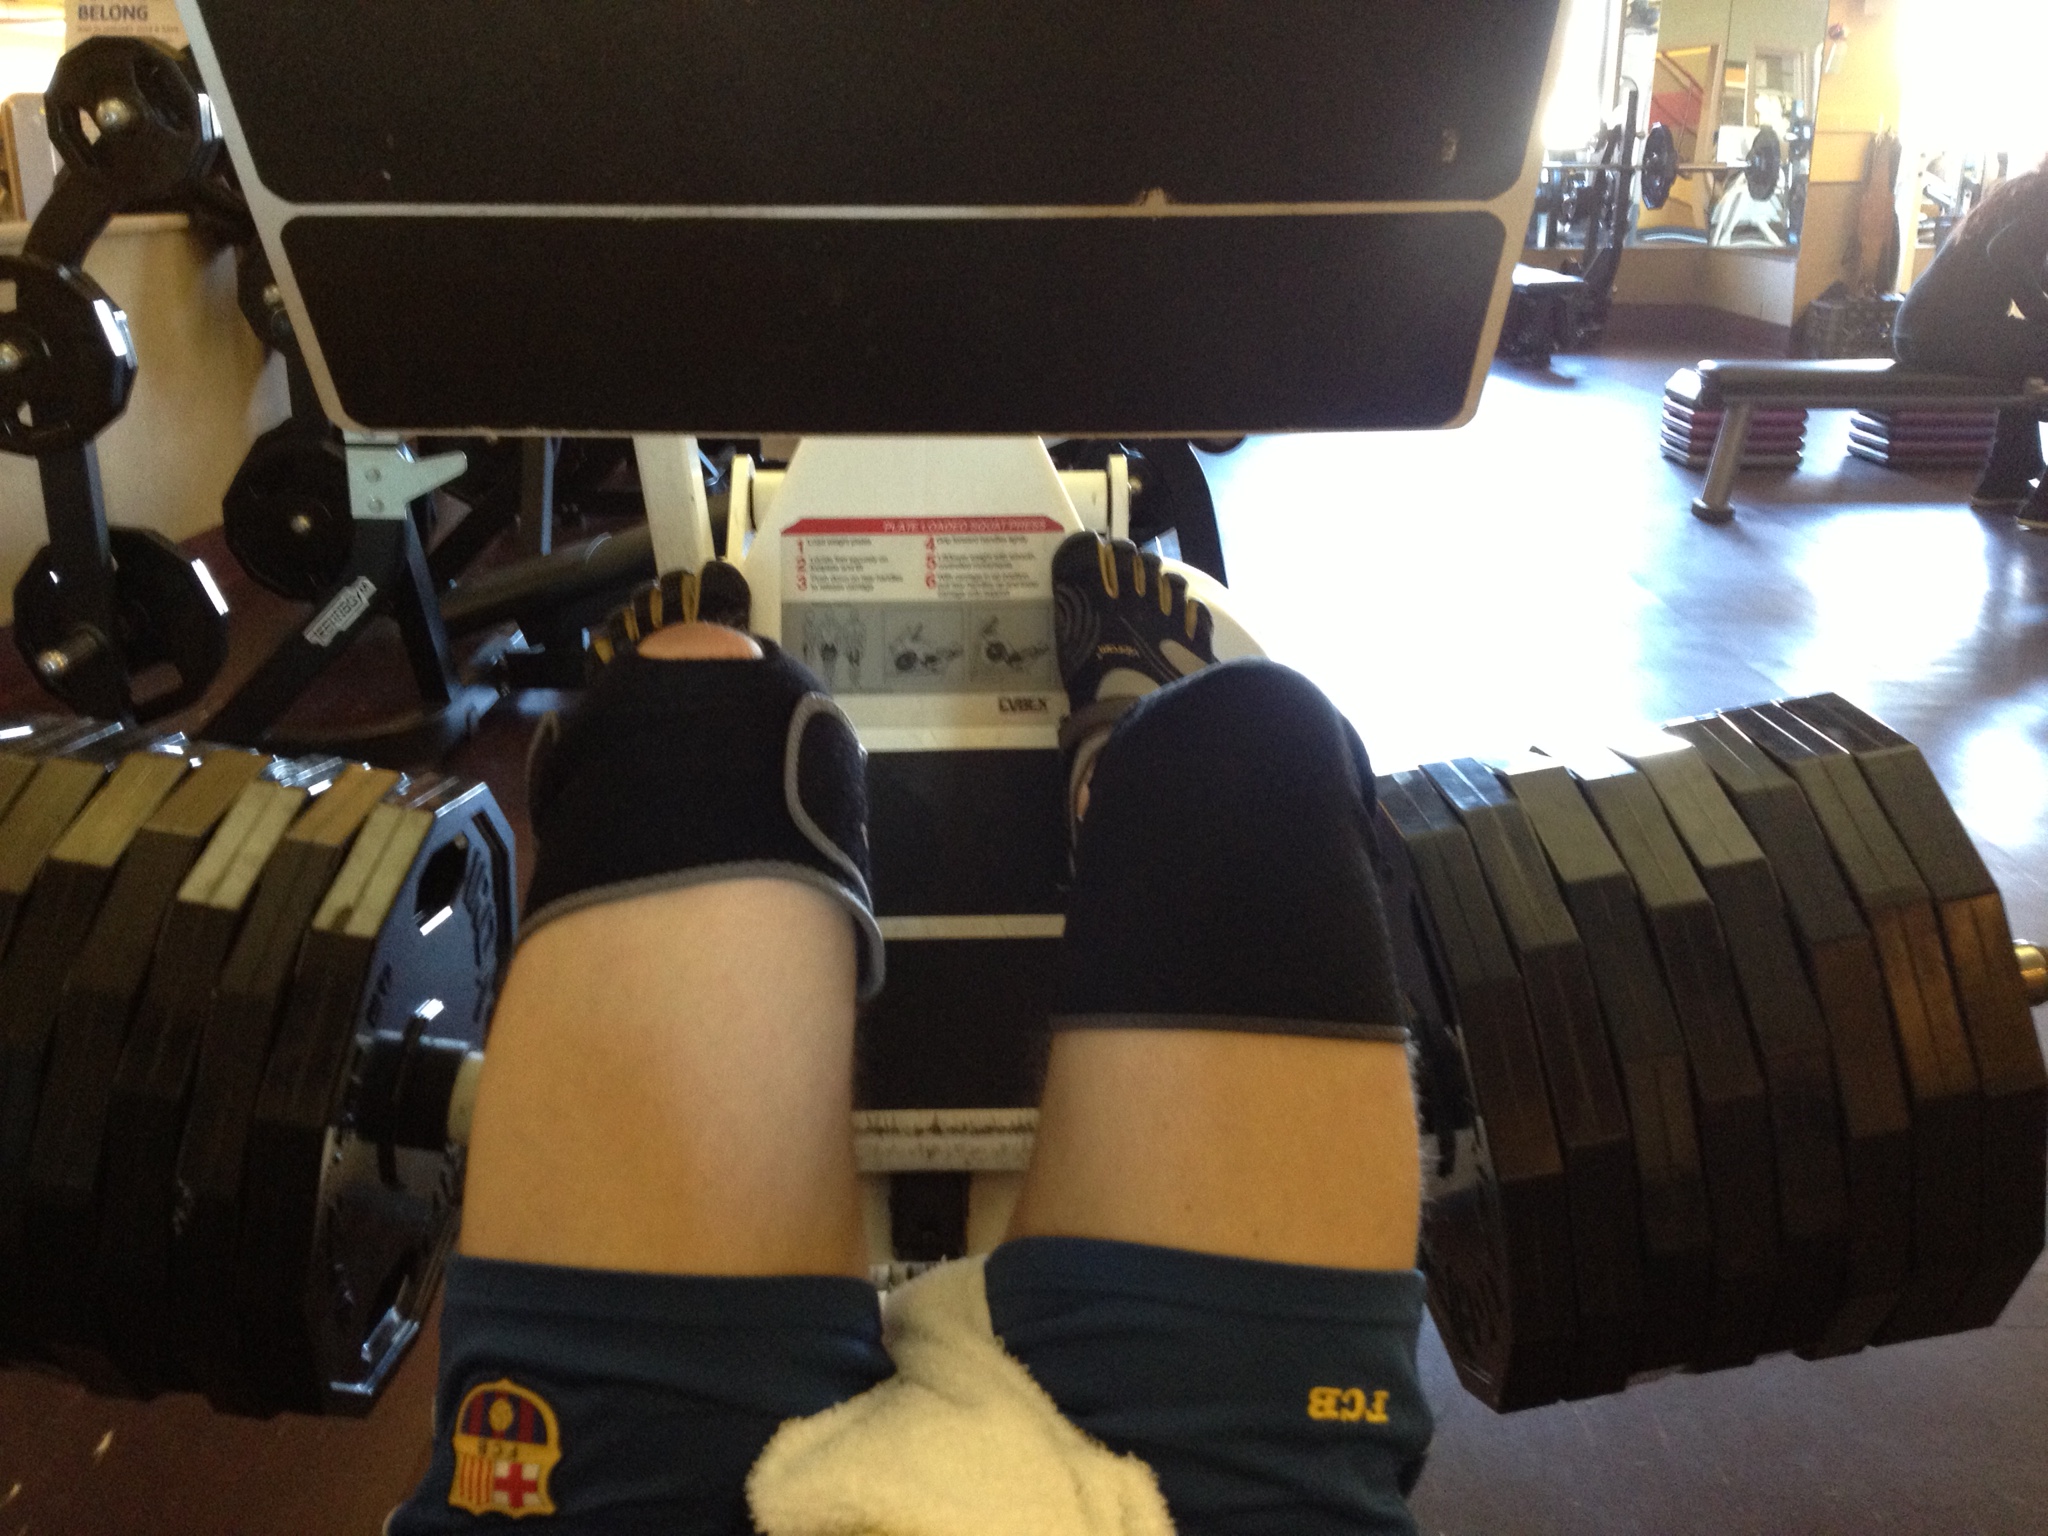
Leg press
HUGE DISCLAIMER: Despite knowing the “technical” terminology for most exercises and matters fitness and physically related, I often use my own terminology; so I’ll try to make it clear when that occurs.

  • Isolated: An exercise that involves one joint movement.
  • Exercise: A physical (or mental) activity that increases a specific aspect of physical (or mental) fitness
  • Fitness: A major factor to your level health and well-being
  • Iso: Doing reps with a single body part (i.e. using one leg at a time on the knee extension)
  • Reps: aka repetitions, the amount of properly executed times you complete an exercise
  • Sets: A full amount of reps within an exercise without taking rest
  • Compound: An exercise that involves two or more joint movements.
  • Push: generally chest, triceps, shoulders, body parts that are used to bring something away from the center of your body
  • Pull: generally, back, biceps, forearms, body parts that are used to bring something towards the center of your body
  • Hypertrophy: Increasing muscle mass or size
  • Atrophy: a decrease in muscle mass or size
  • Assisted: An exercise that generally involves your weight or the weight you are trying to move being decreased by an outside force
  • Barbell: That really long, typically five to seven feet, straight piece of cylindrical steel
  • Dumbbell: The weight that has fat sides on both ends and fits in a single hand
  • Body weight: Completing an exercise that doesn’t involve added weights, i.e. pushups and pullups normally
  • Close grip: Having a narrow grip, keeping the weight closer to the body
  • Wide grip: Having a grip with a greater distance than shoulder width, keeping the weight further from the body
  • Normal grip: a grip that is typically shoulder width apart, very neutral
  • Cable: The apparatuses that allow you to attach various grips to a hook that is attached to a cable
  • Circuit training: A series of exercises that immediately follow one another, is almost always a great source of cardio
  • Super set: Completing two exercises one after another with little to no rest
  • Giant set: Completing three exercises in succession with little to no rest
  • Monster set: Completing four exercises in succession with little to no rest
  • PR: personal record, the only number that matters since we never compare ourselves to anyone else. PERIOD
  • Range of motion: The amount of distance that you cover in a certain rep of an exercise depending on the muscle you are trying to build. For instance, when doing a squat, a full range of motion is typically bringing the line from your butt to your knees to a parallel with the floor
  • Weight: the amount of poundage or kilos or stones that your body is or that your body is trying to move
  • To failure: When you perform the maximum amount of reps possible, any further reps are incomplete and thus failing
  • Strength training: Lifting heavily (relative to what you can and should lift) with full range of motion and taking the longest rest intervals to increase your power
  • Hypertrophy training: When you lift slightly lighter than strength training for more reps with full range of motion but take shorter rest than in strength training
  • Abduction: lateral movement away from the center of the body
  • Adduction: lateral movement towards the center of the body
  • Active rest: When you maintain activity during rest periods, i.e. jumping rope between sets of bench press
  • Aerobic: you can talk while working out, getting your heart rate somewhat high and activating those lungs to a certain degree
  • Anaerobic: out of oxygen, you’re pushing it so hard that you’re lungs and respiratory system can’t keep up with you, this is not for beginners
  • BMI: aka body mass index, a useless number that should be removed from existence, don’t give it any attention
  • Carb: Carbohydrates, your major supplier of energy and something that you should not keep out of your body because of some crazy diet plans that exist
  • Carb loading: taking in an absurd amount of carbs in order to maintain energy throughout intense periods of training (I usually carb load in the morning, just me)
  • Protein: the good stuff that comes in fish, meats, powders, and tons of other forms, you need it to perform protein synthesis and repair the muscles that you tear apart while training. You can supposedly only take in so much per meal, but try to eat your body weight (or the body weight that you desire better yet) to reach your goals
  • Fat: Something that can’t be neglected, you want to burn it but make sure to eat some healthy fats too in order to protect yourself, think avocados
  • Calorie: The energy value of food, a unit expressed through heat, you want to burn these in a caloric deficit if you want to lose weight, you want to create the opposite caloric deficit in order to gain weight (they say 3500 equals a pound)
  • Positive: the concentric phase of a motion, a muscle shortening or contracting, i.e. the upward motion of bicep curls, typically good to do these slow or explosively, but controlled
  • Negative: the eccentric phase of a motion, the muscle lengthening phase of a contraction as it stretches, usually good to do these slowly
  • Cross-training: switching up your routine and spicing it up by adding variety, think mixing yoga with a nice bike ride one week and then doing a swim after a strength training session
  • Cool down: Making sure that you do a nice easy exercise to allow your body to get back to its normal standing form, preventing it from being shocked and increasing your chance of injury
  • Injury: Actually hurting something seriously, tearing a muscle, breaking a bone
  • Hurt: You’re in pain, but it’ll go away without major trouble, like a headache
  • Standing: Your normal state of being
  • Ectomorph: You were born with a small build and will have trouble gaining weight, which usually is an ectomorph’s goal
  • Endomorph: Born with wide hips and a larger frame, fat stores itself around your organs and is really hard to burn, but not impossible
  • Flexion: bones on both sides of a joint come closer together, i.e. bicep curls (Lower arm to upper arm, no fancy bone names here)
  • Flexibility: ability to move joints in a full range of motion, everyone should really try to increase their flexibility, this is normally neglected
  • Interval training: don’t confuse this with circuit training, this is normally associated with one sort of exercise, imagine sprinting for thirty seconds, then walking for two minutes and repeating this a bunch of times instead of just jogging for twenty minutes at the same pace
  • Lactic acid: to not get into scientific terms, this stuff prevents you from going all out and doing an endless amount of reps, as you reach an anaerobic level, your body can’t keep up with removing the lactic acid that builds up in your blood
  • Metabolism: A complicated scientific process that involves tons of different factors for every person, but if you want to lose or gain weight, you have to regulate your metabolism through proper exercise and diet. If you want to lose weight, don’t just do a bunch of fat burning exercises and eat nothing… focus on increasing your metabolism instead
  • Muscular endurance: Making sure that your muscles have the endurance to sustain longer periods of activity, i.e. that guy can bench 250 lbs one time and 150 lbs five times, you can bench 250 0 times but 150 lbs ten times, he probably has you beat on muscular strength but you win for muscular endurance
  • Elliptical: Cardio based machine that reduces or tries to eliminate impact on joints
  • Treadmill: cardio based machine that does not reduce typical joint impact
  • Recumbent bike: the bike that is parallel-ish to floor and has a back, reduces lower back pain and increases focus on hamstrings and glutes
  • Upright bike: The other bike in the gym that hurts your lower back and has broken foot straps all the time, focus on quads
  • Quads: Your quadriceps, those huge muscles in the upper front part of your leg, my favorites
I could probably keep doing this for hours and hours. So I’ll stop here and make this fitness glossary part 1, with the other parts to come.
spacer

Boulder’s Tastes of Korea

Ever since moving to Boulder, we’ve been experiencing all sorts of great ethnic and domestic cuisine. Dot’s Diner, which we visited today, is Alana’s go-to breakfast spot; Tibet Kitchen is our favorite lunch special; Kho’s Asian Bistro in Longmont might be our top choice for dining out. However, that top spot was potentially challenged in the past few days as we decided to give two Korean spots in Boulder a try. The bar was set high because of past experiences, but I’m an easy going guy sometimes. So here are the two comparative “restaurant” reviews.

Friday night, after Tangier Moroccan was closed because of a private party (very unreliable spot), we crossed the street to finally give Korea House a try. It was a cold, dark and quiet night and we were starving. When we walked in the door, I was immediately very excited. We hadn’t had Korean food since visiting a Korean spa in Fort Lee, NJ. It was a very cute atmosphere with an overload of Northeast Asian trinkets that obviously didn’t bother me at all. Sometimes I like having more to look at.
More decor
Korea House
Essentially, the music was authentic and varied, the service was friendly and efficient, and the food was delicious and healing. We had a kimchi pancake and vegetable dumplings to start. Alana had a ginger-honey tea and I had a barley tea. Her’s was delicious and mine was warming. For entrees, she got the calamari bbq while I got the beef bbq and a traditional bowl of vegetables, beef, and an egg on top. Alana’s dish wasn’t quite what she expected, but she ate most of it. My bulgogi and bibimbap were delicious! The green tea mochi ice cream was so good that I ate my half, and I don’t like mochi ice cream. It was about $60 in total, but we were full enough and it was well worth it in terms of atmosphere, service, and taste.
Ginger honey tea
Vegetable dumplings
Bulgogi
Calamari BBQ
Bibimbop
Green tea mochi
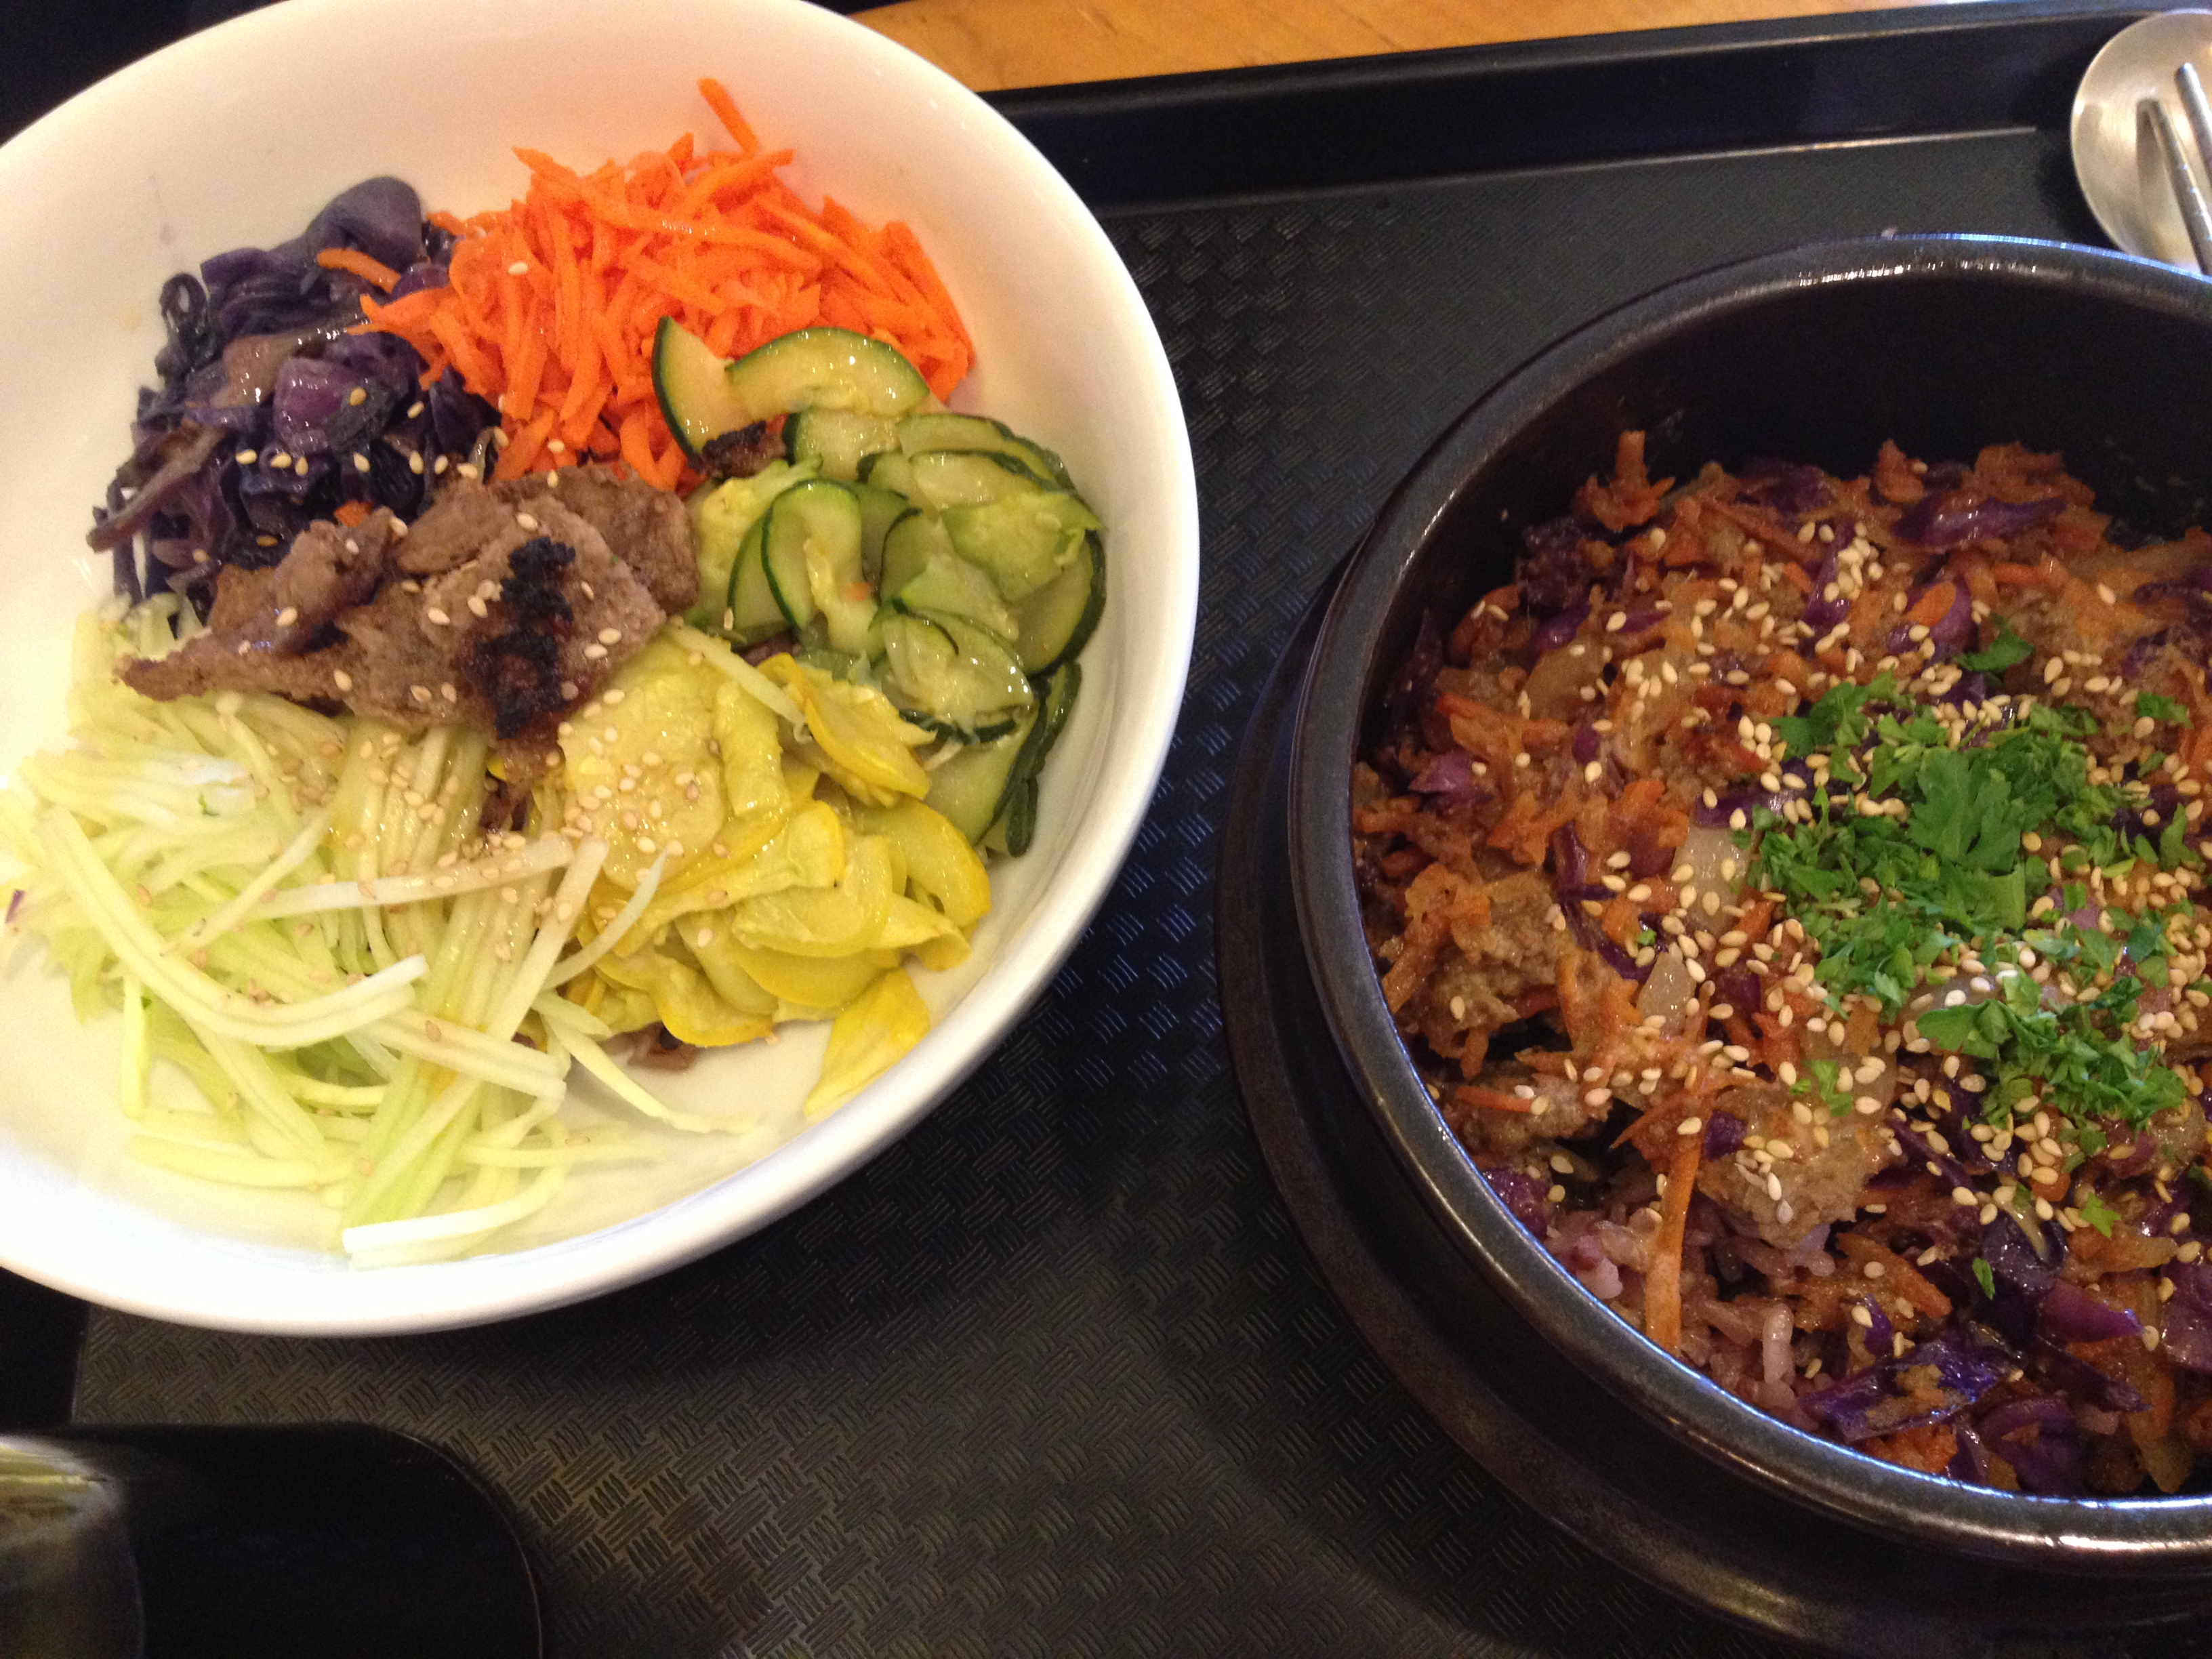
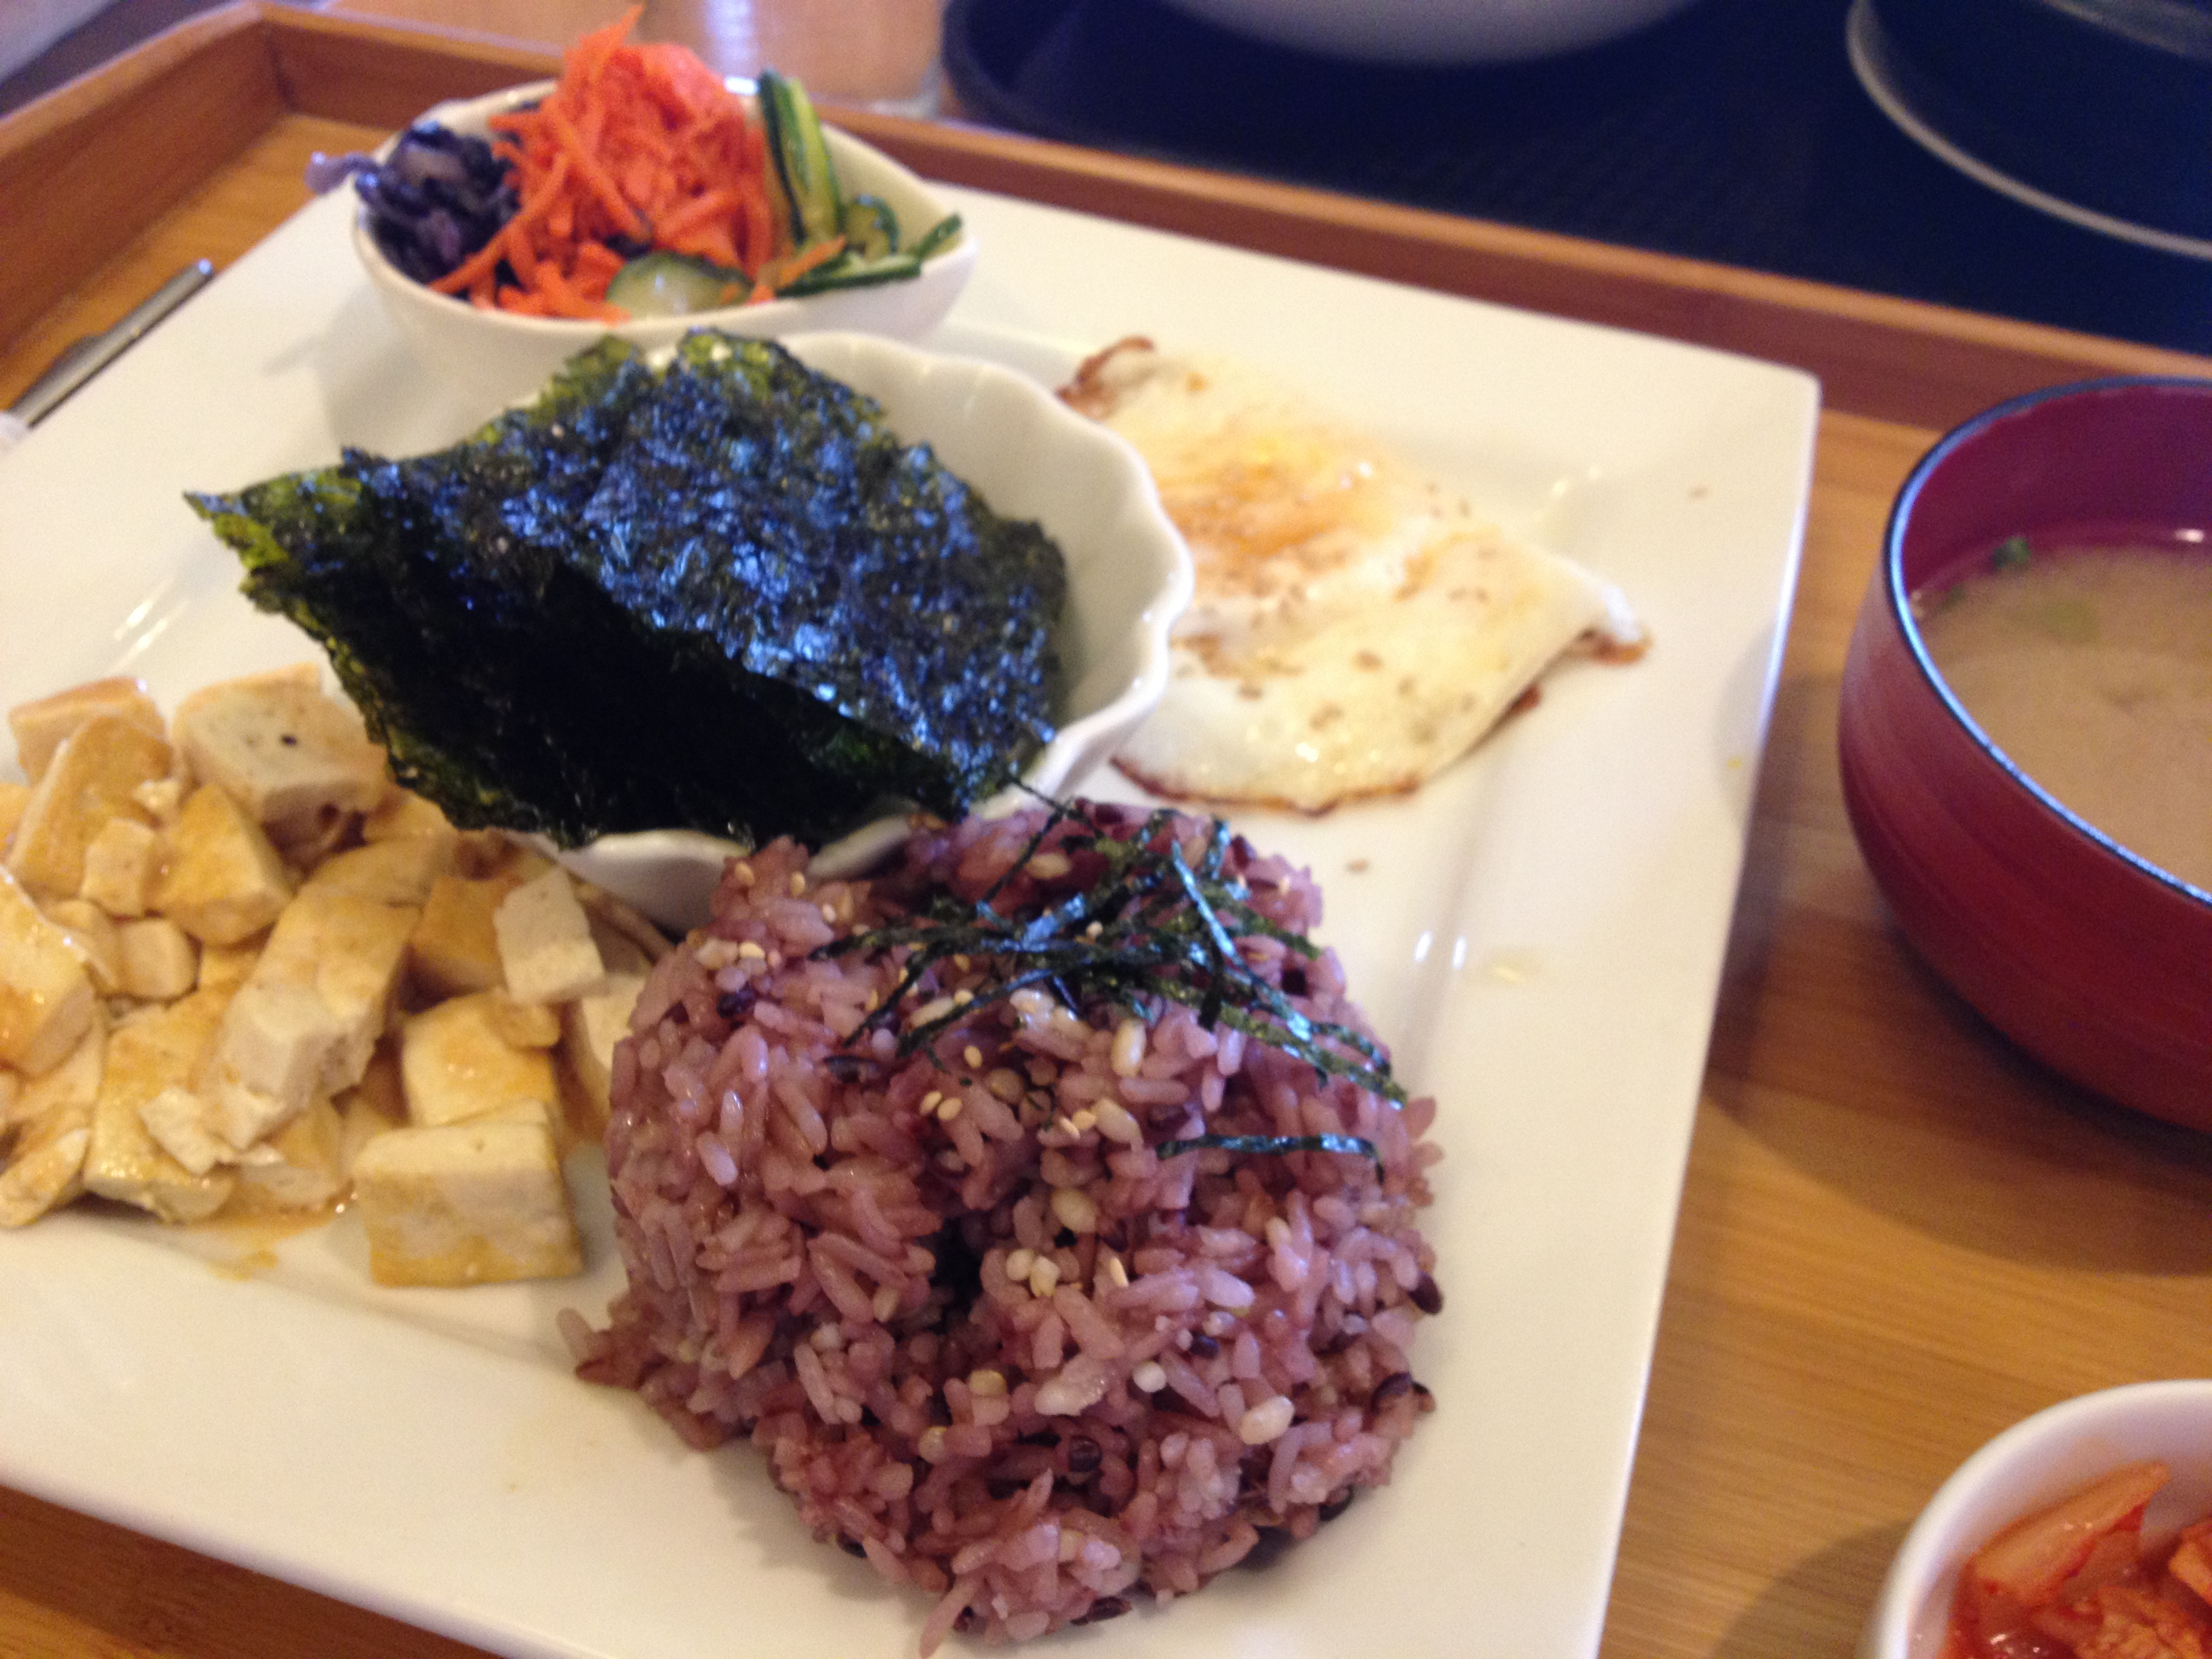
The next day we ventured to A Cup of Peace for lunch. It was much different so I don’t want to compare the two. They have a sign that says this is not a typical Korean restaurant. Well, it’s not quite a restaurant, but rather a cafe. Their focus is beverages including tea and coffee. The atmosphere was much simpler and the food was generally more expensive, less filling, and not as good. The service was quick but you don’t get served. It was about $30 for bibimbap, bbq beef in a different form, and a plate of mixed sides for Alana. We weren’t very full after it and while Alana loved the pickled sides at Korea House, she didn’t touch them more than once at A Cup of Peace. I’m sure there are many people that would prefer this spot, but it’s not one we’ll likely return to due to our own likes and dislikes.
Beef BBQ
Bibimbop
Plate of sides
Also, I have been very sick and sore lately and after having Korea House, I felt healed. After A Cup of Peace, I had some stomach issues.


So, try to find a Korean restaurant around you, grab a meal, and let us know how it is! Maybe we’ll try to stop by there on our journeys. Until then, stay hungry and fit!
spacer

How to Keep in Shape with an Injured Lower Body

You don’t have to be an athlete to know how much lower body injuries (ie: knees, ankles, feet, etc.) are a pain in the tush. Perhaps you’re not even into fitness, but somehow you’ve sustained an injury. And you think, uh oh–how can I stay in shape if I can’t use my lower half? Now I’m not suggesting you’re paralyzed or anything, but if you have a torn meniscus, you better not be doing any running or leg work. Chris and I have had our fair share of lower body injuries, torn meniscus, bruised gliding plates, sprained ankles, the list goes on. However, fitness-buffs and athletes that we are caused us to search around and get creative in order to stay in shape and not melt into a puddle of jelly.

You may not think you can get a cardio workout just with your arms, but you can. Some of my friends may remember during my injury, me puffing red in the face with jelly arms after one of these specific workouts excluding the lower body. So let me share some tips.

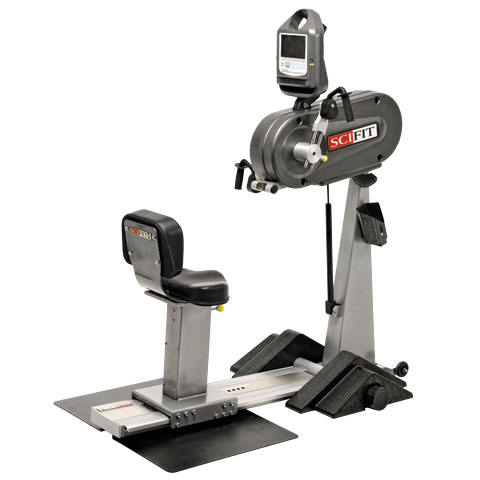
1. Arm cycle. Look around in your gym. You see that older-looking machine that nobody ever seems to use? The one with nowhere to put your feet, but pedal-looking things for your hands. Go and sit on it. It’s an arm cycle. And it’s a hell of a workout and a great upper-body strengthener and toner. Start at 30 minutes. Set it to whatever level desired. Then each day you use it, turn it up 2 minutes until eventually you reach 60 minutes. It’s tough and sometimes hard to keep going, but it is a machine that will keep you in shape.

3. Seated boxing workouts. Now when I injured my knee, I was out for a long time–very frustrating. And while doing the arm cycle was keeping my cardio in shape and also my muscles in shape, I wanted variety. Chris offered this seated boxing workout and it kicked my butt, but made me very strong. This is for ones wanting variety or those without an arm cycle. Try this one out:

  • Sit down on a chair, back straight, shoulders back. Have two dumbbells in your hands, could range from 3 to 10 pounds. I would definitely start with 3 pounds or 5 pounds. You may think, oh I can lift way more than that, but just wait for what you will be doing. 
  • Start shadow boxing for 1 minute using the dumbells
  • After 1 minute is up, pick up the dumbbells (or you can get heavier) to do curls for 1 minute. 
  • Done with the curls? Back to 1 minute shadow boxing with dumbbells
  • After that minute, put down your dumbbells and get yourself on the floor for 1 minute of push-ups.
  • Rest for 1 minute
  • Do the same last 4 exercises again–that’s one set
  • Do 3 sets of this.

It may look like nothing. But go ahead and try it, it is an excellent workout. Be sure to have water nearby when you do so. Stay hydrated during your rest periods. It is a high intensity workout that takes no longer than 25 minutes, typically.

Otherwise, you can do your typical upper body strength workouts (chest, triceps, back, biceps, shoulders, core dependingseated. This way, there is no pressure on your lower body and you can get your muscles in shape.

Good luck and let us know if you have any questions! And don’t forget to focus on healing too!

spacer

Drop and Give Me Ten: How to Do a Proper Push-up

Usually when non-fitness people (whatever that means) hear the word “push-up,” they cringe in fear and run away. So stop! Don’t run! The push-up is a wonderful exercise for strengthening your body and you can literally do it almost everywhere. You don’t need any fancy equipment or gym, you don’t even need a proper ground–you could do it in the mud, if you preferred.

However, when people bravely attempt the push-up, their form is often wrong. Not only will this not give you the proper exercise, you can injure yourself if not positioned properly. So let’s get through this and do it the right way. There are various forms of the push-up, but I’m showing you the basic push-up.

Alright, find yourself an area on the ground where you have room to fully extend. Start on your hands and knees and face the floor. Extend your legs, your toes/top of the foot should be the floor. Now, have your hands shoulder-width apart (or a little bit wider). It’s a good thing to stack your shoulders right above your elbows and wrists. This ensures joint and bone stability, so that nothing simply gives out. So now you’re in the starting position! 

English: an exercise of chest

(Photo credit: Wikipedia)

I can’t describe how extremely important it is to have your body rigid like a plank. I don’t want to see your hips drooping or raising above the rest of your body. It should be a direct line–think graphs. If it’s not, you’re doing it wrong and if you continue to do so, it’s going to throw your body out of whack.

Now it’s time to try the actual exercise of lowering yourself as close to the ground as possible. Keep your elbows in as you slowly, keeping the hips in line with the body, lower yourself to the ground (without actually hitting it). Check your form out–is your body a straight line still? What about your neck? So often, people think they’re doing the push-up properly, and you see their neck drooping. Just because your neck can hit near the ground, doesn’t mean you’re doing it properly. So as your whole body is coming down, make sure your neck and head stay aligned with your body. It’s extremely important for the exercise and the health of your body.

Line art drawing of push up.

Line art drawing of push up. (Photo credit: Wikipedia)

Now the tough part is coming back up. Keeping your form pristine (see above), use your chest muscles to push yourself up to starting position. This means your head and hips are still aligned with your torso and legs. And there you go. Congrats. Do 4 sets of as many as you can do. It will be extremely difficult at first, but the more you do them, the stronger your chest and arms will get. And ladies, I want to see you doing these too! It’s important to build our upper body. I do them, so can you.

Deutsch: Liegestützender Mann in gelben Shorts...

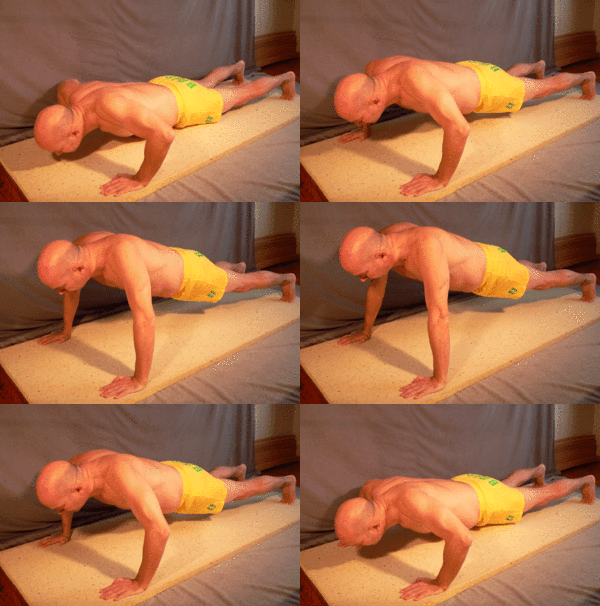
Deutsch: Liegestützender Mann in gelben Shorts. Animiert. Verzögerung 0,2 s (Photo credit: Wikipedia)

Now there is a variation of the push-up for those who need it:

Knee push-ups. These are for those who are too weak and need more practice for the regular push-up. On this one, instead of resting on your toes, rest on your knees. Even though you are on your knees and hands, you still need to extend your body so that it is like a straight line and you are bring your torso down, not just your head or your shoulders.

Keep it up and work on those pecs! You will get to the regular push-up, and once you do, keep good form and get strong! Hey, maybe even make it a Resolution to get to a certain # by each month. Good luck!

Cheers!

spacer

Stir Fry Creations

Stir fry is one of my favorite dishes. It’s because there are endless possibilities. And it’s so easy to do. All you need is some veggies and a form of protein in your fridge–you can mix and match and throw things together that don’t seem normal. And that’s the beauty of it! If you have veggies, rice,  and/or noodles, you have no excuse for not home cooking. Let me share with you a dish I just recently prepared, with an attempt to make it as Asian as possible for Chris.

Alana’s Monday Stir Fry

  • Prep Time: 10 minutes
  • Cook Time: 10 minutes 

Ingredients

  • a bunch of bok choy
  • 1/2 an onion
  • 2 large carrots
  • 1 yellow pepper
  • 1 case of Udon noodles 
  • 1/2 pound of wild-caught scallops
  • 1 case of tofu 
  • wok oil & soy sauce 
  • spices such as ground ginger, fresh garlic, pepper, salt, 5 spice, and garlic pepper 

Flower of the Bok Choy

Directions

1. Let’s tackle the boy choy first. Wash the bok choy, scrub out any dirt under cold water. Cut until the stem is almost gone.

2. Cut the rest of the vegetables: thinly slice the onions and carrots. Do proper thick slices of the yellow pepper.

Chopped beauties

3. Put the wok oil and soy sauce in the wok (or frying pan, whatever you have) and heat that baby up! Crush some garlic in there and let the smells get you.

4. Once it is heated, throw those veggies in there. As you are tossing them in the oil, put your spices in, whatever they may be. I put in lots of ginger, garlic, and pepper. Make sure you are constantly tossing the vegetables so that your spices get on it all.

Stir frying!

5. Cube the tofu, wash the scallops, and unwrap the udon noodles. Throw it all into the already cooking mixture. Again, make sure to keep stirring and tossing so that everything soaks up that flavor.

6. Cook to taste and decide when it’s ready! For me it took about 10 minutes, maybe not even that.

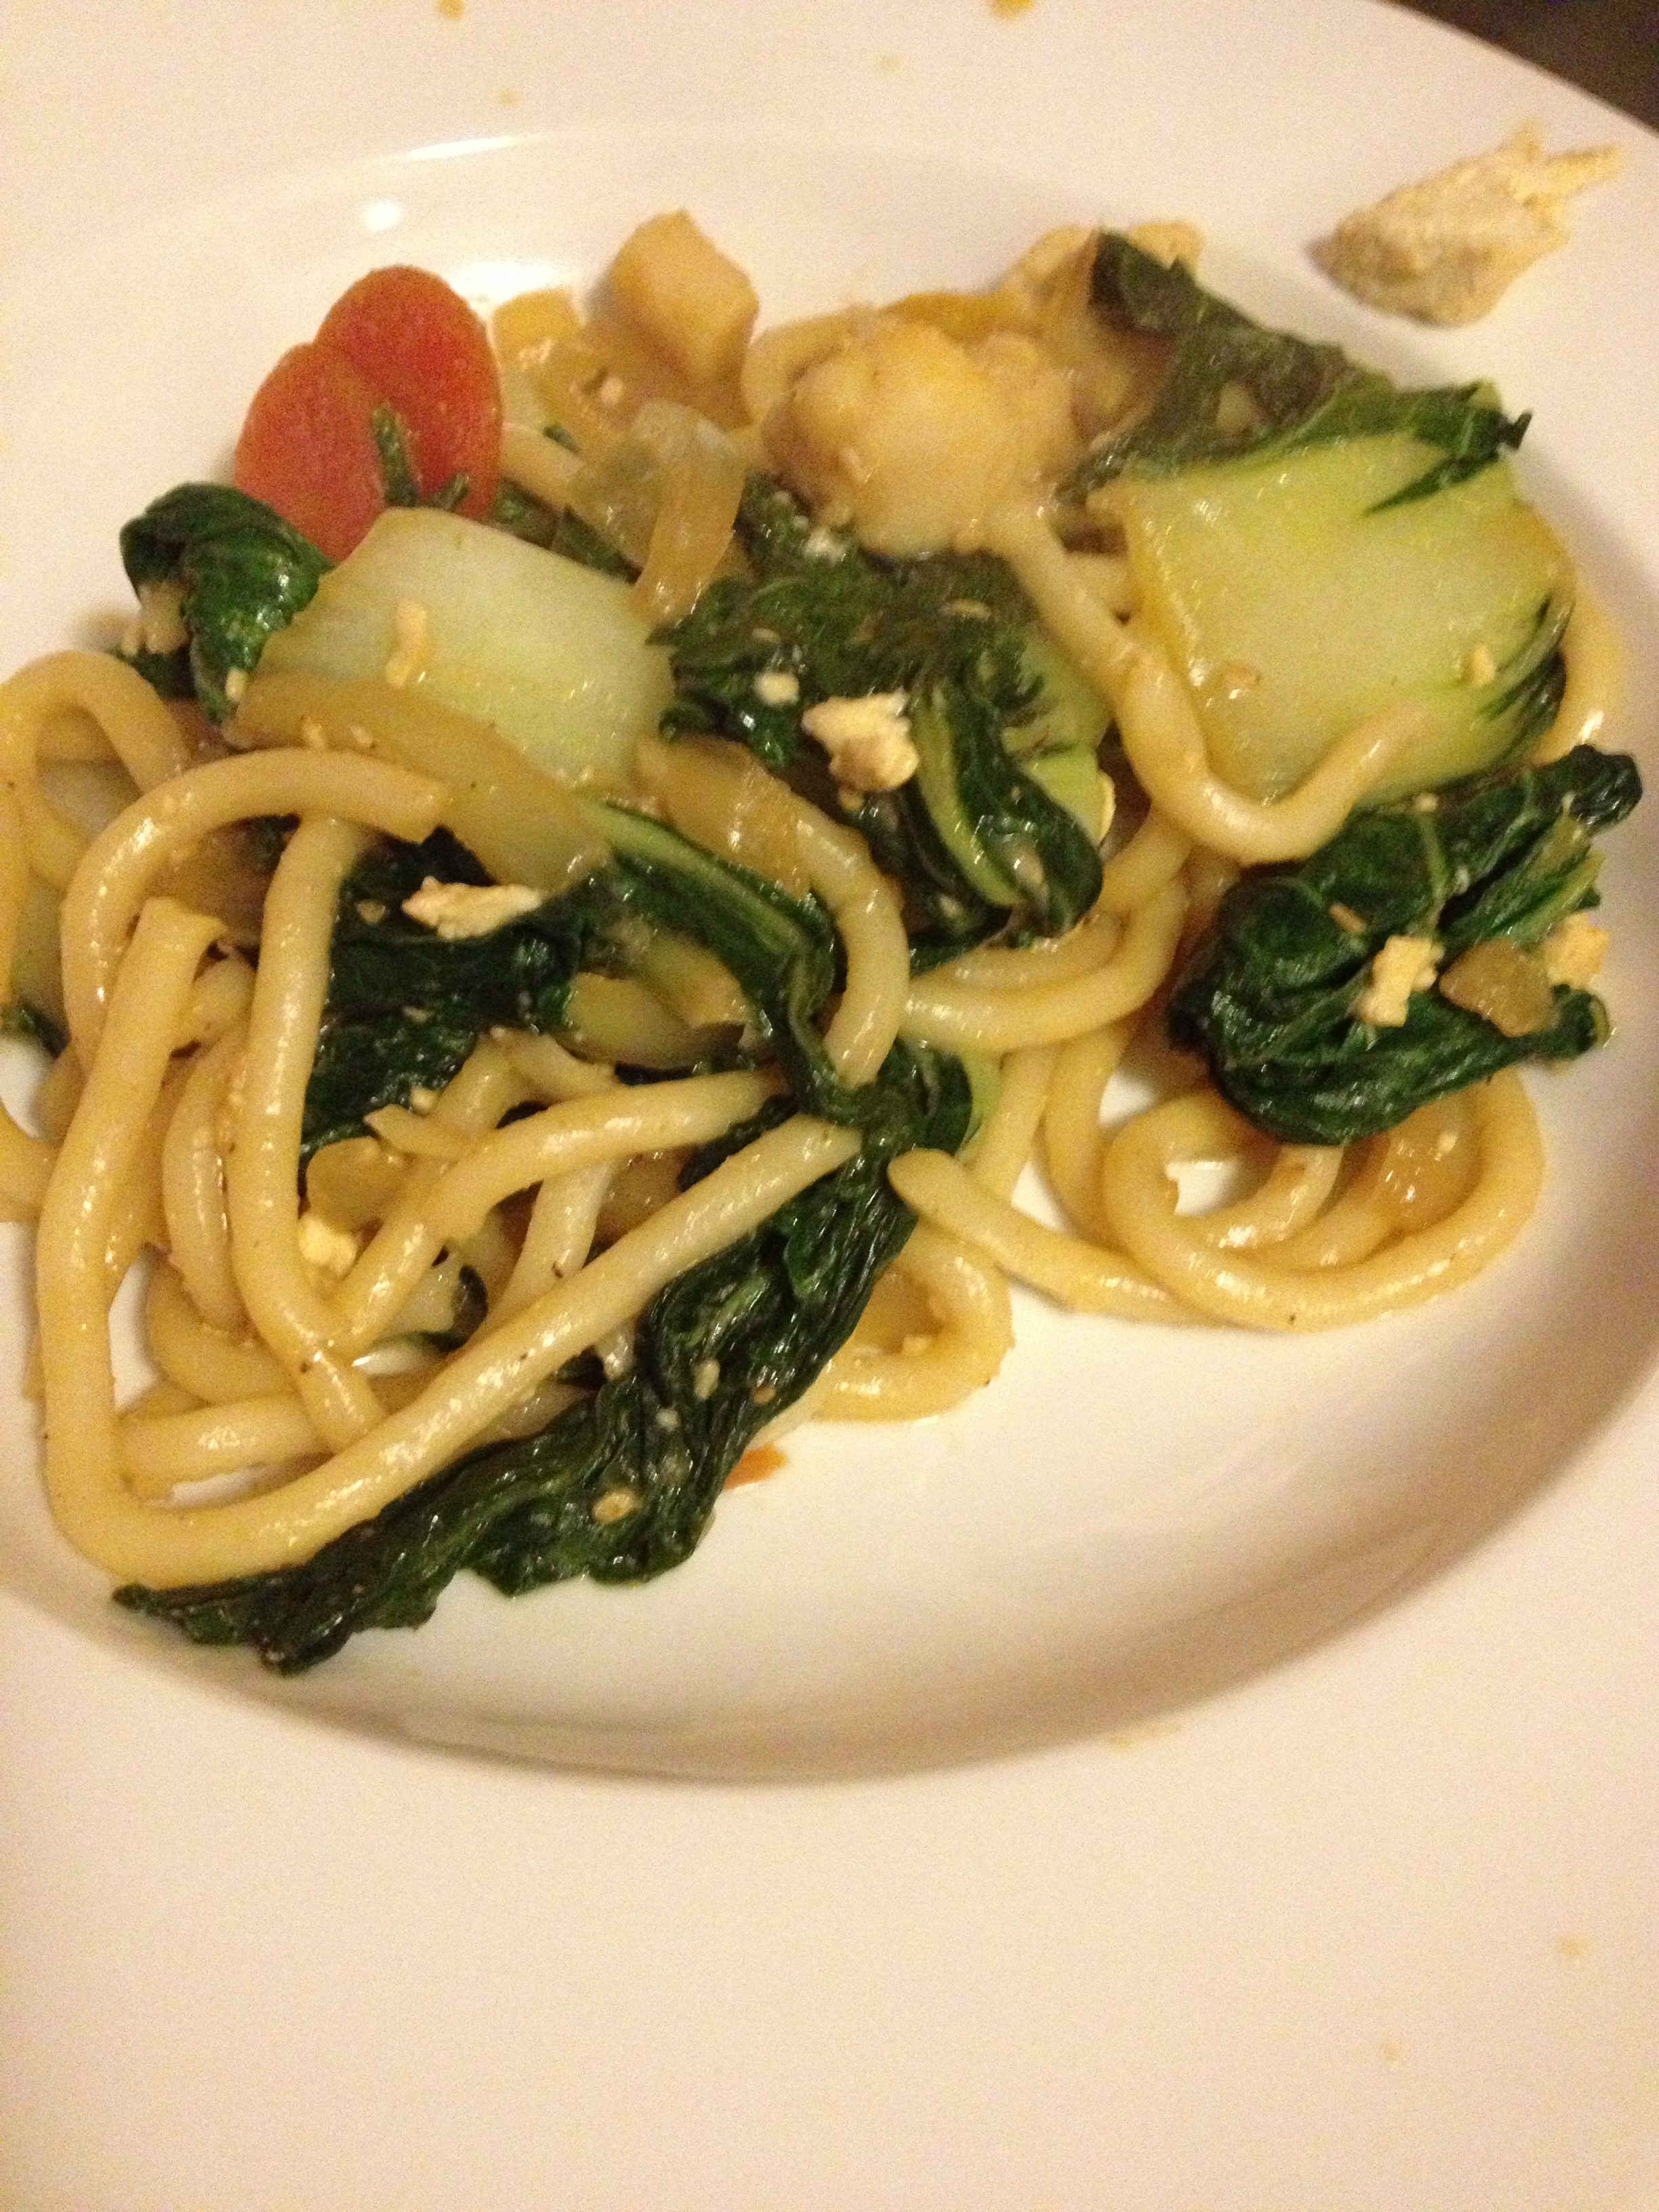
Plate of stir fryAnd there you have it, an easy 20-minute dish with tons of nutrient-filled vegetables and protein. PS- there are eggs in the picture, but I didn’t end up using them, but they are a great addition! Get creative. This is only my recipe, and it’s one of many stir-frys.

Cheers and Happy Cooking! 

spacer

How to Stay Loose and Fit During Travel

It’s the holiday season. Yes, it’s January, but plenty of people are still on vacation, currently making me jealous. However, with vacation, comes travel (usually). You gotta get from A to B to enjoy family or fun locations. That typically includes flying (as the most common), car, train, and/or bus. And usually, these take between 2-6 hours (domestically). Could even be more if you’re going out of country. That is a lot of sitting, laying, being crunched up in a seat that’s too small for you. I want to offer a few tricks to stay loose during travel, so you don’t exit the airplane or car swearing with uneven legs. So try these tips next time you fly, drive, or commit yourself to some type of travel:

1. Drink water. Now I’m guilty about this one. Usually, I take a window seat on the air plane–half for viewing pleasure, half for sleeping pleasure–and I try to avoid drinking water so I don’t have to ask everyone next to me to get up so I can go pee. Don’t follow my example. Get a cup of water (not Coke, not Vodka) every time the steward(ess) offers and even haggle them for more. This is going to keep your body flowing and running, rather than get cramped up and dry as would be normal in an airplane seat.

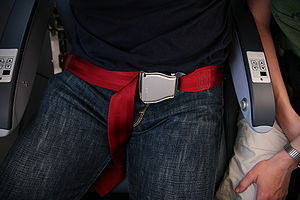
2. Get up and move. No matter how long the flight is, 1.5 hours or 7.5 hours, unbuckle your seatbelt and stand up. Find a quiet time when the stewardesses aren’t giving out drinks. You don’t even have to put your shoes on. Slowly walk down the aisle as far as you can and come back.

3. While you’re up… You got up. Congrats! Now once you’ve taken that lap or two down the very narrow aisle, stay up. Find a place where you won’t be bowled over–say, pretend you’re waiting for the bathroom. Now take a big stretch up, reach your arms high, and then swoop down to stretch to touch your toes–a hamstring stretch. Really reach down and enjoy this stretch. If you can, spread your legs out a little bit and reach to each side. This is really going to engage a large part of your legs, making you feel more refreshed and vitalized. Go ahead and throw a quadriceps stretch in there, and pull your ankle back to your hamstring.
4. Don’t forget your arms! Since you’re up and you stretched out your legs, you might as well give your arms some love too. This is all to wake up the blood flow and keep your body from stiffening up too much. Grab your elbow and pull it across your body, giving the shoulders and arm a good stretch. Don’t forget the other side. Now pull your elbow up and back, focusing primarily on the triceps, but will get your shoulders too.

5. Stretches while seated. So you stood up and got some good stretches in, or maybe you didn’t have the chance at all (because you’re in a car)–here’s where seated loosening comes in. Sit up straight and place your hand on the side of the head and pull it gently towards the shoulder, giving your neck a beautiful stretch. Go the other way. Now bow your head, then rotate it back and look at the top of the plane. Do this several times. Now, without bothering your seat buddies, roll the shoulders back and forward–do this for at least 20 seconds.

6. Keep your shoes off! You may feel embarrassed about this, but a great way to stay loose and comfortable is to take those pesky shoes off. It will allow your feet to breathe and be flexible. It will also allow you to do foot exercises: (1) scrunch your toes up as if you are picking up marbles and (2) bend your foot left and right.

Those are just a few tips and tricks to save you during travel times. I would say do this set of stretches and instructions once every three hours in order to preserve freshness! Happy travelling!