Archives

Eating Kale: Fear the Bitterness No Longer

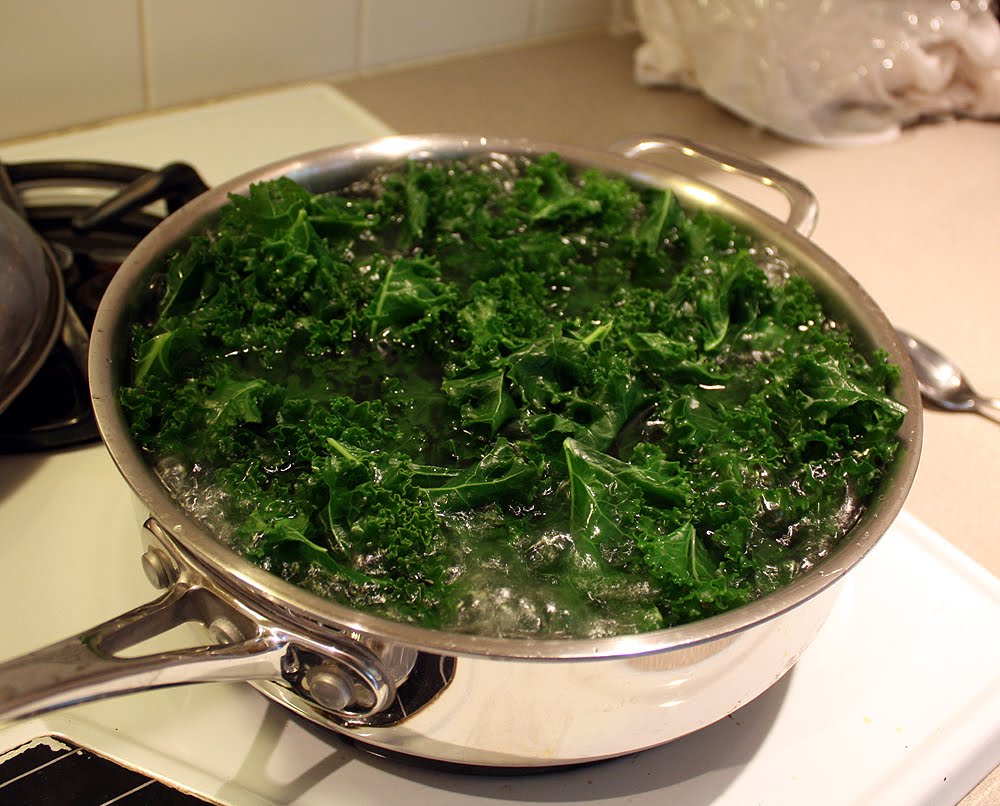
Most people turn up their noses when it comes to kale (unless it’s kale chips, which are great), including Chris and my dad. I don’t blame them, really, it is a pretty bitter vegetable if you don’t cook it right. It’s a very dark green green, and, if you have experience cooking (or…eating), you know that dark greens can often be a bit bitter. But, kale was on sale at the grocery, and I had never really cooked it before, so I picked up a HUGE bunch (it actually took 5 minutes and two of us to get it into the bag).

Kale

Kale, still planted

It sat in the fridge for a few days as I was unsure what to do with it, and I knew Chris was even more unsure and not looking forward to it. Then, one day for dinner, I got out the kale. I was on a mission. This was going to be cooked and it was going to LIKE IT! My planned dish was pasta with kale.

Spoiler: It turned out great.

spacer

Whole-Wheat Pizza — No Yeast Necessary

Hey there, ladies and gents, here’s a dish that will make you drool the instant it’s about to go in the oven and even more so after. And the recipe will make your stress meter happy: it’s a quick one (surprisingly, for pizza). If your dough is right, then it could take just twenty minutes (including cooking time!). AND YOU DON’T KNEAD ANY YEAST (sorry I had to). I don’t know if you’re getting it…it’s an easy quick recipe! I got it from this blog, but altered it a good deal. Okay sorry, let’s get to business.

Ingredients:

  • 2 cups regular whole wheat flour
  • 2 cloves garlic (pressed)
  • 2 tsp baking powder
  • 3/4 cup water
  • 1/4 cup olive oil
  • anything you want to put on top

Directions:

  • Preheat oven to 400 degrees
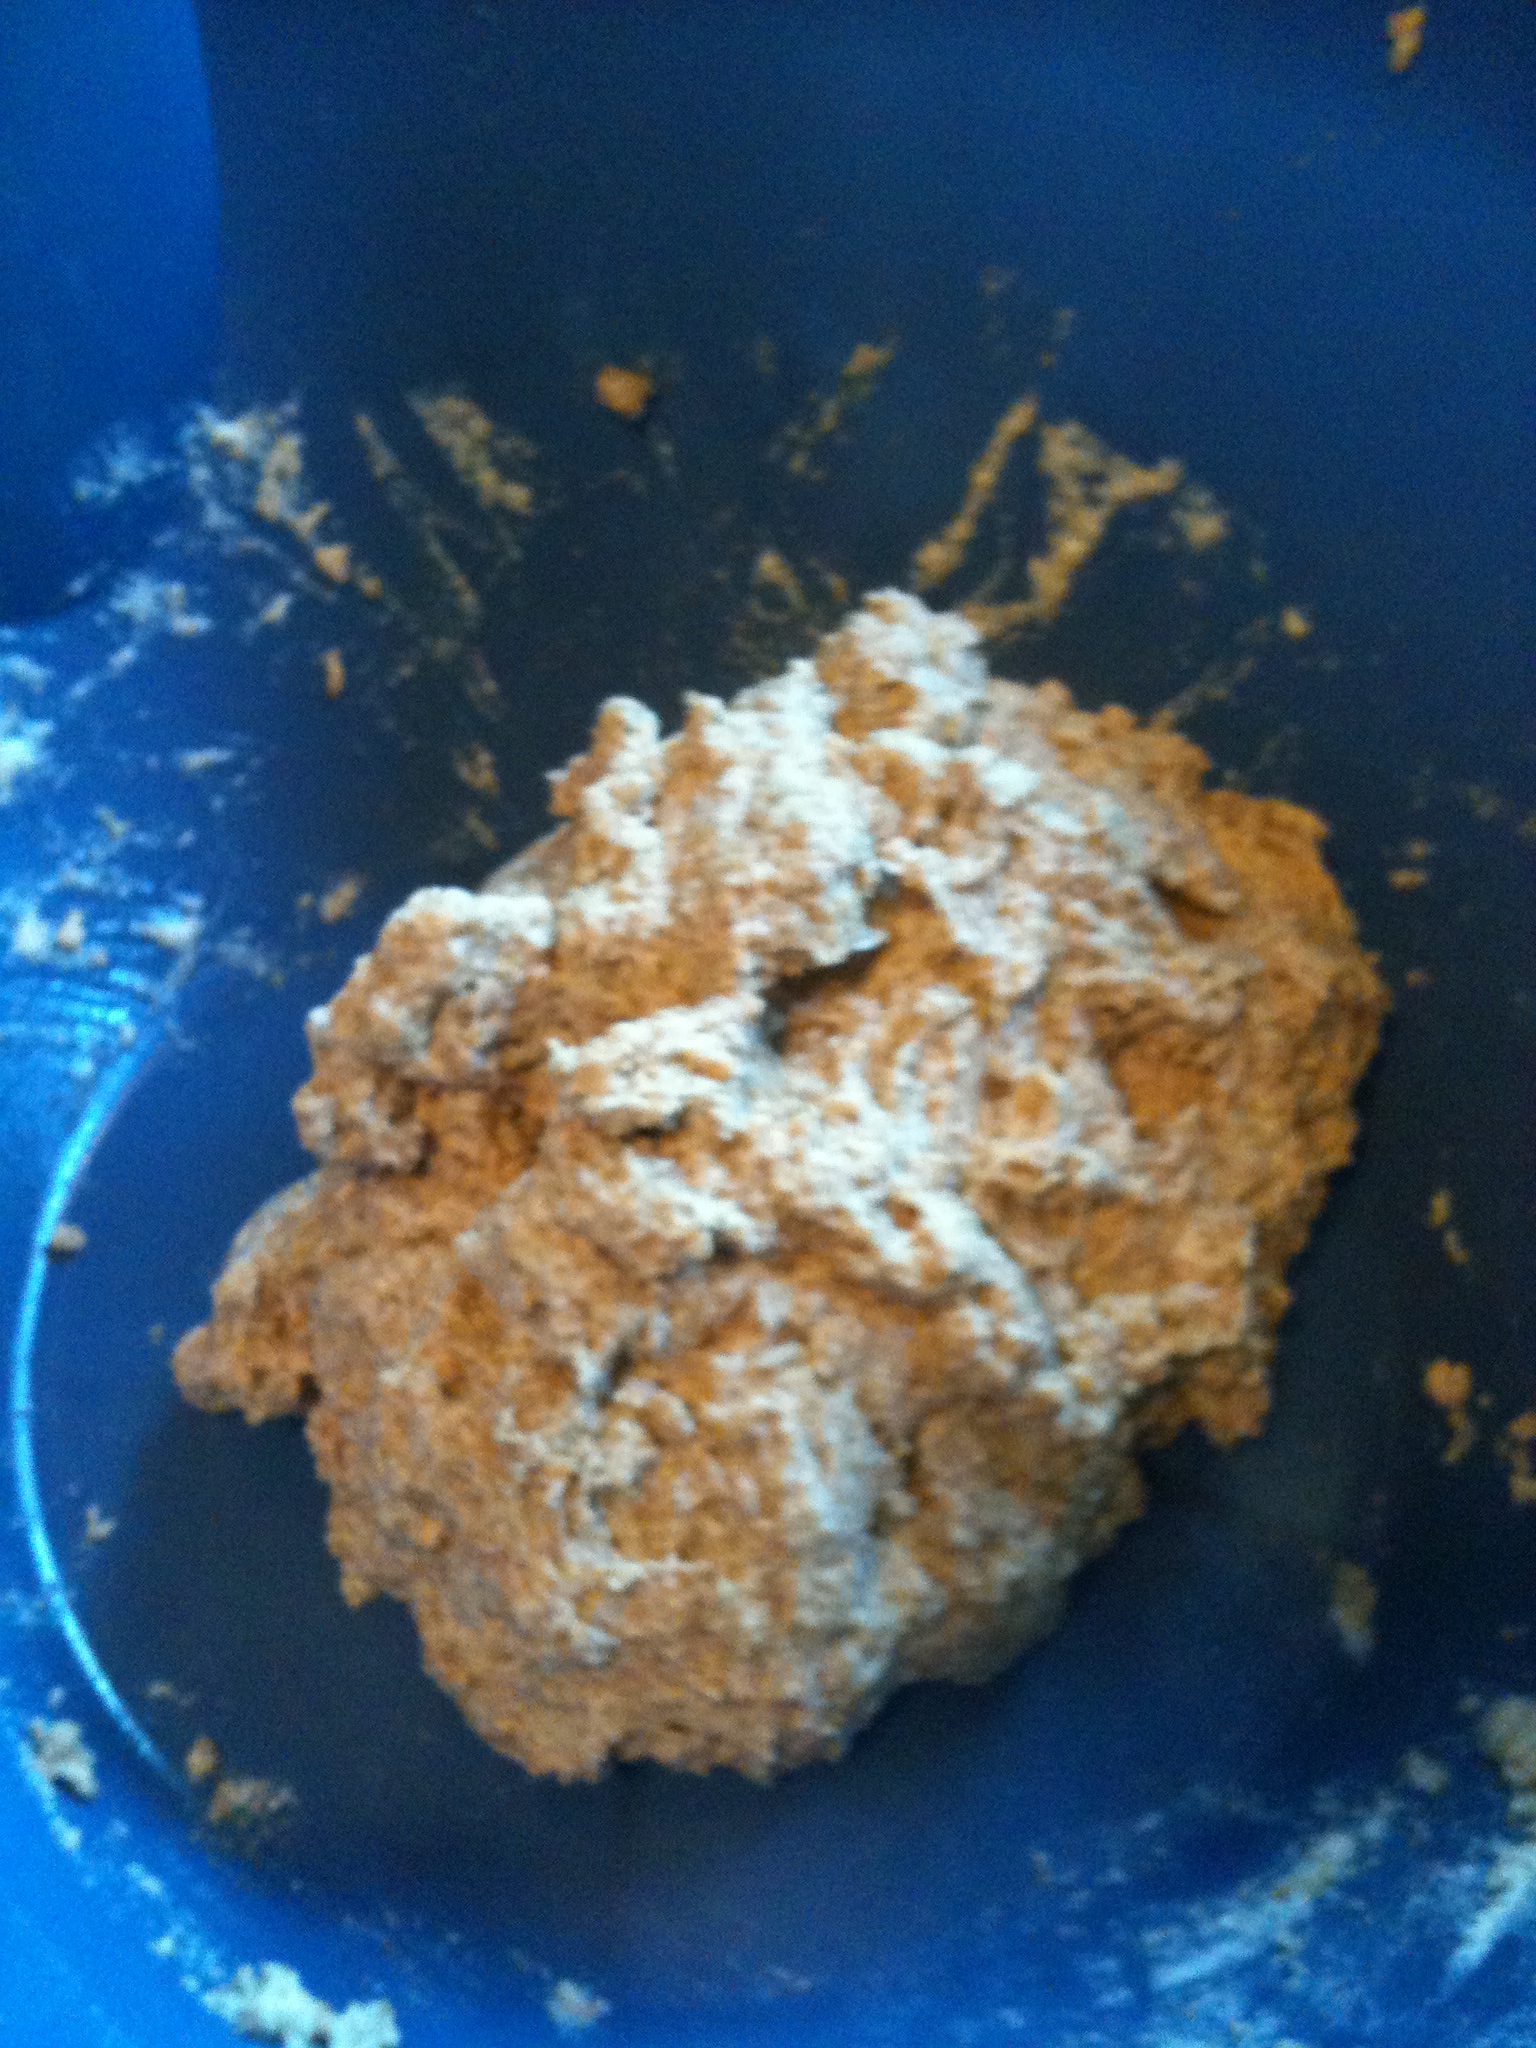
  • Put all those ingredients [spare the toppings (anytime I say ‘spare,” I think of Voldemort’s “Kill the spare!” sorry I digress)] into a big bowl and mix by hand. You want to knead it all together to make a dough. You want it to feel spongy and happy.

  • Get a baking sheet, oil it lightly and press the dough down onto it in whichever shape you desire. Try to get it as flat as possible without tearing it

  • Bake for 5-15 minutes, depending on how thick your crust is. You want it to firm up so you can put your toppings on
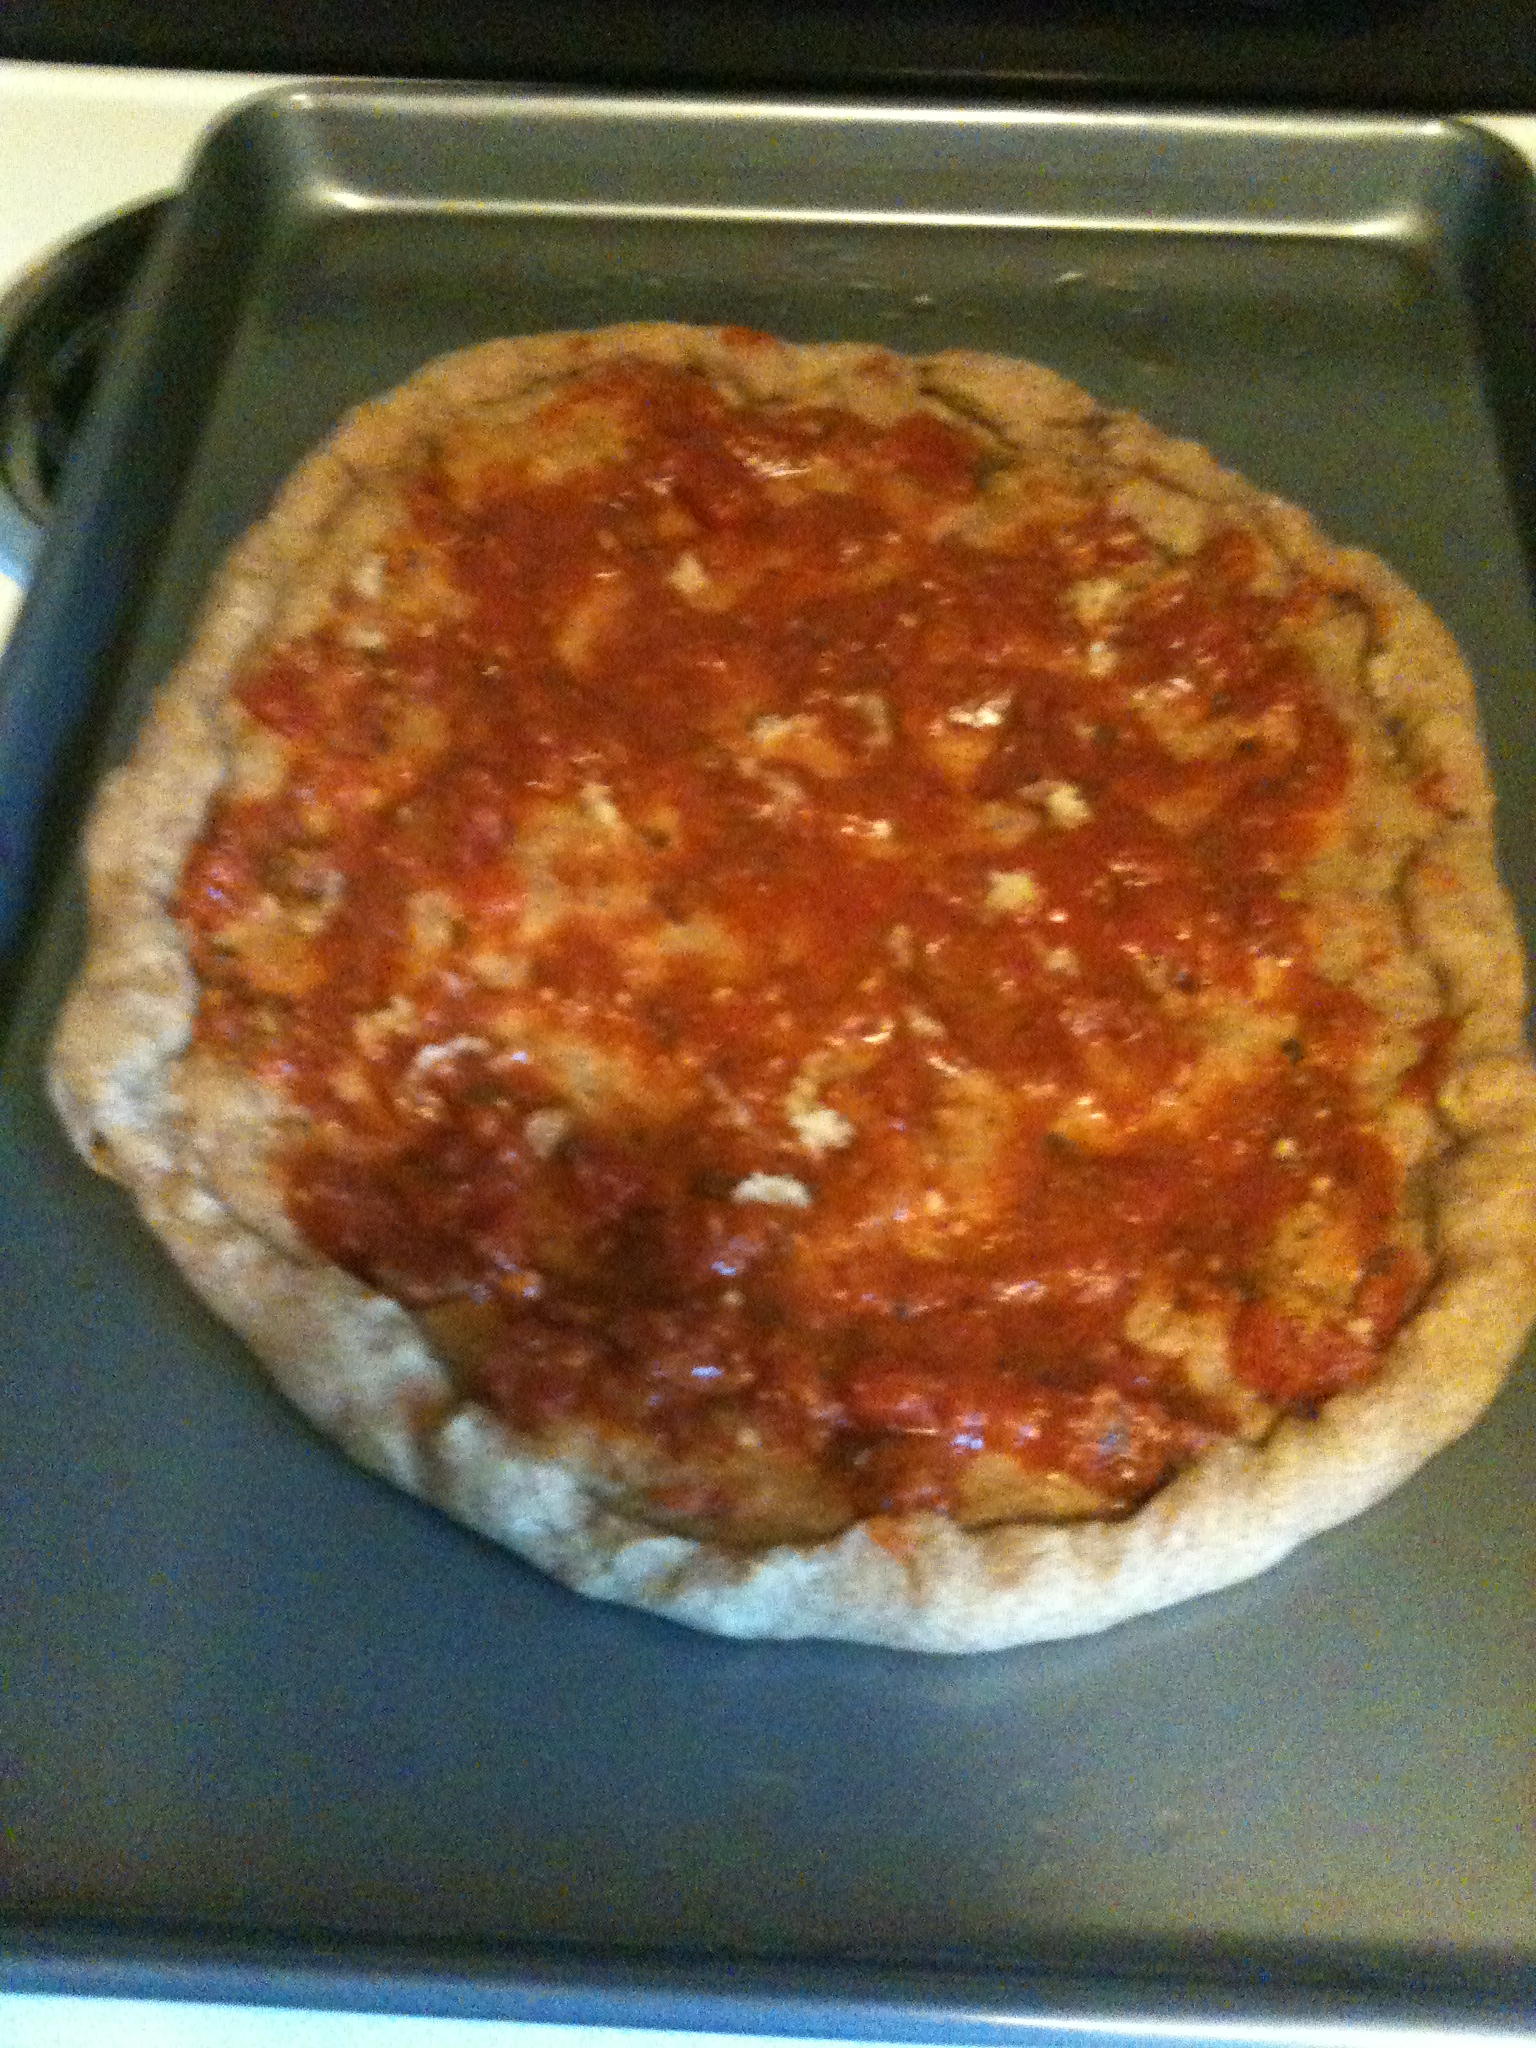
  • Take out and put your toppings on! I started with pesto and marinara sauce, with garlic pressed into it too

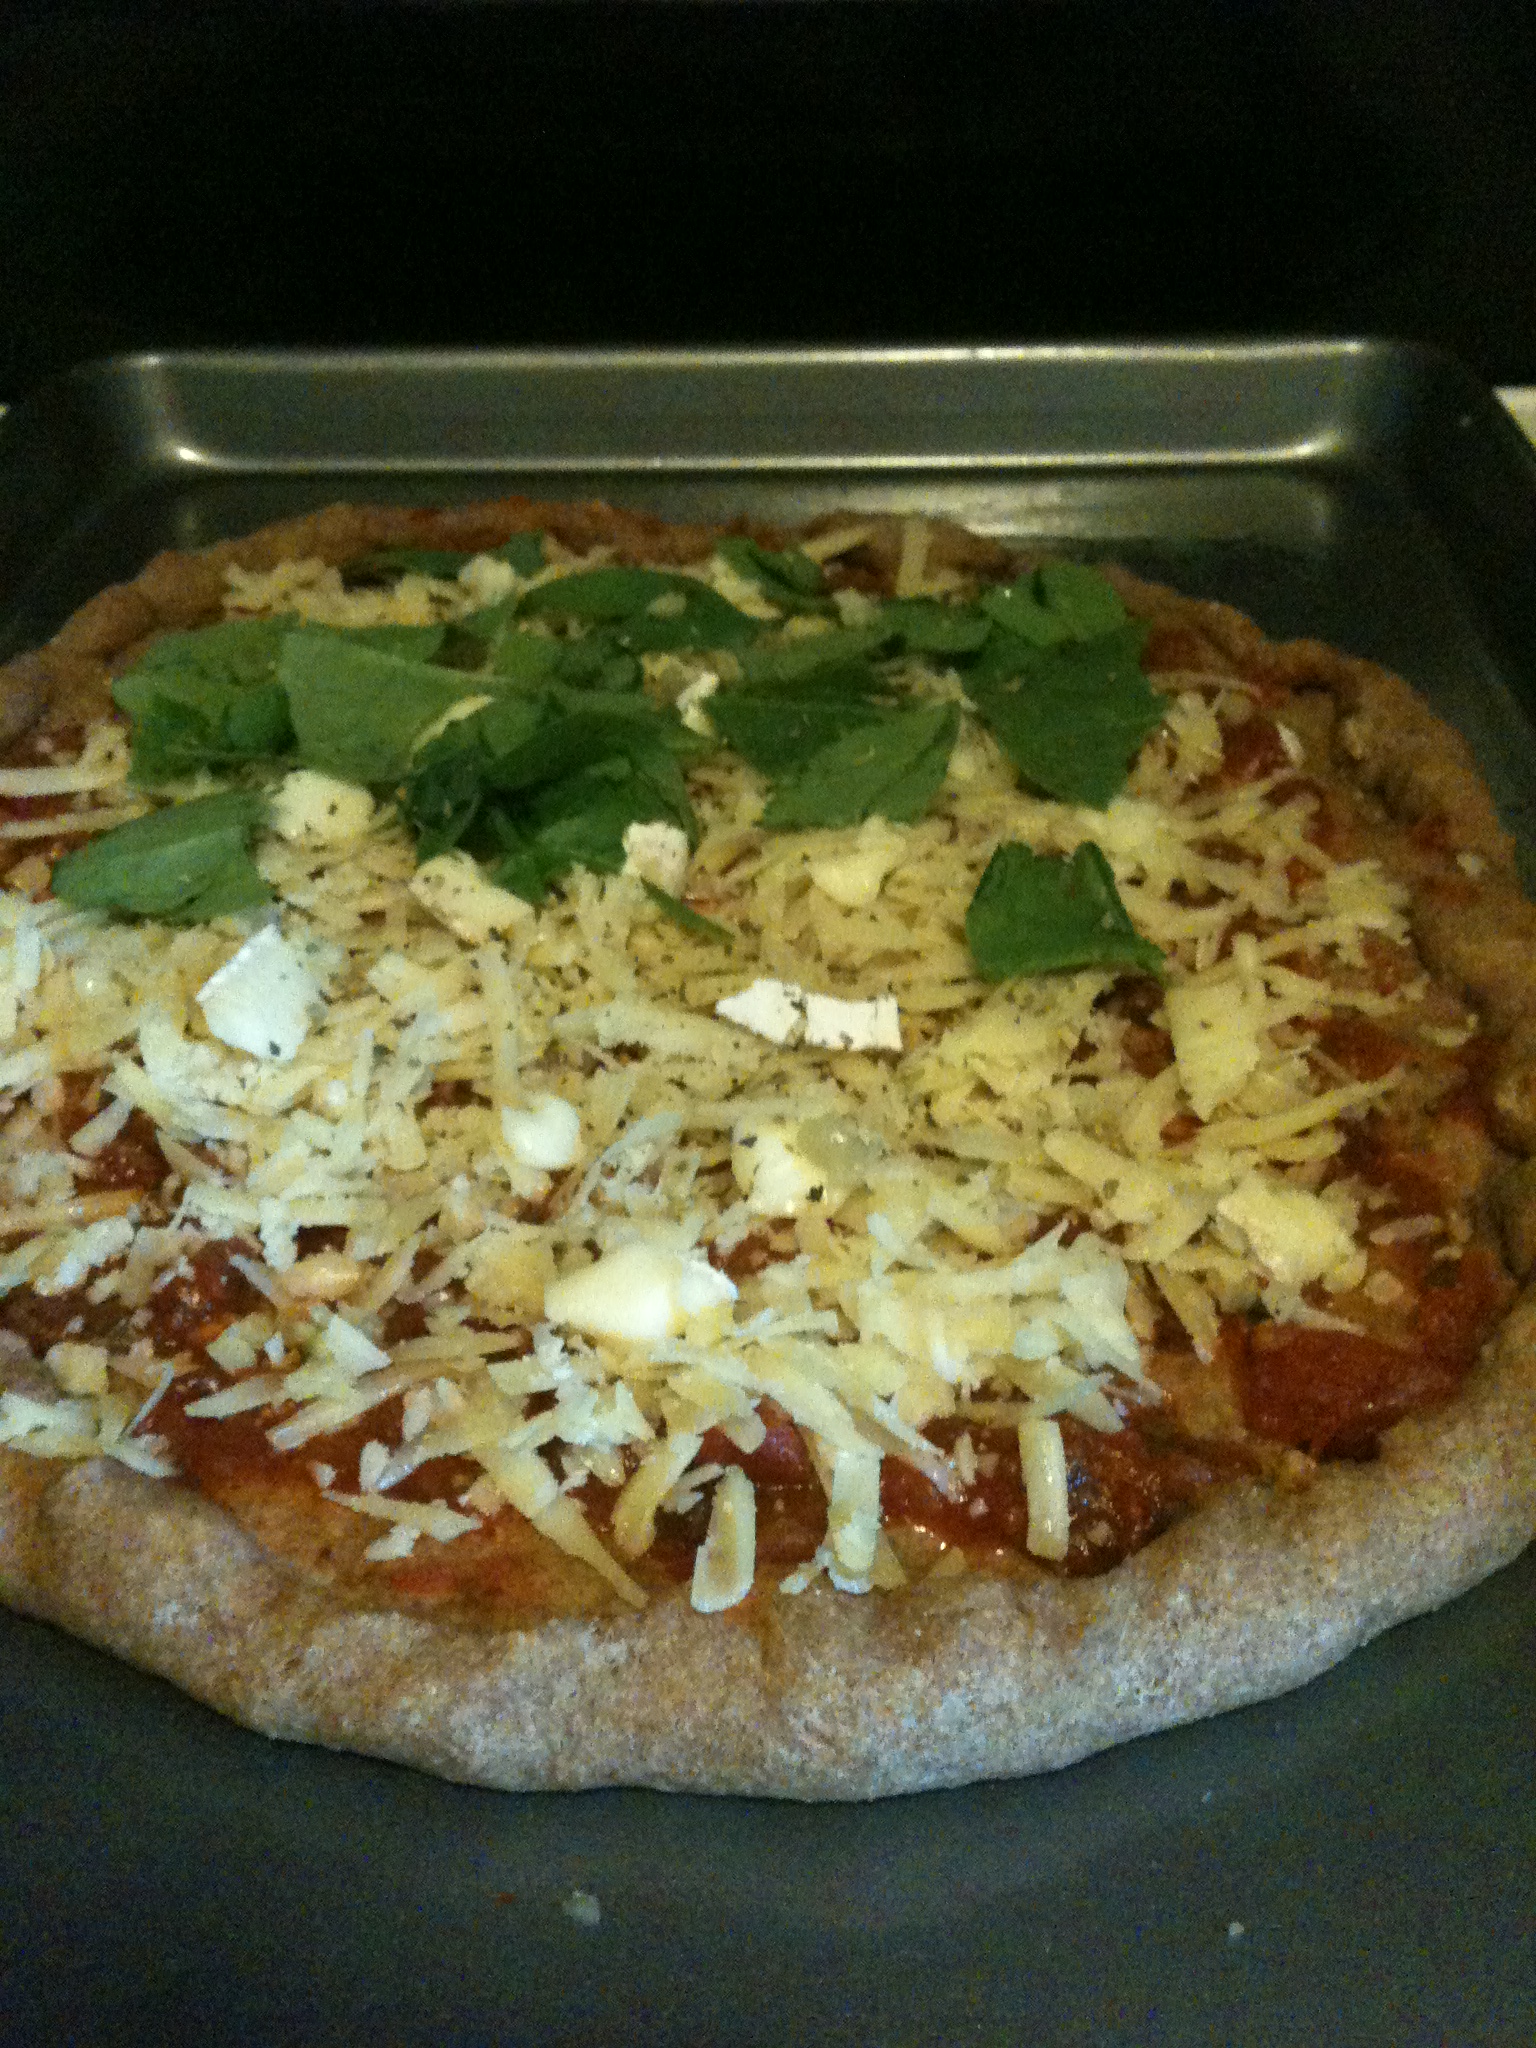
  • Then I put grated cheddar cheese and brie all over. On one half, I loaded on the spinach (eat your vegetables!). I also put dried basil and oregano on top

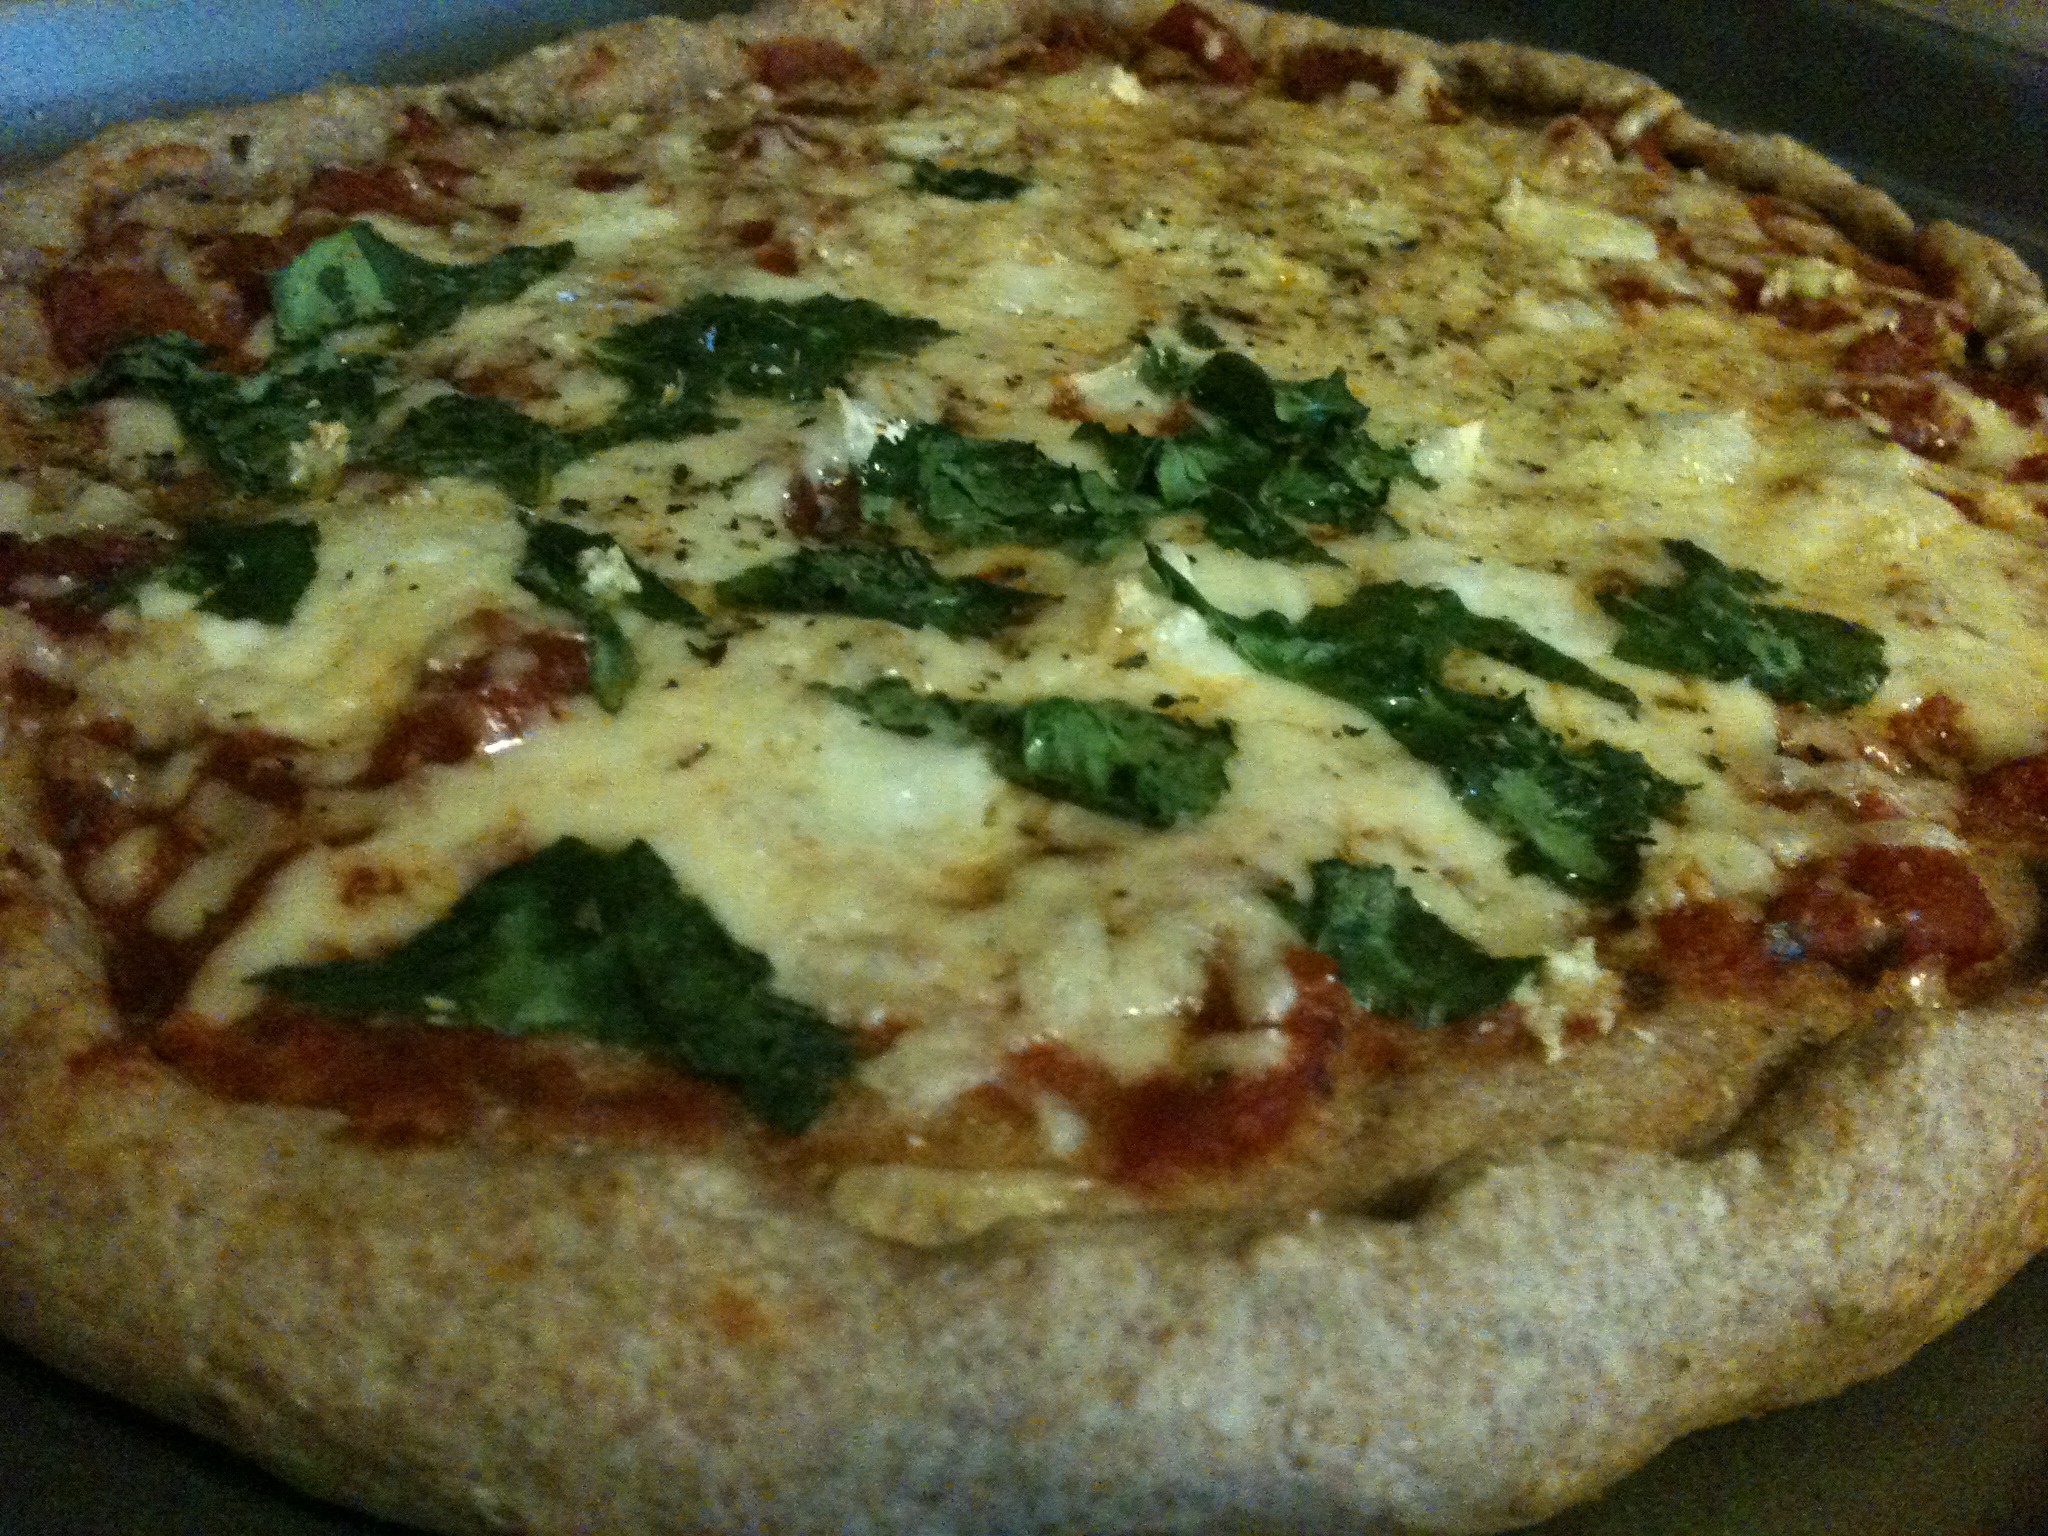
  • Put in oven for 10-20 minutes (depending on the thickness of the crust). You want it until the edge of the crust is a light brown and your toppings are cooked

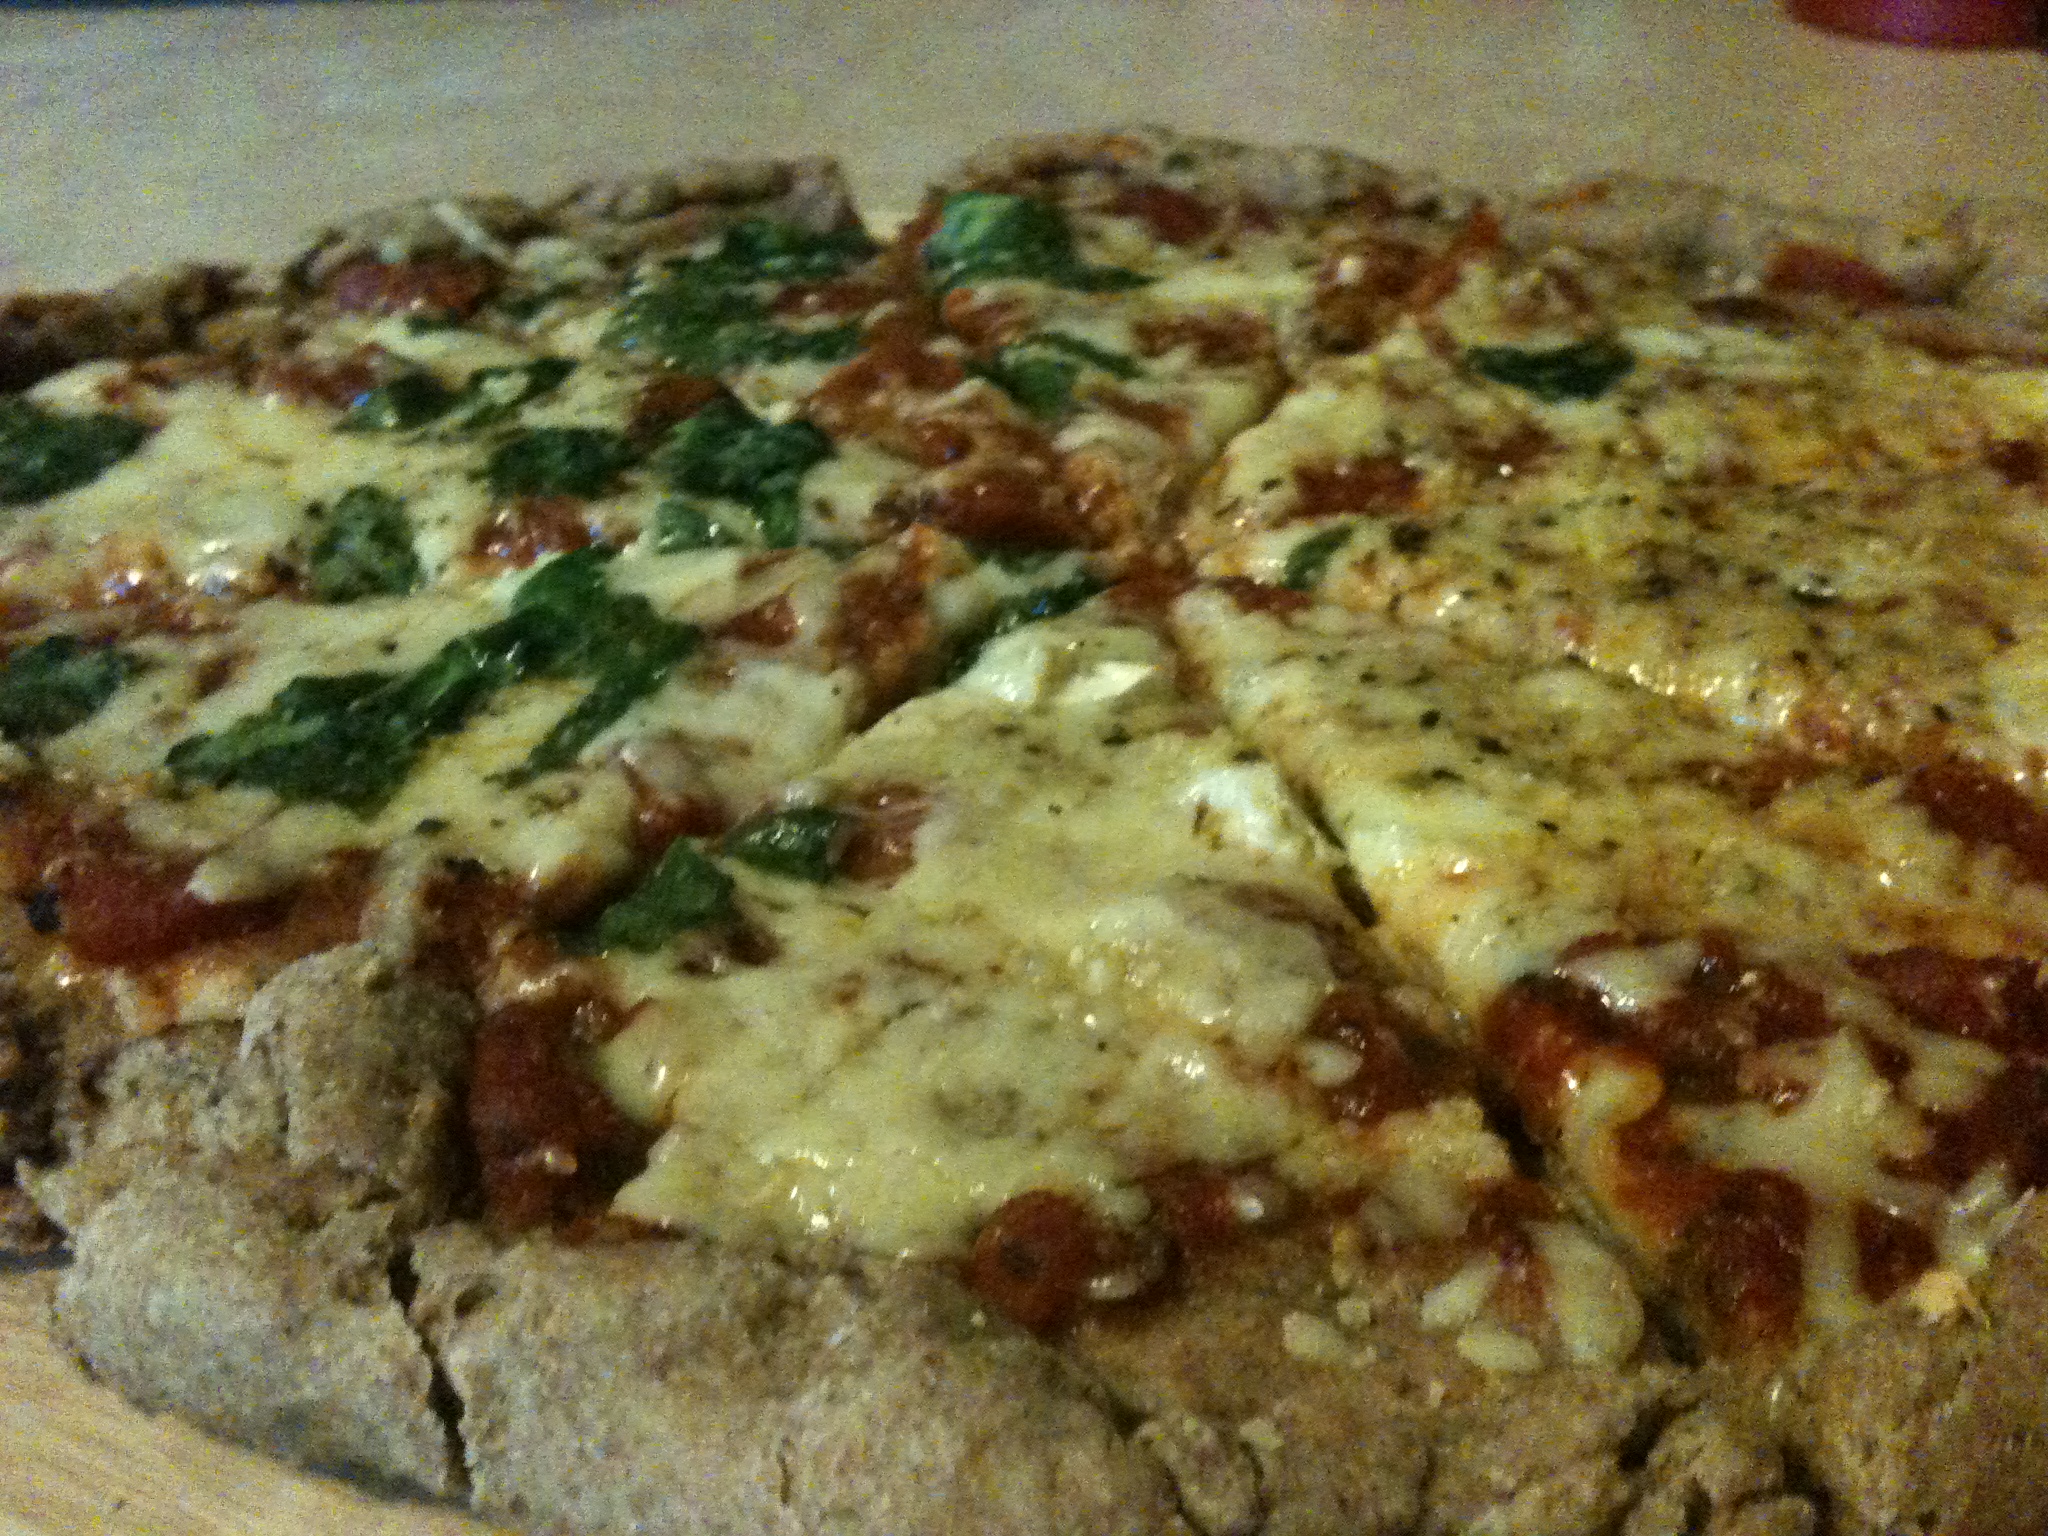
And there you have it! That wasn’t hard, was it? It’s near impossible not to enjoy this–unless you burn your mouth, so be careful! This dish maybe lasted eight minutes. Maybe. Just try it, you won’t be disappointed.

Sir, you’re drooling everywhere

spacer

Stuffed Mushrooms–Nom Style

So I completely stole this from a fellow blogger I’ve found through hunting food blogs. Her blog is thedomesticatedfeminist, I encourage you to check her stuff out–delicious recipes! The one I most currently stole, are Stuffed Mushrooms. And of course, with any recipe I find, I alter it slightly (not because I’m creative, but because I’m poor and don’t have all the ingredients). My philosophy is that you should cook with what ya got in your kitchen! And it helps with the wallet too.

Okay, so let’s get your ingredients ready! Oh, and I also made garlic bread.

Ingredients (stuffed mushrooms):

  • 4 mushrooms
  • 1 tomato
  • big handful spinach
  • 2 cloves garlic
  • lemon juice
  • dried basil
  • cheddar cheese
  • brie 

Ingredients (garlic bread):

  • loaf of french bread
  • garlic
  • butter

Directions (garlic bread):

Okay! So first, let’s get started on the garlic bread because it needs sometime to bake.

1Pre-heat the oven to 375 degrees

2. Cut the garlic bread with a good bread knife so that the knife goes almost all the way to the bottom, but you don’t wholly cut through it.
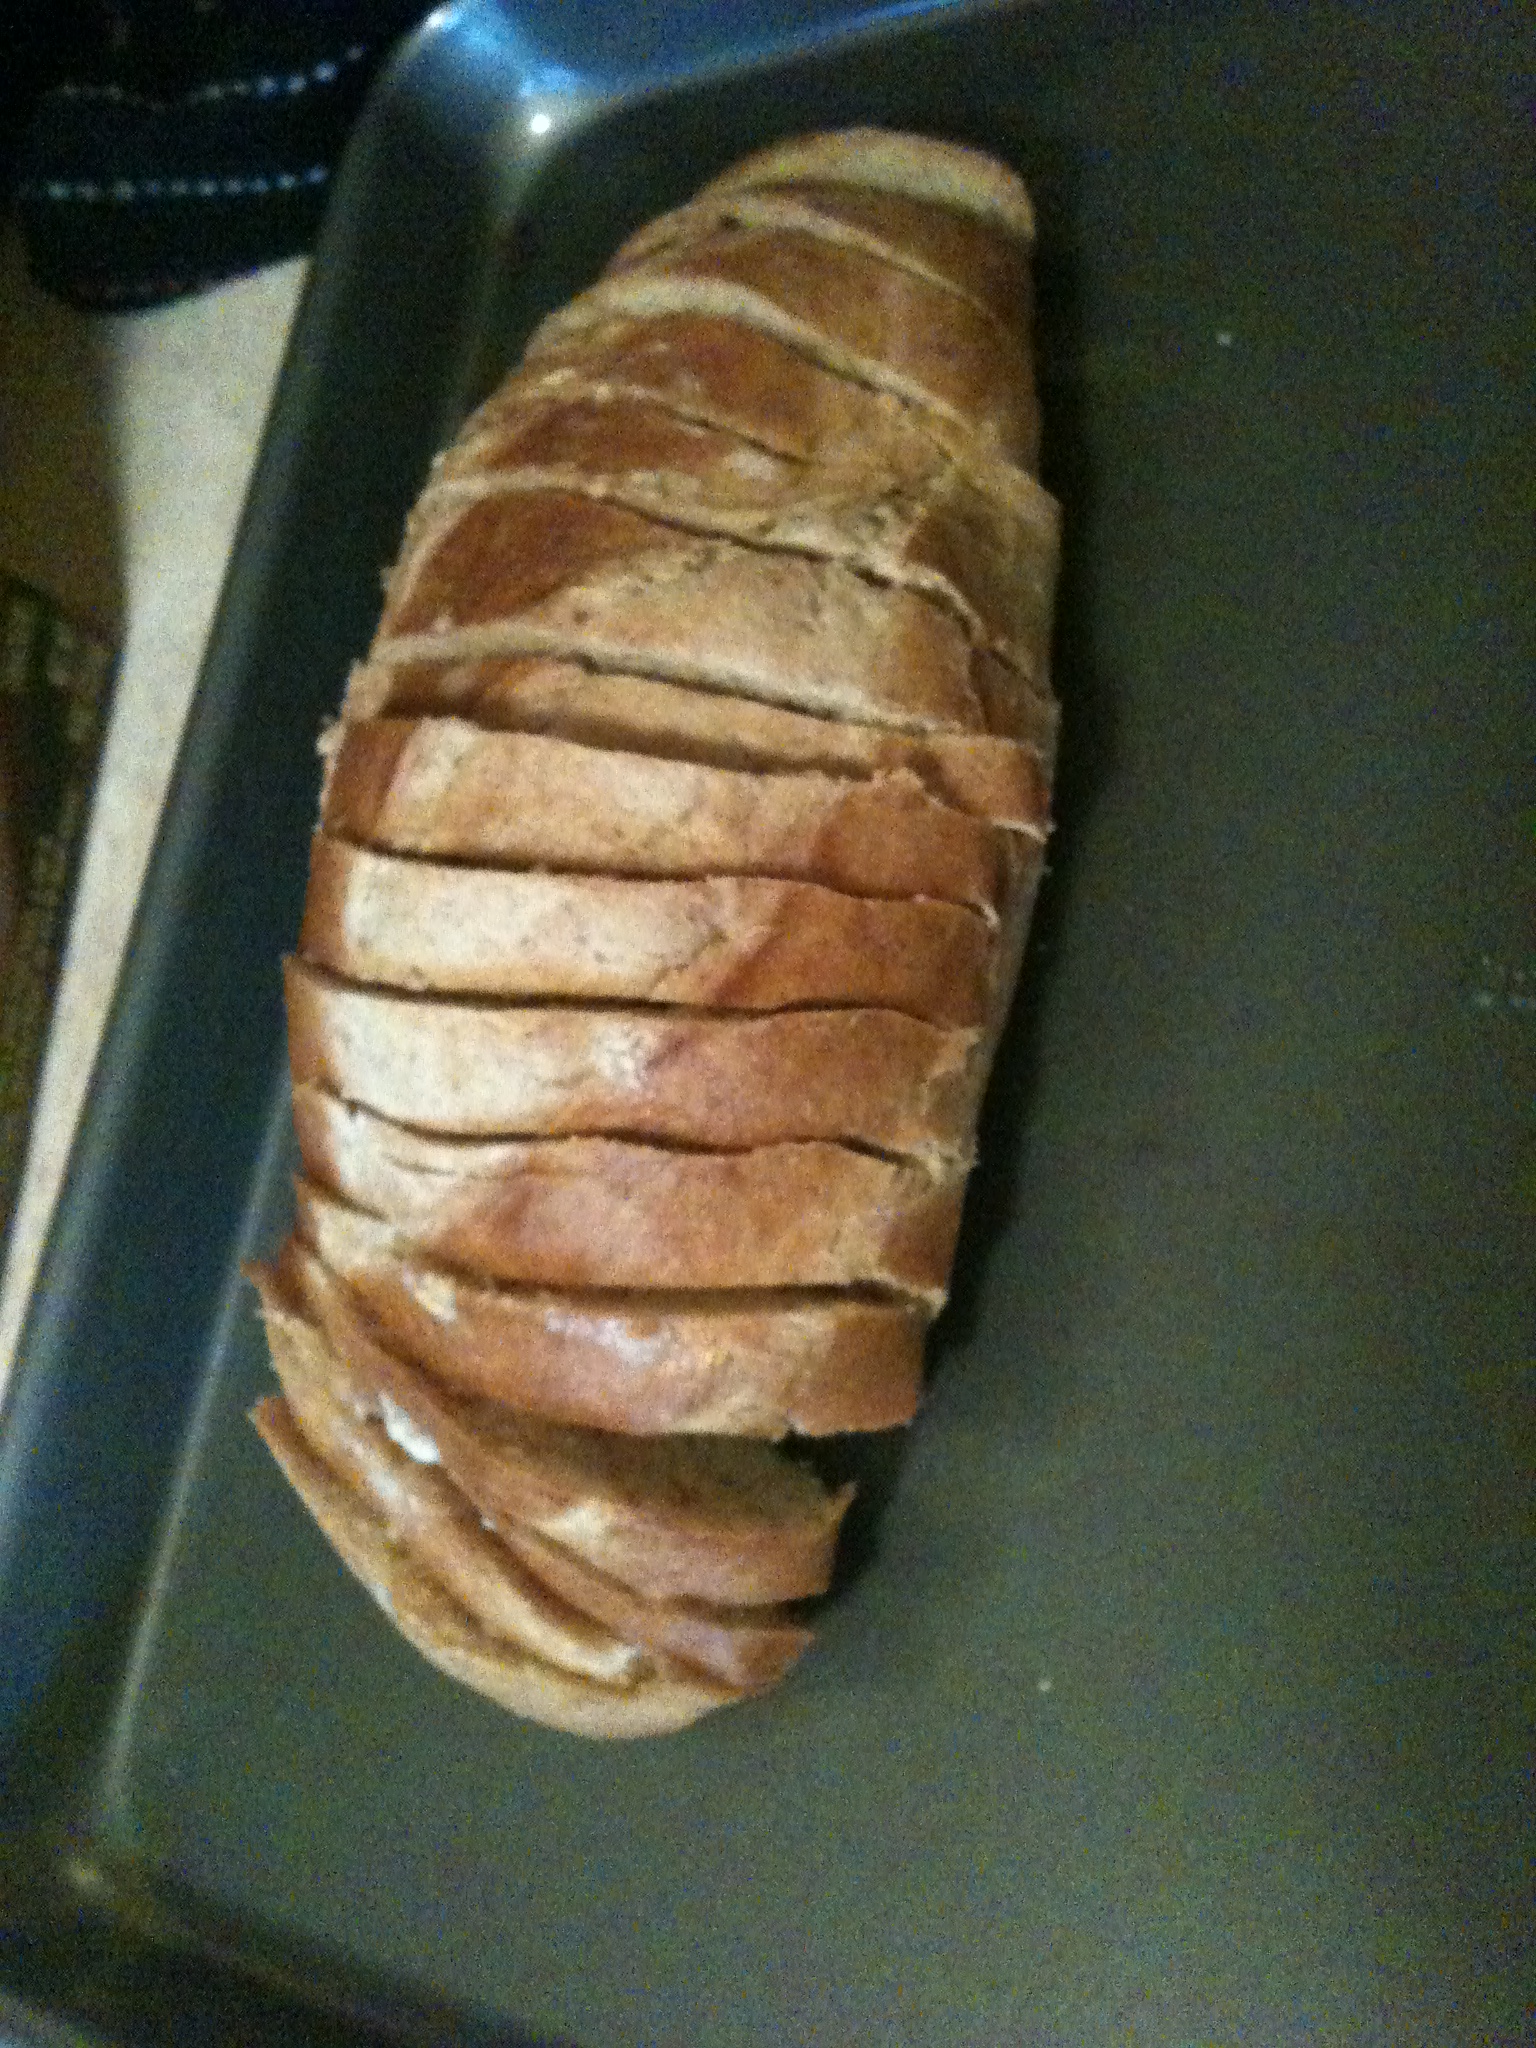
3. Stir up a mixture of butter and garlic (I used two cloves)
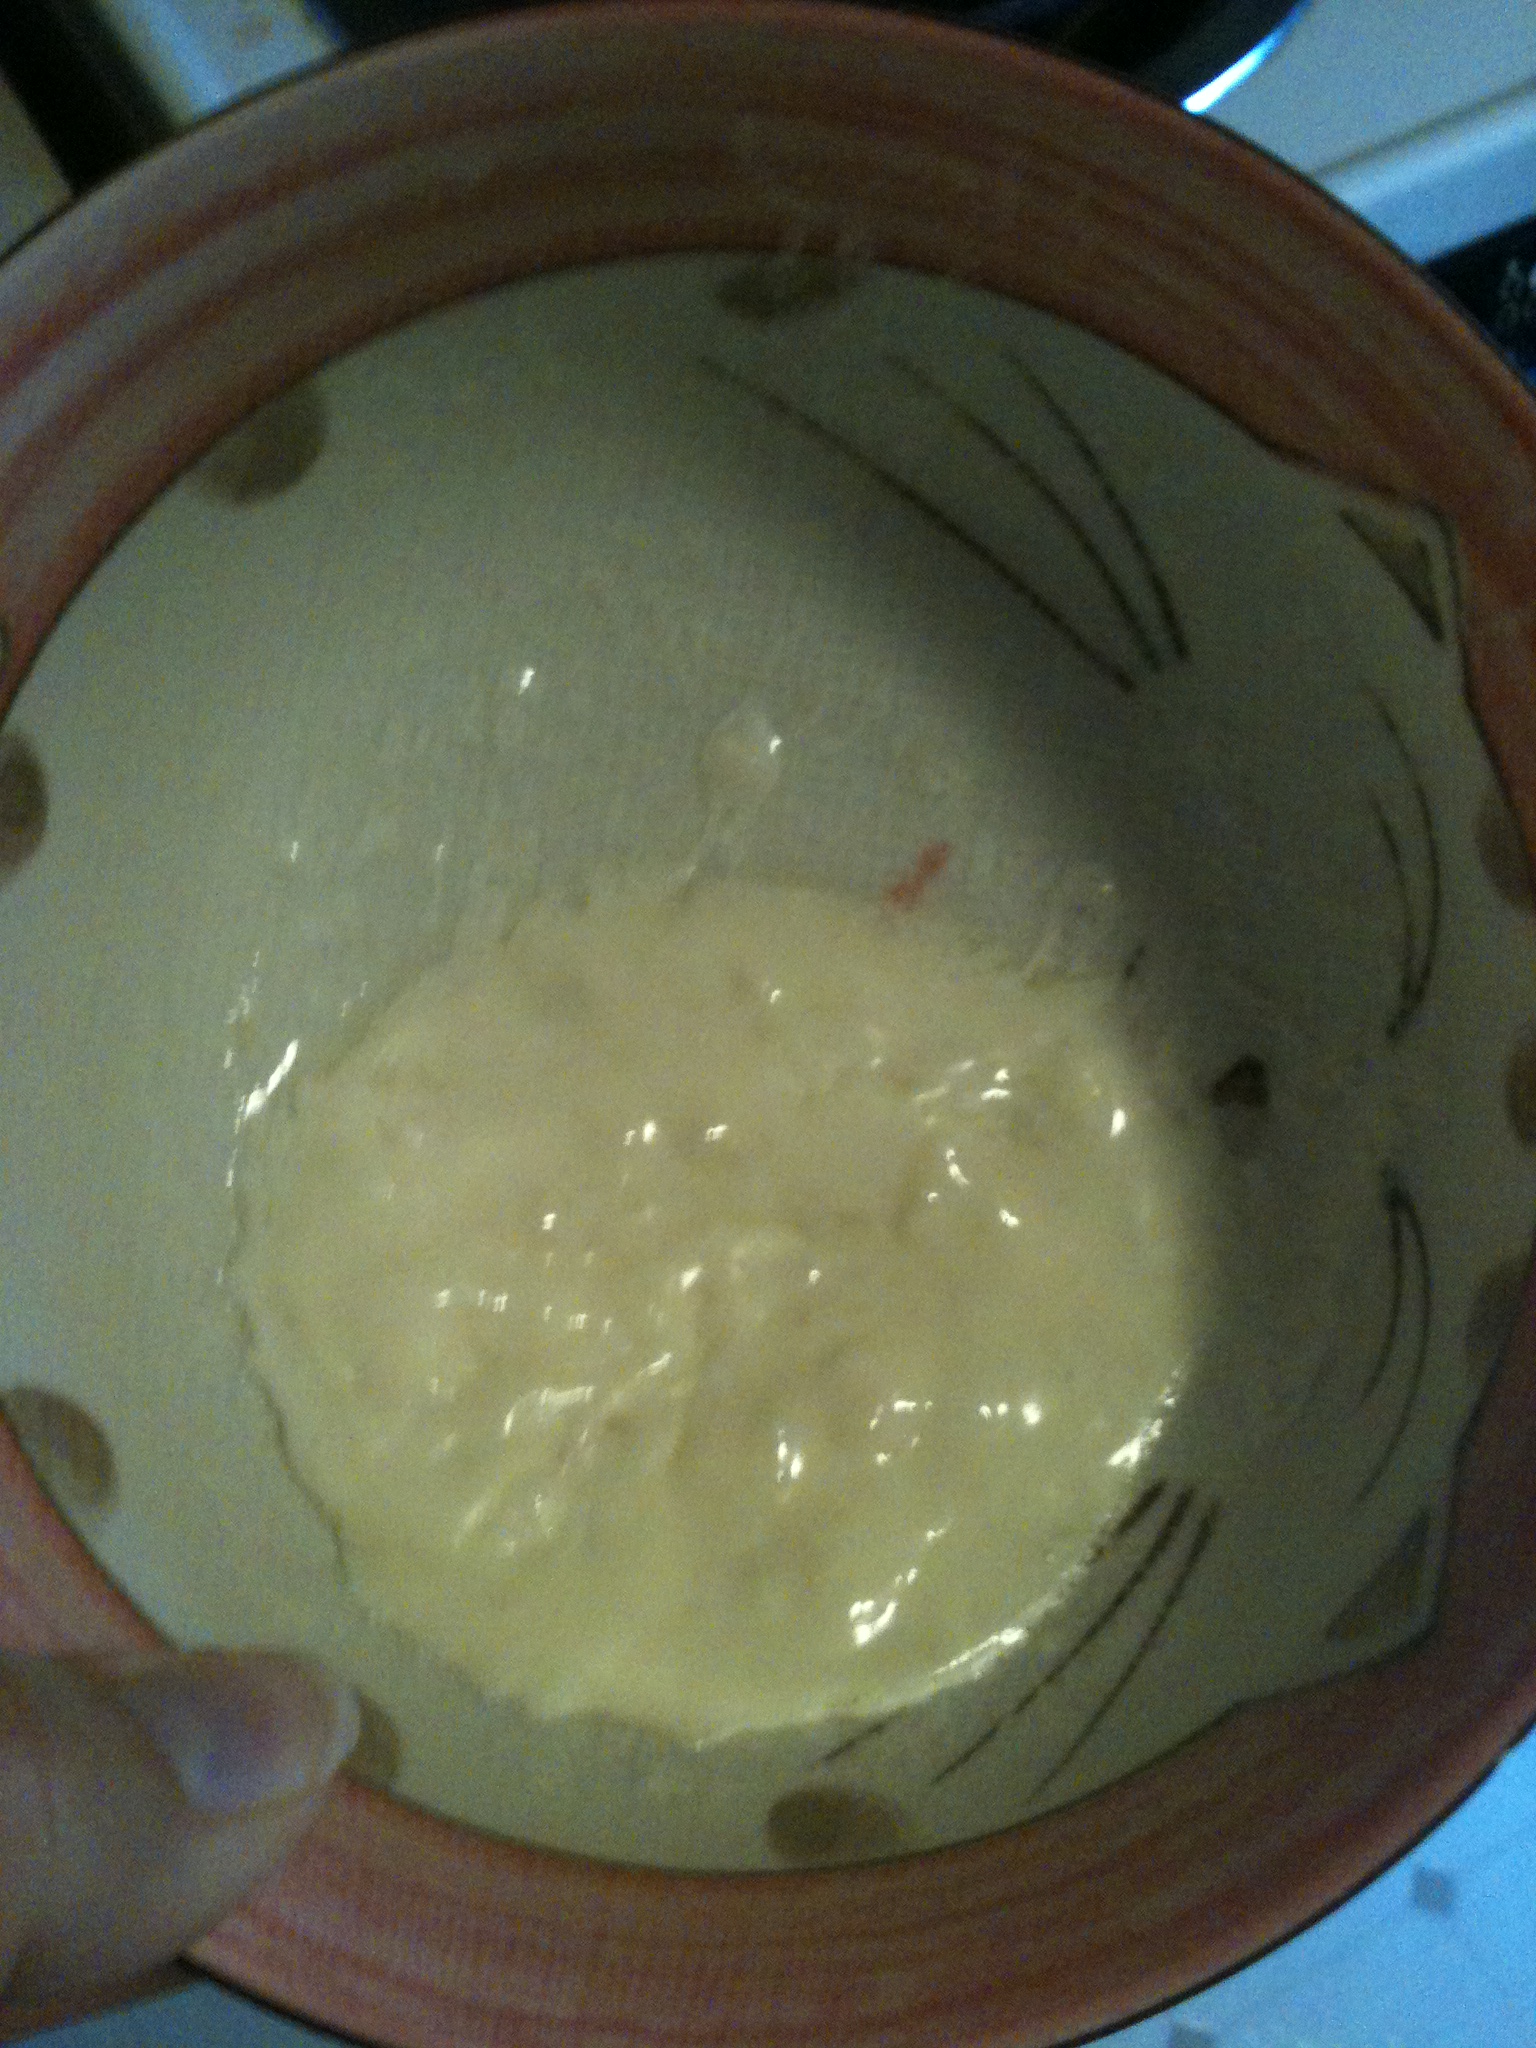
Buttery garlic-y goodness

4. Next, you want to use a butter knife and spread the garlic butter through each slice you’ve made (remember, you don’t want the slices to be separated from the loaf)

5. Pop it in the oven! I’d say for around 10-15 minutes (just keep checking it to make sure the bread doesn’t burn)
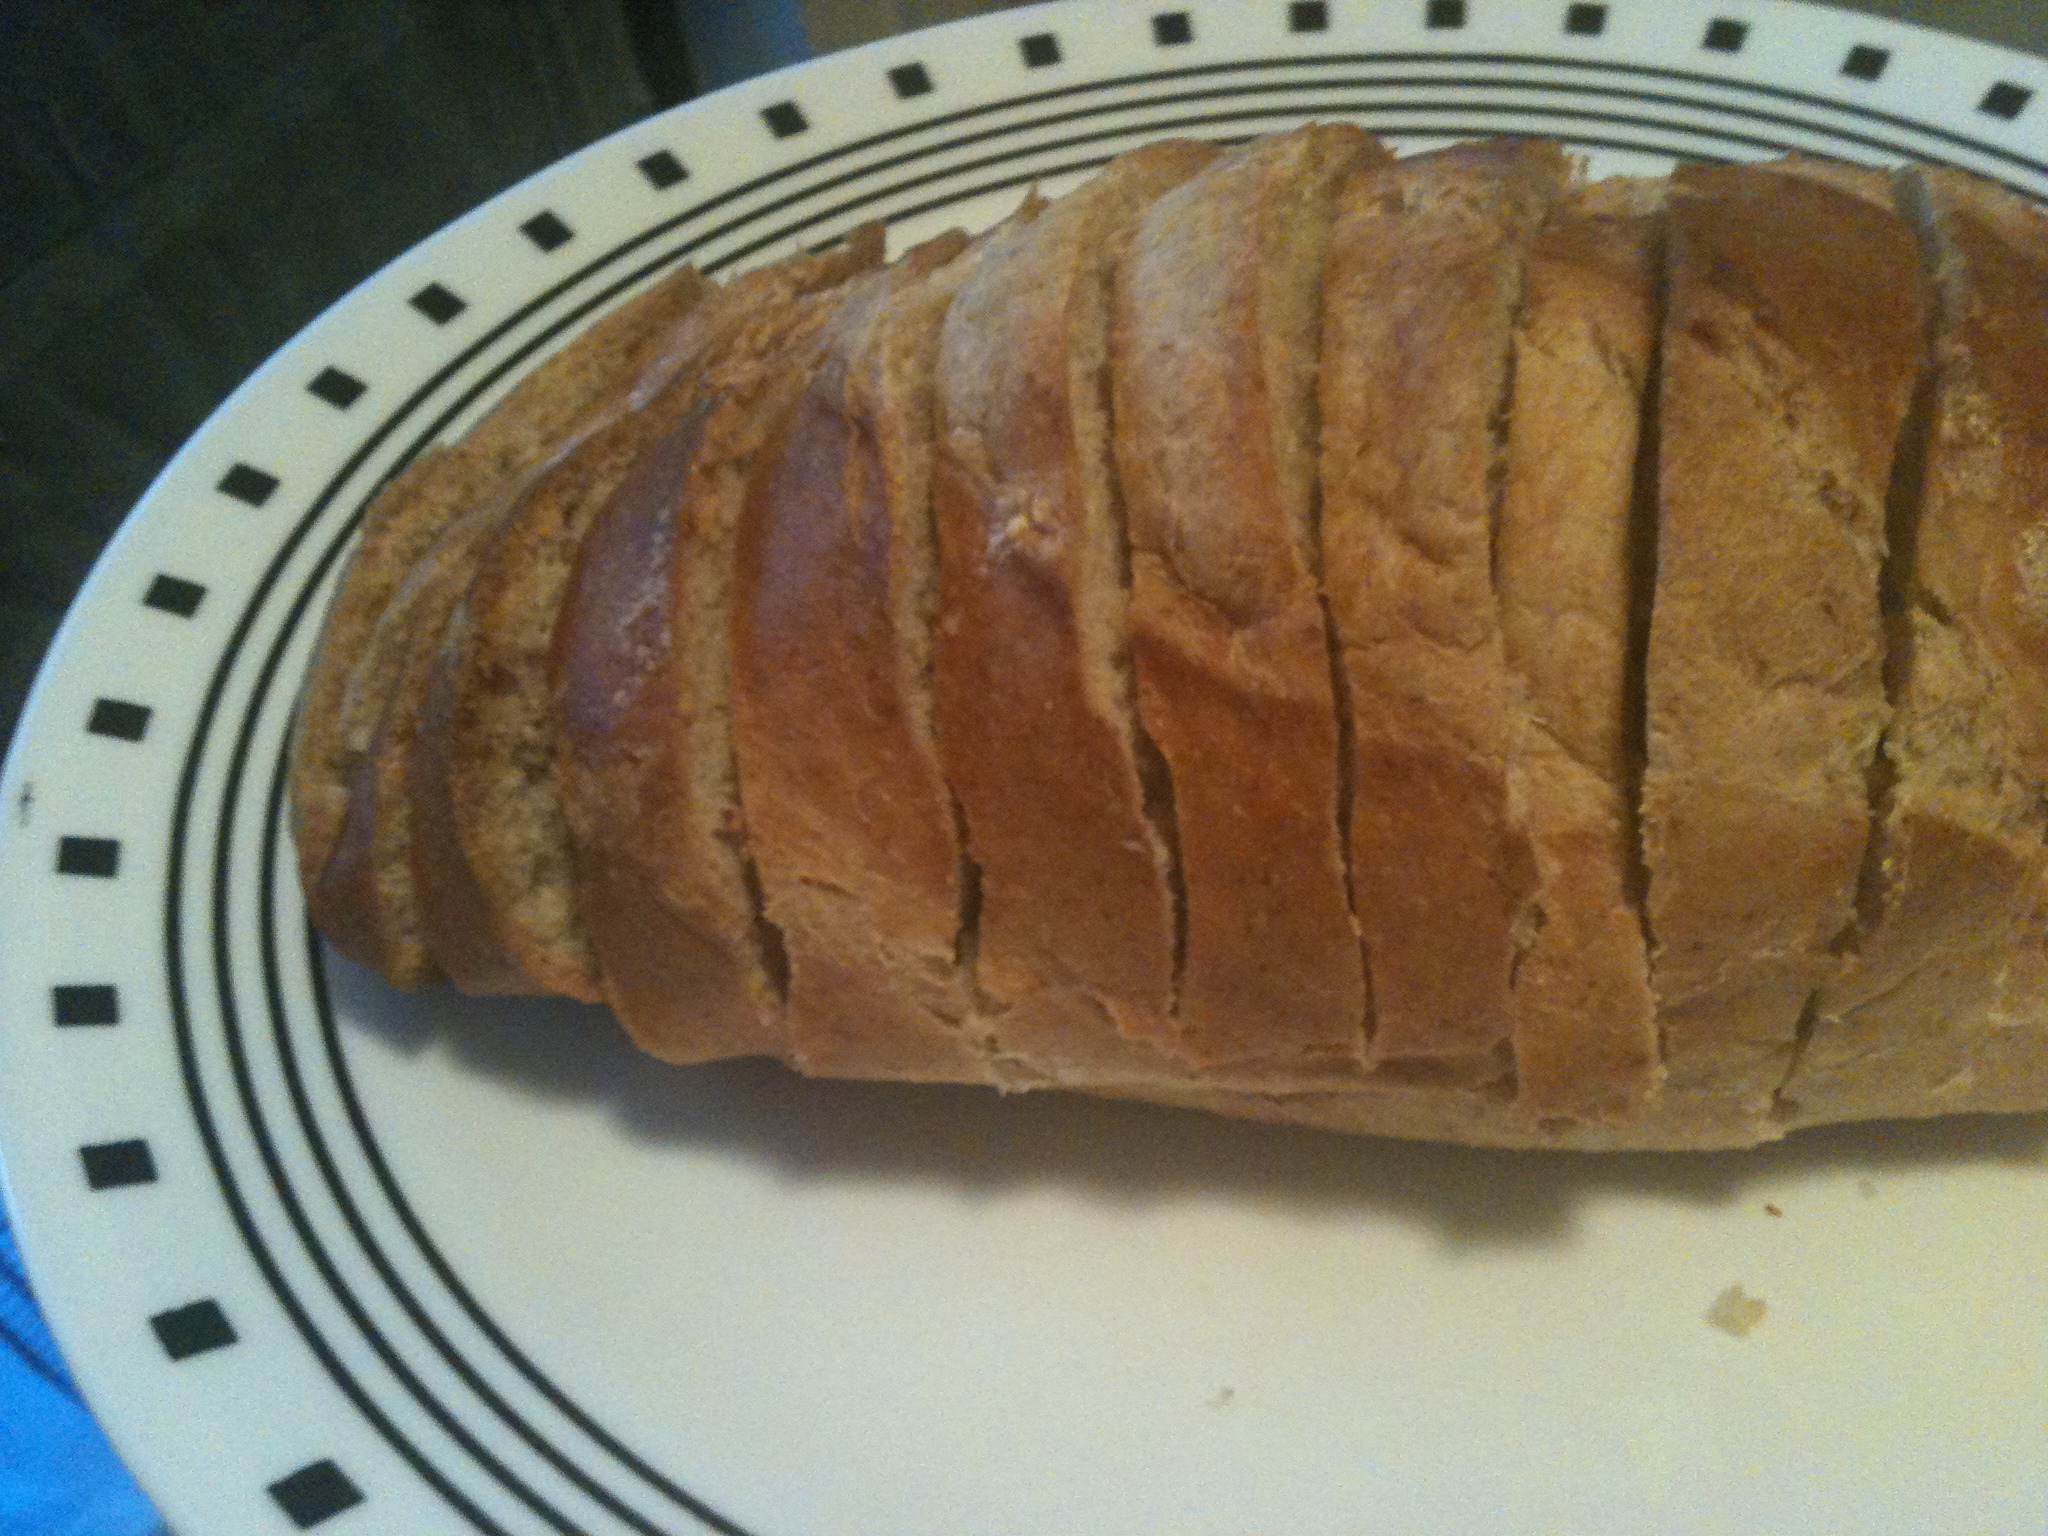
Directions (stuffed mushrooms)

Ahhh, now the good stuff!

1. Before we stuff ANYTHING, we need to roast up the tomatoes and spinach: put olive oil and garlic into a pan and throw the tomatoes and spinach in

3. Don’t forget pepper&salt!
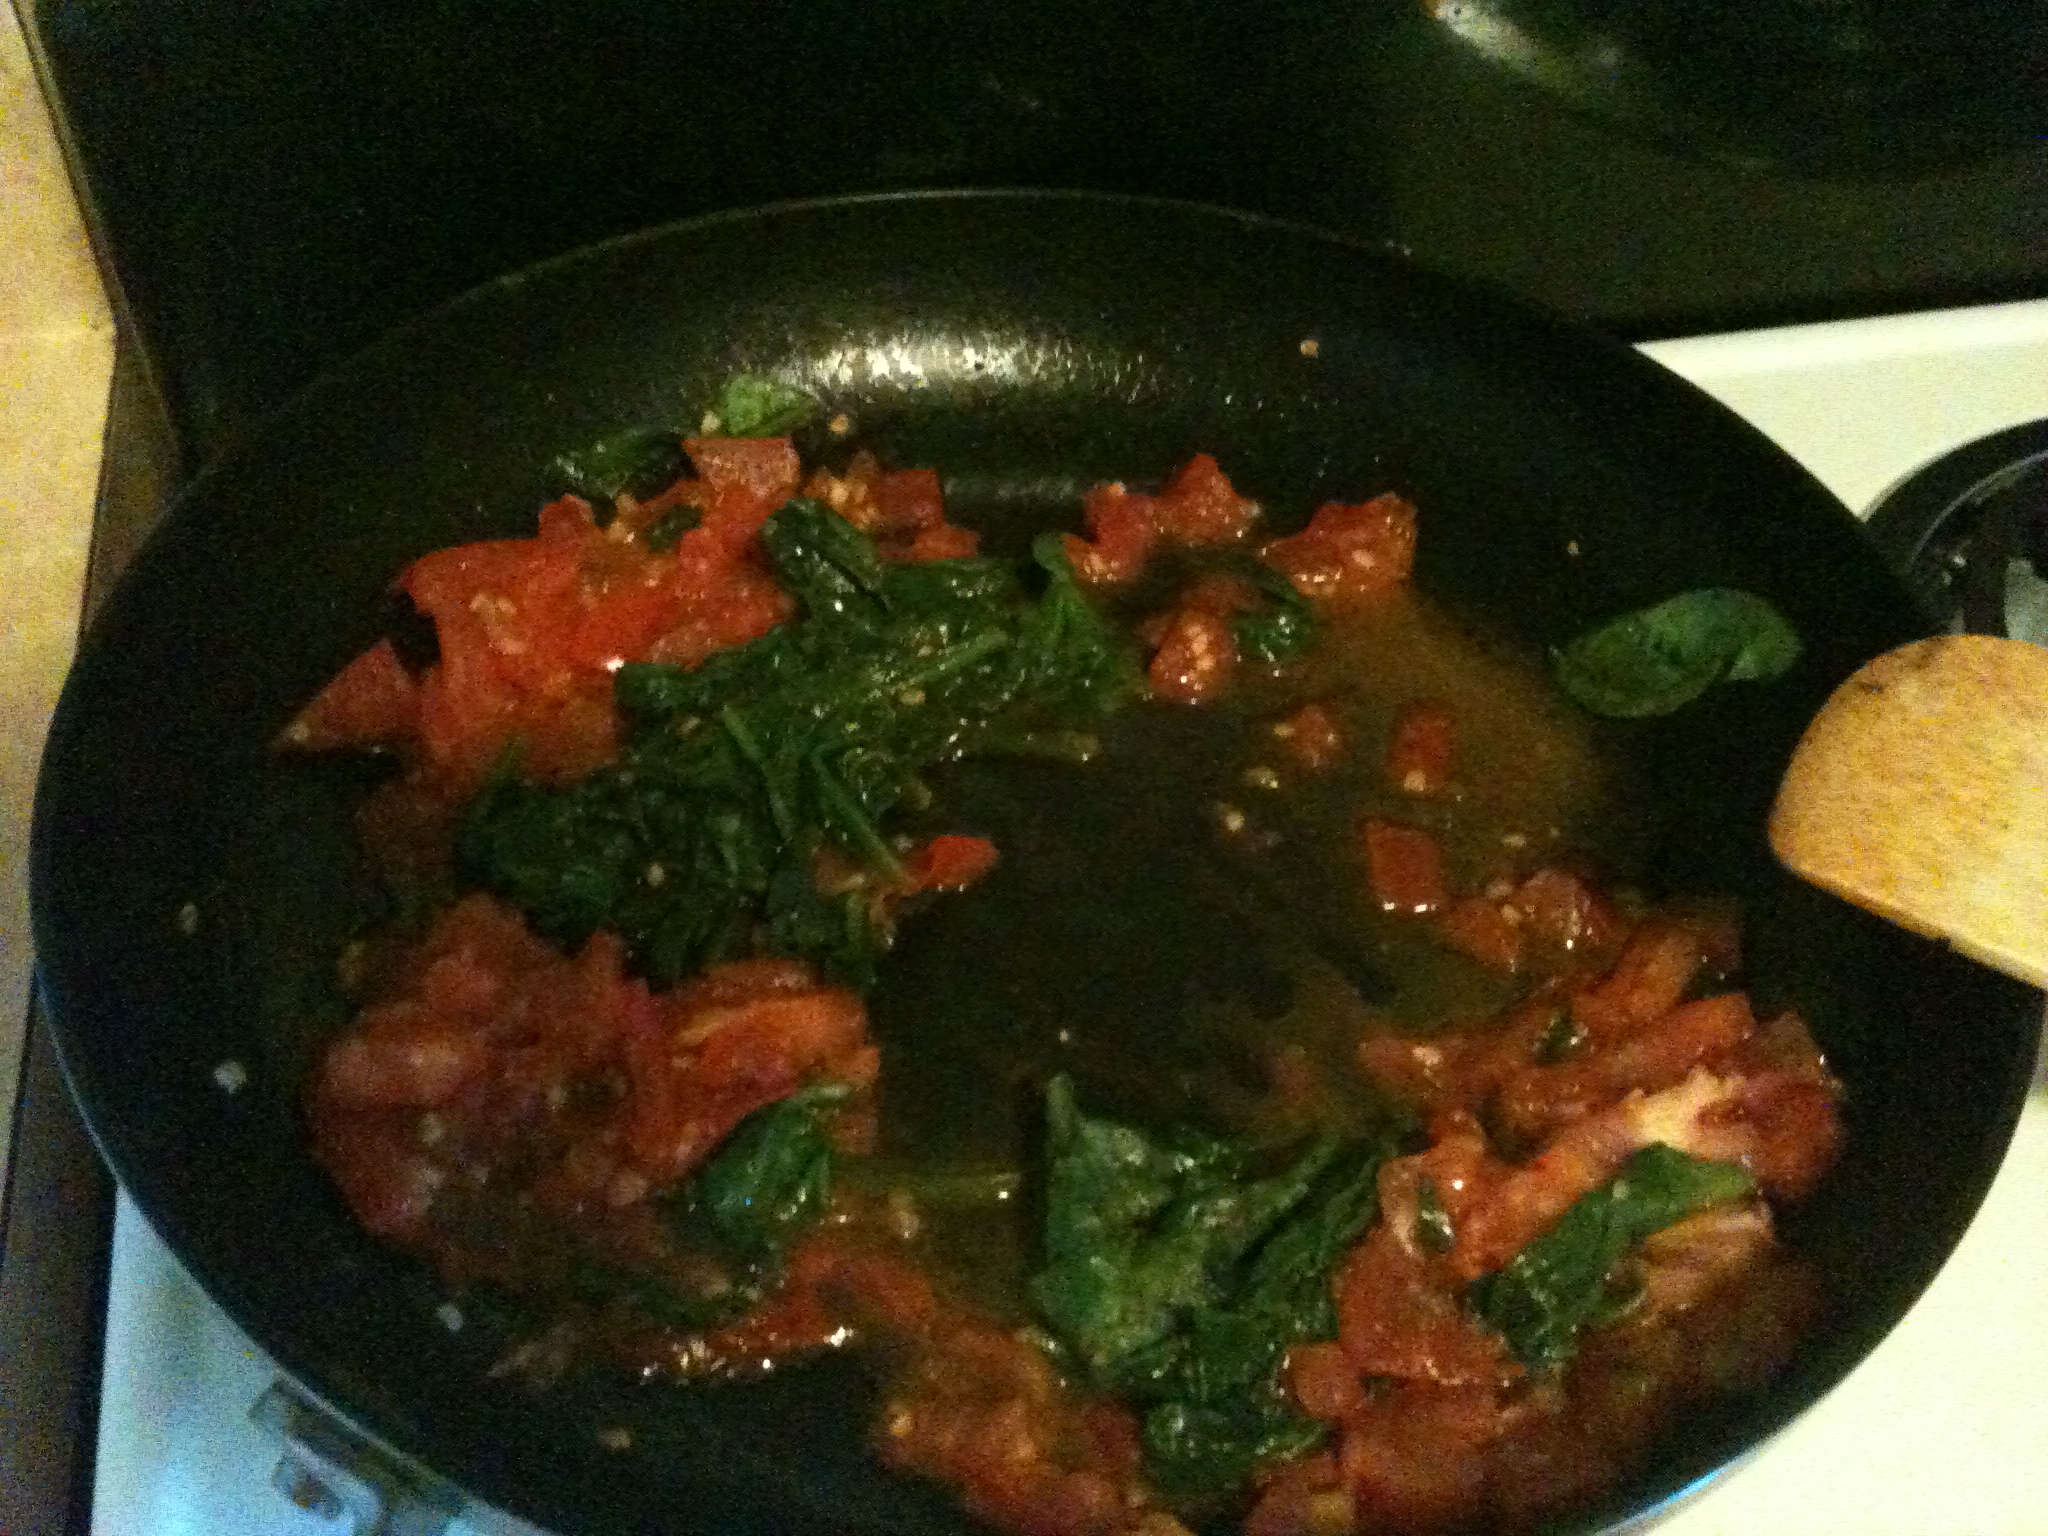
4. Let that rest while you fix up the mushrooms.

5. Time to clean the mushrooms. Simply hold under cold water and scrub with your hands, inside and out. Also, take out the stems of the mushrooms. Place on pan.
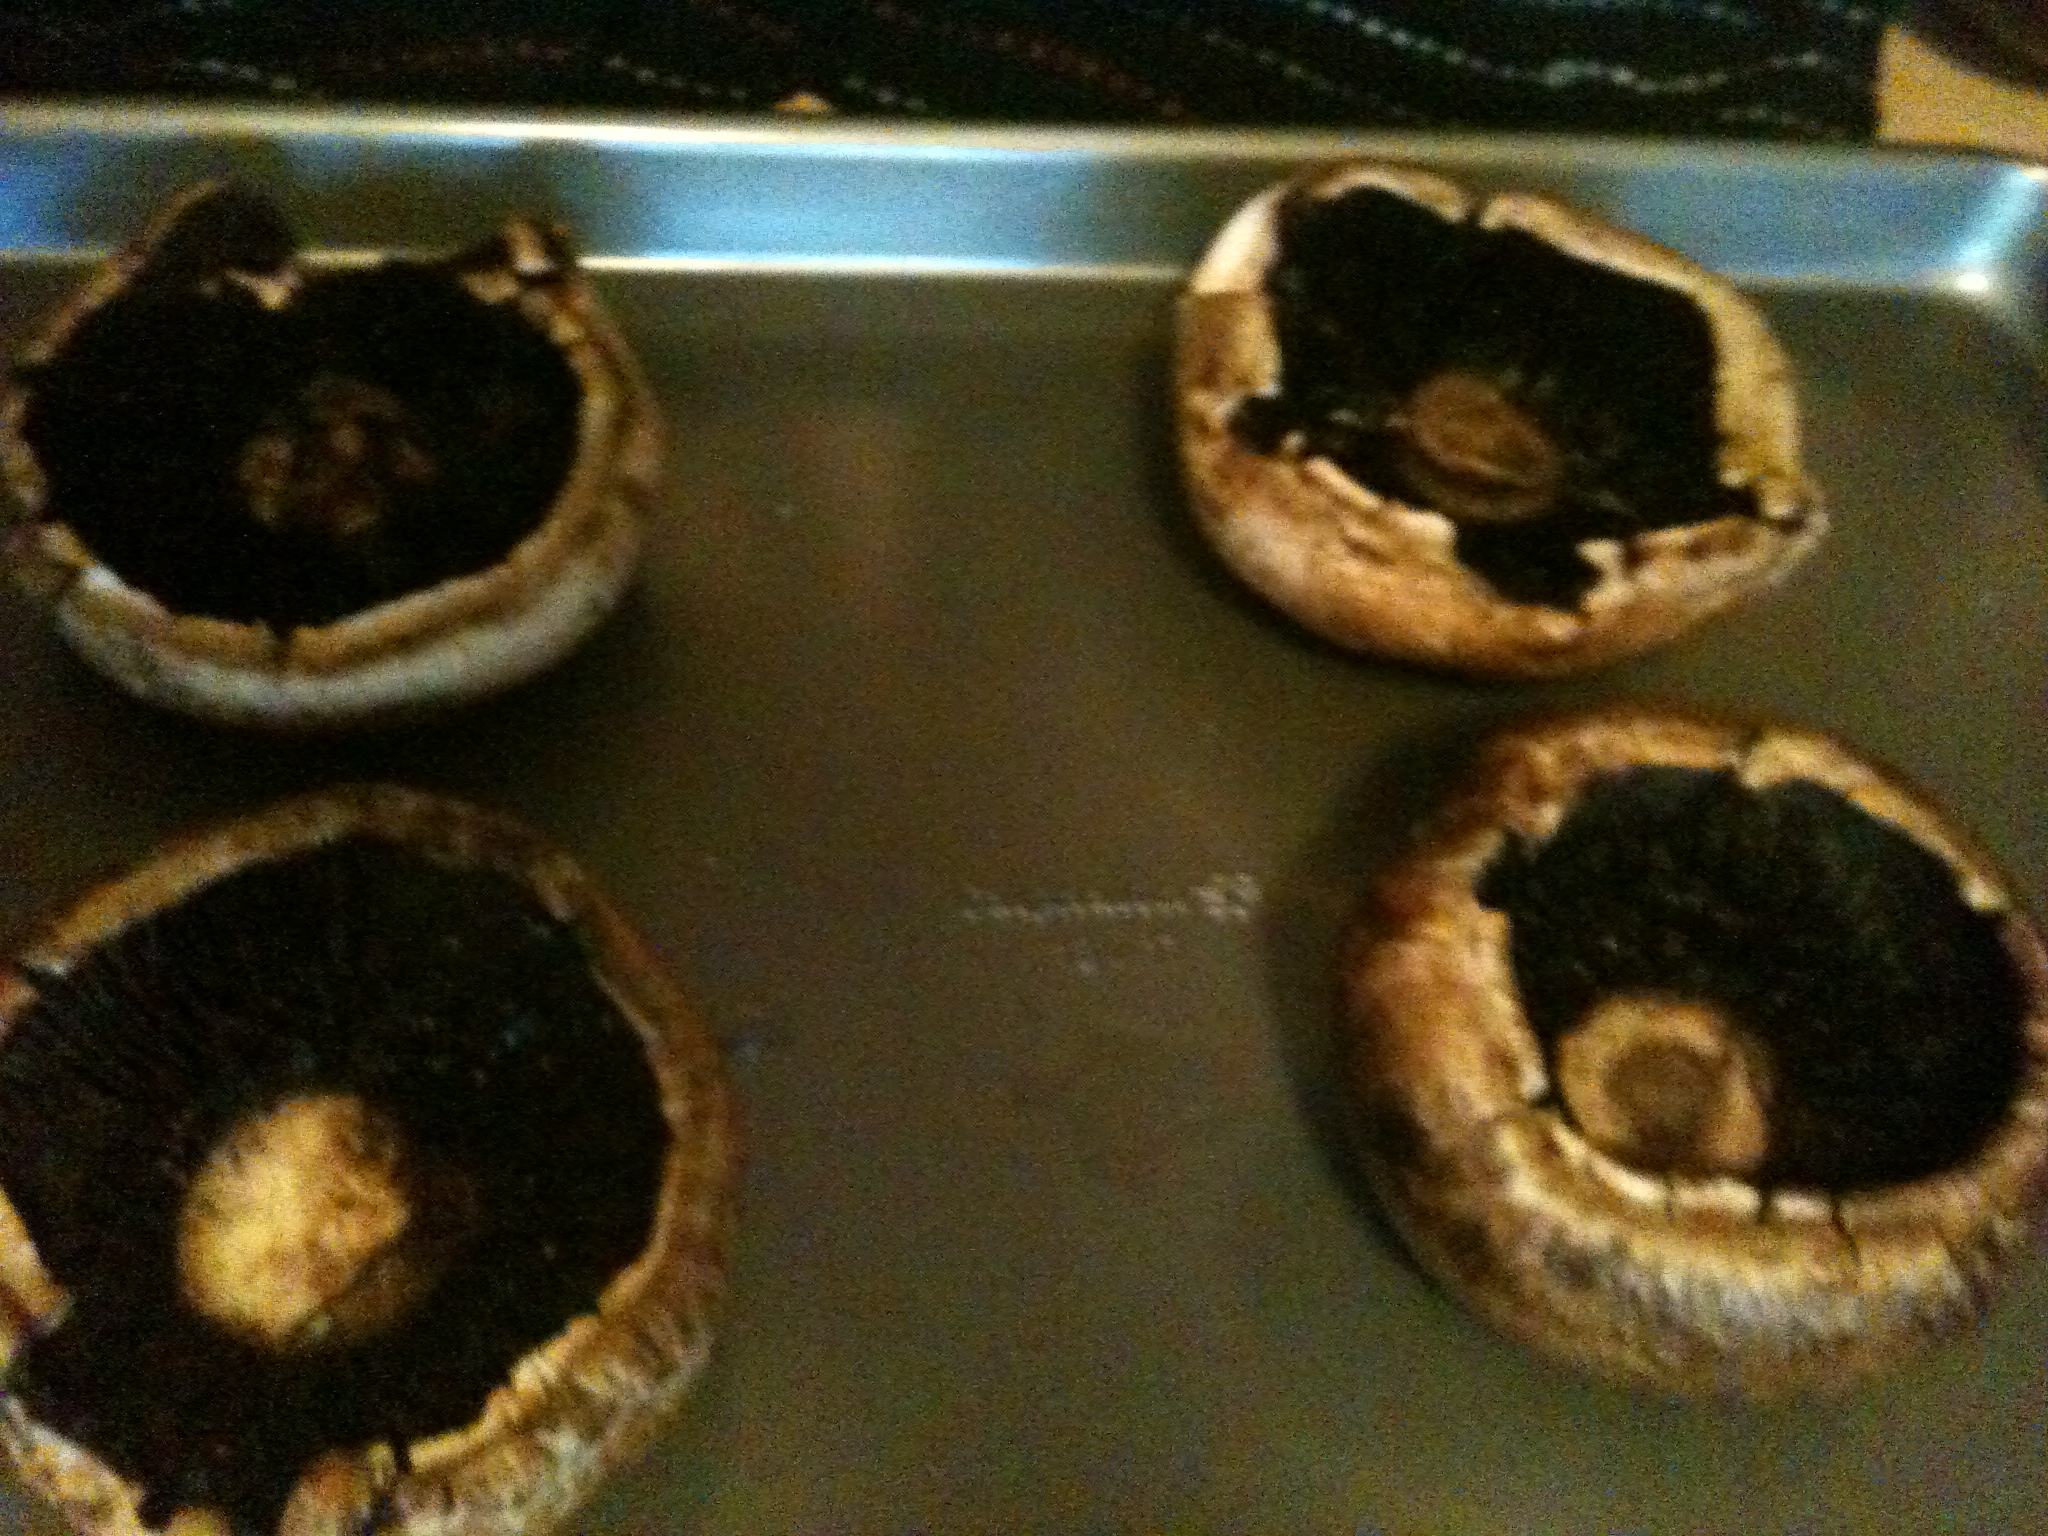
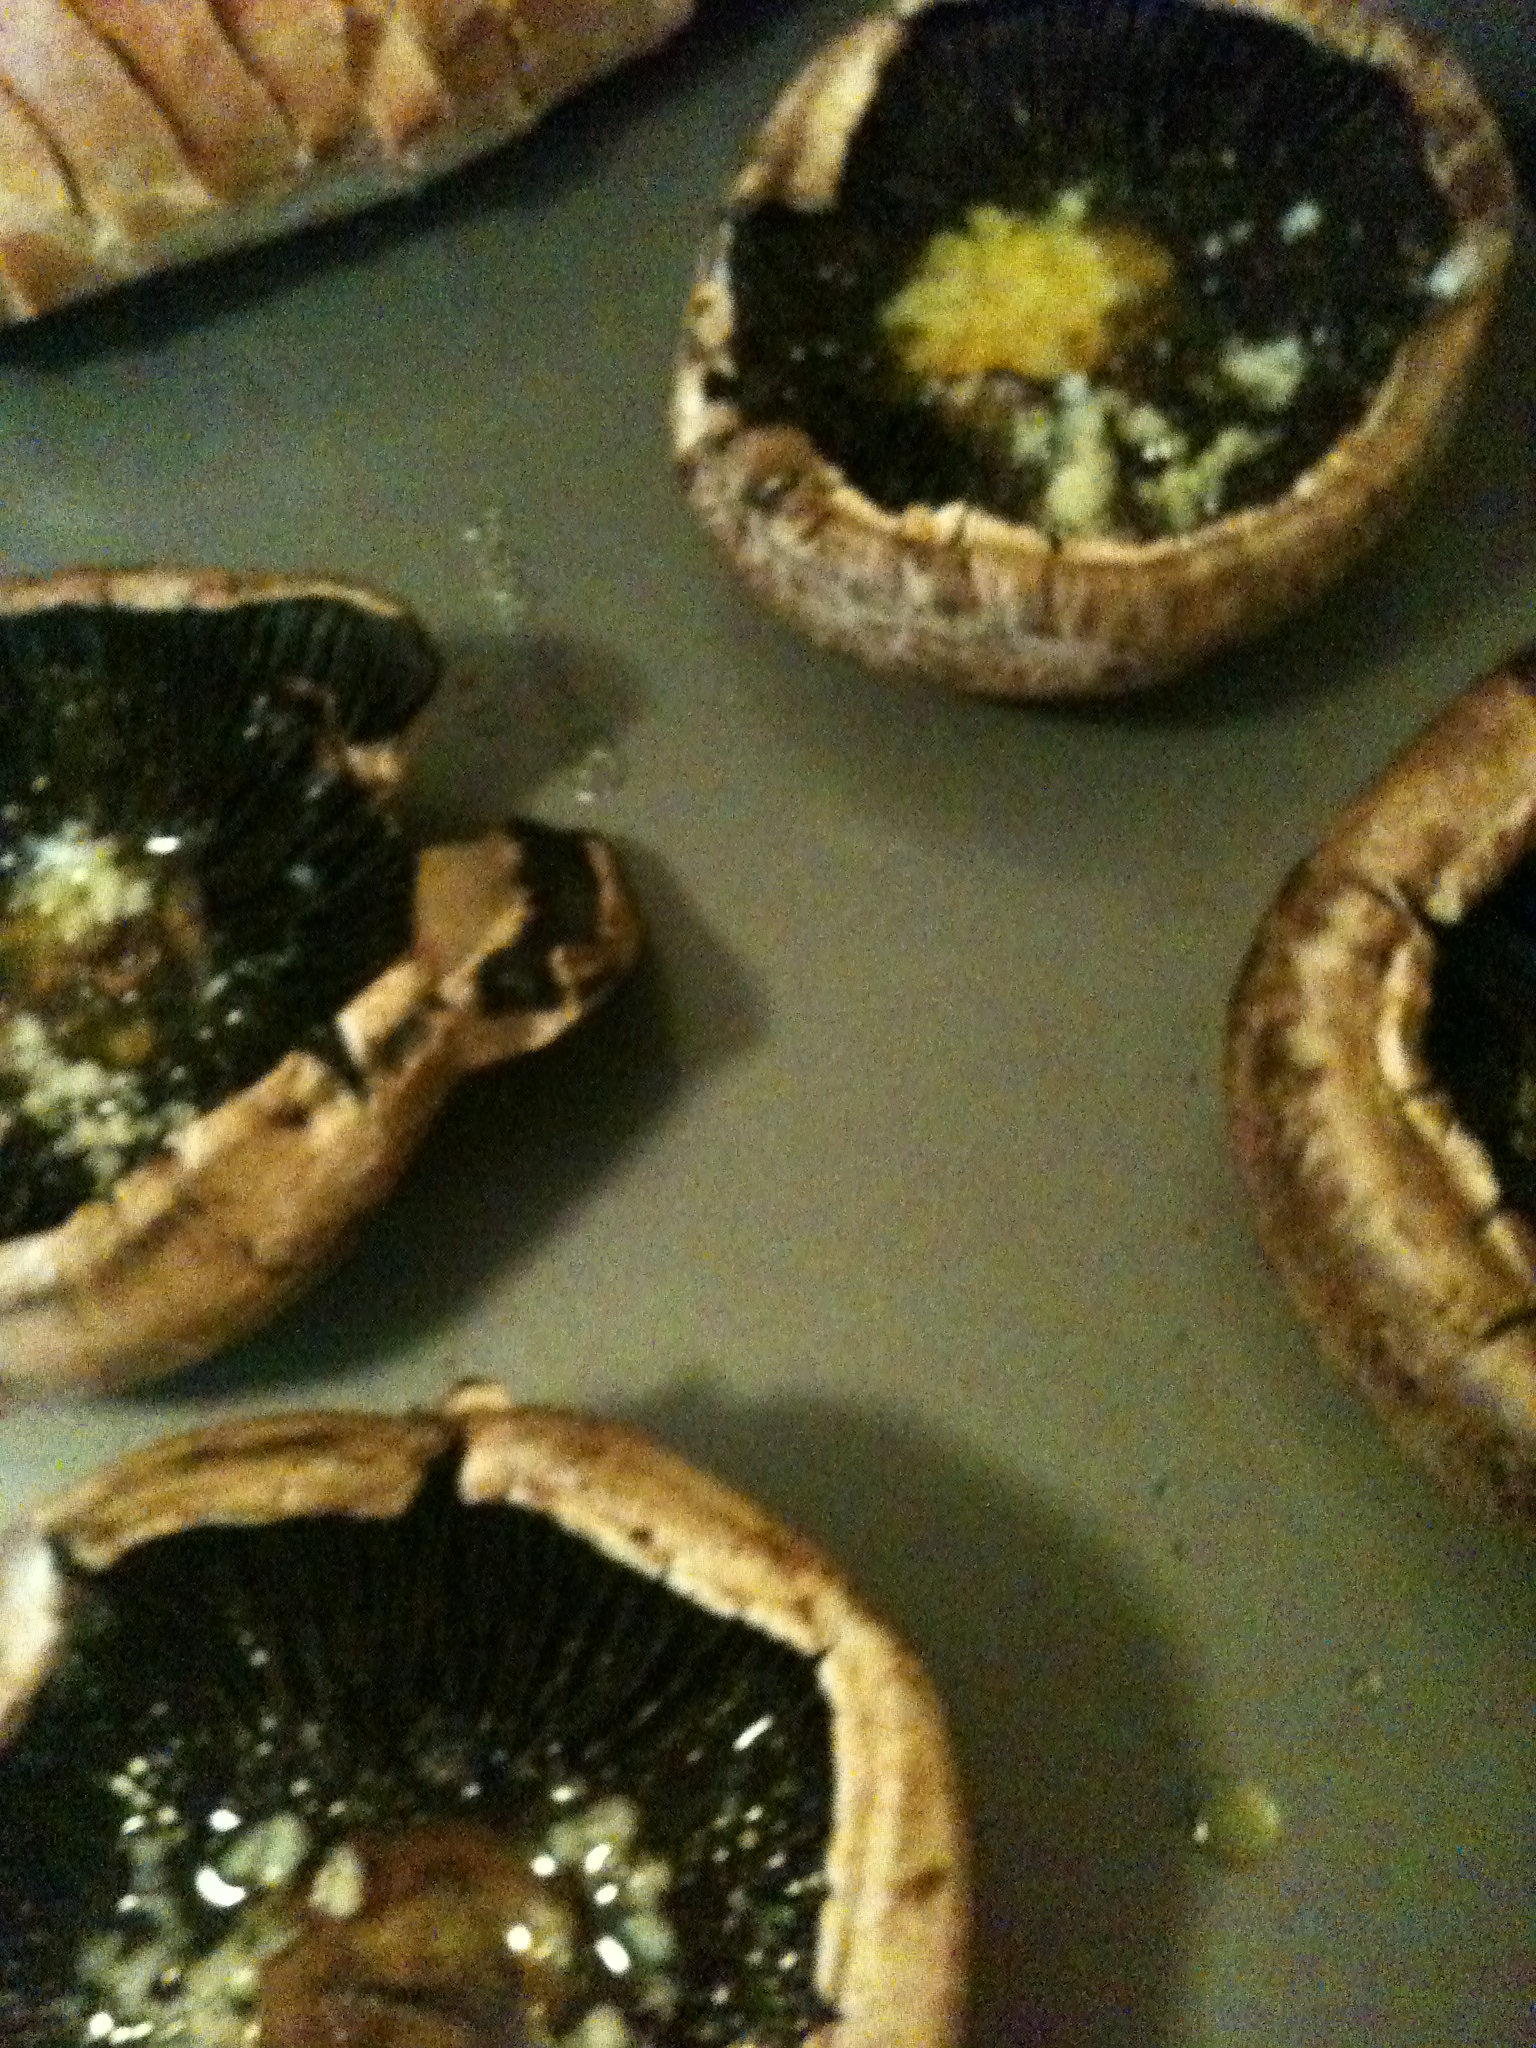
Mushrooms just dying to be stuffed

6. Now we want to make a magical mixture consisting of olive oil, garlic, and lemon juiceWhisk that up. We want enough to fill each mushroom.
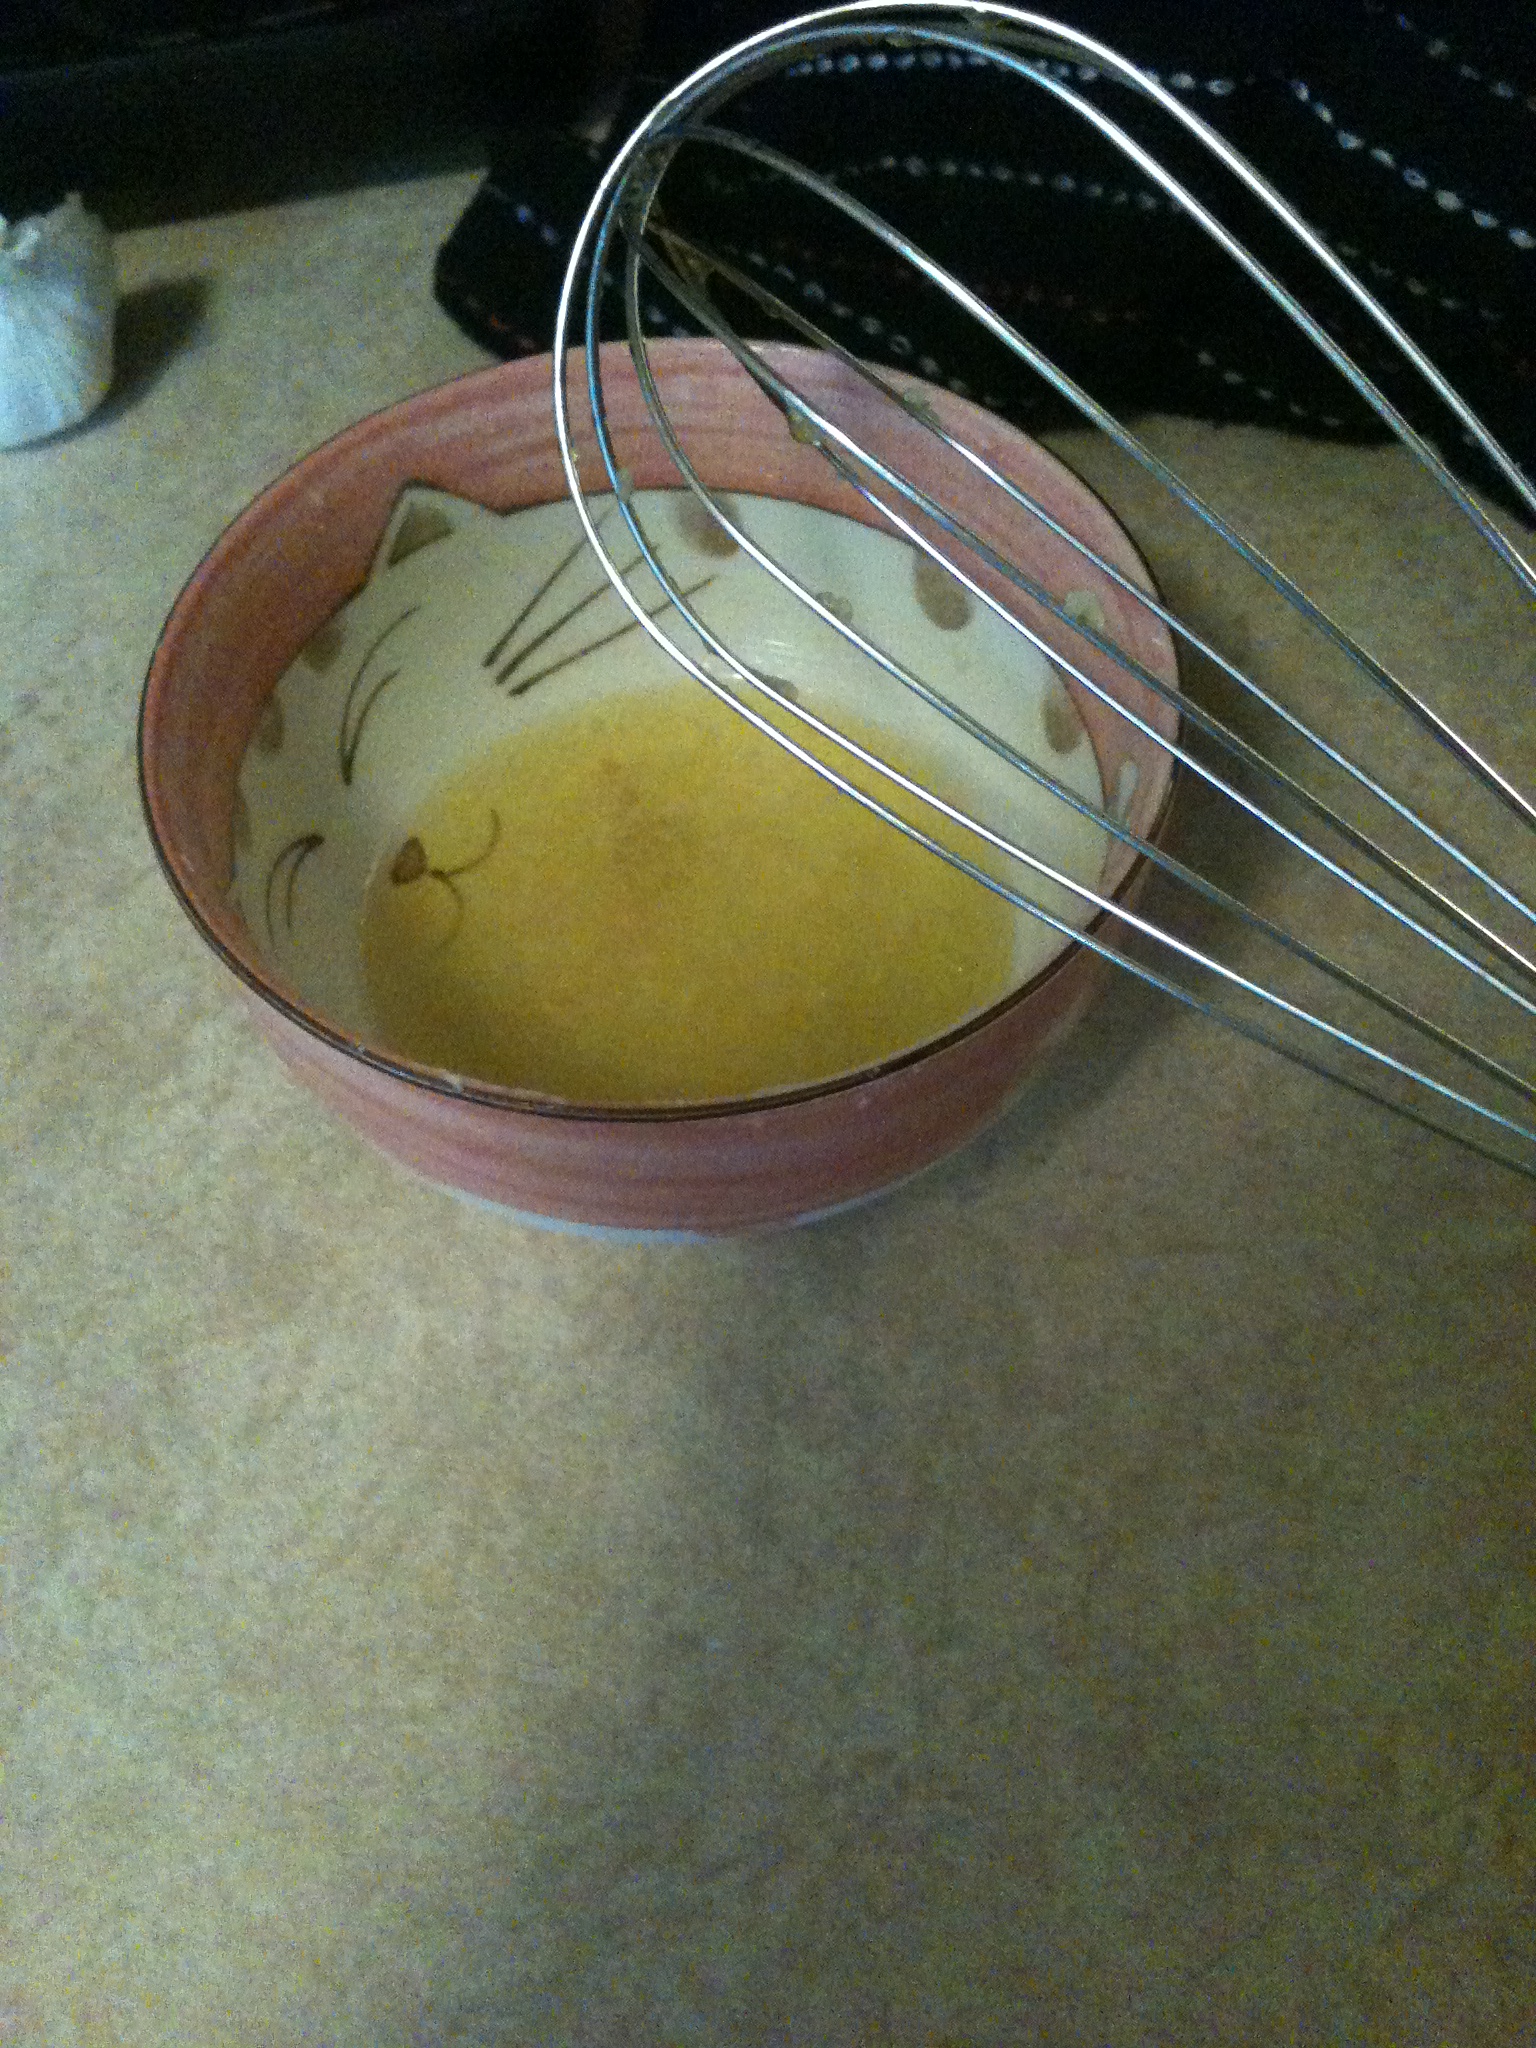
7. Pour mixture into mushrooms

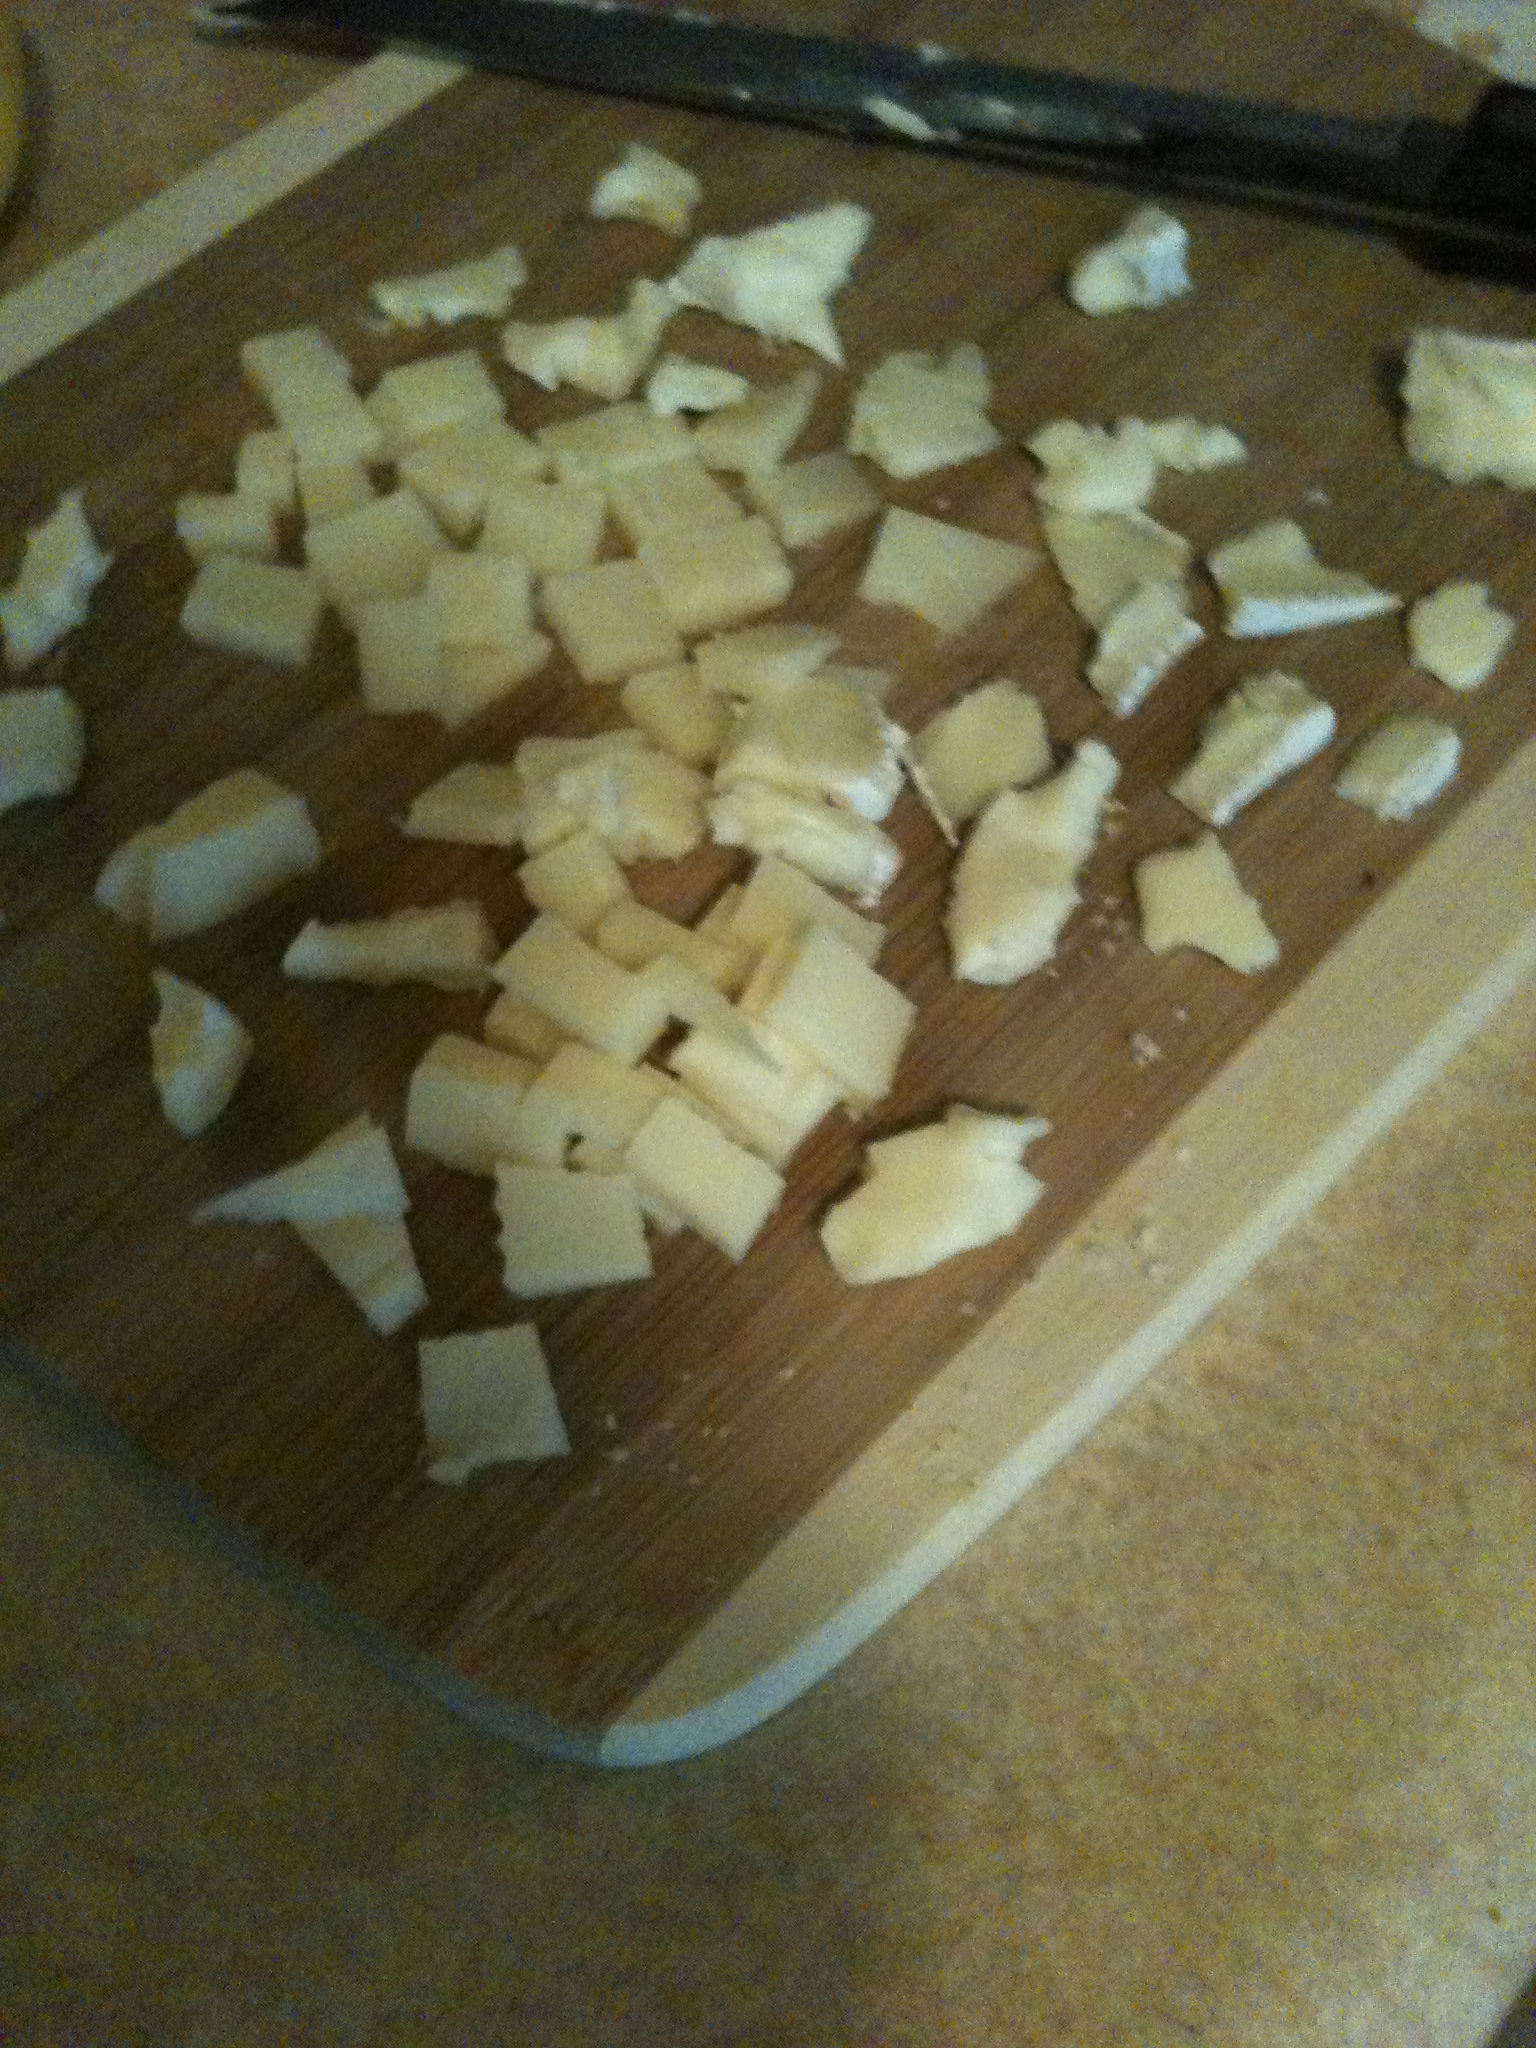
7. Now, whatever cheese you have in the house, chop it up! You don’t need many pieces. We had brie and cheddar cheese in our apartment, so that’s what I went with. You want to chop it up into small cubes (or something similar to that)
8. Now, put in the cooked tomatoes and spinach that you roasted beforehand. Try to make them even so you don’t upset your loved ones by being unfair.
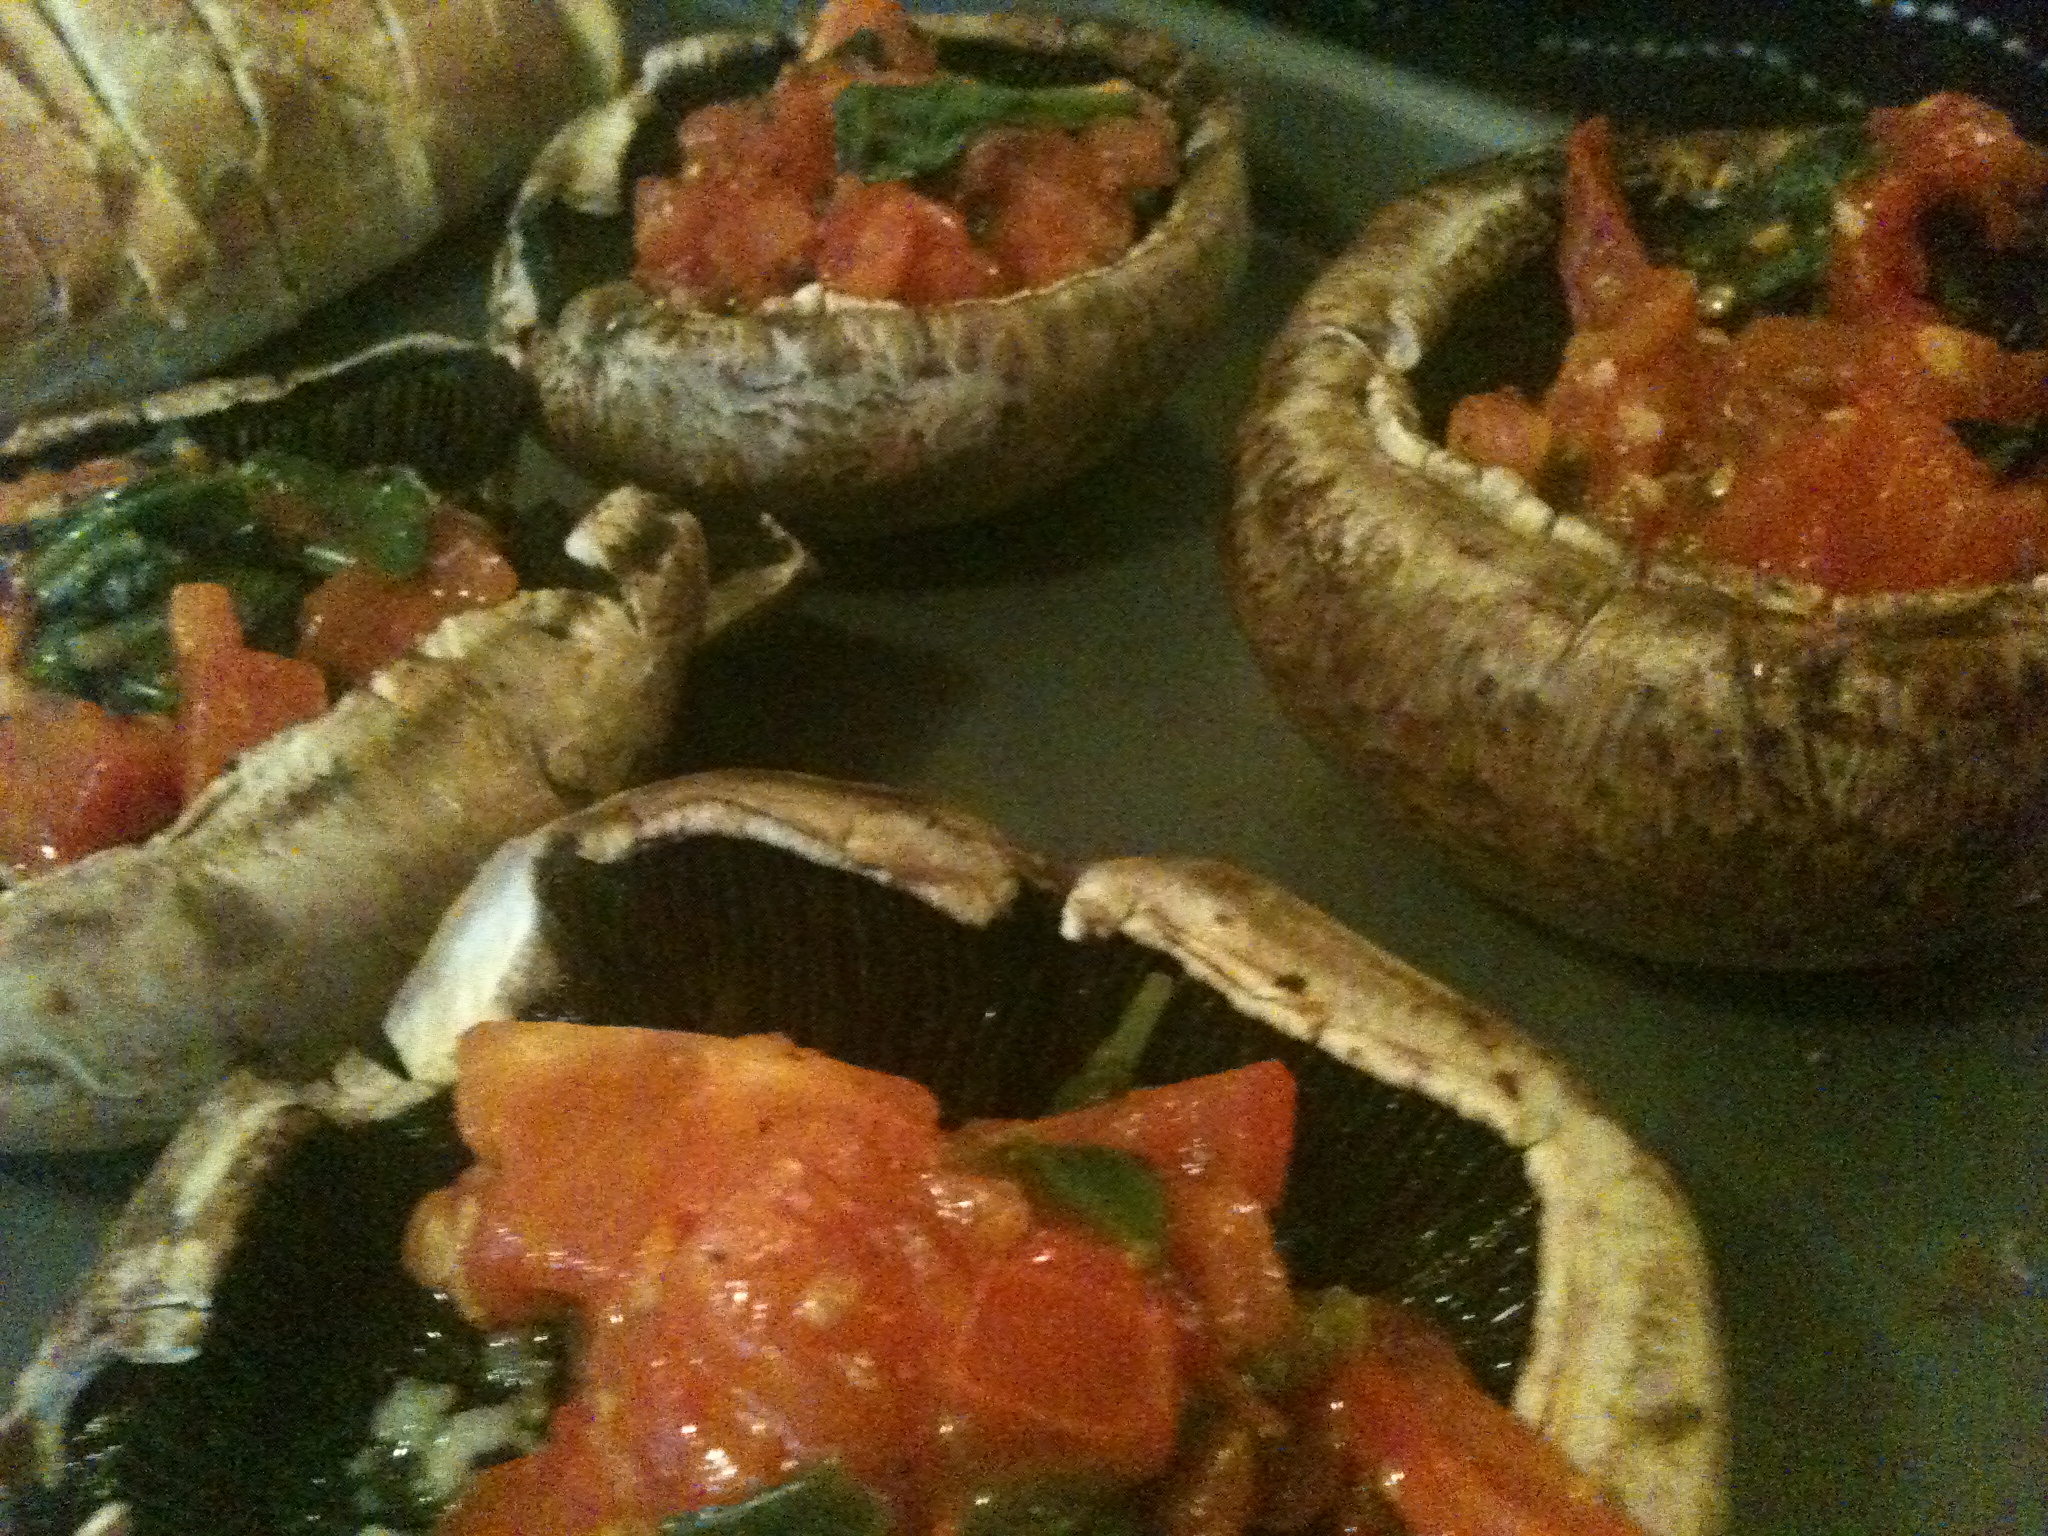
Stuffed with goodness

9. Place the pieces of cheese on top. Then sprinkle dried basil over it.
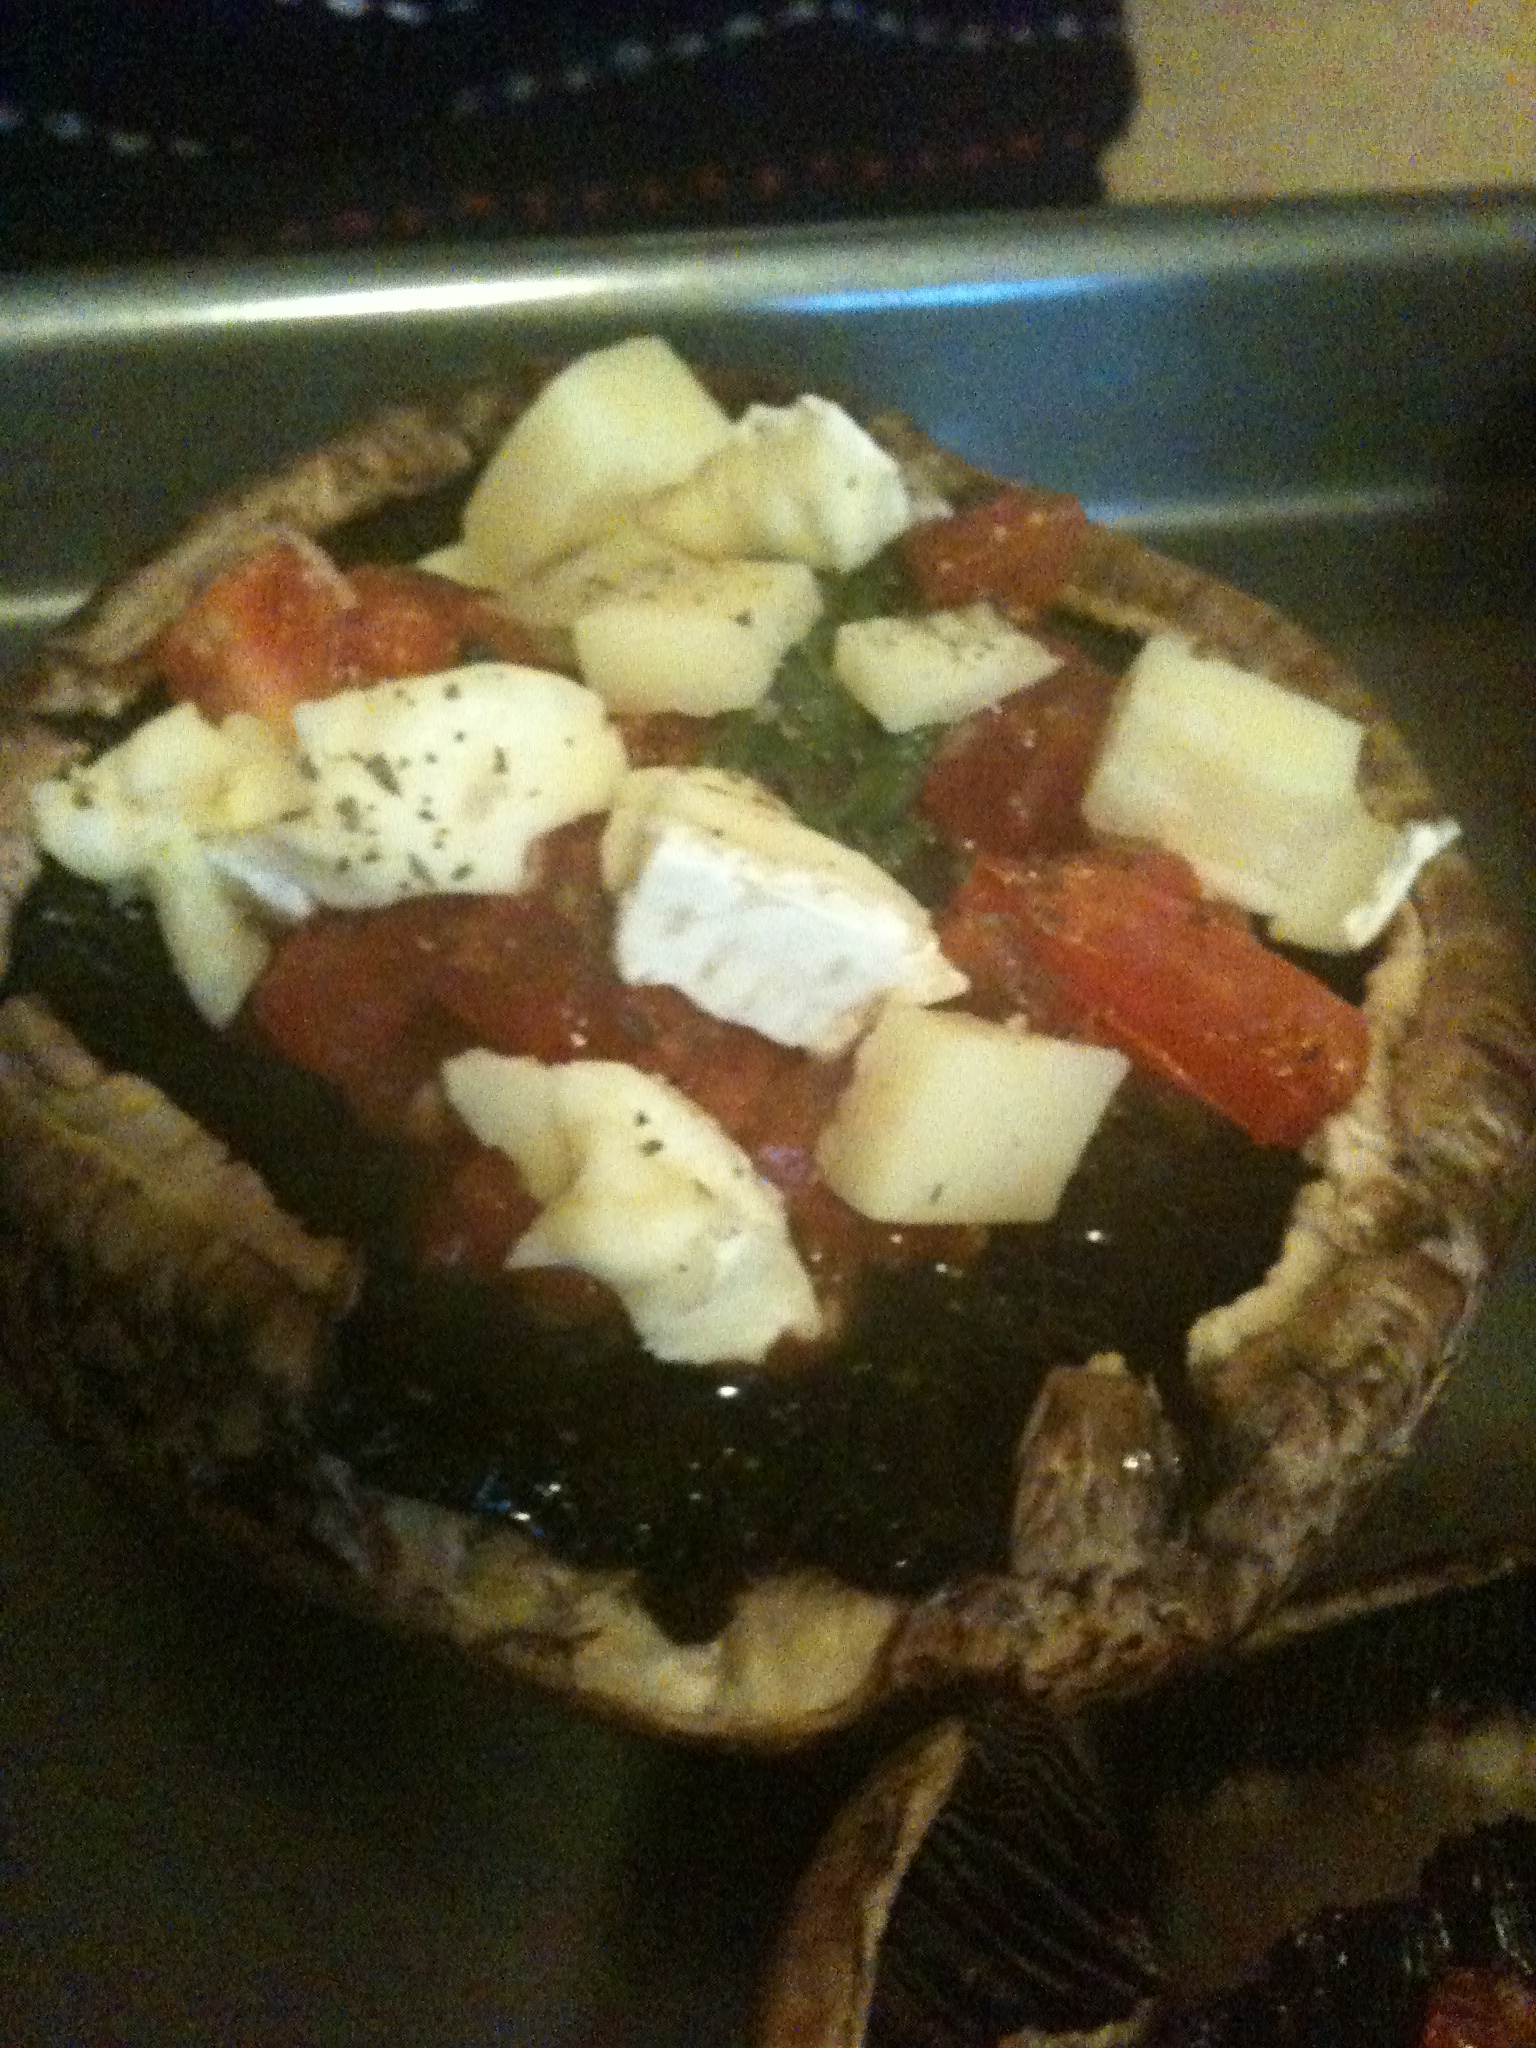
10. Aaaand, pop them in the oven. Remember it’s on 375 degrees. I left them in for around 12 minutes.

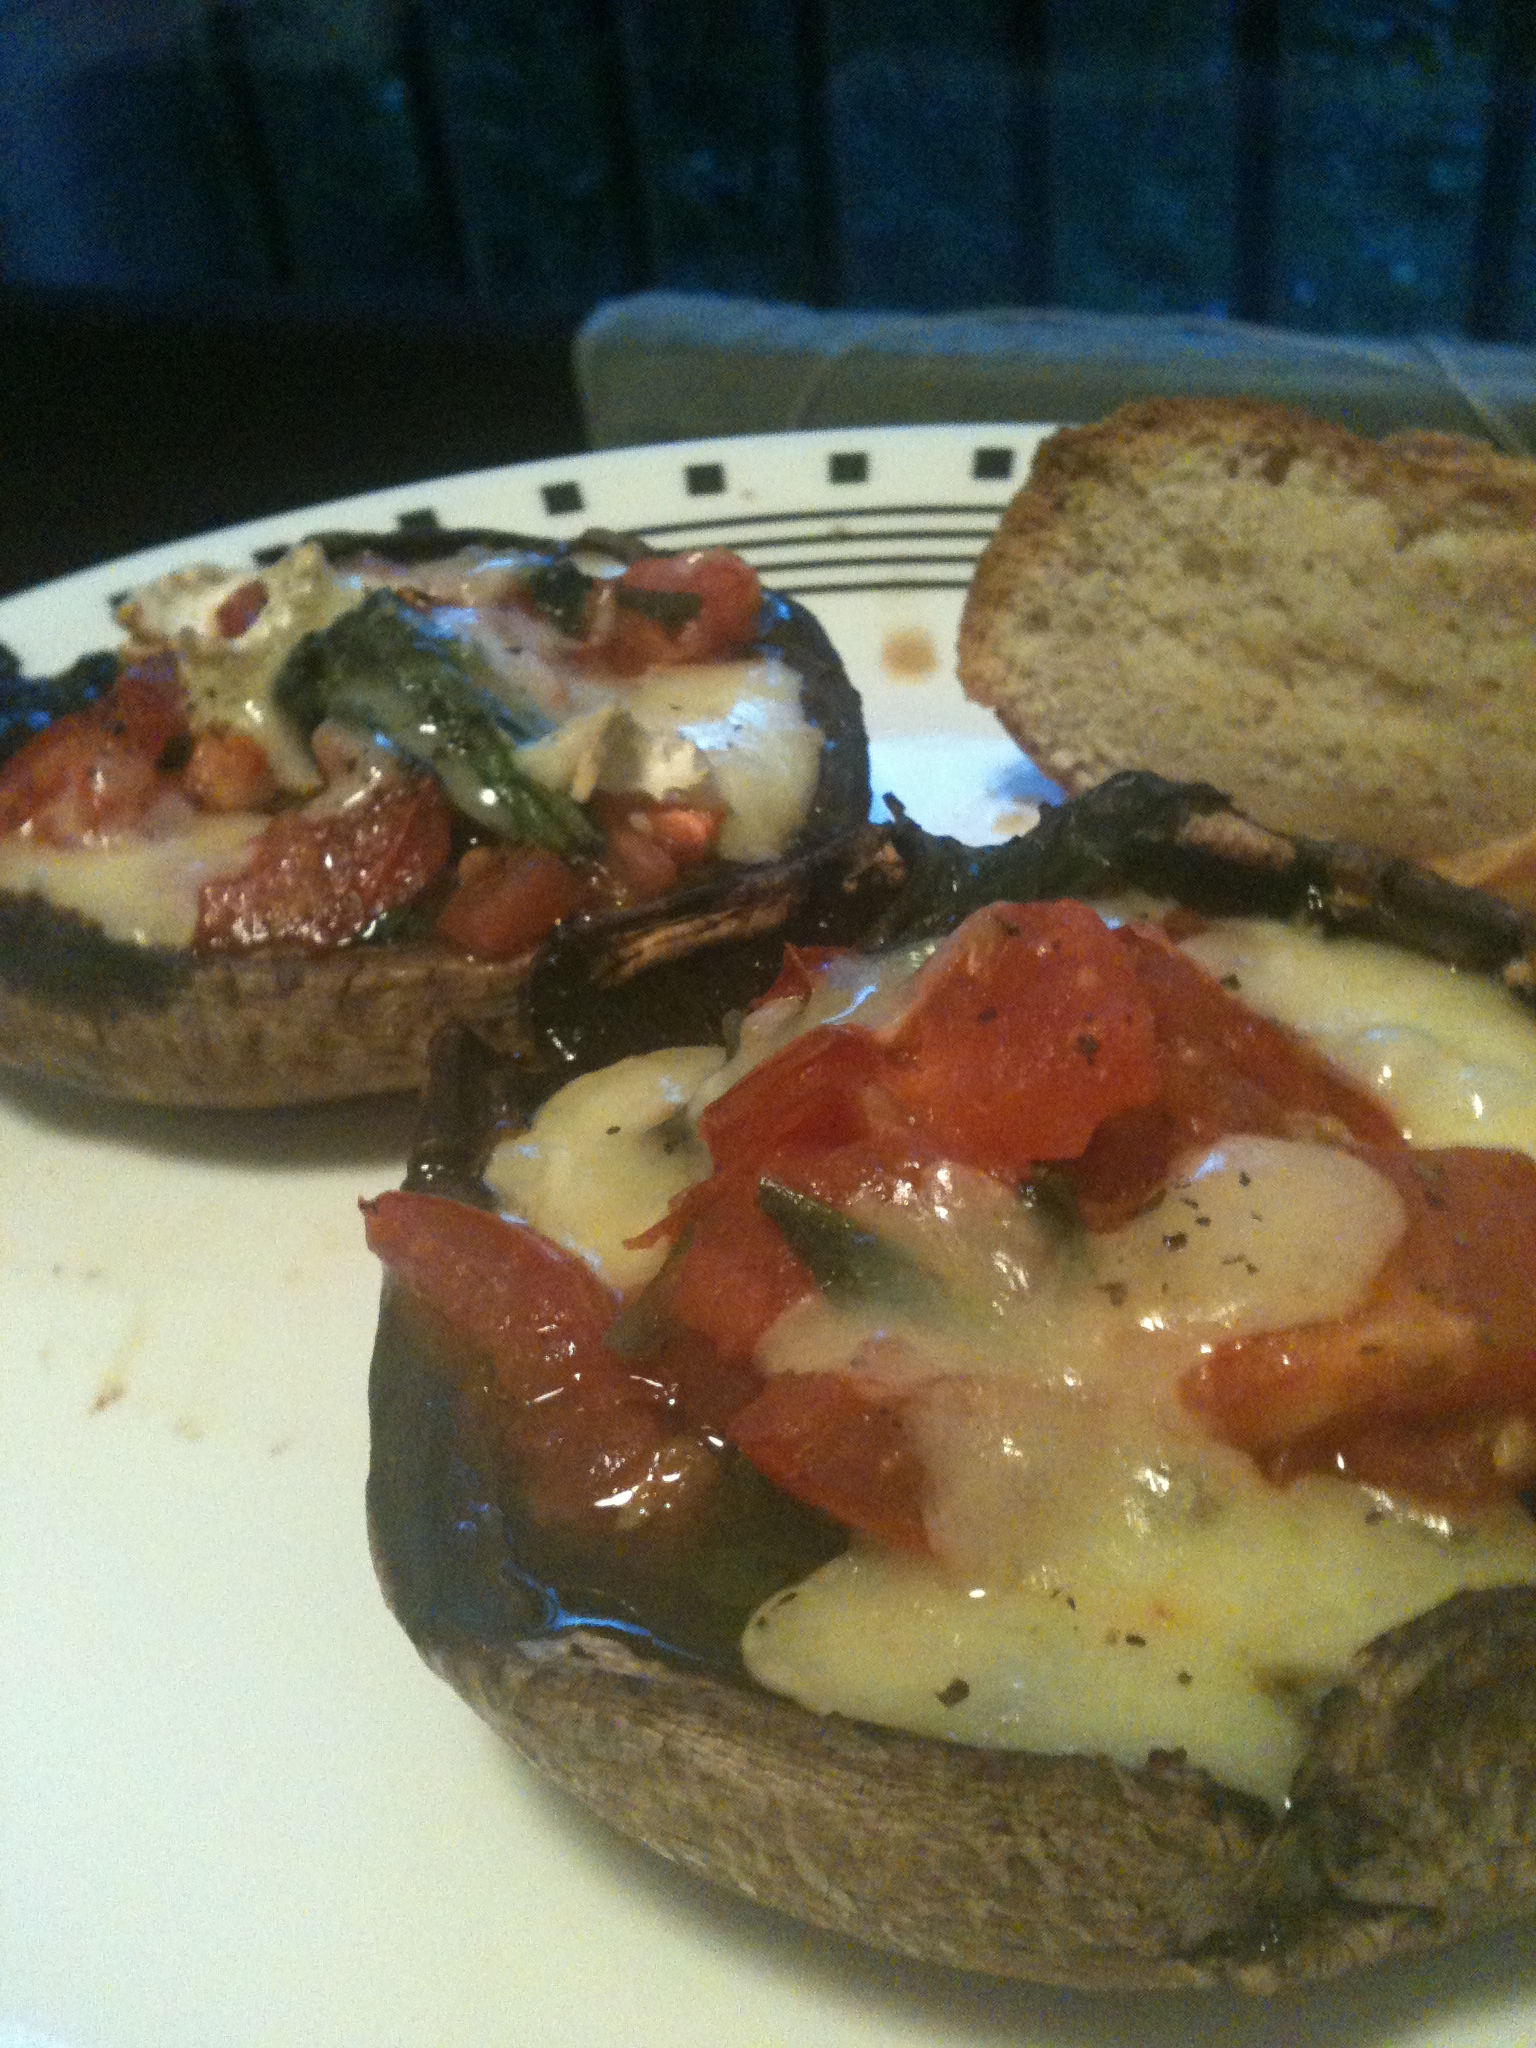
And Voila! Some wonderful cooked mushrooms.

Thanks again to thedomesticatedfeminist for her inspiration. I did it my own way, but she sure had a good idea. It is so juicy and wonderful, bursting with flavors like garlic and tomato. Hope you enjoy! Comment if you have any questions or comments!

spacer

HEALTHY Whole-Wheat Banana Bread

We usually have a bunch of bananas in the house. For fruit salads and more so primarily, for protein shakes (rahh!). However, sometimes we forget about them, or don’t do heavy workouts, so we feel like we don’t deserve one of Chris’ amazing protein shakes (that post is coming up!). So they sit in the lazy Susan cupboard, lonely for attention.

And so later in the week, I stumble upon them in their browning blackish glory. Aha! I know exactly what to do with you! So, the spotted way-too-ripe bananas get pulled from the cupboard and onto our maniacal counter-top. It’s easy, folks. IF you have over-ripe bananas, MAKE BANANA BREAD. I don’t want to hear any excuses. And if you throw them out…you’re in trouble. Let’s get started. I pulled this recipe from here, but altered it slightly (no nuts, nutmeg, etc.).

  • Prep Time: 15 minutes (I was slow, watching Empire Strikes Back/Diners, Drive-Ins, and Dives)
  • Cook Time: 50 minutes (on the dot!)
  • Set Oven To: 350 degrees

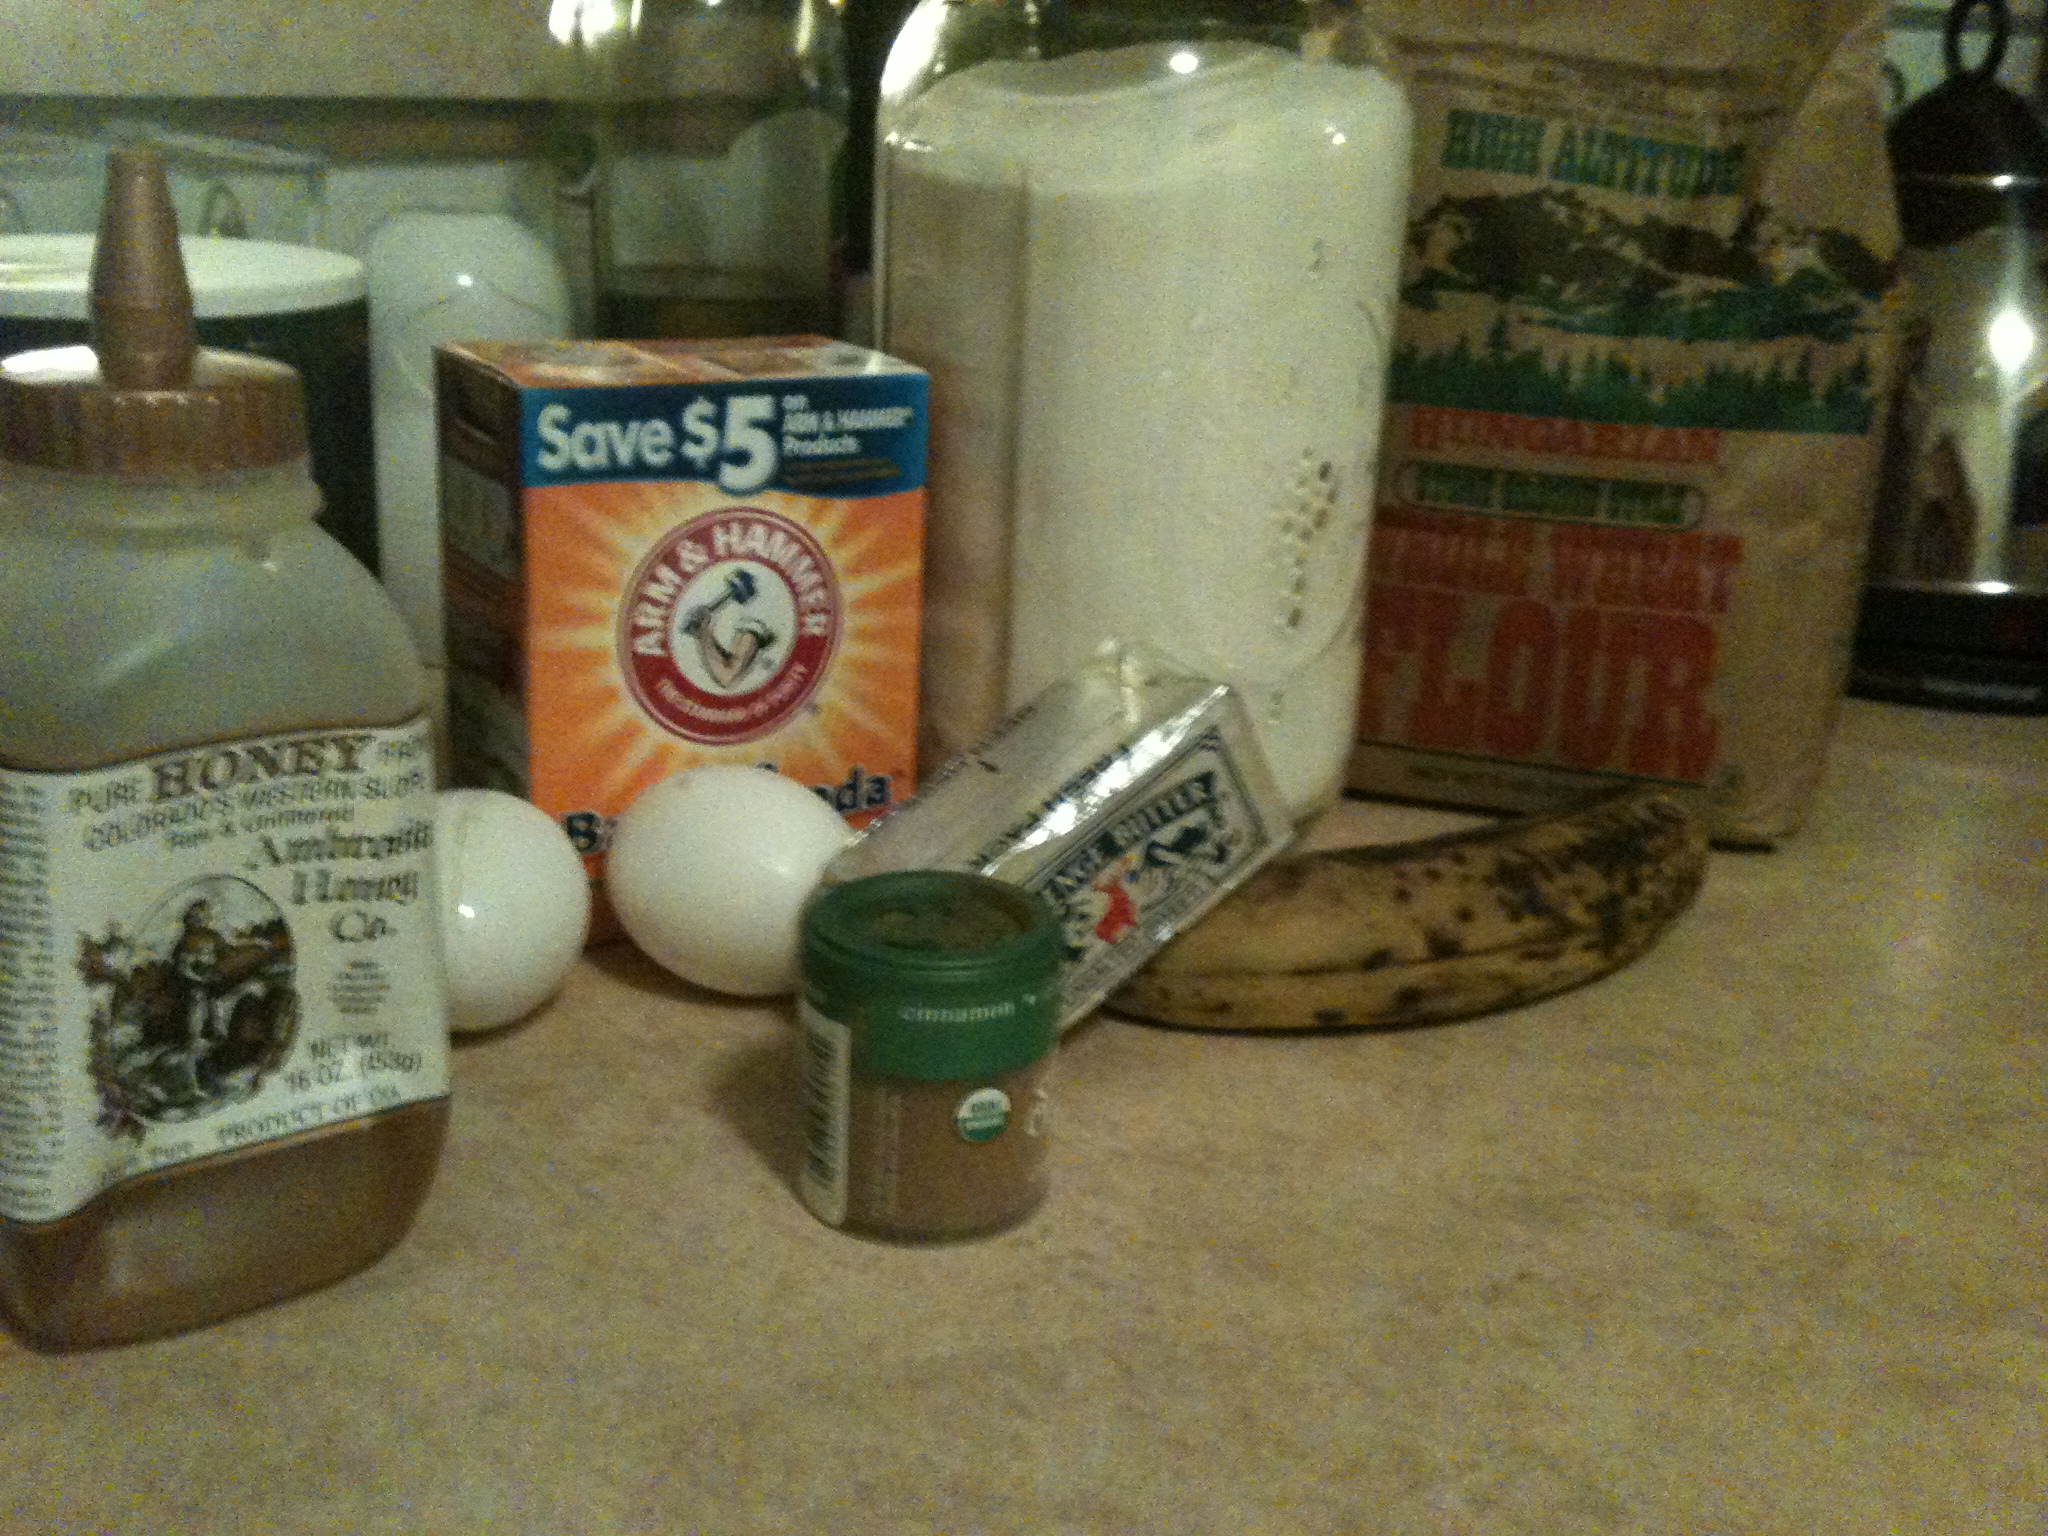
Ingredients:

  • 1 stick unsalted butter
  • 1/2 cup sugar
  • 3/4 teaspoon baking soda
  • 3/4 teaspoon salt
  • 1/2 teaspoon ground cinnamon
  • 1 teaspoon vanilla extract
  • 1-3 bananas (I suggest more than one, but that’s all I had to work with tonight)
  • 1/4 cup honey
  • 2 eggs
  • 2 cups whole wheat flour

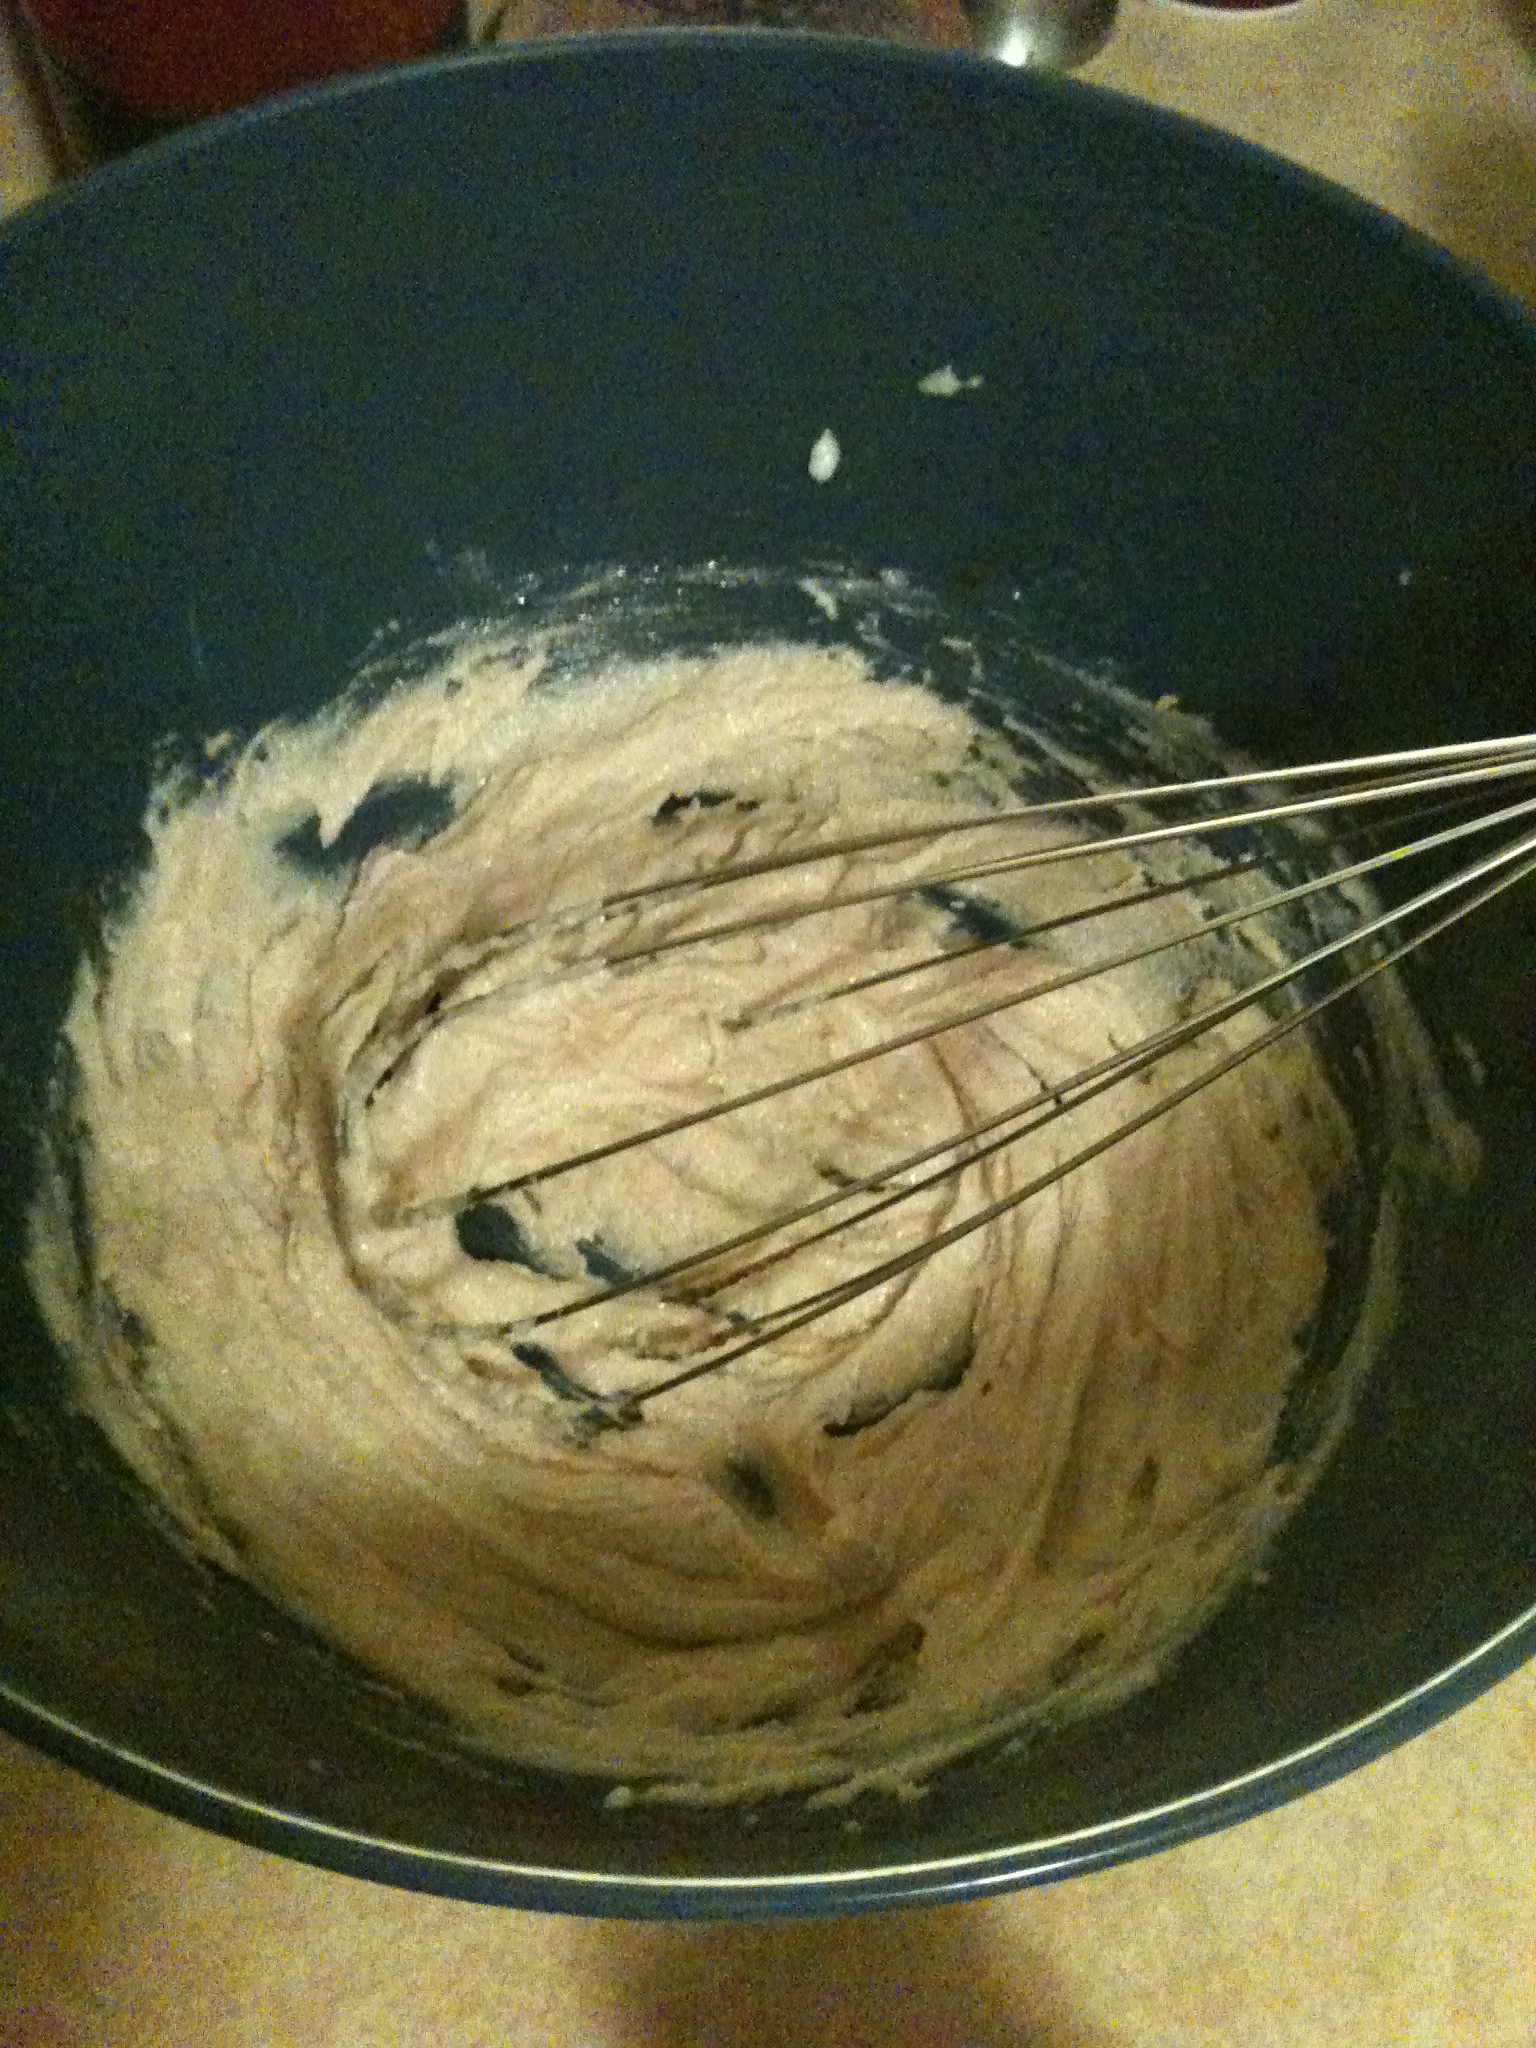
Remember to get out a bread pan and butter it or oil it up. Sticking is your enemy. Now first, beat the butter, sugar, baking soda, salt, cinnamon, and vanilla in a bowl.

Yes, that is a whisk! I’m moving up in the world!

For this next step, make sure the bananas are mashed as much as possible. Then, mix those bananas, eggs, and honey in. I want it smooooth.

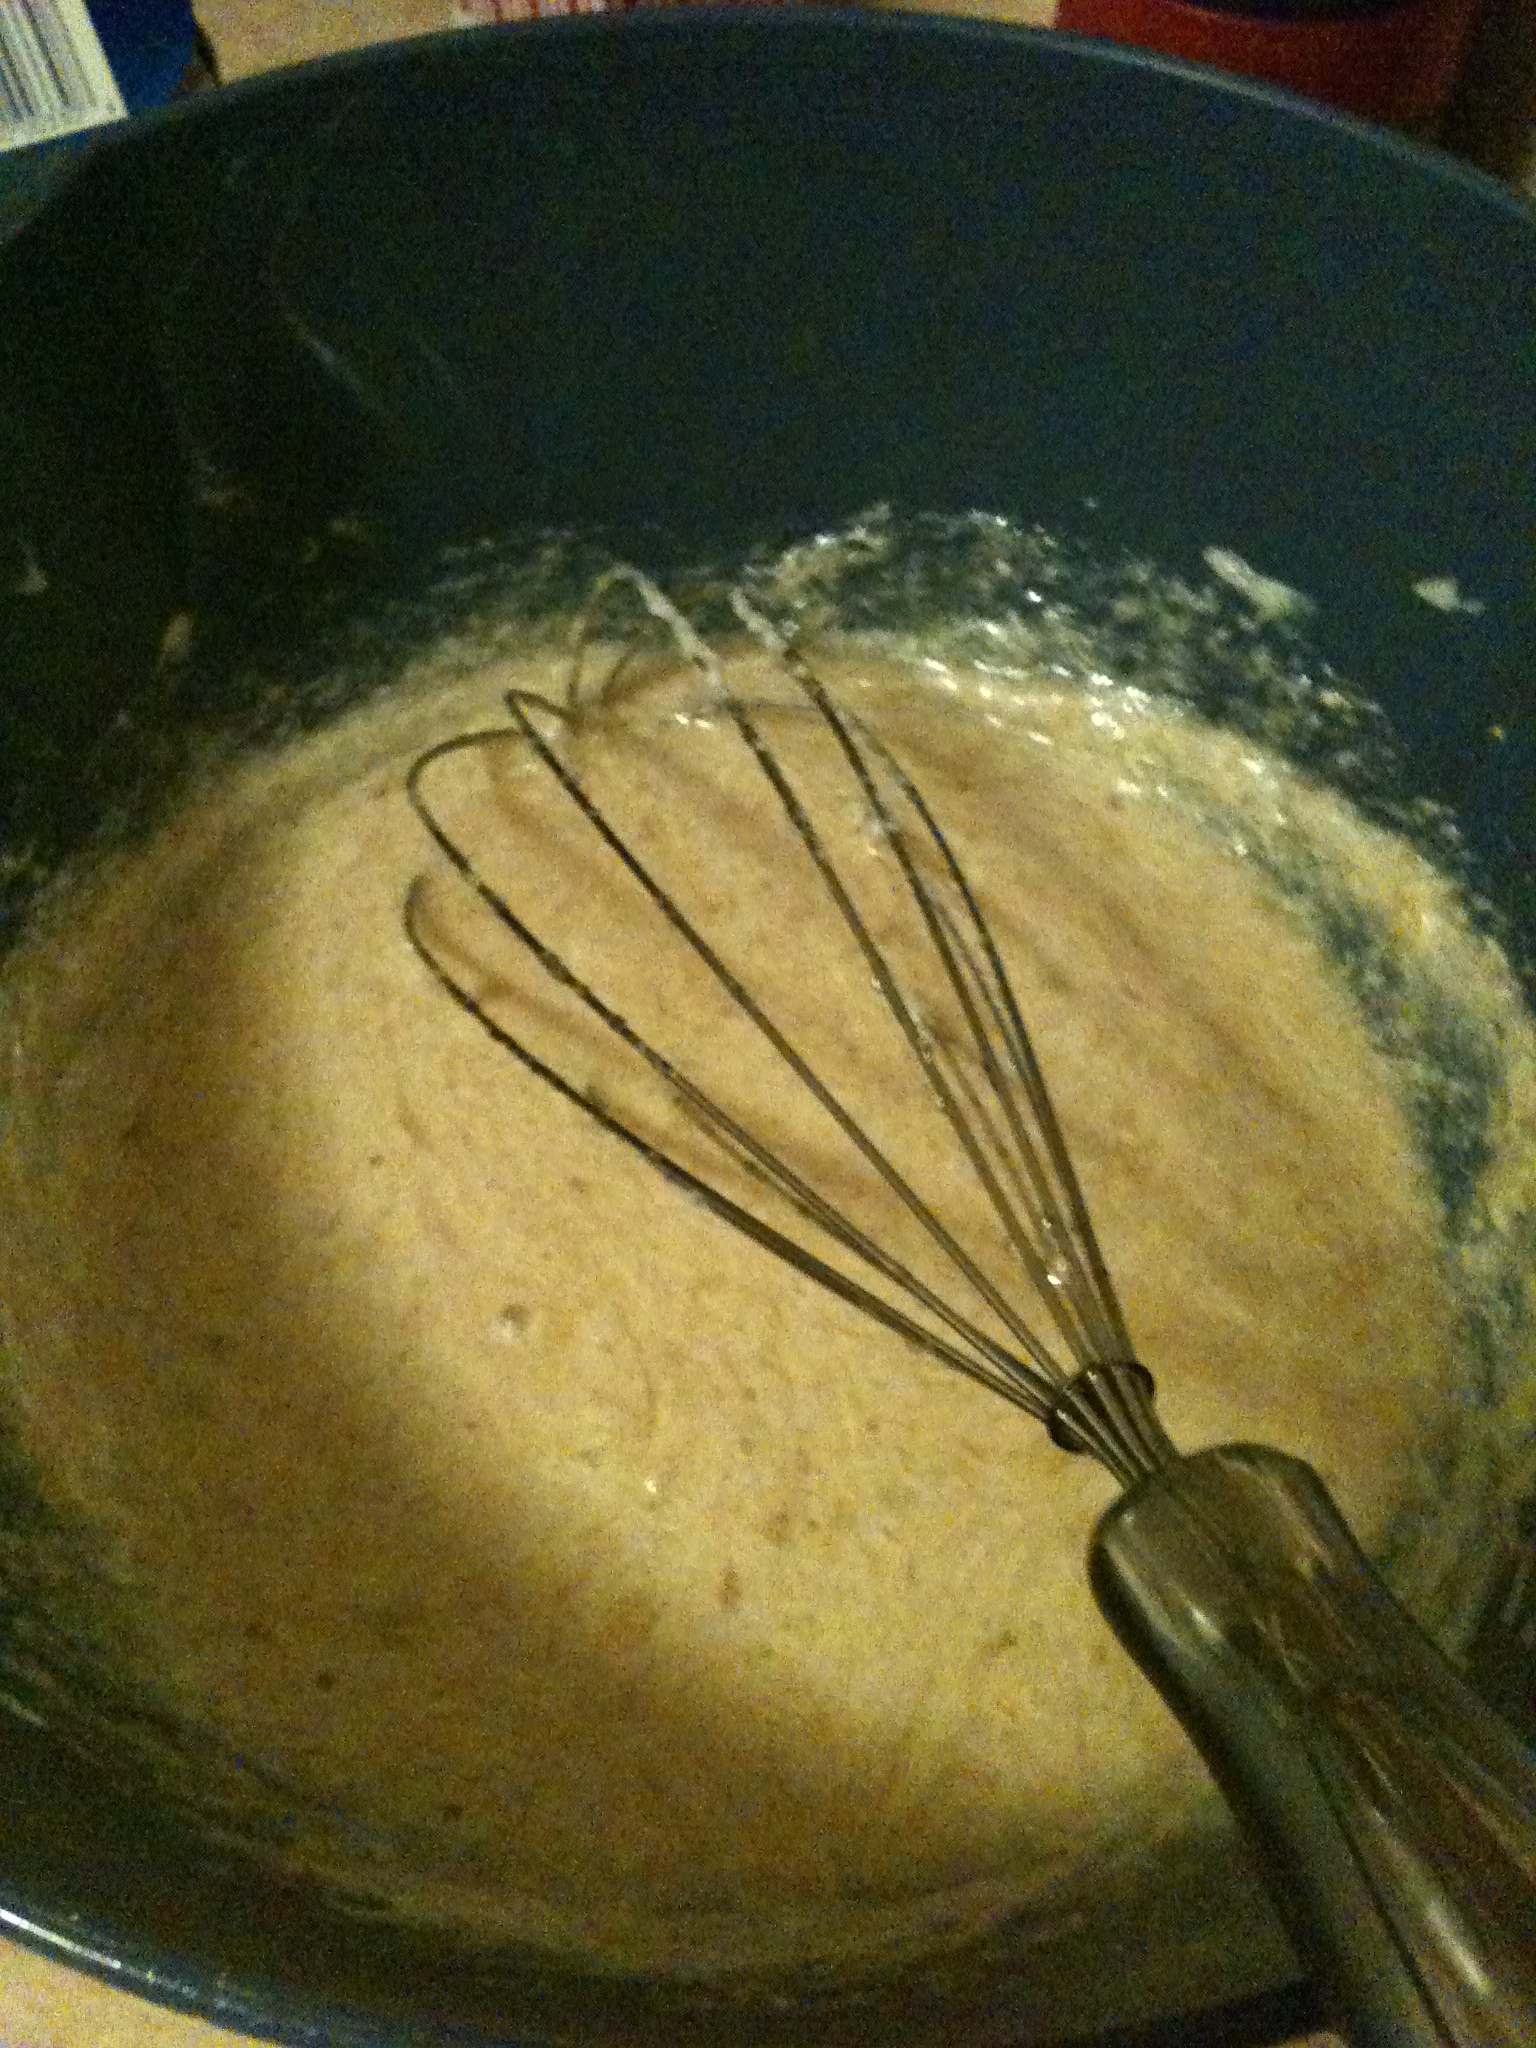
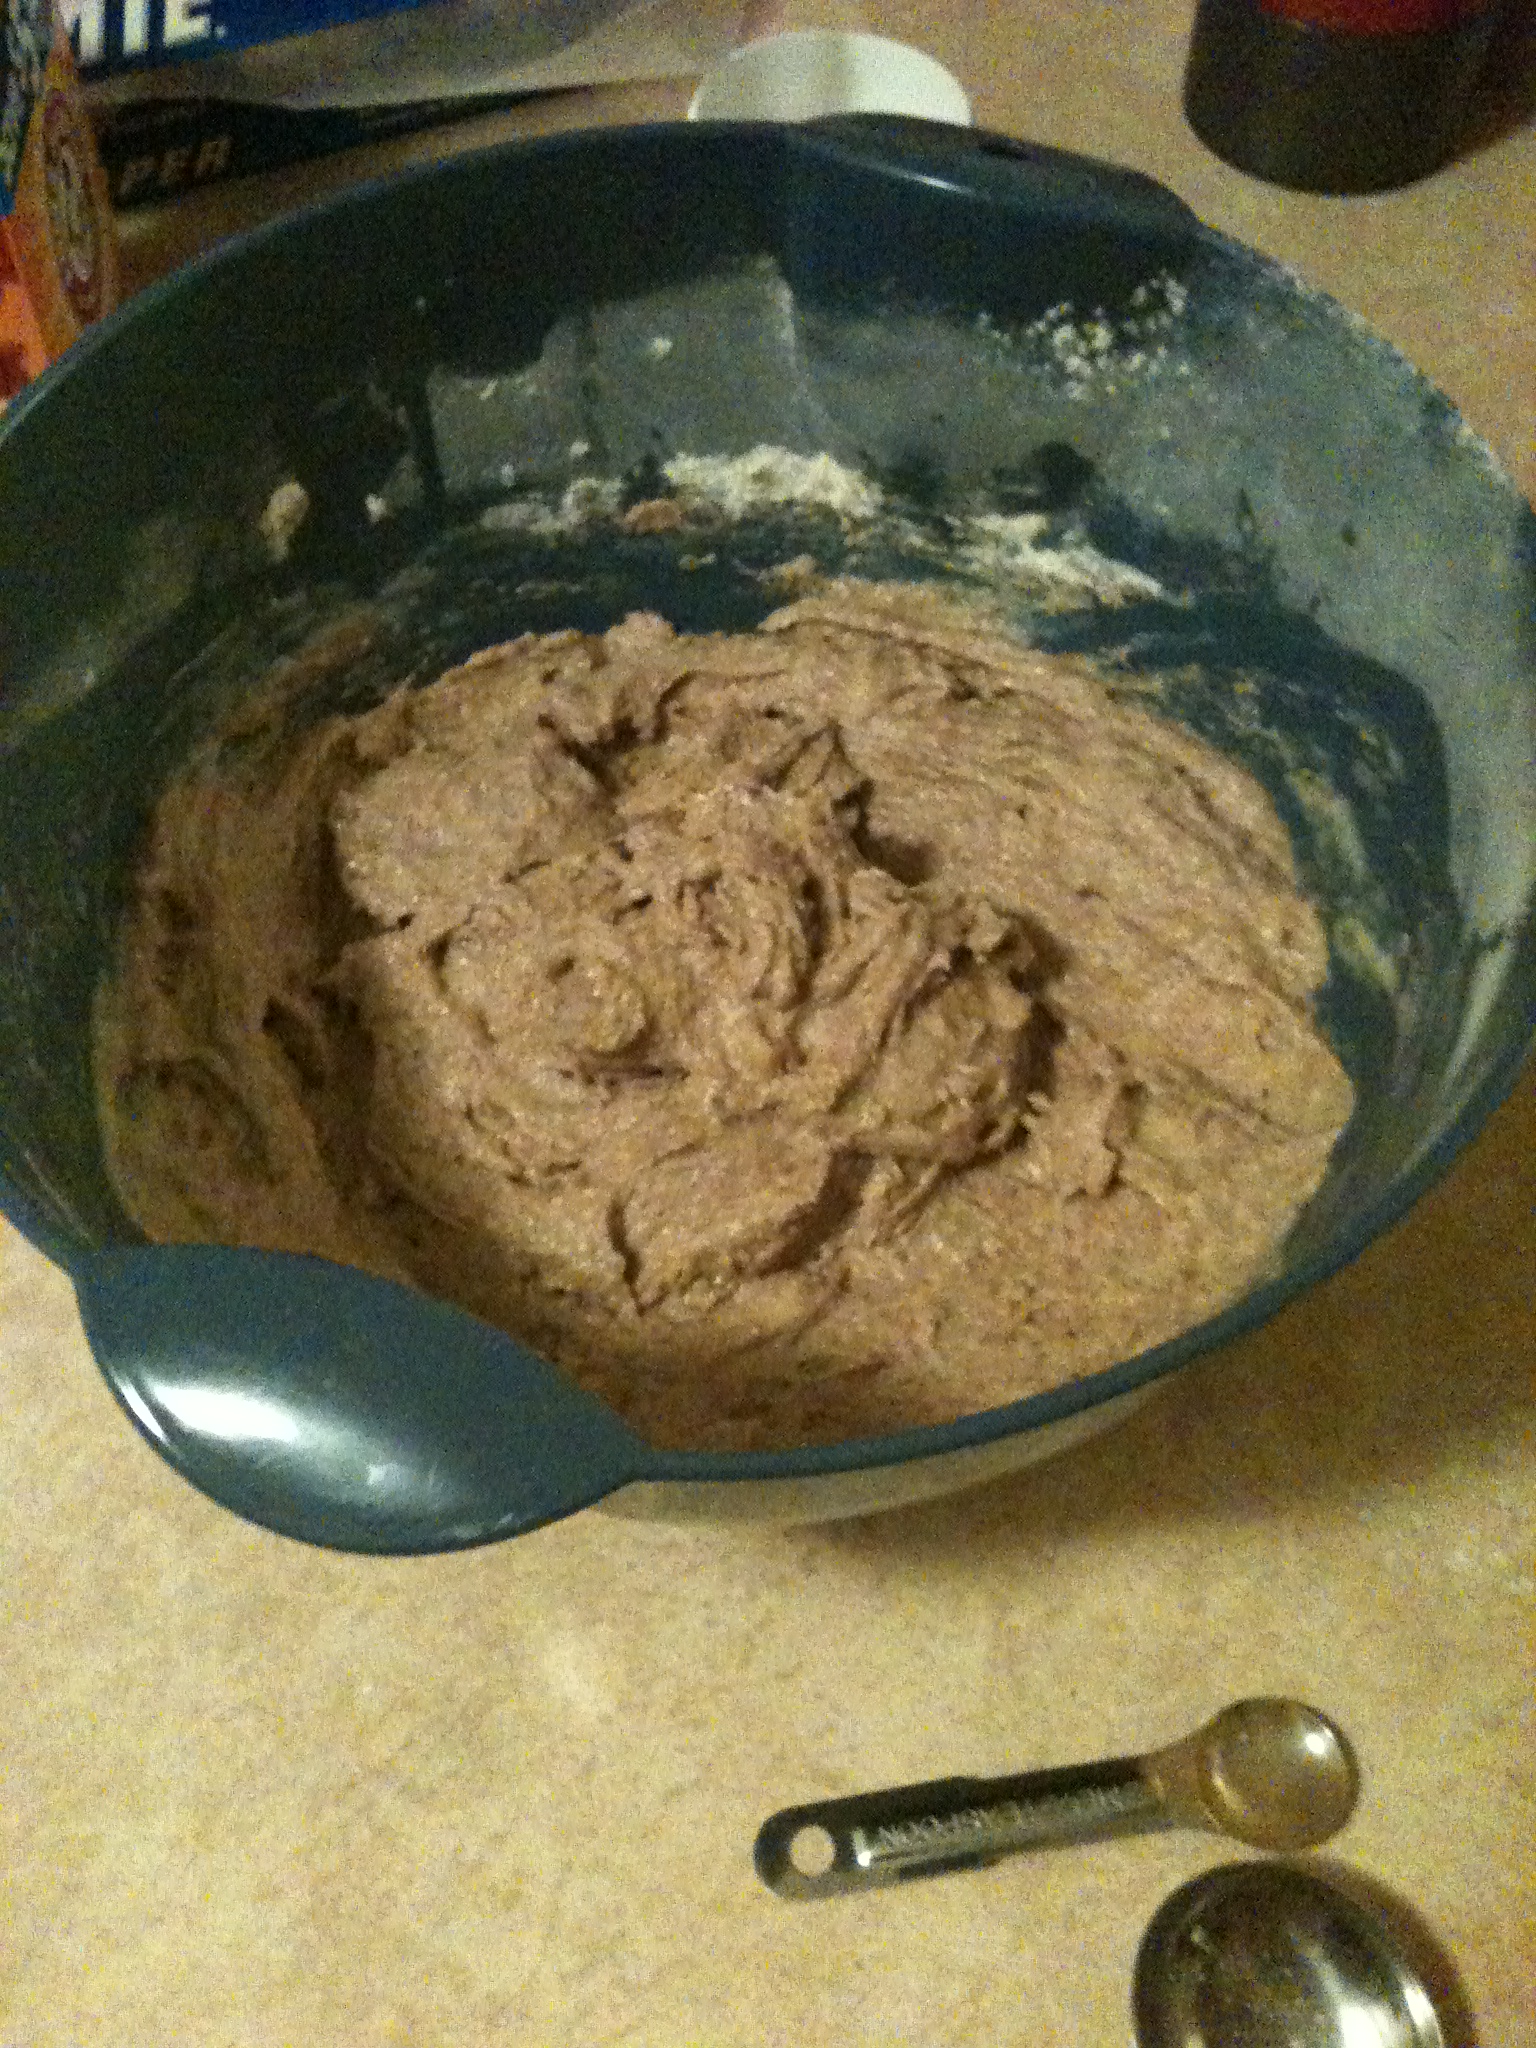
You’re almost there!! The final step is to slowly add in the whole-wheat flour. Put a little in, stir it, put some more in, stir it, and so forth. It should come out looking like this:

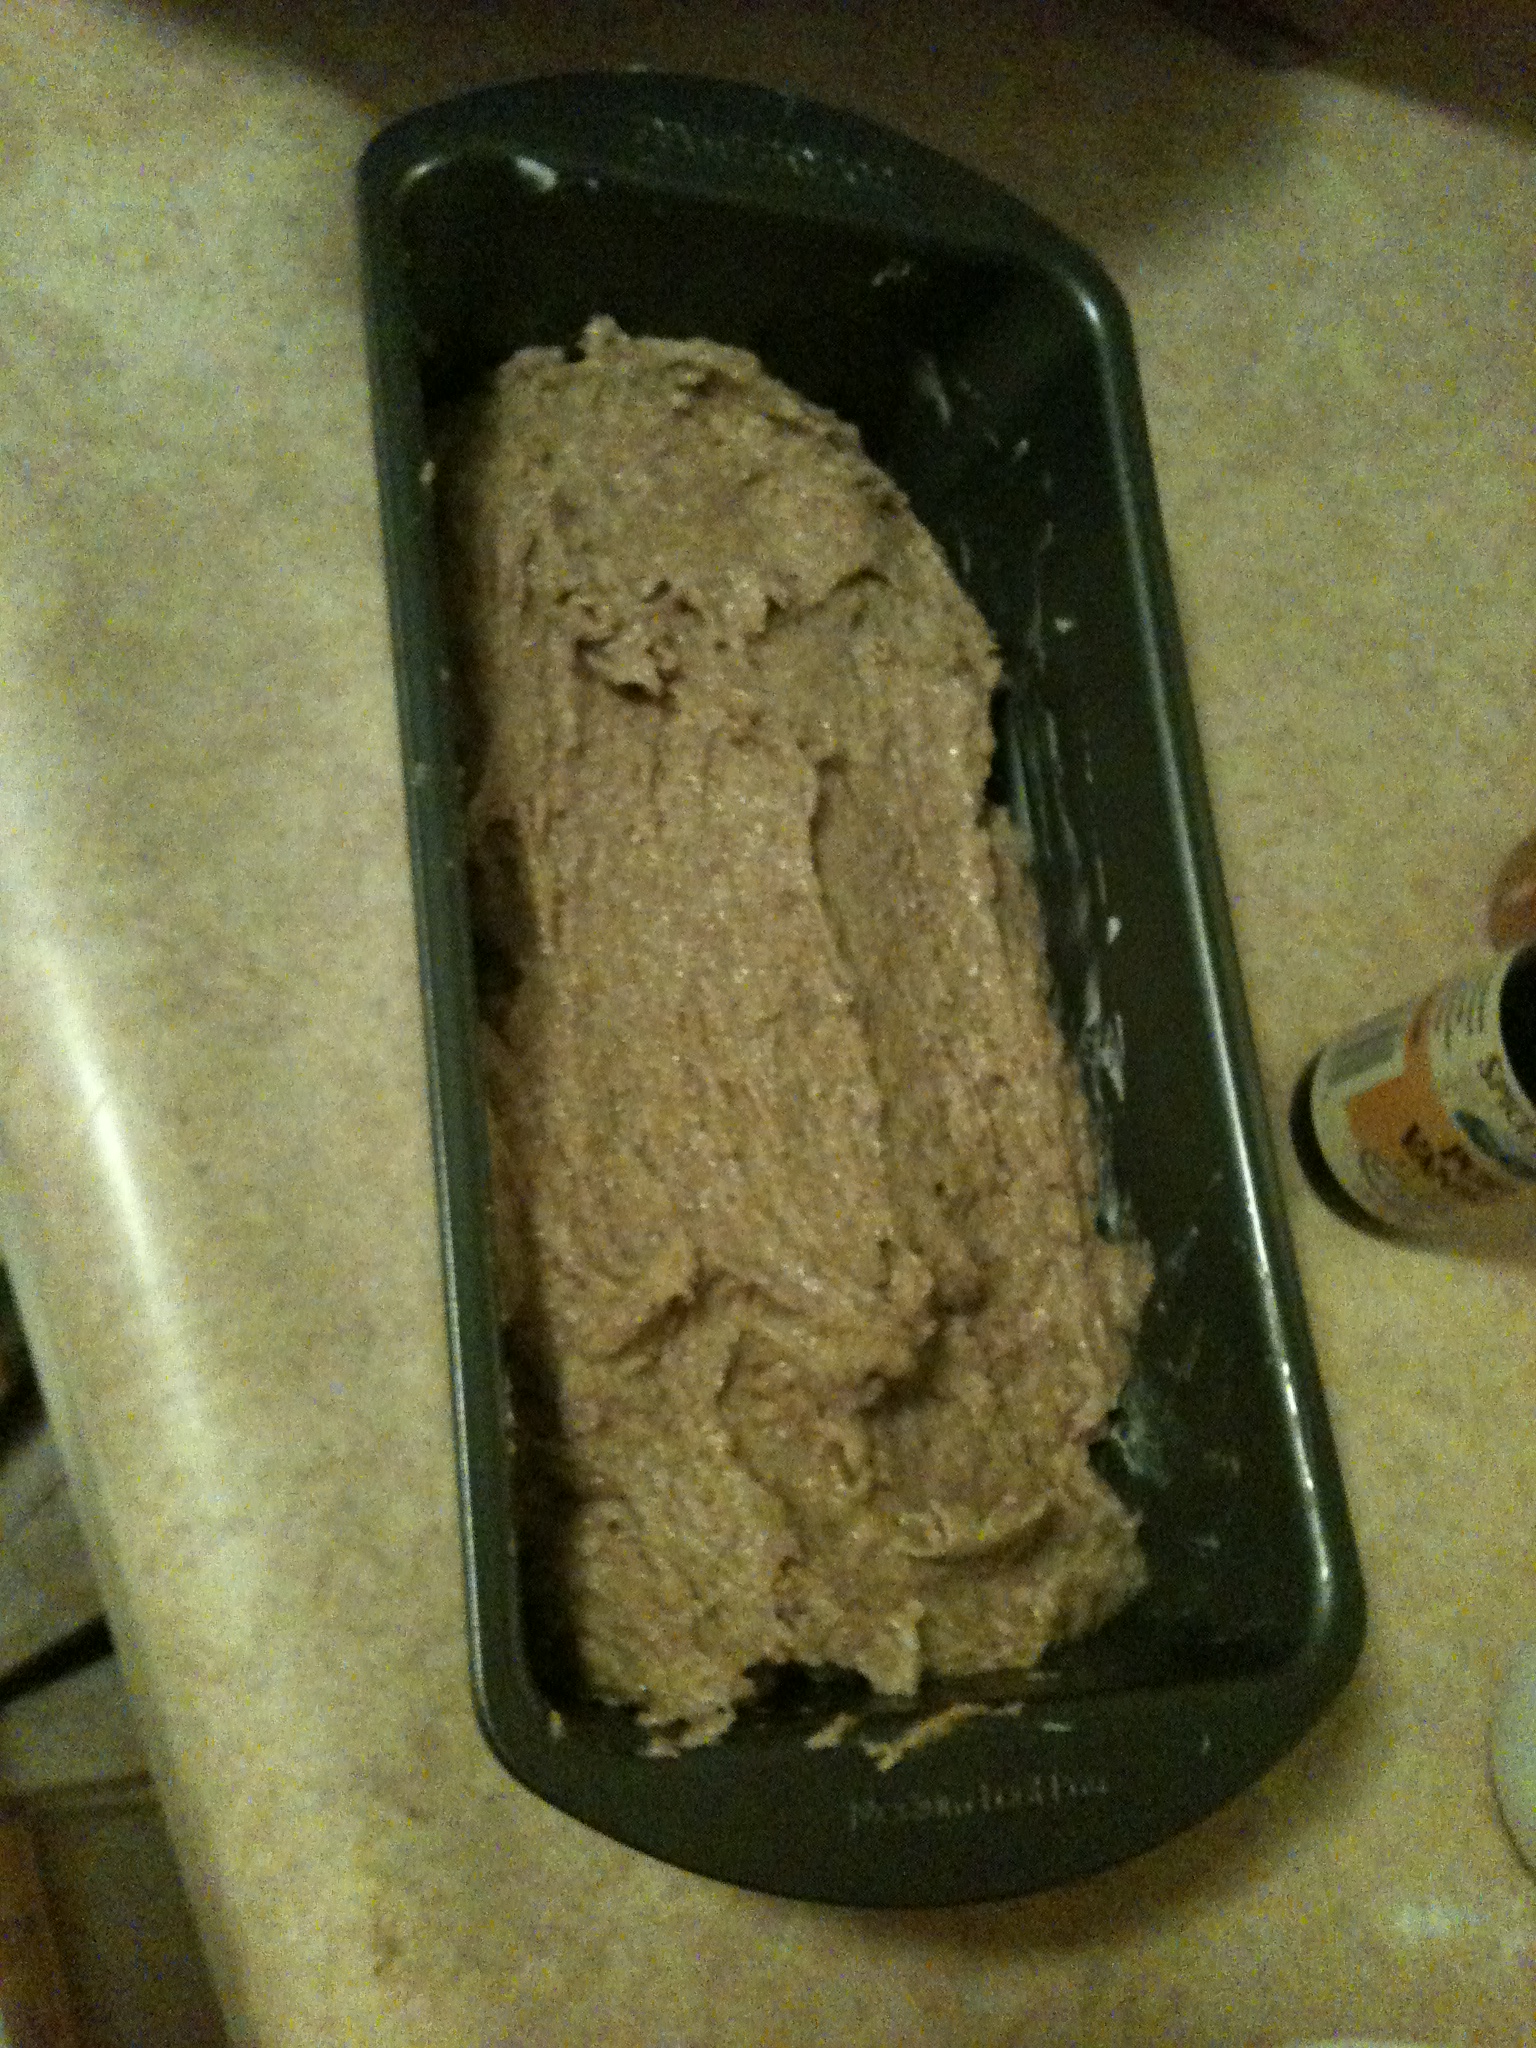
Then pour it into your already-greased pan. I lost a good amount of the batter to a tragic accident…my appetite.

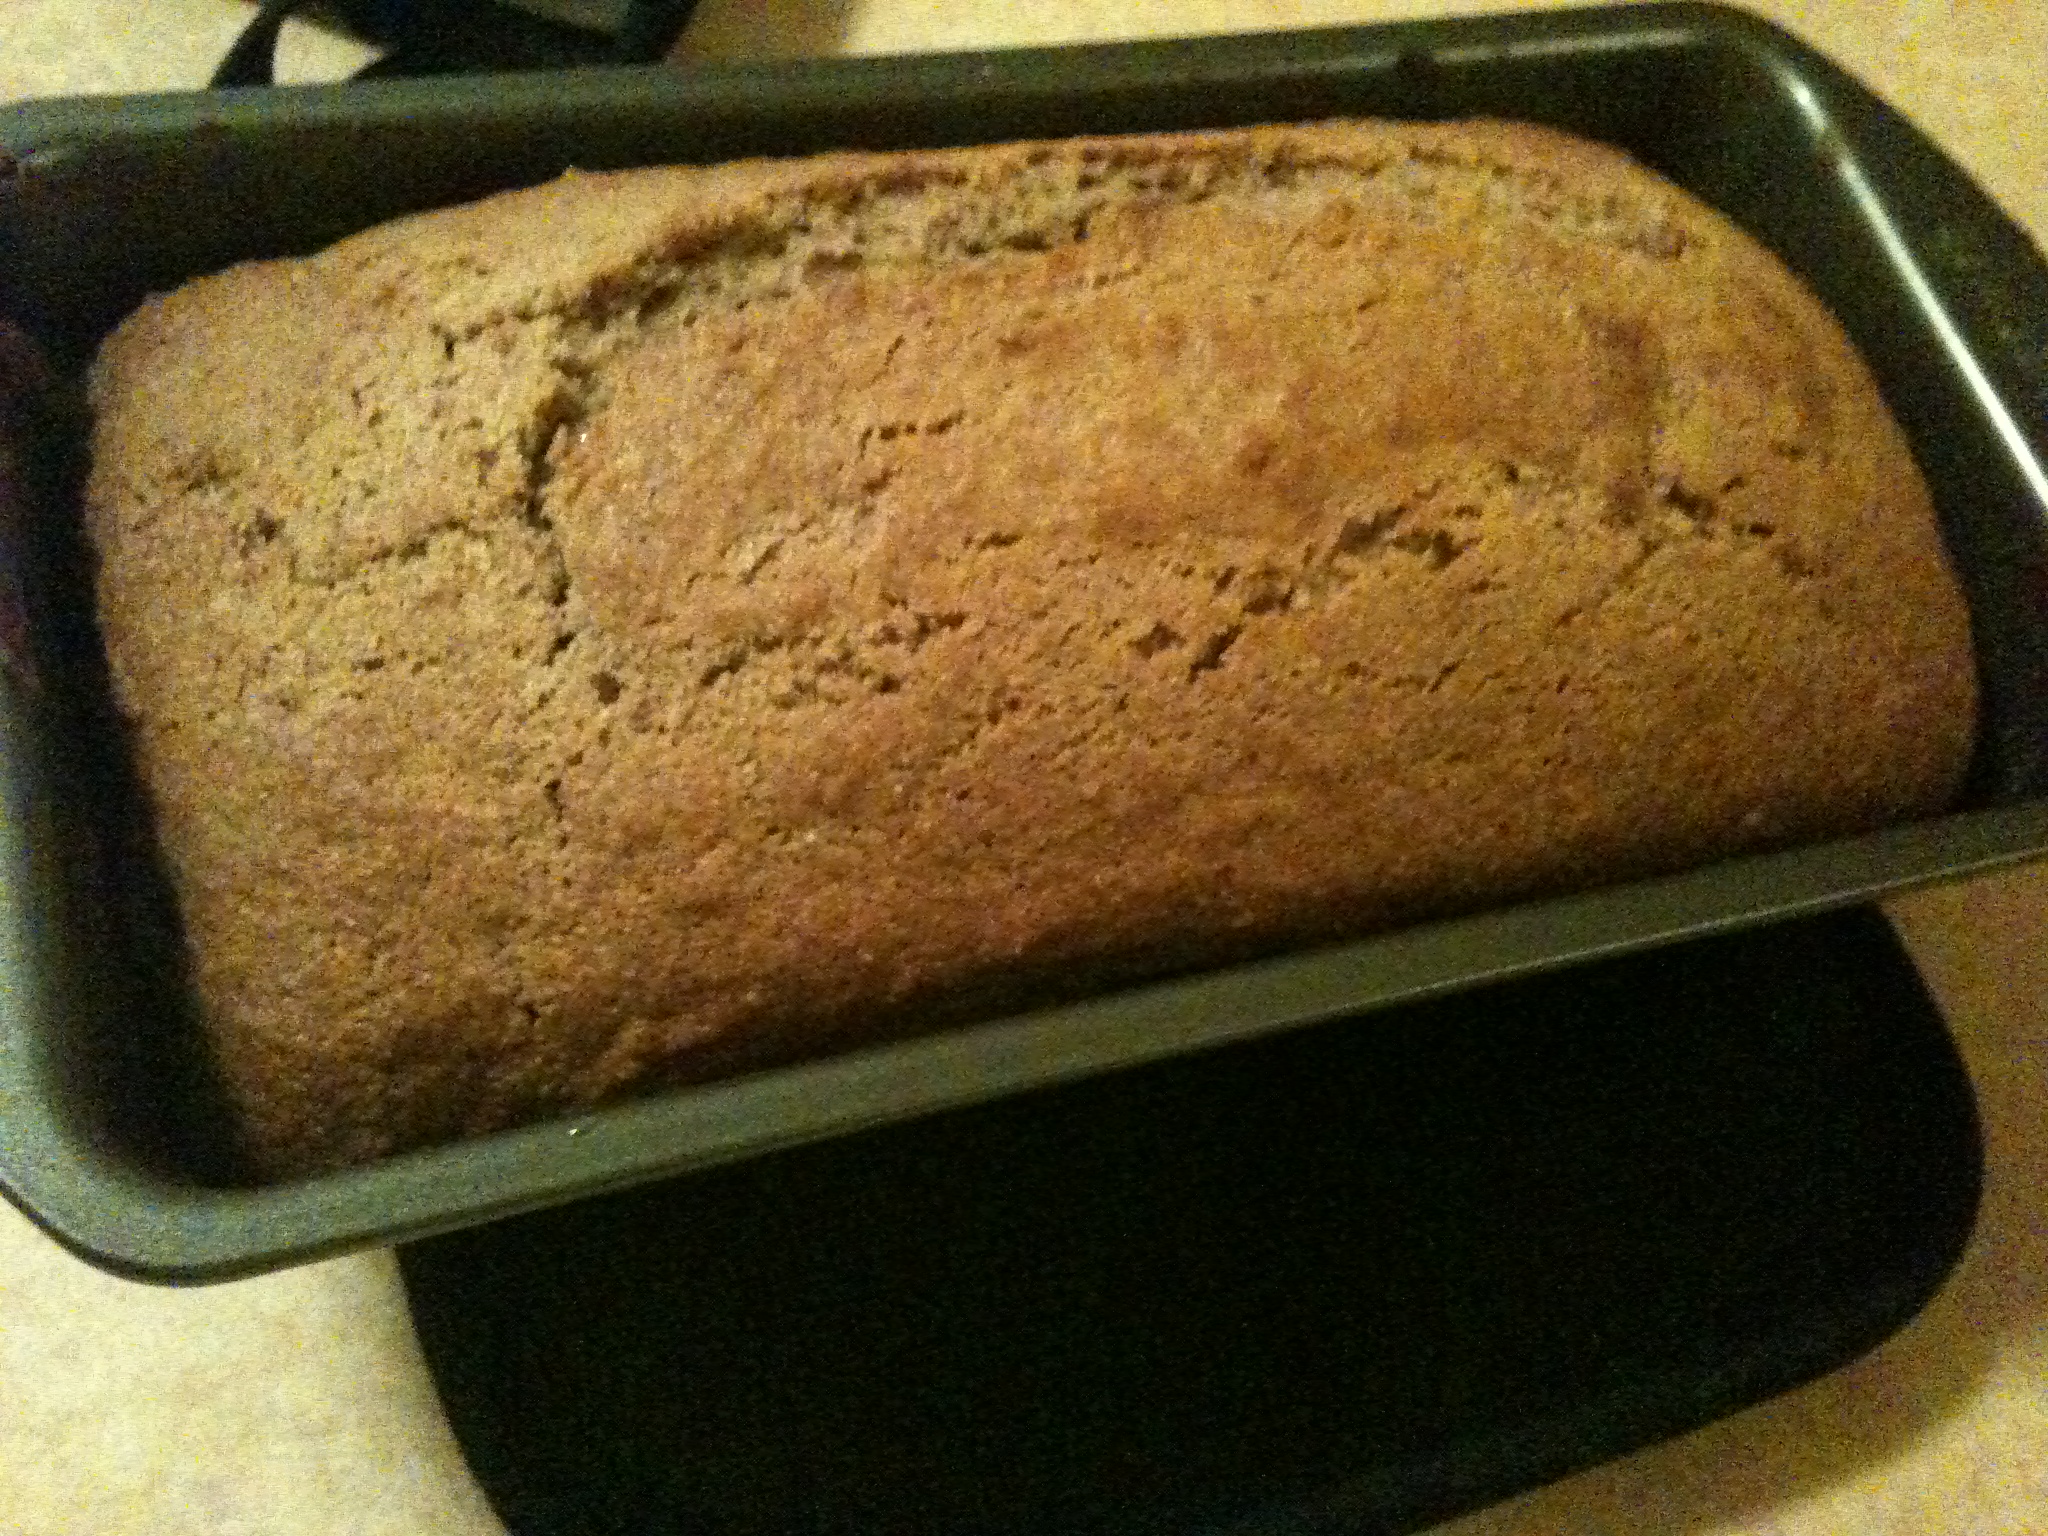
Now put it in the oven! Remember it should be at 350 degrees. For me, it took exactly 50 minutes to bake. I took it out, tested it with a fork to see if any batter stuck and it was ready! I usually have to stick it in for another ten minutes or so. It came out really well!

Remember that this only has half a cup of sugar in it. That’s barely ANYTHING when it comes to baking. So don’t feel guilty as you shovel this down, it’s got good ingredients. We always love to put butter on ours, gives it a great added flavor, especially when it’s nice and hot.

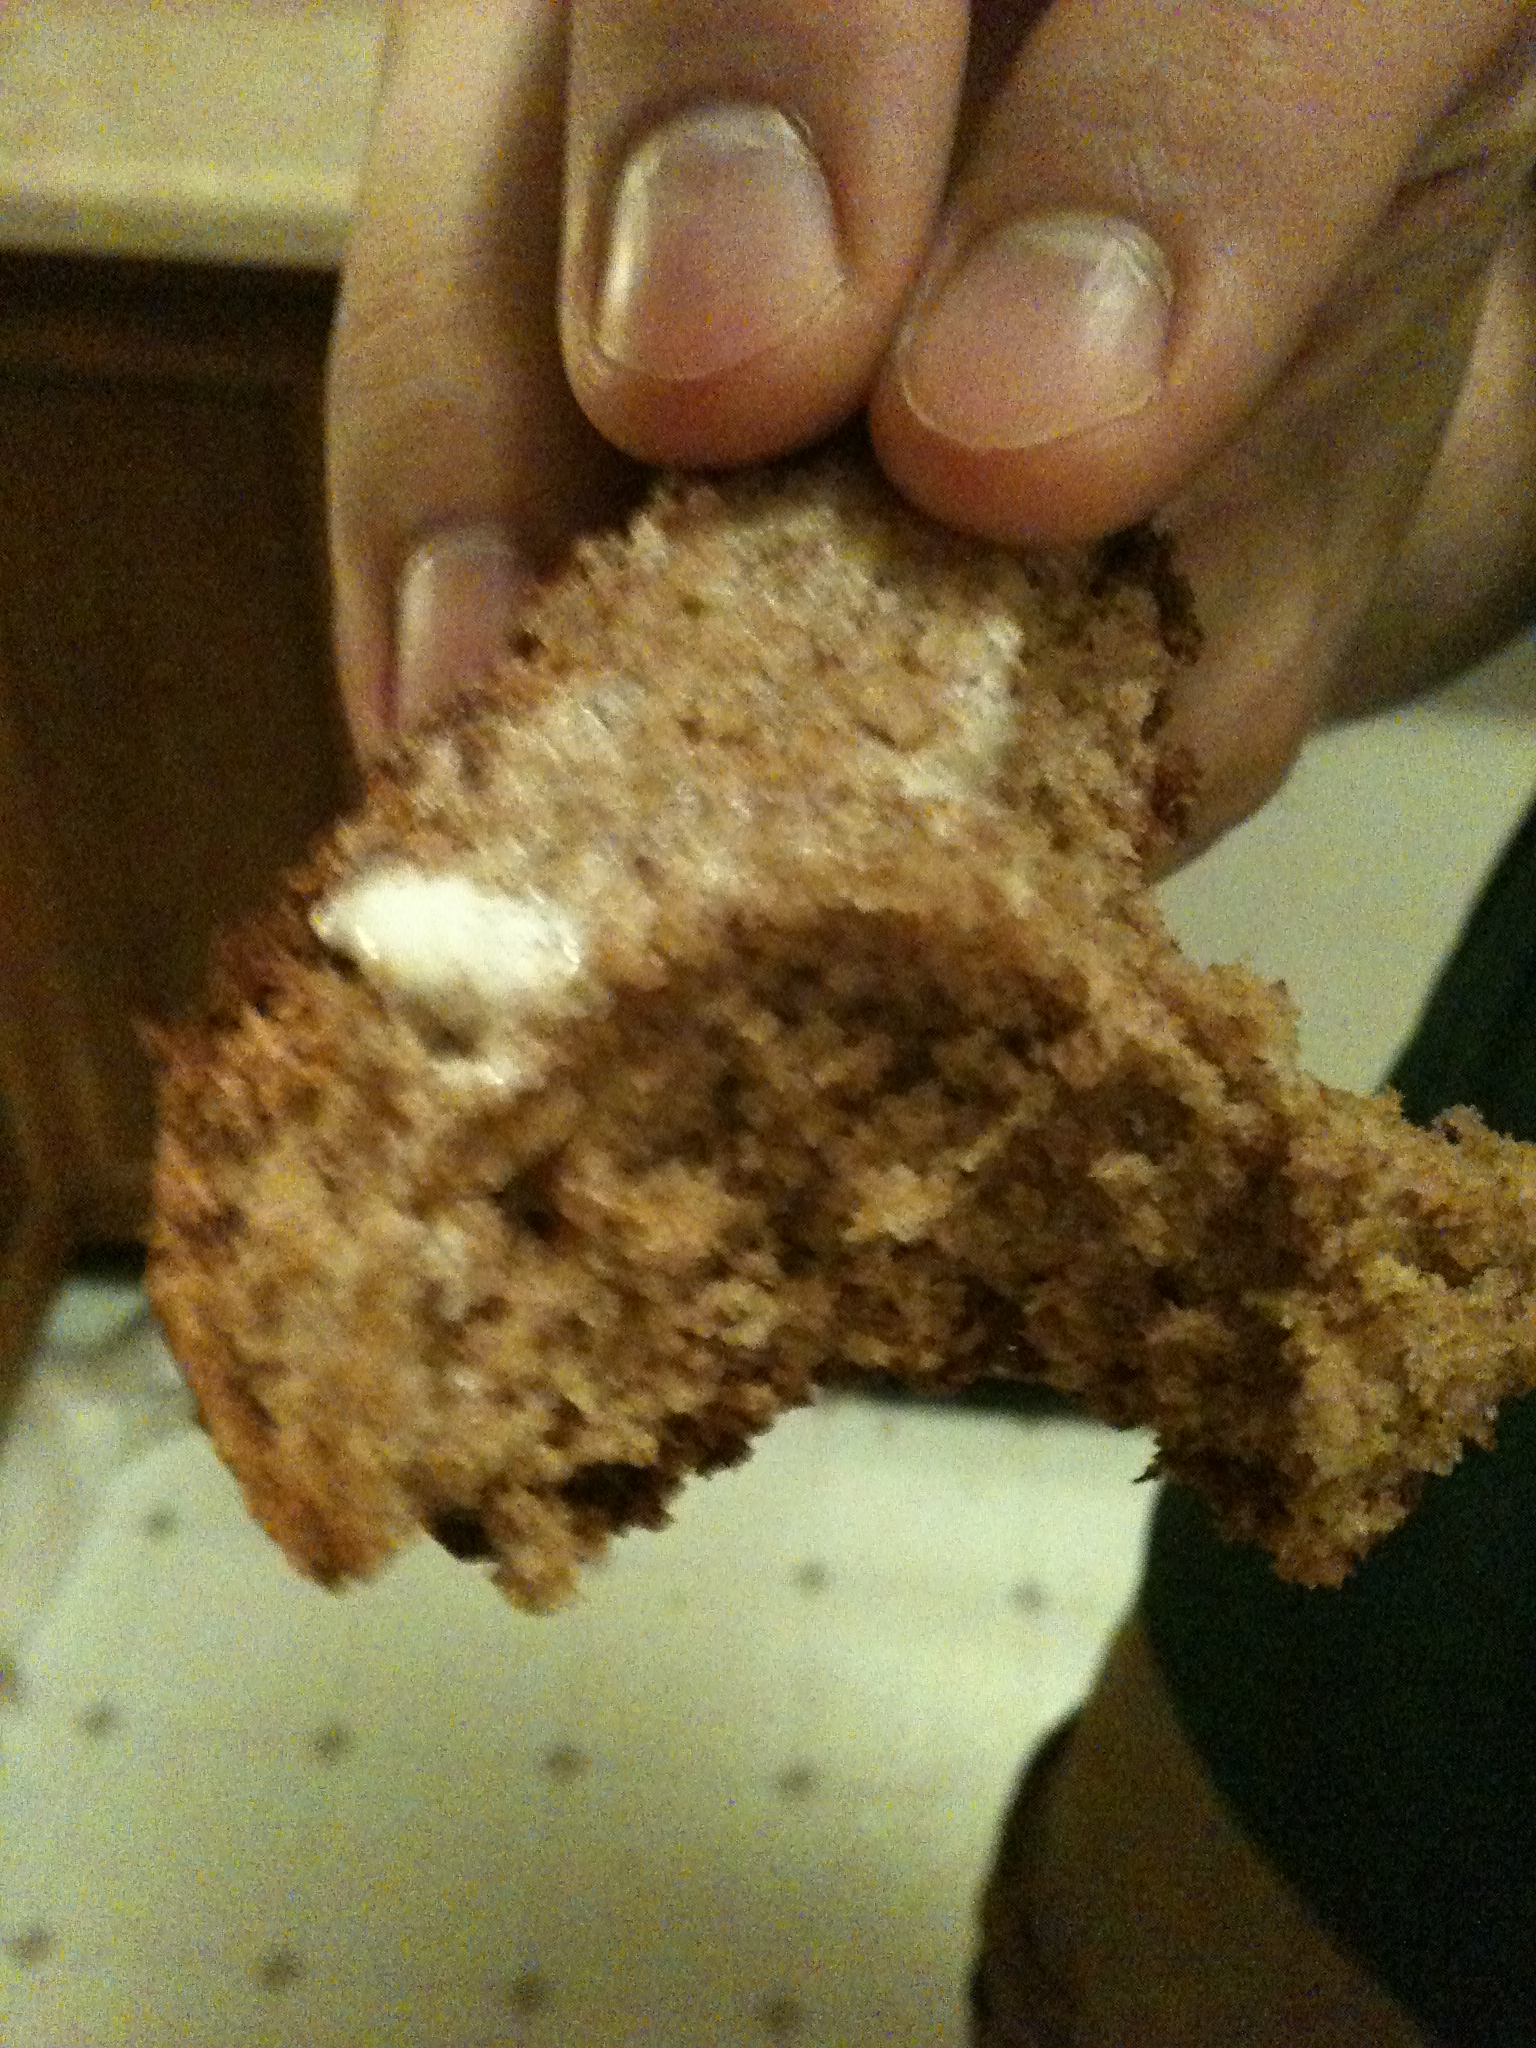
Unfortunately, it didn’t last long before I could get the picture, so that’s a sliver of a piece. Hope you enjoy!

Oh, and…meow!

spacer