Archives

Gotta Keep Your Head Up

Lately, things have not been easy. In the past month, I’ve had two major stomach problems. First, either the stomach flu or food poisoning that made me miss two of my busiest days of work during the week. This weekend, a hyper secretion of the acid in my stomach irritated and led to inflammation in my digestive track, which caused me to miss one of my busiest days of work. I hate missing work, not just for the loss of money, but just because it’s how I am. So that upset me.

Along with that, I’m obviously not in physical condition to do the two most important things to get me in better shape, eat and workout. Most importantly, eat. It’s my favorite thing to do, probably. I can eat all day, anything really, although I can be picky-ish sometimes. My favorite combination is working out and then eating. It’s how I got in the best shape of my life really, a ton of each. And with those stomach problems, it’s been a month of not good eating or working out.

In March of 2011, right before we went to Alana’s house for Spring Break, where we took time off working out, I was in the best shape of my life, arguably. Then, when we returned, I suffered a major tear in my left posterior labrum, shoulder. My conditioning was great on land, doing circuit training for sustained periods of time. My pullups and pushups were good, dips were the best they’ve ever been. I wasn’t running much, but I never really have except in youth, high school, and one summer.

My heavy lifts were heavy, decline bench for 365 for reps, olympic squats for 495 for reps, leg press for nearly 1000 for reps, and toe press for nearly 2000 for reps. But that all went to nothing after the injury, and I’ve been dealing with it ever since. I’m not trying to sound sad, but what I’m getting at is that I know I can’t get back to that point without surgery. Thus, I’m not overly critical on myself for not eating and working out to “get in shape.” The thing is, I work out mainly because I think it’s fun.
 

(from shirt.woot.com)
So, between the stomach problems, Misty’s passing, Sajah’s running away, and us living independently for the most part, it’s been tough figuring out the right job situation, getting all our chores done, working out, eating right, and getting in shape. BUT THAT’S FINE!

Because it’s a great time of year, we’re going to see family in a little over a week in LA, and planning a trip to go back to New Jersey and New York sooner than later. We’re figuring out goals for our always continuing education, how and when to pay off student loans, and all sorts of other stuff. This was a little bit more of a journal entry than a blog post like all of our others, and there might be a few more of these this year before we head out for a great, productive, fun, exciting, and adventurous 2013. That is, you can see them once we’ve figured them out ourselves! But we have a lot to look forward to, so always keep your head up and remember all the good things in your life even when some stuff doesn’t seem to be going your way.

Sleepy lion cub

PS- We found Sajah
spacer

Berry Delicious! HEALTHY Berry Whole-Wheat Pie/Crumble

First of all, yes, yes, I know…brilliant title. I thought of it myself. And second of all, it IS healthy and GUILT FREE. Why? There’s barely any sugar in it. It’s weird. But I don’t lie. And for record, this is my first pie/crumble/whatever-you-want-to-call-it that I’ve made by myself from scratch. I took it from here, but as usual, modified. It didn’t take too long either. It was a very pleasant process.

Ingredients (Pie Filling)

  • 2 boxes of blackberries
  • 2 boxes of raspberries
  • 1/3 cup sugar
  • 2 teaspoons flour

Ingredients (Crust)

  • 2 cups whole wheat flour
  • 1.5 sticks butter
  • 1 teaspoon salt
  • 12 teaspoons cold water

So first, let’s take care of the pie filling (will take approx…2 minutes!).

Directions (Pie Filling)

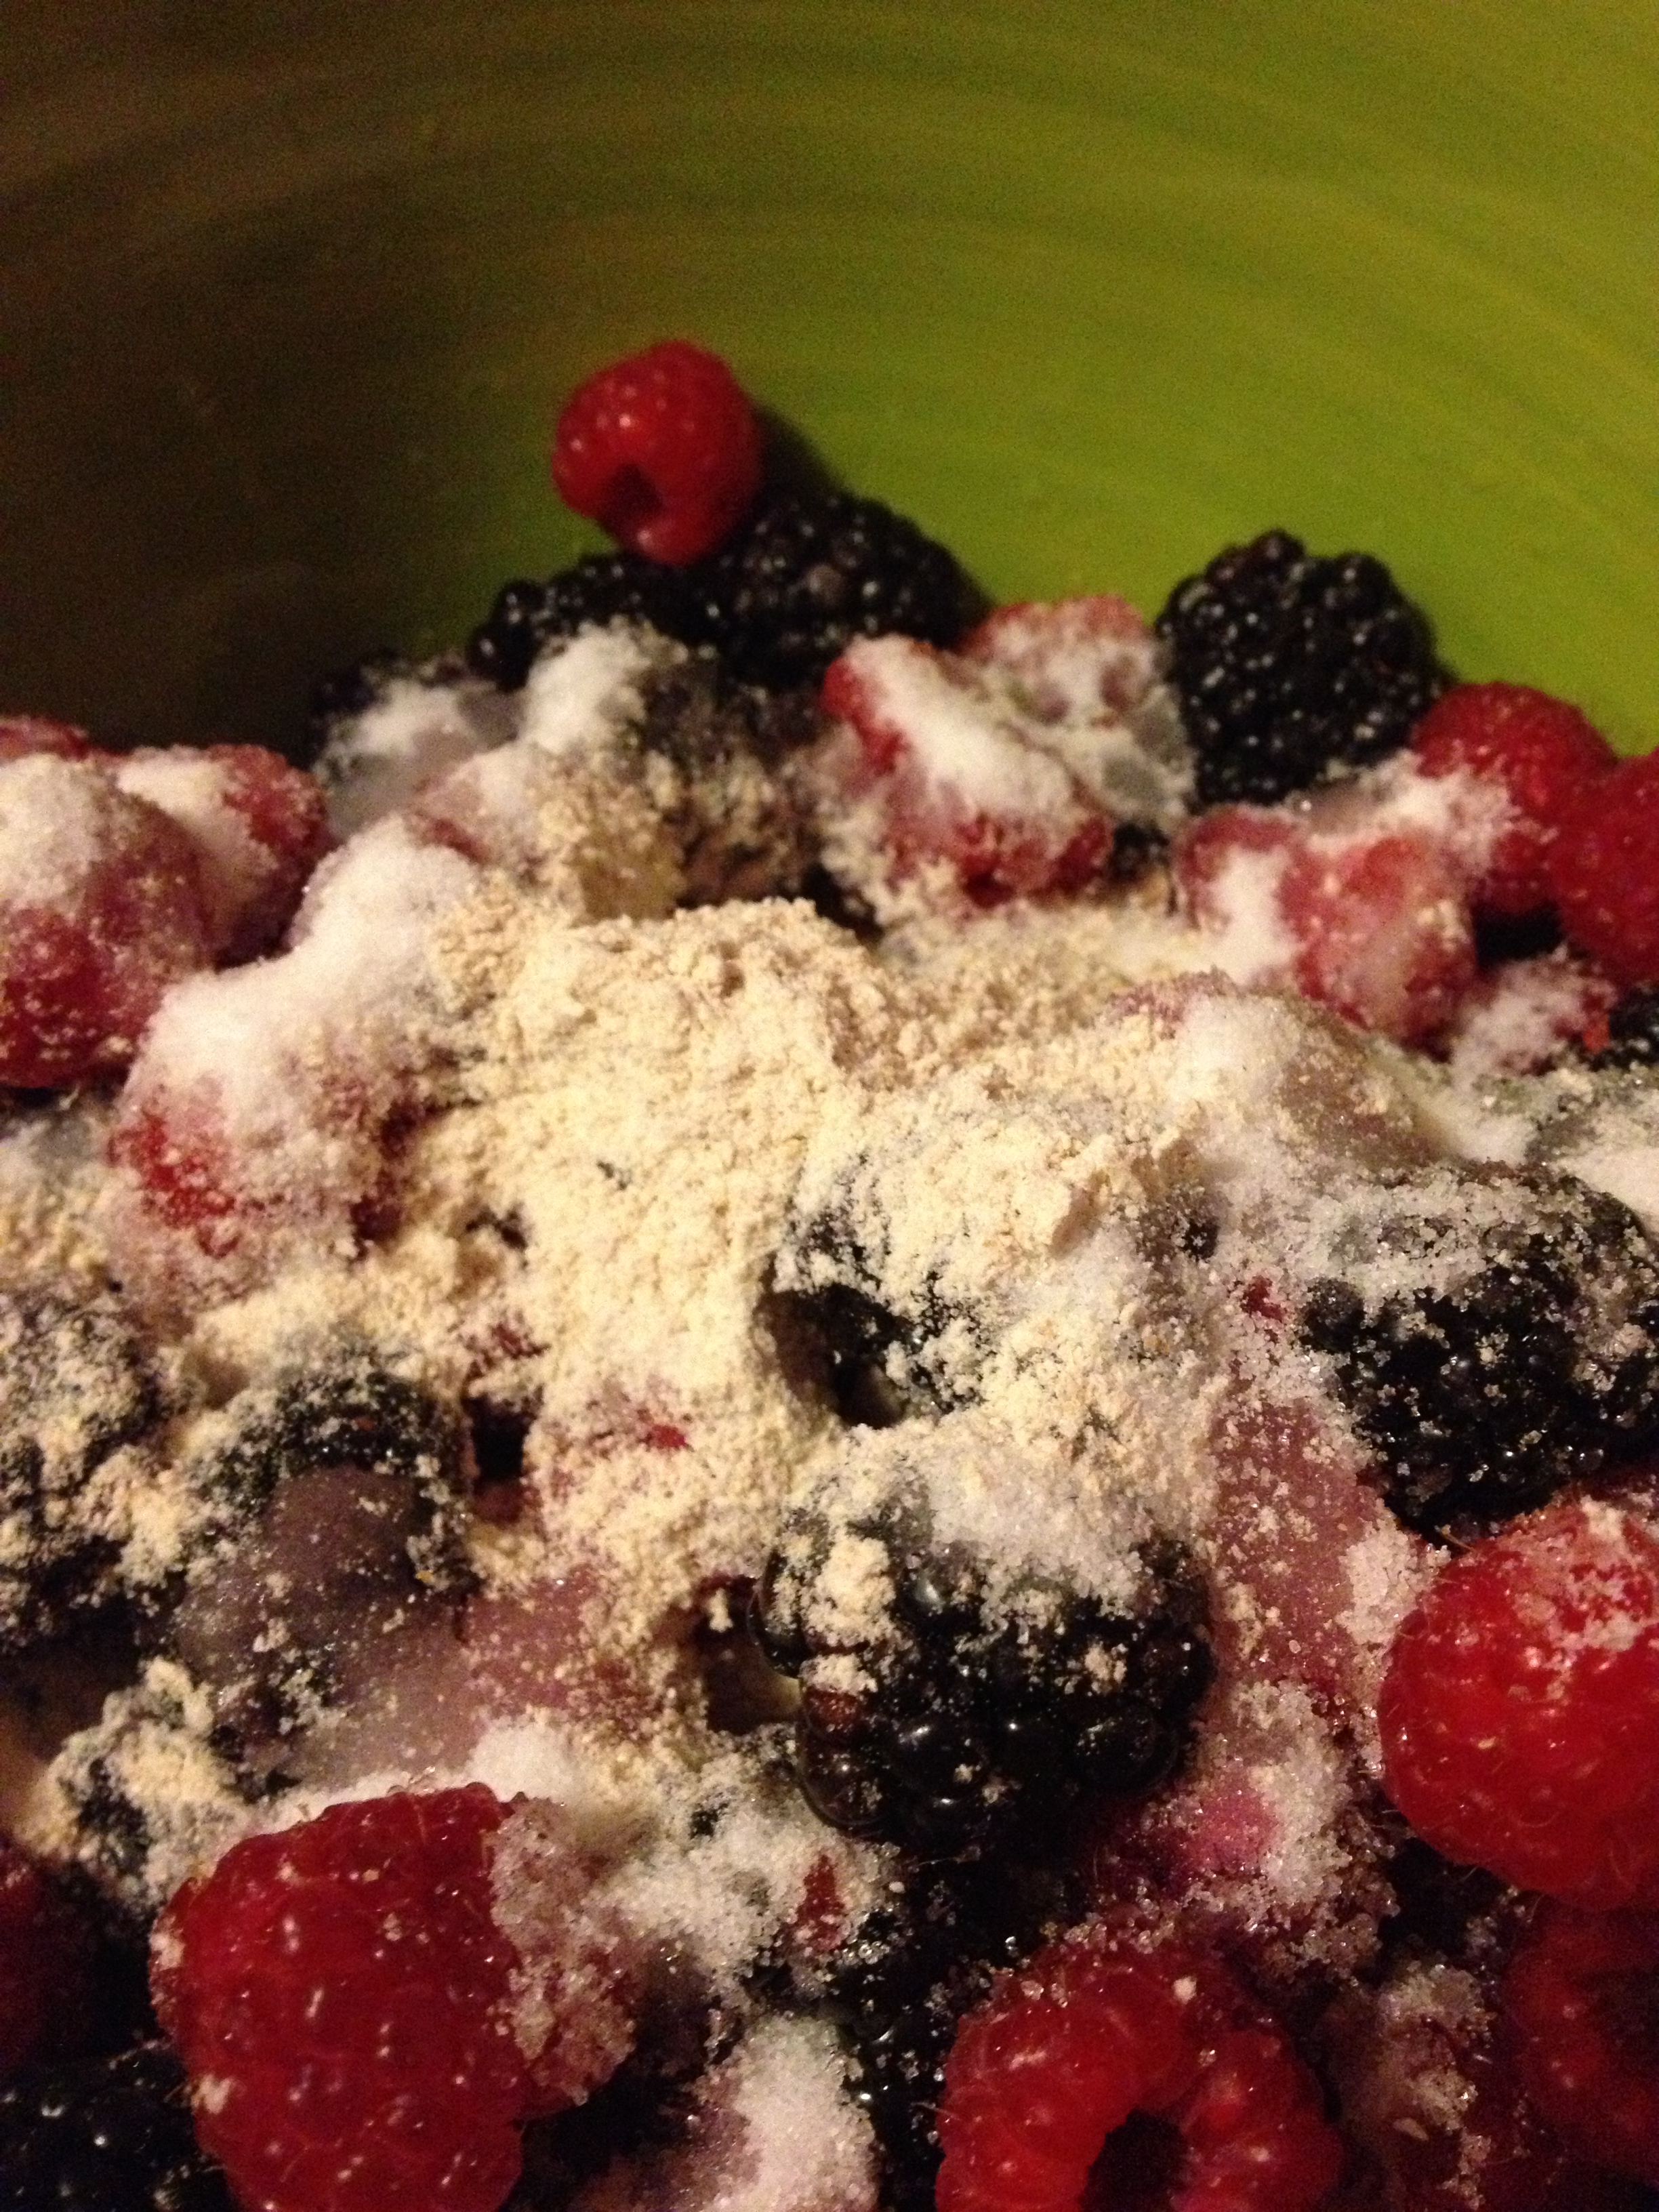
  • Put the berries, flour, and sugar into a bowl (take note that it’s just the 2 teaspoons of flour)

Berries!

Mix it up

Directions (Crust)

  • Preheat oven to 400 degrees
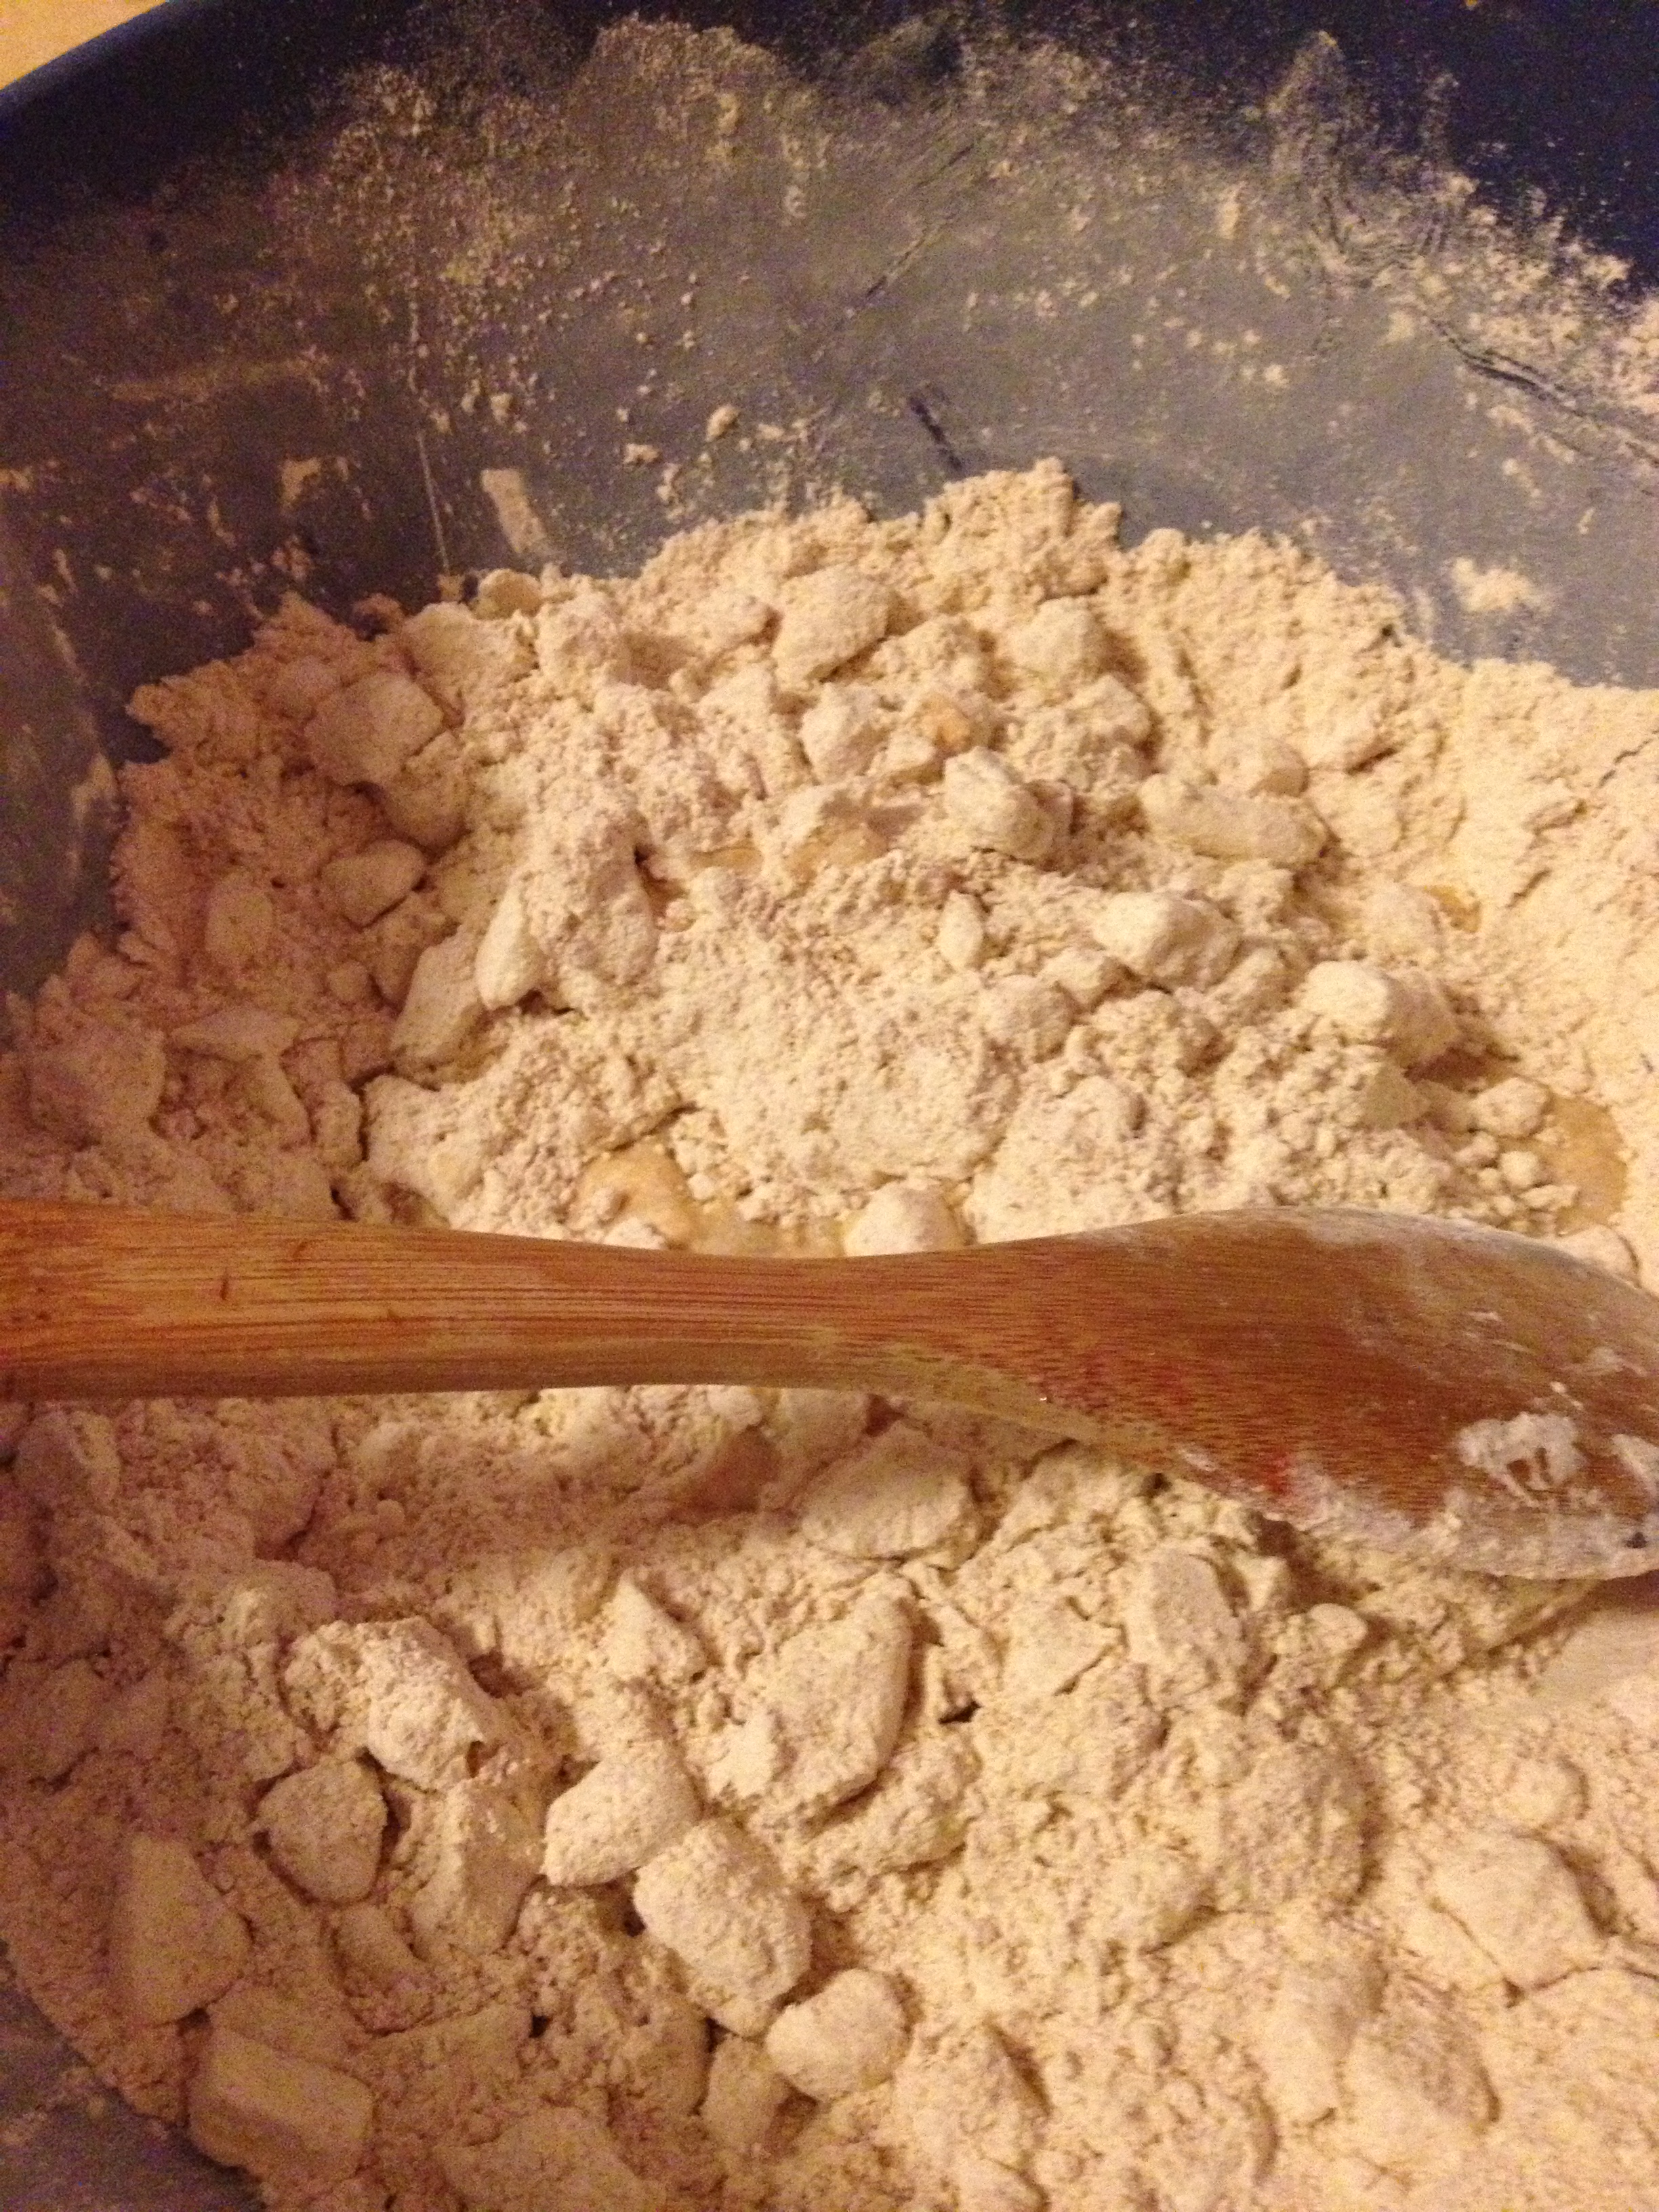
  • Combine the flour and salt in a big mixing bowl (this time 2 cups flour)
  • Cut up the cold butter into little pieces and place in flour mixture

Butter and flour

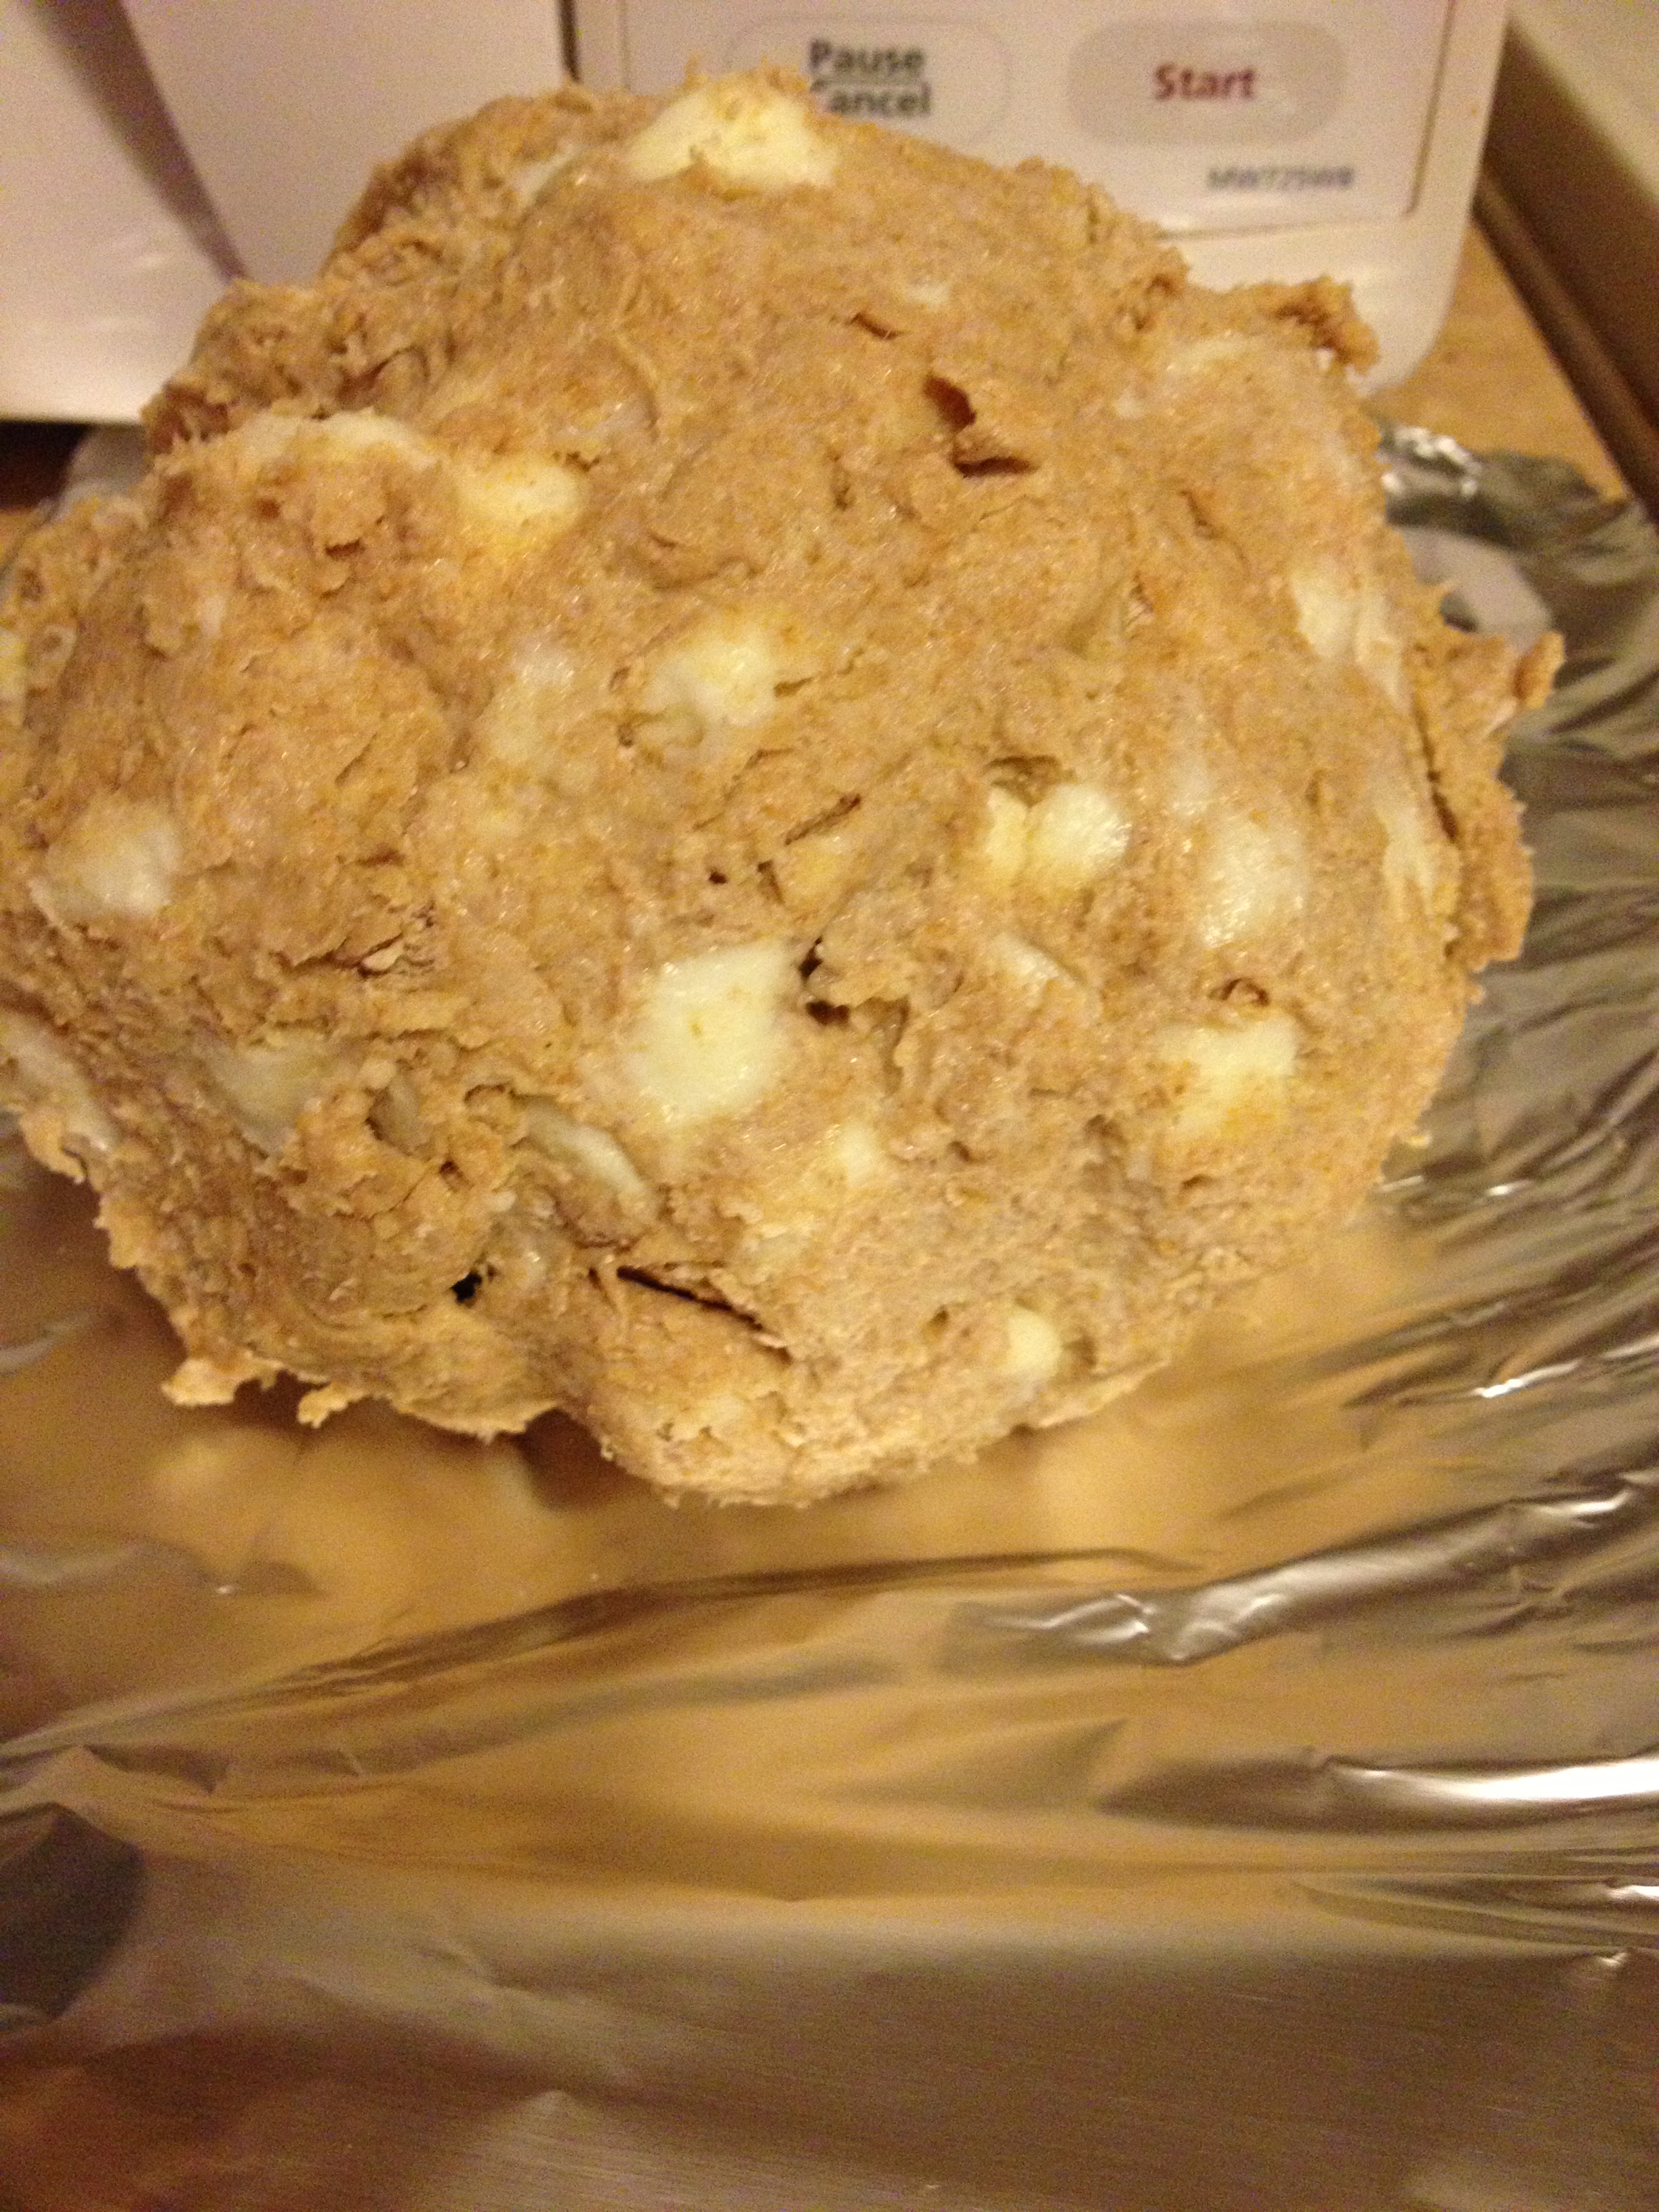
  • Next, add enough cold water for the flour to stick together and can be rolled into a massive ball of dough.

Monster ball

  • Place in the freezer for 15 minutes
  • Take out of freezer, and use glad wrap or wax paper to really roll it out as thin as you want the crust
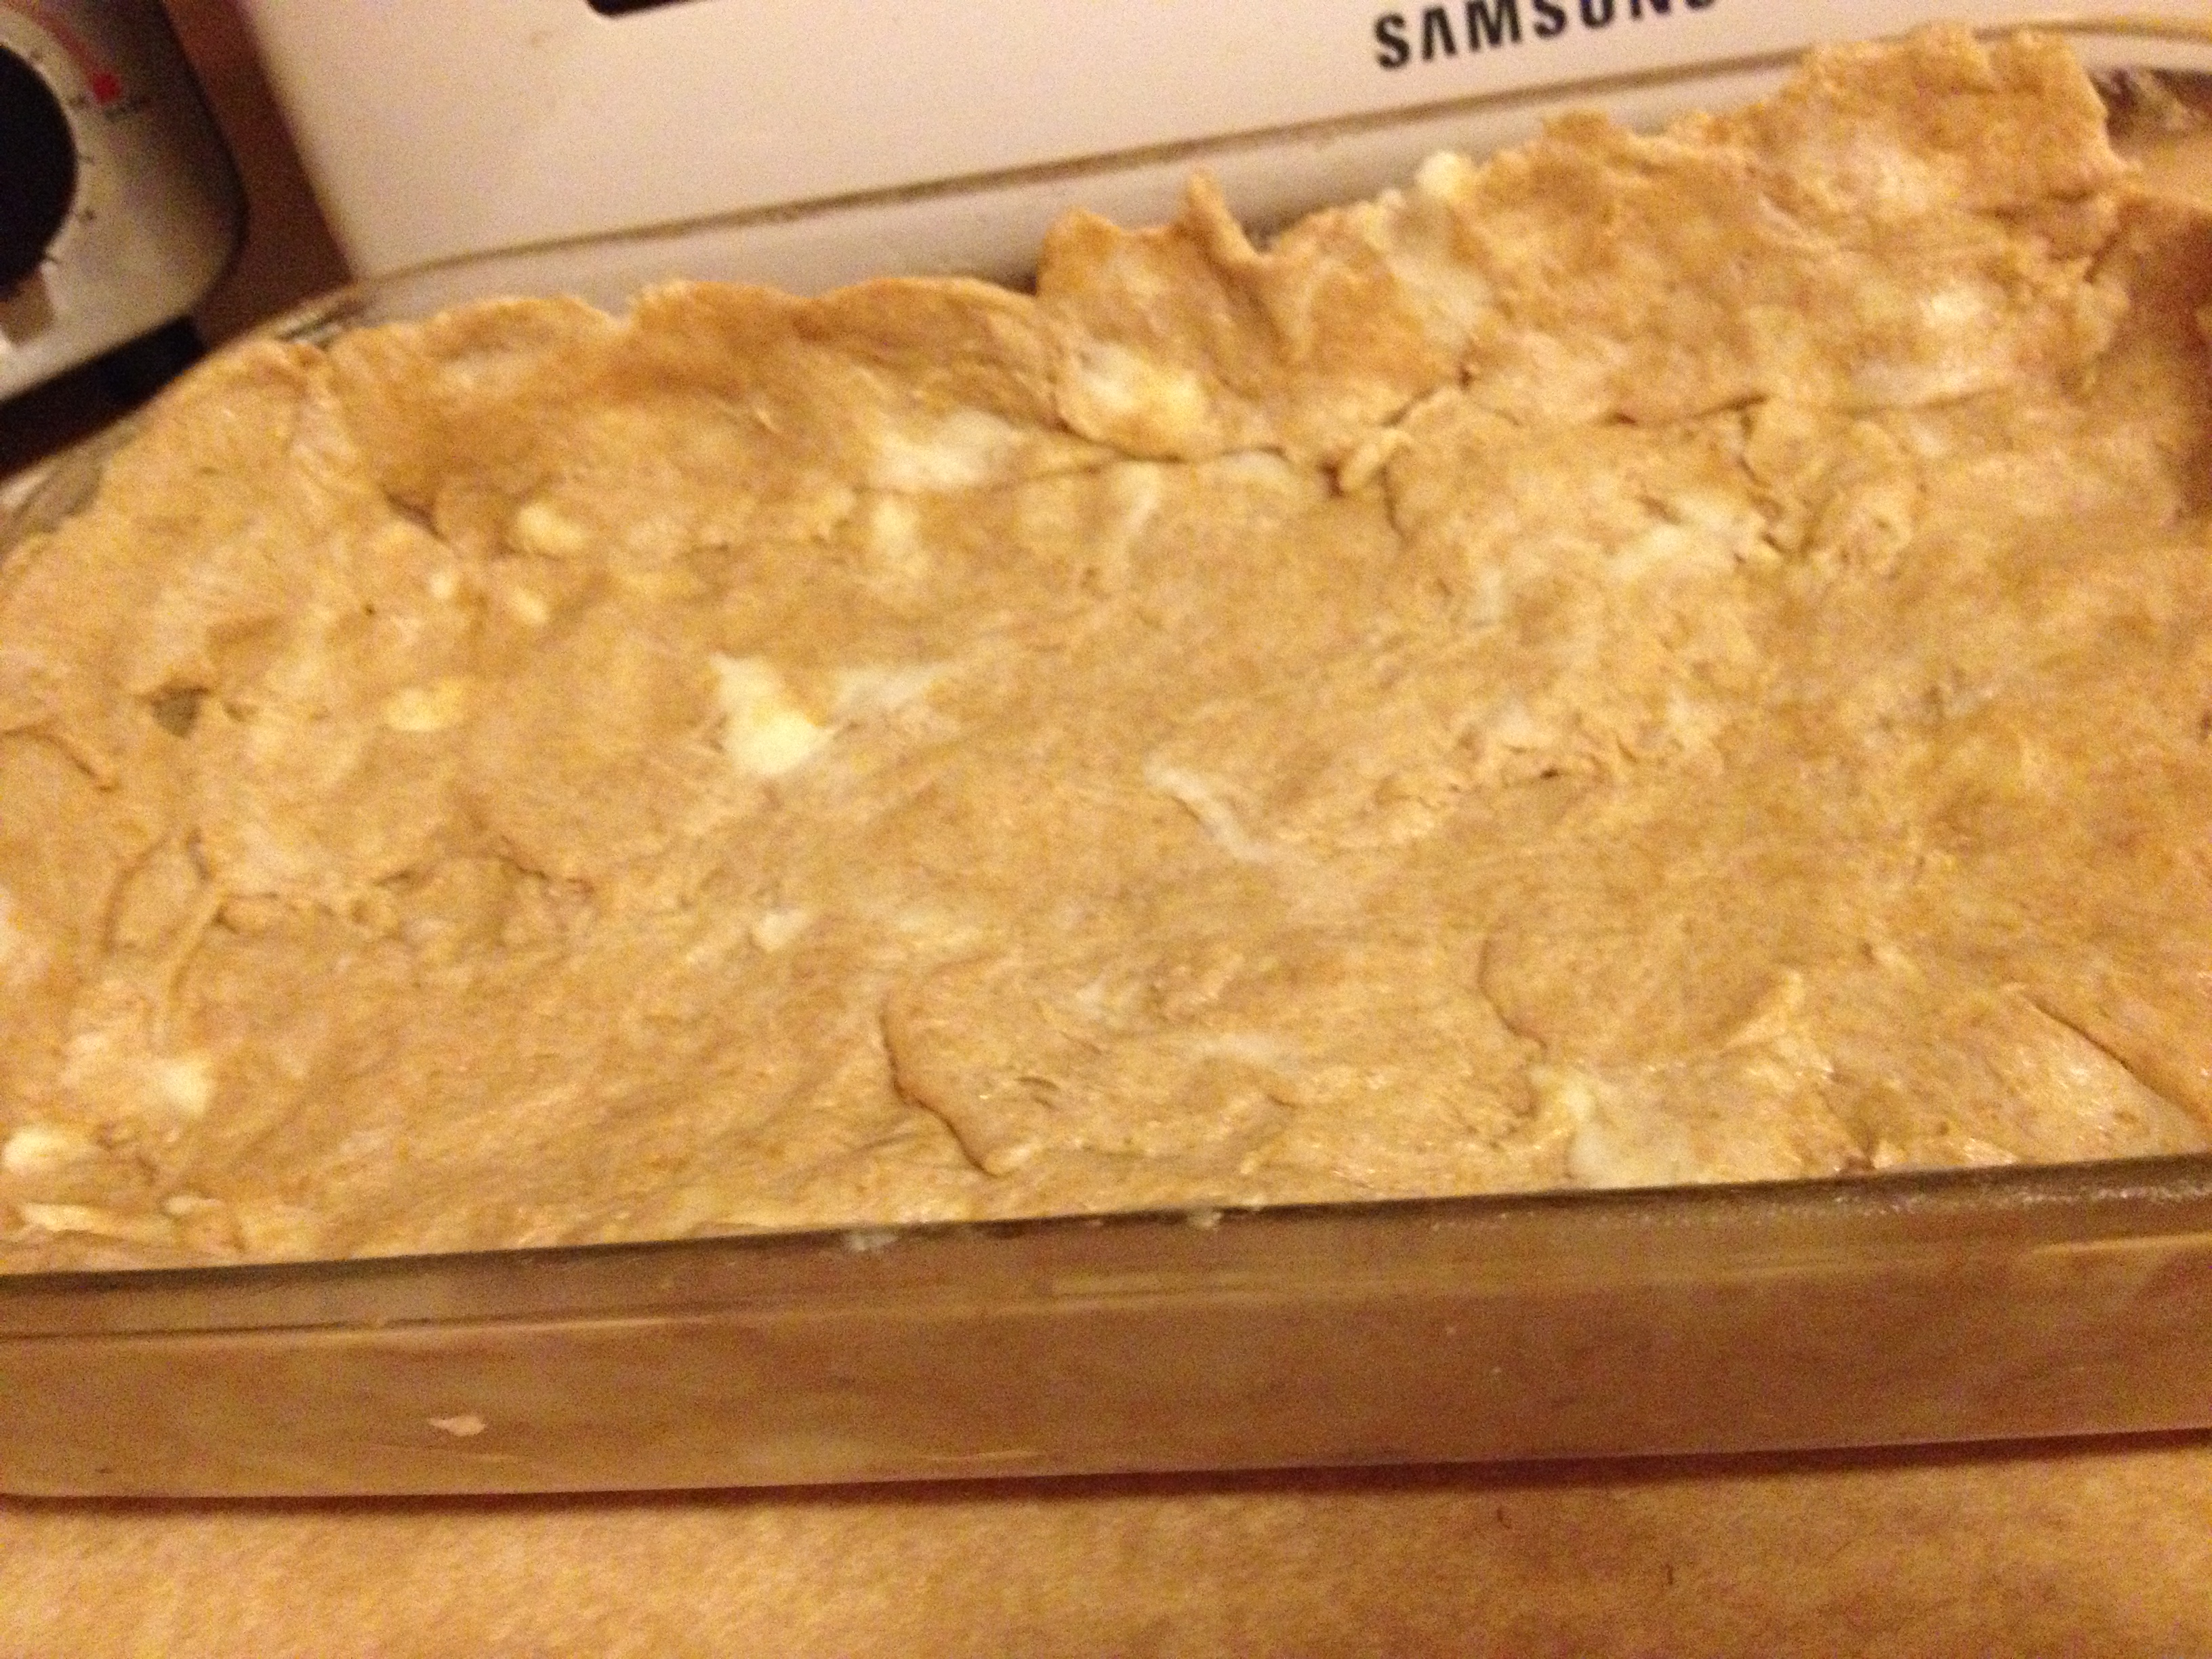
  • Once the crust is rolled out, place half of it on the bottom of your pan (or whatever you may use)

Bottom crust

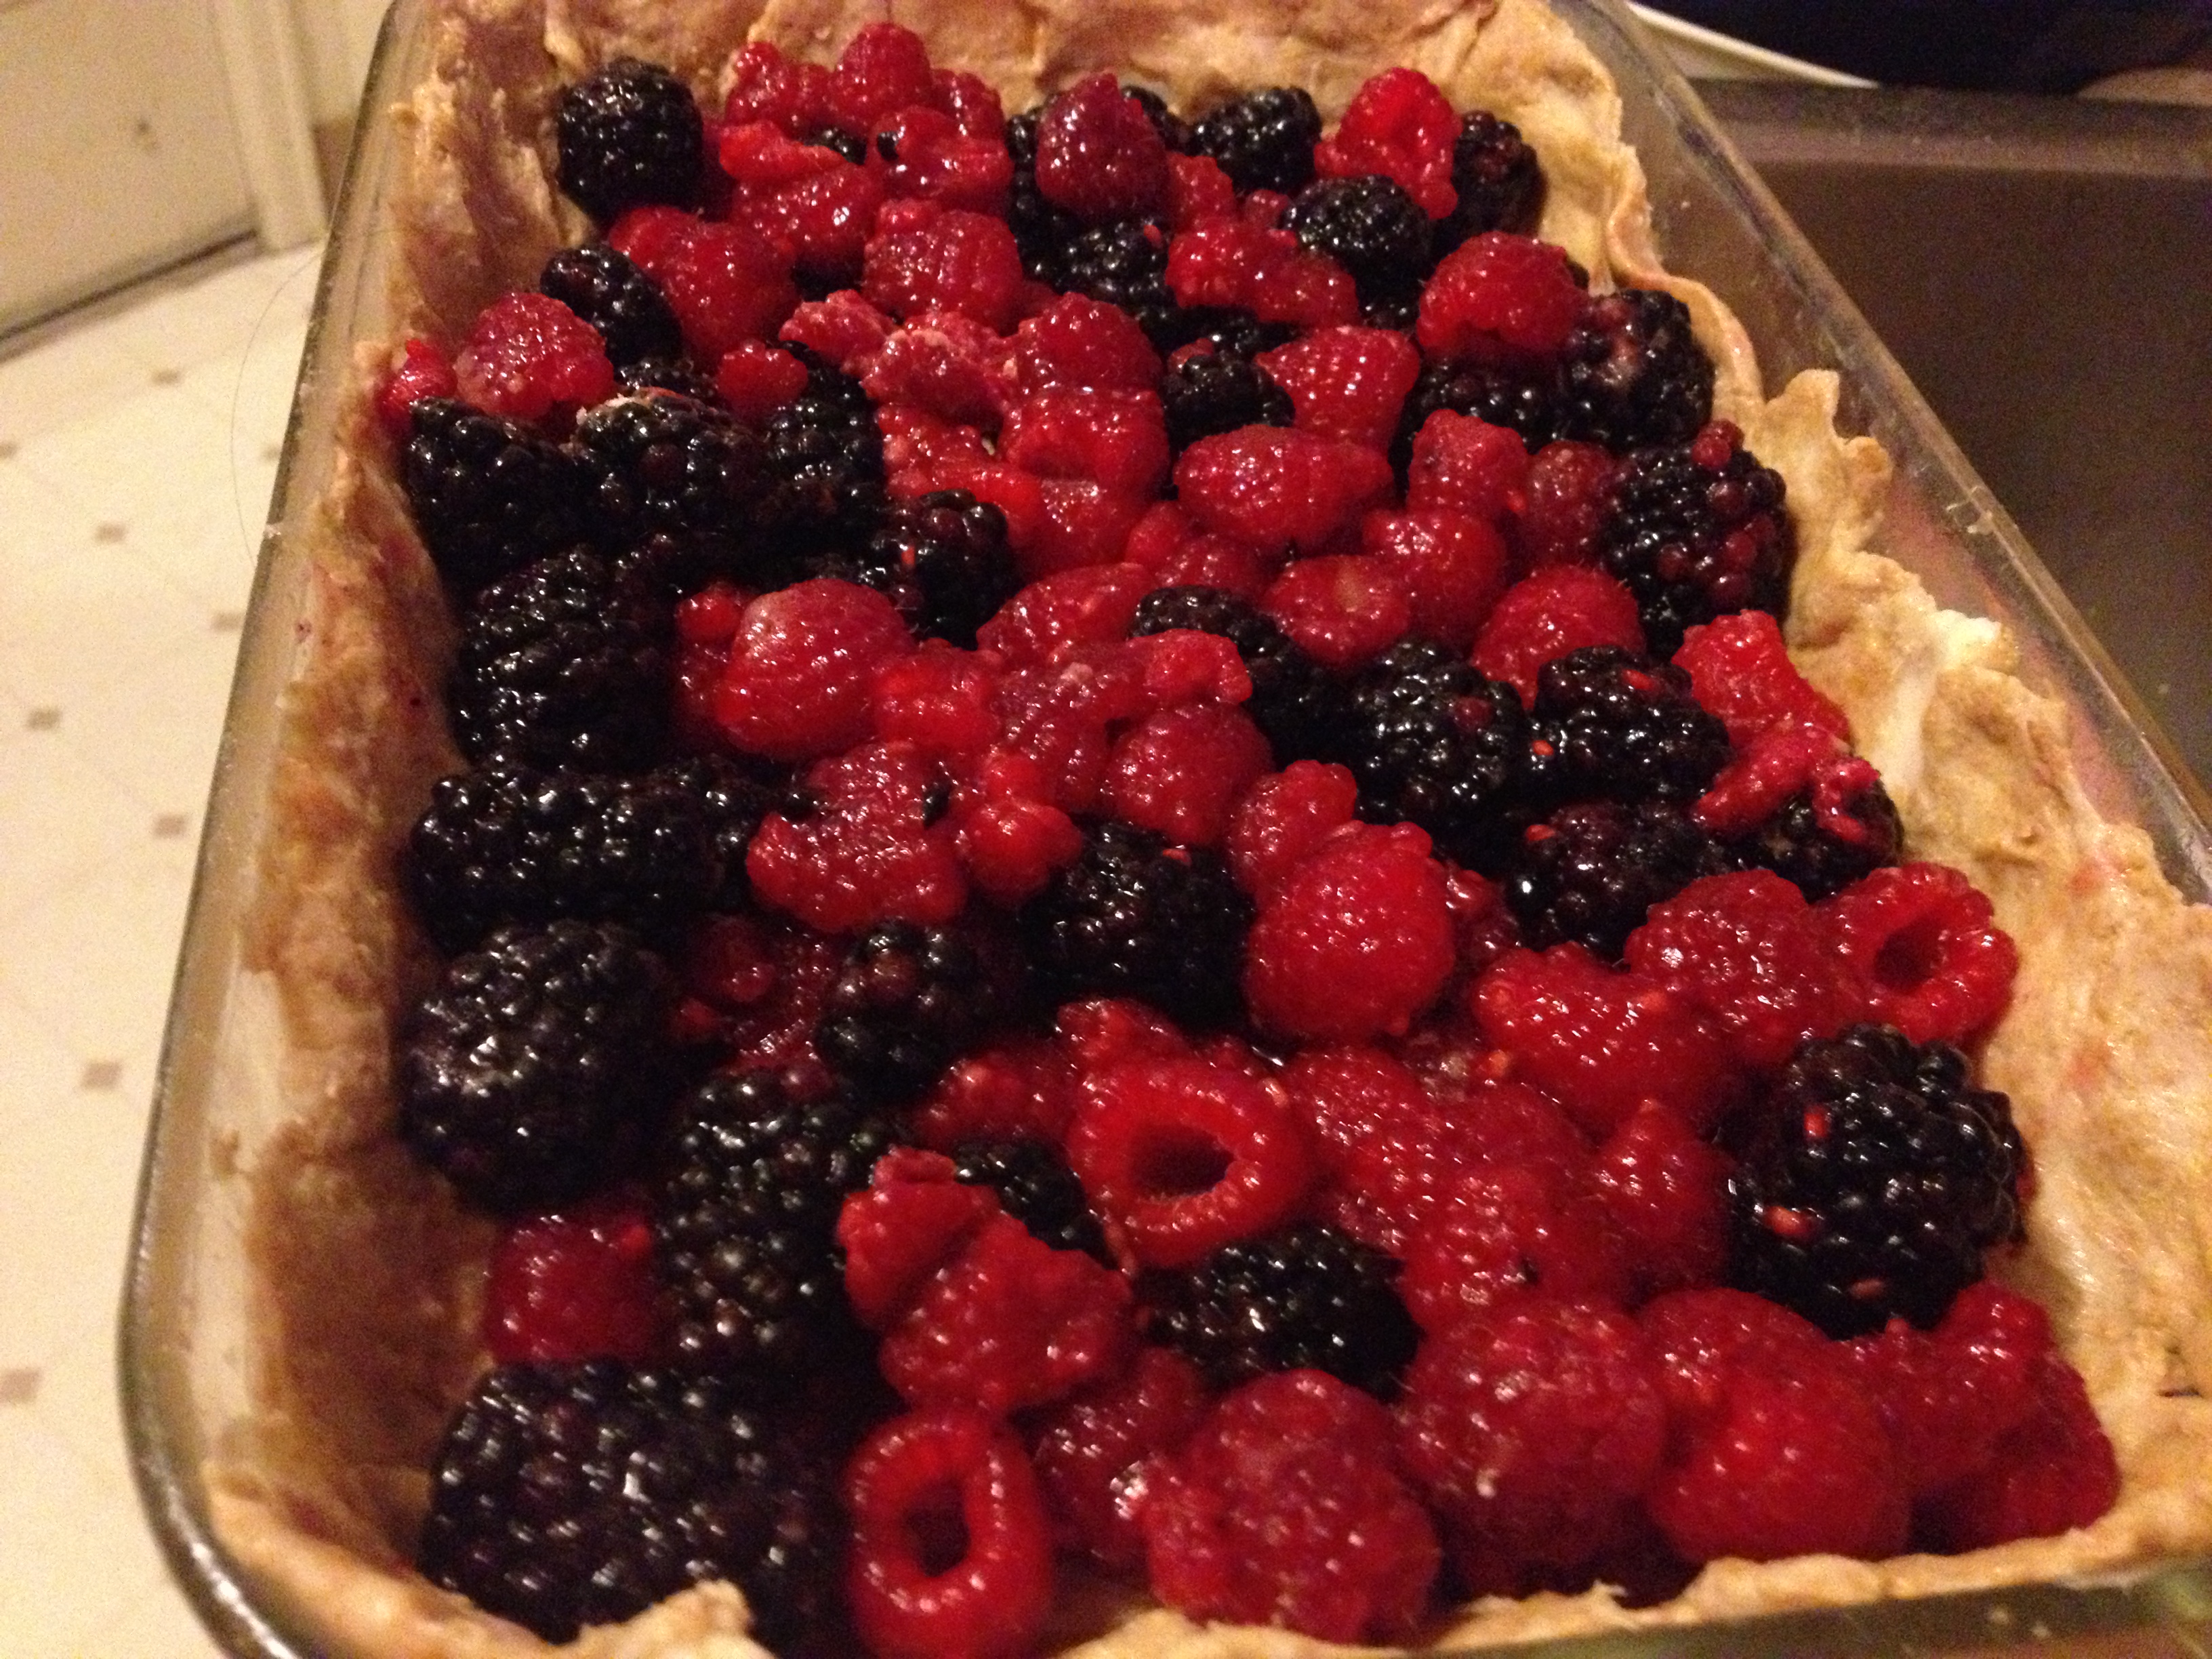
  • Next, get that fruit filling in there, to make it look truly beautiful.

Mmmm

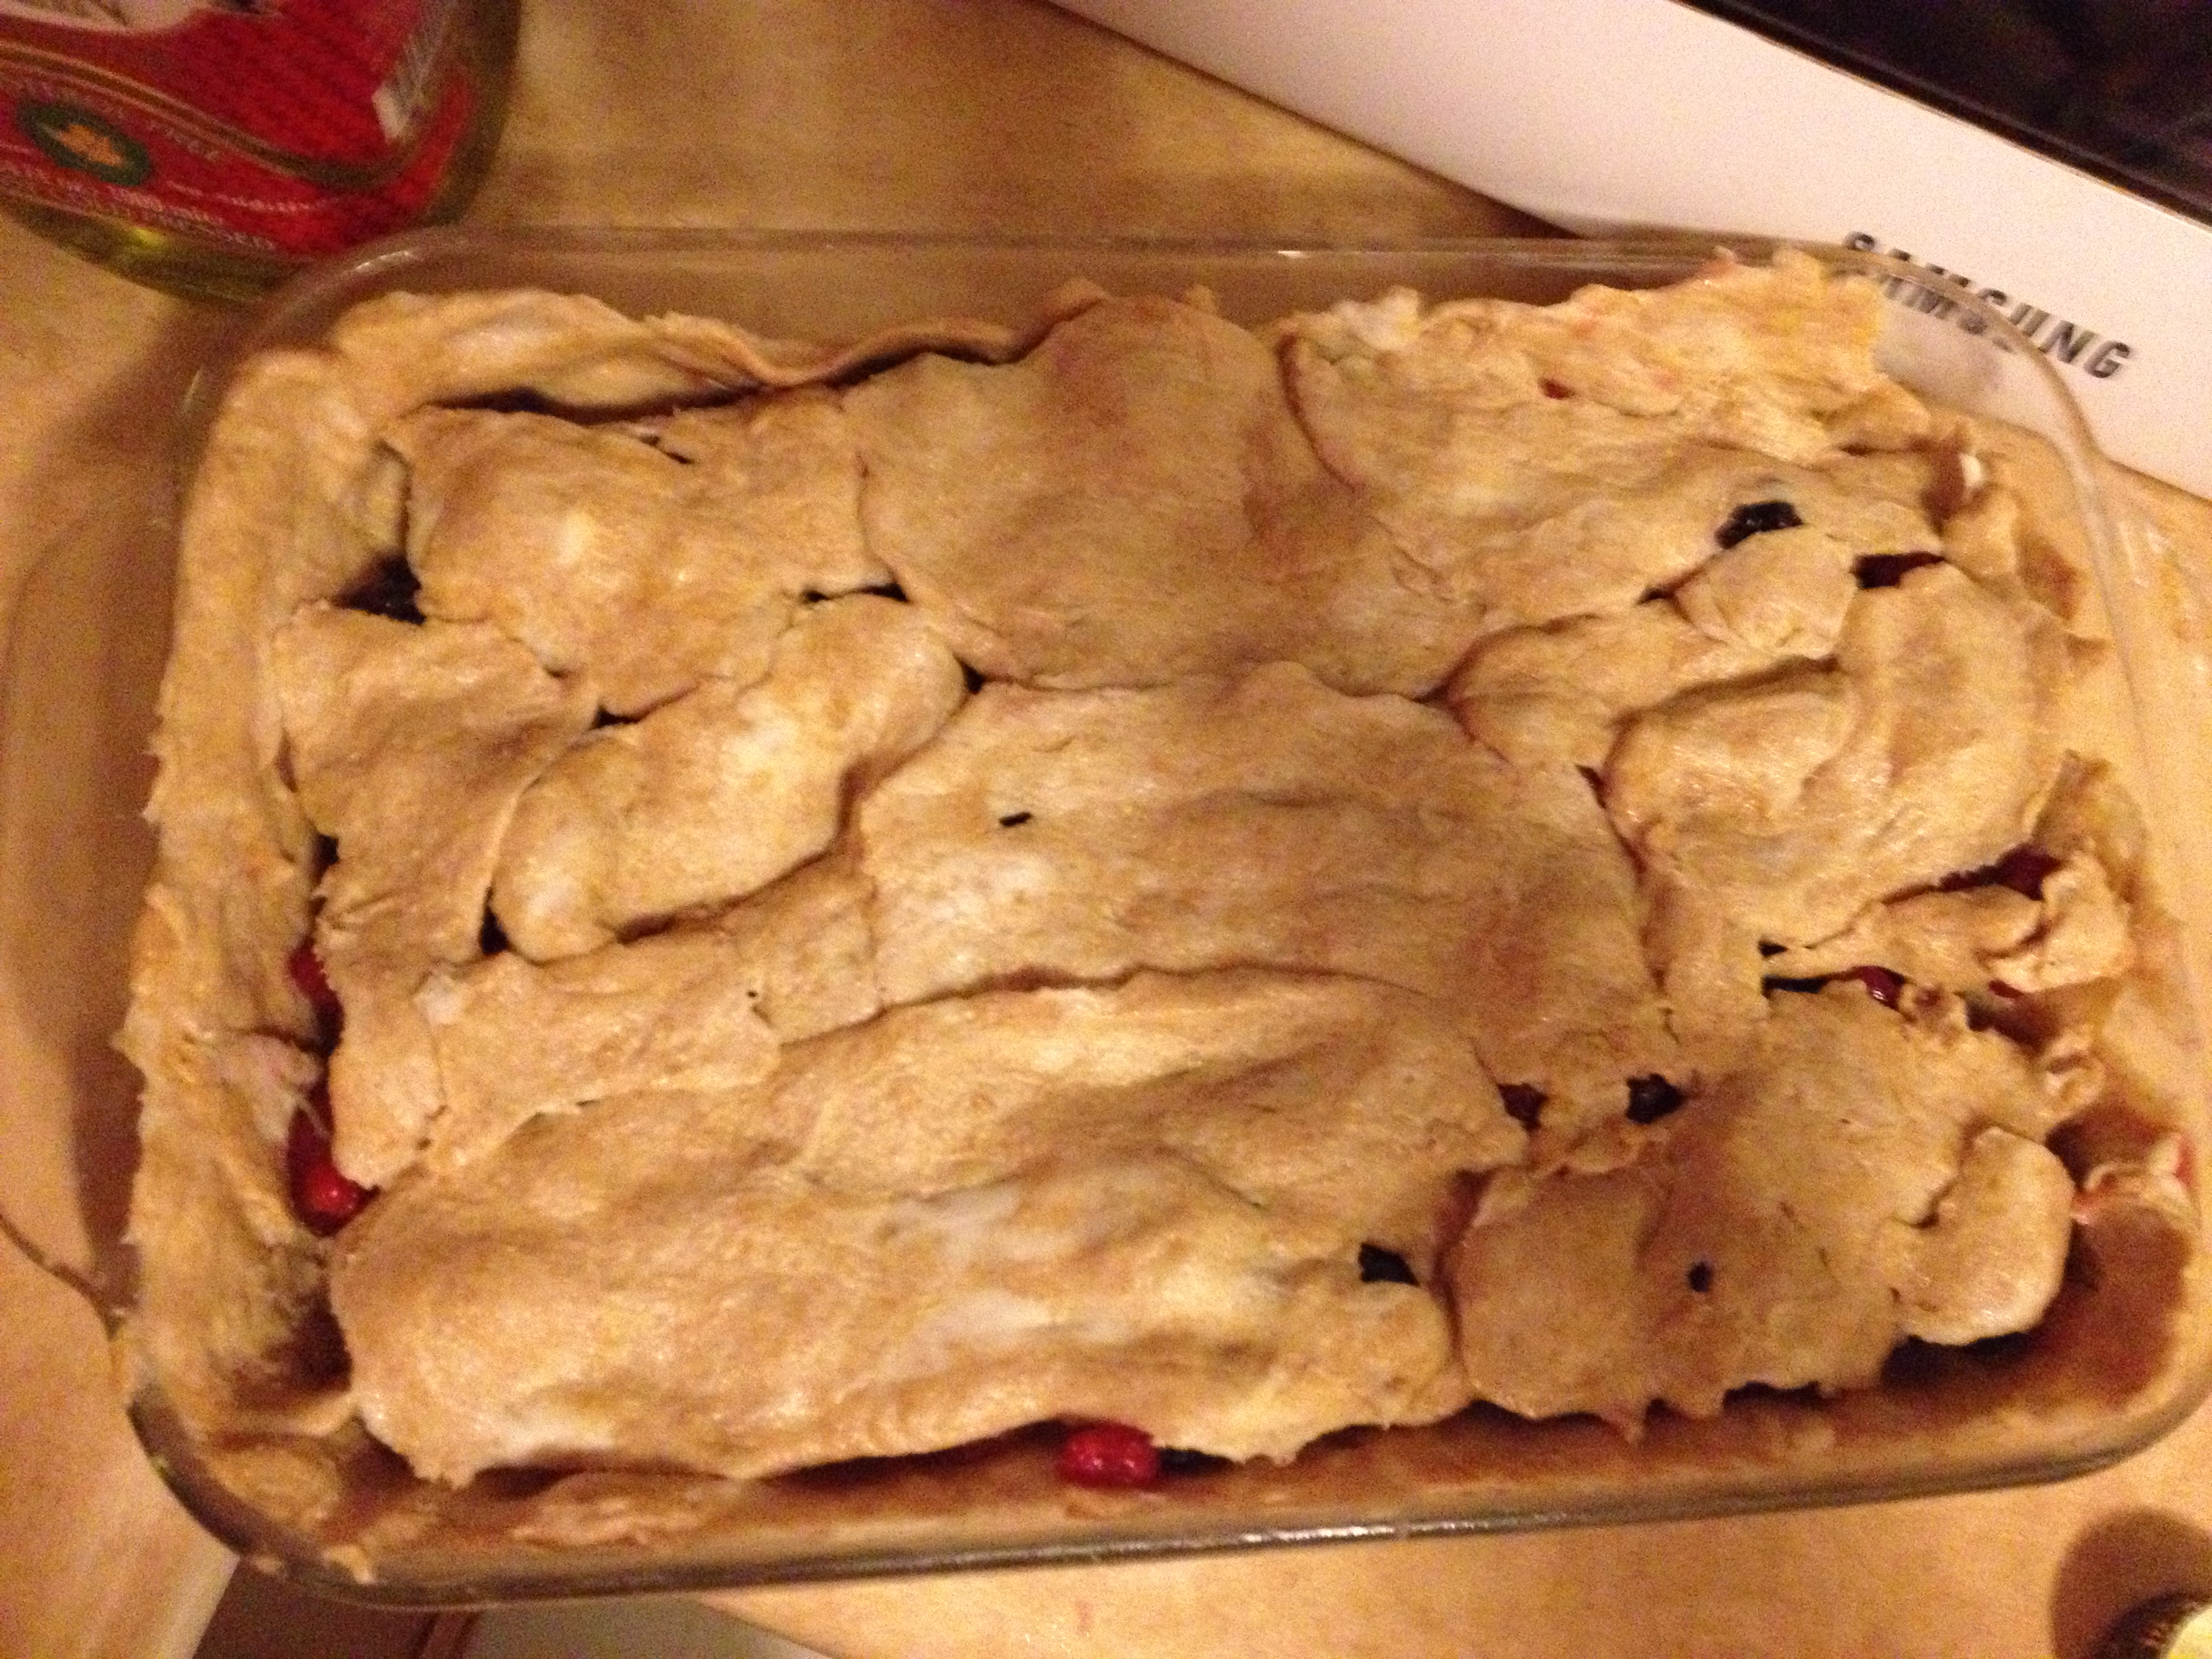
  • Using the rest of the pie dough, make the top of the crumble/pie

Bake me!

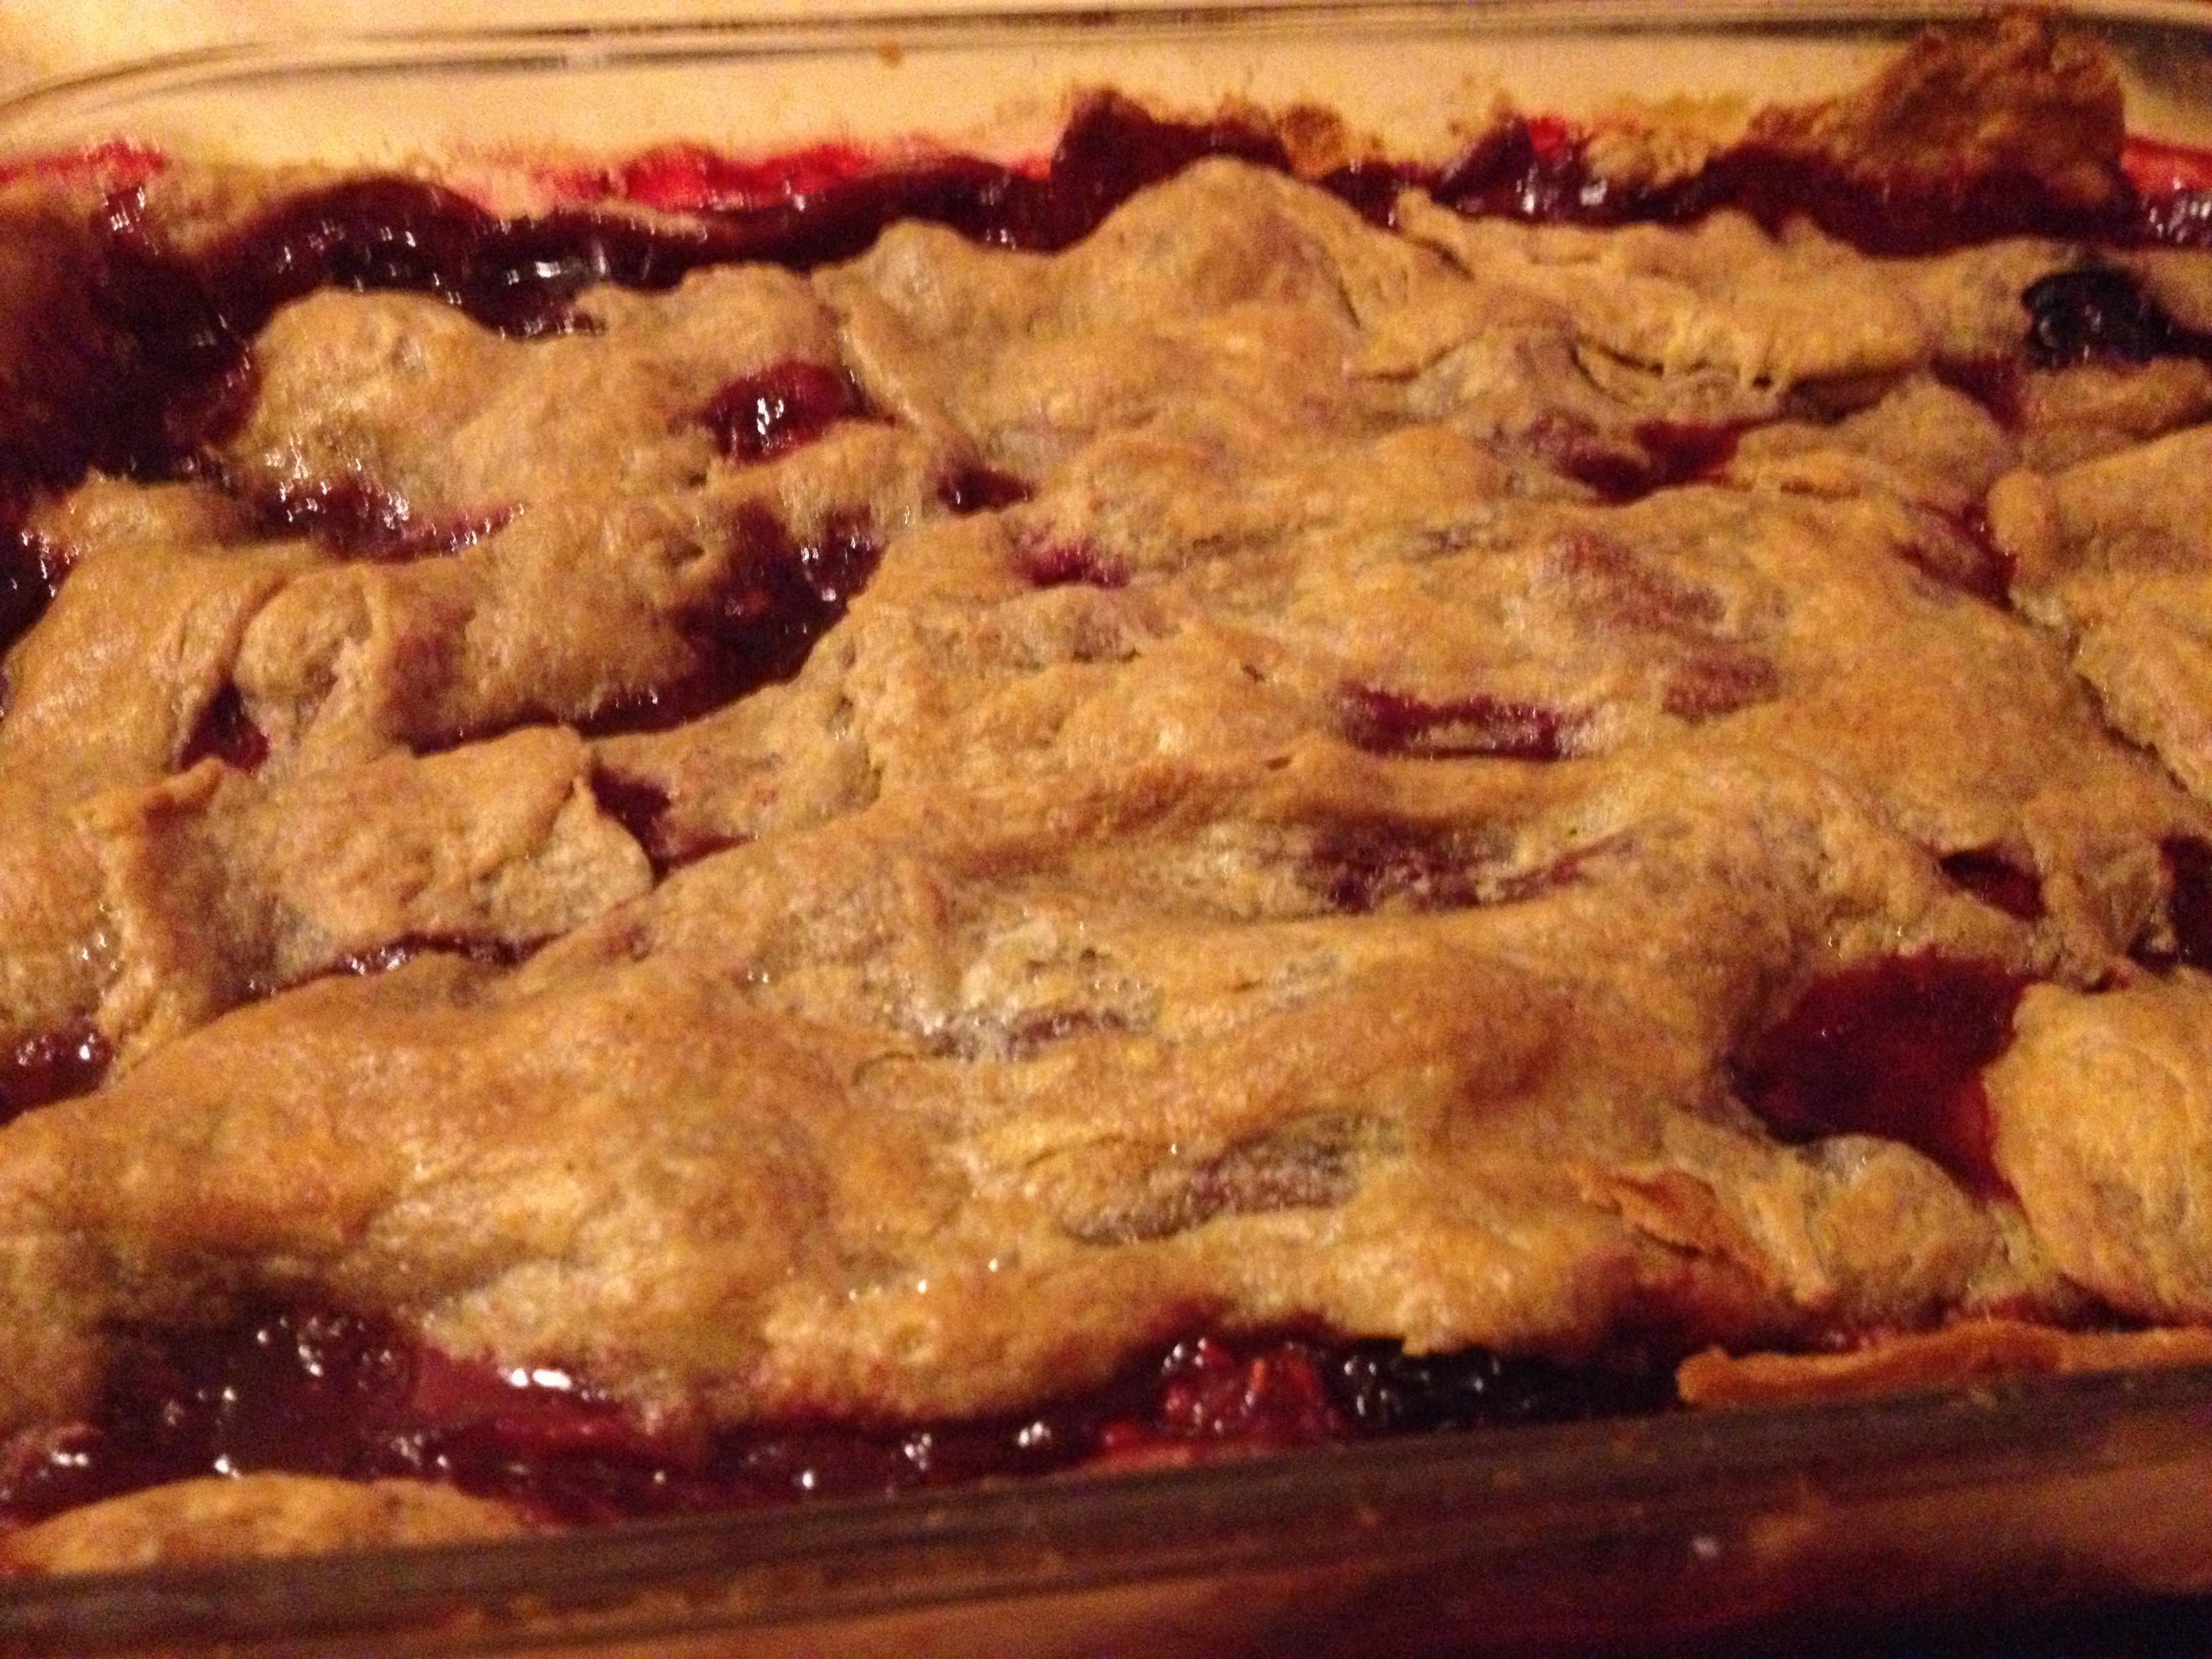
  • Put in the oven for 35-45 minutes. Mine took about 42 minutes I would say.
  • ENJOY!

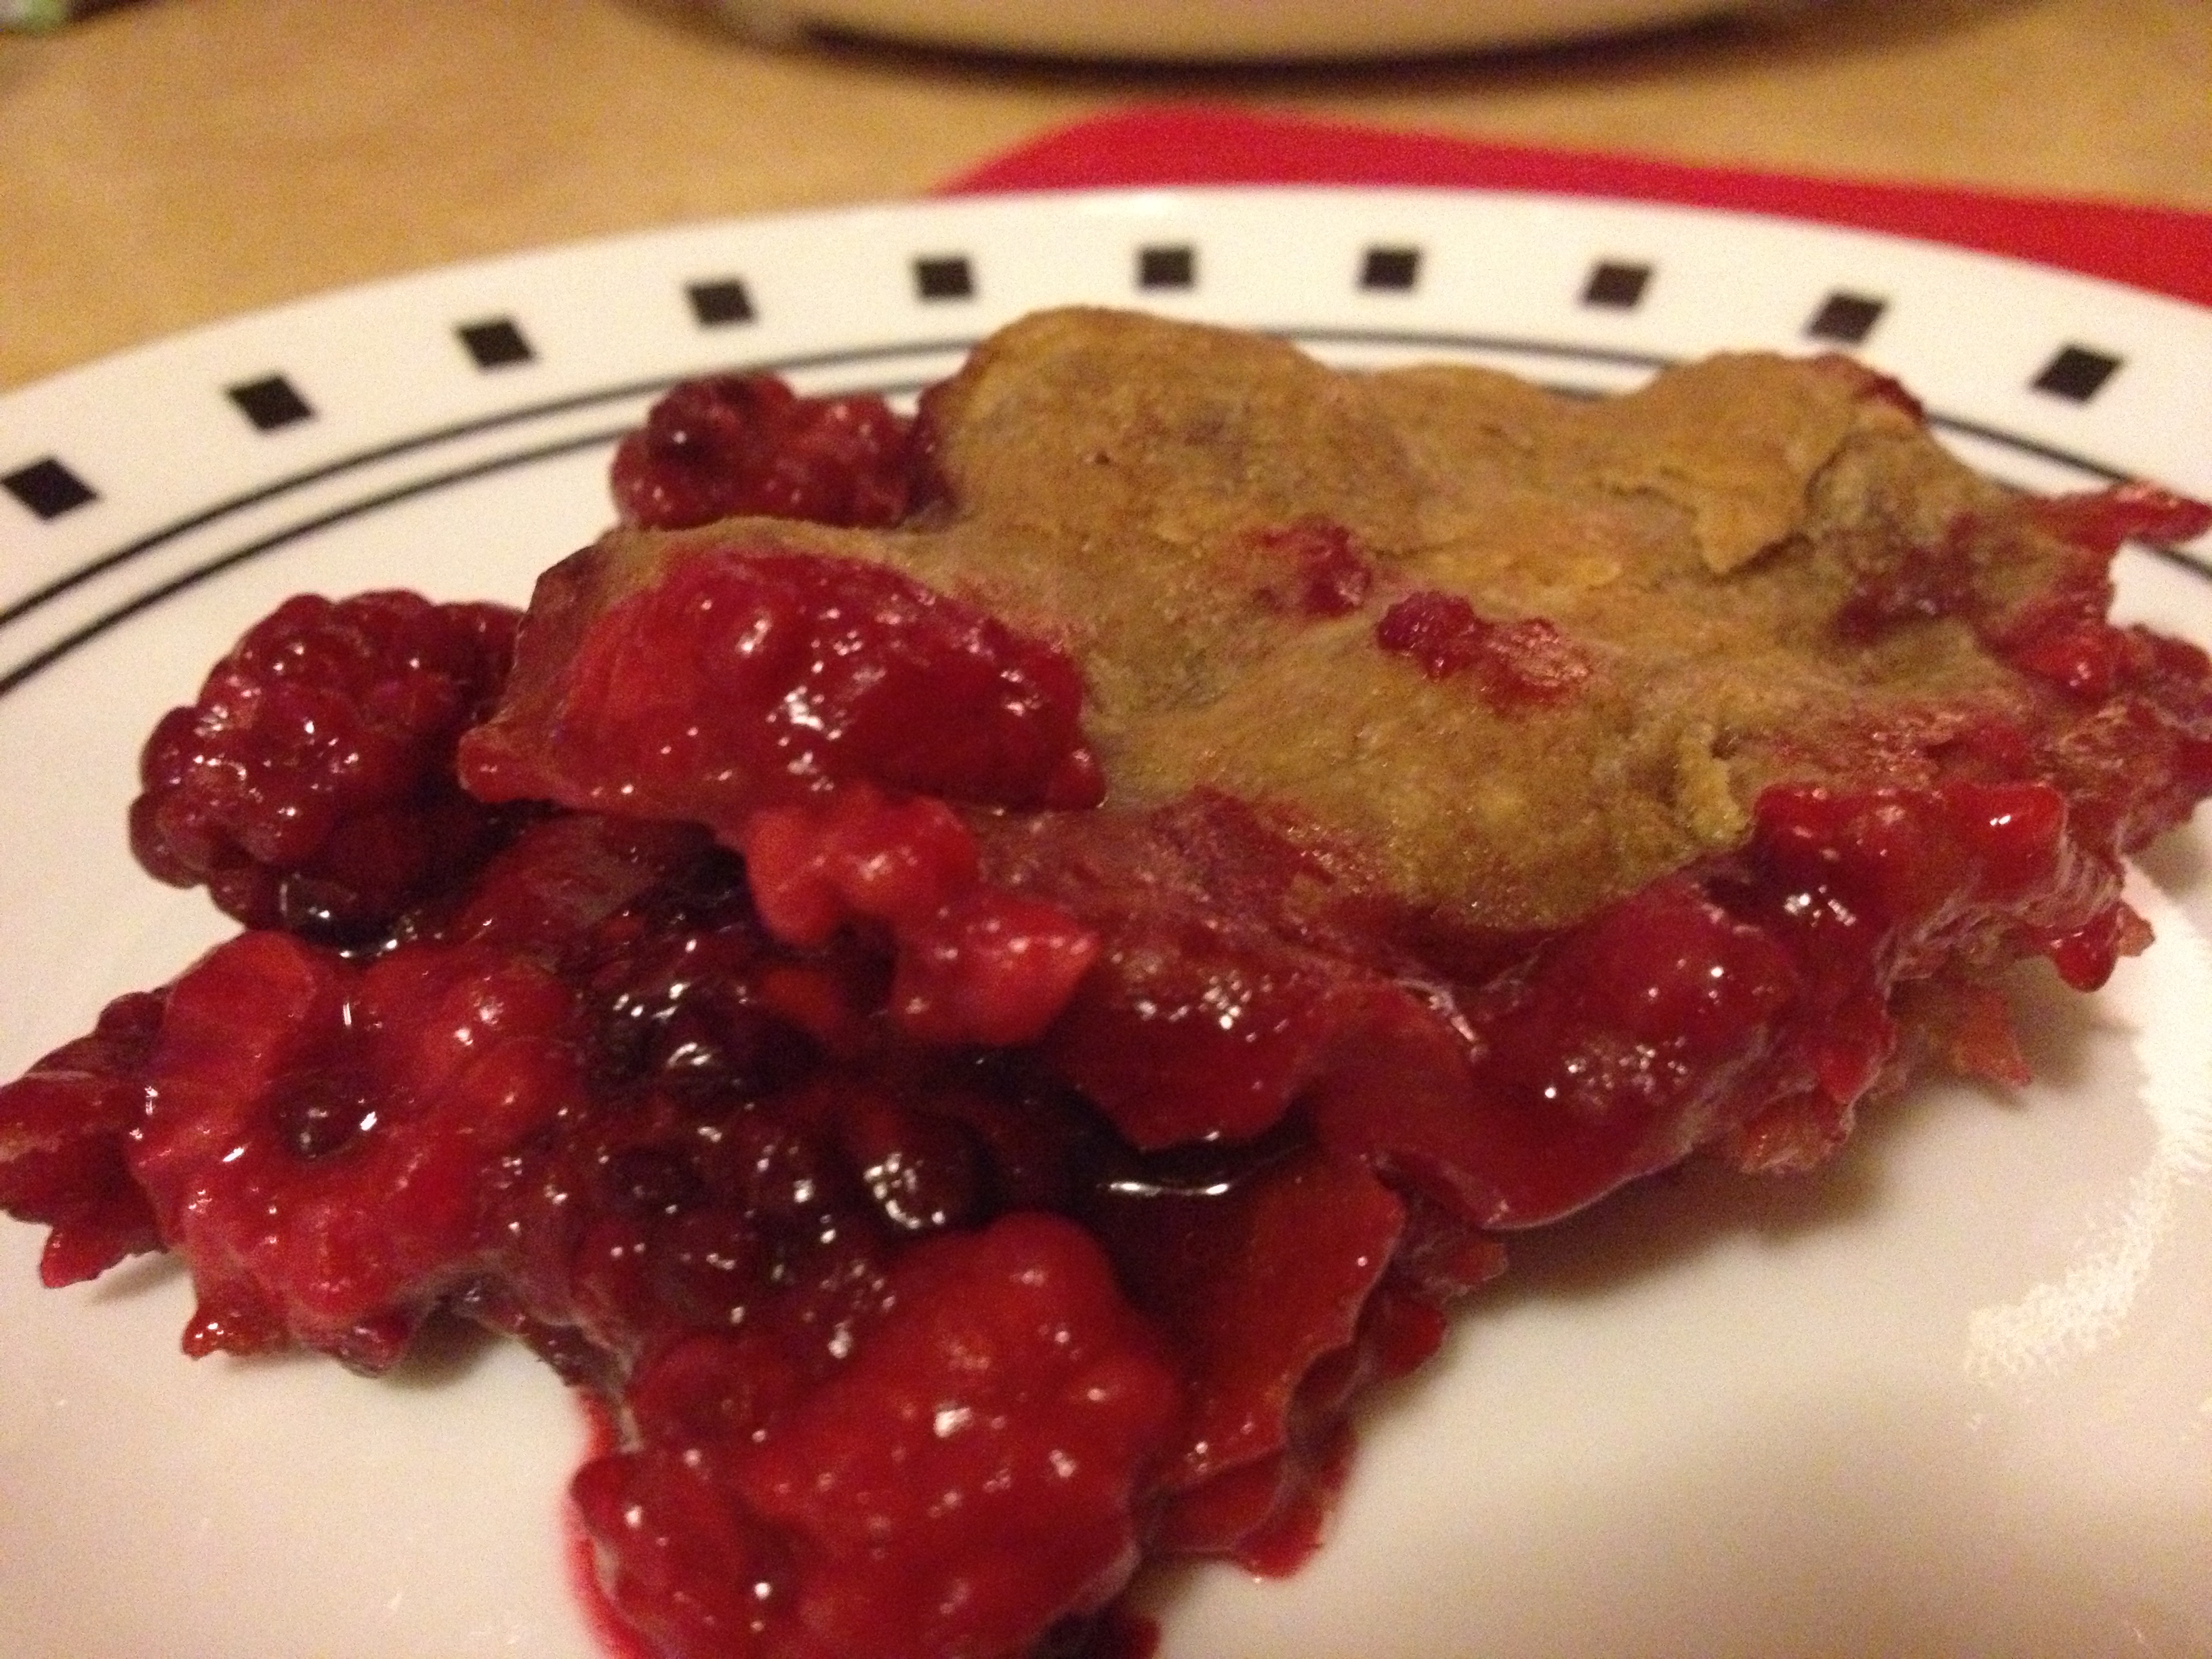
Delicious

Berry Crumble Pie

Even though the crust wasn’t perfect, I definitely had two servings. Have fun! 

spacer

Rest in Peace, Misty

Perhaps you’ve noticed that we haven’t posted for over a week now. We have some very sad news to reveal: Misty, our baby kitty (the white one), passed away Thursday, November 29th at night time. It was very sudden and expected and we believe it had to do with her brain and the fact that she was born feral. Could’ve been a cyst, aneurysm, stroke, and so forth. Even if we wanted to know, it wouldn’t change the fact that she’s not longer here. If anyone knows us, they know we see our animals as kin.

We are heartbroken because she was only just over six months old, but there was nothing we can do. We got her cremated and have her urn close to us, she will always be remembered. We are healing slowly and can now think about how grateful we were to have her at all. She will be very missed by all who knew her and her quirks. She came so far from being under-socialized and turned into a cuddle monster. Nymeria, her younger sister, misses her too, for they were never separated. If you want to learn more about Misty, click here. Here’s a few pictures of remembrance:

Zzzzz...

Help, I'm adorable!

Help, I’m adorable!

Cuddlers unite!

Classic sink nap Ying-yang

No meeeeee!

Being too cute

First day we got her

First day we got her

Misty has a very strong lower body. During food time, she will go on her hind legs and walk around on them in order to be closer to the food

Don't eat me!Sleeping beauty Cuddlez

Misty being cute Thank you to all who gave Misty love.

We have some more news, and it’s a little better this time. Since Nymeria, our little black kitten, is only five months old, we were very worried about her being alone for 8-10 hours per day since she has never been alone in her entire life. Although I wasn’t exactly ready, we went to the Humane Society last week to look for a companion for Nymeria. Misty could never be replaced. Nymeria grieved her loss (though she doesn’t understand death) and I know she still misses her even though Misty could be a prissy older sister sometimes.

We found and brought home Sajah. He is a 3-month old male, orange tabby. His name is Korean and it means “lion.” He very much acts like a lion cub, too. Extremely playful with big paws and a chubby stocky body. Nymeria isn’t too hot about him yet, but she has someone to play with and she feels better not being alone.

Sajah

Sajah

Rest in peace, little snow leopard. 

spacer

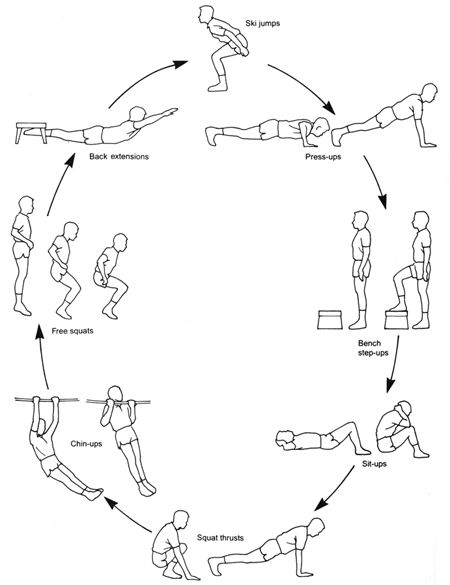
Circuit Training and Why You Should Try It

Ever feel like your workout is stale? Don’t look forward to it because you’ve done it numerous times before? You might’ve even reached a plateau and haven’t been able to achieve new progress lately. Don’t sweat it (lol, get it), it happens to all of us if we don’t change our workouts up. For example, we always switch up the muscle groups and add new exercises. But say you just do total-body workouts, which a lot of people do, and you’re just getting bored and losing interest. I have a solution! 

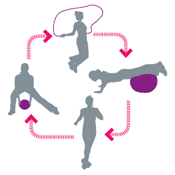
It’s called circuit training. No, you don’t need to be an athlete, a fitness extraordinaire  or even in shape! This will be the pathway to getting there and having some fun while doing so. Circuit training involves numerous stations with little rest time in between. This especially great for people who want to lose or maintain weight because you’re constantly keeping your heart rate up and your body moving. You give yourself a certain amount of time or reps at each station and then move to the next without resting. There are various ways to do this, and you can even do it at home. 

Let me give you an example. 8 Stations:

  1. Push ups 
  2. Supermans 
  3. Dumbbell swings 
  4. Mountain climbers 
  5. Plank 
  6. Curl, shoulder press, triceps extension (one sequenced movement) 
  7. High knees (in place) 
  8. Squat jumps 

You would go through say, 45 seconds of each station and move to the next. It depends on your fitness level. With some of my more beginner clients, I will give them 15 seconds rest between every two stations rather than until the end. I will give you variations at the end. Want to workout at home and don’t have any equipment? No problem.

  1. Squat jumps
  2. Push ups
  3. Reverse crunches 
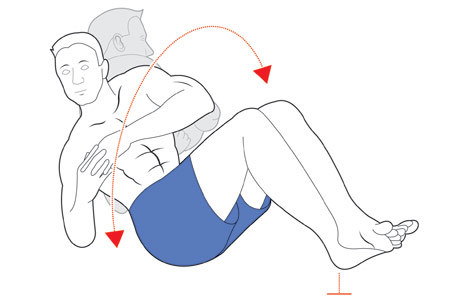
  4. Russian twists 
  5. Jumping jacks
  6. Lunges
  7. Calf raises 
  8. Jog on the spot 

Don’t need any equipment for that one. And you can design the circuit training to fit your needs. Looking for only cardio? Swap the strength exercises (like push ups) for things like jumping jacks, jump rope, high knees, mountain climbers, jog in place, and so forth. Want to focus more on strength? Take out the cardio and add more strength in. Either way, you’re getting your cardio up by going from station to station without rest. Personally, I would suggest keeping both in the routine. Strength and cardio training is important for everyone, I don’t care who you are.

List of more exercises you can do (with and without equipment):

  • Crunches
  • Dips
  • Squat press
  • Plie squats
  • Wall sits
  • Triangle push ups
  • Step ups
  • Shadow boxing
  • Medicine ball throw
  • Chest press
  • Pec flies
  • Skull crushers
  • Jump lunges
  • Hip bridges
  • Burpees
  • Curls

And so on and so forth. There are tons of exercises you can do. You can make your own routine. Pull some of your favorite exercises from the list and go for it. Try to hit all parts of your body.

Beginner: 8 stations, 45 seconds at each station, 15 seconds of rest after each two stations, two minutes rest at the end, complete three circuits.

Intermediate: 10 stations, 1 minute at each station, 15 seconds of rest after 5 stations, two minute rest at the end, complete three circuits.

Advanced: 12 stations, 2 minutes at each station, no rest in between, two minute rest at the end, complete three to five circuits.

Please, try circuit training. At your gym, at your home, outside, wherever! Some advantages of circuit training? I already covered some but I’ll recap: saves on time, encourages fat loss, keeps your heart rate up, effective use of time and exercise, works on all muscles of your body, improves your cardio, and improves strength. Those are just a few. You choose the number of stations, length of time at each station, and how many circuits you have time to do. Challenge yourself every time.

Let me know what circuit you did and how it went! And if you have any questions, please leave a comment below.

spacer

Lactose-Intolerant? I’m Sorry…But Here’s Something for You!

Now Chris’ mom is a fantastic cook and baker, so this one is a treat. Especially for you folks out there who are lactose-intolerant (what a sad world that is) and have other allergies. She’s prepared a Pumpkin Pie Recipe (Lactose Free) for everyone out there for the upcoming holiday!

That sure looks good, doesn’t it? Now trust me, I’ve had many many things she’s cooked or baked from her amazing Thanksgiving Stuffing to her Chocolate Mocha Cake. She’s got it all and she has it down-pat.

Head over to her Etsy site for this delicious recipe and more. She doesn’t just cook–she also crafts. She makes wonderful jewelry and headbands…she paints too! It would really be worth your time to take a look at everything she’s got. And I’m not just saying this because it’s Chris’ mom…it’s because I truly enjoy her good, healthy food and you will too!

(you know it…BONUS KITTY PIC)

spacer

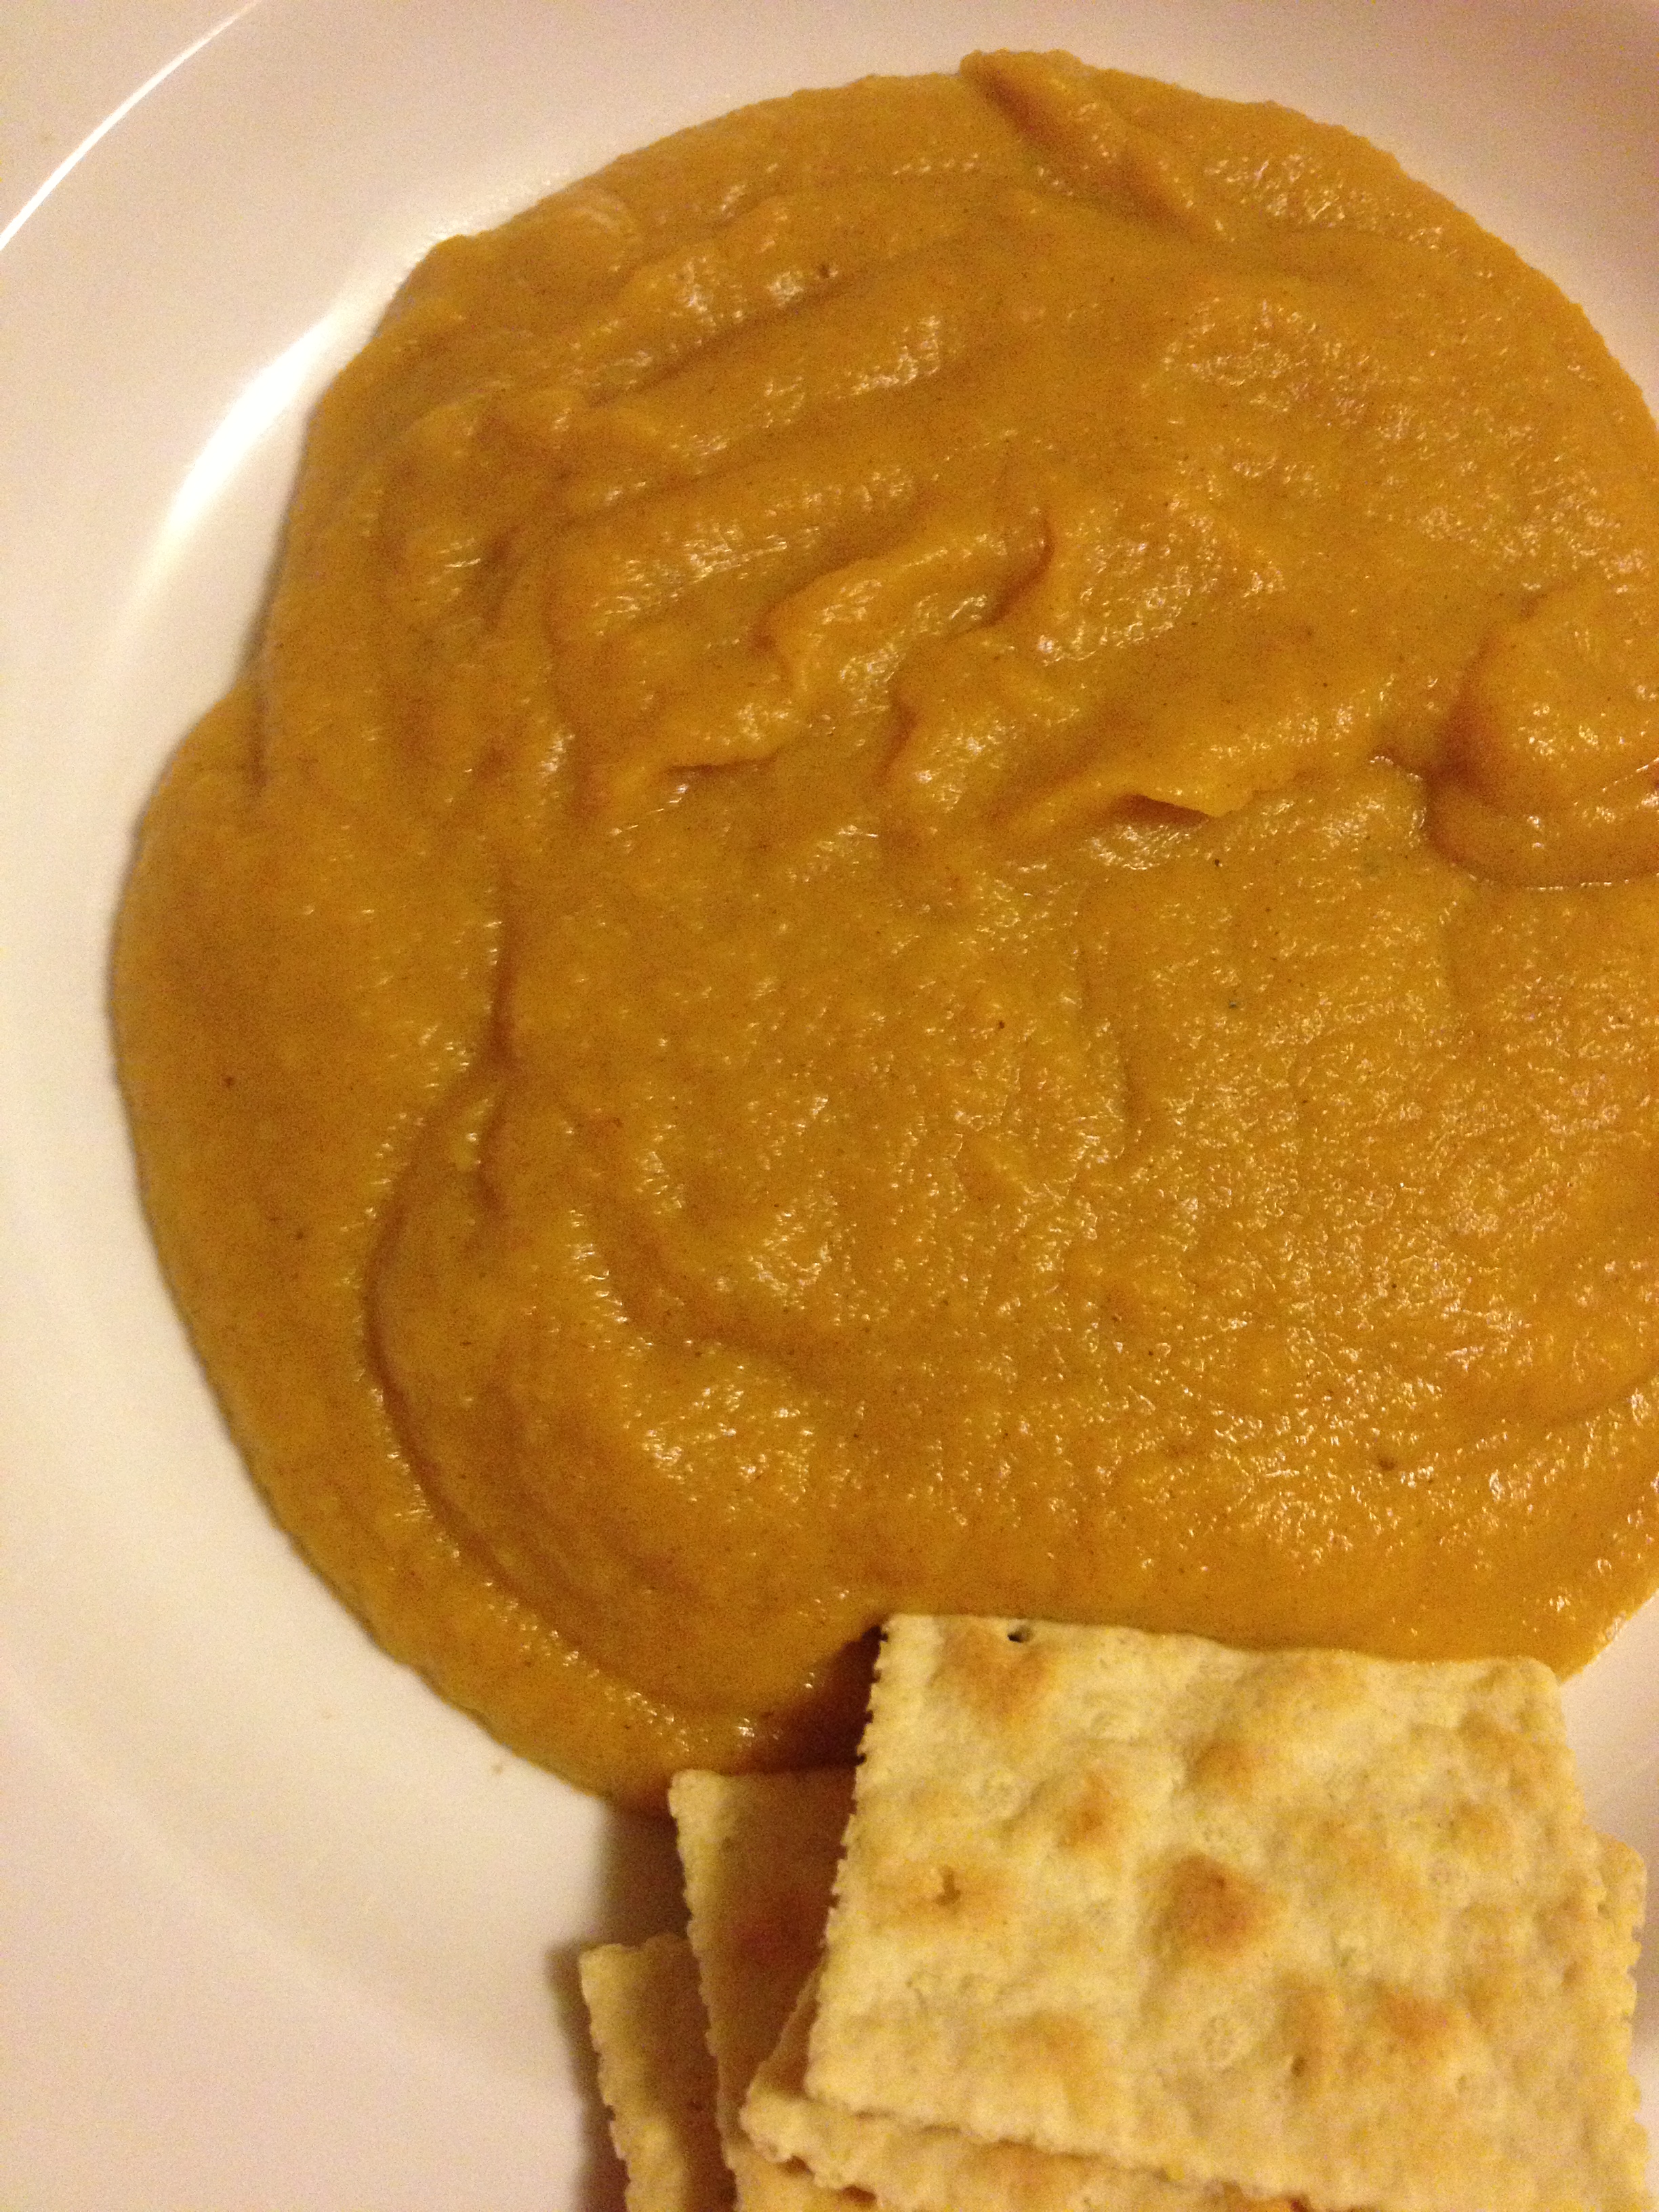
Bisque Me! Beautiful Butternut Squash Bisque

Now, I’m no Master Soup-Maker. In fact, this is my first time cooking a soup (or bisque, rather) from scratch. And it turned out really well! I got my basis for the recipe here, but I really changed this one up. Also, apologies for the lack of postings, busy lives! We’ll get back into it, we have a lot in store for you still. Alright, get ready!

Ingredients:

  • Olive oil
  • Butter
  • 1/2 onion
  • 3/4 cup of diced carrots
  • Butternut squash
  • Vegetable stock
  • Salt/pepper to taste
  • Cinnamon to taste
  • Brown sugar to taste
  • Ground ginger to taste
  • Garlic

Alright! Semi-long list but once you have everything cut up it’s easy. And the last few are to taste, throw your own ideas in there too. Ginger, brown sugar, and cinnamon just gave that nice soothing Fall flavor. So amazing on the cold nights we’ve been getting in Boulder.

Directions:

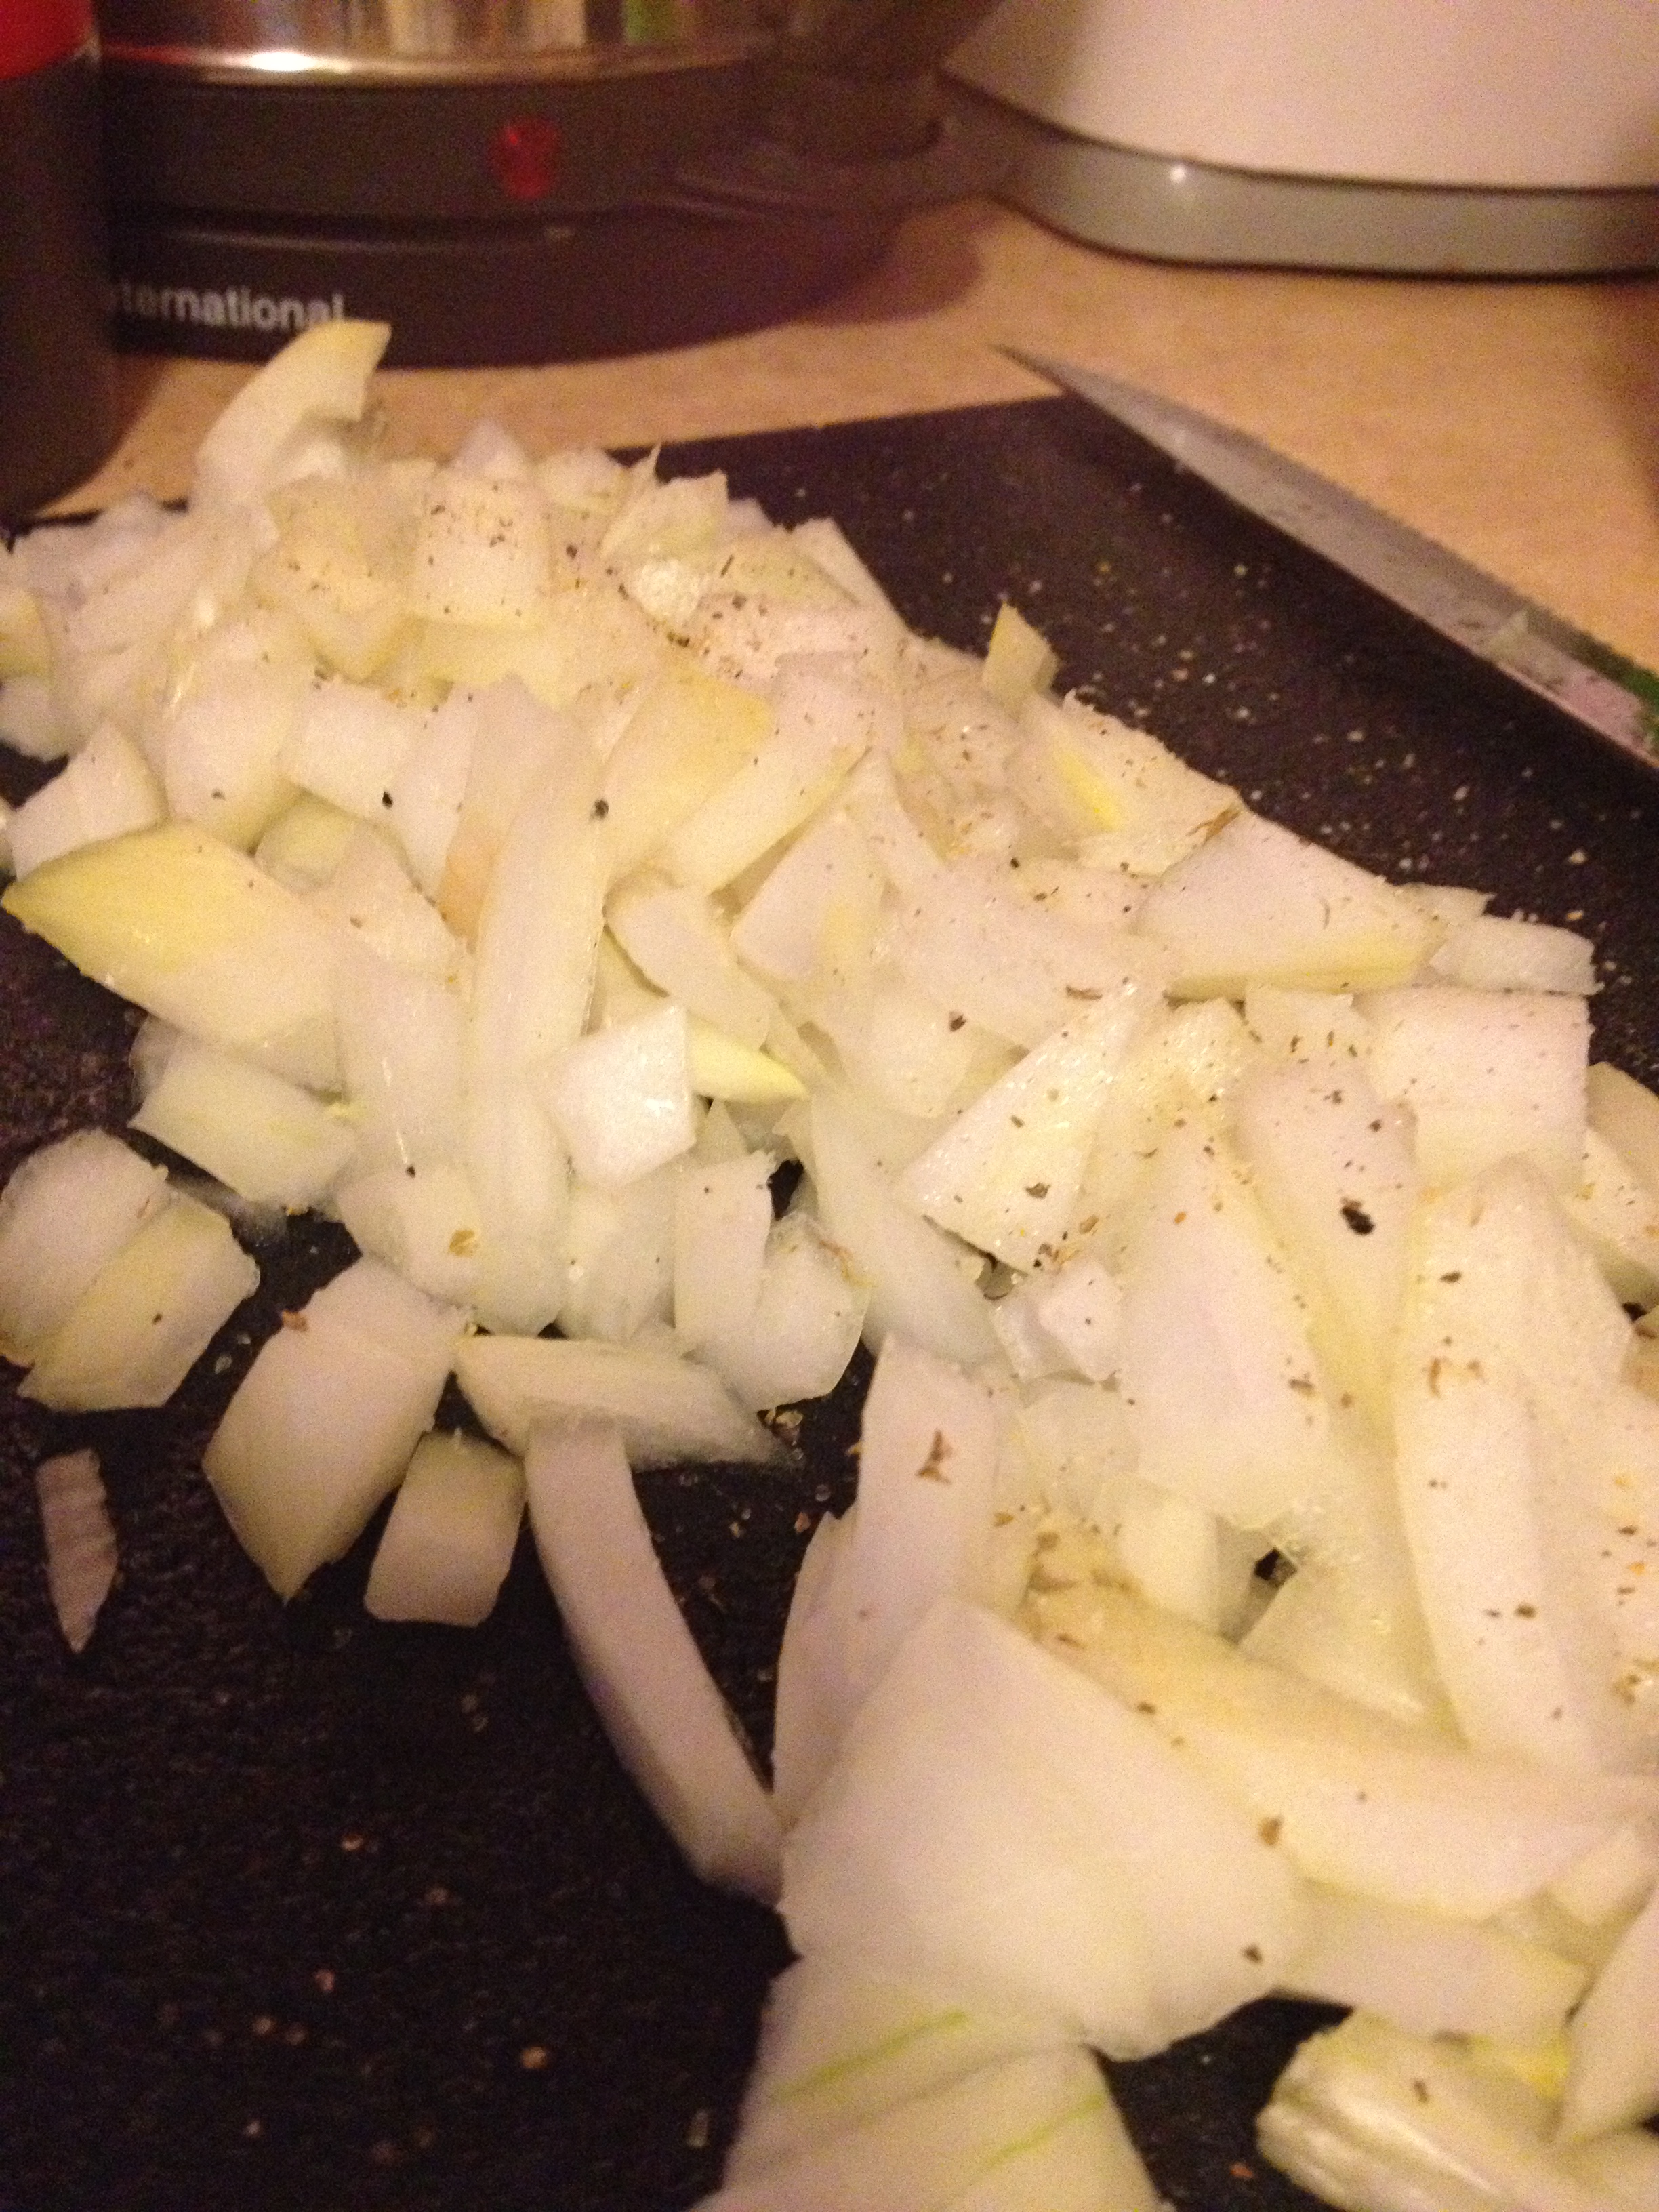
  • Cut up your butternut squash (I would roast it before hand, it was NOT fun to cut raw), carrots, and onions into cubes or small pieces.

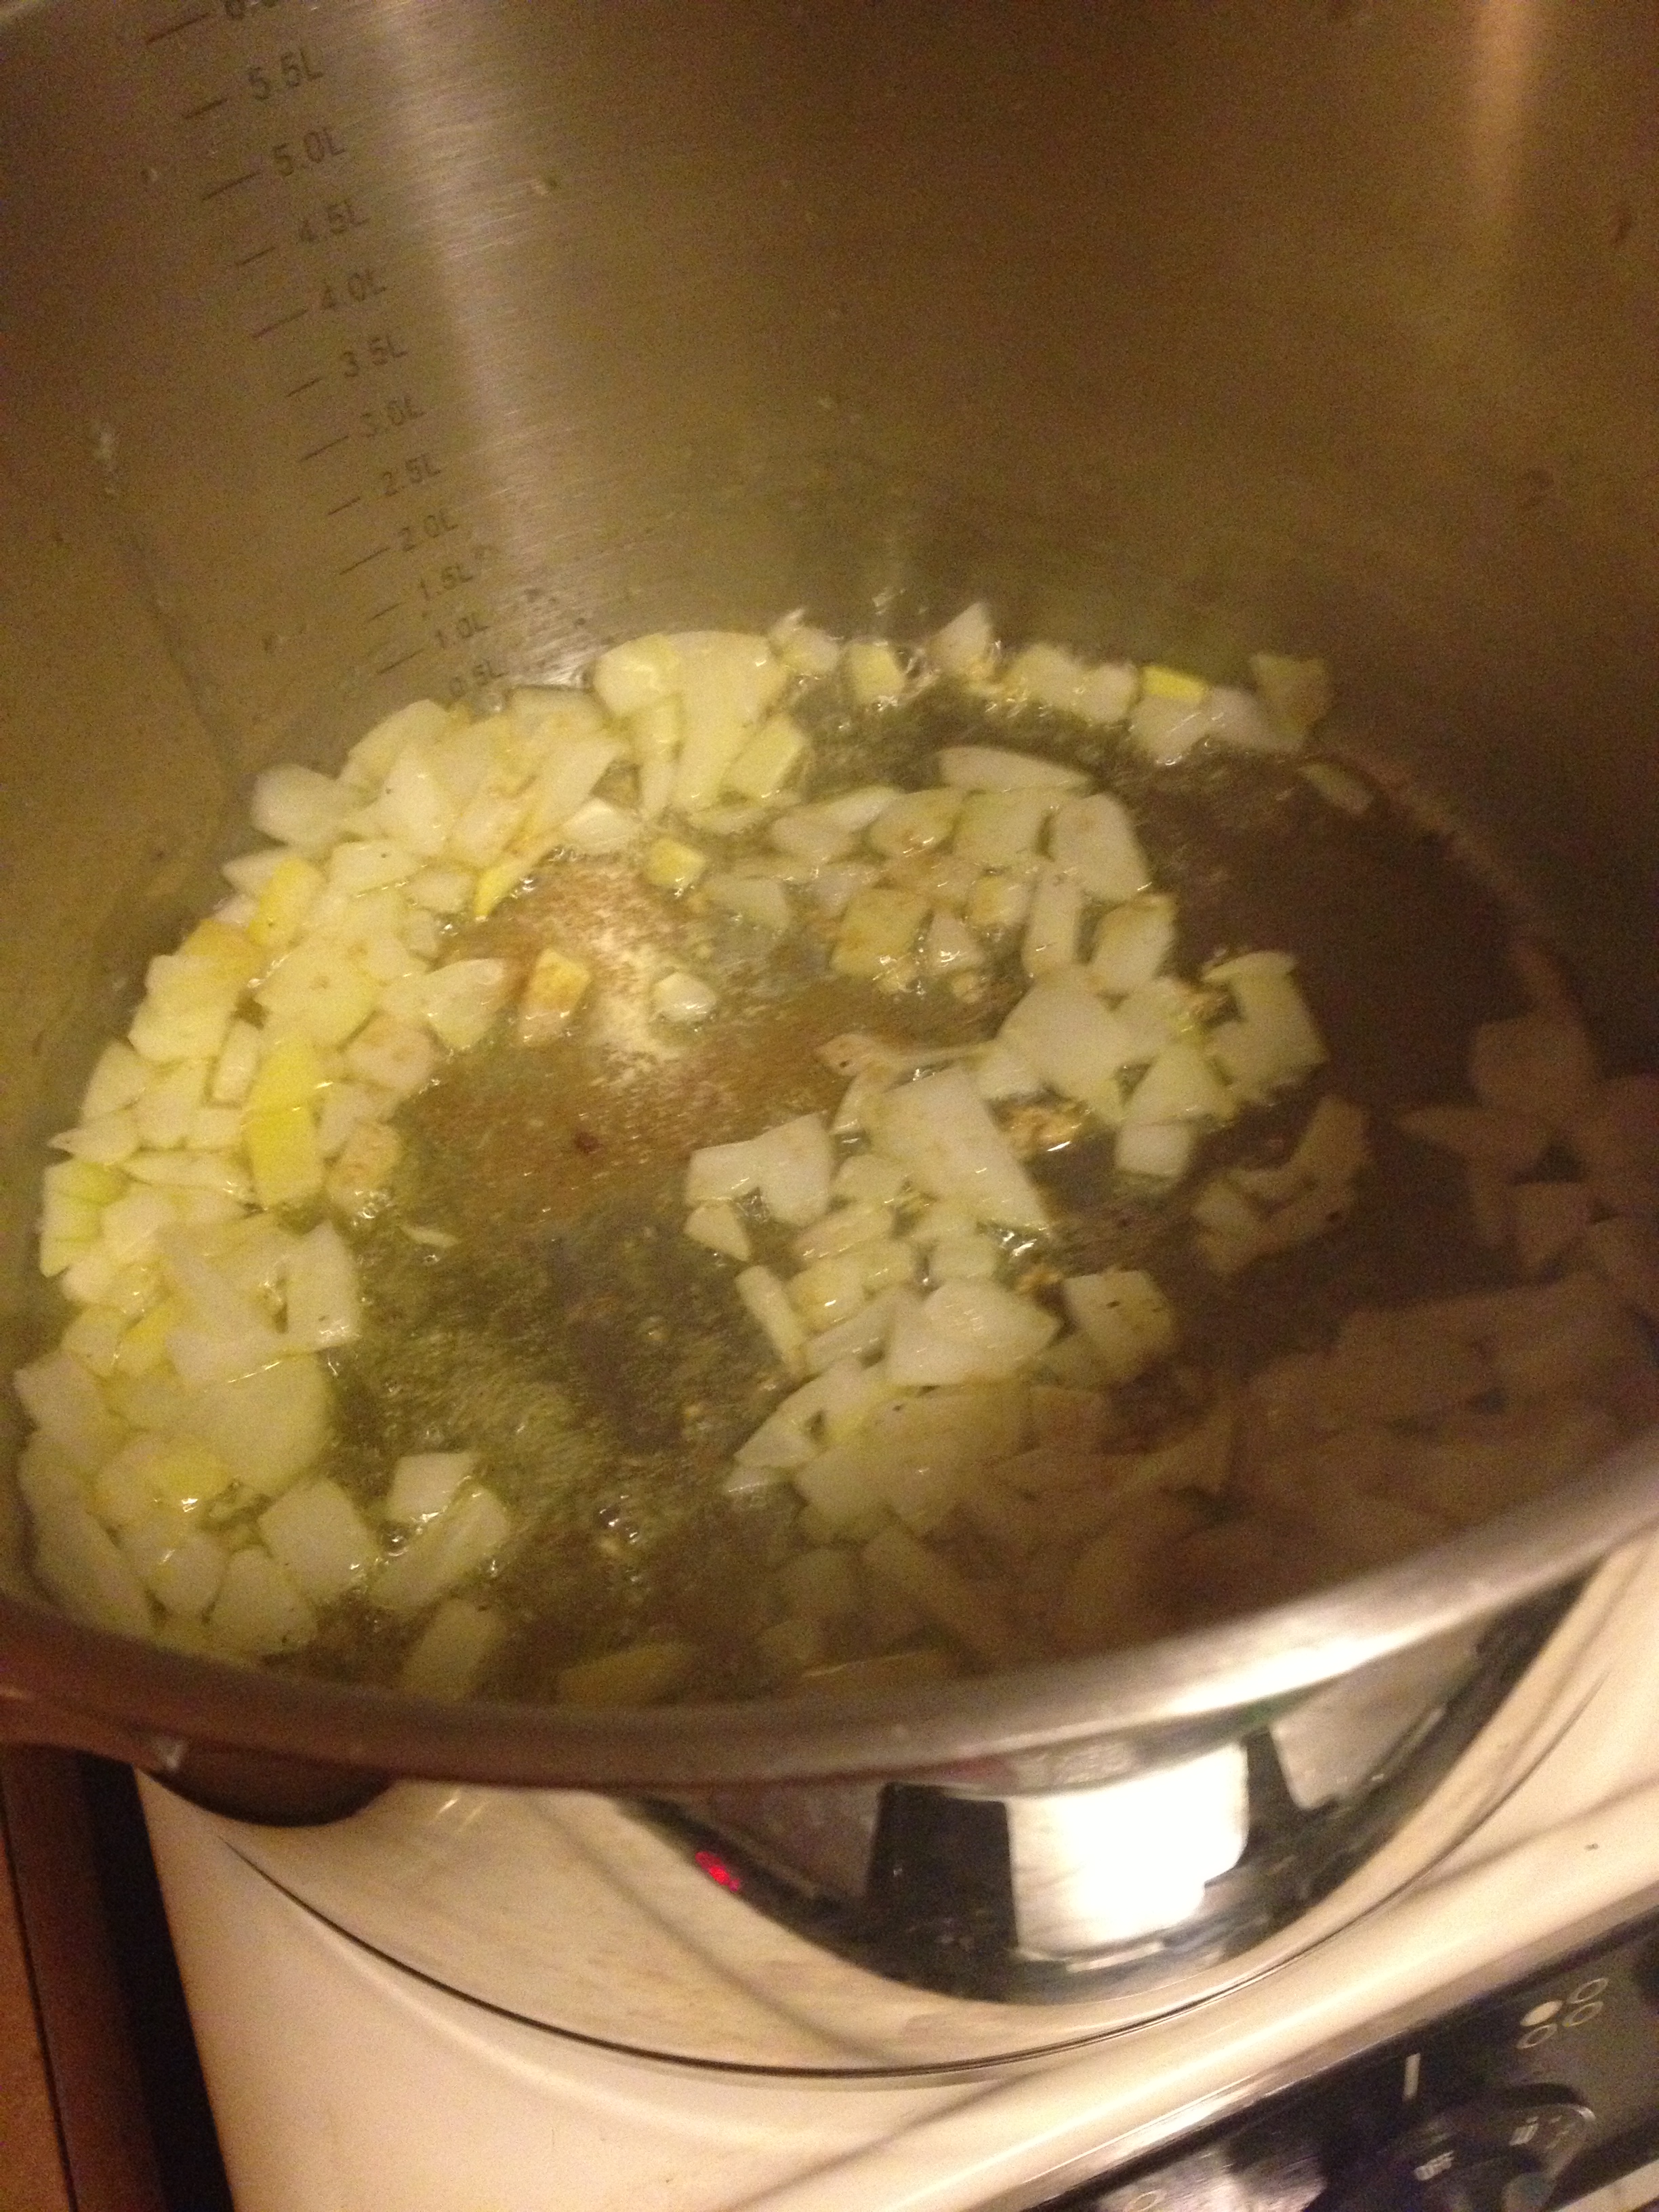
  • Next, put some oil and butter into a big pot. I added some garlic in there too. Watch out, the smell is divine.

  • Once that’s nice and hot, pop in the onions.

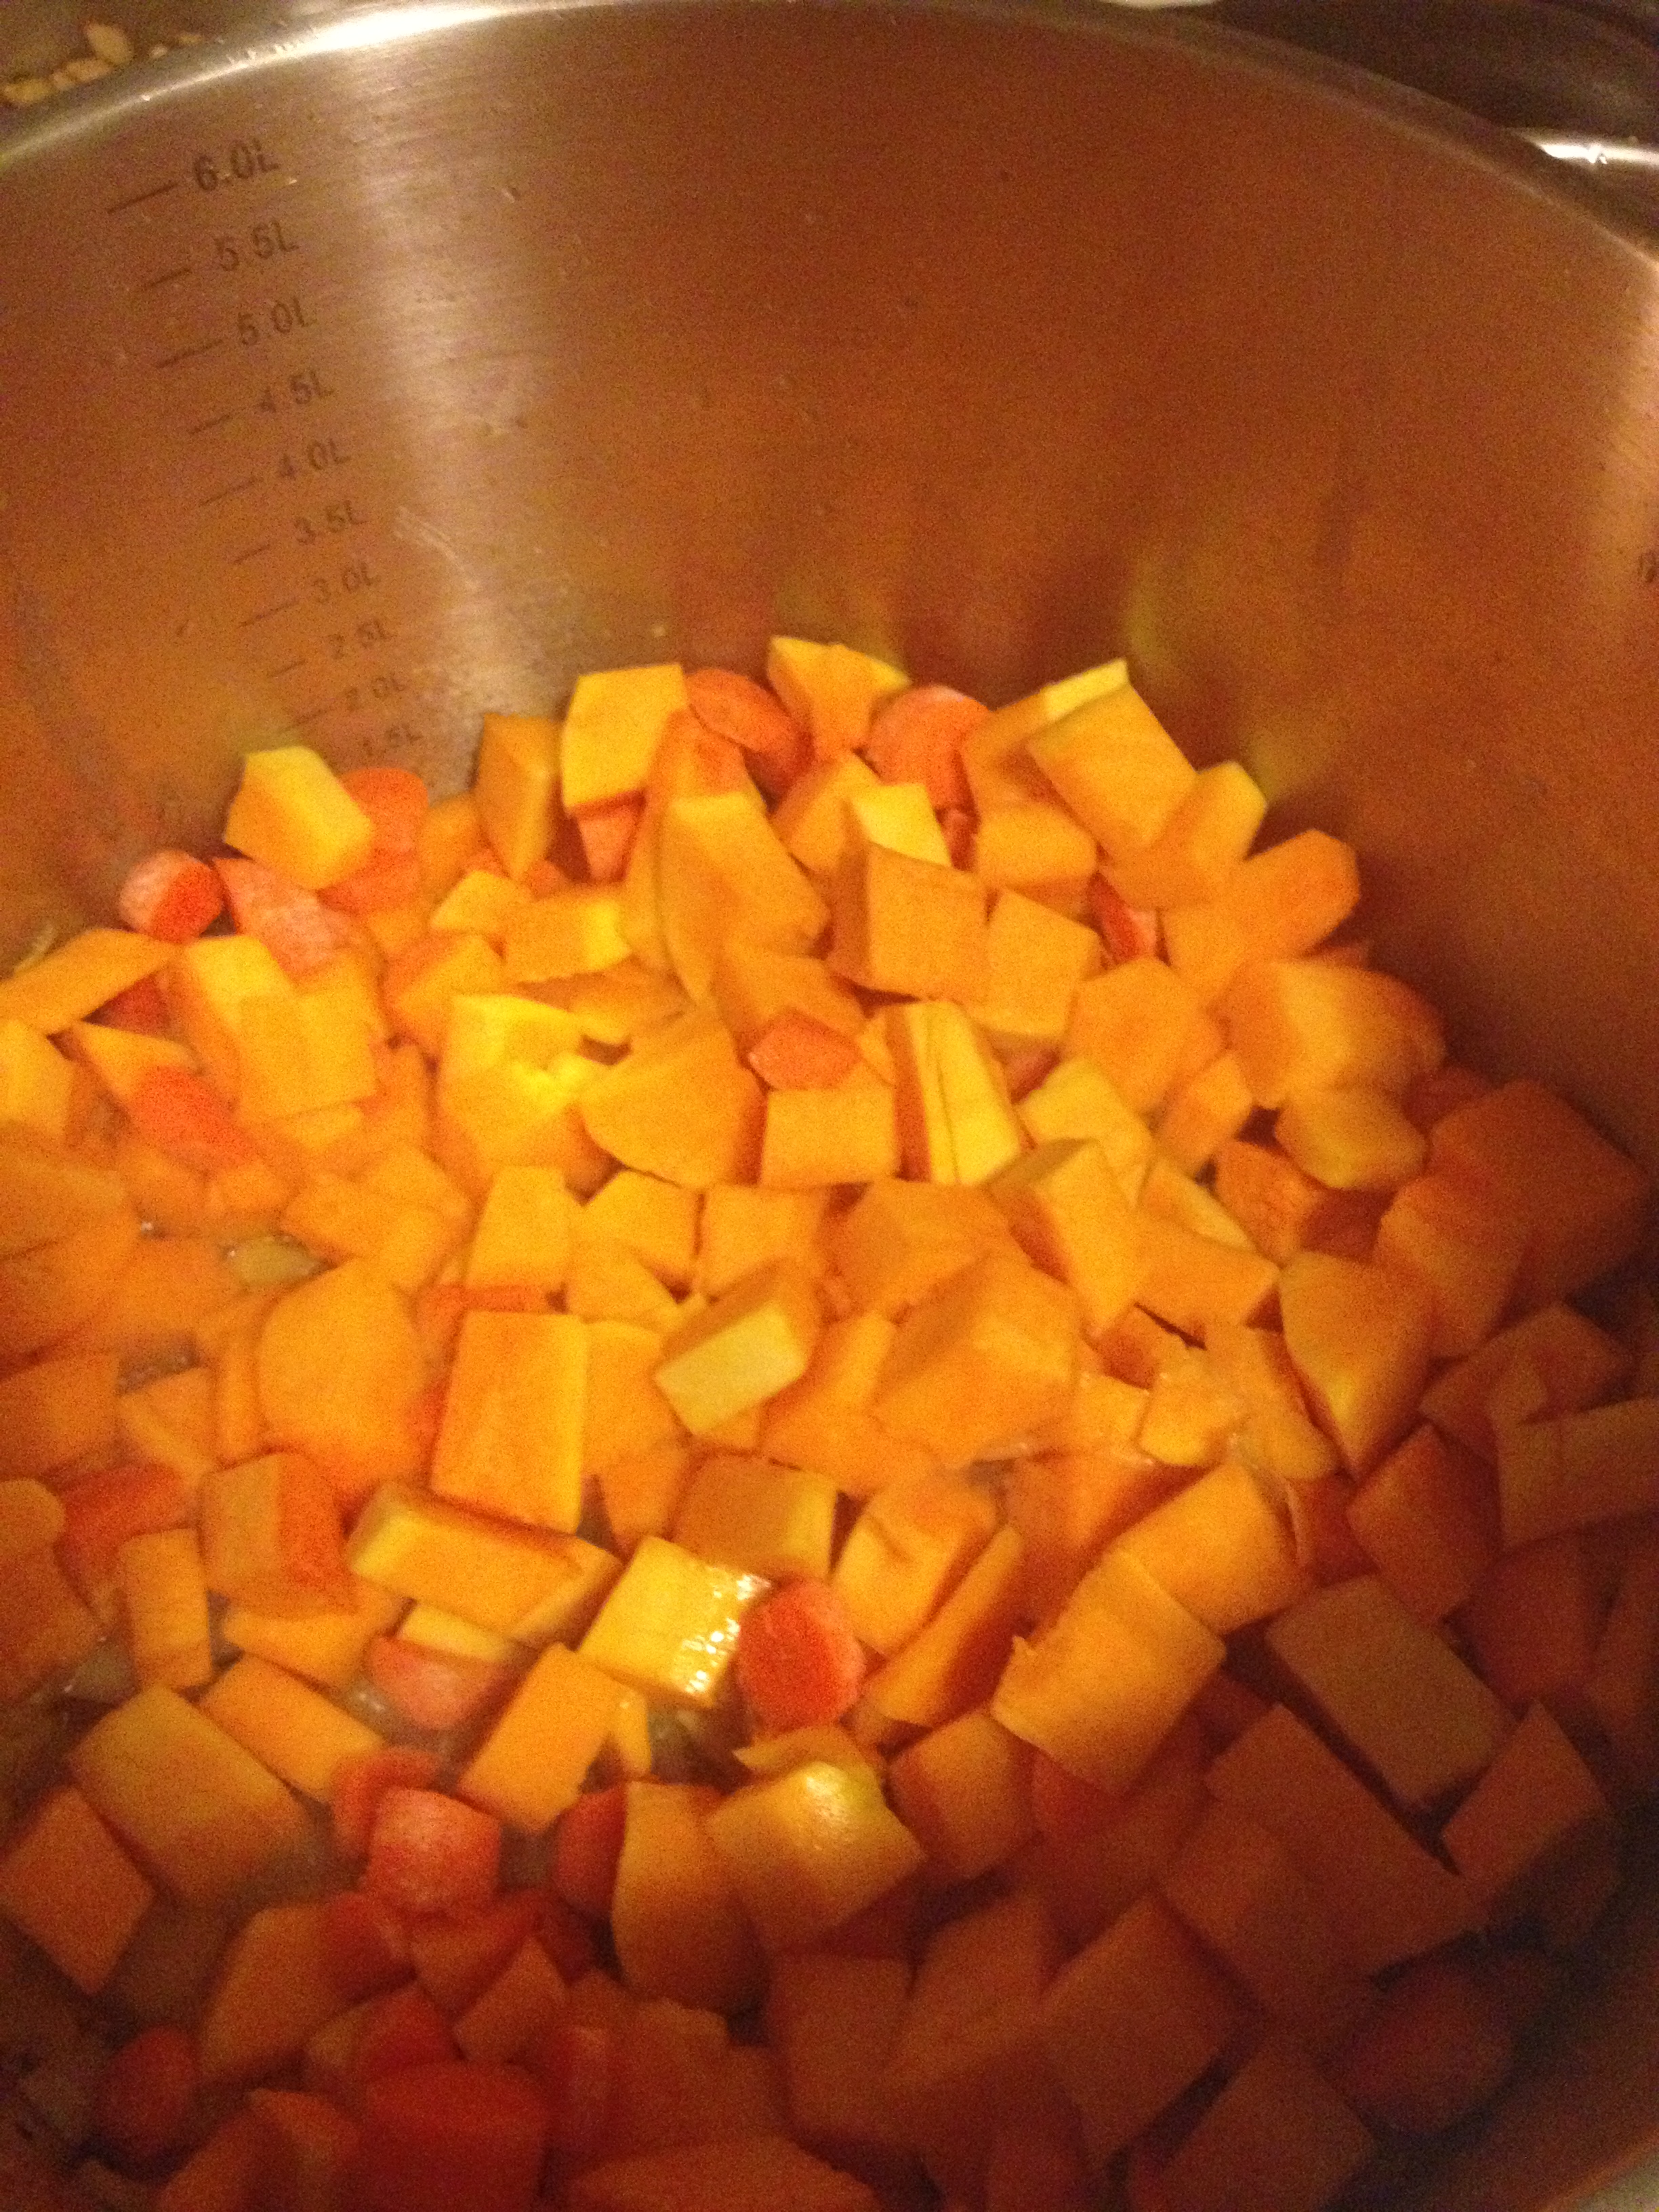
  • Once the onions are nice and tender, put in the carrots and squash. And, though I’m not explicitly saying it, throughout this I’m putting in salt, pepper, garlic pepper, cinnamon, brown sugar, etc. Do it to taste. Make it your own.

  • Stir it around and then pour your vegetable stock in and bring to boil. You’re going to leave these in here, boiling, until all the vegetables are nice and tender.

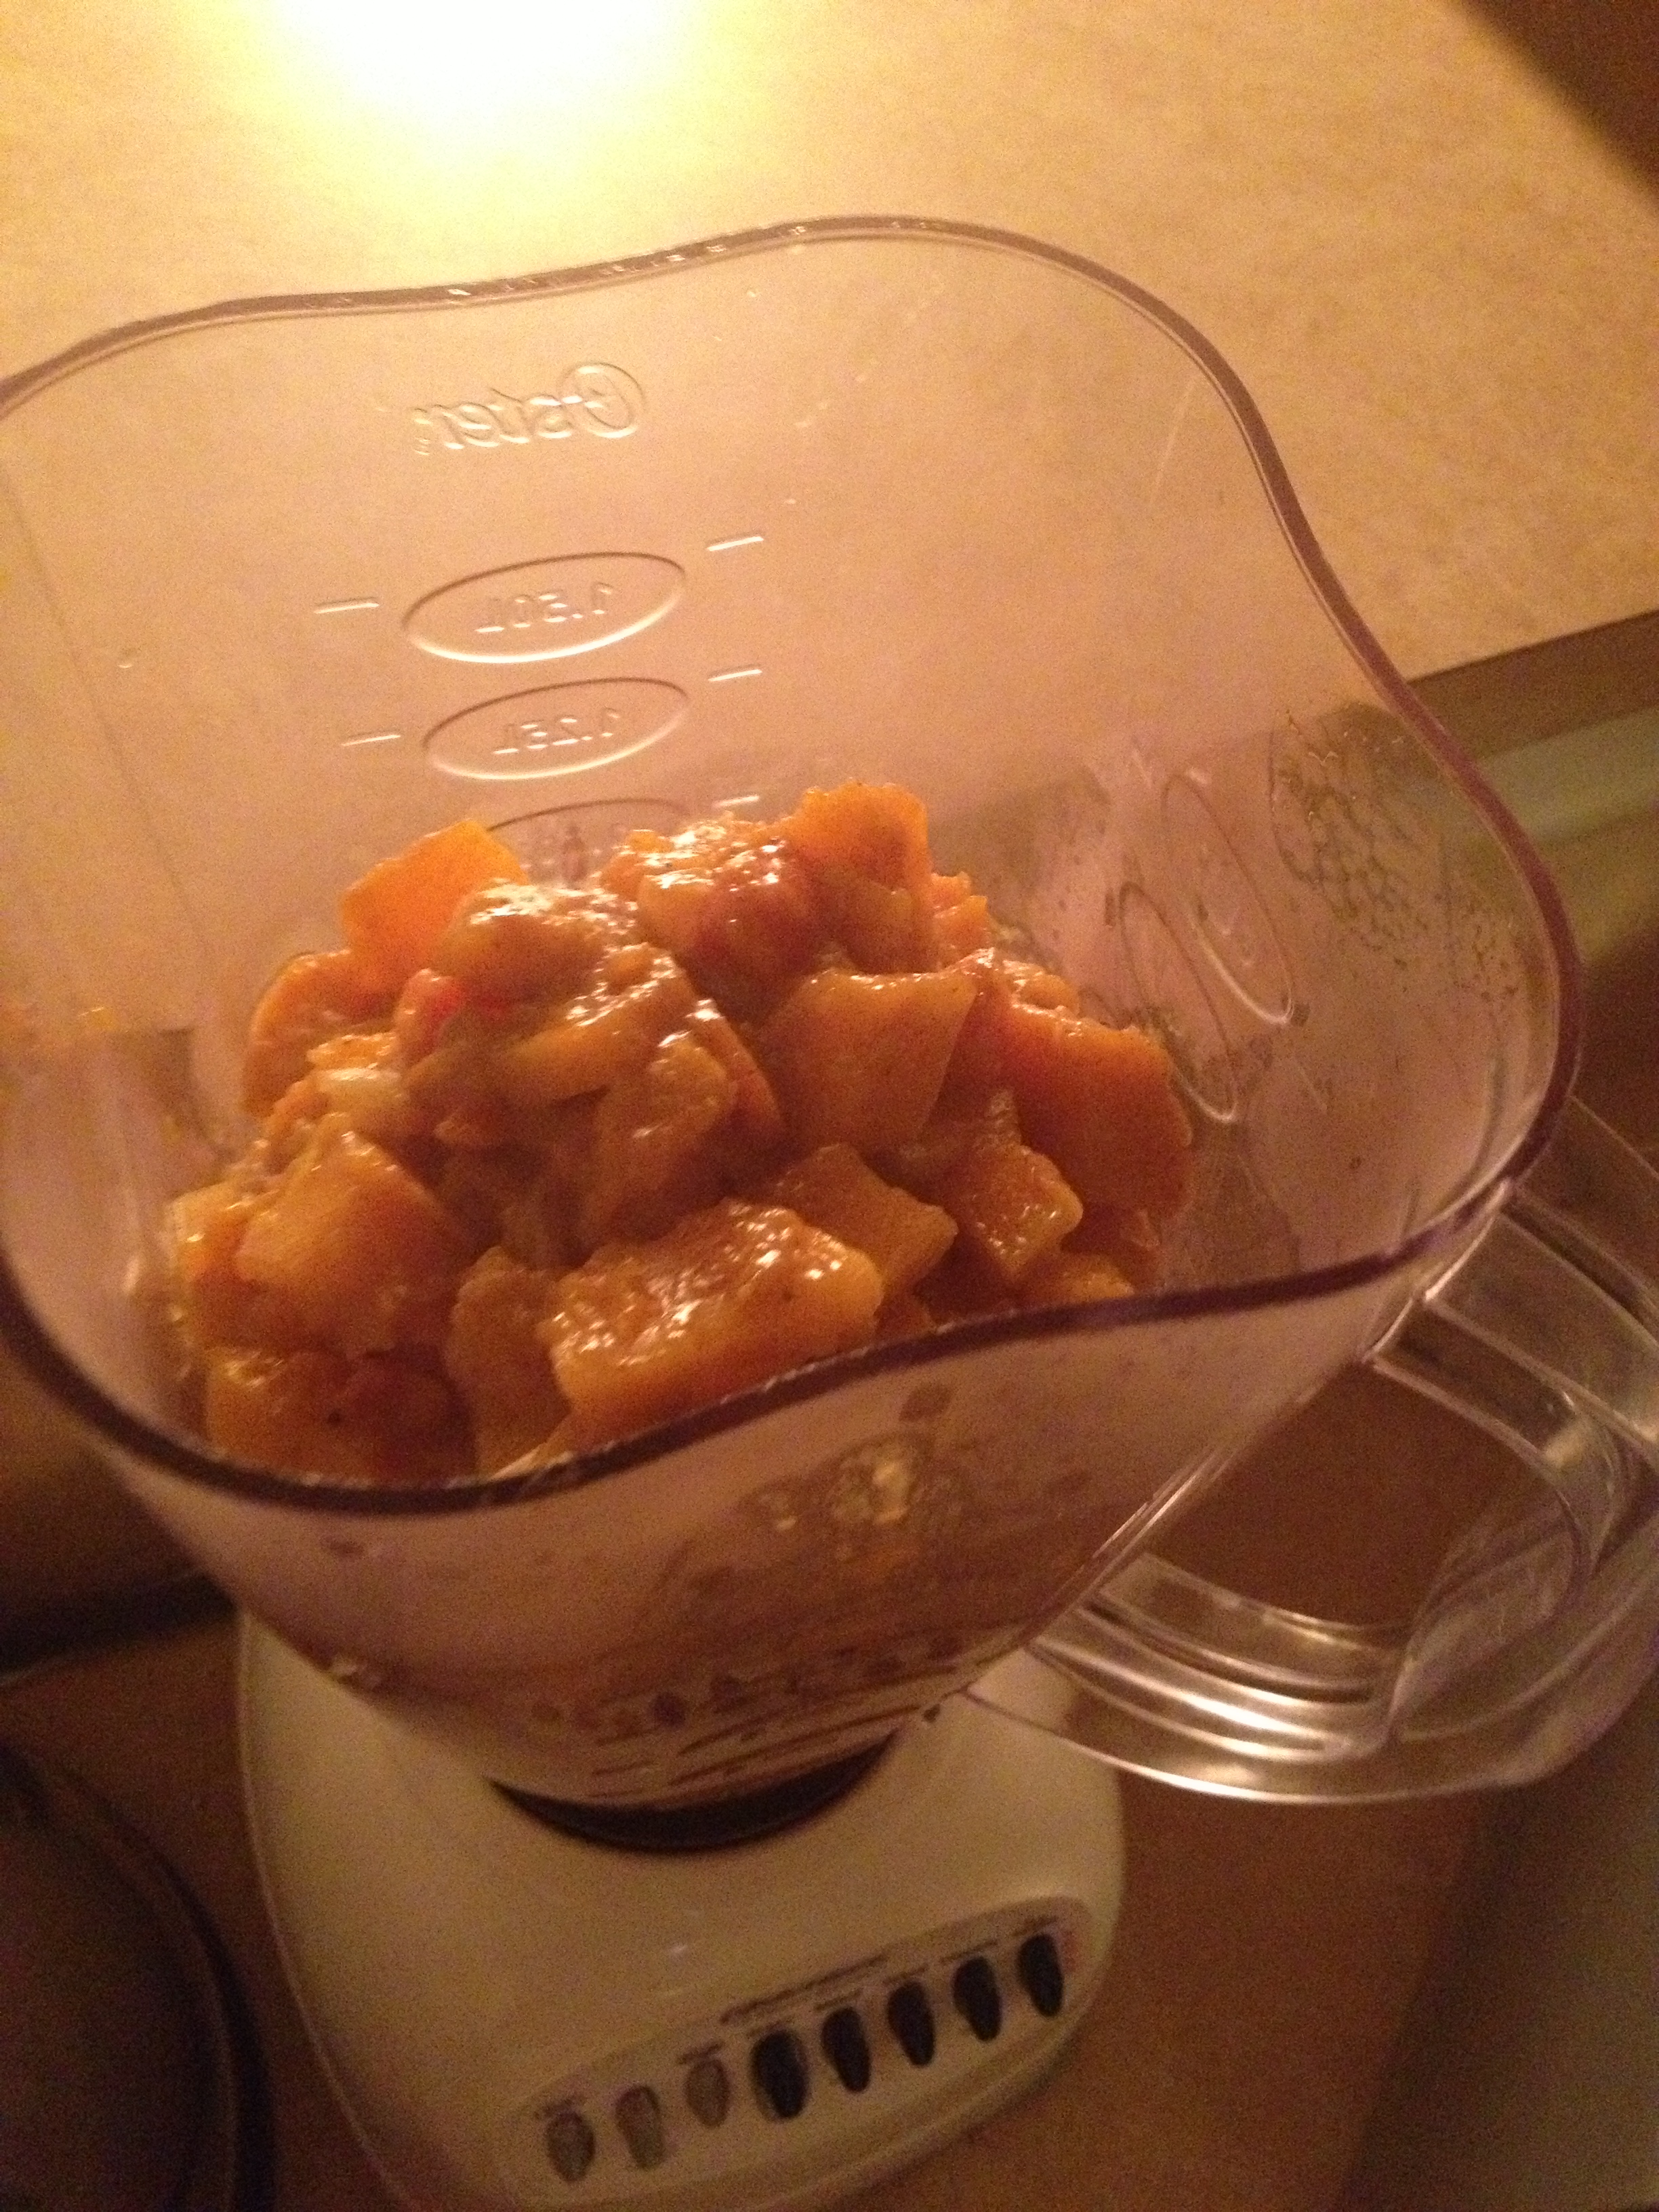
  • Alright! So your veggies and nice and tender…I hope you have a blender or food processor! Because you want to throw all that mixture into that blender or food processor and blend it until smooth. Now we have a really bad blender, and although it took some time, even ours was able to blend all these. So you can do it!

  • Once that’s all blended, pour back into the heated pot. Here, you can add cream into it if you want (I didn’t). I stirred in a lot of cinnamon, ground ginger, and brown sugar in at this point to get it to that flavor I wanted to. Just stir and taste until you are satisfied.


And voila! You are done! Wasn’t too hard, was it? I really really suggest it as we move into winter…it is so nice and hearty. Very warm. There might be a holiday coming up where you can use this… Let me know if you have any questions!

(BONUS KITTY PIC)


spacer

Swim to Workout, Swim to Live

Pressured by Alana to write a post because our consistency has been awful lately (we are very busy, but no real excuses exist, I have enough time a day to write ONE post), I am going through the most difficult process.. deciding what to write about. I can write about anything, or try to… I mean it might not be good but I can go on and on if I want to. So I’ll save the favorite video games of the past year post for when I’ve played a few more I want to finish, my dinner tonight was disgusting so forget that (over 1600 frozen calories), I took the past two days completely off workouts and three from climbing because of forearms splints and just being sick.

I need rest to recover quickly (I hope), so let’s talk about something obvious for me… swimming. This isn’t going to be in detail, I’m just going to talk a bit about swimming. Of the over fifty hours a week that I work, or will be working, almost all of it is related to swimming or aquatics. So let’s break it into a few categories… continue if interested:

Swim training 14

Swim training

Water Safety: This is the most important of all aspects of aquatics. Whether you’re at a birthday party playing pool games, swimming laps to stay in shape, working on your strokes to qualify for an event, surfing in Southern California, snorkeling in the keys, or scuba diving in Southeast Asia, you always need to consider safety and it starts at a very basic level.

Learning to be comfortable and not scared of the water is the first step before you can become proficient at any aquatic skill. If you’re scared of drowning at a very forward level (everyone should be aware of it) then you need to get over that fear quickly. Having children get comfortable with the water at a young age will allow them to break into learning how to actually swim easier, so it’s never too early to start. But it’s also never too late to start! Better early than late but better late than never. If you aren’t comfortable or children that are dear to you aren’t either, then you need to find someone to work on that.

English: A breaststroke swimmer, in a hotel sw...

Just keep swimming!


Swimming: Swimming is a great way of moving efficiently, doesn’t always have to be quickly, once you’ve got your water safety and comfort taken care of. The key here is to conserve energy and have a means of moving that utilizes your arms, legs, and ability to breathe. That’s right, obviously, breathing is the most important aspect of swimming. I don’t care how fast you can swim with your face in the water if you can’t breathe. Swimming is about survival when it comes down to the nitty gritty. Whether it’s rolling onto your back to float or using a rollover breathe to replenish air before going back into a faster means of moving, breathing it key. Once you have those motor skills involving your arms, legs, and breathing operational, it’s time to think of the next step.

Swimming to workout: Now at the highest level this would include competitive swimming, but the basic level means that you can kick, stroke, and breathe properly so that you can workout without hurting yourself. If your stroke is off, you might hurt your shoulders or something else. If you breathe to one side you might develop a huge knot over there, or you might just develop an uneven stroke. If you don’t kick, you won’t swim as well or you could pull a groin or a muscle in your leg. If you don’t breathe, your workout won’t last long. Even if you’re not competitive think about taking stroke classes so that you can get a better workout by doing breast stroke, back stroke, flip turns, butterfly and other advanced techniques that will activate muscles you’ve never used. You can expand your lung capacity, burn fat, and even more. (Note: Please get proper instruction in how to do butterfly, it’s far too easy to hurt yourself if done improperly.)

Competitive: If you have all your strokes and techniques down, and you’re in good shape or want to be, join a team or a program to keep swimming. United States Masters Swimming will take anyone not affiliated with some other organizations if you are over 18. It’s a great chance to keep or start competing. United States Swimming is another huge program to look into especially for youth, and there are local clubs for people of all ages if you are in the right spot and look hard enough. Otherwise, join a class and compete against yourself in a strict environment. YMCAs usually offer lots of programs.

PB220013

Competition

Recovery: If you are injured or your body has become more fragile there are tons of water therapy and recovery, and fitness, classes that are much easier on your joints. AEA and Waterart offer some certifications in teaching these courses if you are interested. You are never really too old to stop getting in the water.

Extreme: If you want to surf, go for it, I recently did and feel comfortable although we just moved after Alana got a new board. Snorkeling is a great tourist activity and scuba diving is the ultimate underwater adventure. Scuba stands for self-contained underwater breathing apparatus and it, and the aqualung, were in great part the result of the efforts of the late Jacques Cousteau. I recently had the pleasure of meeting and having lunch with his son, Jean-Michel. You can either go to SSI or PADI to get certified and they last for life and offer endless specialization continuing education opportunities. I am currently enrolled in SSI’s Open Water Diver course, and I plan on completing that and my Advanced OWD by the end of the year. Then it’s onto Rescue Diver and Dive Master but we’ll see how long that takes.
Scuba diver. Found at Plongée sous-marine & ob...

Scuba-ing

If you have any questions about anything aquatics, even ocean conservation, please feel free to leave a comment. I’ll get into more detail about each of these over the next few weeks, possibly expanding by giving each its own post, including ocean conservation and preservation, and everything else.
Enhanced by Zemanta
spacer

Back to Back… and Biceps… Yet Again

It’s another cover of one of our workouts, which have been getting a little bit better… I hope. It’s been very challenging balancing working 7 days a week and still finding time, with gyms not being open 24 hours, to work out and work out well. Furthermore, it’s been most challenging to not neglect any body parts. Ideally for me, aside from cardio workouts and recreational workouts, I like to focus muscular isolation workouts on legs, core, chest, triceps, biceps, back, forearms, and neck. Combinations can be made freely, but again, ideally once a week with proper rest is a good start… twice a week when we’re in killer shape. Never more than that, especially with strength training.  We’ve been struggling with hitting every body part on a good reliable consistent rotation but back and biceps are rarely missed because of their size, and for now, their role in climbing. So here is my coverage of a decent pull muscle workout.

We hit the gym around 9:30, a little late, we like to get there around 9, and I put some Tiger Balm and Tiger Balm Muscle Rub on my upper body pull muscles and joints. Prior to coming, on an empty stomach, I took 1.M.R. A pre-workout supplement, one scoop a day before my muscle workouts, for nothing else. At 9:37 the fun began, on a day where I was feeling pretty good, a little sore throughout the body, especially in the lower back, and my cold I have now hadn’t hit me yet.

(by the way, as a foreword, before you ask about rest or reps, it’s minimal rest and every set is to failure, seriously)

9:37: Super set 1: (4 super sets)

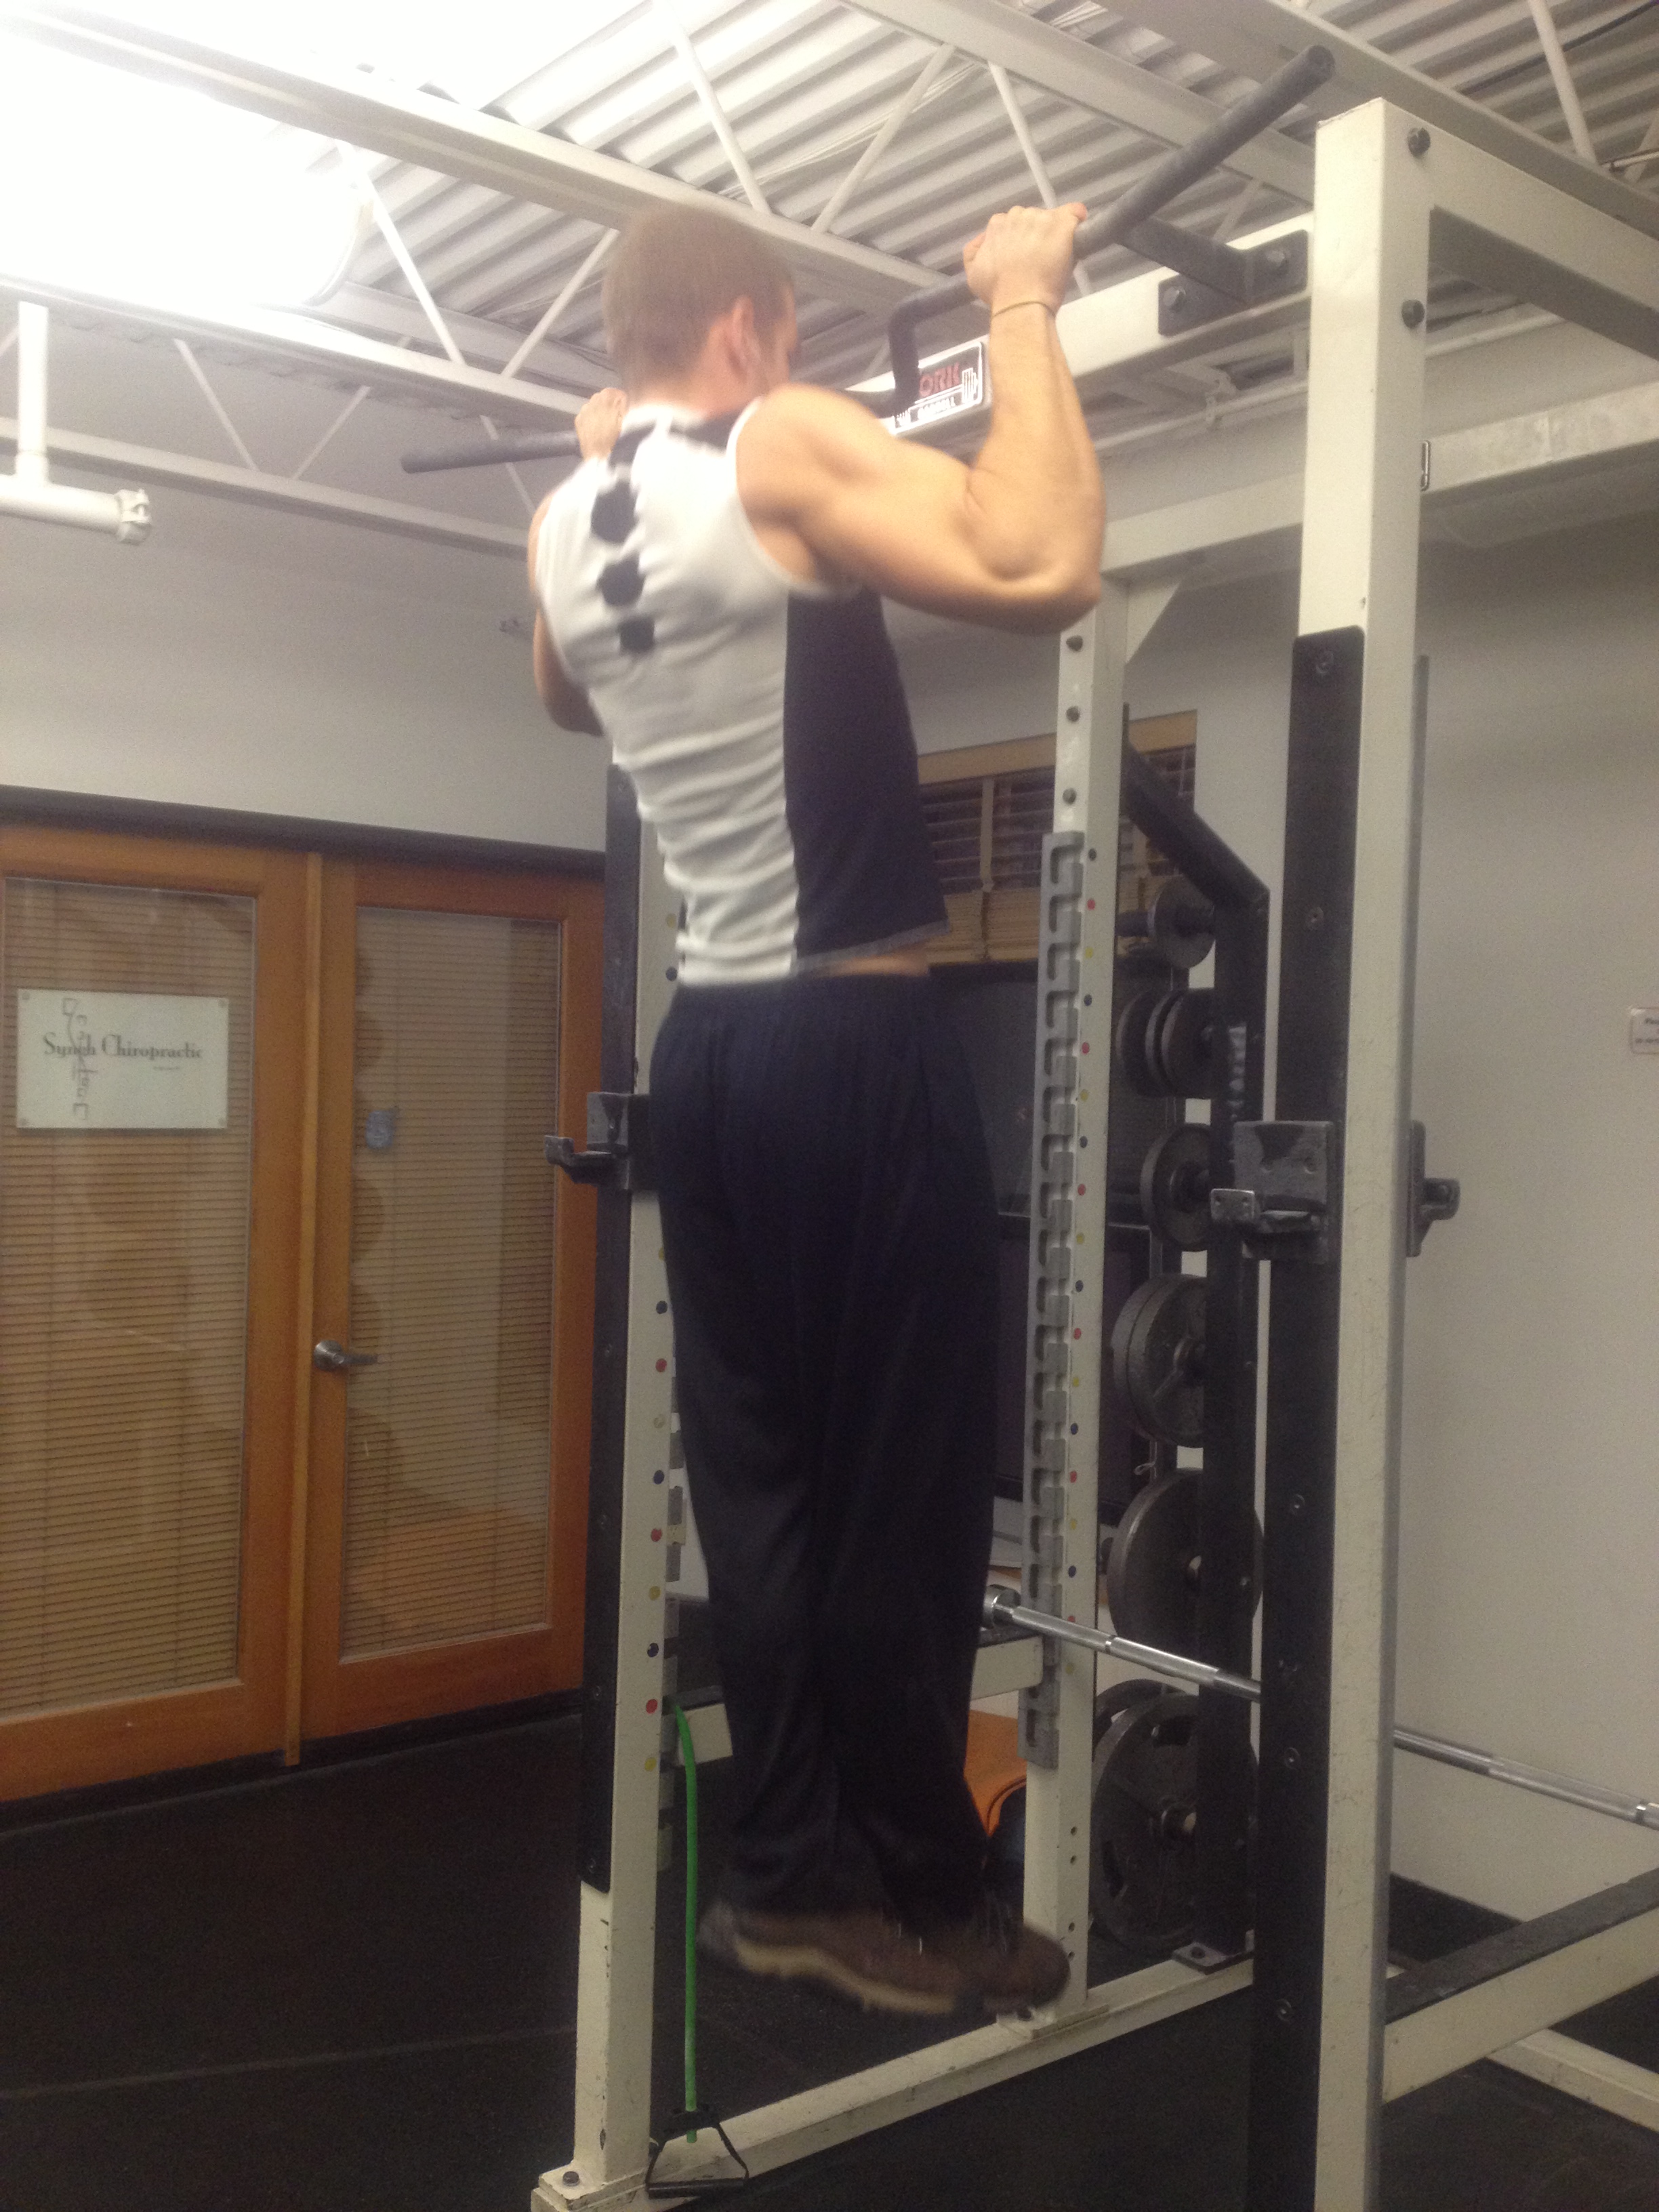
a. Alternating pullups and chinups
b. Seated d-bell lat flyes (it’s the proper spelling, seriously, but I don’t care how people spell it, Alana did standing)
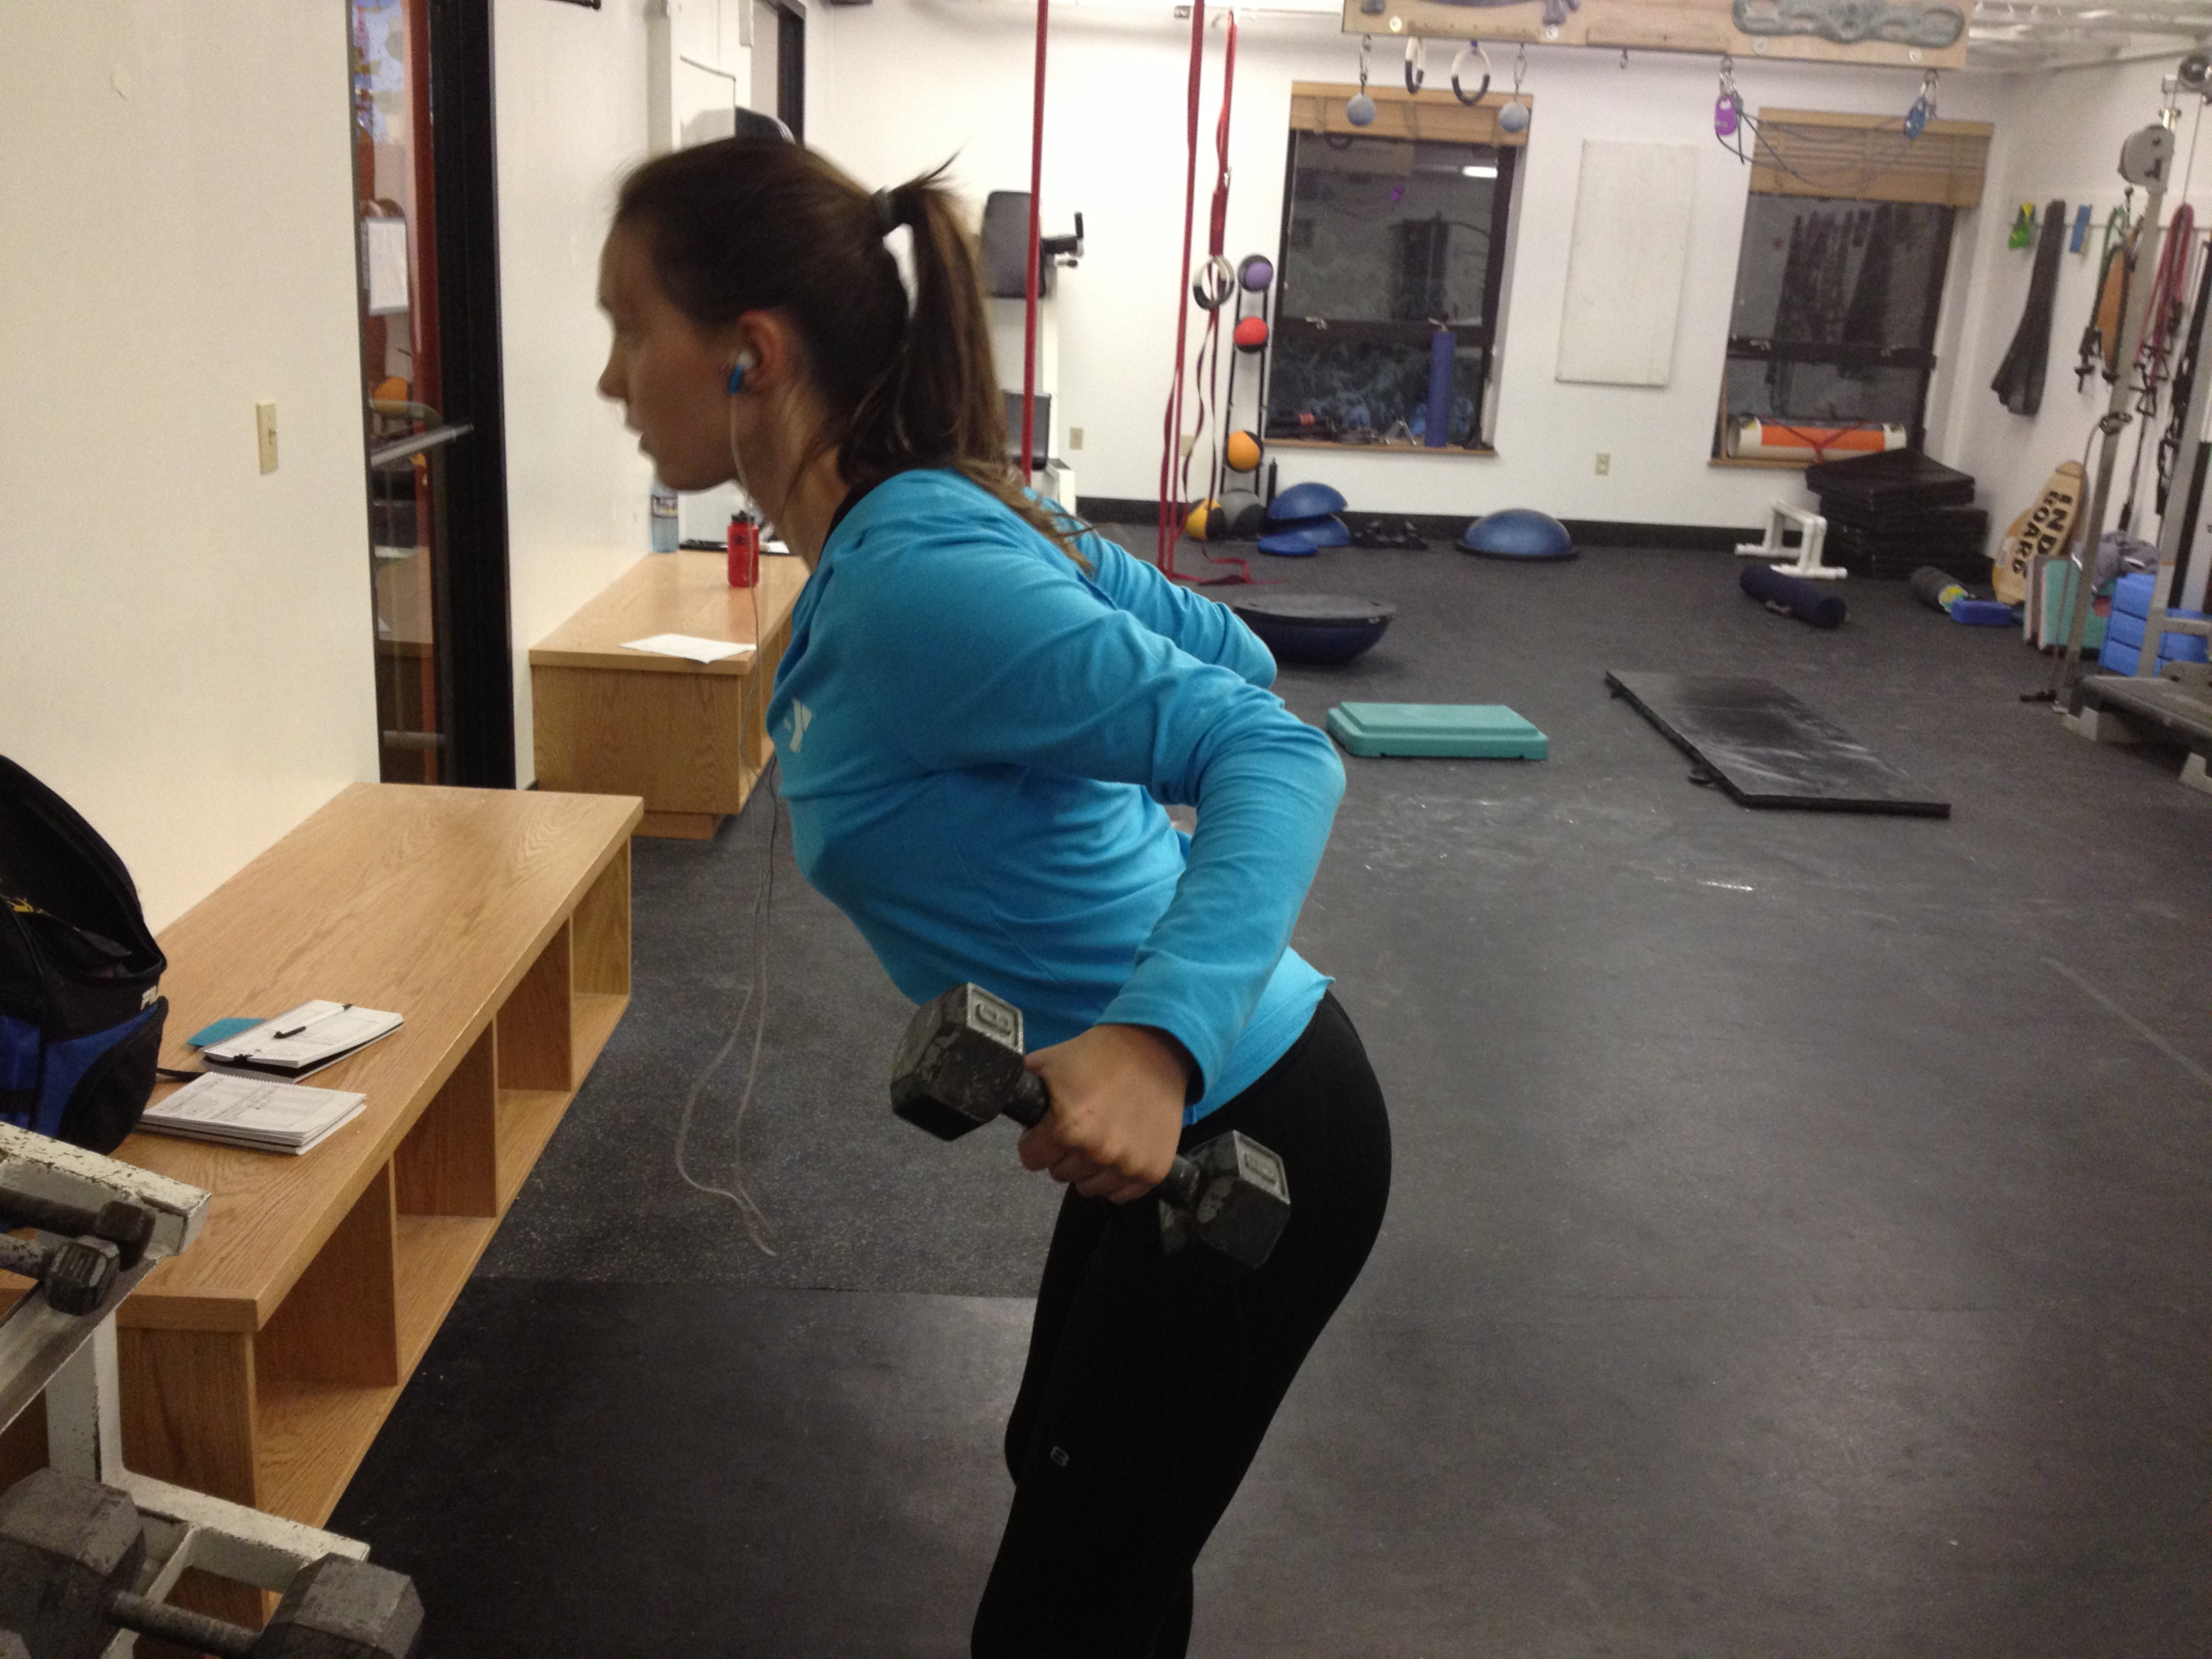
9:47: 2 (4 super sets)

a. lat pull downs (narrowing grip every set)

b. seated hammer curls
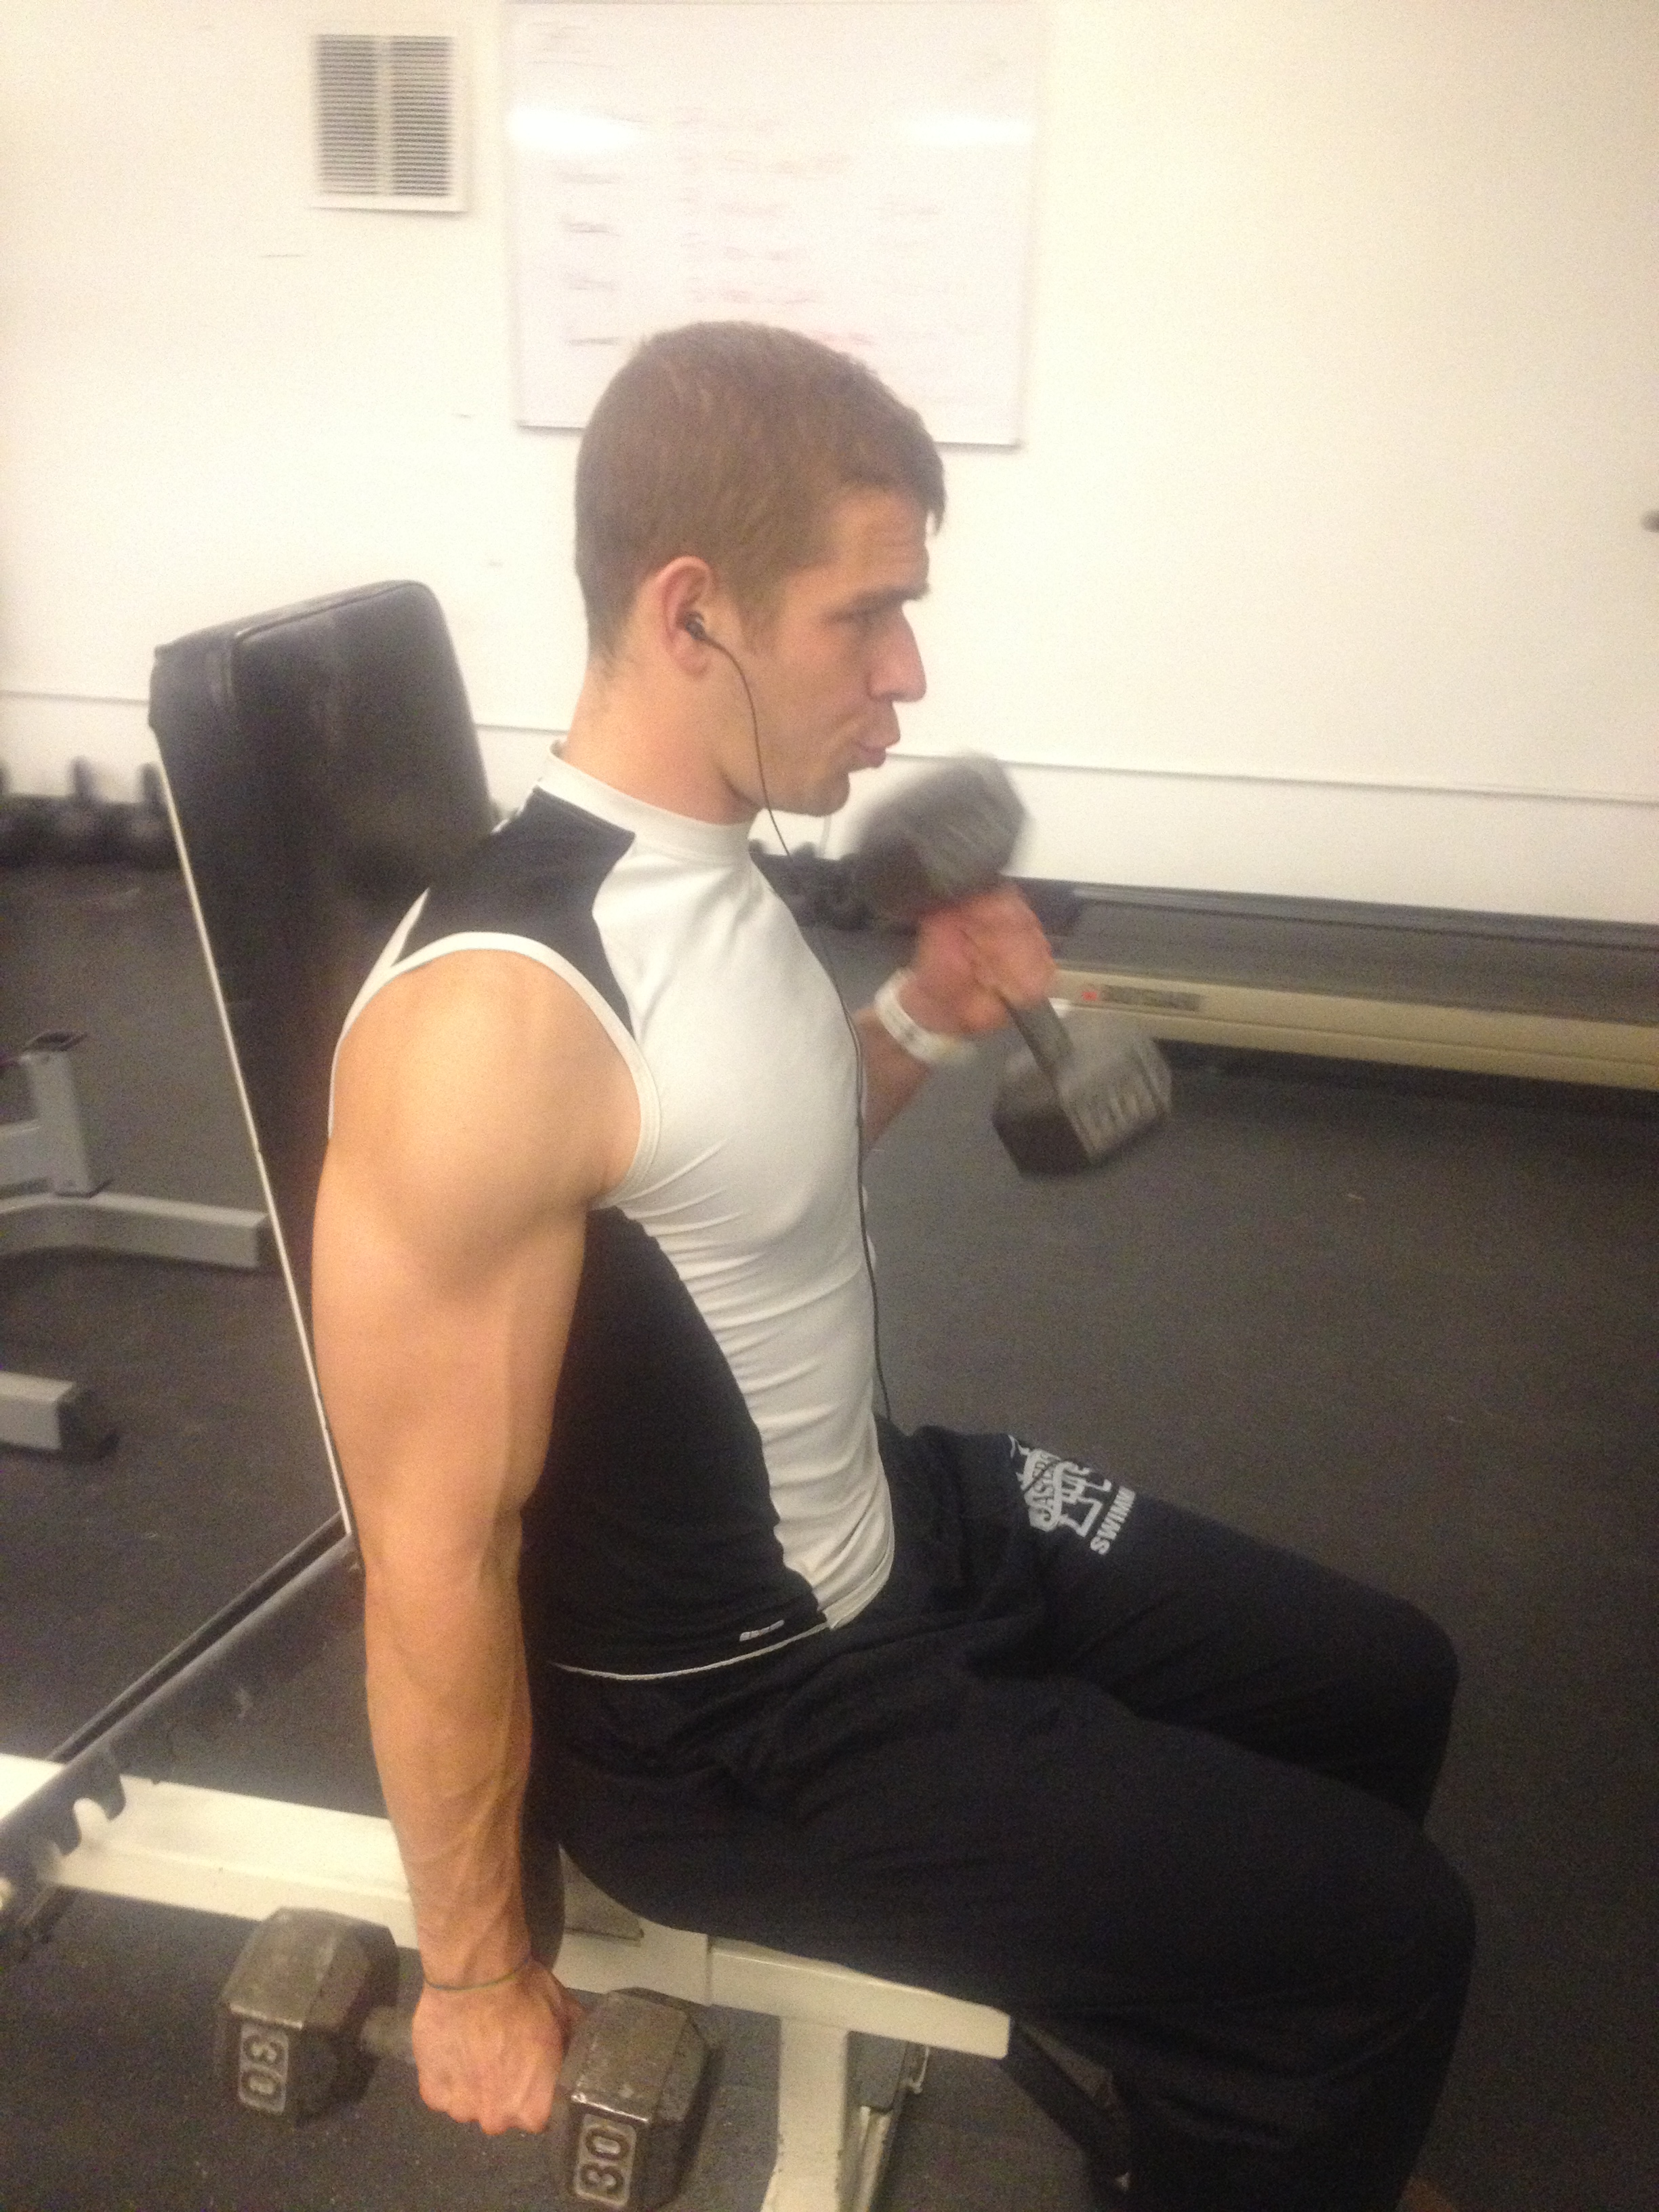
(during this set, while we were swapping equipment because two pieces for two people is more than fair, some gym jerk decided to try to take our incline bench, so I told him to beat it and he did. I was polite)

10:01: 3 (4 super sets)

a. low seated cable rows
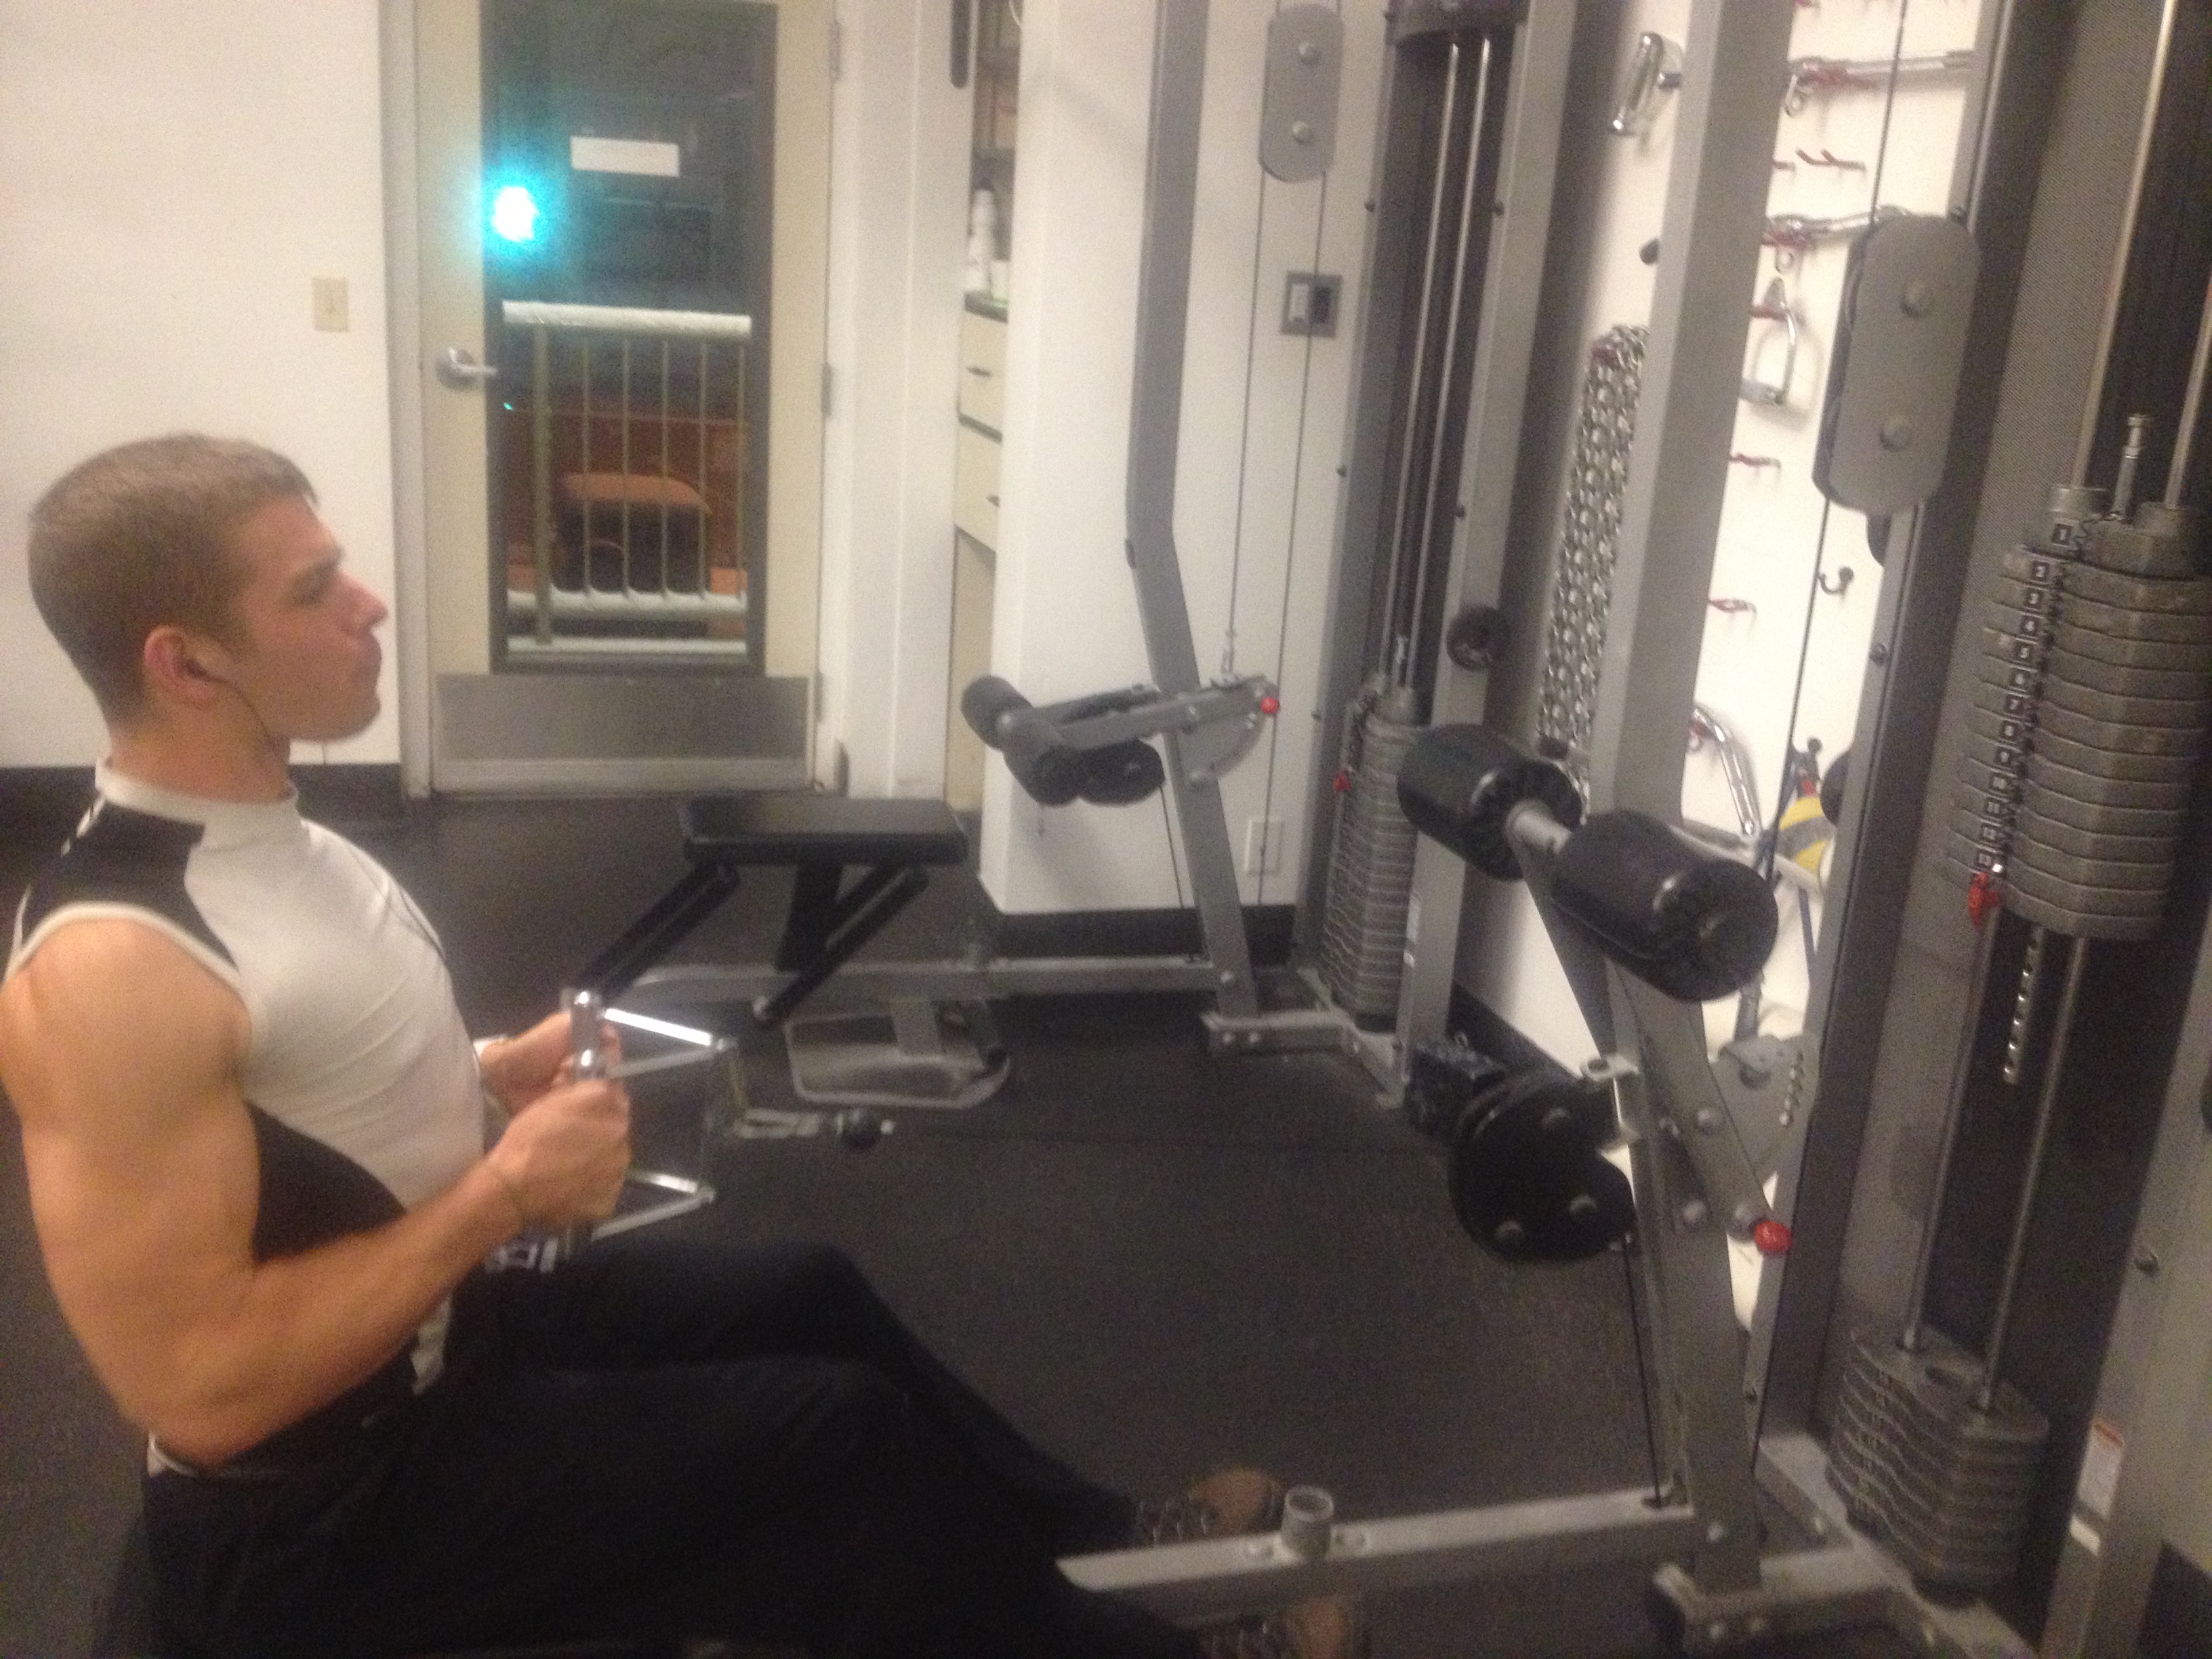
b. incline pinky offset curls (have your pinky be touching the head of the d-bell, so the thumb is around the middle)
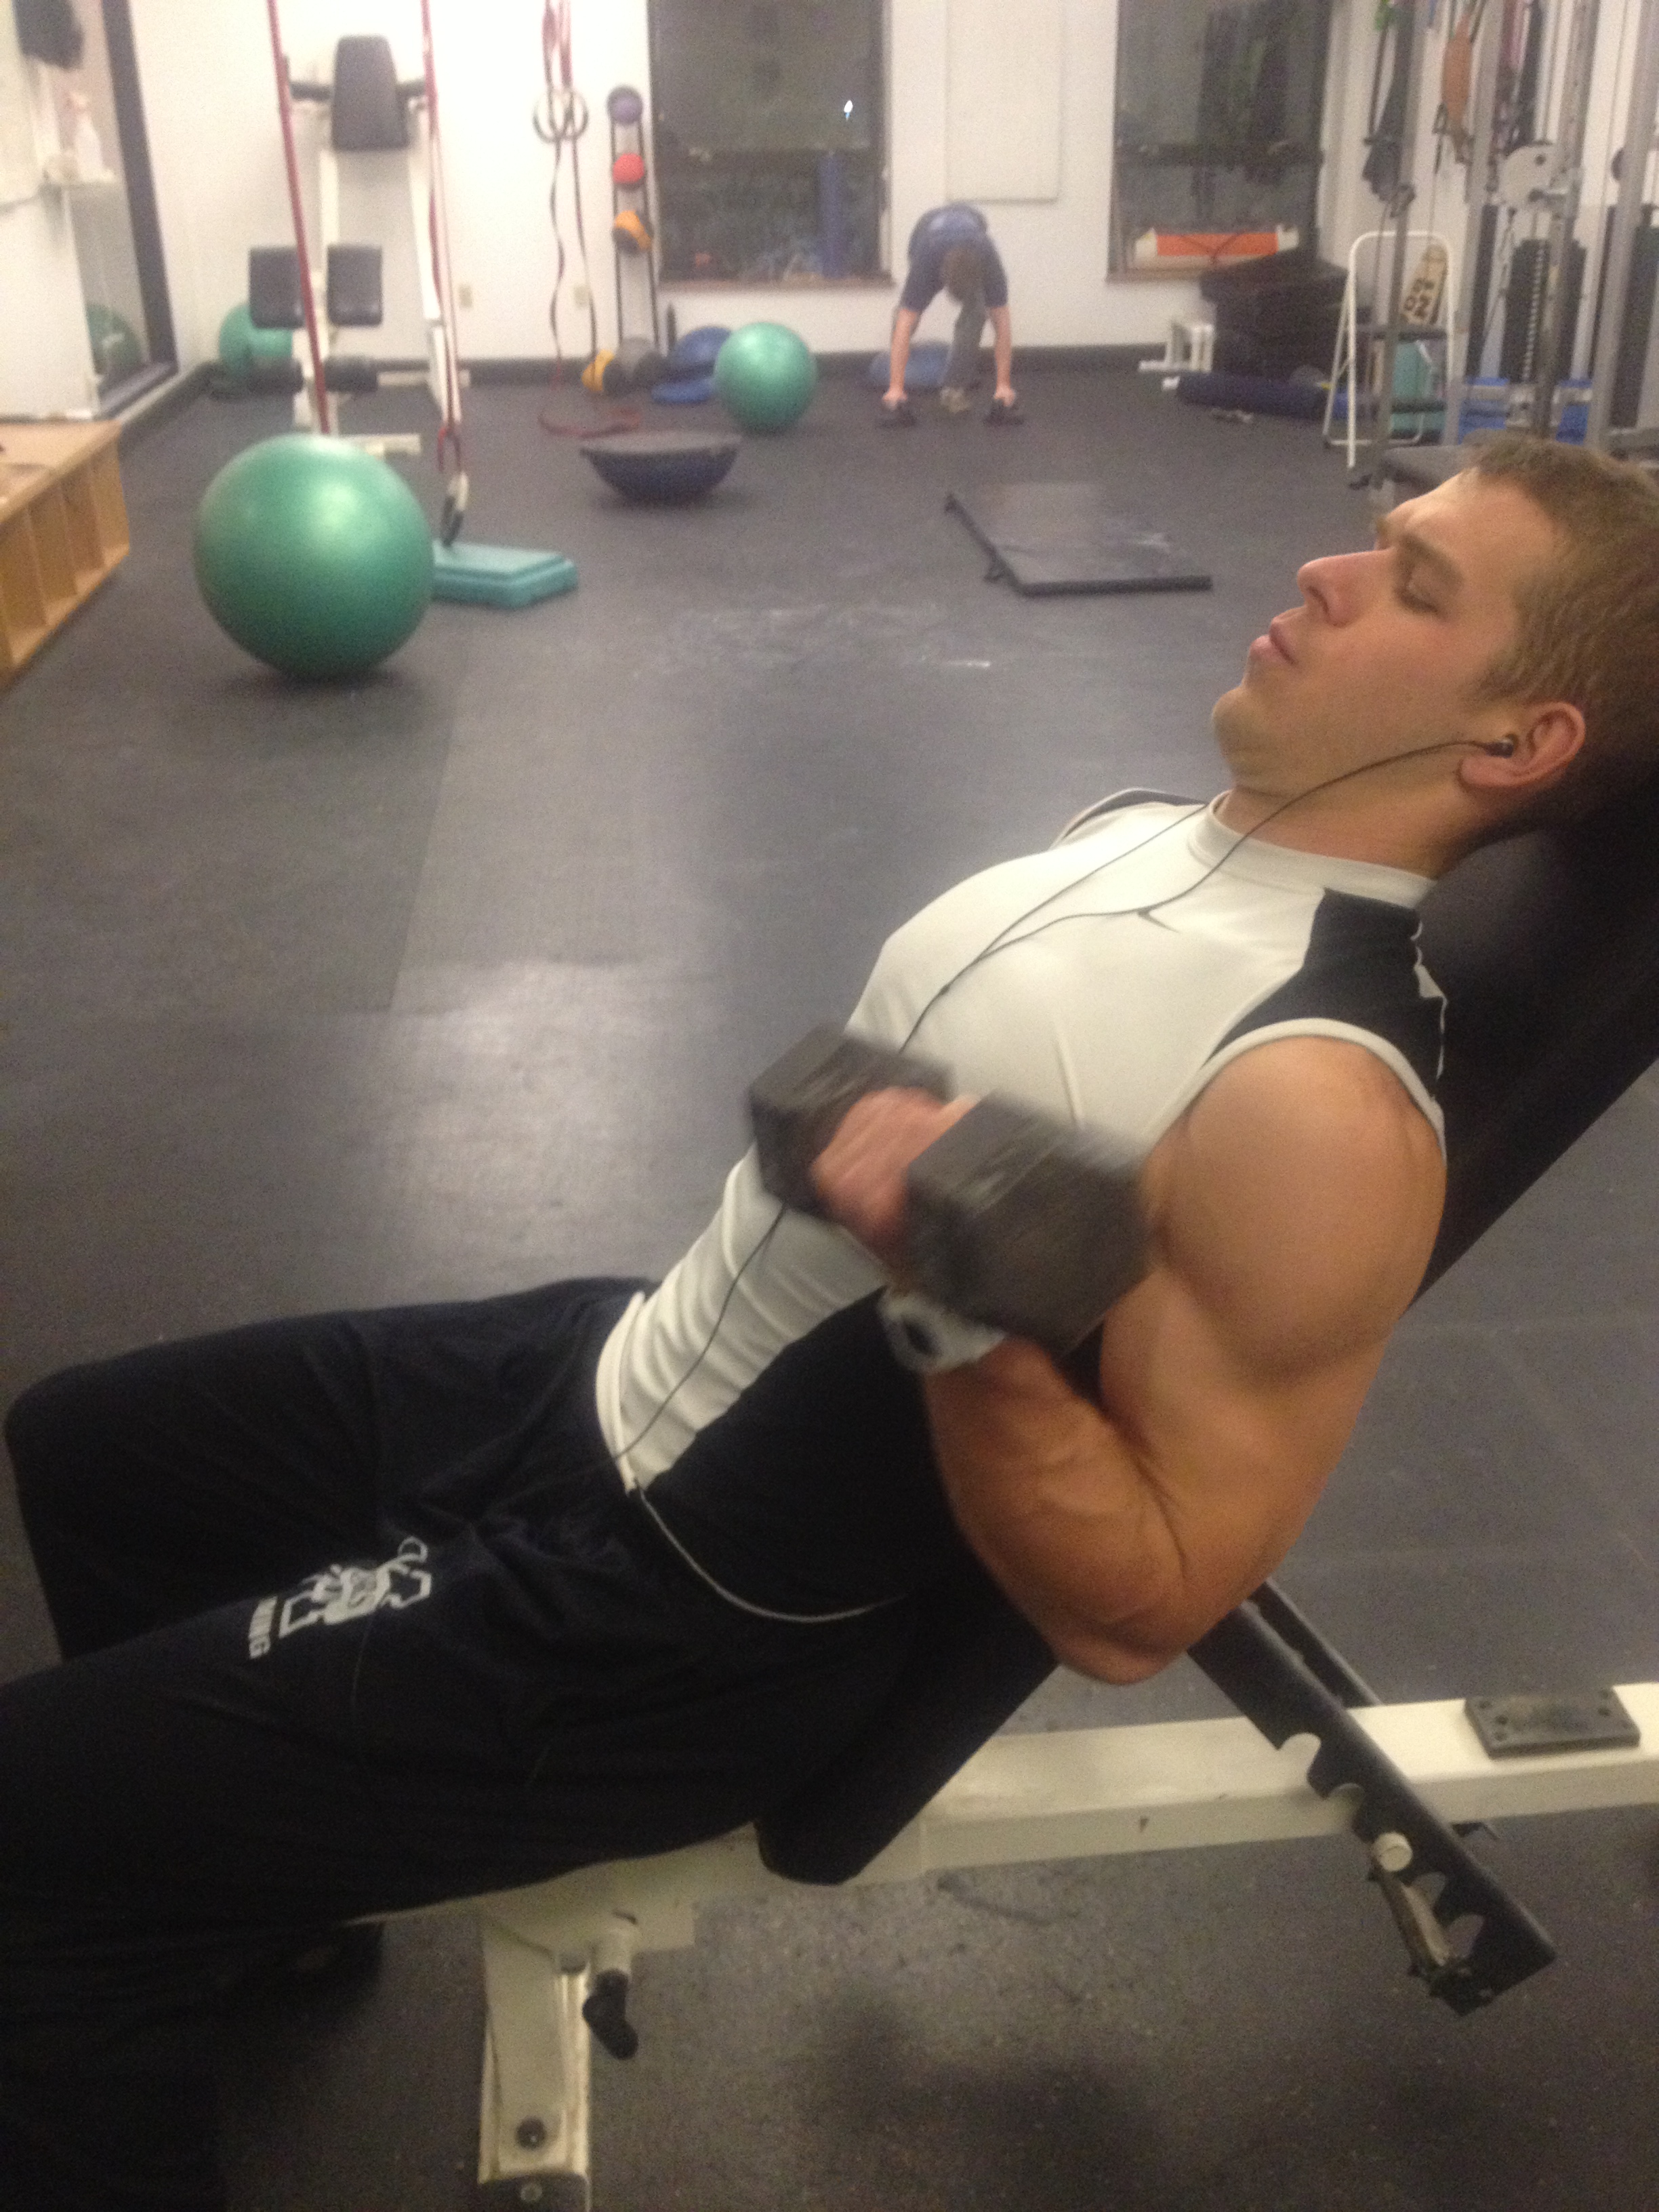
10:17: 4 (3 super sets)

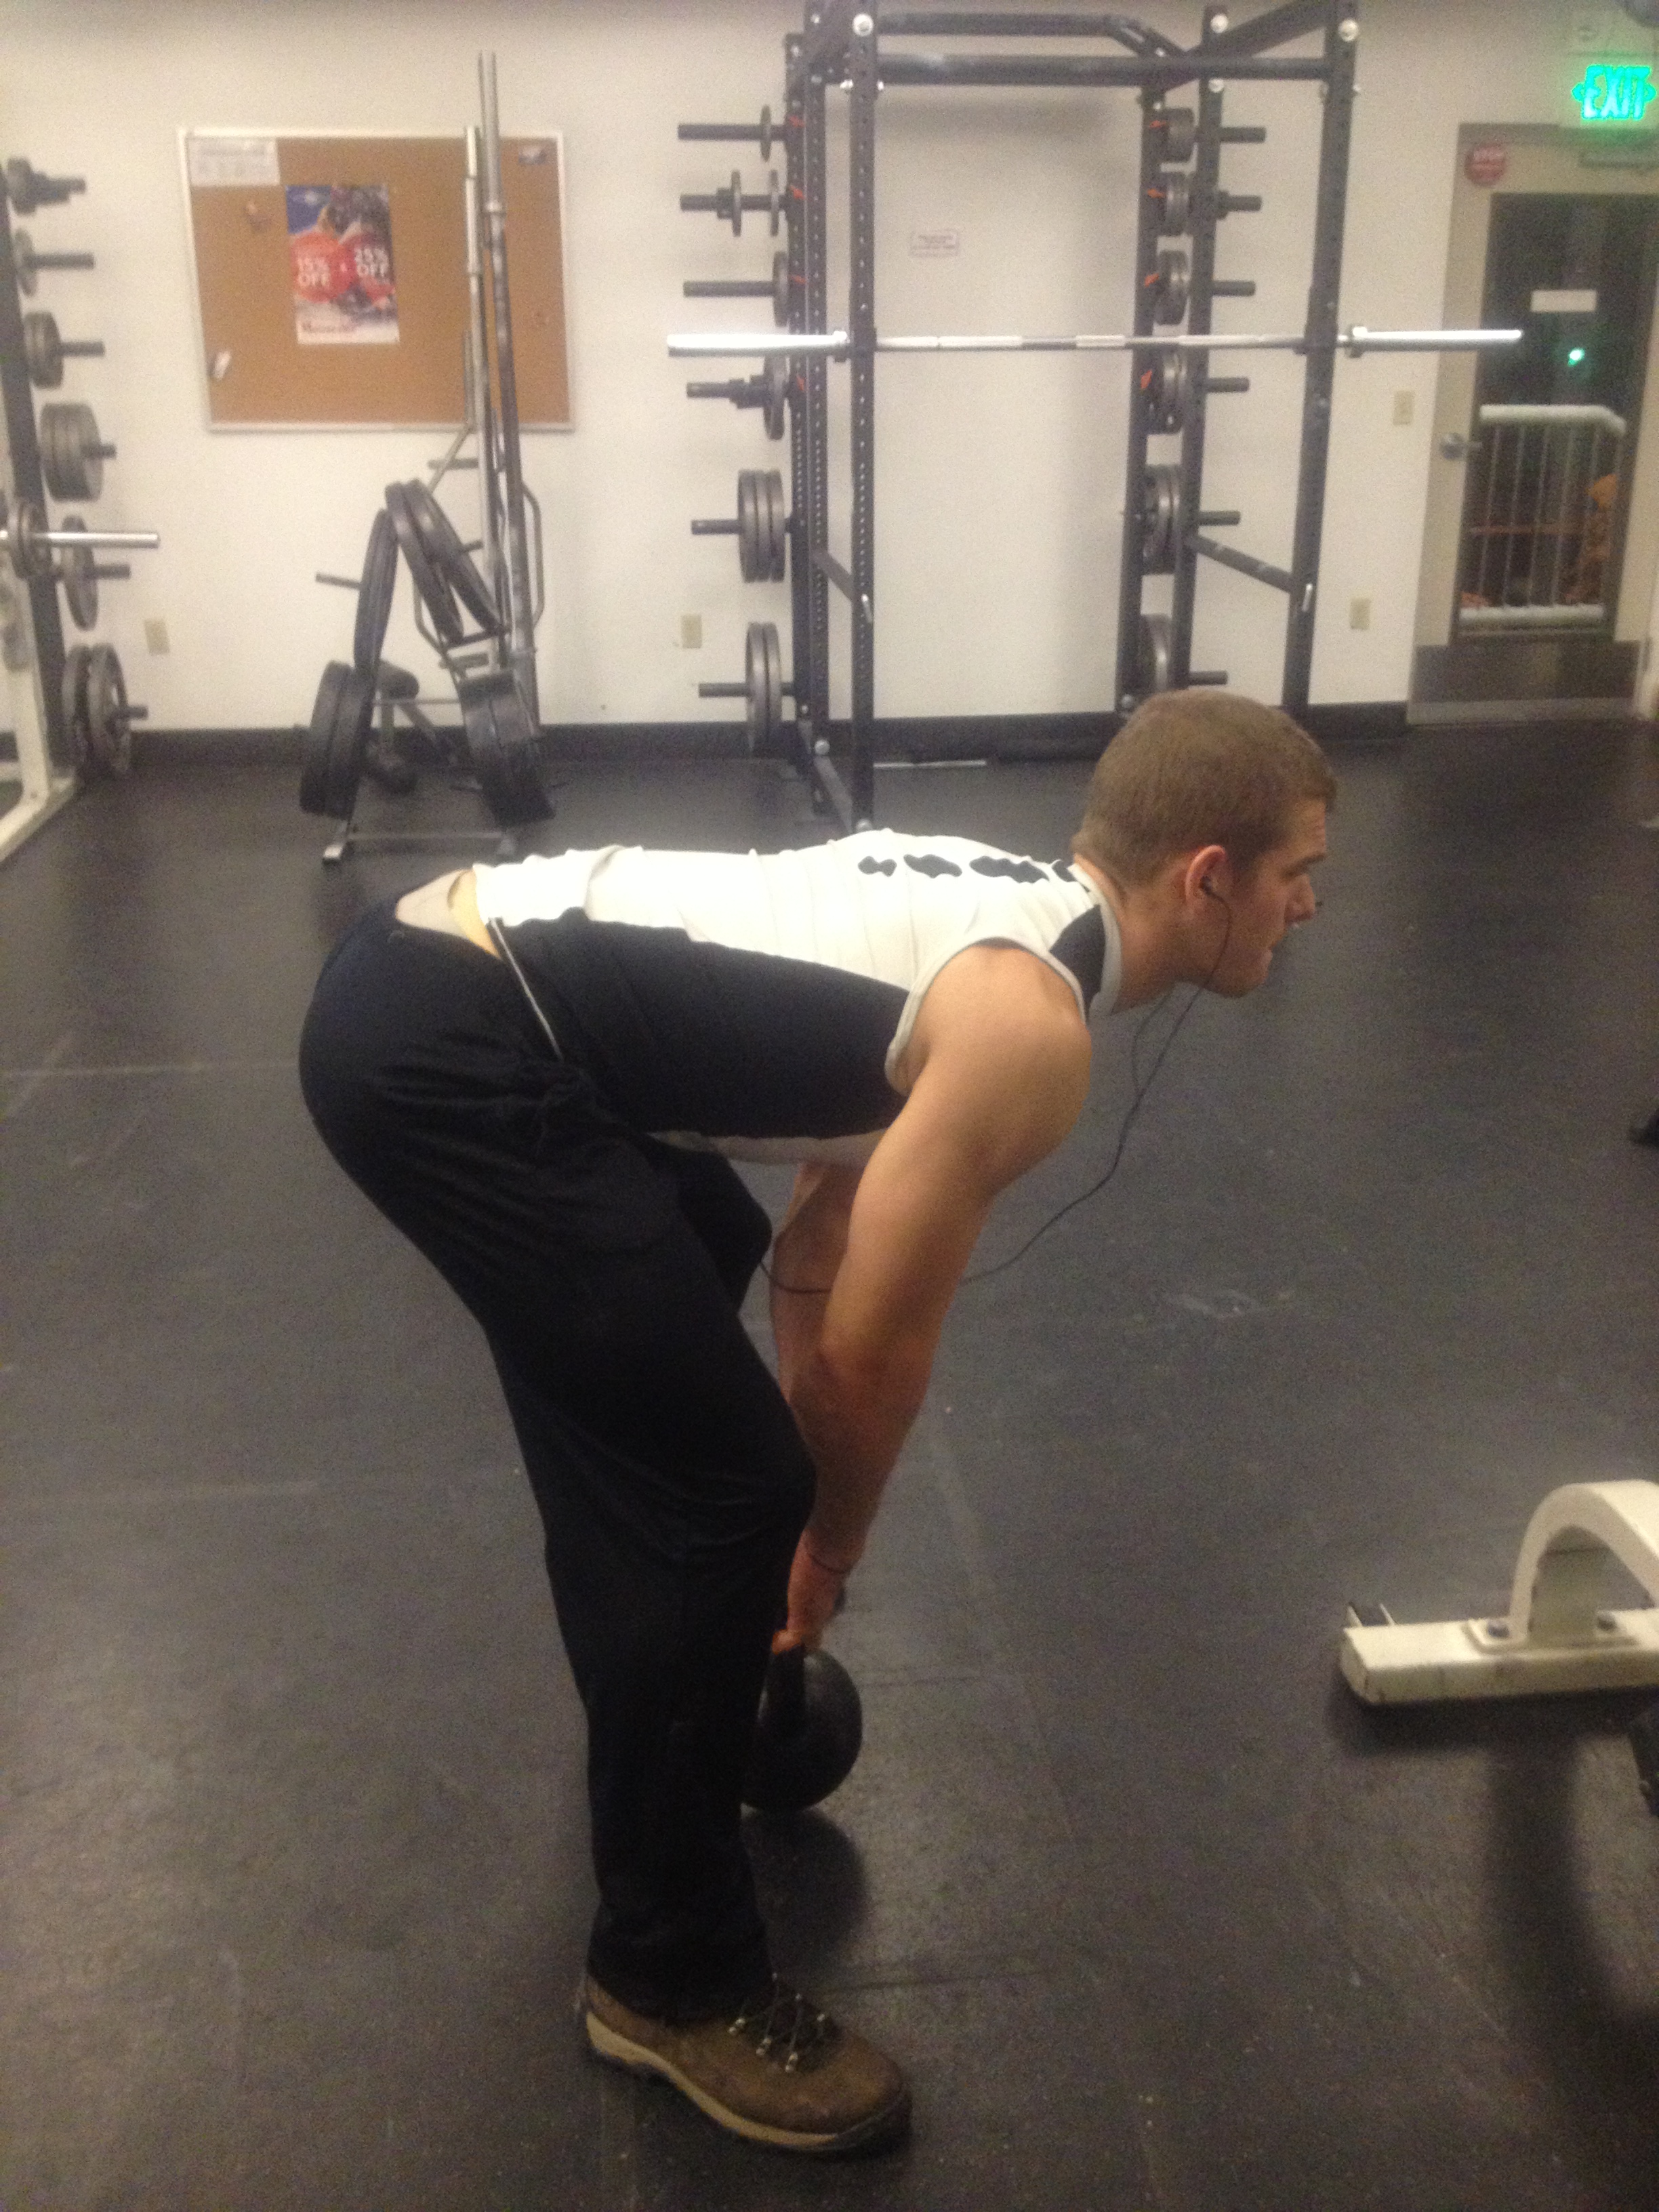
a. kettle bell sumo romanian deadifts
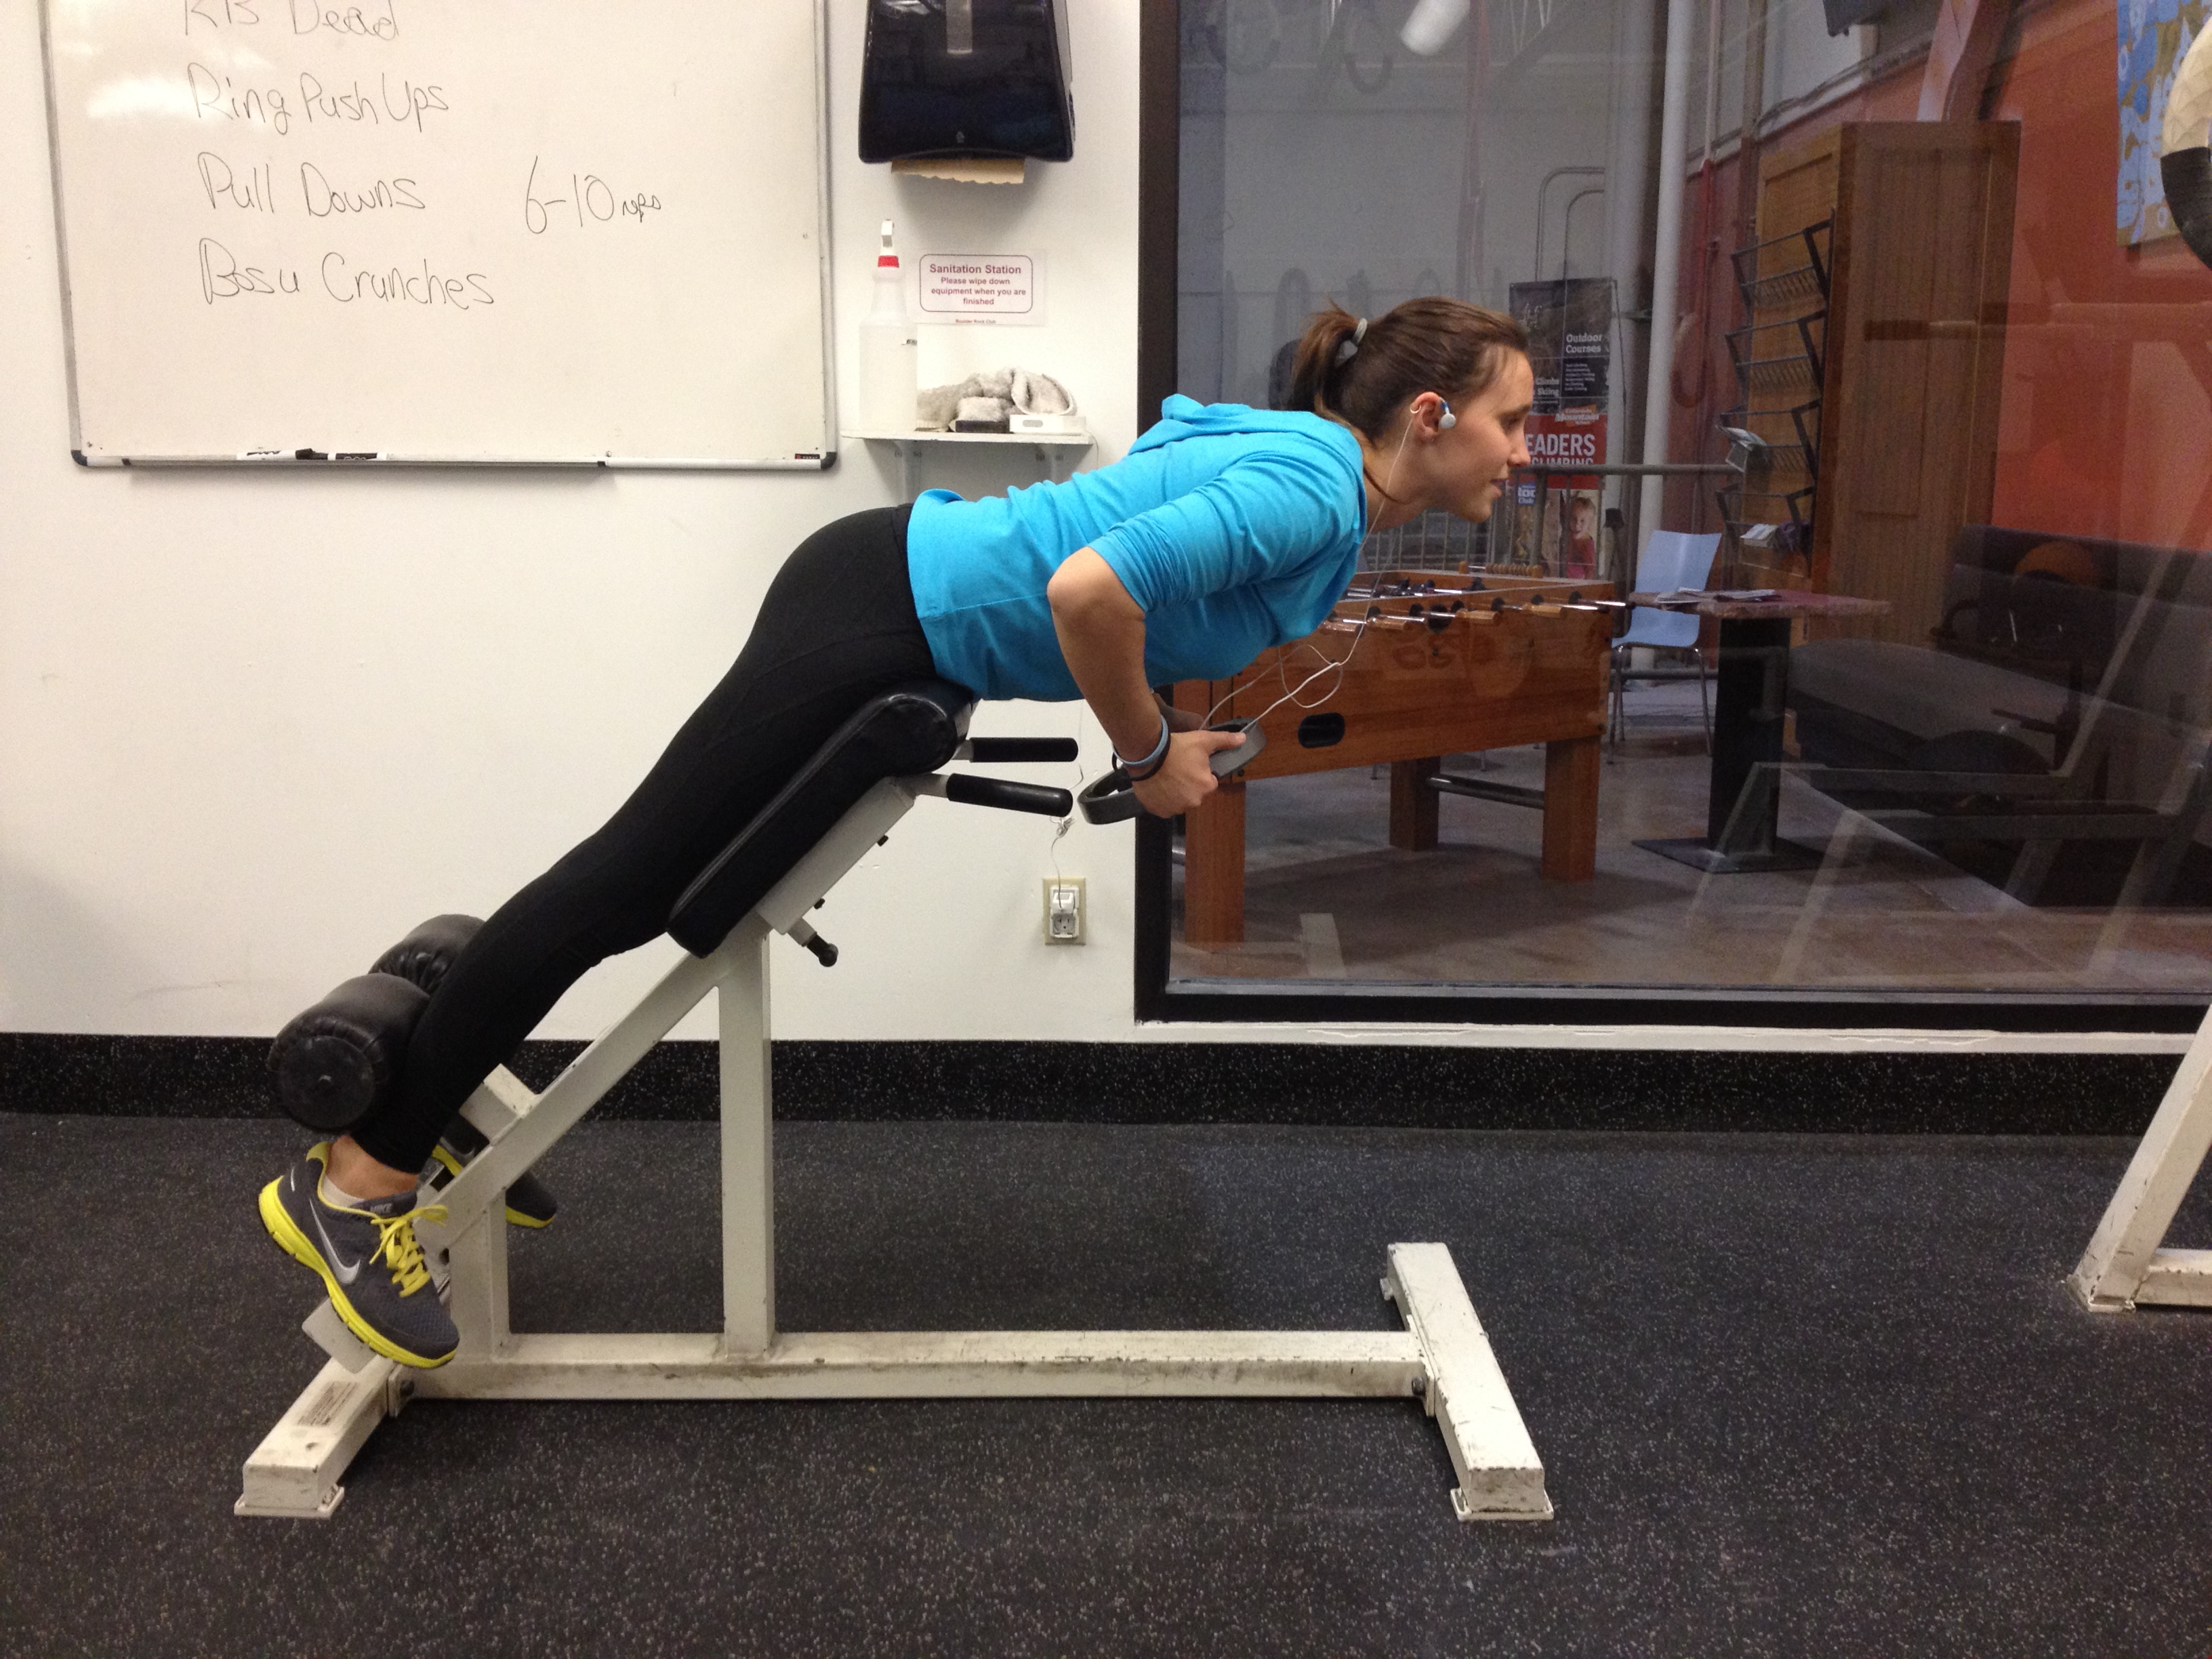
b. back extensions
And then around 10:30, we bouldered for about 20 minutes until my forearms felt like they were about to split. Typically, we get kicked out of the gym, but that day we left a couple minutes early. If you ever get that sensation, just stop.

So now, the reason why I wrote this post was to dedicate a section to bodyweight or near bodyweight lower back exercises. While sometimes I work out lower back with back or legs, it really could be classified as core. Depending what your weekly split is, you can cater your lower back workouts to match those days. For instance,

If you are trying to do lower back with legs, deadlifts and squats are great exercises to focus on good form and strengthening your lower back. Whether it is a romanian dead lift, straight leg, front squat, olympic squat, etc you should focus on good form! If you squat 600 lbs for 1 rep and your back isn’t straight, I don’t count it. You can, but you’re lying to yourself.

You can also use the back extension apparatus that is actually a glute/upper hamstring piece of equipment. Hit a few birds with one stone. If you’re doing shoulders or back, kettlebell swings are a great workout for lower back. But if you’re trying to work body weight, lower back is a great group to focus on with your core.

Back extensions on the apparatus are I think the most convenient one here. It is bodyweight and weight can be added, but it requires a piece of equipment, and if you don’t have it just do…

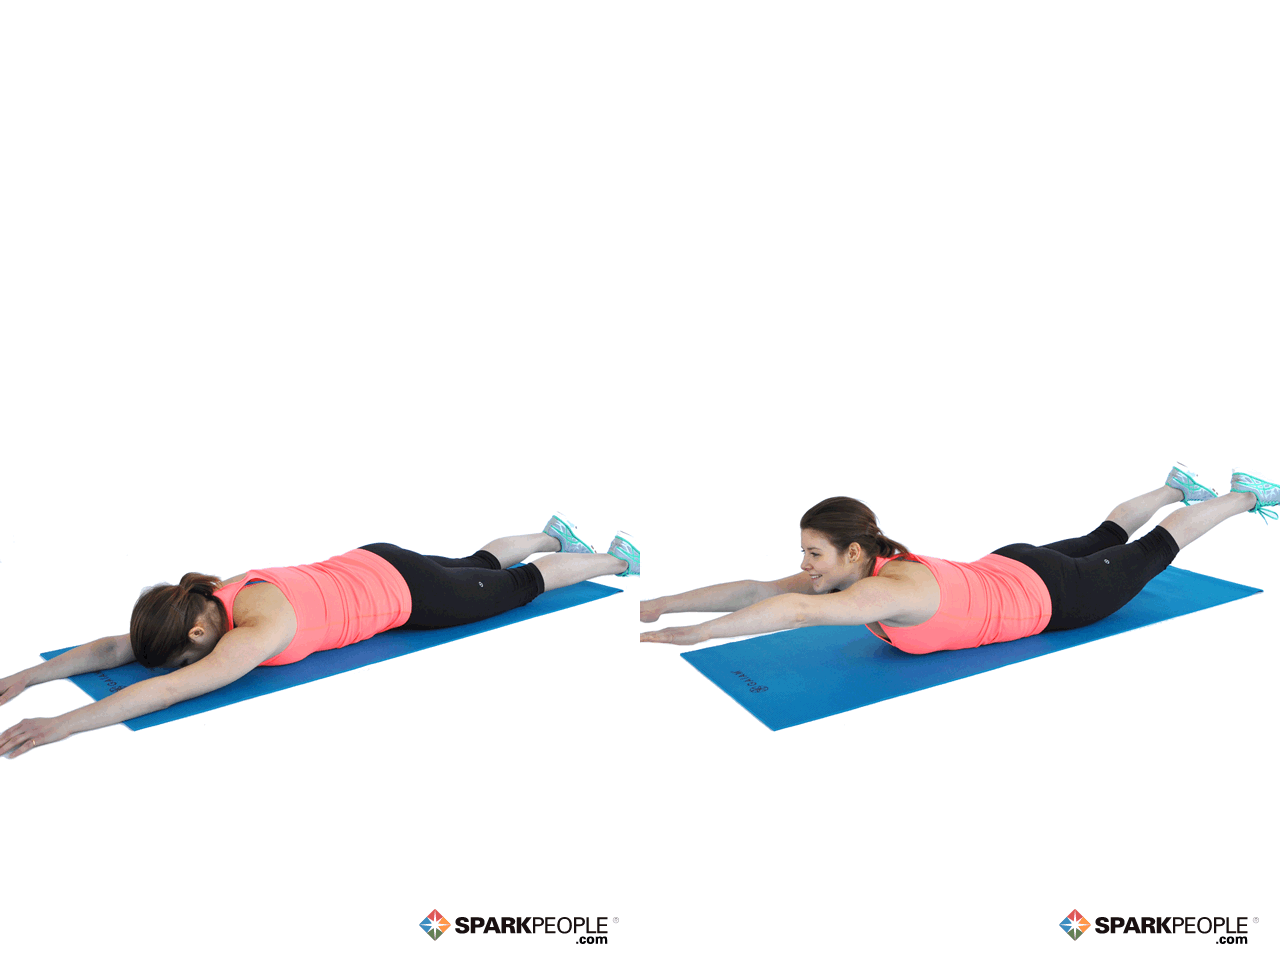
Supermans – laying stomach down, extend your limbs outwards and slowly or quickly contract upwards, then slowly or SLOWLY stretch back downwards to the floor. Thirty reps is a great goal for body weight exercises, especially for your core.

Any deadlift can be done bodyweight. Single leg are the most challenging and if done improperly can hurt your lower back a lot more. I recommend a straight leg romanian deadlift where your only pivot point is at the lower back. Rep it out again with the same execution as the superman.

Never, in any circumstance, bend your lower back or arch it towards your stomach. Try to keep it tight, keep it straight and if anything, but try not to, arch it away from your stomach.

Do a plank, and a side plank on each side. Planks are arguably if done correctly the best core exercises and this includes your lower back. Do not overlook these. Do them for as long as you can maintain proper form, and when form deteriorates, rotate onto your side… or rest! Then repeat.

If you have a stability ball, you can do reverse extensions where you bring the ball into your chest with your feet on it. Keep that spine straight and try to rep it out. I usually shoot for 20.

Don’t forget about bridges. These will be used in some yoga classes. It’s kind of a reverse plank, with your back to the ground.

And on that note, consider yoga poses! Cat pose, cow pose, cobra, scorpion, chattarangaaaaa (or however you spell it). These are difficult glorified stretches that can really work. Just make sure you don’t only do these. I have a thing against just doing “static stretches” but I understand yogis that these aren’t JUST static stretches so stay back.

Any questions?
spacer

Yes, That’s a Beautiful Pumpkin–But Don’t Throw Out the Seeds!

Yikes, what a long title. Anyways, I’m here to bring you something that could be possibly even more amazing than carving a pumpkin…its seeds. As some of my friends may know (cough LENA), I absolutely love pumpkin seeds. In fact, I love them so much I can eat a whole container of them (sorry, Esther). The flavor of it, the grittiness, the amount of protein in the middle. There’s no downside (at least for me, but Chris doesn’t like how long it can stay in his mouth).

Indeed, it’s a great protein source. Did you know that one ounce of pumpkin seeds can give you 9.35 grams of protein? Not bad! Well said, Watto. And it is so easy it’s not even funny. We carved our pumpkins with paring knives (that was the hard part) and then I gutted them. I have memories of my dad letting my brother and I draw faces on our pumpkins, he would cut it, then let me do all the dirty work of grabbing its seeds and goo. And I loved it. So of course, I was the one to do it this time. But I was not going to throw them out, oh no! I collected all the seeds from the two pumpkins and prepared them. All in all, it took about an hour. However, 40 minutes of that was cooking time. The rest is easy.

What You Need:

  • Raw pumpkin seeds
  • Melted butter (or oil)
  • Salt

First, set the oven to 350 degrees.

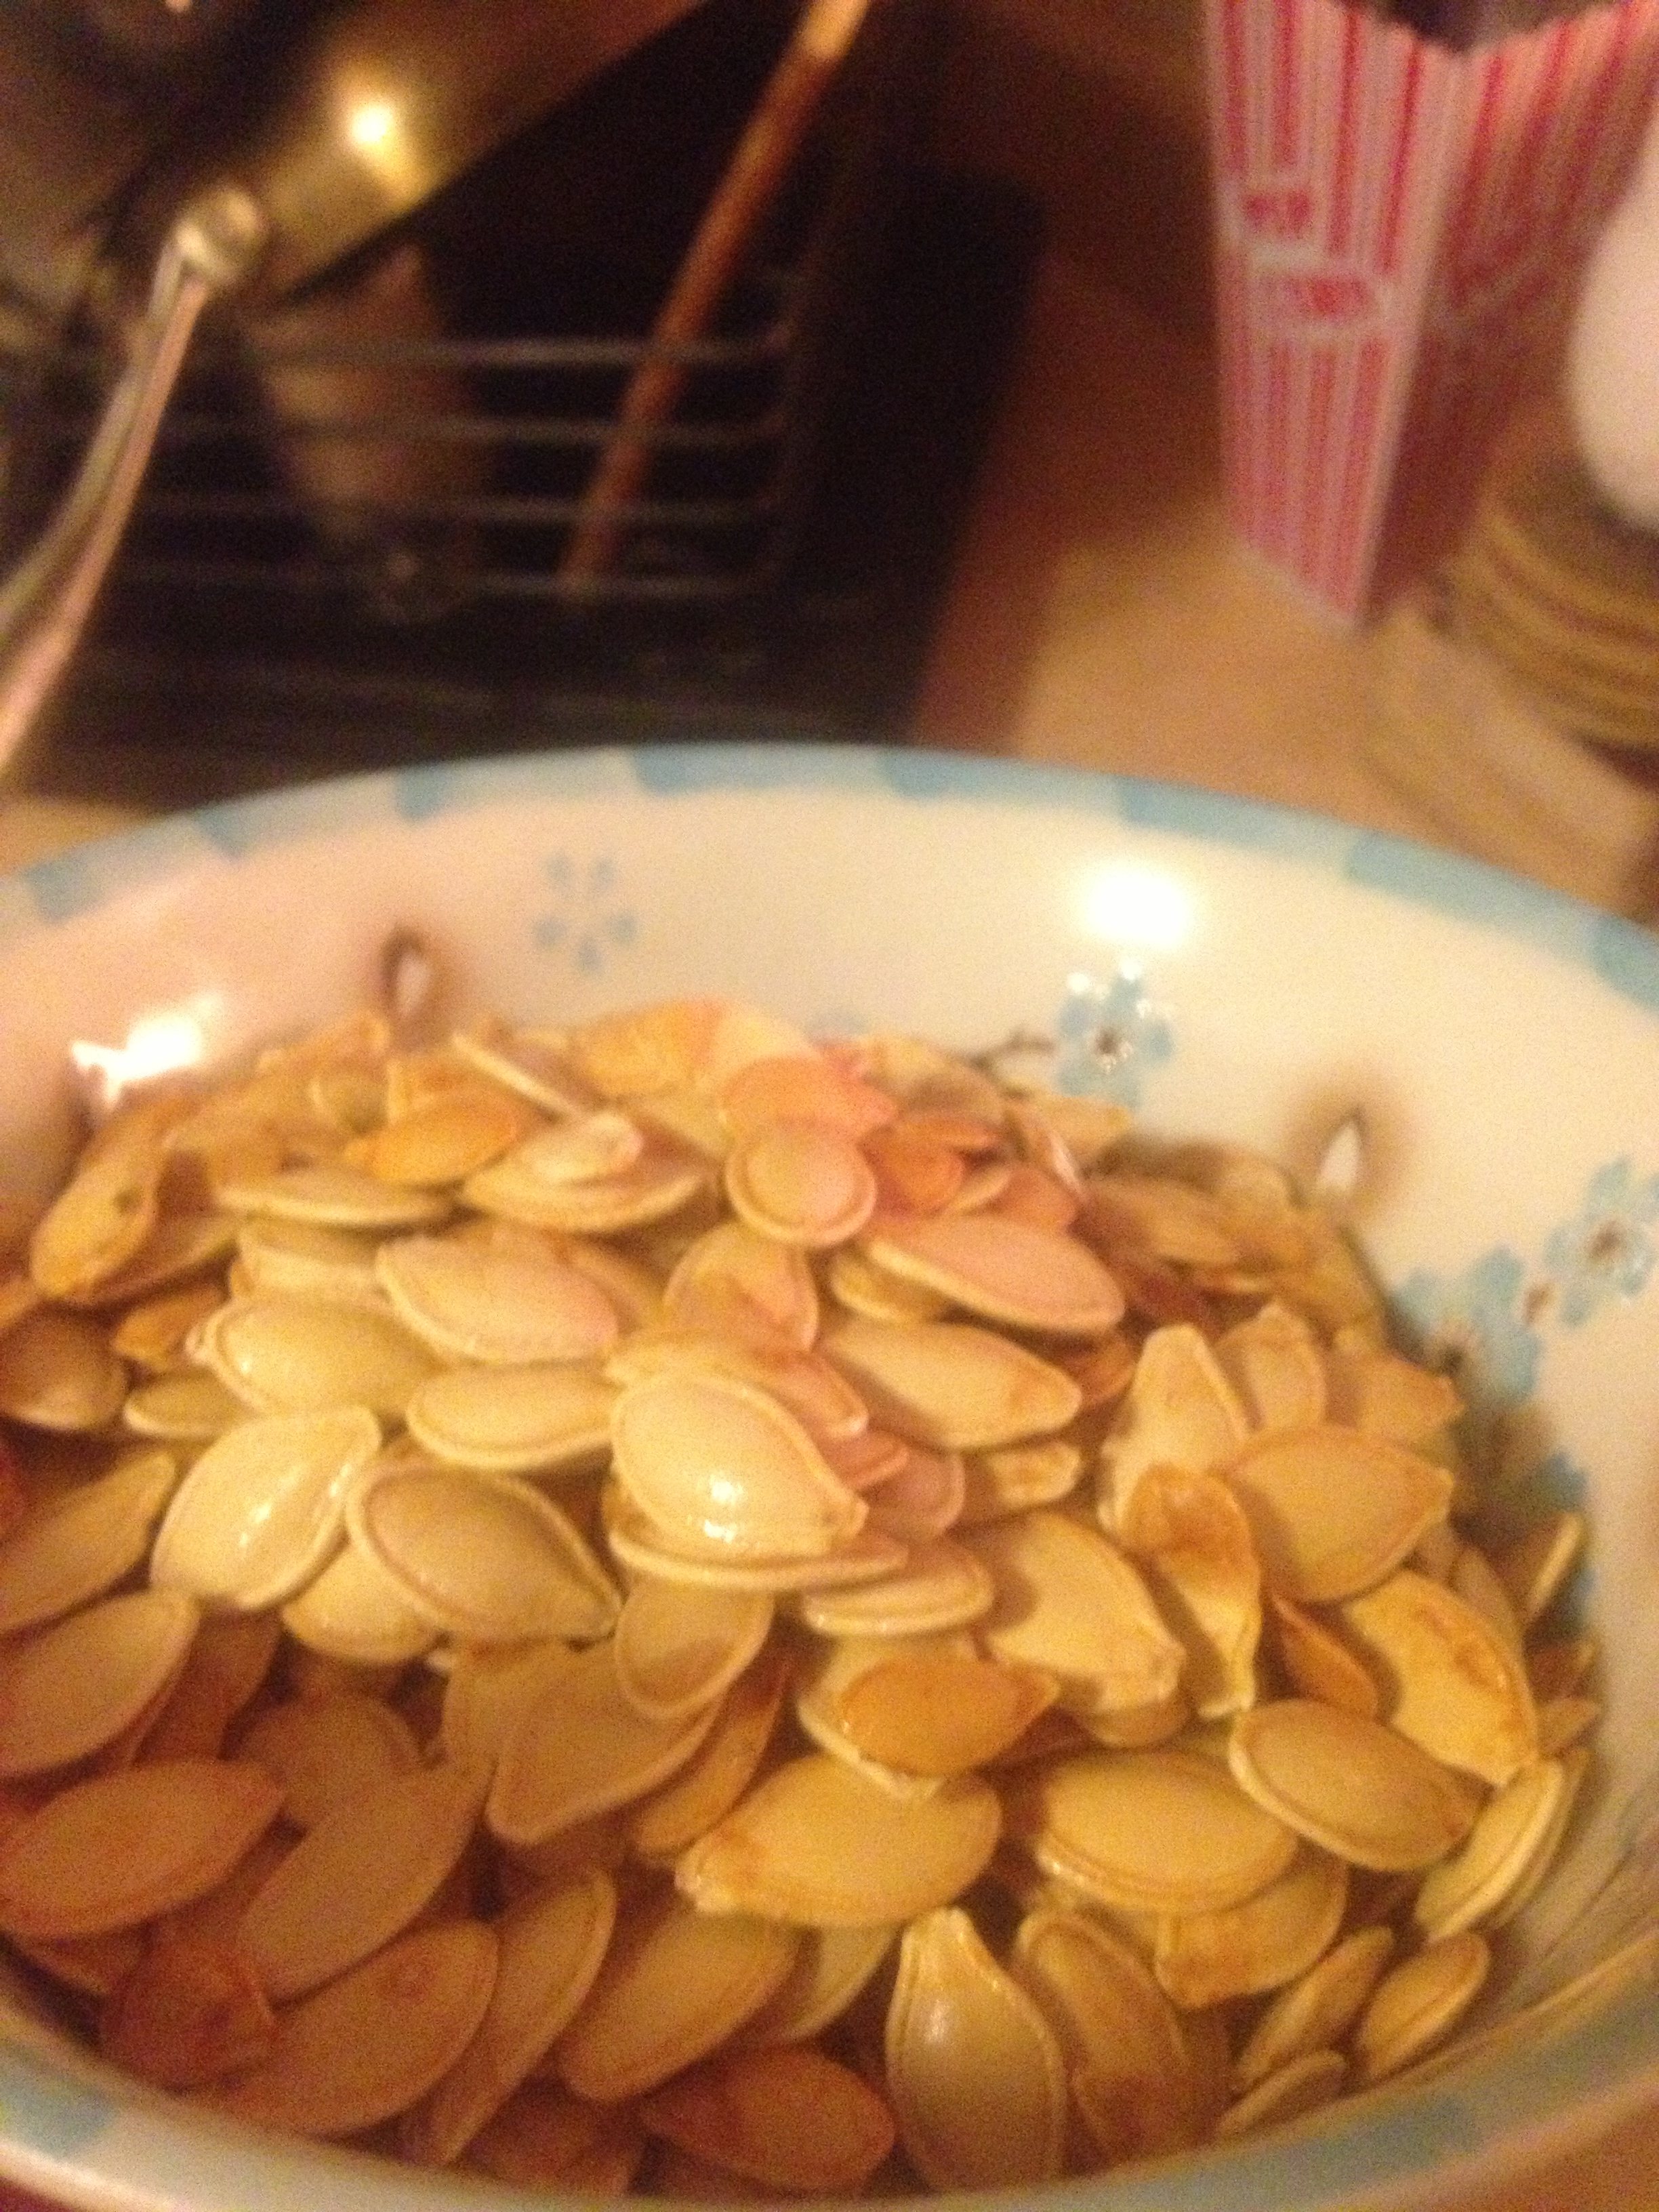
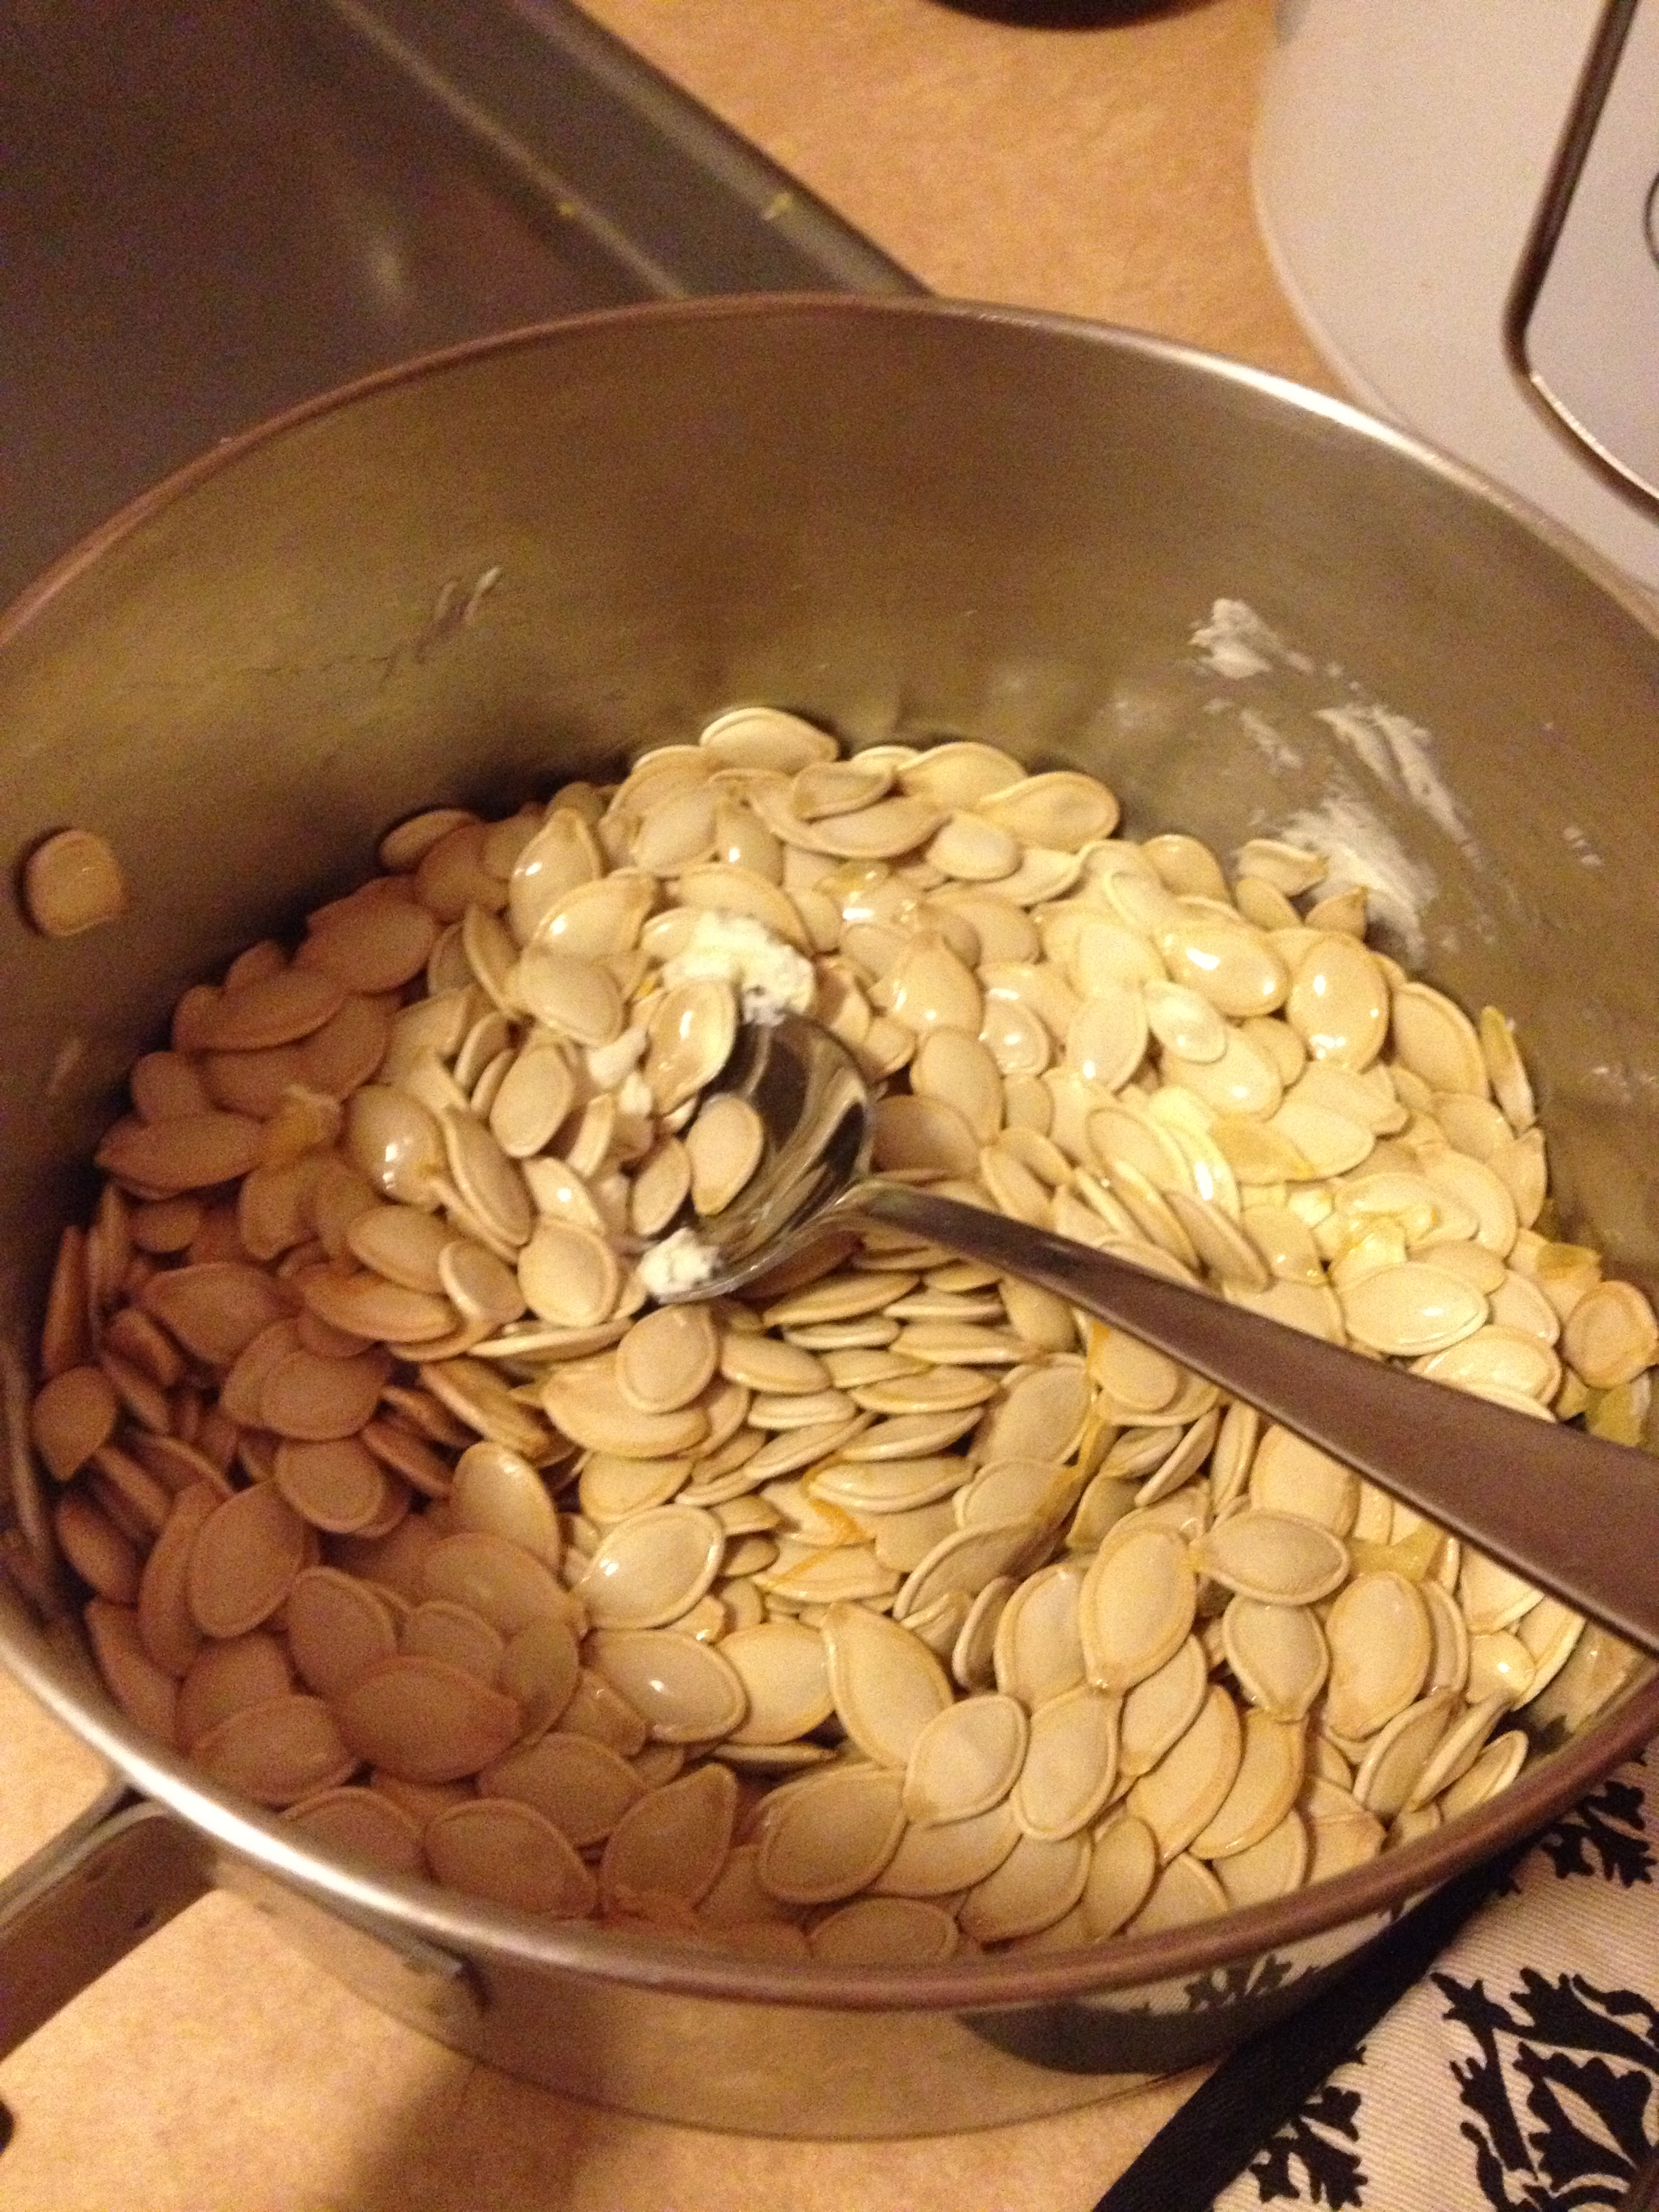
Next, get all the guts of your pumpkin(s) and place them in a strainer. This will take the most work. Have a light flow of water running over the strainer as you pick the seeds from the gunk and place the gunk in the sink.

Once you have all the seeds by themselves, place them into a small mixing bowl.

Place the melted butter into the bowl with the seeds (I used about 3/4 of a tablespoon) and mix around.

Then, shake plenty of salt into the bowl and mix again.

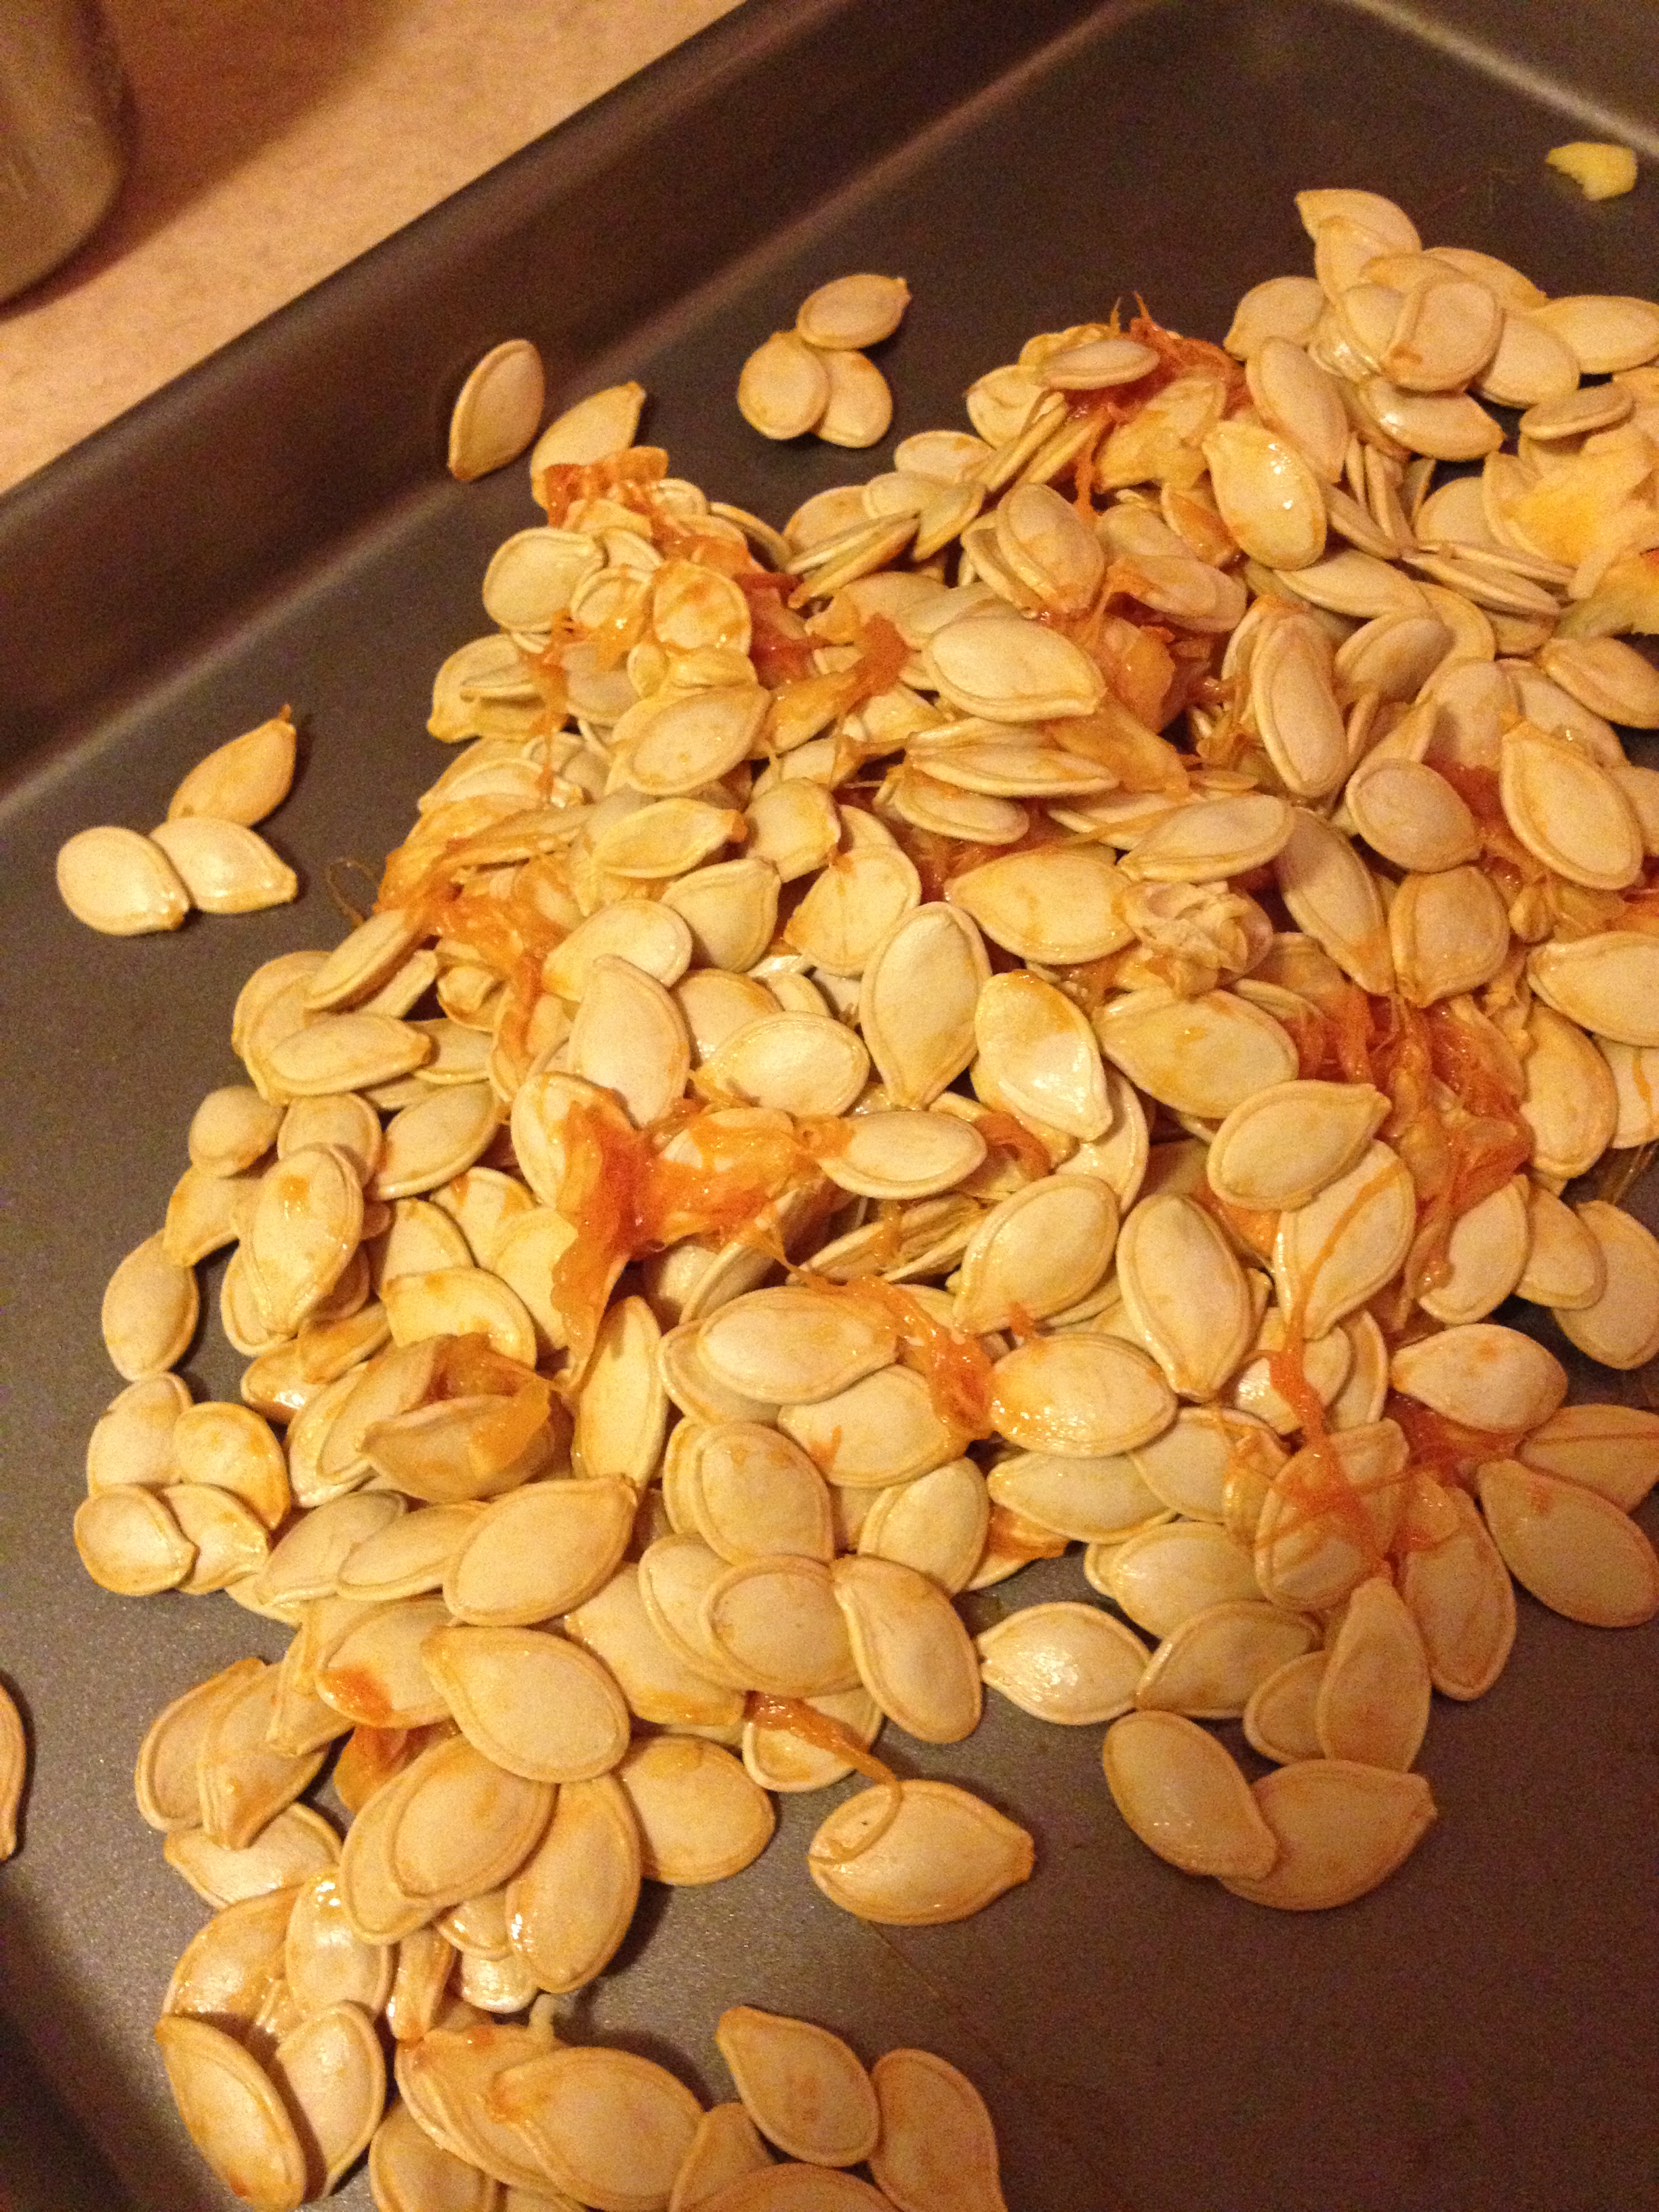
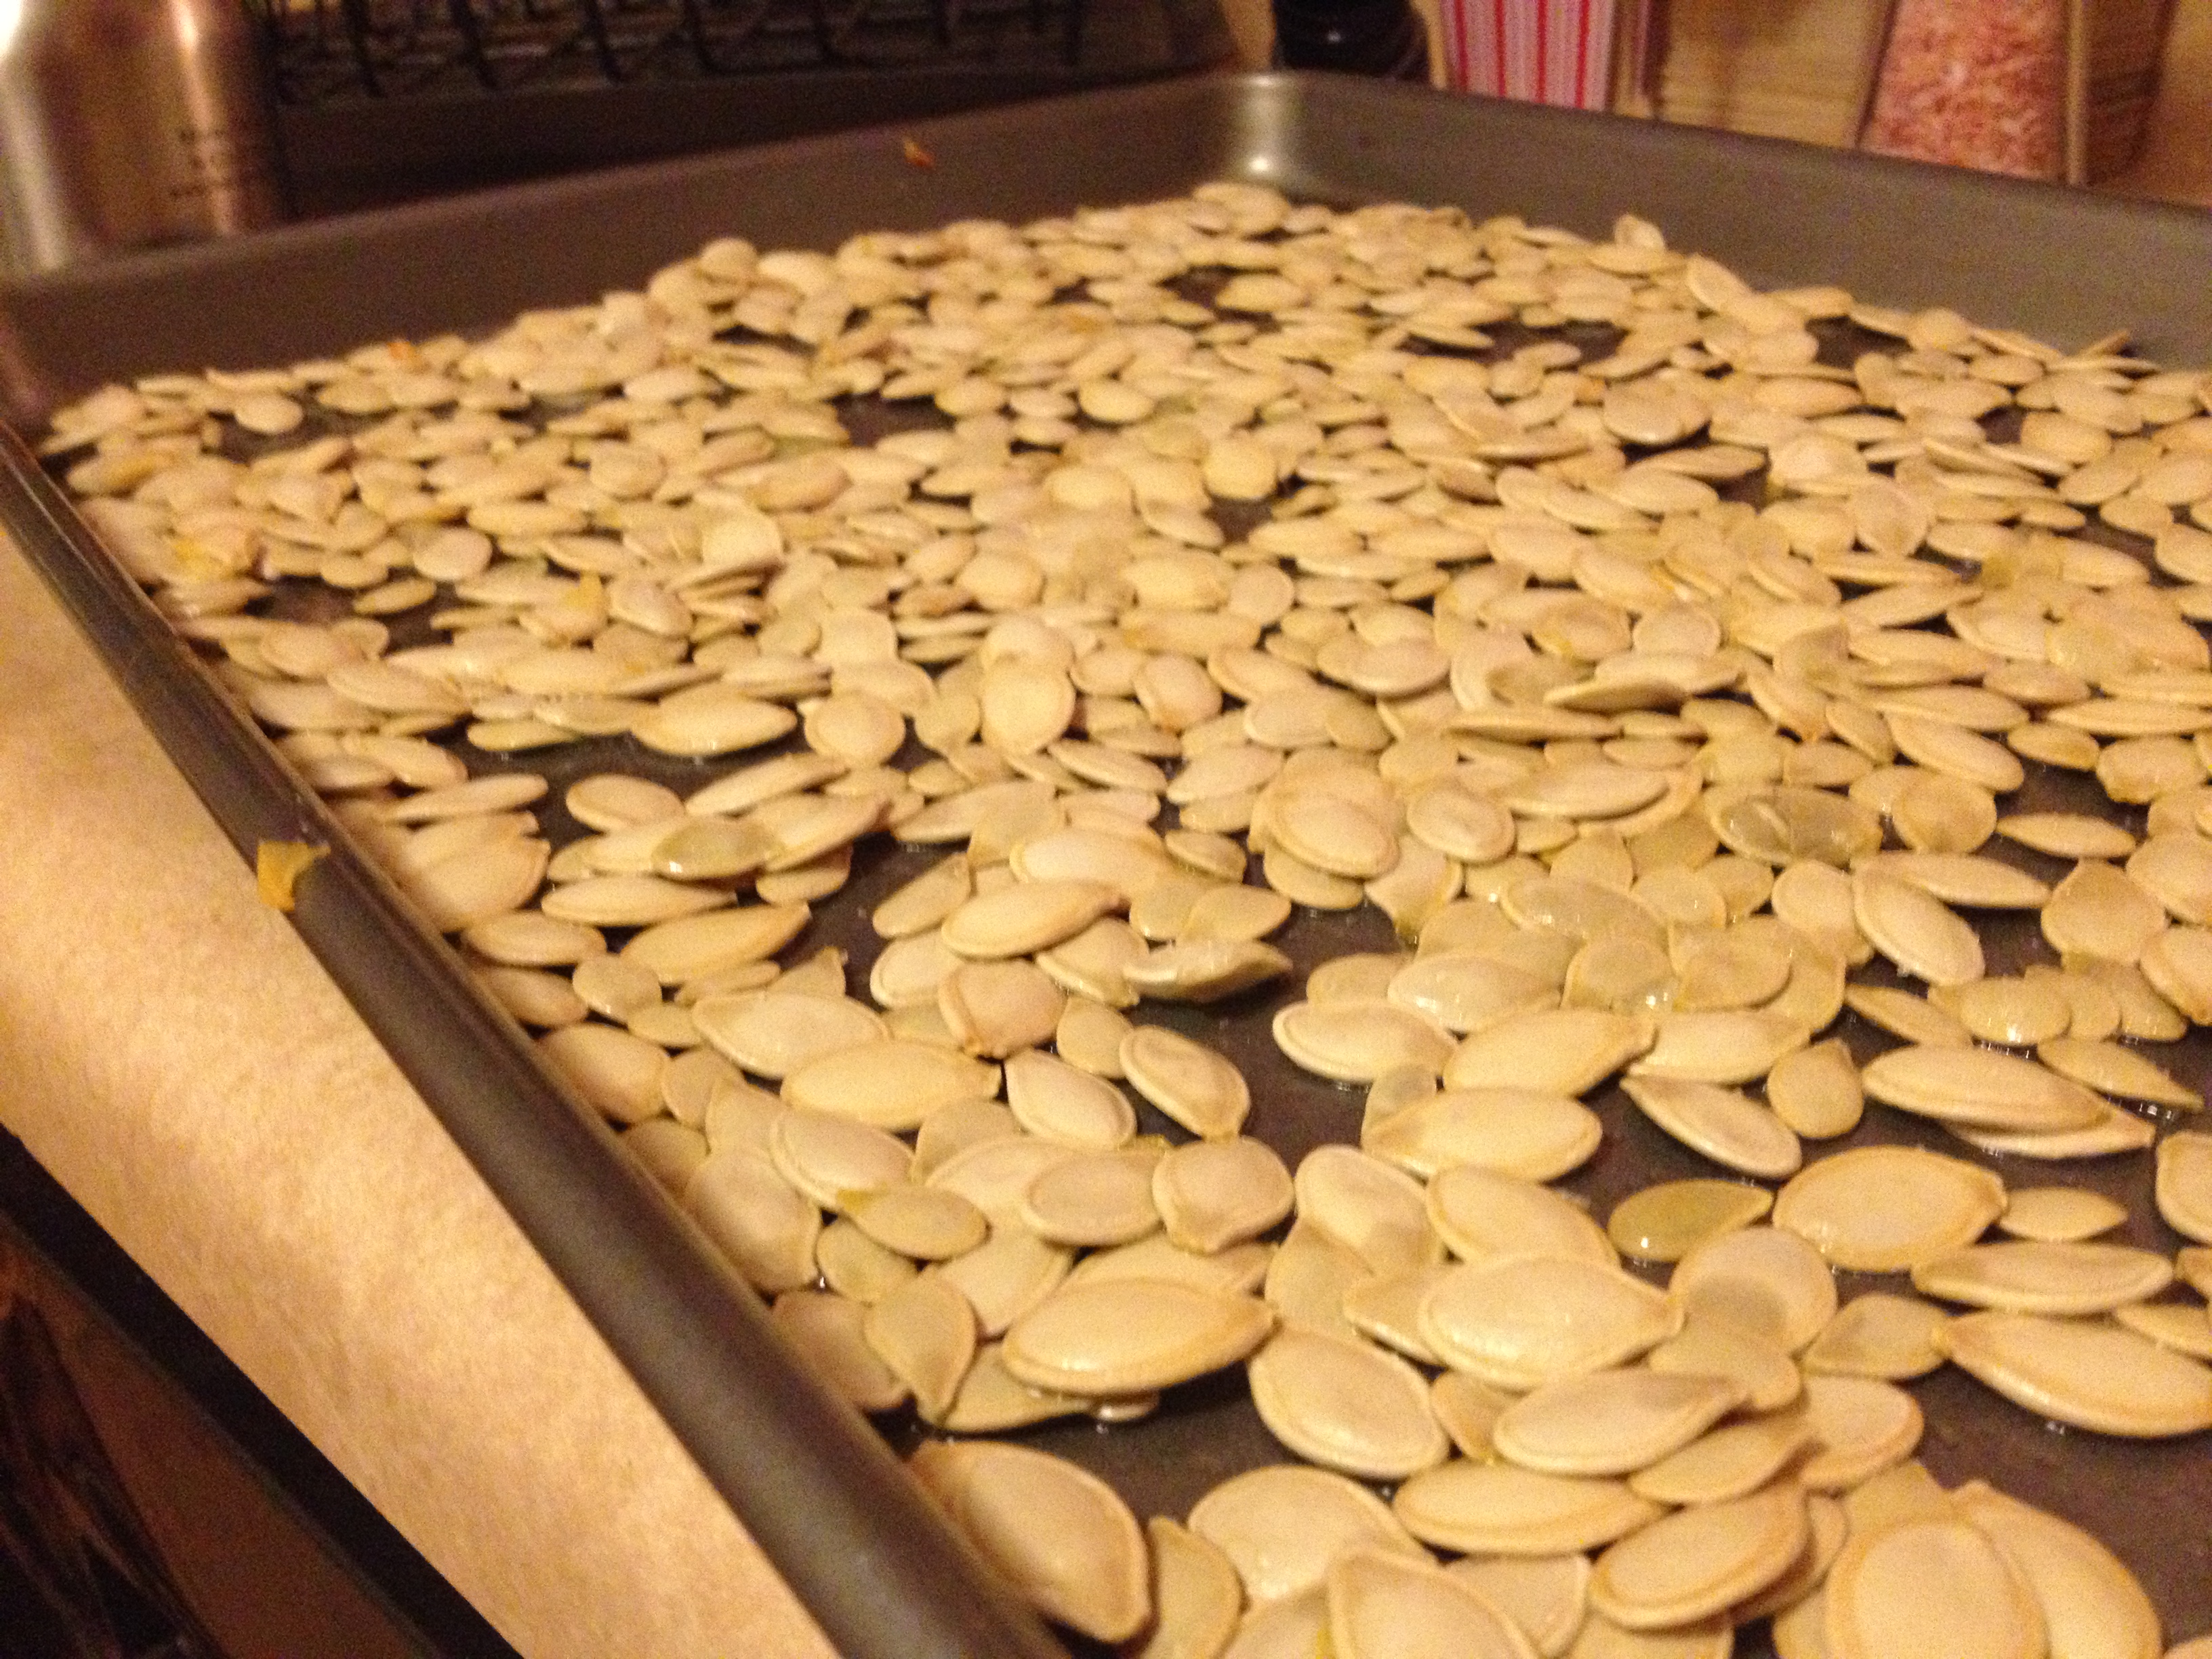
Spread out all the pumpkin seeds as flat as you can on a baking sheet. Then place in the oven from 20-40 minutes (depending on your oven and how many seeds you have) or until golden brown.

And that’s it! Serve and enjoy. I won’t be able to stop munching.

(Nymeria loved eating all the bits of pumpkin dropped on the floor)

spacer

Work Those Push Muscles: Chest and Triceps Workout

So there are some workout match-ups that tend to be our favorites. One of those favorites is the sweet chest and triceps pair. It’s a great combination and leaves you exhausted afterwards (my arms are very upset with me now that I am typing). So Alana, you’re probably saying, why is it a good combination? Lemme spit some reasons at ya (not literally, come on).

Triceps brachii, large arm model - Muscles of ...

Triceps brachii

1. Convenience: being able to do your chest and triceps at once can really open your workout schedule. This is especially for the people who tend to try to workout every day or every other day. It gives you a few days to work on other muscle groups without worrying about overworking those muscles. Because ultimately, that will lead to injury. And that’s a no-no.

2. Effective: you’re going to get a much better chest and triceps workout if you work them together. If you’re doing it properly, every chest exercise you do will work your triceps a bit and every triceps exercise will work your chest. That’s just how our body works.

3. Power: it makes you feel huge. Think about the strength, effort, and power that goes into benching.

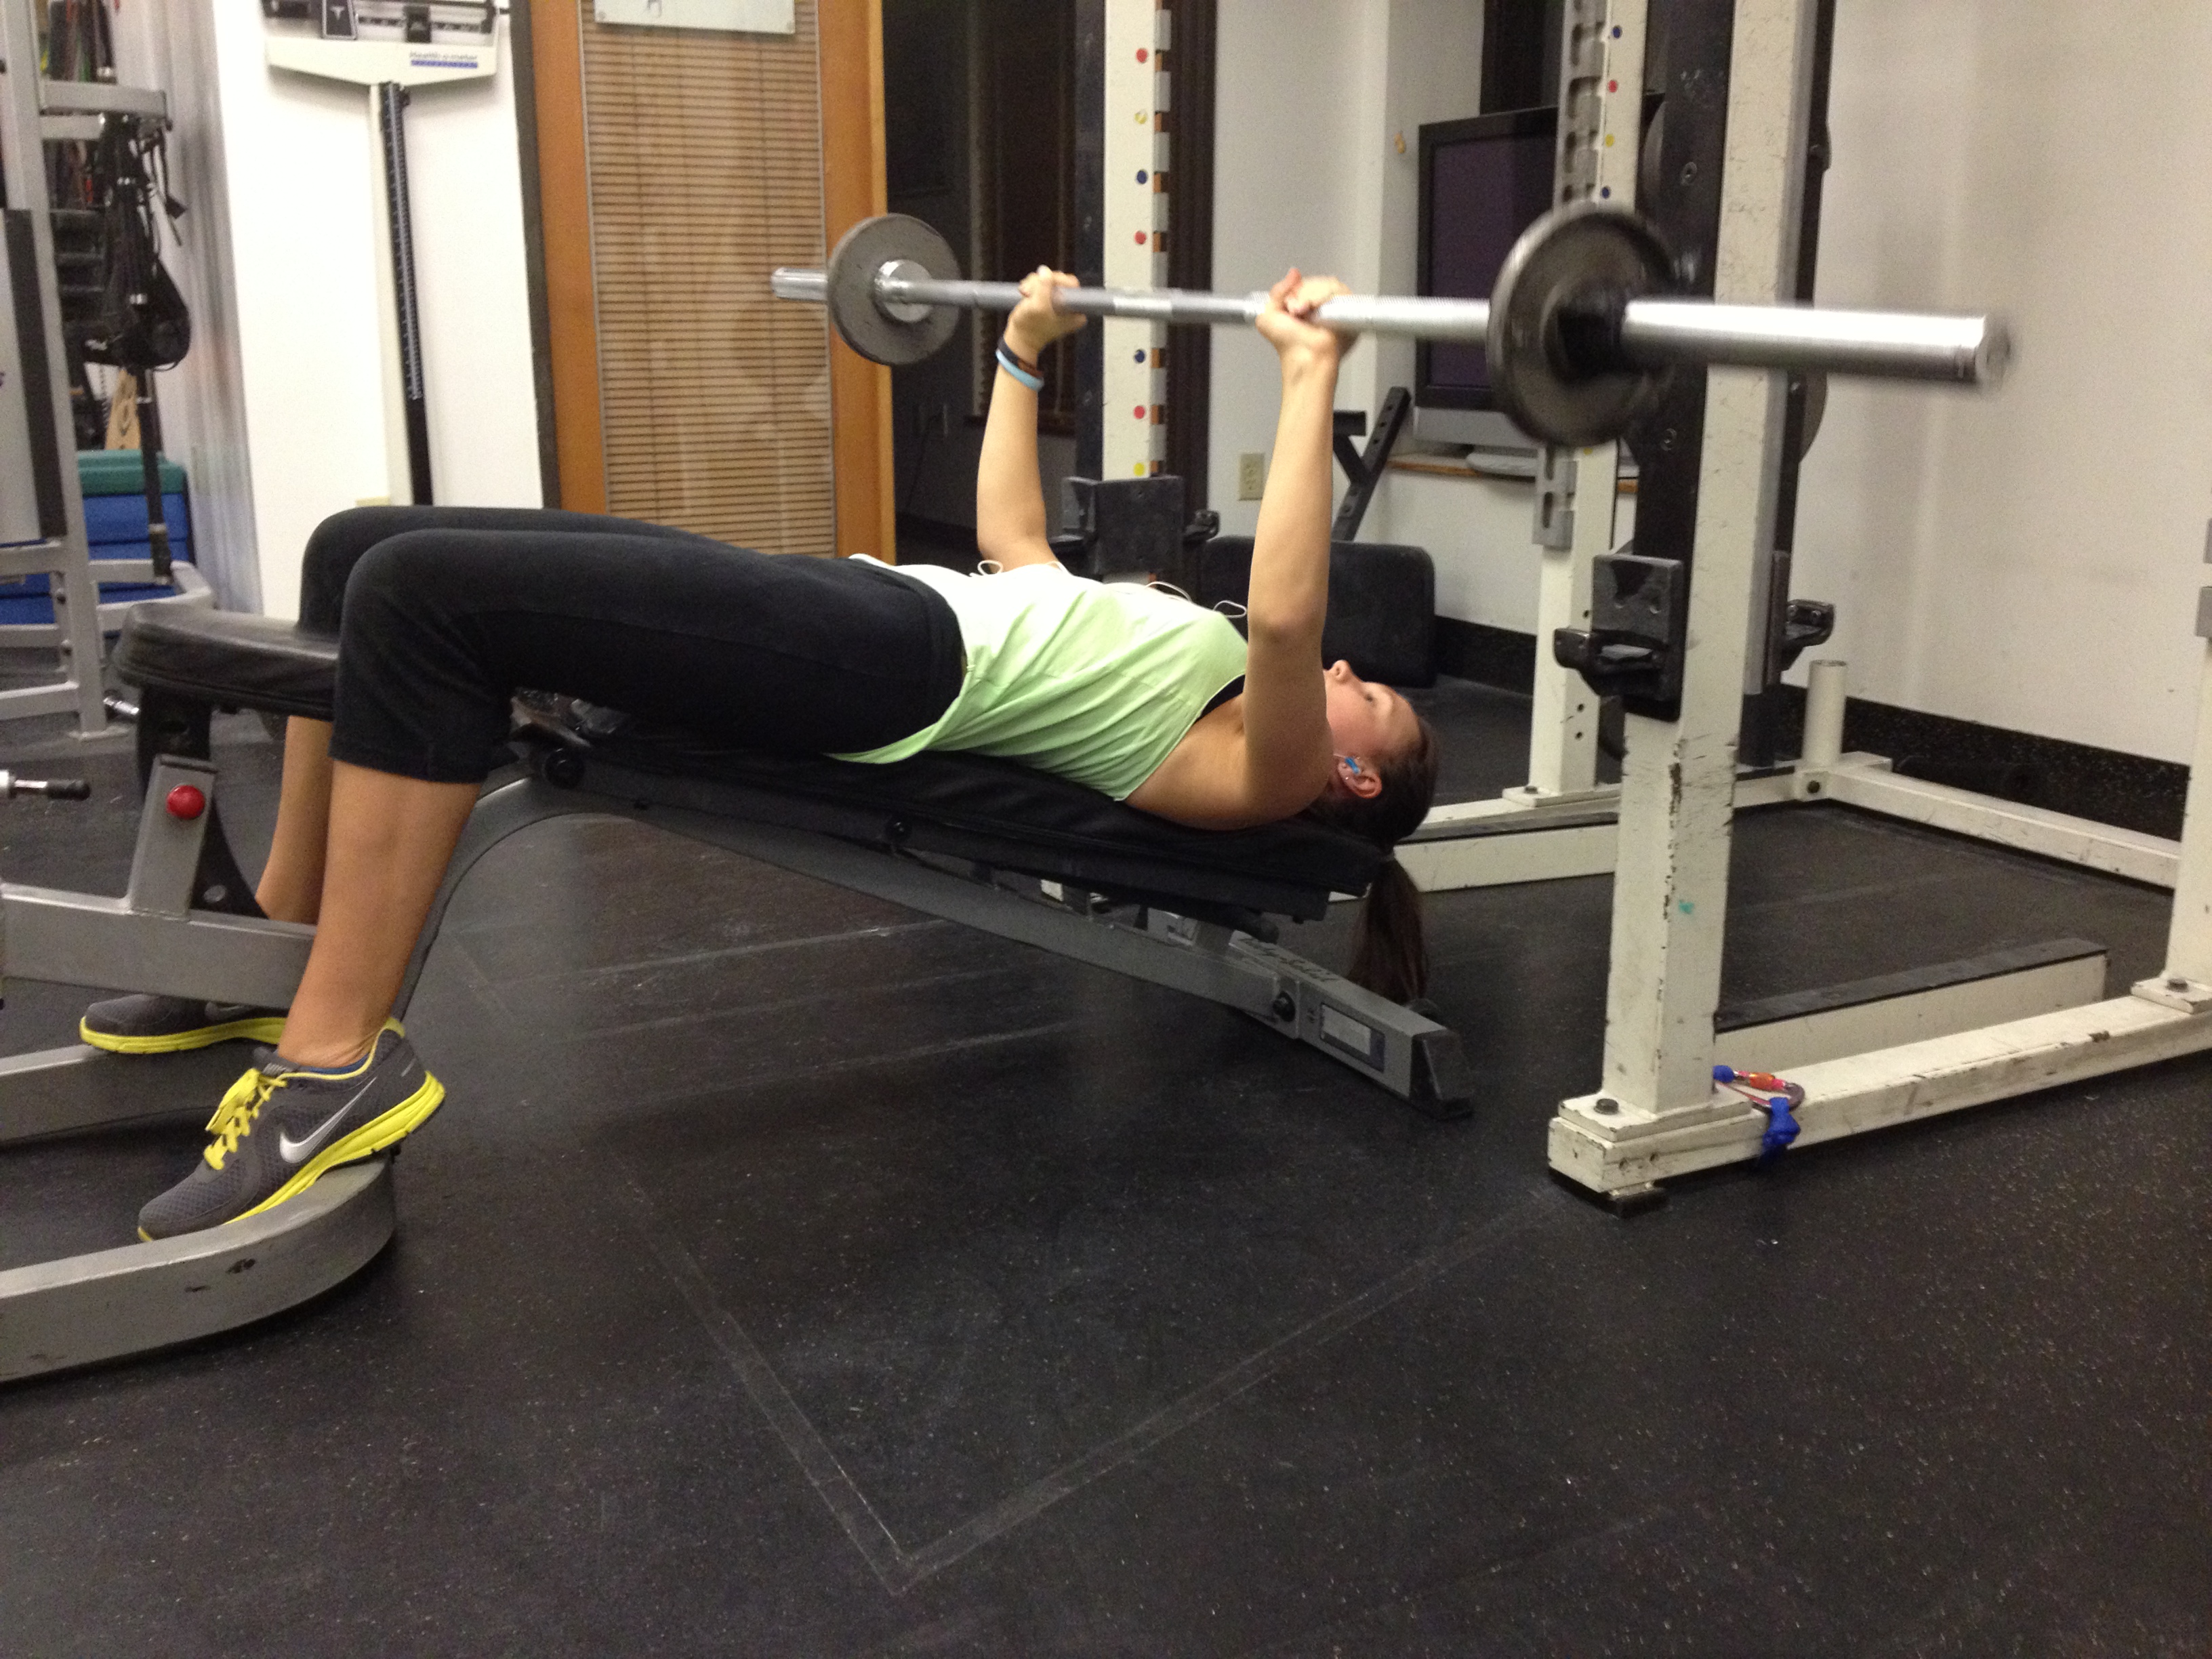
Anyhow, there’s a few reasons for you. Now let’s get to our actual workout. We have a few pictures for you of yours truly.

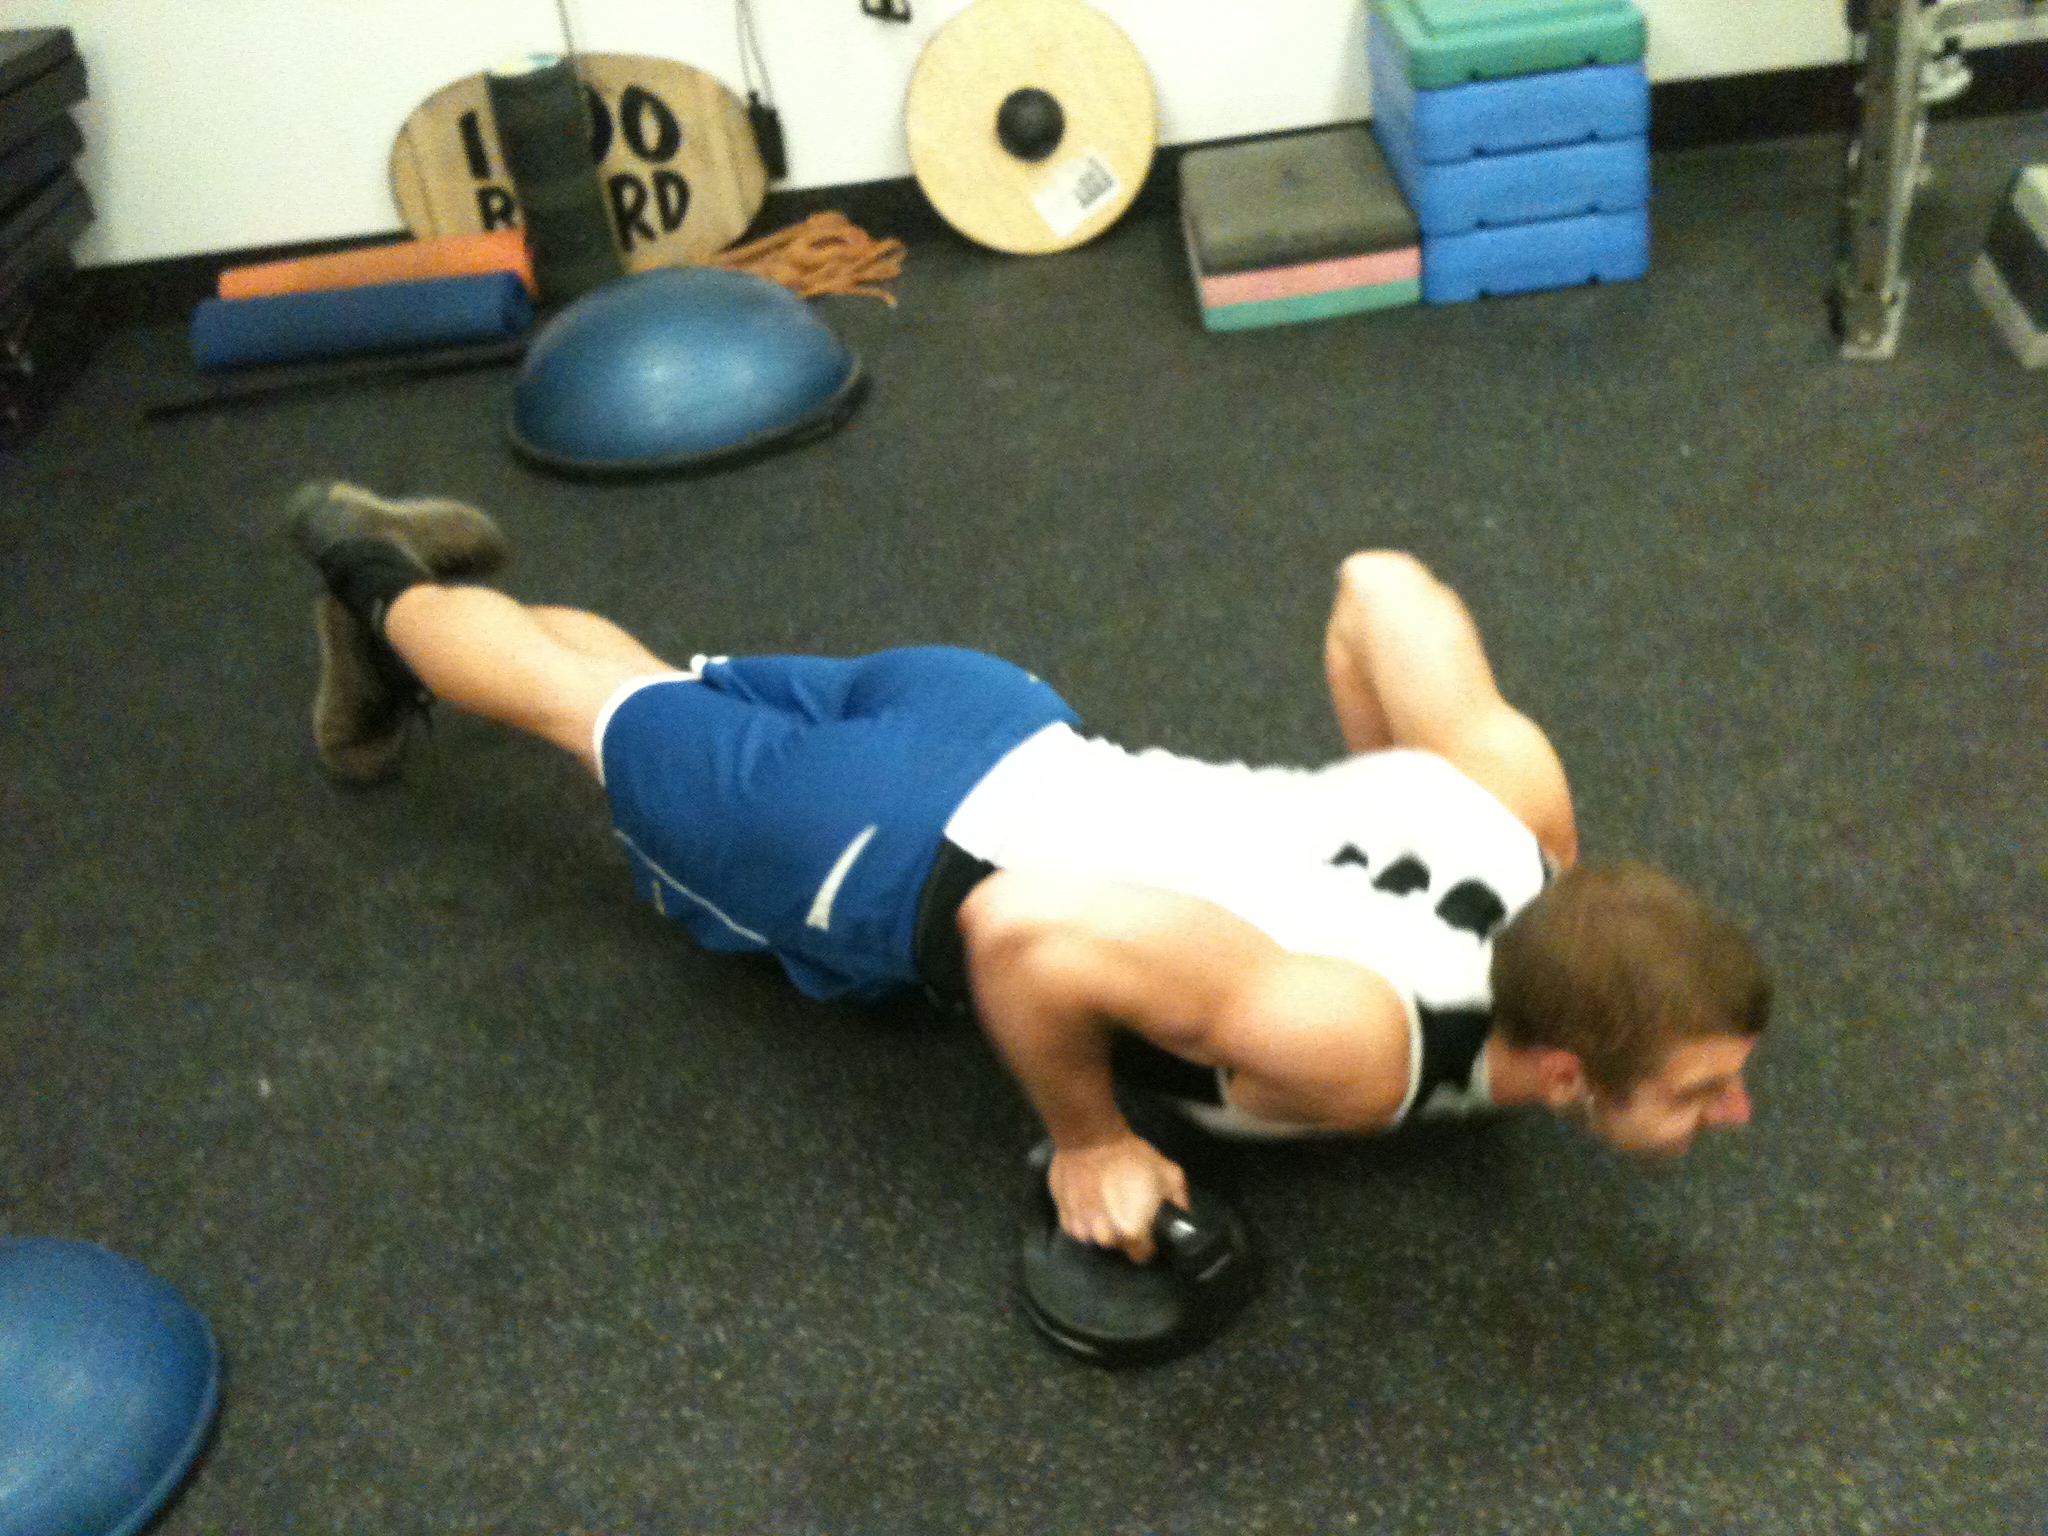
1. We started out with a super-set (one exercise after the other, no rest) of push-ups and triangle push-ups, working our chest in the first and triceps in the latter. You don’t need any equipment for this, so no excuses! Go until failure.

2. Our next super-set was incline chest press and incline pec fly. This really requires good strength and power (especially chest press). Unforunately, no pictures of us doing this. For chest press, you sit on the inclined bench, and push your arms straight up.

For pec fly, get in the same seated position. But start your arms out, like you’re going to give a tree a hug, and bring inwards (you tree-hugger!).

3. For this we didn’t do a super-set, because we wanted to spot each other for bench press. Personally, I’ve lost a lot of my strength, and can’t bench nearly what I used to (you’ll see low weight in the picture, the bar = 45 lbs). It’s just good to be there and spot for each other to get the weight up and getting help getting it down. We did decline bench press. Go for a good weight and, as usual, go til failure.

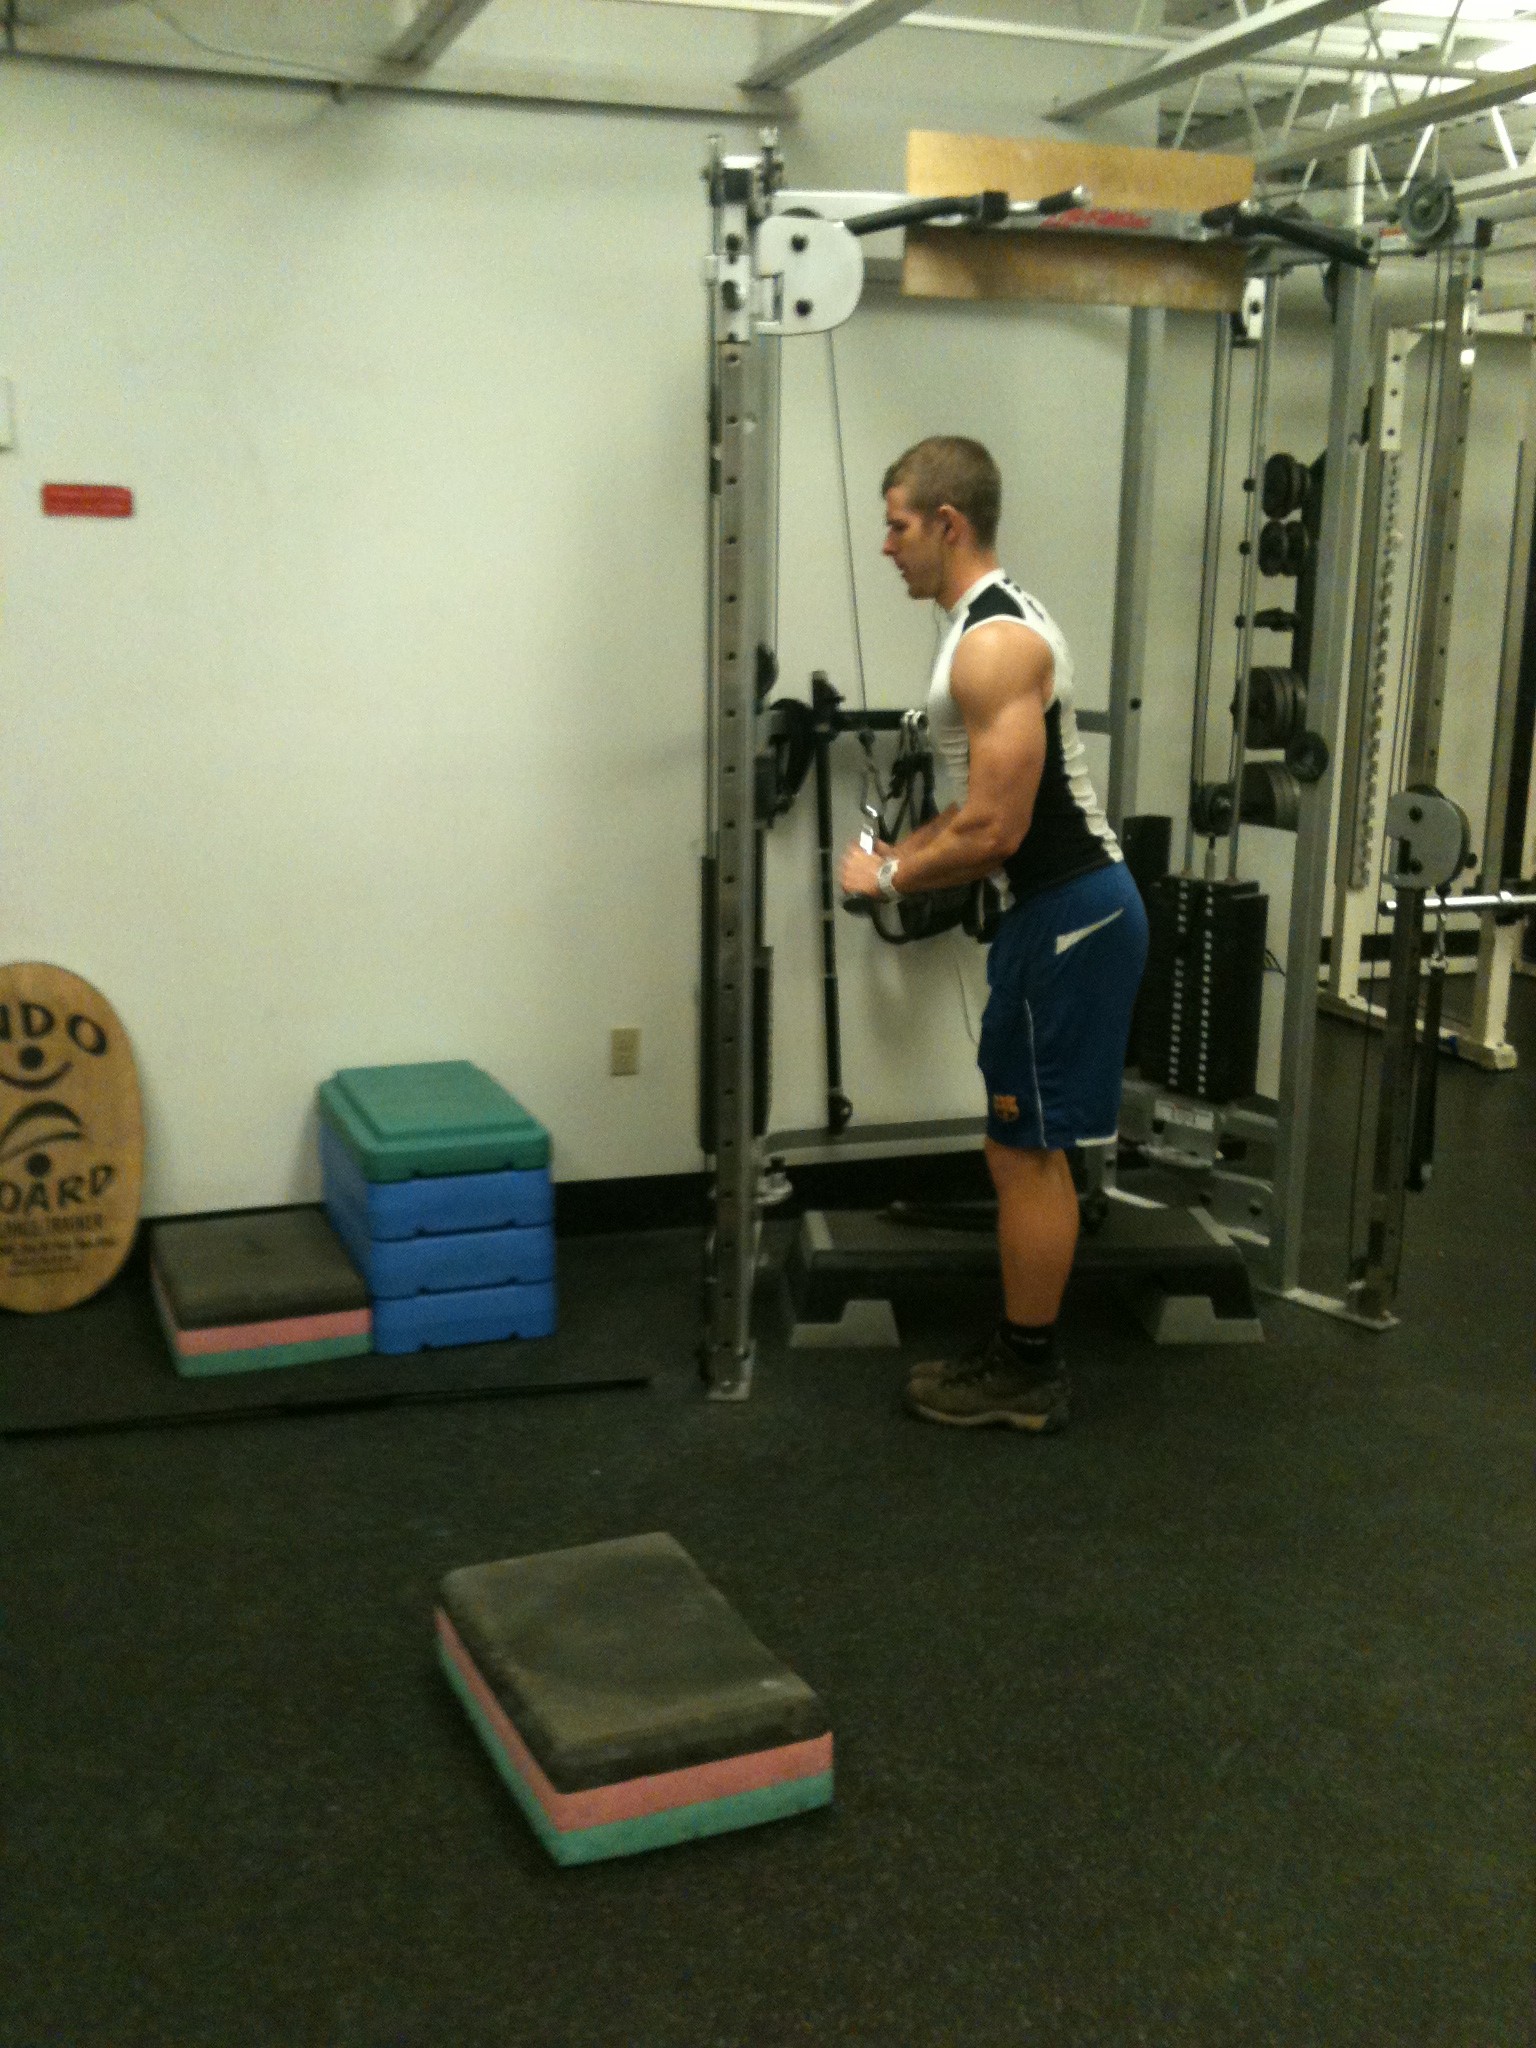
4. For our last super-set we combined triceps cable press and double-hand triceps extension. This really killed our triceps (in a good way!). For anyone uncomfortable with triceps exercises, I find that the cable press is an easy pathway to get comfy with working those triceps. You position yourself with the feet shoulder-width apart, facing the cable, and press down the steel triangle or horse rope down and bring your arms back to 90 degrees.

For triceps extension, grab a good weight and place behind your head and do vertical raises.

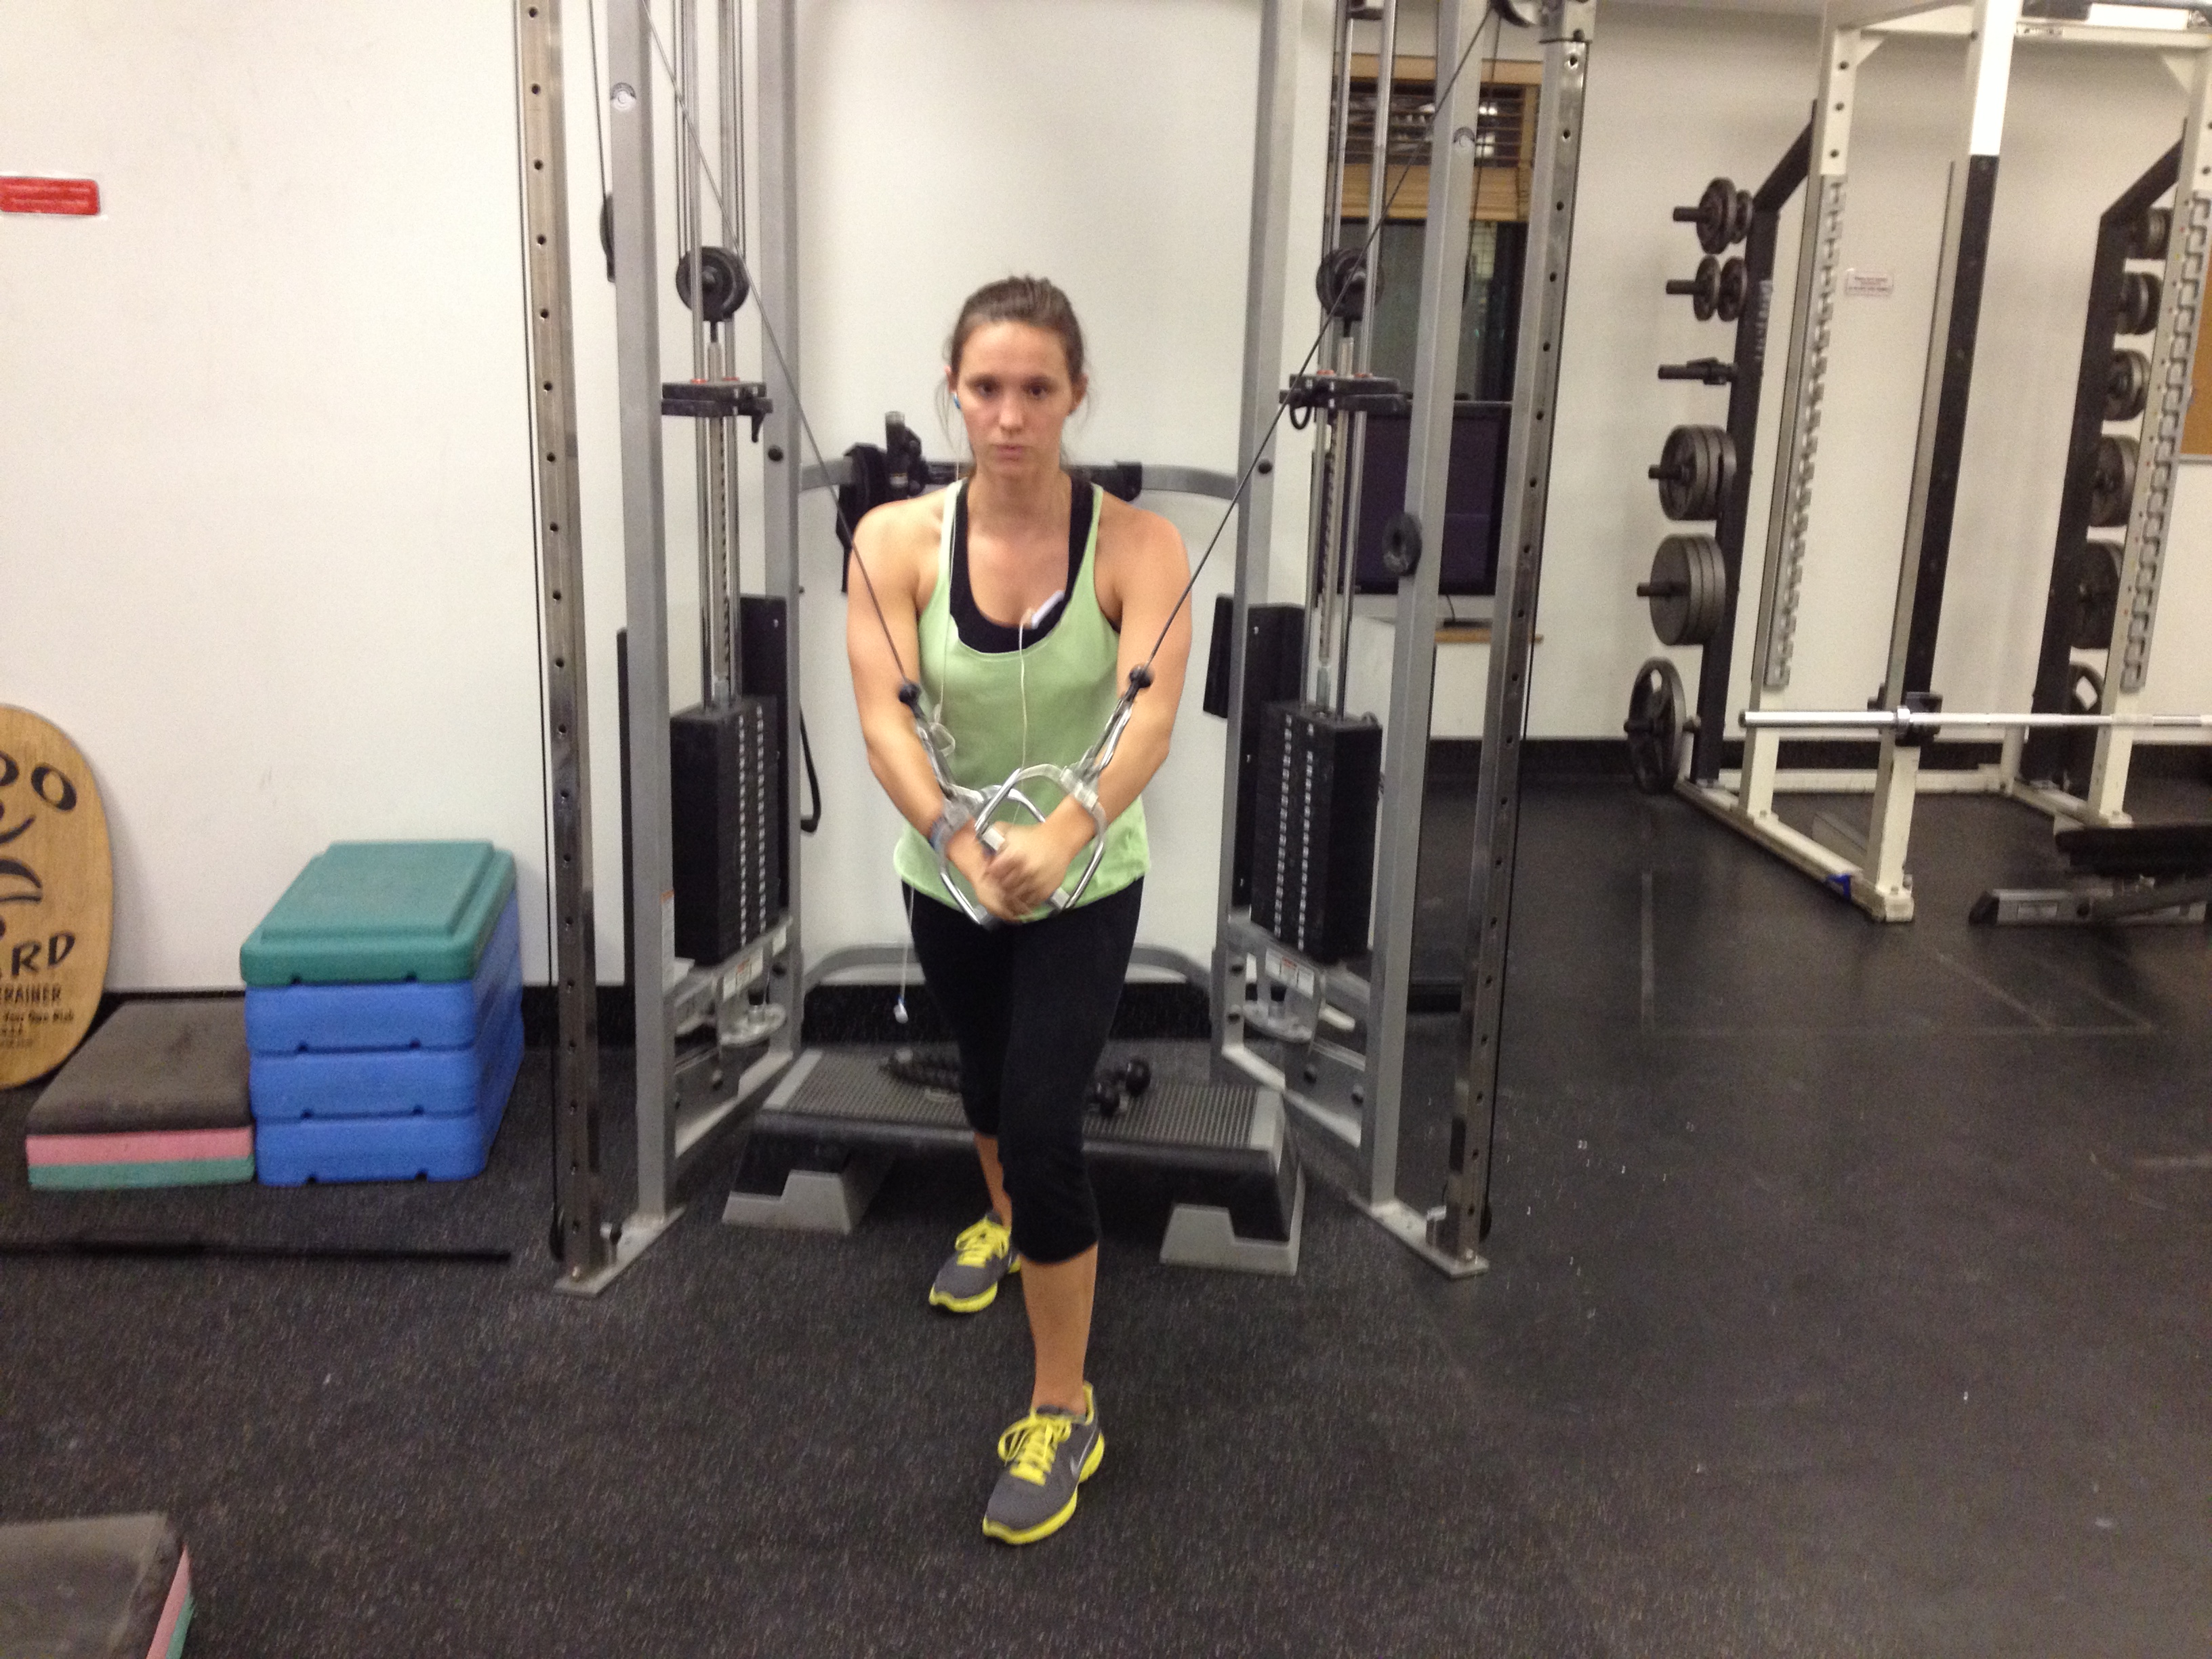
5. And lastly, to end our muscle workout, we did a cable cross-press. This will get a good pinching burn in your chest and triceps. We juiced out the rest of our strength through these. Always go to the end of your workout. Never stop pushing. Unless you feel sharp pains, THEN STOP. Stand away from the cables, grab each cable in each hand and cross over your hands.

For this entire workout, we did four sets of everything and pushed to failure. It could range from 8 to 100, it’s up to your body and your strength. We ended it with some excellent twenty-minute bouldering where Chris finished a new route that had been challenging him for weeks!

Please let us know if you have any questions! Cheers!

spacer