Archives

Nutty Granola Bars

[Please welcome back our guest food blogger, Jamie, along with her wonderful recipe!]

**Jamie’s passion for food and cooking began as a young girl, while watching her mother in the kitchen.  Her curiosity has pushed her to learn how to make a lot of her own products from scratch instead of buying it at the market like hummus, granola, yogurt, pickles, and much more.  Jamie is currently studying to become an Occupational Therapist and would love to incorporate cooking into her practice one day.**

jamie bio

It can be hard to find the right granola or power bar; they are usually too expensive, high in calories, or just taste bad.  These Nutty Granola Bars, loosely inspired by Kind bars, are high in protein and fiber, and super easy to make!  They are a perfect afternoon snack to get you through the long workday, quick energy before a workout, or an easy breakfast.

In my making these, I played around with spices, coffee grounds, and fancy Hawaiian sea salt to create a more complex flavor, but feel free to use whatever flavors you love.  Also, my friend dehydrates her own fruit so I was lucky enough to get to use a beautiful assortment of freshly dried fruits! 

Ingredients:

  • ¾ cup millet puff cereal (or rice puff cereal)
  • ¾ cup quick cooking oats
  • 1 ½ cups almonds, pecans, and pumpkin seeds (use whichever nuts and seeds you like or have on hand)
  • 1 cup dried figs, apples, peaches, and strawberries, chopped
  • 2 tablespoons Chia seeds
  • 2 tablespoons coffee grounds
  • 2 teaspoons chili powder
  • 1 teaspoon nutmeg
  • ½ cup honey
  • ¼ cup almond butter
  • ½ teaspoon Hawaiian sea salt

Directions:

 1. Preheat oven to 350 degrees F.

2. Place nuts, seeds and oats onto a baking pan and toast in the oven for 15 minutes, stirring every now and then.

baking

3. While nuts and oats are toasting, line an 8×8 baking pan with aluminum foil so that the edges hang over the side.

pan

4. Chop your dried fruit.

dry fruit cut fruit

5. Mix puff cereal, toasted nuts, seeds, oats, dried fruit, Chia seeds, coffee grounds, chili powder, and nutmeg in large bowl. Set aside.

6. Whisk honey, almond butter, and salt in a small saucepan for about 2 minutes or until smooth.

almond butter

7. Pour hot mixture over the dry ingredients, and stir until dry ingredients are coated equally.

8. Transfer to lined pan and spread evenly. Using a spatula, or the bottom of a measuring cup, press mixture tightly.

spread

9. Place in fridge for about 2 hours.

10. Pull block of granola out of pan using the overhanging foil and cut into bars.

granolablock

11. Individually wrap bars in parchment and store in an airtight container.

So yum!

So yum!

 Yields 10 bars. Use this recipe to stay hungry and fit!

 BONUS KITTY PIC

jamie kitty pic

spacer

Having Gastrointestinal Issues? Try Pickle Juice

First disclaimer, I might be applying to and enrolling in school for a degree in Dietetics but I am not a doctor, so take this all with a barrel of salt. Second disclaimer, I do firmly believe that everyone’s body works uniquely to a certain degree; therefore, what works for me most certainly may not work for you.

Nevertheless, when I am having a pain in my throat, chest, or midsection (top or bottom), and I can’t figure out what it is, it is usually related to digestion. Something is upset in my gastrointestinal tract. If you’re reading this far, you’ve had those countless sleepless nights where no position is comfortable. You’ve went to every specialist, the emergency room, and there are still tons of unanswered questions. You’ve tried western medicine and homeopathic options. Heck, you’ve even tried not eating… but nothing works.

Personally, I went to the emergency room last year and was told that I only had gastritis. It was pain for days, and I have a high pain tolerance. But getting to the point, I had a similar pain a few months ago and used the “gastric cocktail” they made me at the hospital. It didn’t work. This must have been worse. What did work? Pickle juice. That’s right. Someone recommended using pickle juice and I was in so much pain (and nothing professional had worked) that I said, might as well. 

photo 2

How hilarious are these

photo 1

So, I ended up chugging the whole jar of pickle juice. It was from Claussen’s Whole Kosher Dills, which is a higher quality pickle, in my opinion. Third disclaimer, I love pickles and pickle juice. I enjoyed drinking it. Fourth disclaimer, we are not sponsored by Claussen’s! Within fifteen minutes of drinking it I started to feel pressure alleviating from my chest. Burning dissipated from my throat and my stomach settled. After about 90 minutes, I felt completely fine. 

So, it might be a long-shot, but it might work. It’s not expensive. I keep three jars of pickles in my fridge, and if you’ve had mysterious GI issues like myself for as long as you can remember, it might work for you. It might help you stay hungry and fit!

BONUS KITTY PIC

Nymeria being silly

Nymeria being silly

spacer

Homemade Almond Milk

[Please welcome back our guest blogger, Jamie, with another one of her delicious recipes!]

KITCHEN EXPERIMENTS WITH JAMIE

**Jamie’s passion for food and cooking began as a young girl, while watching her mother in the kitchen.  Her curiosity has pushed her to learn how to make a lot of her own products from scratch instead of buying it at the market like hummus, granola, yogurt, pickles, and much more. Jamie is currently studying to become an Occupational Therapist and would love to incorporate cooking into her practice one day.**

jamie bio

Today, one can find milk made from almost anything—soy, rice, different kinds of nuts, etc. They can be a little easier to digest than milk and I personally like the taste. While it is possible to find great quality milk substitutes at Whole Foods and other health food stores, they can be pricy and some brands can be high in sugar and contain additives. So, why not make your own?

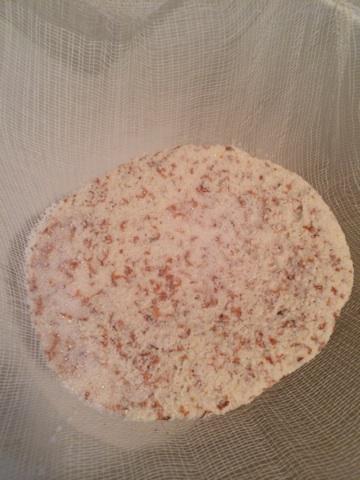
Making your own almond milk is unbelievably easy and resourceful because you can utilize the whole almond with zero waste. After pulverizing the almonds to make tasty milk, try using the almond grounds in granola, in baked goods, or even just toast them in the oven with some sugar or spices and use them as sweet or savory crunchy topping.

Here’s my recipe for homemade almond milk. As always, feel free to play around with it!

Ingredients:

  • 2 cups raw almonds, soaked in water overnight
  • 5-7 cups water
  • 5 Tbs. simple syrup (use any sweetener you like)
  • 2 tsp. vanilla extract (or a whole vanilla bean, chopped)
  • small pinch of salt
  • Cheesecloth and large bowl

Directions:

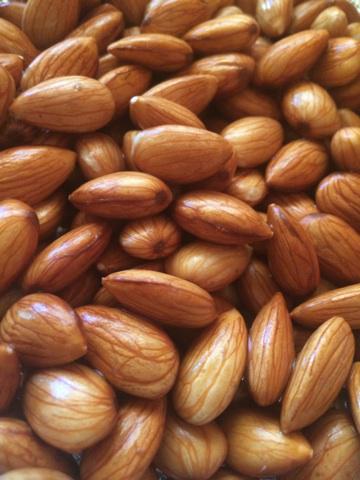
1. Drain and rinse the soaked almonds.

almonds

So pretty!

So pretty!

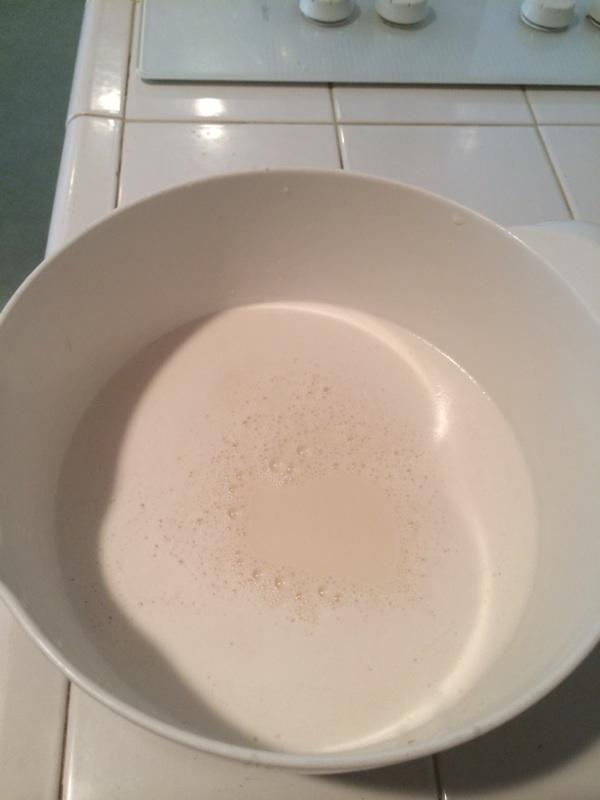
2. Place almonds in a blender along with the water, simple syrup, vanilla, and pinch of salt. (I had to do mine in batches because my blender could not hold all the liquid)

3. Blend for a minute or so.

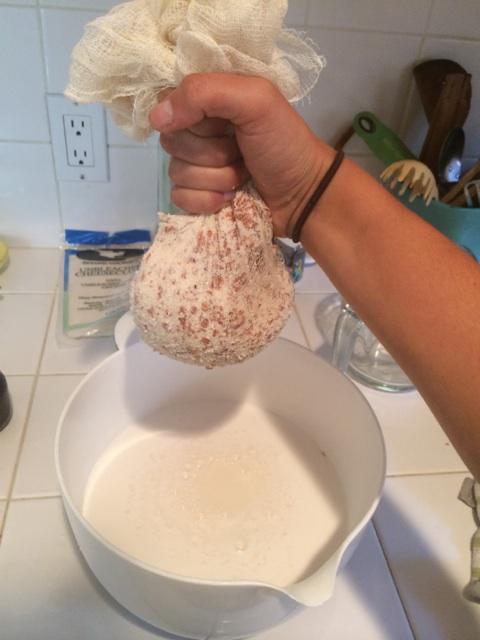
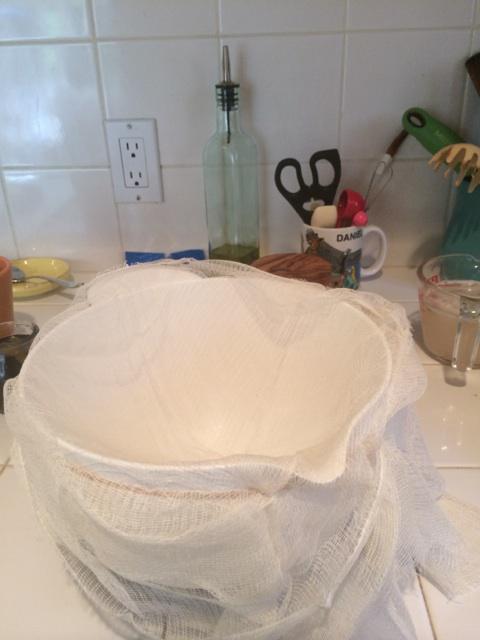
4. Place cheesecloth over large bowl (I held mine in place by wrapping a rubber band around it), and slowly pour almond mixture over it. Squeeze the bottom of the cheesecloth to release the milk.

cheese cheese out almond bits

So cool!

So cool!

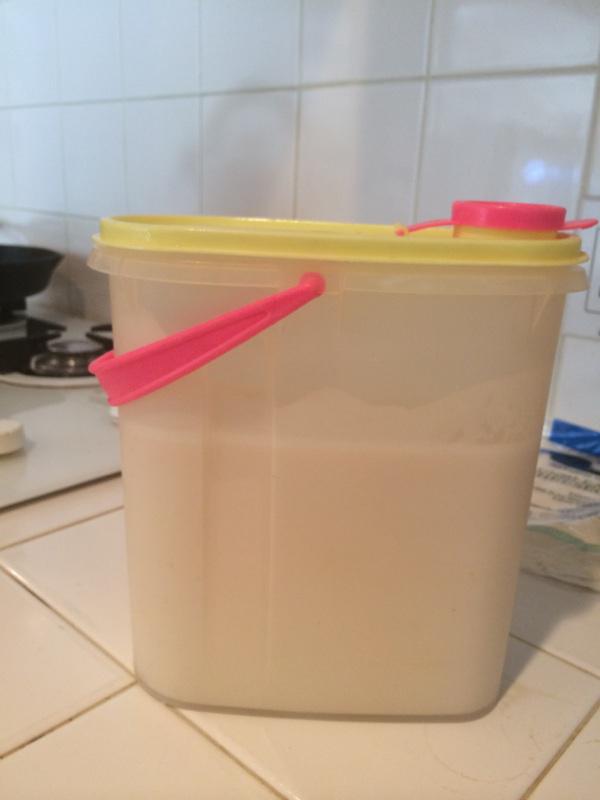
5. Pour into a pourable container to store in the fridge for about 5 days.

almondmilk almondmilk store

Makes 5-7 cups

You can make your own simple syrup by boiling equal parts sugar and water until the sugar dissolves and letting it cool to room temperature. I like to infuse mine with herbs like rosemary or sage and vanilla beans! Enjoy this recipe and as always, stay hungry and fit!

BONUS KITTY PIC

Jamie's adorable cats

Jamie’s adorable cats

spacer

Homemade Banana Fritters

In my experience, it seems like banana fritters are not a huge thing in the United States. However, growing up in my household with a Kiwi mother promises otherwise. Oh homemade banana fritters, how can words do justice to your magnificence? Banana fritters are a special part of weekend breakfasts in my family. They are basically a banana and flour mixture that’s fried in oil on the stove top. We usually top them with powdered sugar. It’s so delicious. And better even still–they are incredibly simple to make! Let’s get to the recipe.

photo 1 (83) photo 2 (69) photo 3 (63) photo 1 (82) photo 5 (29) photo 4 (50) photo 2 (68)

Banana Fritters
Yields 8
A decadent breakfast recipe that takes under 15 minutes to make
Write a review
Print
Prep Time
5 min
Cook Time
6 min
Prep Time
5 min
Cook Time
6 min
Ingredients
  1. 1/2 cup flour
  2. 1/2 tsp baking powder
  3. water
  4. powdered sugar
  5. 2 bananas
Instructions
  1. Sift flour and baking powder
  2. Mix with water to batter consistency (water amount could be different for everyone)
  3. Slice bananas and stir them into the batter
  4. Heat a pan with quarter of an inch of oil
  5. Take a large spoonful (see pictures) of fritter mix and plop into pan
  6. Cook until little bubbles start to appear in batter (roughly 3 minutes)
  7. Flip and do the same
  8. Take out of pan and put on paper towel
  9. Sprinkle with powdered sugar
hungry and fit https://hungryandfit.com/
I can usually only get through about two because they are very rich and quite rewarding. I’m sure many other Americans would love to play around with this recipe like put syrup or fruit on top. You should experiment! For me, it’s powdered sugar until the end. This is my mum’s recipe and I feel very lucky indeed to have it and also to be able to share it with you all! She’s been making it for who knows how many years, so it’s almost as easy as making a cup of tea for her. Enjoy this recipe to stay hungry and fit!

*Question of the Day: What’s a special breakfast tradition for your family?

spacer

Healthy Chocolate Protein Truffles

Summer is slipping away, bikinis are being put back in the drawers, and the trench coats are coming out. This may put us in a “in-the-grind” type of mindset where we push ourselves to work hard, stay relaxed, and put our health on the back-burner. Stop right there! Just because we aren’t donning our swimwear, does not mean that we can let health and fitness slip away! We still want to feed ourselves in a nutritious manner and keep our movement flowing.

These healthy chocolate protein truffles will bring you to that fitness mindset. They are incredibly easy to prepare and also easy to pop in your mouth! The whole thing took me about 7 minutes to make, and by the time it’s morning–they’re ready! This recipe inspired me. They are chock full of protein and only sweetened by honey. I also use Silk Vanilla Soymilk to give it some yummy vanilla flavor while keeping the calories down.

photo 1 (80) photo 2 (66) photo 3 (62) photo 4 (49)photo (91)


Healthy Chocolate Protein Truffles
Yields 12
A healthy approach to a classic dessert
Write a review
Print
Prep Time
7 min
Prep Time
7 min
Ingredients
  1. 3/4 cup chocolate protein powder
  2. 1/3 heaping cup cocoa powder
  3. 2 1/2 tbsp butter
  4. 1 tbsp honey
  5. 5 tbsp Silk Vanilla Soymilk
  6. 2 tbsp ground almond
Instructions
  1. Mix all ingredients together (doesn't matter in what order)
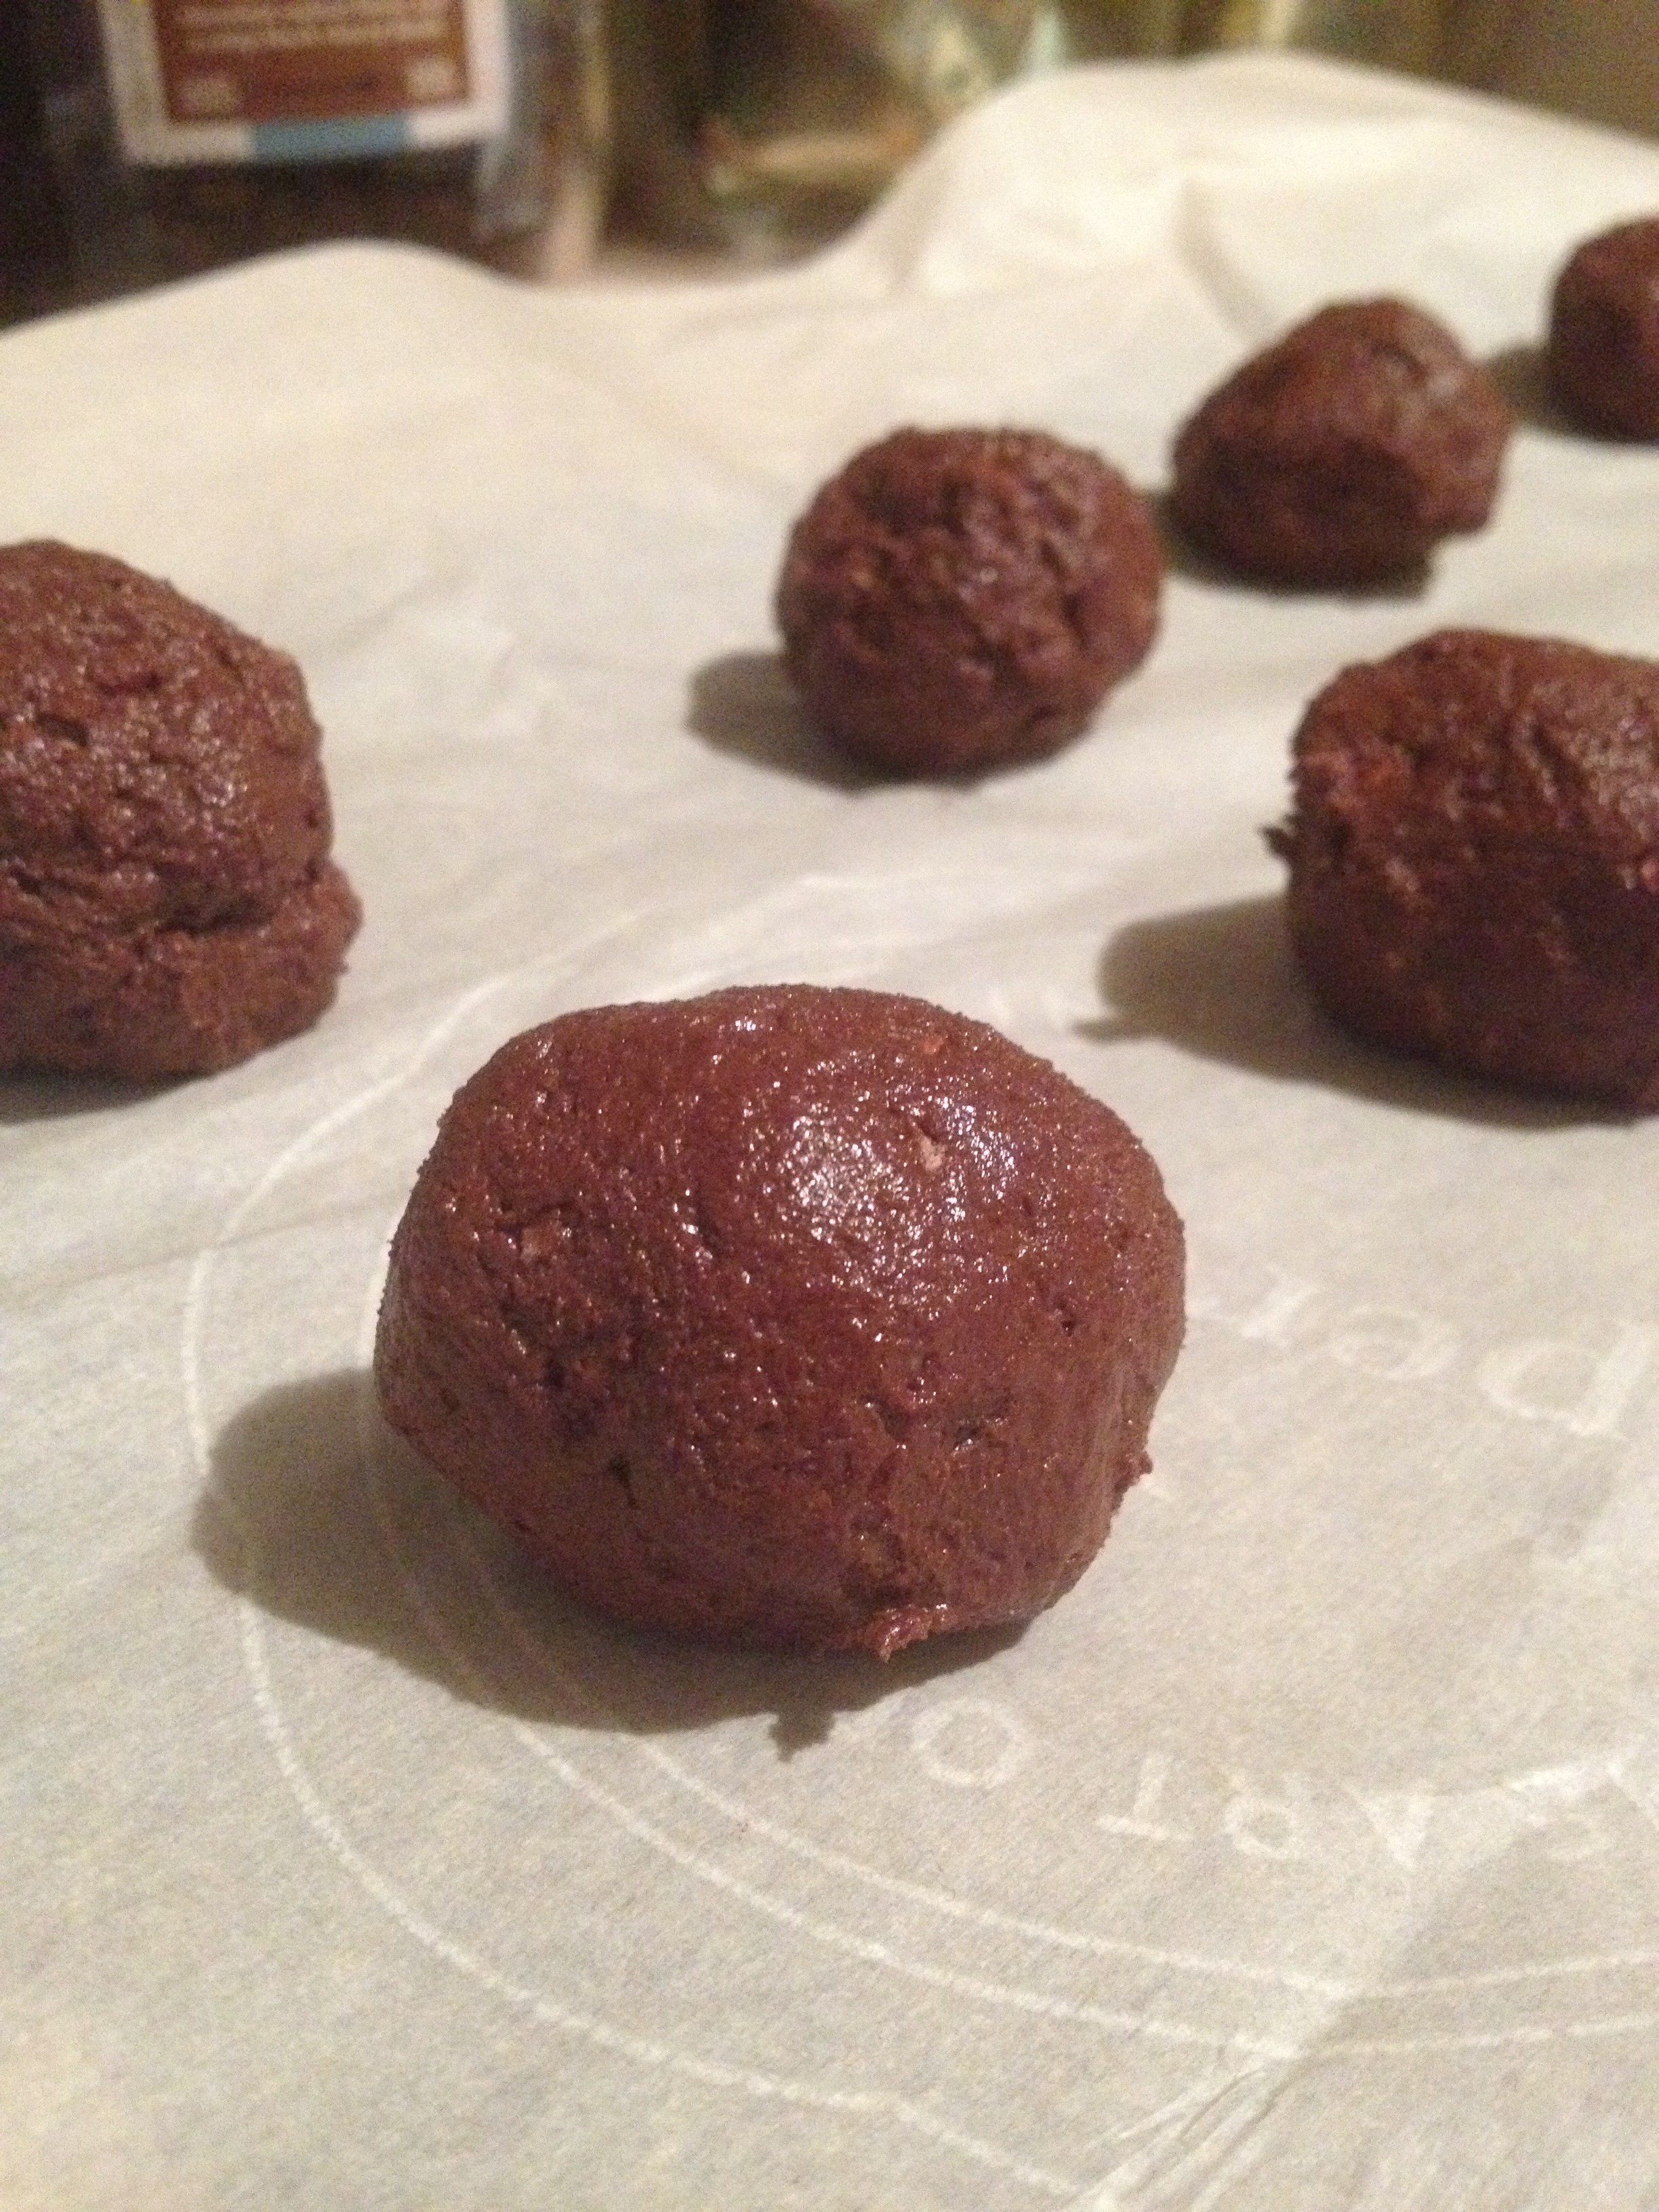
  2. Form into small balls and place on a baking sheet with parchment paper atop
  3. Put in the fridge for a few hours or overnight
hungry and fit https://hungryandfit.com/
See? Easy peasy truffle time. I just have to limit myself to a couple per hour. Silk has helped me achieve a healthier recipe. If you want more Silk in your life (and the chance to win an entire year’s worth of Silk products), sign up for the Silk newsletter. There are coupons at least once a month, plus lots of cool giveaways. Silk Facebook page has also inspired me to make recipes such as this one. The versatility of their products has always amazed me which is why I continue to use their products. Be playful with this recipe–you can use any kind of protein powder, any flavor, and any type of Silk milk! Have fun and make it your own. Use this recipe to stay hungry and fit!

This conversation is sponsored by Silk. The opinions and text are all ours.


spacer

Hungry’s Birthday in Pictures

Birthday donuts at 6am!

Birthday donuts at 6am!

Donut boy

Donut boy

Presents...

Presents…

Cuties

Cuties

Awesome shoulder workout together with his new shirt

Awesome shoulder workout together with his new shirt

Omusubi for lunch in his new H&F shirt

Omusubi for lunch in his new H&F shirt

BEACH! We saw dolphins and body-surfed awesome waves (thanks, ocean!)

BEACH! We saw dolphins and body-surfed awesome waves (thanks, ocean!)

post-ocean selfie

post-ocean selfie

Ramen for dinner!

Ramen for dinner!

photo 2 (1)

Dessert!

photo 4 (1) photo 3 (1) photo 5

spacer

How Do I Make an Alfredo Sauce?

With high quality ingredients, patience, and love! Plus, all of the instruction I will give you below.

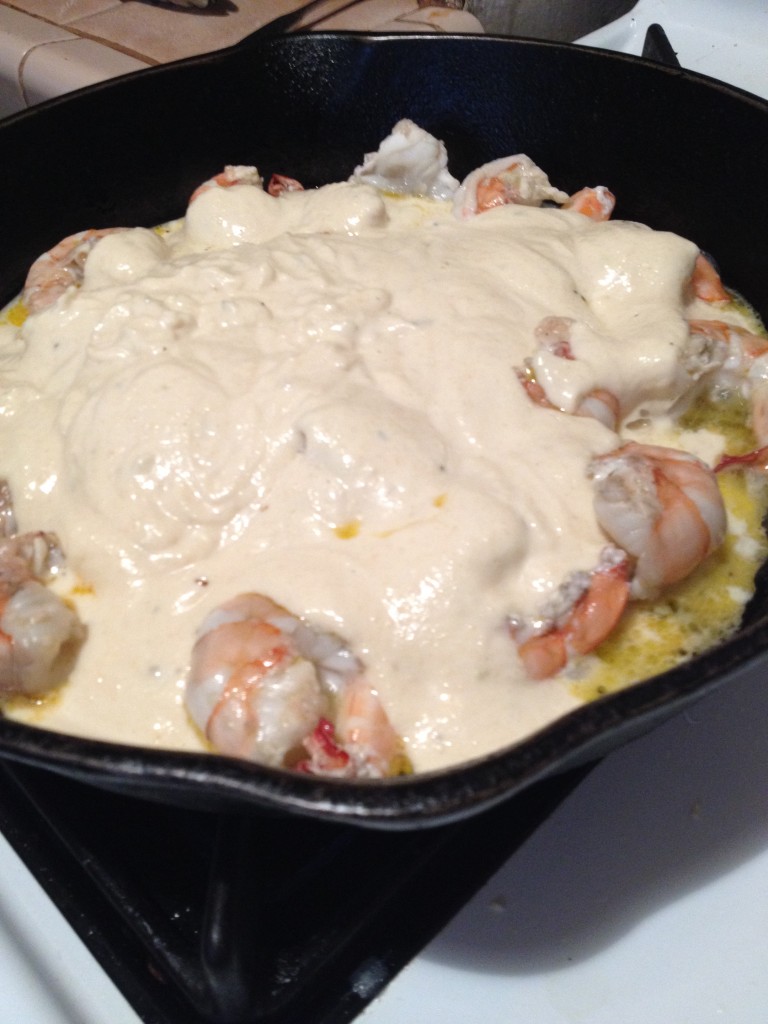
Last week, I made my signature Shrimp Fettucine Alfredo (with a scallop on top, asparagus, and french bread) for Fit’s birthday dinner. Of course, cooking for six in a kitchen you haven’t really used is always challenging but we cannot make excuses, only delicious food. (It’s also fun when one doesn’t eat meat, one has to control their intake of carbs, and one has acid reflux!) Alas, here is a very basic but very delicious way to make Alfredo sauce.

photo 1 (77) photo 1 (78)  photo 2 (65) photo 1 (79) photo 4 (47) photo 4 (48) photo 3 (61)

Shrimp Fettuccine Alfredo
Serves 8
Hardy and rich meal with robust flavors that anyone can make
Write a review
Print
Prep Time
20 min
Cook Time
35 min
Prep Time
20 min
Cook Time
35 min
Ingredients
  1. 1 tablespoon - Dry Italian Seasoning
  2. 1 teaspoon - Dry Oregano
  3. 1 teaspoon - Dry Herbes de Provence (do not tell my ancestors!)
  4. 1/2 Pint - Heavy Whipping Cream
  5. 1 Pint - Milk (I use whole, some use skim! How rich do you like it?)
  6. 2 Tablespoons - BUTTER
  7. 1 Anchovy - Diced
  8. 1 1/4 cup of shredded Parmesan cheese
  9. 1/3 cup of shredded Asiago cheese
  10. 1/3 cup of shredded Romano cheese
  11. Salt (in grinder)
  12. Pepper (in grinder)
  13. Medium saucepan
  14. Whisk (no ball or spring whisks please... stick to a balloon or french whisk... I use french for better movement)
  15. Spoon (for tasting)
  16. LOVE, PASSION, DESIRE
Instructions
  1. Pour all of the milk into your medium saucepan, on medium heat.
  2. Begin whisking at a moderate pace, adding the heavy whipping cream.
  3. Continue whisking with the dominant hand, add the butter.
  4. Whisk to break down and incorporate the butter completely.
  5. Slowly add 1/4 cup of shredded cheese (any) while whisking.
  6. Continue adding cheese, slowly, whenever the former cheese added has completely been incorporated, without any lumps.
  7. Add the diced anchovy, while whisking gently.
  8. Add the dried herbs, while continuing to whisk gently.
  9. Let the mixture sit at medium heat and take a moment to taste.
  10. Add salt and pepper at your disposal.
  11. When the flavor is beautiful, continue whisking at medium heat, until it has thickened to your desired texture.
Notes
  1. I recommend using HIGH QUALITY ingredients! If you cannot afford them, that is fine BUT if you are trying to make a special meal for a special someone (or are just trying to impress anyone) it is well worth the splurge! The difference is obvious!
  2. Do not allow the cheese to stick to the bottom of the sauce pan, you must whisk with constant vigilance!
  3. Feel free to continue prep and cook other ingredients while continuing to whisk the mixture. Keep it on medium to low heat after this initial preparation, mixing every minute to make sure it does not stick to the sides or bottom, solidify in any way, or lose the texture you have earned. I usually make the fettucine and shrimp (this time scallops, asparagus, bread as well) at the same time.
hungry and fit https://hungryandfit.com/

It may have many calories (don’t ask how much) but it actually is quite simple with some patience and high quality ingredients, and it will surely help you stay happy, hungry and fit!

BONUS PUPPY PIC

Noke trying out for Sound of Music

Noke trying out for Sound of Music

spacer

Fine Italian Dining: Bottega Louie

Recently, while Hungry was out of town, I spent some time with my brother in Downtown Los Angeles. Now my brother is a very generous man. He will always take me or us (if Hungry is around) out to breakfast, lunch, or dinner–no questions asked! That’s why it’s always a treat to go around to new places with him. He knows such a great variety of restaurants. That night I had slept over, so the next morning we decided on a breakfast place before I headed back to Santa Monica. Sophie (Kai’s partner) and Kai agreed we had to go to Bottega Louie. 

Me, my mum, and my brother

Me, my mum, and my brother

Wow. What an experience. First of all, this place is huge. It used to be a department store building, so you can only imagine. Tall, tall ceilings, with incredible square footage–think 4000 (not kidding). You enter and the first thing you see is their lovely bundle of treats at a huge counter. You don’t have to sit down to eat here in order to fix your sweet tooth. You can just order from their bakery section. I’ve definitely had macarons and more from there–YUM. Every worker there is dressed impeccably in black and white–it brings you to a fine dining atmosphere. We are seated immediately as we arrived just as it opened for breakfast.

Our waiter was unbelievably professional and catering. He waited on our every word and treated us like kings and queens. Our bellies were very anxious at this point, especially after Kai’s been telling me about all the incredible things he has eaten here in the past. He orders “the best grapefruit juice he’s ever had” and I get a water. This place is fancy–they change your silverware for each part of the meal and clean up after you. The service is absolutely incredible. 

Beyond drinks, we start with the beignets with raspberry sauce. Many of you know my affinity for New Orleans, so I was all over this. Kai isn’t a big sweets person, especially when it comes to pastry. However, these are very different from traditional New Orleans beignets so I was a bit cautious. Throw caution out of the window for this one, folks. We both bite into these steaming round beignets with granulated sugar (not powdered sugar) and both look at each other with wide awed eyes. WOW! Absolutely incredible, fresh off the press. I’m literally drooling as I write this. It’s hard to describe how good they were–think puffy, delicate, and dream-worthy. The raspberry sauce (I usually don’t dig dessert dips) was out of this world fresh with subtle tart flavors that completed this dish. Yes, I did just dedicate an entire paragraph to the beignets. THEY WERE THAT GOOD! 

The magic

The magic

We moved onto our final course. Kai ordered portobella mushroom fries for us to share and mushroom ravioli with an egg baked inside. Sounds crazy, right? The ravioli is huge, enough room for them to somehow (I suspect magic), cook an egg inside. I got the eggs benedict without the meat. Oh boy, were we a happy pair. I had never had mushroom fries before. They were incredibly long, deep-fried in some batter and served with a pesto aioli. Absolutely wonderful. The mushroom-egg ravioli was fantastic. My eggs benedict knocked it out of the park–executed perfectly. It was such a happy meal and experience and we could’ve really used some wheel chairs after the meal. We were FULL. 

Ravioli

Ravioli

Eggs Benedict

Eggs Benedict

Overall, dining at Bottega Louie was such a wonderful experience that is somewhat unusual to me. I usually don’t go to fancy restaurants, but it was just so great on all levels: the service, food, and atmosphere get an A+! I can’t wait to take Hungry there. They also serve lunch and dinner so the options are endless! Next time you’re in Downtown LA, stop by Bottega Louie at least for a sweet at the bakery, if not a full meal! As always, stay hungry and fit!

spacer

The Best Meatloaf Recipe Ever

Protein! Get your protein here! But, seriously–this meatloaf is chock full of protein and damn good flavor. My mum found a recipe for meatloaf and changed it to make her own and I was lucky enough to be nearby–it turned out to be the best meatloaf recipe ever. I may be a vegetarian, but the rest of my family really enjoyed it. Hungry even said it was one of the best he’s ever had–better than restaurant quality. That’s a rare compliment! It’s an incredibly simple recipe that even has vegetables! This is a great back-to-school recipe that can feed the whole family twice over. You know protein and flavor are important to us and that’s why this recipe is a hit.

photo 1 (71) photo 2 (59) photo 3 (54) photo 4 (45) photo 2 (58)

Nommmm

Nommmm

The Best Meatloaf Ever
Yields 1
A meatloaf chock full of protein and flavor
Write a review
Print
Prep Time
15 min
Cook Time
1 hr 10 min
Prep Time
15 min
Cook Time
1 hr 10 min
Ingredients
  1. 1 cup fine fresh bread crumbs
  2. 1/3 cup 1% milk
  3. 1 medium onion
  4. 3 garlic cloves
  5. 1 medium celery
  6. 2 tbsp butter
  7. 2 tbsp Worcestershire sauce
  8. 1 tbsp cider vinegar
  9. 1/4 tsp allspice
  10. 1 1/2 lbs ground beef (75%)
  11. 1/2 lb pork (80%)
  12. 2 eggs
  13. 1/3 cup parsley
  14. Meat thermometer
Instructions
  1. Preheat the oven to 350 degrees F
  2. Soak your bread crumbs in the milk in a large bowl
  3. Chop onion, carrot, celery, and garlic
  4. Cook onion, carrot, celery, and garlic in butter in a large pan over medium heat and stir for 5 minutes
  5. Cover the pan and reduce to low heat and simply cook until carrot is tender
  6. Remove from the heat and stir in the Worcestershire sauce, allspice, cider vinegar, salt, and some pepper
  7. Add veggies to the bread mixture
  8. Pack mixture into an oval loaf and then put into a 13 by 9 inch baking dish or pan
  9. Bake until center of meatloaf reaches 155 degrees F which will take between 1 hour and 1 hour and 15 minutes
  10. Let stand for a bit before serving and then DIVE IN
Adapted from Ian Knauer
hungry and fit https://hungryandfit.com/
This is a crowd-pleaser and a crowd-filler! Rarely does anyone leave the table eating this meatloaf saying they didn’t get enough to eat. We love that it has lots of protein, vegetables, and is absolutely delicious. You can also have fun with it and throw in anything you’d like, just to spice it up in your own way. Use this recipe to stay hungry and fit!

BONUS PUPPY PIC

photo 1 (70)

Dog days of summer

spacer

Should I Eat Fish Skin?

(Yes, but be careful.) 

That sounds weird. Should I eat fish skin? Fortunately, it’s a relatively simple question to answer. You just need to ask yourself a few questions when that fish skin is sitting in front of you. Unfortunately, answering those questions can be quite a challenge. (I got your hopes up, didn’t I?)

(The skin is naturally good for you if it isn’t contaminated.)

photo 1 (68)

All of my friends know that I love Asian cultures, but when I went to school in South Korea I was exposed to tons of cultural quirks that I never learned about before. One time I was eating dinner in Seoul with some of my students (seems wrong, right?) and they teased me when I left the skin from my mackerel on my plate. They told me that all of the old women would always fight over the skin because it was the best part of the fish. I thought of the protein content of the meat, but they didn’t care about that.

(It is an amazing source of omega fatty acids so don’t waste it!)

It was amazing to get the feeling that the mackerel skin (or any other fish rich in omegas) was as valuable as gold or jewels. After thinking it over and not being one to waste food, I decided that I would always eat my fish skin and everyone else’s fish skin for that matter! Be cautious because even though the skin of just about any fish (especially those served in restaurants and available at fish markets) have amazing health benefits in an ideal world, the contaminants and pollutants in a lot of the heavily fished oceans/fish farms in the world, can present unwelcome health risks. In many cases, the risk outweighs the reward. 

(The contaminants and pollutants don’t always make it to your mouth but know they were often there!)

photo (84)

You can avoid this by buying fish responsibly. Due to Alana’s eating habits, we always ask our food servers if they know the source of their fish. This usually isn’t a problem at fish markets,where they tell you if the fish is farmed or wild caught, and where its point of origin is. Once you find a respectable fish market and do the proper research, you don’t have to do it again… just get what you know!

I hope this didn’t confuse you too much and led you in the right direction. It’s not like chicken where there are almost no health benefits unless you’re looking for more fat and calories. So the final answer is yes–eat the skin–but be careful and do your research! As always, stay hungry and fit!

BONUS PUPPY PIC

photo (85)

spacer