Archives

Eatery Review: Piece, Love, & Chocolate

We came across this adorable Boulder eatery while enjoying a nice warm night (compared to the winter we’ve been getting). We were actually strolling around after a dinner, wanting more food (the name is HUNGRY and Fit, remember?) and we stumbled upon this cute joint. I’ve passed it before and always wanted to step in. So we did.

The outside of this adorable place...hard to see but they have little tables and chairs to sit at

The outside of this adorable place…hard to see but they have little tables and chairs to sit at

As soon as I stepped in, I was reminded of my friend, Mary Kateand her mom who owned a candy shop. Same smell, but instead of being Irish themed, this was allllll about chocolate. They had some chocolate brownie samples out (I am the absolutely sucker for samples of any kind, it’s a problem), which were delectable! I may or may not of had more than one–oops. While Chris looked over the goodies, I looked around the rest of the shop–there was so much going on.

photo (7)They had every kind of chocolate you could imagine (some of it pricey, but probably because it’s all homemade) and the whole theme was centralized around the Southern Americas where cocoa comes from. Really a great experience. Eventually, after exploring the little shop (when you walk in, you can see the kitchen in the back), we decided on a hot chocolate for me and two cookies for Chris.

photo (8)The hot chocolate was a mild flavor, free of any added sugars or nonsense–perfect for keeping me warm on the walk ten blocks home. The cookies were also good, we got a regular and a gluten-free, both tasted homemade. We would love to come there when they bake them fresh!
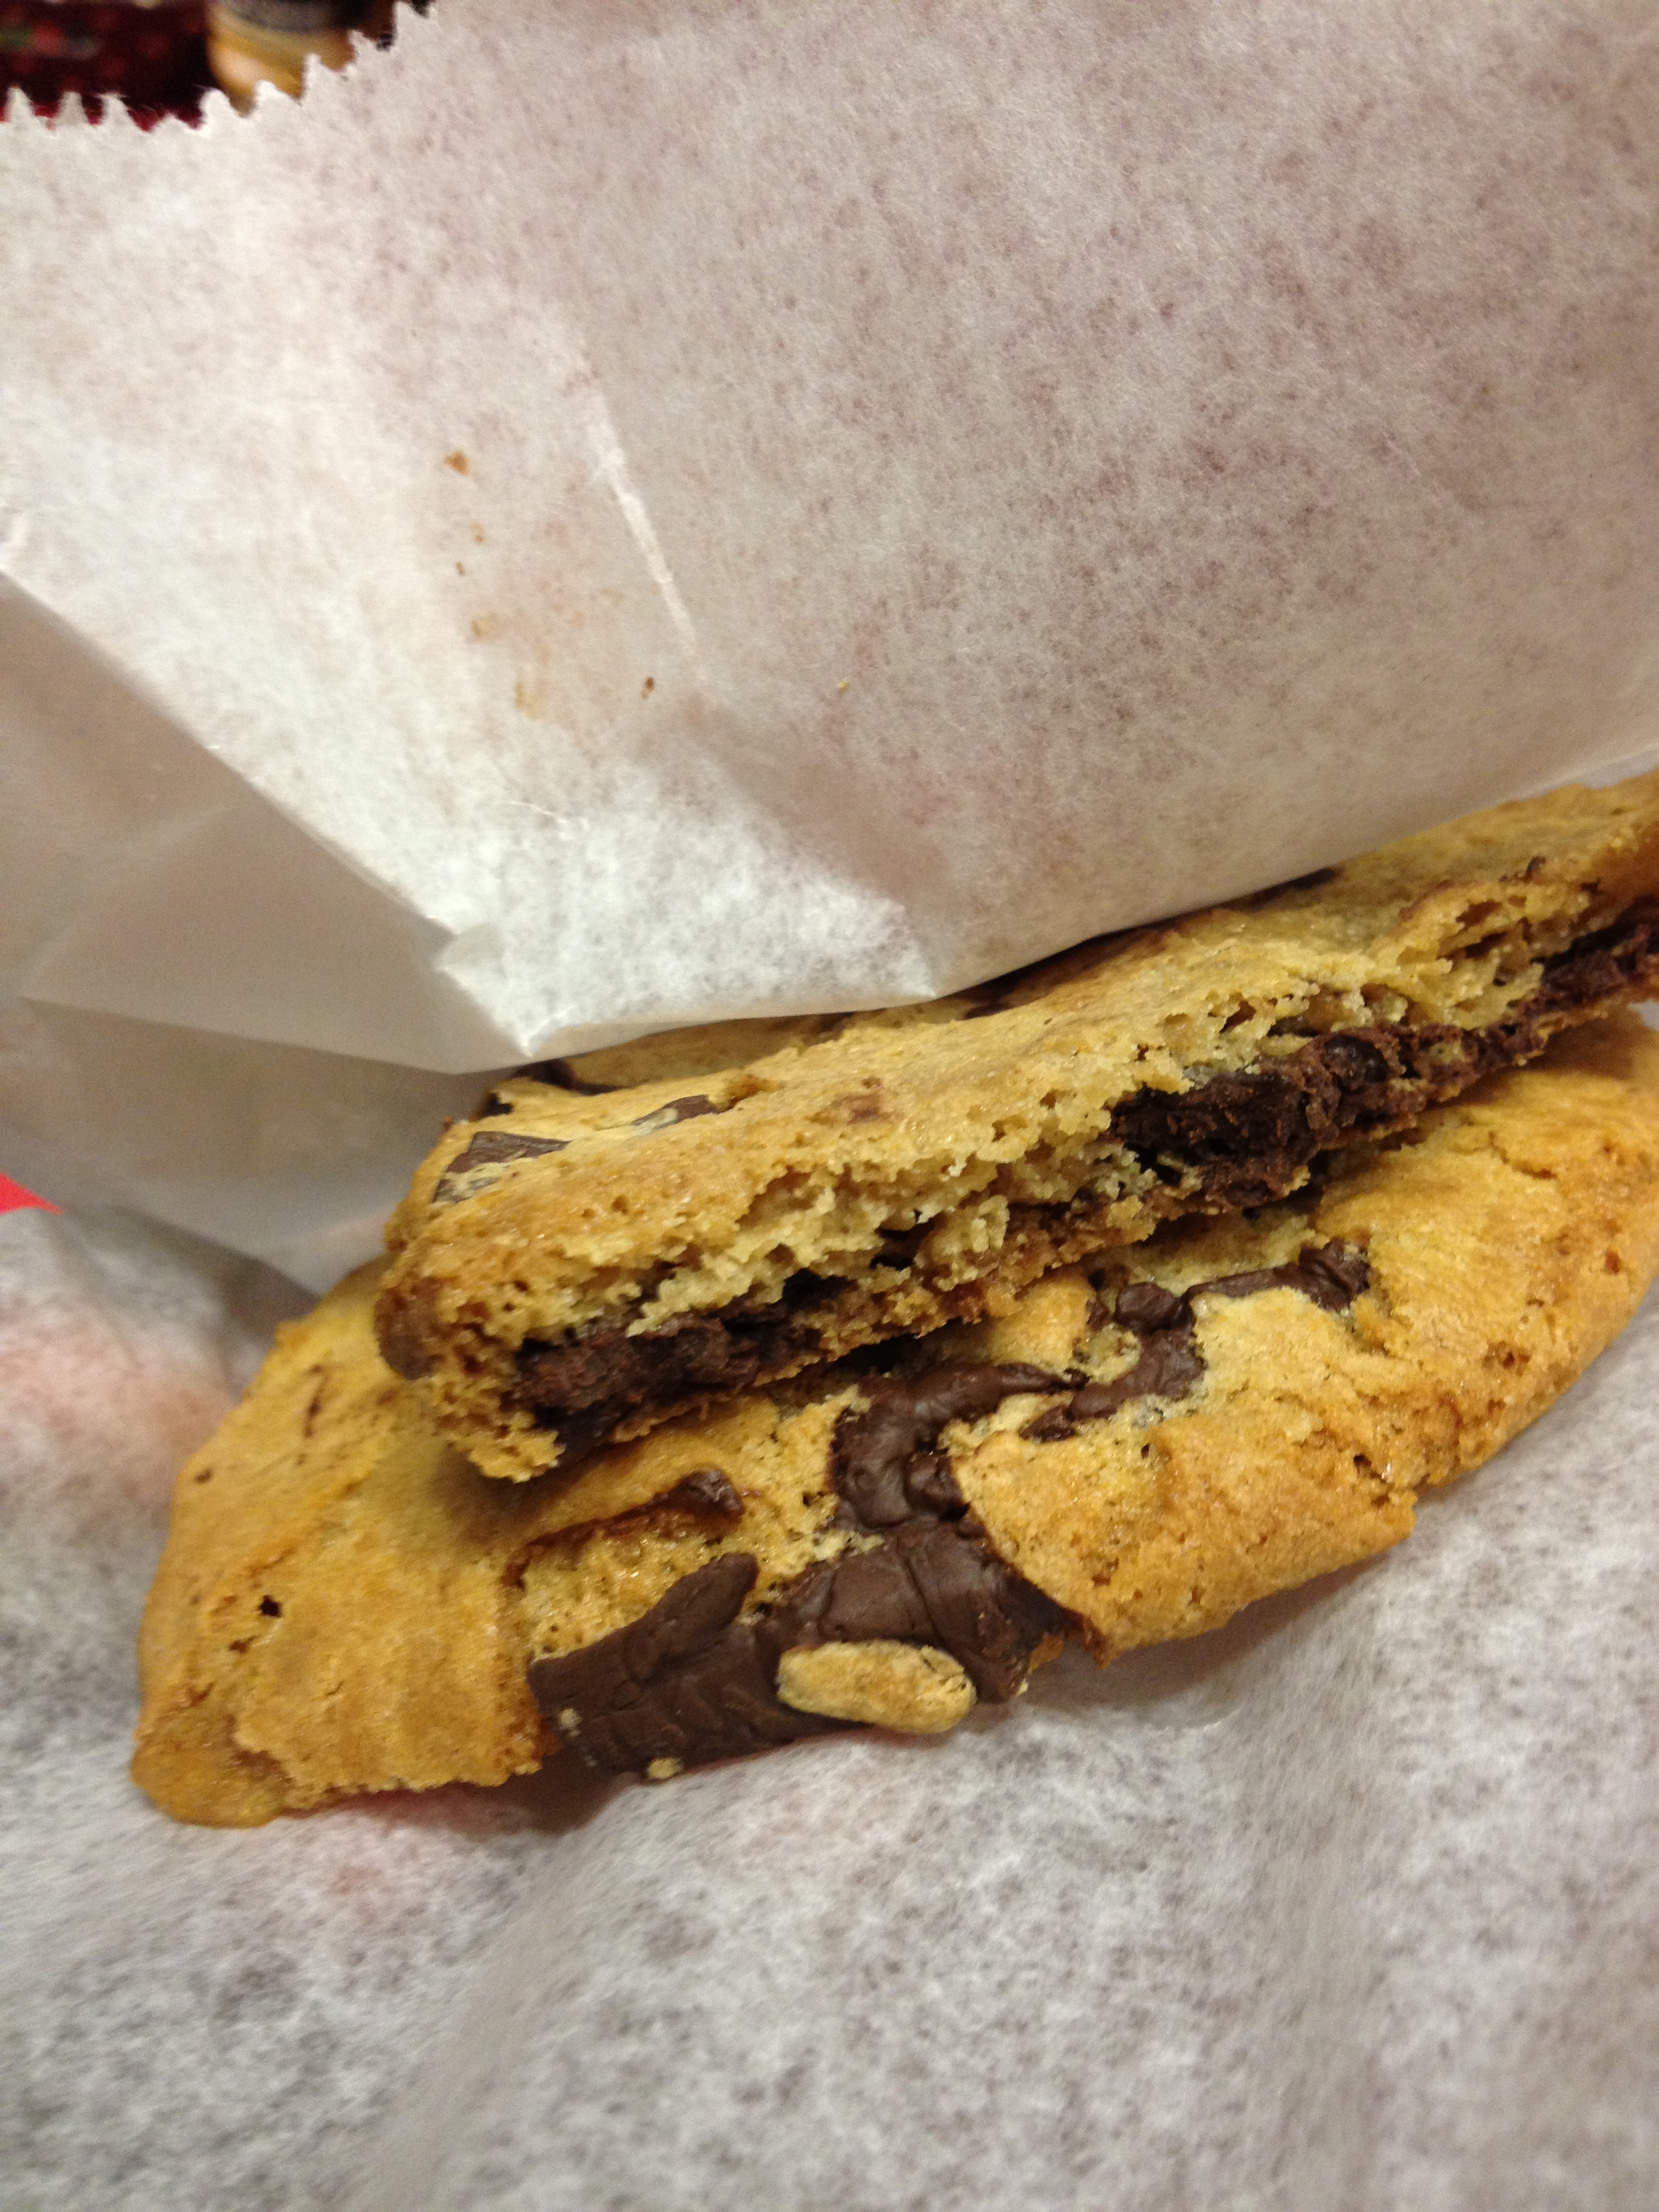
photo (10)So if you’re in Boulder, and you’re out to town on Pearl St. or Spruce, stop by this adorable candy, chocolate, and goodies shop. I know we will again. I’m eager to try more treats!

Cheers! And as always…stay hungry and fit!

BONUS KITTY PIC

Cuddle monsters

Cuddle monsters

spacer

Jodi Boylan’s Amazing Irish Soda Bread

So, yes, this is going to come back to Mary Kate again. You probably think I’m obsessed with her…which I kinda am, but it’s cool. Mary Kate and her family really brought me into the Irish culture which I am now in love with so I’m very thankful to her for that. But I’m here to present Mary Kate’s mother’s (Jodi) amazing soda bread recipe. Last year I baked a soda bread (not her recipe) and it came out botched, so I was so so happy with this recipe and it came out beautifully this past Sunday. I take absolutely zero credit for this one, it is all Mary Kate’s mom. Try it out–you will definitely want to save this one!

Jodi (or Joj) with Packie, one of her five children

Jodi (or Joj) with Packie, one of her five children

  • Prep Time: 12 minutes
  • Bake Time: 50-55 minutes

Ingredients

  • 2 cups flour [I used 1 cup whole wheat flour, 1 cup regular–Mary Kate’s idea, came out wonderfully]
  • 3/4 cup sugar
  • 1/2 stick butter [softened]
  • 1 egg
  • 3/4 cup buttermilk
  • 1/2 tsp baking soda
  • 1/4 cup raisins, craisins, chocolate chips [any of the extras you want to throw in]

Directions

  • Pre-heat the oven to 350 degrees
  • Grease up a bread pan
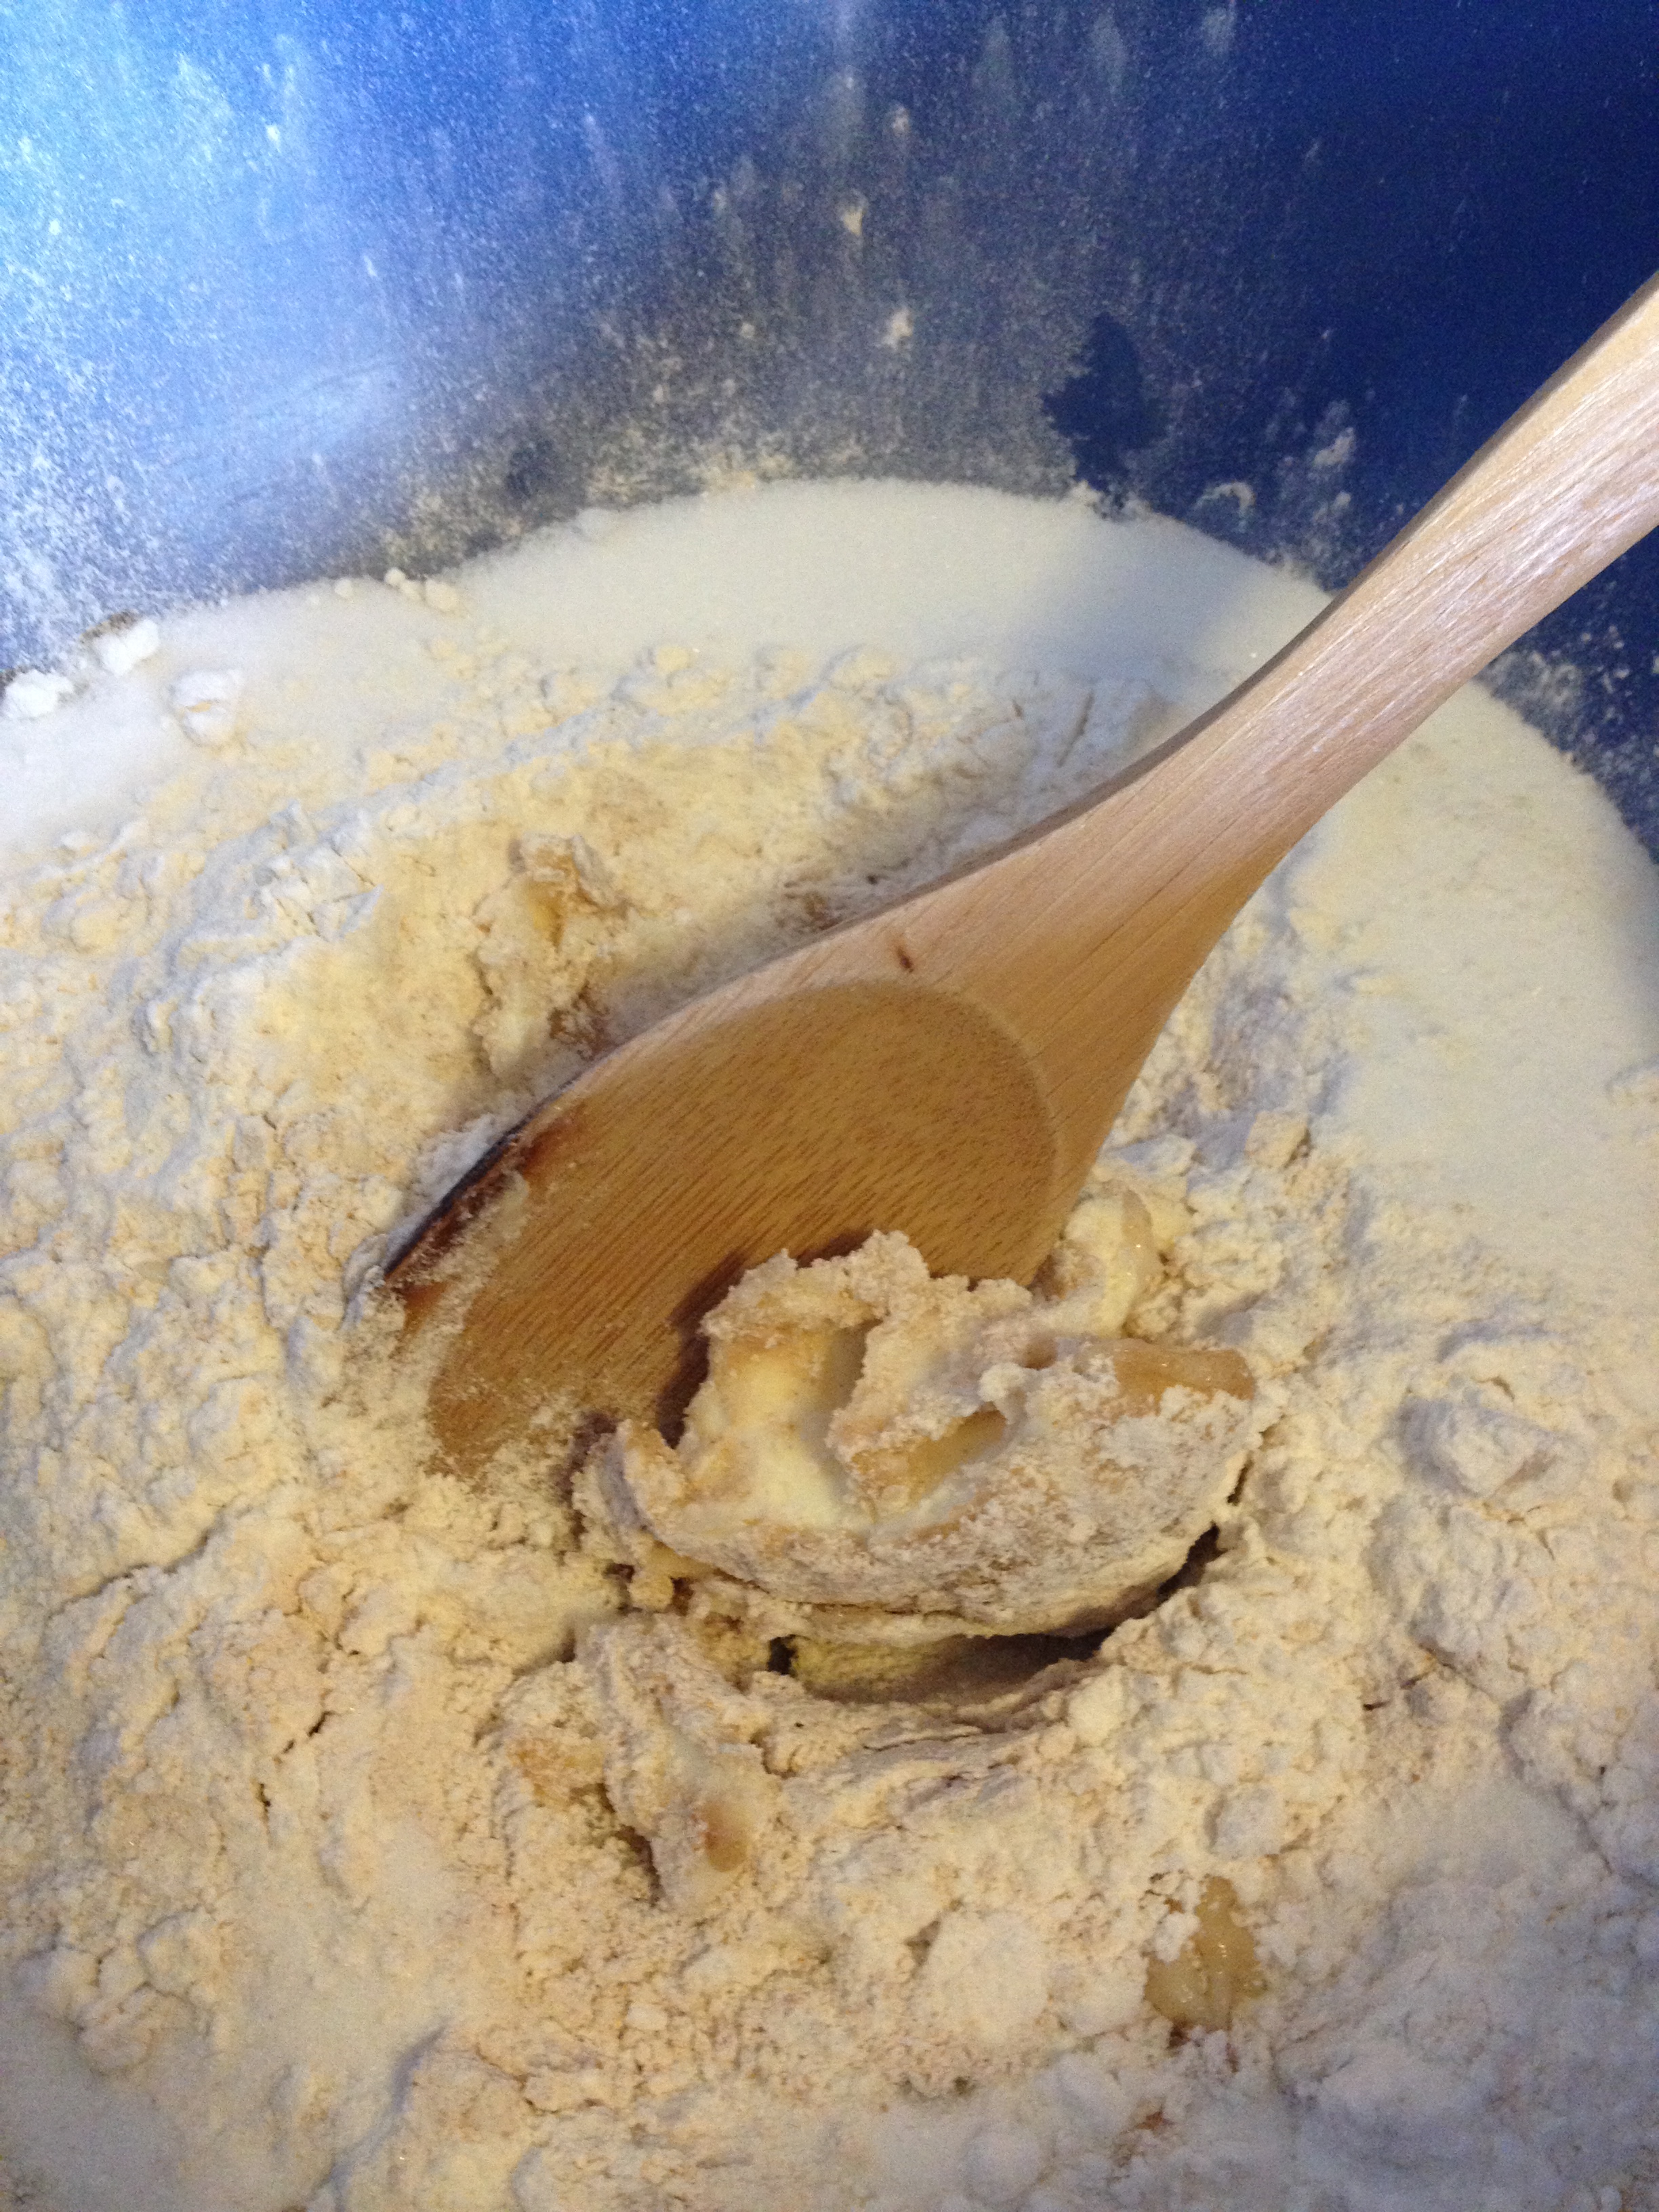
  • Mix the two flours, the sugar, and the butter together in a medium or large-sized bowl

IMG_3345

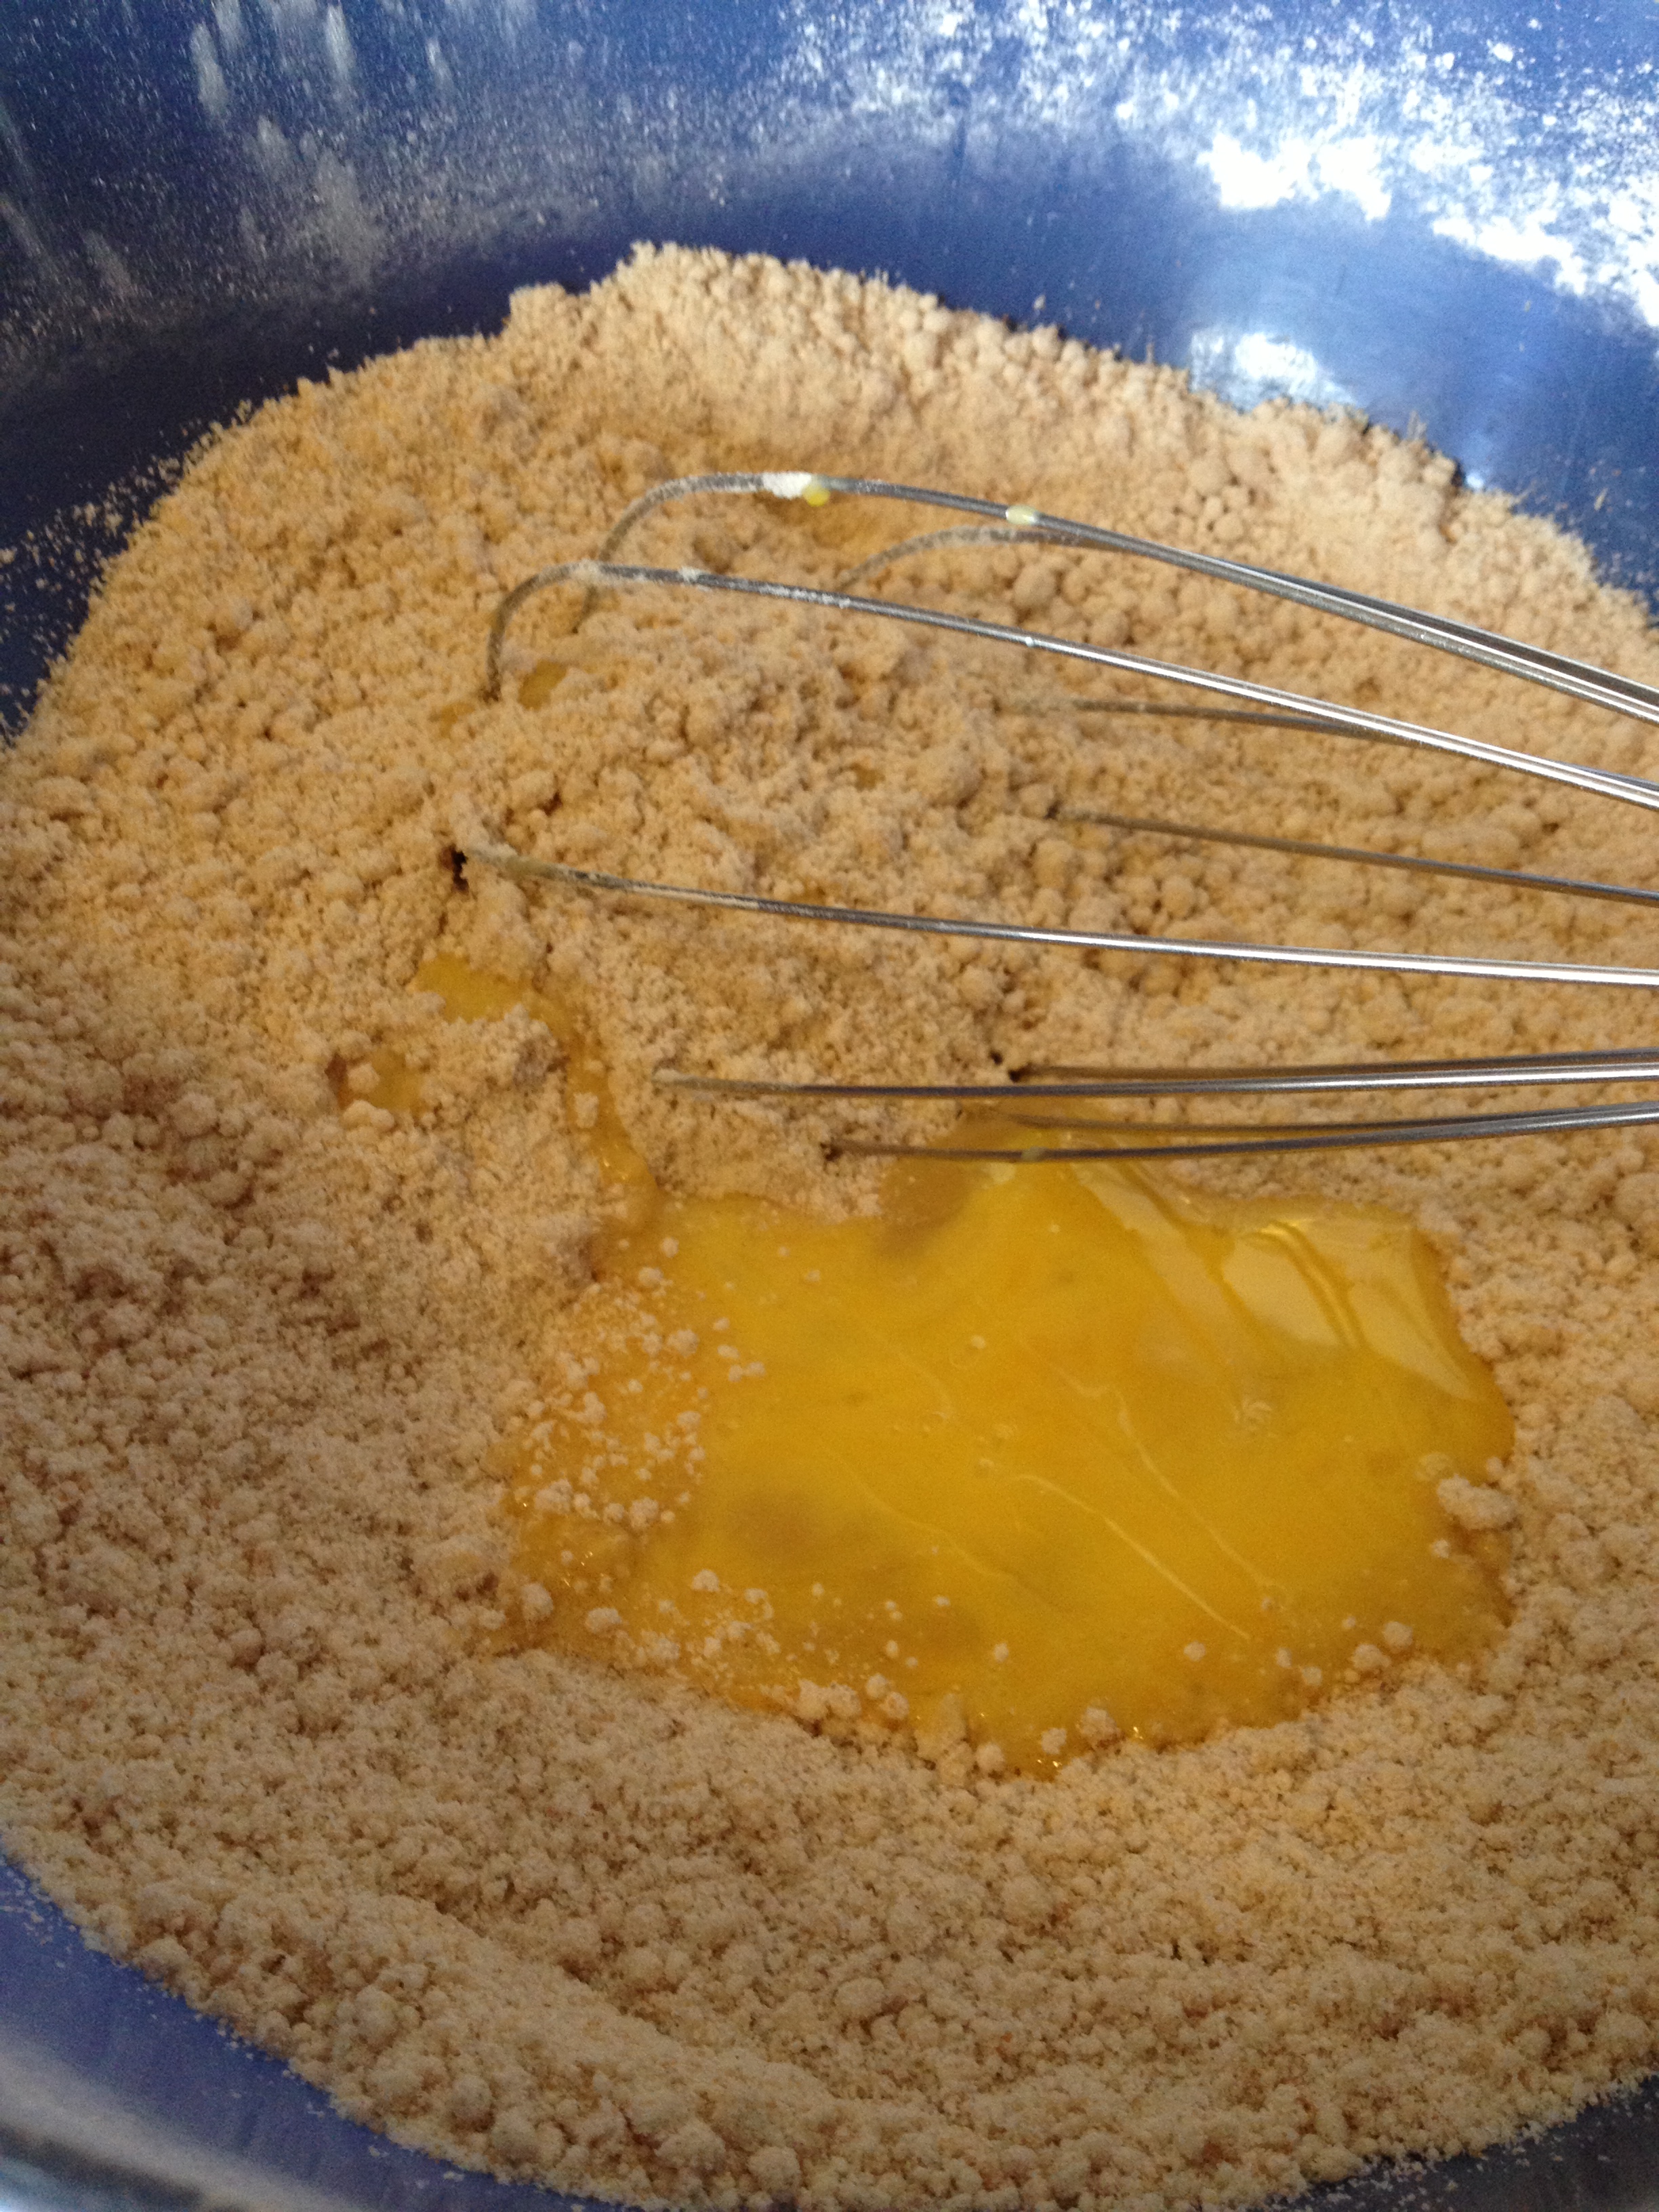
  • Beat the egg and then put it into the flour/sugar/butter mixture

IMG_3346

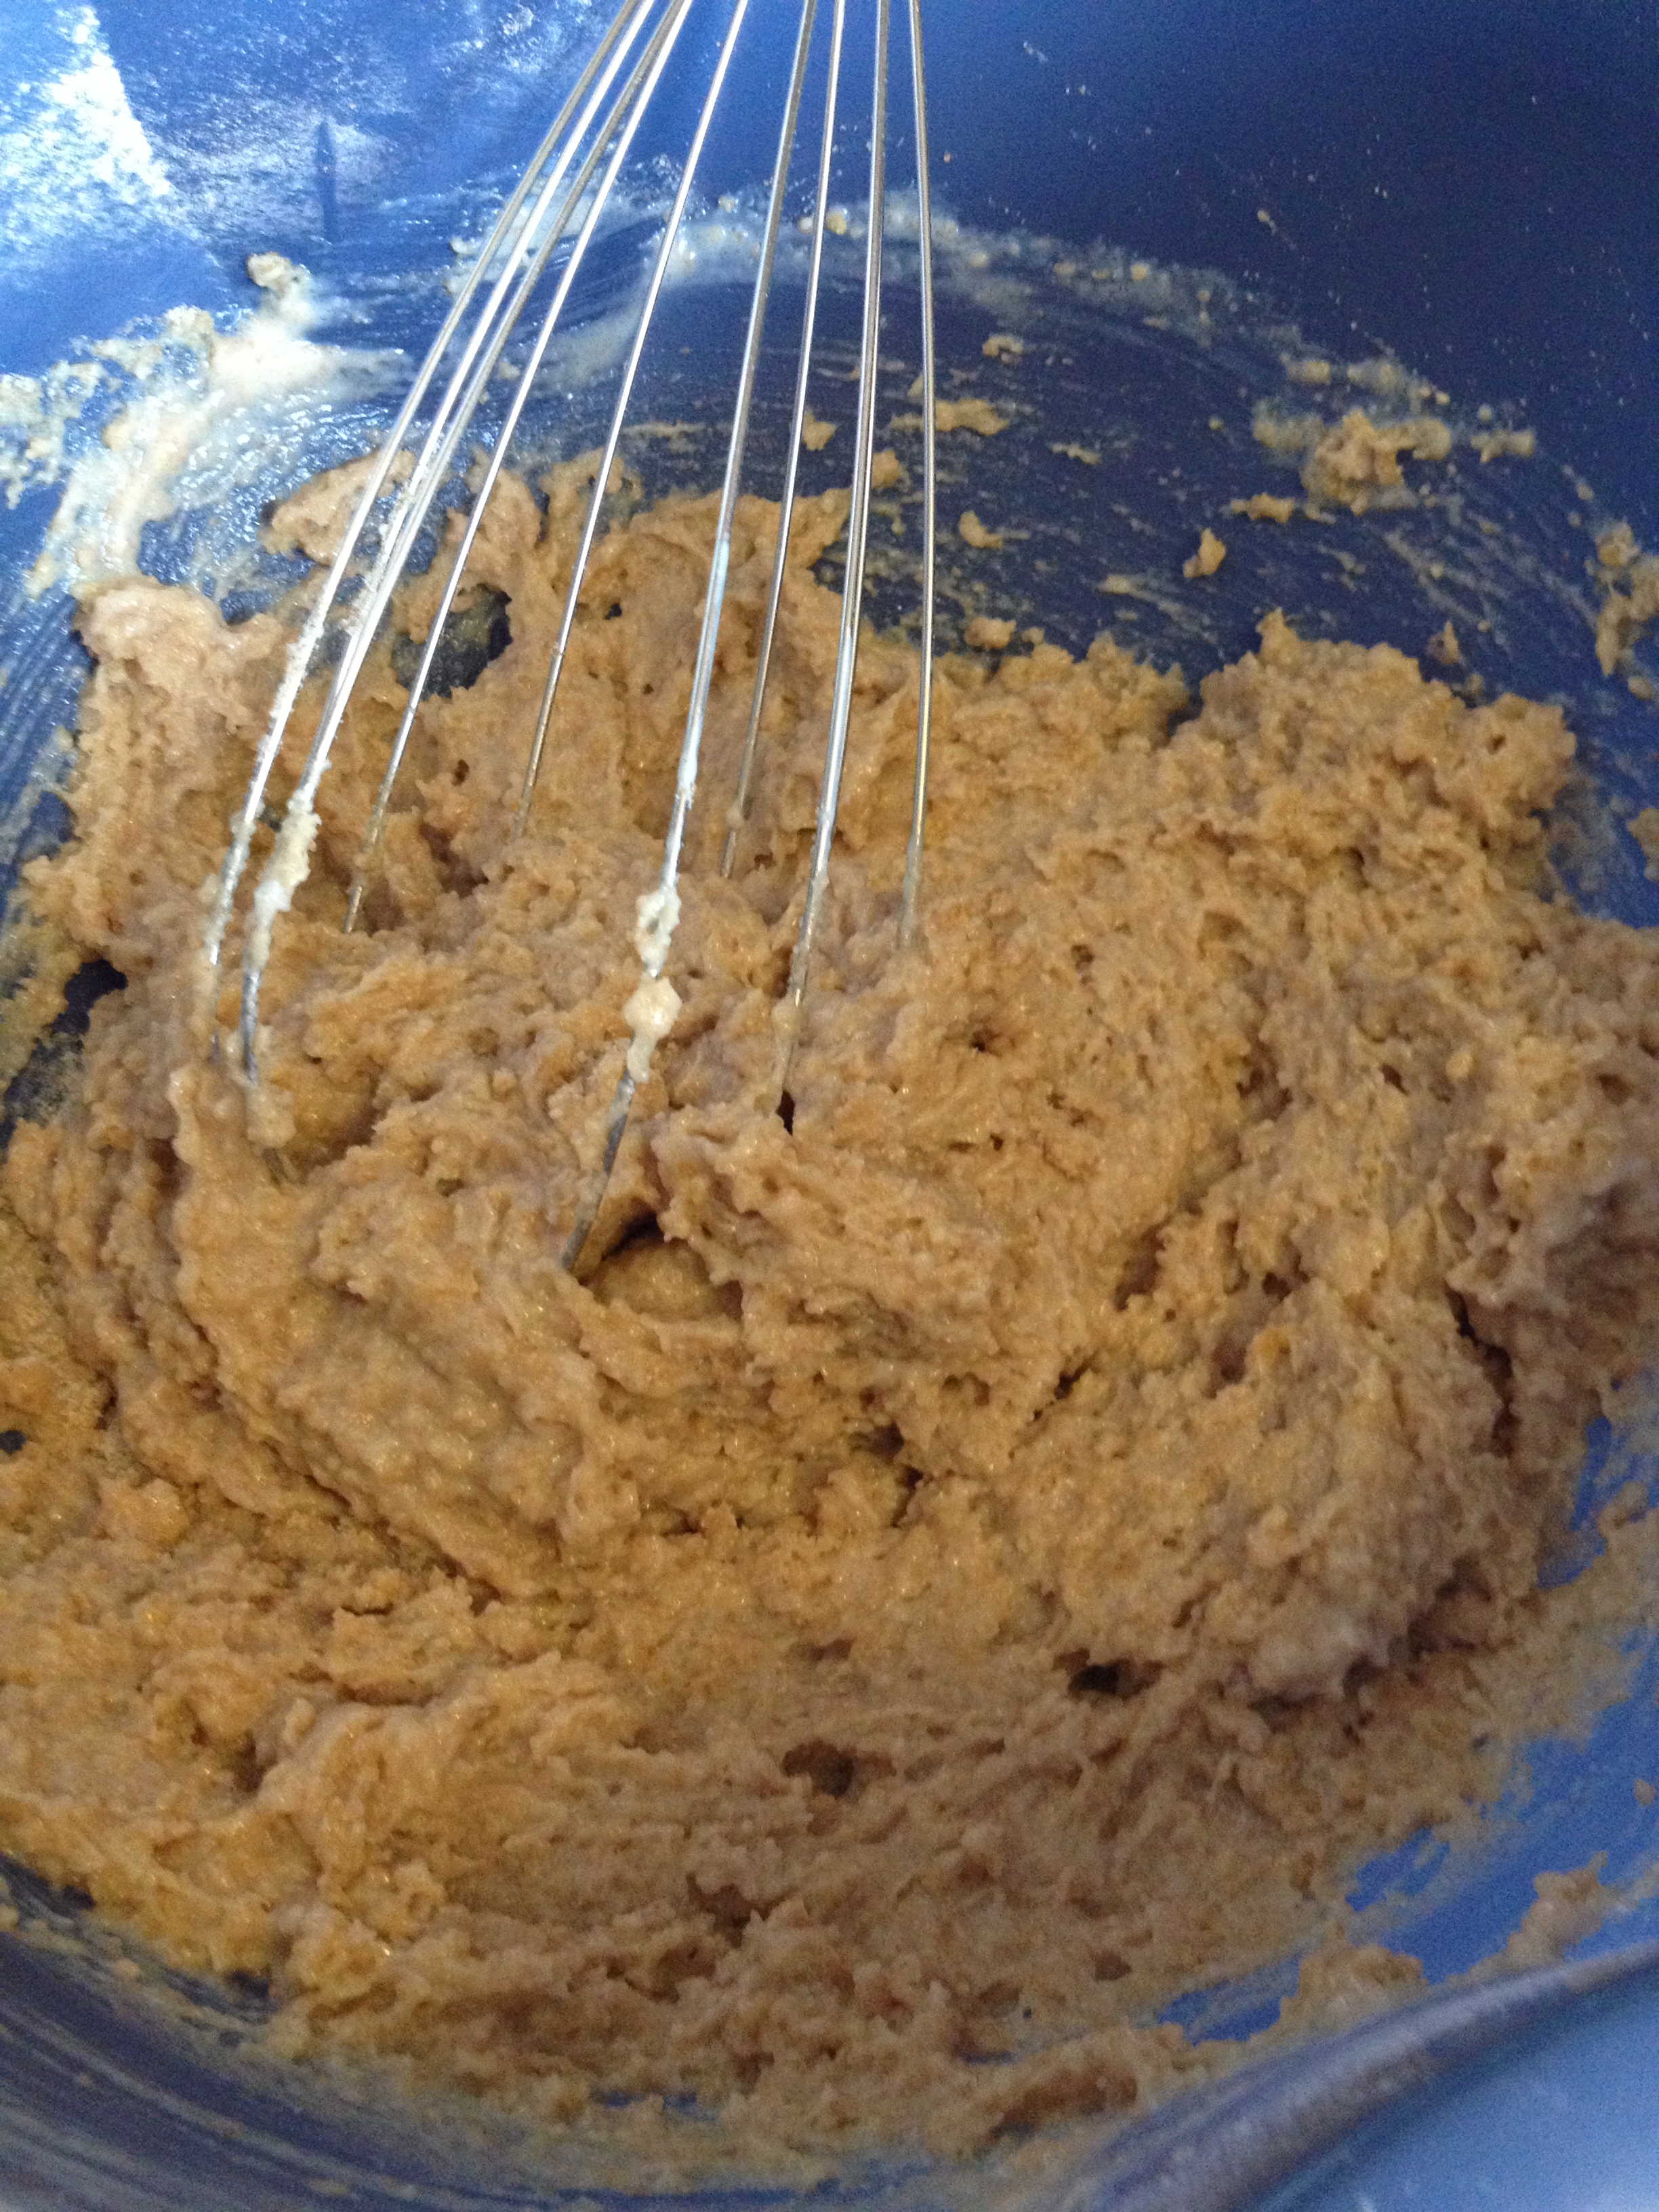
  • Pour in the buttermilk
  • Add the baking soda

IMG_3347

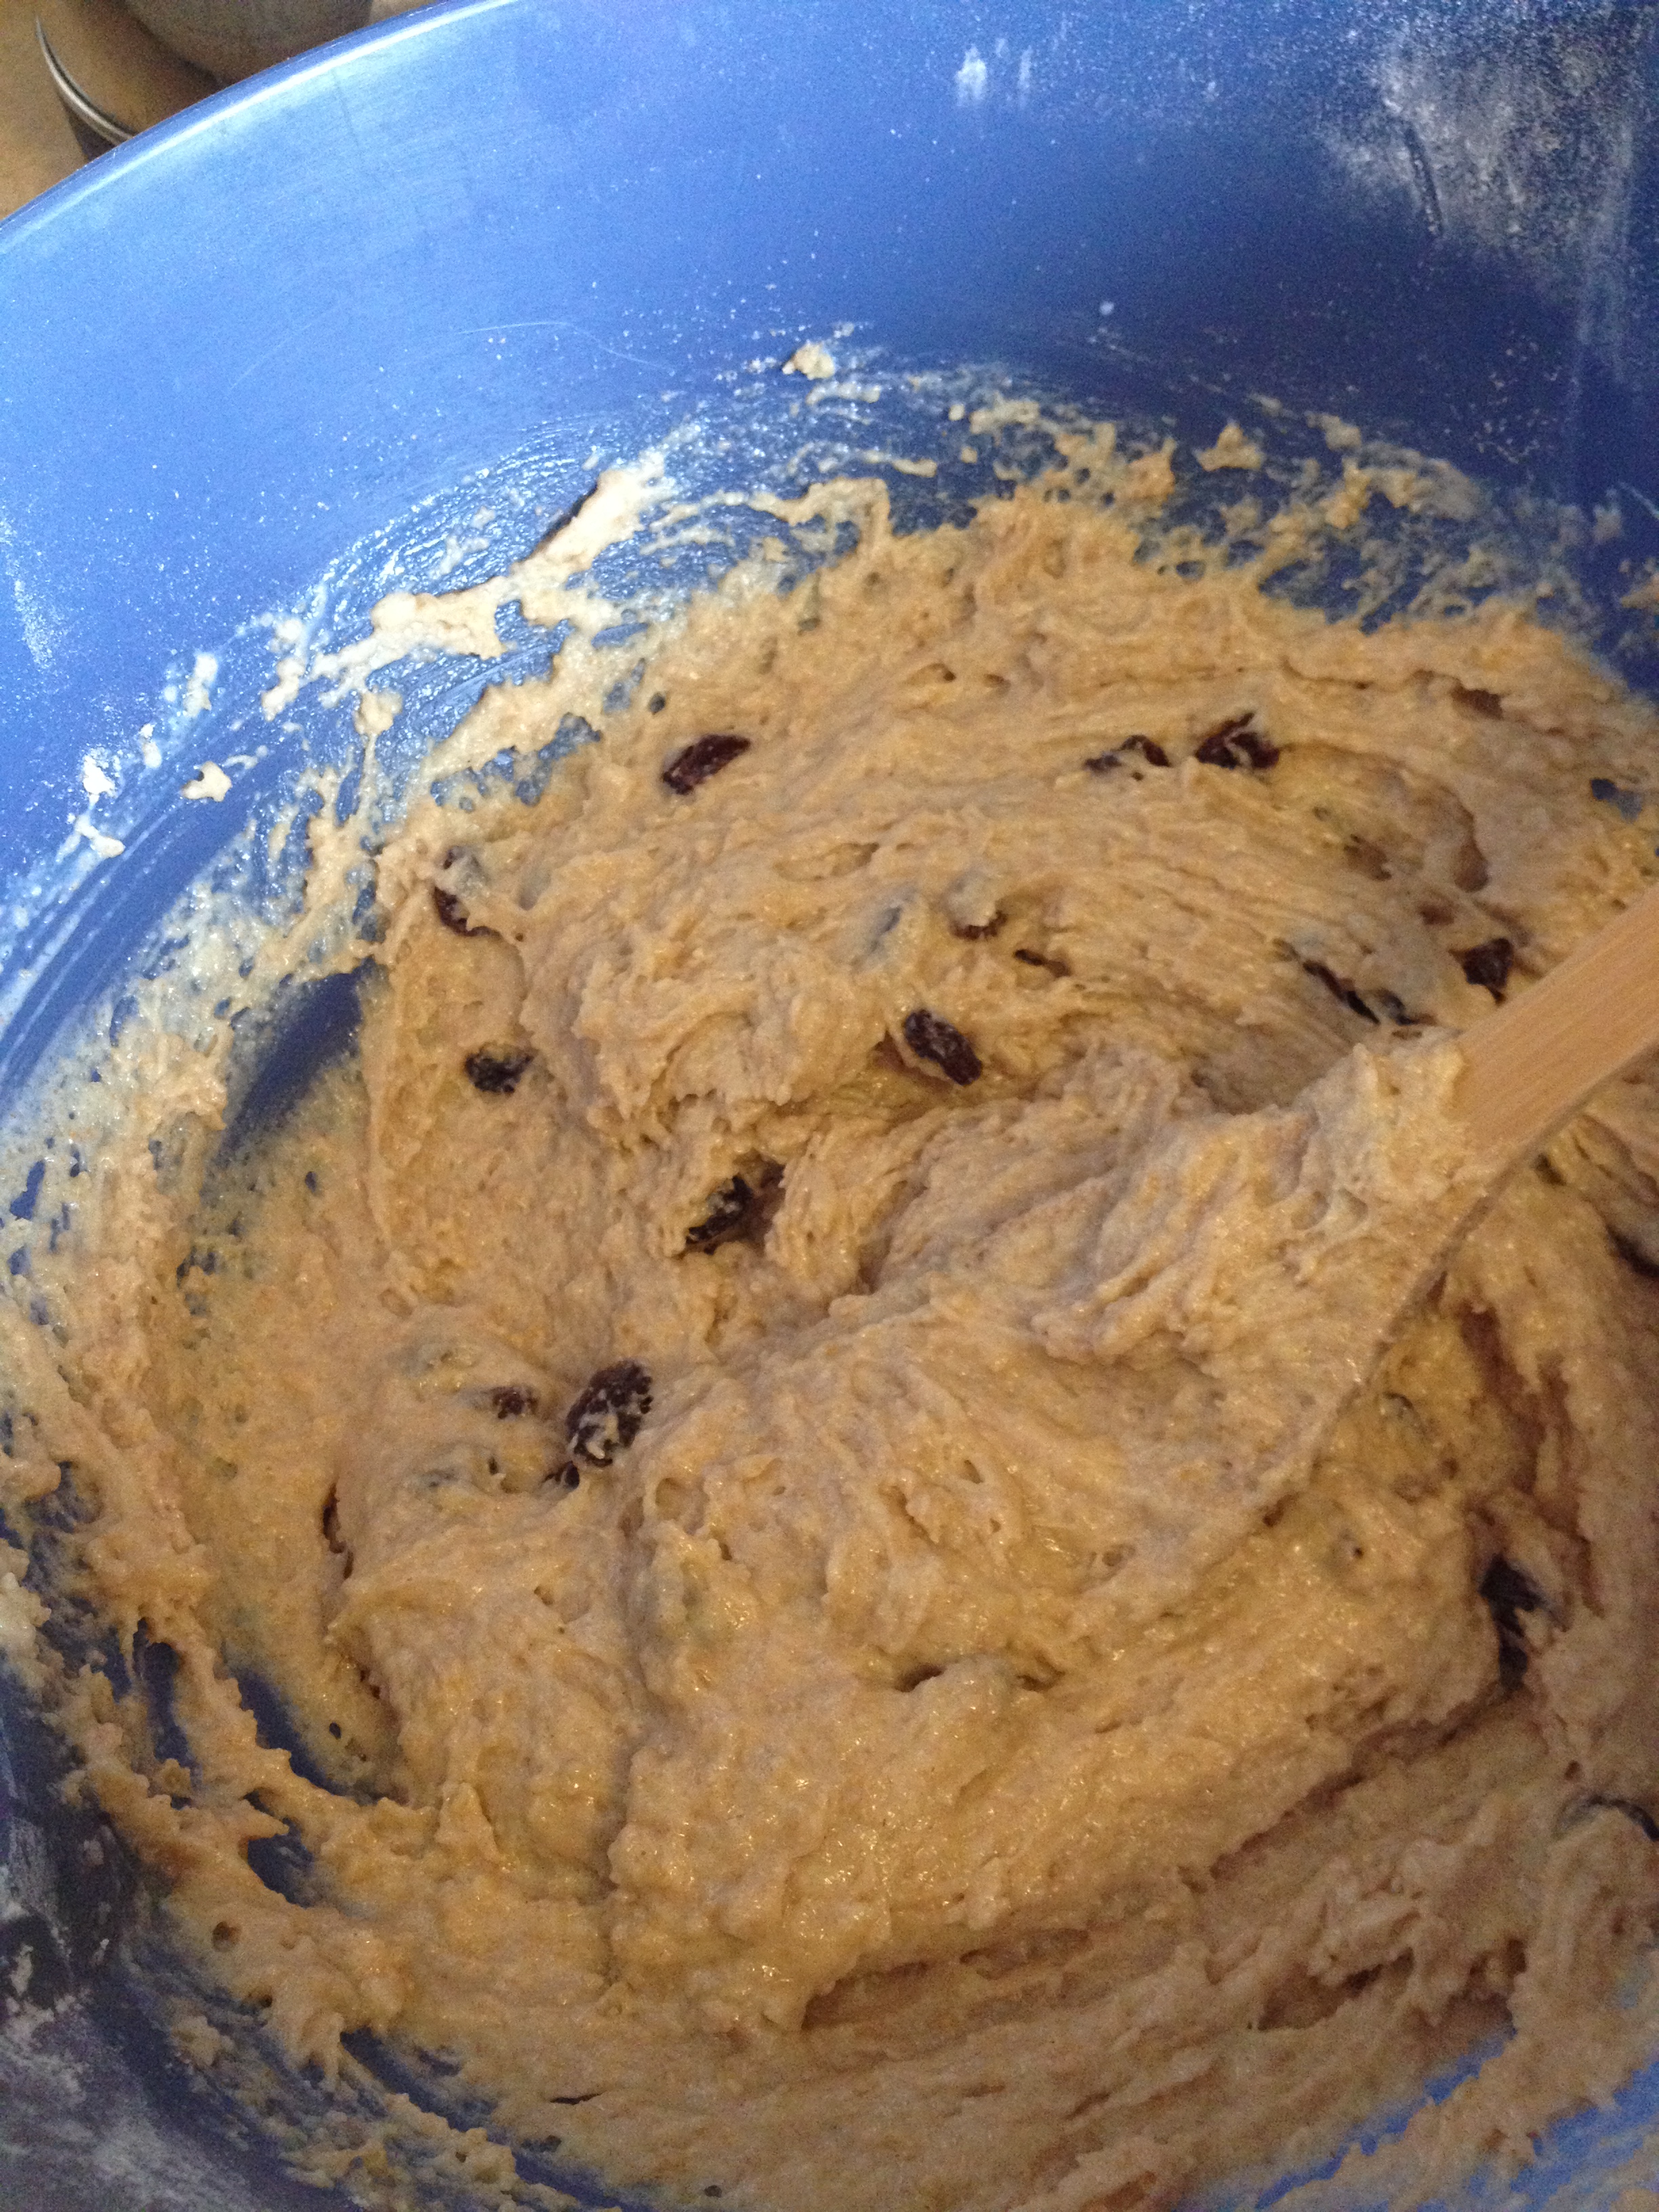
  • Now fold or throw in any of the additives that you want. For my case, I just used raisins. I didn’t exactly just to 1/4 cup, I just sprinkled them on as I folded them in so that there were plenty spread out

IMG_3349

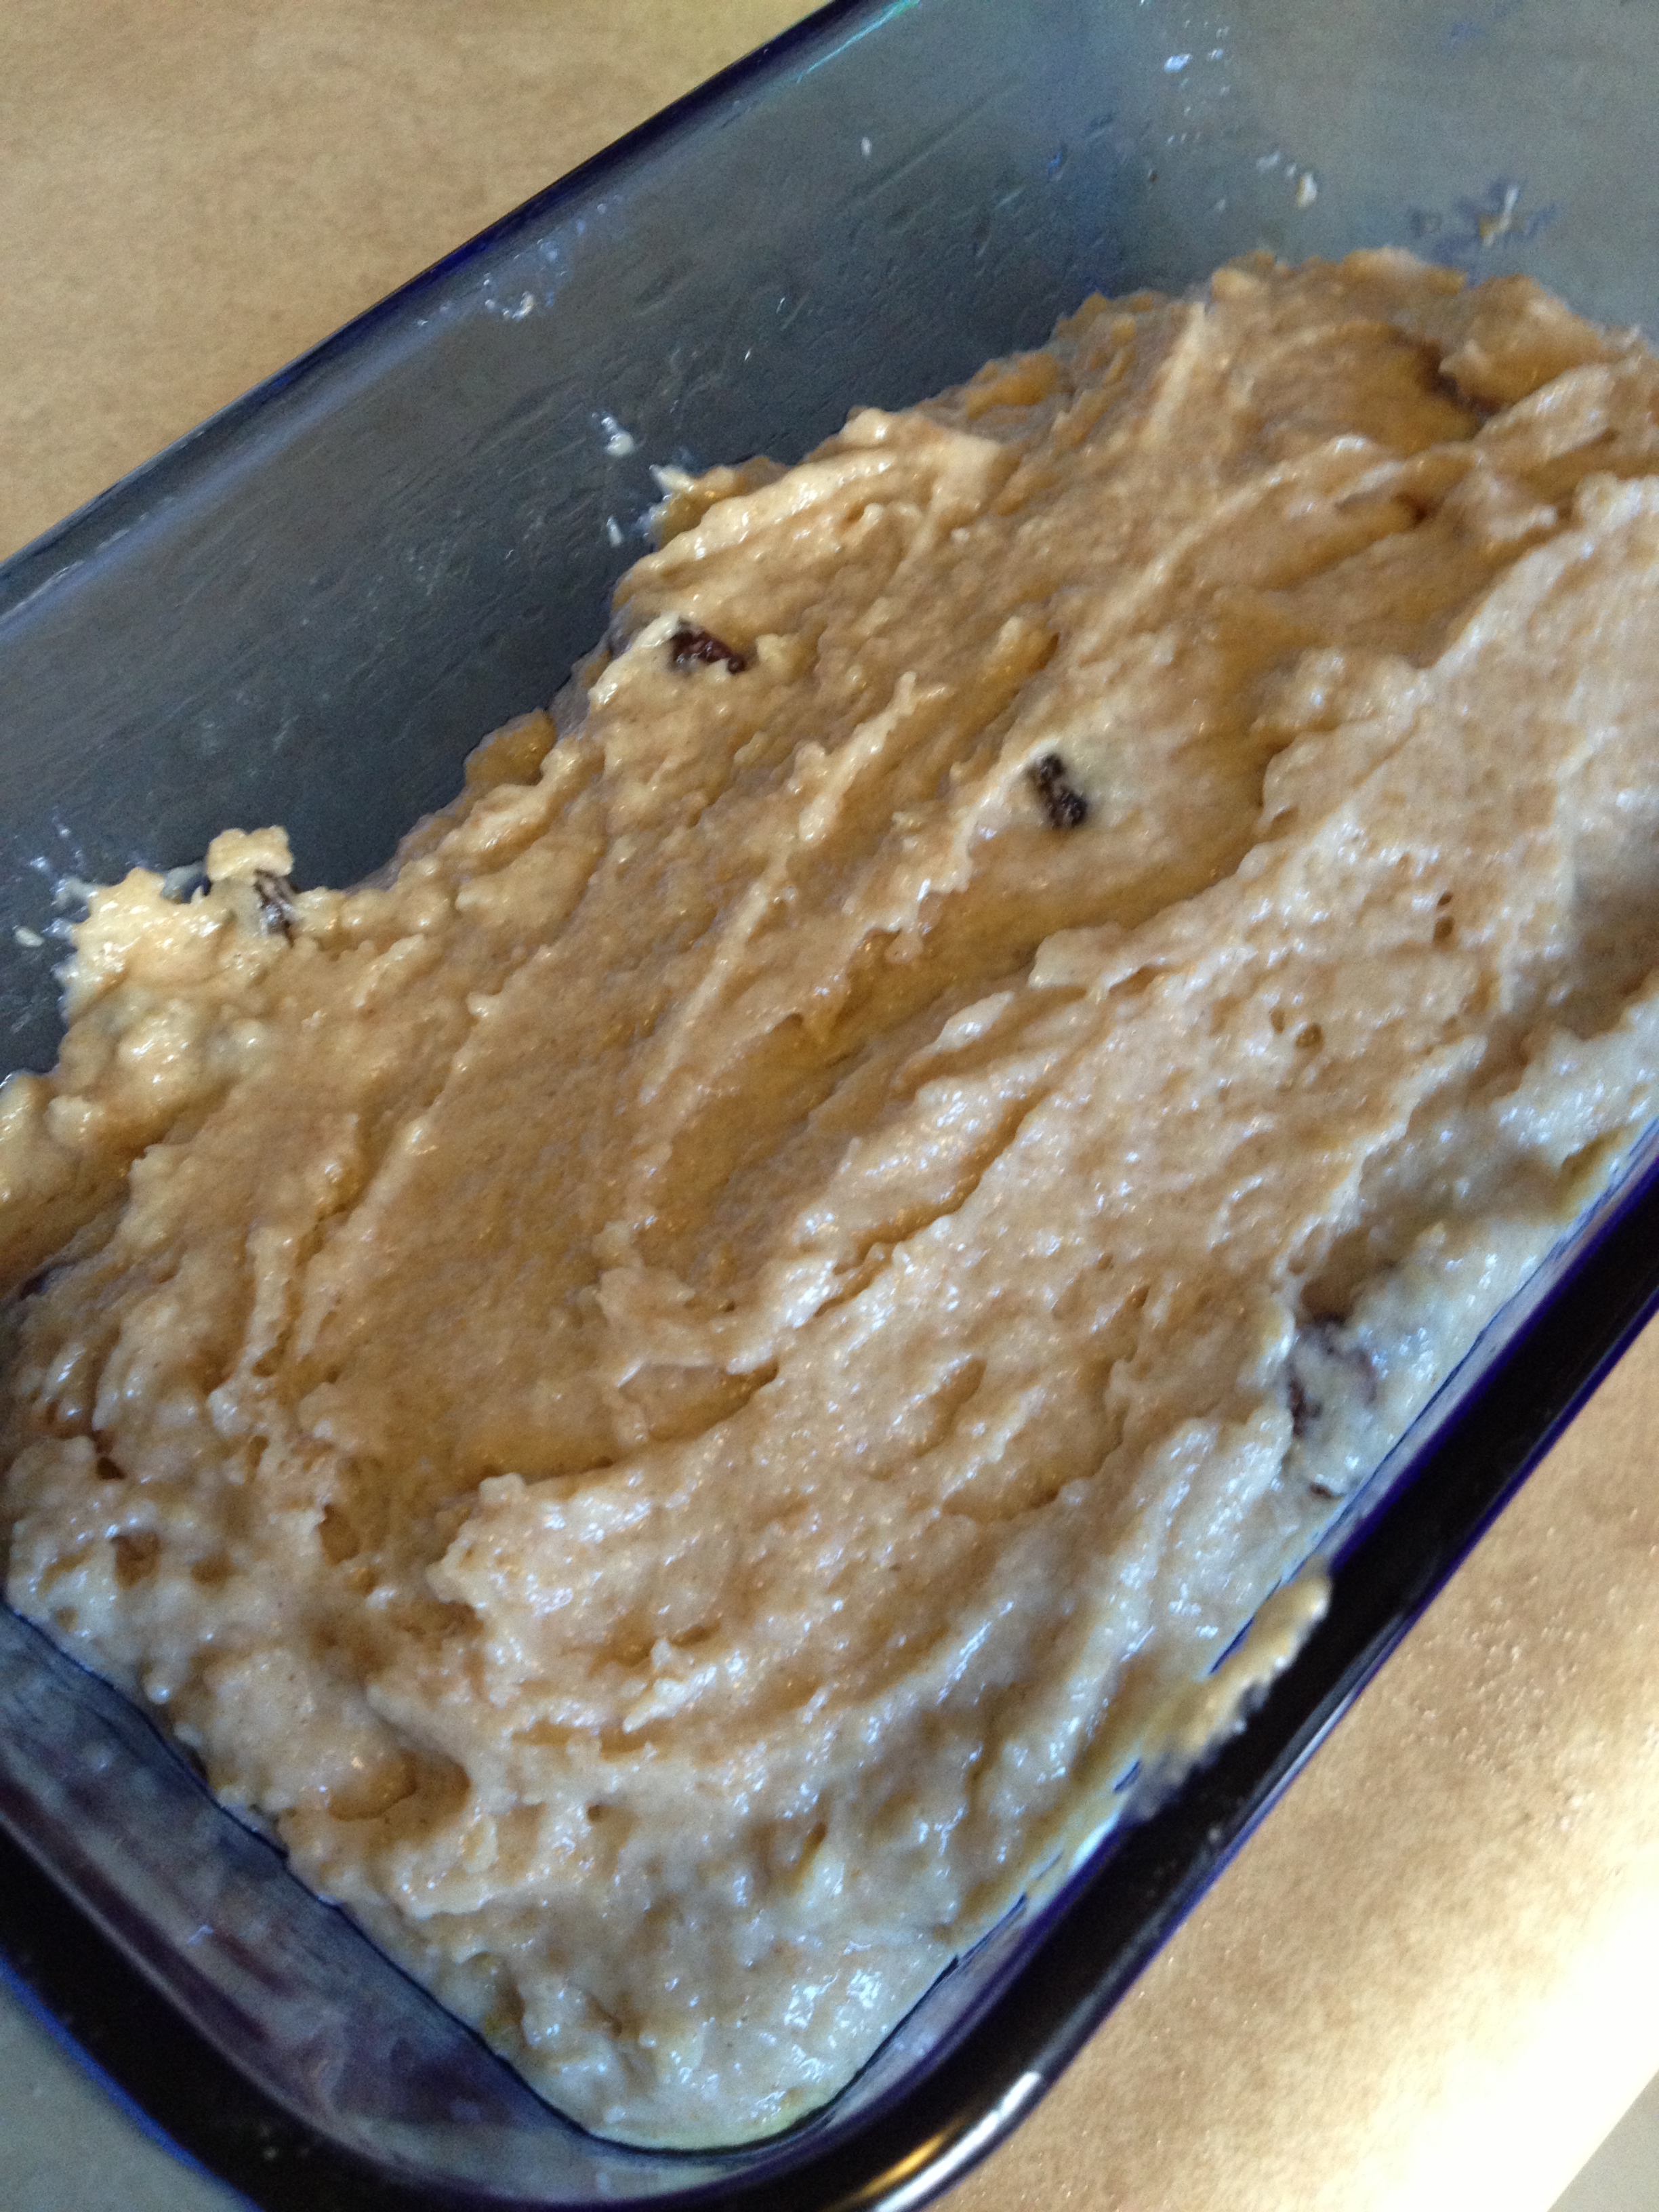
  • Gently pour and spread into the bread pan, making sure it is even so it rises properly

IMG_3350

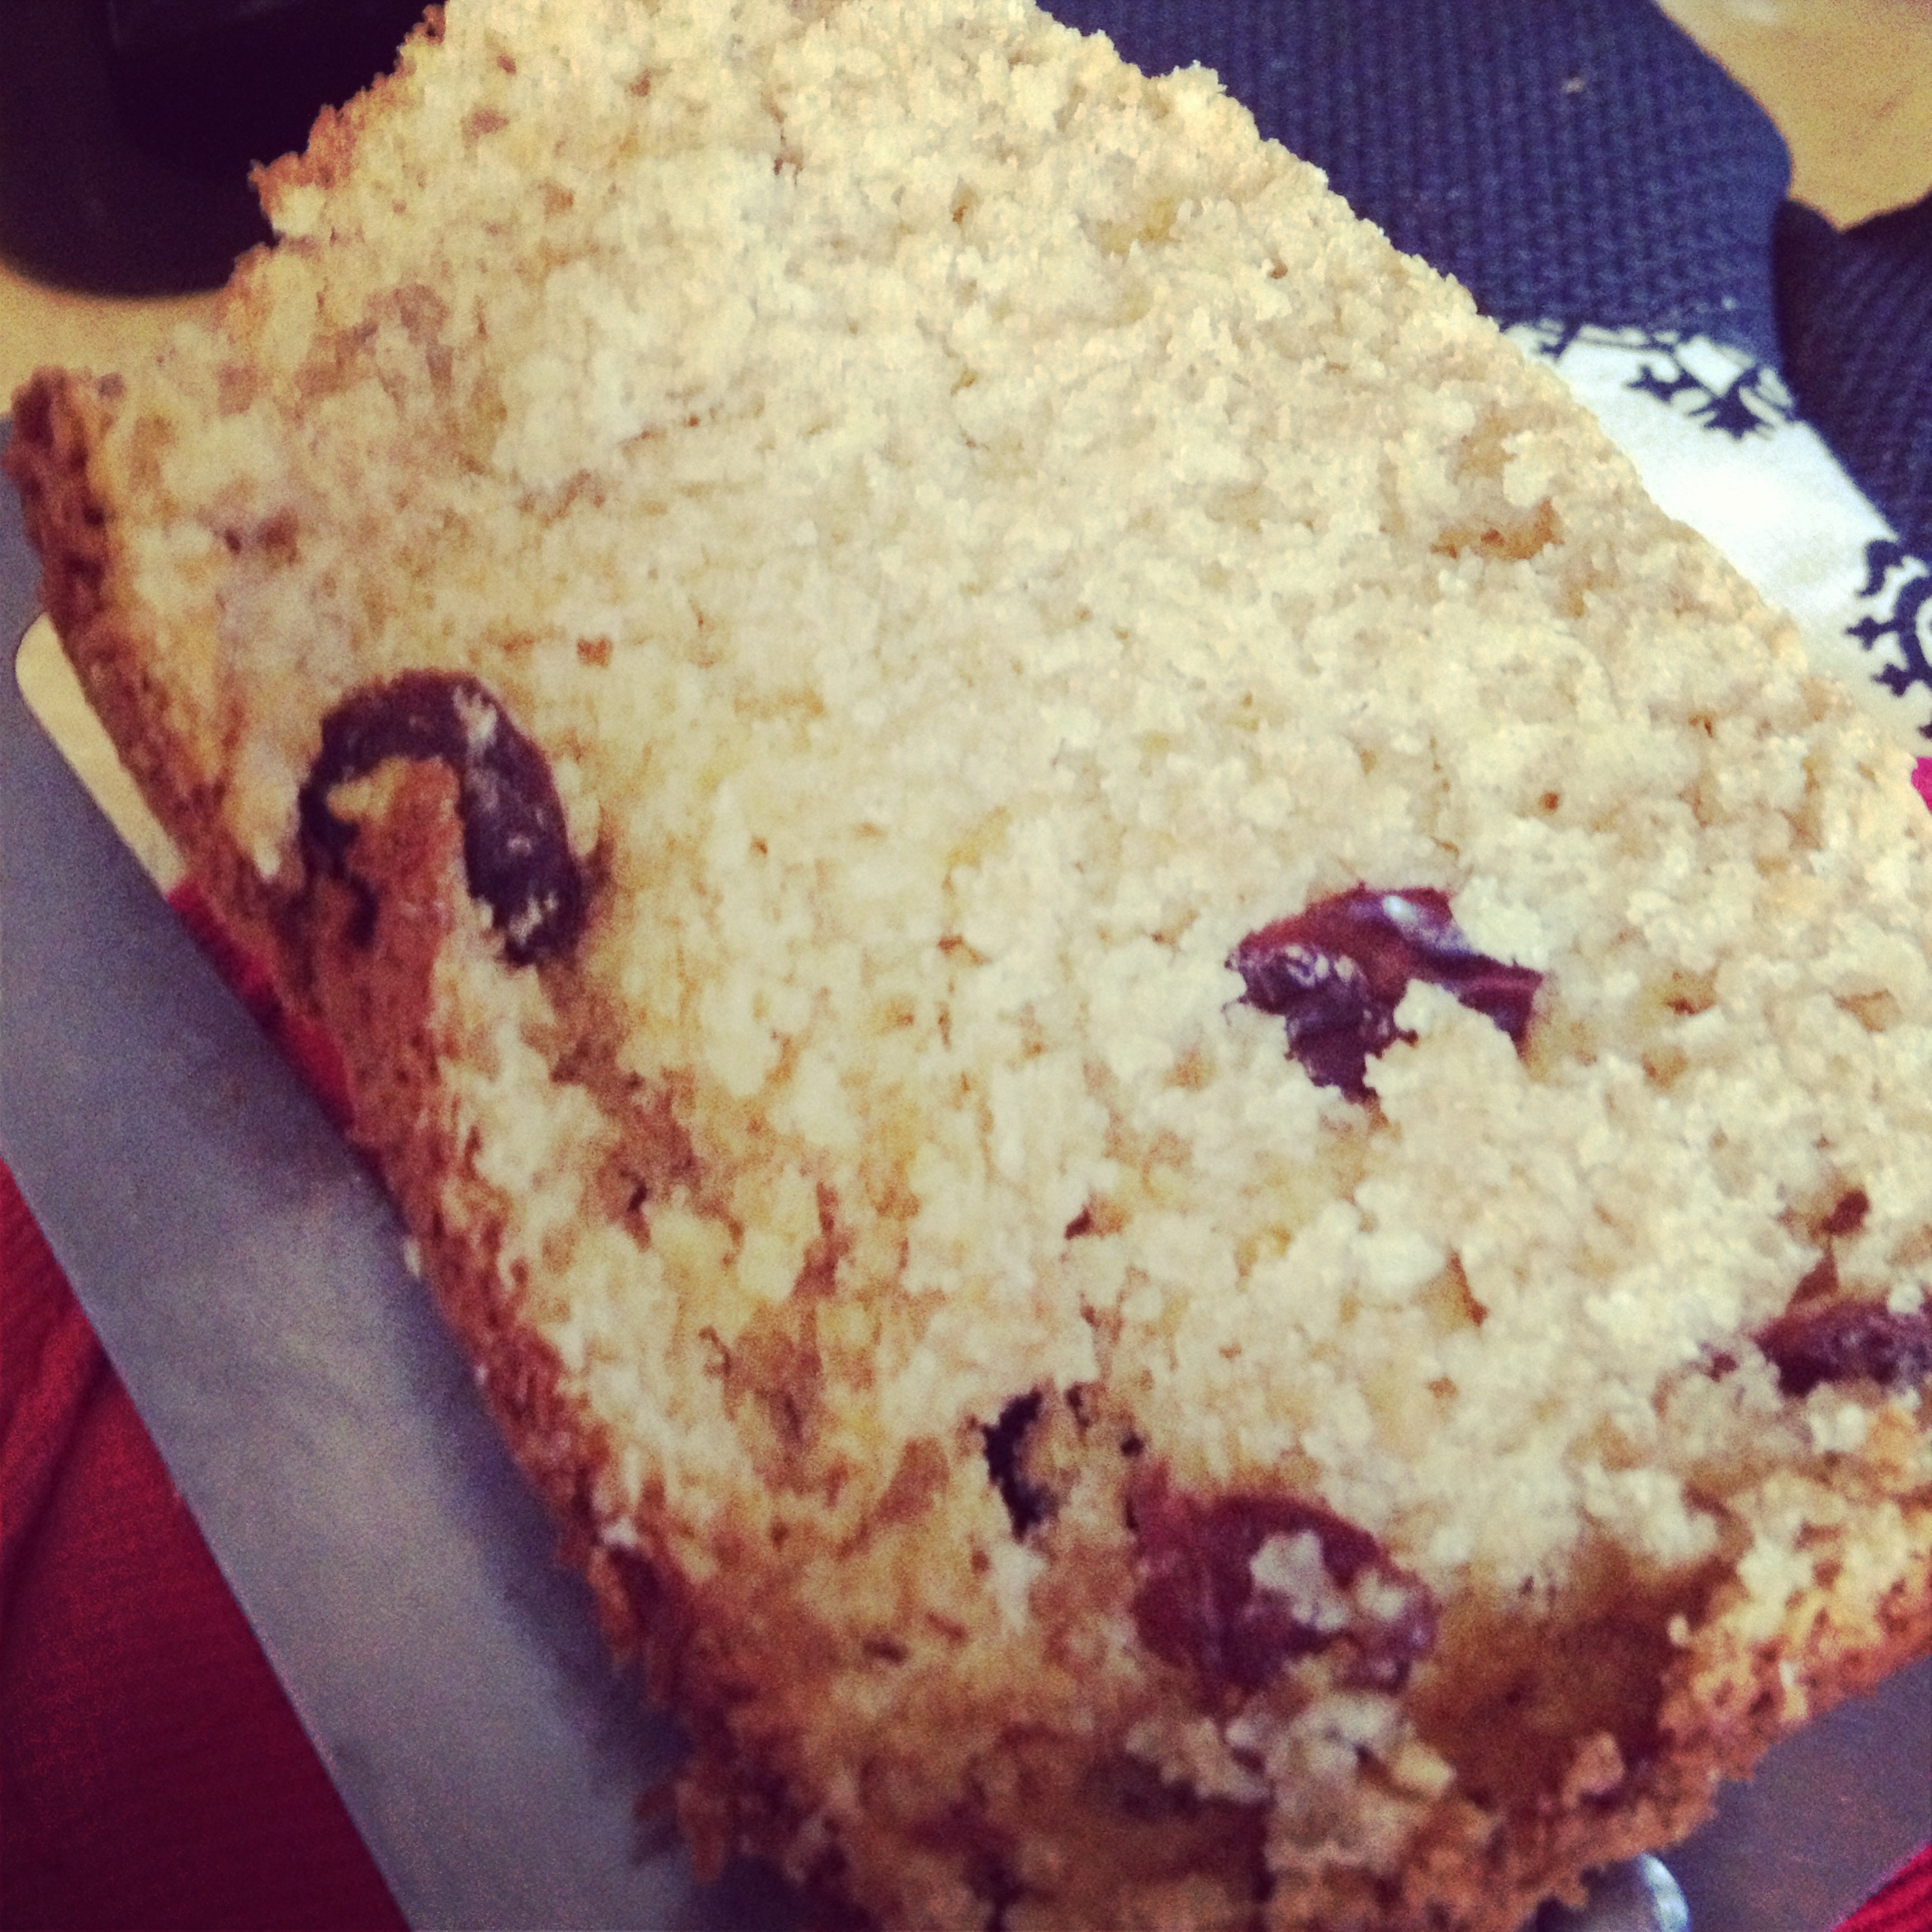
  • Pop it into the oven (remember 350 degrees) and wait a dreadful tantalizing 50-55 minutes for it to bake.

IMG_3353

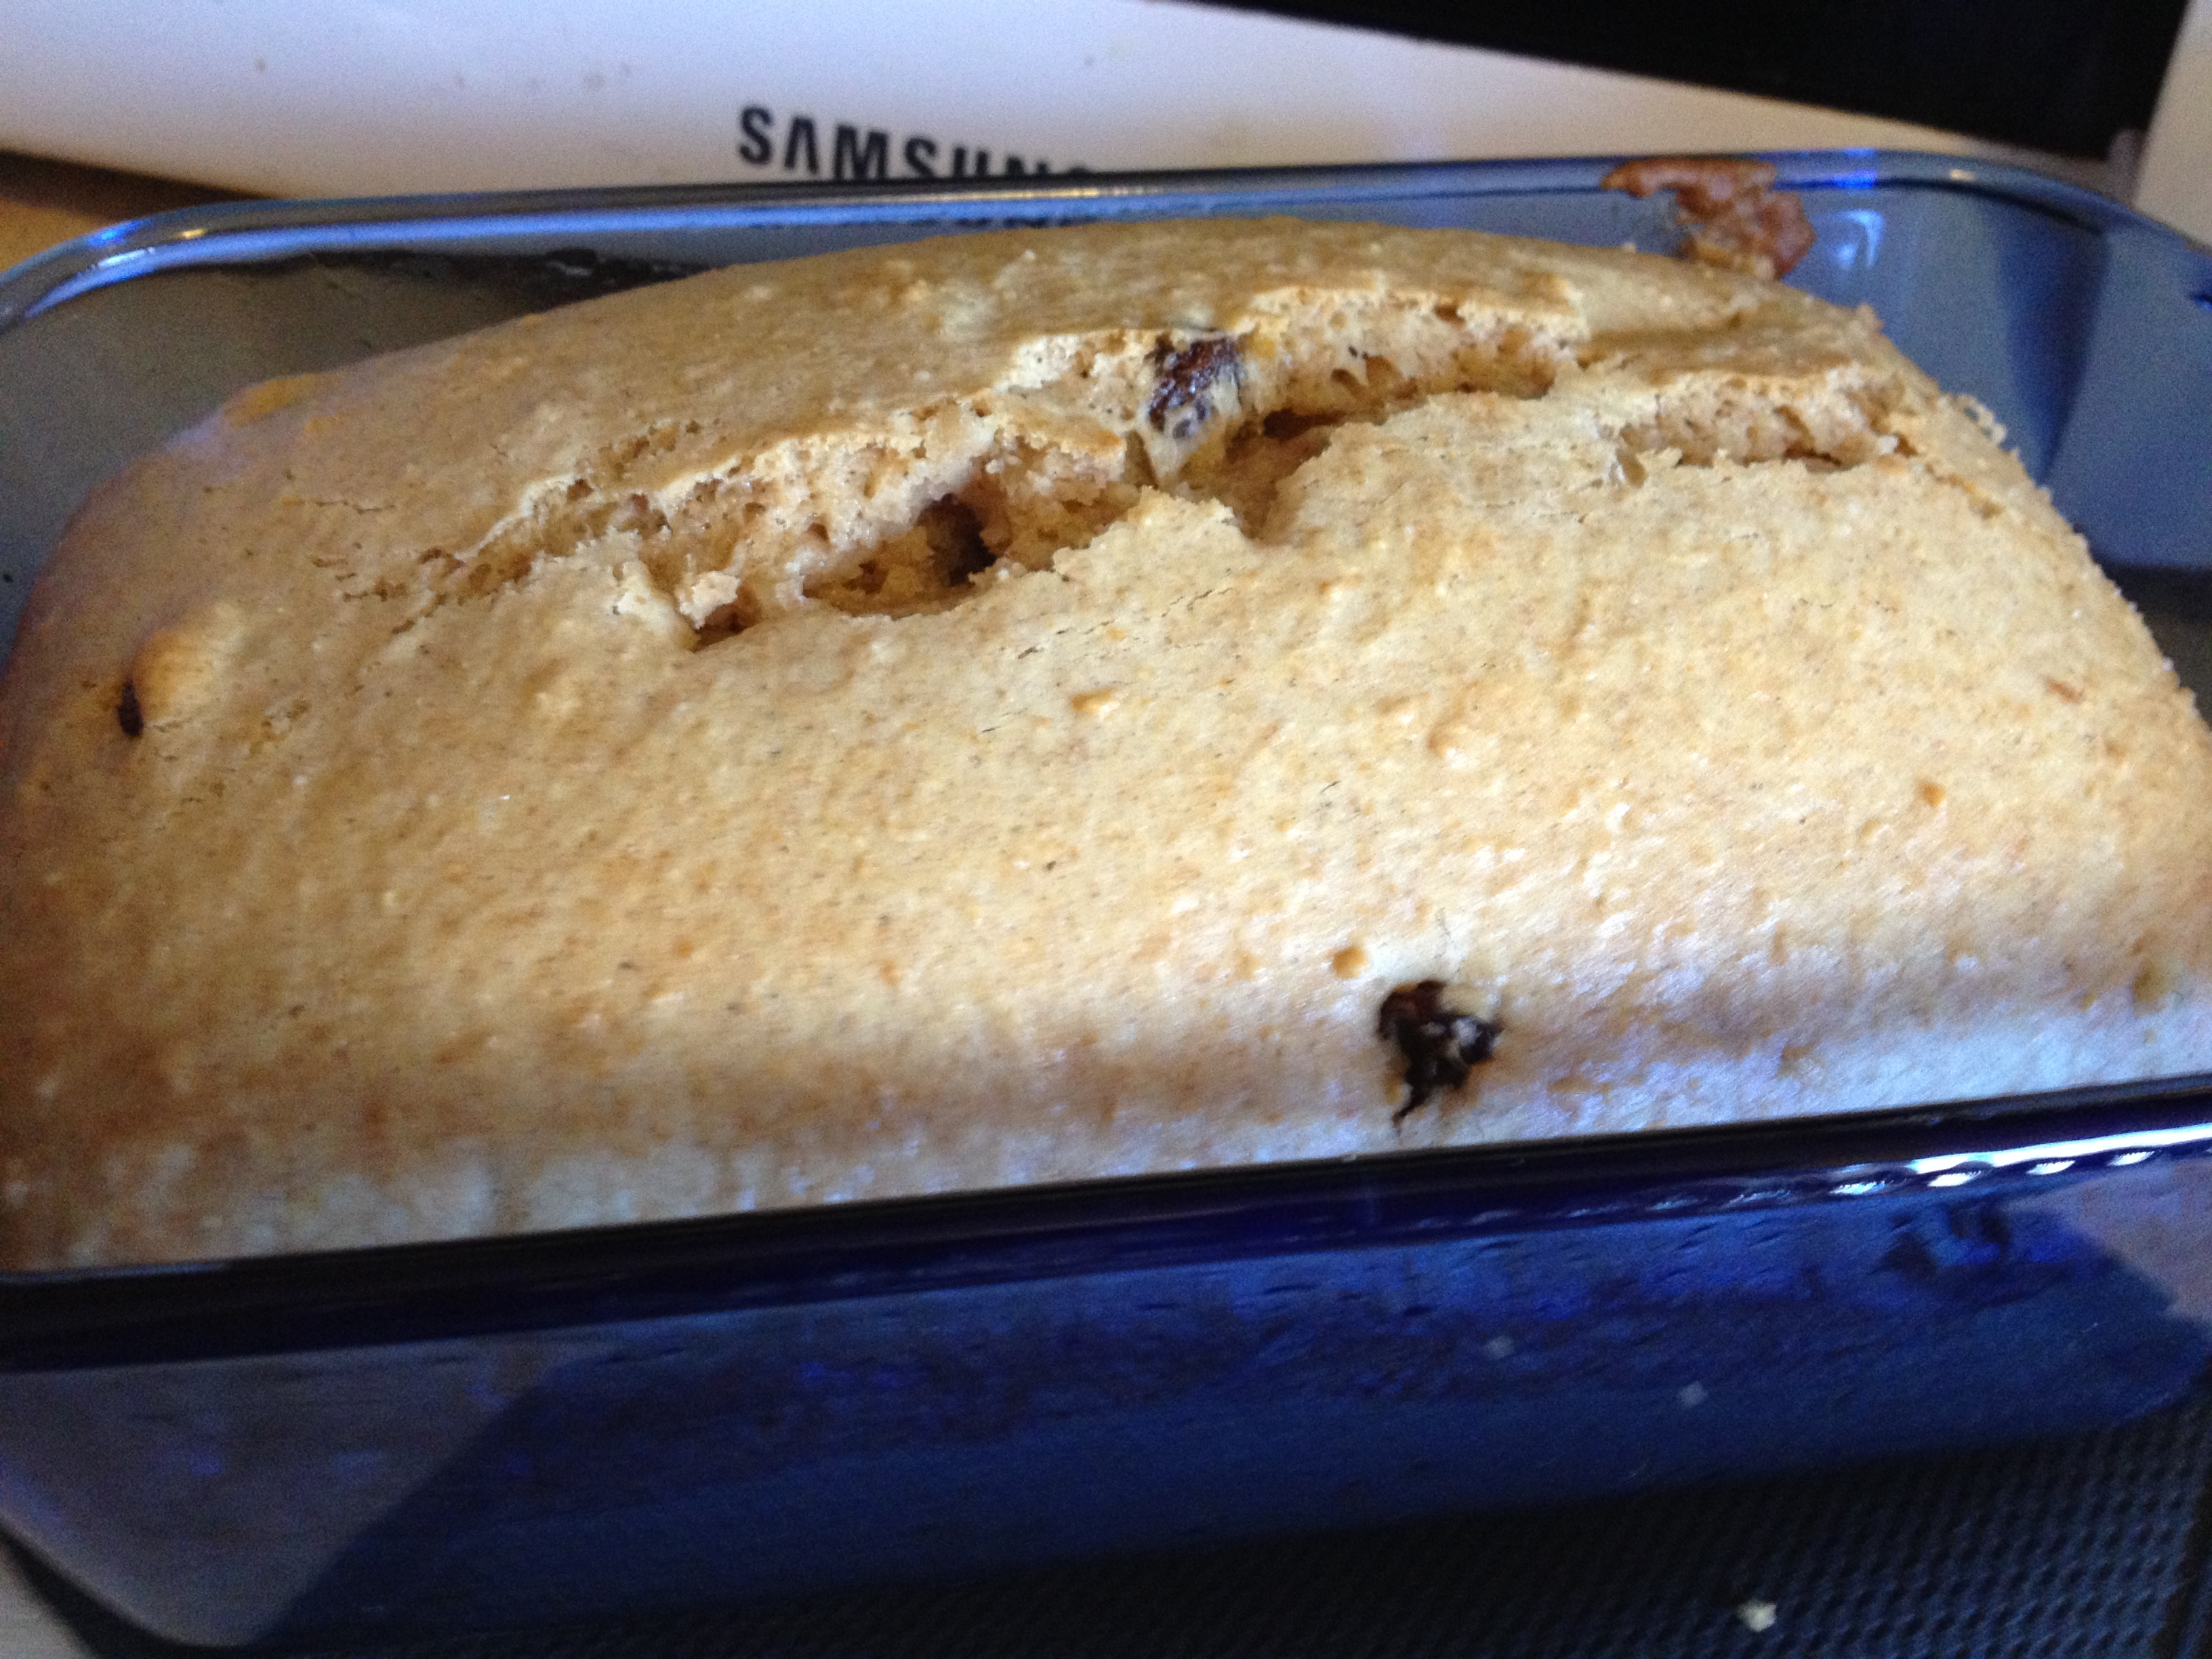
And there you have it. A simple recipe, but an absolutely scrumptious one. I found myself wanting more after Chris and I finished the leftover loaf that Monday. This delicious soda bread does not require St. Patty’s Day for it to be made, make it any day for a delicious, semi-healthy treat! Give your thanks to the wonderful, beautiful Jodi!! Cheers!

Yummm

Yummm

spacer

Peanut Butter Oat Bars

This is such an easy delicious recipe. Mary Kate sent this recipe to me–I altered it a little bit and boy is it goooooood. And it’s such an easy recipe, I whipped it up extremely fast. And there’s no added sugar that you have to pour in, making them healthy little things full of protein. Look below for the recipe and directions. This is one you won’t want to pass up and you only need about 25 minutes to do it.

  • Prep Time: 7 minutes
  • Bake Time: 18 minutes

ingredients

Ingredients

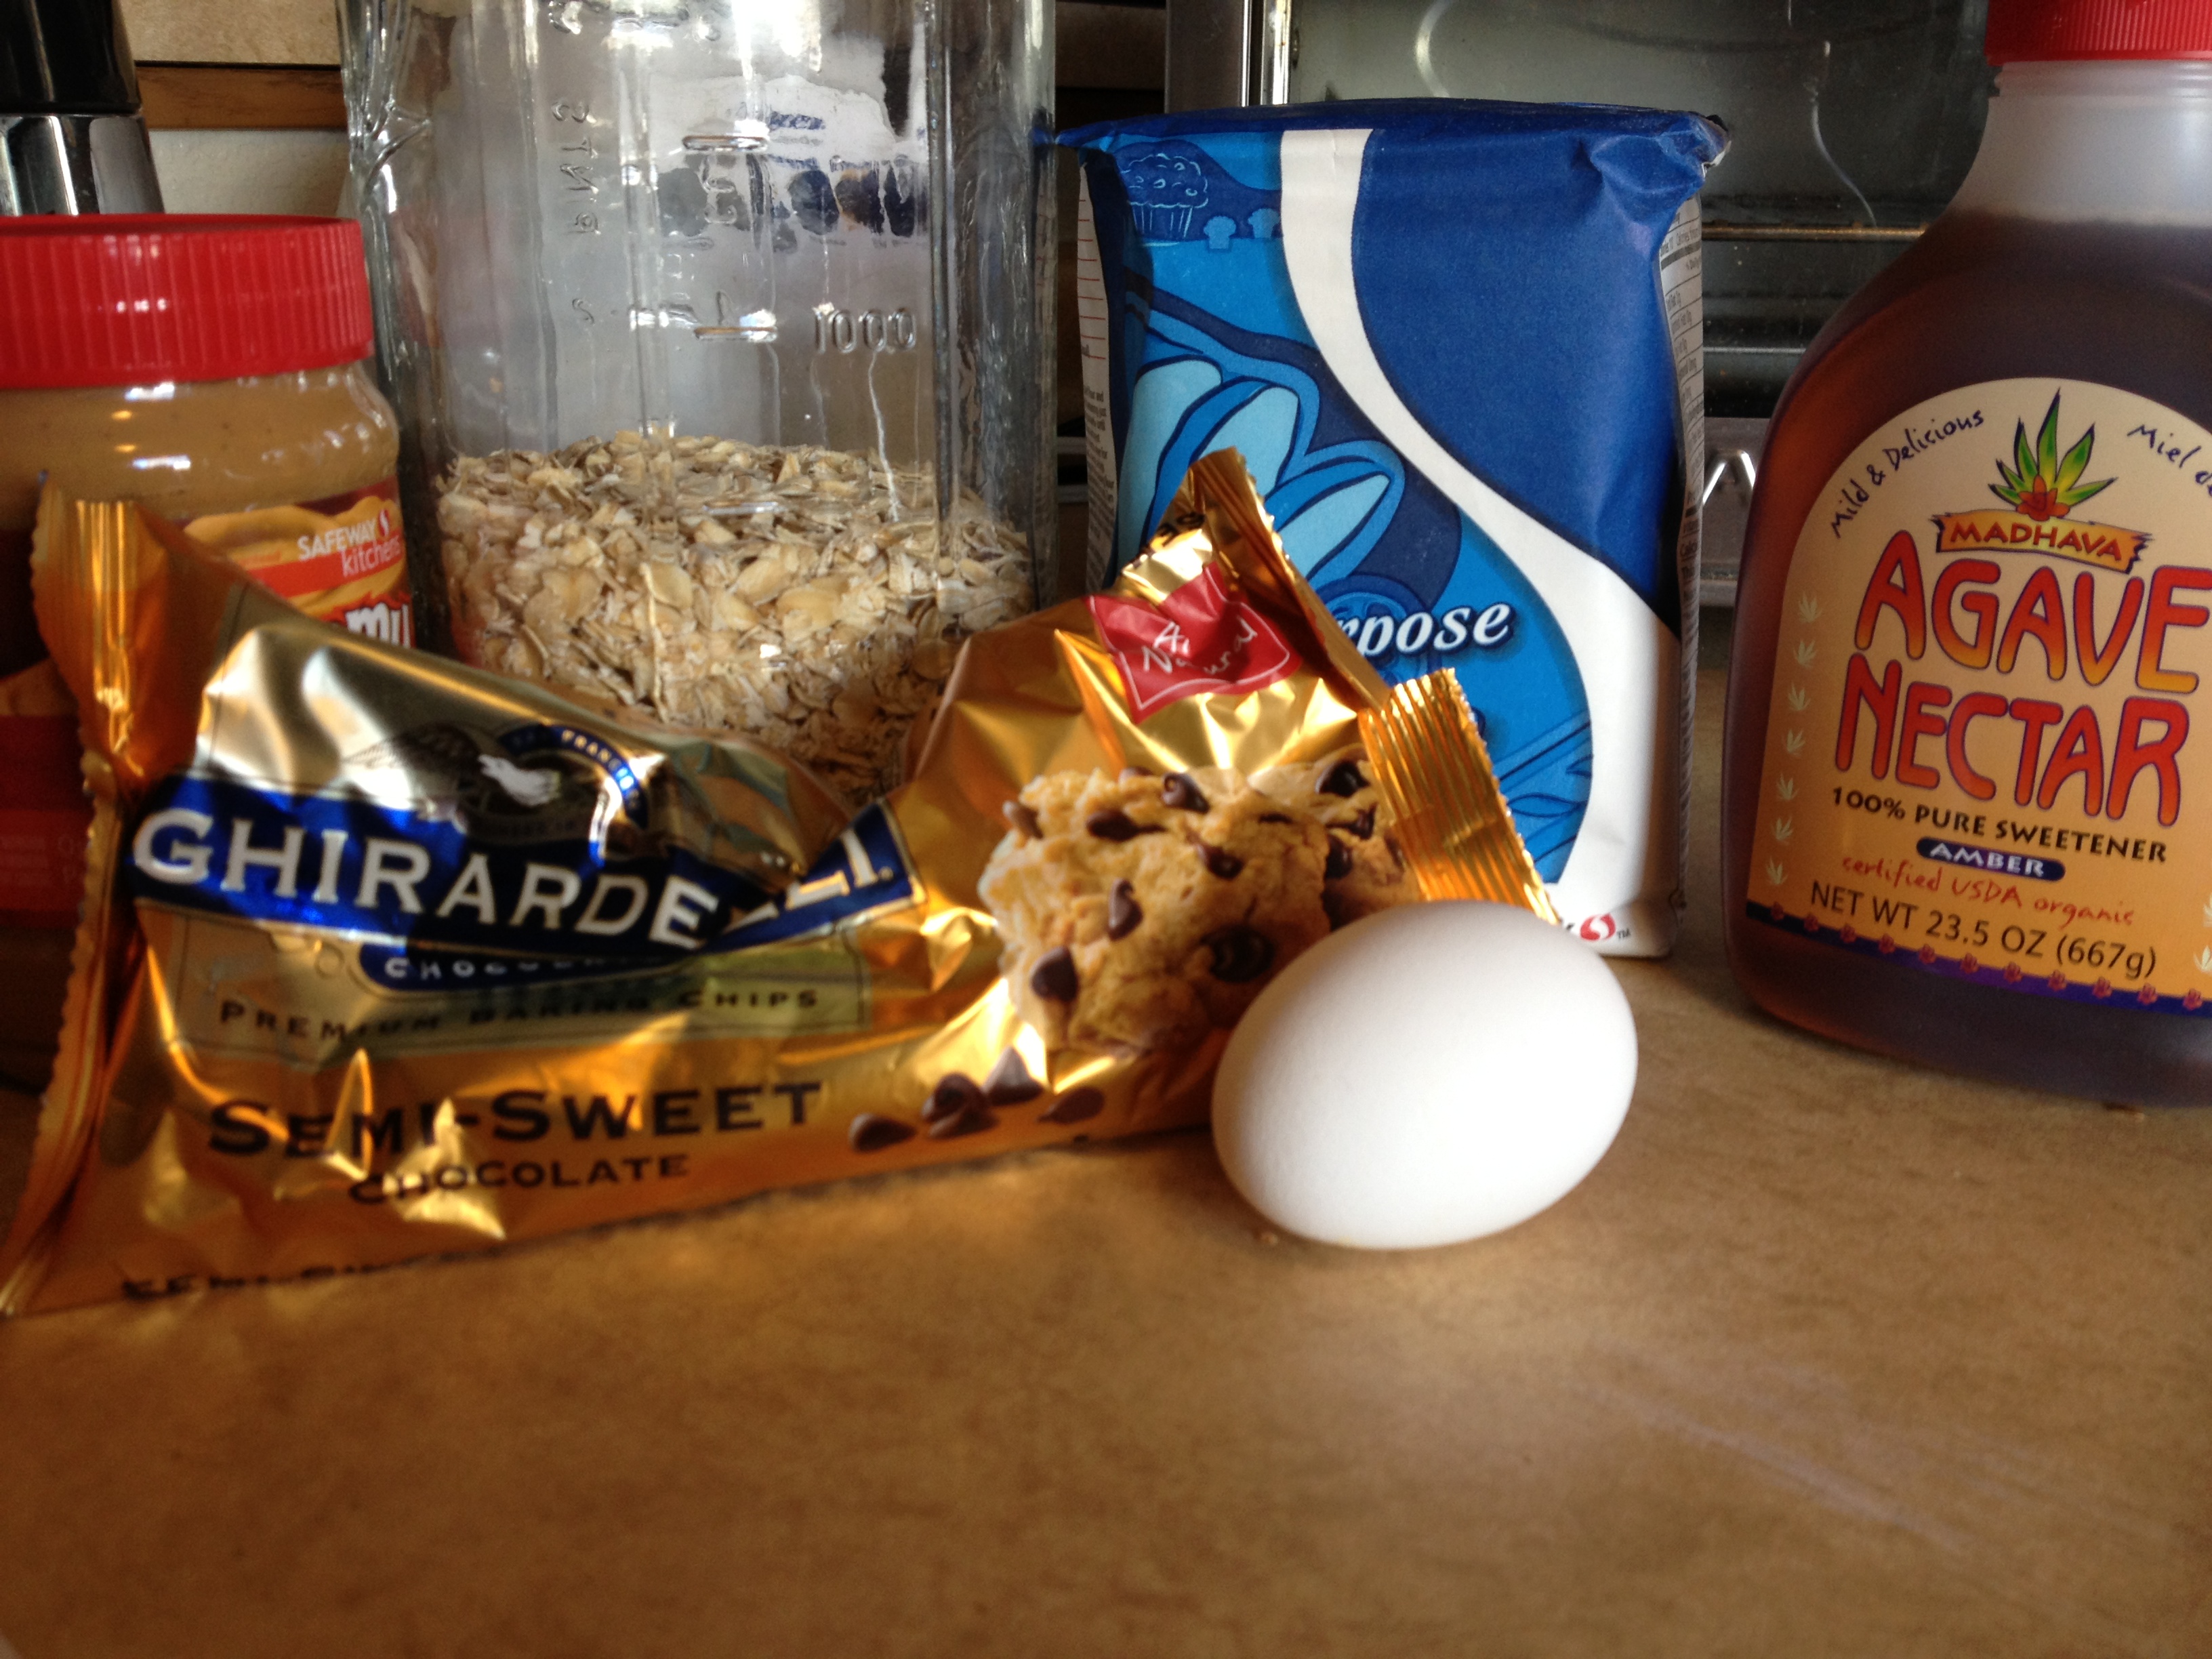
  • 1.5 cups of oats
  • 1/2 cup of all-purpose flour
  • 1/3 cup of agave nectar
  • 1 egg
  • 1/2 cup smooth peanut butter
  • small handful of chocolate chips 

Directions

  • Grease a baking sheet and pre-heat oven to 350 degrees
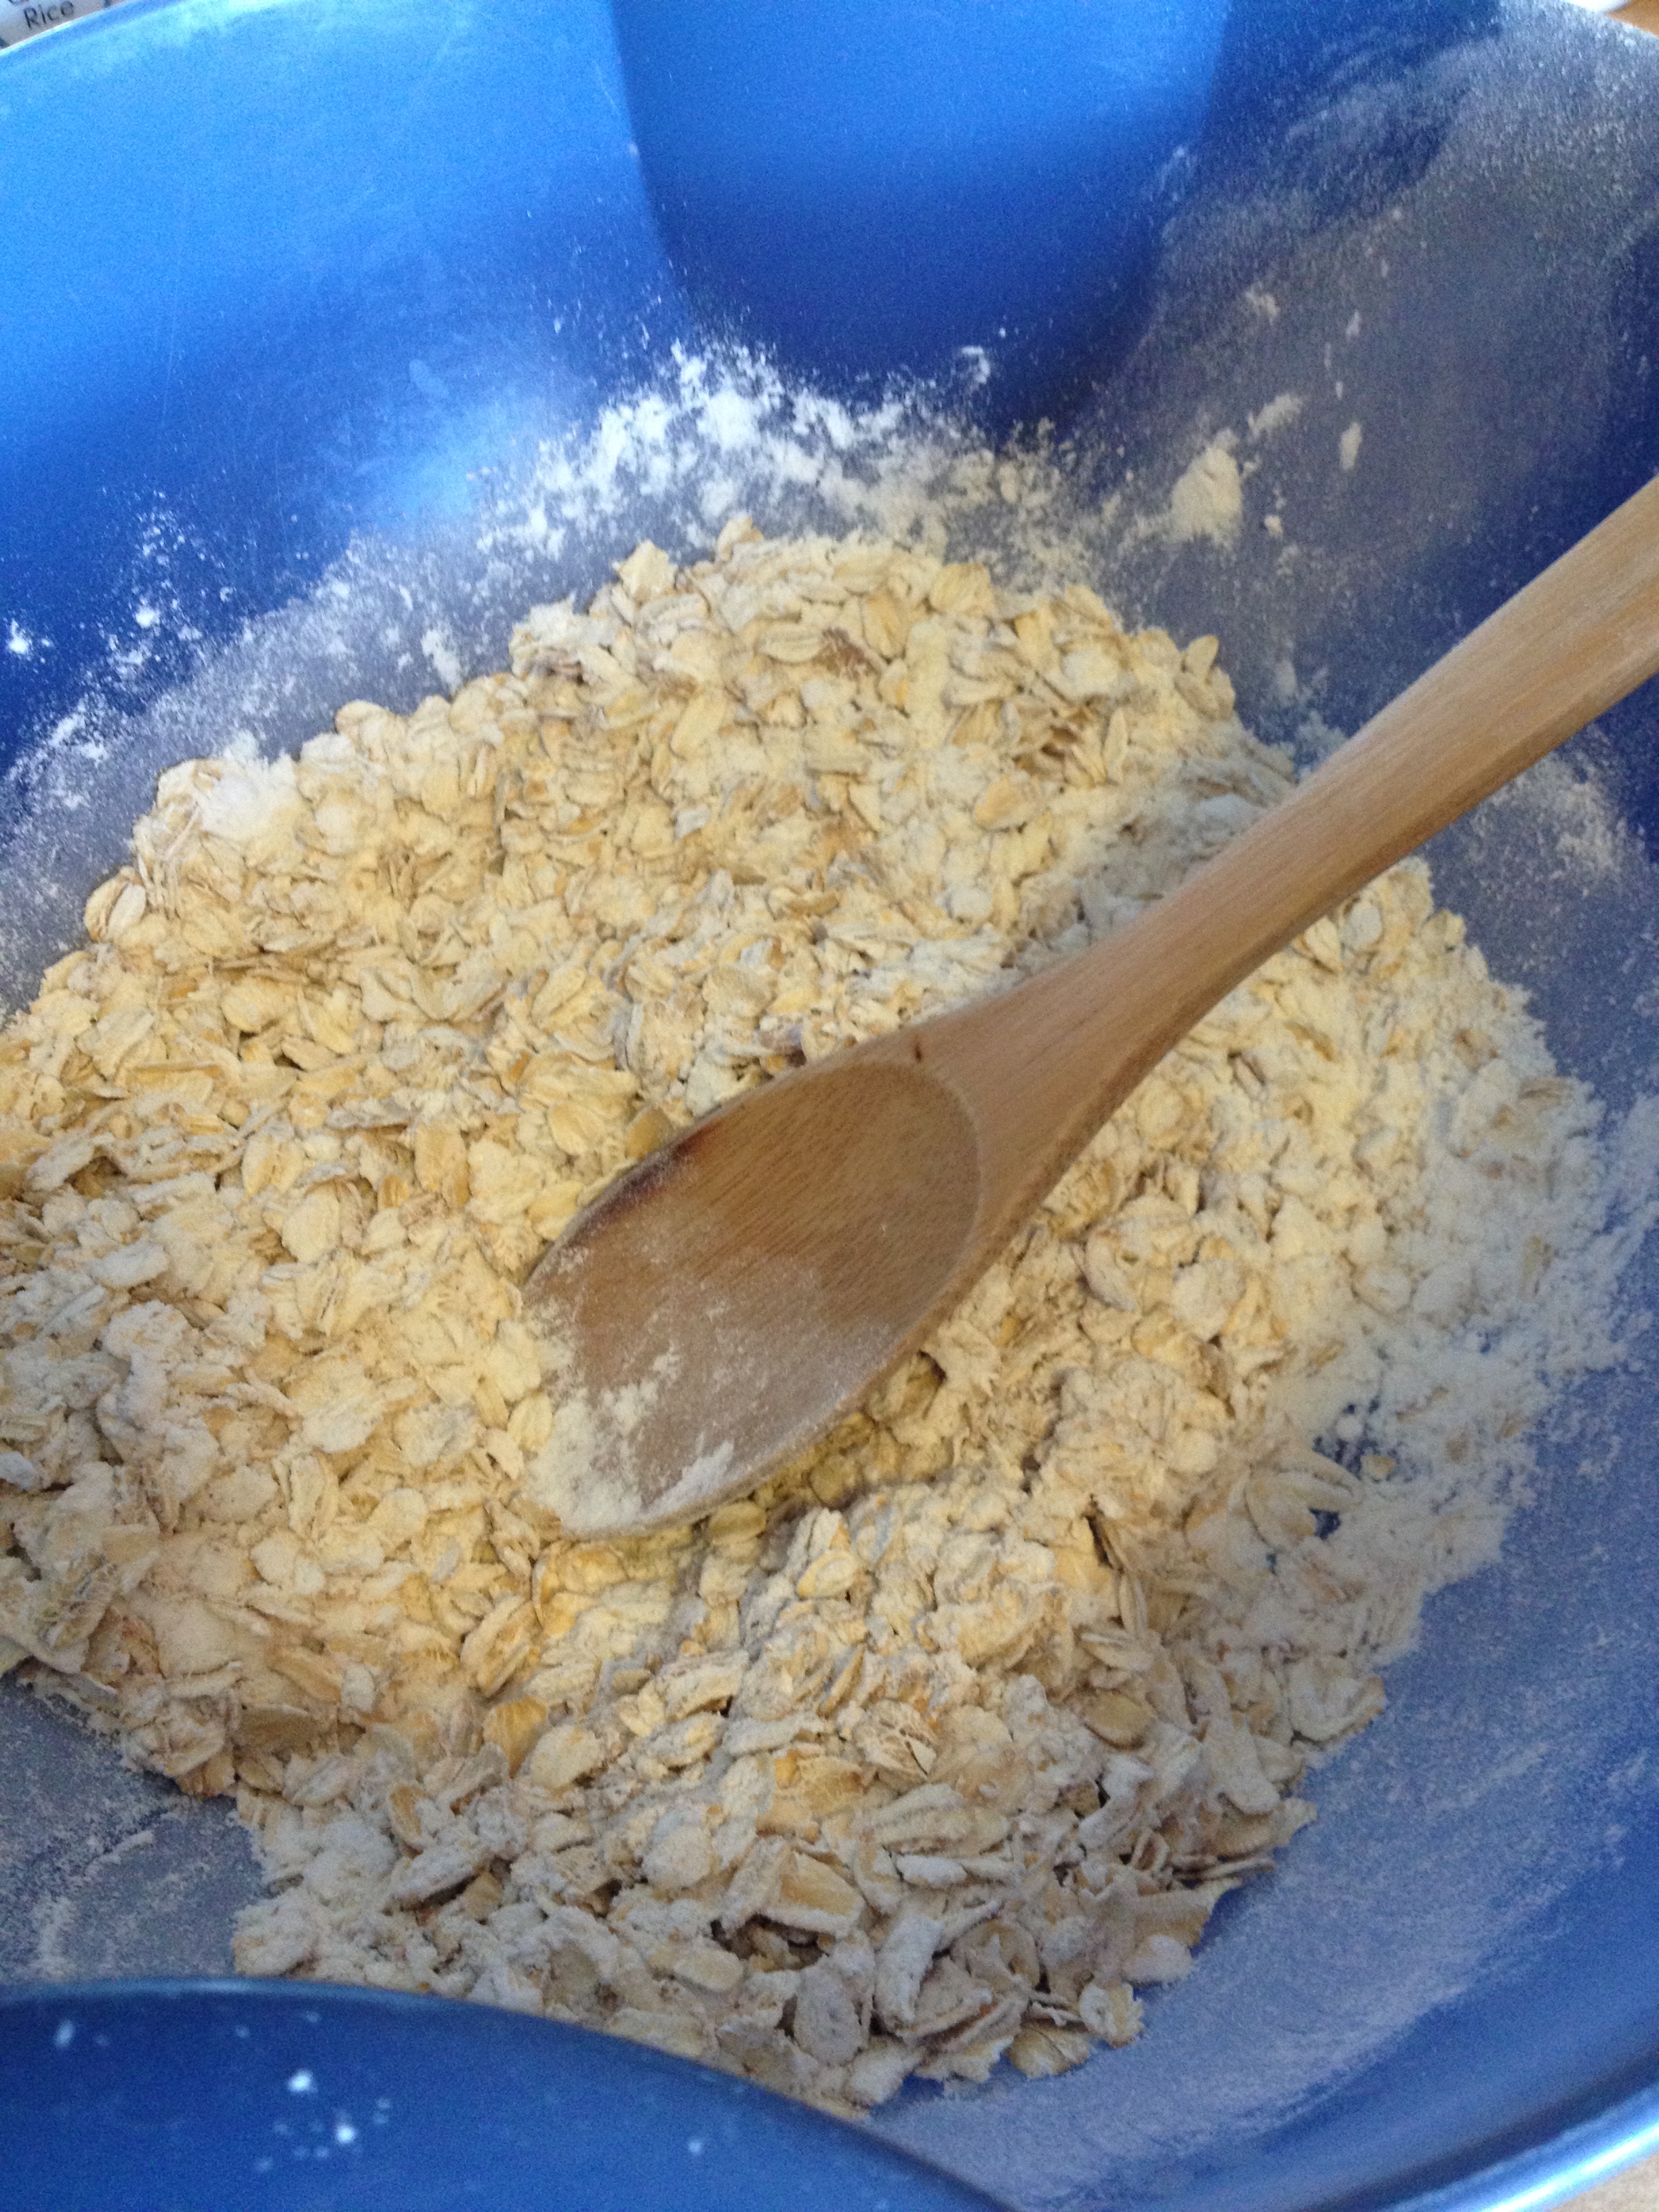
  • Mix the flour and oats together

dry

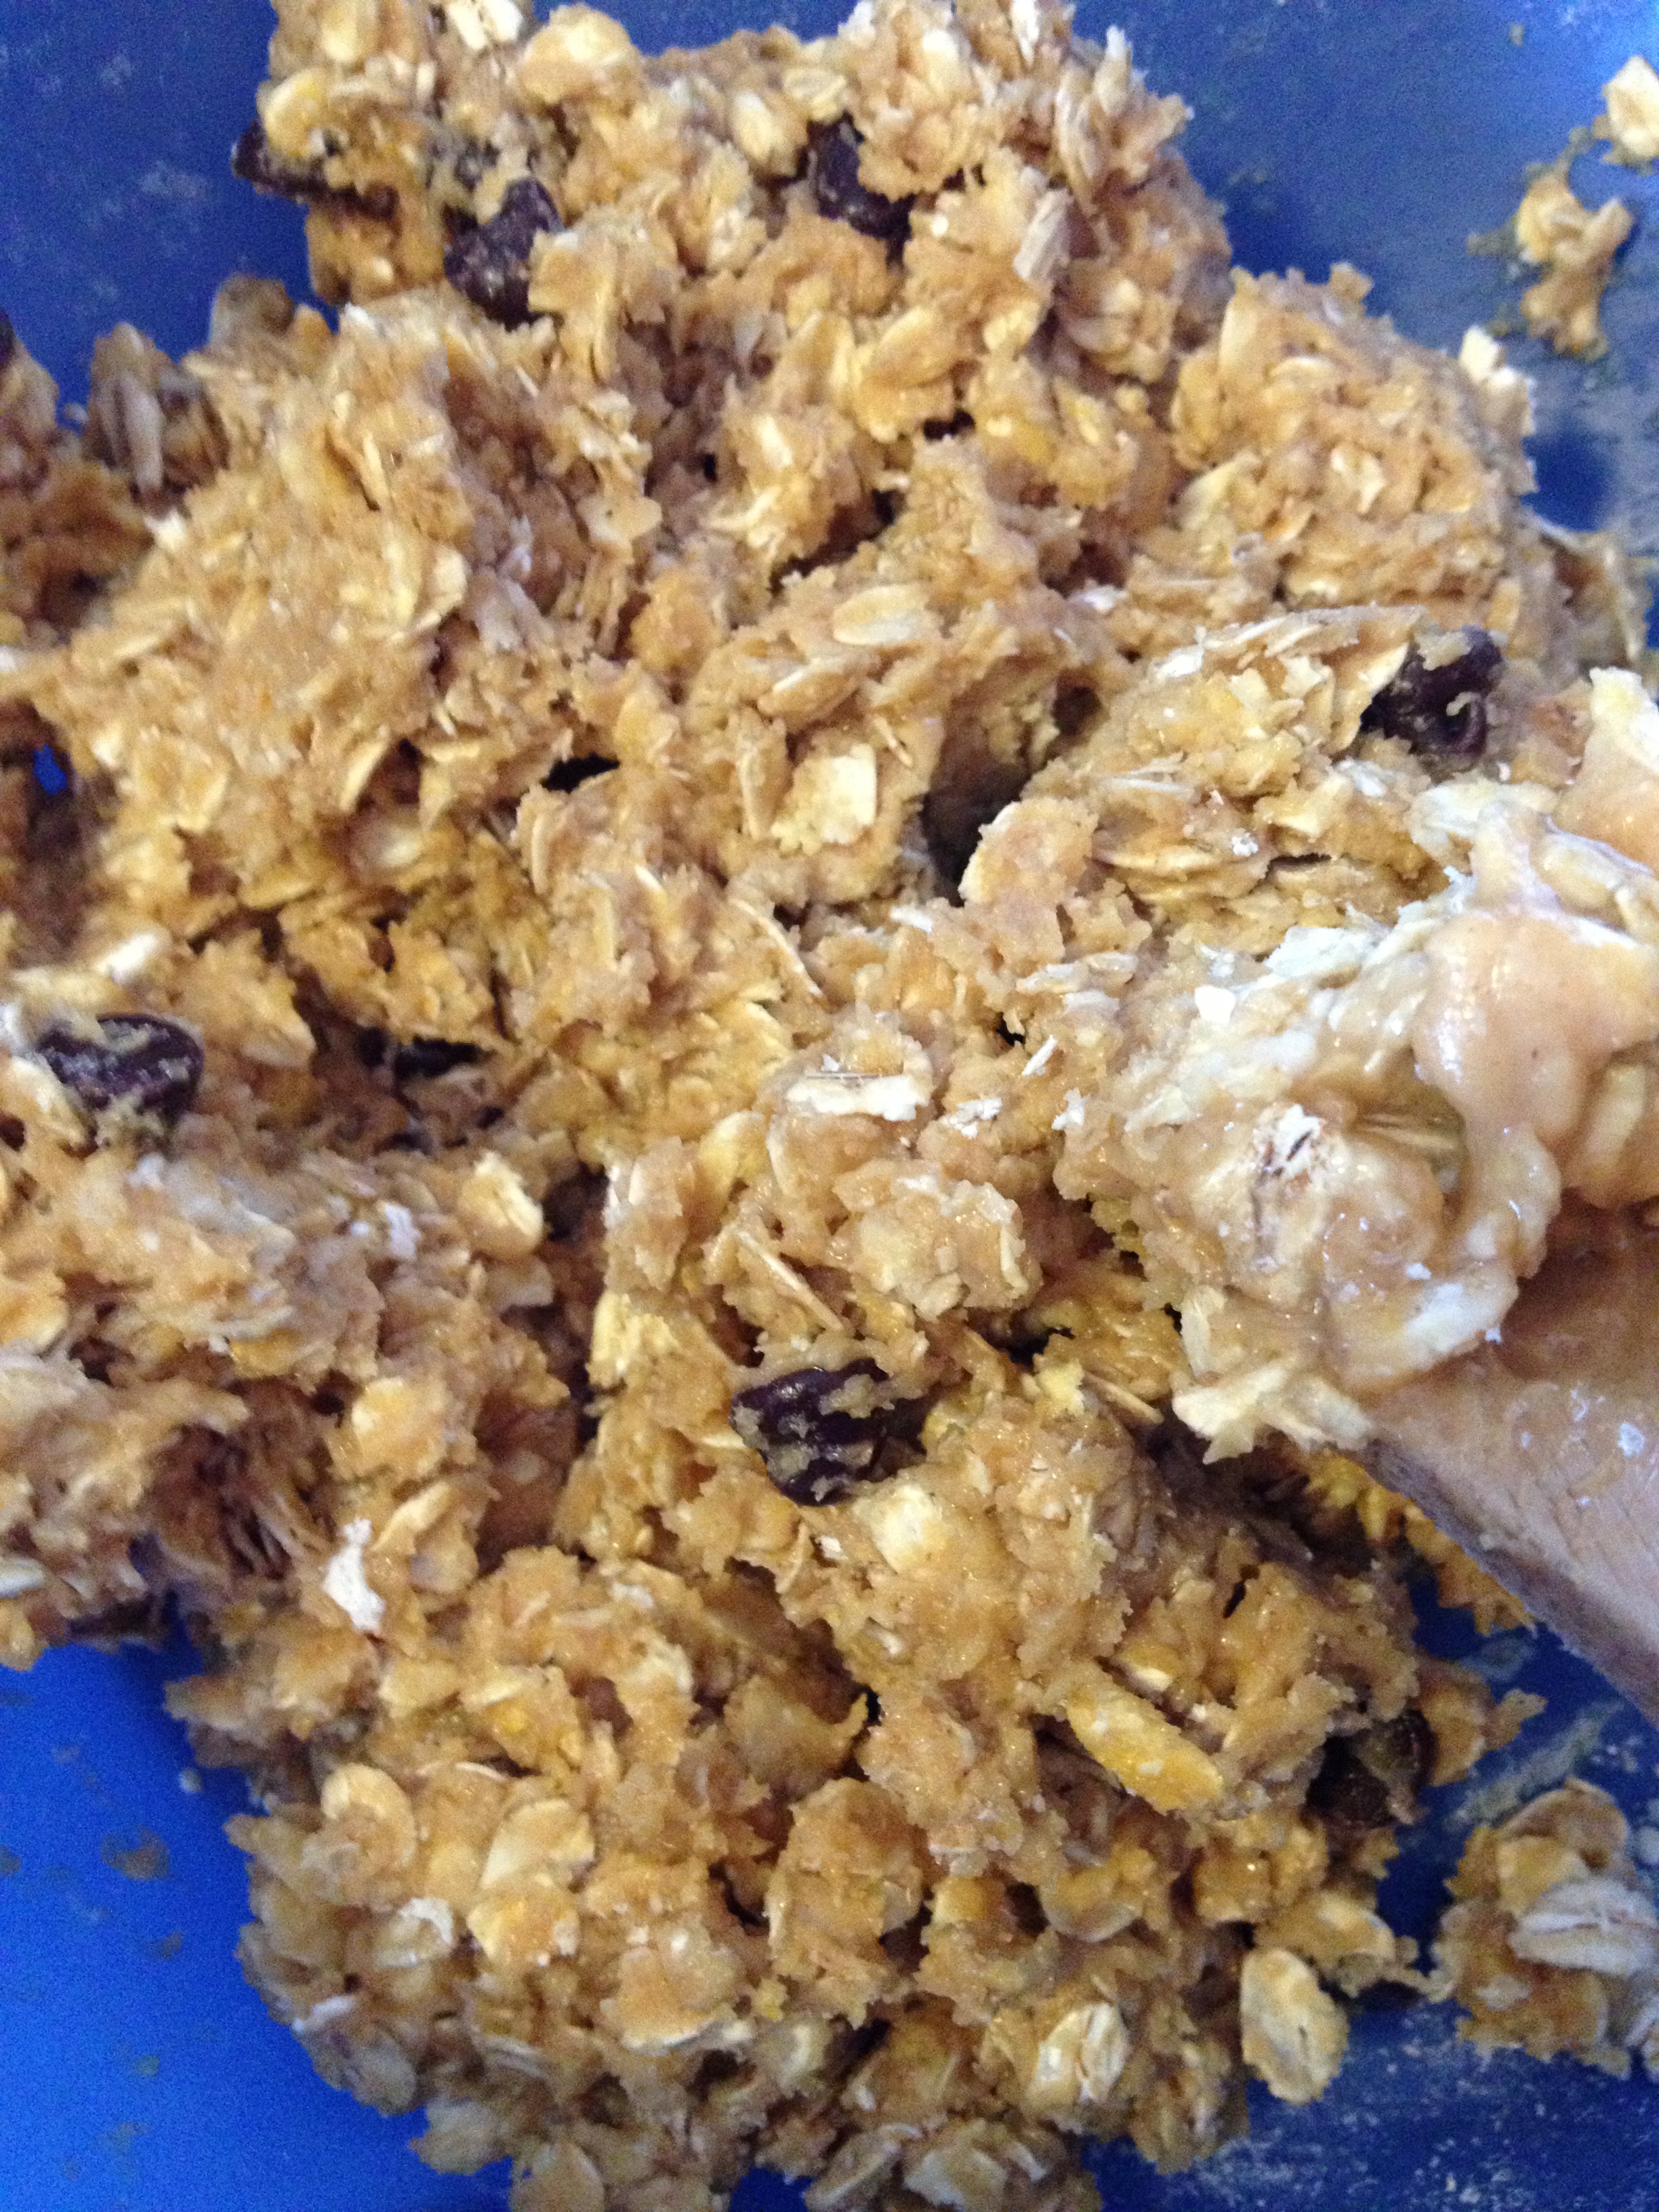
  • Go ahead and put the wet ingredients in (the egg, peanut butter, and agave nectar) and mix
  • Fold in some chocolate chips

mixing

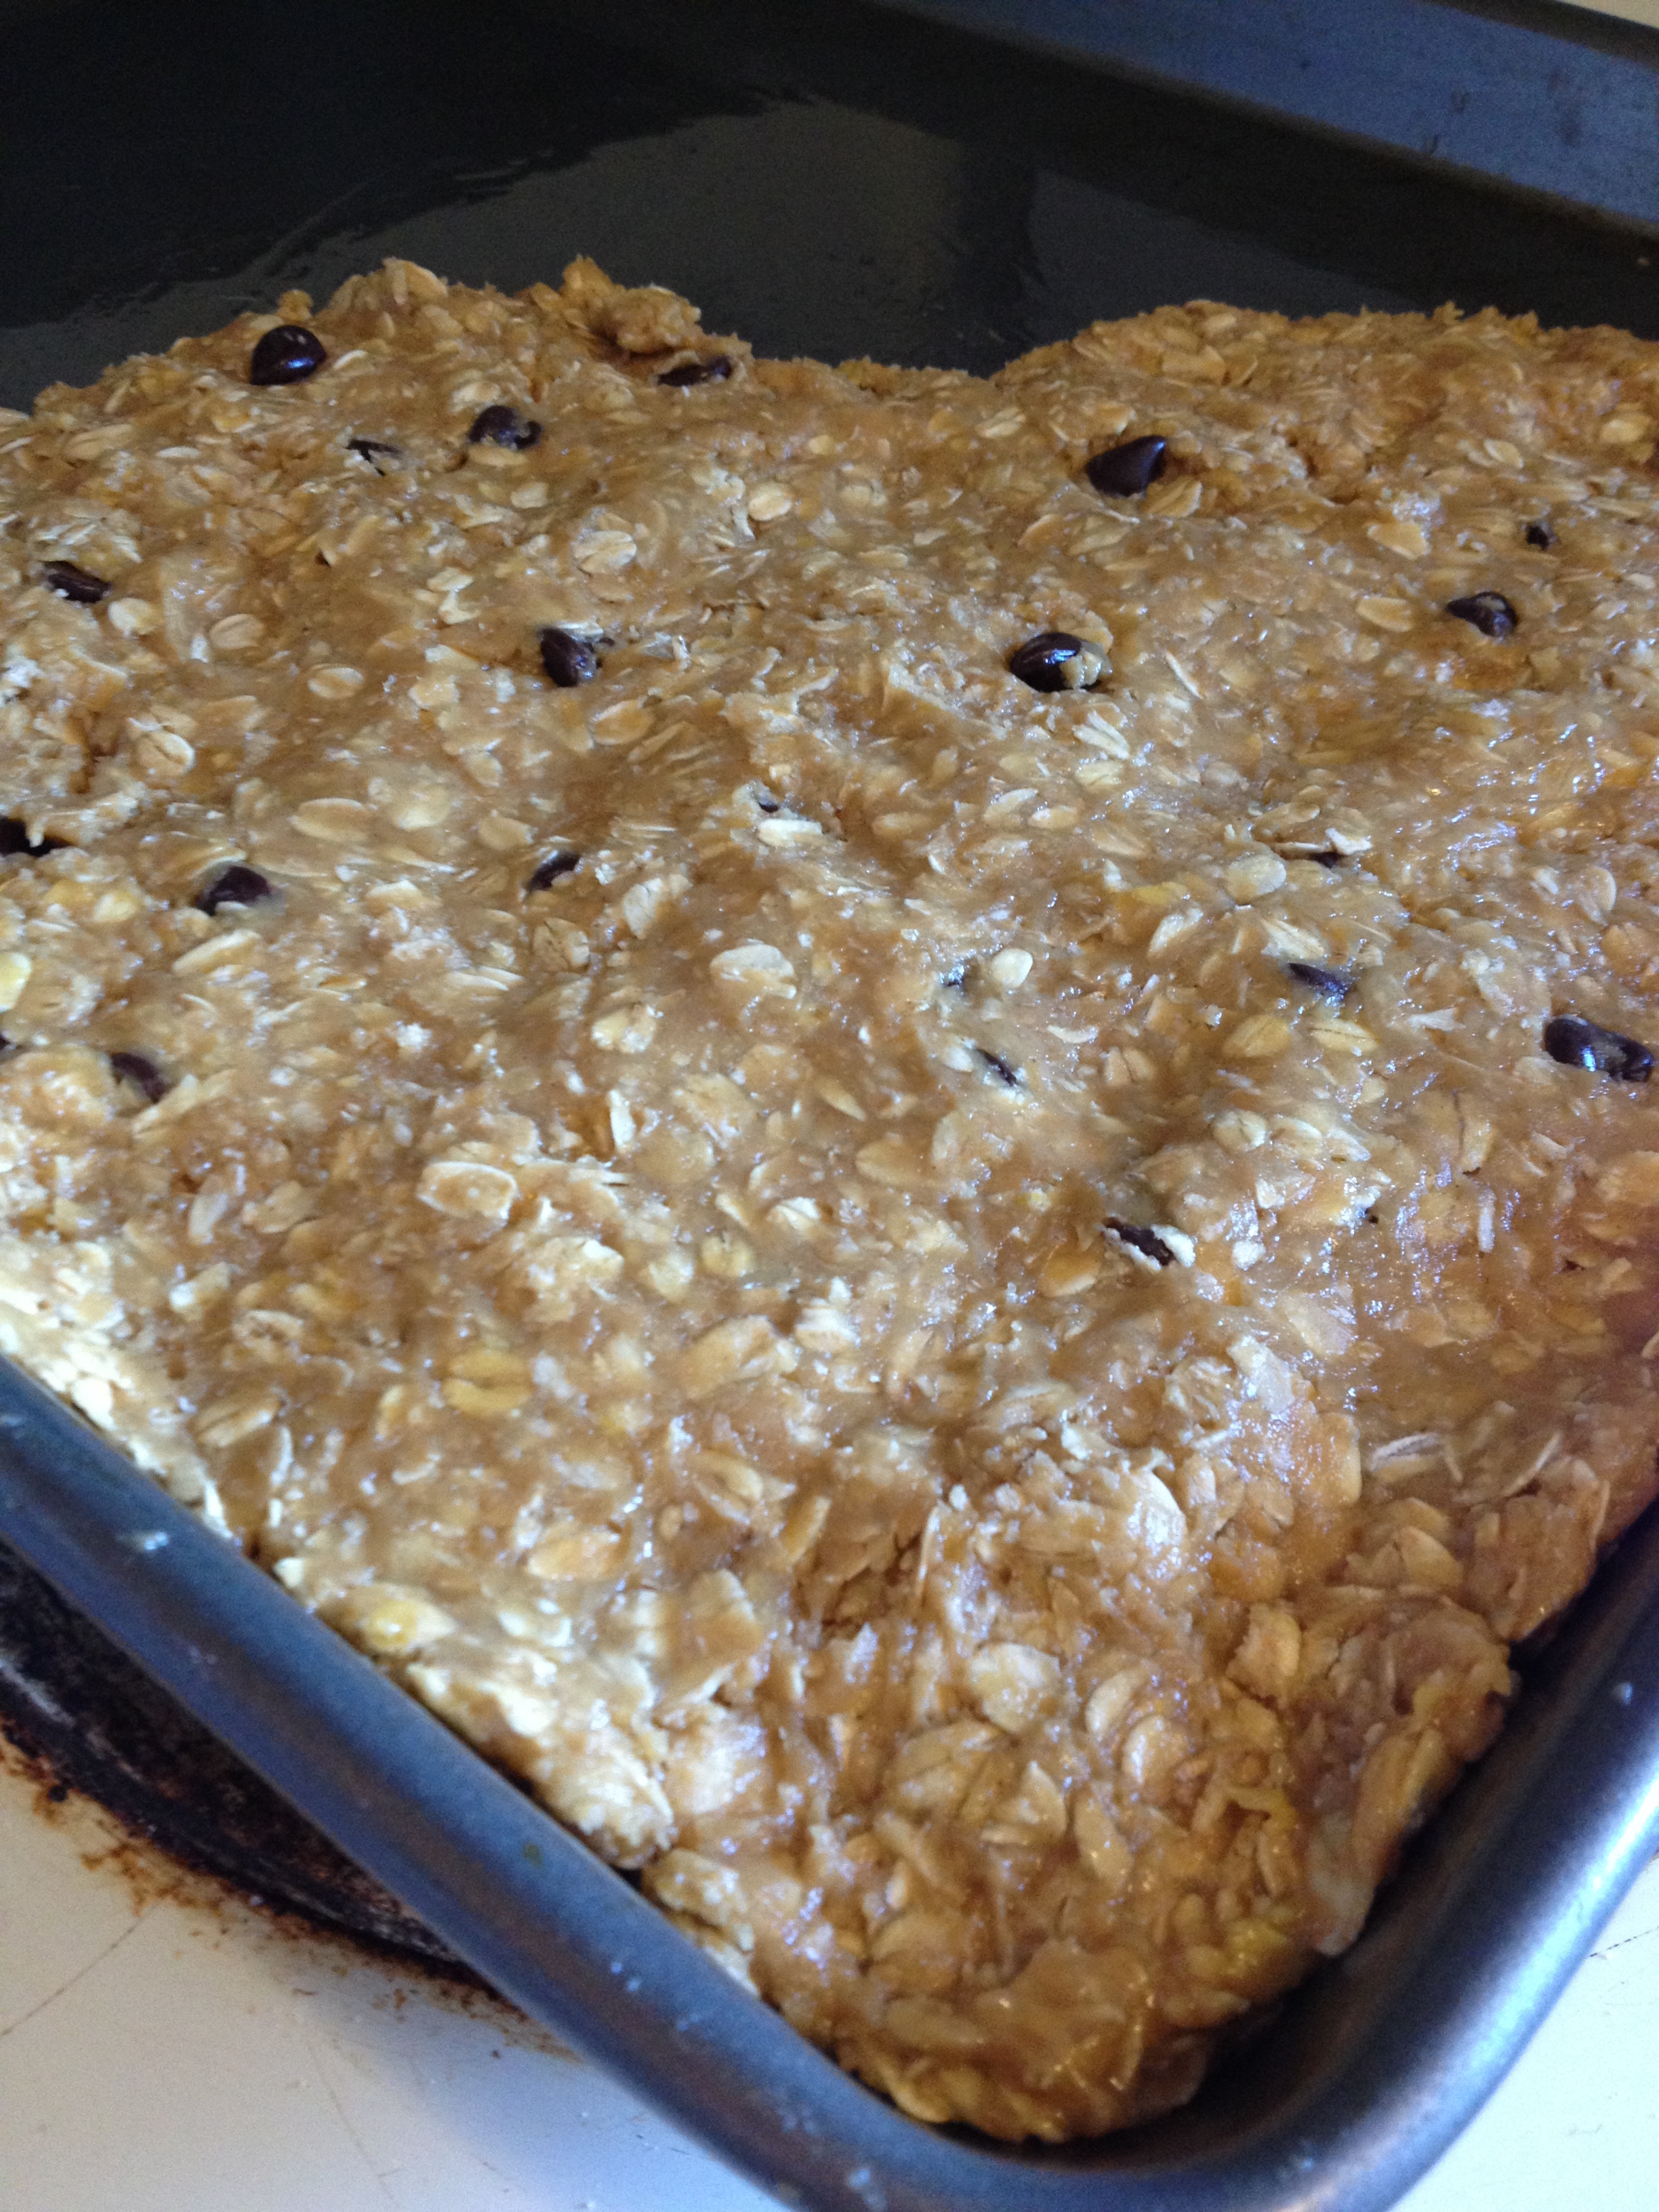
  • Spread out on the baking sheet
Ready to bake

Ready to bake

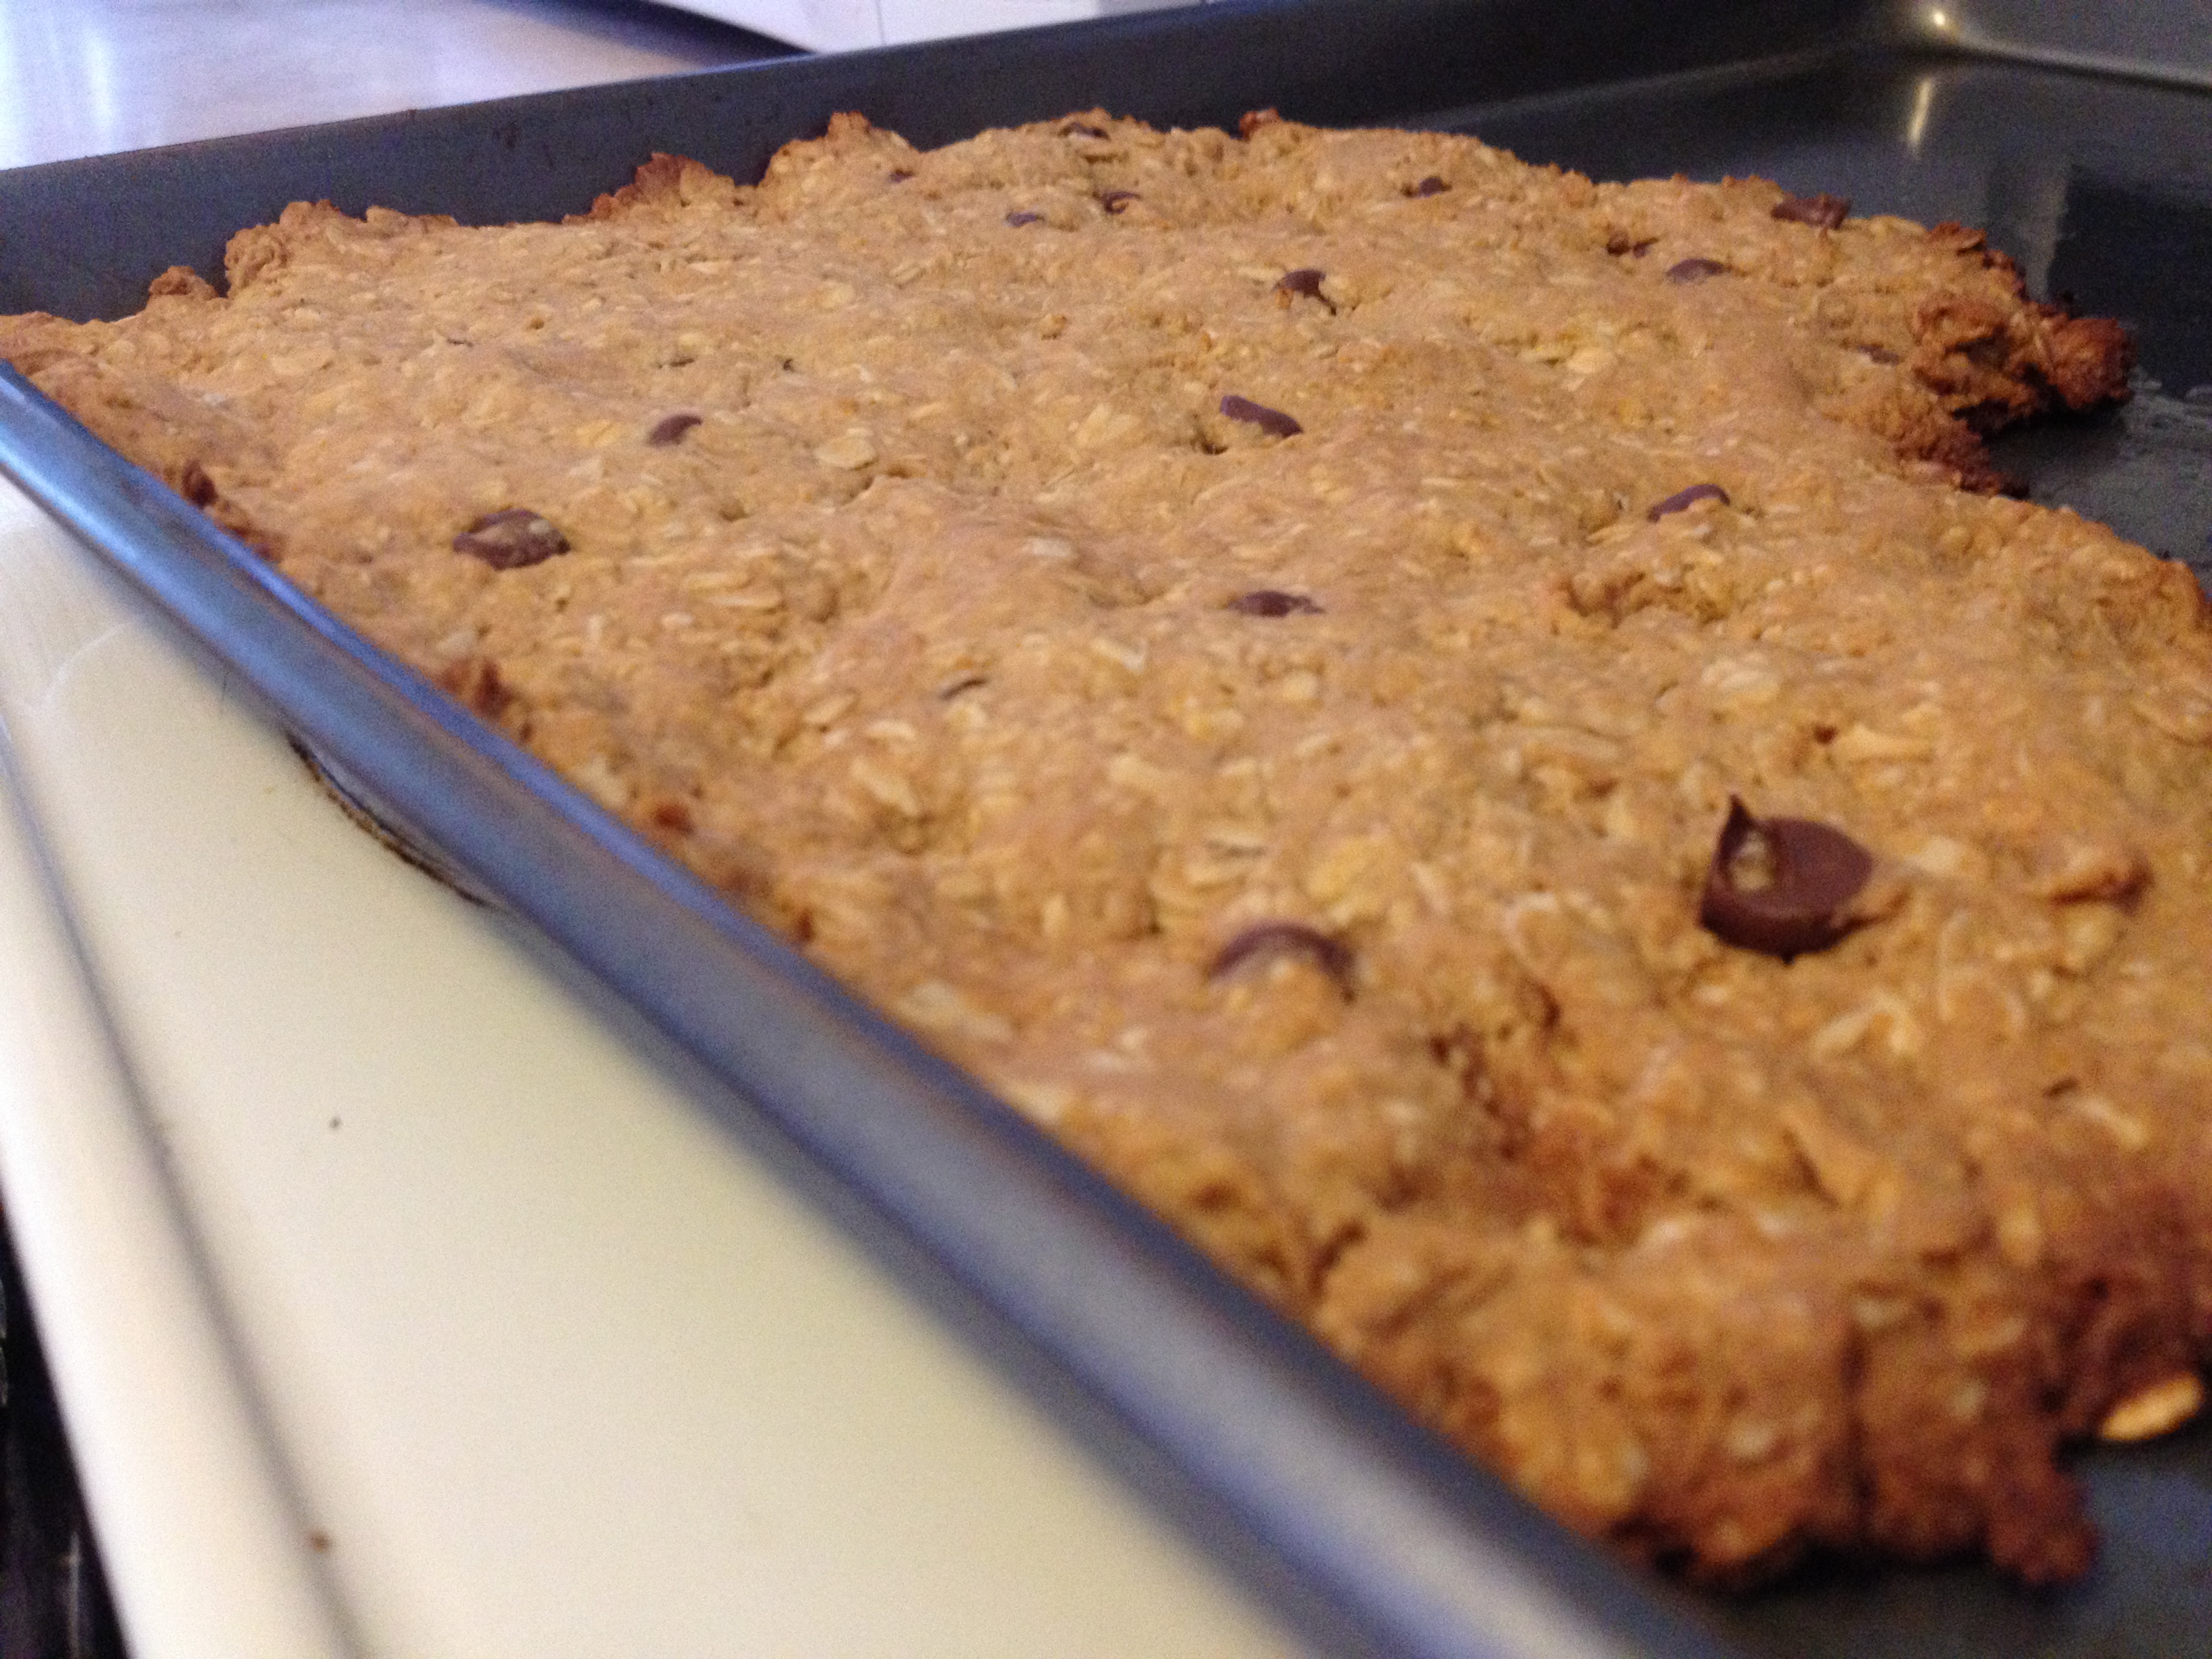
  • Bake in the oven for 15-18 minutes (mine took 18). You want it to bake until it starts to brown slightly

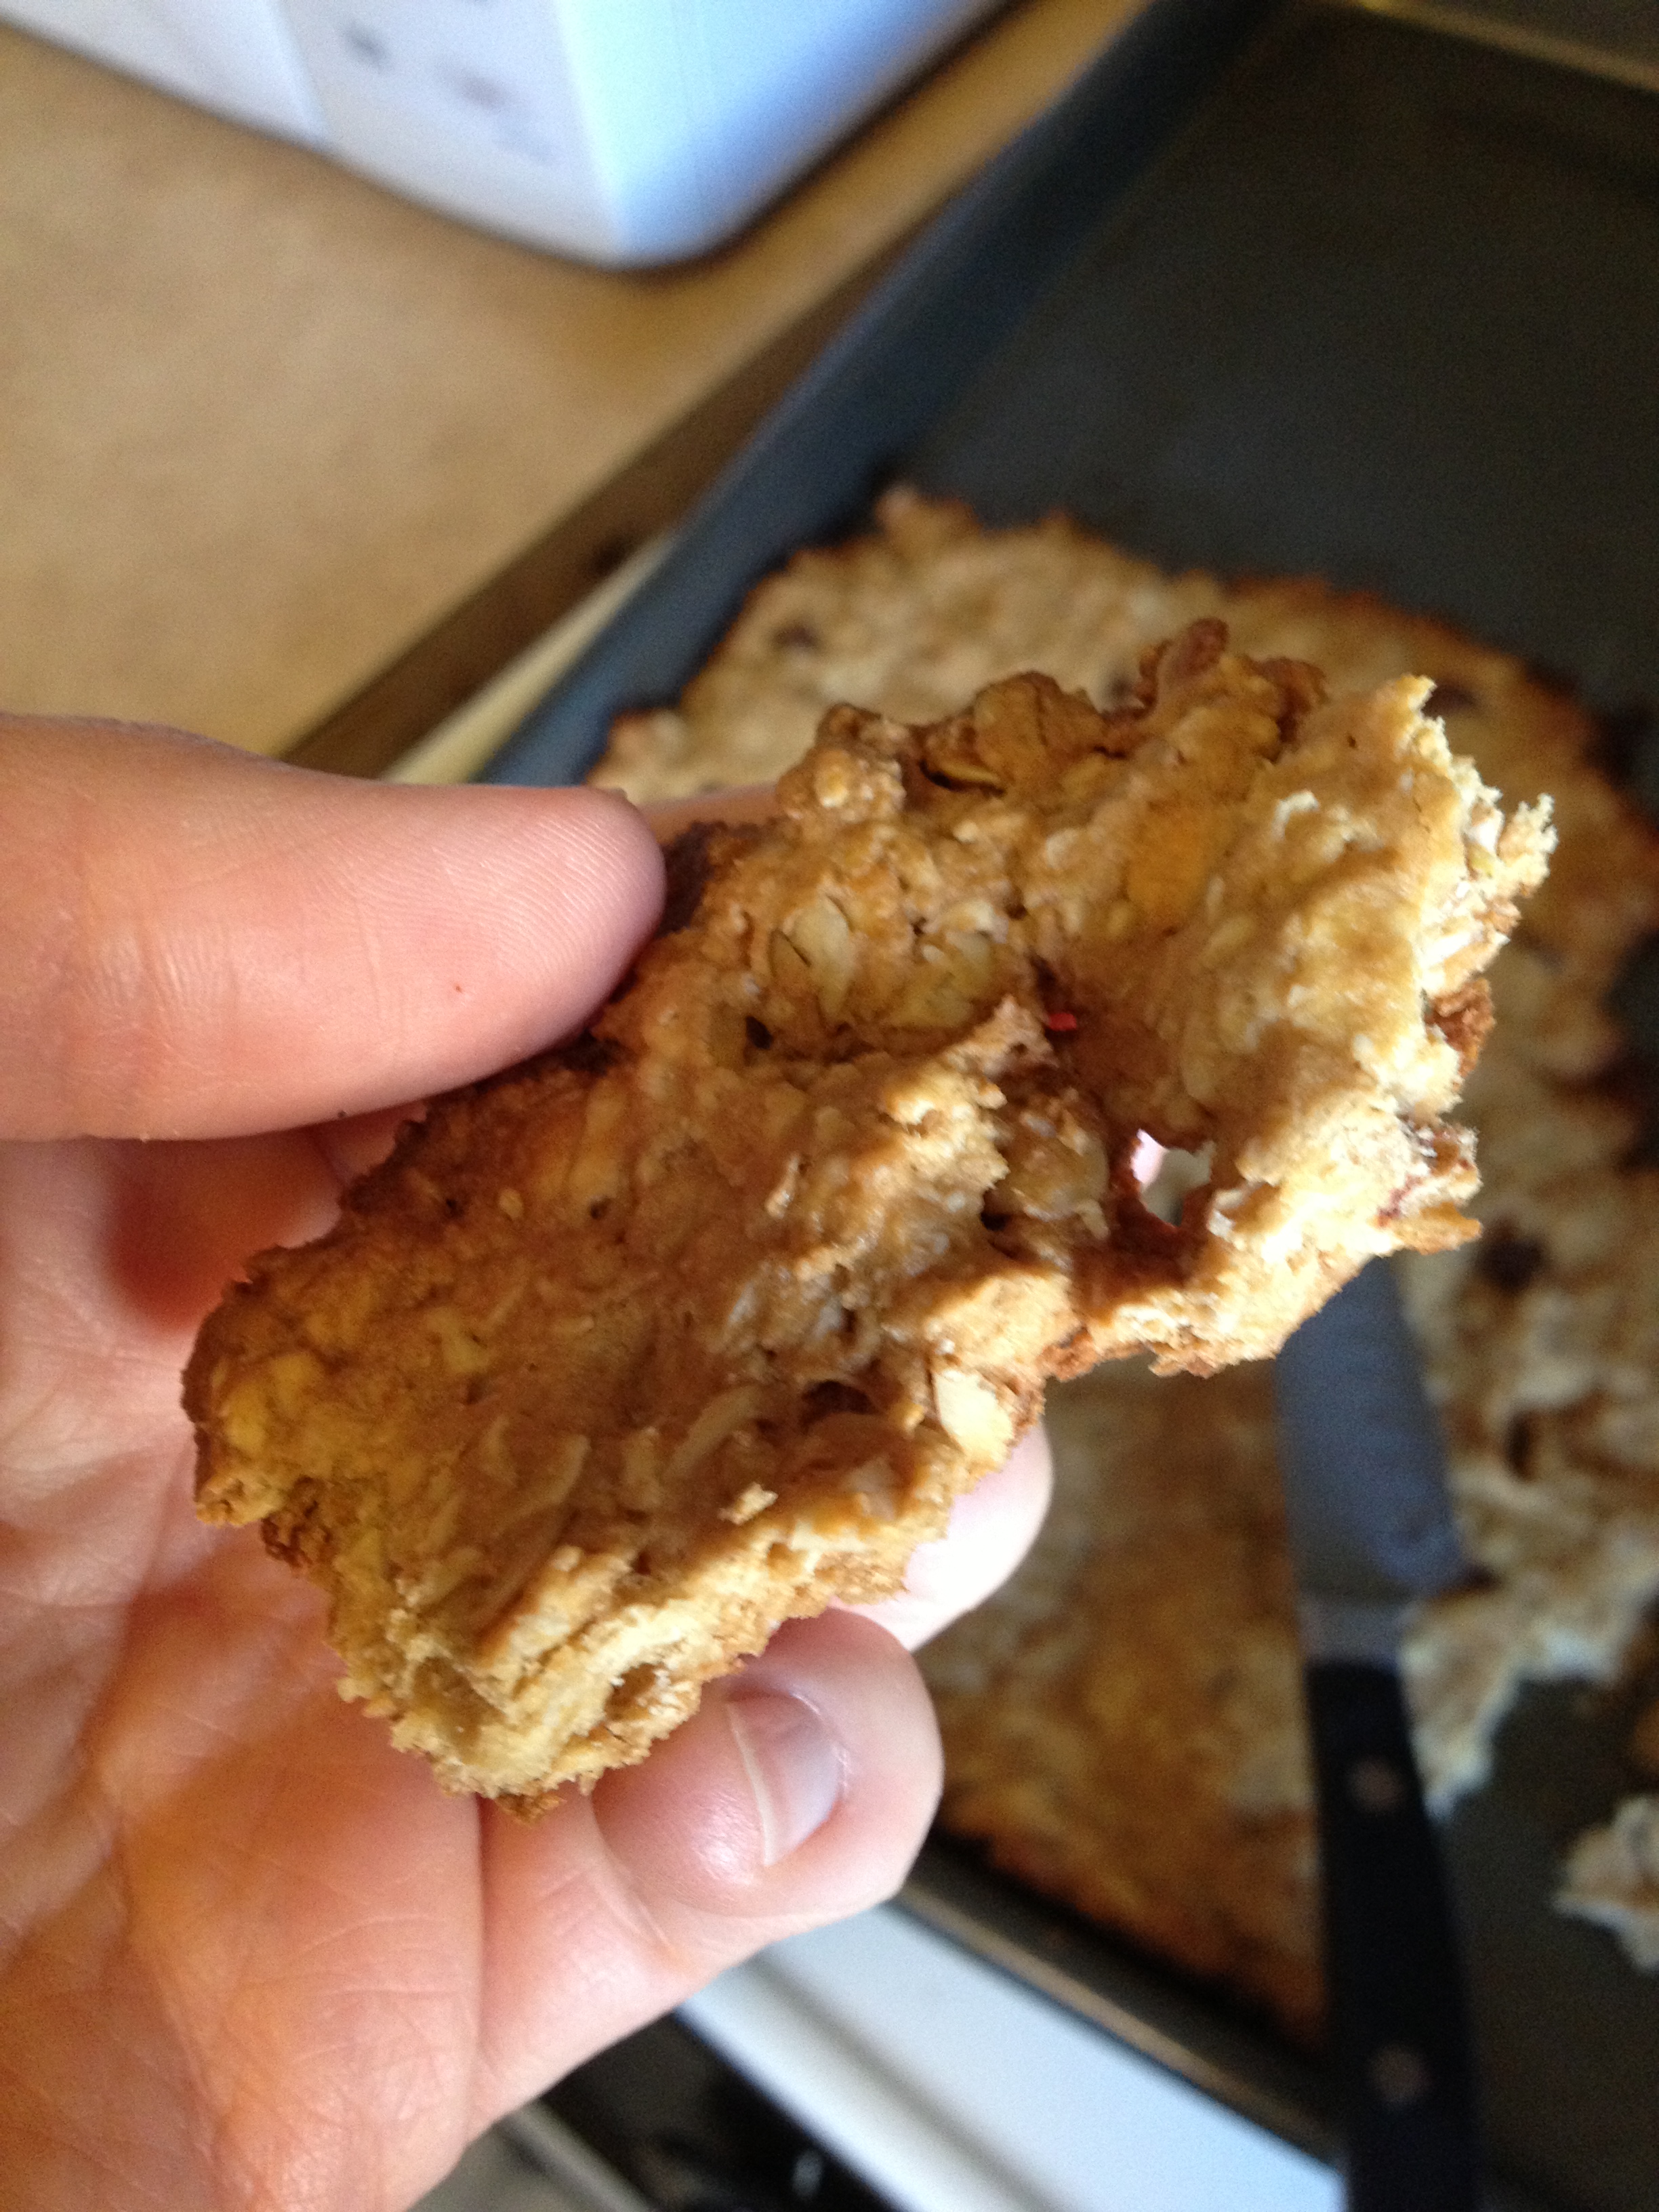
all done

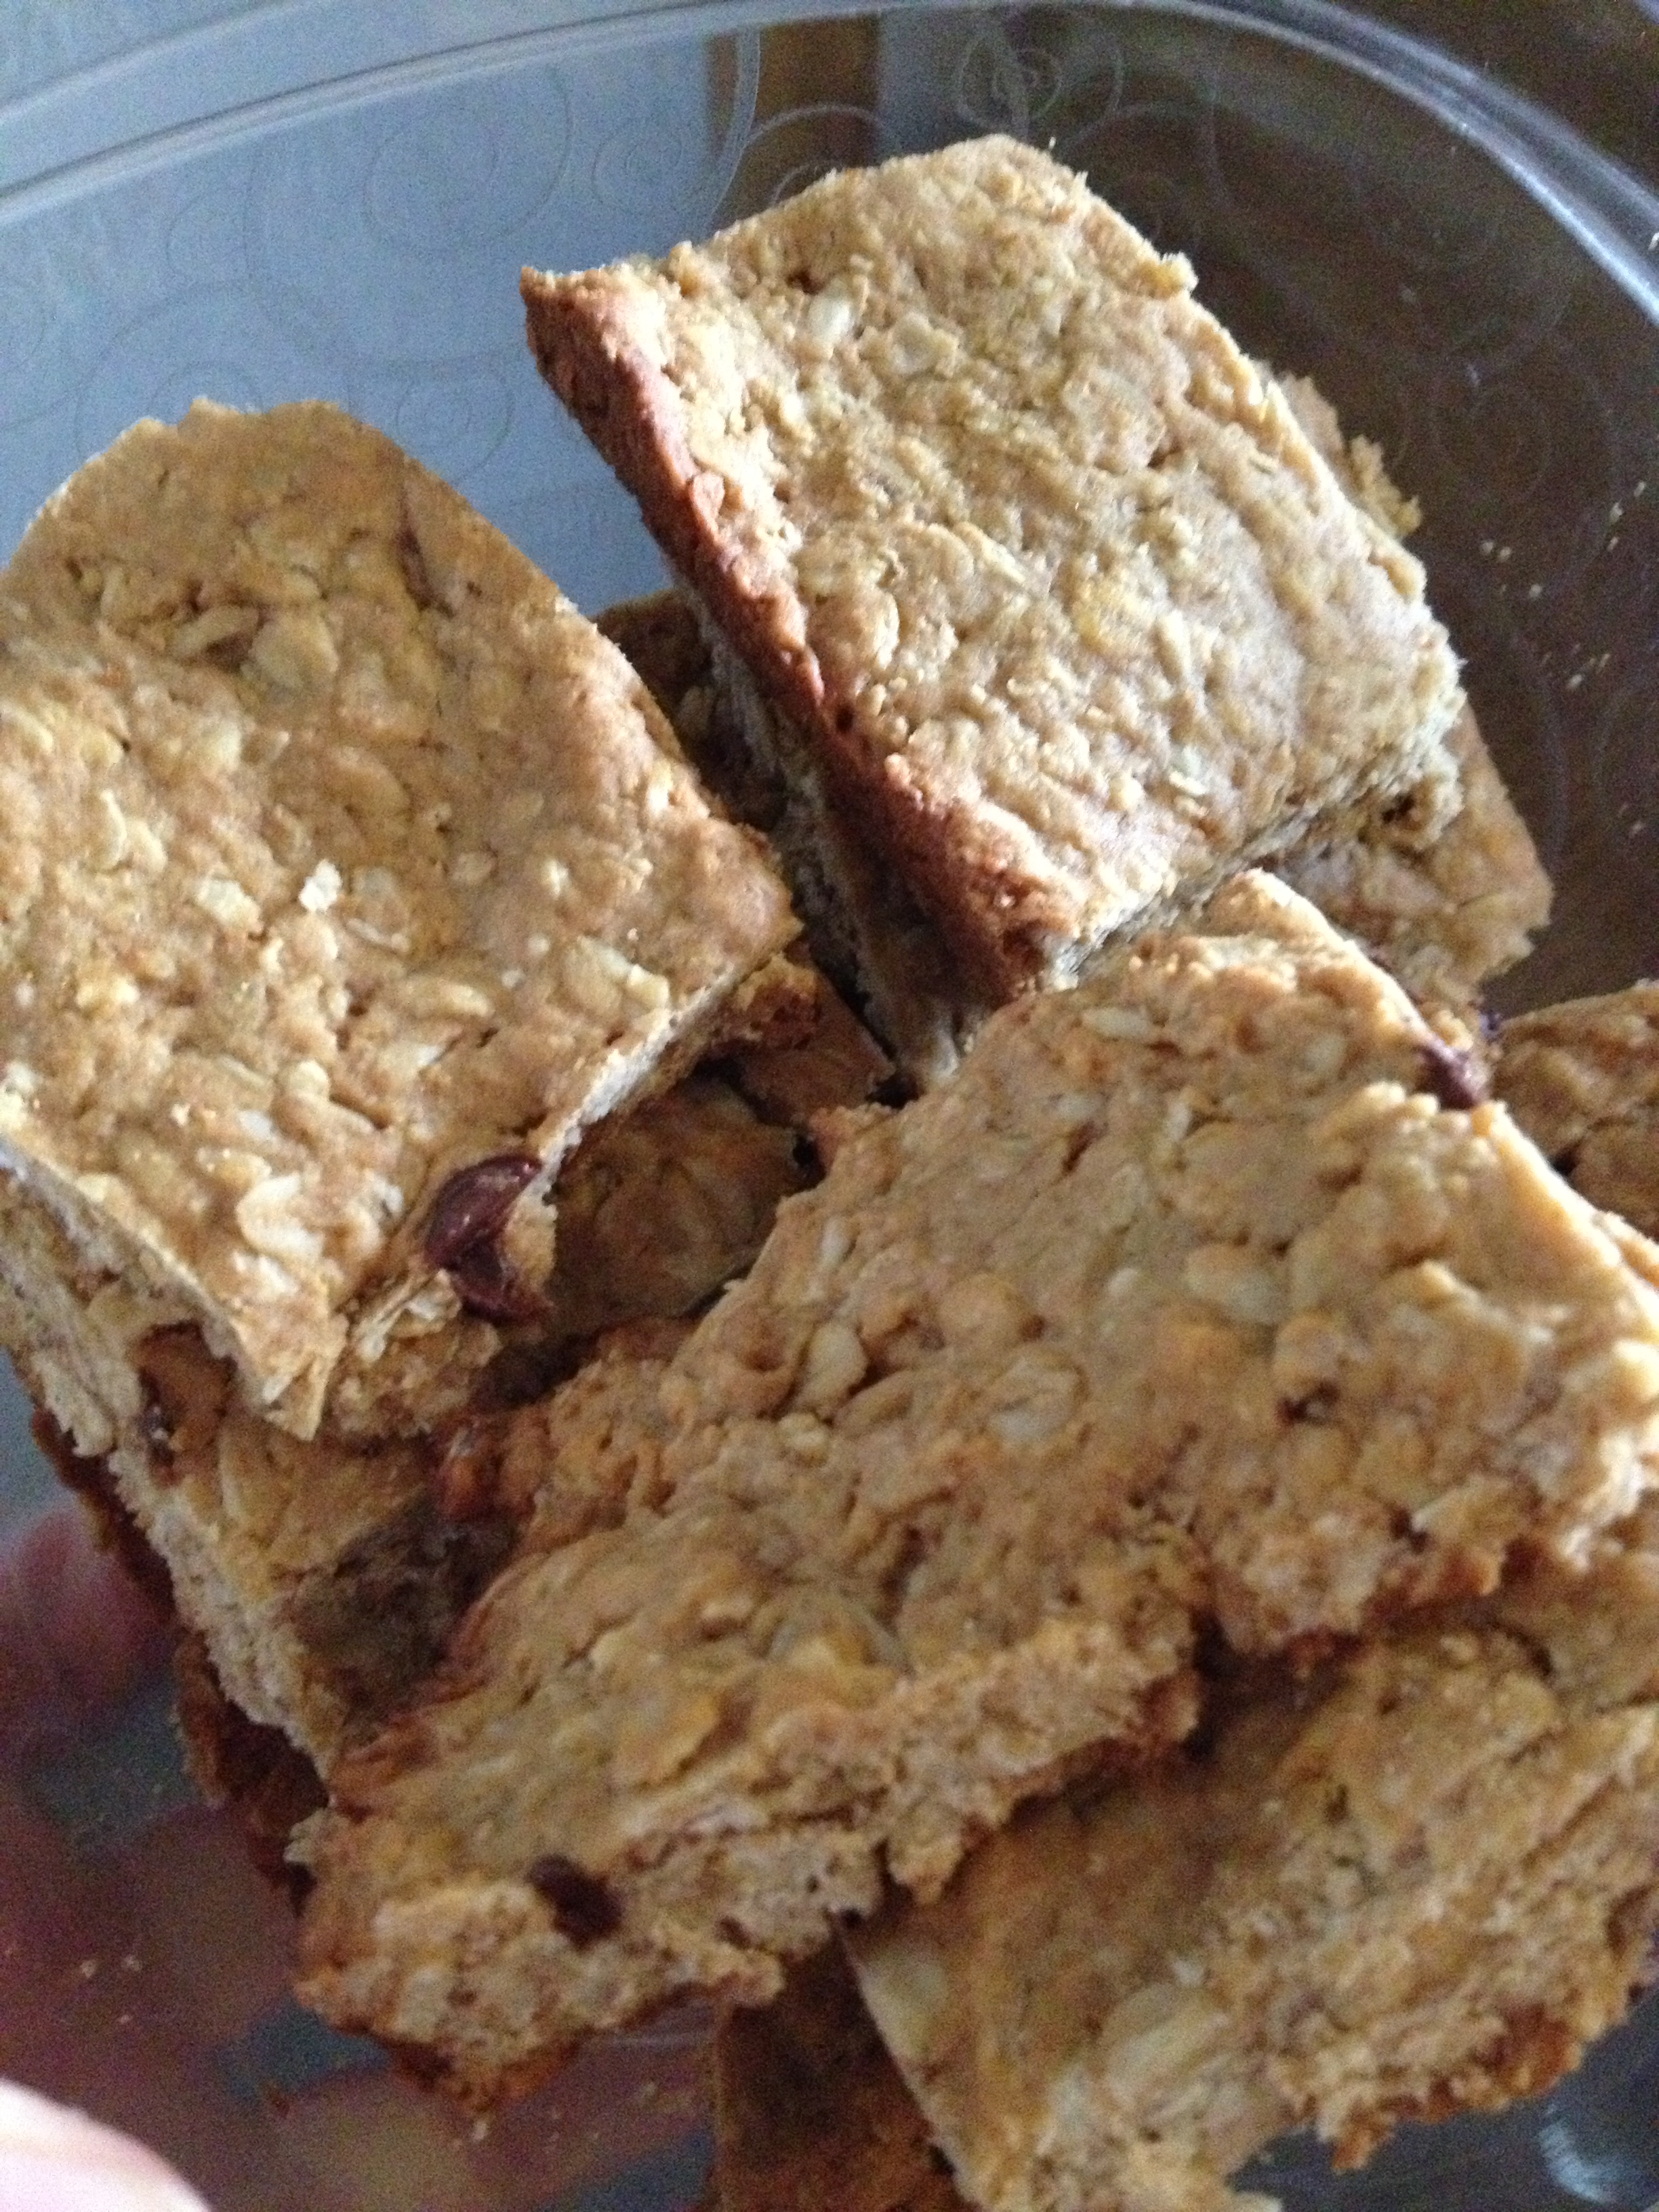
  • Wait until completely cool to cut and serve.

bars

peanut bars

Enjoy! And as always…stay hungry and fit!

spacer

Decadent Chocolate Peanut Clusters

If you’re not an idiot like me, this recipe is so easy. Just wait and watch. The taste to ease ratio is OUT OF THIS WORLD! I originally saw the recipe on the delicious Hip Foodie Mom blogand she got it from another blog, hereAs always, I didn’t follow exactly to the recipe, and it turned out beautifully. This is such an easy recipe, great way to impress/feed the loved ones at home, work, and elsewhere. Listen up!

Ingredients

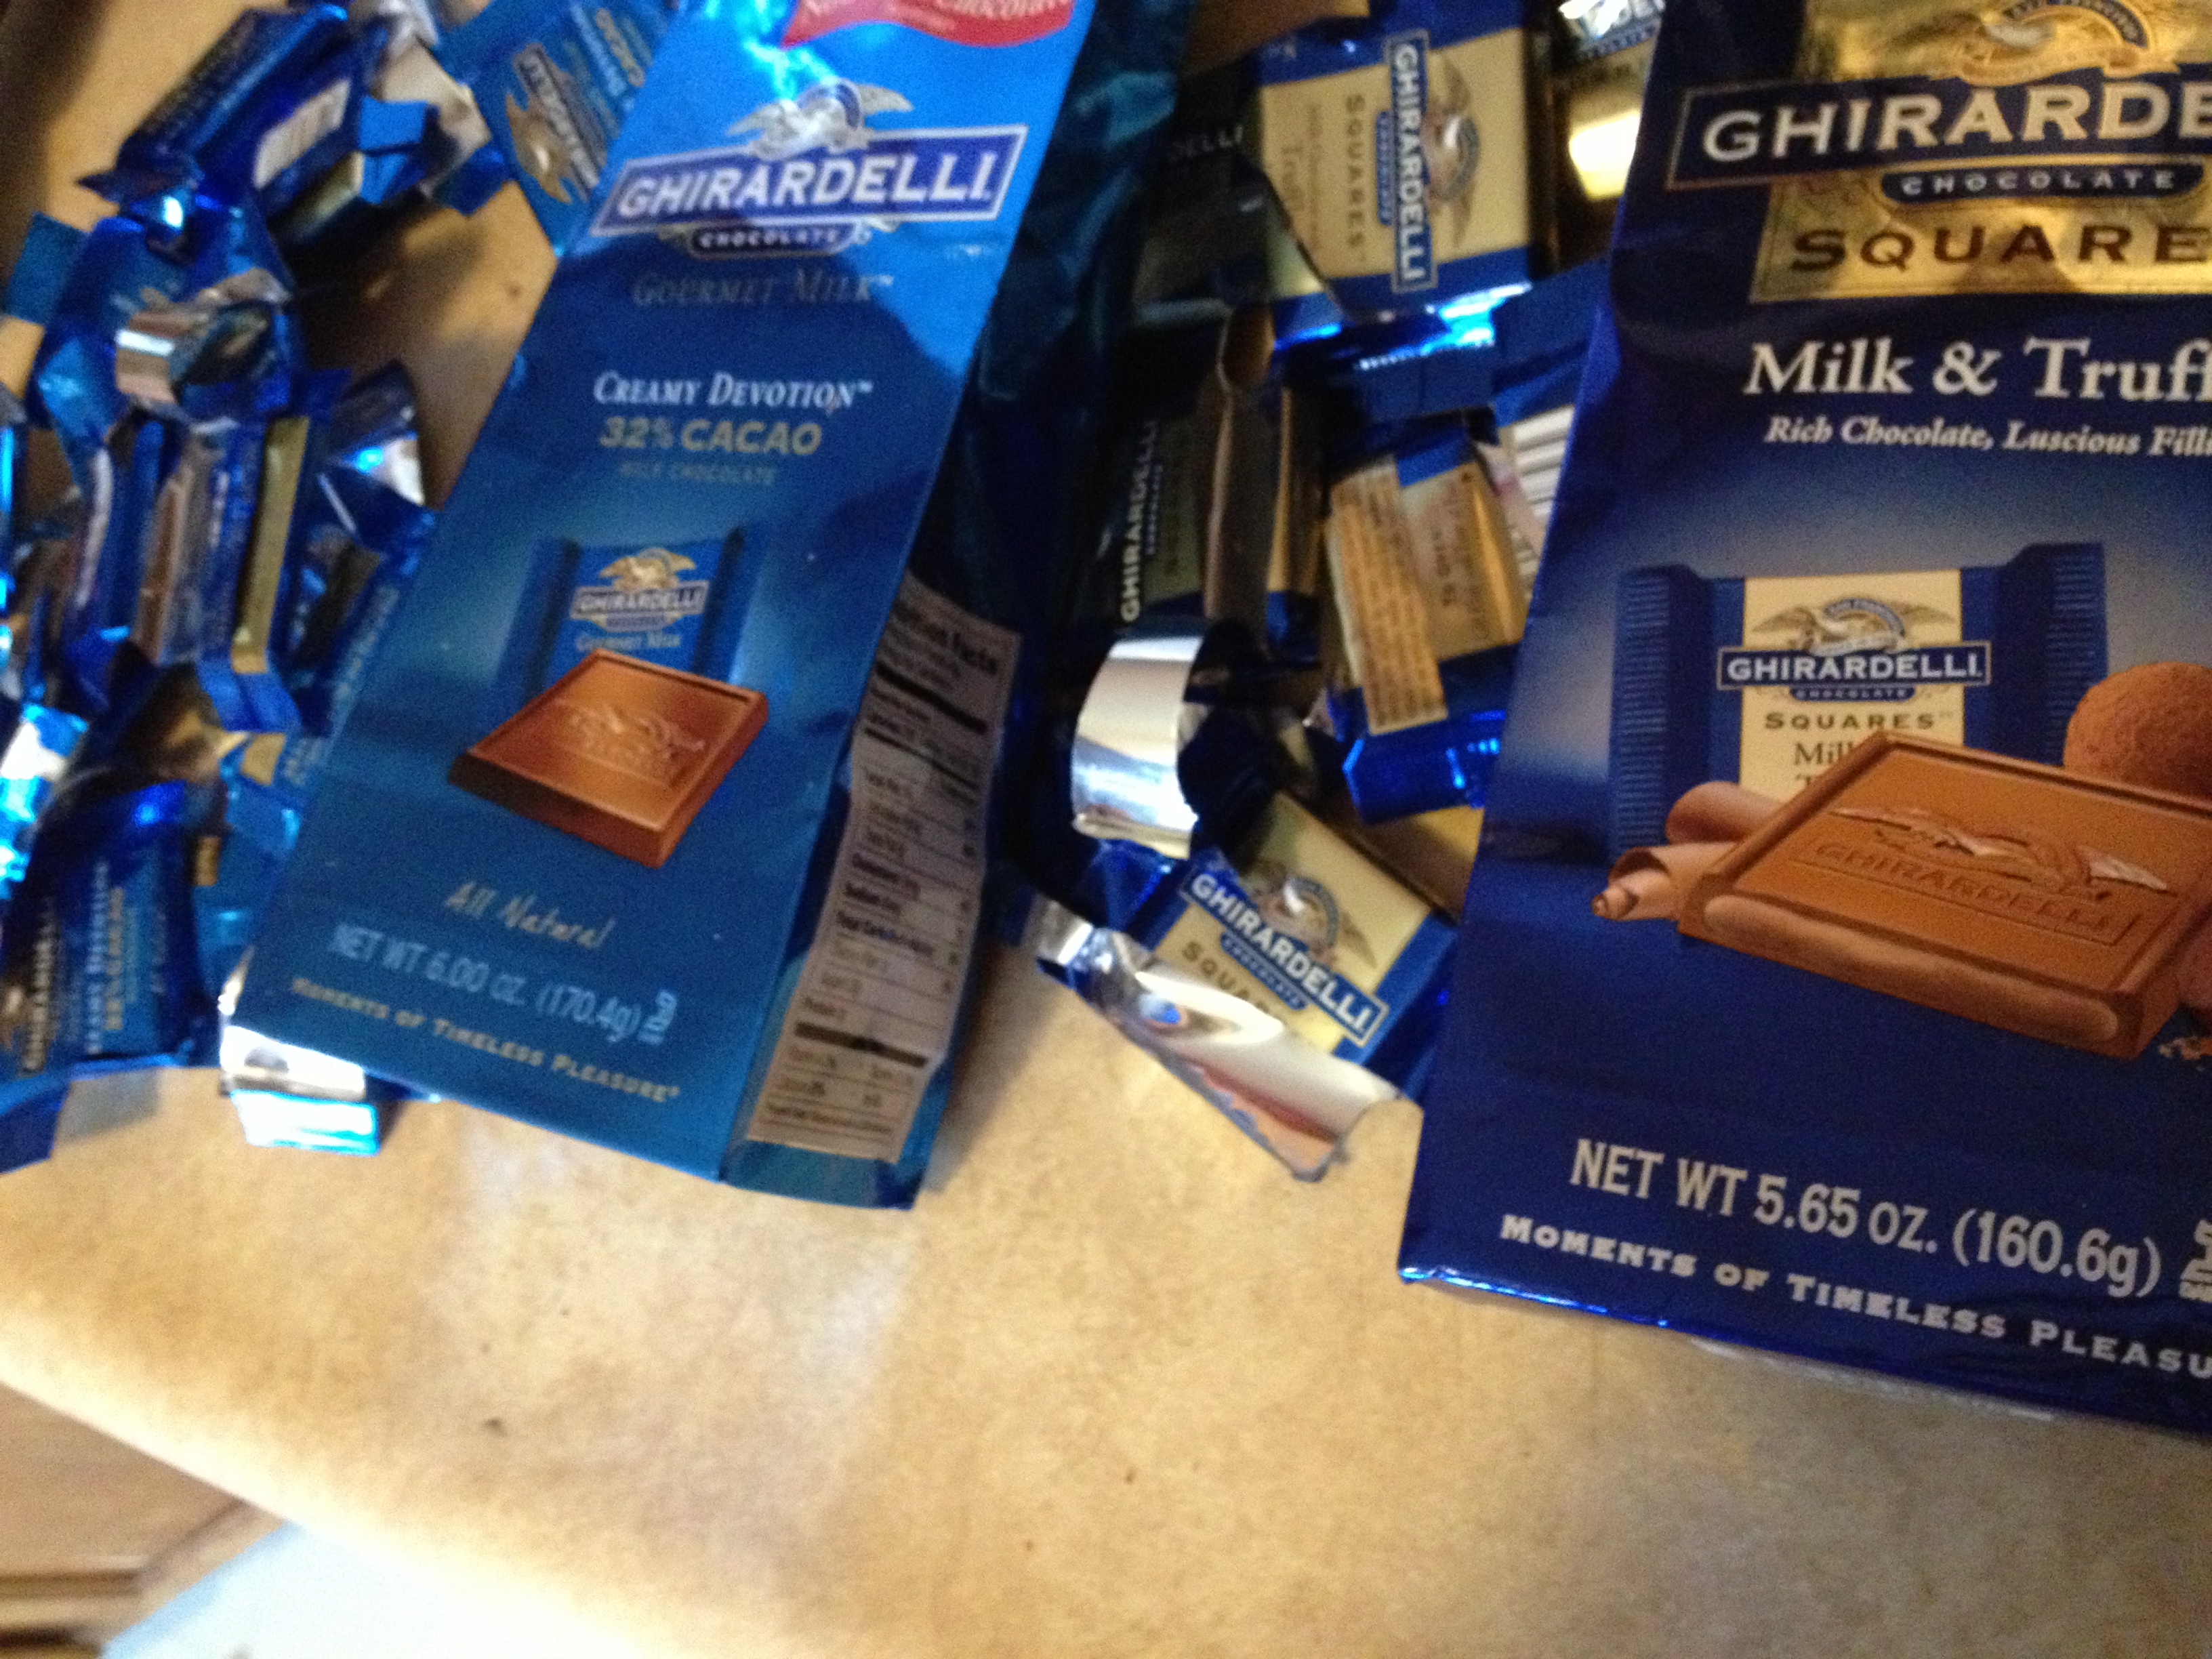
  • a bunch of chocolate [I used about 12 oz], the better quality chocolate, the better quality finished product (I used two different kinds of Ghirardelli Chocolate, milk and truffle)

Nom

  • peanuts
  • microwave/hot water
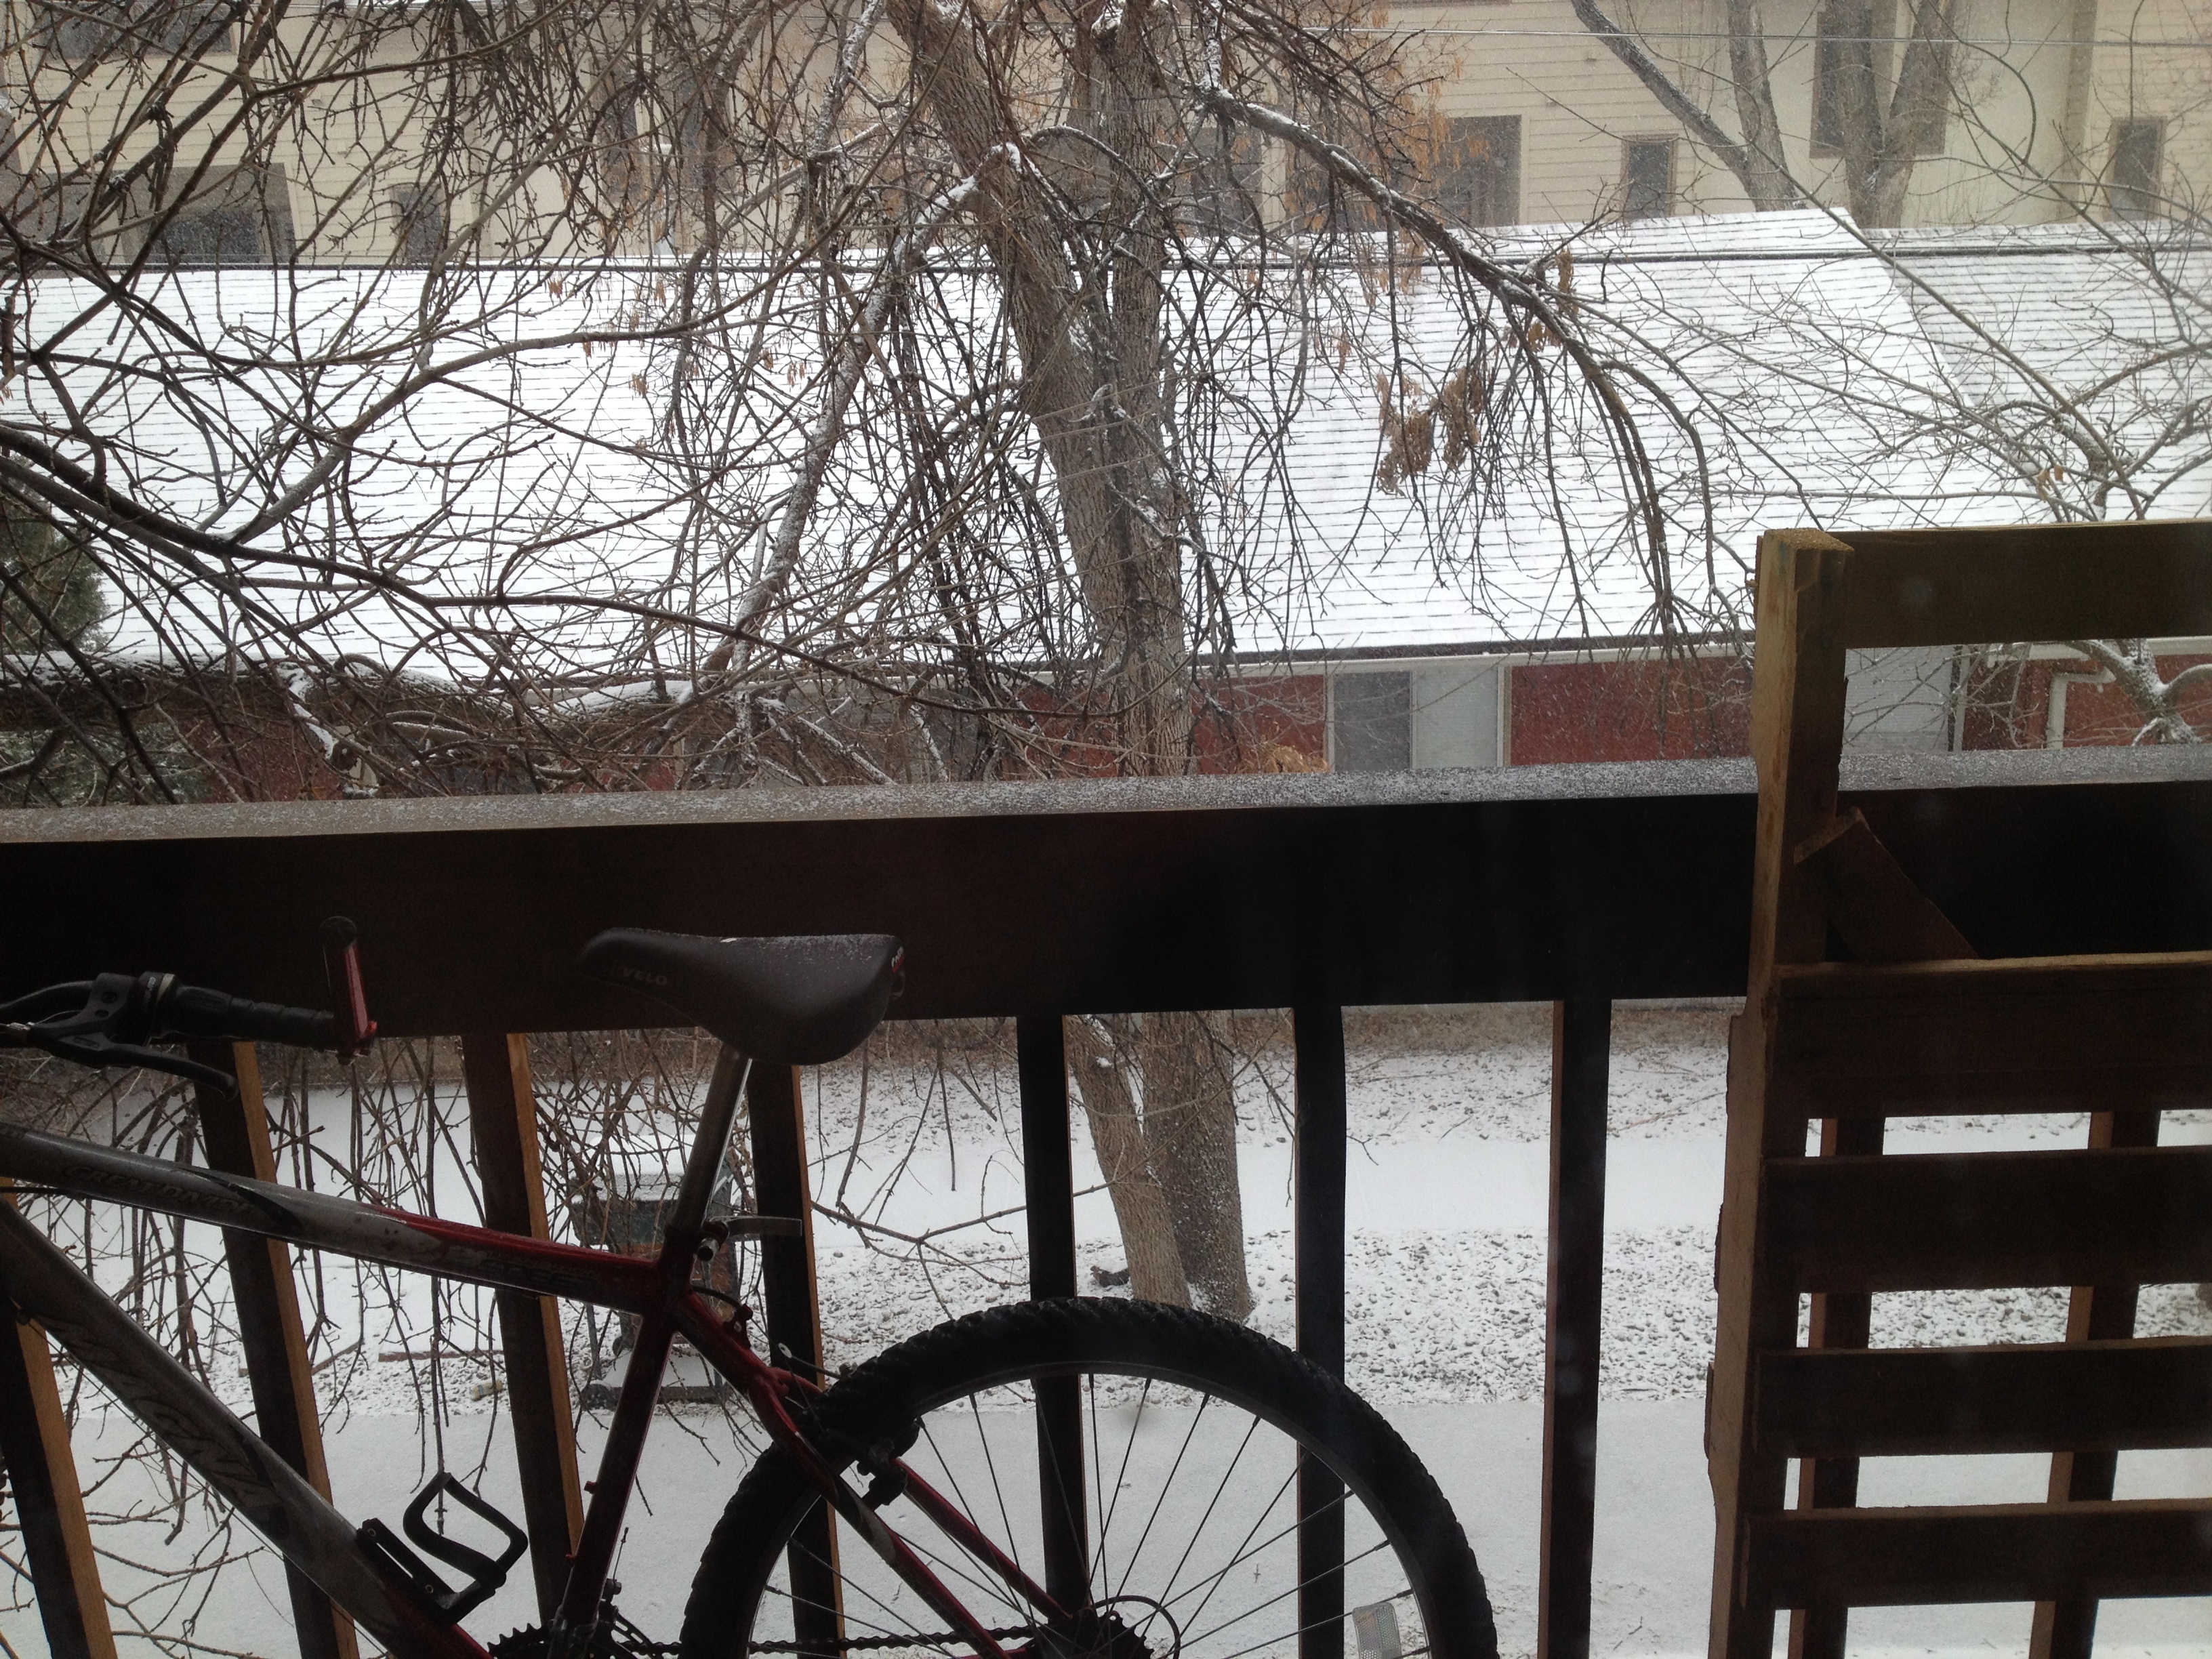
It started snowing pretty heavily as I was making these

It started snowing pretty heavily as I was making these

Directions

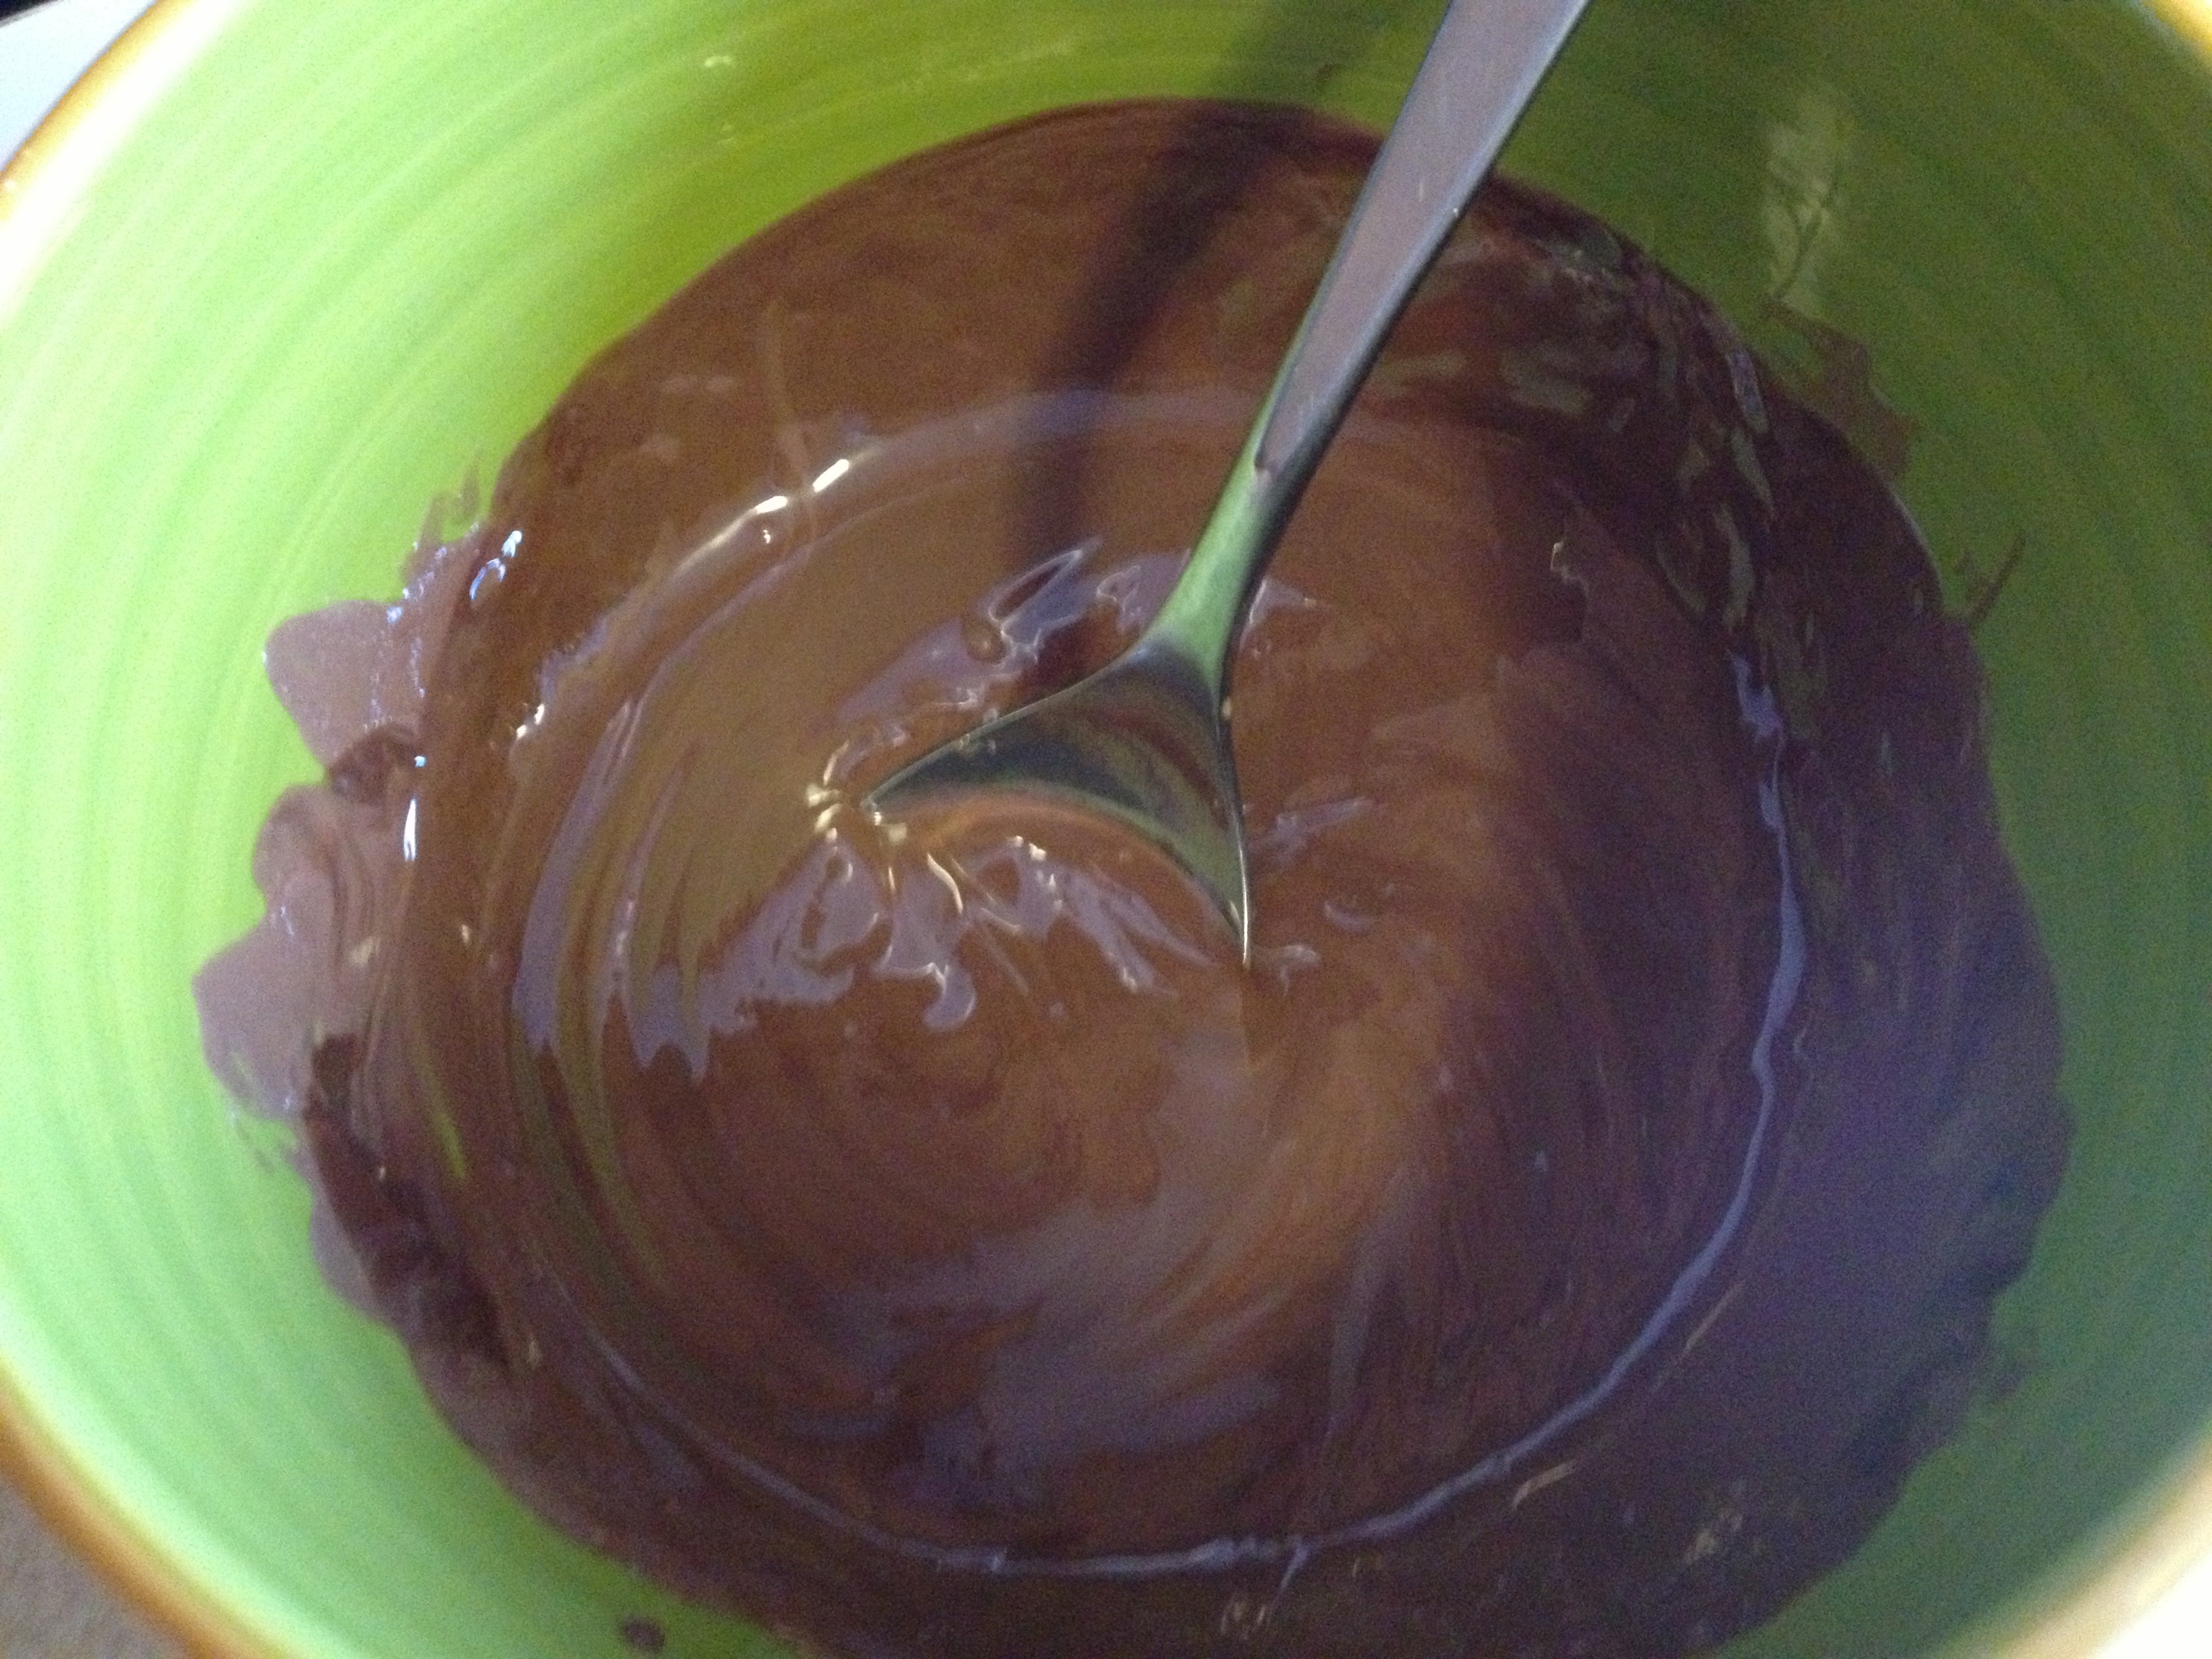
1. Depends on the chocolate, but unwrap them and put them in a medium sized bowl.

2. Put in microwave and take out every 30 seconds to stir. Depends on your microwave and chocolate for the length of time that it takes to actually melt down. Mine took six times, so 3 minutes total. Try not to eat too much of it at this point (whoops)

photo (77)

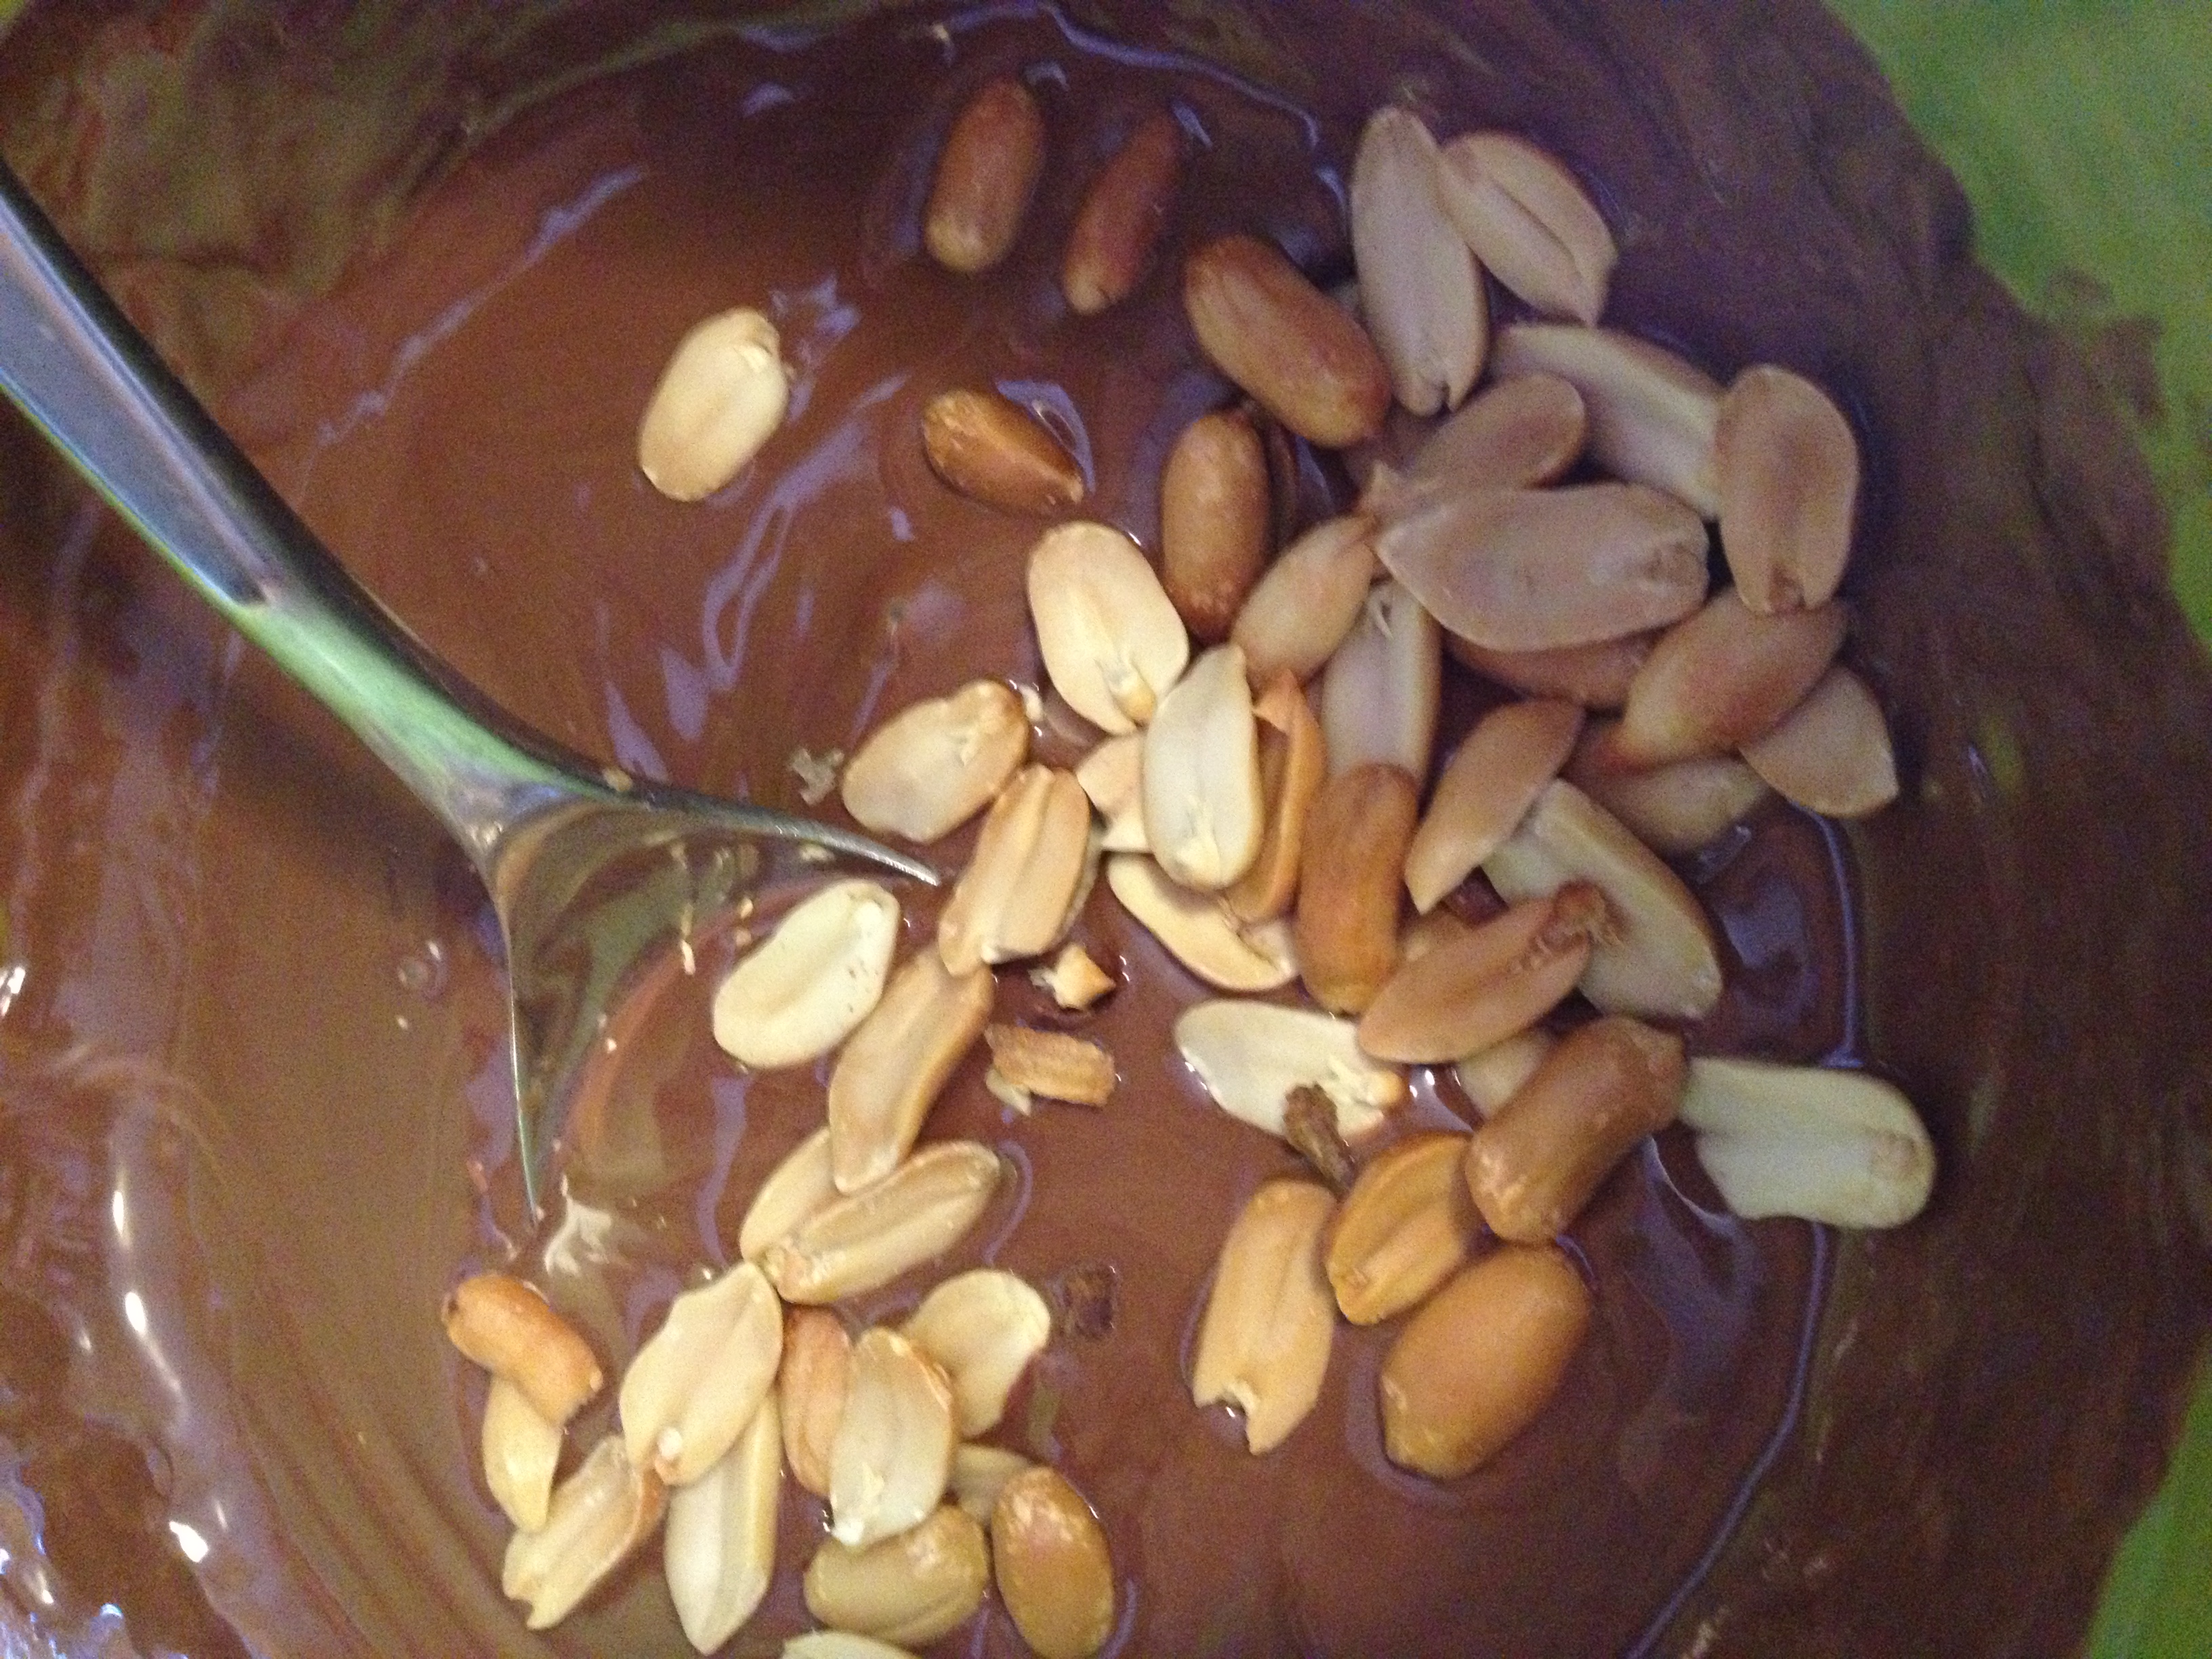
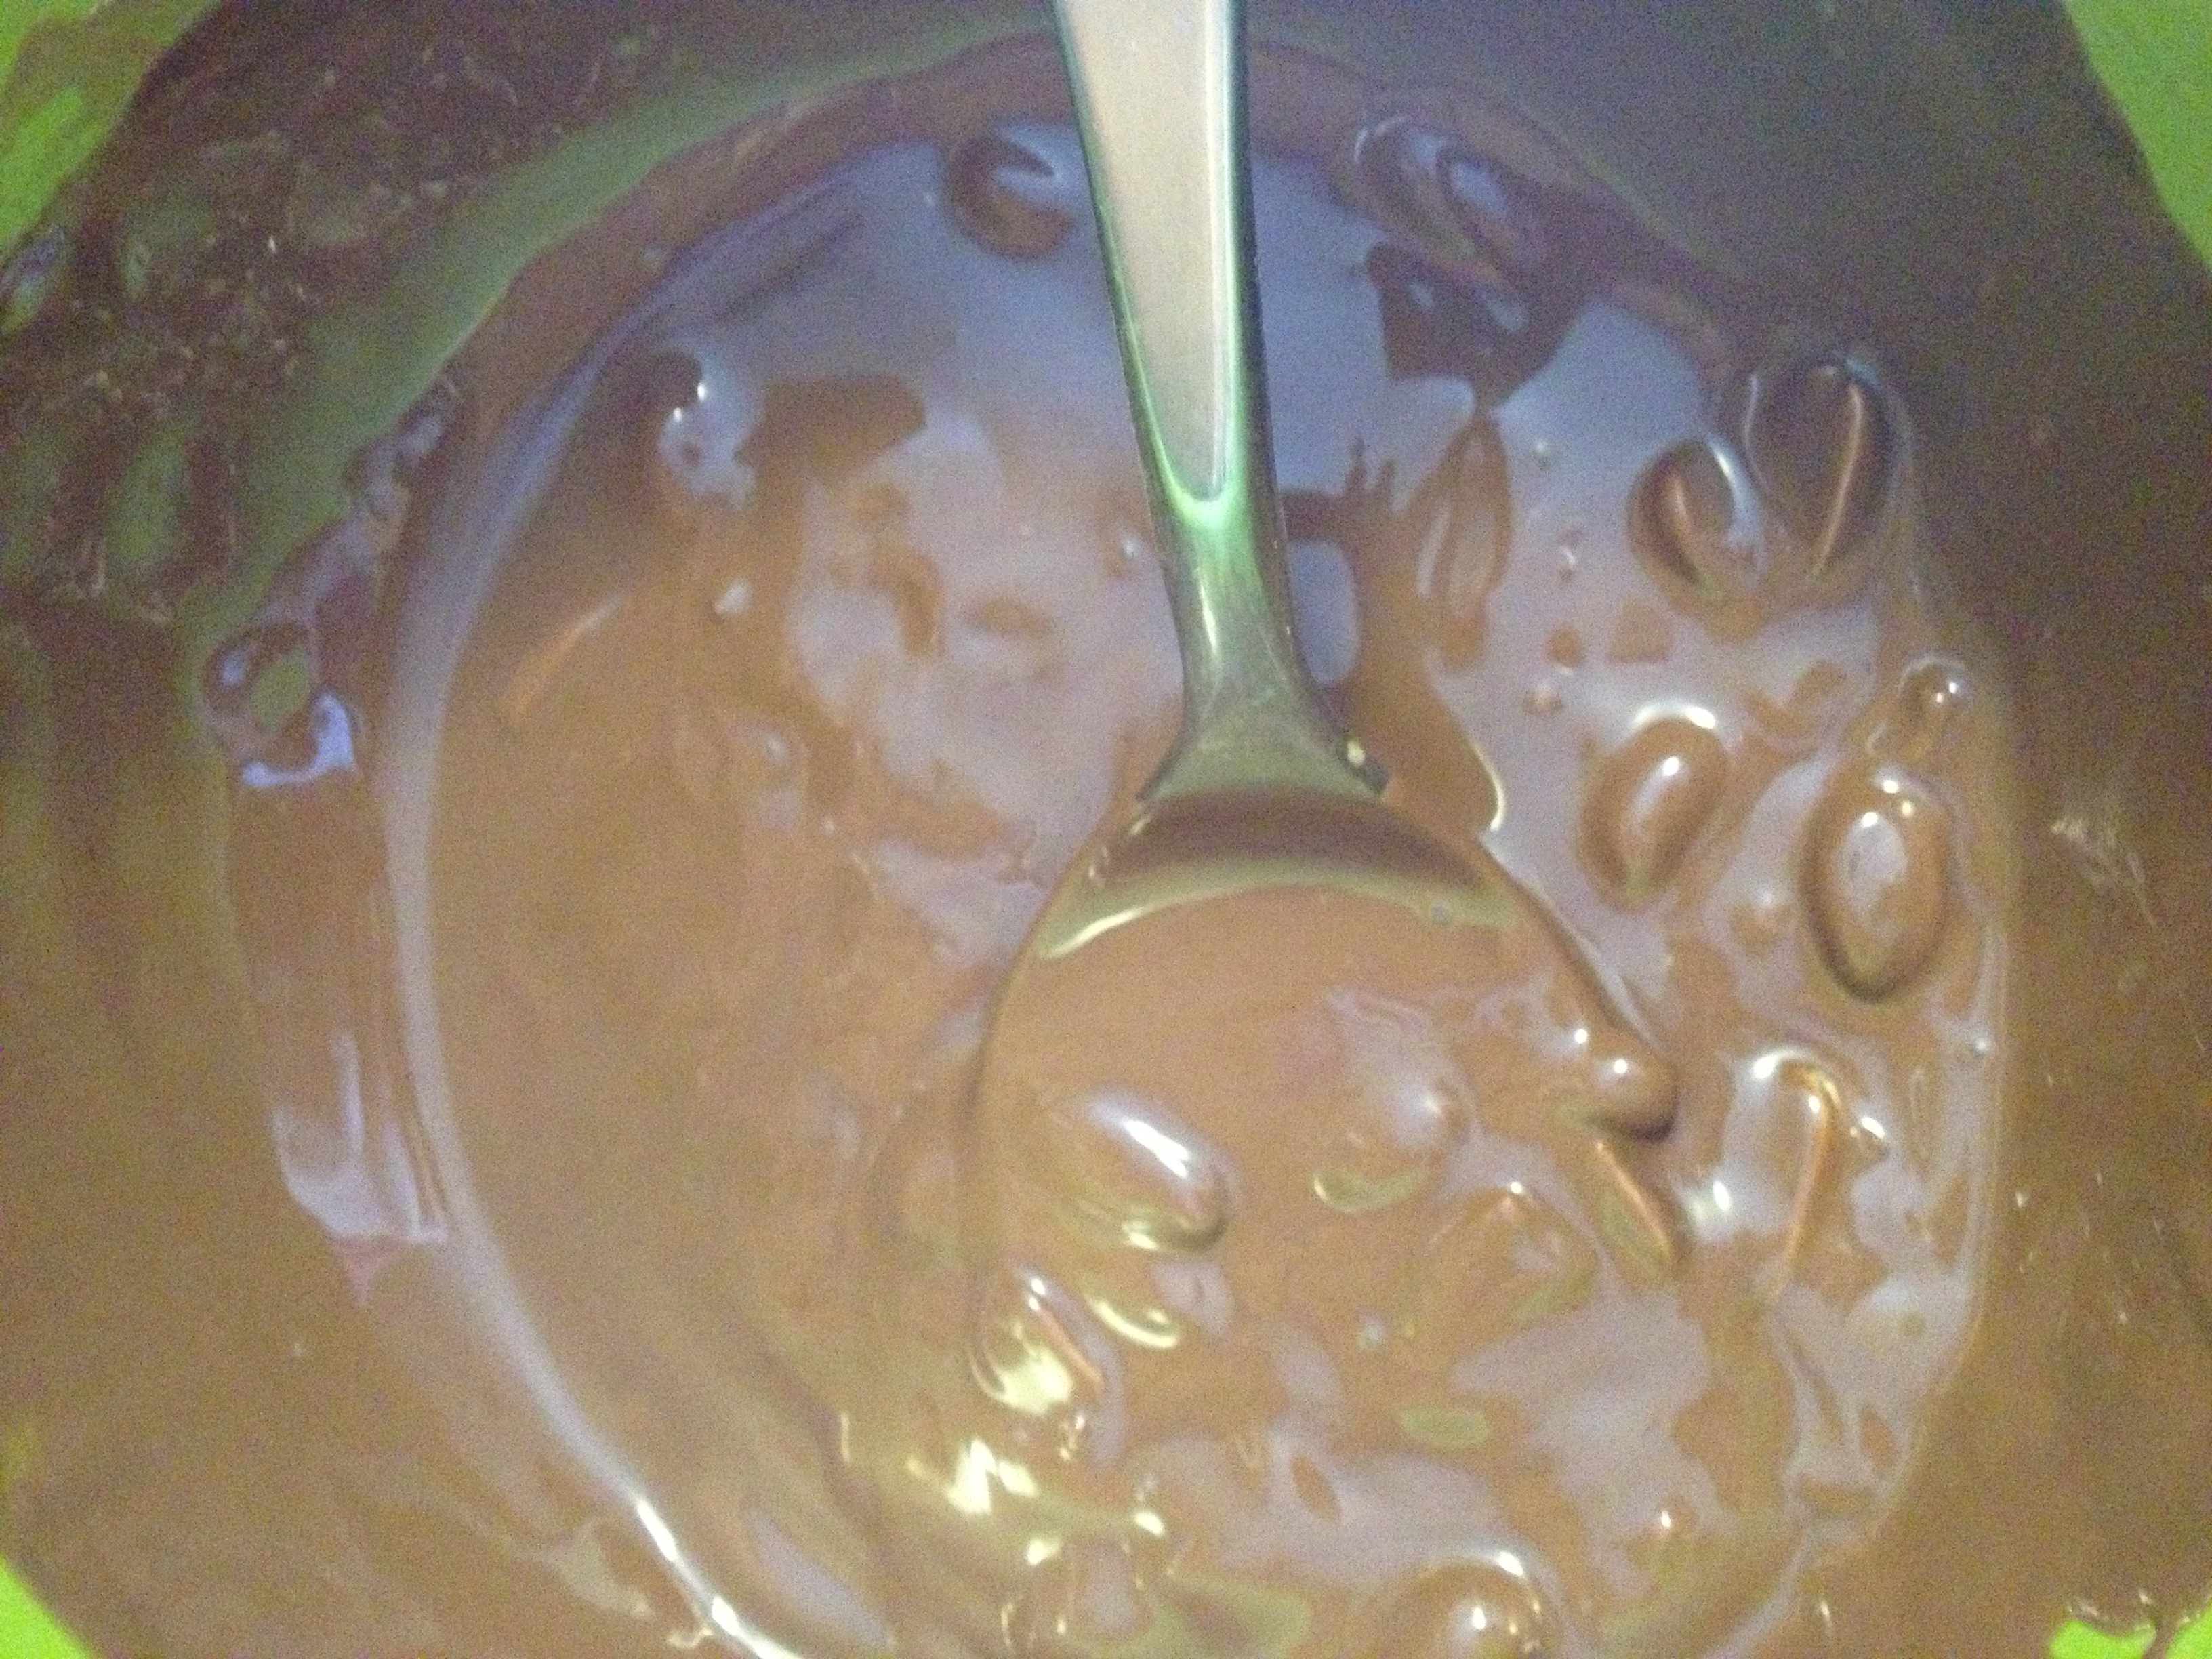
3. Now this is where you don’t want to be an idiot like me. I actually DE-SHELLED about fifty peanuts, making this process take twenty minutes longer. Do the right thing and just get a bag of already de-shelled peanuts. Slowly stir them in, make sure they’re really mixed!

photo (79)

photo (80)

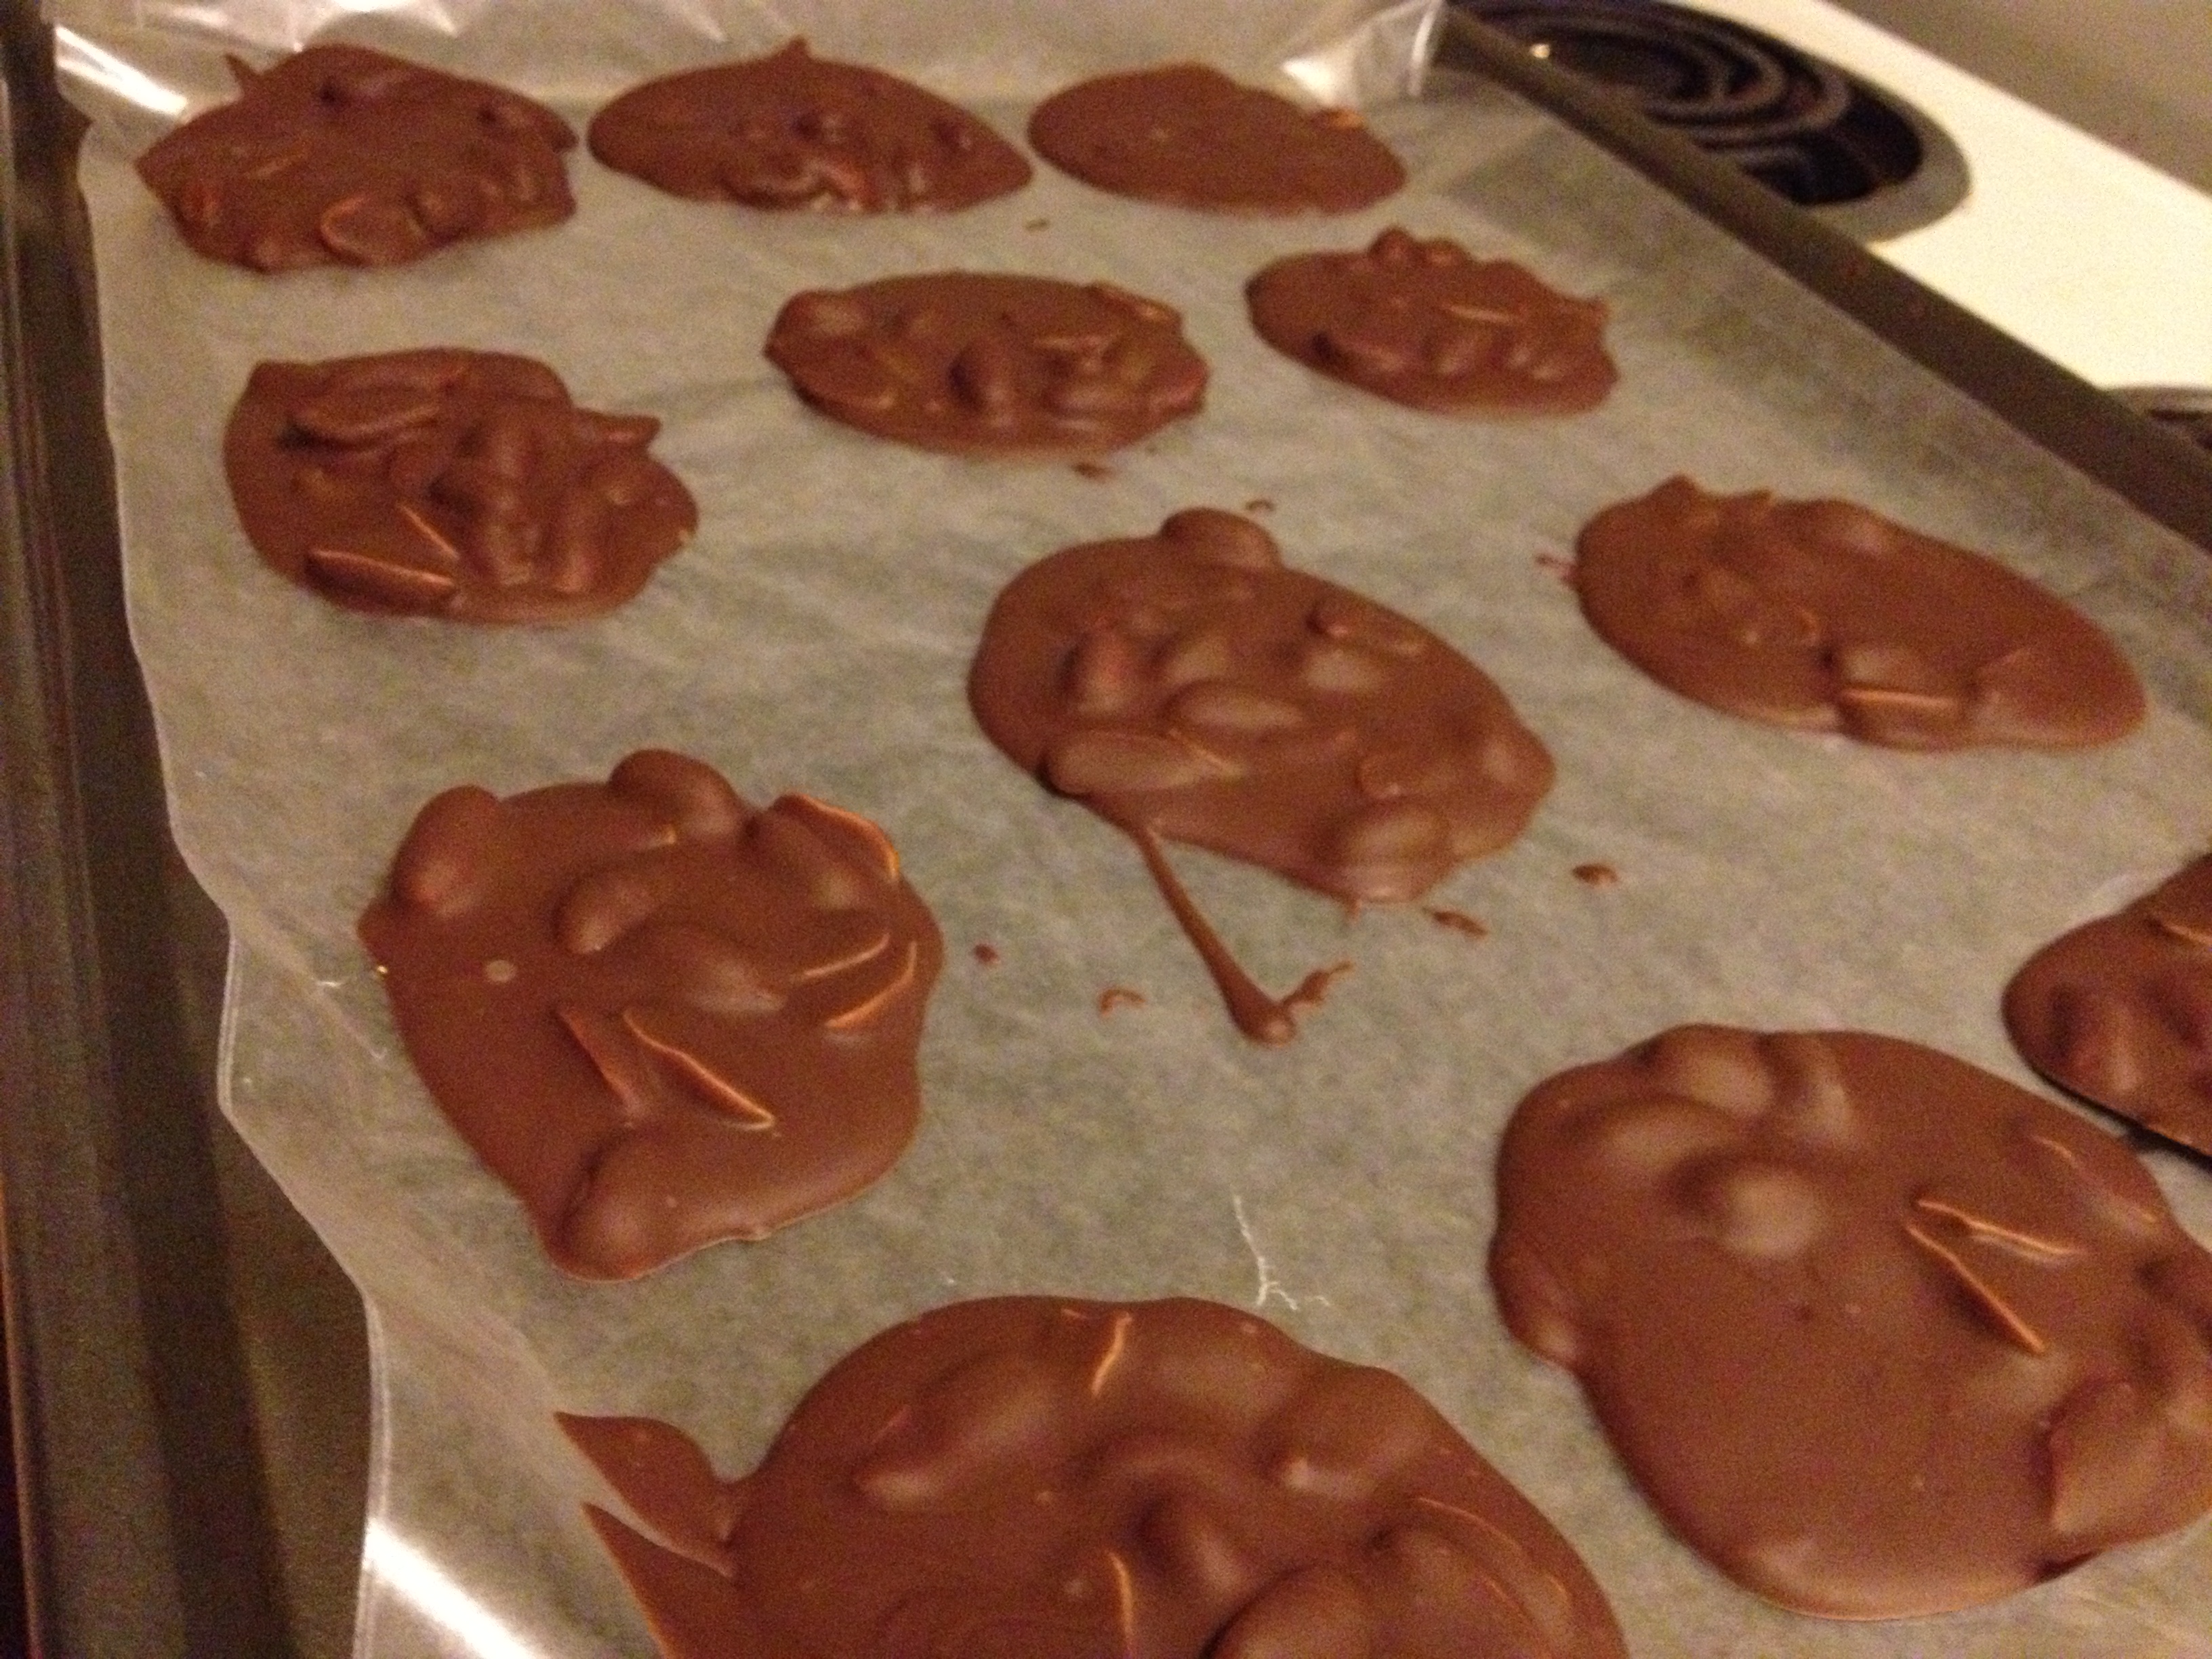
4. Get a baking sheet with wax paper across, and drop spoonfuls a few inches from each other.

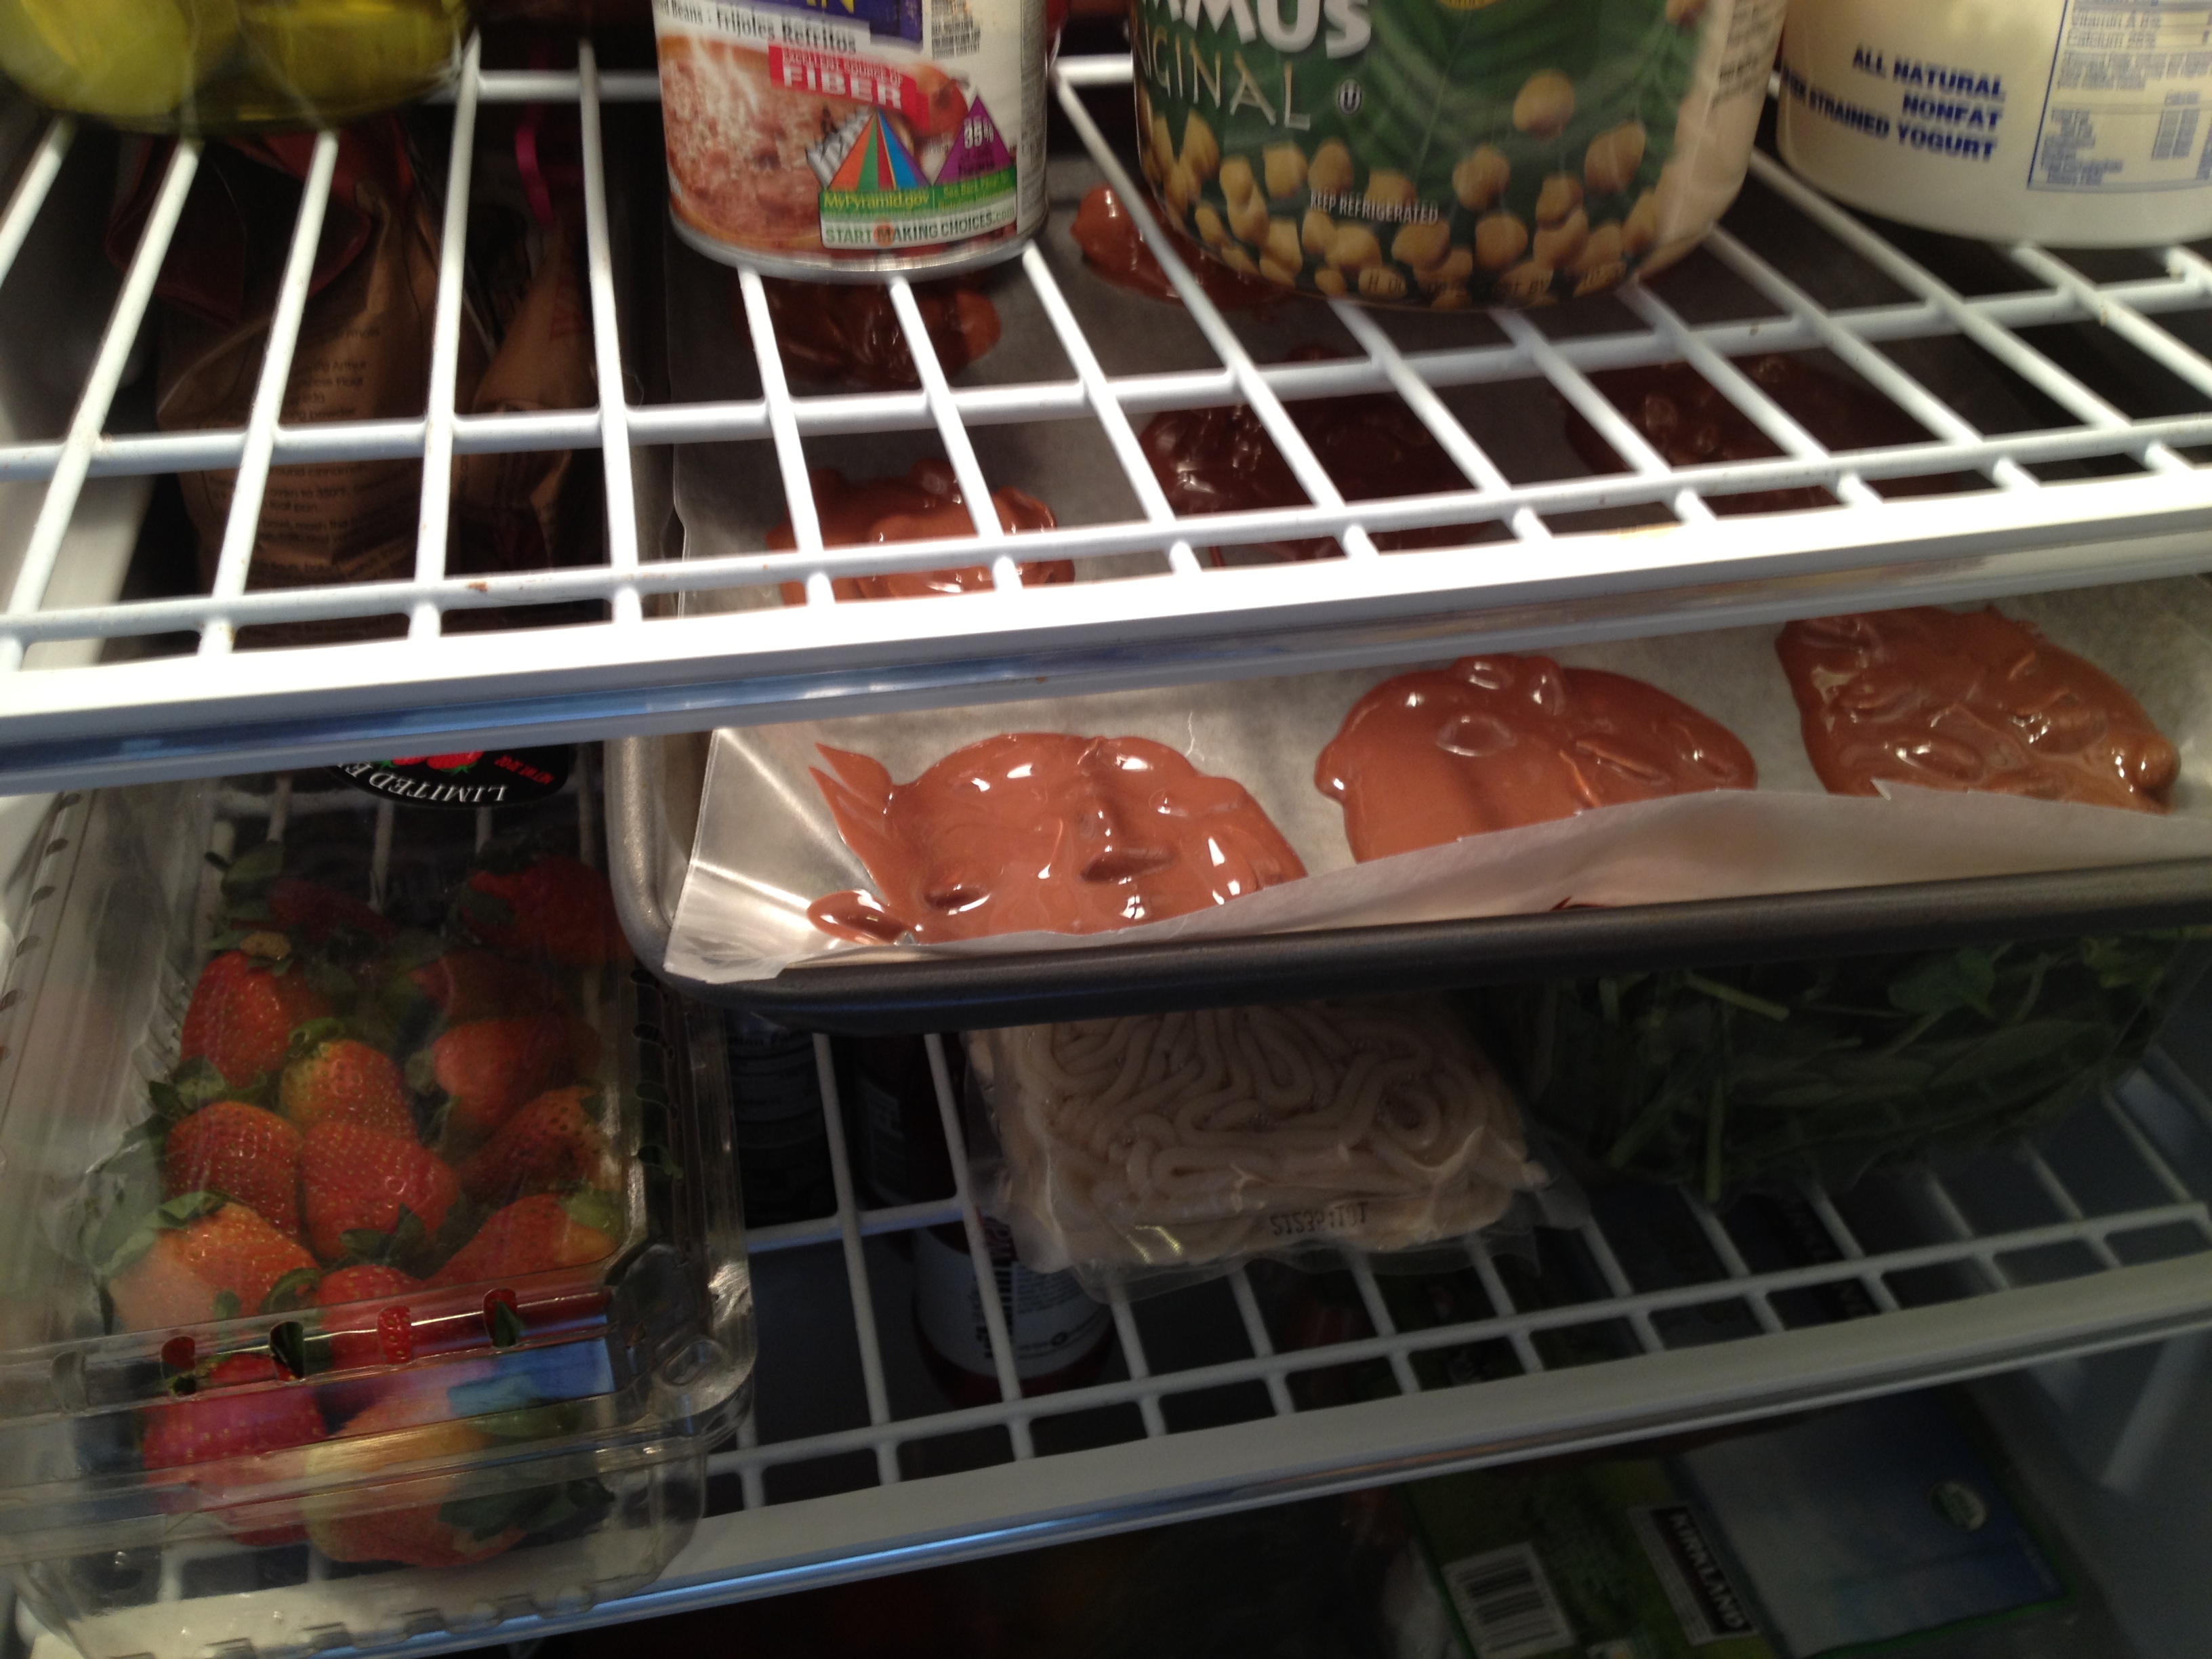
5. Put in fridge for at least 1 hour. I left mine in all day and they turned out beautifully.

Our fridge!

Our fridge!

6. Take out and serve! When I put them away, I put them back in the fridge so they wouldn’t melt.

photo (82)Now you see how easy this recipe truly is, as long as you don’t personally de-shell all the peanuts . Let us know if you have any comments or questions. As always, stay hungry and fit. Cheers!

SLEEPY KITTENS

SLEEPY KITTENS

BONUS KITTY PIC 
spacer

Healthy Whole-Wheat Honey Banana Muffins

If you couldn’t tell by the title, this recipe is very healthy. There is no sugar and no refined flour. AND THEY TASTE GOOD. I wouldn’t lie. This is my first time baking muffins from scratch, so I’m very pleased. I found the recipe here, altered it slightly and cut in half because I only have a 12-count muffin pan. And this was all the while watching Fawlty Towers!

IMG_2959

  • Prep Time: 15 minutes
  • Cooking Time: 17 minutes
  • Yields: 12 beautiful muffins 

Ingredients

  • 1 3/4 cups whole wheat flour
  • 1 tsp baking soda
  • 1/2 teaspoon salt
  • 1/3 cup olive oil
  • 1/2 cup honey
  • 2 eggs
  • 2 bananas mashed
  • 1/4 cup hot water

Directions

  • Pre-heat oven to 325 degrees and grease the muffin pan 
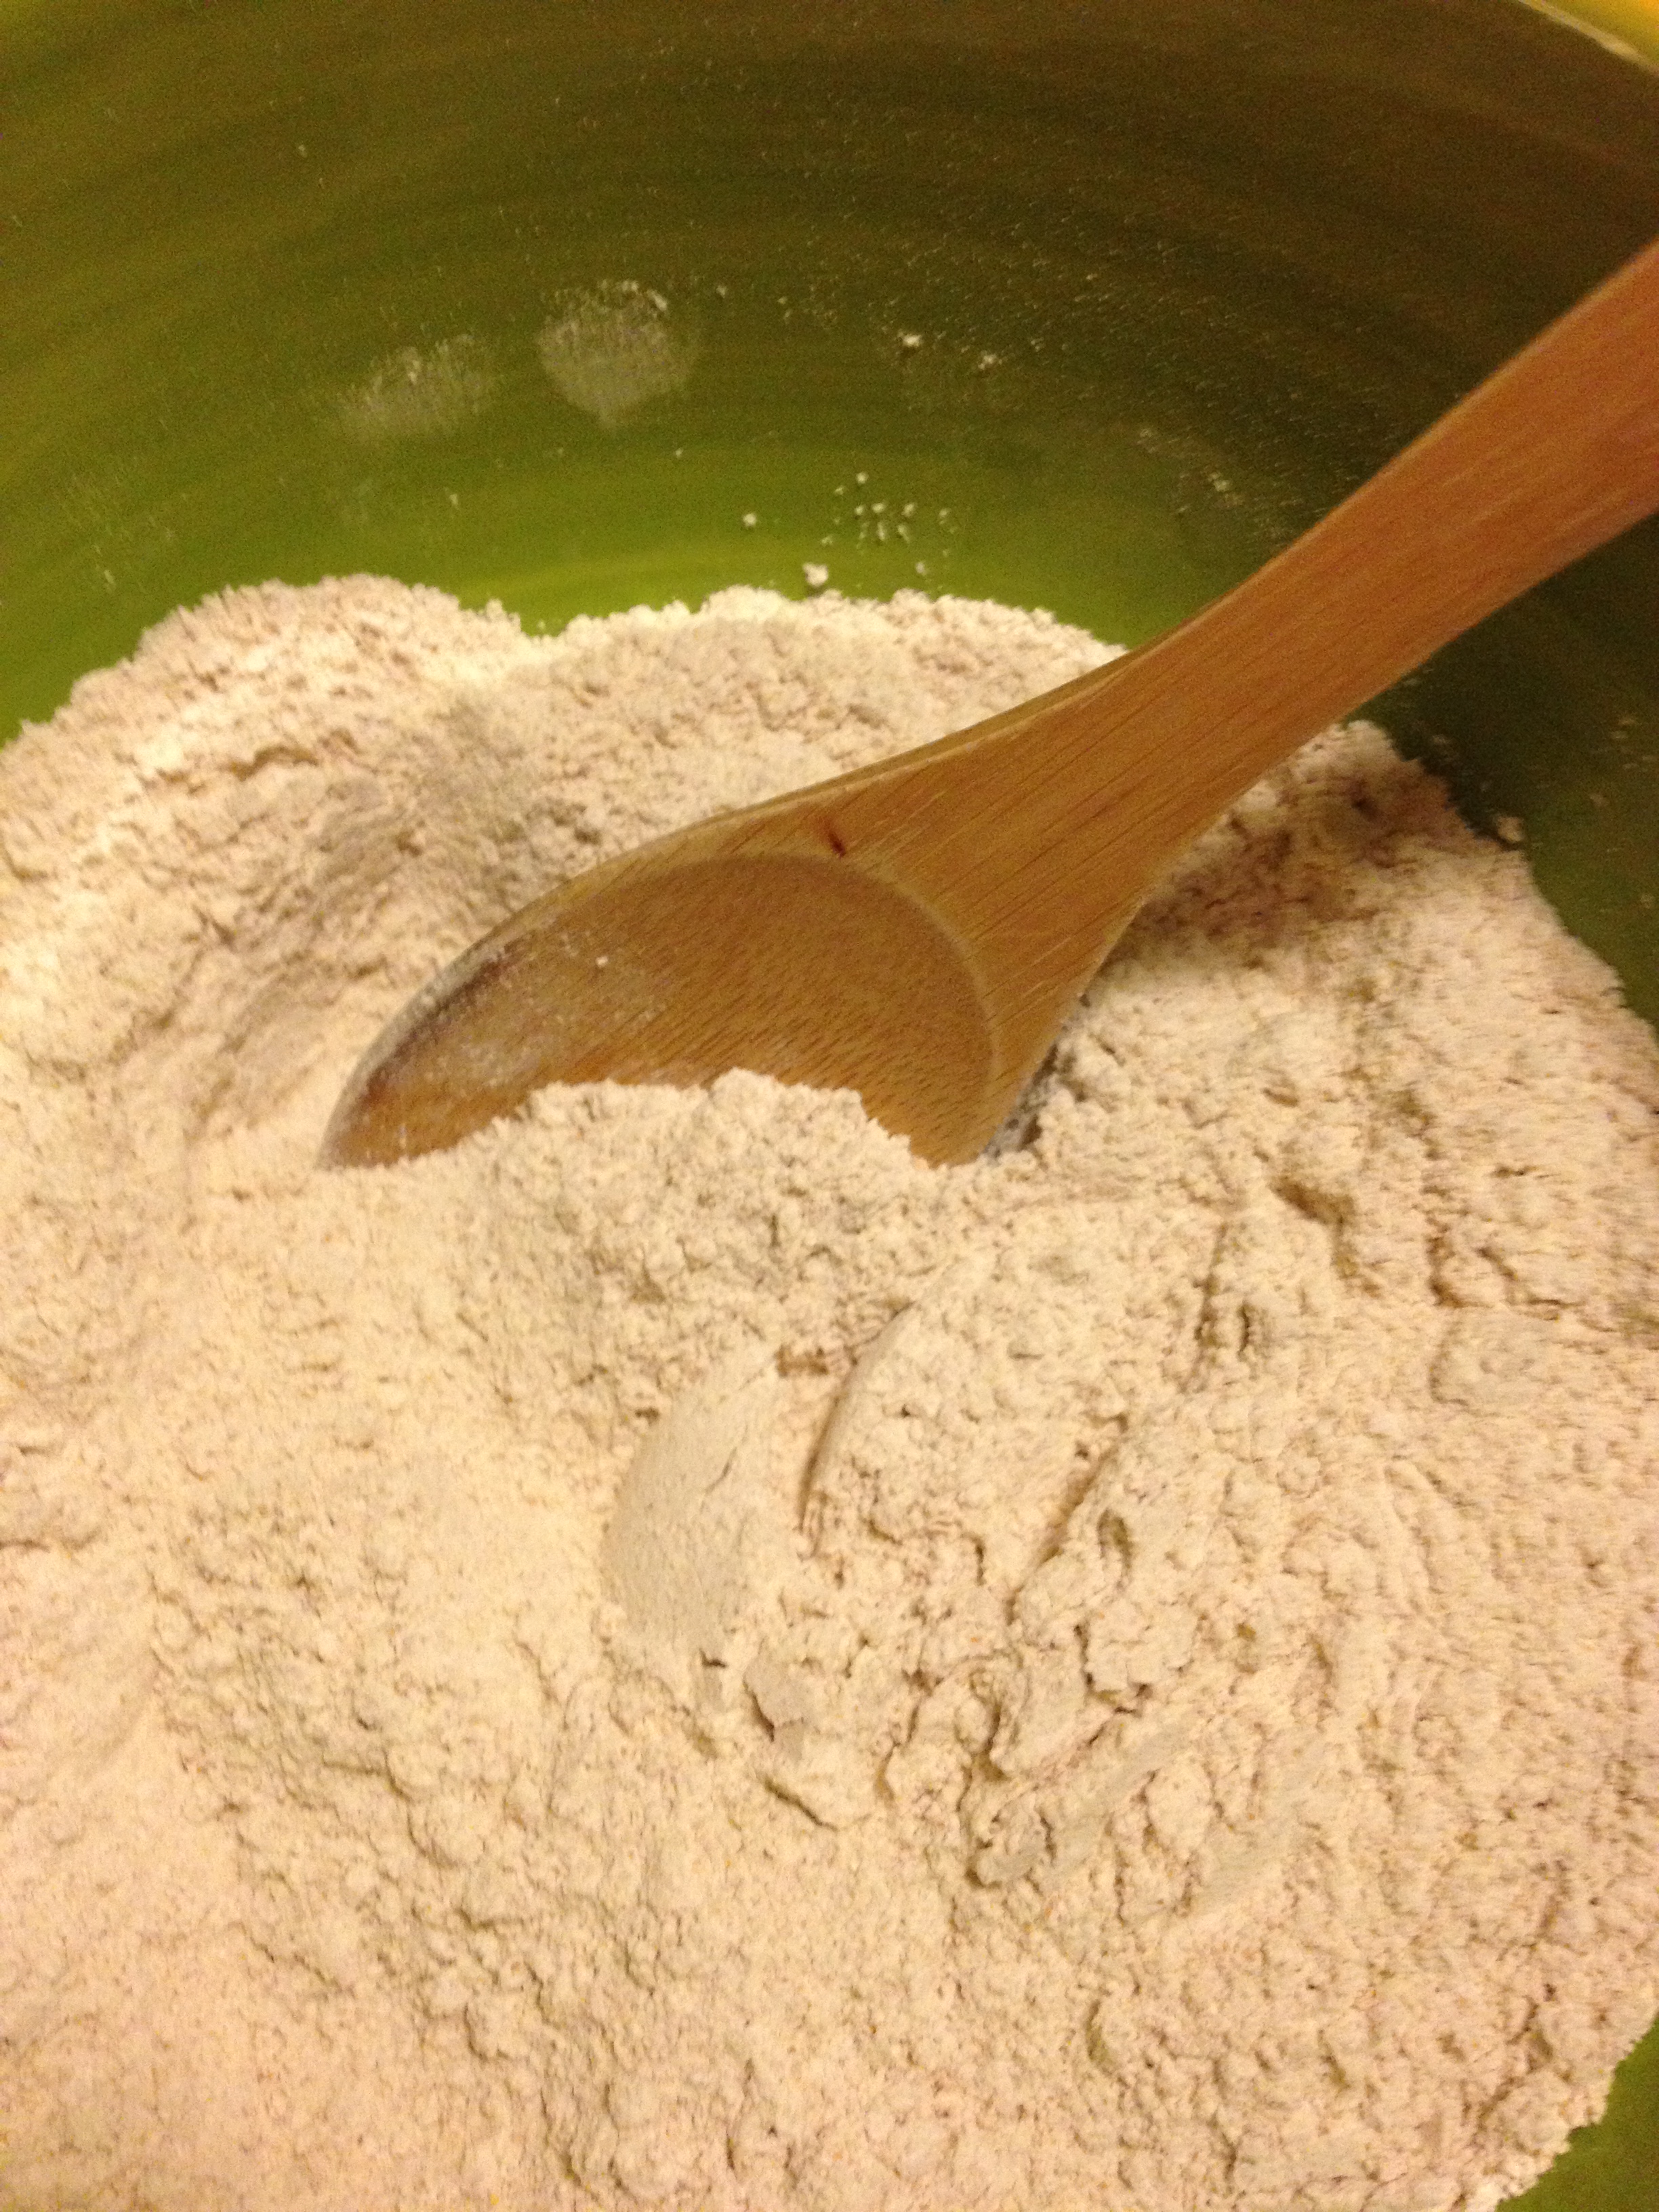
  • Put the whole wheat flour, baking soda, and salt into a small bowl and mix. 

dry ingredients

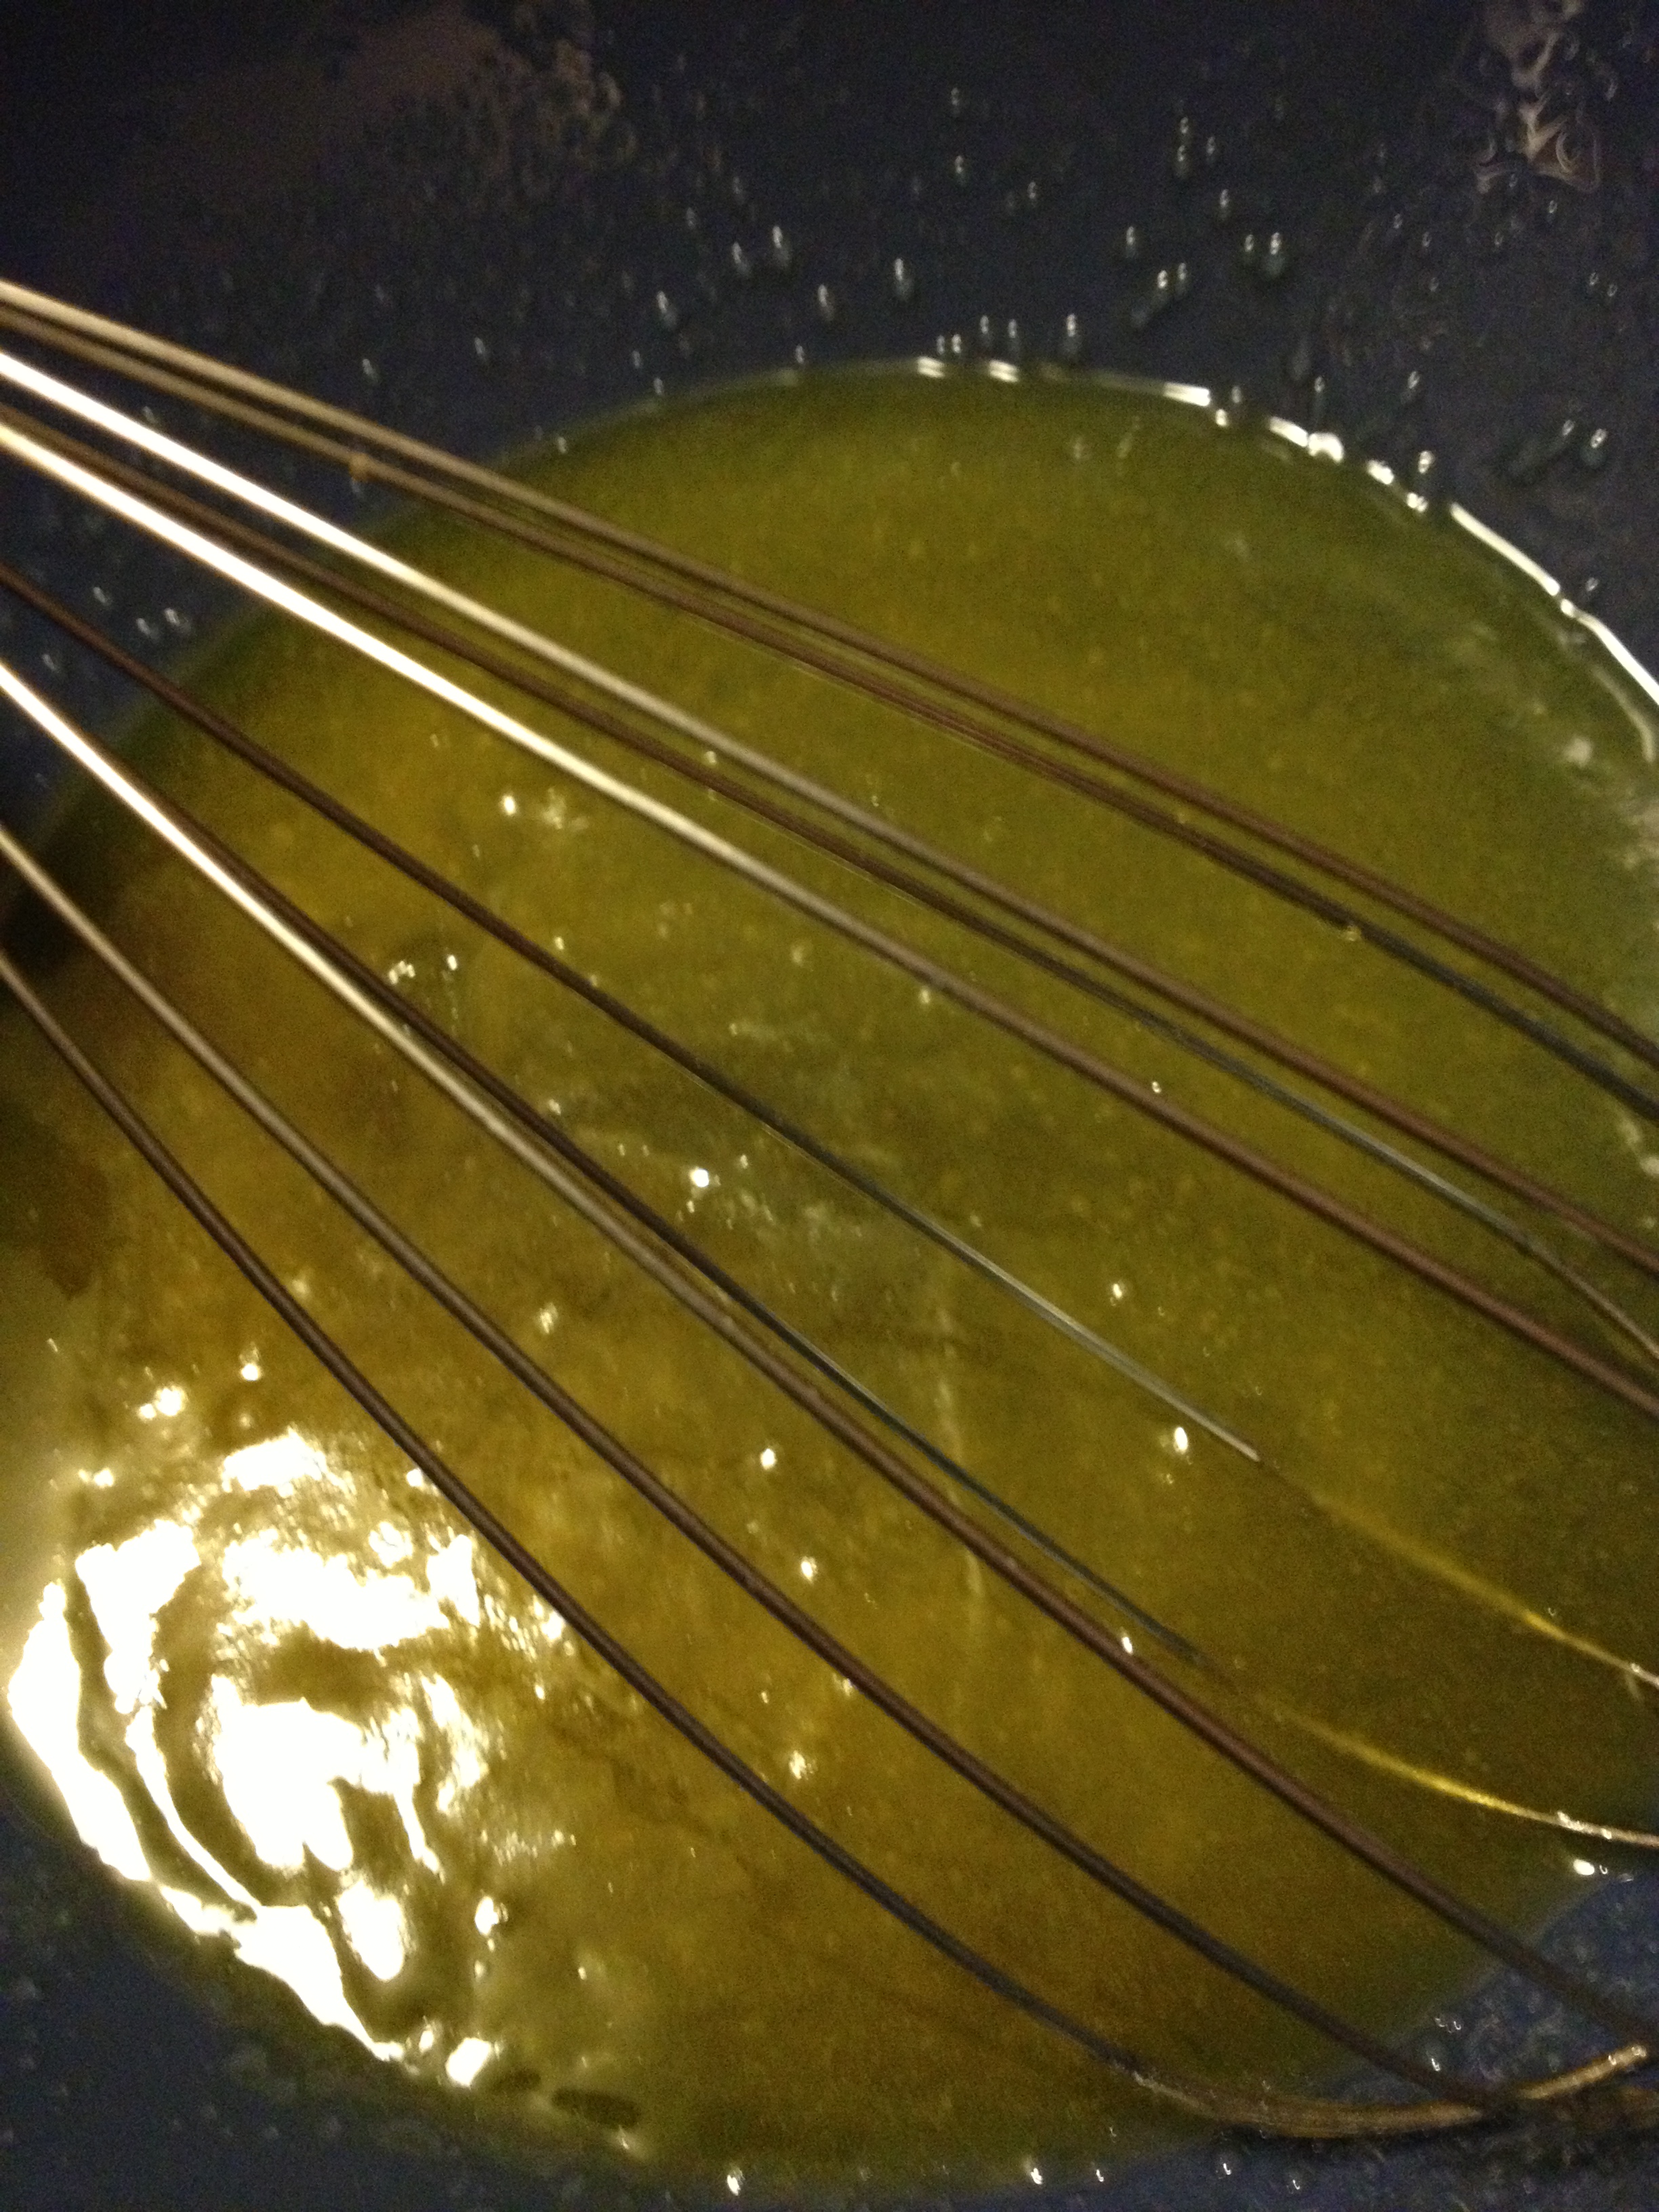
  • Put the dry ingredients to the side and get a bigger bowl where everything will end up. Put in the olive oil and honey and whisk well.

oil + honey

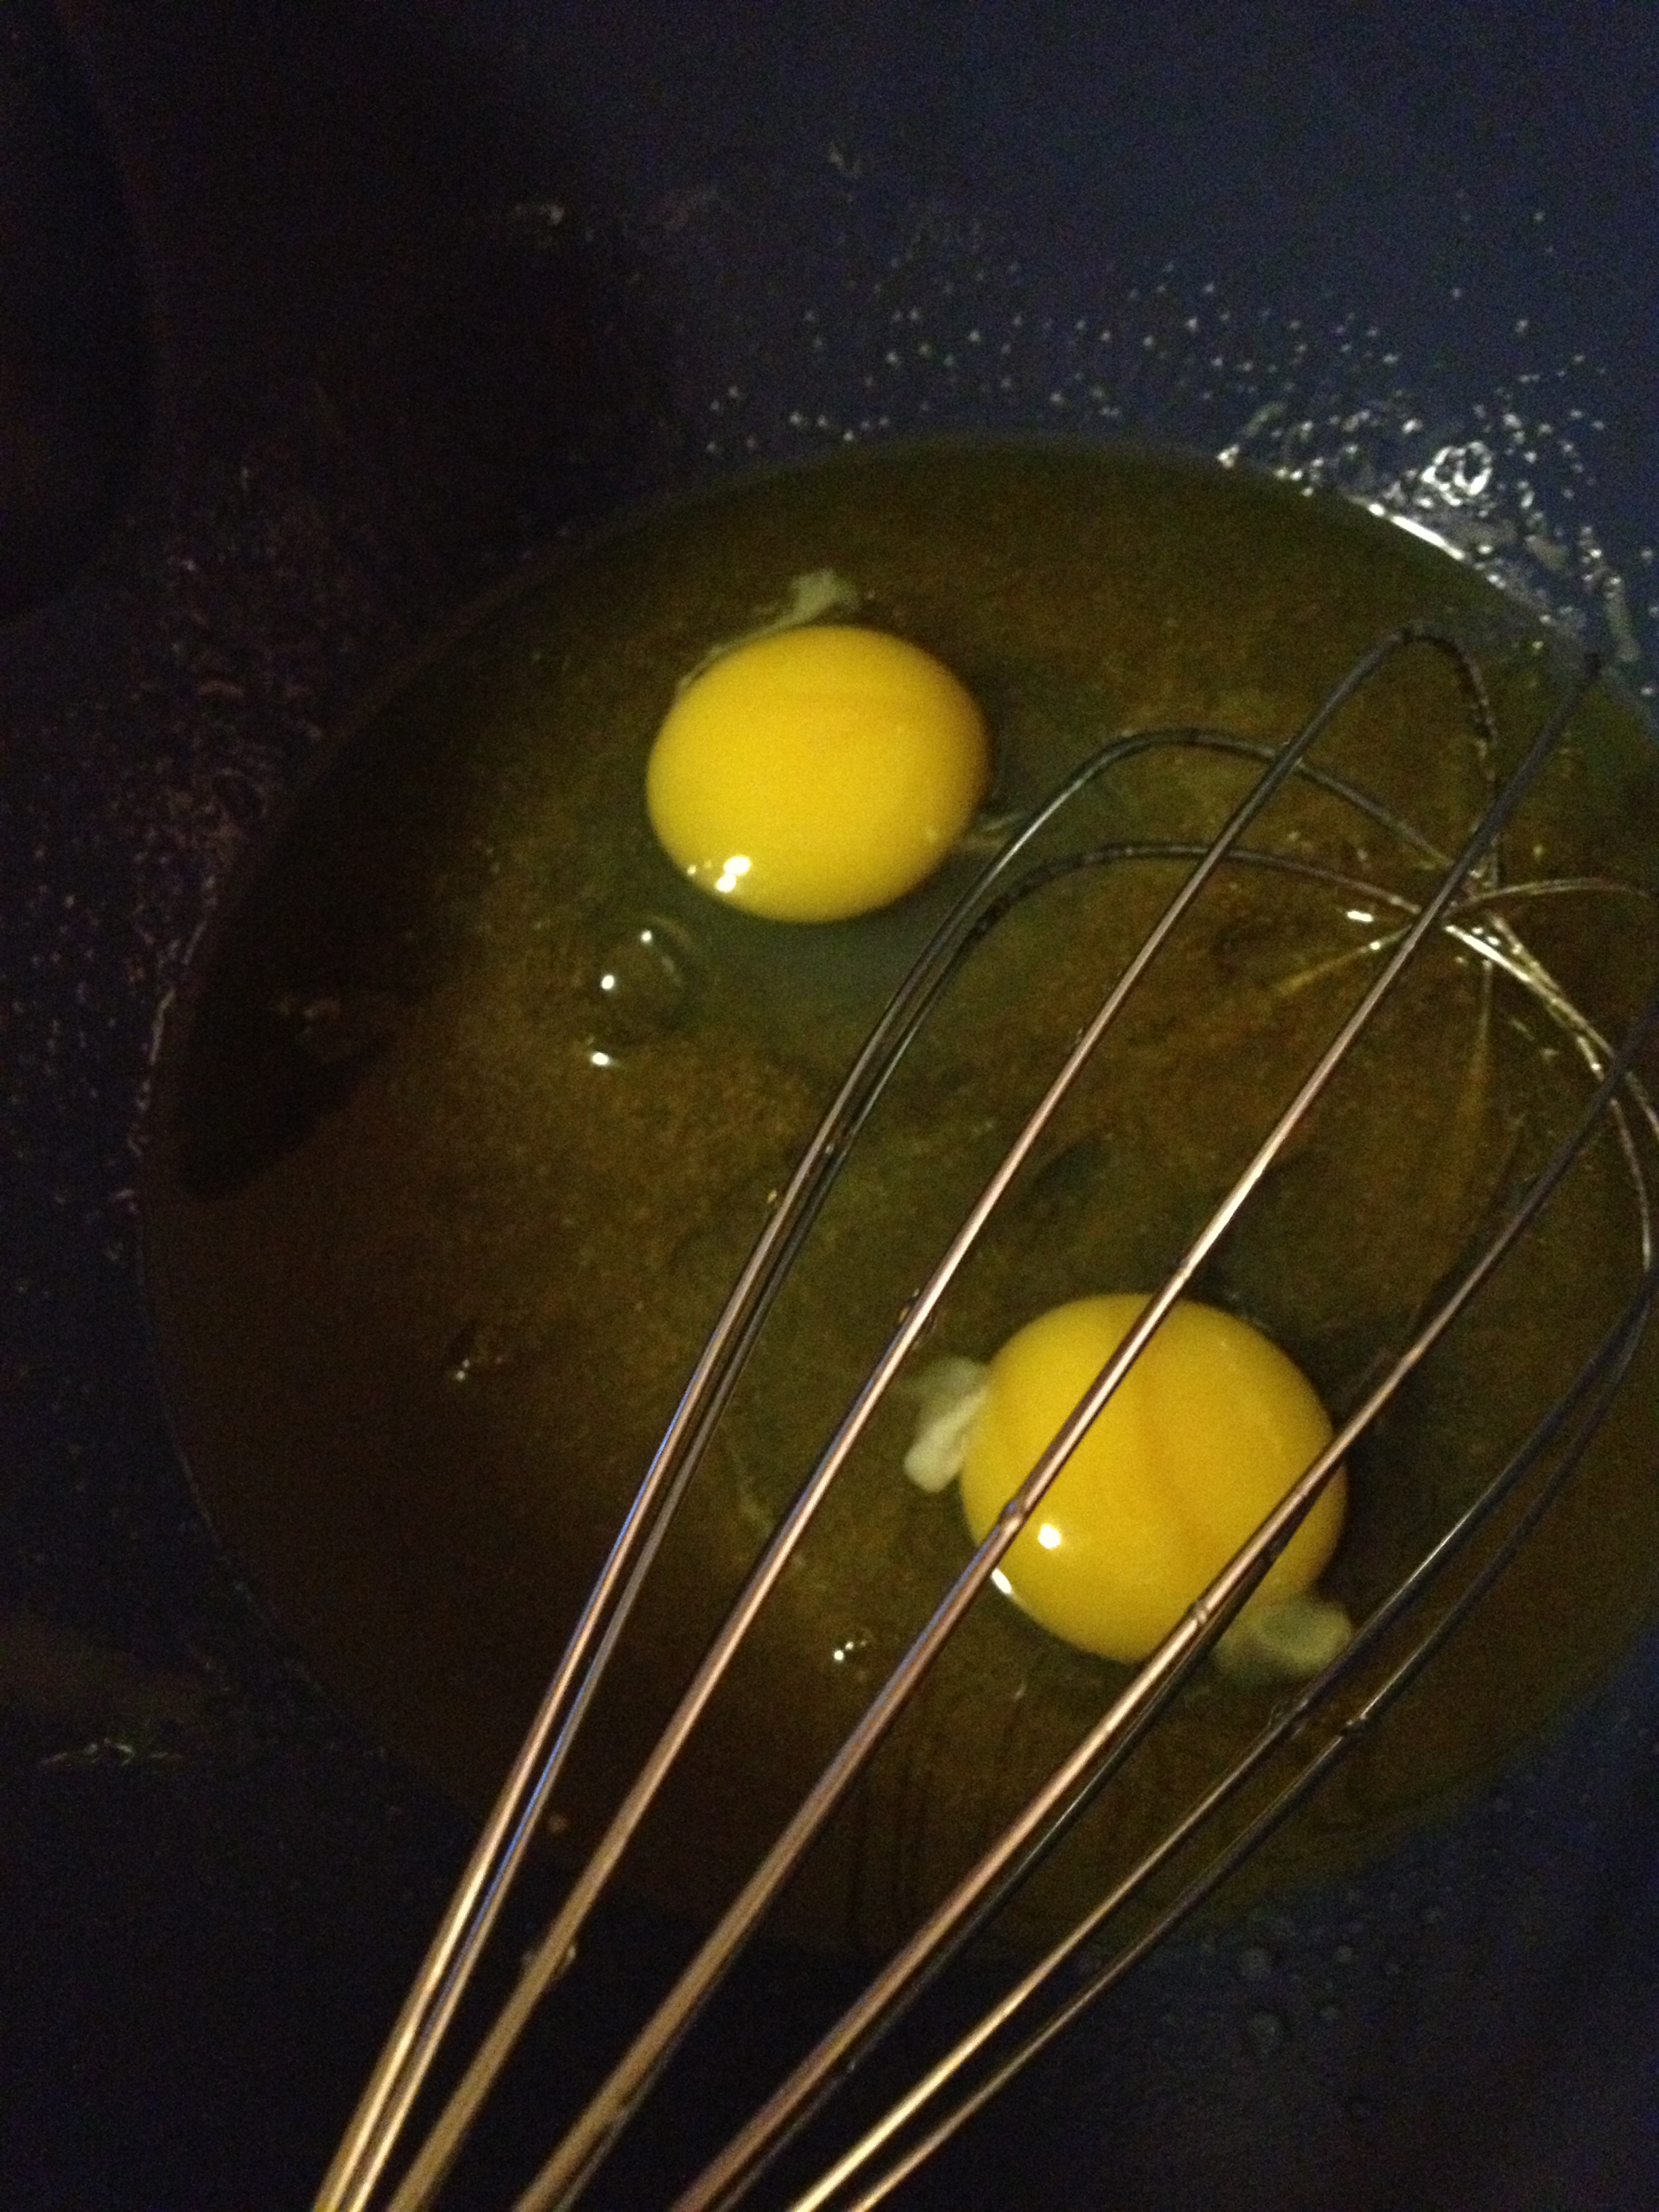
  • Once that is well mixed, drop in those two eggs and mix mix mix!

Eggggssss

  • Once those are beaten, then add the mashed (MASH THEM) bananas into the mix.
  • Now the dry ingredients are ready to make friends with the wet ingredients. Slowly stir in the dry ingredients, alternating with pouring in a little of the hot water you measured out before. Mix well!
Mix all ready to go

Mix all ready to go

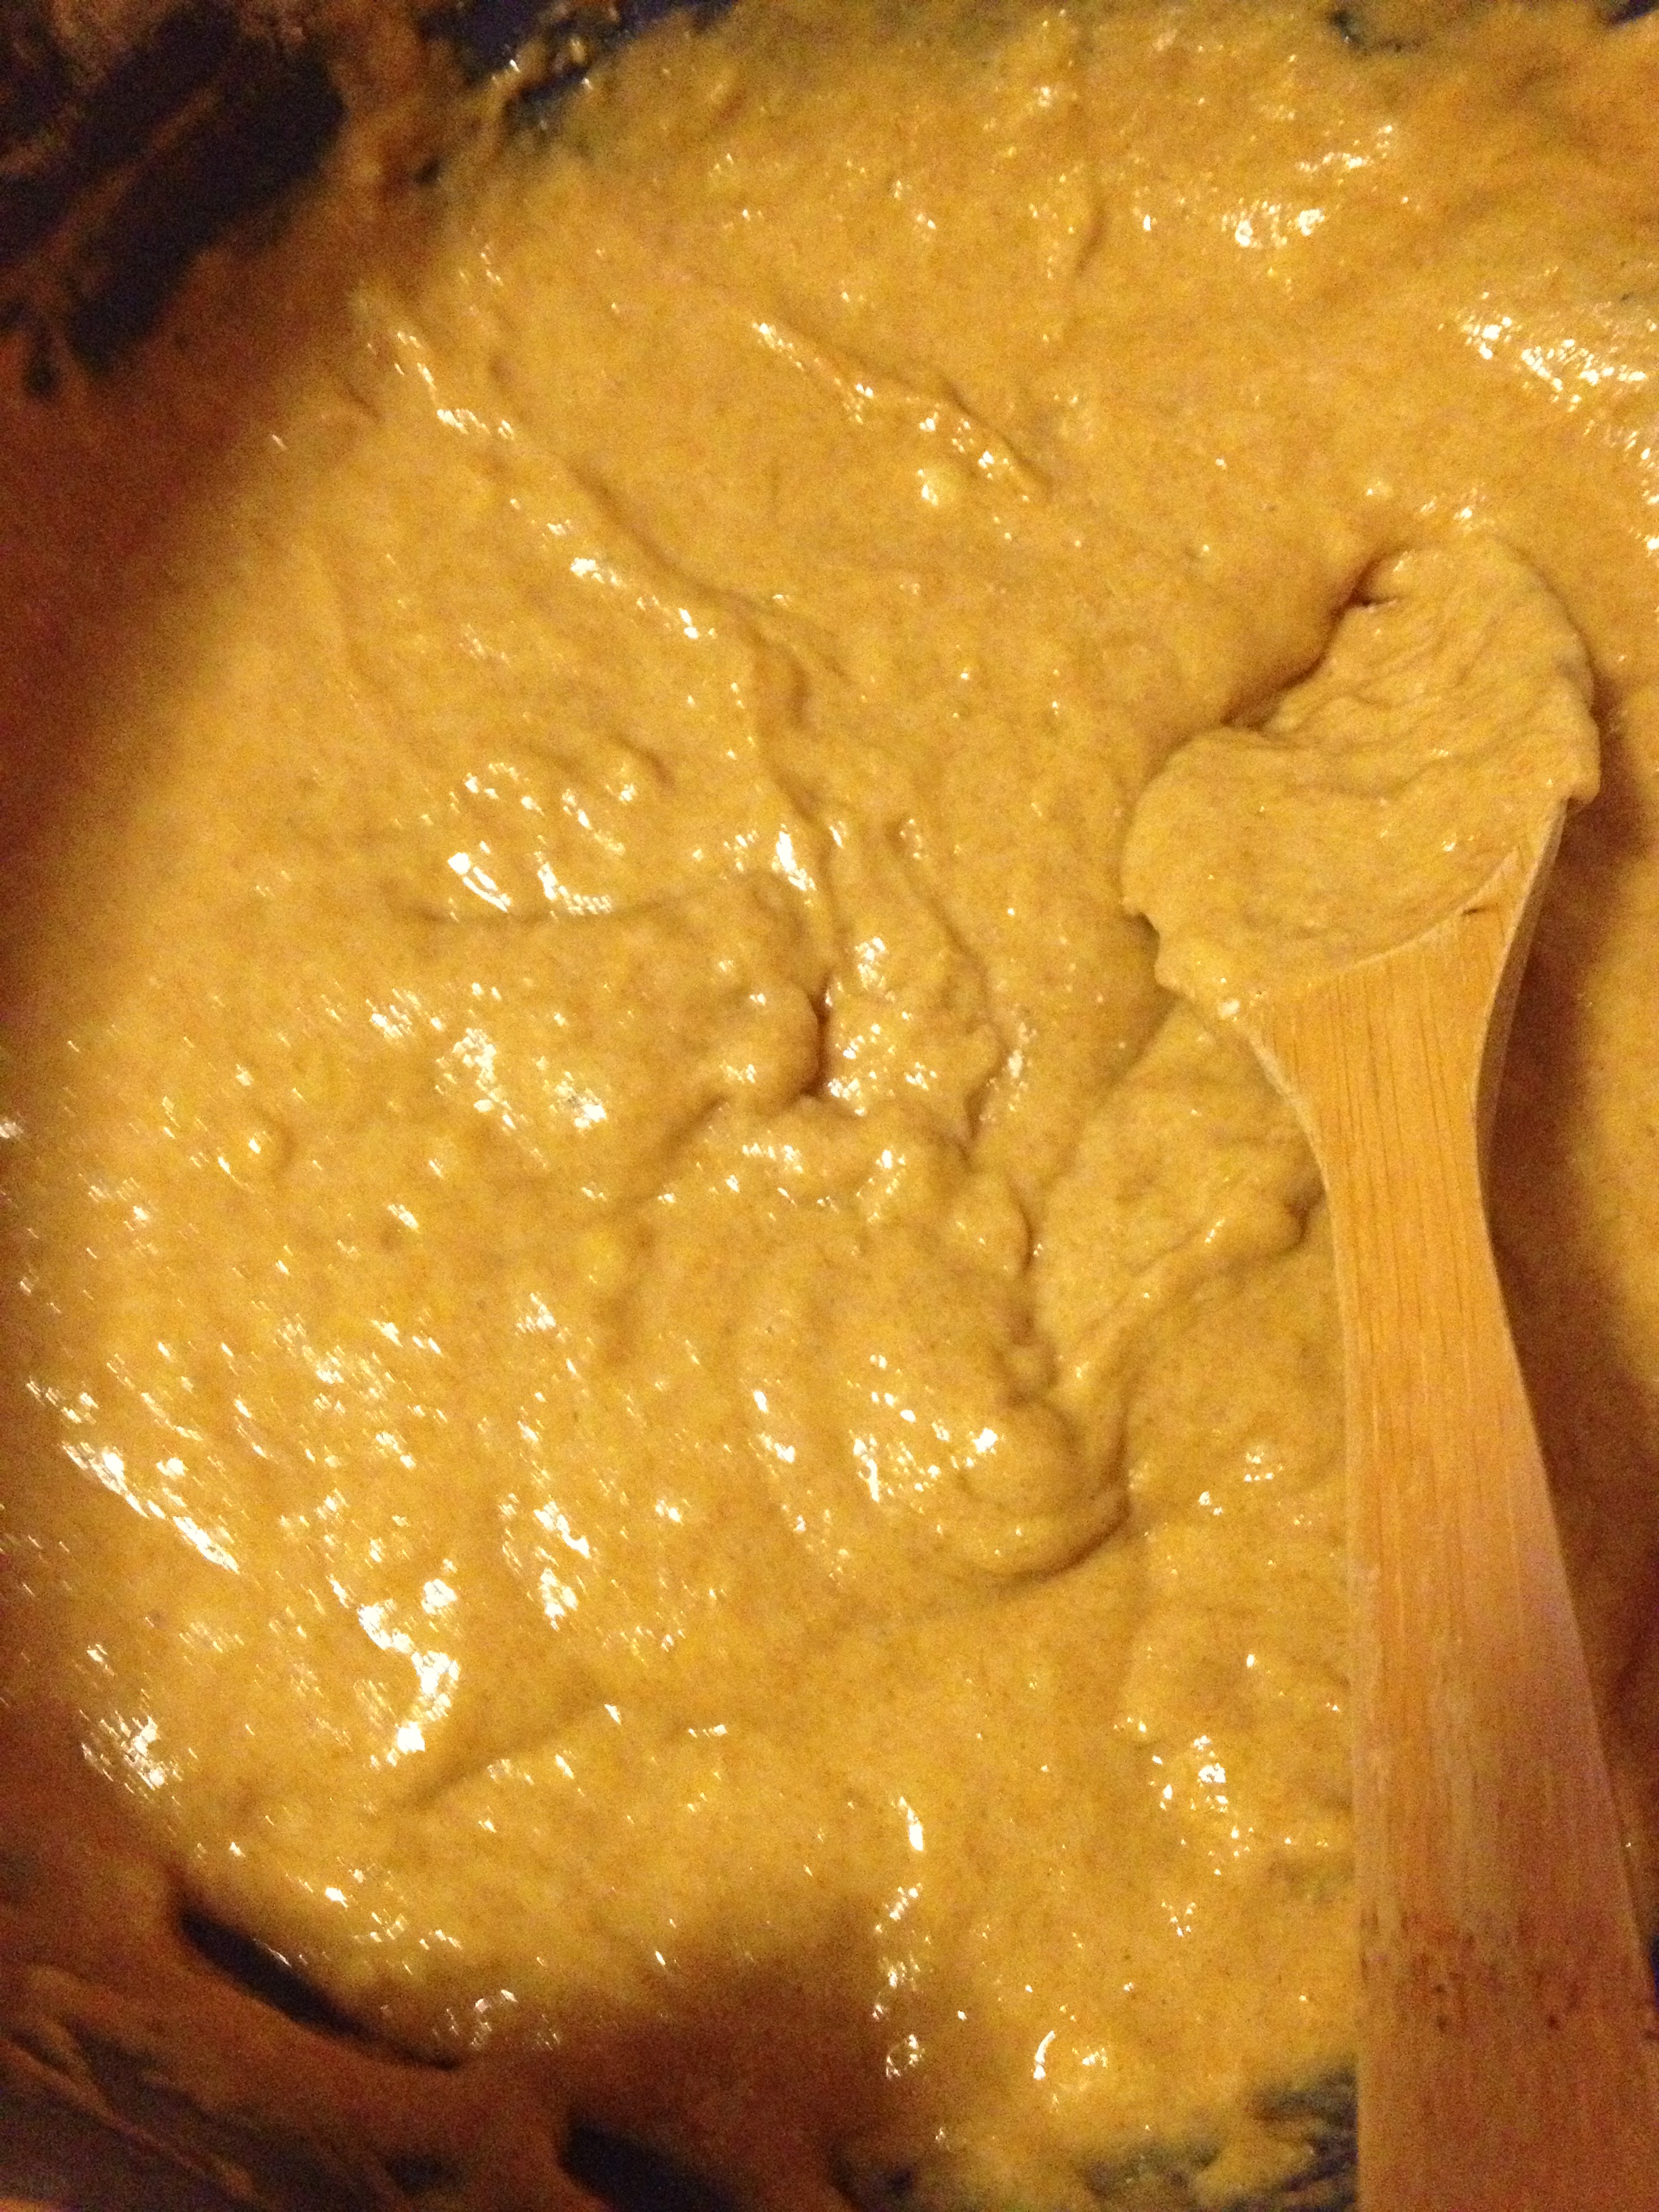
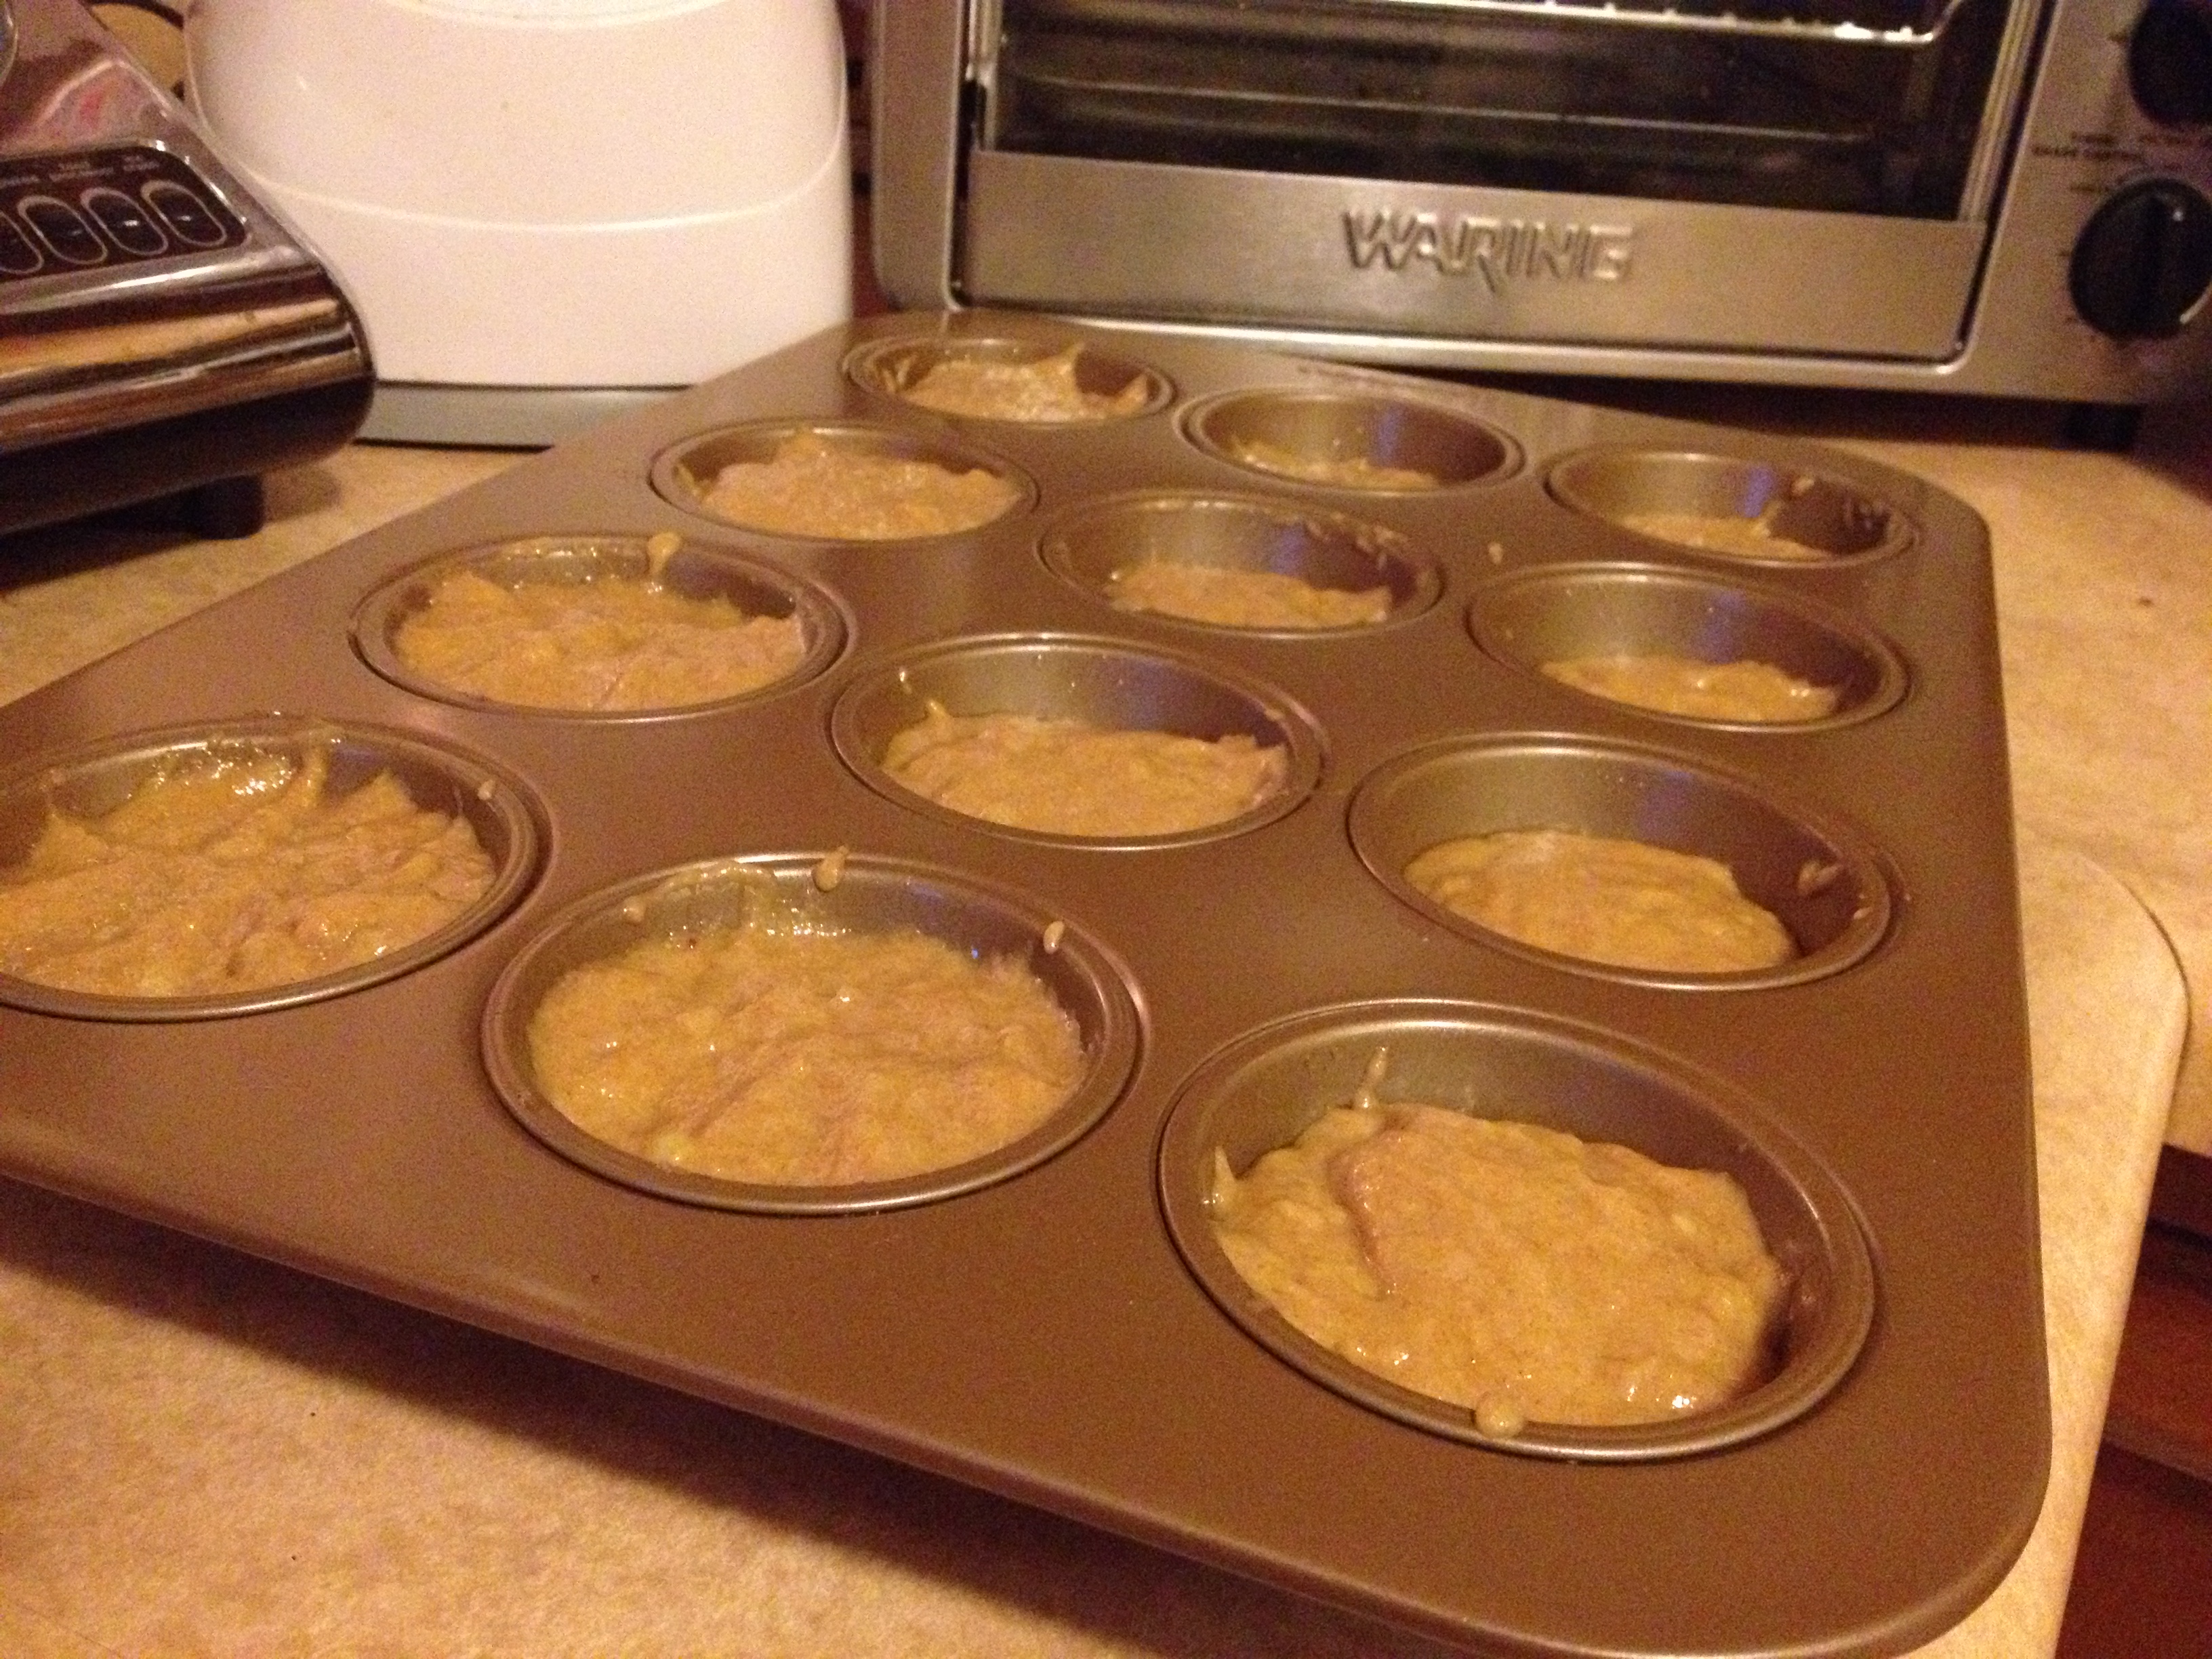
  • The mix is delicious by the way–had way too much of it before it hit the oven. Go a head and pour the mix into your muffin pan. Fill it as high up as you want–it all depends on how big muffins you’d like.

IMG_2966

  • Put in the oven for 15-20 minutes. Mine cooked in about 17 minutes. Try going for 15 minutes and test them.

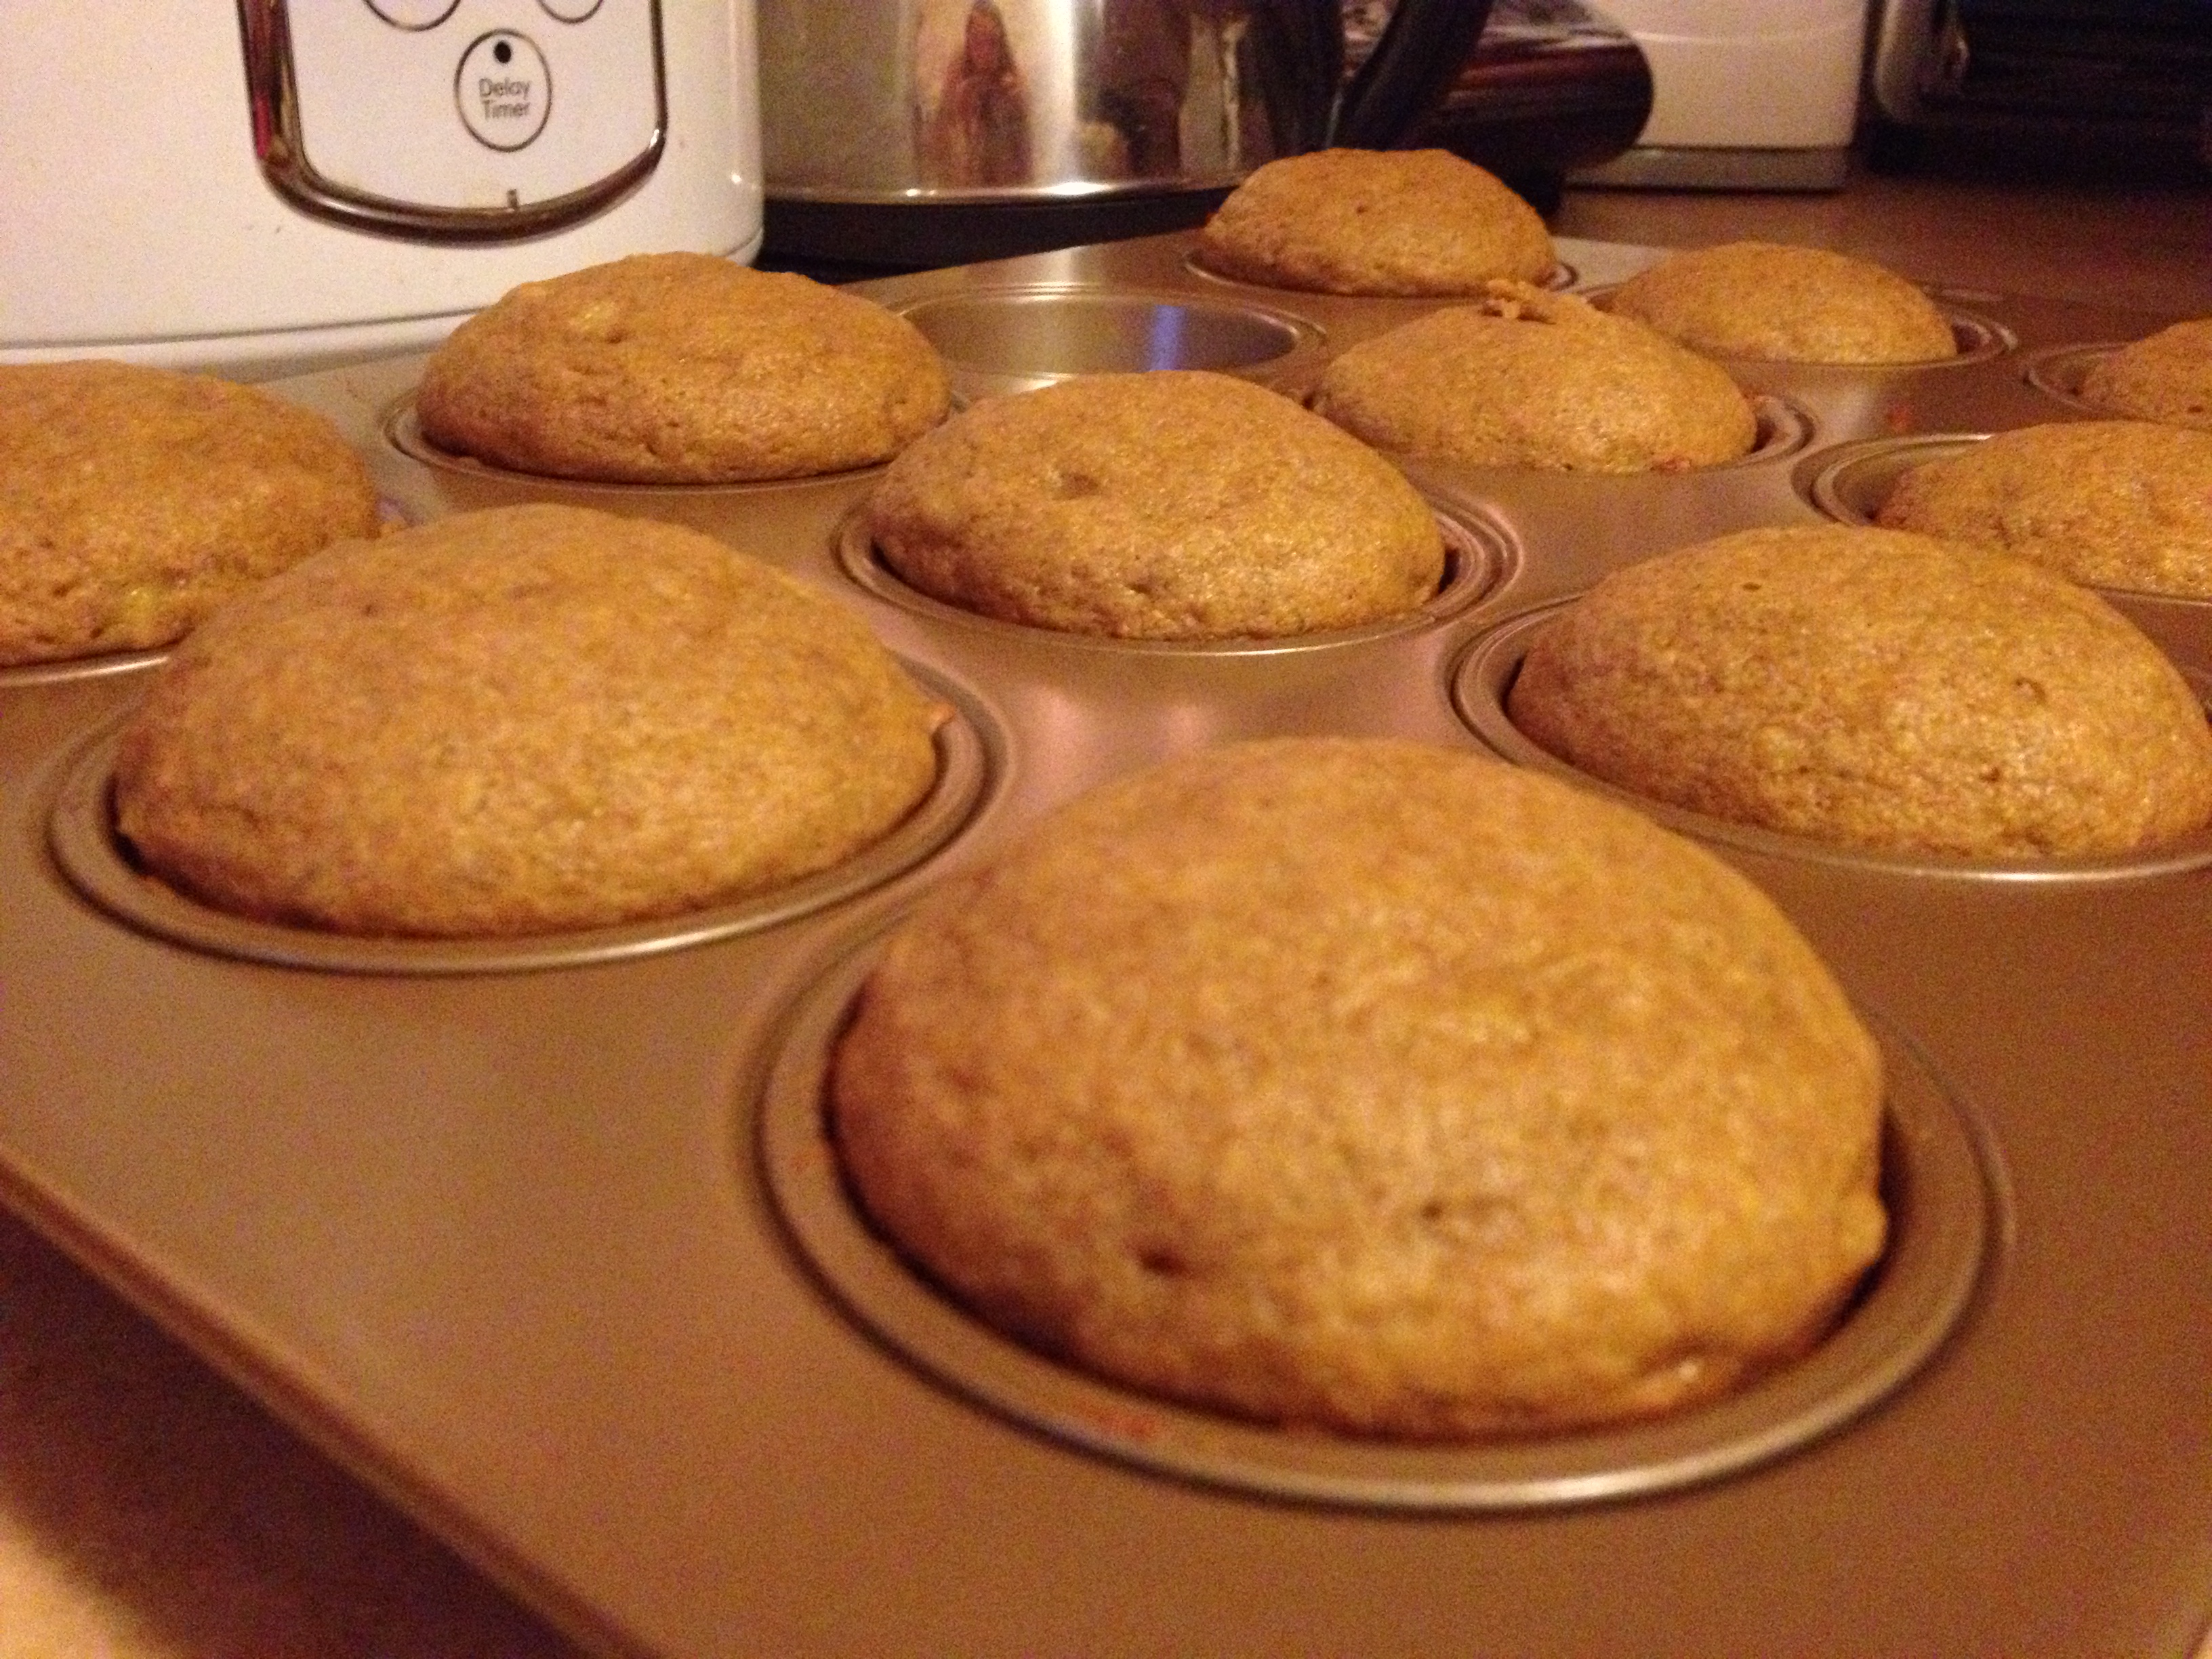
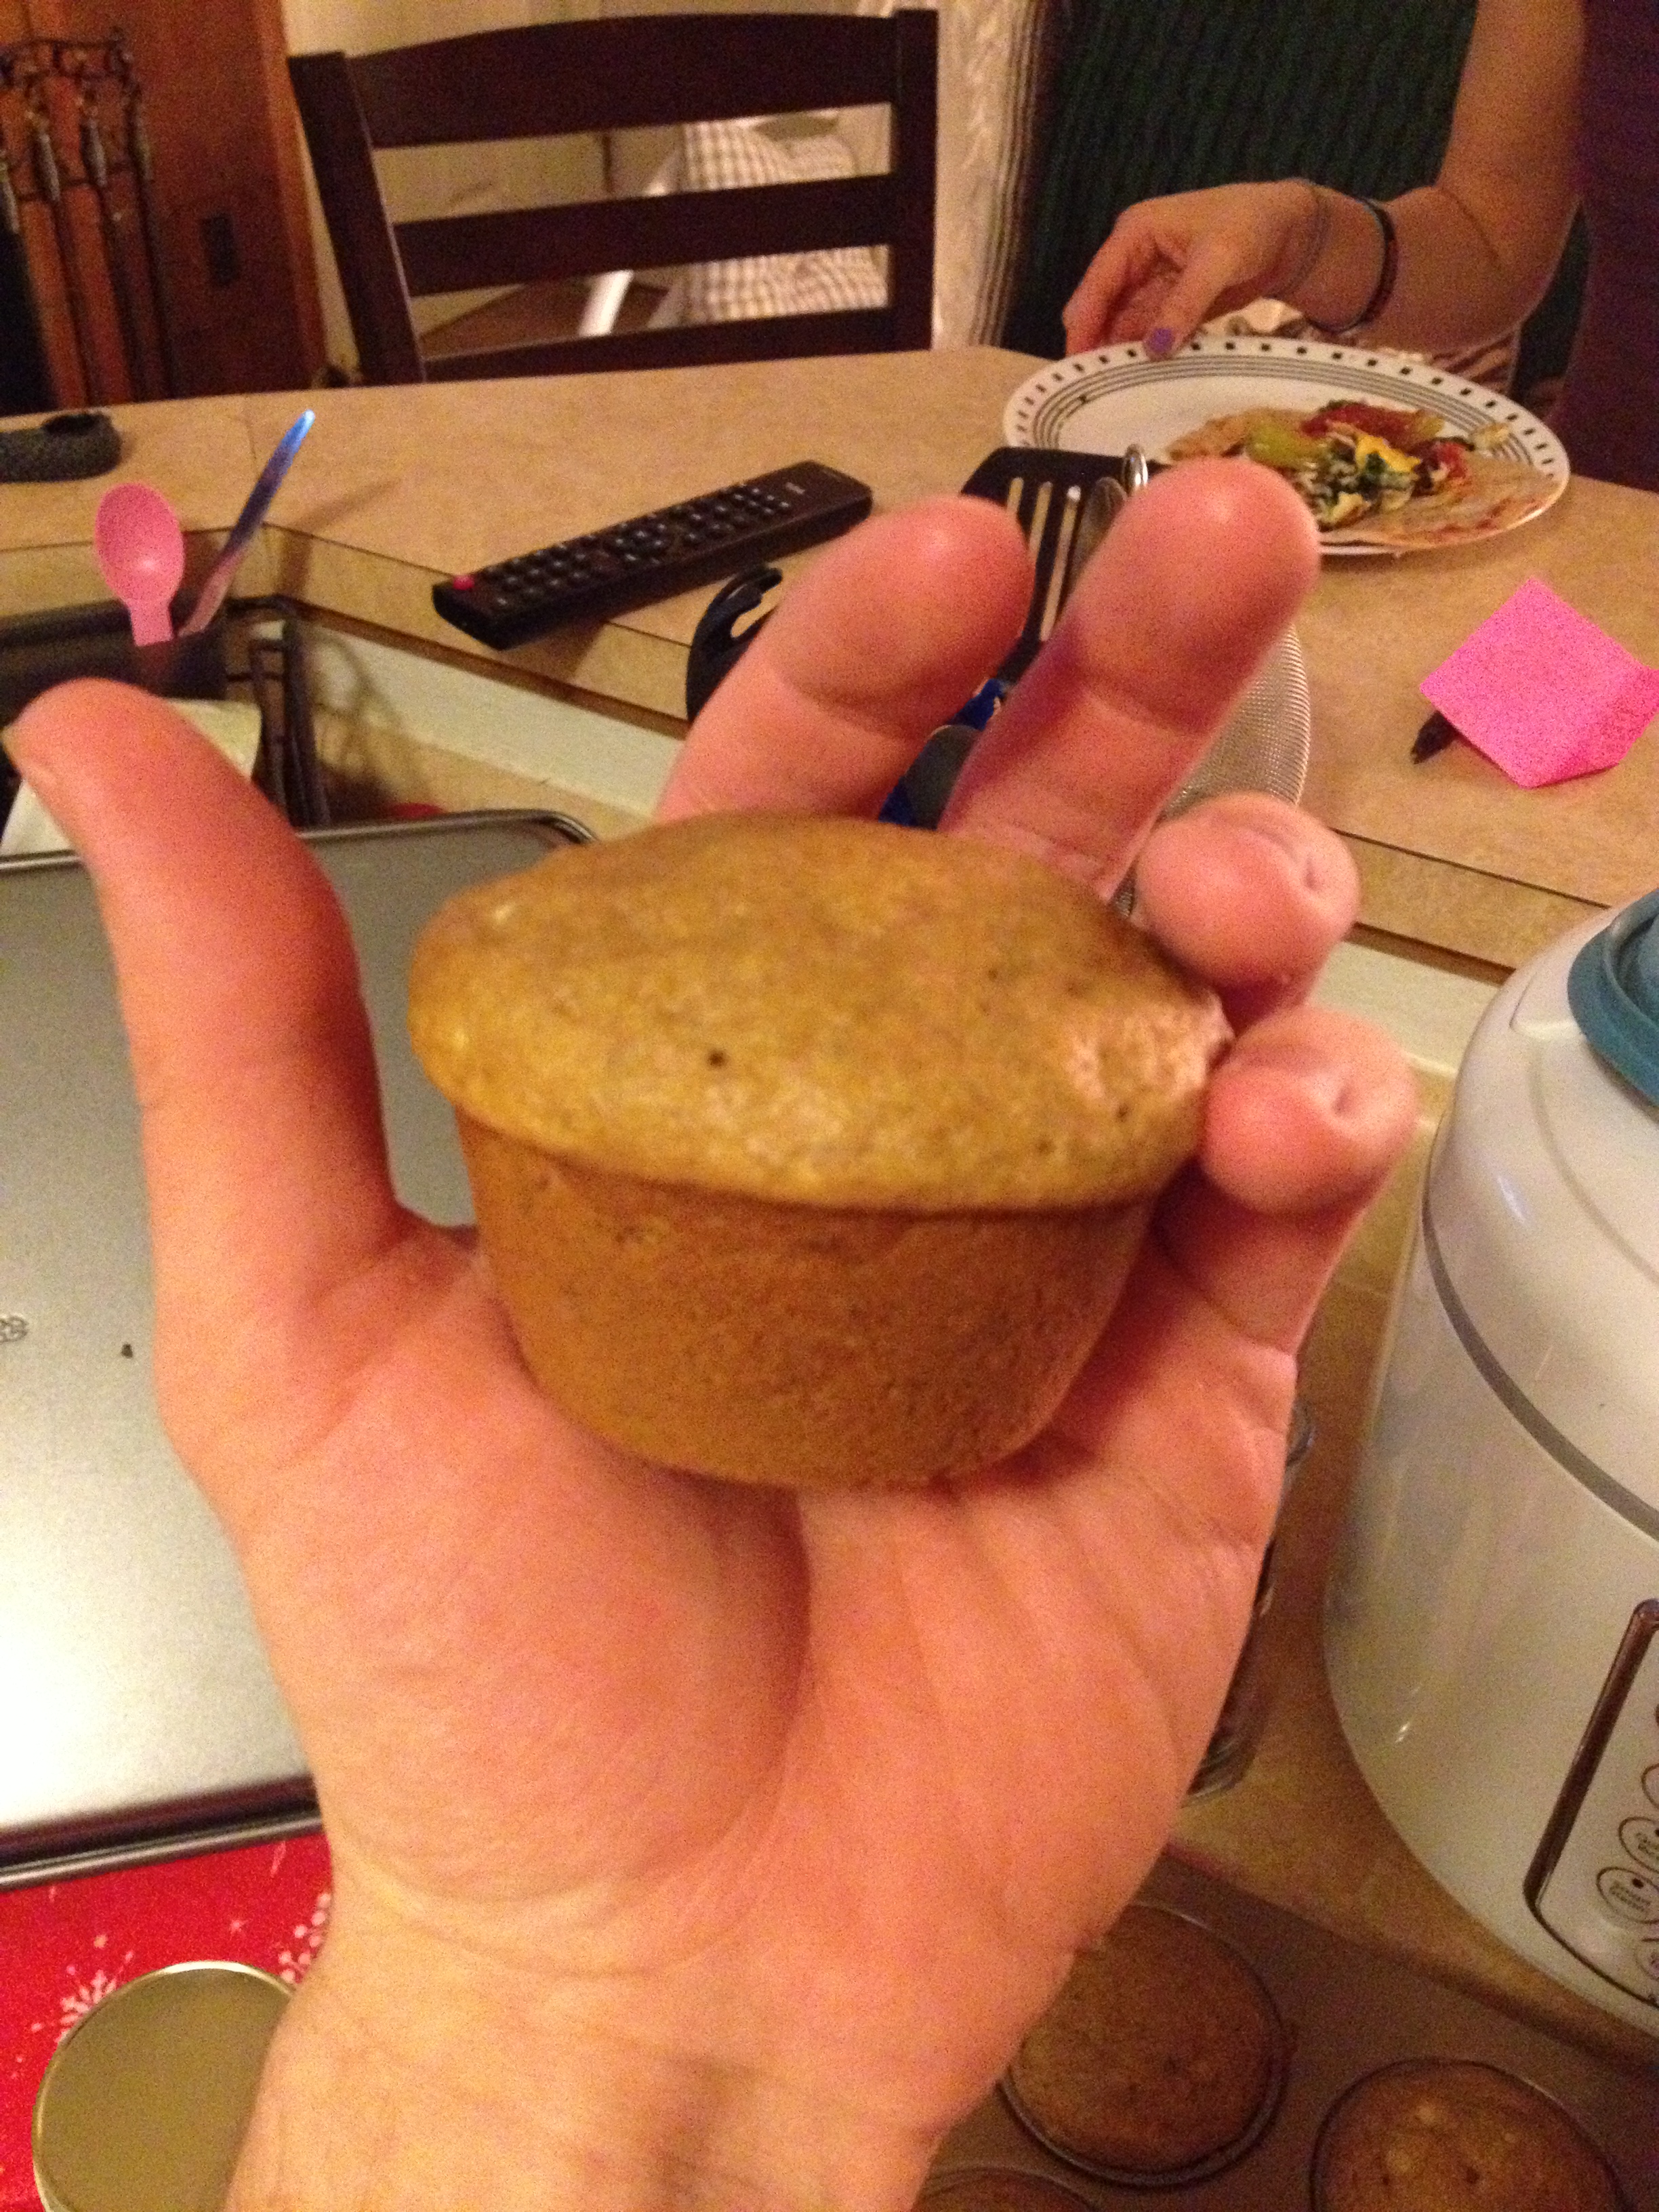
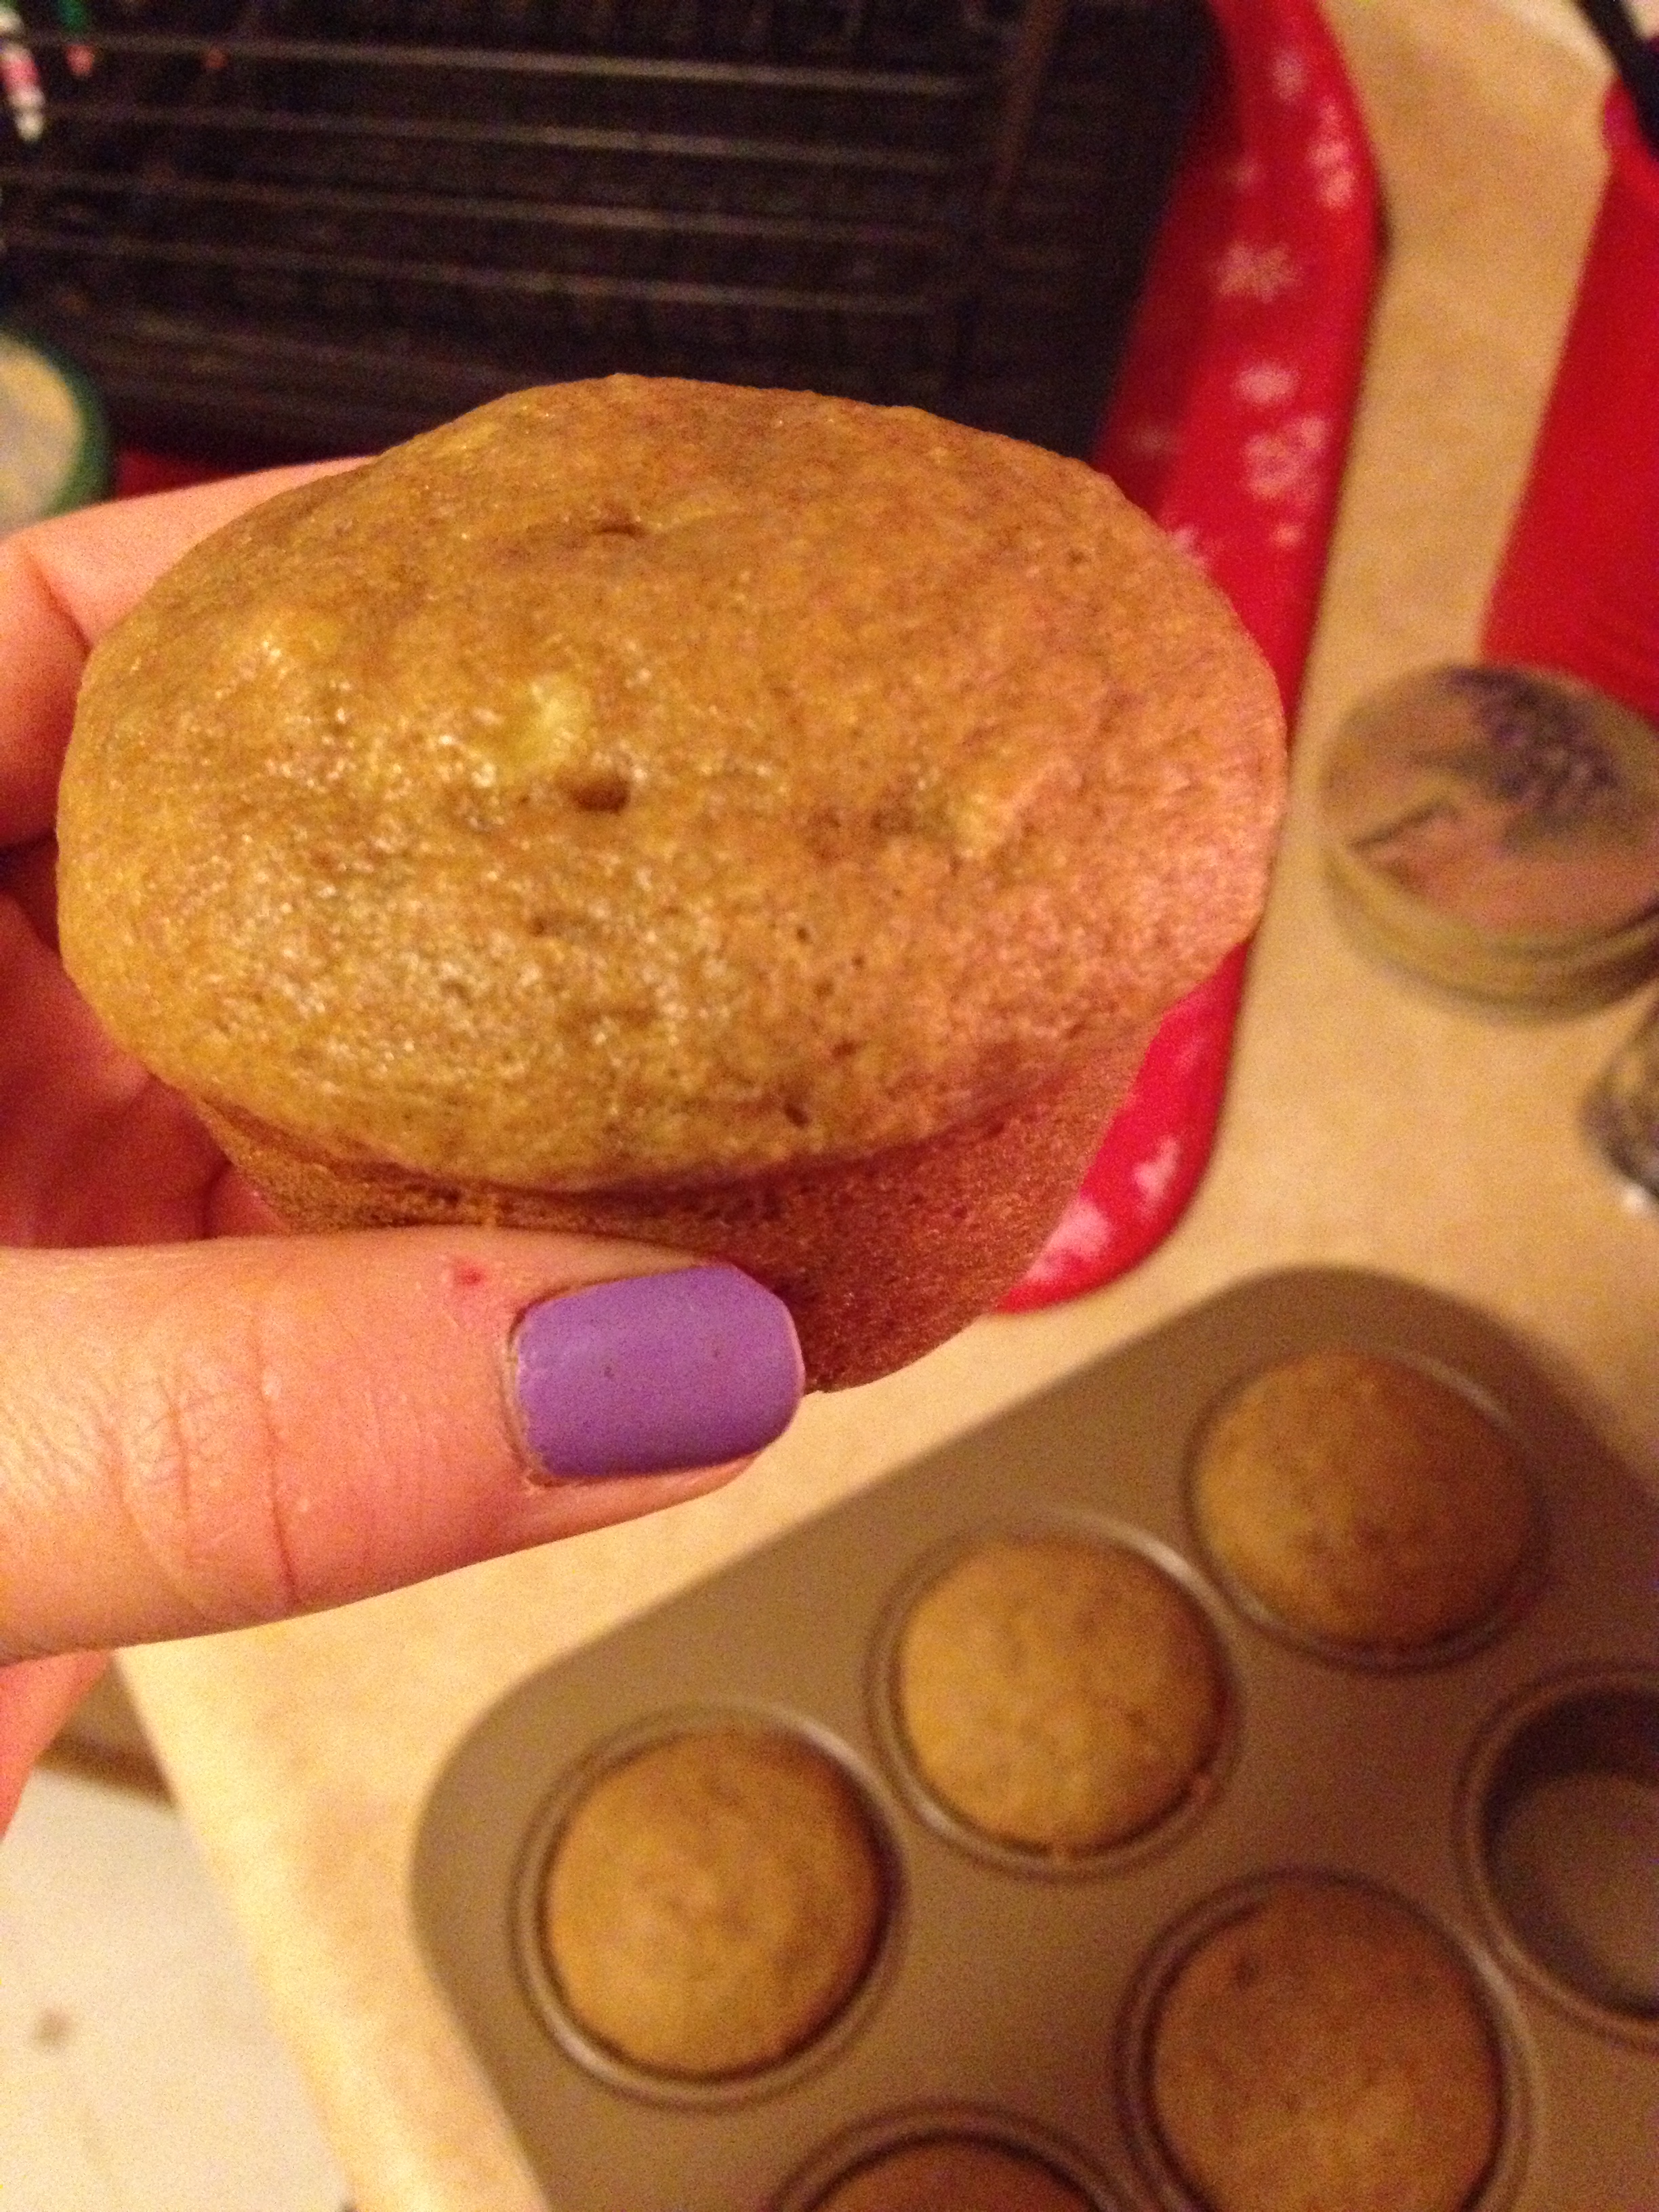
IMG_2969And here they are. The texture turned out wonderfully, the taste not overpowering, and the structural integrity strong. Very excited about these.

Chris' hand

Chris’ hand (you can see dinner in the background)

My hand

My hand

Cheers! Enjoy the recipe and the food! Delicious 

spacer

Mary Kate’s Easy Delicious Peanut Butter Cookie Recipe

Who is Mary Kate? Good question. Mary Kate is one of my best friends from college. We were put randomly as roommates together freshman year and since then, it’s history. Shout out to my baby girl. Anyways…we both share a passion for cooking and baking. Nearly every night, when we were both RAs and no longer living together, I would trek over to her apartment no matter the weather. She would always have something cooking or baking, or simply in the works so that we got the chance to cook/bake together, which we loved.

Mary Kate, Chris and I on MK's and my graduation

Mary Kate, Chris and I on MK’s and my graduation

Talking about it makes me miss it way too much so let’s get on to the food. Besides the many amazing things she’s created, one of my favorite and easiest recipes was her peanut butter cookie recipe. On any given night while watching X Factor or Family Guy, Katie and I (Katie was her roommate at the time) demanded peanut butter cookies and wouldn’t shut up until she made them for us. Luckily for her, it was quick and easy. So here it is, I take no credit for it, except maybe the chunky peanut butter because I’m pretty sure it was supposed to be creamy.

  • Prep Time: 5 minutes?
  • Bake Time: 9-12 minutes (took mine 11 minutes)
  • Set Oven to: 350 degrees

Ingredients

  • 1 egg
  • 1 cup peanut butter
  • 1 cup sugar
  • handful of chocolate chips (optional)

And that’s it…I kid you not. Just talking about them makes me want to run to my kitchen and eat more. SO SIMPLE YET SO GOOD.

Directions

  • Butter up or grease your baking sheet
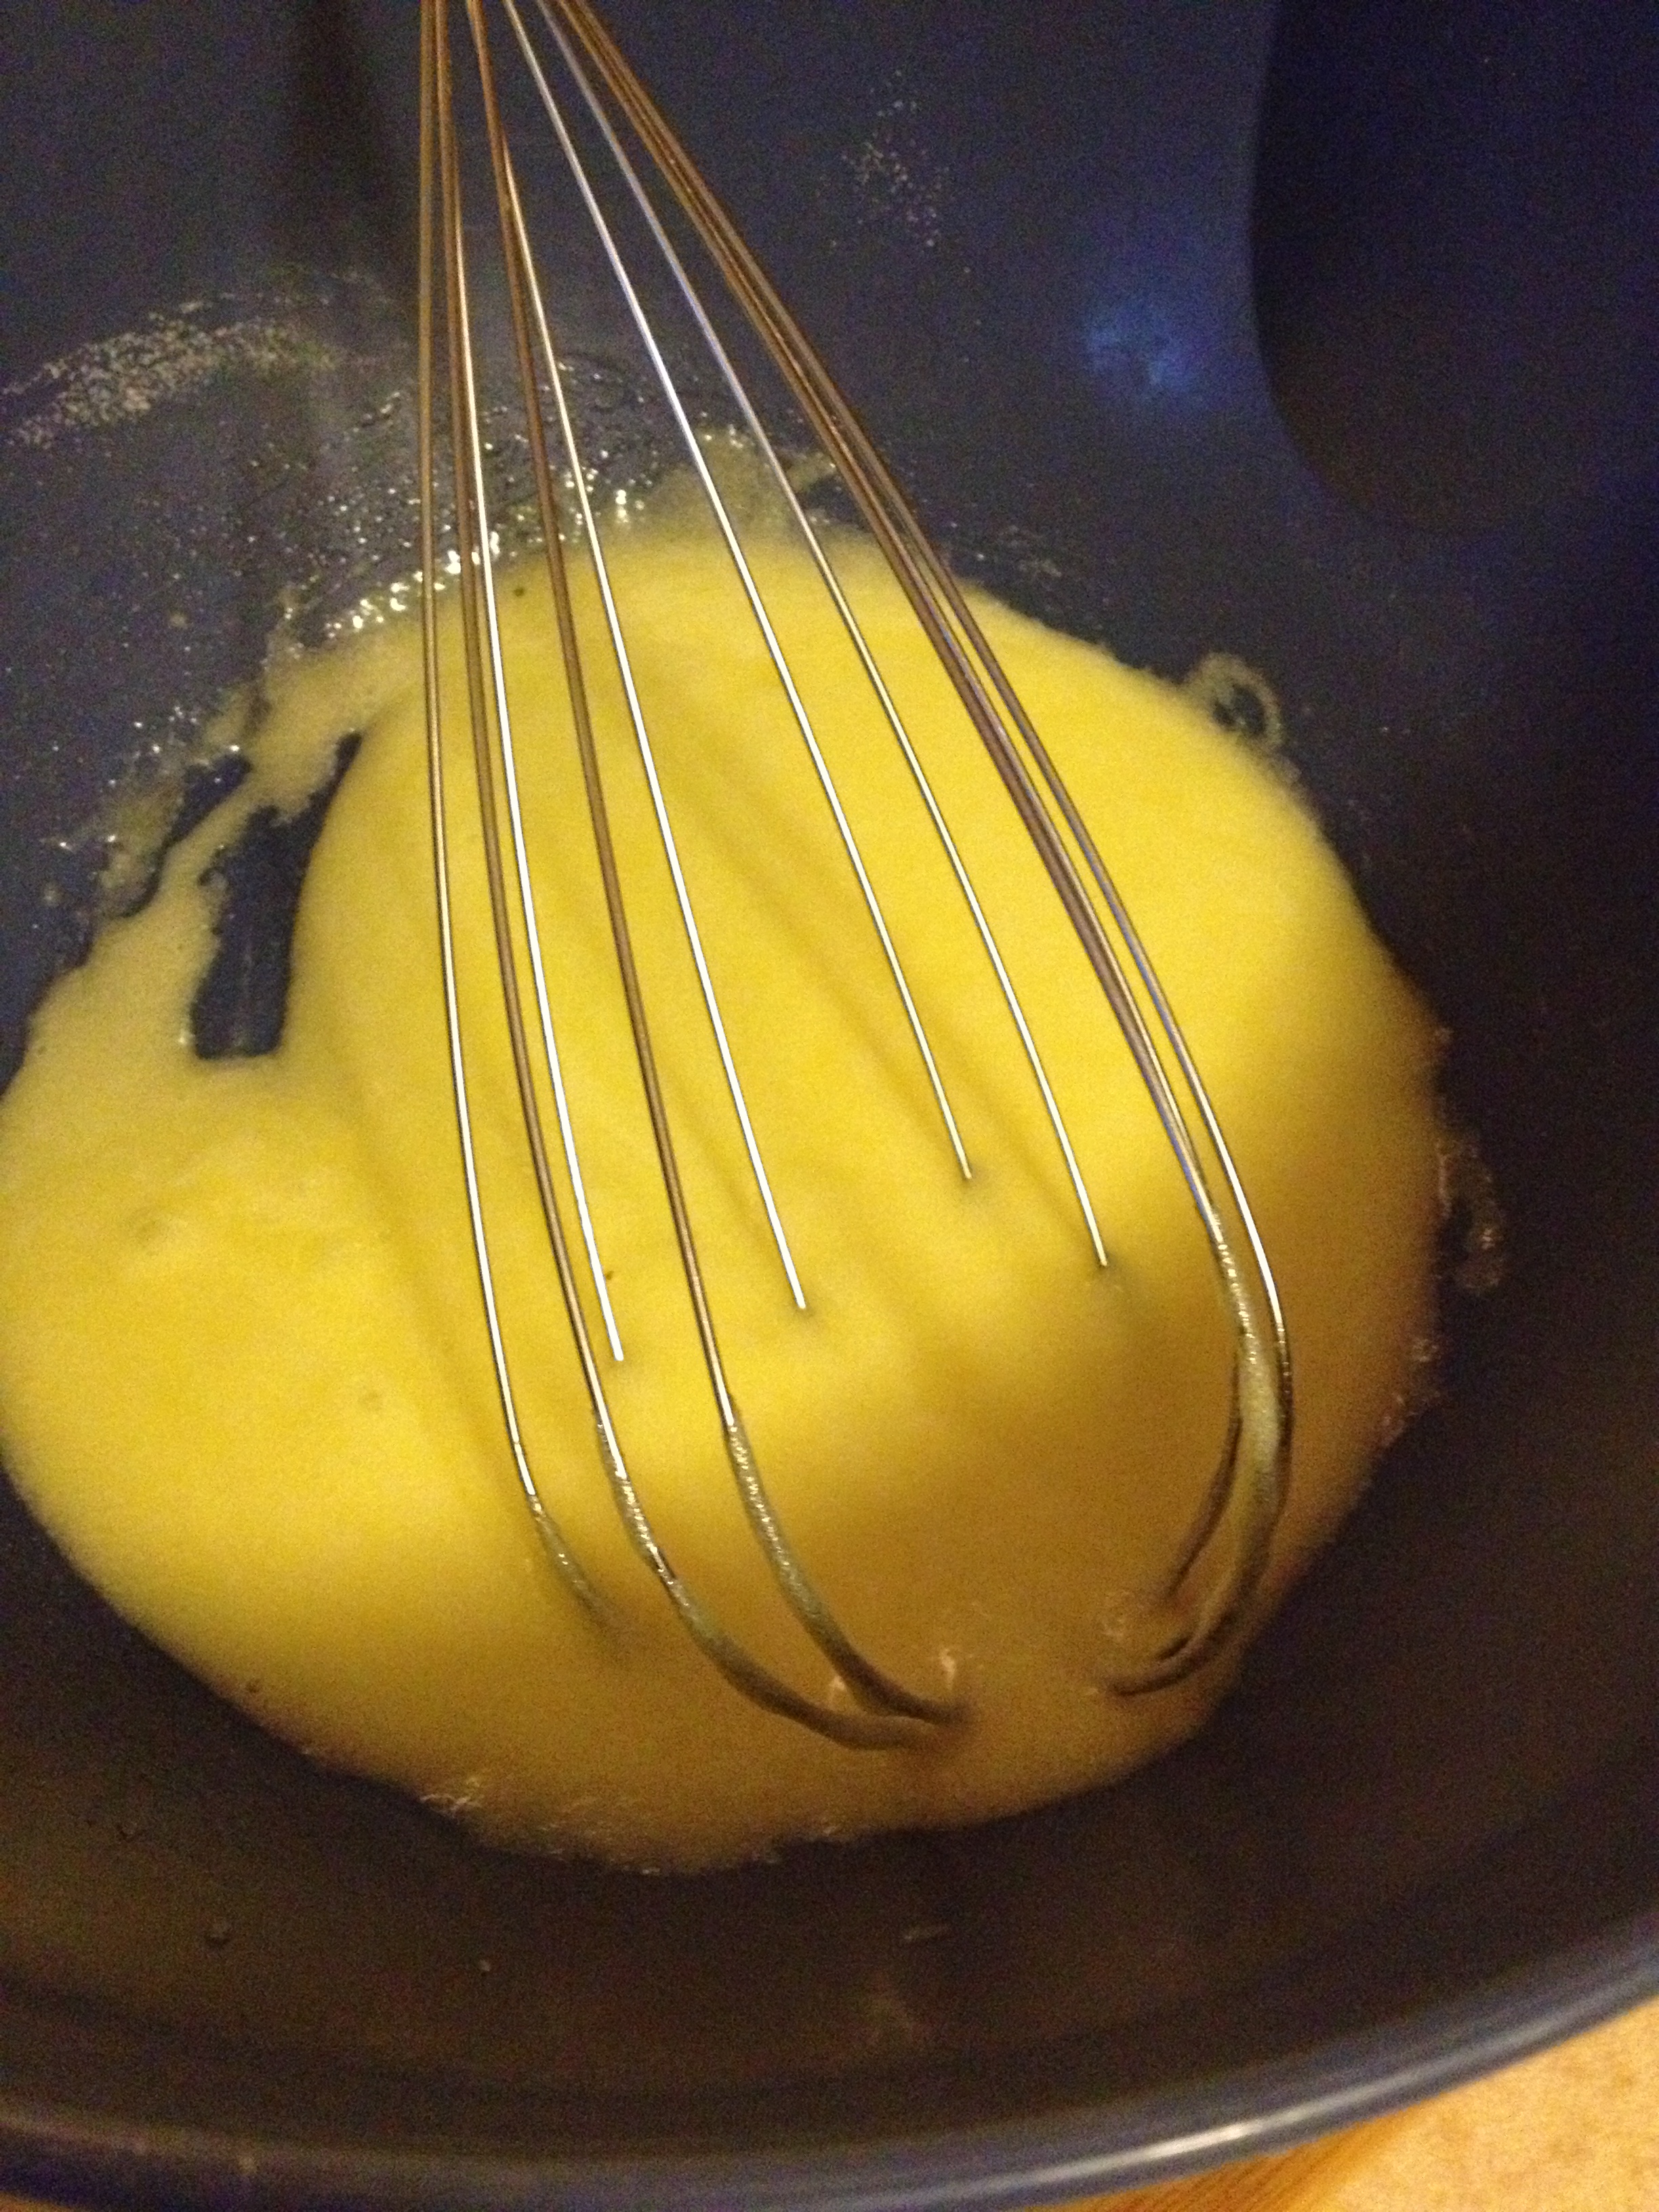
  • Drop that egg in a mixing bowl and slowly whisk in the cup of sugar

egg + sugar

  • Using a wooden spoon (or whatever you’ve got), stir in the cup of peanut butter into the egg-sugar mixture
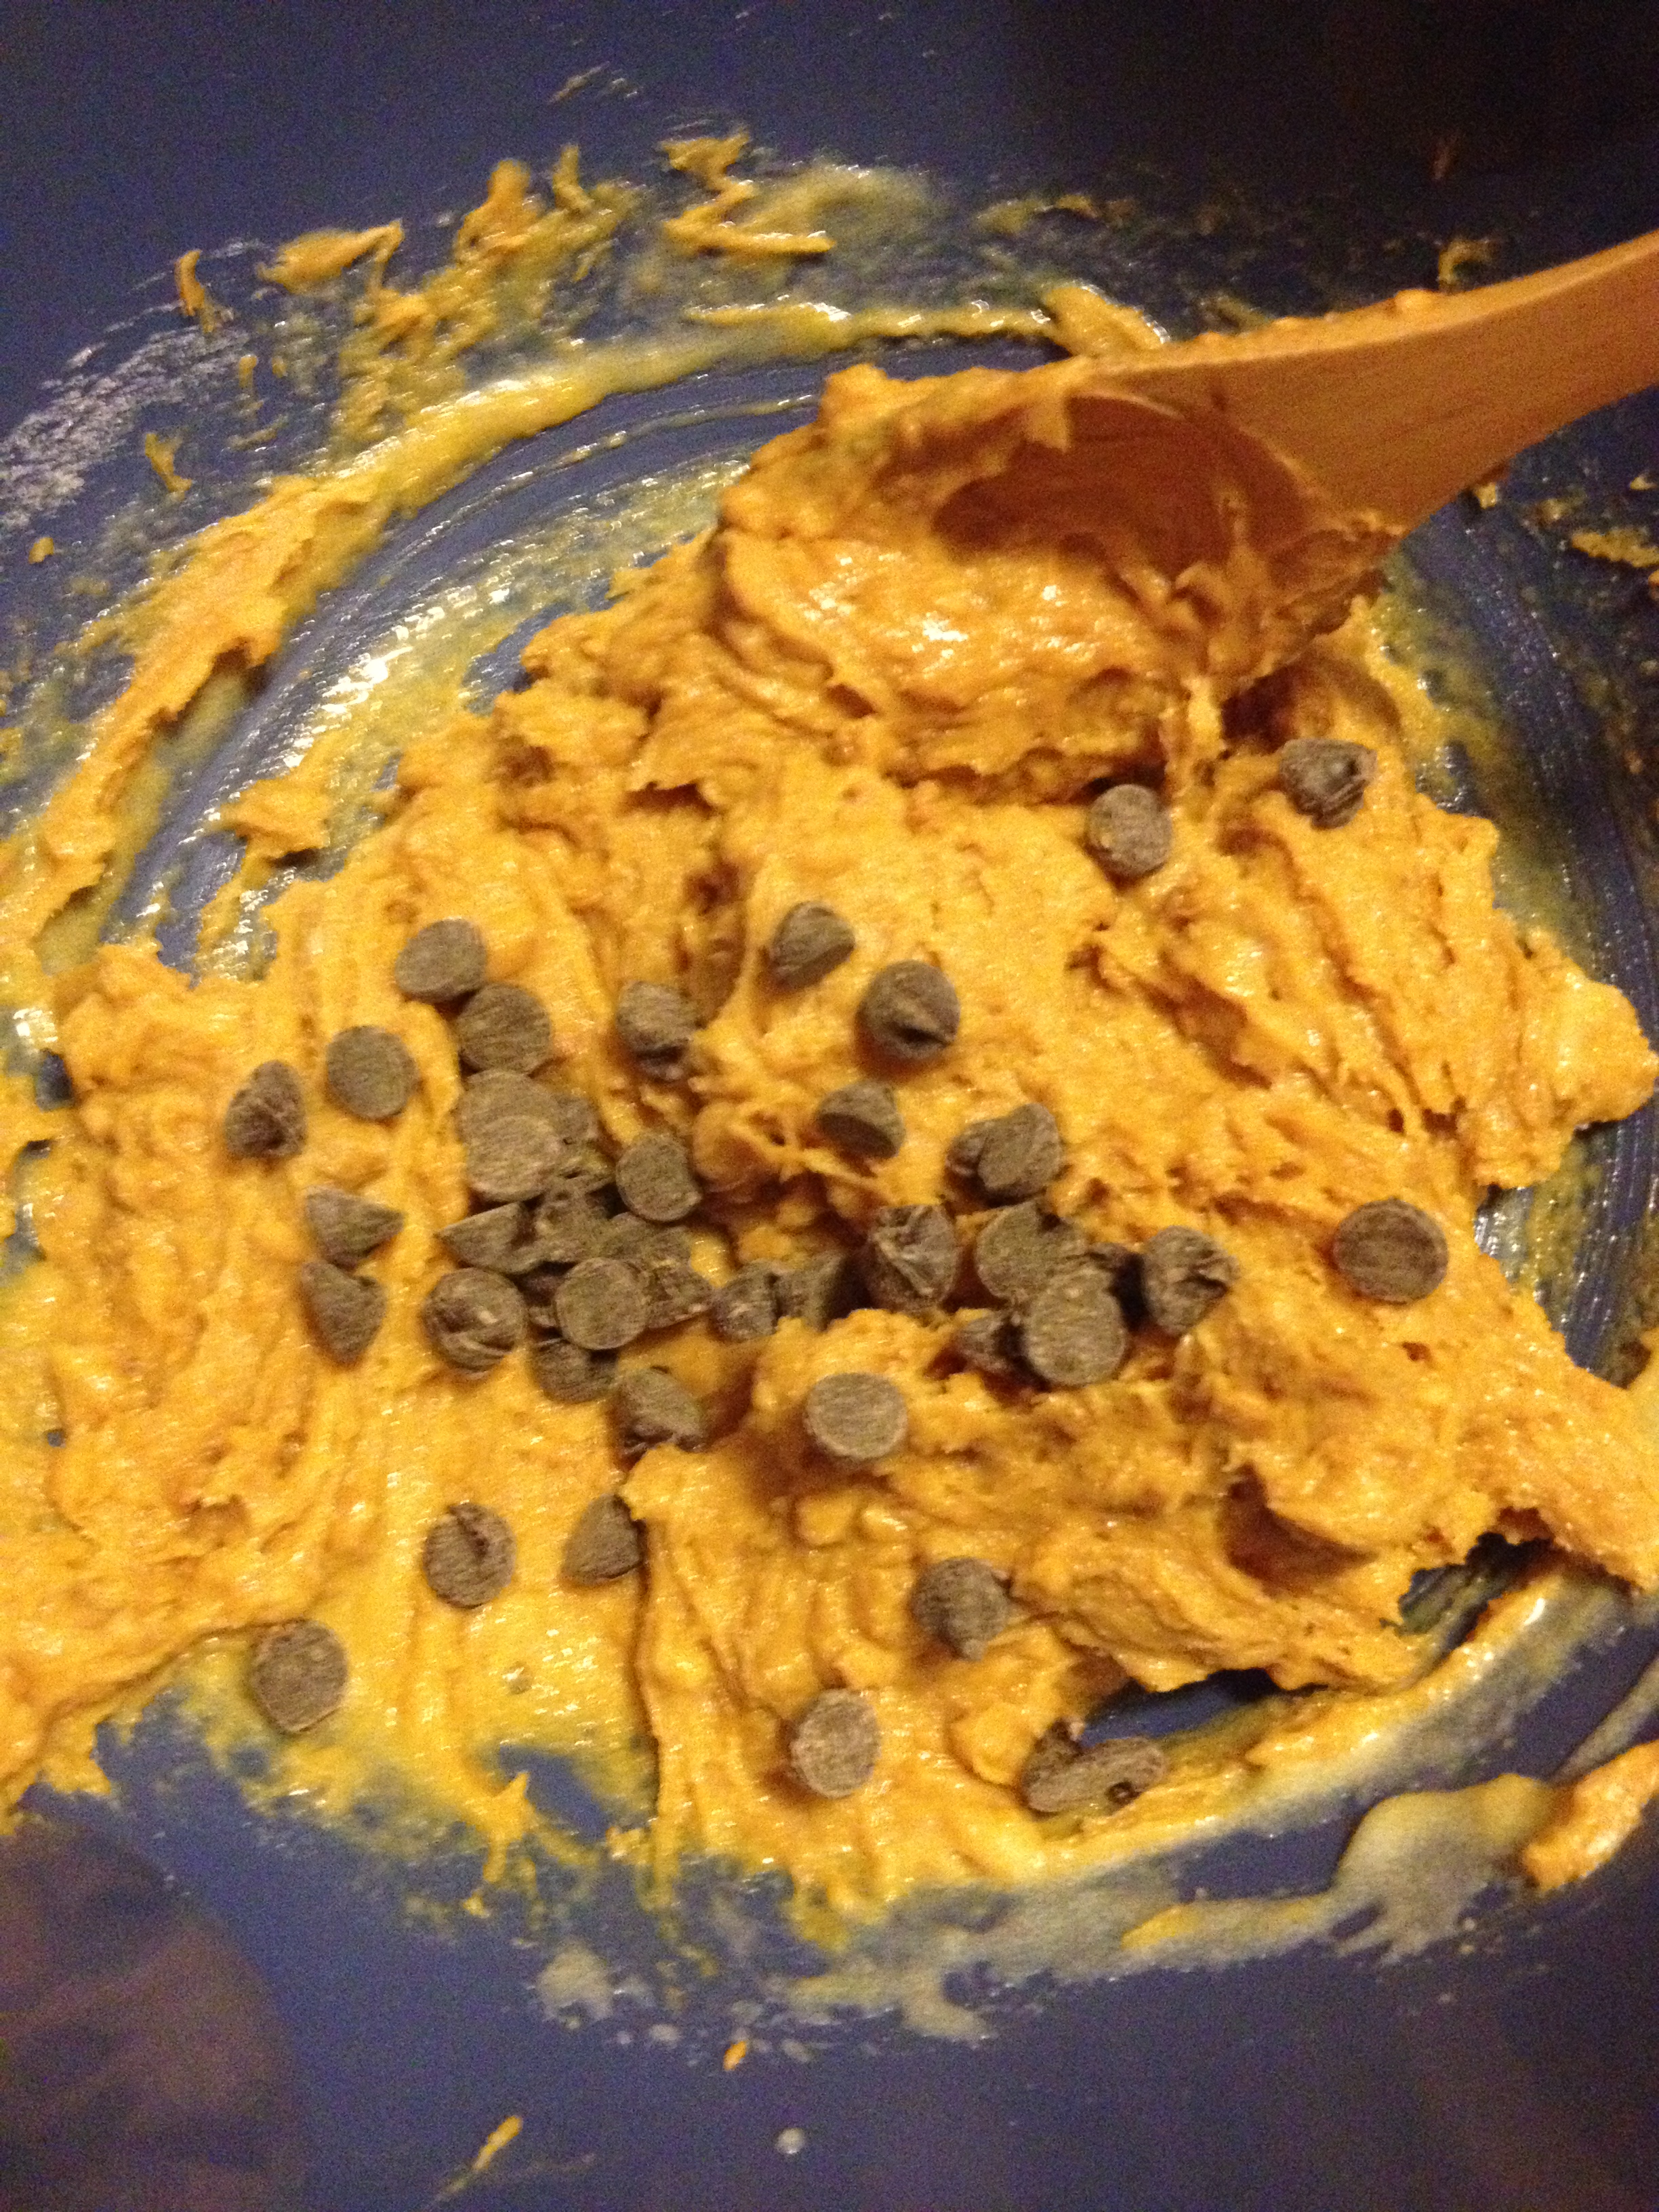
  • Now, you don’t have to use chocolate chips, but she suggested I did, so I went for it and it added an amazing counter-taste to the peanut butter. Classic combo, right? So I just grabbed a handful of the chocolate chips and folded them in the peanut buttery mixture.

choco choco chip

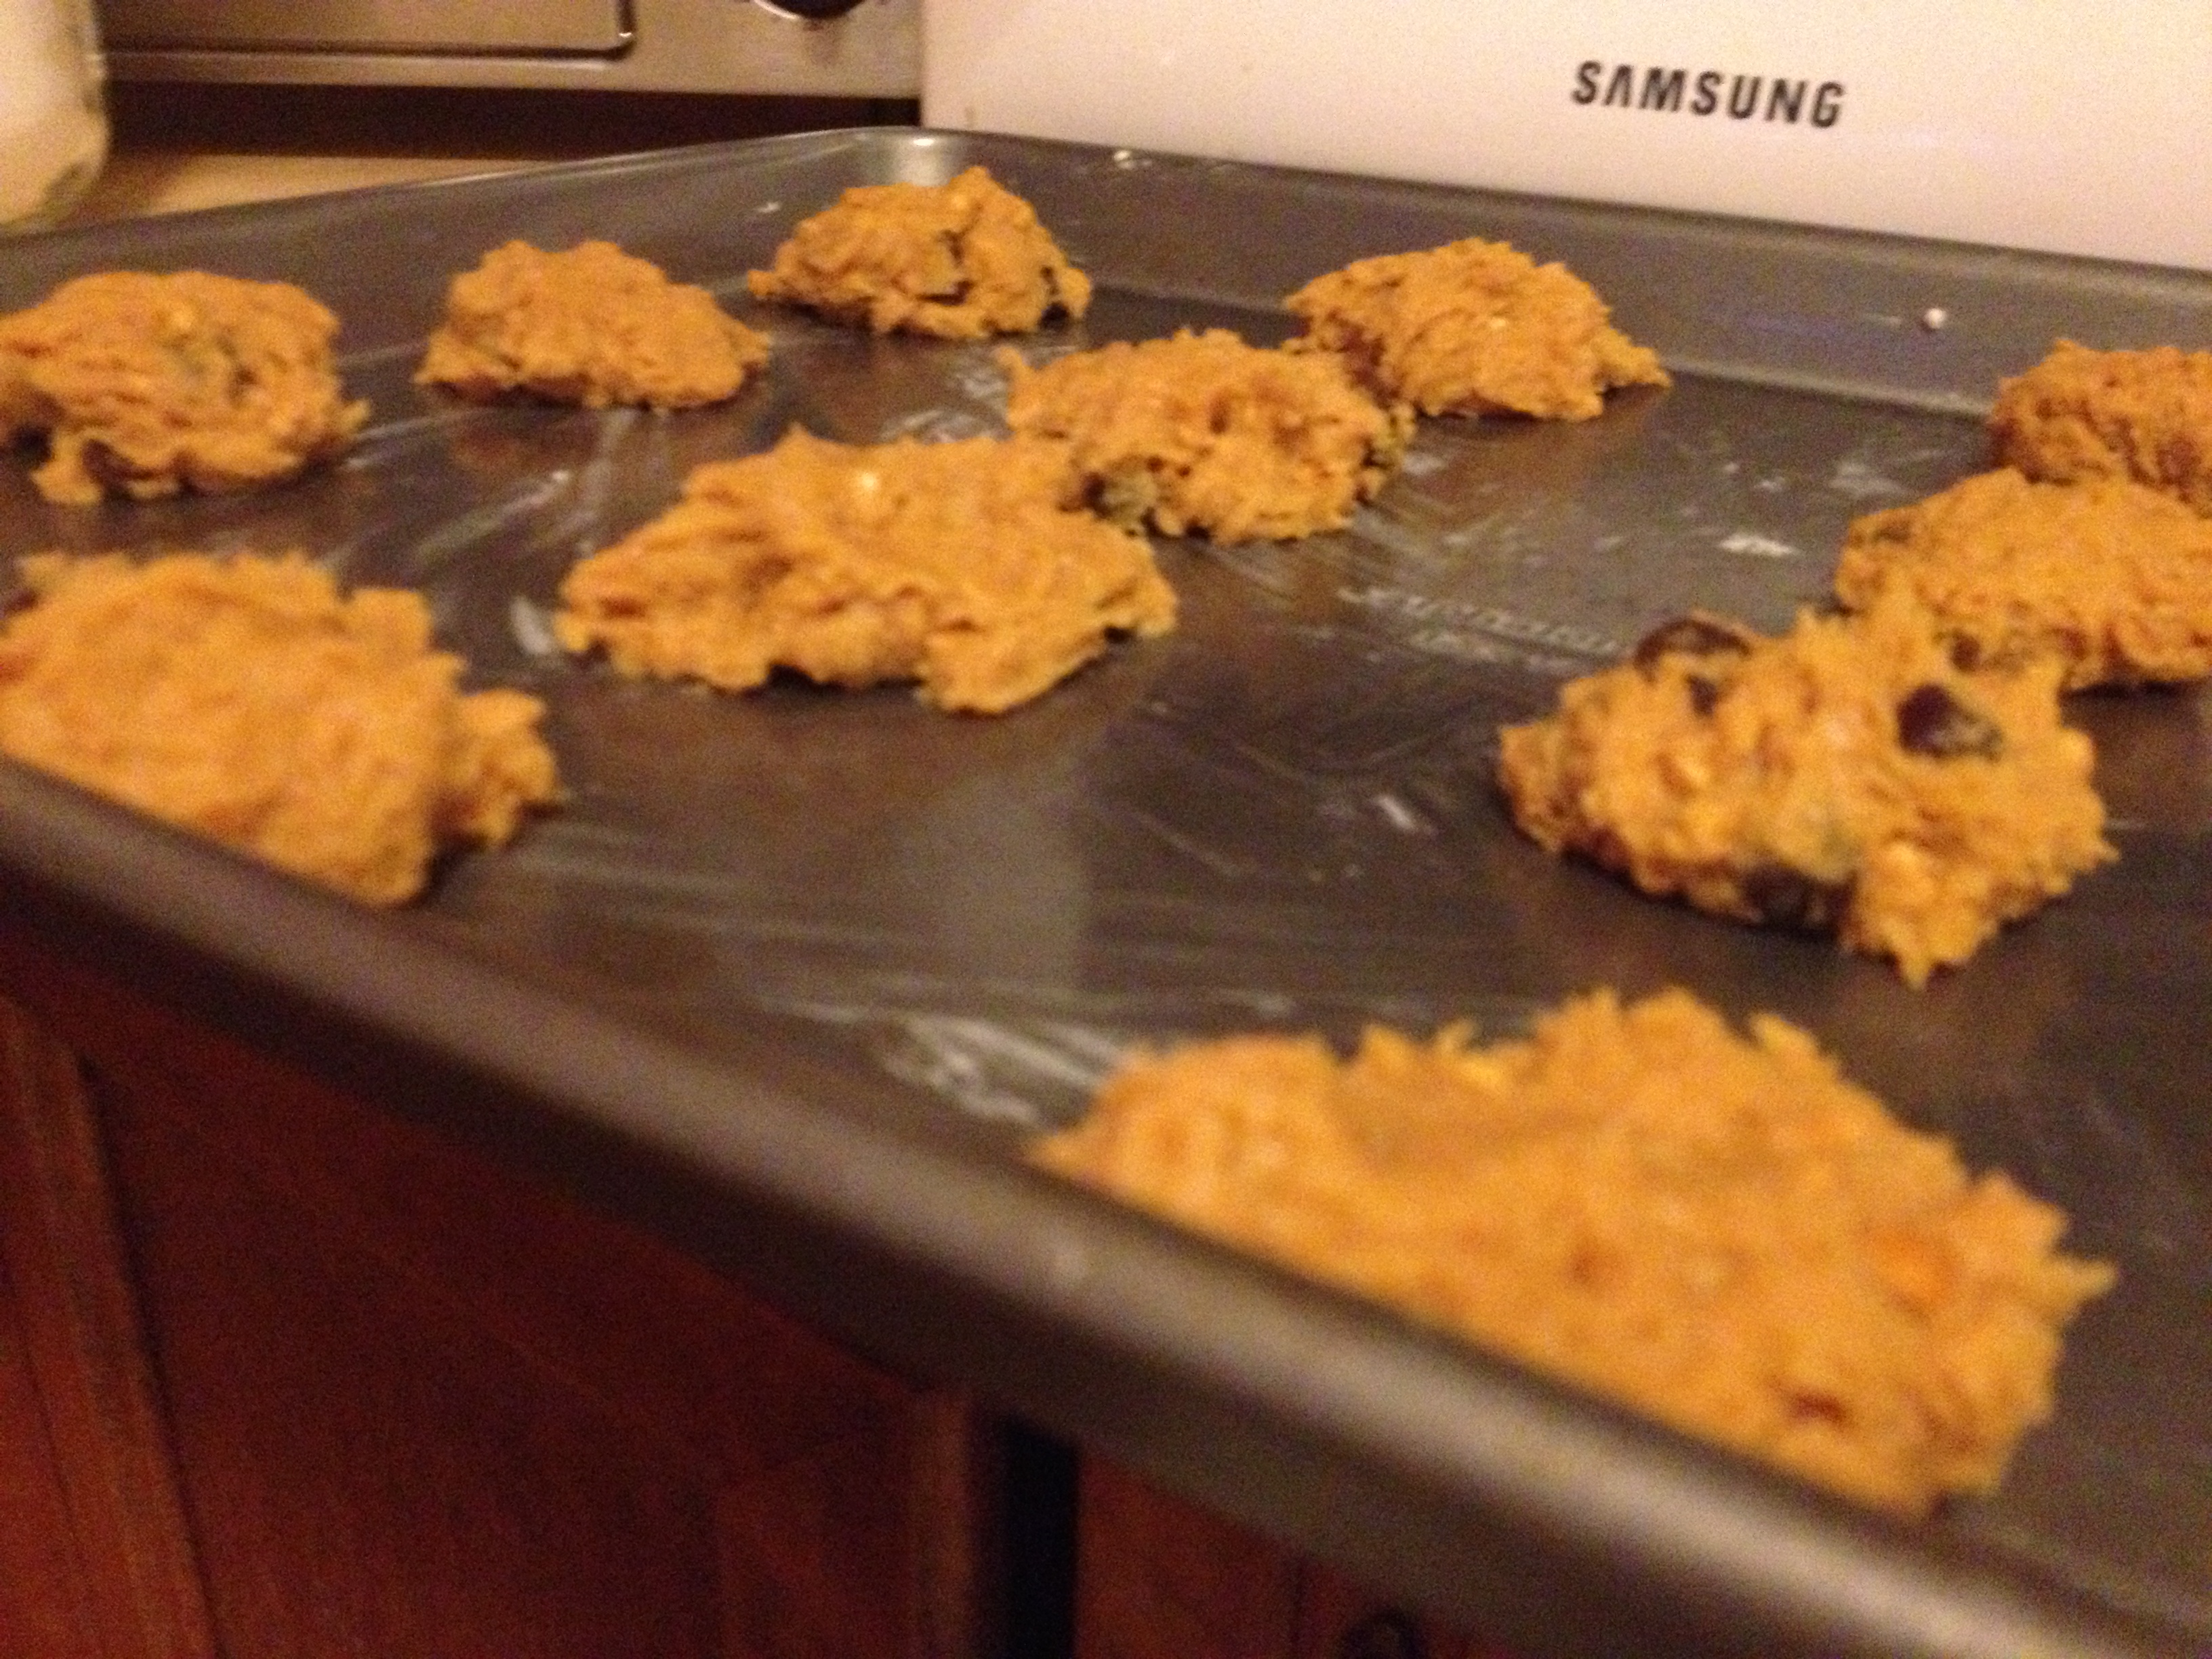
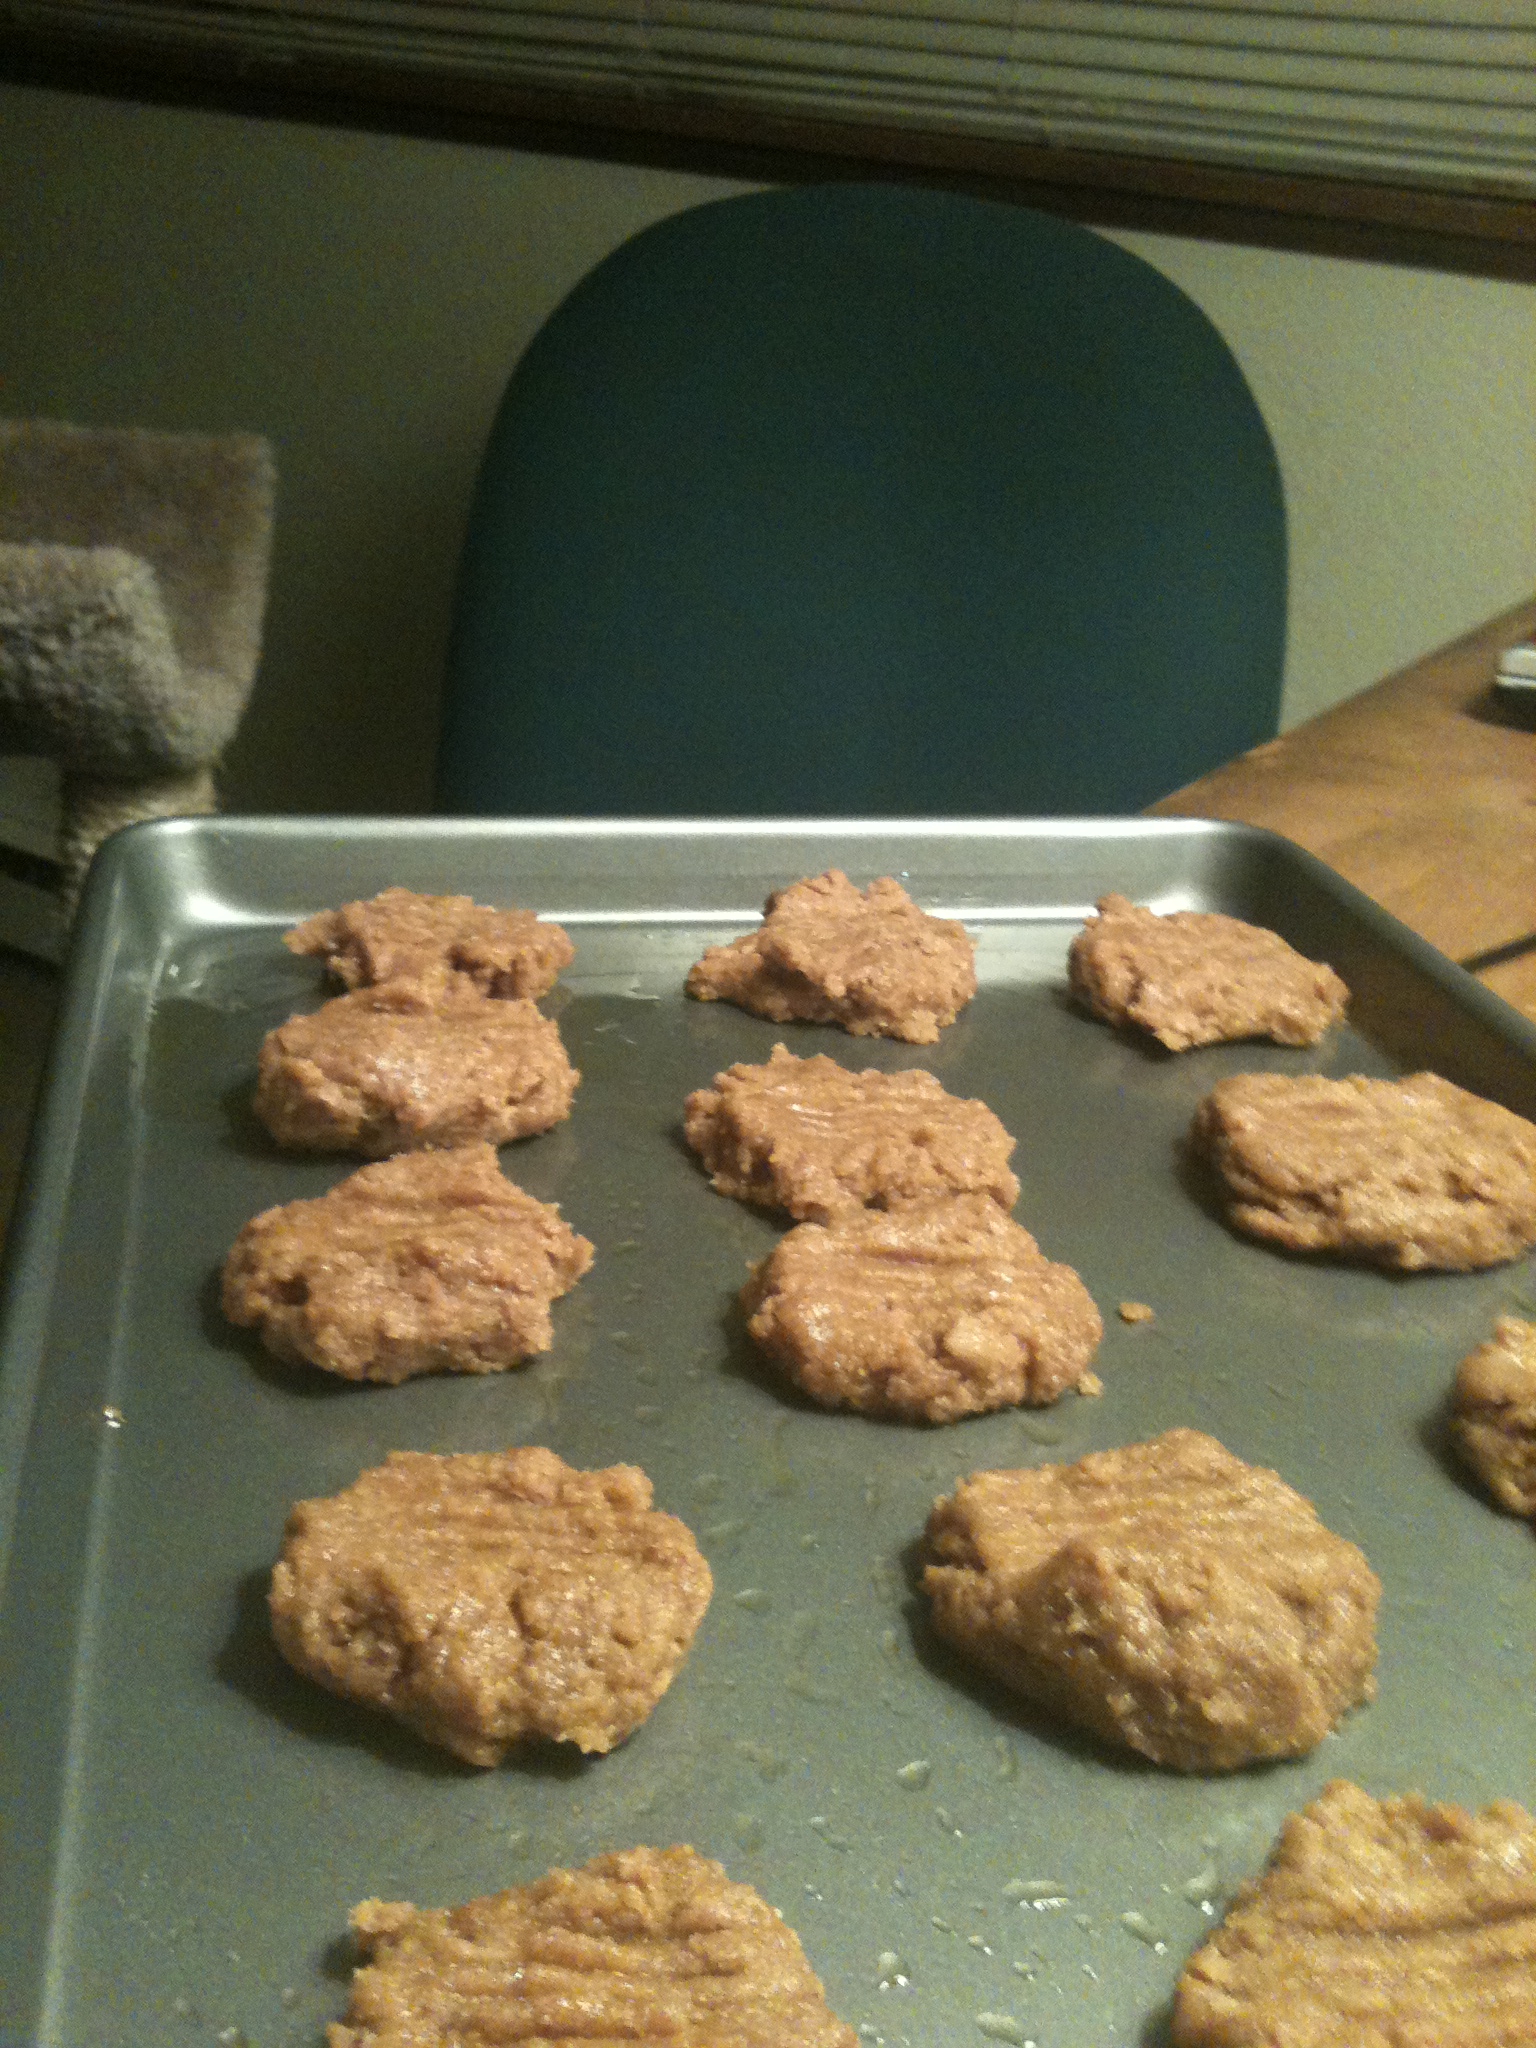
  • And that’s it! That’s all the prep time! Now use a spoon or your fingers to place them on the baking sheet, spaced apart enough.
Waiting to bake

Waiting to bake

  • Now pop em in the oven for 9-12 minutes. Mine took 11 minutes. Take out, leave them a bit to stiffen up…THEN EAT THEM!!

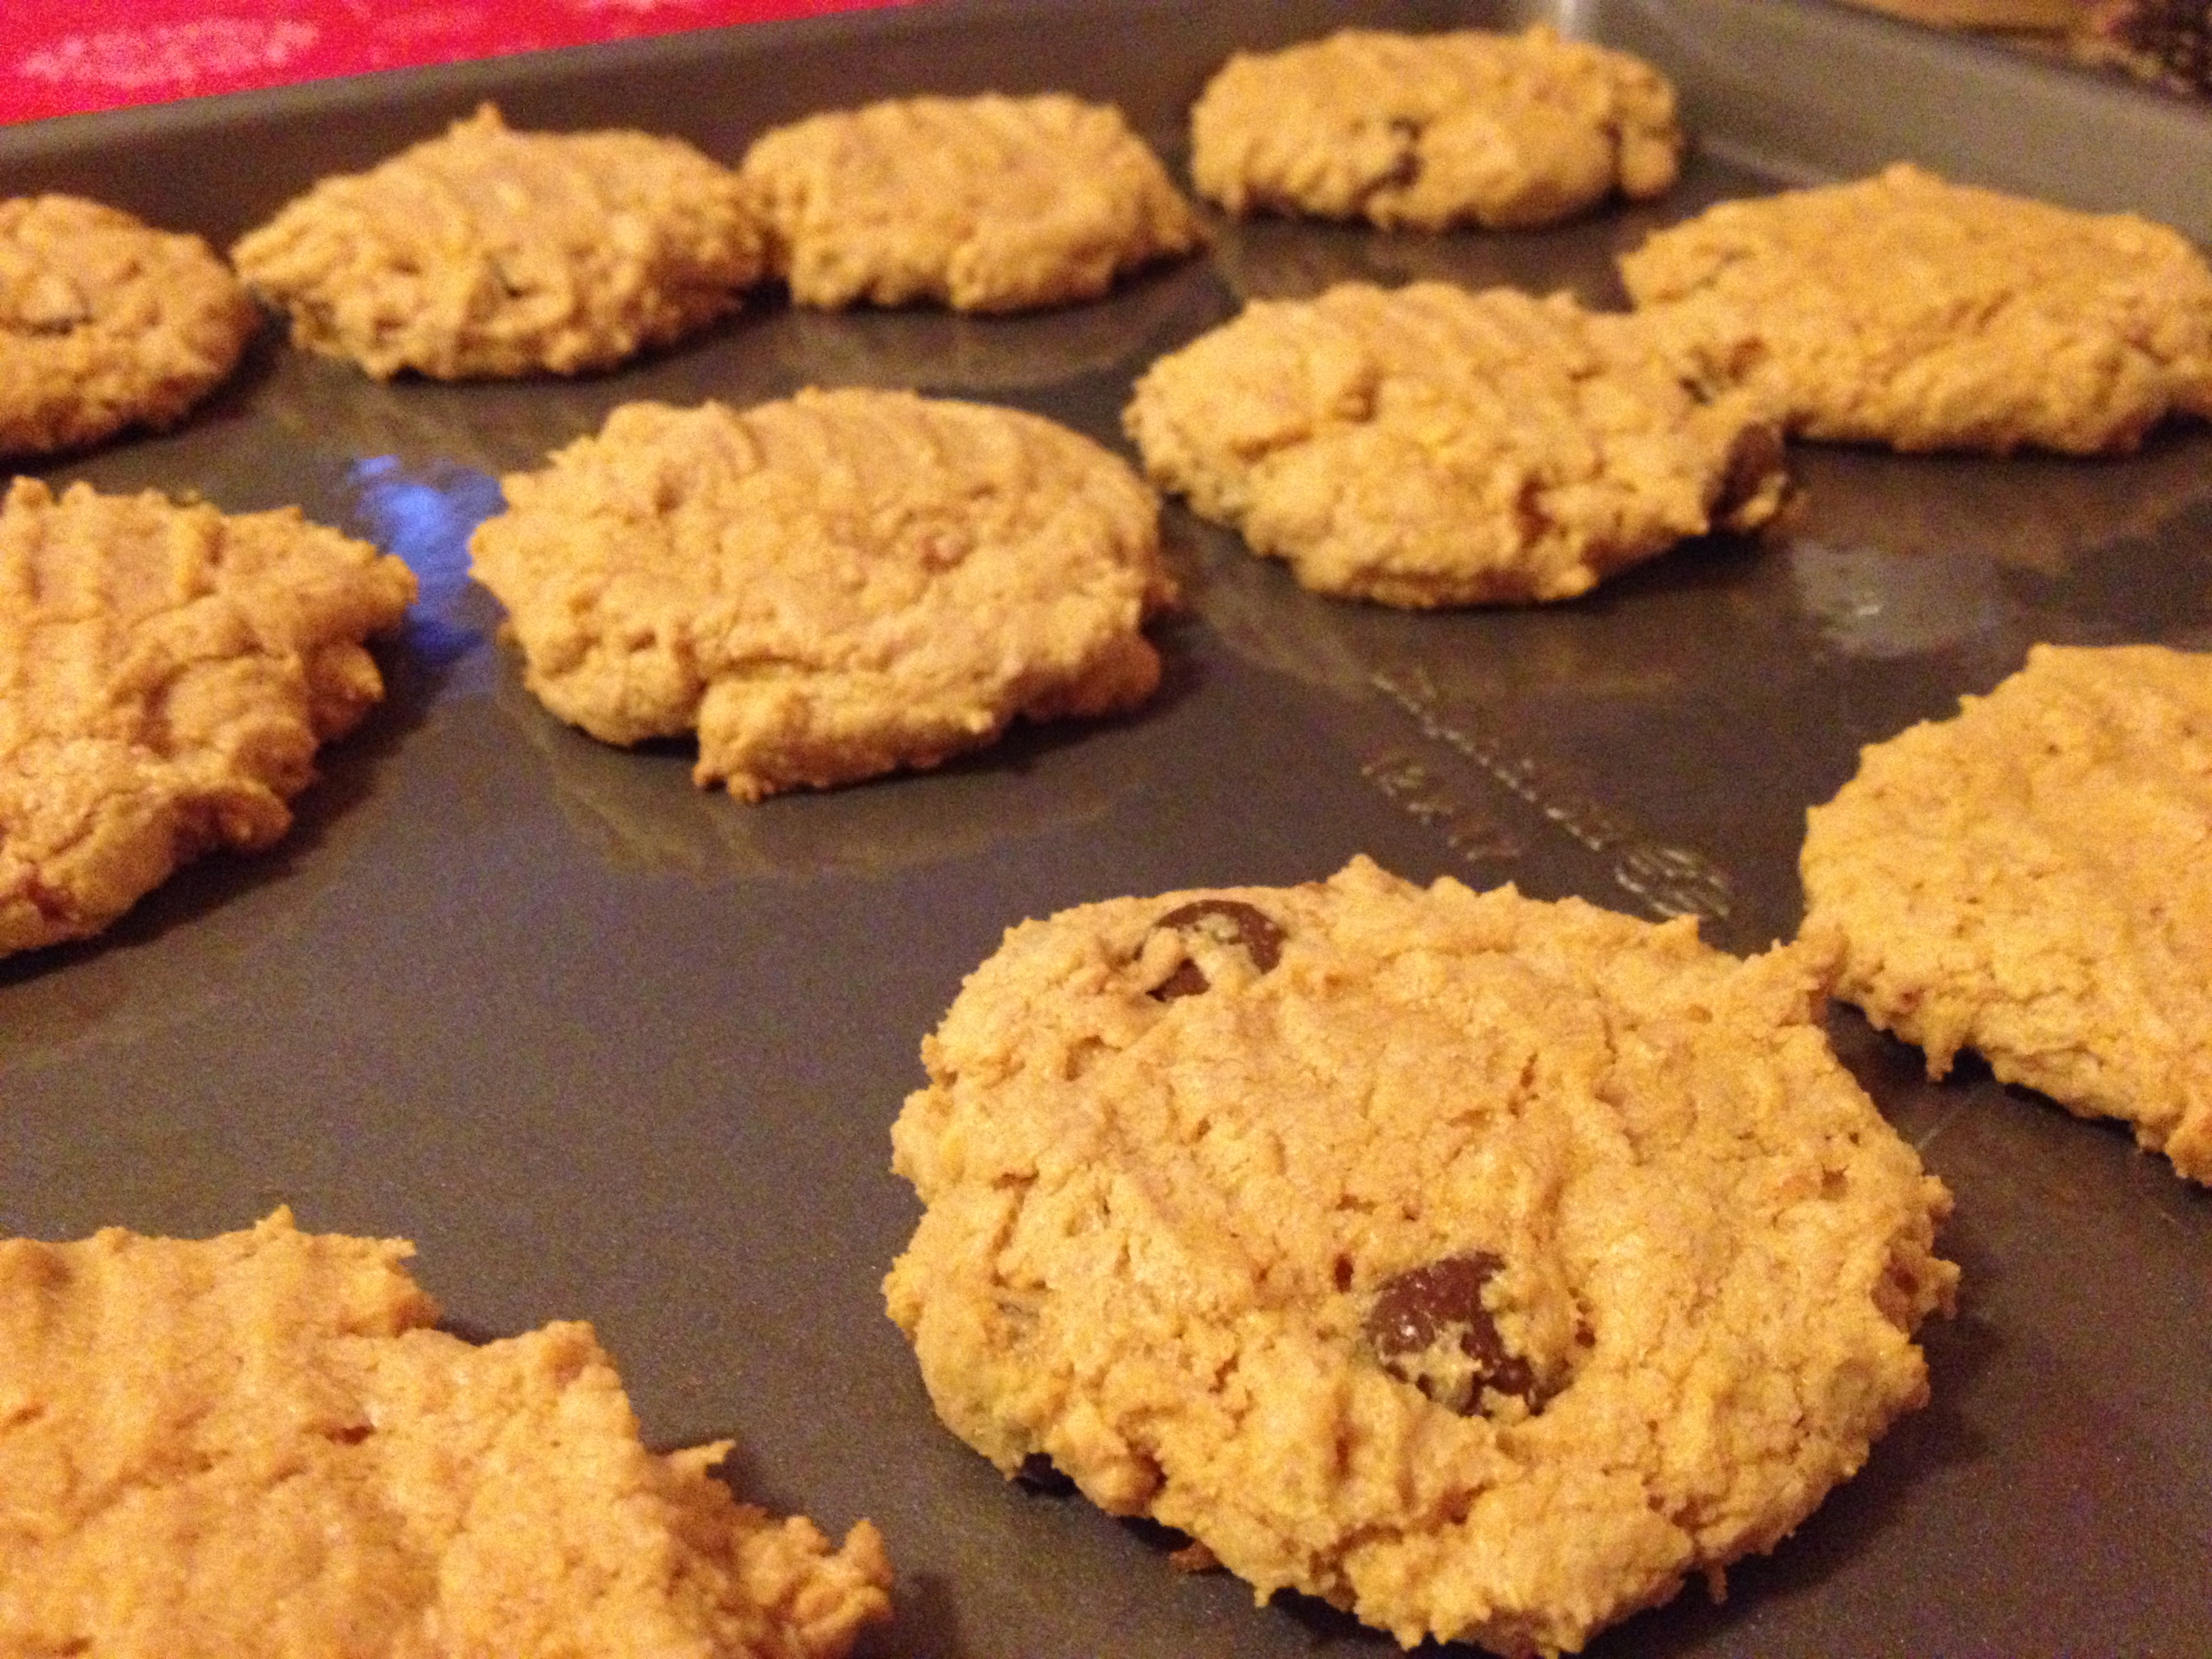
They turned out lovely, and it brought me back to baking with her which was probably the biggest plus of this recipe. I hope you enjoy how easy and delicious this recipe is. Give thanks to Mary Kate!

photo (48)

spacer

Berry Delicious! HEALTHY Berry Whole-Wheat Pie/Crumble

First of all, yes, yes, I know…brilliant title. I thought of it myself. And second of all, it IS healthy and GUILT FREE. Why? There’s barely any sugar in it. It’s weird. But I don’t lie. And for record, this is my first pie/crumble/whatever-you-want-to-call-it that I’ve made by myself from scratch. I took it from here, but as usual, modified. It didn’t take too long either. It was a very pleasant process.

Ingredients (Pie Filling)

  • 2 boxes of blackberries
  • 2 boxes of raspberries
  • 1/3 cup sugar
  • 2 teaspoons flour

Ingredients (Crust)

  • 2 cups whole wheat flour
  • 1.5 sticks butter
  • 1 teaspoon salt
  • 12 teaspoons cold water

So first, let’s take care of the pie filling (will take approx…2 minutes!).

Directions (Pie Filling)

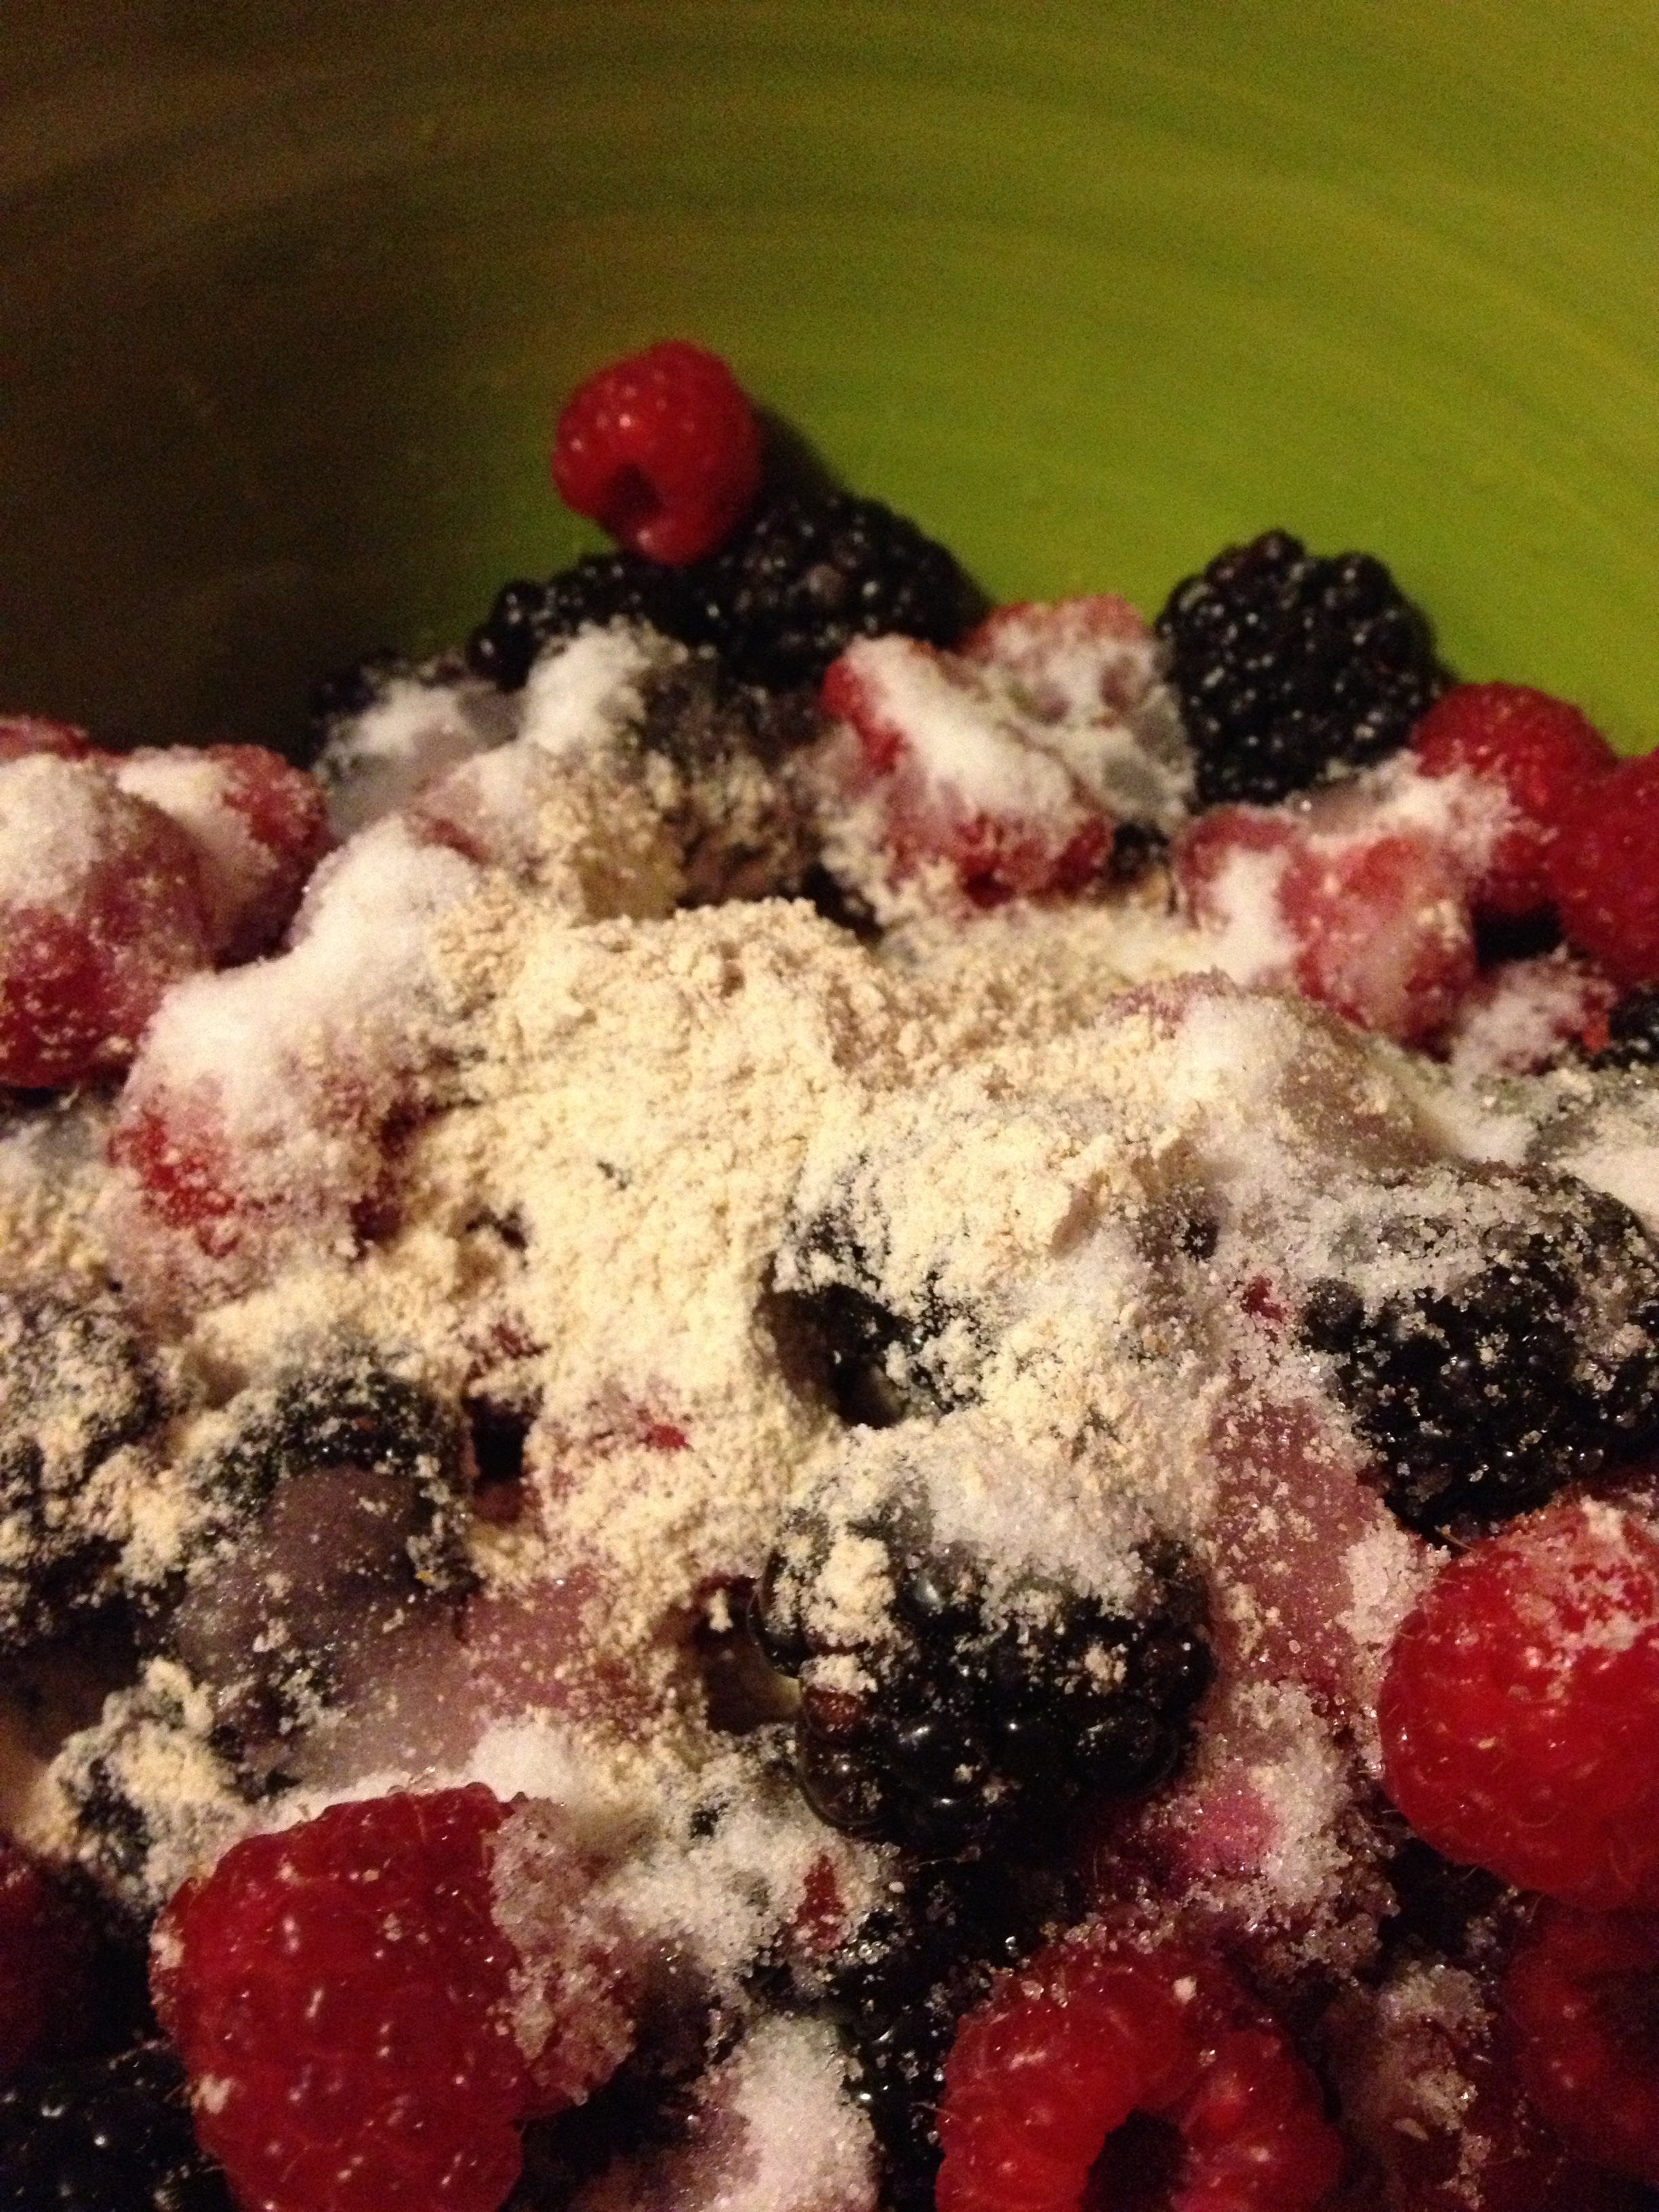
  • Put the berries, flour, and sugar into a bowl (take note that it’s just the 2 teaspoons of flour)

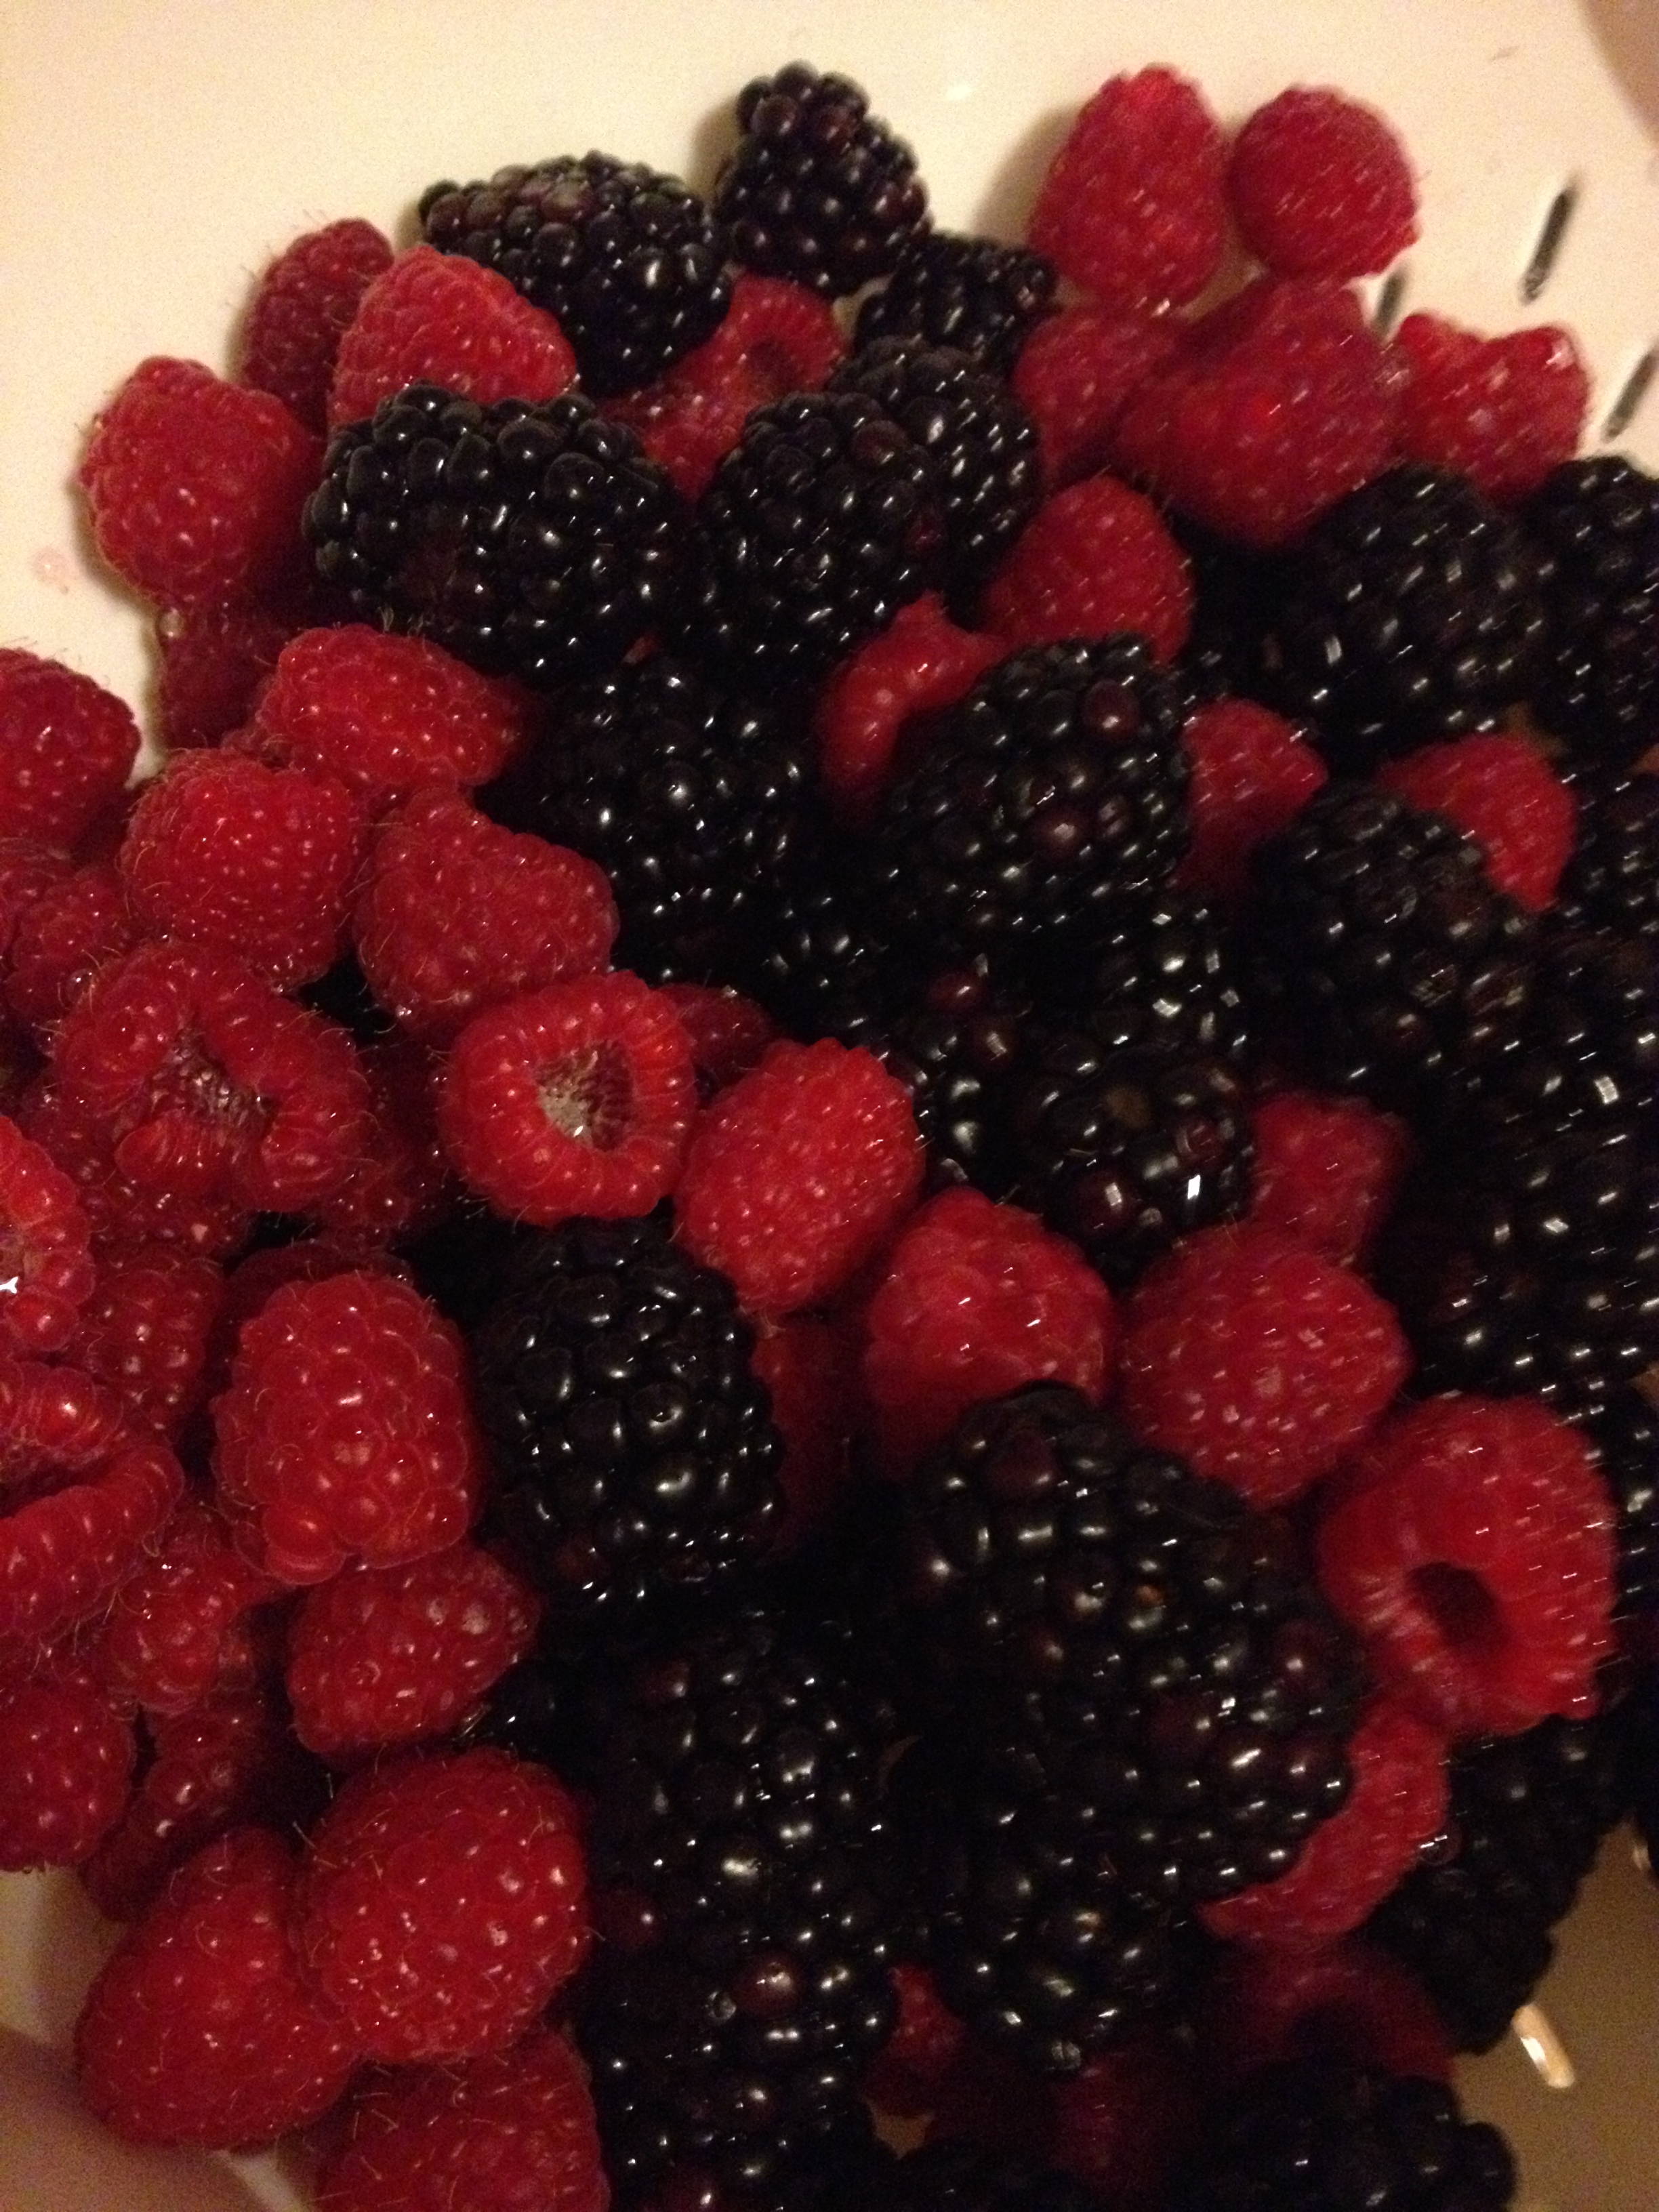
Berries!

Mix it up

Directions (Crust)

  • Preheat oven to 400 degrees
  • Combine the flour and salt in a big mixing bowl (this time 2 cups flour)
  • Cut up the cold butter into little pieces and place in flour mixture

Butter and flour

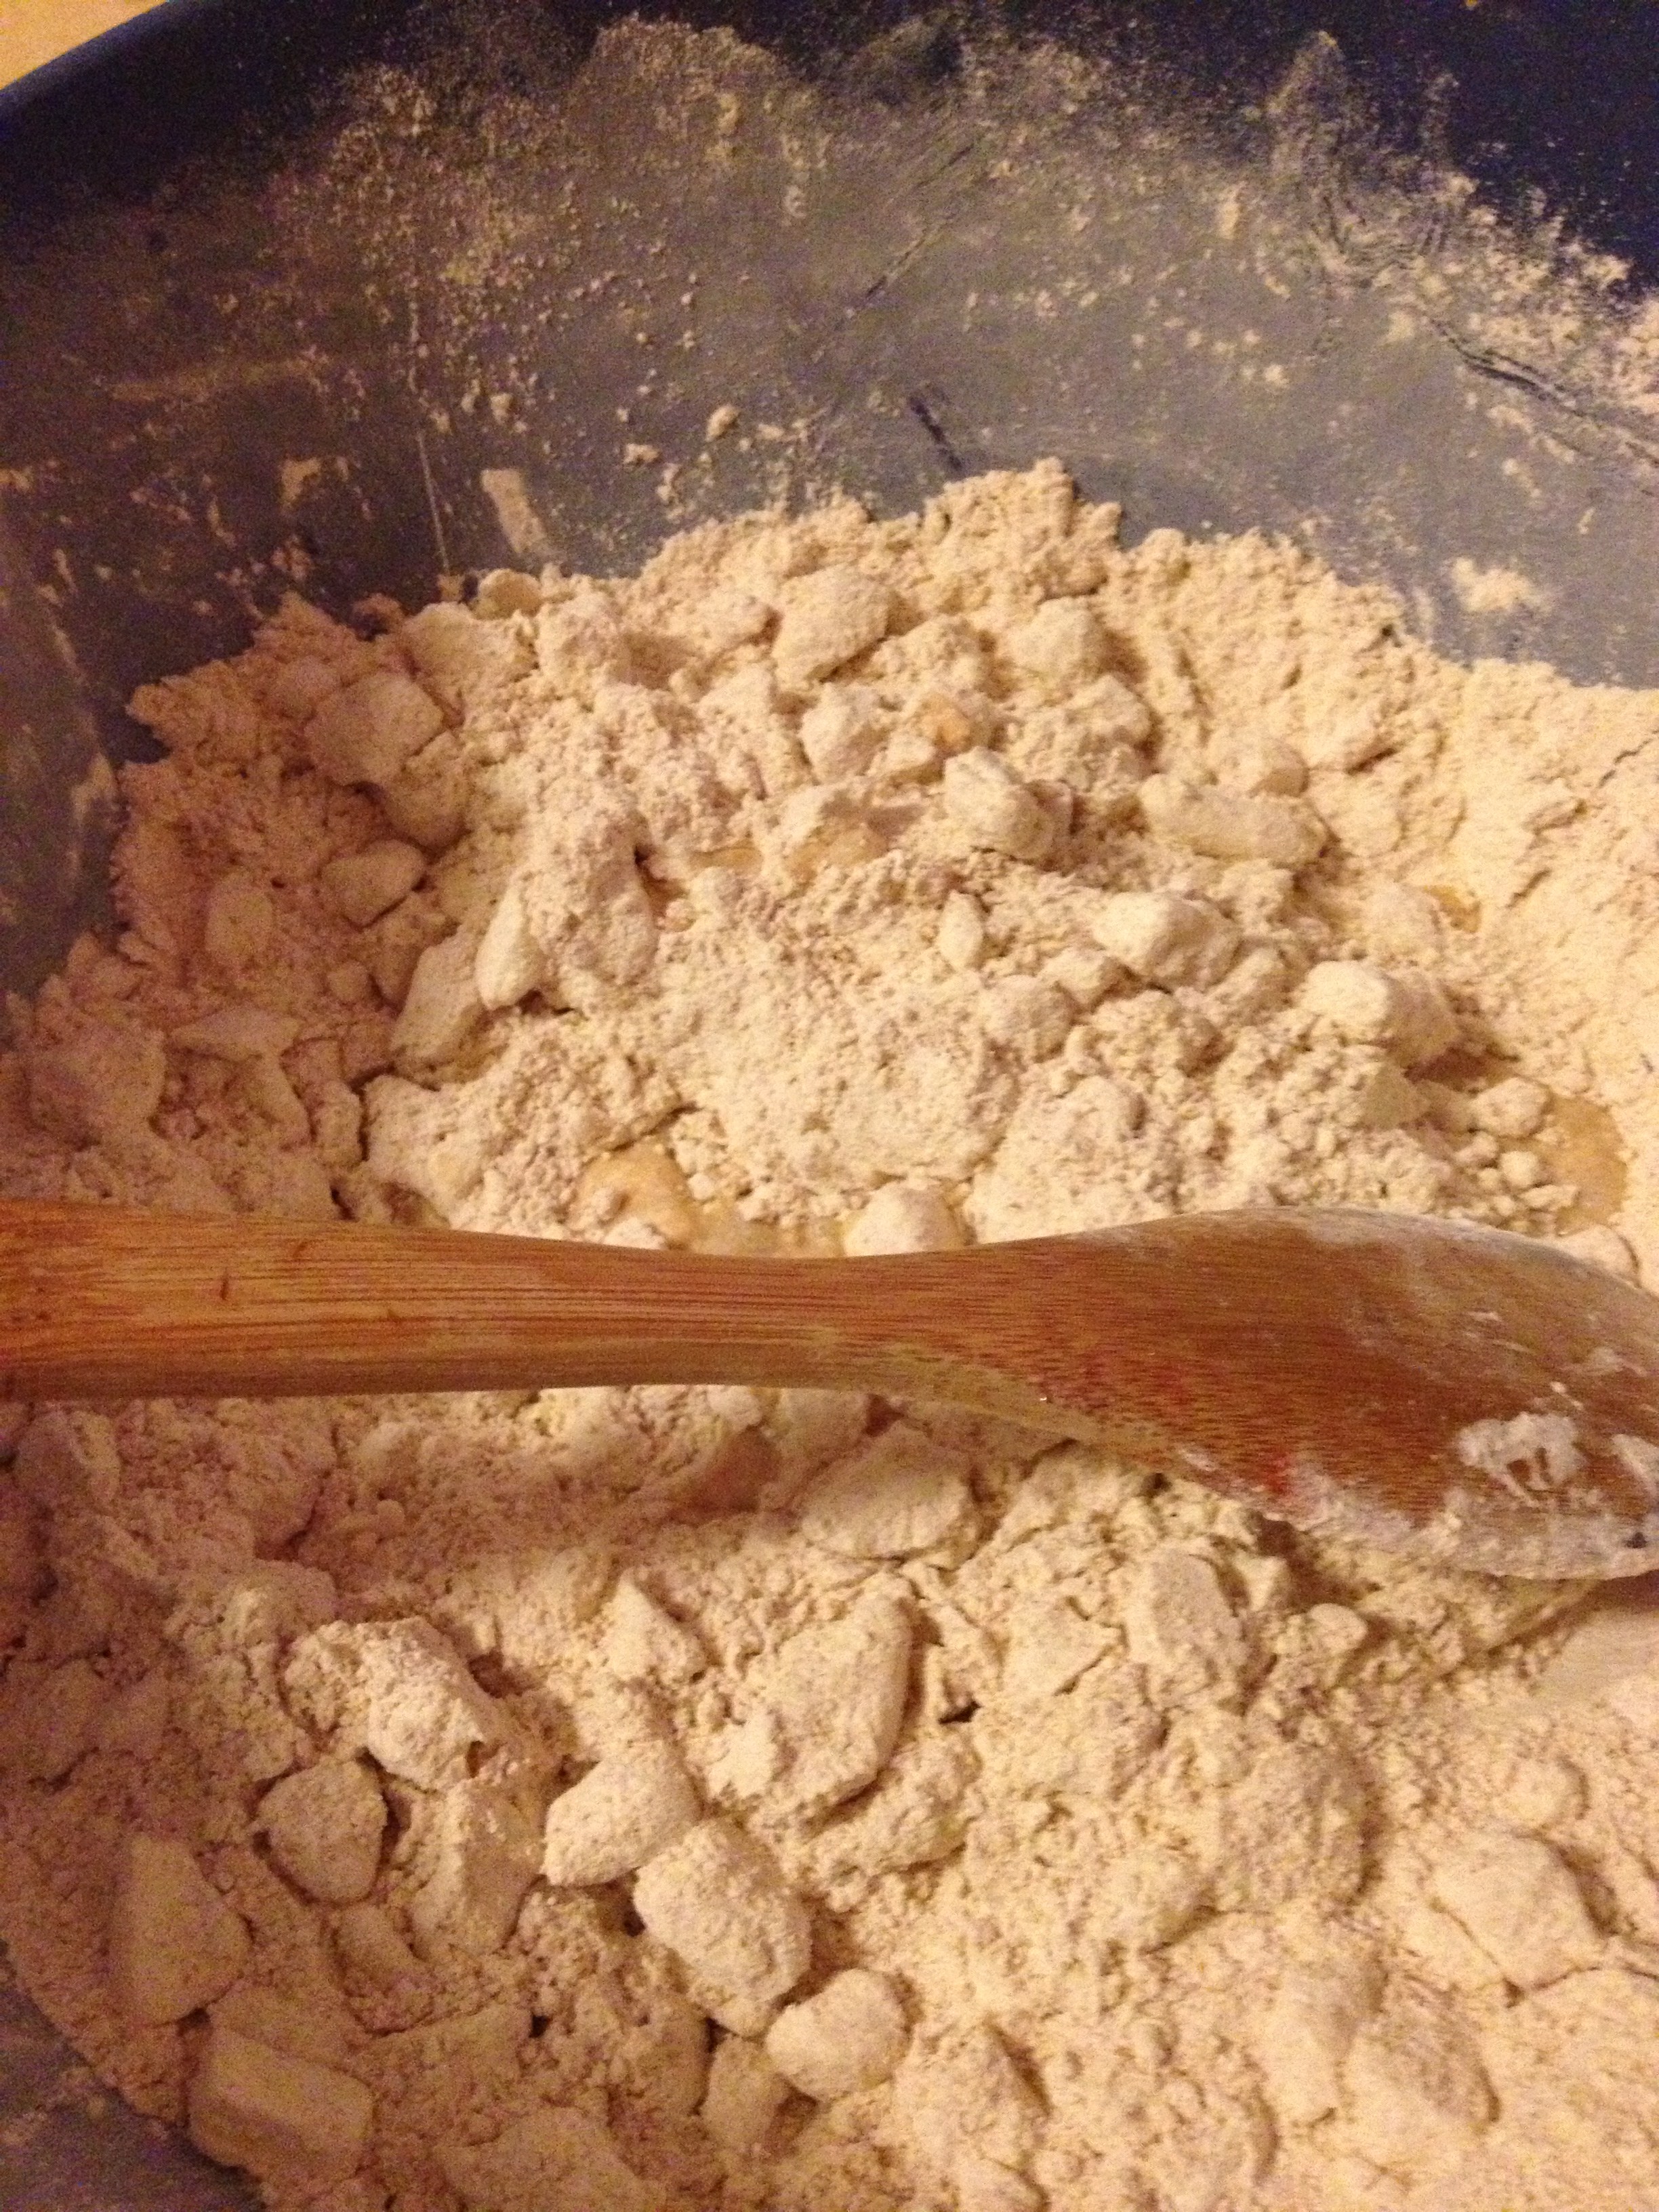
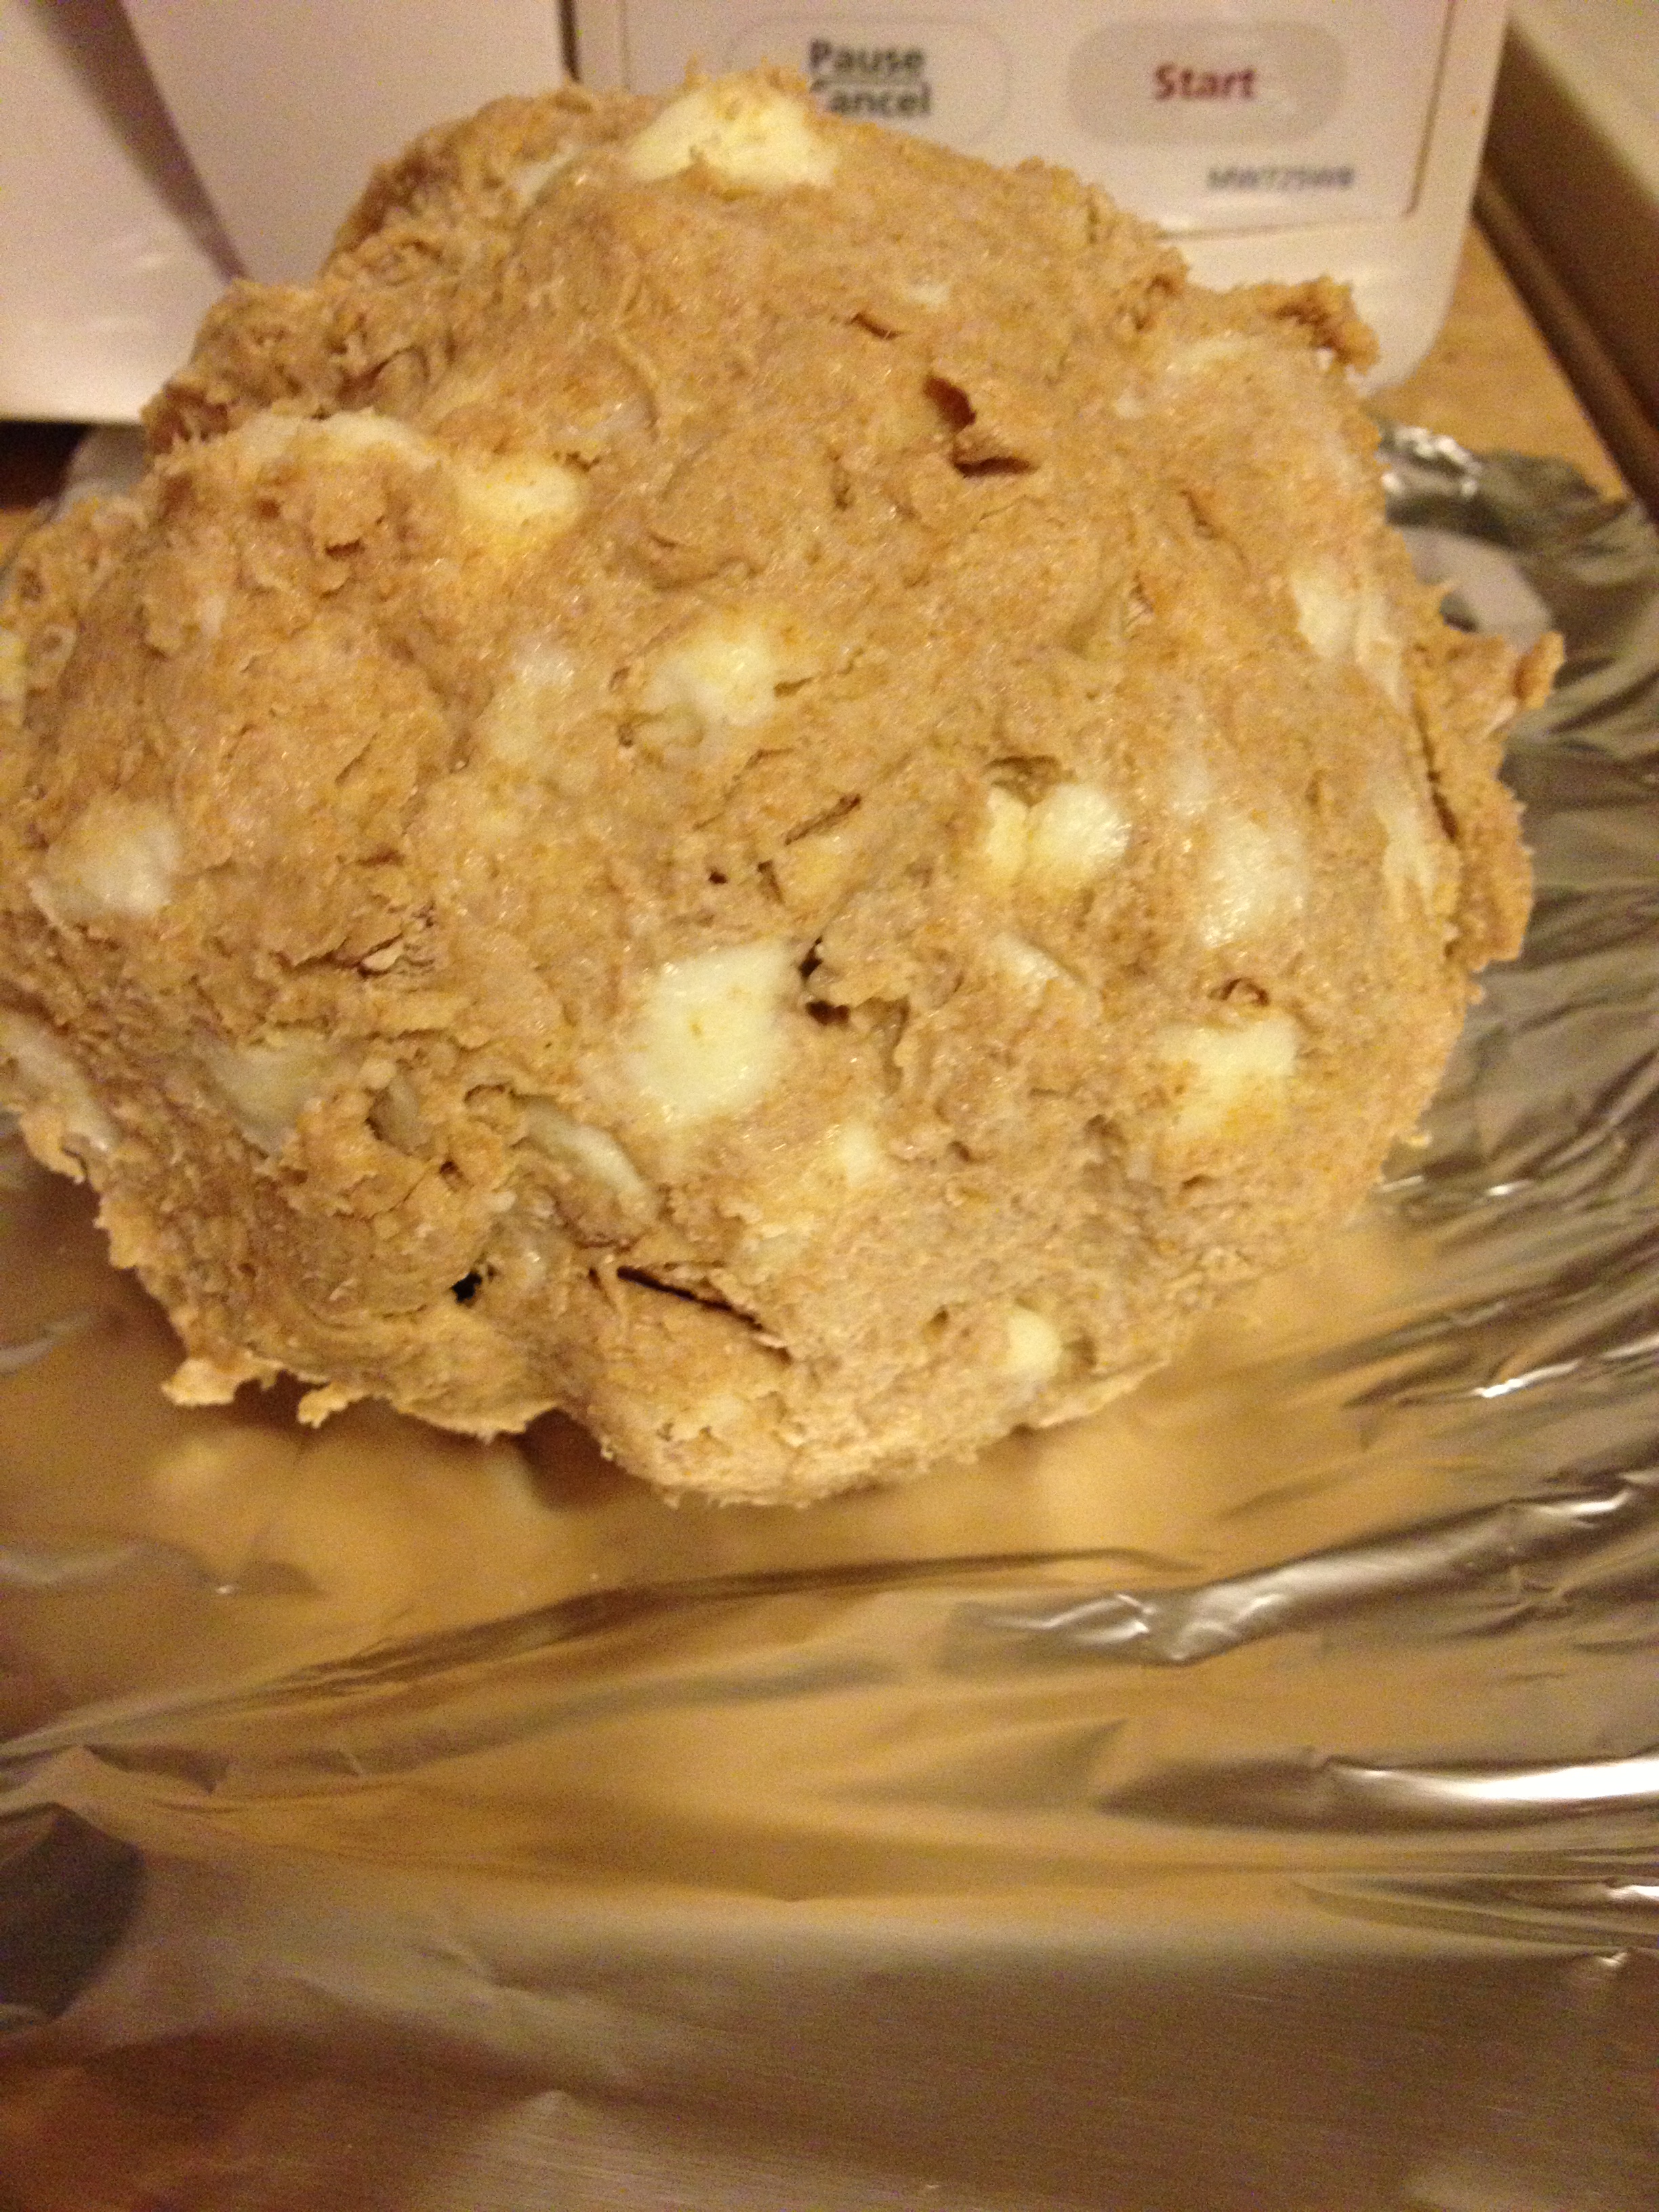
  • Next, add enough cold water for the flour to stick together and can be rolled into a massive ball of dough.

Monster ball

  • Place in the freezer for 15 minutes
  • Take out of freezer, and use glad wrap or wax paper to really roll it out as thin as you want the crust
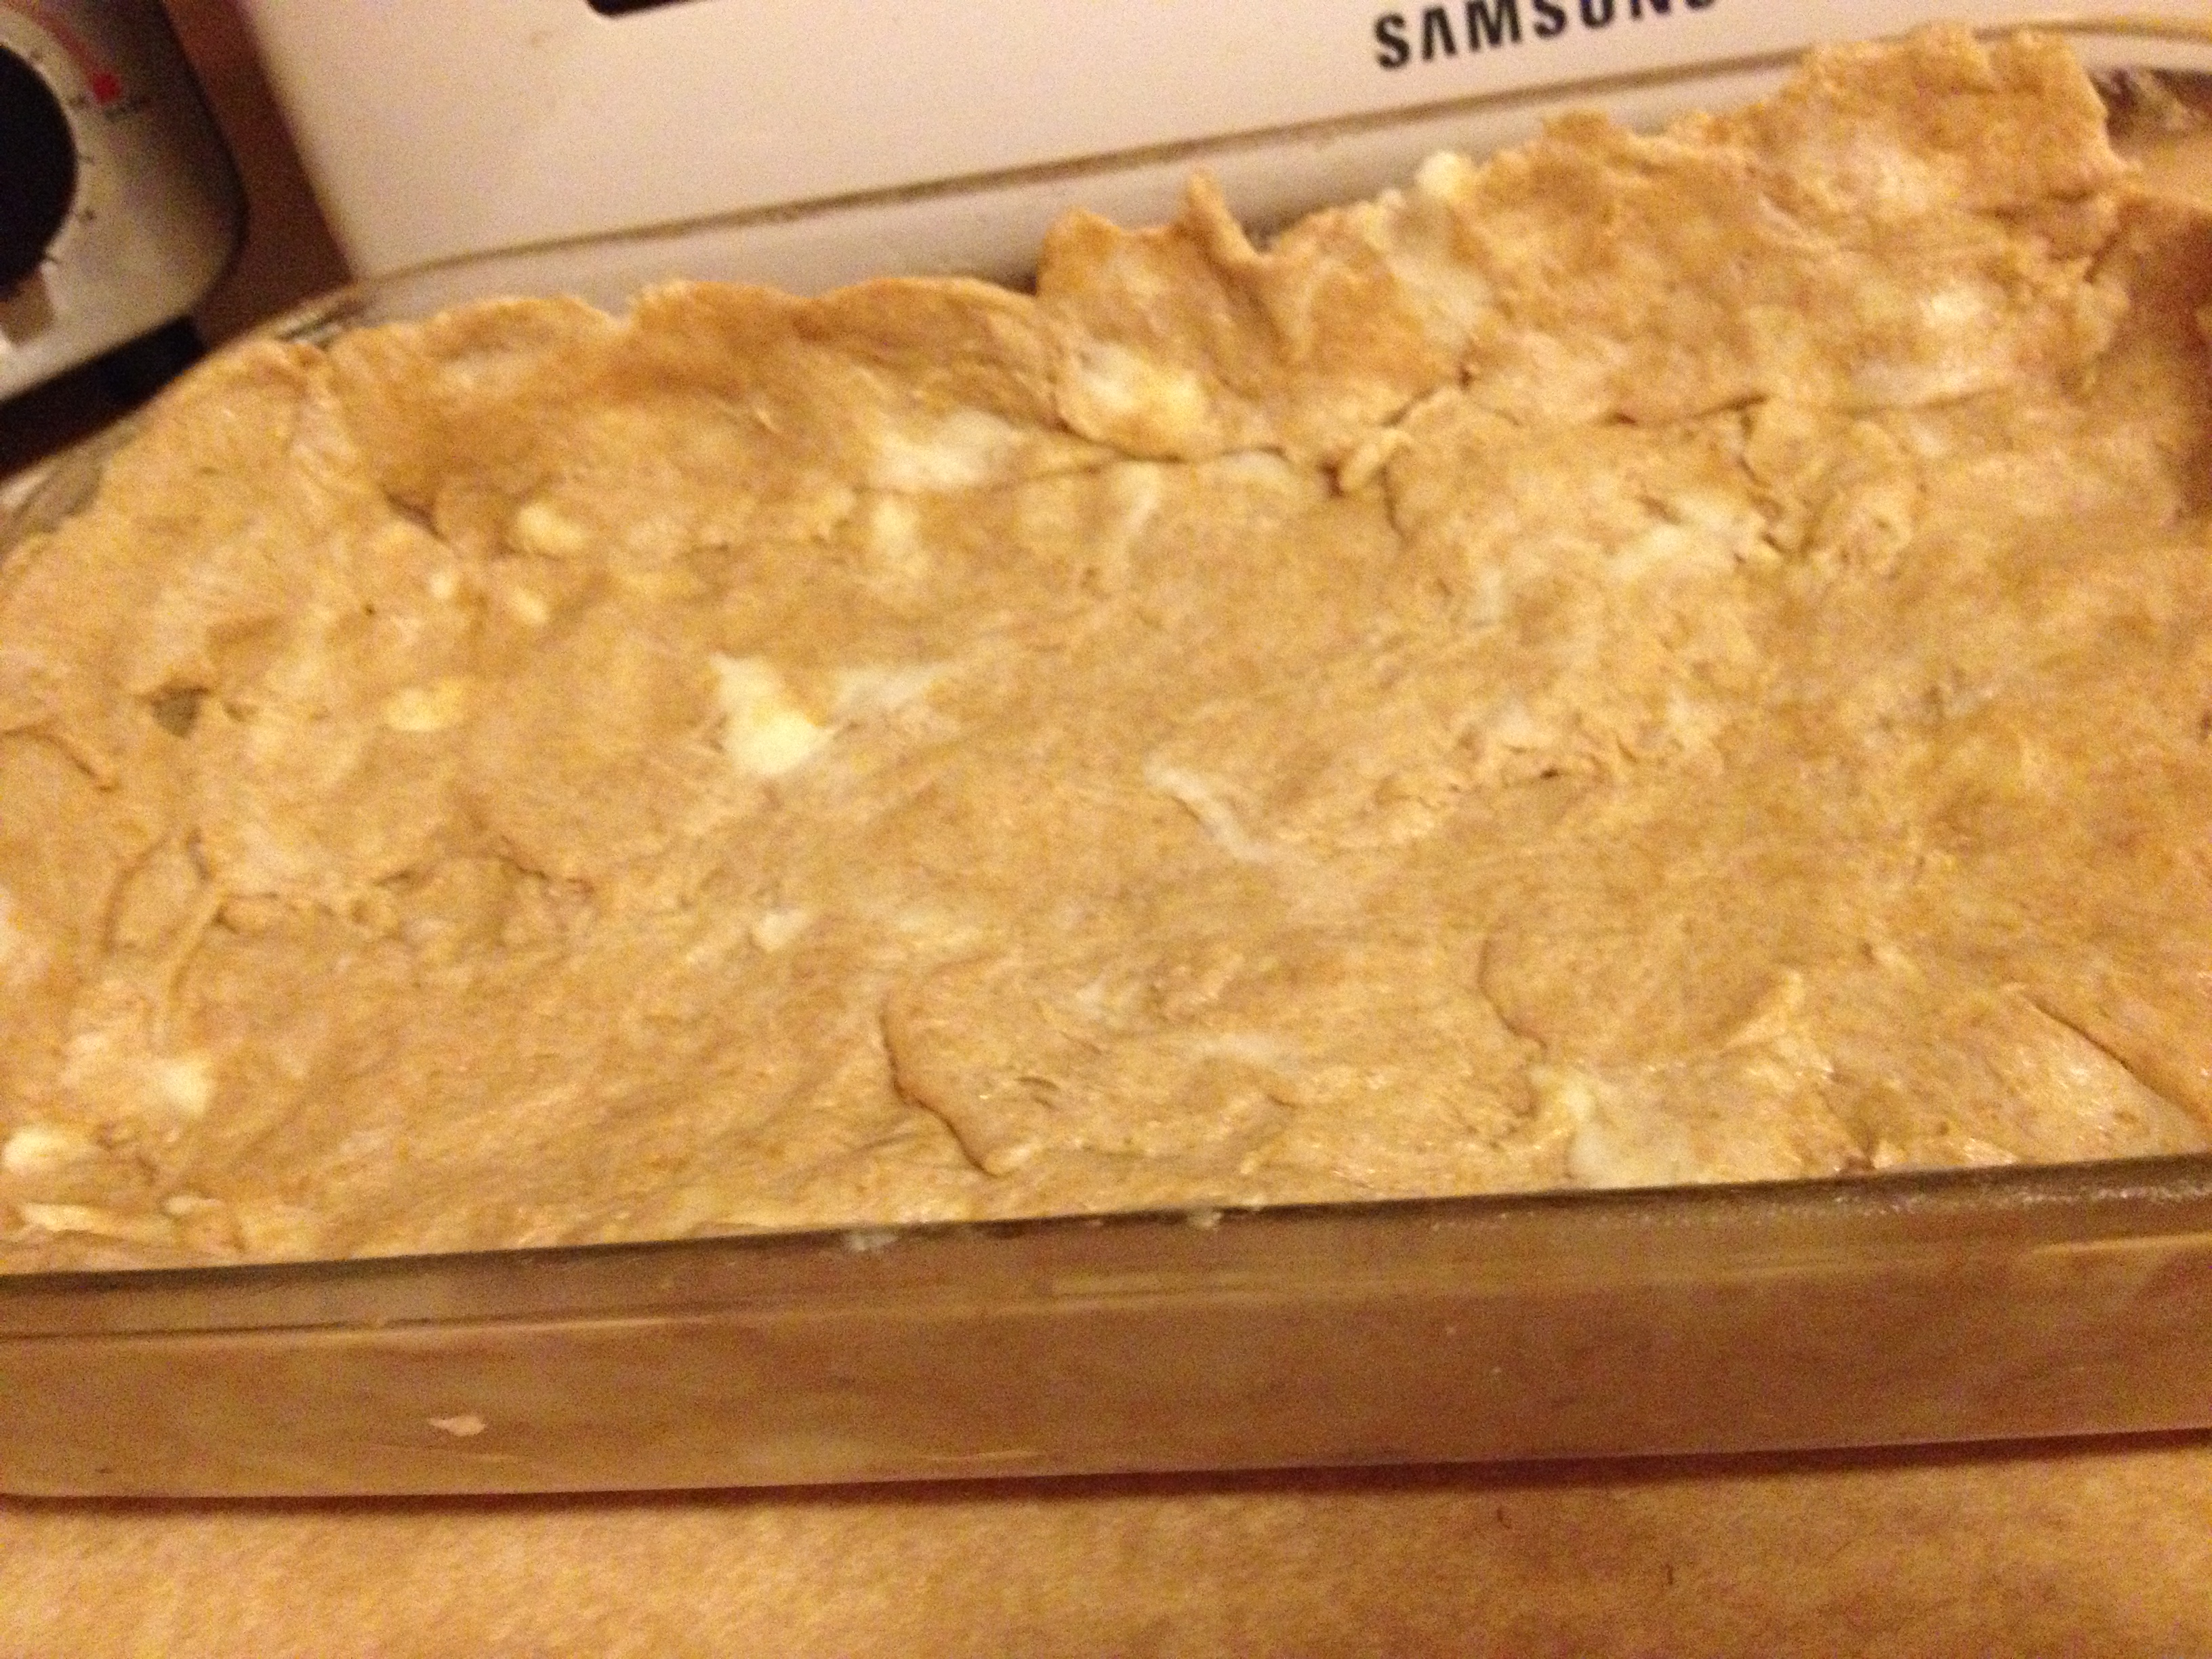
  • Once the crust is rolled out, place half of it on the bottom of your pan (or whatever you may use)

Bottom crust

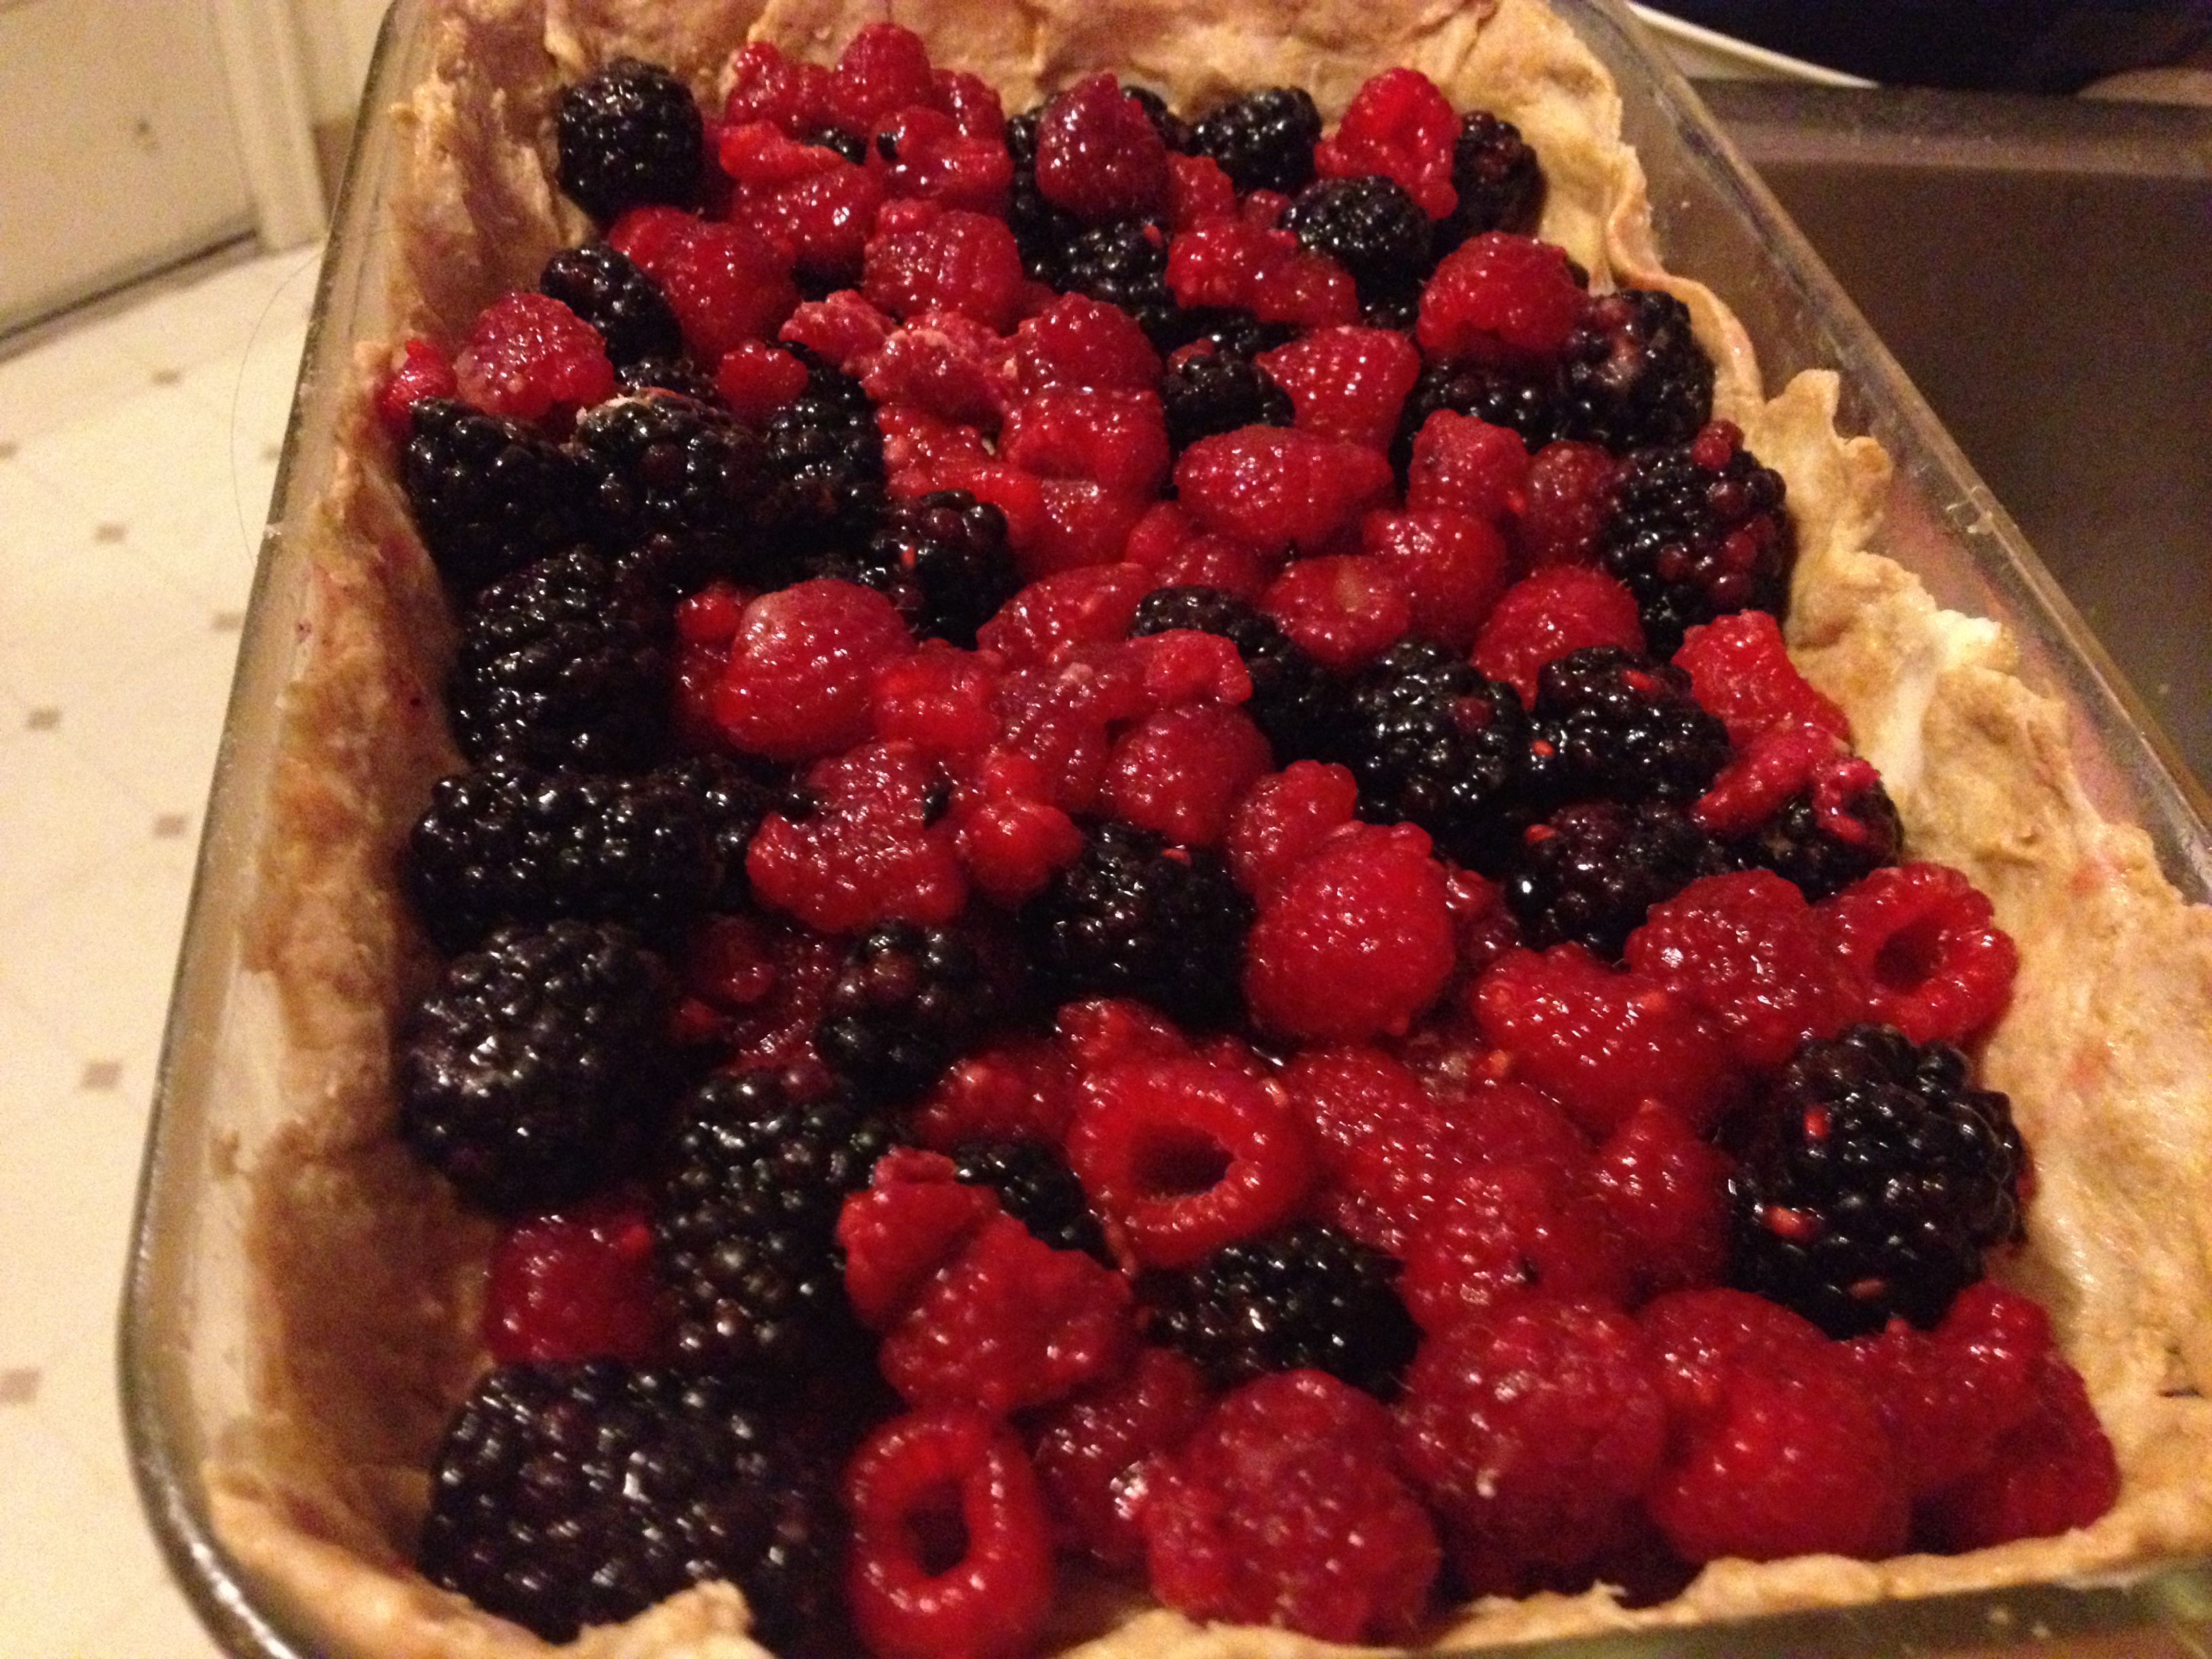
  • Next, get that fruit filling in there, to make it look truly beautiful.

Mmmm

  • Using the rest of the pie dough, make the top of the crumble/pie

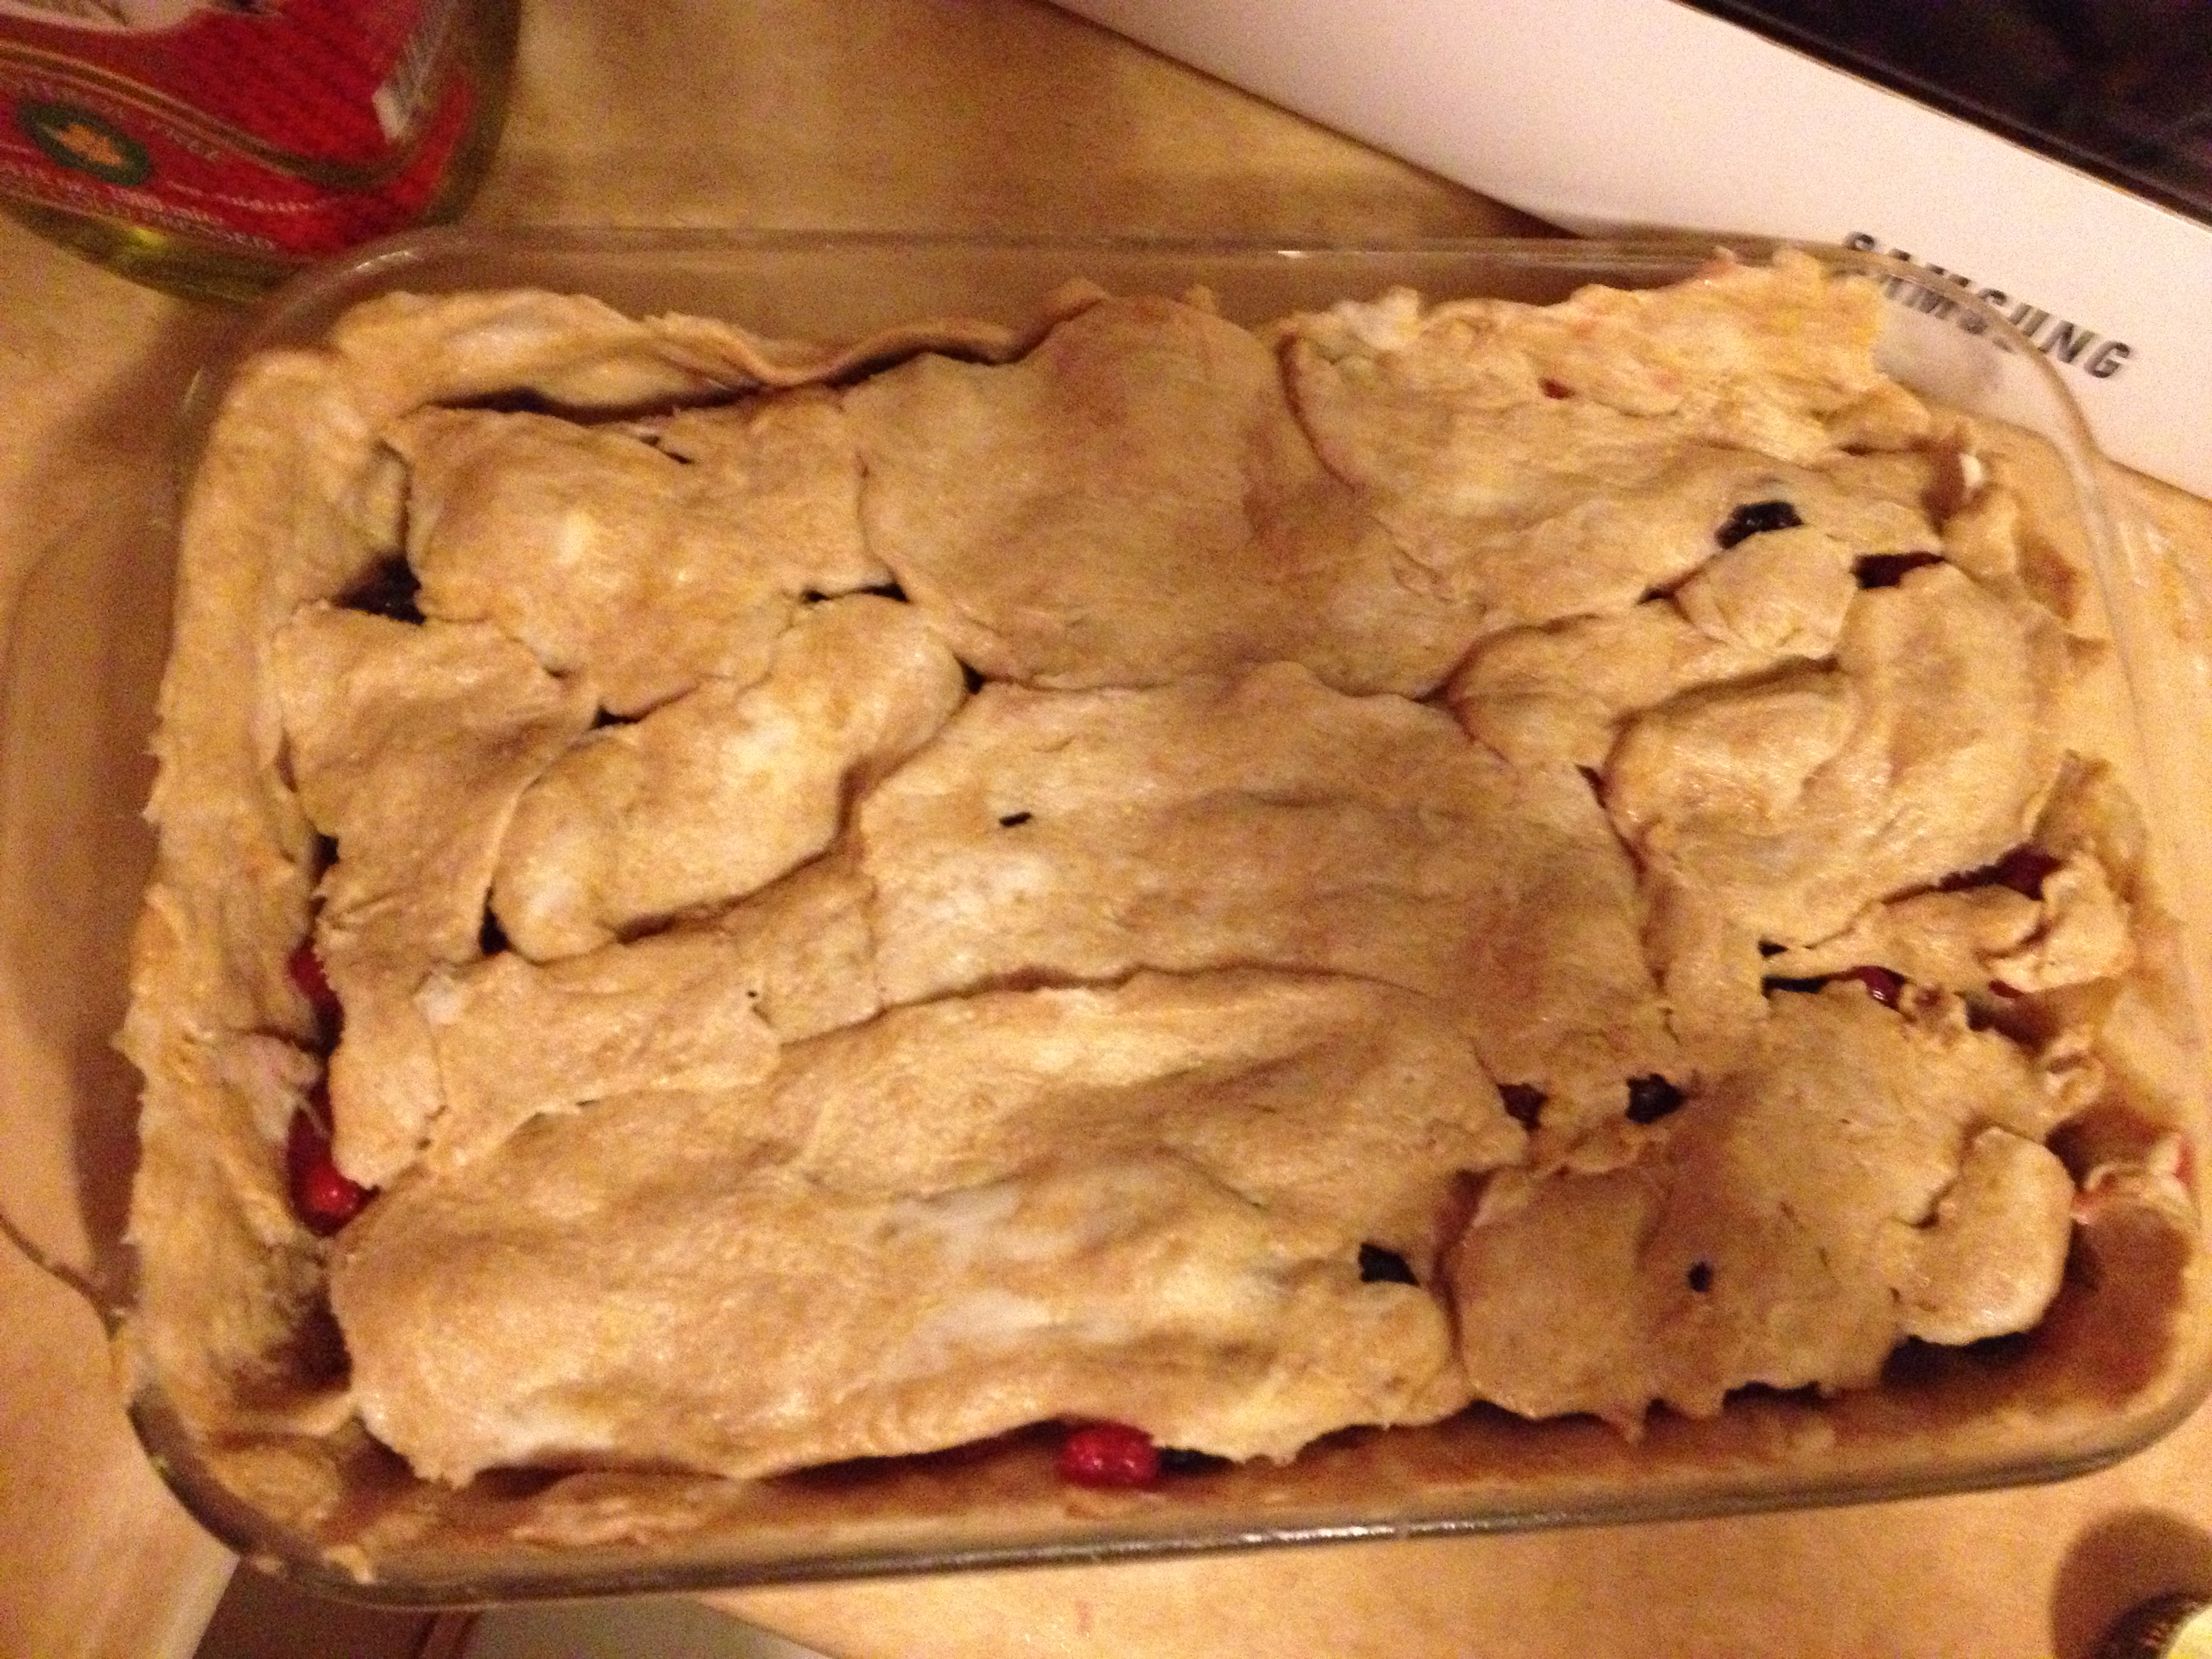
Bake me!

  • Put in the oven for 35-45 minutes. Mine took about 42 minutes I would say.
  • ENJOY!

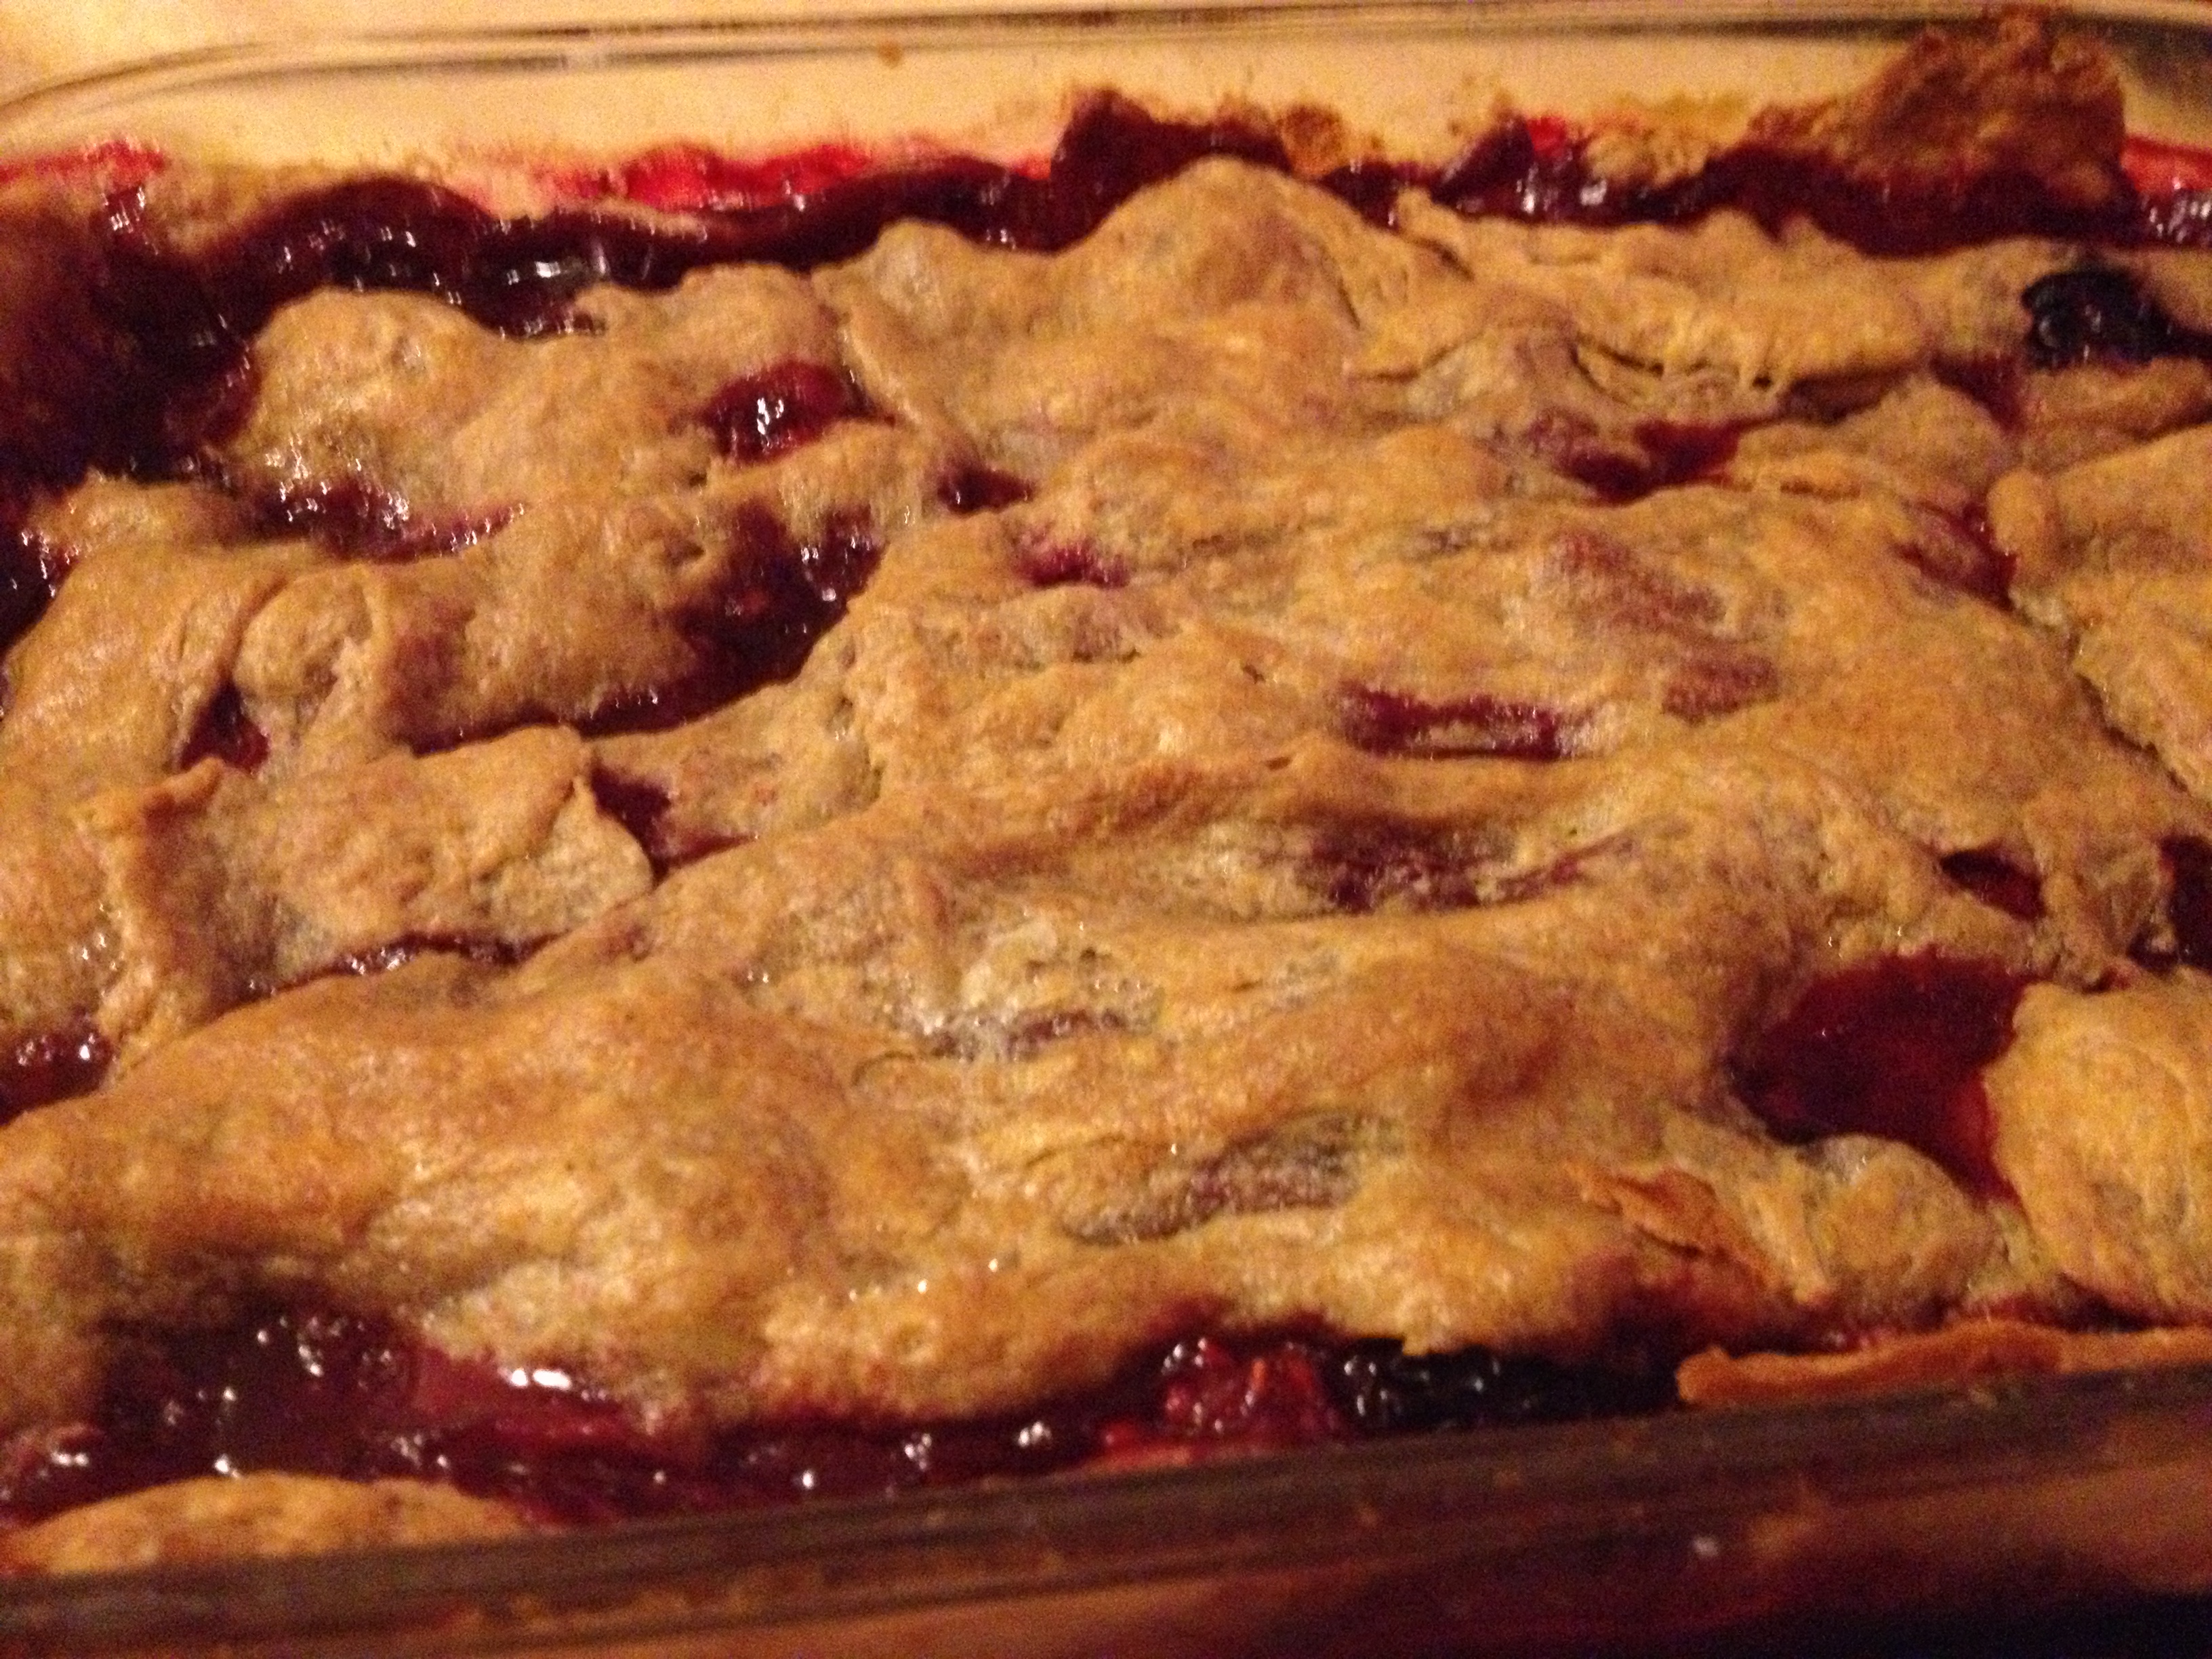
Delicious

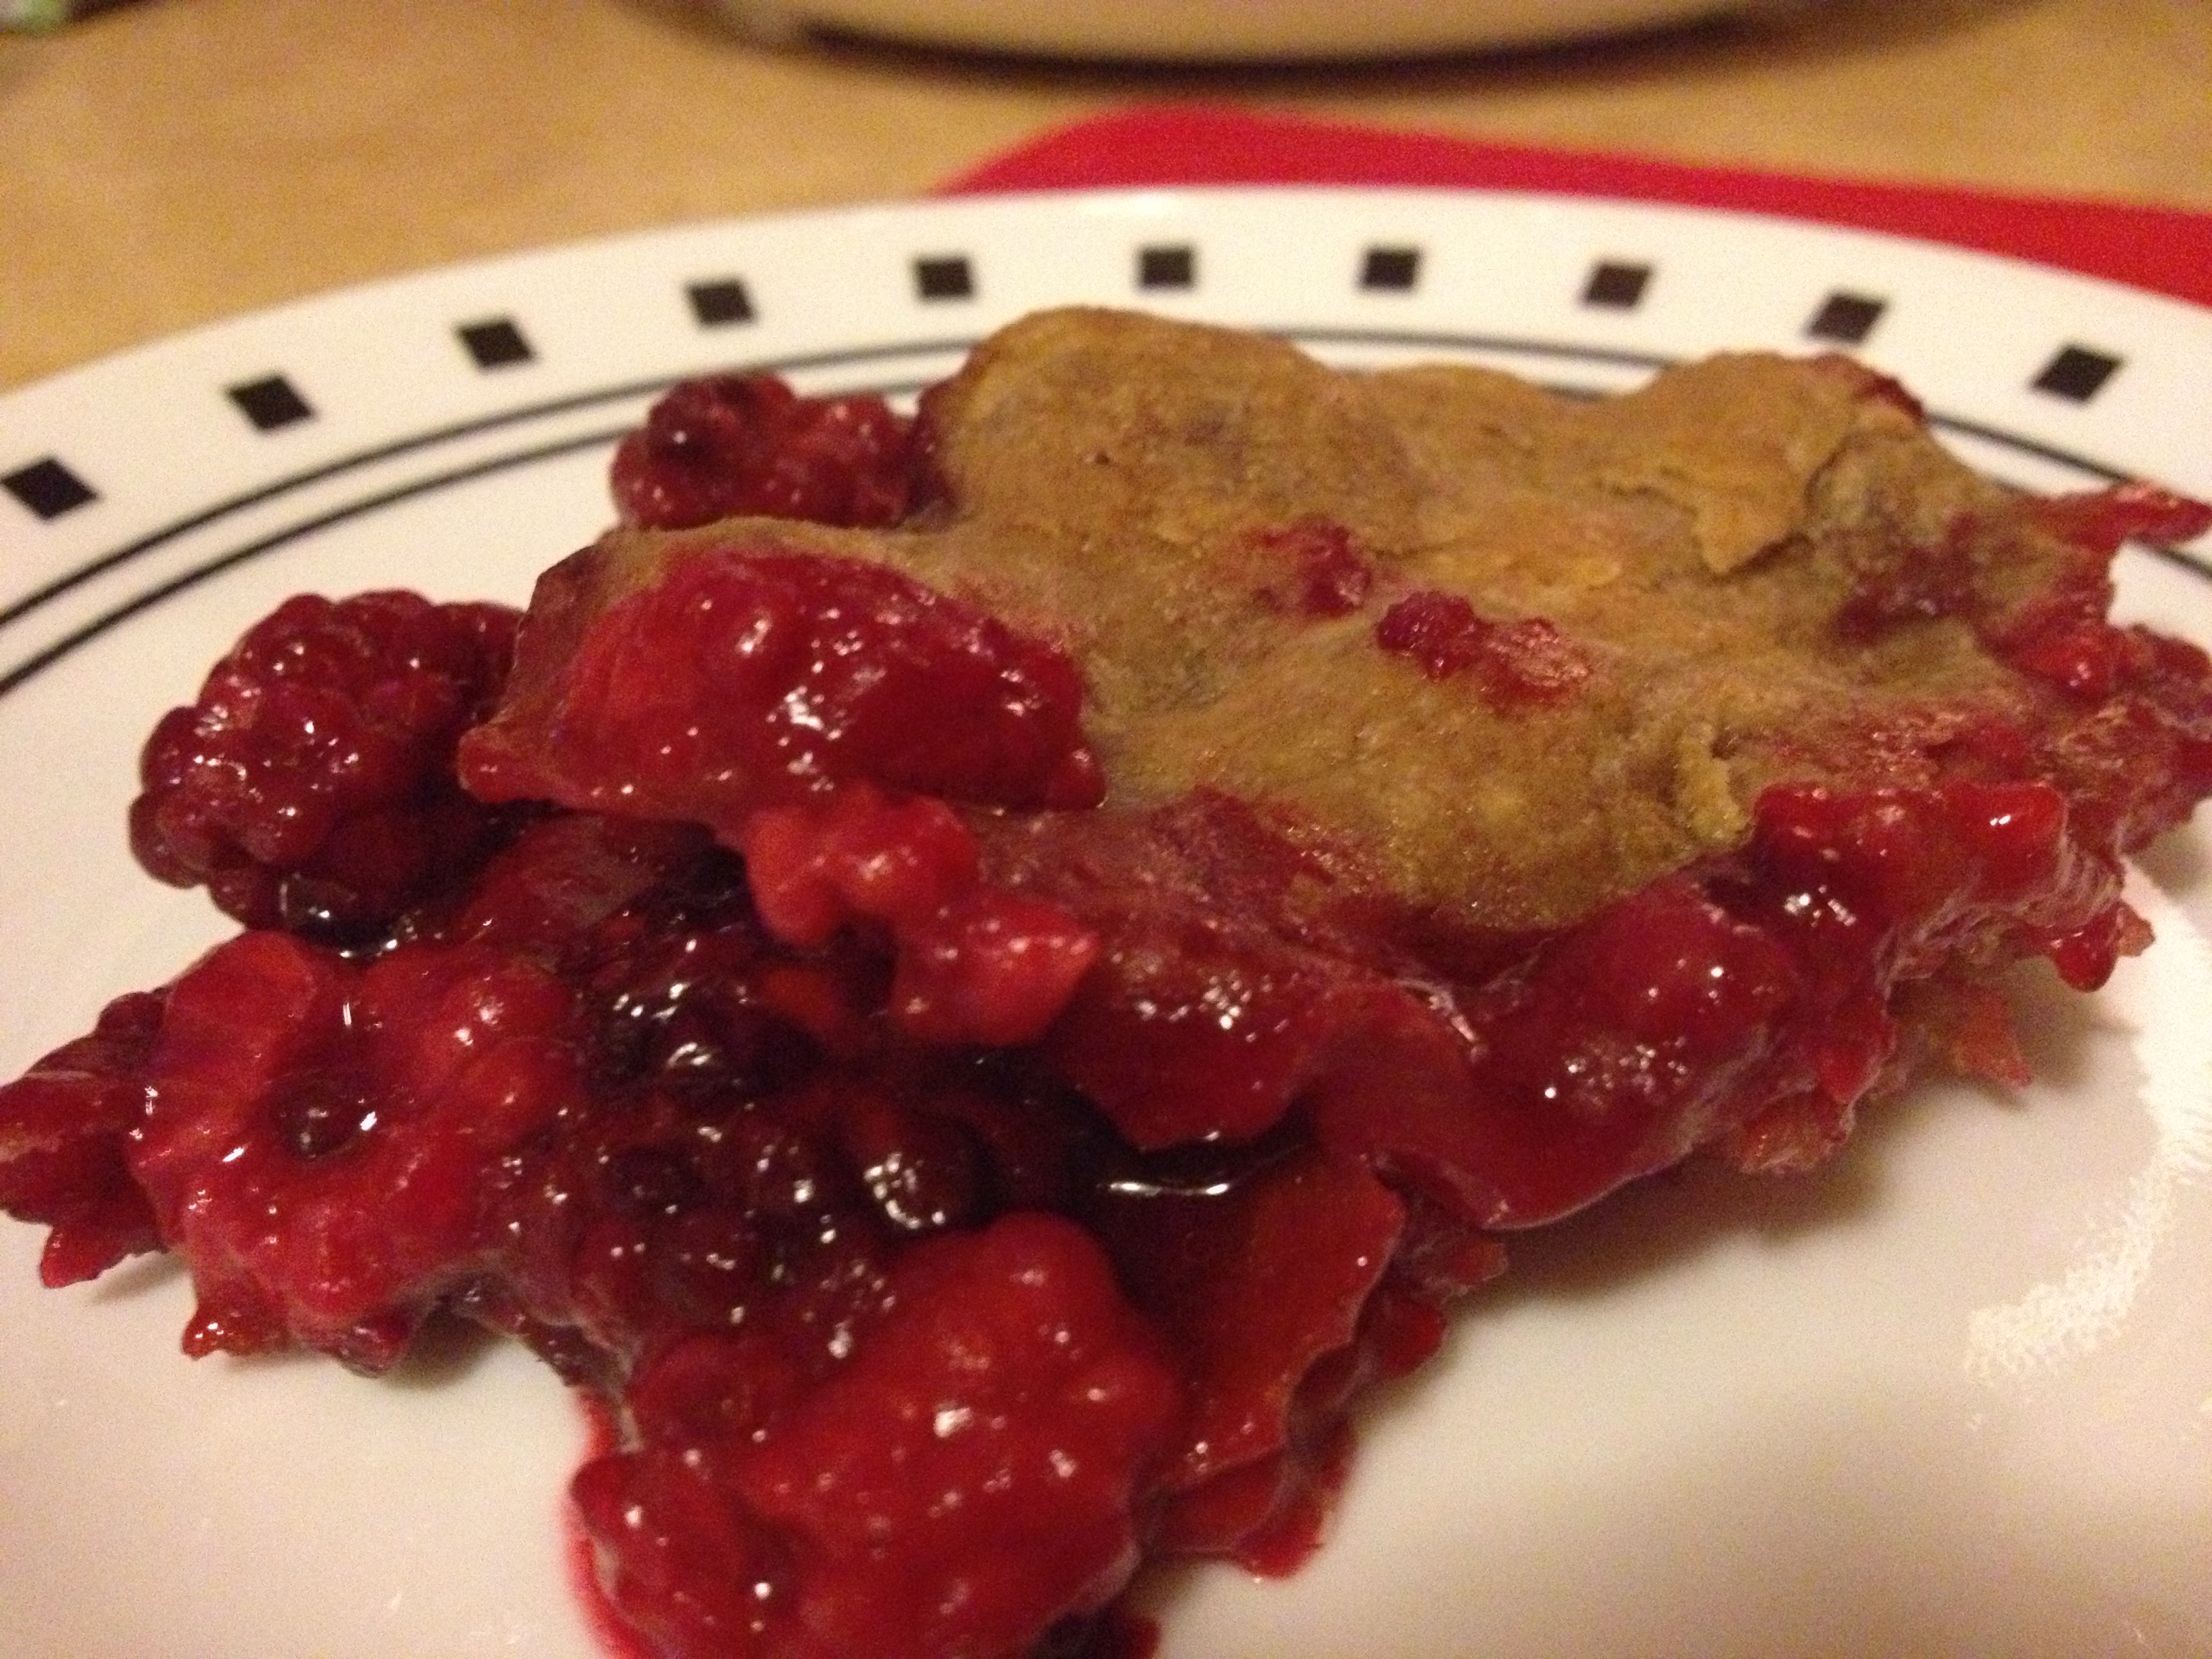
Berry Crumble Pie

Even though the crust wasn’t perfect, I definitely had two servings. Have fun! 

spacer

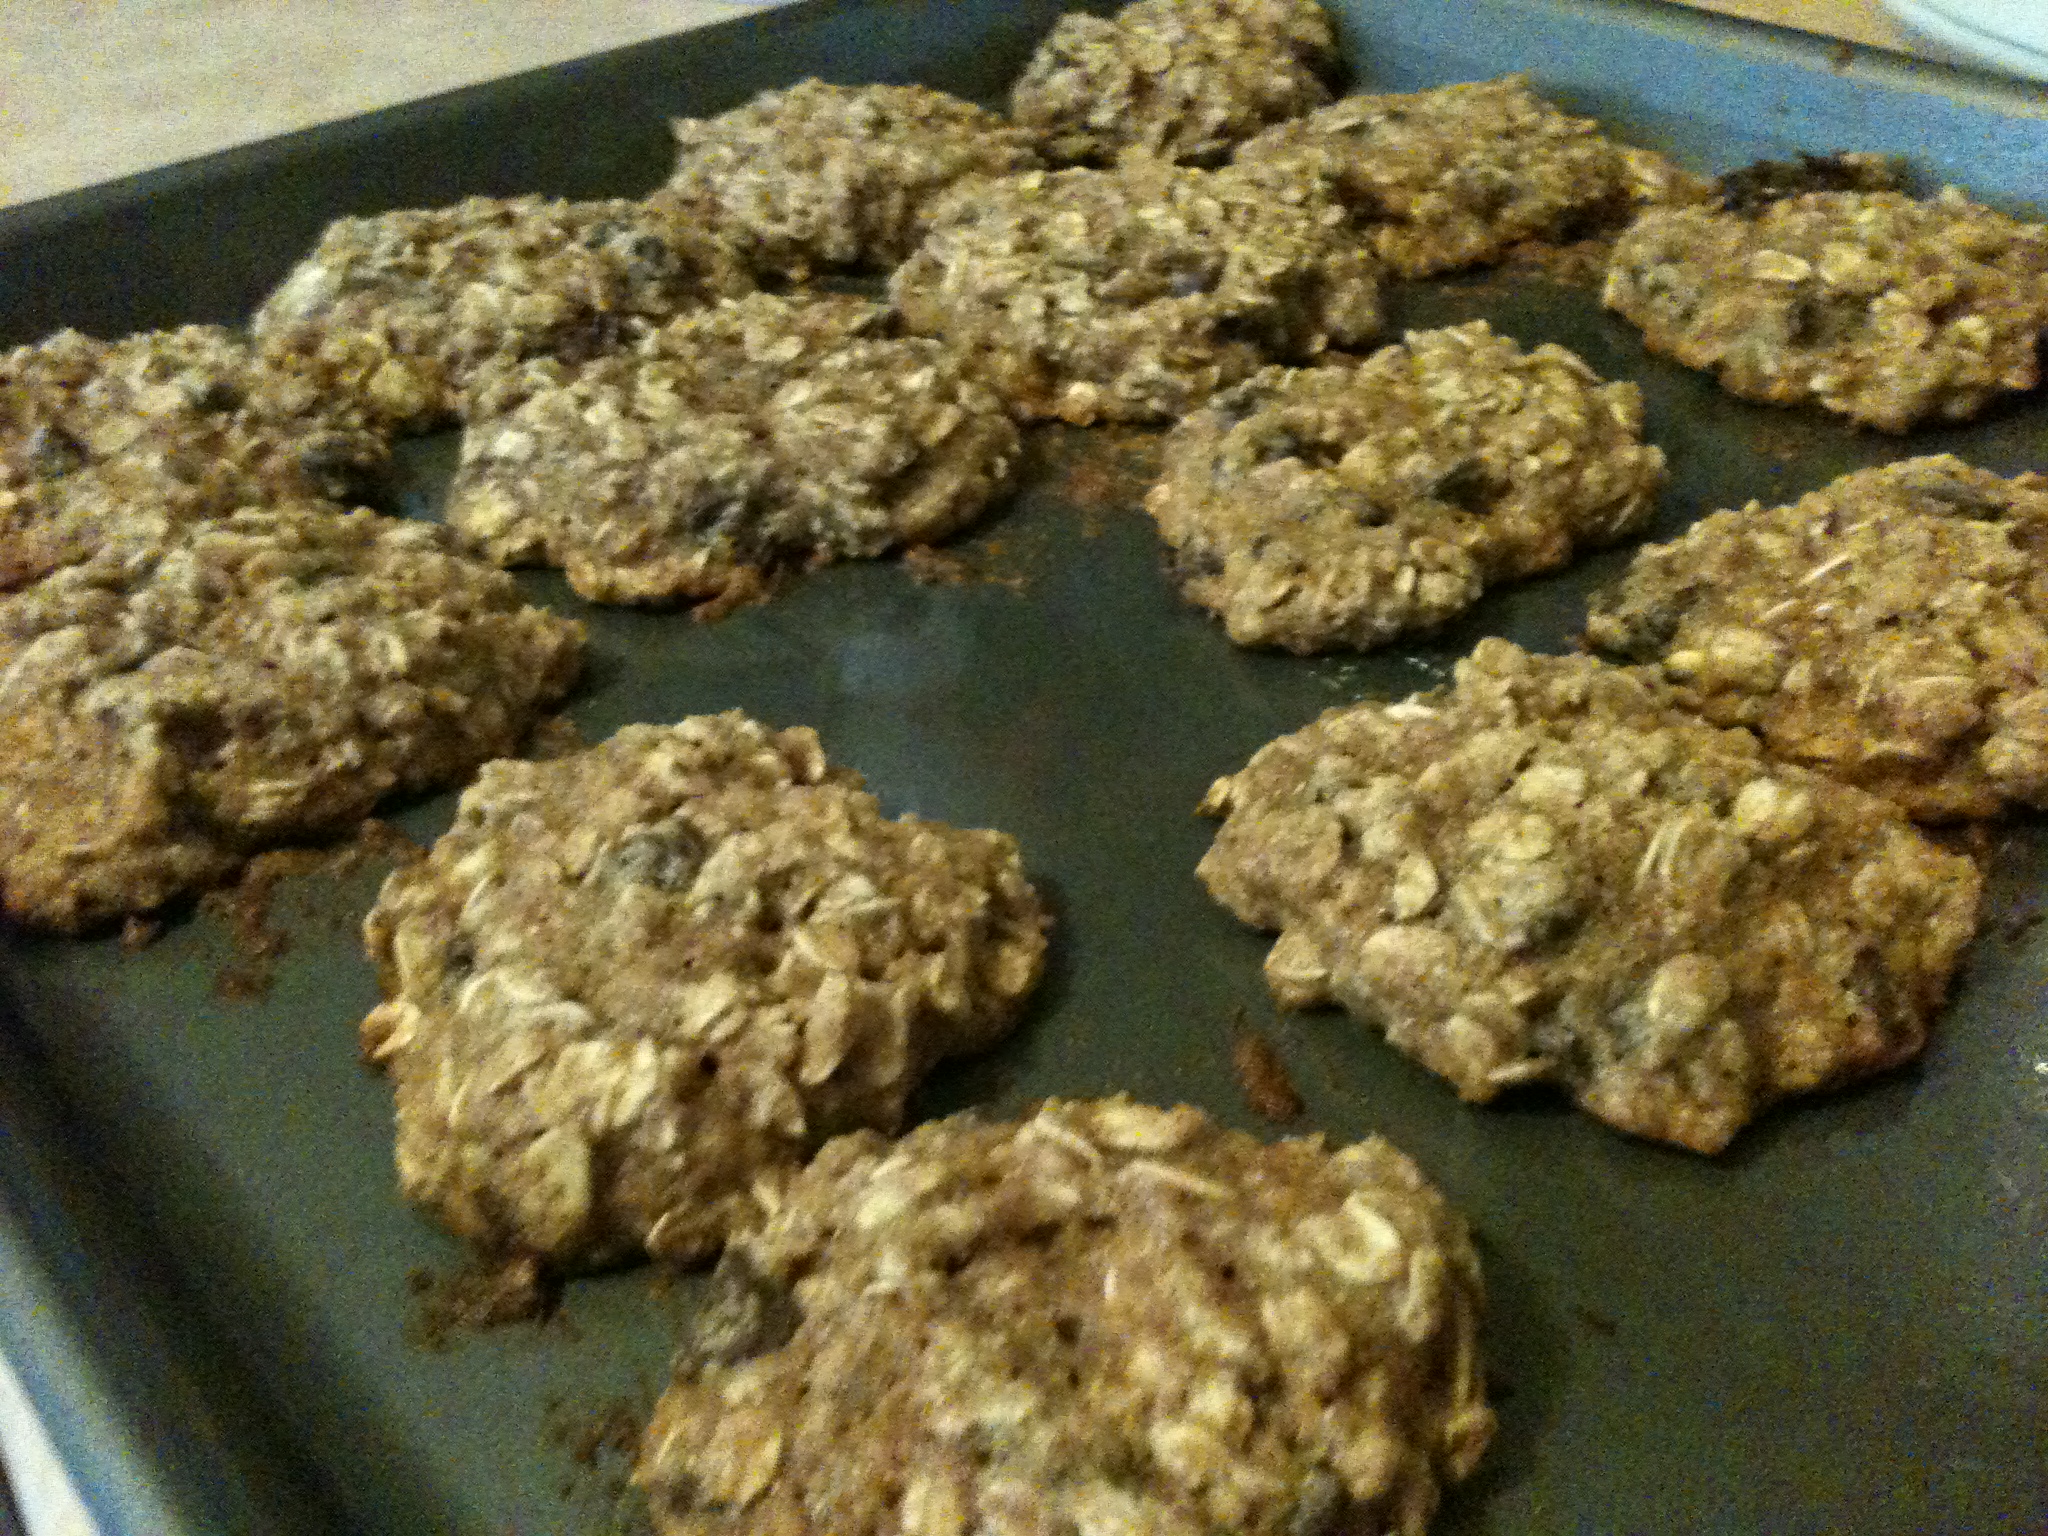
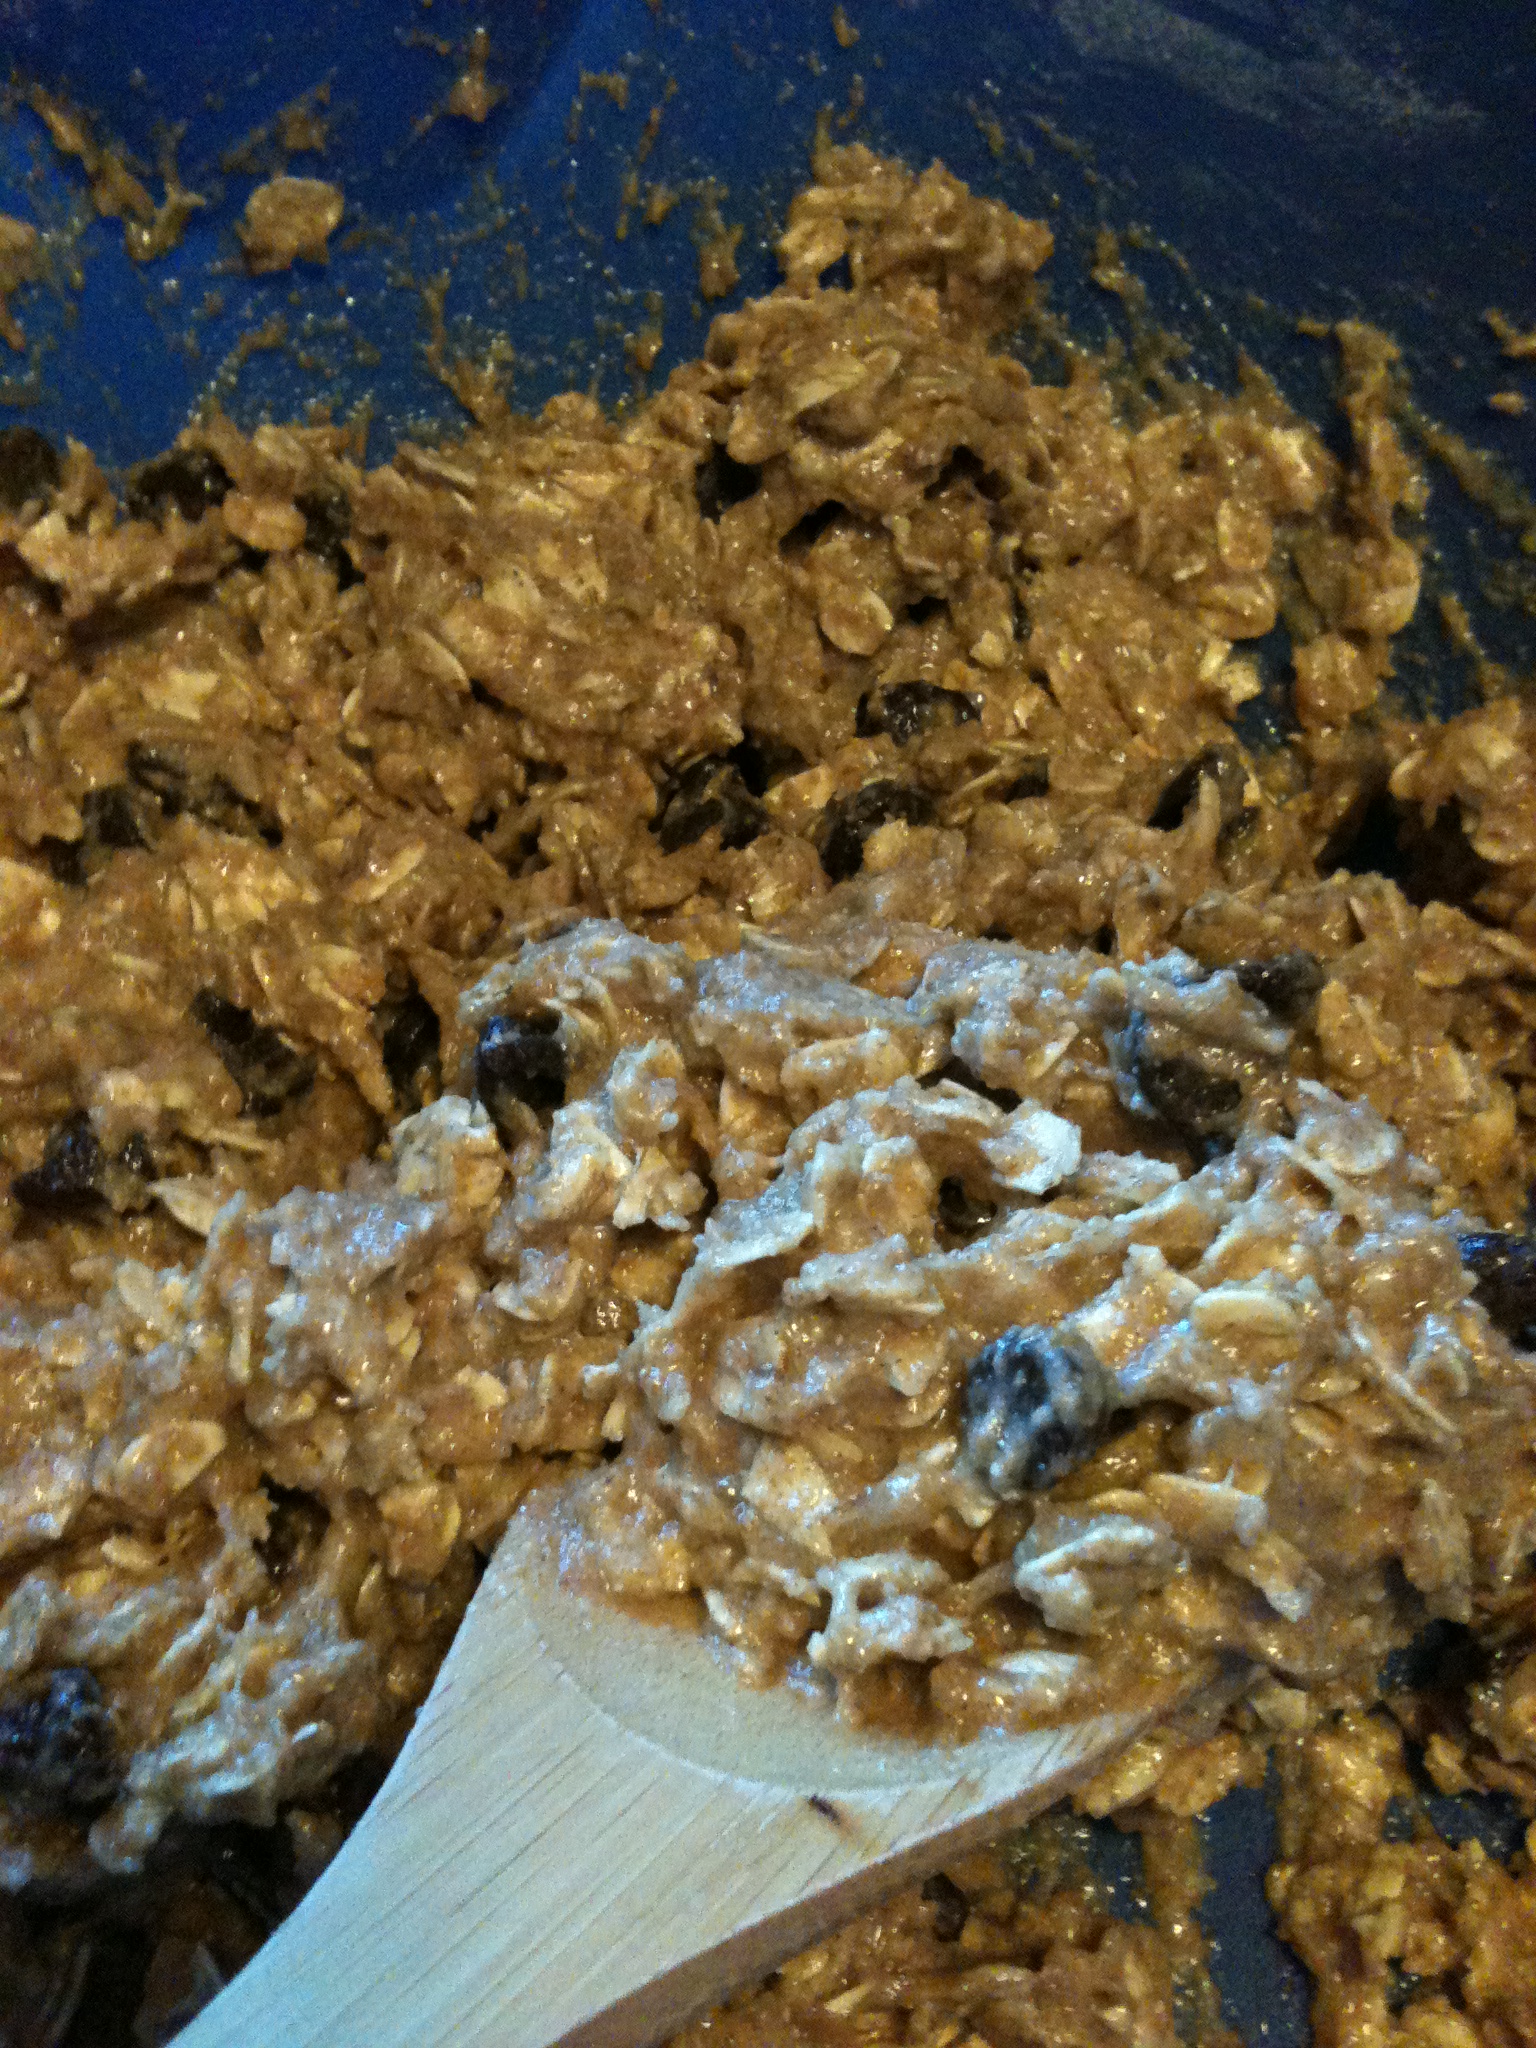
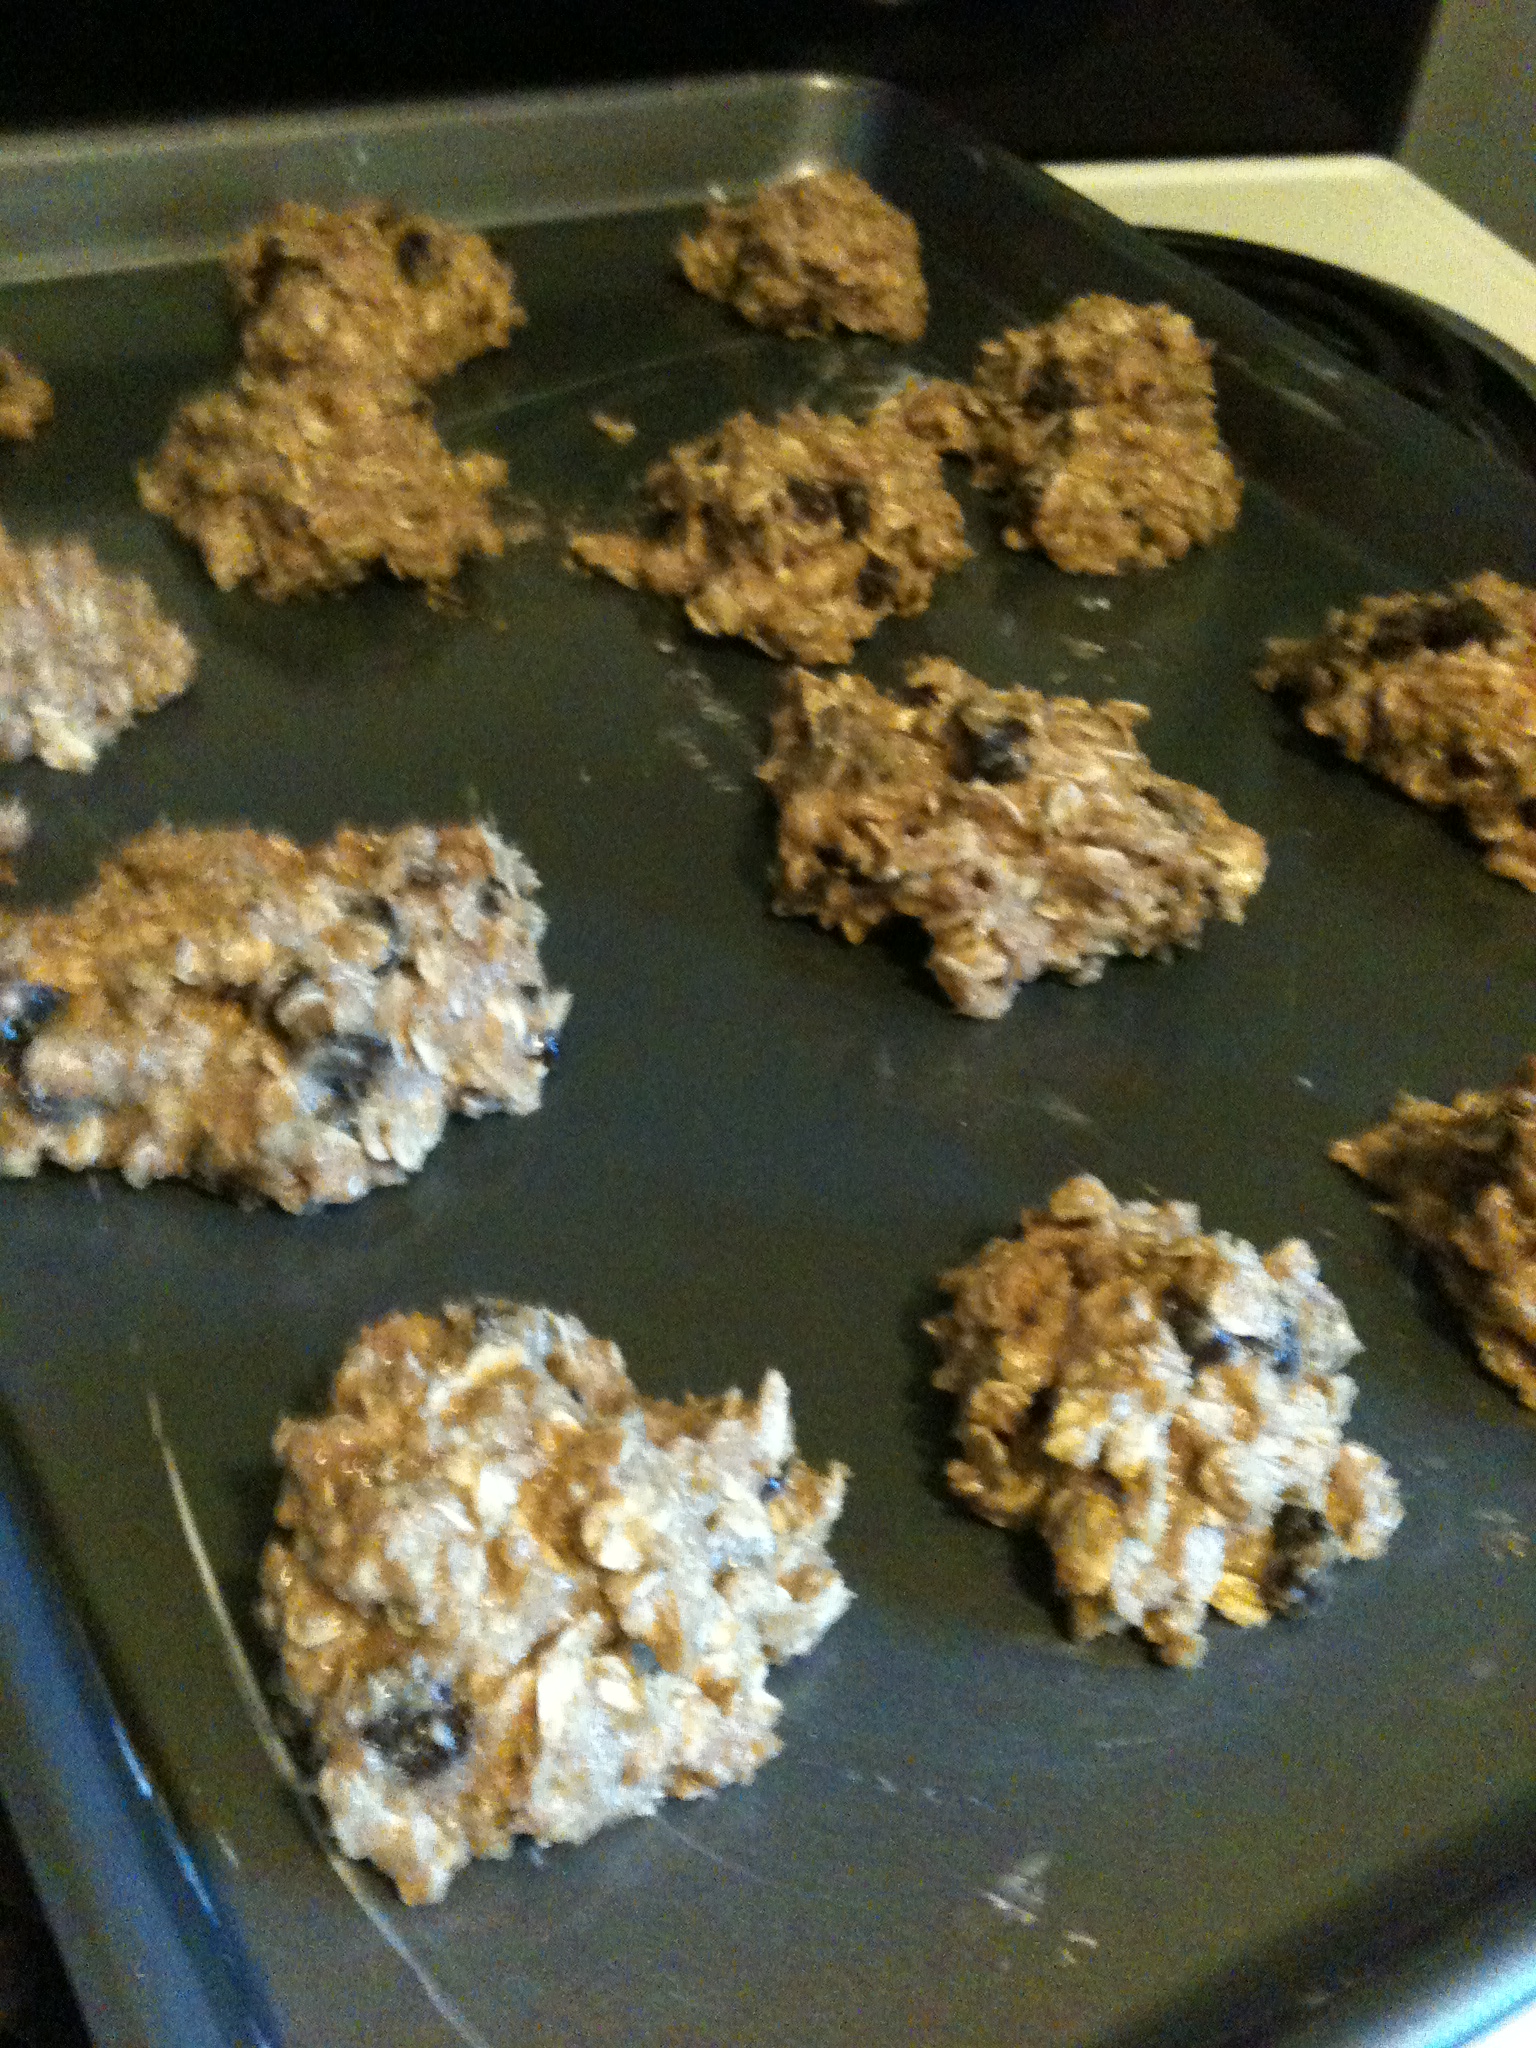
Whole-Wheat Oat Banana Cookies: Get a Padlock Ready

I’m pretty upset I didn’t take a picture of the banana I used. It was bad. Like really really bad. Like not even brown and black, but a gray-black color, desperately begging to be used. So instead of the normal banana bread route, I wanted to make cookies (Chris was all in favor of this, for some reason, I think he might like cookies?). And I definitely wanted needed to use that banana. So I found a recipe from another blog and always…altered it! And for the padlock comment? Let’s just say…Chris may have substituted one of his meals with these, but…more on that later.

There is no reason to feel guilty about eating these cookies, barely any butter or sugar, with lots of oats to keep your fiber count happy! Let’s take a look at the ingredients.

Ingredients:

  • 1 cup whole wheat flour
  • 2 cup oats
  • 1 tsp baking powder
  • 1/2 tsp baking soda
  • 1/2 tsp salt
  • 1/2 tsp cinnamon 
  • 2 tbsp butter
  • 1/2 cup regular sugar
  • 1/2 cup brown sugar
  • 1 egg
  • 1 banana
  • 1/2 tsp vanilla extract 
  • 3/4 cup chocolate chips 

It may seem like a long list, but it goes by very quickly. I think this whole process (including cooking) maybe took 20 minutes max. Pretty nice, and I find cooking/baking relaxing and cheerful anyhow. Okay, let’s get started! Preheat oven to 350 degrees. Butter up baking pan.

Instructions:

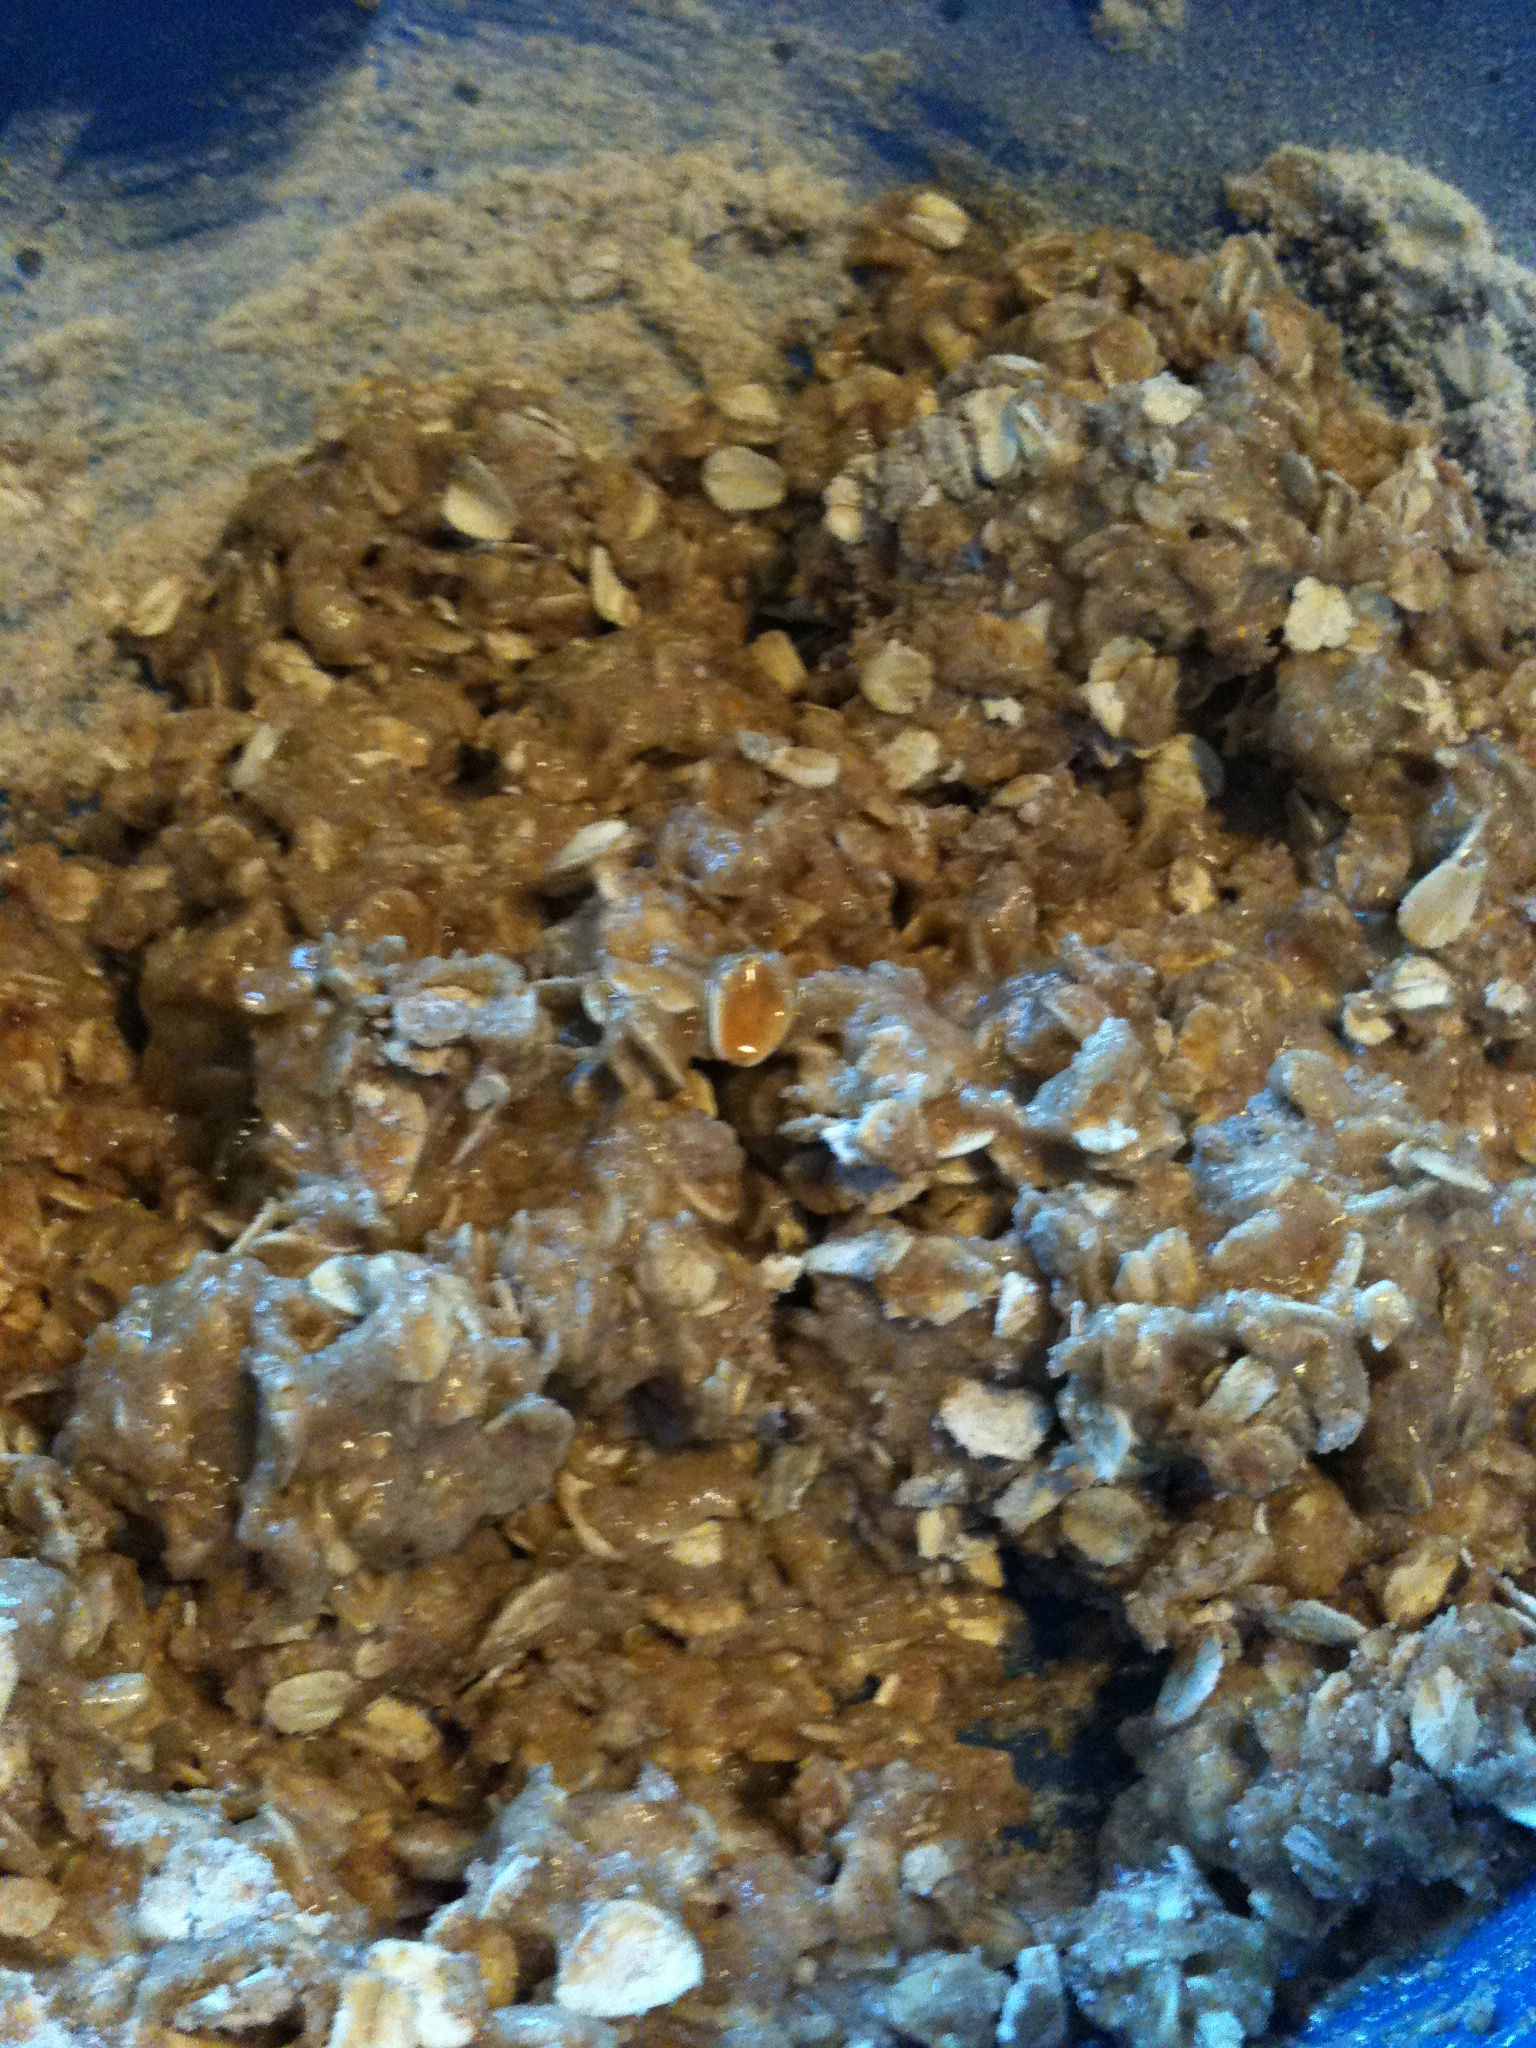
  • First, in a medium bowl (please note: this will not be your final mixing bowl, I don’t know how many times I’ve short-sightedly followed a recipe thinking it was going to be the main mixing bowl), get your dry ingredients ready. Mix together the  flour, oats, baking powder, baking soda, salt and cinnamon. 

  • Next, in your large mixing bowl (this is it, folks! This is the bowl that everything will end up in!), we will combine the butter and the two sugars. Whisk that puppy up.
  • Then, we’ll put the egg, vanilla extract, and (MASHED) banana into the mixture. Good to use a whisk.
  • In comes the dry ingredients, rudely interrupting the wet-ingredient get-together. Slowly pour in the medium bowl ingredients into the large bowl (flour, etc. –> sugar, egg, butter, etc.). Mix that up.

  • Now, for the (almost) final step! Fold the chocolate chips into your mixture, make sure they’re evenly spread out so one cookie doesn’t greedily get them all.

  • Take gobs of the beautiful cookie dough (again, I ate too much of it and afterwards could not eat enough of my Mexican dinner twenty minutes later) and place upon your greased up baking sheet.

  • Set timer for 10-12 minutes. Mine took 12 minutes because I always make HUGE cookies. And voila! You’re done.

So for the padlock comment expanded…while I was working at the assisted living home yesterday, Chris ate five cookies (and they are BIG). Choosing to eat cookies instead of a real lunch. So, baker, wherever you are, keep a close eye on these cookies, they are sure to disappear rather quickly…

spacer

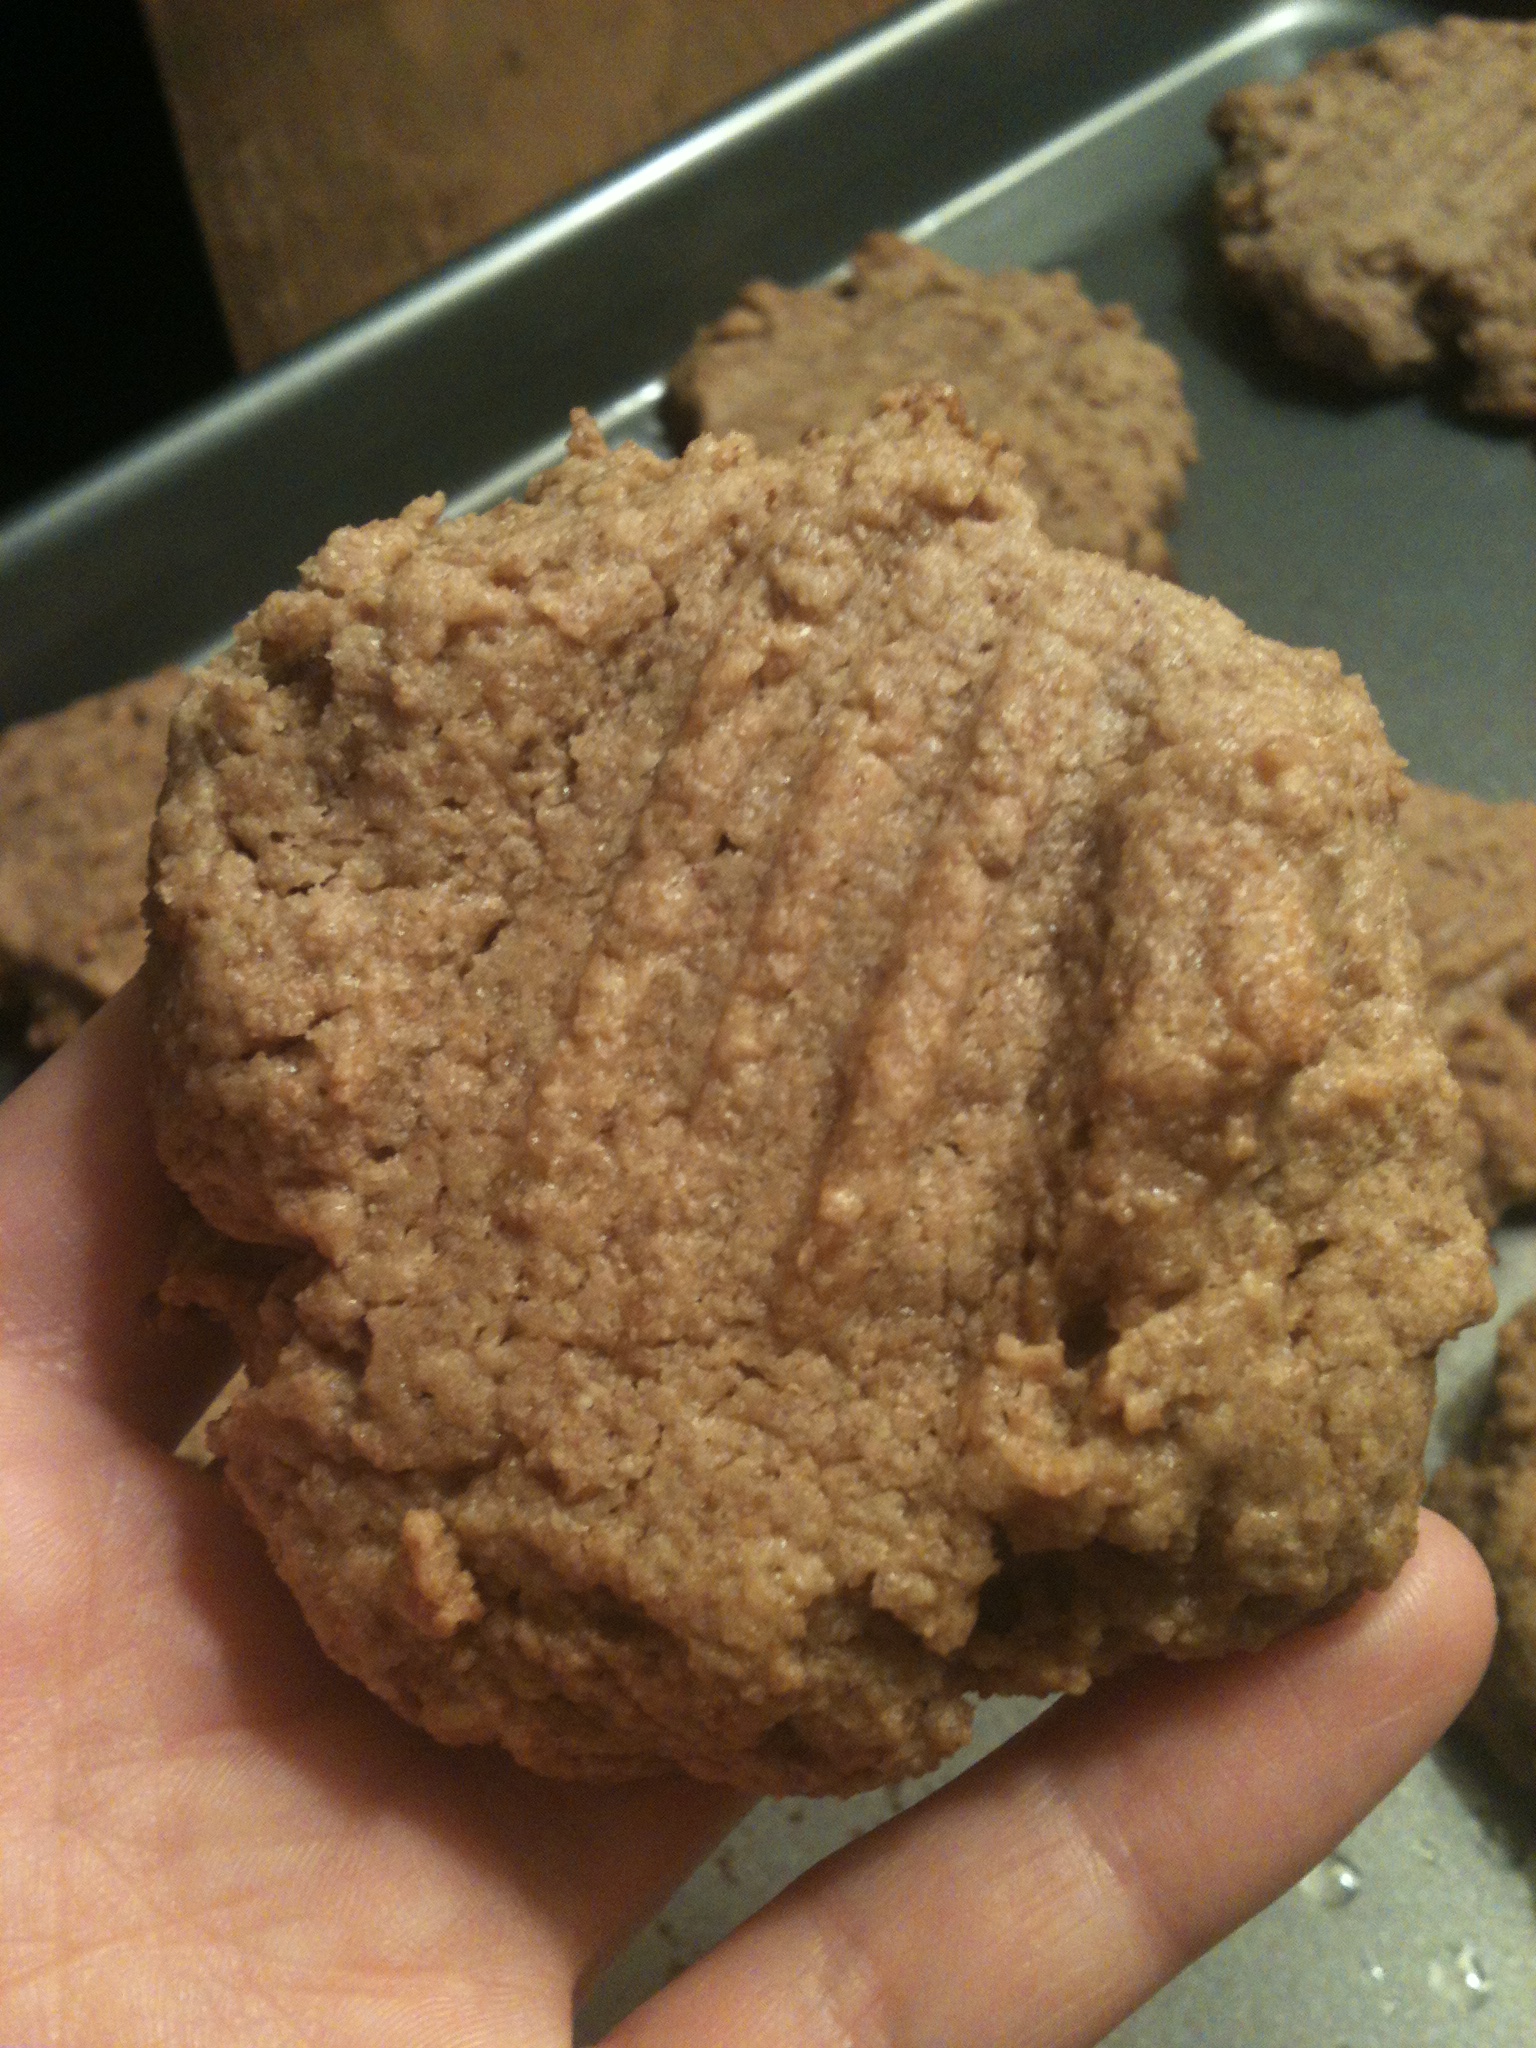
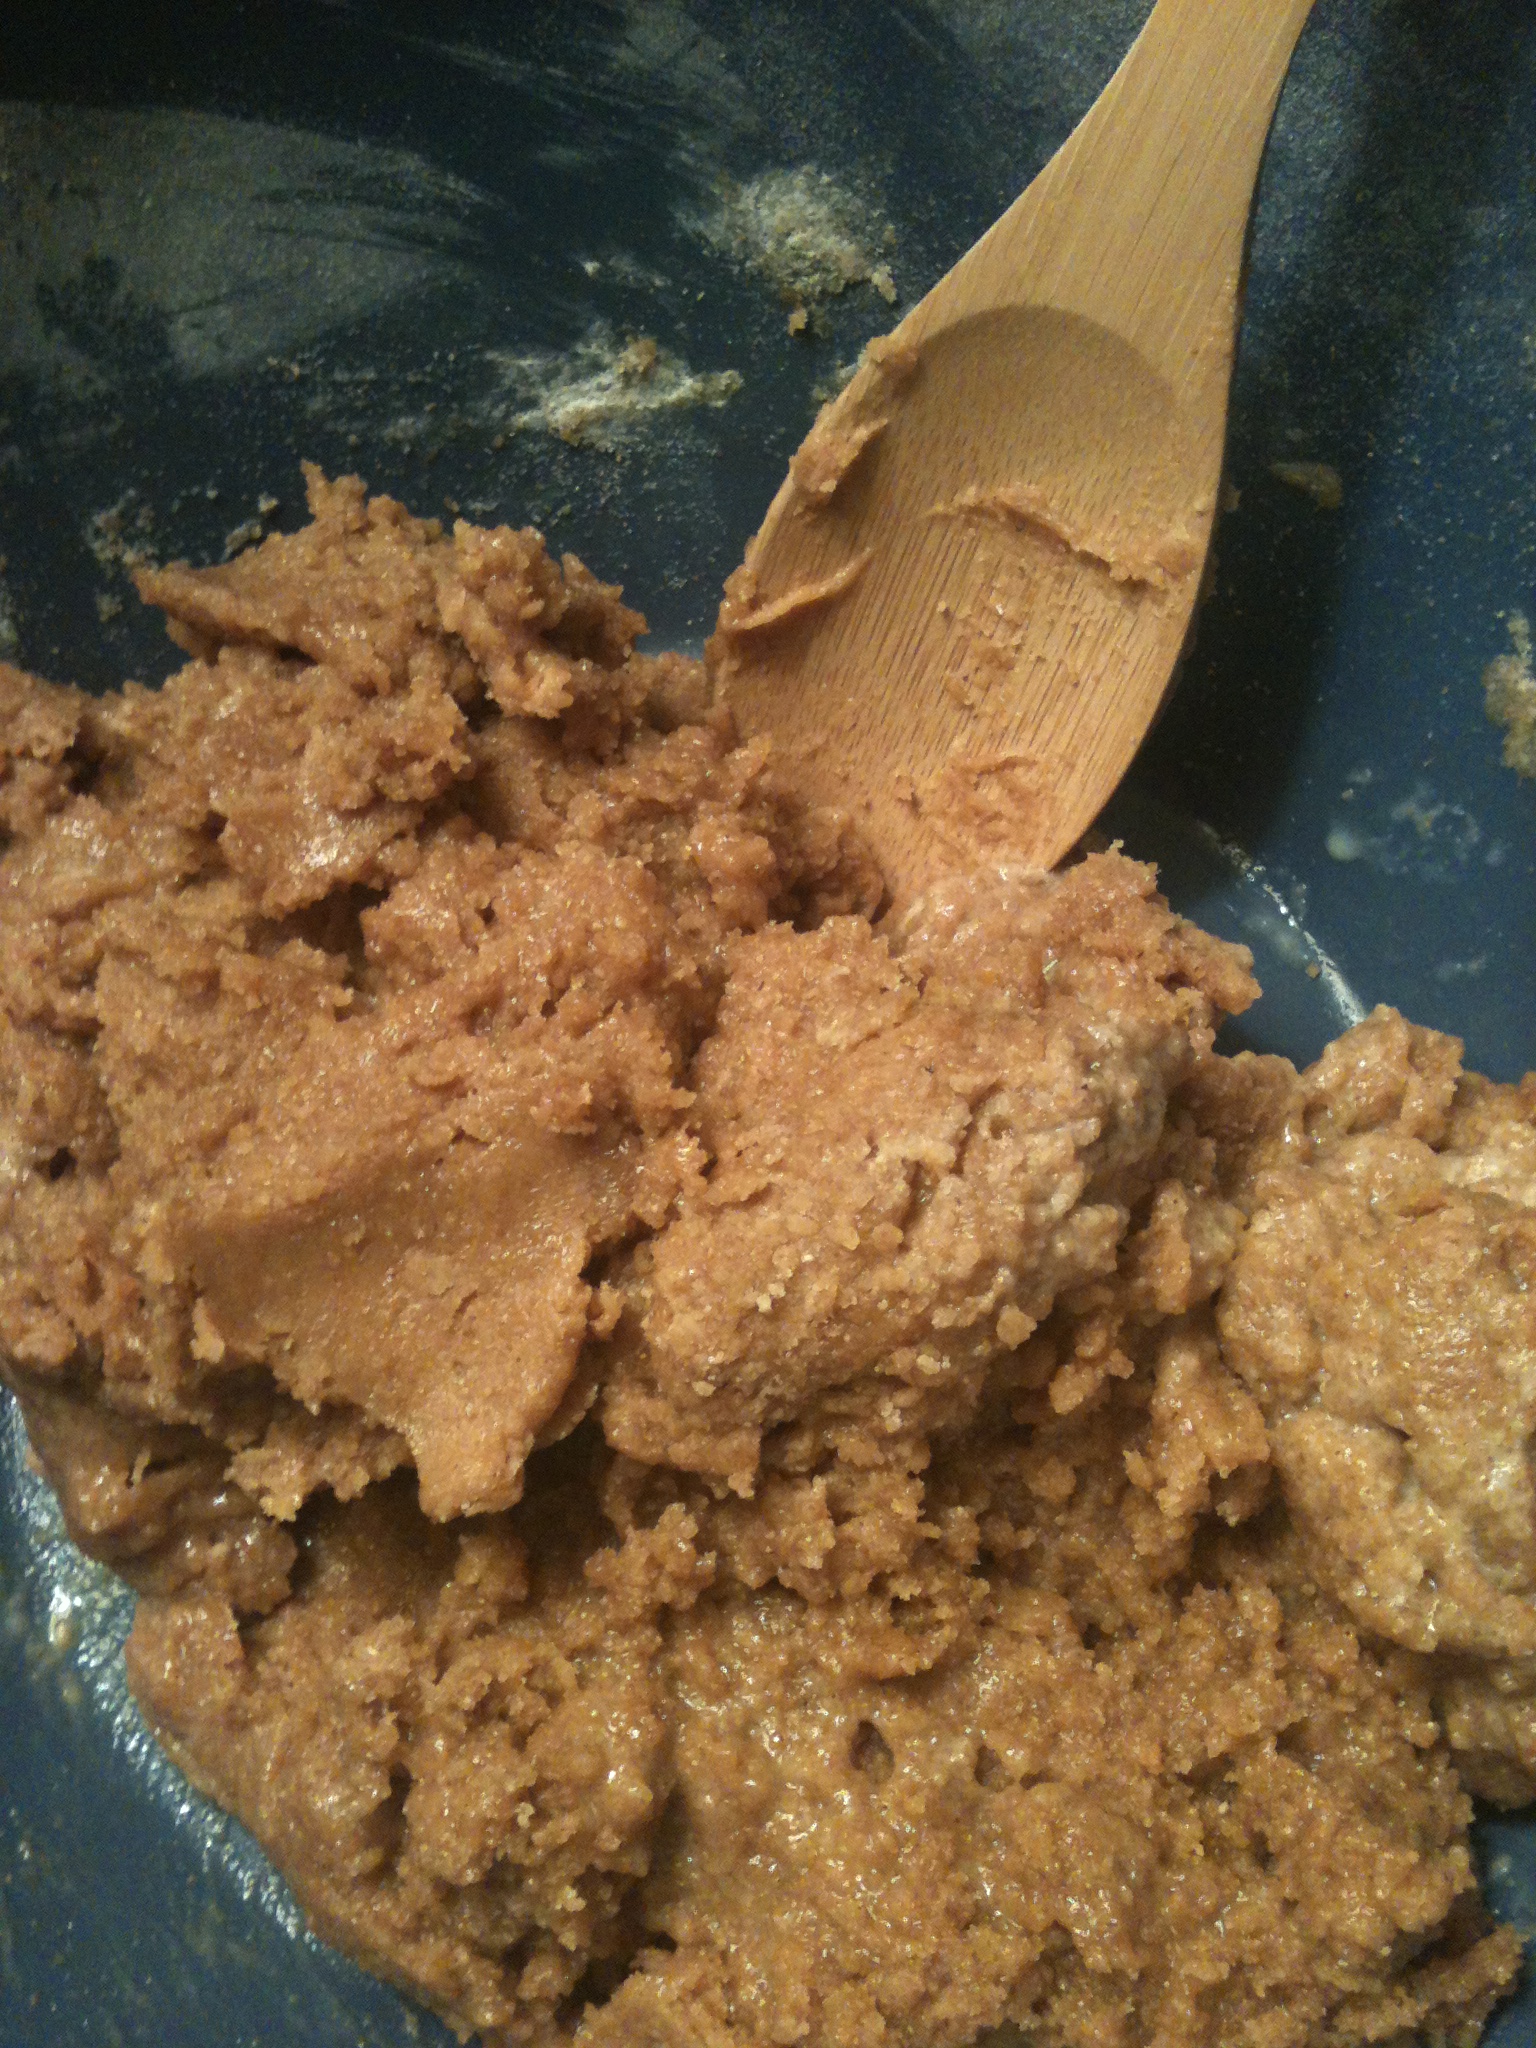
Need Some Protein? Whole-Wheat Peanut Butter Cookies

I know, I know, it’s a pretty cheap way of protein, but I had to catch your eye somehow. But maybe just the word ‘cookies’ would’ve done it. Hmmm…

Anyhow, this is a real easy recipe and takes no longer than 20 minutes (including prep time!). It’s great to have with a nice cup of tea (for me, Chai tea). I originally got the recipe from here, but as always, it’s altered. Take a peek below for ingredients and directions!

Ingredients

  • 1 cup of peanut butter (I used creamy natural)
  • 1 egg
  • 1/2 cup butter
  • 1/4 cup honey
  • 1/2 cup sugar
  • 1 1/4 cups of whole wheat flour
  • 1 tsp baking powder 

Directions

1. Preheat oven to 350 degrees

2. Mix the peanut butter, butter, honey, sugar, and egg til it’s smooth like…butter

3. Then stir in the whole-wheat flour and baking powder until blended in 

4. Make little balls out of the cookie dough and place them on the cookie sheet 

5. Place in oven for 13-15 minutes (depending on how you made the cookies)

6. Enjoy! 

Let us know if you enjoyed this recipe! We’d love to hear back from you. Cheers 🙂

spacer