
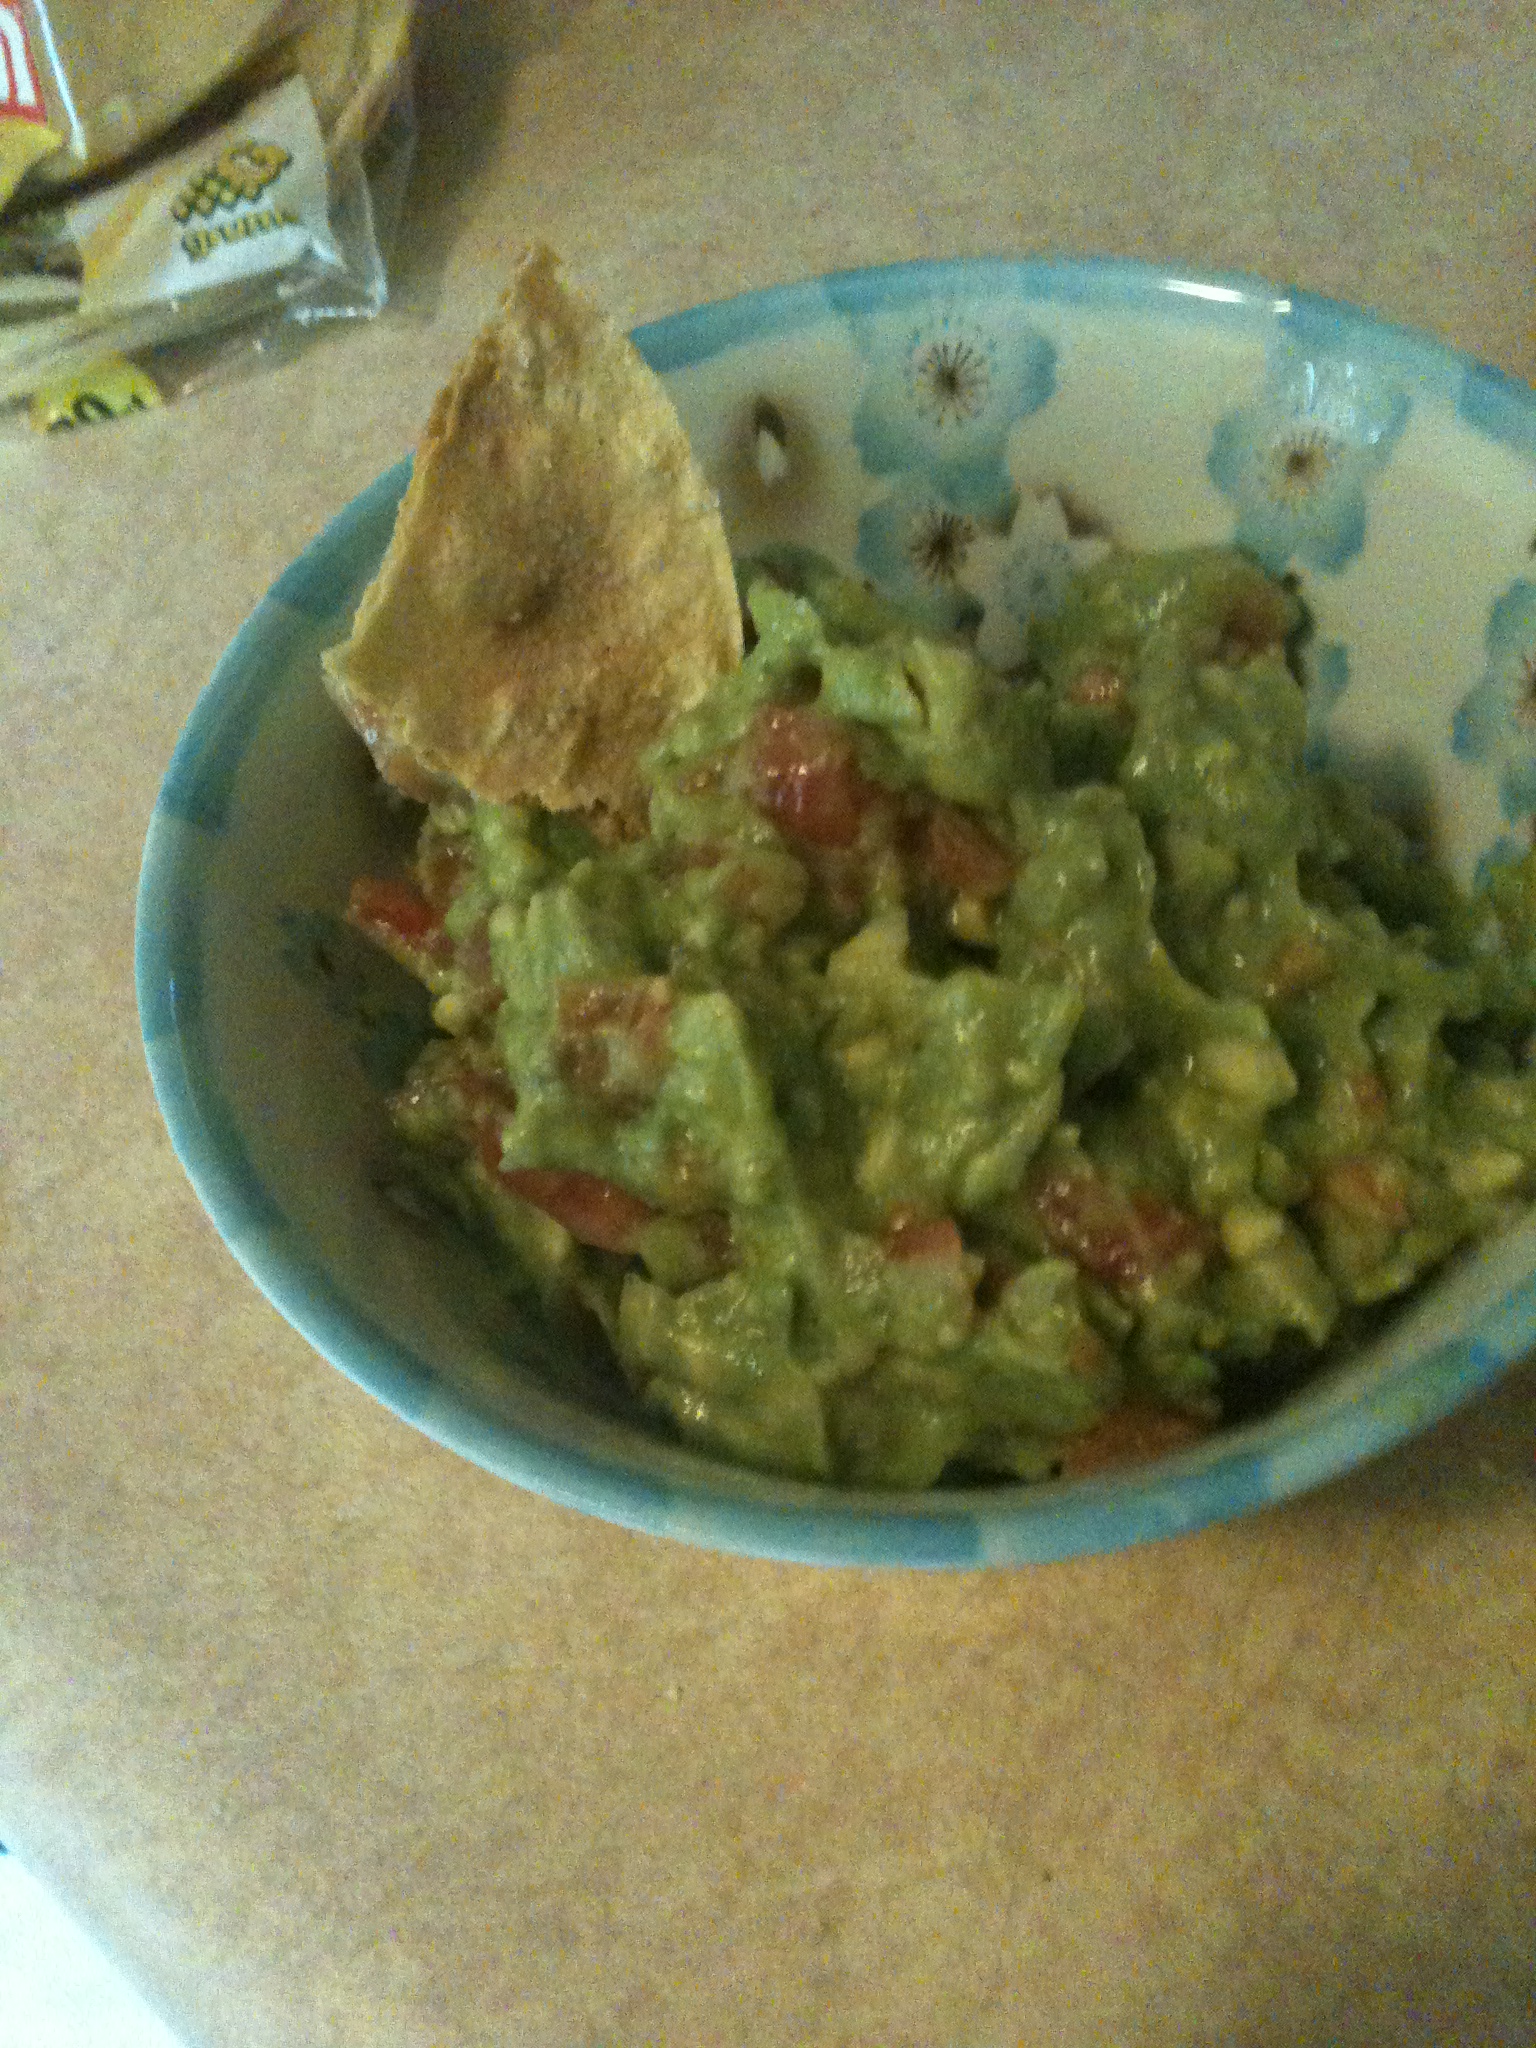
Let’s be honest. Has anyone ever in the HISTORY OF THE WORLD ever said no to an offer of chips and guacamole? No, I don’t think so.
I had two avocados hiding in our cabinet. And a tomato in the fridge. Hmmm…what could I POSSIBLY do with these two ingredients? I think you know the answer. However, we didn’t have any tortilla chips (I know, a travesty), and they just go so well with guacamole. But…we did have some tortillas that were going to get old soon. Aha! It’s all coming together now!
Okay so first, let’s get out these corn tortillas. I use Mission Corn Tortillas (see below). I’m not even going to post an “Ingredients” section for the chips because it’s literally tortillas, olive oil, and salt. Pre-heat the oven to 350 degrees.

Now, go have fun and rip them into little pieces. I used only about five tortillas. Think of how many chips you can actually make if you used the WHOLE bag (30). Put olive oil on the baking sheet before you plop dem tortilla pieces on. Then sprinkle salt all over.

Now let them cook for however long you like. 10 minutes, they’ll be a little soft. I left them in for around 15 minutes to get a nice crunch. Okay, we’ll get back to these when they’re ready from the oven. Let’s get to the important matter…the guac.
Get your ingredients ready!

Ingredients:
- 2 ripe avocados
- 1 tomato
- 1 lemon
- 2 garlic cloves
- Plenty of salt n peppa
First, let’s tackle the avocados. Now I wish I took a picture of this, but the best technique I’ve found is to put the knife you’re using on the avocado, press down til you hit the core (the pit), and circle it all around the avocado until you’ve made it full-circle. Then grab each half of the avocado and pull! If they are the proper ripeness, they should pull a part easily, making it really easy to scoop the goods out.

Now that you’ve scooped it all into a bowl, mash it up!! And have some fun with it! Next, cut up the lovely in-season tomato (small pieces), the garlic, and constantly put pepper and (especially) salt. Once you feel everything is properly seasoned, cut open a lemon, and squeeze that baby out. The lemon (I know people normally use lime–use whatever you want) will give it that nice zesty taste, but also it will preserve it if you want to keep it in the fridge for a bit. Avocados have a tendency to brown fairly easily.
 Now that the guac is all mixed up, GO BACK AND TASTE IT! Make sure it has enough salt, guacamole can be notorious for not being salty enough to fill that need. Did you hear something? DING! Chips are ready! (Just kidding, I still don’t have an oven timer). Pull them out of the oven and let them sit for a few minutes so you don’t burn your tongue (like I did after being over-eager and piggish).
 They are goooood. So that’s pretty much it. We loved it so much, we made another batch of chips to finish off the guacamole. One of the best things about home cooking is that you know what’s in the food you’re cooking so you have no reason to feel guilty about it, which is an awesome feeling.
Maybe you have a party coming up (Labor Day is right around the corner) and want some awesome snacks that will impress the neighbors (or friends), but won’t cut a hole out of your wallet. Get this:
A bag of Mission Yellow Corn Tortillas (which contain 30) costs under $3. Avocados are still in season (hurry before fall ends!), so you can get them for $1 a piece. All you need are tomatoes, which can be found for roughly 59 cents each. Now you do the math. I had a whole pan-full of chips from FIVE tortillas. Imagine you did THIRTY? You’re going to have a ton of chips and if you get 4-5 avocados and 2-3 tomatoes, you’re going to have a TON of chips and guacamole, for a huge price of under $10. And trust me, your friends will love you. And invite me too, because I will do anything for a scoop of guac.
Enjoy!