Archives

Mary Kate’s Easy Delicious Peanut Butter Cookie Recipe

Who is Mary Kate? Good question. Mary Kate is one of my best friends from college. We were put randomly as roommates together freshman year and since then, it’s history. Shout out to my baby girl. Anyways…we both share a passion for cooking and baking. Nearly every night, when we were both RAs and no longer living together, I would trek over to her apartment no matter the weather. She would always have something cooking or baking, or simply in the works so that we got the chance to cook/bake together, which we loved.

Mary Kate, Chris and I on MK's and my graduation

Mary Kate, Chris and I on MK’s and my graduation

Talking about it makes me miss it way too much so let’s get on to the food. Besides the many amazing things she’s created, one of my favorite and easiest recipes was her peanut butter cookie recipe. On any given night while watching X Factor or Family Guy, Katie and I (Katie was her roommate at the time) demanded peanut butter cookies and wouldn’t shut up until she made them for us. Luckily for her, it was quick and easy. So here it is, I take no credit for it, except maybe the chunky peanut butter because I’m pretty sure it was supposed to be creamy.

  • Prep Time: 5 minutes?
  • Bake Time: 9-12 minutes (took mine 11 minutes)
  • Set Oven to: 350 degrees

Ingredients

  • 1 egg
  • 1 cup peanut butter
  • 1 cup sugar
  • handful of chocolate chips (optional)

And that’s it…I kid you not. Just talking about them makes me want to run to my kitchen and eat more. SO SIMPLE YET SO GOOD.

Directions

  • Butter up or grease your baking sheet
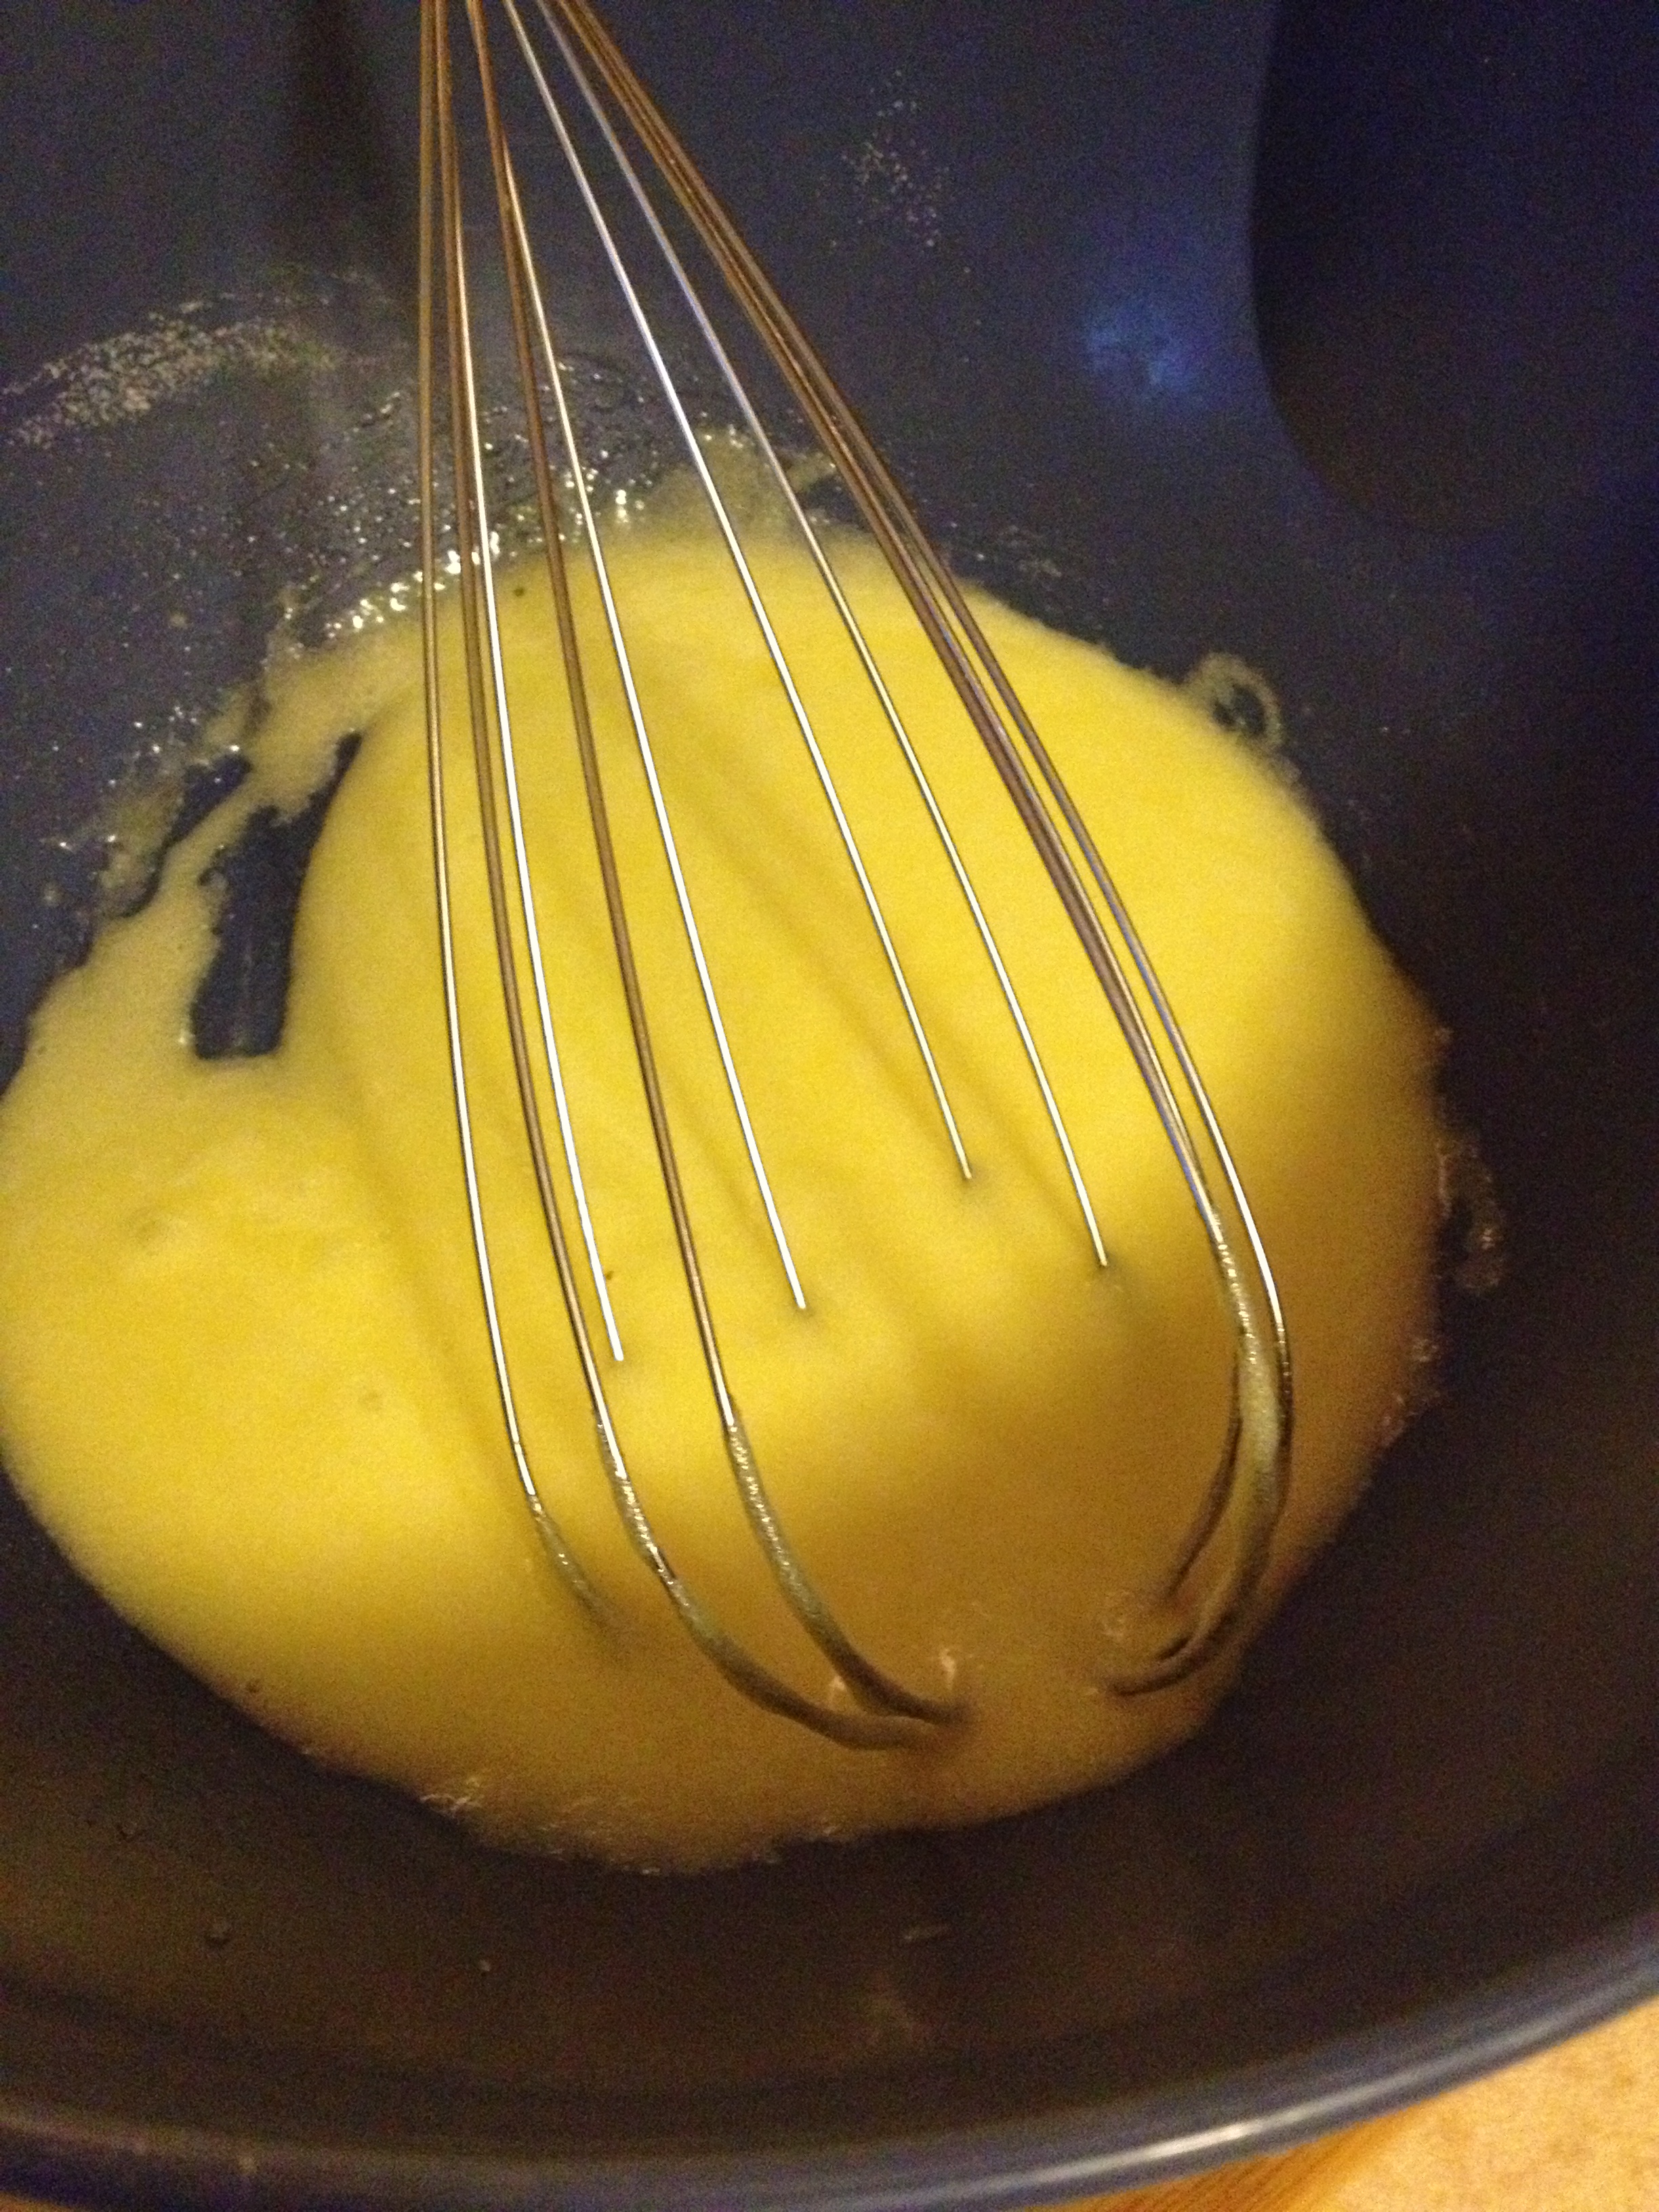
  • Drop that egg in a mixing bowl and slowly whisk in the cup of sugar

egg + sugar

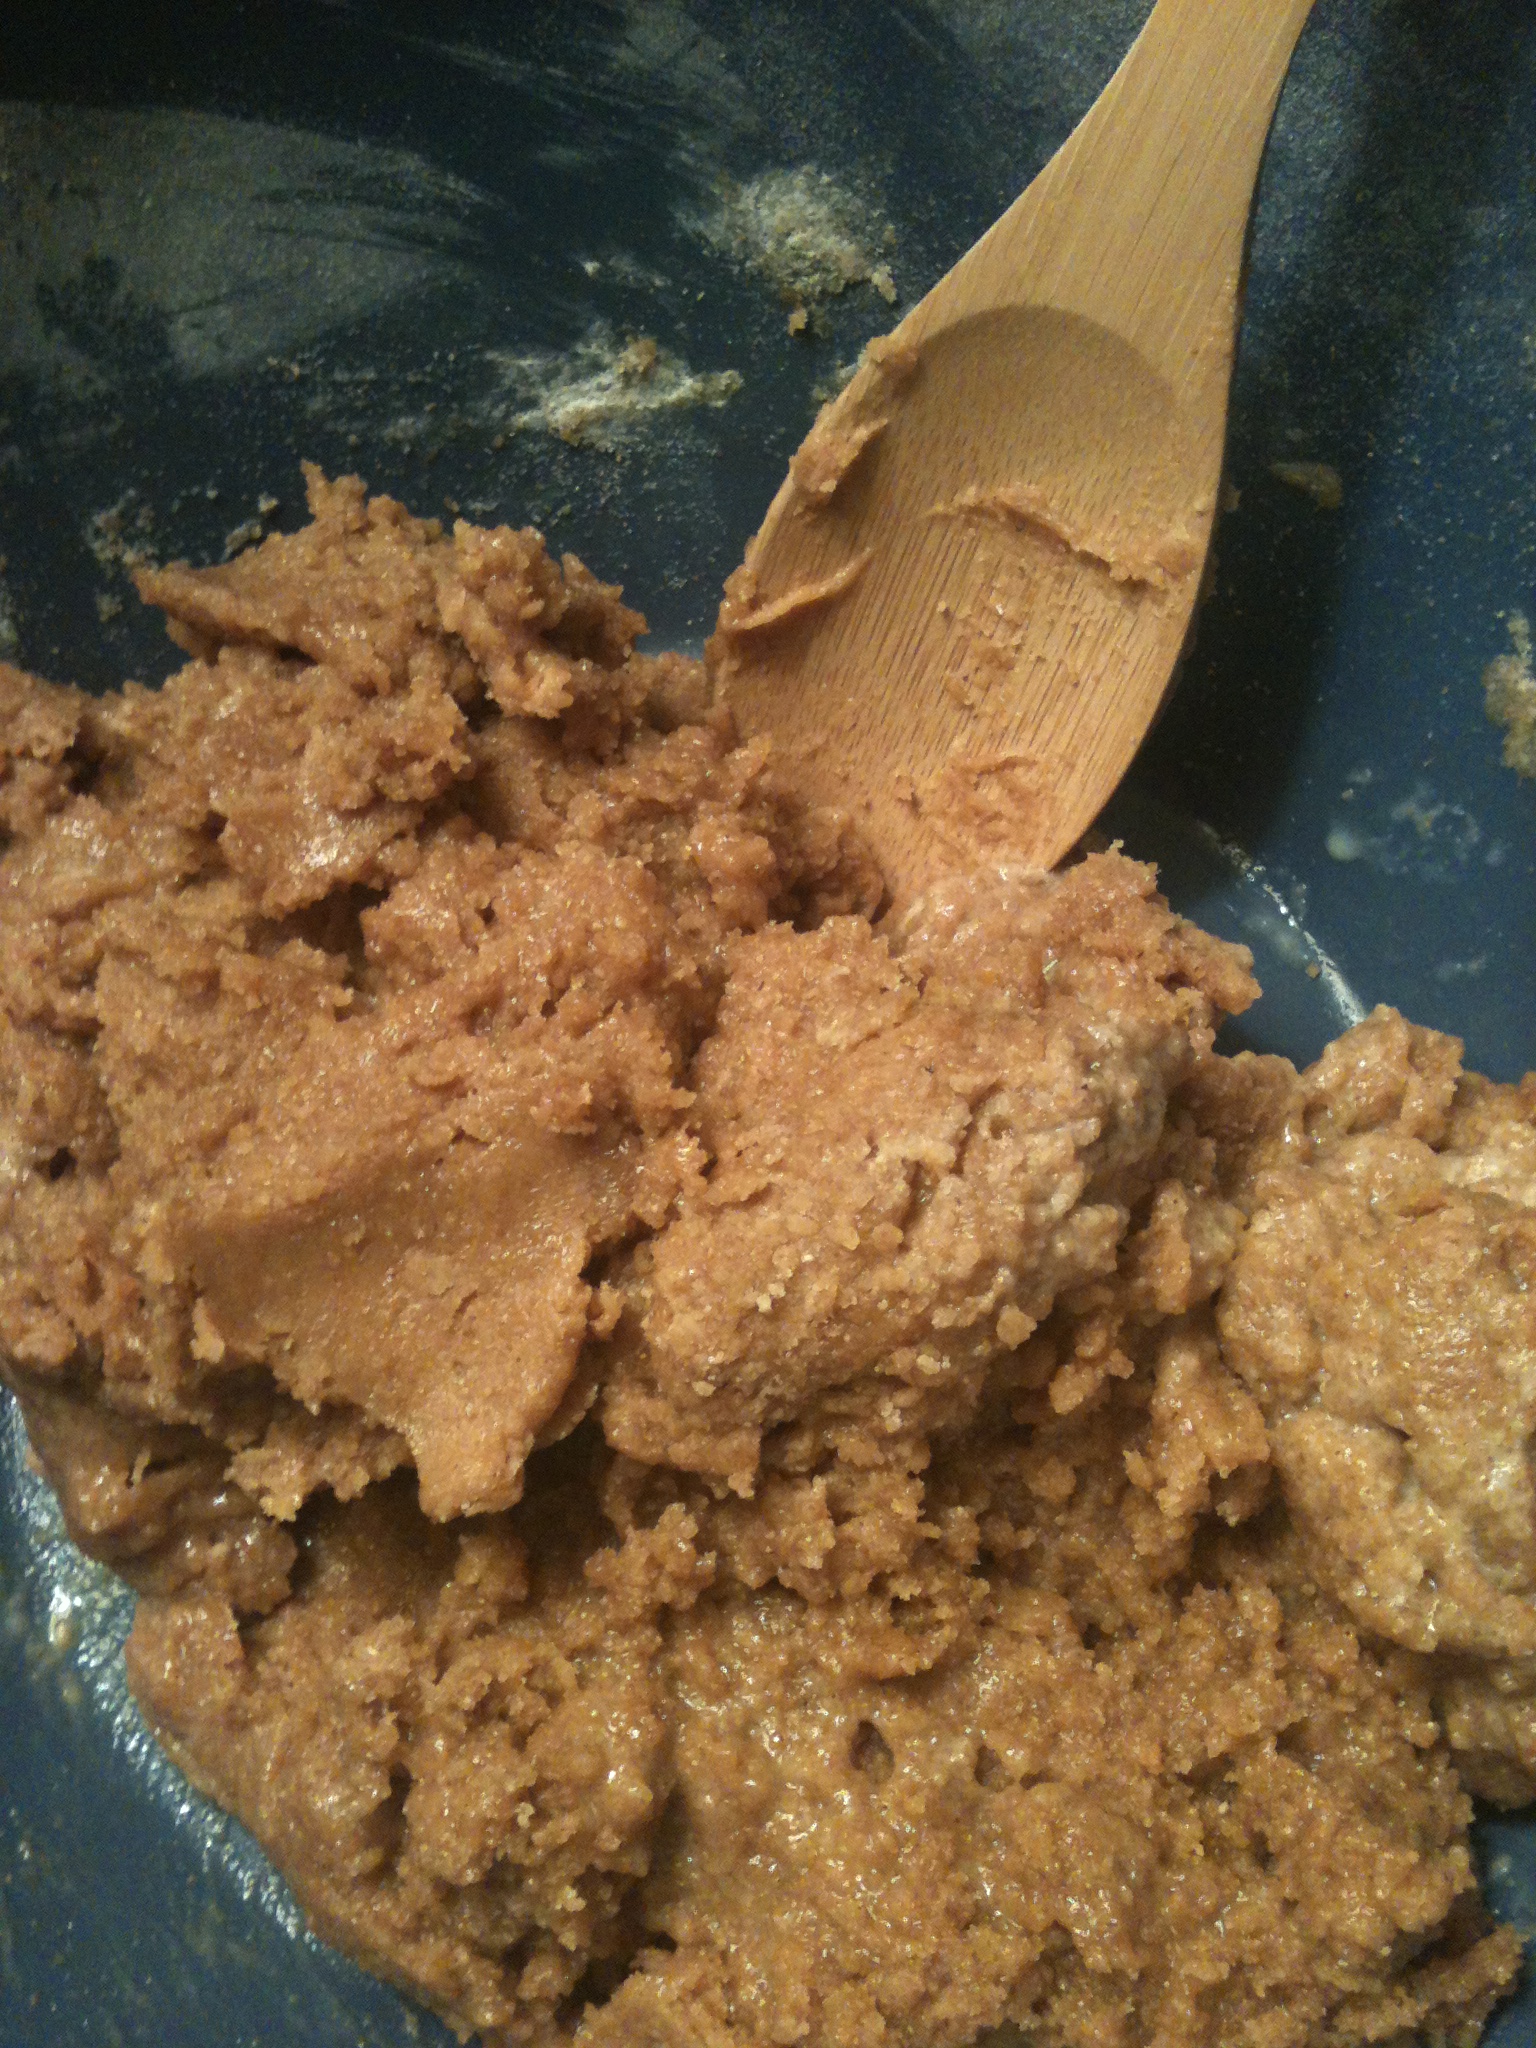
  • Using a wooden spoon (or whatever you’ve got), stir in the cup of peanut butter into the egg-sugar mixture
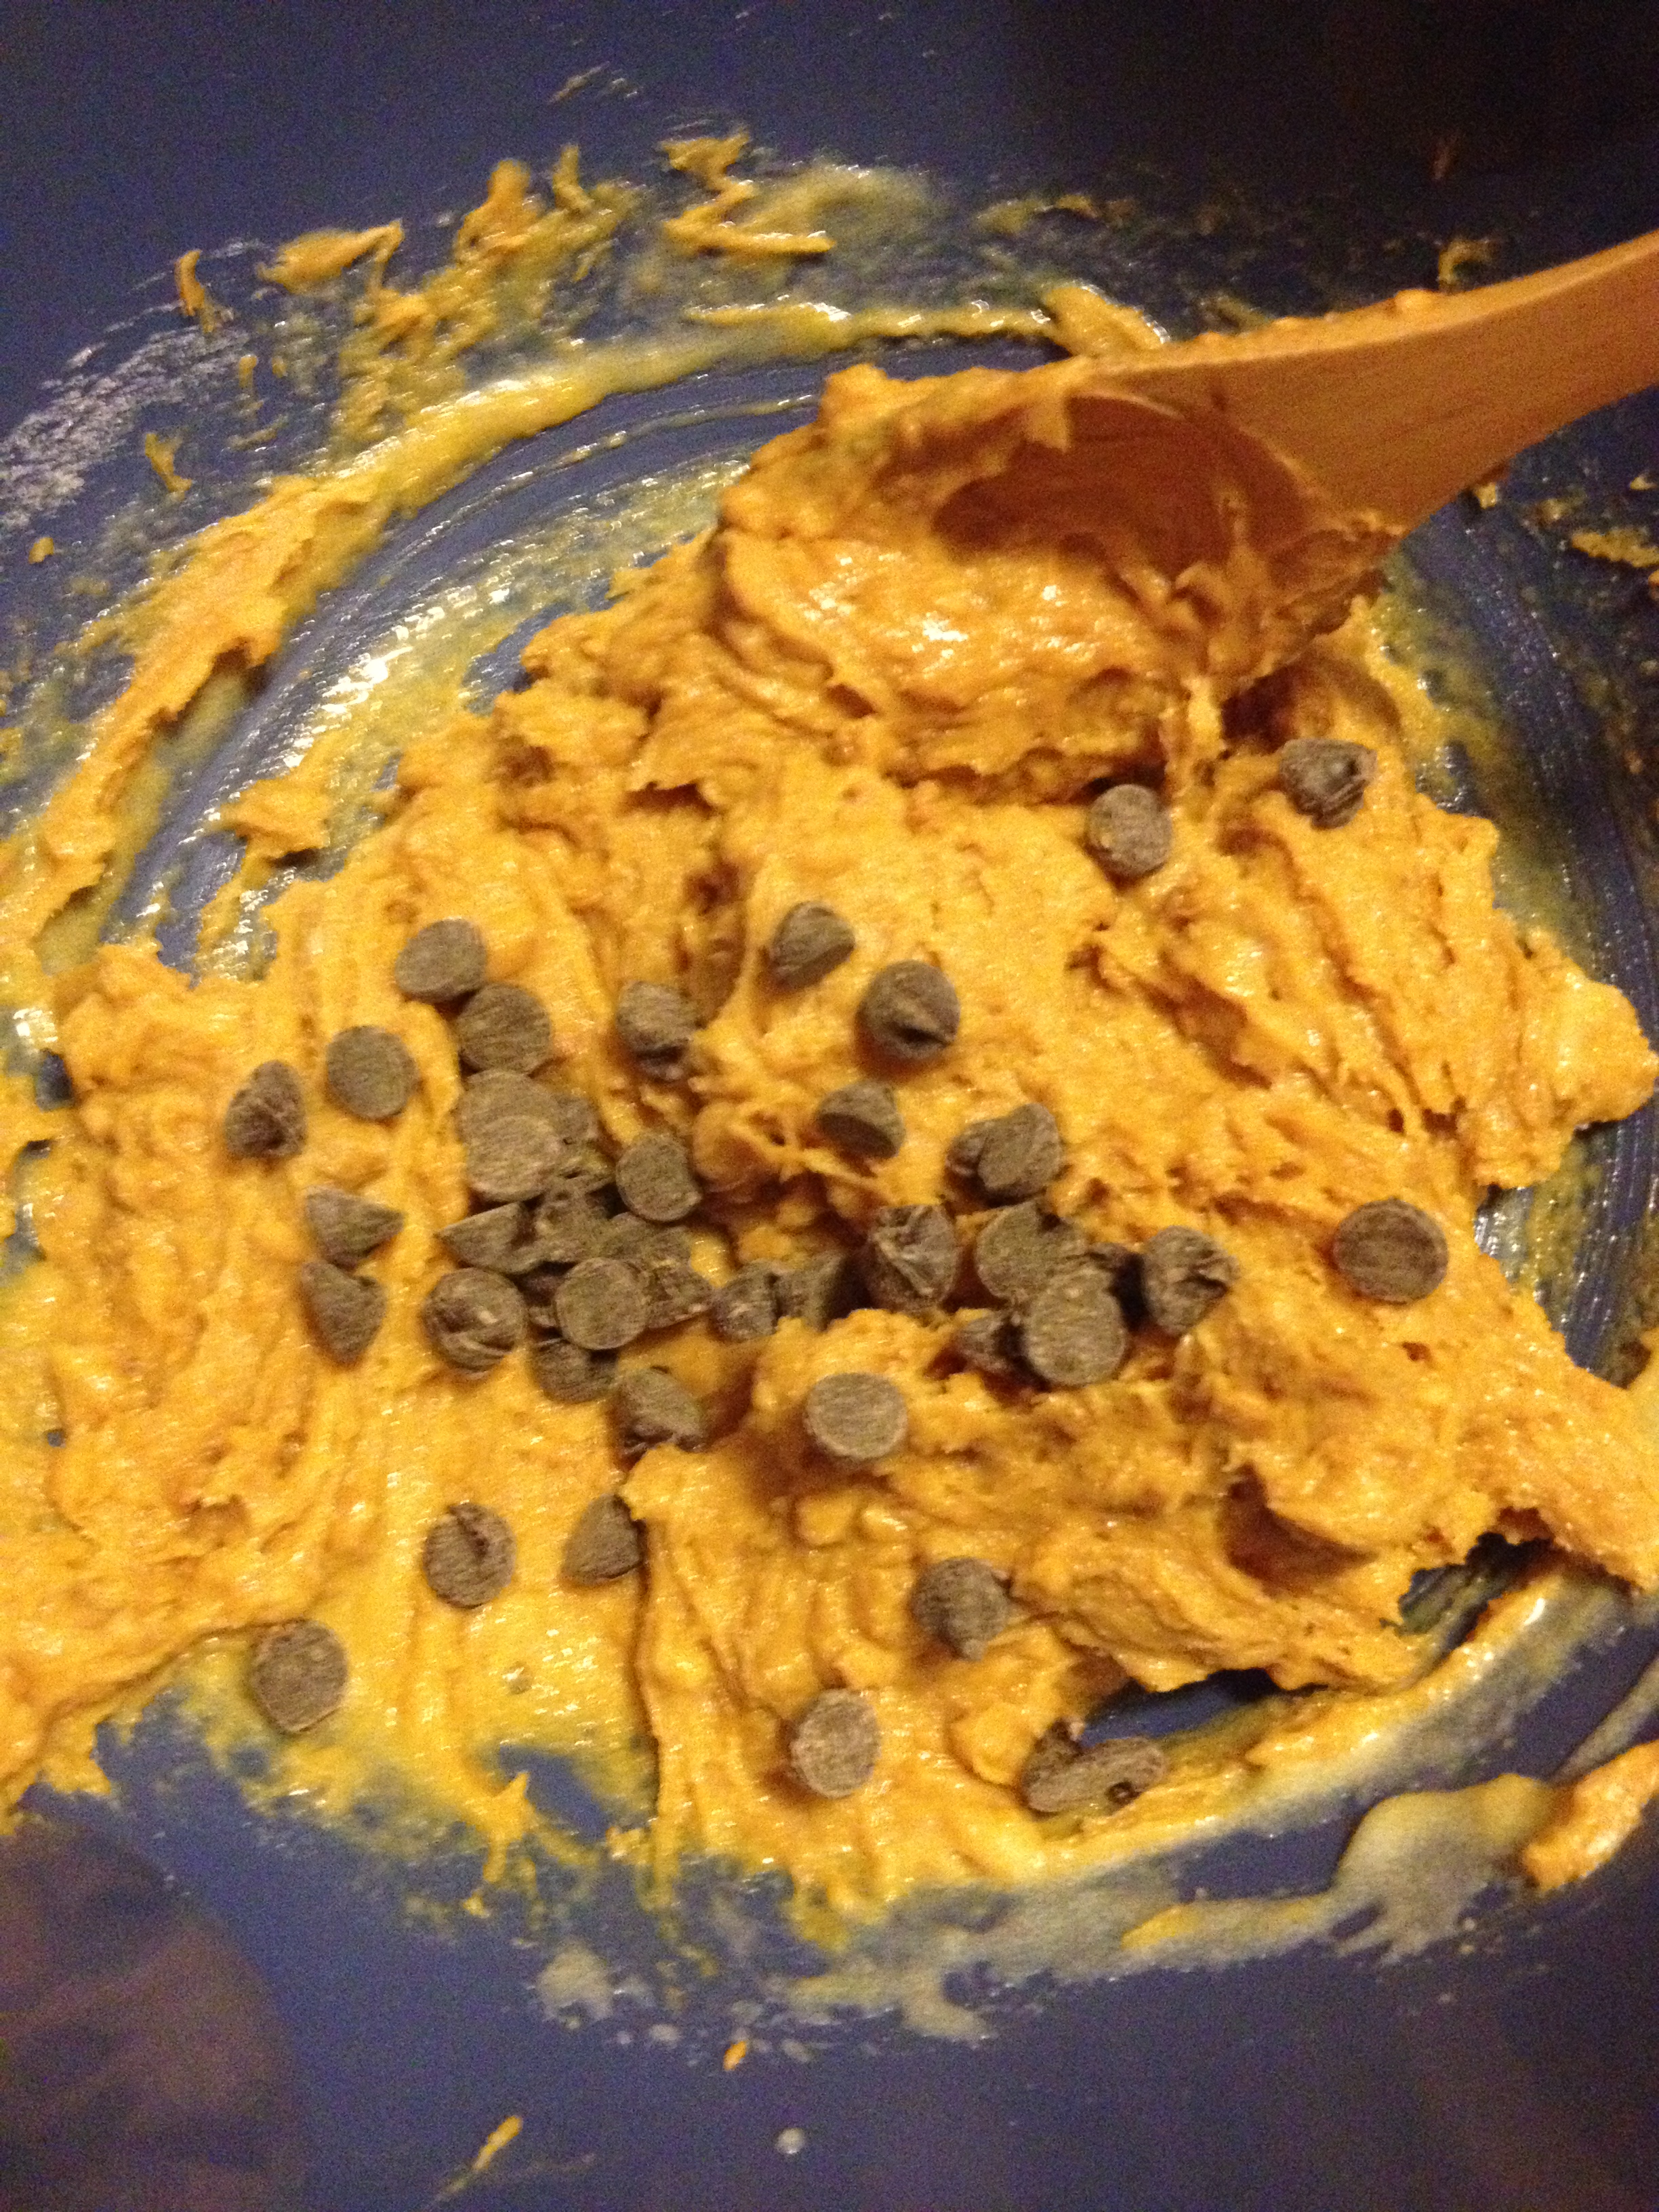
  • Now, you don’t have to use chocolate chips, but she suggested I did, so I went for it and it added an amazing counter-taste to the peanut butter. Classic combo, right? So I just grabbed a handful of the chocolate chips and folded them in the peanut buttery mixture.

choco choco chip

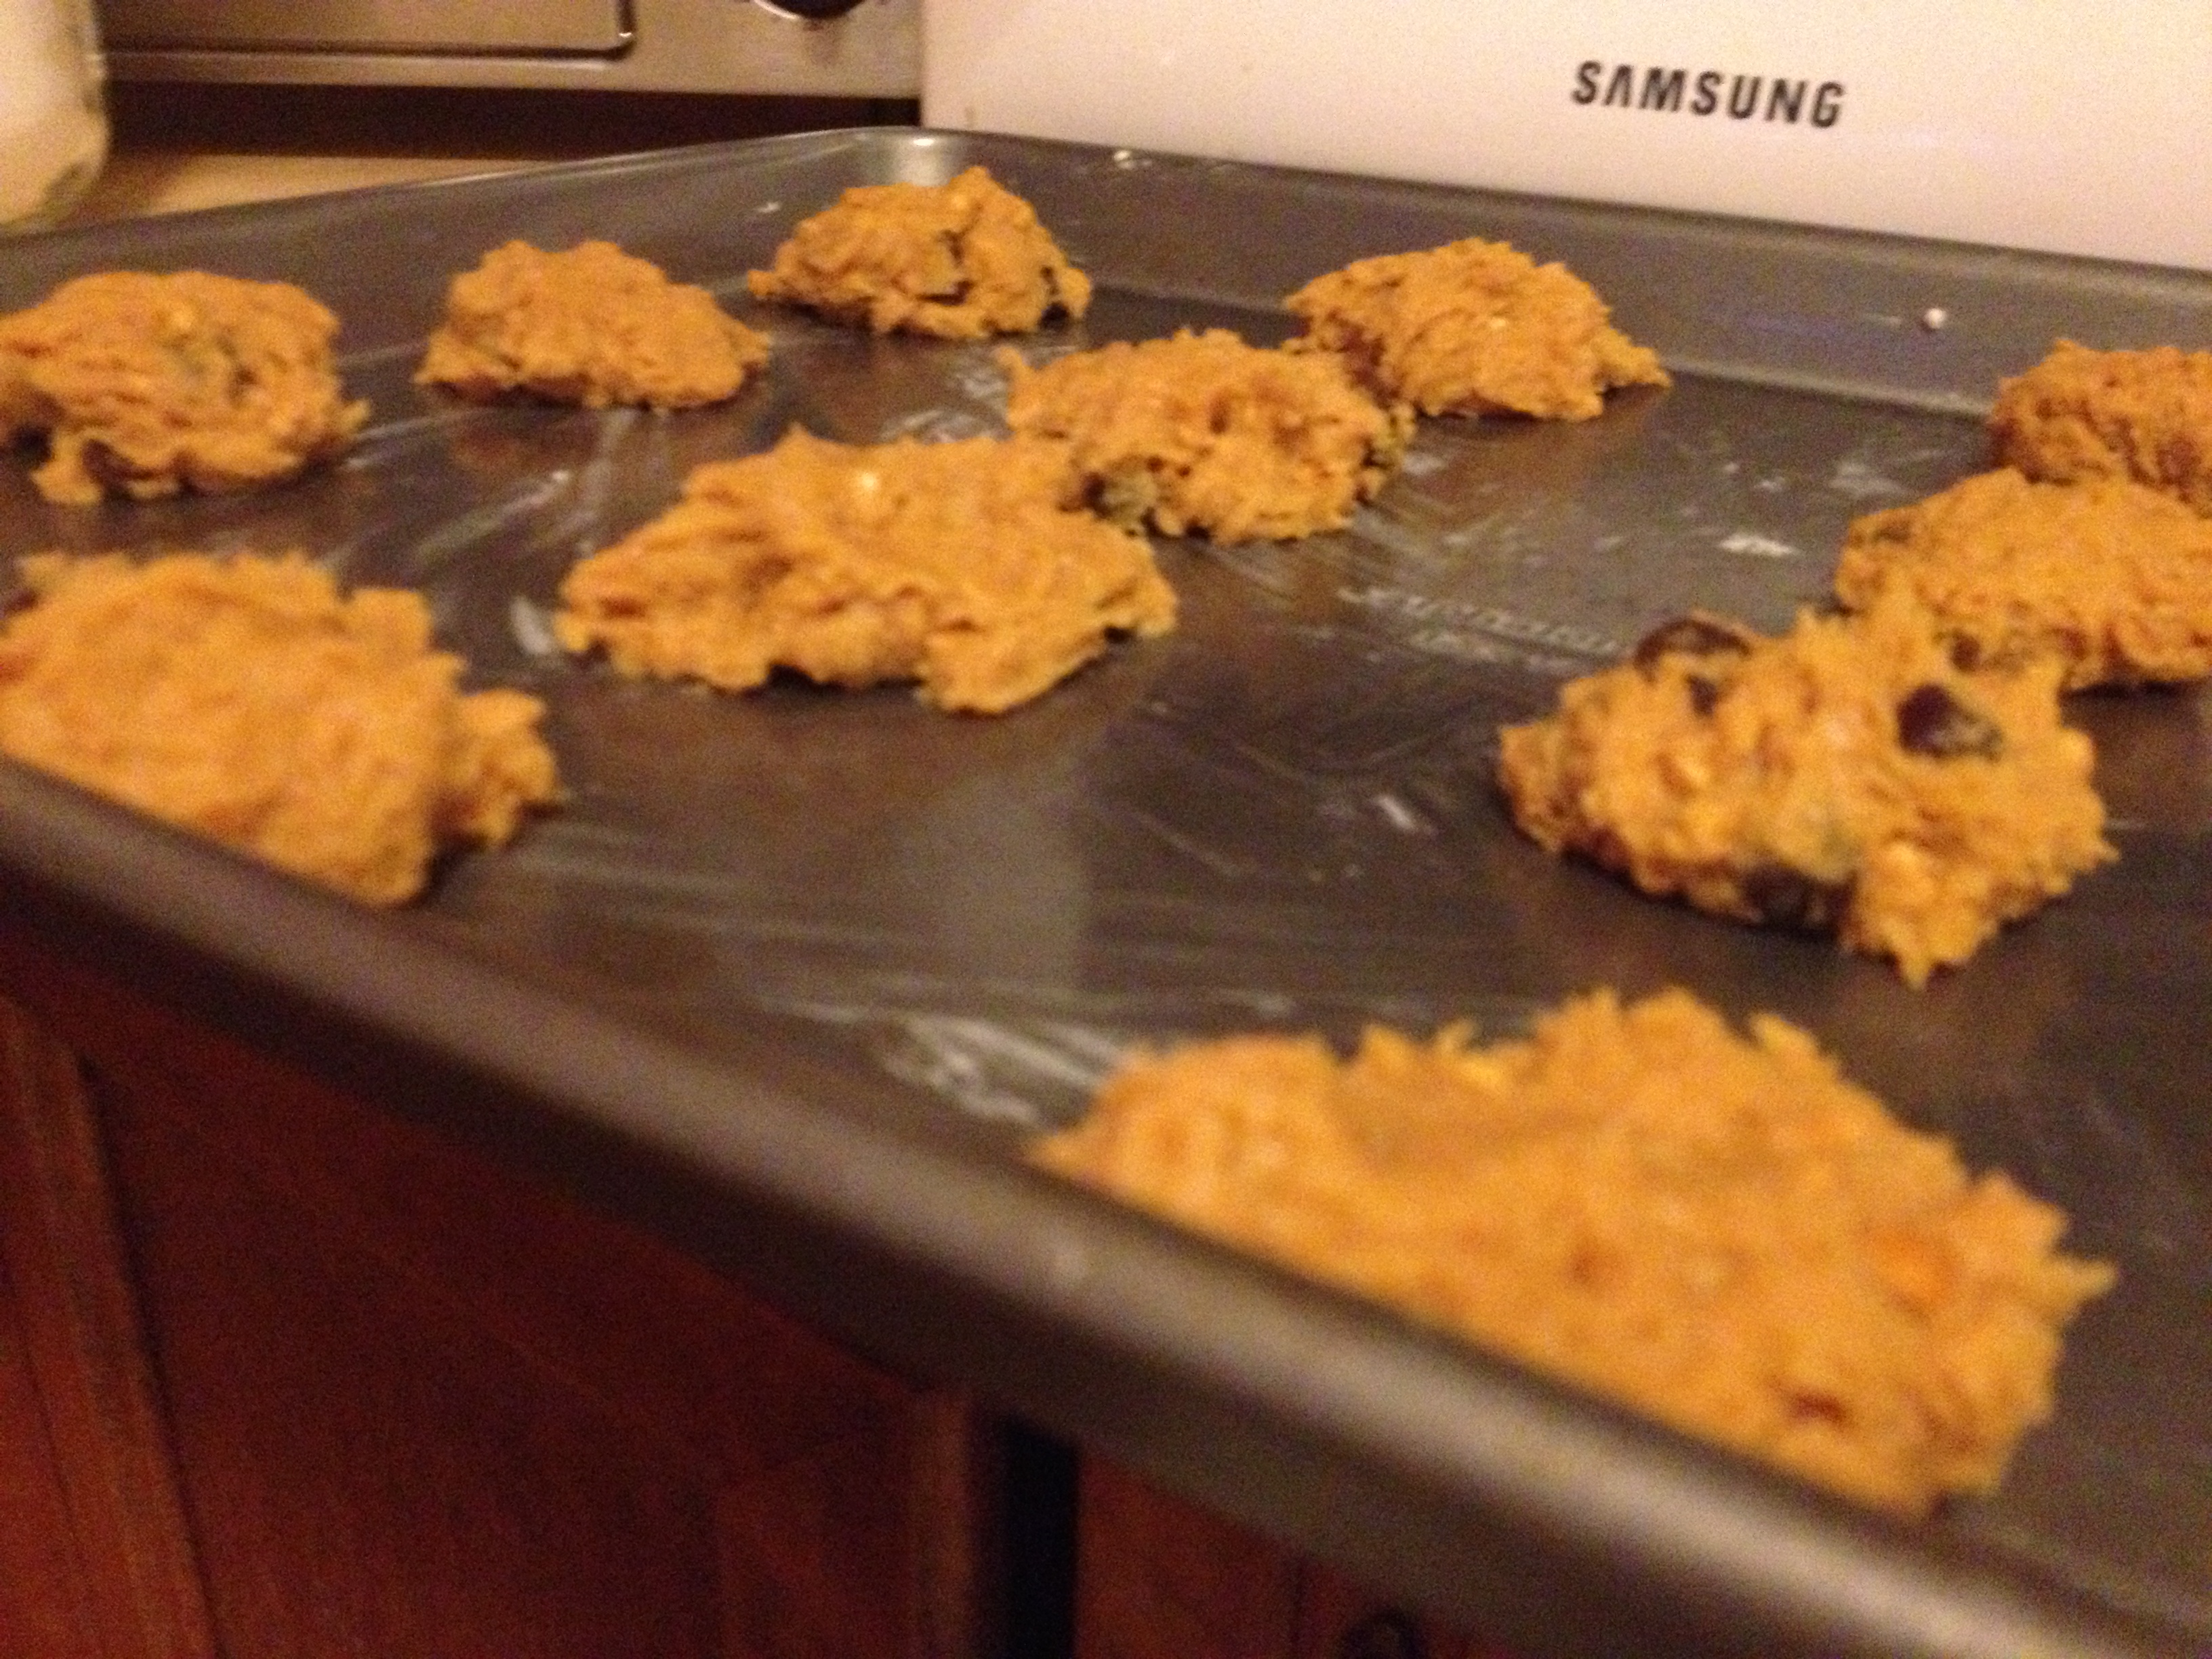
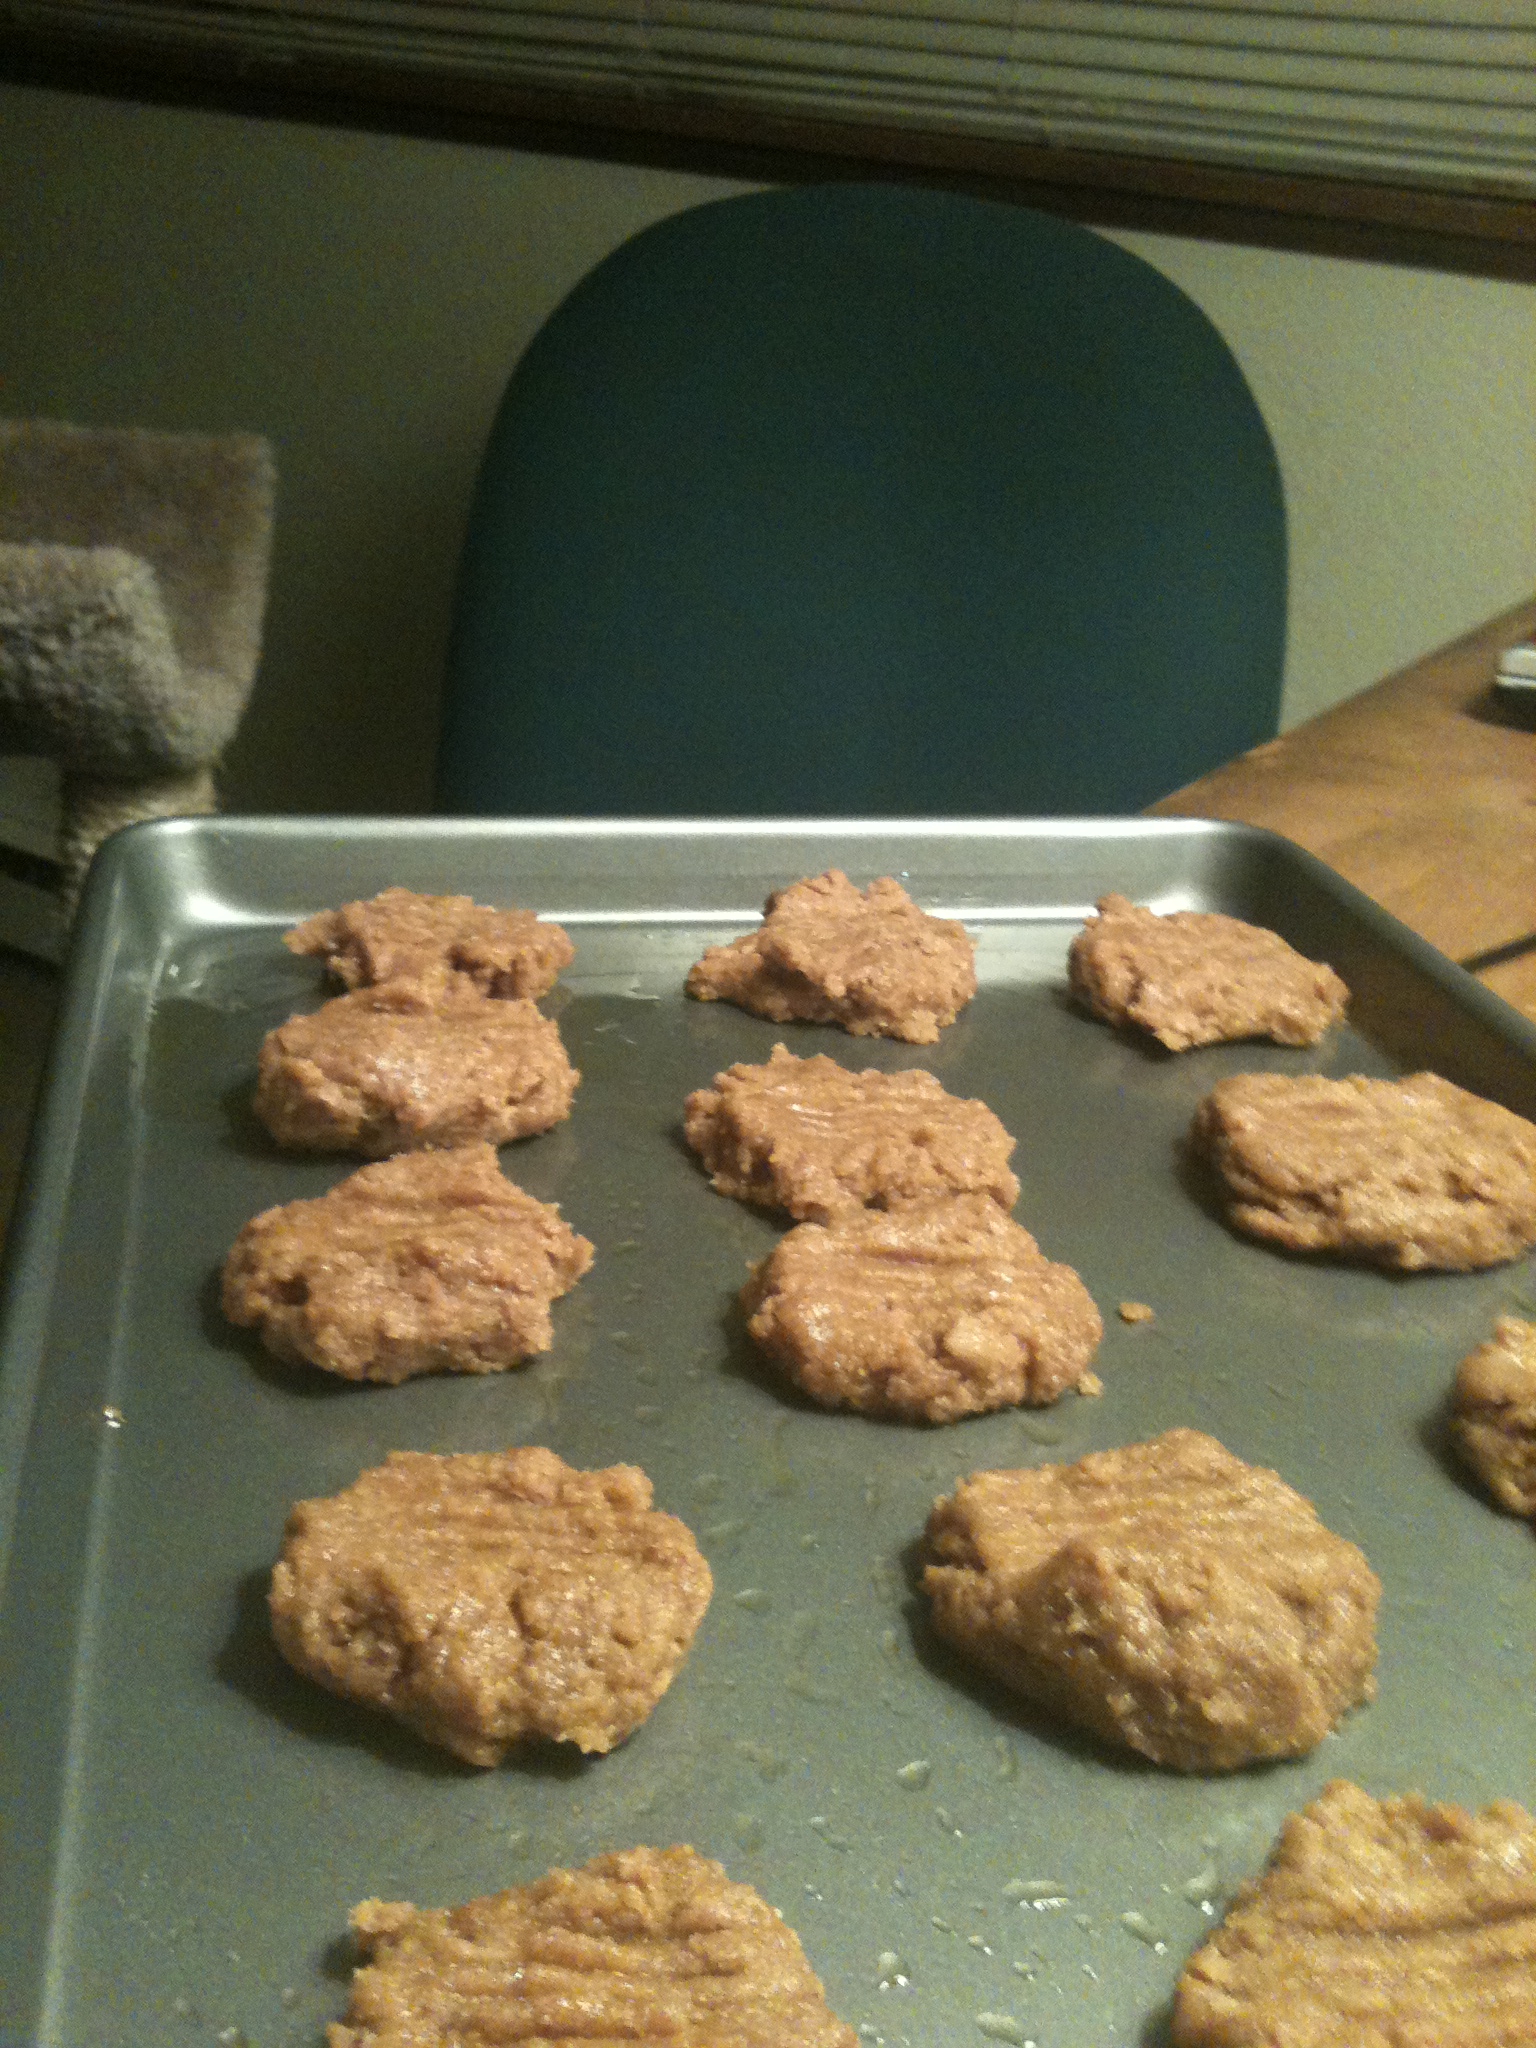
  • And that’s it! That’s all the prep time! Now use a spoon or your fingers to place them on the baking sheet, spaced apart enough.
Waiting to bake

Waiting to bake

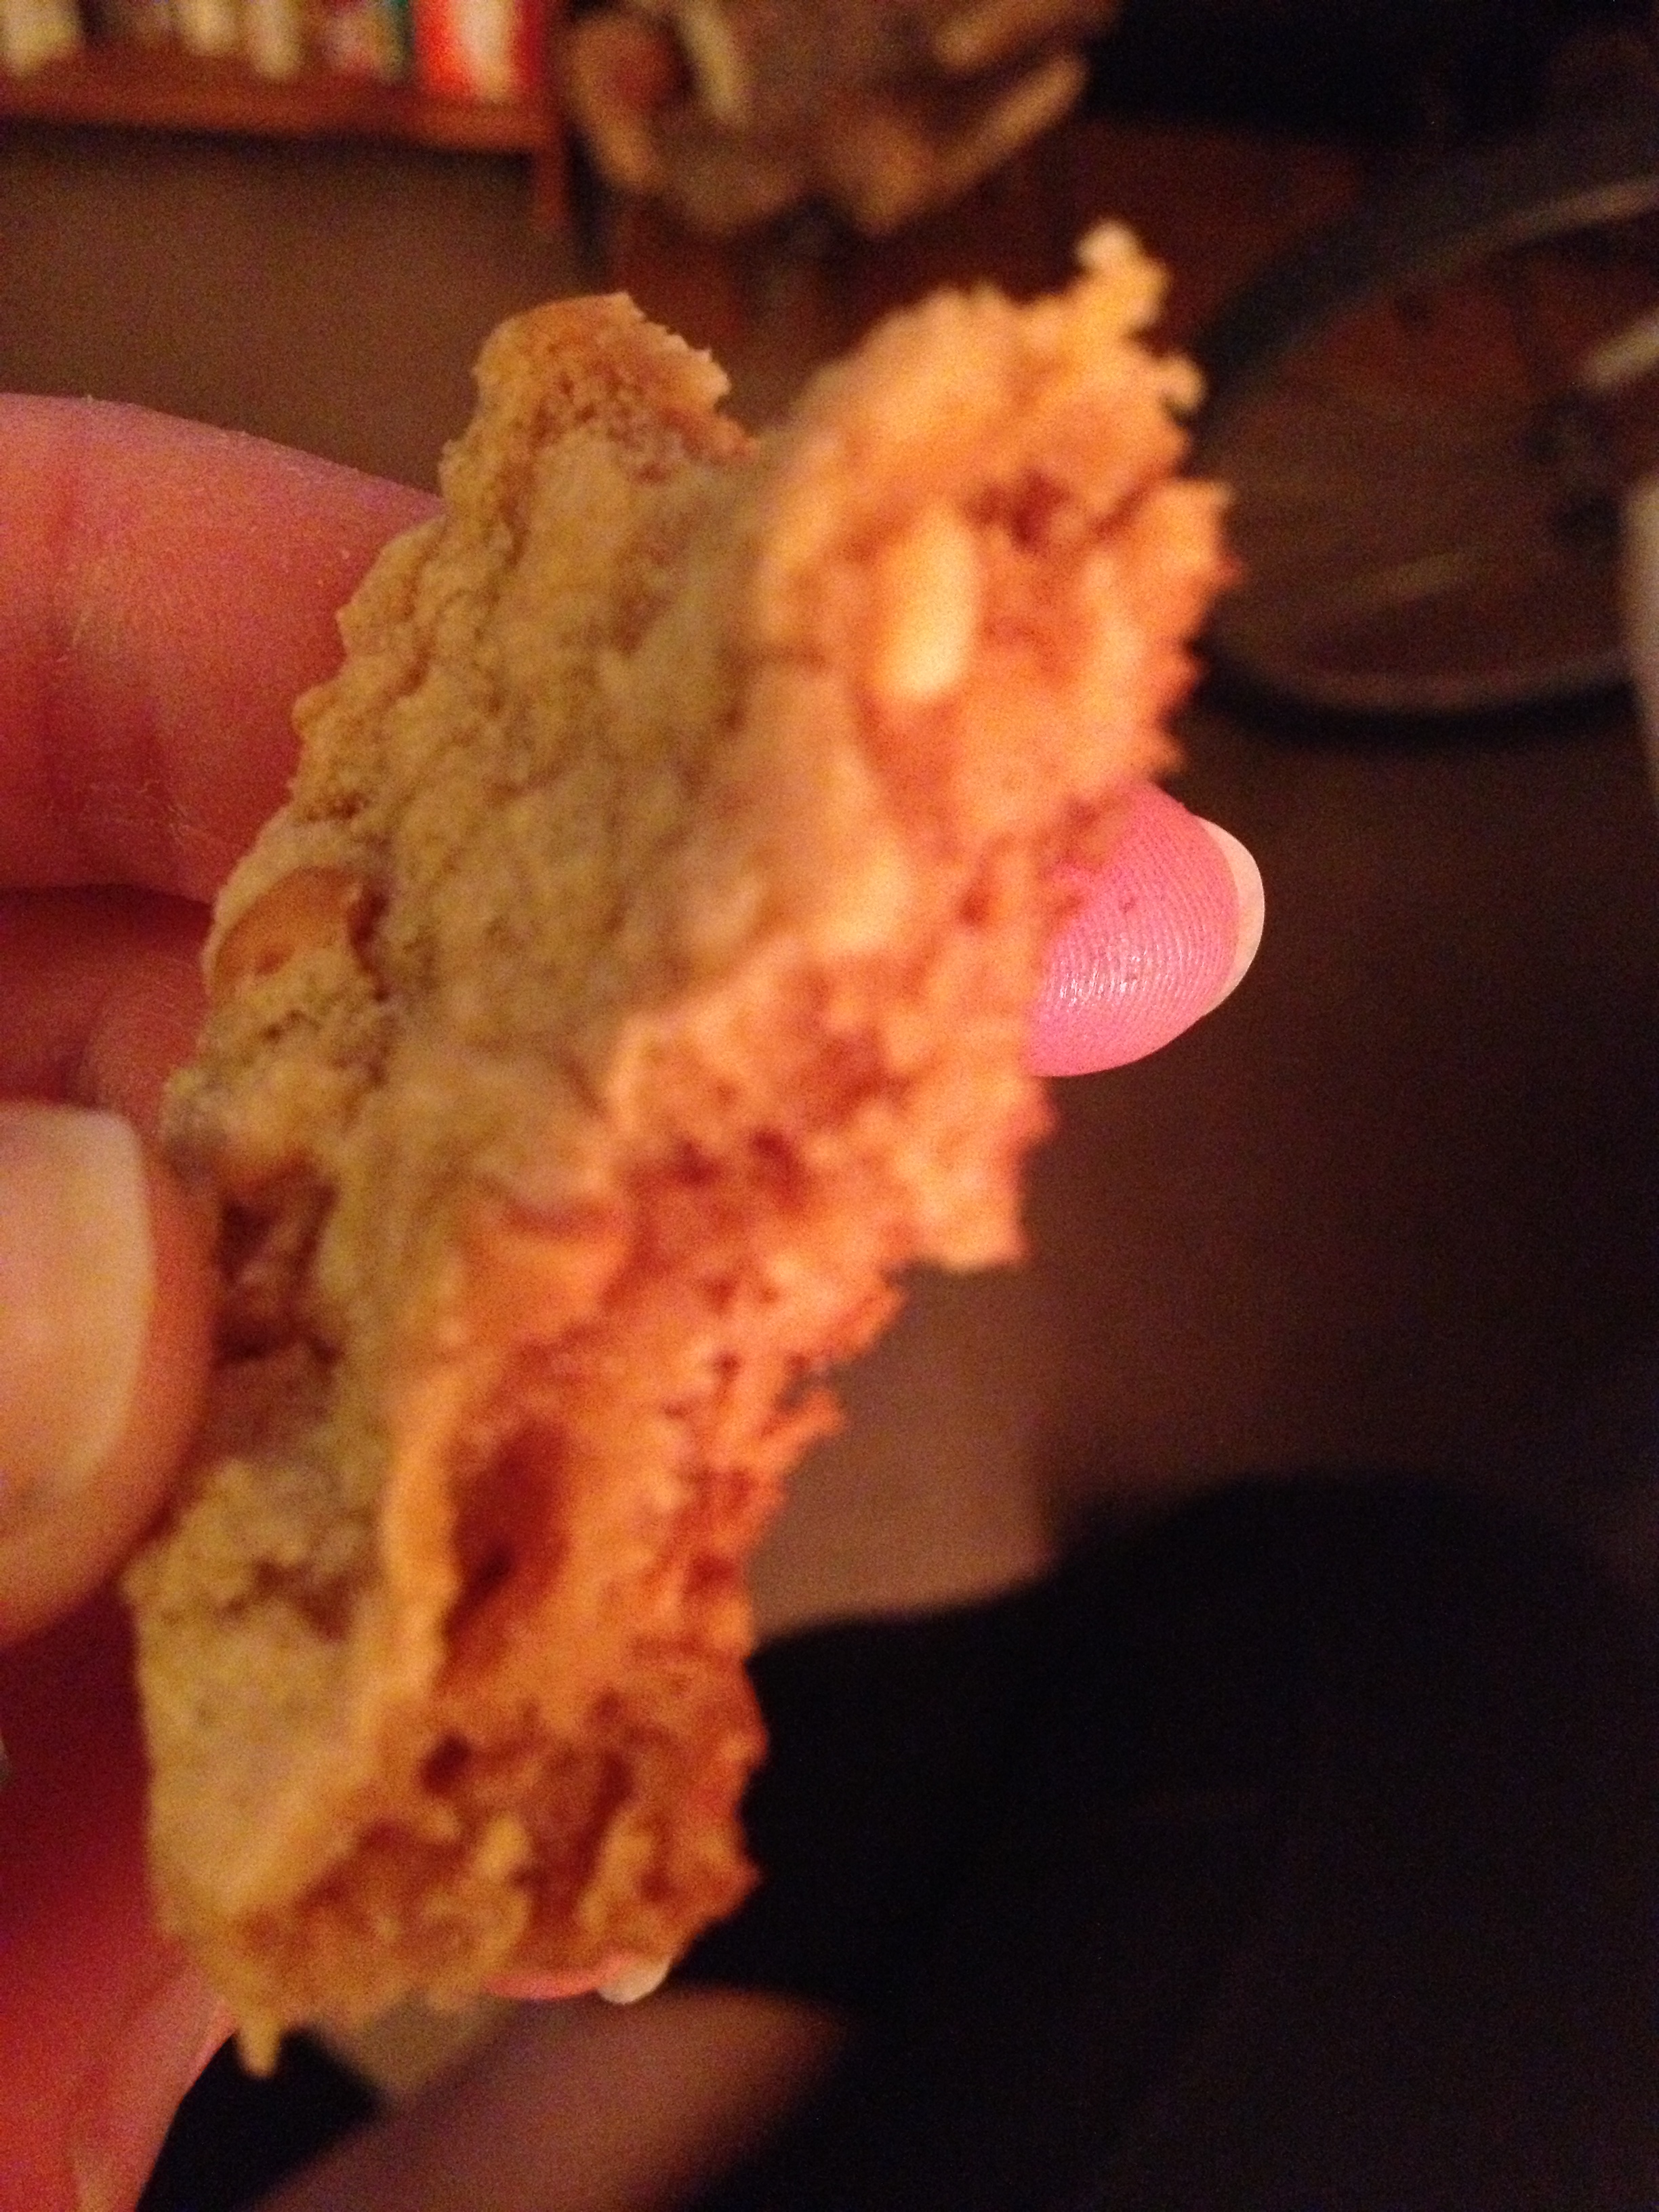
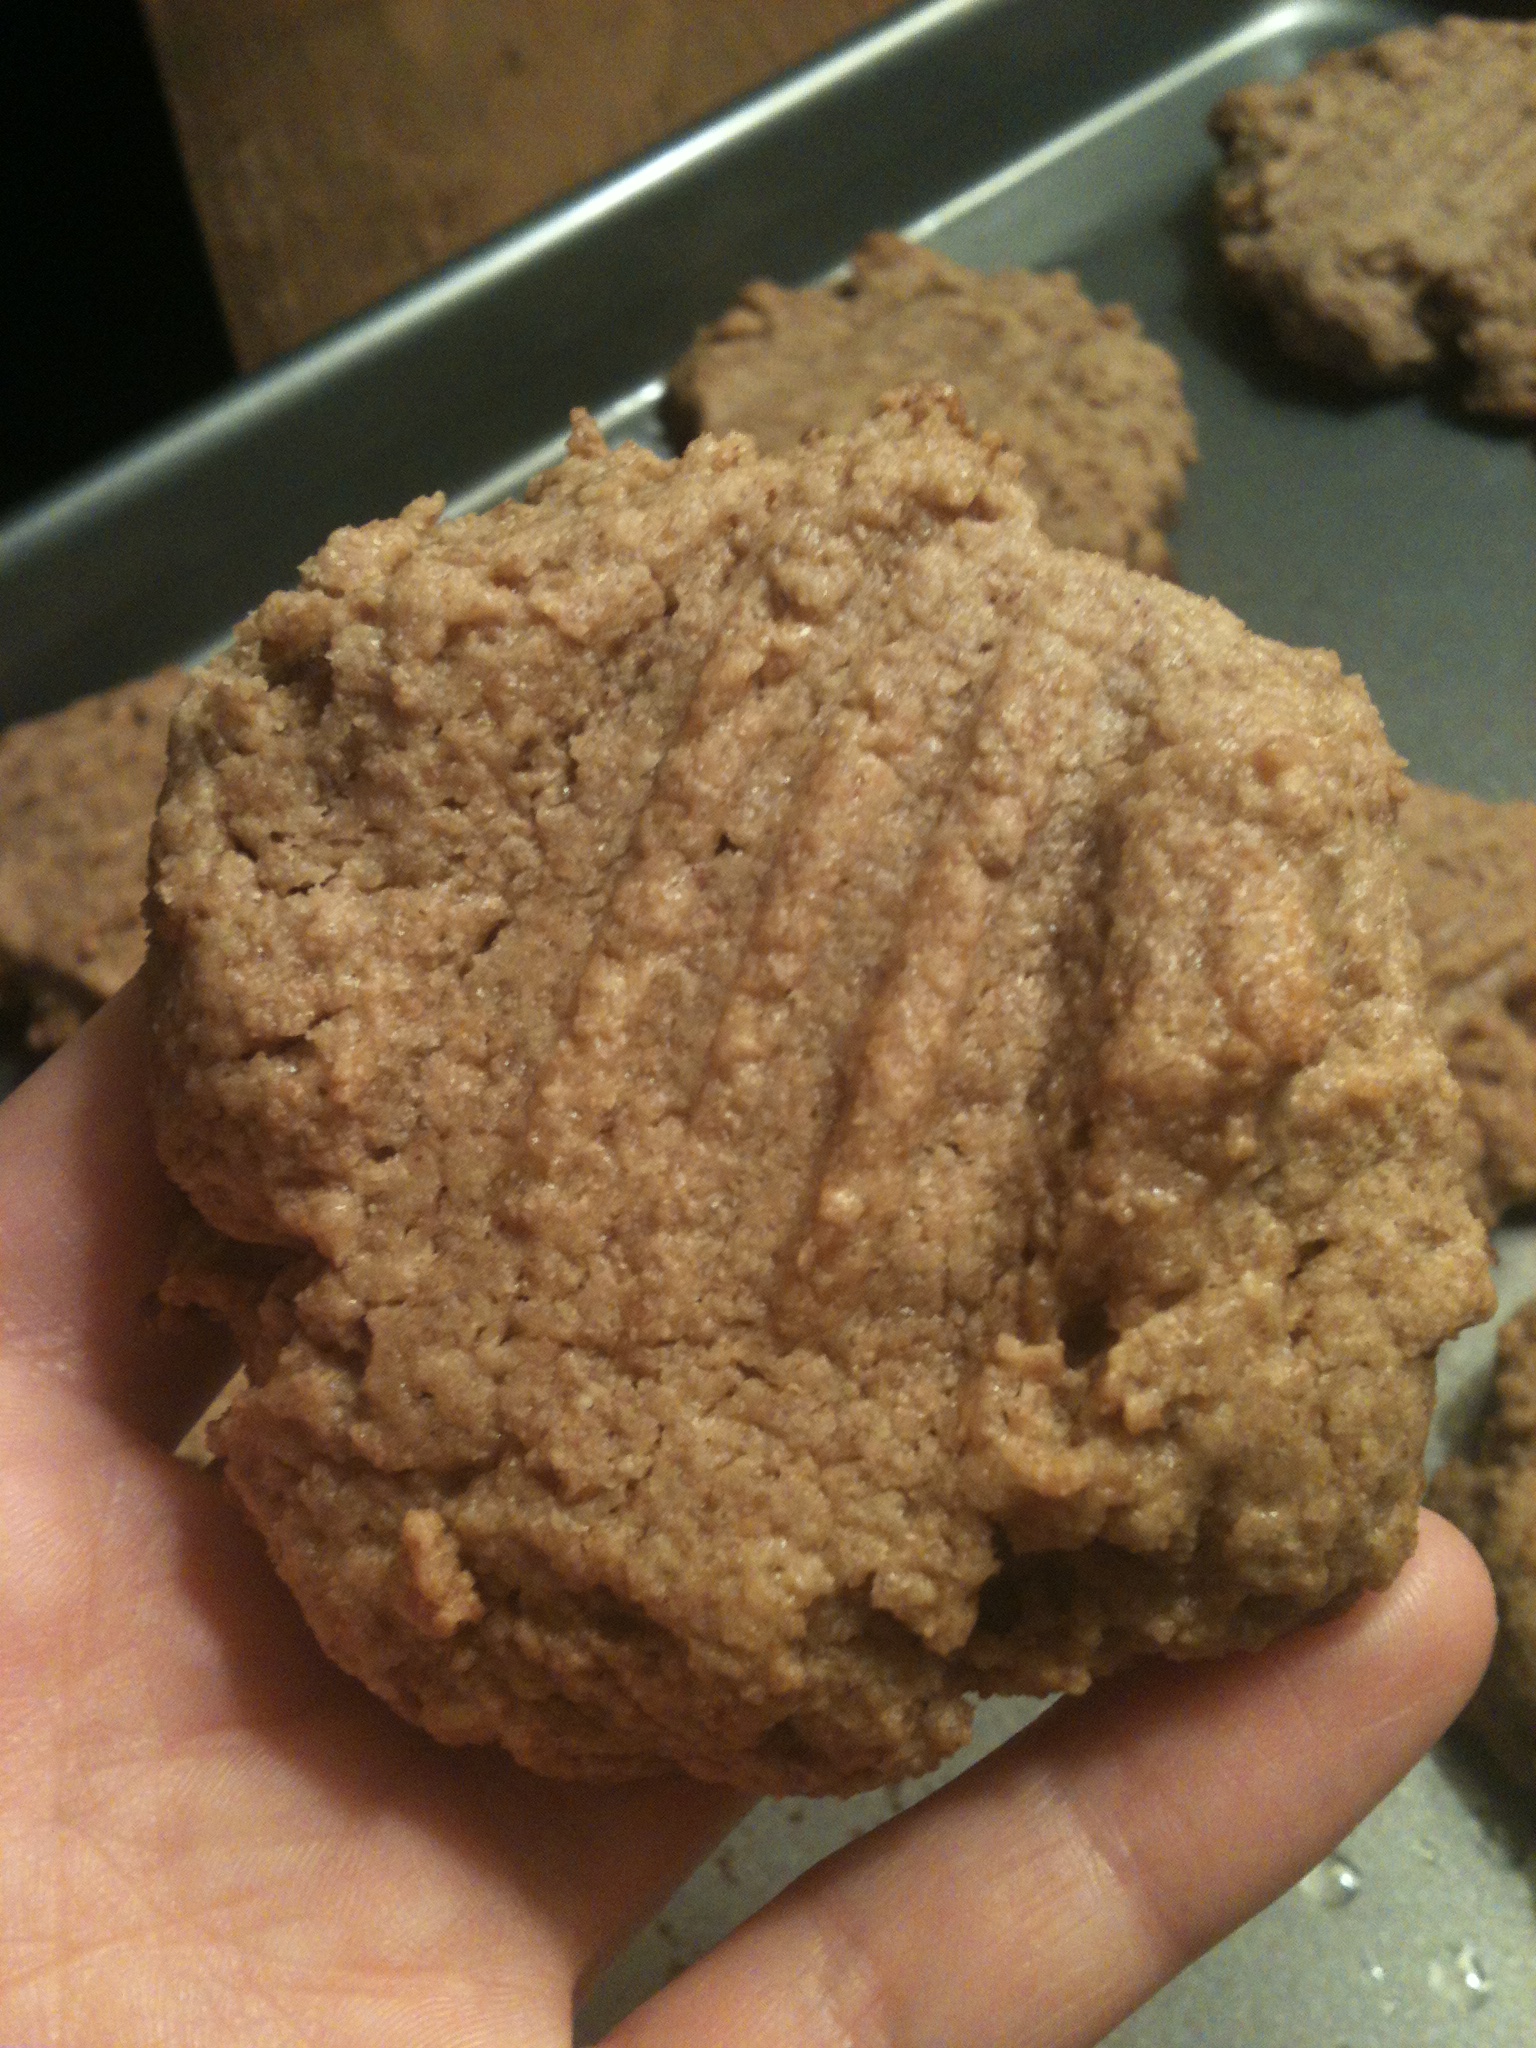
  • Now pop em in the oven for 9-12 minutes. Mine took 11 minutes. Take out, leave them a bit to stiffen up…THEN EAT THEM!!

They turned out lovely, and it brought me back to baking with her which was probably the biggest plus of this recipe. I hope you enjoy how easy and delicious this recipe is. Give thanks to Mary Kate!

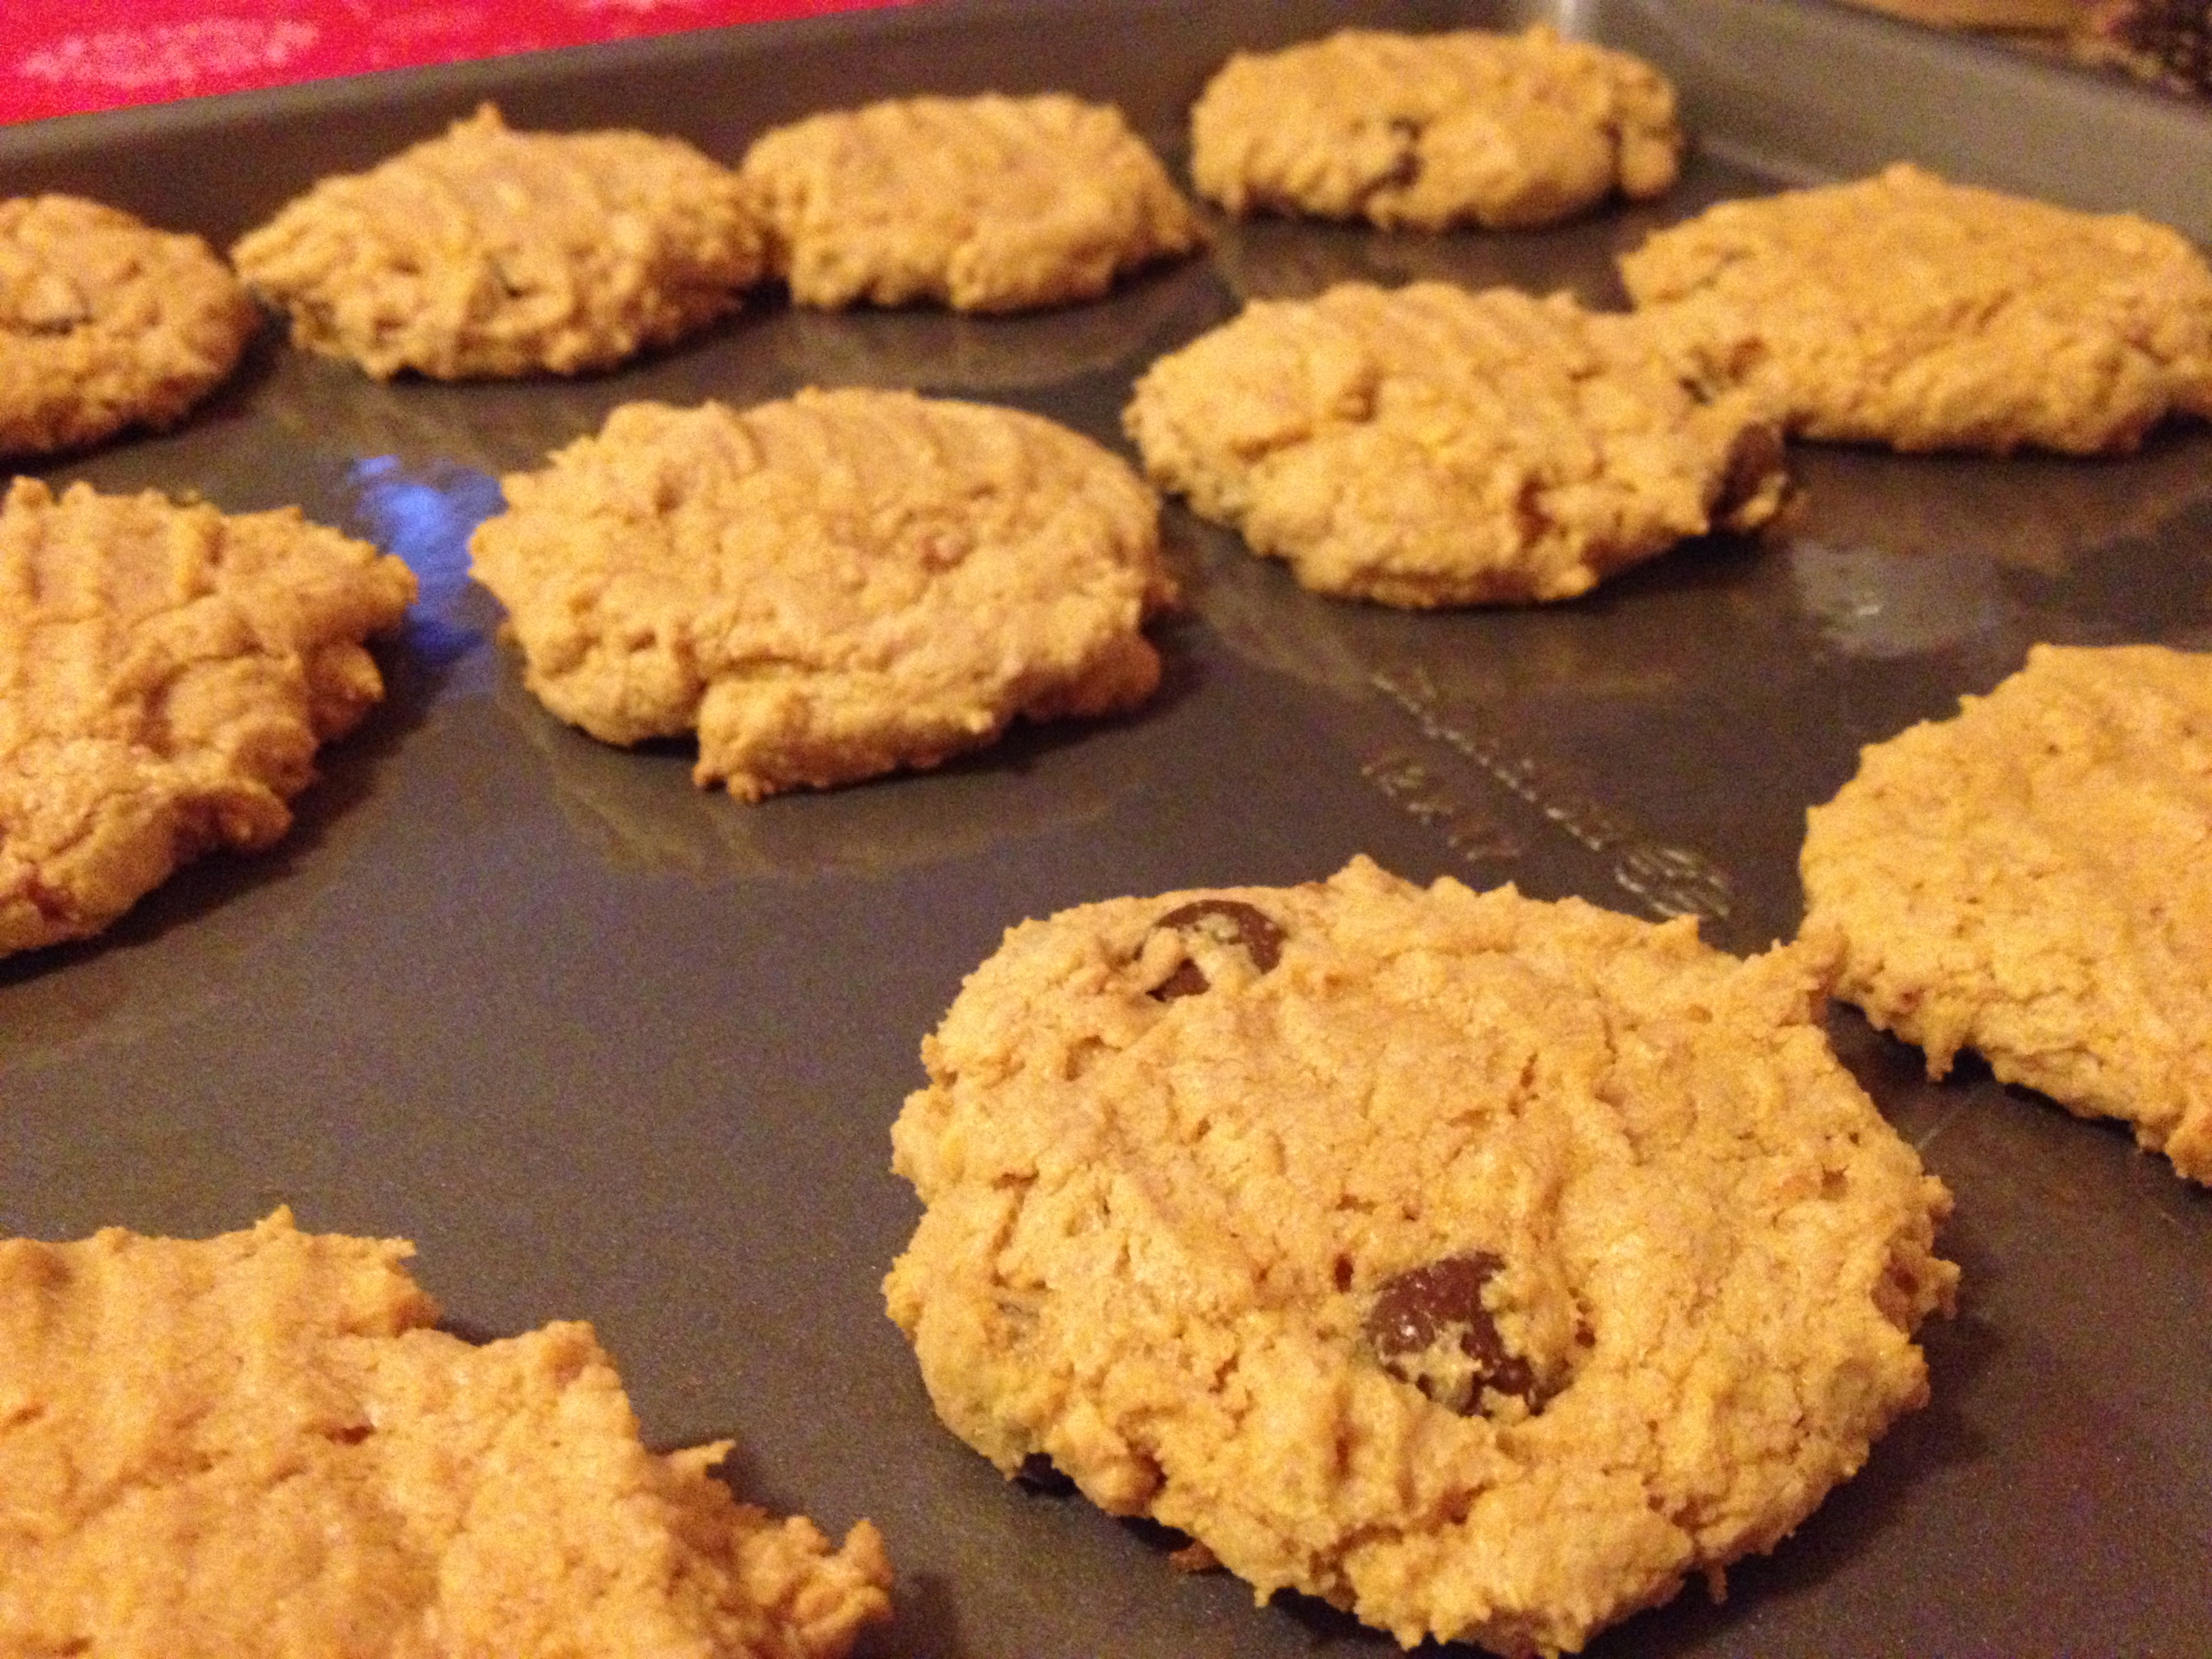
photo (48)

spacer

Berry Delicious! HEALTHY Berry Whole-Wheat Pie/Crumble

First of all, yes, yes, I know…brilliant title. I thought of it myself. And second of all, it IS healthy and GUILT FREE. Why? There’s barely any sugar in it. It’s weird. But I don’t lie. And for record, this is my first pie/crumble/whatever-you-want-to-call-it that I’ve made by myself from scratch. I took it from here, but as usual, modified. It didn’t take too long either. It was a very pleasant process.

Ingredients (Pie Filling)

  • 2 boxes of blackberries
  • 2 boxes of raspberries
  • 1/3 cup sugar
  • 2 teaspoons flour

Ingredients (Crust)

  • 2 cups whole wheat flour
  • 1.5 sticks butter
  • 1 teaspoon salt
  • 12 teaspoons cold water

So first, let’s take care of the pie filling (will take approx…2 minutes!).

Directions (Pie Filling)

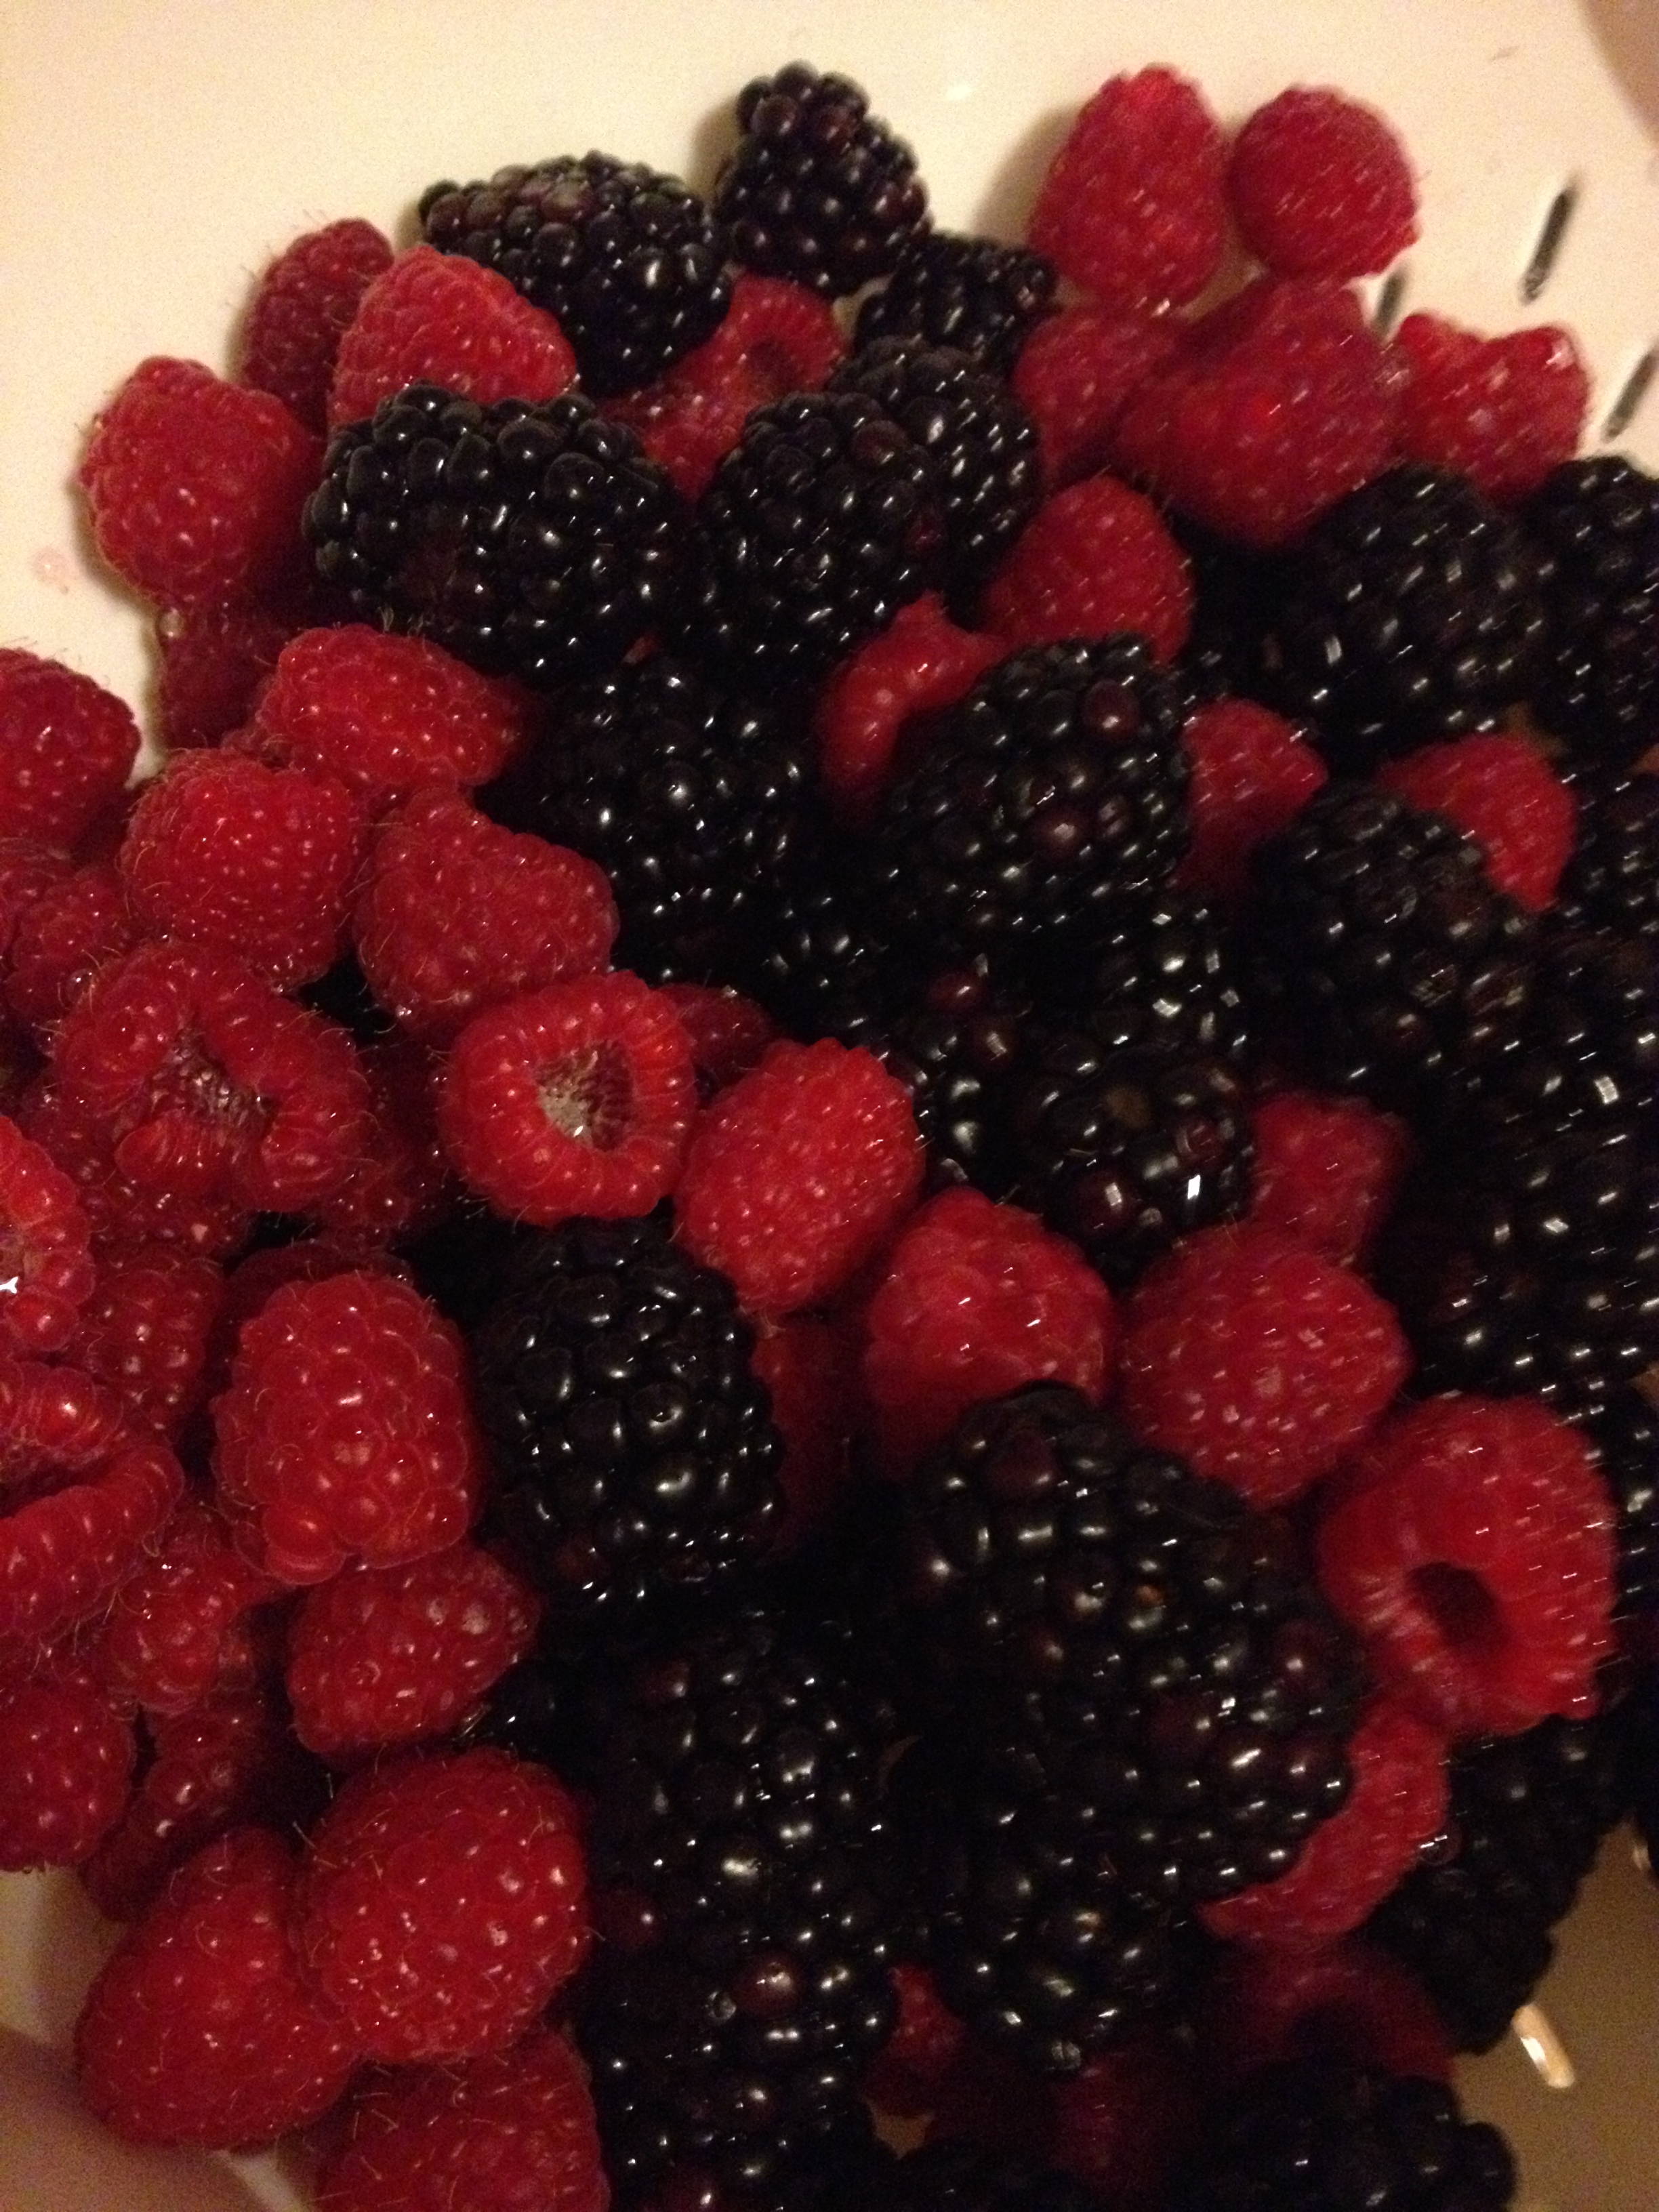
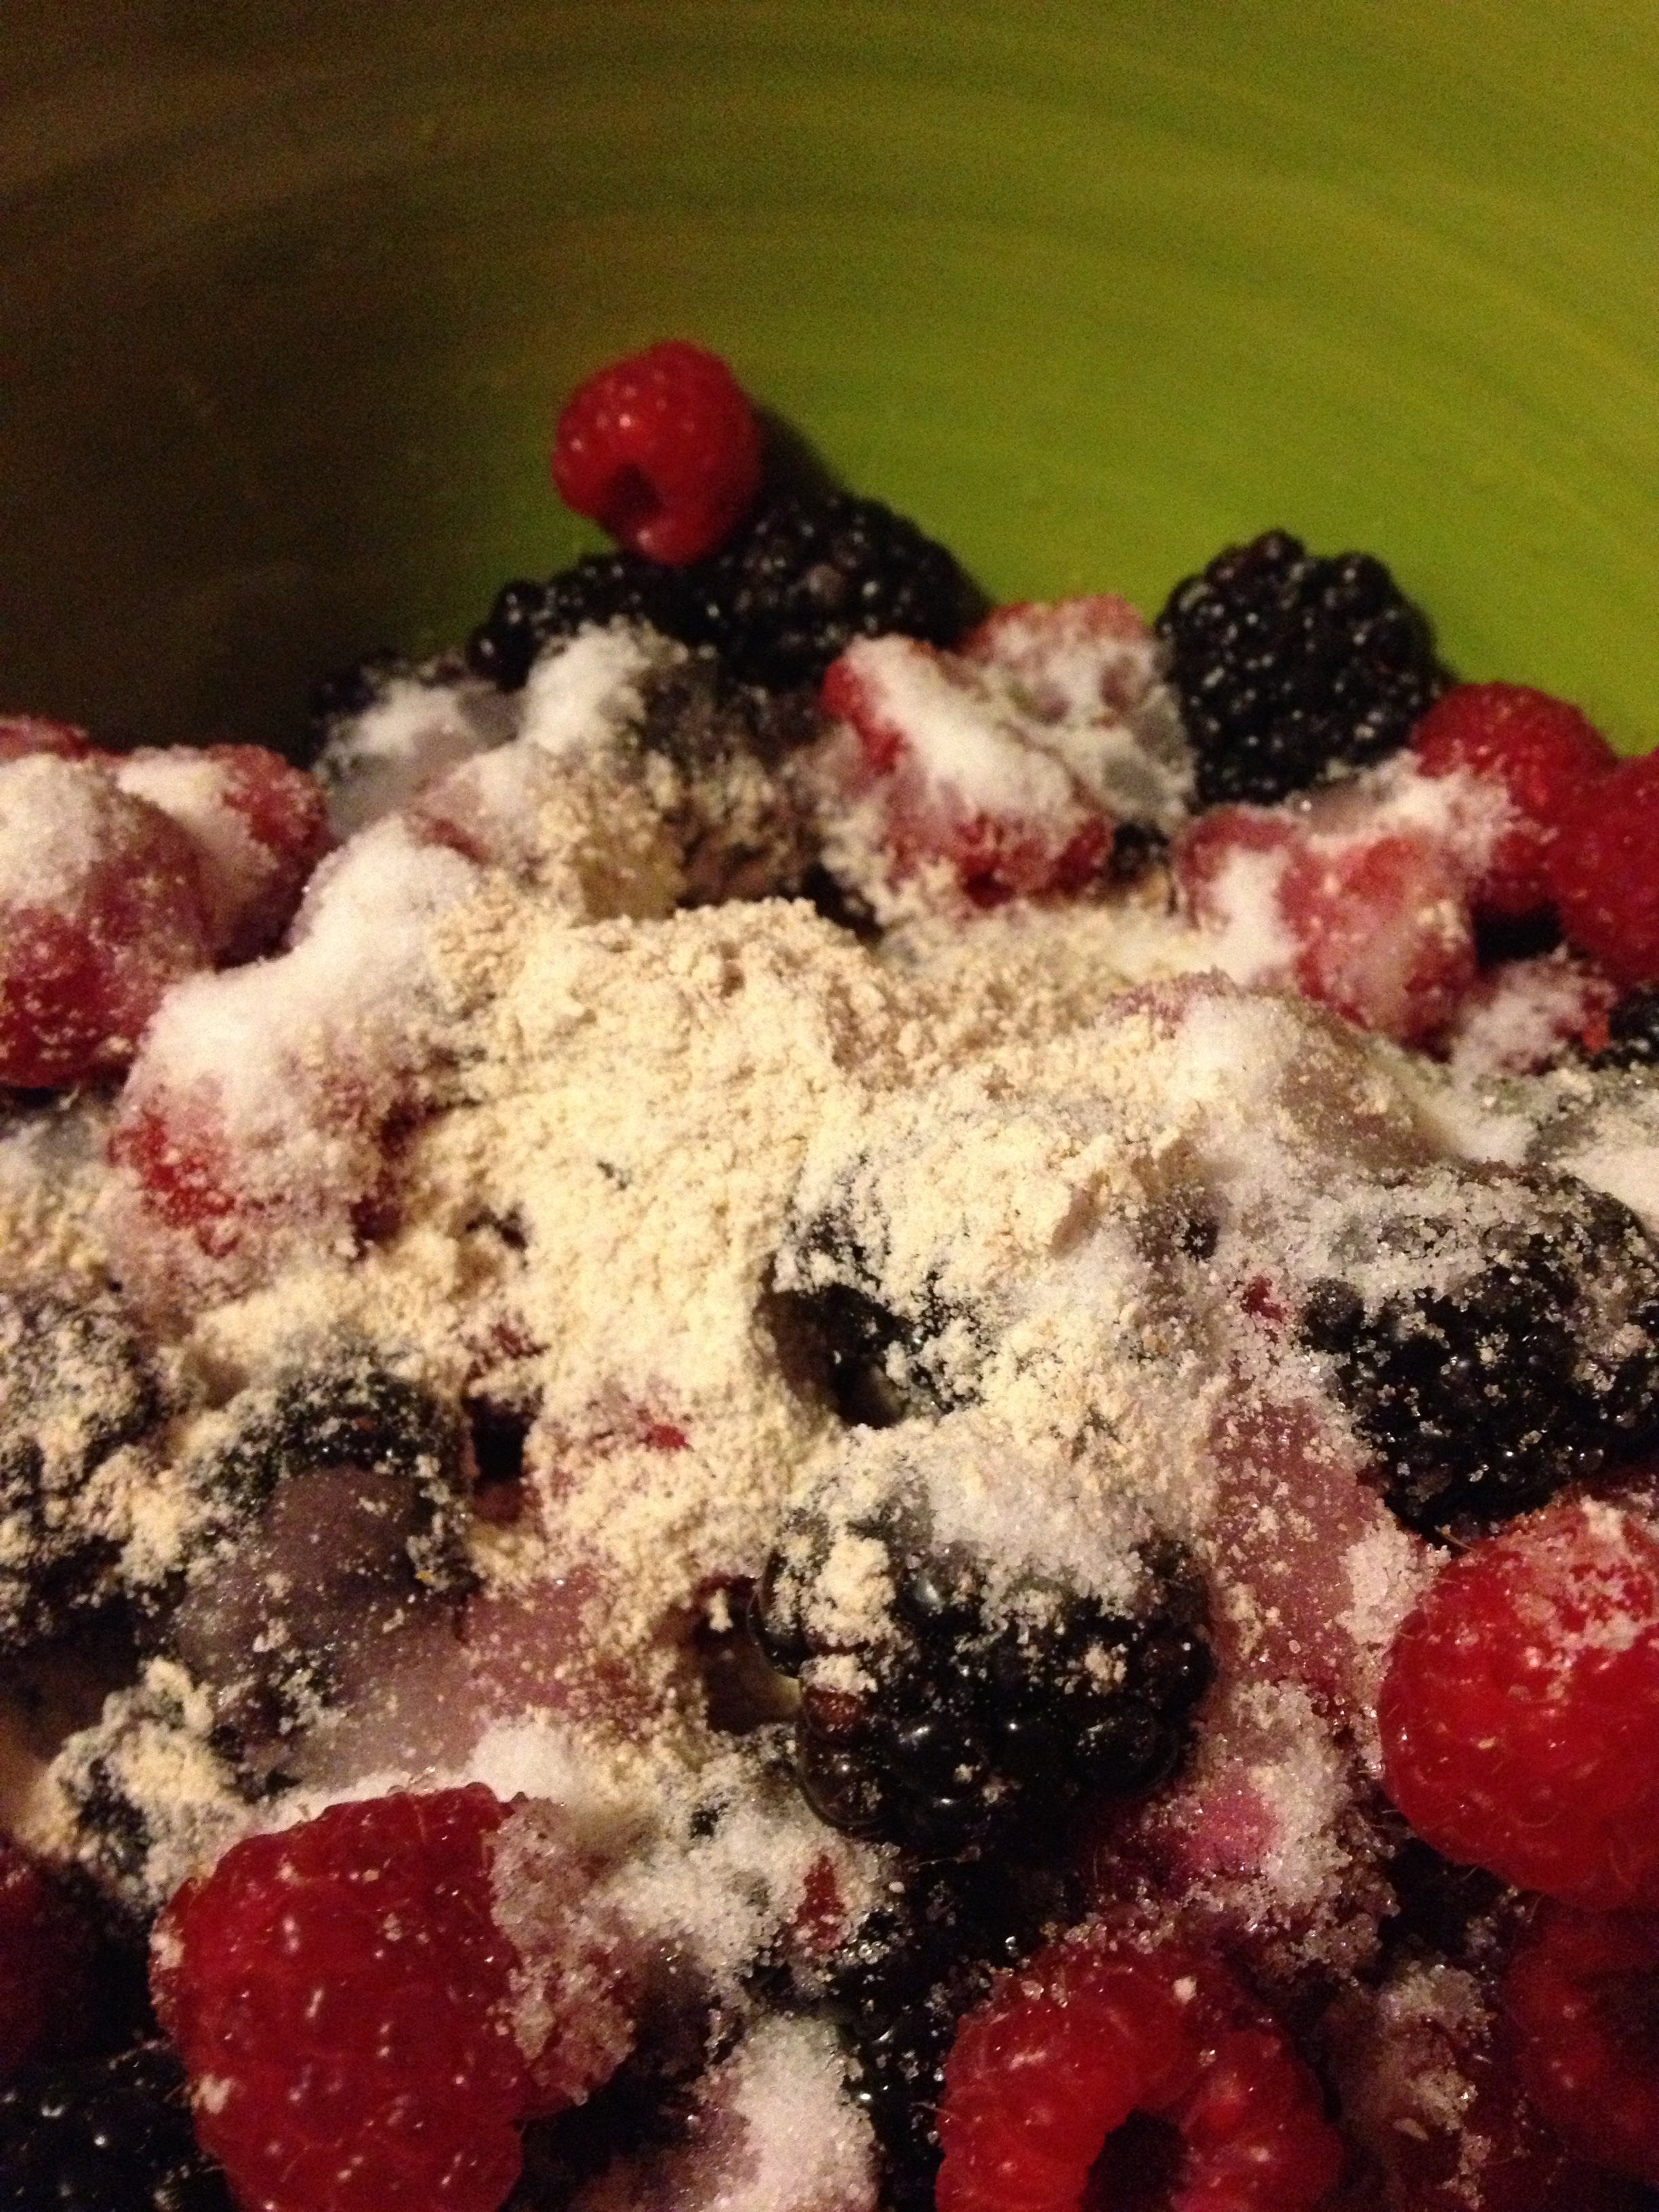
  • Put the berries, flour, and sugar into a bowl (take note that it’s just the 2 teaspoons of flour)

Berries!

Mix it up

Directions (Crust)

  • Preheat oven to 400 degrees
  • Combine the flour and salt in a big mixing bowl (this time 2 cups flour)
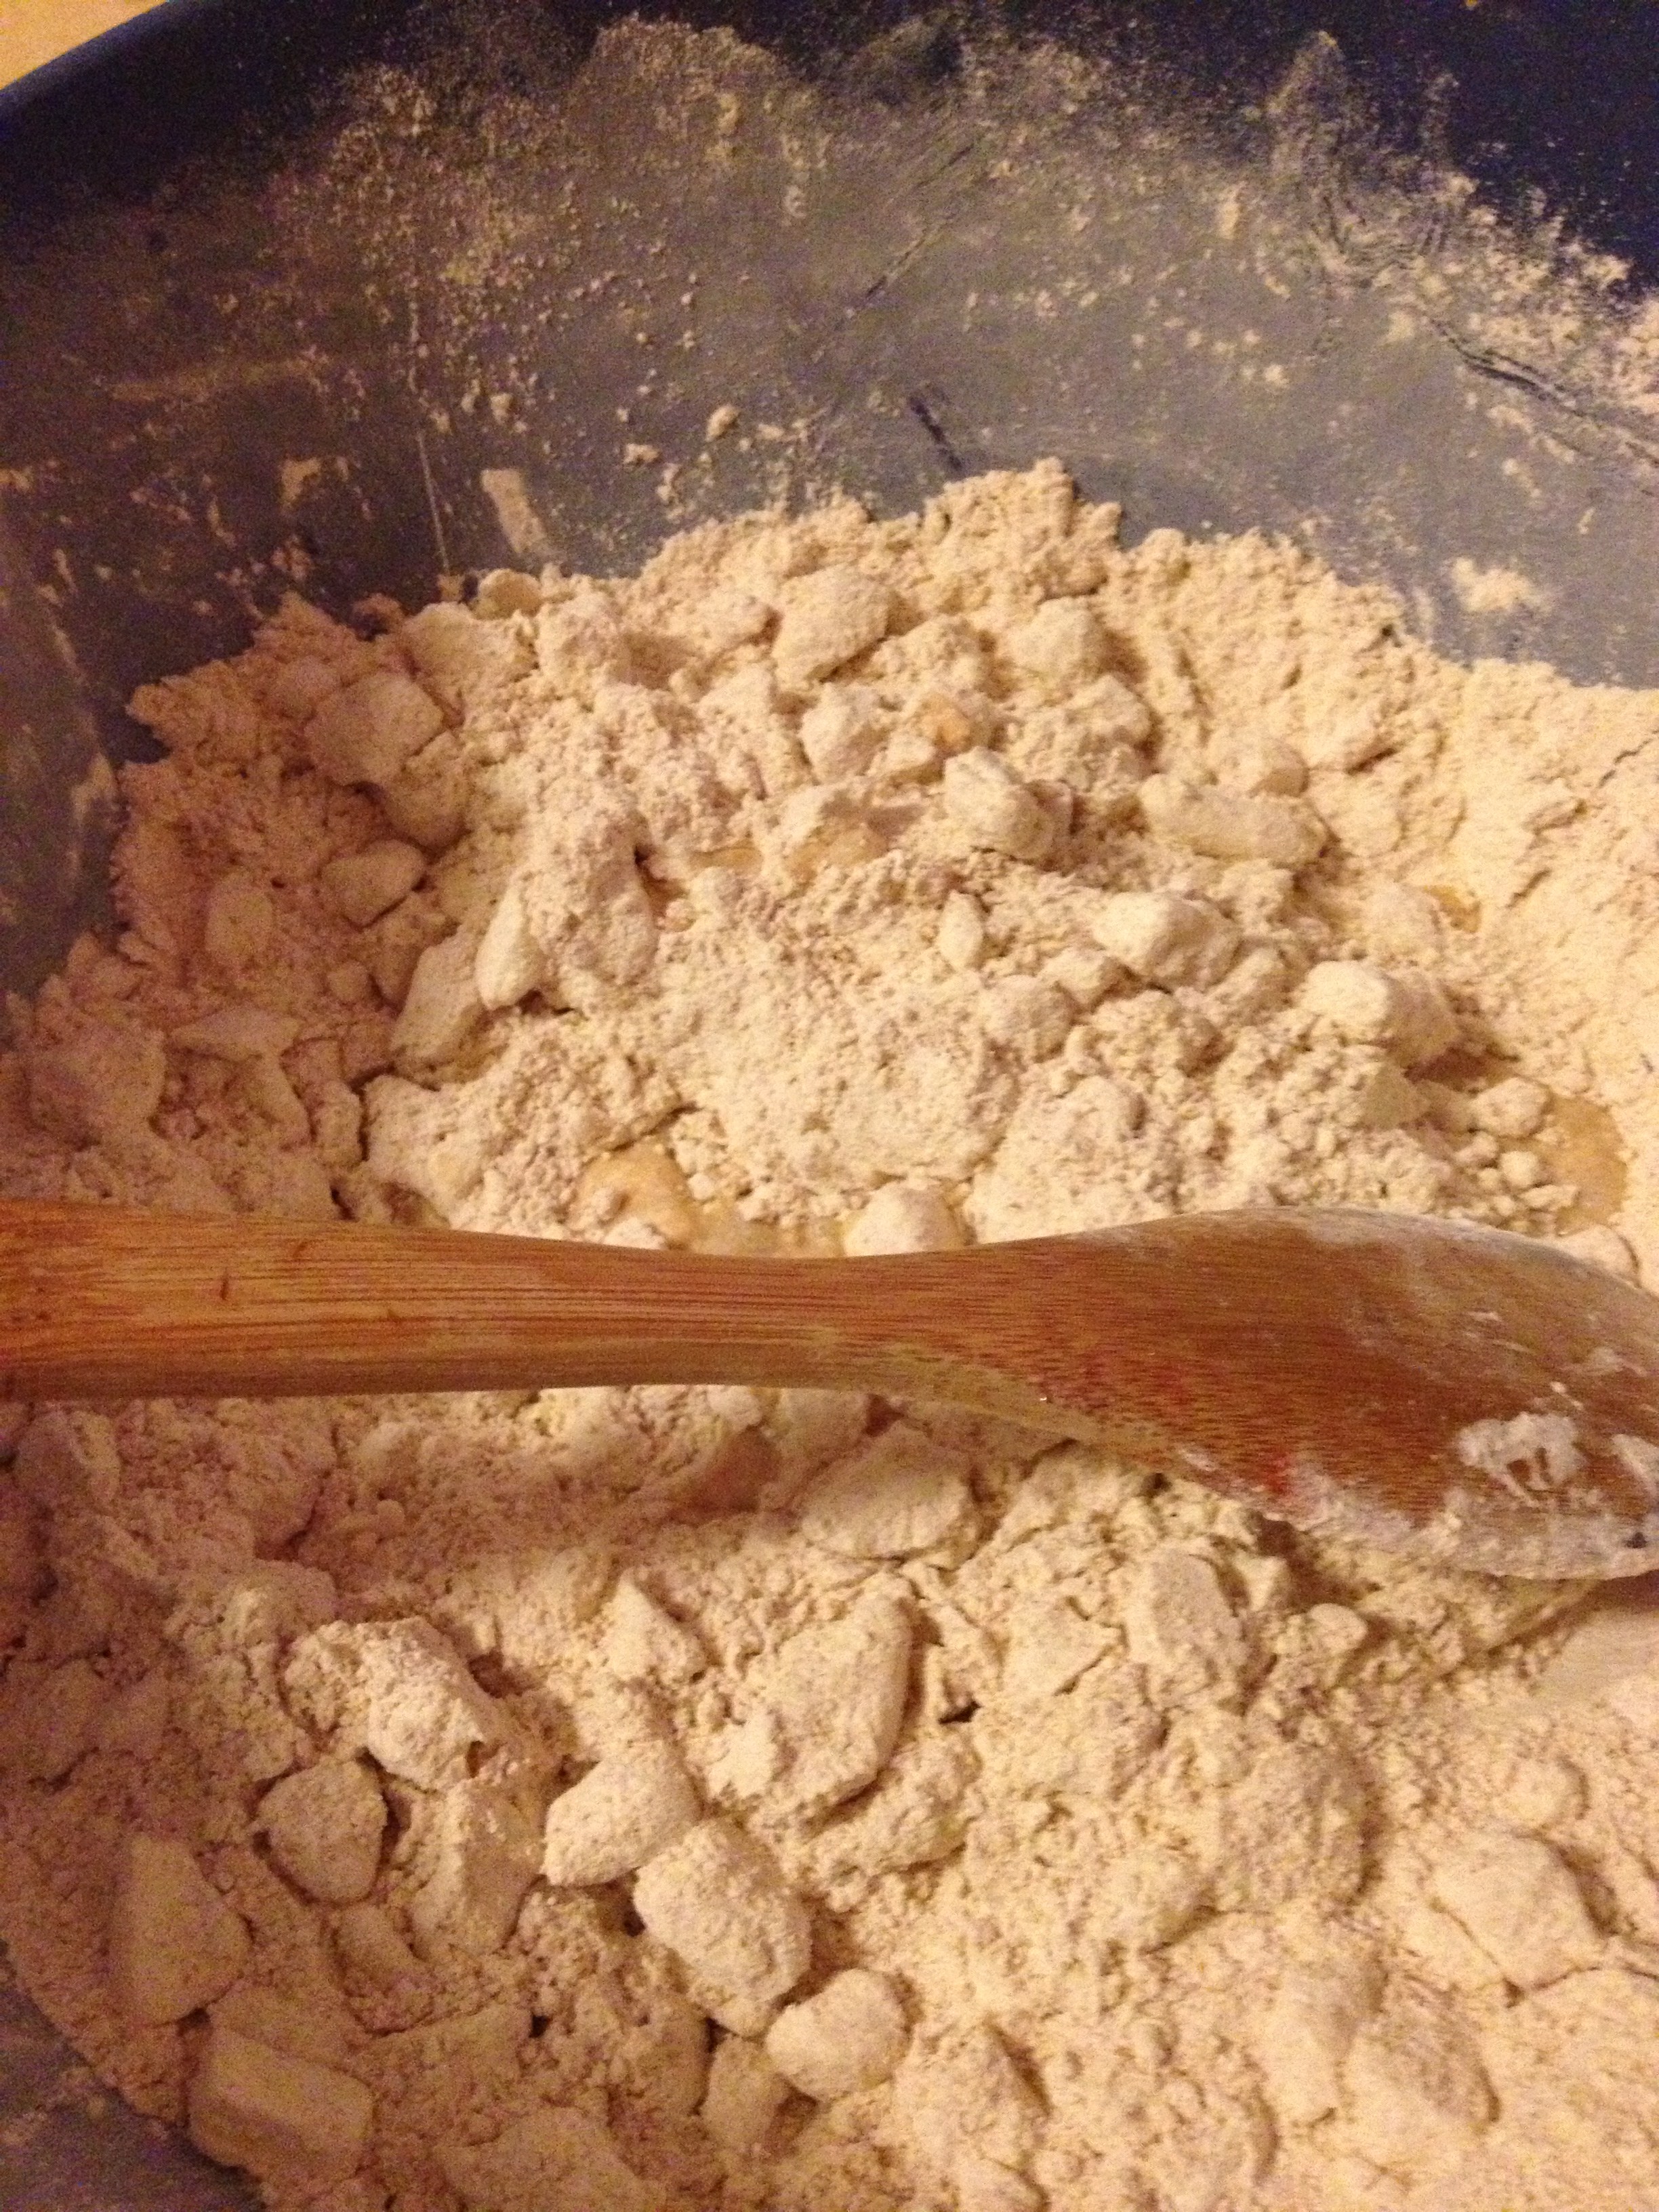
  • Cut up the cold butter into little pieces and place in flour mixture

Butter and flour

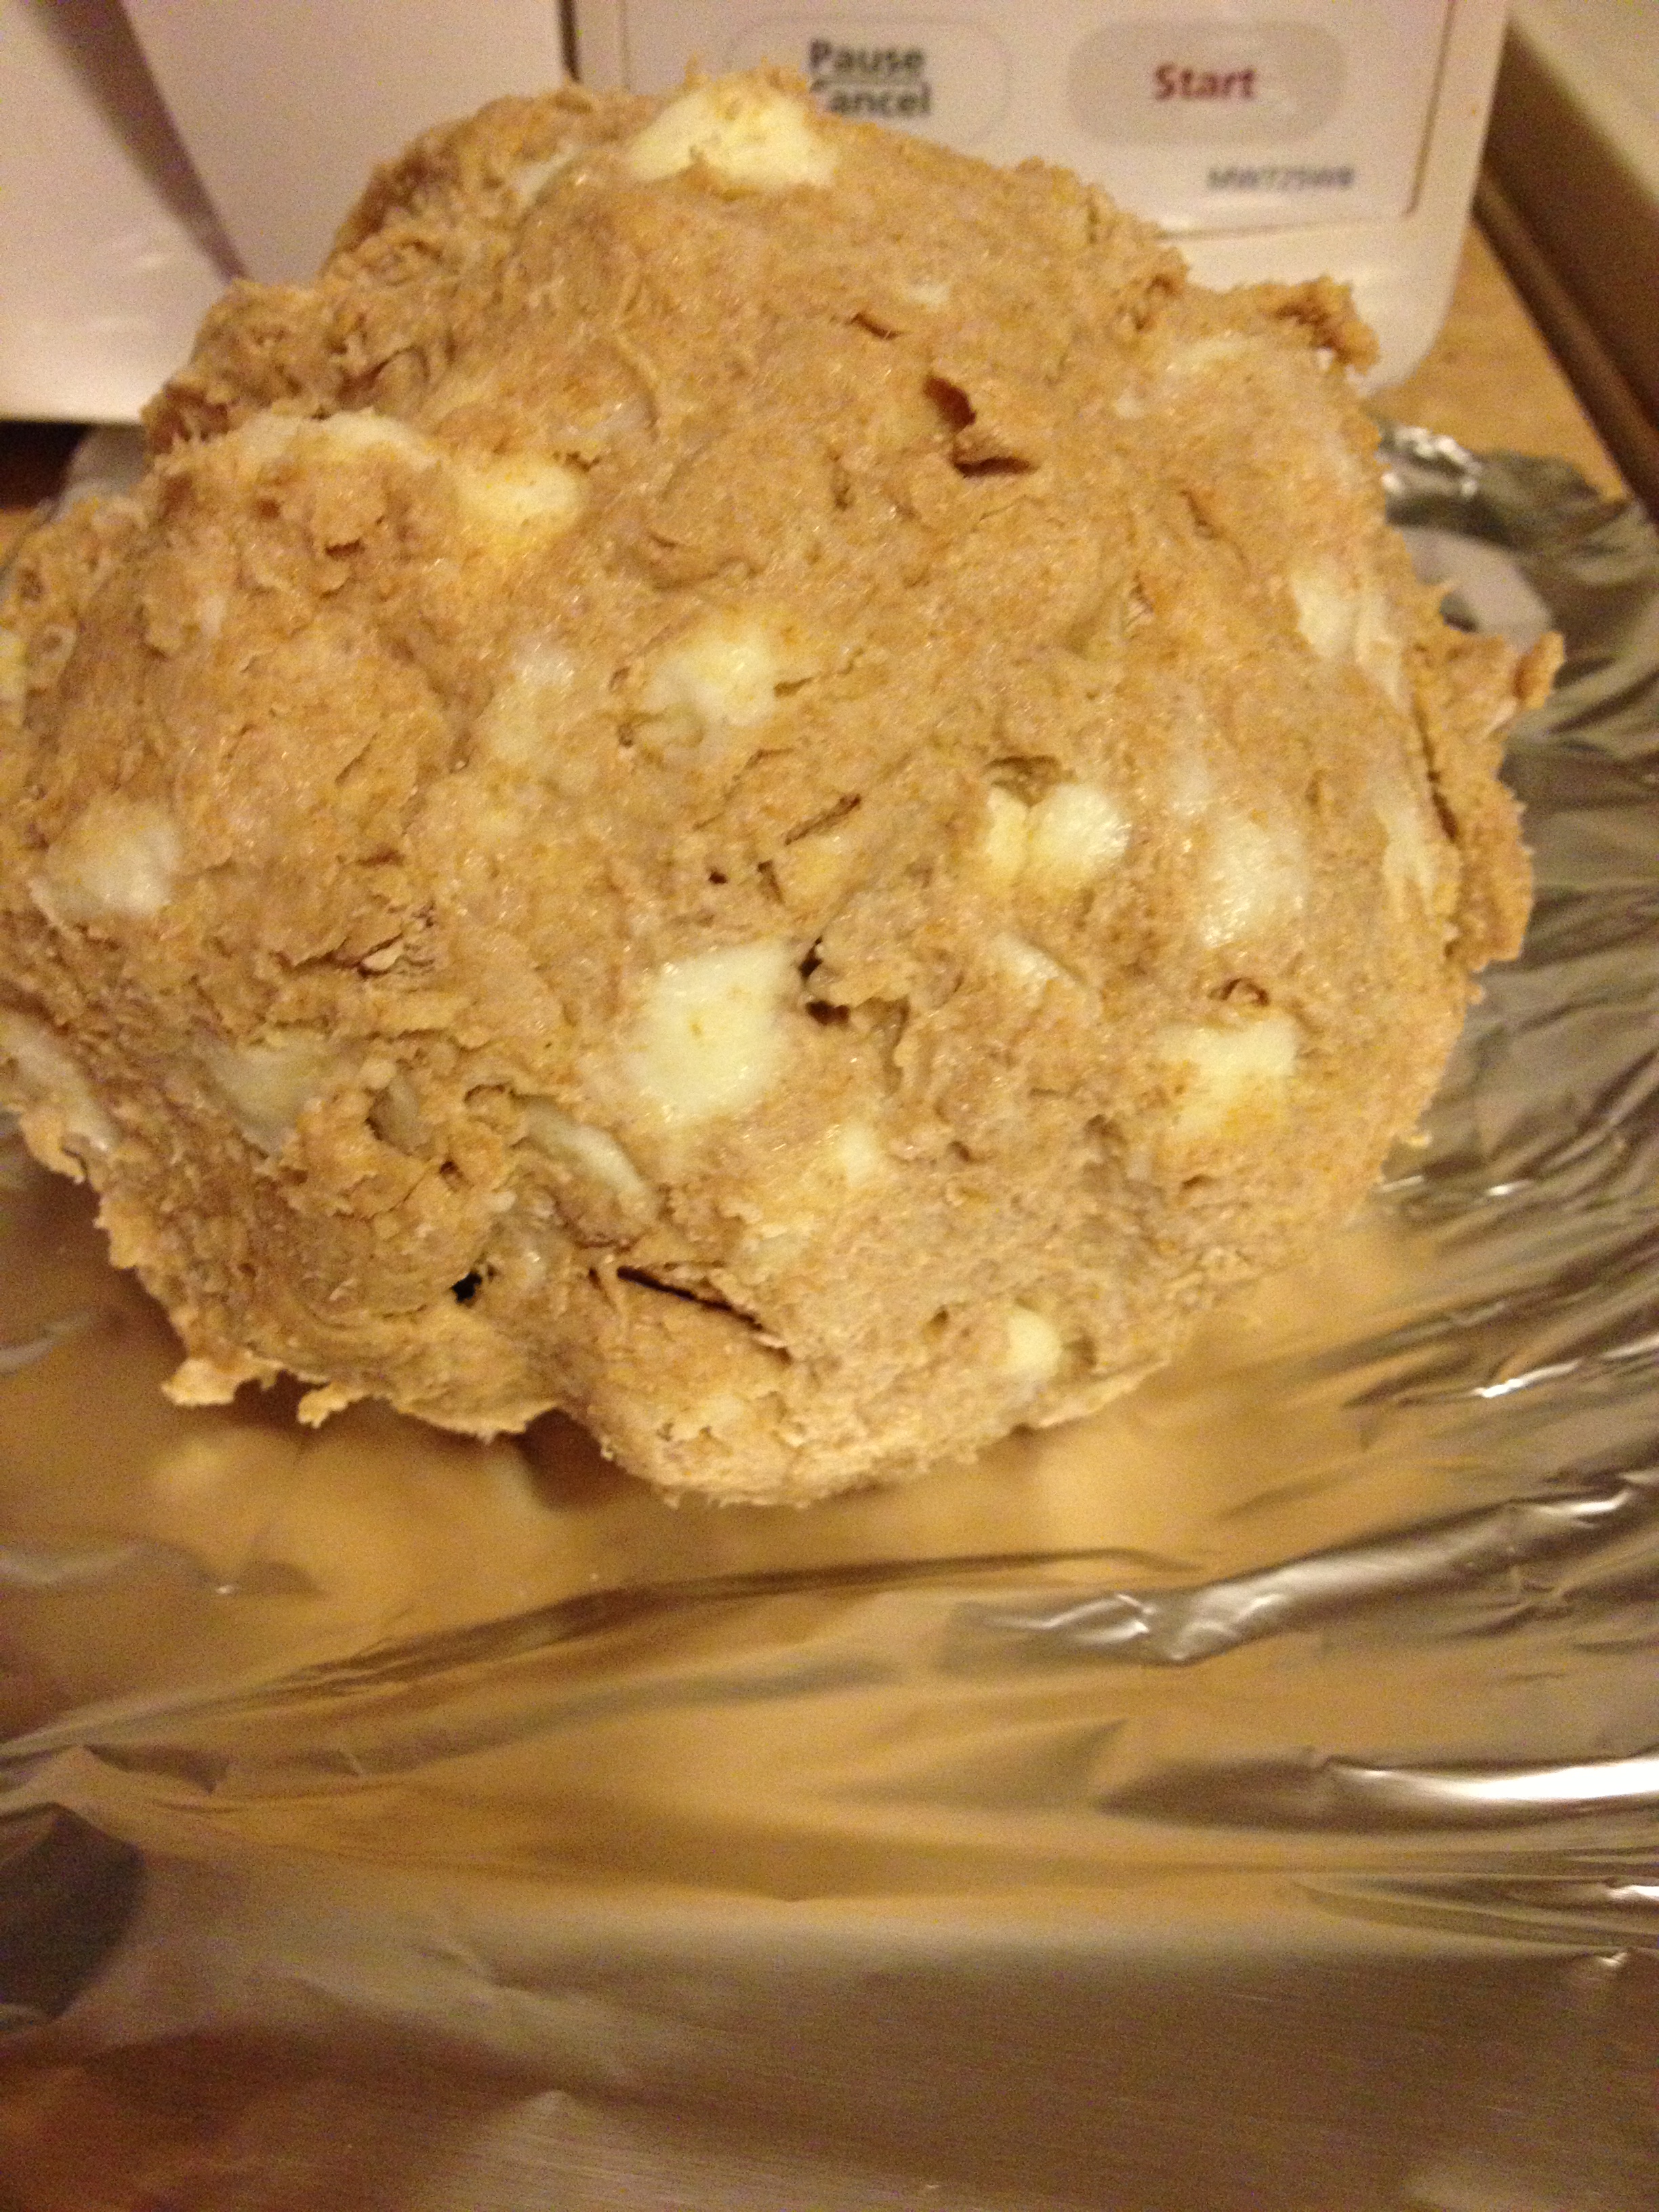
  • Next, add enough cold water for the flour to stick together and can be rolled into a massive ball of dough.

Monster ball

  • Place in the freezer for 15 minutes
  • Take out of freezer, and use glad wrap or wax paper to really roll it out as thin as you want the crust
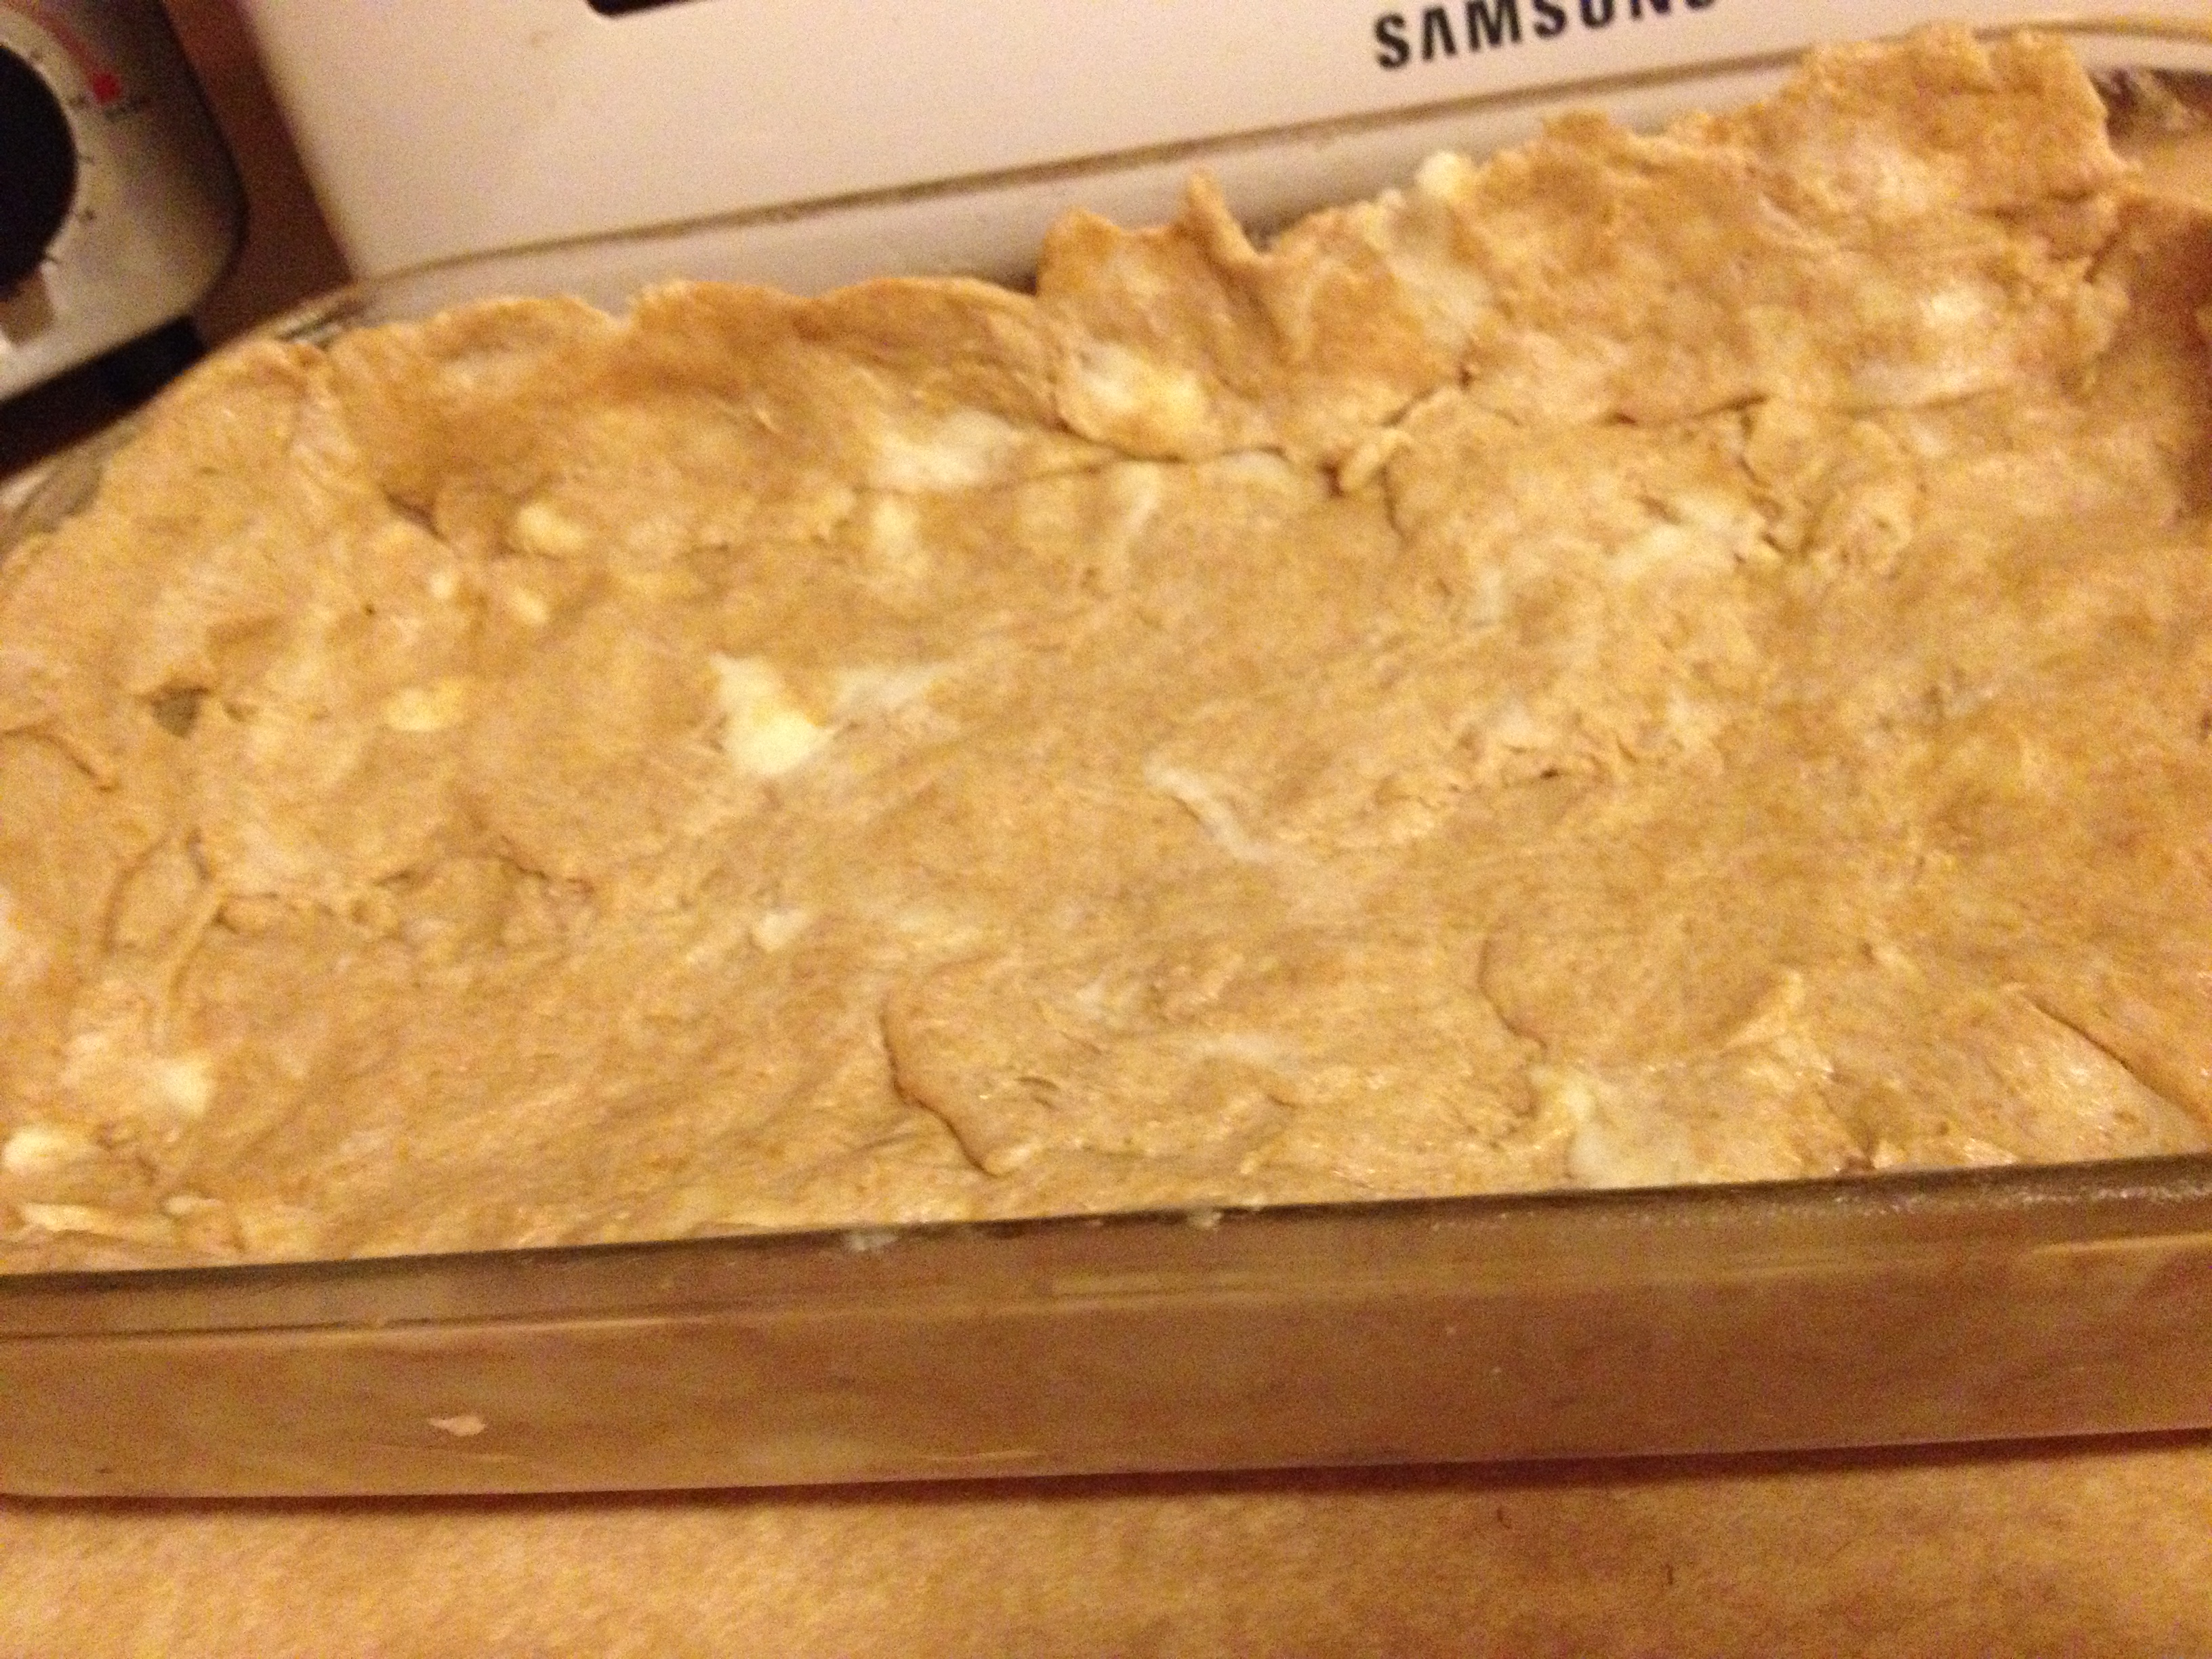
  • Once the crust is rolled out, place half of it on the bottom of your pan (or whatever you may use)

Bottom crust

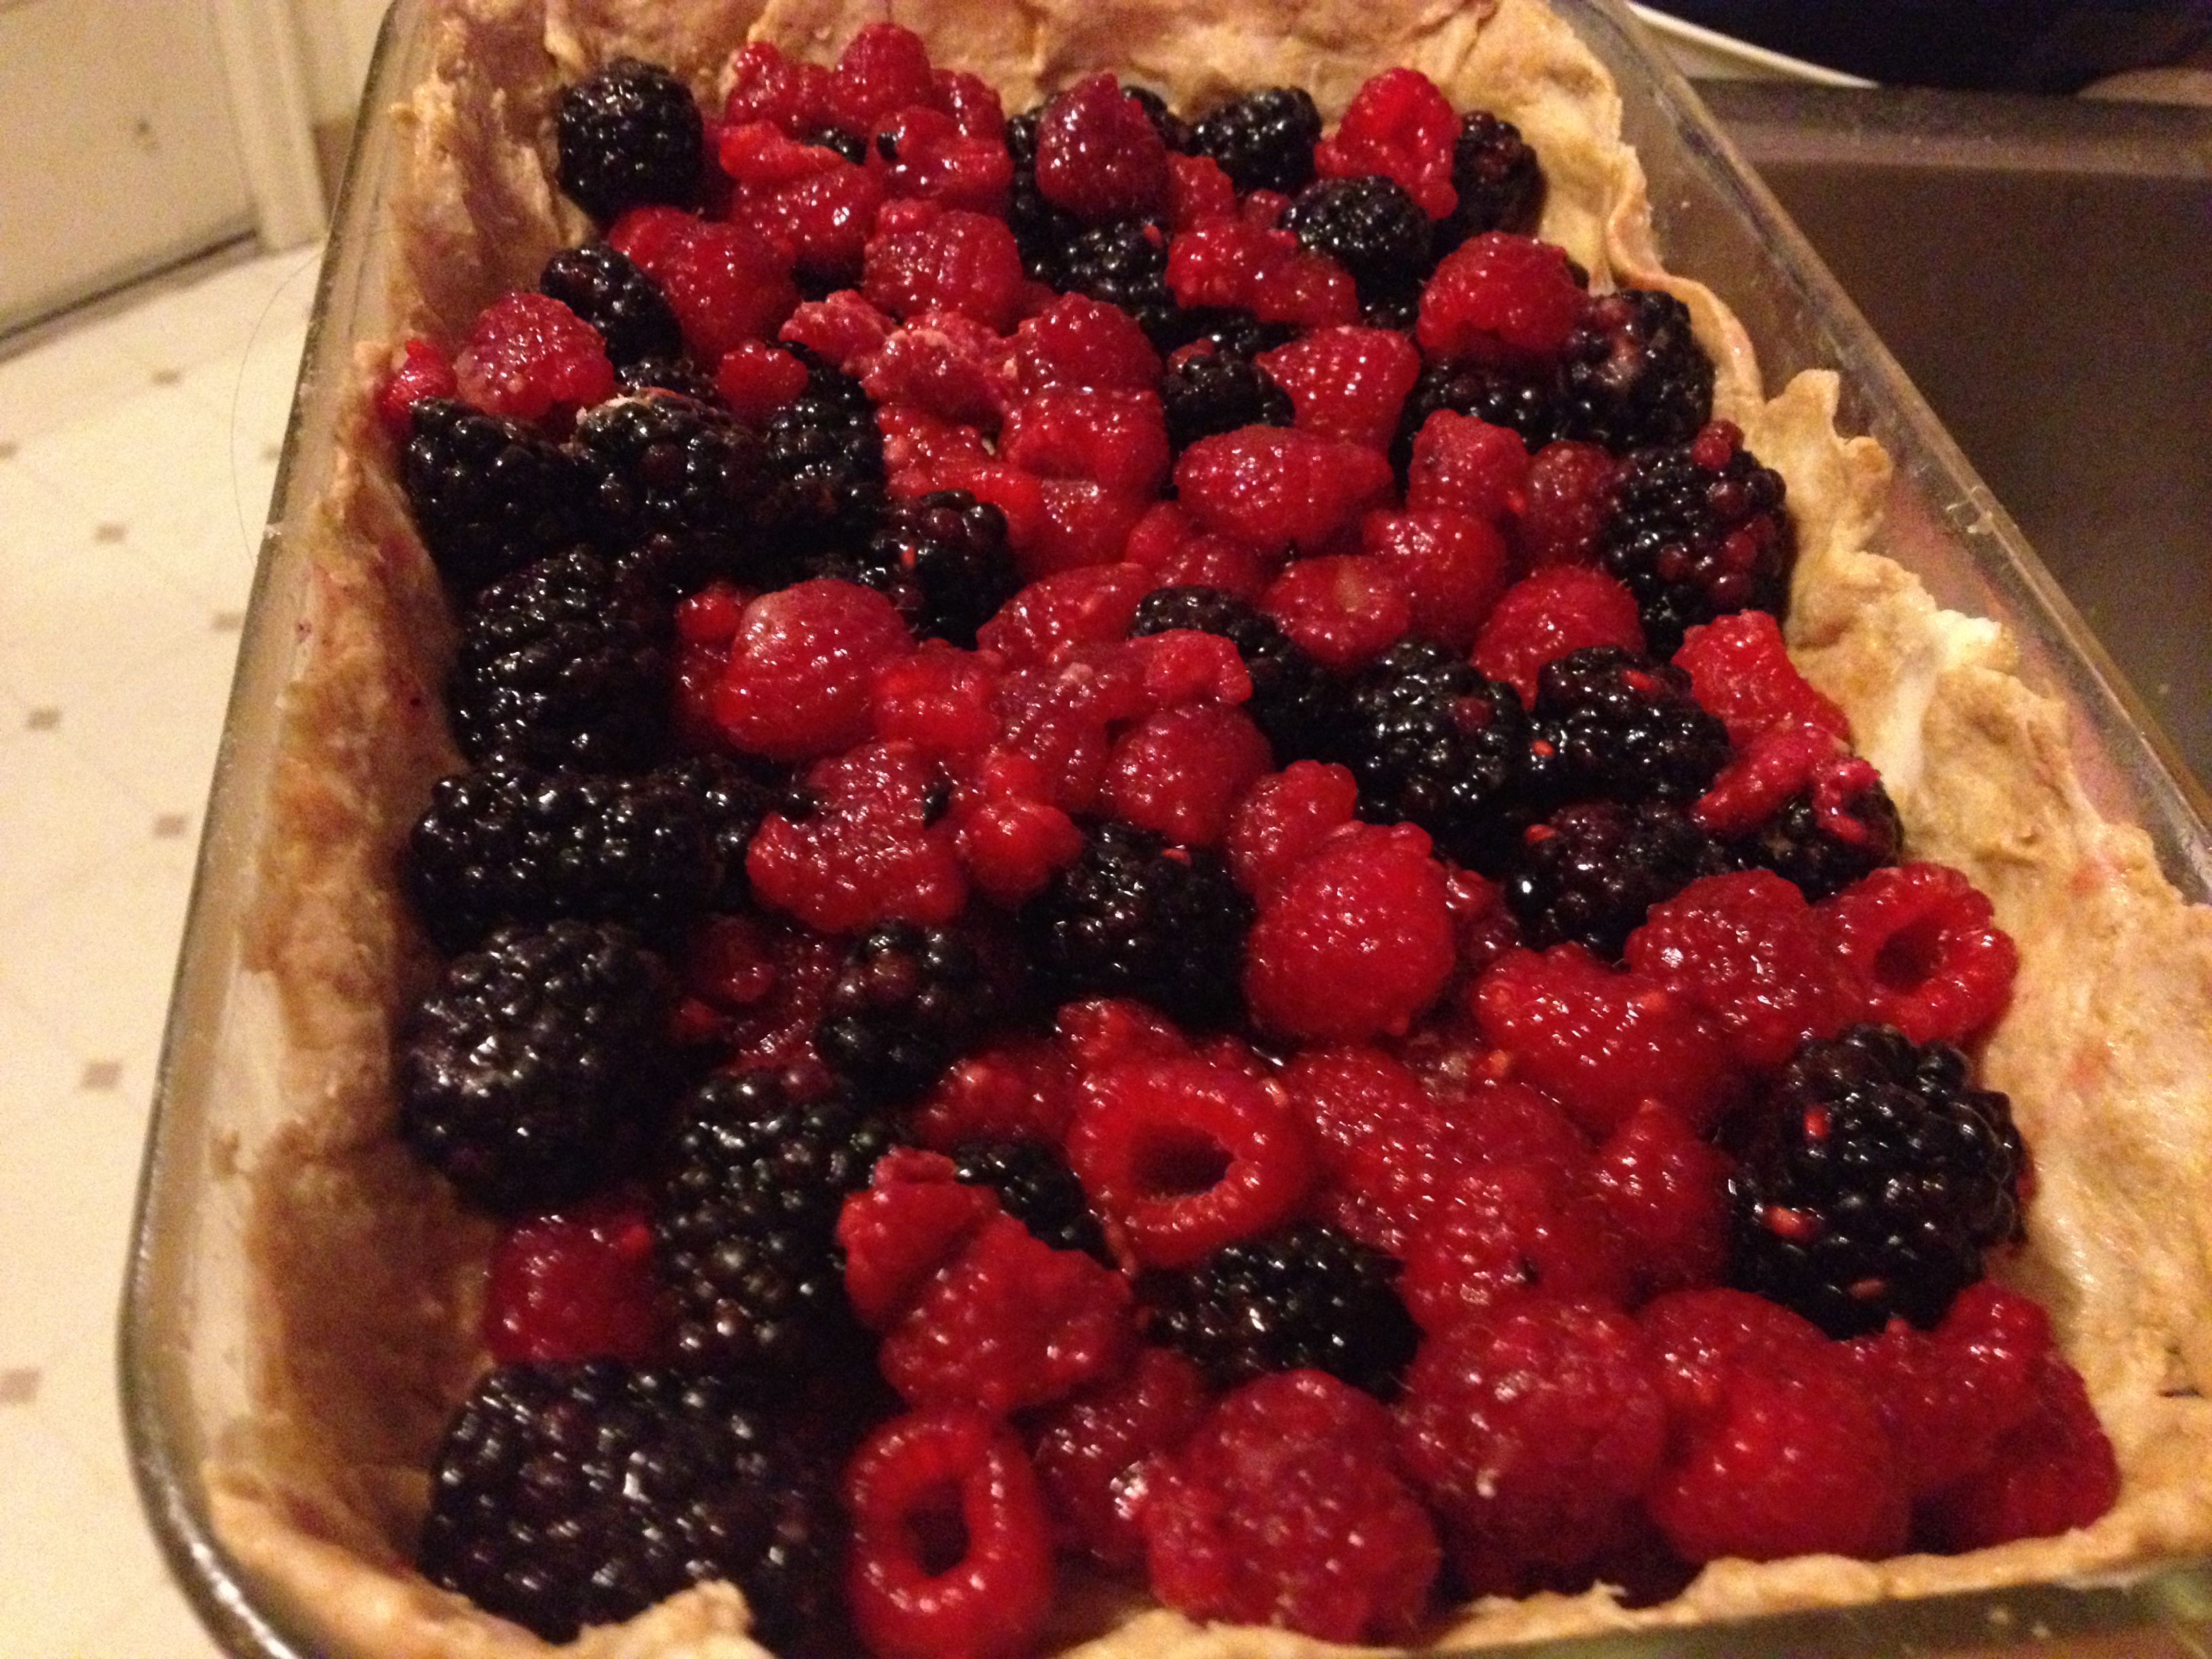
  • Next, get that fruit filling in there, to make it look truly beautiful.

Mmmm

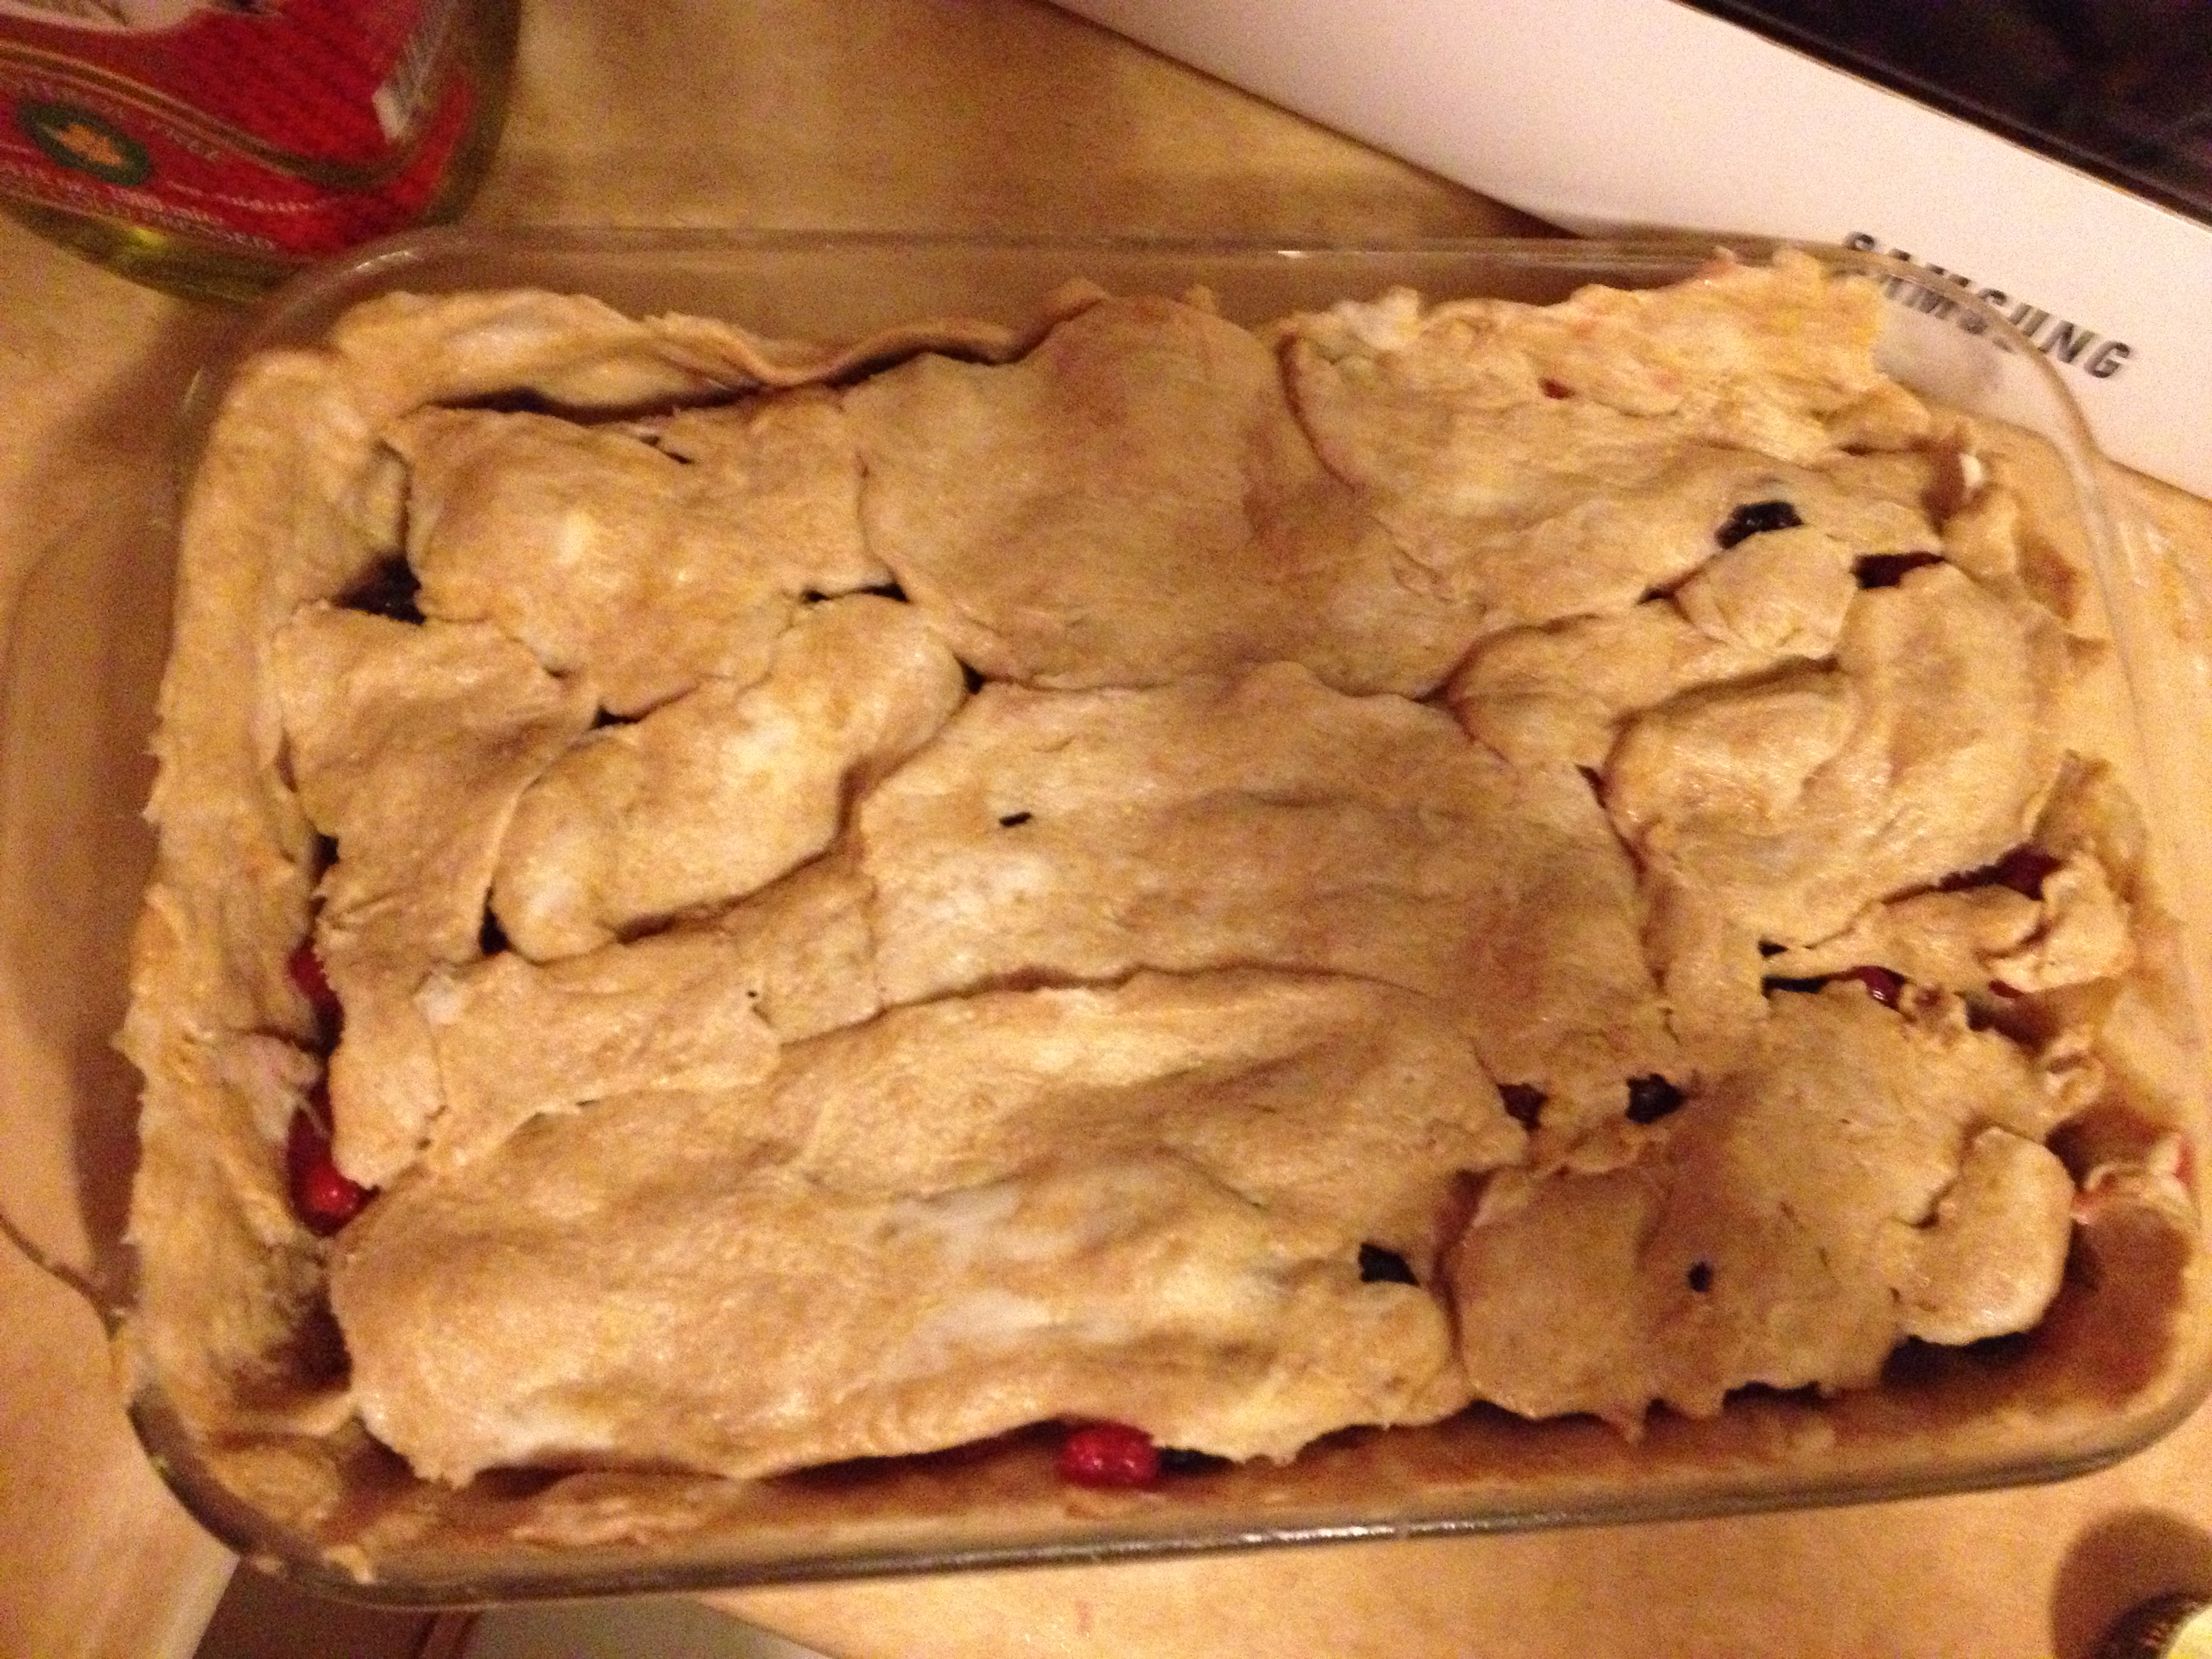
  • Using the rest of the pie dough, make the top of the crumble/pie

Bake me!

  • Put in the oven for 35-45 minutes. Mine took about 42 minutes I would say.
  • ENJOY!

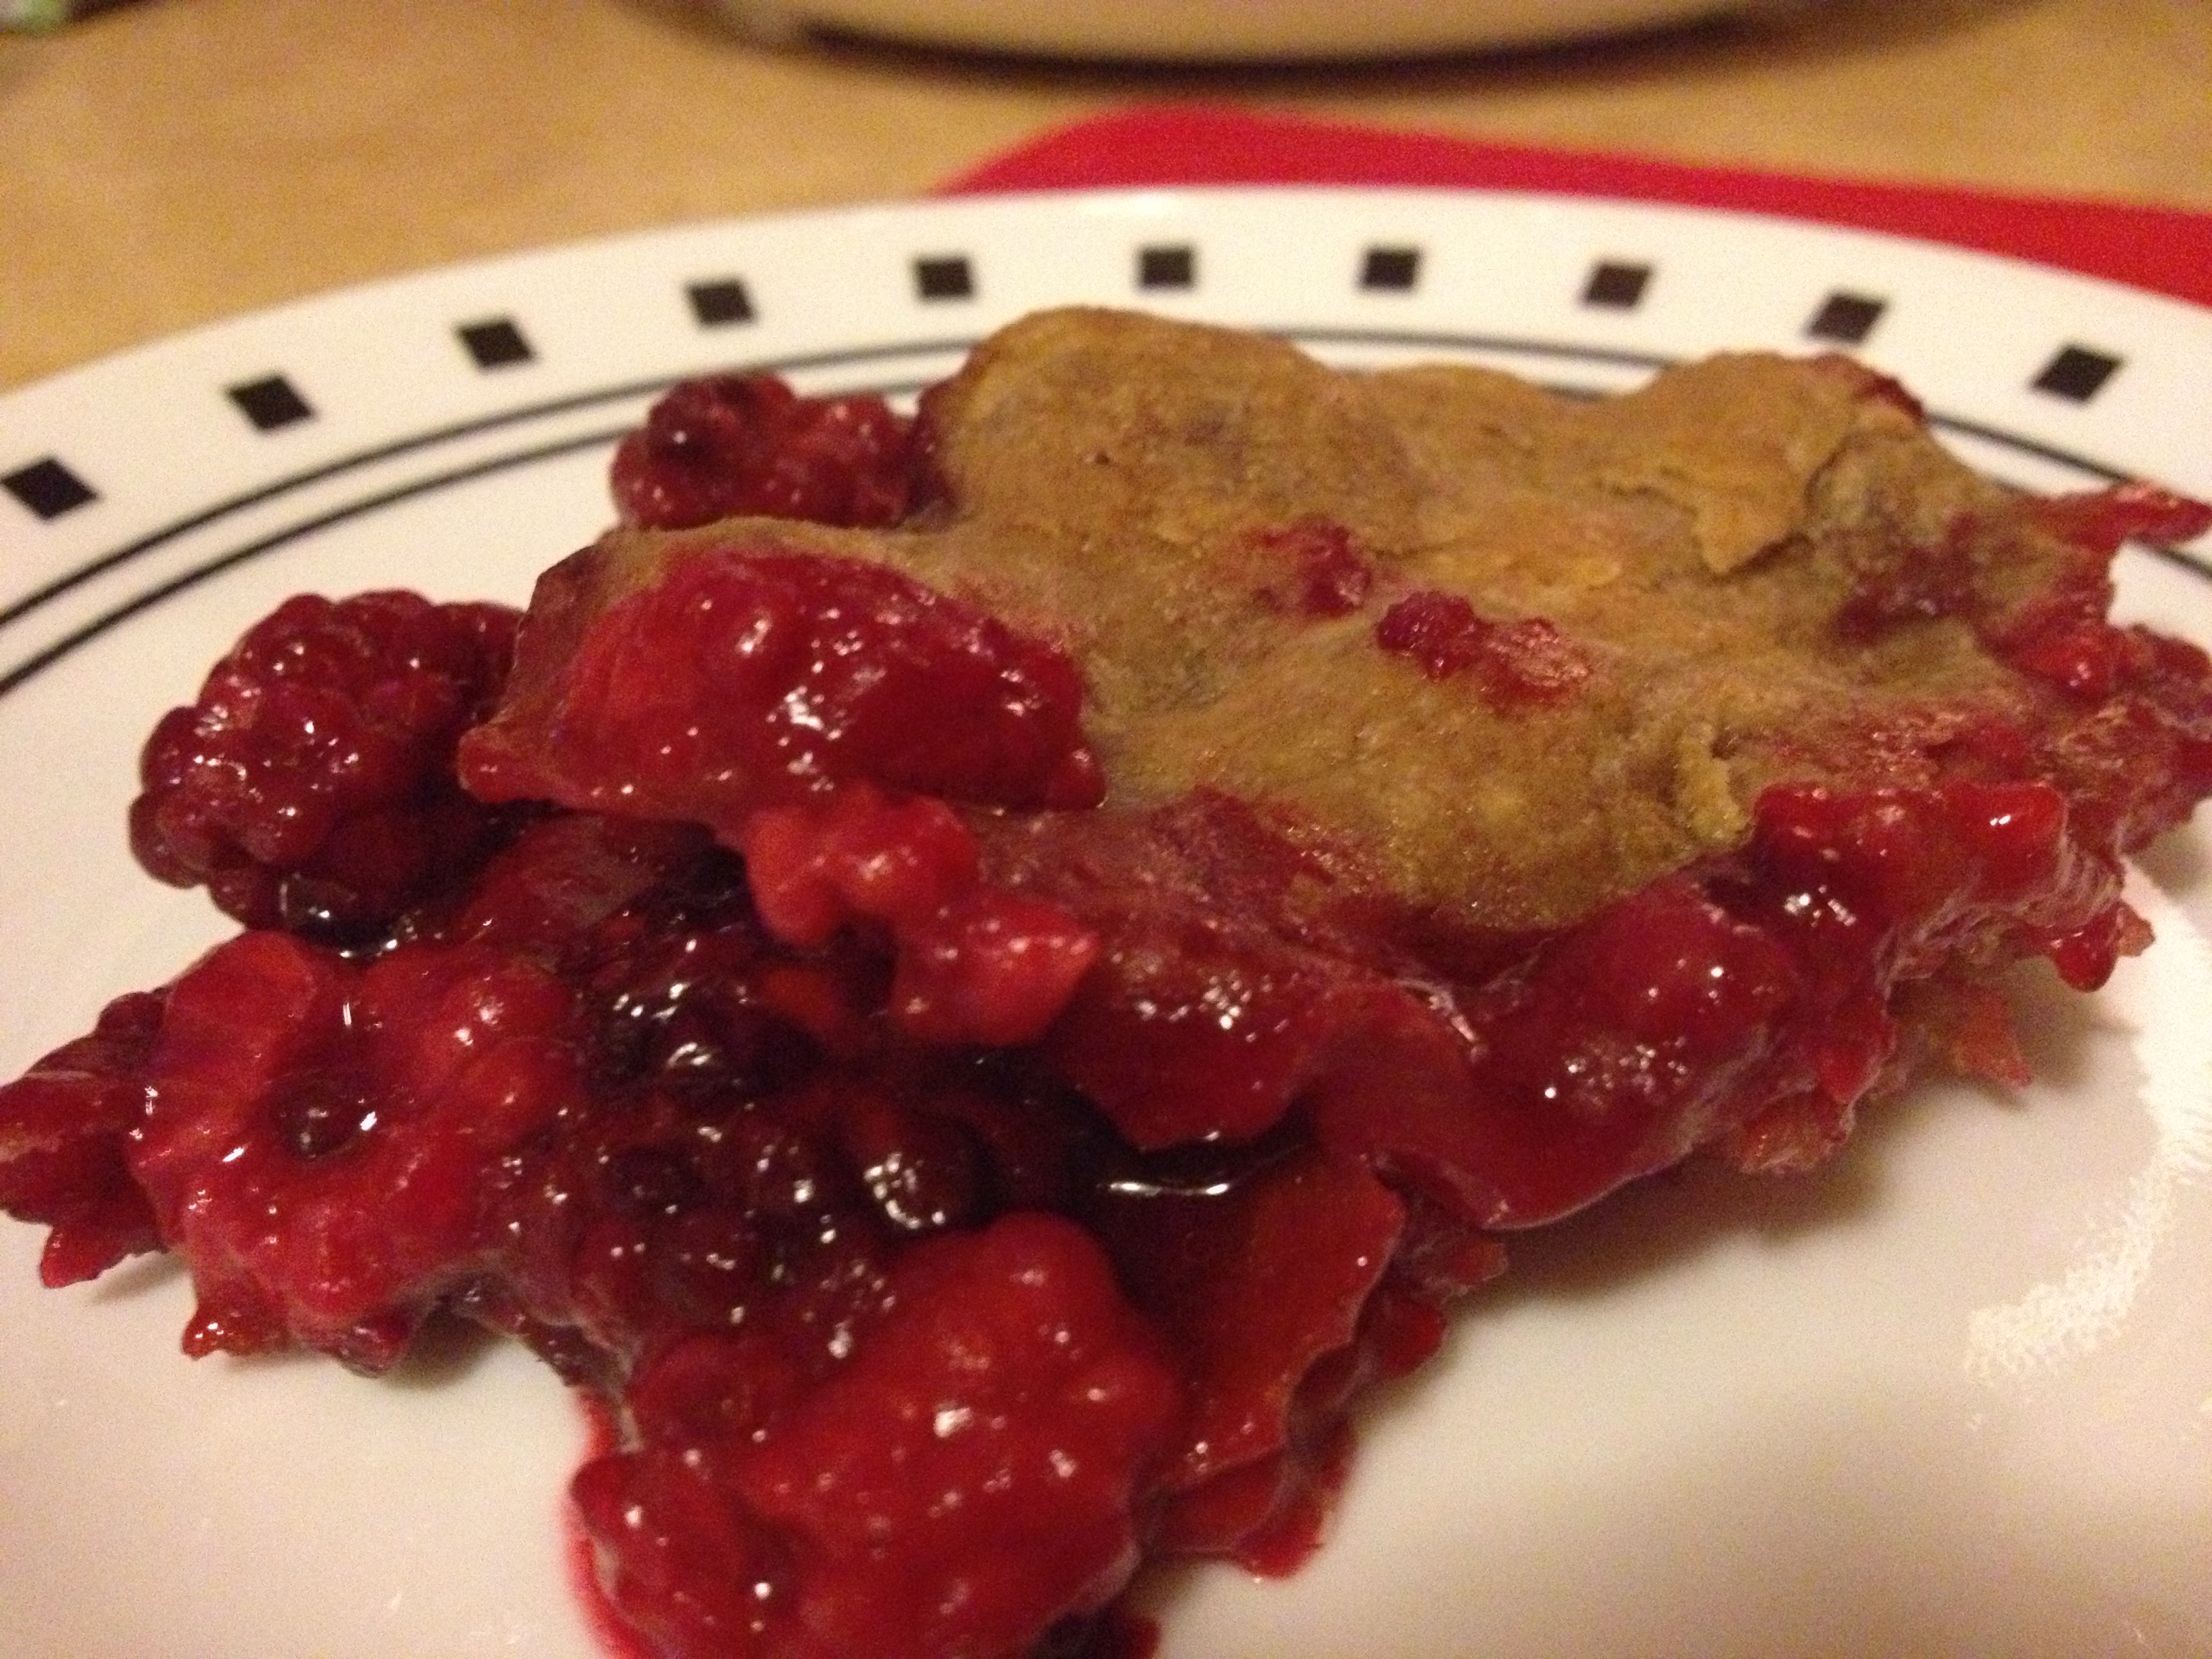
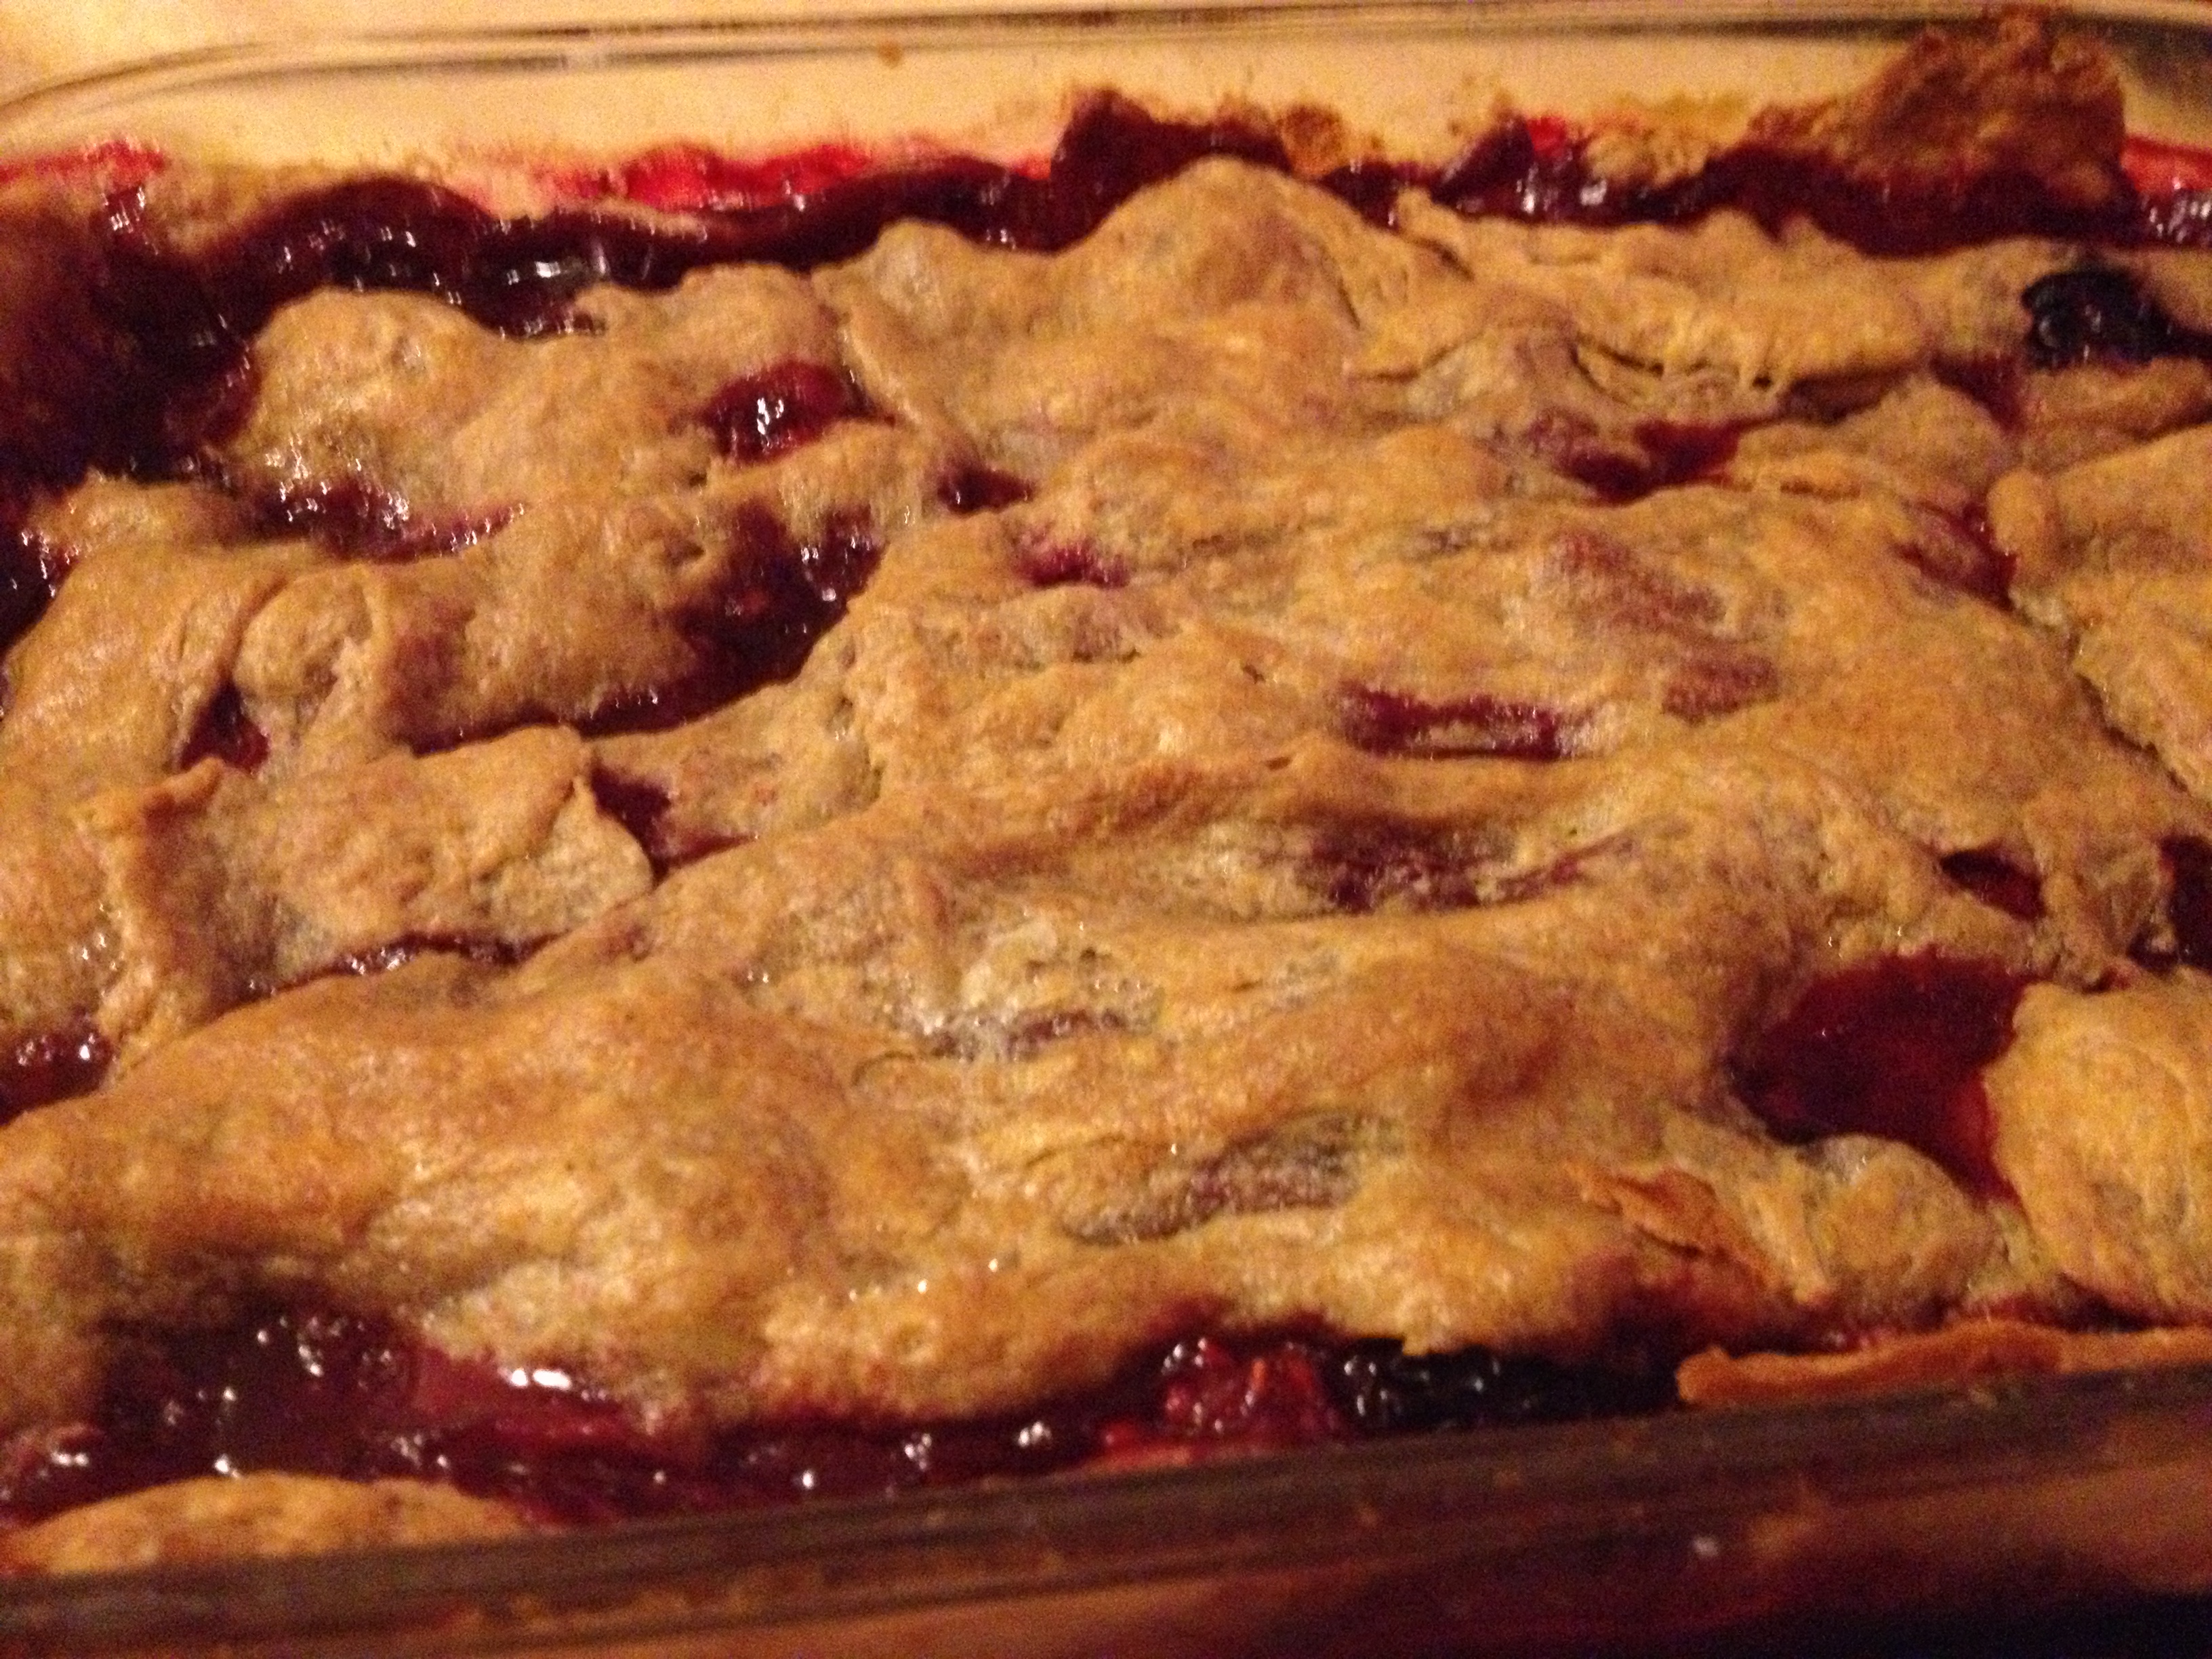
Delicious

Berry Crumble Pie

Even though the crust wasn’t perfect, I definitely had two servings. Have fun! 

spacer

Thanksgiving Feast: Do it Right

Okay, so we’ve been gone for…a week. But we have plenty reason why! My family came in and it was a very excellent, fun, way-too-fast vacation for all of us here in Boulder. But you’re not here to listen to my excuses about family and not being able to post. You’re here to see food. And since we’re just getting back to full-time blogging, I’ll post a nice light array of food.

Thanksgiving was wonderful. When is it not? Don’t answer that, yes I know the turkey could light the house on fire. Family, food, sunset walks, and good tv. WHAT CAN GO WRONG? Don’t answer that. But seriously, everything went well for us and we had an amazing time (kittens included). So, my parents and brother came in for the week and we had a 9-person Thanksgiving. It was beautiful and great and just LOOK AT IT ALL. 

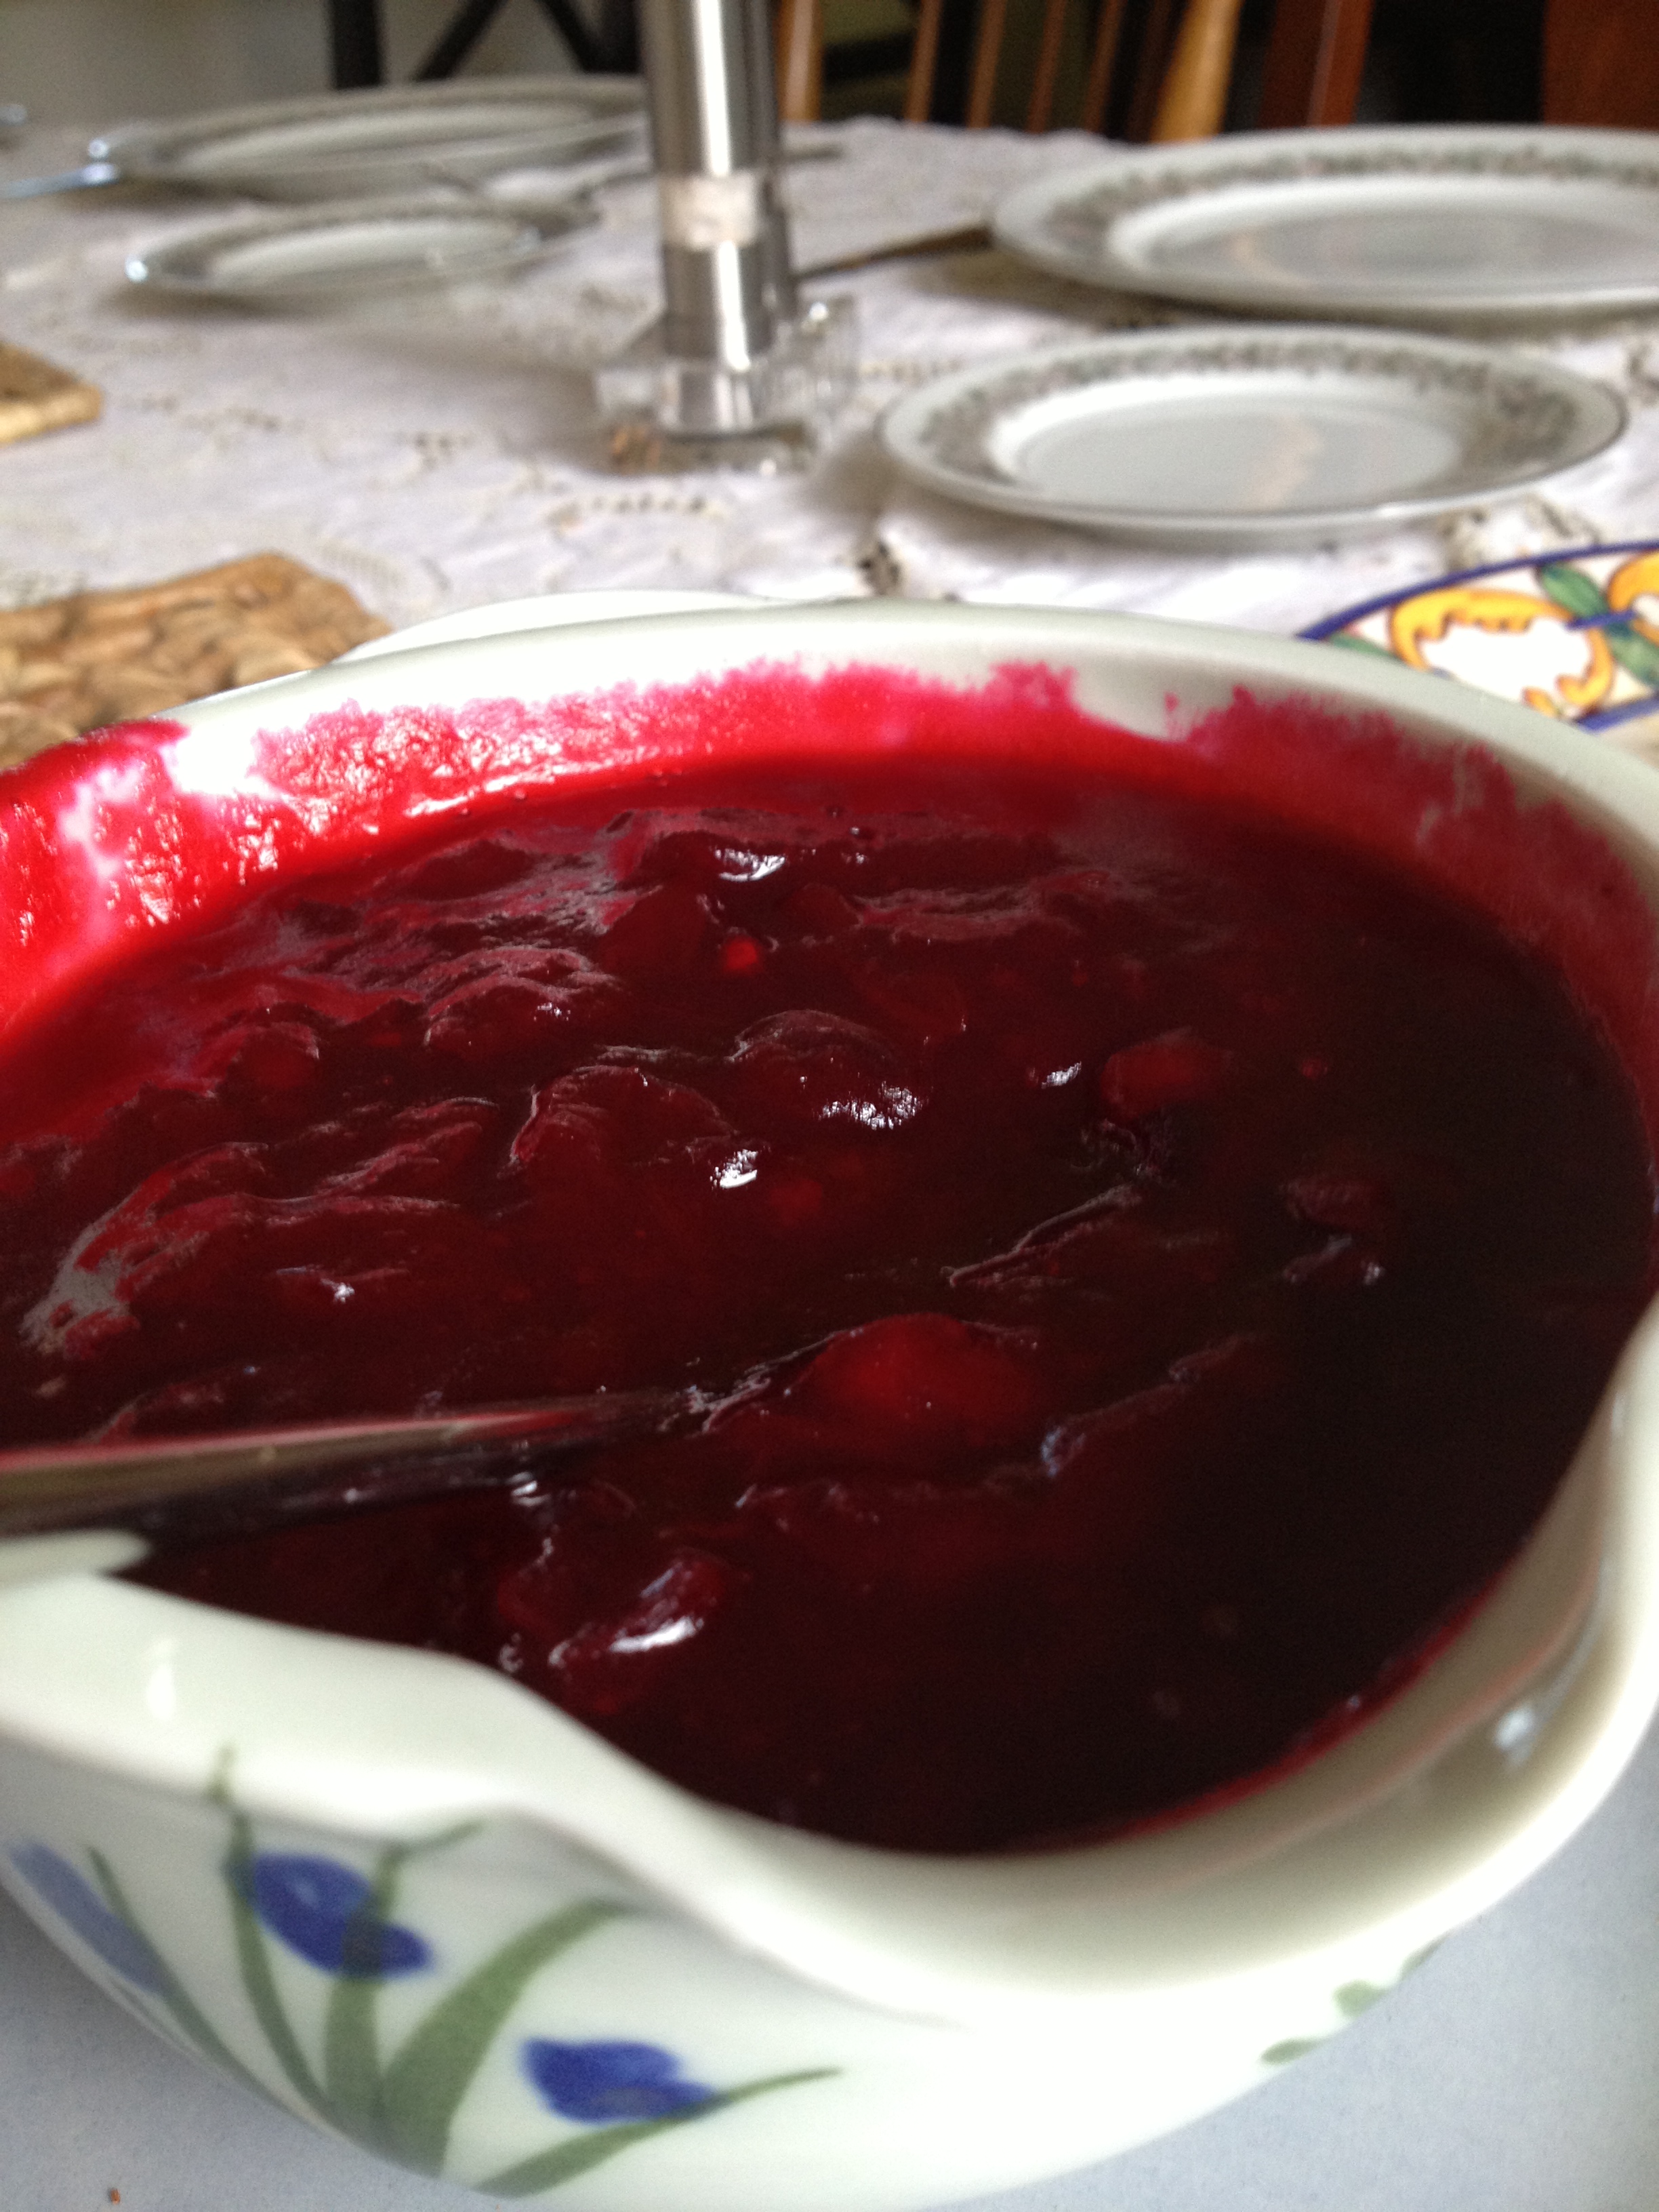
Mum’s homemade cranberry sauce, from stewed cranberries and sugar

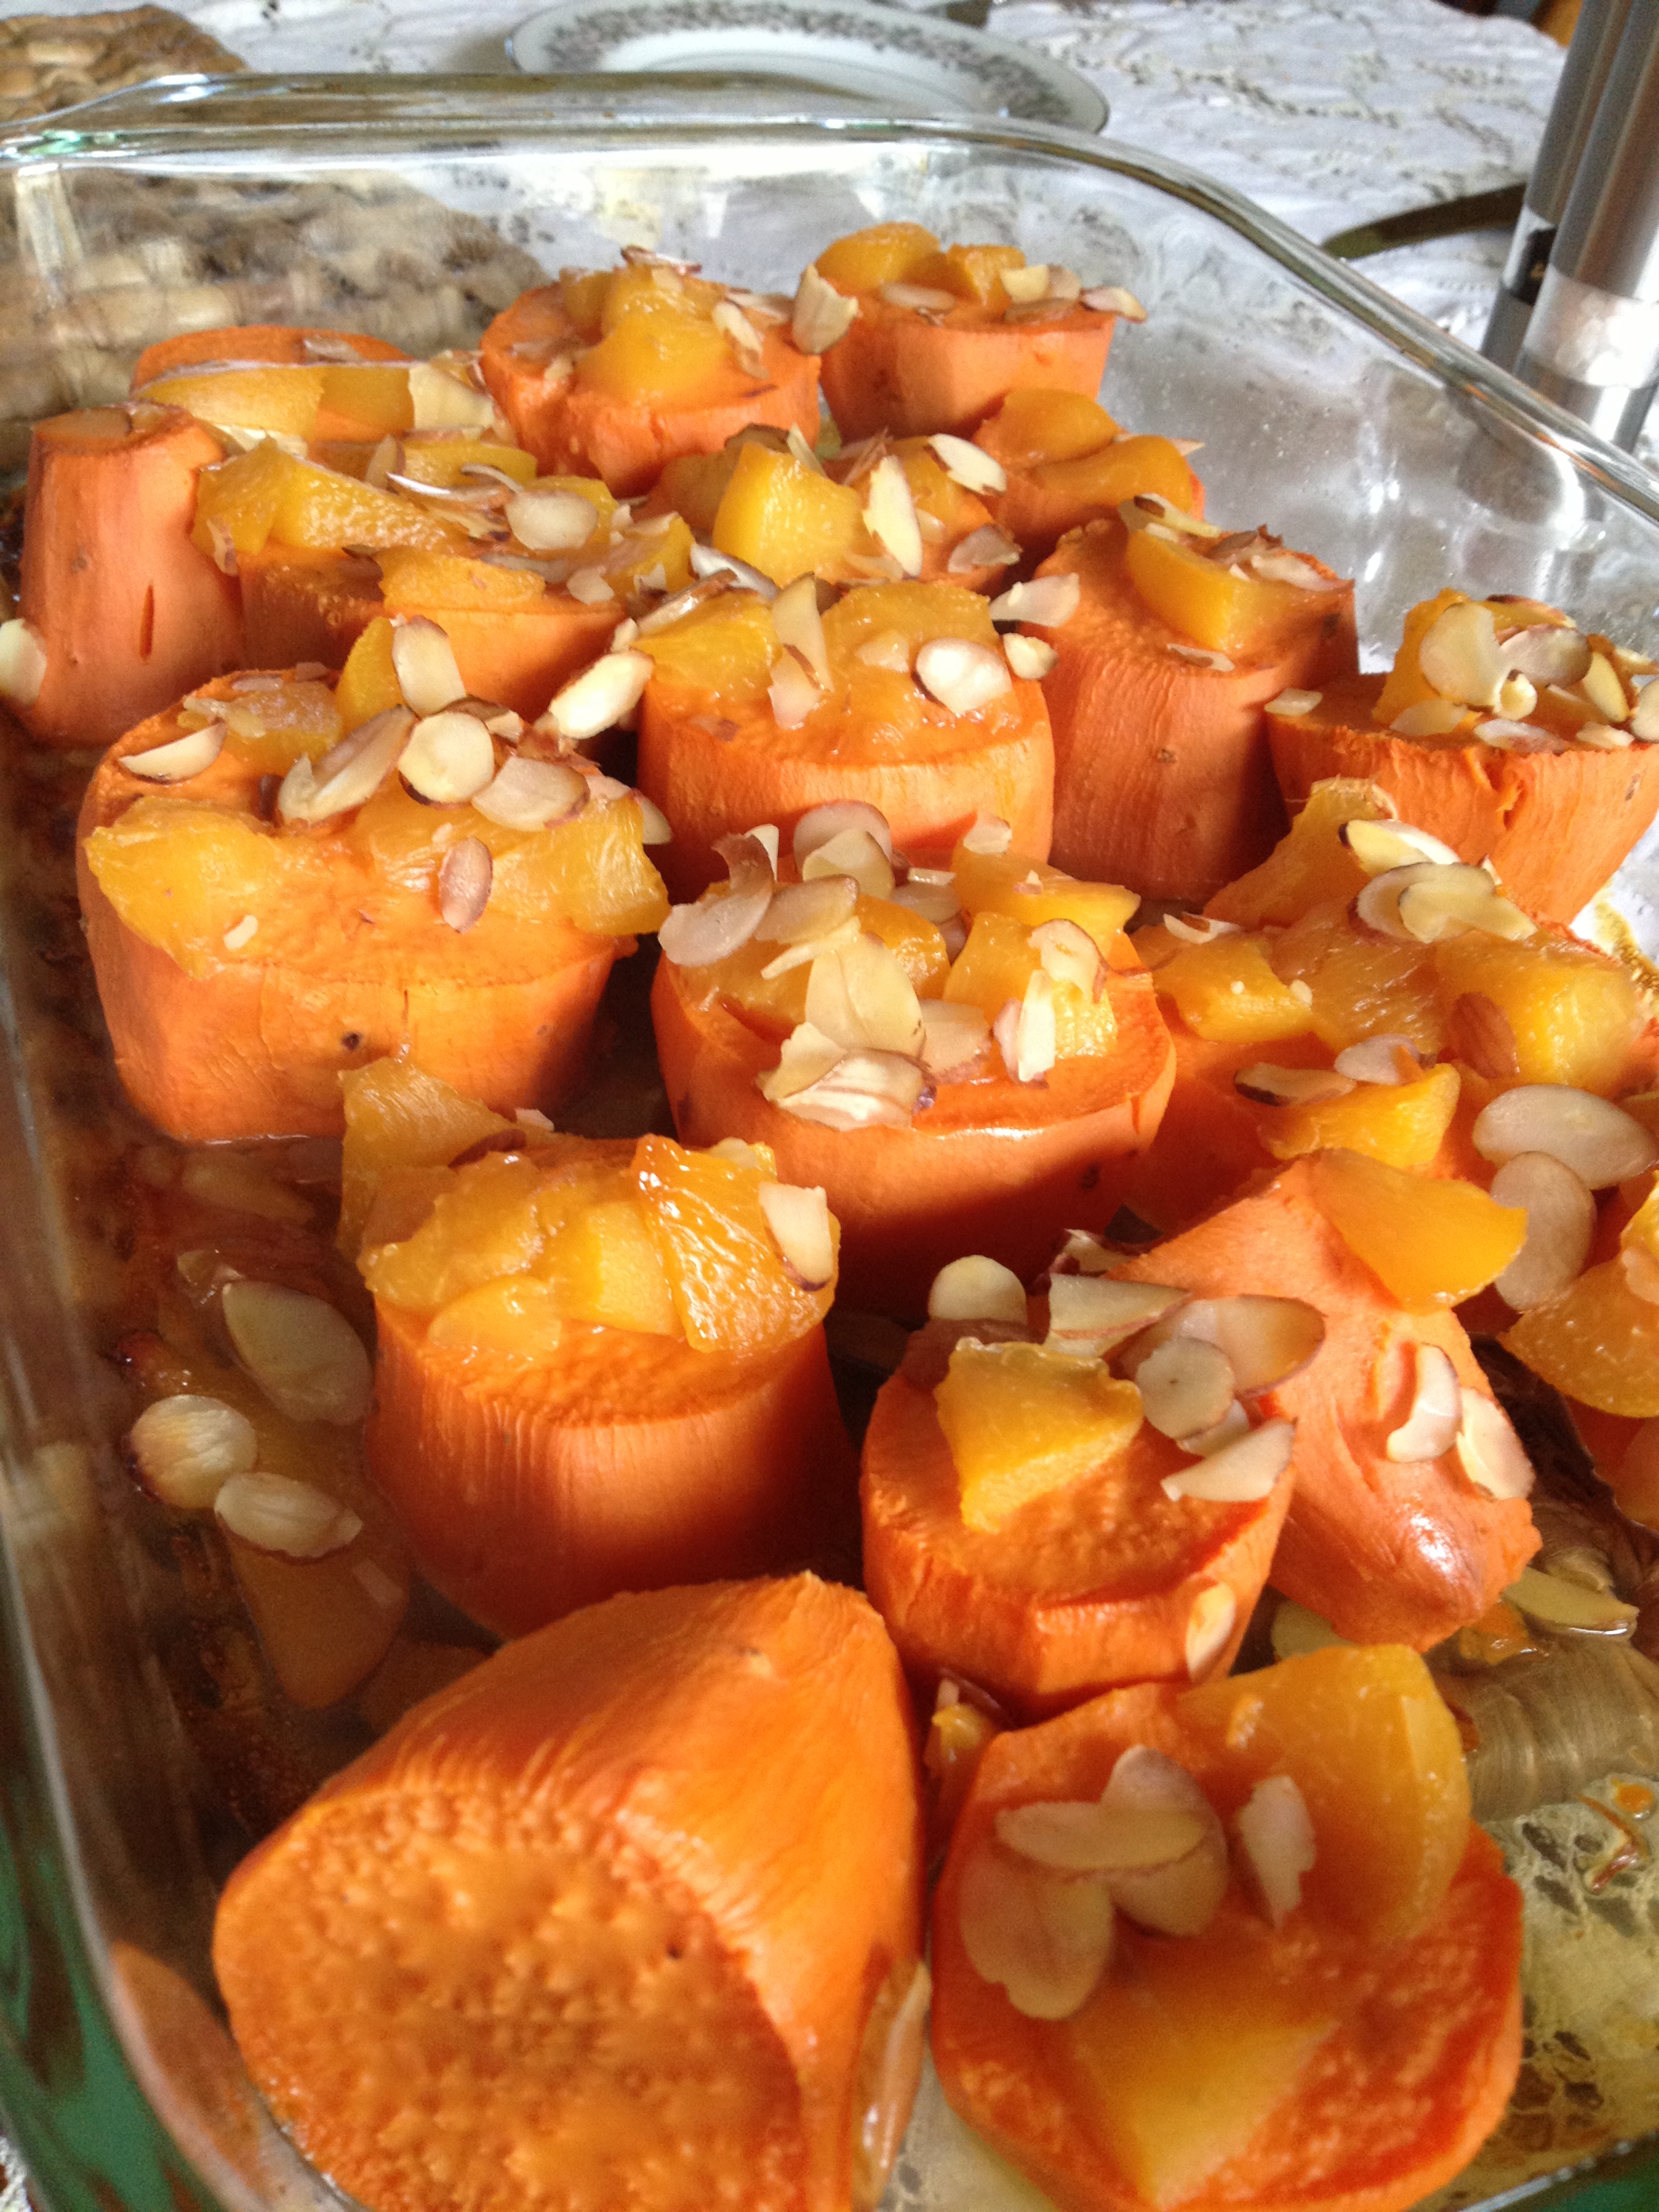
Baked yams with shaved almonds on top

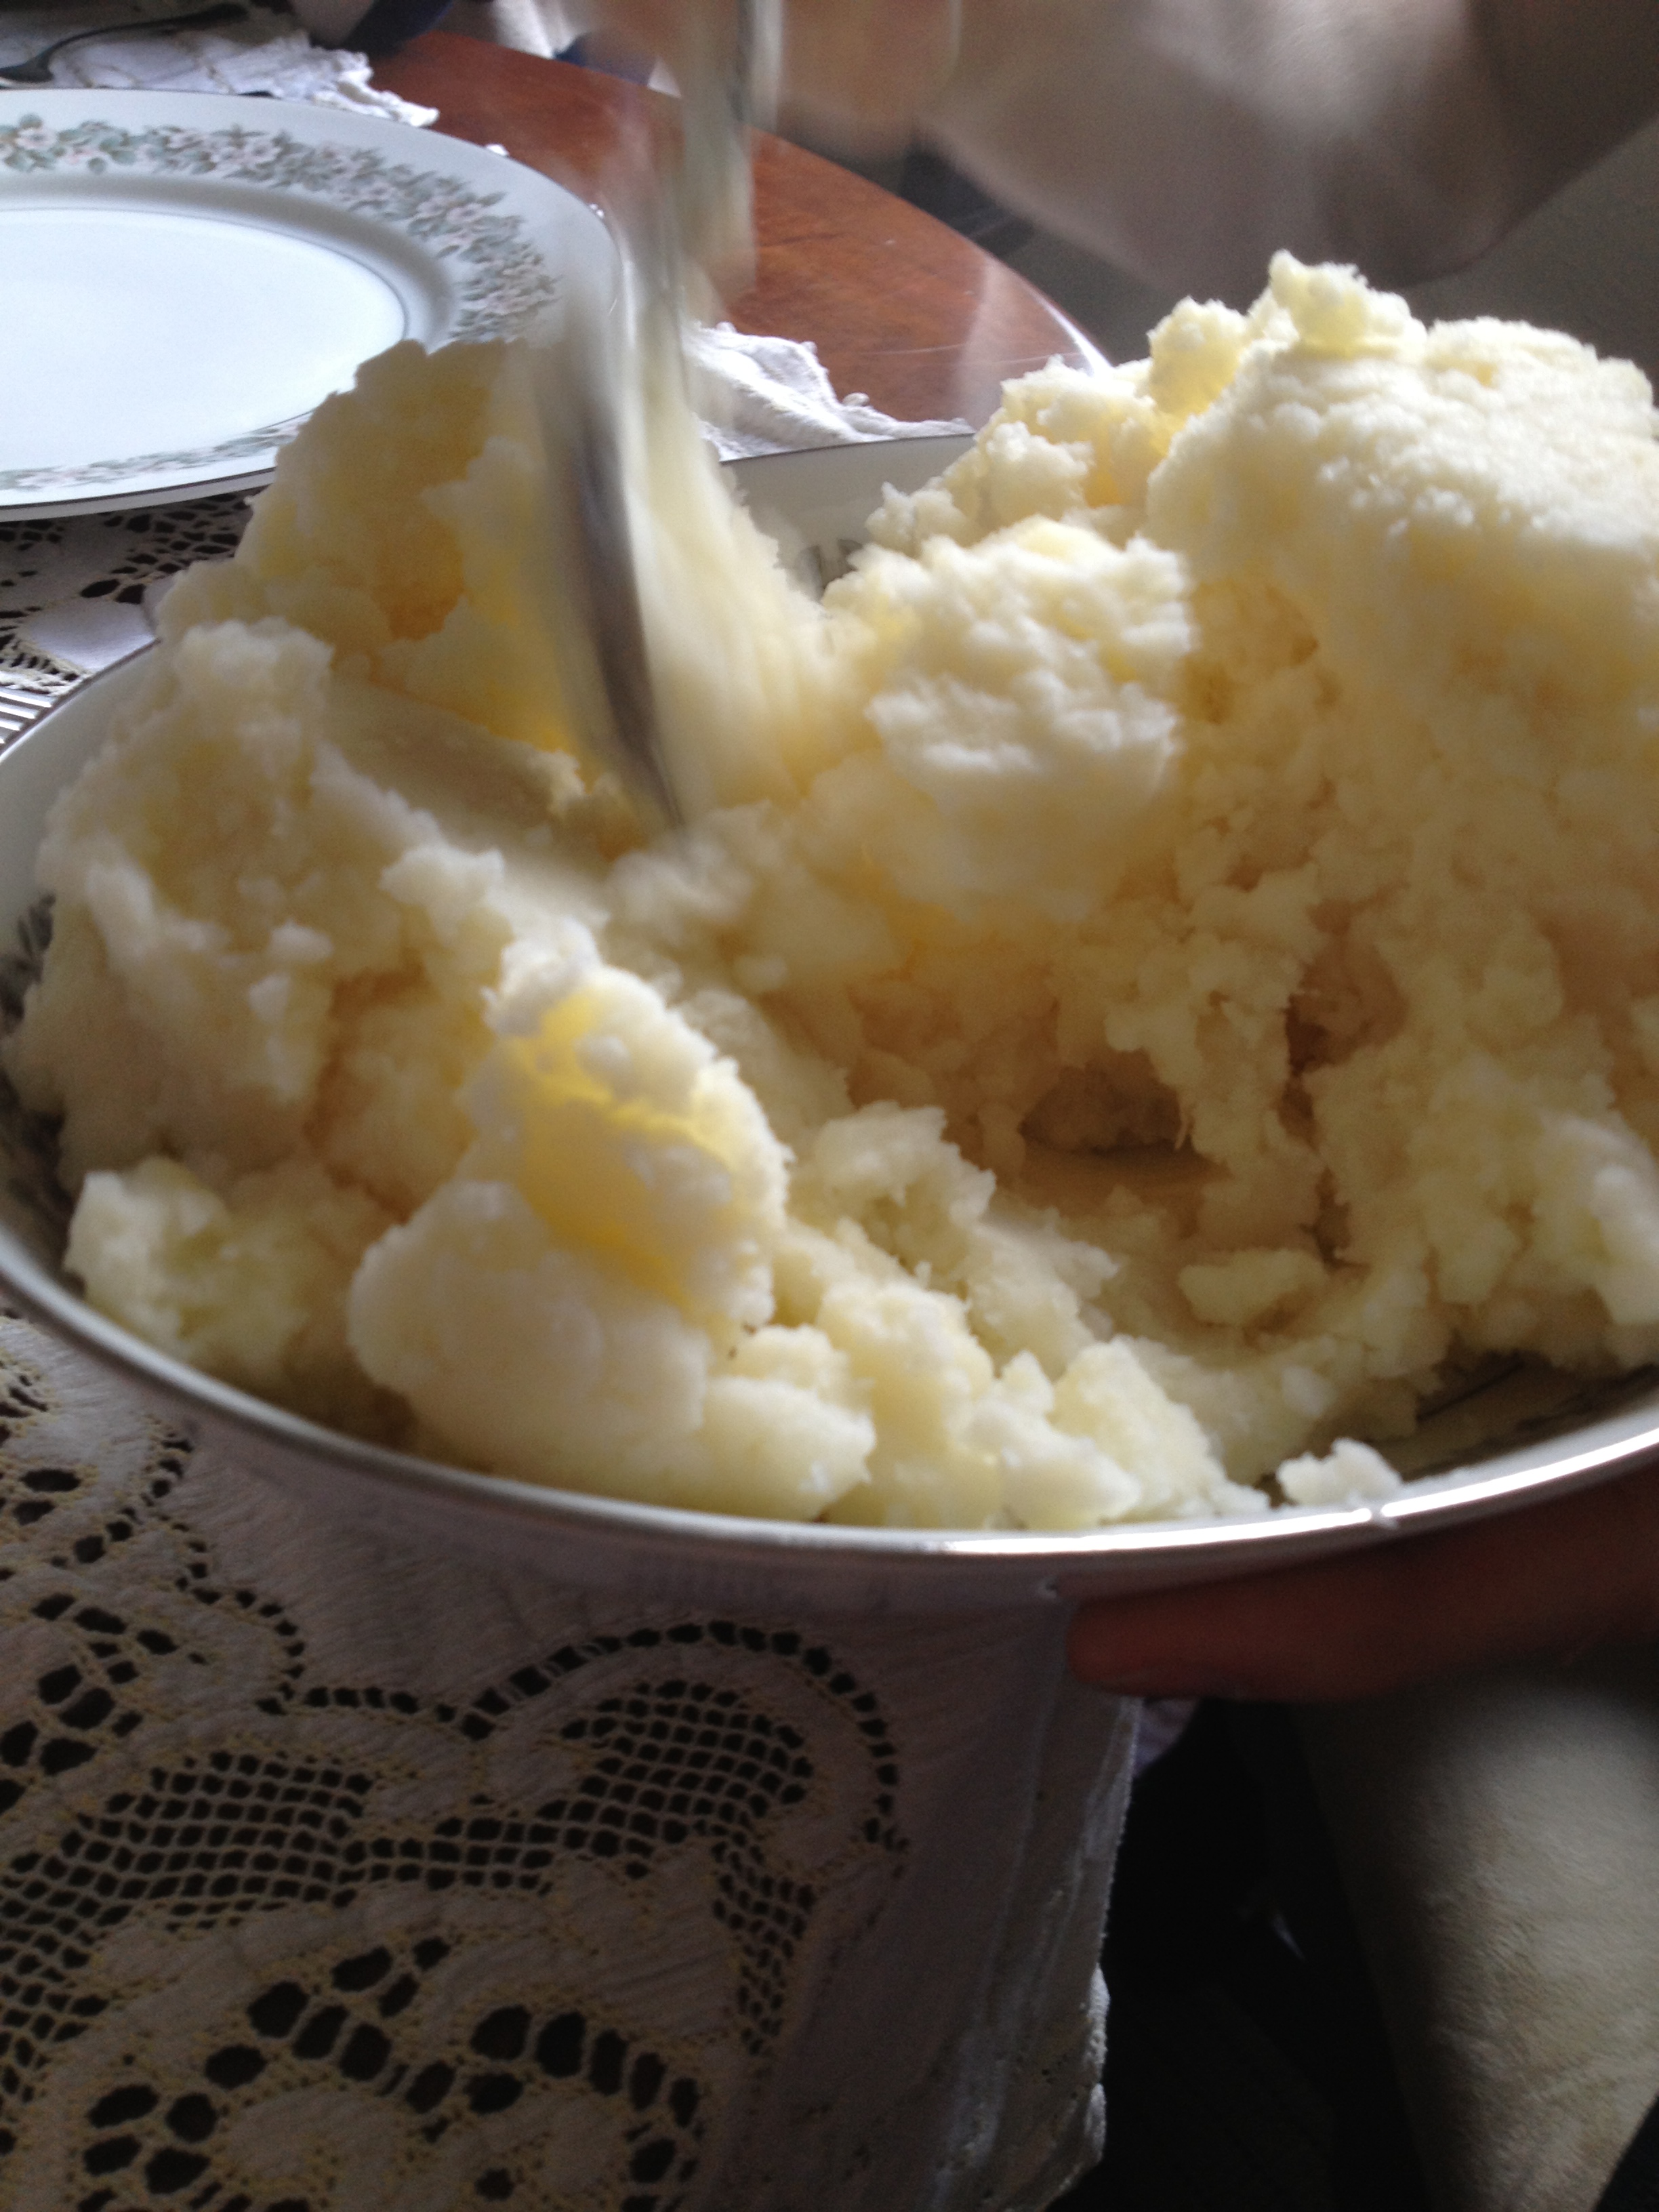
Mashed potatoes (of course)

Martinelli’s…Thanksgiving Classic 

TURKEY. We didn’t eat it, but others did 

My beautiful plate…you can see salmon (wild caught) as my meat in addition to a roll, mushrooms, and brussel sprouts (as well as other food covered already)

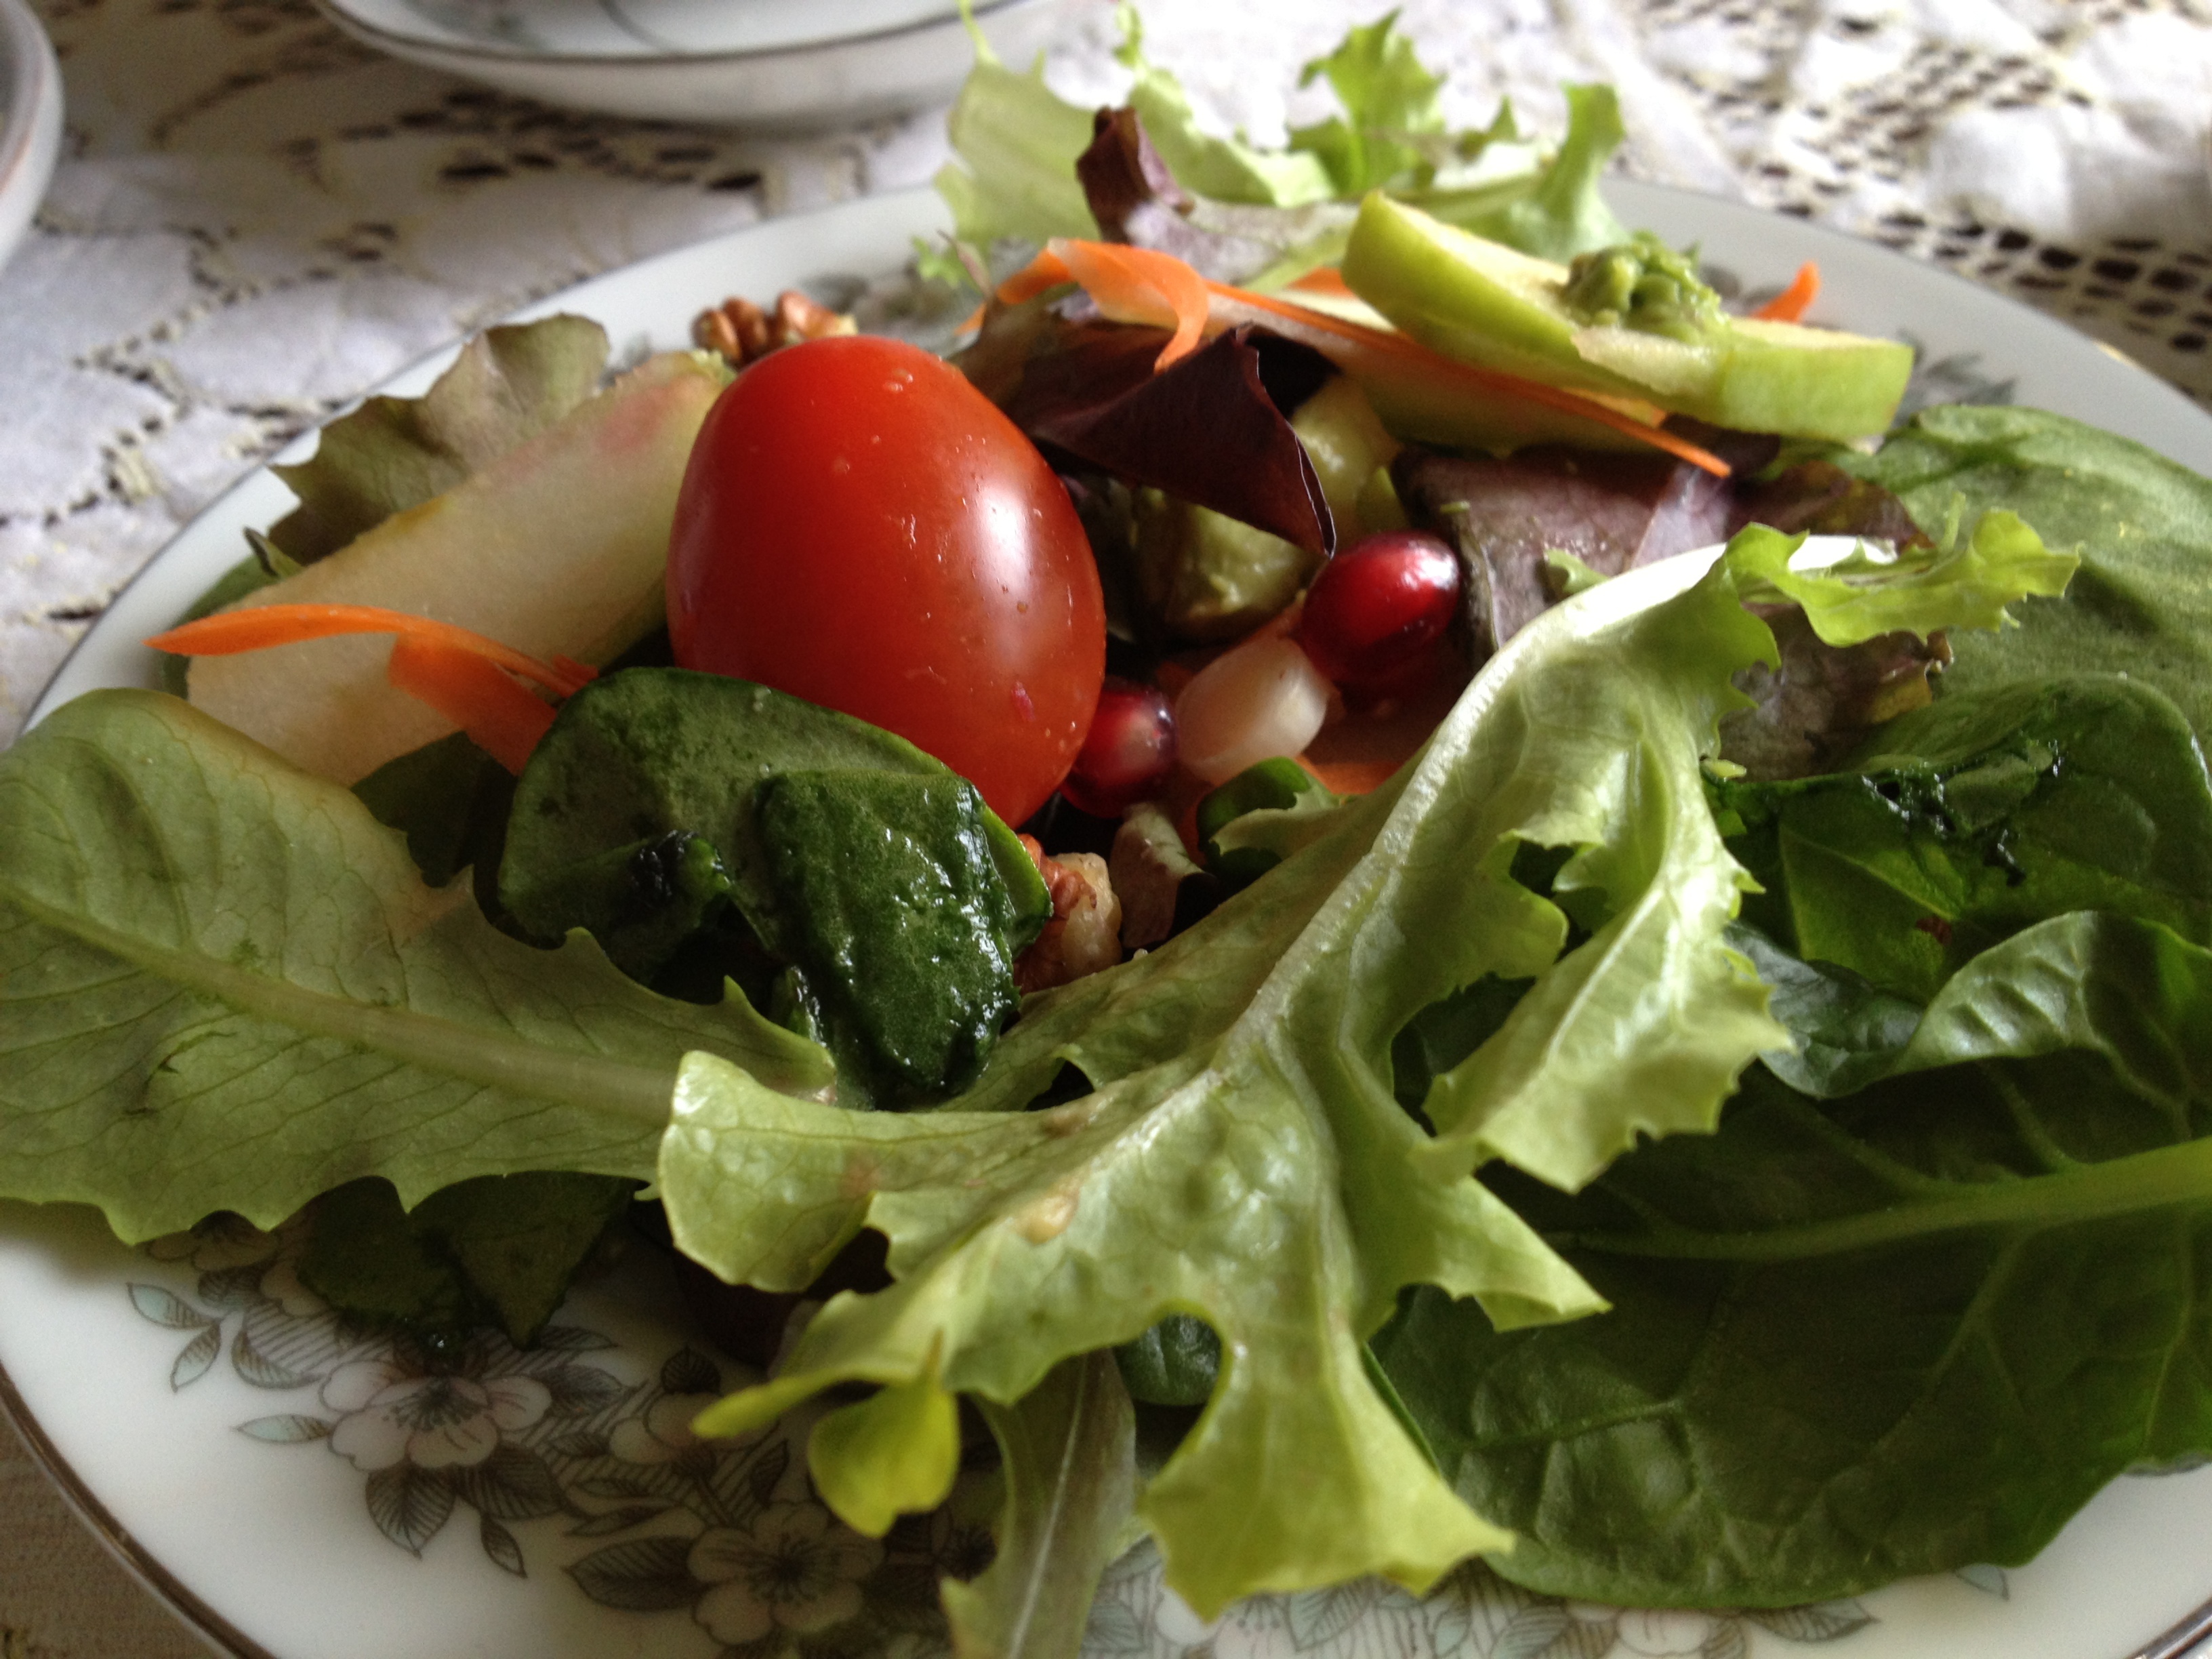
You will always find amazing salads at Marga’s house 

Plate all clean! Well except for the avocado Kai dropped on the floor

One of the two pies we had. This one was a bakery-made Peach-Raspberry (yum) and Megan made a top-notch pumpkin pie that I wish still existed

So that really covers it for Thanksgiving food…except for the stuffing and gravy and other alcohol served. Everyone had a good stuffed time. How was yours?

You know it…BONUS KITTY PIC 

spacer

Get Yo Autumn On: Whole-Wheat Banana PUMPKIN Bread

Oh yes I said it…pumpkin. I’ve made tons of banana breads, but now it was time to introduce the beloved fall vegetable, pumpkin. How many times do you think I can say pumpkin in this paragraph? Anyways, this pumpkin banana bread is one, absolutely delicious, twoeasy to make, and three, doesn’t leave you feeling guilty. It uses a bit of brown sugar and honey to sweeten things up, as well as the banana and pumpkin that go along with it. I found this recipe here and varied it a bit, put more cinnamon in it, more honey, typical stuff for me. Alrighty, get ready.

Ingredients:

  • WET
  • 1/2 cup butter
  • 2/3 cup brown sugar
  • 3 tablespoons honey
  • 1 cup pumpkin puree
  • 2 eggs
  • 1 banana
  • 2 tablespoons orange juice (weird)
  • 1 teaspoon vanilla extract
  • DRY
  • 1.5 cups whole-wheat flour 
  • 1/4 teaspoon baking powder
  • 1 teaspoon baking soda
  • 3/4 teaspoon salt
  • 1 teaspoon cinnamon

This is the pumpkin puree I use. You can find it…ANYWHERE right now

Okay, looks like a long list but it doesn’t take long to prepare.

  • Prep Time: 15 minutes
  • Cook Time: 55-70 minutes

Directions:

  • Preheat oven to 350 degrees
  • REAL simple here. Mix all the wet ingredients together

  • Then, you mix in the dry ingredients like the flour, baking soda, etc. Just look up at the ingredient list above, I organized it for you (it was really hard).

  • Spoon it all into the buttered or oiled baking tin and place into oven!

  • Bake for 55-75 minutes. Test it in the middle with a fork or a toothpick to make sure it’s cooked all the way through.

Hope you enjoy it as much as we will! I’m bringing this over to my aunt’s and cousins’ to watch the Election Night coverage as we bite our fingernails. Now that I think about it, I probably baked this to subconsciously soothe myself.  Don’t forget to VOTE tomorrow. Please.

BONUS KITTY PIC

spacer

Halloween Feast: Open WIDE

We live in an apartment complex where kids wouldn’t exactly walk up to. There’s plenty of college kids living here and some other sketchy folk, so we decided to not give out here. We decided that we (Chris, cousins, & co.) would go to my aunt’s house in a very much-more family-friendly area. It’s also big, spacious and lovely. The perfect spot for some Halloween fun.

As soon as I was out of work, I raced home with a huge list of things to bring on my mind. First, I made some of my guacamole (which I ended up having to make a second batch because people [CHRIS] ate all of it before the main dish was out). Then, I put the pumpkins in the car, the Halloween cookies, the laundry (yes we brought our laundry over), CANDY, red wine, and apple cider. Was that it? Oh yes, and the kittens! It was the first time they’ve been over to my aunt’s house since they’ve finally gotten their Rabies shots (yay!). So I shoved both of them in the cat carrier and headed over to my aunt’s house.

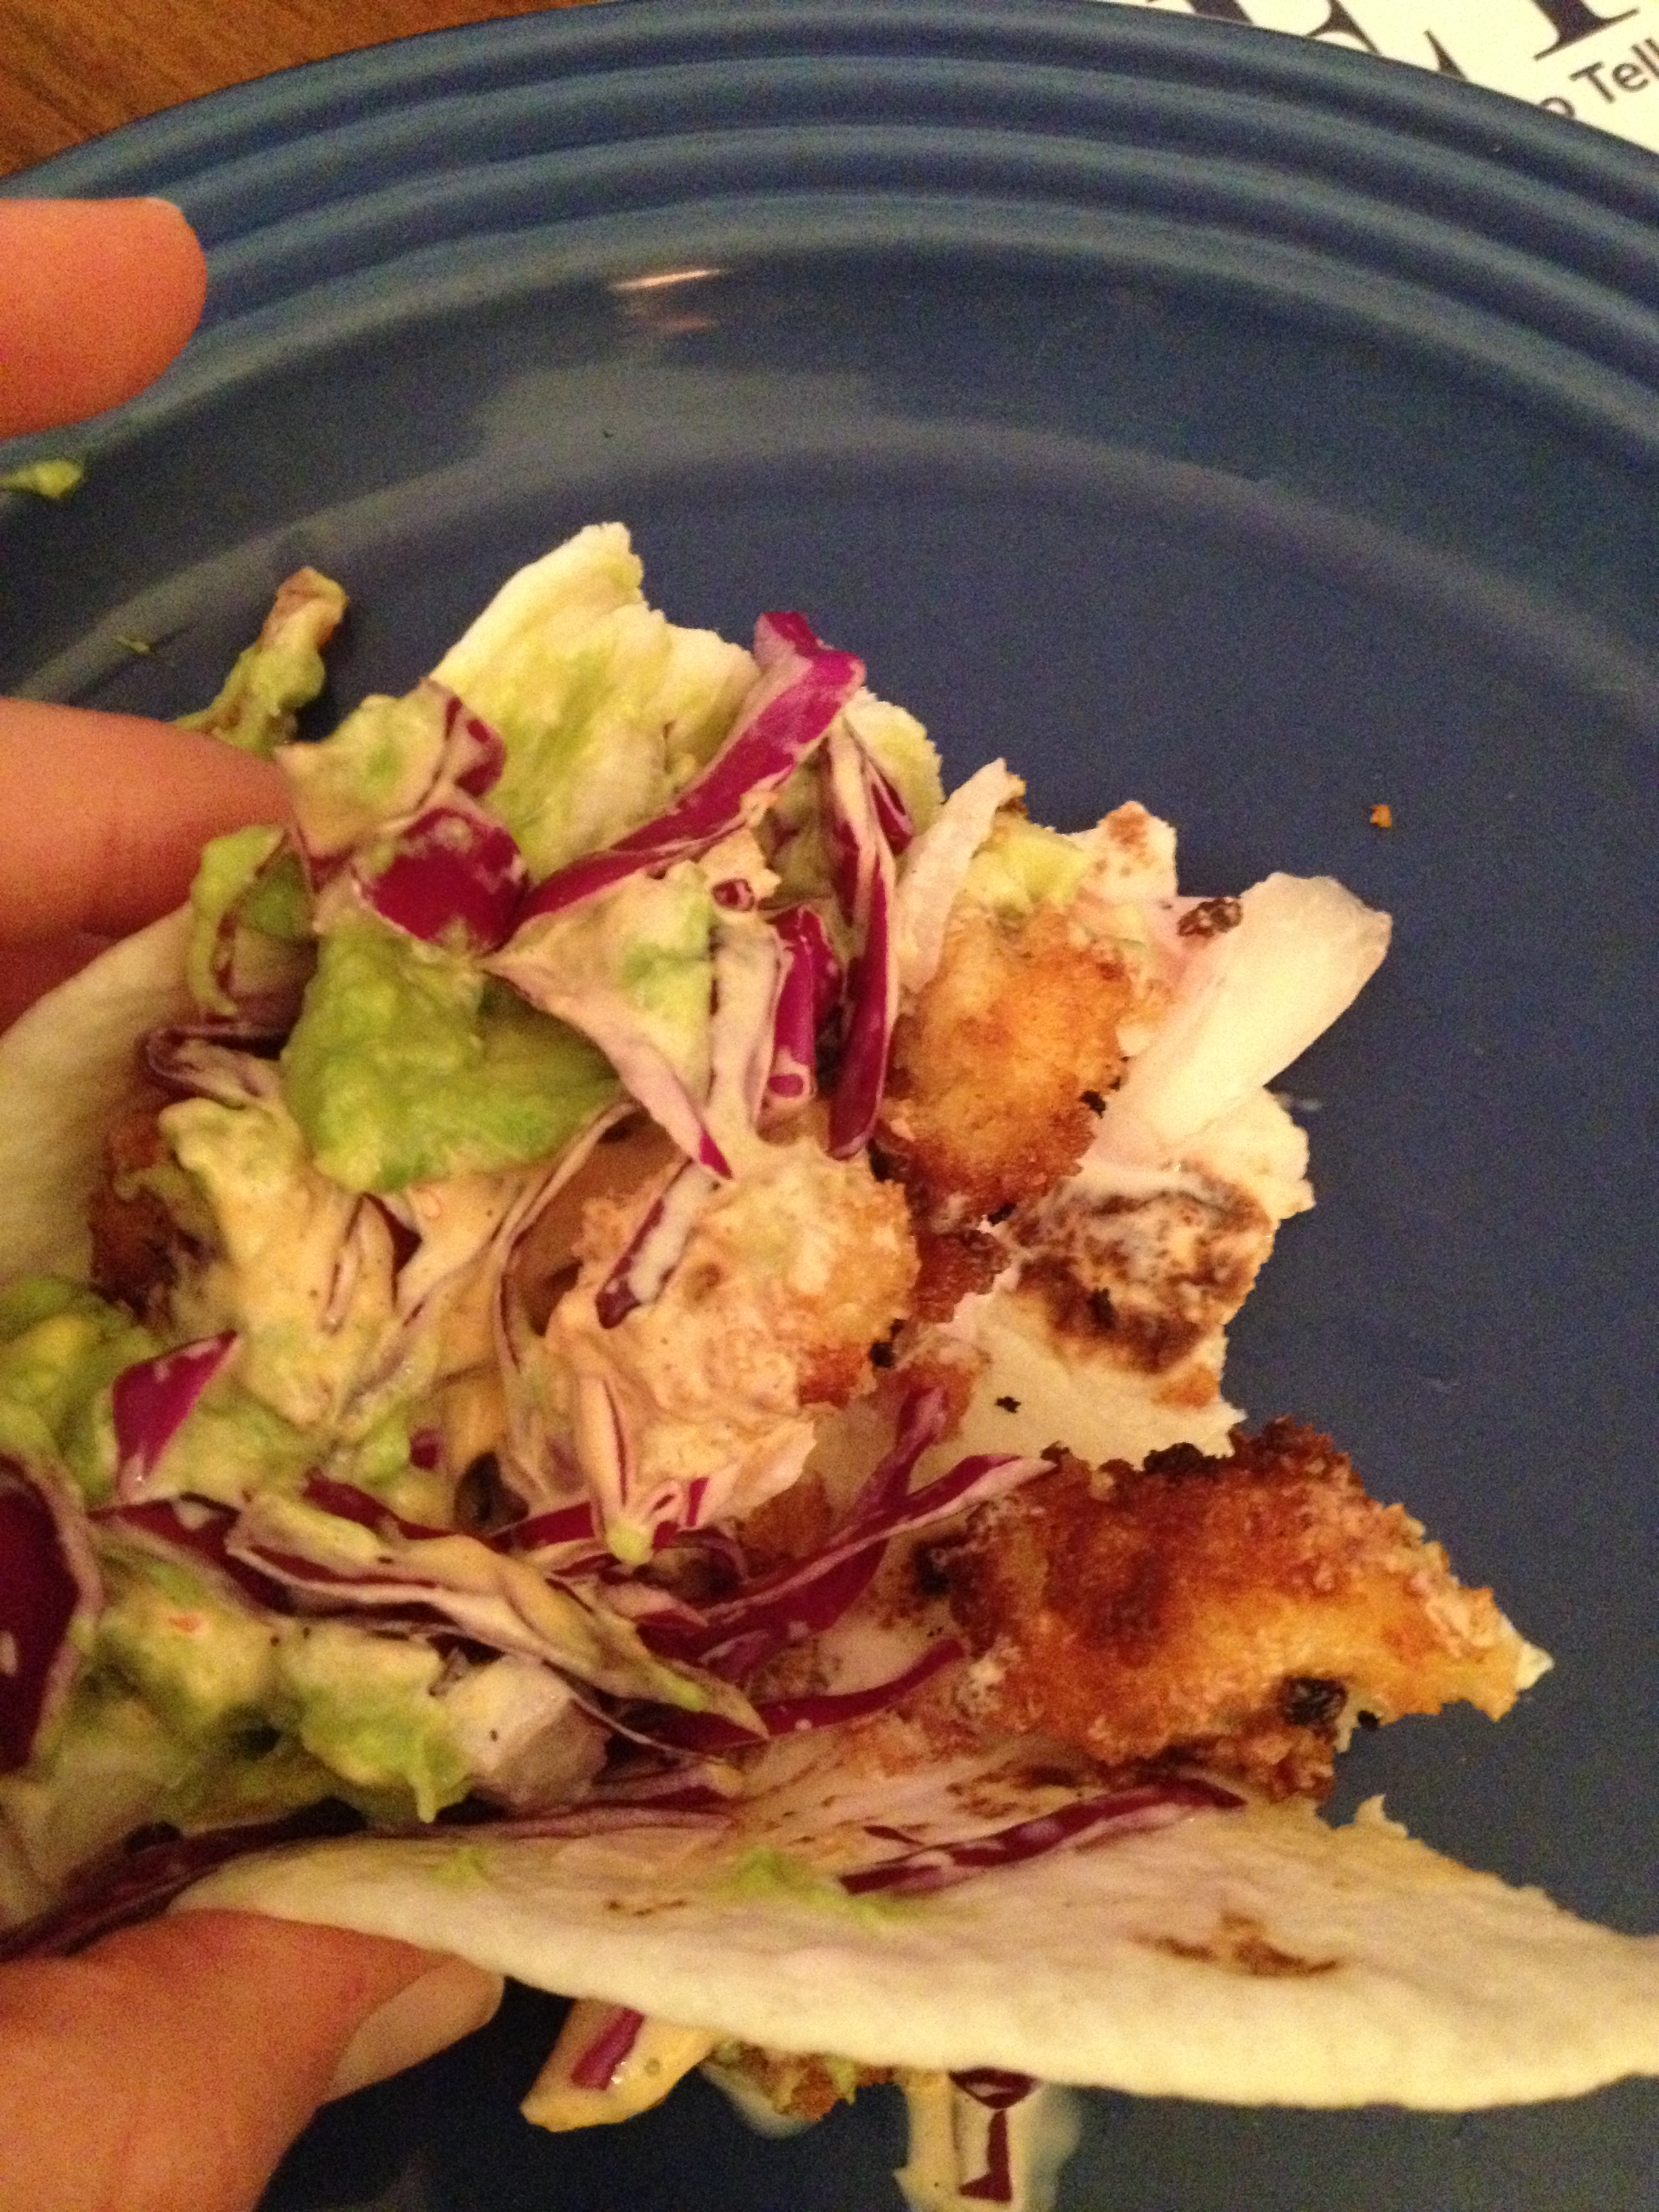
Once there, I found Megan (my cousin) already preparing her wild-caught fish tacos. It was a big project, but she used top-notch ingredients, even made her own aioli chipotle sauce.  She battered them in panko breadcrumbs, turned out absolutely fabulous. Fred, her boyfriend, and his brother made a top notch cole-slaw that would go on top. And then my guacamole on top of that. It was amazing. Seriously. Better than any taco place can give out. Just LOOK at it.

Main show of the feast, everyone put a little something in and it turned out to be excellent

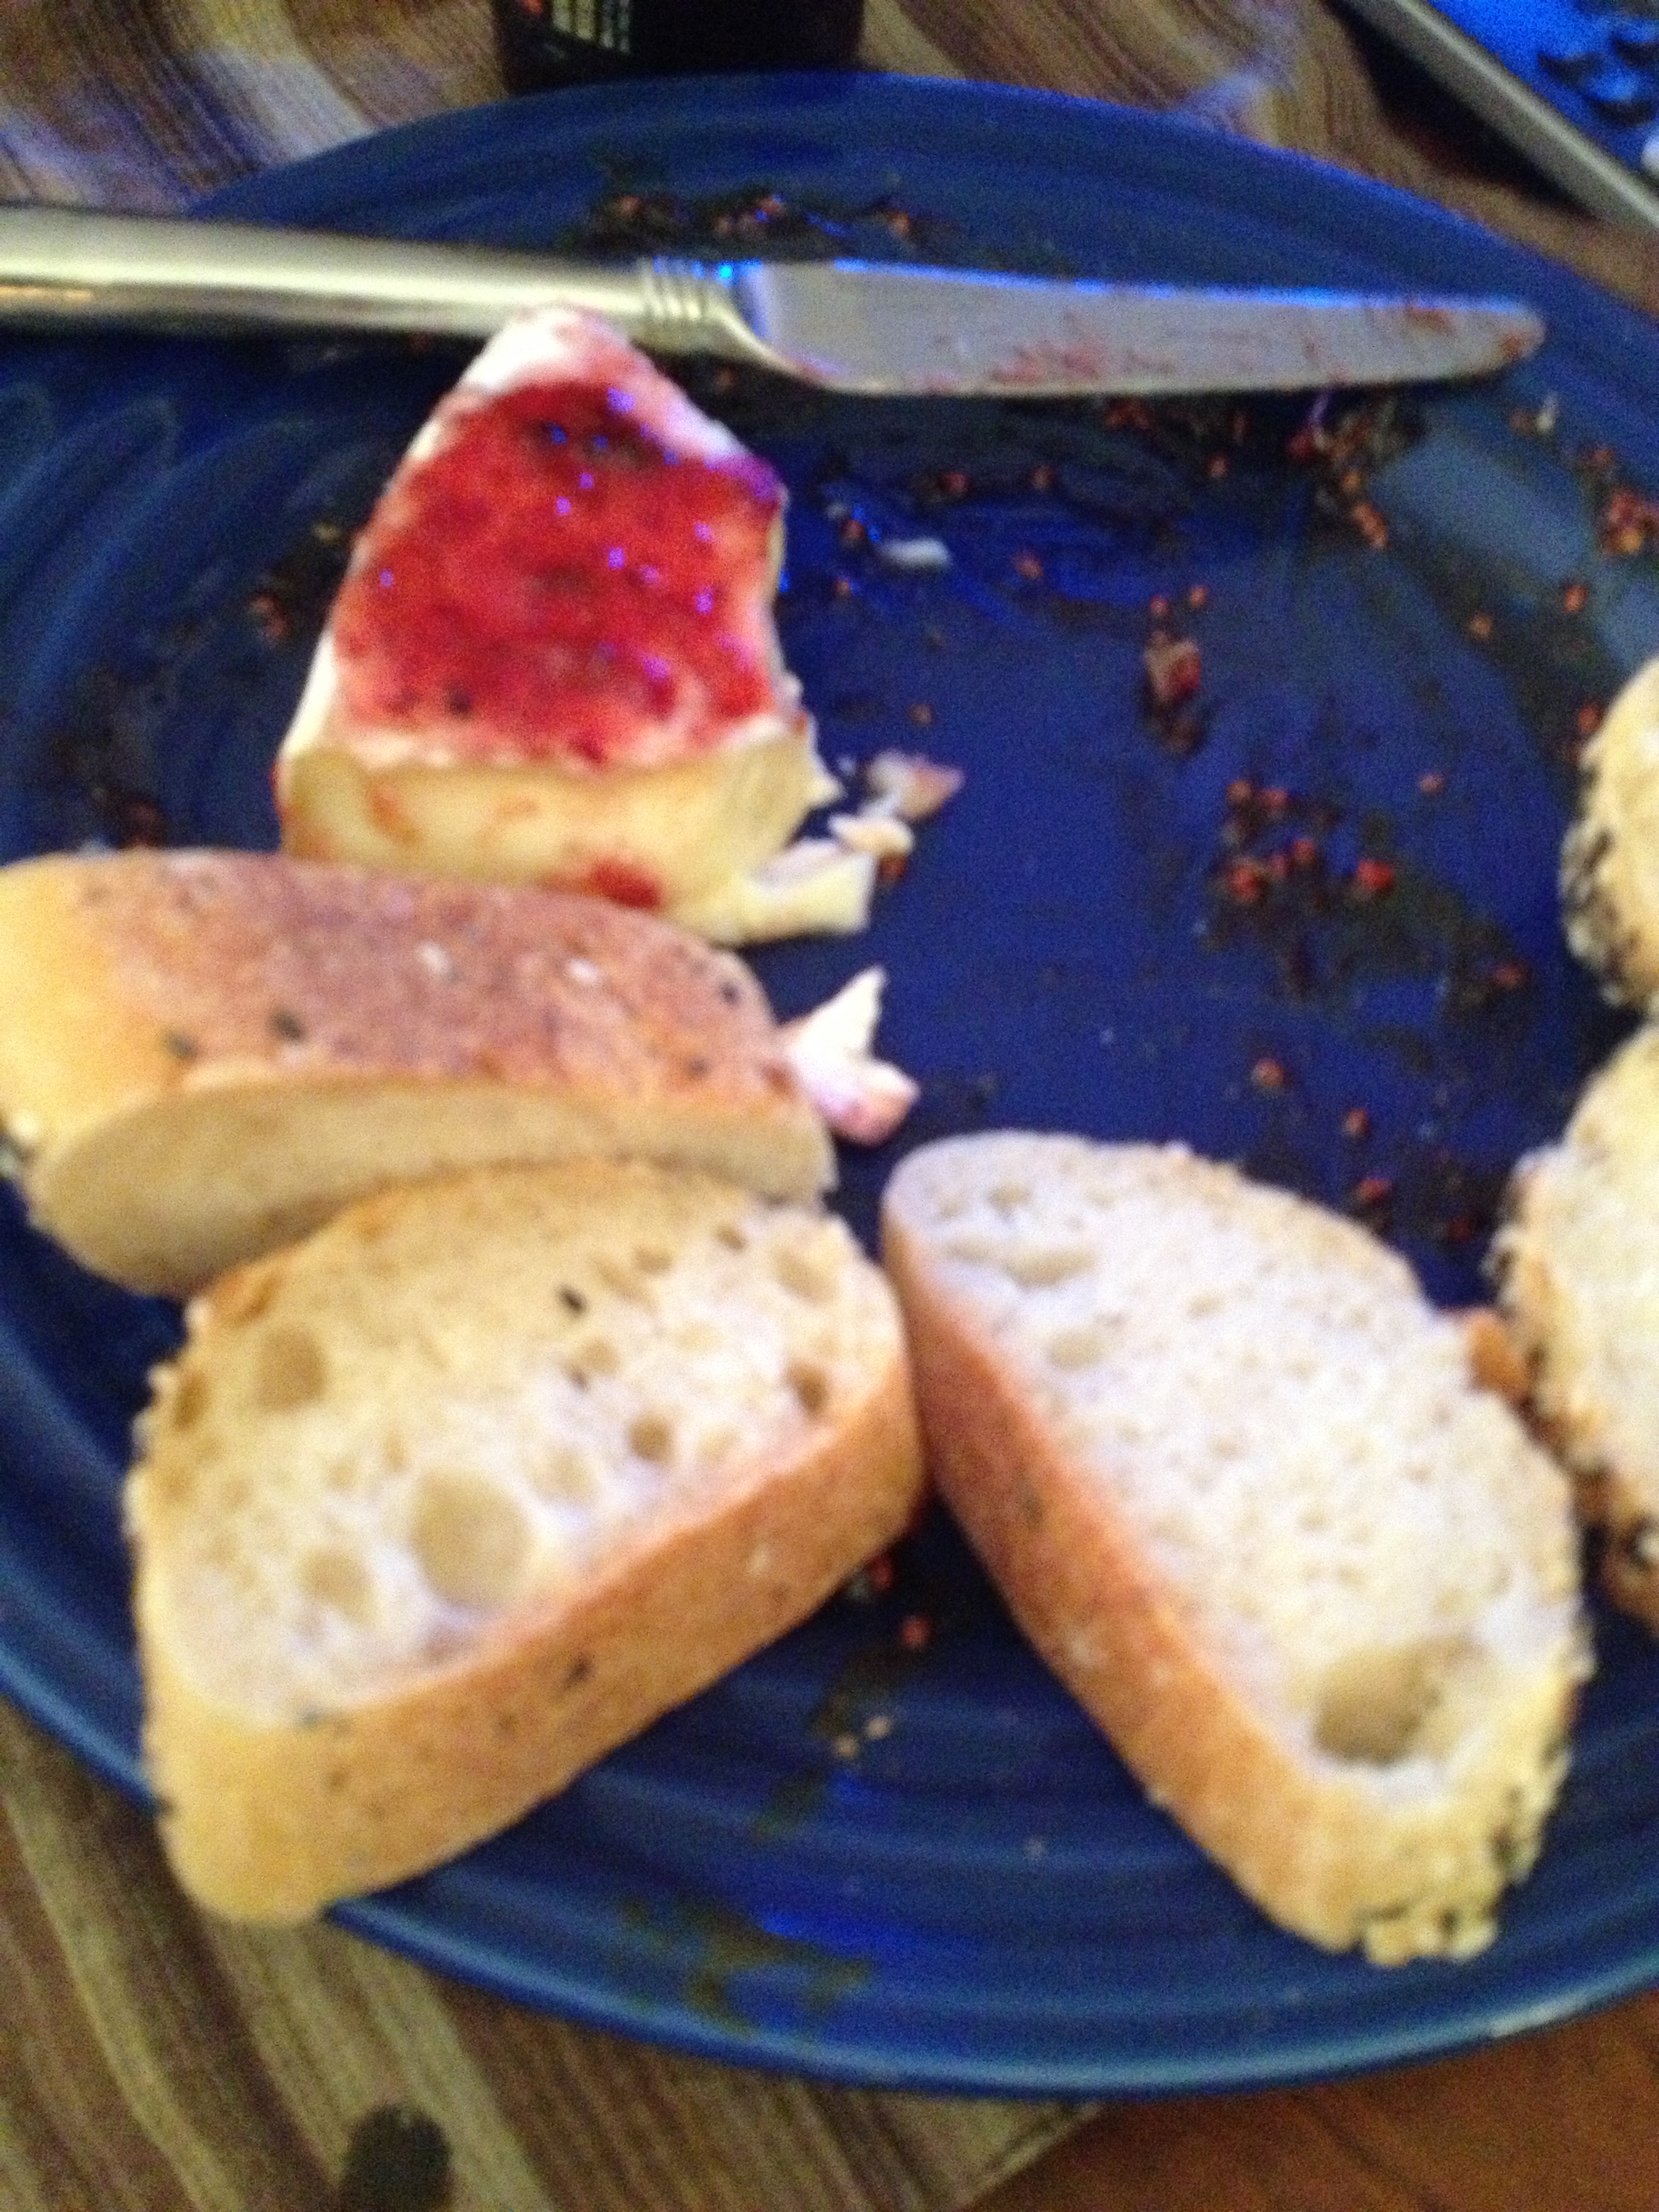
We had a lovely appetizer of bread and baked brie with a chipotle cranberry sauce (might have been pomegranate, never get it right). Again, delicious. 

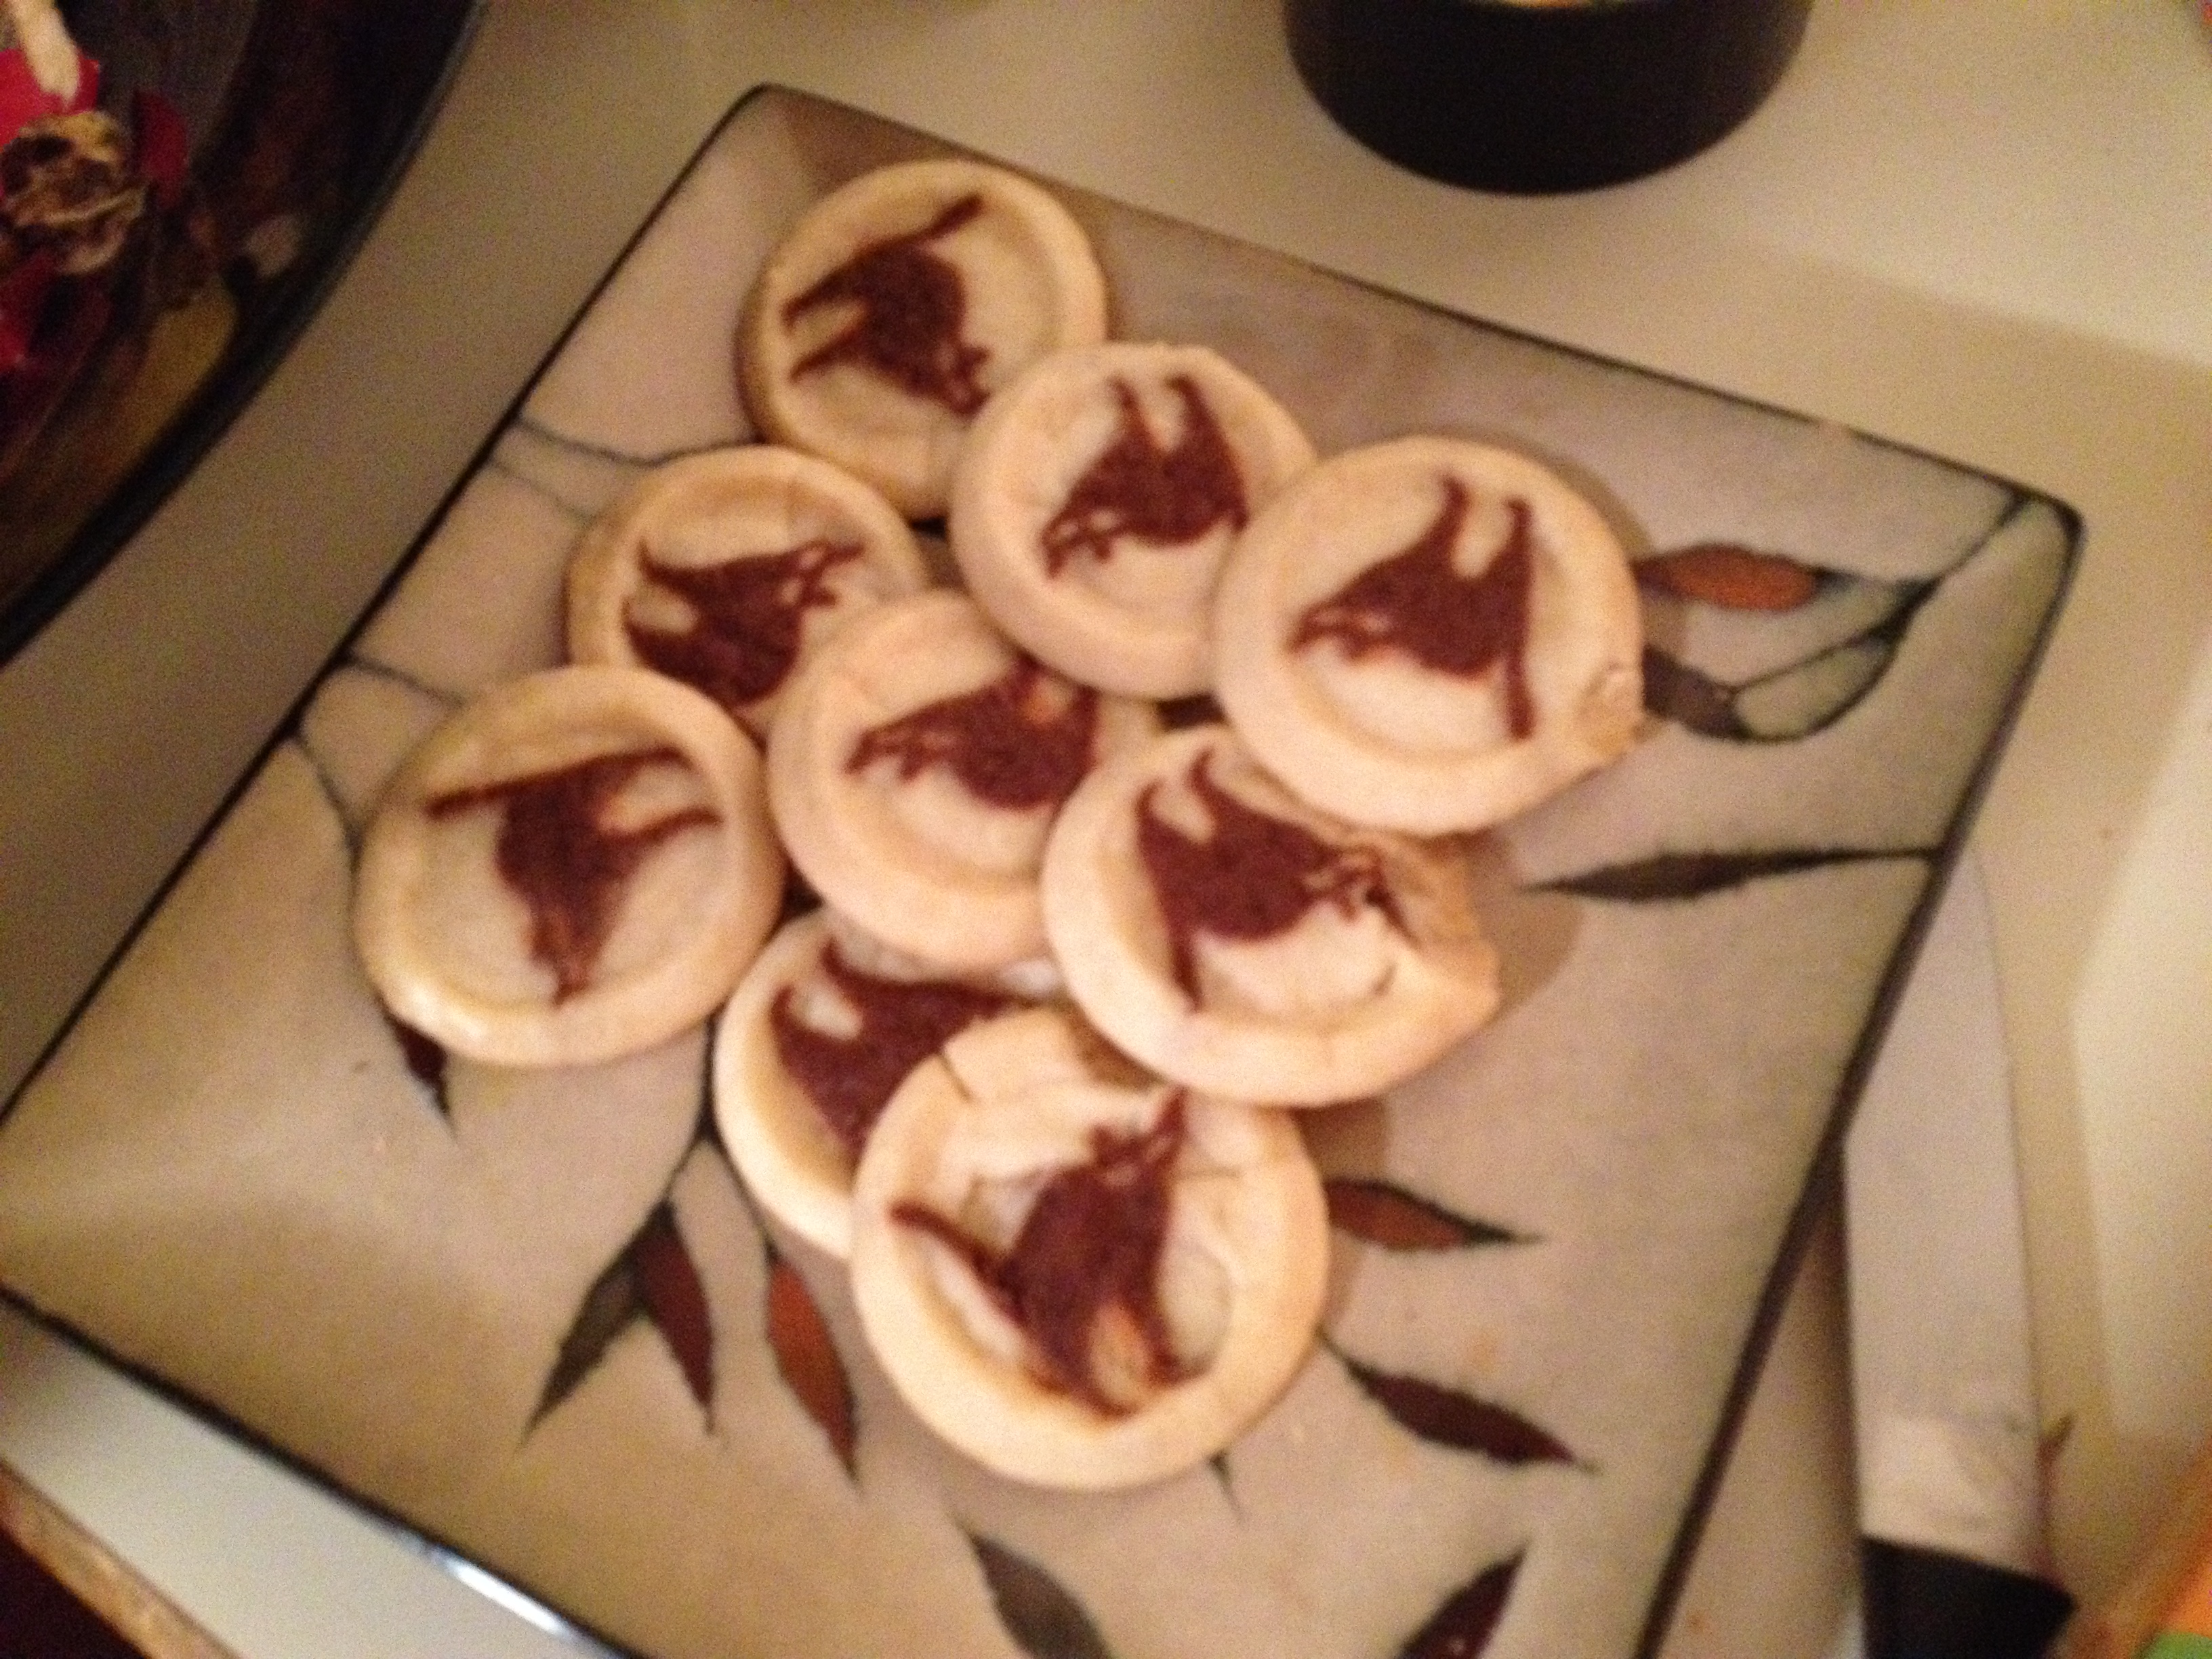
We put on Monsters Inc. (the most Halloween-y movie we could find) and enjoyed our dinner immensely. As soon as we were done, Chris immediately wanted to put the cookies in the oven. They’re his favorite kind of cookies. Basic sugar cookies with Halloween deco on them.

And they didn’t last too long….

 By the time these were done with, we really couldn’t move. All on the couch, kitties laying peacefully across us (why didn’t I get pics of that?!), blissfully enjoying our full bellies.

And of course, the mess in the kitchen was as usual (and as should be!) after any well-prepared feast. And Ben (my other cousin) cleaned everything up, thanks Ben!

Overall, it was a great Halloween, full of food, friends, and family (what else matters, really?). The only bummer was that we only got three batches of trick or treaters. We would get so excited when the doorbell rings I think we kind of scared them off. Anyways, it was a great time.

Nymeria didn’t like her outfit as much as we did. 

Happy Halloween!

spacer

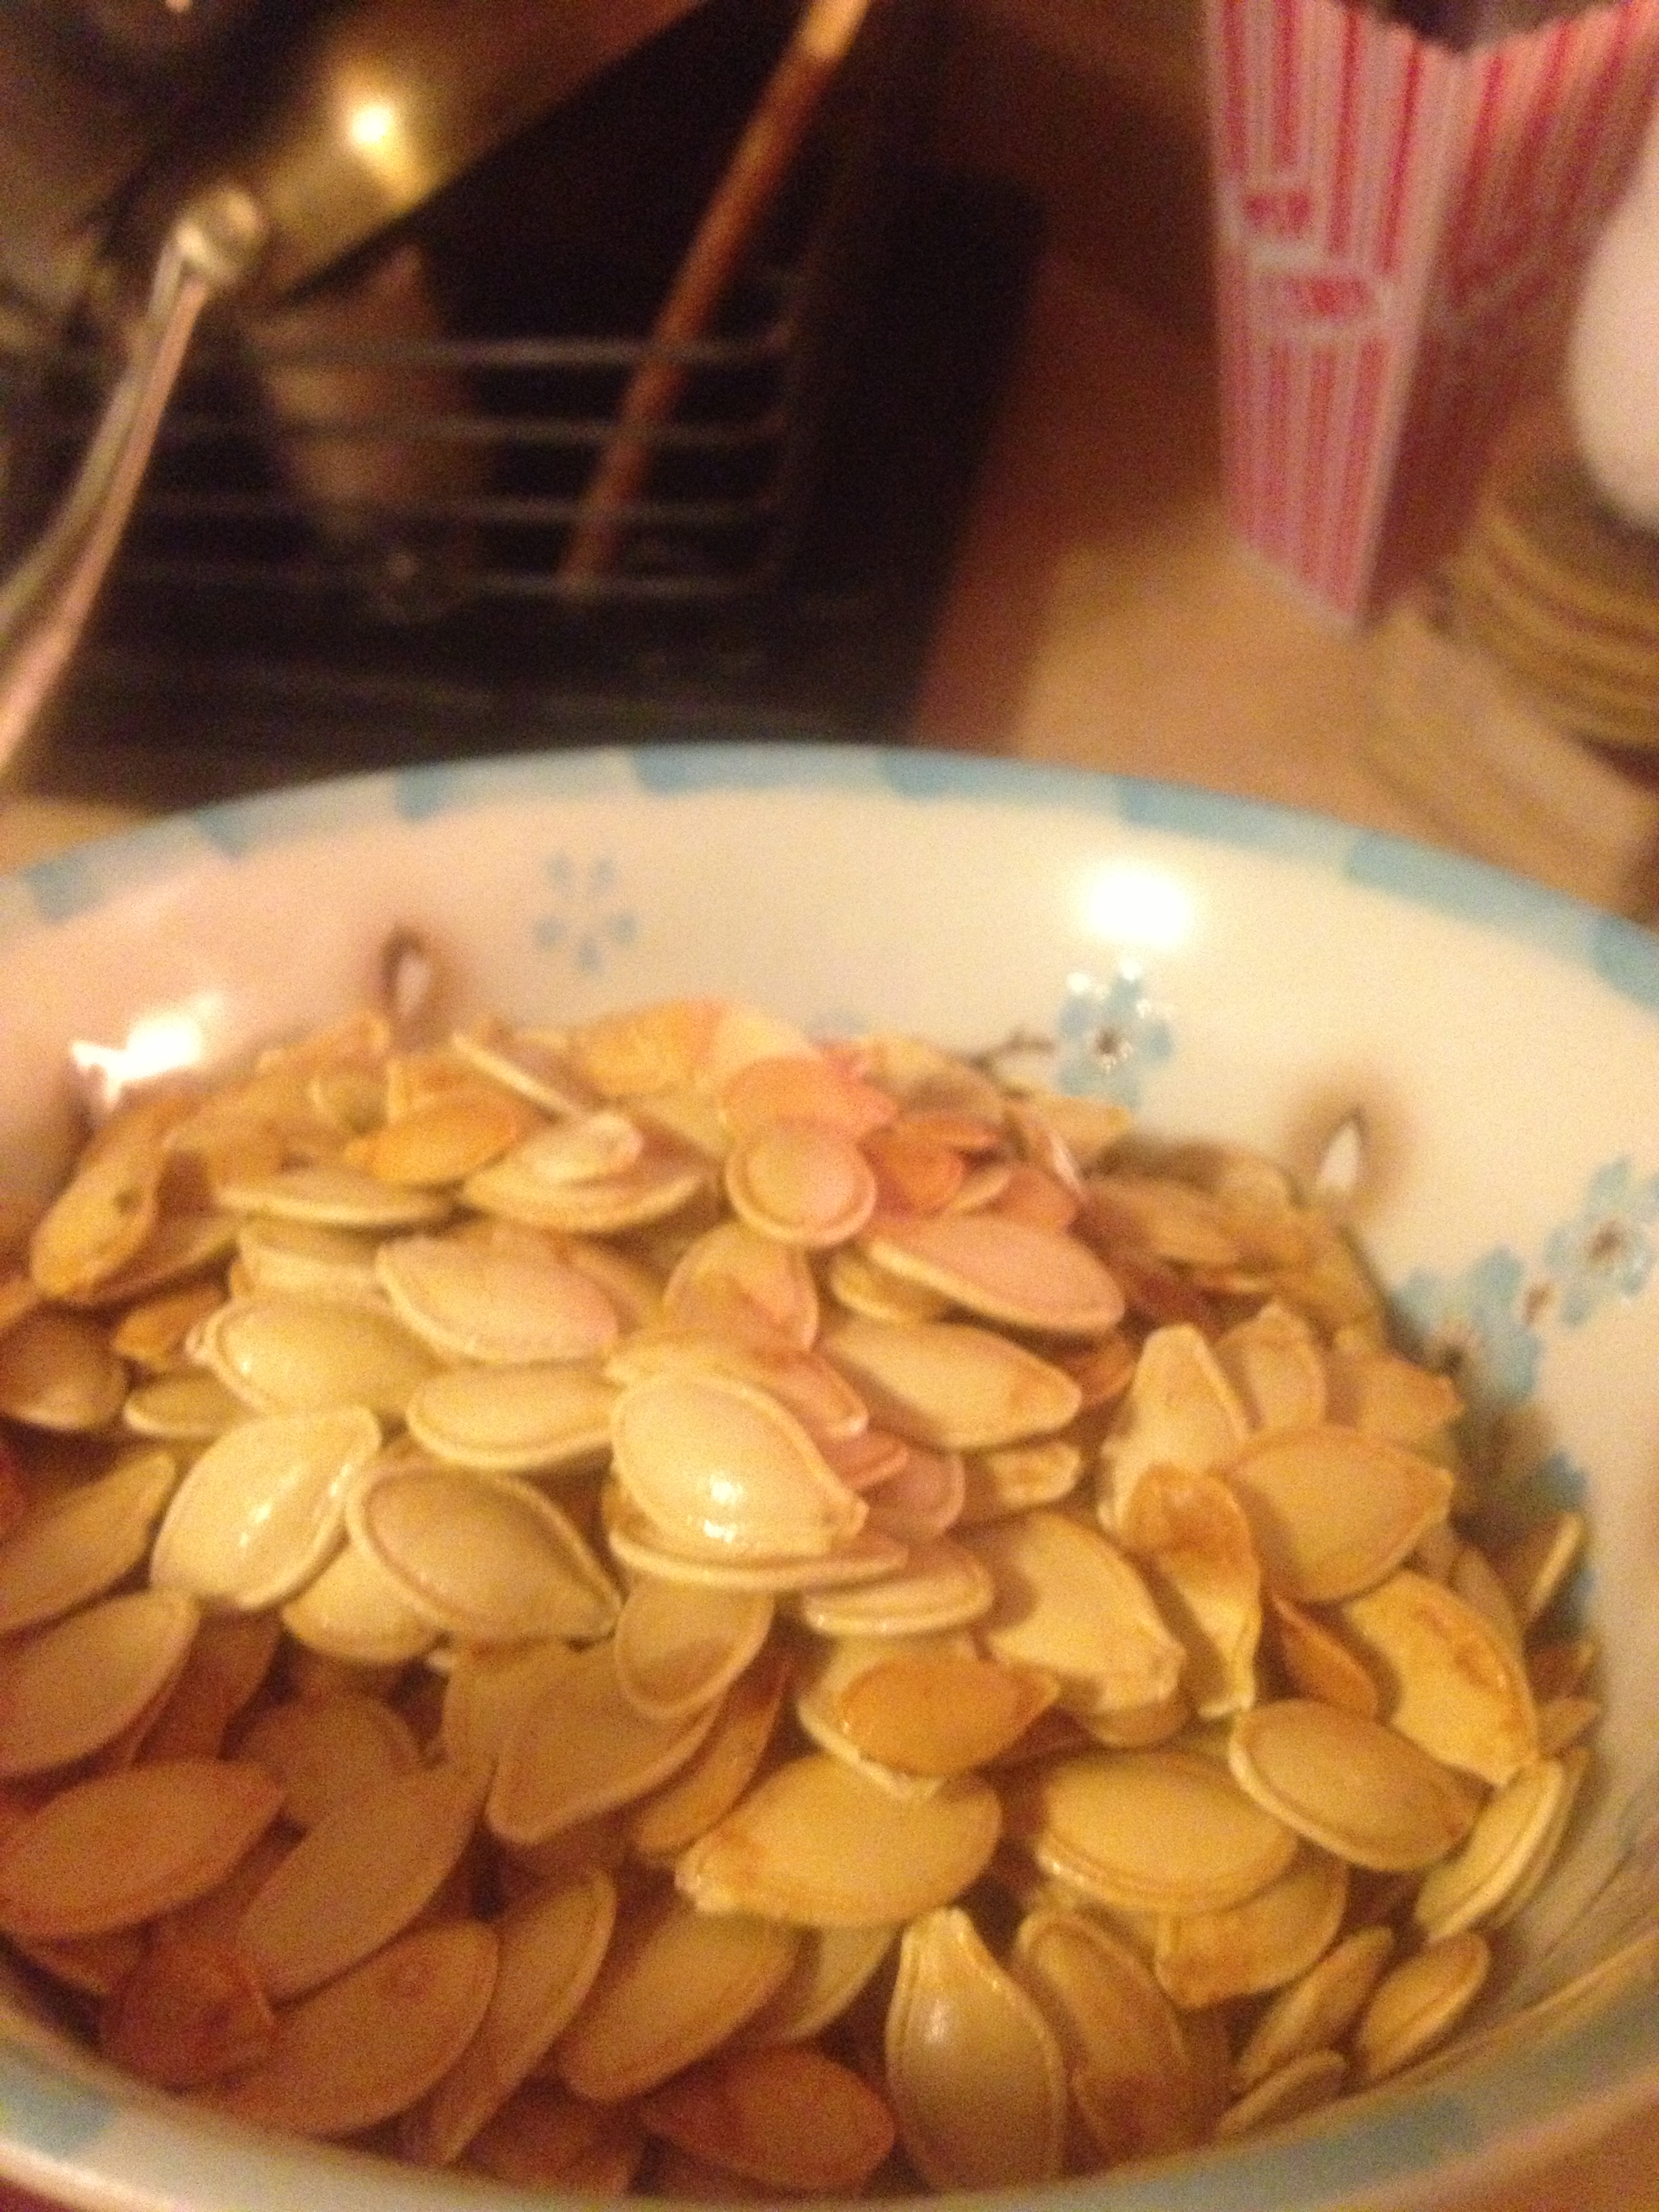
Yes, That’s a Beautiful Pumpkin–But Don’t Throw Out the Seeds!

Yikes, what a long title. Anyways, I’m here to bring you something that could be possibly even more amazing than carving a pumpkin…its seeds. As some of my friends may know (cough LENA), I absolutely love pumpkin seeds. In fact, I love them so much I can eat a whole container of them (sorry, Esther). The flavor of it, the grittiness, the amount of protein in the middle. There’s no downside (at least for me, but Chris doesn’t like how long it can stay in his mouth).

Indeed, it’s a great protein source. Did you know that one ounce of pumpkin seeds can give you 9.35 grams of protein? Not bad! Well said, Watto. And it is so easy it’s not even funny. We carved our pumpkins with paring knives (that was the hard part) and then I gutted them. I have memories of my dad letting my brother and I draw faces on our pumpkins, he would cut it, then let me do all the dirty work of grabbing its seeds and goo. And I loved it. So of course, I was the one to do it this time. But I was not going to throw them out, oh no! I collected all the seeds from the two pumpkins and prepared them. All in all, it took about an hour. However, 40 minutes of that was cooking time. The rest is easy.

What You Need:

  • Raw pumpkin seeds
  • Melted butter (or oil)
  • Salt

First, set the oven to 350 degrees.

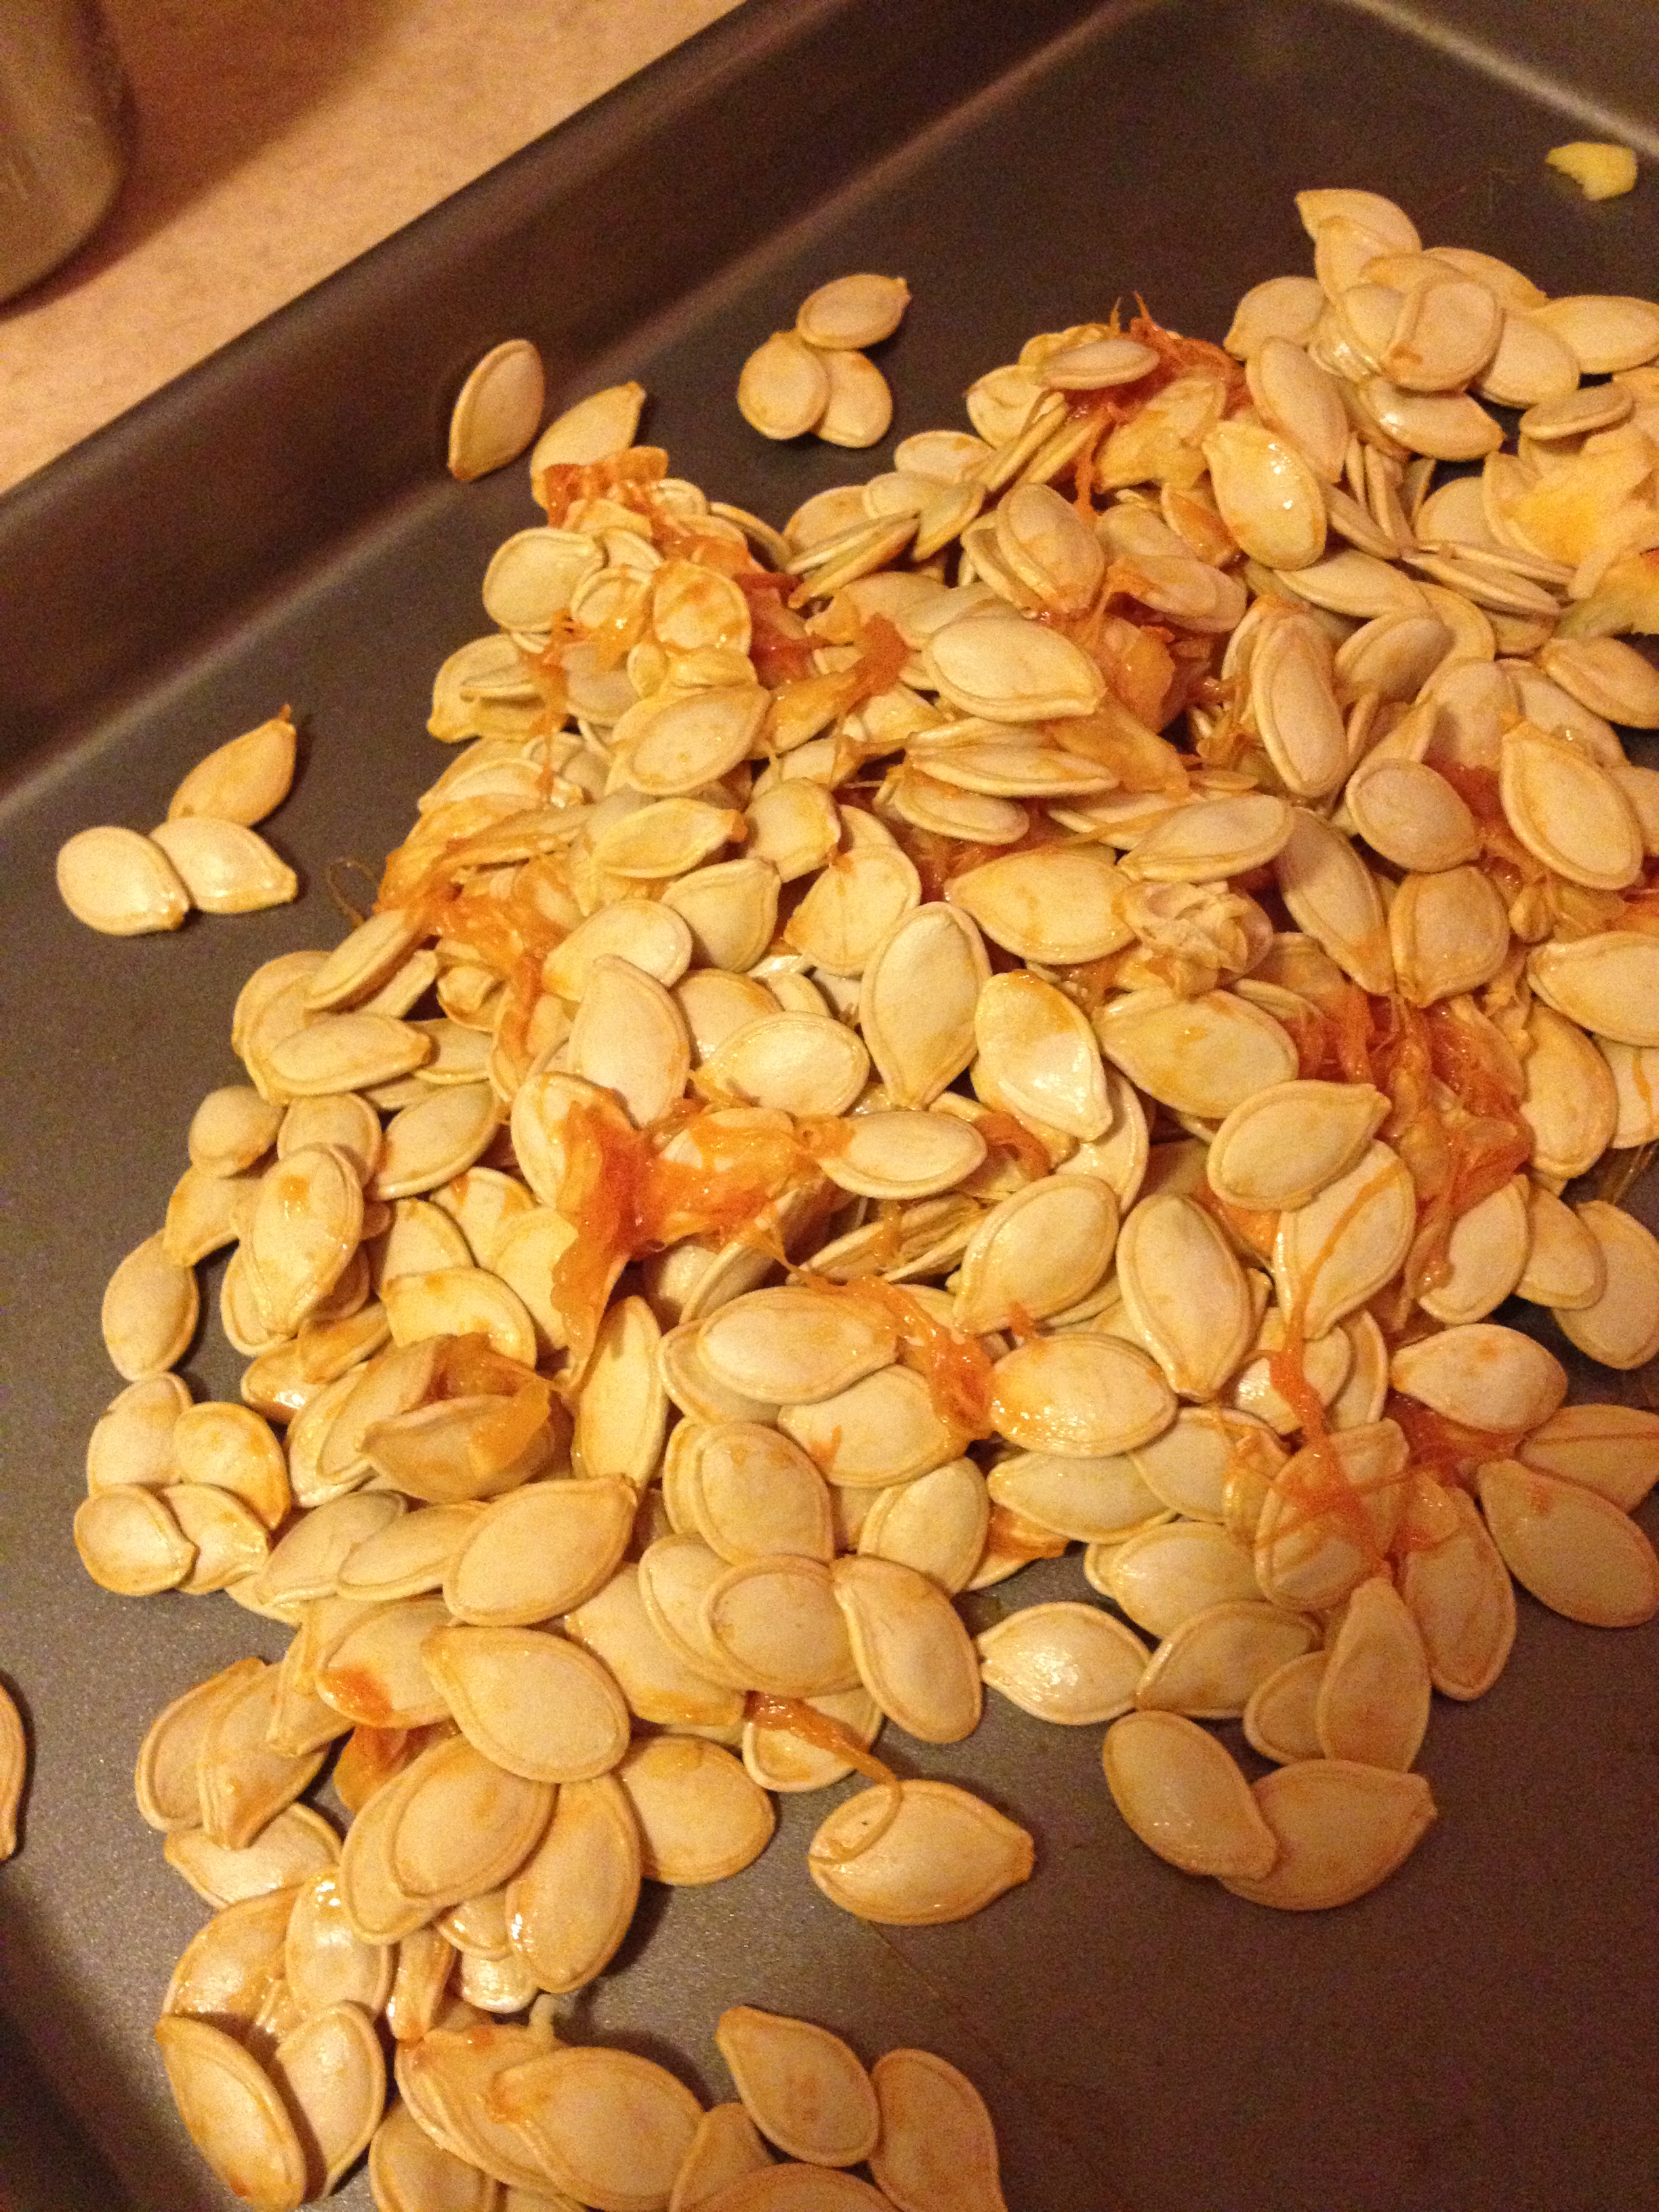
Next, get all the guts of your pumpkin(s) and place them in a strainer. This will take the most work. Have a light flow of water running over the strainer as you pick the seeds from the gunk and place the gunk in the sink.

Once you have all the seeds by themselves, place them into a small mixing bowl.

Place the melted butter into the bowl with the seeds (I used about 3/4 of a tablespoon) and mix around.

Then, shake plenty of salt into the bowl and mix again.

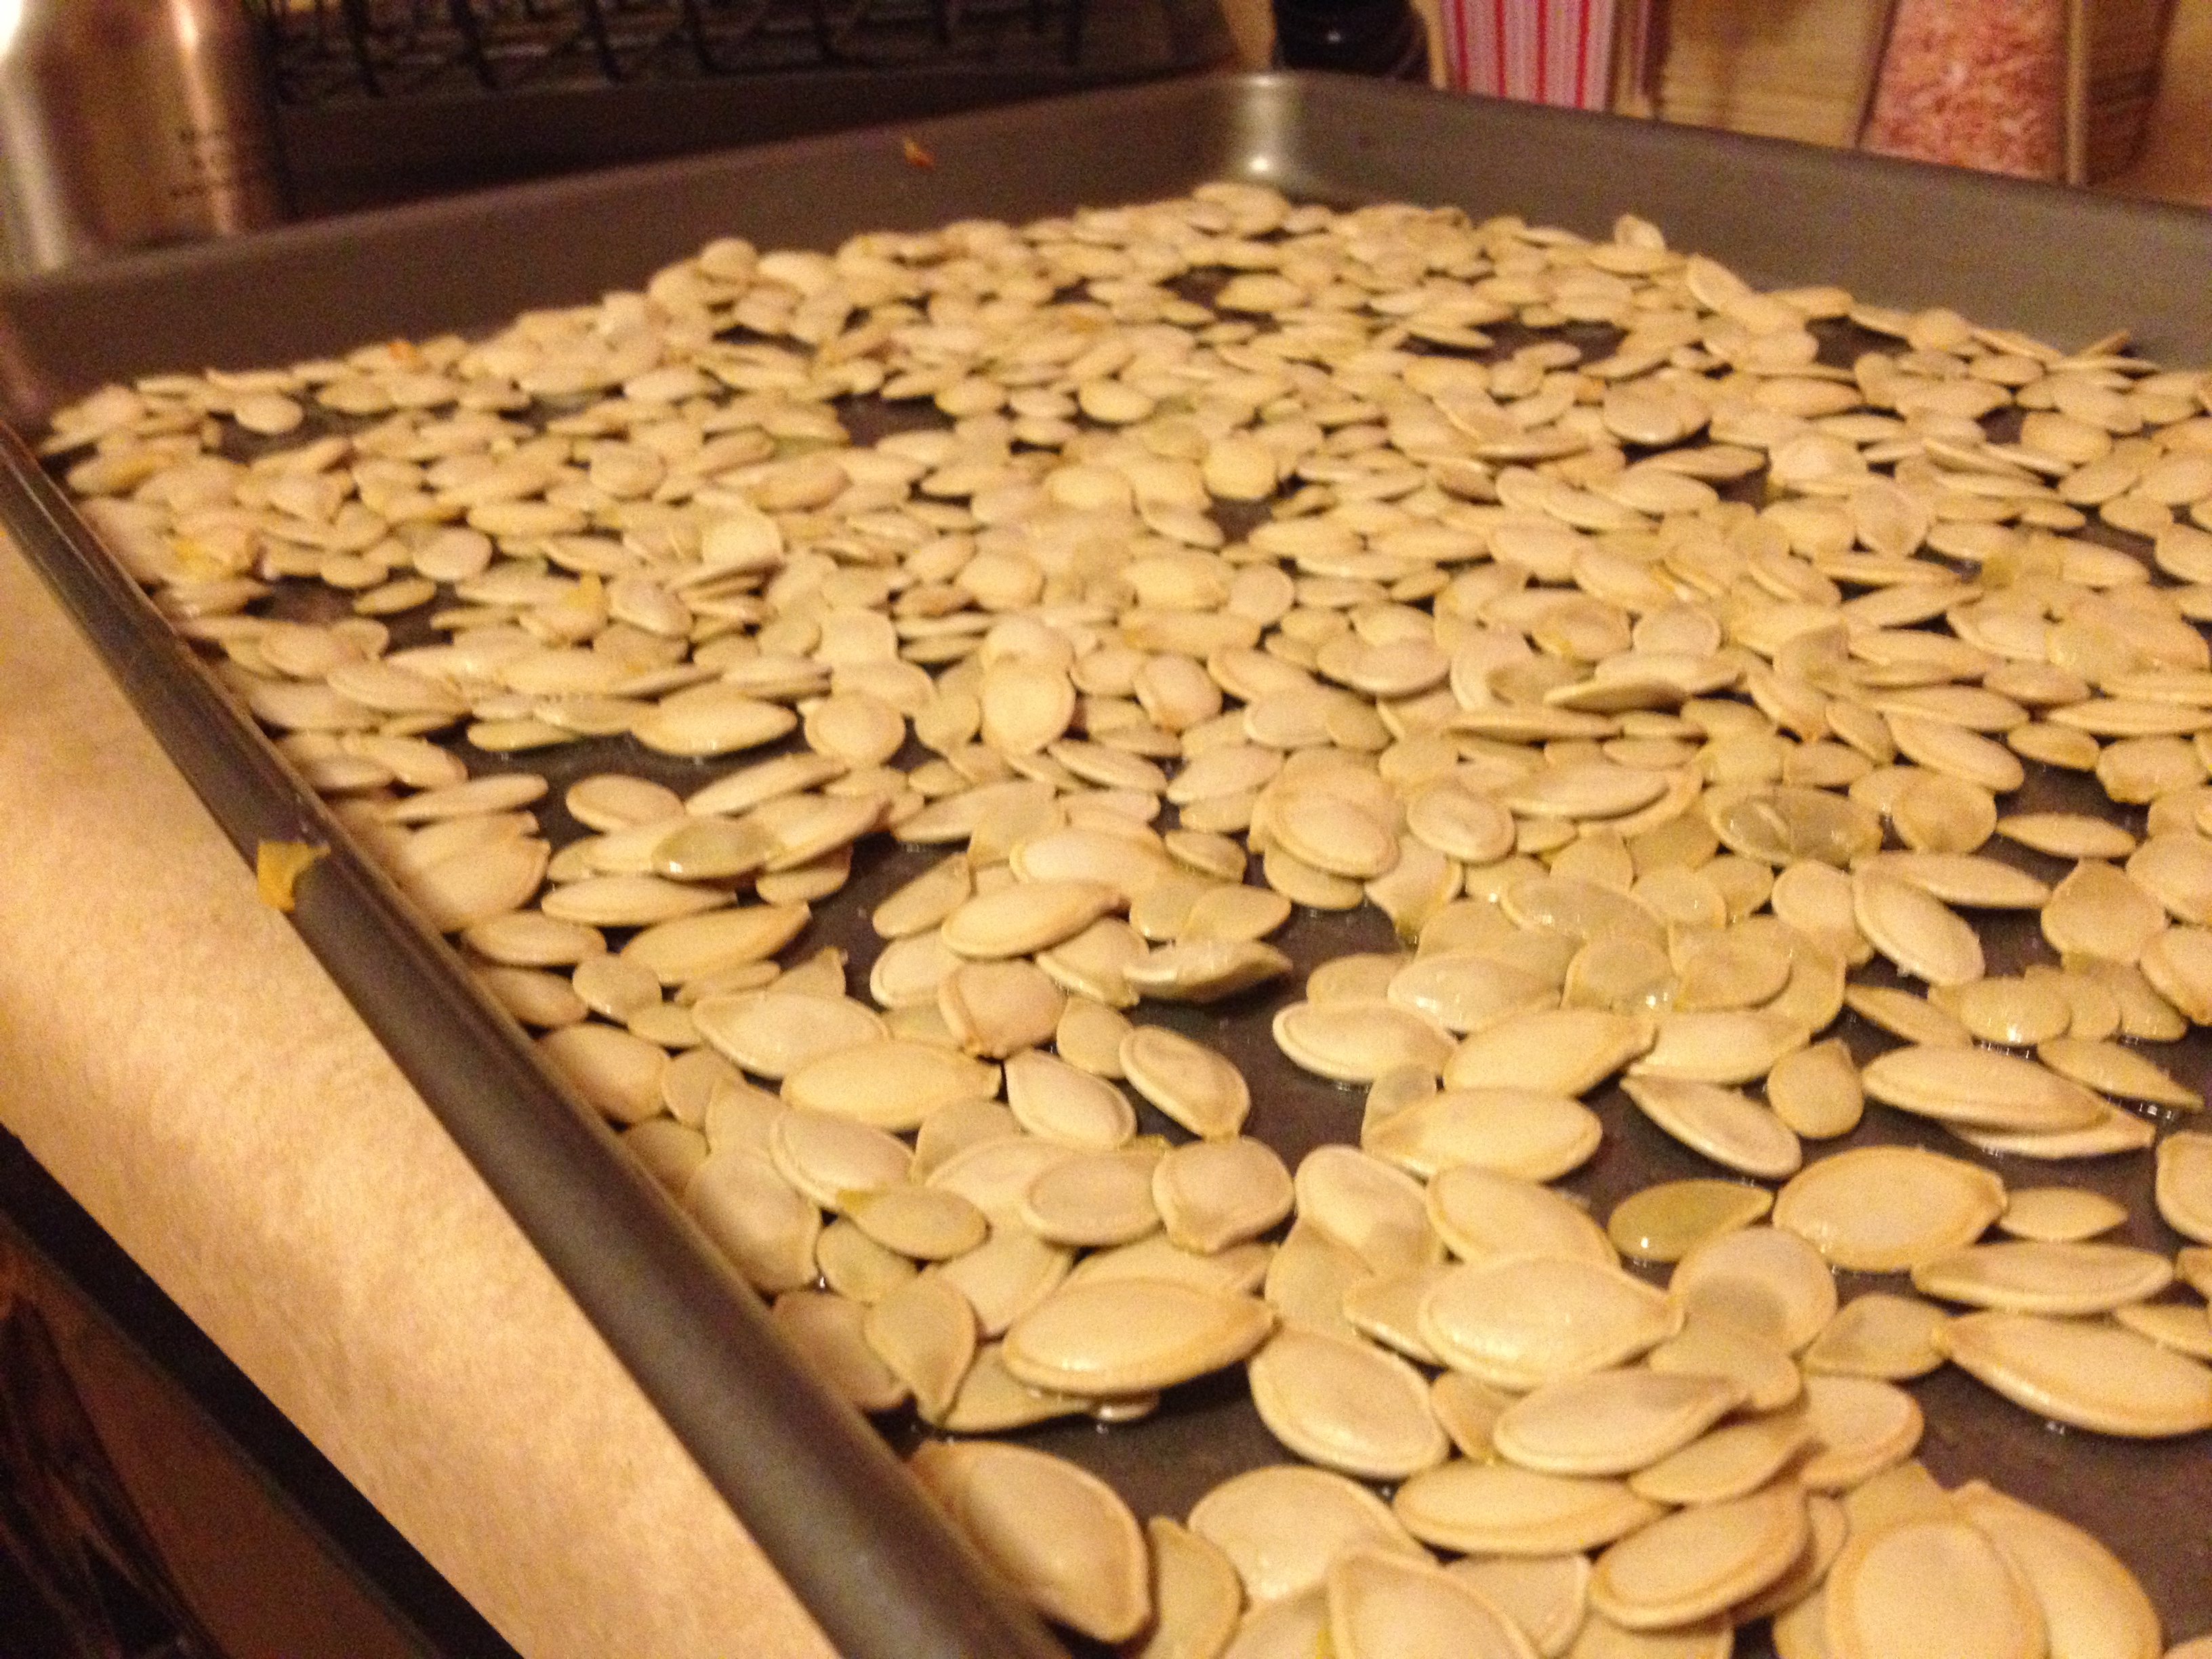
Spread out all the pumpkin seeds as flat as you can on a baking sheet. Then place in the oven from 20-40 minutes (depending on your oven and how many seeds you have) or until golden brown.

And that’s it! Serve and enjoy. I won’t be able to stop munching.

(Nymeria loved eating all the bits of pumpkin dropped on the floor)

spacer

Whole-Wheat Oat Banana Cookies: Get a Padlock Ready

I’m pretty upset I didn’t take a picture of the banana I used. It was bad. Like really really bad. Like not even brown and black, but a gray-black color, desperately begging to be used. So instead of the normal banana bread route, I wanted to make cookies (Chris was all in favor of this, for some reason, I think he might like cookies?). And I definitely wanted needed to use that banana. So I found a recipe from another blog and always…altered it! And for the padlock comment? Let’s just say…Chris may have substituted one of his meals with these, but…more on that later.

There is no reason to feel guilty about eating these cookies, barely any butter or sugar, with lots of oats to keep your fiber count happy! Let’s take a look at the ingredients.

Ingredients:

  • 1 cup whole wheat flour
  • 2 cup oats
  • 1 tsp baking powder
  • 1/2 tsp baking soda
  • 1/2 tsp salt
  • 1/2 tsp cinnamon 
  • 2 tbsp butter
  • 1/2 cup regular sugar
  • 1/2 cup brown sugar
  • 1 egg
  • 1 banana
  • 1/2 tsp vanilla extract 
  • 3/4 cup chocolate chips 

It may seem like a long list, but it goes by very quickly. I think this whole process (including cooking) maybe took 20 minutes max. Pretty nice, and I find cooking/baking relaxing and cheerful anyhow. Okay, let’s get started! Preheat oven to 350 degrees. Butter up baking pan.

Instructions:

  • First, in a medium bowl (please note: this will not be your final mixing bowl, I don’t know how many times I’ve short-sightedly followed a recipe thinking it was going to be the main mixing bowl), get your dry ingredients ready. Mix together the  flour, oats, baking powder, baking soda, salt and cinnamon. 

  • Next, in your large mixing bowl (this is it, folks! This is the bowl that everything will end up in!), we will combine the butter and the two sugars. Whisk that puppy up.
  • Then, we’ll put the egg, vanilla extract, and (MASHED) banana into the mixture. Good to use a whisk.
  • In comes the dry ingredients, rudely interrupting the wet-ingredient get-together. Slowly pour in the medium bowl ingredients into the large bowl (flour, etc. –> sugar, egg, butter, etc.). Mix that up.

  • Now, for the (almost) final step! Fold the chocolate chips into your mixture, make sure they’re evenly spread out so one cookie doesn’t greedily get them all.

  • Take gobs of the beautiful cookie dough (again, I ate too much of it and afterwards could not eat enough of my Mexican dinner twenty minutes later) and place upon your greased up baking sheet.

  • Set timer for 10-12 minutes. Mine took 12 minutes because I always make HUGE cookies. And voila! You’re done.

So for the padlock comment expanded…while I was working at the assisted living home yesterday, Chris ate five cookies (and they are BIG). Choosing to eat cookies instead of a real lunch. So, baker, wherever you are, keep a close eye on these cookies, they are sure to disappear rather quickly…

spacer

Need Some Protein? Whole-Wheat Peanut Butter Cookies

I know, I know, it’s a pretty cheap way of protein, but I had to catch your eye somehow. But maybe just the word ‘cookies’ would’ve done it. Hmmm…

Anyhow, this is a real easy recipe and takes no longer than 20 minutes (including prep time!). It’s great to have with a nice cup of tea (for me, Chai tea). I originally got the recipe from here, but as always, it’s altered. Take a peek below for ingredients and directions!

Ingredients

  • 1 cup of peanut butter (I used creamy natural)
  • 1 egg
  • 1/2 cup butter
  • 1/4 cup honey
  • 1/2 cup sugar
  • 1 1/4 cups of whole wheat flour
  • 1 tsp baking powder 

Directions

1. Preheat oven to 350 degrees

2. Mix the peanut butter, butter, honey, sugar, and egg til it’s smooth like…butter

3. Then stir in the whole-wheat flour and baking powder until blended in 

4. Make little balls out of the cookie dough and place them on the cookie sheet 

5. Place in oven for 13-15 minutes (depending on how you made the cookies)

6. Enjoy! 

Let us know if you enjoyed this recipe! We’d love to hear back from you. Cheers 🙂

spacer

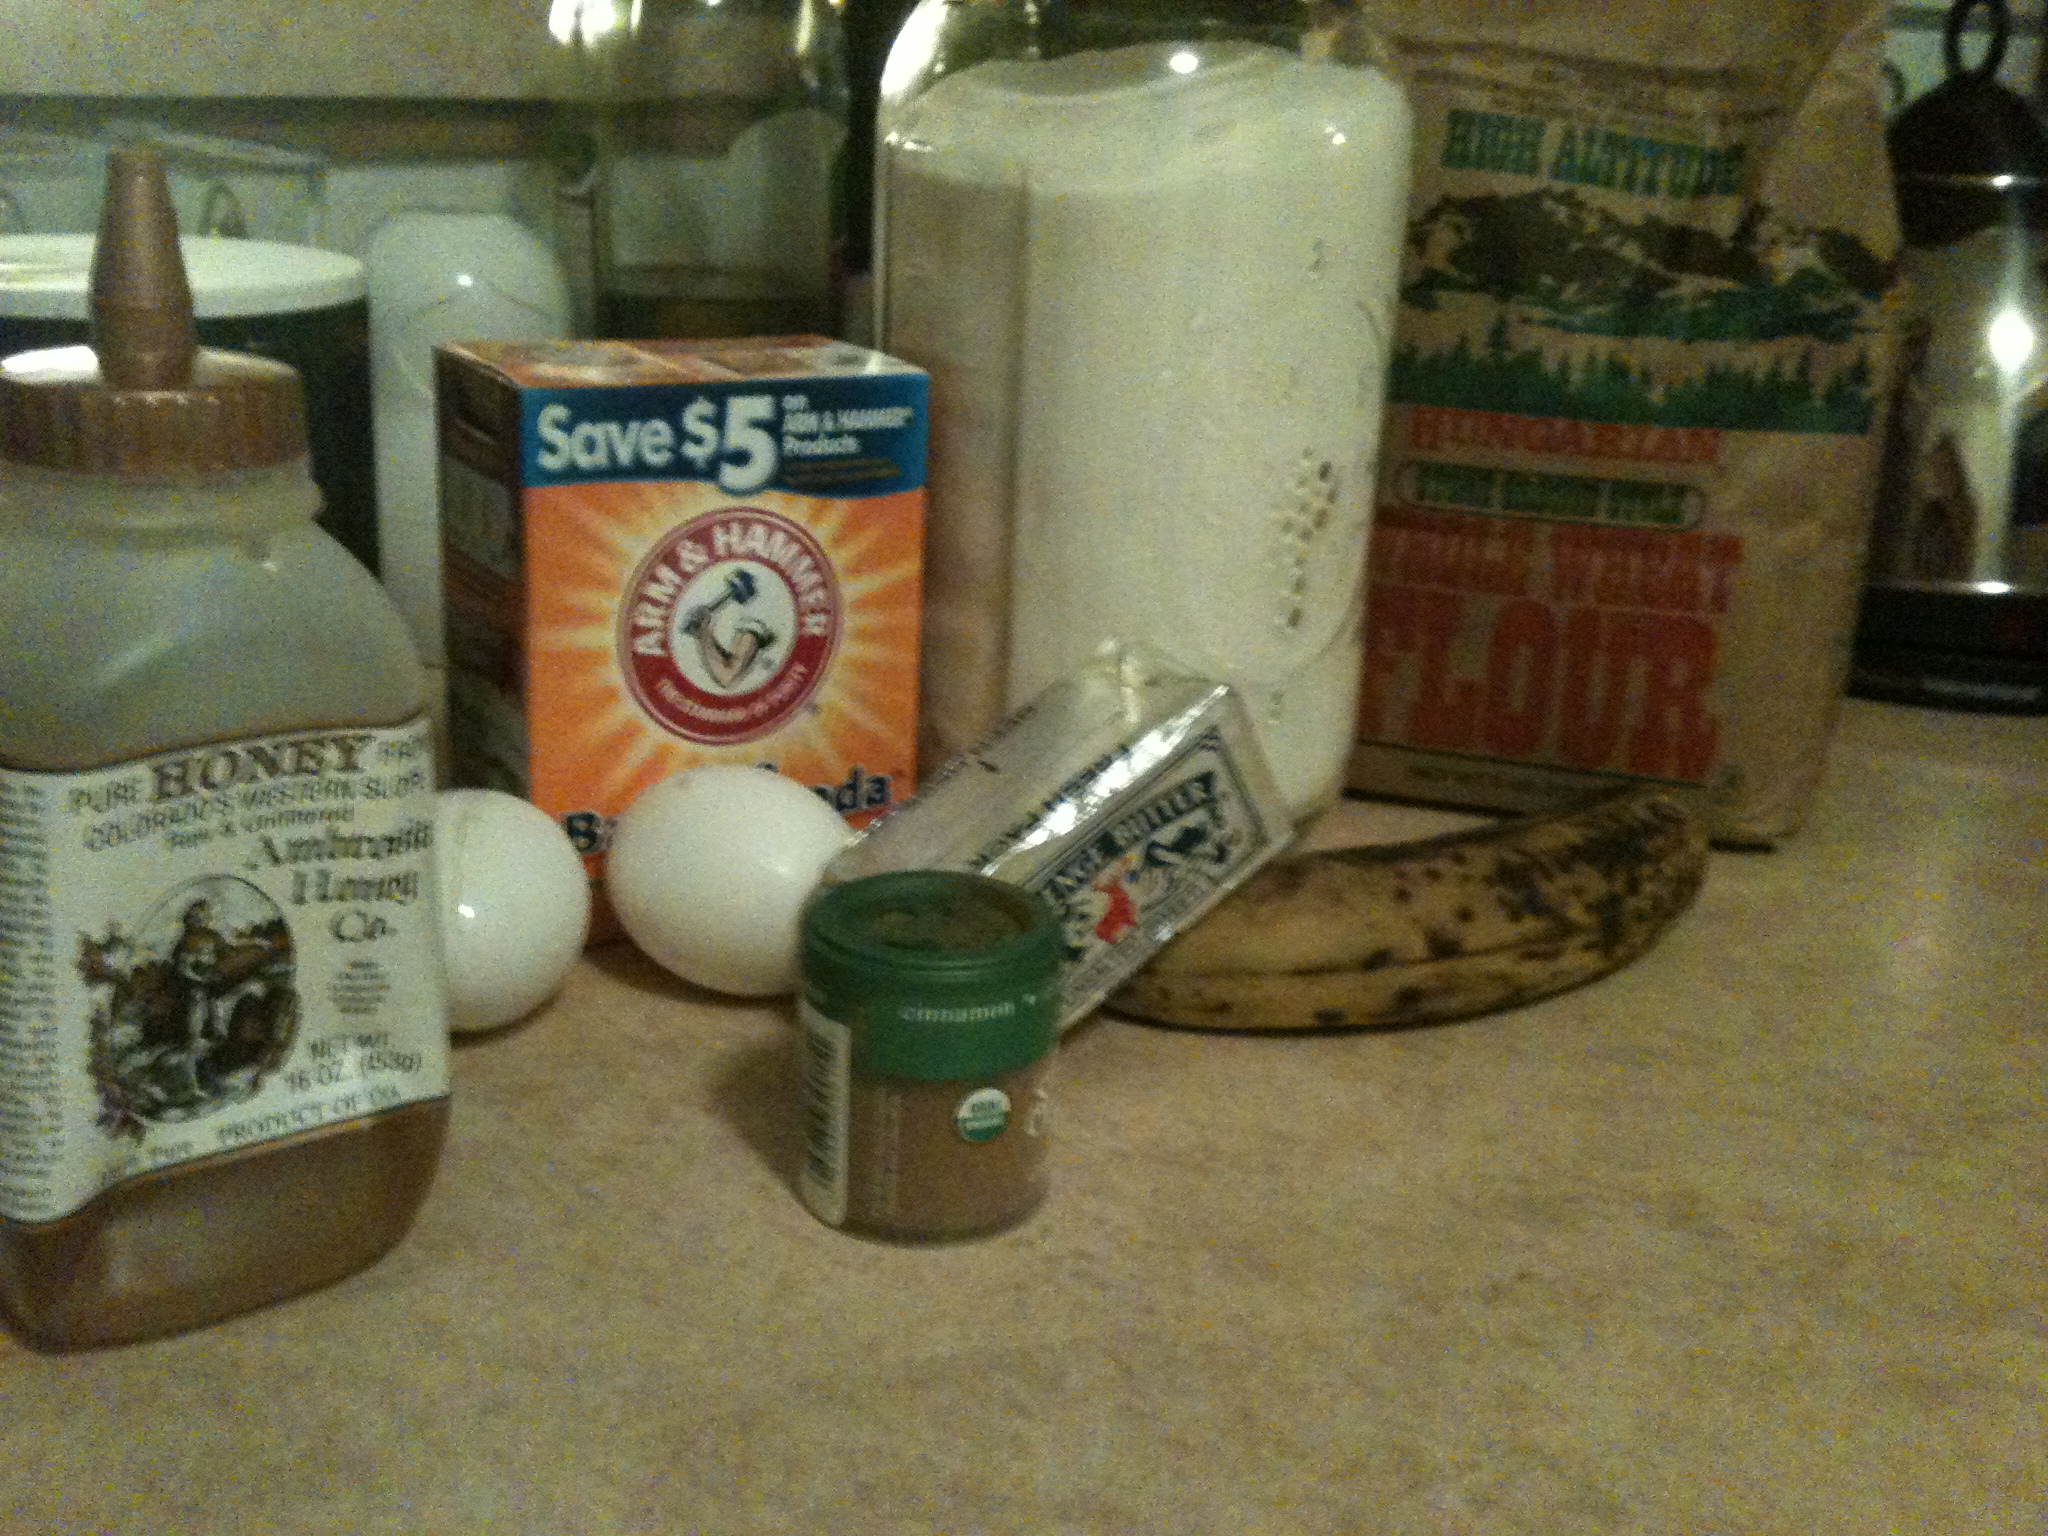
HEALTHY Whole-Wheat Banana Bread

We usually have a bunch of bananas in the house. For fruit salads and more so primarily, for protein shakes (rahh!). However, sometimes we forget about them, or don’t do heavy workouts, so we feel like we don’t deserve one of Chris’ amazing protein shakes (that post is coming up!). So they sit in the lazy Susan cupboard, lonely for attention.

And so later in the week, I stumble upon them in their browning blackish glory. Aha! I know exactly what to do with you! So, the spotted way-too-ripe bananas get pulled from the cupboard and onto our maniacal counter-top. It’s easy, folks. IF you have over-ripe bananas, MAKE BANANA BREAD. I don’t want to hear any excuses. And if you throw them out…you’re in trouble. Let’s get started. I pulled this recipe from here, but altered it slightly (no nuts, nutmeg, etc.).

  • Prep Time: 15 minutes (I was slow, watching Empire Strikes Back/Diners, Drive-Ins, and Dives)
  • Cook Time: 50 minutes (on the dot!)
  • Set Oven To: 350 degrees

Ingredients:

  • 1 stick unsalted butter
  • 1/2 cup sugar
  • 3/4 teaspoon baking soda
  • 3/4 teaspoon salt
  • 1/2 teaspoon ground cinnamon
  • 1 teaspoon vanilla extract
  • 1-3 bananas (I suggest more than one, but that’s all I had to work with tonight)
  • 1/4 cup honey
  • 2 eggs
  • 2 cups whole wheat flour

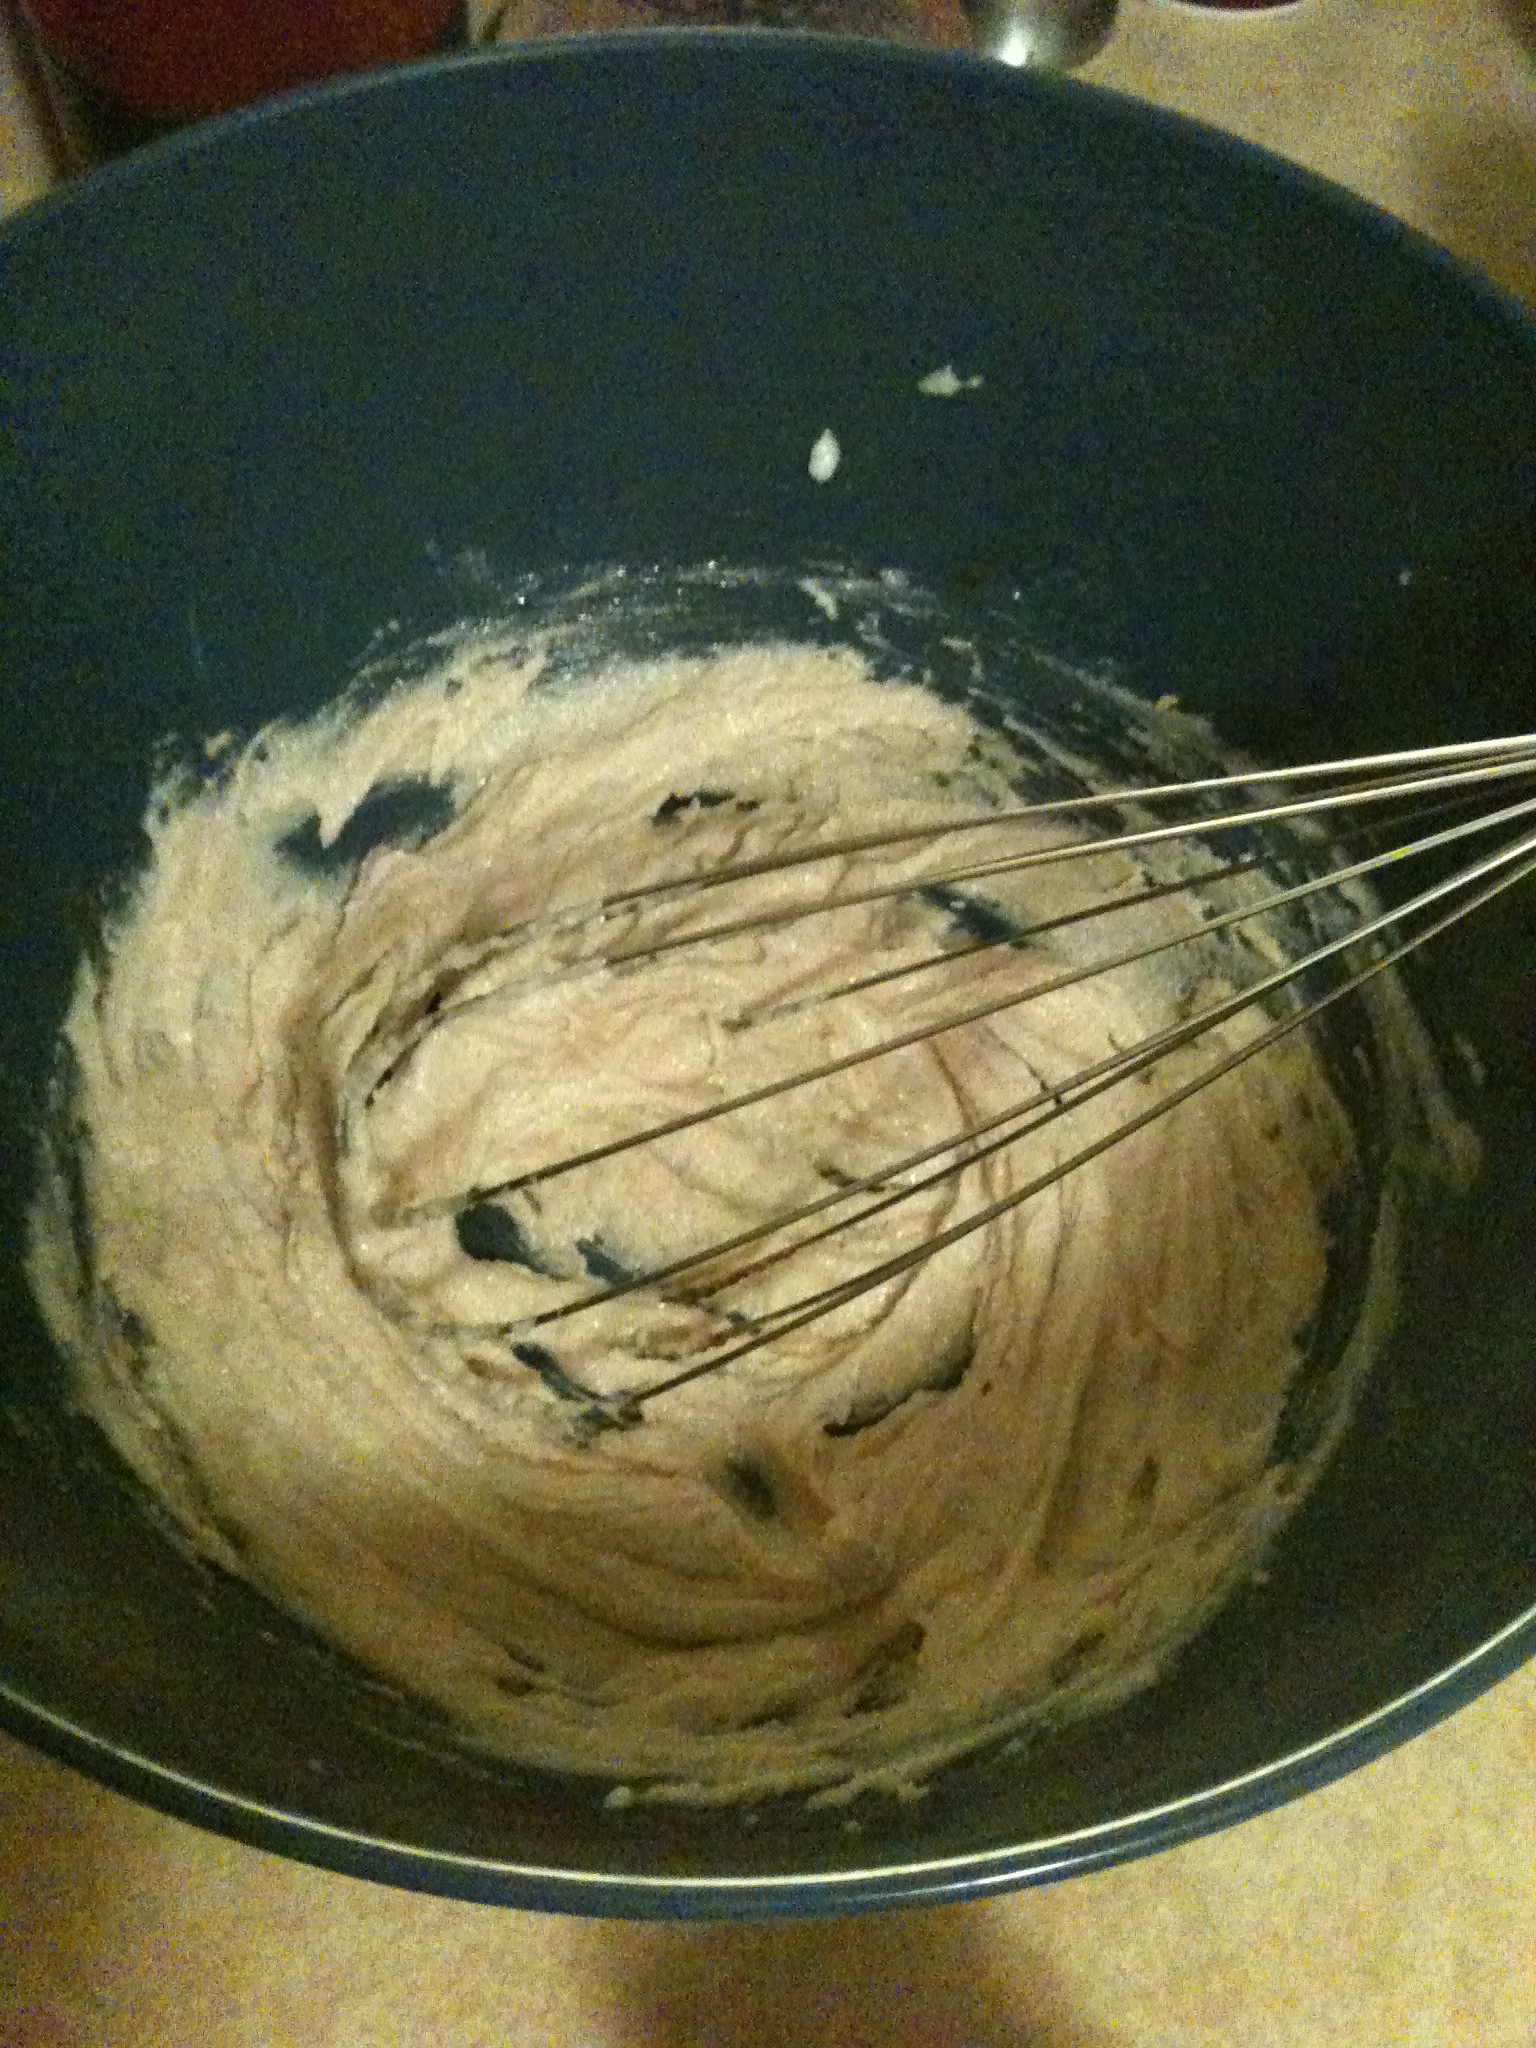
Remember to get out a bread pan and butter it or oil it up. Sticking is your enemy. Now first, beat the butter, sugar, baking soda, salt, cinnamon, and vanilla in a bowl.

Yes, that is a whisk! I’m moving up in the world!

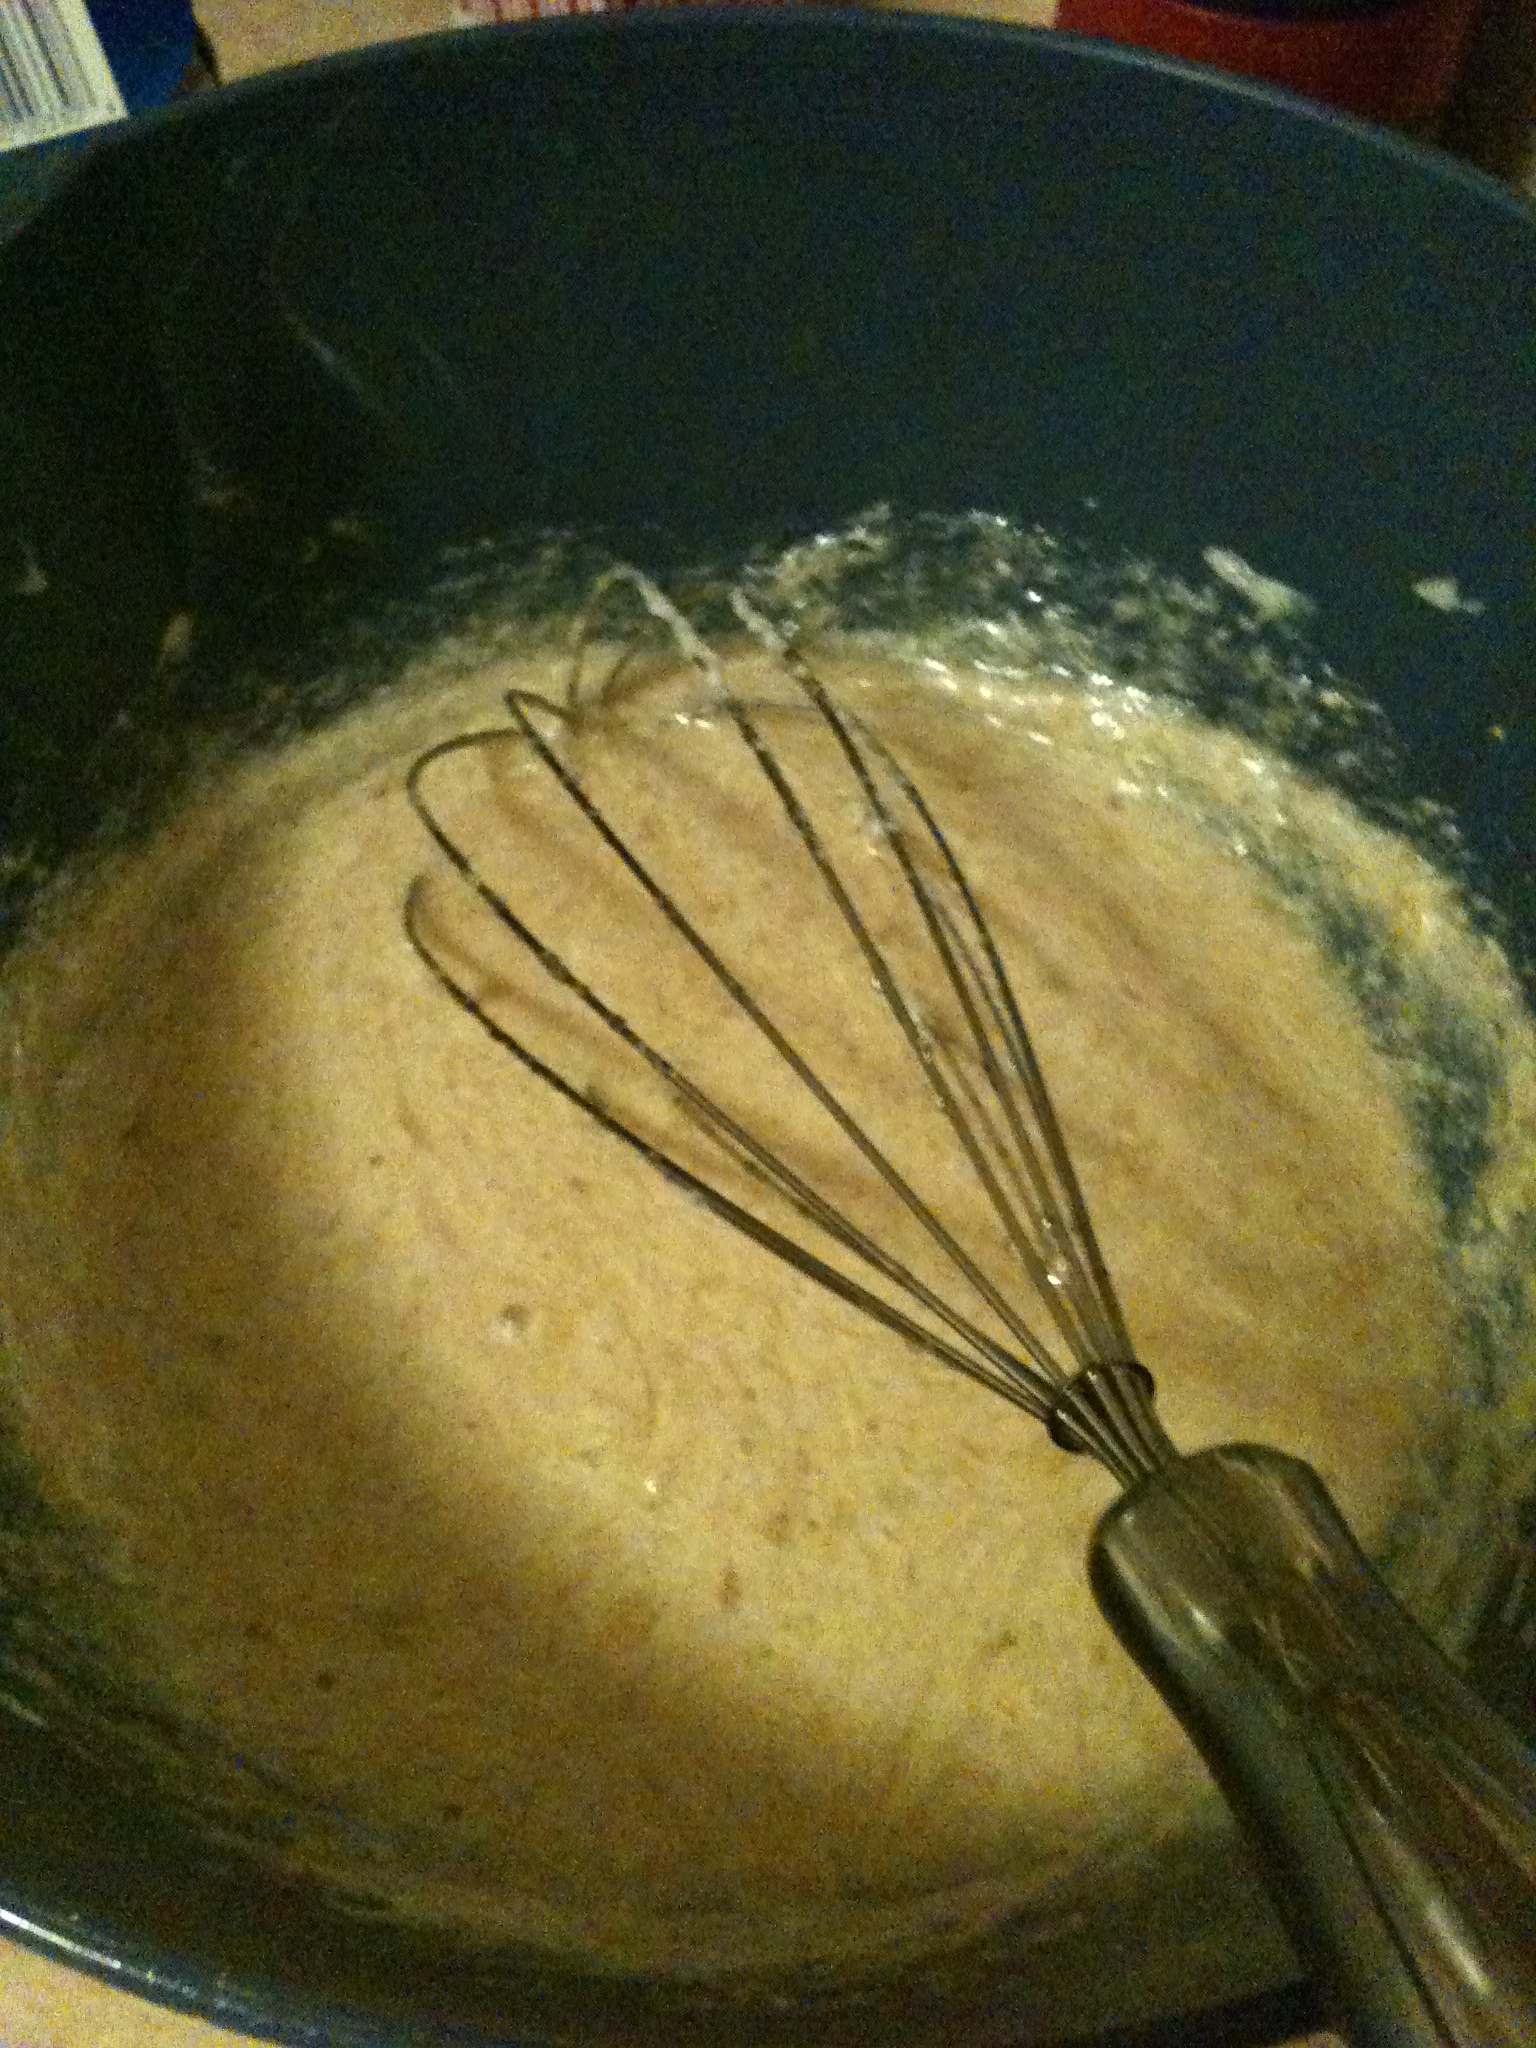
For this next step, make sure the bananas are mashed as much as possible. Then, mix those bananas, eggs, and honey in. I want it smooooth.

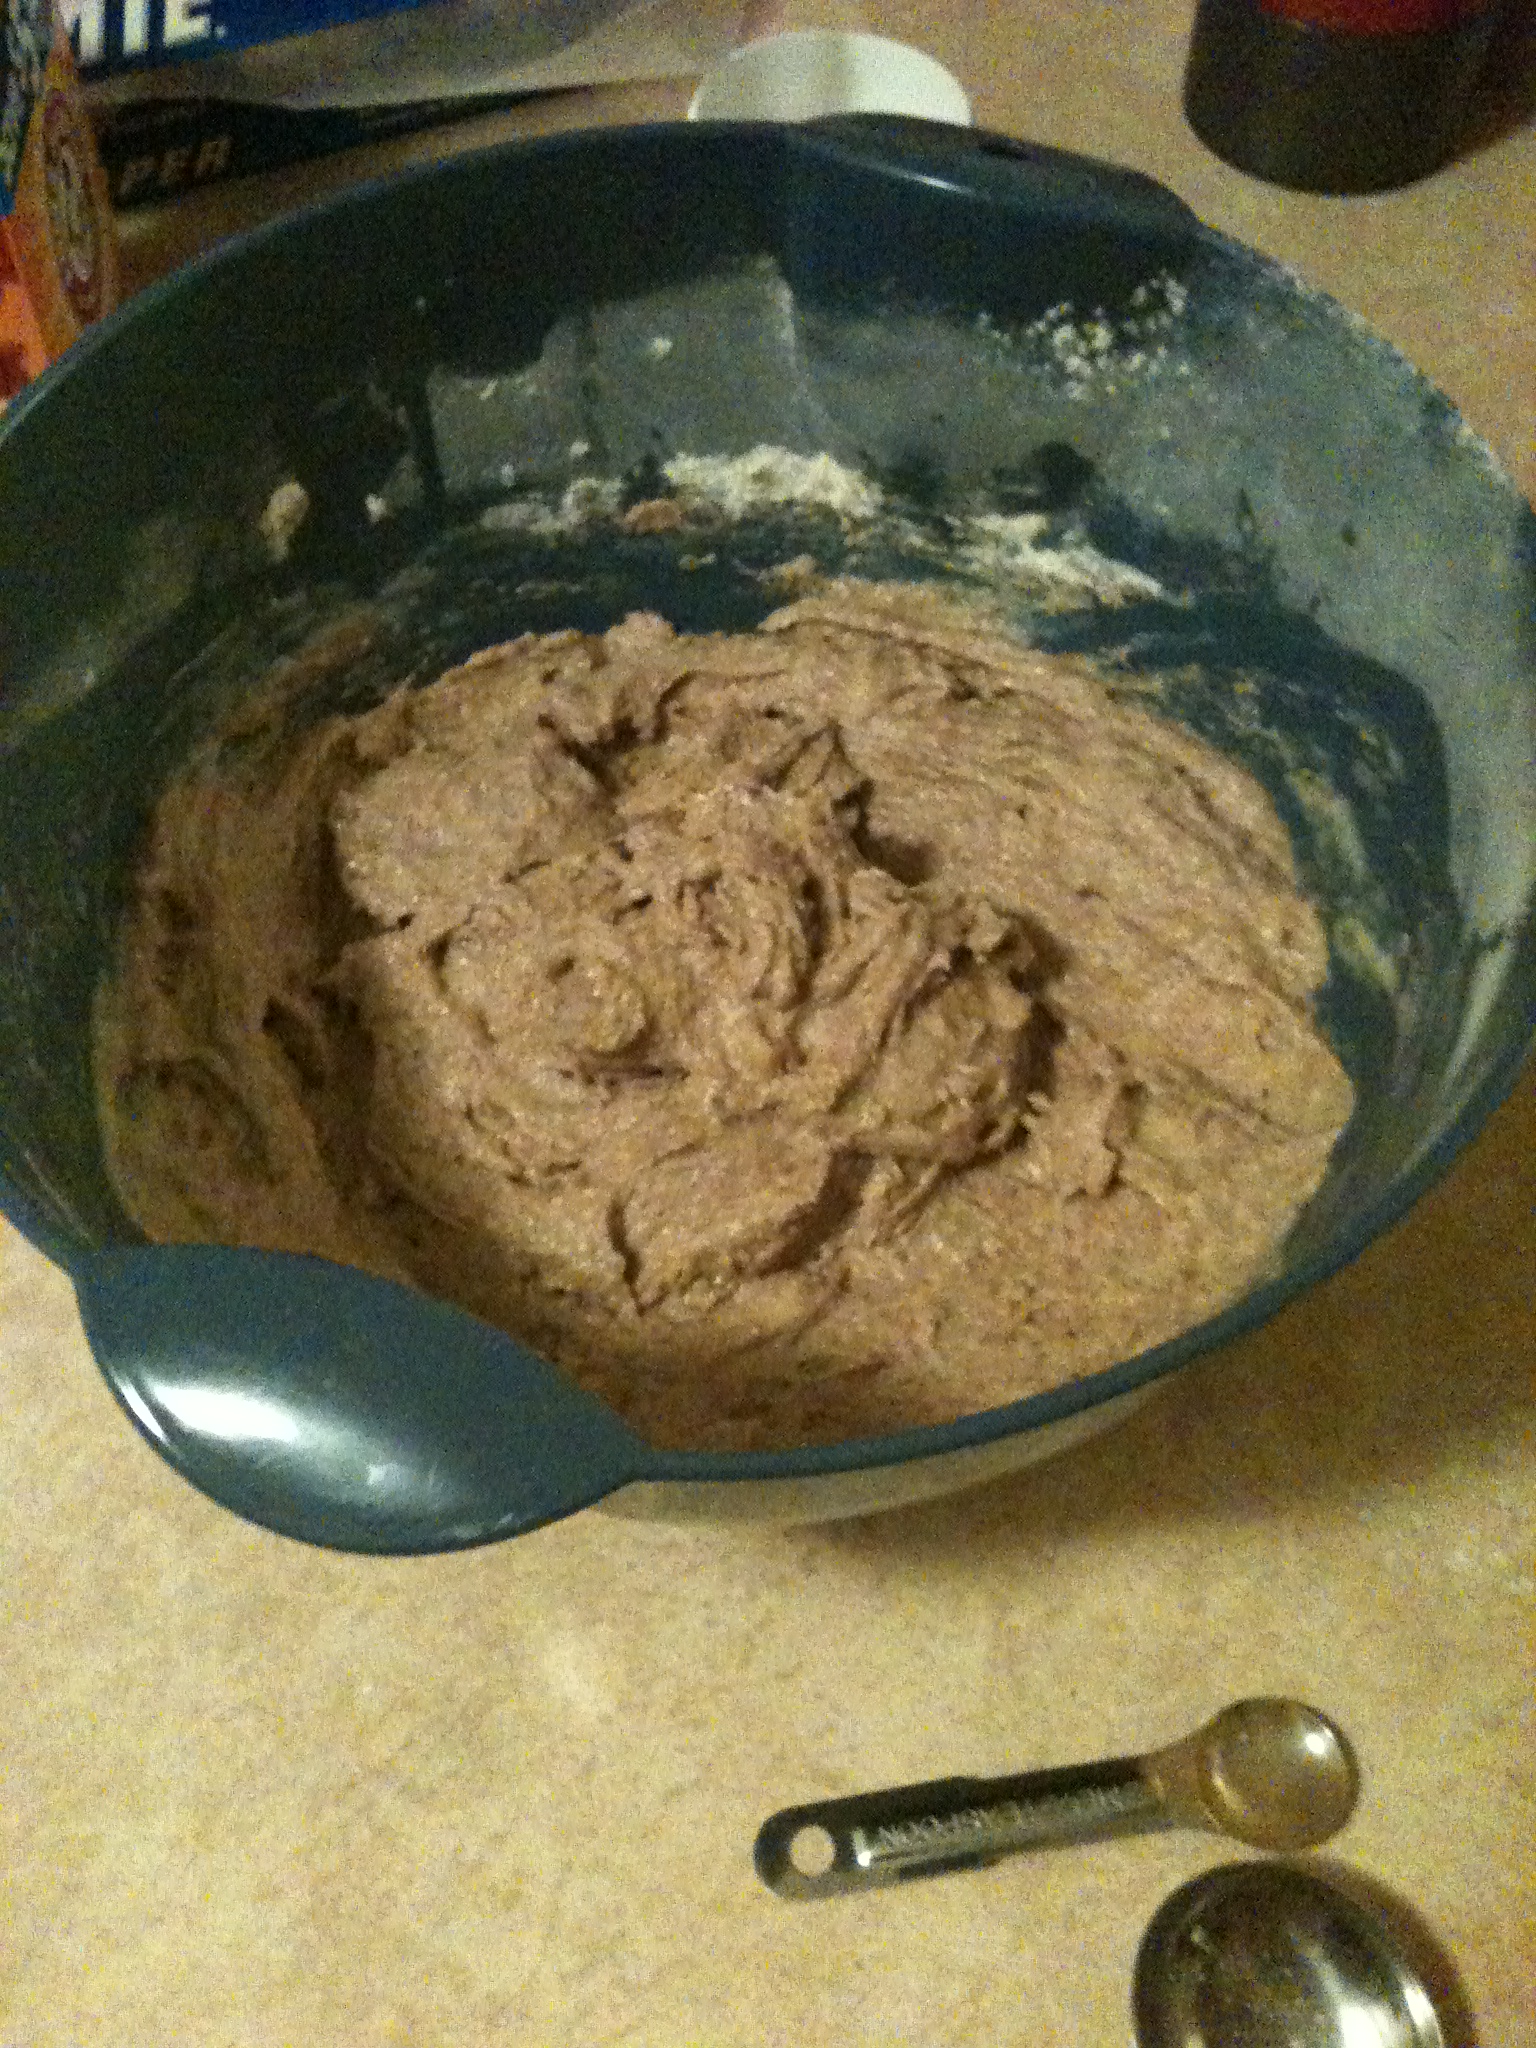
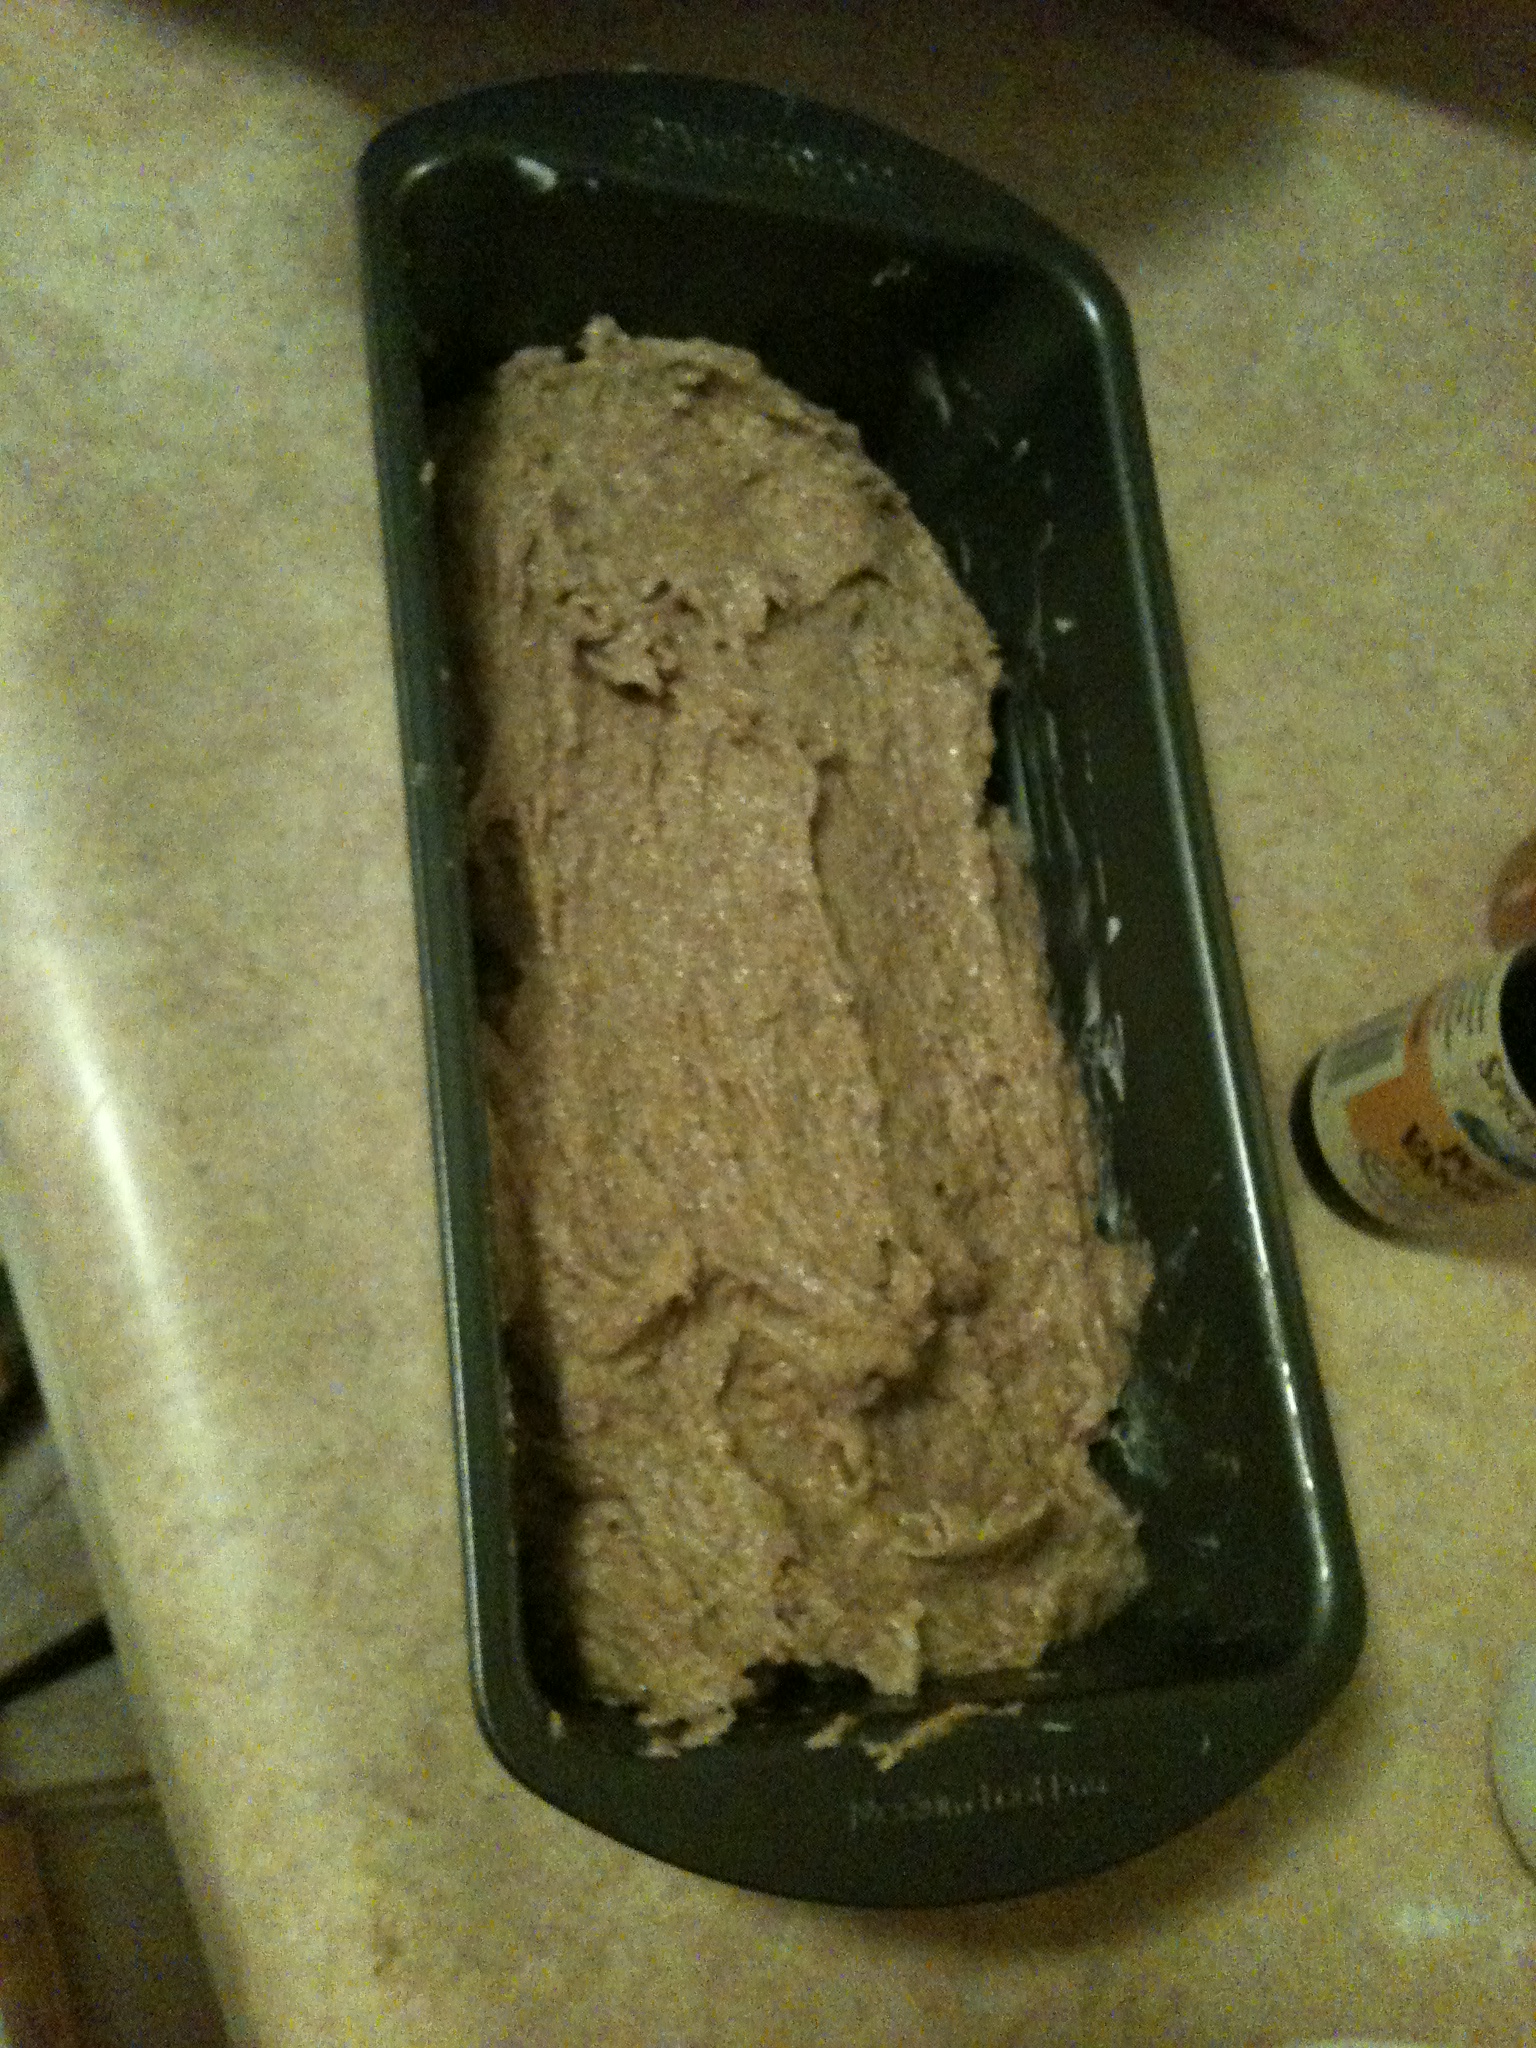
You’re almost there!! The final step is to slowly add in the whole-wheat flour. Put a little in, stir it, put some more in, stir it, and so forth. It should come out looking like this:

Then pour it into your already-greased pan. I lost a good amount of the batter to a tragic accident…my appetite.

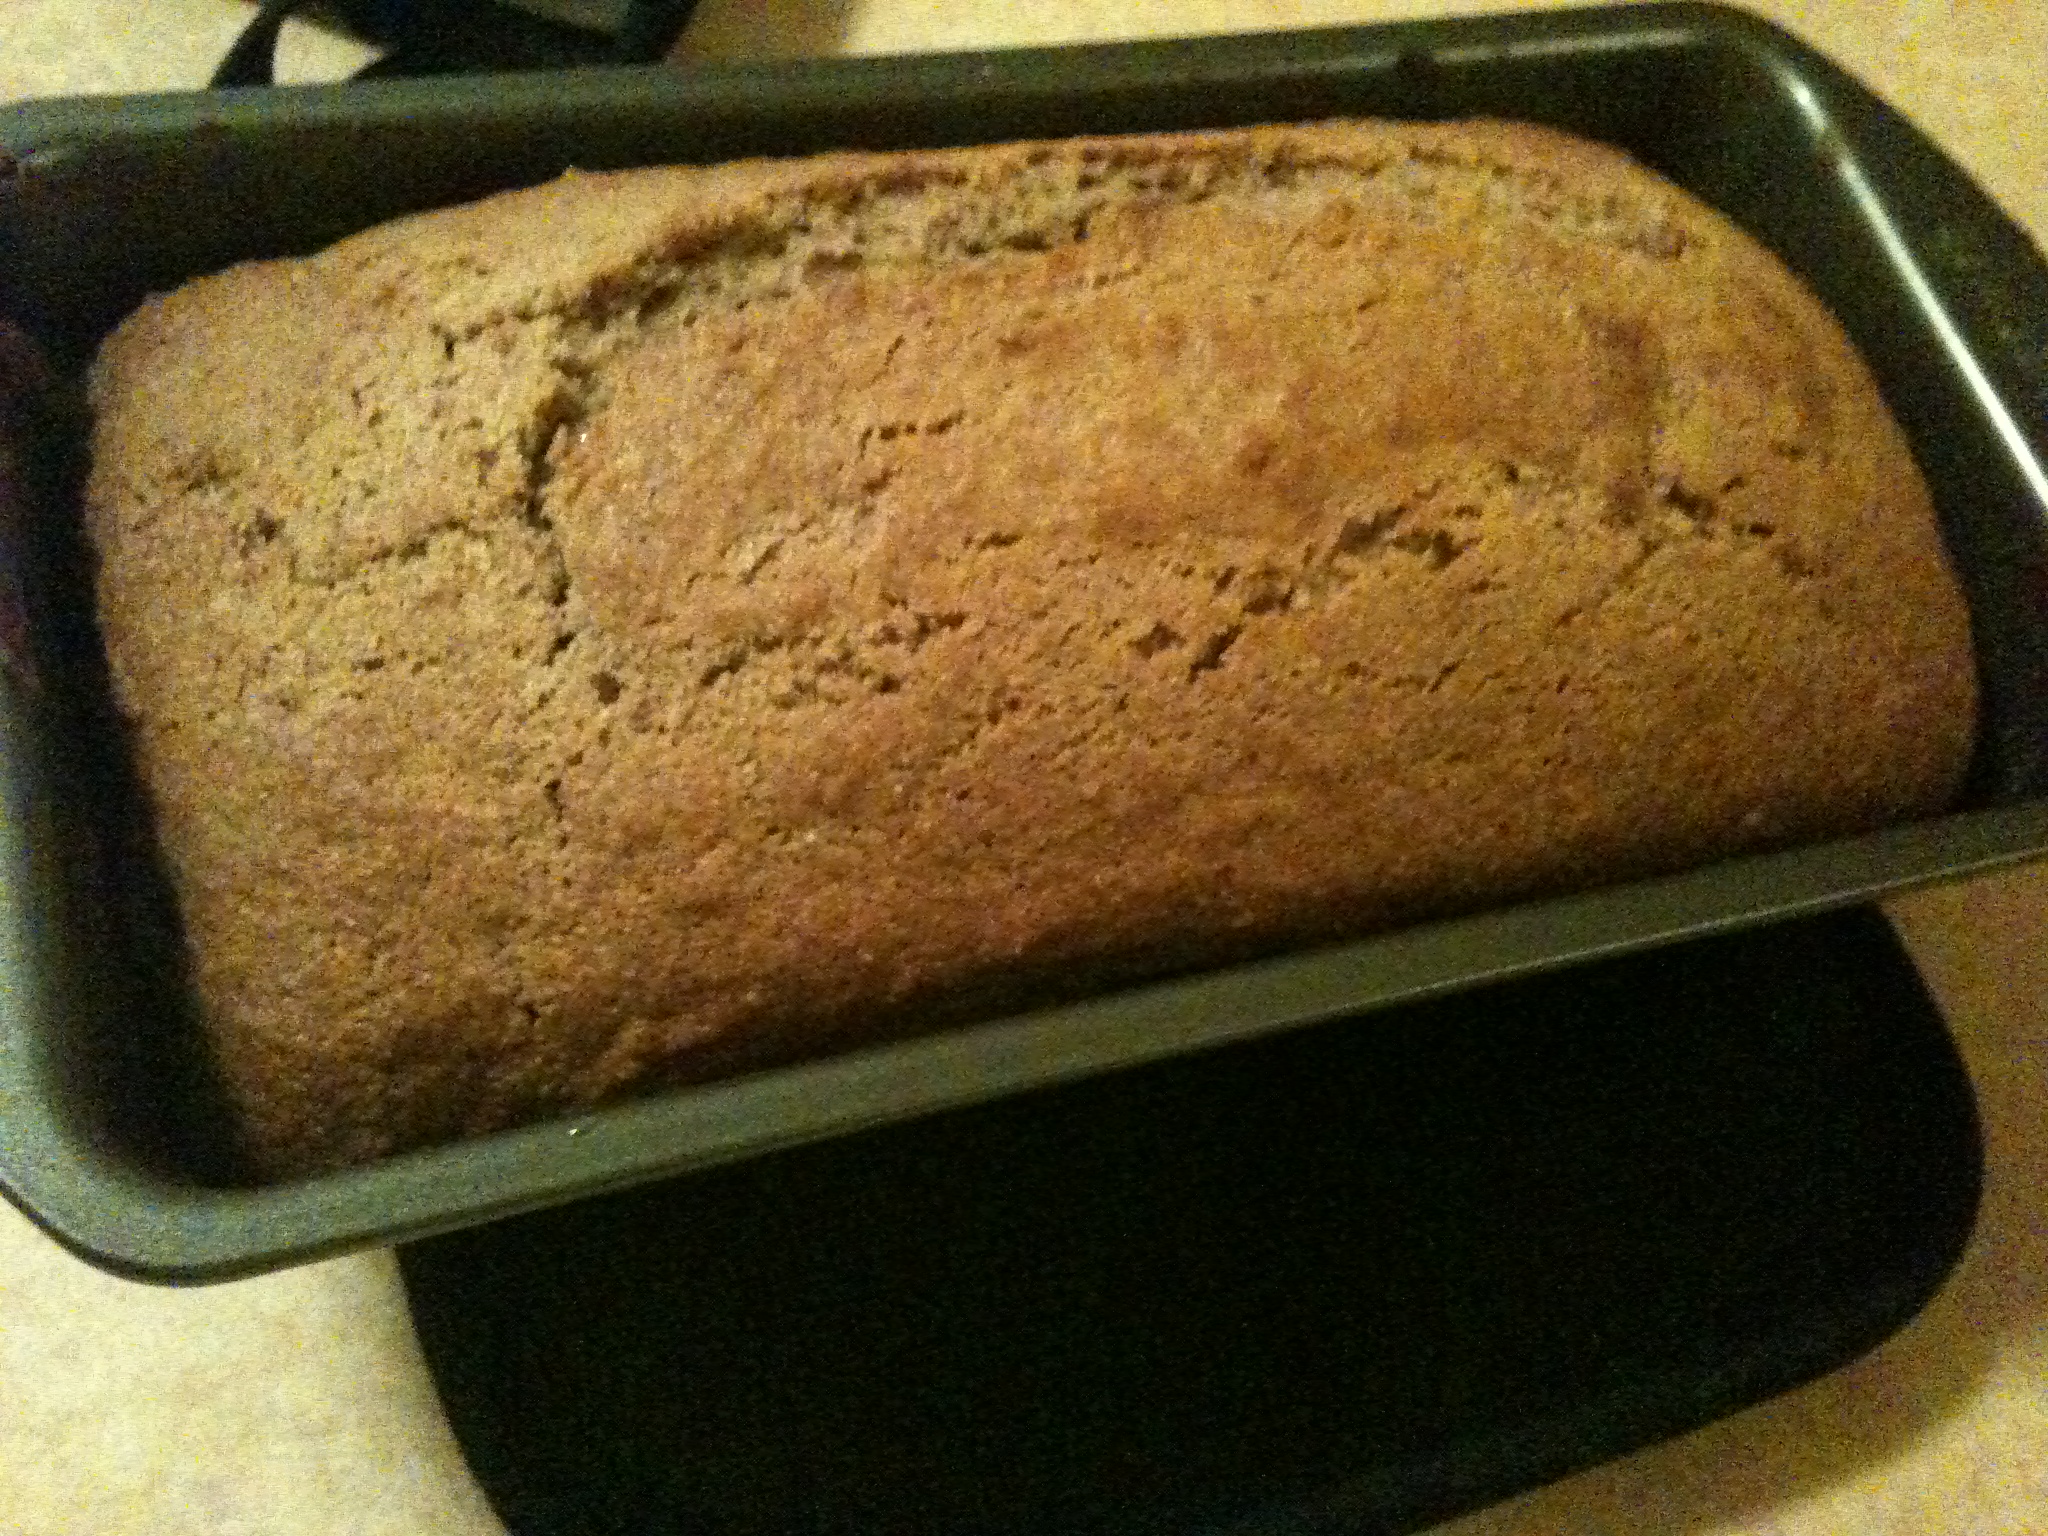
Now put it in the oven! Remember it should be at 350 degrees. For me, it took exactly 50 minutes to bake. I took it out, tested it with a fork to see if any batter stuck and it was ready! I usually have to stick it in for another ten minutes or so. It came out really well!

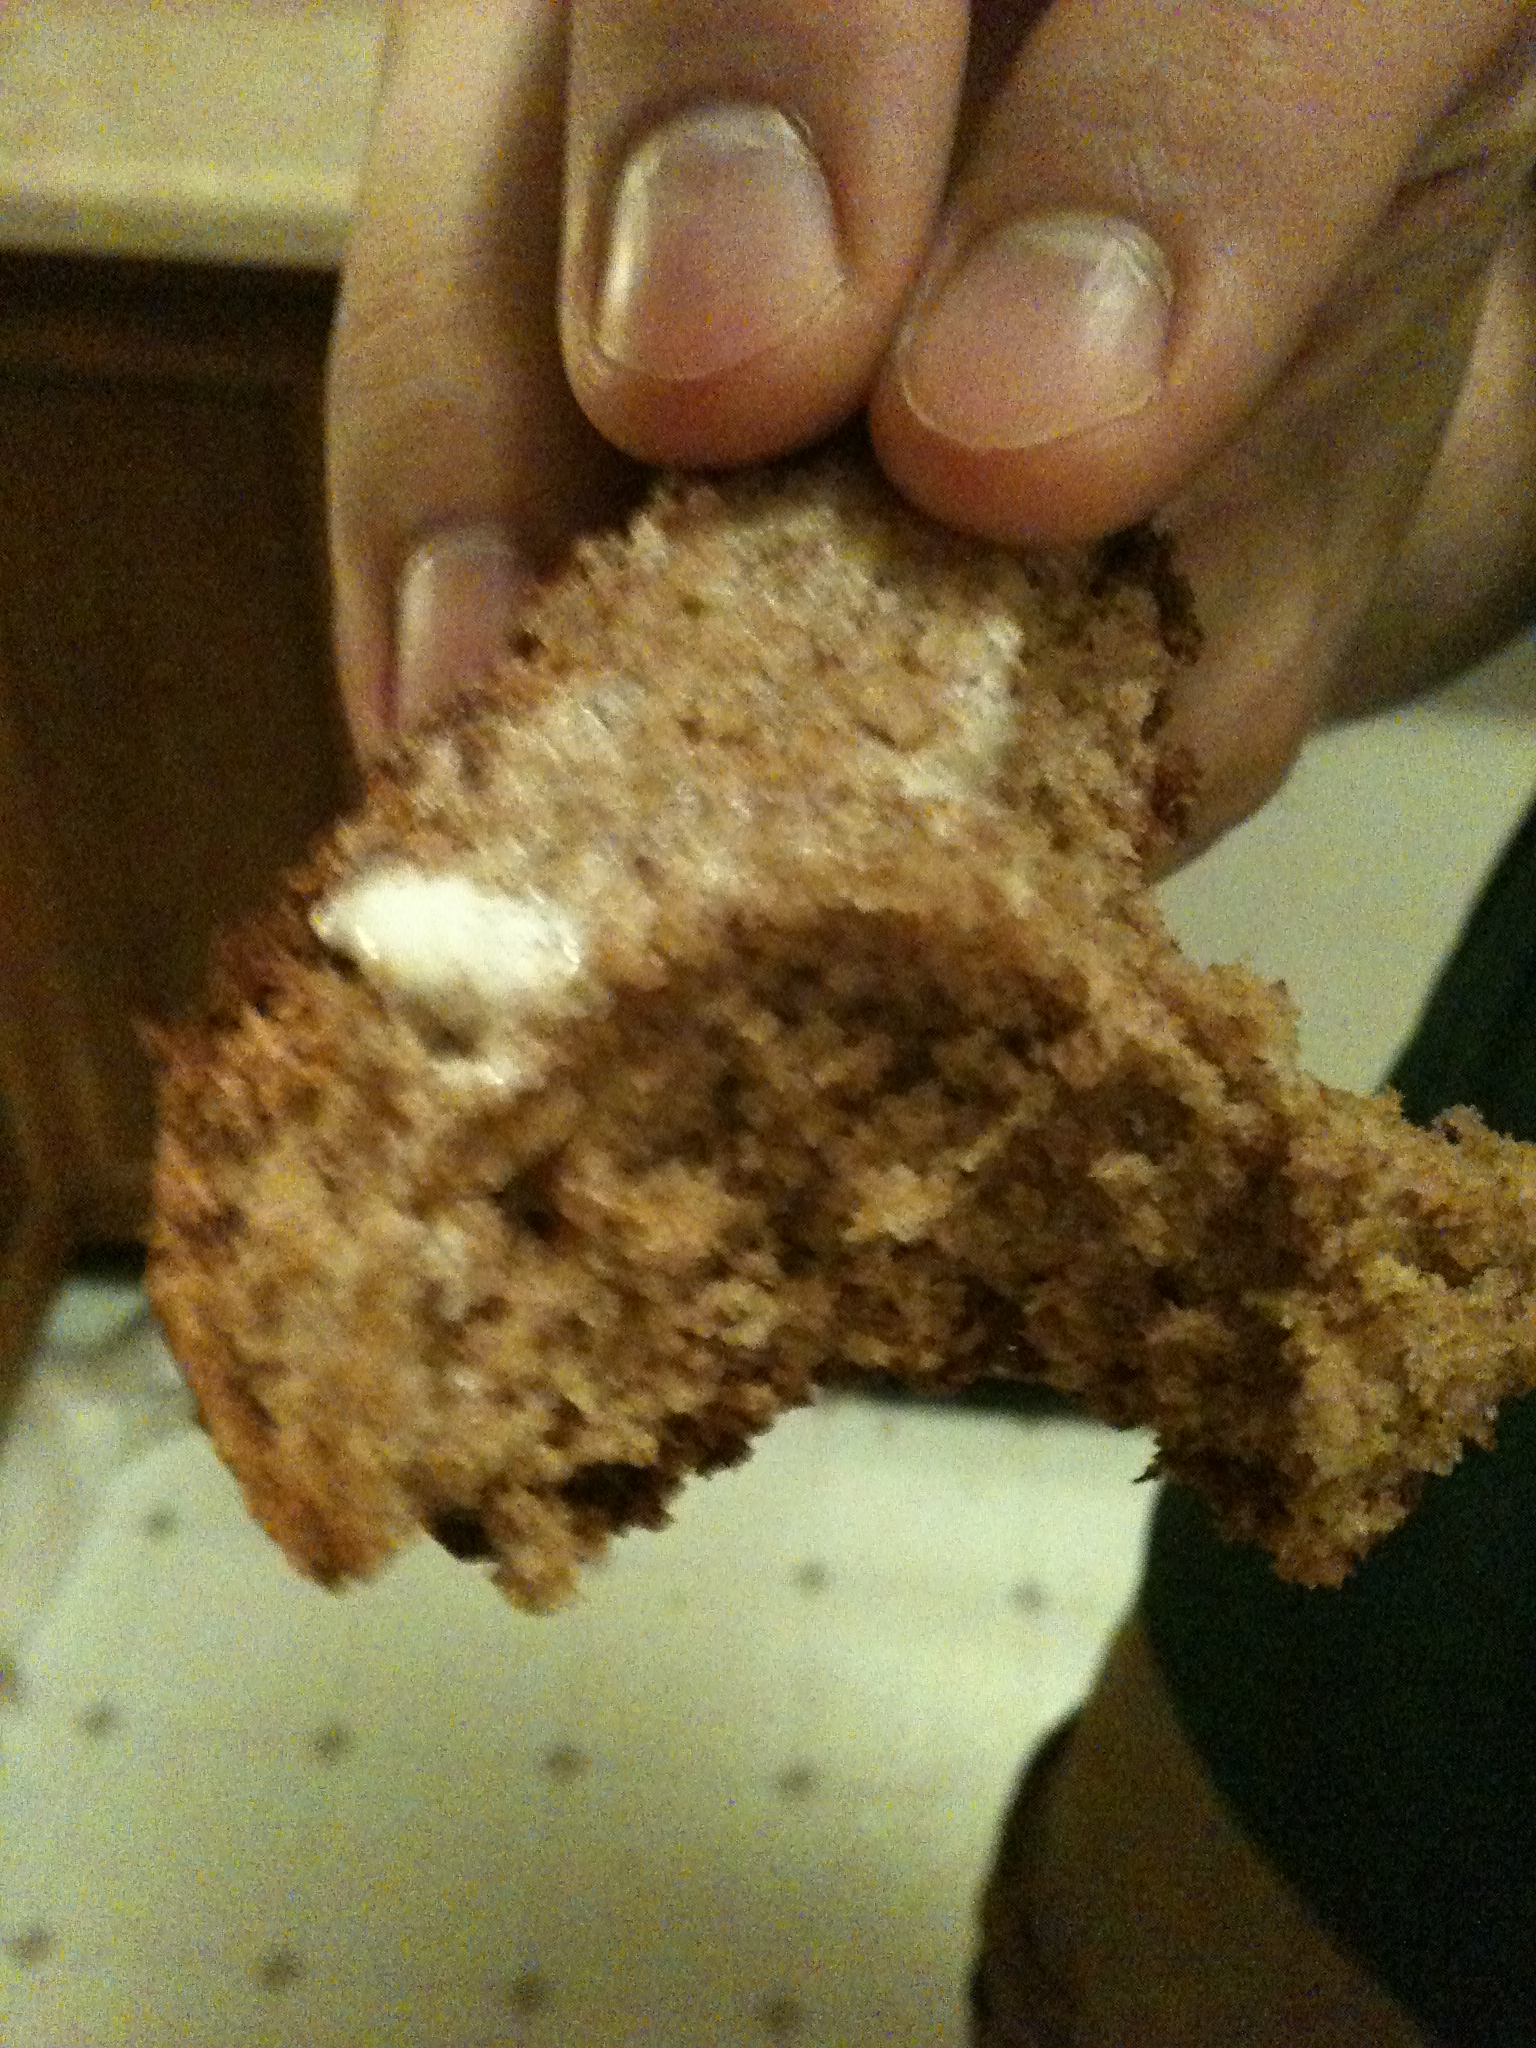
Remember that this only has half a cup of sugar in it. That’s barely ANYTHING when it comes to baking. So don’t feel guilty as you shovel this down, it’s got good ingredients. We always love to put butter on ours, gives it a great added flavor, especially when it’s nice and hot.

Unfortunately, it didn’t last long before I could get the picture, so that’s a sliver of a piece. Hope you enjoy!

Oh, and…meow!

spacer

Whole Wheat Oatmeal Raisin Cookies [GUILT-FREE!]

So I’m craving some Oatmeal Raisin Cookies. Good thing we have a huge thing of Quaker Oatmeal (a five pound jar and at least ten more pounds packed away in bags in the pantry). Baking always brings me back to college years (also back to days at home) when I would walk up to my best friend’s apartment almost every night (rain or snow) to bake or cook something, drink some tea, and watch a great series like Modern Family or Beyonce Concerts.

If you’ve baked oatmeal raisin cookies, you know it’s pretty simple. It’s basically measure, pour, mix, and heat. And we only have whole wheat flour in the kitchen, so we’re making Whole Wheat Oatmeal Raisin Cookies. There’s no crap in these, so you don’t have to worry about that. I pulled the recipe off of here and altered it slightly. So, my fellow bakers, get your ingredients ready!

Ingredients

  • 1/2 cup of butter (I use whipped)
  • 3/4 cup of sugar (I used white because we don’t have any brown at the moment)
  • 1 egg
  • 1 cup whole wheat flour
  • 1 1/4 cup of oatmeal (I use Quaker Old-Fashioned Oats, yumm)
  • 1/2 teaspoon of baking soda
  • 1/2 teaspoon of salt
  • 1/2 teaspoon of cinnamon
  • 1/4 cup of honey
  • 1/2 cup of raisins
  • a splash of vanilla extract

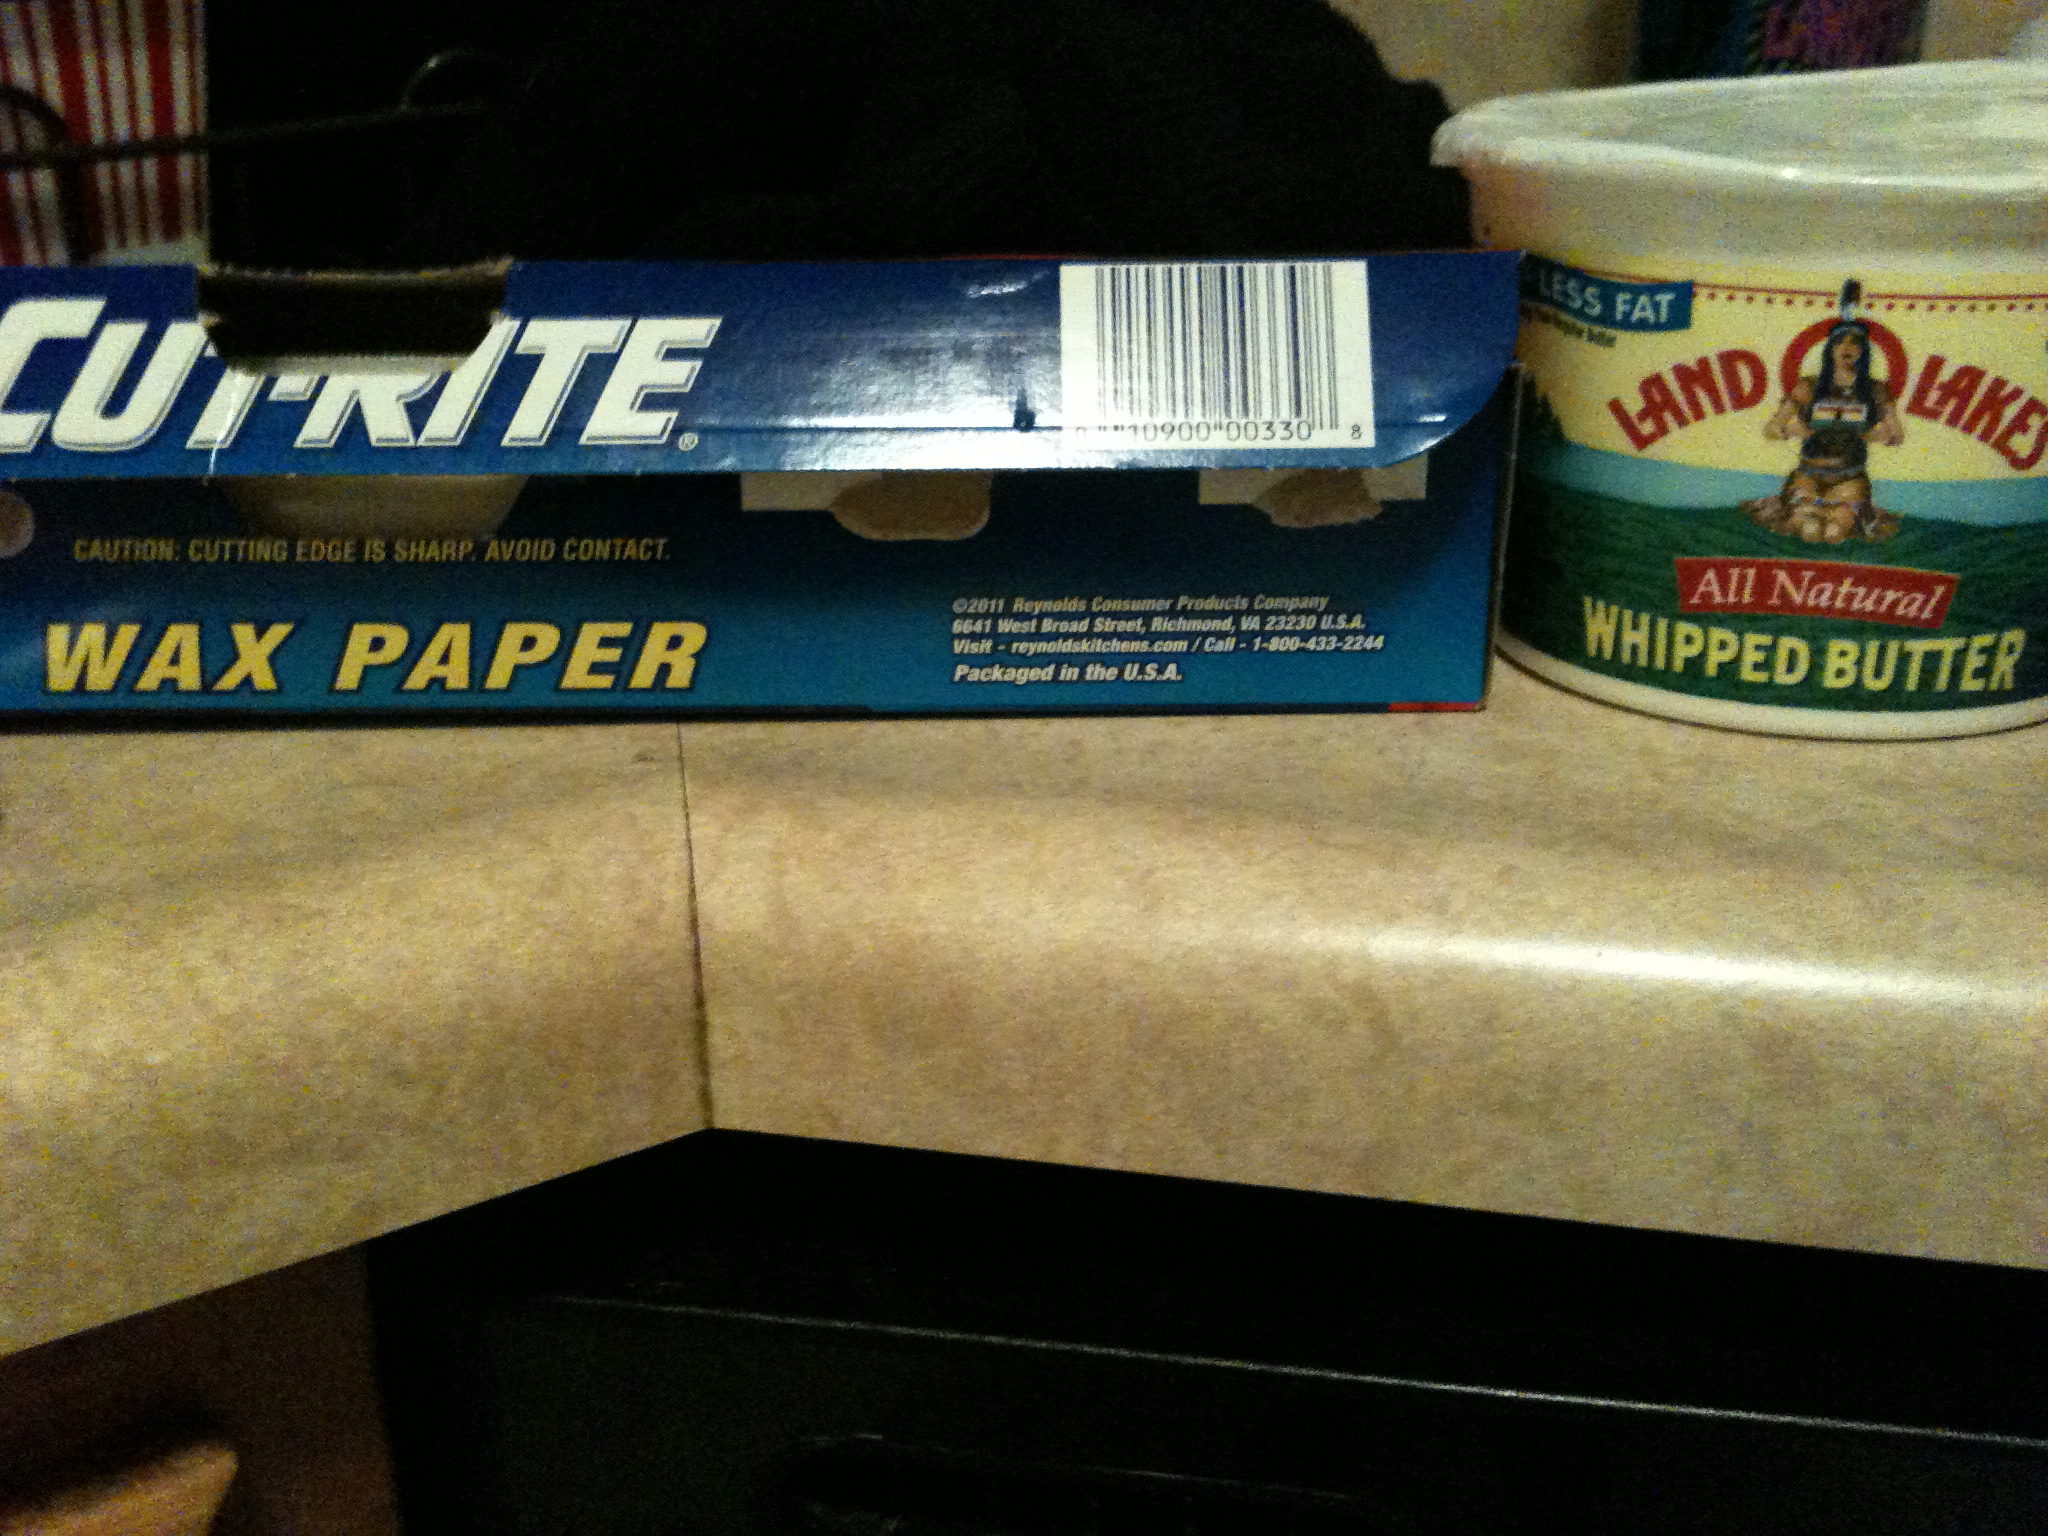
Pretty basic. I have faith you can all do it. Remember to always grease your baking sheet first so that you don’t have to scramble at the last minute. I like to use wax paper and butter to grease up the sheet, just dip the wax paper in and rub around, a tip my mum taught me. If you don’t have either, then you can just use PAM or whatever you’ve got. Pre-heat the oven to 350 degrees.

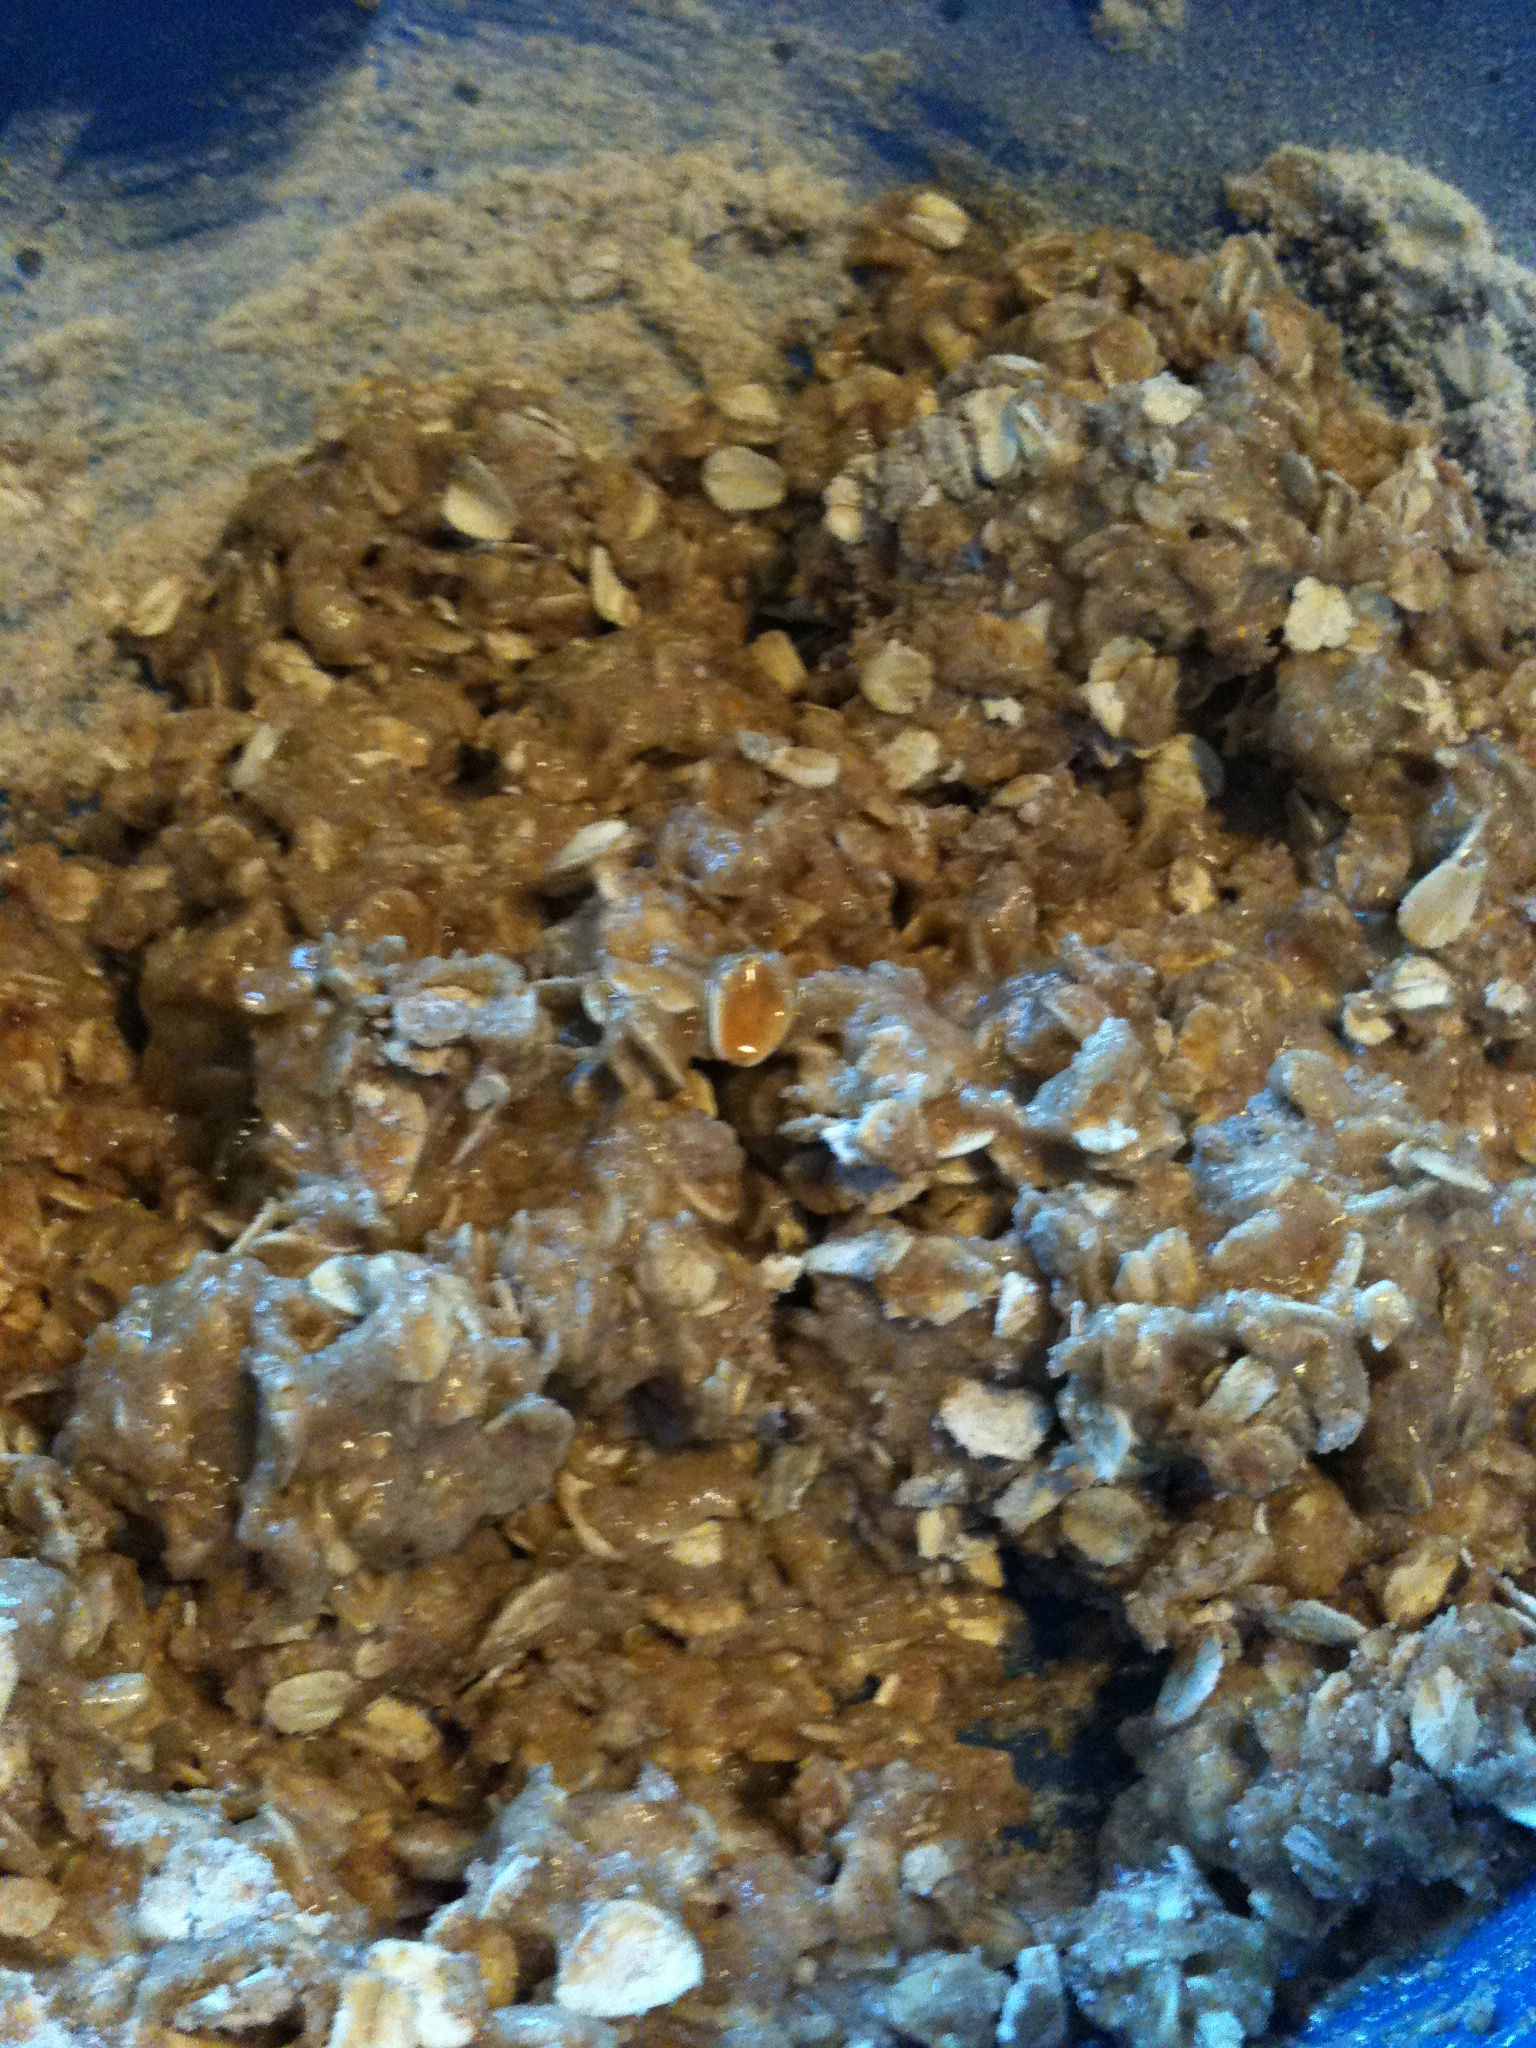
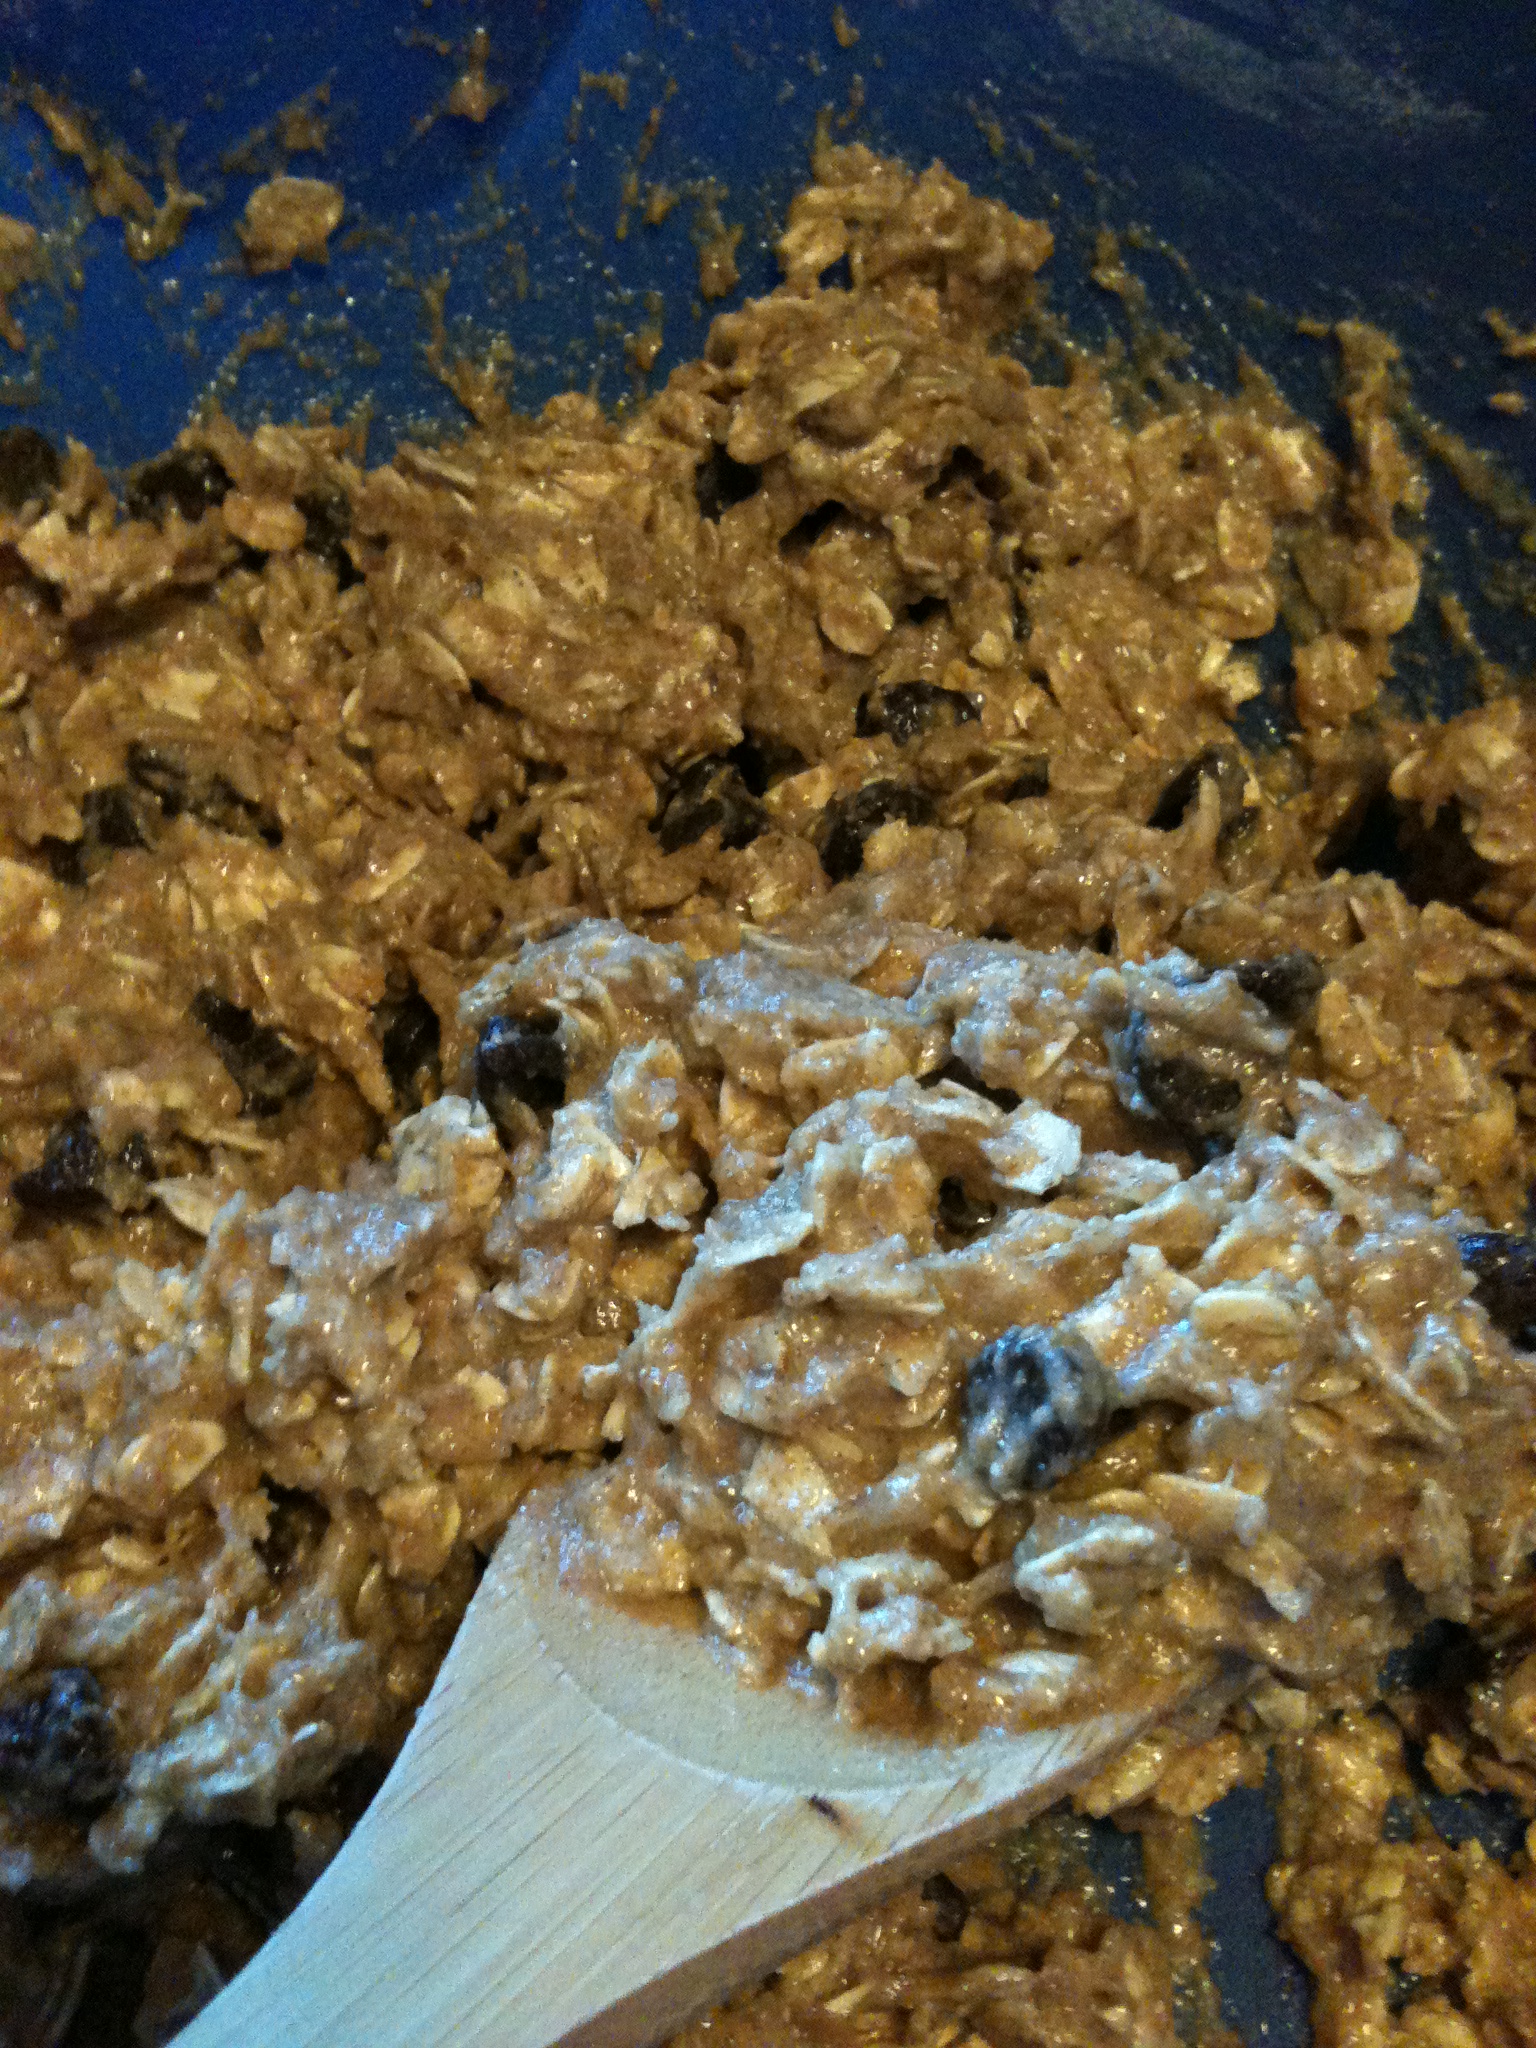
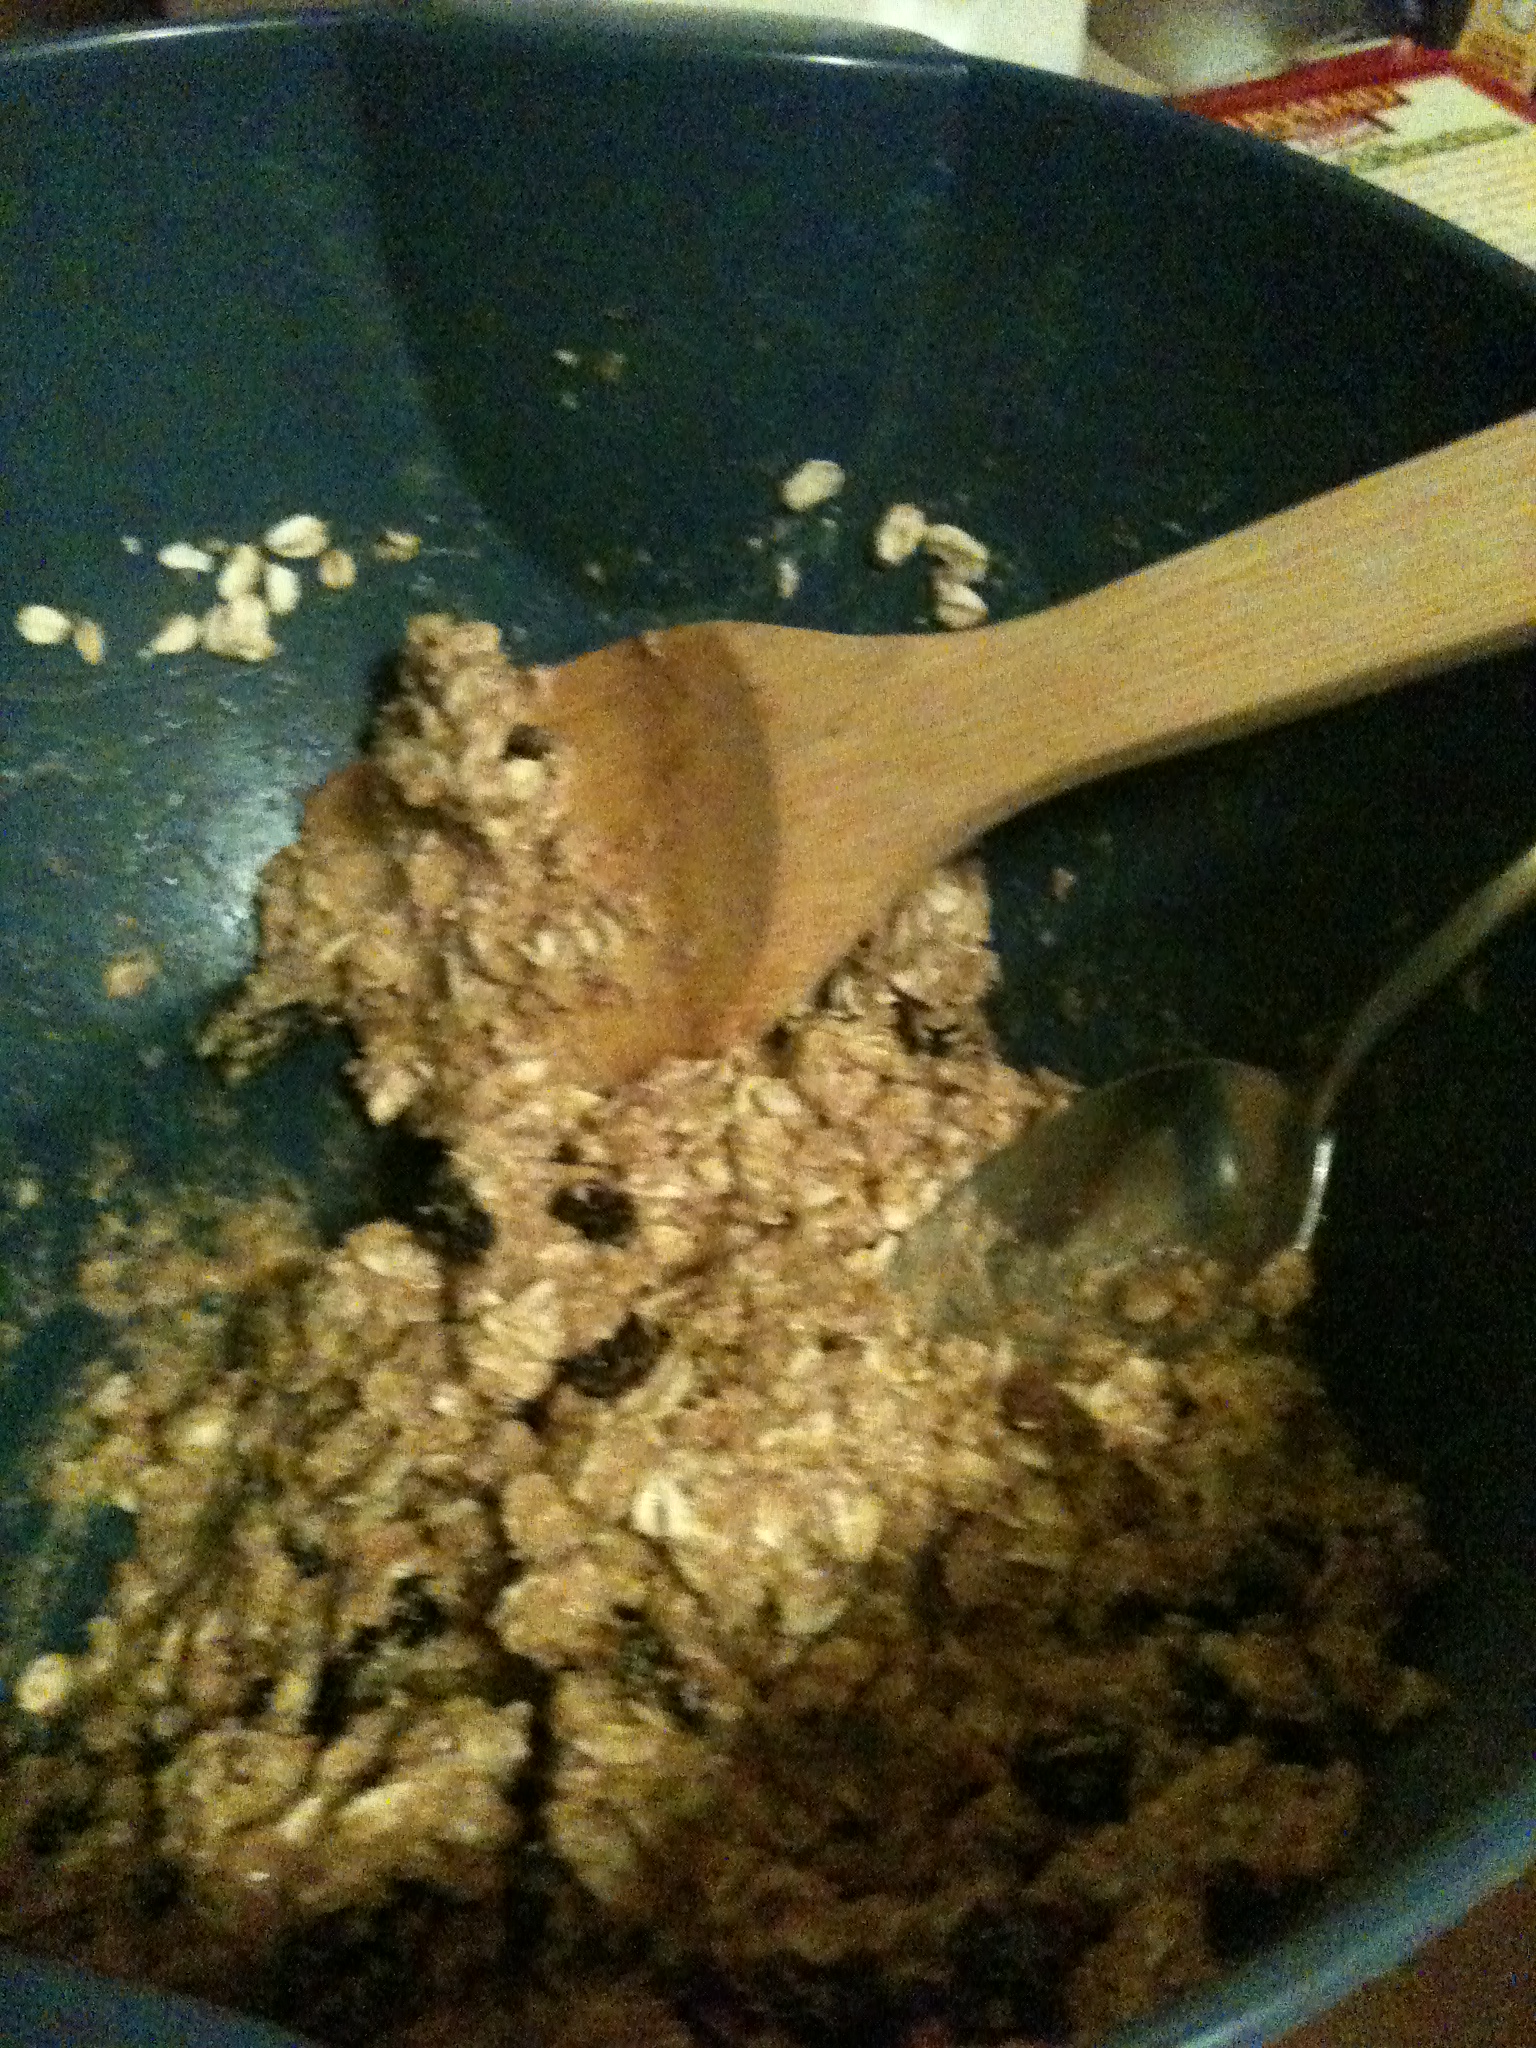
Alright, so pour in the butter, sugar, and egg in before anything else. Mix that up real well. You’d think it’d be hard to bake things without a mixer, or even a whisk, but we have neither and everything comes out just fine. I simply use a wooden spoon. And high-powered arms. 😉 After you beat those first three ingredients, pour in the rest and stir it up. If it’s too dry to stir everything in, pour a little milk in (that’s what I did).

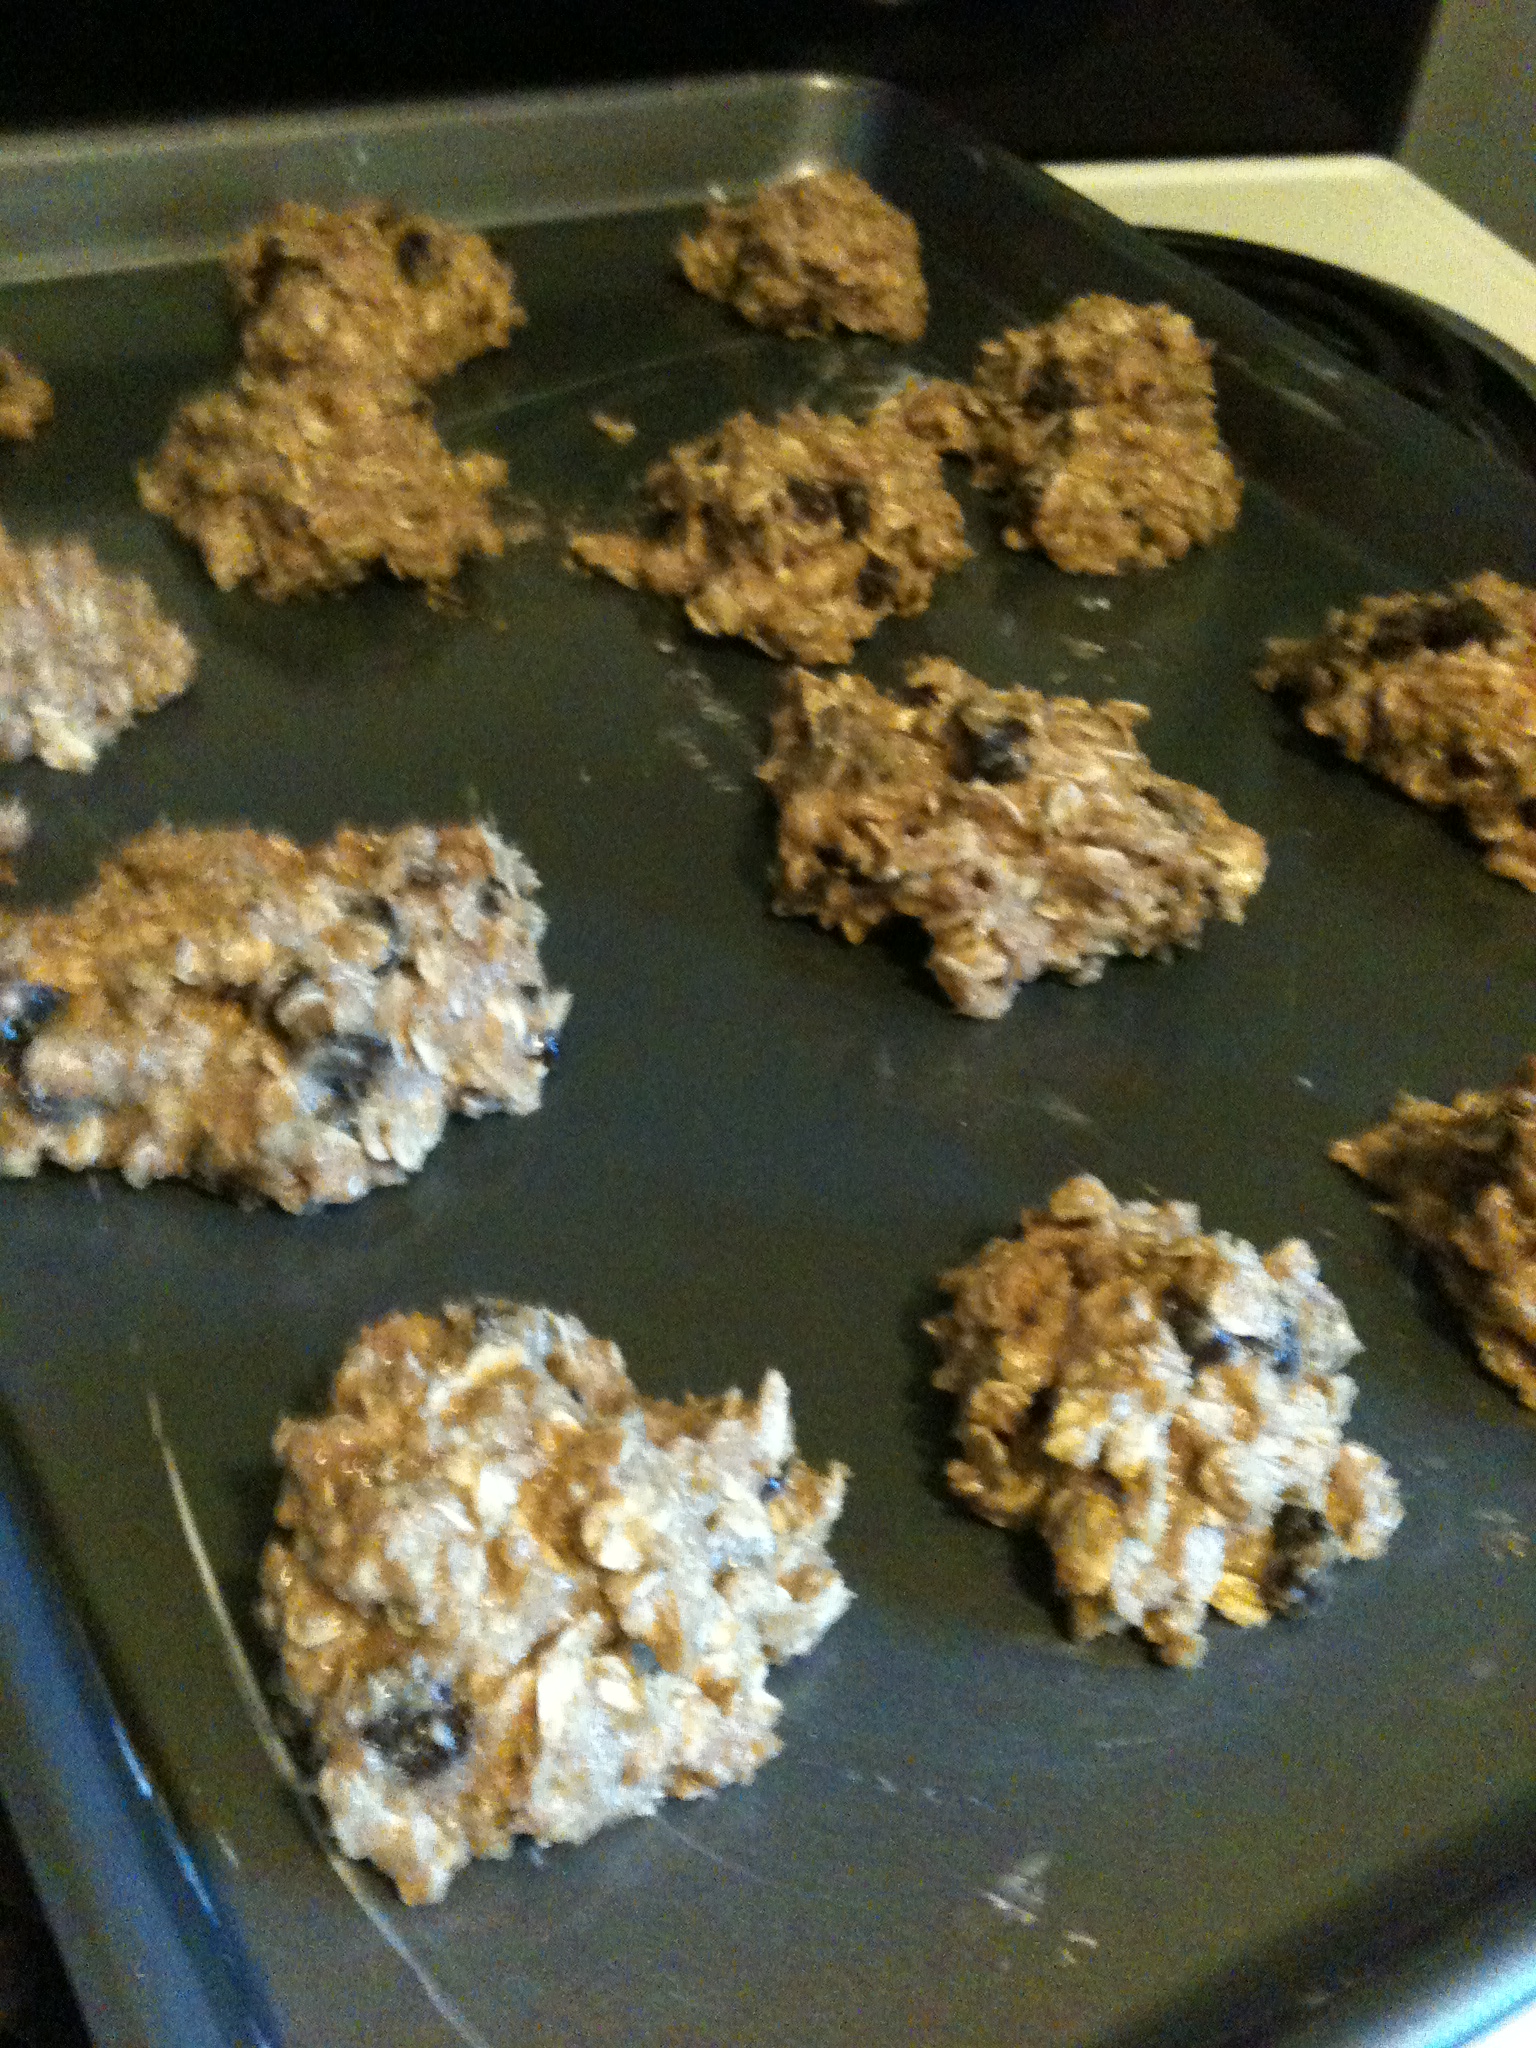
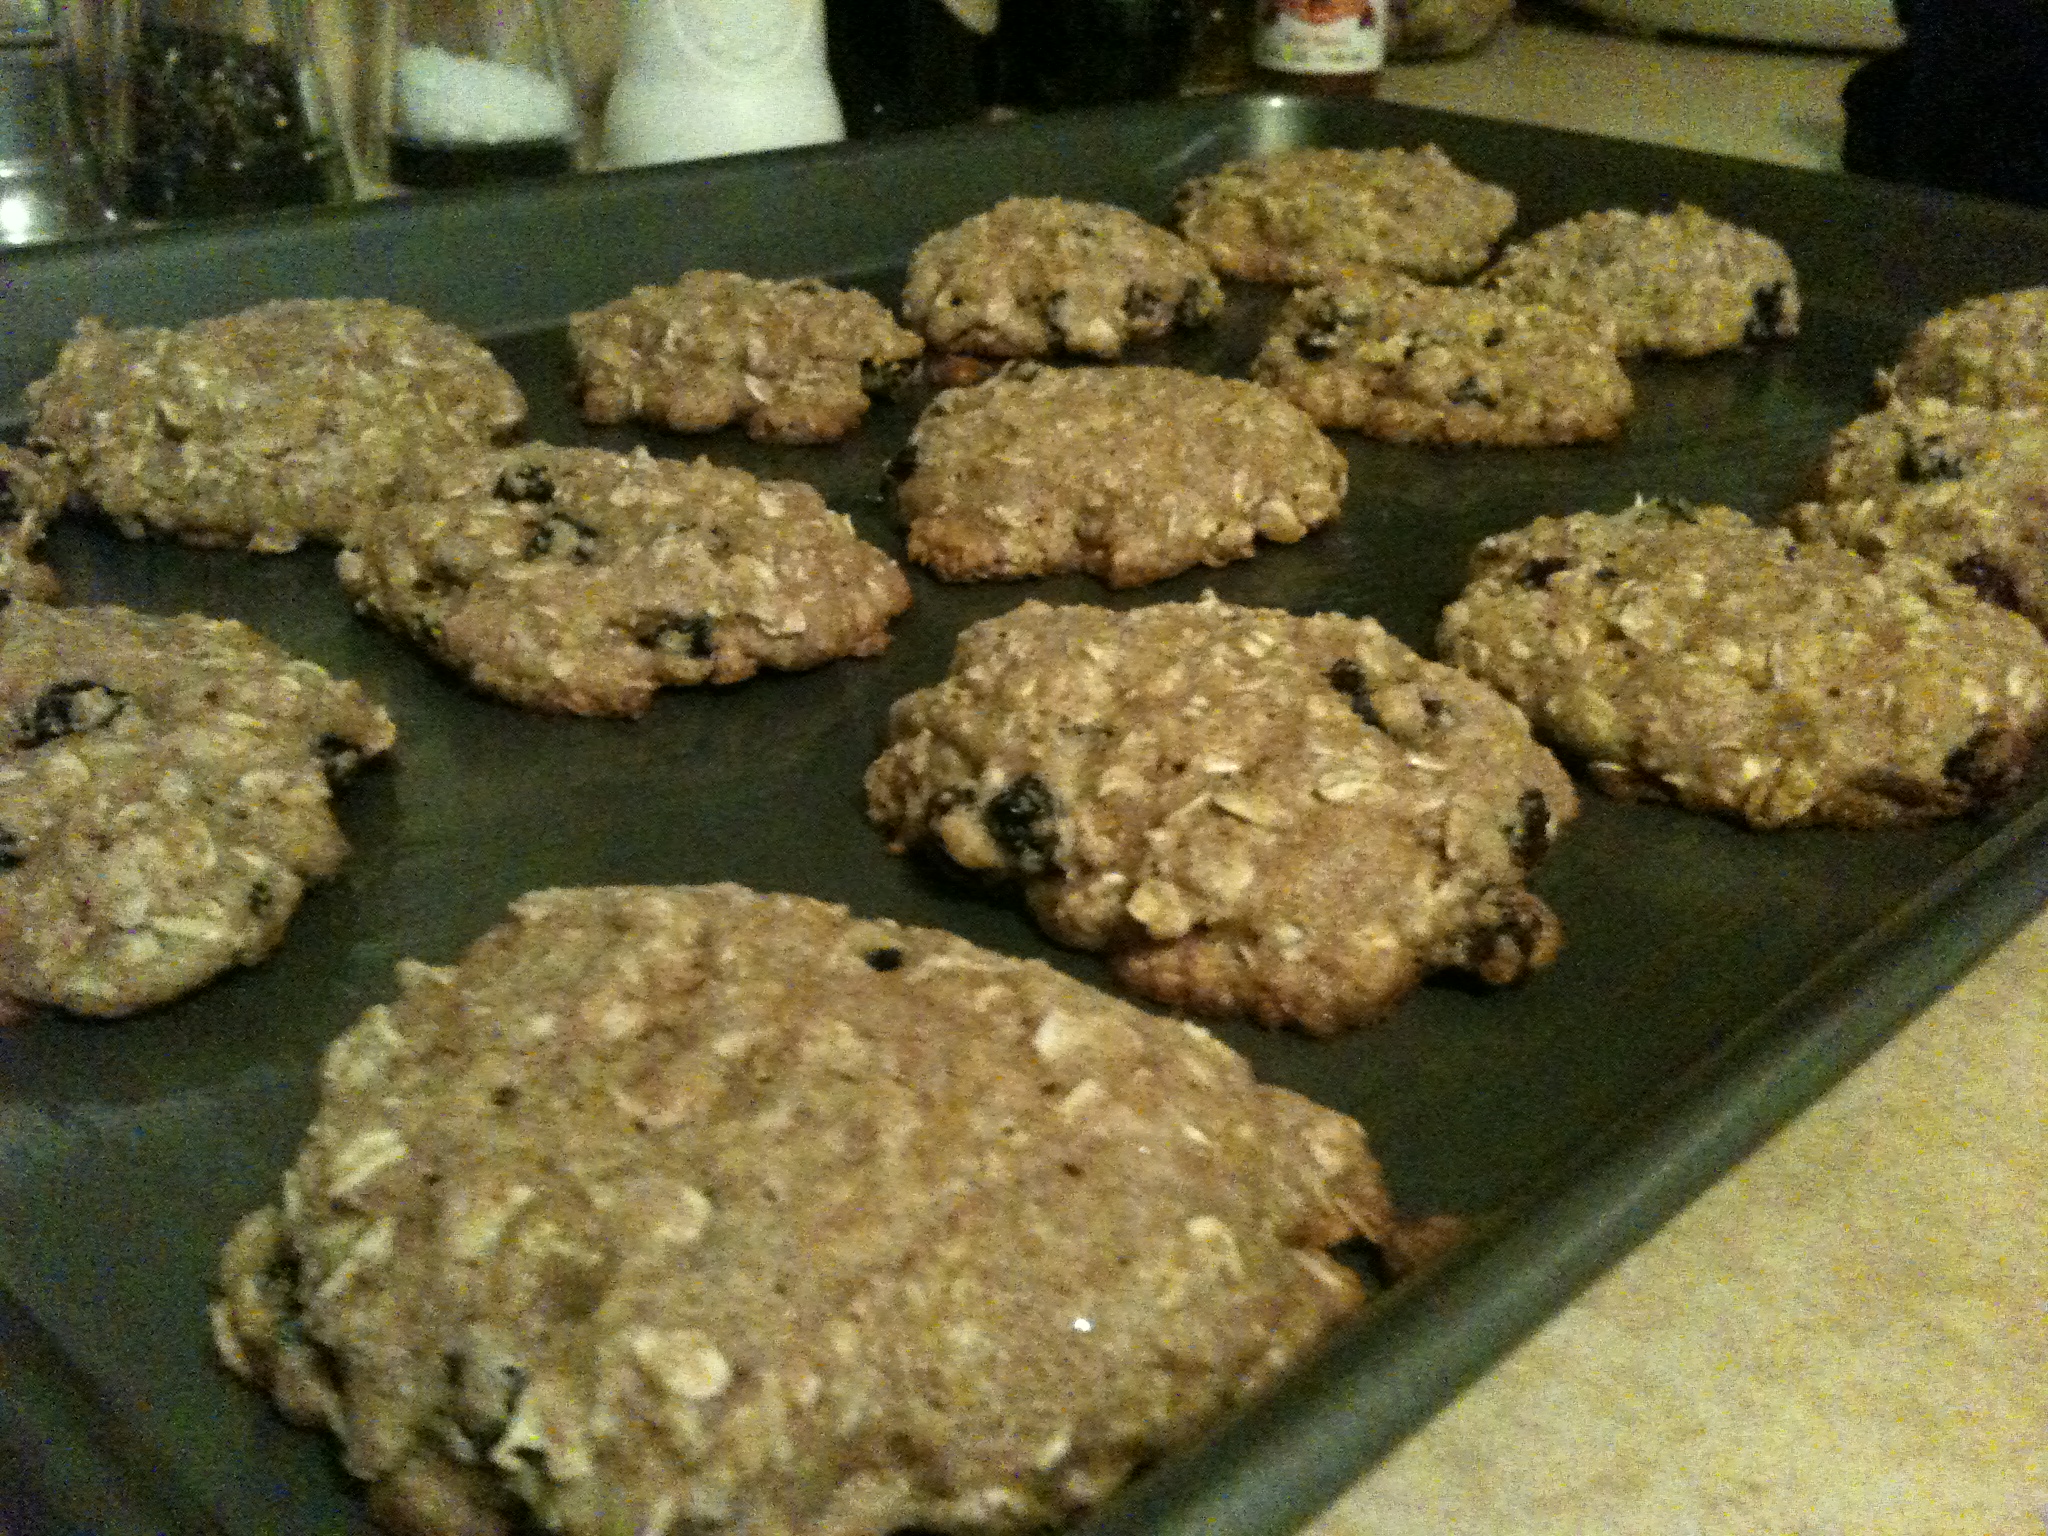
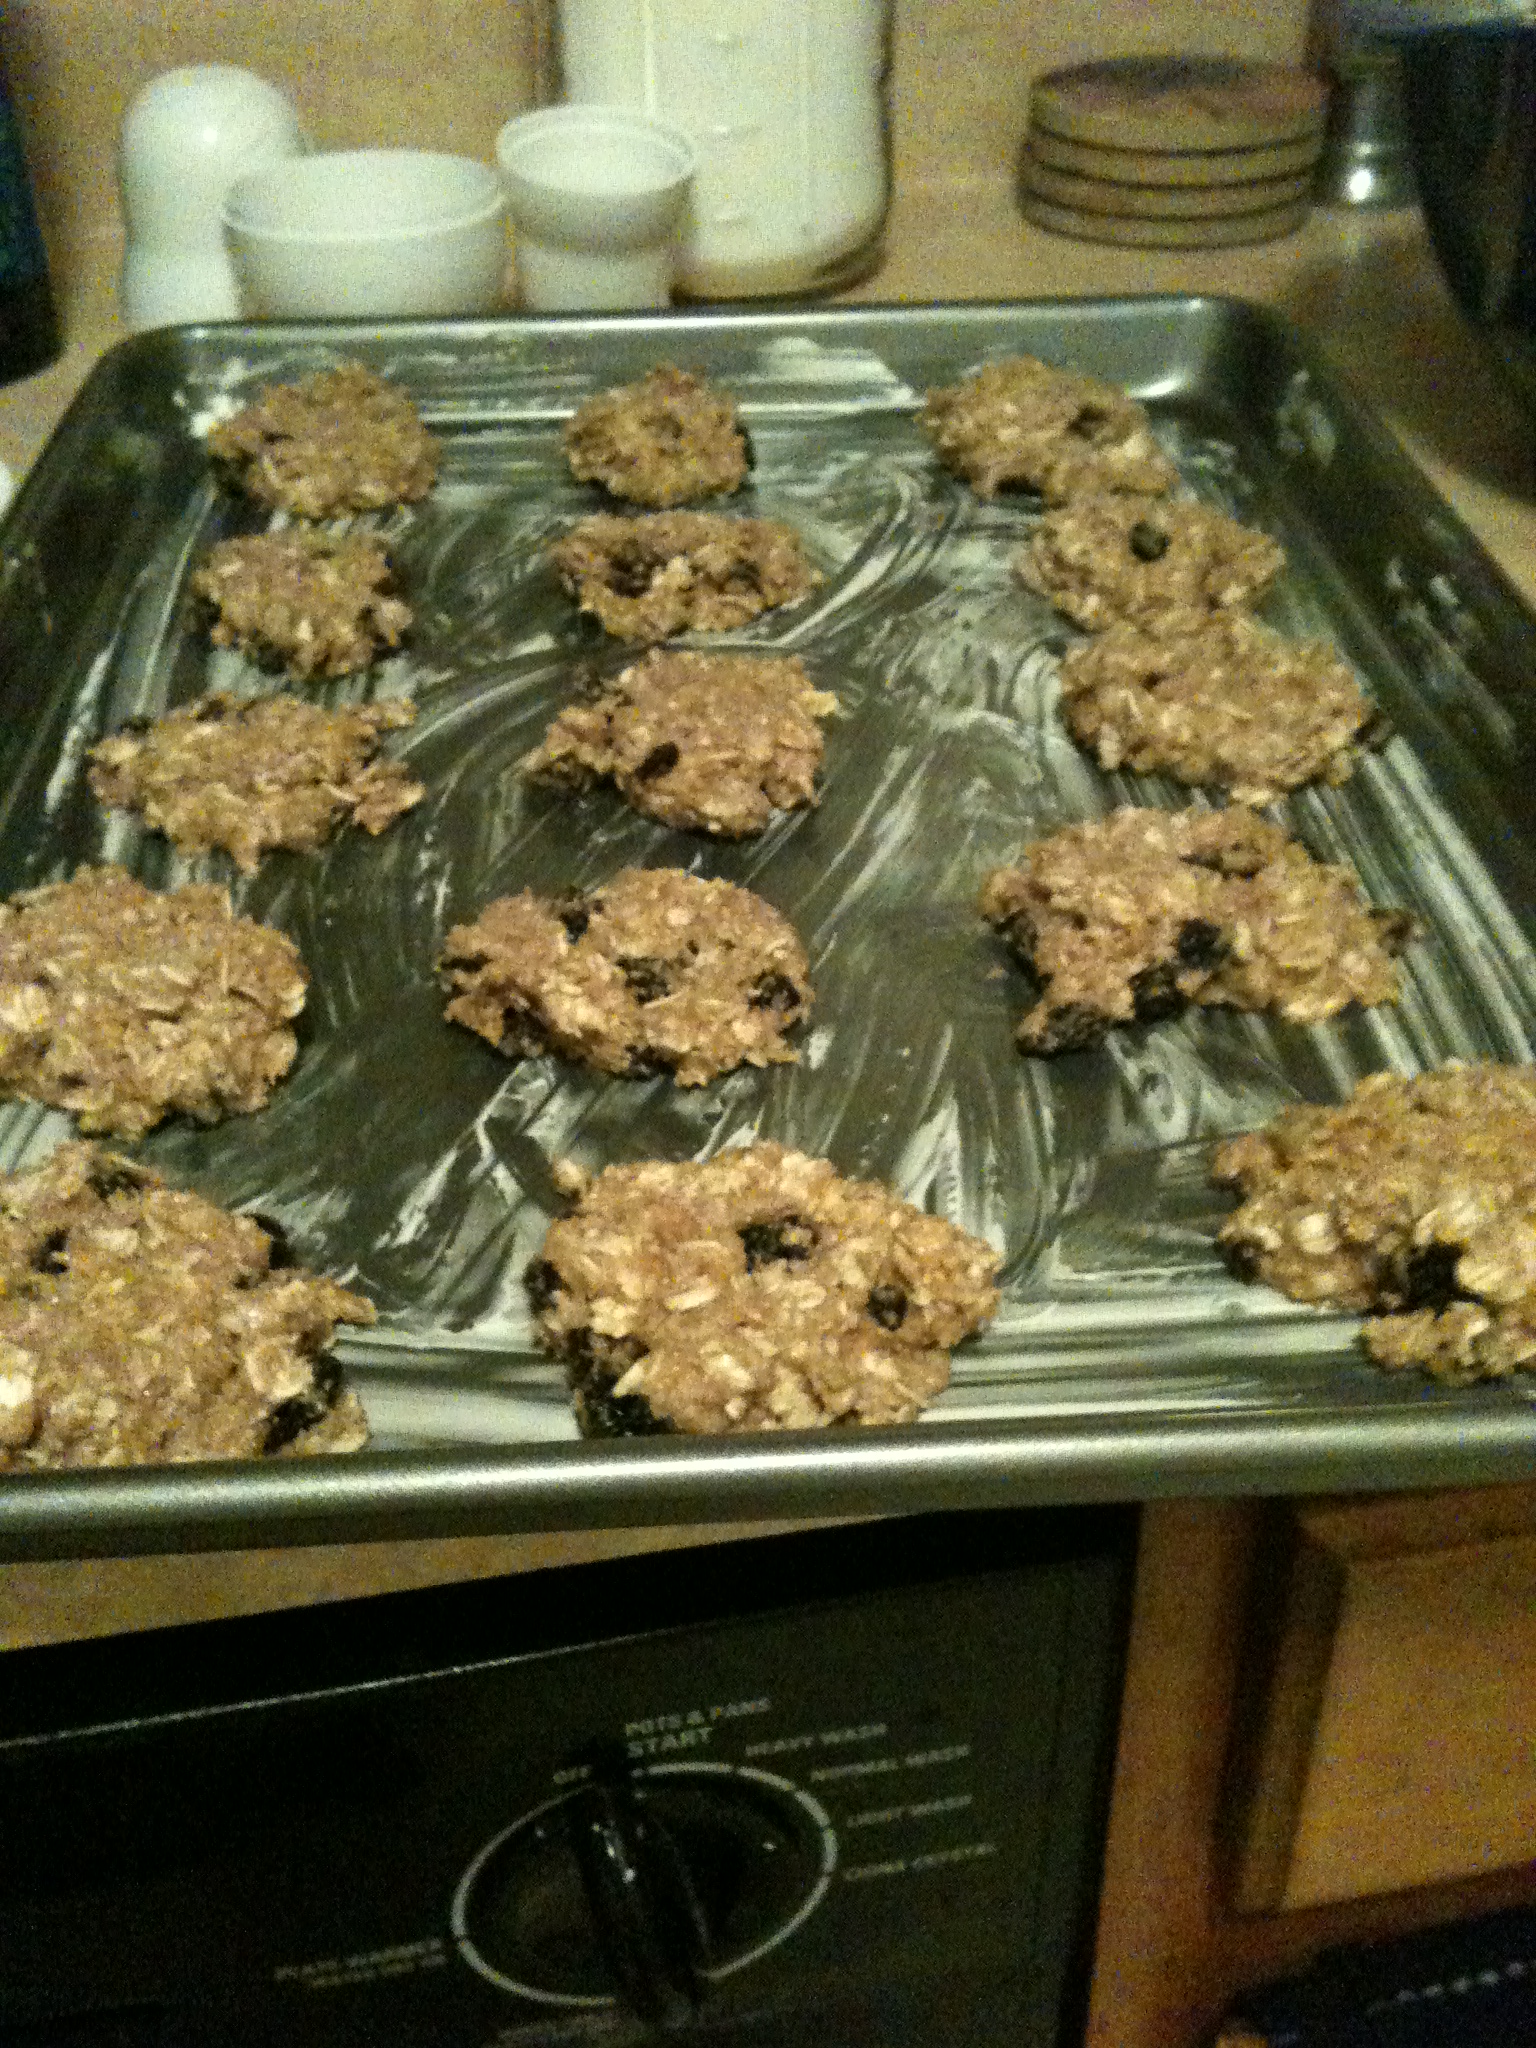
Now if anyone here knows me, then you know I have to literally be dragged away from the cookie dough in order to not eat it all. It was tough, but I held myself back (slightly). So after everything is mixed up, use a spoon (or your hands) and plop ’em down on your already greased up baking sheet in nice rows like below.

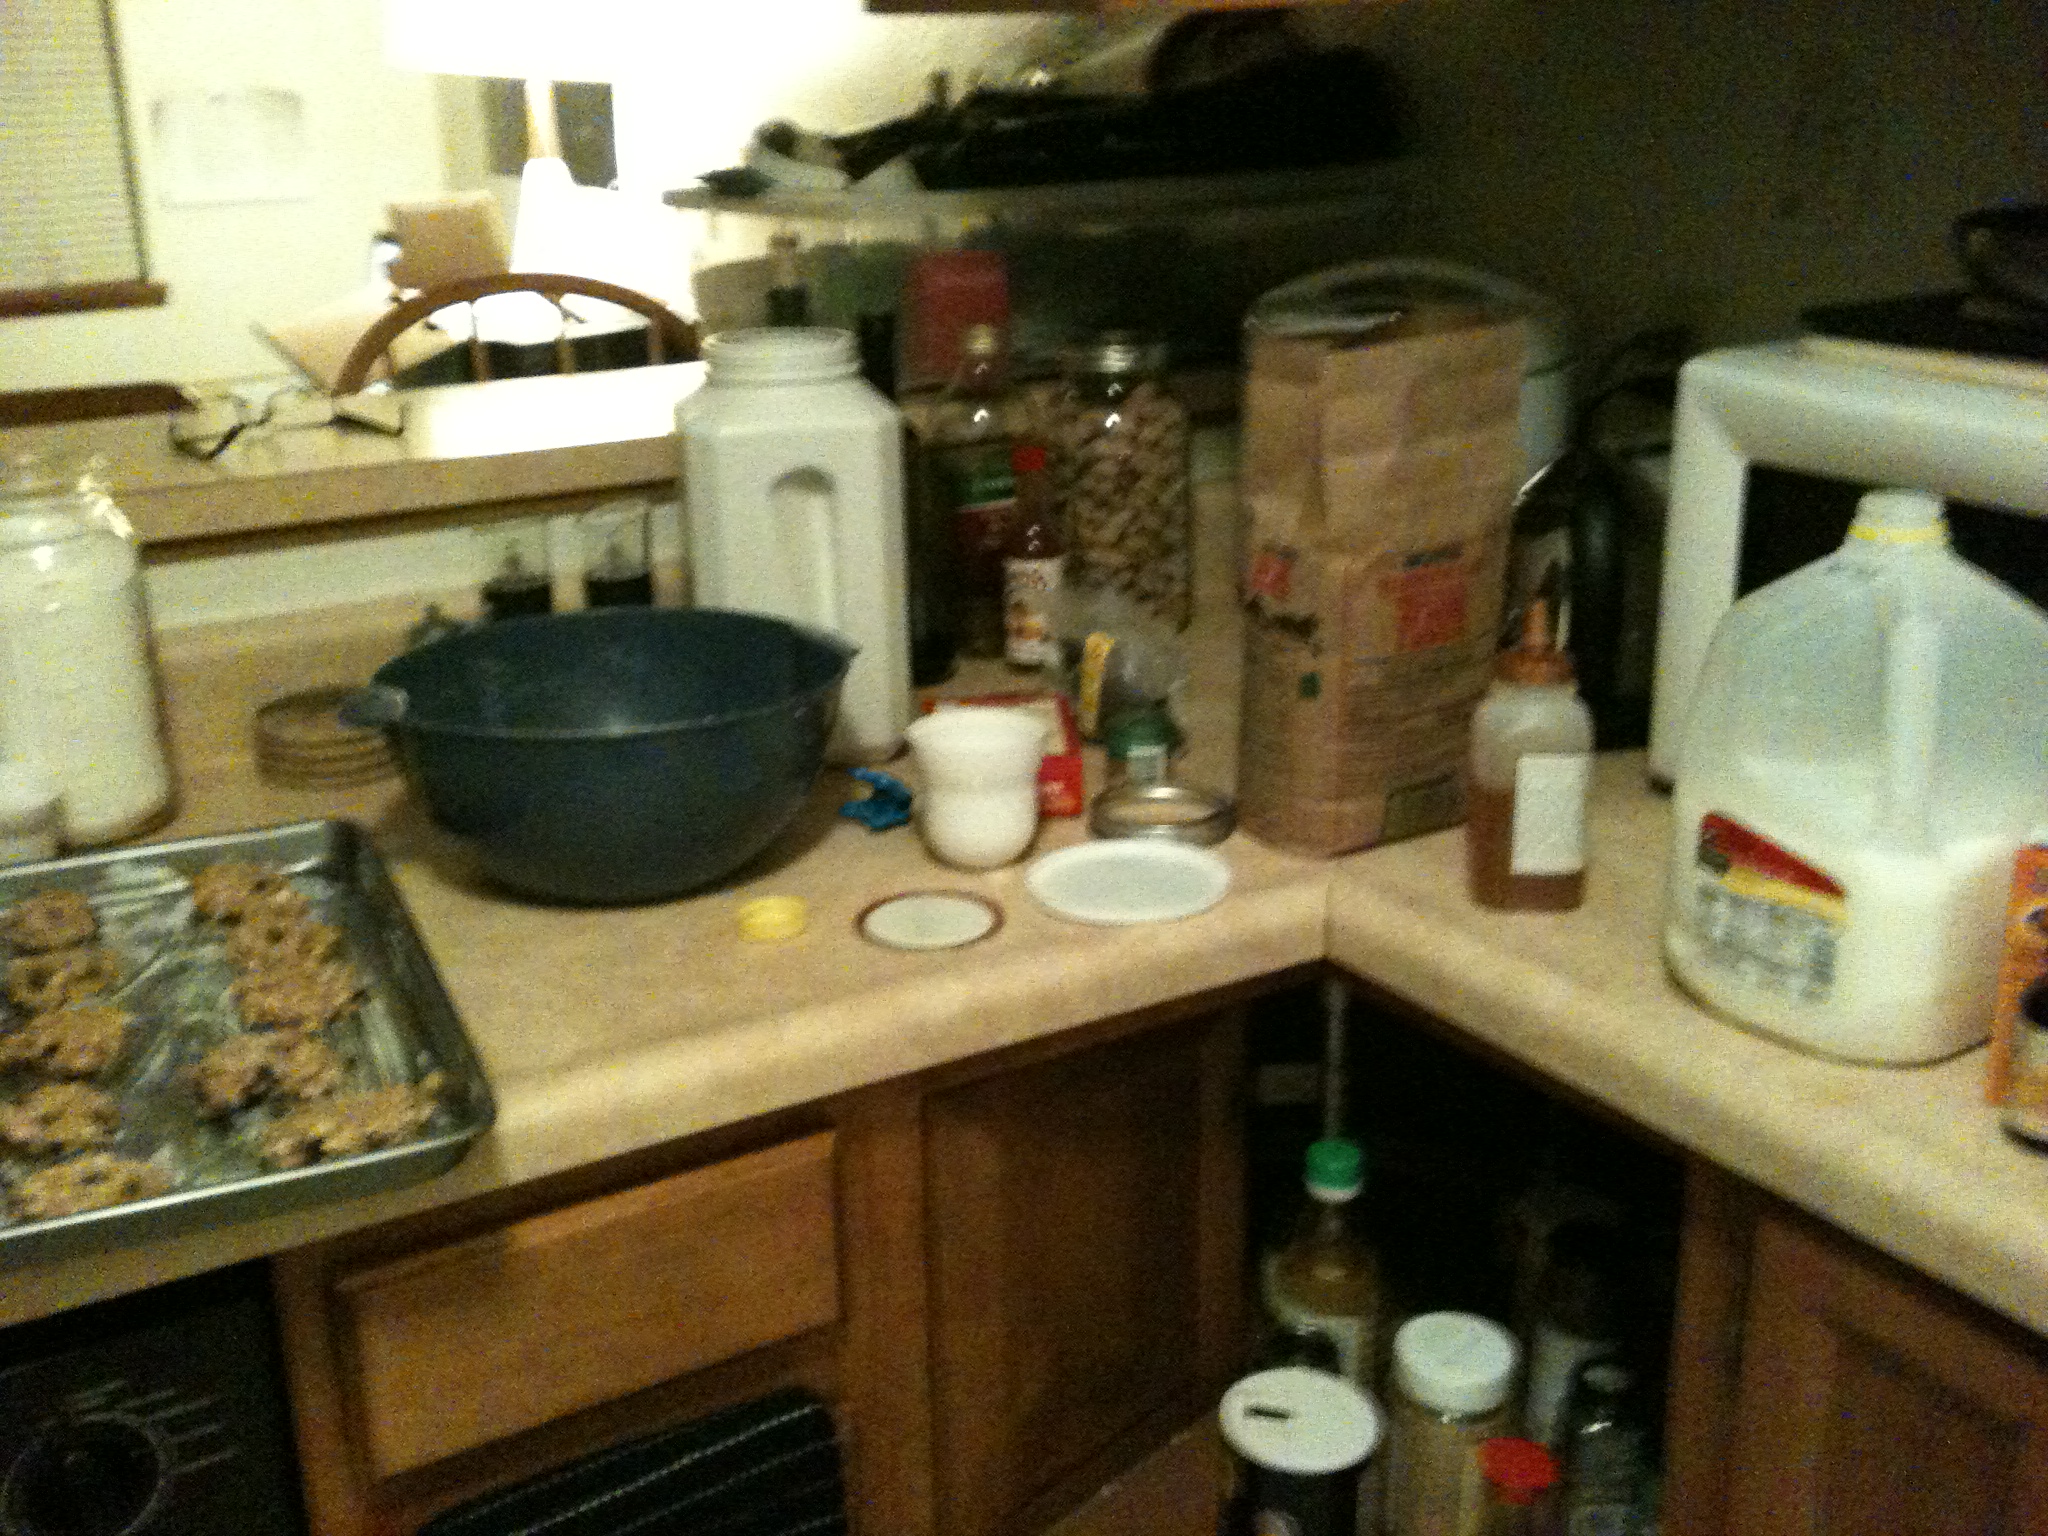
And now we wait 10-15 minutes, depending on how thick you made the cookies and what your oven is like. And now you get to see what my kitchen looks like when I cook/bake! (yikes)

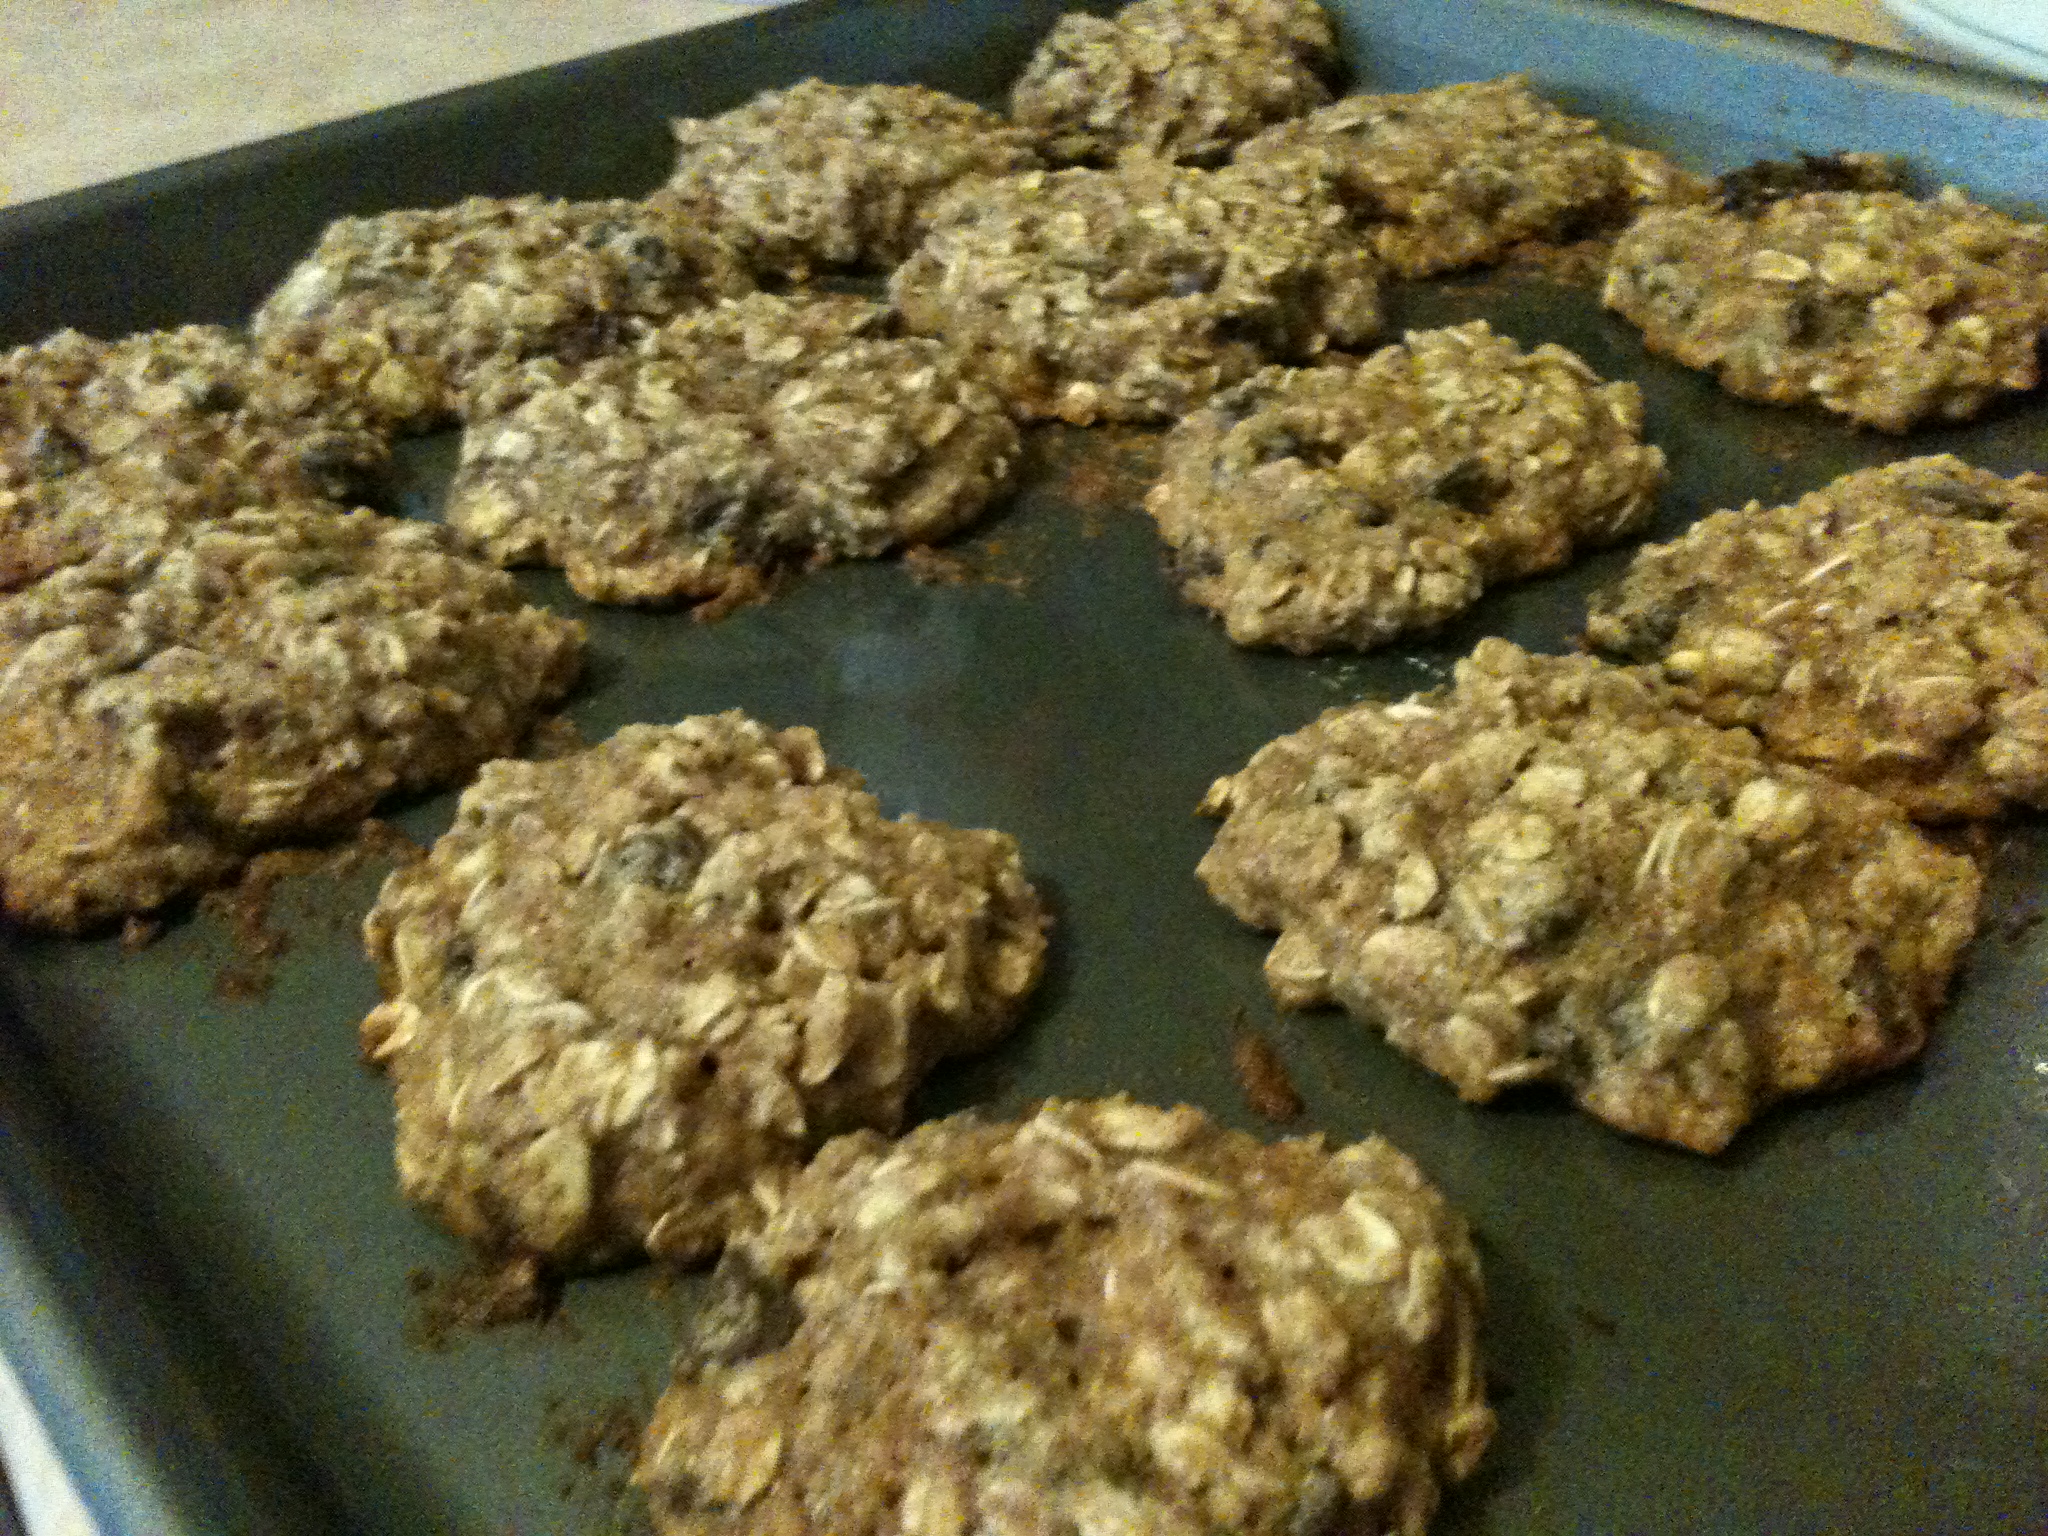
Ding! (just kidding I don’t have an oven timer) Cookies are ready! Pull them cookies out (with an oven mitt, of course) and let sit for a little bit and then DIG IN! 

Voila. Here we have a healthy guilt-free batch of cookies, easily stored in tupperware if you can’t eat them all in one night (shame). Enjoy! 

spacer