There are tons of ways to workout your muscles…cable machines, using your own body weight, dumbbells, and so forth. And they’re all great–it’s important to switch it up! However, today I want to approach the technique of resistance bands. I use resistance bands every day with clients. And I use them with all levels, from a near-eighties woman to a tough and strong girl in her 20s. There are so many ways to use resistance bands to your benefit. And they come in different levels! Usually the easiest are yellow, then green, to red, then blue, and finally black. Typically. Some do vary, though. There are so many ways to use them for all muscle groups. I’m gonna show you a few ways you can use that band at home, today! And I obviously couldn’t keep a straight face in the pictures…sigh.
1. Curls. Stand on your band, roughly shoulders-width apart. Grab the two handles, make sure the resistance is enough. Now pull the handles up in a curl movement, just as if you were doing it with dumbbells. This exercise is extraordinarily effective for working the biceps. You will be surprised! It’s important not to spring back to starting position after you finish the concentric (curling upwards) motion of the rep. Have control the whole way through.
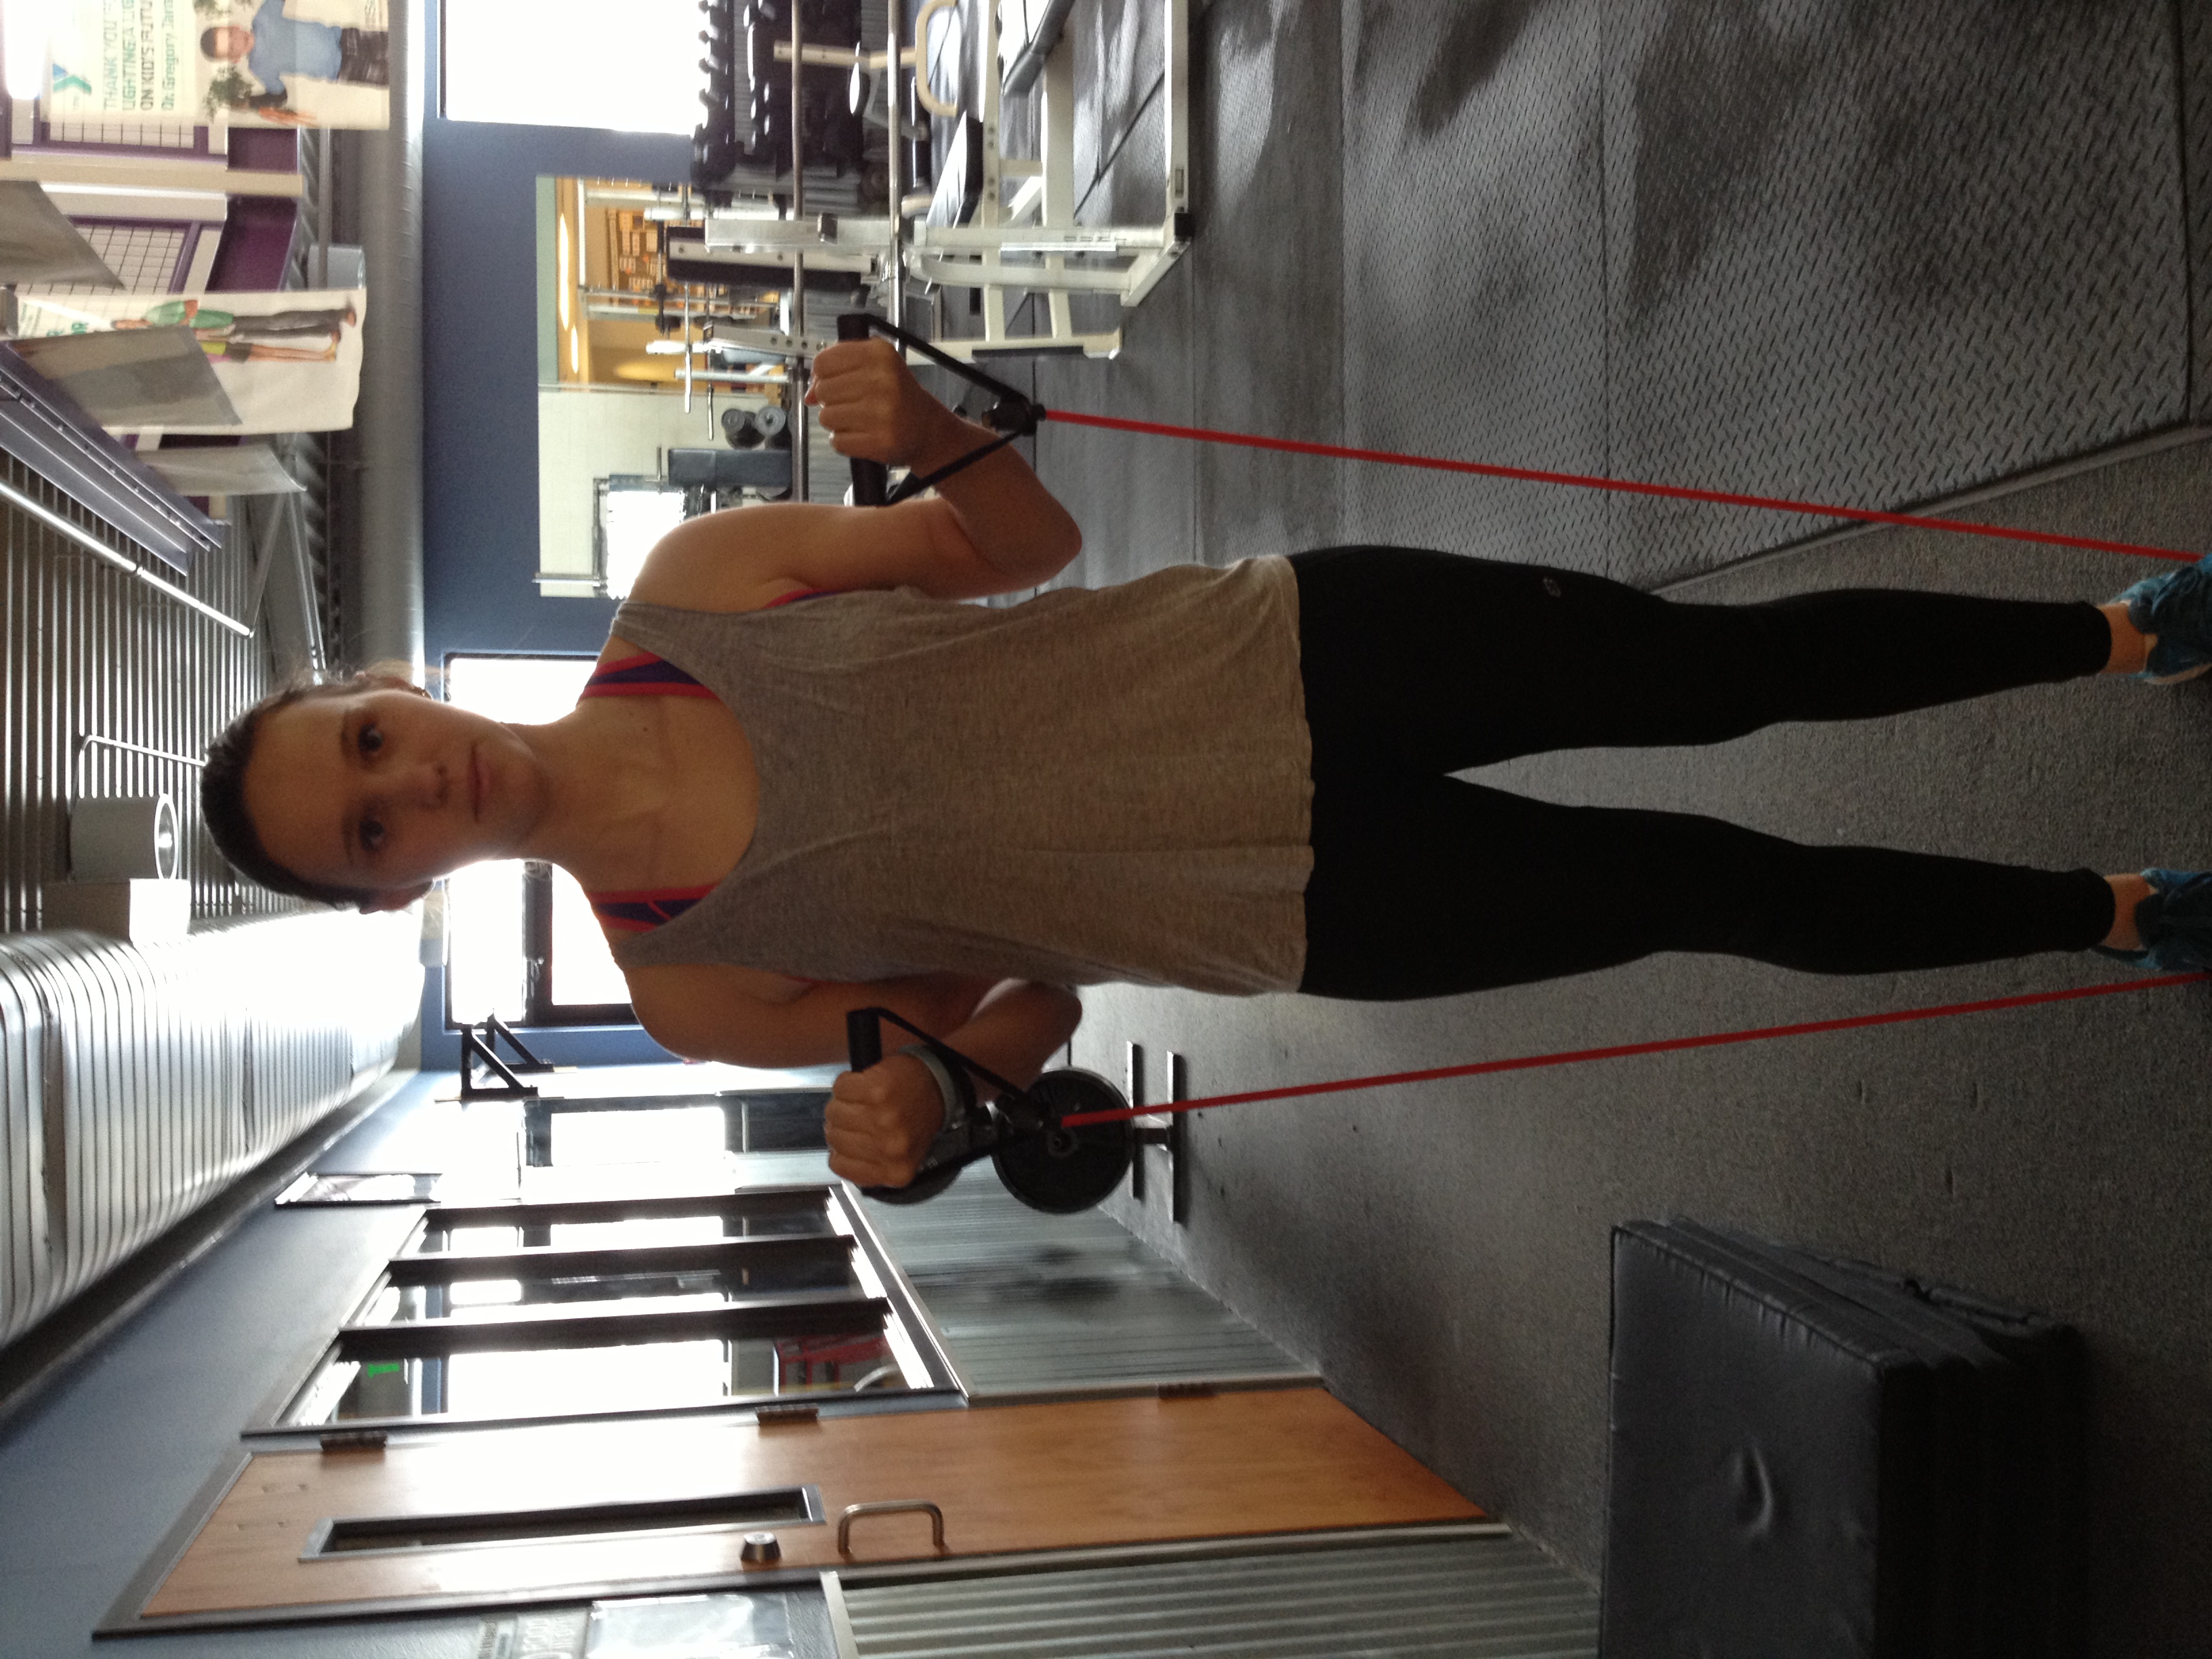
Curl up!
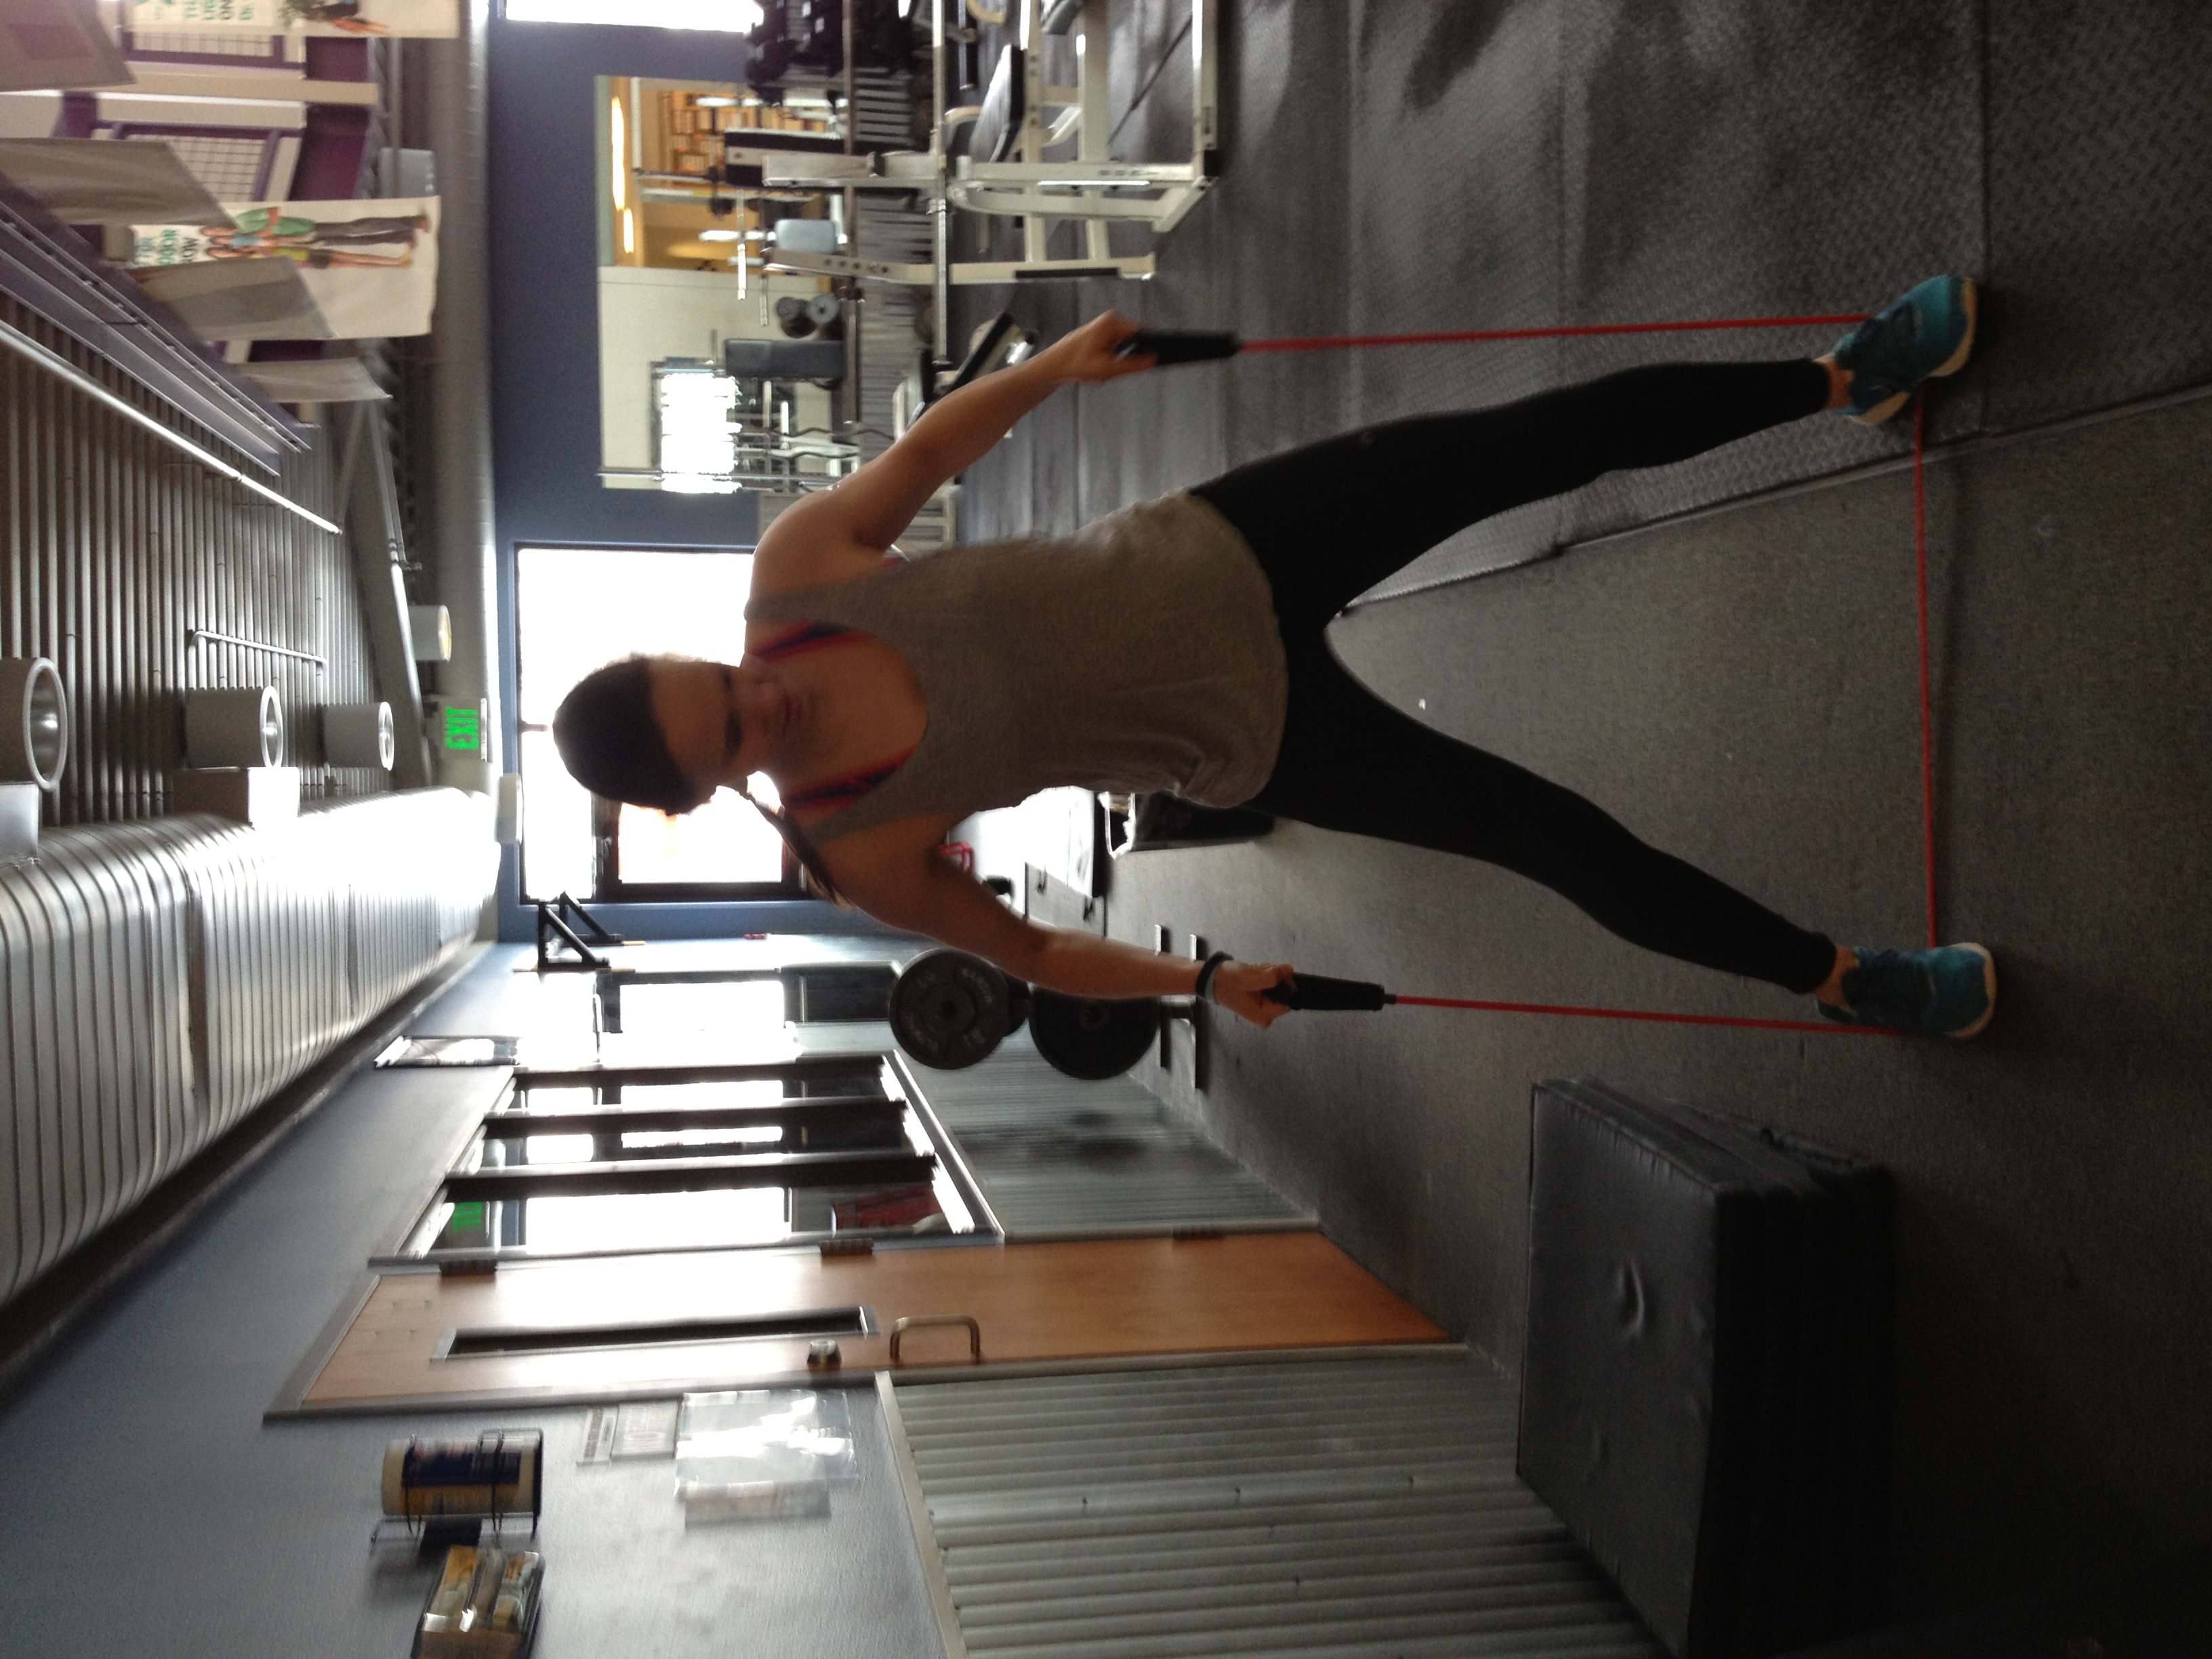
2. Side step. This is one to focus on the hips. Step on the band, just like before, but this time start with your feet together. Now step to the side, as big of a step as you can. You will feel it in the outside of your hips. Your leg is going to want to snap back, but don’t let it! Slowly let it come back to the other leg. Now, step the other way, again taking a big step and really challenging your legs.
3. Rotator cuff strengthener. Rotator cuff injuries are one of the most common you will find in all people. It’s so easy to injure because it’s overused, and typically weak. Very easy to tear. SO how do we strengthen it?! It’s easy. Tie one side of your resistance band around a pole, a chair leg, something that will stick. Now grab the other handle and step far enough away to give yourself proper resistance. Now, keep your arm close to your body and turn it like a door hinge towards your chest. Slowly go to and fro, feeling it in your shoulder. Switch sides.

4. Rear delt flyes. Here’s another one for the shoulders, but this time for the rear delts. Grab a band, the actual band, and not the handles. Hold your arms straight out. The farther you put your hands on the band, the easier, and the closer you put your hands together, the harder the resistance becomes. Holding the band, you want to pull it so that your arms end up completely away from the starting point. Then slowly let your hands come back together. You really want to squeeze the shoulder blades together. Repeat.
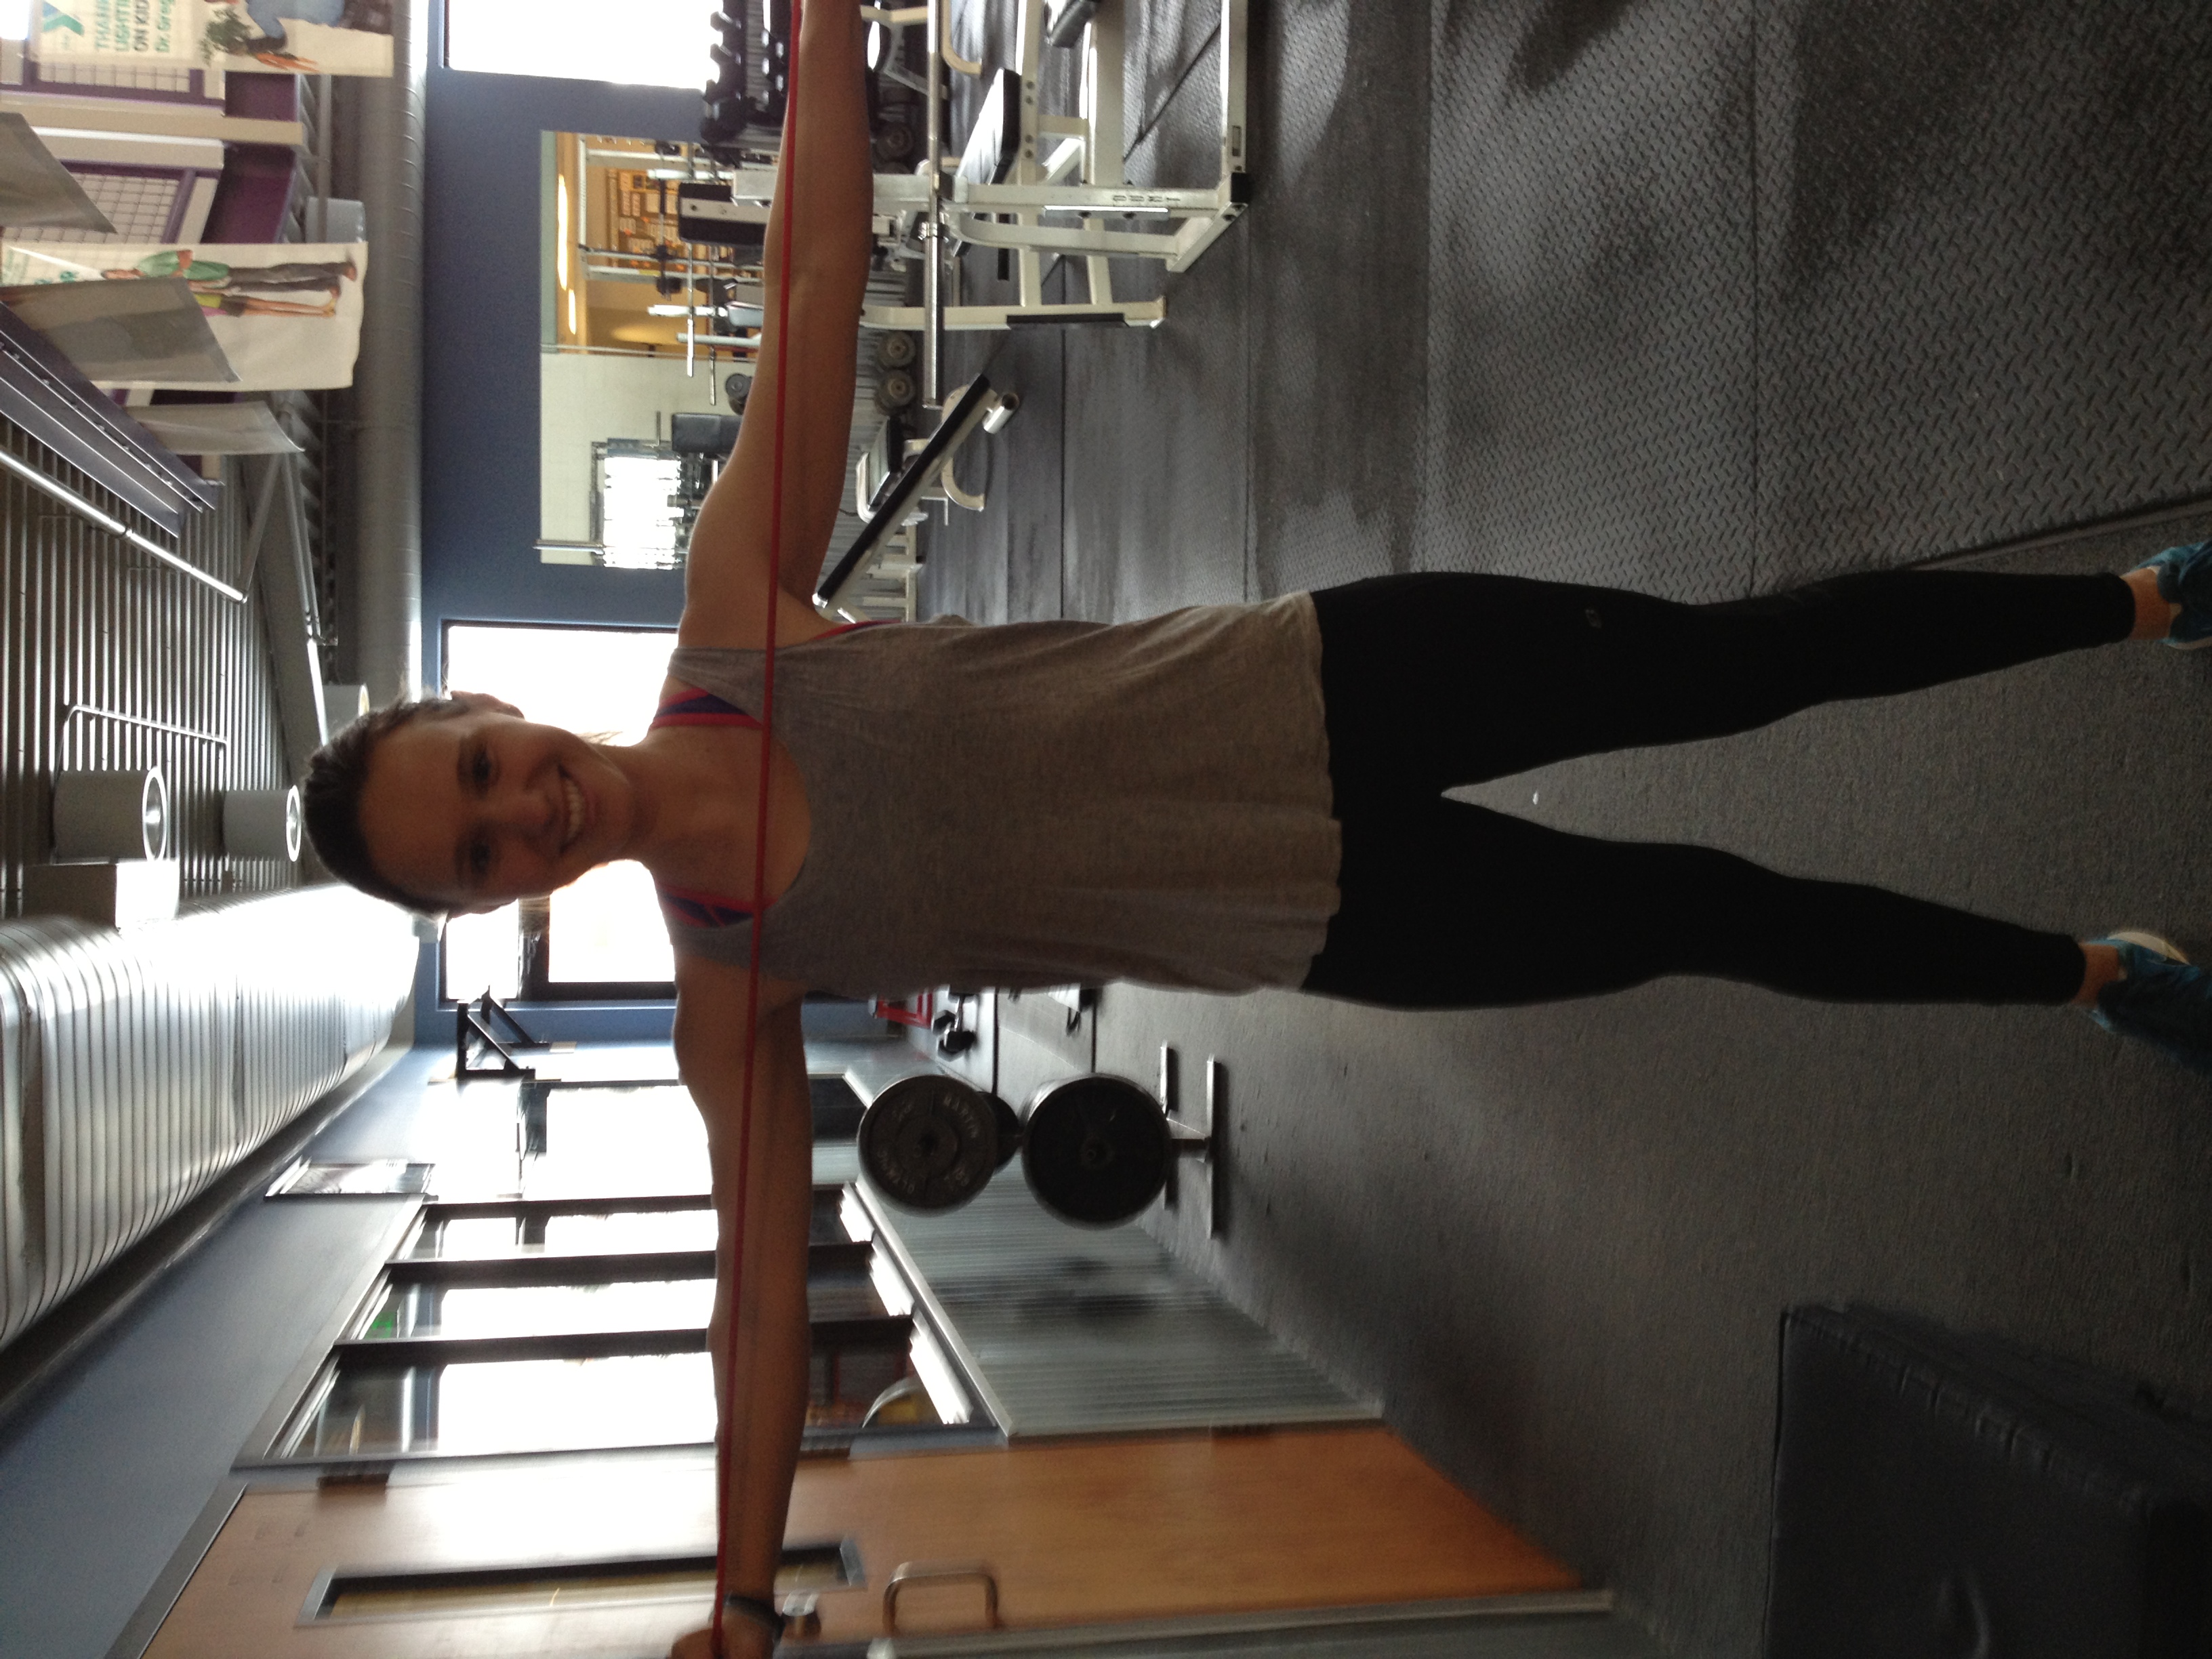
DON’T SMILE
5. Squat press. Make sure you have a fresh band for this one with no holes. Bad things happen when resistance bands snap (as Chris can attest to), so ensure yours has no tears. Now place your feet on the band, shoulder-width apart. Grab the handles. Perform a squat (properly) and as you are coming up from a squat push your hands upwards for a shoulder press. This is a total body workout. Repeat. This squat can also be combined with the curl as seen above.
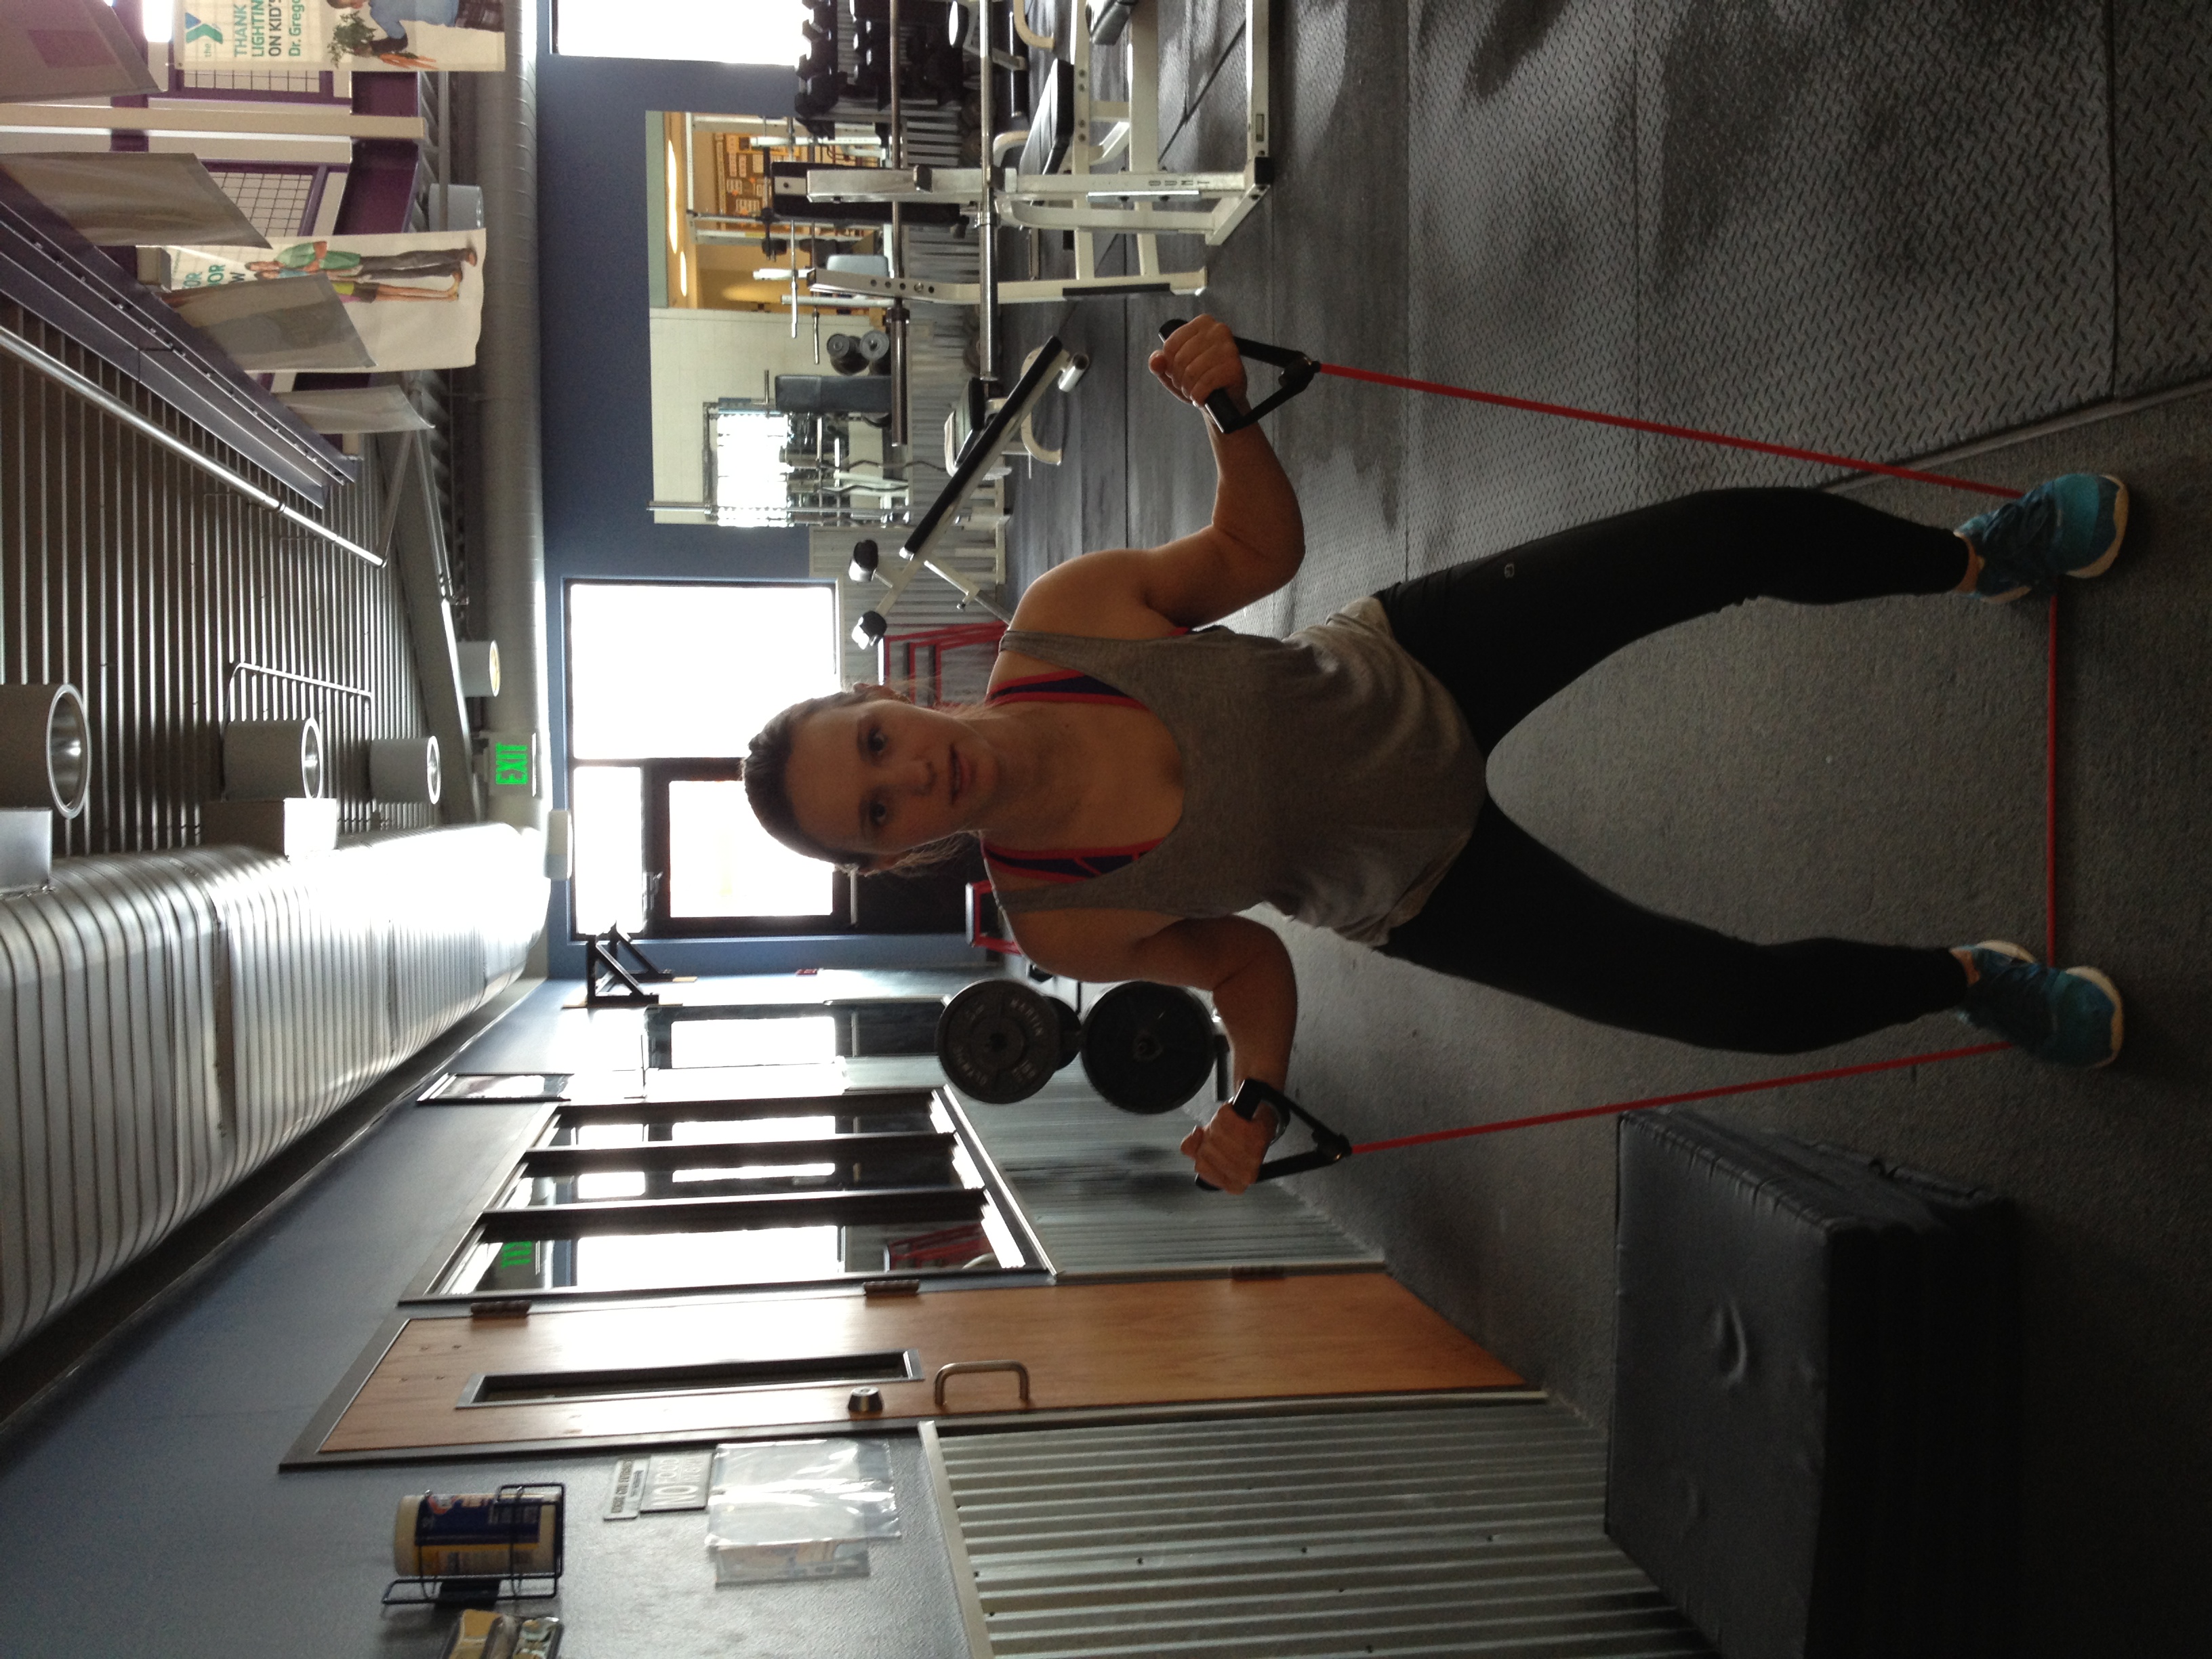
and press!
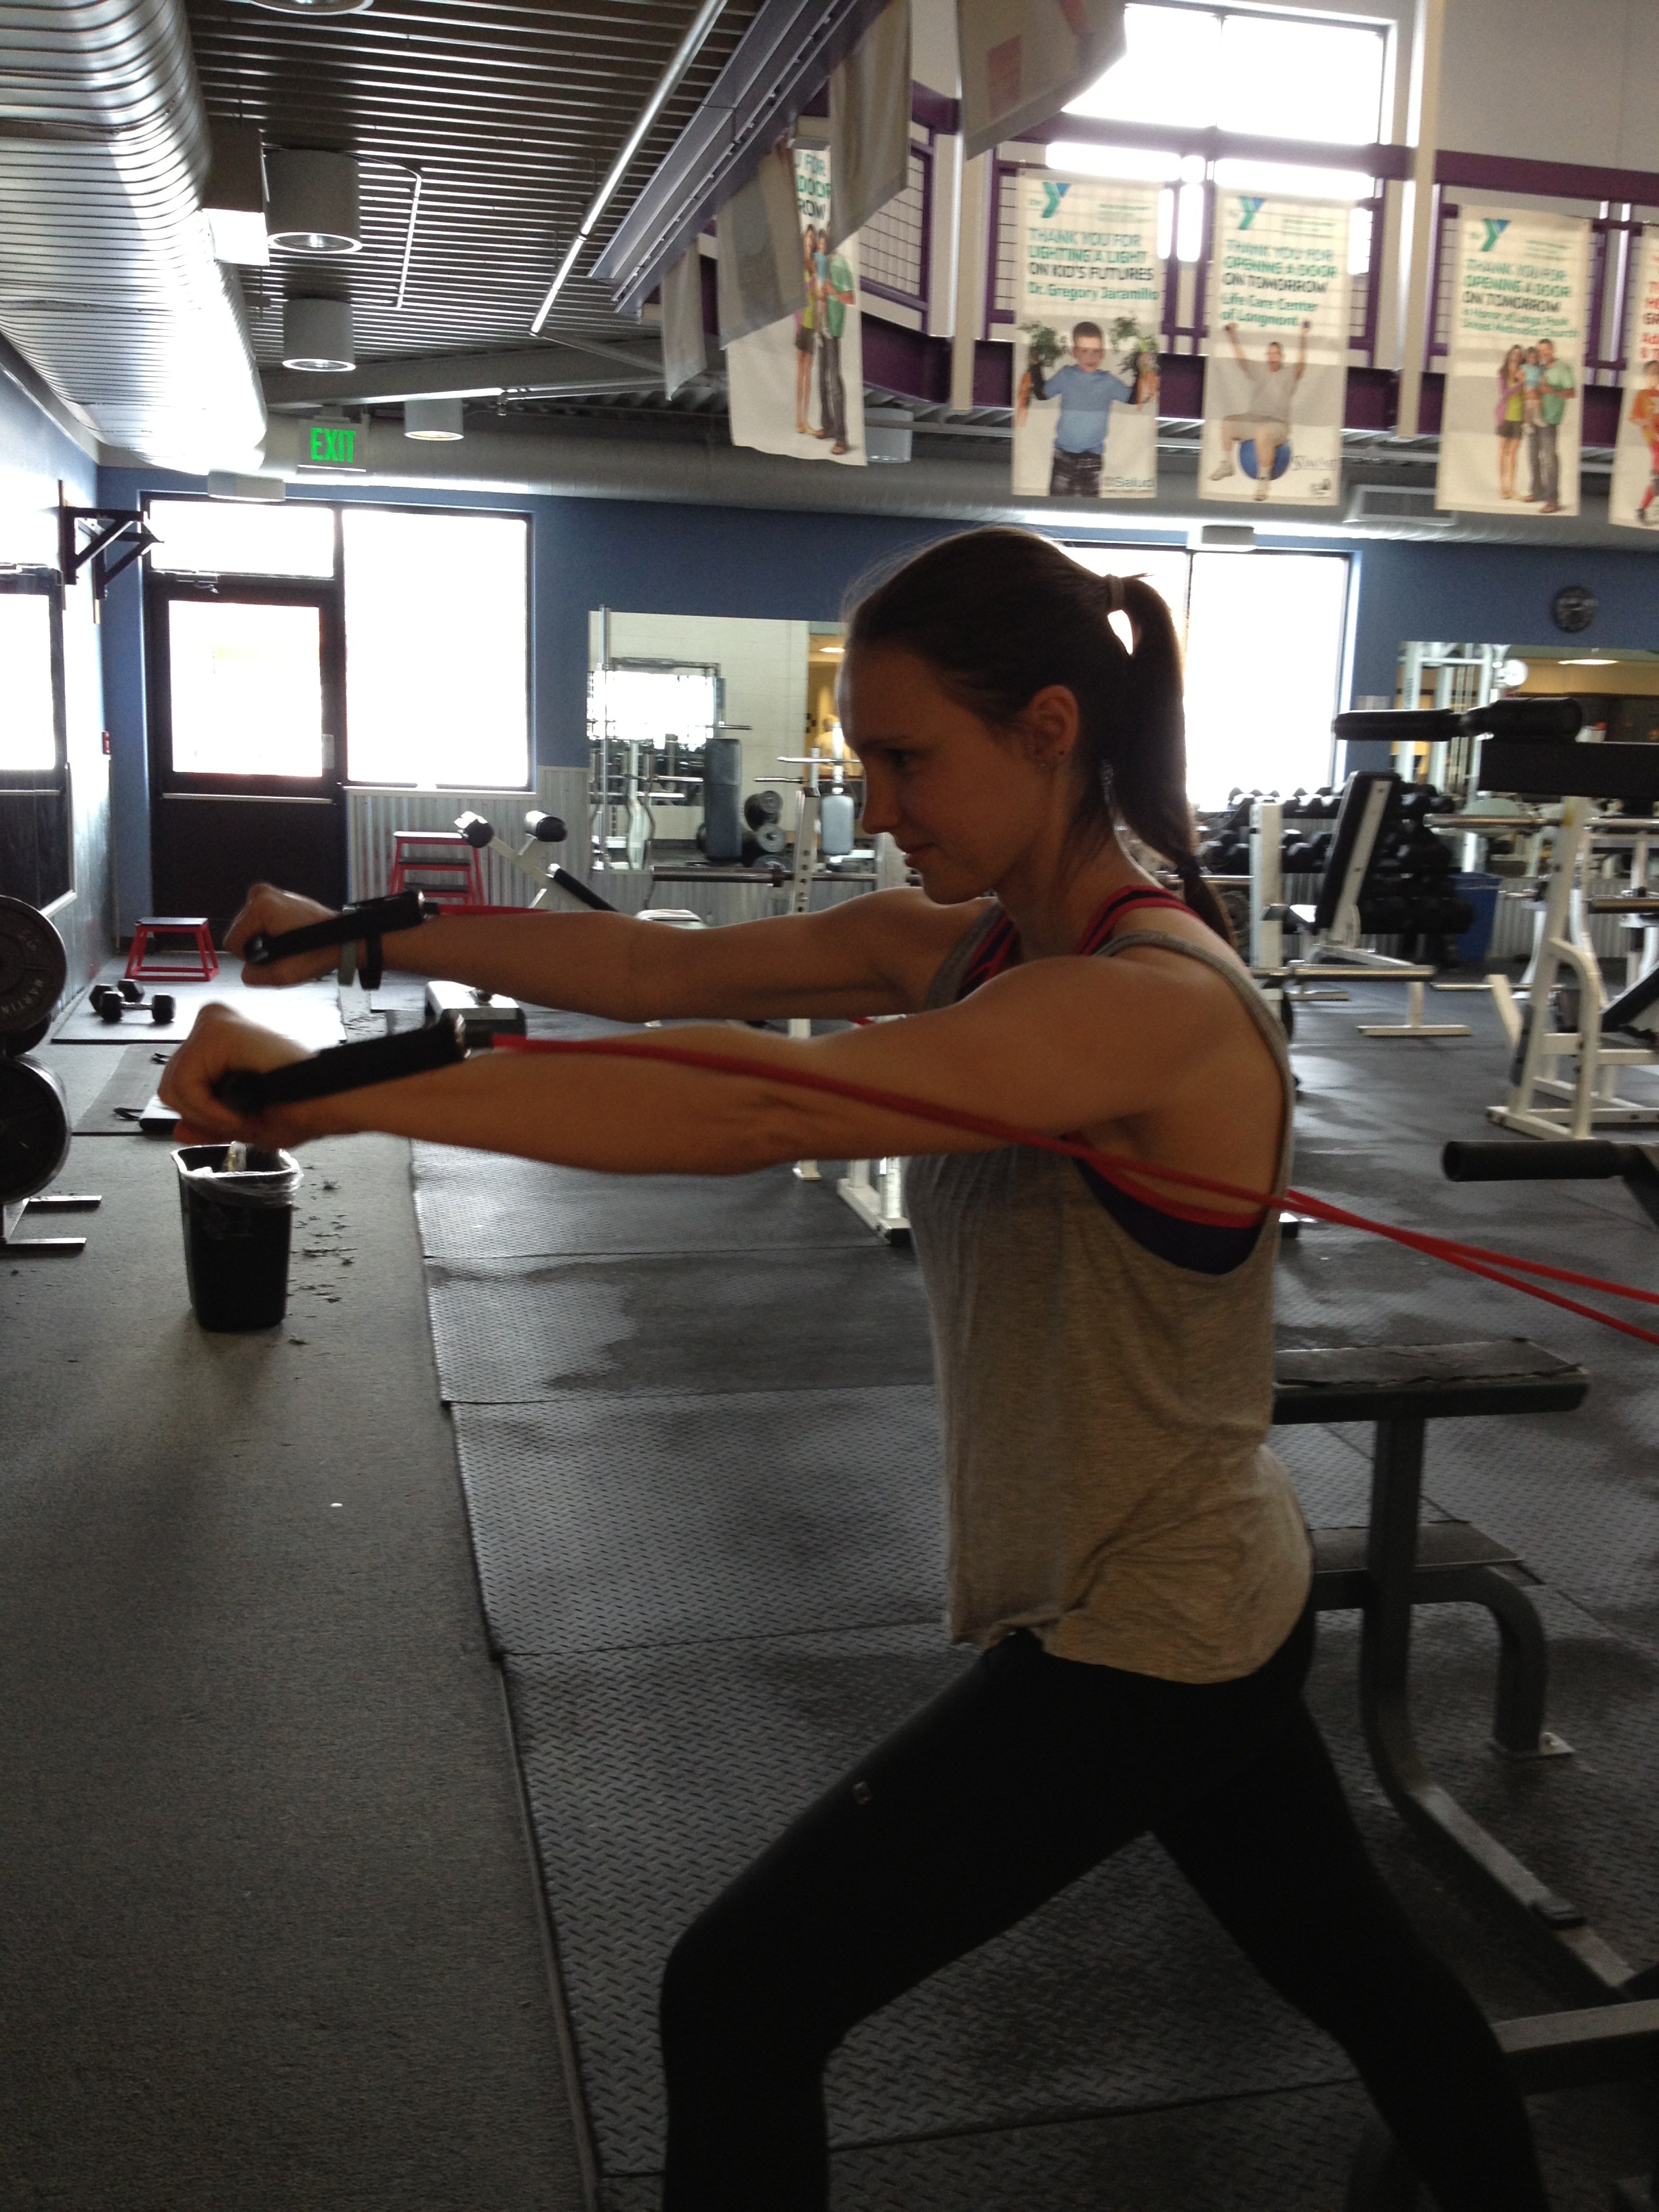
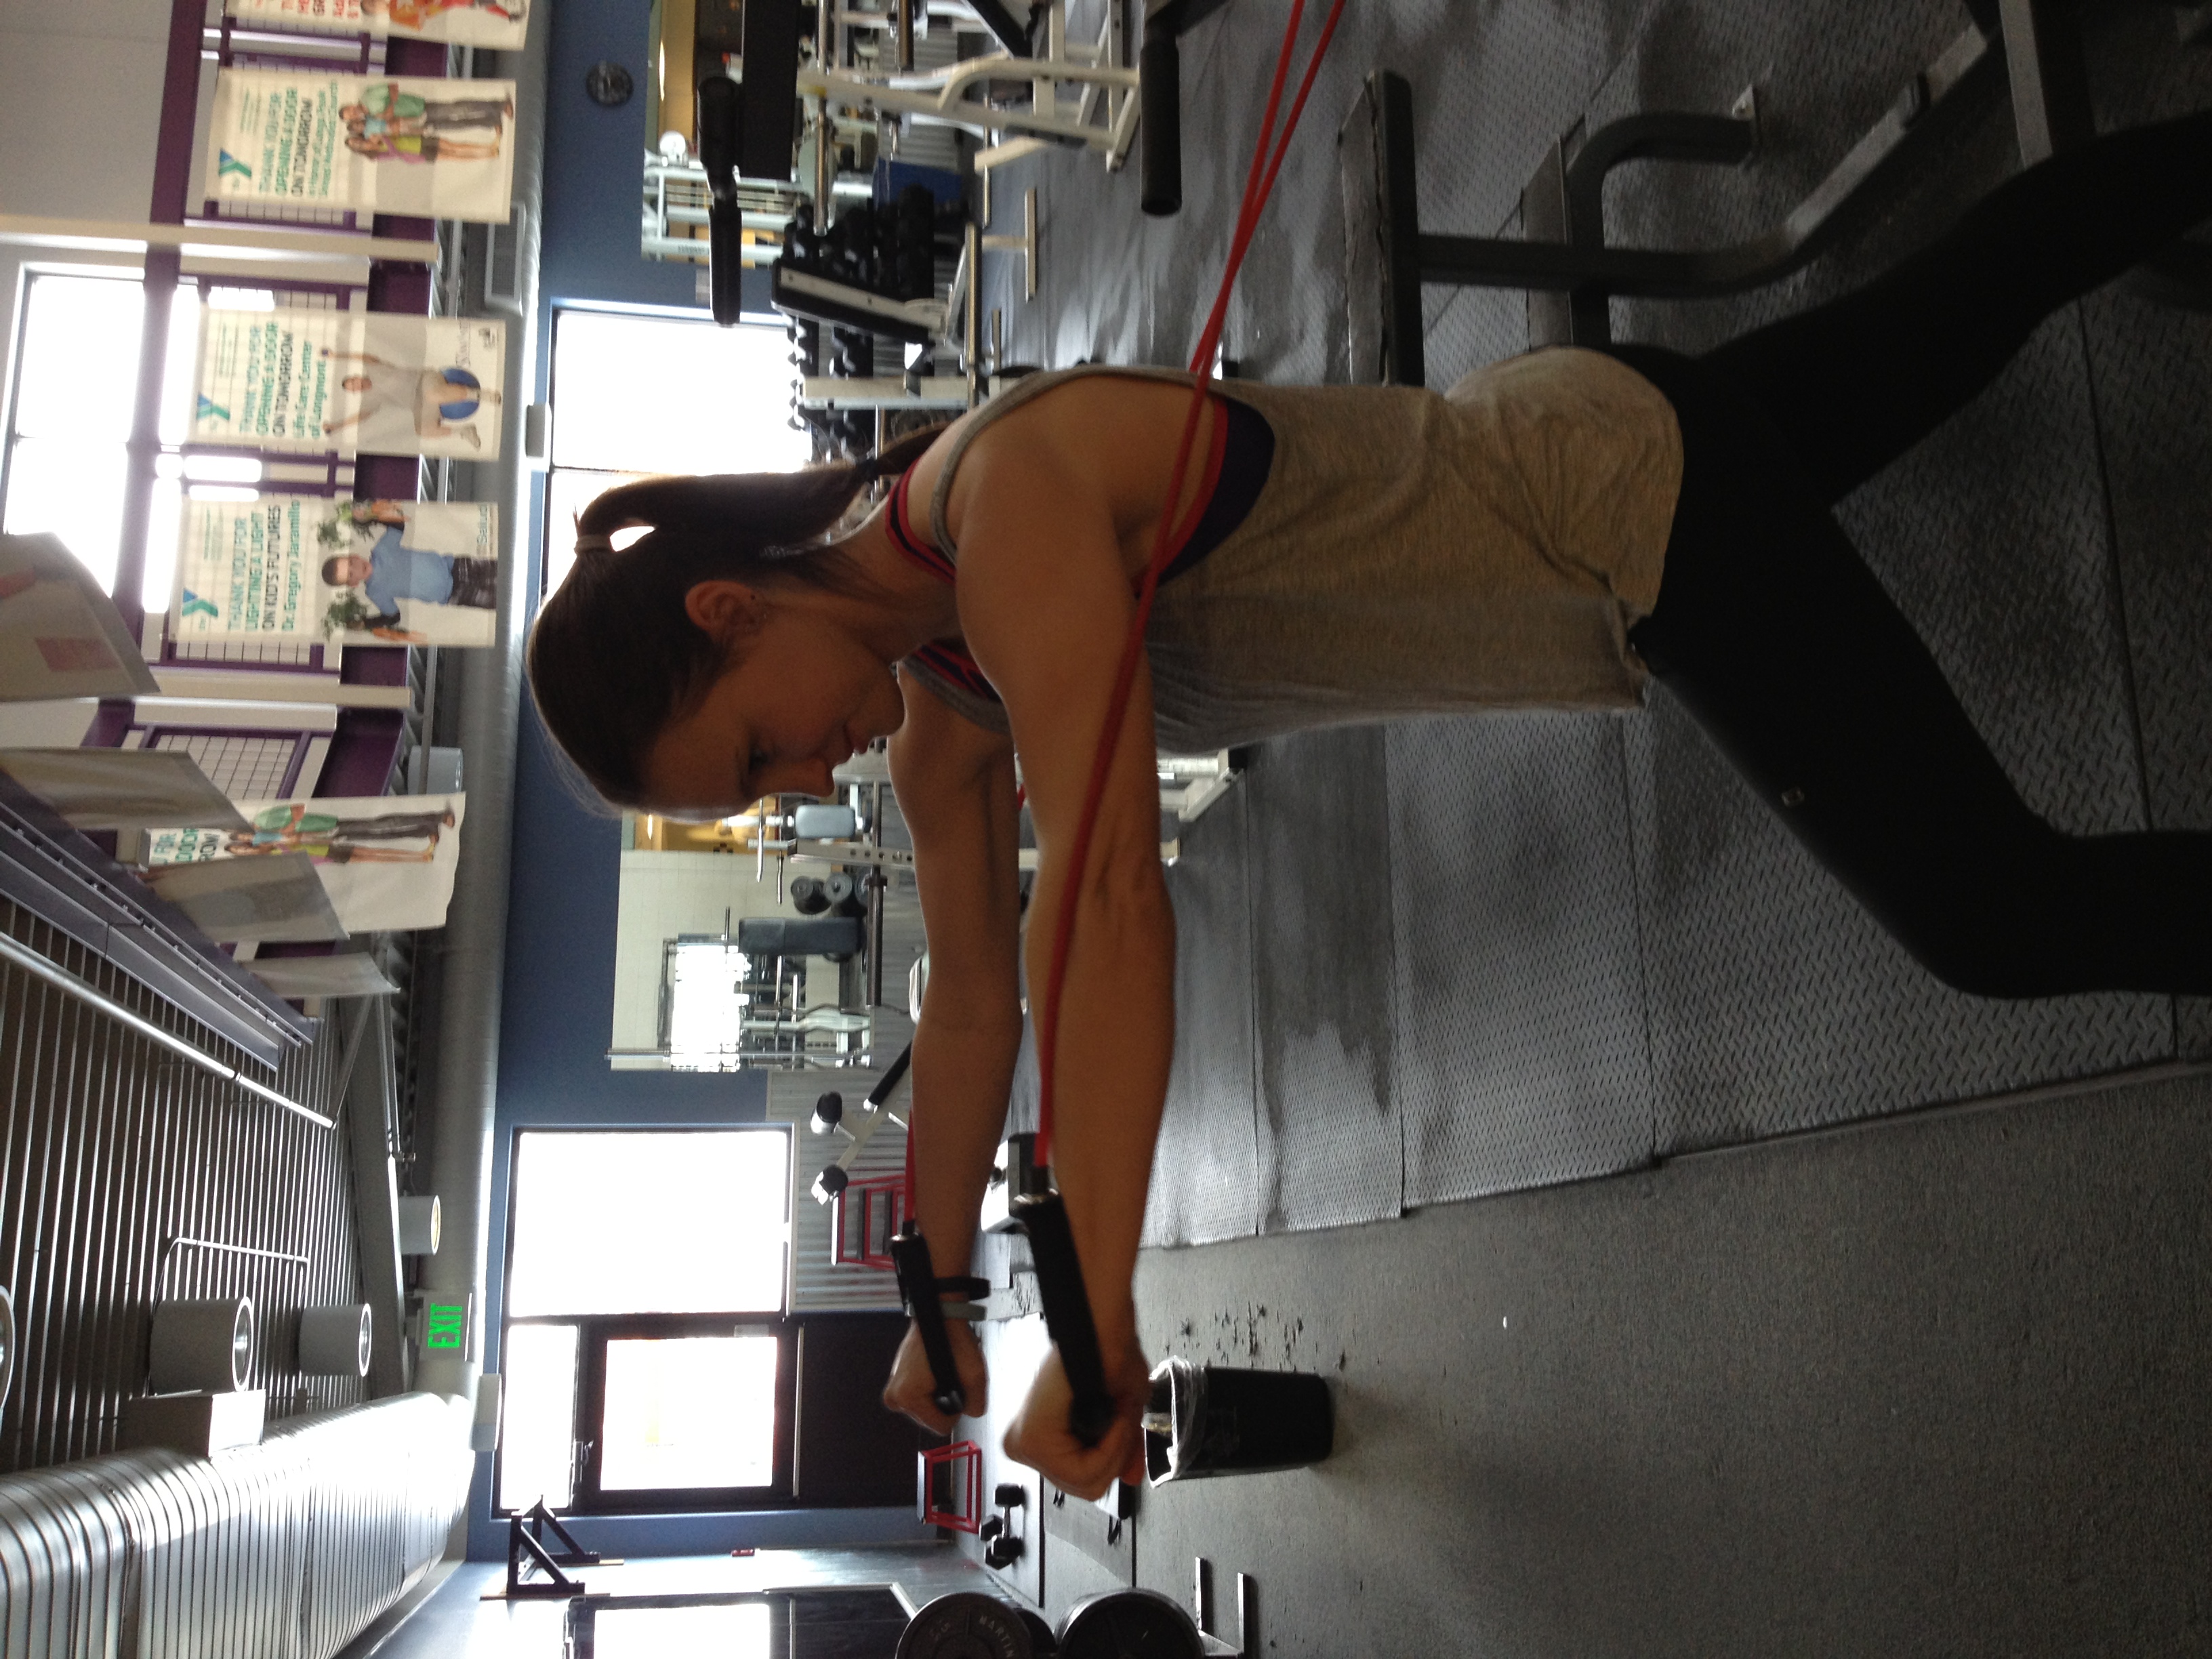
6. Chest press. Loop the band around a pole or some sturdy object. Grab both handles and face away from the pole. You want to really get far enough away so that the resistance is tight. Press forward so that you’re working your chest. Slowly come back. Repeat.
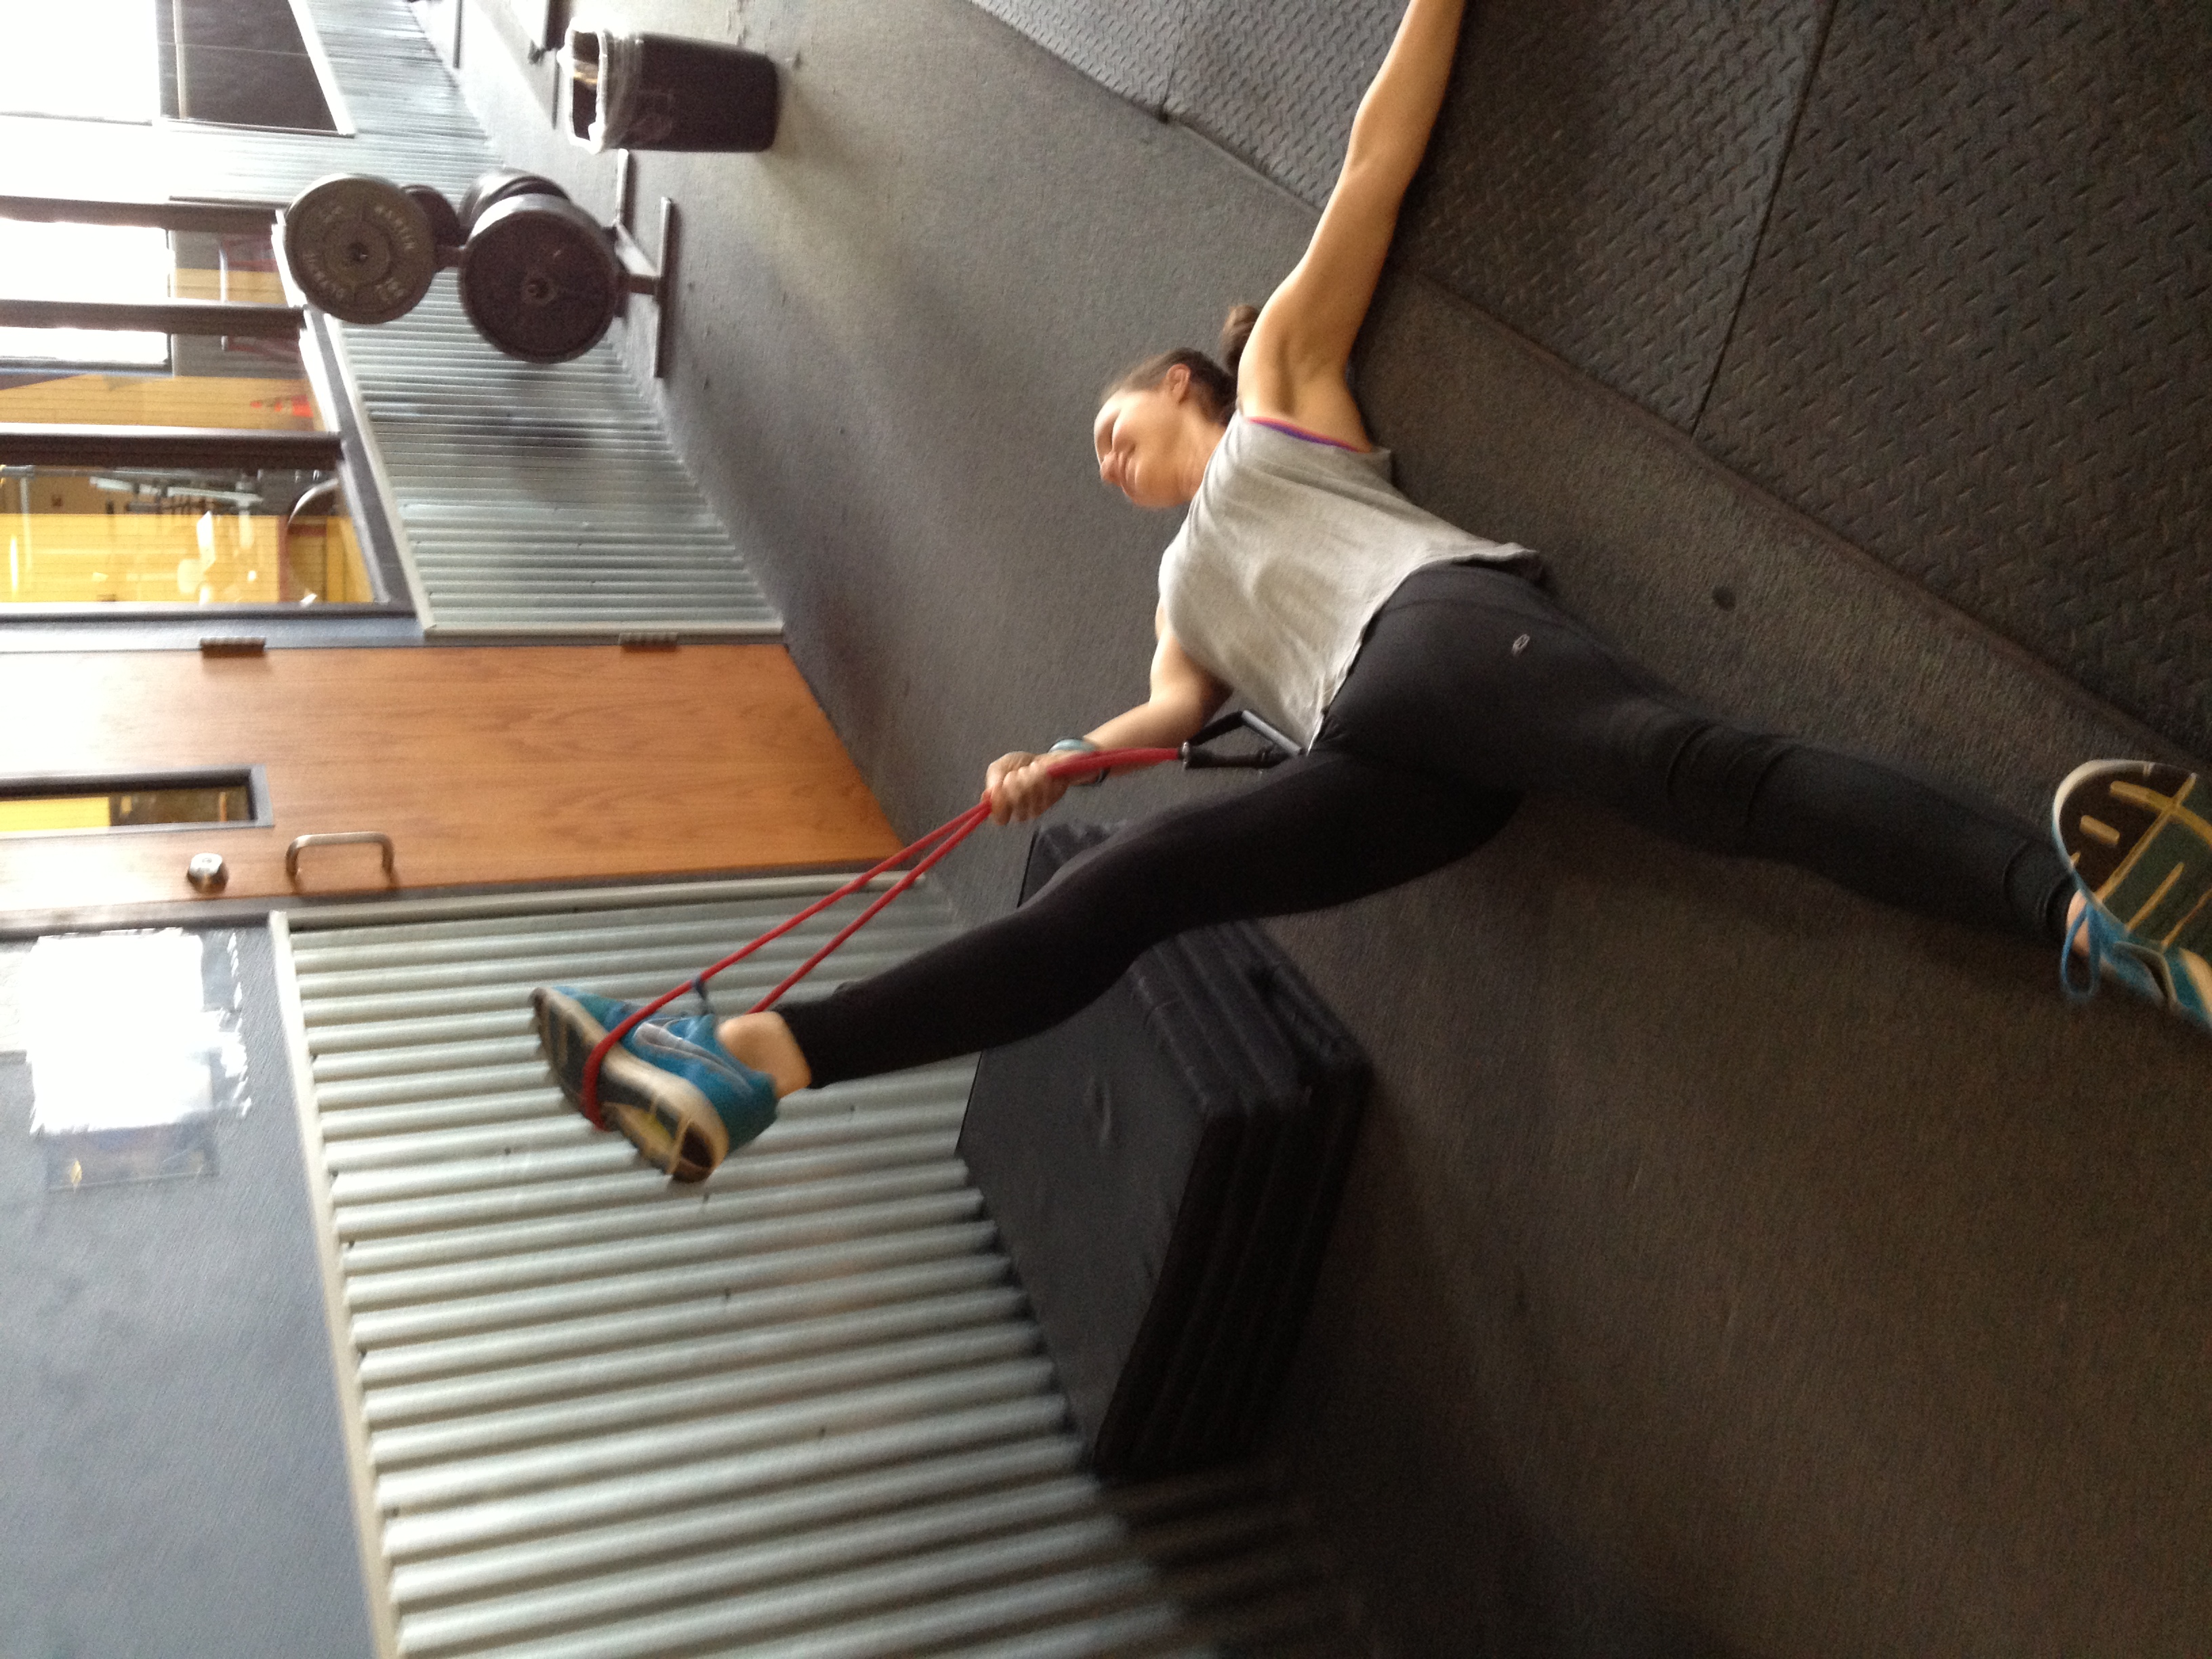
7. Hamstring stretch. Had to throw this one in for last. So many people disregard the importance of stretching and quickly skip it (myself included, sometimes). However, it is vital to keep your body flexible and loose! For this one, you want to lay on your back, hook the band around your foot and use the handles to pull your foot upwards towards the sky and to your body for a deep hamstring stretch. Once that feels stretched, move to the other side.
Now that’s only seven of the many exercises you can do with the wonderful resistance bands. Try these out and get creative–you can make up your own. Use resistance bands to stay hungry and fit!
BONUS KITTY PIC

merp