Archives

The Ultimate Men’s Jacket for Fall

The ultimate. I know, that’s a bold statement. How could I possibly make such a claim about a product that has only been launched this week? I don’t need to look any further than Oliver’s All Over Short. After being introduced to it just a month ago, I’ve already decided that it is hands down my favorite pair I’ve ever owned or worn.

Wearing the shorts on a trail run

Wearing the shorts on a trail run

spacer

No-Bake Pumpkin Protein Balls

We haven’t made recipes in way too long here at Hungry & Fit. We pledge to post more recipes and more fitness advice! Getting back to our roots. Lately, we’ve committed ourselves to stick to a budget. We used to spend WAY too much money on food (think above $500 each) per month so we made a goal of eating in most of the time. We’ve made true of that commitment so far, eating in for almost every meal! We’ve gotten to cook more and fatten up our wallets. We also feel better since we know what we’re putting down our throats. Yay for budgets and eating well! 

I’ve been wanting to get back into the kitchen for a while. I saw Carrots ‘n’ Cake’s recipe and decided to do my own spin on it. It’s no-bake pumpkin protein balls–an incredibly simple recipe with very few ingredients. This recipe also has that canvas for being creative. Try putting different wet and dry ingredients in! I went with pumpkin since…’tis the season after all! 

dsc_0013

spacer
spacer
spacer

7 Tips for a Happy, Healthy Fall

October is here! Woohoo! I know Hungry is excited—Halloween is one of his favorites. What else does October mean? Fall is really here. Those closing their eyes and pretending it’s summer have to stop now. Well, you don’t have to, but come on—there are pumpkins now! I find that everyone I talk to has different opinions about Autumn—fears, loves, and so forth. Some detest it because the weather starts to get too brisk for outside workouts. Others love it because of the hearty produce it yields and the way it makes them feel. If you are ever feeling lost in Fall, here are a few tips to keep you happy and healthy while the leaves change color and drift away:

IMG_5481

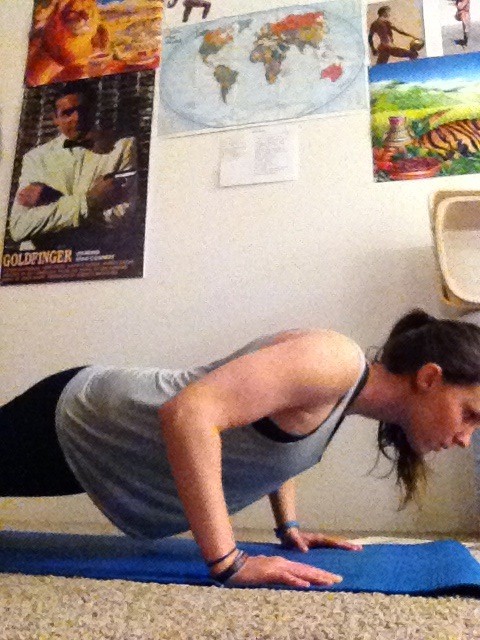
1. Don’t let the weather keep you inside. Yes, it may be getting colder, or even downright cold in some states, but that shouldn’t keep you confined to your personal quarters. That’s why layers were invented, of course! To allow you to bundle up and go outside, even when the wind threatens to flay you. You can even workout outside when it’s cold! Put as many layers on as you need to and remember—you can always take them off!
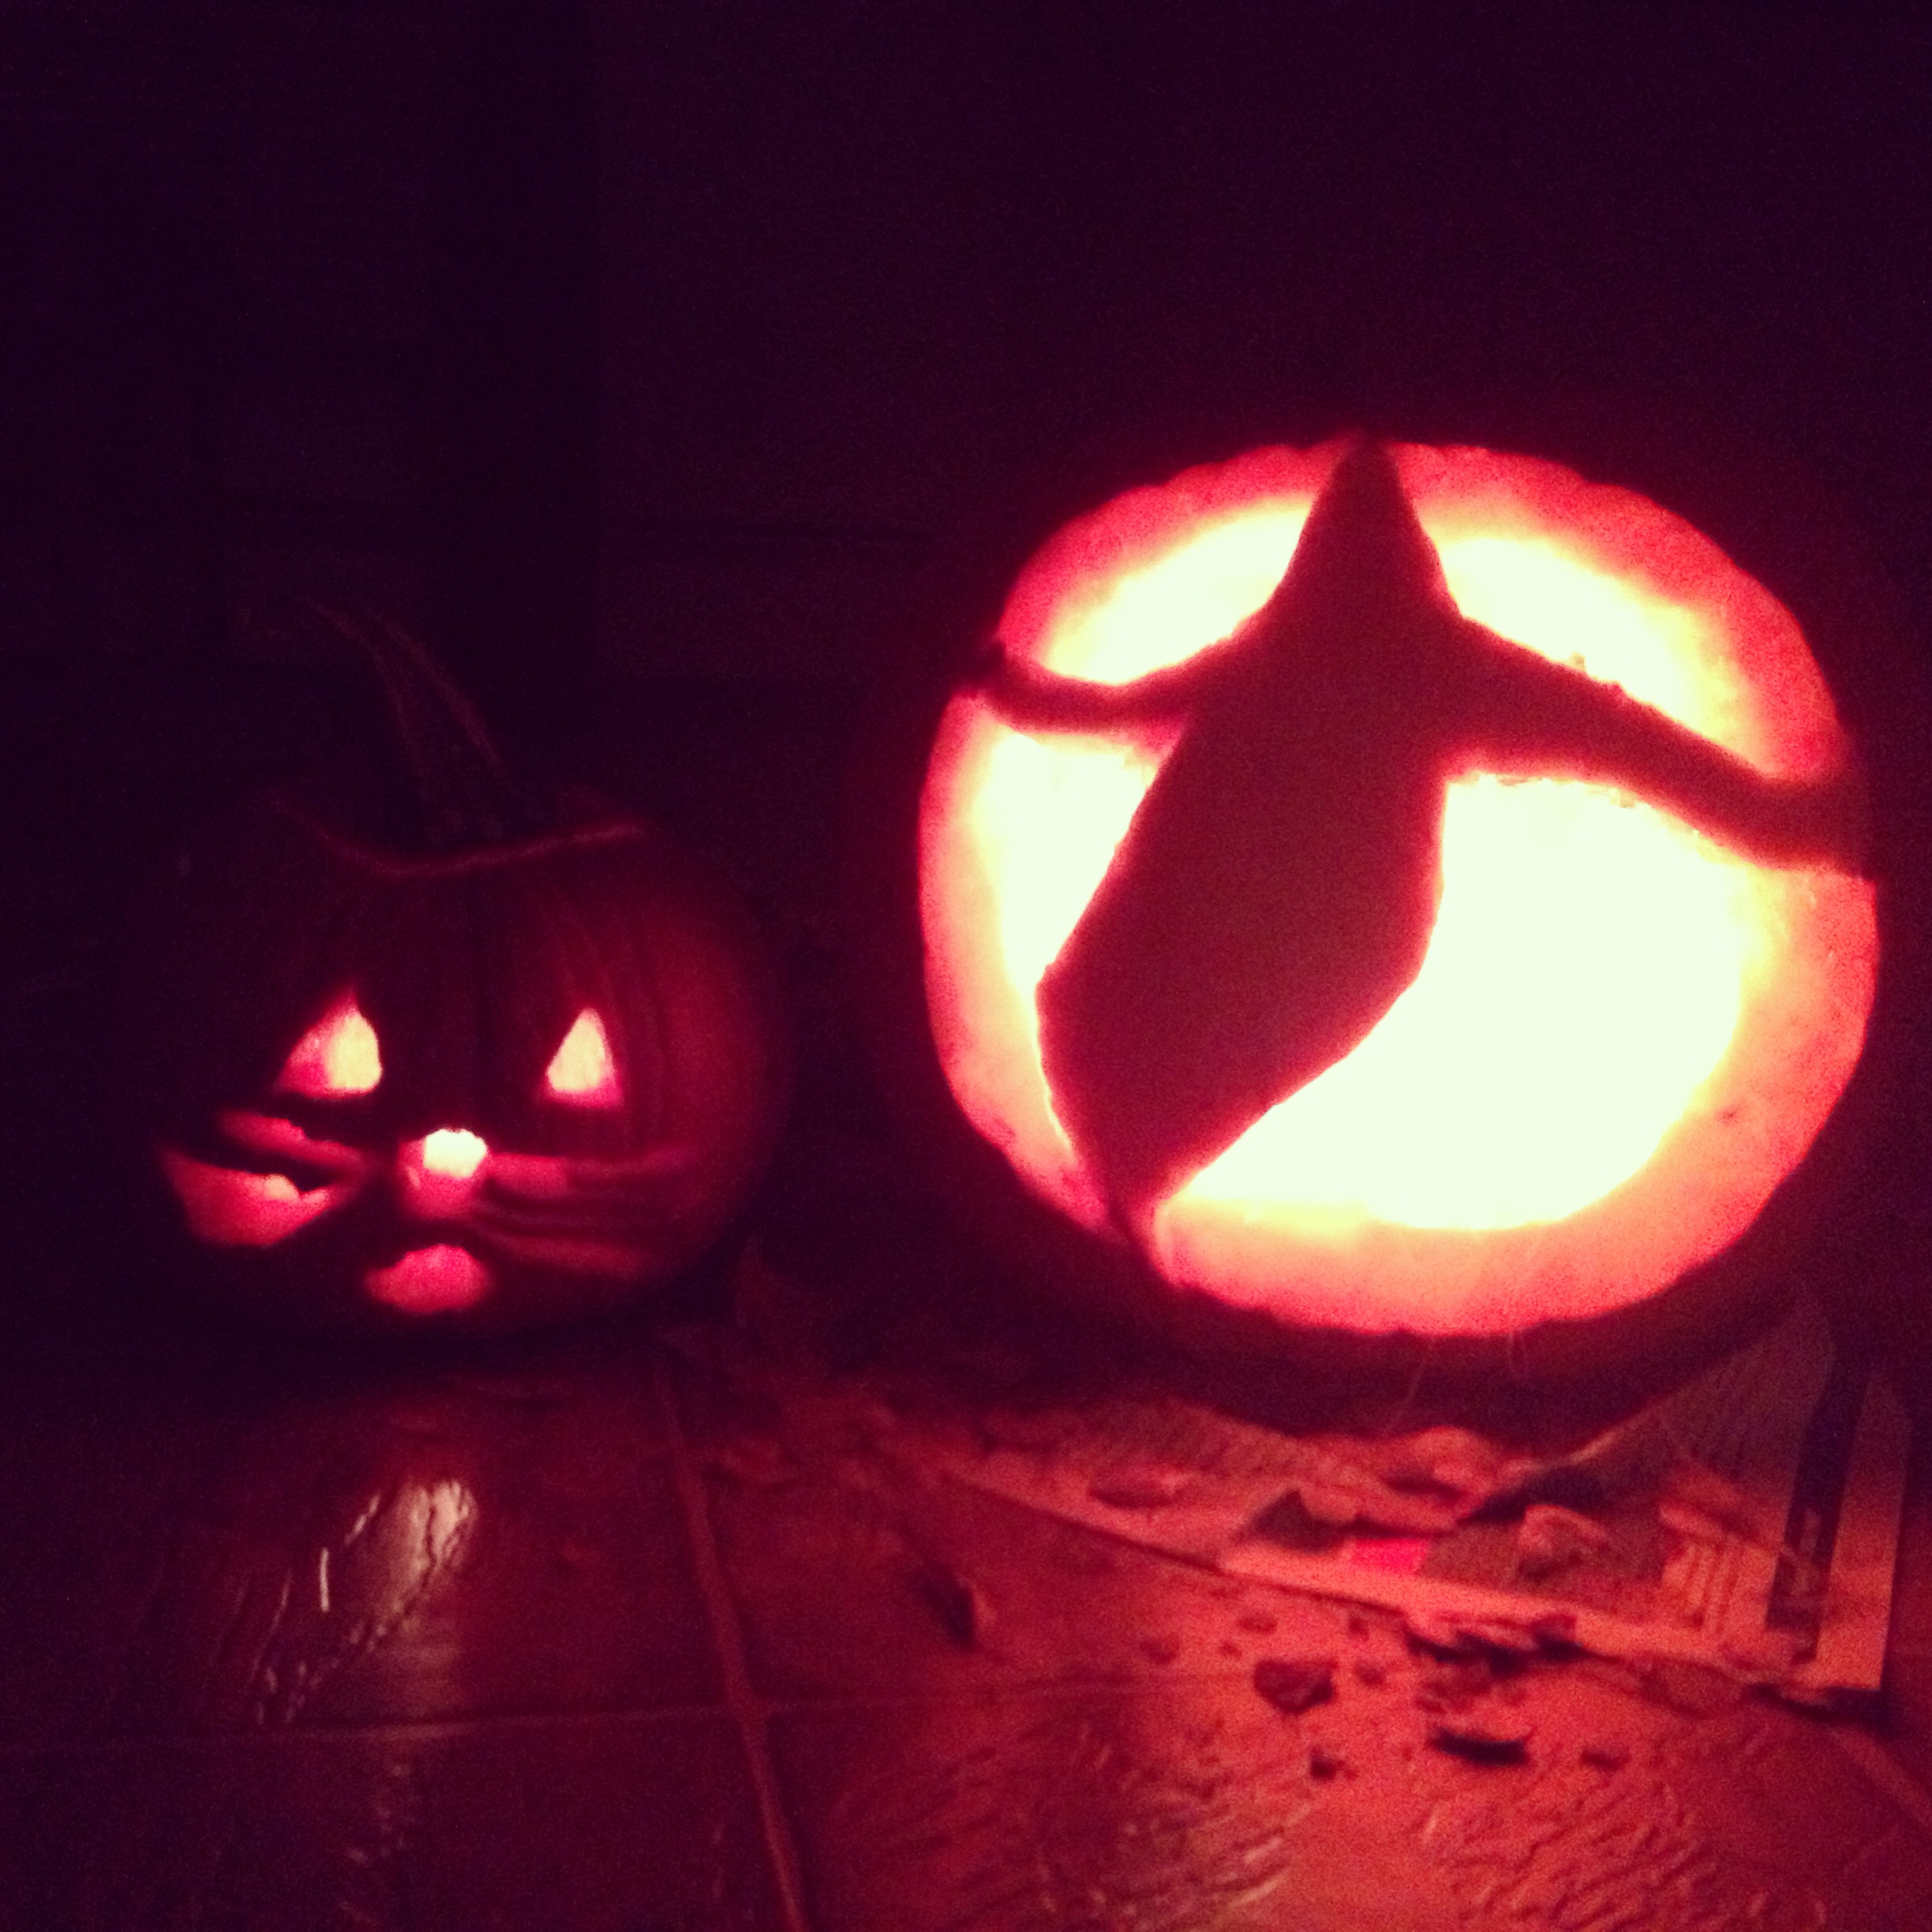
Talk about beauty!

Talk about beauty!

Using layers ;)

Using layers 😉

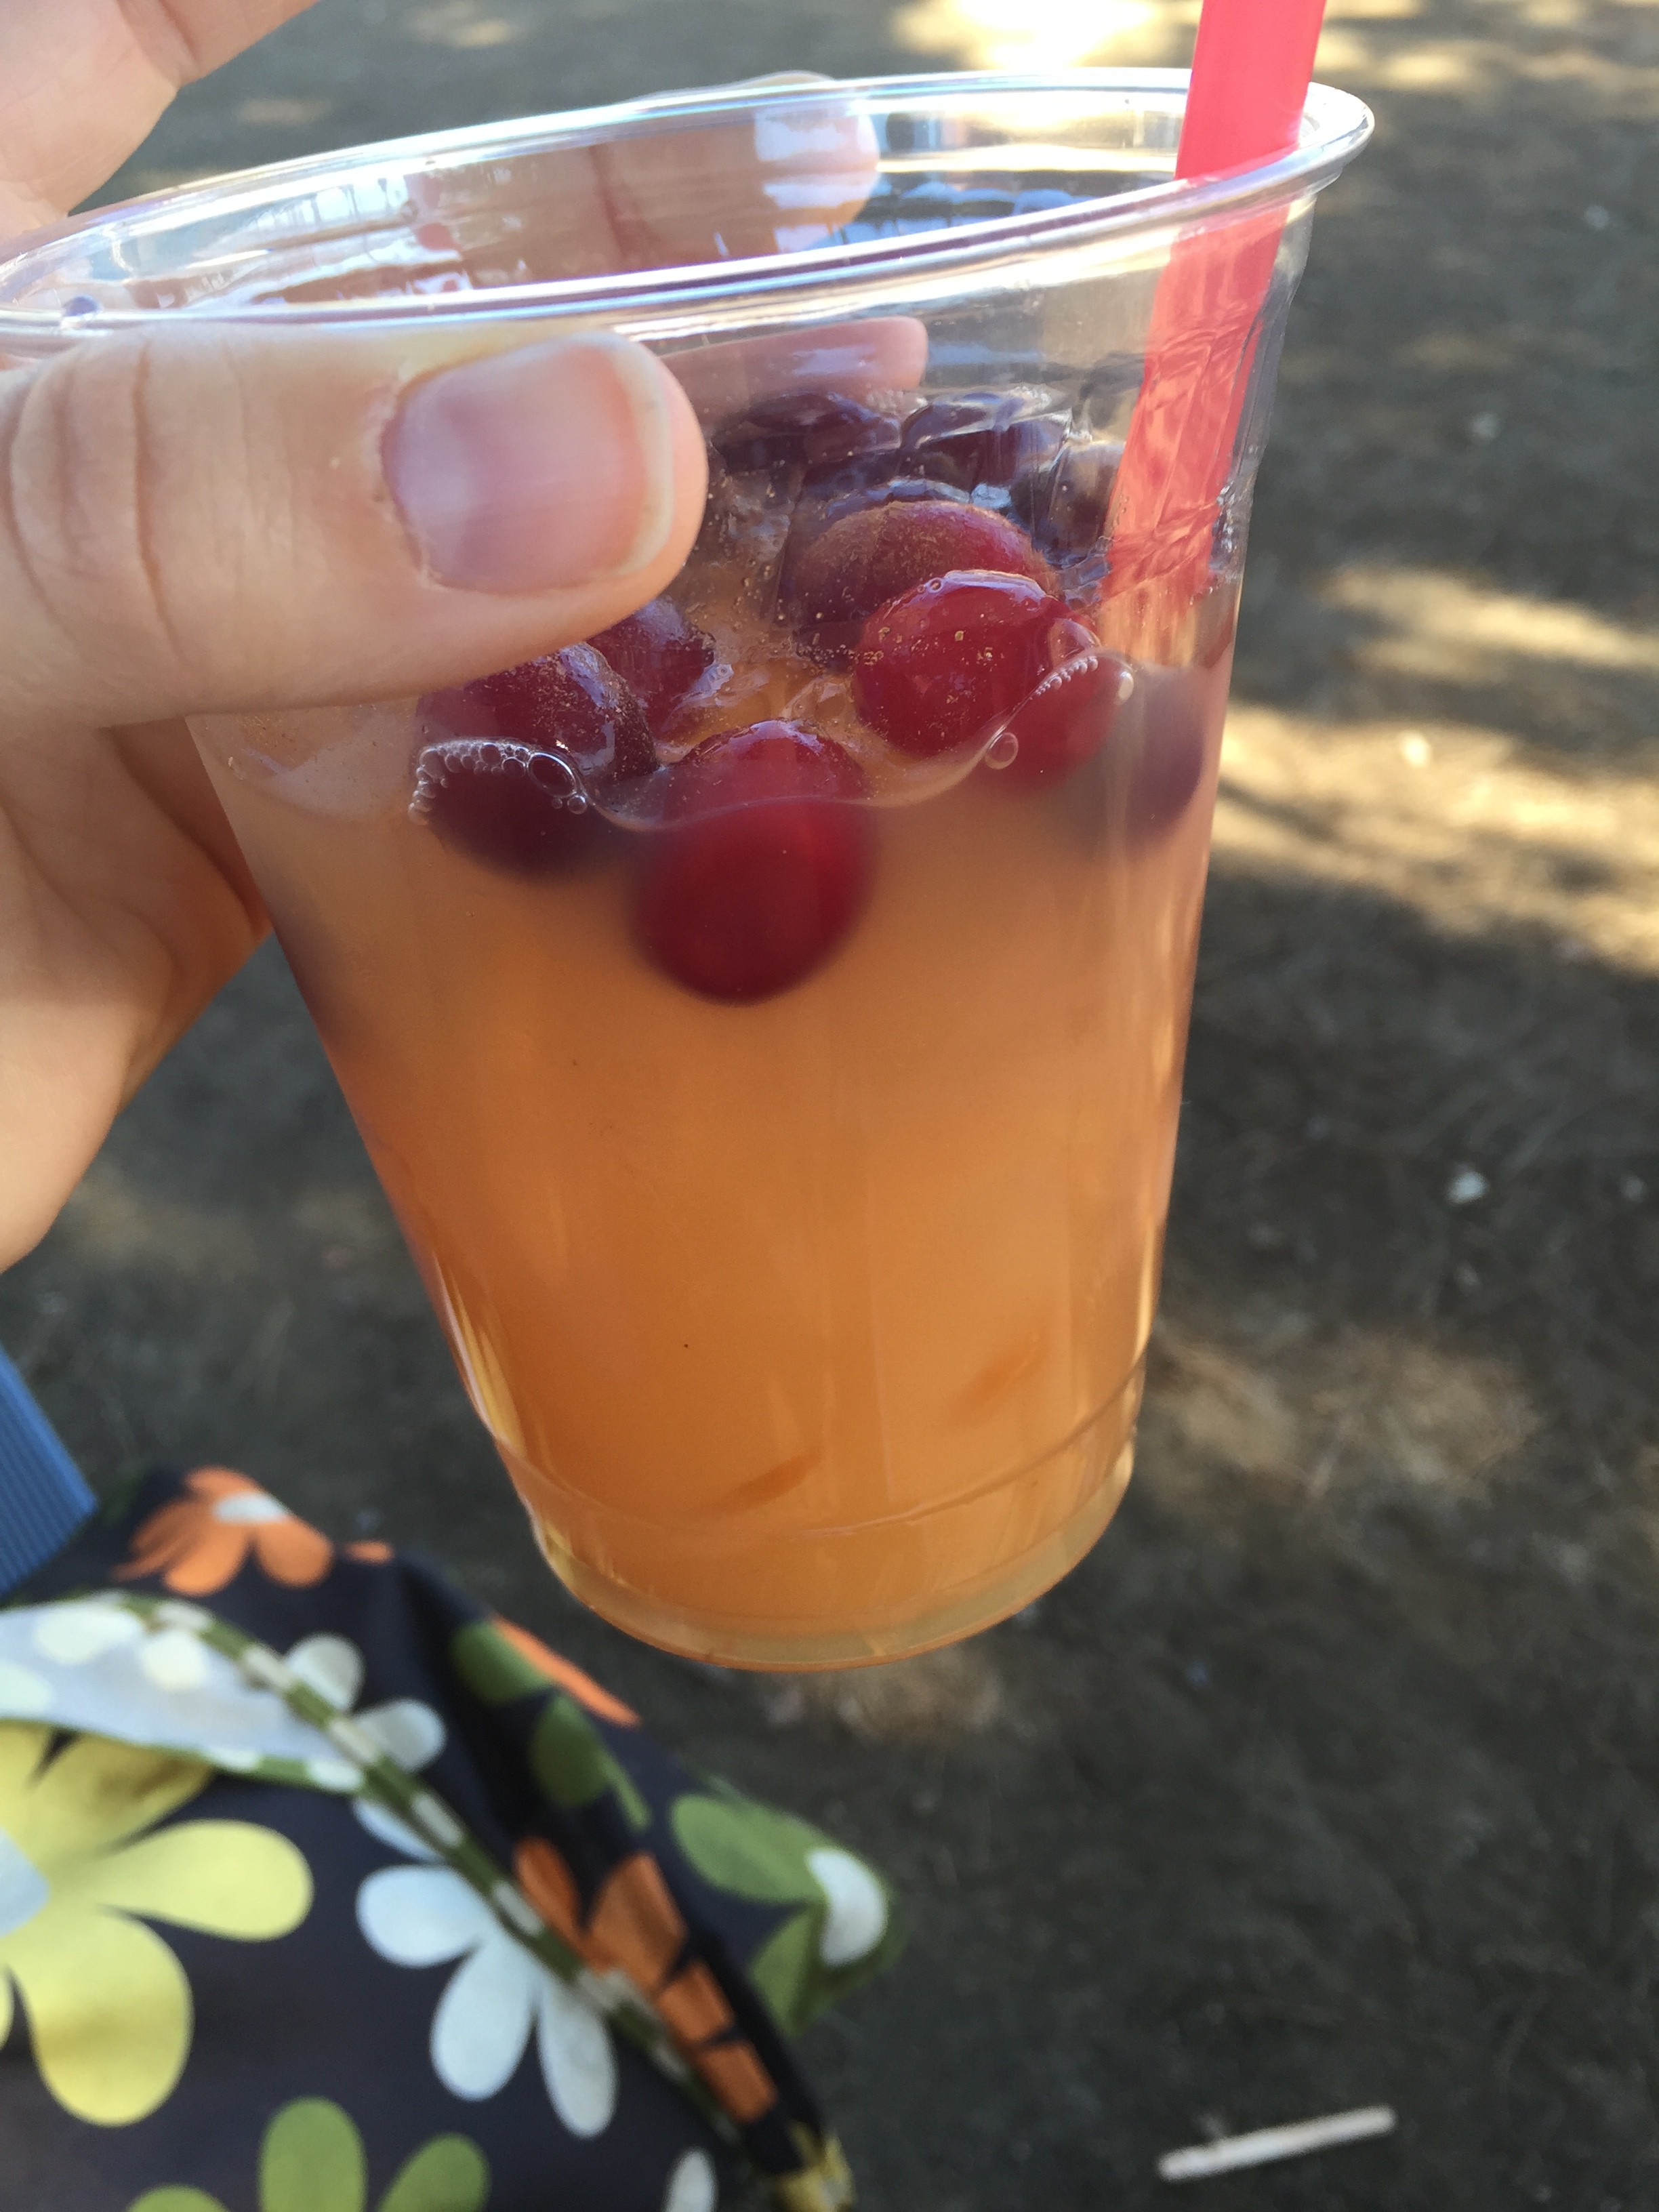
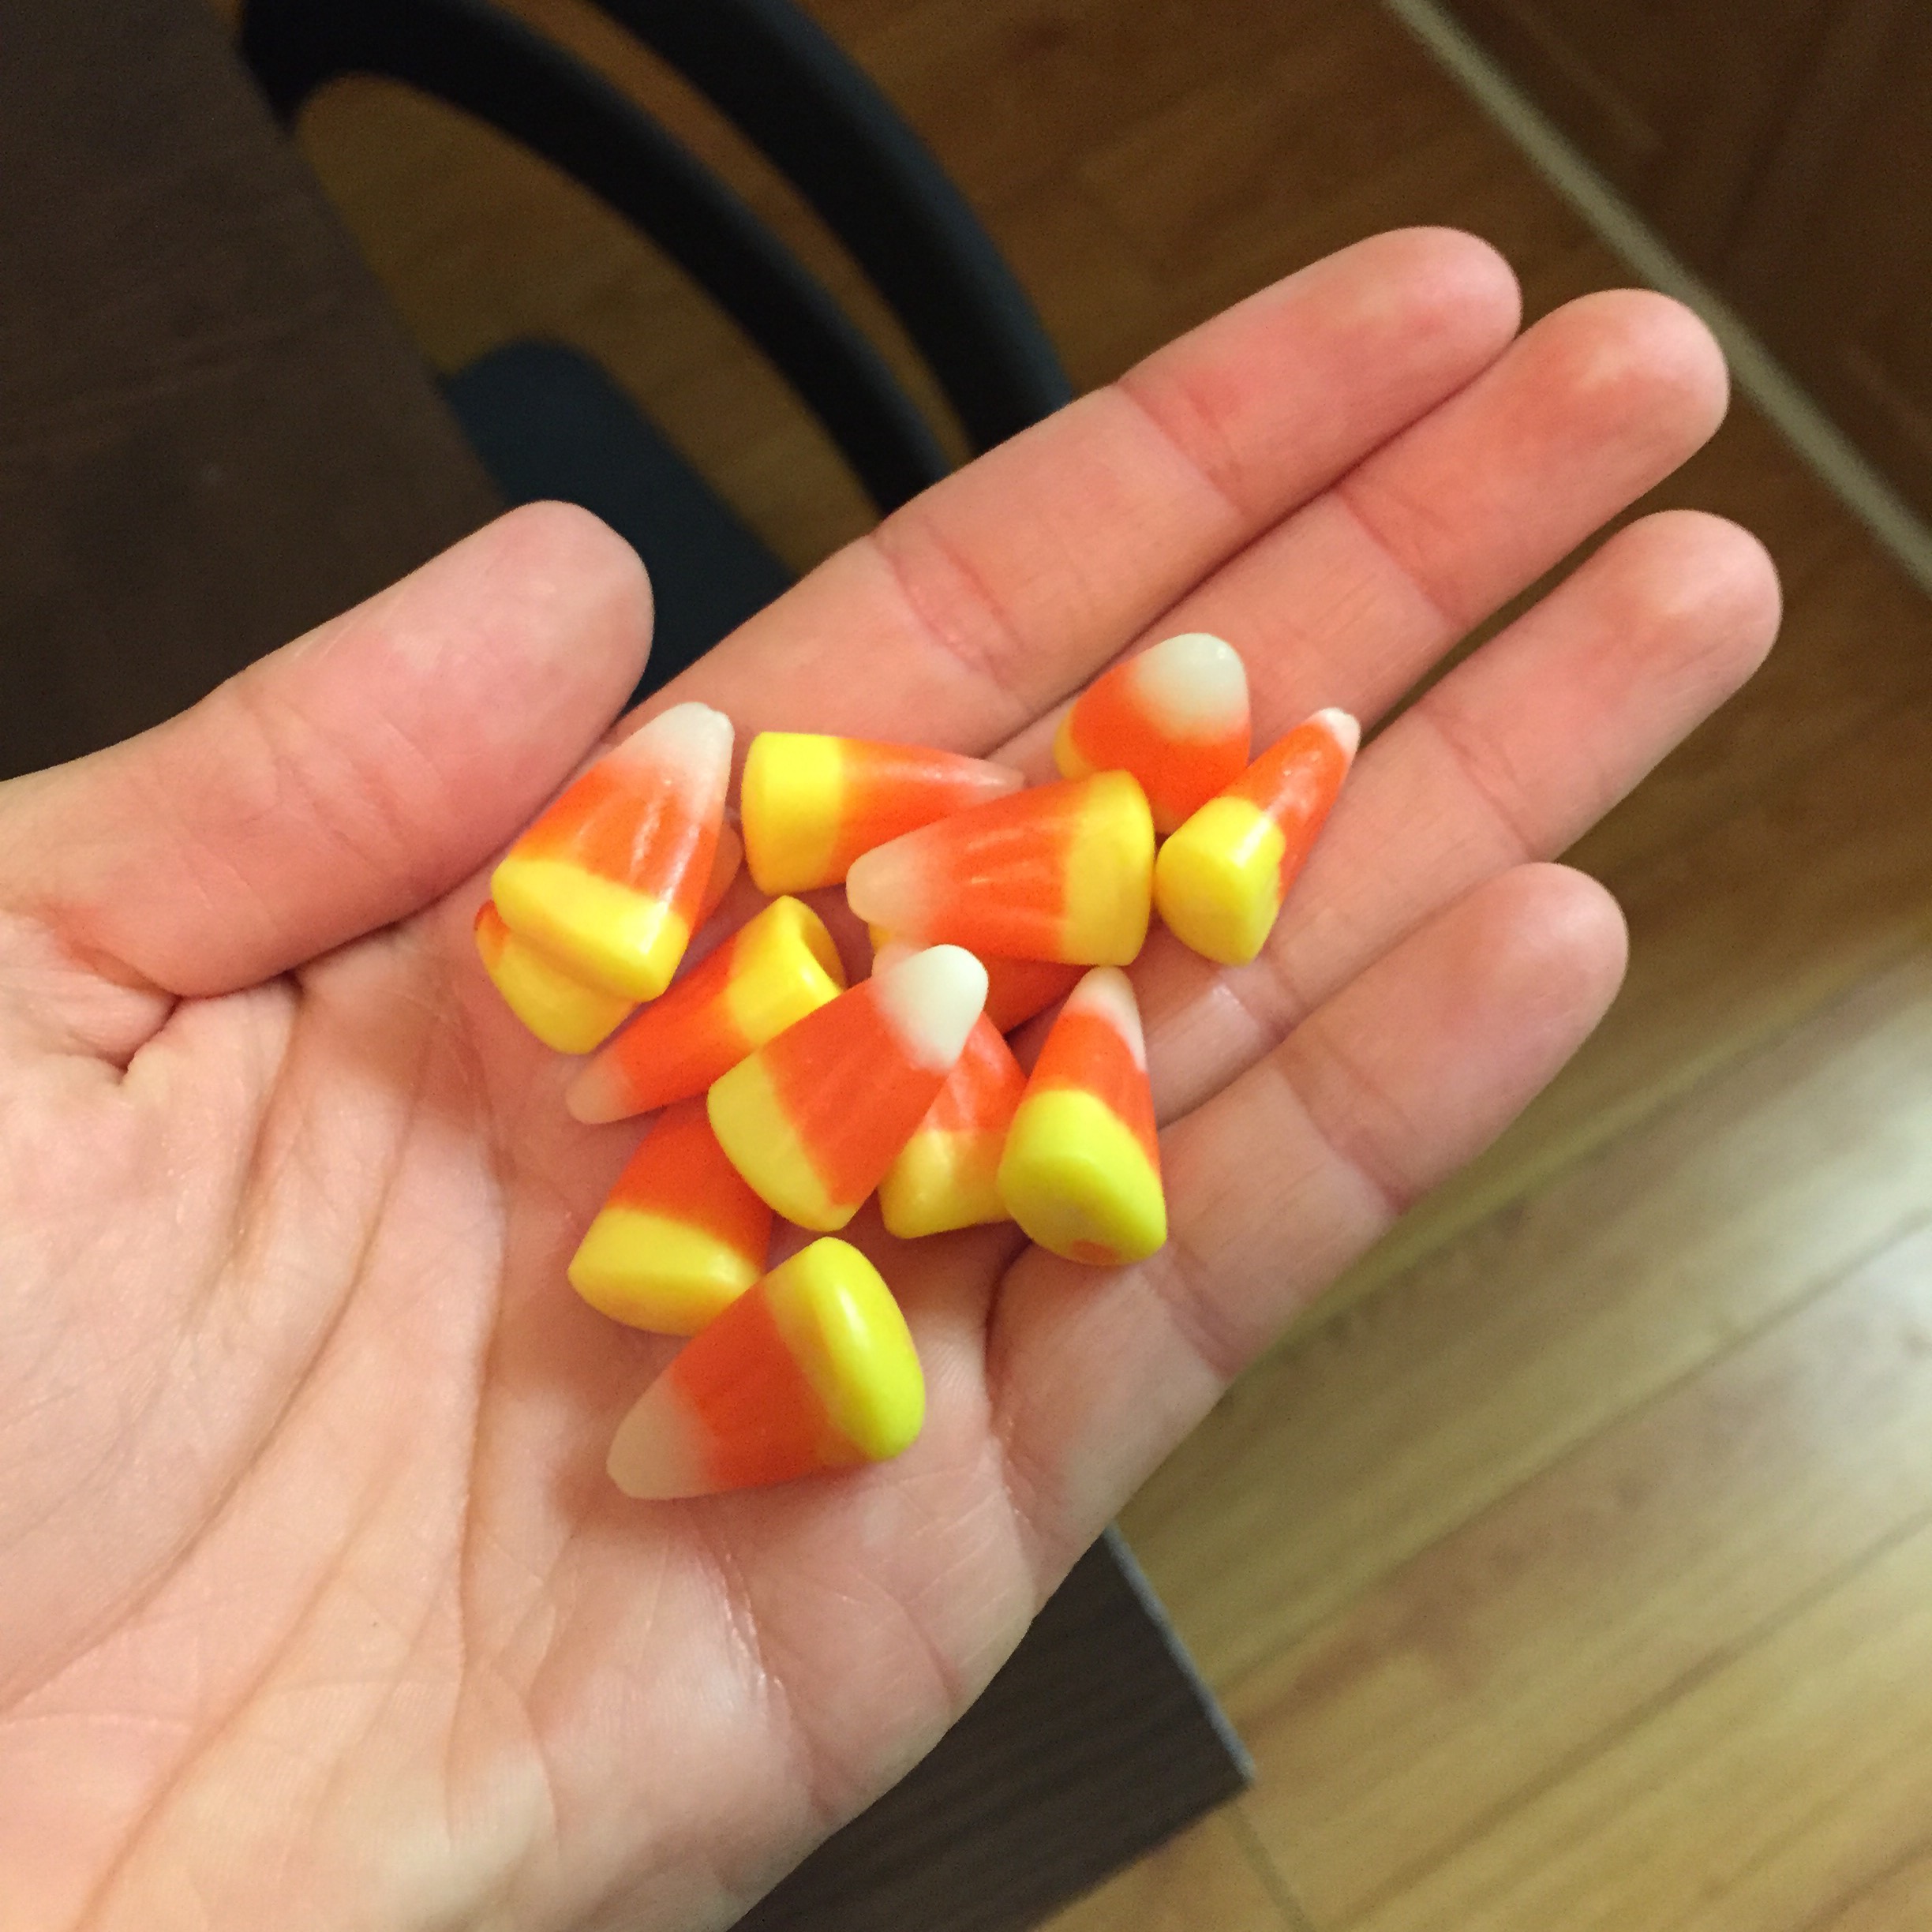
2. Fight off negativity. Don’t get down on yourself if you find yourself indulging in pumpkin sweets and heavy foods. Negativity is the worst thing you can consume if you’re striving to be a healthy person. Even if you have an unplanned splurge, don’t trash talk yourself. Instead, learn from the moment and move on. Put it in perspective.

Indulgences happen...move on

Indulgences happen…move on

3. Set a new goal for the fall. This is important because your goals should always be fresh and exciting to you. Otherwise you will fall away into boredom and apathy.

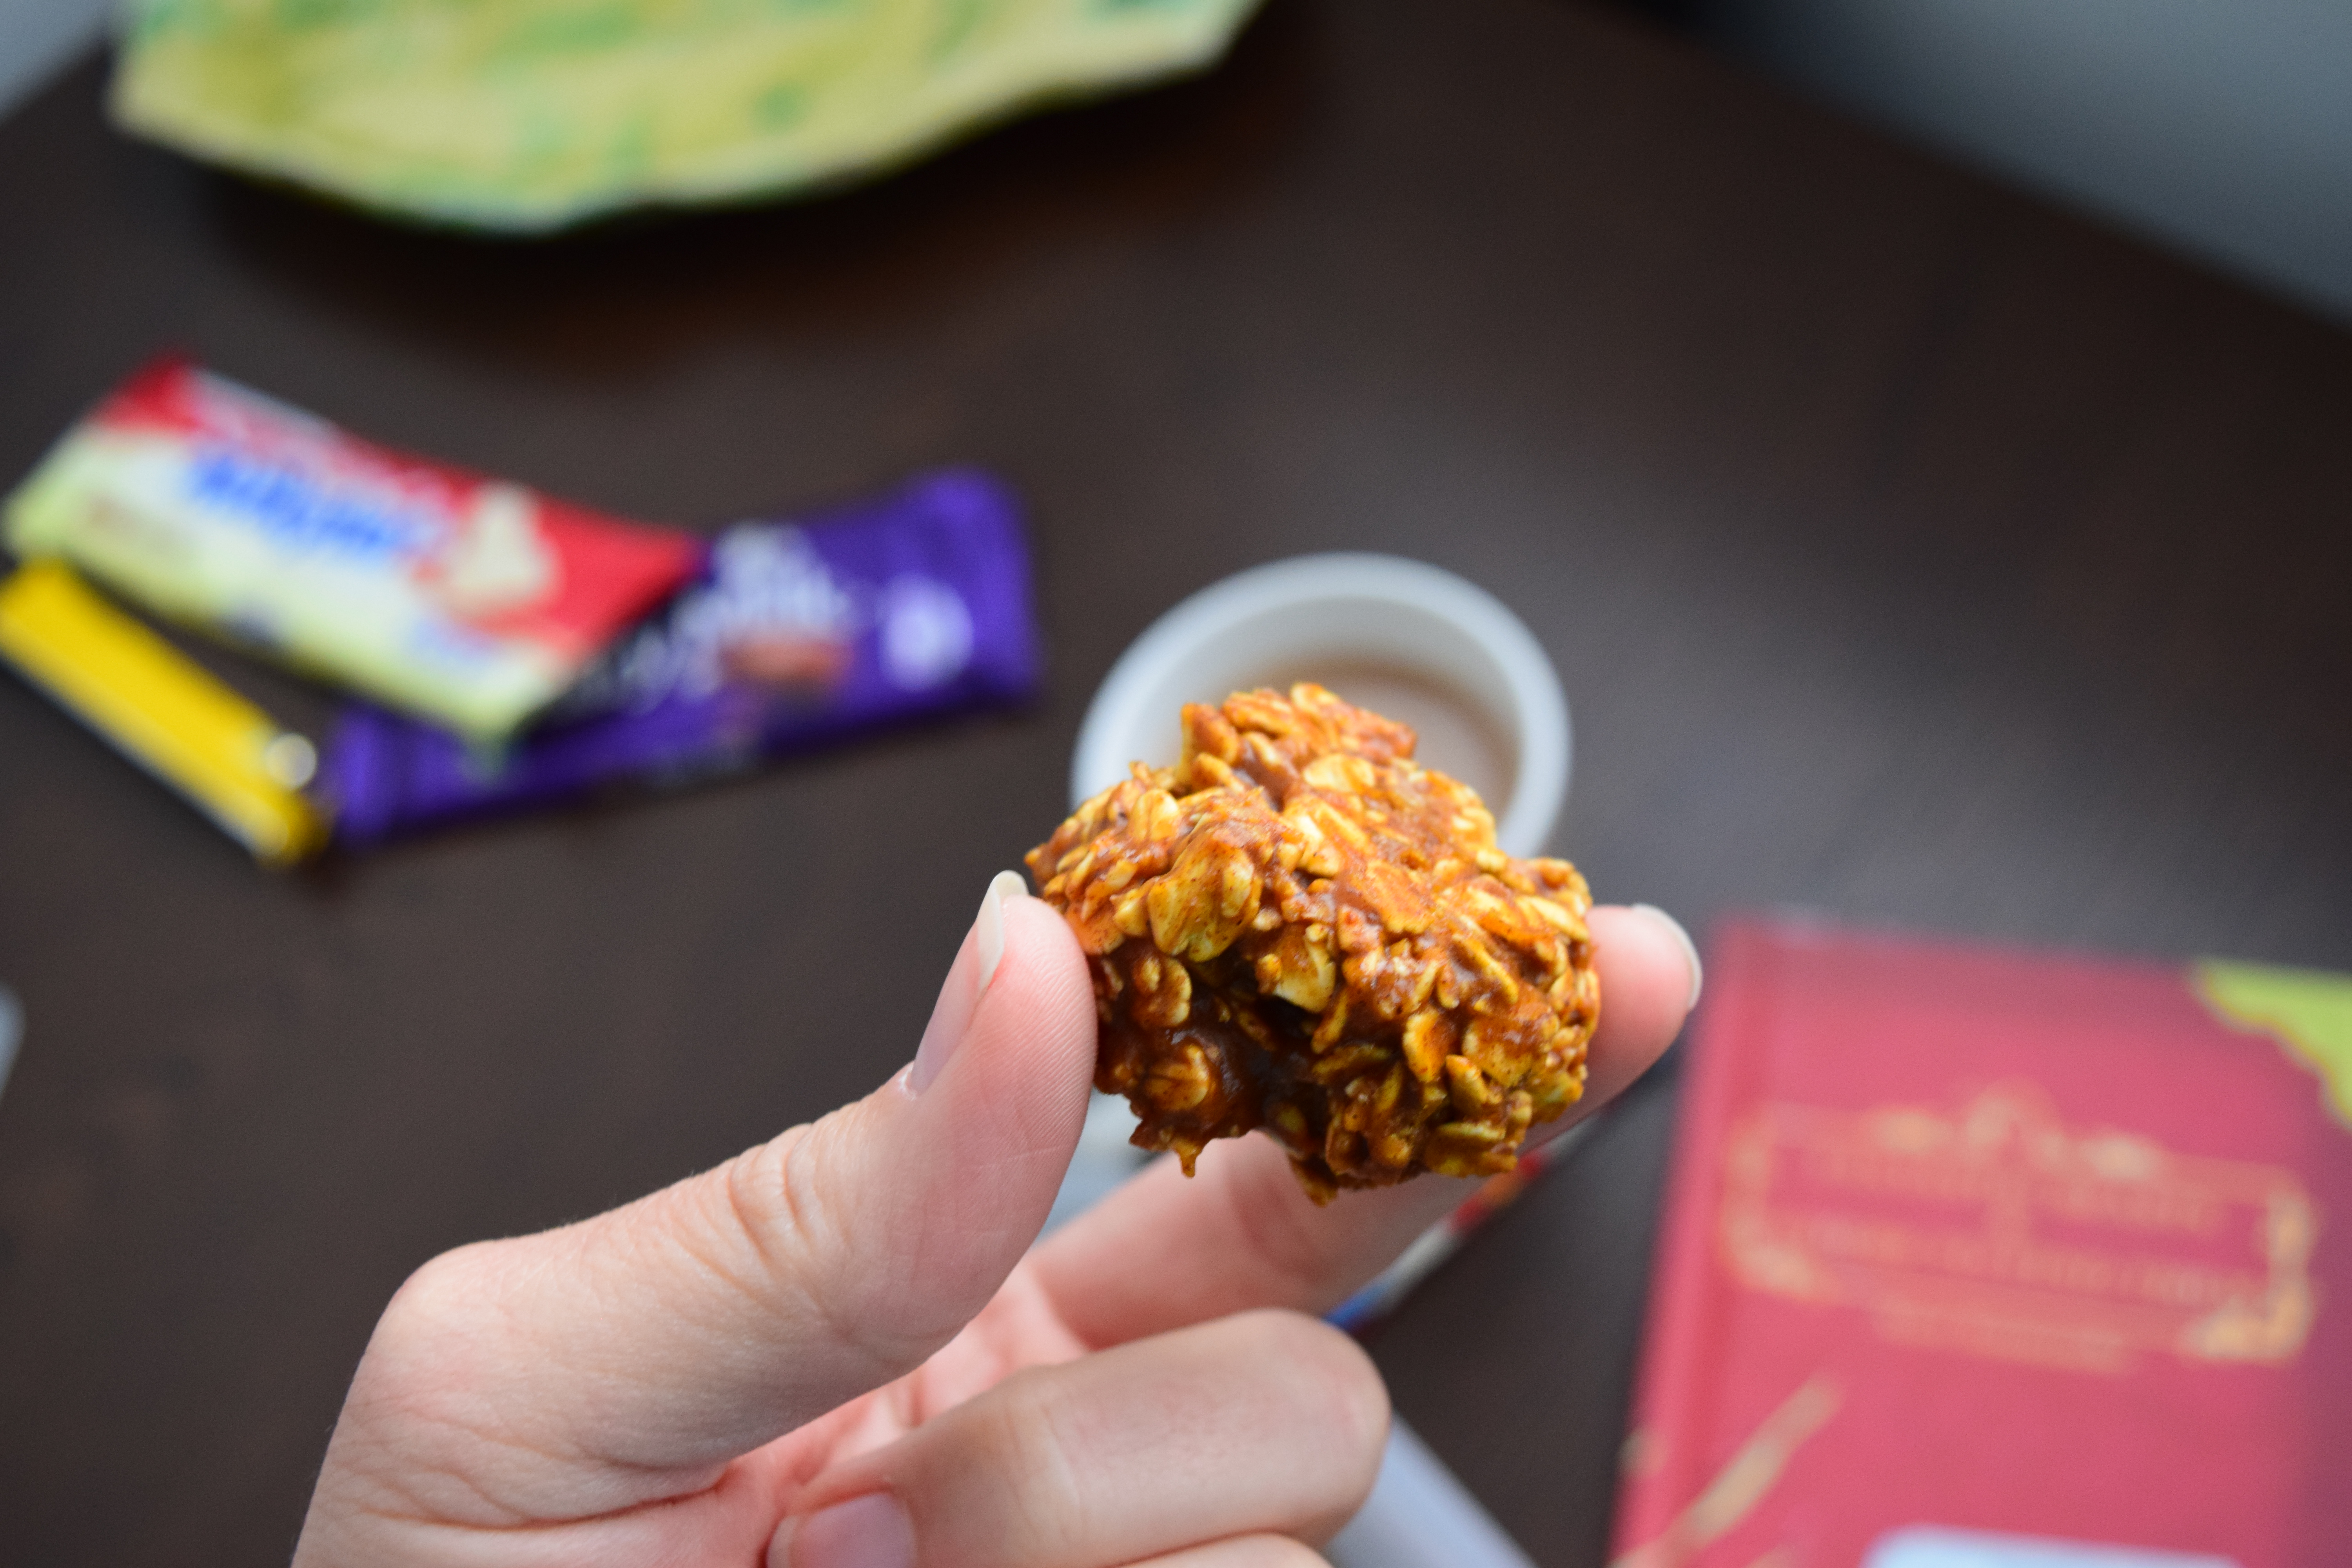
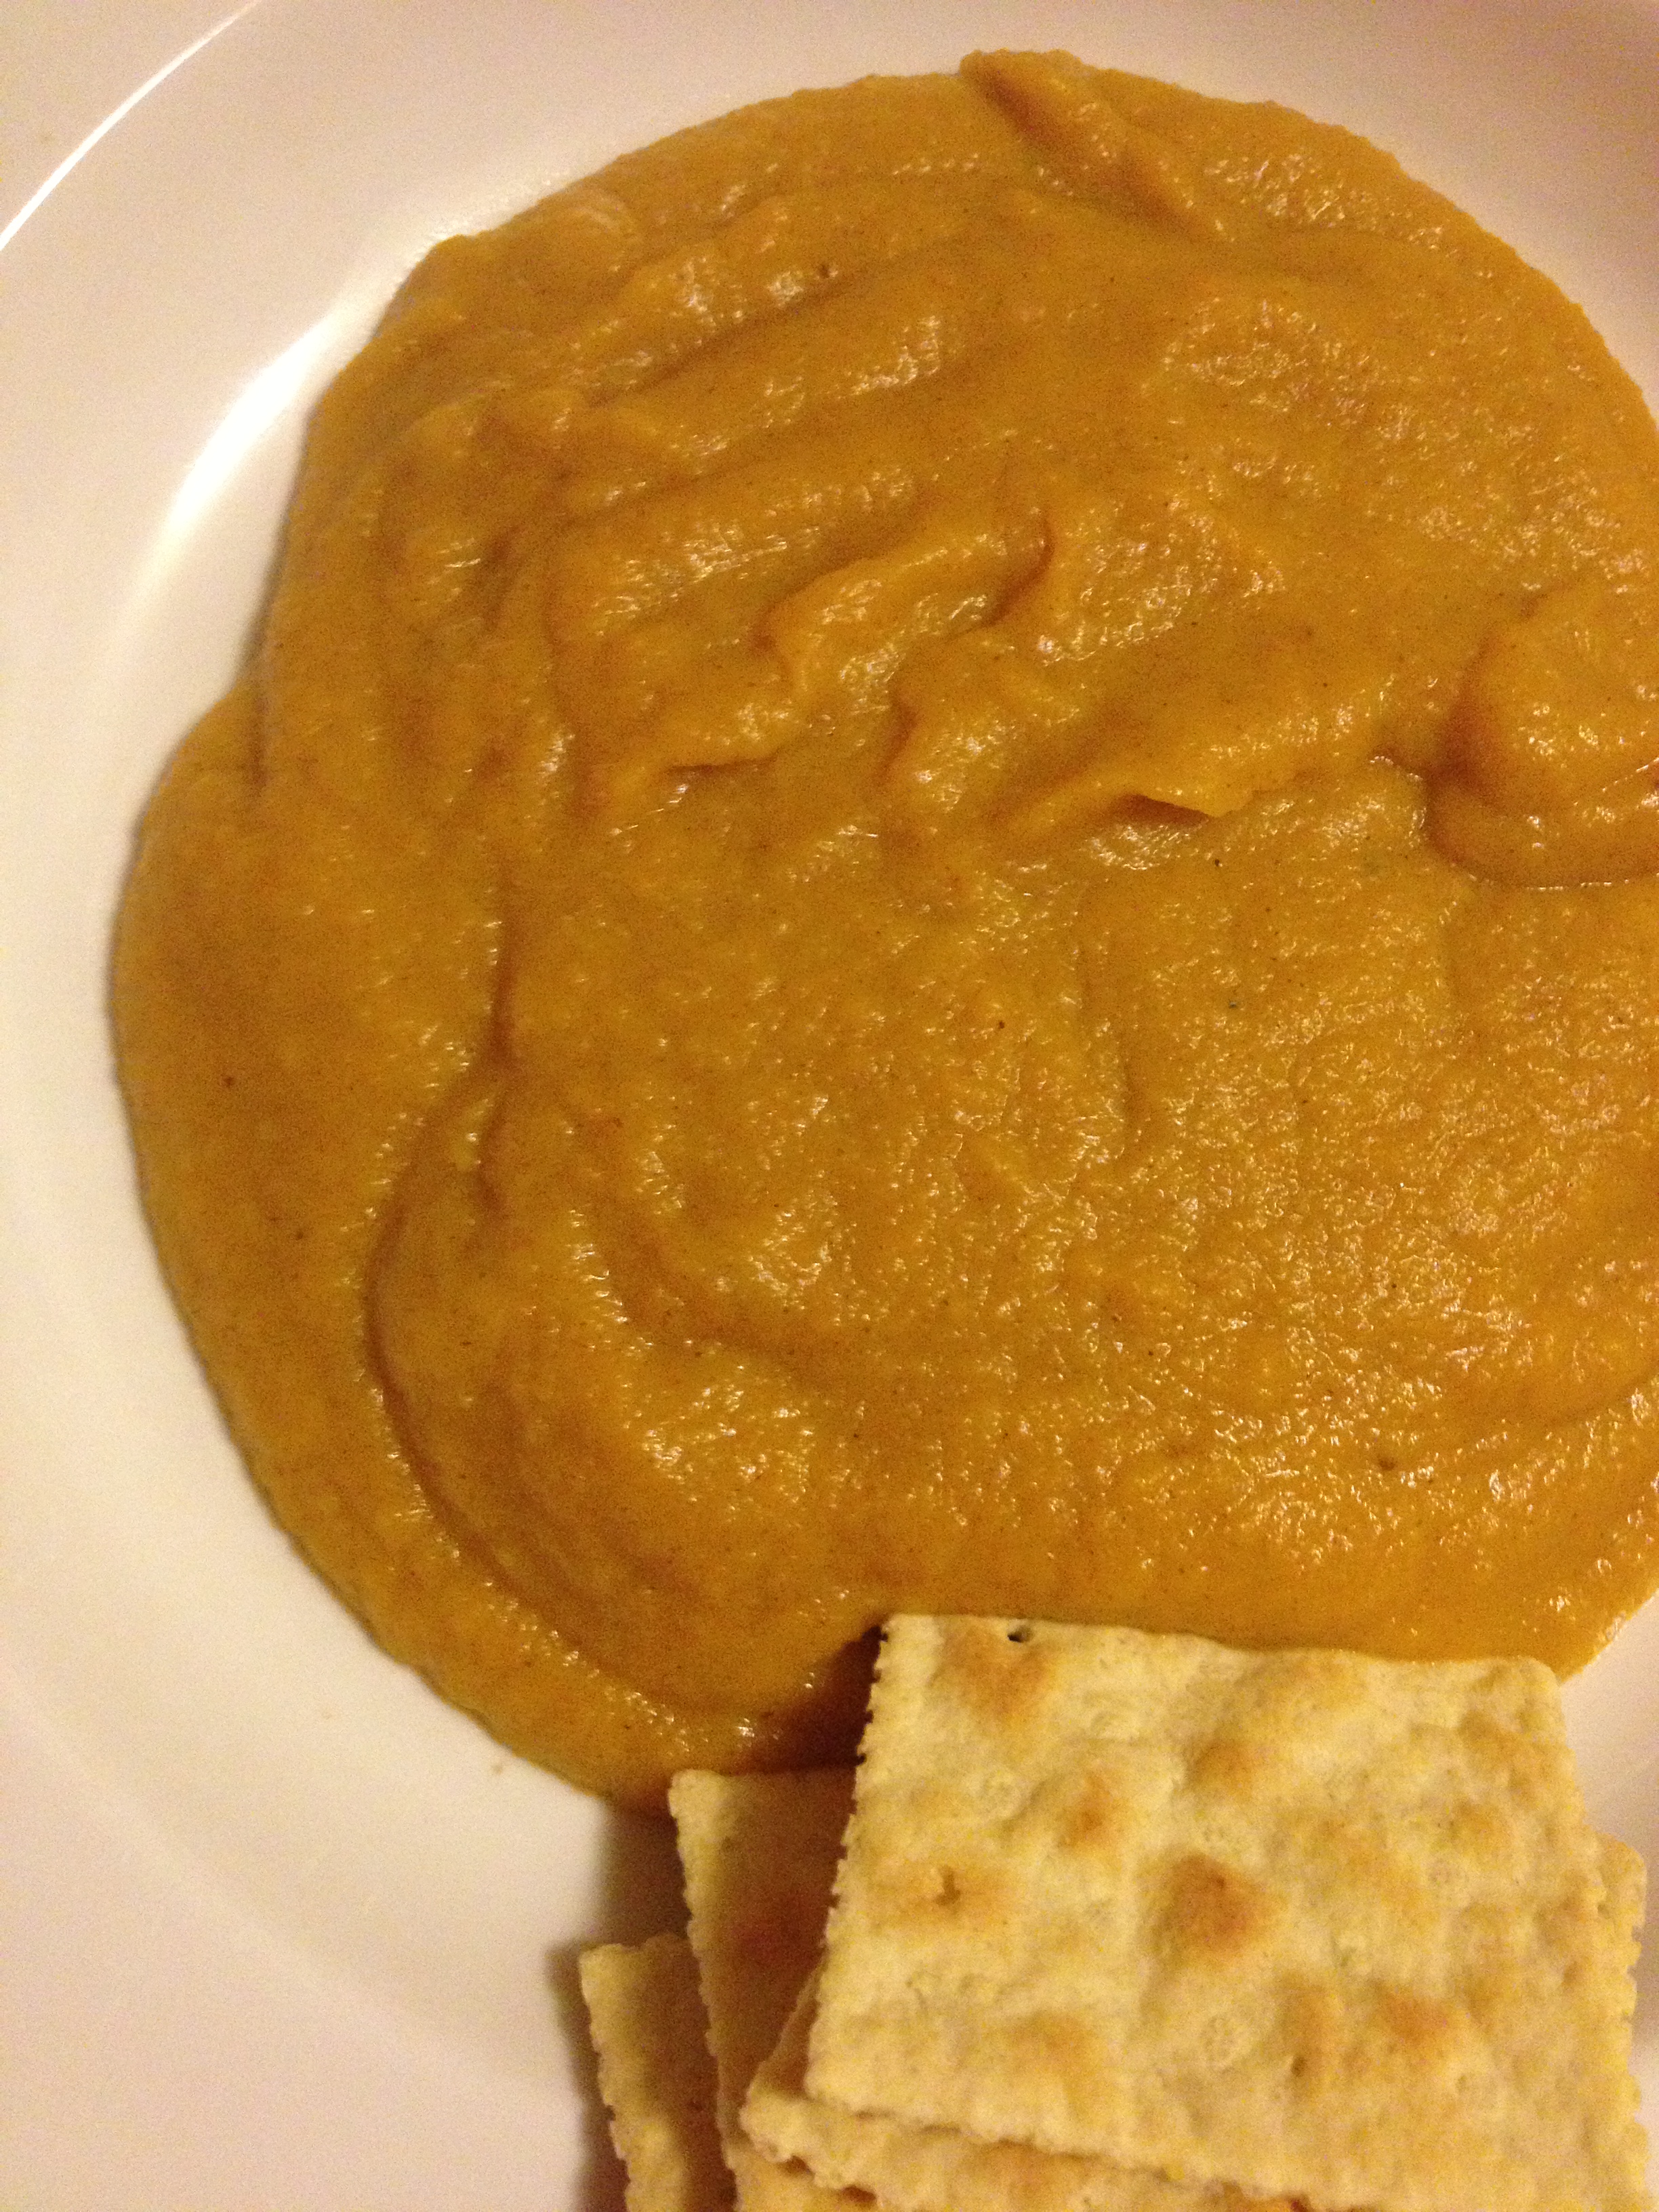
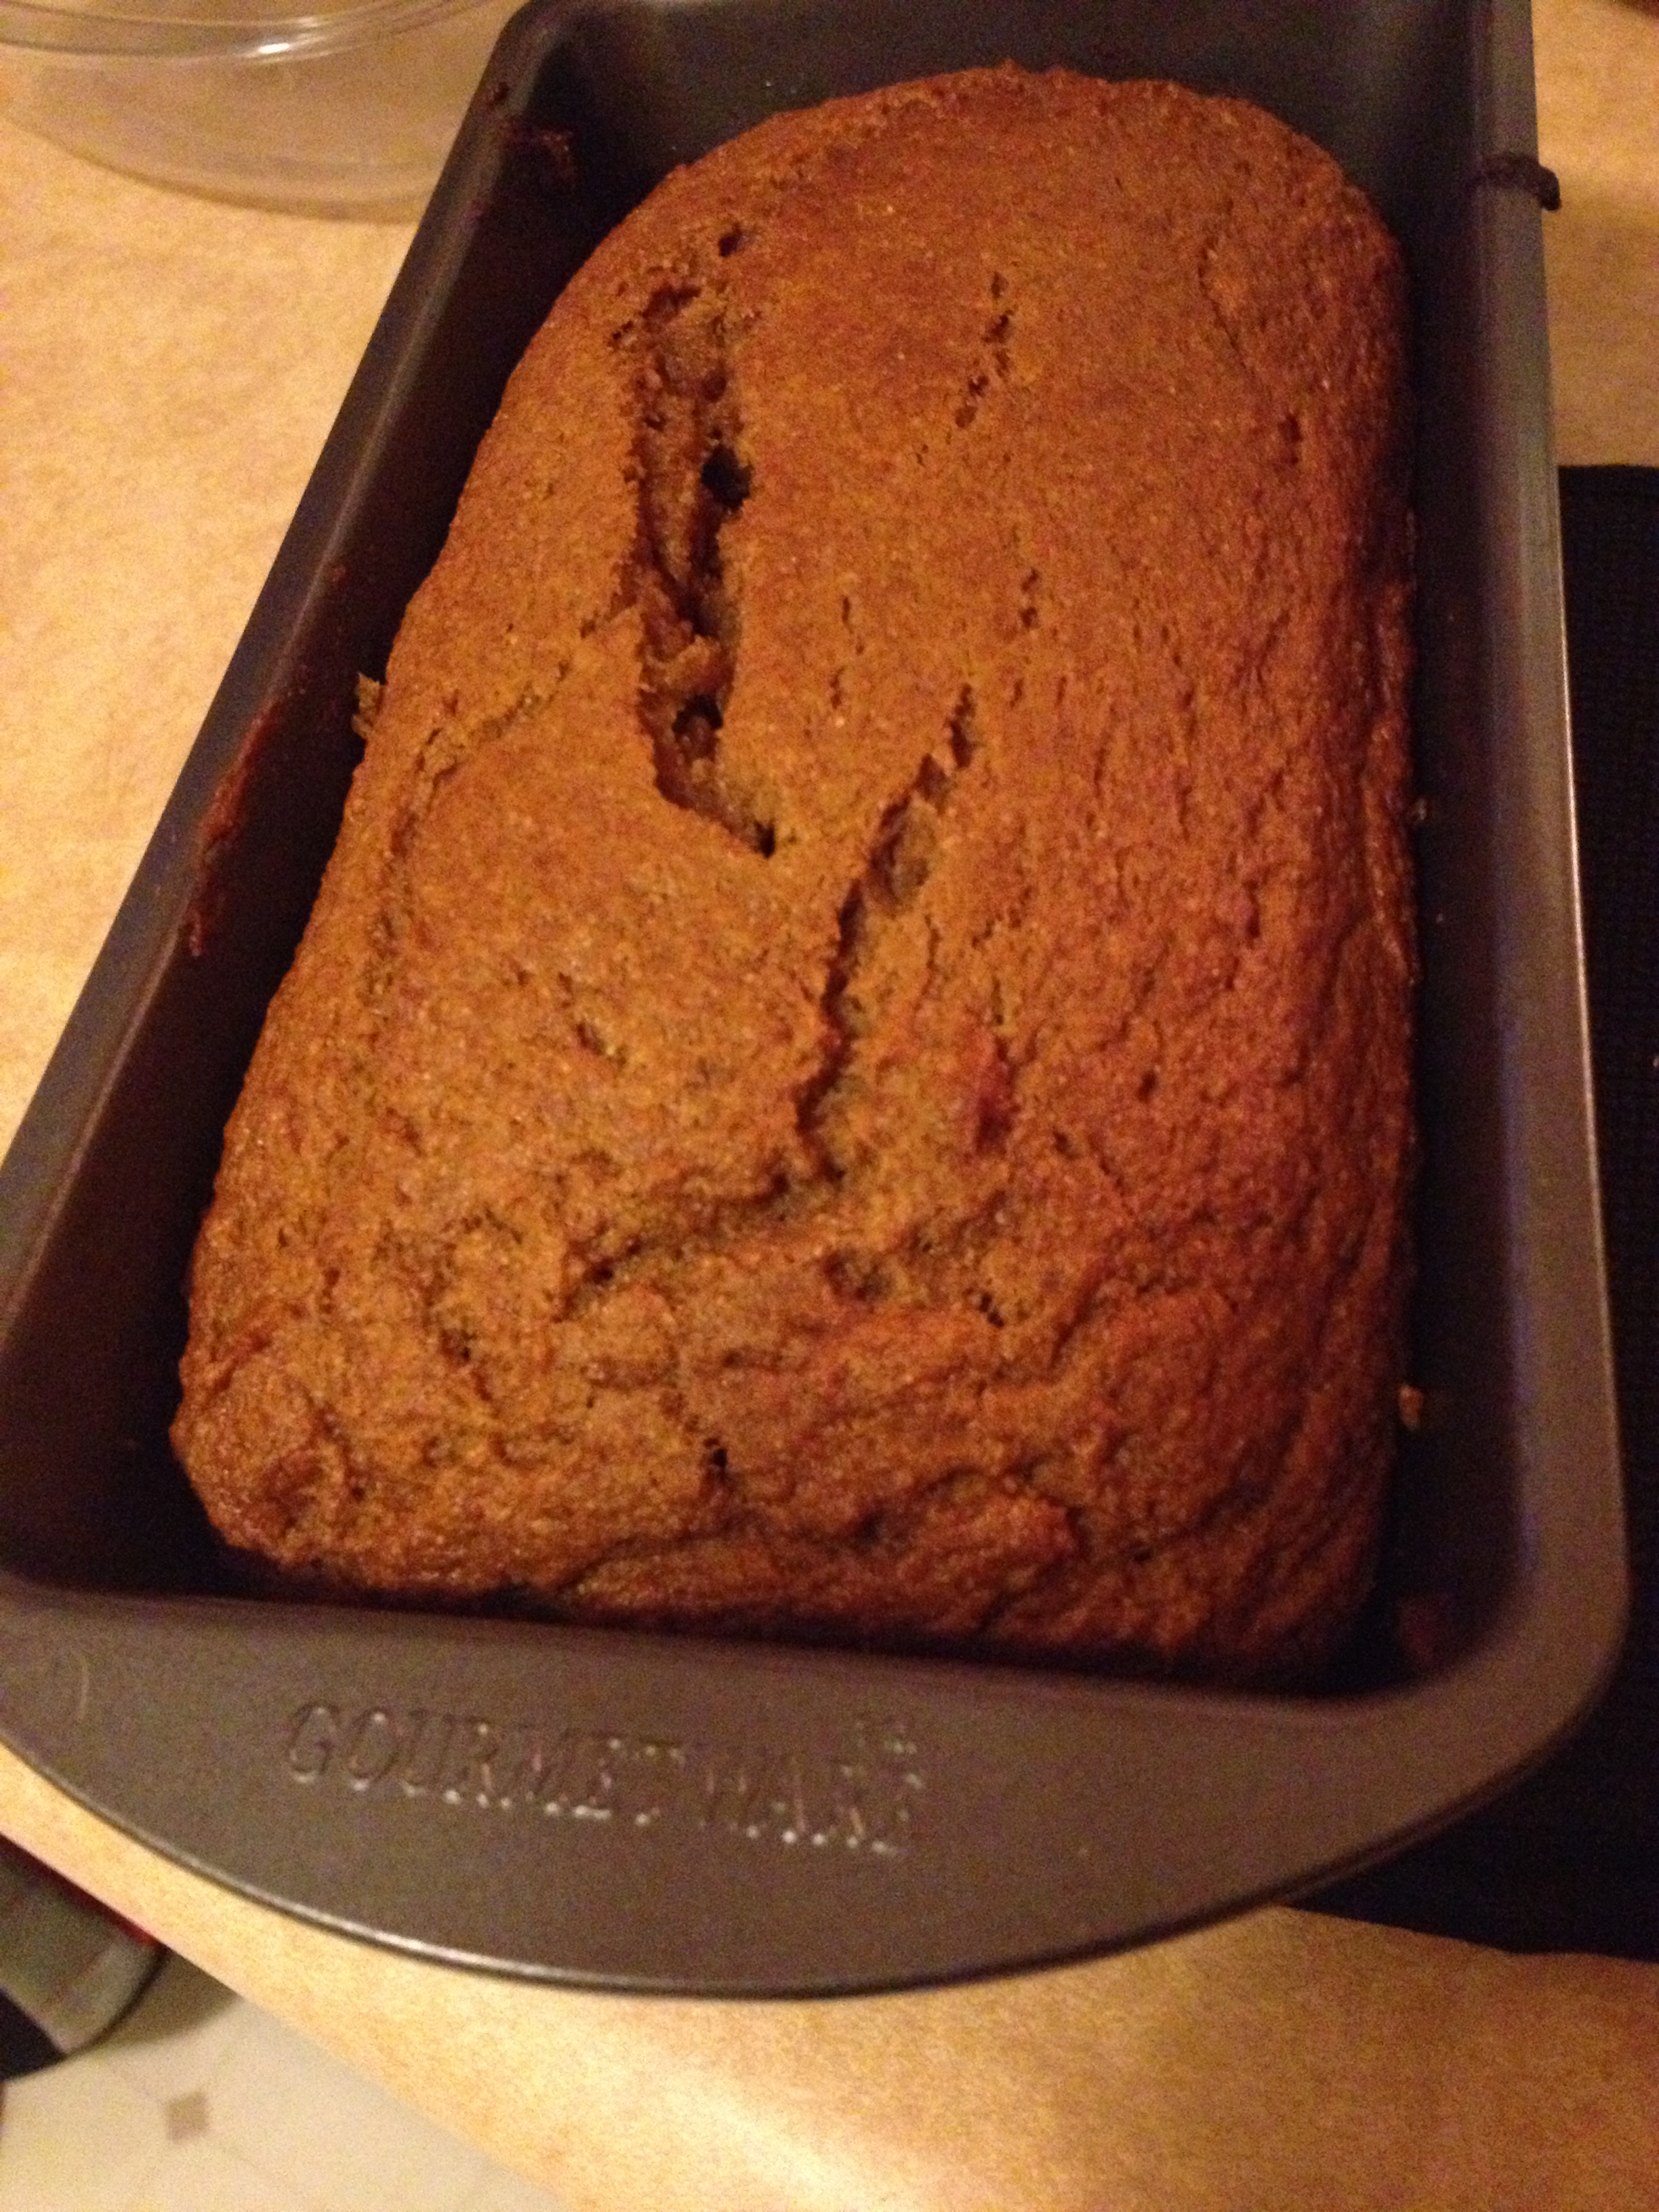
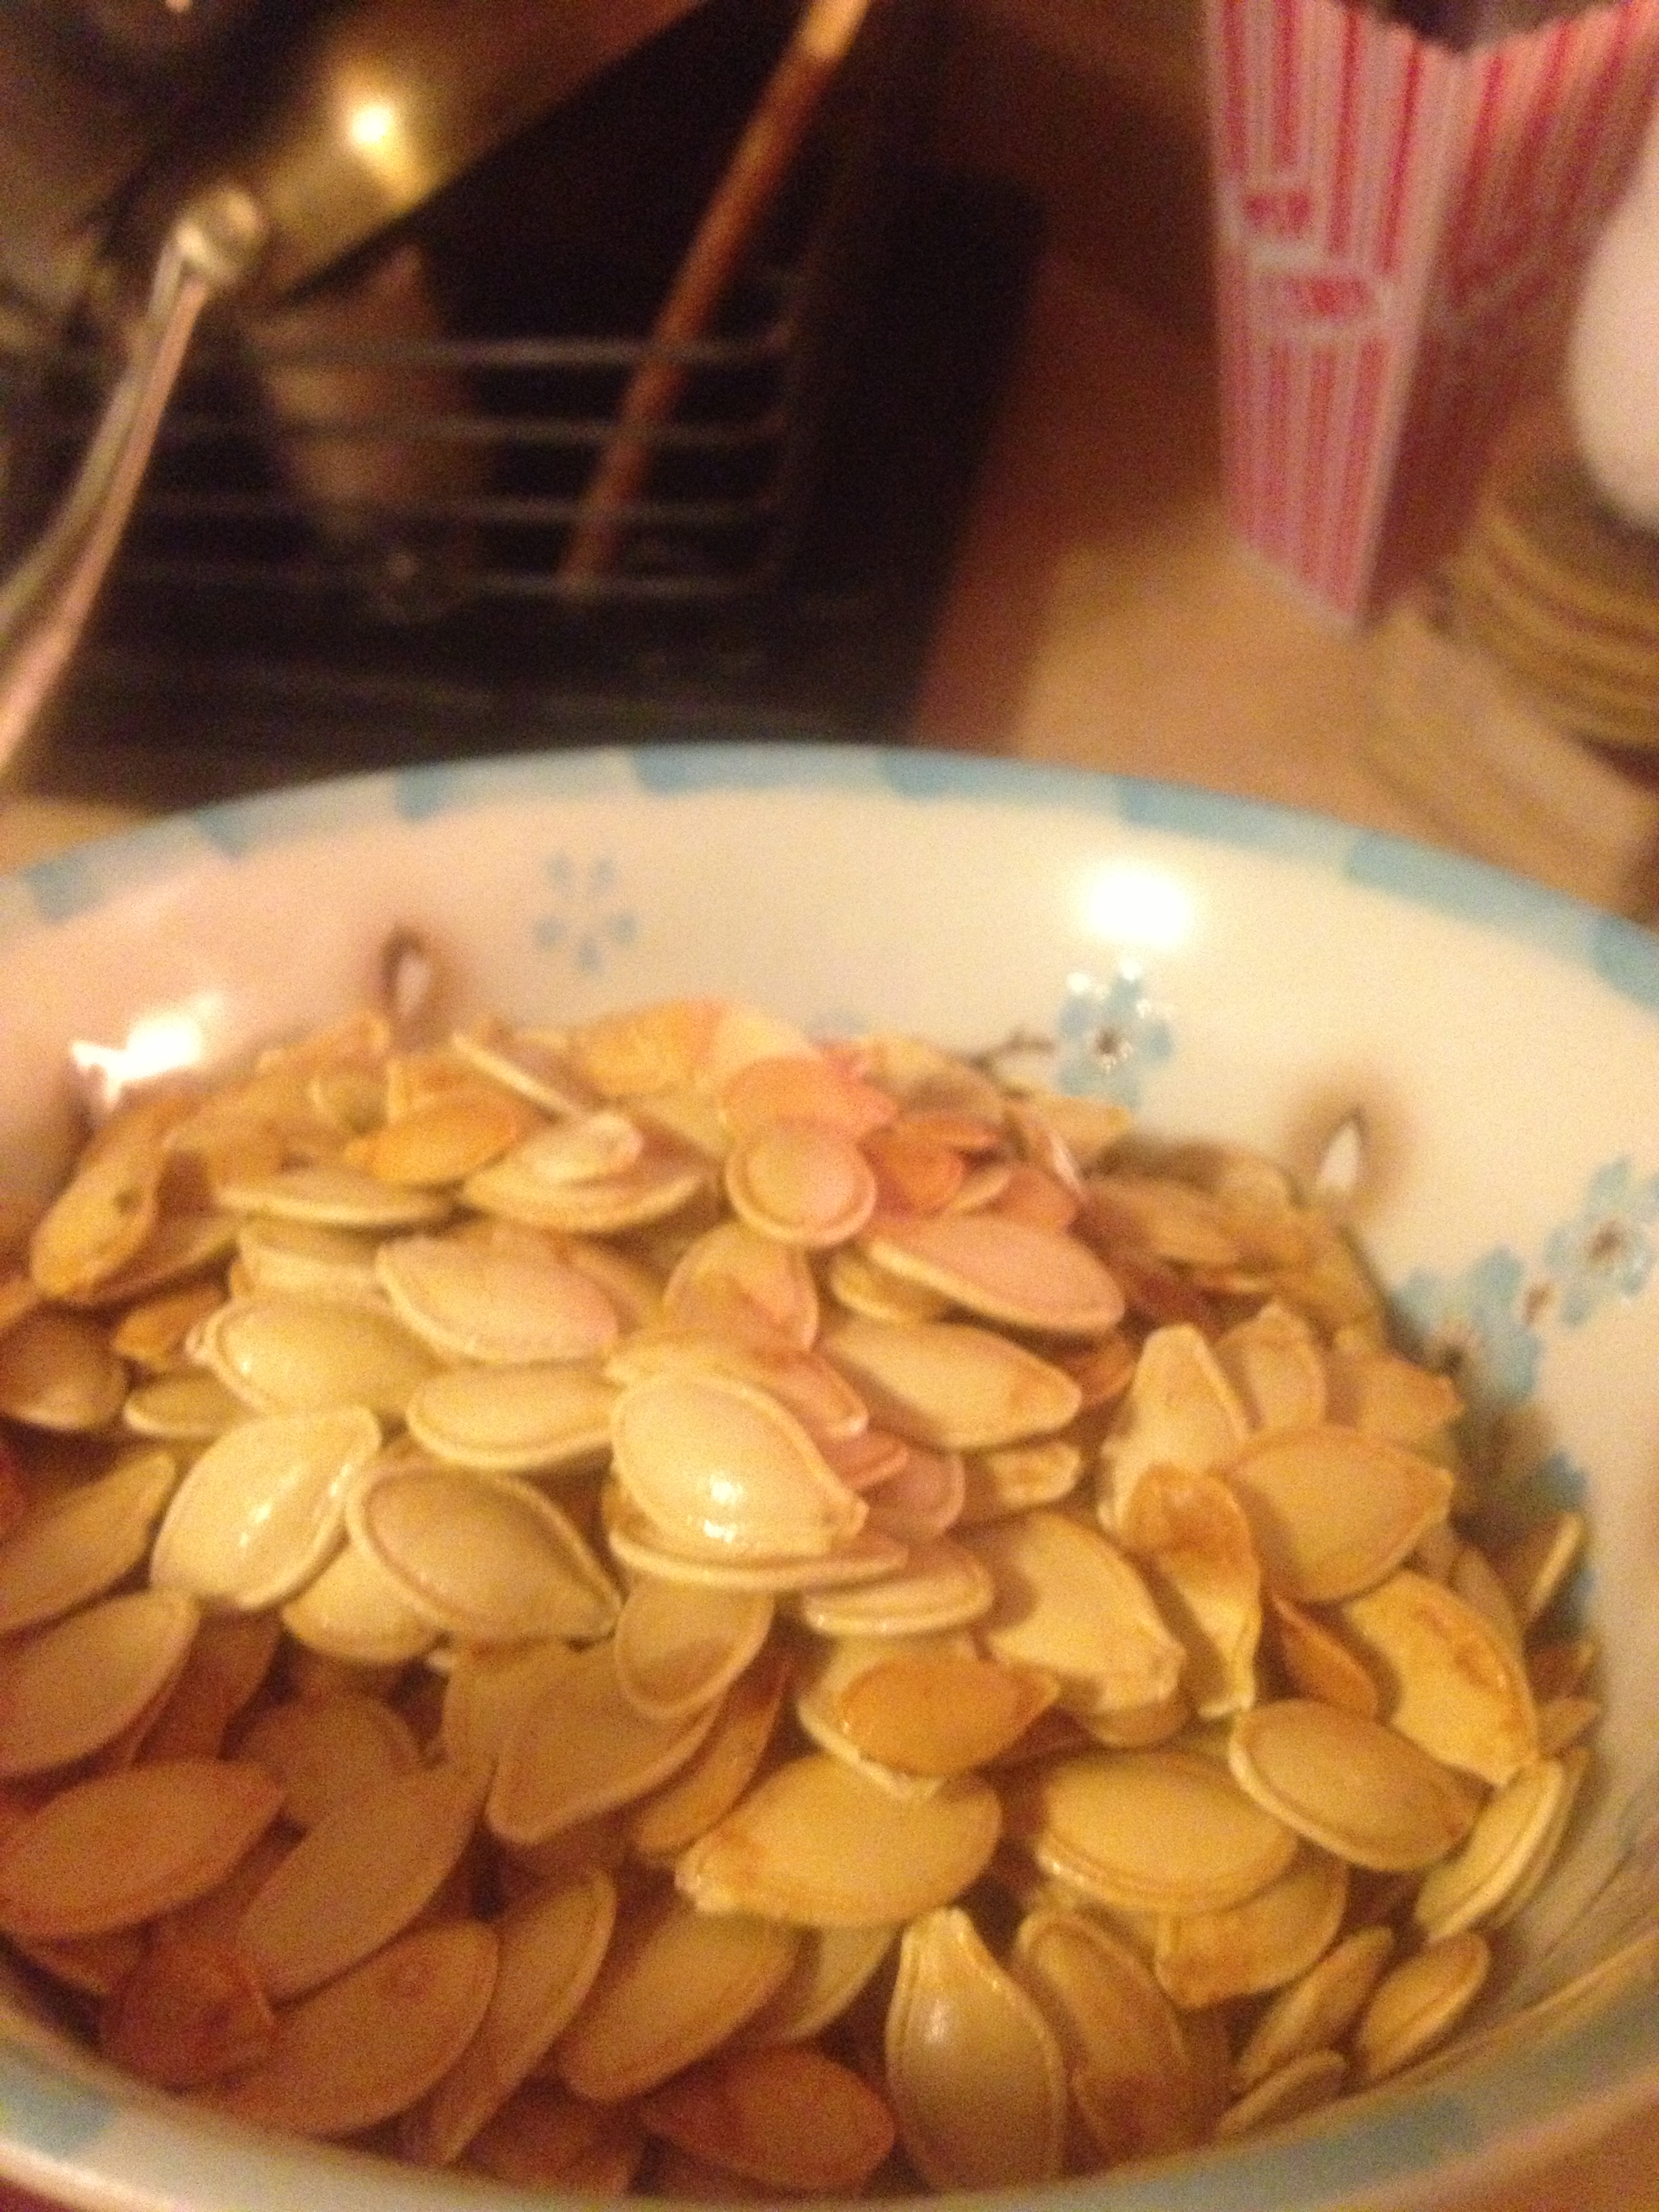
4. Indulge in autumn produce. Just because it’s no longer summer and watermelon isn’t on the daily menu anymore, doesn’t mean you have to resort to boring foods that give you the “blahs.” Even though in most states, it is getting colder, you must remember that Autumn is still a vibrant season with so much to offer! Think squash, pears, pomegranates and more!

5. Find a gym. If it is getting cold, and you find that it deters you from your workouts, find an indoor arena or gym you can perform your preferred workout. It may seem superficial, but atmosphere and environment are huge factors when it comes down to whether or not you will have a good workout, or even workout for that matter! Bite the bullet, hand over some money to either buy yourself some home workout equipment or a gym membership.

Home workouts galore!

Home workouts galore!

6. Try new things. Change is scary, but it’s also really exciting. With new seasons, come change. And what should you do with change? Fight it? No! Embrace it and give it meaning! Learn something new! Try a new form of exercise! Do yoga! Take a dance class! Roll with the punches of nature and use the opportunity to embrace change and try something new.

That time I did a triathlon...

That time I did a triathlon…

7. Stick with the old. Alright, now you really must think me crazy because now I’m contradicting myself. Contradicting? No! This is simply an add-on. While you embrace the new, hold onto the old that comforts you. It could be your morning routine, it could be your favorite snack, or your favorite drink. For me, it’s my Silk milk that I put in my smoothies and protein shakes. No matter what, my Silk Soymilk or Almondmilk will be there for me, giving me sustenance while the world around me continues to change.

photo 3 (26)

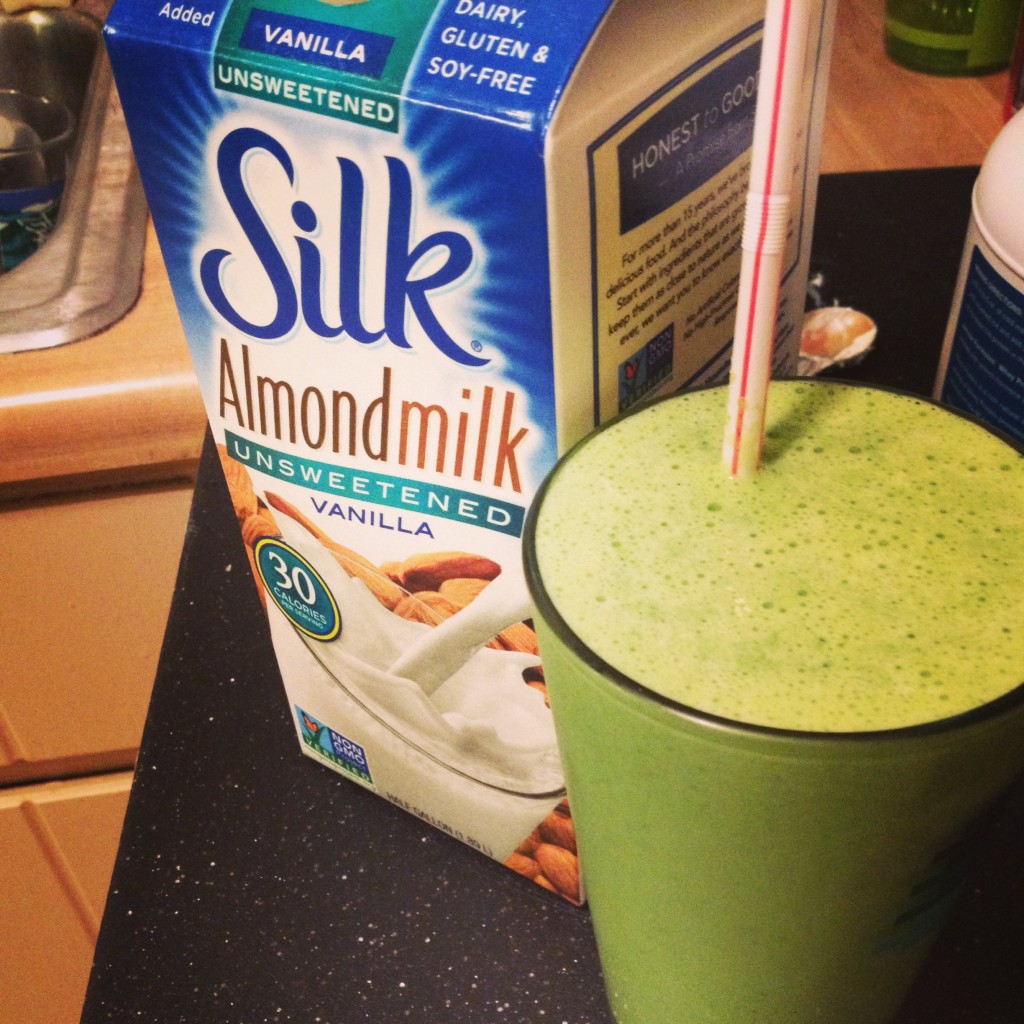
We are all different. We all have our likes and dislikes, our habits and our avoidances. However, one thing is the same, ironically, and that is change. Nature teaches us to accept change and let it nurture us into better people who try new things and have a wider range of experiences. There is always the “old” or our rocks, our foundation that keeps us going to balance the change in our world. If you want more of the old and the new, check out Silk’s Facebook page, which is constantly coming out with new recipes and tips to stay at your happiest, healthiest you. You could also win a year’s worth of Silk products if you sign up for their newsletter.

Even though this may seem like a list of ways to stay healthy throughout the Fall (and it is), the deeper meaning is to allow yourself to experience change (and enjoy it) while balancing yourself with the things that make you who you are and keep you sane. I hope these tips help you along your way in your Autumn journey. As always, stay hungry and fit!

*Question of the Day: How do you stay healthy during Autumn?

This conversation is sponsored by Silk. The opinions and text are all ours.


spacer

Bisque Me! Beautiful Butternut Squash Bisque

Now, I’m no Master Soup-Maker. In fact, this is my first time cooking a soup (or bisque, rather) from scratch. And it turned out really well! I got my basis for the recipe here, but I really changed this one up. Also, apologies for the lack of postings, busy lives! We’ll get back into it, we have a lot in store for you still. Alright, get ready!

Ingredients:

  • Olive oil
  • Butter
  • 1/2 onion
  • 3/4 cup of diced carrots
  • Butternut squash
  • Vegetable stock
  • Salt/pepper to taste
  • Cinnamon to taste
  • Brown sugar to taste
  • Ground ginger to taste
  • Garlic

Alright! Semi-long list but once you have everything cut up it’s easy. And the last few are to taste, throw your own ideas in there too. Ginger, brown sugar, and cinnamon just gave that nice soothing Fall flavor. So amazing on the cold nights we’ve been getting in Boulder.

Directions:

  • Cut up your butternut squash (I would roast it before hand, it was NOT fun to cut raw), carrots, and onions into cubes or small pieces.

  • Next, put some oil and butter into a big pot. I added some garlic in there too. Watch out, the smell is divine.

  • Once that’s nice and hot, pop in the onions.

  • Once the onions are nice and tender, put in the carrots and squash. And, though I’m not explicitly saying it, throughout this I’m putting in salt, pepper, garlic pepper, cinnamon, brown sugar, etc. Do it to taste. Make it your own.

  • Stir it around and then pour your vegetable stock in and bring to boil. You’re going to leave these in here, boiling, until all the vegetables are nice and tender.

  • Alright! So your veggies and nice and tender…I hope you have a blender or food processor! Because you want to throw all that mixture into that blender or food processor and blend it until smooth. Now we have a really bad blender, and although it took some time, even ours was able to blend all these. So you can do it!

  • Once that’s all blended, pour back into the heated pot. Here, you can add cream into it if you want (I didn’t). I stirred in a lot of cinnamon, ground ginger, and brown sugar in at this point to get it to that flavor I wanted to. Just stir and taste until you are satisfied.


And voila! You are done! Wasn’t too hard, was it? I really really suggest it as we move into winter…it is so nice and hearty. Very warm. There might be a holiday coming up where you can use this… Let me know if you have any questions!

(BONUS KITTY PIC)


spacer

Get Yo Autumn On: Whole-Wheat Banana PUMPKIN Bread

Oh yes I said it…pumpkin. I’ve made tons of banana breads, but now it was time to introduce the beloved fall vegetable, pumpkin. How many times do you think I can say pumpkin in this paragraph? Anyways, this pumpkin banana bread is one, absolutely delicious, twoeasy to make, and three, doesn’t leave you feeling guilty. It uses a bit of brown sugar and honey to sweeten things up, as well as the banana and pumpkin that go along with it. I found this recipe here and varied it a bit, put more cinnamon in it, more honey, typical stuff for me. Alrighty, get ready.

Ingredients:

  • WET
  • 1/2 cup butter
  • 2/3 cup brown sugar
  • 3 tablespoons honey
  • 1 cup pumpkin puree
  • 2 eggs
  • 1 banana
  • 2 tablespoons orange juice (weird)
  • 1 teaspoon vanilla extract
  • DRY
  • 1.5 cups whole-wheat flour 
  • 1/4 teaspoon baking powder
  • 1 teaspoon baking soda
  • 3/4 teaspoon salt
  • 1 teaspoon cinnamon

This is the pumpkin puree I use. You can find it…ANYWHERE right now

Okay, looks like a long list but it doesn’t take long to prepare.

  • Prep Time: 15 minutes
  • Cook Time: 55-70 minutes

Directions:

  • Preheat oven to 350 degrees
  • REAL simple here. Mix all the wet ingredients together

  • Then, you mix in the dry ingredients like the flour, baking soda, etc. Just look up at the ingredient list above, I organized it for you (it was really hard).

  • Spoon it all into the buttered or oiled baking tin and place into oven!

  • Bake for 55-75 minutes. Test it in the middle with a fork or a toothpick to make sure it’s cooked all the way through.

Hope you enjoy it as much as we will! I’m bringing this over to my aunt’s and cousins’ to watch the Election Night coverage as we bite our fingernails. Now that I think about it, I probably baked this to subconsciously soothe myself.  Don’t forget to VOTE tomorrow. Please.

BONUS KITTY PIC

spacer

Yes, That’s a Beautiful Pumpkin–But Don’t Throw Out the Seeds!

Yikes, what a long title. Anyways, I’m here to bring you something that could be possibly even more amazing than carving a pumpkin…its seeds. As some of my friends may know (cough LENA), I absolutely love pumpkin seeds. In fact, I love them so much I can eat a whole container of them (sorry, Esther). The flavor of it, the grittiness, the amount of protein in the middle. There’s no downside (at least for me, but Chris doesn’t like how long it can stay in his mouth).

Indeed, it’s a great protein source. Did you know that one ounce of pumpkin seeds can give you 9.35 grams of protein? Not bad! Well said, Watto. And it is so easy it’s not even funny. We carved our pumpkins with paring knives (that was the hard part) and then I gutted them. I have memories of my dad letting my brother and I draw faces on our pumpkins, he would cut it, then let me do all the dirty work of grabbing its seeds and goo. And I loved it. So of course, I was the one to do it this time. But I was not going to throw them out, oh no! I collected all the seeds from the two pumpkins and prepared them. All in all, it took about an hour. However, 40 minutes of that was cooking time. The rest is easy.

What You Need:

  • Raw pumpkin seeds
  • Melted butter (or oil)
  • Salt

First, set the oven to 350 degrees.

Next, get all the guts of your pumpkin(s) and place them in a strainer. This will take the most work. Have a light flow of water running over the strainer as you pick the seeds from the gunk and place the gunk in the sink.

Once you have all the seeds by themselves, place them into a small mixing bowl.

Place the melted butter into the bowl with the seeds (I used about 3/4 of a tablespoon) and mix around.

Then, shake plenty of salt into the bowl and mix again.

Spread out all the pumpkin seeds as flat as you can on a baking sheet. Then place in the oven from 20-40 minutes (depending on your oven and how many seeds you have) or until golden brown.

And that’s it! Serve and enjoy. I won’t be able to stop munching.

(Nymeria loved eating all the bits of pumpkin dropped on the floor)

spacer