
Whew, that’s a title that takes a breath out of you! And it should, really, because it is darn delicious! I love it when I have a reason to bake (even though I don’t always need one). This time it was for a co-worker’s birthday. I had just recovered from the flu, so I didn’t want to leave the house for materials. So after using the thinking cap for a moment or two, I came up with the perfect idea–chocolate chip cookie cake. Perfect for celebration as a cake, but great because I always have ingredients to make cookies. To throw a healthy spin on it, I used whole-wheat flour and not much sugar at all. One of the best parts about this recipe is that it is super simple and easy!
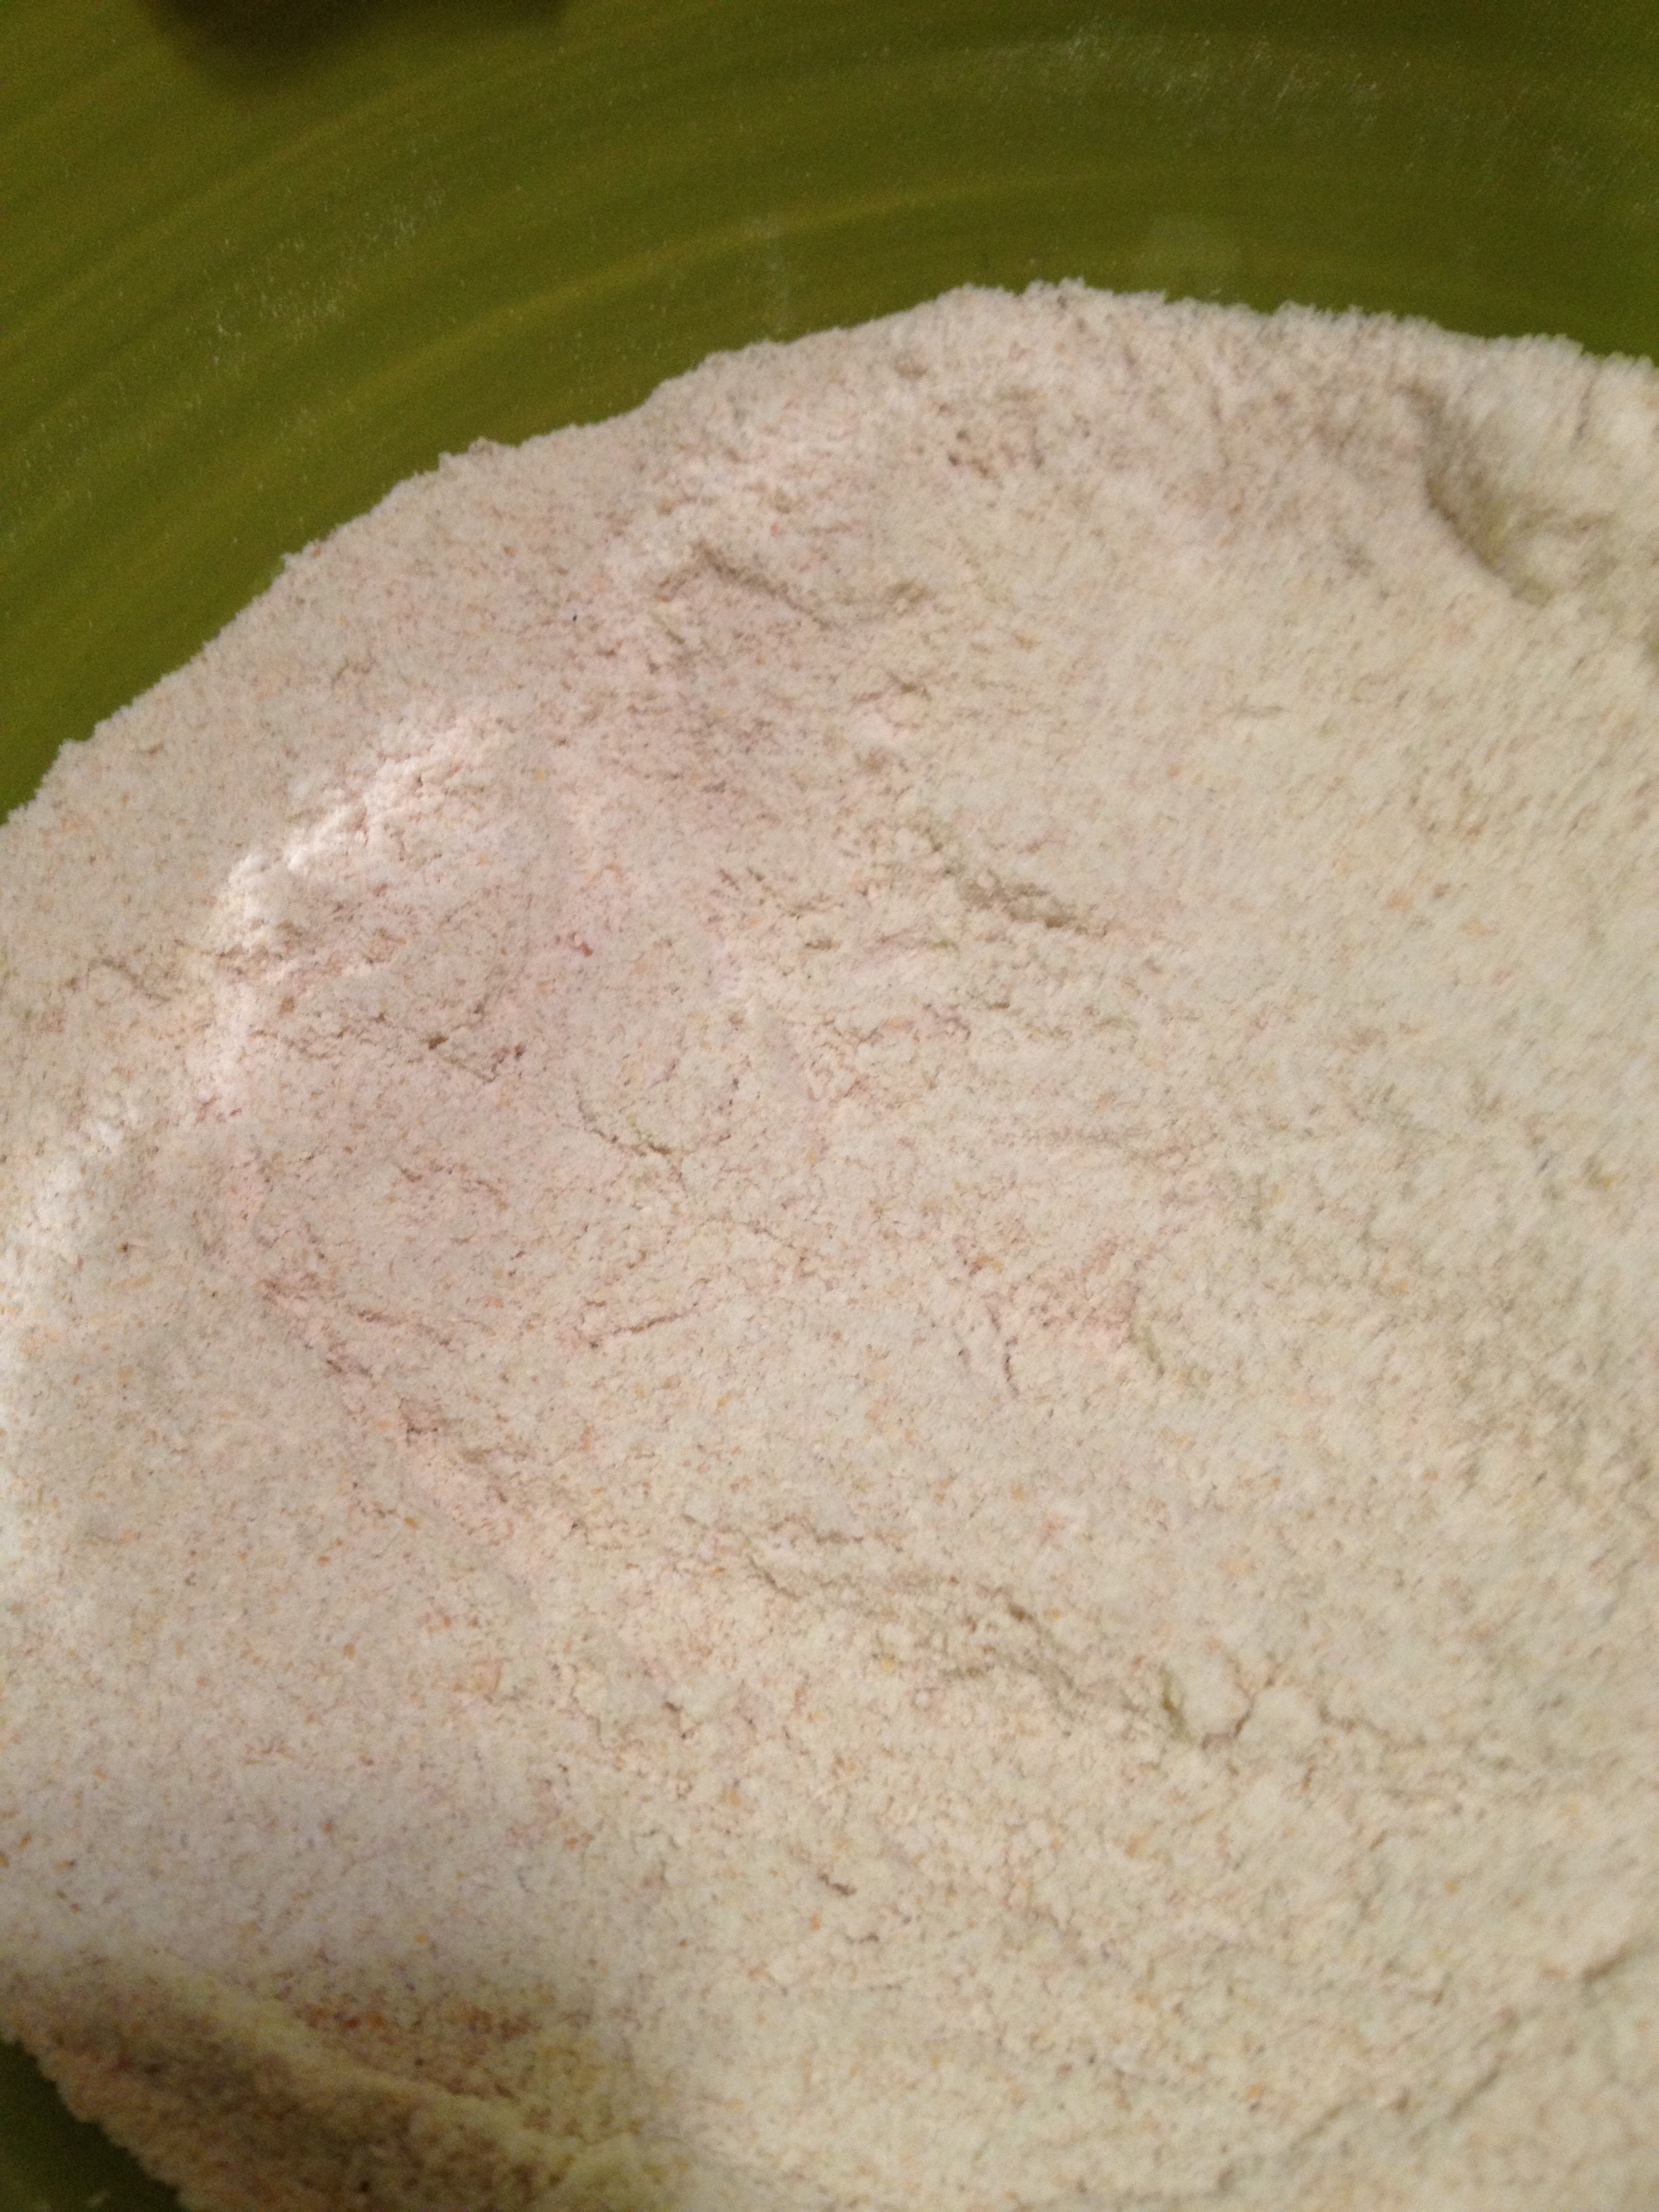
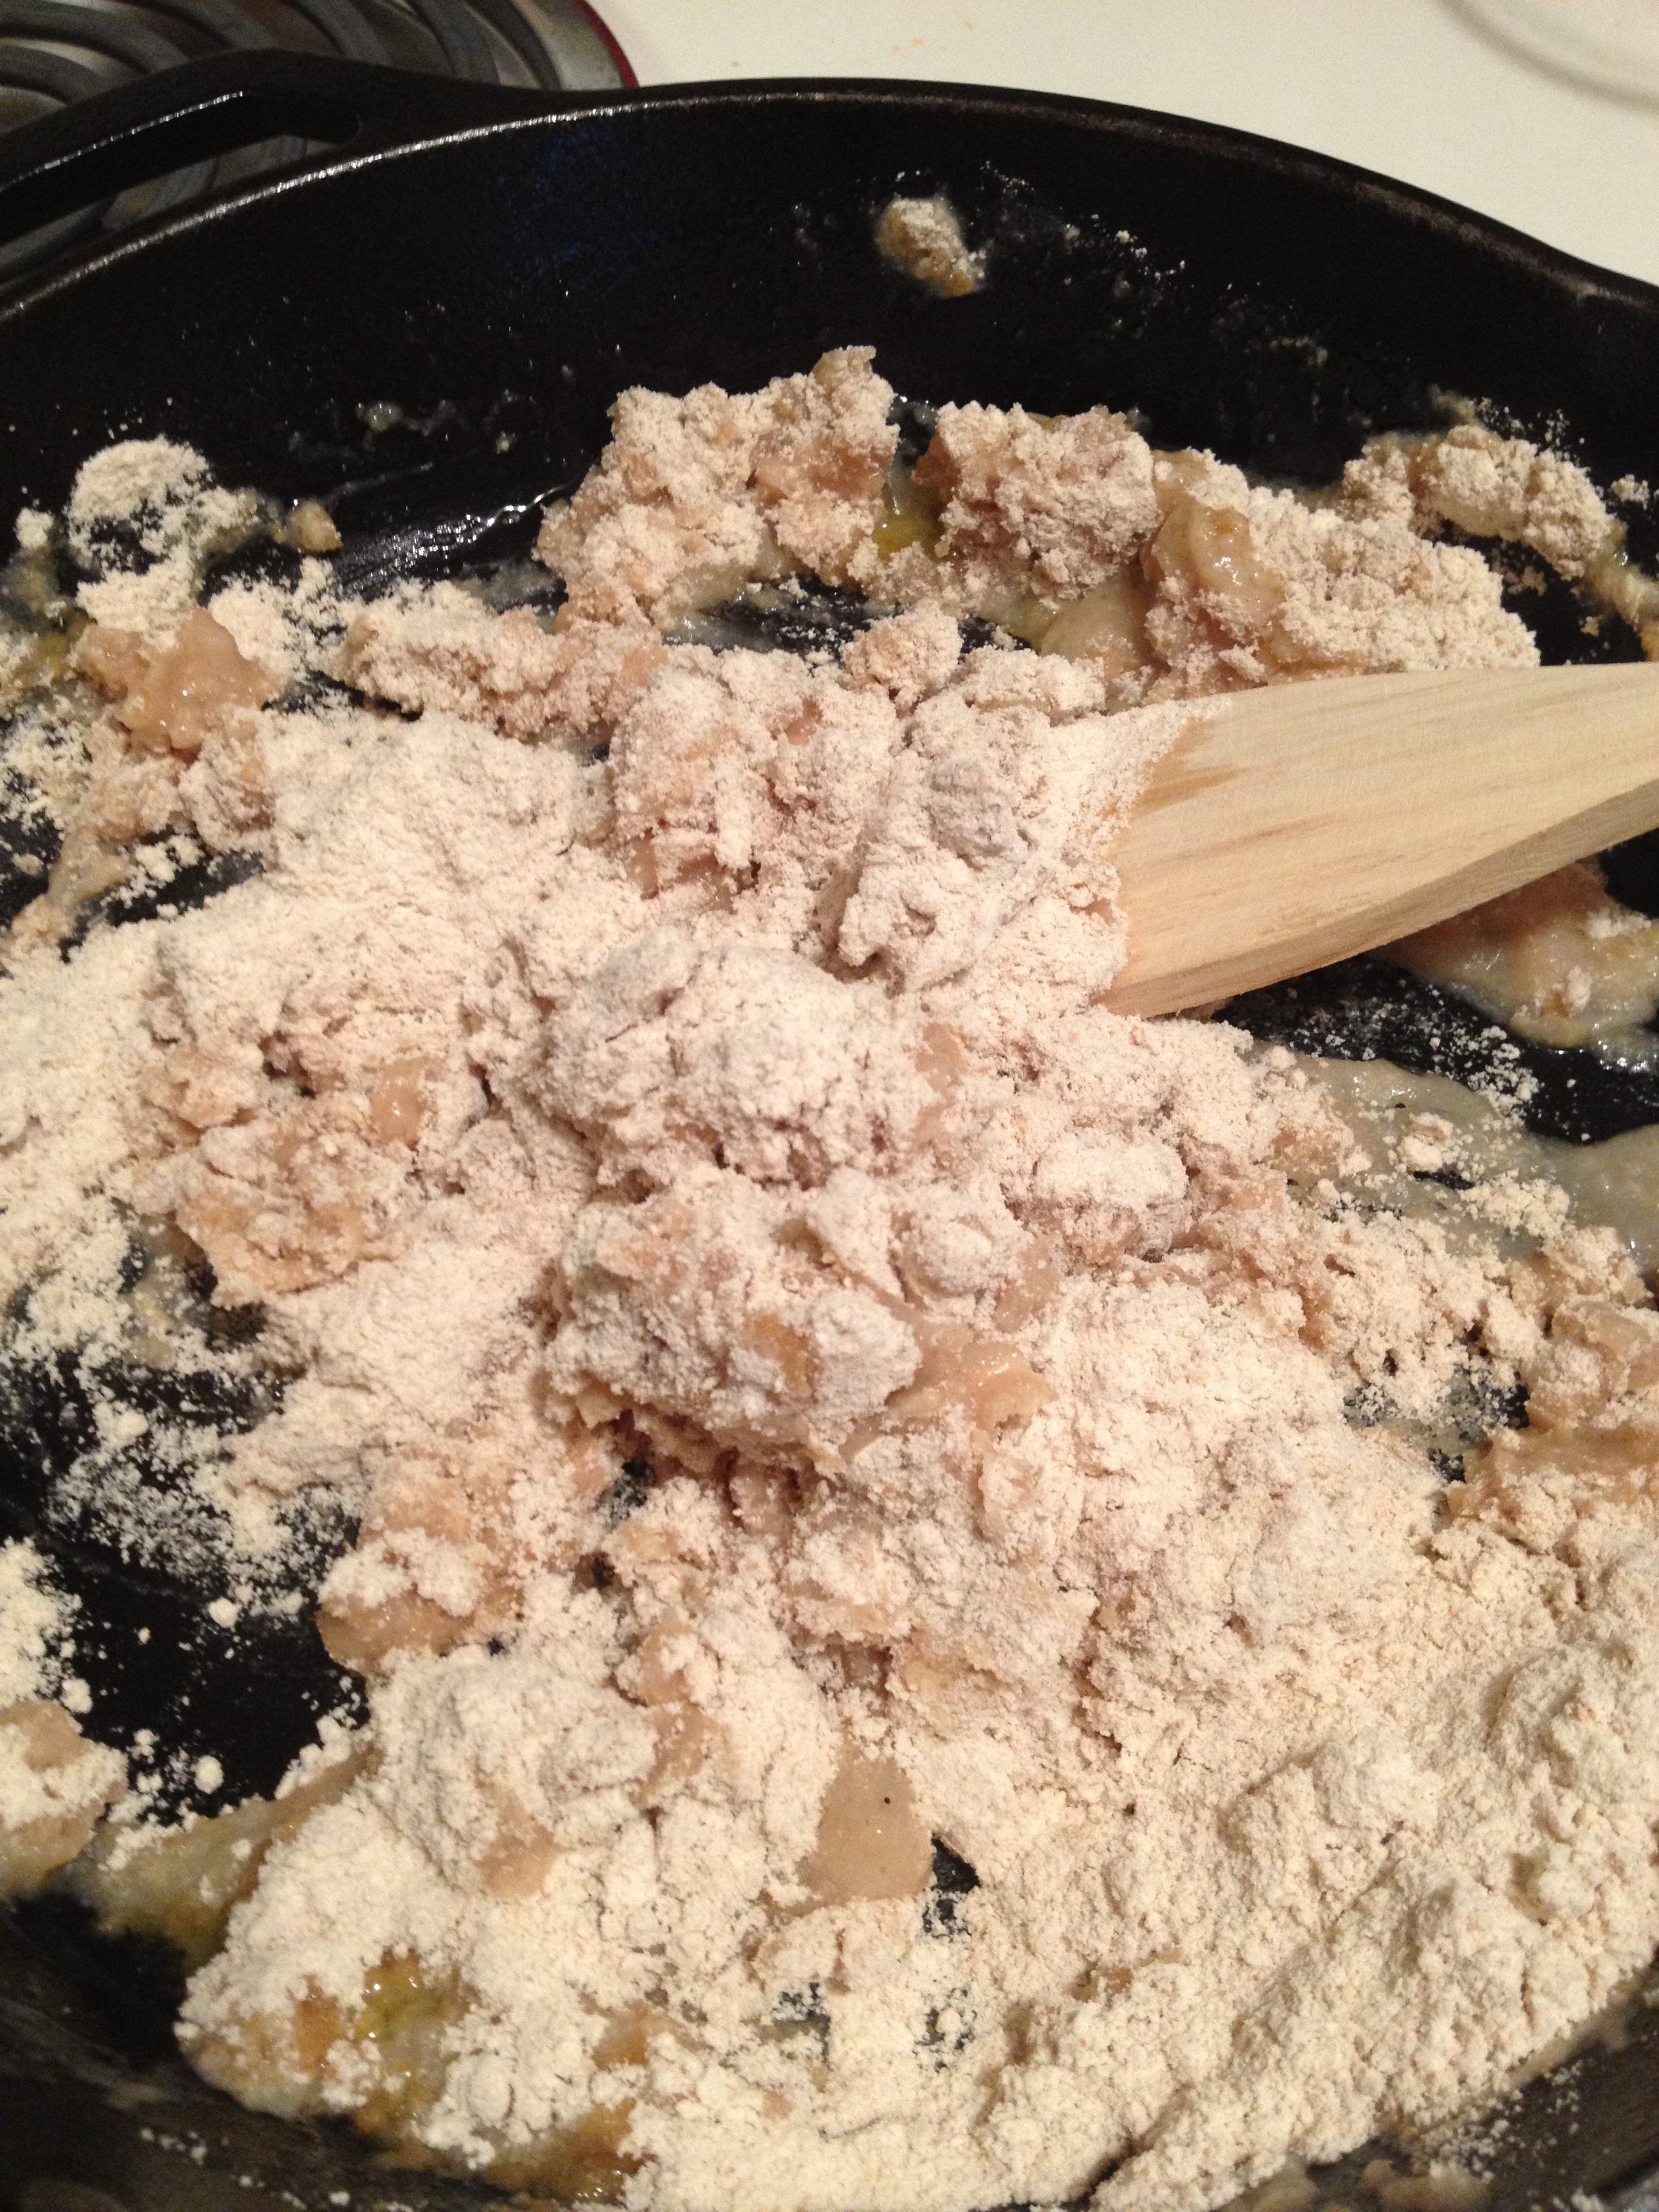
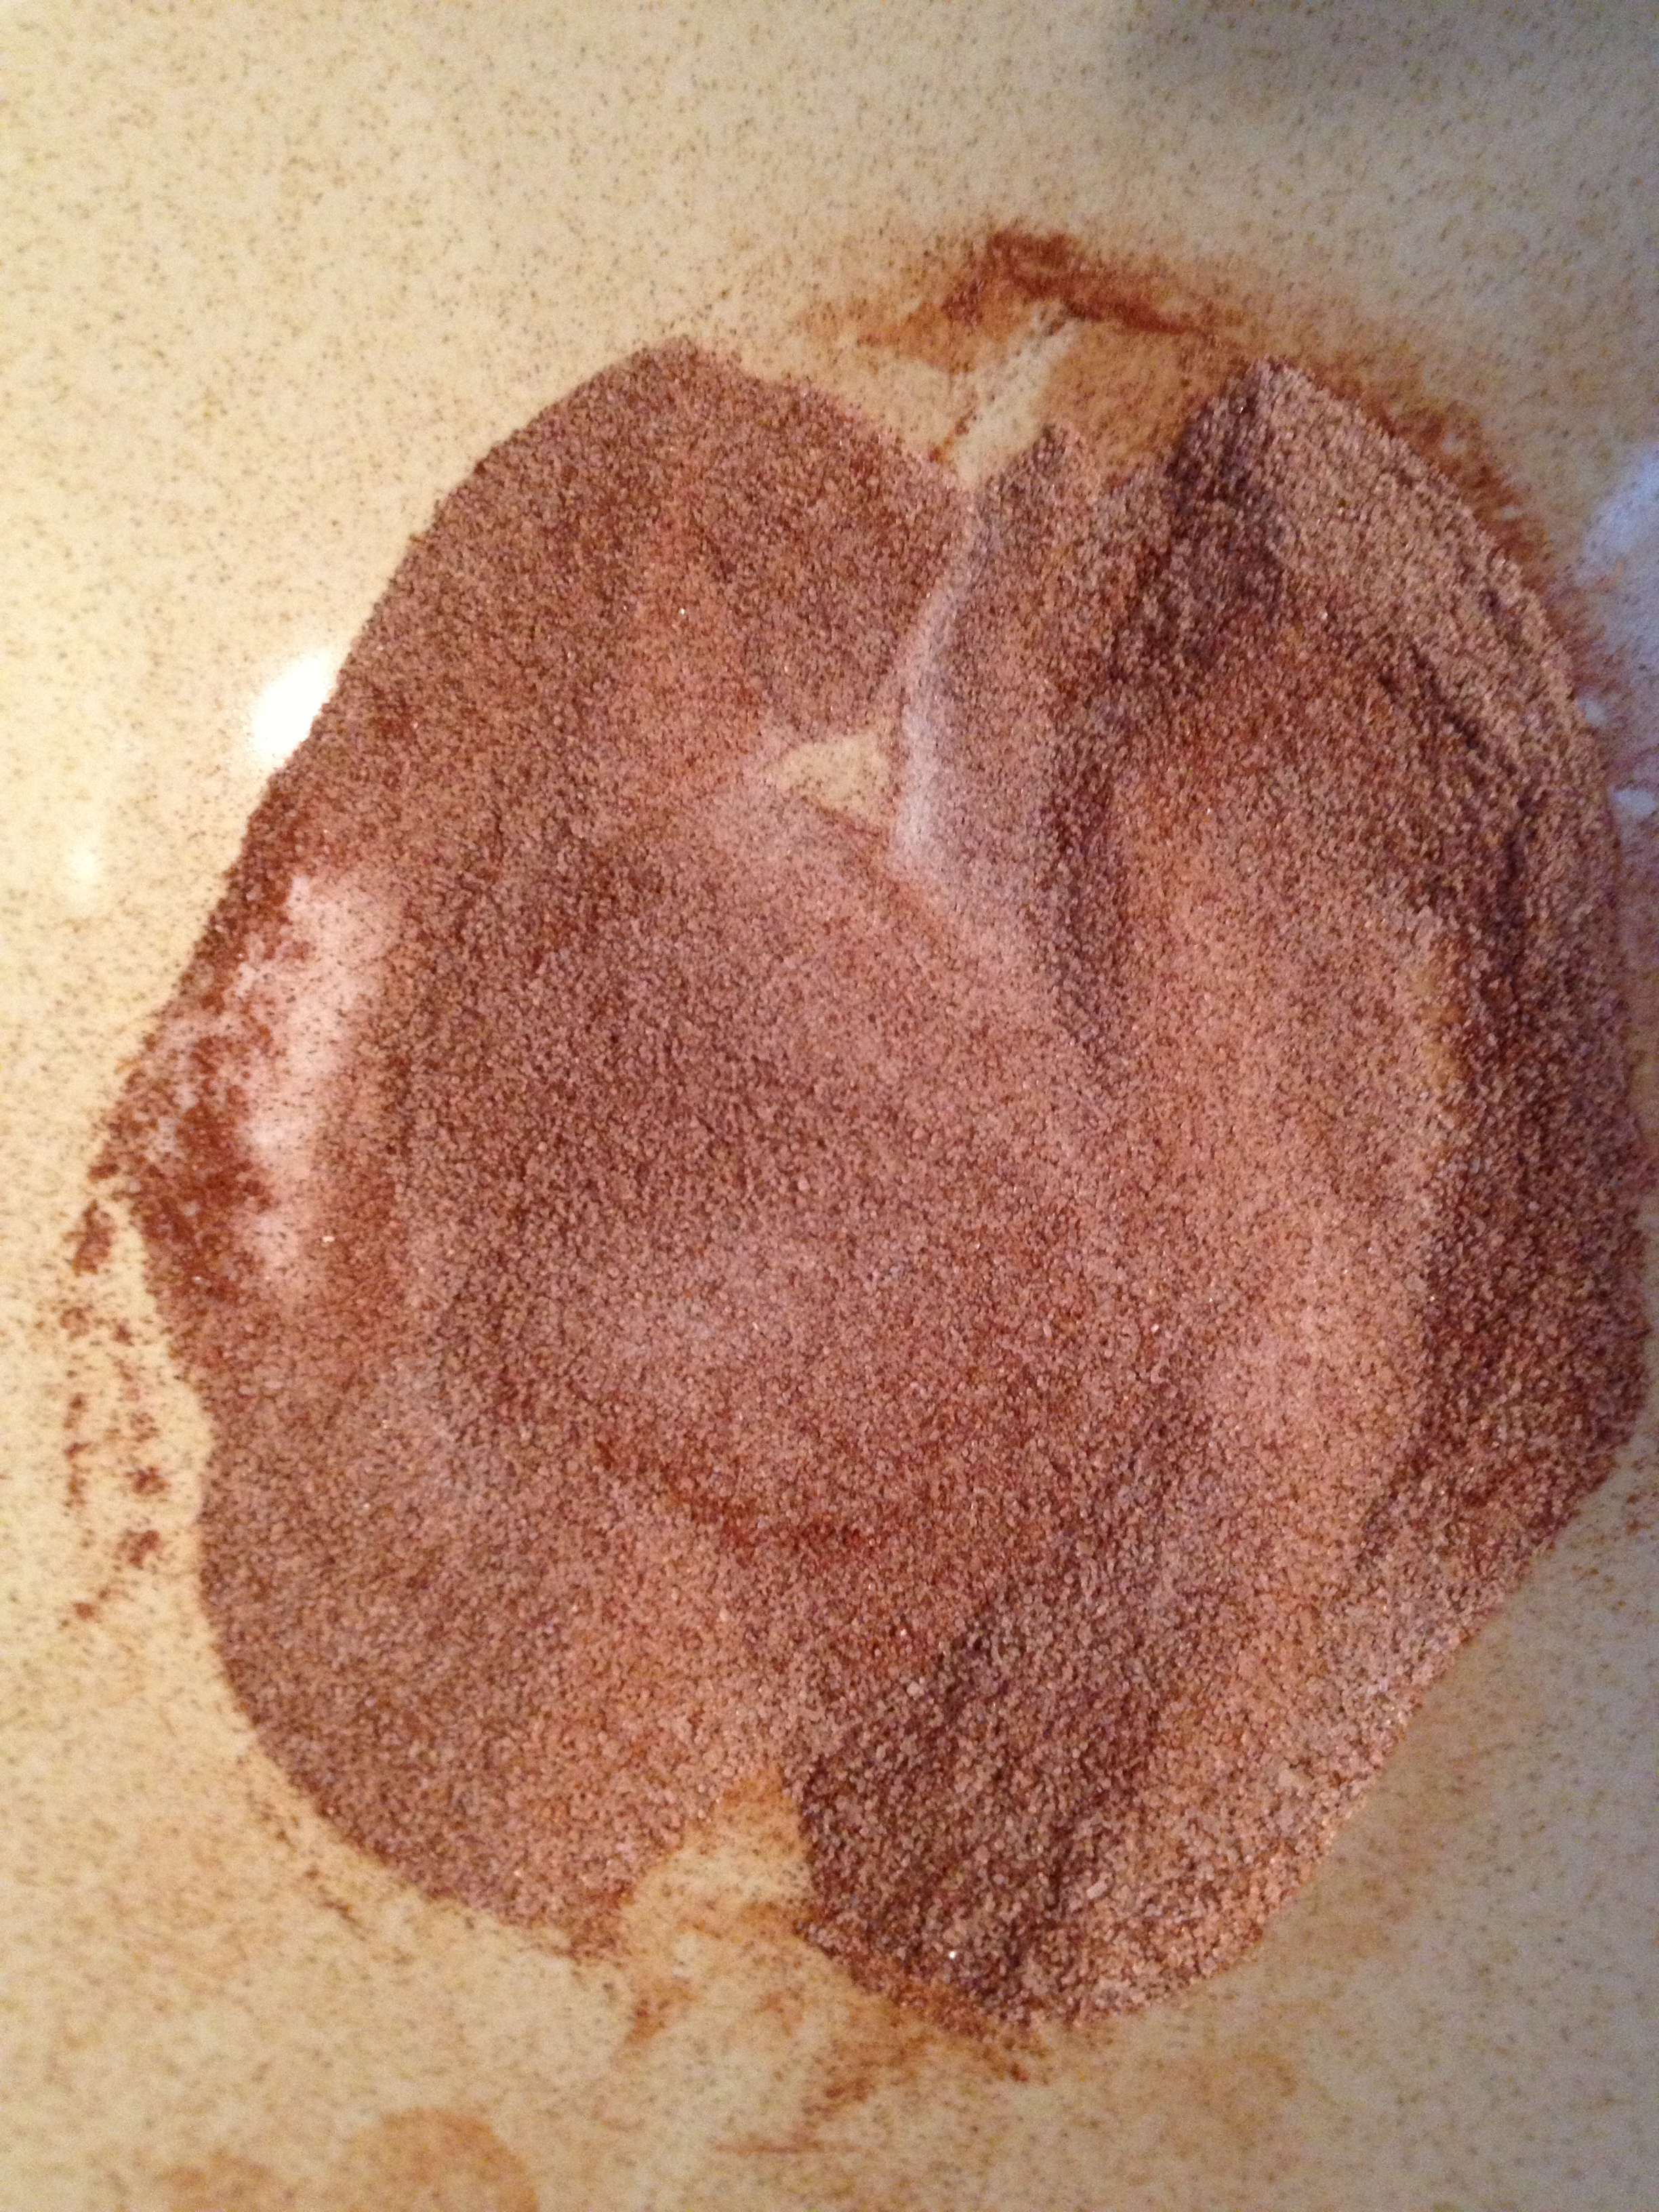
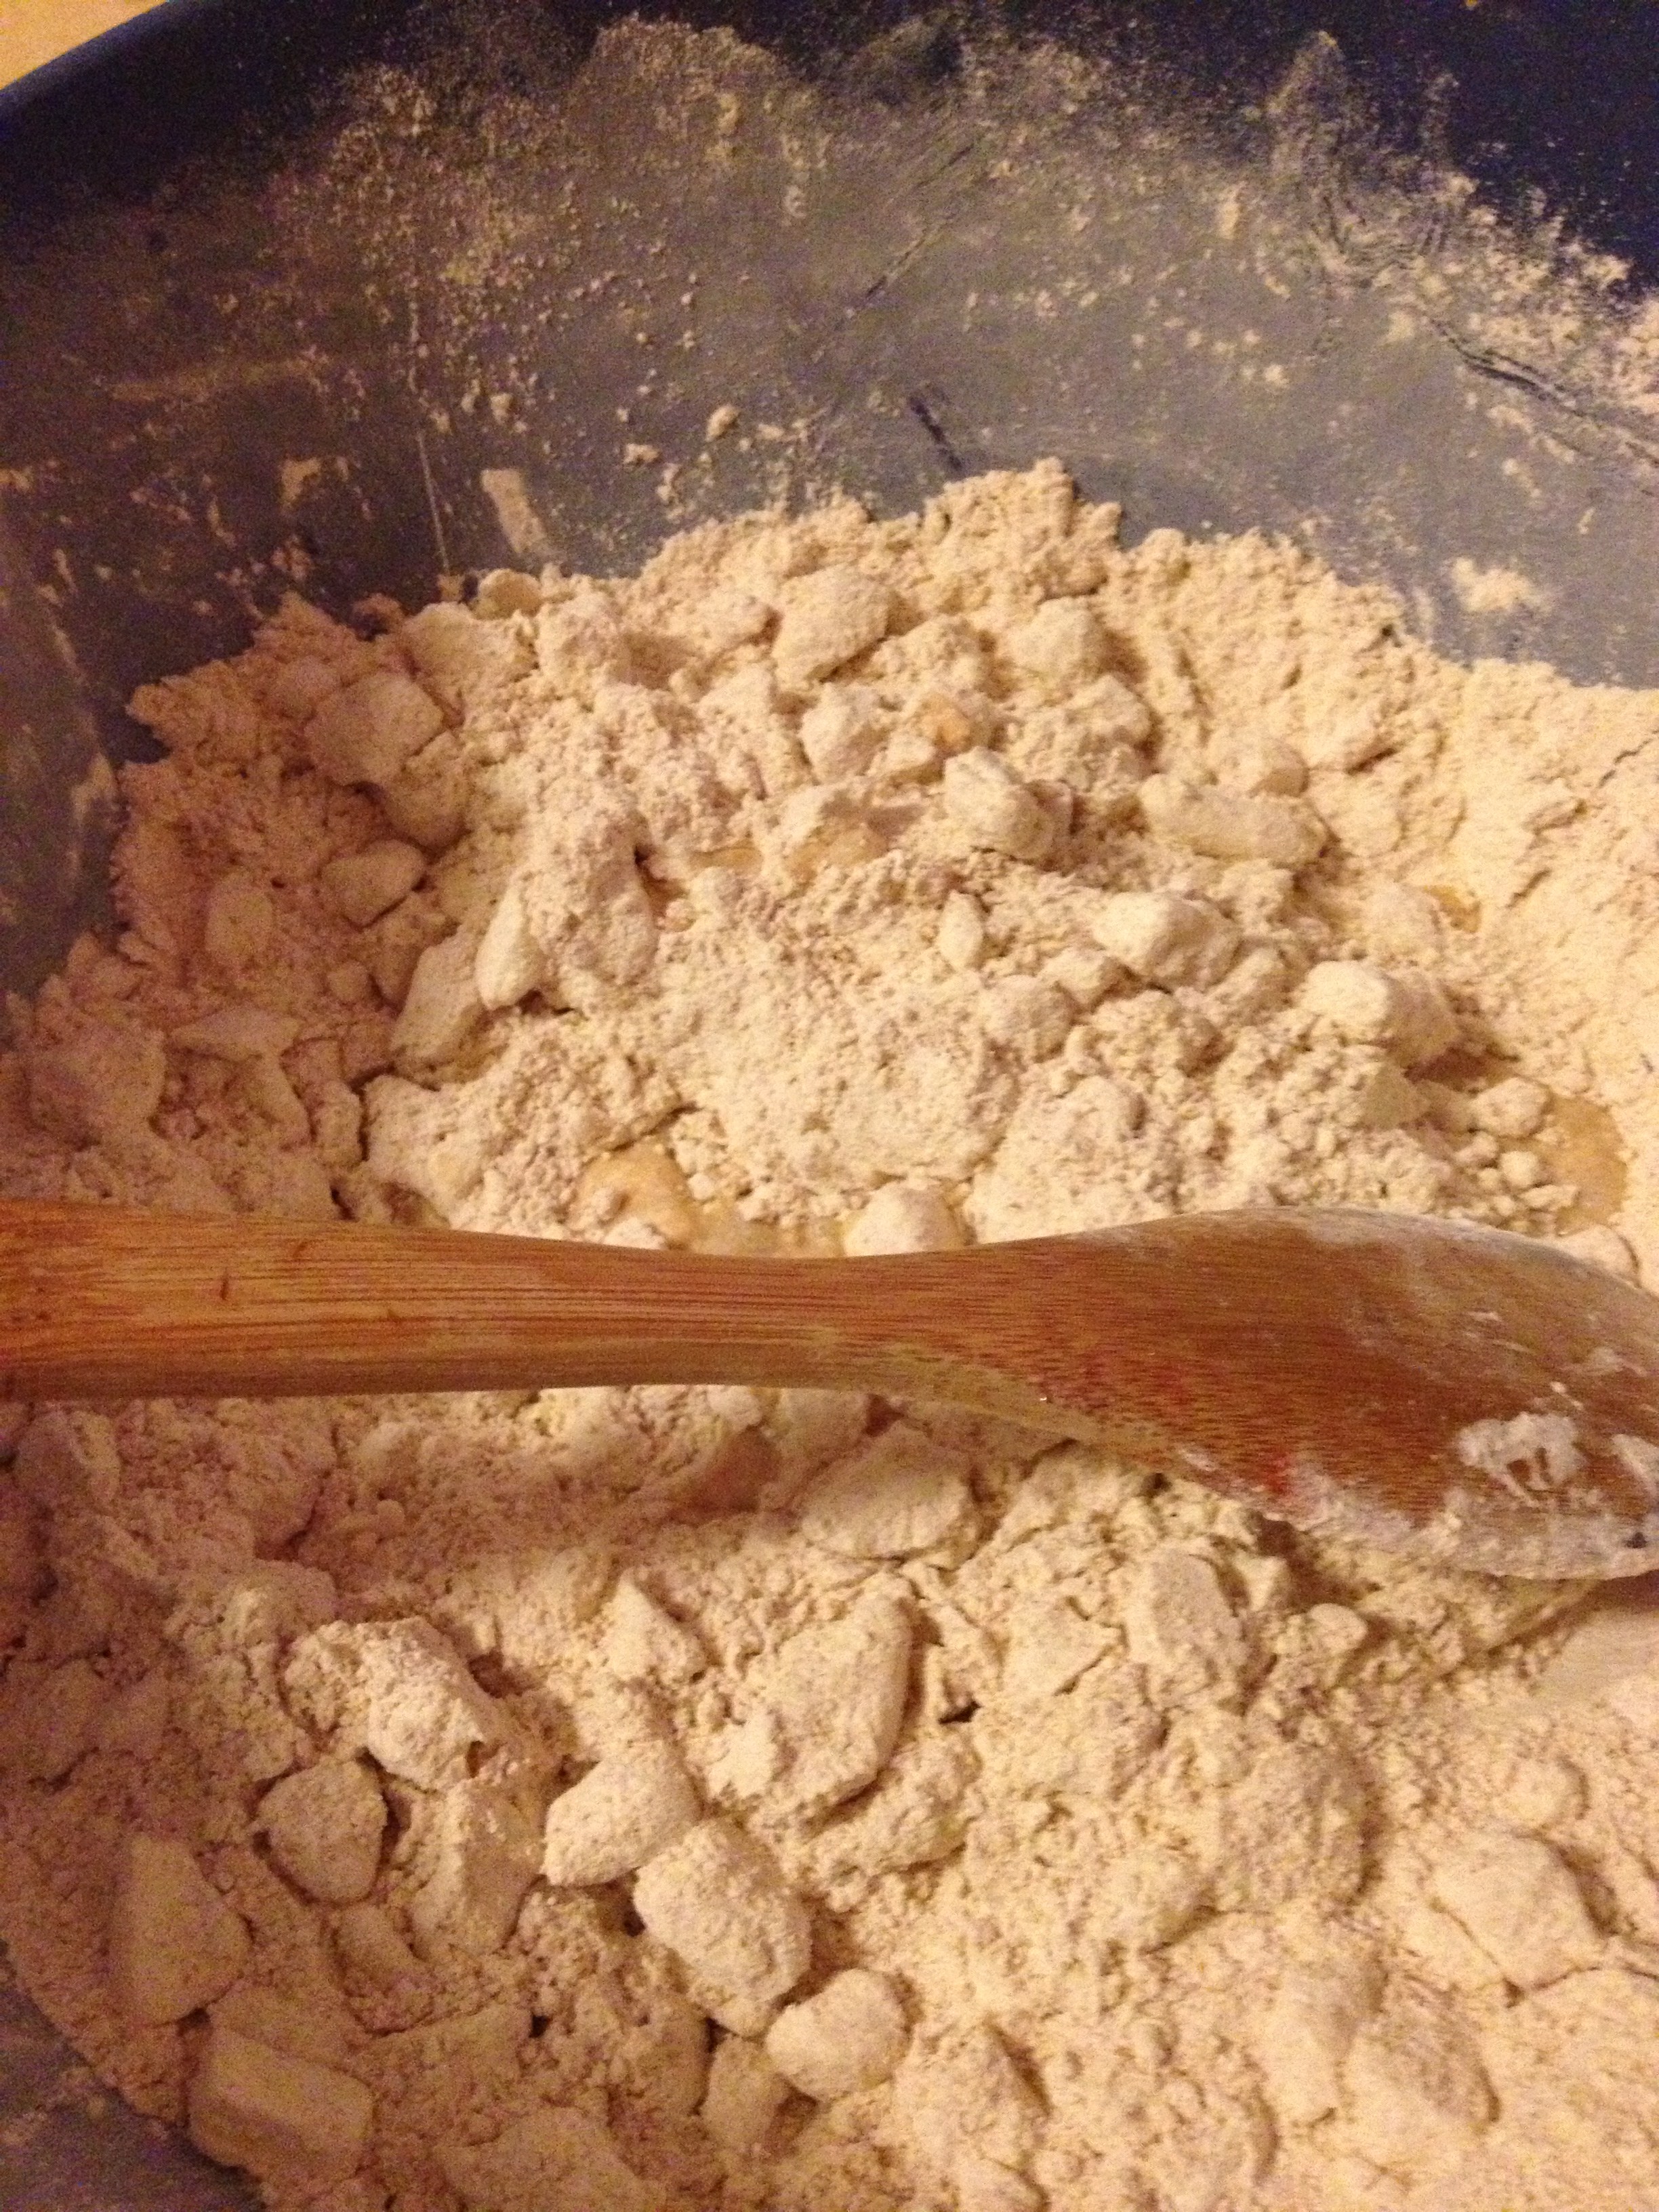
Start with the dry…
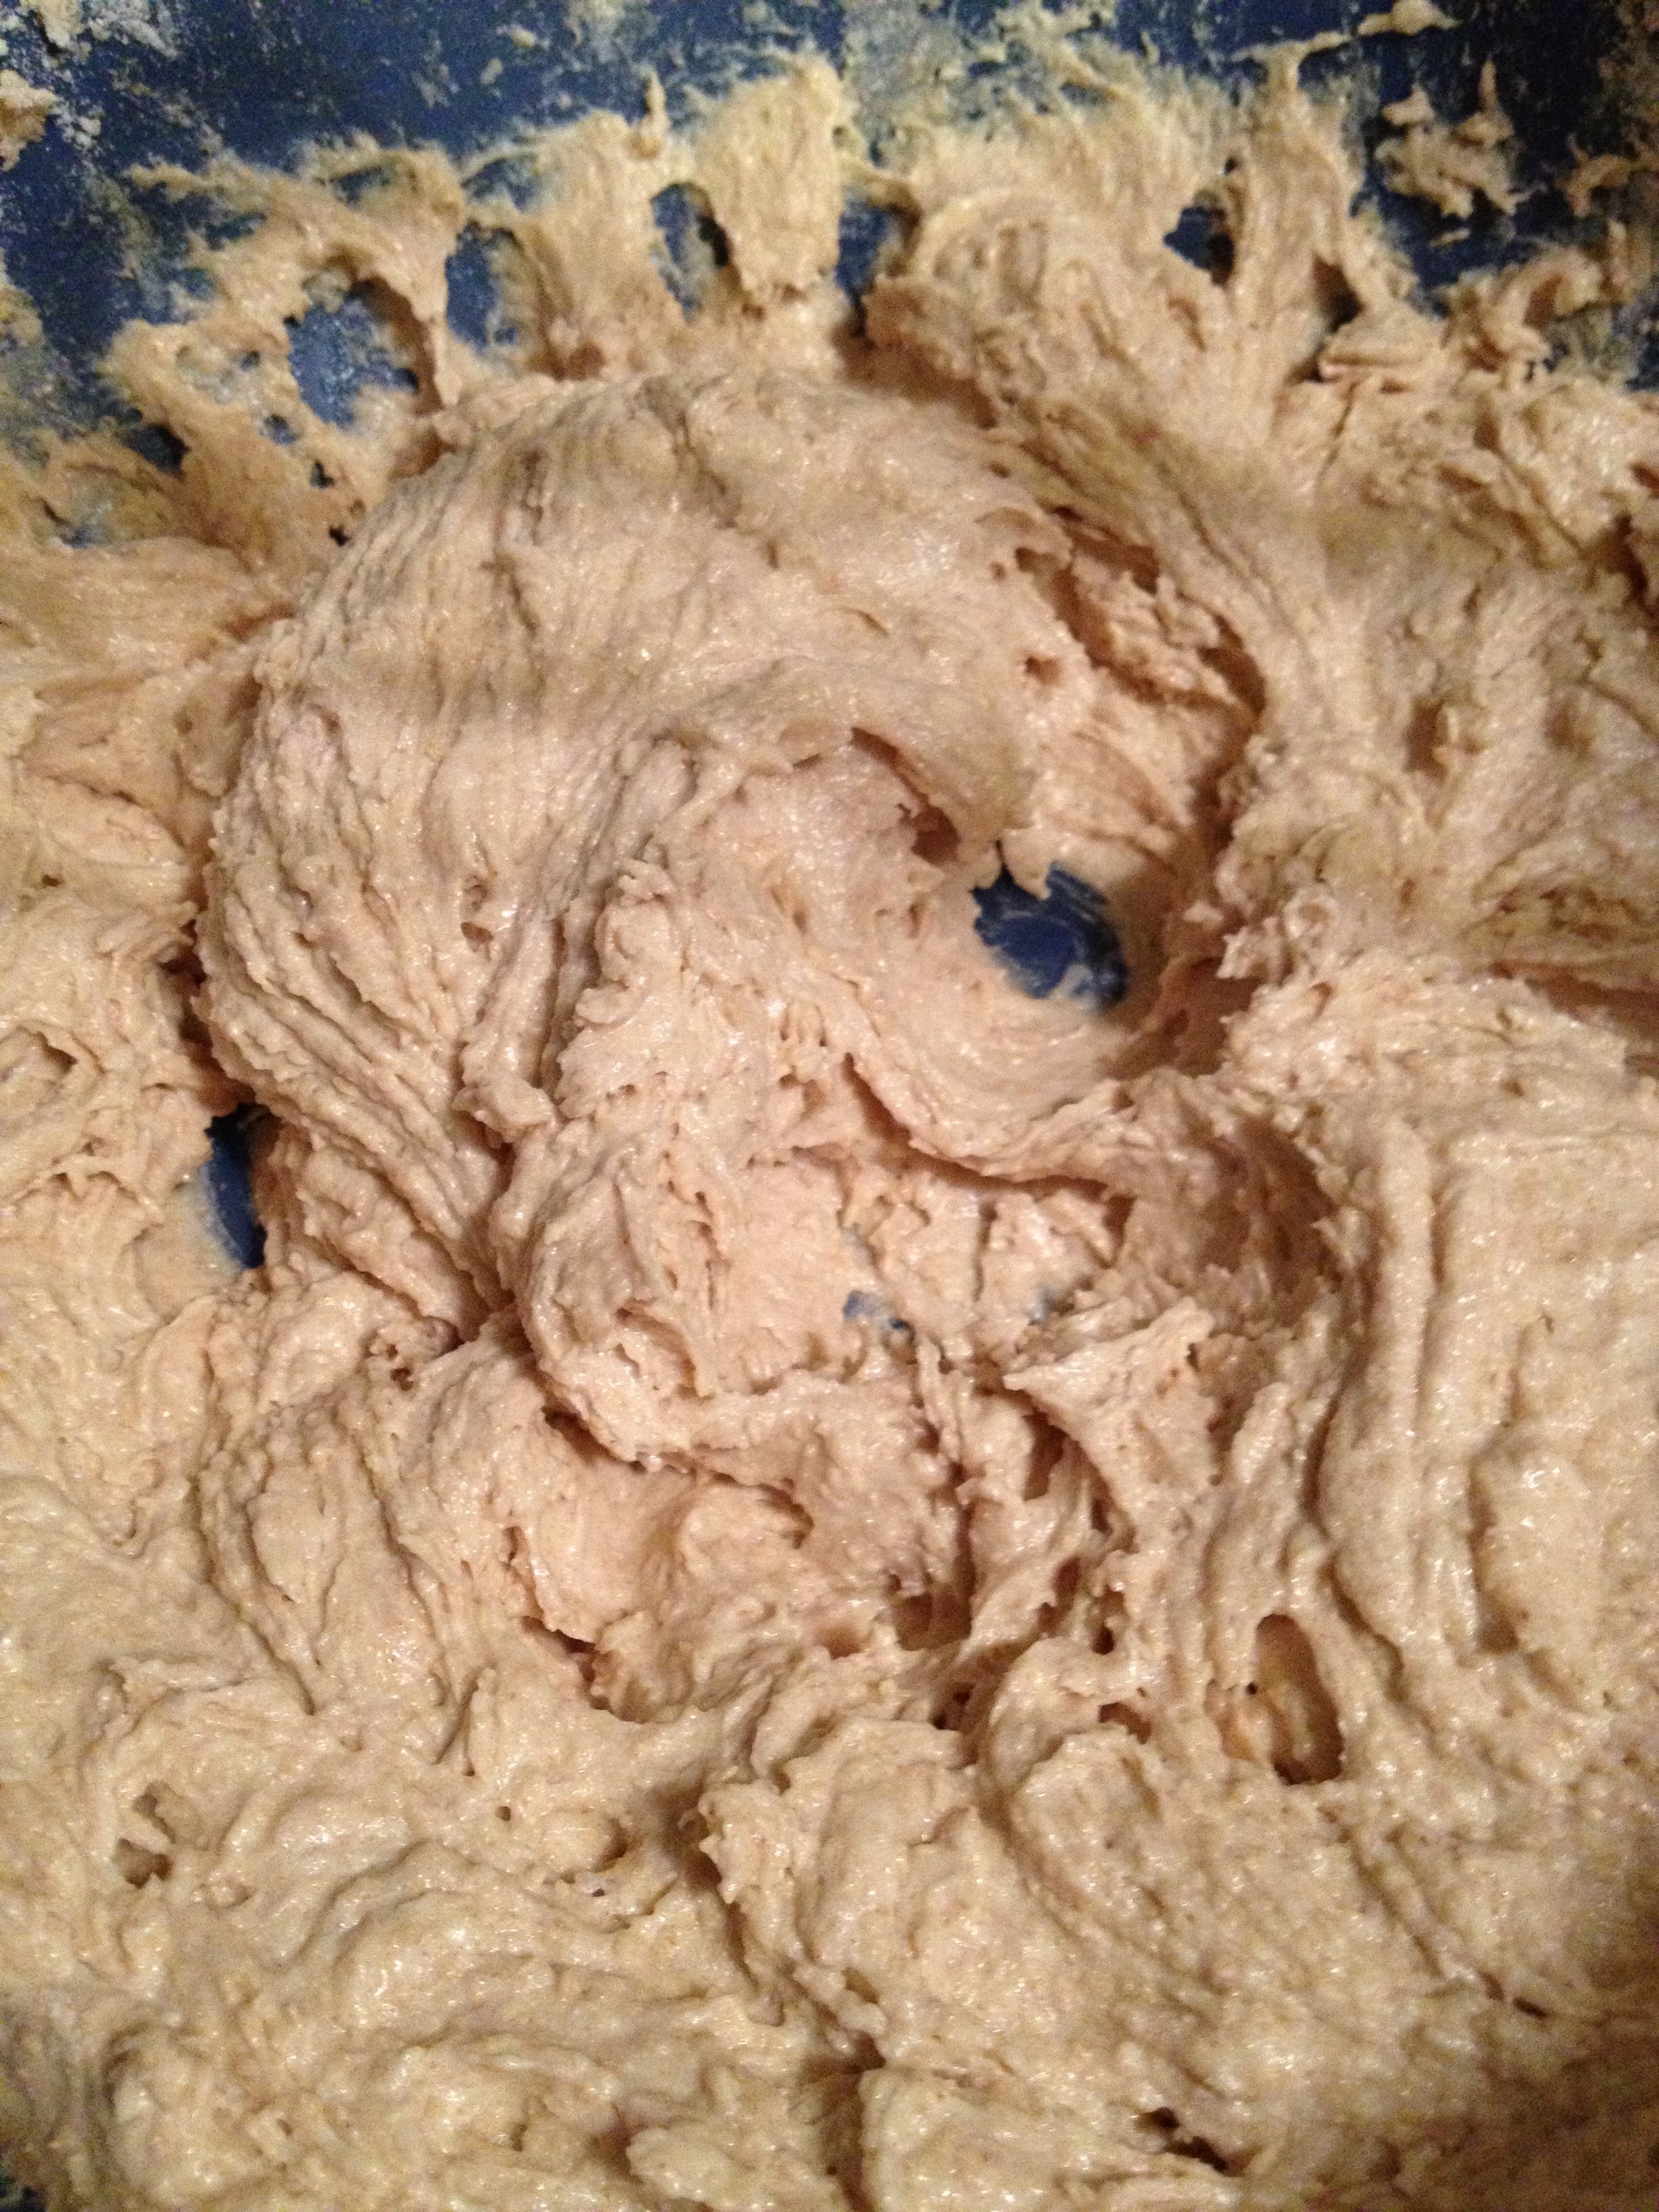
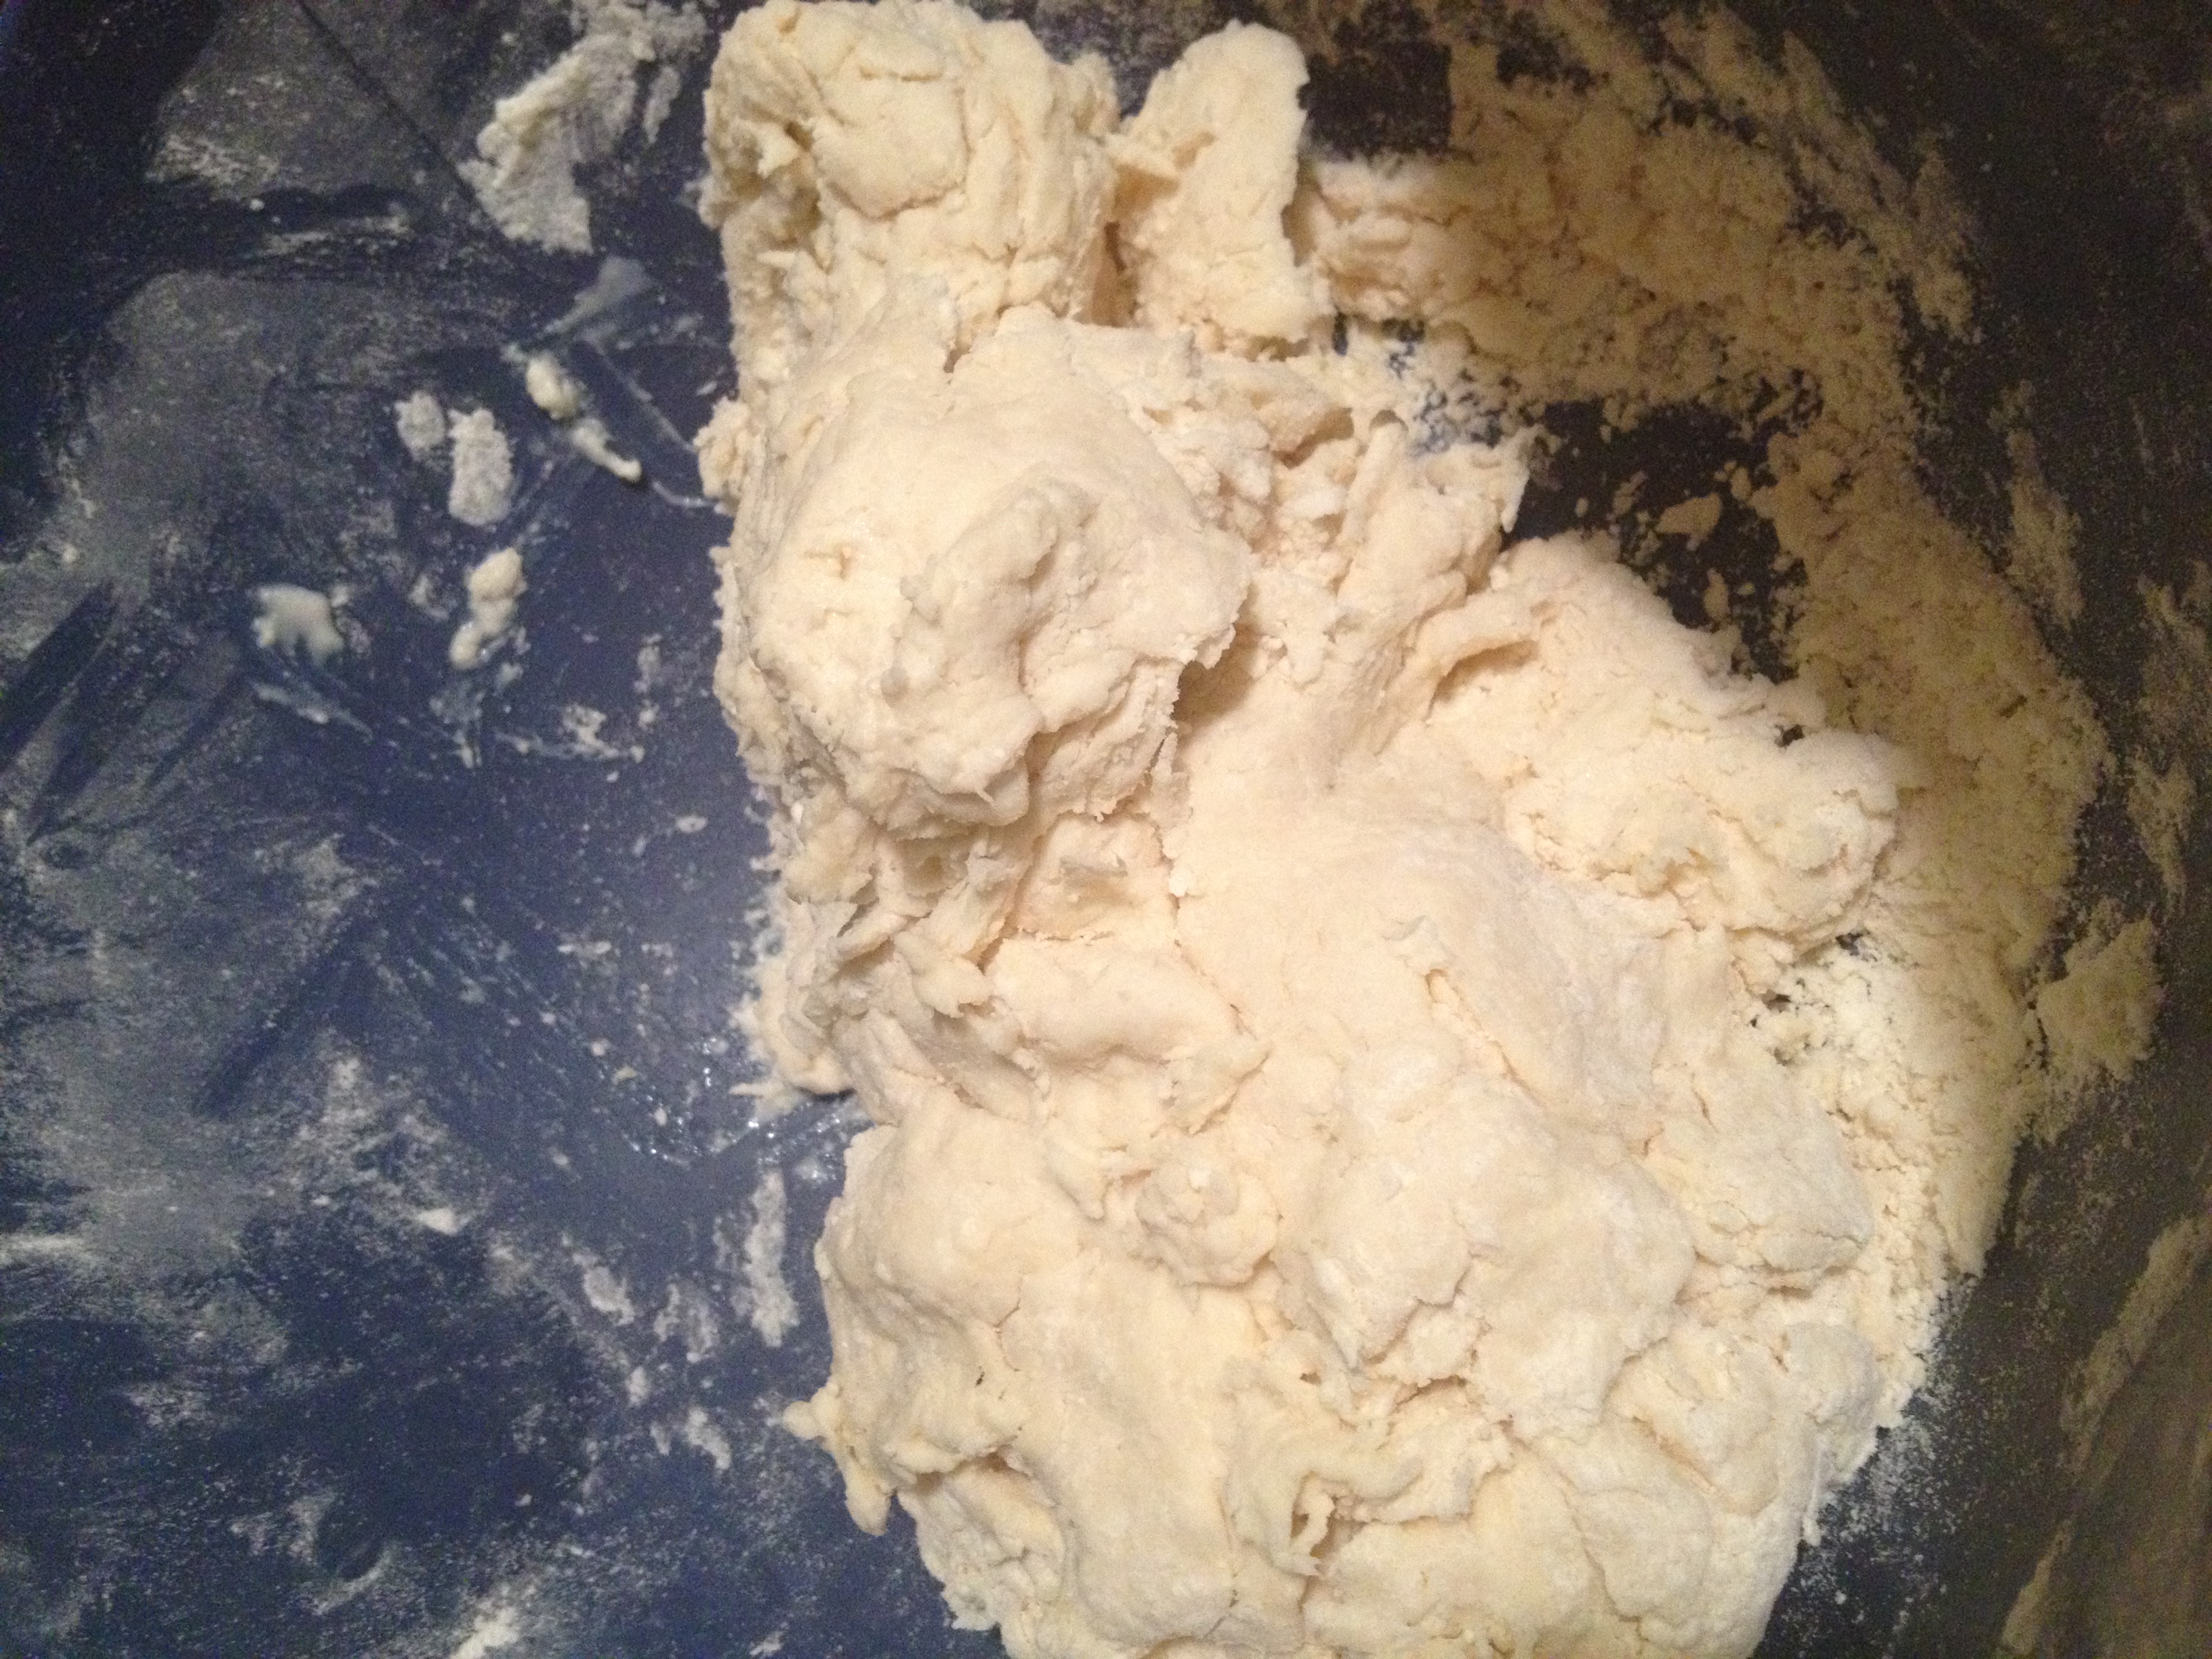
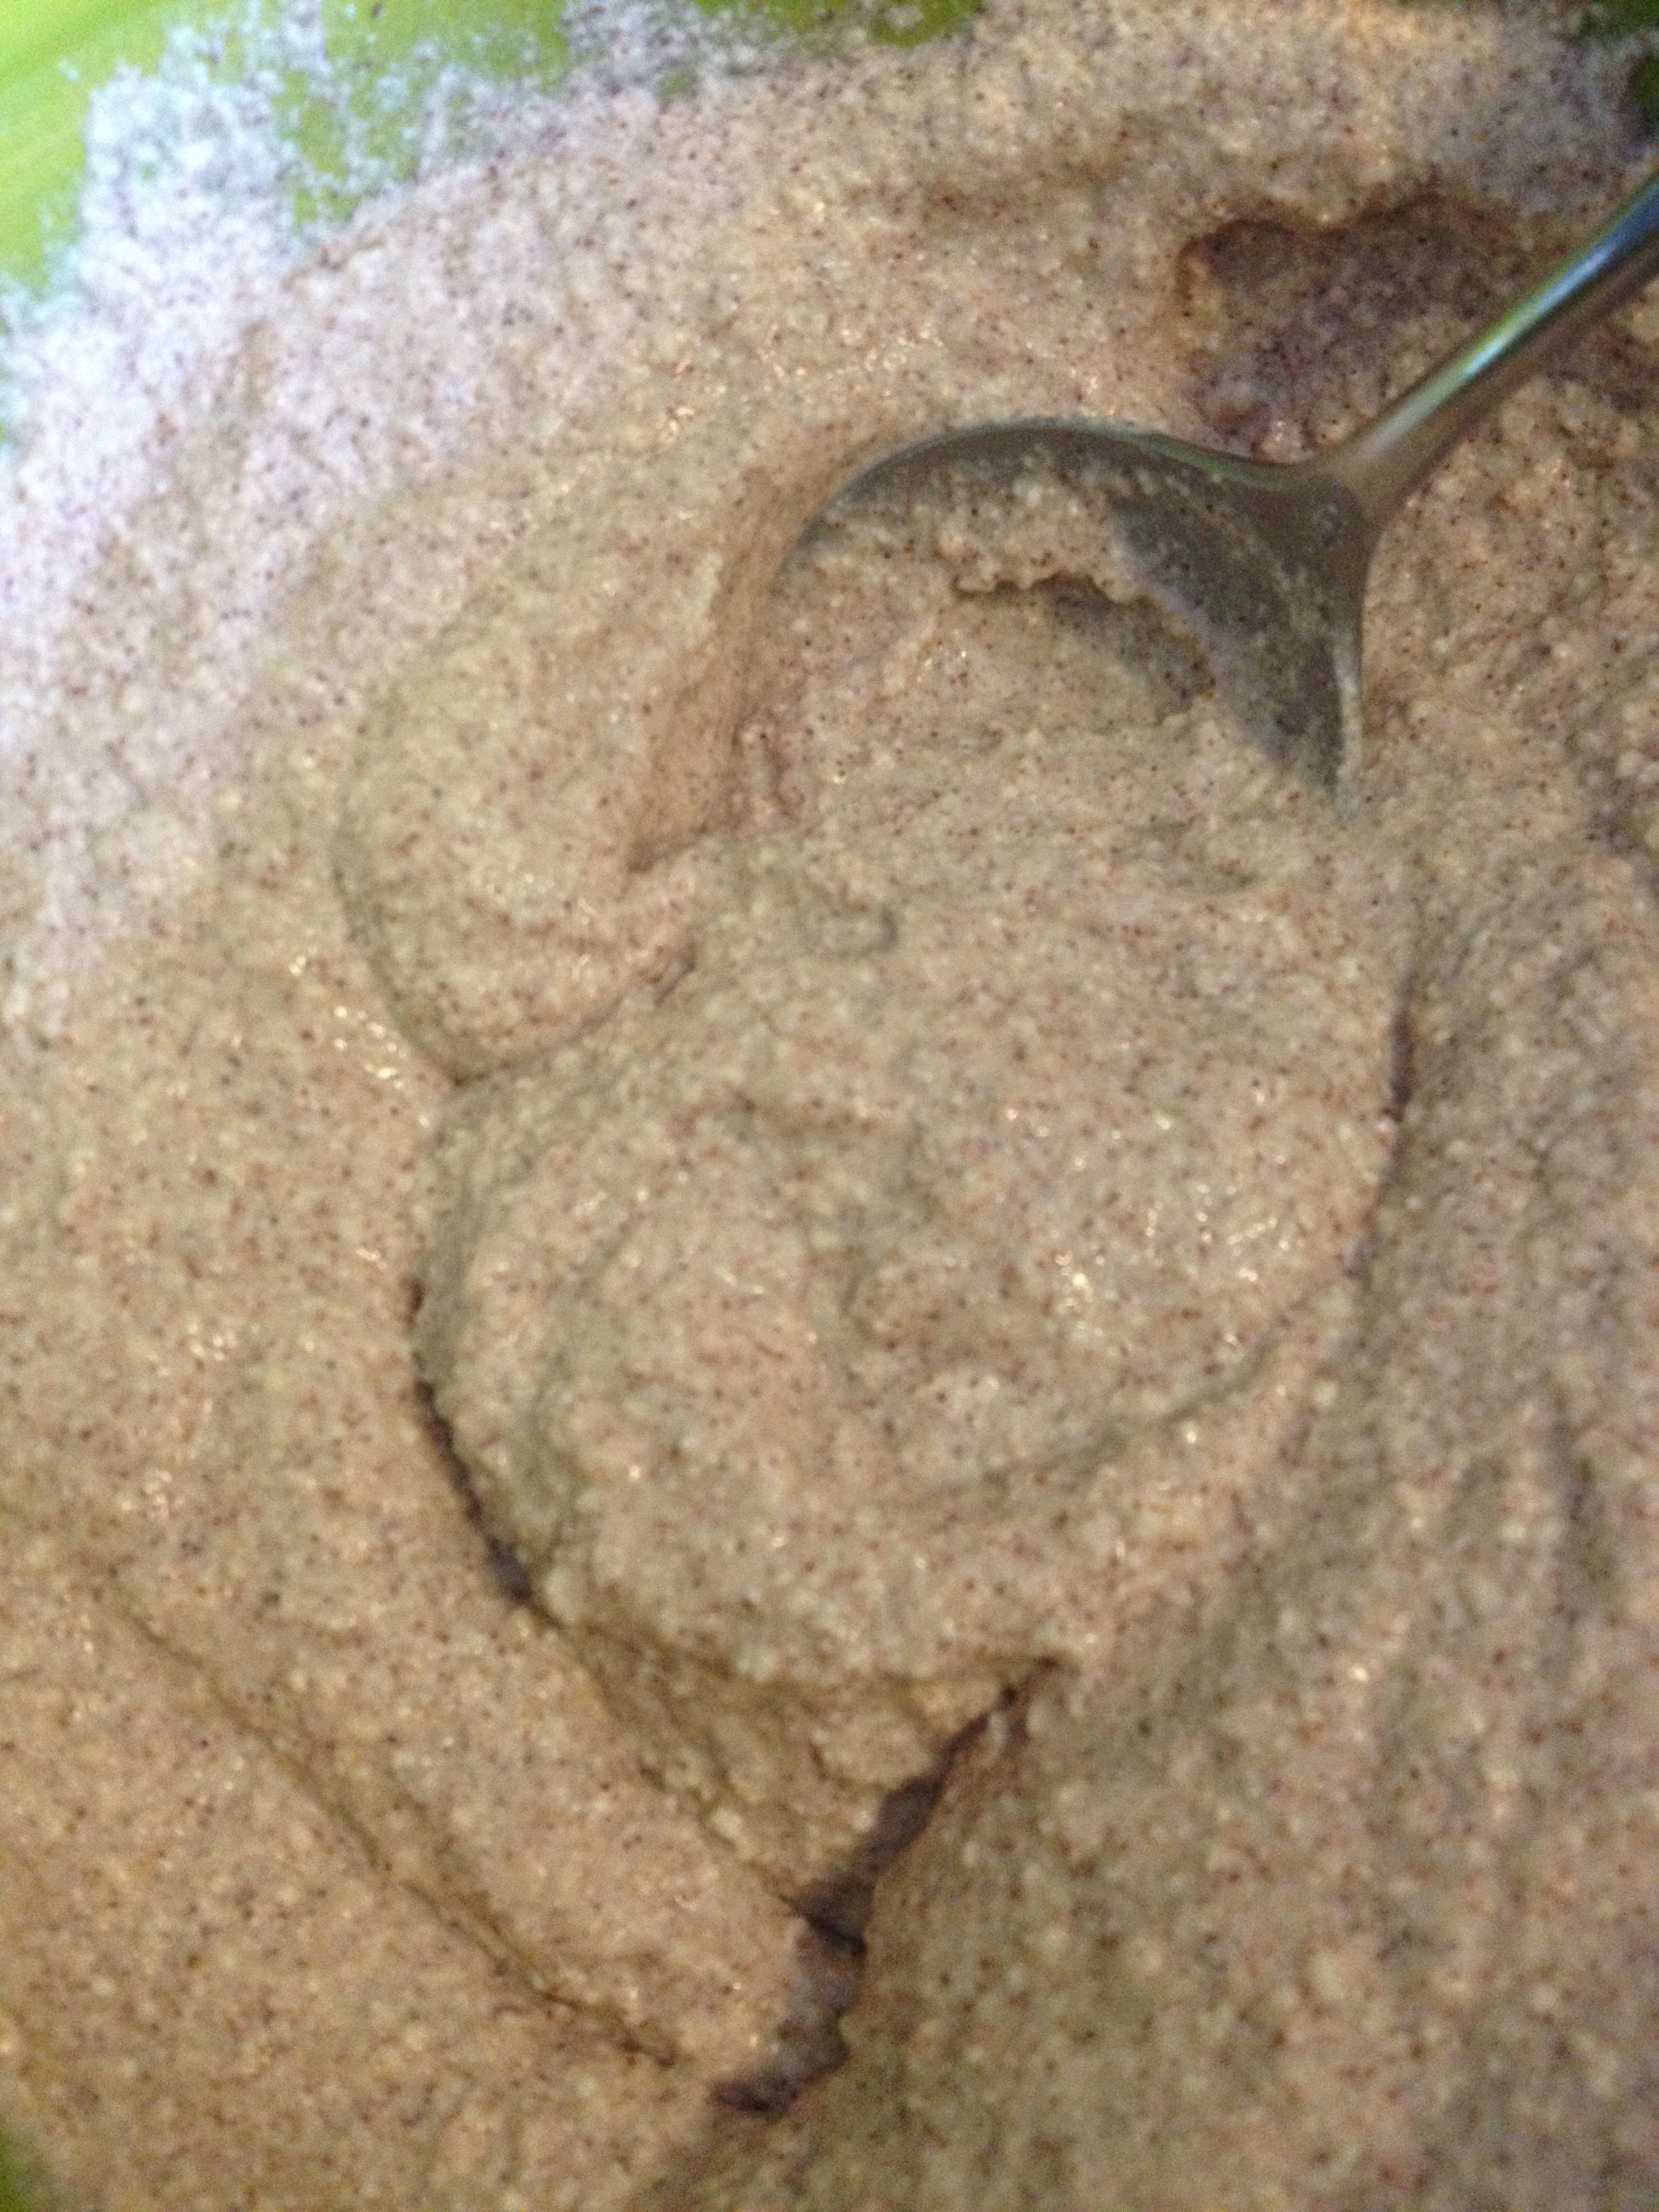
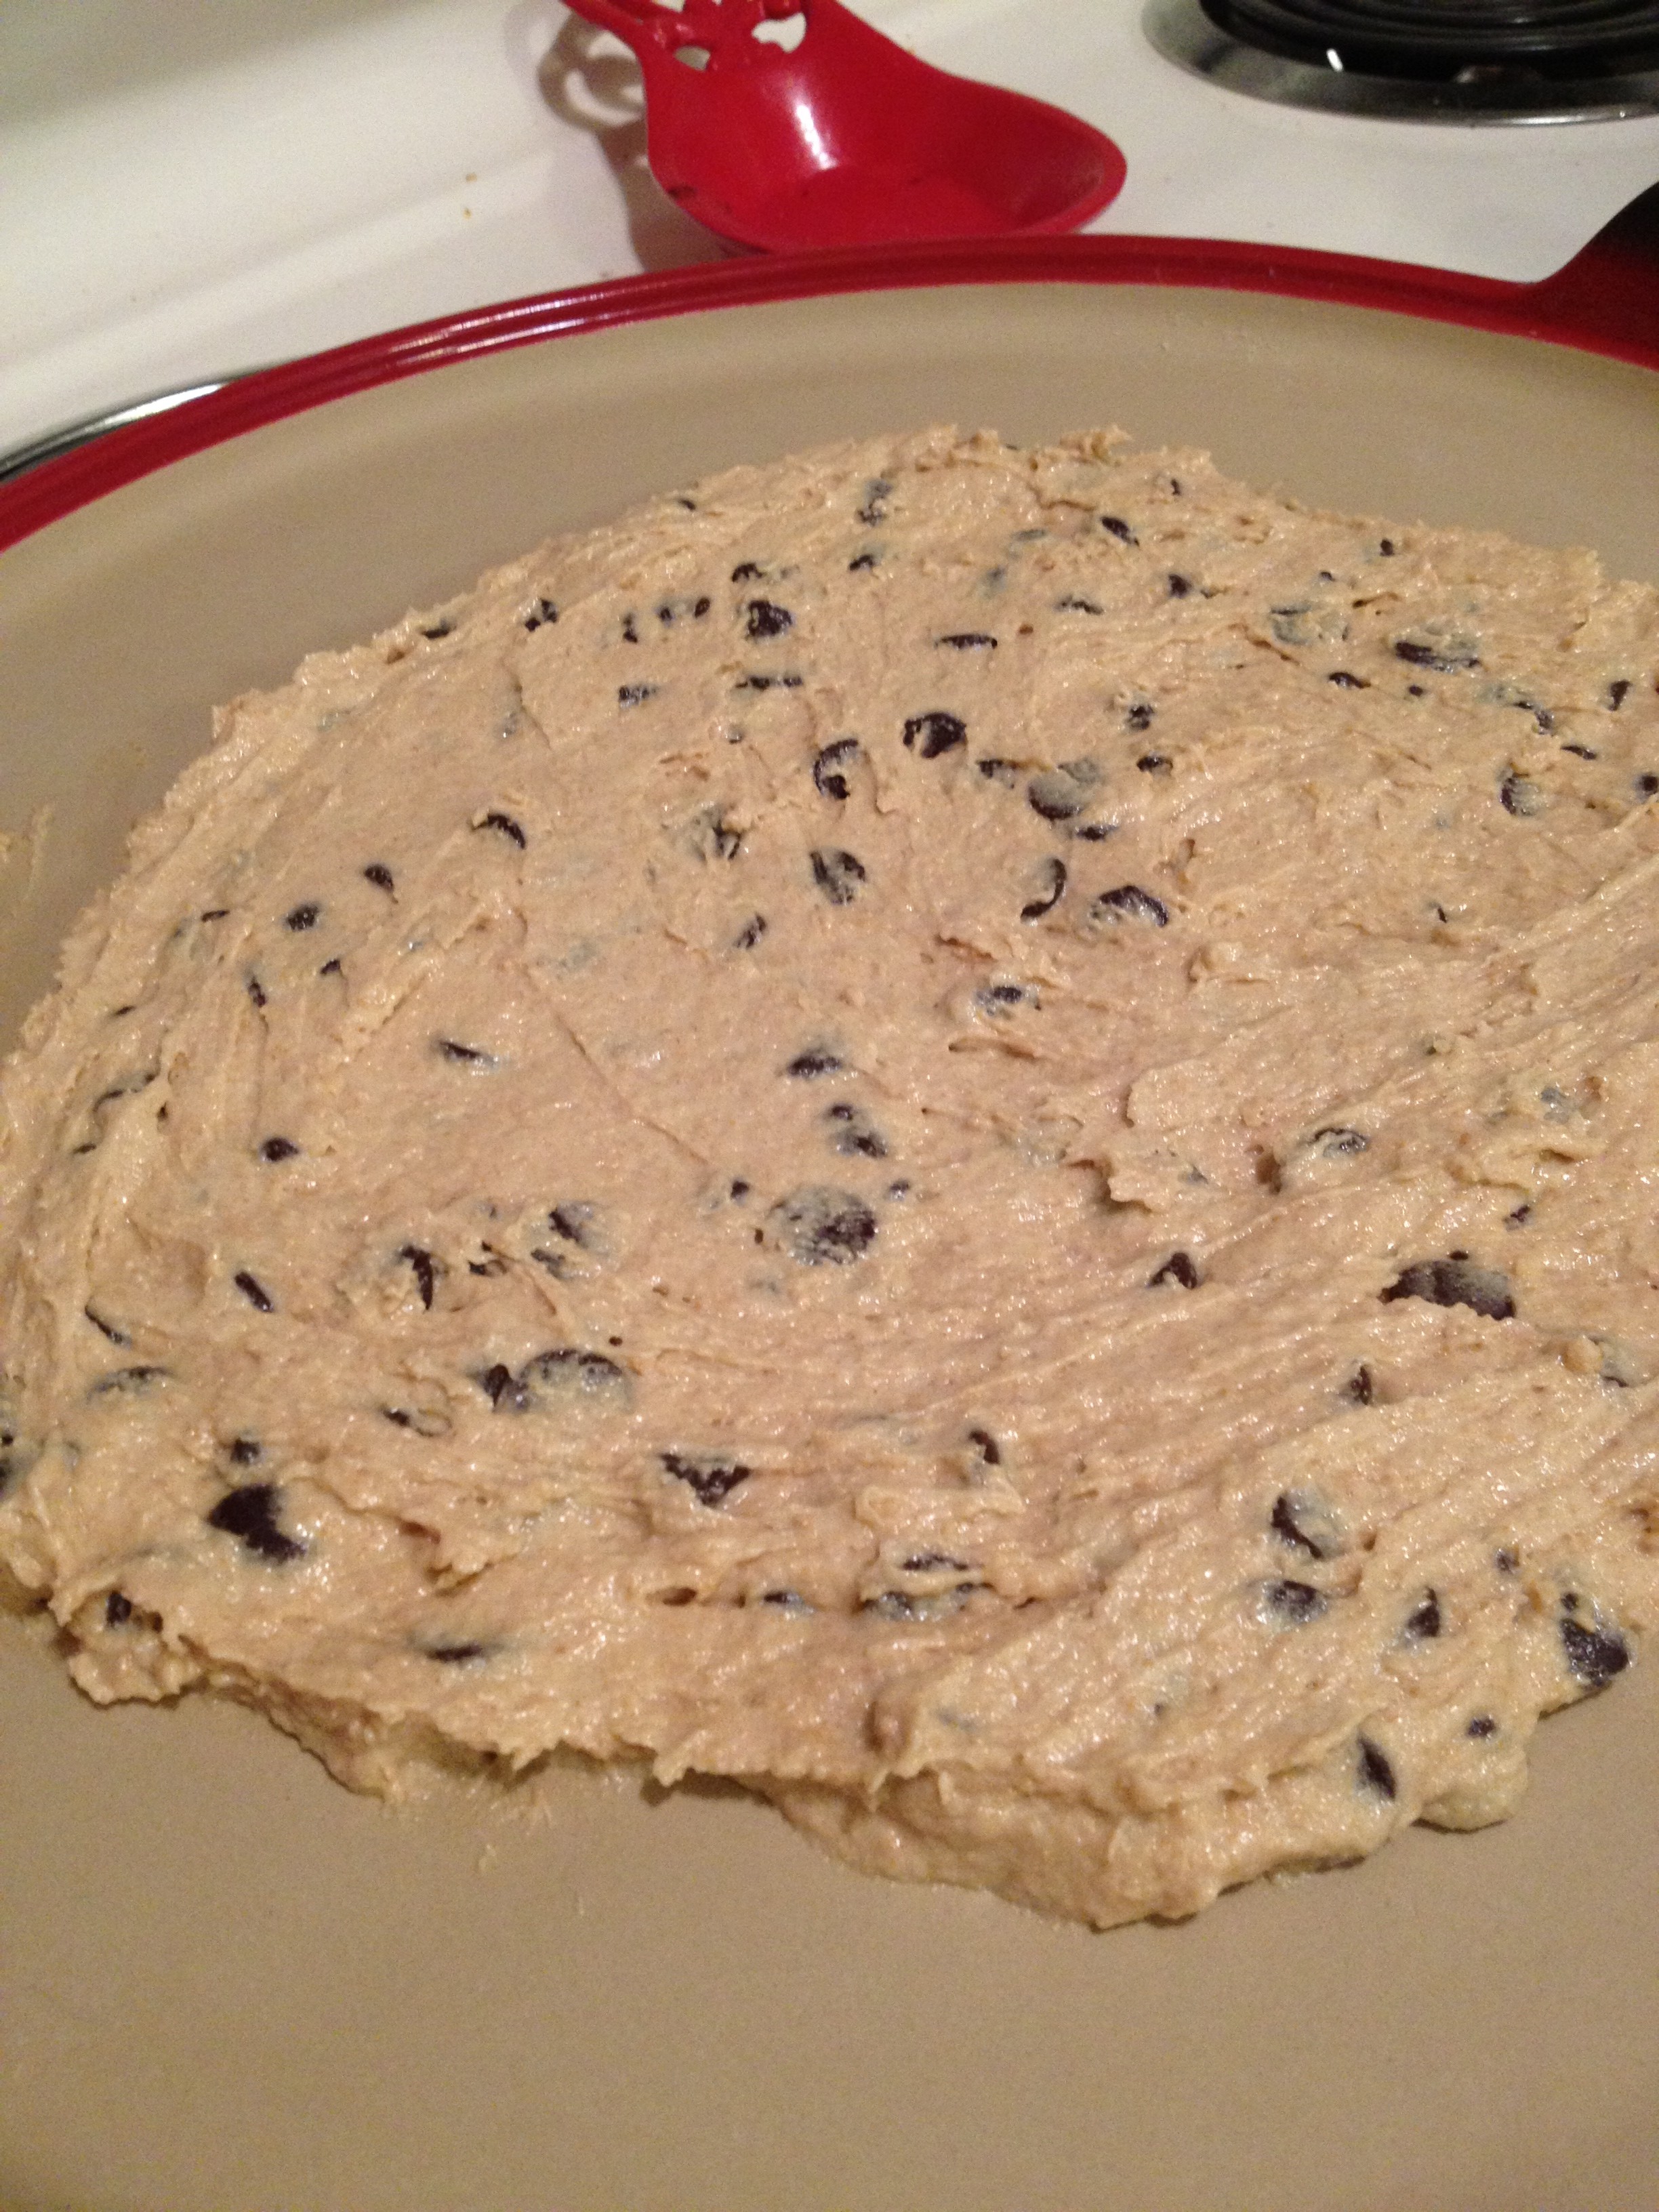
Fold it all together


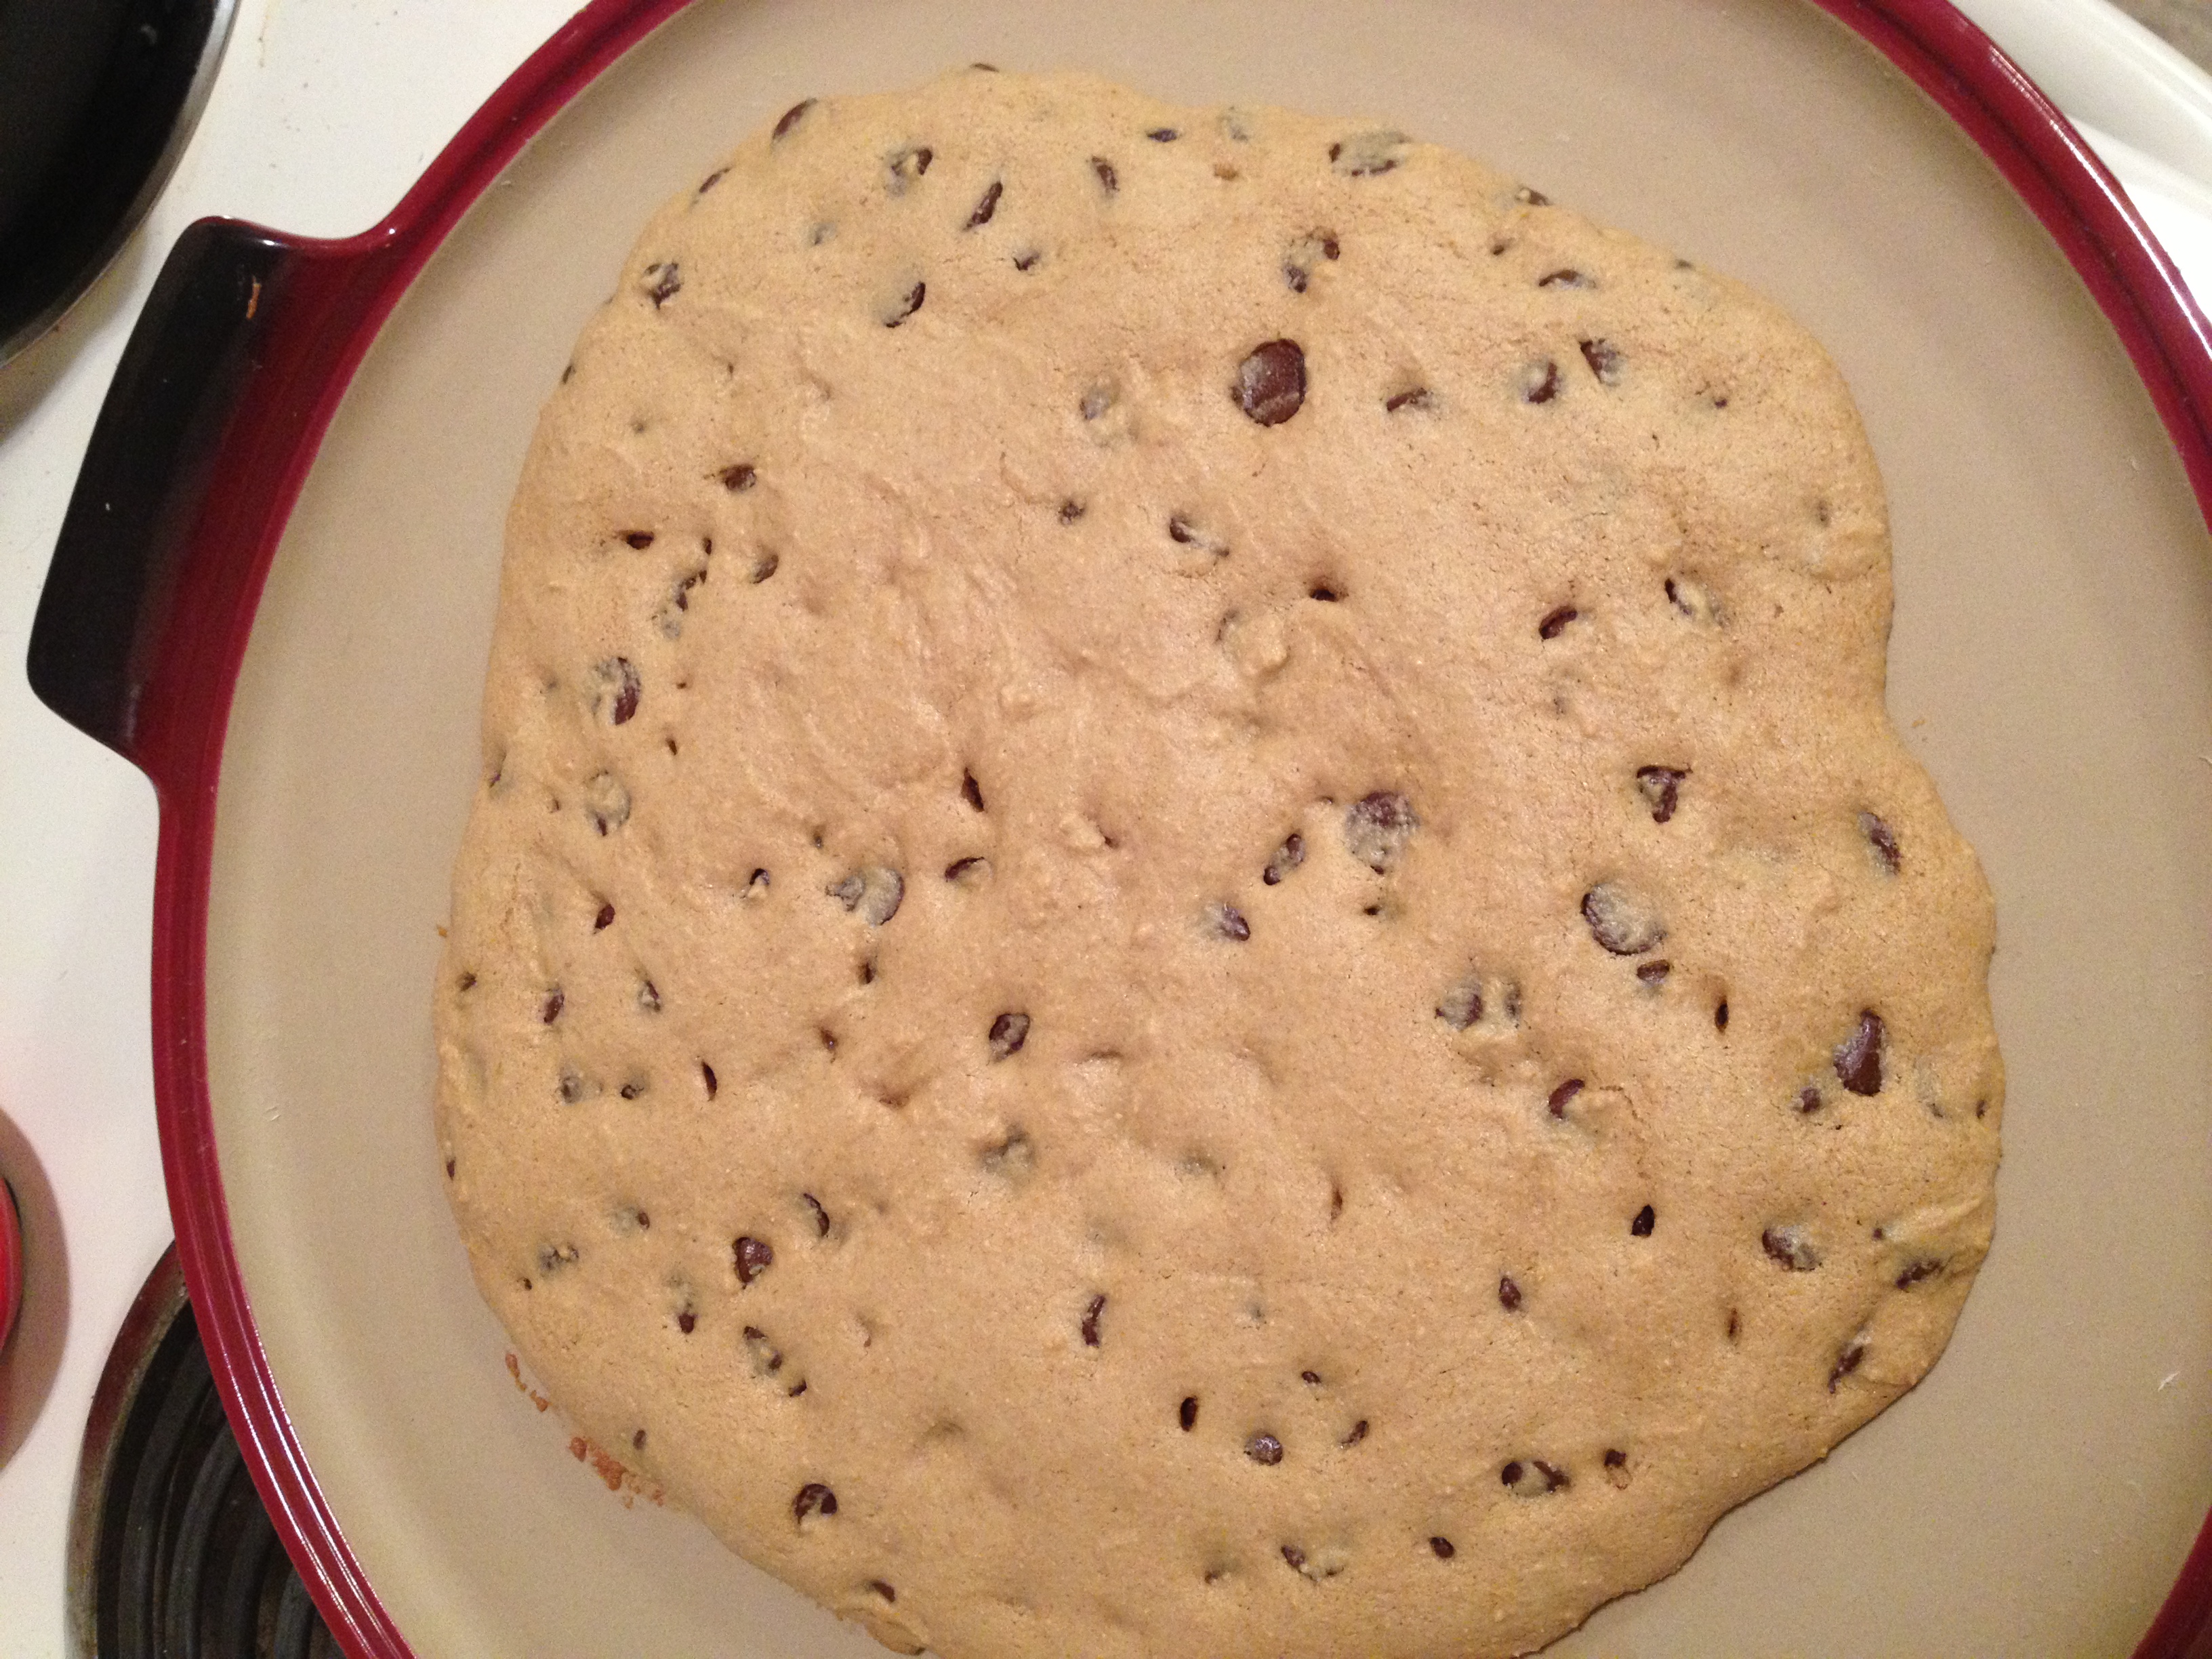


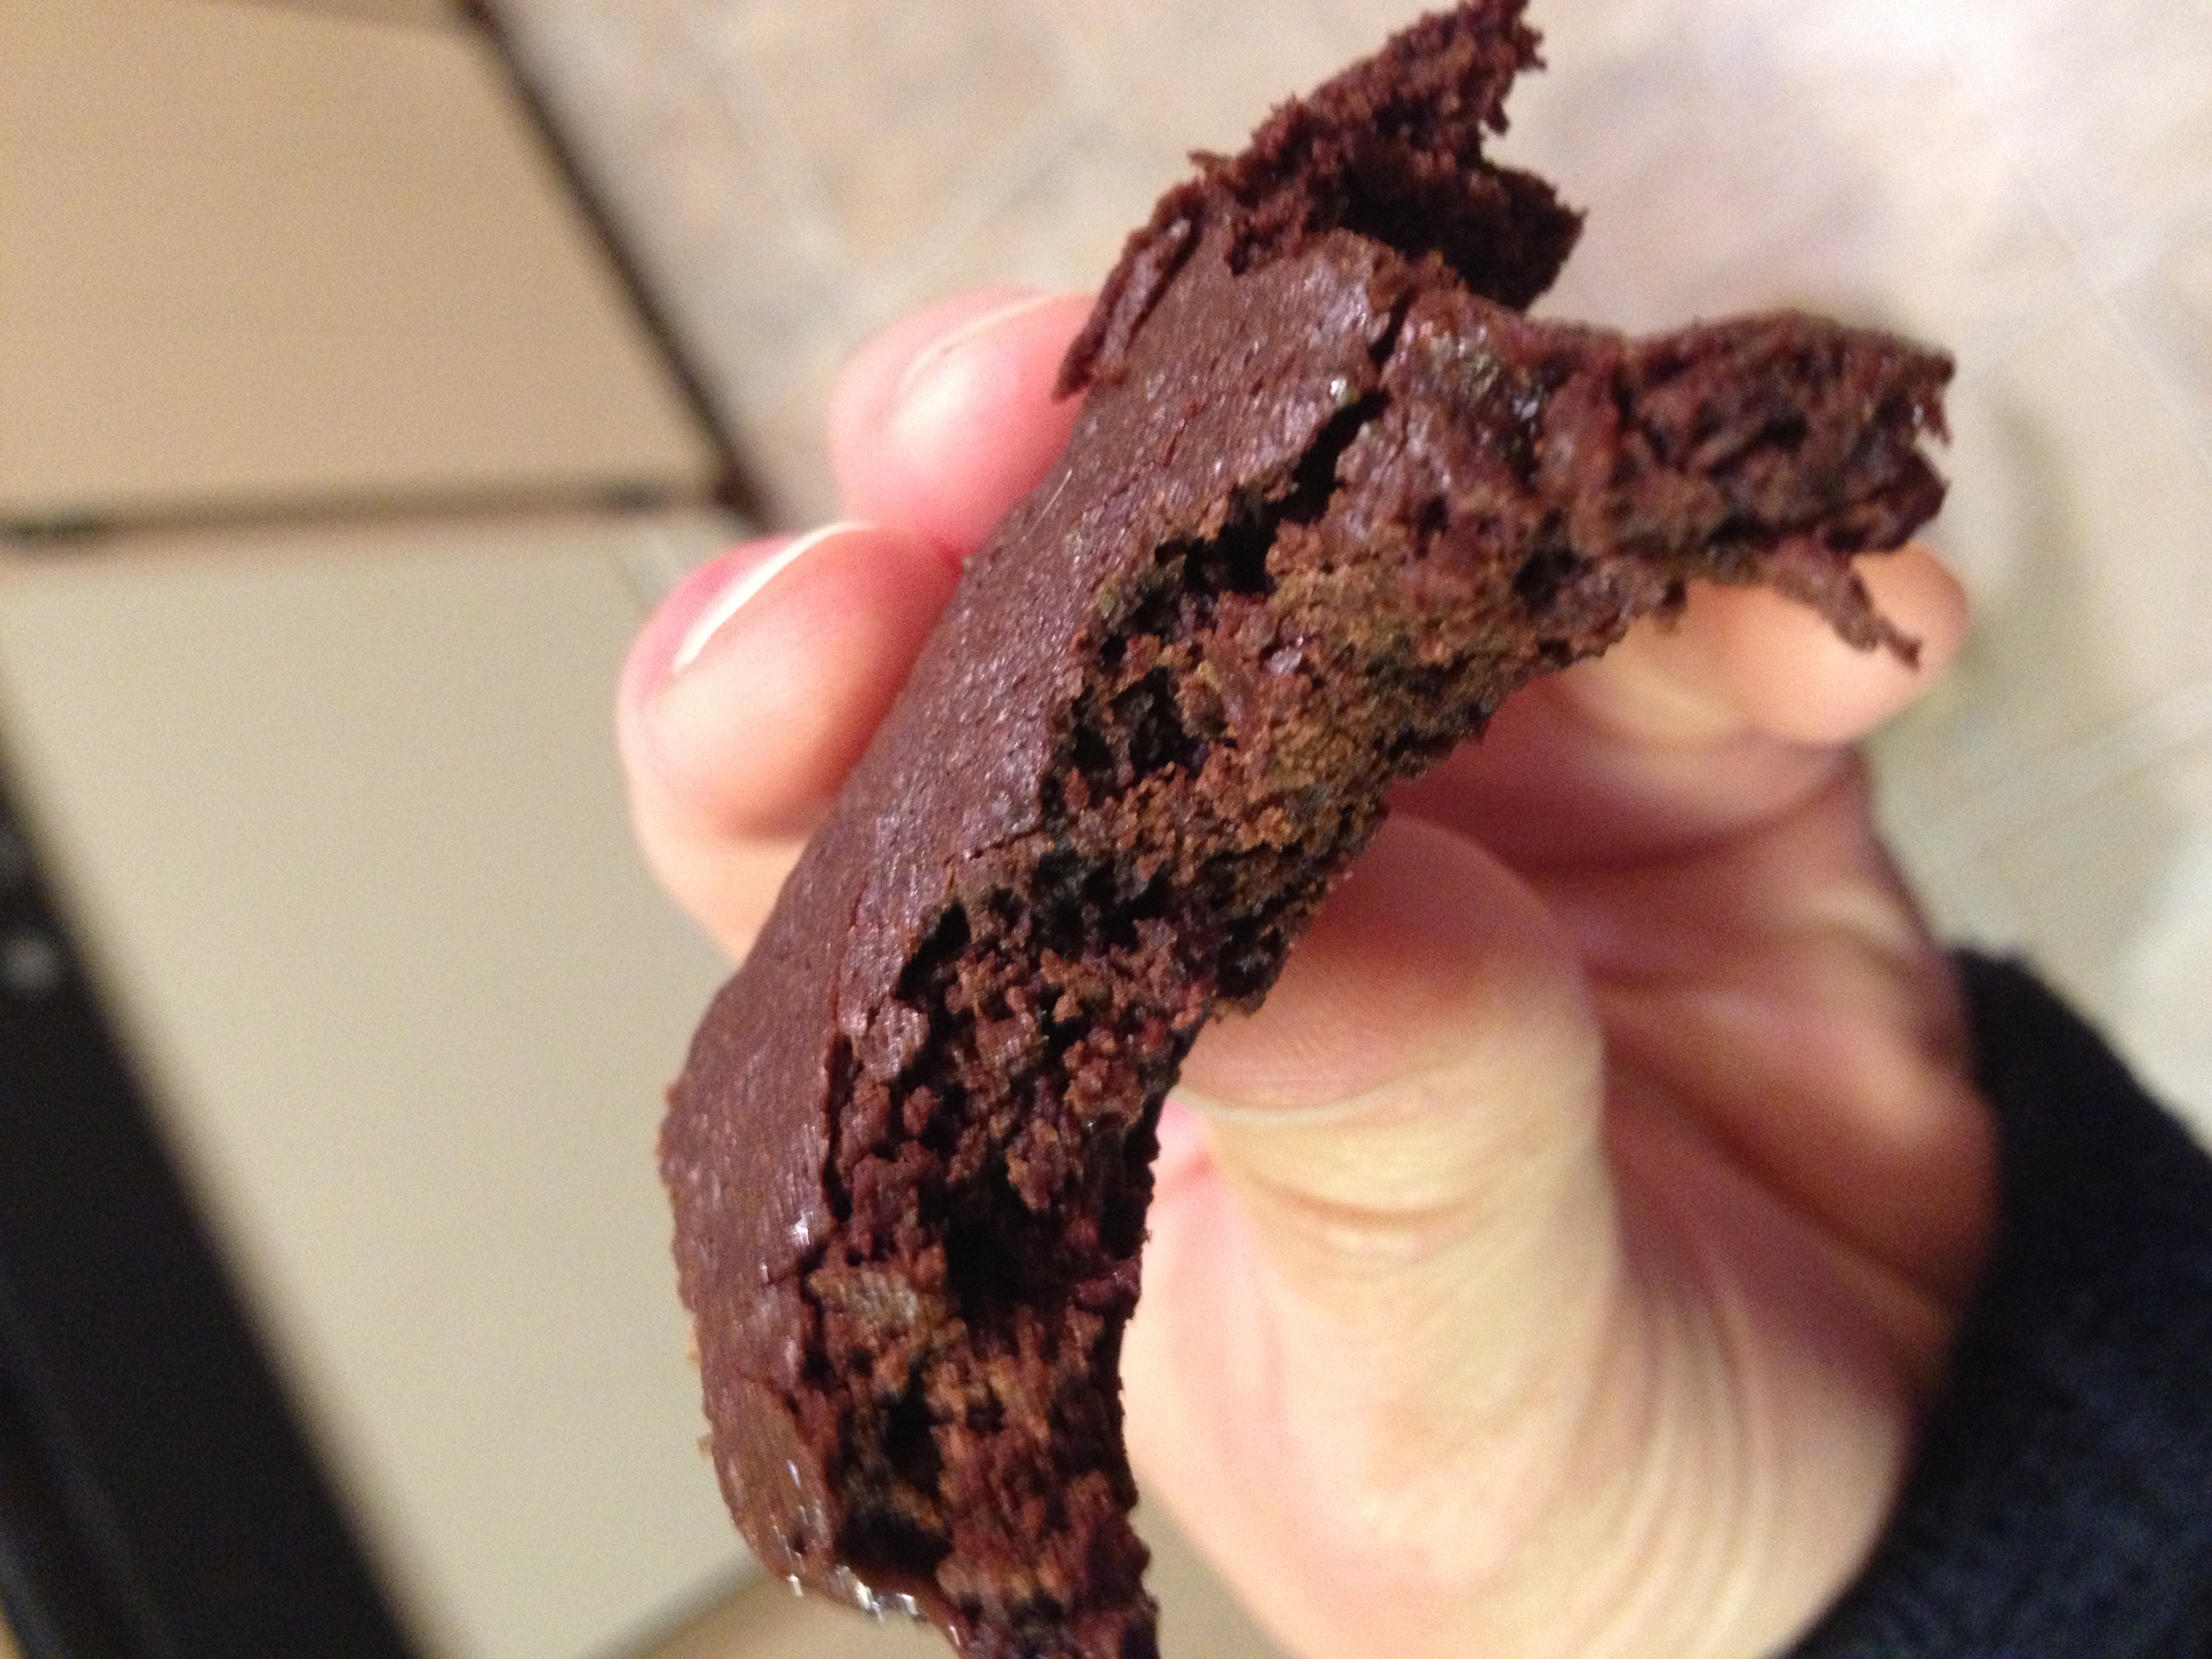
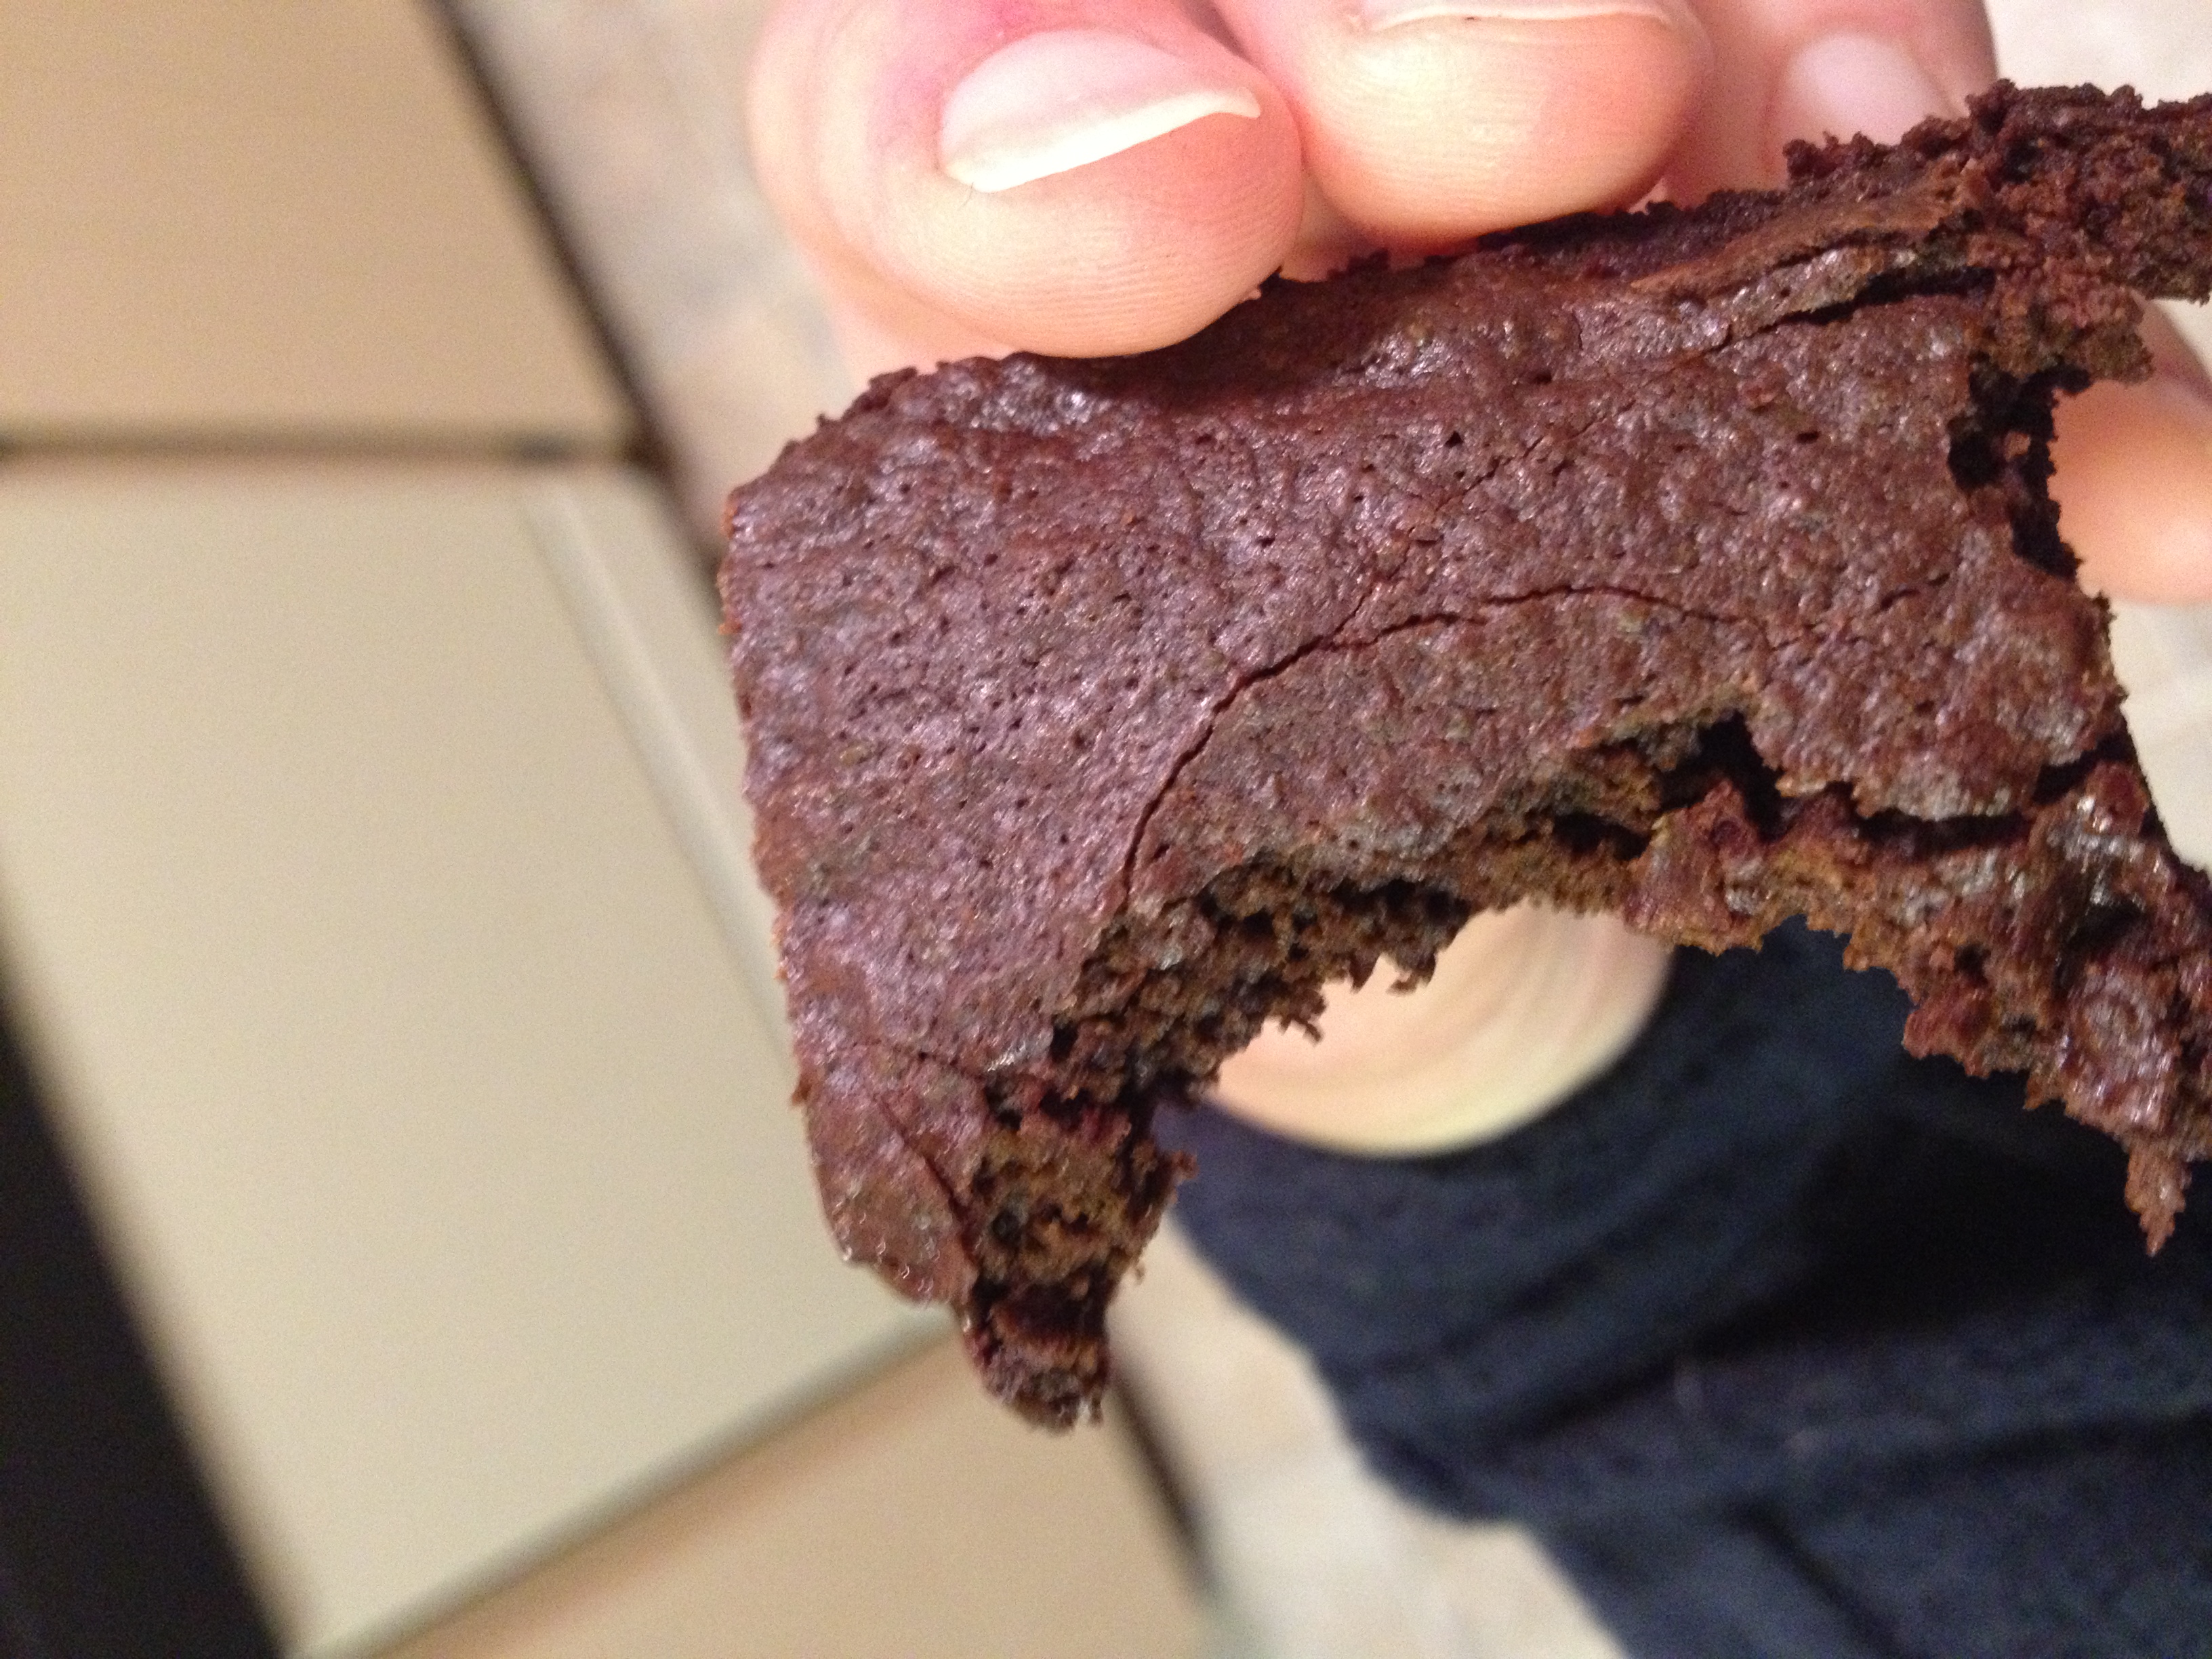
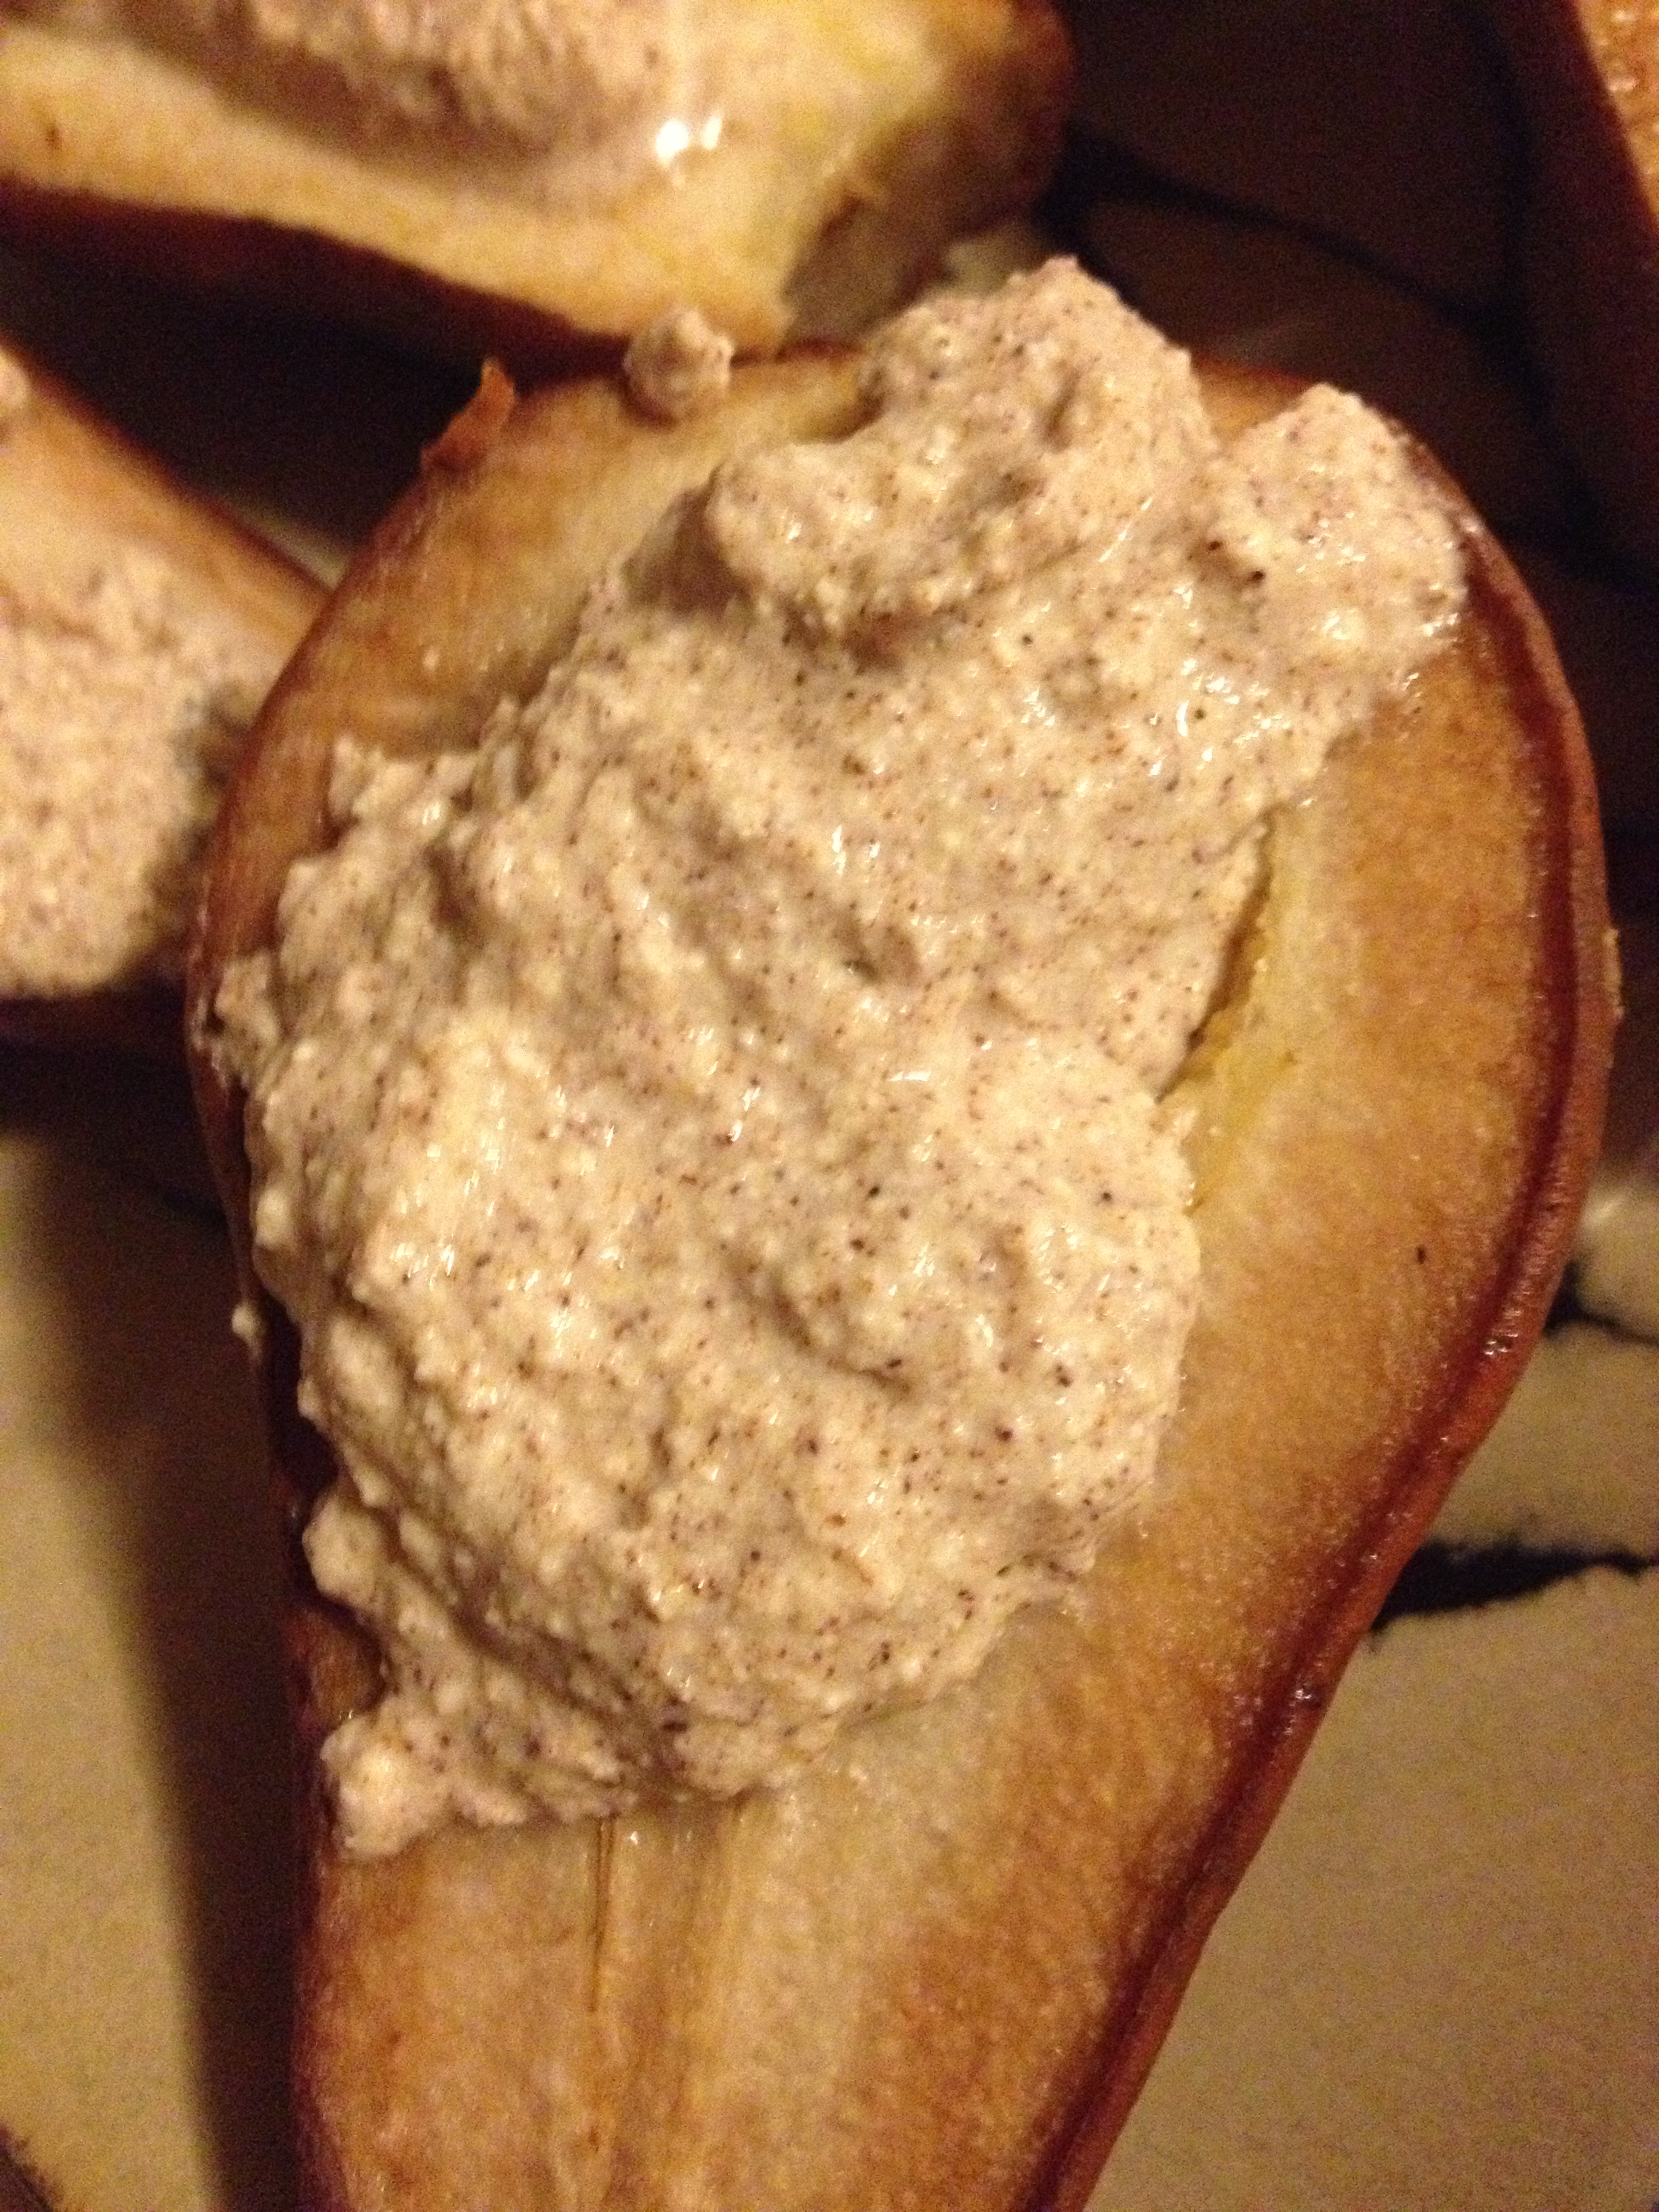
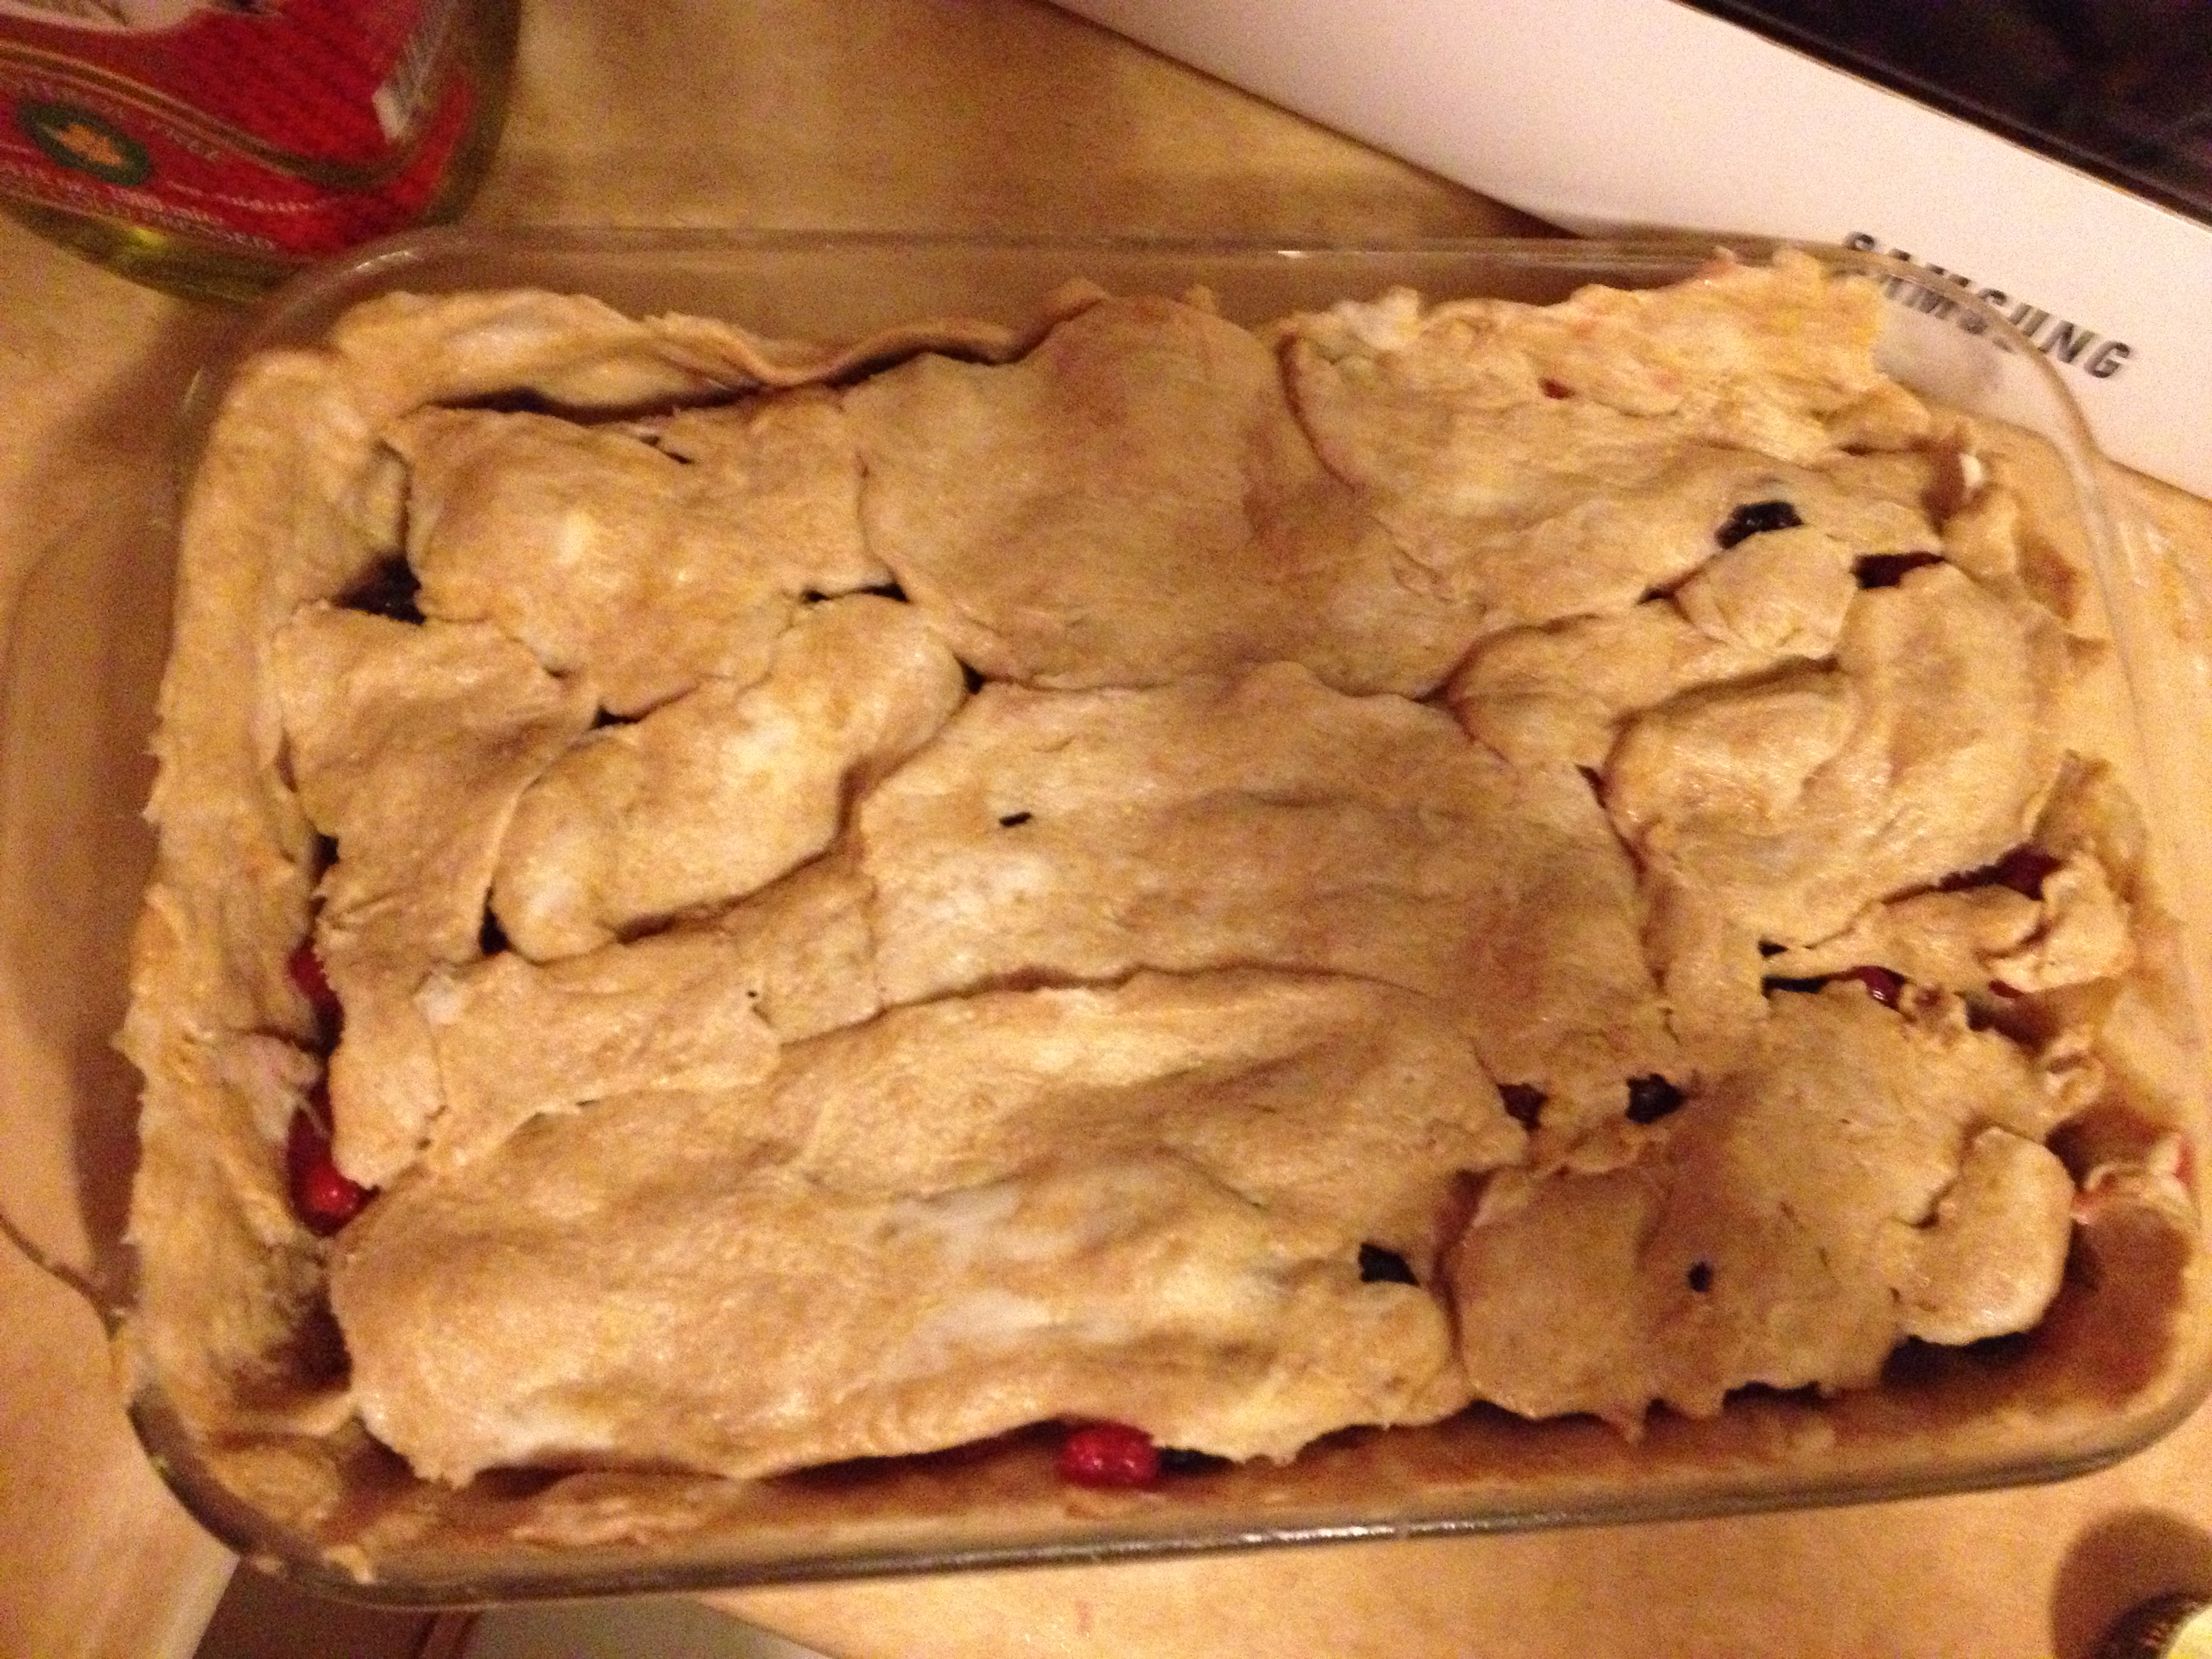
Nom nom nom

- 1 1/4 cups whole-wheat flour
- 1/2 tsp baking soda
- 1/4 tsp salt
- 1/4 cup granulated sugar
- 1/4 cup brown sugar
- 1 egg
- 1/2 cup butter
- 1 tsp vanilla extract
- 1/2 cup milk
- 1 cup chocolate chips
- Pre-heat oven to 350 degrees F
- Mix together flour, baking soda, and salt in a small bowl
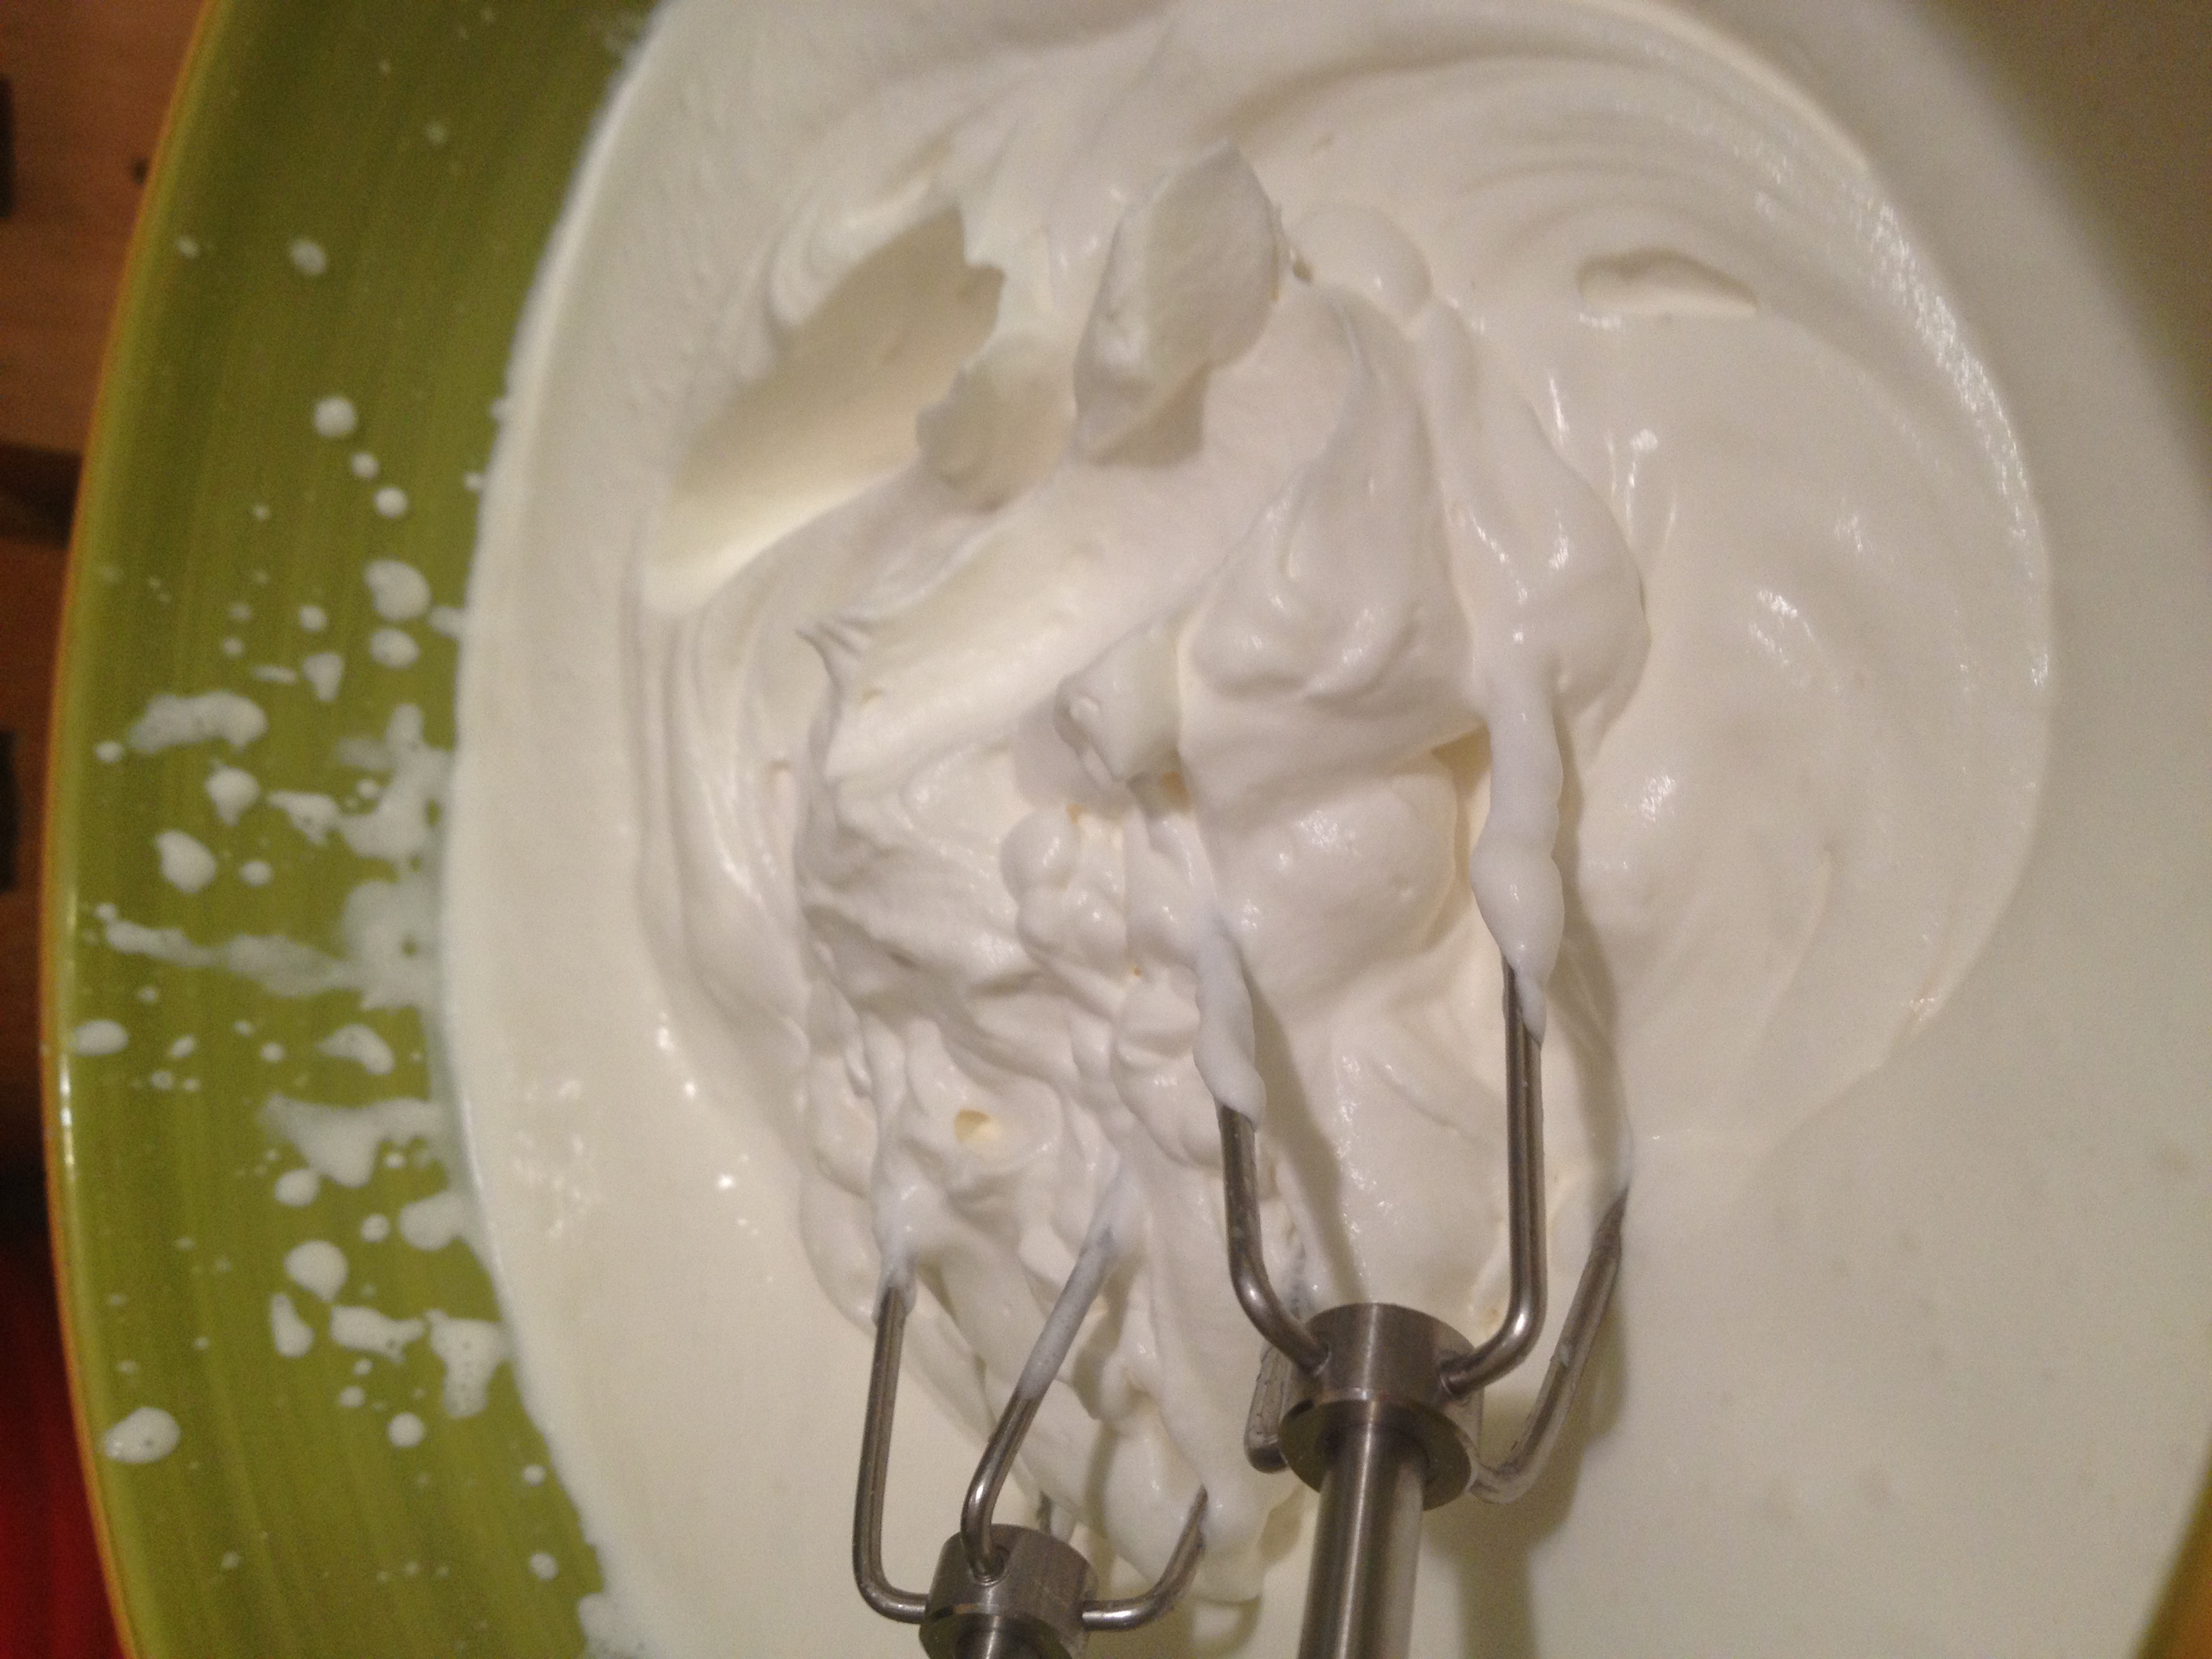
- Get a big bowl out and either a beater or your best whisking-arm
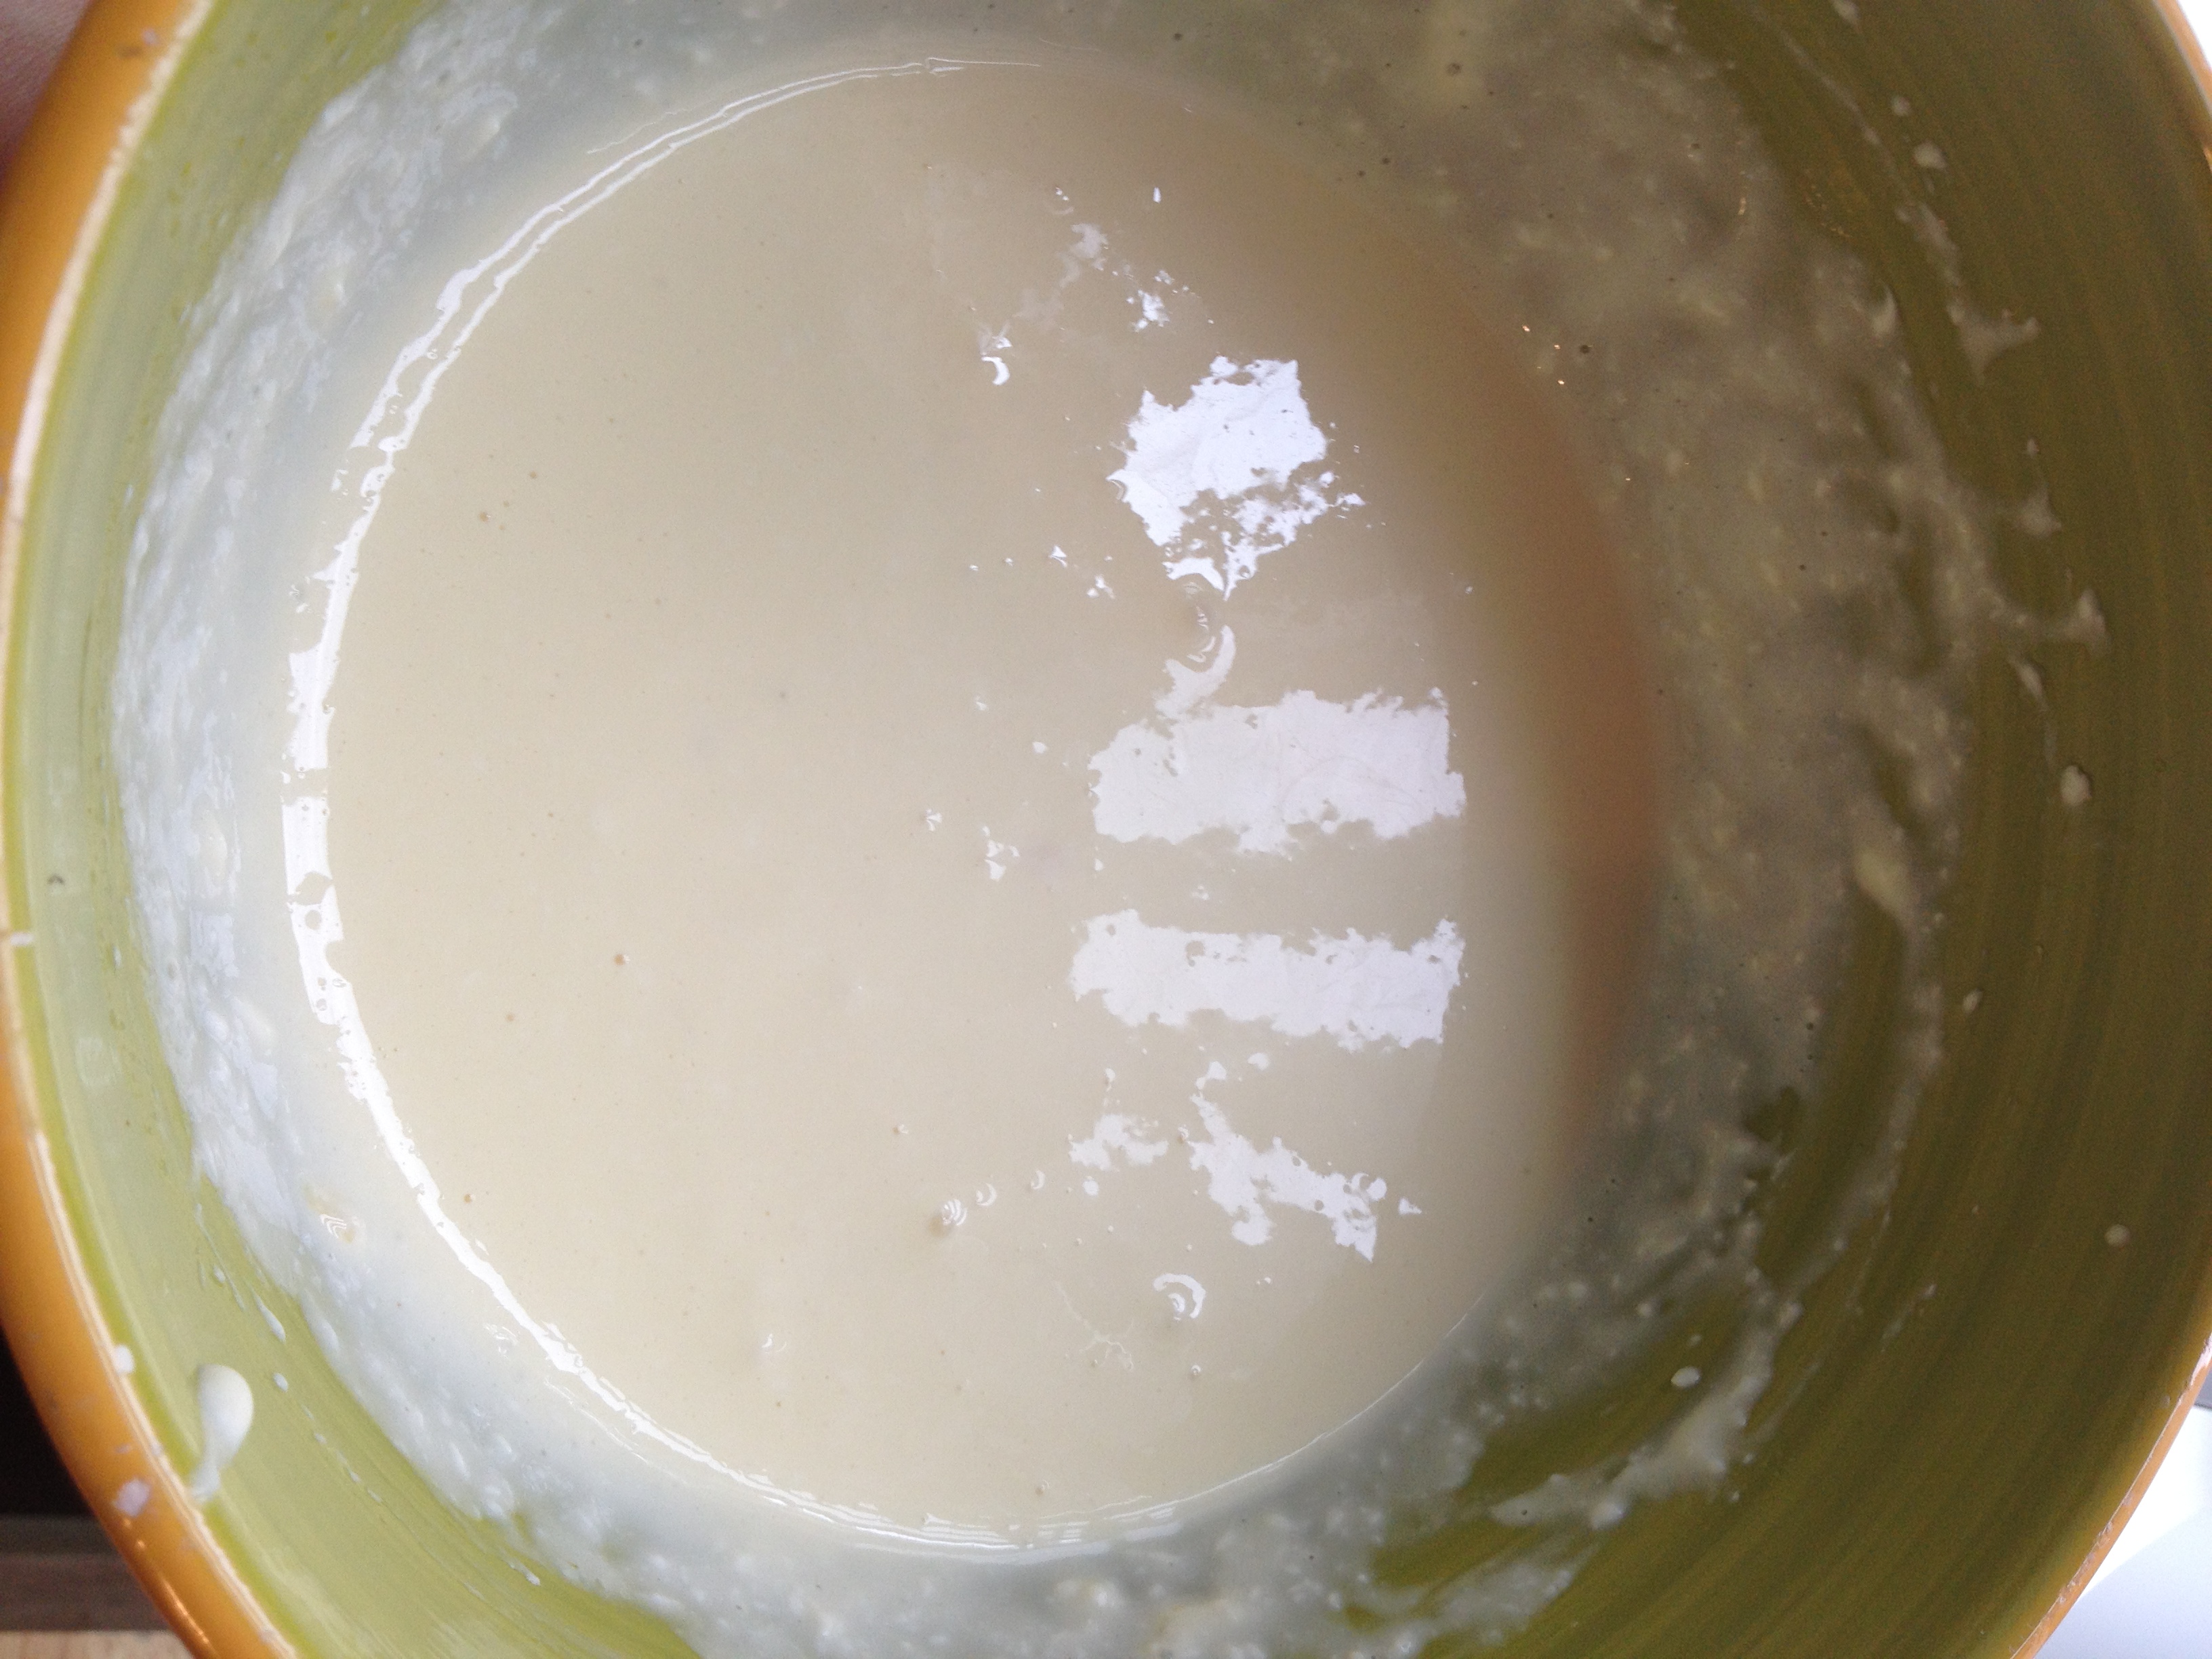
- Beat the butter and sugar together until creamed
- Continue to mix the egg, milk, and vanilla extract in
- Now, beat in the dry ingredients--flour, baking soda, and salt
- Finally, fold in the chocolate chips. Not with a beater but with a whisk or a spoon
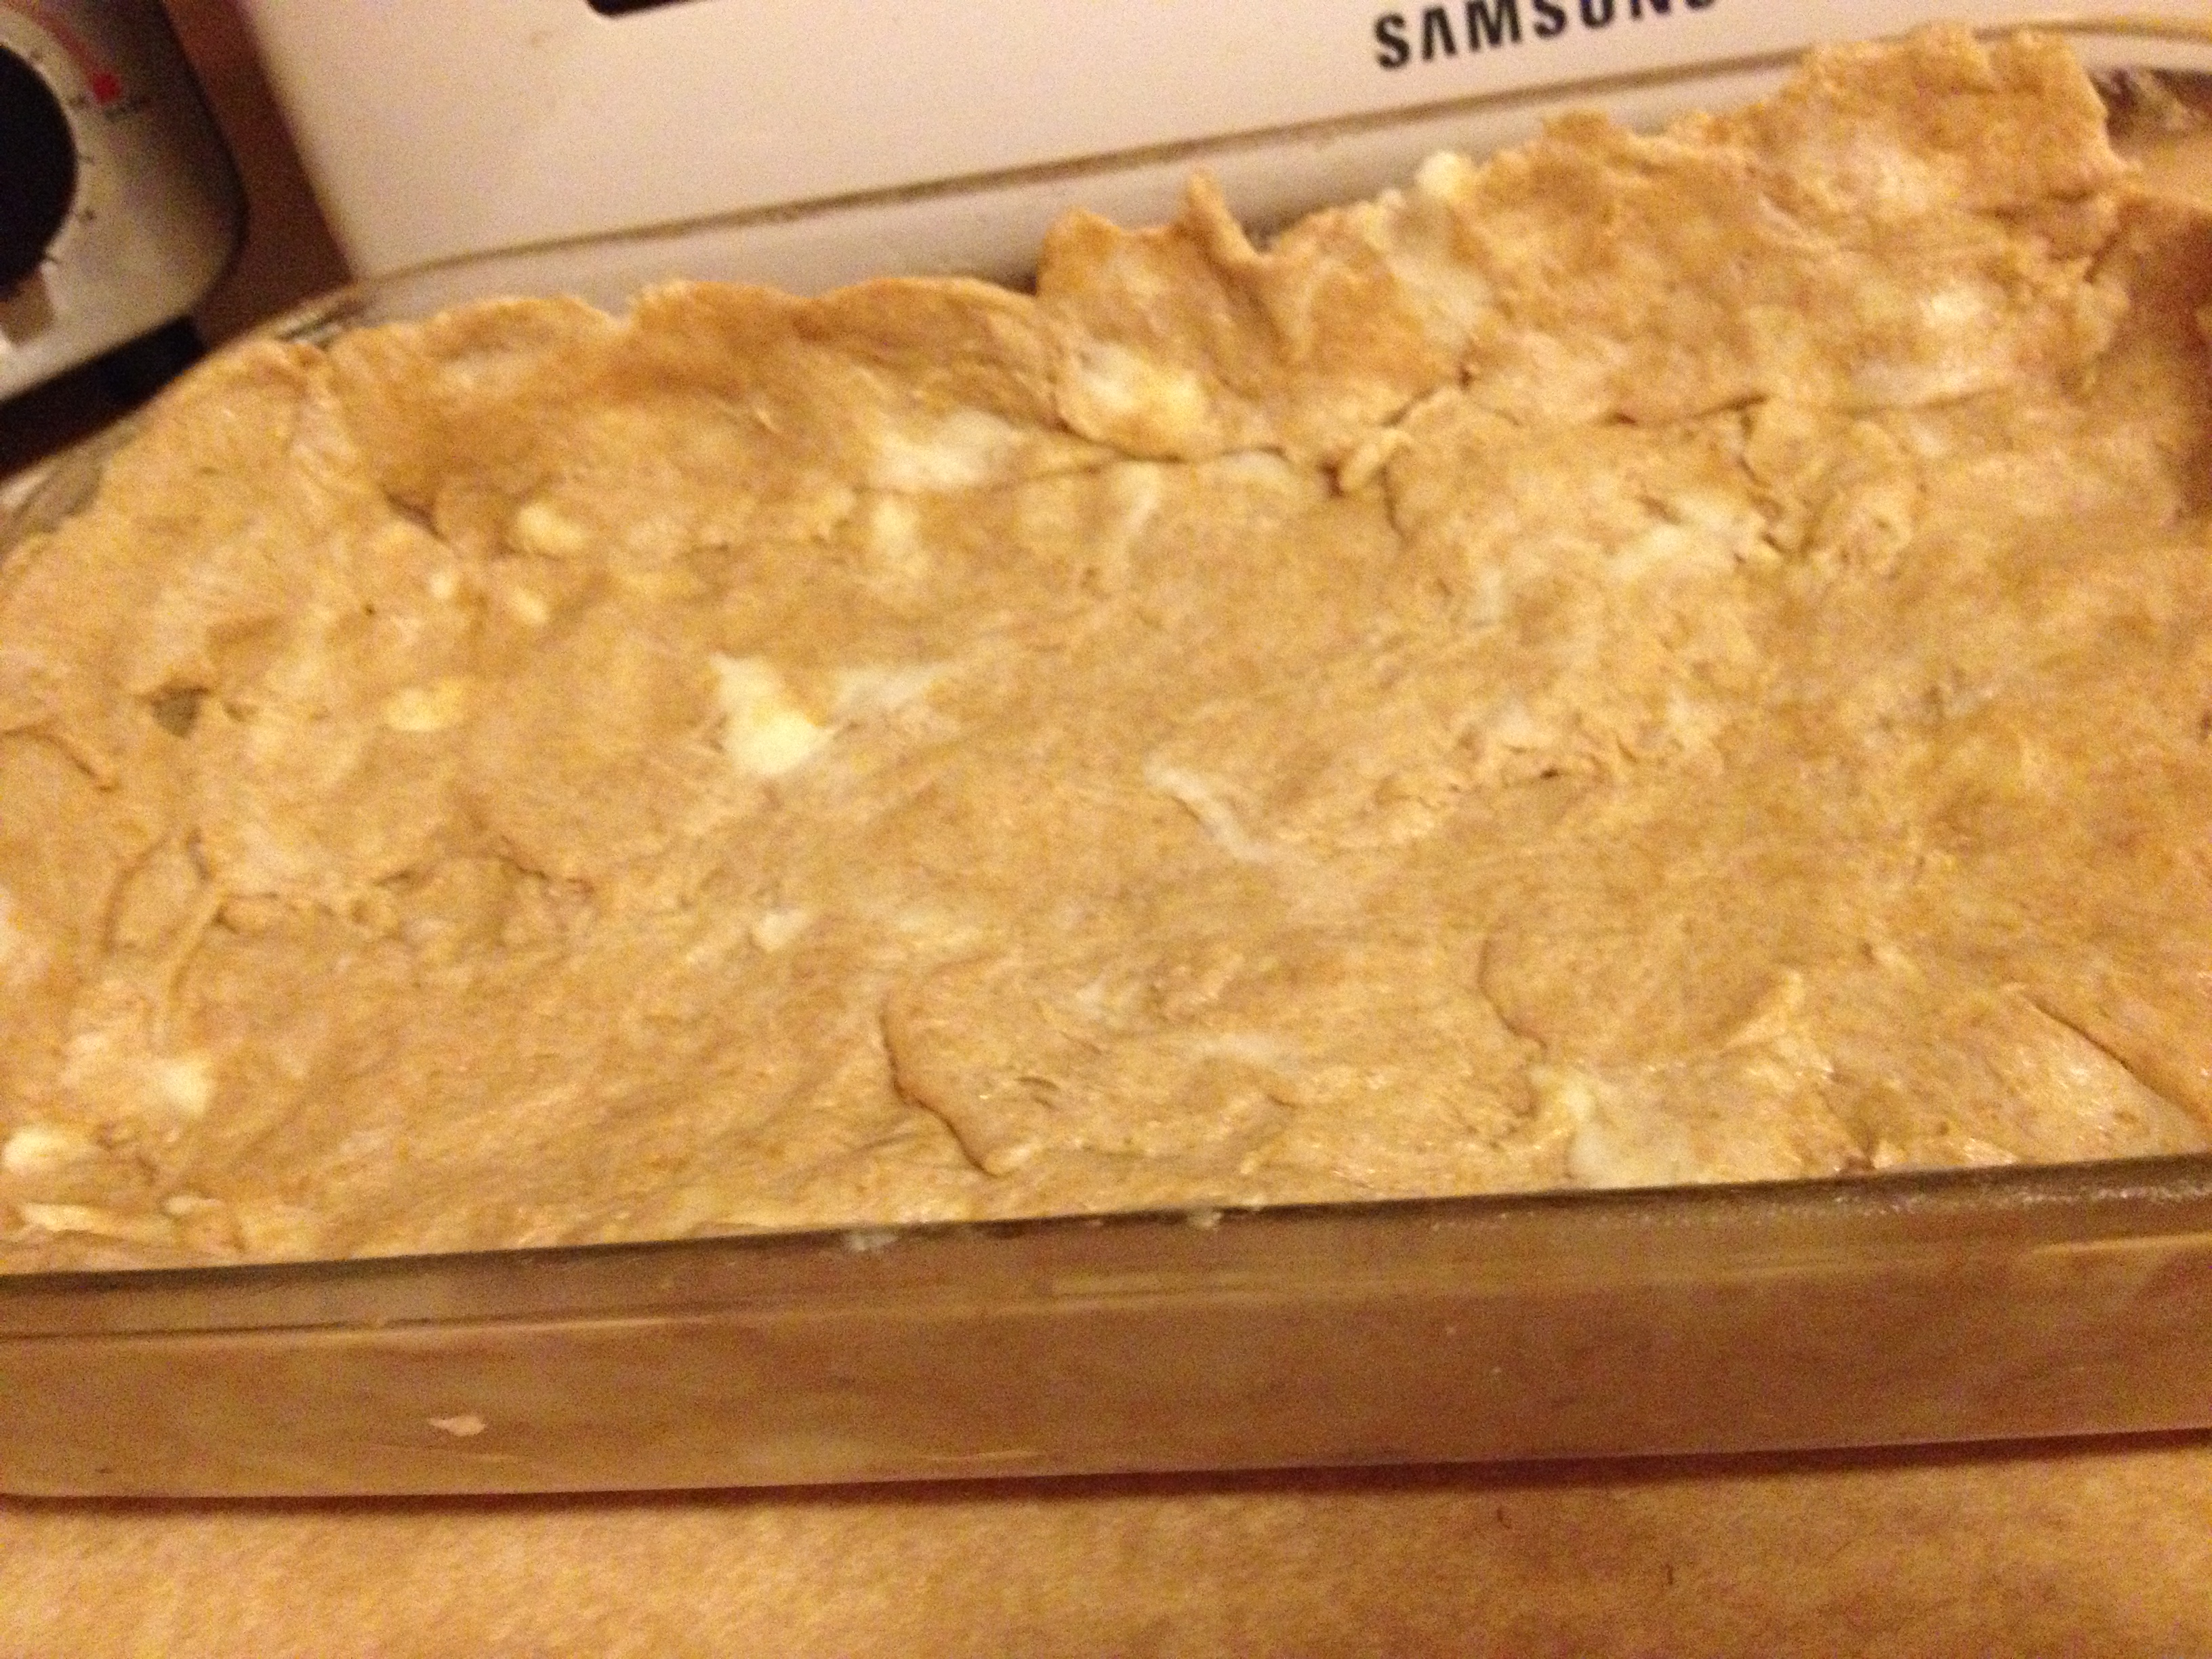
- Spread the dough out on a 12-13" baking sheet. Make it nice and even
- Put in for 8-12 minutes
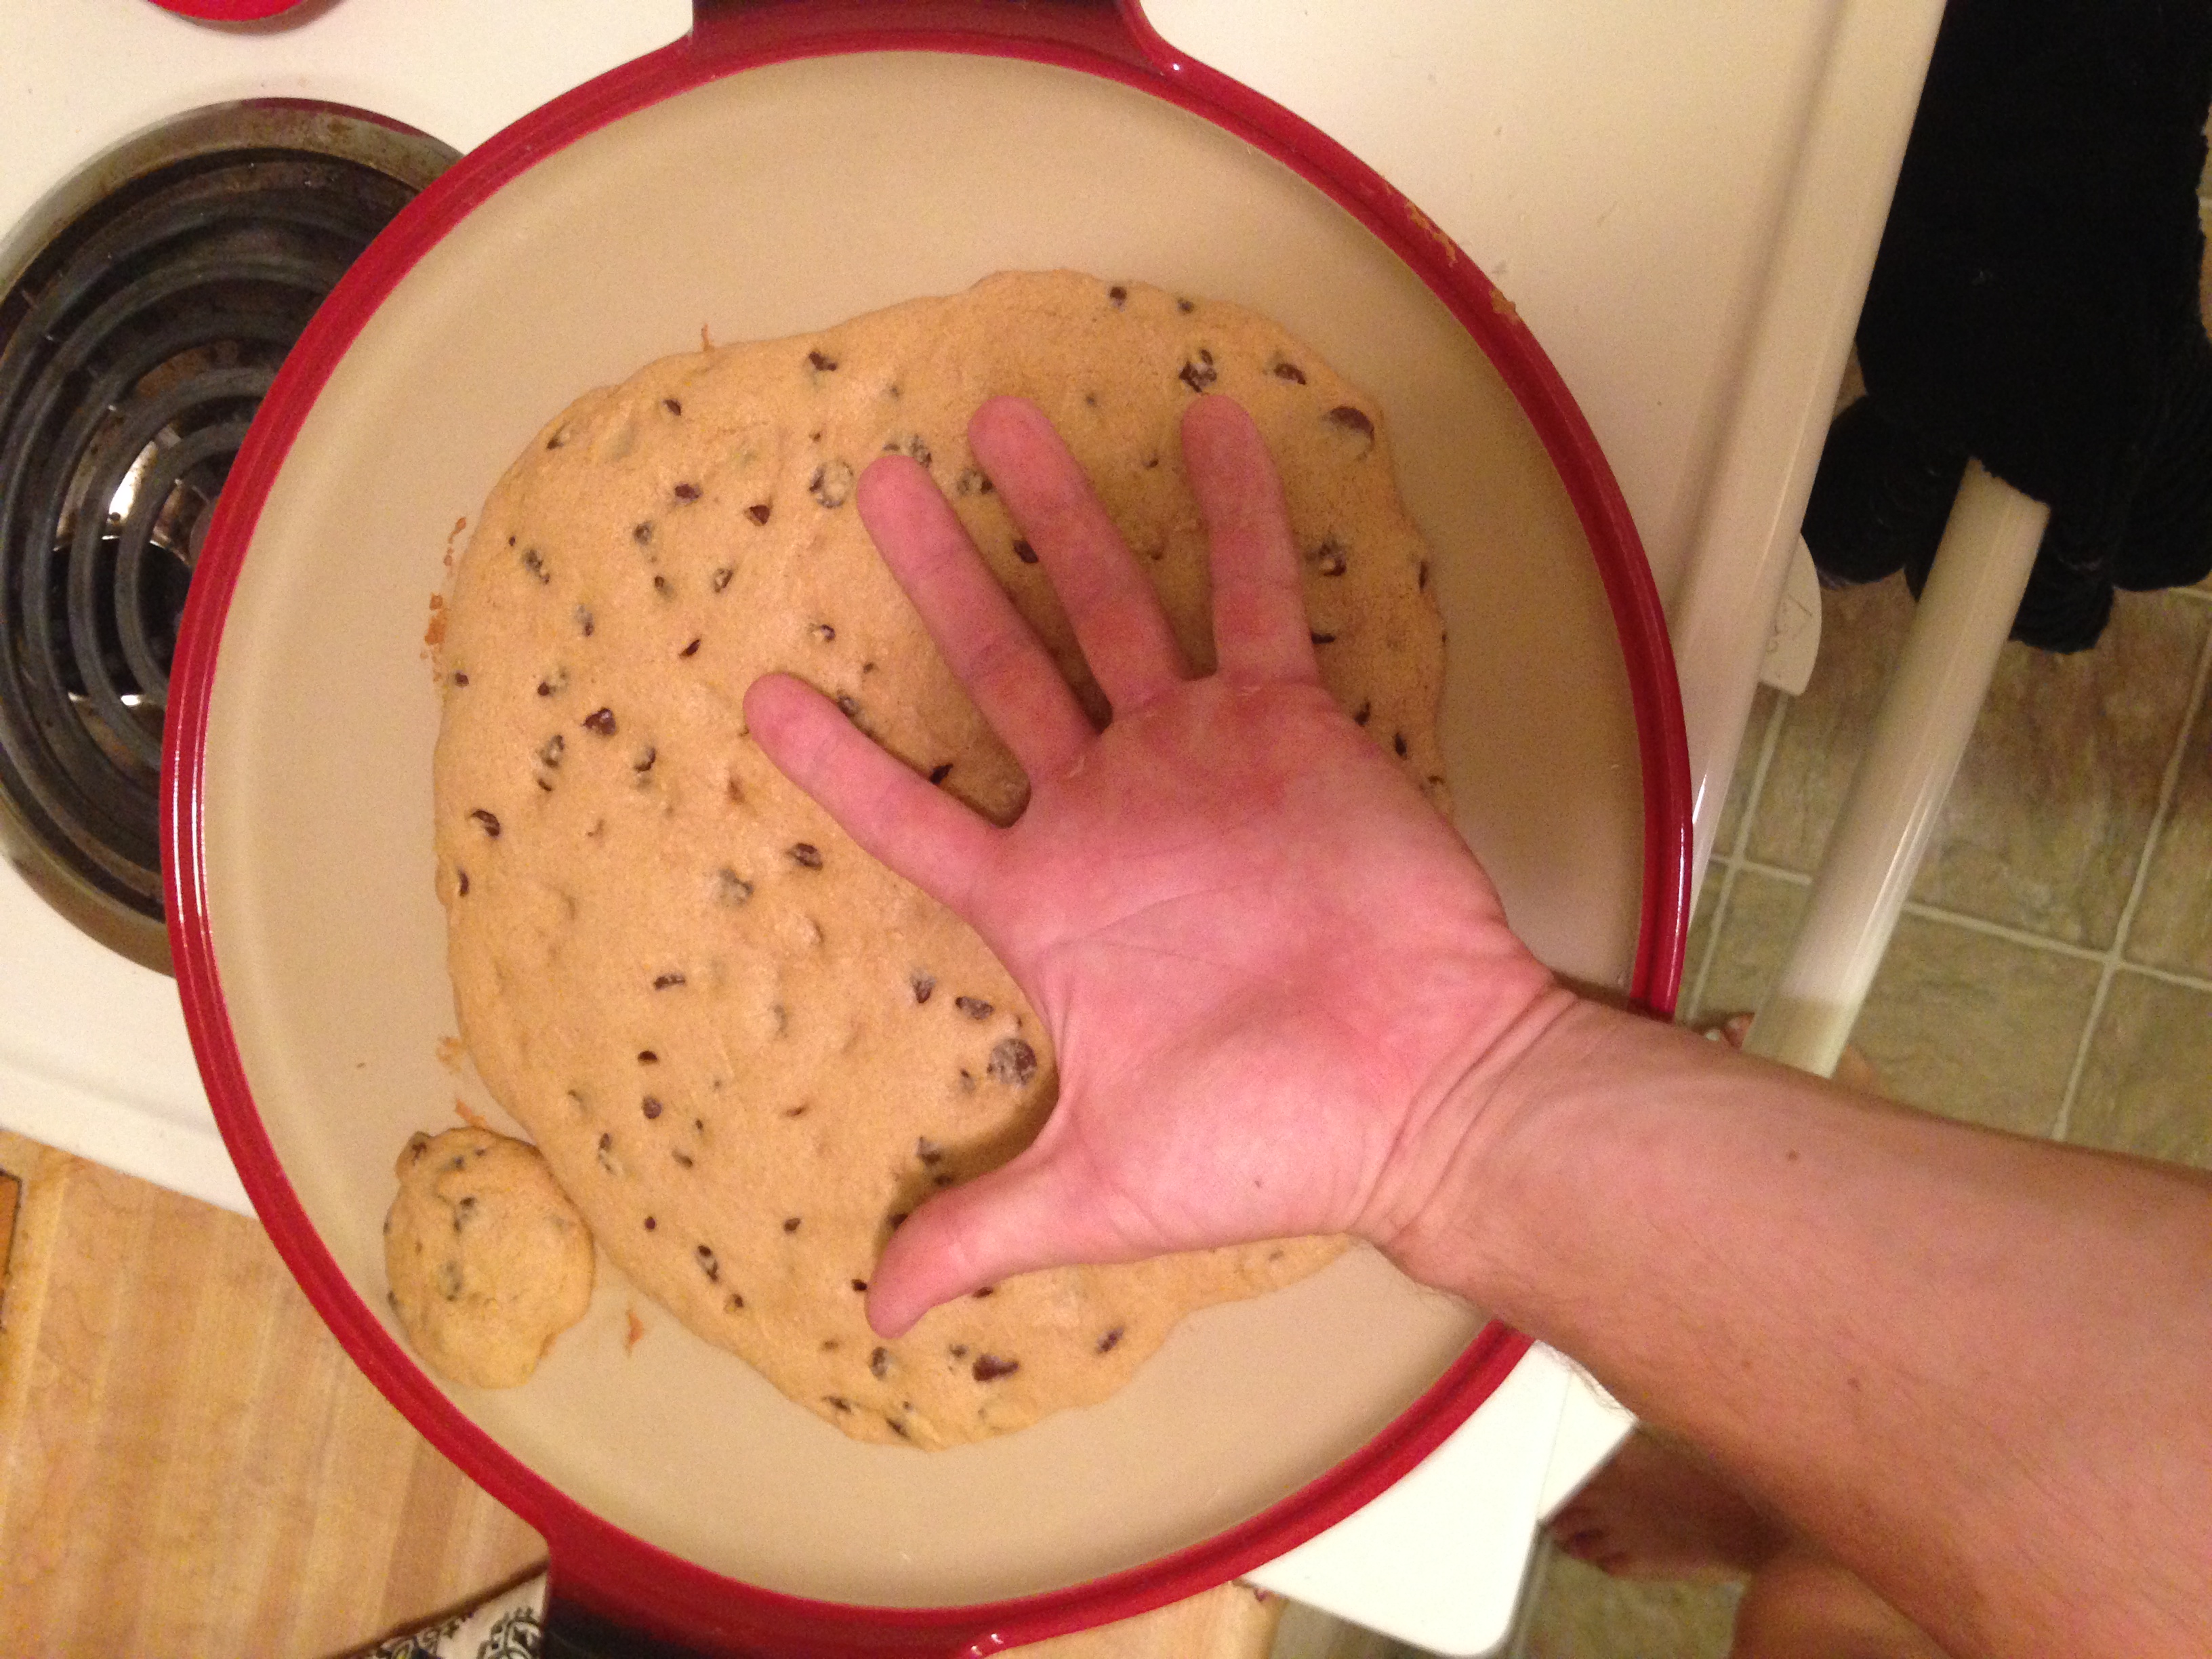
- Take it out, let it cool, decorate (optional) and then serve!
BONUS PUPPY PIC

My baking partner, best of the best