
Ridiculously simple post? Yes, but I find it necessary. The first time I approached an artichoke, I had no idea how to do it! It’s an intimidating vegetable with thorns to boot! So if you know how to cook an artichoke, pass this one over. You can go read about how to cook kale instead. Artichokes bring back good memories for me: sitting with my before-birth friend and her family eating a cooked artichoke with garlic butter. Memories like that always make the food taste better.
My cooking method for artichokes is to boil them. It’s actually easy peasy, so let’s start. I’m not going to even put an ingredients list because all you need is…ARTICHOKE.
Directions
1. Wash the artichoke by pouring water over it
2. Cut the stem off, leaving 1 inch there.
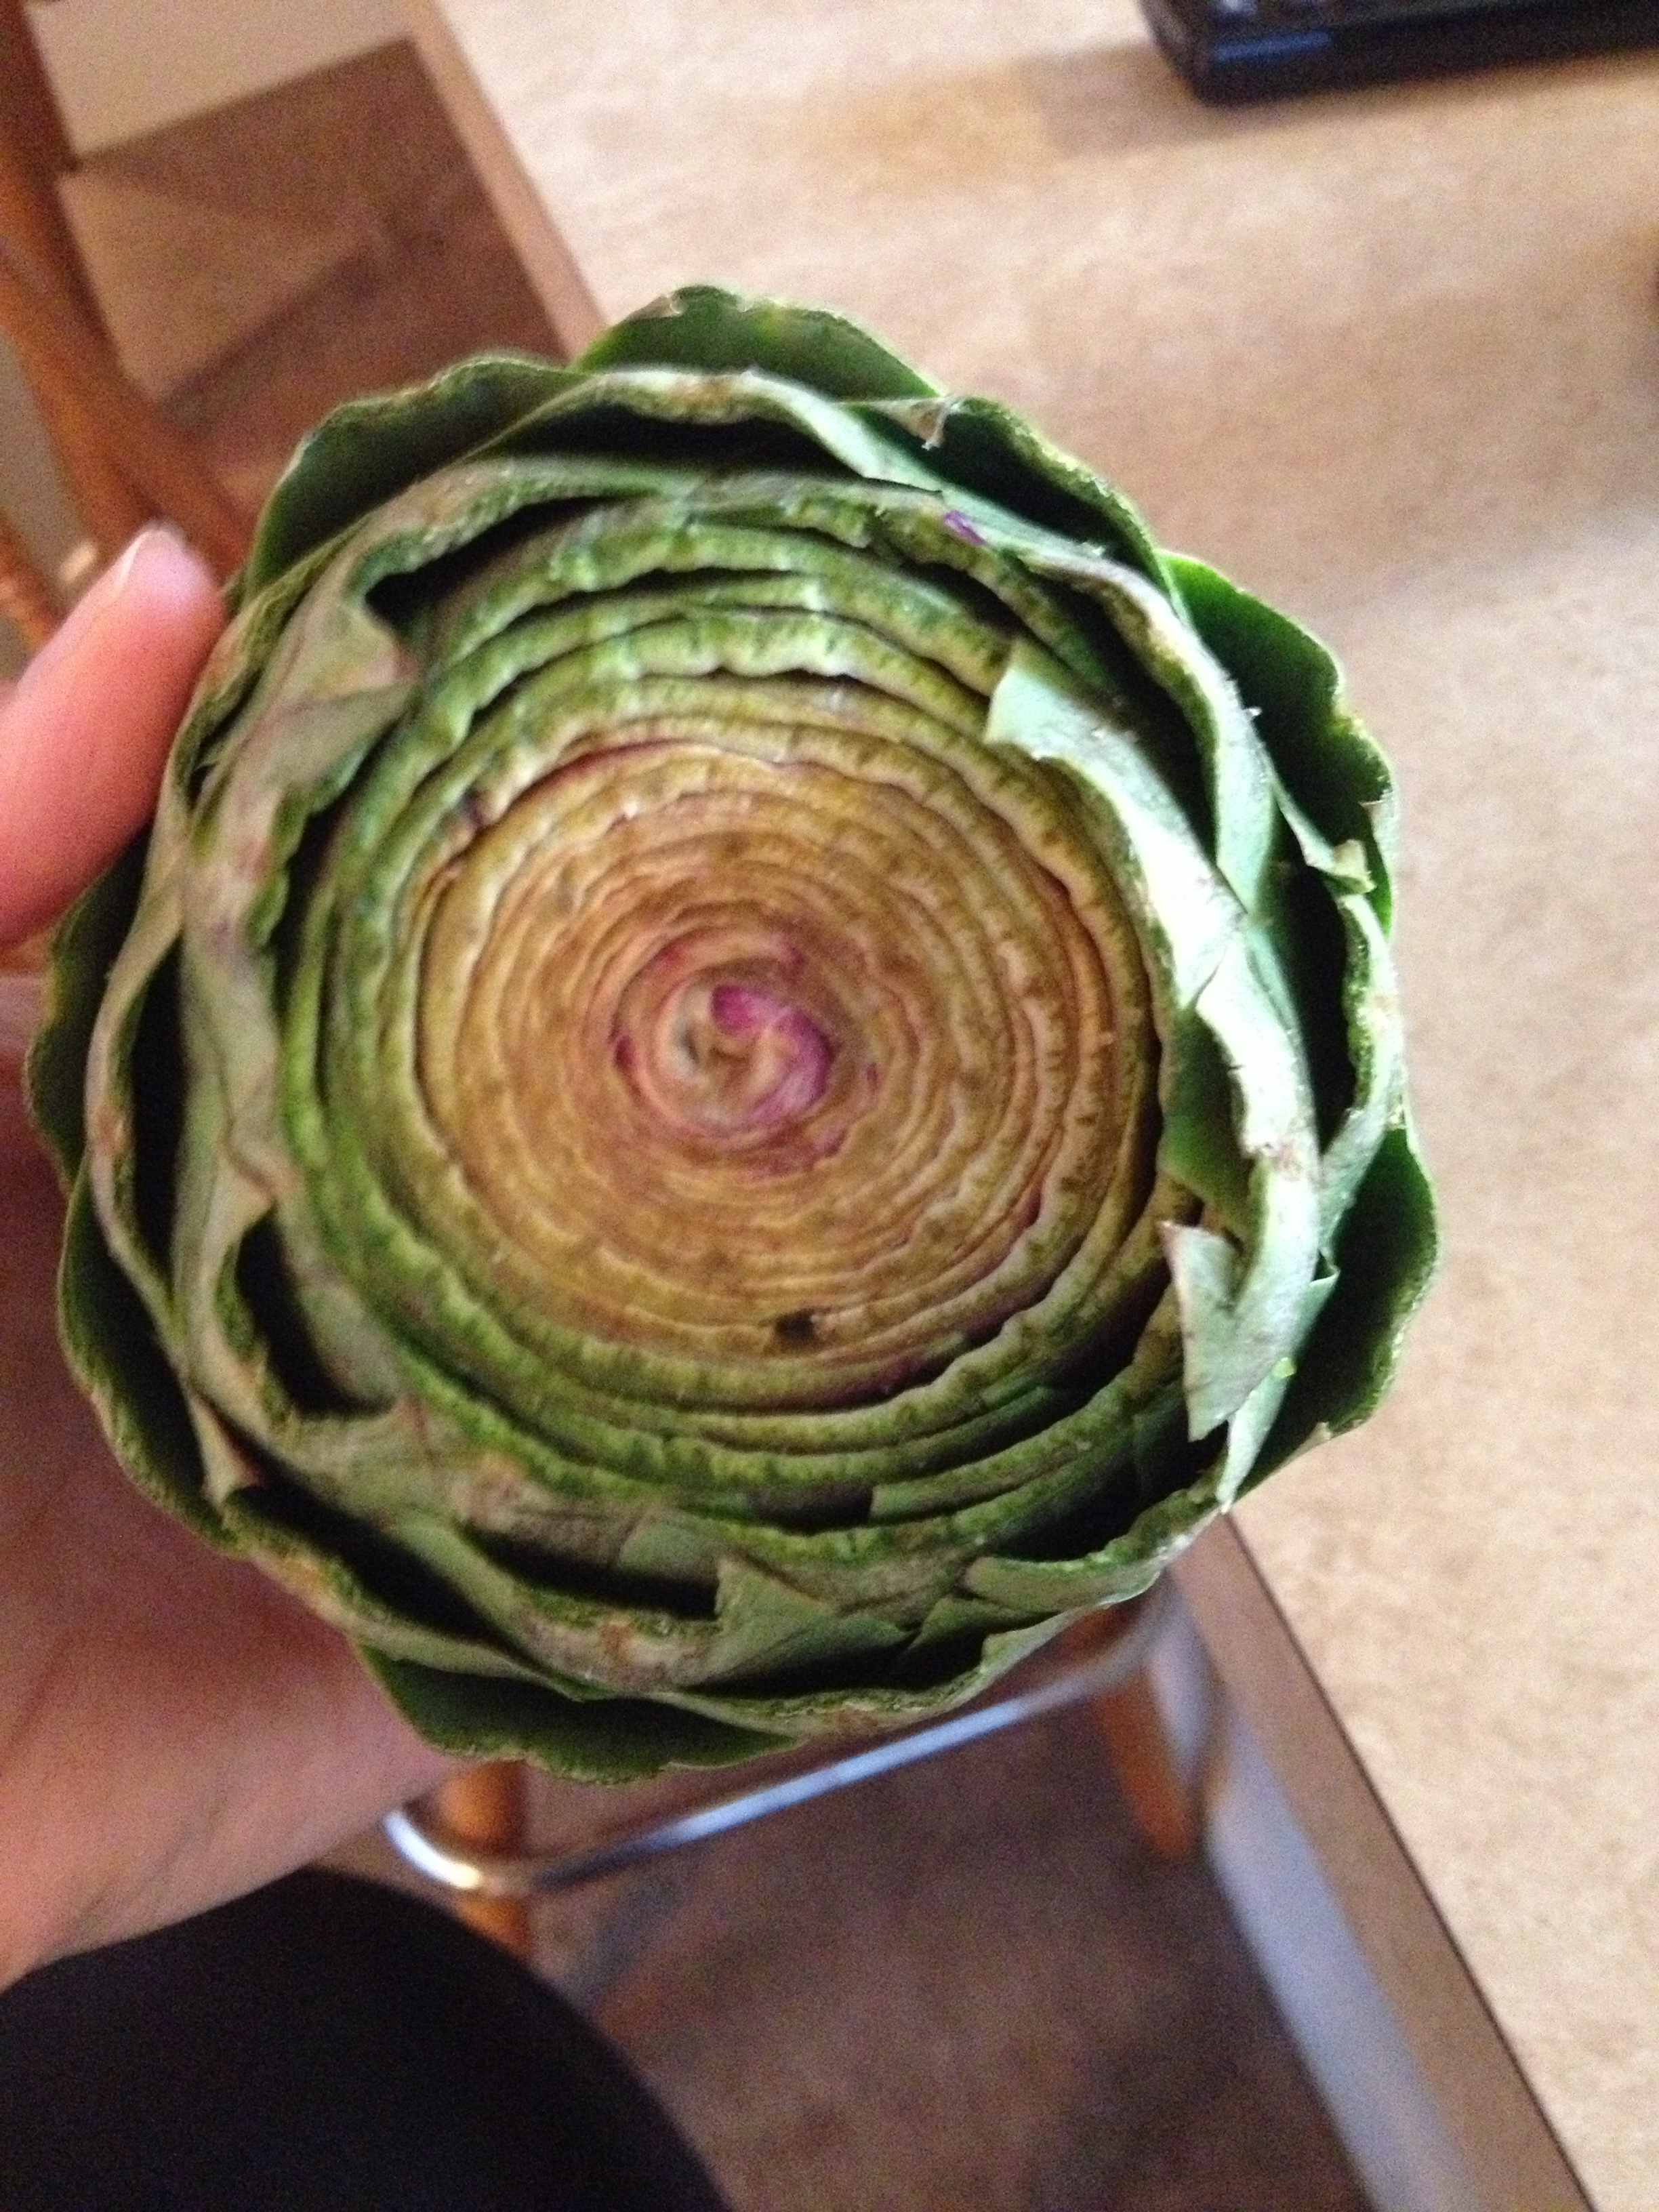
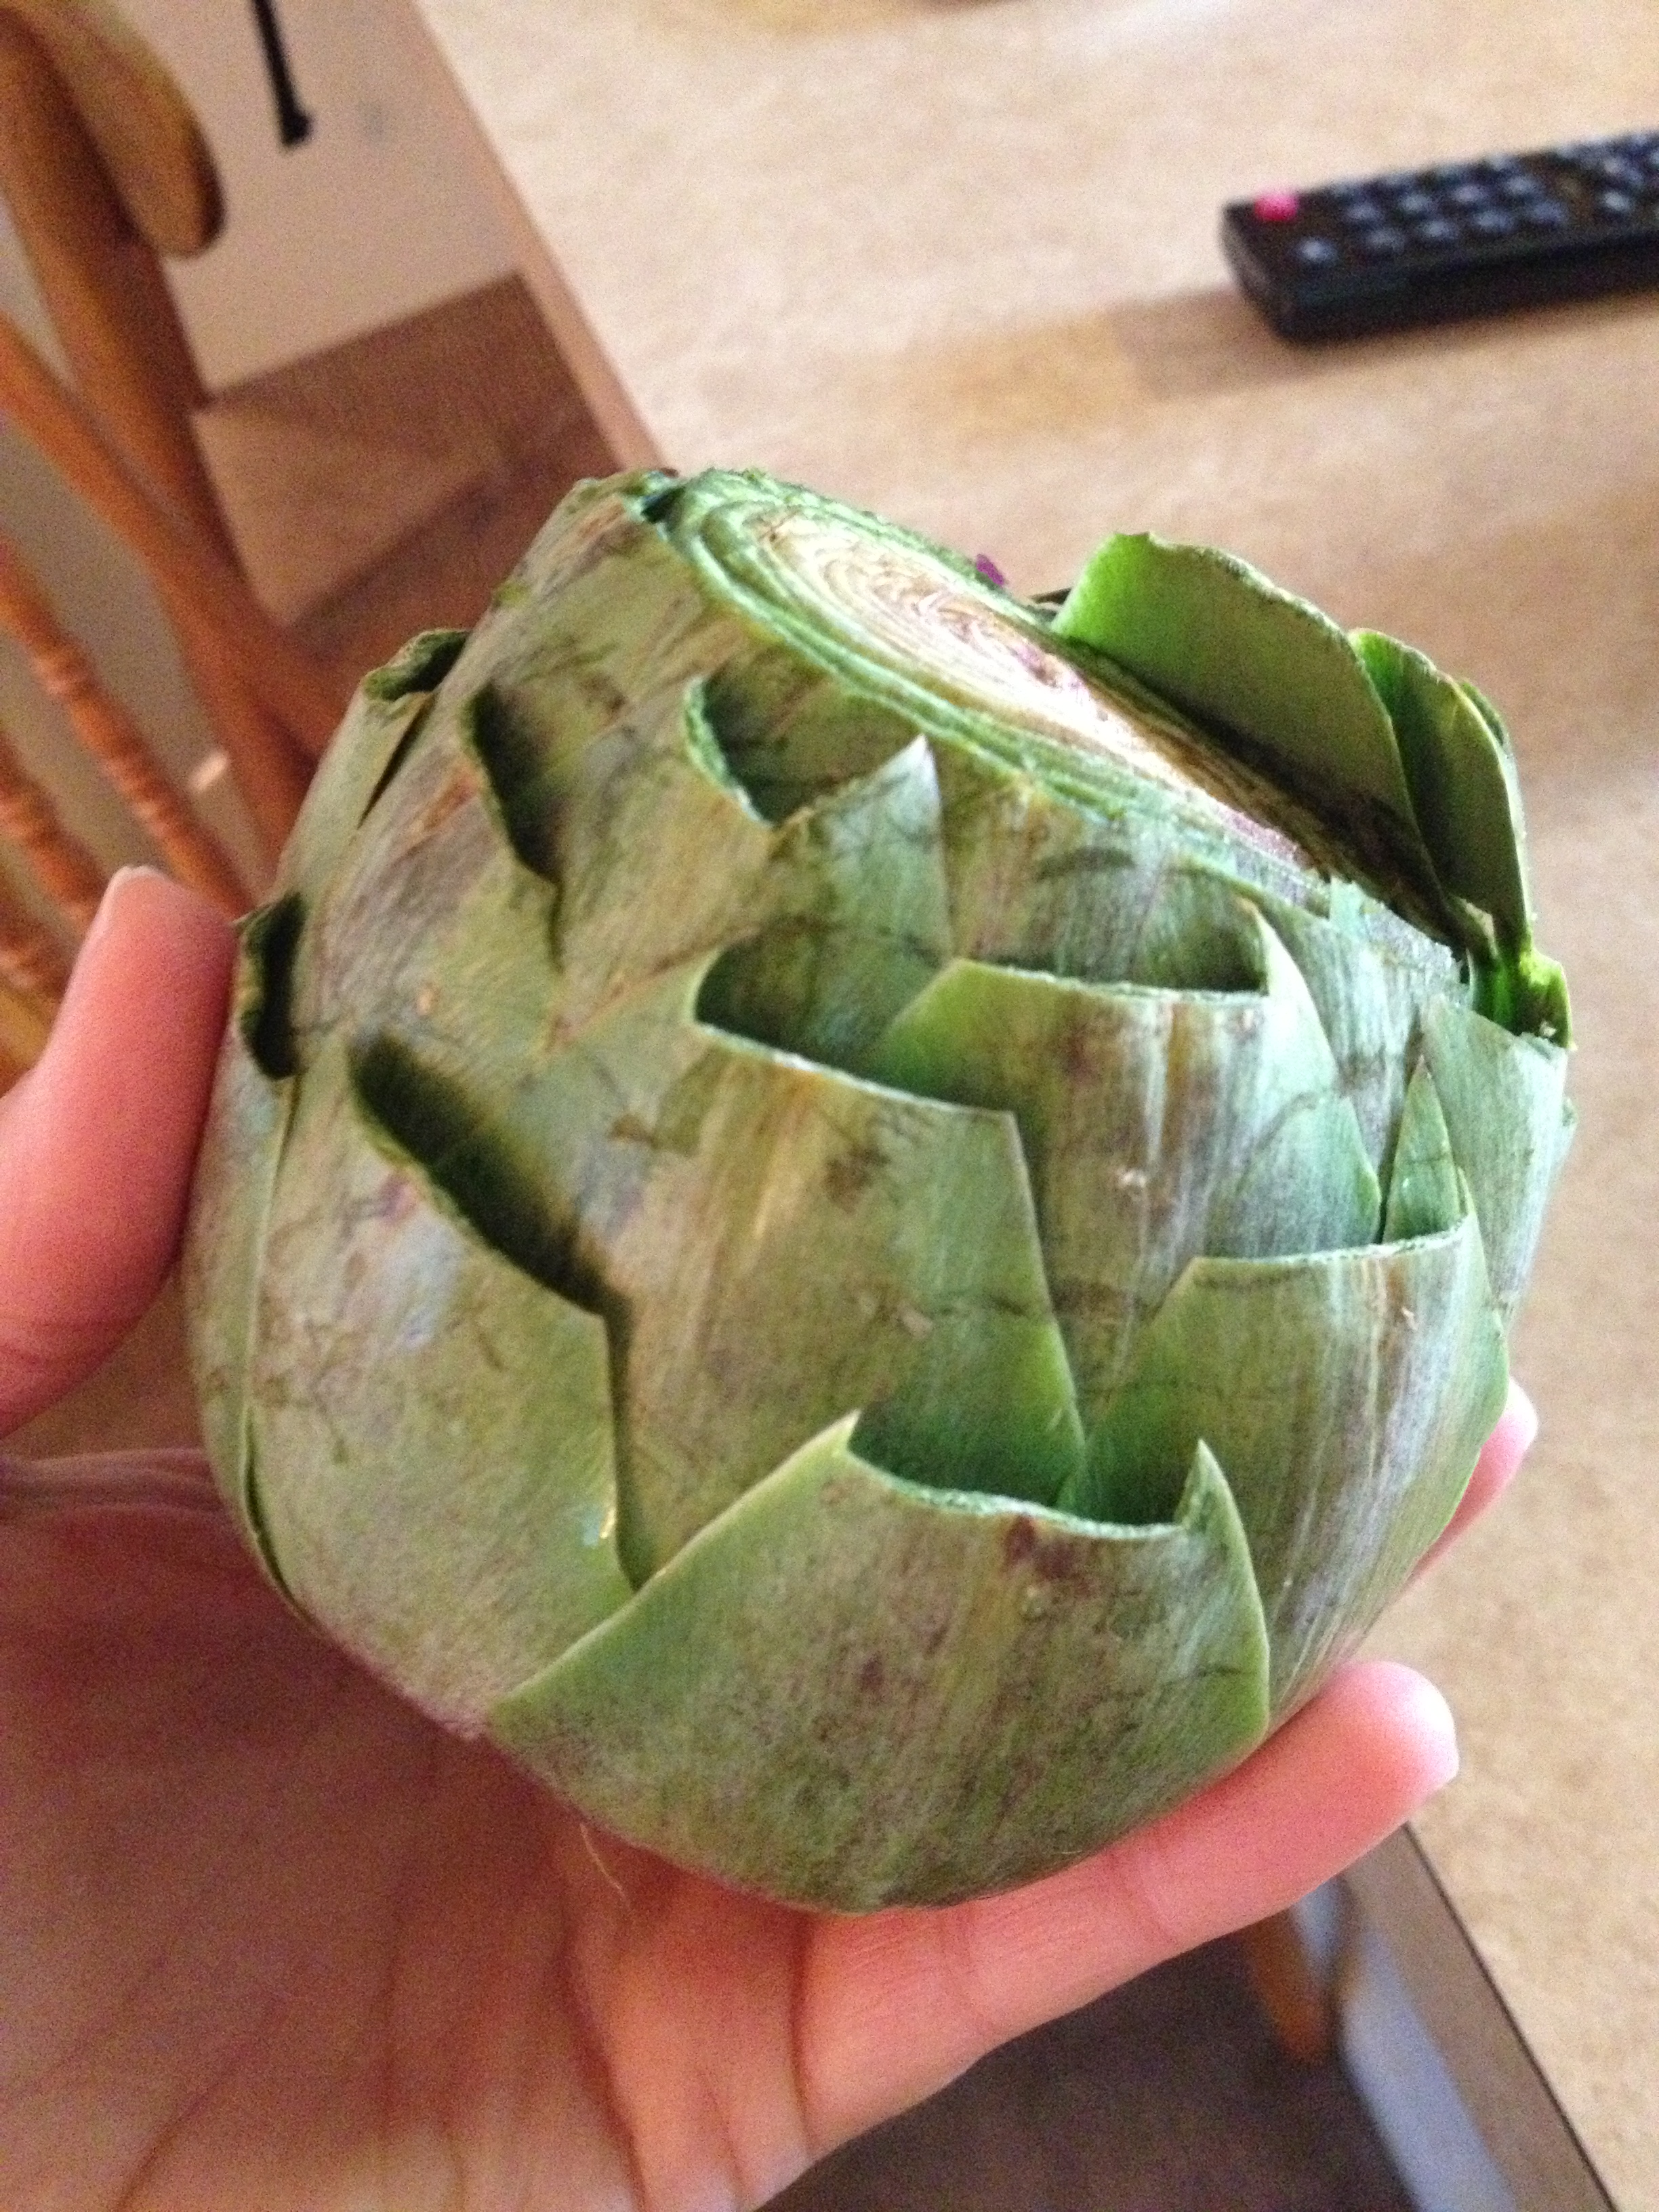
3. Cut off an inch of the tip of the artichoke

Isn’t it purdy?
4. Pull off the leaves at the bottom, the very rough ones that you wouldn’t want to eat.
5. Take some scissors (or if you want to make your life awful, you can use a knife, yikes) and cut off the little thorns on the tips of the artichoke “leaves”
6. Bring a pot of water to a boil and dunk that bad boy in there. Leave it in there for 25-30 minutes. You could always put salt on it here or even drop a clove of garlic in the water while it boils
7. Carefully take out the artichoke and let it cool so you can eat it!
8. While it’s cooling, why not make some melted garlic butter to dip it in? Just put a bit of butter in a bowl with some garlic and heat over stove or microwave. Or you could use hummus, salsa, any kind of dip you enjoy.
So I have this steaming vegetable, how do I eat it? Great question, imaginary friend. Once it’s cool enough to handle, simply pull the leaves off the body and drag your bottom teeth down it to get the “meat” off it. But don’t forget to dip it in your dip first! It can also be enjoyed just by itself. Once you get the meat off the leaf, put the discard (the hard part of the leaf) into another bowl (for garbage). Feel free to eat the artichoke heart at the end in the middle! Sounds like a sacrifice ritual–and those always turn out well! Eating artichokes is a great way to stay hungry and fit! Cheers!
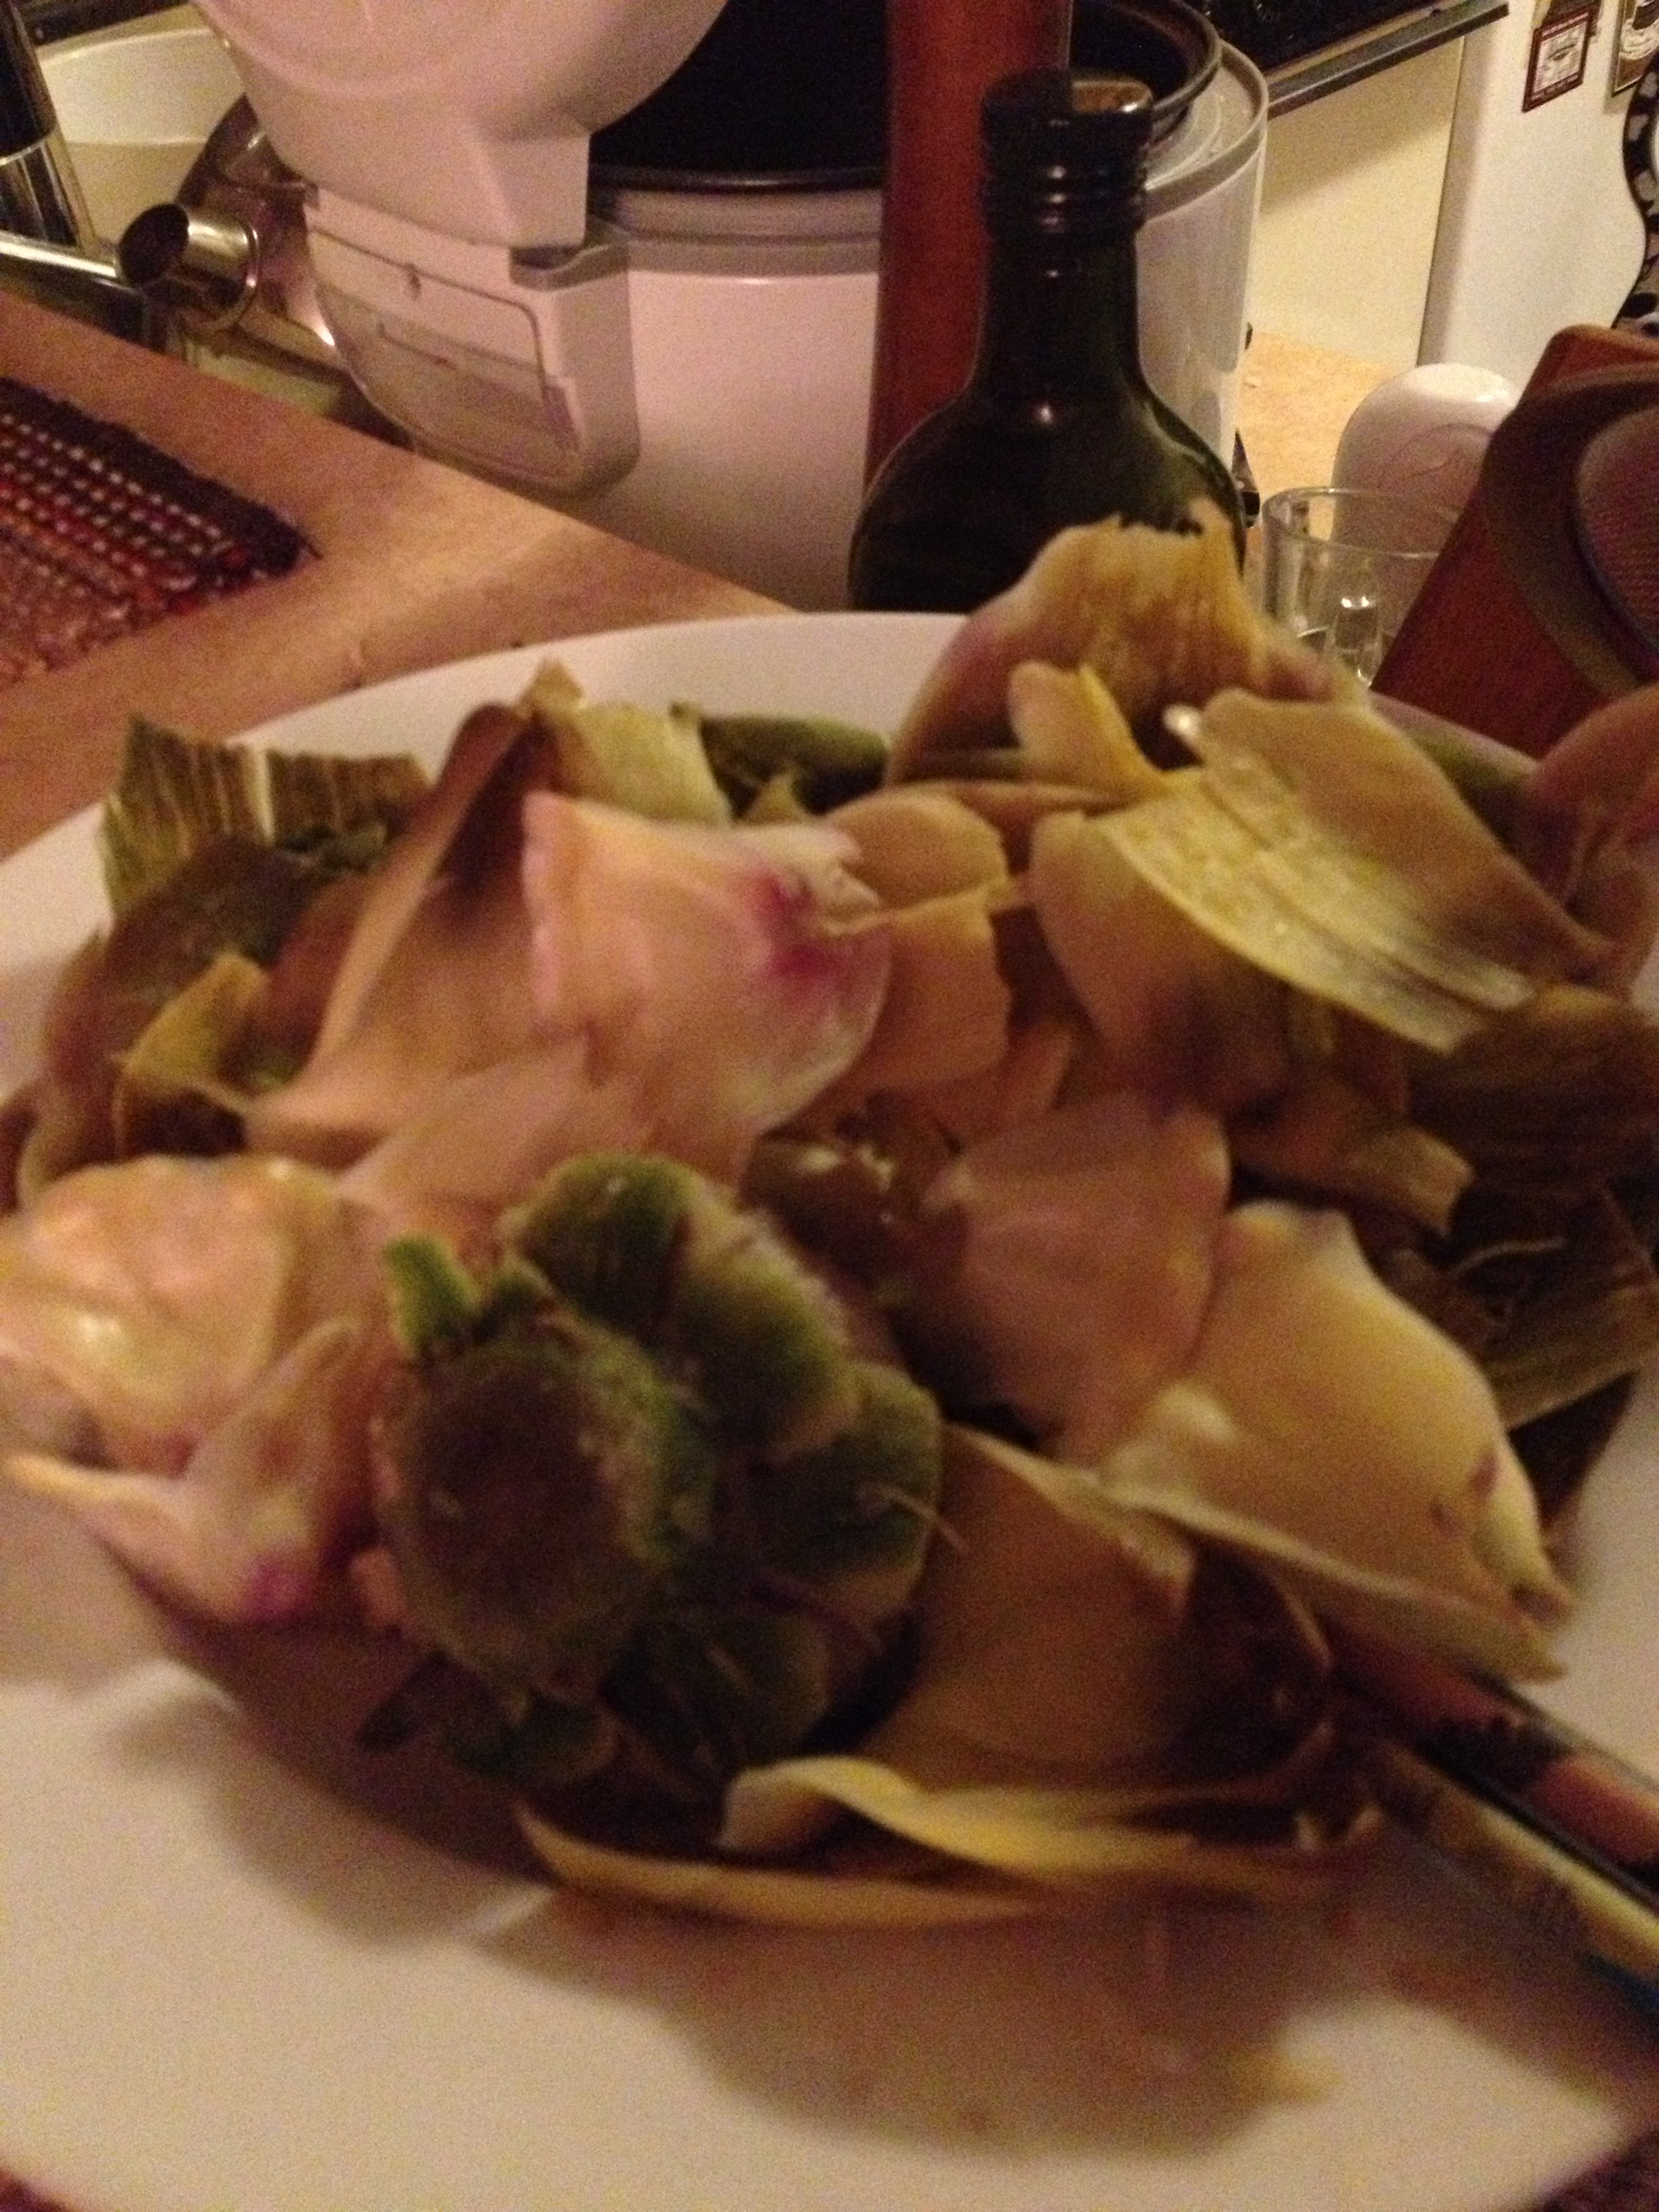
The remnants of my artichoke feast