Archives

pumpkin chili 6

Vegetarian Instant Pot Pumpkin Chili

I hope you’re not sick of pumpkin recipes because WE STILL COMIN’ ATCHYA. This one is a quintessential Fall recipe because not only is it pumpkin, but it’s also chili. This recipe will be so nice for those of you who live in a place where the weather is getting chillier. Chillier. Get it? Anyhow, this pumpkin chili recipe is surprisingly wonderful. I was lucky enough to find it from Bowl of Delicious–a really delightful food blog.

spacer

Quick & Easy Chili at Home

Daylight savings time has us falling back and the sun is setting earlier. Days are getting darker, nights are getting colder and we’re moving through Fall quickly, on our way to Winter. The change of seasons and weather provides us the opportunity to cook different dishes in order to keep our bodies warm and even capitalize on different foods that are in season. One food that you can make all year round is chili, but there’s something special about having a warm bowl on a cold night.

We’ve presented loads of different recipes on the blog, in different forms. Sometimes we use recipe cards; sometimes we don’t. Sometimes we use lots and lots of work; sometimes we don’t. One thing we always want to do is include lots of delicious pictures, but this time around, we’re going to use these pictures as the recipe.

During (nearly) every stage of the cooking process, we’re going to show you a picture and only provide a brief description as to what is going on. Since we’re not baking, precise measurements aren’t as important, and since we’re making chili, there aren’t any complex techniques. Plus, the most important thing to remember is that this is YOUR chili, and you should adjust the seasoning to make your mouth and tummy happy. (If you want to throw some serious heat in there, go for it!)

Ingredients you’ll need:

  • Onion
  • Garlic
  • Red wine
  • Vegetable stock
  • Potatoes, cut into chunks 
  • Fresh or canned tomatoes 
  • Seasoning like oregano, paprika, and salt & pepper
  • Beans
  • Fat, such as butter
IMG_2455

Step 1: Caramelize onions and garlic in a stockpot.

spacer

Iowan Surprise Recipe

Growing up, I was the luckiest girl when it came to food. My family is full of recipes. From my mum’s recipes to my grandma’s recipes, I was surrounded by flavor and diversity. One that particularly stands out to me is Iowan Surprise–or simply “Surprise” for short. This one comes from my Grandma in Iowa. You’re probably asking, What is “Surprise” anyway? Well. it’s basically a special version of chili, if you want to relate it to another food. It’s a wonderful comfort food while being a great family meal. Plus, there is so much variation allowed in this recipe. There’s a meat version, a vegetarian version, a spicy version, a non-spicy version, and so on! I obviously had the vegetarian style, while the rest of my family had the meat version. All you have to do is leave out the beef. Let’s get to the recipe. 

photo 1 (84) photo 2 (70) photo 3 (64) photo 5 (30) photo 4 (51)

Iowan Surprise
Serves 8
A wonderful version of chili atop crushed tortilla chips
Write a review
Print
Prep Time
2 min
Cook Time
15 min
Prep Time
2 min
Cook Time
15 min
The Goop
  1. 1lb ground beef (for meat version...obviously)
  2. 1 15oz can condensed cheddar cheese soup
  3. 1 15oz can enchilada sauce
  4. 1 large can of refried beans
  5. 1 4oz can chopped green chilies
The Toppings
  1. 1 bag tortilla chips
  2. 1 cup grated cheese
  3. 1 cup chopped tomatoes
  4. Guacamole or avocado
  5. 1 cup chopped lettuce
  6. Salsa
  7. Peppers (for spice)
Instructions
  1. Brown the beef and drain the fat
  2. Add all the canned ingredients except the chopped green chilies
  3. Heat the ingredients through and then add the chopped green chilies right before you're ready to serve
  4. To serve, crush your tortilla chips up, then put the goop on top, and then add your toppings!
Notes
  1. If you like it to be spicier, add the green chilies earlier
Adapted from Grandma
hungry and fit https://hungryandfit.com/
This recipe always brings a smile to my face and I always try to fit another serving in my belly even when there isn’t room. It keeps really well for leftovers and it takes no effort and next to no time to make. This is the perfect Fall recipe for busy families, and people like me! It’s a treasured family recipe that will continue to put smiles on eater’s faces. Make this recipe to stay hungry and fit!

spacer

Yes, That’s a Beautiful Pumpkin–But Don’t Throw Out the Seeds!

Yikes, what a long title. Anyways, I’m here to bring you something that could be possibly even more amazing than carving a pumpkin…its seeds. As some of my friends may know (cough LENA), I absolutely love pumpkin seeds. In fact, I love them so much I can eat a whole container of them (sorry, Esther). The flavor of it, the grittiness, the amount of protein in the middle. There’s no downside (at least for me, but Chris doesn’t like how long it can stay in his mouth).

Indeed, it’s a great protein source. Did you know that one ounce of pumpkin seeds can give you 9.35 grams of protein? Not bad! Well said, Watto. And it is so easy it’s not even funny. We carved our pumpkins with paring knives (that was the hard part) and then I gutted them. I have memories of my dad letting my brother and I draw faces on our pumpkins, he would cut it, then let me do all the dirty work of grabbing its seeds and goo. And I loved it. So of course, I was the one to do it this time. But I was not going to throw them out, oh no! I collected all the seeds from the two pumpkins and prepared them. All in all, it took about an hour. However, 40 minutes of that was cooking time. The rest is easy.

What You Need:

  • Raw pumpkin seeds
  • Melted butter (or oil)
  • Salt

First, set the oven to 350 degrees.

Next, get all the guts of your pumpkin(s) and place them in a strainer. This will take the most work. Have a light flow of water running over the strainer as you pick the seeds from the gunk and place the gunk in the sink.

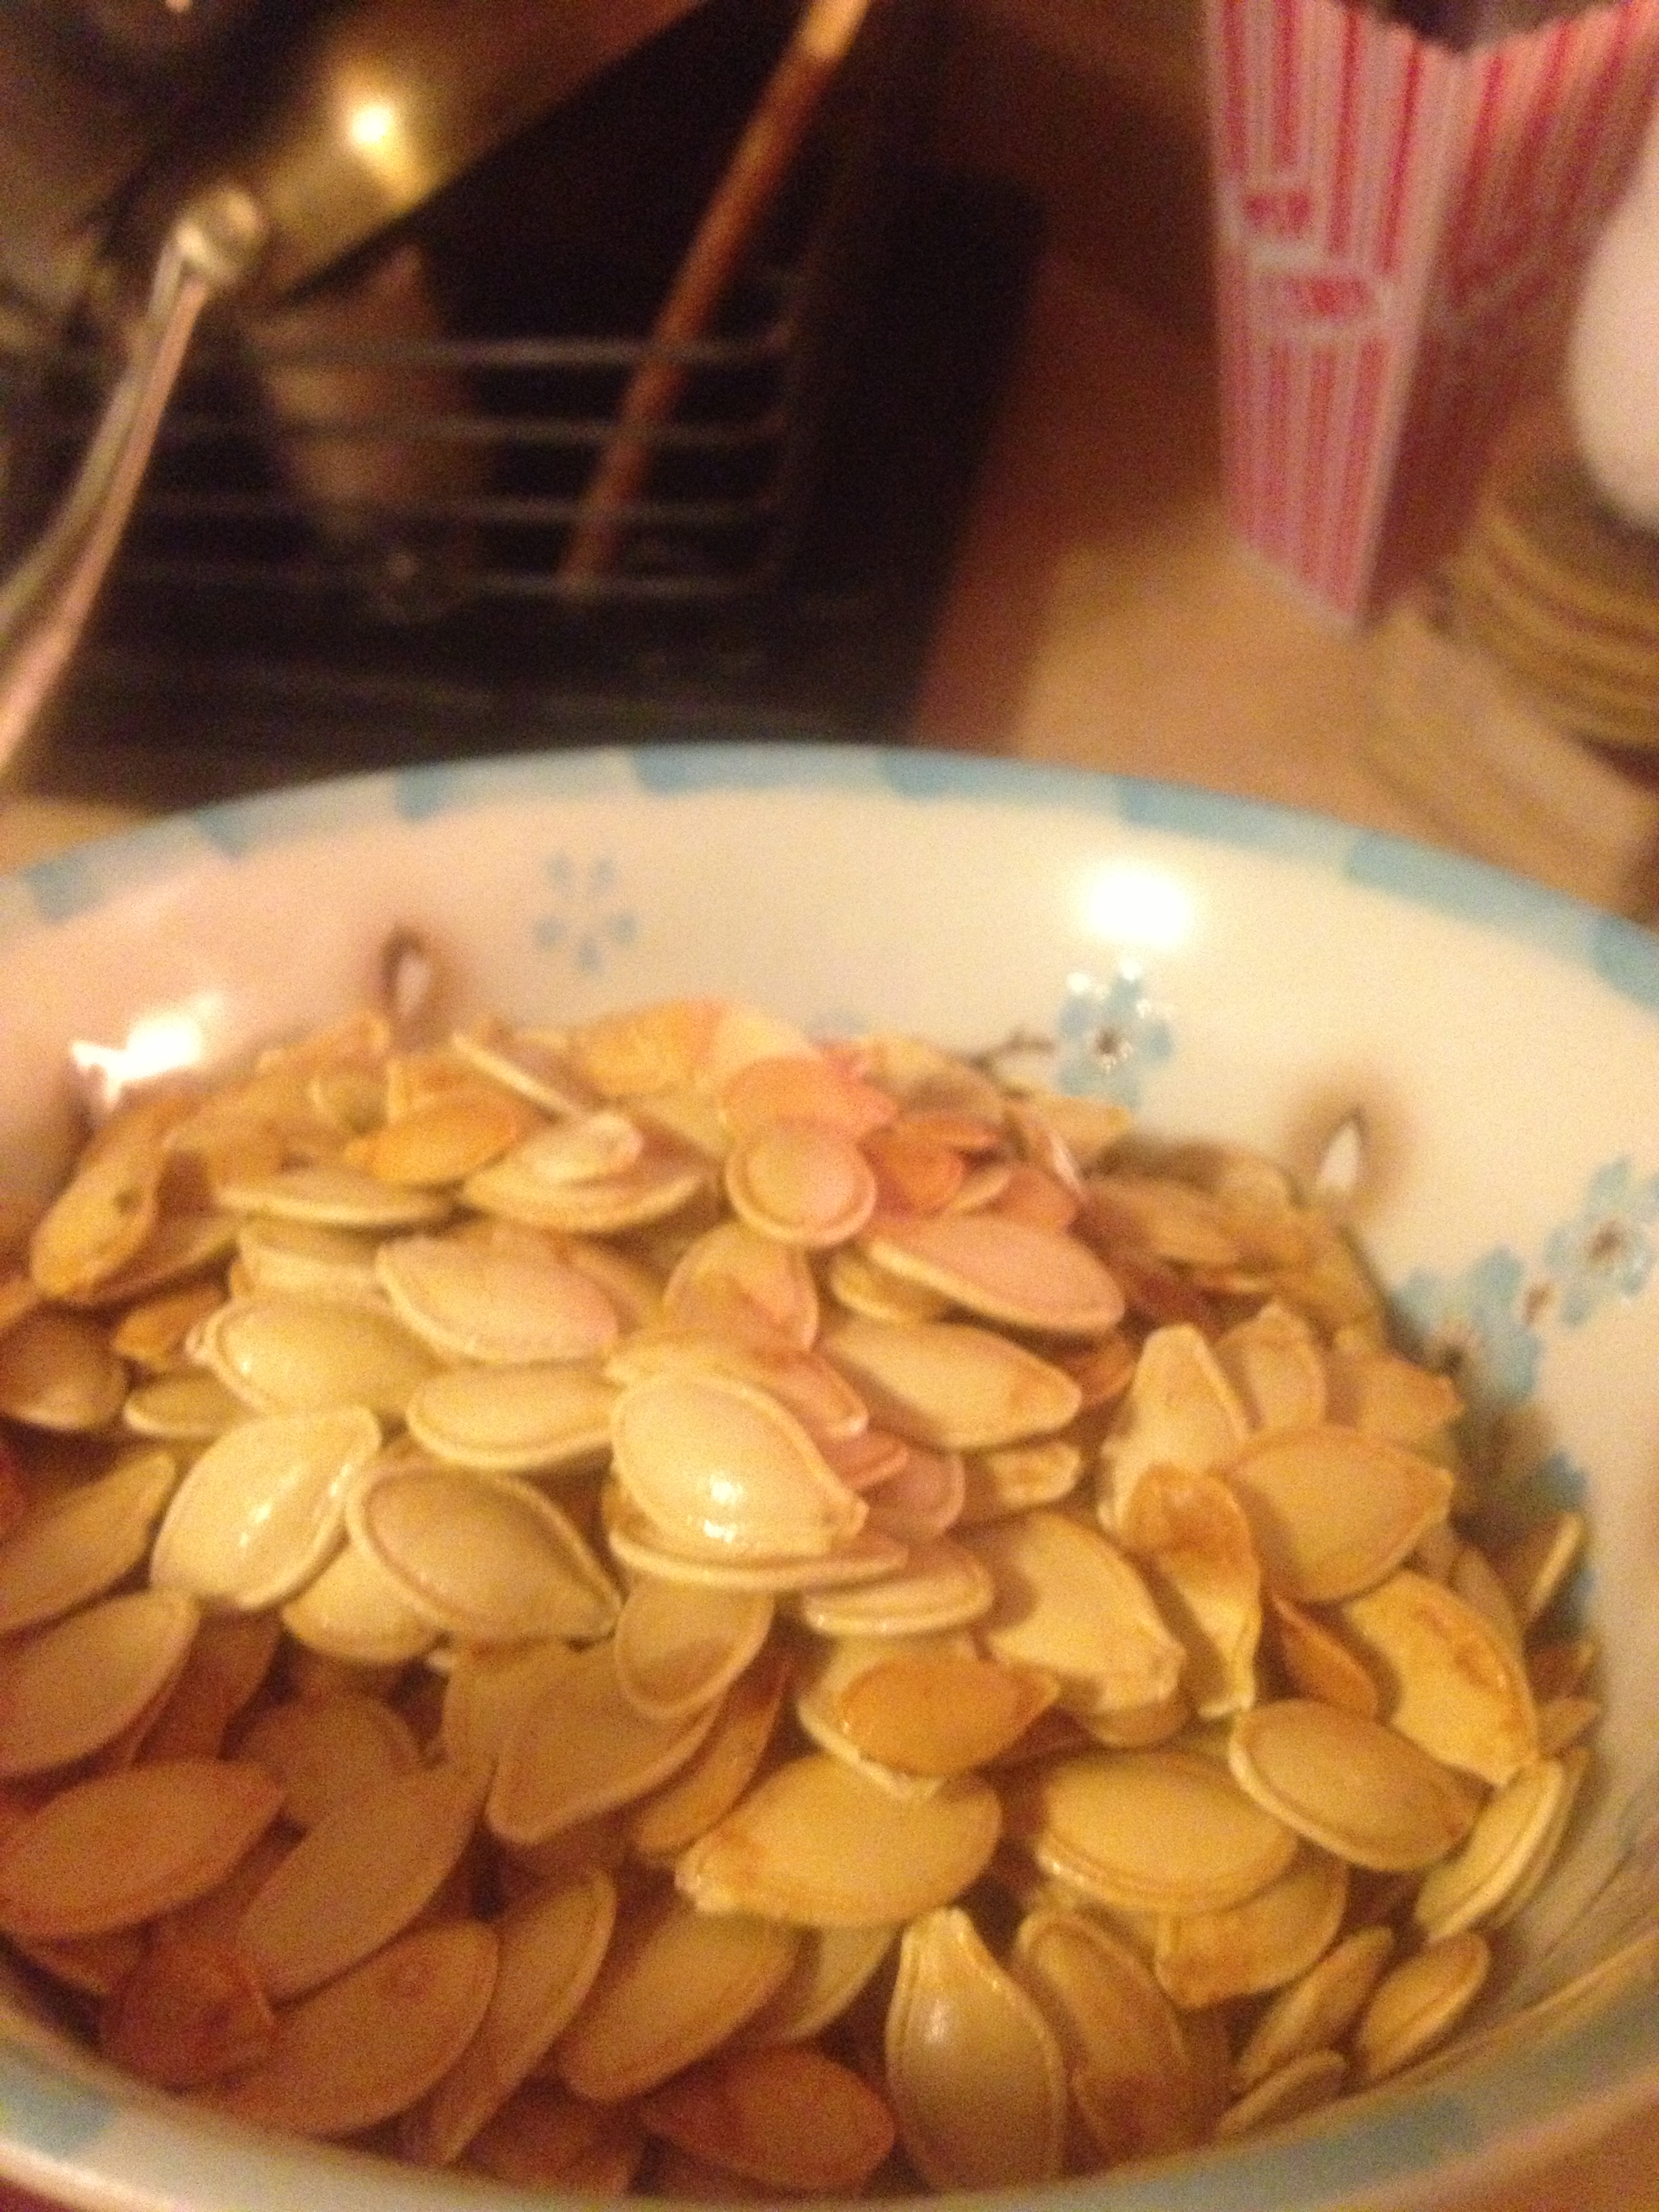
Once you have all the seeds by themselves, place them into a small mixing bowl.

Place the melted butter into the bowl with the seeds (I used about 3/4 of a tablespoon) and mix around.

Then, shake plenty of salt into the bowl and mix again.

Spread out all the pumpkin seeds as flat as you can on a baking sheet. Then place in the oven from 20-40 minutes (depending on your oven and how many seeds you have) or until golden brown.

And that’s it! Serve and enjoy. I won’t be able to stop munching.

(Nymeria loved eating all the bits of pumpkin dropped on the floor)

spacer