Okay, so maybe it’s only famous among my friends and family because it’s the only cake they ever got at my birthday parties. It’s the only cake I would eat growing up, and I haven’t branched out much still (but I will take down a cheesecake or carrot cake nowadays). I don’t know, I’m just not a huge fan of cakes. But my mum’s banana cake, ooooh YES! It’s incredibly easy to make and you will want to eat piece after piece (I personally can literally eat endless amounts of this). It came from the same place that she took her scone recipe.
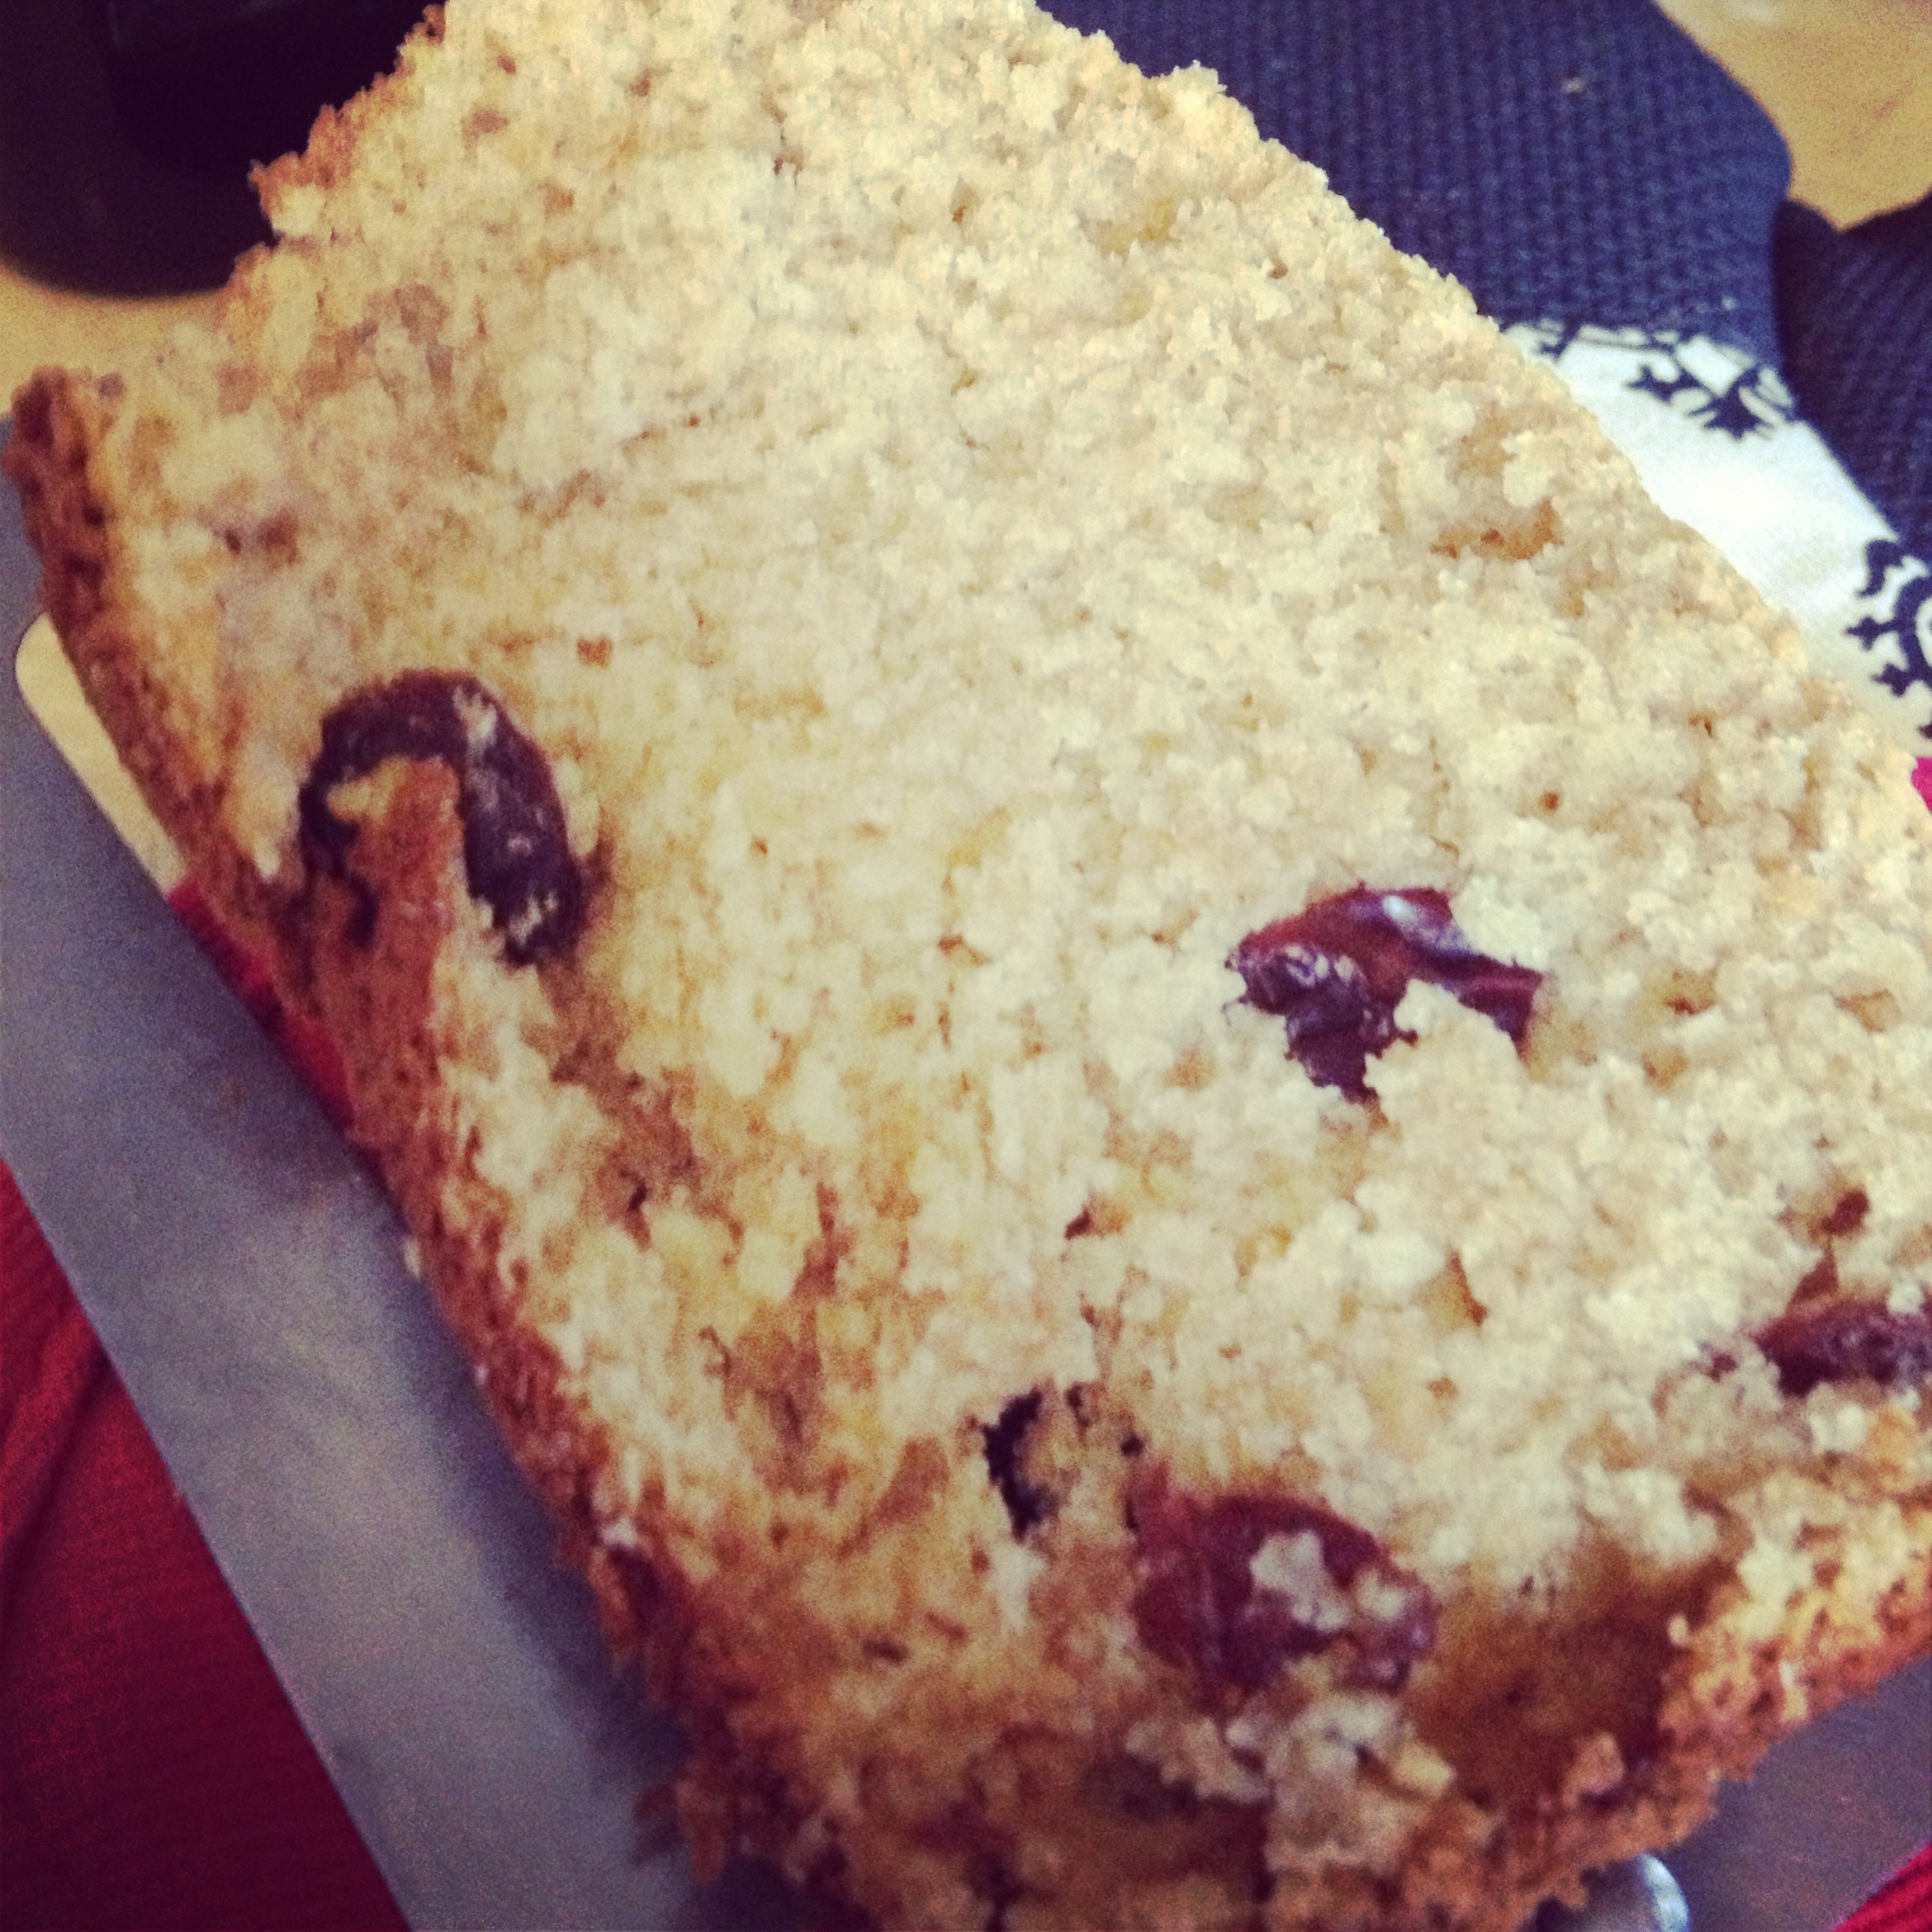
Banana Cake
- Prep Time: 15 minutes
- Baking Time: 34-40 minutes
Ingredients
- 2 eggs
- 1 stick butter
- 6 oz sugar (.85 cup sugar)
- 8 oz regular flour (1.8 cups)
- 1 tsp baking powder
- 2-3 bananas
- 1 tsp baking soda
- 2 tbsp milk
Directions
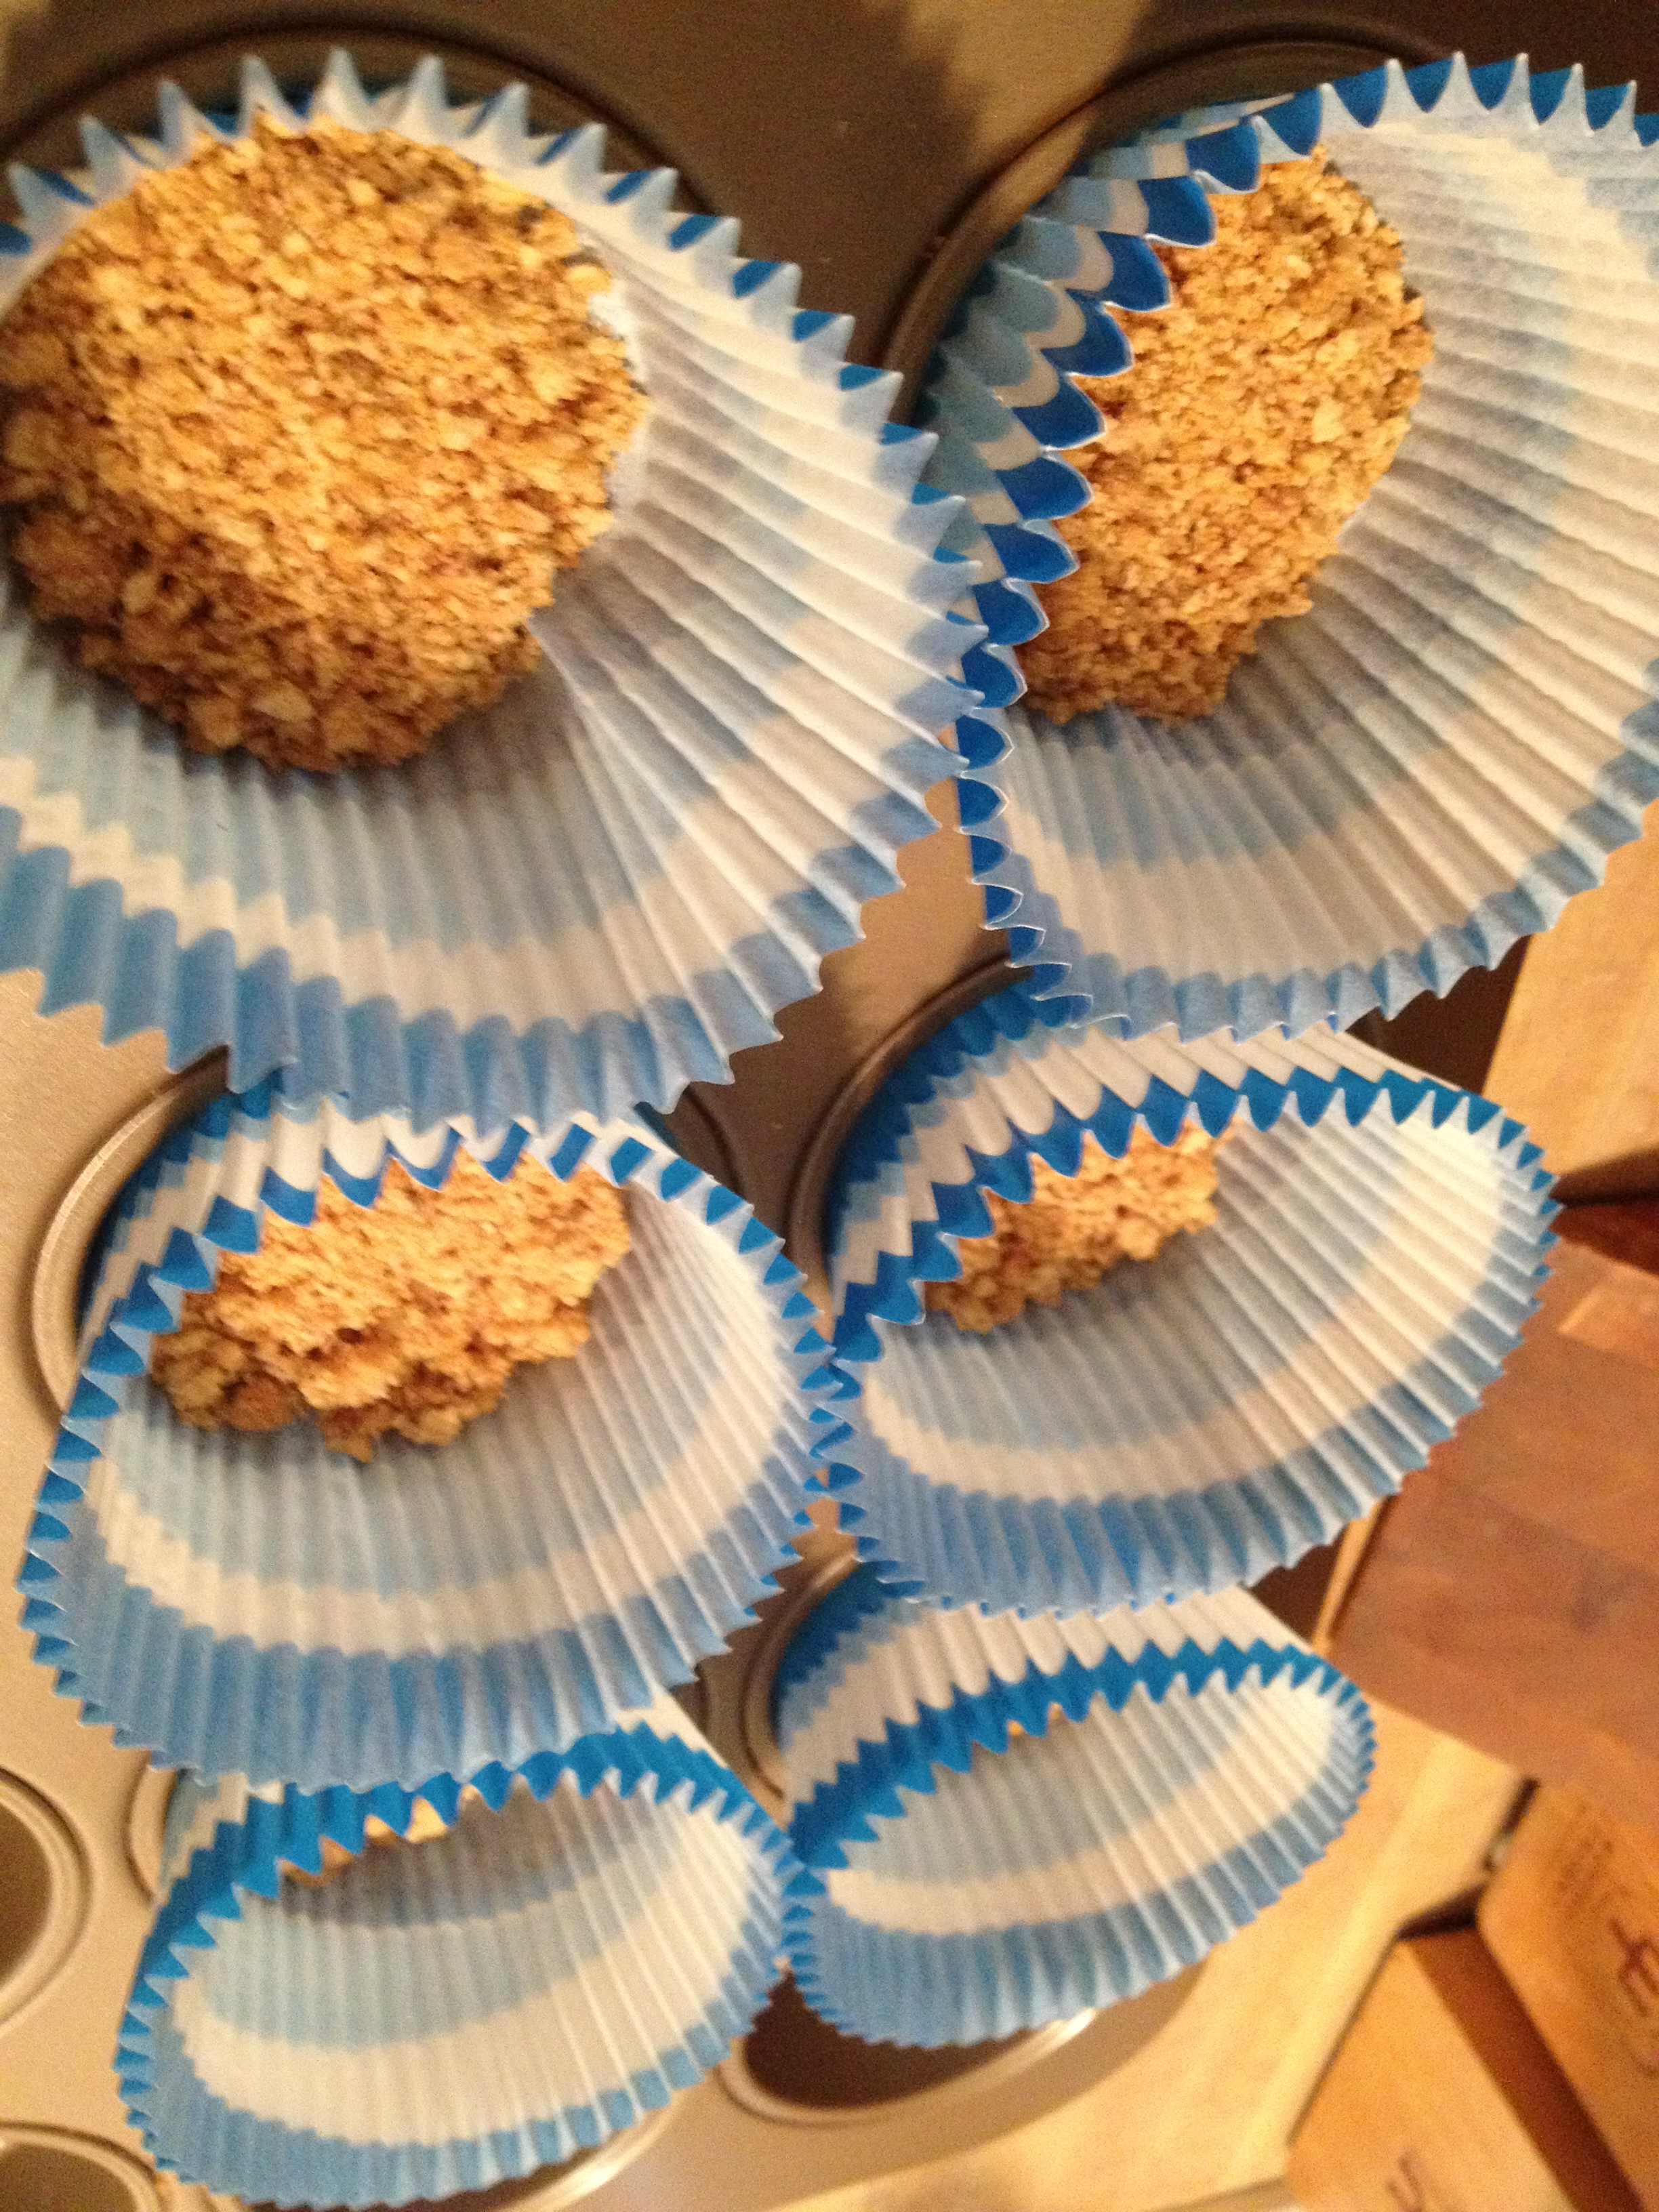
- Get out a box/rectangular/circle pan and line it with wax paper. Tip a little flour in and spread it around. Pre-heat oven to 350 degrees F
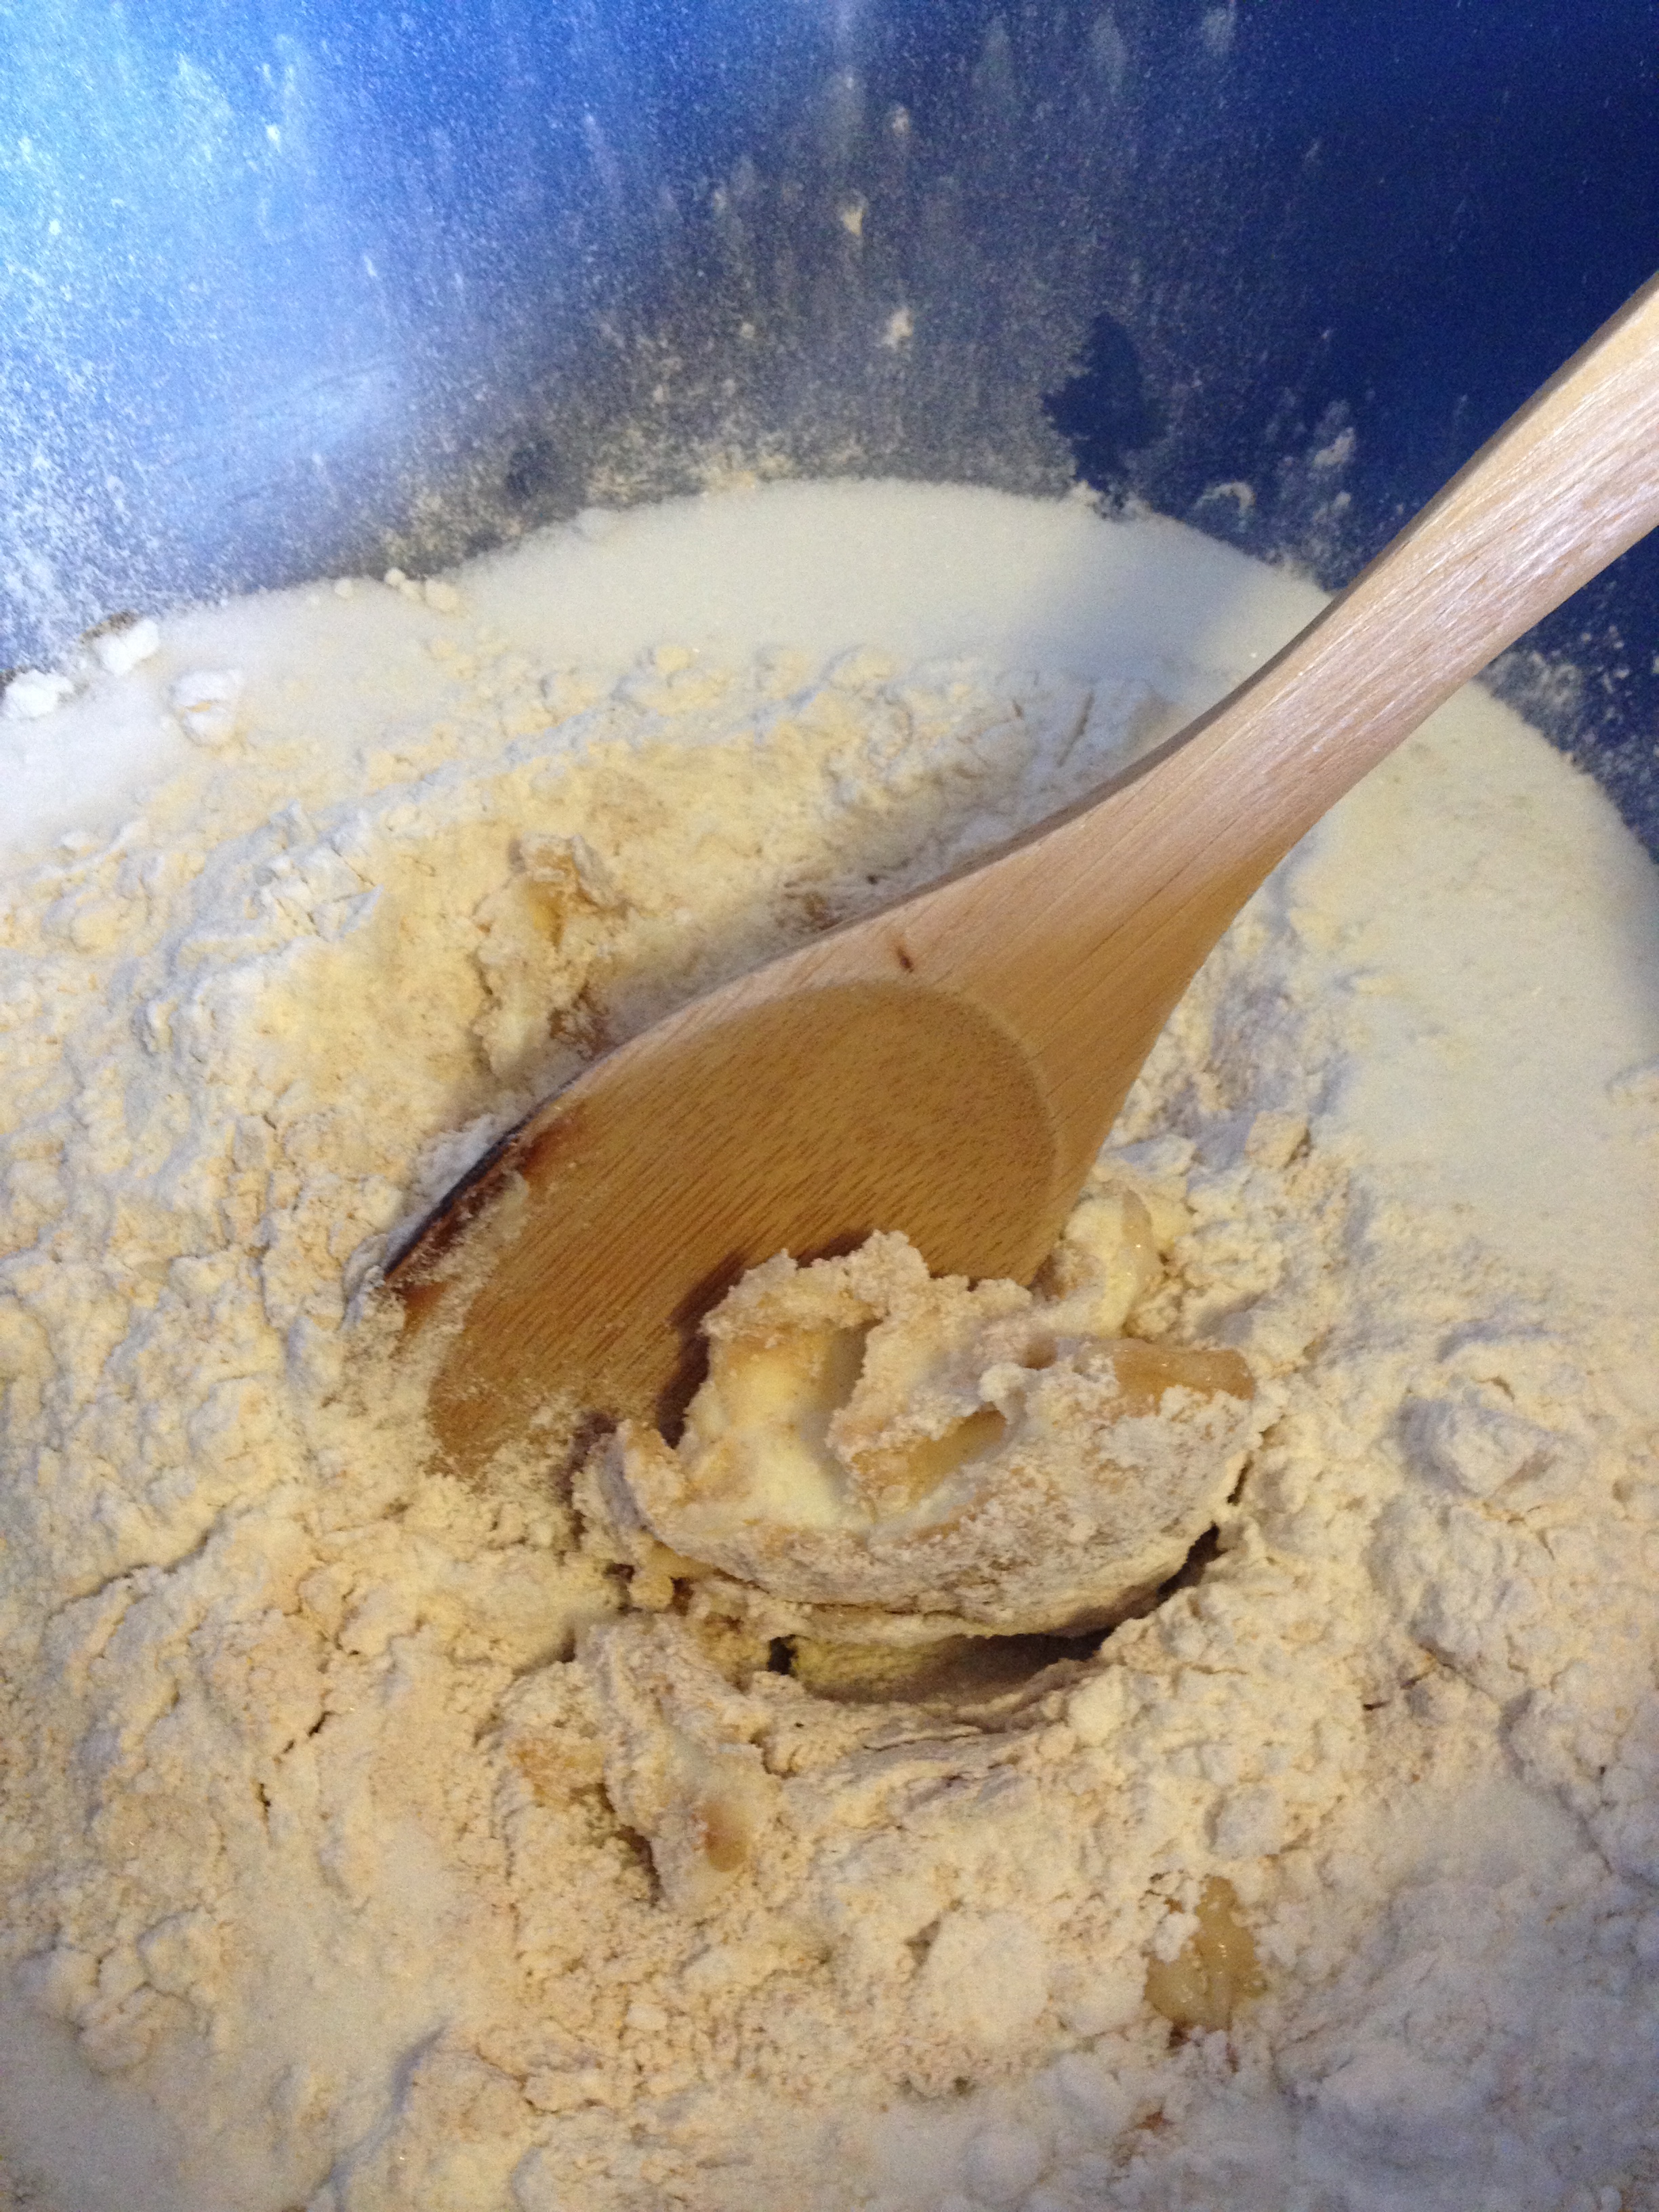
- Mix the baking powder and flour in a smaller bowl
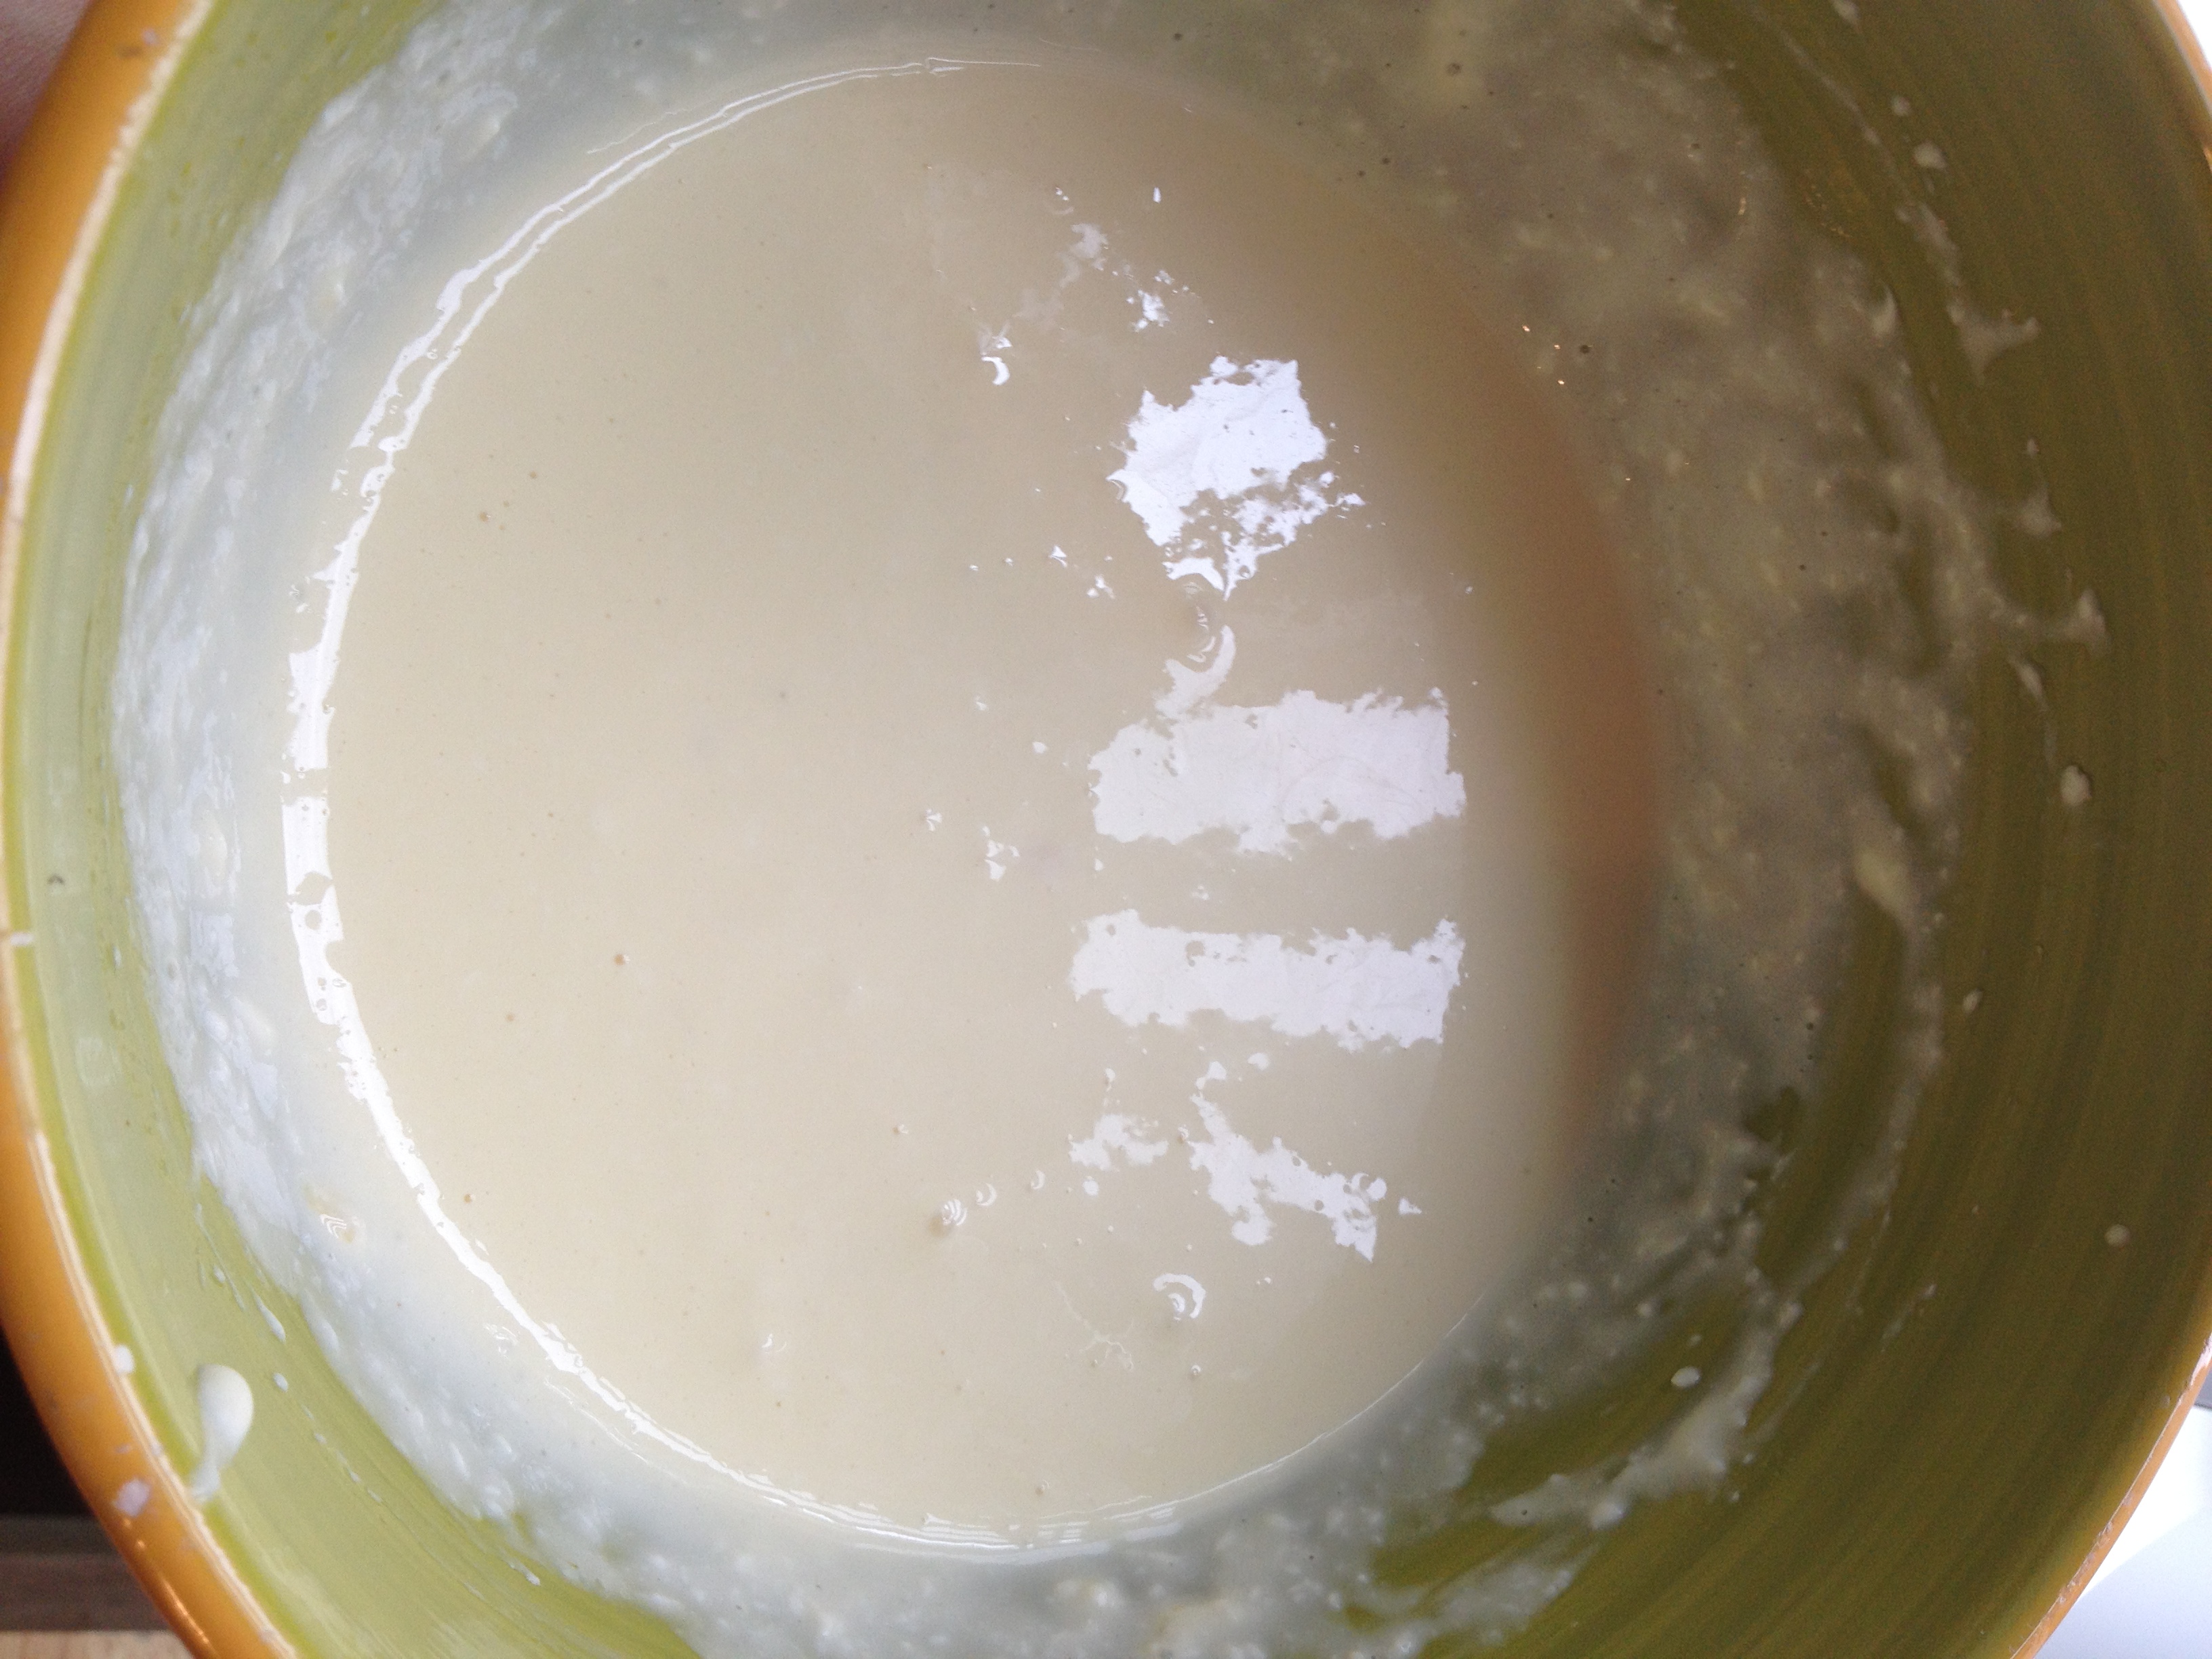
- Cream the butter and sugar together in your main big bowl
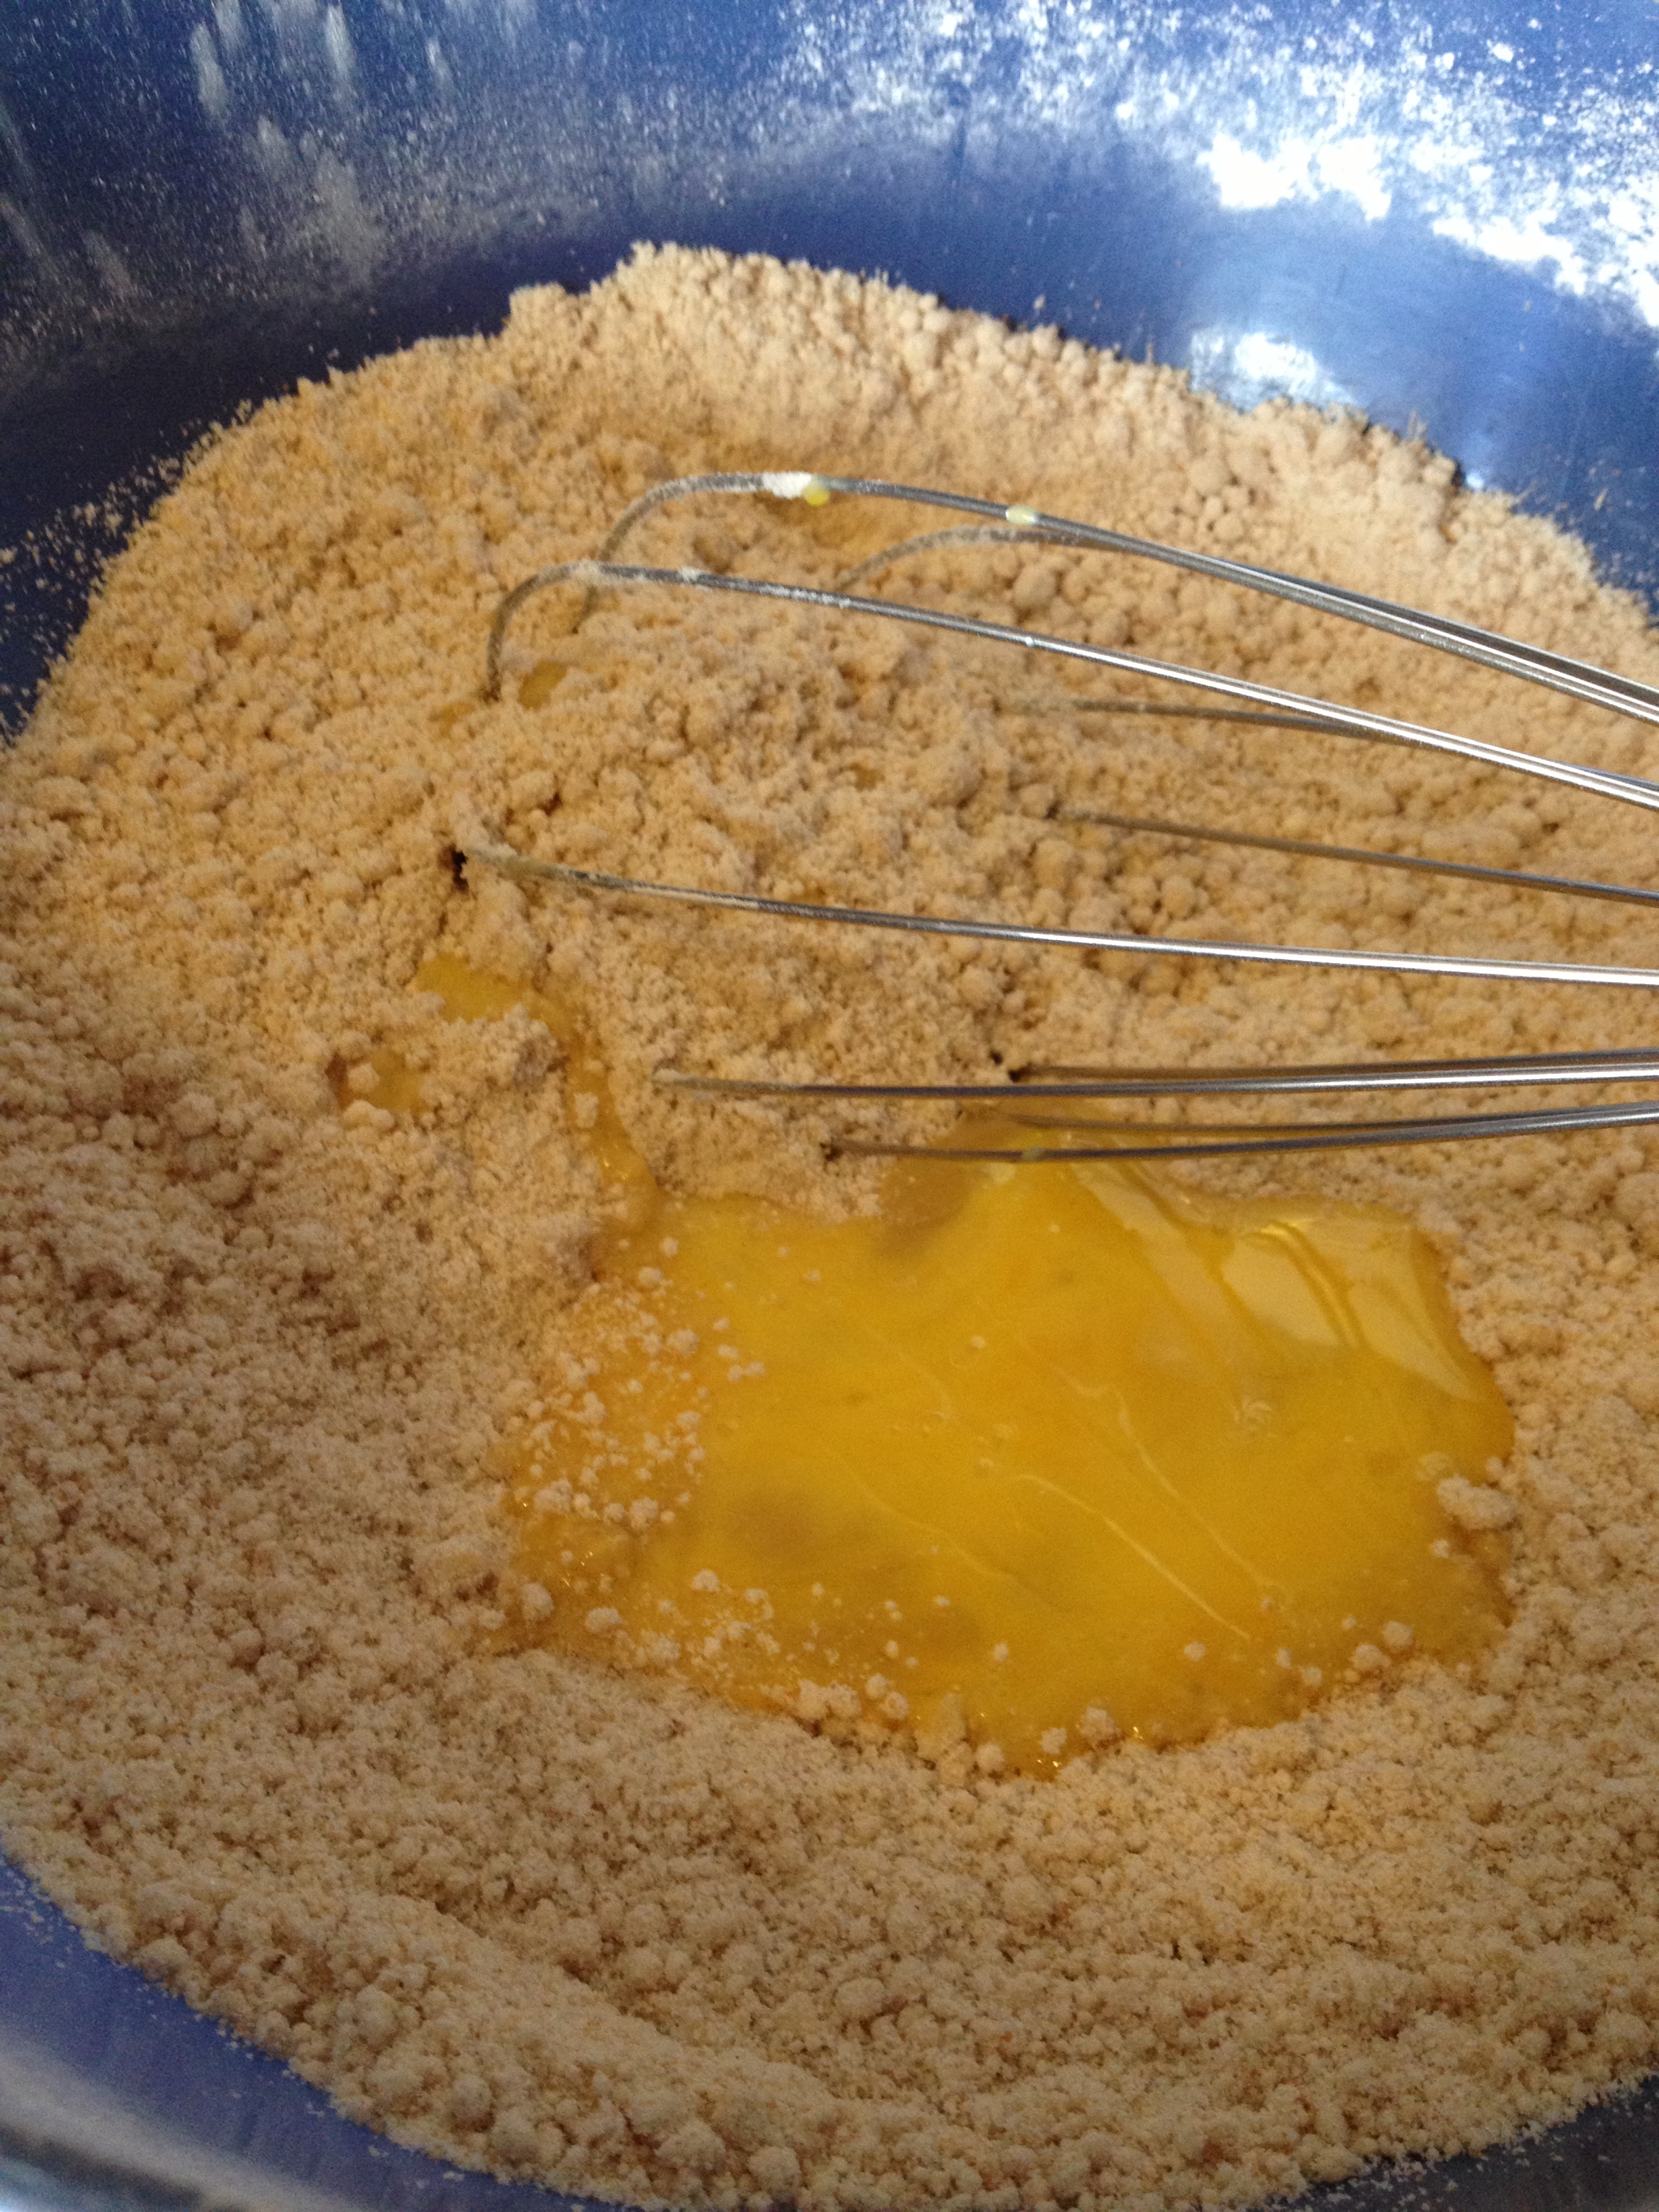
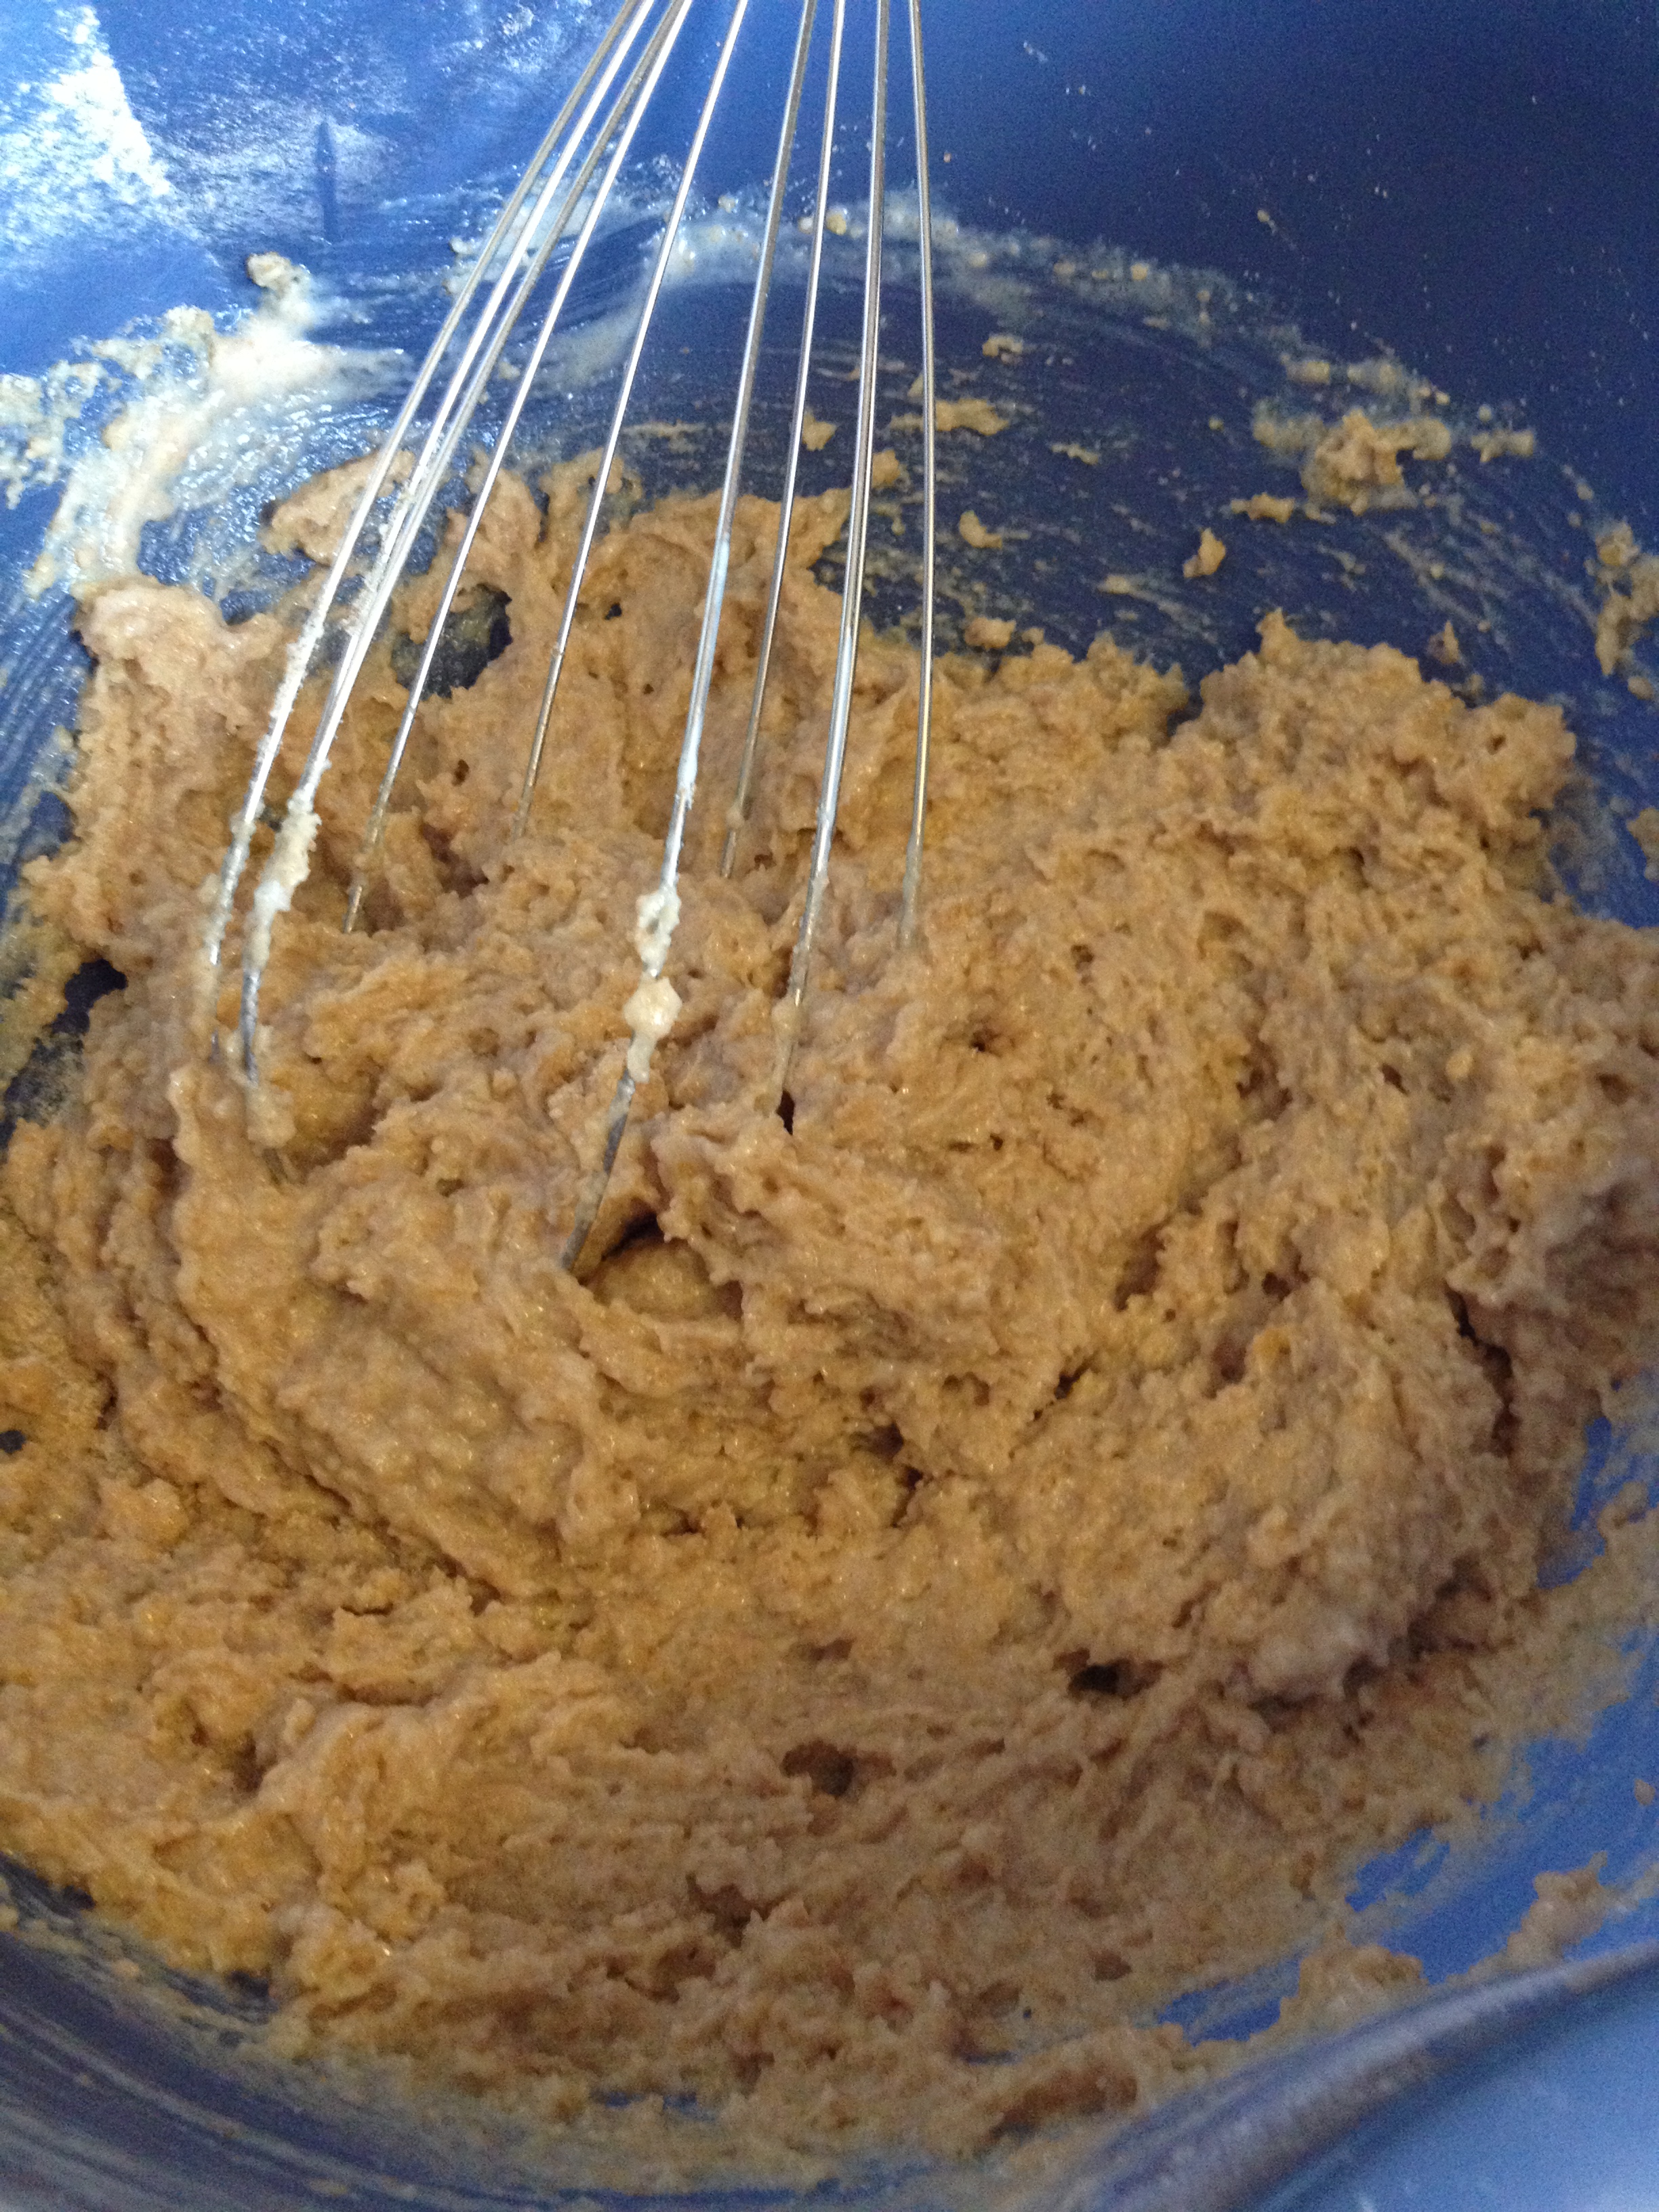
- Add in an egg, mix it, and then add the other egg in.
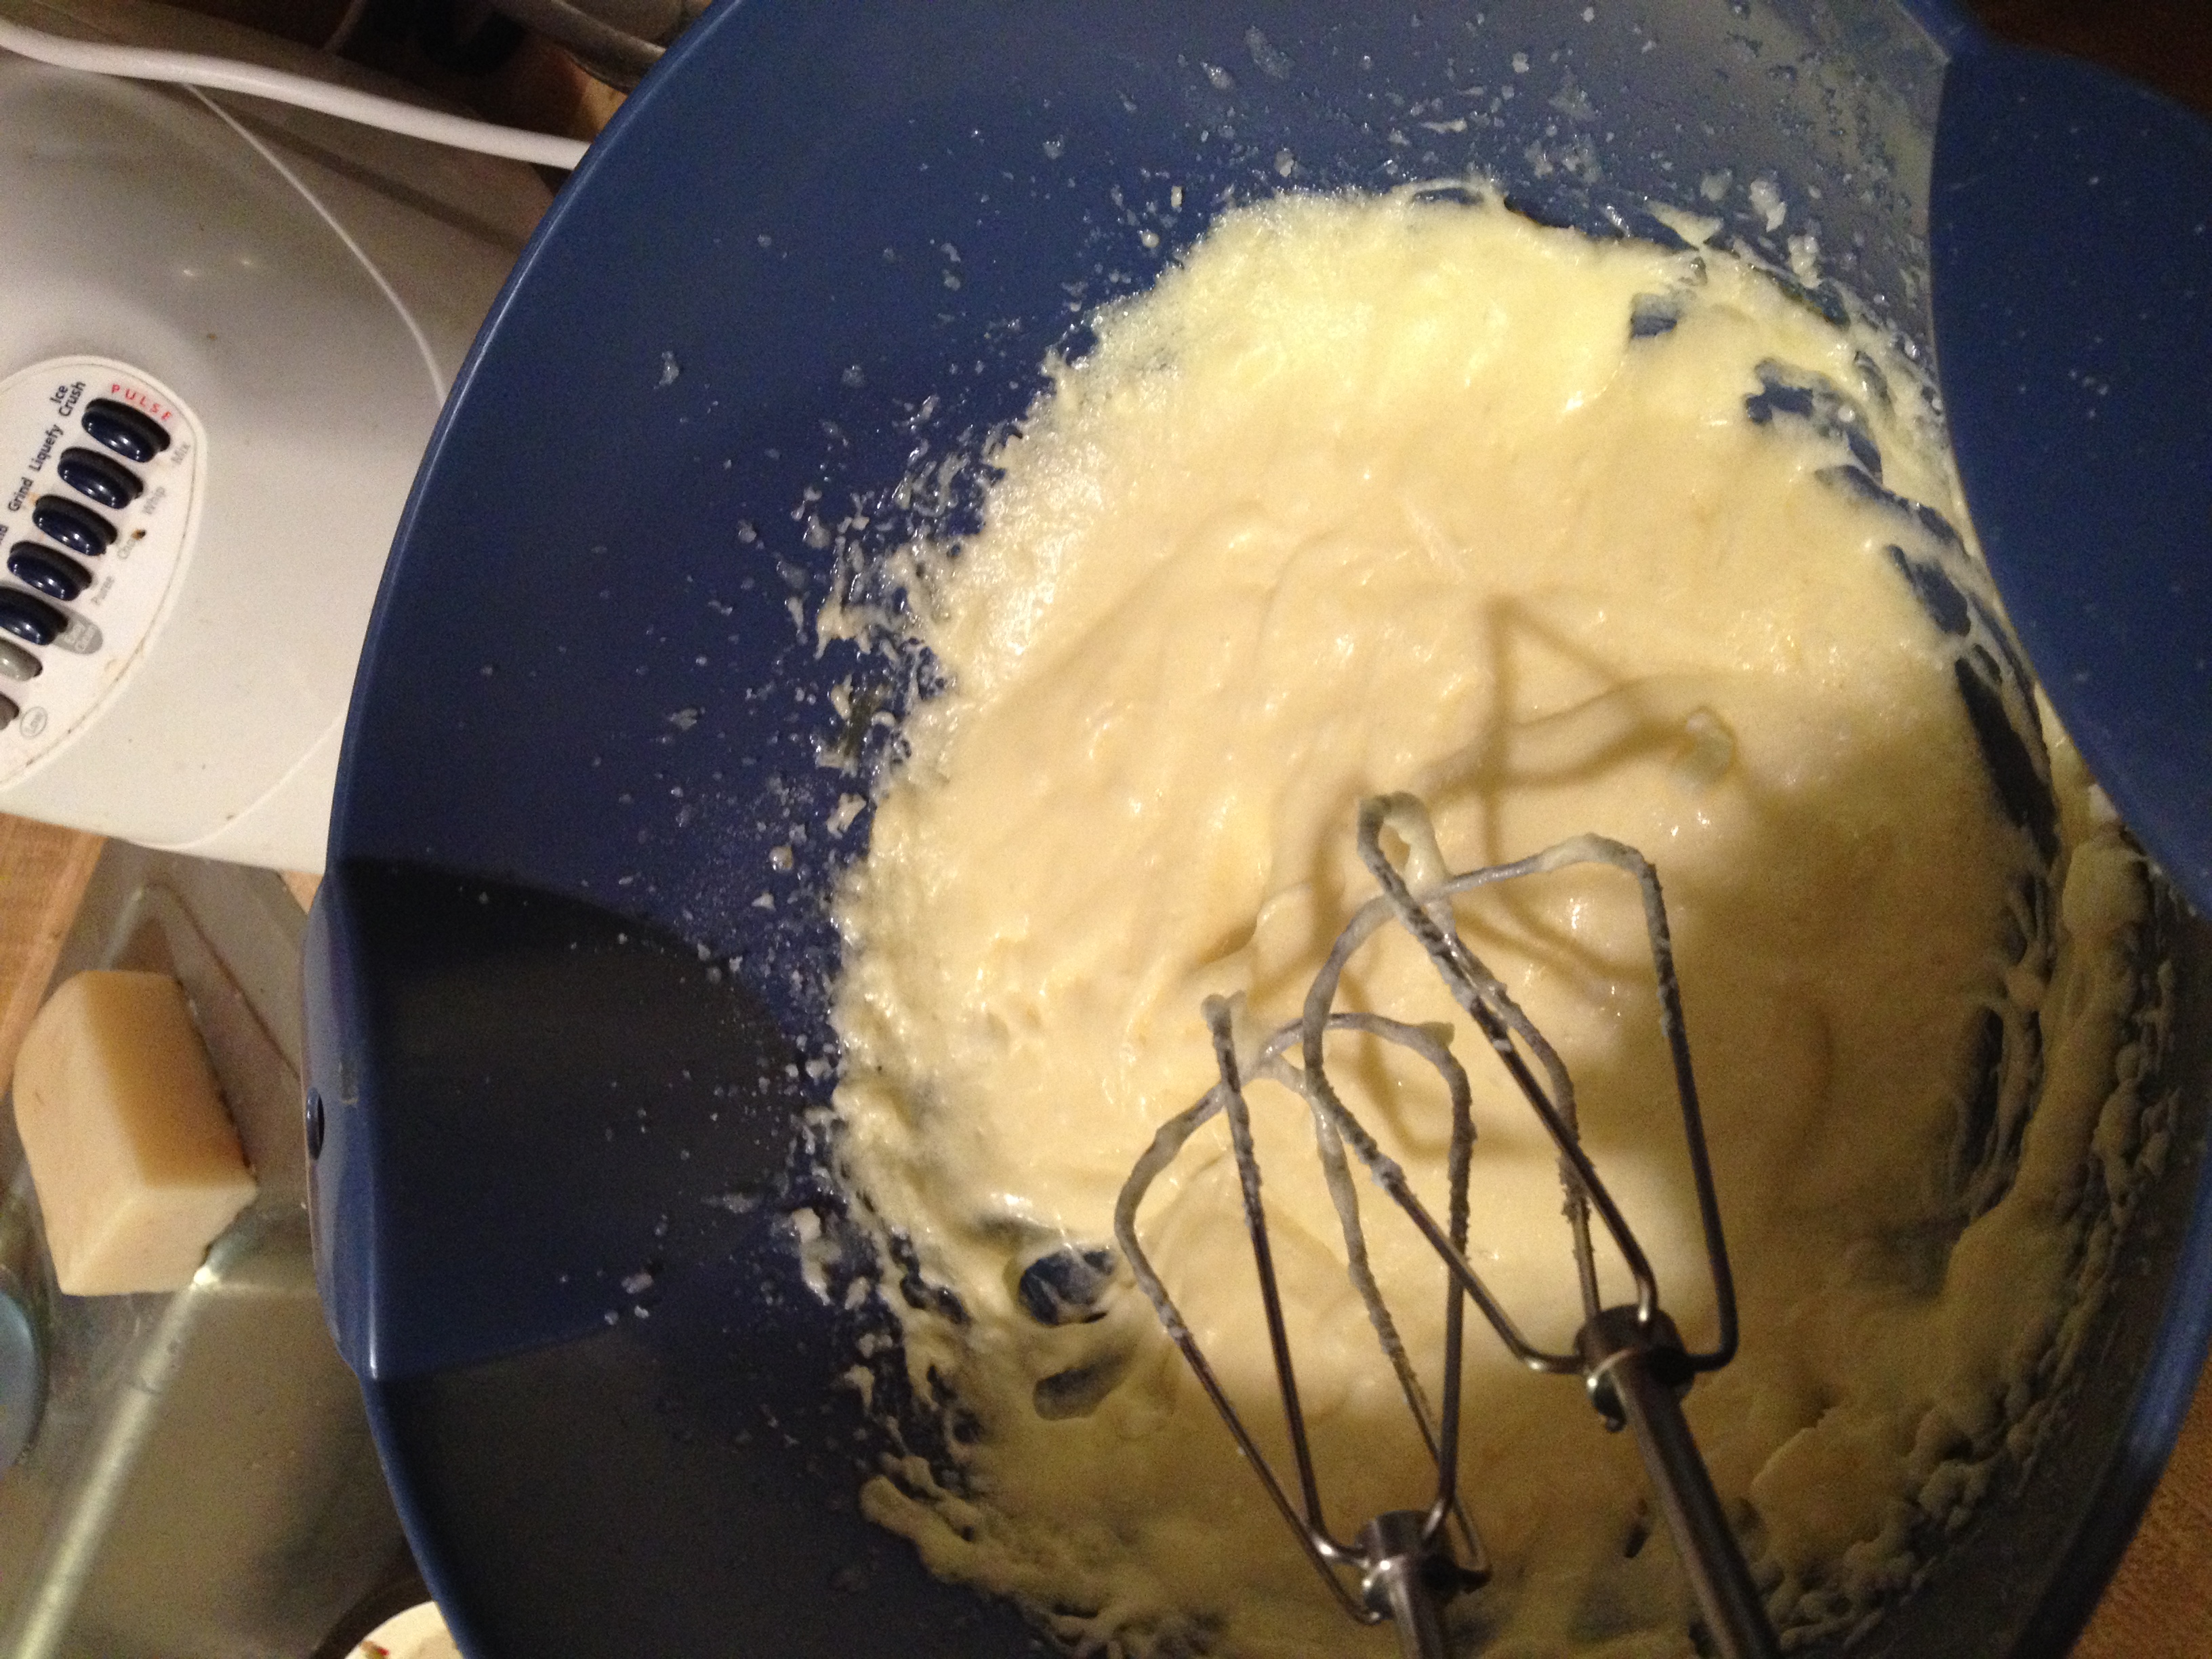
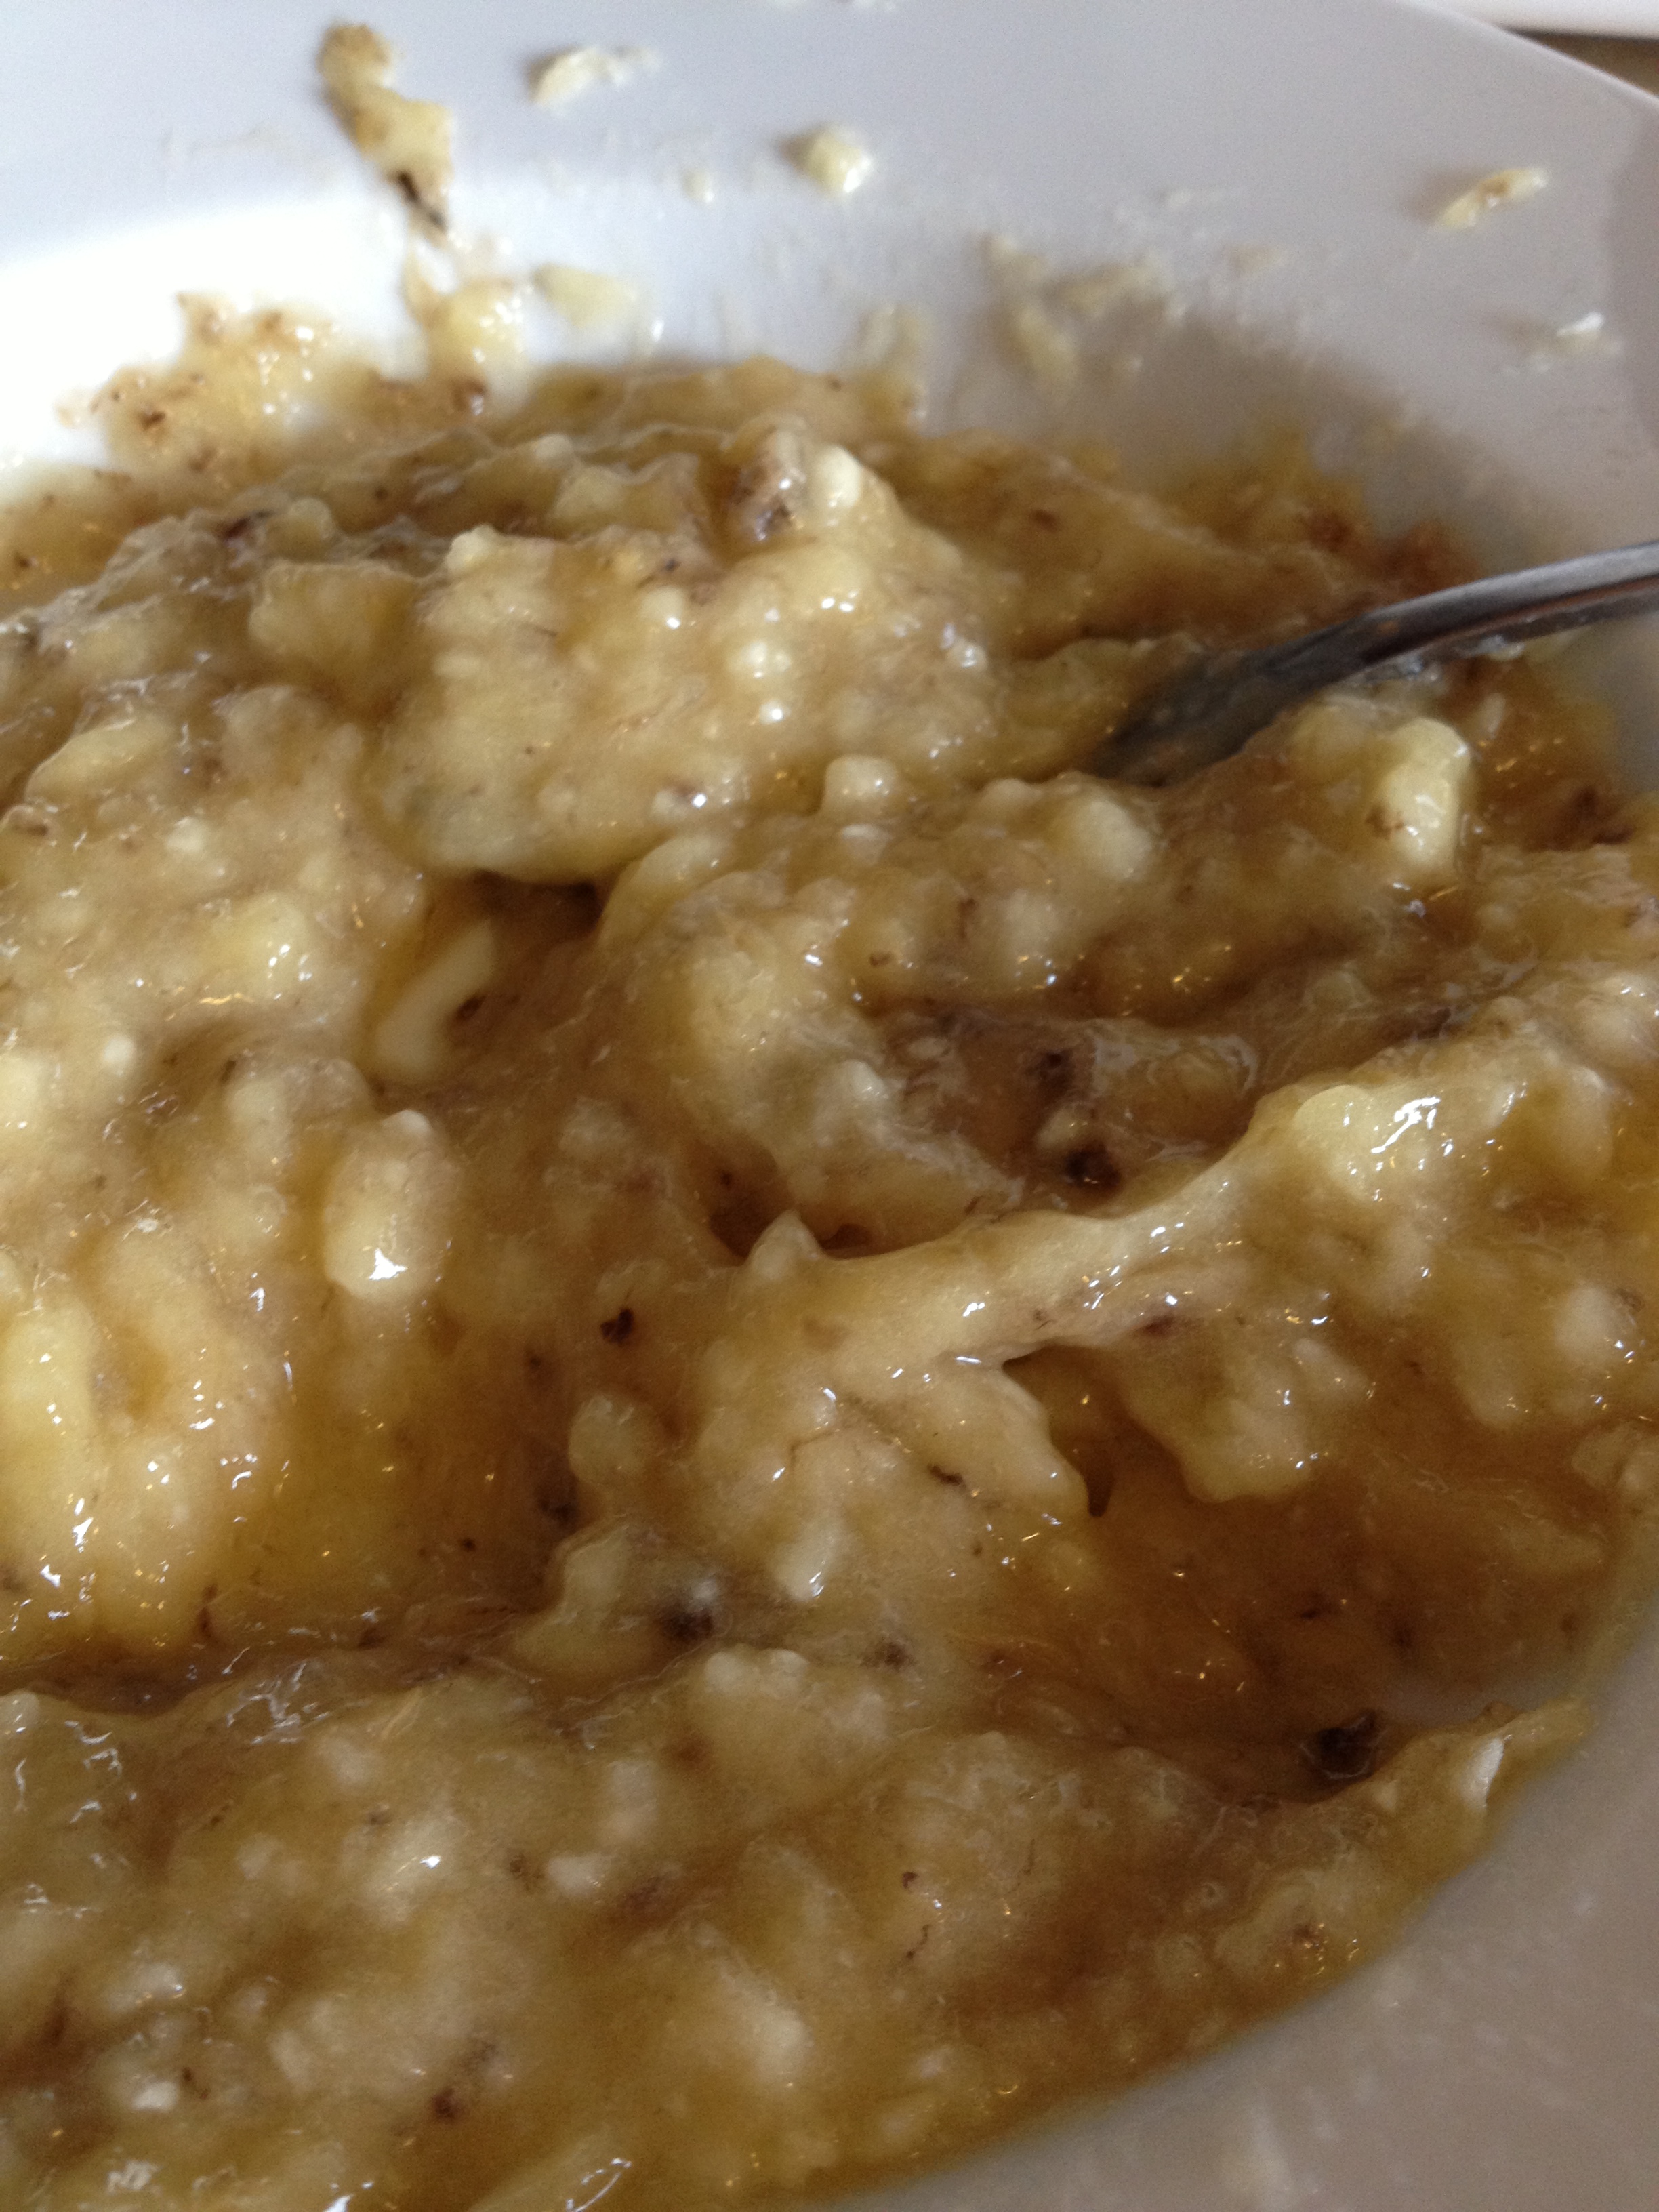
- Now mash your bananas into smithereens and slowly mix them in too
- Now in a pot on the stove, put the milk in and get to a boil. Now you have to be quick at this. Quickly, stir in the baking soda. It will come up into a fluff that smells amazing. Mix that immediately into the rest of the wet ingredients.
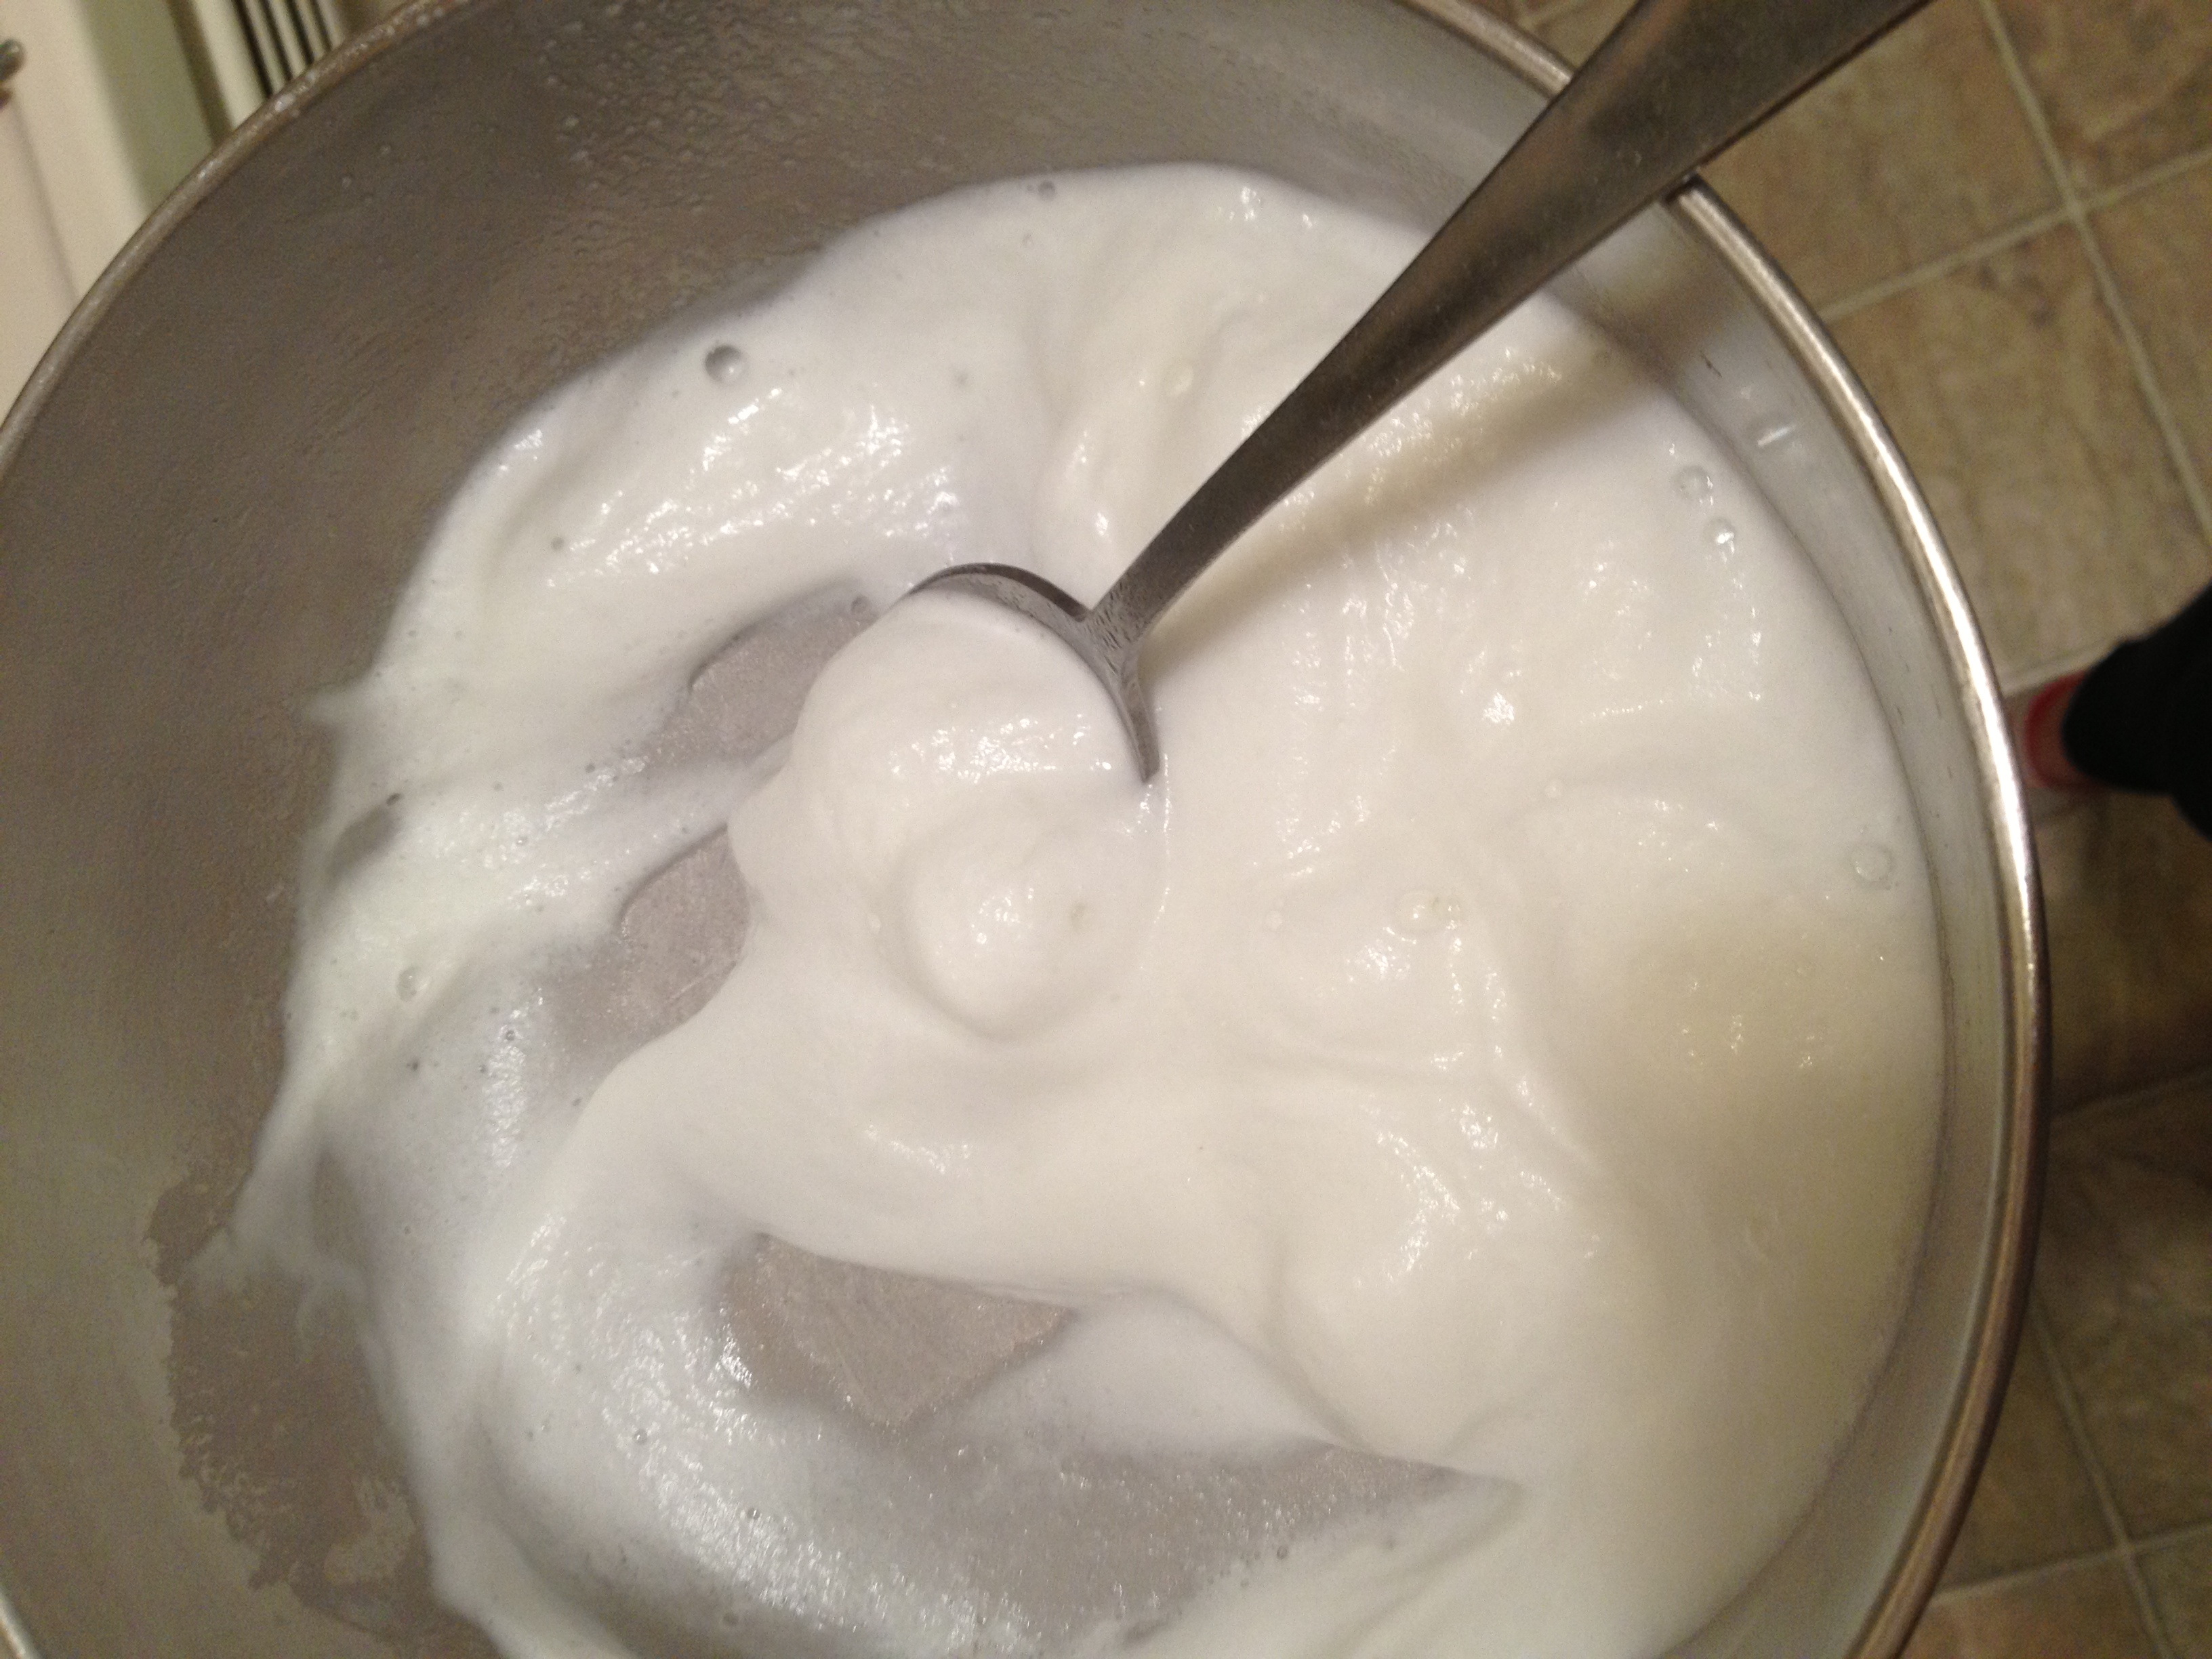
Always fascinated me growing up…still does
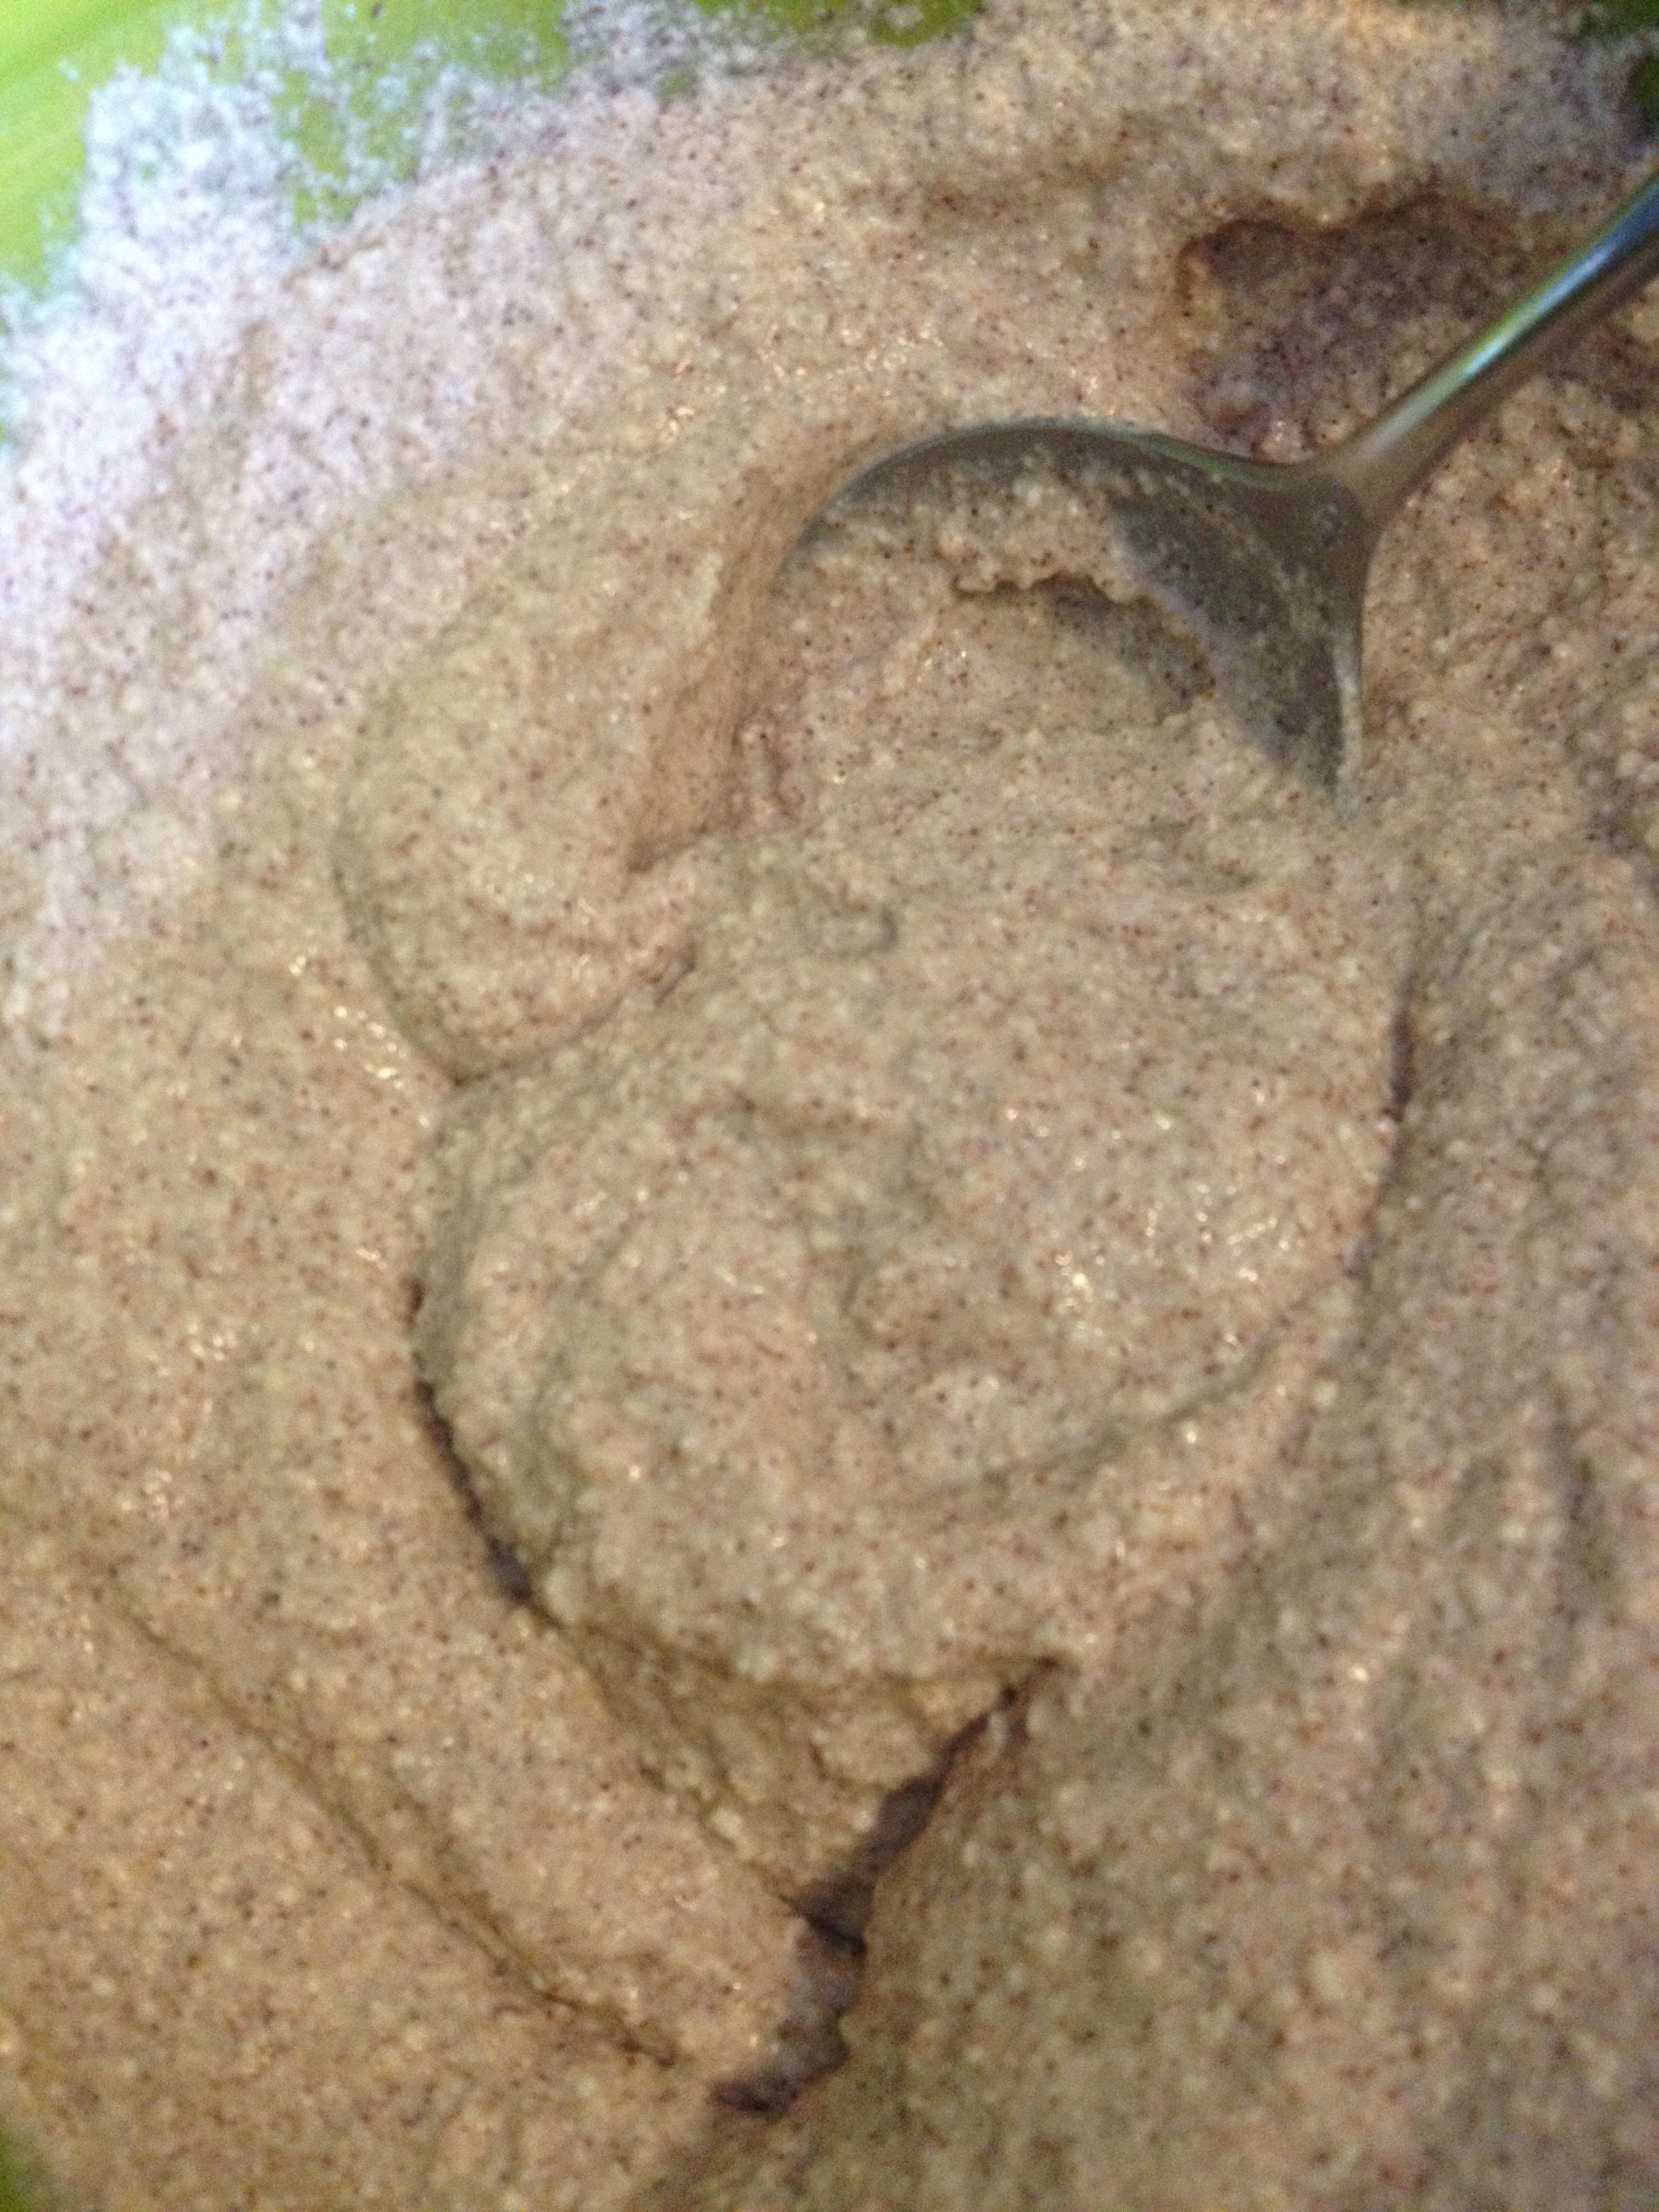
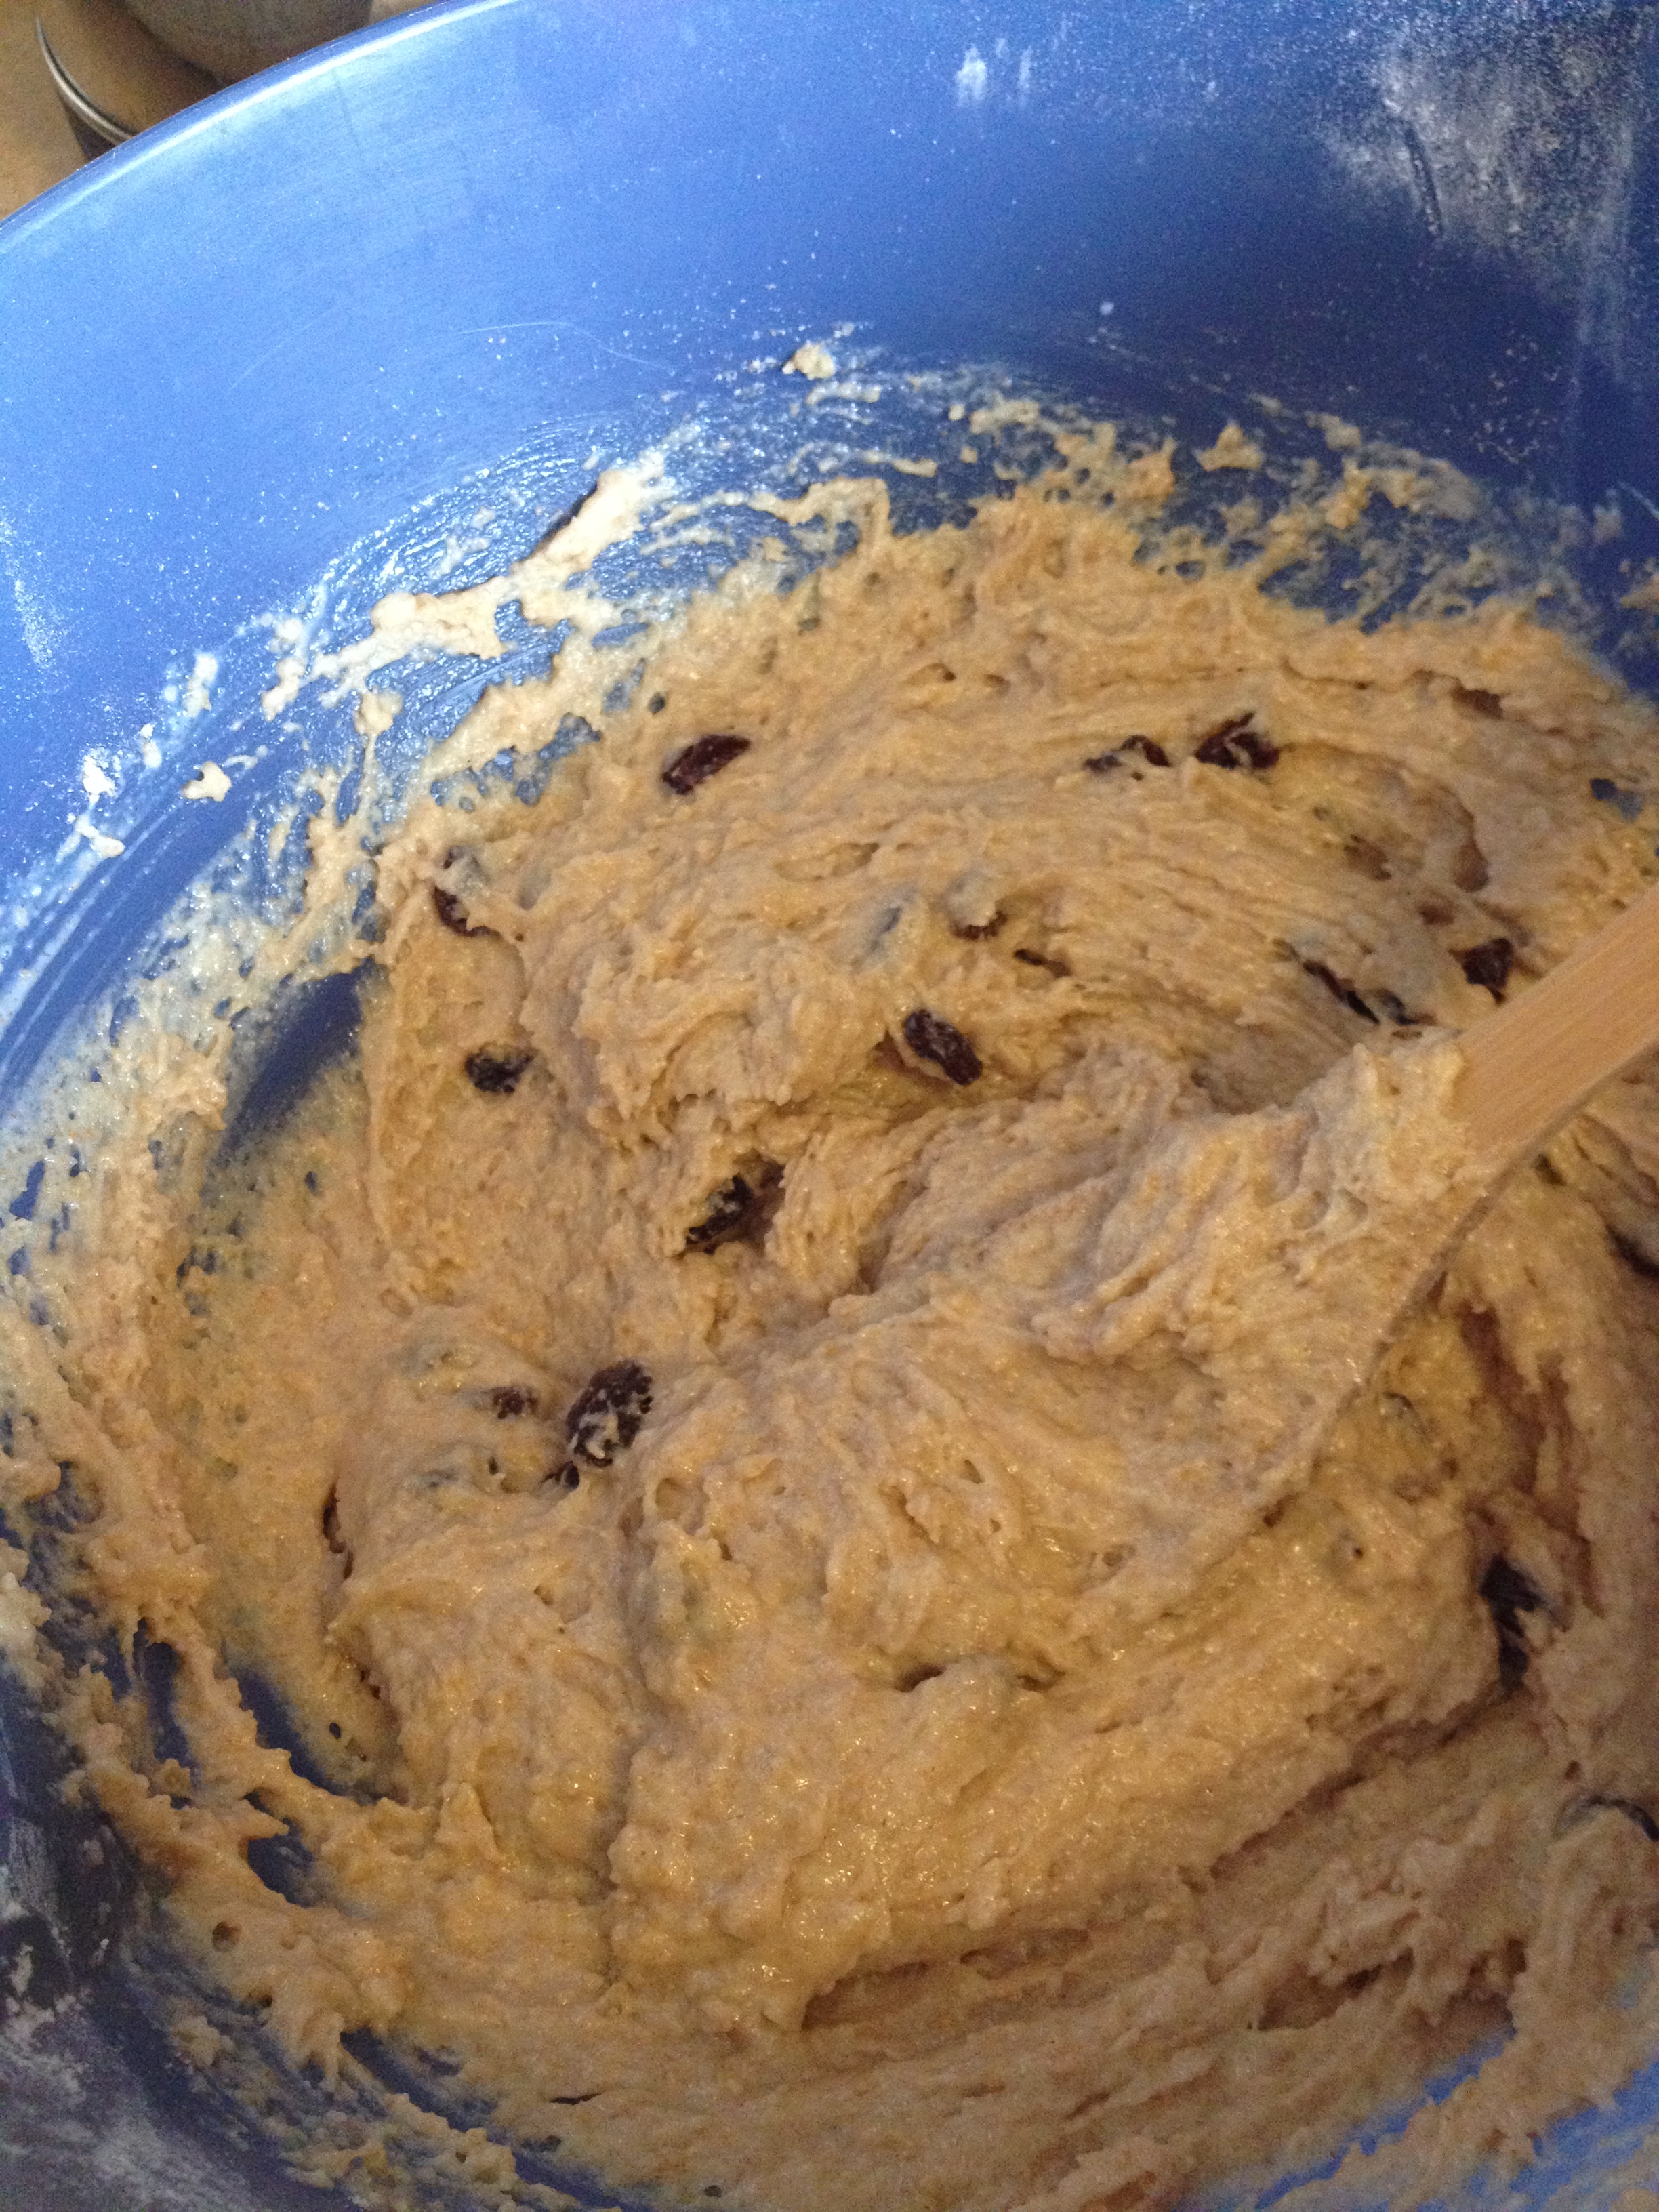
- Finally, mix in the flour mixture. Do it nice and slowly, so that it mixes evenly. Now that you have your batter, slowly pour evenly into your wax-papered-pan
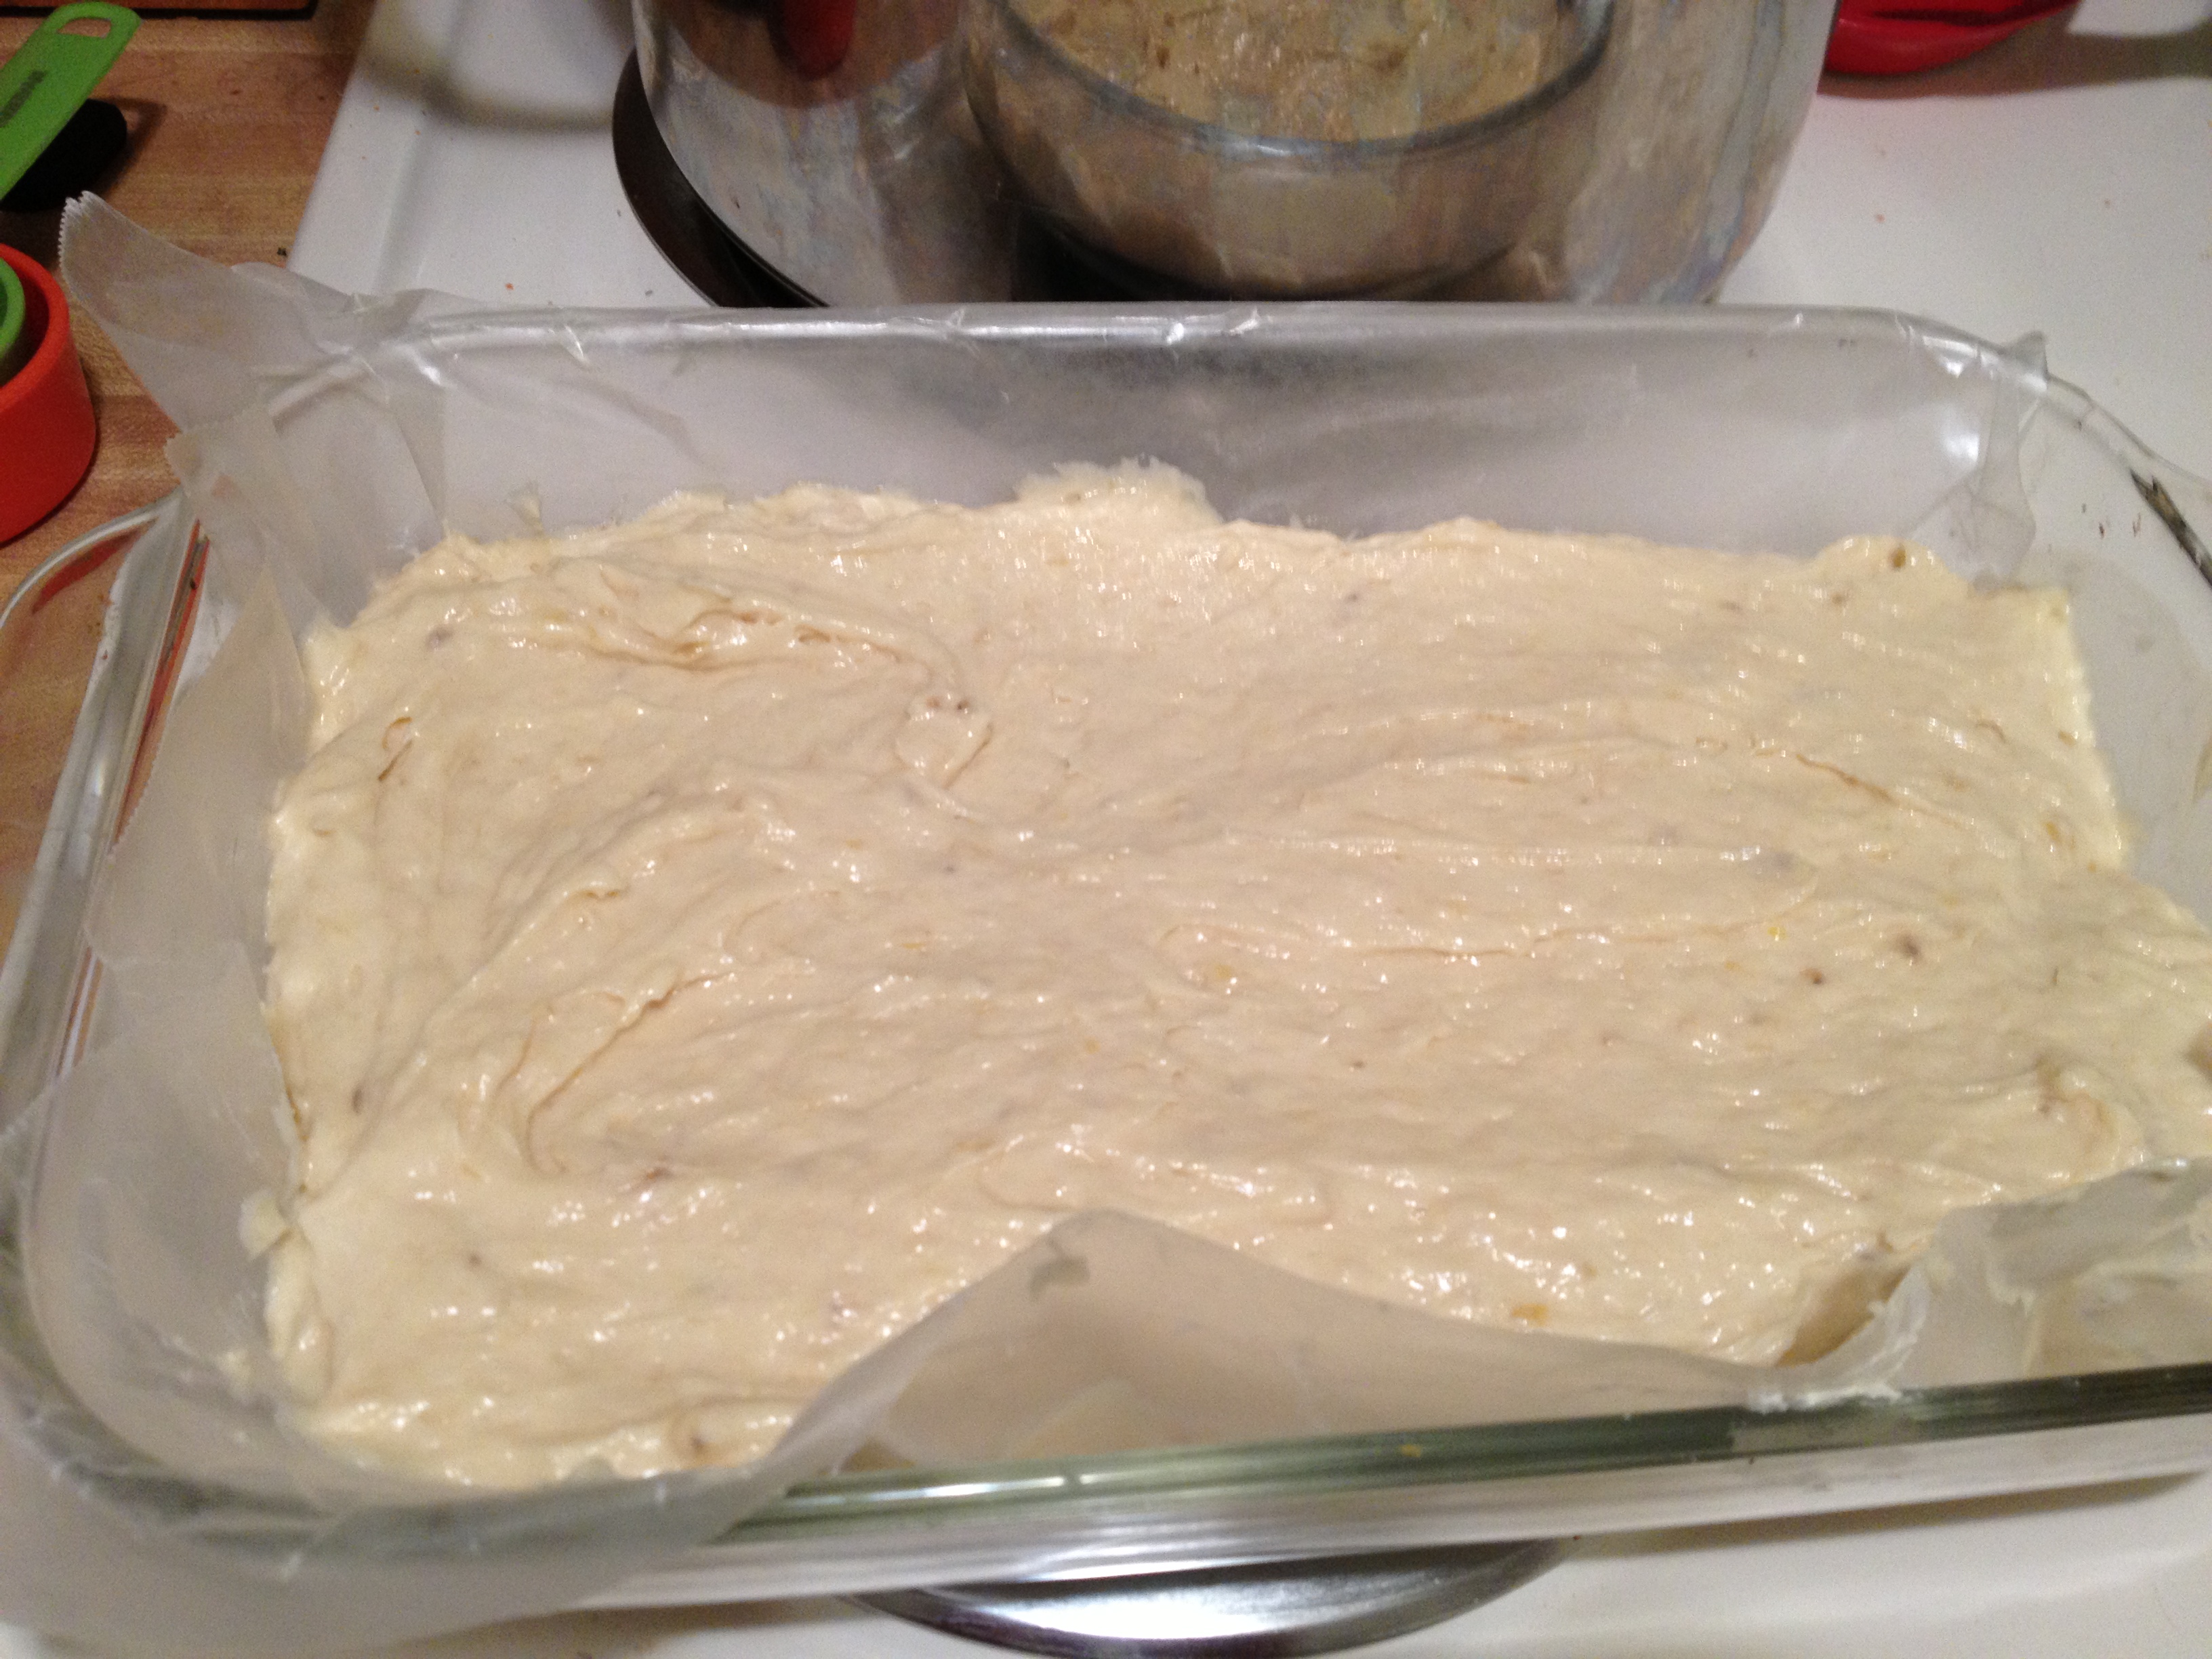
Wish I had used 3 bananas in this batch
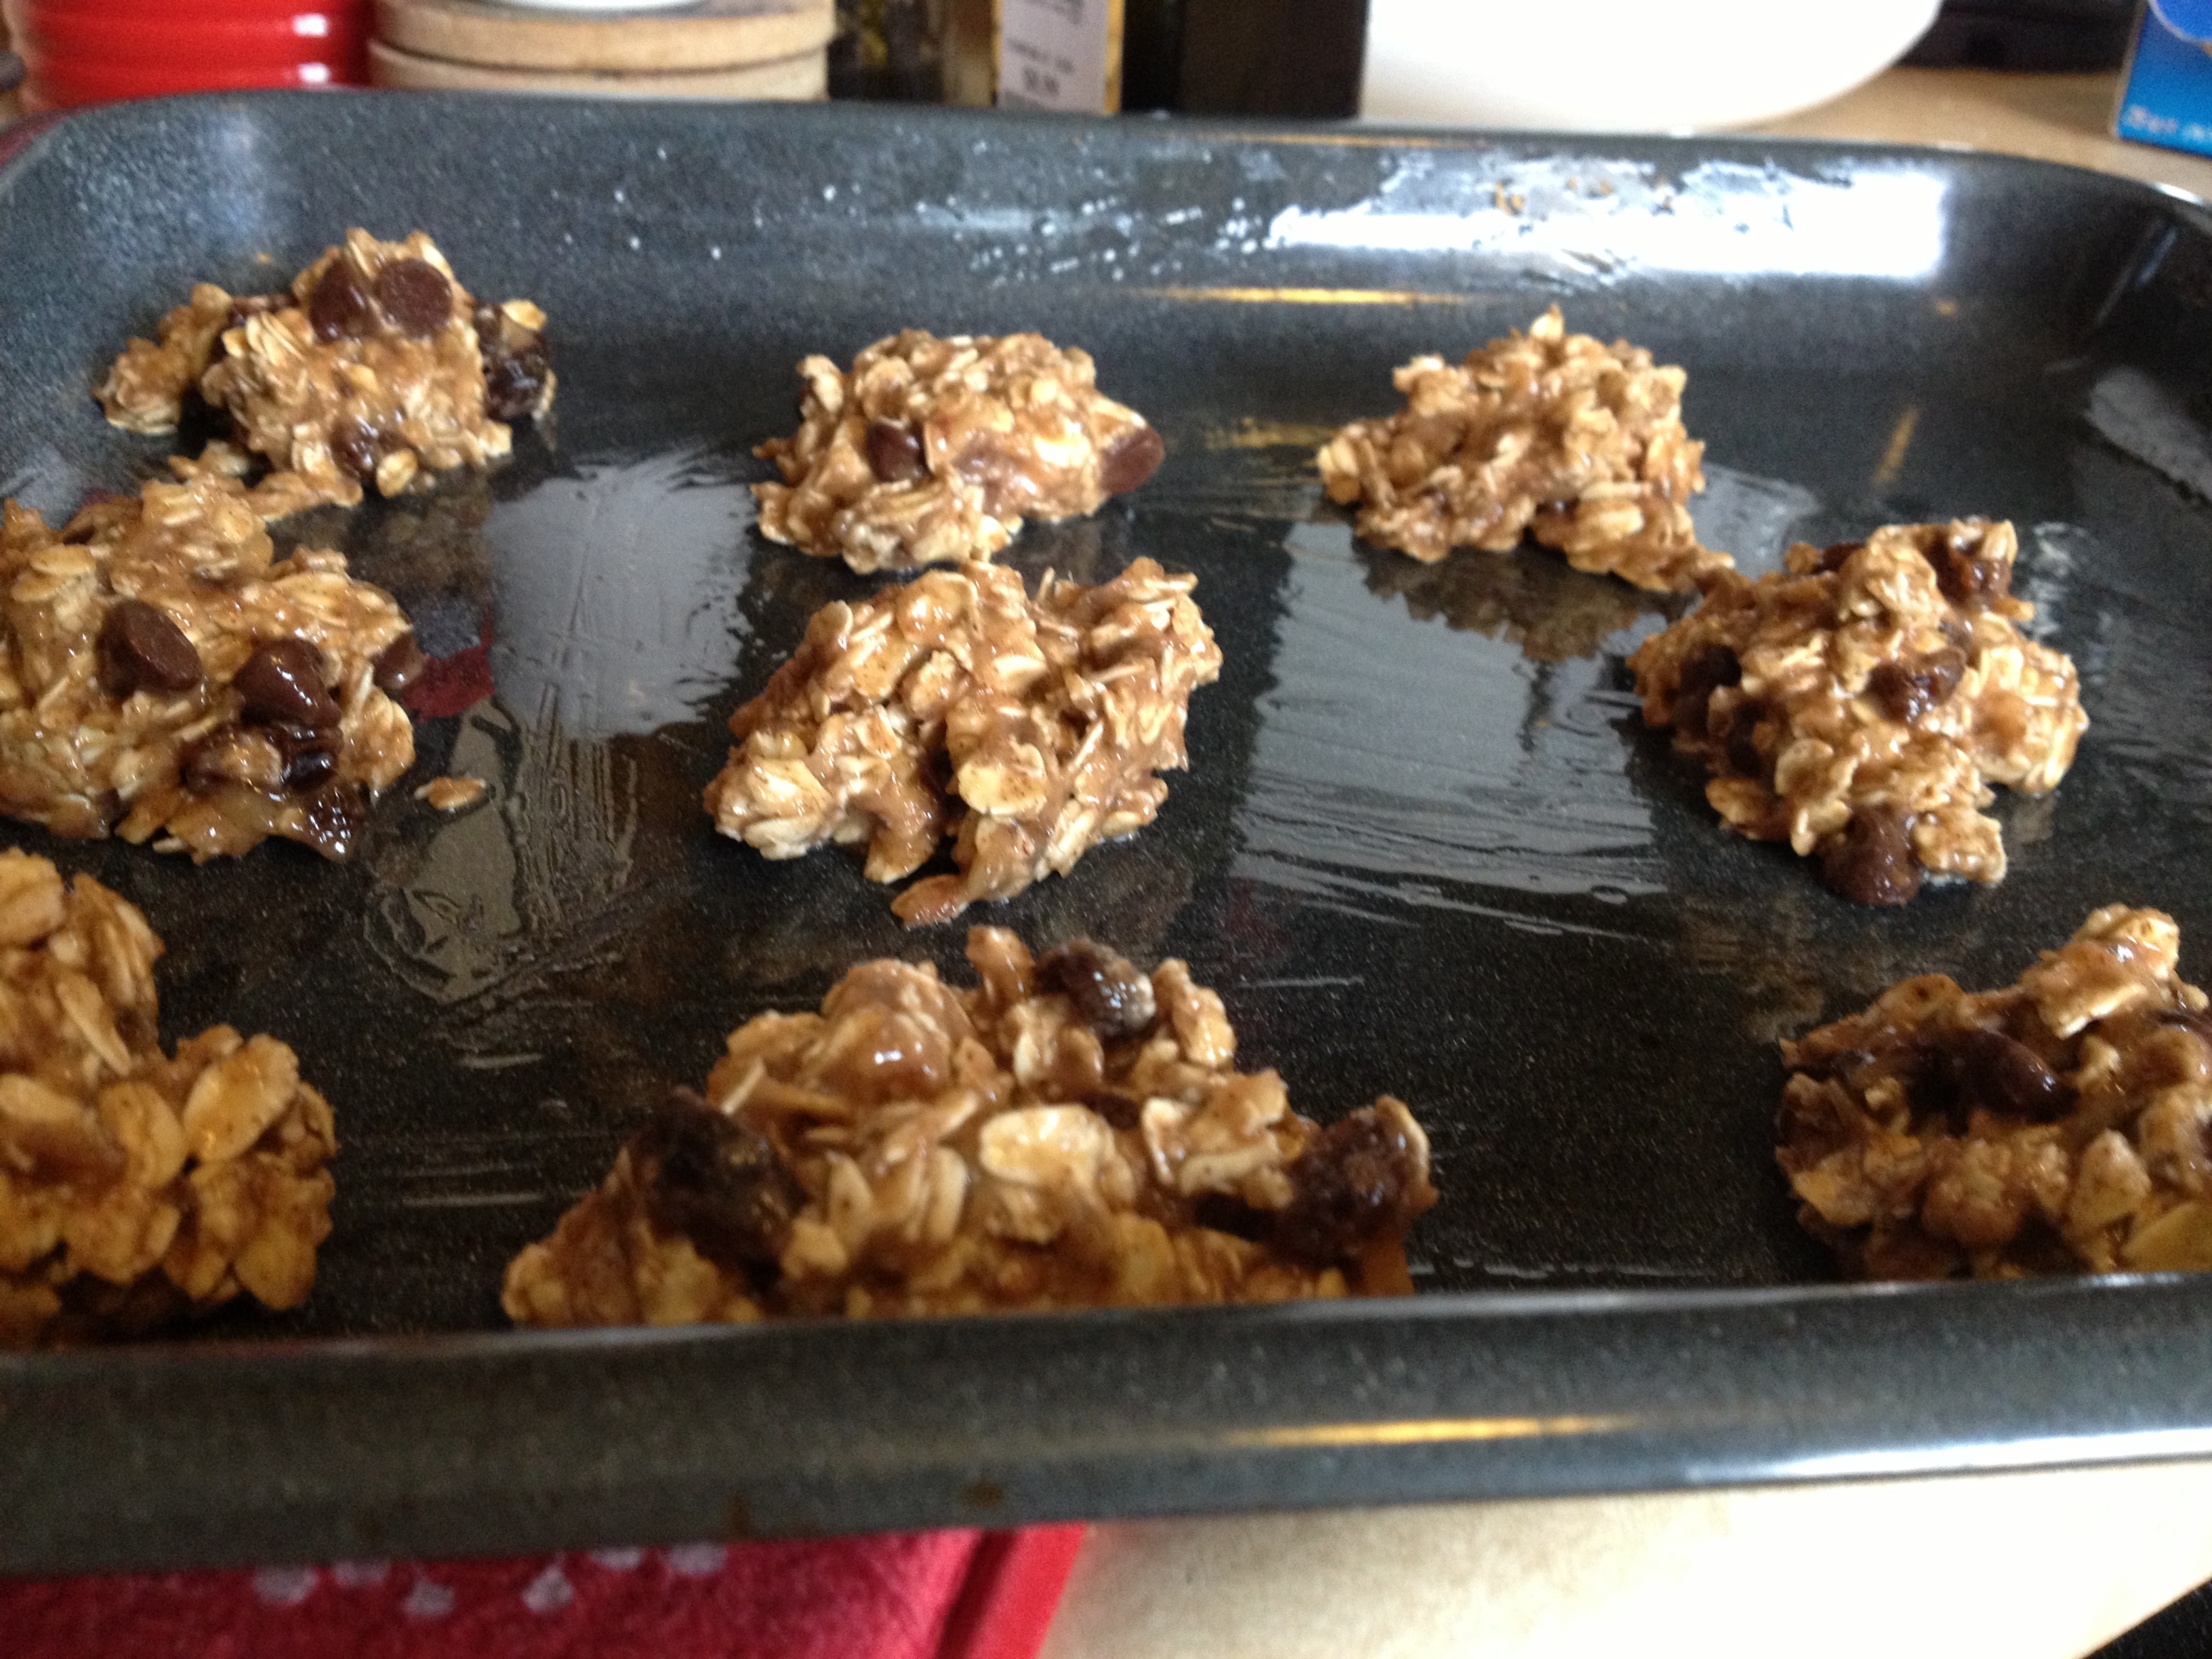
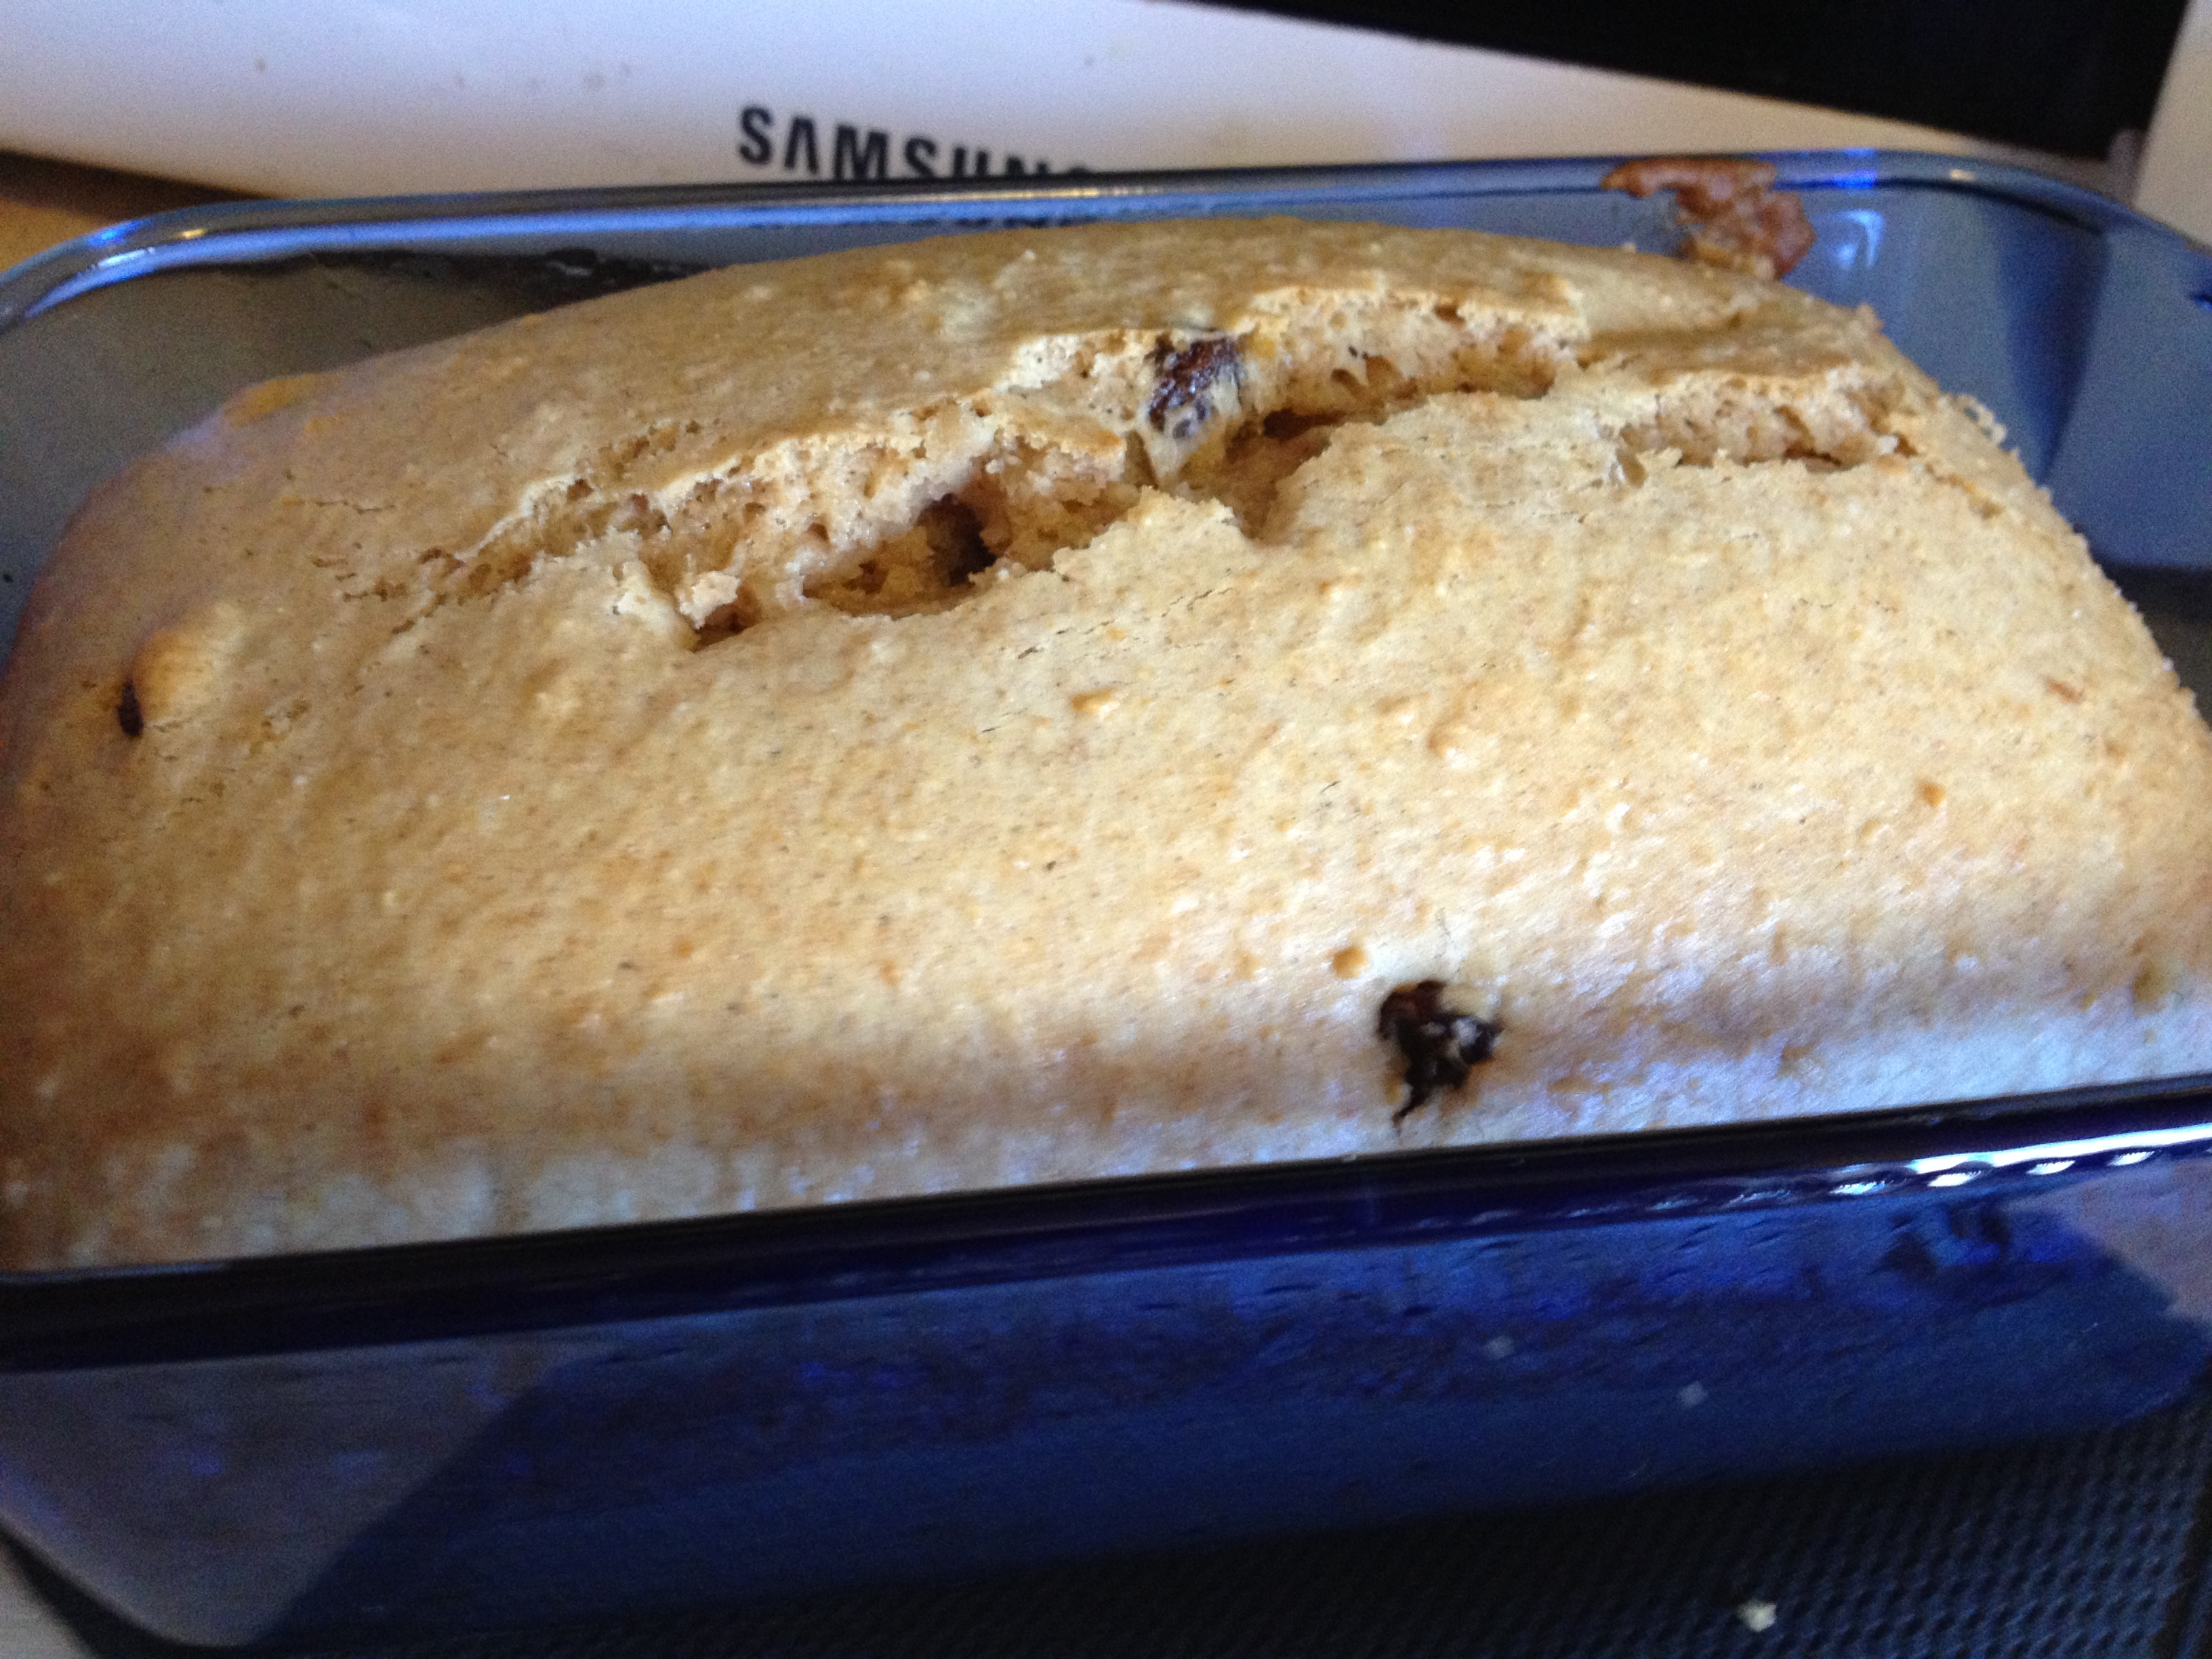
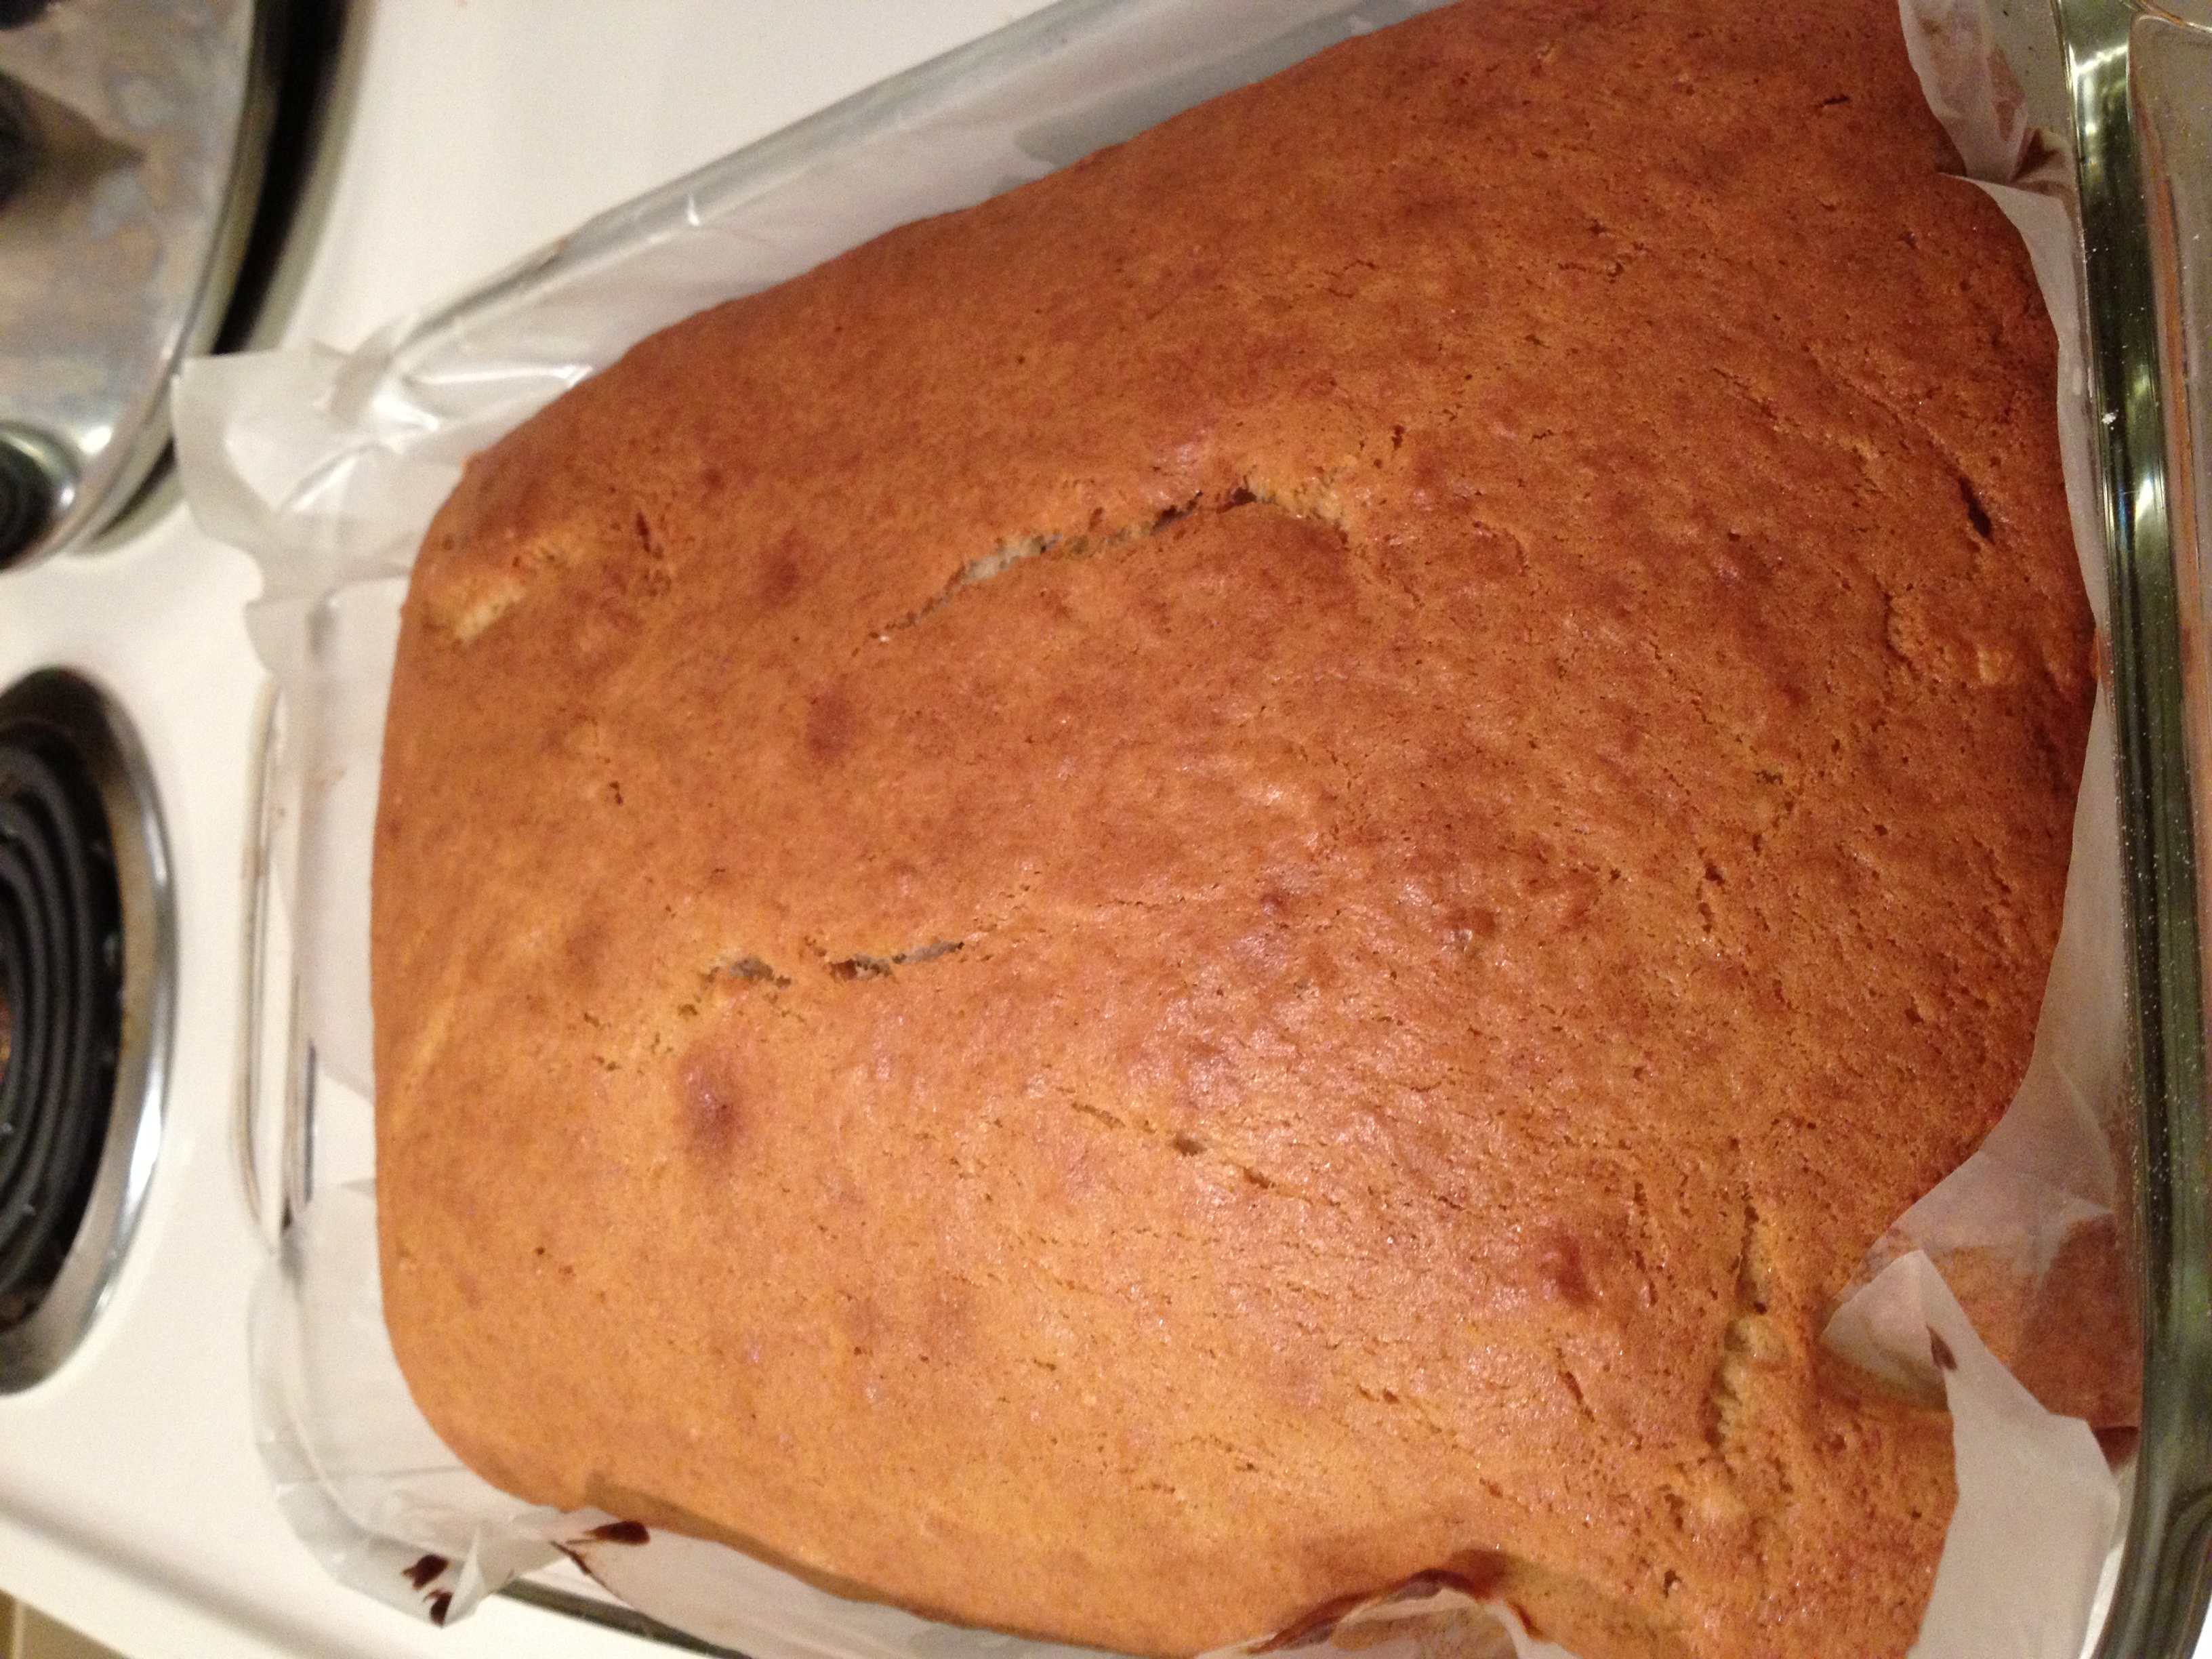
- Put in the oven for 34 minutes. Weird number. The normal number is 40 minutes, but my mum advised me to check it at 34 and it was ready and done! Take it out and let it sit for a few minutes before putting it on a rack or another cool pan
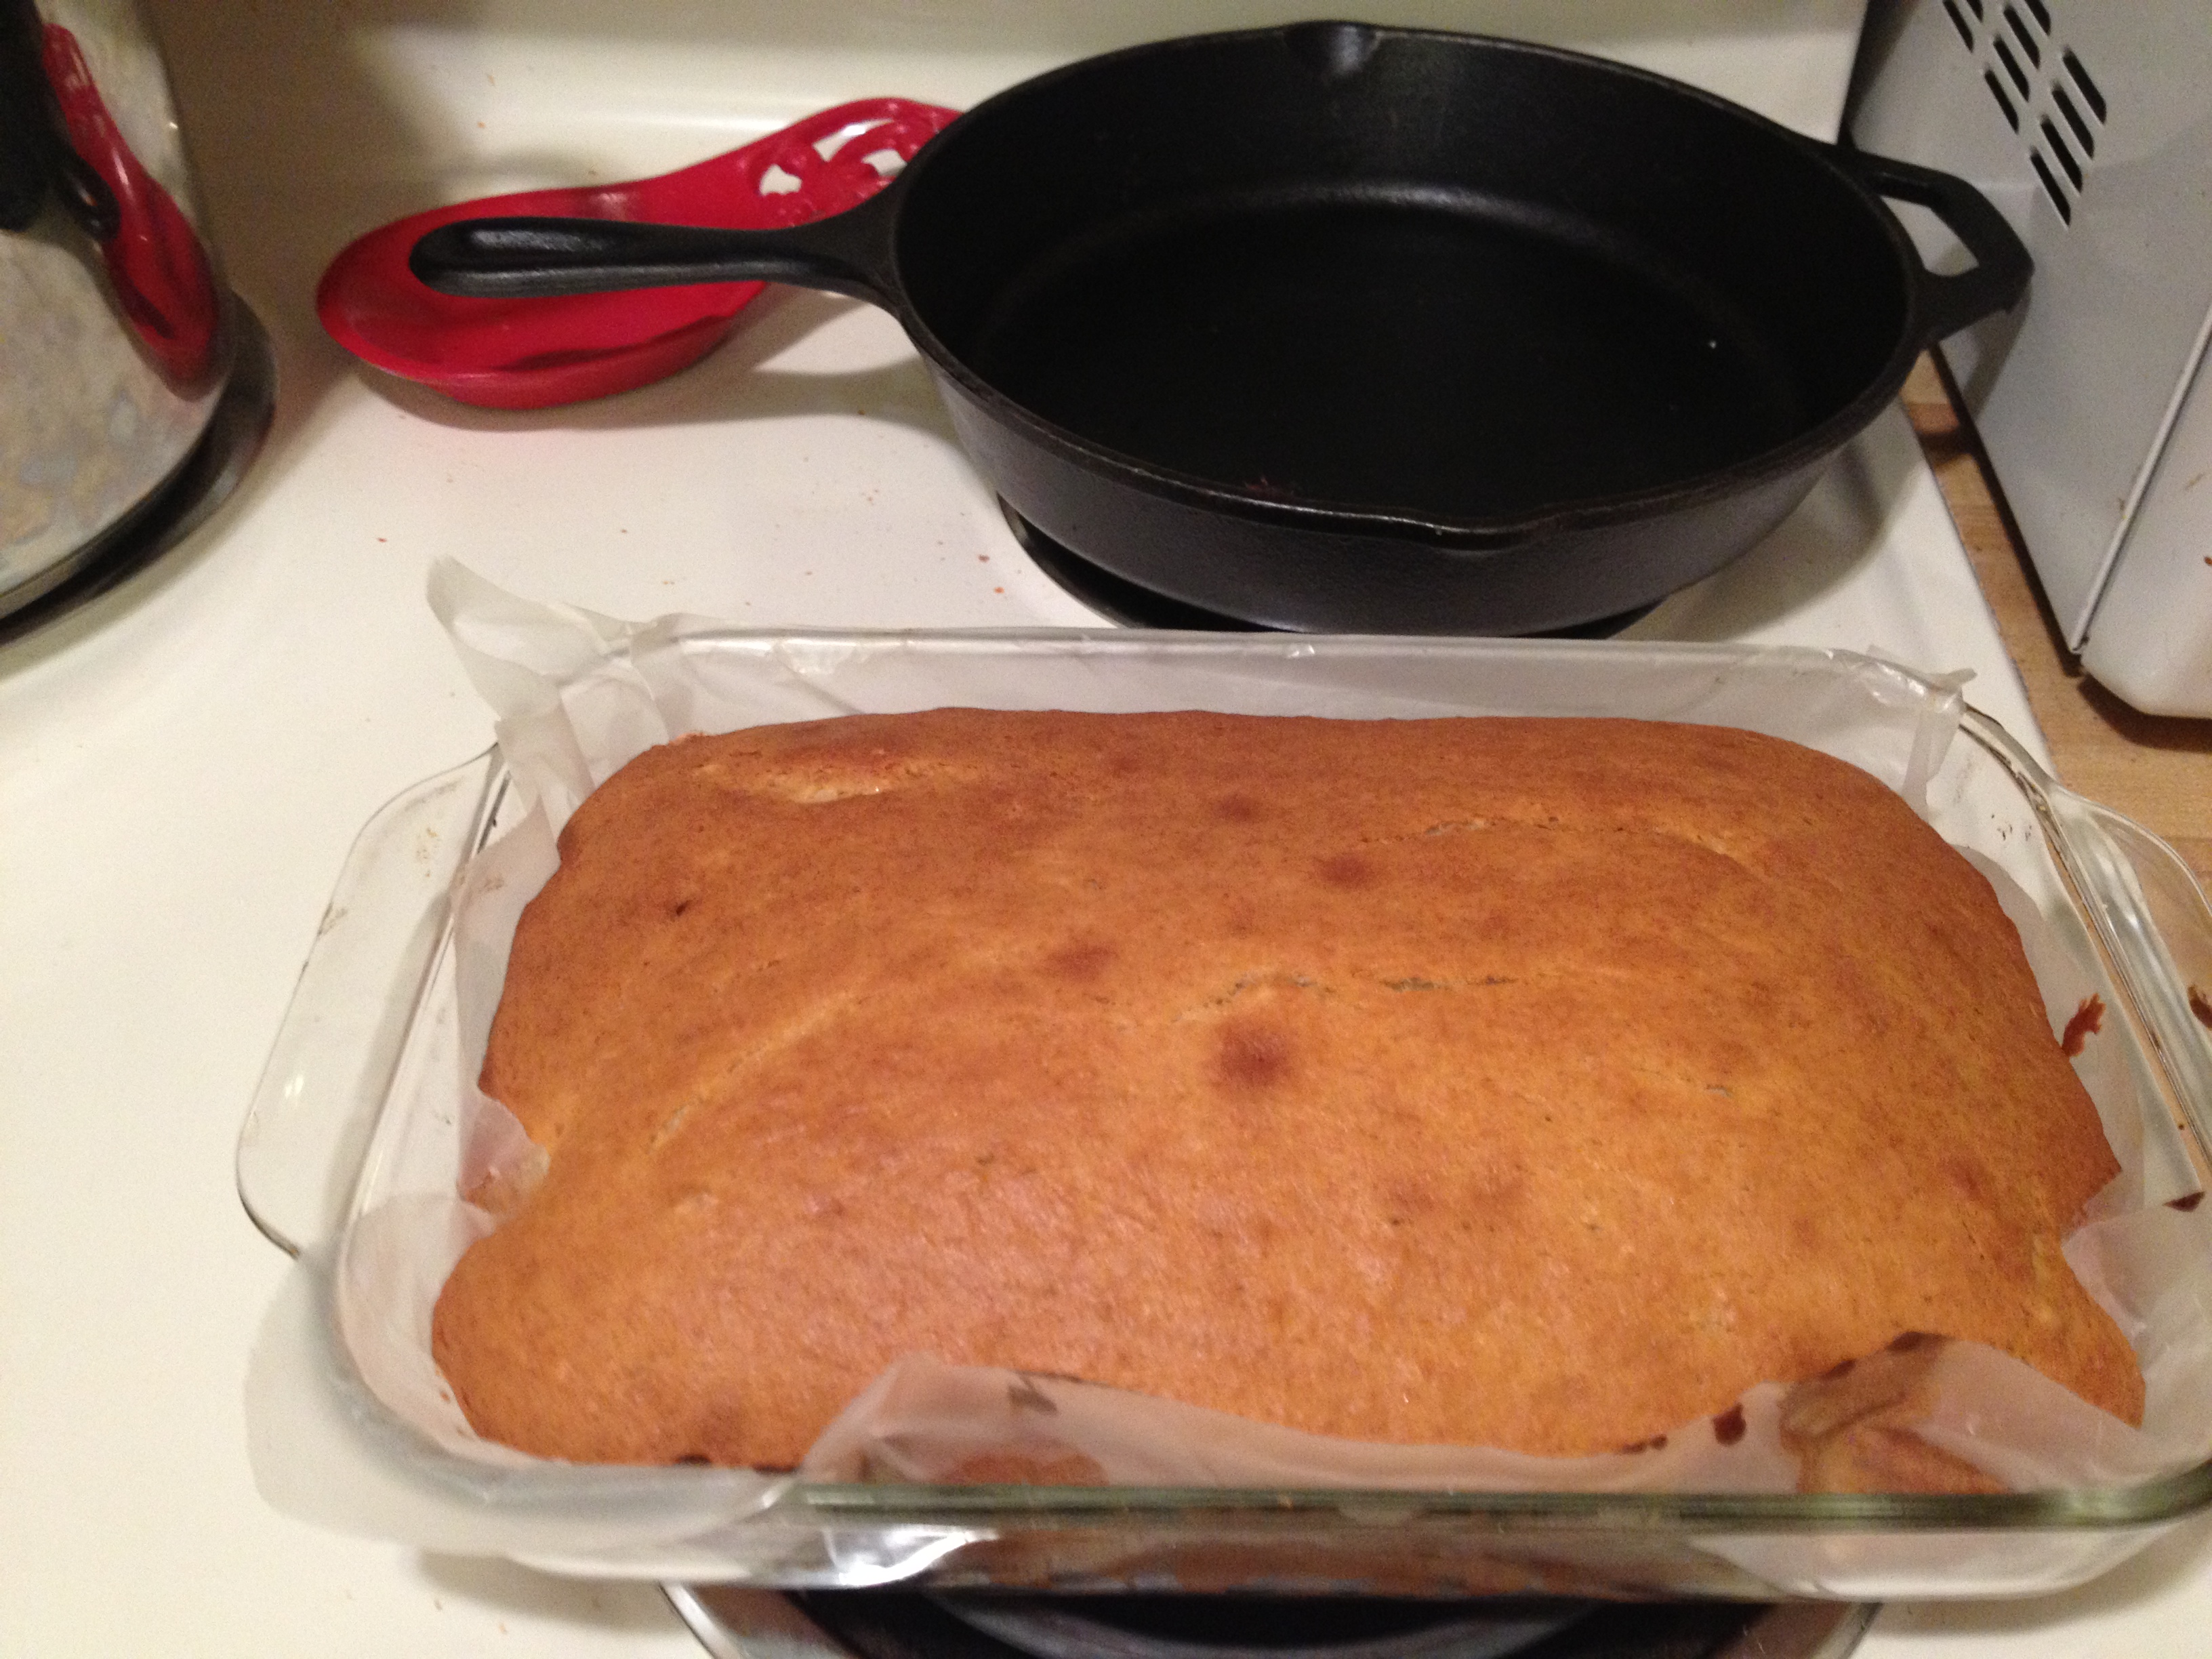
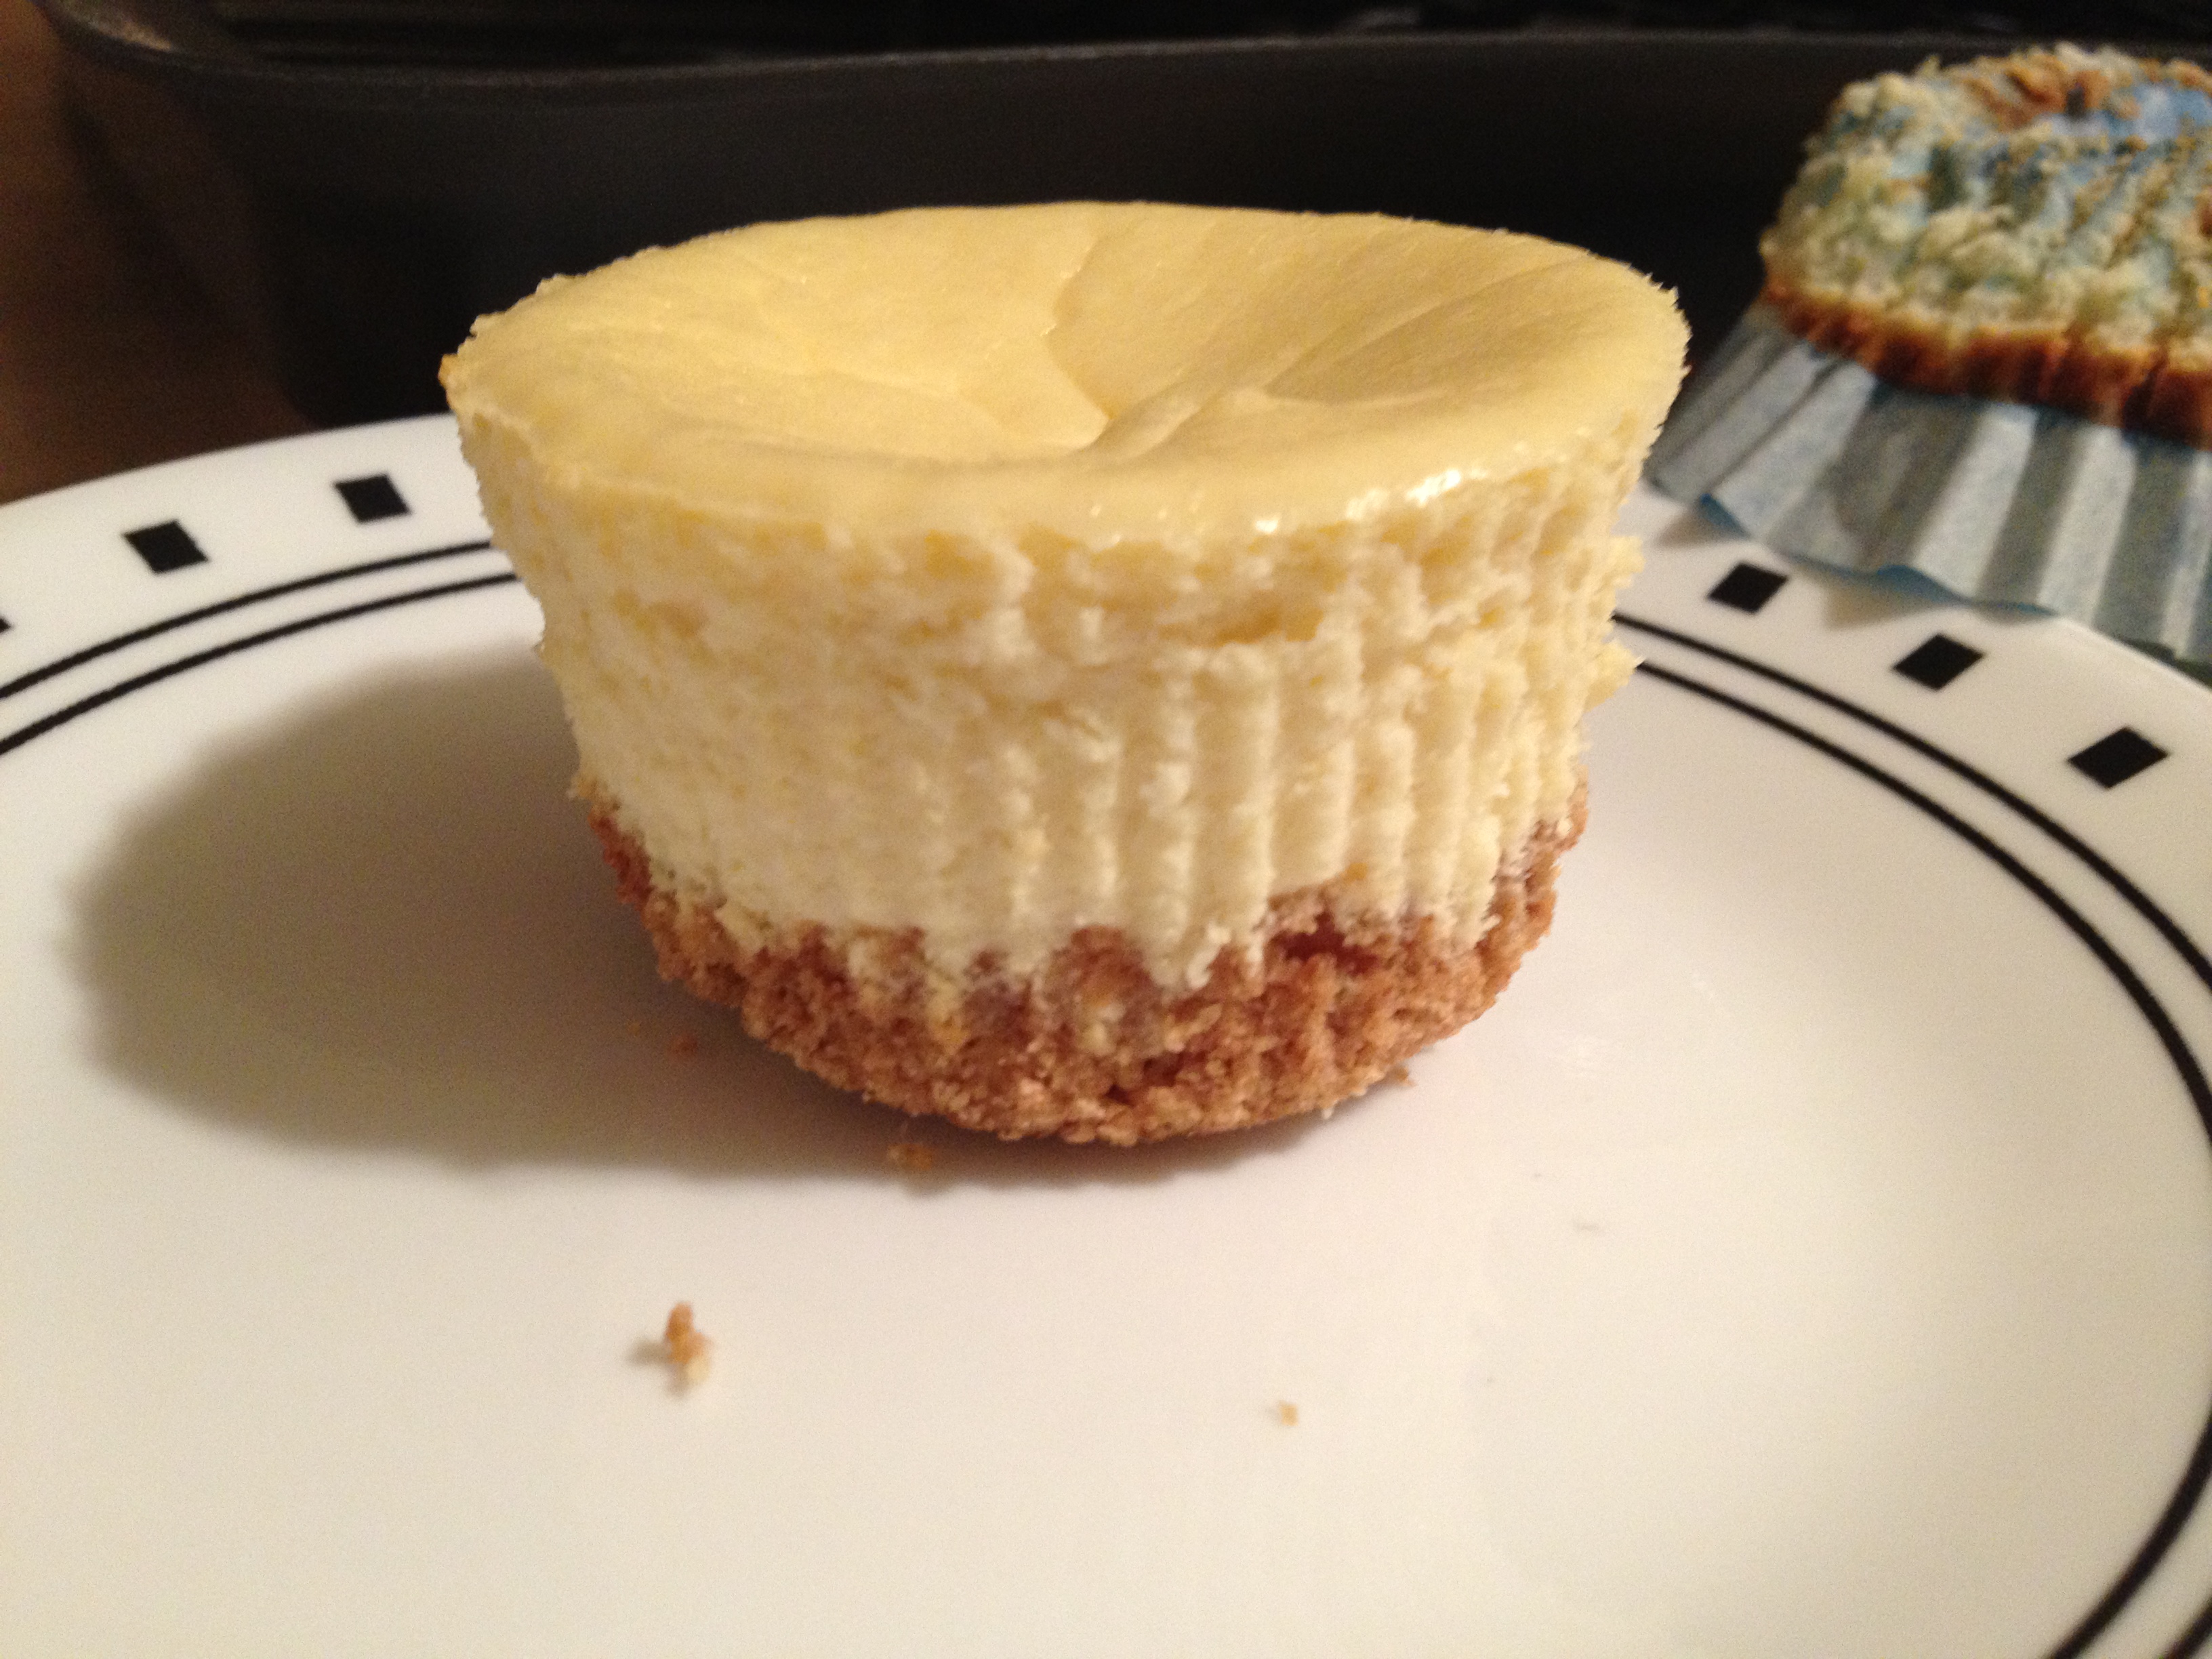
Now just needs the icing!
Lemon Icing
- Prep Time: 3-5 minutes
Ingredients
- 1 1/4 cup powdered sugar
- juice of 2 mini lemons (or 1/4 cup)
- zest of lemon
- 2 tbsp butter
Directions
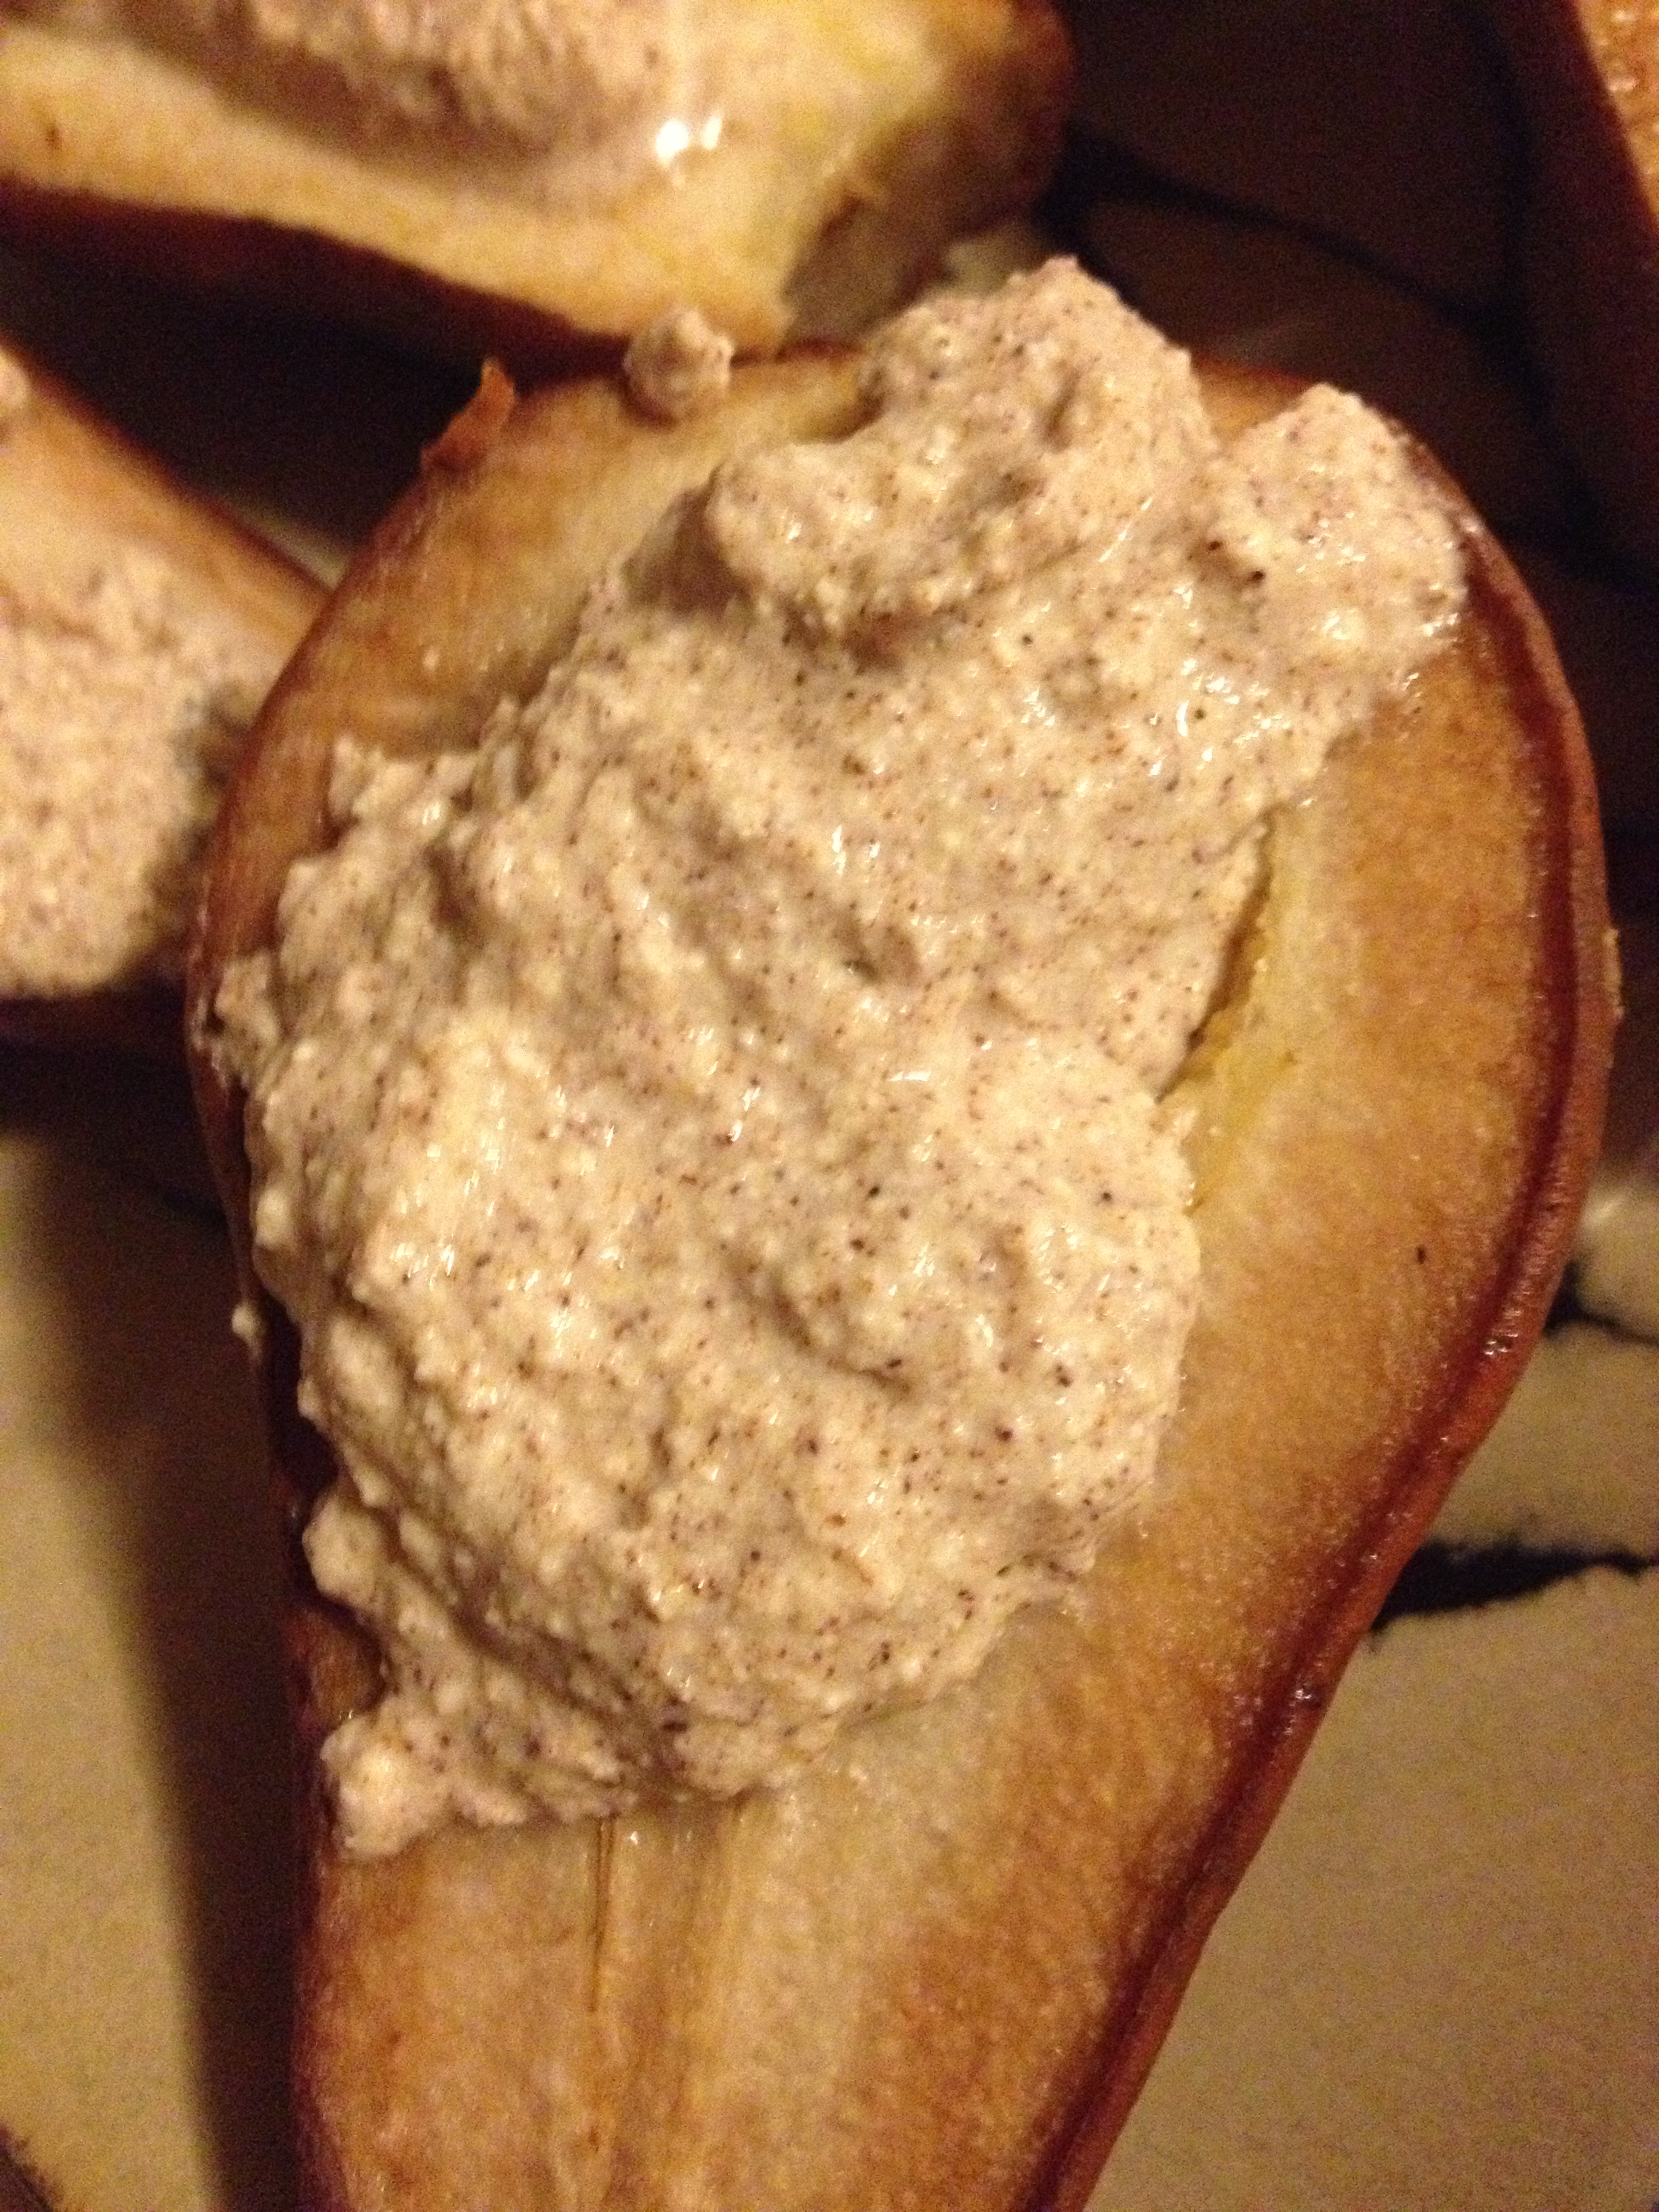
- Pretty basic, just melt the butter in a bowl and then mix everything else in (the zest, lemon juice, and suuugarrrr)
- Slowly start to ice the cake, using a spoon and then draping it over. It can be runny which is why it is best to do it slow so it starts to solidify

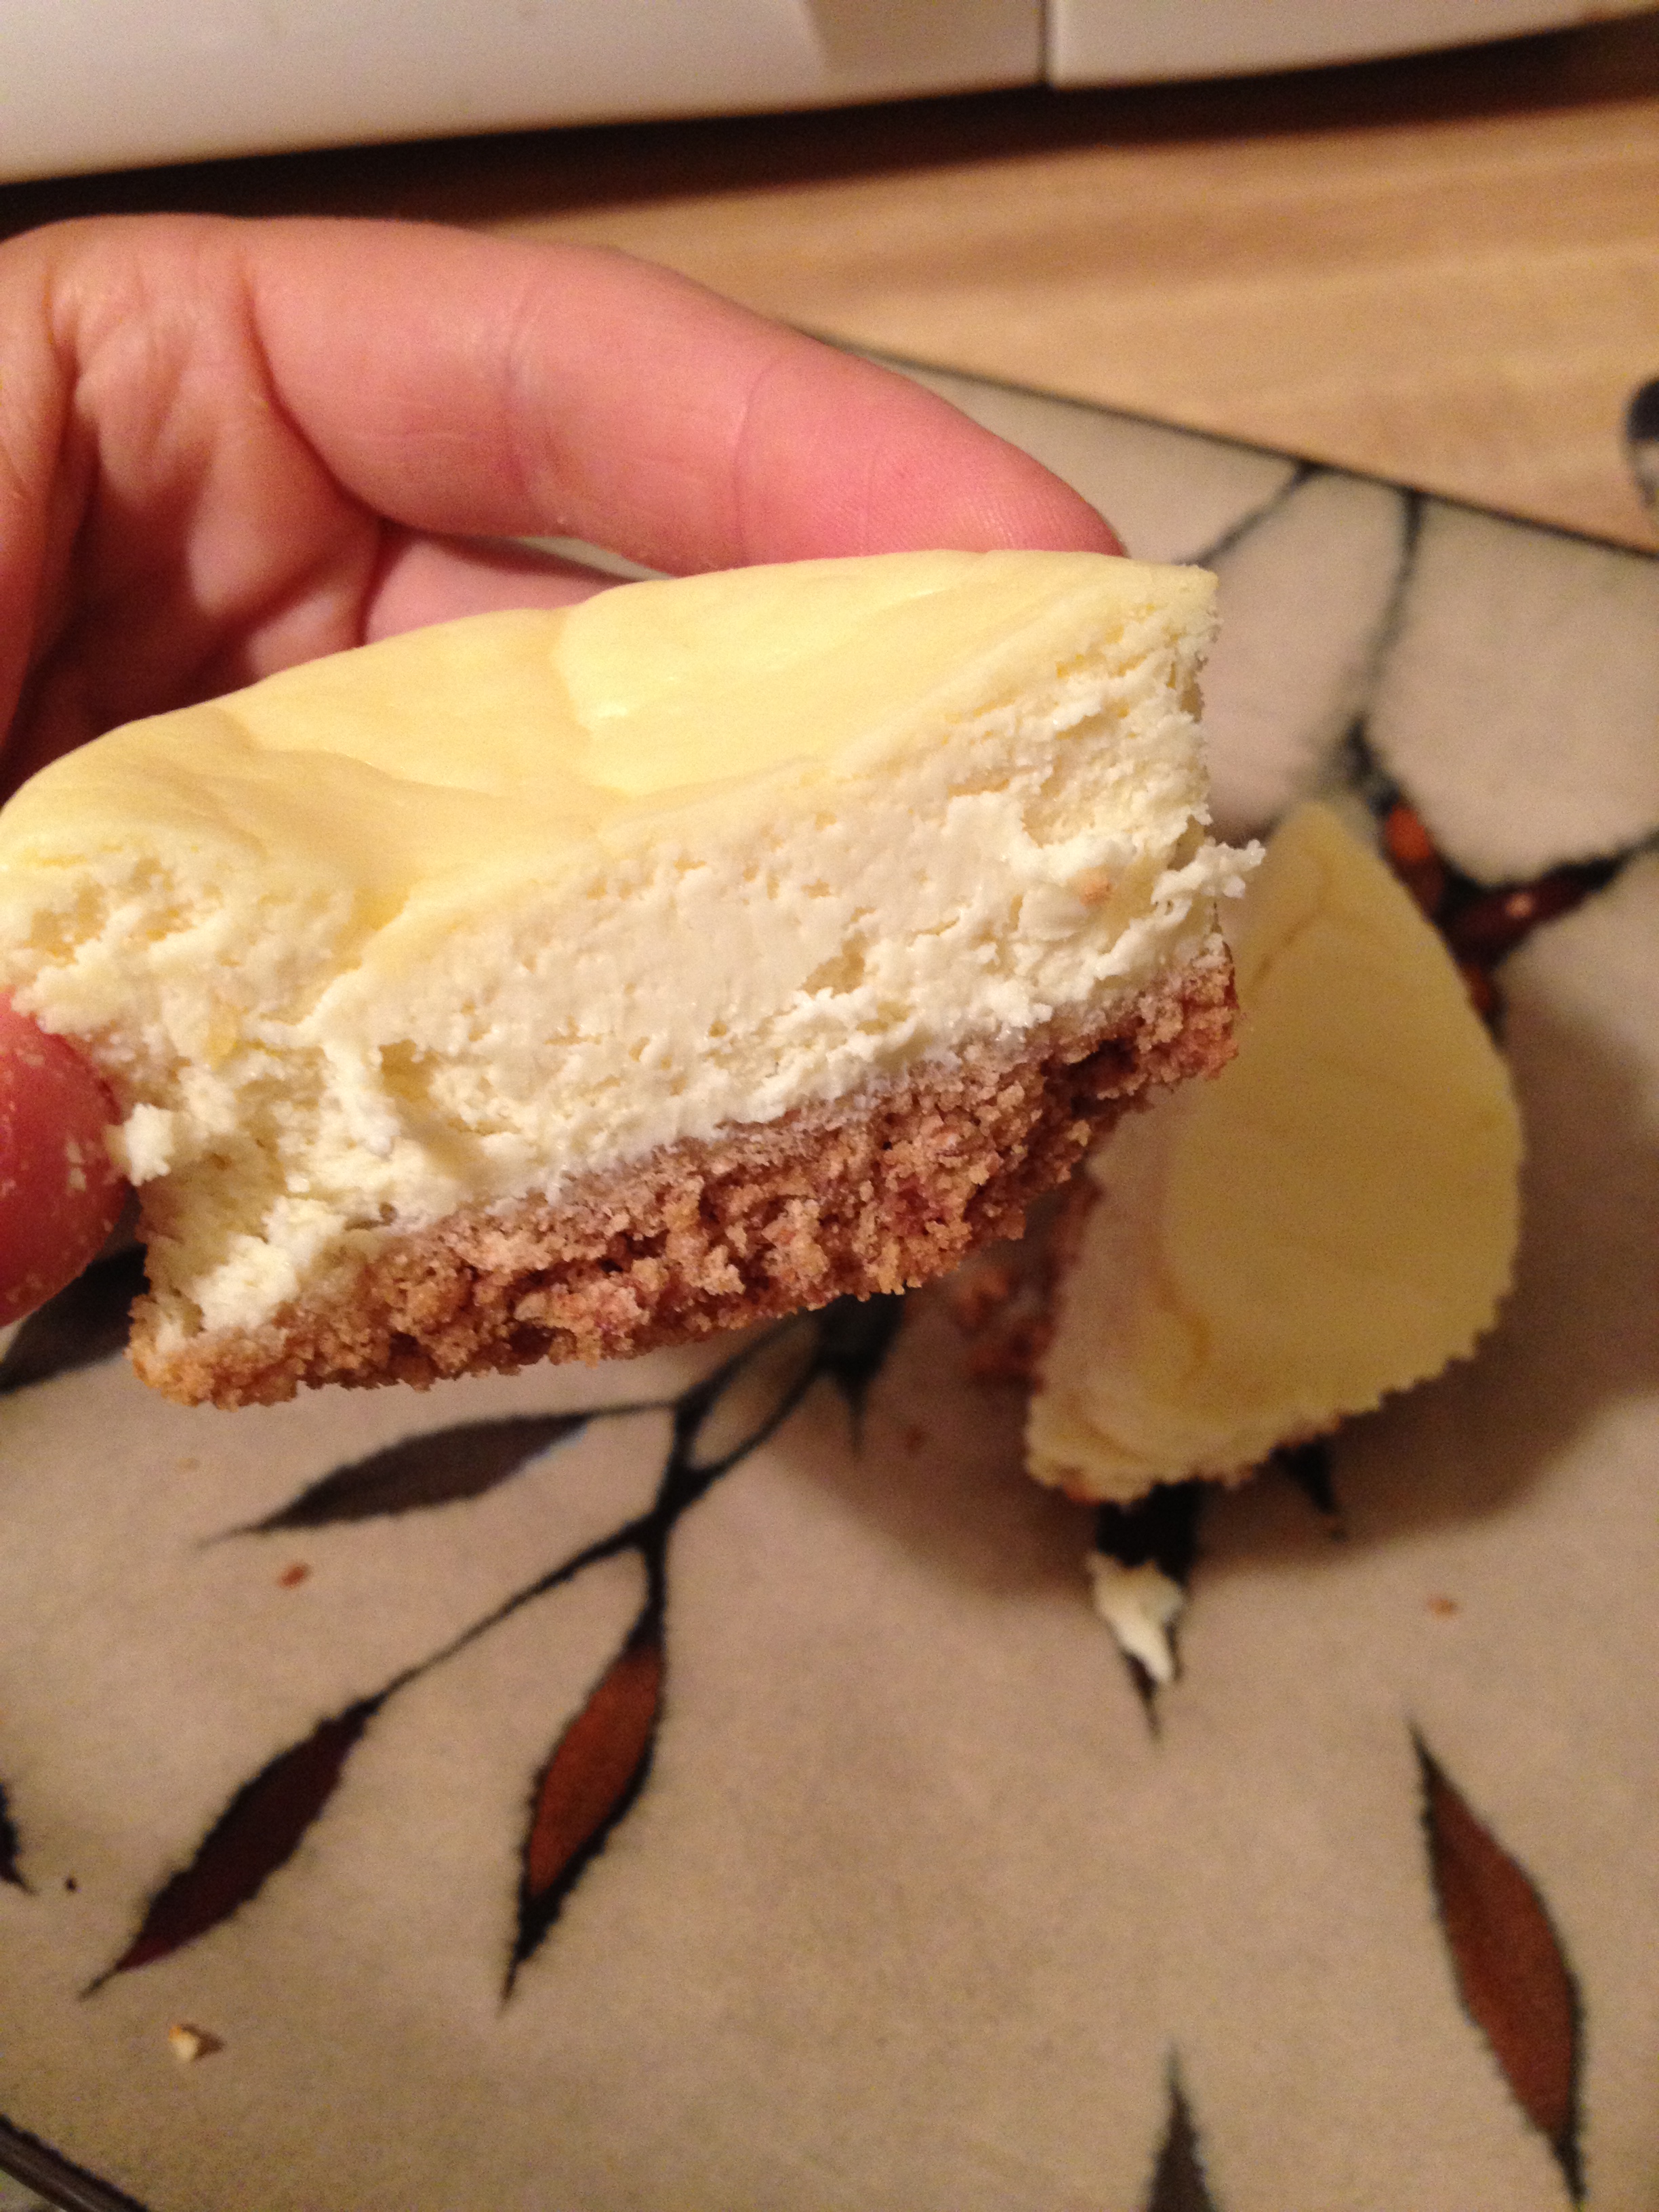
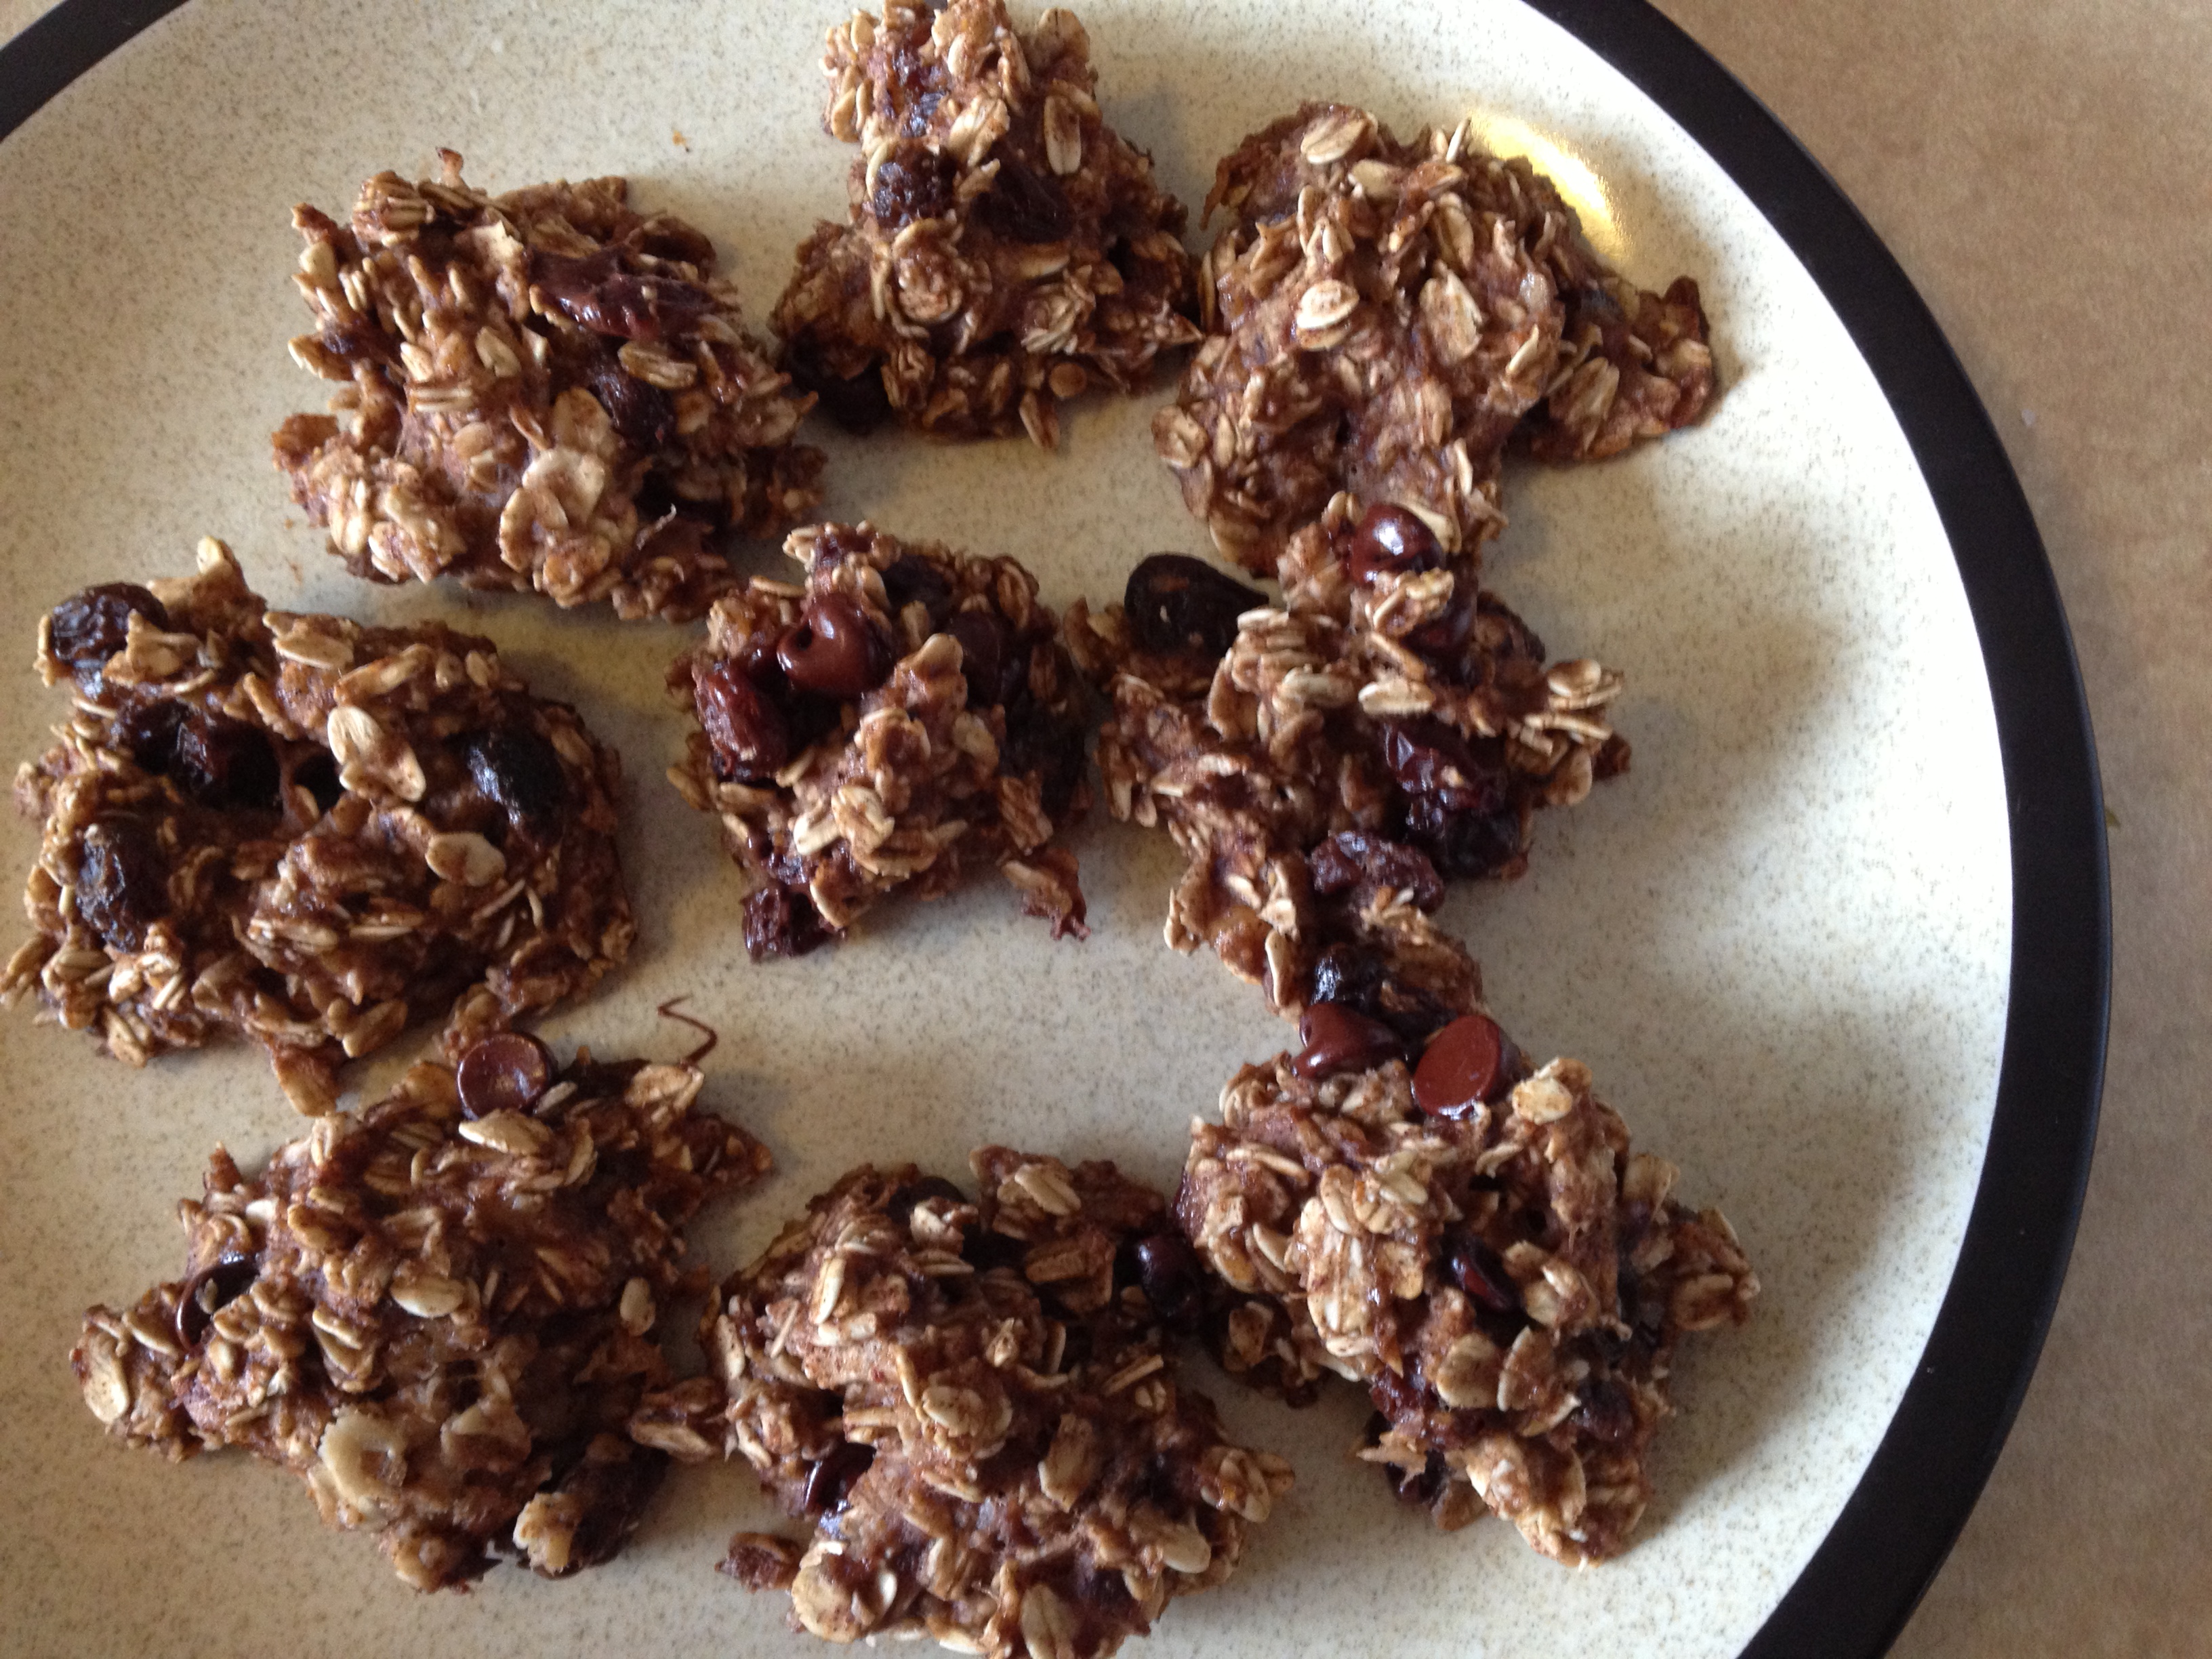
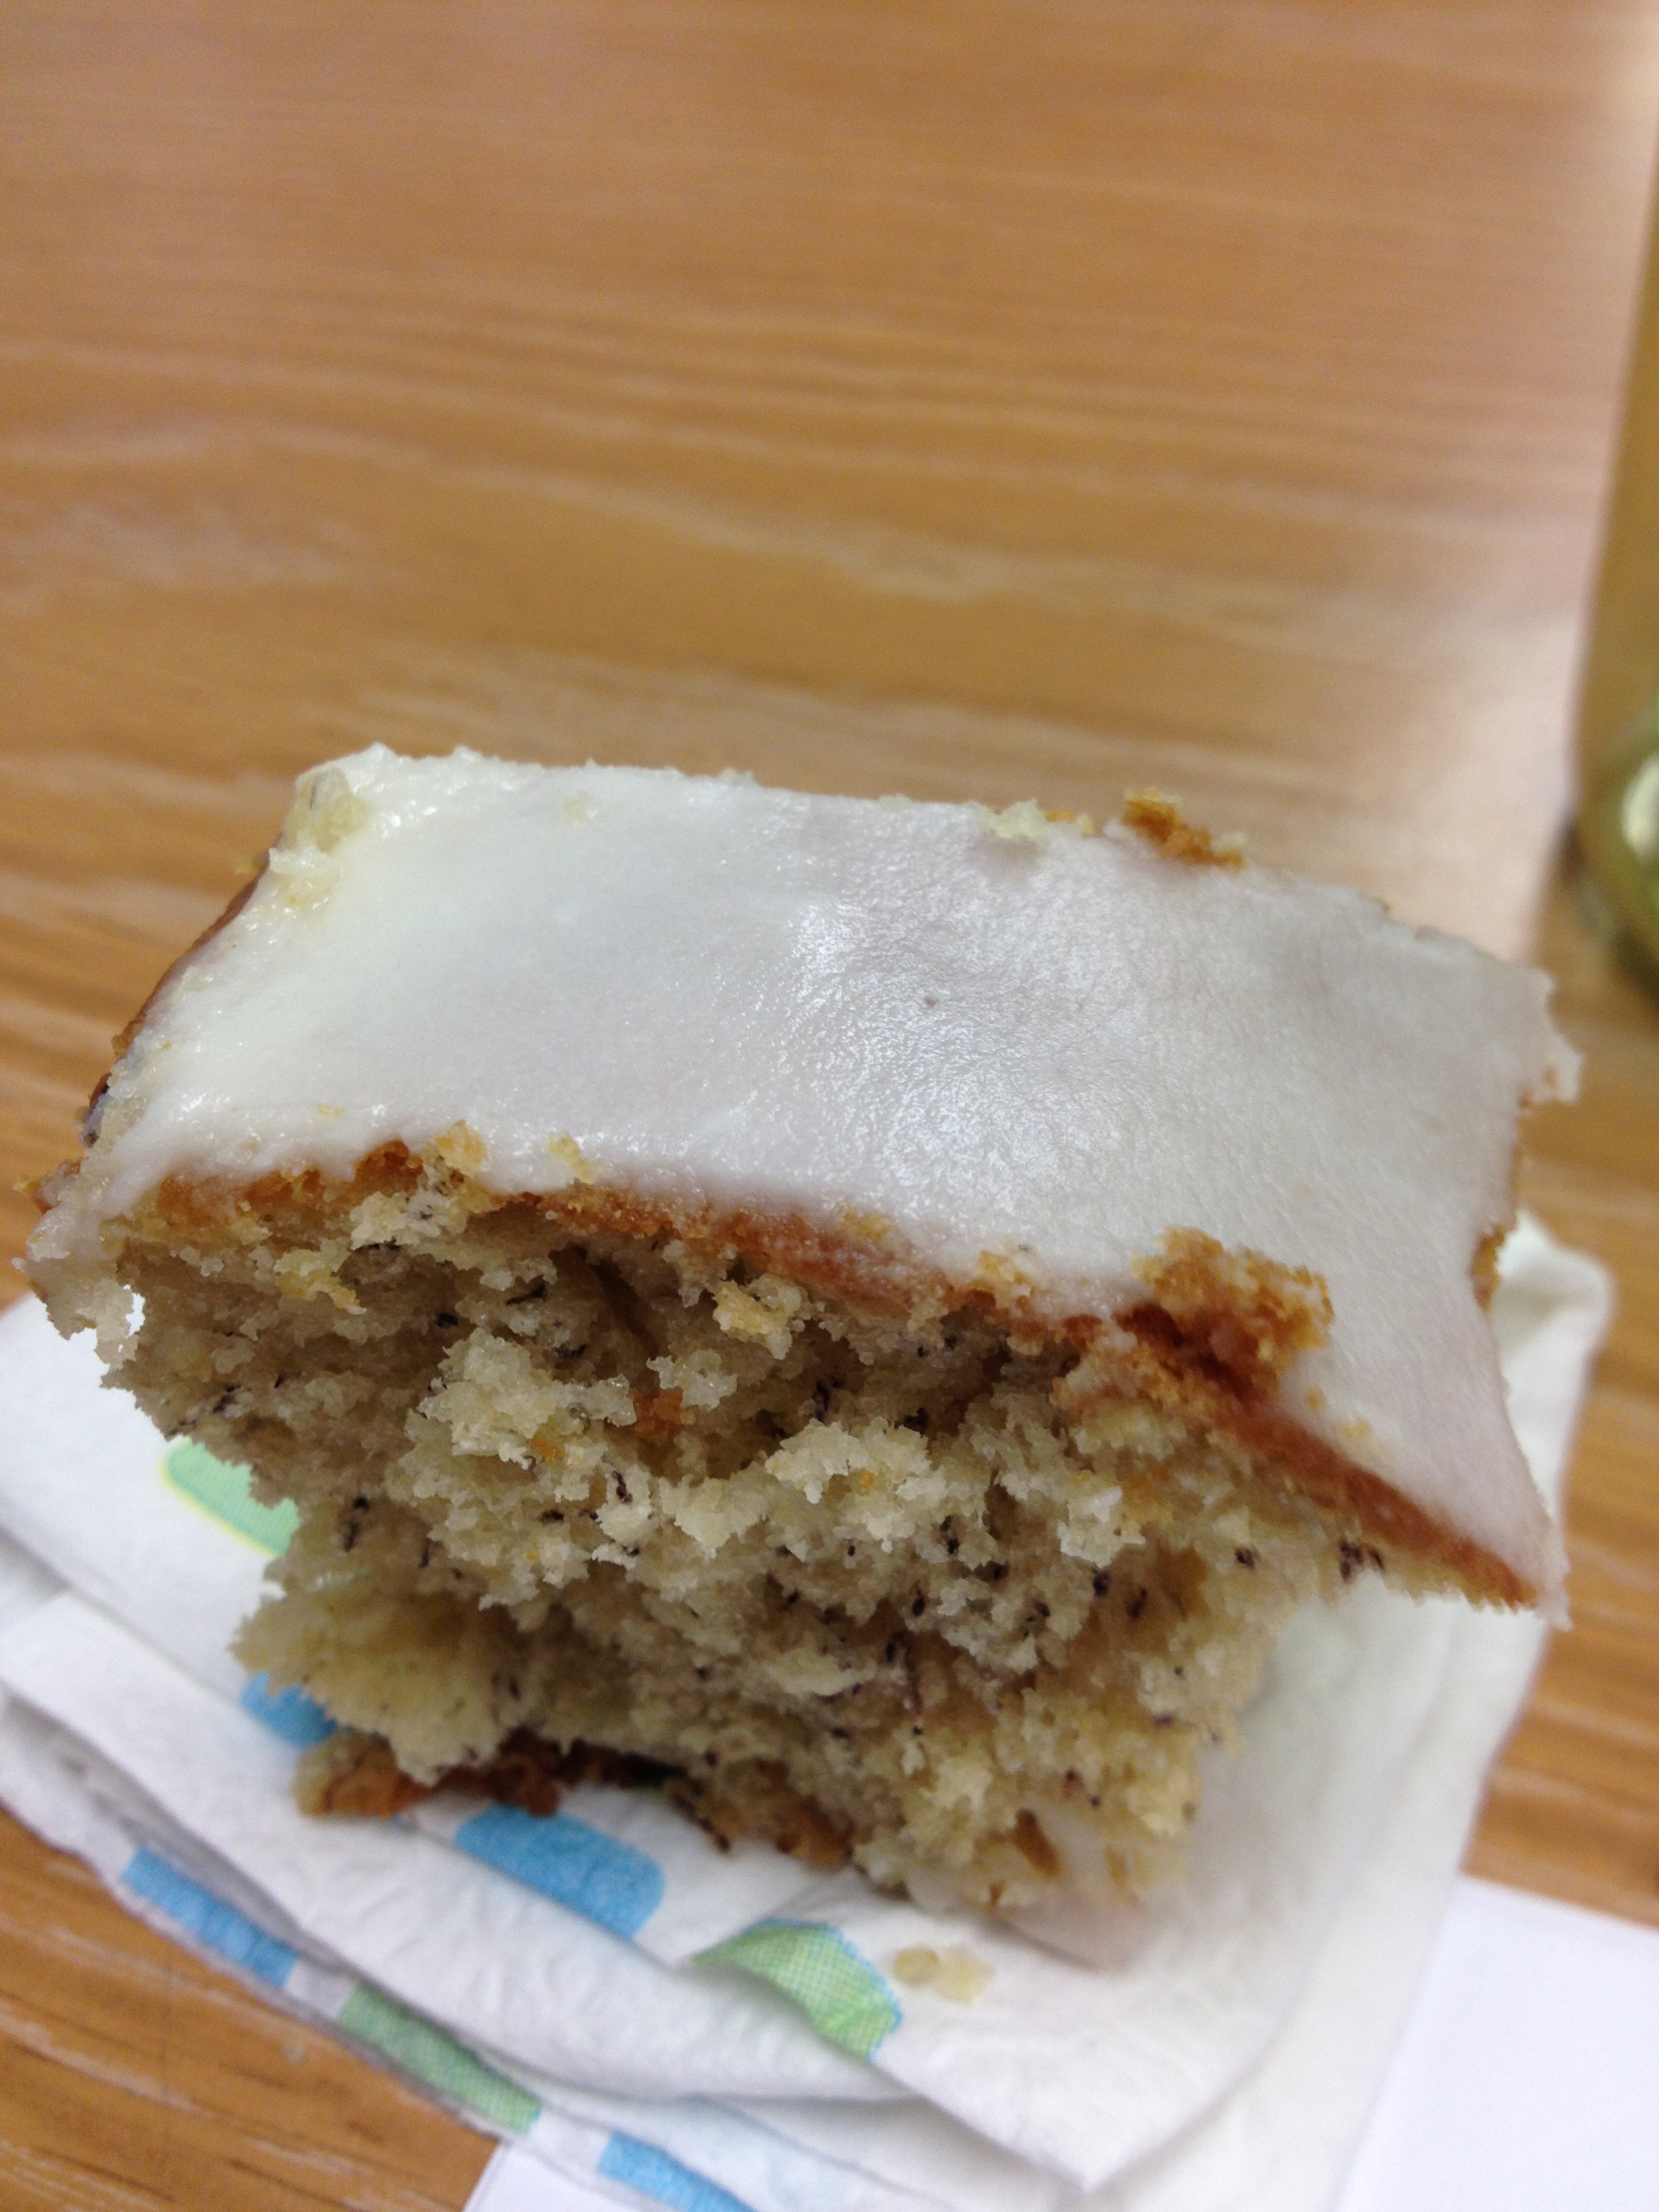
Looks like a little piece but I had at least 4…
And then you shove as many pieces as you can in your mouth! Just kidding…but seriously. This cake is so delicious and, for me, reminds me of home. What better combination? It was a hit at work, a little something everybody can enjoy. The subtle banana flavor with the lemon is a great combo. You gotta try this recipe! And as always…stay hungry and fit!
BONUS PUPPY PIC