Archives

Healthy Halloween Snack

PUMPKIN SEEDS. Yup. I know that you’re probably chock full of unhealthy Halloween treats like candy, pumpkin-flavored sugar bombs, and things that are weighing you down. So in between your sugar comas, try making this healthy Halloween snack: toasted pumpkin seeds. Plus, it’s incredibly easy. Takes almost no effort and the time is just in the baking of the seeds. Pumpkin seeds have a good amount of protein per ounce!

IMG_3011

spacer

Homemade Almond Milk

[Please welcome back our guest blogger, Jamie, with another one of her delicious recipes!]

KITCHEN EXPERIMENTS WITH JAMIE

**Jamie’s passion for food and cooking began as a young girl, while watching her mother in the kitchen.  Her curiosity has pushed her to learn how to make a lot of her own products from scratch instead of buying it at the market like hummus, granola, yogurt, pickles, and much more. Jamie is currently studying to become an Occupational Therapist and would love to incorporate cooking into her practice one day.**

jamie bio

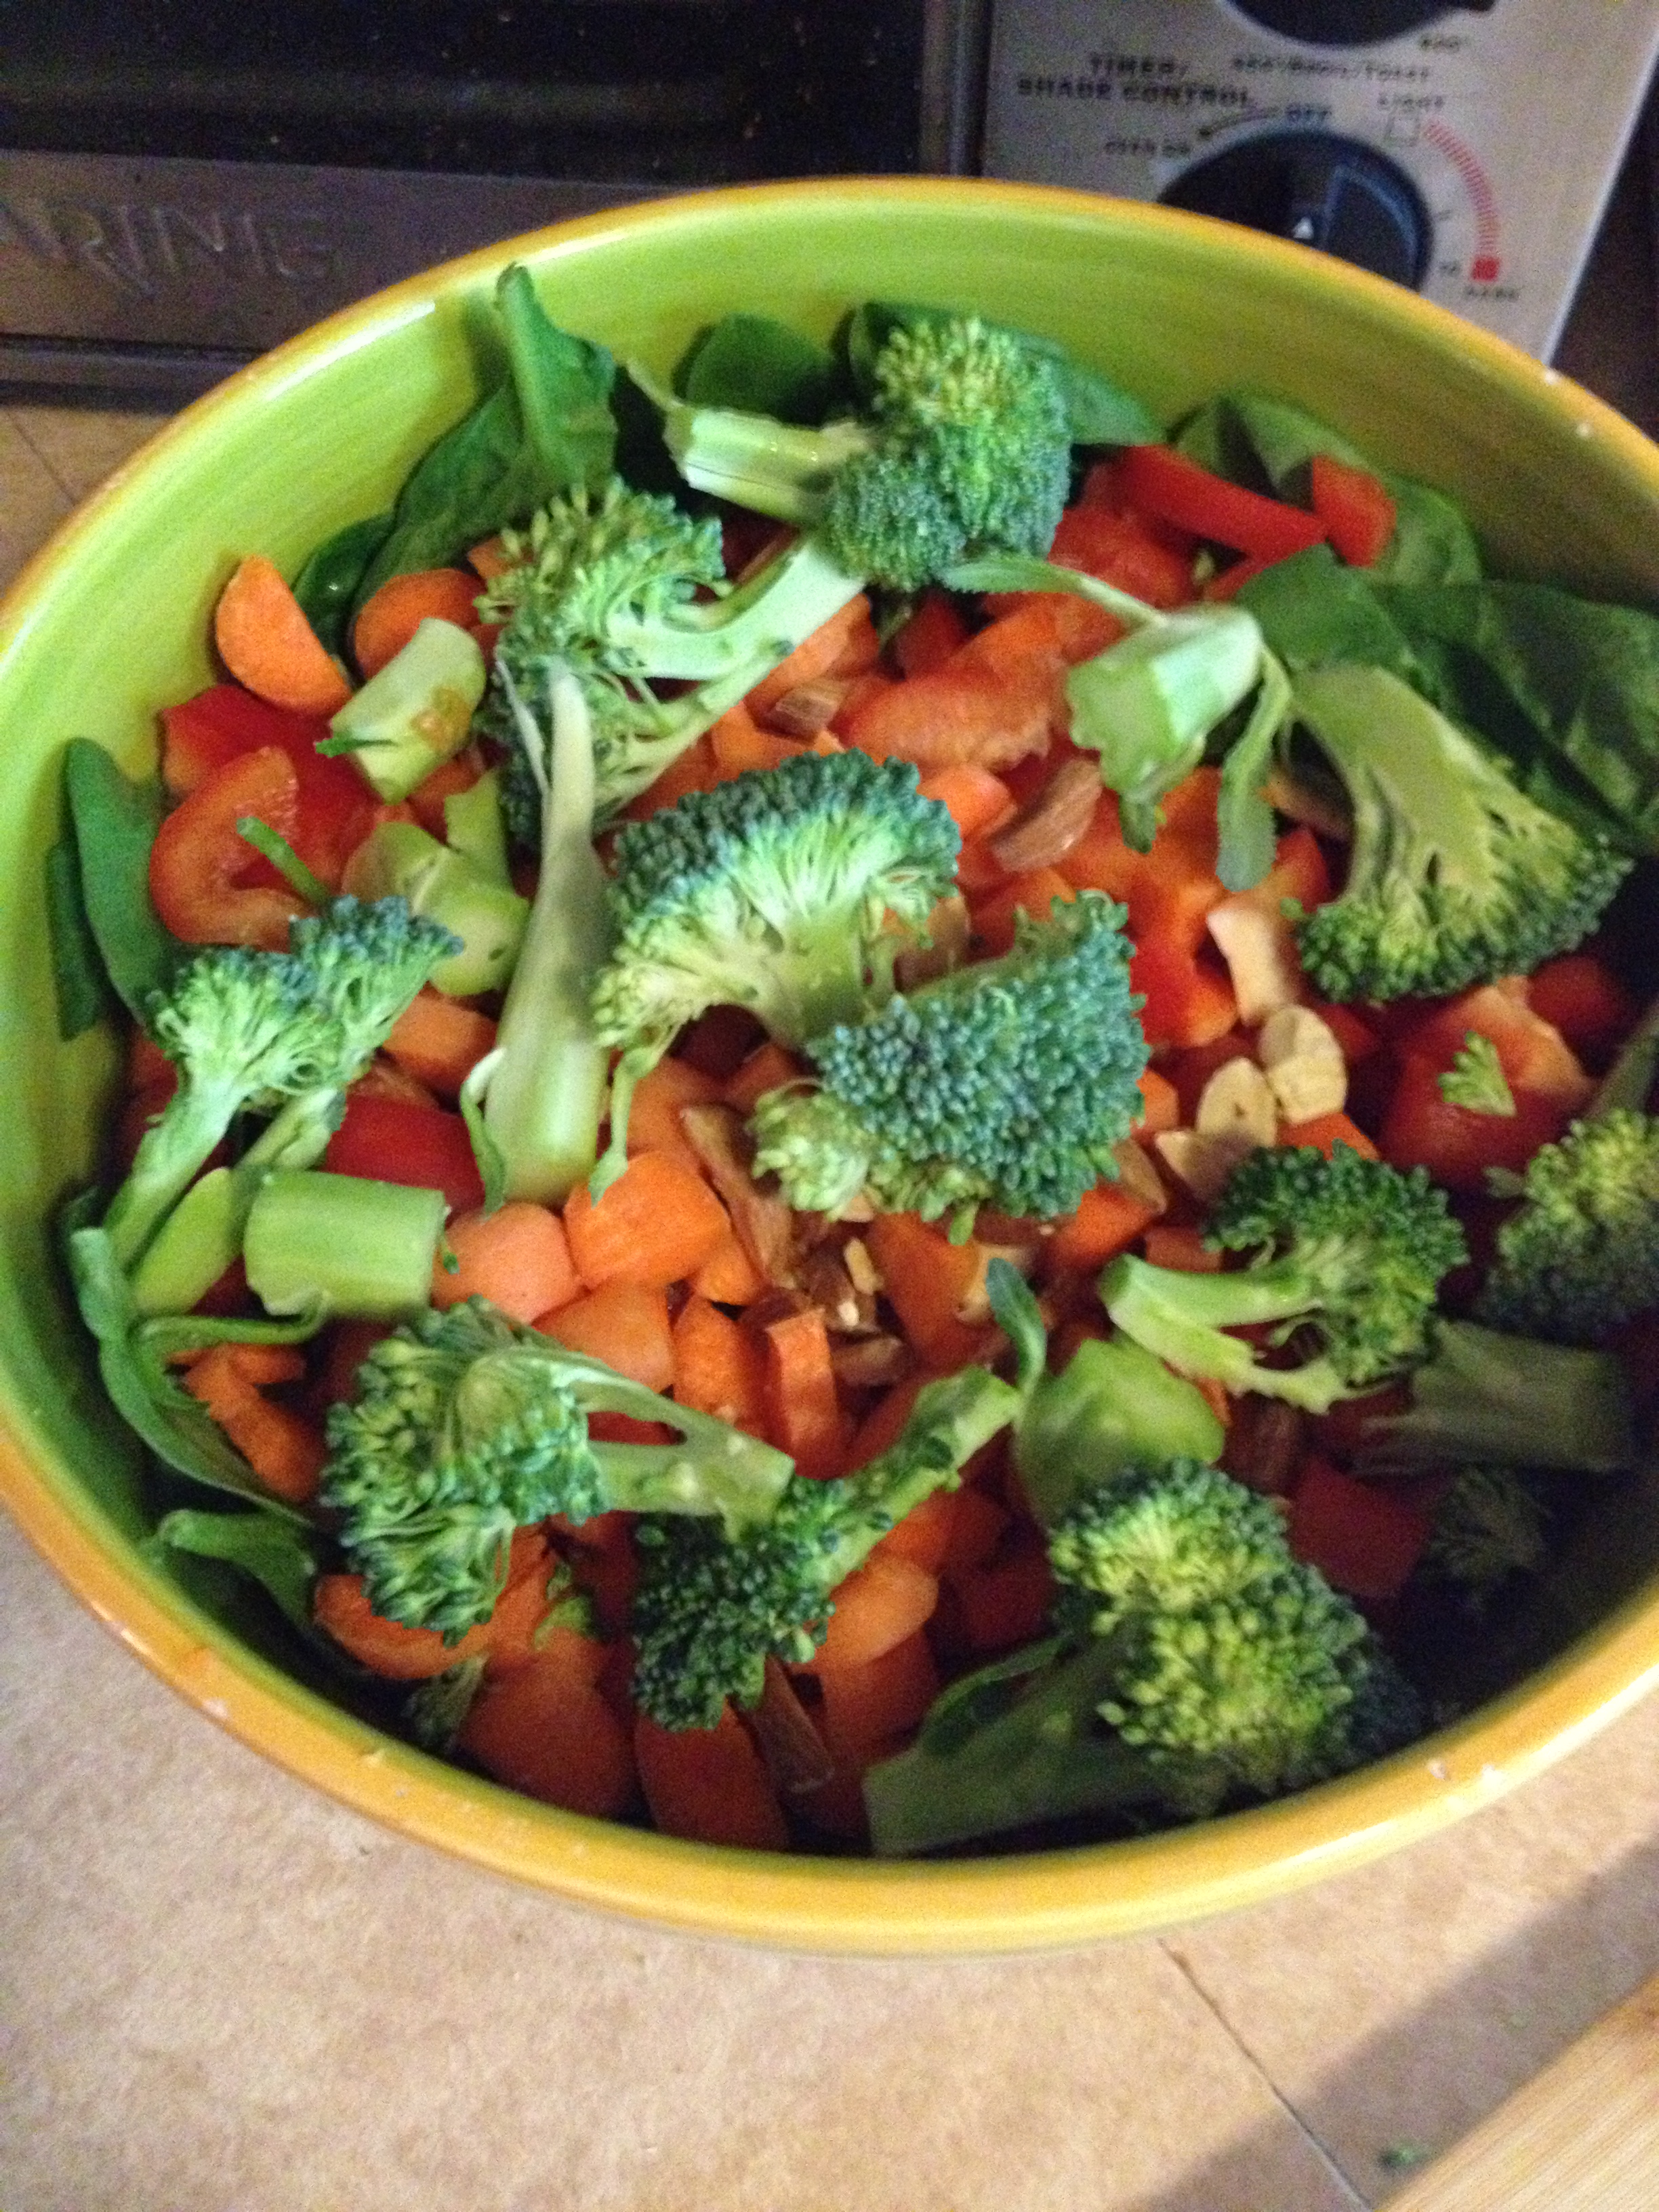
Today, one can find milk made from almost anything—soy, rice, different kinds of nuts, etc. They can be a little easier to digest than milk and I personally like the taste. While it is possible to find great quality milk substitutes at Whole Foods and other health food stores, they can be pricy and some brands can be high in sugar and contain additives. So, why not make your own?

Making your own almond milk is unbelievably easy and resourceful because you can utilize the whole almond with zero waste. After pulverizing the almonds to make tasty milk, try using the almond grounds in granola, in baked goods, or even just toast them in the oven with some sugar or spices and use them as sweet or savory crunchy topping.

Here’s my recipe for homemade almond milk. As always, feel free to play around with it!

Ingredients:

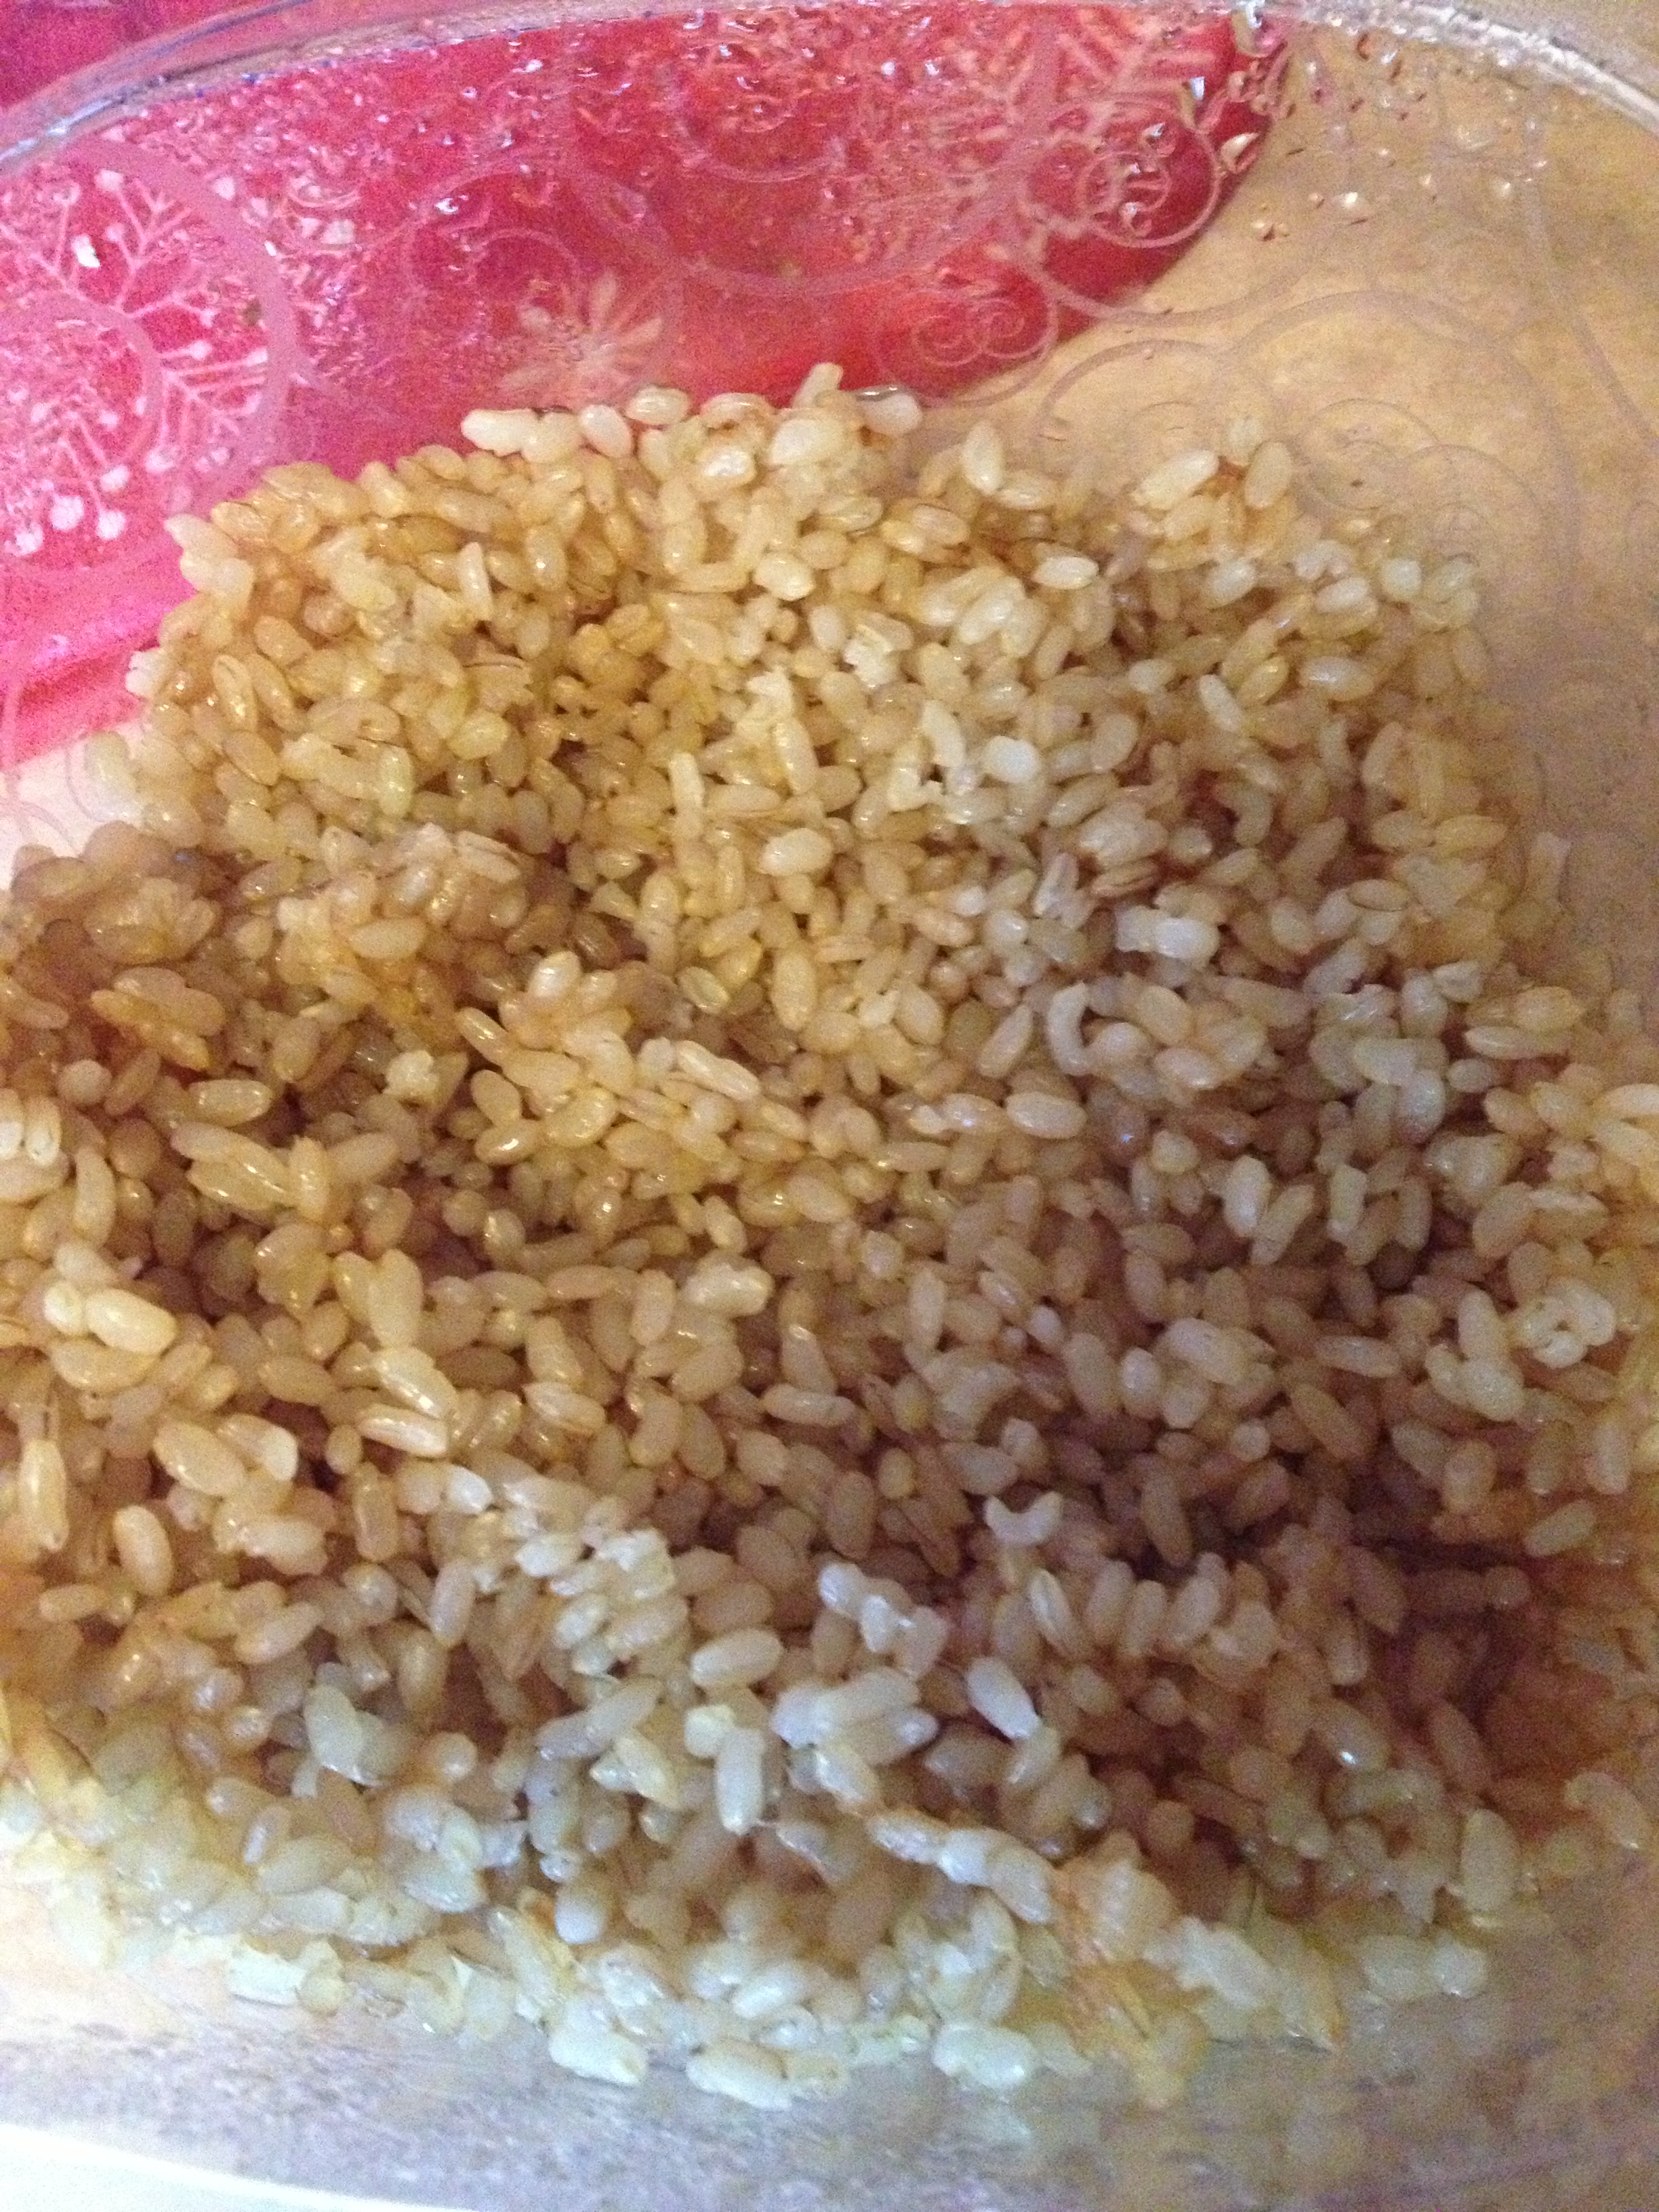
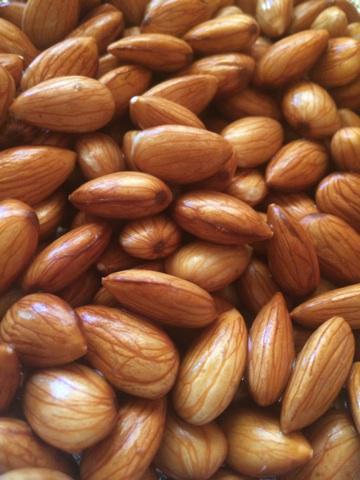
  • 2 cups raw almonds, soaked in water overnight
  • 5-7 cups water
  • 5 Tbs. simple syrup (use any sweetener you like)
  • 2 tsp. vanilla extract (or a whole vanilla bean, chopped)
  • small pinch of salt
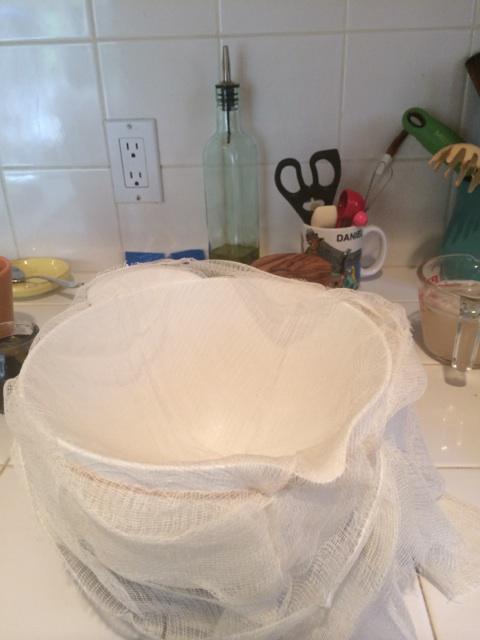
  • Cheesecloth and large bowl

Directions:

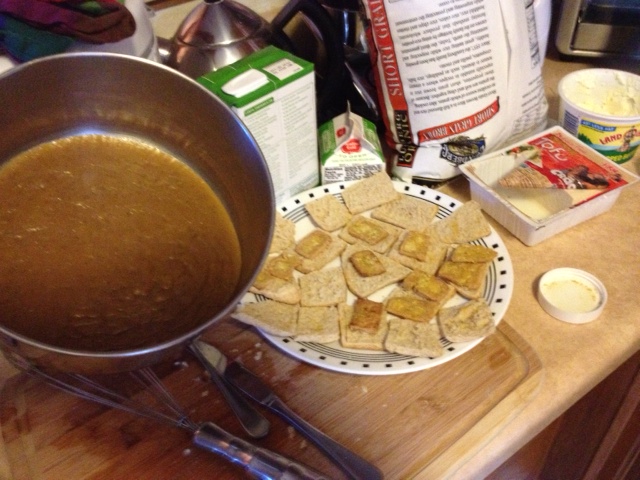
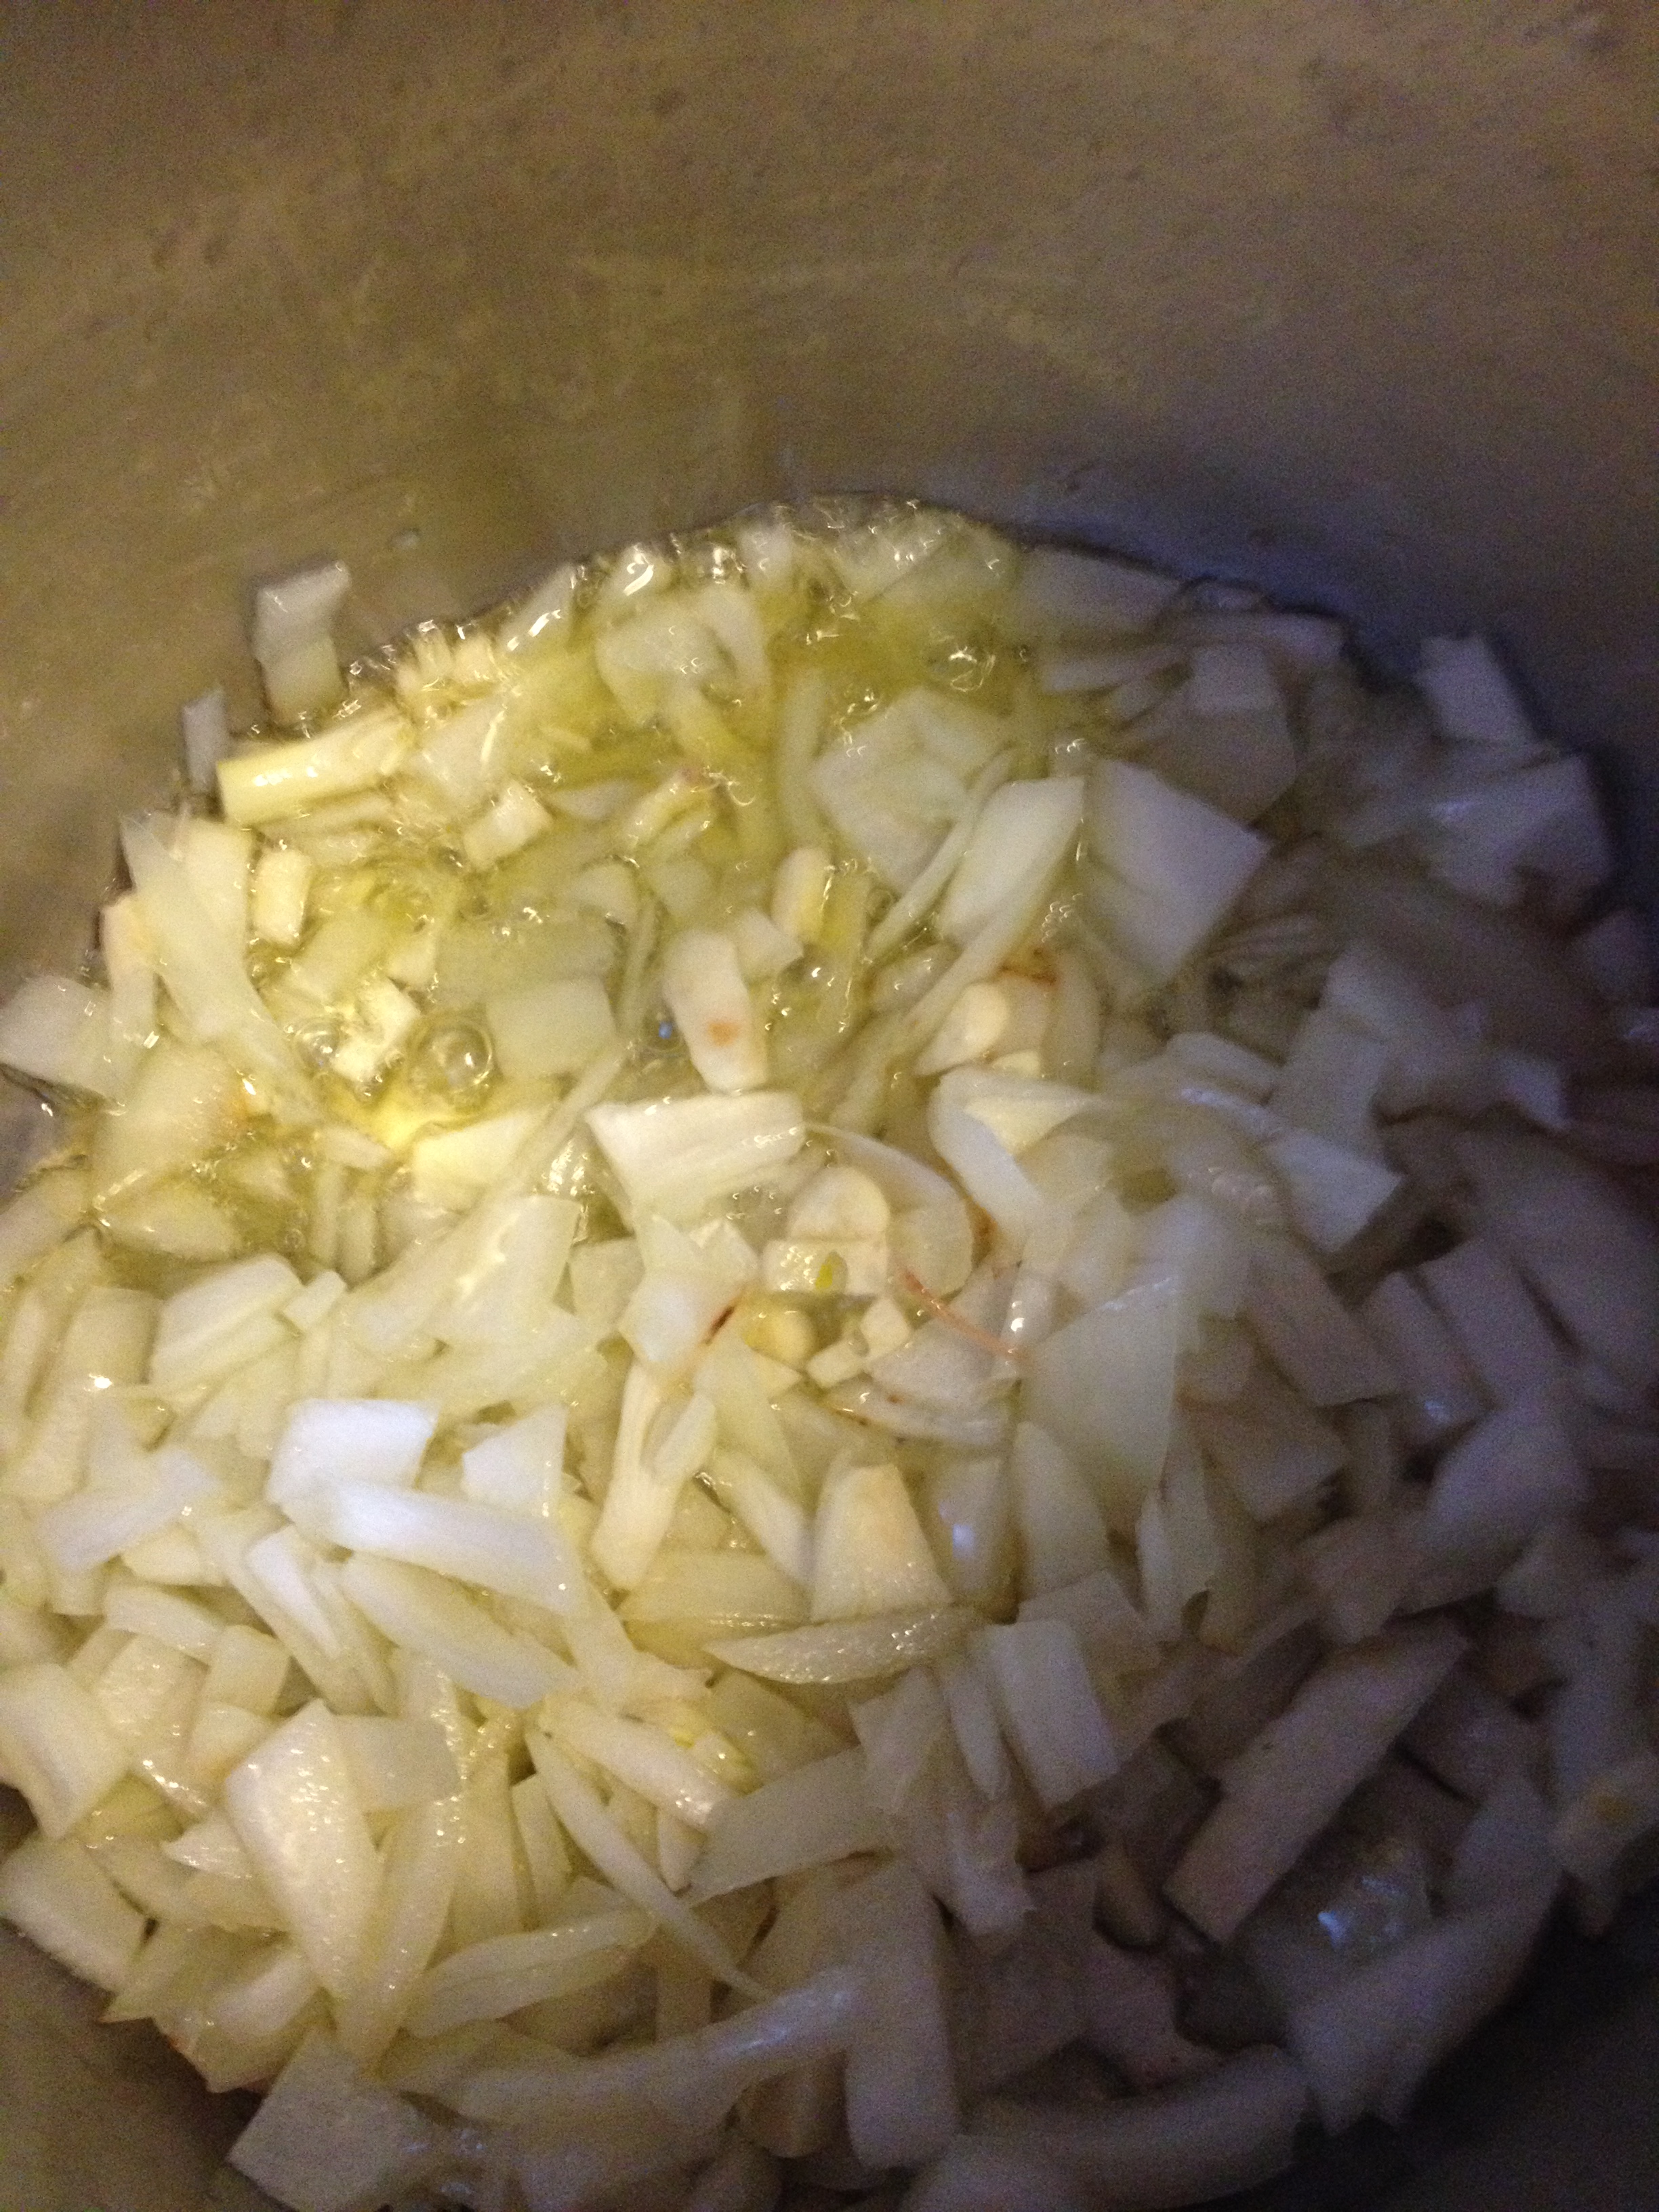
1. Drain and rinse the soaked almonds.

almonds

So pretty!

So pretty!

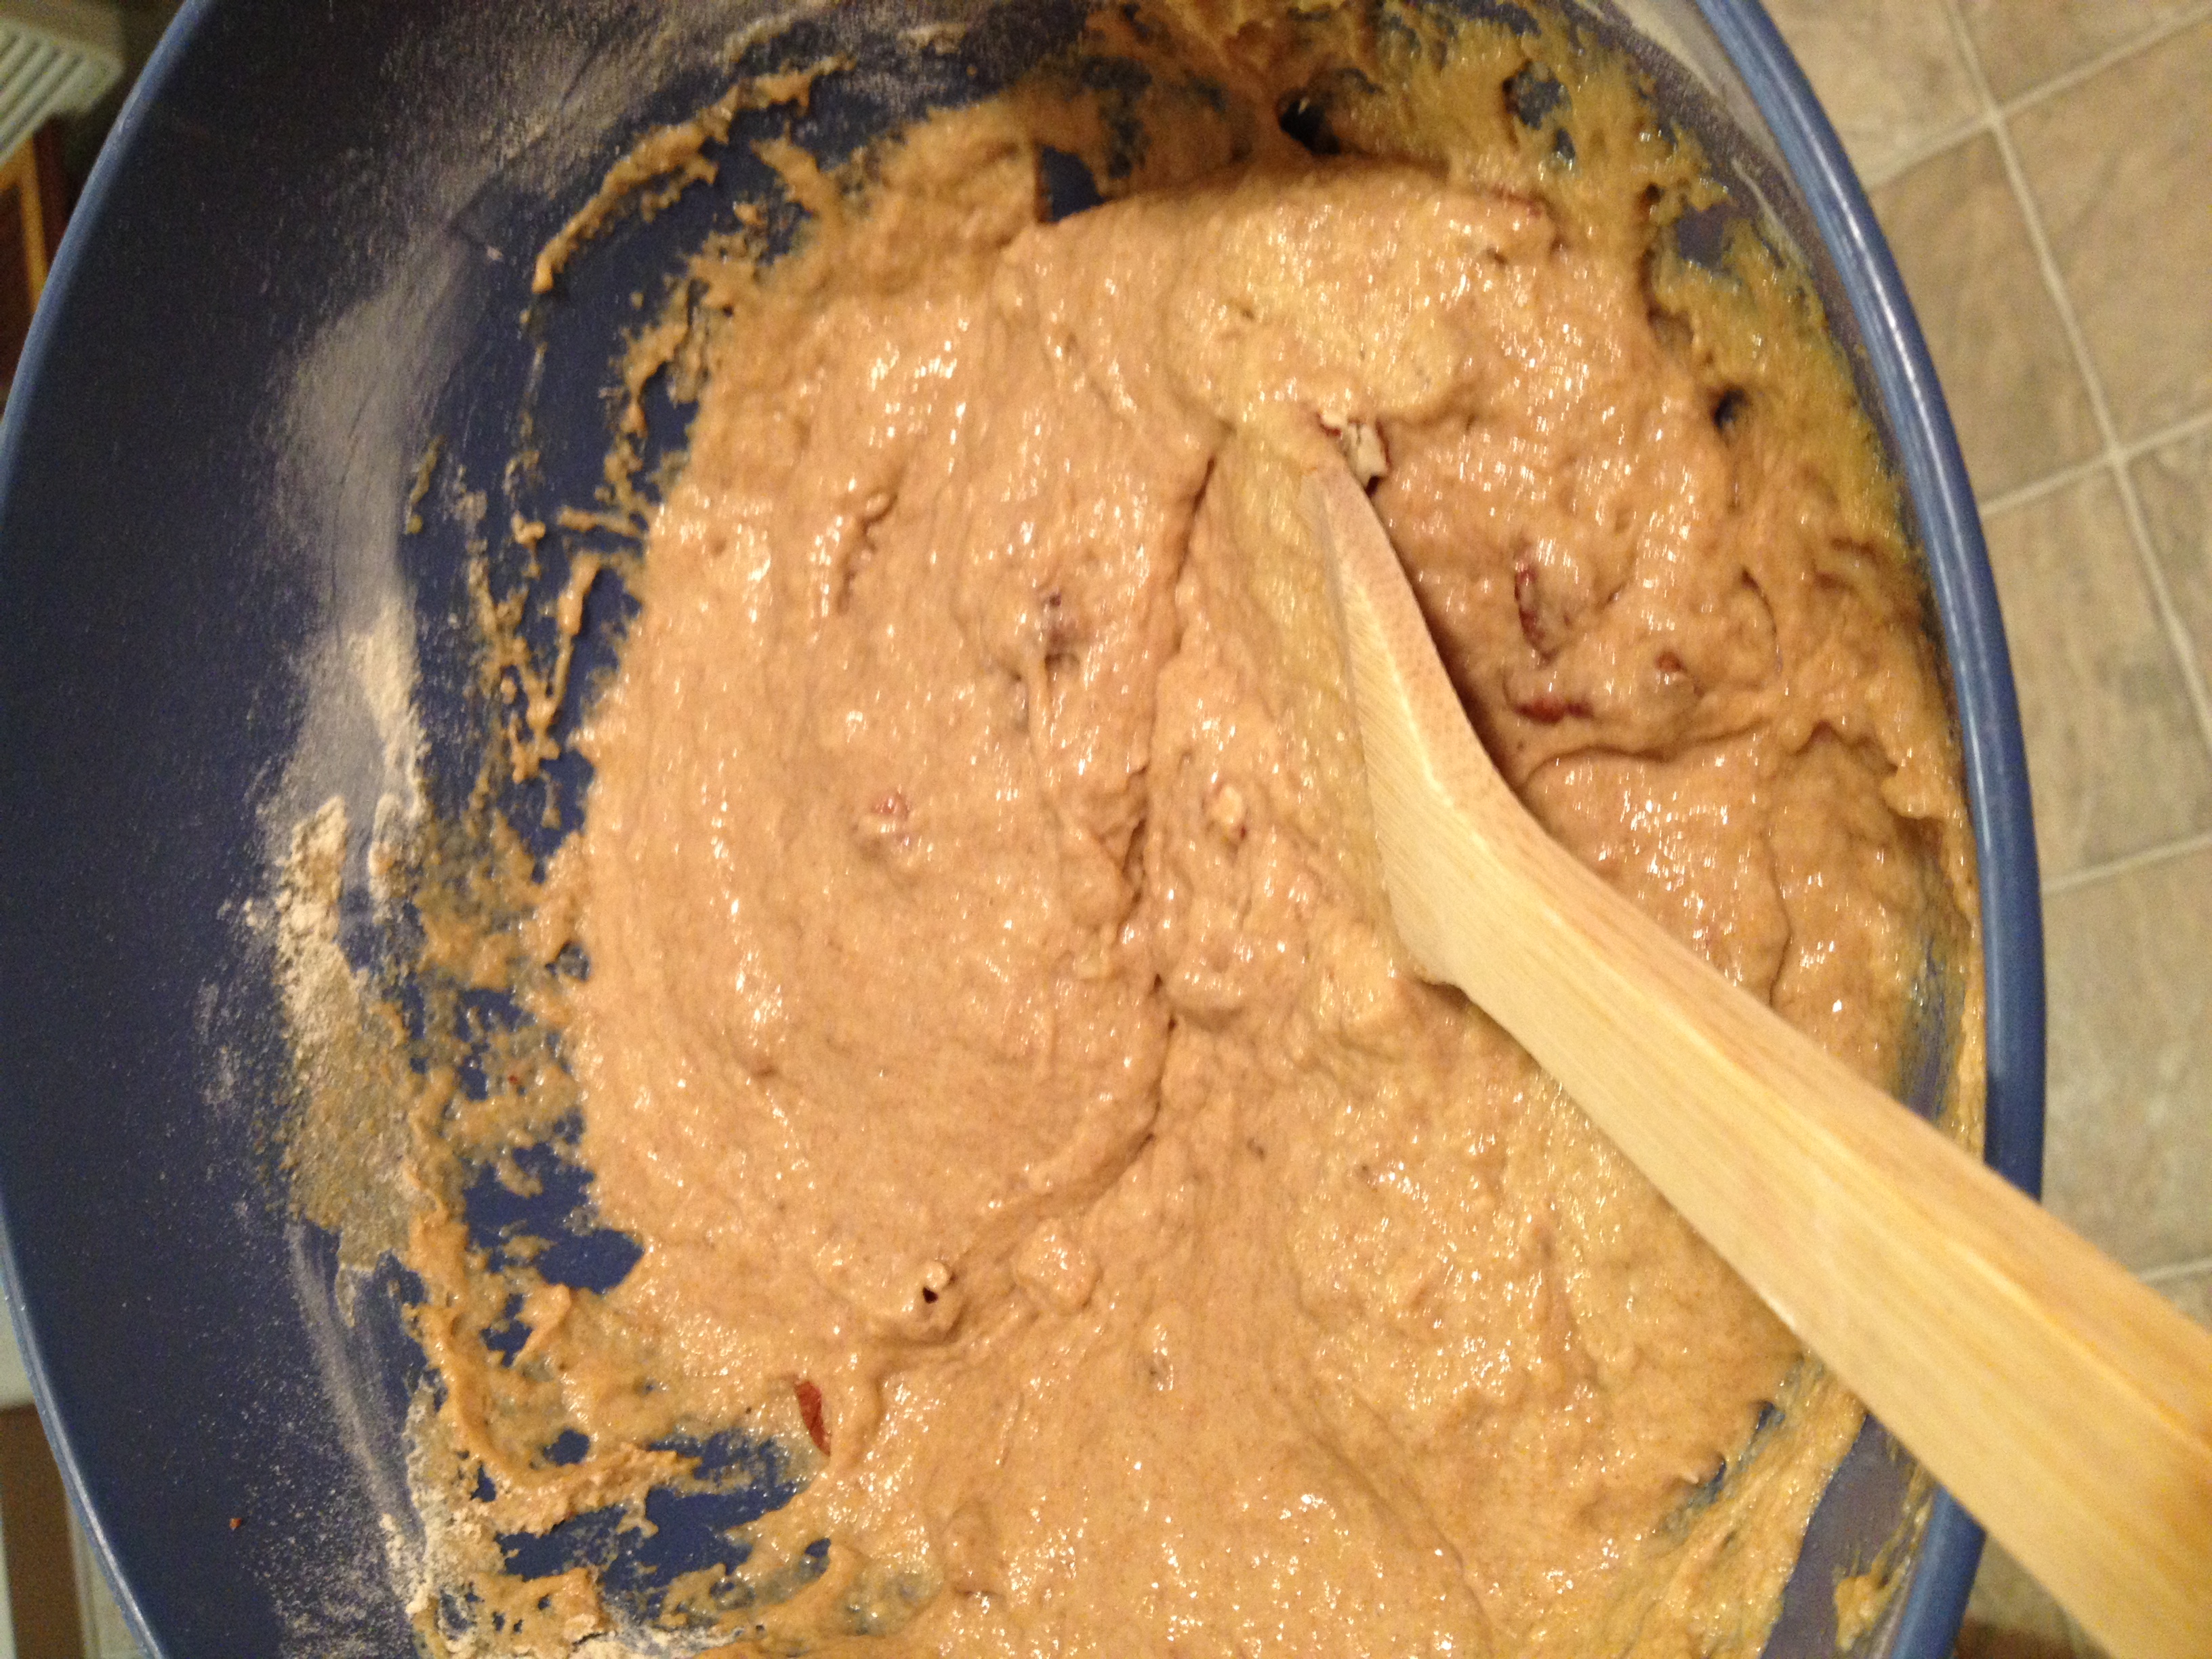
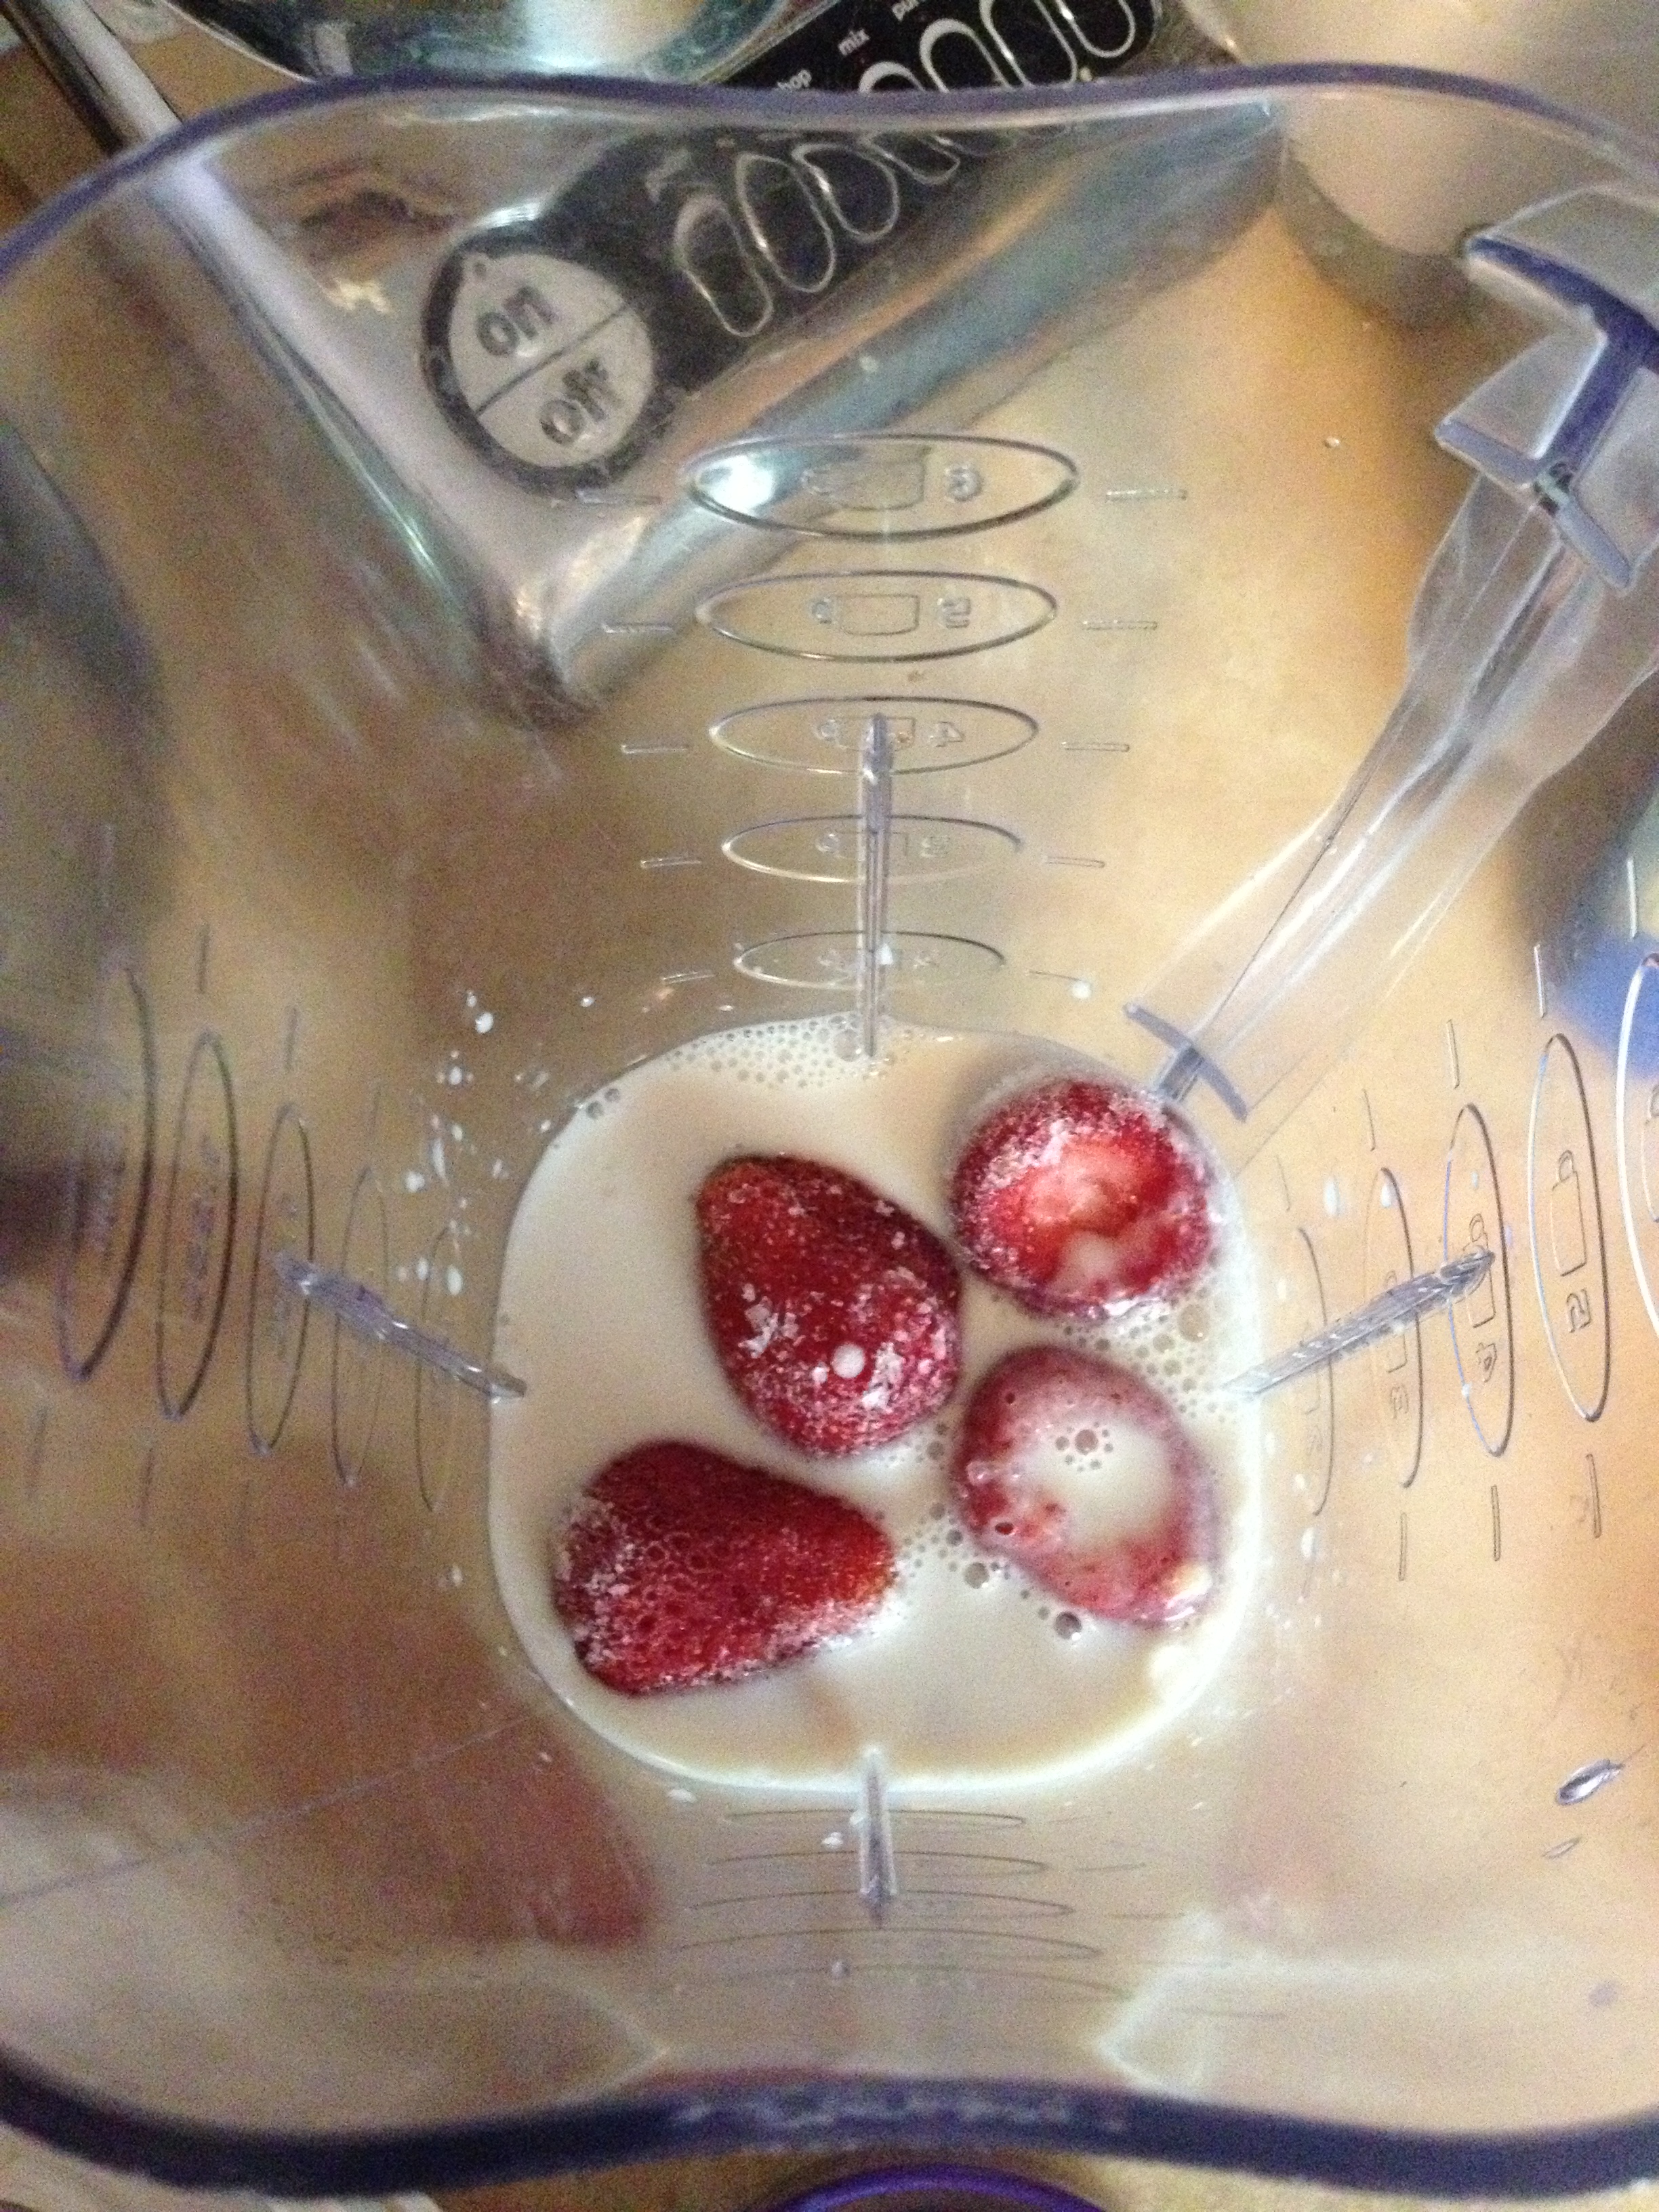
2. Place almonds in a blender along with the water, simple syrup, vanilla, and pinch of salt. (I had to do mine in batches because my blender could not hold all the liquid)

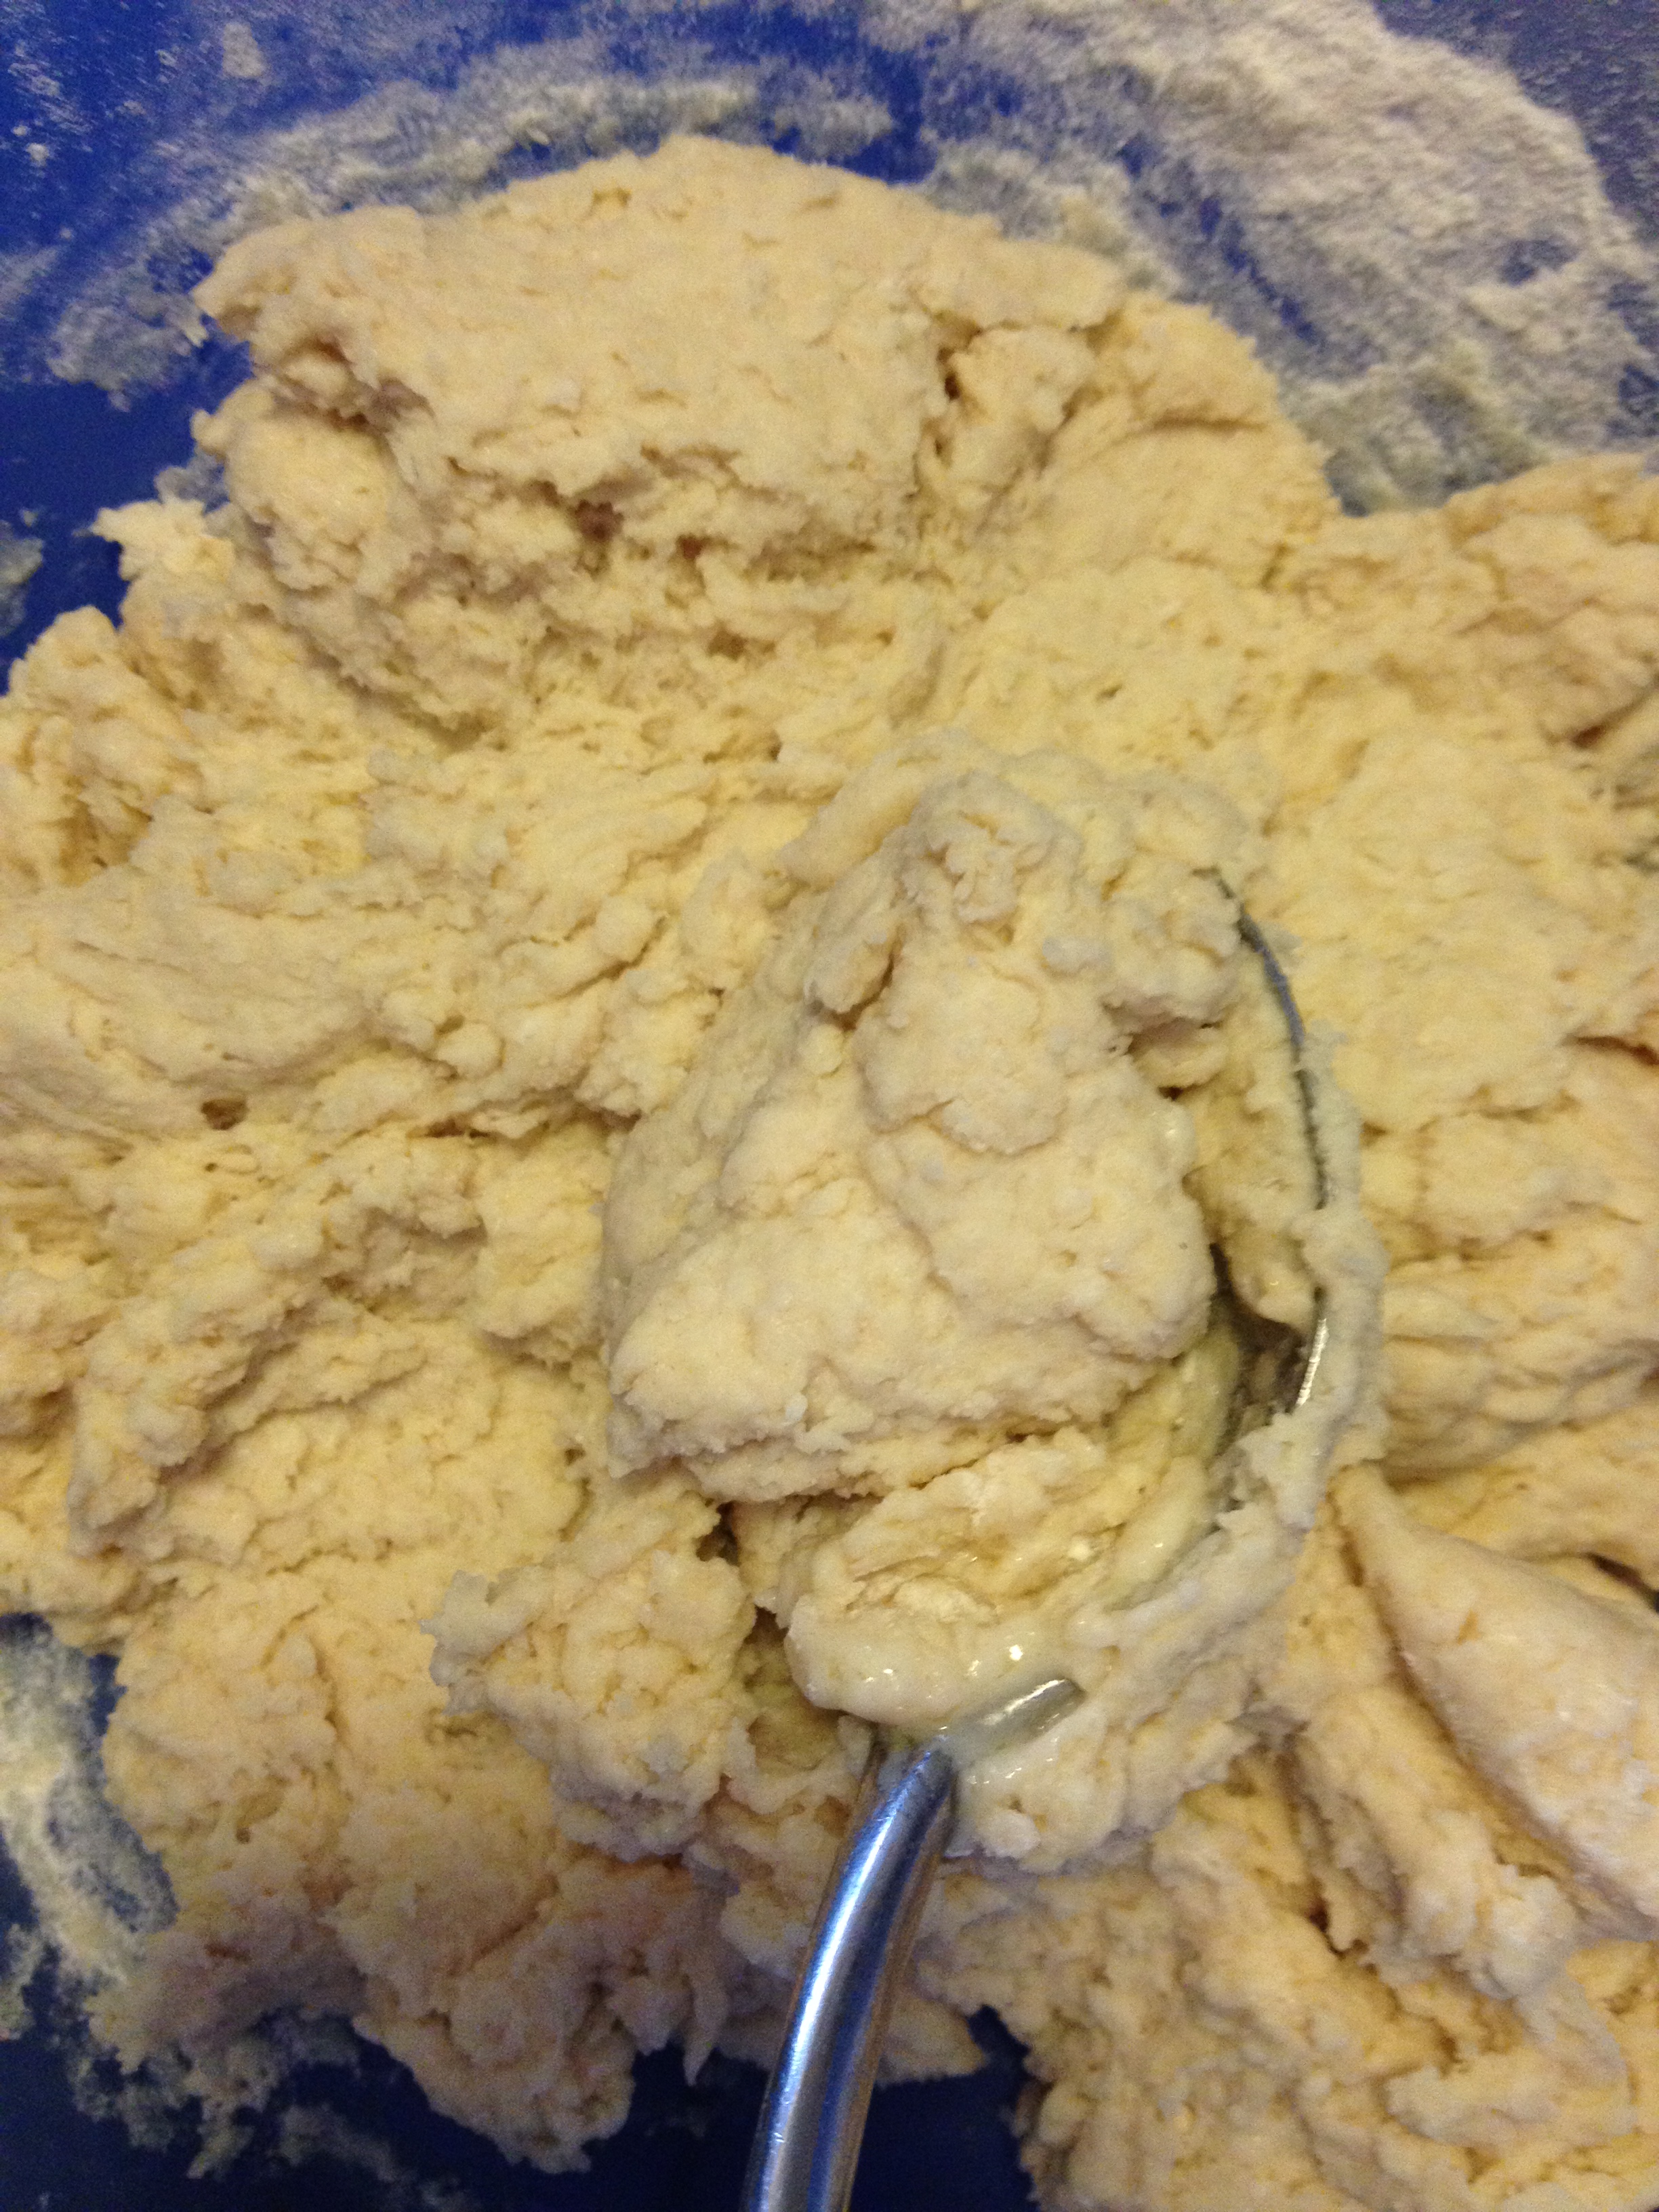
3. Blend for a minute or so.

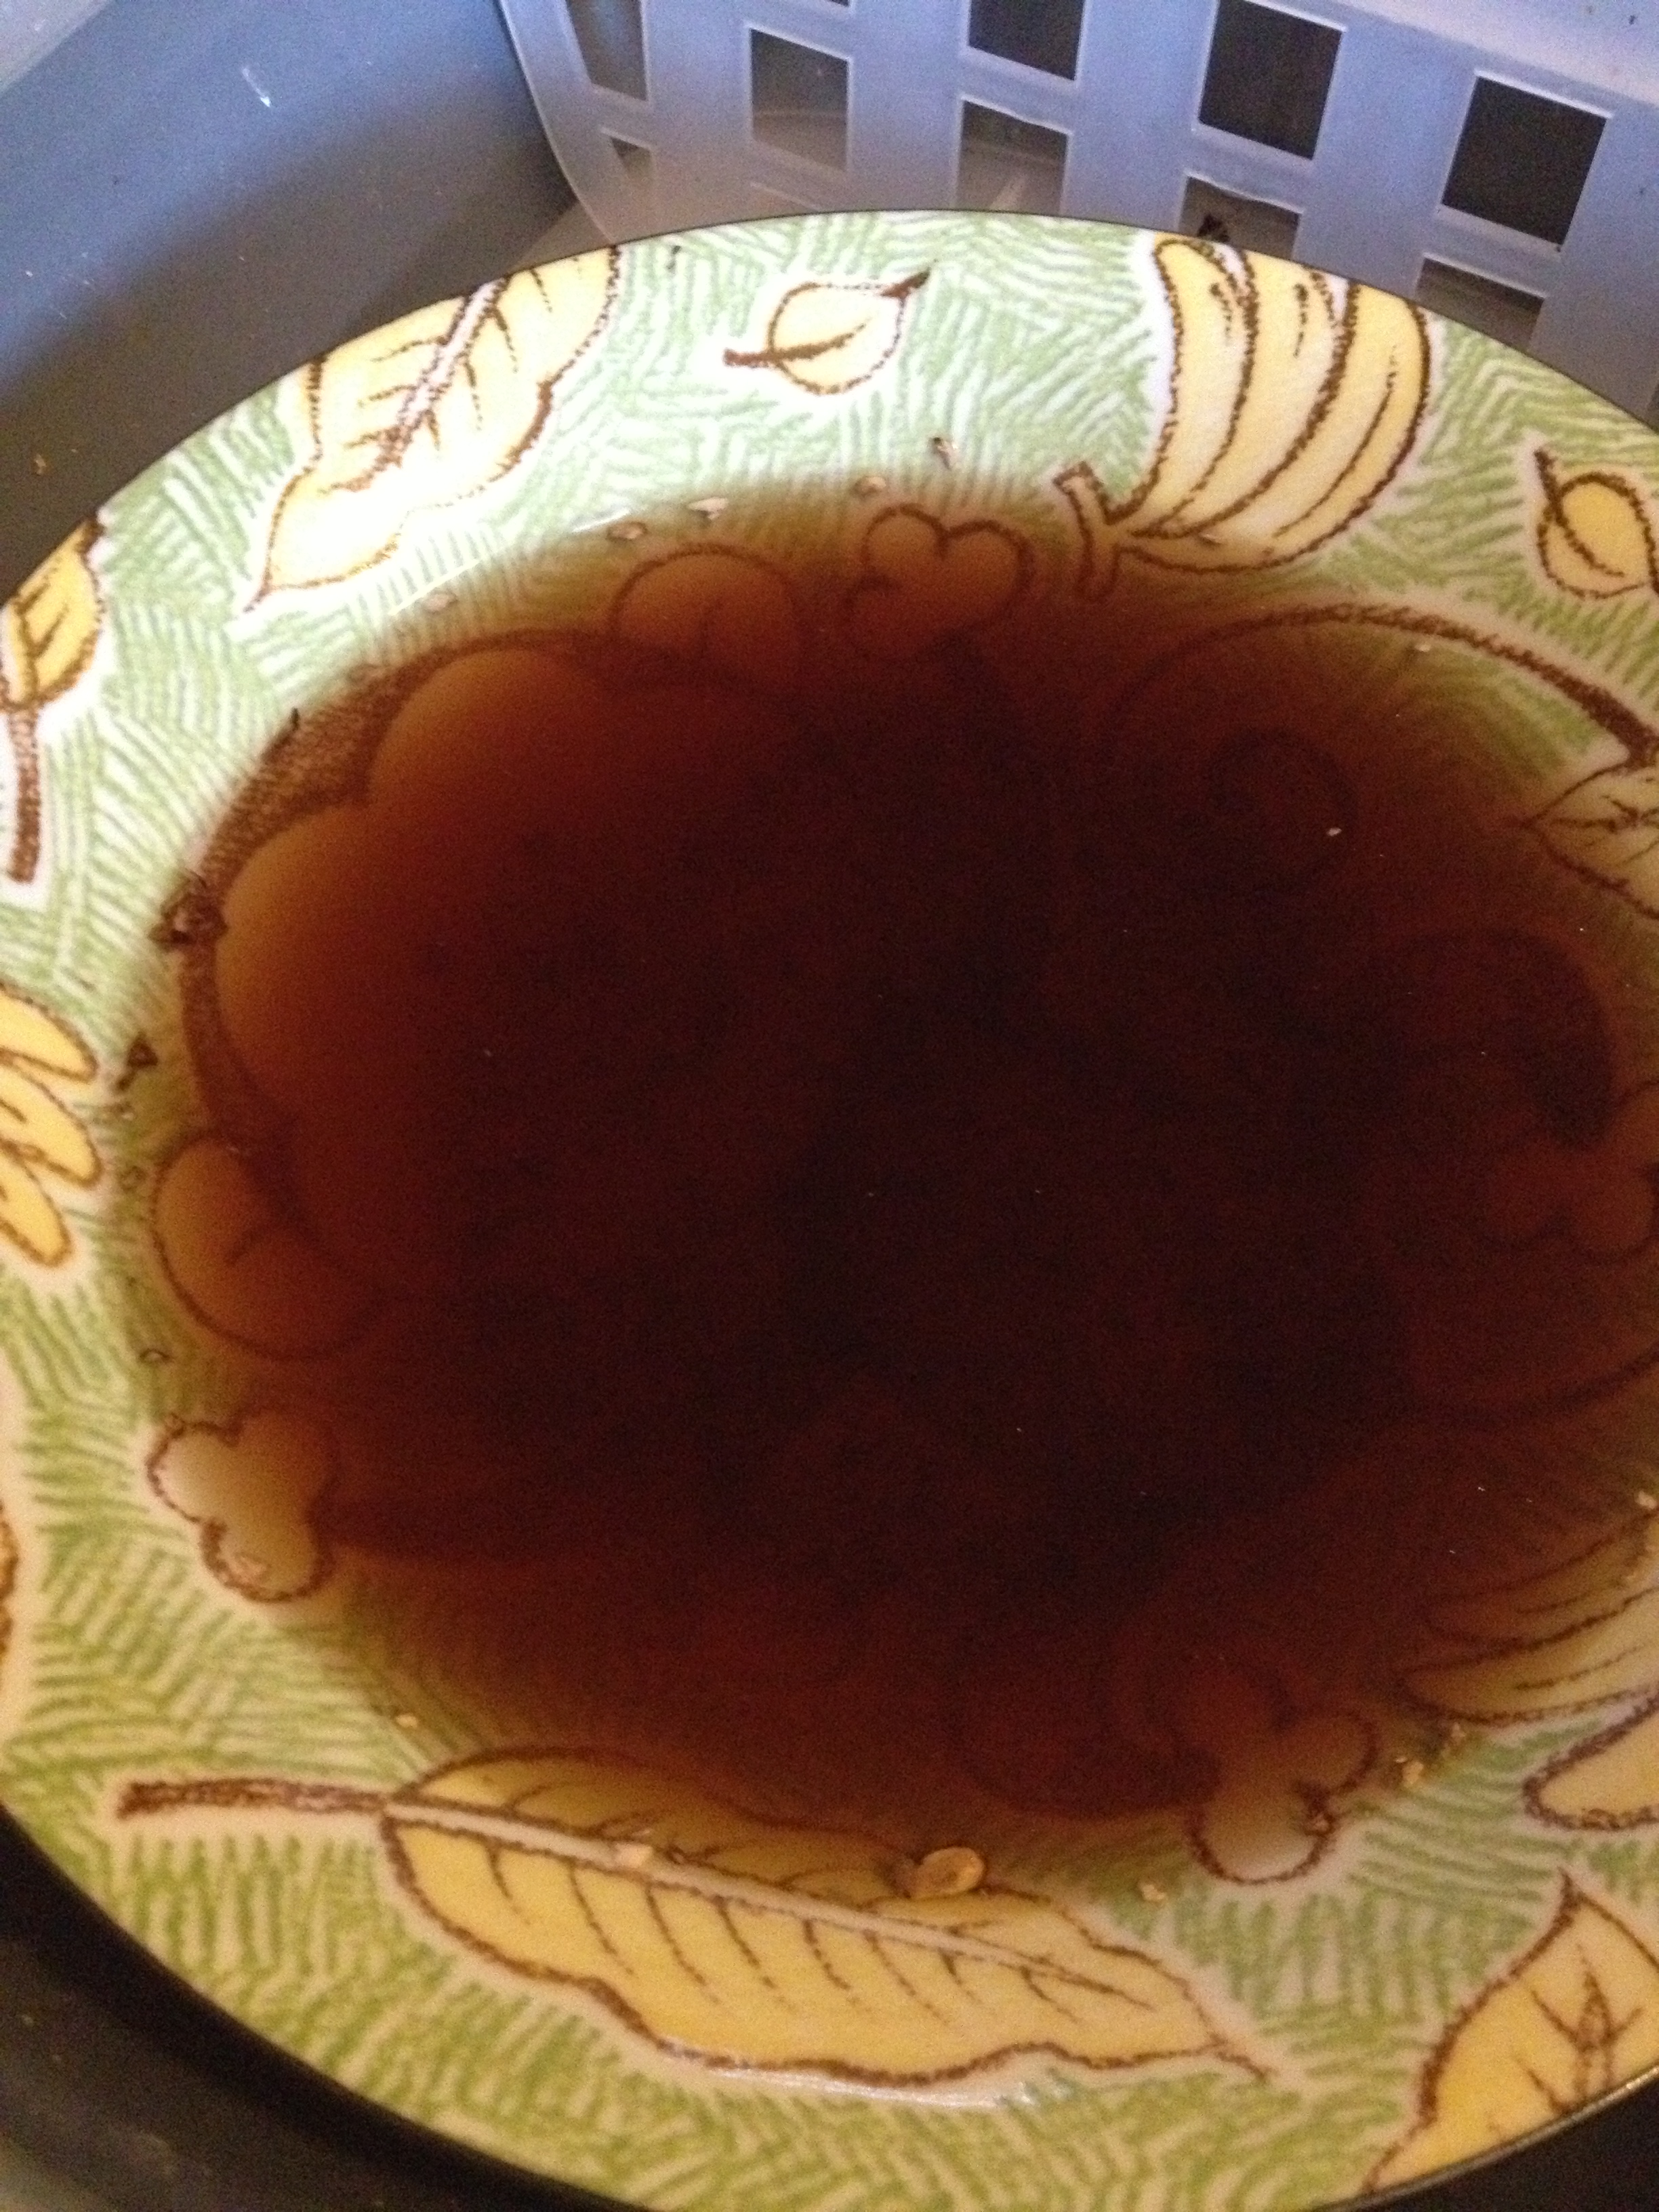
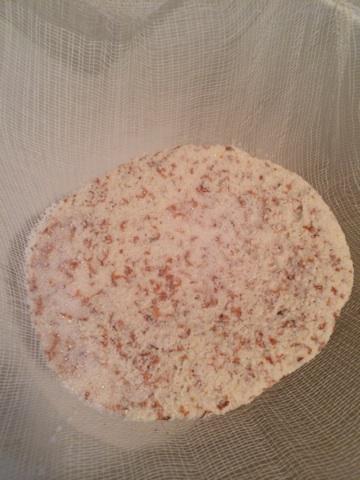
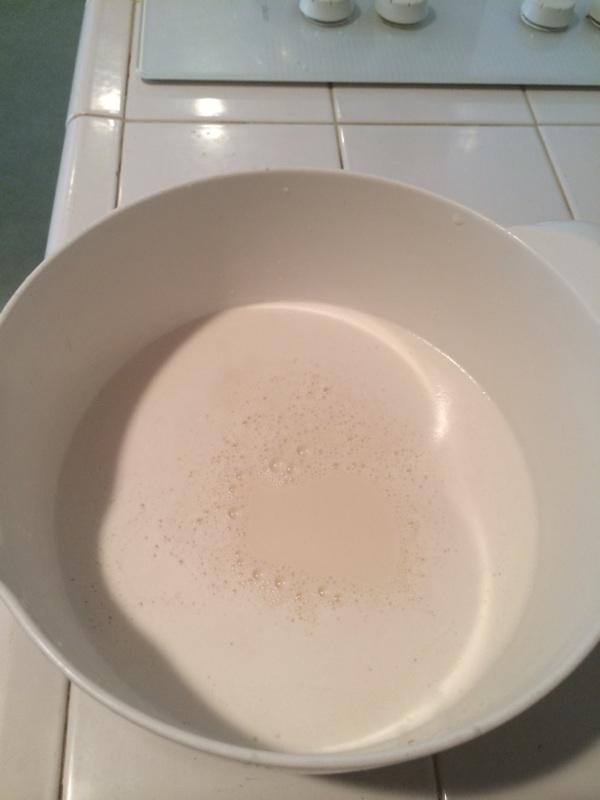
4. Place cheesecloth over large bowl (I held mine in place by wrapping a rubber band around it), and slowly pour almond mixture over it. Squeeze the bottom of the cheesecloth to release the milk.
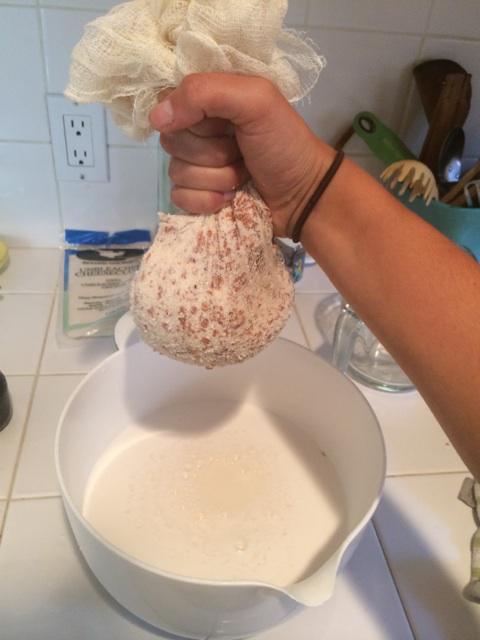
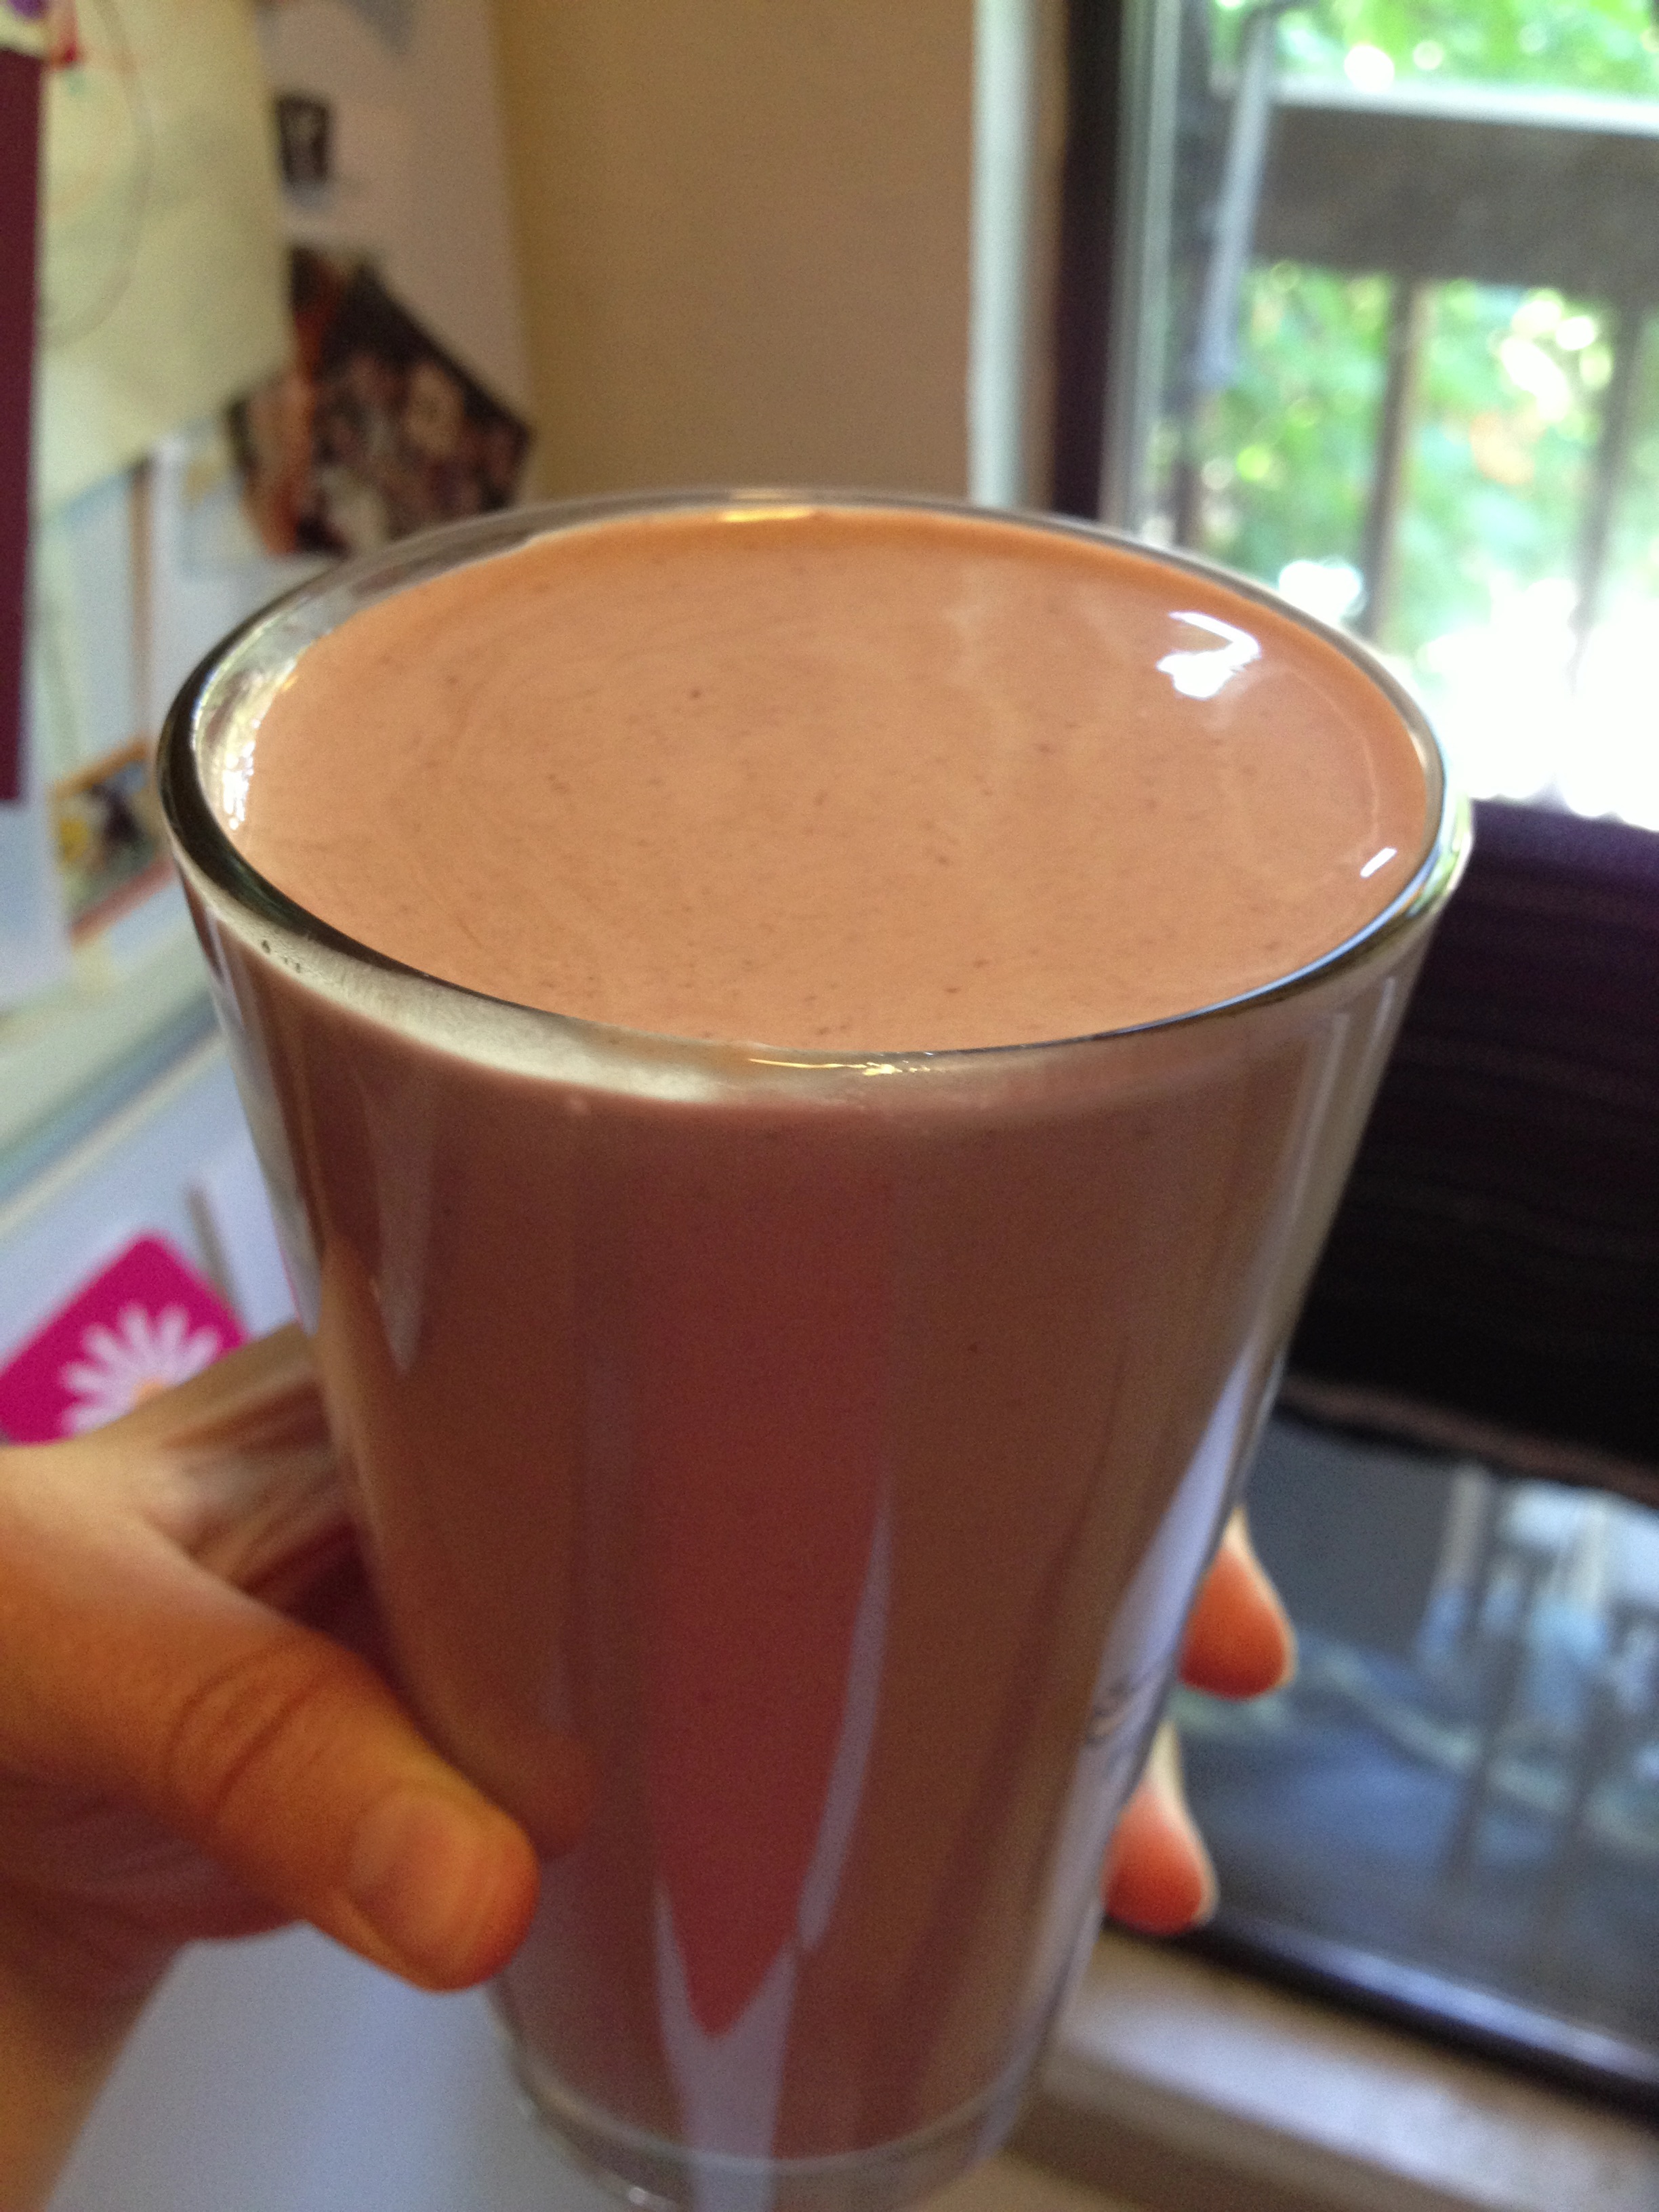
cheese cheese out almond bits

So cool!

So cool!

5. Pour into a pourable container to store in the fridge for about 5 days.
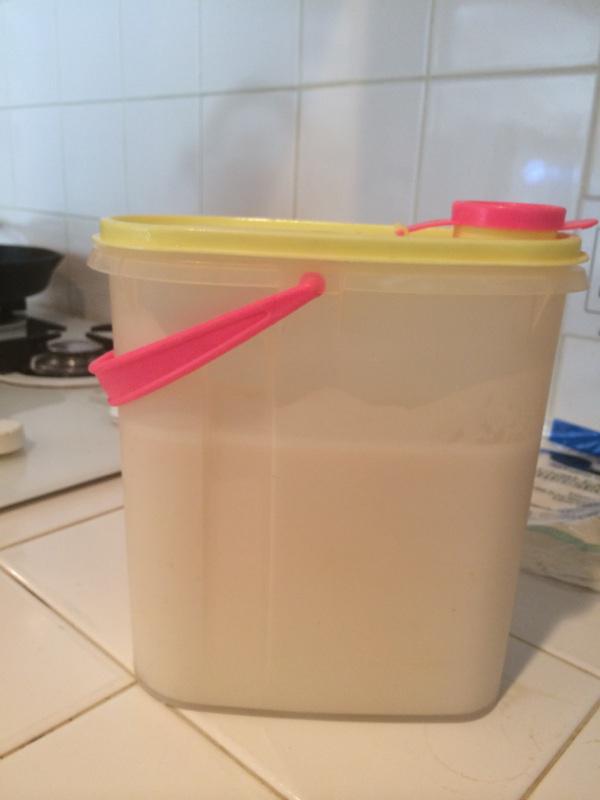
almondmilk almondmilk store

Makes 5-7 cups

You can make your own simple syrup by boiling equal parts sugar and water until the sugar dissolves and letting it cool to room temperature. I like to infuse mine with herbs like rosemary or sage and vanilla beans! Enjoy this recipe and as always, stay hungry and fit!

BONUS KITTY PIC

Jamie's adorable cats

Jamie’s adorable cats

spacer

Healthy Banana Nut Muffins

These muffins are one of the best guilt-free, low-calorie, satisfying snacks for your everyday needs. Also, our bananas were nearly black. And that’s when you know it’s time for one of the many banana recipes. And being right after Thanksgiving, this was an easy choice. I added pecans for a little extra protein and healthy fat. Also, they were leftover from our sweet potato casserole. You gotta use what you got! This recipe is ridiculously easy, in fact I made two batches. And it’s uber healthy with plenty of fiber since it uses whole-wheat flour. Only takes about 15 minutes to cook and less to prepare.

Look how black these are

Look how black these are

photo 2 (16)


  • Prep Time10-15 minutes
  • Baking Time: 15-18 minutes

Ingredients

  • 1 3/4 cups whole-wheat flour
  • 1 tsp baking soda
  • 1/2 tsp salt
  • 2-3 bananas
  • 2 eggs
  • 1/3 cup honey
  • 1/3 cup olive oil
  • 1/2 cup chopped pecans
  • 1/4 cup hot water

Directions

  • Pre-heat the oven to 350 degrees F and grease your muffin tin
  • Mix together the dry ingredients (flour, salt, & baking soda) in a small bowl

photo 2 (18)

  • In another bowl, pour the honey and oil in and whisk it up until it’s totally mixed together
  • Now crack those eggs and mix it up with the honey and oil

photo 4 (14)

  • Next, we want to mash those black bananas into a nice gooey mess. I like a few chunks of banana because that’s always fun to bite into when it’s cooked. Spoon in the bananas and stir into the wet mixture.
mashmashmash

mashmashmash

  • Okay! Now it’s time to marry the dry and wet ingredients. Slowly stir in the dry mixture into the wet, alternating with the hot water. Do this until both the flour mixture and hot water are gone.
delicious batter

delicious batter

  • Now it’s time to chop up those pecans into quarters and stir them into our beautiful mix.
Chop chop!

Chop chop!

  • Almost there! Now we want to spoon the mixture into each spot in your muffin tin, and try to make them all equal if you can.

 photo 3 (11)

  • Put into the oven for around 15-18 minutes. Stick a fork or toothpick in the middle to see if they’re done. If there’s tons of batter on the toothpick, leave it for a few minutes.
  • Let cool for a few minutes and then slowly scrape them out!
Oh, the glory!

Oh, the glory!

This recipe came out beautifully. The muffins were moist, not too sweet, and full of whole-wheat goodness. They are perfect for Chris when he has to eat breakfast on the run and perfect for me to shove in my face between clients. Don’t miss out on this easy, healthy recipe! Bake these delicious muffins to stay hungry and fit!

photo 1 (20)

  • Question of the Day: What are your favorite quick baking snacks? 

BONUS KITTY PIC

Nymeria and Piper, the dog, got along great!

Nymeria and Piper, the dog, got along great!

spacer

Mama’s Rhubarb Pie

Let me start by saying I have the best mum in the whole world. Let me say next that she makes the best rhubarb pie in the whole world. And let me say NEXT that she surprised me by sending me a package Halloween day with fresh-cut rhubarb from her garden two states away along with goodies like a movie and candy. She sent it that morning and it came that afternoon. I couldn’t believe it. Totally surprised me. She’s always sending me pictures and telling me she’s baking a rhubarb pie or crumble and I’m always unhappily drooling in Colorado (she lives in California). SO, I have rhubarb (a lot of people curiously don’t even know what this tart food is) and it really doesn’t require many more ingredients. It’s an easy recipe, but I called my mum a few times to make sure I was doing it right.

My mum and I trying not to laugh

My mum and I trying not to laugh

Finished product. Yes I did make shapes on it

Finished product. Yes I did make shapes on it

  • Prep Time: 15 minutes
  • Baking Time: 55 minutes

Ingredients

  • 4 cups rhubarb (roughly)
  • 1 cup sugar
  • 3 tbsp all-purpose flour
  • 2 piece pie crust

Directions

  • Thaw out the pie crusts (if you’re doing frozen) by leaving out for at least 15 minutes
  • Pre-heat oven to 450 degrees F
  • Chop up the rhubarb into 3/4 inch pieces (roughly) and toss them in a large bowl
Rhubarb from California! Straight from the garden

Rhubarb from California! Straight from the garden

  • In a small bowl, mix the sugar and flour together
  • Now, toss the sugar/flour mixture with the chopped up rhubarb in the big bowl. Mix it around so that the sugar is evenly distributed among the rhubarb
This is the part where I always snack

This is the part where I always snack

  • Put that sugar-coated rhubarb in the first pie tin
Drooling...

Drooling…

  • Now, this is probably the trickiest part: getting the other crust to come down evenly on the bottom crust. So the rhubarb should be a little heaping in the bottom pie tin. Thus, you want to flip that second pie crust so that its bottom is on top.
  • Press upon the bottom crust and rhubarb. Use a fork to press and bind the two crust together all away around the edges. You will get some extra dough so get a sharp knife and slice around the edge to get the rest. Use the extra dough to make shapes or faces!
Looks weird, but I promise it turns out well!

Looks weird, but I promise it turns out well!

  • Make three small slits in the pie to let it breathe
  • Now this next step is to ensure that the pie crust doesn’t burn: get some tin foil, fold it in half and just cover the edge of the crust. It may take a few pieces of foil. Nobody likes a burnt crust!

photo 5 (7)

  • Put it on the bottom rack of the oven. Bake it for 15 minutes at 450 degrees F. Then turn it down to 350 degrees F for 40 to 50 minutes. It should be golden brown on top and you should be able to go through those slits cleanly
Just waiting for me to dig in

Just waiting for me to dig in

And that is it! This pie isn’t as fun to make without my mum because I have nobody to tell me not to eat the sugar-laden rhubarb and smack my hand. But it still turned out pretty well. Actually, it turned out to be delicious. The rhubarb was still tart but balanced off with the sugar, and the crust didn’t get burned at all! Maybe it’s in the blood. I’m glad I didn’t botch this one! Thanks, mum! And as always…stay hungry and fit!

Nommmmmmmmmmmm

Nommmmmmmmmmmm

BONUS KITTY PIC

Cuddles, obviously.

Cuddles, obviously.

spacer

Boulder’s Best Italian Food: Il Pastaio (by Costa Ricans?!)

Il Pastaio, 30th and Arapahoe, (in the King Soopers Shopping Center) has shown itself to be Boulder’s best Italian food thus far. We have not gotten the chance to go to Pasta Jay’s, which is the only other Best Italian recommendation we’ve gotten, but we’ll try to soon so we can compare the two. We have had Trattoria on Pearl, Antica Roma, Salvaggio’s Italian Deli, Laudisio’s, Pasta Vino, Pizzeria Basta, just about every Pizza place, and then some. Pasta Vino is the only one that holds a candle to Il Pastaio and the rest did something WRONG. Pasta Vino was the best Italian lunch we’ve had in the past year here while Il Pastaio was the best dinner and best overall experience. This is why… they don’t do anything wrong and do tons of stuff right.

The restaurant is small and very compact but you can make reservations, which we did. I recommend you most certainly make reservations for the reason that it is extremely busy during dinner hours because it is so good. We were seated quickly after our reservation, despite a long line and there was a fuss about who was next, but they rightfully seated us at the proper time. I credit this to the owner’s son, who did an exceptional job taking care of us the whole night. He was personable and polite, efficient and honest, and an all around good guy for the job. He spent some time in Brooklyn so we talked to him about the restaurant’s history.

We found out that his father and family are from Costa Rica but his father (the owner) studied in Italy and learned how to cook Italian food there. We could see Costa Rican touches throughout the restaurant as well, including the unbeatable bread that was served with the meal. A hot batch came out of the oven near the end of the meal so we asked for a fresh loaf and they obliged without a question. Great service. Let’s talk about the food.

They have Boylan’s beverages. That’s enough for me and it was the perfect compliment for me. It reminded me of home so much… it was the only Italian place in Boulder that reminded me of home. What’s home? The Italian-American food capital of the world.  We got a few appetizers including a caprese salad, a seafood mixto plate, the biggest antipasto platter, bread, and more. Everything was very good and we didn’t leave any leftovers at this point.

Boylan's and hot bread...who could ask for more?

Boylan’s and hot bread…who could ask for more?

Appetizers

Appetizers

However, then I was surprised at the size of the portions. The restaurant is not expensive but the quality of the food and the portion size would make you think it should be. Alana got a custom-made mushroom ravioli with a tomato-basil sauce. I got what I get every time I test a new Italian place out… chicken parm platter with pasta. It was HUGE. MASSIVE. I actually couldn’t finish it but it didn’t make it past the next day.

Alana's ravioli

Alana’s ravioli

Chicken parm, baby

Chicken parm, baby

Everything was good but they custom make raviolis. You can choose from a huge selection of fillings and then add whatever sauce from the menu you want. The quality is exceptional and allows the customer to get anything they want. Seriously, this was one of our best meals and dining experiences while in Boulder. And it’s not very expensive. I think all of that added up to the 60 dollar range and it was completely worth it.

Gelato

Gelato

And canoli

And canoli

So if you’re in Boulder and looking for good Italian food, call up our Costa Rican friends at Il Pastaio and make a reservation. Maybe we’ll see you there. Fueling up on some great pasta and protein can really keep you hungry and fit!

You might also like…

spacer

Izakaya Den: Denver’s Best Sushi (Hungry’s Food Reviews)

This review is long overdue considering the fact that we went to Izakaya Den back in November. These lists of posts really stack up and we try hard to get them out but it’s not easy! So here you are… a review of what we have so far found to be the HIGHEST QUALITY SUSHI in Colorado. When we went, Sushi Den was closed for construction. Sushi Den is supposedly the more expensive and higher quality of the two but they are one in the same according to what we have heard.

photo 1 (25)

Here are the many positives and few negatives of our trip to Izakaya Den. The restaurant is in one of the most quaint and quiet communities in Denver. There are not neighborhoods like this in New York City and it’s nice to have such an escape in another busy city. The restaurant itself is pleasant looking on the outside and there is plenty of parking in the suburban-like neighborhood. We did go for a late lunch on a Holiday weekend with Fit’s parents so it was very empty, which meant quick service and the opportunity to explore. There were five of us in total and we were seated in a beautiful sun-room with plenty of table space.

Seating areas

Seating areas

photo 4 (2)

photo 3 (3)

Nice bathroom

Nice bathroom

The service was again very quick and polite. It was months ago but I can’t think of a single complaint aside from the fact that the waiter was somewhat of a know-it-all and tried giving ME a lesson about sushi. Jiro… of course. Random Caucasian college student from Colorado… no thanks, no offense. The lunch menu was actually not very expensive even though the restaurant is known to be somewhat pricey. For the quality of food, the price was absolutely right.

We had a vegetarian, two spicy food lovers, myself, and someone with very specific and limited dietary needs. Everyone thought their meal was delicious, made them feel great, and most were full. (Me… not so much.) Plus, the bill was reasonable. Instead of talking too much about the food, I will say that everything was VERY good. No major complaints. You can look at the pictures. Oh, and obviously I am picky about eel quality but this was worthy of no complaints and just praise. Everything from the sushi rolls to sashimi to appetizers and dishes were all great. On top of that, the restaurant is spacious, exceptionally decorated and capable of entertaining every group. Whether its large groups, families, couples, or people who want to go to a bar… they have it. Izakaya Den earns our highest quality food stamp for the Denver area in Asian foods. That doesn’t make it our favorite, but it’s so damn good. Feast your eyes on these pictures. We will let you know how Sushi Den is when Alana passes her NASM exam (she doesn’t know about this… well now she does).

Edamame

Edamame

Tuna sashimi salad

Tuna sashimi salad

Beautiful sushi

Beautiful sushi

Unagi

Unagi

Mackerel

Mackerel

Lobster ramen

Lobster ramen

Tuna sashimi

Tuna sashimi

Visit Izakaya Den to stay hungry and fit!

You might also like…

spacer

Chocolate Strawberry Lean Protein Shake

By complete accident, this is the most delicious, simple, and healthy protein shake I have ever made. It’s been about 90+ degrees all week here, and today I chose to wear long-legged under-armor (I’m a trainer so I wear workout gear to work), and unfortunately, the AC in the trainer office was broken. On the ride home, my heat kept rising and I knew I needed something cold, refreshing, and nutritious. After all, I am still prepping for contestThis is also the first time I’ve had protein powder since my protein shake hell week, so I was a little nervous because my at the end of that week, my body started feeling disgusted towards that stuff. But don’t worry, it was allllll good. Please follow this SIMPLE on-a-whim recipe for a healthy delicious protein shake. Here are the macros:

  • Calories: 193
  • Fat: 5.7g
  • Carbs: 11.5g
  • Protein: 26.5g
DELICIOUS.

DELICIOUS.

Ingredients

  • 1 cup Silk Vanilla Unsweetened Almondmilk
  • 6 frozen medium strawberries [if you don’t have frozen strawberries, you can use regular and throw some ice cubes in]
  • 1 scoop MTS Machine Whey Chocolate Protein

[Yup. That’s it.]

Directions

  • Measure out a cup of unsweetened almond milk 
  • Place 6 frozen strawberries in the blender

photo 3 (13)

  • Put one scoop of protein powder in and blend! I let it blend for a while longer than usual, probably about 20-30 seconds.
DELICIOUS.

DELICIOUS.

THAT’S IT. Ridiculously simple. I was actually in awe when I first tasted it. I really didn’t expect it to be that delicious. What’s better than chocolate and strawberries? Exactly. Look at those macros and tell me this isn’t perfect. You will feel so full and so satisified after (I felt like this was a cheat meal because it was so delicious, but it was the opposite). DEFINITELY use this to stay hungry and fit! 

You might also like…

BONUS KITTY PIC

Cuddle demons

Cuddle demons

spacer

A Healthy Take on Risotto: Mushrooms and Onions Please!

As you know, I’m in an extreme clean-eating phase right now, prepping for contest. Thus, I can’t always cook or bake what I want. I’m okay with it, I’m staying strong and working hard—and I actually enjoy the food, even though it may be bland to some. Anyhow, I found a delicious recipe that fit my macros with some to spare—without skimping on flavor. I used brown rice instead of risotto or white rice. Chris had about three servings of this—he loved it and made me promise I would cook it again. Did I mention this is vegan?

photo 3 (3)

The recipe I found here, was kind of intimidating. It was a lot of steps and different instructions for seemingly the same ingredients. However, I gave myself a good hour and next time I make it, it will take half the time. When I do something once, I learn quickly and usually adept the next time around. I learn by doing, just how I am. This recipe is extremely altered that I don’t even want to base it on that link, but that’s what inspired me. I can’t say I’m a genius, because I don’t come up with ways to make it better, I am just making do with ingredients I have (or don’t have). Alright, let’s get started.

  • Prep Time: 25-45 minutes
  • Cooking Time: 35 minutes
  • Serves: 4 normal people (for us—fed me and Chris…3 servings)

Ingredients

  • 1.5- 2 cups cooked brown rice
  • 2 cups vegetable broth
  • 1 yellow onion
  • 1 package brown mushrooms
  • 2 tablespoons olive oil
  • 1 teaspoon dried rosemary (use fresh if you can)
  • as much garlic as you want (I used elephant garlic, so…A TON)
  • 2 tablespoons balsamic vinegar
  • 2 cups boiling water
  • ½ cup dry white wine
  • salt & pepper

Directions

  • Pre-heat oven to 300 degrees F
  • Cut your onion in half. Put one half to the side and leave one half on cutting board.
  • Slice up your mushrooms and clean them. Put them into a hot-water-proof bowl and pour the boiling water on top.
Steeping mushrooms

Steeping mushrooms

  • Turn to the half of the onion on your cutting board and dice it up into little pieces. Mince or cut your garlic here too. What better combination than this?
Chop chop chop

Chop chop chop

  • Get a deep pot ready—one that can go into an oven. Heat the two tablespoons of oil in the pot on medium heat. Put the diced onions and garlic in. Cook for 8 minutes or until nice and soft. ENJOY THAT SMELL.
Best smell ever

Best smell ever

  • Drain the steeping mushrooms but save the liquid!
  • Push the onions in the pot to the side, turn on medium-high heat, and put the mushrooms in. Do not stir. Let them cook for 5 minutes and then turn them over, doing the same no-stirring and let cook on this side for 5 minutes. If a crust forms, that’s totally okay—kinda what you want.
  • Add in the rosemary, stirring so it gets in the mushrooms and onions.

photo 4 (2)

  • Add in the brown rice and let cook for 4 minutes

photo 1 (6)

  • Turn the heat to high and add the white wine, vegetable broth, balsamic vinegar, and steeped mushroom liquid

photo 2 (4)

photo 5 (1)

Mushroom liquid

  • Mix around and get anything sticking to the pot up and off
  • Mix in salt and pepper to taste

photo 3 (4)

  • Bring to a boil, put on a lid, and then put into the oven for 35 minutes.
  • While the wonderful mixture is cooking, coat a pan with oil and start caramelizing the other half of the onion. Cut that onion in moon-slices and once oil is heated, put them in, and salt it. Do a low heat until the mixture is ready. Yum!
Onions caramelizing

Onions caramelizing

  • Take the risotto mixture out and let sit for a few minutes. Now, see, I get kind of impulsive when I cook and don’t always take everything into consideration when I convert a recipe for my own needs. Sure, I cut the onions from 4 to 1, but did I cut down the vegetable broth? Of course not. So, I’m sure the liquid was supposed to soak into the rice and just have solids left. However, ours had plenty of the liquid left—and we liked it that way (we used the delicious stuff to cook stuff the next day)
  • So, do it our way, use a spoon or some kind of utensil to scoop out the rice, onion, and mushroom mix out of the “soup.” Plate it and put the caramelized onions on top.

photo 3 (3)

Came out absolutely wonderfully

Came out absolutely wonderfully

Don't forget to have some greens on the side!

Don’t forget to have some greens on the side!

It looks like a lot of steps, but many of these steps take about 10 seconds. Please don’t be intimidated by this because it really is SO delicious. And easy once you get the handle of it. So it’s not exactly risotto because I use brown rice. However, this makes it healthier—a complex carbohydrate with plenty of fiber to keep you full and slowly digest and absorb into the blood stream. Let me know if you have any comments or questions. Use this recipe to stay hungry and fit!

You might also like…

spacer

Biscuits, Tofu, and Vegetarian Gravy

So this is a twist on the traditional biscuits and gravy. First of all, the biscuits are pretty healthy. Second of all, the gravy is vegetarian. So those are two big upsets there. And if you’re a constant reader on this blog, you know that we do tofu and we do it well. This idea came from a friend of ours from Bali. She made it for us a few weeks ago, and I know how much Chris loves biscuits and gravy, so I gave it a try and it turned out wonderfully. I took the recipe from several different places and made my own. Let’s start with the gravy first.

Vegetarian Gravy

  • Prep Time: 15 minutes
  • Cook Time20-45 minutes 

Ingredients

  • 3 tbsp olive oil
  • 3 tbsp flour
  • 2.5 cups vegetable stock
  • 1 tbsp dried sage
  • 1 tbsp fresh thyme
  • 1 onion [I only used 3/4 one]
  • 1 clove garlic

Directions

  • Chop up the onion and garlic
  • In a medium pot, heat the oil and then add the onion and garlic. Only cook until soft (not brown)

photo 1 (6)

  • Add the sage and thyme
  • Slowly add in the flour and cook until the mixture is a golden brown
photo 2 (6)
Now to brown…
  • Pour in the vegetable stock and continue to whisk and/or stir to prevent clumping. You want the mixture to simmer as long as it needs to until it thickens 

photo 3 (5)

  • Once thick, put the gravy through a strainer in order to discard the garlic and onions and let the rest go into a pot for serving.
  • photo 4 (6)Your gravy is ready to go! Just put on low heat until everything else is ready.

photo 1 (7)Now as you were letting the gravy thicken, you should start the biscuits. Let’s try these out, it’s a very easy recipe!

Biscuits

  • Prep Time: 5 minutes
  • Cook Time: 12 minutes

Ingredients

  • 2 cups flour
  • 2 tbsp honey
  • 2 tsp baking powder
  • 2/3 cup buttermilk
  • 3 1/3 tbsp olive oil 
  • 1/4 tsp baking soda
  • 1/4 tsp salt

Directions

  • Pre-heat oven to 450 degrees
  • Mix together the flour, baking powdersalt, and baking soda in a medium-sized bowl
  • In a smaller bowl, combine the buttermilkolive oil and honey

photo 4 (5)

  • Pour wet mixture into dry mixture and stir until it is well-mixed and dough-y.
  • photo 1 (8)On a lightly-floured surface or cutting board, knead the dough for about 12 strokes and then roll to a thickness of 3/4 inch. Mine were all different because that’s how I…roll.

photo 2 (8)

  • Cut into pieces and place on an non-greased baking sheet
  • photo 3 (7)Put into oven for 12 minutes or until golden brown [this is when you start working on the tofu…]
  • Make sure to serve warm!

While that’s baking, quick let’s do the tofu!

Tofu

  • Prep Time2 minutes
  • Cooking Time: 7 minutes

Ingredients

  • 1/2 box firm tofu
  • nutritional yeast flakes
  • olive oil

Directions

  • Drain the tofu juice out of the box and place the tofu on cutting board. Cut long-ways first, into thin 1/2 inch pieces
  • Cut short-ways, making little squares
  • Have a pan hot with a very light amount of olive oil and carefully place tofu on the pan, letting each have enough room to cook. I put the temperature on a little less than high (medium-high)
  • Takes about 5-10 minutes to cook, I use a fork to turn them over. Keep an eye on them so they don’t burn on the outside, but get cooked on the inside. Turn them over one by one when the first side is done.
  • After both sides are ready, pop them onto a plate. Sprinkle the nutritional yeast flakes on top of each piece

Tastes like fried chicken!

Okay, so all of our dishes are ready to be put together! Let’s do this

Directions

  • Open the biscuits and lay the tofu on top of one half
  • IMG_4827Once the biscuits are ready, go ahead and SMOTHER THEM with gravy!

photo 3 (6)

photo 2 (7)

It may look like a mess, but boy is it delicious! We ate all of it up (somehow), and I was incredibly full after but it was well-worth it. We ended up burning it off while trying to sled down a hill after 13 inches of snowfall last weekend. That was a blast.

You could try this with regular gravy or store-bought biscuits, but I always prefer to make my own. I actually bought a Pillsbury can of biscuits just in case I screwed up (I obviously have incredible faith in my biscuit-baking ability), but never used it. It looks like a lot of work but, boy, is it worth it!

Cheers! And as always…stay hungry and fit!

spacer

Tony’s Italian Kitchen: Our Favorite Pizza

Watch out, it’s another stop on our New Jersey Easter Vacation! And of course, yes, it’s another food stop… And this time, it’s PIZZA! Who doesn’t love pizza? (Awkward for lactose intolerants…) So if you read our About section, you know I hail from California. Before I went to New York, I thought we Californians had pretty good pizza. Boy, was I wrong! Not that Californian pizza is horrible, but it just doesn’t compare to New York or New Jersey pizza. Especially, Tony’s Italian Kitchen.

Us driving around Chris' hometown

Us driving around Chris’ hometown

It’s easy to pass up Tony’s, it’s in a tiny strip mall along with some other offices like Chris’ chiropractor and other little places. But once you discover it, it’s a gem! Luckily, Chris and his family had been getting Tony’s pizza for years, so all I had to do was tag along. The first bite I had, I was able to declare this the best pizza I’ve ever had, and trust me, I’ve had a lot of pizza. More specifically, it has the best cheese pizza. His family very often gets it to bring it home. And then I always eat too much.

So during this New Jersey Easter trip, it was our second food stop after having bagels for breakfast. We had two of our friends with us and split a large cheese pie between us. The wait was tantalizing. And then it came out to us, sizzling and hot. We always let it cool a little so the cheese can settle. And you should always have a Peach Snapple with it too. That first bite into that pizza was awesome. We hadn’t had it for six months or so, so it was that much better!

Drool-worthy

Drool-worthy

What really makes Tony’s the best is the amazing sauce. I don’t know what they do to it, but it is so fresh. It was really difficult not to scarf it down way completely fast. The crust is scrumptious and dusted to perfection. If you think you’ve had good pizza, come to Tony’s Italian Kitchen and see if you’ve really had the BEST. Cheers!

BONUS KITTY PIC

Cute Sajah

Cute Sajah

spacer