Archives

Why You Aren’t Getting a Six Pack!

Recently, someone in the gym asked us about an exercise we were performing, specifically inquiring if it was targeting our abs and then questioning how it differs from the abdominal crunch machine he was using. We explained that this particular variation of the abdominal crunch would activate more muscles in his core, since the weight could force his body left or right as well. 

When he showed obvious frustration and explained how he’d been using the machine for years with no progress, we asked how he was using the machine, specifically referring to how many reps and sets he was doing. When he told us that he performed 30-40 reps per set, we asked him if he was happy with his upper arms. When he said that he was indeed happy with that body part, we asked him how he trained his arms, specifically referring to how many reps and sets he was doing. When he told us that he performed 8-12 reps per set, we presented the question: why are you training your abs differently?

IMG_2080

spacer

Do This Before You Go to Bed!

We all complain that we simply don’t have enough time. Does that sound familiar? I say it too. We all use it as an excuse–whether that’s in order to not do the dishes, not brush your teeth, or not exercise! Well I say bollocks! You do have time. You just need to realize it. Even though it’s easy to say you don’t have time to workout, you do. It doesn’t need to be an hour workout. It can even be six minutes! Something is better than nothing so do this before you go to bed!

photo

30 seconds each

  • Crunches
  • Side crunches (right)
  • Side crunches (left)
  • Reverse crunches
  • Fast bicycles
  • Slow bicycles
  • In n outs (rows)
  • Scissors
  • Crossed leg crunches
  • Ankle touches

1 minute

  • Plank (you can side plank for a break)

beforebed

The above workout is six minutes. SIX MINUTES! You can do that. Do yourself a favor and even if you “don’t have any time,” I promise you can squeeze this in. Not only is it good for your health and sculpting your core, it will make you feel better about yourself. You will feel that you have accomplished something, even if it’s a short workout. This is a greathealthy thing to do before bed. Make it a habit and do it every other day! Believe in yourself! This will give you power! Please leave any comments or questions in the comment section. And as always…stay hungry and fit!

BONUS KITTY PIC

meow

meow

spacer

At-Home Abs!

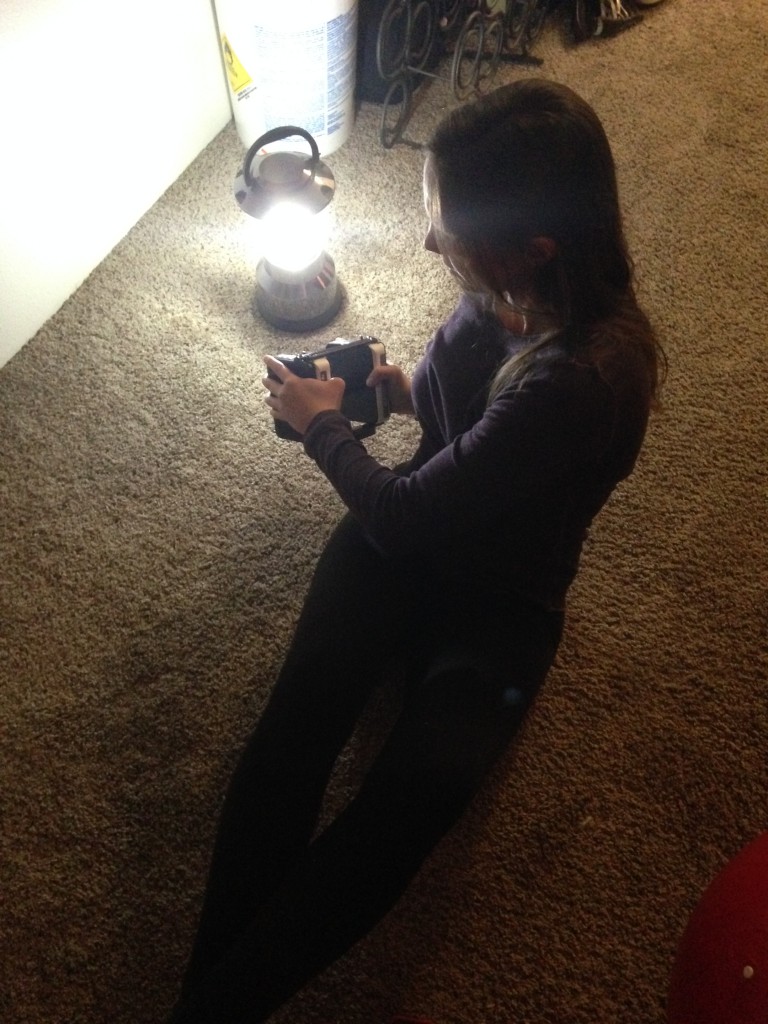
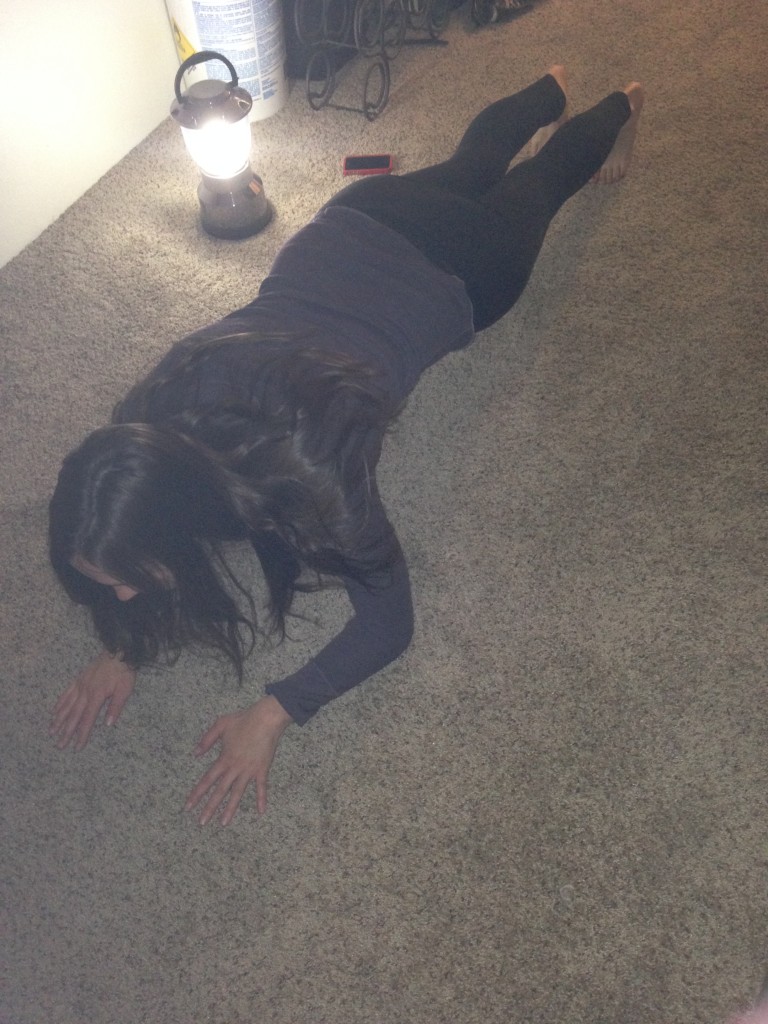
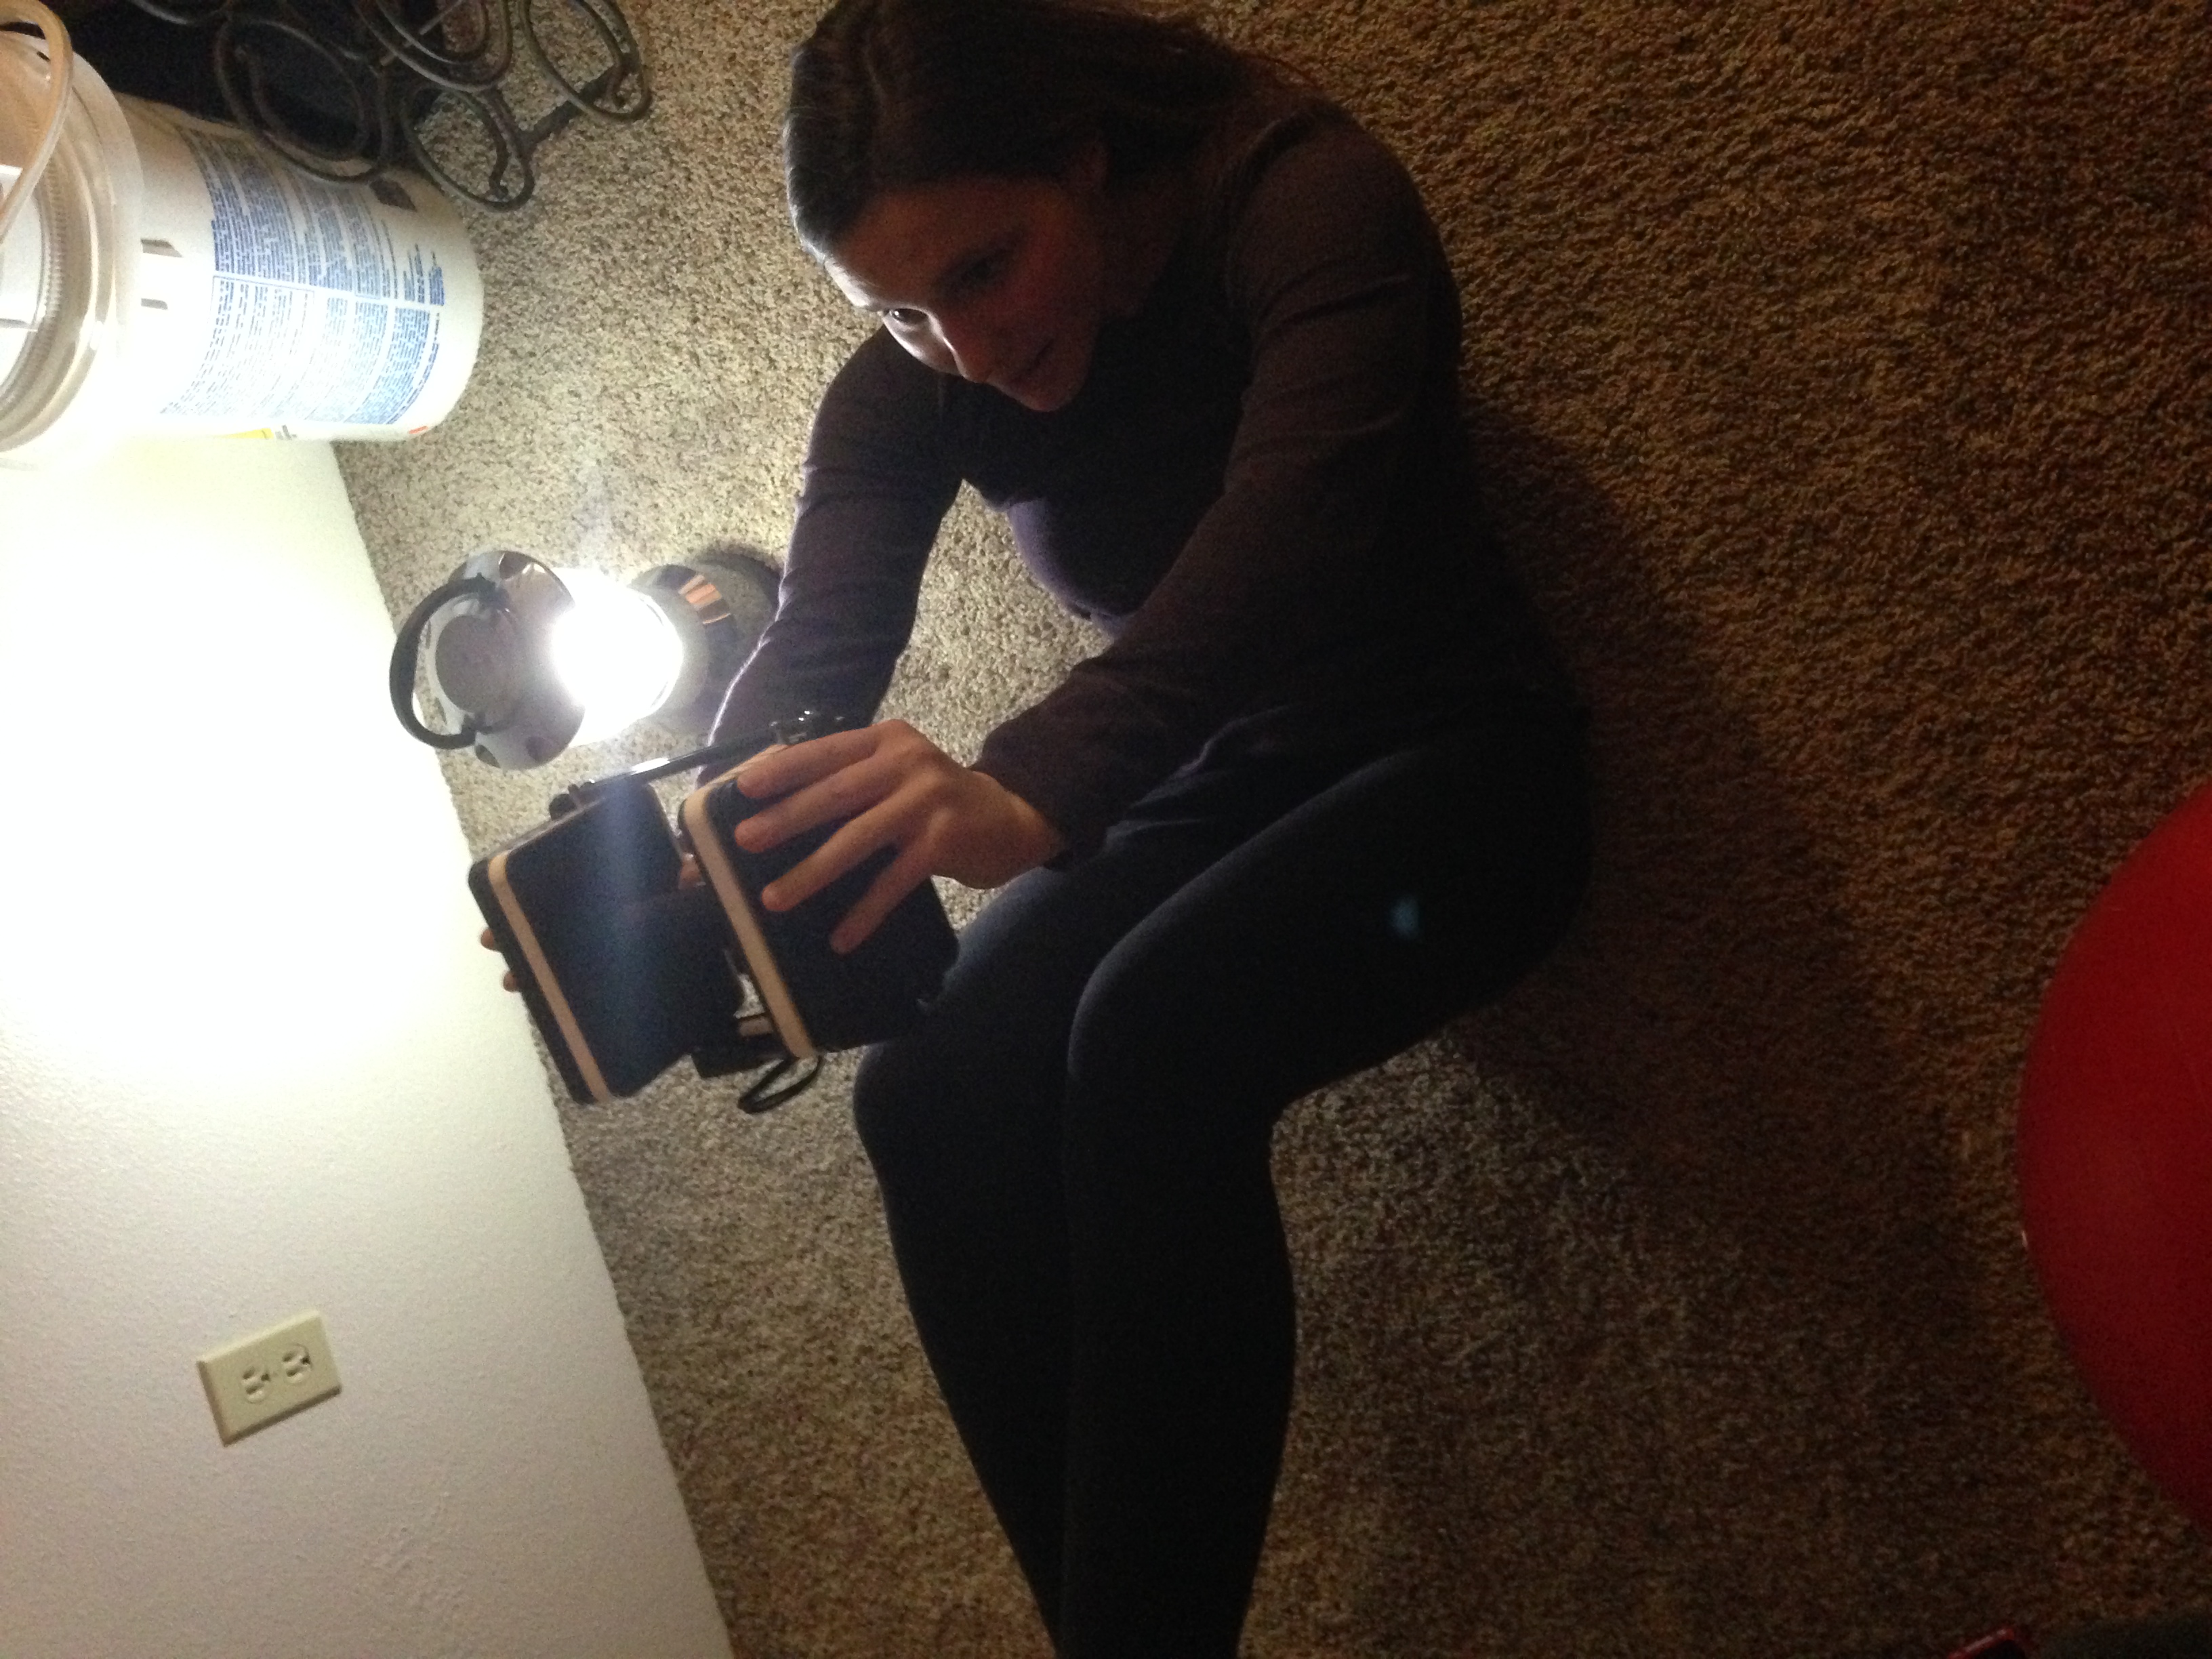
Alright, folks, no excuses here! Let’s get a core workout out on the table so we can beast our way to the health we want! This workout is designed to be done at home, though you can obviously do it anywhere. The world is in need for more home workouts to prevent excuses of time, lack of gym, or lack of energy. Whenever I’m feeling meh, I know that I can motivate myself enough for a home workout whether it be arms, shoulders, core or so forth. So let’s get going! (My apologies for the absolutely terrible lighting!)

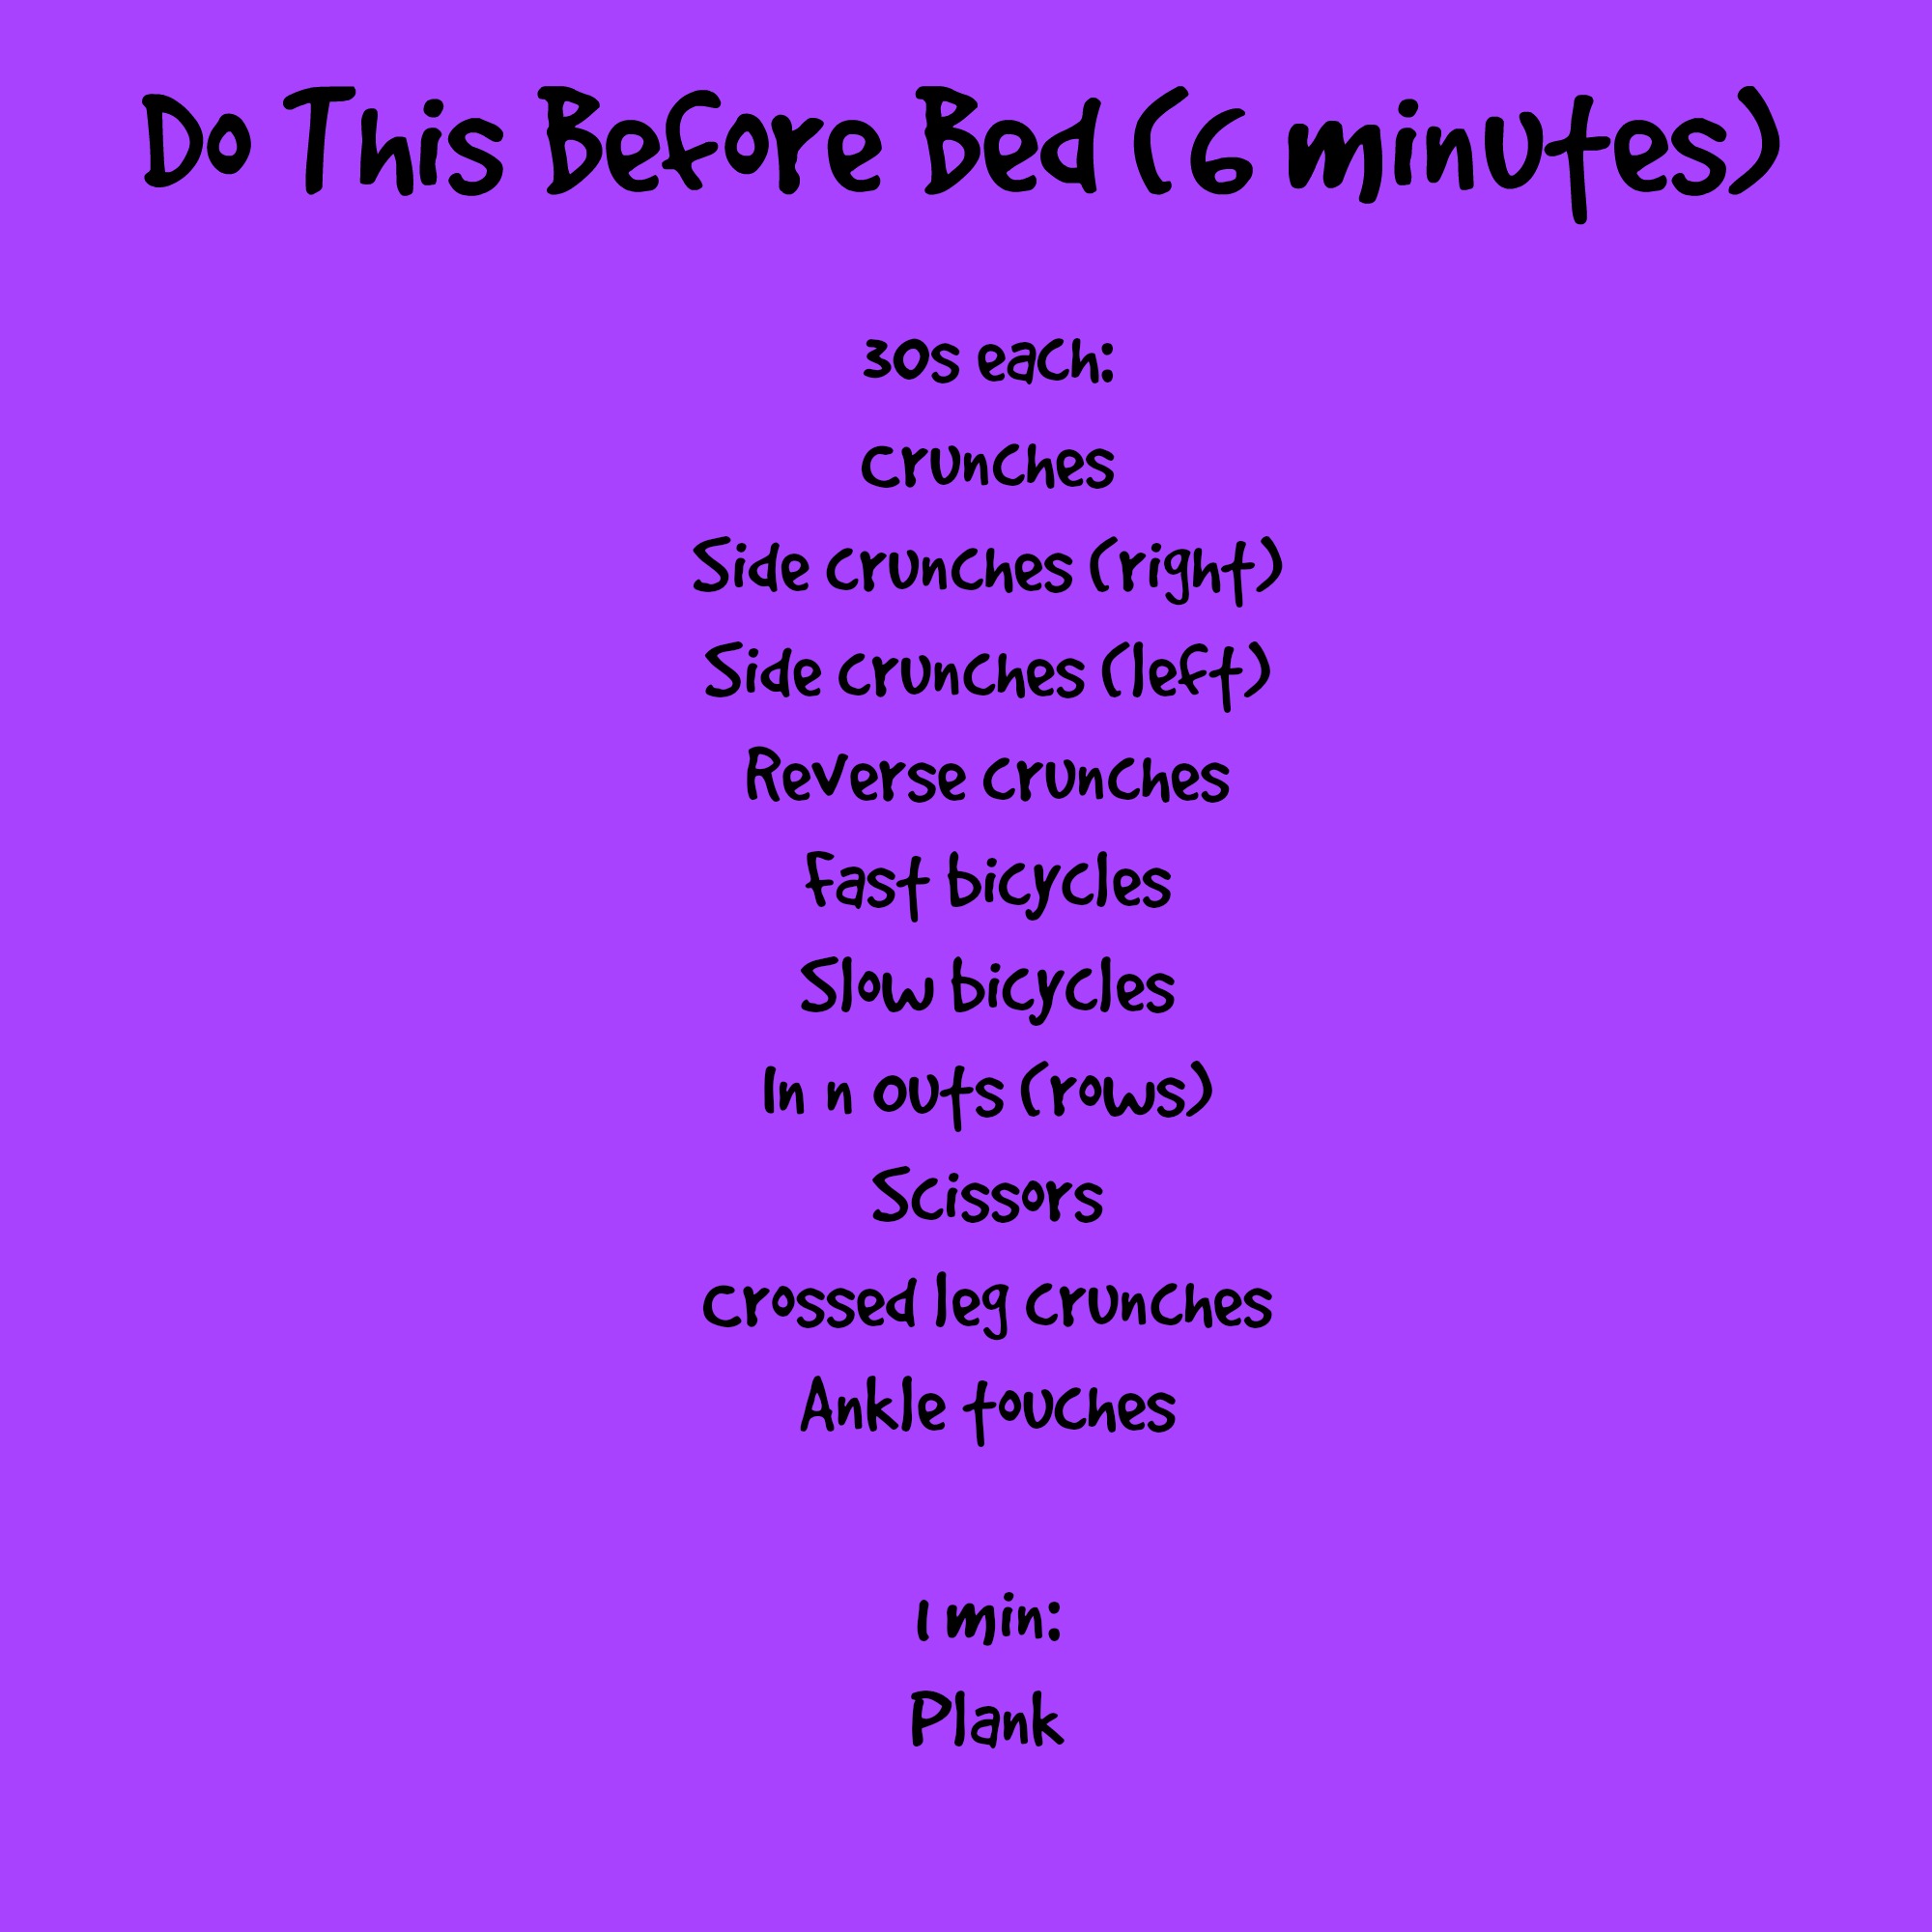
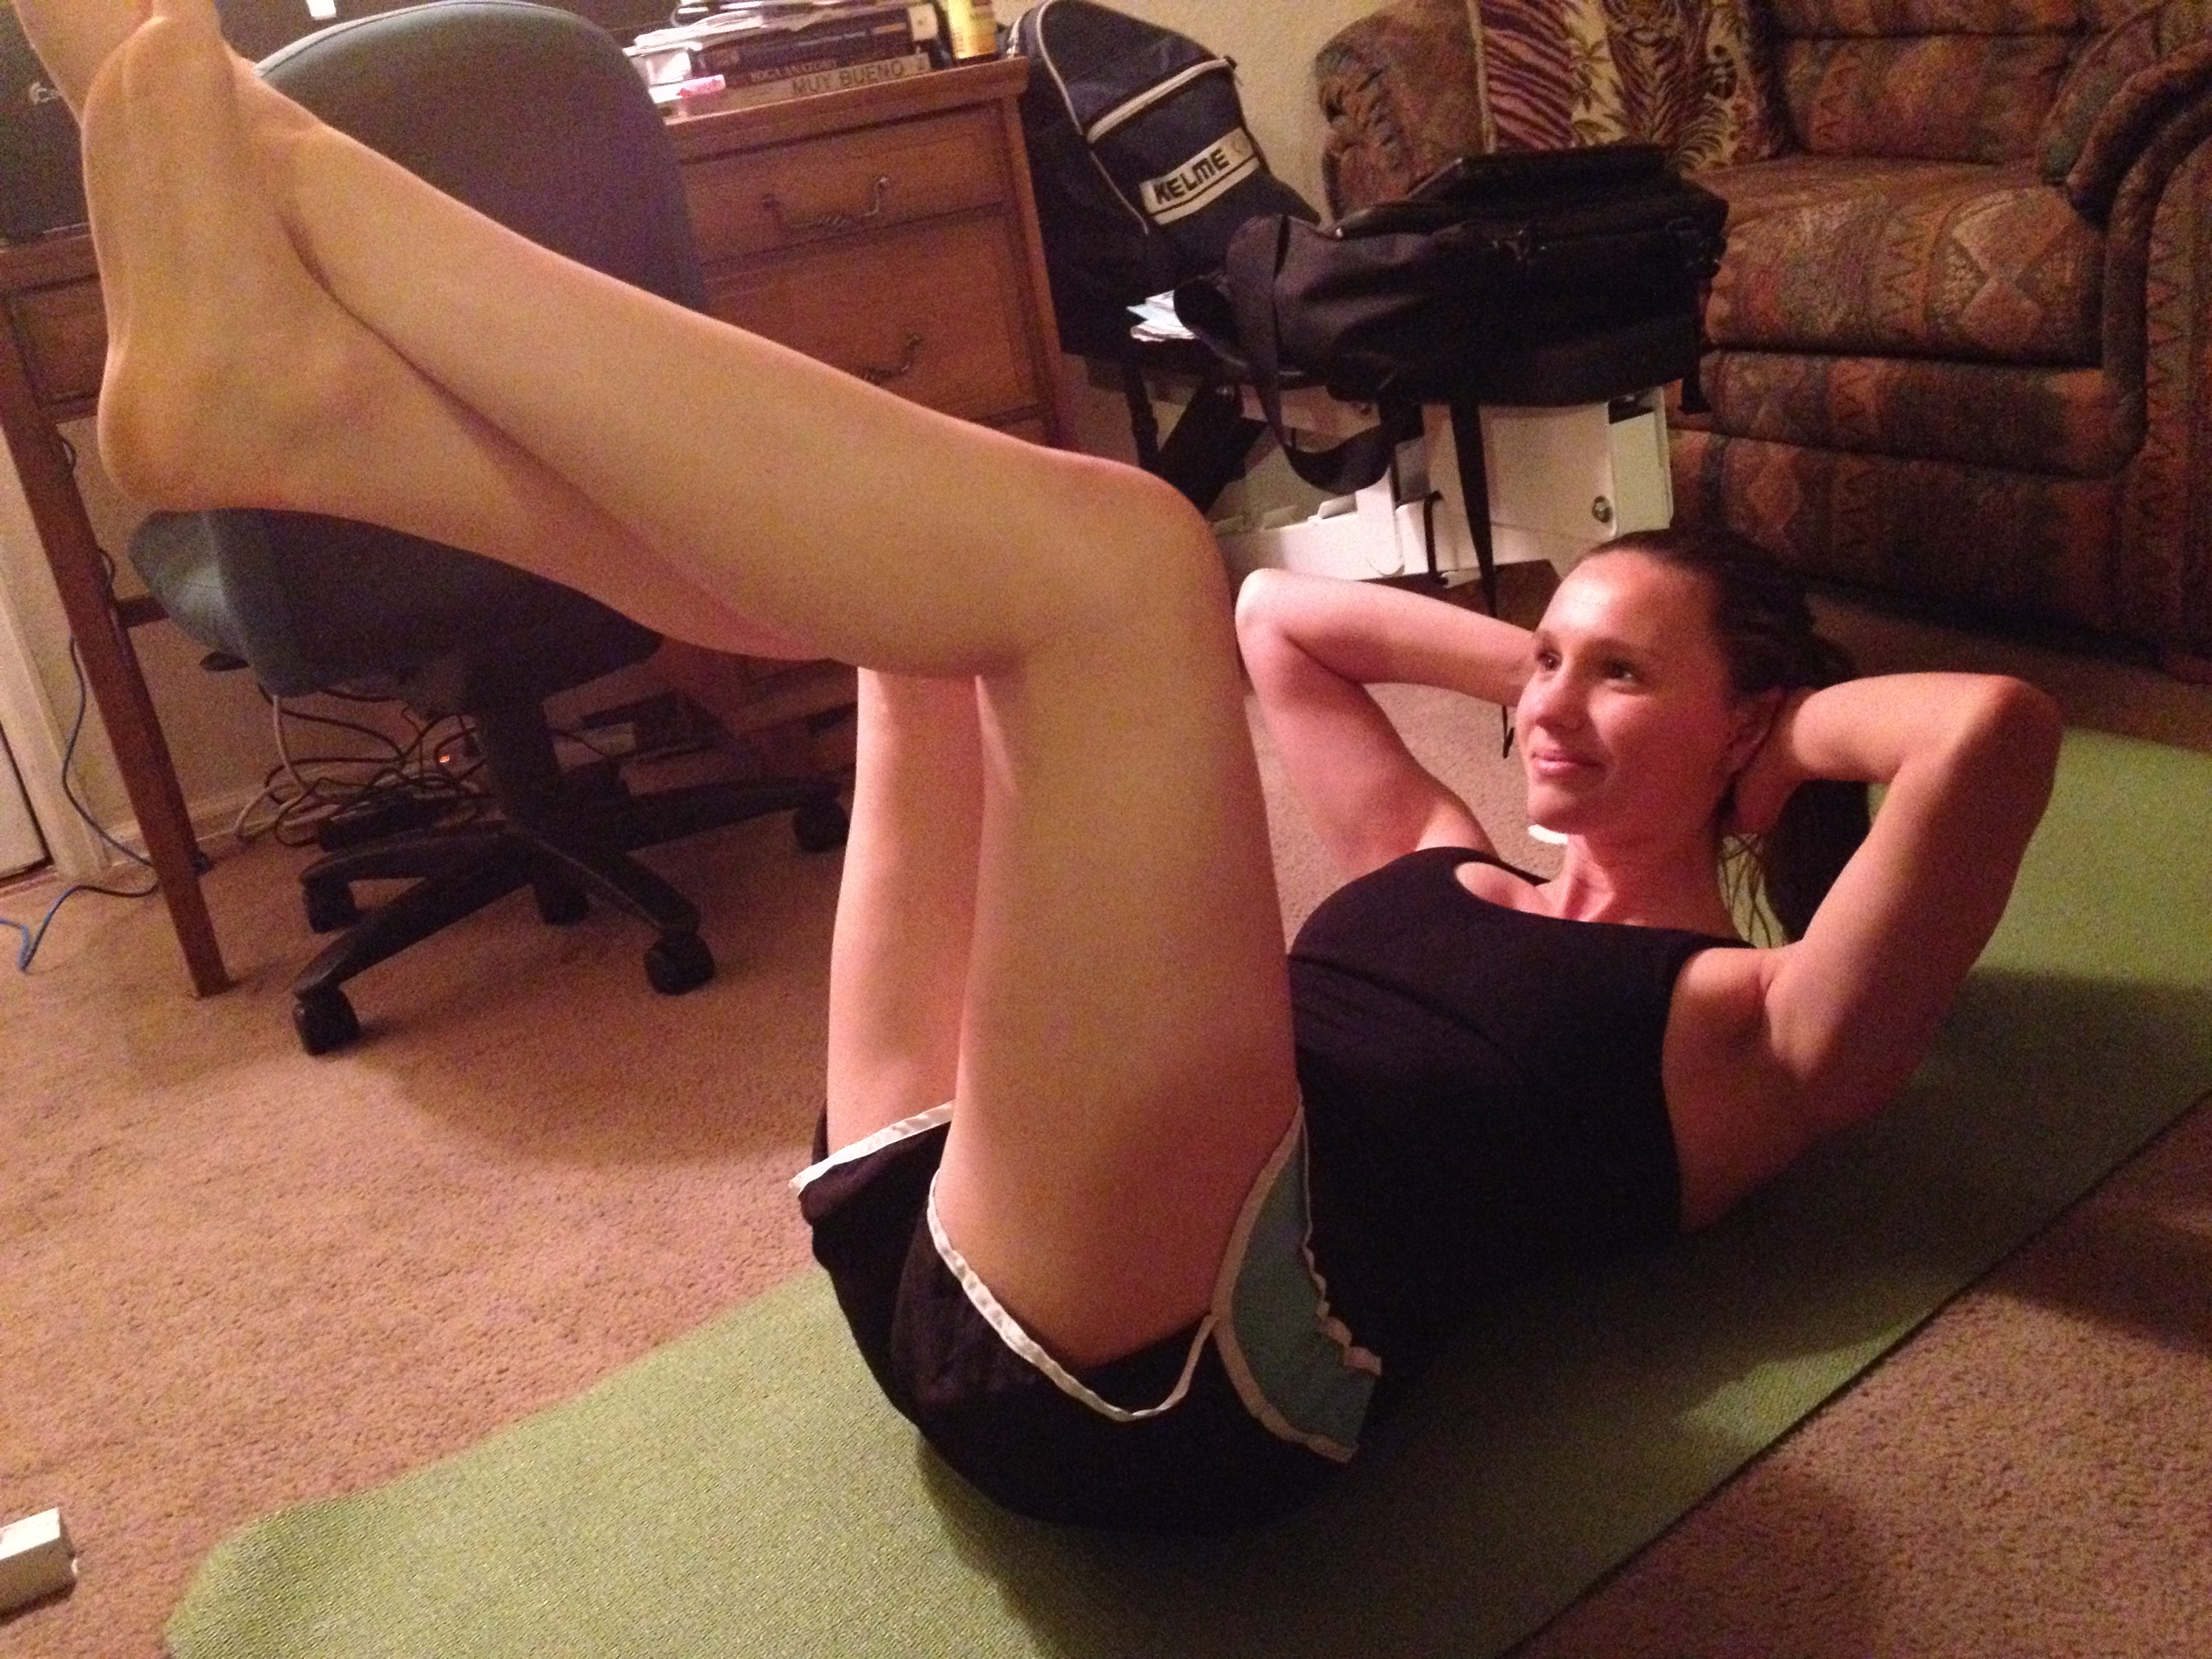
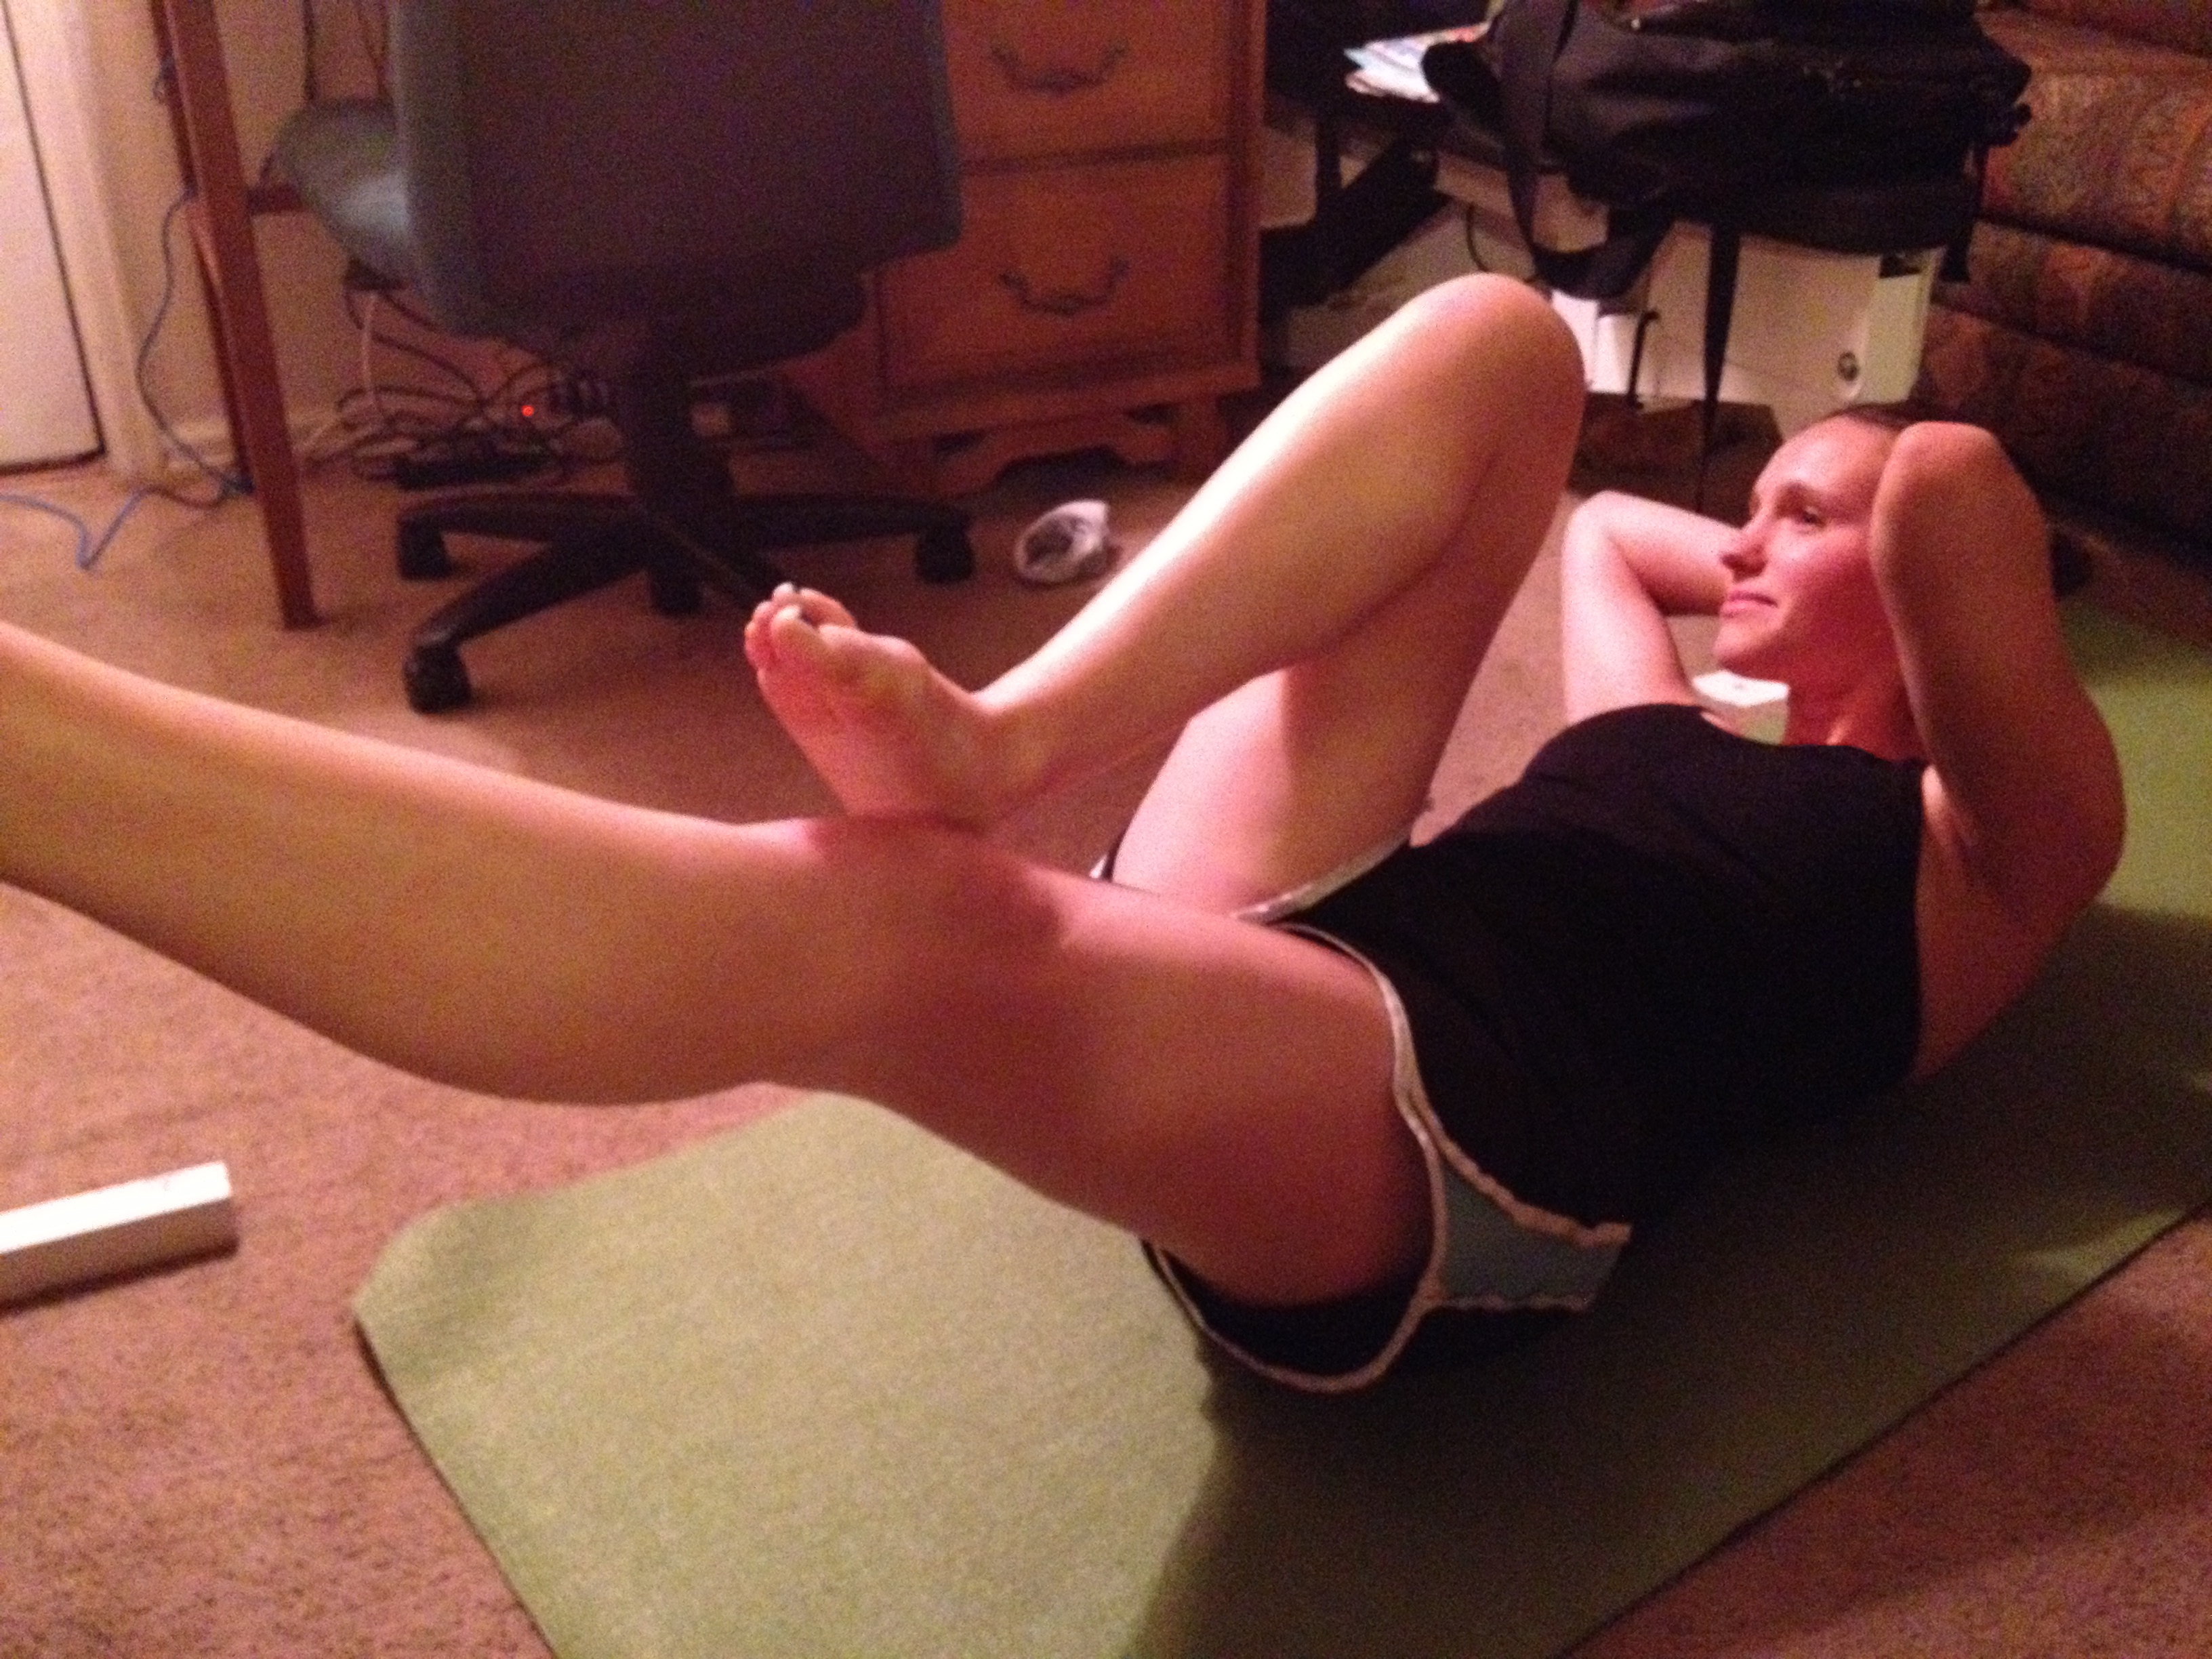
1. 3 sets of weighted crunches. Hold a weight, lift up your feet, and reach for the sky. Until failure (until you can’t complete another rep)

photo 1 (26)

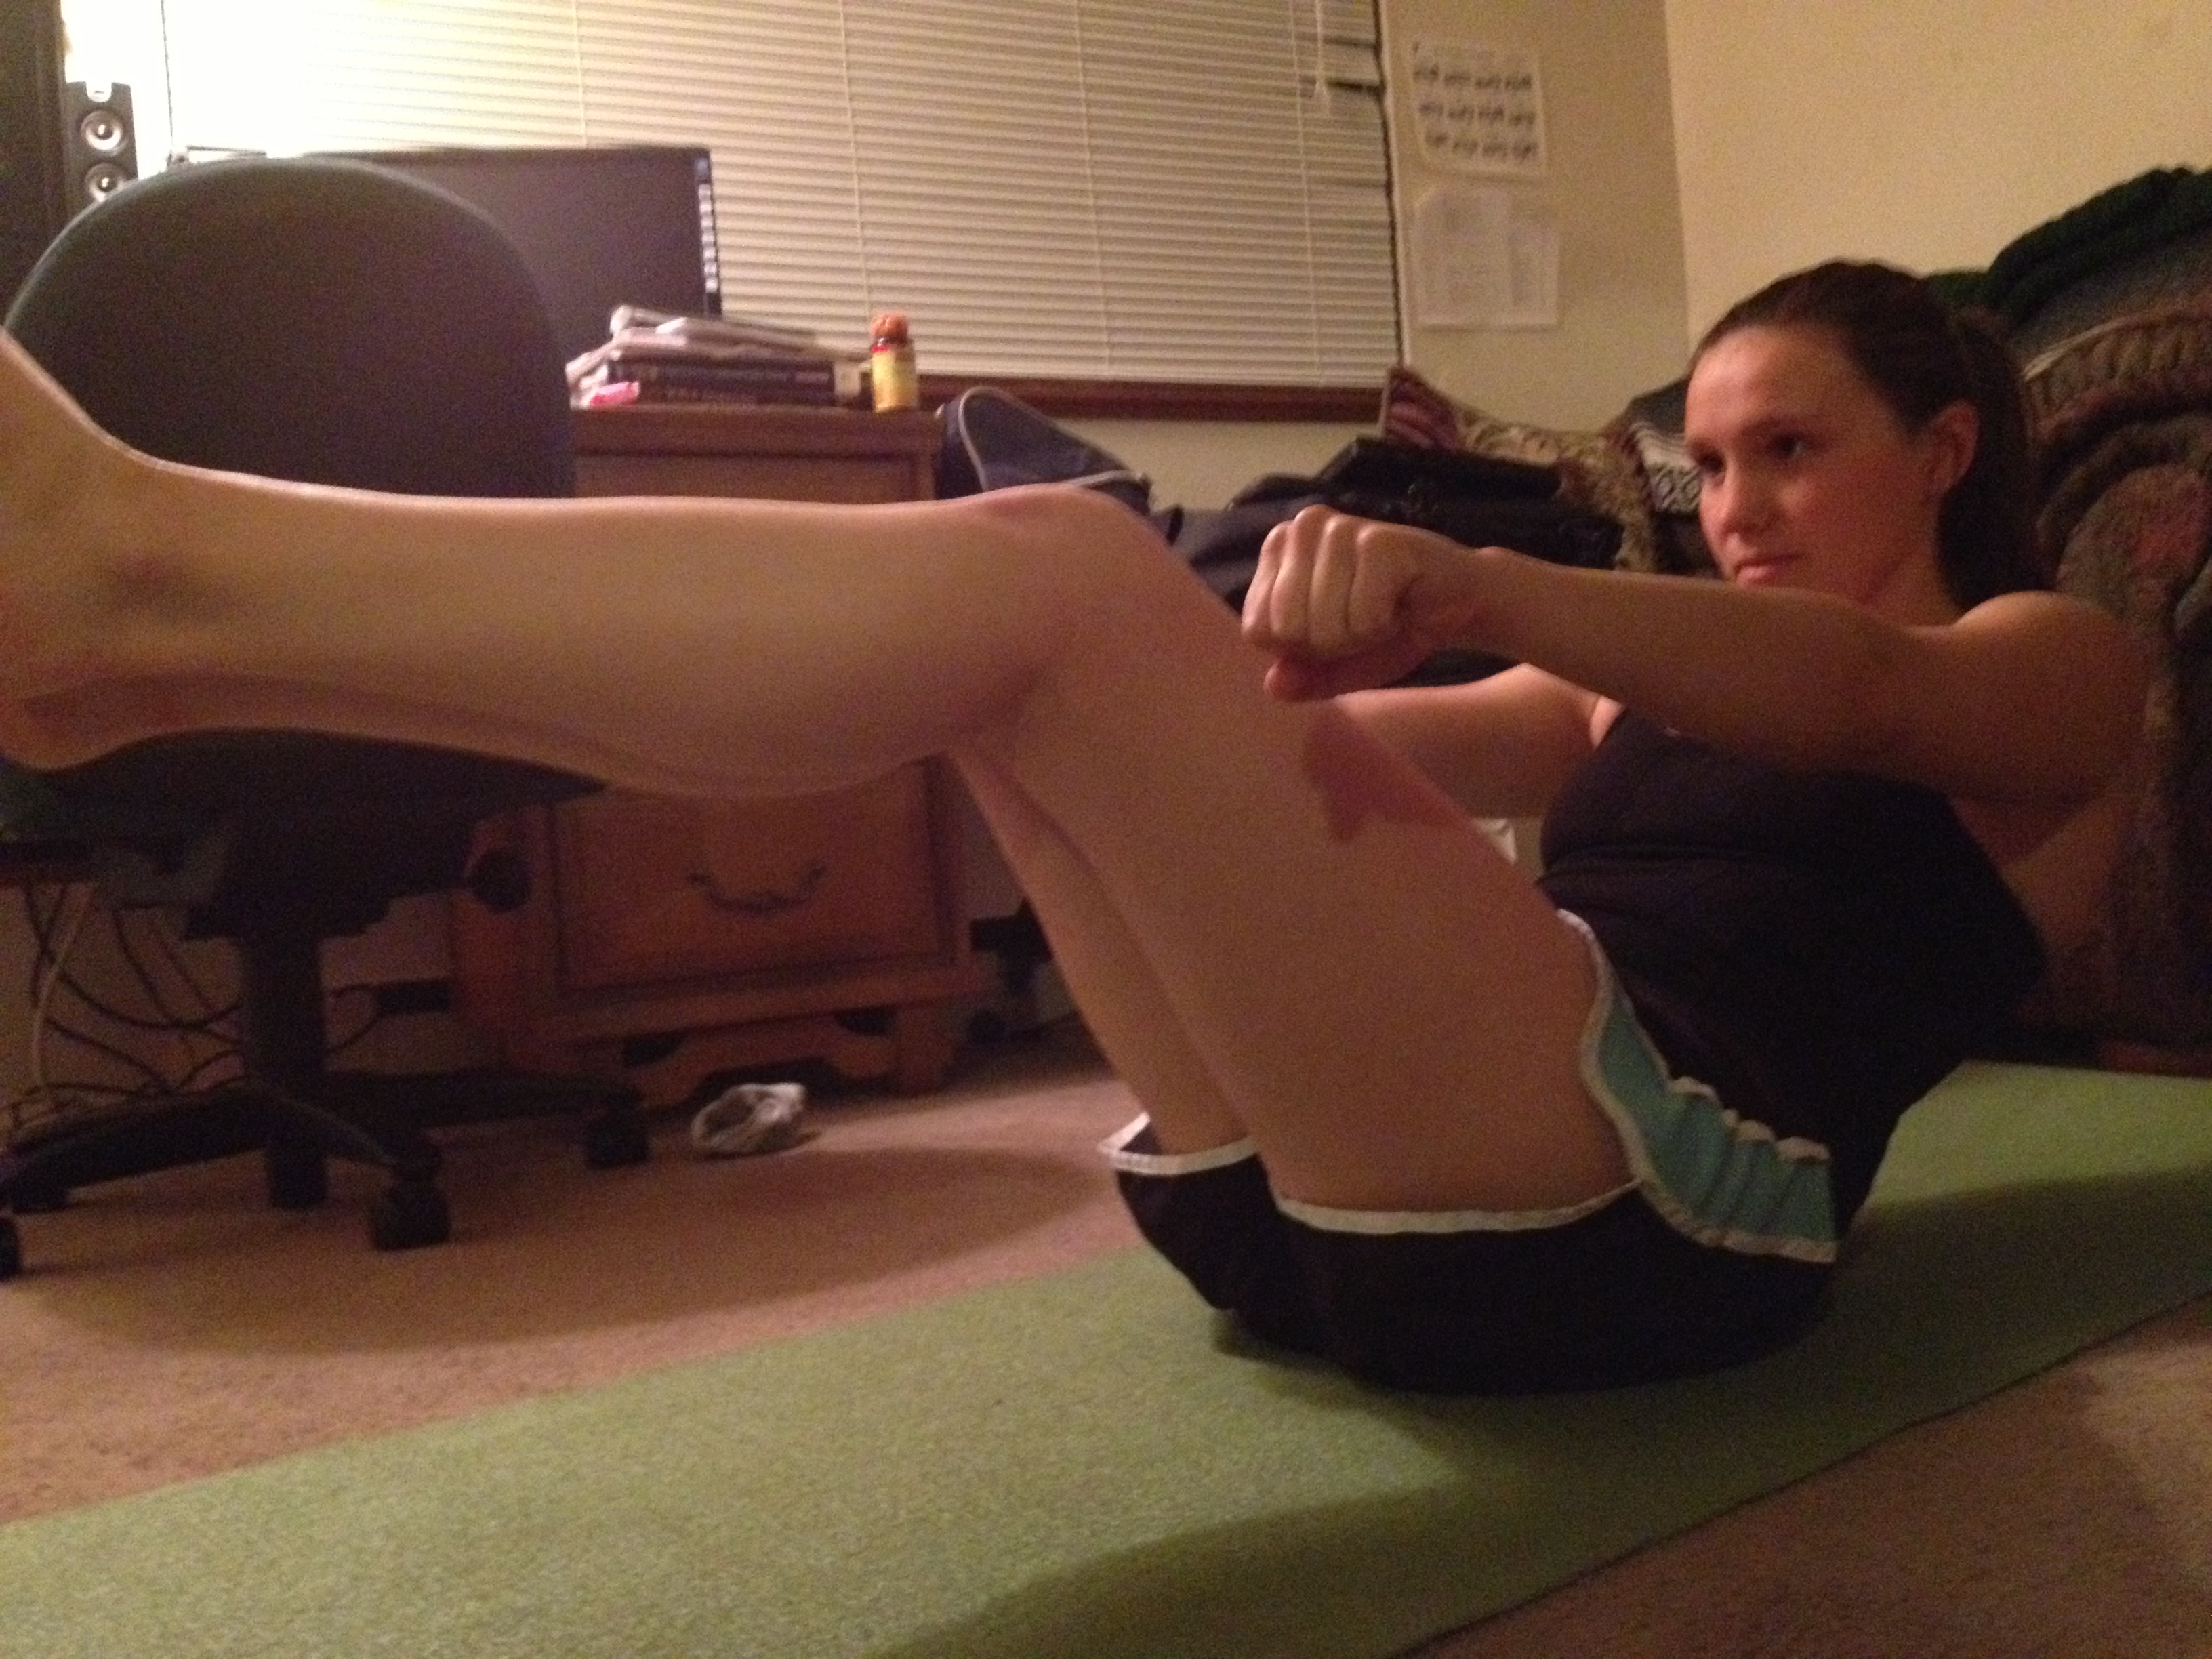
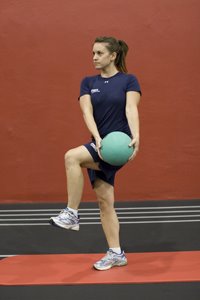
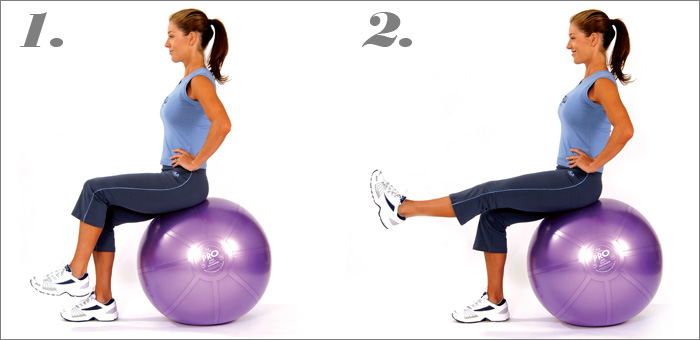
2. 3 sets of weighted russian twists. If these are too hard with a weight, drop it. Sit on your bum, lift your feet so you’re balancing, and twist from side to side, turning your shoulders completely. 12 reps on both sides.

photo 2 (27)

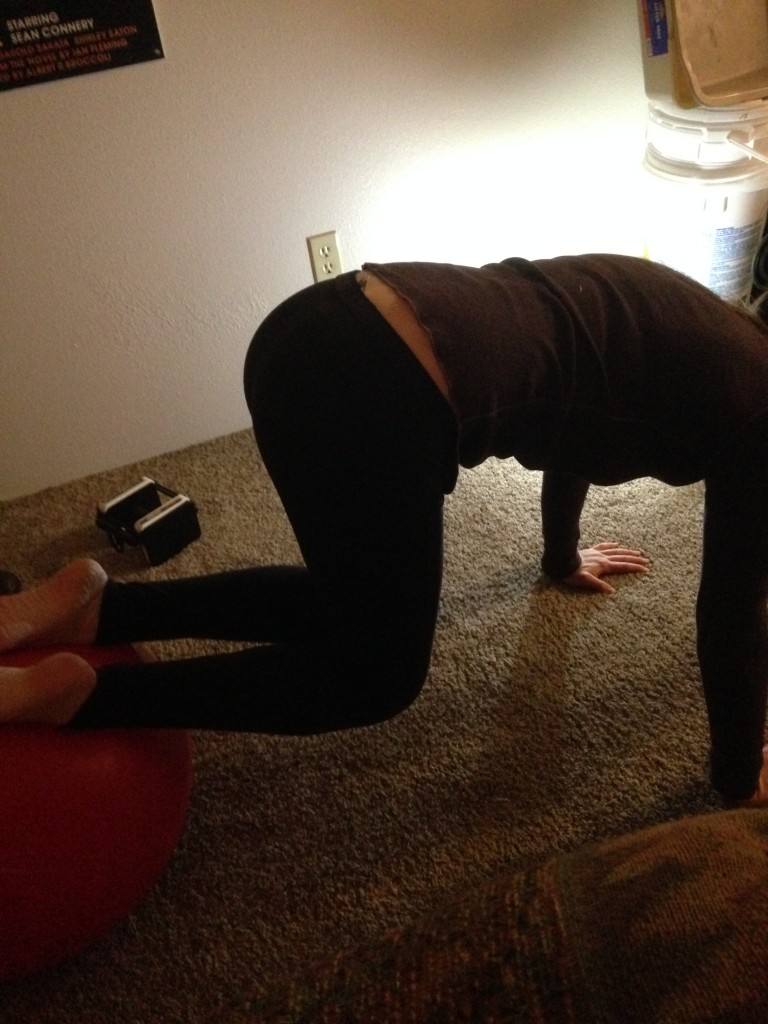
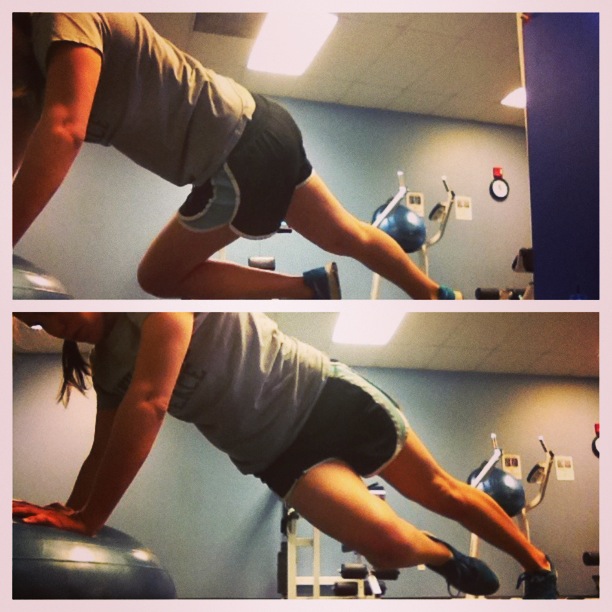
3. 3 sets of jackknife. Use a stability ball for this one. Place your shins on the ball and get into a push-up position. Using your feet, bring the ball in towards your chest and then back out. This one is one of my favorites. Until failure.

photo 3 (20)

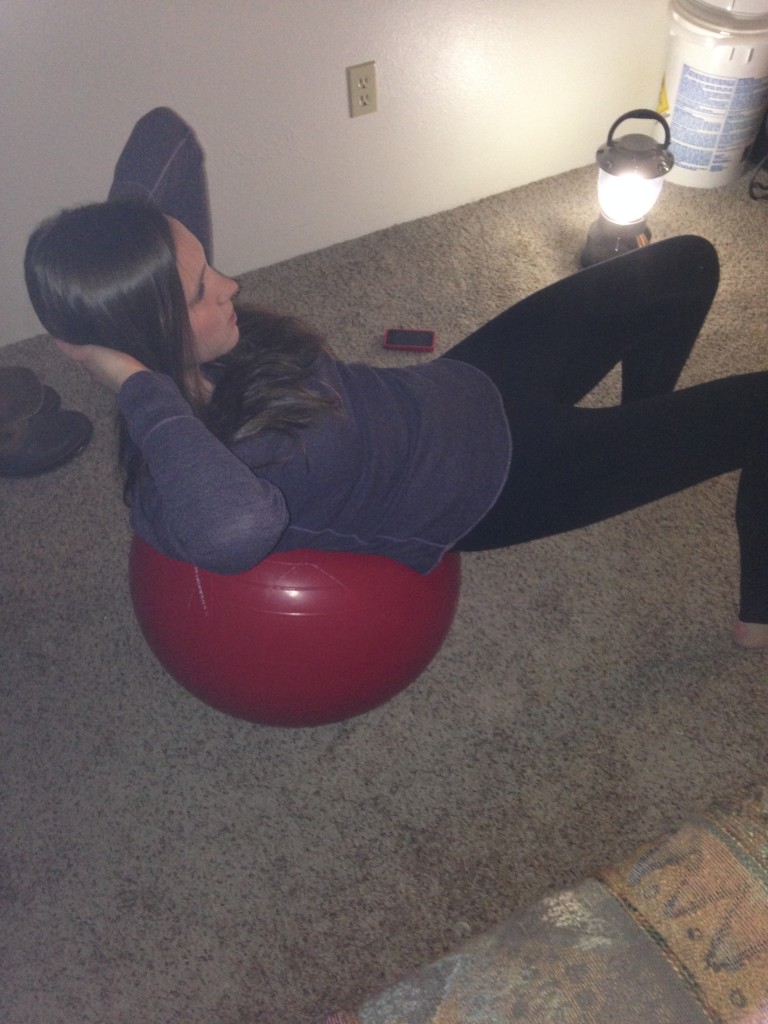
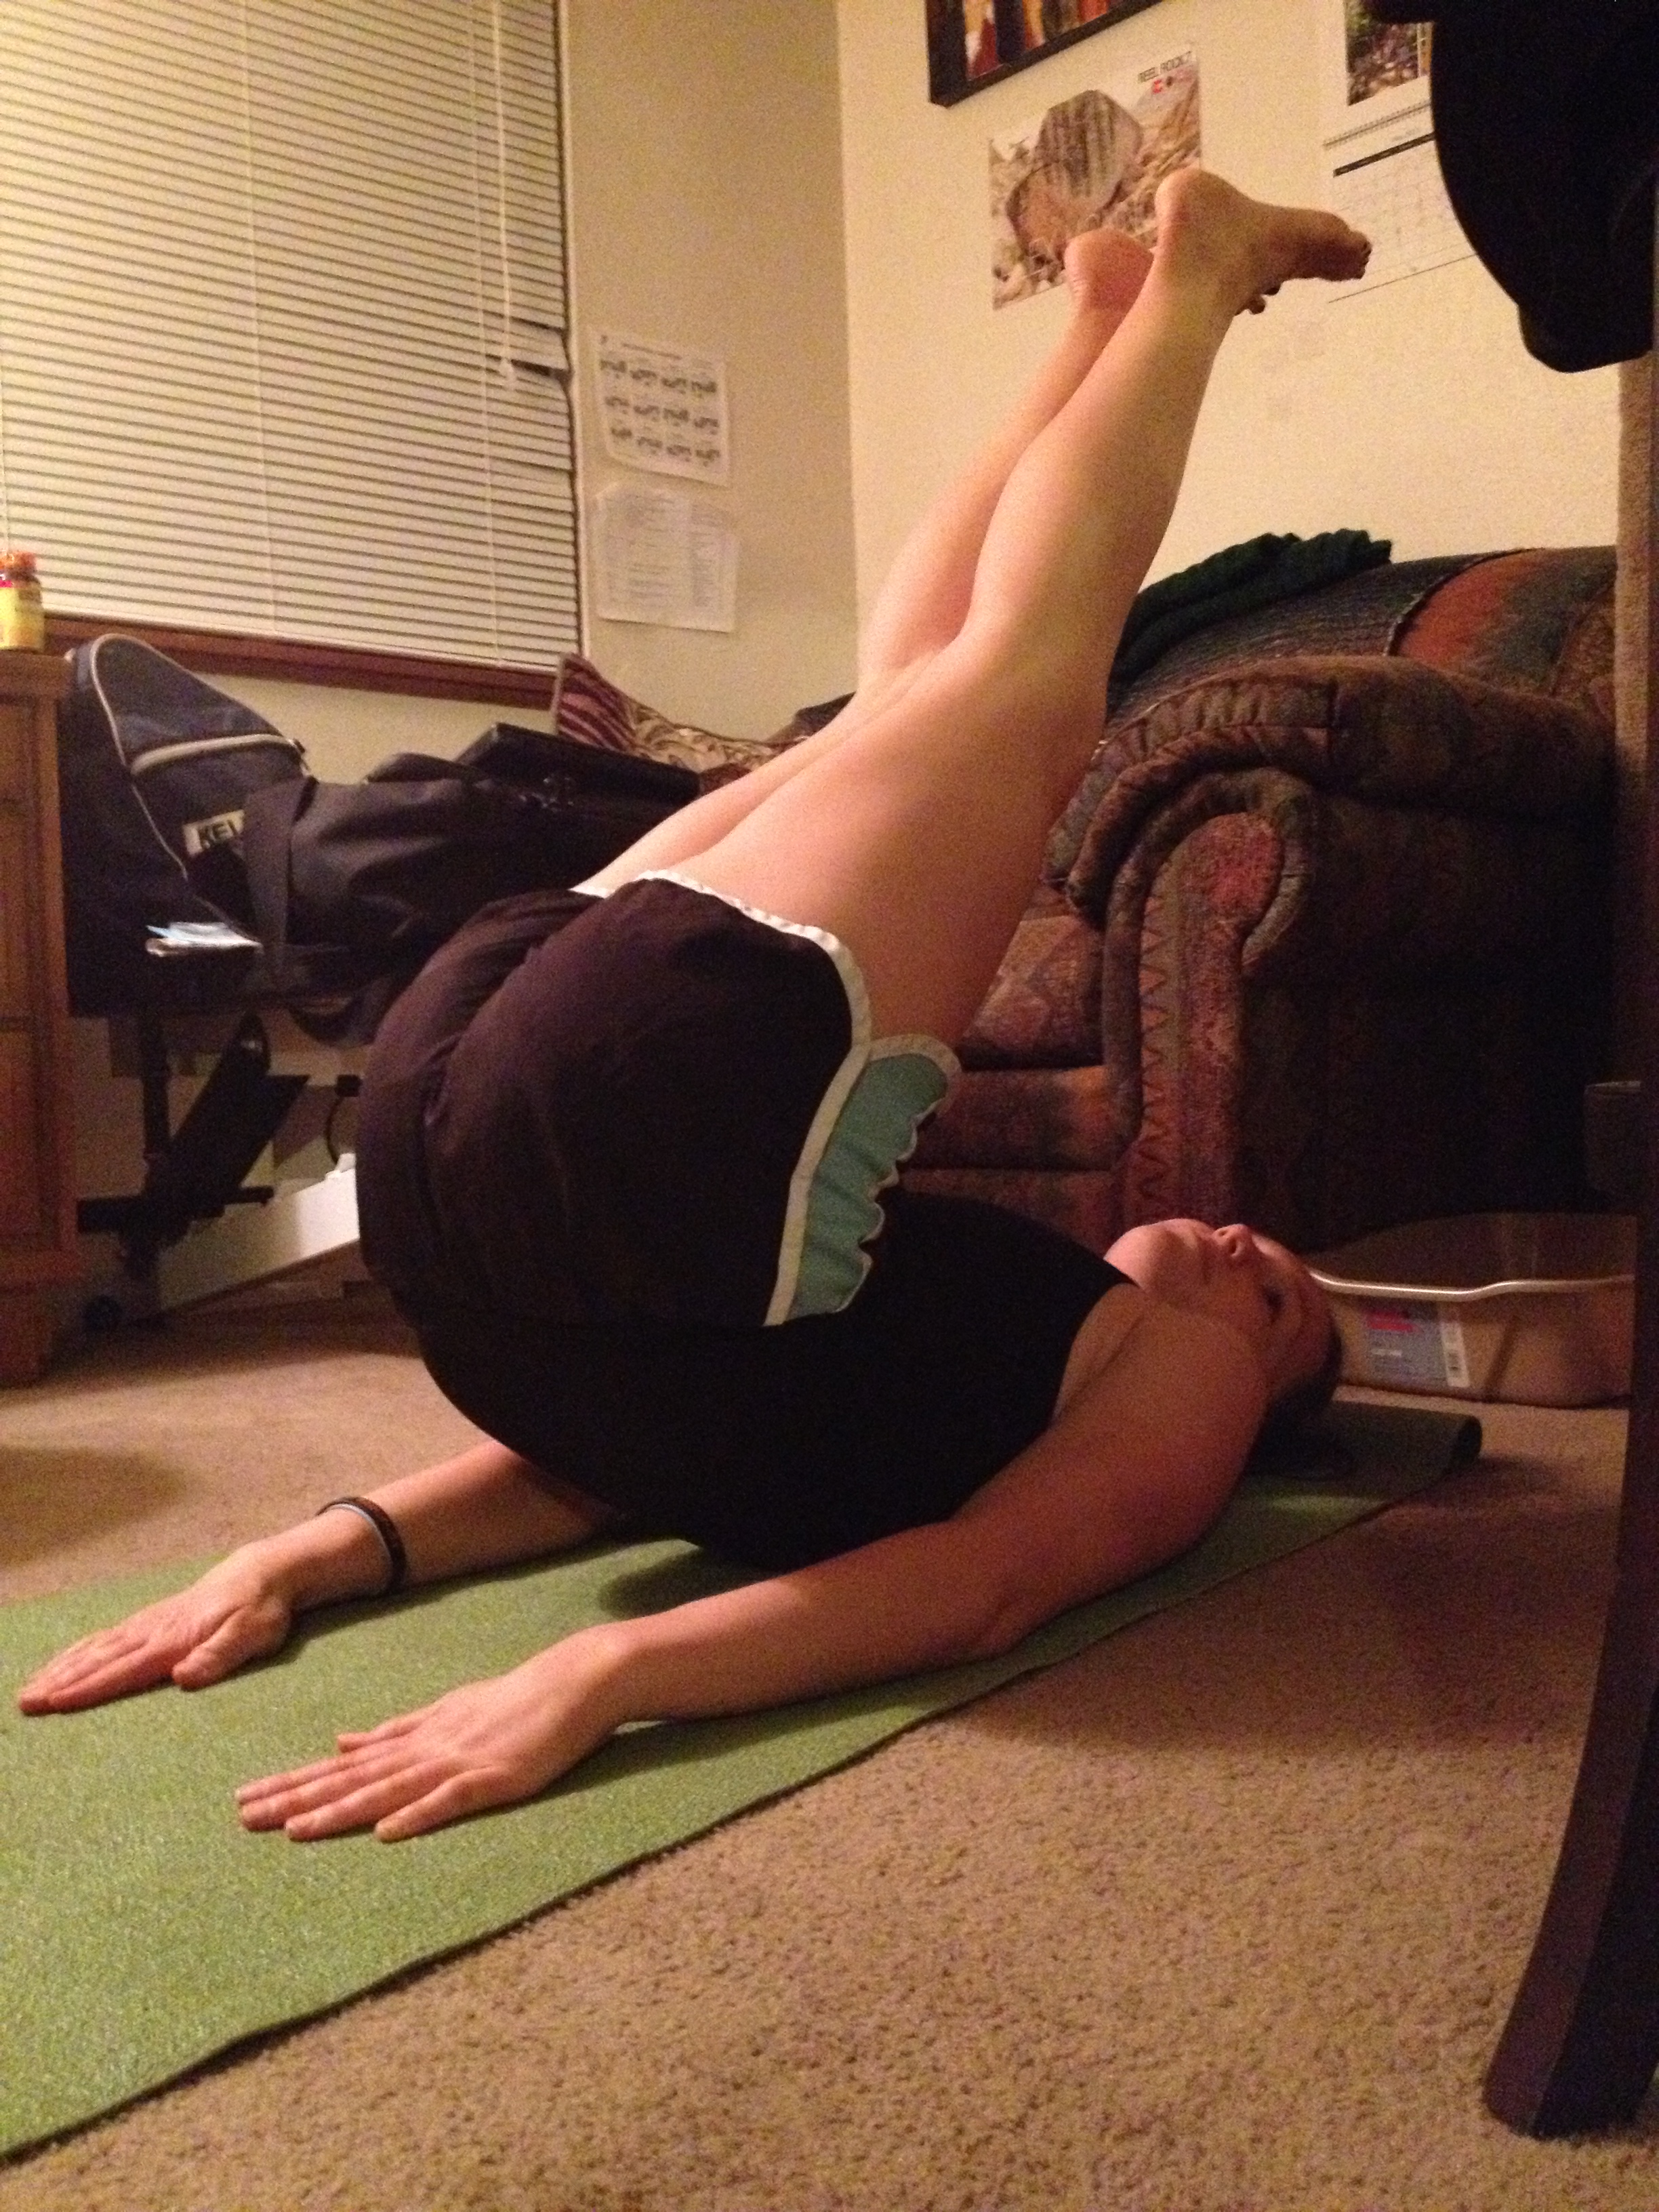
4. 3 sets of stability ball crunches. Put the small of your back on the ball and simply do a small crunching motion up. Keep your abs activated. Until failure.

photo 4 (17)

5. 3 sets of side touches. Stand up tall and reach side to side, creating resistance for your obliques (or love handles)20 reps on each side.

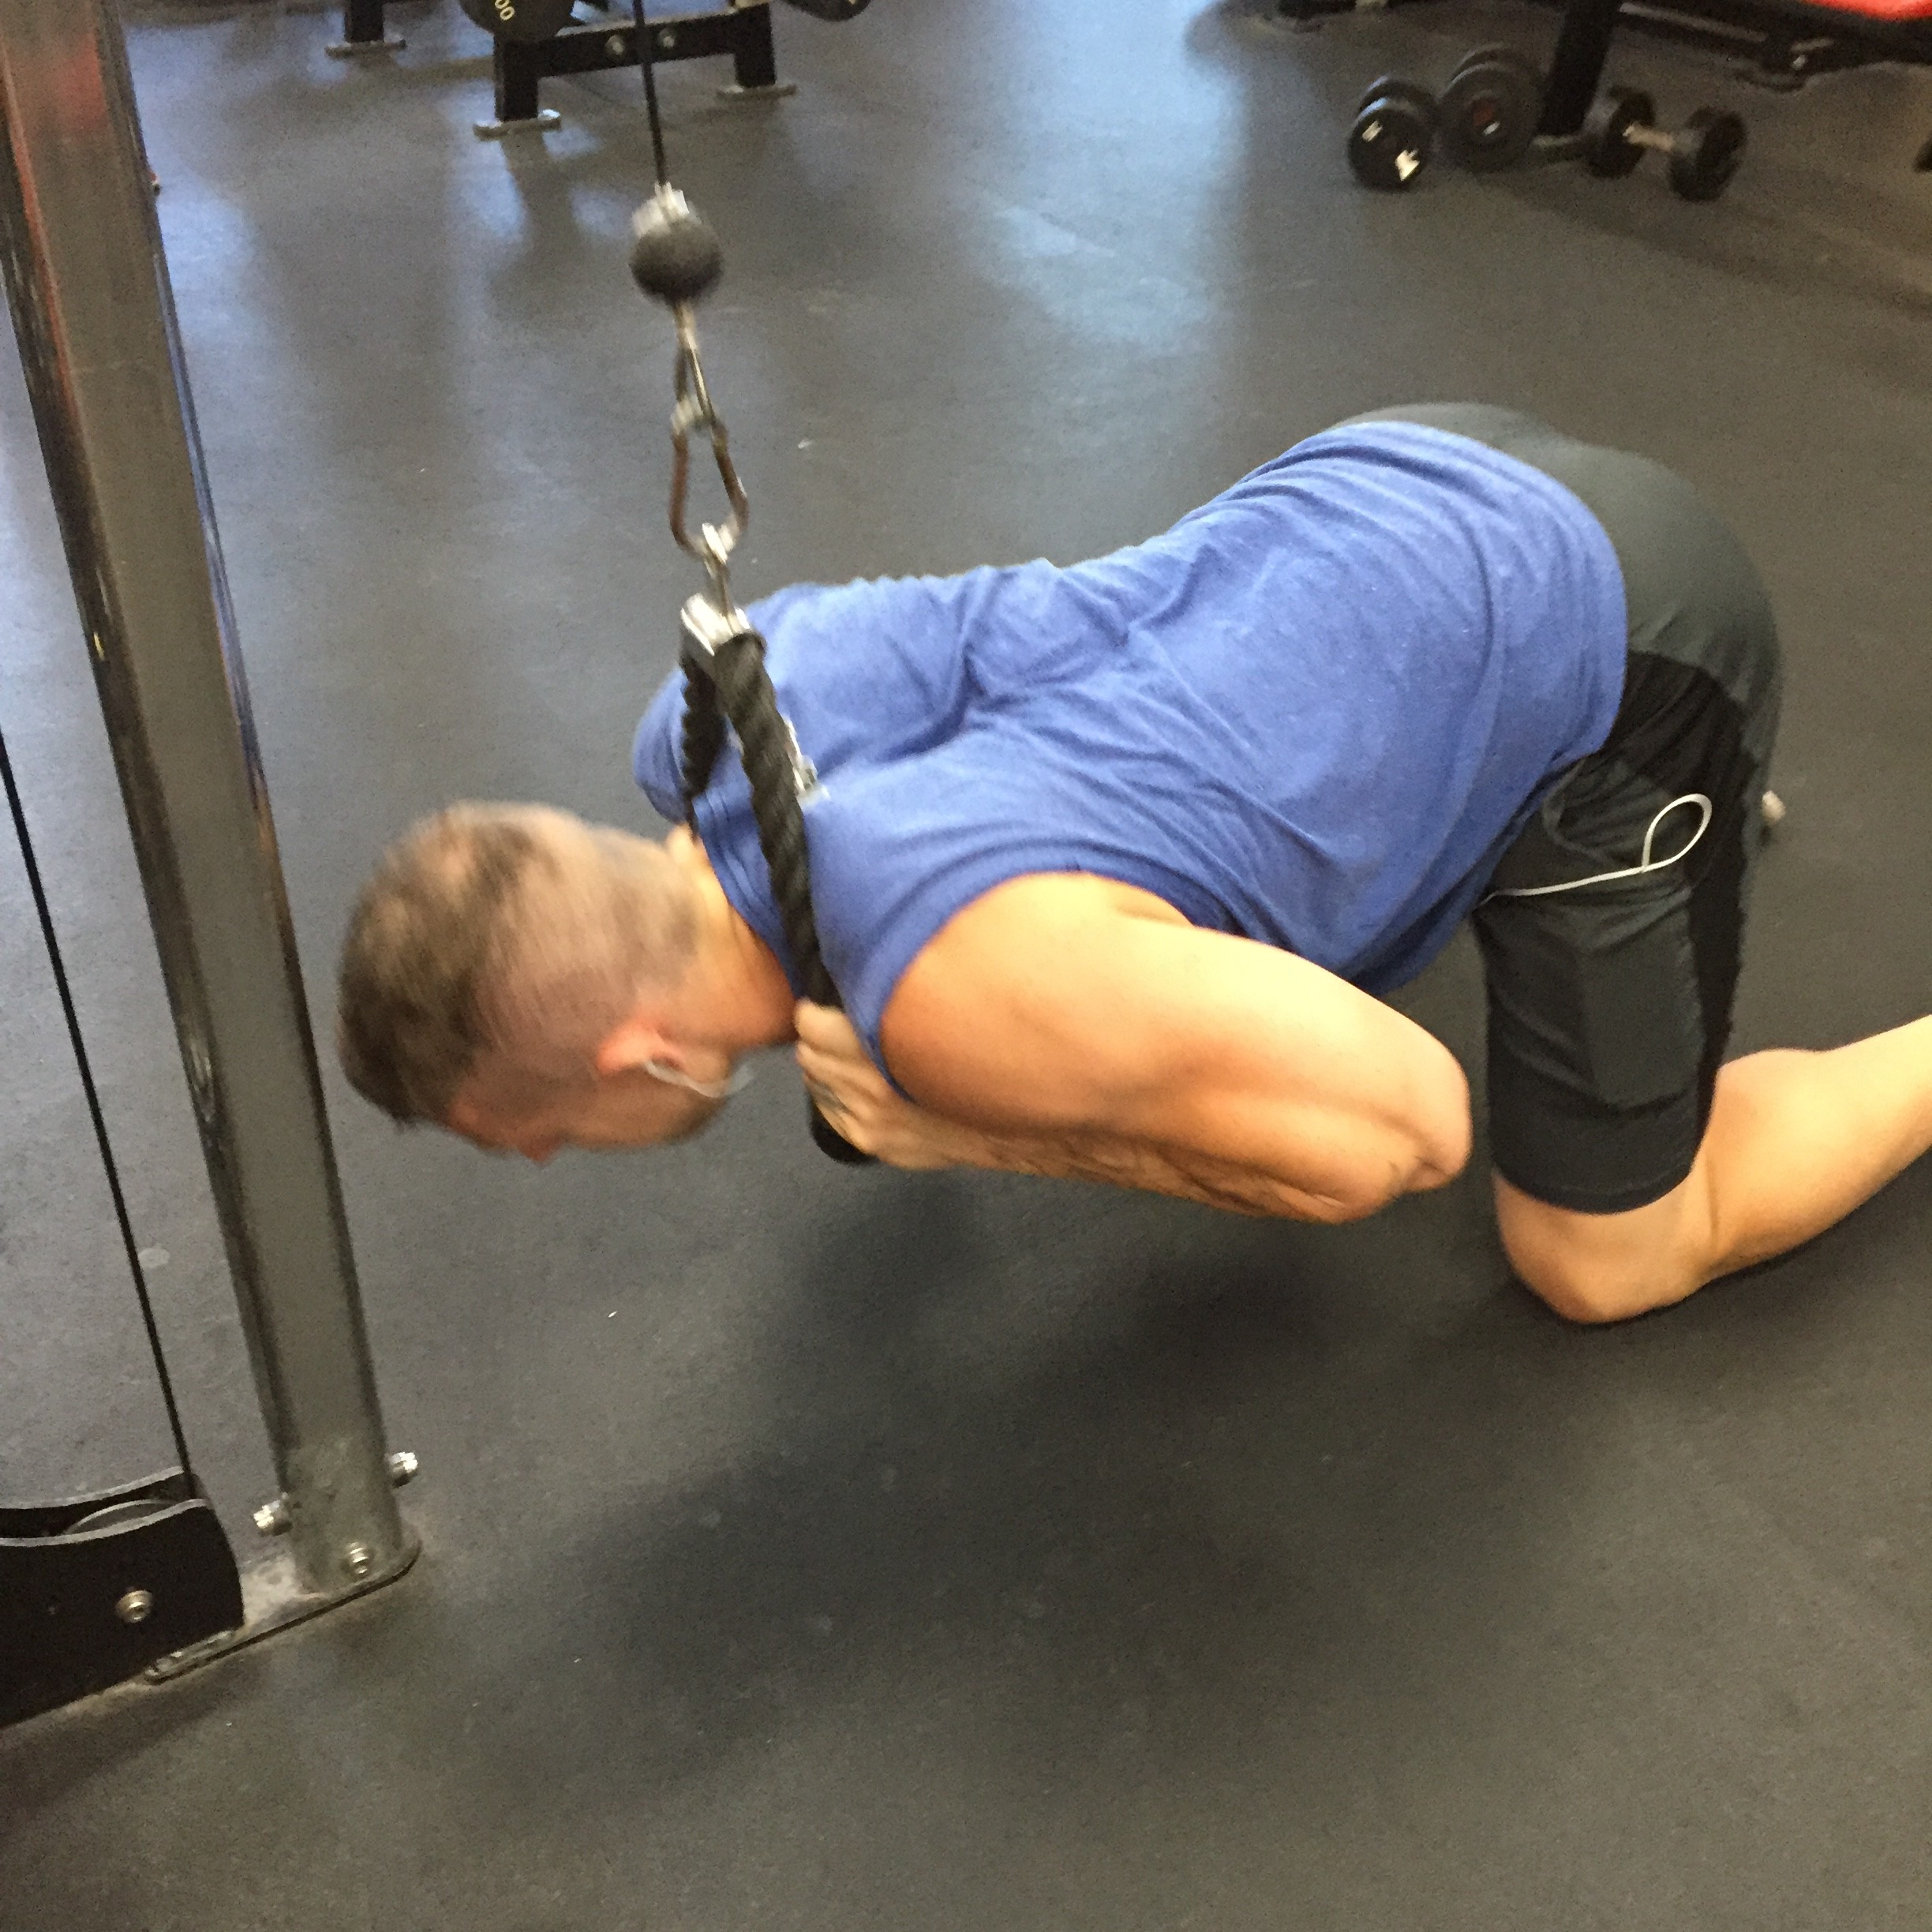
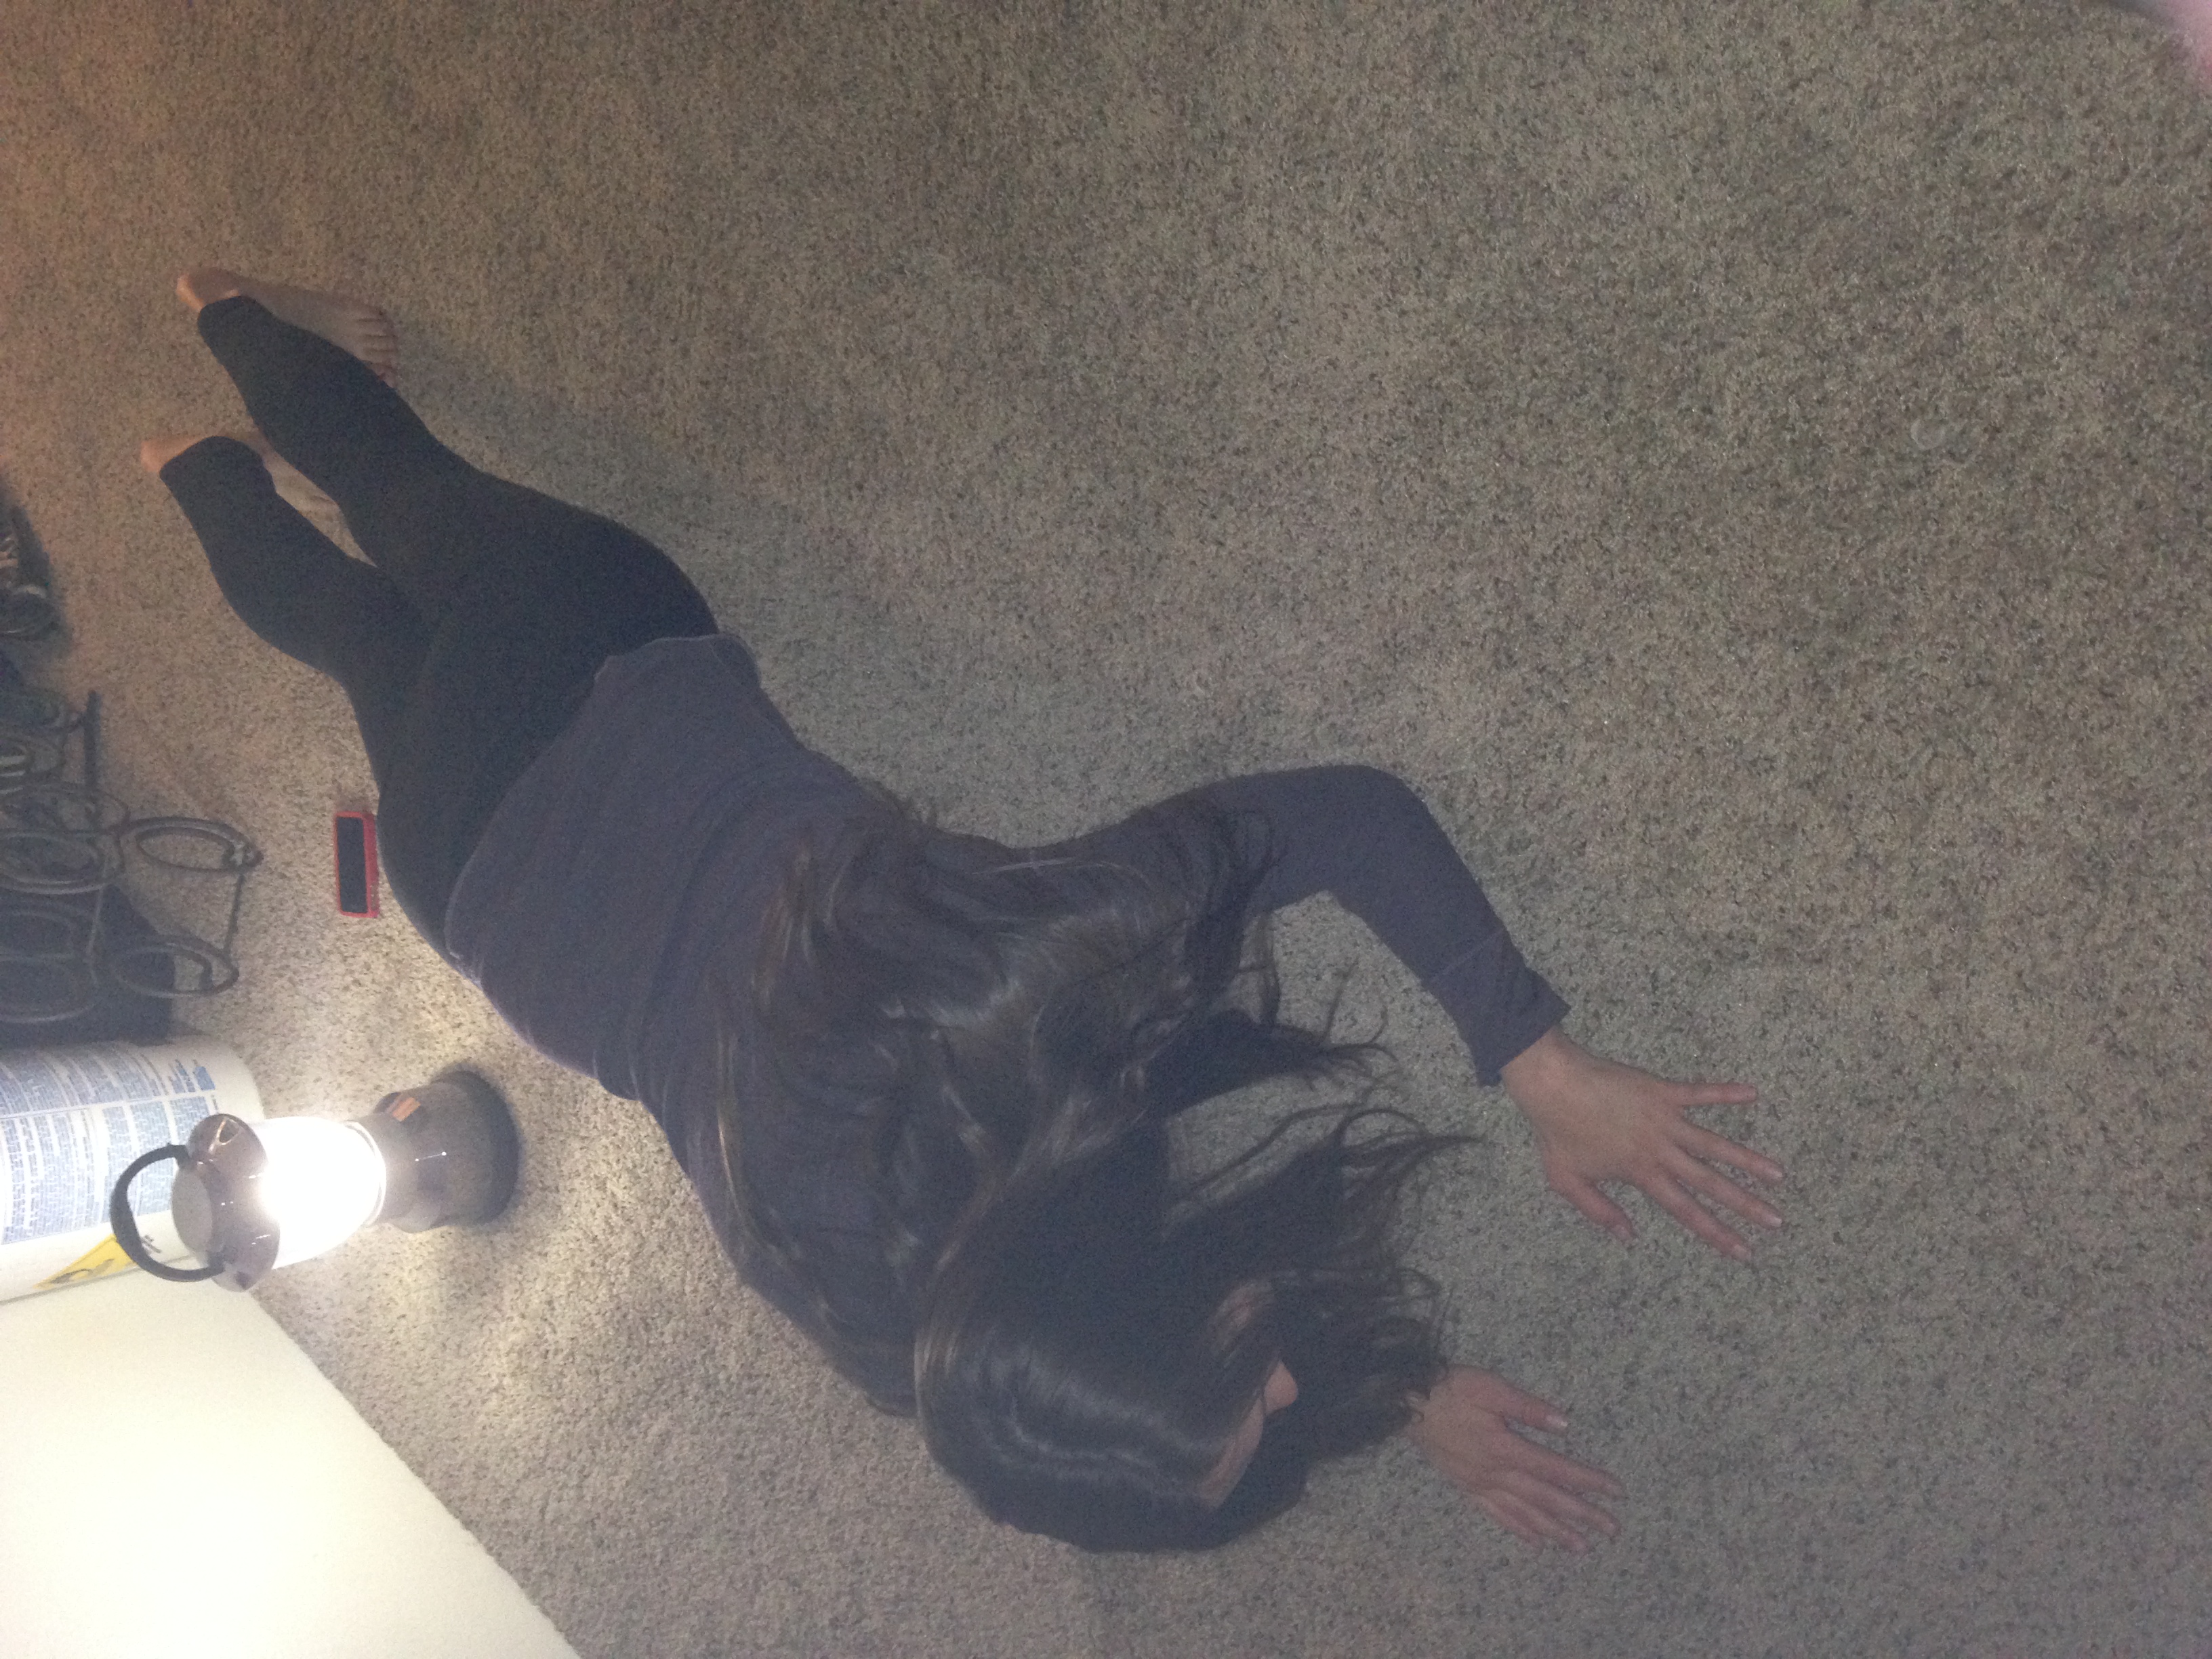
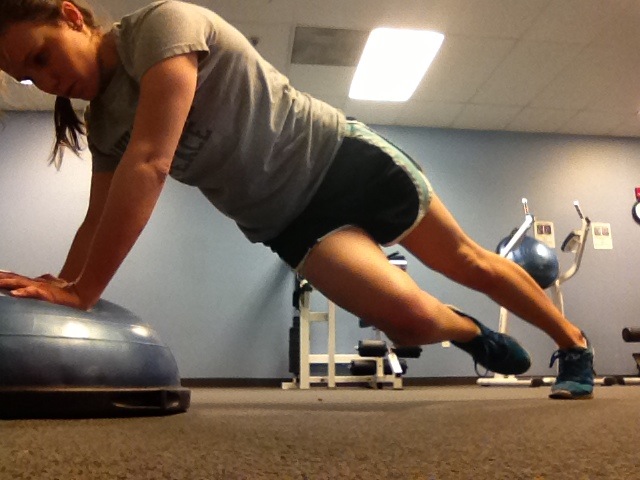
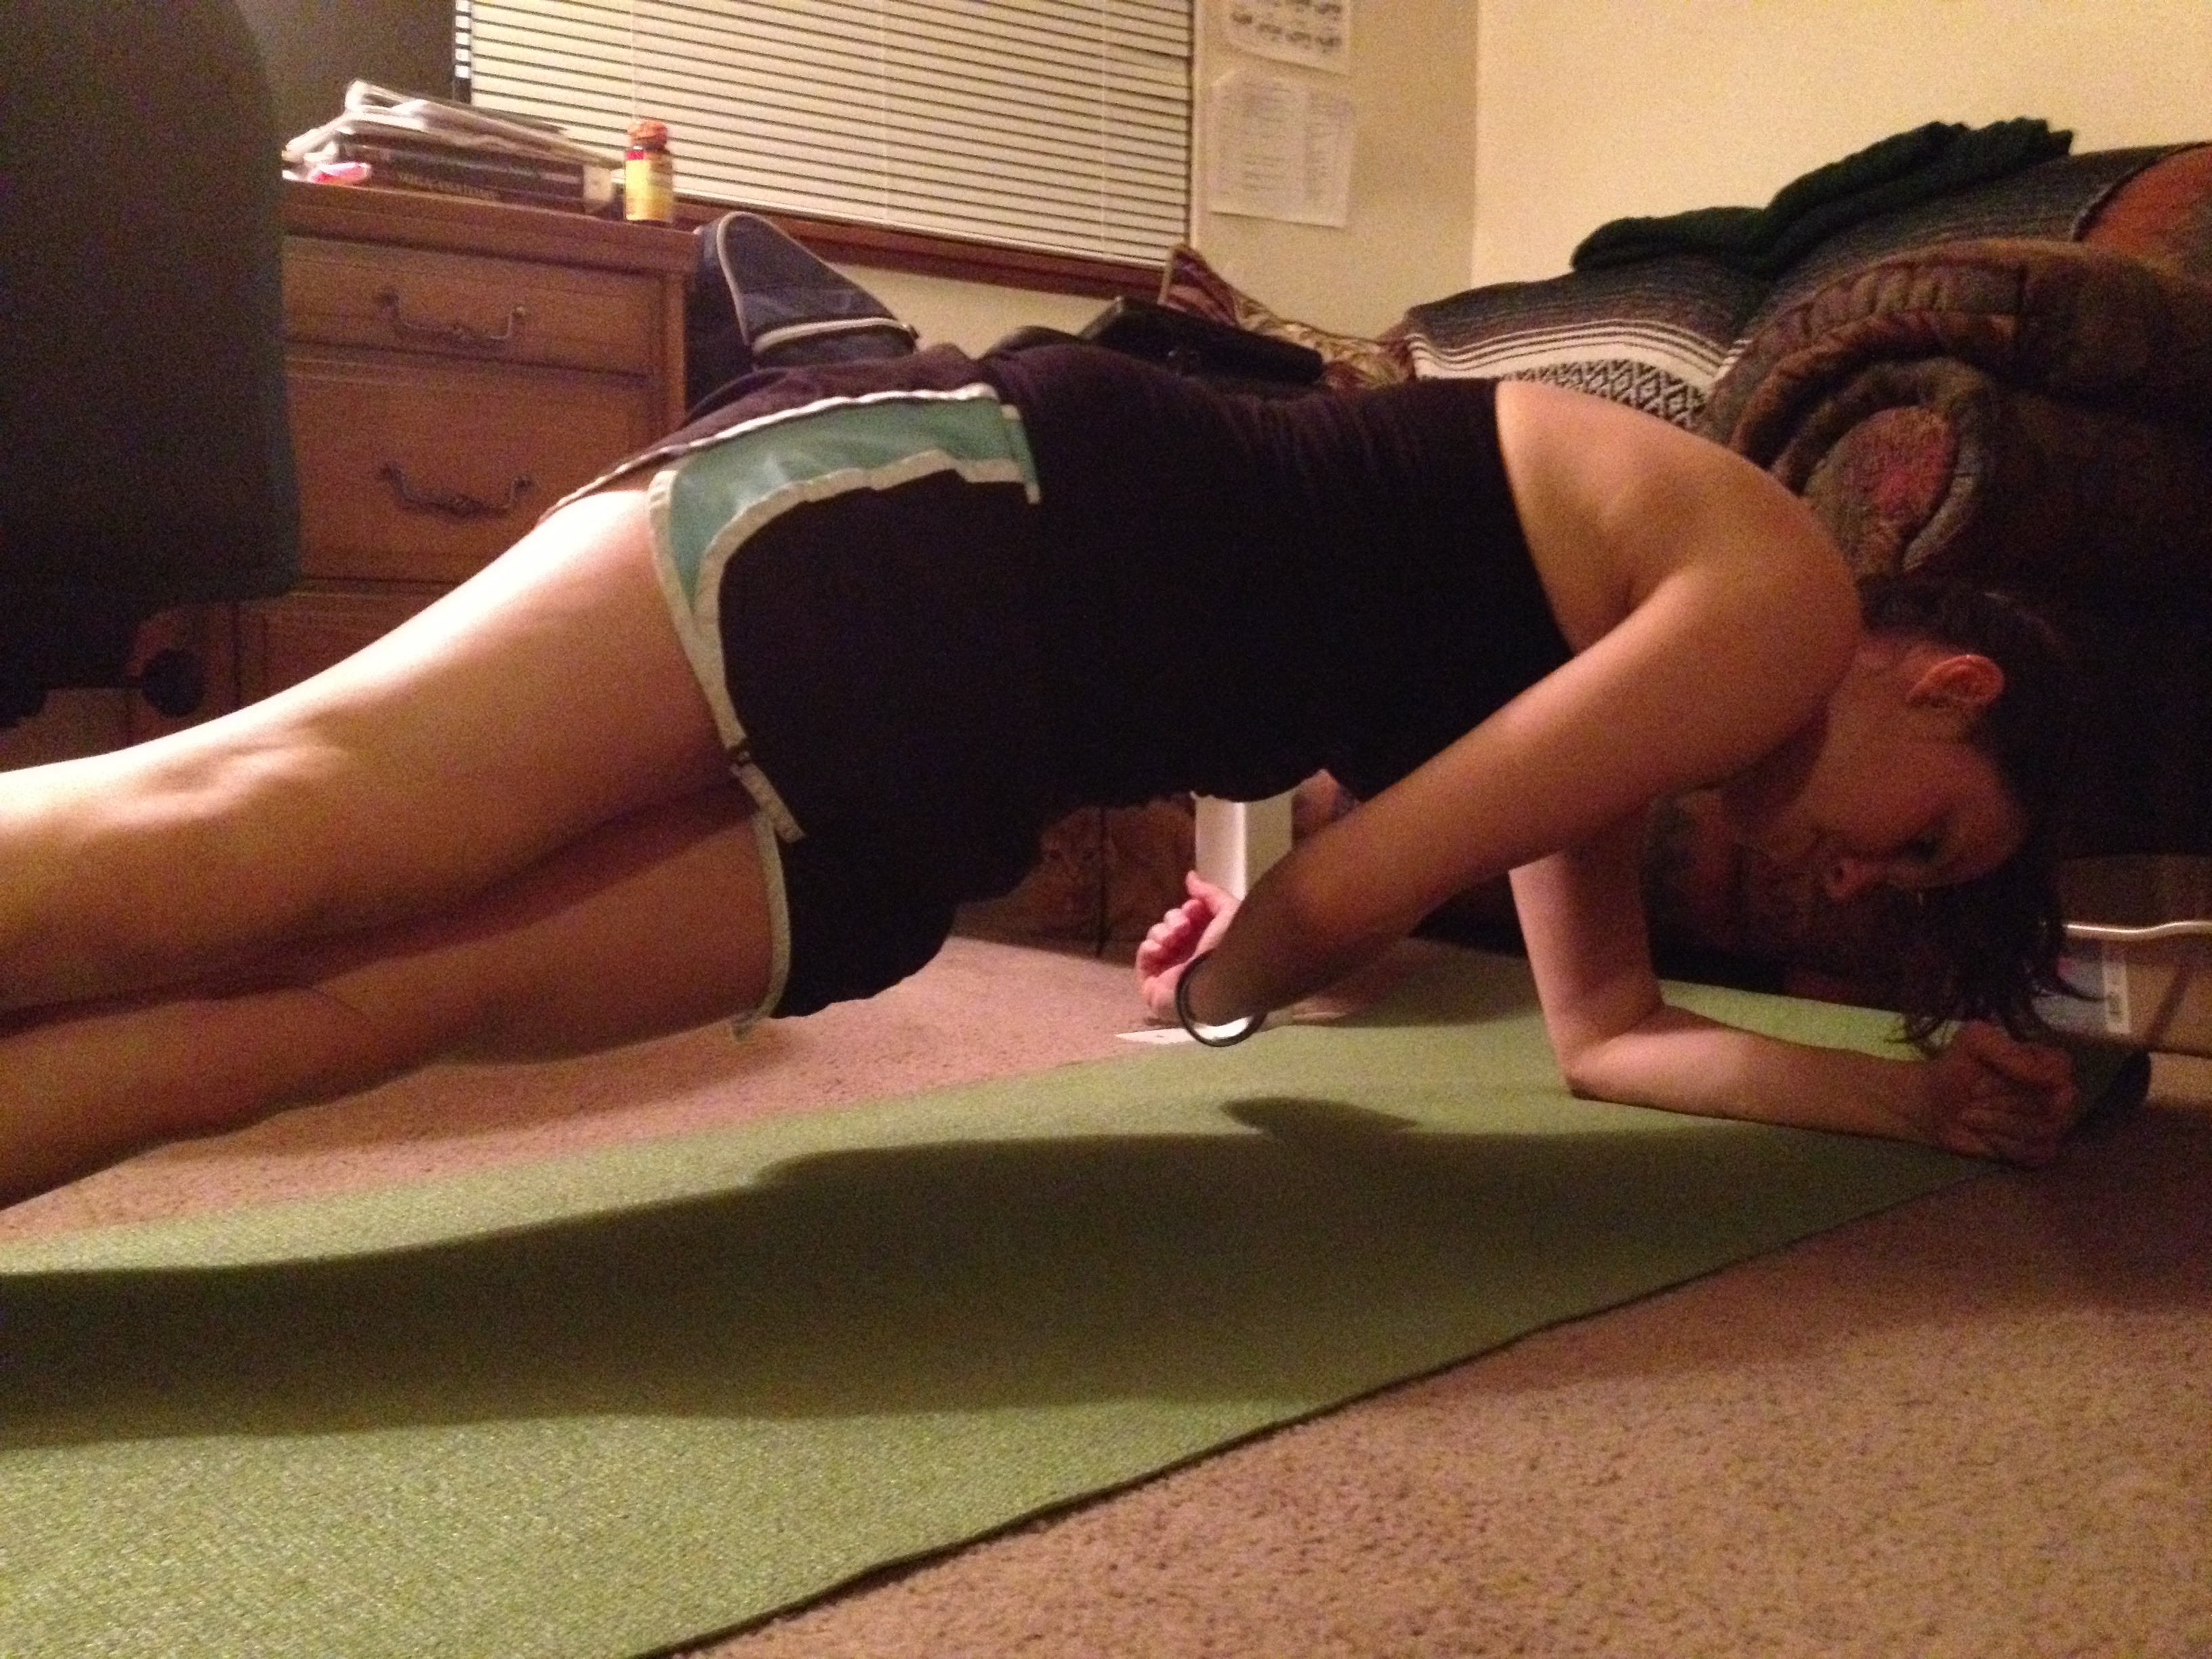
6. 3 sets of Spider Man planks. Get into a typical plank position (forearms and toes on the floor). Now bring your knee up near your arm and then the other. It looks like Spider Man crawling up a wall. Until failure.

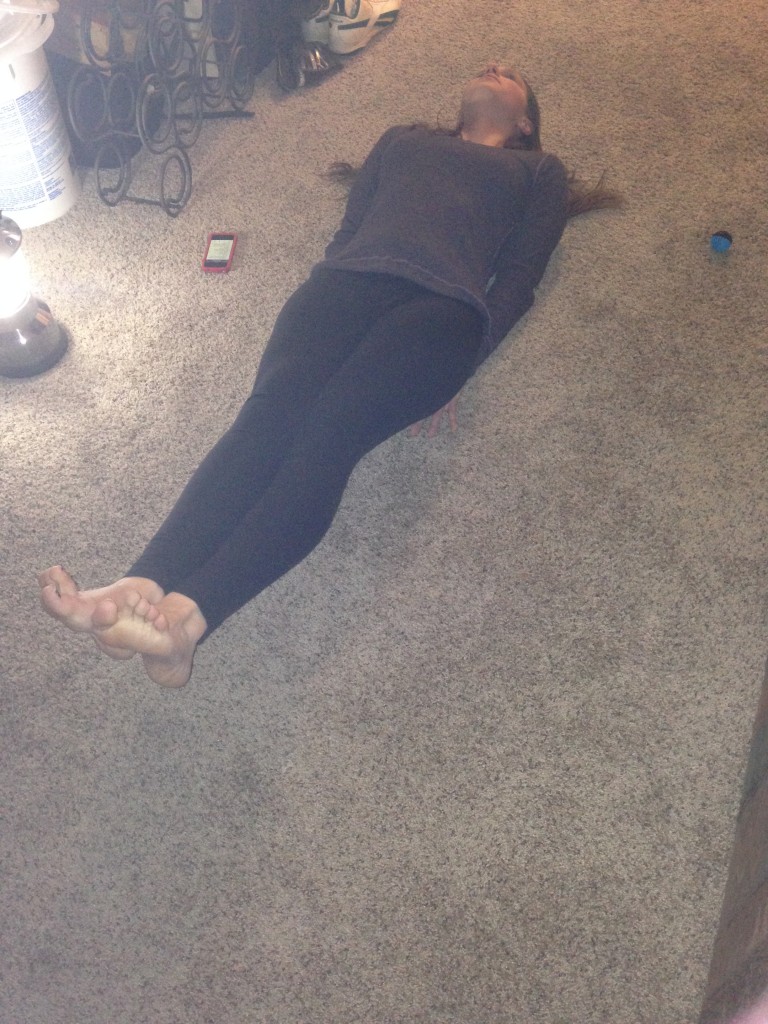
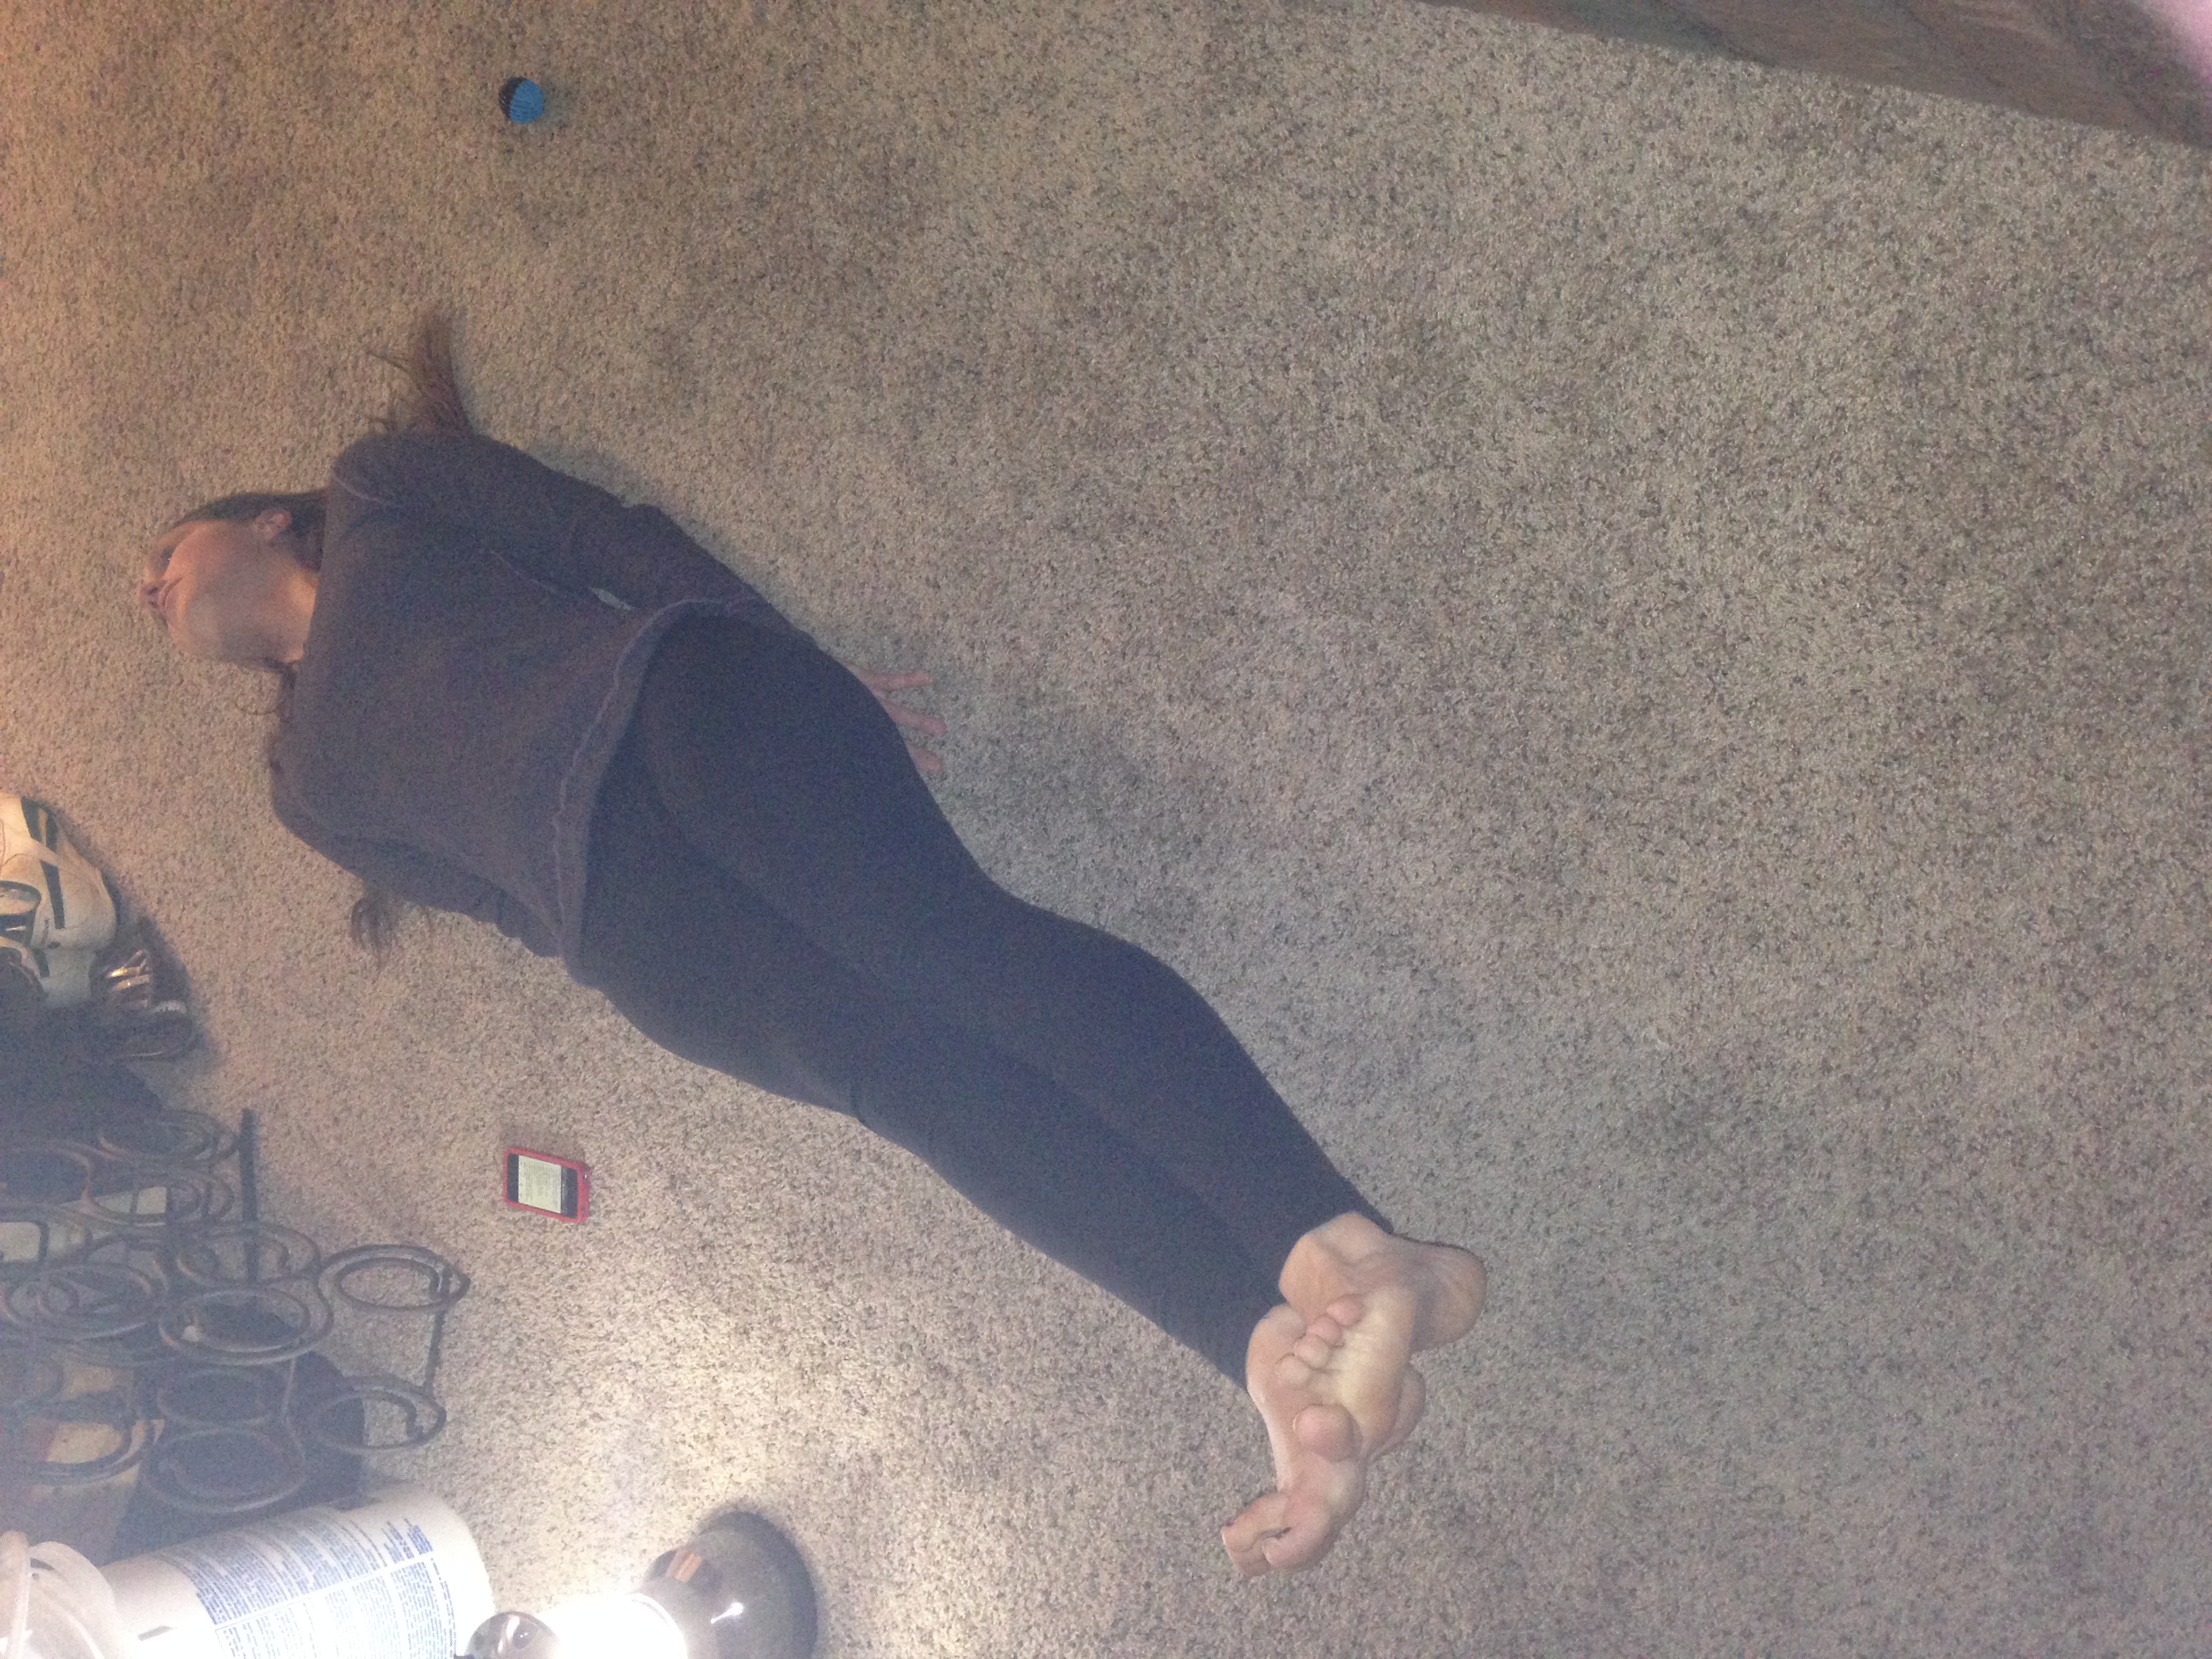
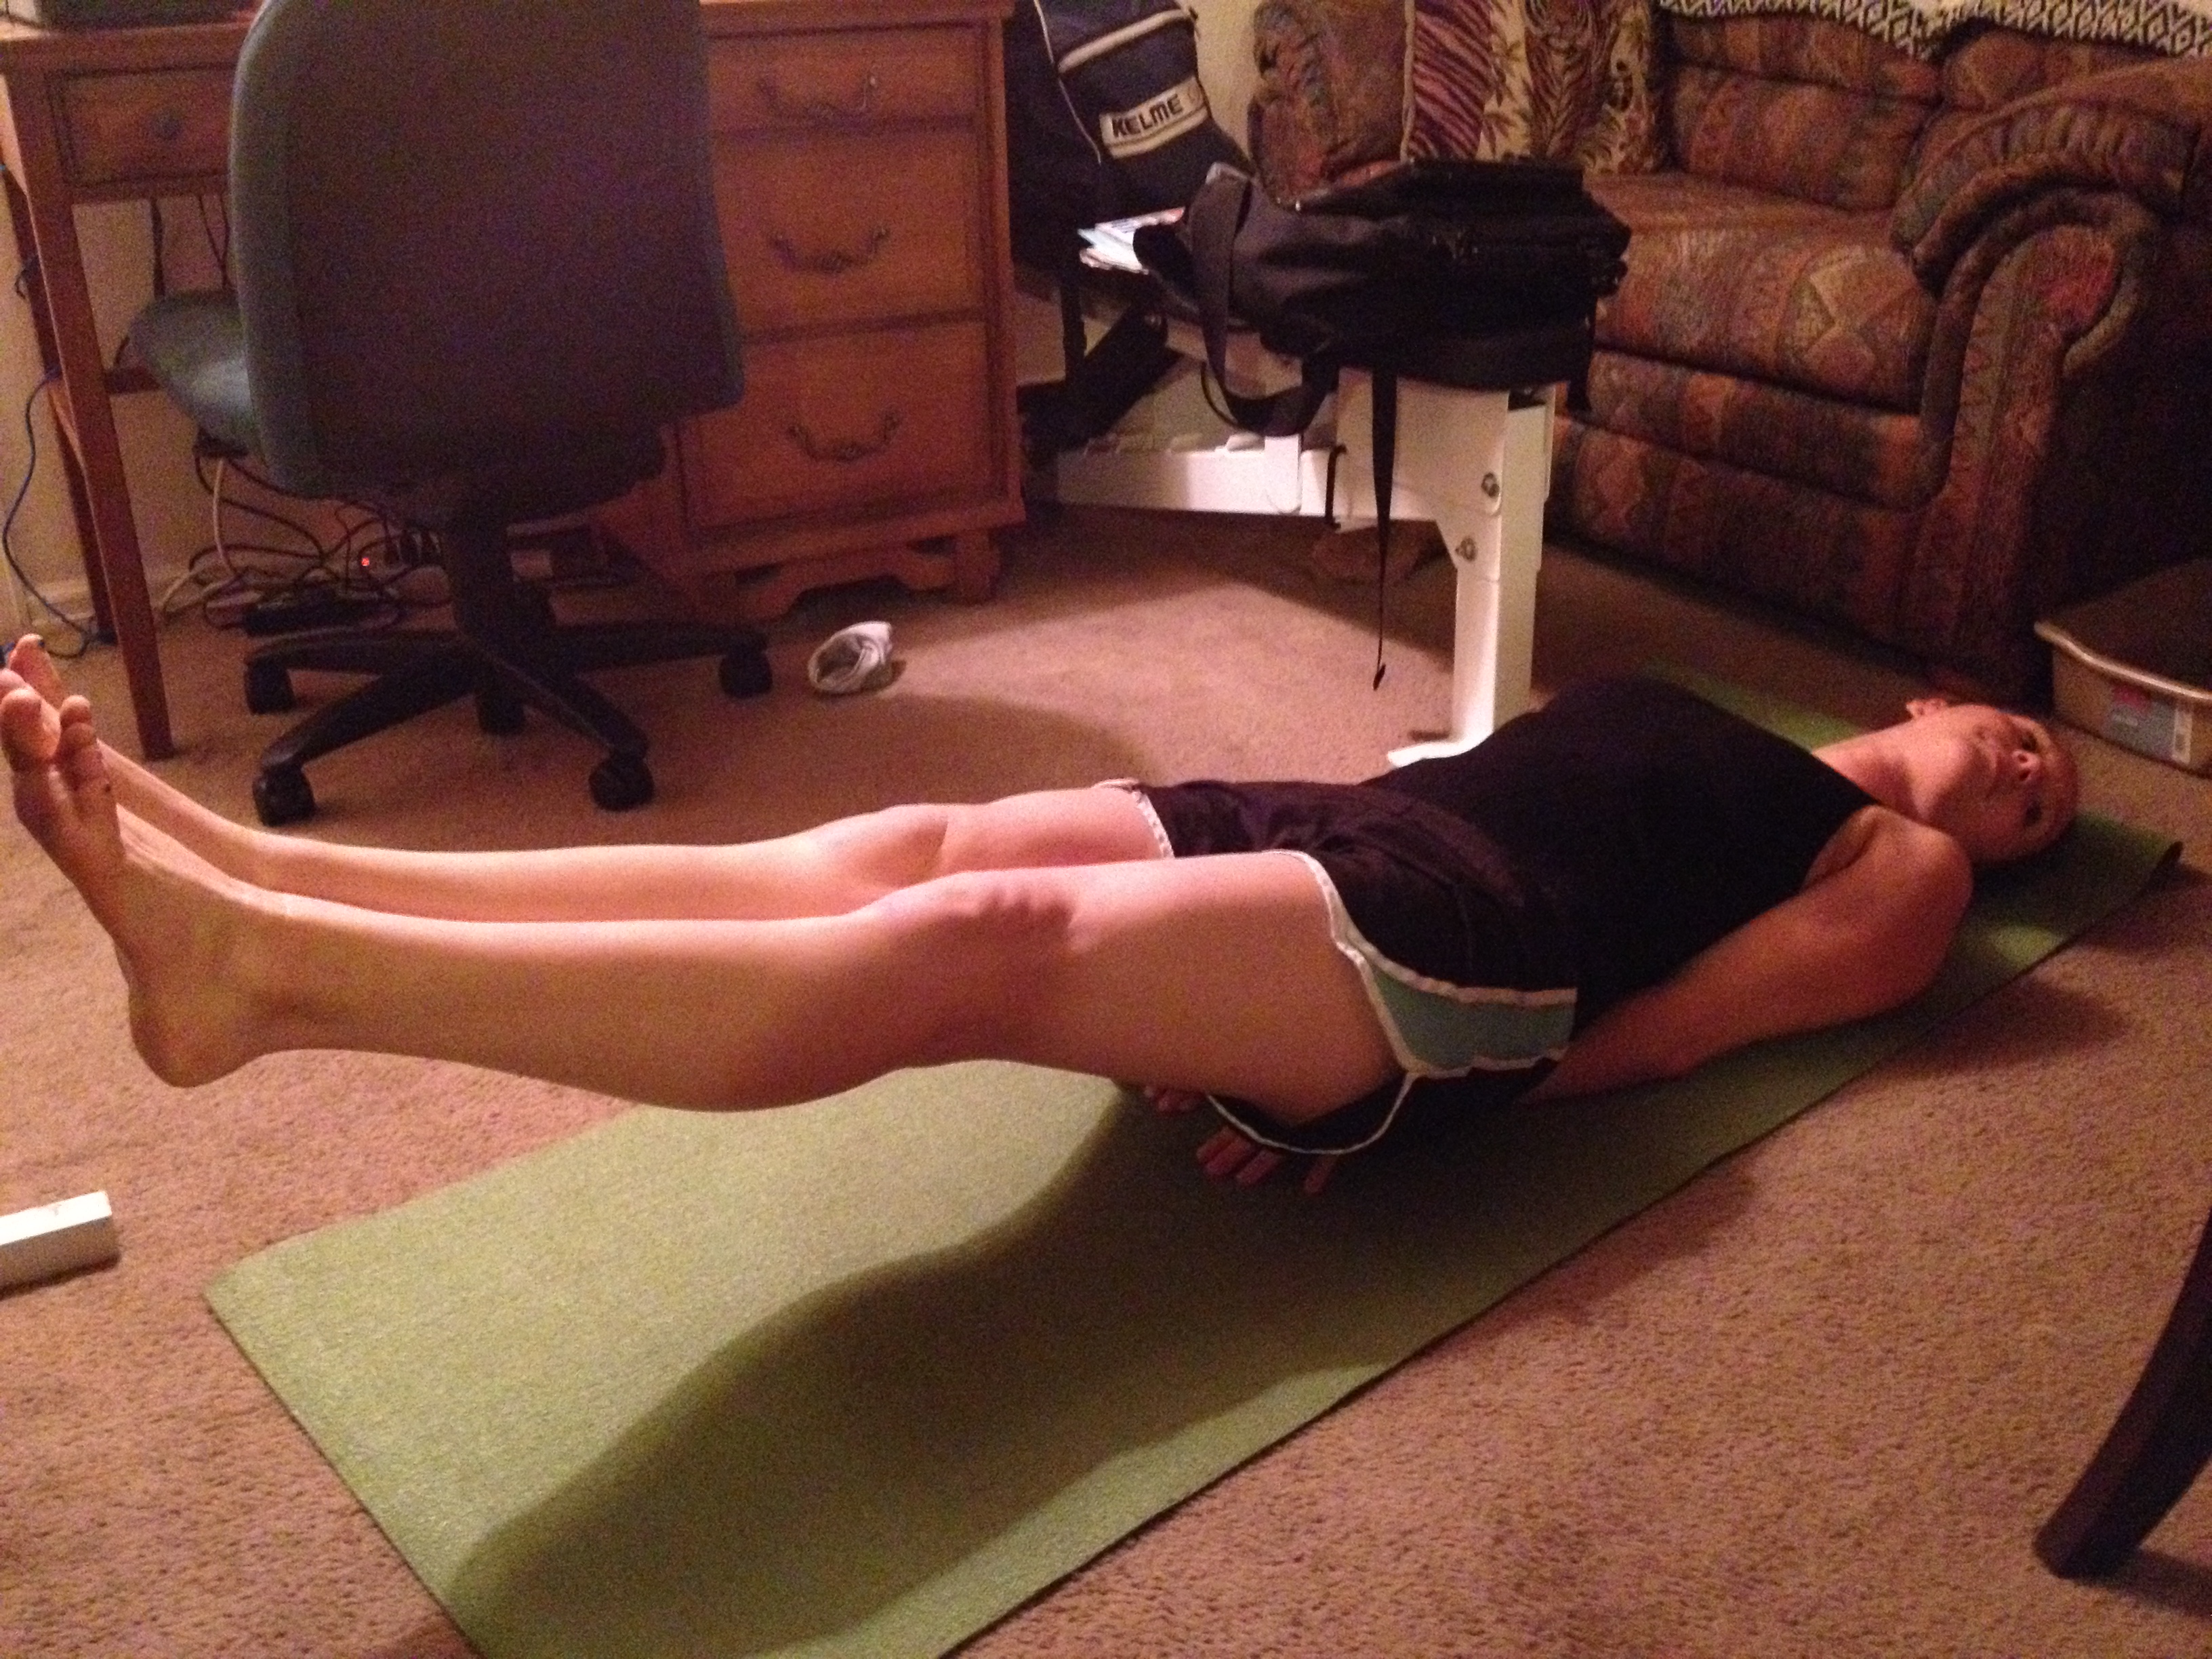
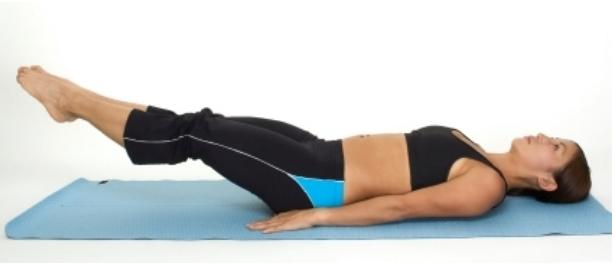
7. 3 sets of 6 inches. Lay on your back, put your hands under your bum and raise your legs six inches off the floor and hold for 30 seconds.

photo 5 (6)

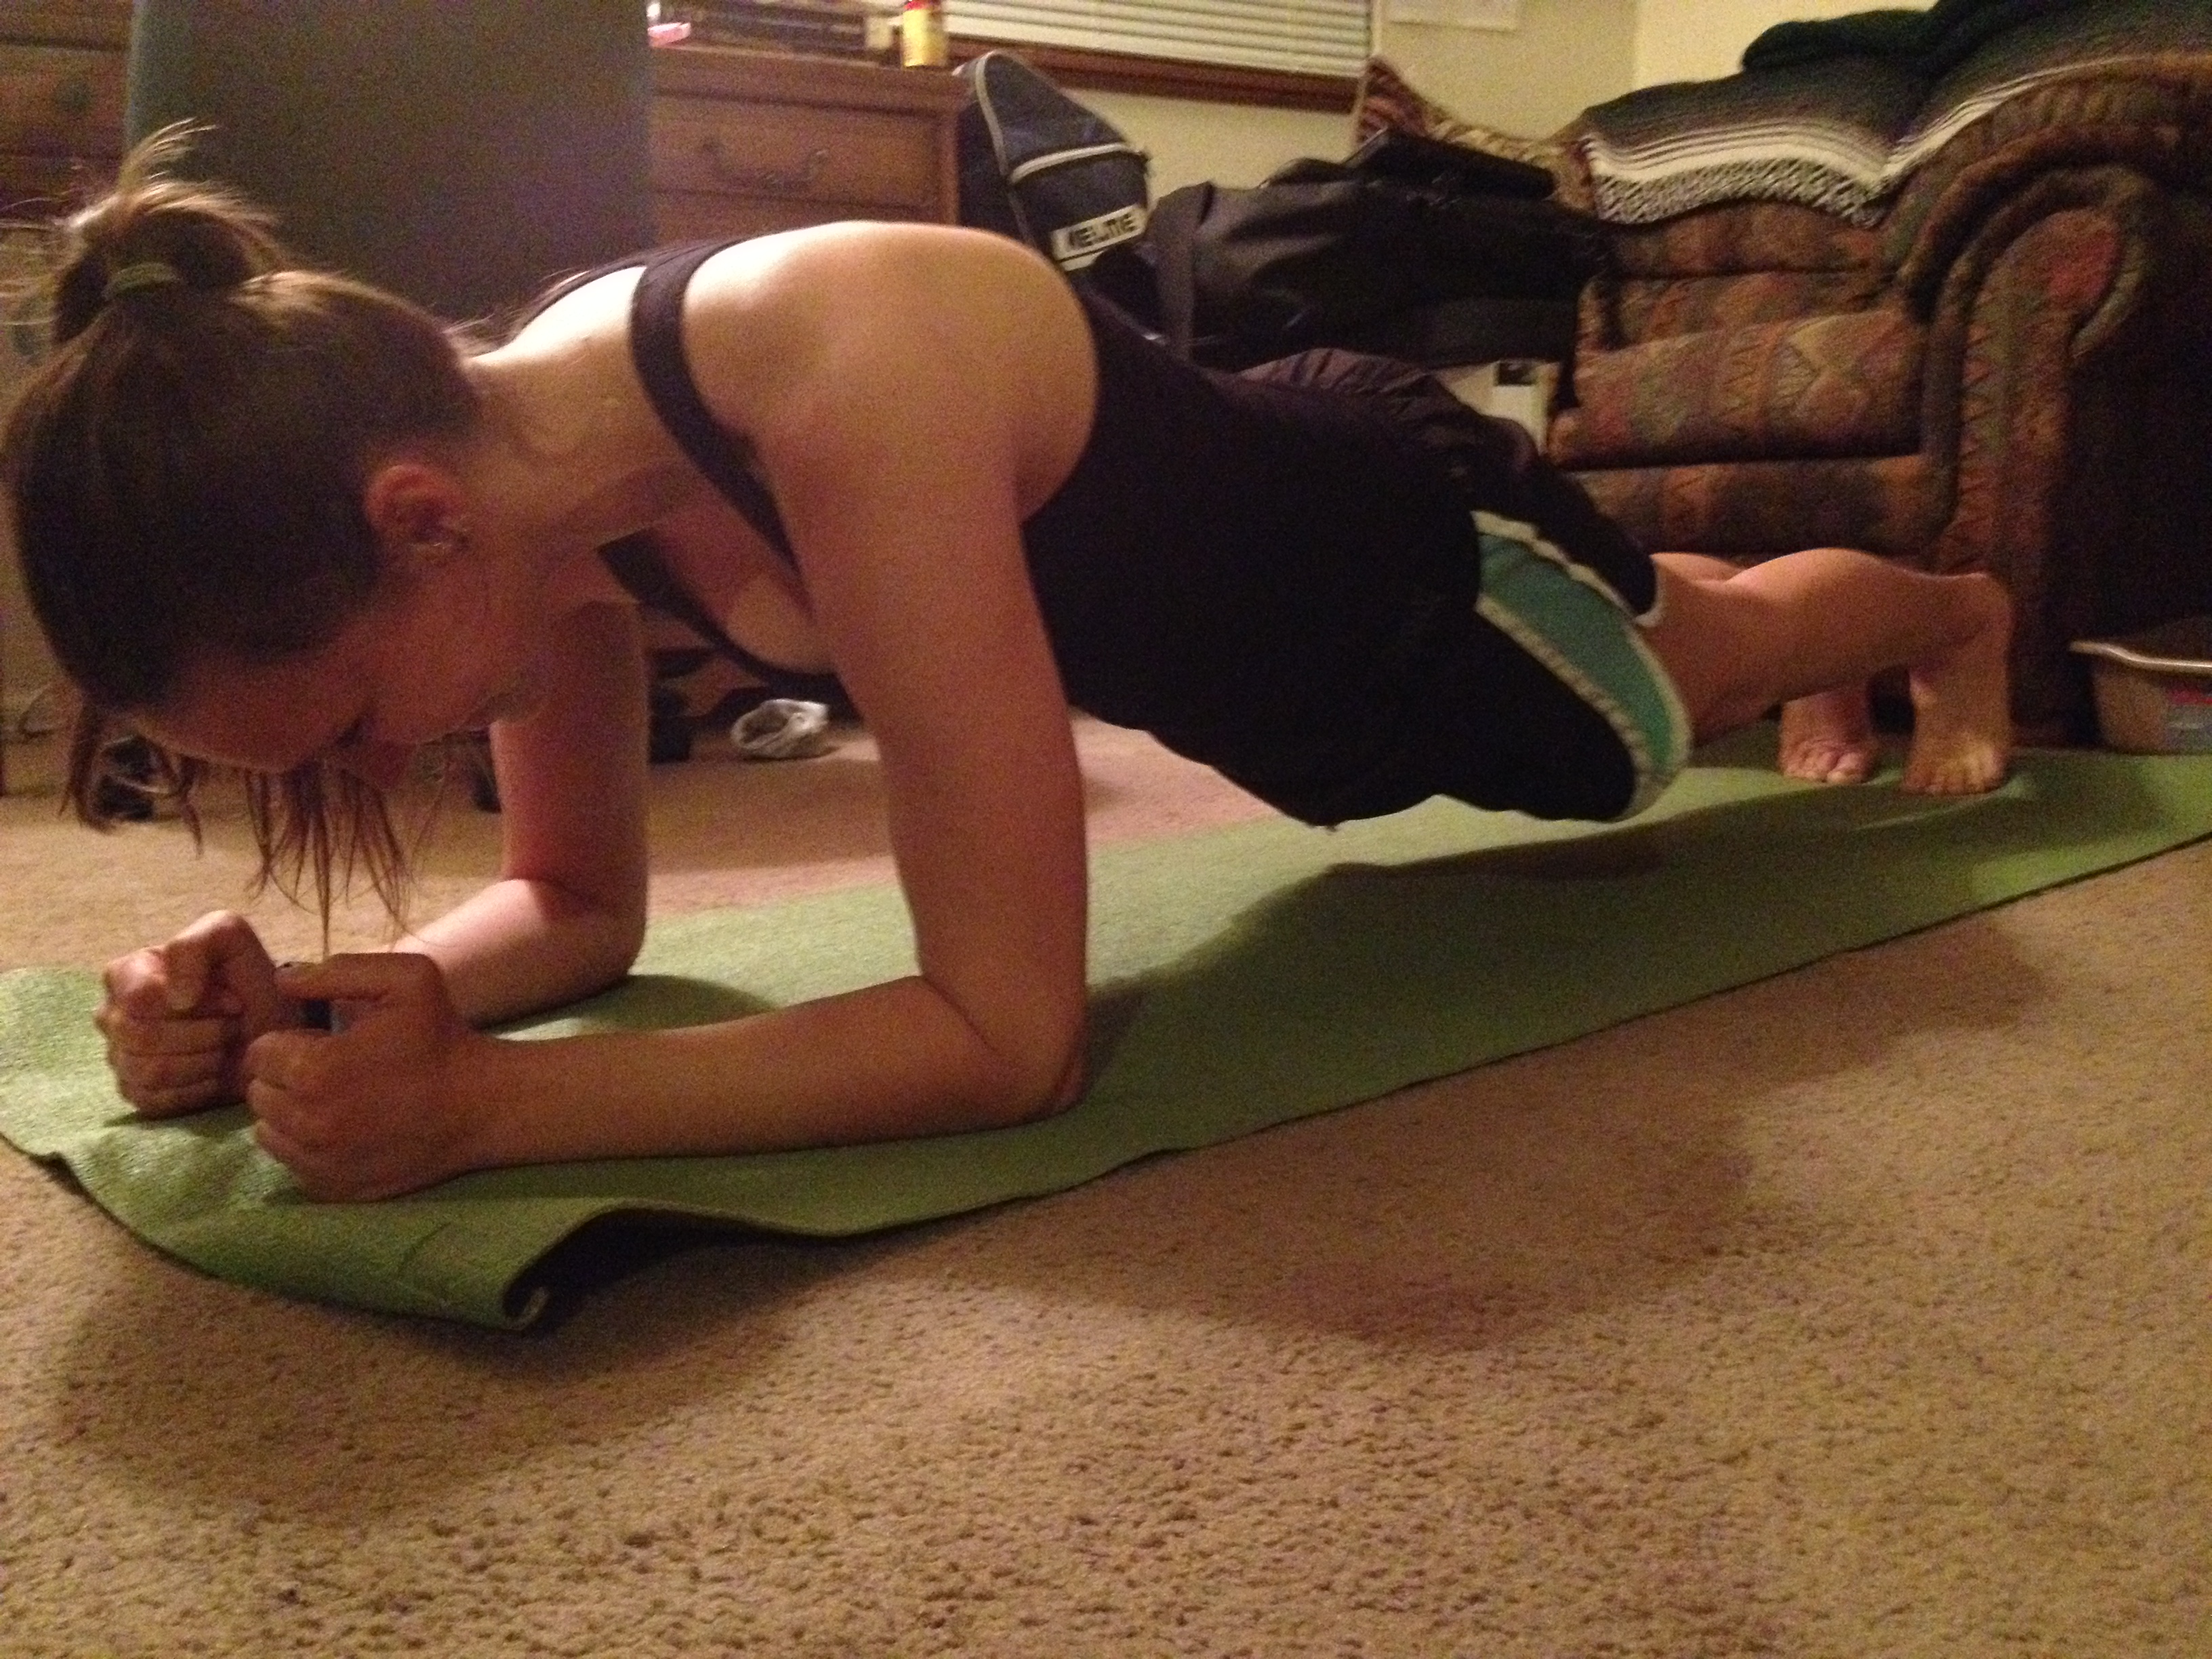
8. 1 set of plank. Forearms on the ground, core strong, back straight, and toes touching the ground. Go for 1 minute.

photo 2 (28)

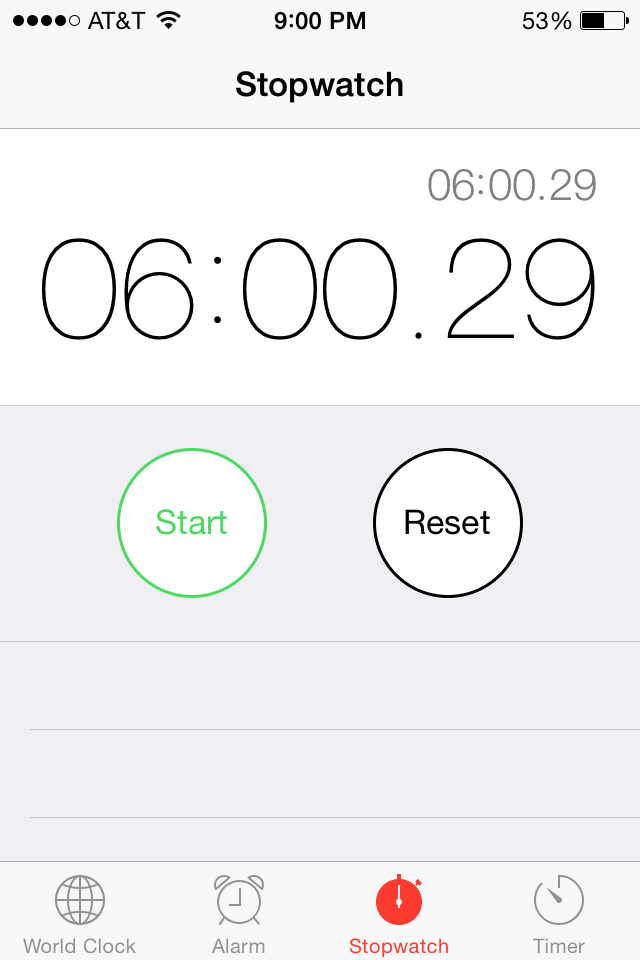
For me, I threw on some “timed abs” on at the end, but even without it, the above is an incredible workout for your core! If this seems too long for you, just reduce the number of sets. I usually like to do them in supersets, meaning pairing two exercises together and do them back to back. No excuses! Do this workout to stay hungry and fit!

*Question of the Day: What’s your favorite core workout?
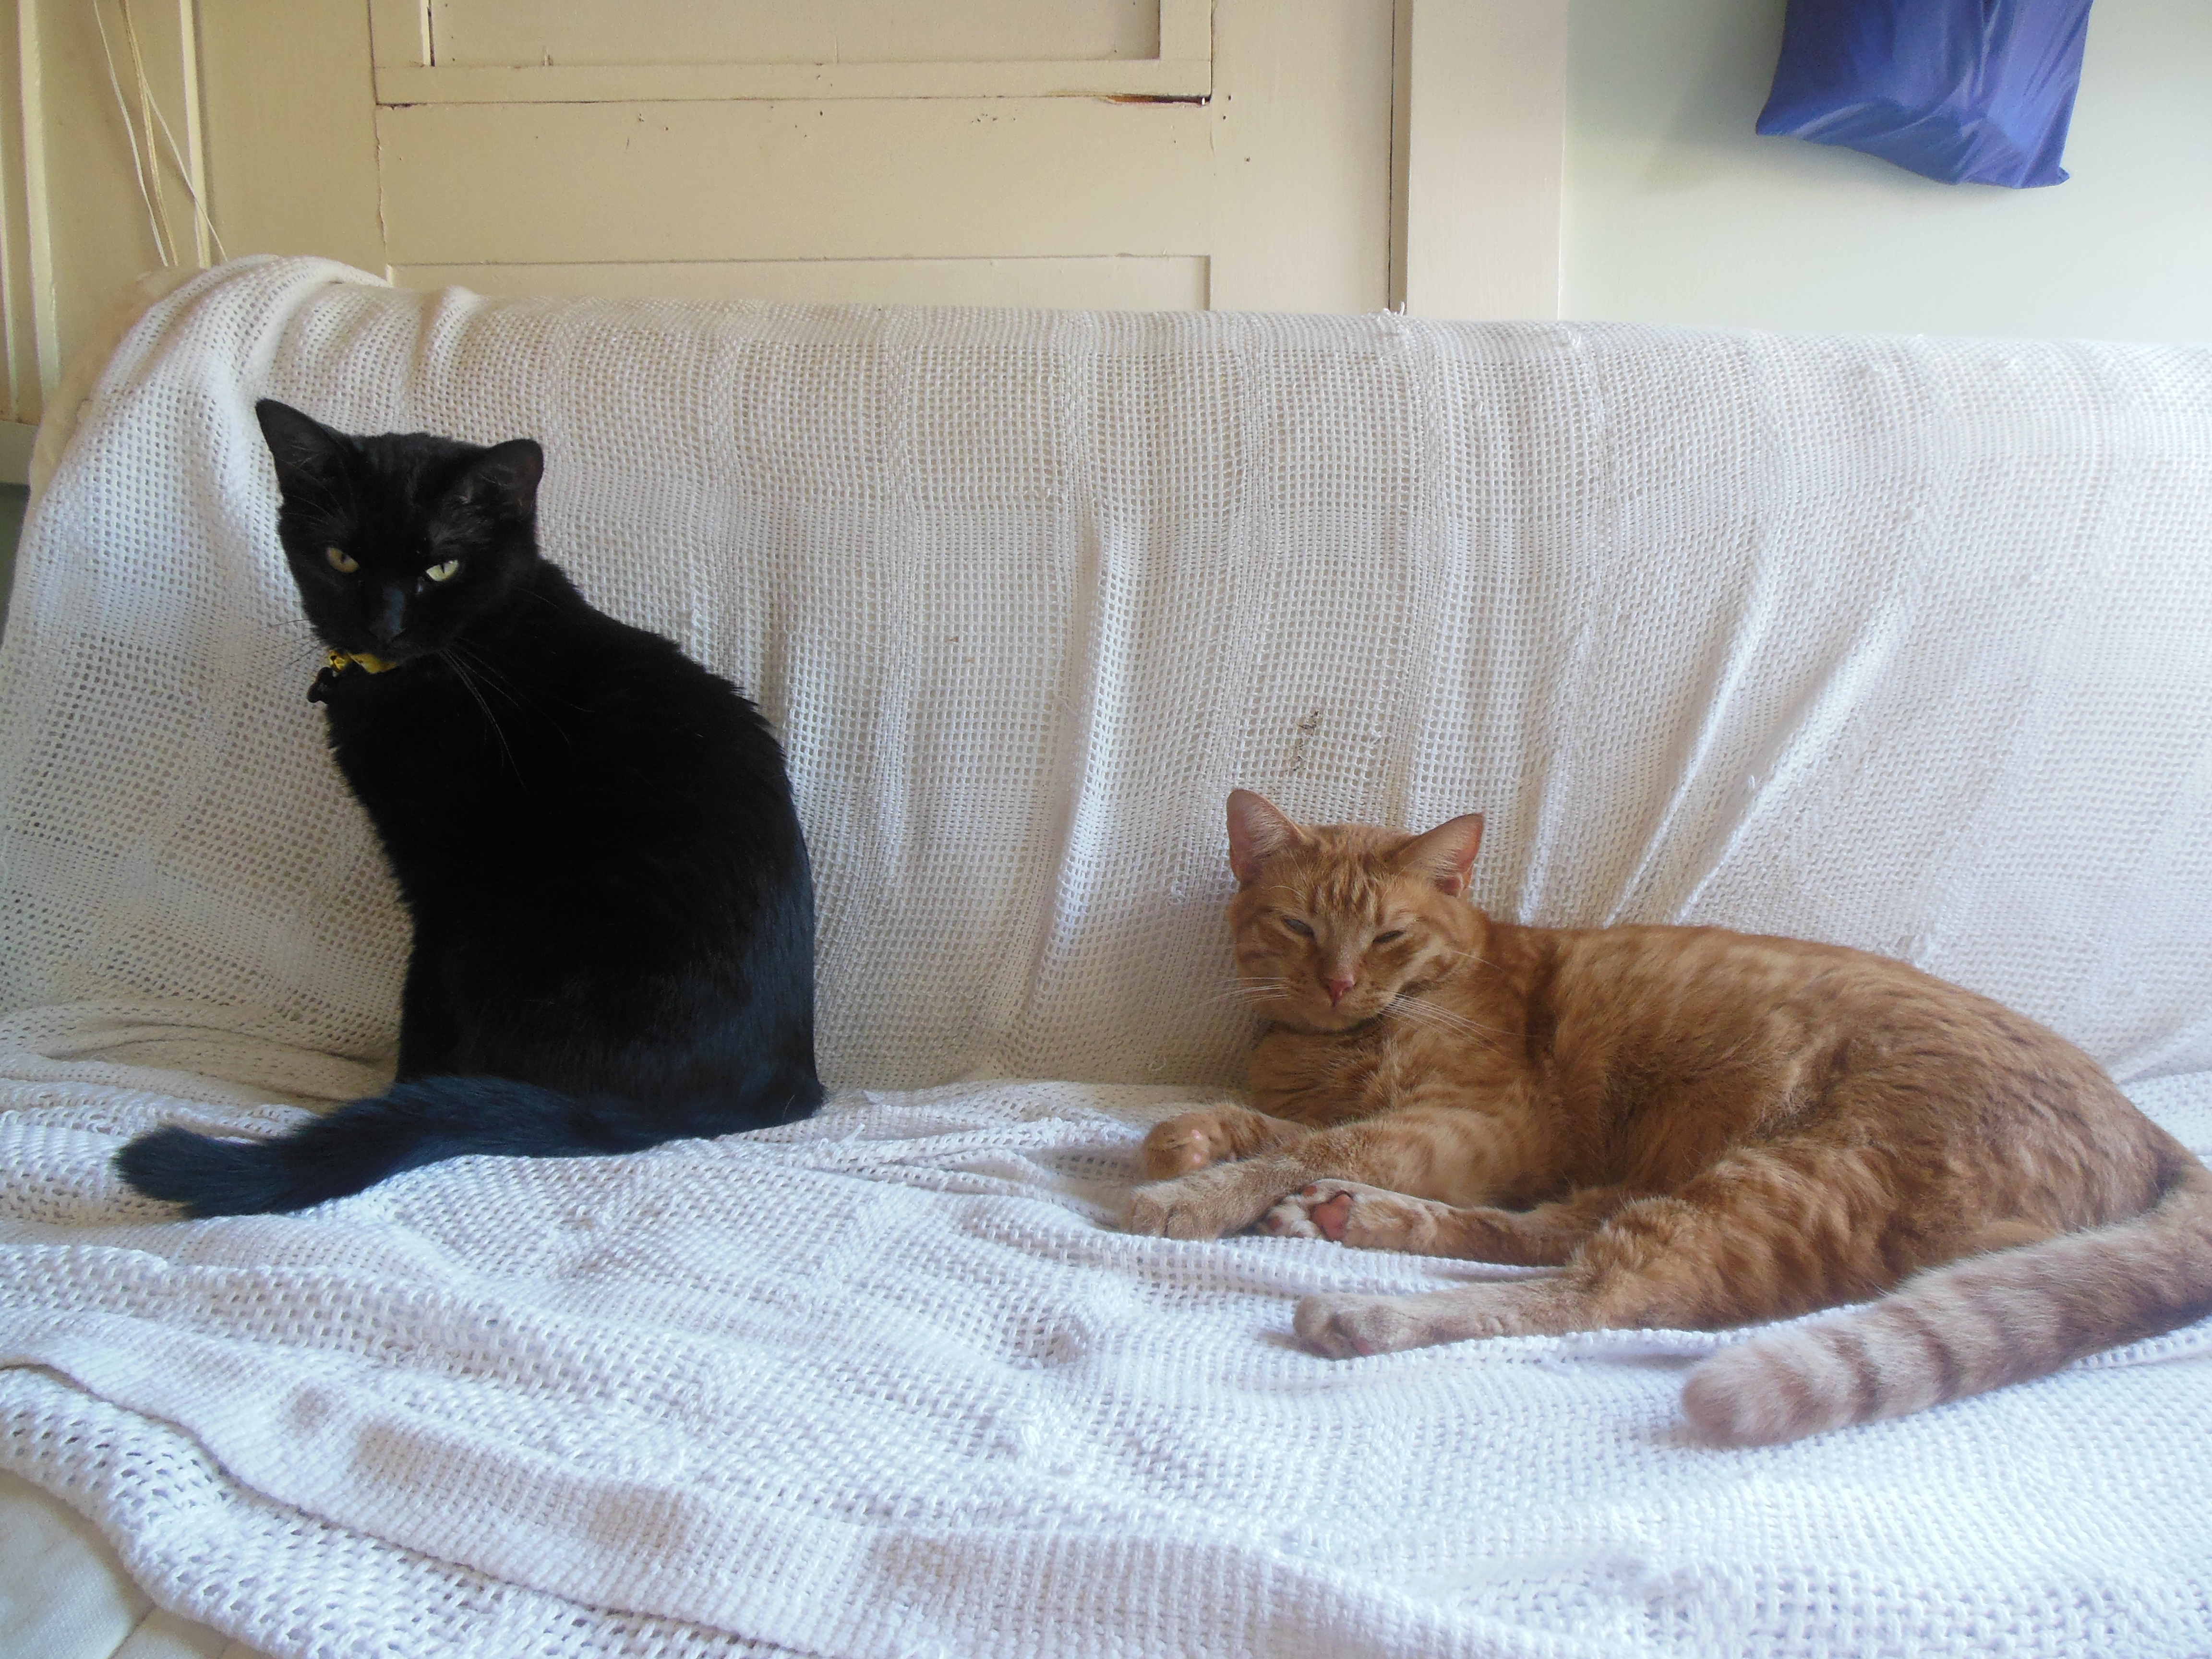
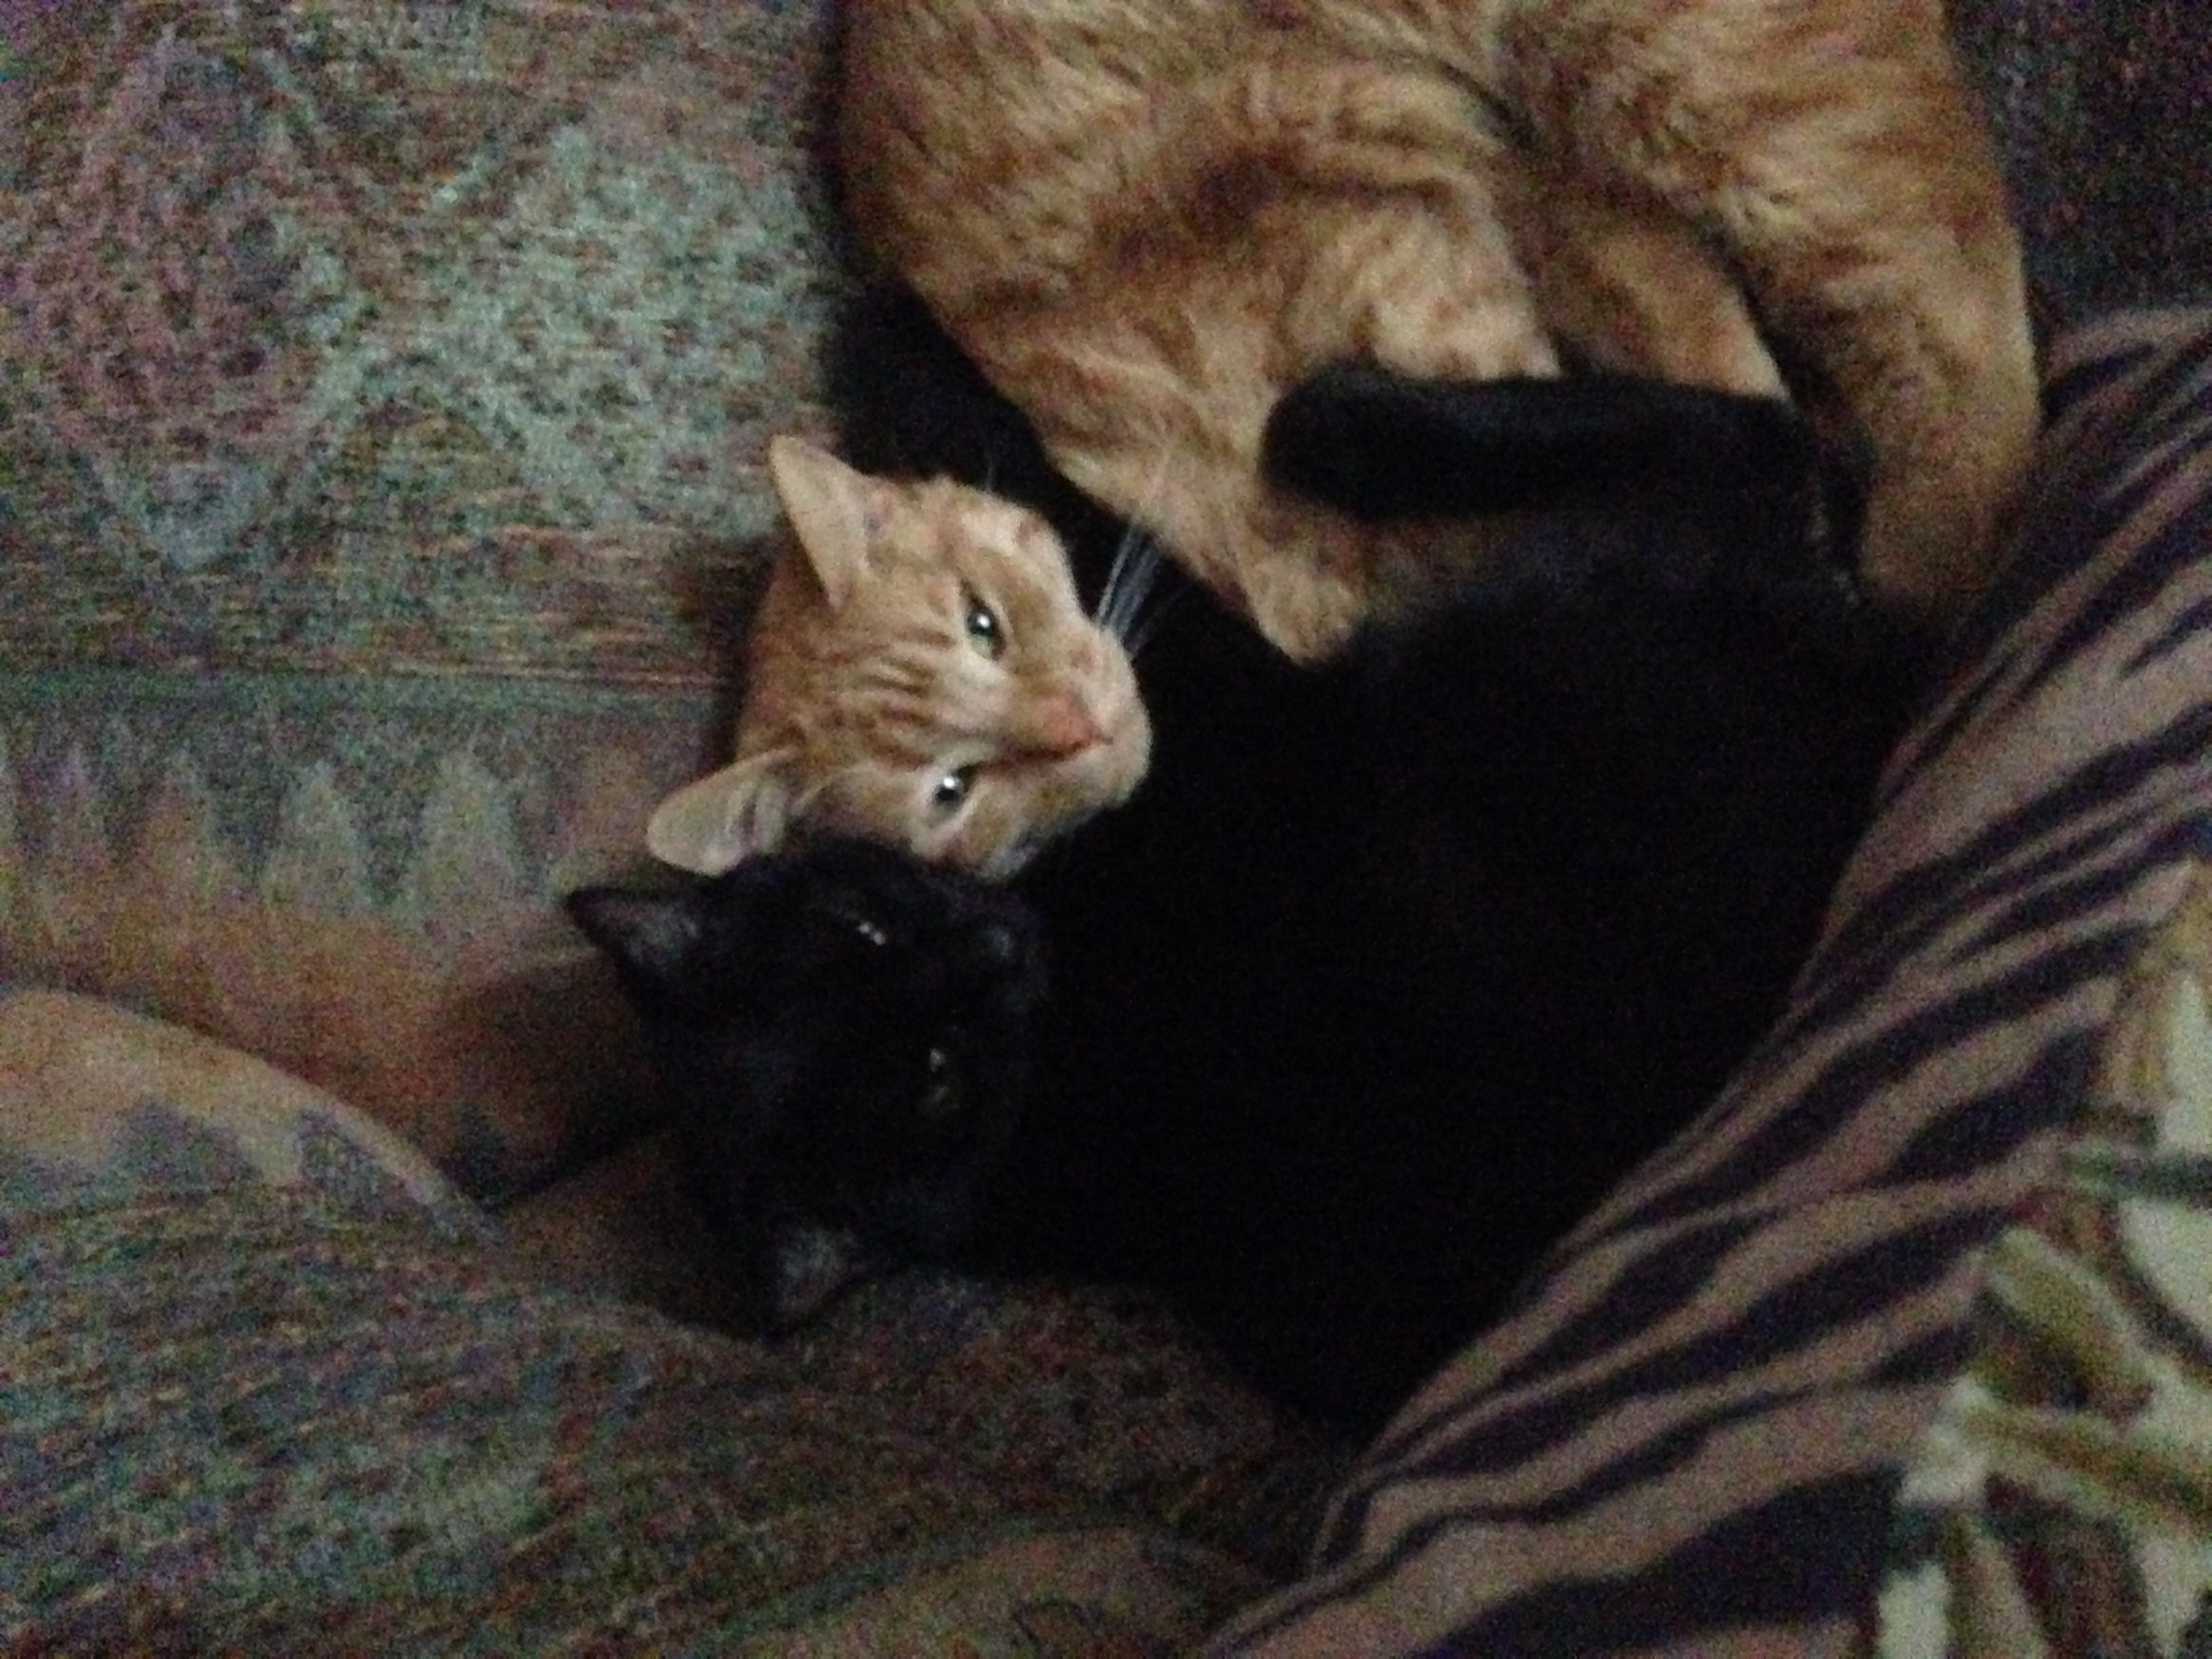
BONUS KITTY PIC

Can't get over the adorable-ness of this picture...and yes they did that by themselves

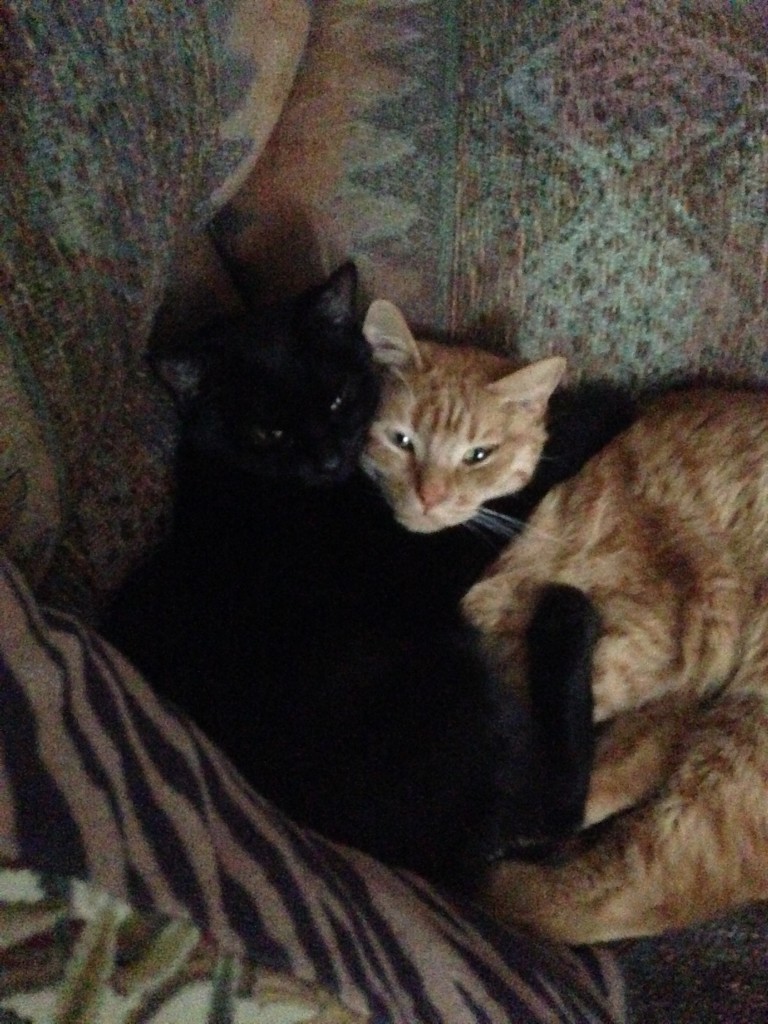
Can’t get over the adorable-ness of this picture…and yes they did that by themselves

spacer

Weekend Workout: Twisting Mountain Climbers

Hooray, the weekend is here!! For us, that means the madness of preparing before we leave Christmas Eve morning. But for most people, that means more time spent with loved ones and more loved FOOD! I’m here to give you a little extra exercise that can be done anywhere that can help shred your abs and keep you cut for the holidays. It will hit all across your abdominals, but especially your obliques, the side of your torso. It’s super simple, let’s do it.

photo 3 (10)

Is there a name for it? I’m sure there is. But for myself, I call it the twisting mountain climbers. And they are not meant to be fast. It’s an extra perk if you have a bosu ball to do this on, but it’s perfectly possible to do without. Alright, let’s go step-by-step, though you won’t really need it.

1. Find a slightly elevated surface (like a bosu ball) and place your hands on it. Try to stack your wrists underneath your shoulders. Place your toes on the floor so it looks like you are in a yoga plank position.

2. Bracing your core, pull your right knee to your left side, basically twisting your body. This is supposed to be a slow movement to really challenge your ab muscles.

photo 2 (13)

3. Place that right foot down and do the same with the left: bring it over to the right and twist your body.

photo 1 (12)

4. Repeat.

Really complicated, huh? You can do this for reps or you can time yourself. It’s much harder than it looks and it’s all about muscle control rather than speed. This is a great exercise to do over the weekend for a slam dunk core workout! Use this exercise to stay hungry and fit!

  • Question of the Day: What is your go-to core exercise?
spacer

Want to Increase Your Willpower?

One of the most simplest yet most effective core exercise requires more willpower than it does strength (although that certainly helps, too). What am I talking about? The Plankof course! When I train clients, I experience more people dropping out due to sheer loss of willpower rather than muscle fatigue. Because it’s hard to fatigue your core. Although some people do go until their muscles fail, which is something I absolutely admire. You can tell when this happens–the entire body will start to shake and they will fall on their face. Admirable. But go ahead, try a plank real quick, go as long as you can. Notice how you kind of get bored and your willpower muscle starts to fail? Let’s change that.

Planking--keep it tight!

So I challenge you to try to do a plank every day for the rest of the year. Train your willpower (and your core), bat down your boredom and focus on strength and discipline. I believe and I know through experience that practicing the plank over and over is the true way to increasing your willpower enough to actually plank until muscle fatigue. Who’s with me?! Plank every day to stay hungry and fit!

  • Question of the day: Which exercise do you find you stop doing out of boredom/lack of willpower rather than muscle fatigue?

BONUS…SNAKE PIC

Dovah being silly

Dovah being silly

spacer

20 Minute Core Blast

If you’re interested in shredding your abs and developing a strong core, this non-stop core ripper workout is the one for you. This requires no equipment (except a stopwatch or phone), all you need is a ground of some kind. It can really be done anywhere. This is to be done with no rest in between. That means it’s going to be really tough. If you need to break in betweeen, you can. 20 minutes is a long time to do things non-stop. That’s what’s so great about circuit-style: burn fat and calories while building your physique. Every exercise is to be performed for 30 seconds, unless otherwise noted. Let’s do it, here’s the list (with some amateur pictures, too):

Planking--keep it tight!

Planking–keep it tight!

  • Crunches
Mid-crunch

Mid-crunch

Reach!

Reach!

Mid-bicycle, keep it slow and extend

Mid-bicycle, keep it slow and extend

Mid-row, push legs out and in

Mid-row, push legs out and in

Just hold it!

Just hold it!

photo 2 (3)

Hips up and down

Turn in and then extend arm straight up

Turn in and then extend arm straight up

  • Side touches

It’s a long list.  And amateur pictures with a messy apartment in the background (oops). Repeat as many times as it takes to get to 20 minutes (if you have the time).  Do your best, try with no rest in between. Remember, each exercise is to be performed for 30 seconds unless otherwise noted. This is a great way to get that six-pack ready for summer! Use this quick workout to stay hungry and fit! 

spacer

The Easiest Black Bean Soup You’ll Ever Make

If you’ve been following our blog, you’ll know it’s been pretty rainy here in Colorado (see my thunderstorm run). I wanted an easy, hearty dish to fill our stomachs with warmth and comfort on another rainy night. I got the recipe from here, and added my own goodies to it. The simplicity of this “soup” is ridiculous. Seriously. And it’s vegan too, if that’s how you want it.

Ready to be eaten!

Ready to be eaten!

  • Prep Time: 1 min
  • Cooking Time: 10 min
  • Serves: 3-4 normal people

Ingredients

  • 2 cans black beans 
  • 1 bag frozen veggies
  • your own blend of spices
  • [optional] mushrooms

Directions

  • Put 2 cans black beans into the pot and start simmering in a pot
  • This is optional, but I put about 3 cloves of garlic into the pot as well

photo 1 (9)

  • Add your frozen veggies and any other herbs, spices, or veggies you would like (or meat)

photo 2 (5)

photo 3 (4)

  • Let it simmer for at least 10 minutes (until everything is warm) and stir occasionally. If you are cooking ahead of time, it doesn’t hurt to simmer as long as you want to for deeper flavor
  • Serve with a side (I did cornbread)

photo 5

Ready to be eaten!

Ready to be eaten!

I prepared all of this before a workout. After the core workout (sample core workout here), I came home, popped the cornbread batter in the oven, and heated the soup up again on the stove. It was definitely the perfect meal for a rainy night and I get to enjoy it again for a rainy lunch. It has ample amounts of protein for my healing muscles and great fiber for the whole body.

Cheers! Stay hungry and fit!

spacer

Bibimbap: Korea’s Perfect Meal

Let me start off by saying I’m pretty proud of myself for creating this dish tonight after a day’s worth of work and a workout. It took a good bit of work and time, but it was so worth it. Most of you are probably wondering…what in the heck is bibimbap? Well thanks to my Korean-obsessed partner, I am now blessed to the amazingness that is Korean food (and yes amazingness is a word). Bibimbap is basically mixed rice with vegetables, but is so much more. It really proves why and how Koreans are so healthy and why the obesity rate is so low there. I can’t wait to move to South Korea one day where this will be a regular meal.

photo 3 (1)

You can really make it your own, using a variety of vegetables and proteins. I used this recipe and this one as well, deciding from each what I wanted to do. Chris had a so-so day so I wanted to surprise him with a Korean dinner that he would really enjoy. Now that I know how to do it from heart, I believe I will be doing this on the regular (I know that makes Chris happy).

  • Prep Time (for n00bs like me): 20-40 minutes
  • Cook Time: 20 minutes
  • Serves: 2.5 normal people (Chris isn’t normal)

It may seem like a lot of ingredients, but it really is a simple dish once you get the hang of it. Let’s first start off with a special sauce that is for non-spice people (Chris unfortunately can’t have spice). It’s easy and delicious.

Ingredients

  • 4 green onions
  • 1/4 cup soy sauce
  • 1 tbsp sesame seeds
  • 2 tsp brown sugar
  • 1 tsp sesame teriyaki 
  • 1 clove minced garlic 

Directions

  • Chop up the green onions and put into small bowl
  • Pour in the soy sauce
  • Mix in the rest of the ingredients. Stir well

photo 4

Now onto the good stuff– the bibimbap!

Ingredients

  • red cabbage
  • 2 small zucchini
  • bag of bean sprouts
  • spinach
  • 1 cup (uncooked) rice
  • 5 mushrooms (any kind)
  • 4 baby carrots (you can use regular)
  • 2 eggs
  • 1 Korean radish
  • sesame seeds
  • soy sauce
  • sesame sauce
  • garlic
  • salt and pepper

Directions

  • First off, I didn’t include cooking time of the rice. I did a running and core workout, so before I started that, I put the rice on ahead of time. DO THIS
  • Rinse your bean sprouts and cook them in hot water for 20 minutes. Drain them and season them with your special sauce and some salt

photo 1

  • Bring a pot of water to a boil (doesn’t need to be much water). Grab your spinach (whether it be a bunch or separate leaves) and put into boiling water for 1 minute. Take out and drain, run cold water over it, wring it out, then season with salt and sauce.

photo 2

  • Cut all your veggies into thin slices and sprinkle salt over  

photo 3

  • Separately, saute each veggie one by one [except for carrots] in pan over medium-high heat. You can use oil and garlic, or use the special sauce we created earlier to season and wet them. You only need to cook them for a few minutes to heat them up and infuse them with flavor.
  • You can either put them back on the cutting board OR have the rice ready in a wide bowl. Place the veggies in a circular fashion on the rice, leaving the middle open
Waiting for a few more ingredients..

Waiting for a few more ingredients..

  • For the carrots, just throw them in the hot pan for 30 seconds, so that they’re still crisp
  • For the last ingredient, throw your egg (or eggs if you’re making for two or more people) in the pan on medium heat. You want to cook it sunny side up (over easy). Put the egg in the middle
Ready to be eaten

Ready to be eaten

Pour the special sauce over the top for extra flavor. And that’s it! Not so hard, is it? It looks like a long list of ingredients, but once you get the hang of it, it can be done quickly (as I found out the next night–yes, I made this two nights in a row…red cabbage goes forever!). You can cycle a ton of different ingredients into this. Whatever you have or whatever is fresh at the market. Last night, I used green pepper, beets, and tofu as well as some from the night before.

A traditional way to do this is to serve it in a hot stone bowl, so that the rice gets crispy on the bottom. I did this style for Chris, but it was less attractive as it was a little too big. But that same fresh delicious FILLING flavor.

Chris' "plate"

Chris’ “plate”

It didn’t last long as we both dug in and watched Chopped All-Stars. I, of course, couldn’t finish it all so Chris ate his huge serving AND the rest of mine. Big surprise.

After we tore into it

After we tore into it

Enjoy! And use this recipe to…stay hungry and fit!

photo 3 (1)

spacer

Quick Home Workout (Starting at Just 10 Minutes!)

So you really don’t have a lot of time, but you want to get some kind of cardio and strength activity in. Maybe you’re running off to see Jack the Giant Slayer in 15 minutes, but you want to get some muscle work in (hmm, sounds familiar…). This one ended up being a great core blaster with great upper body work as well.

home workoutAnd that’s my delightful chicken scratch! Do as many sets as you have time for. You can do one set in 7-10 minutes, depending on how long you last until failure. The weight for curls, rows, and press is up to you! You should get a light sweat and feel it in the abs and upper body, at least I did. Do them right, no rushing! If you have any questions on the exercises, feel free to comment and ask!

Cheers! And as always…stay hungry and fit!

spacer

Starting a Balance Program: It’s Never Too Early!

Working at a YMCA, I work with an older population a lot of the time. This means lots of balance work. Using different exercises, different times, tempos, and so forth in order to prevent adaptation or plateauing. But the thing is, they seek me out because at their age, they have awful balance. However, if you start balance training earlier than later, you will be a happy camper. Proper balance training prevents falls and increases muscles endurance and strength in hips, buttocks, core, and small muscles of the feet. It’s time you started a balance routine today.

It doesn’t have to be a huge long thing. It could even be one balance exercise before your workout to start out. However, if you have the time, I would suggest doing a 20-minute balance routine 2-3x a week. At least!

Benefits of doing a Balance Training Program:

  • Better strength in smaller muscles
  • Stronger core
  • Reduced chance of falling and injury
  • Helps improve the connection between brain and muscles
  • Burns calories as your body struggles to stabilize

Yes, even my younger clients have complained of tiny muscles in the feet, or their hamstrings, or their hips being sore the next day due to efficient balance training. So now it’s time to start your own. Like I said earlier, at least do one balance exercise before your workouts, better to do more, if possible. Here is a list of great balance exercises to add to your routine:

  • Single-Leg Balance. This one is simple. Stand on one foot, posture straight, shoulders back. If you have poor balance or feel unsteady, have a wall nearby to hold onto when needed. 30 seconds each leg.
  • Single-Leg Balance, Eyes Closed. Same as above, but with the eyes closed. Closing the eyes throws the body off, makes it unsure of where it is. Thus, you get more wobbly. Working on this will improve your proprioception (aka, your body’s awareness of where you are even with eyes closed). 30 seconds each leg.
  • Airplane. Stand on one leg and lean your body forward, spreading your arms like wings of a plane. The goal is to get your body (torso) completely parallel to the ground, including the leg that is off the ground. This one is a killer for the glutes and hamstrings. 30 seconds each leg.

  • Heel to Toe [Drunk Walk]. Yes, it’s what you think it is. Imagine you get pulled over and a cop makes you walk in a straight line. I want your heel to touch your toe every time. Back and forth twice.

  • Windmill. Similar to the single-leg balance, but instead of keeping your arms still you are going to cycle them like a windmill. 30 seconds each leg.

  • Supine Leg Raise. For this one you need a foam roller. Place it along your spine, and far up enough that you can rest your head on it. You can touch your hands on the ground, but the goal is to do it with no hands. Slowly raise a leg up and lower it. Then alternate. 12 reps on either leg.

  • Single-Leg Rotation. Stand on one leg, raise the other so that your thigh is parallel to the ground. You can hold your arms out or put them on your hips. For me, it helps to hold them out. Now, slowly turn either to your left or right (depending what foot you’re on). Then come back. This is all on one leg. And you need to do it slowly. Control the muscles. 12 reps on both legs. 

  • Single-Leg Lift & Chop. Same position as the previous one. But this time I want you to lift your arms up and chop across the body, far down. Look at the picture, but without the medicine ball. It is important to not use your momentum. Use your muscles. Control. 12 reps on both legs. 

  • Seated to Standing. This one is simple. Without pushing your hands on your knees to get up, stand from a seated position. 12 reps. 

  • Stability Ball Leg Raise. Most gyms should have them. If you don’t have one, and don’t go to a gym, get one–it’s worth it. There are lots of exercises you can do with it. For this one, preferably with your hands up (you can hold your hips if you need extra stability), slowly raise your leg to full extension. Then slowly lower. Alternate. 12 reps on either side. 

  • Bosu Ball Stand. This one is simple, but there are many variations. Simply find a bosu ball, and stand upright. You may feel wobbly but attempt to stabilize yourself. If this is too easy, close your eyes. If this is still too easy, march your feet. 30 seconds. 

Remember, folks, you don’t have to do all of these. I’m giving you a big list so you can pick and choose, try new ones different days. And if you have poor balance or need more stability, do these with a wall, a rail, or a chair to hold on to. Safety first. Always. You are never to old to start balance training. There are so many benefits. It’s not a waste of time and it will save you big time in the future. Try it out.

Cheers!

spacer